Toggle Nav
 Inspire.
Create.
Stitch.
Inspire.
Create.
Stitch.
Inspire.
Create.
Stitch.
Search
Inspire.
Create.
Stitch.
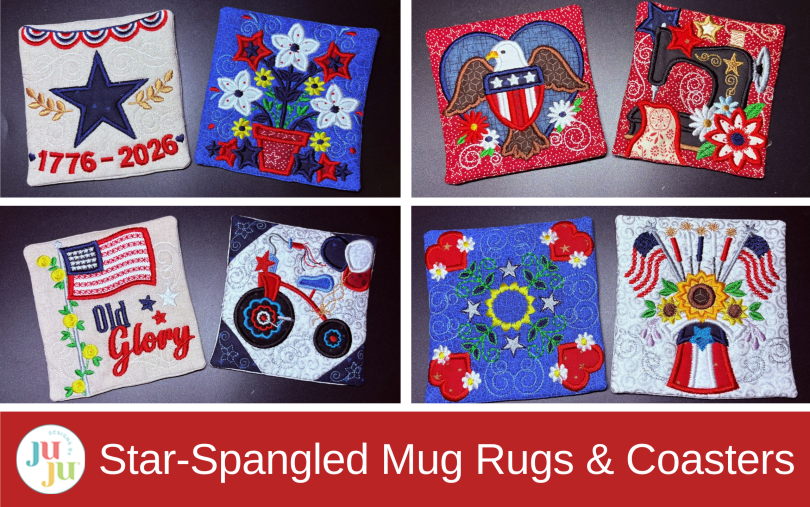
Add patriotic charm to your table! Stitch these quick and festive star-spangled mug rugs—aka coasters—perfect for coffee, tea, and summer fun.
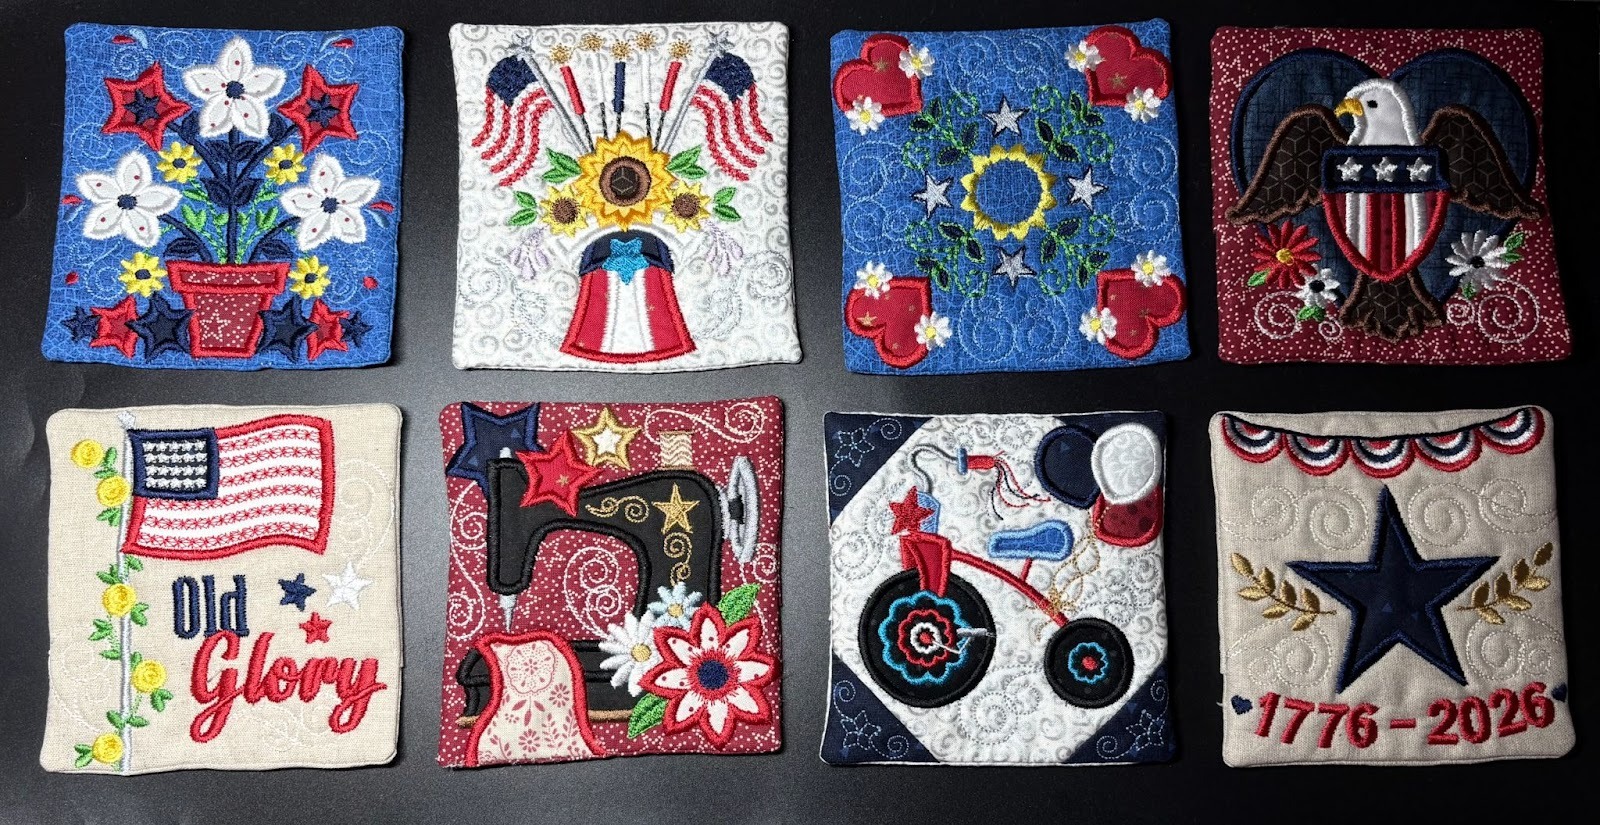
Red, white, and cute! If you love quick projects that show off beautiful embroidery, these star-spangled mug rugs are the perfect stitch. With bold patriotic designs and just the right amount of sparkle, they’re a fun way to dress up your coffee table while celebrating classic Americana style. Whether you’re enjoying your morning coffee, afternoon tea, or a sweet summer treat, these mug rugs add a cheerful handmade touch to every sip. Best of all, they stitch up quickly, making it easy to create a whole festive set to use, gift, or display all season long. With four unique sets to choose from, you are sure to find the perfect designs to create your own collection.
Finished size: 5” x 5”
Check out the DBJJ team’s favorite supplies in the Designs by JuJu Amazon store. And for all your stabilizer and batting needs, be sure to check out Designs by JuJu+.

Select your favorite background fabrics and cut them into 10” x 14” pieces. Each piece will make the front and back of one mug rug.

From each 10” x 14” fabric piece, cut one 7” x 7” square and two 5” x 7” rectangles for the front and back of your mug rug.
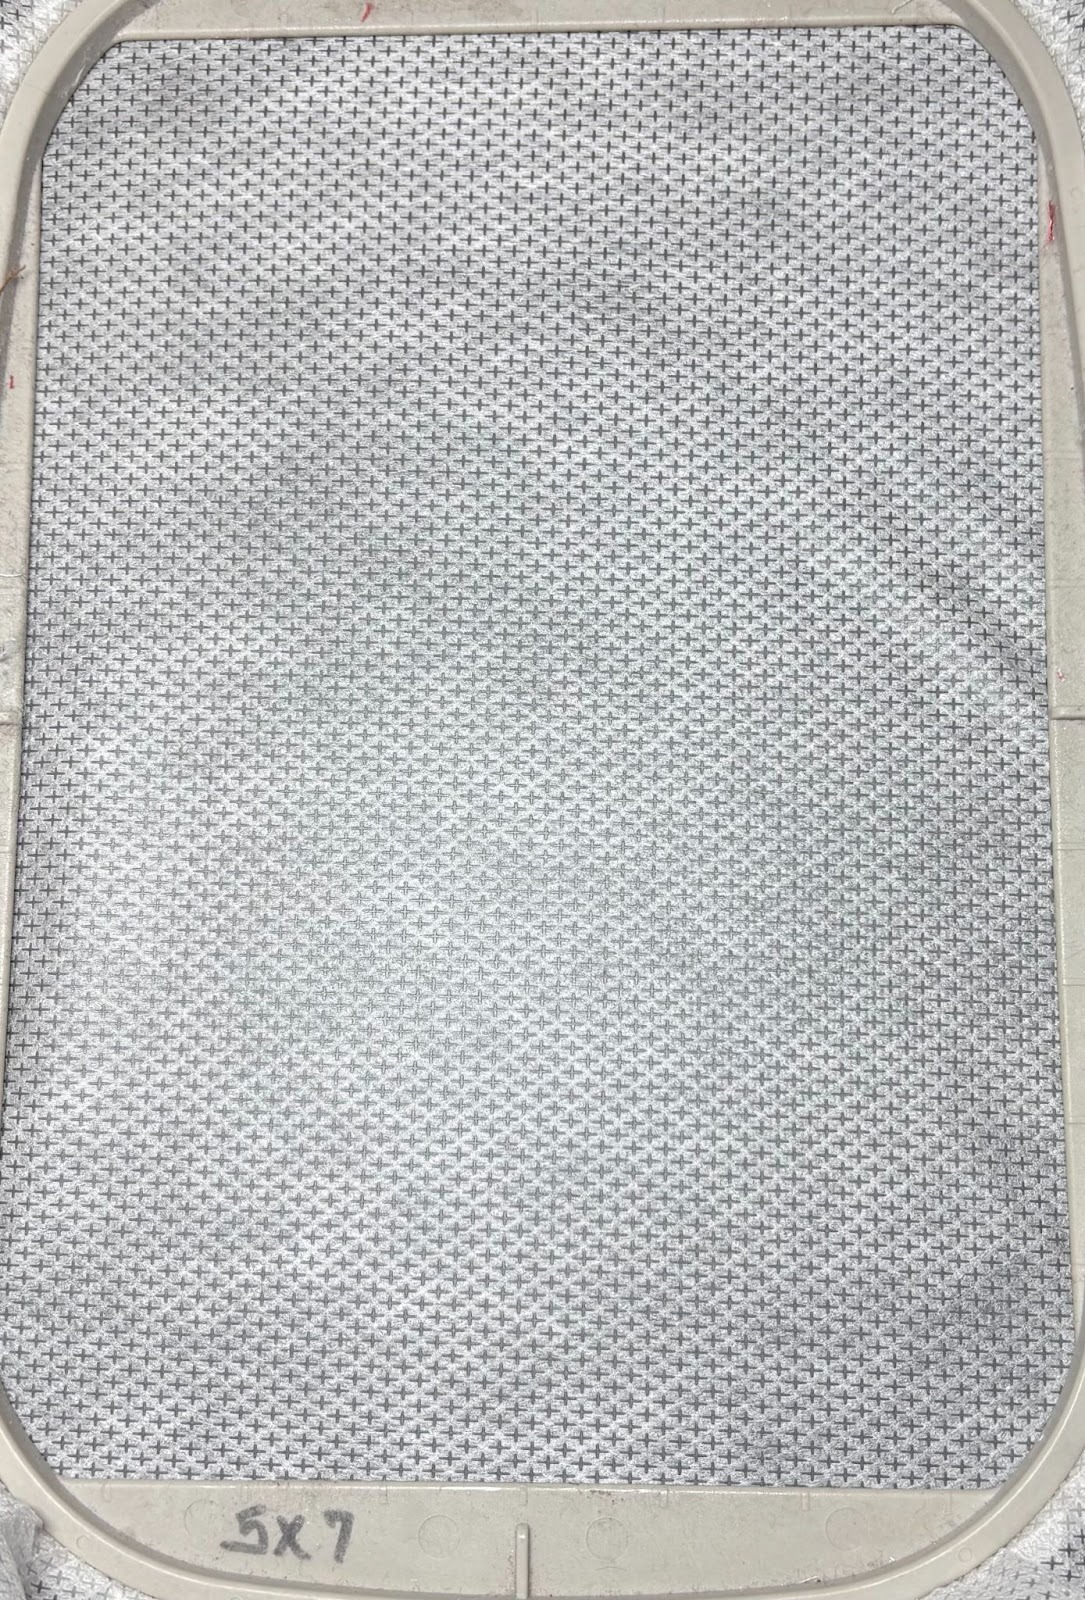
Place the magicMESH stabilizer in a 5x7 hoop and take it to your machine.
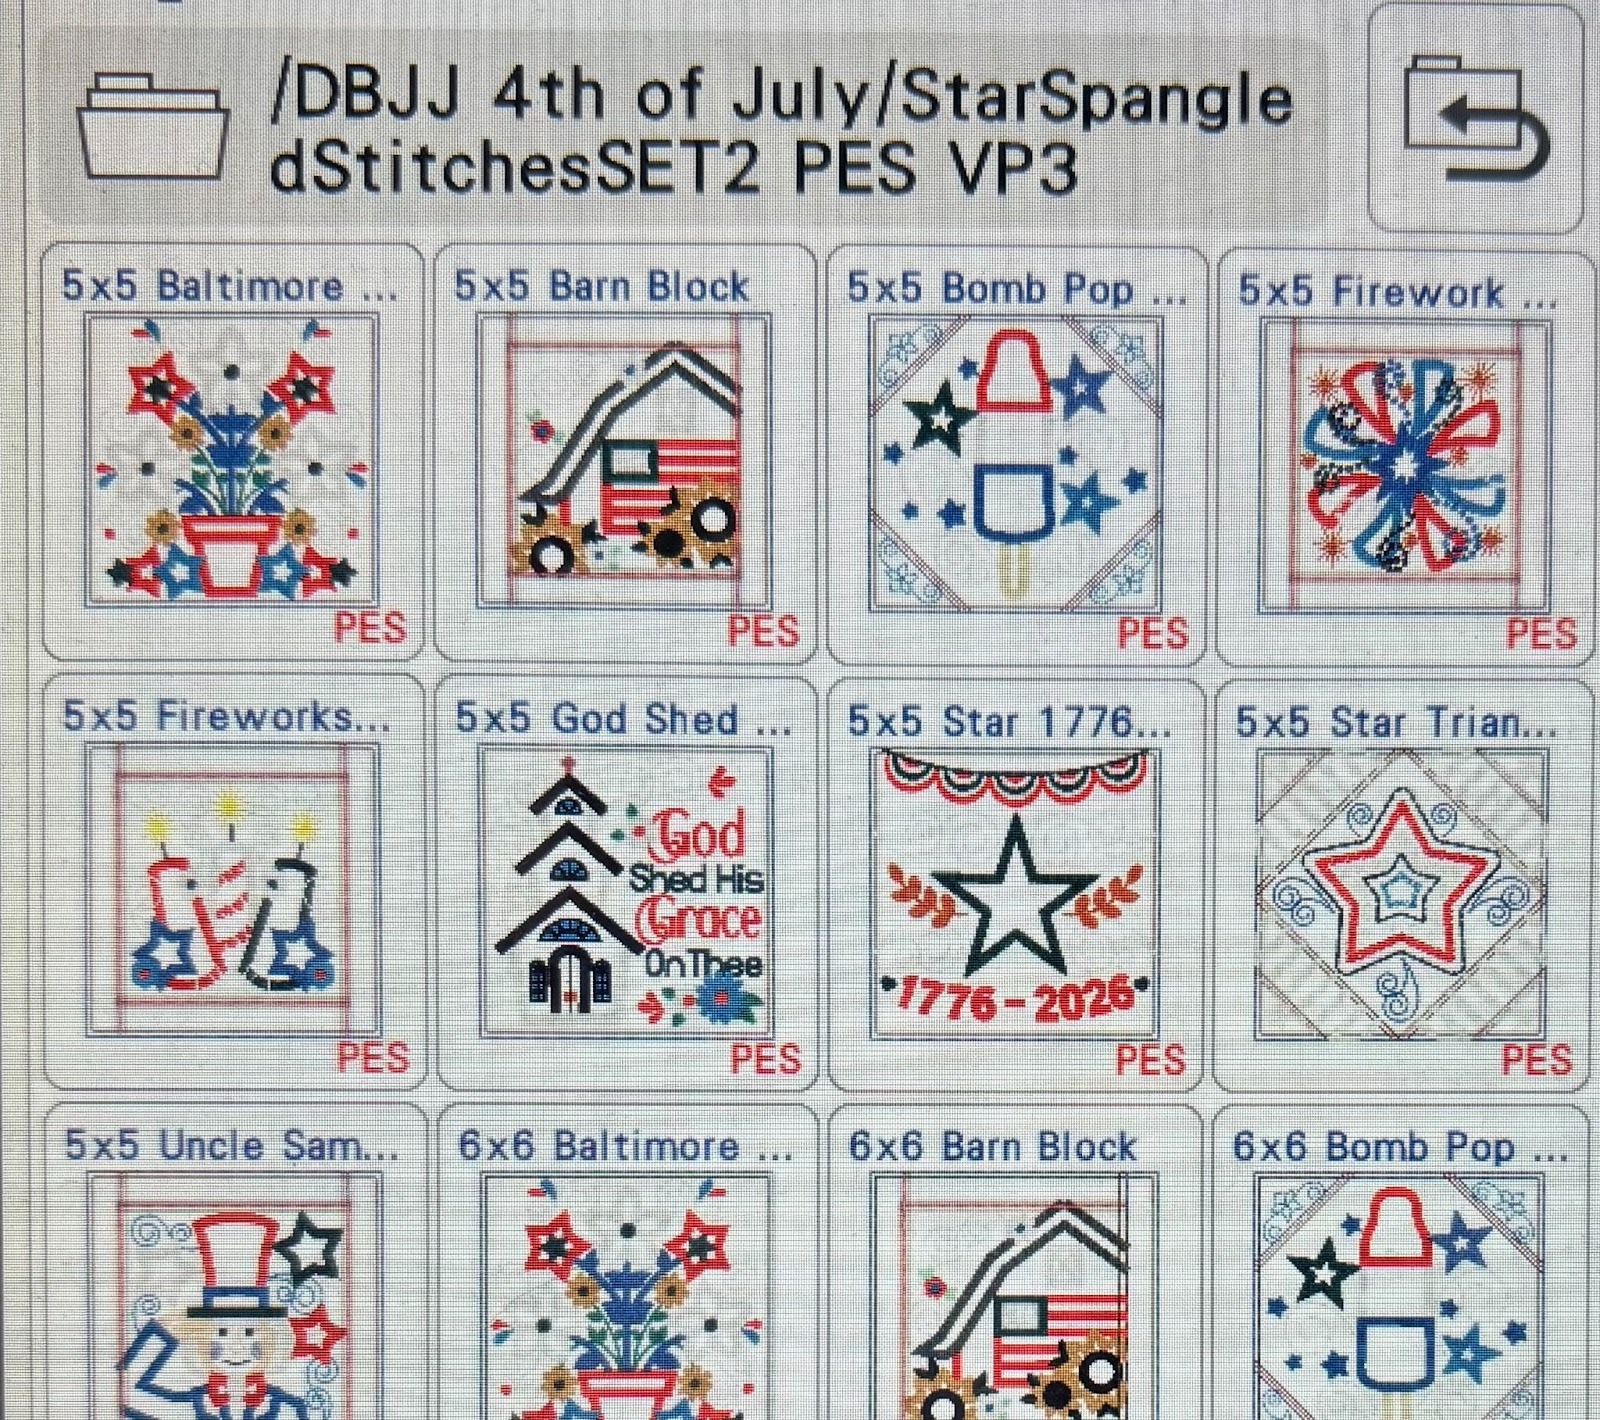
Choose a 5x5 design from the Star Spangled Stitches sets and load it into your machine. For my first mug rug, I am using the Star 1776 from In In The Hoop Star Spangled Stitches Project Set 2.
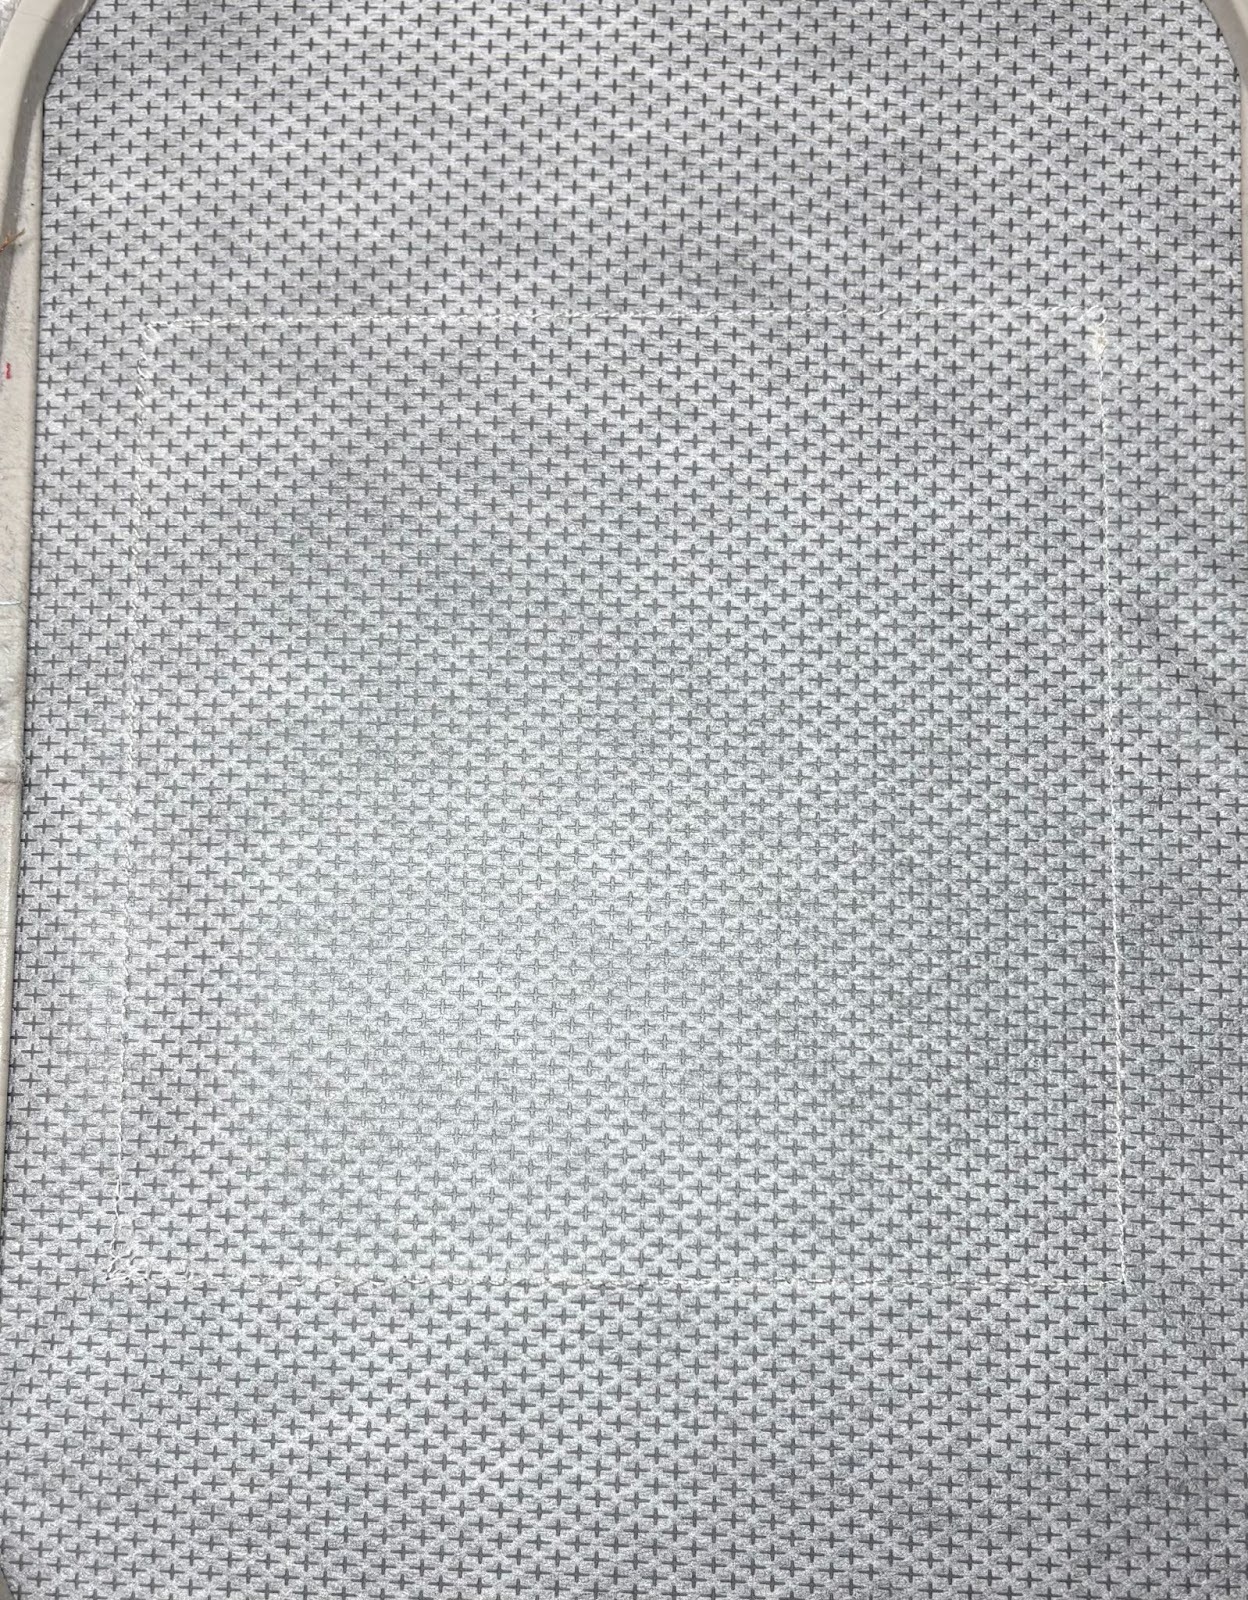
Start by stitching the placement line for the batting.
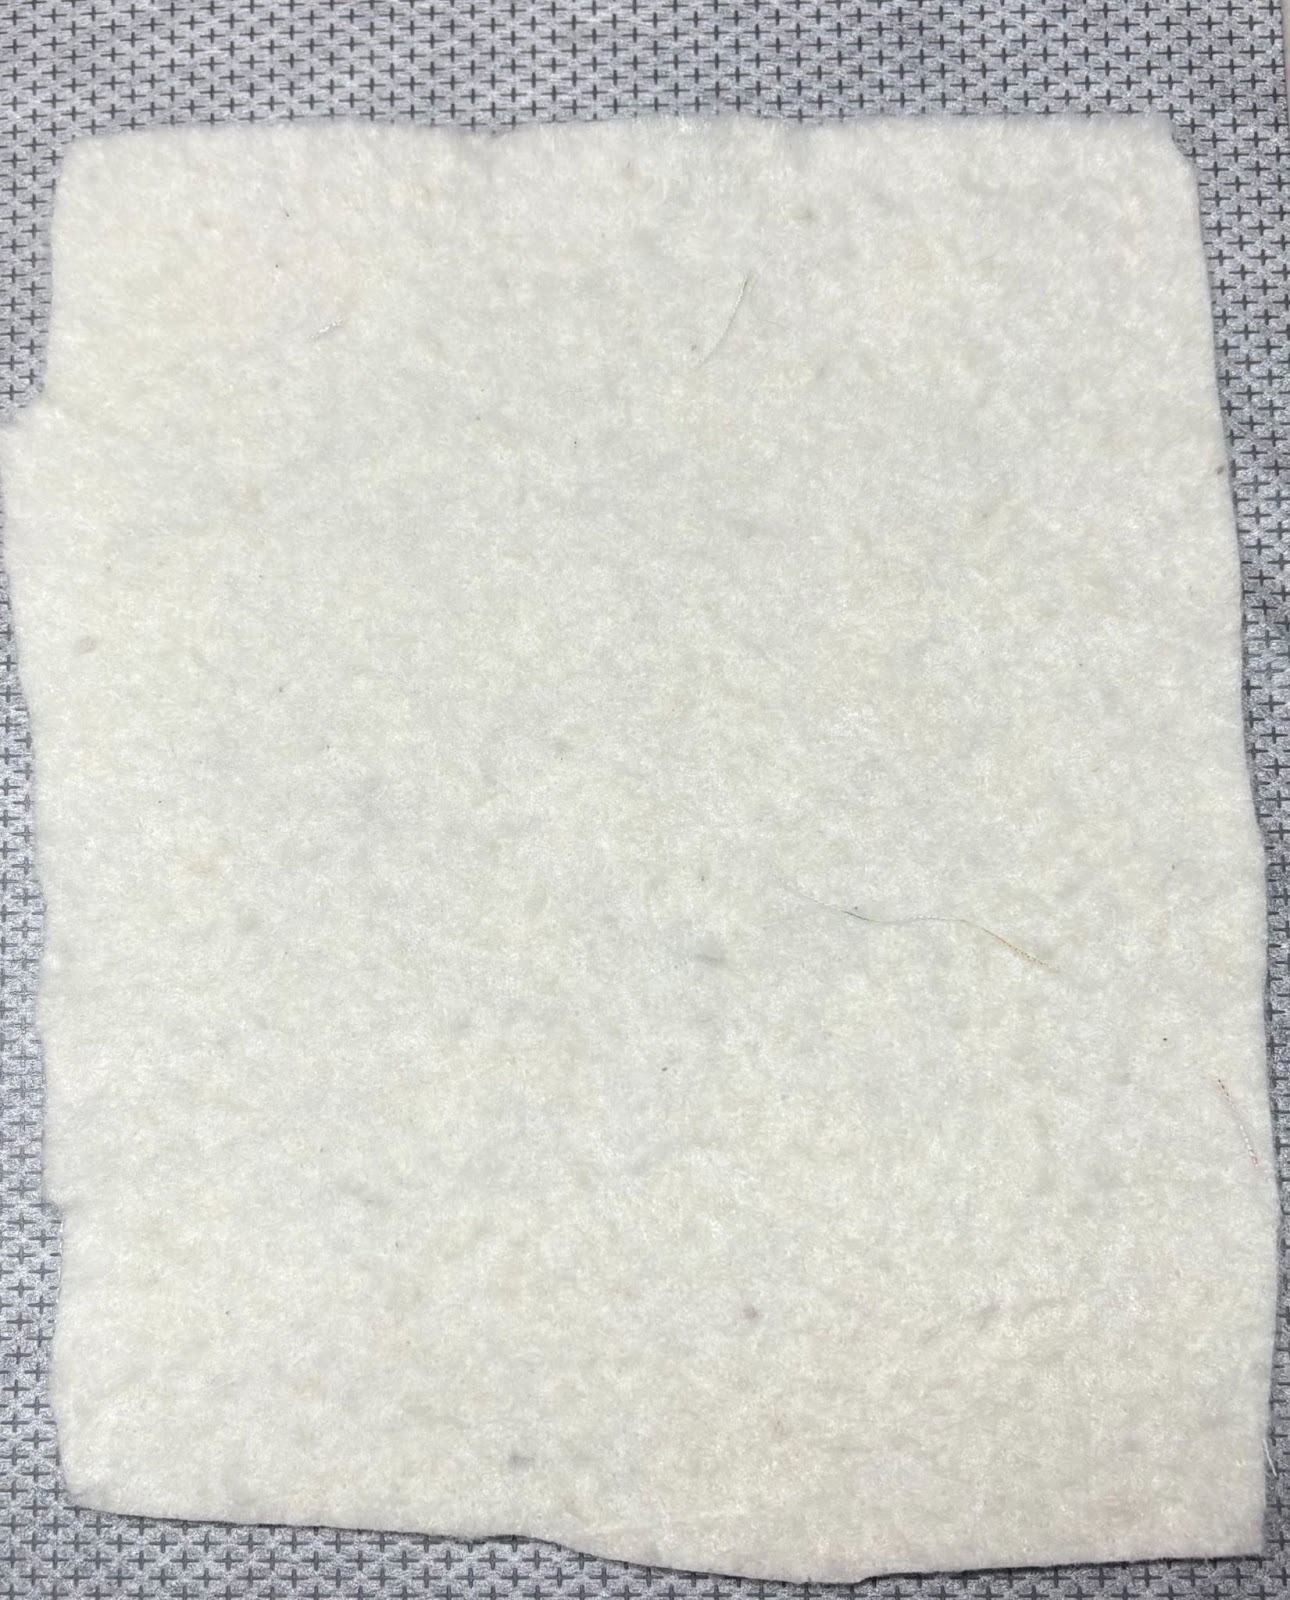
Place the batting on top of the placement stitches, ensuring all sides are covered.
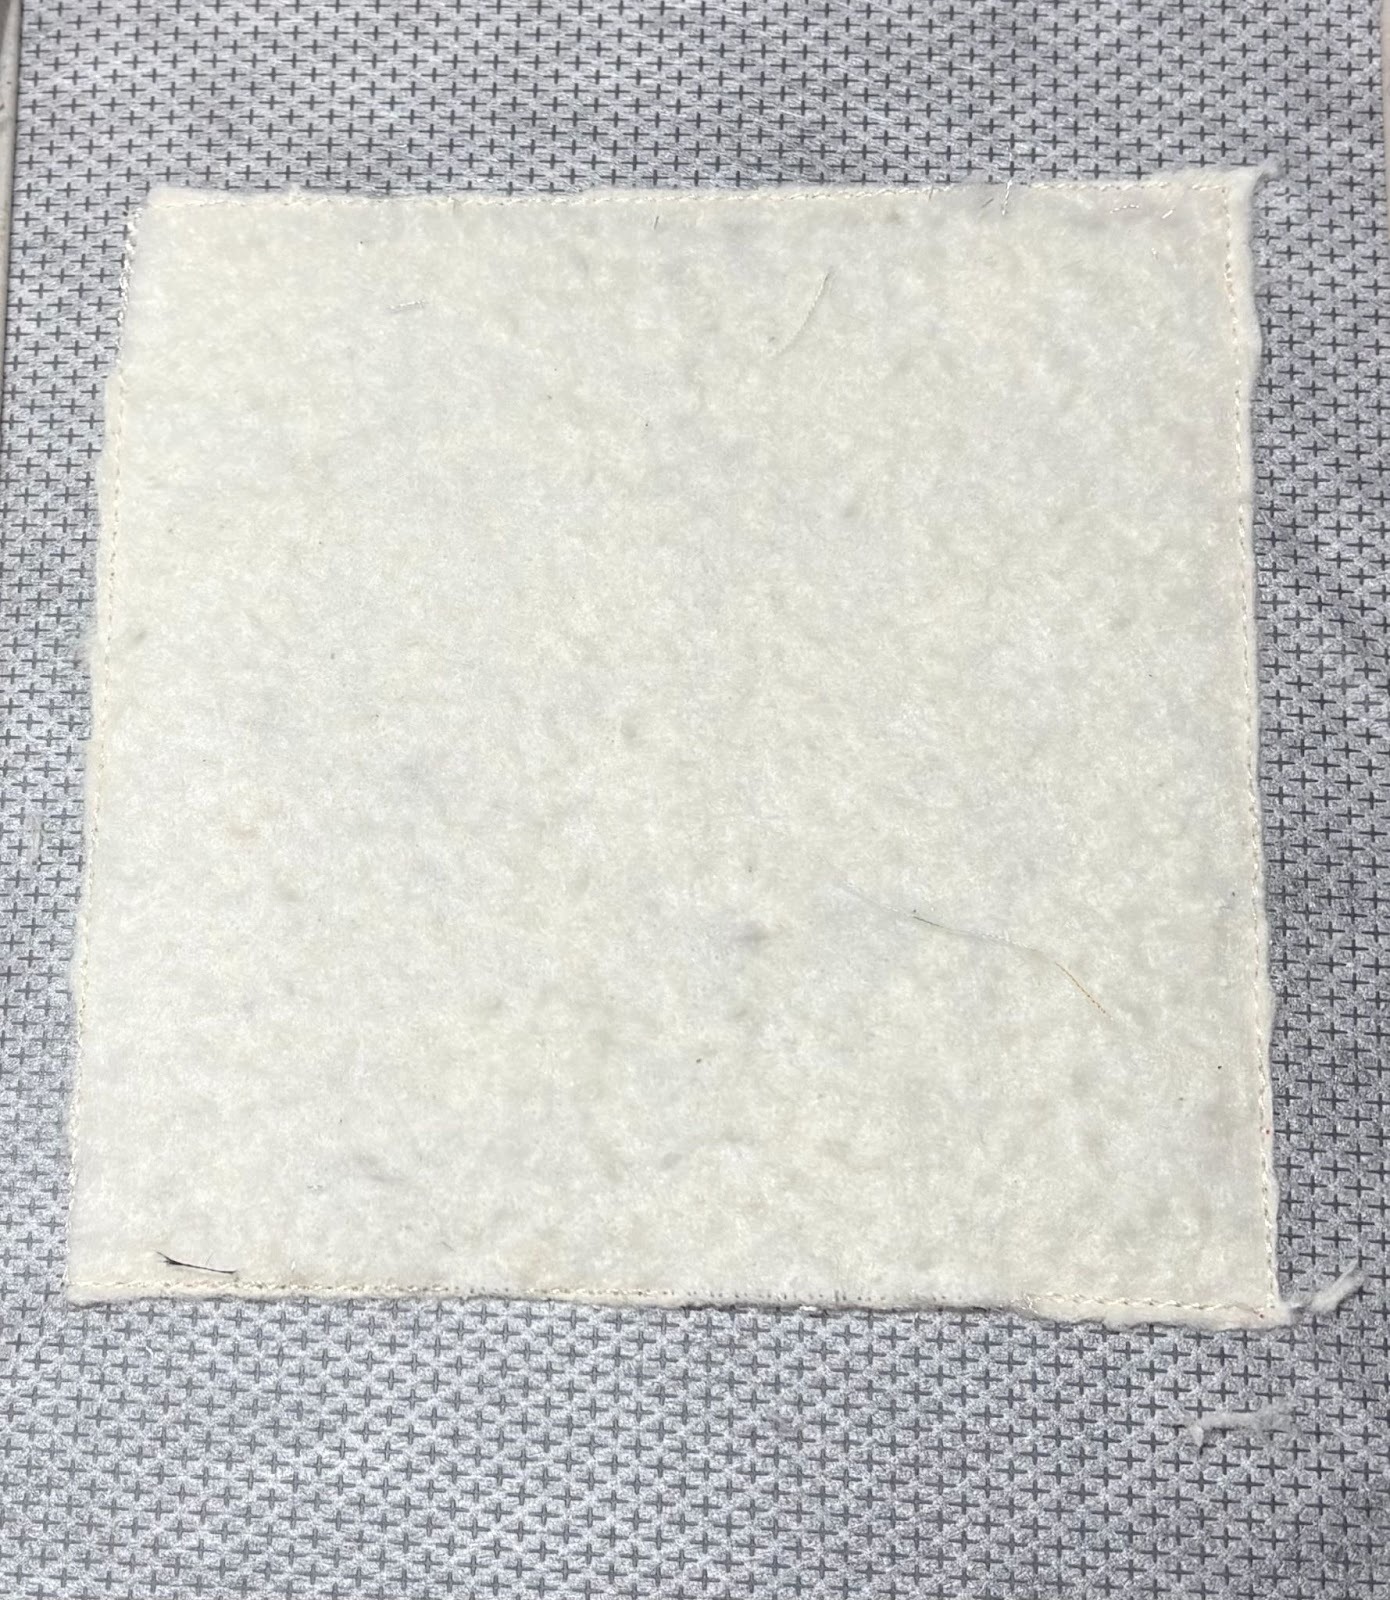
Stitch the batting in place, then remove the hoop and set it on a flat surface. Trim the batting close to the stitches, then put the hoop back on your machine.
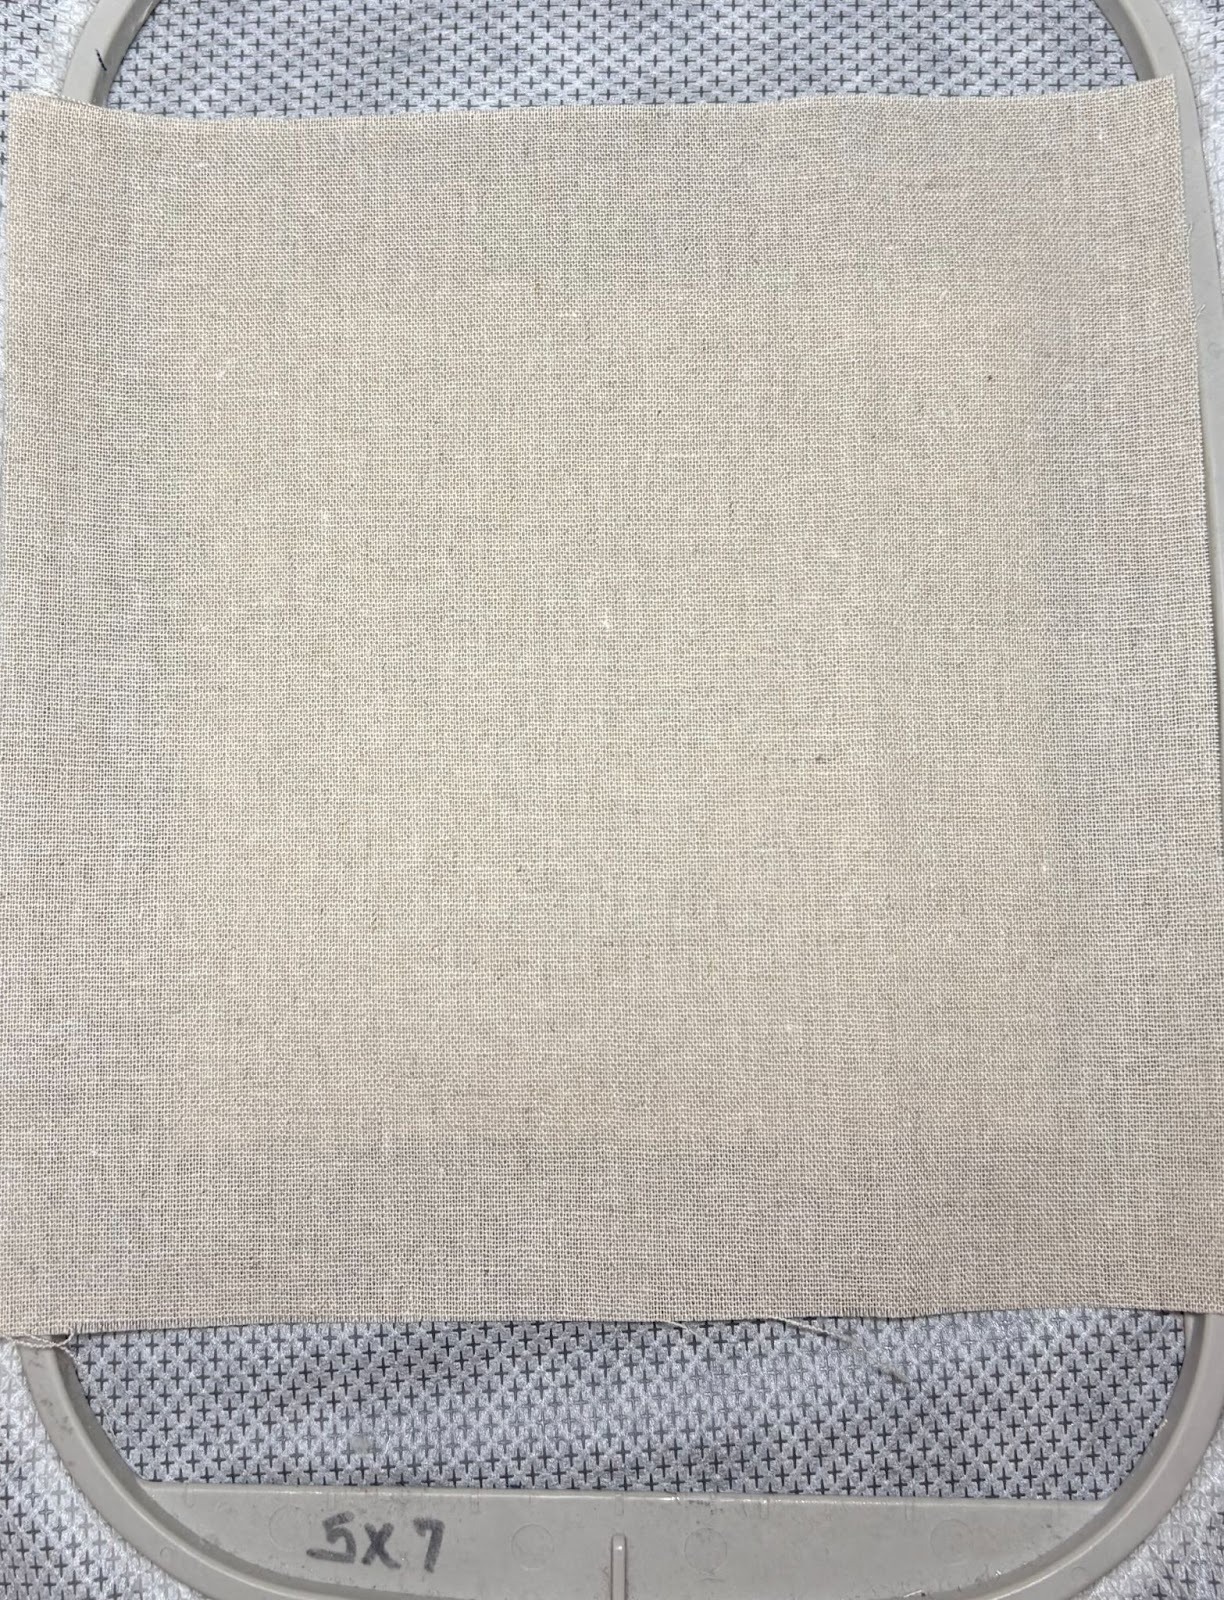
Next, stitch the placement lines for the background fabric. Place the 7” x 7” fabric square centered over the placement stitches.
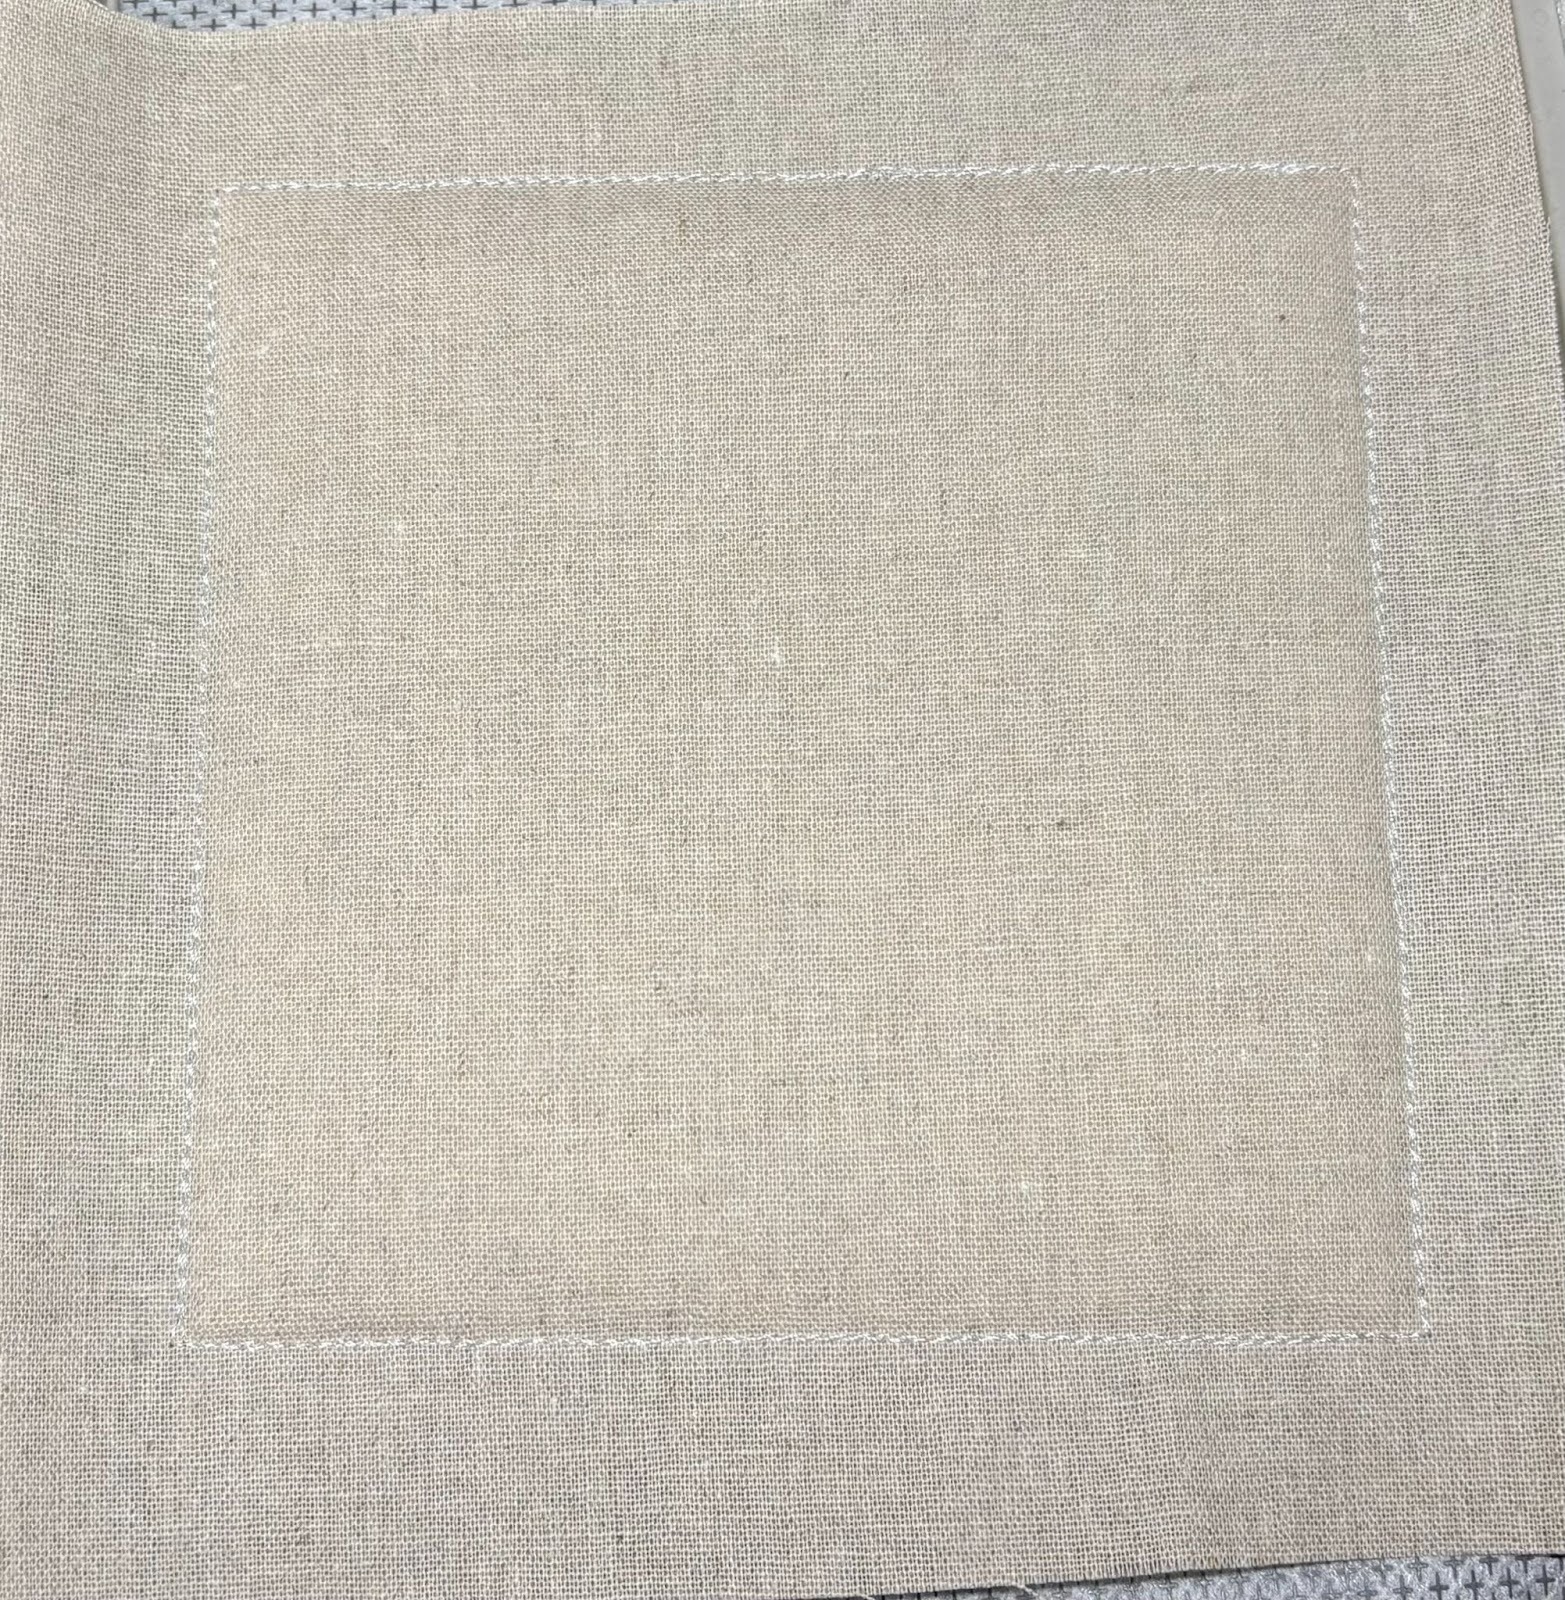
Stitch the fabric in place, but don’t trim it yet.
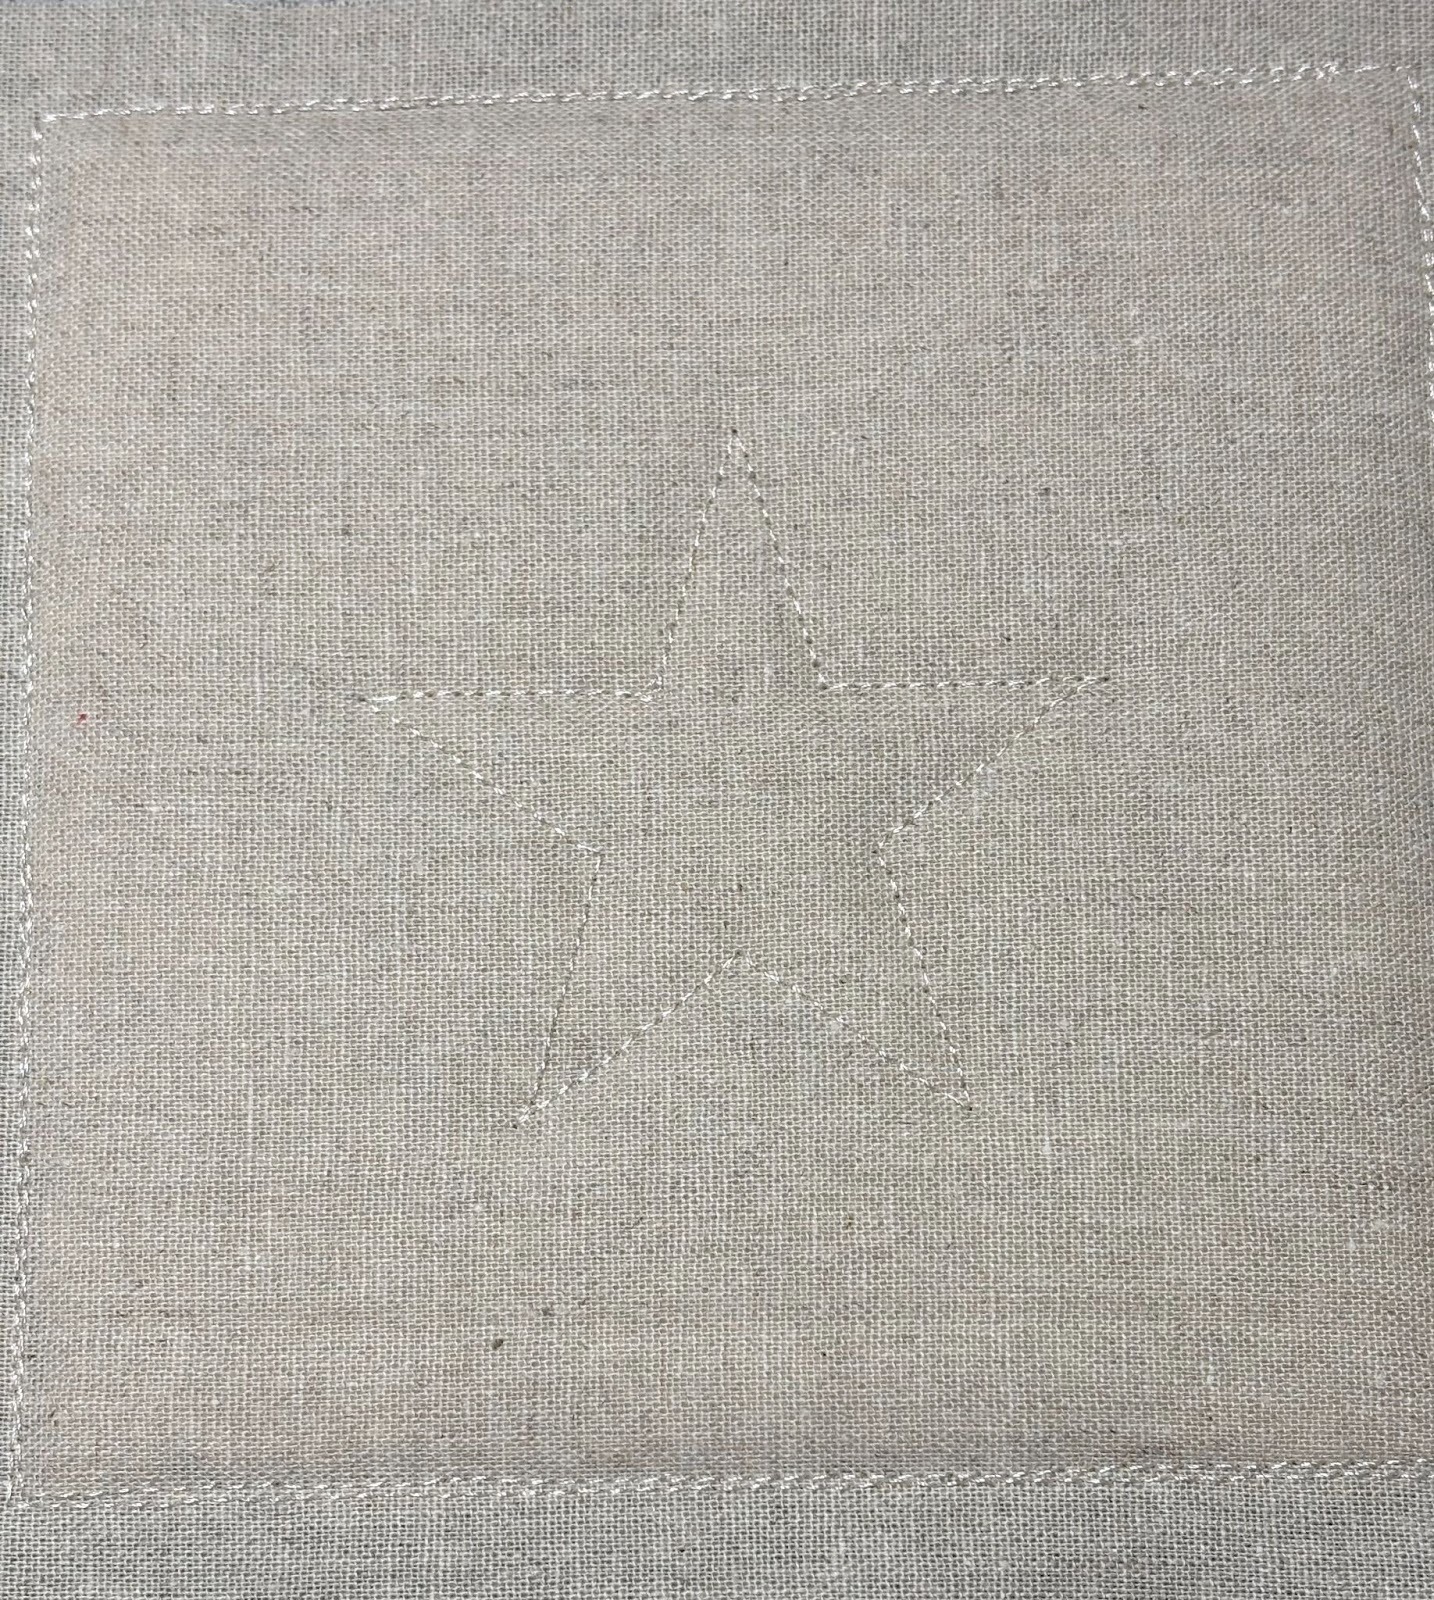
The next steps are applique, decorative stitching, and adding satin edges. To start the applique, stitch the fabric placement line.

Next, lay the fabric over the stitching.
Tip: Applique is a great way to use up scrap fabric.
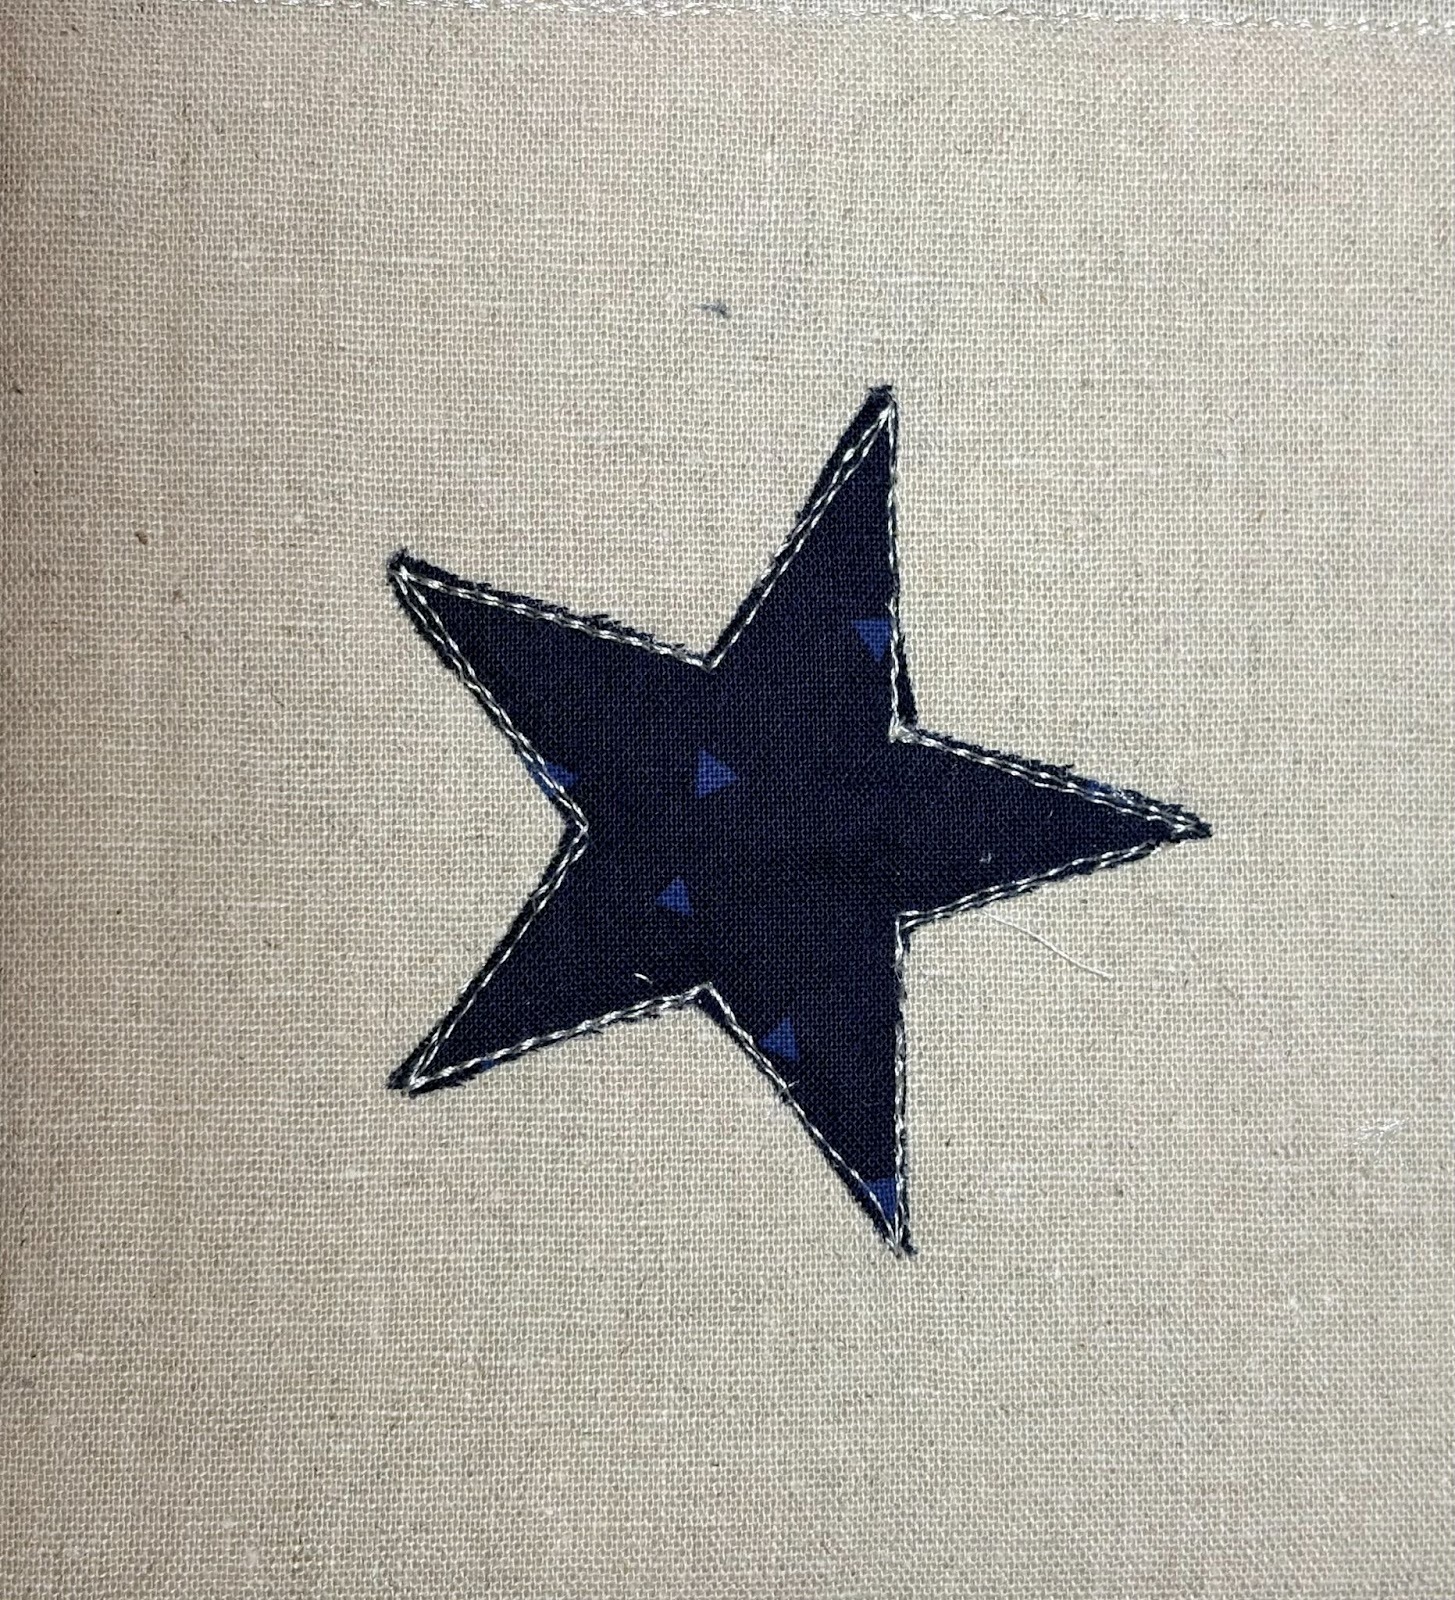
Sew the tack-down stitch, then remove the hoop and trim the fabric close to the stitches. Continue adding the remaining applique pieces, trimming each one before moving on.
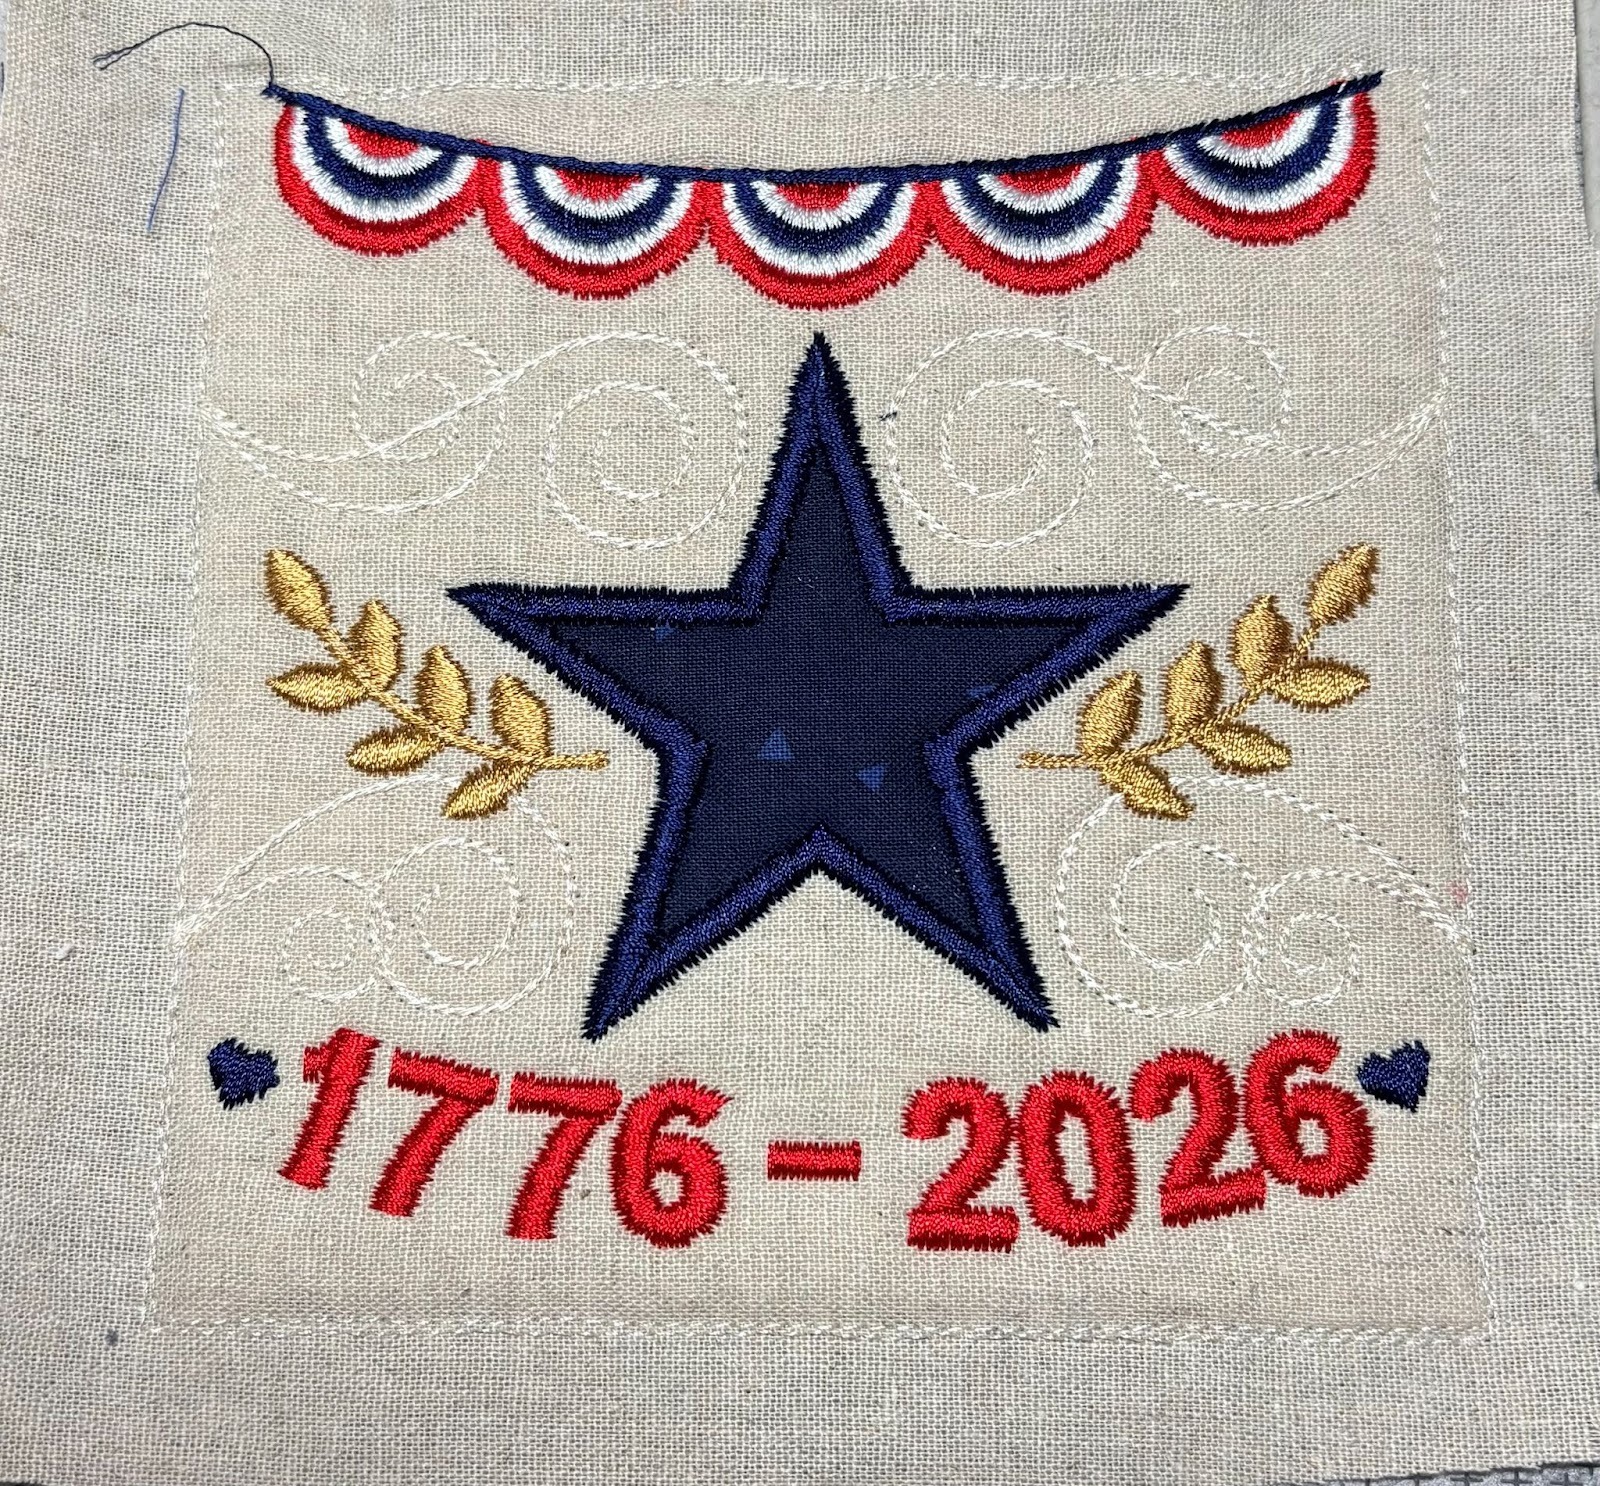
Finish your block with satin and decorative stitches.

Once you’re finished, take the hoop off the machine and remove your design from the hoop. Trim the stabilizer close to the stitches so the back looks neat.
We will now create a cozy, envelope-style back for your mug rug.
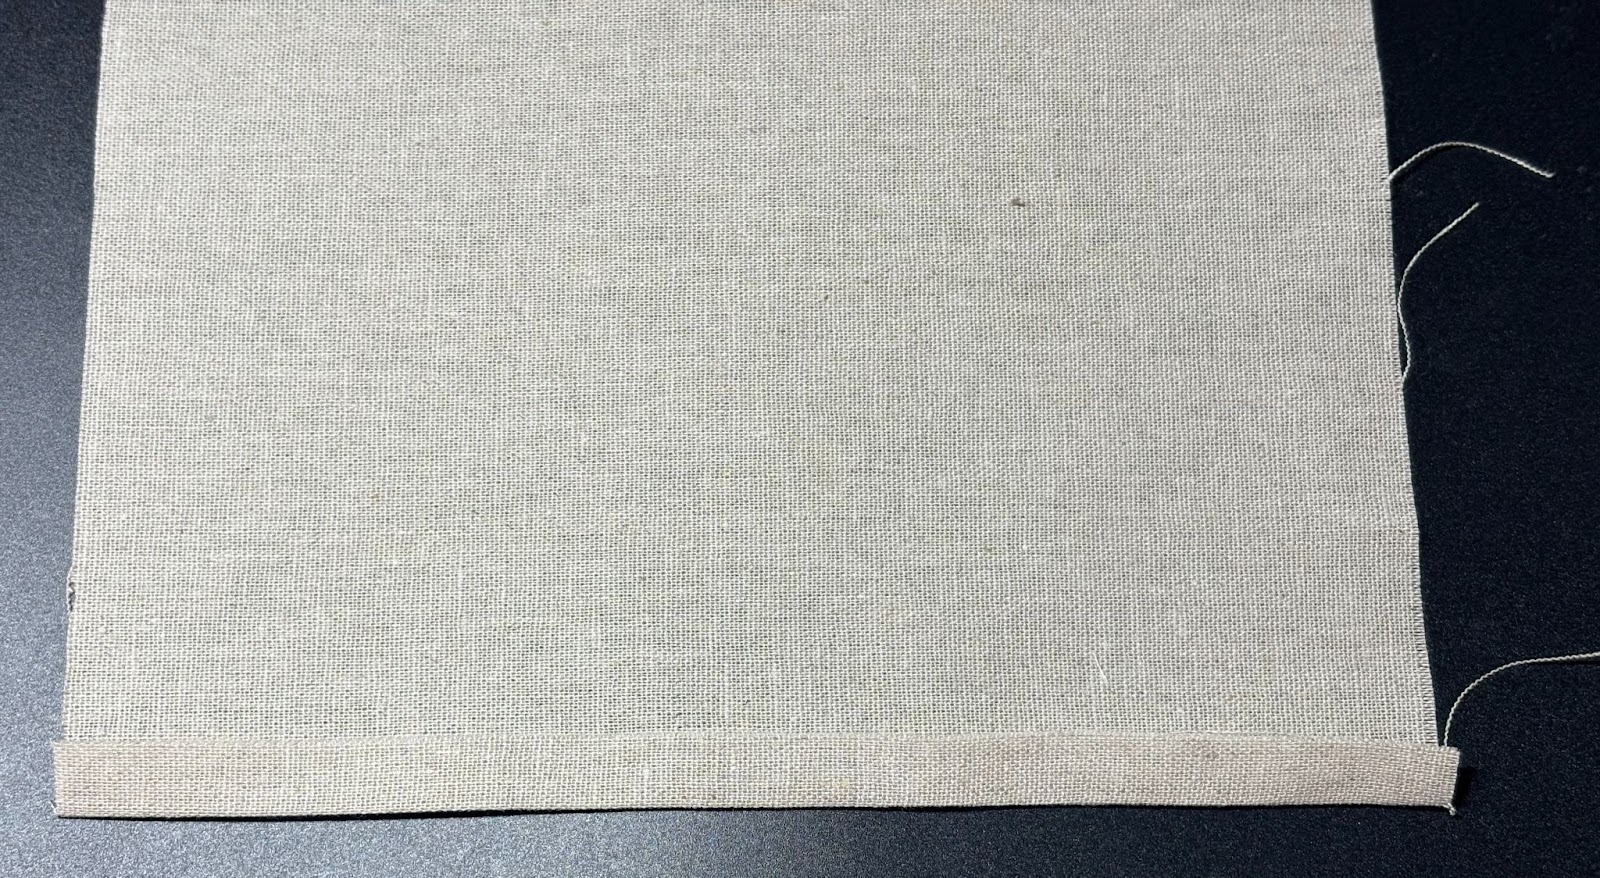
Take both 5” x 7” pieces and fold one 7” edge up by ¼”. Press the fold.
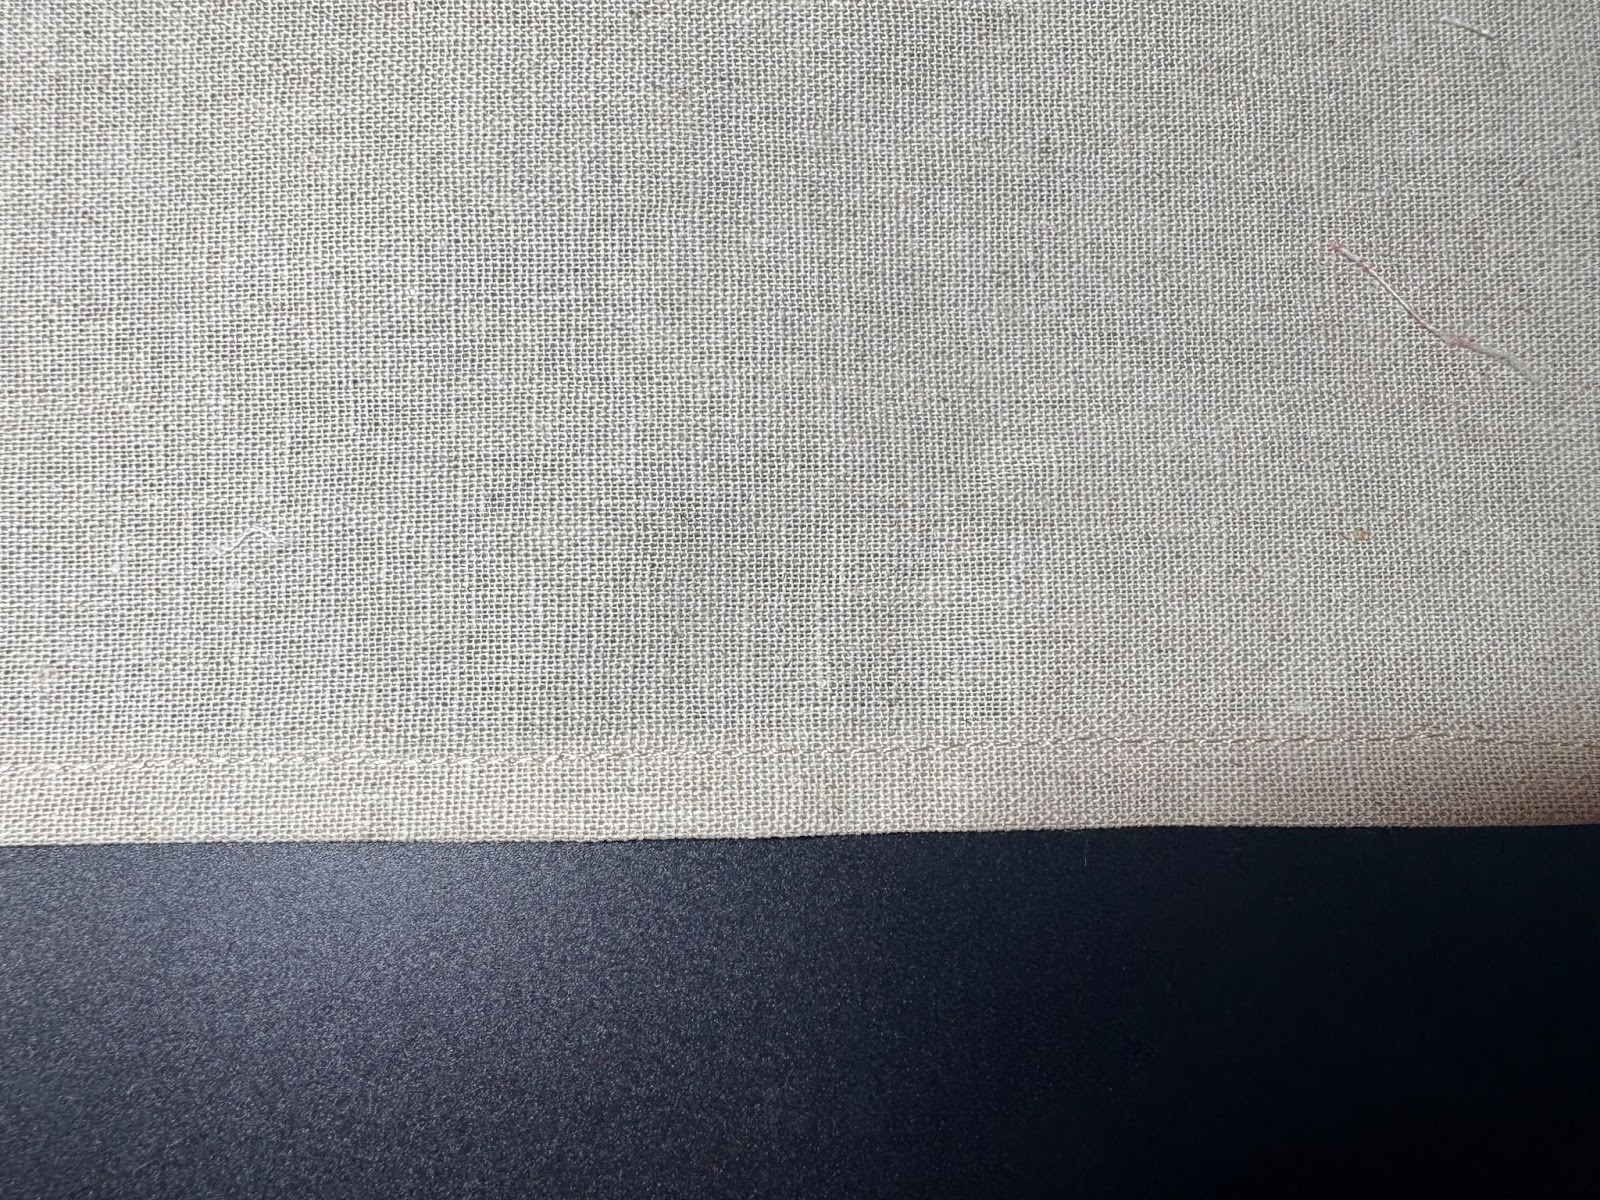
Sew close to the folded edge.
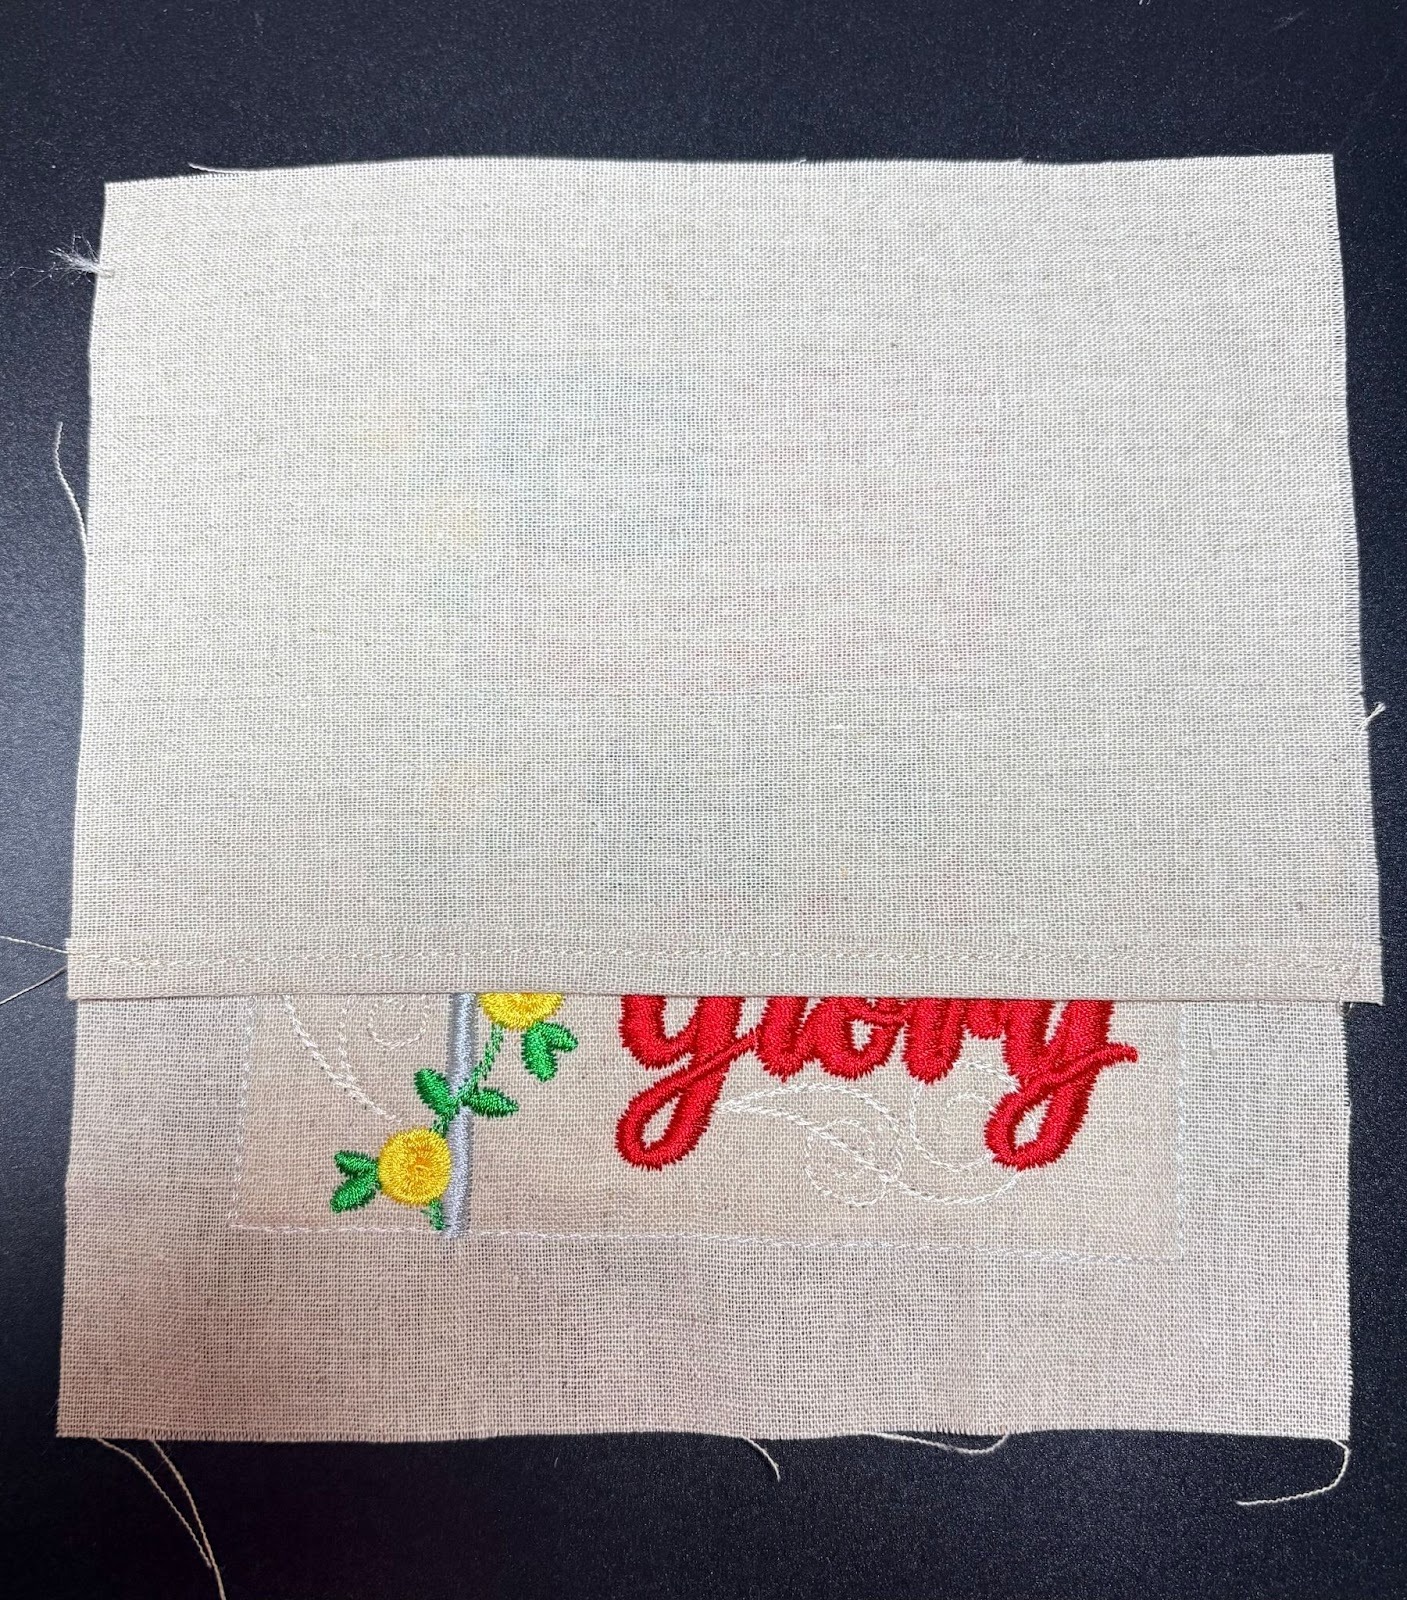
Place one 5” x 7” piece right-side down with the top and side edges even on your finished design. The folded edge is toward the center, as shown in the picture.
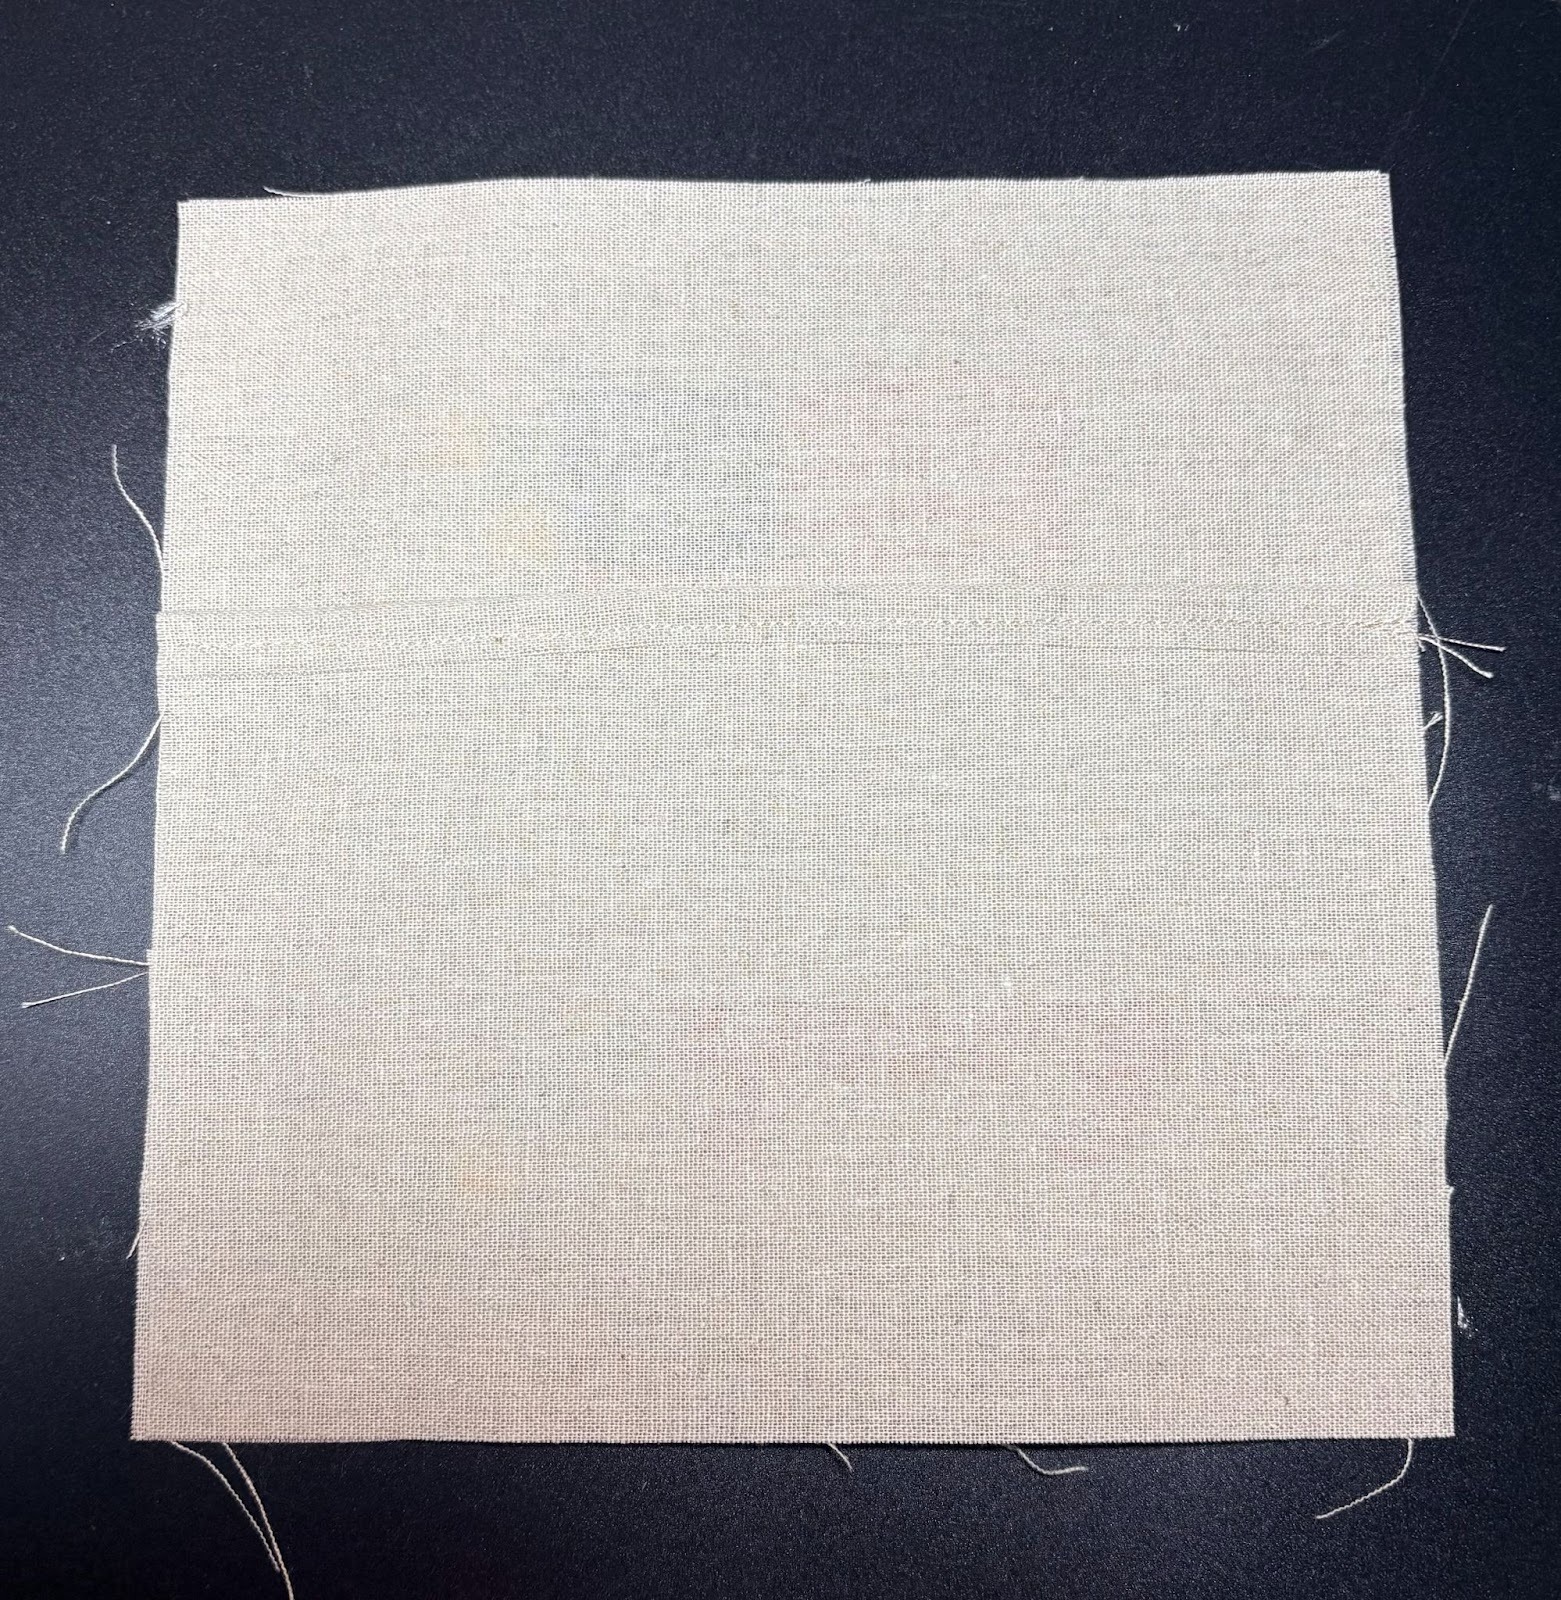
Lay the second 5” x 7” piece right side down on top of the first backing piece, with the bottom and side edges even, and the folded edge toward the center, creating a nice overlap on the back.
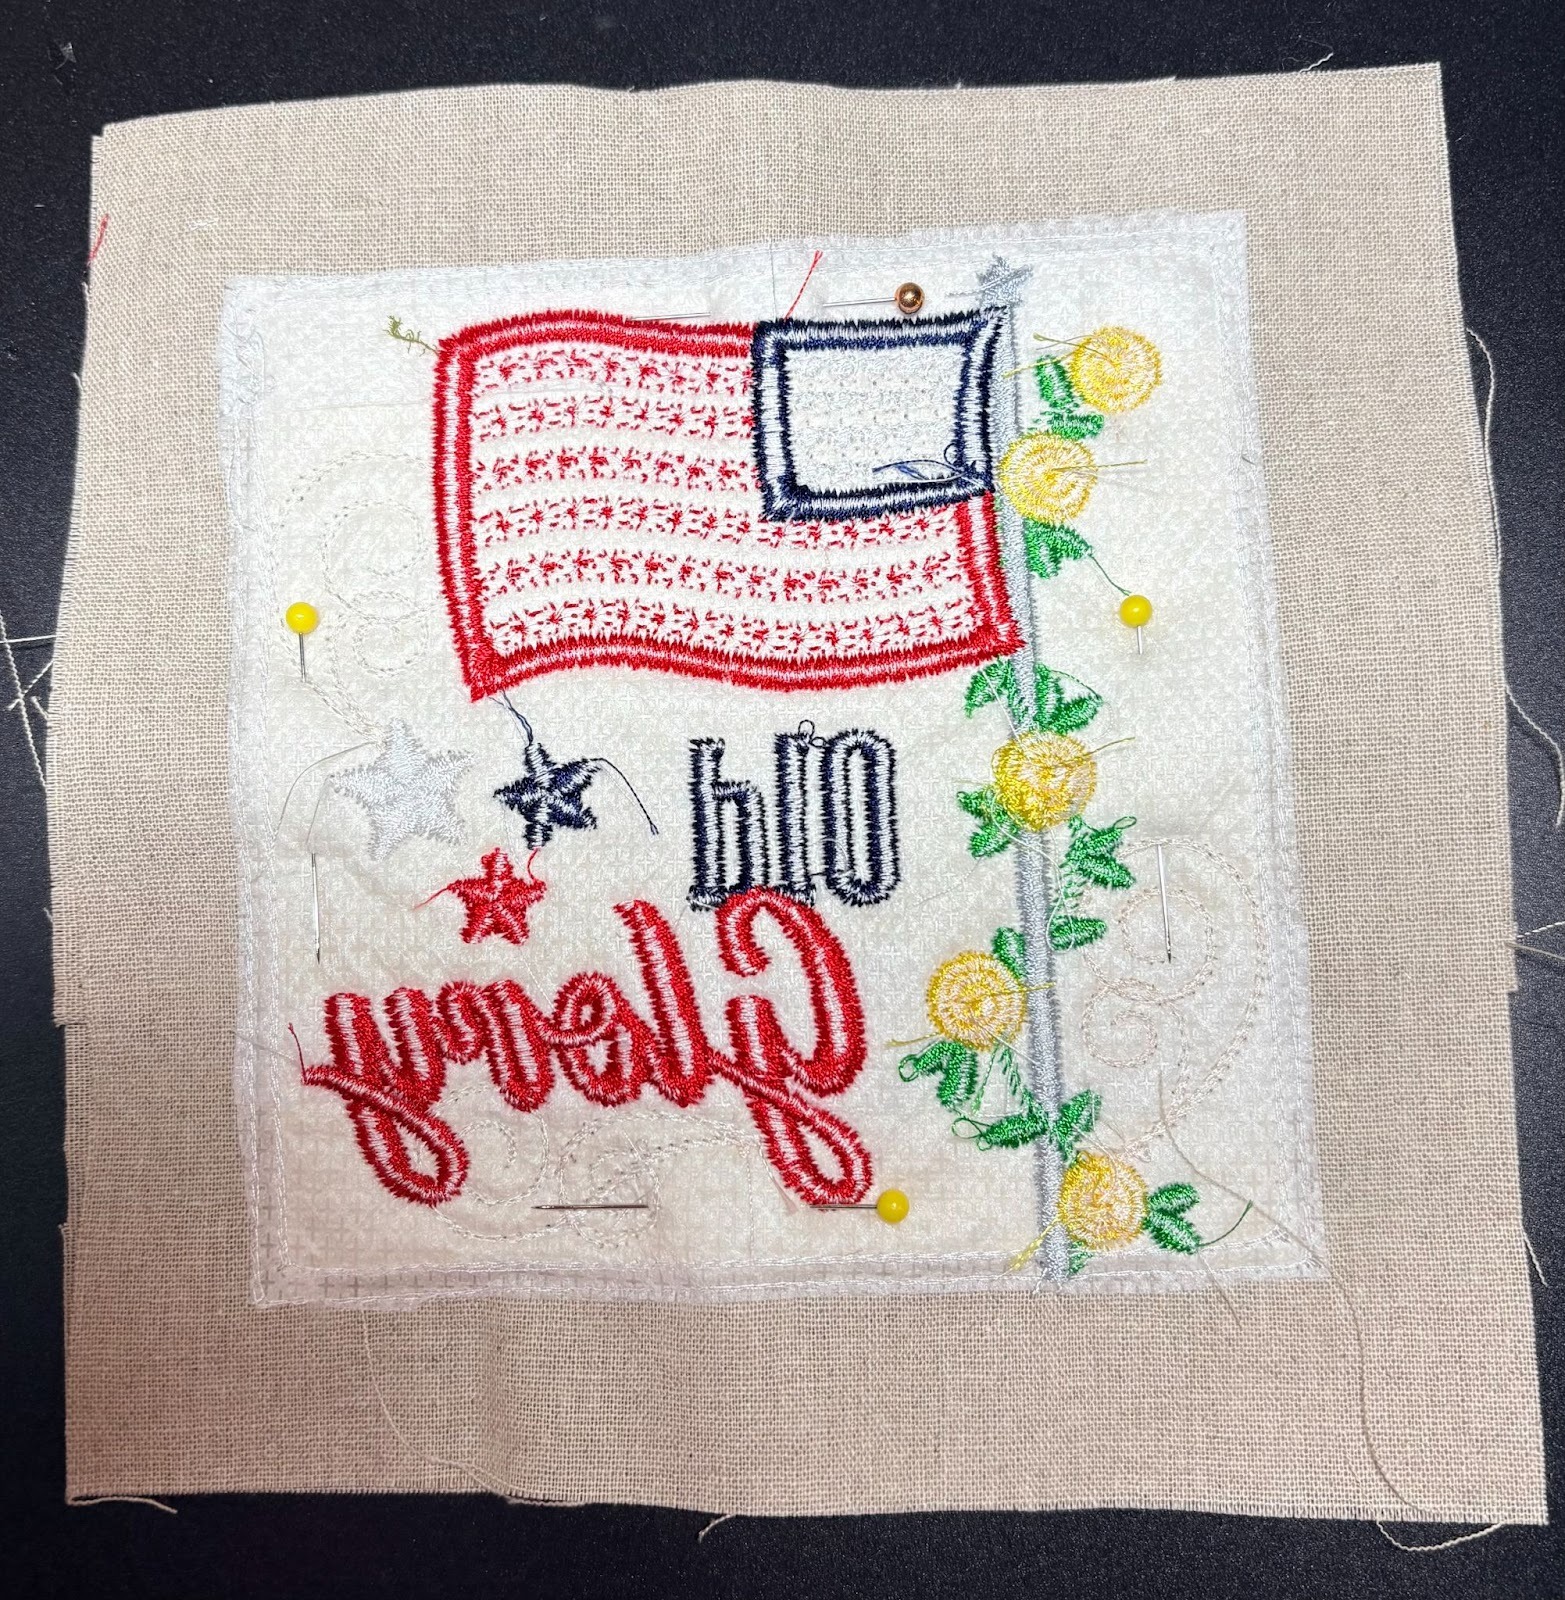
Pin everything in place, then take it to the sewing machine.
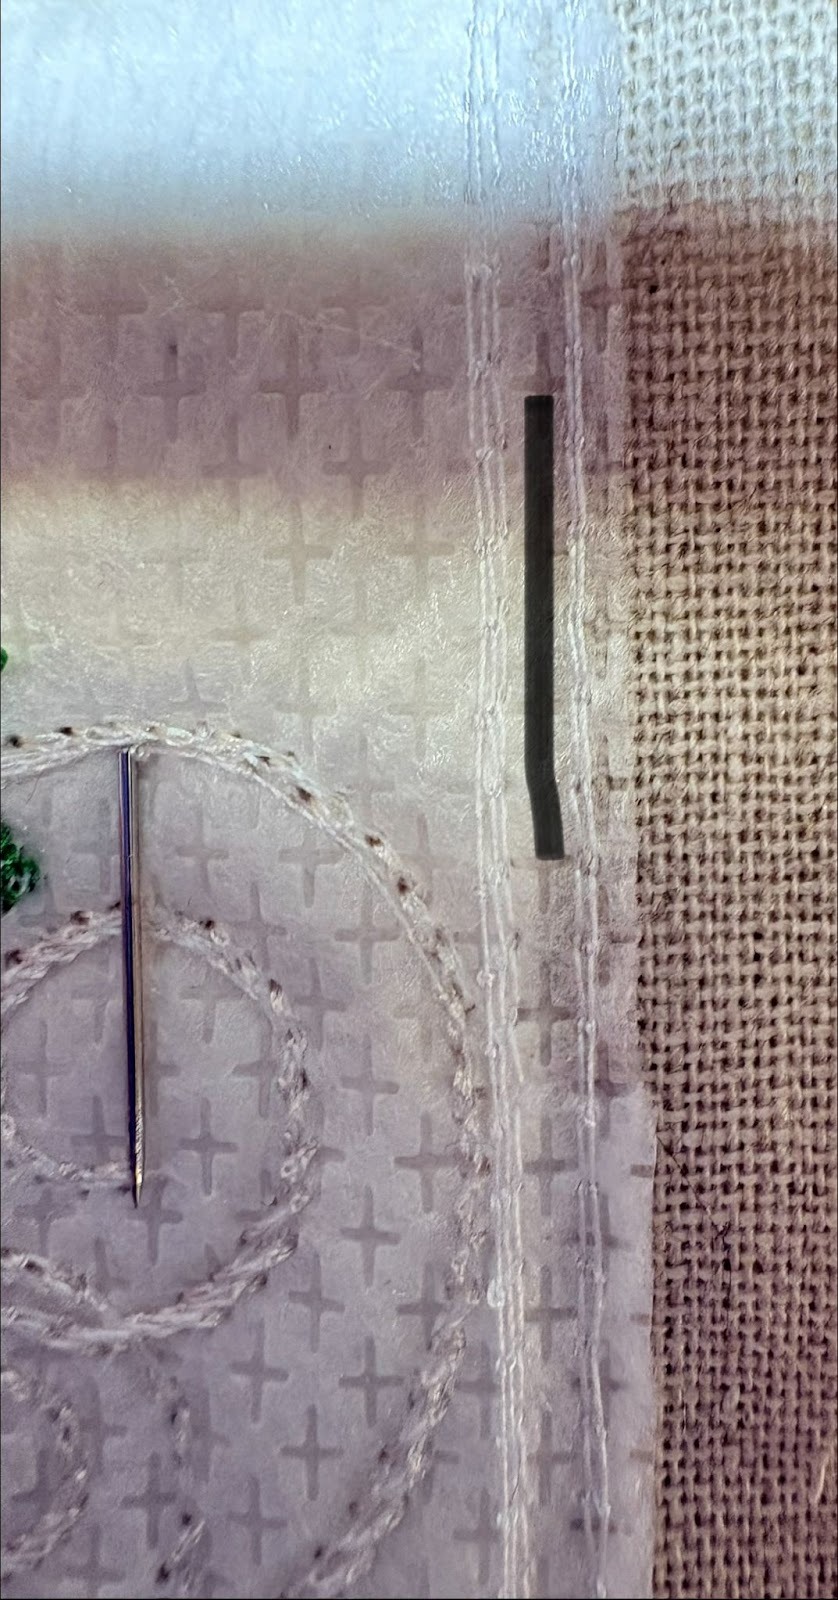
Using the batting and fabric tack-down stitches as a guide, sew down the center of them as shown in the picture.
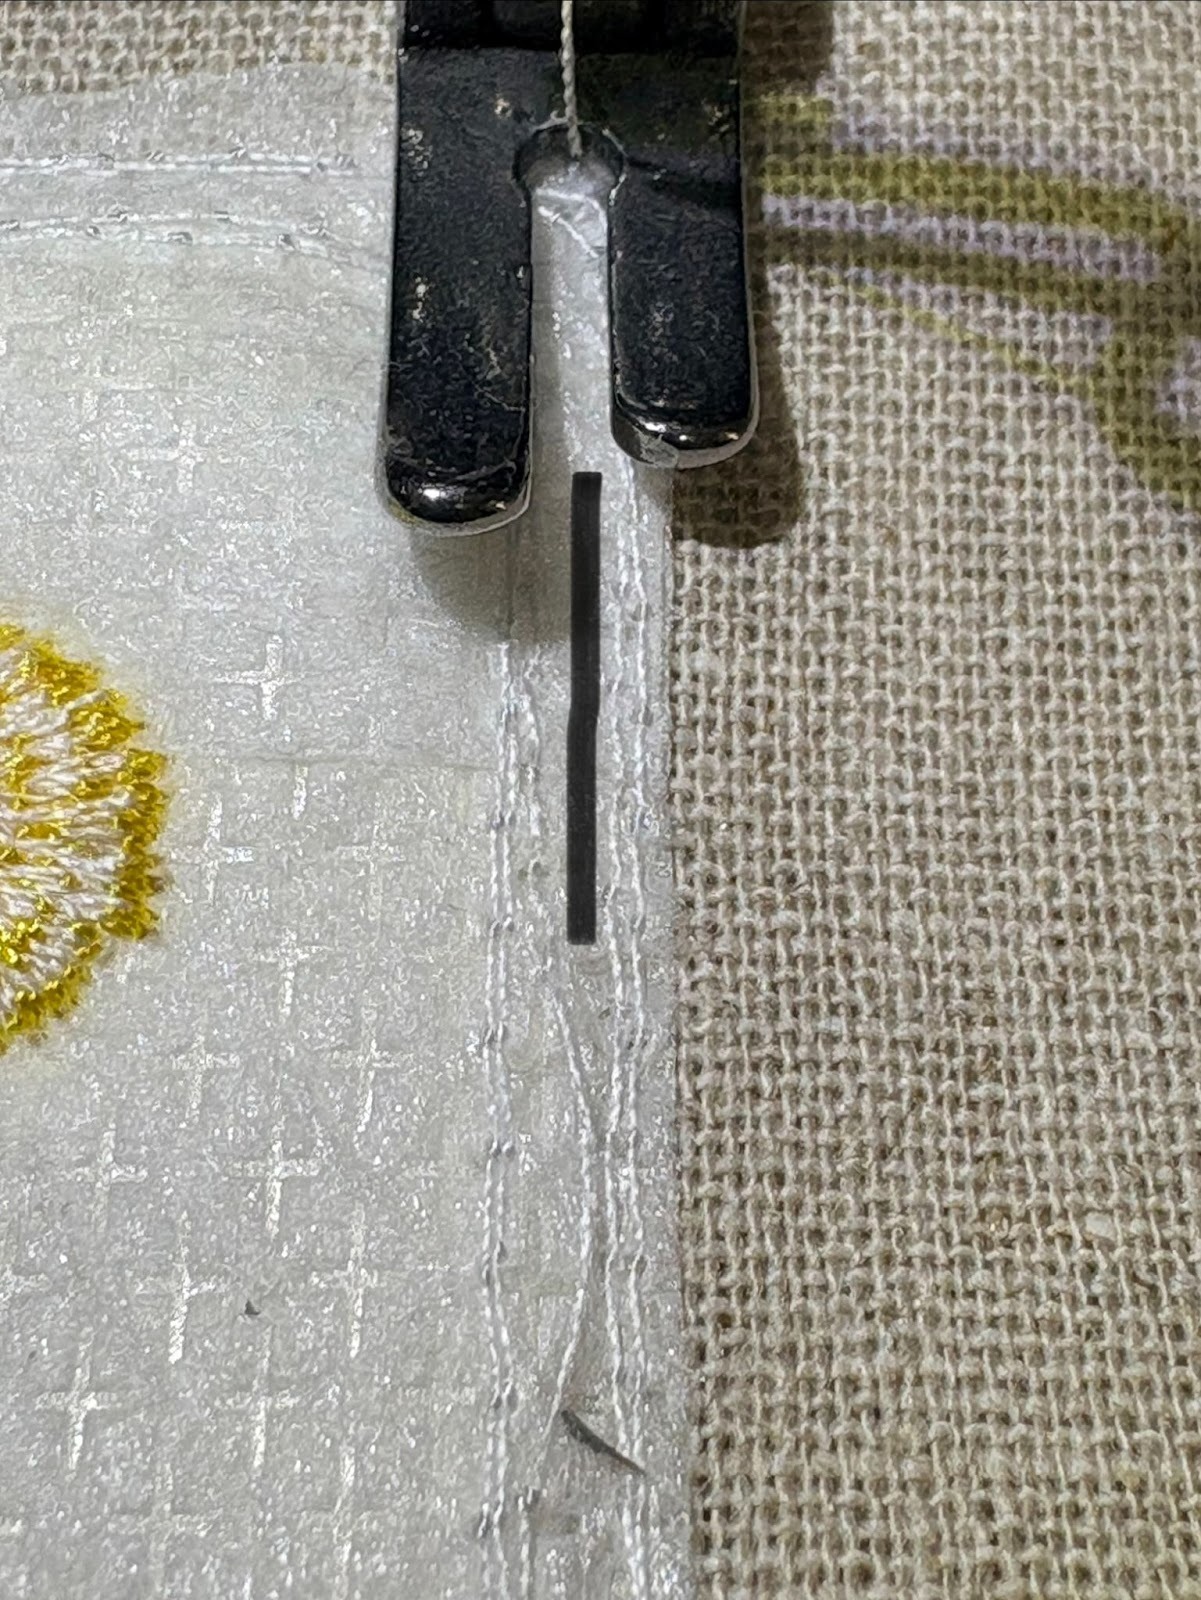
Sew all the way around the design.
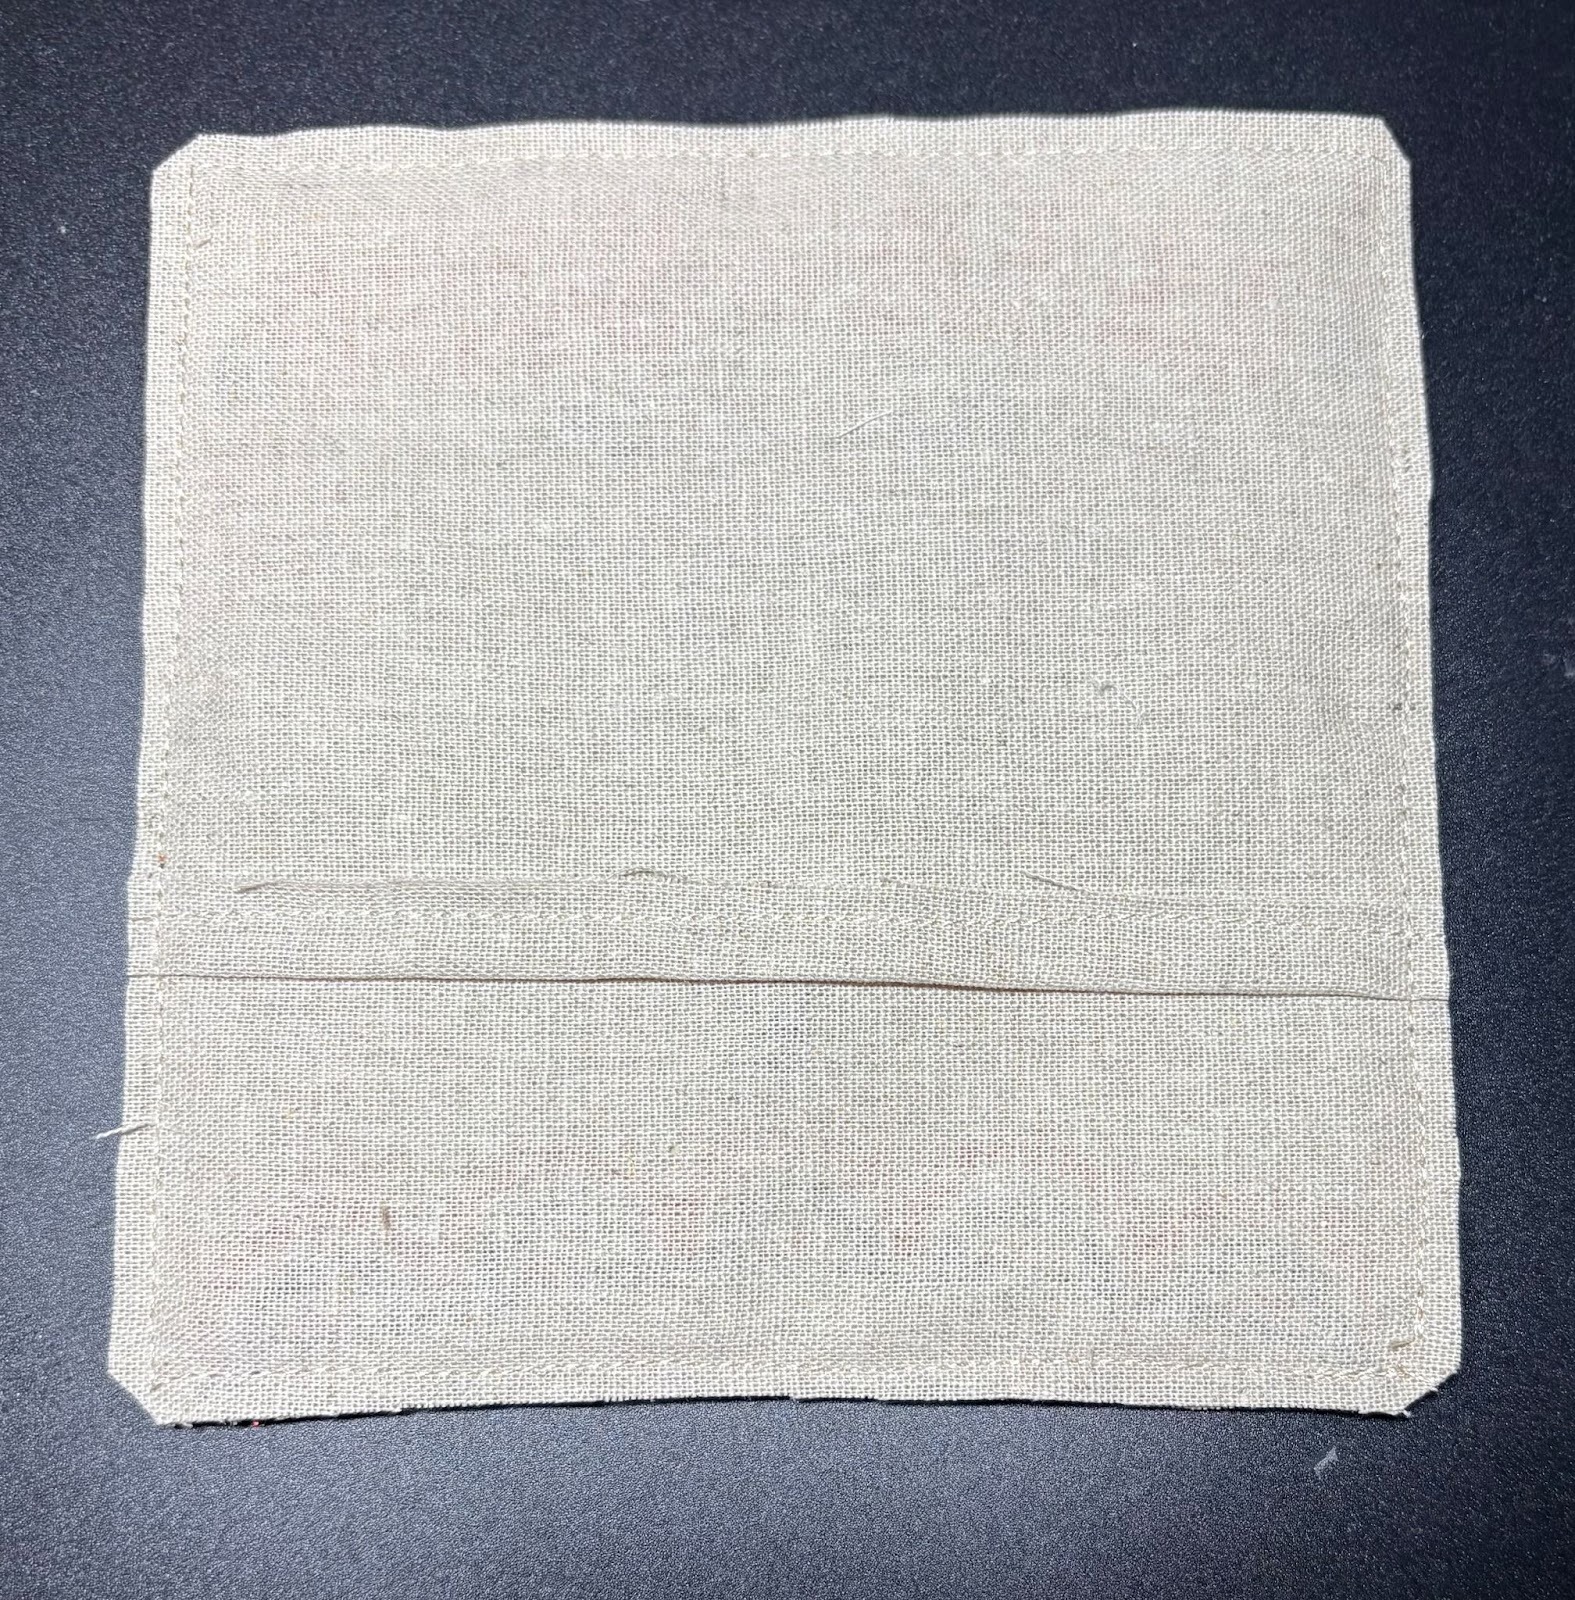
Trim the mug rug about ¼” from the stitches, and clip the corners.
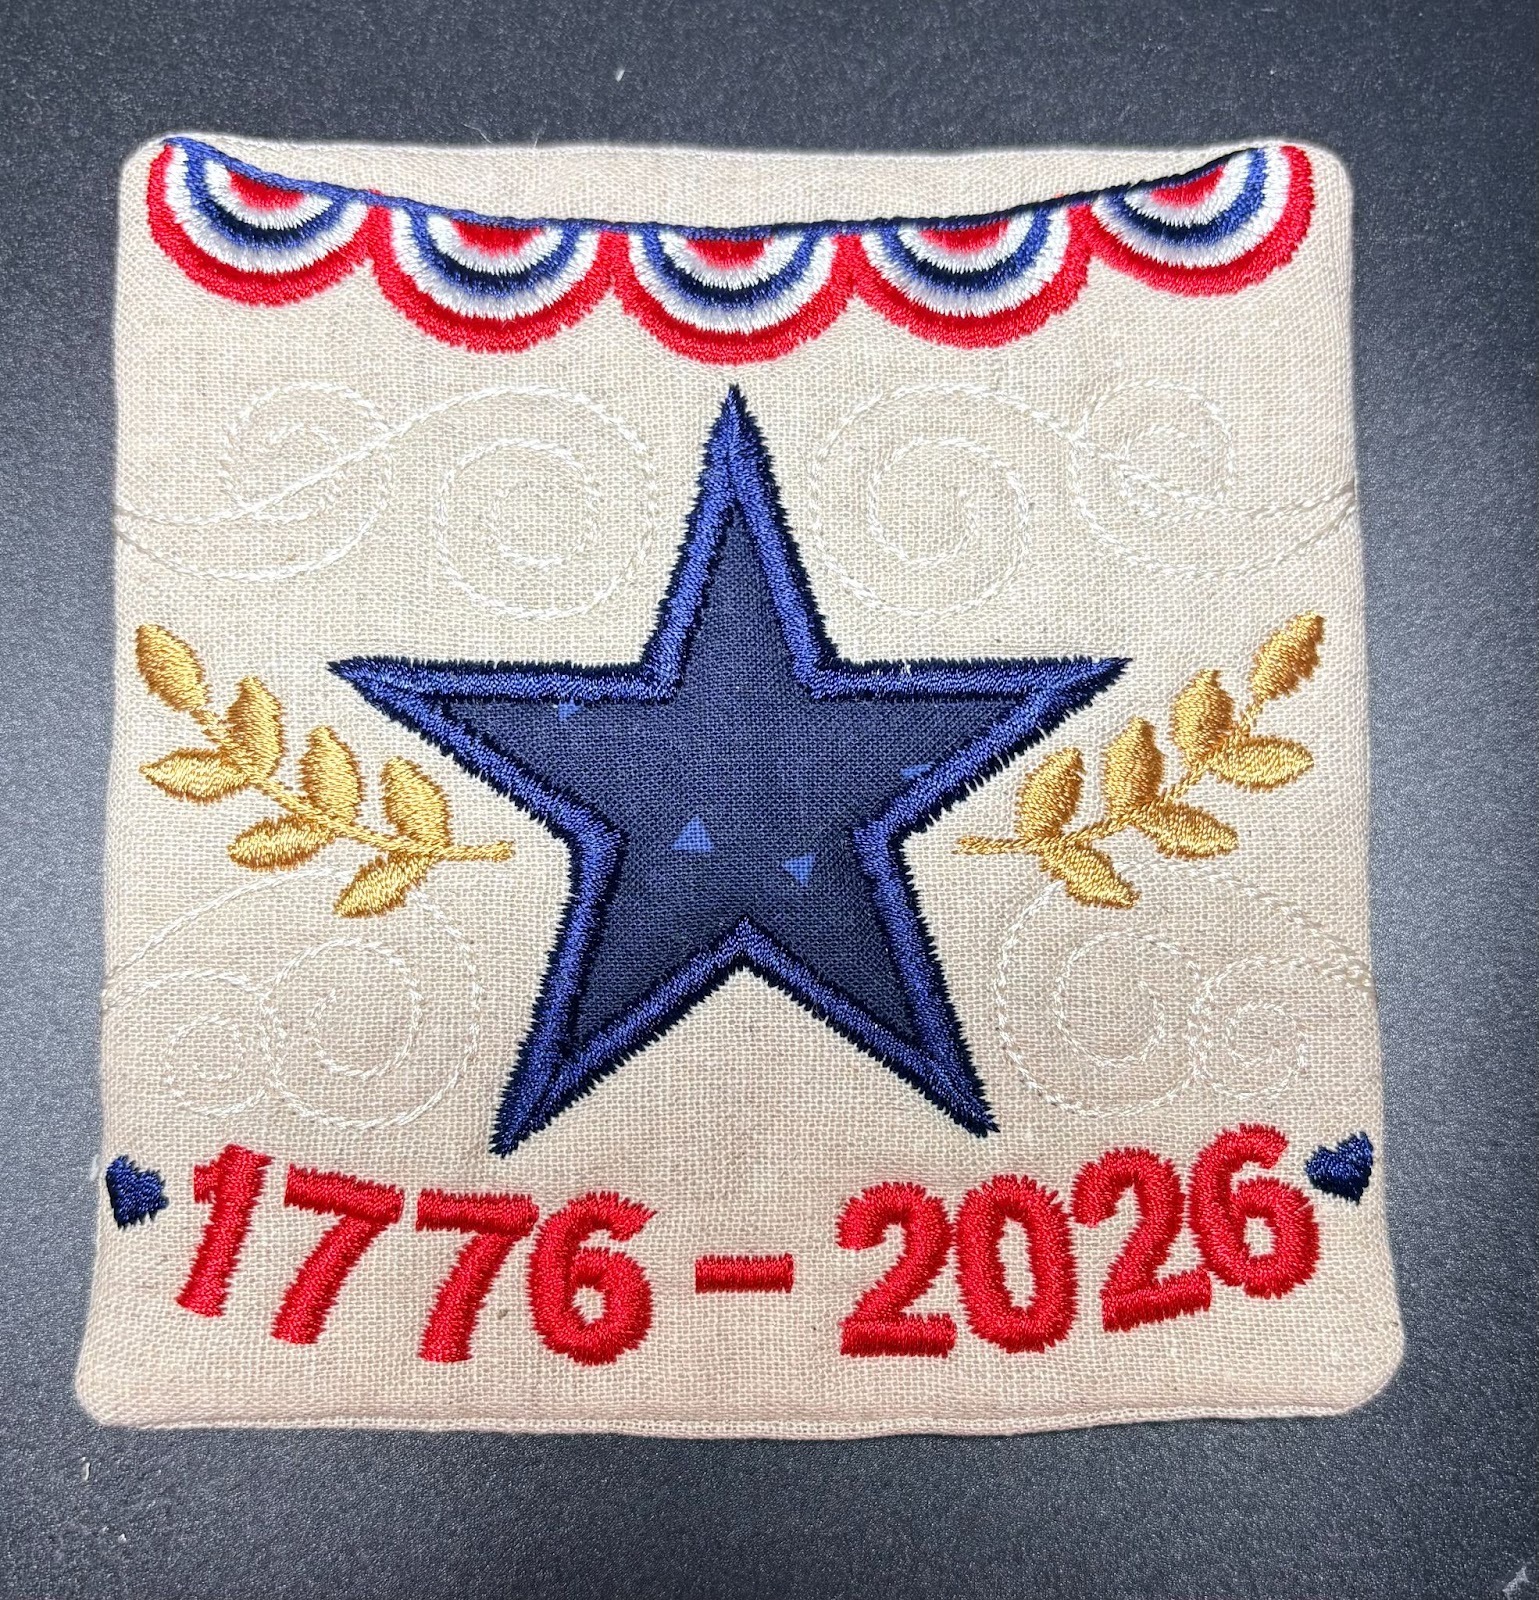
Turn your mug rug right side out and press it well.
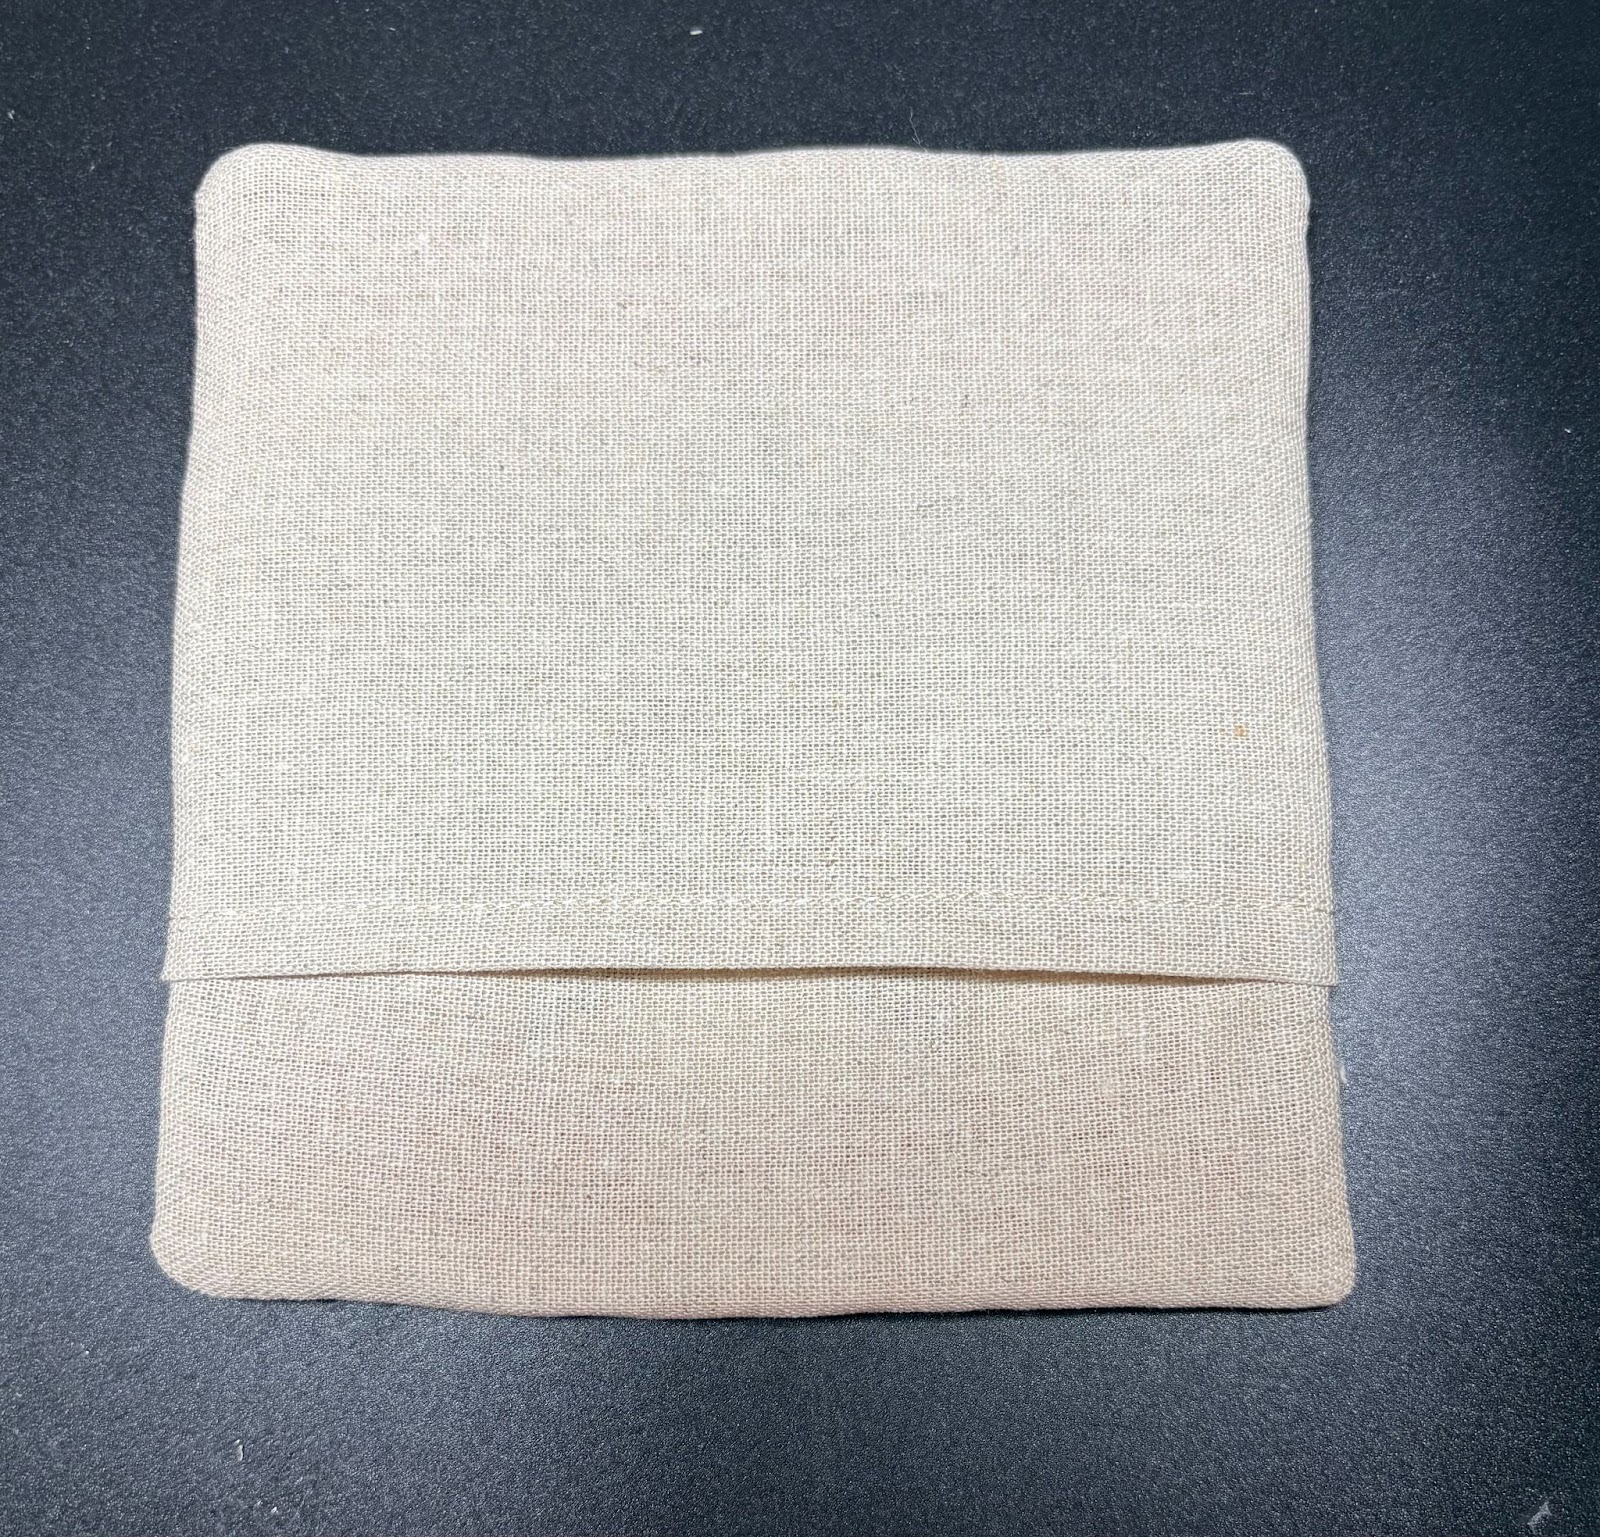
Congratulations, your first mug rug is ready to show off!
Repeat these steps to craft a complete set and enjoy your handiwork. Mix and match your background fabrics to give your mug rug set a fun, one-of-a-kind look that’s full of color and personality.
Tip: To keep the set feeling coordinated, I used the same fabrics for most of my applique pieces while changing only the background fabrics. This keeps everything looking cohesive while still giving each mug rug its own unique charm.
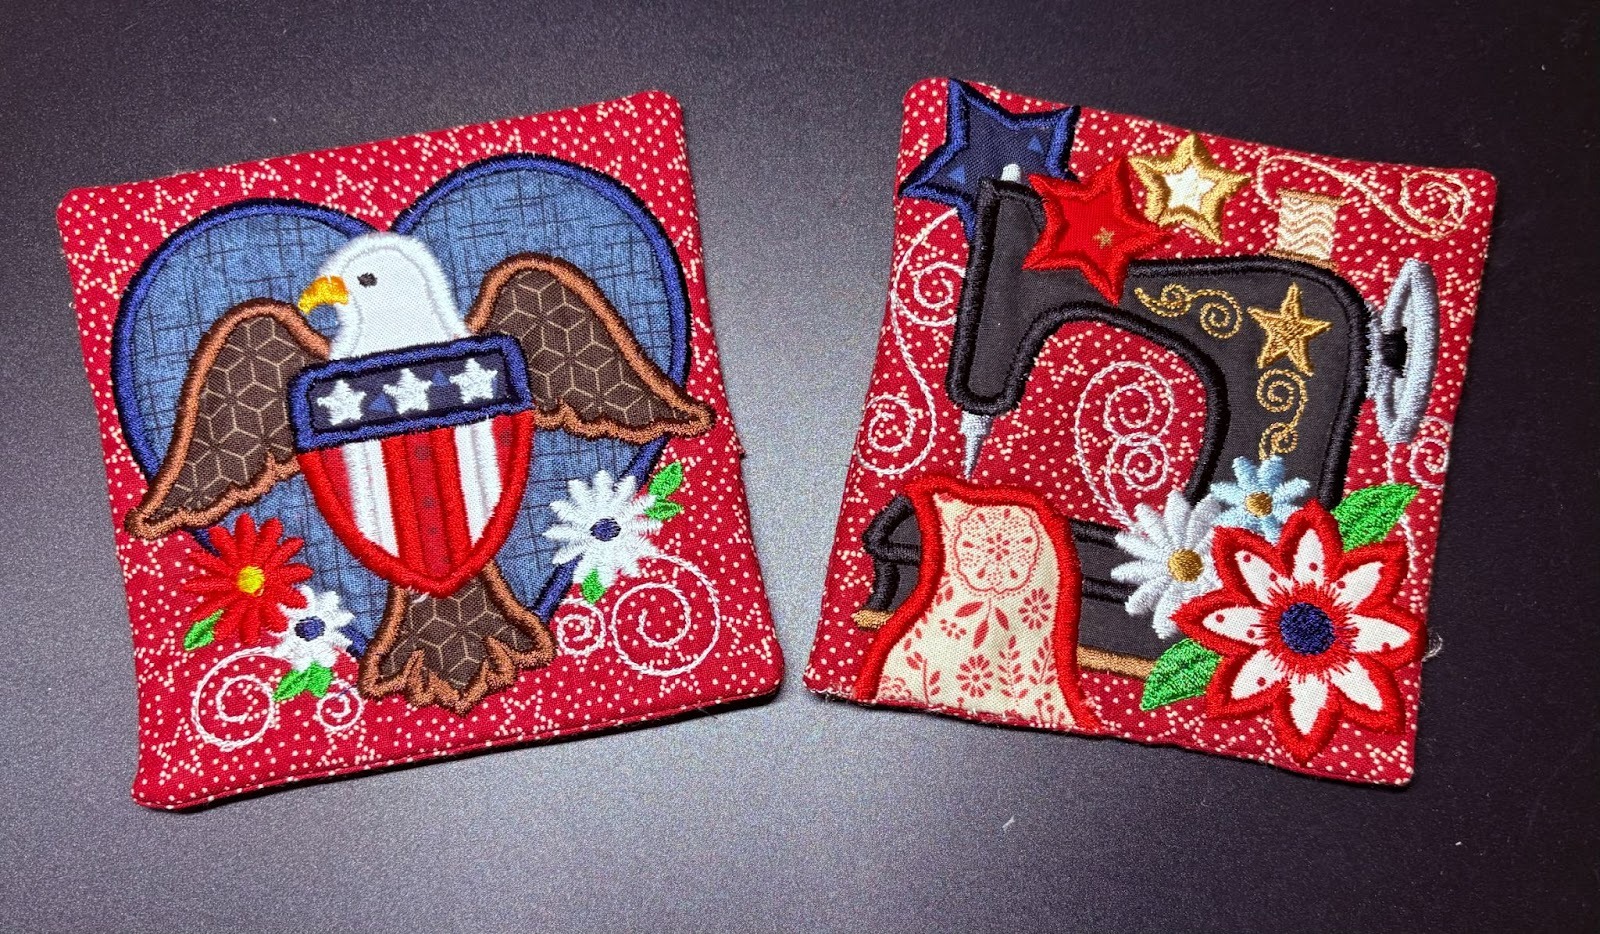

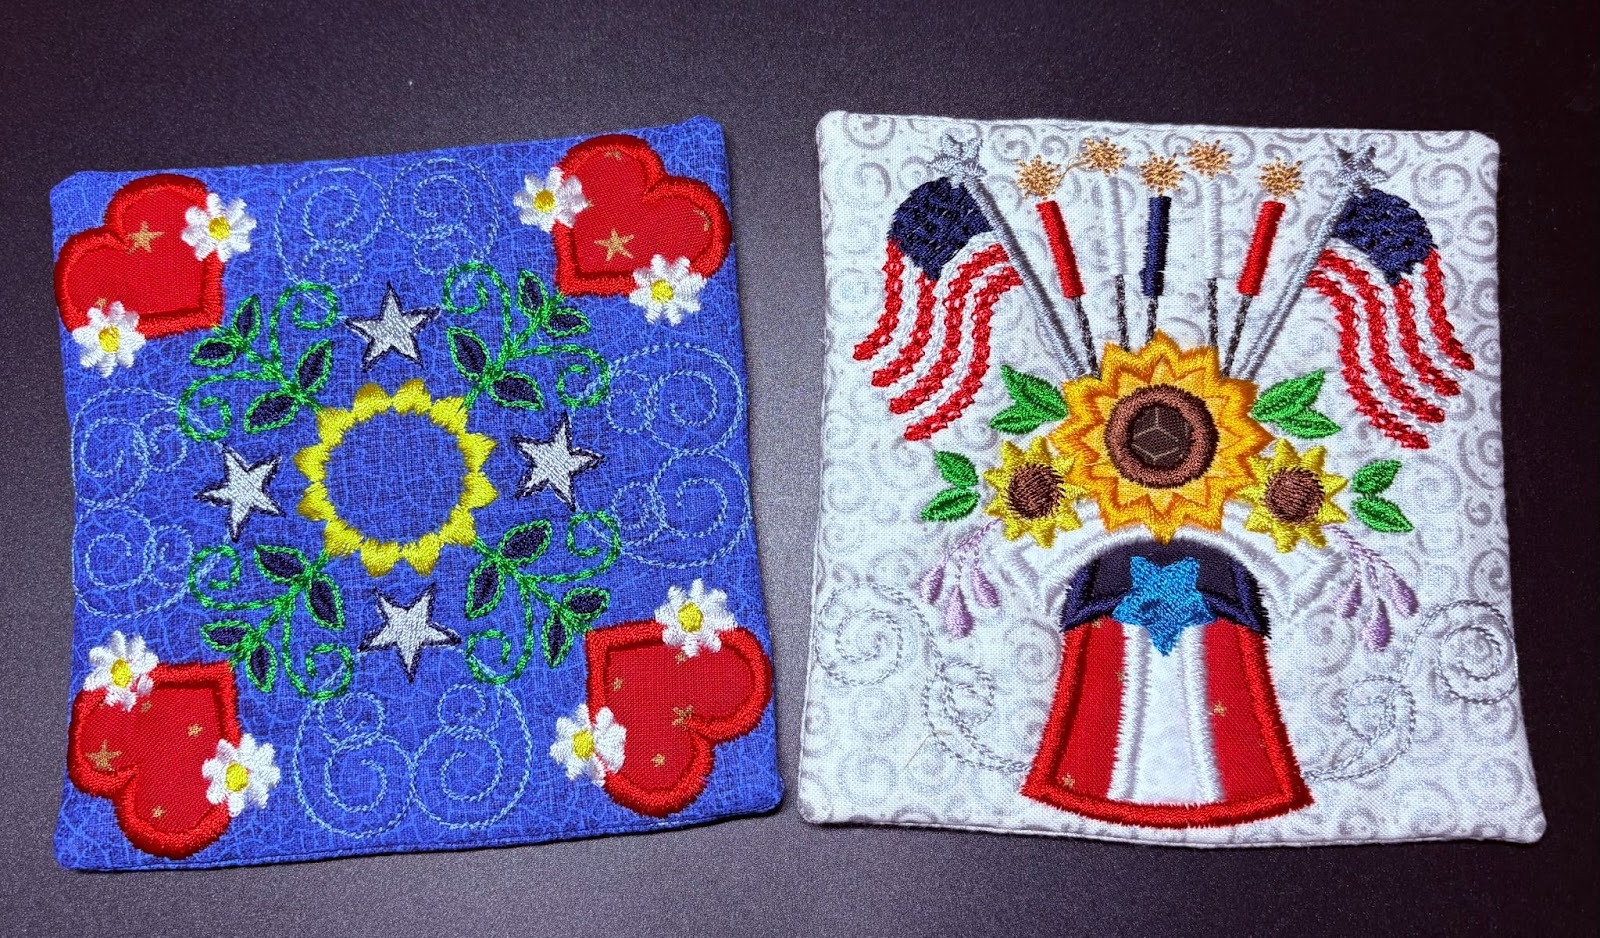
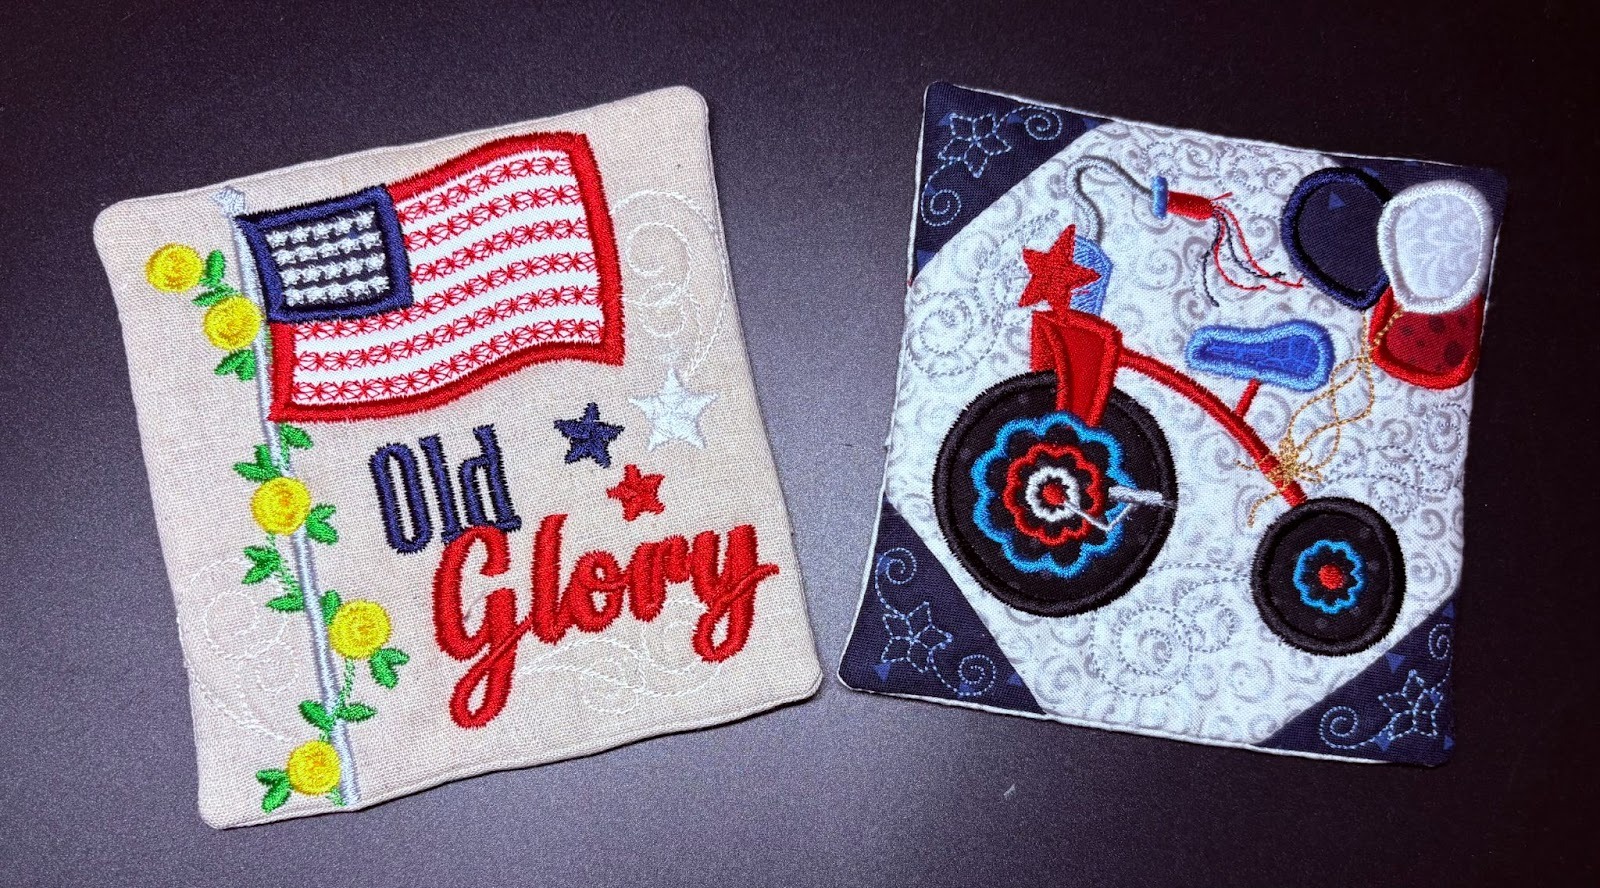
And just like that, you’ve created a mug rug set that’s as fun as it is functional! These star-spangled mug rugs are a great way to use your favorite fabrics while showcasing beautiful patriotic stitching. Make a matching set for your home, and stitch a few to share with friends.
Use a variety of Designs by JuJu sets to create several collections to use throughout the year. However you choose to use them, these little projects are sure to bring a touch of handmade charm to every cup of coffee or glass of tea.
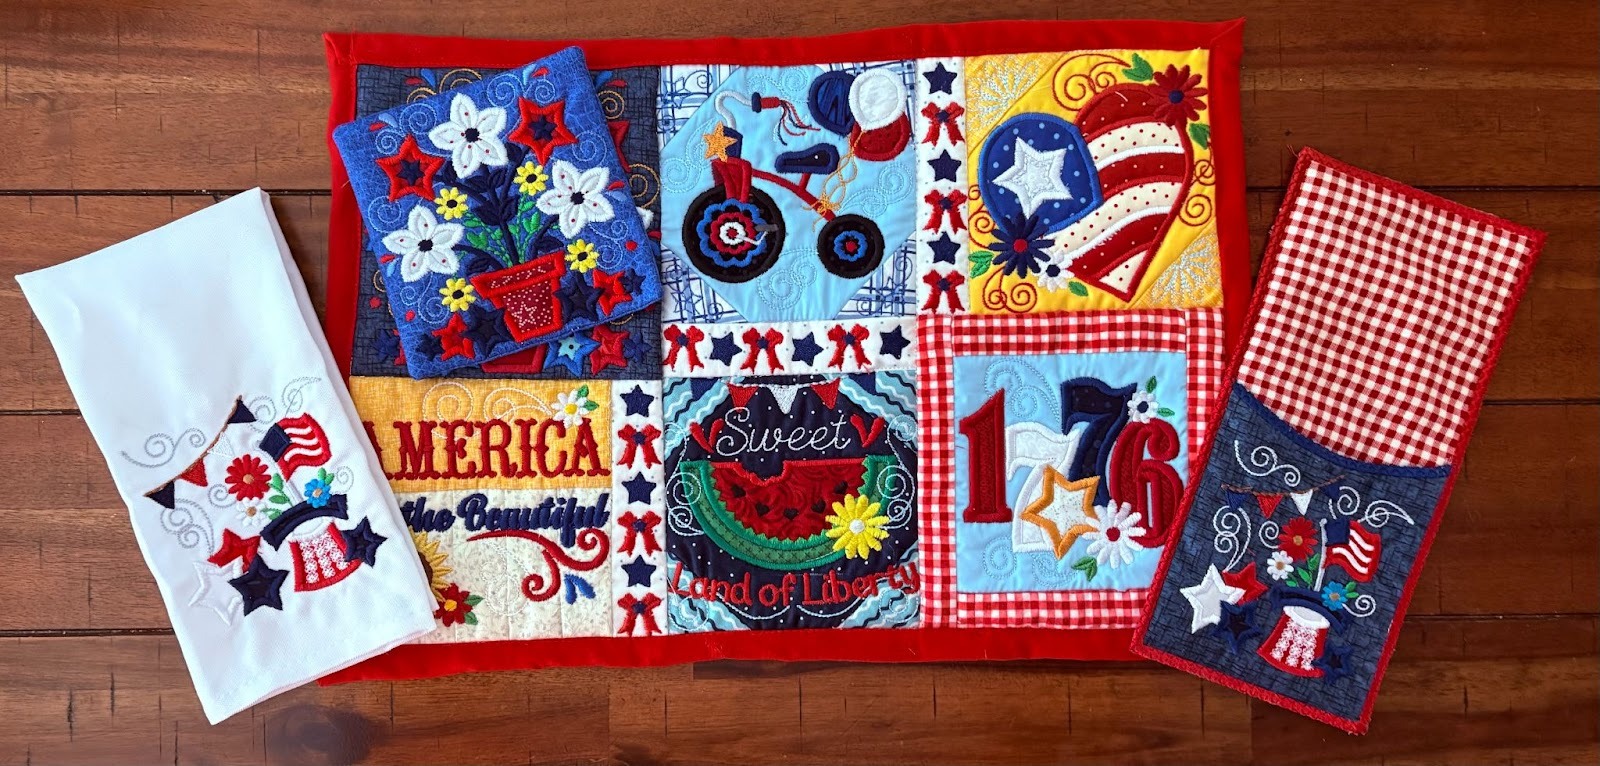
For a complete table setting, check out my blogs with step-by-step instructions for the Star Spangled Placemat and the Patriotic Utensil Holder With Matching Napkins.
Please share your projects in the Designs by JuJu Embroidery Blessings group on Facebook, or anywhere on social media using the hashtag #designsbyjuju. As always we love to see what you create!
Happy stitching!