Toggle Nav
 Inspire.
Create.
Stitch.
Inspire.
Create.
Stitch.
Search
Inspire.
Create.
Stitch.
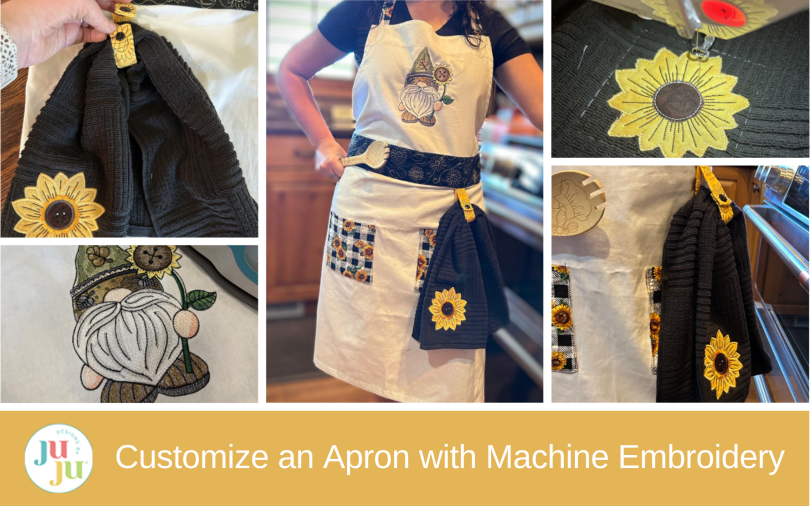
Customize a store-bought apron with machine embroidery, Quilting Backdrops™ pockets and ties, adjustable neck straps, a snap towel loop, and matching towel.
I love aprons. They are functional, cute, and can make a statement in your kitchen. I have made many aprons from scratch, but I wanted to show you today some ways that you can take a basic apron from the store and use your embroidery machine to make it a custom project. We will add a design to the bib, change out the waistband and ties, change the neck loop to ties that can adjust, add pockets, and add in a towel loop to keep your towel close but also easy to swap out. Then we will make a matching towel just for fun.
Don’t forget to check out the Designs by JuJu Amazon store for our design team’s favorite supplies. And for stabilizers, batting, and threads, Designs by JuJu+ has everything you need.
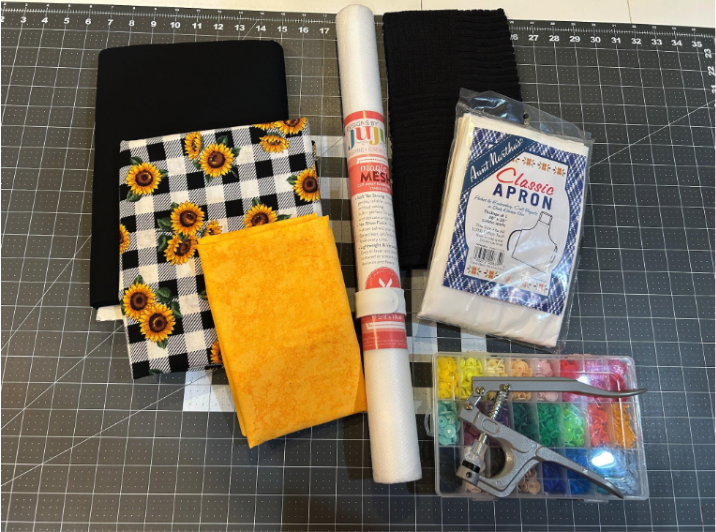
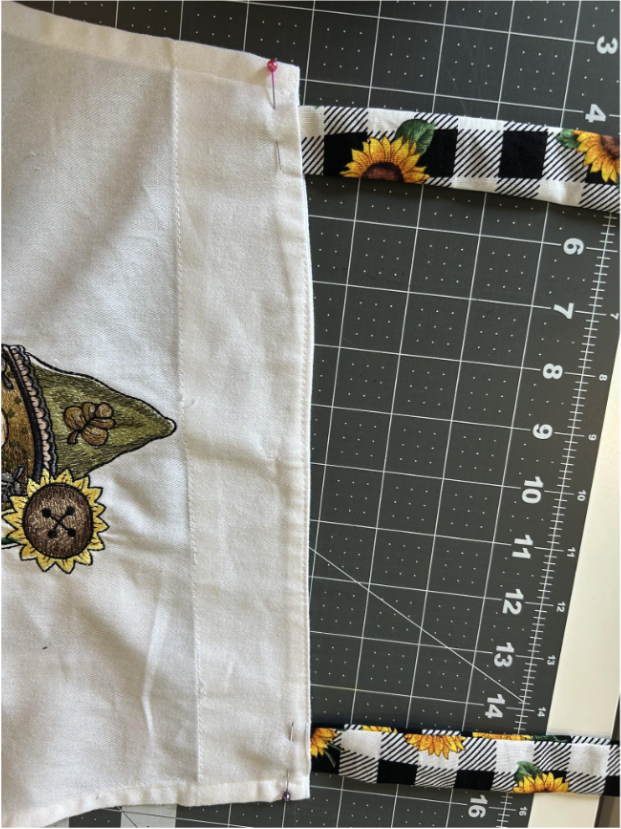
To start we will prepare our apron for its glow-up. Line up your straight edge ruler ¾” below the top of the straight sides of the apron. This could include the ties on the apron top. We will be cutting the top bib of the apron from the skirt of the apron.
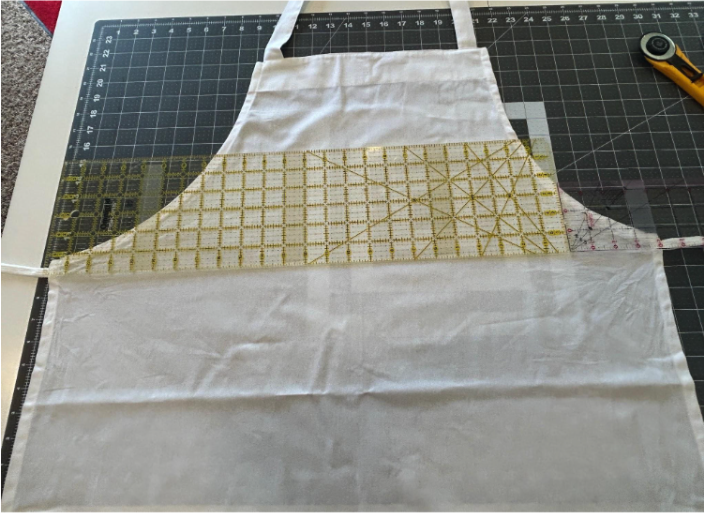
Cut across the apron ¾” below the corner. Use your rotary cutter to cut the apron in two pieces.
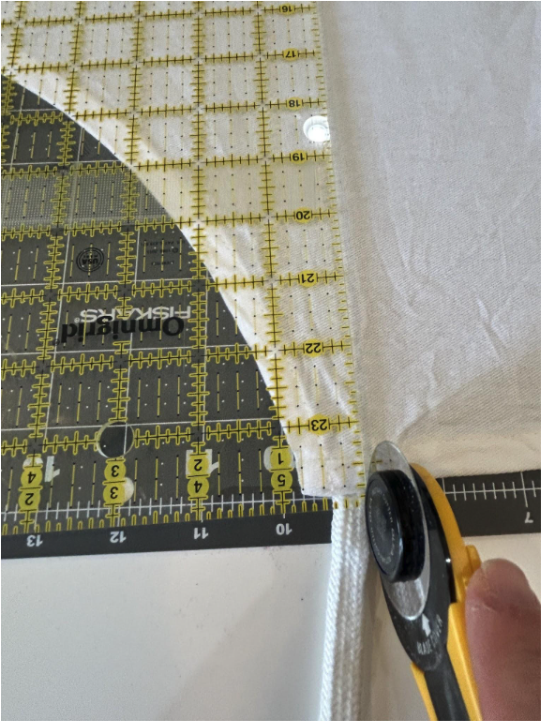
You can remove the ties from the apron because you will be making your own. I used my stitch ripper to remove the stitches holding the tie in place.
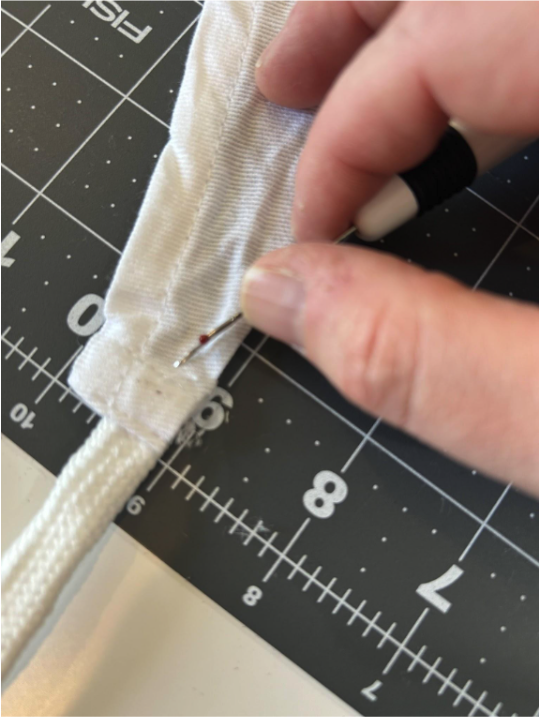
You can discard the tie and fold the apron edge back to its original positioning, but you don’t need to sew it back together now. When you add the waistband and ties, it will get sewn together.
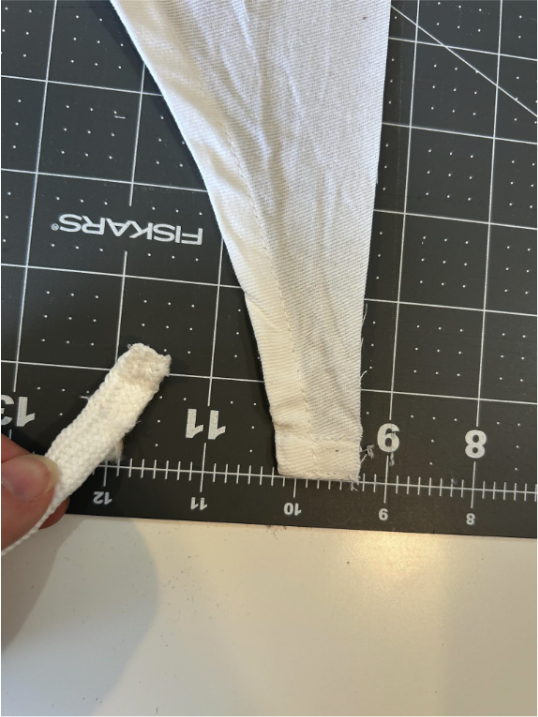
At the top of the apron where the neck straps are, I used my stitch ripper to release the stitches around the strap.
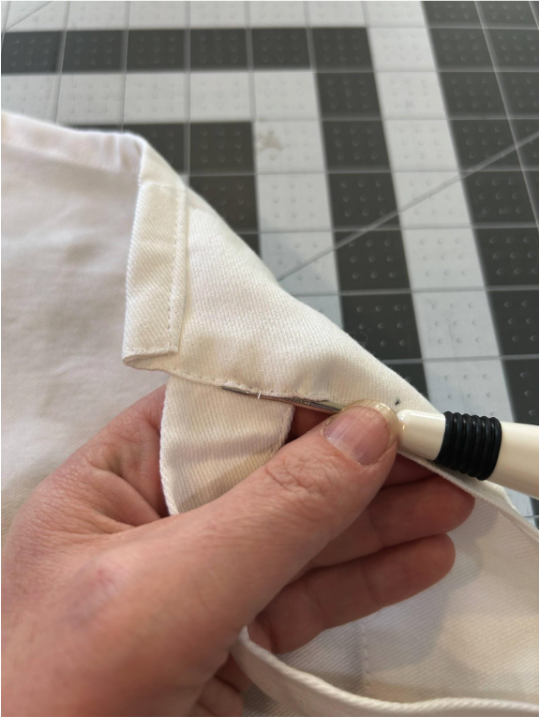
Discard the neck strap once it's removed. Keep the openings in the apron; you will attach your new straps here later.
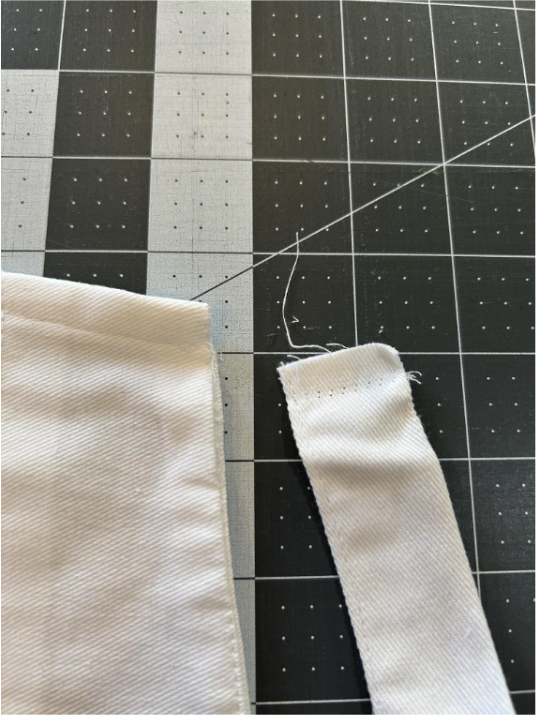
You will need to find the center of the bib piece so you can line up your design. I folded my piece in half to find the center.
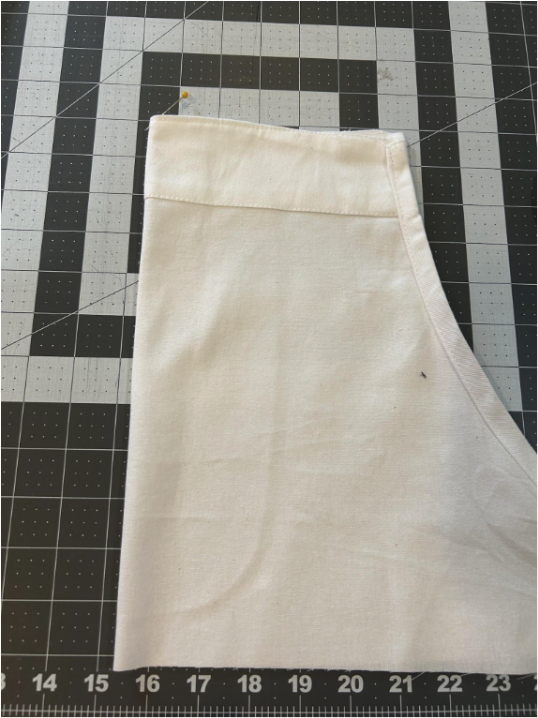
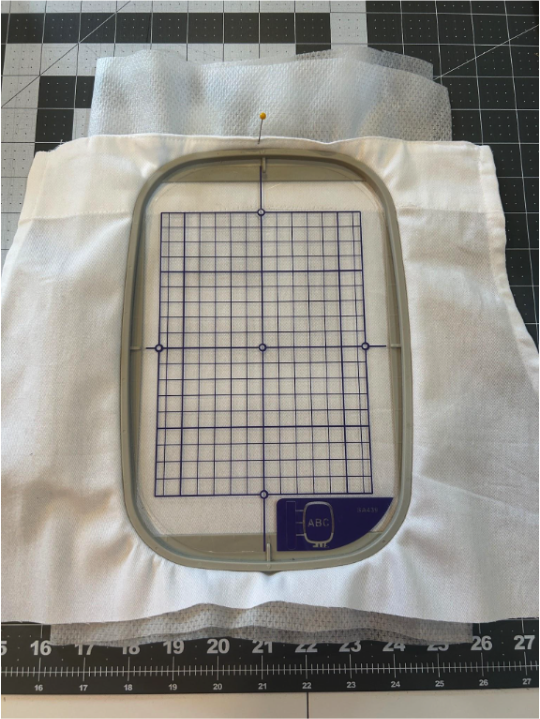
Hoop the bib with magicMESH stabilizer. I used two layers of stabilizer because the design I chose was a little dense. I used my placement guide to make sure it was placed where I wanted my design to be and to ensure it was straight in the hoop.
Take it to your machine and stitch out your design. You can use any type of design here—applique, a stitch design, or some cute word art.
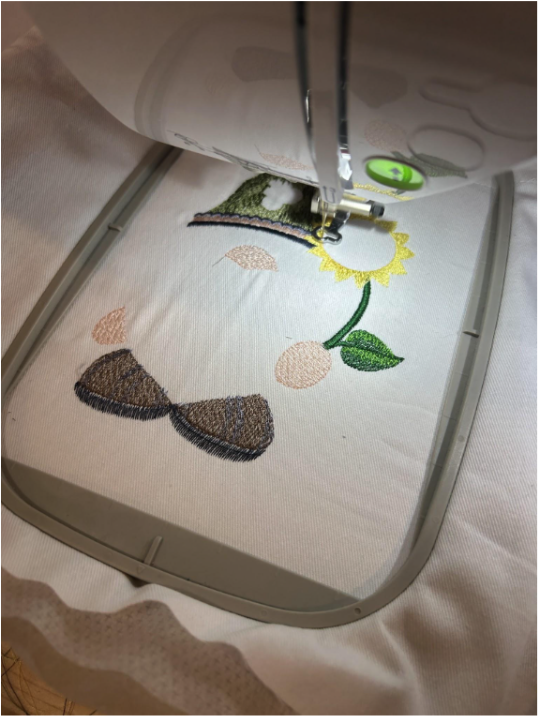
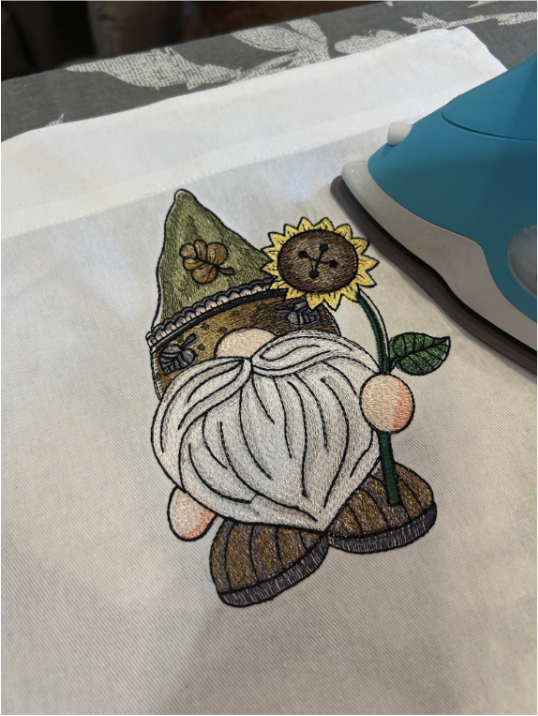
I love how the gnome turned out!
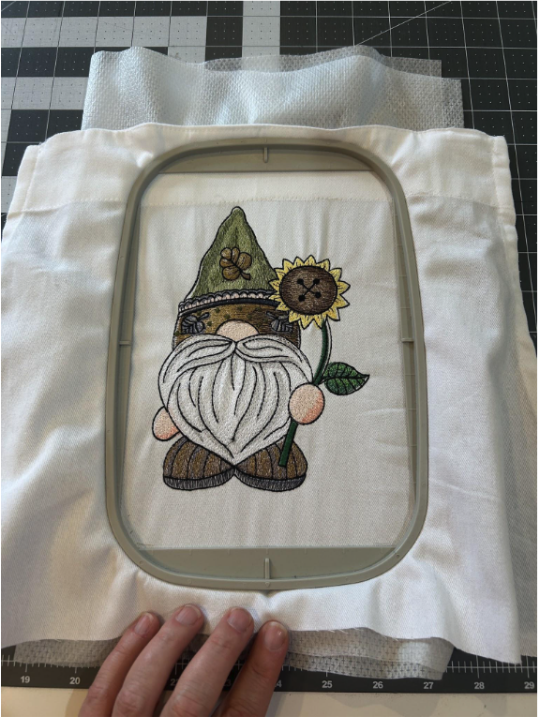
Remove your finished design from the hoop and clean up the threads on the back.
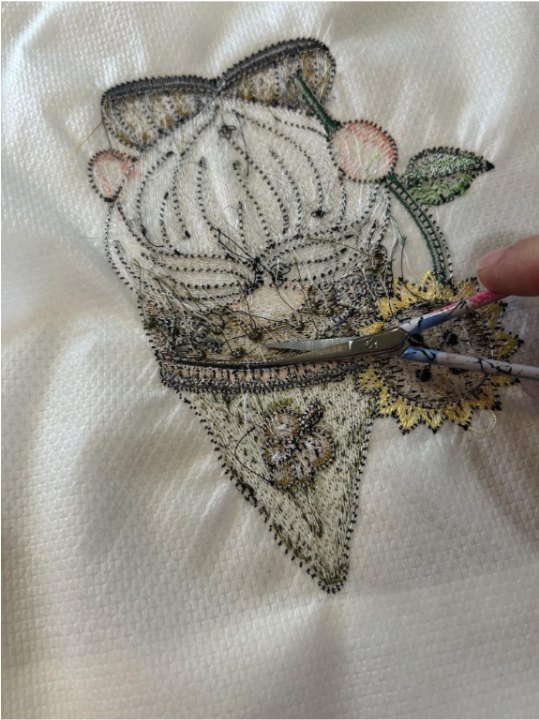
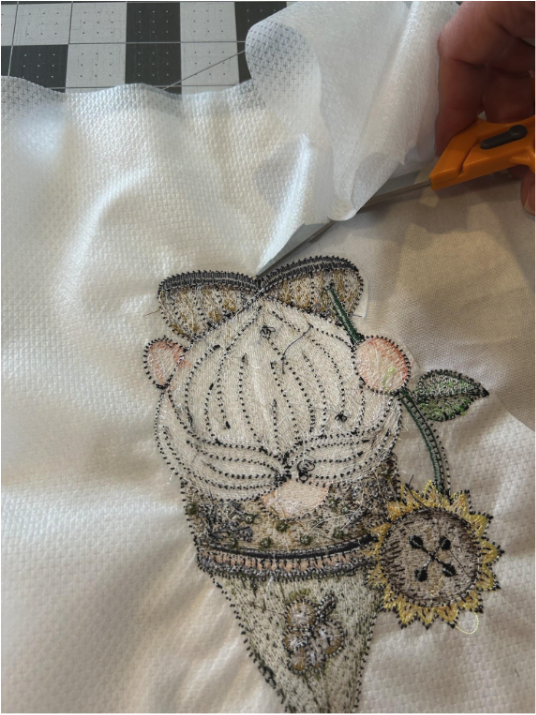
Trim the stabilizer close to the design without clipping the stitches.
Press the design to remove wrinkles and hoop marks. Then set it aside while you make the rest of the elements for the apron.
I wanted my pockets to be 6” square, so I cut four 8” squares from my pocket fabric. I made these with Quilting Backdrops™. The sash and waistband will be made the same way.
First, hoop your magicMESH.
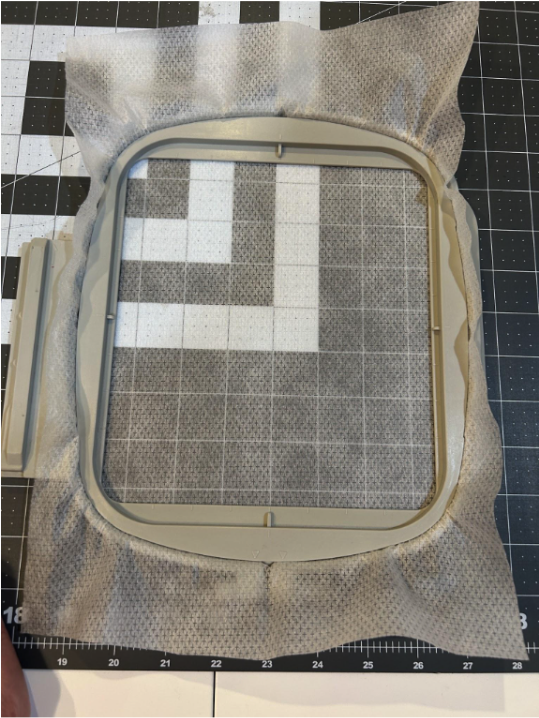
Stitch out the placement stitch for the batting.
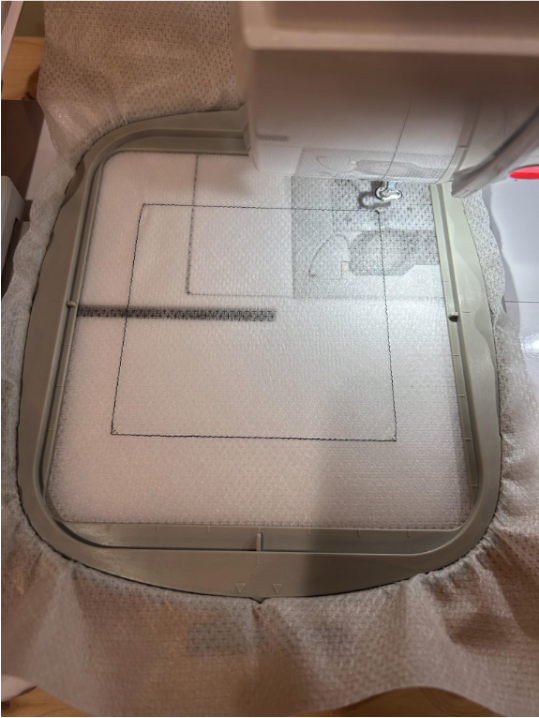
We will not be using batting so we can skip the next step, which is the tack-down stitch for the batting. Cover your placement stitches with the pocket fabric and stitch the fabric tack-down.
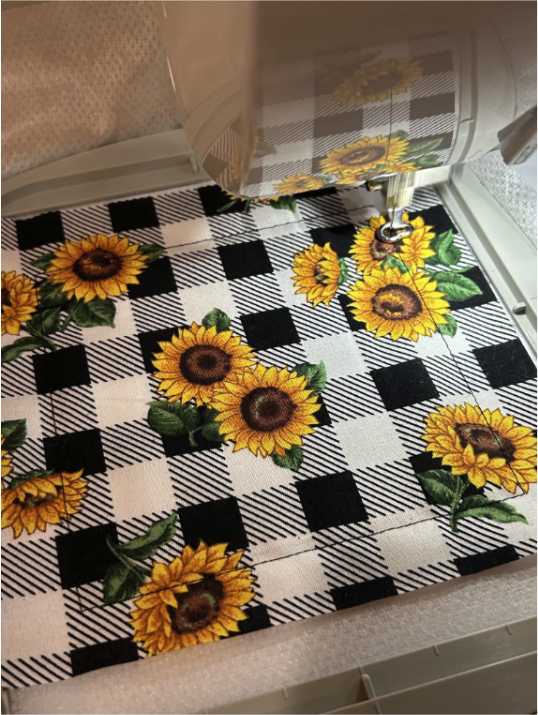
Now stitch the decorative stitches.
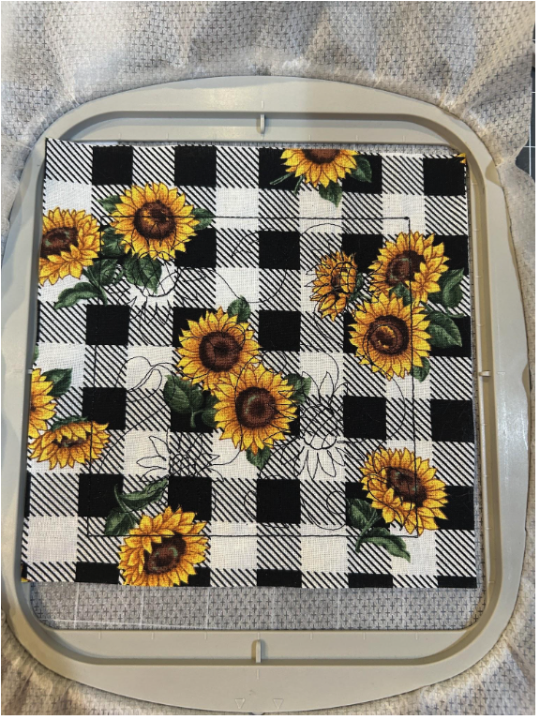
Remove the pocket from the hoop and trim the stabilizer close to the stitches.
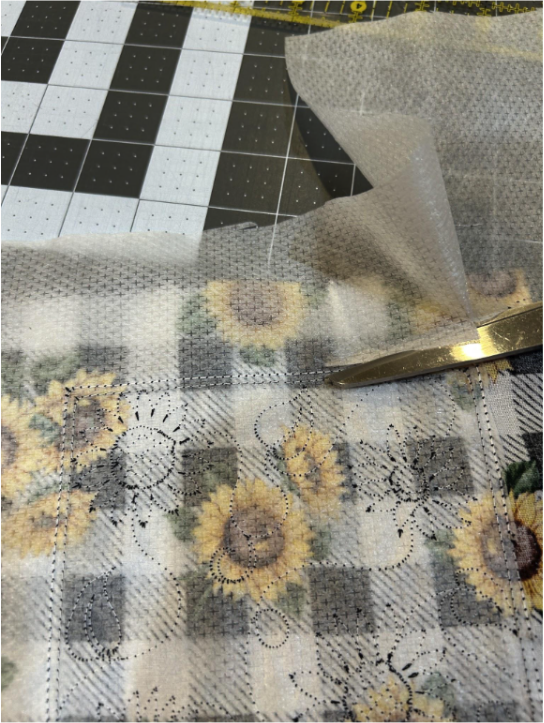
Now trim the edges of the pocket ½” from the edge of the stitching.
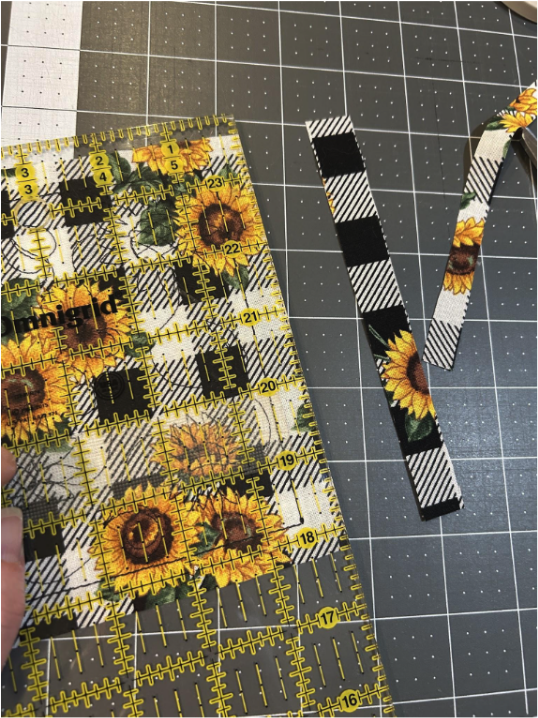
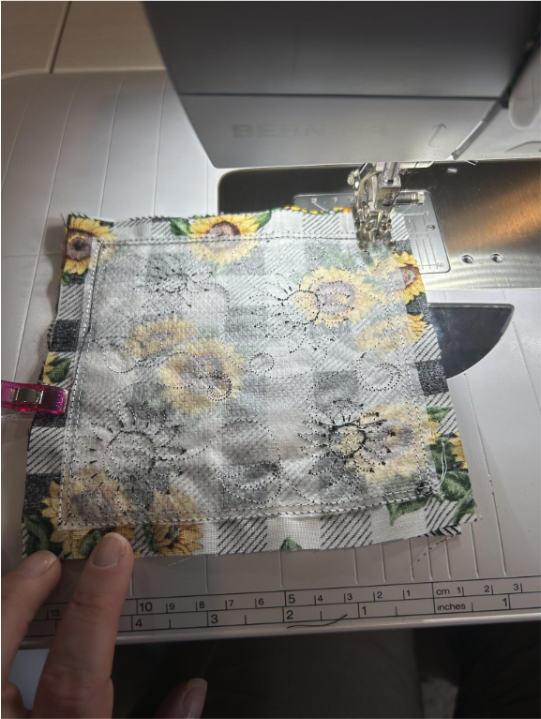
You’ll need four of these squares for the pockets. Lay two of the squares right sides together, lining up their seams. Starting at the bottom third of one of the sides, stitch around all sides of the square in the “racing lanes.” (Racing lanes are the lines for the batting and the tack-down stitch. They are consistent on all of your Quilting Backdrops so they sew up nicely!) Leave a 2”–3” opening on the side where you started stitching. This will be where you will turn the pocket right side out.
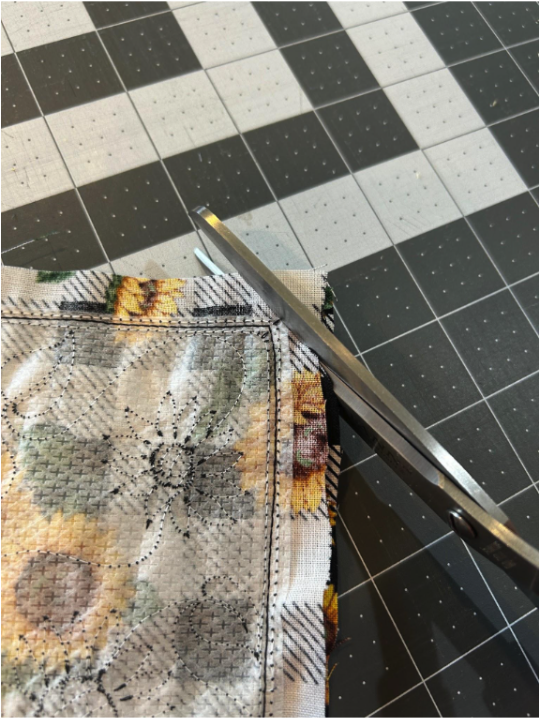
Clip your corners.
Turn your pocket right side out. Where the opening is, fold the fabric to the inside and press it in place. When we stitch the pockets to the apron it will get sewn closed. Repeat for the second pocket and set them aside for later.
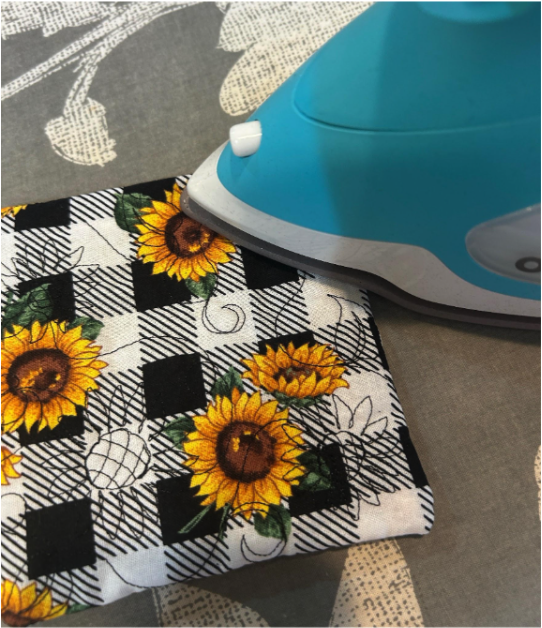
For the waistband, I will be making six Quilting Backdrops pieces that are the 3” x 10” finished size. I cut my fabric into six pieces that measure 5” x 12” Start by hooping your stabilizer.
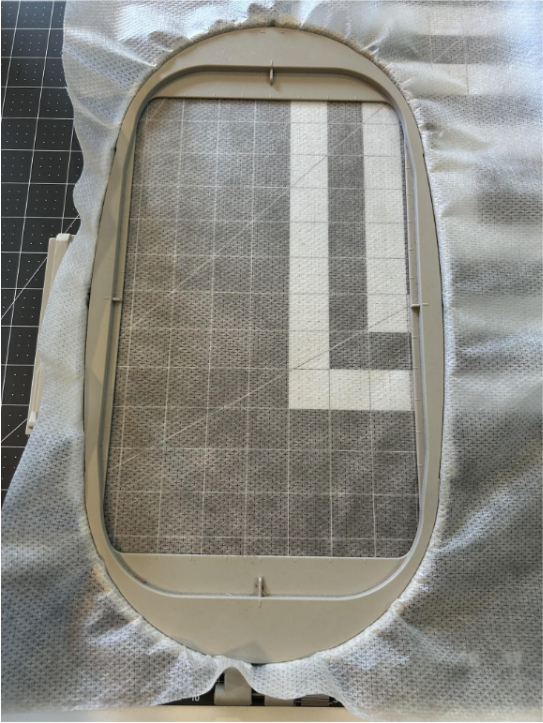
Stitch your placement stitch.
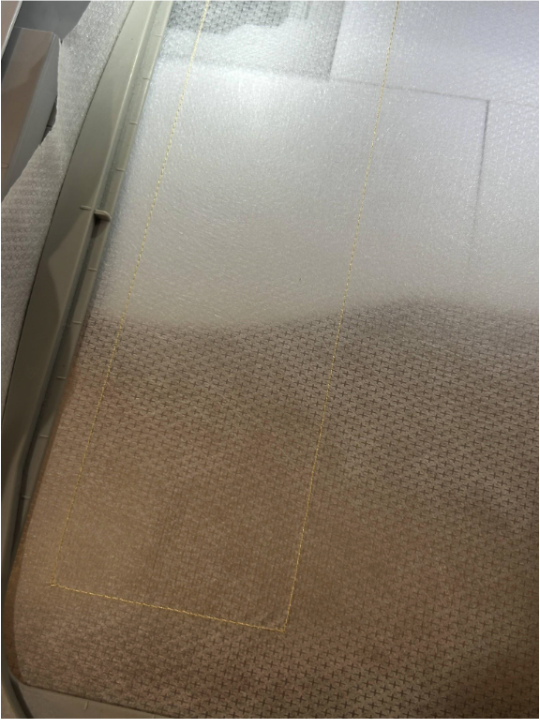
Cover with fabric, making sure to leave at least ½” around each edge. Skip the tack-down stitch for the batting, and stitch the tack-down stitch for the fabric.
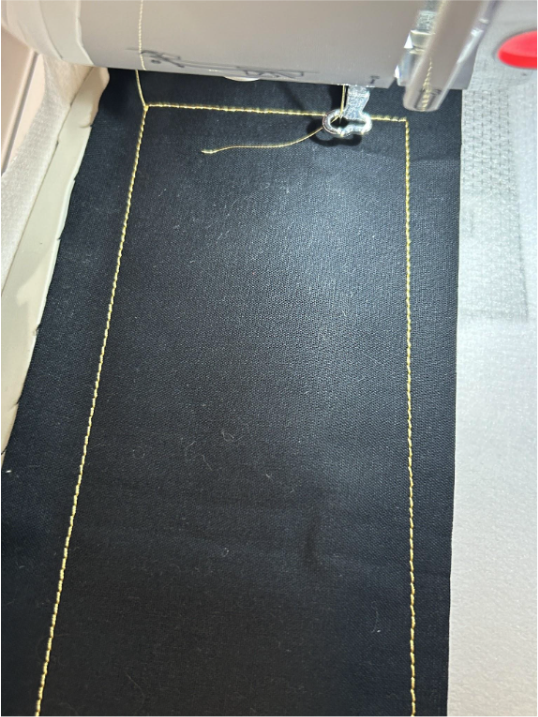
Stitch the decorative stitches on your fabric.
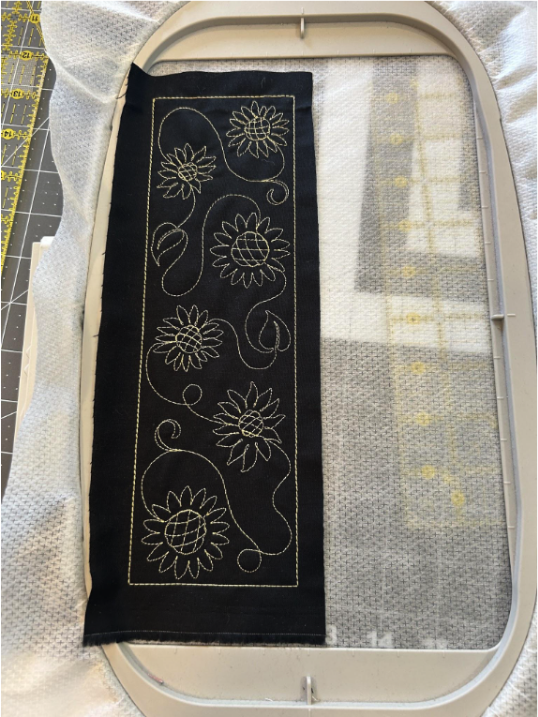
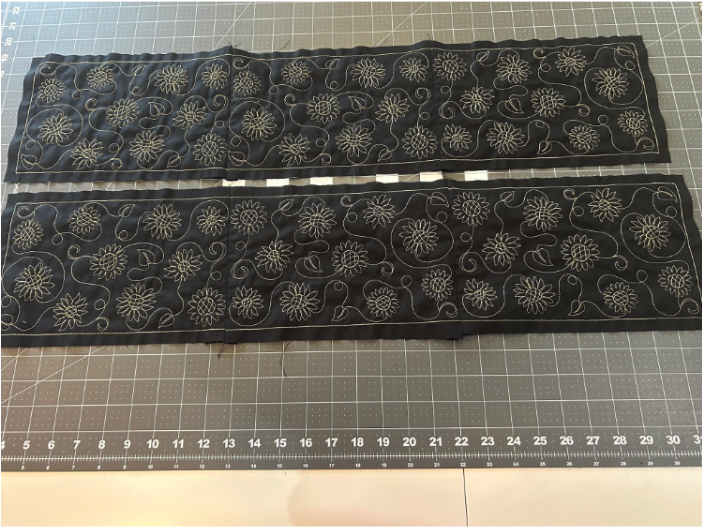
Remove them from the hoop, trim the stabilizer close to the stitches, and trim the fabric ½” from the edges. Once they are trimmed, we will sew them into two strips of three pieces each. Line up the short edge of the blocks with right sides together, and stitch through the racing lanes.
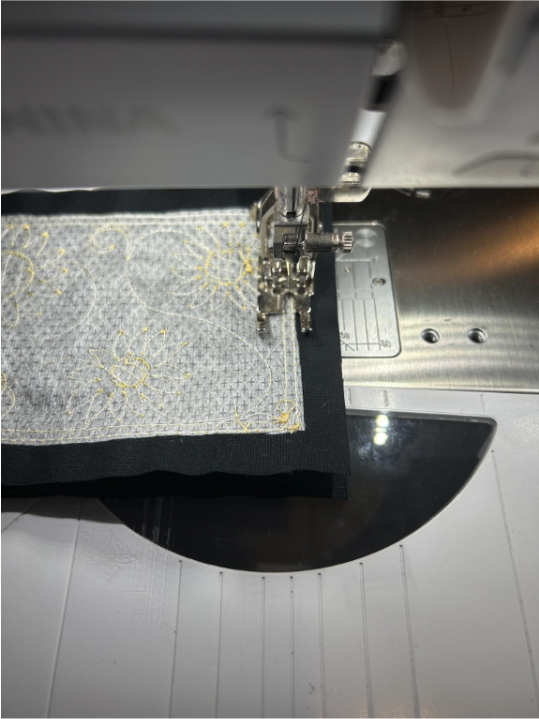
Press the seam allowance open.
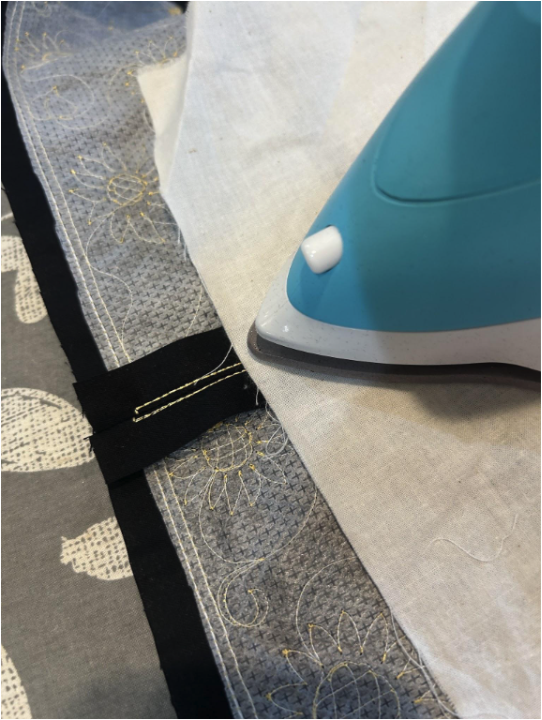
On one of the strips, fold one of the long sides over so that the fabric tack-down stitch is just turned. Press it in place.
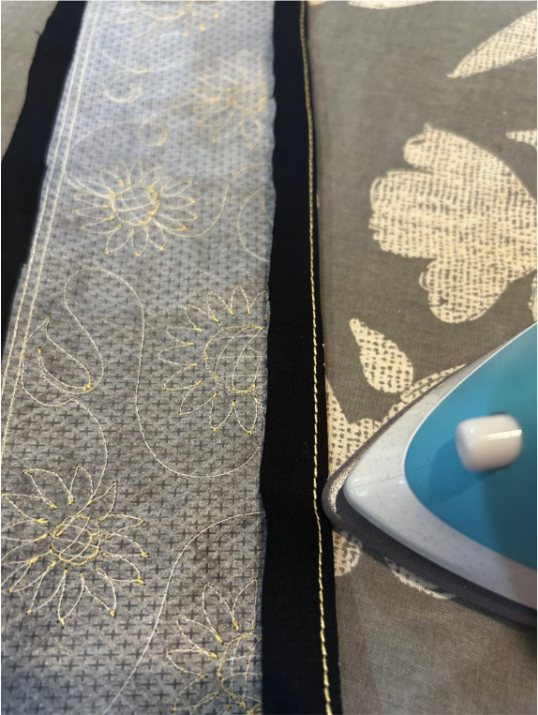
Now for the ties we will do the same thing, but this time we will make them with the 6” x 10” Quilting Backdrops blocks. We will need six of them. I cut my fabric into 8” x 12” pieces and followed the same steps as before. Hoop your stabilizer, stitch the placement stitch, skip the batting tack-down, then stitch the fabric tack-down and the decorative stitches.
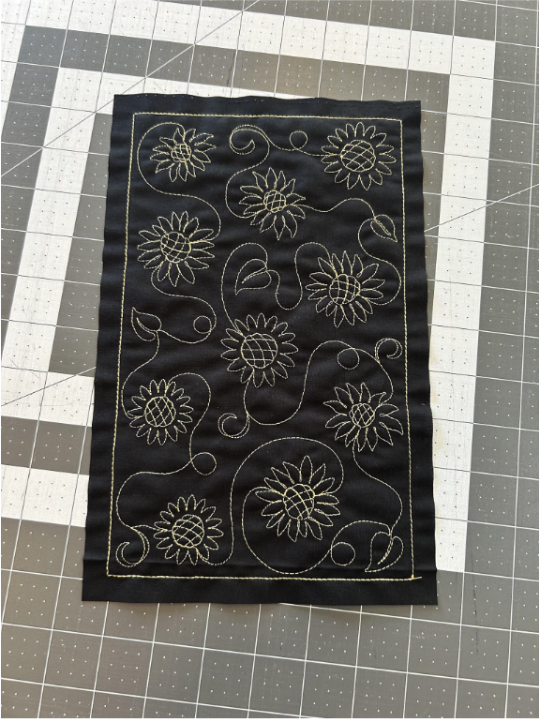
Sew the ties into two strips, along the short side like you did the waistband. After stitching them together, press the seam allowances open.
Make a 2” x 10” Quilting Backdrops block the same way you made the other blocks.
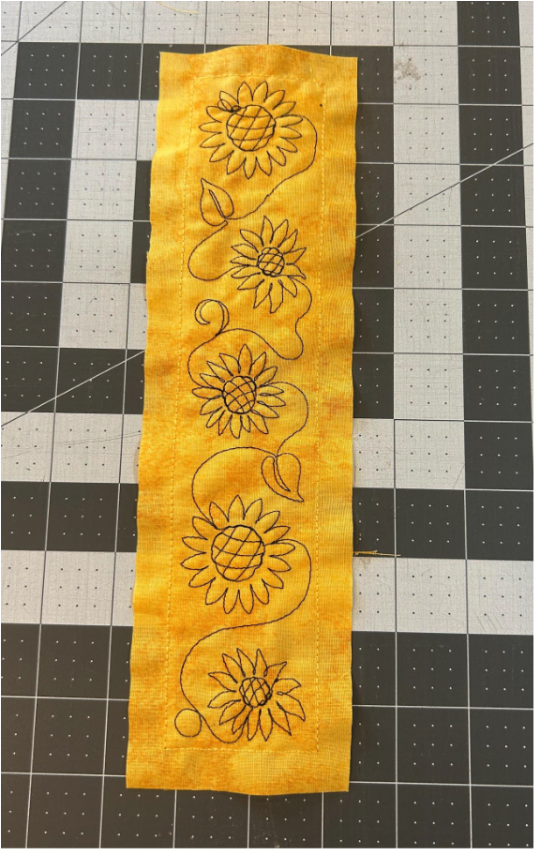
Once it’s stitched and trimmed, fold it in half right sides together and stitch down the long side in the racing lanes.
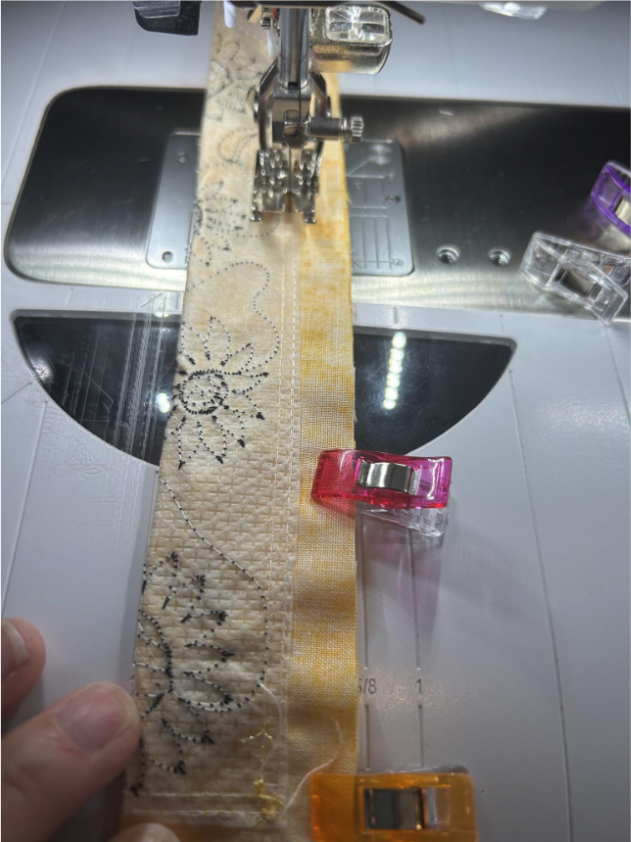
Instead of pressing the seam allowance to the side we want to move the seam allowance to the center and press the seam allowance open.
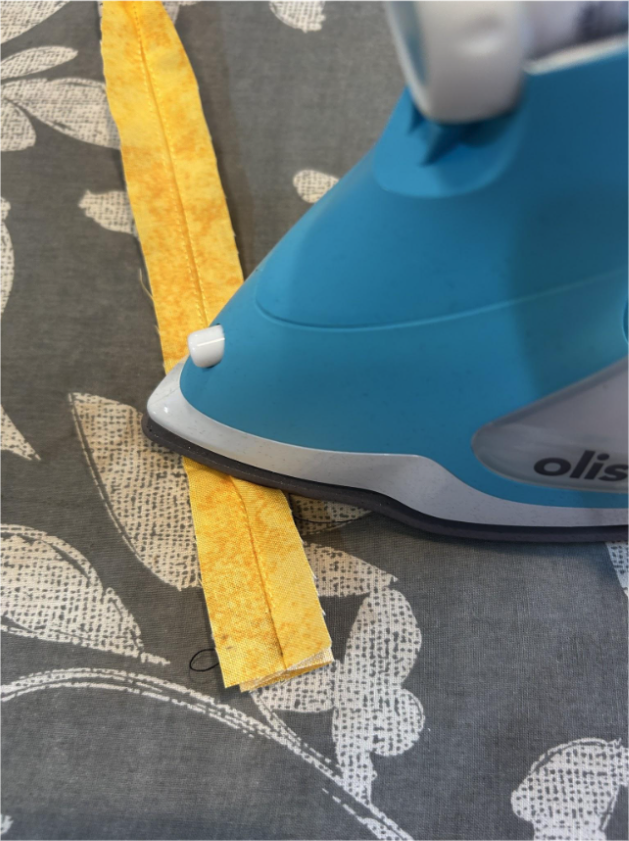
Moving the seam allowance to the center makes it so we see the design on the front of the towel loop.
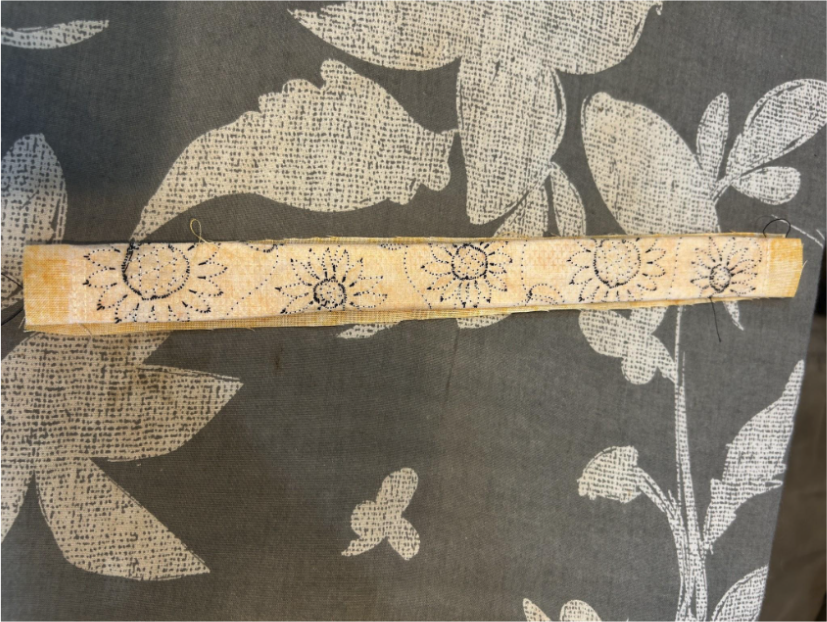
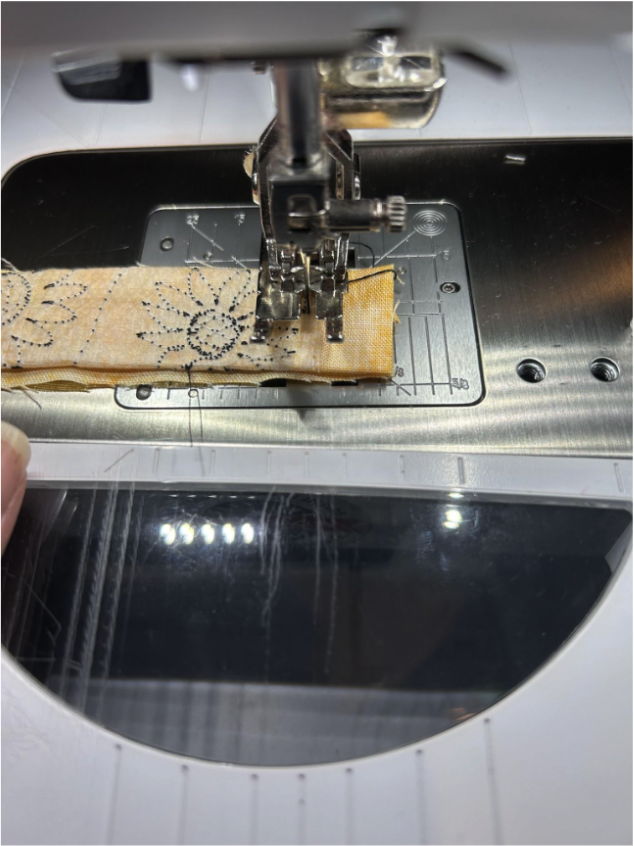
Now stitch both of the short ends. Yes, both of them!
Now measure 3” from one of the ends. Measure from the stitches and not the end of the fabric. Cut the loop at this mark.
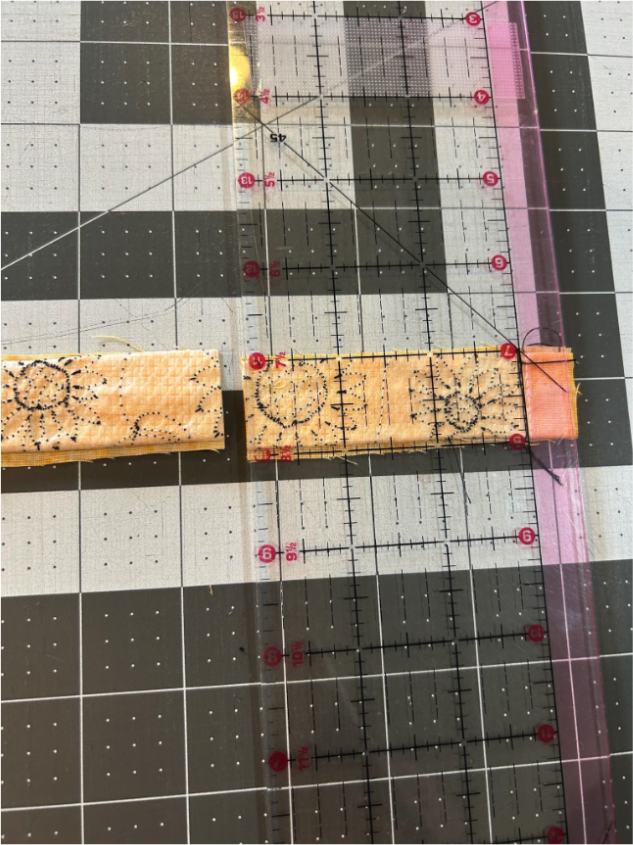
Trim your ends and corners.
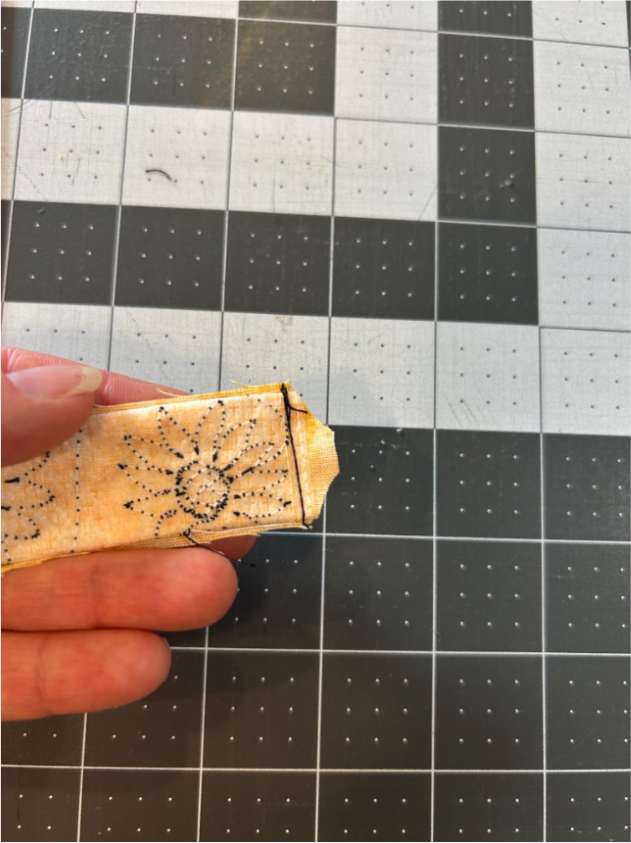
Using a turning tool, turn each of the pieces right side out.
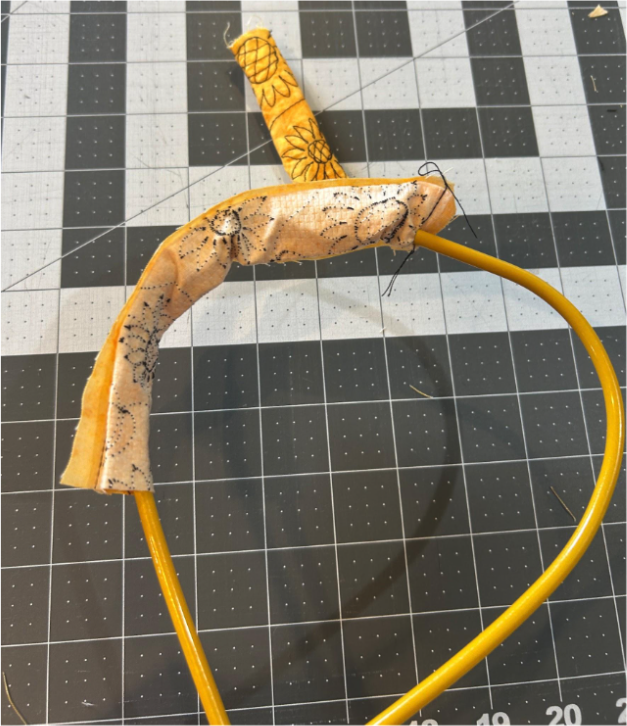
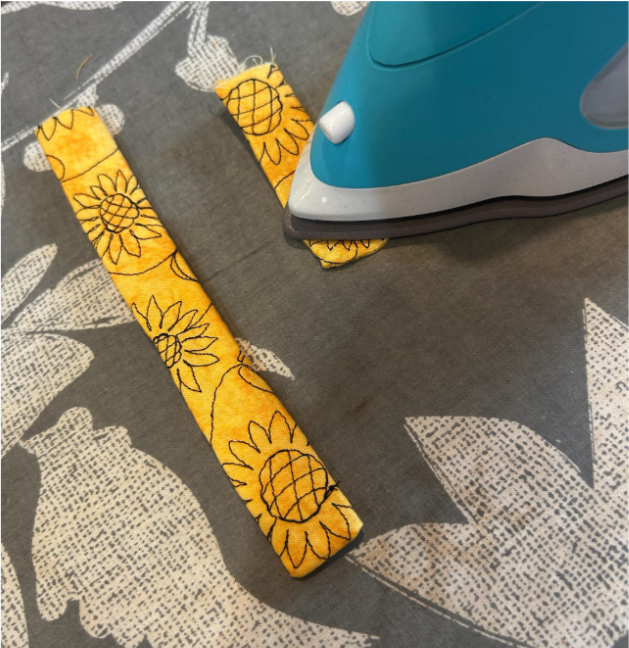
And press. Set these aside with the other pieces.
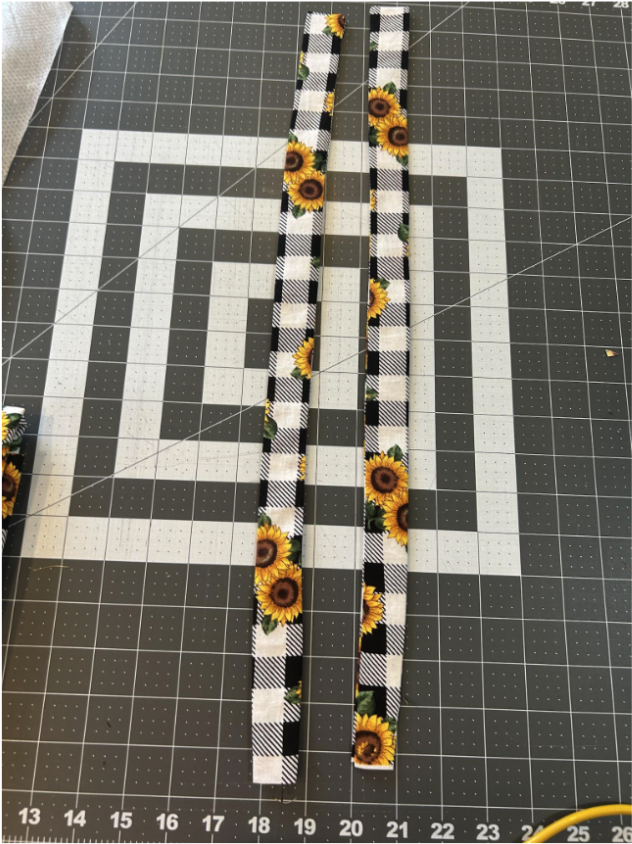
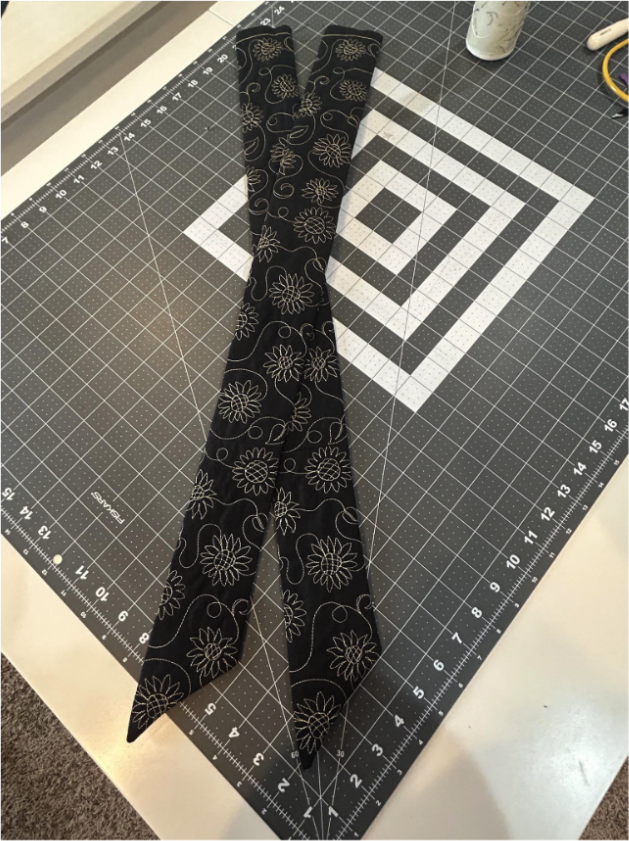
To make the neck straps, cut pieces of fabric 3” x 24”. Fold them right sides together, and sew them across one short side and down the long side.
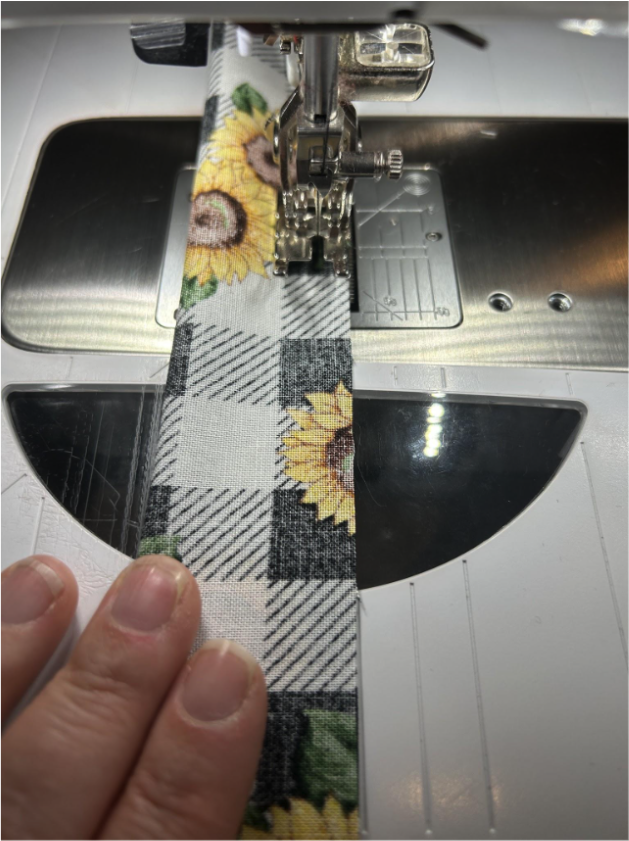
Trim your corners.
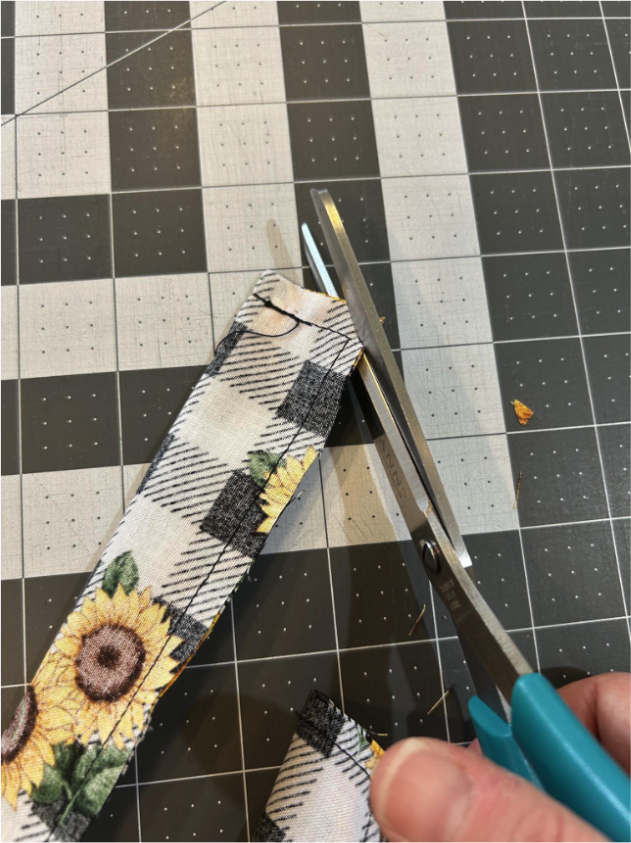
Turn them right side out and press them. Set them with the rest of the apron pieces.
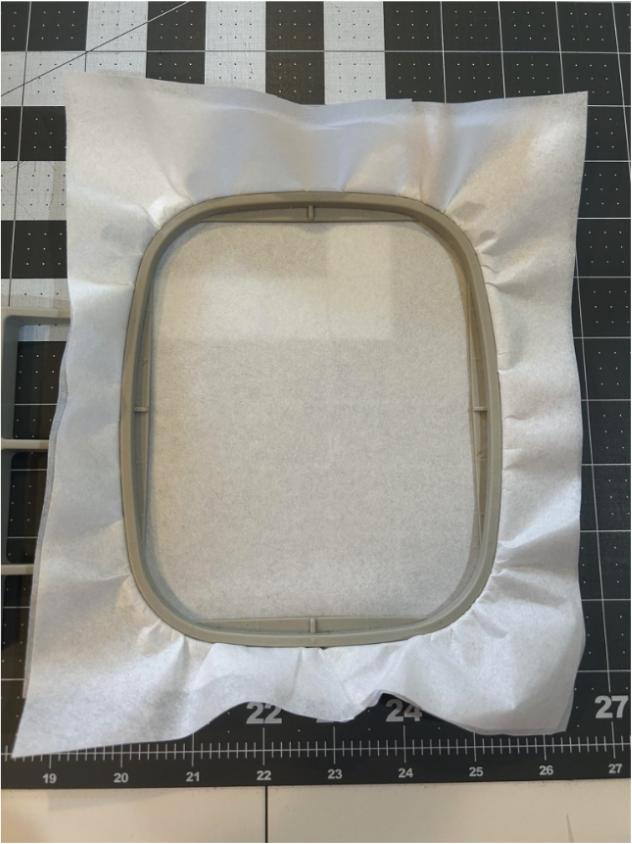
A matching towel completes the ensemble and it’s simple to make. Hoop tear-away stabilizer for the towel.
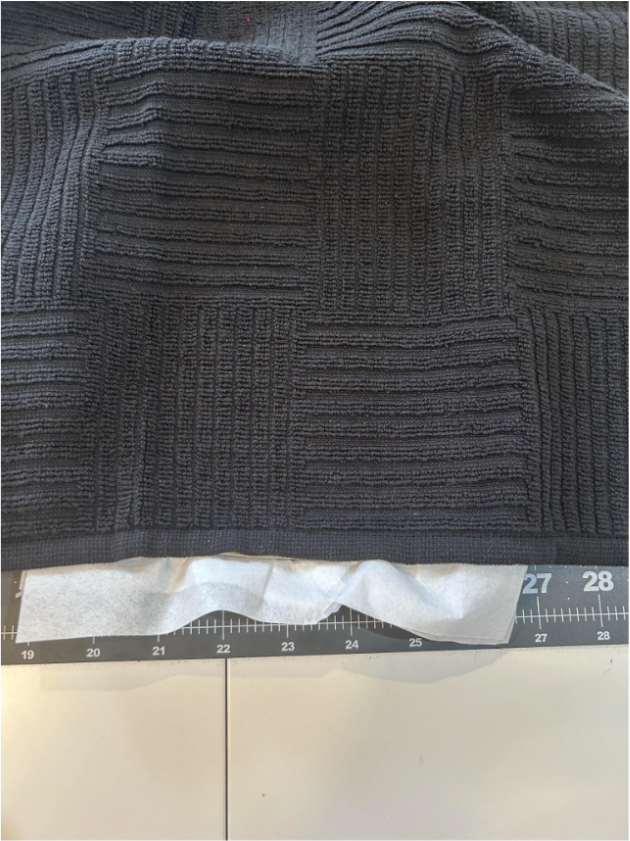
I like to float my towels, so I placed it over the stabilizer and measured to make sure it was straight.
Stitch a basting box to hold the towel in place.
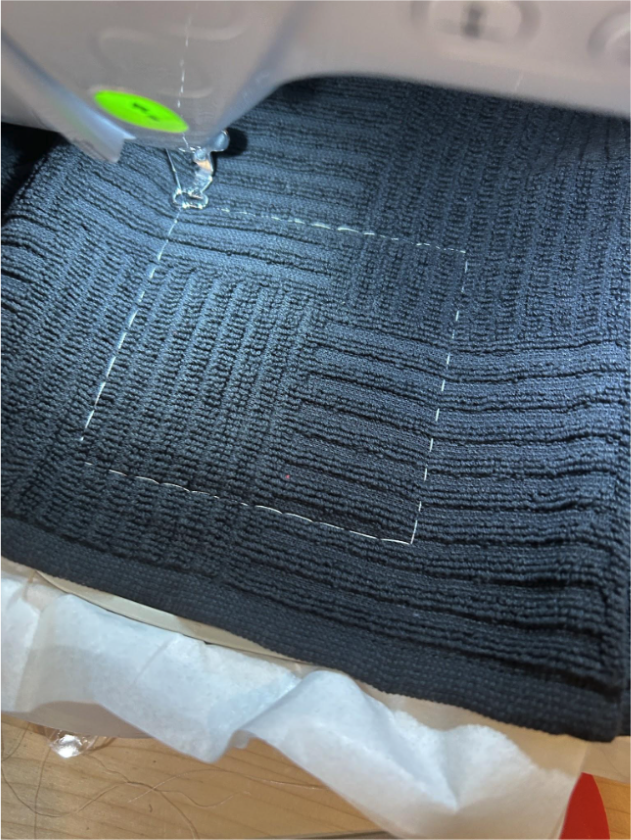
My design is an applique design, so I stitched the placement stitch for the first fabric.
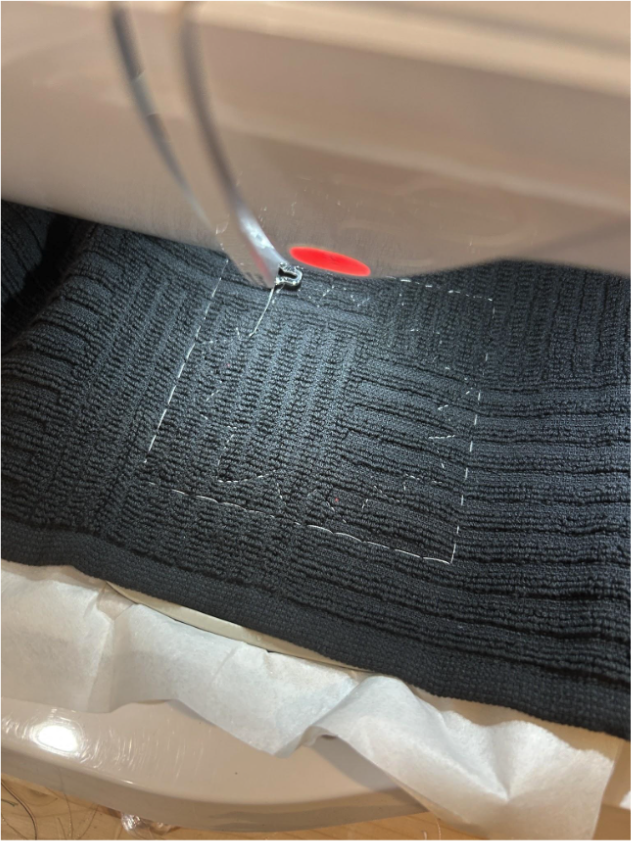
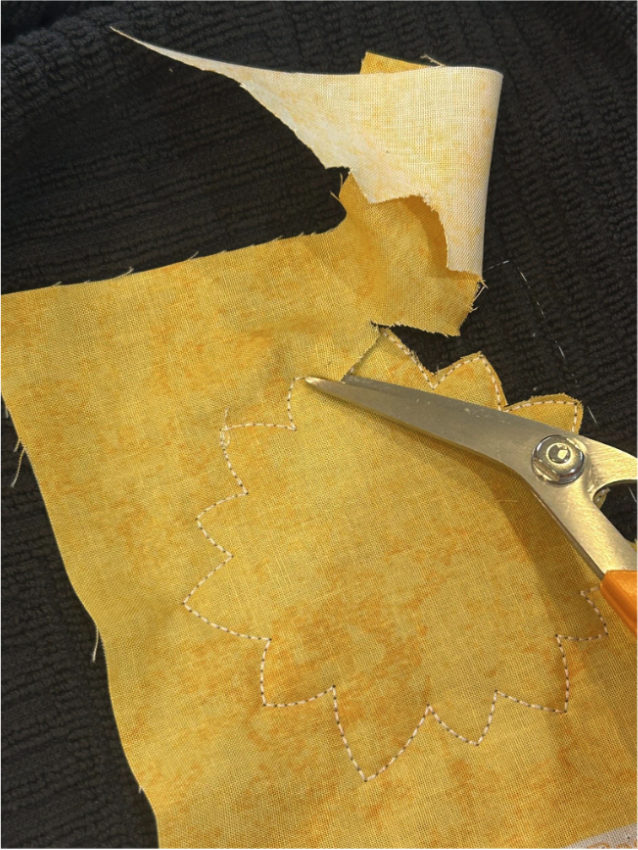
Cover the stitches with fabric and stitch the tack-down. Trim the fabric close, and continue with the remaining fabrics.
Follow the steps in your design; mine stitches out decorative stitches next.
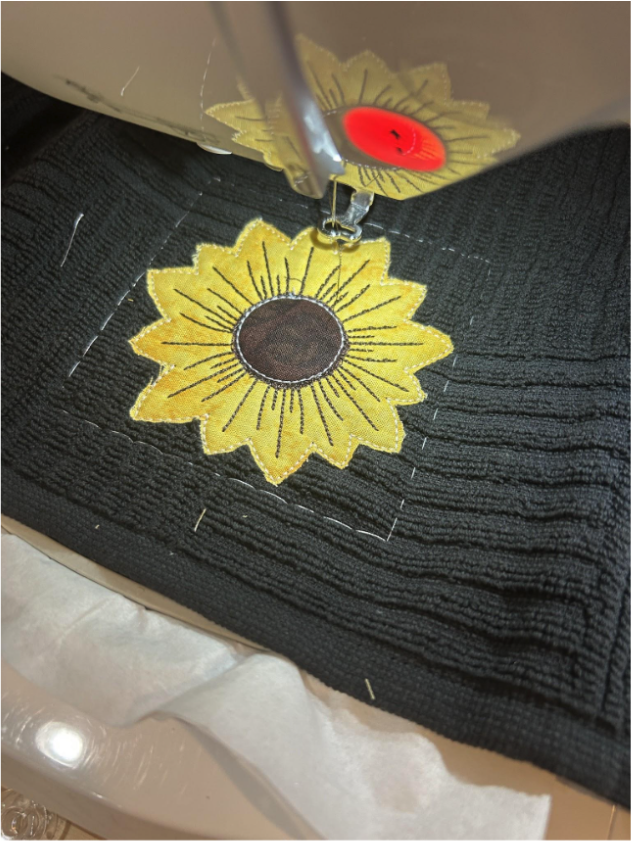
Now it’s time to stitch the satin edge stitch. My towel is a bit fluffy so I like to place a clear water-soluble topper on the top so the stitches stay above the towel's nap.
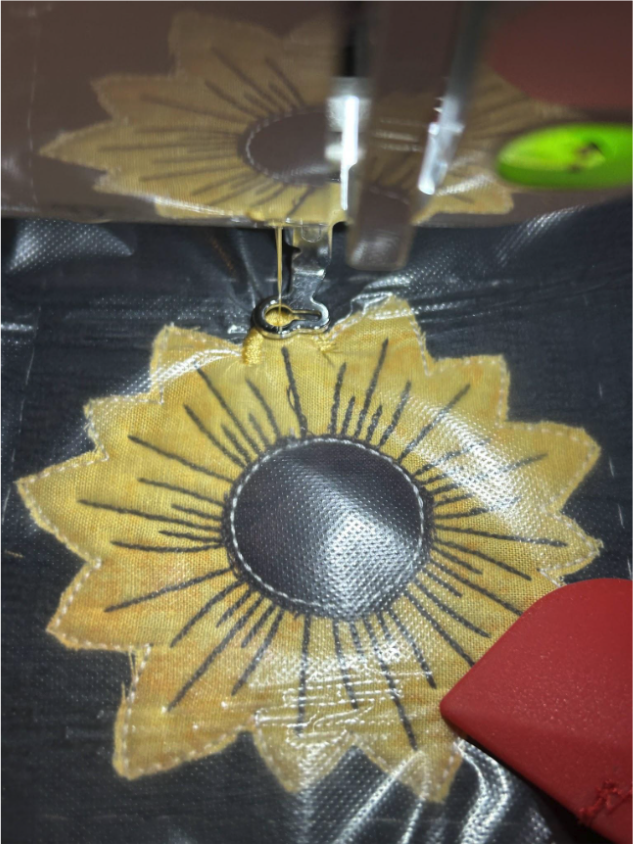
When the satin edge stitching is finished, remove the topper.
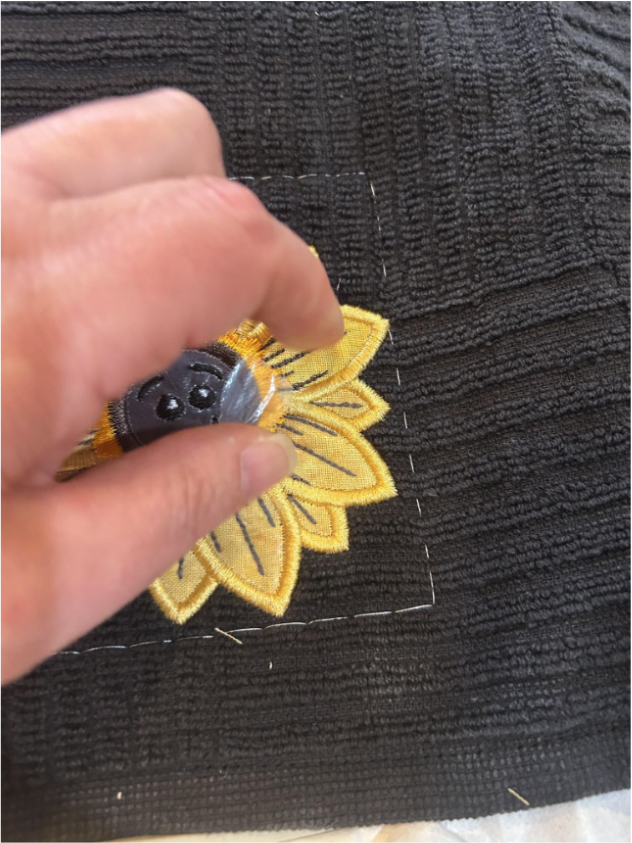
Trim the threads on the back. Remove your basting stitches.
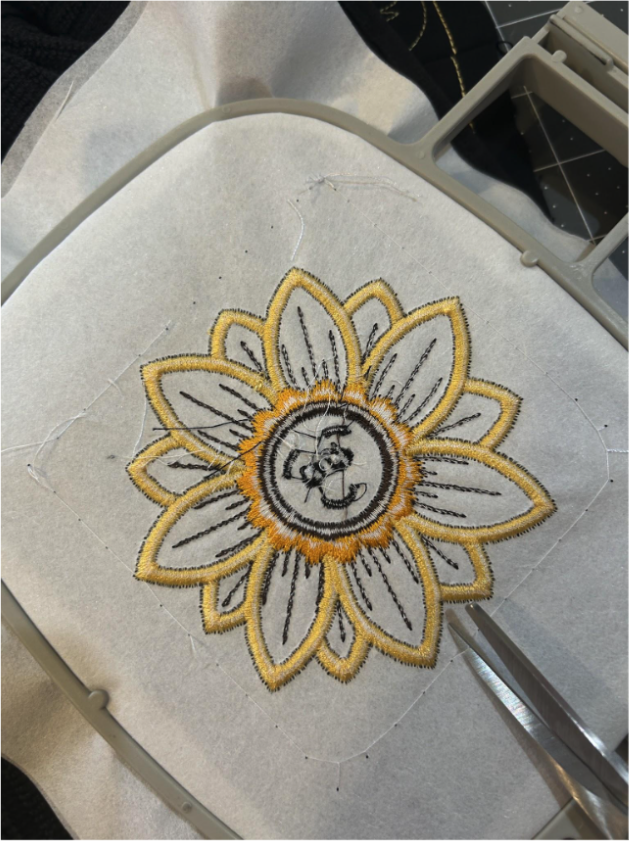
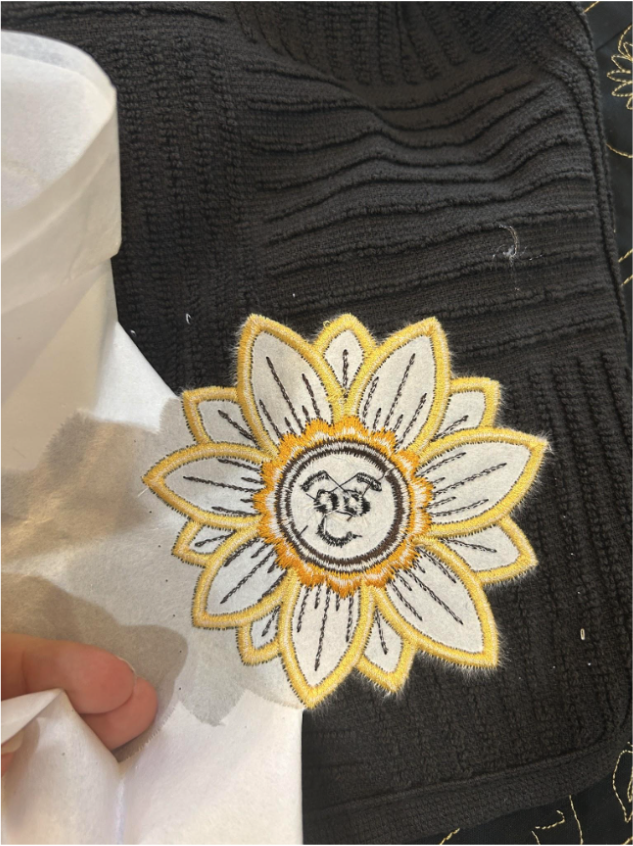
Remove the stabilizer and your towel is finished!
We are ready to sew our apron back together! At this point we have the apron bib, the apron skirt, two pockets, two neck straps, two pieces for the waistband, two pieces for the tie, two pieces for the towel loop, and the towel.
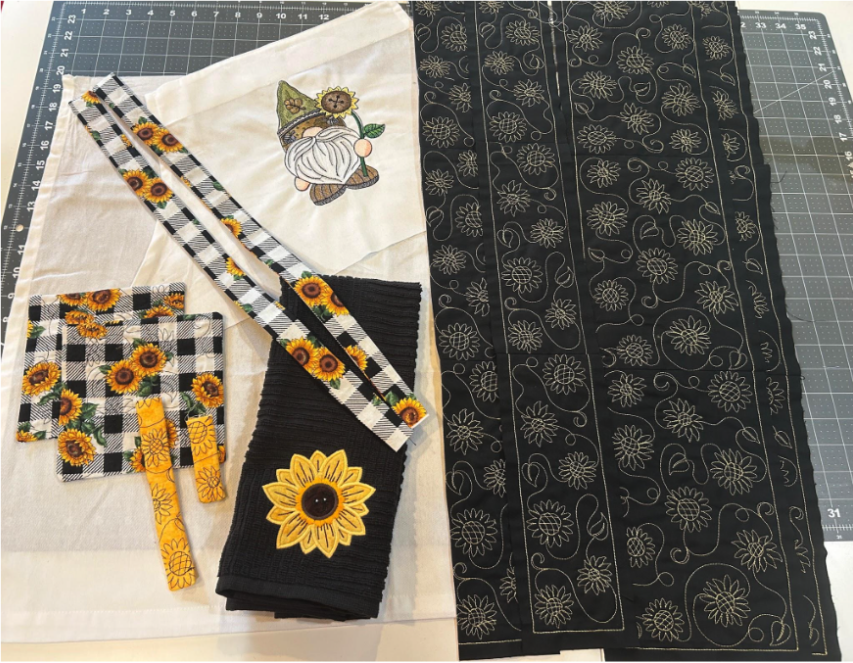
We will start by adding the waistband to the bib of the apron first. Find the centers of the bottom of the bib and the waistband. On the piece of the waistband with the pressed-over edge, we will sew the side that isn’t pressed first.
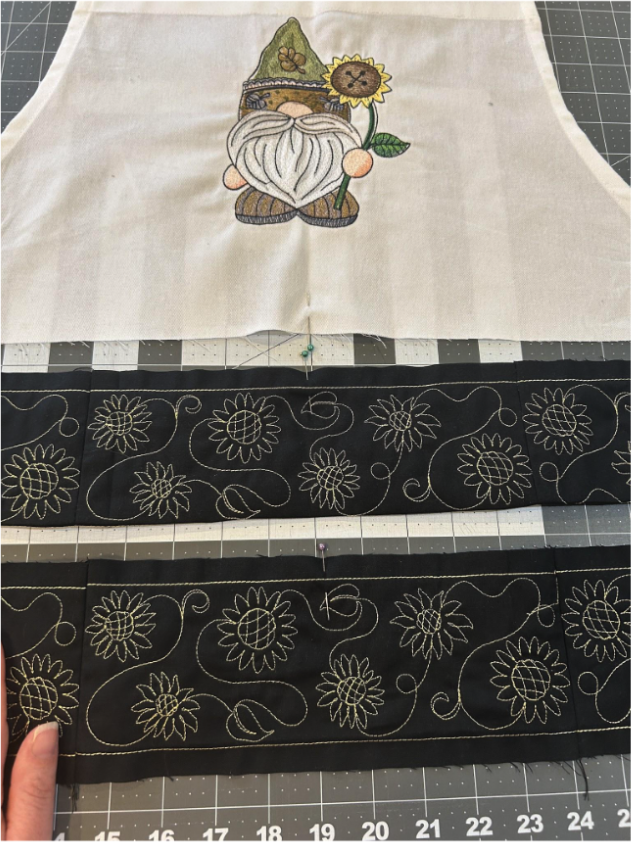
On the front side of the apron bib we will pin the waistband that doesn’t have the pressed edge. Line up your centers and raw edges, right sides together.
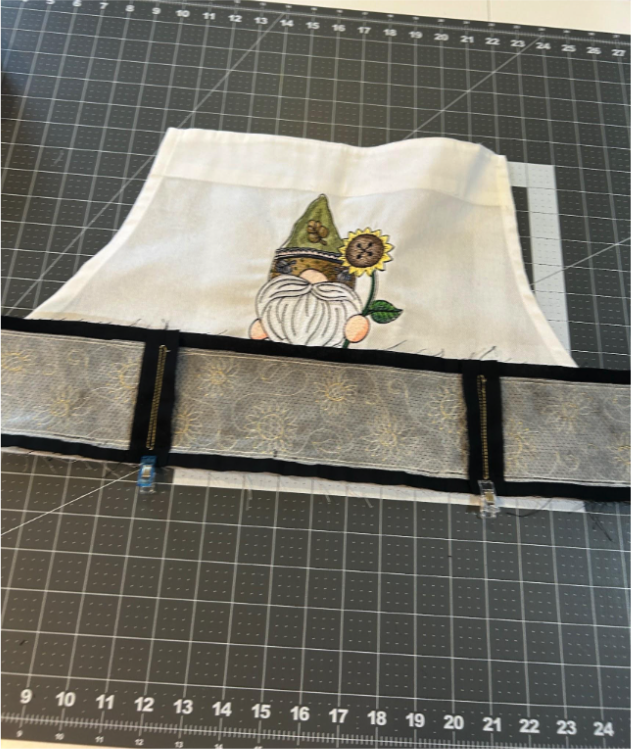
Turn your bib over so the wrong side is up, and, using the waistband with the ironed edge, we will line up the unironed side, right side down, on the wrong side of the apron bib. Line up the raw edges and centers. The two waistbands should also have their seams and ends match.
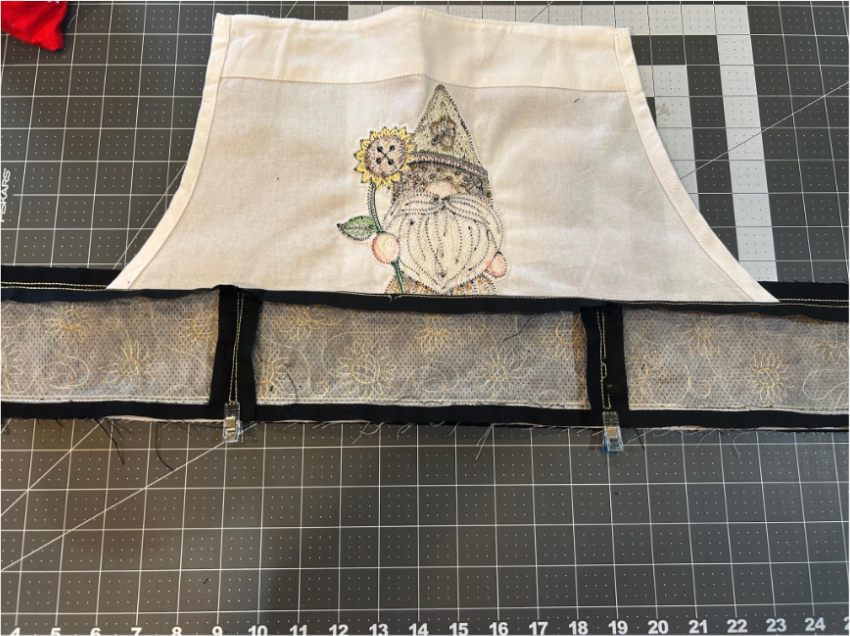
Now stitch down the racing lanes along the edge of the bib.
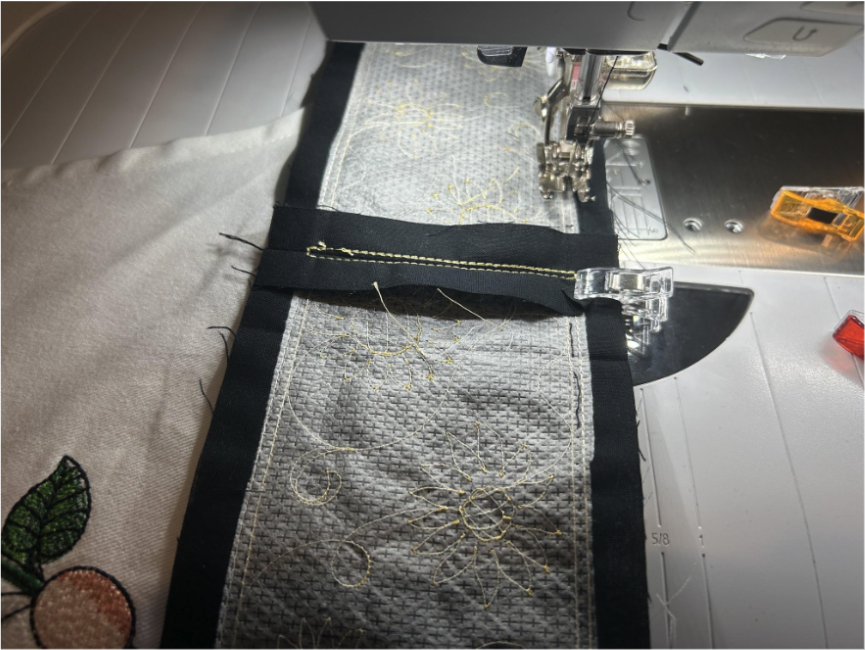
Fold the waistbands down from the bib and press them in place.
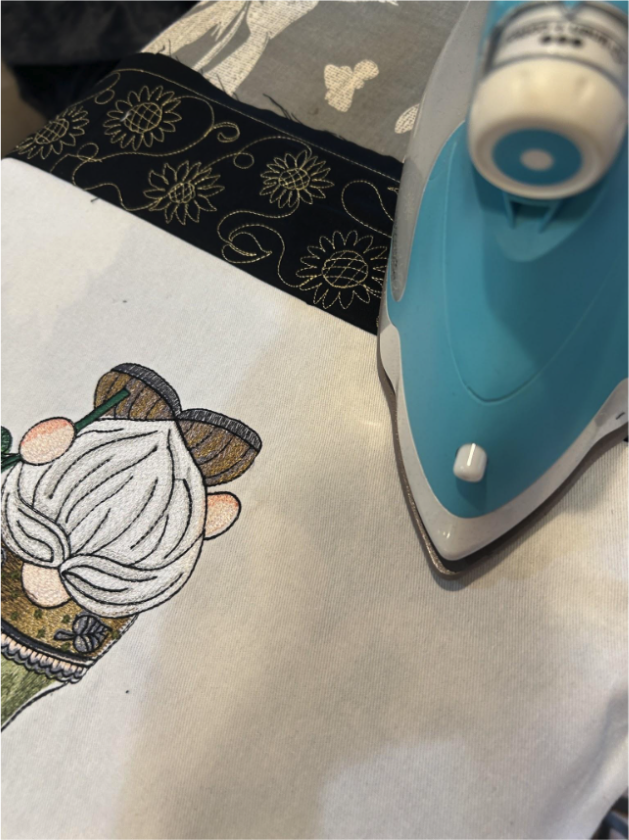
Fold one tie piece in half the long way, so now it is 3.5” x 31” (with seam allowances). I like my ties to have a point at the end, so I draw a 45-degree line from the fold to the raw edge on one end. (You can skip this part and just stitch the square end if you like that look.)
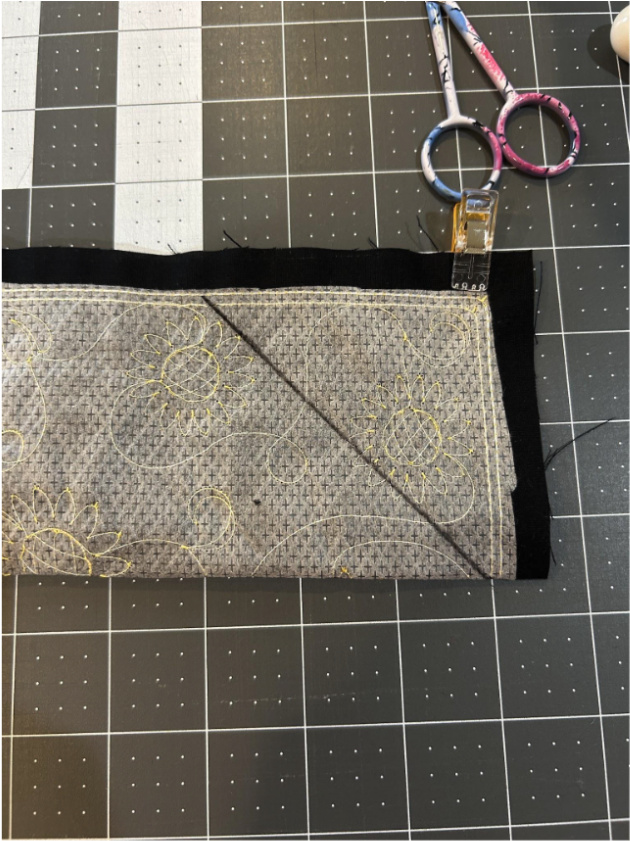
Stitch down the racing lanes.
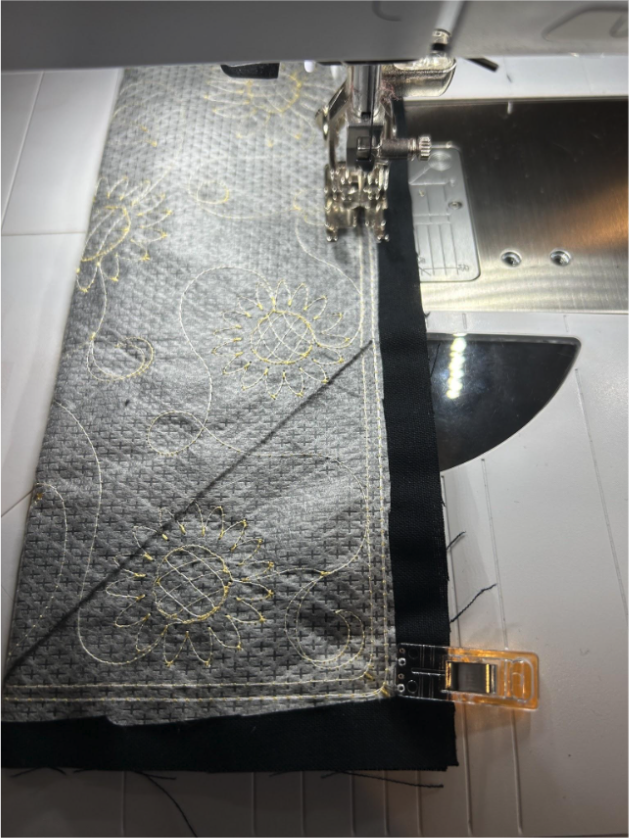
When you get to the line you drew, pivot the fabric and stitch to the end.
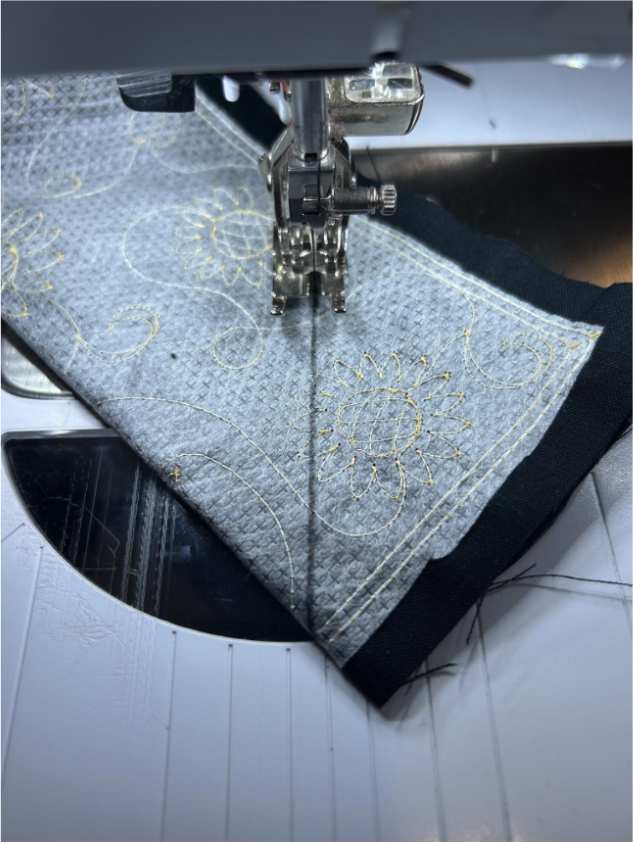
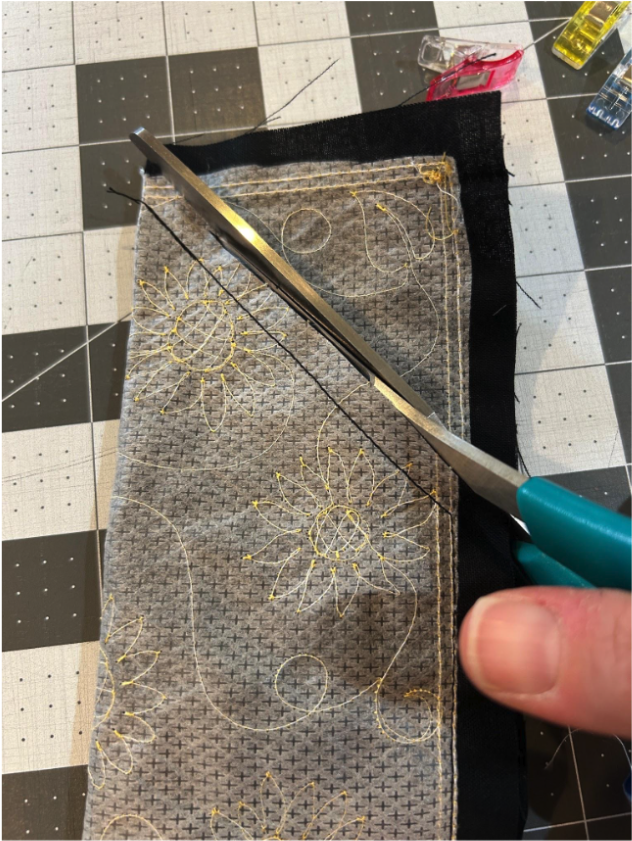
Trim the extra fabric about ½” from your stitches.
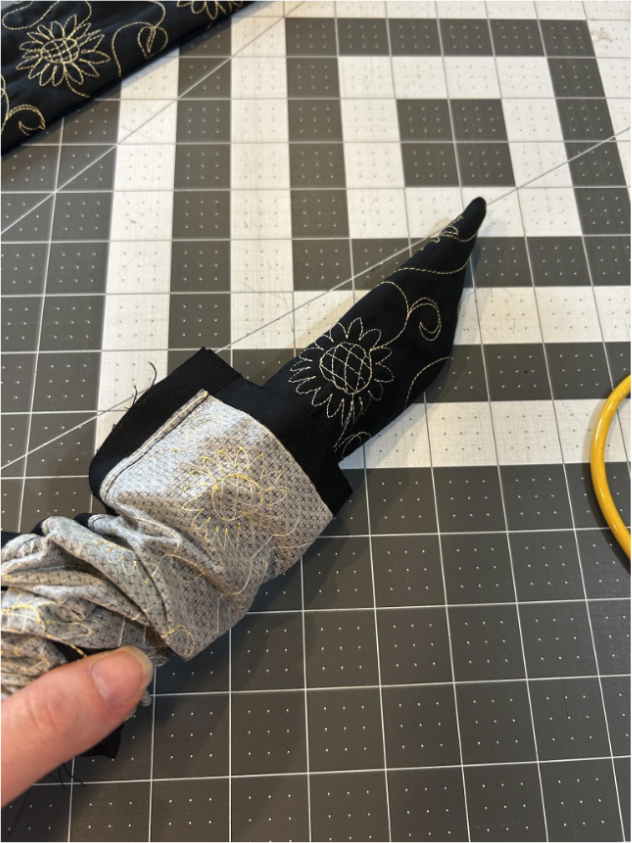
Turn your tie right side out.
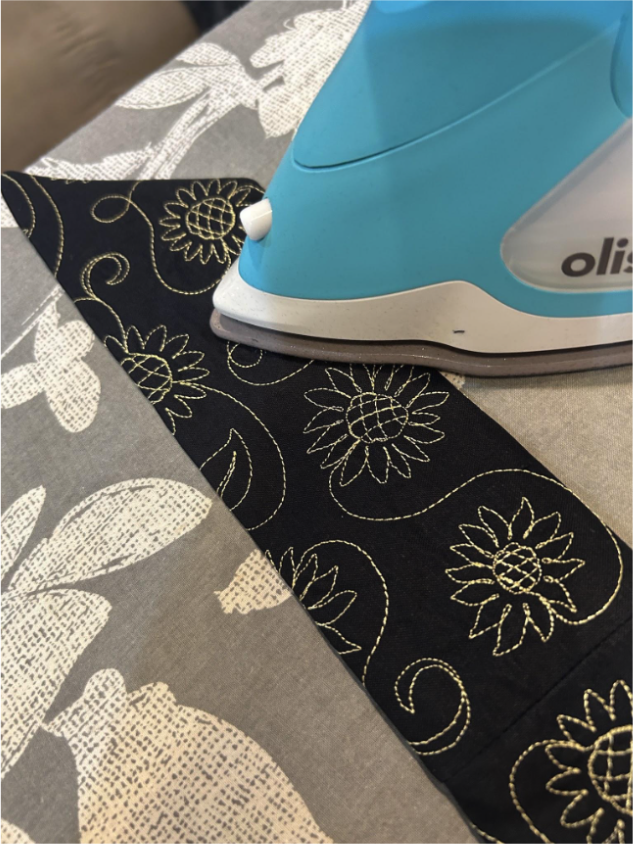
And press so the edges are crisp.
Repeat for the other tie.
Place your bib right side up on your workspace. Fold the back waistband up so it’s out of the way.
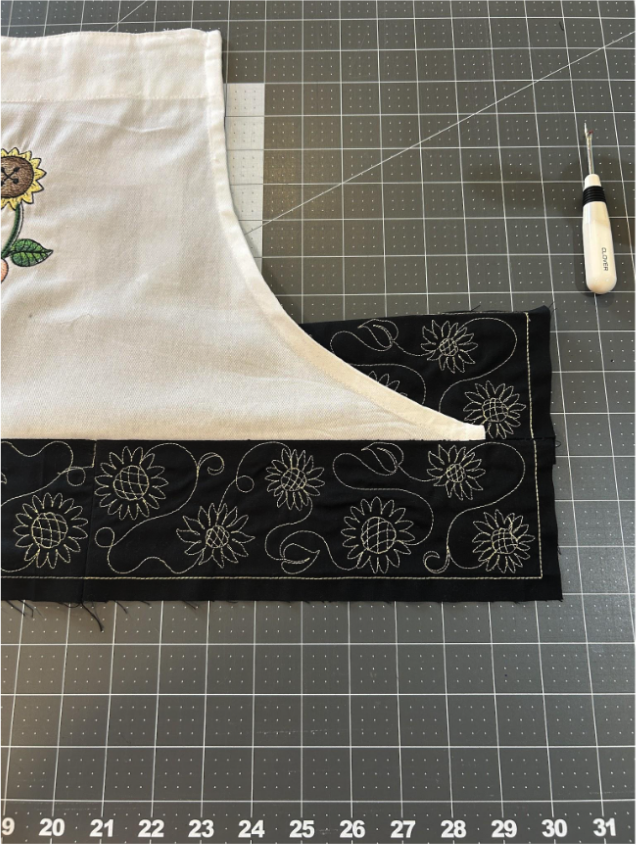
Take the short piece of the towel loop and at the intersection of two of the waistband pieces (at the side) lay it right sides together with the raw edges lined up.
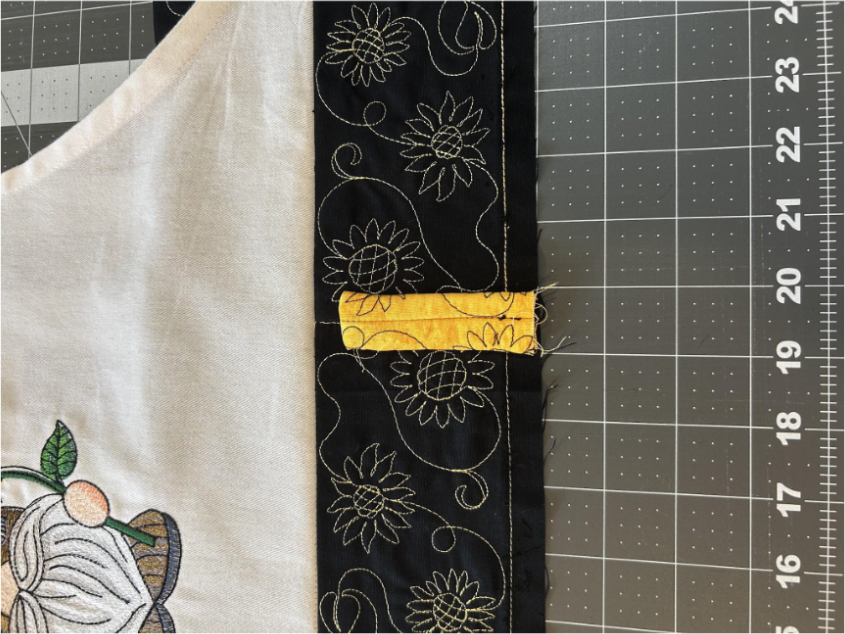
Take the long towel loop and place it on top of the short loop, wrong side down. Then take the apron skirt, and lay it right sides together with the waistband, matching the raw edges and the centers. This sandwiches the towel loop between the waistband and the apron skirt.
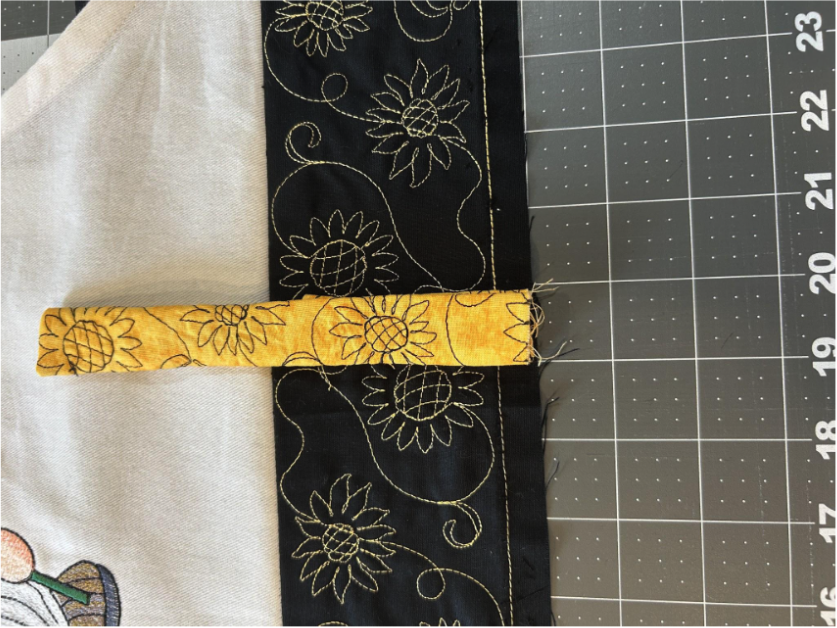
Stitch down the front waistband in the racing lanes. This will catch the towel loops and attach the skirt to the waistband.
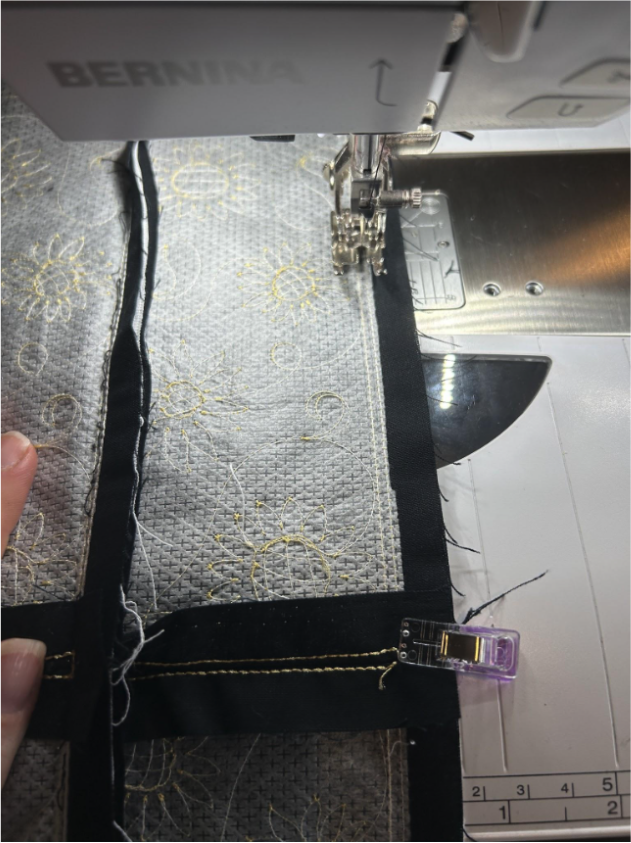
Press the seam allowance toward the waistband.
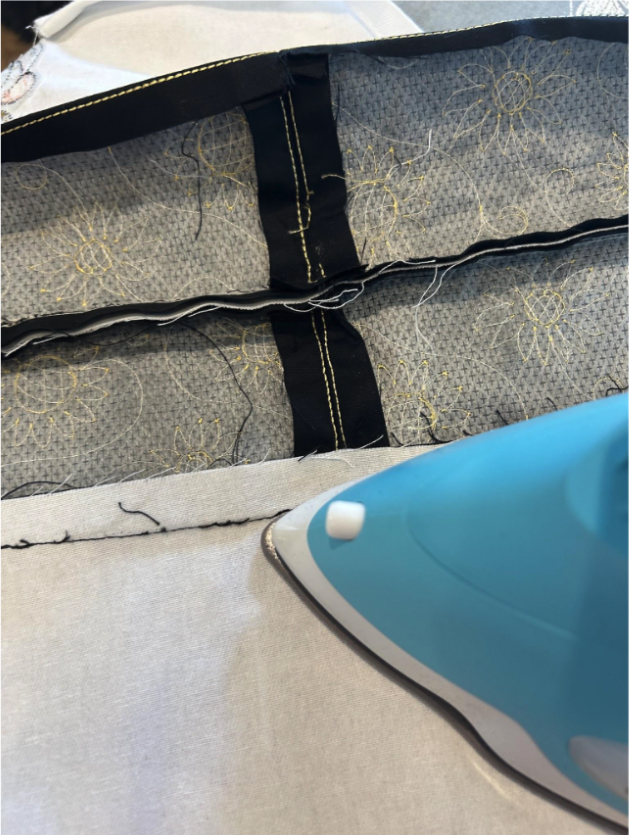
Press the towel loops down.
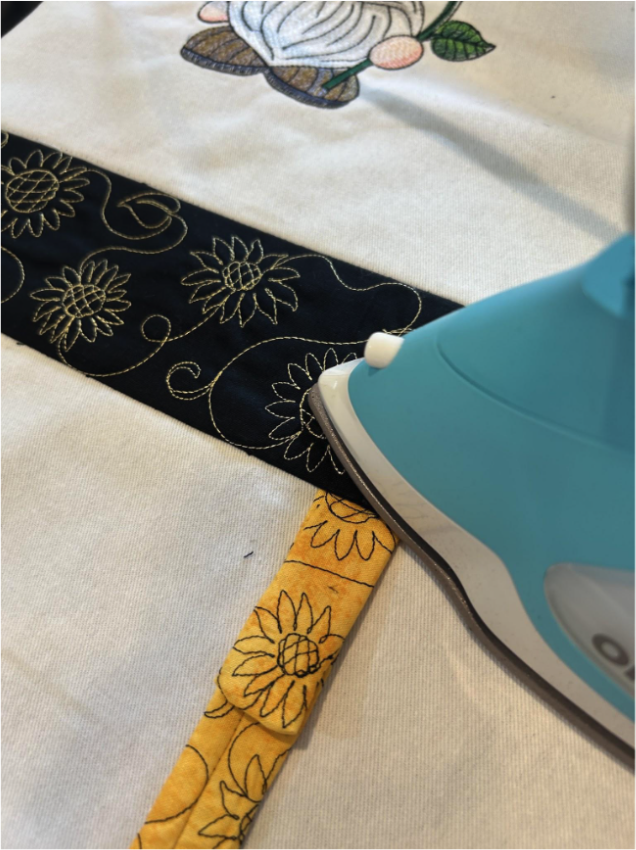
Now with the apron face up on your work surface, you will sew the ties to the edge of the waistband. You still have the back waistband folded up out of the way. Line up the raw edge of the ties with the raw edges of the front of the waistband.
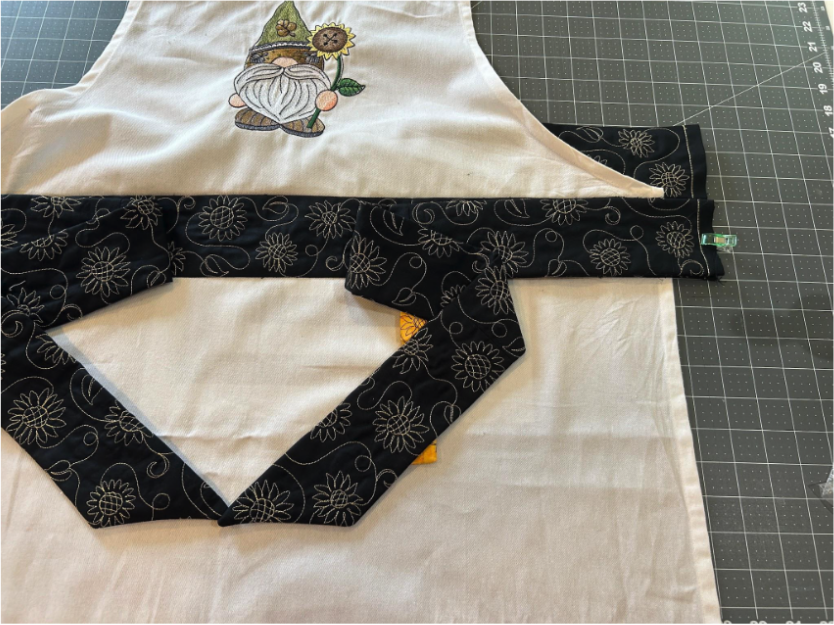
Stitch the ties to the waistband just inside the tack-down stitch.
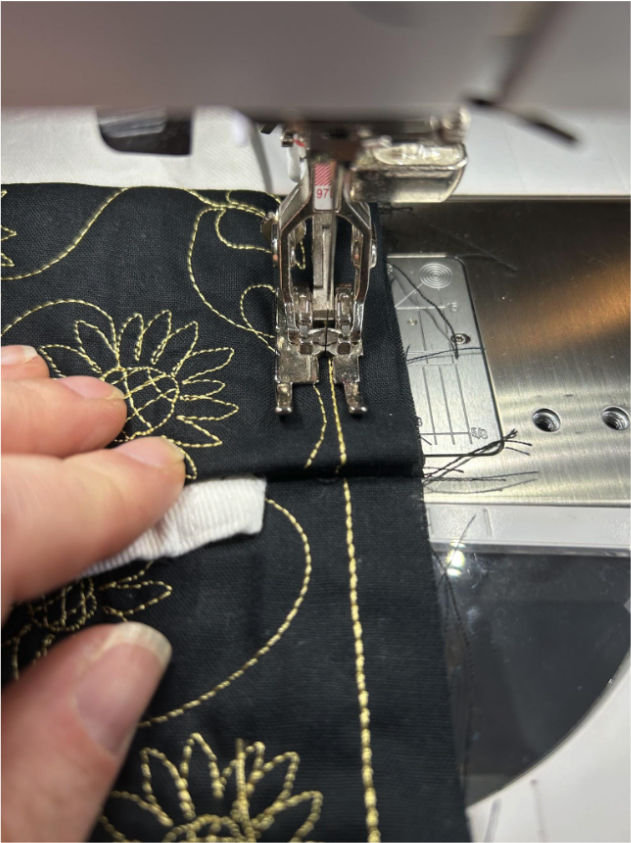
Fold the tie out and press the seam allowance toward the waistband. On the back waistband, fold over the seam allowance and press it also.
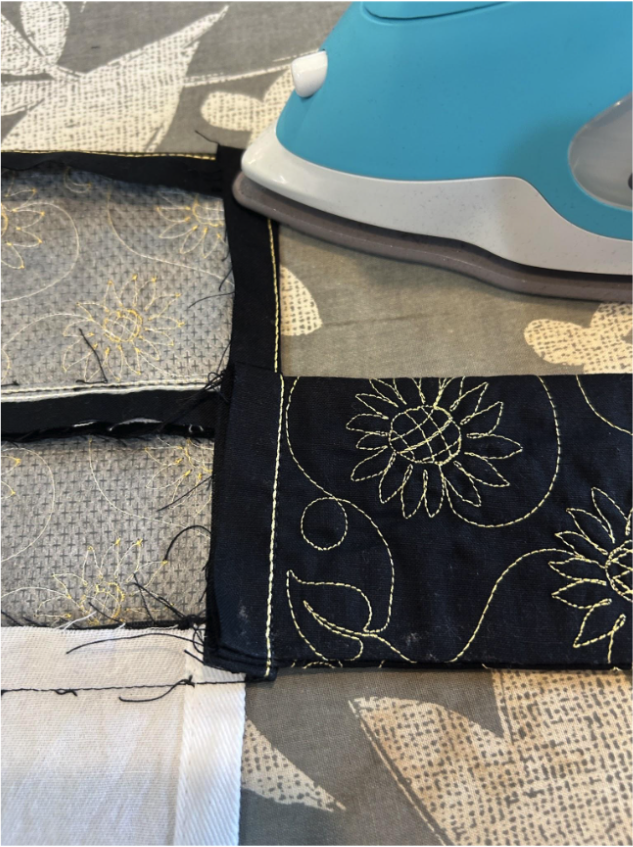
Put the apron right side down and fold the back waistband down so it’s covering the seam allowances. Press and pin it in place.
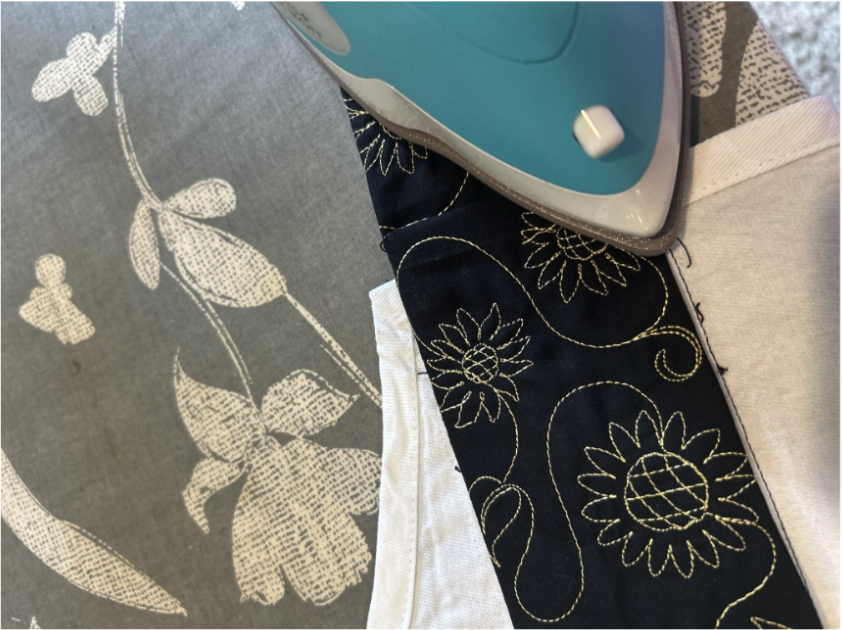
Stitch along the bottom edge of the waistband. This will catch the apron skirt and cover the raw edges. I also run a stitch across the ties on the waistband to cover their raw edges too.
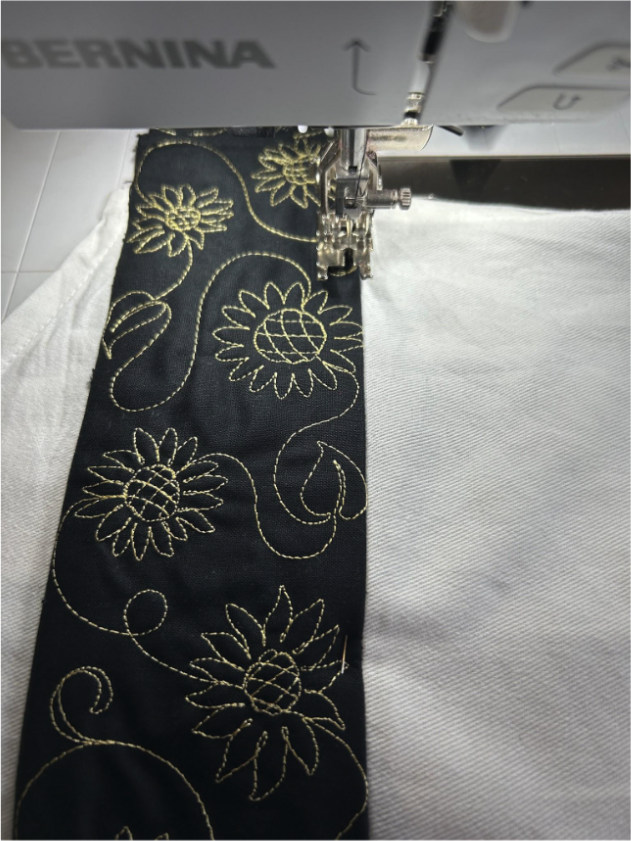
After I’ve sewn it, I go along the edges and try to lift the edge of the waistband to make sure it was caught all the way around.
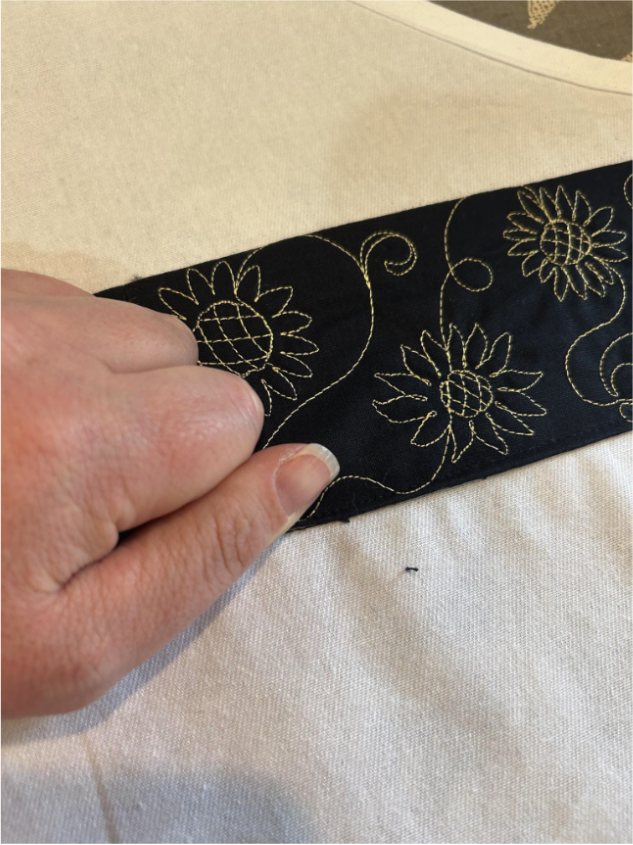
Now it’s time to add the pockets. I like to place my pockets 2” off center and 5” down from the waistband. You can adjust this to place the pockets where they are comfortable for you.
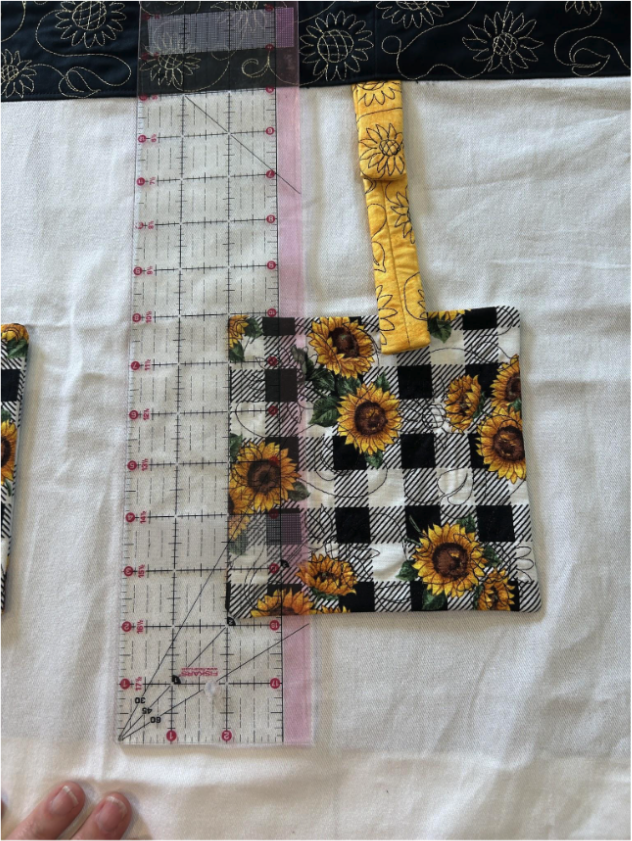
When you place them on the apron, make sure you’re putting the edge with the opening at the bottom.
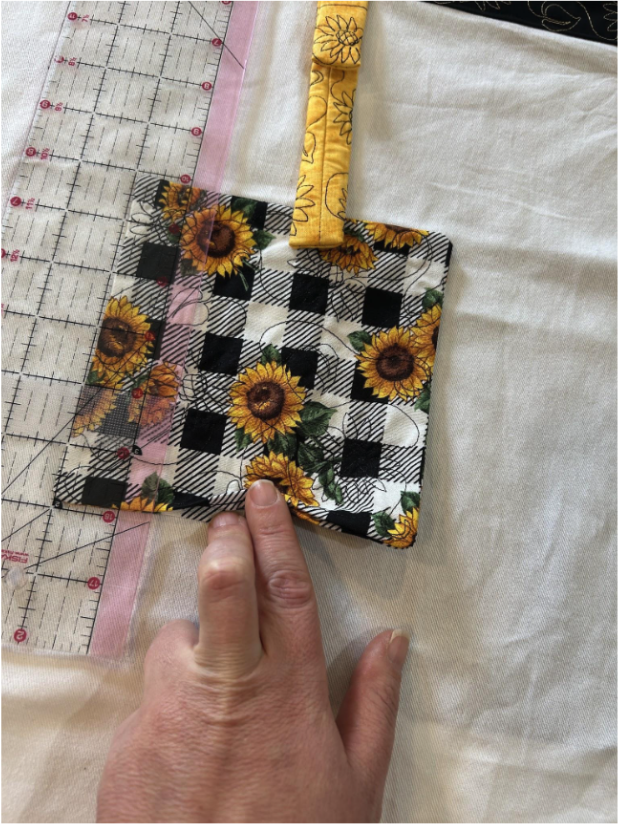
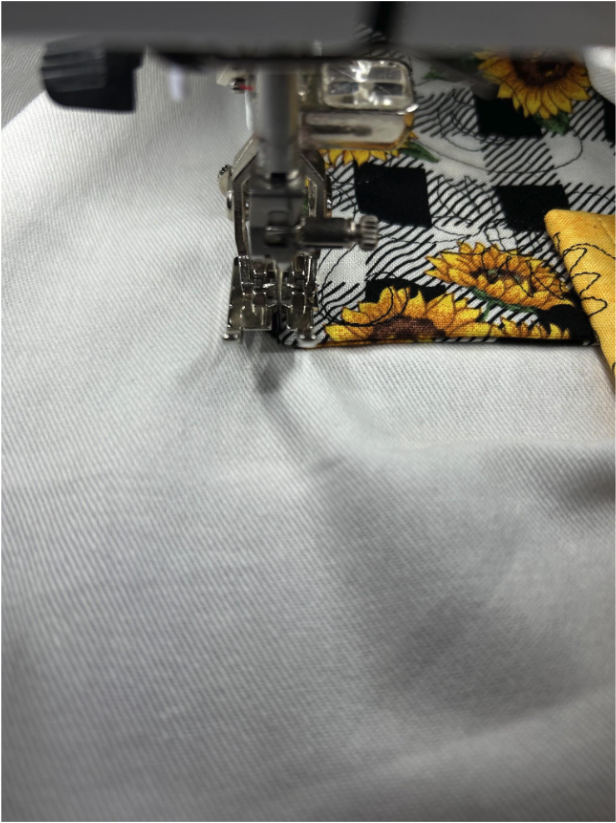
Sew around the two sides and the bottom. I stitch about ¼” from the edge of the pocket. Reinforce your stitches at the top of the pocket so it’s stronger and will hold better.
Now add the straps to the top of the bib. I do this last just so they aren’t in my way while I sew the rest of the apron. Insert the raw edges of the straps about ½” into the openings left from removing the original straps. Stitch along the edge so they are secure.
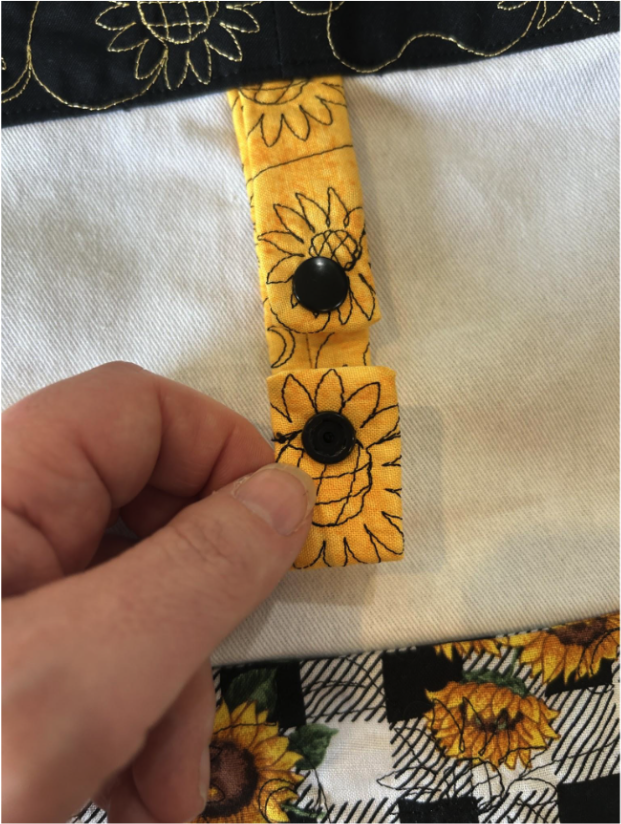
Add a KAMsnap to each edge of the towel loop so that they will snap together. Follow the instructions that came with your specific snap setter.
Then you can add your towel to the loop.
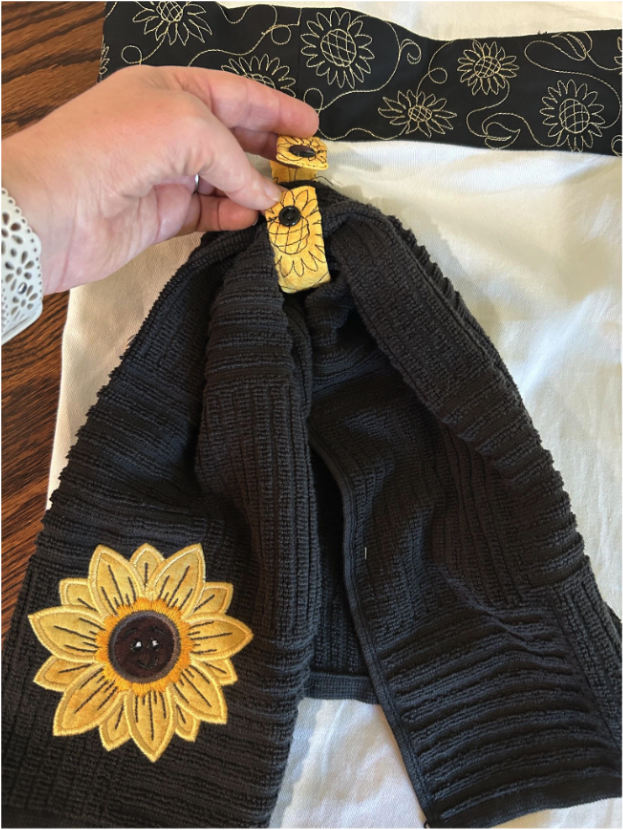
This keeps a towel close while you are cooking, but it can be easily switched out for another towel as needed!
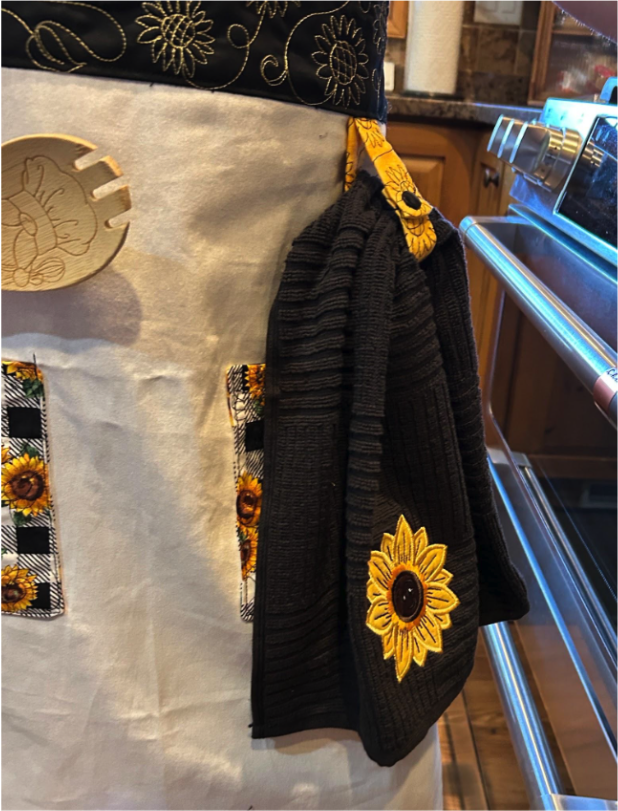
And your finished apron is now one of a kind, and even though you started with store bought, you’ve made it your own project.
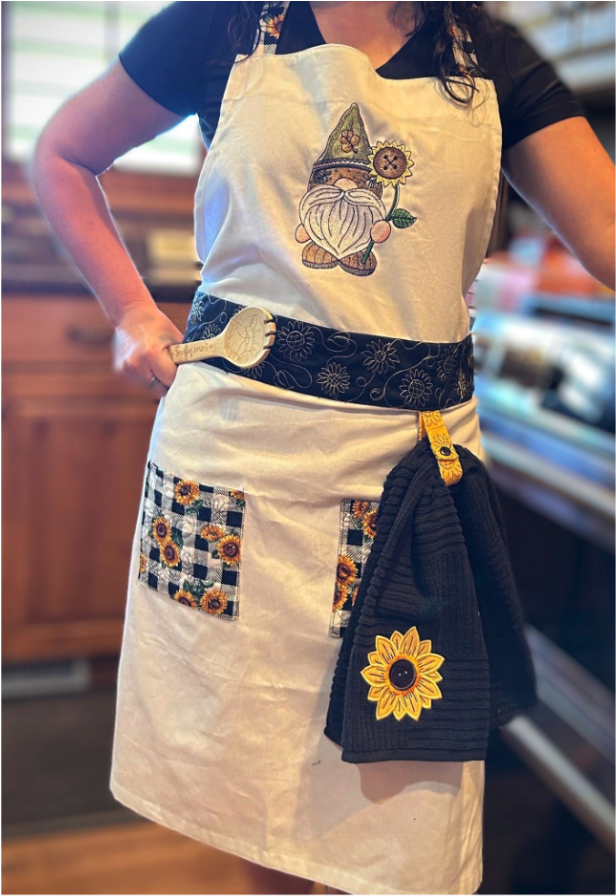
You can make all the embellishments for your apron, or you can just add one or two of them, maybe just neck straps and pockets, or a design on the bib with a waistband. The possibilities are endless.
I would love to see how you customize your aprons. Share your photos and ideas with us in the Designs by JuJu Embroidery Blessings Facebook Group, or use the hashtag #designsbyjuju anywhere on social media. We love to see what you create!