Toggle Nav
 Inspire.
Create.
Stitch.
Inspire.
Create.
Stitch.
Search
Inspire.
Create.
Stitch.
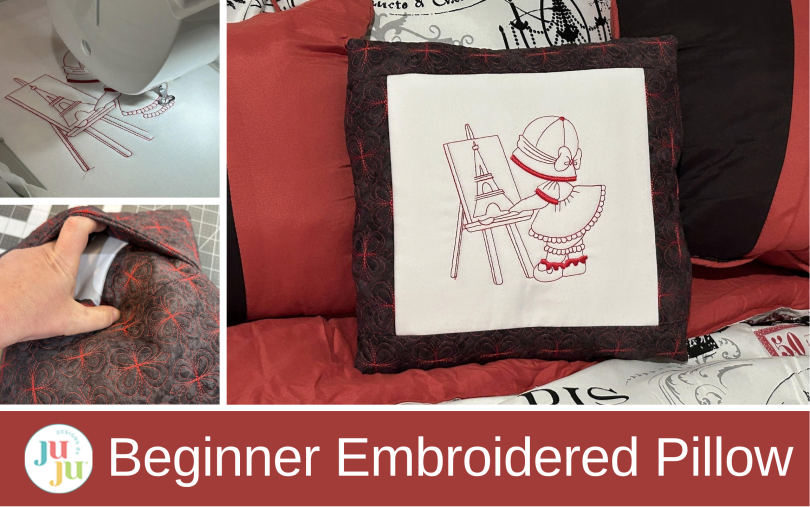
Learn how to make a beginner-friendly embroidered pillow with an easy envelope back. Use machine embroidery, Quilting Backdrops™, and redwork to create a polished pillow cover while building skills for more advanced projects.
This is the first project in our three-part series using the Paris Sunbonnets Redwork designs. We’ll start with a beginner-friendly embroidered pillow featuring an envelope back, then build on these techniques to create a personalized quilt and, finally, a small storage ottoman. Keep an eye out for the next two posts. We will use the techniques we learn in each project and build upon them in the next project.
No matter where you are in your embroidery journey, follow along and I hope that you can learn something new, whether it’s a technique or something to inspire your creative juices. I’m excited to have you along.
Don’t forget to check out the Designs by JuJu Amazon store for our design team’s favorite supplies. And for stabilizers, batting, and threads, Designs by JuJu+ has everything you need.
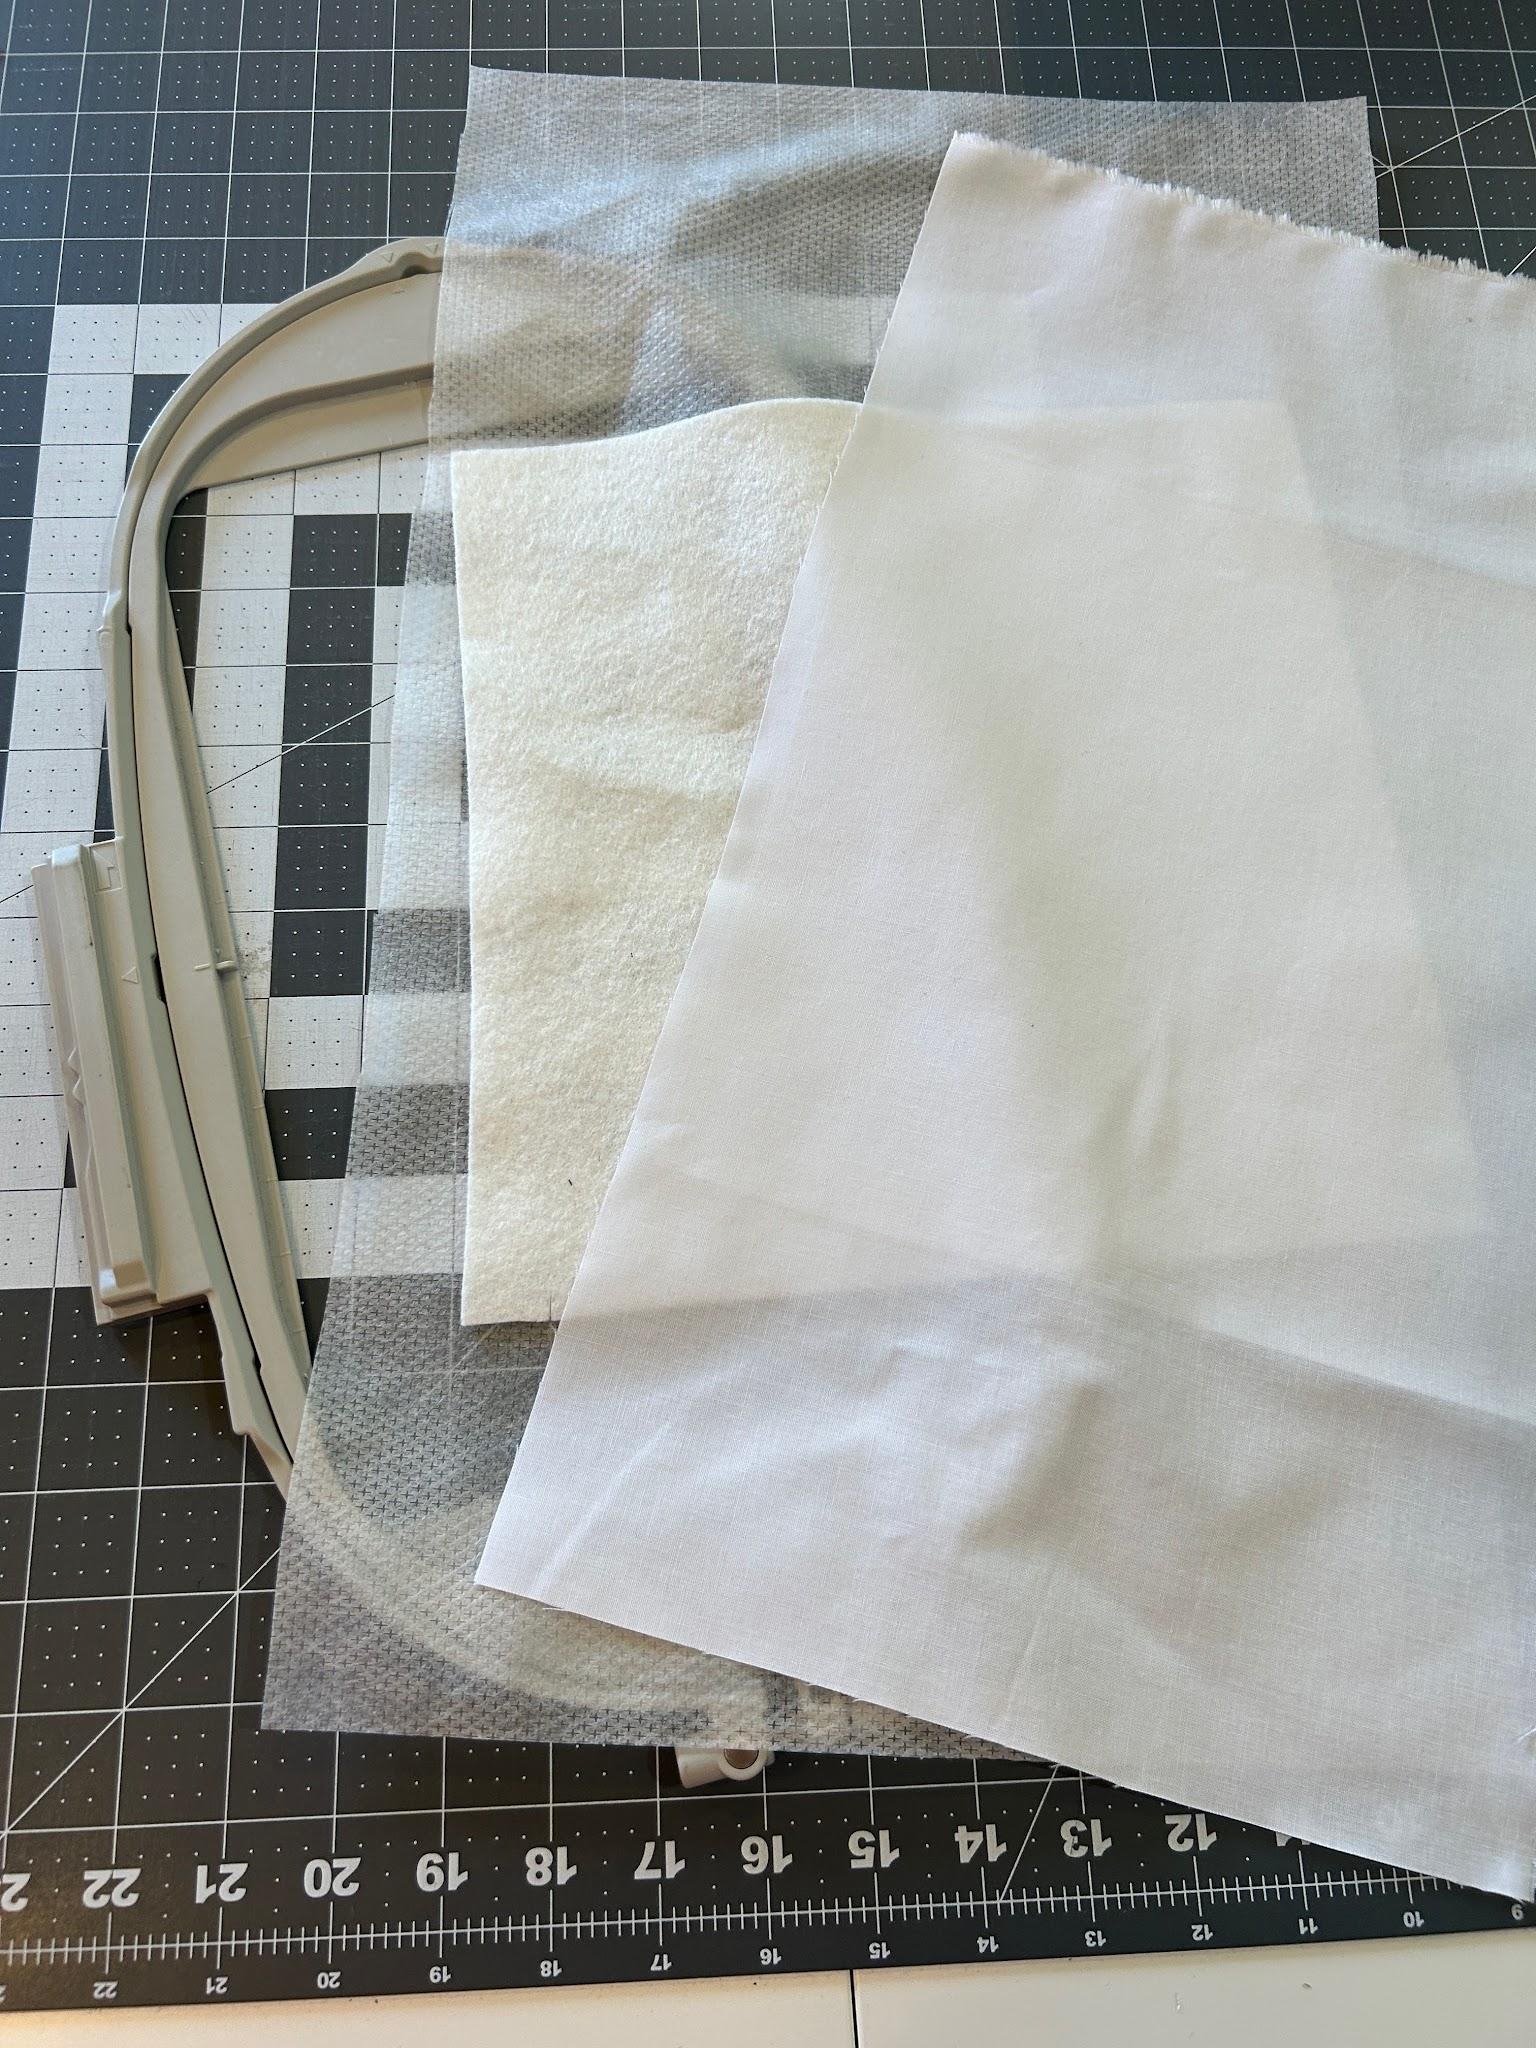
We will start by stitching out the main design for our pillow. The finished size that we will need for the middle of our pillow is a 9” square. I’m using a 6x10 hoop and will trim the fabric when I’m done. I find it easier to have extra fabric instead of trying to perfectly square up fabric in my hoop. I fused some fuseEZ to the back of my fabric to give it some extra stability as I stitched.
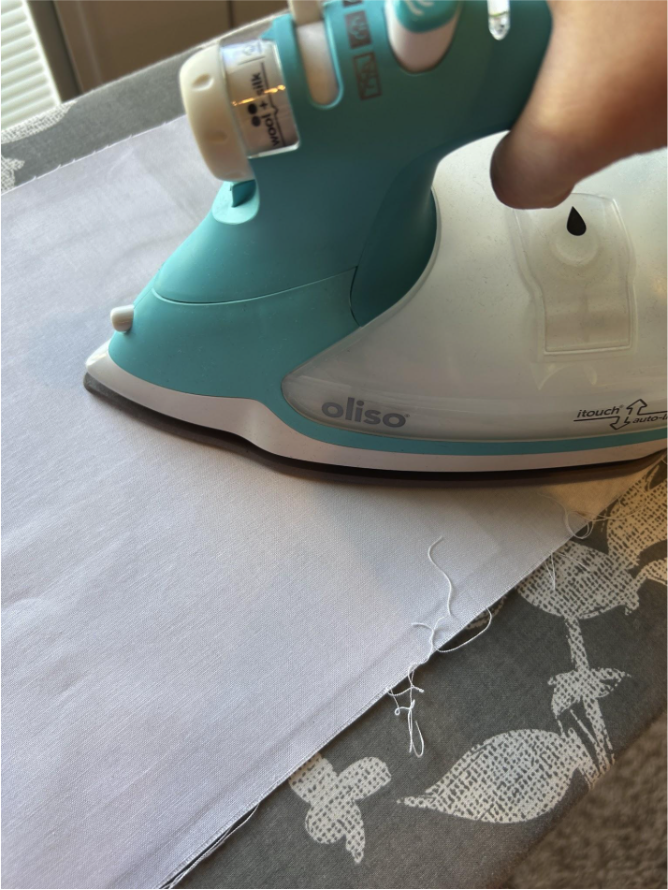
We are going to hoop our fabric with magicMESH. We want to put a piece of loftySOFT between the stabilizer and our fabric.
Once it’s hooped, take it to the machine.
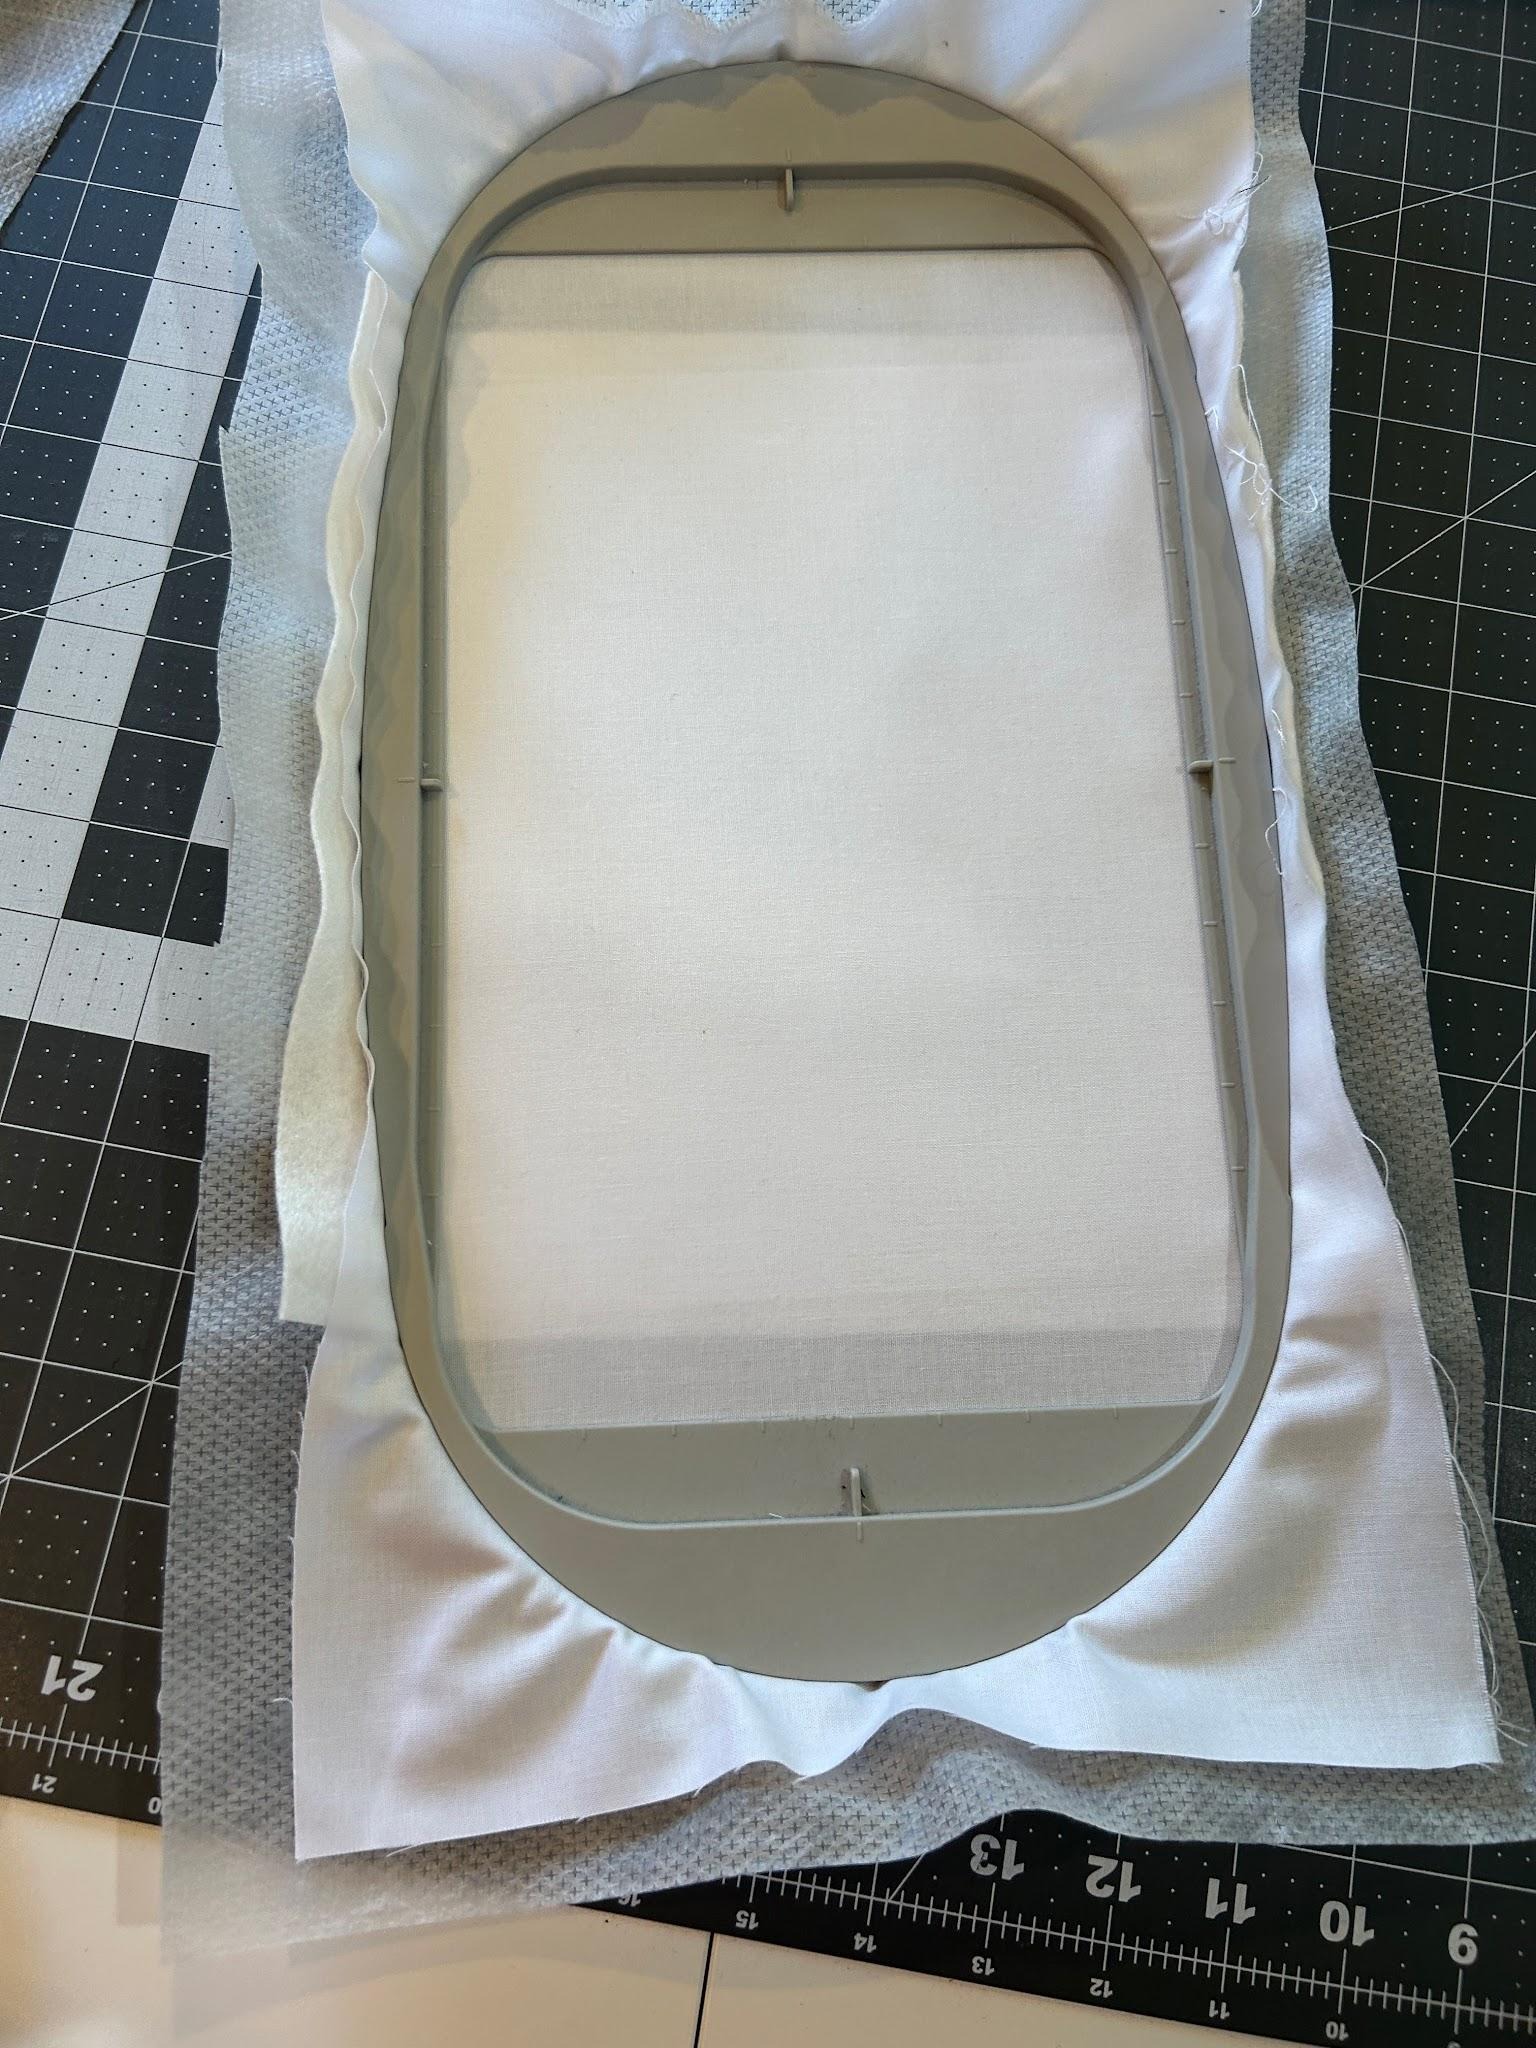
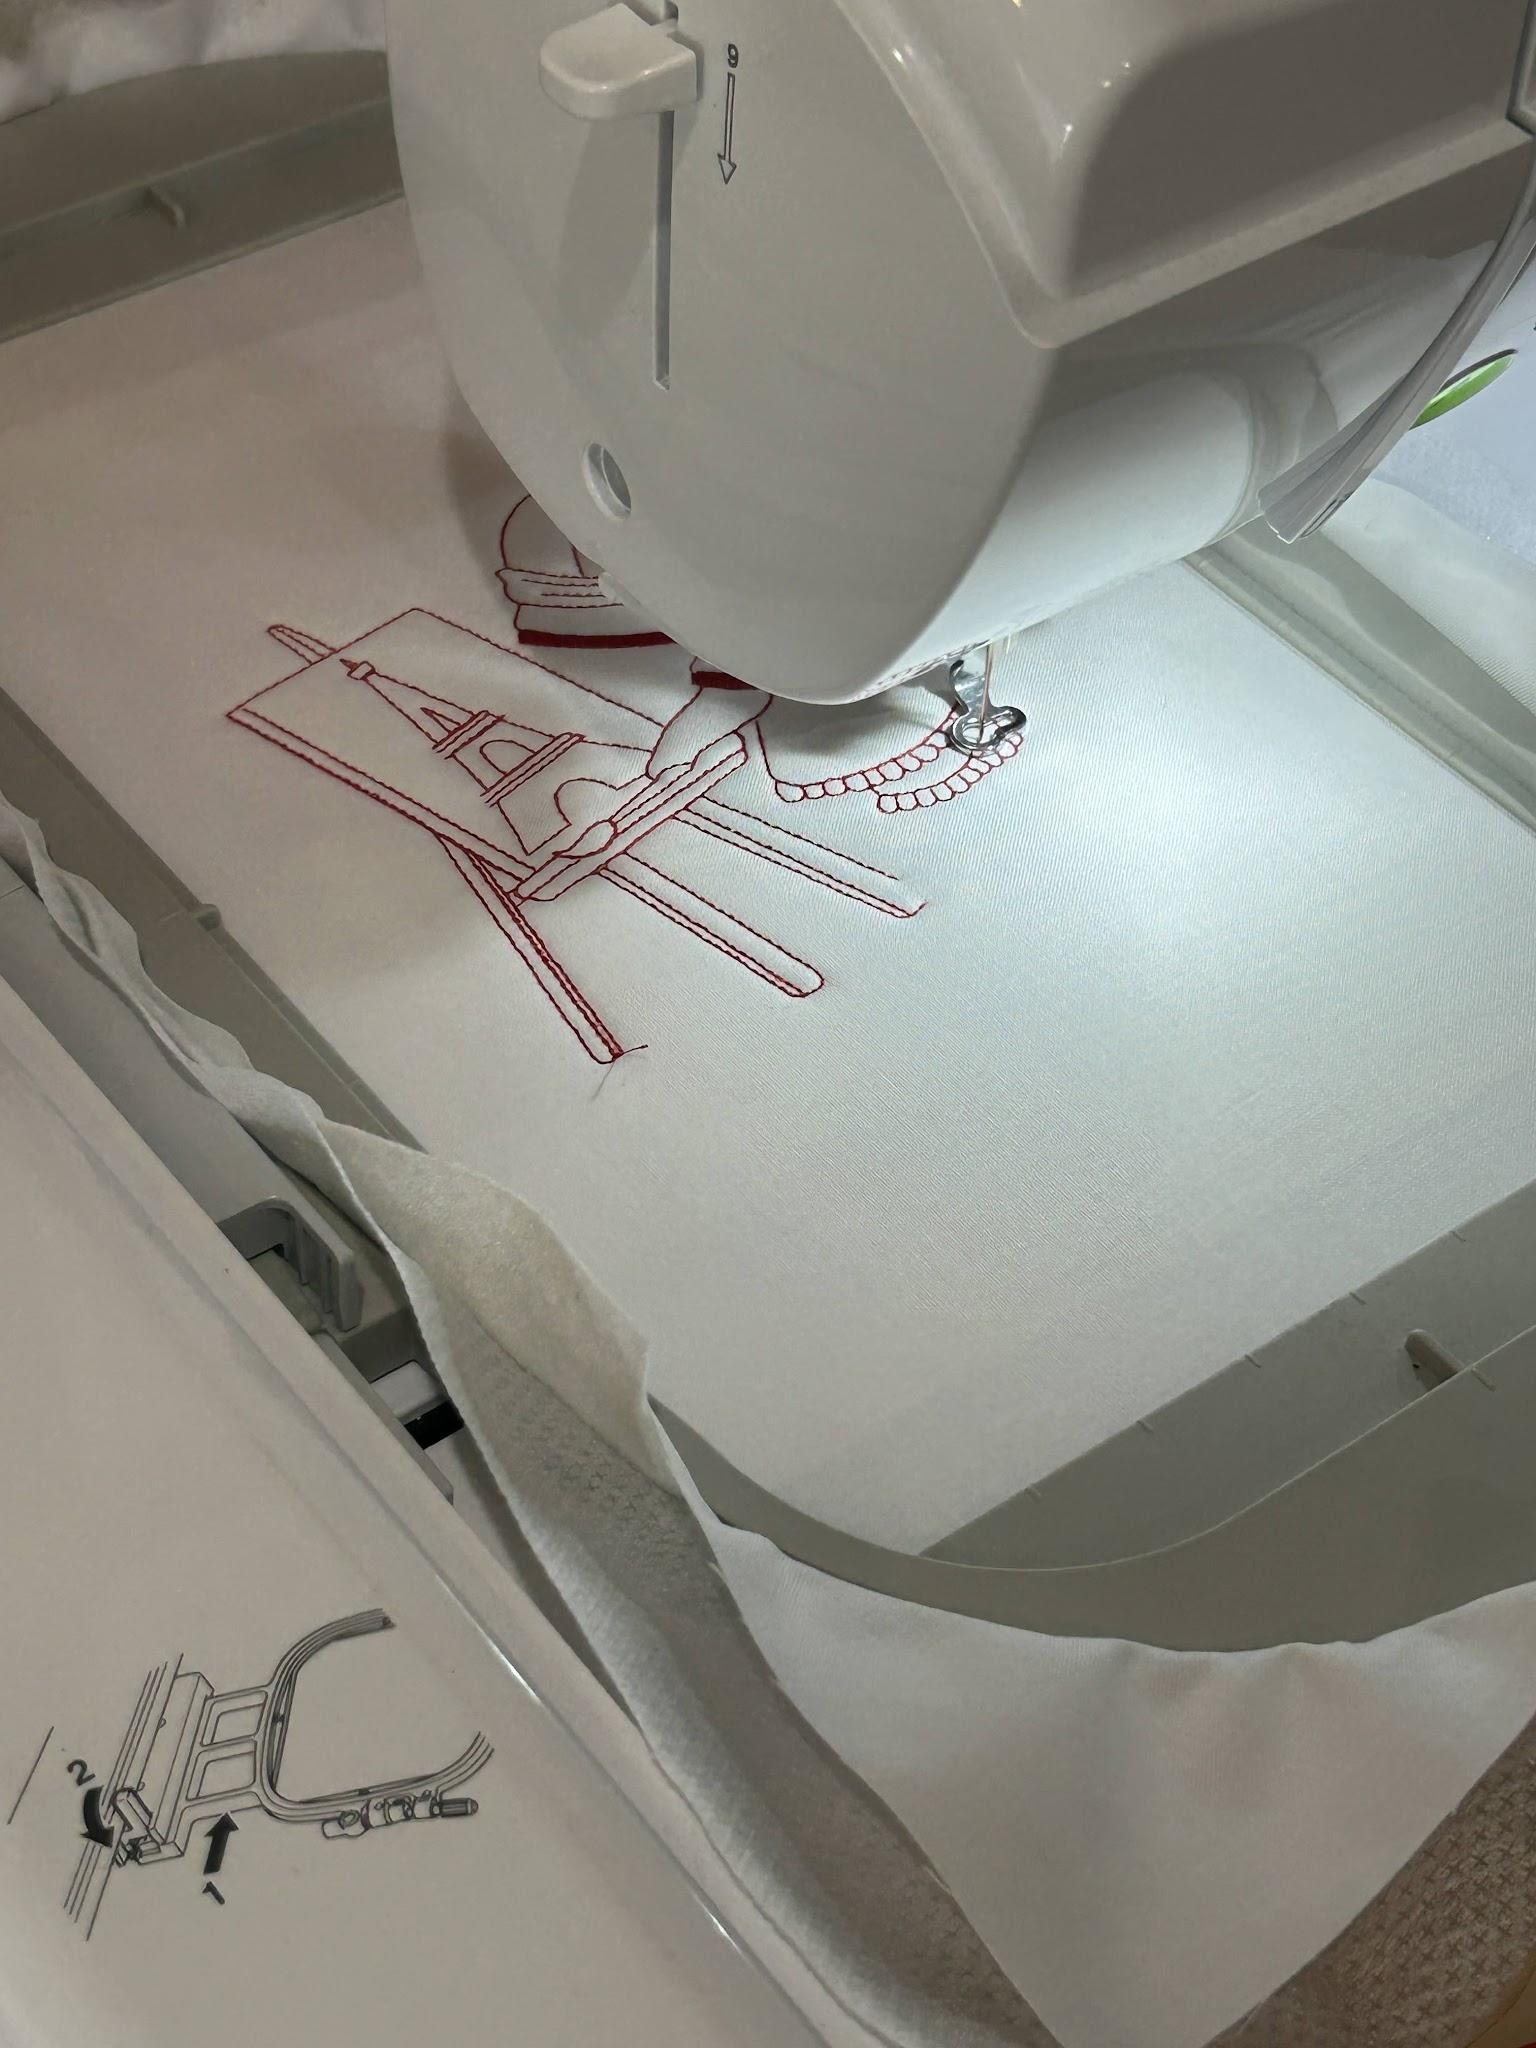
Stitch out your design. I chose a one-color stitch design, but you can use a sketch design, one with a bunch of color changes, or even applique.
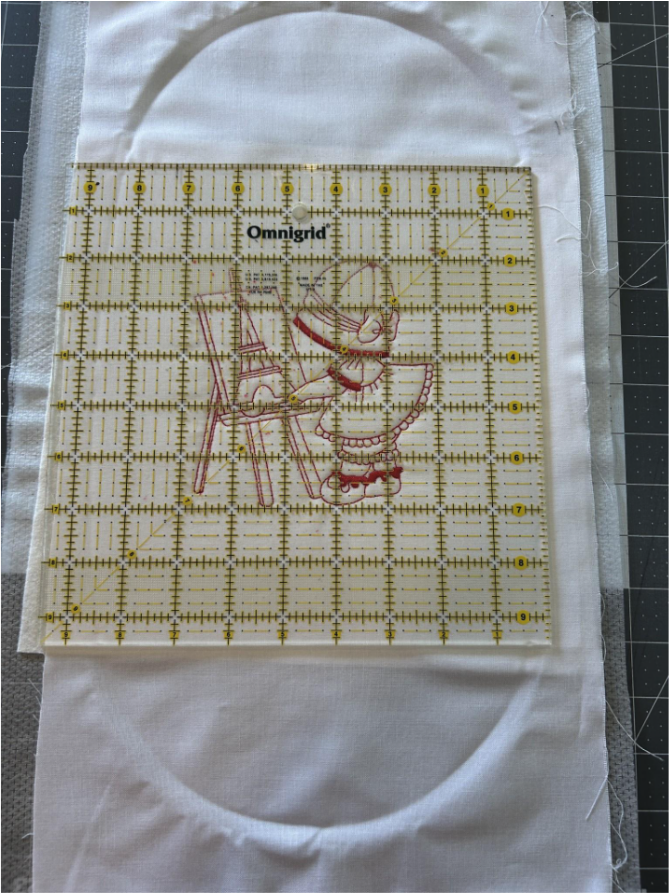
When it’s done you can remove it from the hoop. Find the center of your design. I find using a square ruler helps me center the design and trim the edges.
Cut 4½” from the center on each side to give you a 9” square. This will finish as an 8” square that we can see; the extra ½” on all the sides will be our seam allowance.
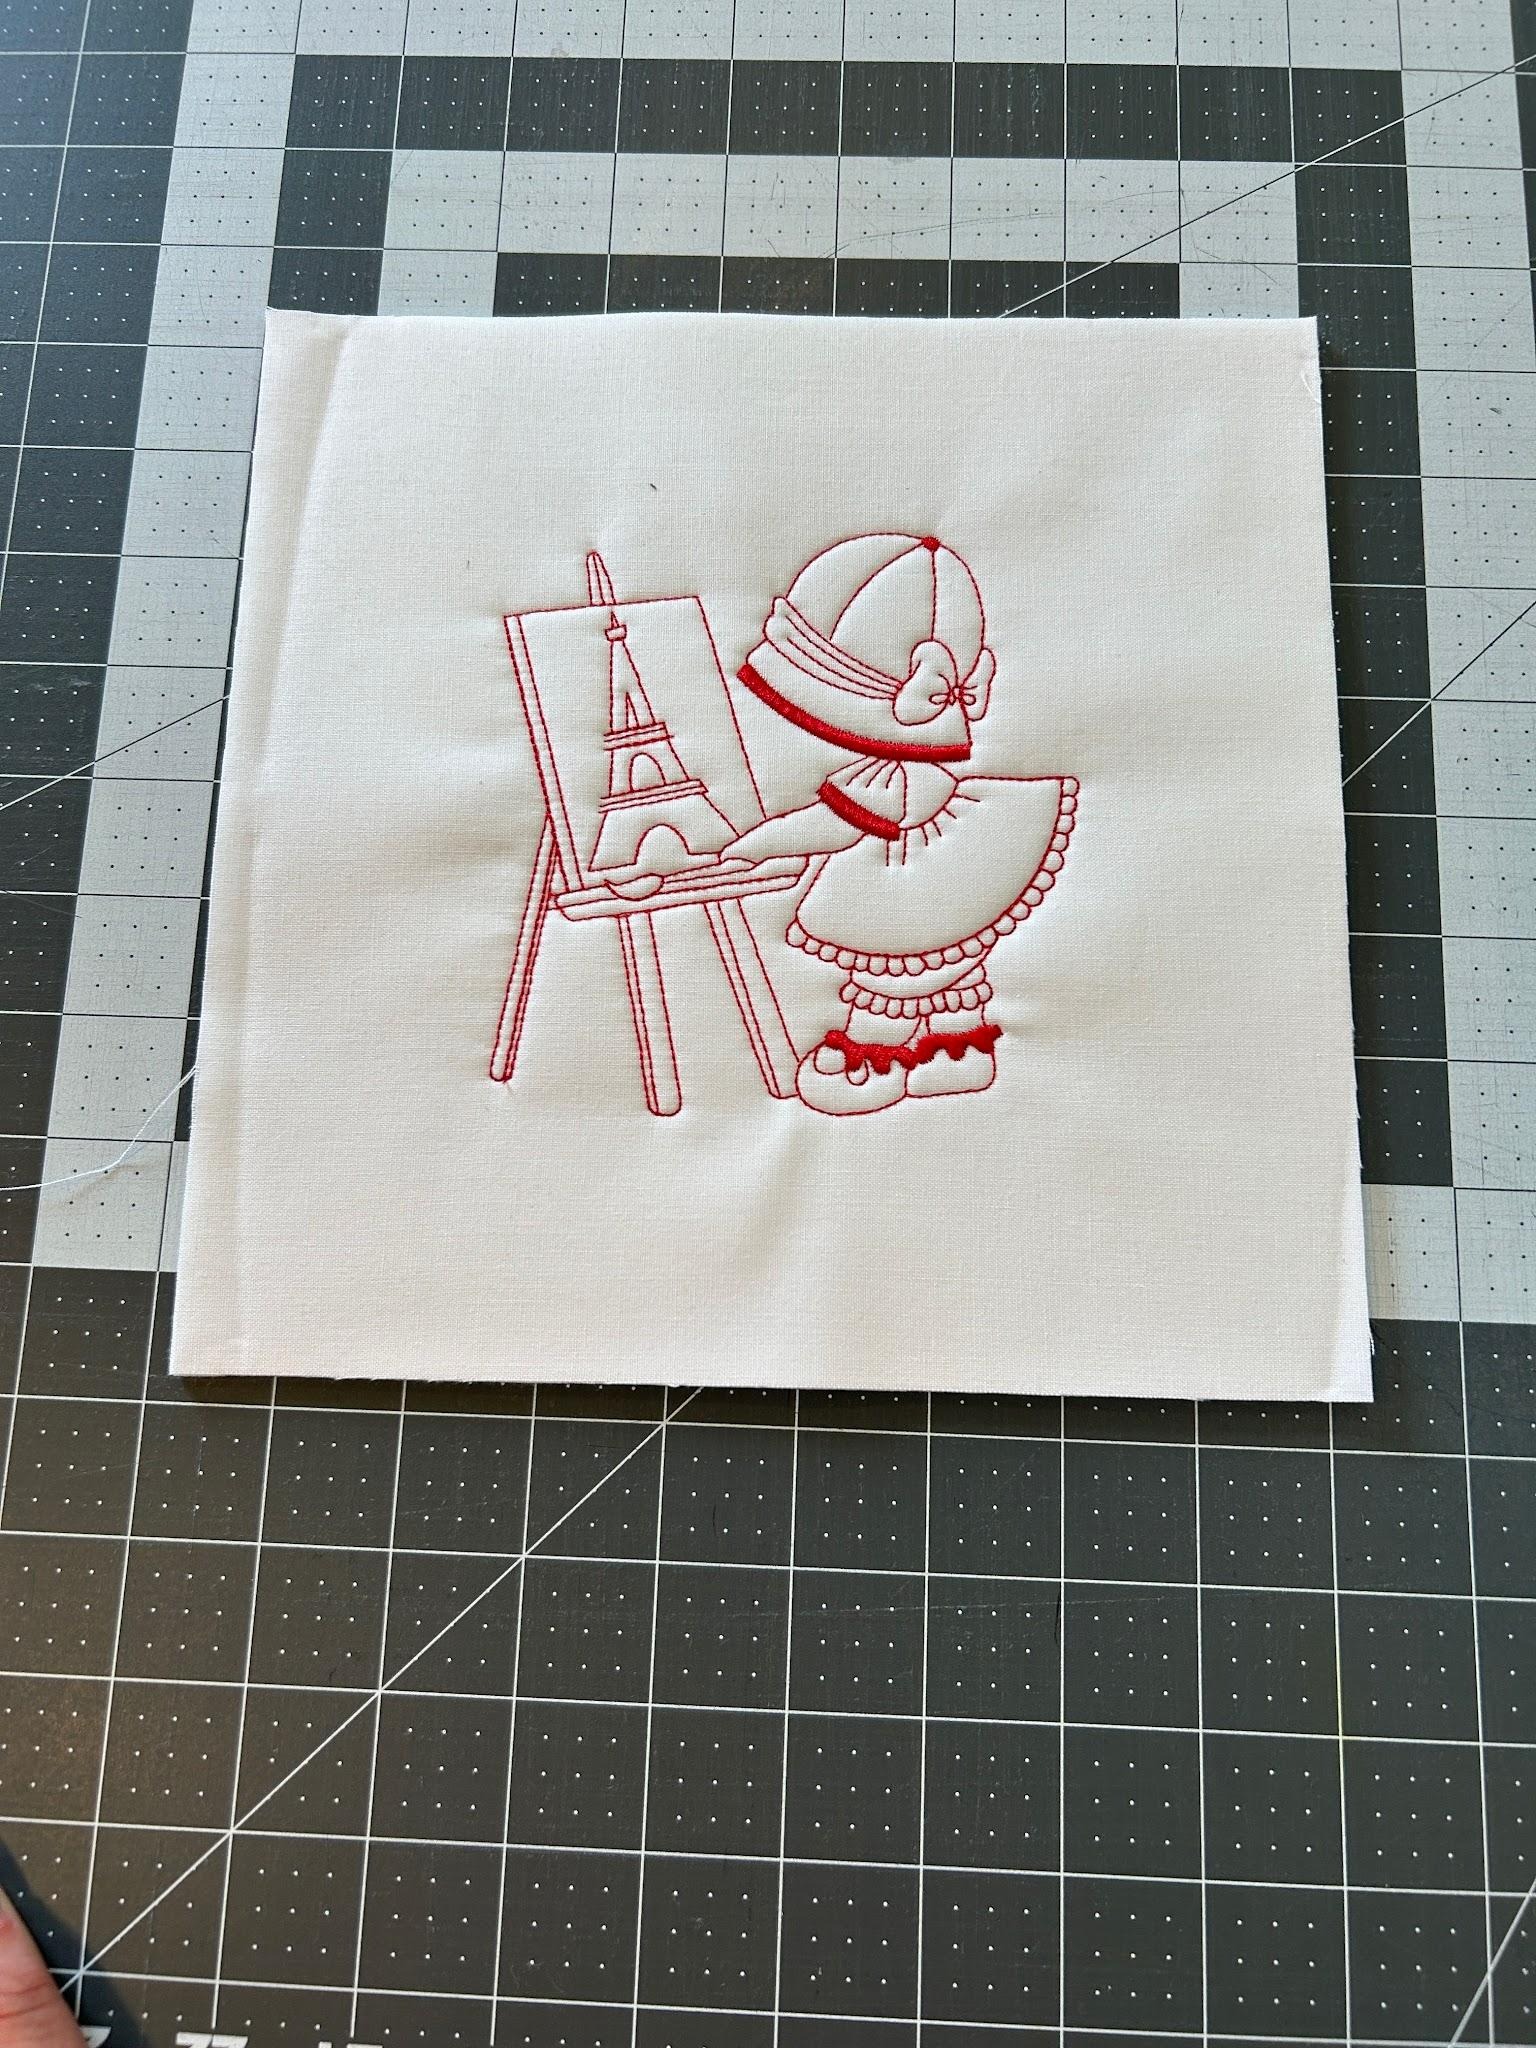
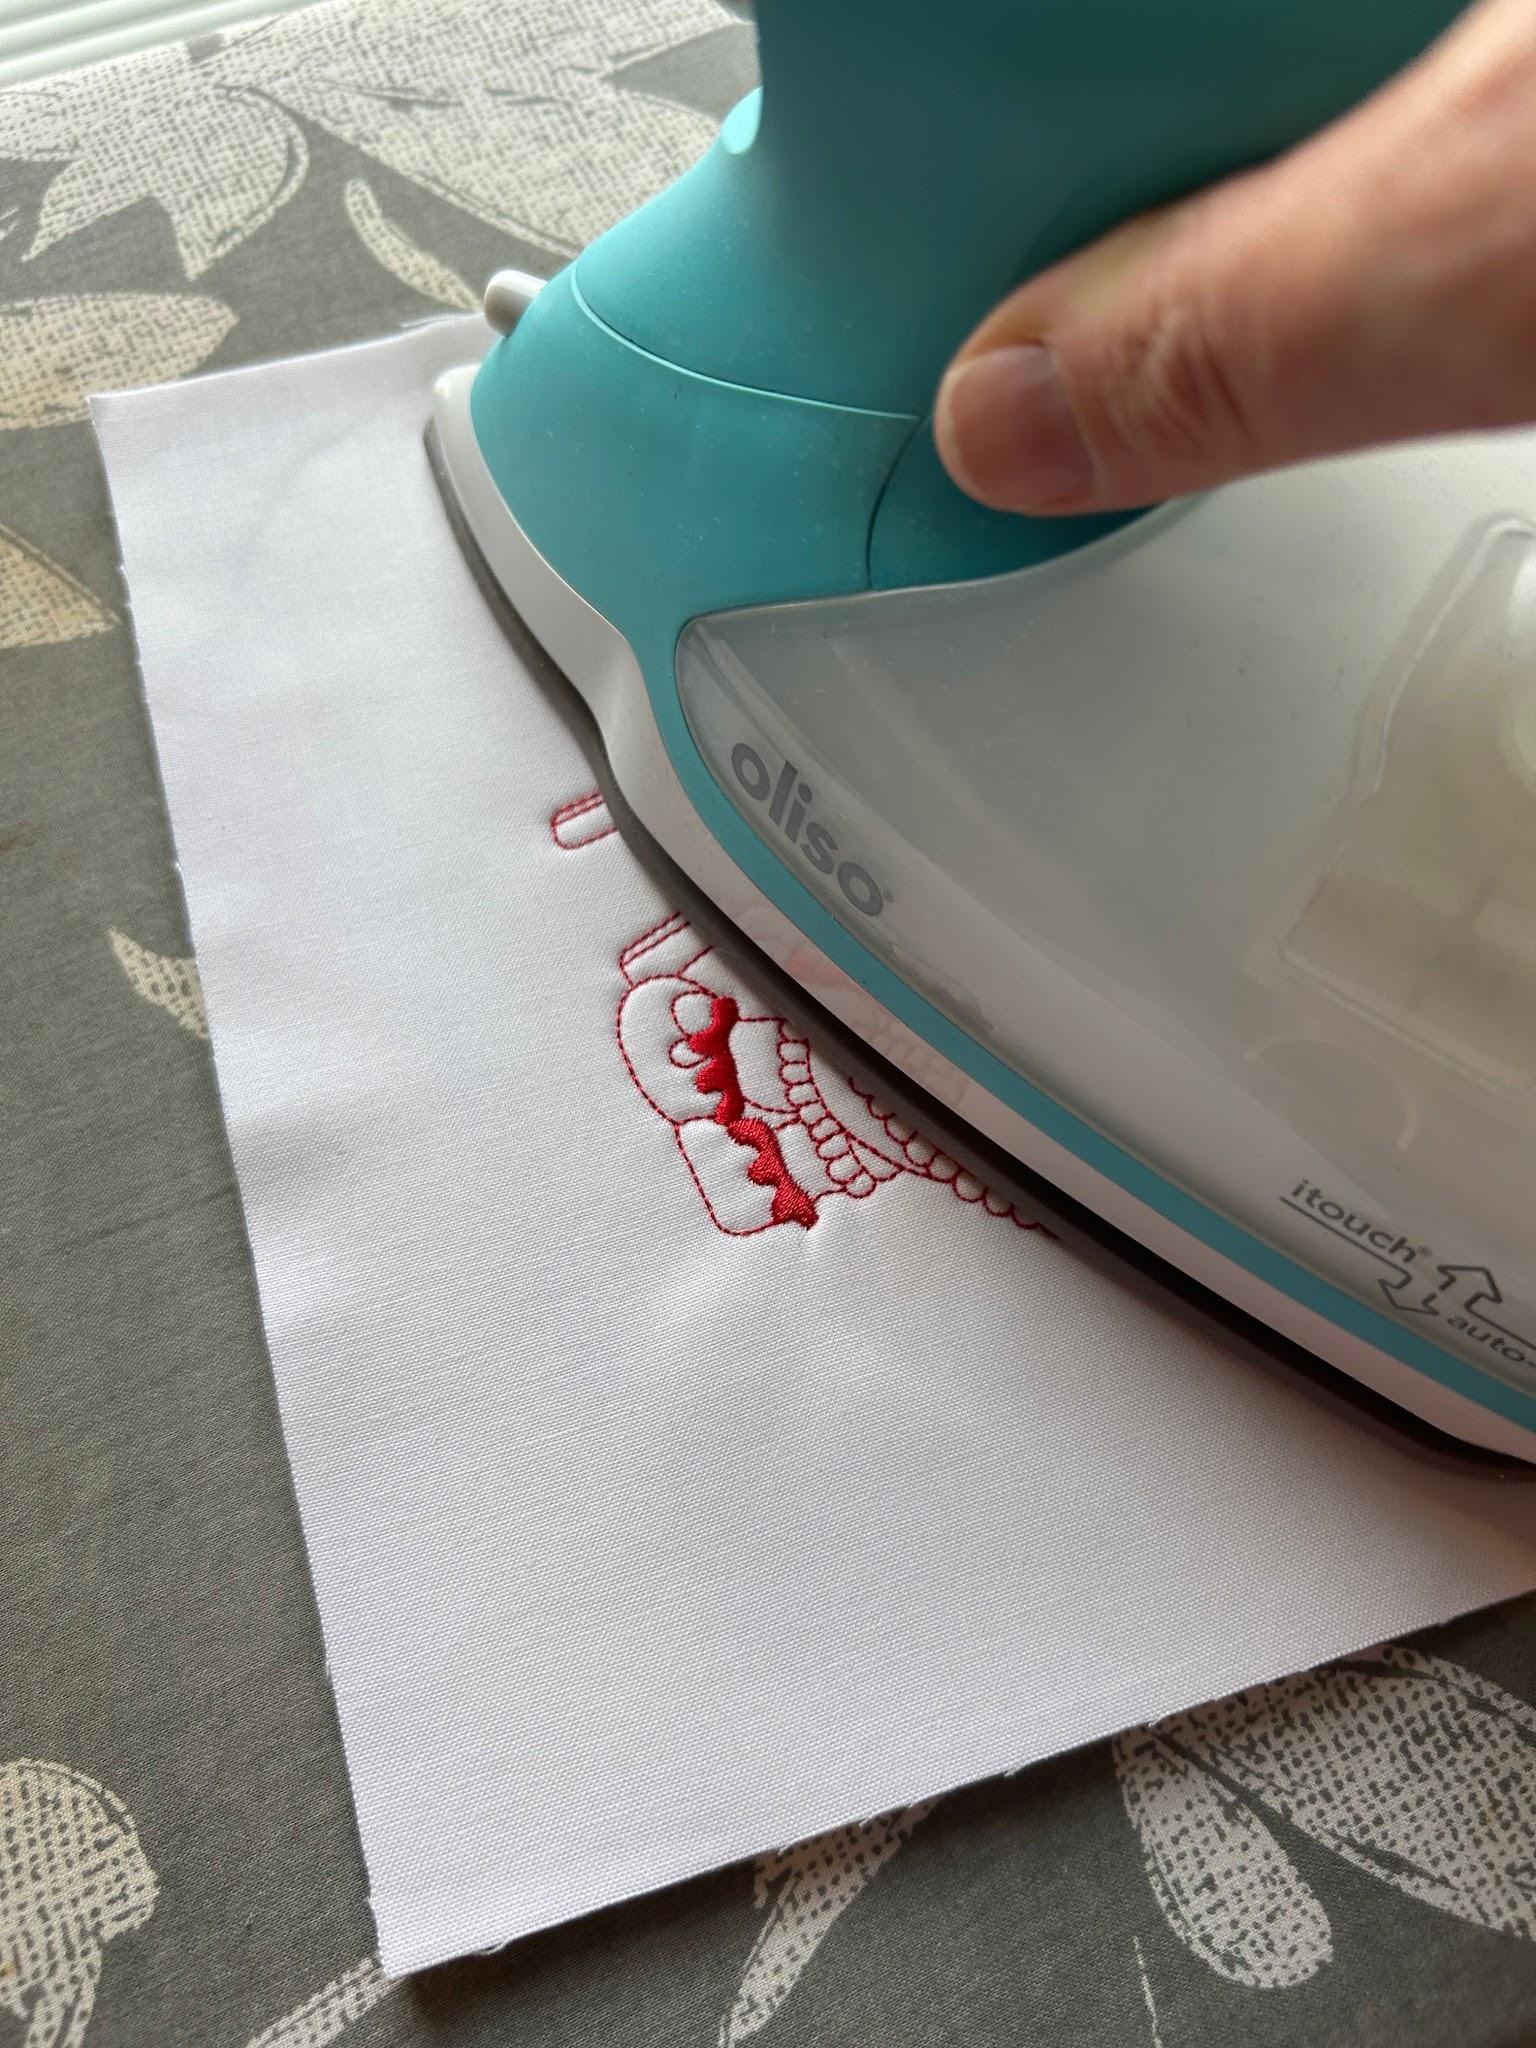
Press your design so it’s ready for sewing.
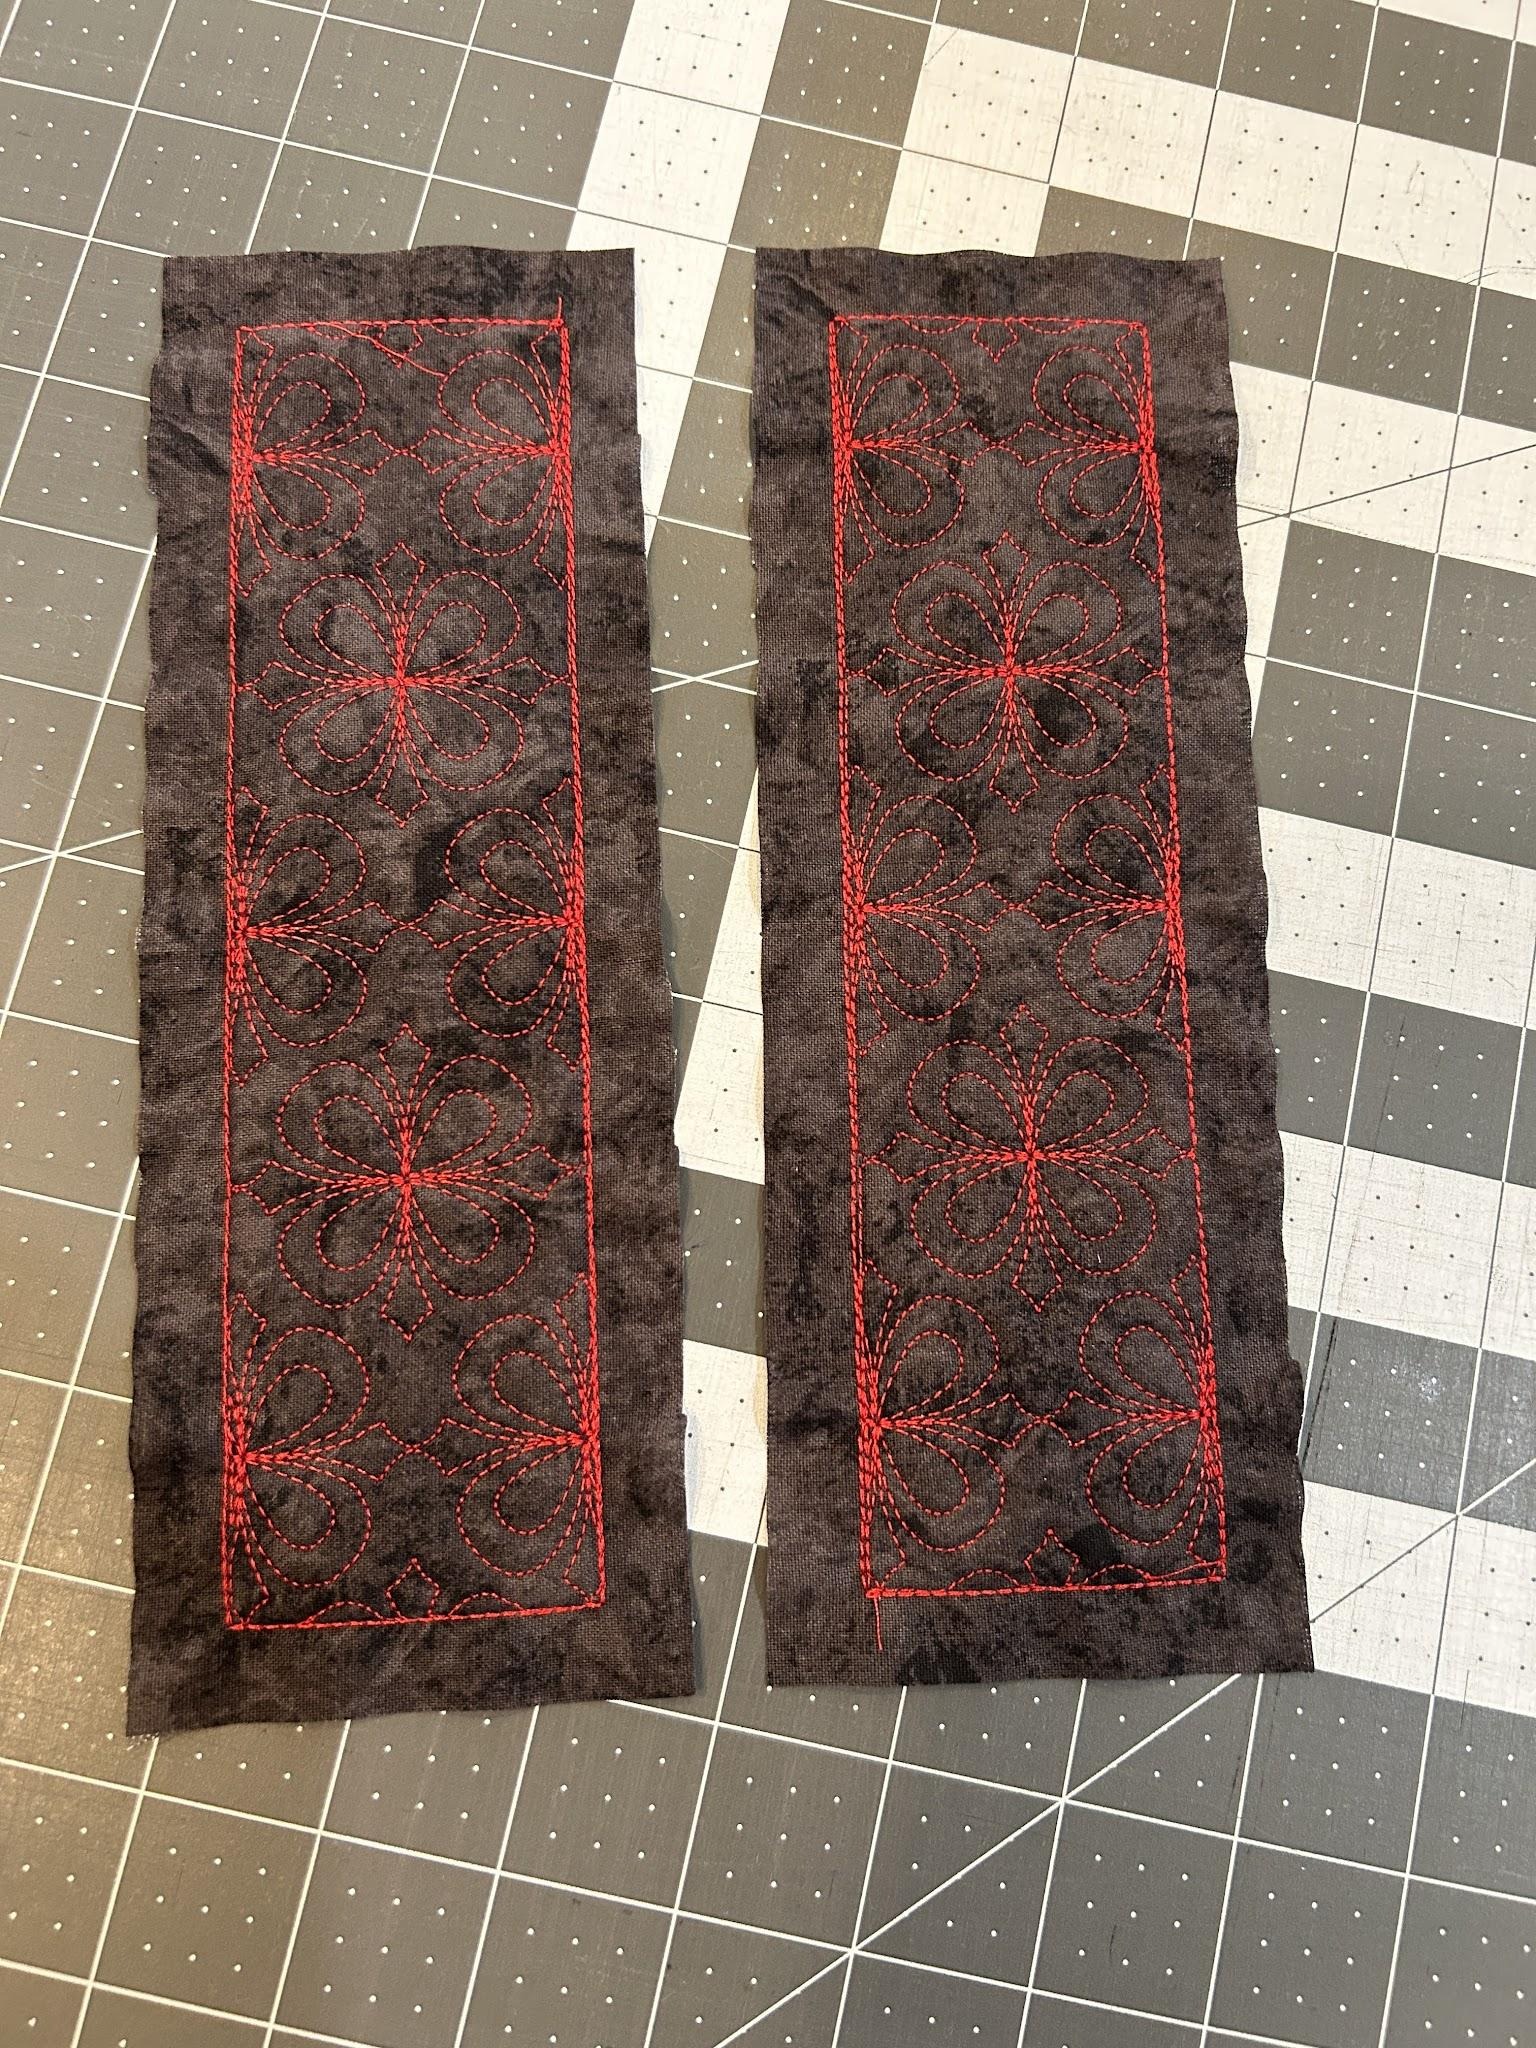
Now we will stitch out the side panels for the front of our pillow. Our pillow is 12” and the center is 8” so we will want 2” strips on each side. Using the Quilting Backdrops designs is an easy way to complete our pillow. We can select the 2” x 8” and the 2” x 12” designs and they will finish our pillow top. I’ll walk you through the steps here but you can check out the Quilt-As-You-Go Project Guide: Mini Quilt Using Quilting Backdrops blog post for a more in-depth look.
Load your design to your machine. The design I’m using has a vertical and a horizontal configuration so if yours does too, make sure that your 2” x 8” designs for the sides are the vertical ones, and the 2” x 12” designs for the top and bottom are the horizontal ones.
Hoop magicMESH stabilizer and take it to your embroidery machine where you will stitch out a placement stitch.
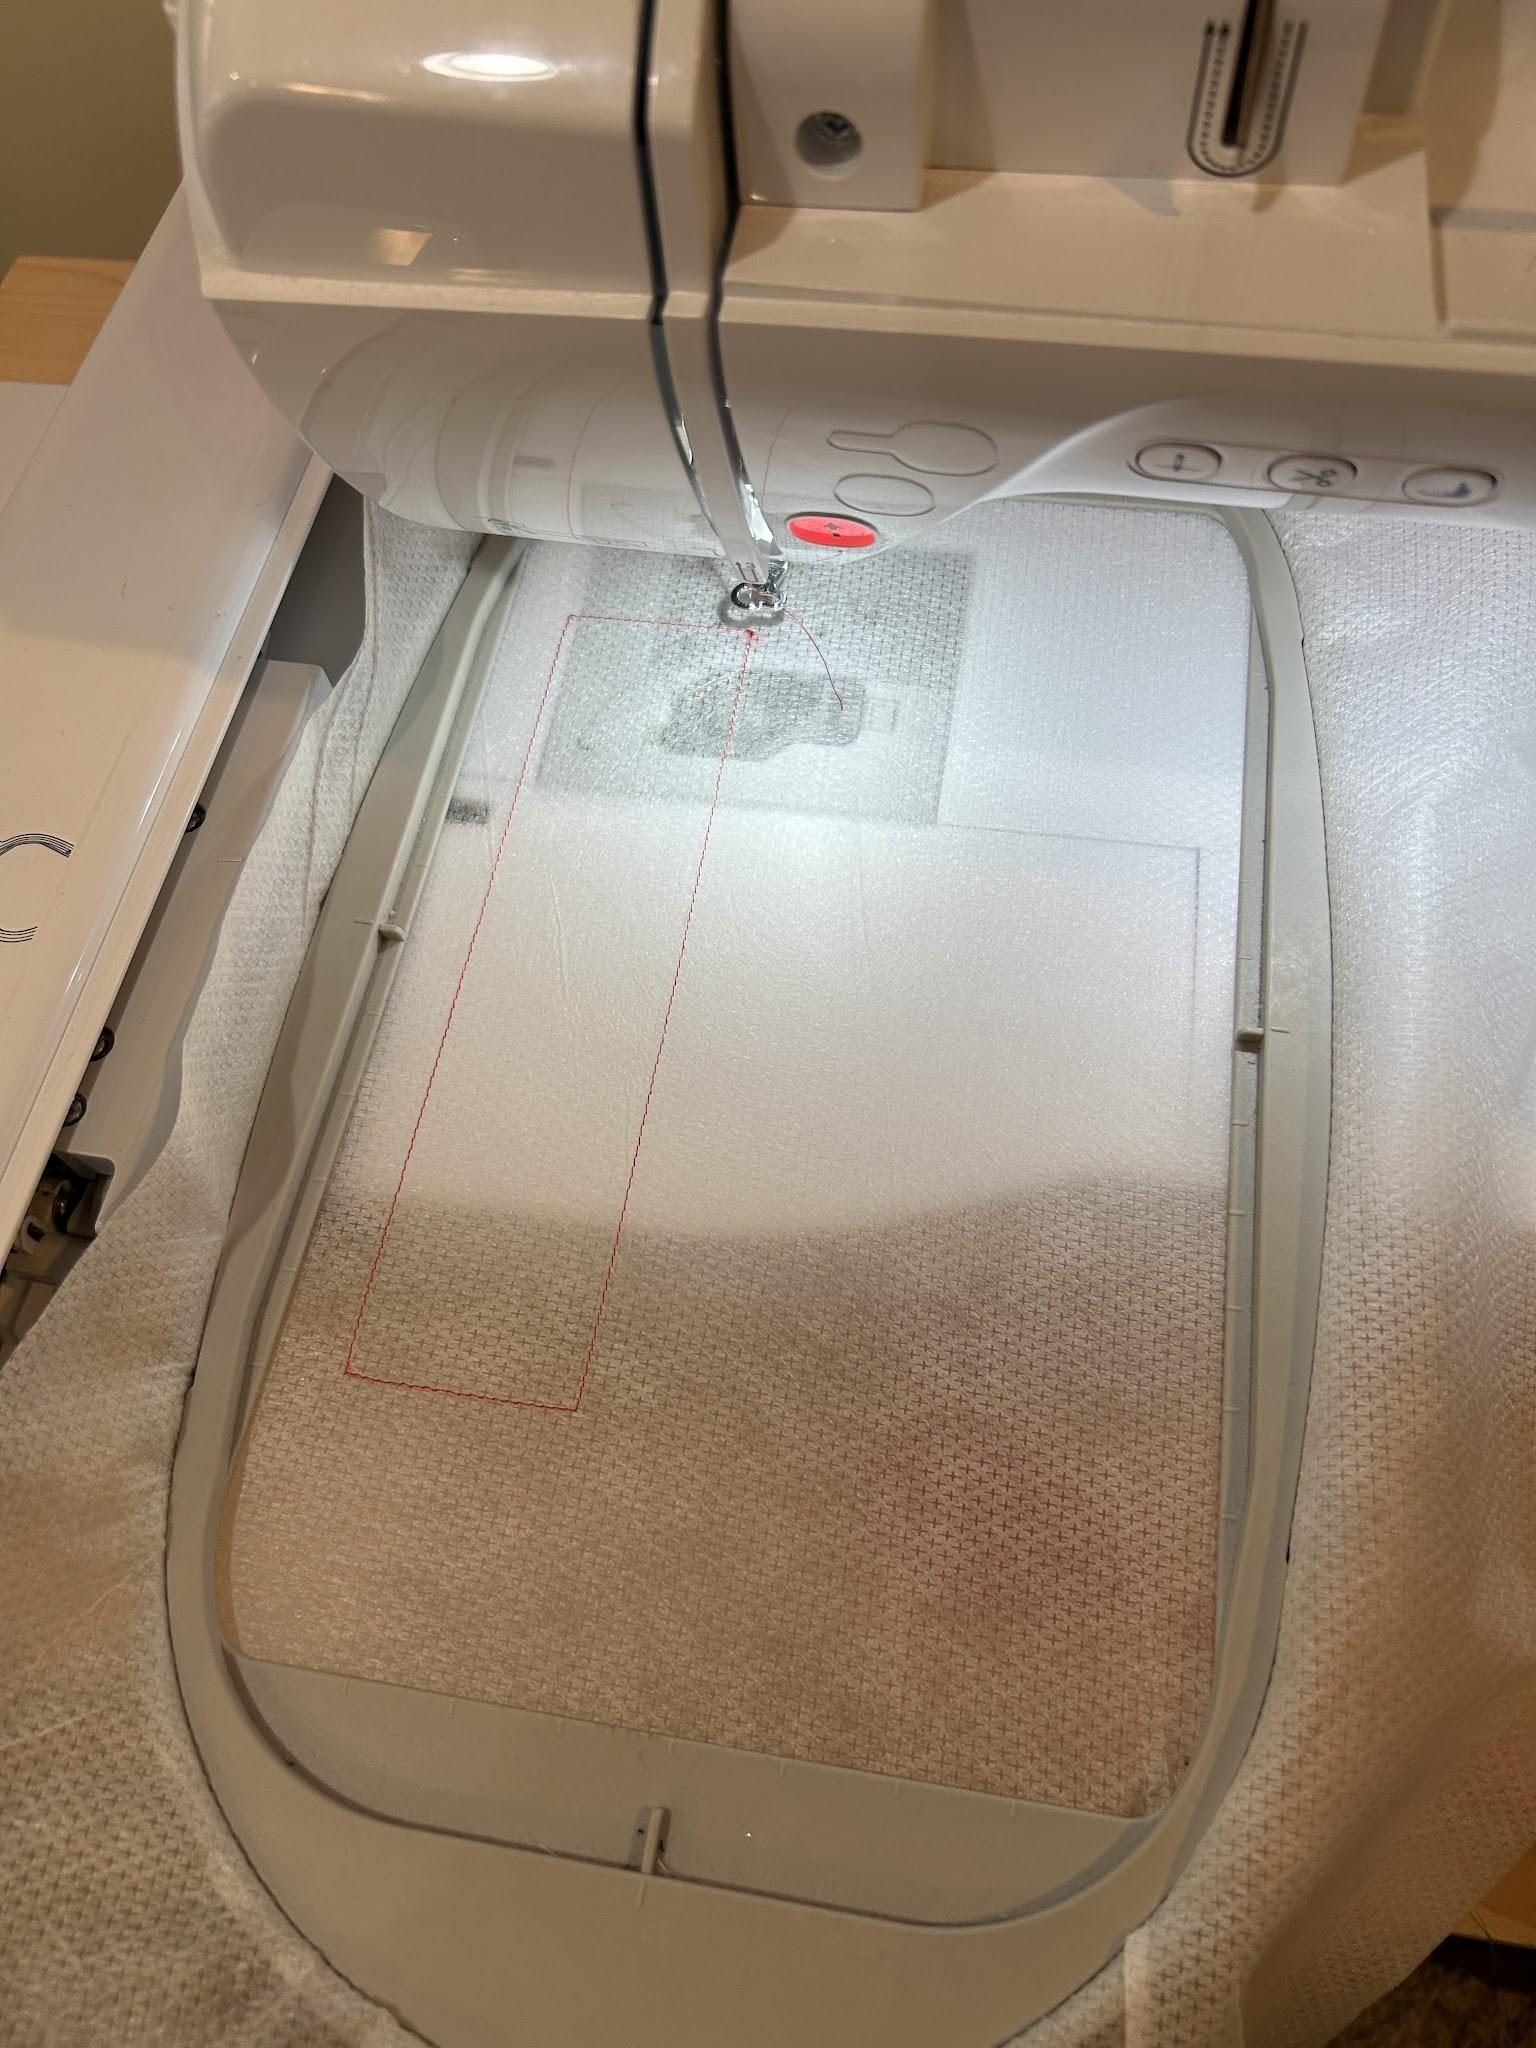
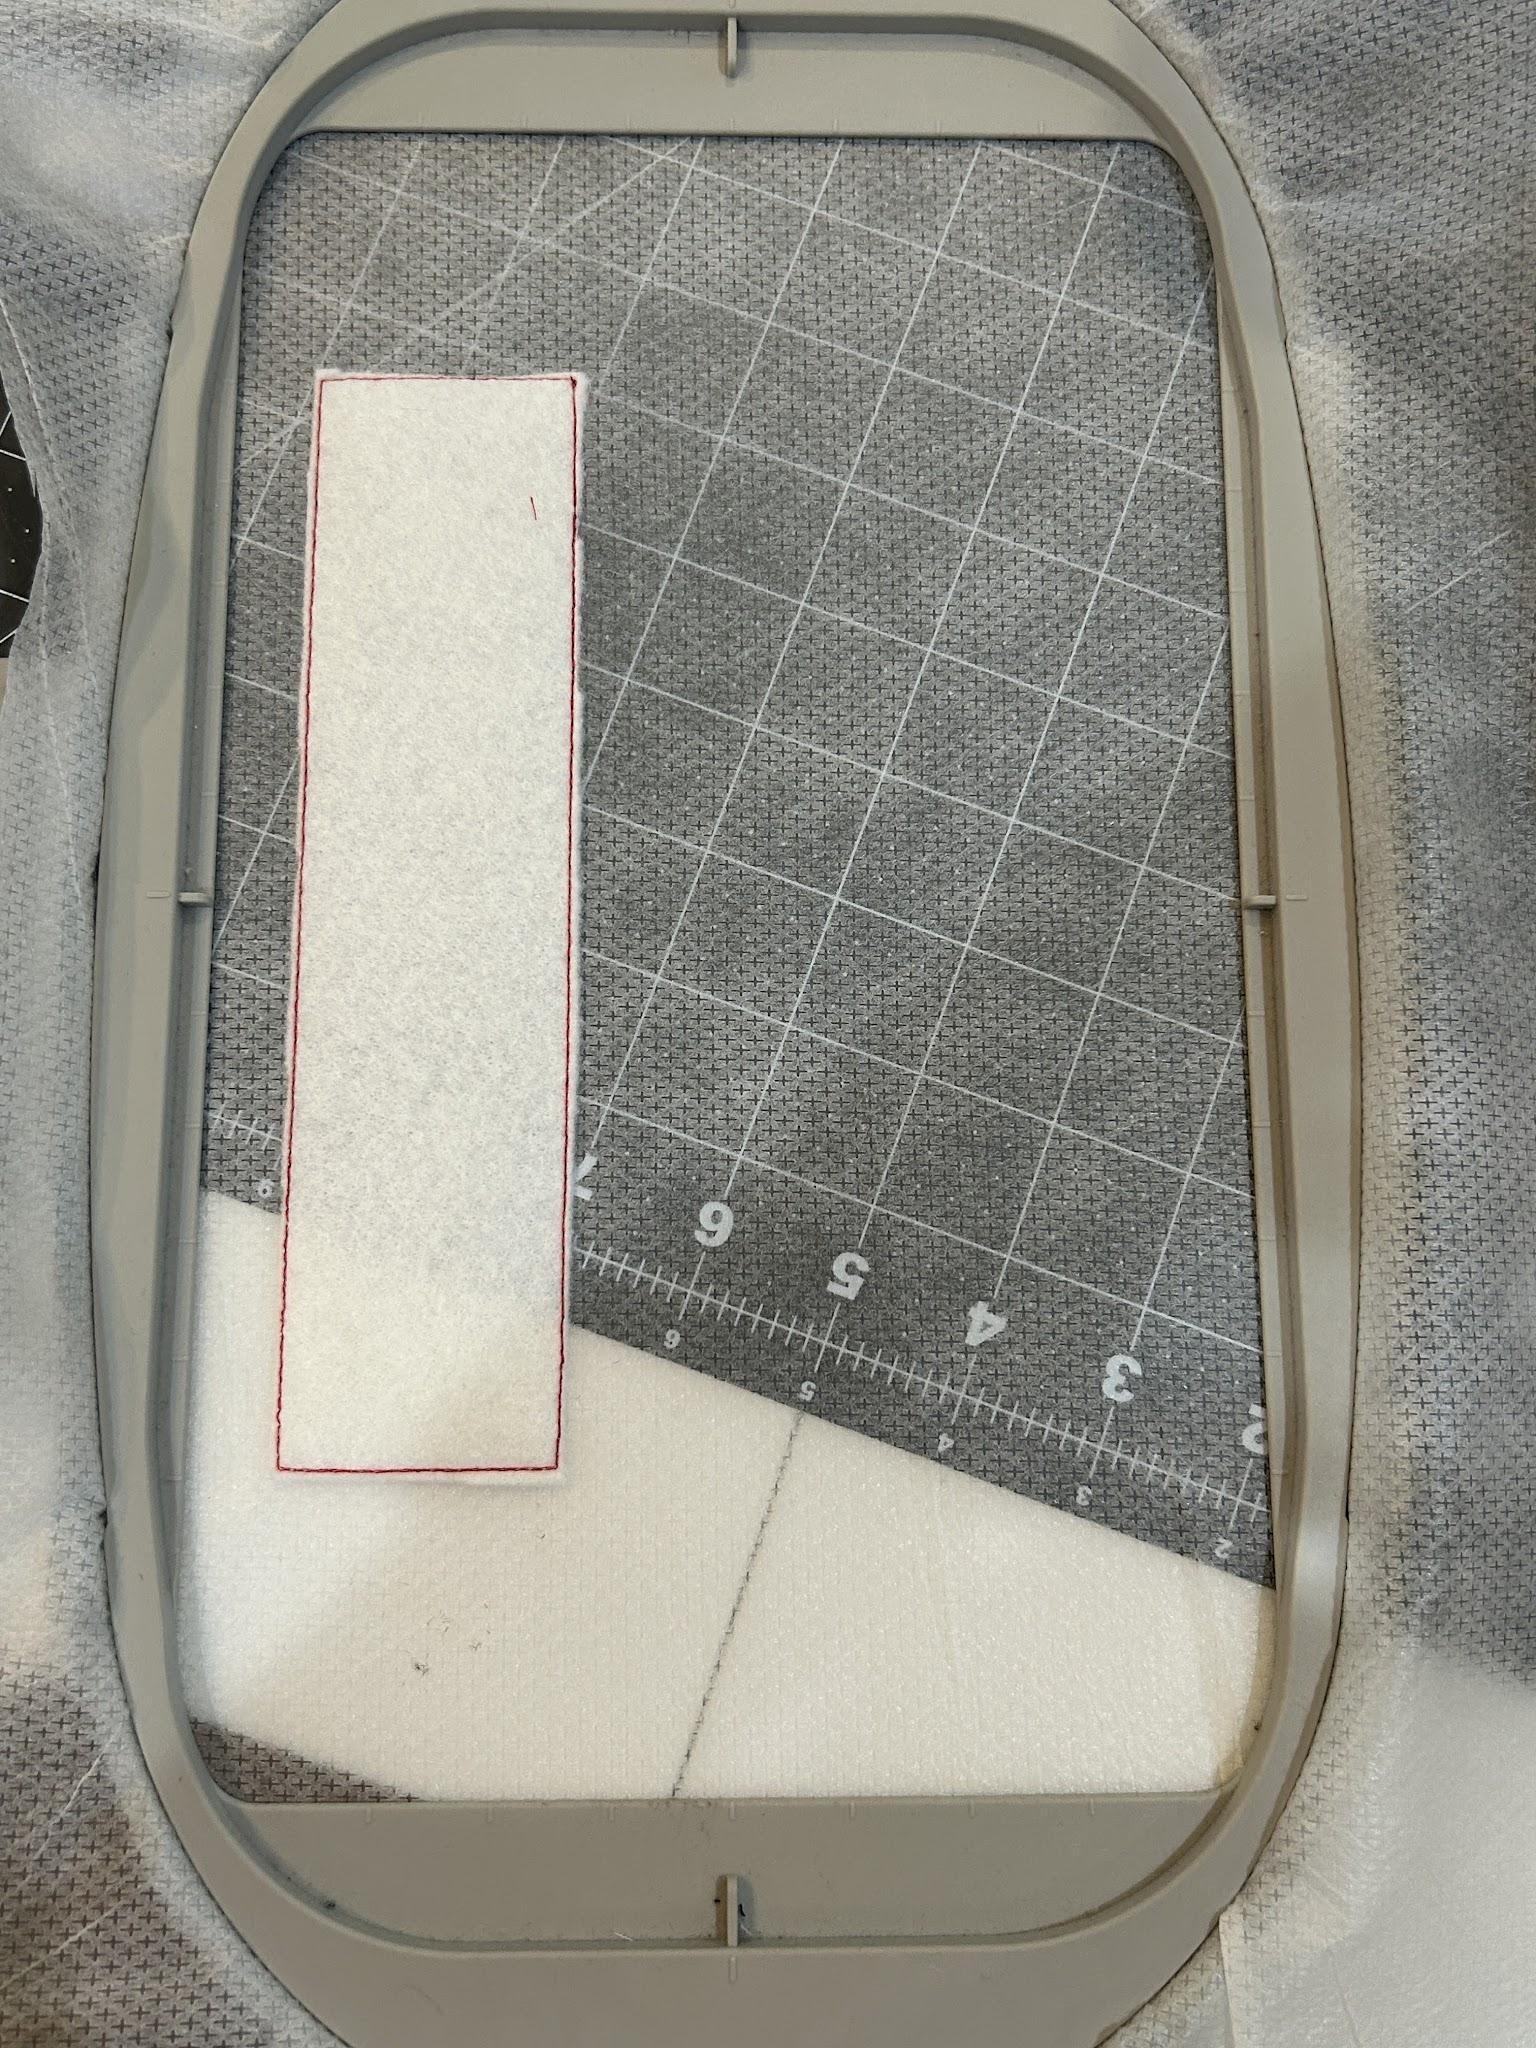
Cover the placement stitches with batting, stitch the tack-down stitch, and trim close to the stitches.
Cover the batting with the fabric. Make sure you leave at least ½” of fabric around each of the edges.
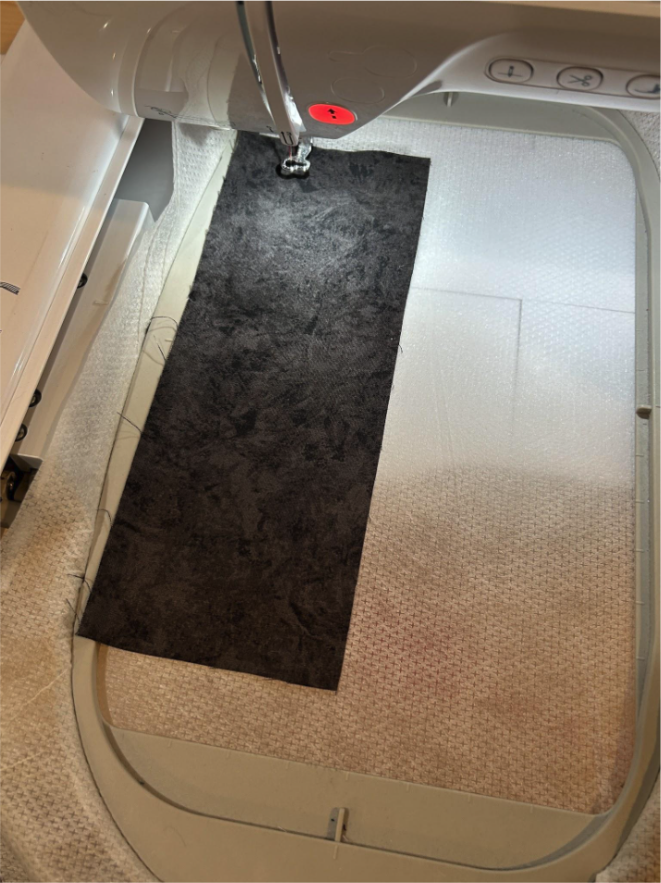
Stitch the tack-down stitches.
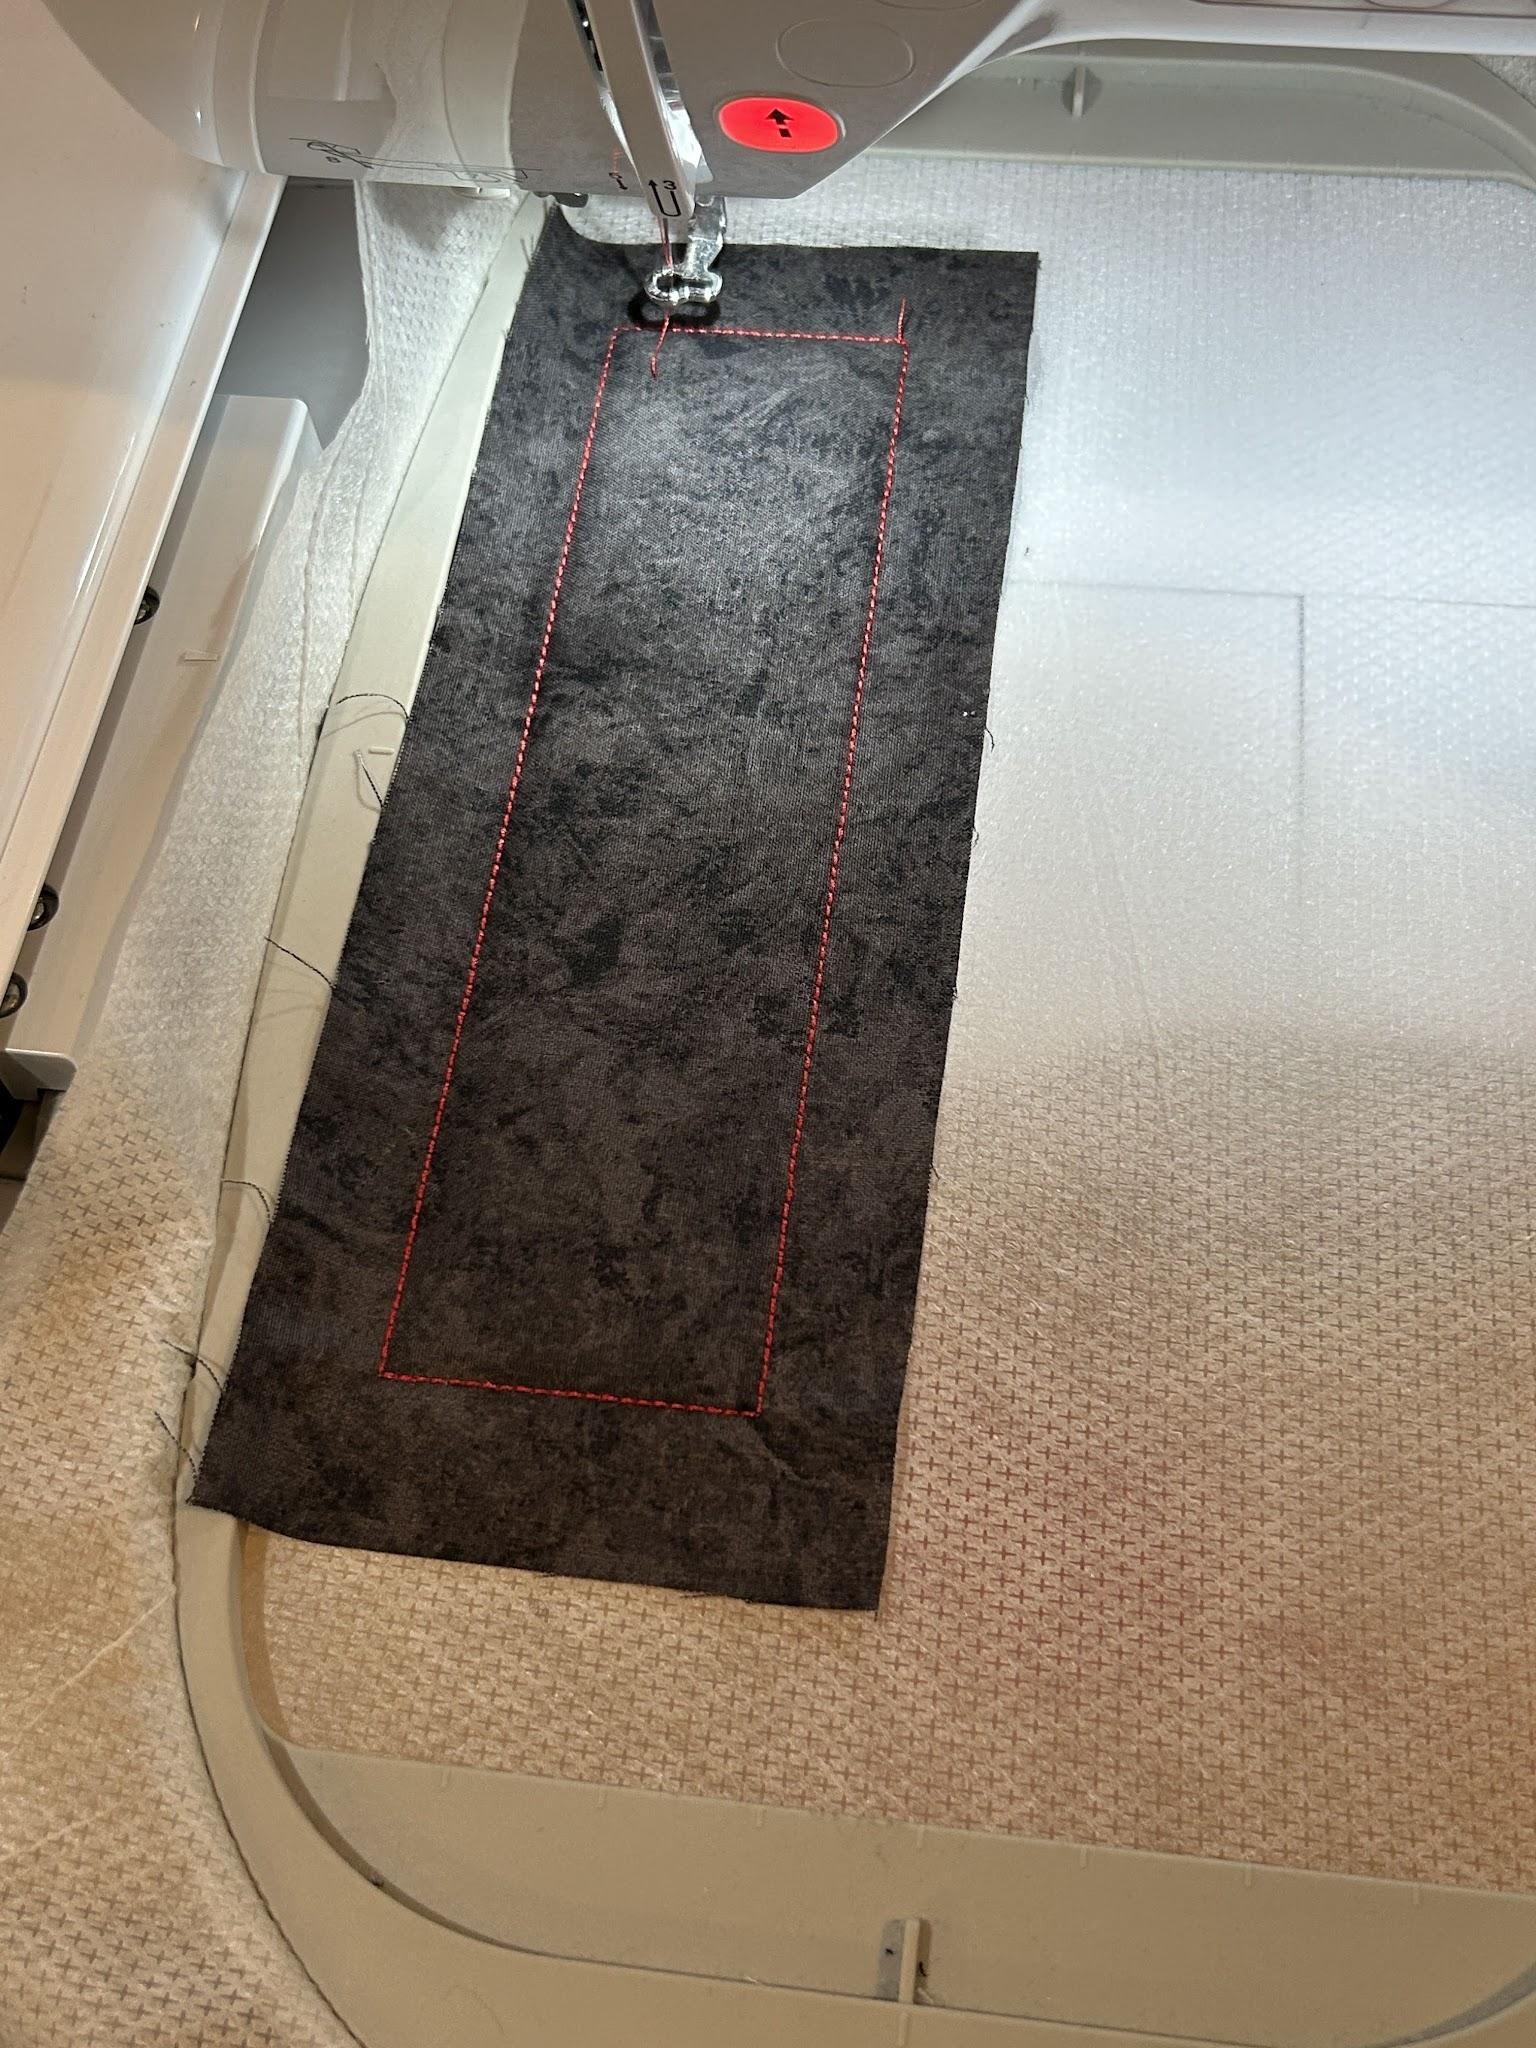
Then you will stitch the design stitches. If there is room in your hoop you can do the other side in the same hoop.
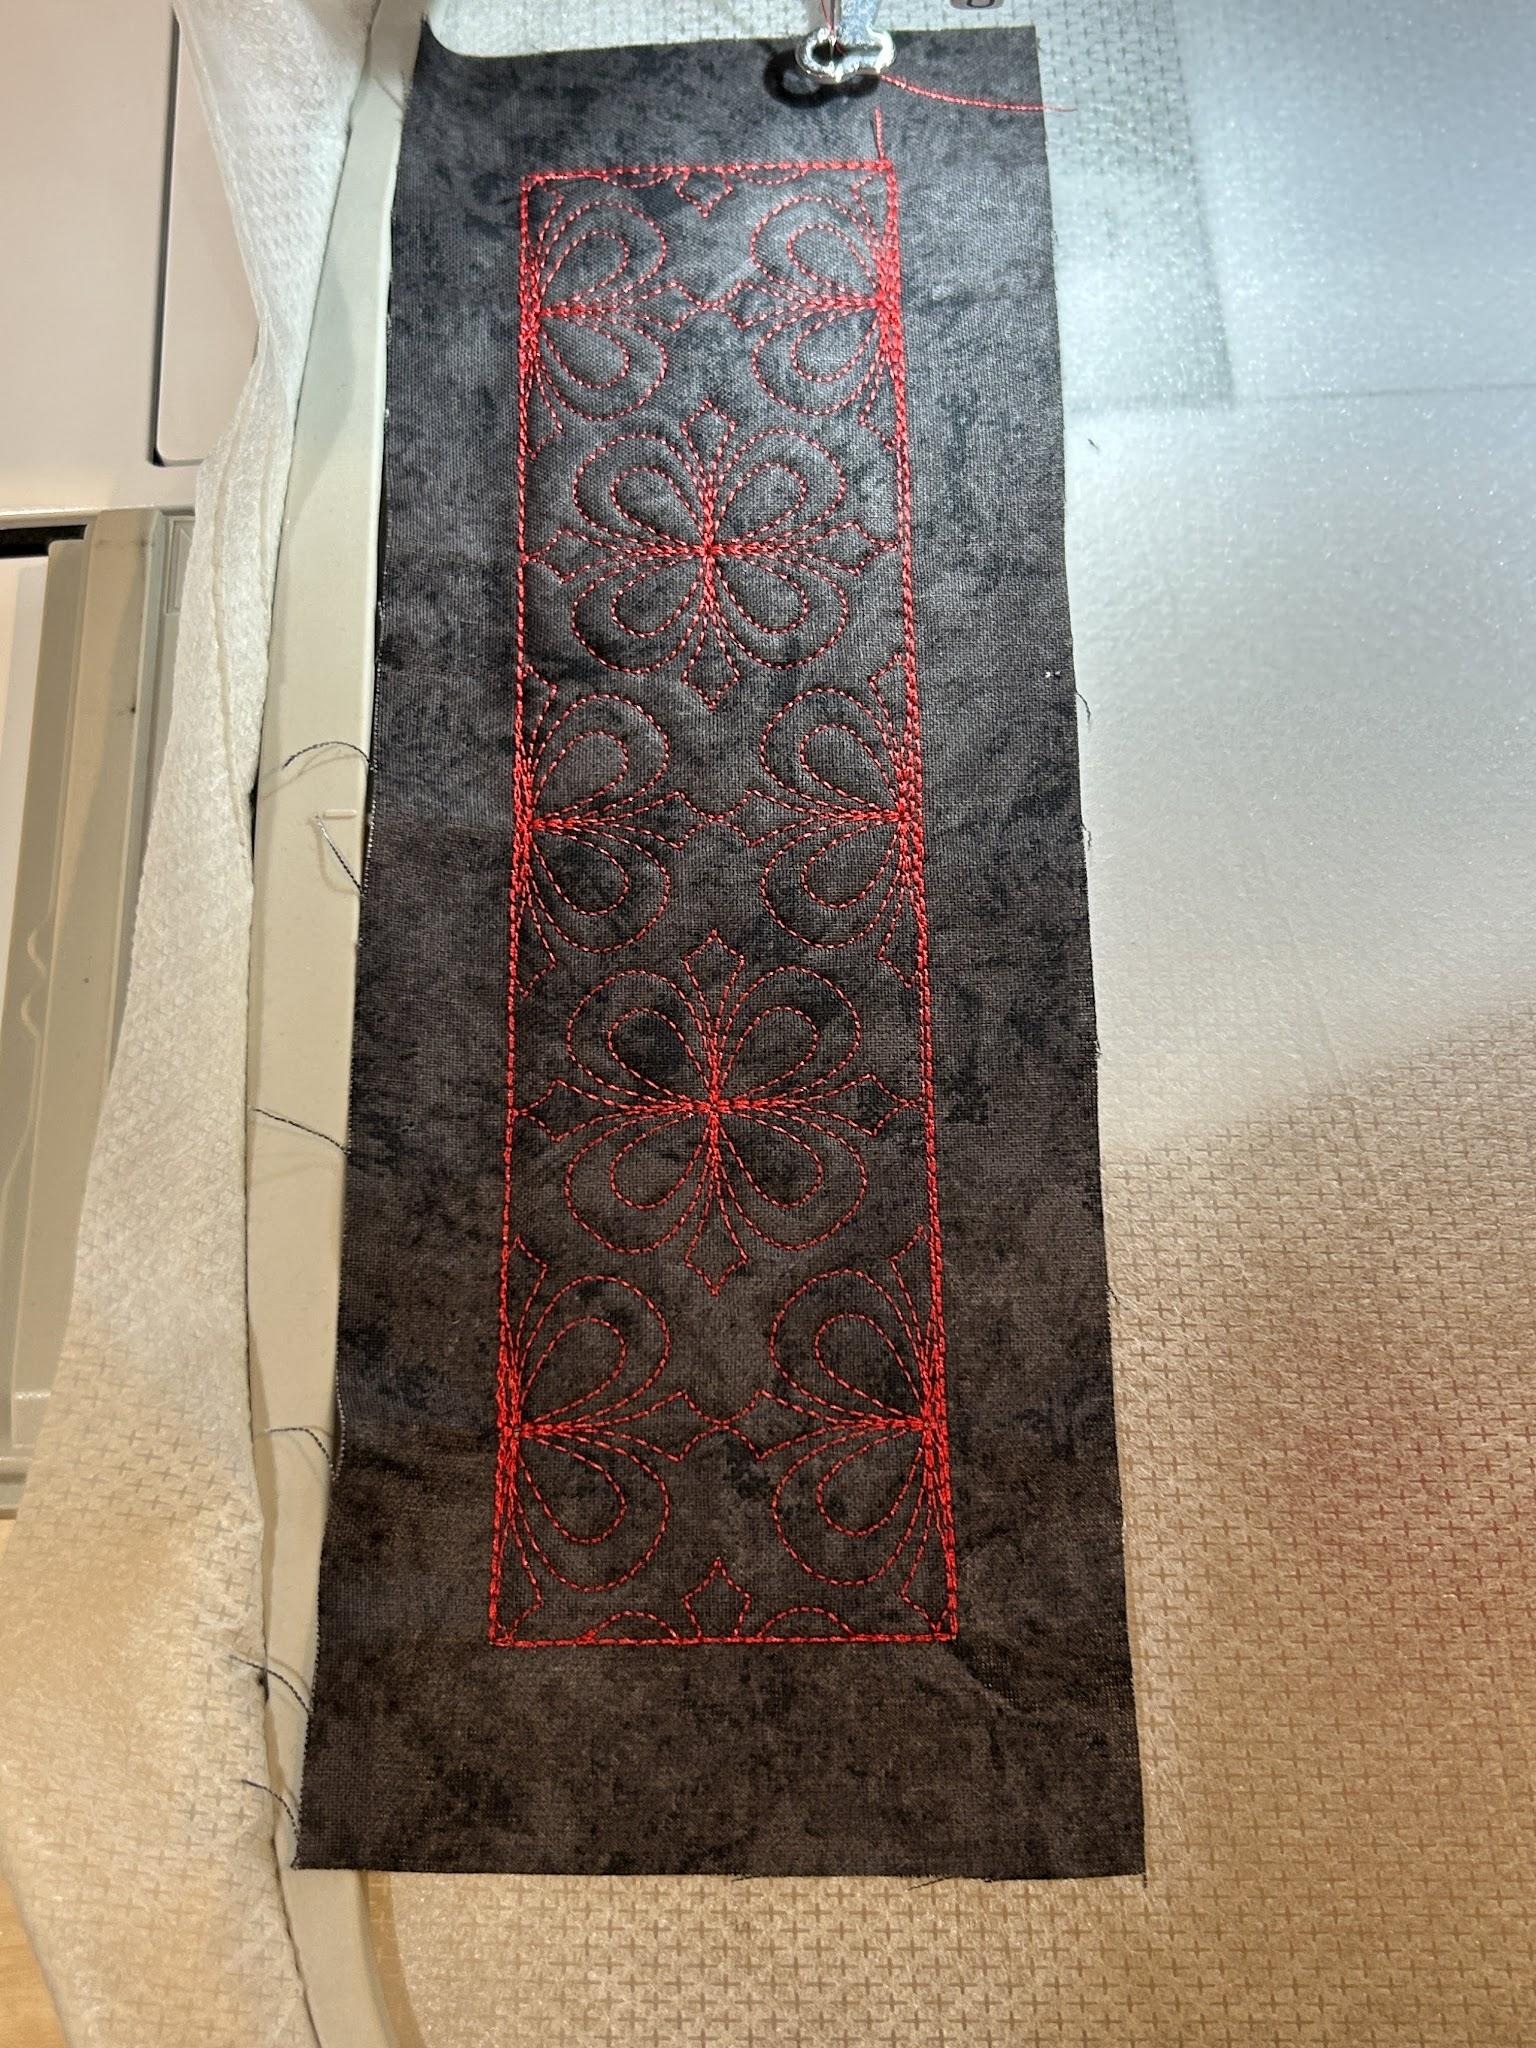
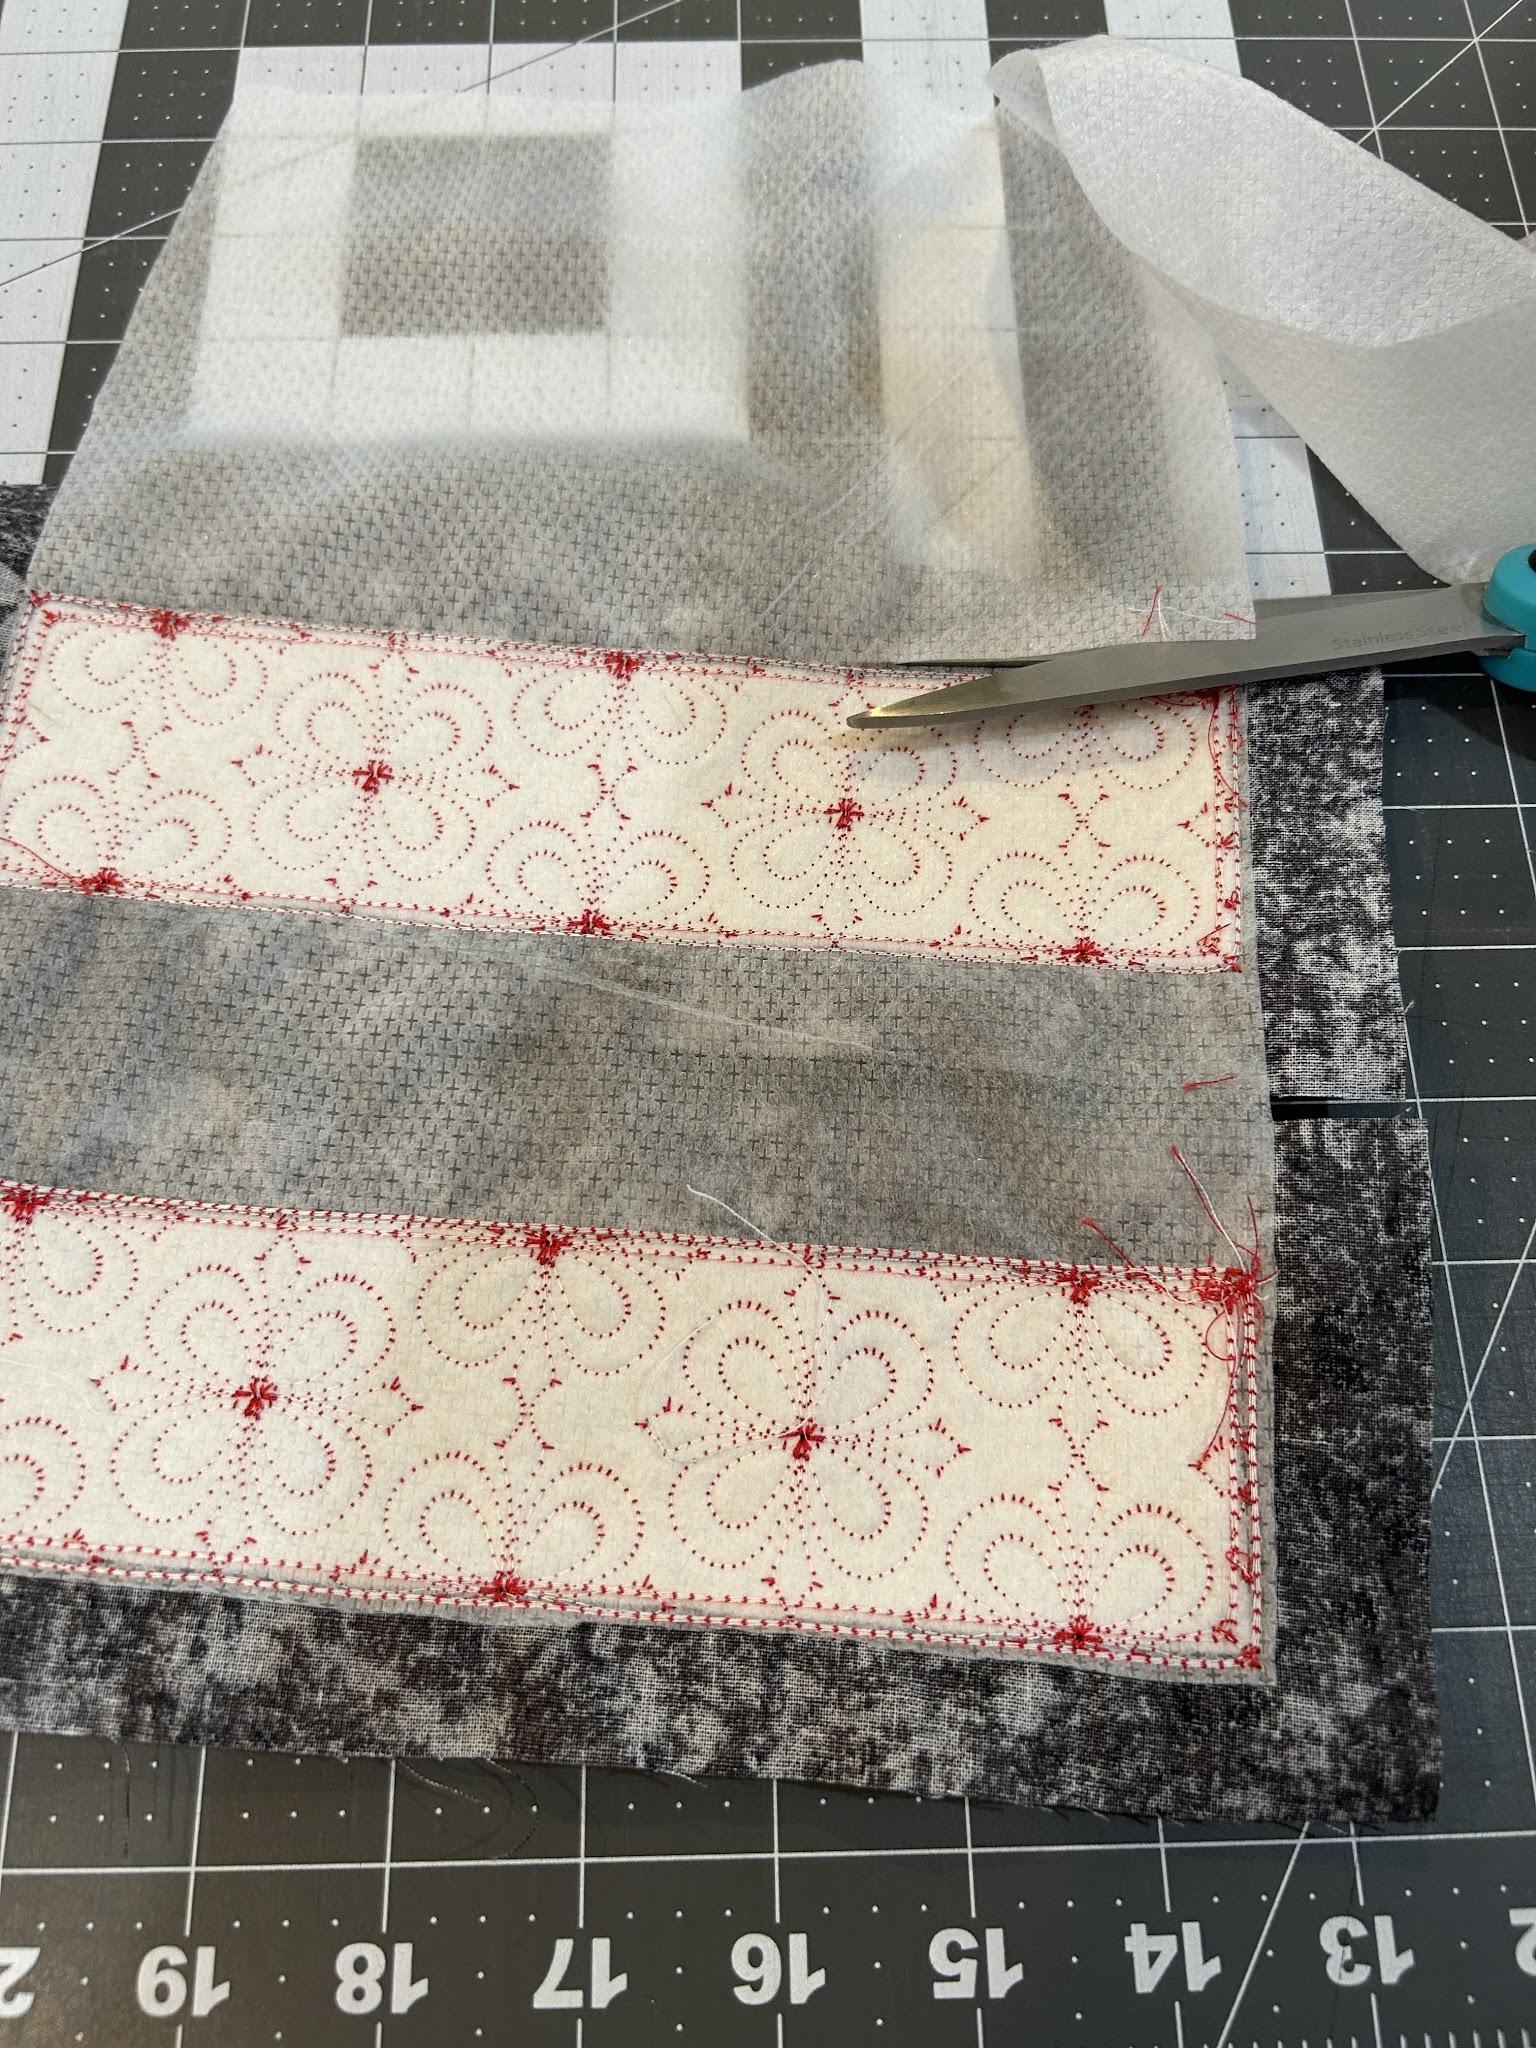
Remove from the hoop and trim the stabilizer close to the stitches.
On the front side of the design trim the fabric ½” from the outside stitch lines on each side.
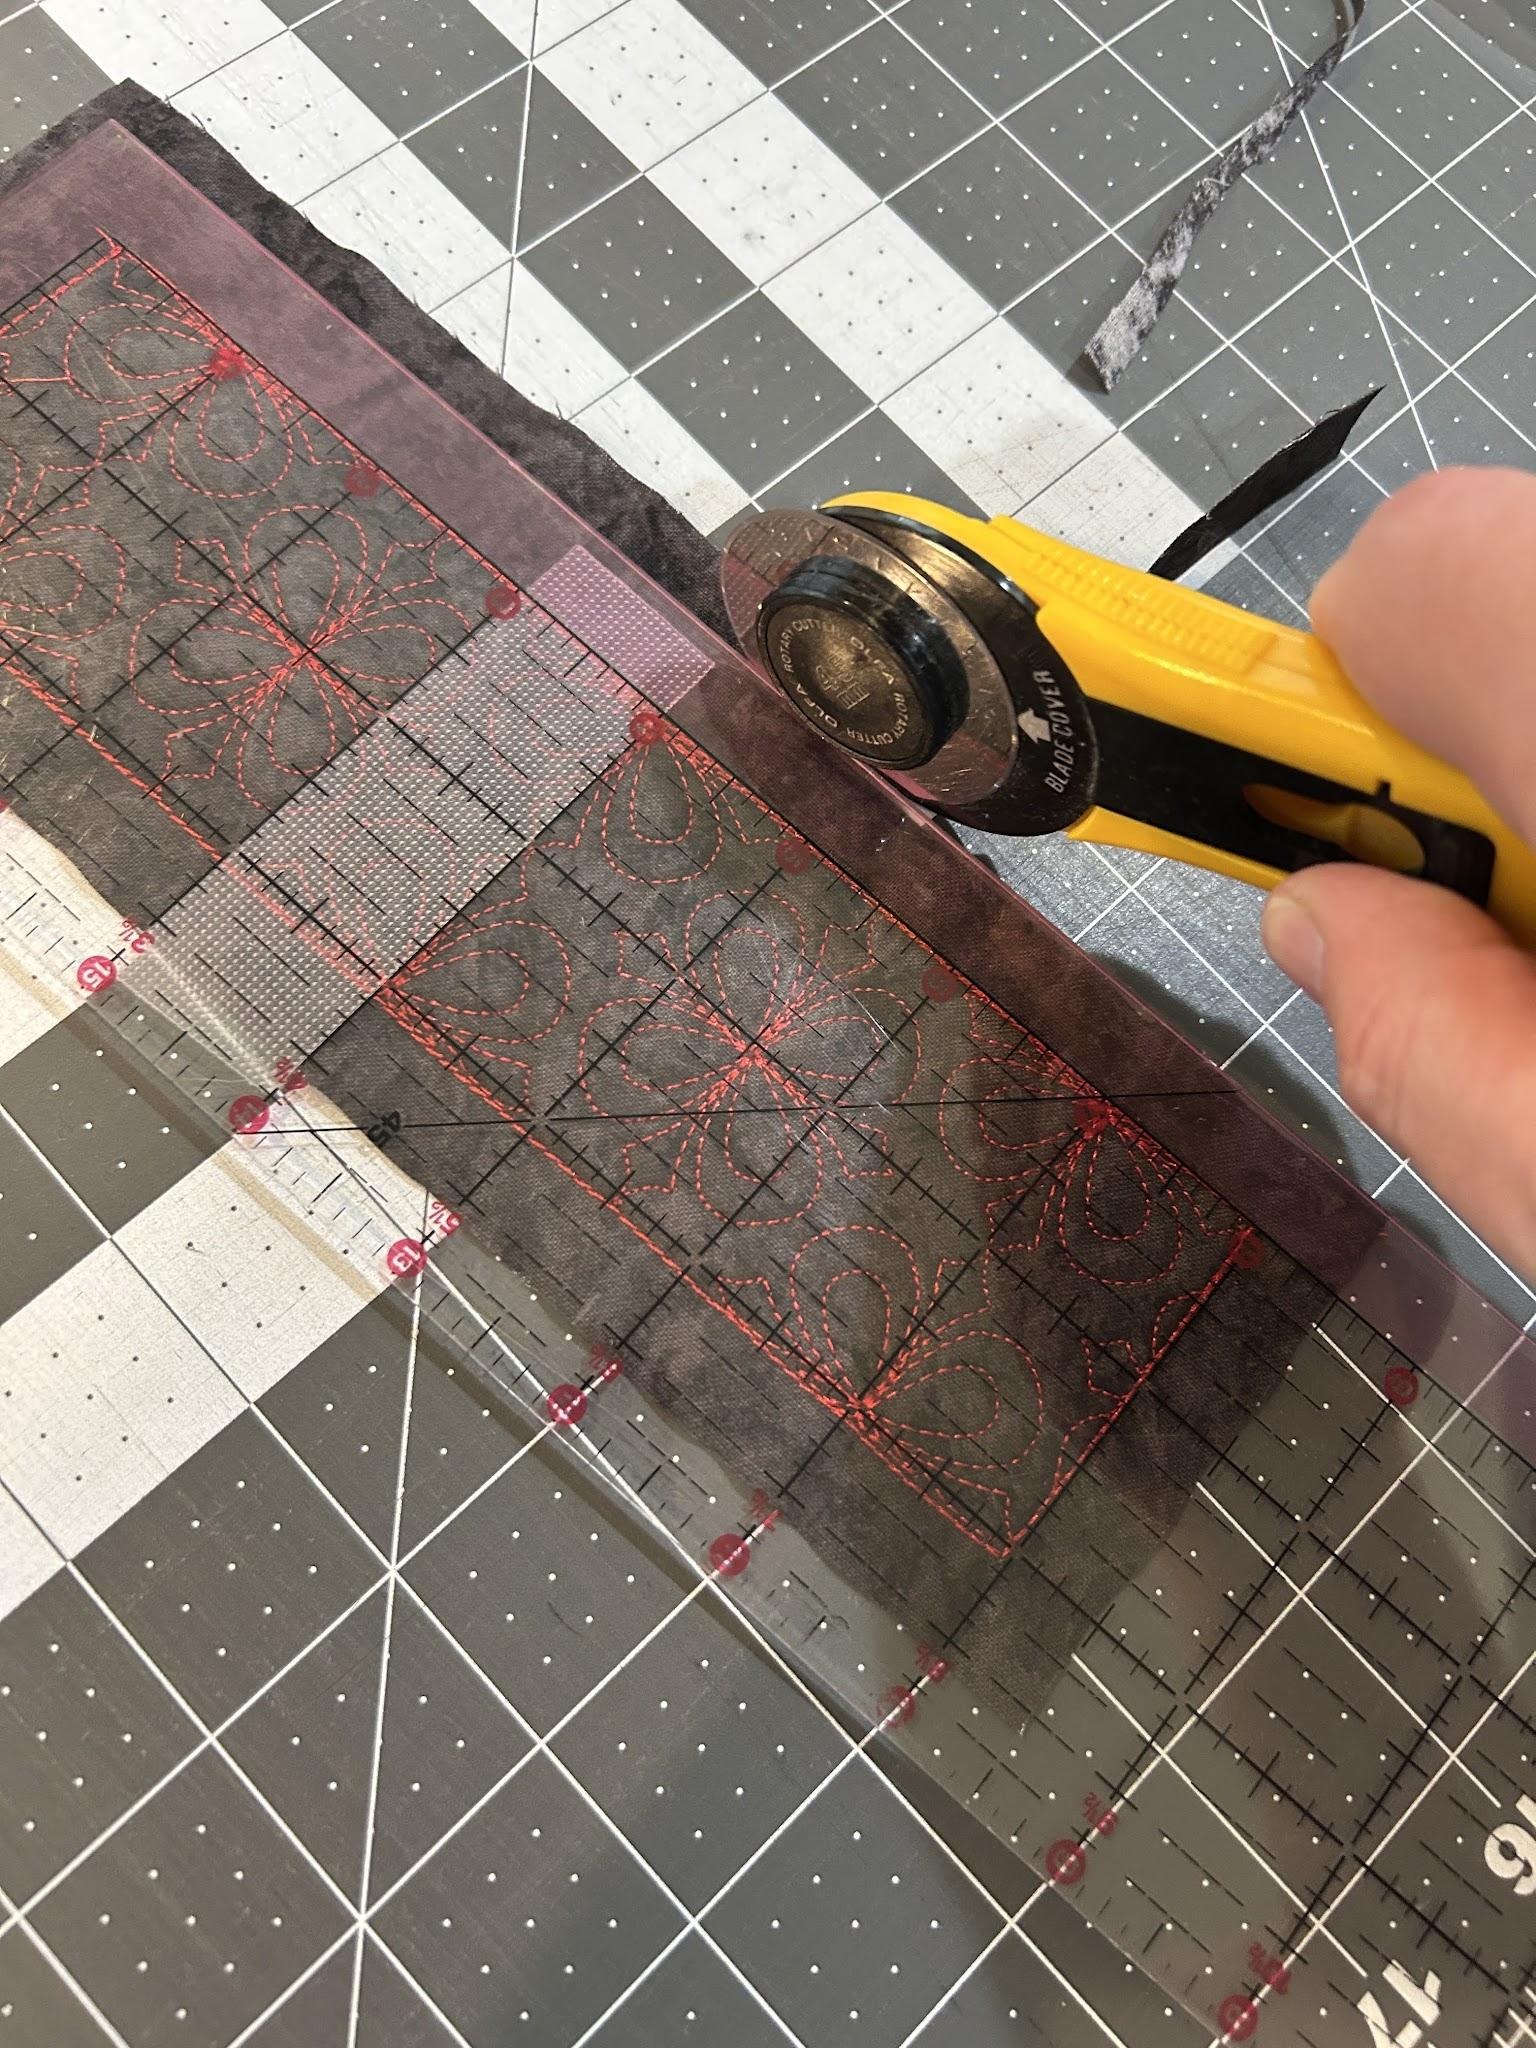
Now you have your finished front side panels. Follow the same steps to make the 2” x 12” strips for the top and bottom of your pillow. If you have a smaller hoop you can do four 2” x 6” strips and sew two of them together to make a 2” x 12” strip.
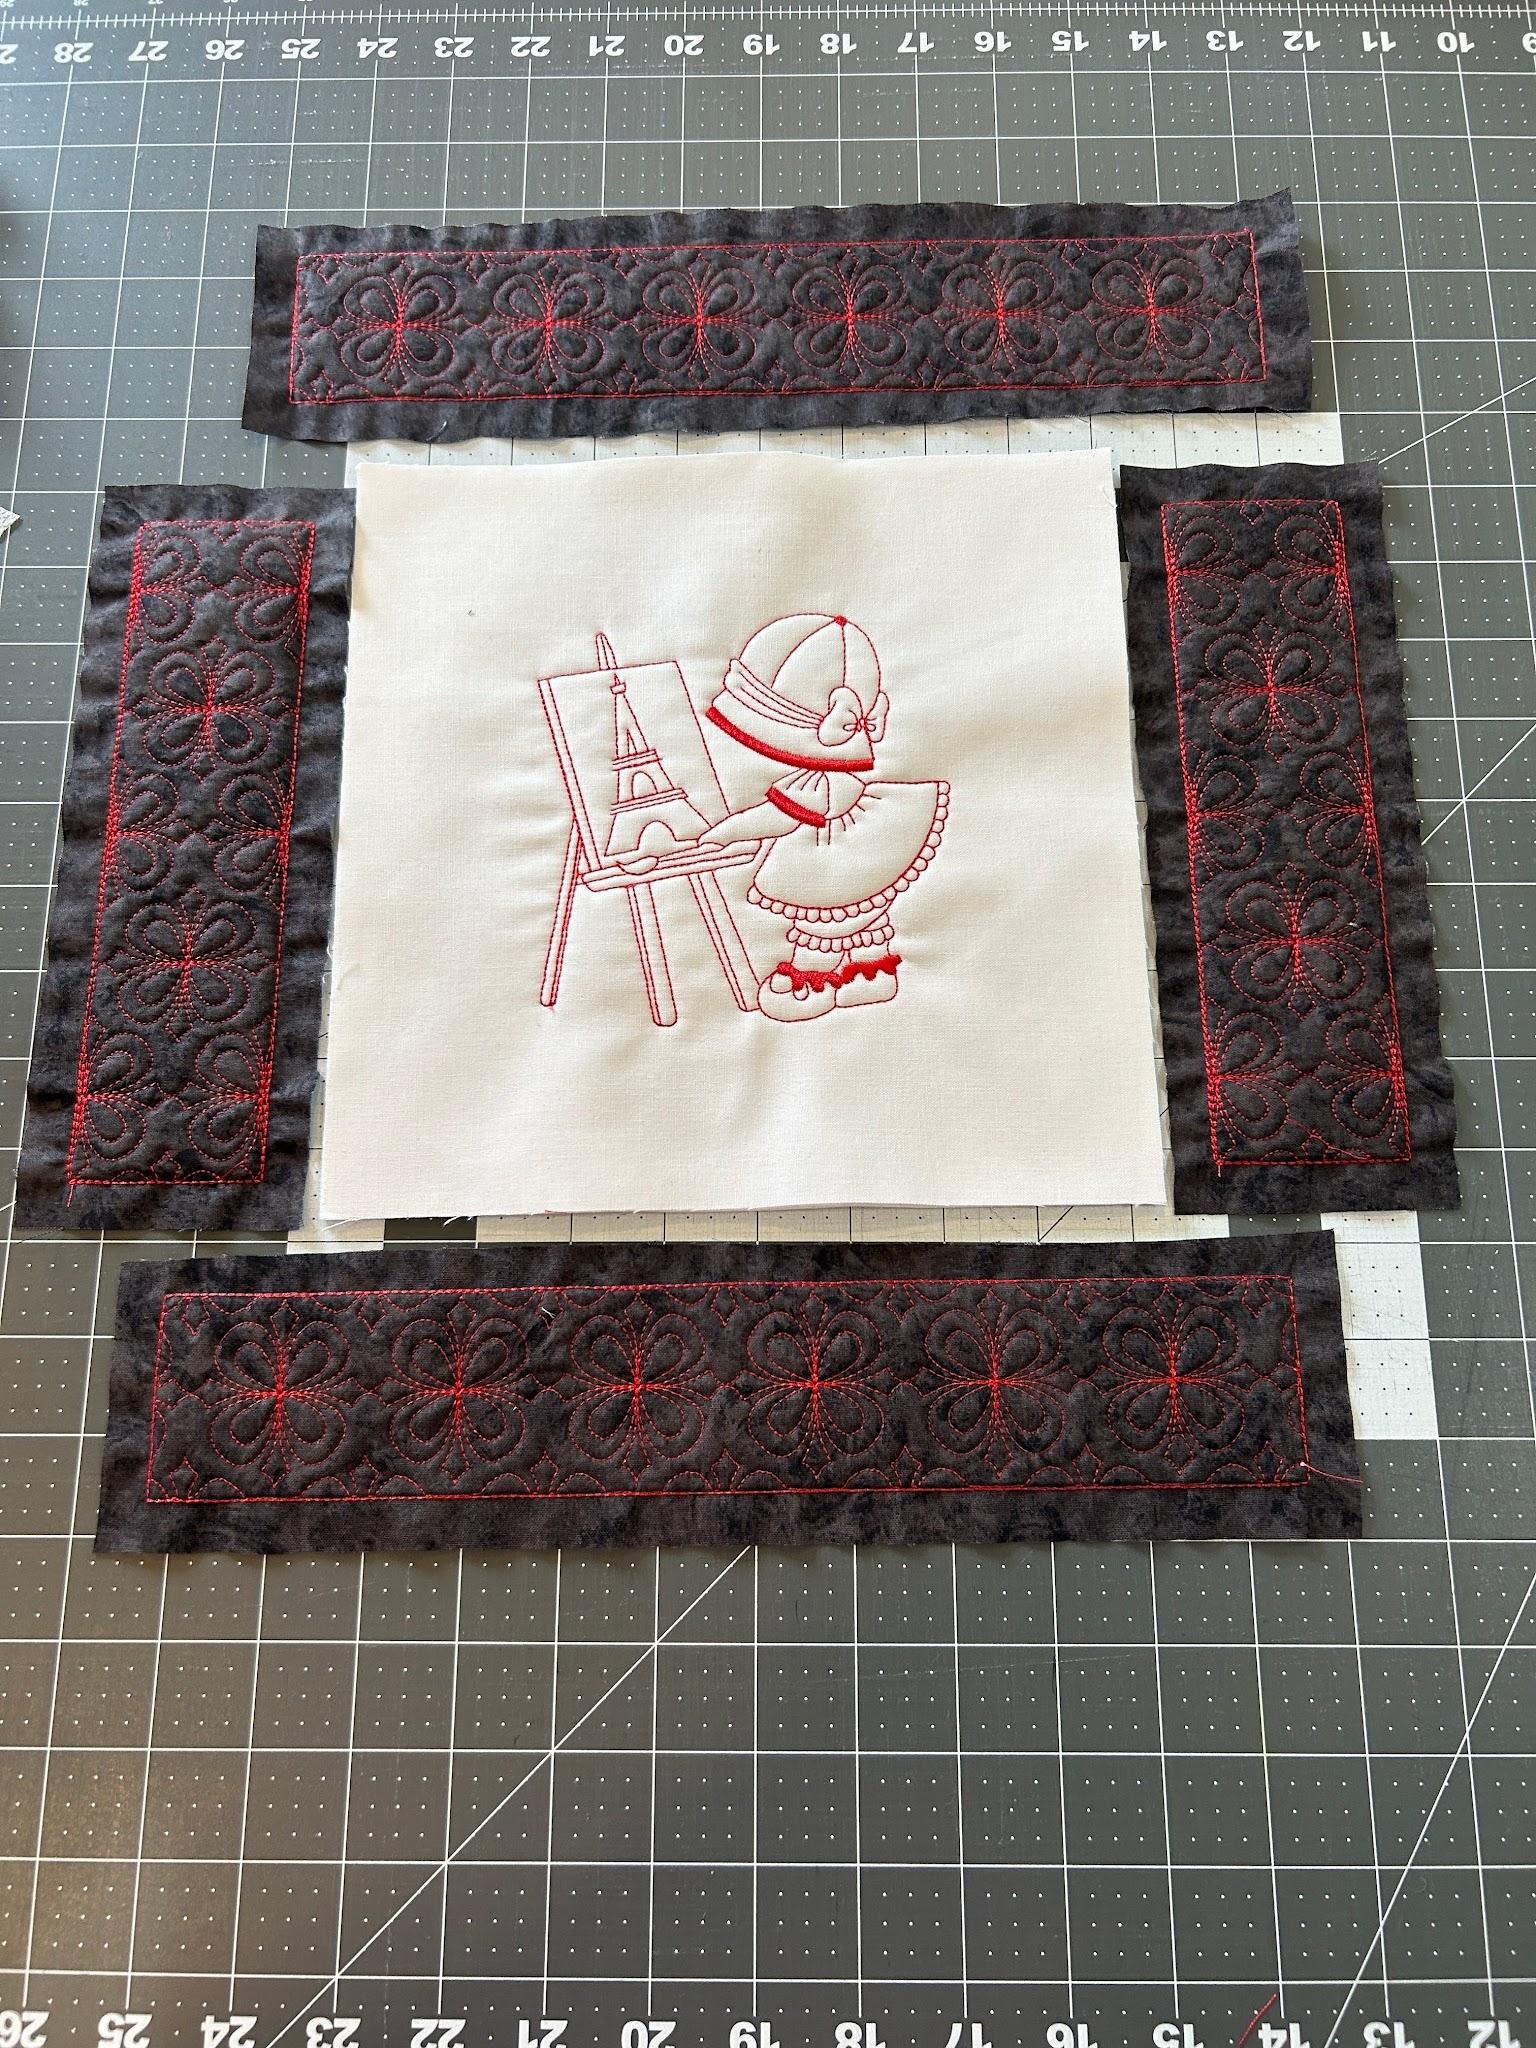
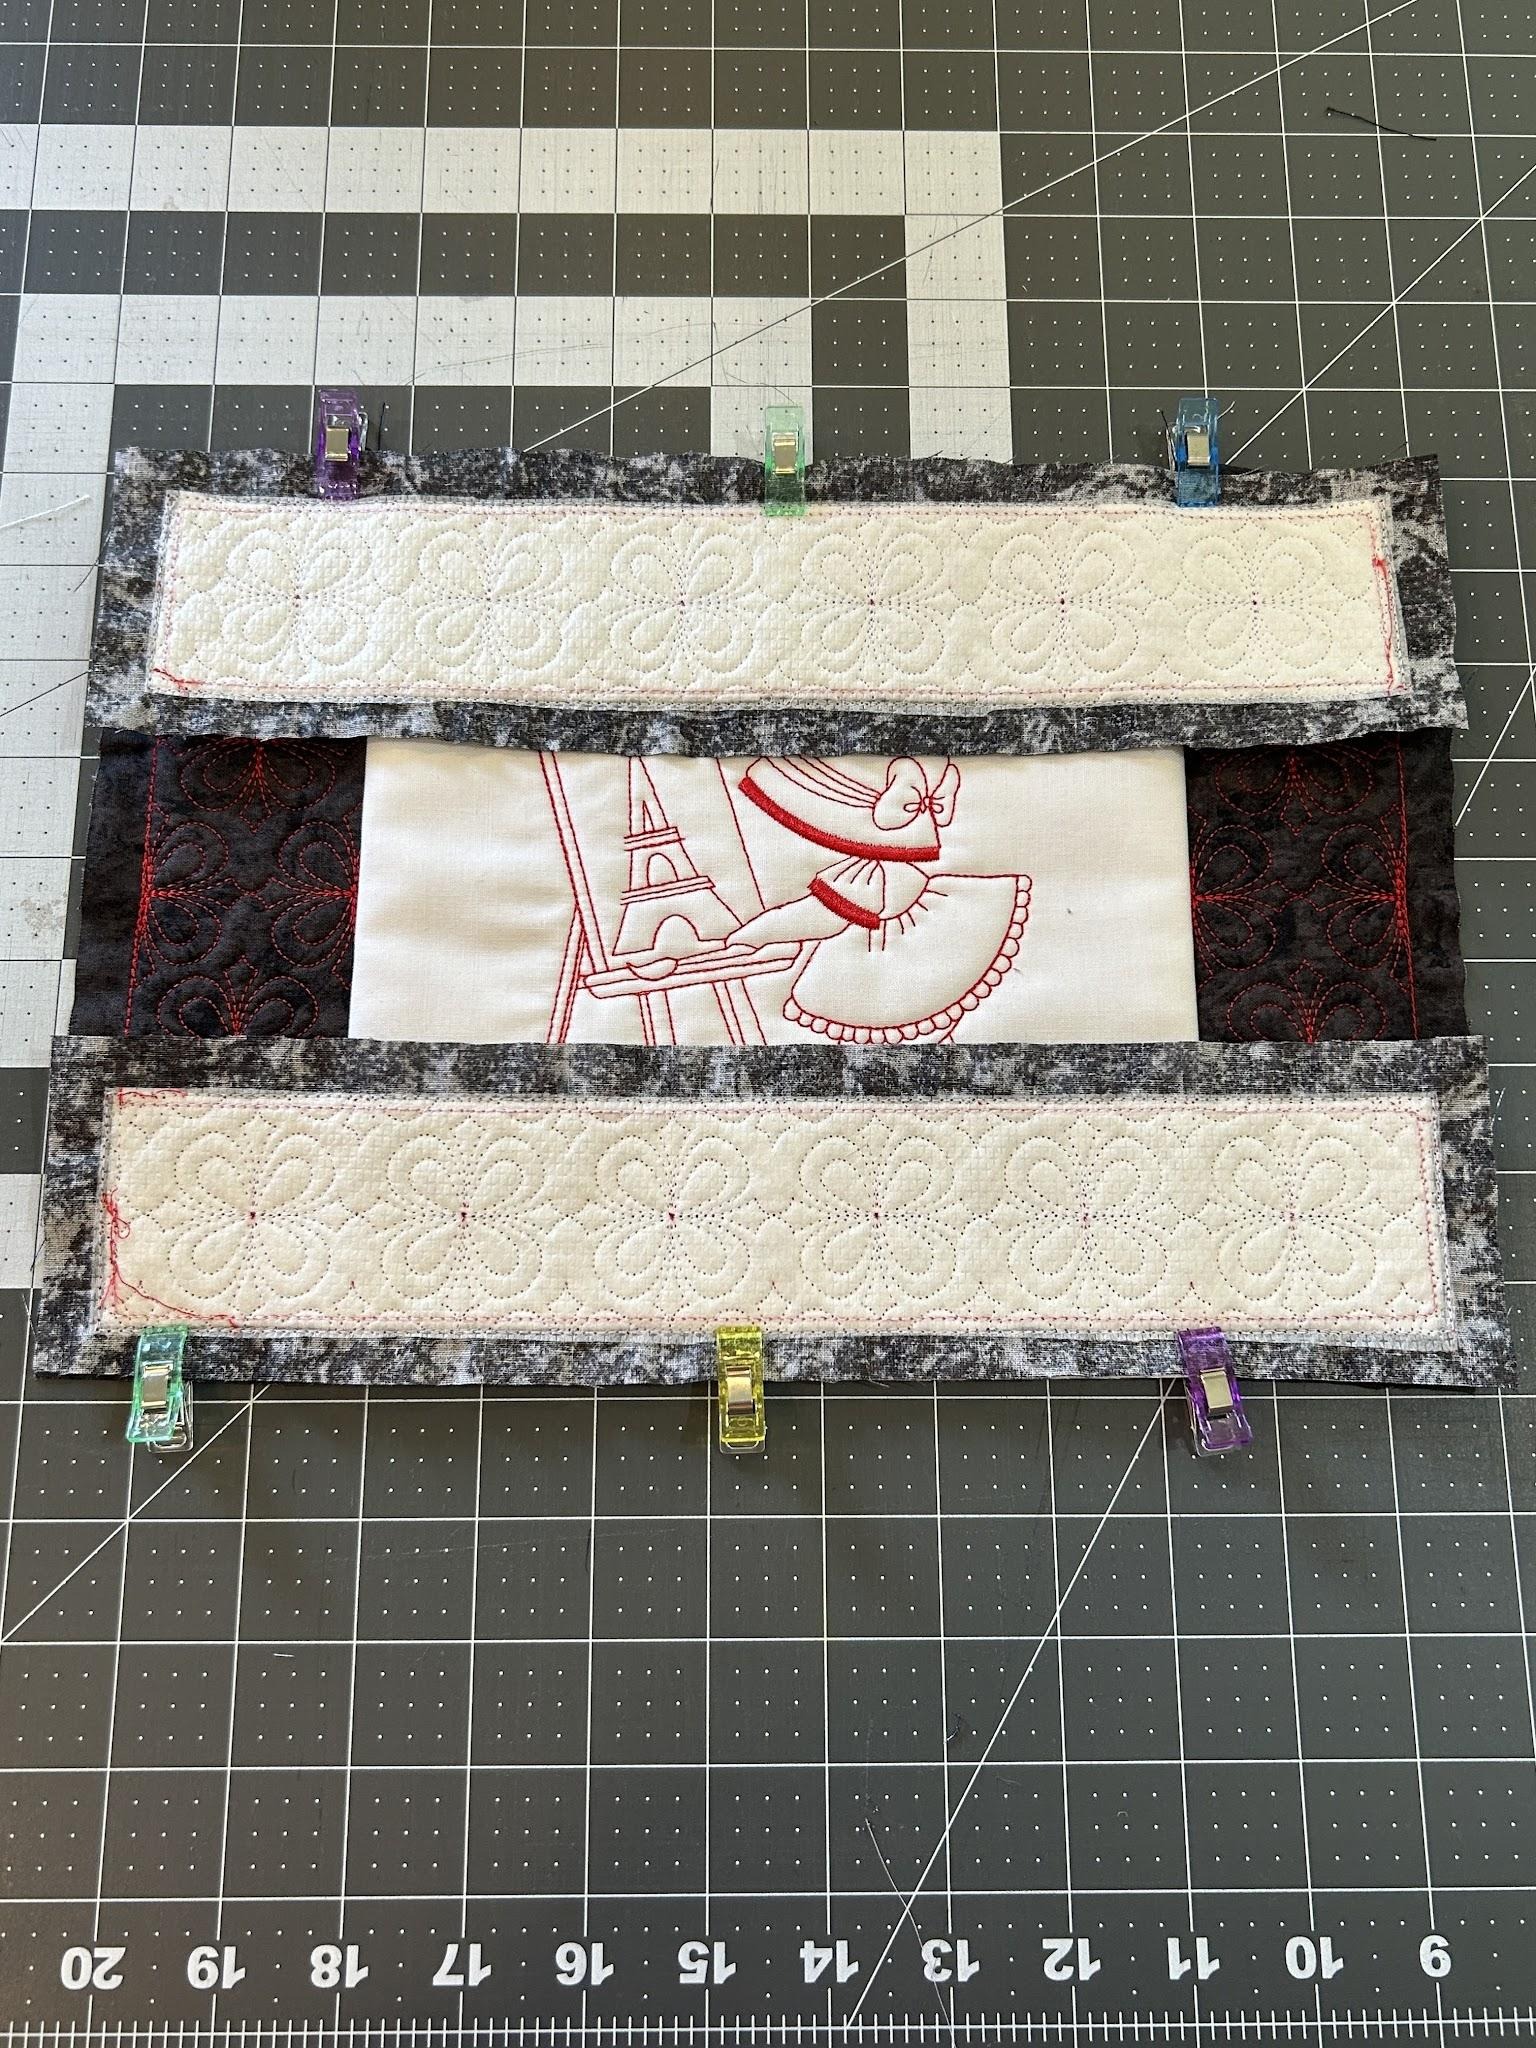
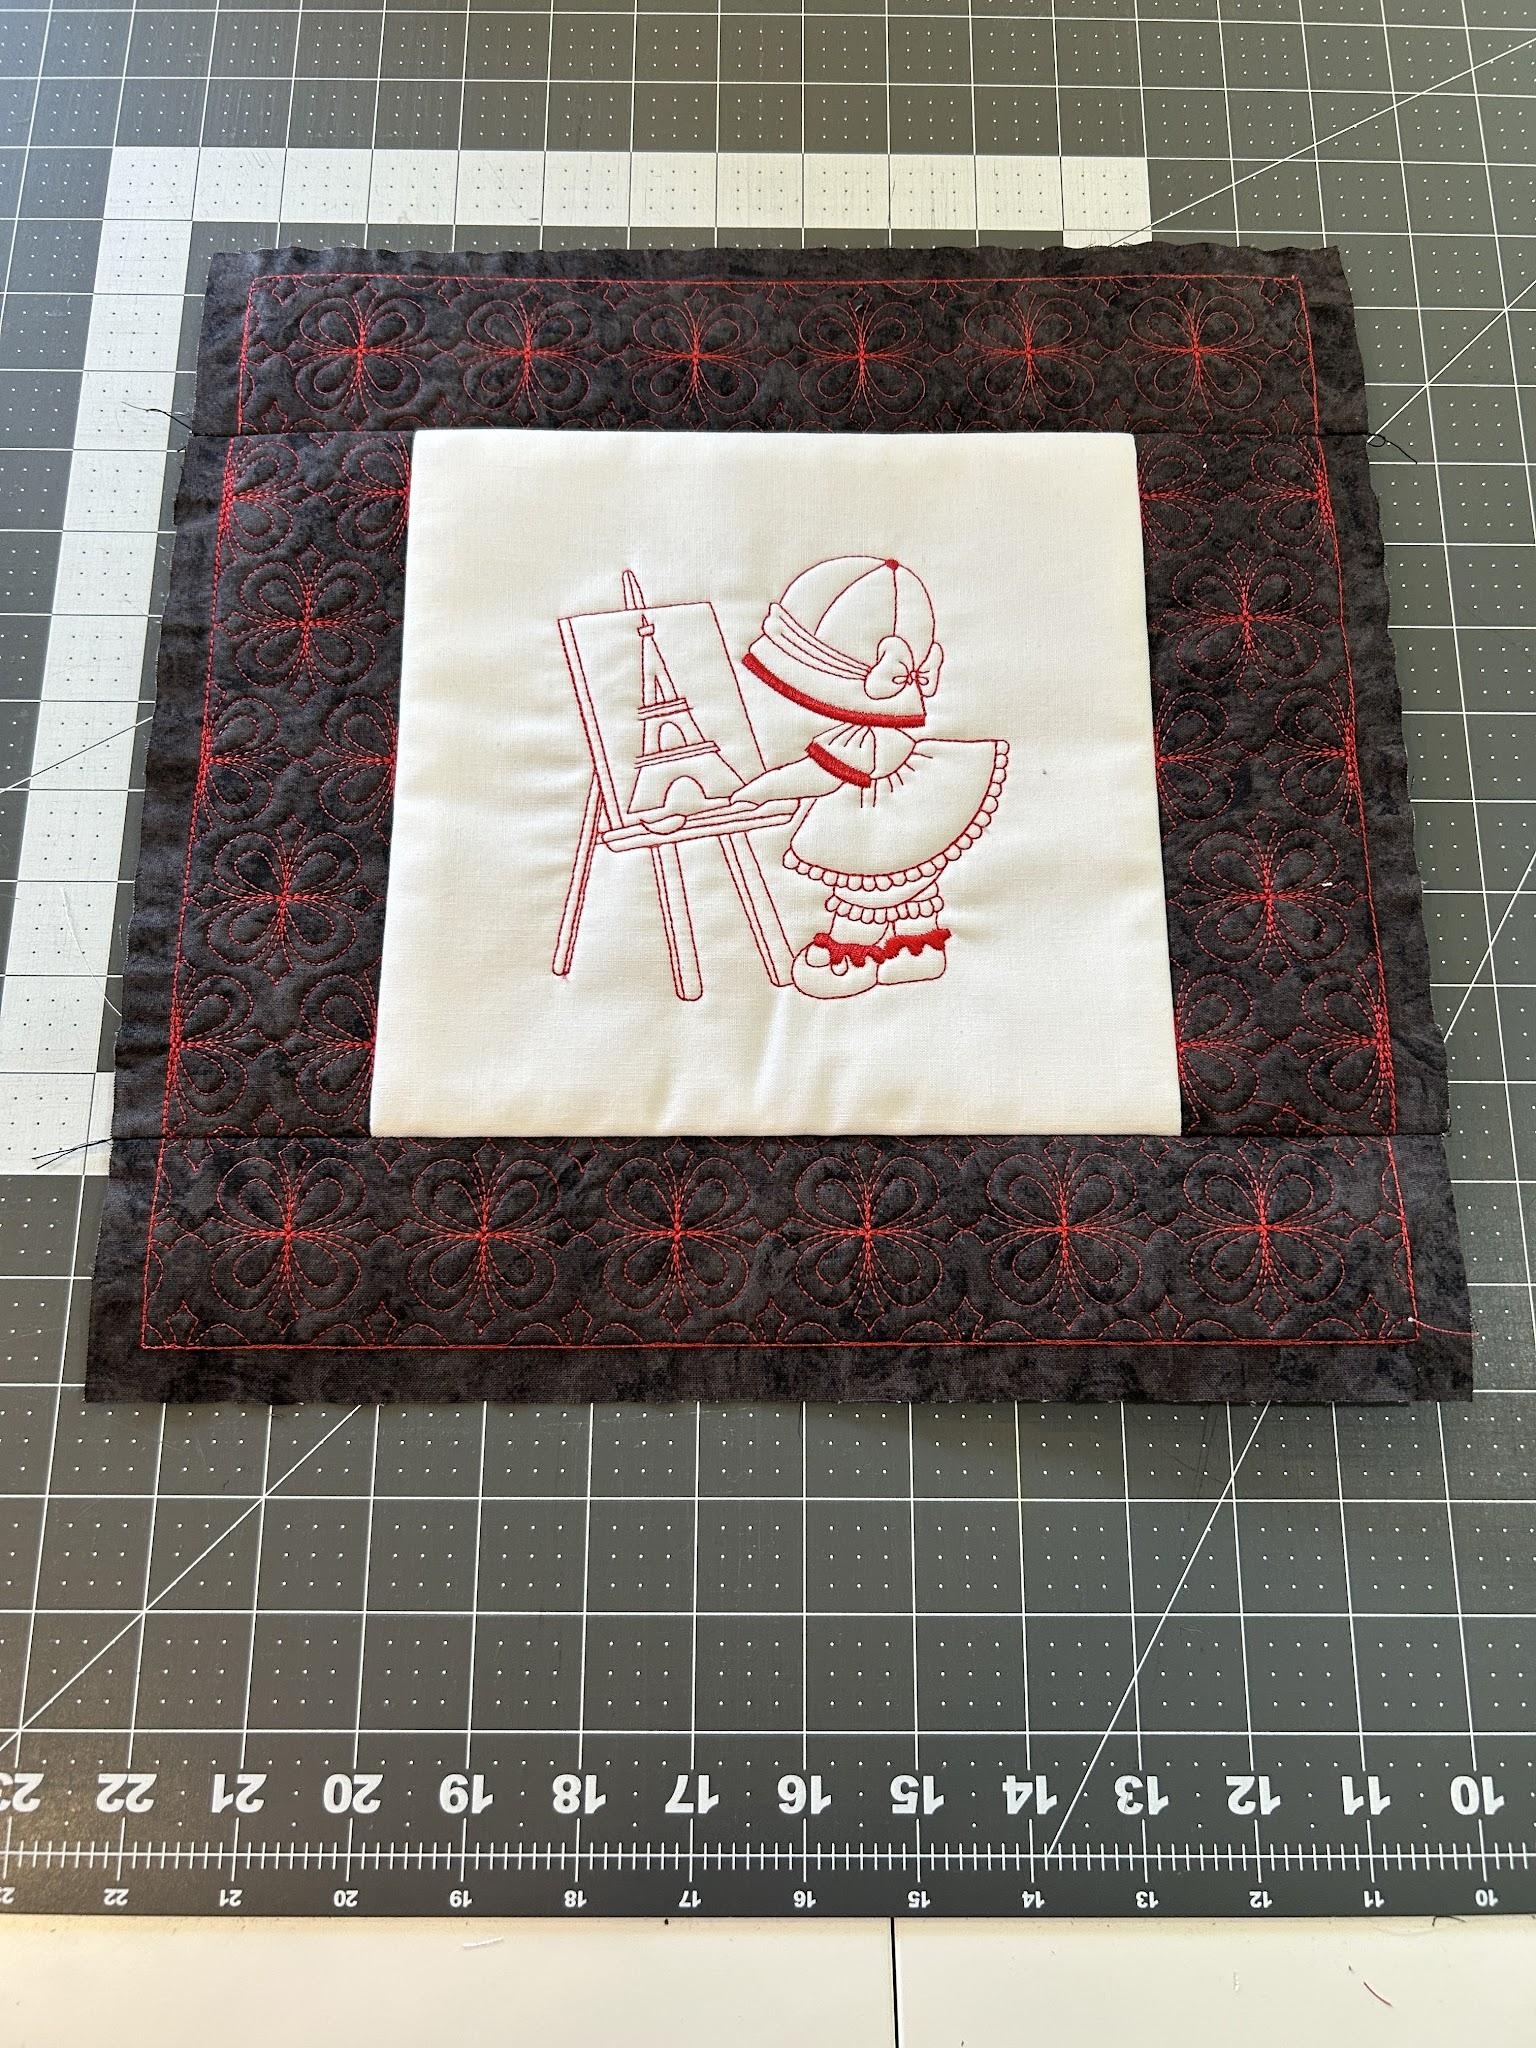
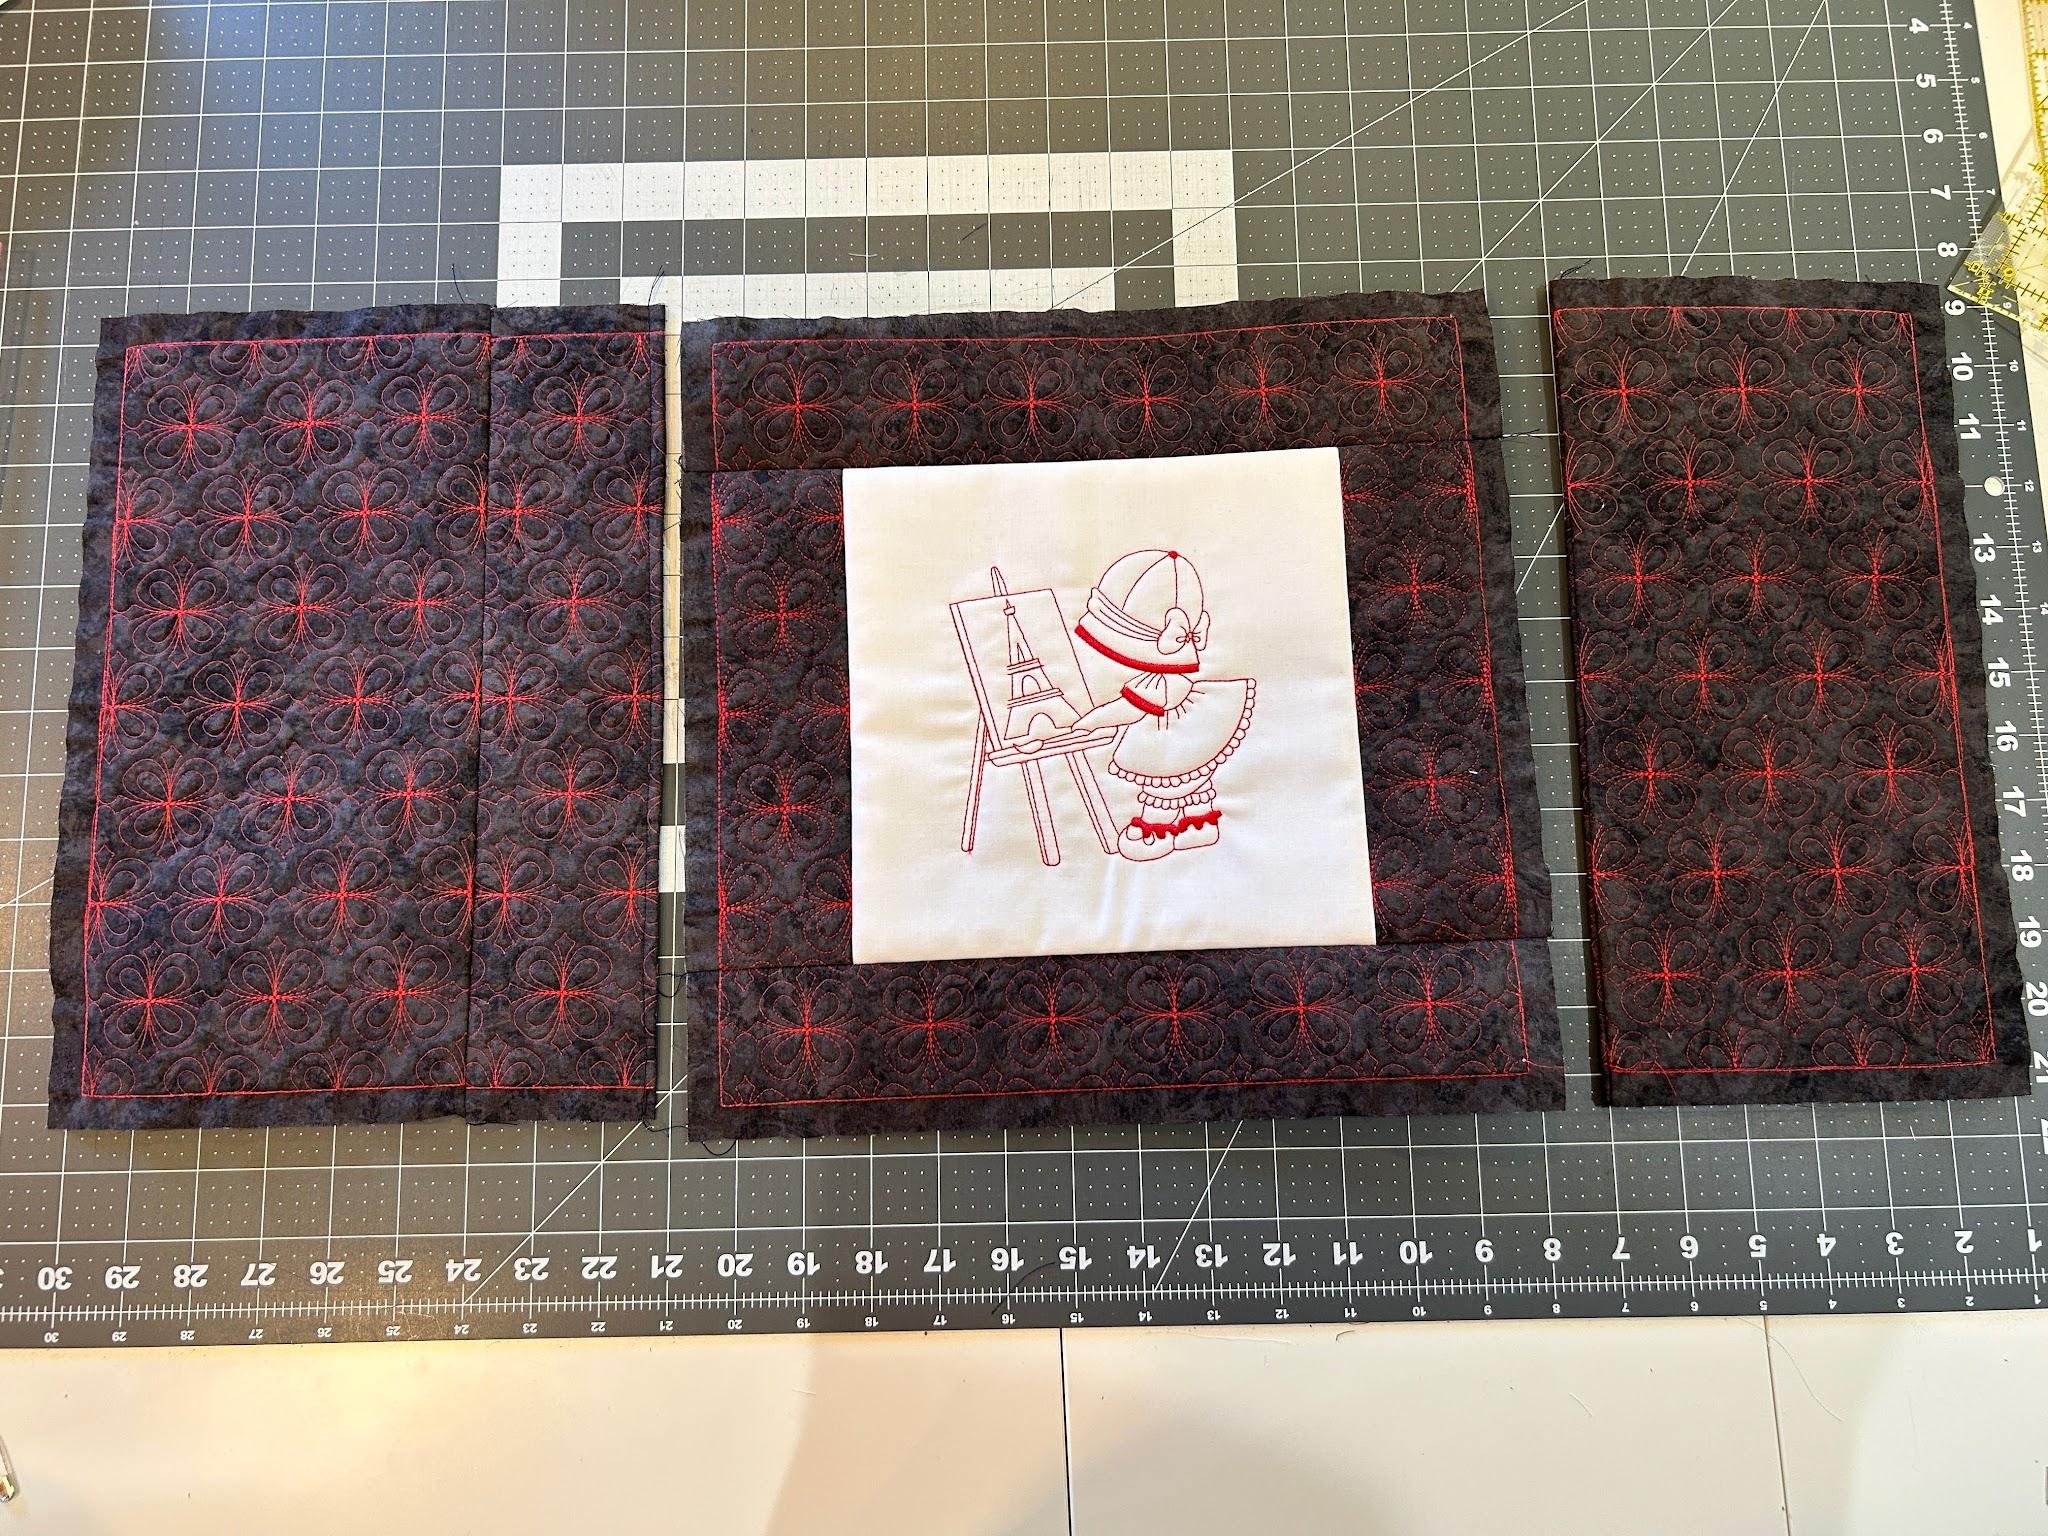
This is how your pillow front will be arranged. We have our main panel, our right and left side panels, and our top and bottom panels. Set these aside and we will work on the back of the pillow next.
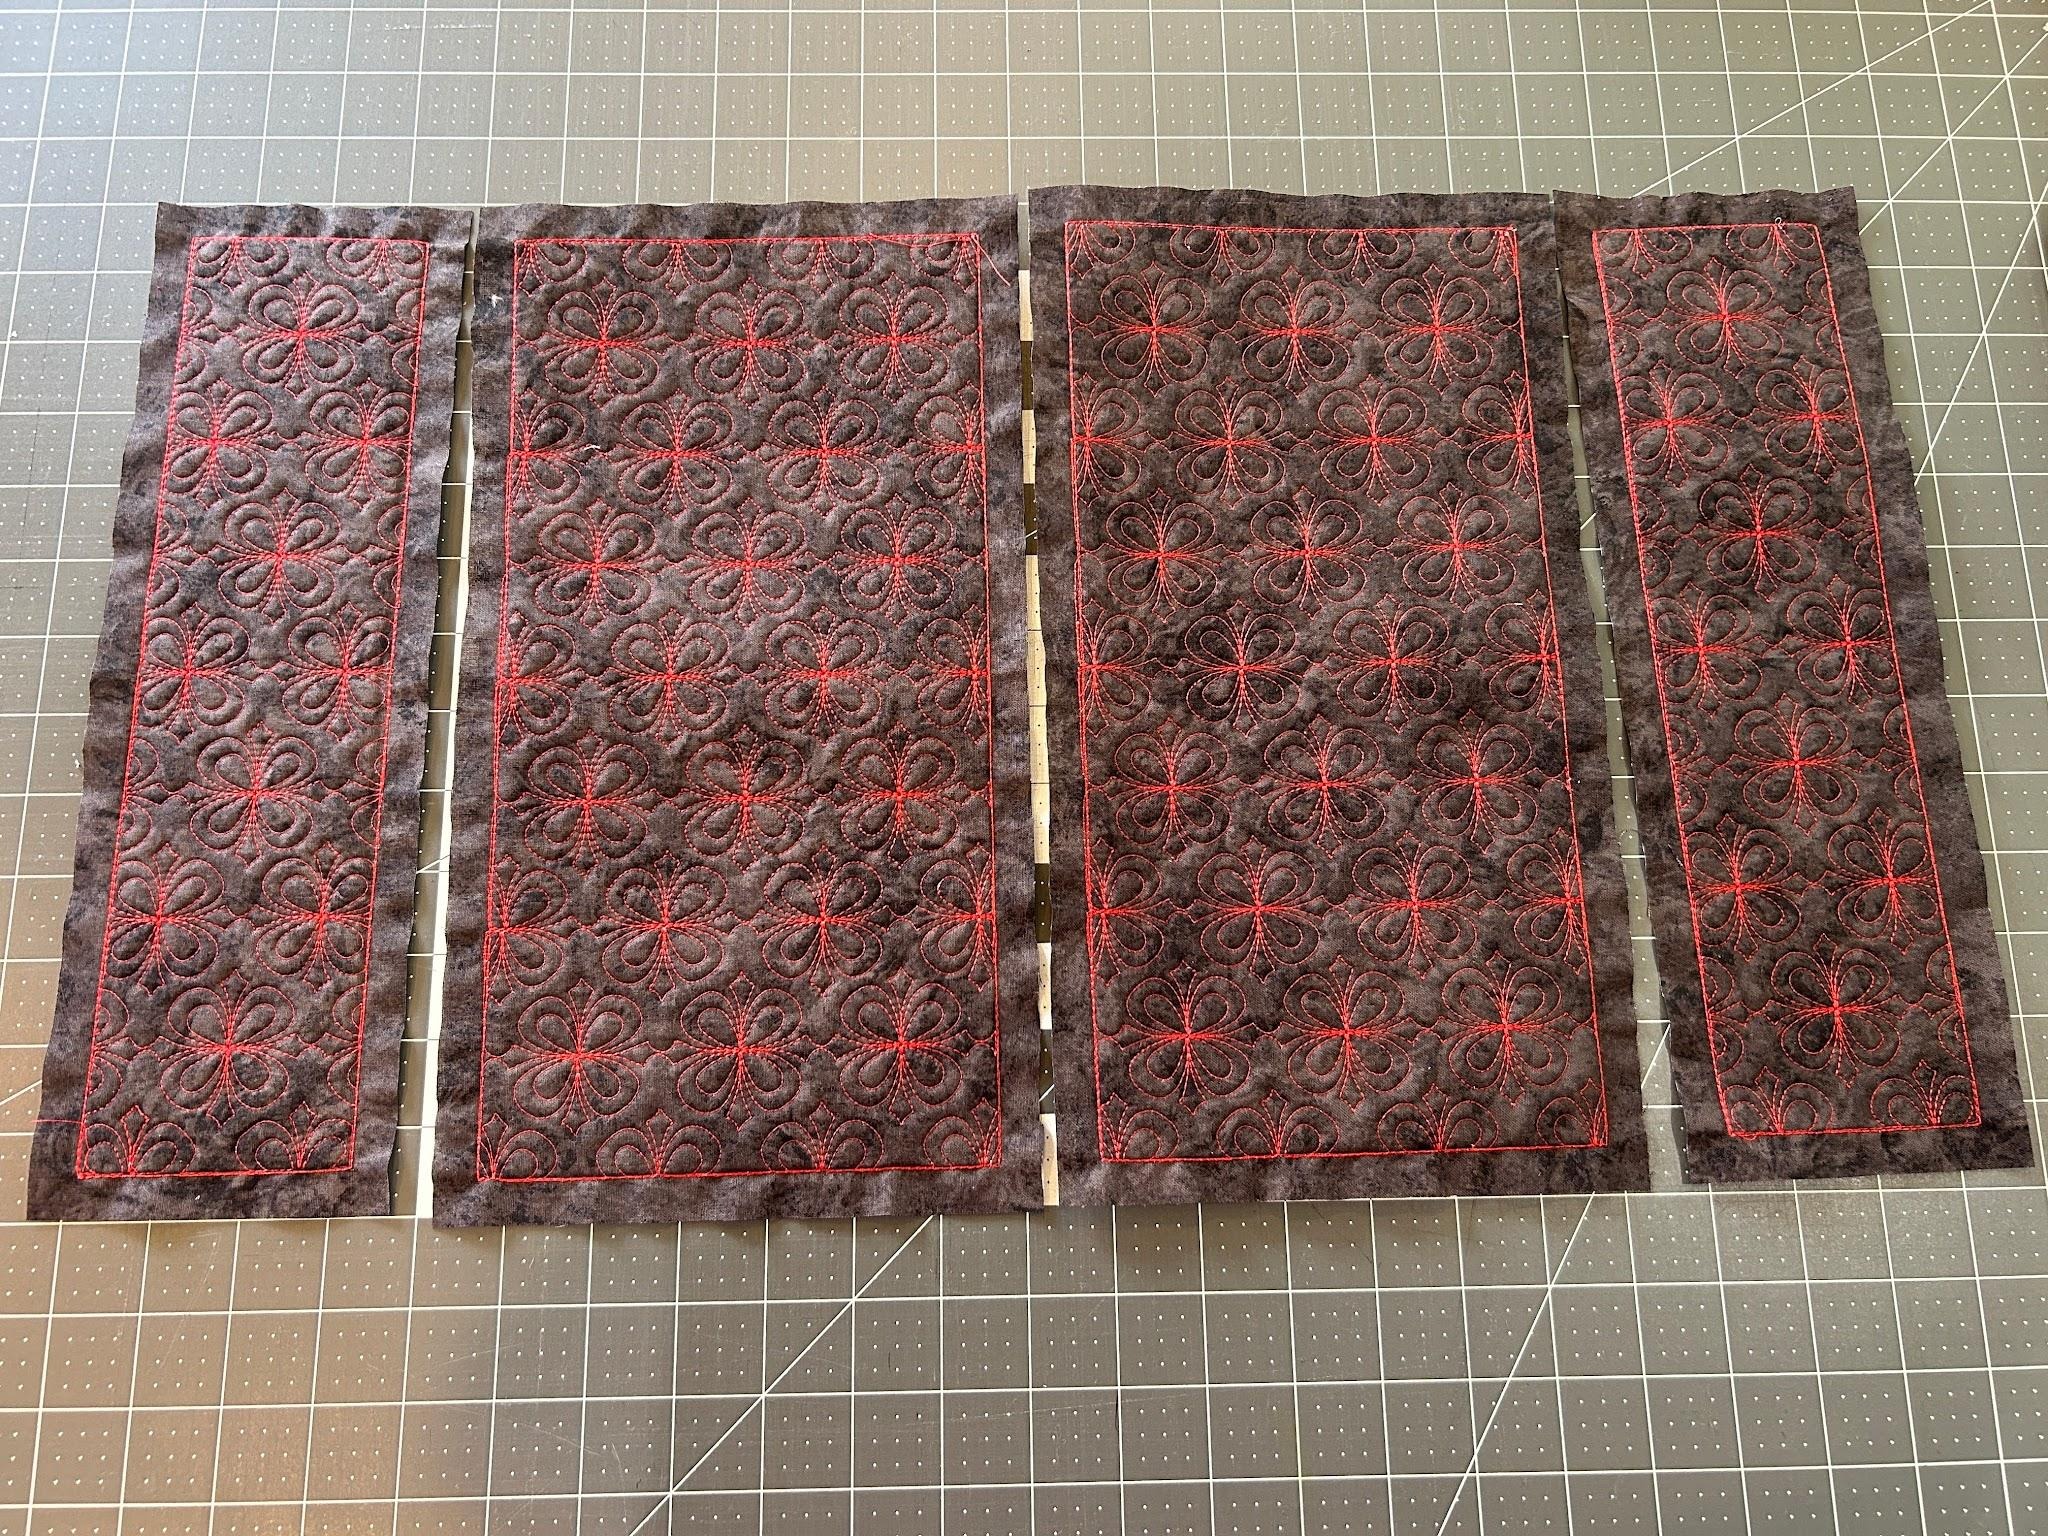
We will make two 6” x 12” pieces for the main part of the back, and two 3” x 12” panels for the overlapping pieces. These are made the same way: by stitching the batting placement stitch, tacking it down, and trimming it close to the stitches. Cover the batting with fabric, tack it down, and stitch the design. Trim the stabilizer close to the stitches, and then trim the fabric ½” from the stitch lines.
Now it’s time to move to the sewing machine. We will sew the front right and left side pieces to the main front panel. I line up the raw edges of the fabrics and clip them in place.
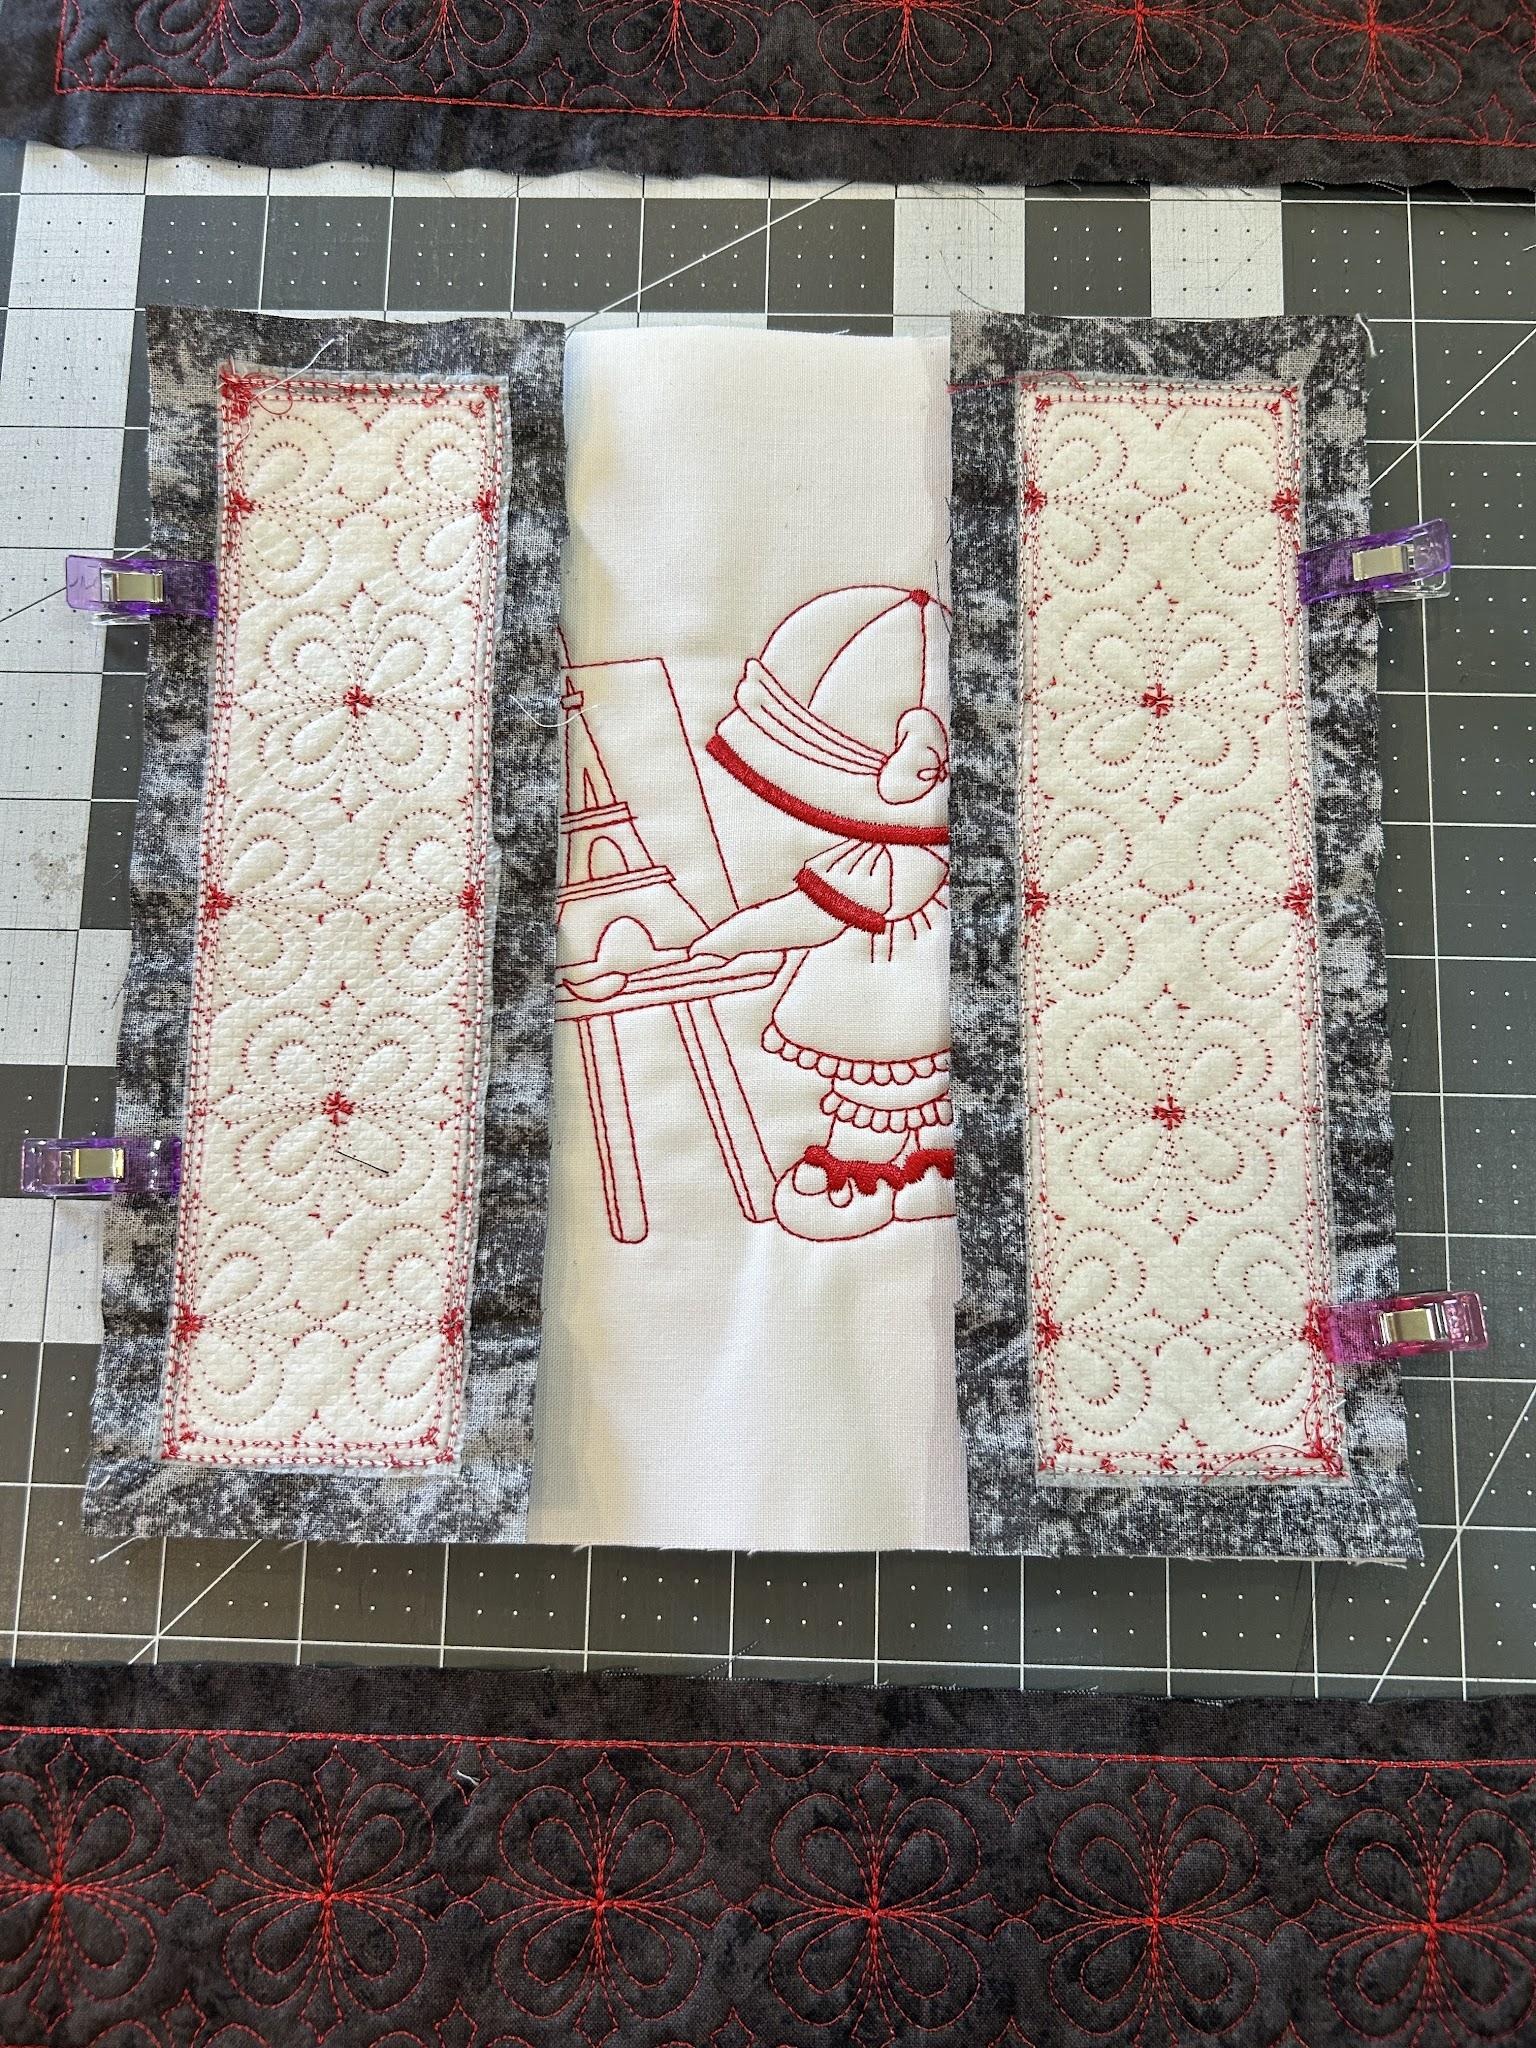
We will stitch between the batting placement stitch and the fabric tack-down stitches. We lovingly call these our “racing lines” and stitching between them makes things easy!
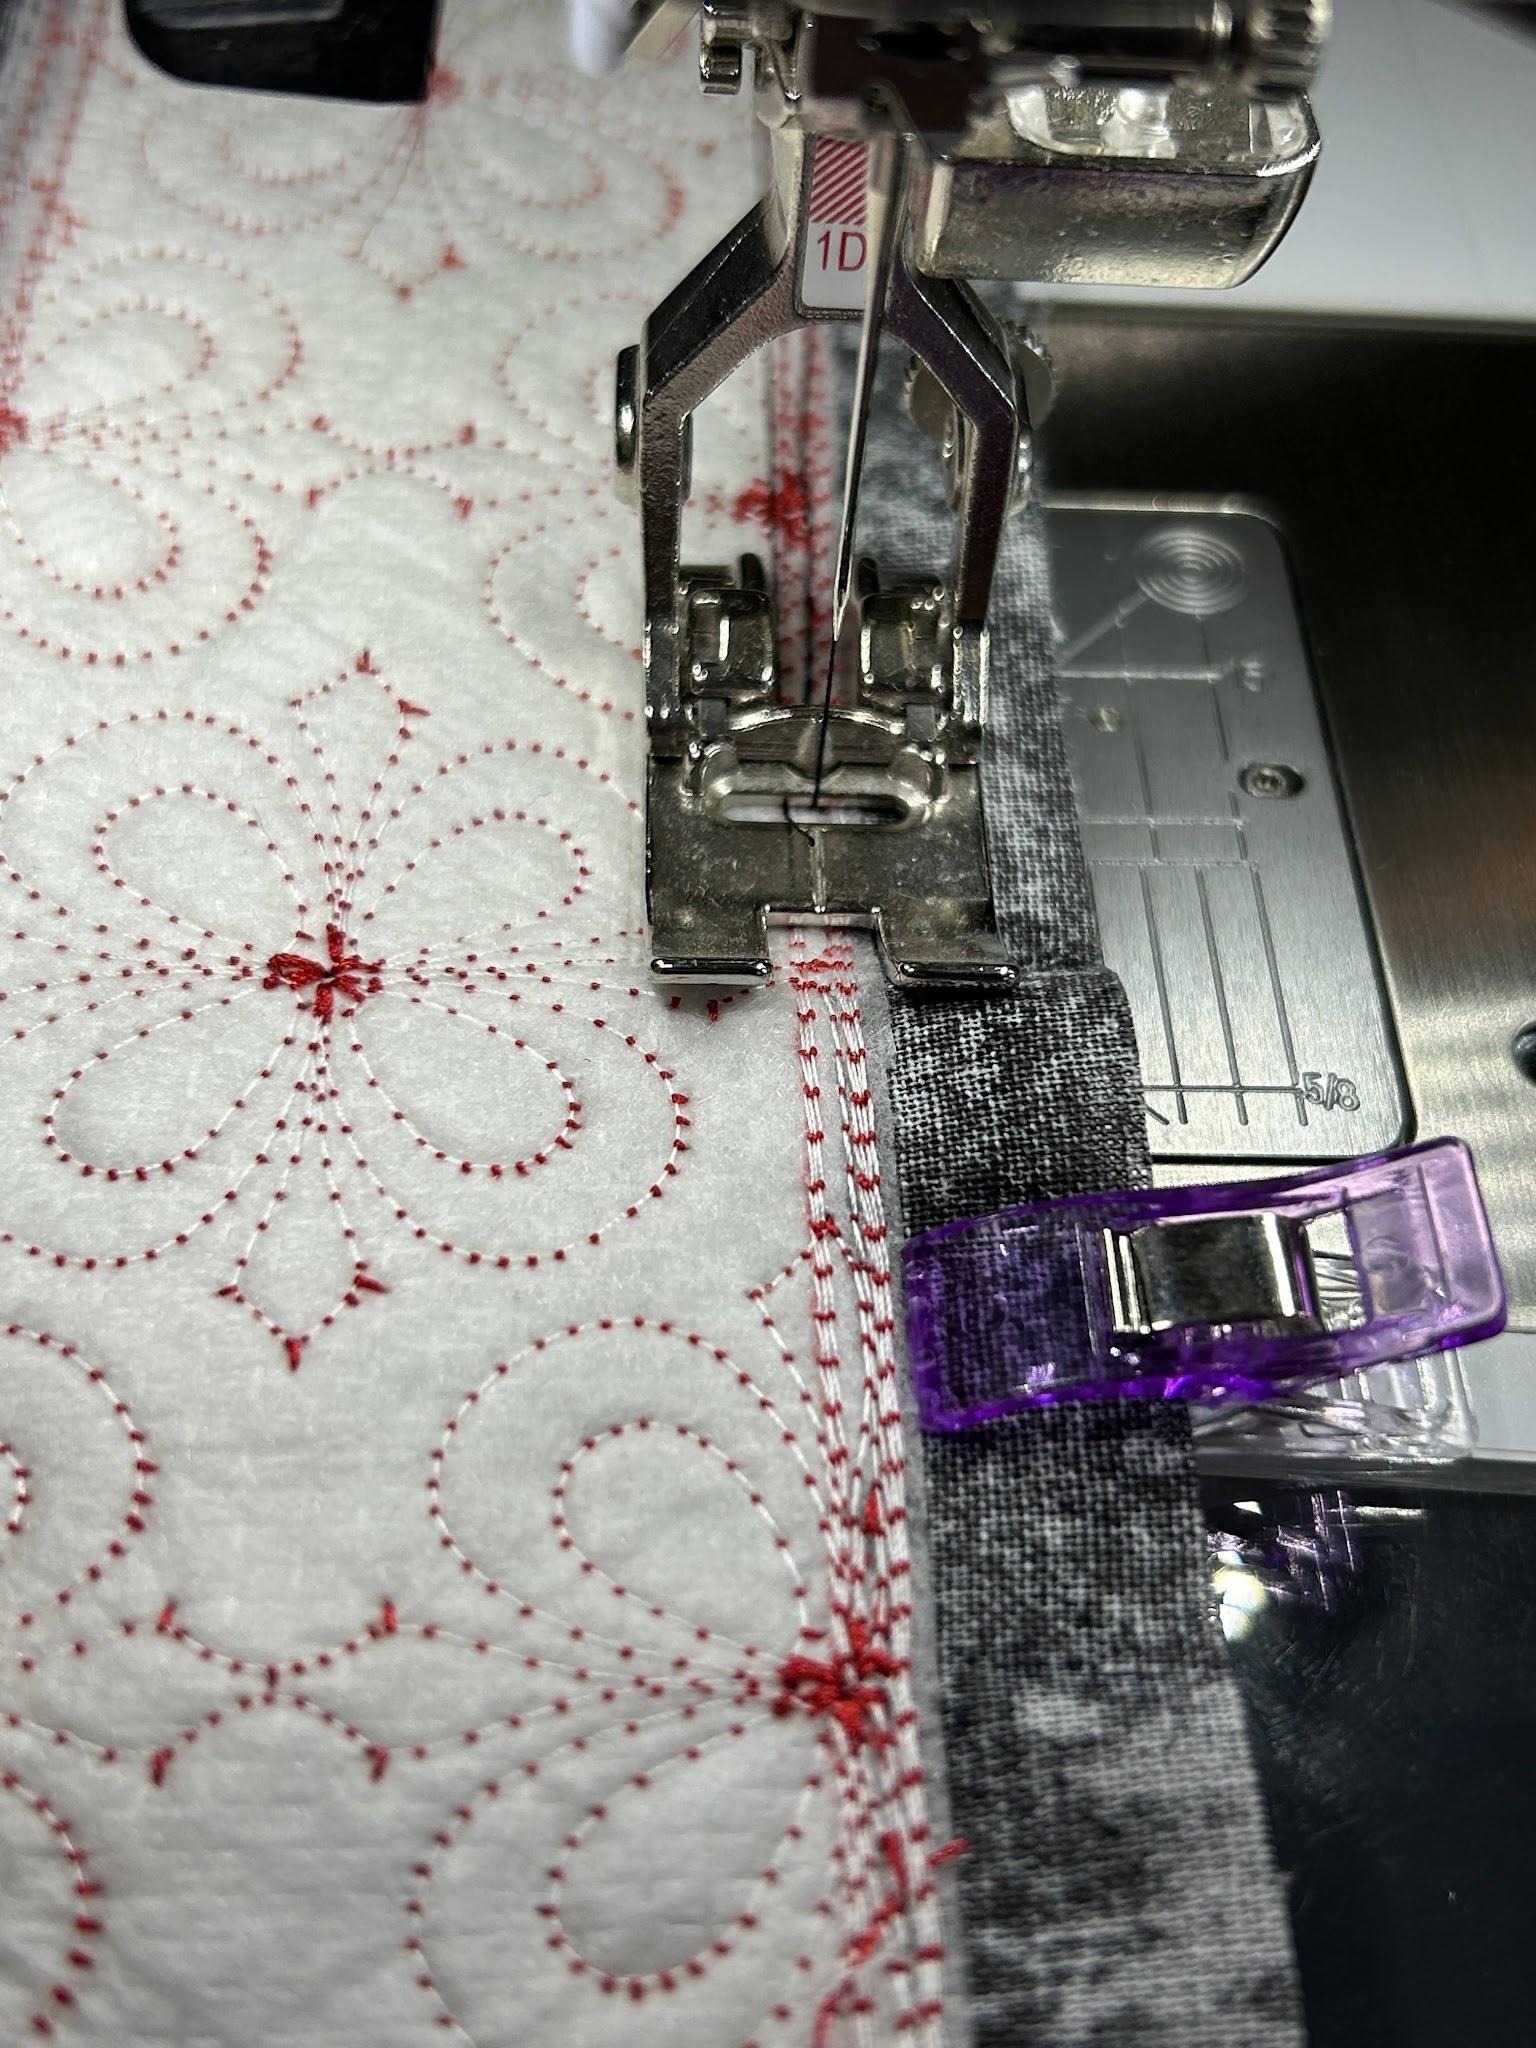
Press your seams open.
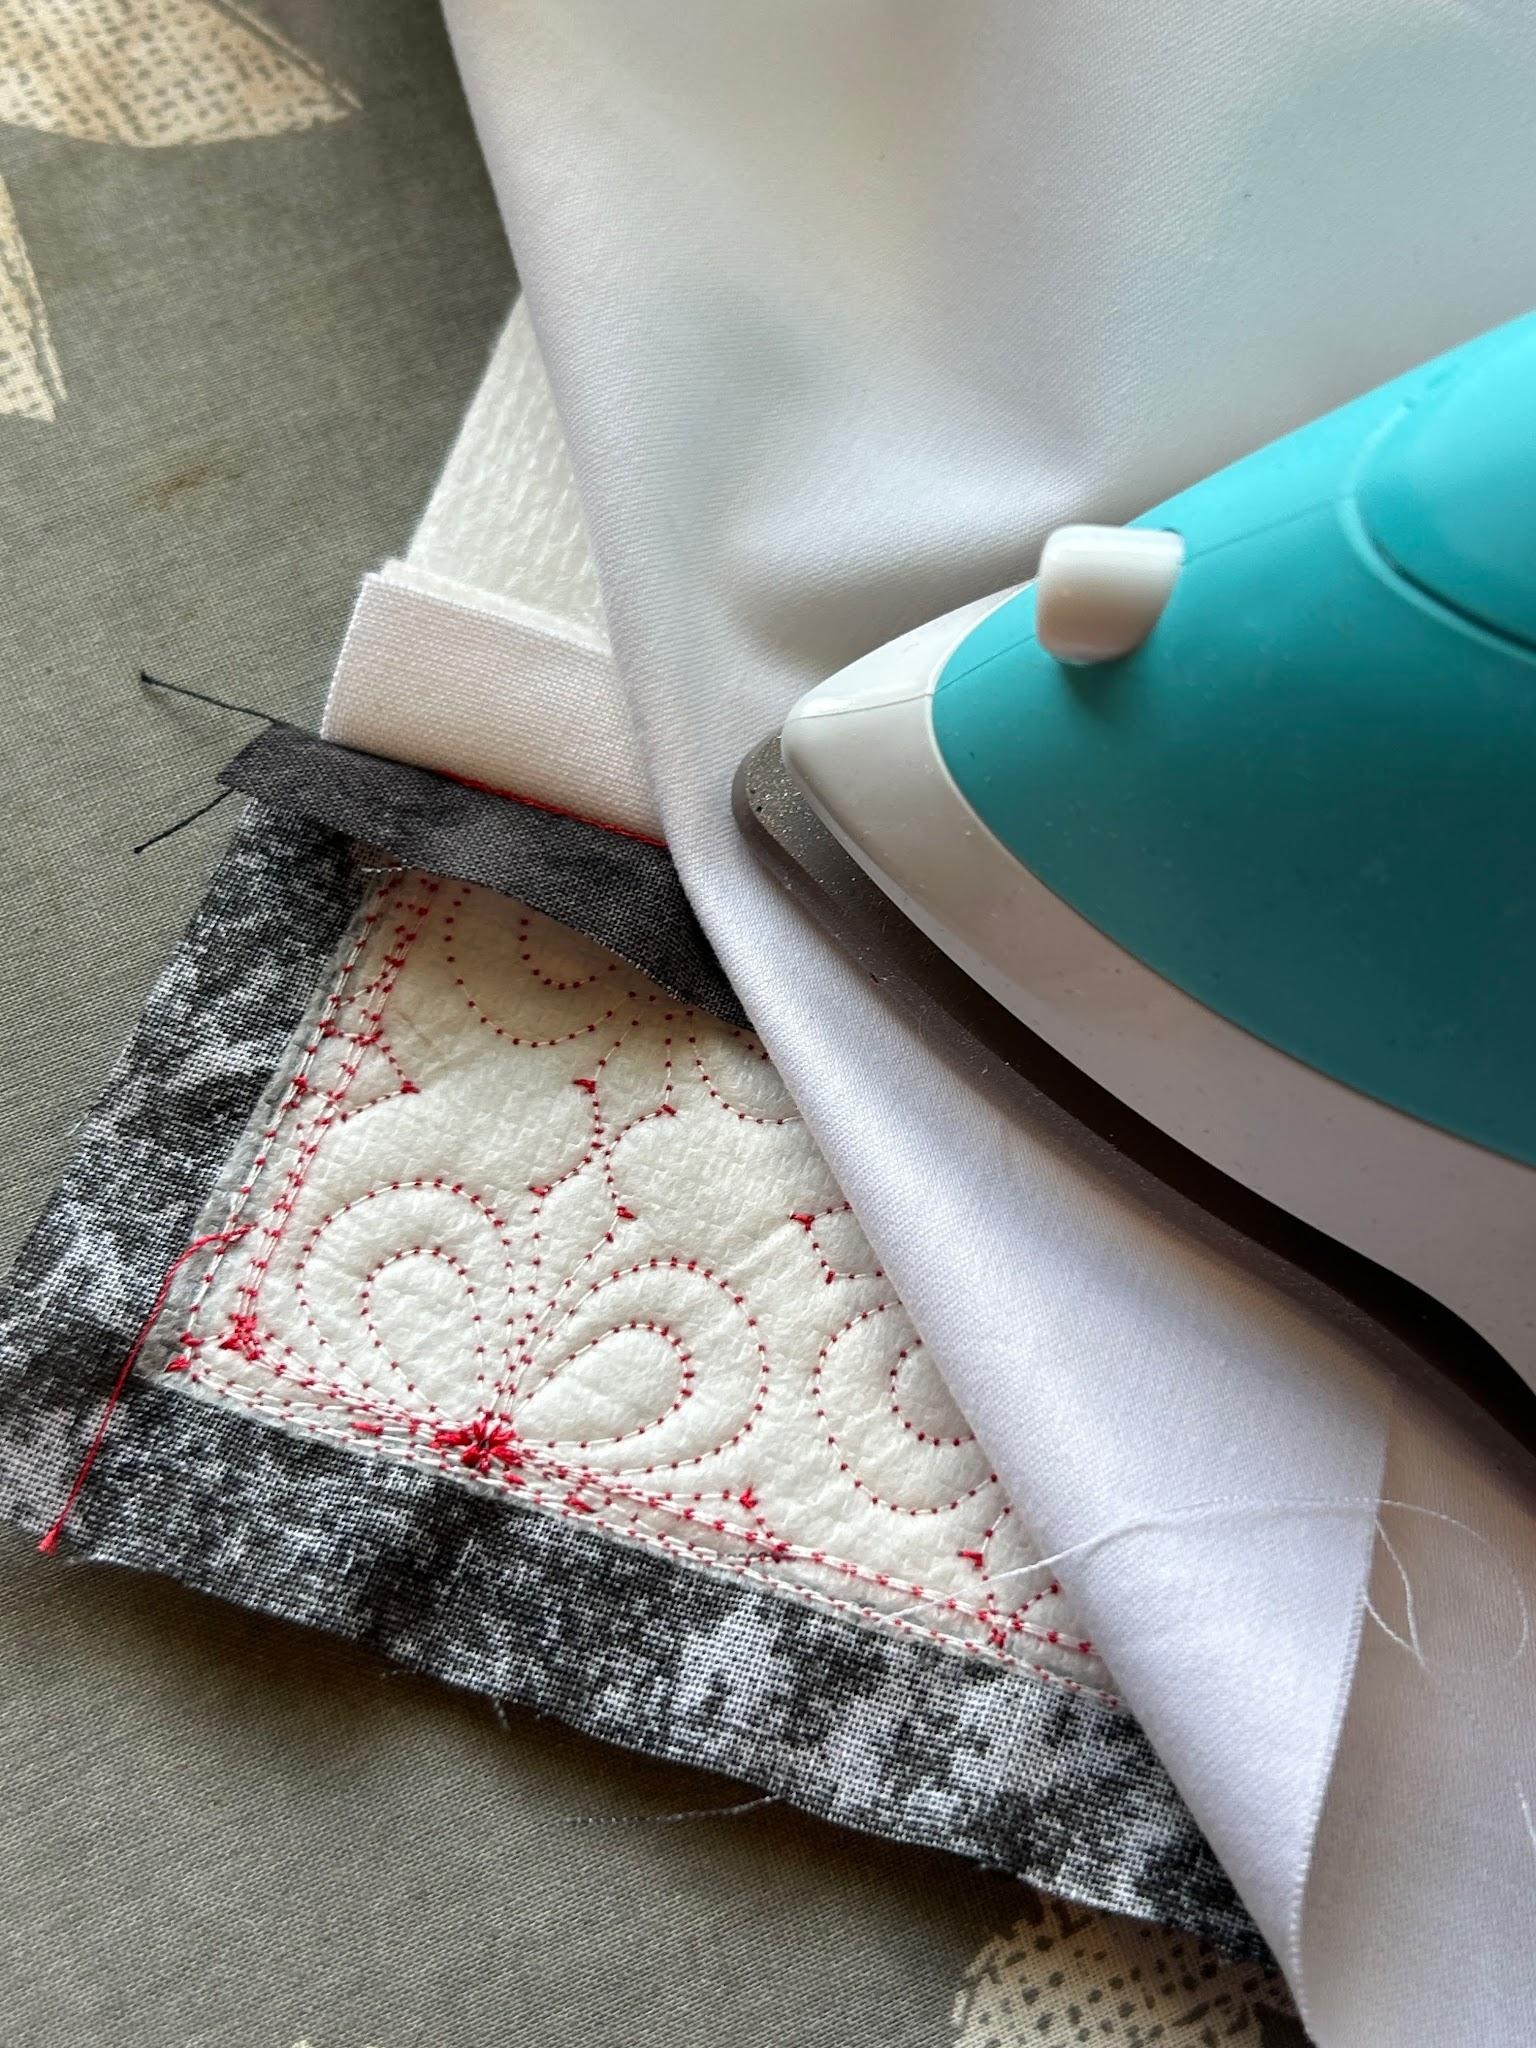
Now we will sew the top and bottom pieces to the main part of the pillow. Because we are now using two pieces with Quilting Backdrops, we can line up the outer stitching lines and corners to make sure everything will stitch together easily.
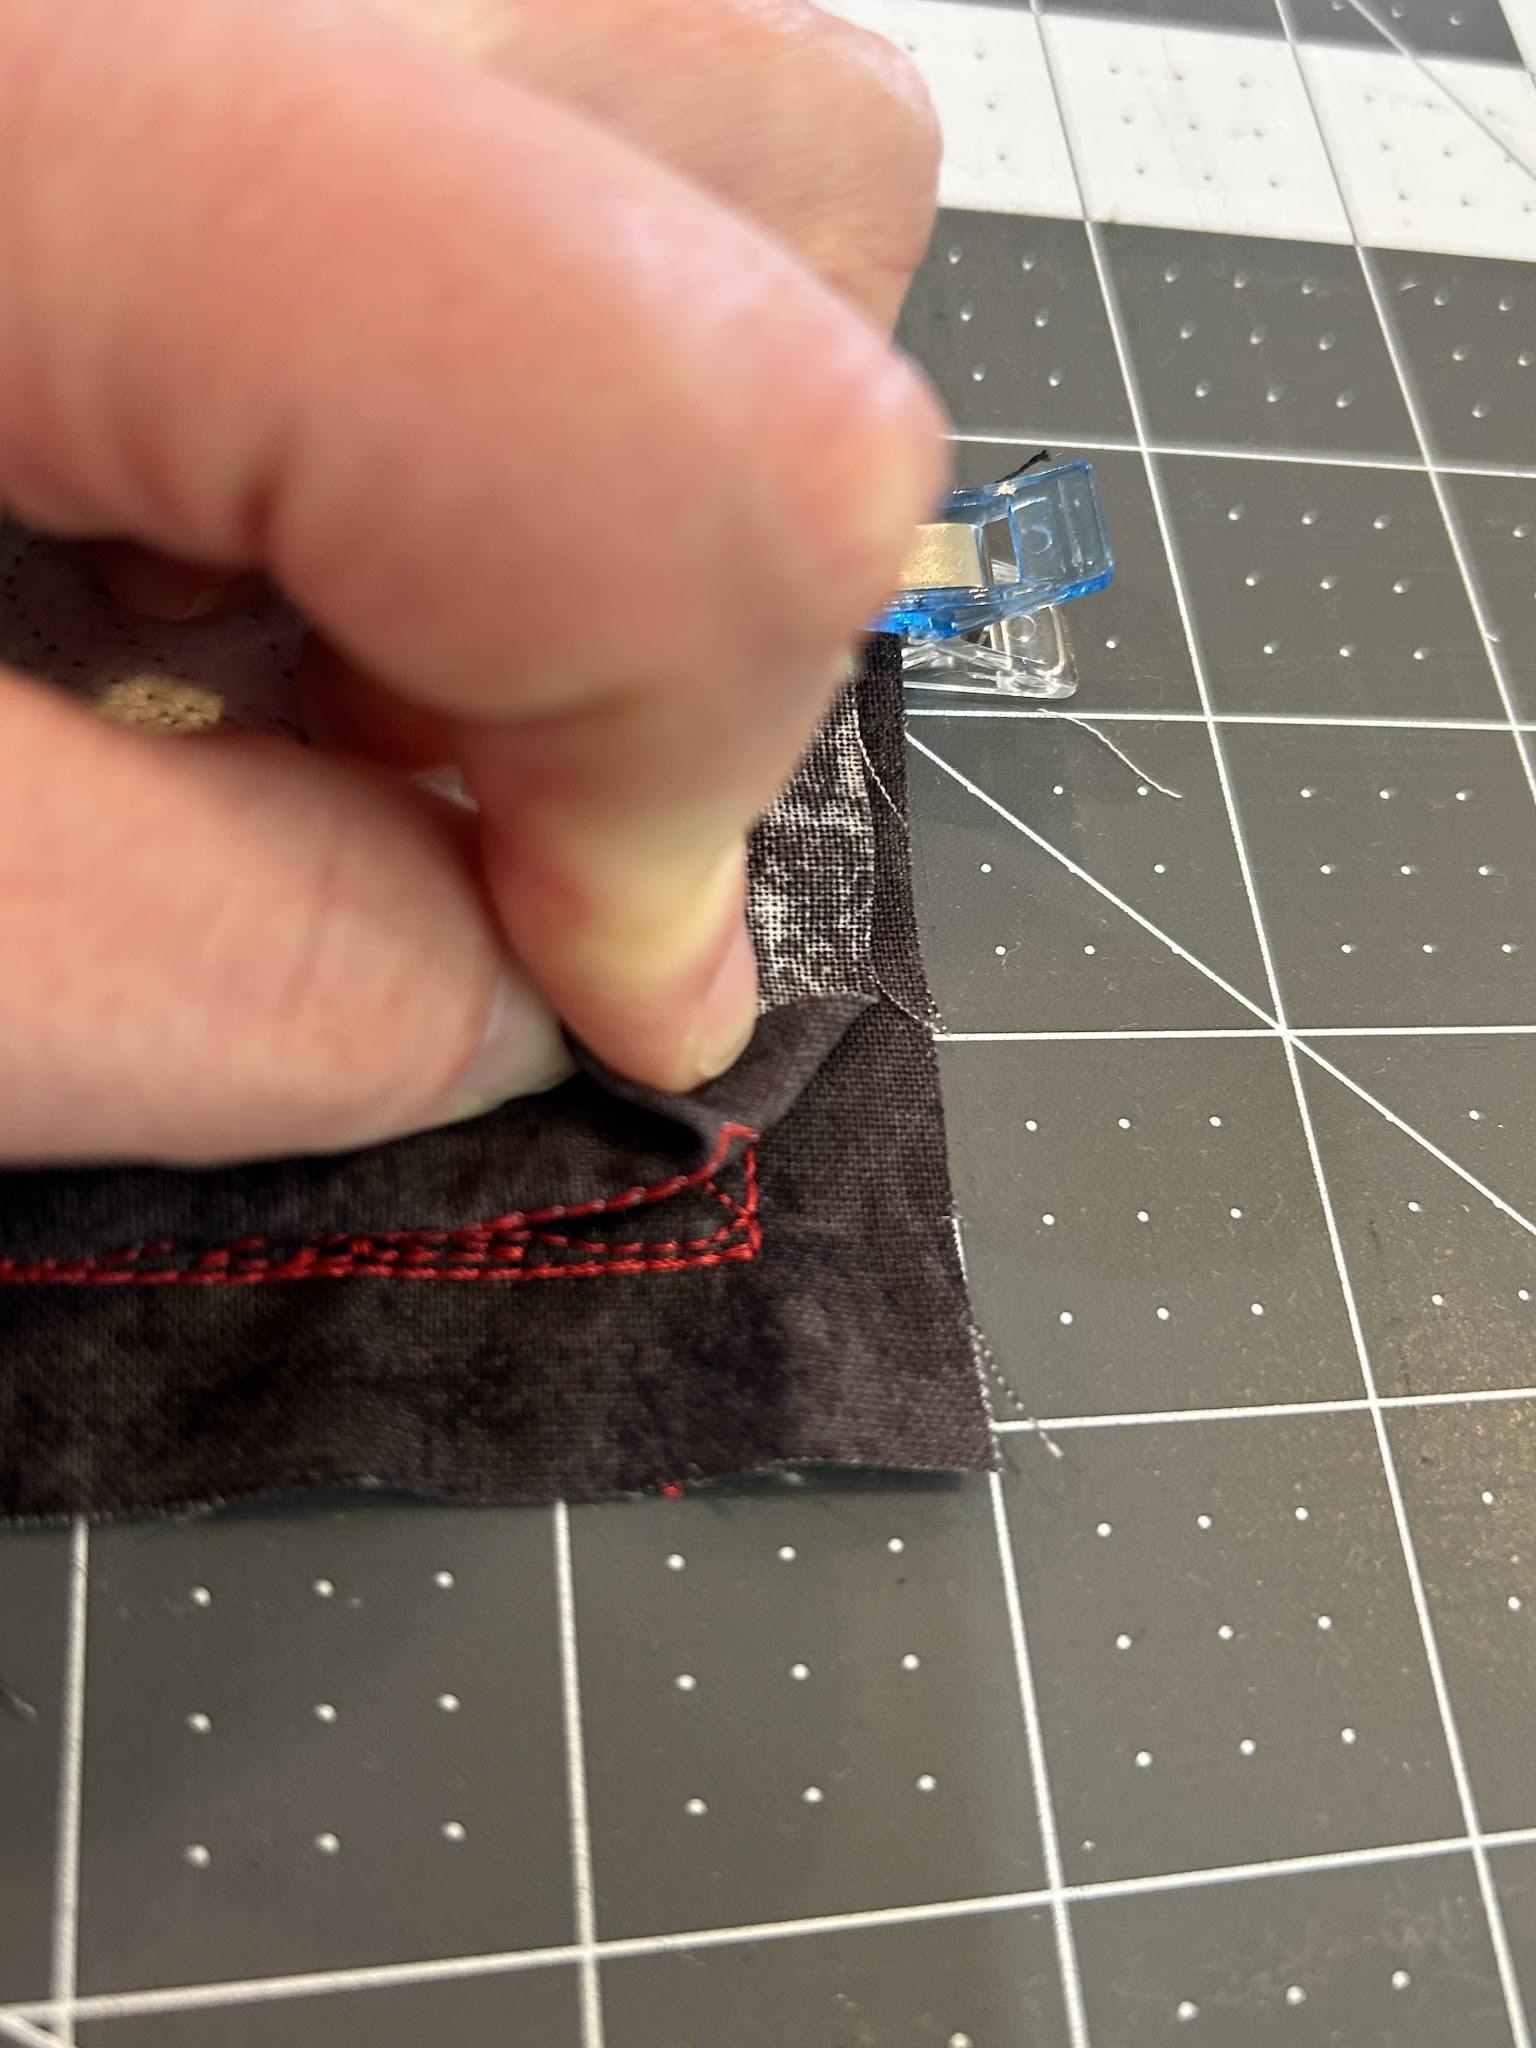
Clip the edges in place, sew together, and press the seams open.
Here’s your finished front!
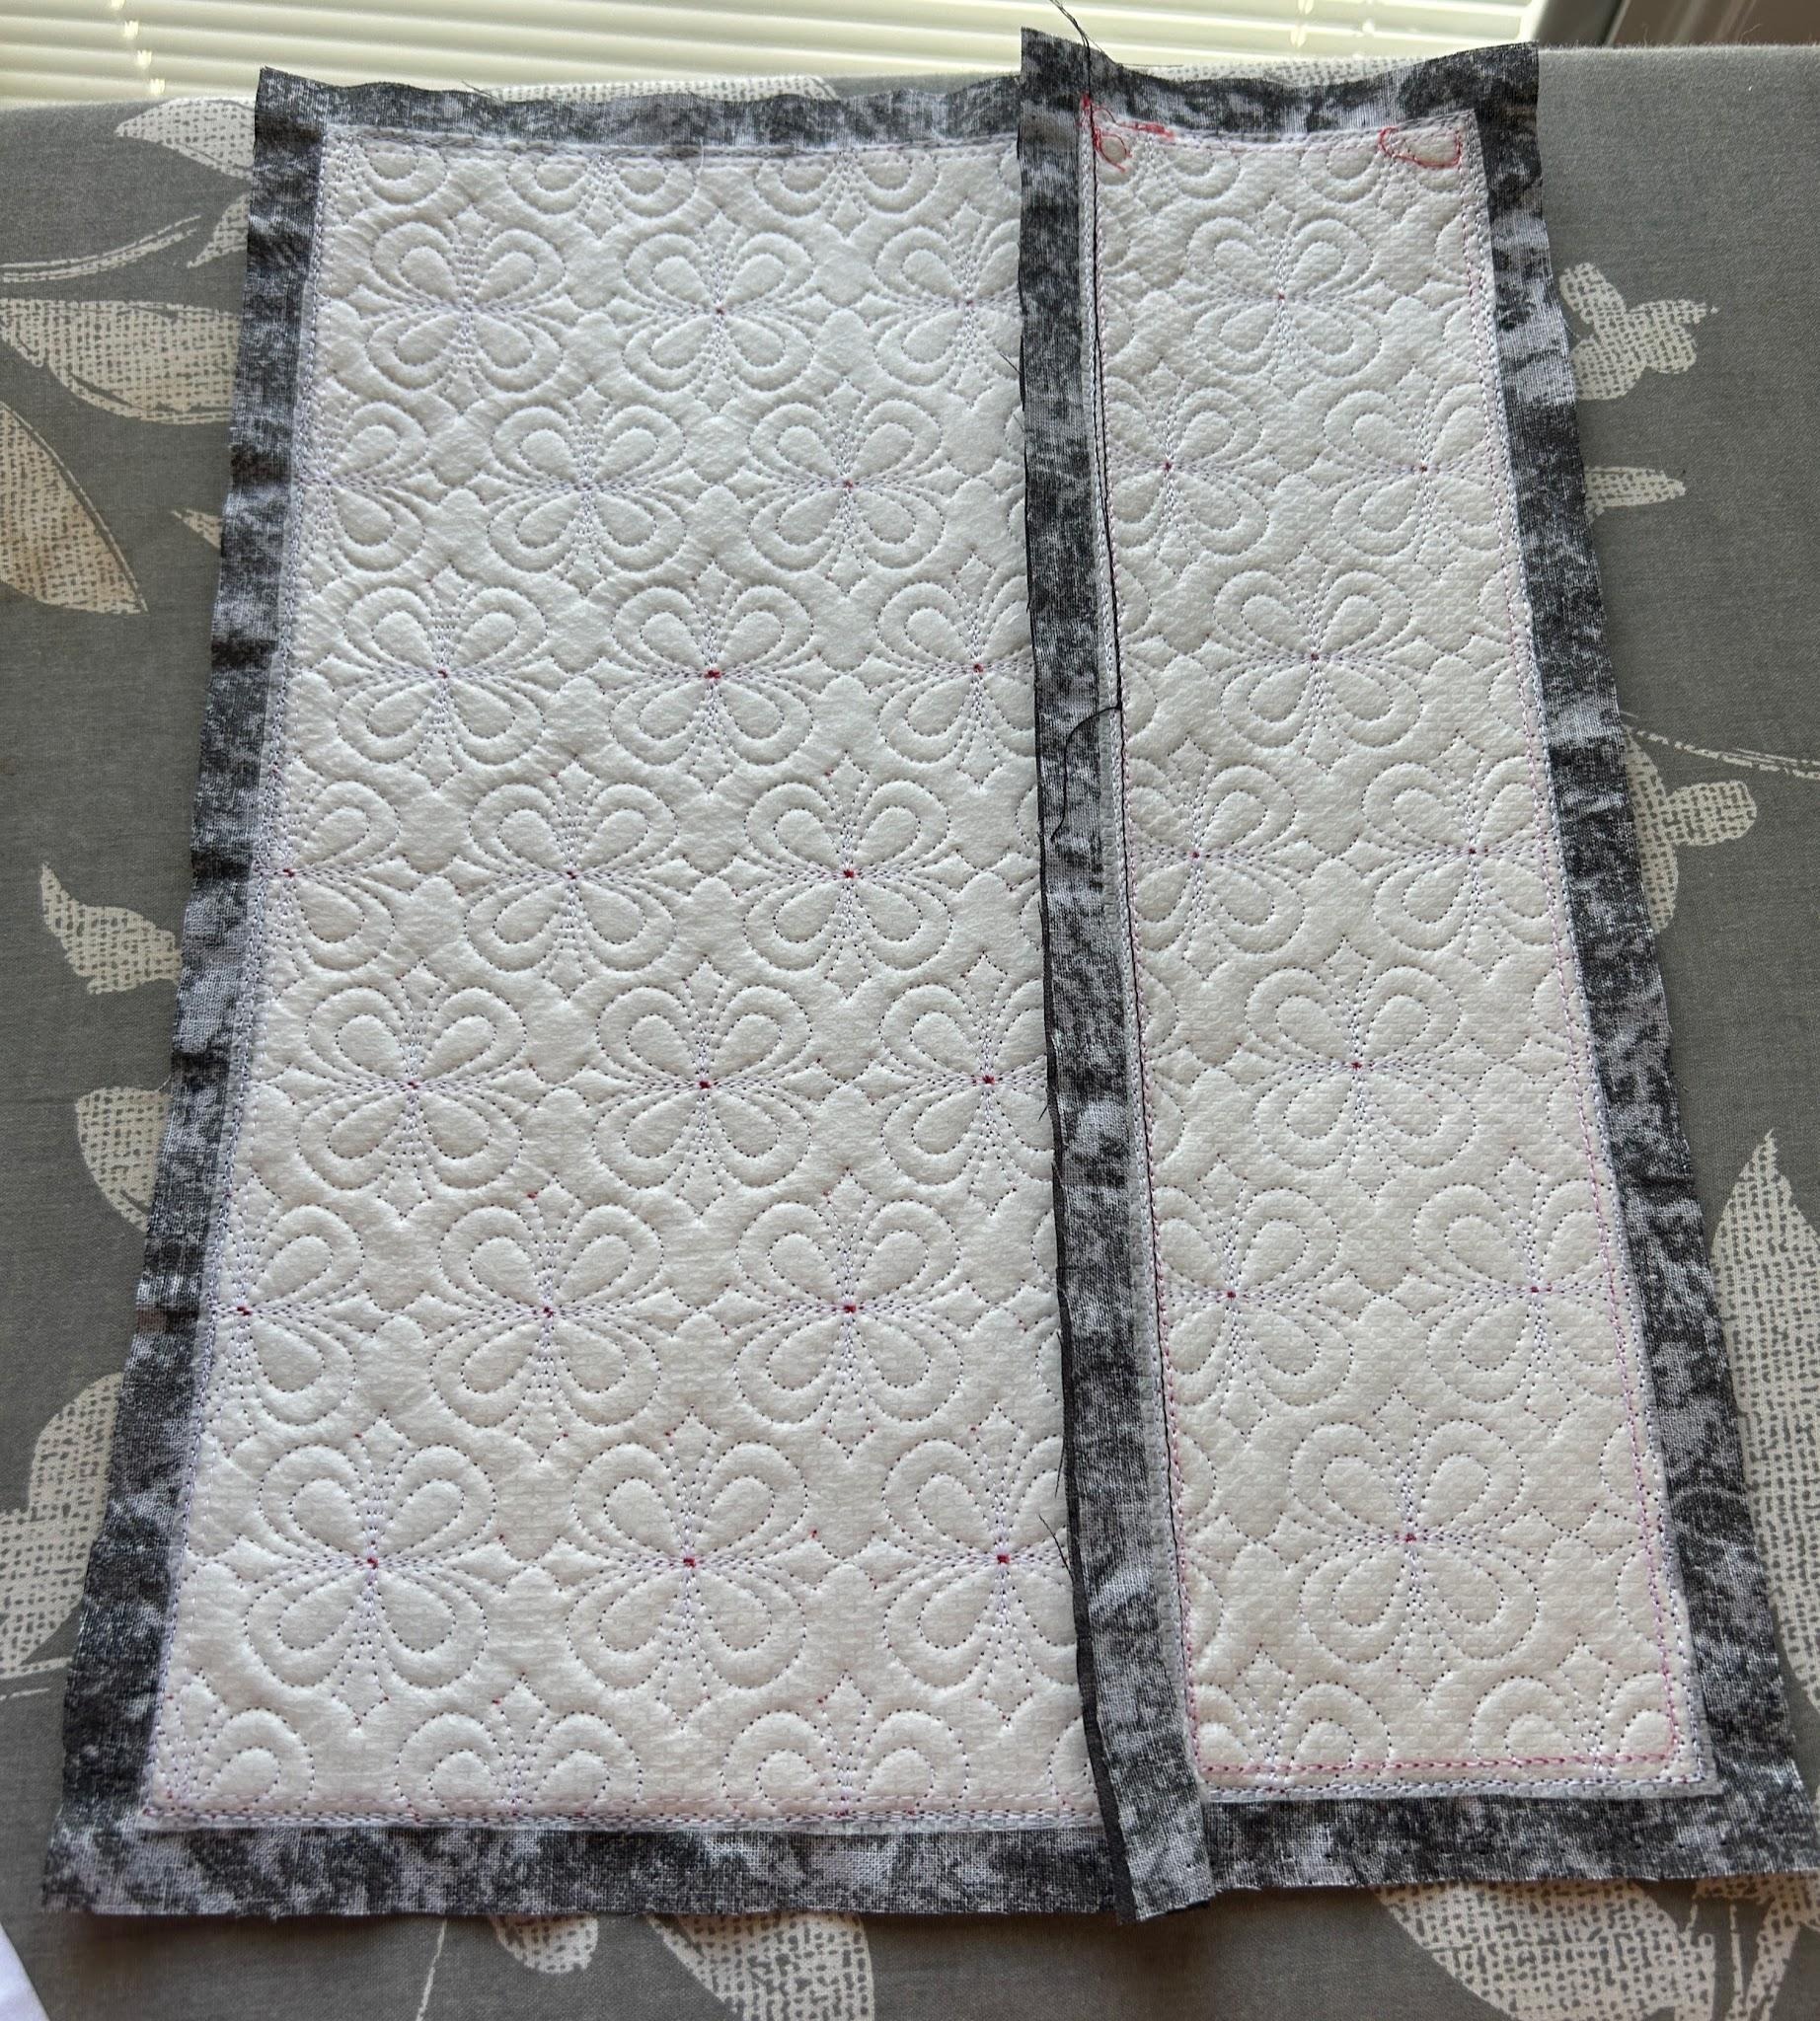
To finish the back panels, we will stitch a big piece to a small piece along the long edge in the racing lanes and press the seam to the side with the large panel. Repeat for the other side.
Take one of the back pieces and fold the small piece back along the seam. Press this in place. This will make a finished flap for the edge of the pillow. We will call this Back Flap A.
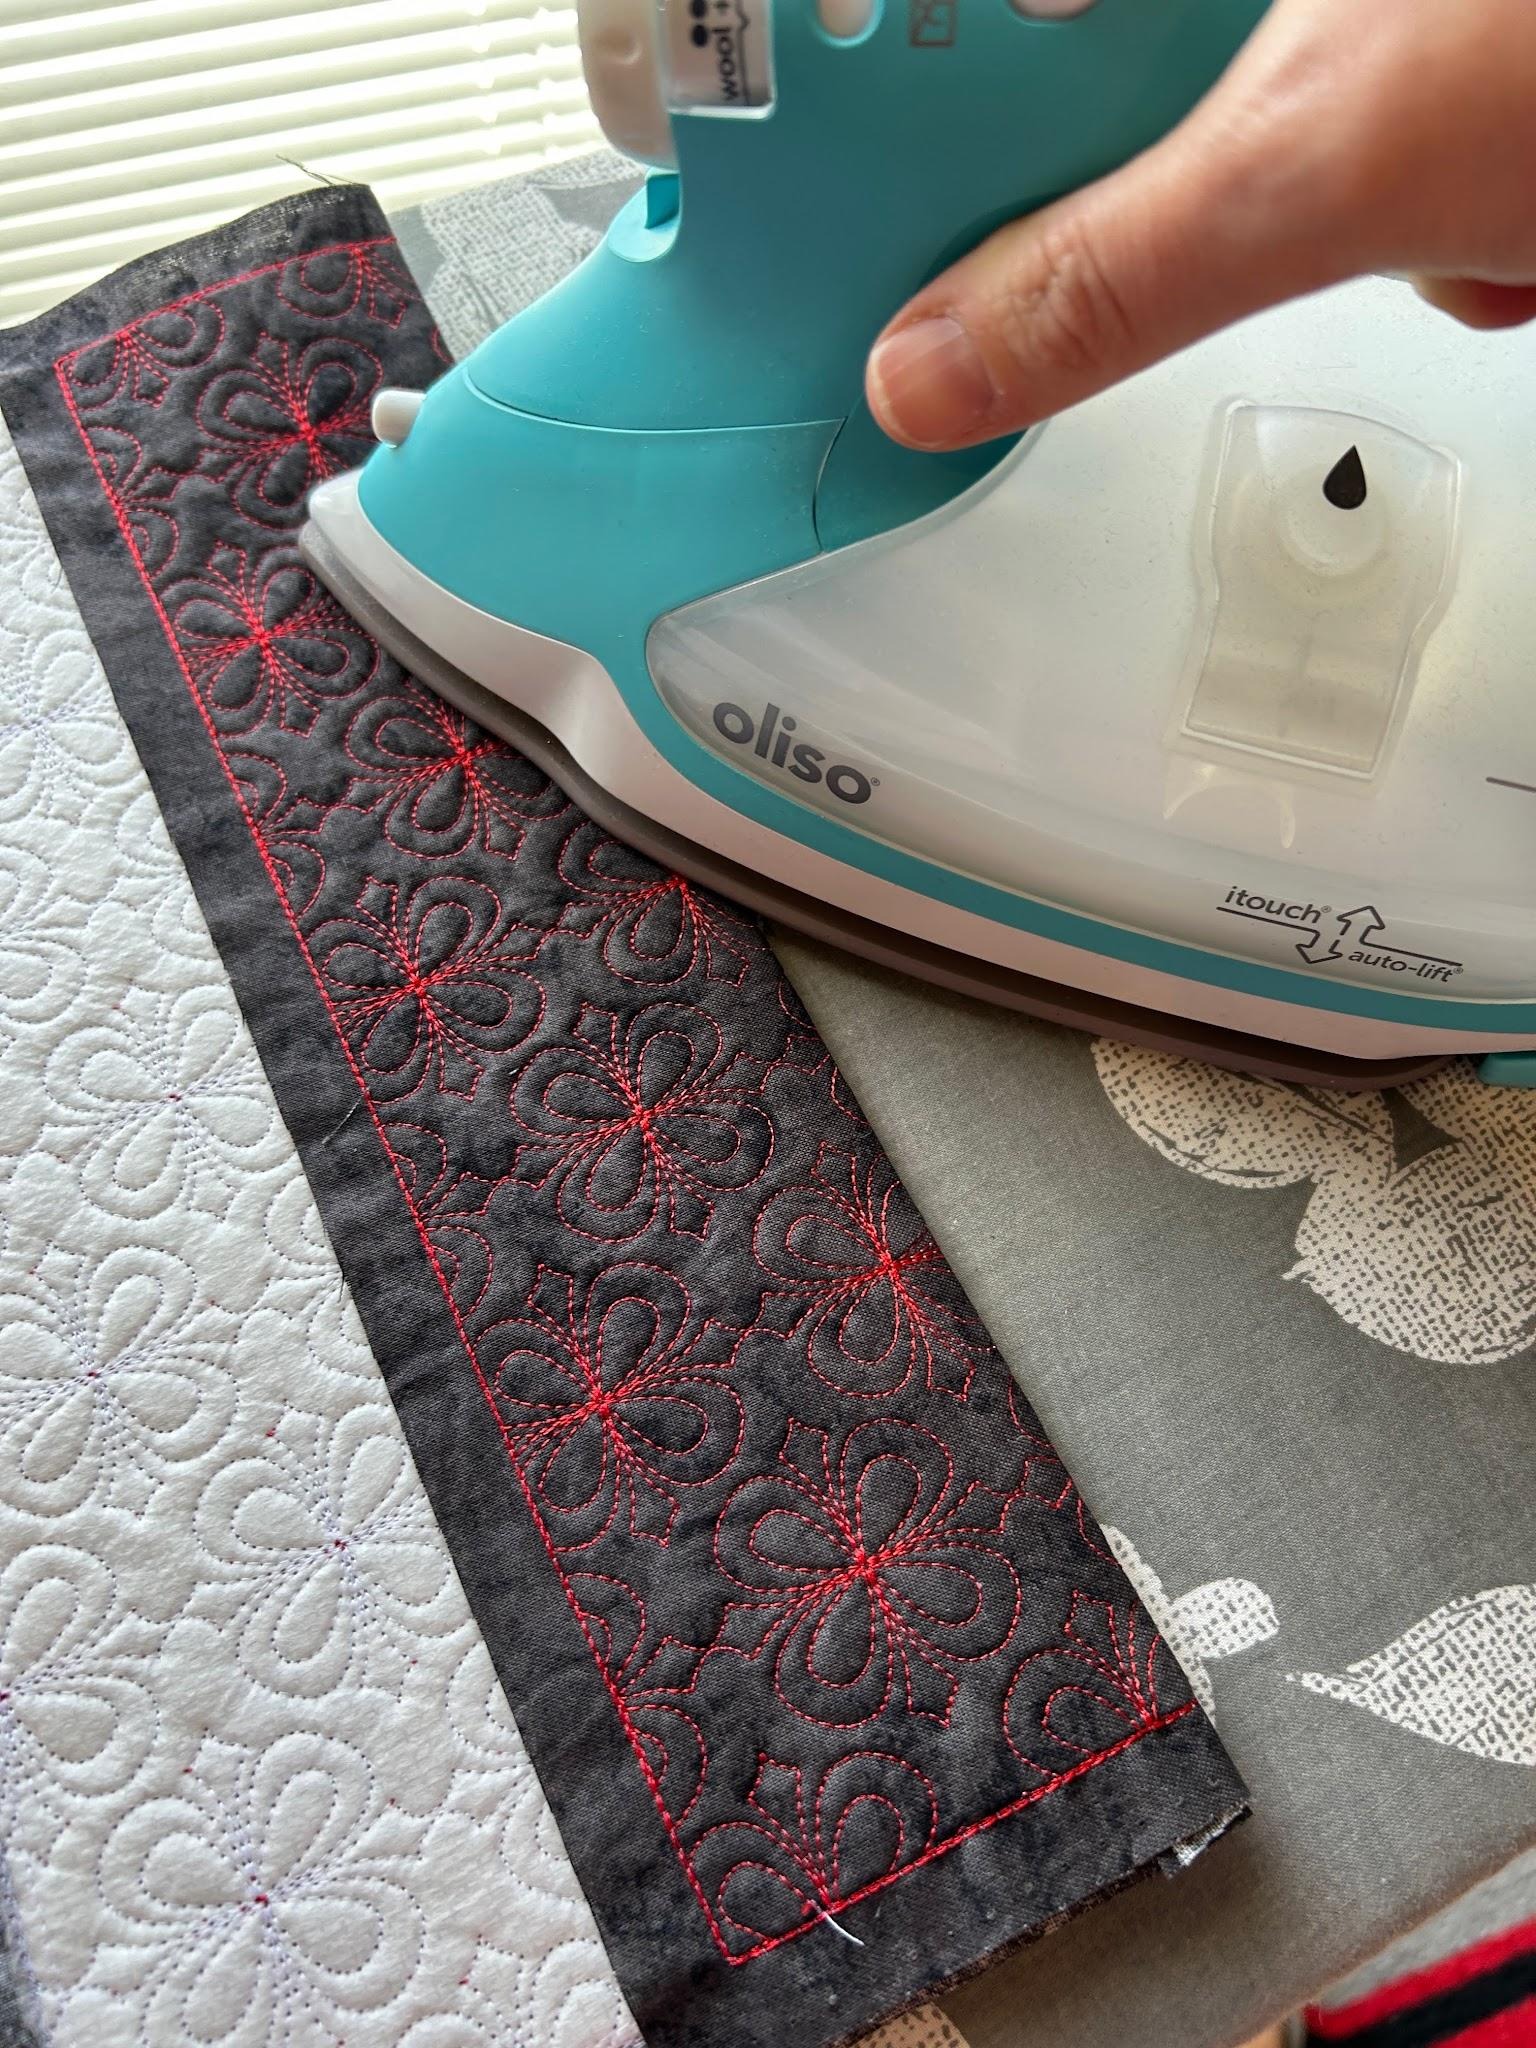
I like to check and press from the large side of the back piece to make sure the small piece is completely hidden. The small side will be sewn down when we attach the flap to the pillow front.
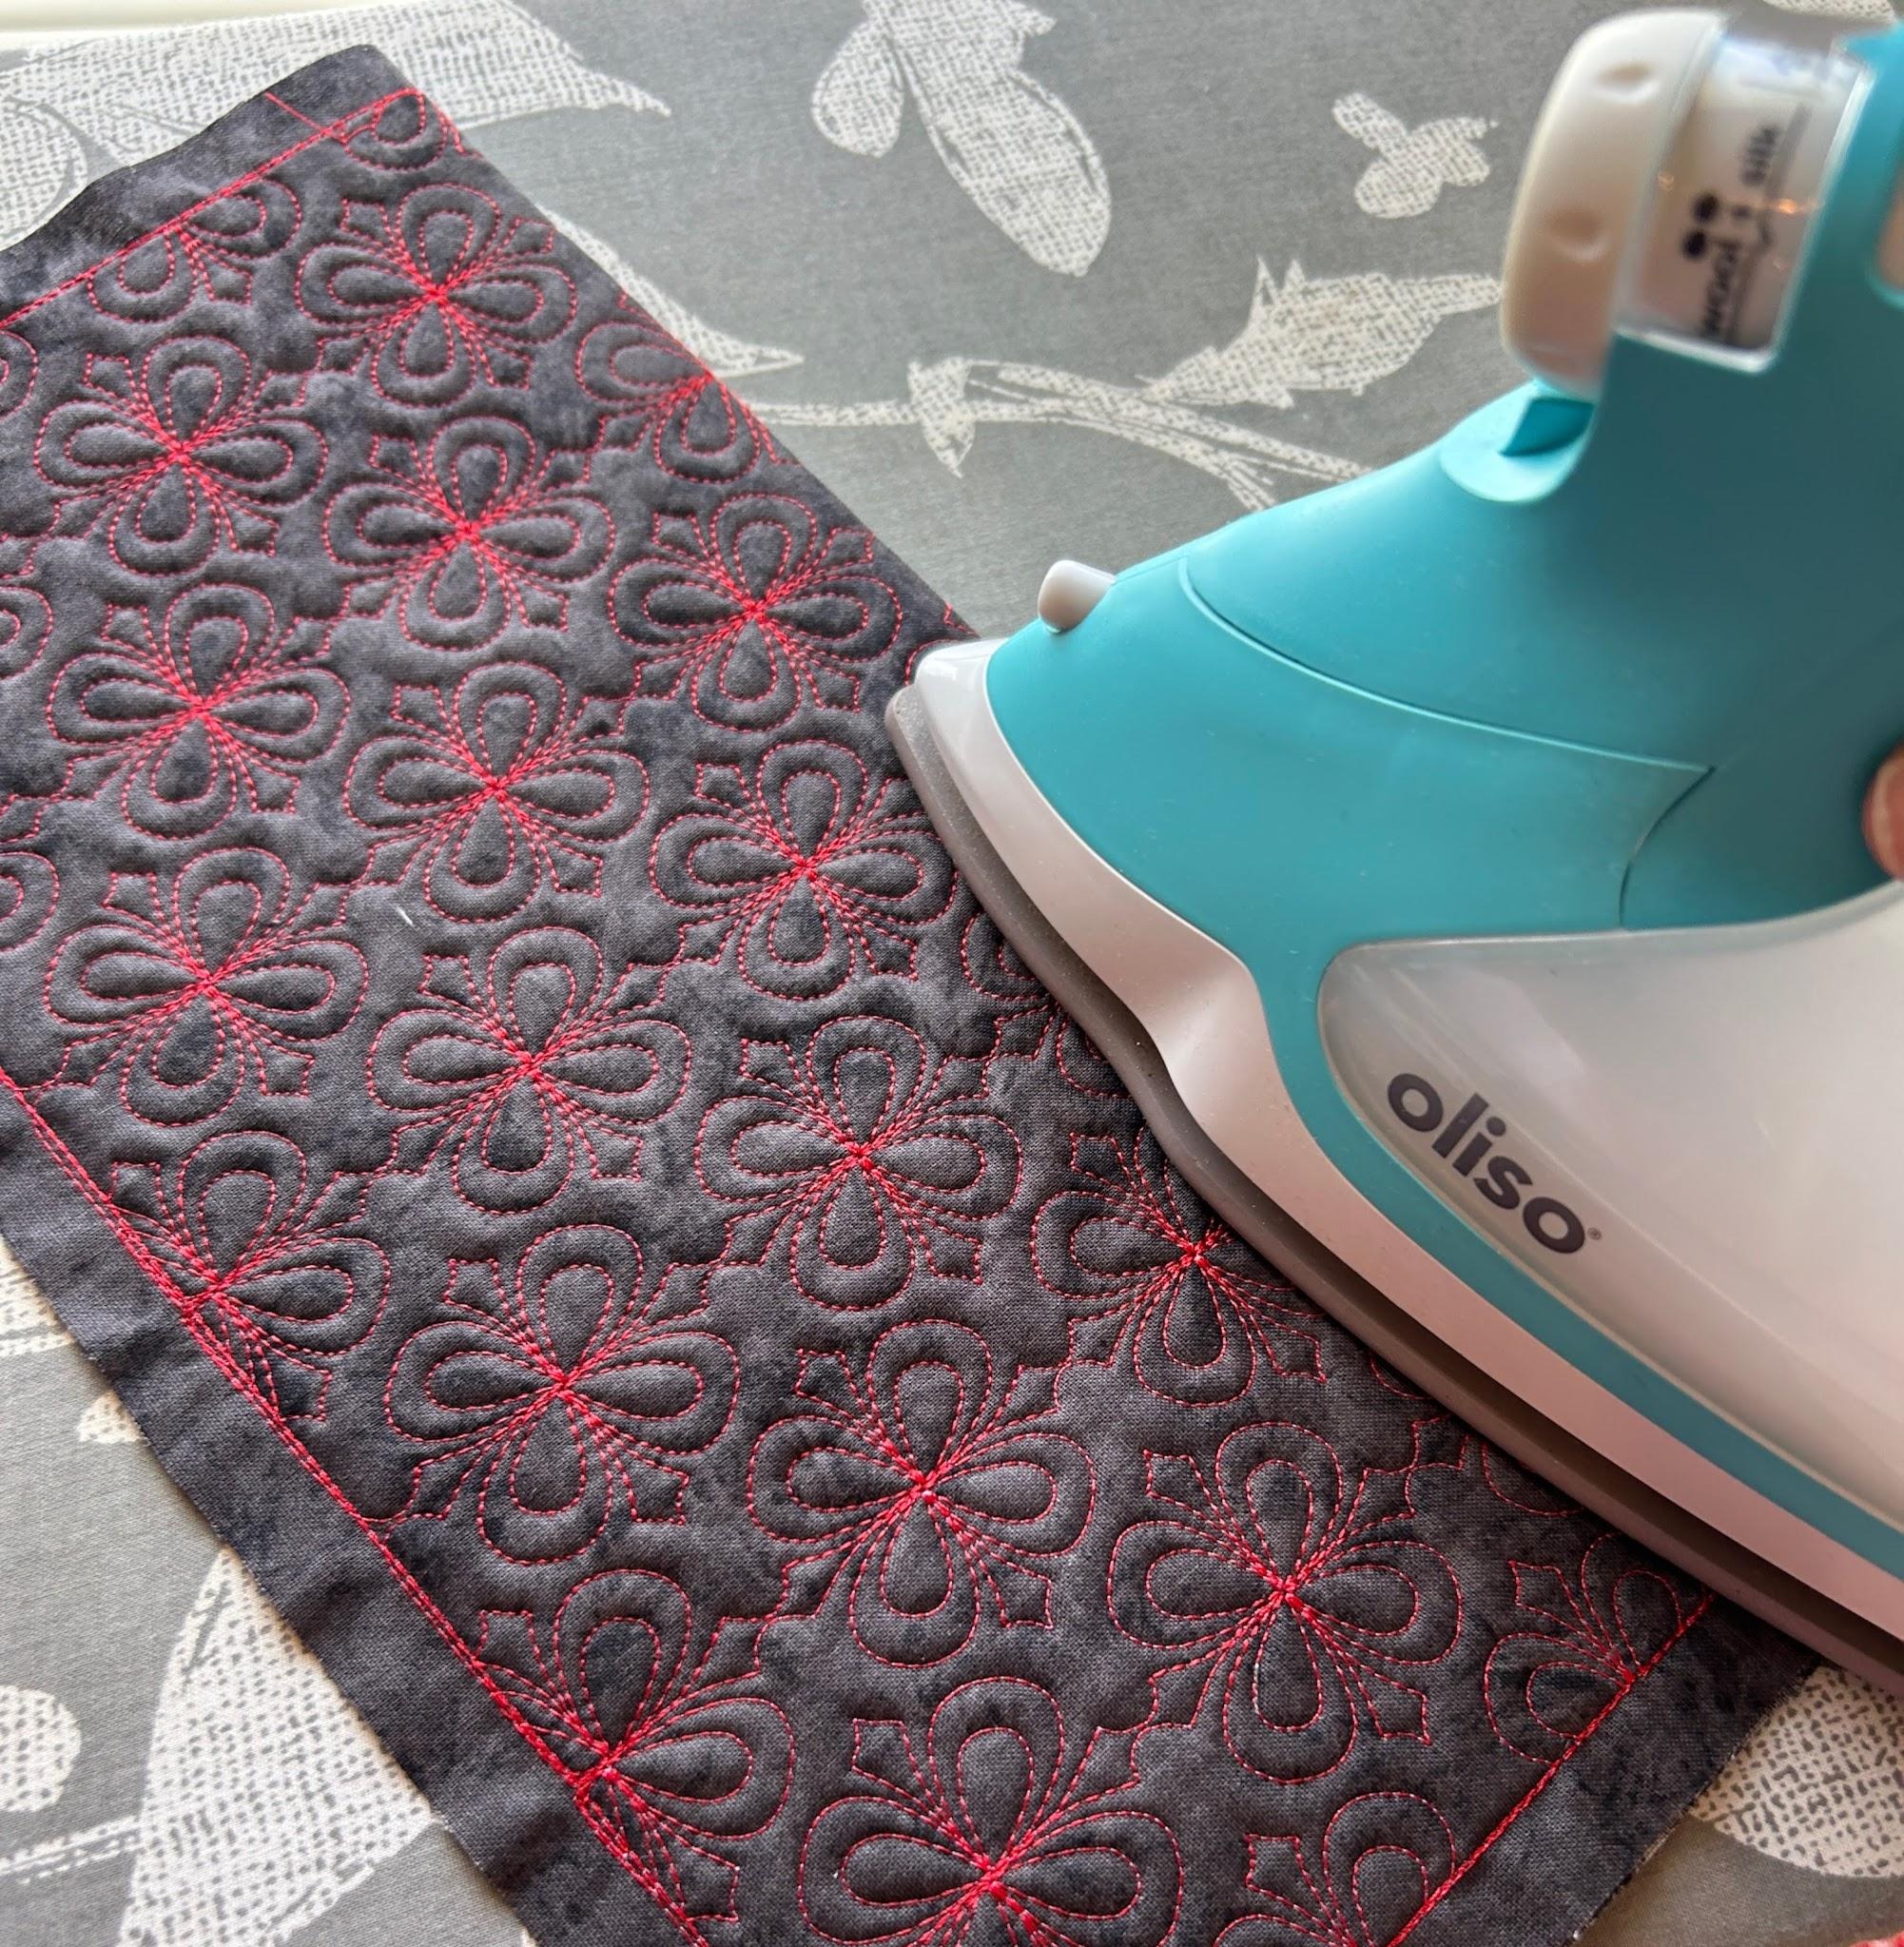
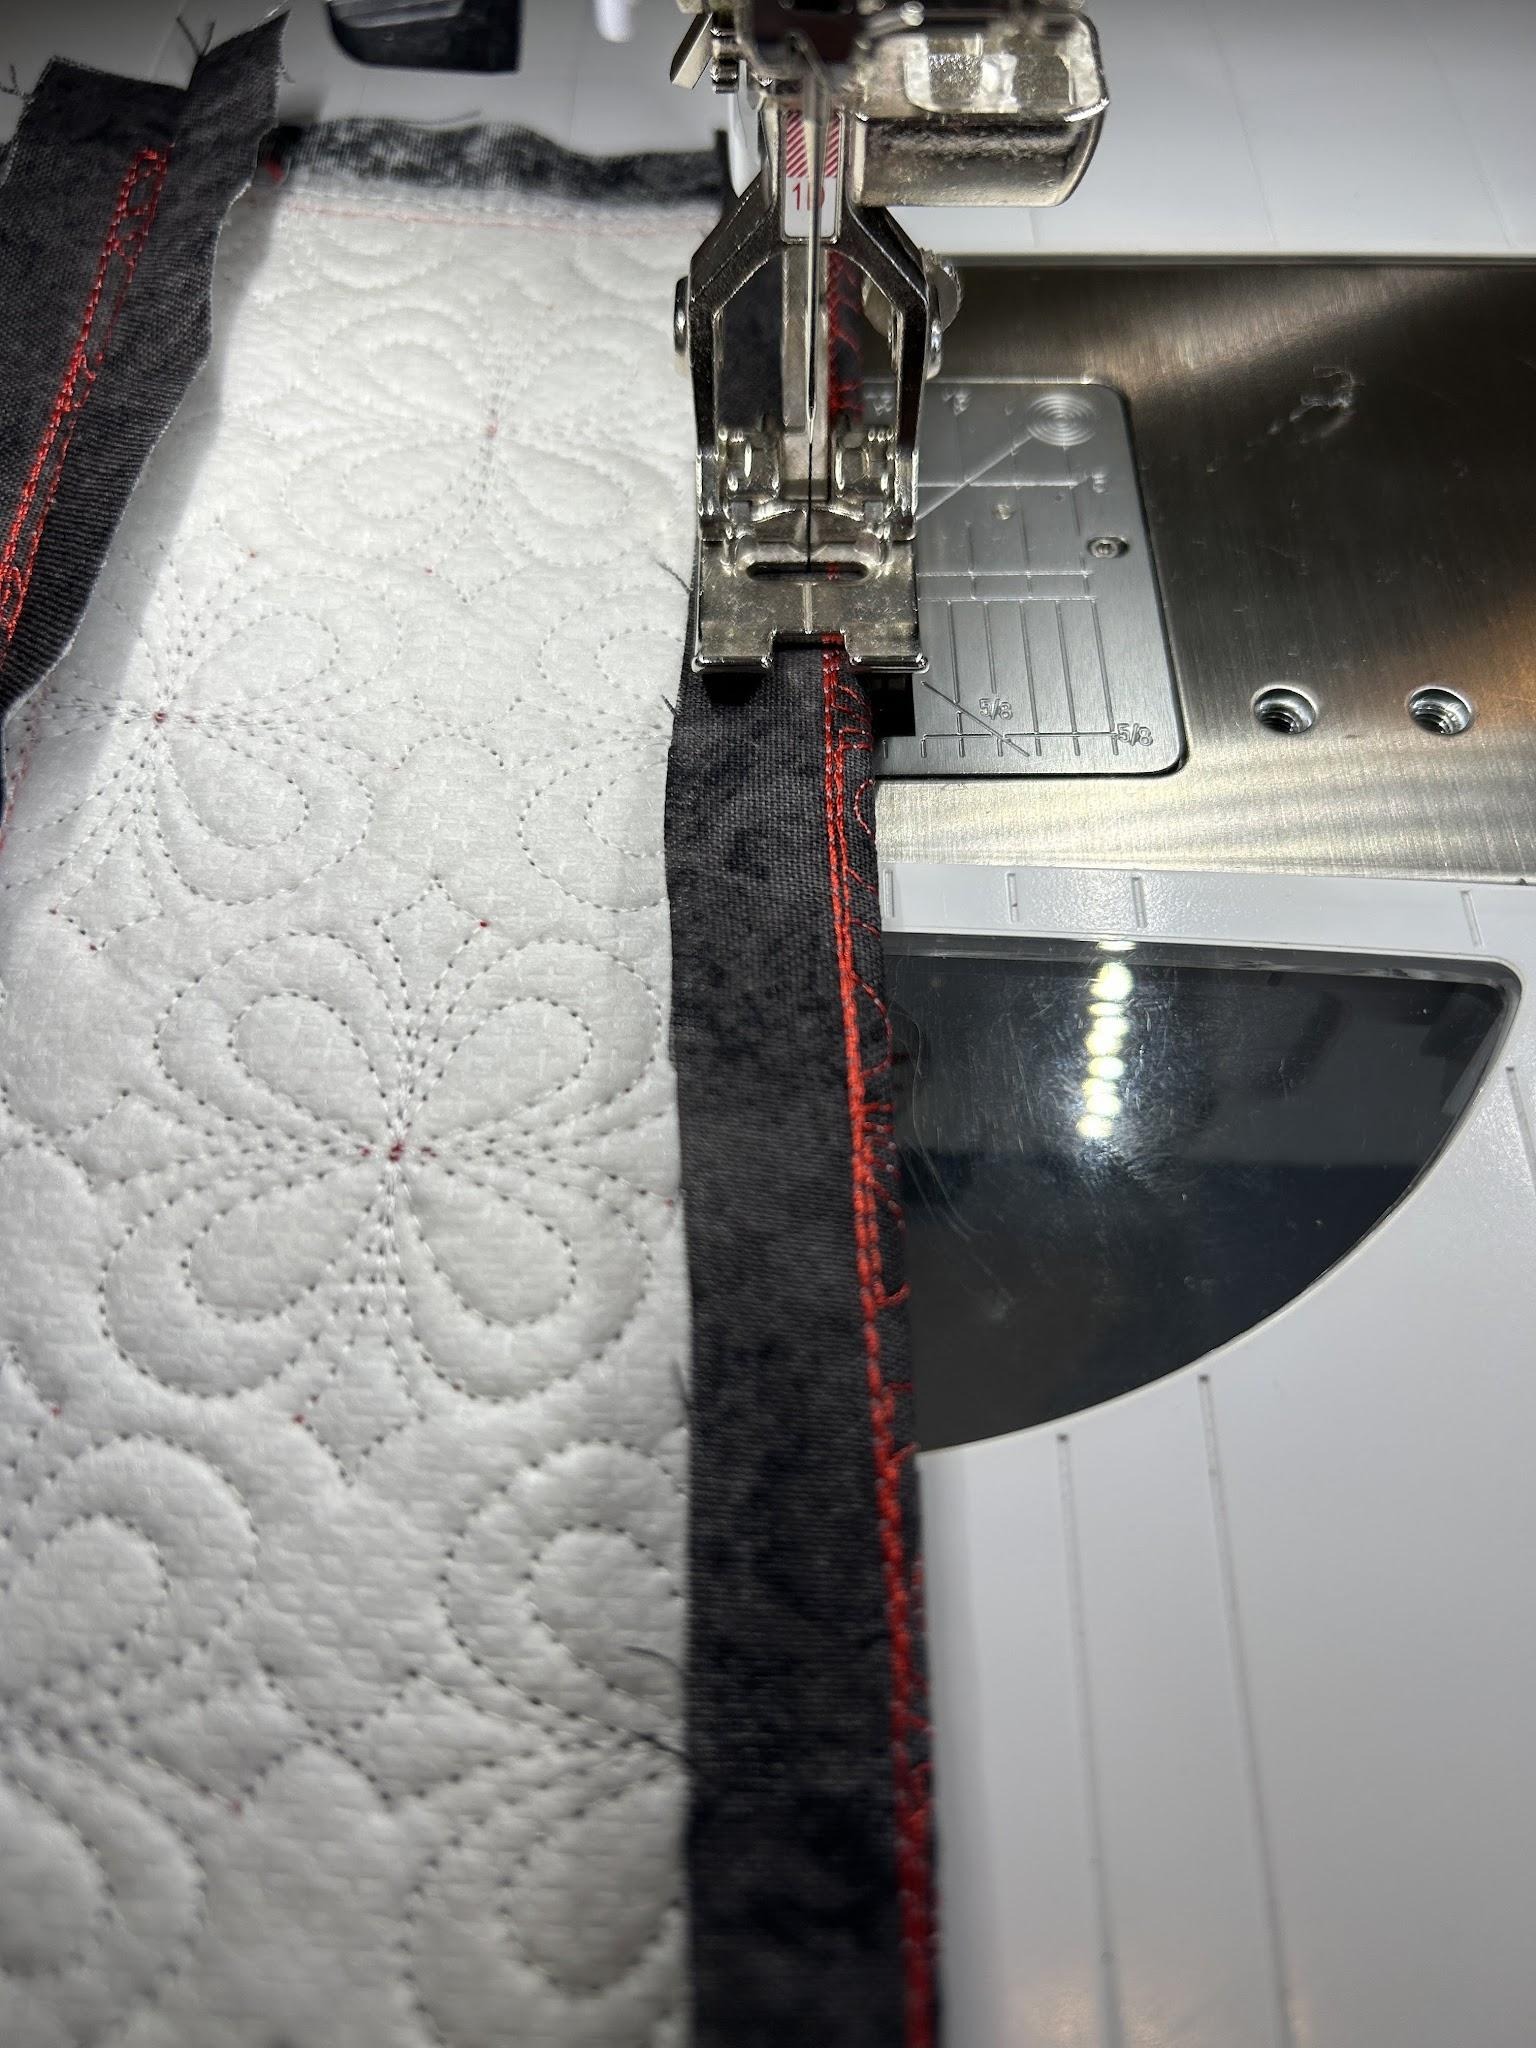
For the other back piece we will just turn over and press the seam allowance part of the small section to the wrong side of the panel. I like to turn the edge stitches over so they aren’t seen. This piece we will call Back Flap B.
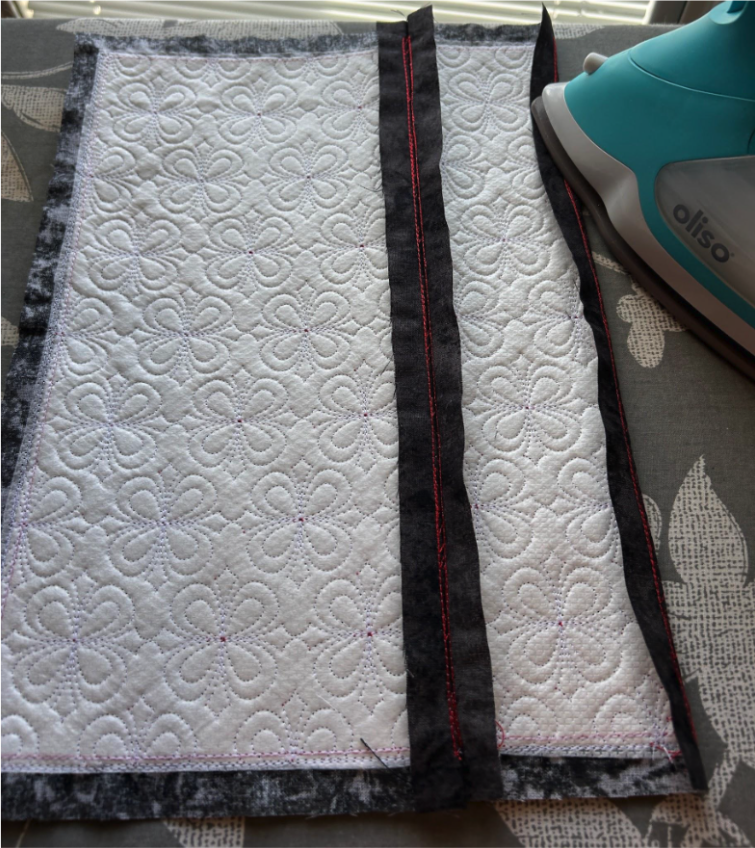
Stitch close to the edge just to hold the turned piece in place.
Here are our three pieces for the pillow. We have Back Flap B, the Center Panel, and Back Flap A.
Now it's time to sew our pillow front to the pillow backs.The pillow back consists of two overlapping panels. The overlap creates the envelope opening, allowing the pillow form to be inserted and removed without adding a zipper.
Place your pillow front right side up on your work surface. Take Back Flap A and line it up on the pillow front matching the three raw edges on the right side. Clip in place. I like to make sure that my flap is held securely in place so that it is stitched down in the next step.
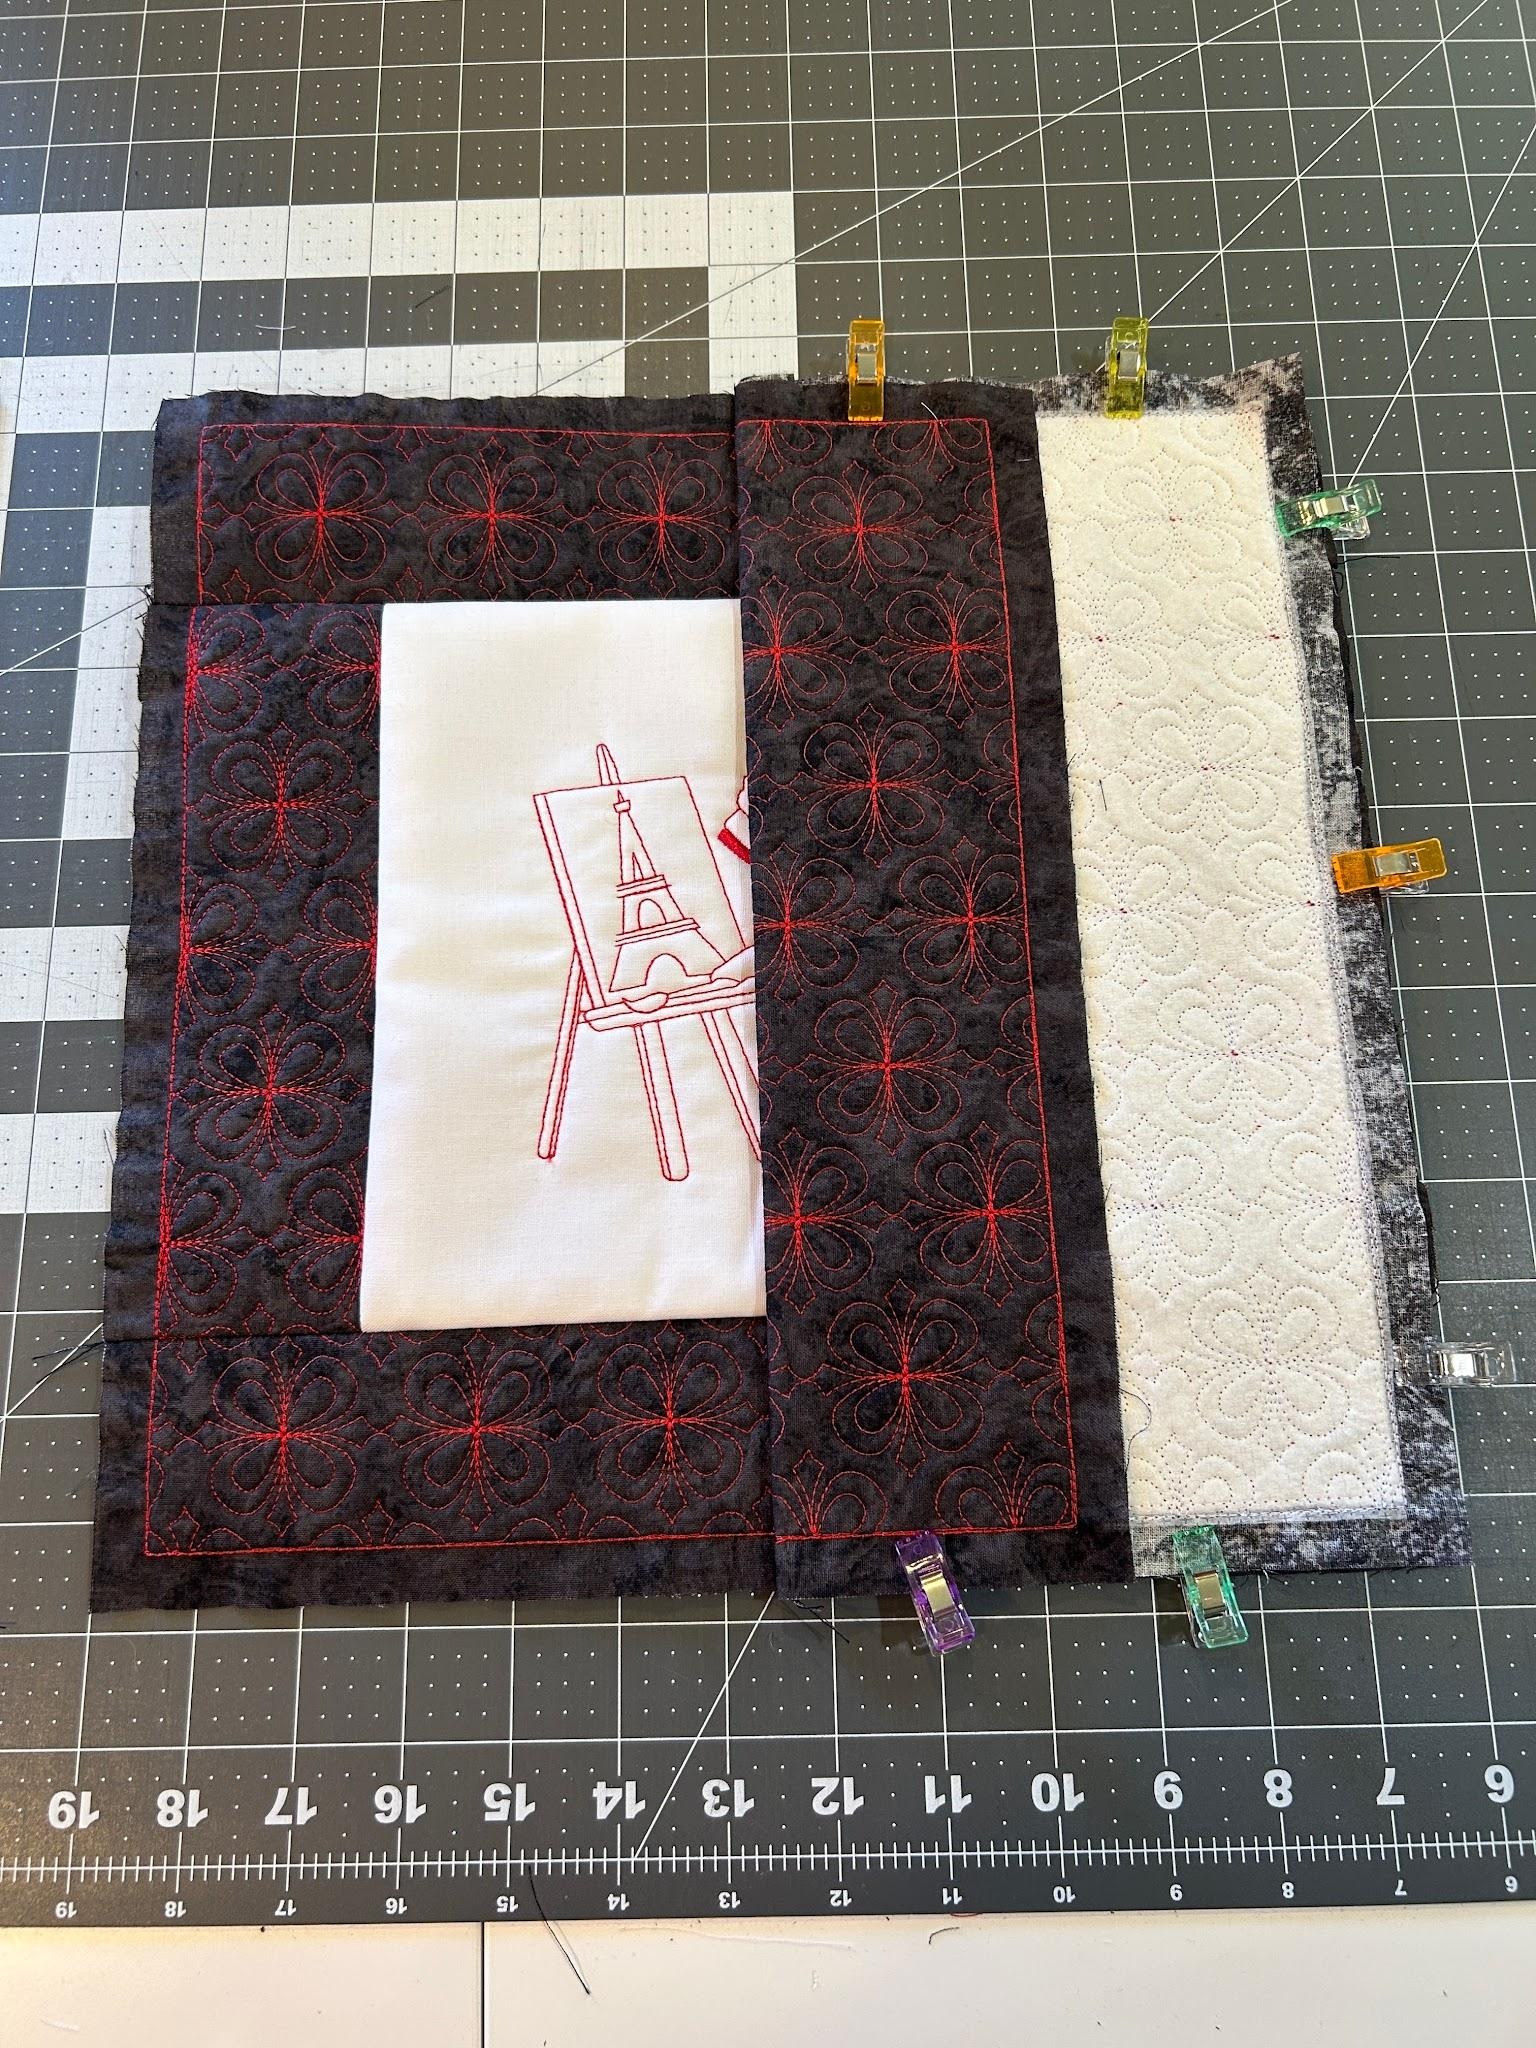
Take Back Flap B and line up the three raw edges with the left side of the front panel. The small piece will be in the center of the pillow and will allow for any overlapping that needs to happen with the bulk of the pillow form.
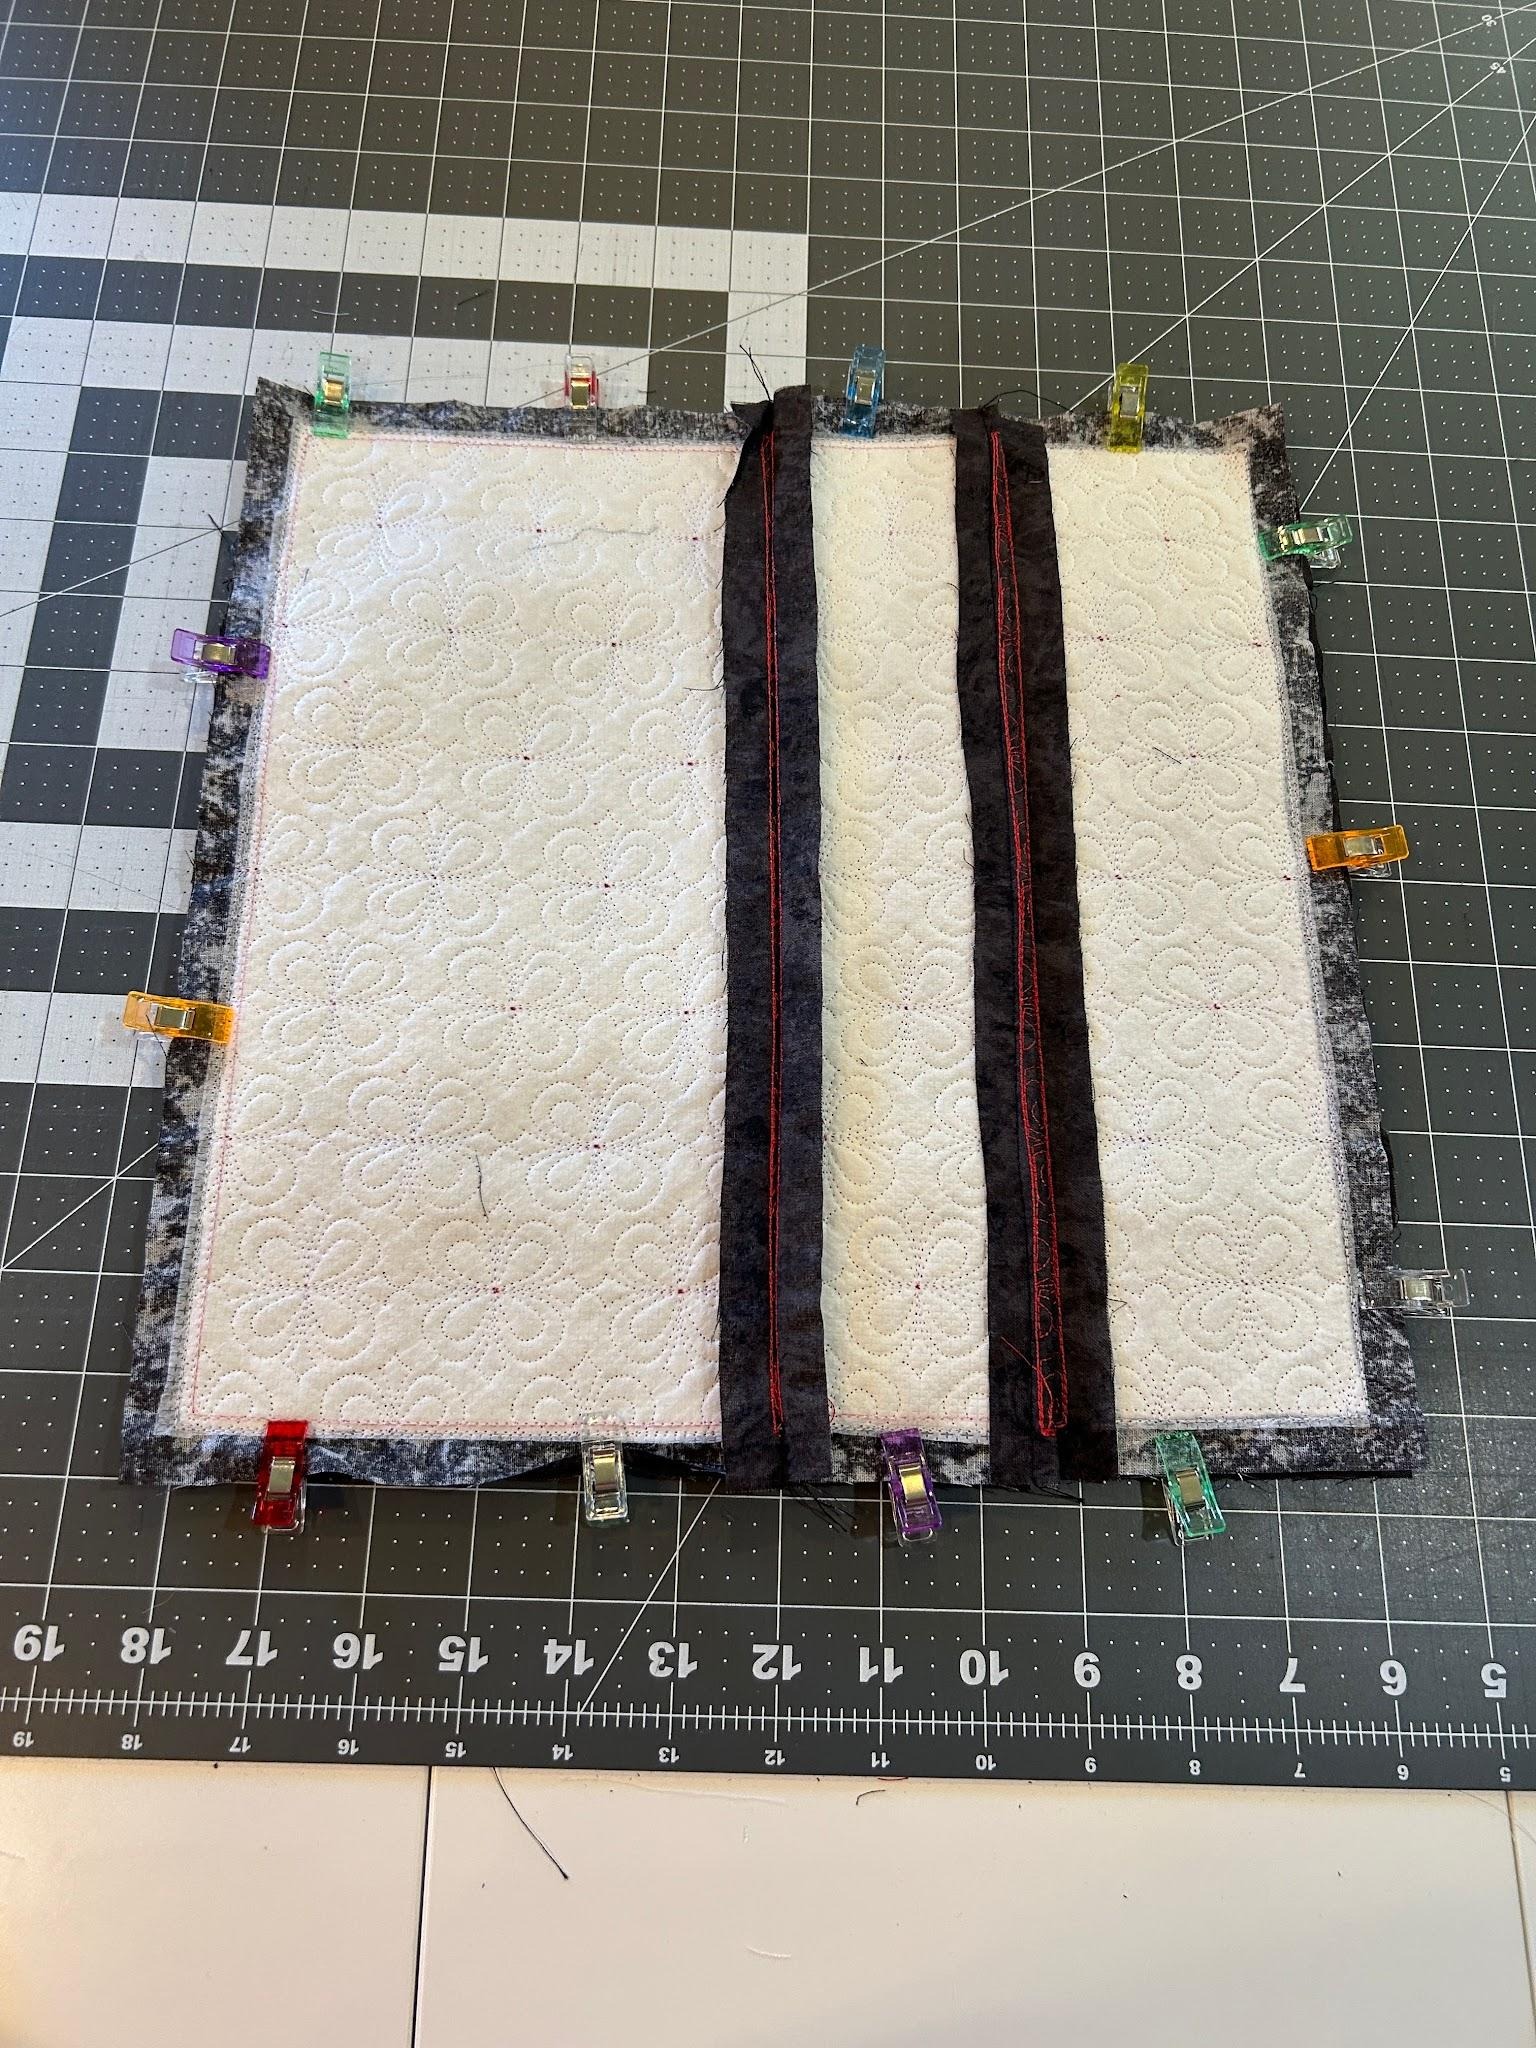
Stitch around all four edges of the pillow.
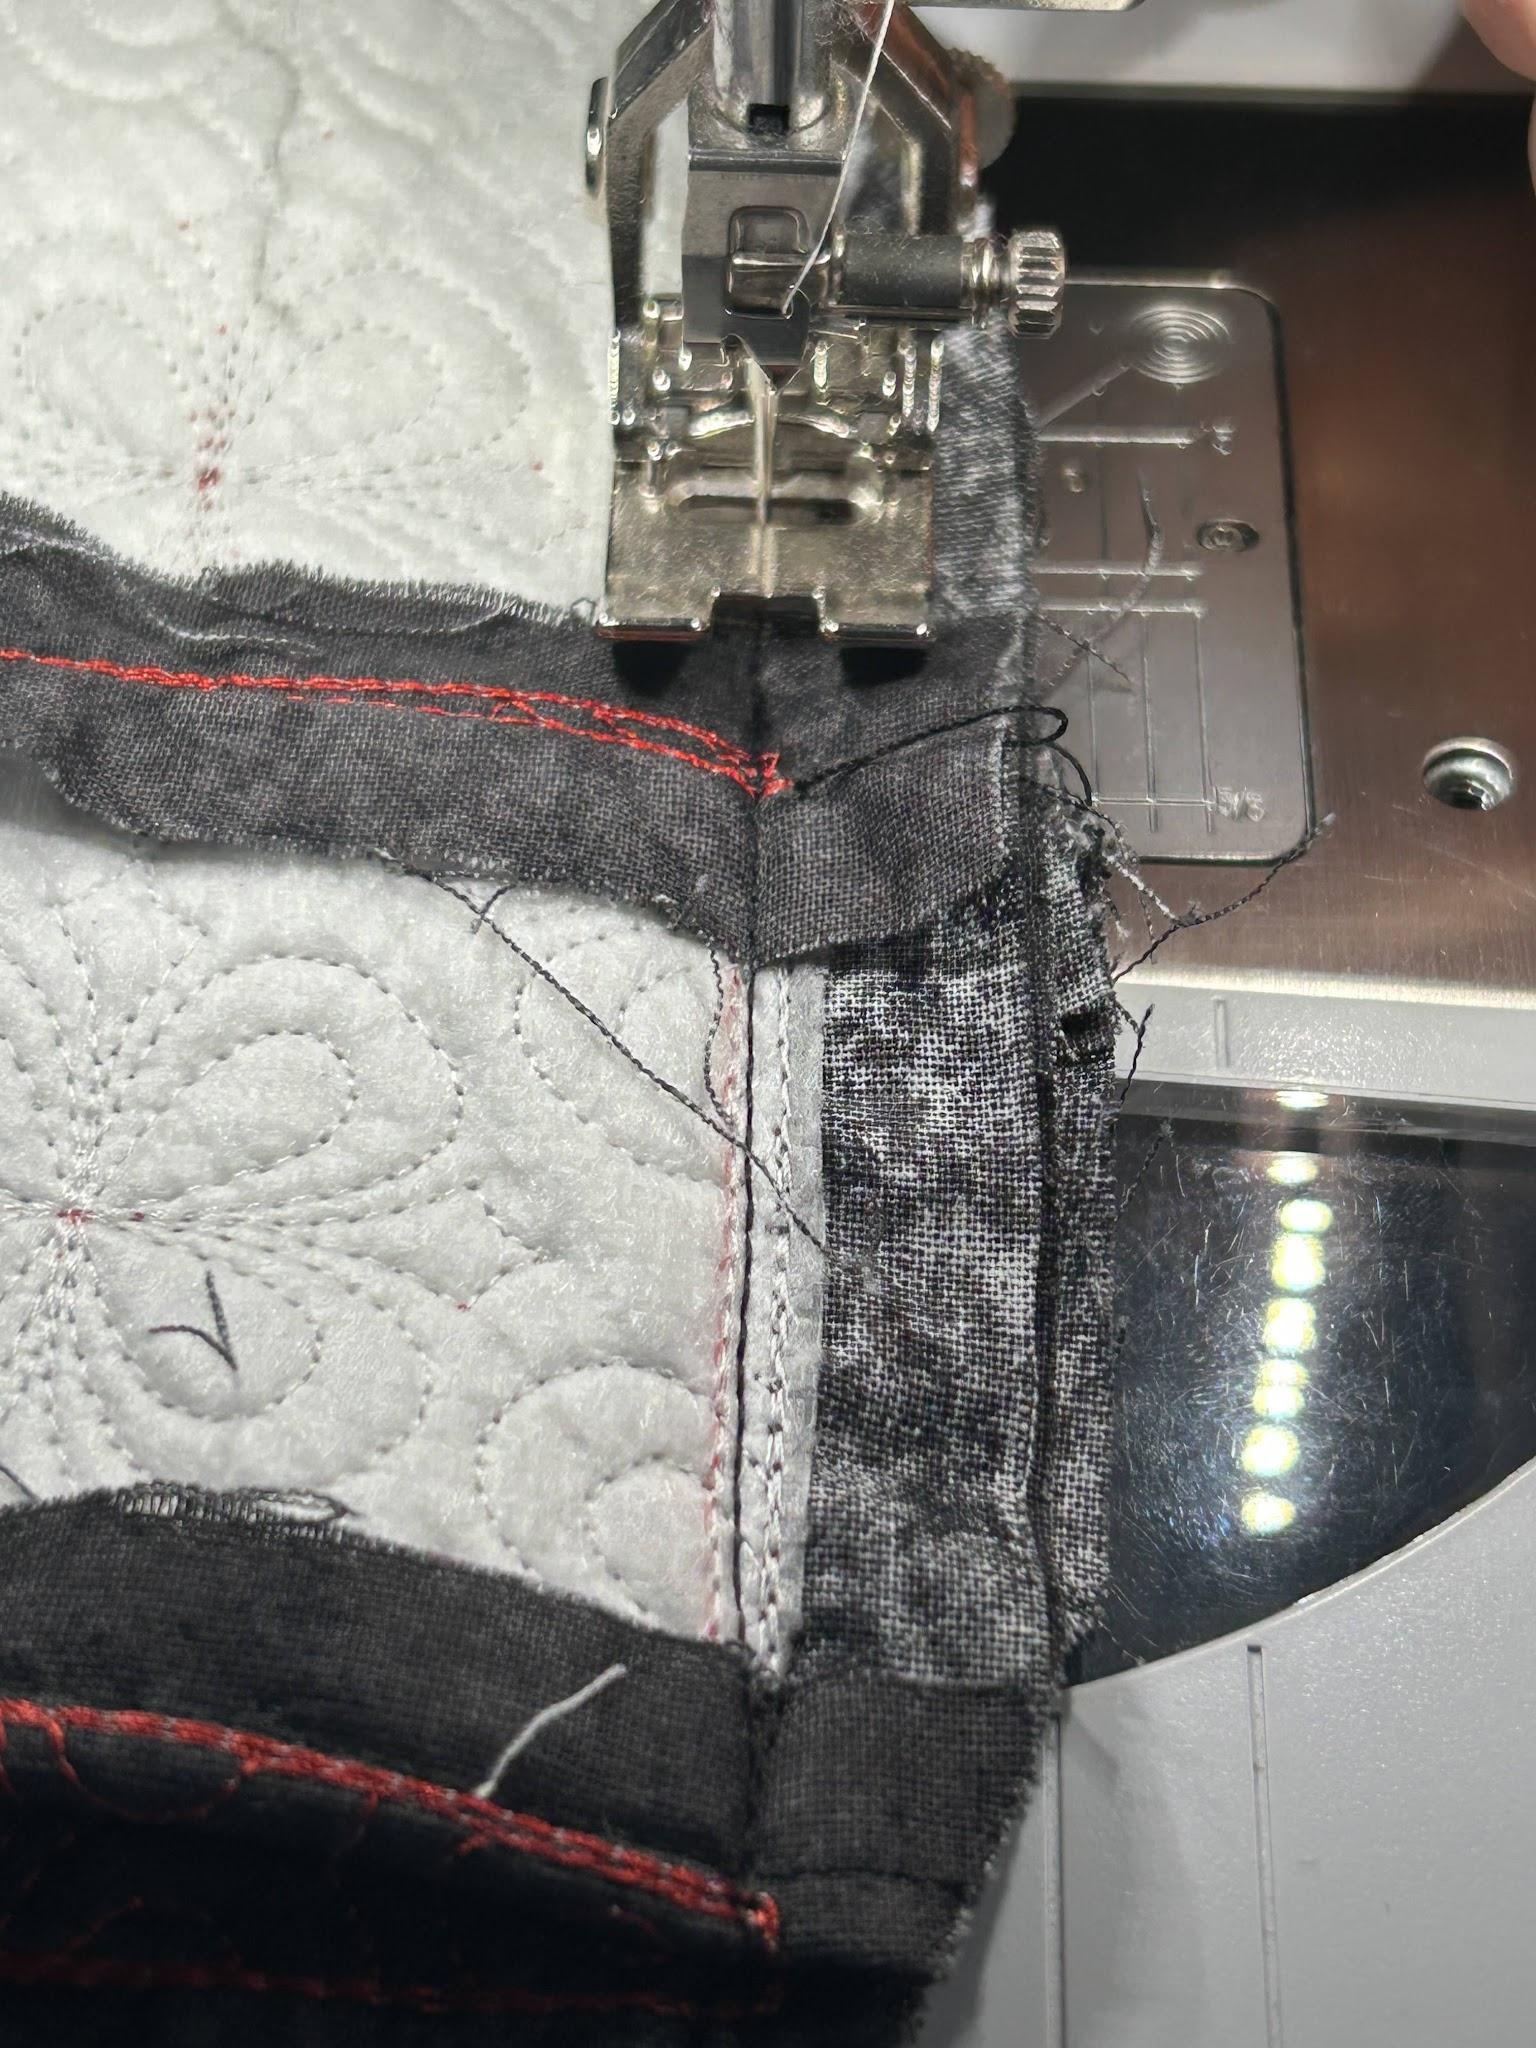
Now you can turn it right side out.
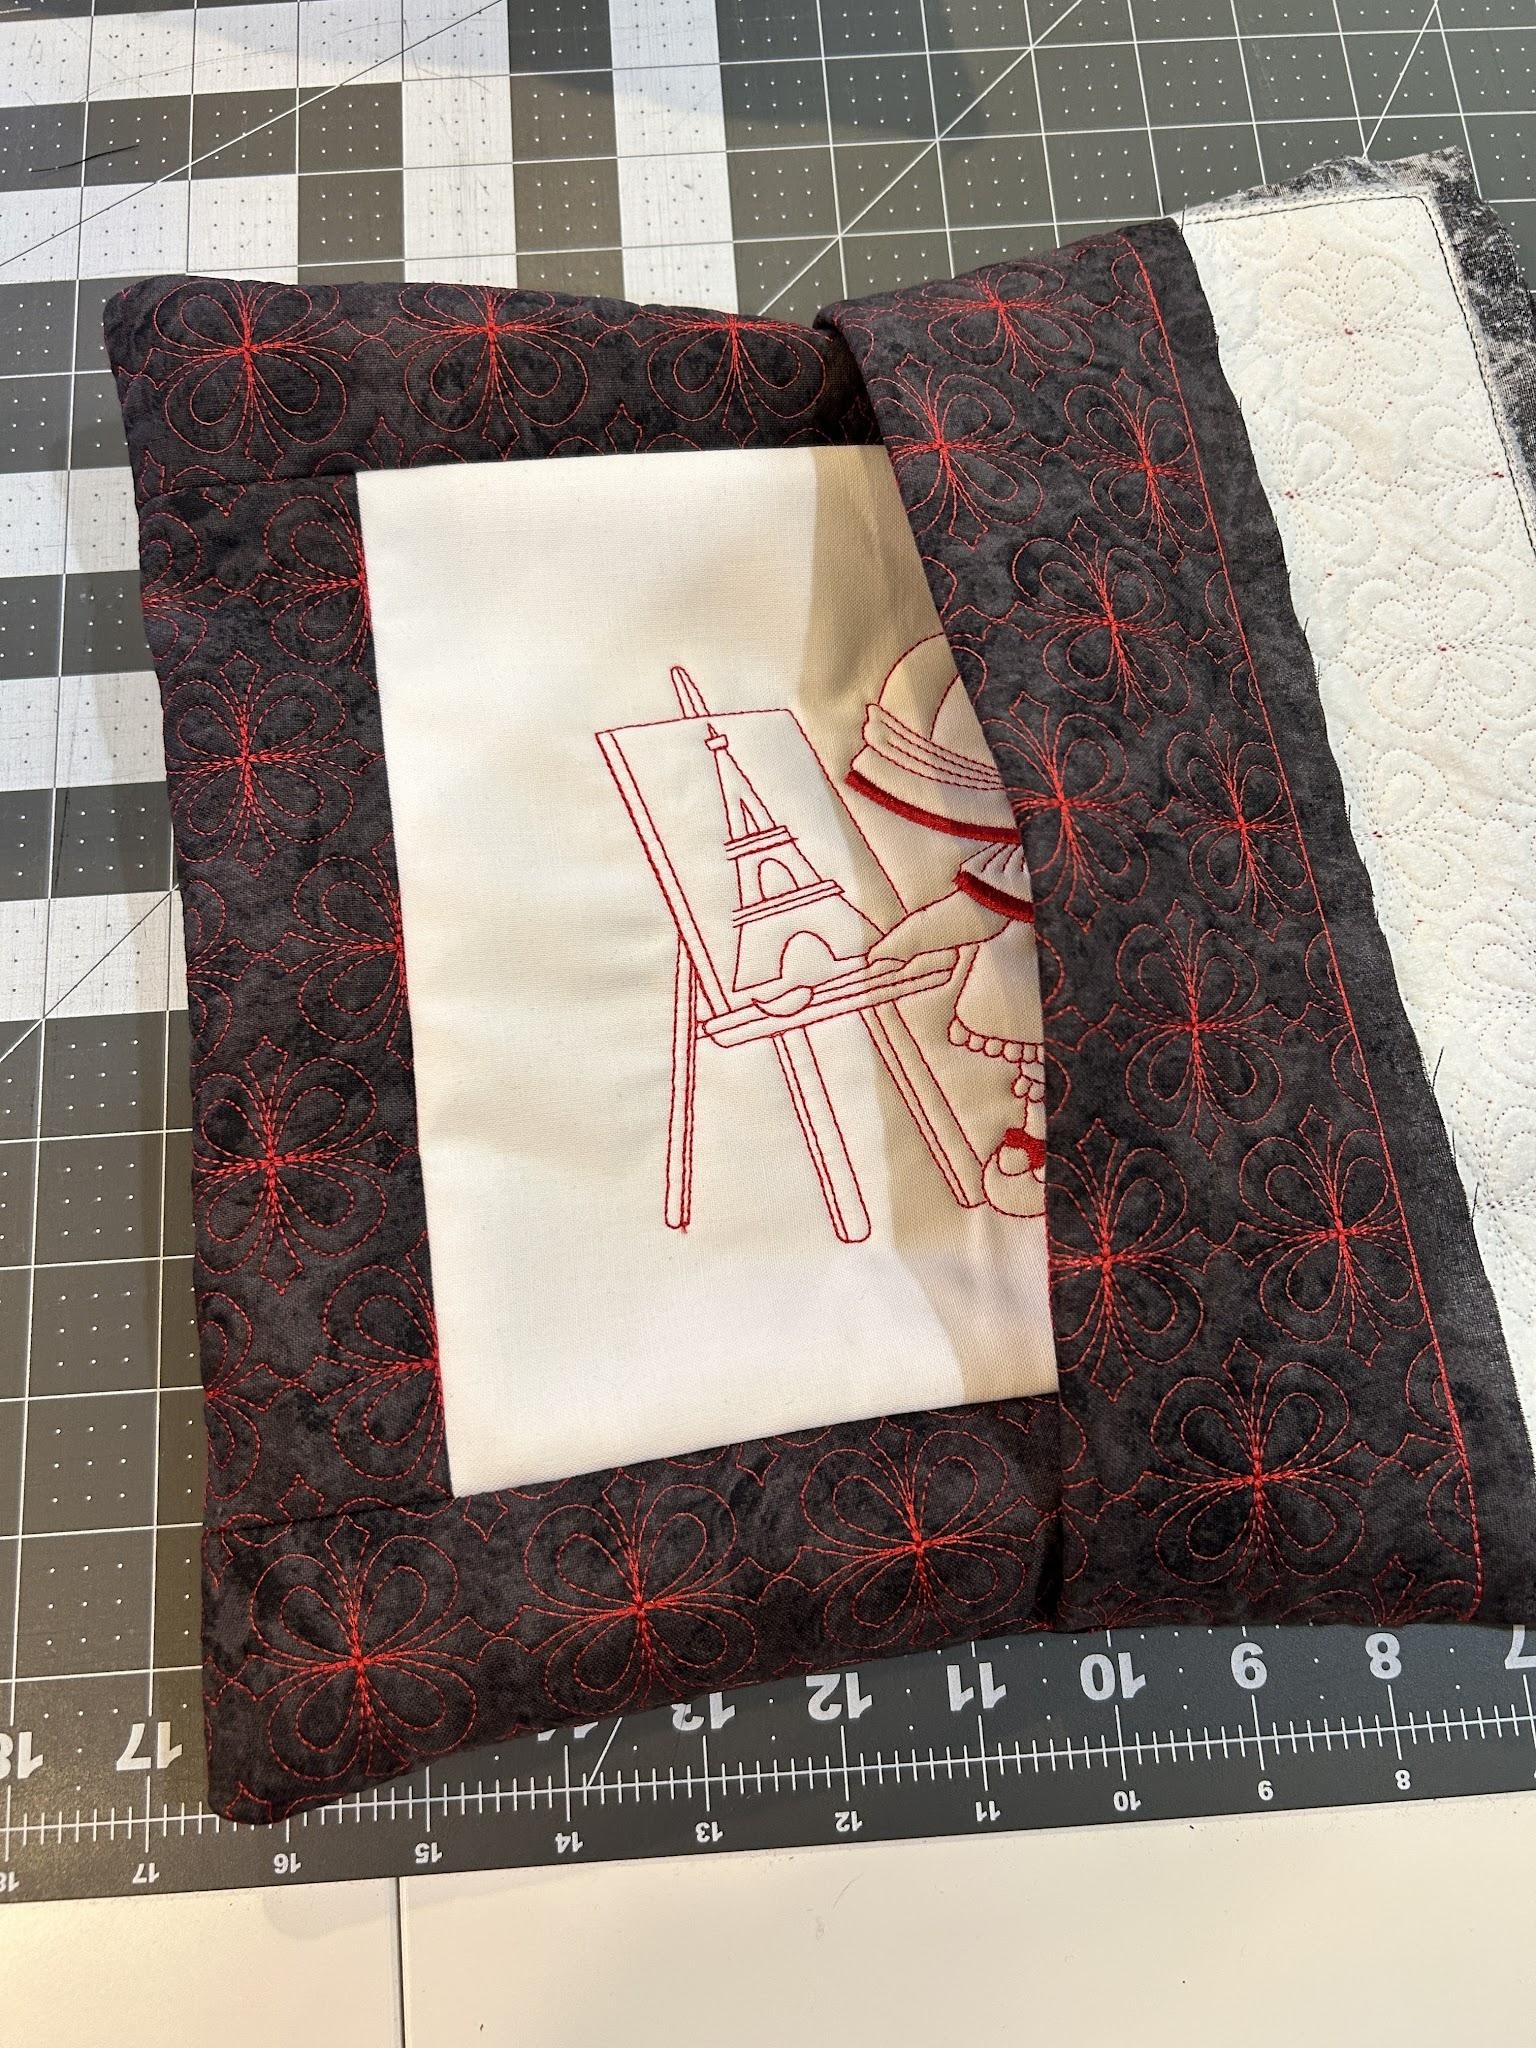
And stuff your pillow form into it.
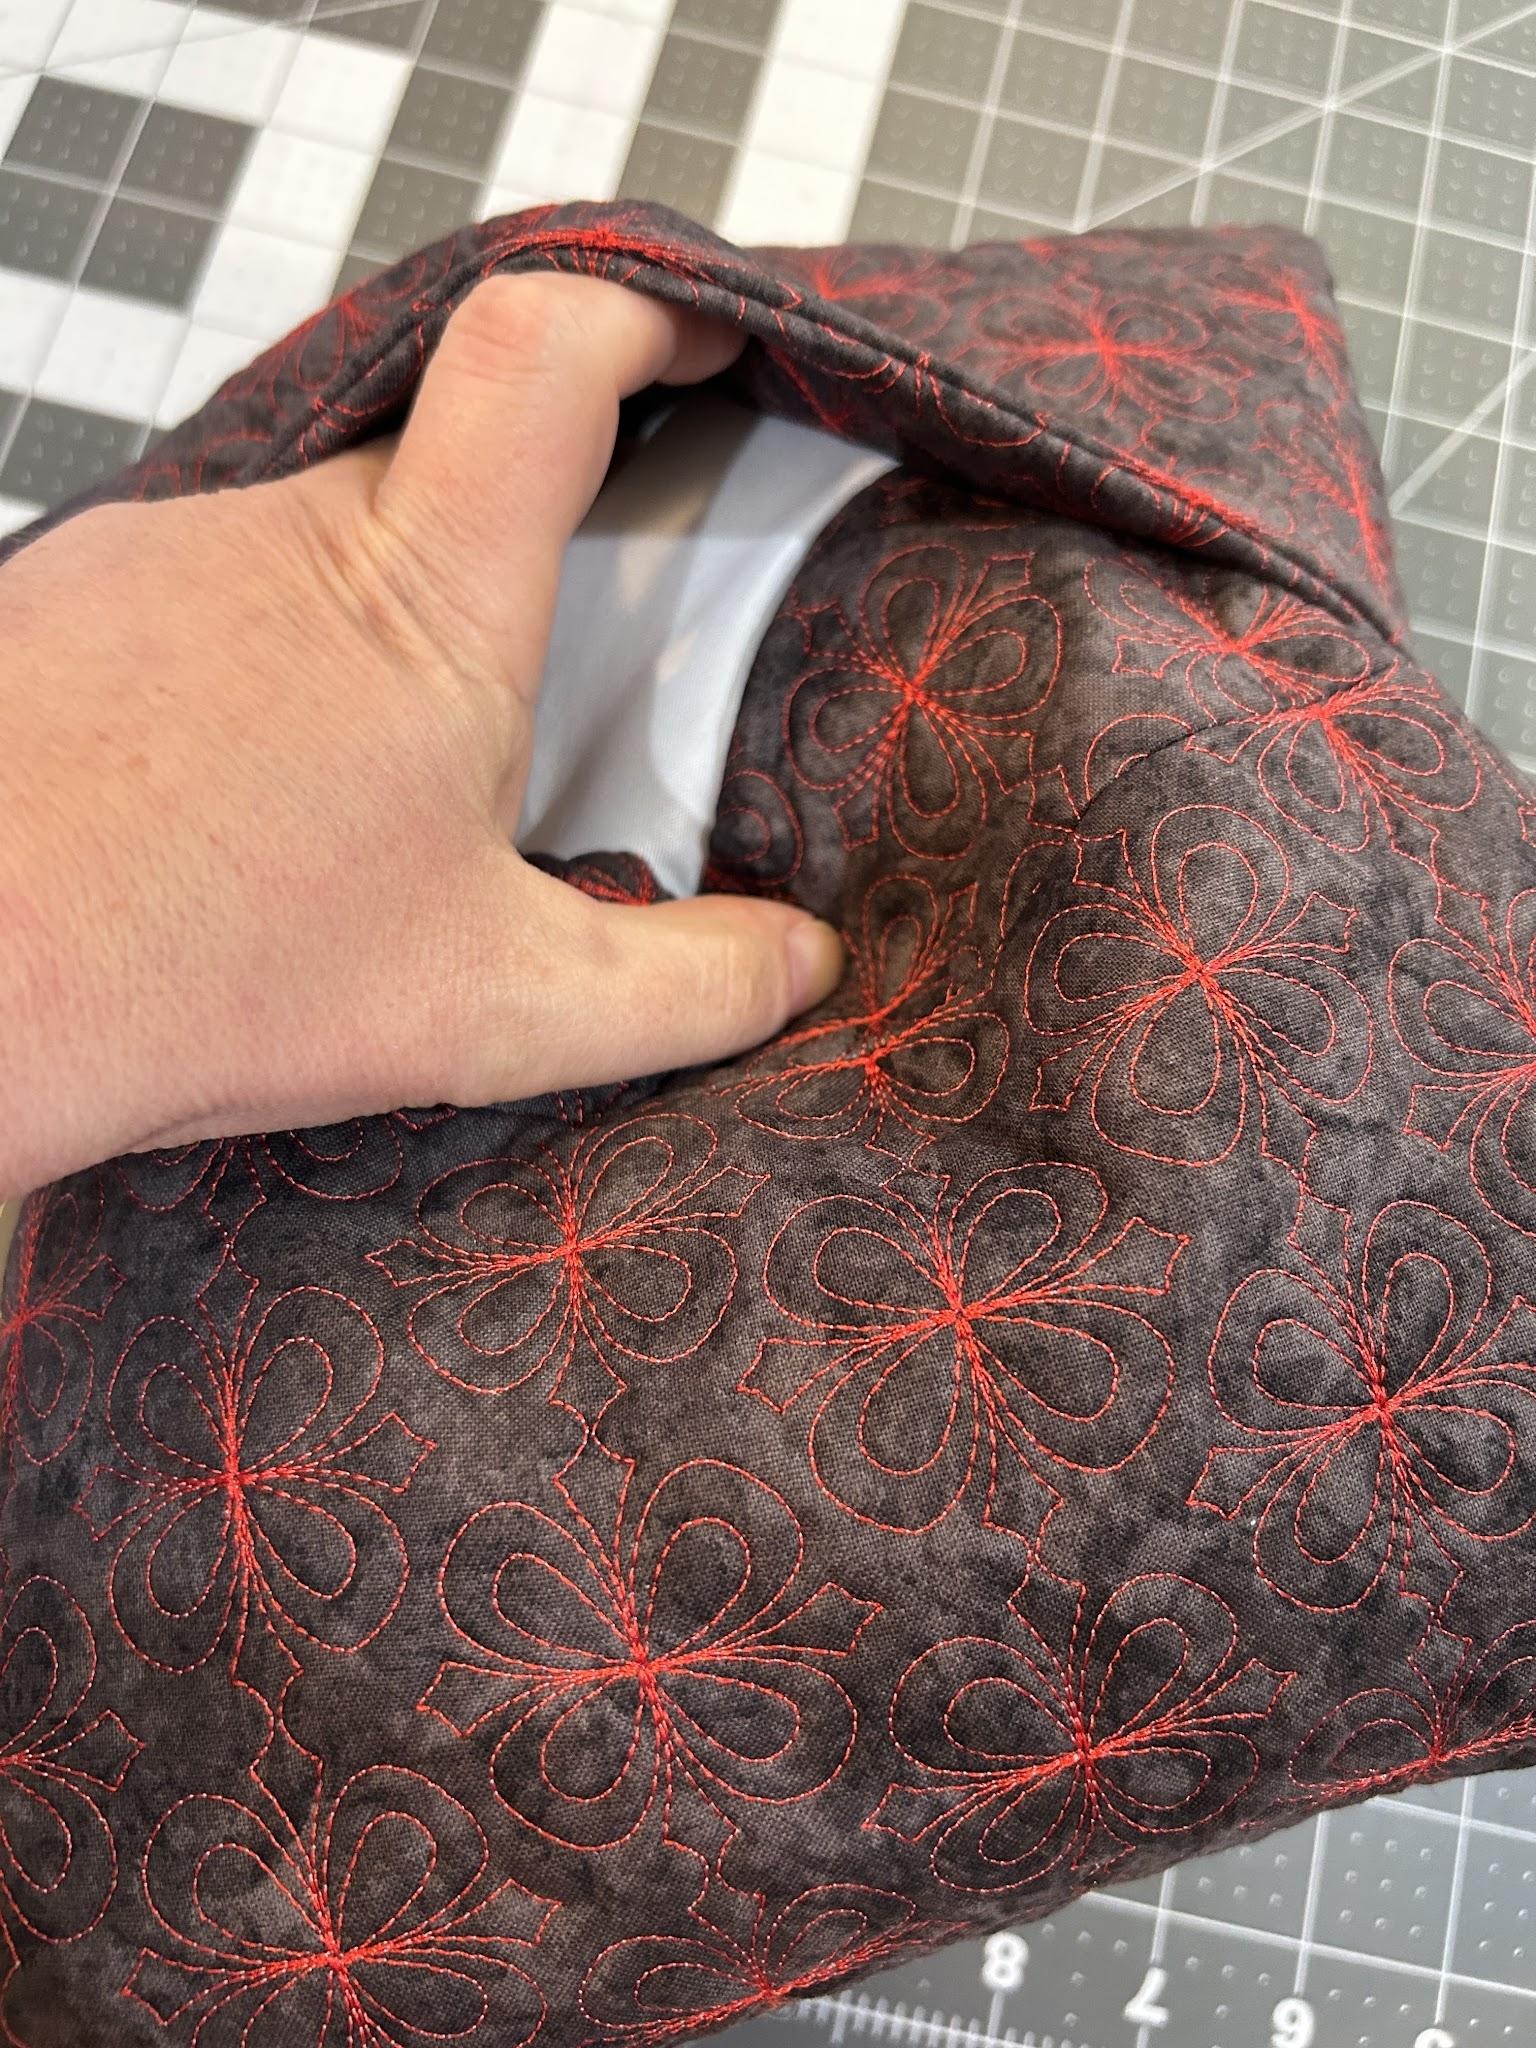
You can finish here if you’re happy with how it looks.
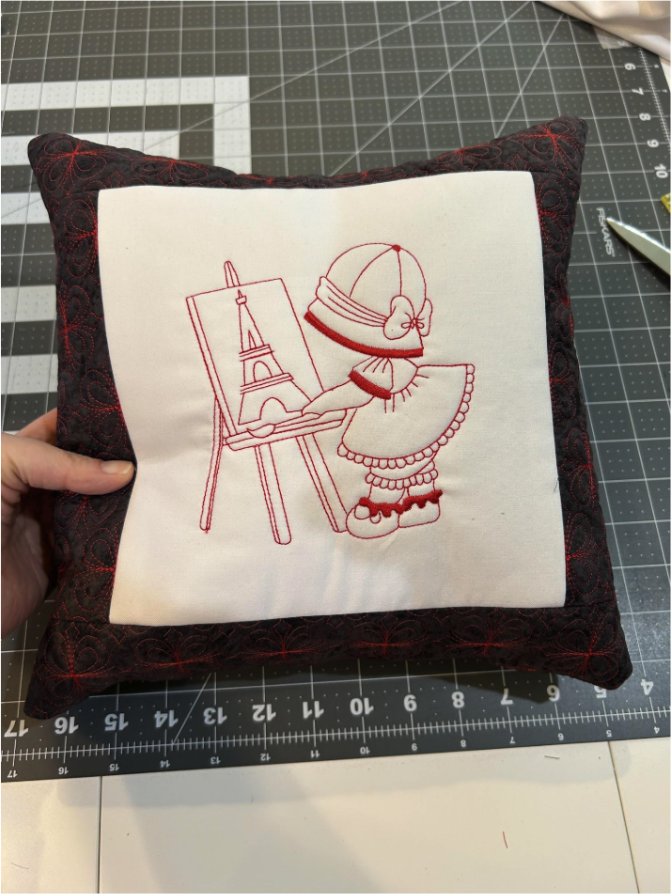
I like when my pillows look a bit more square without the corners sweeping up like “horns.” I find this happens more often if your pillow form is full. So here's a trick to make your pillow look more square. Measure how far in on your pillow you feel that the “horn” is forming. For this pillow I chose 3”.
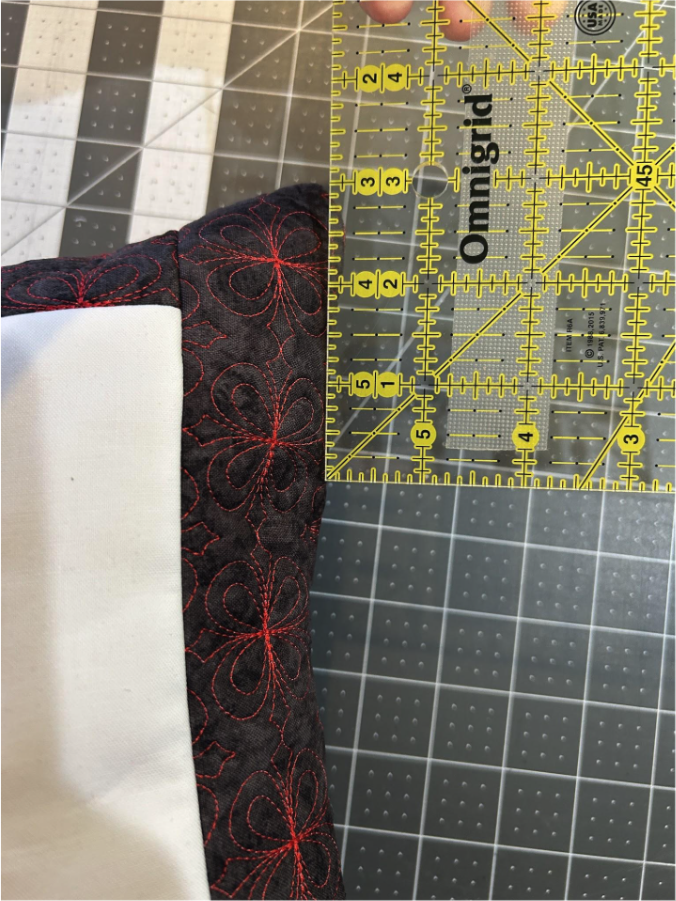
Turn your pillow cover inside out and measure ½” from the point and mark it on your cover. If your pillow is larger you can choose a larger measurement but for our 12” pillow ½” is perfect. When making these measurements, make sure you're measuring from the outside stitching lines and not the edge of the fabric.
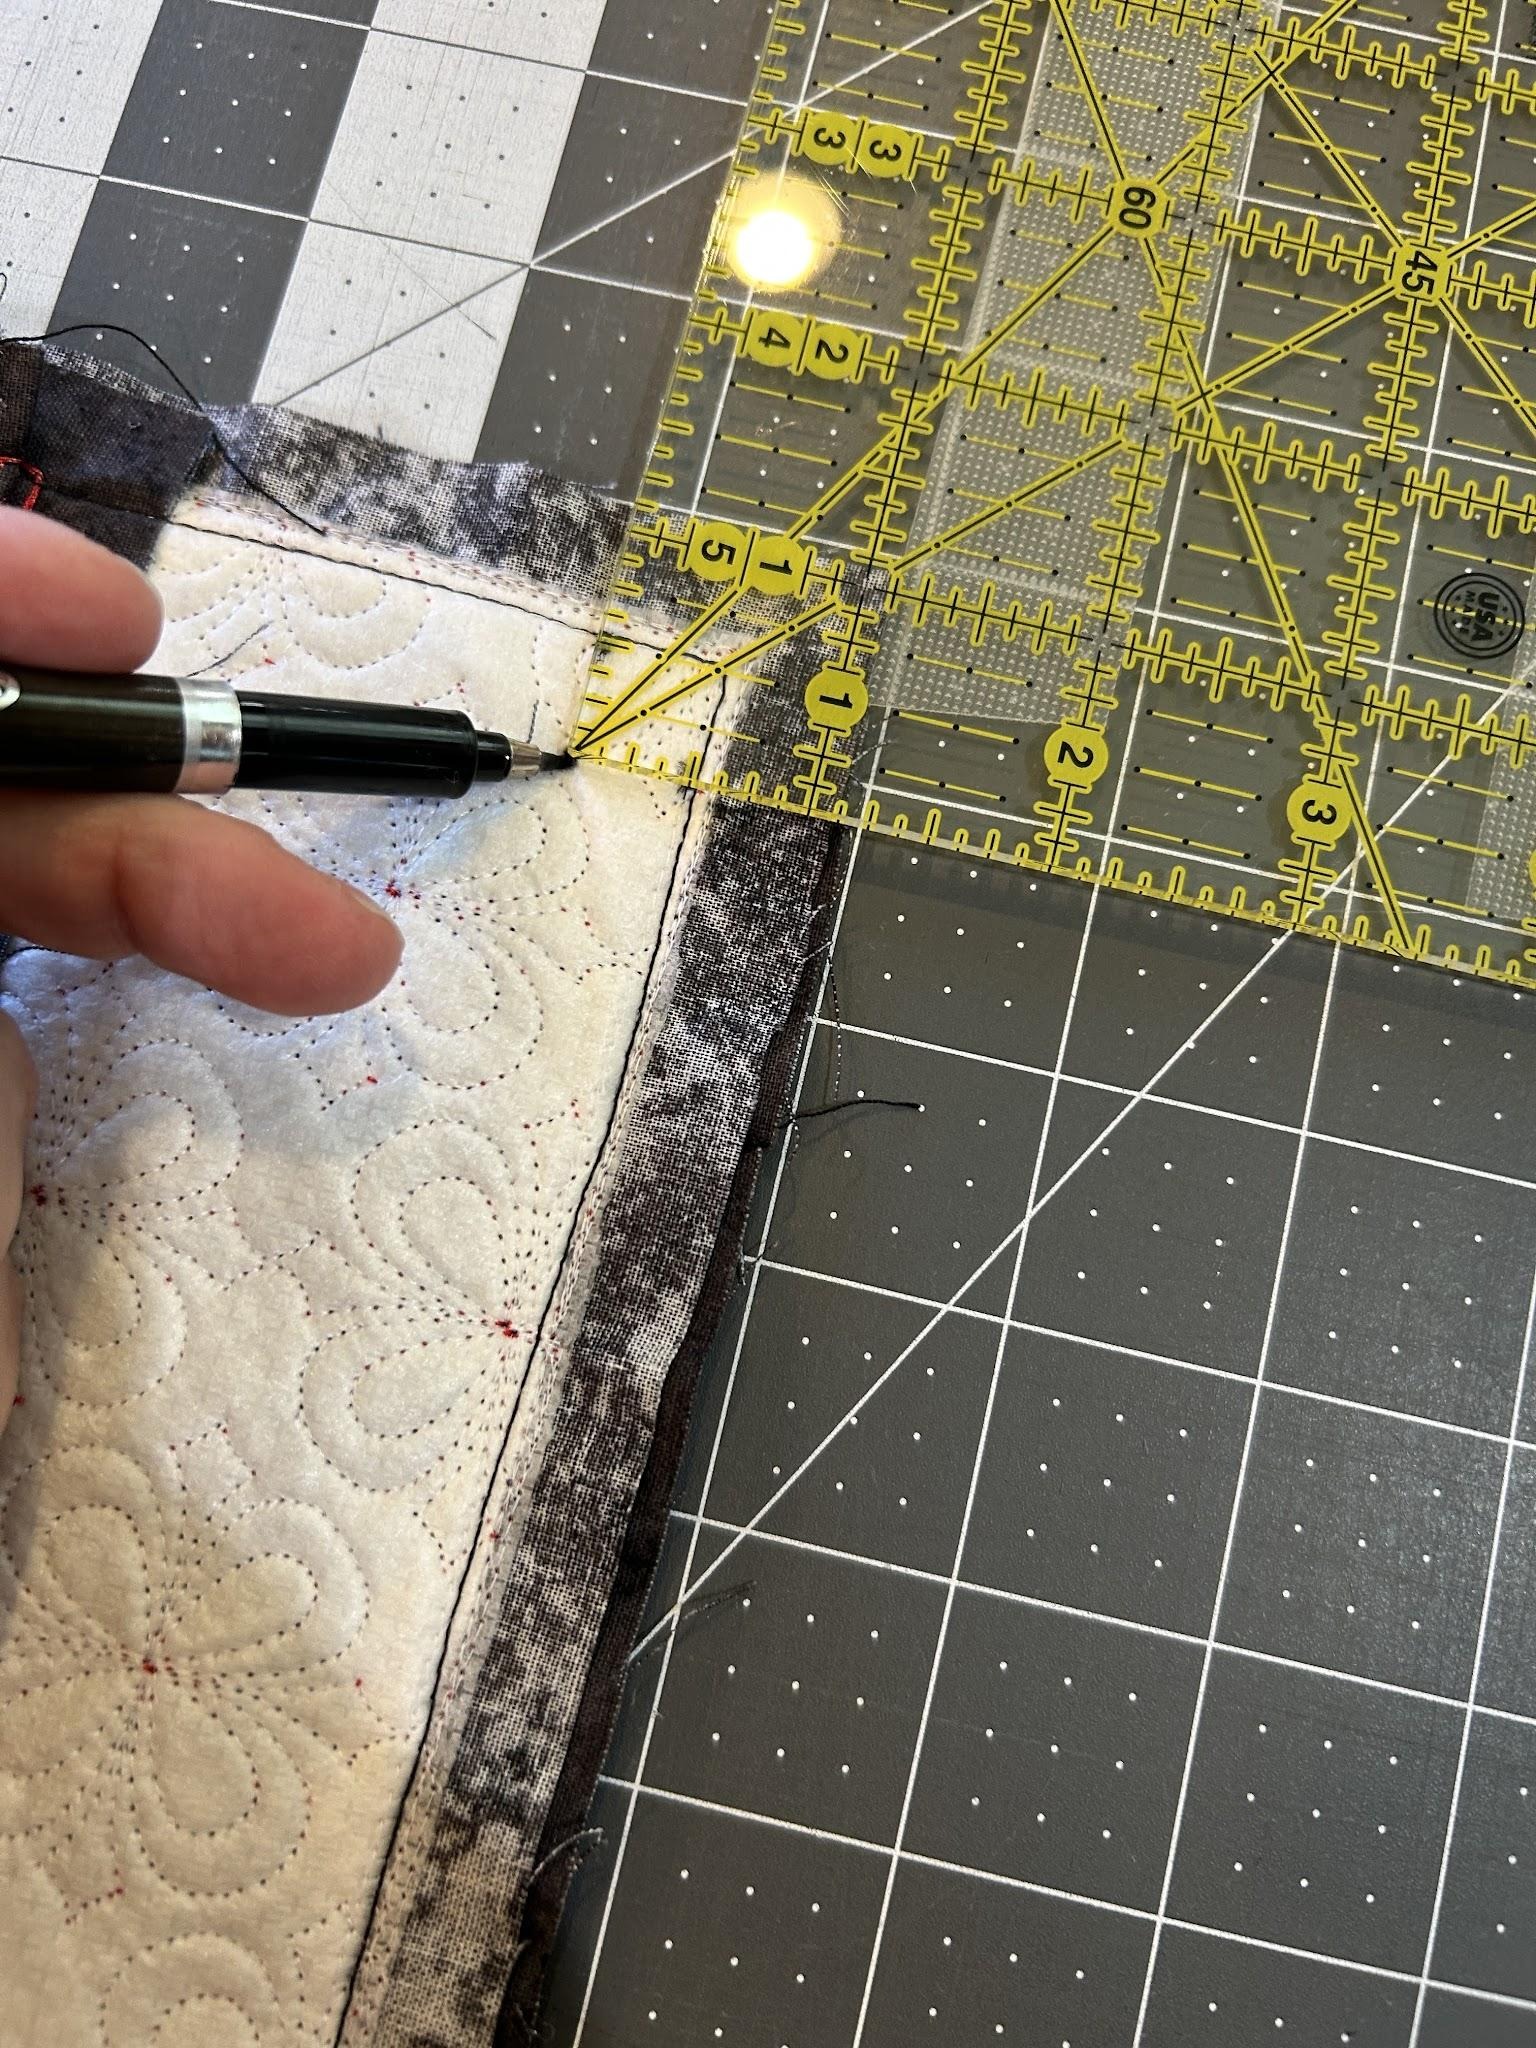
Then we will measure the 3” we decided would help correct the “horn.”
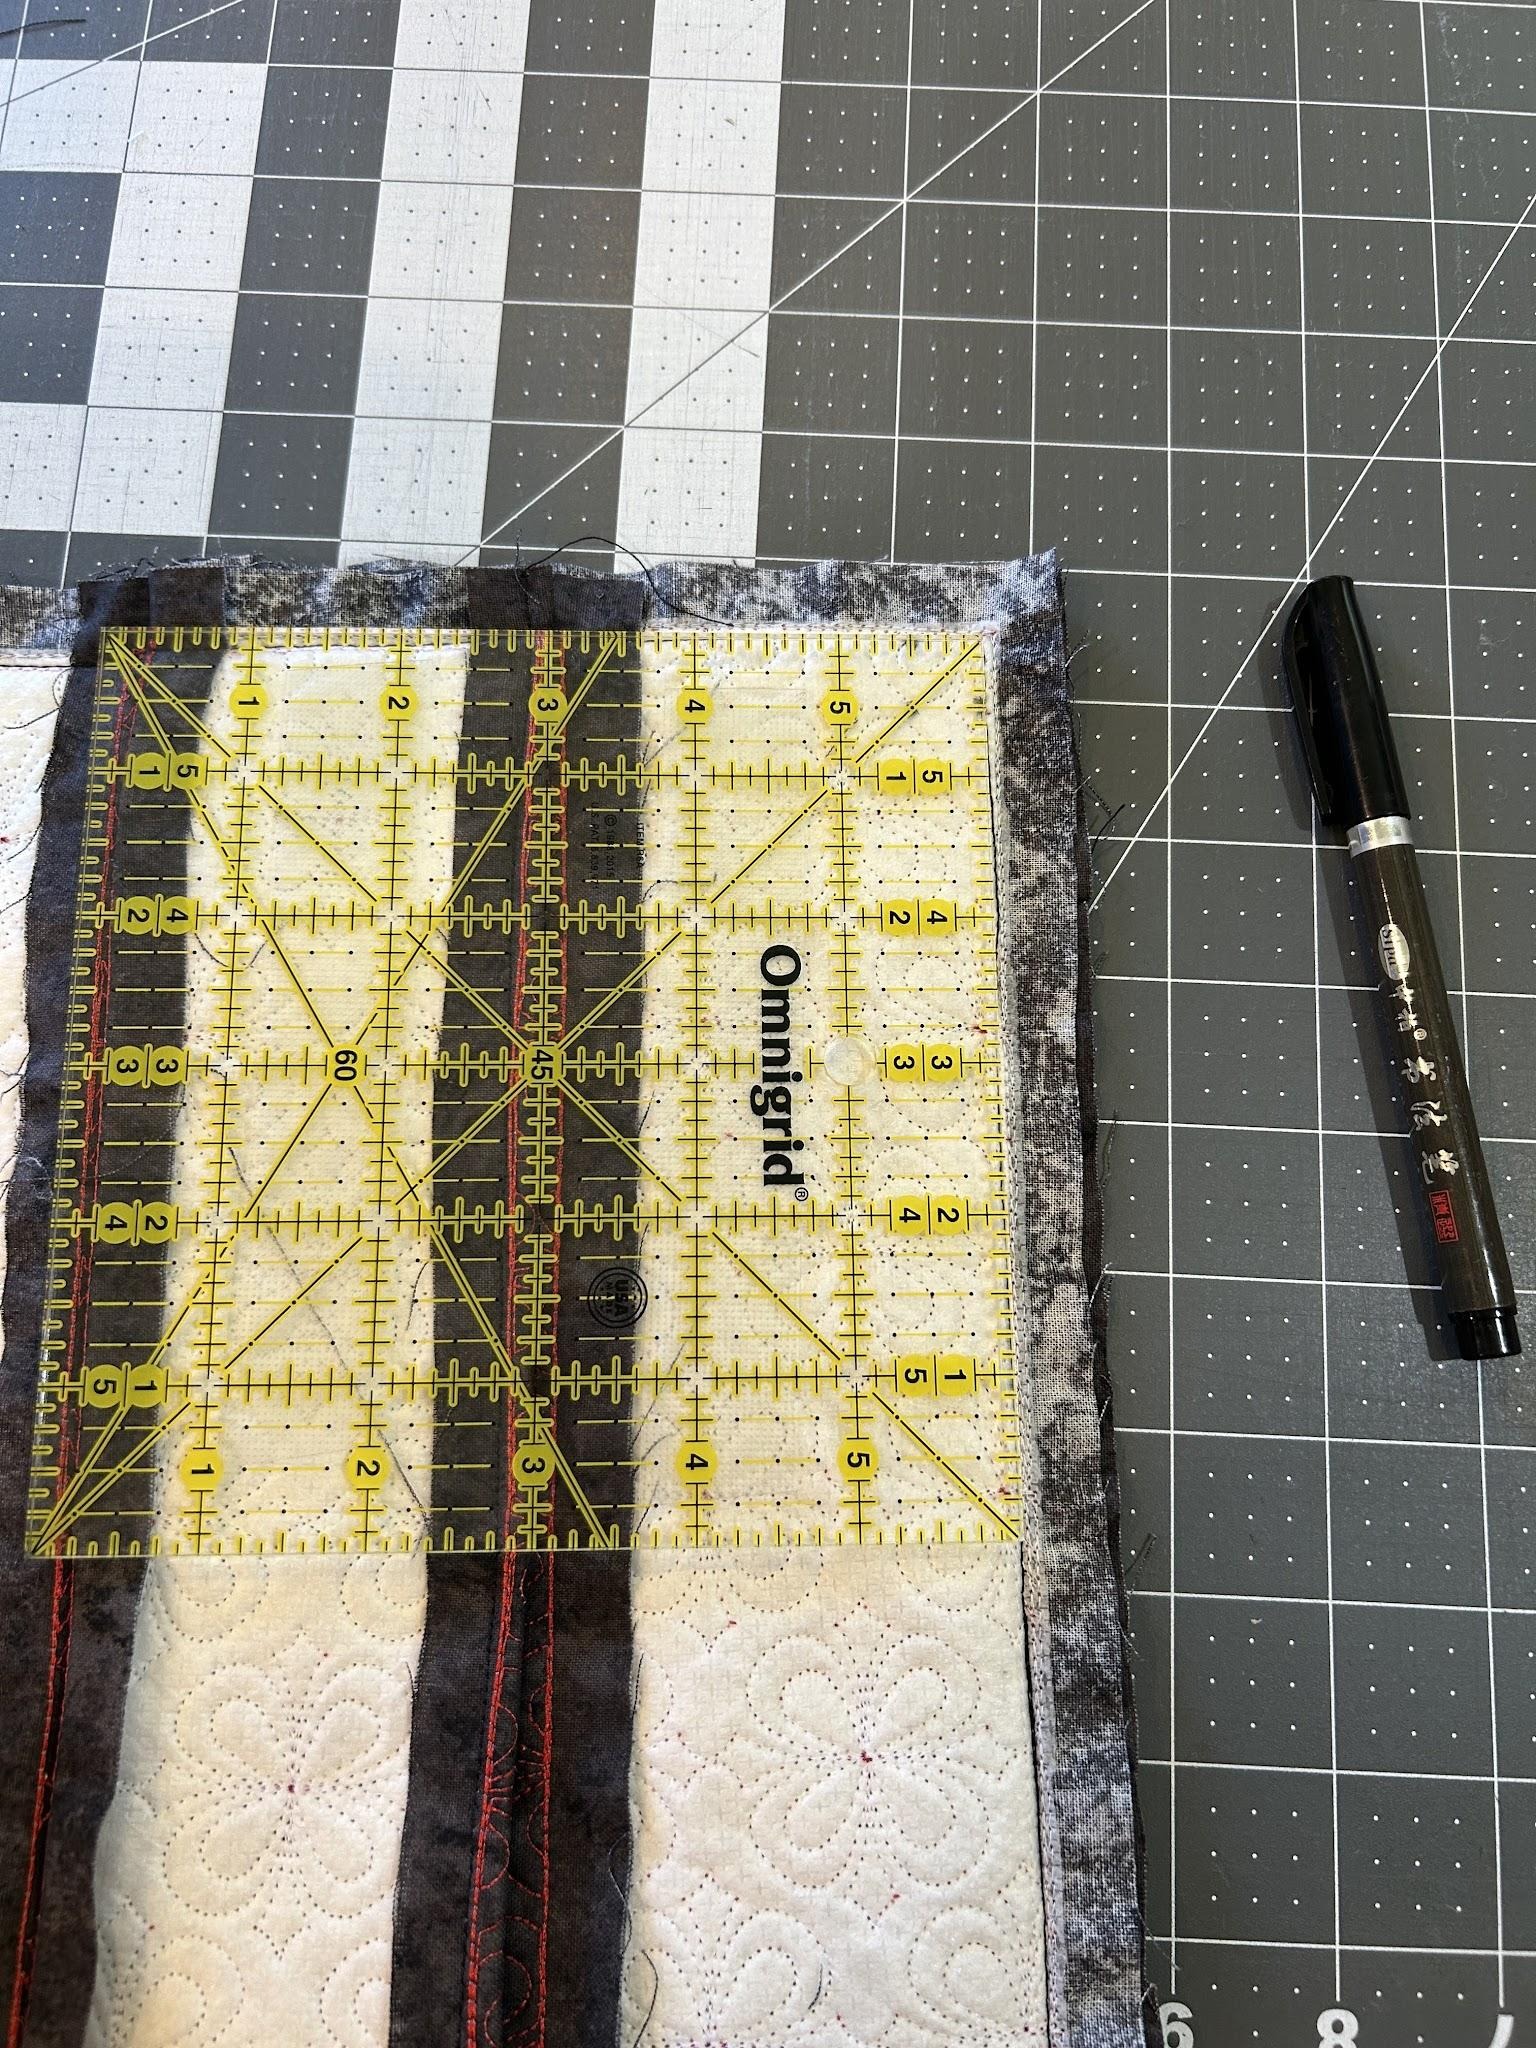
Draw a line from the 3” mark to the point at the corner we made.
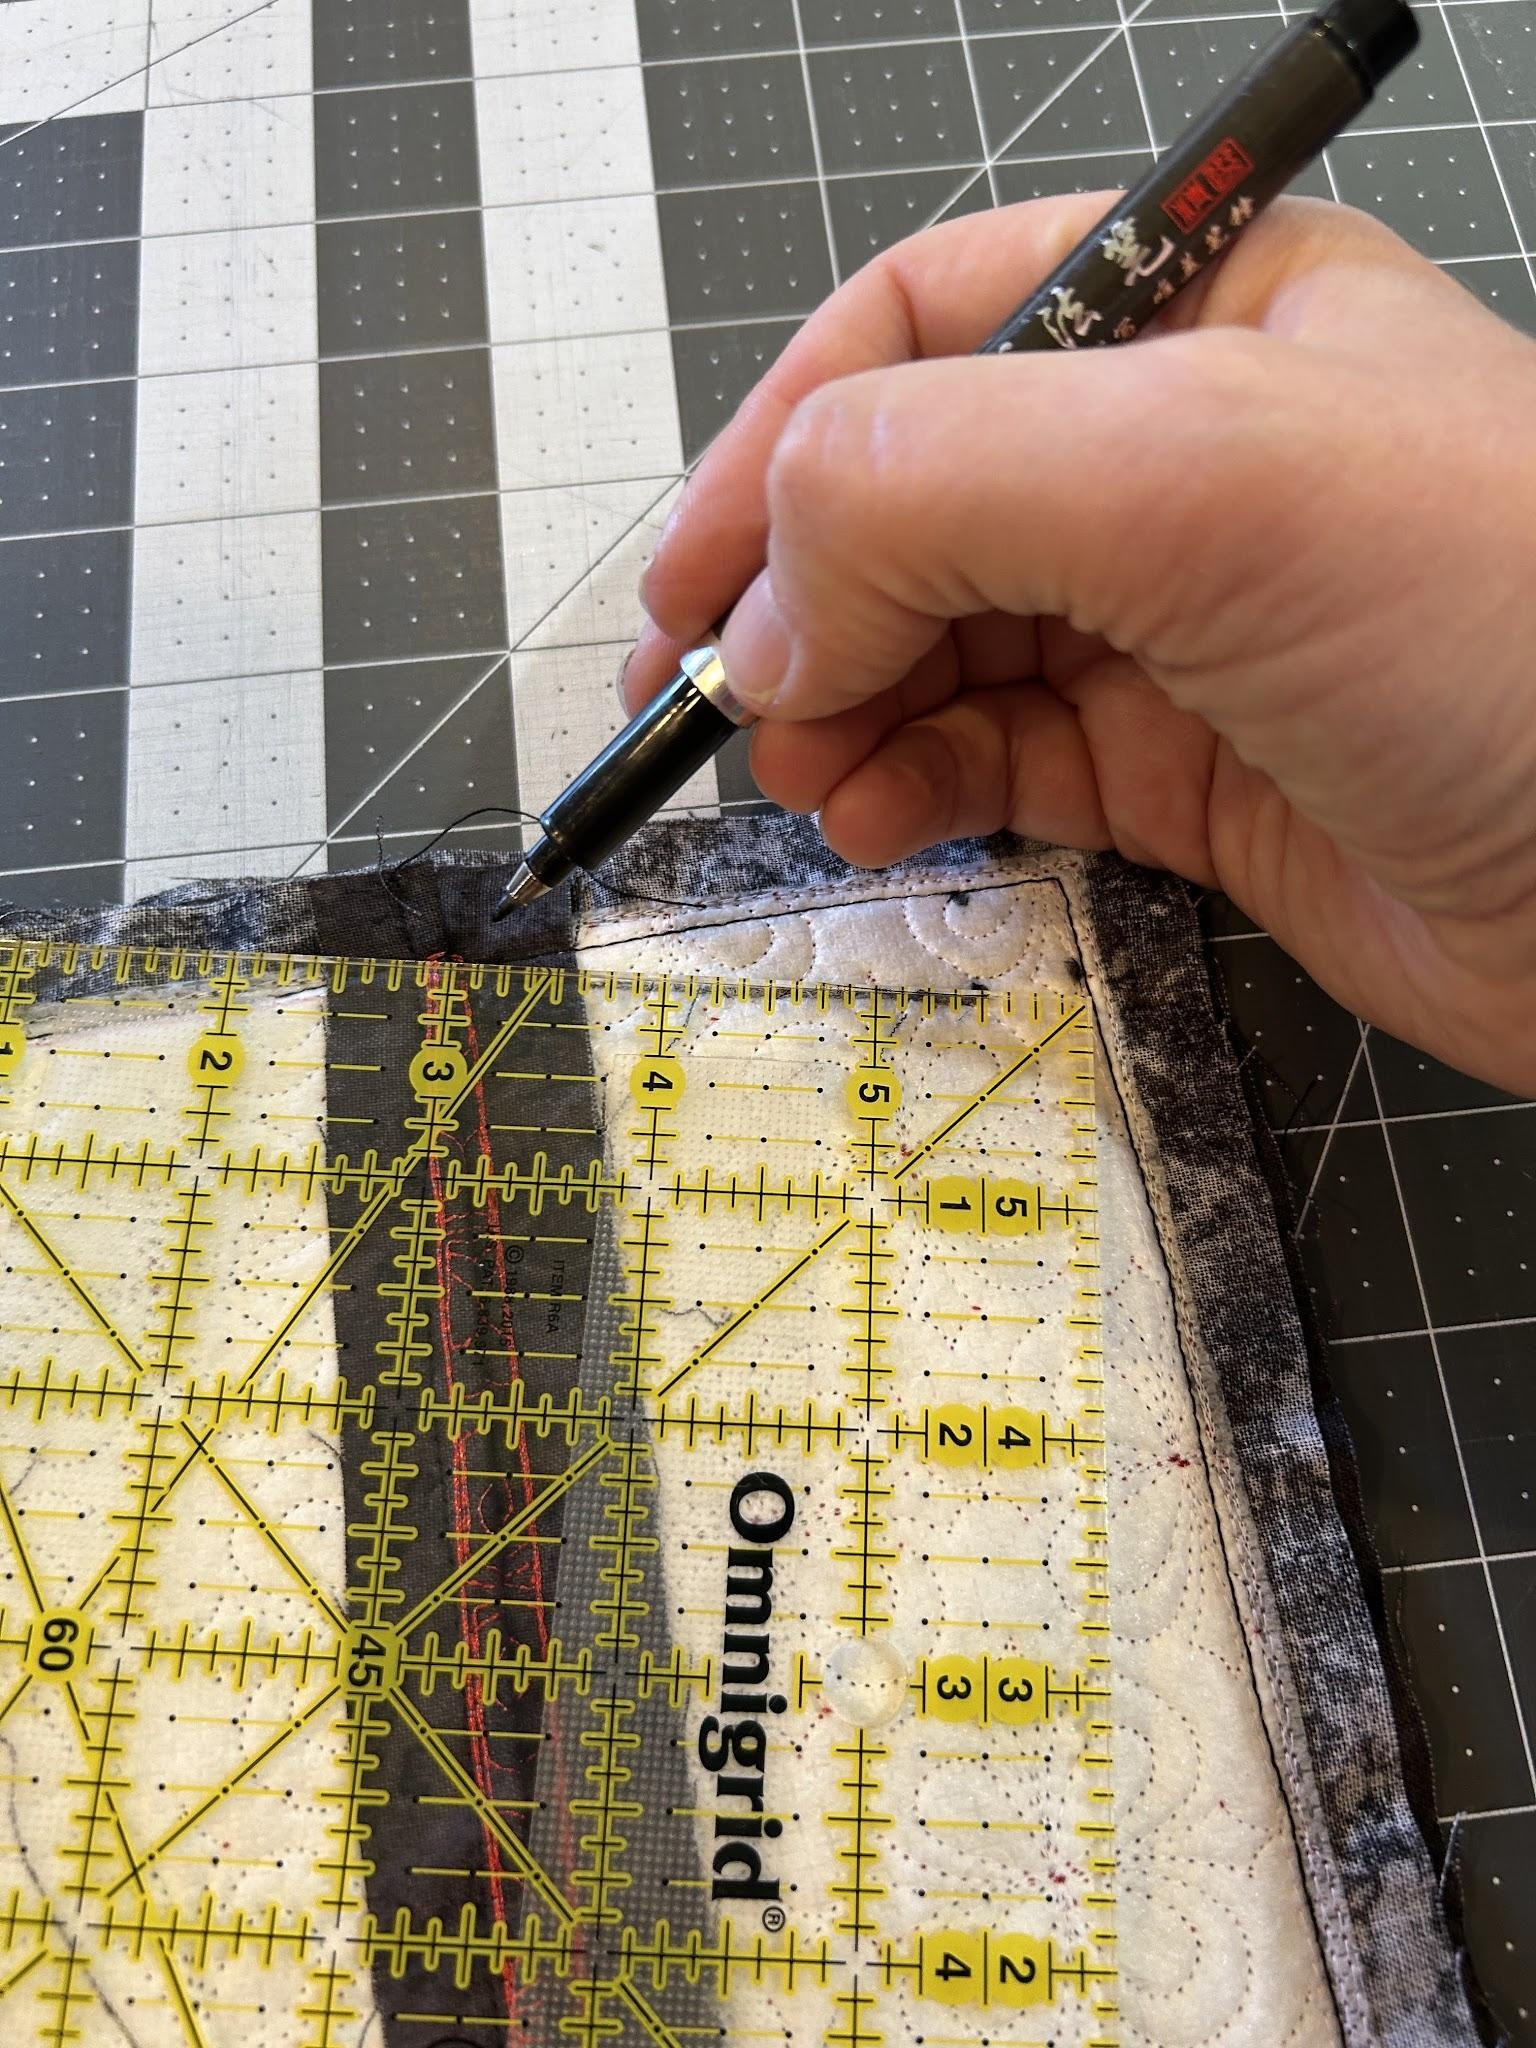
Repeat from the other side to the corner. Then repeat for the remaining corners.
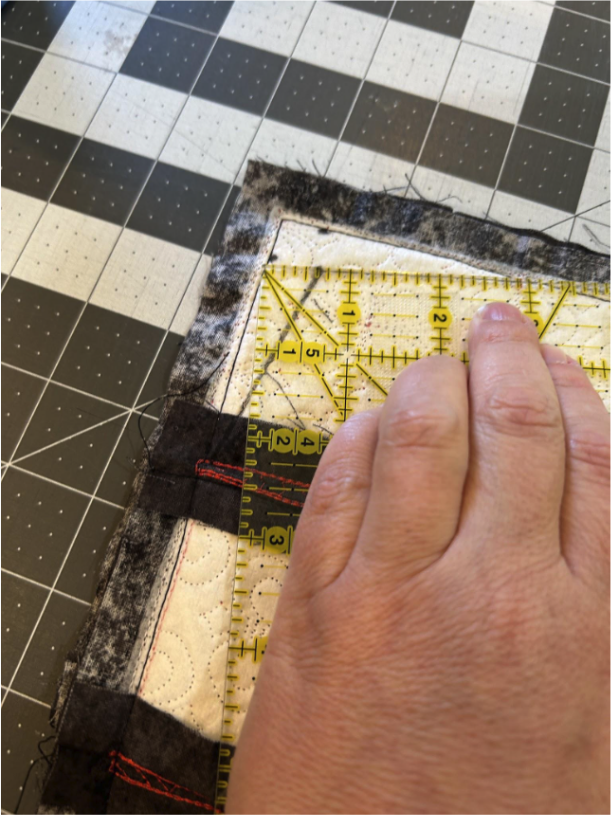
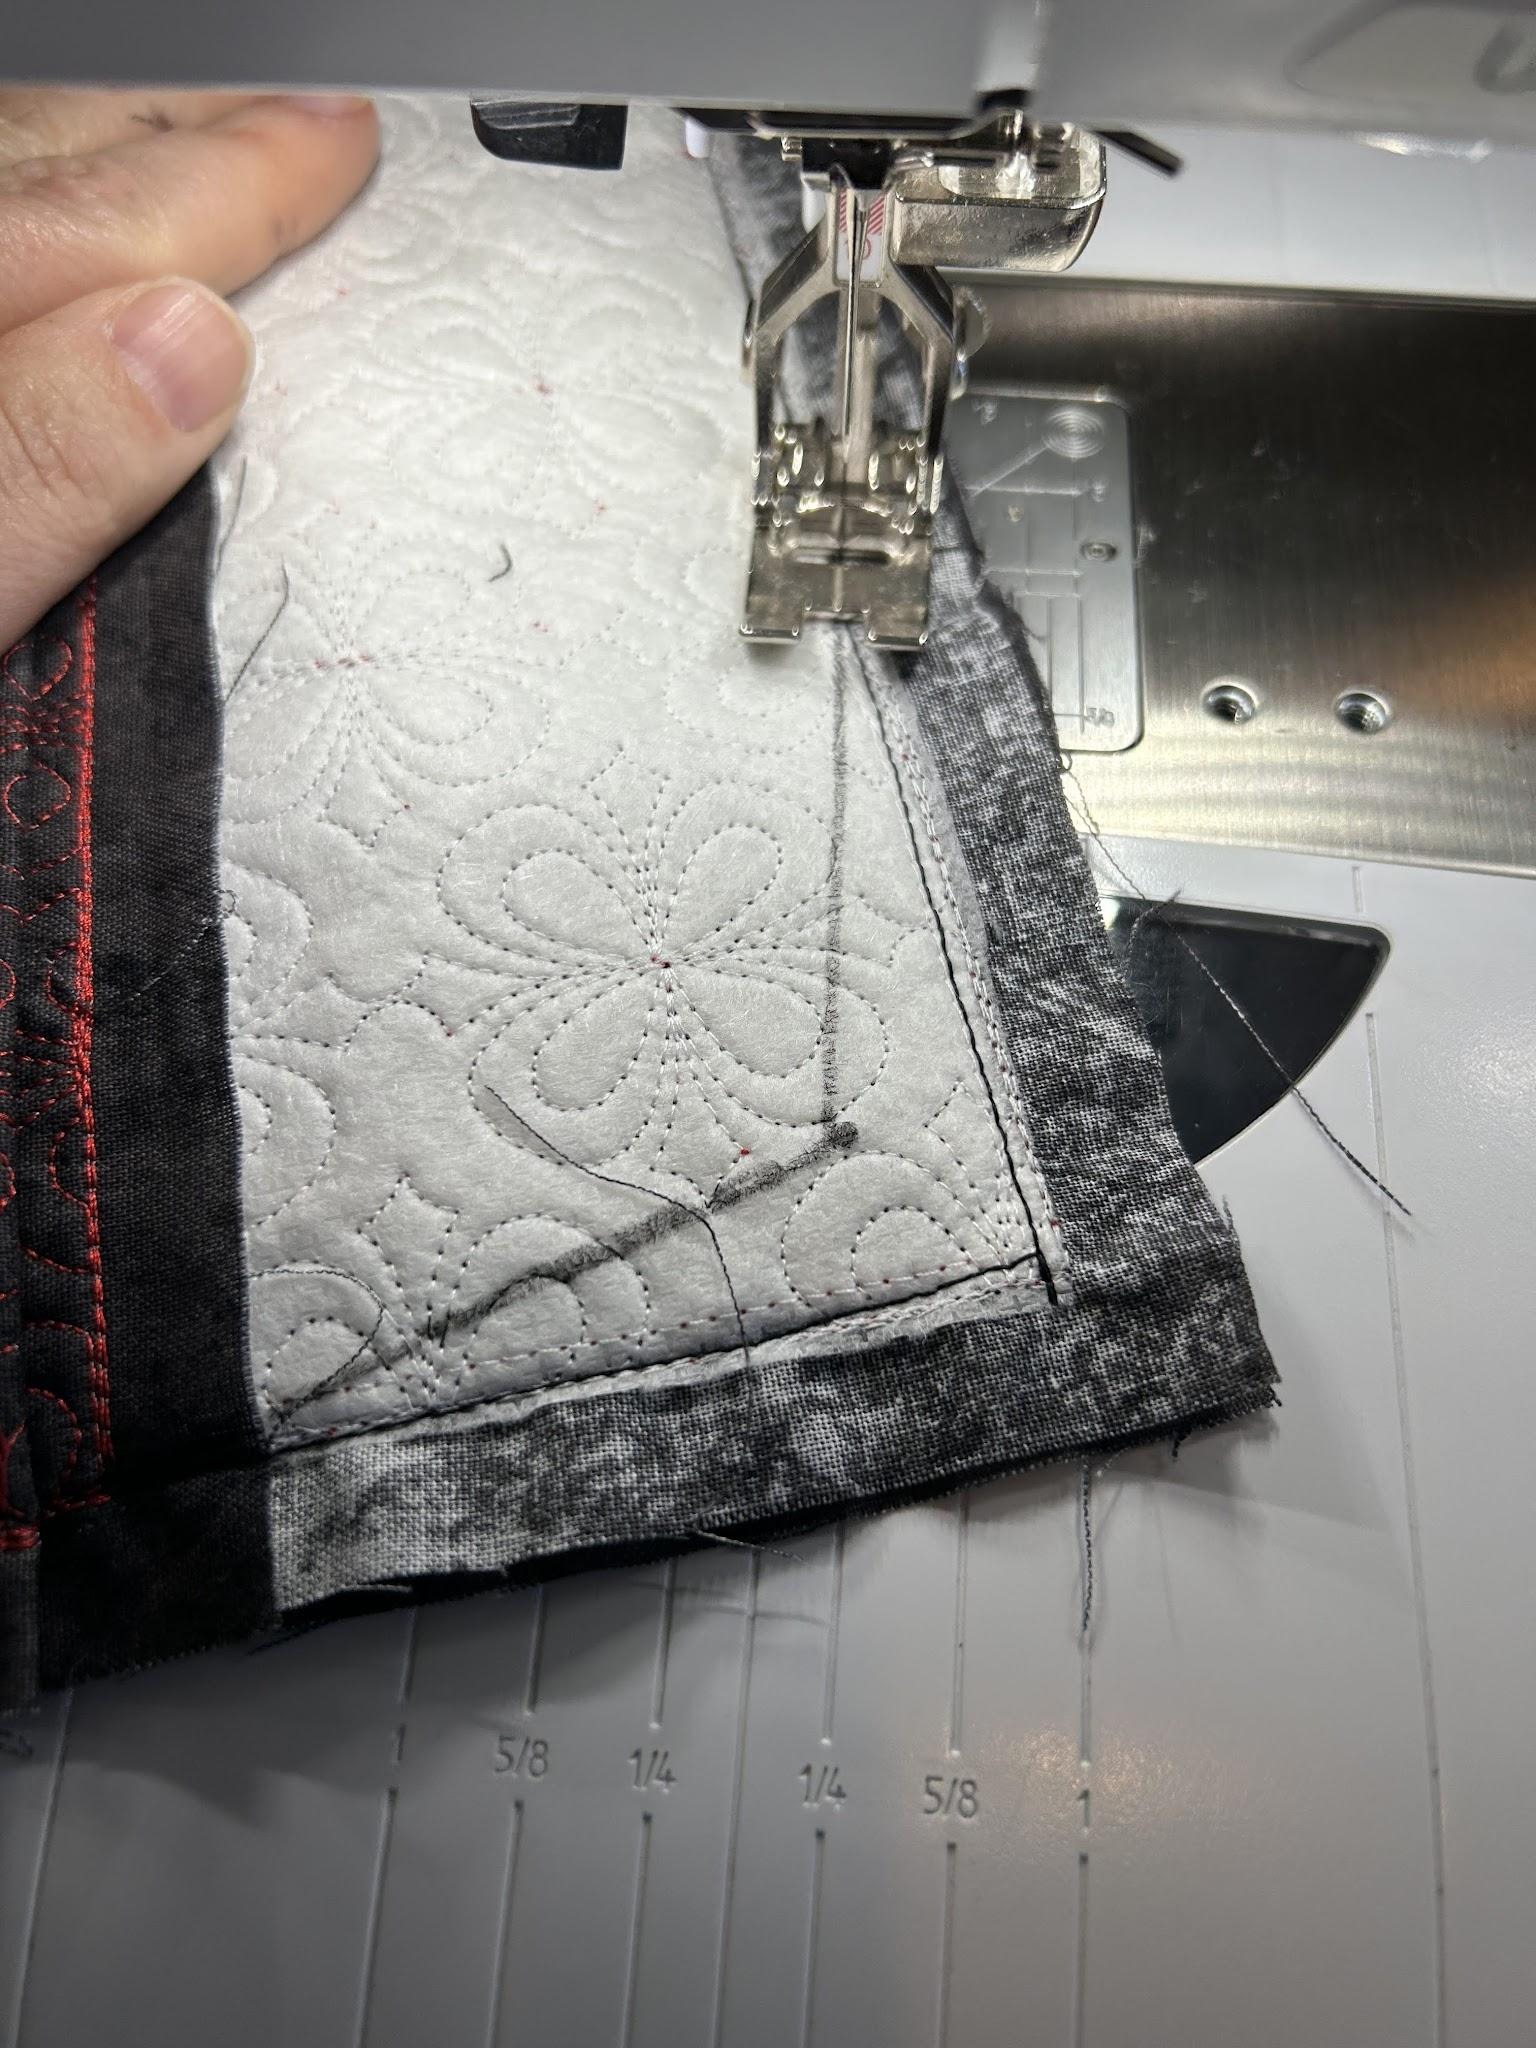
Now we will sew on those lines.
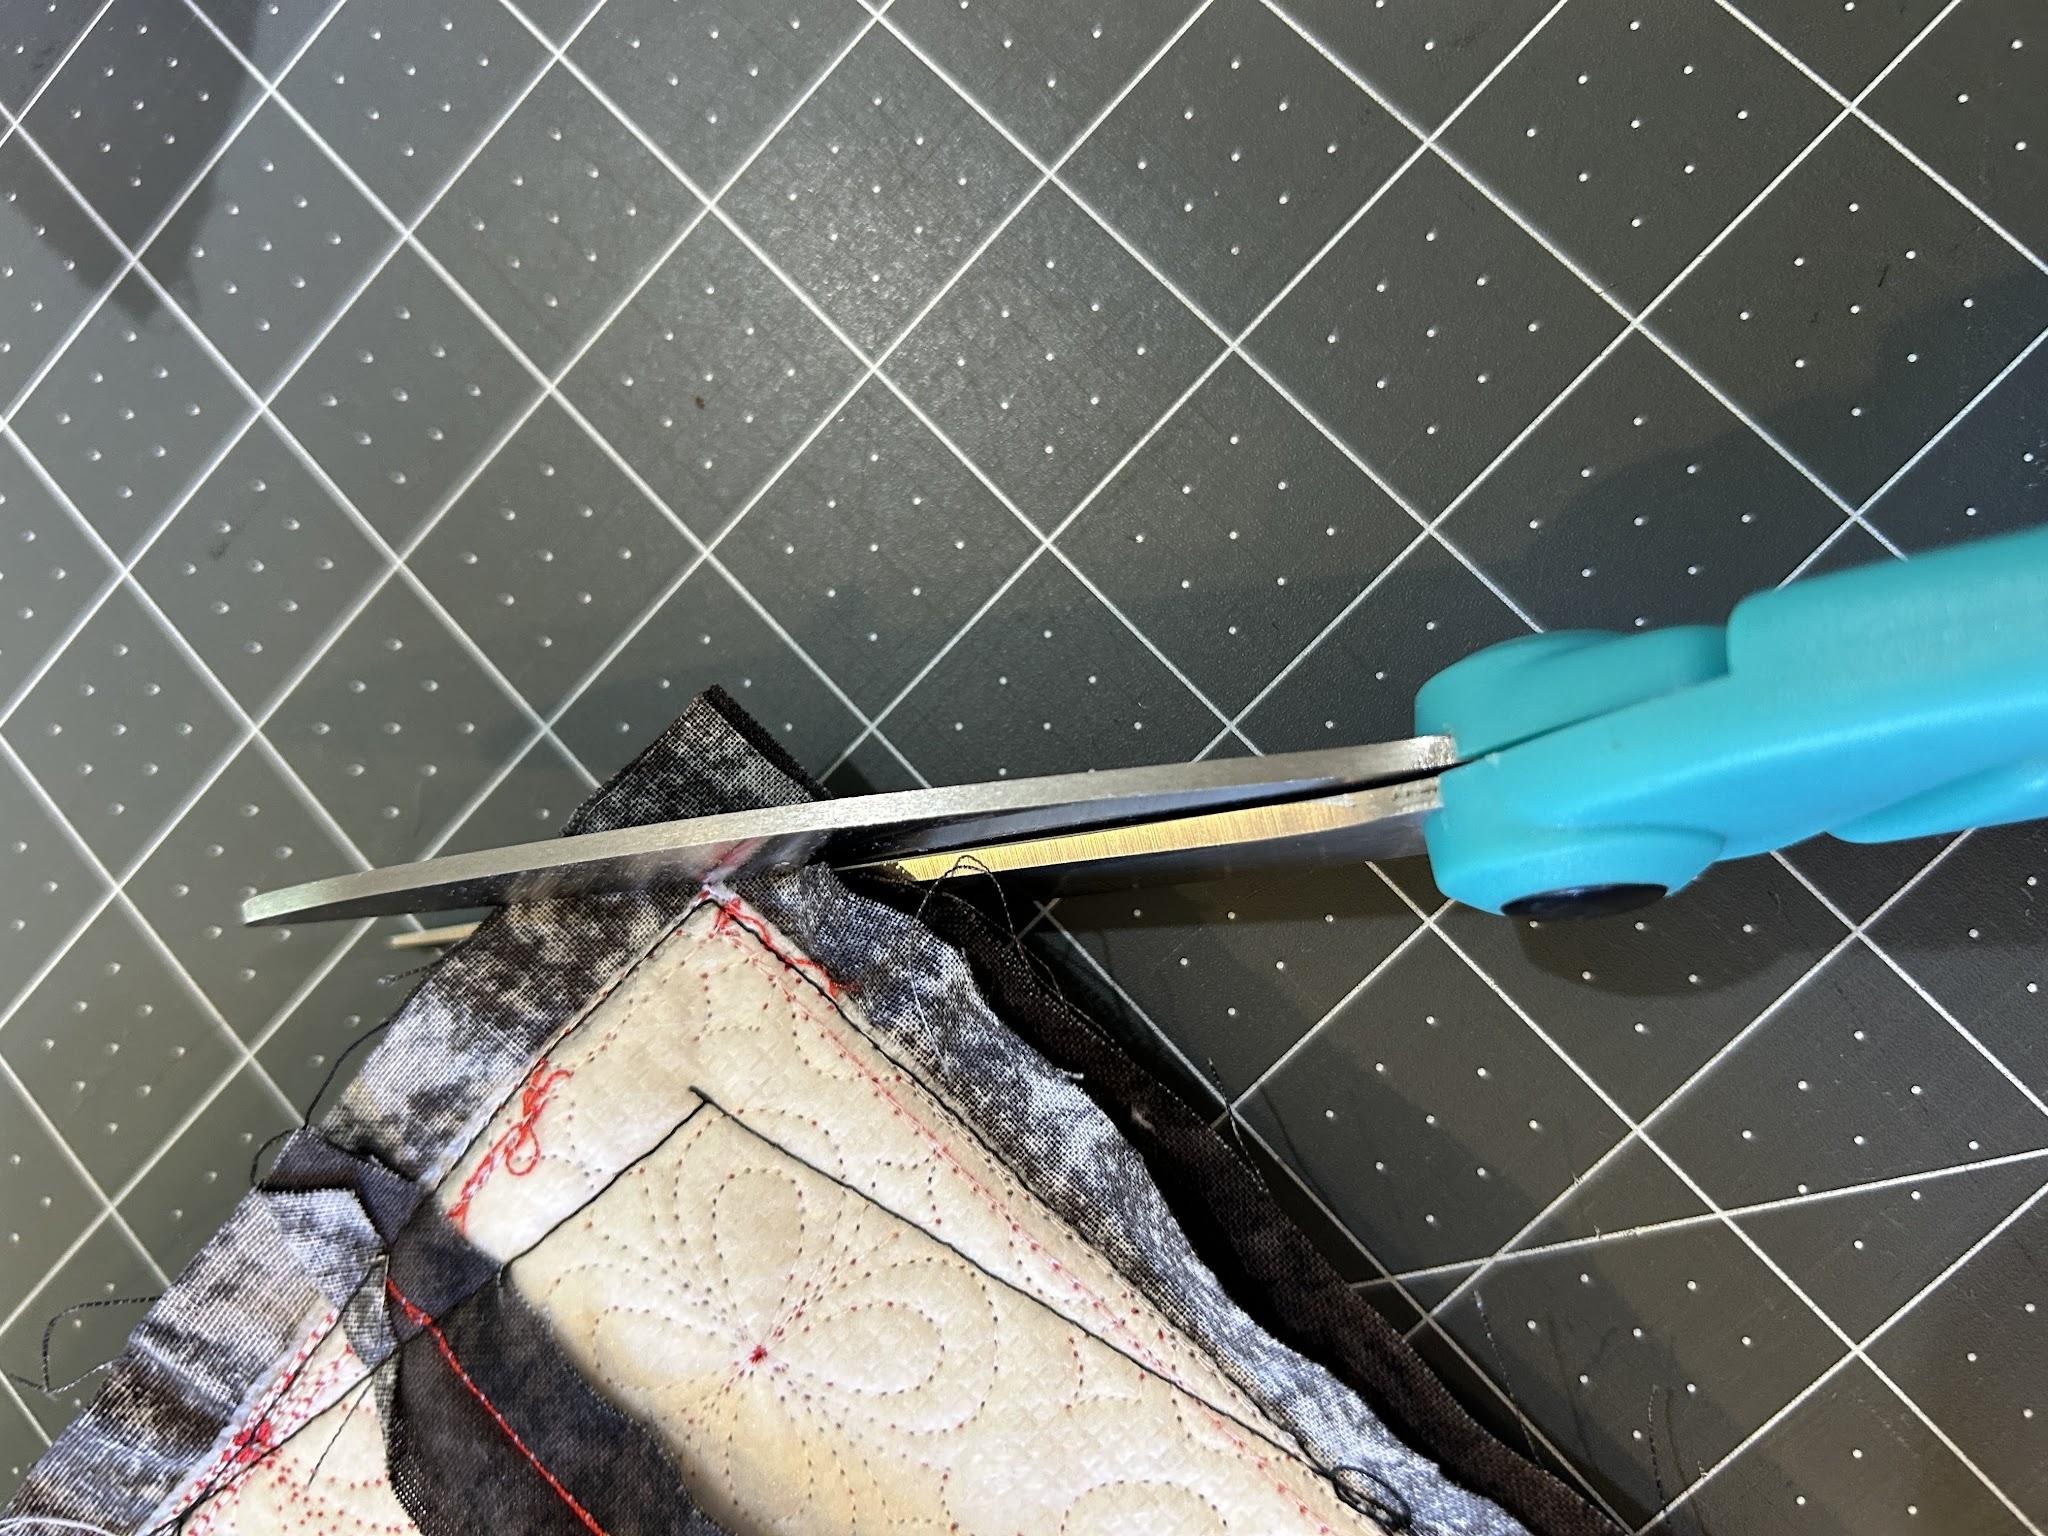
Clip your corners. I usually clip conservatively until I see how the pillow looks and then clip as much bulk I can from the corners.
Turn the cover right side out and gently push out the corners. I like to use a knitting needle or plastic stick to make sure they are completely pushed out.
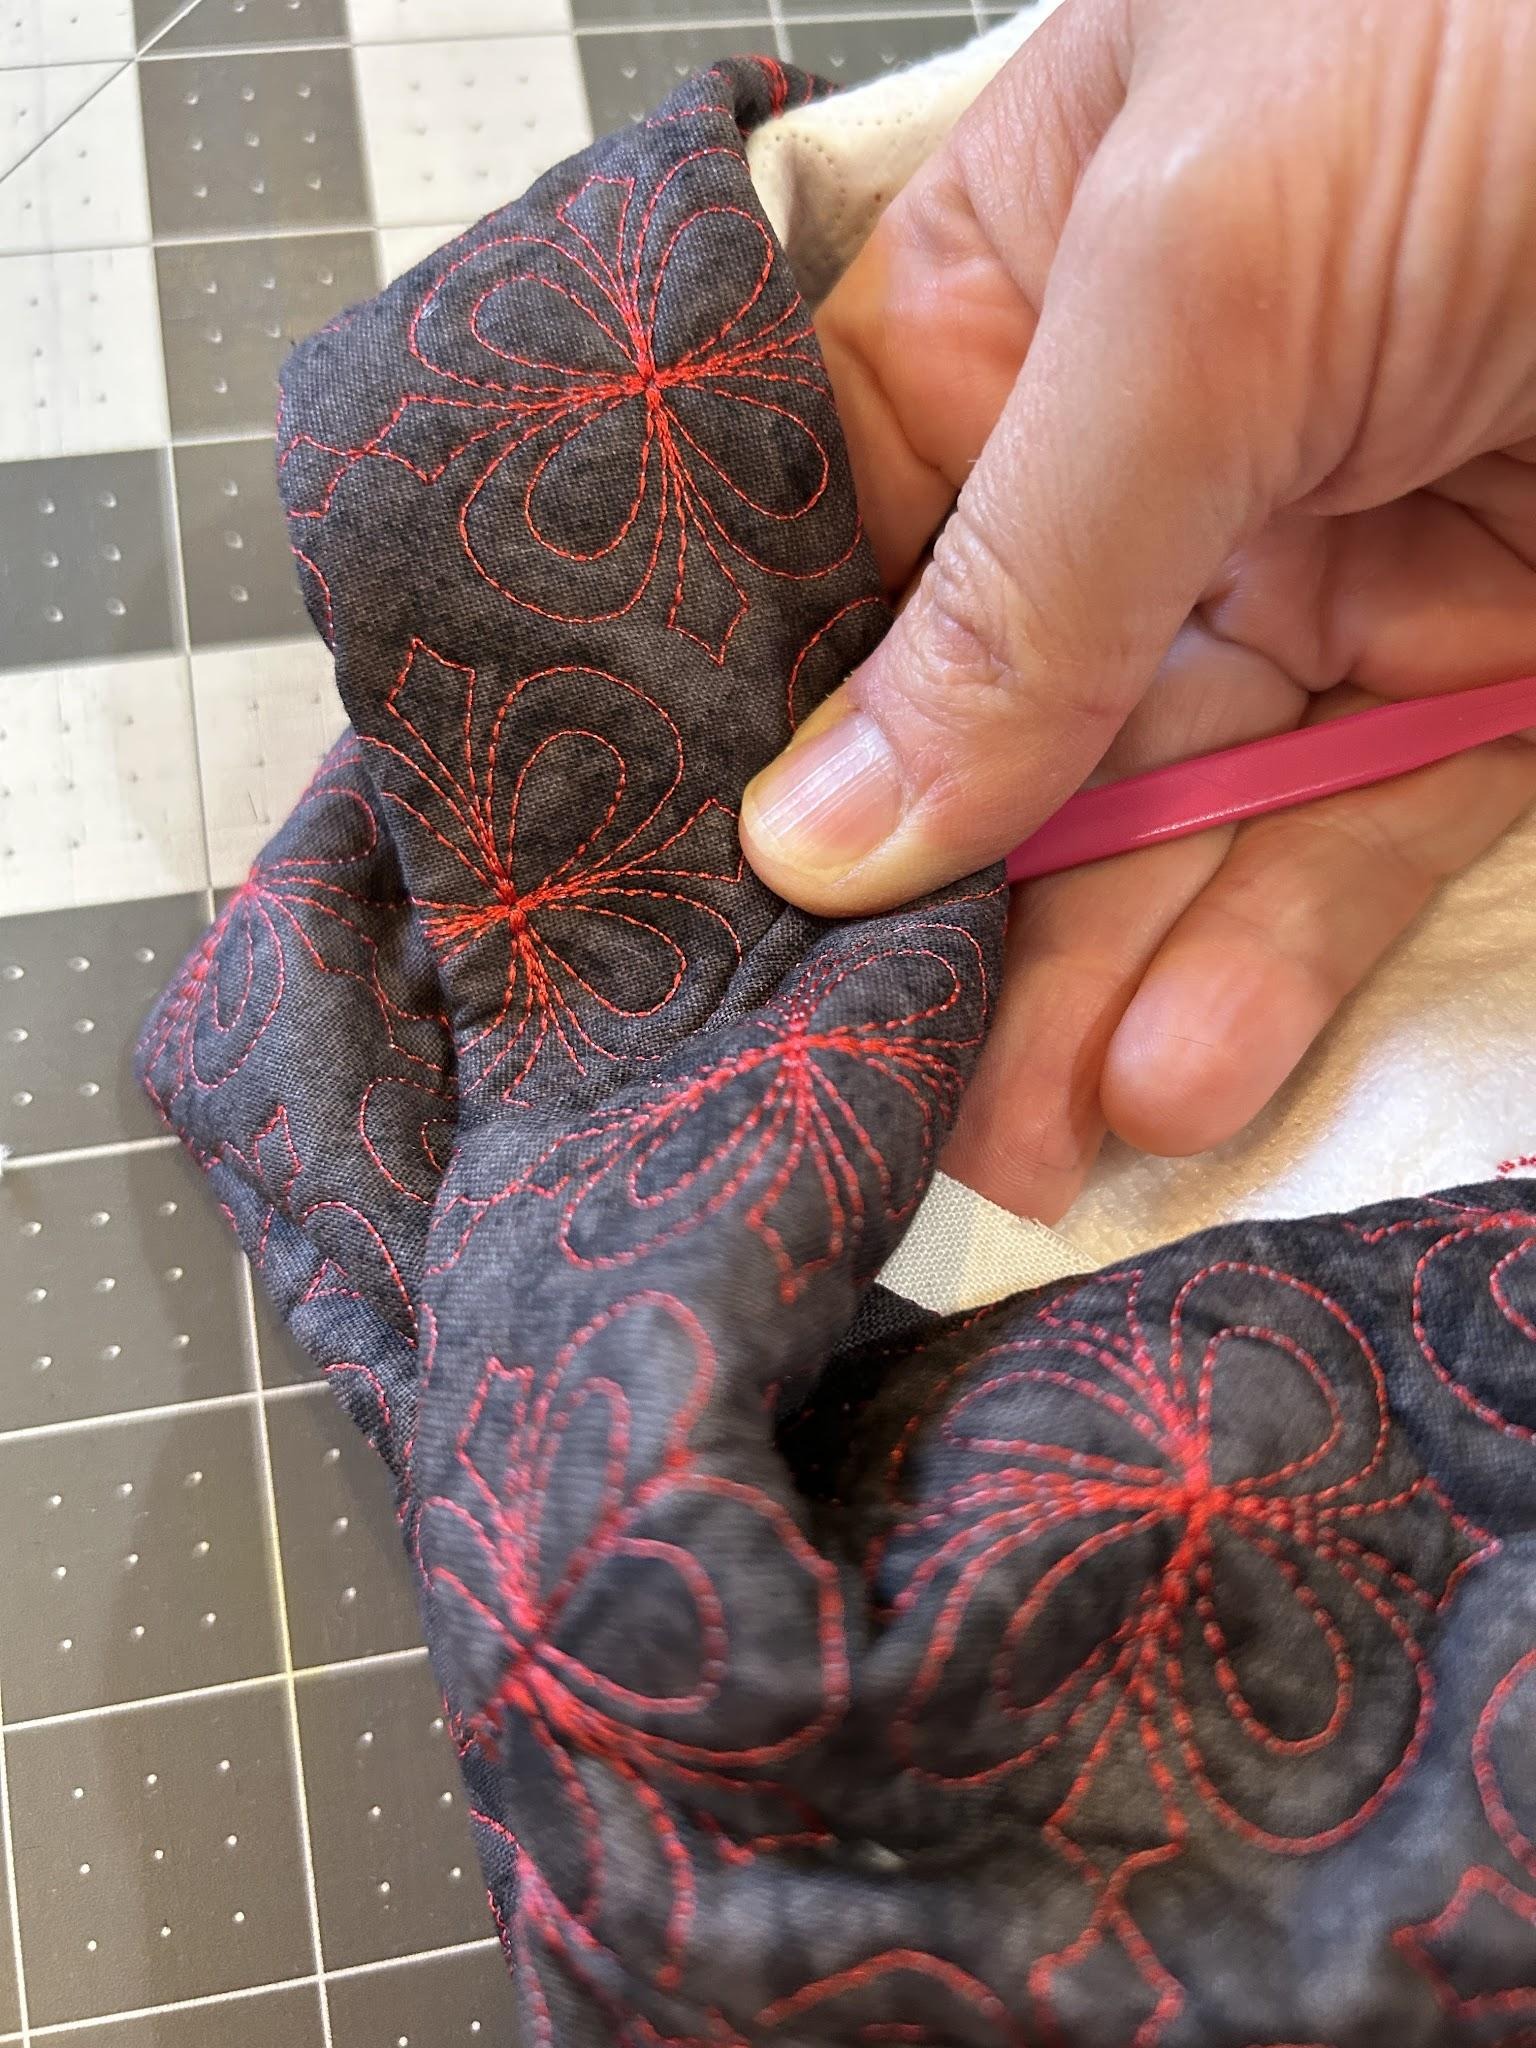
And here is your finished cover!
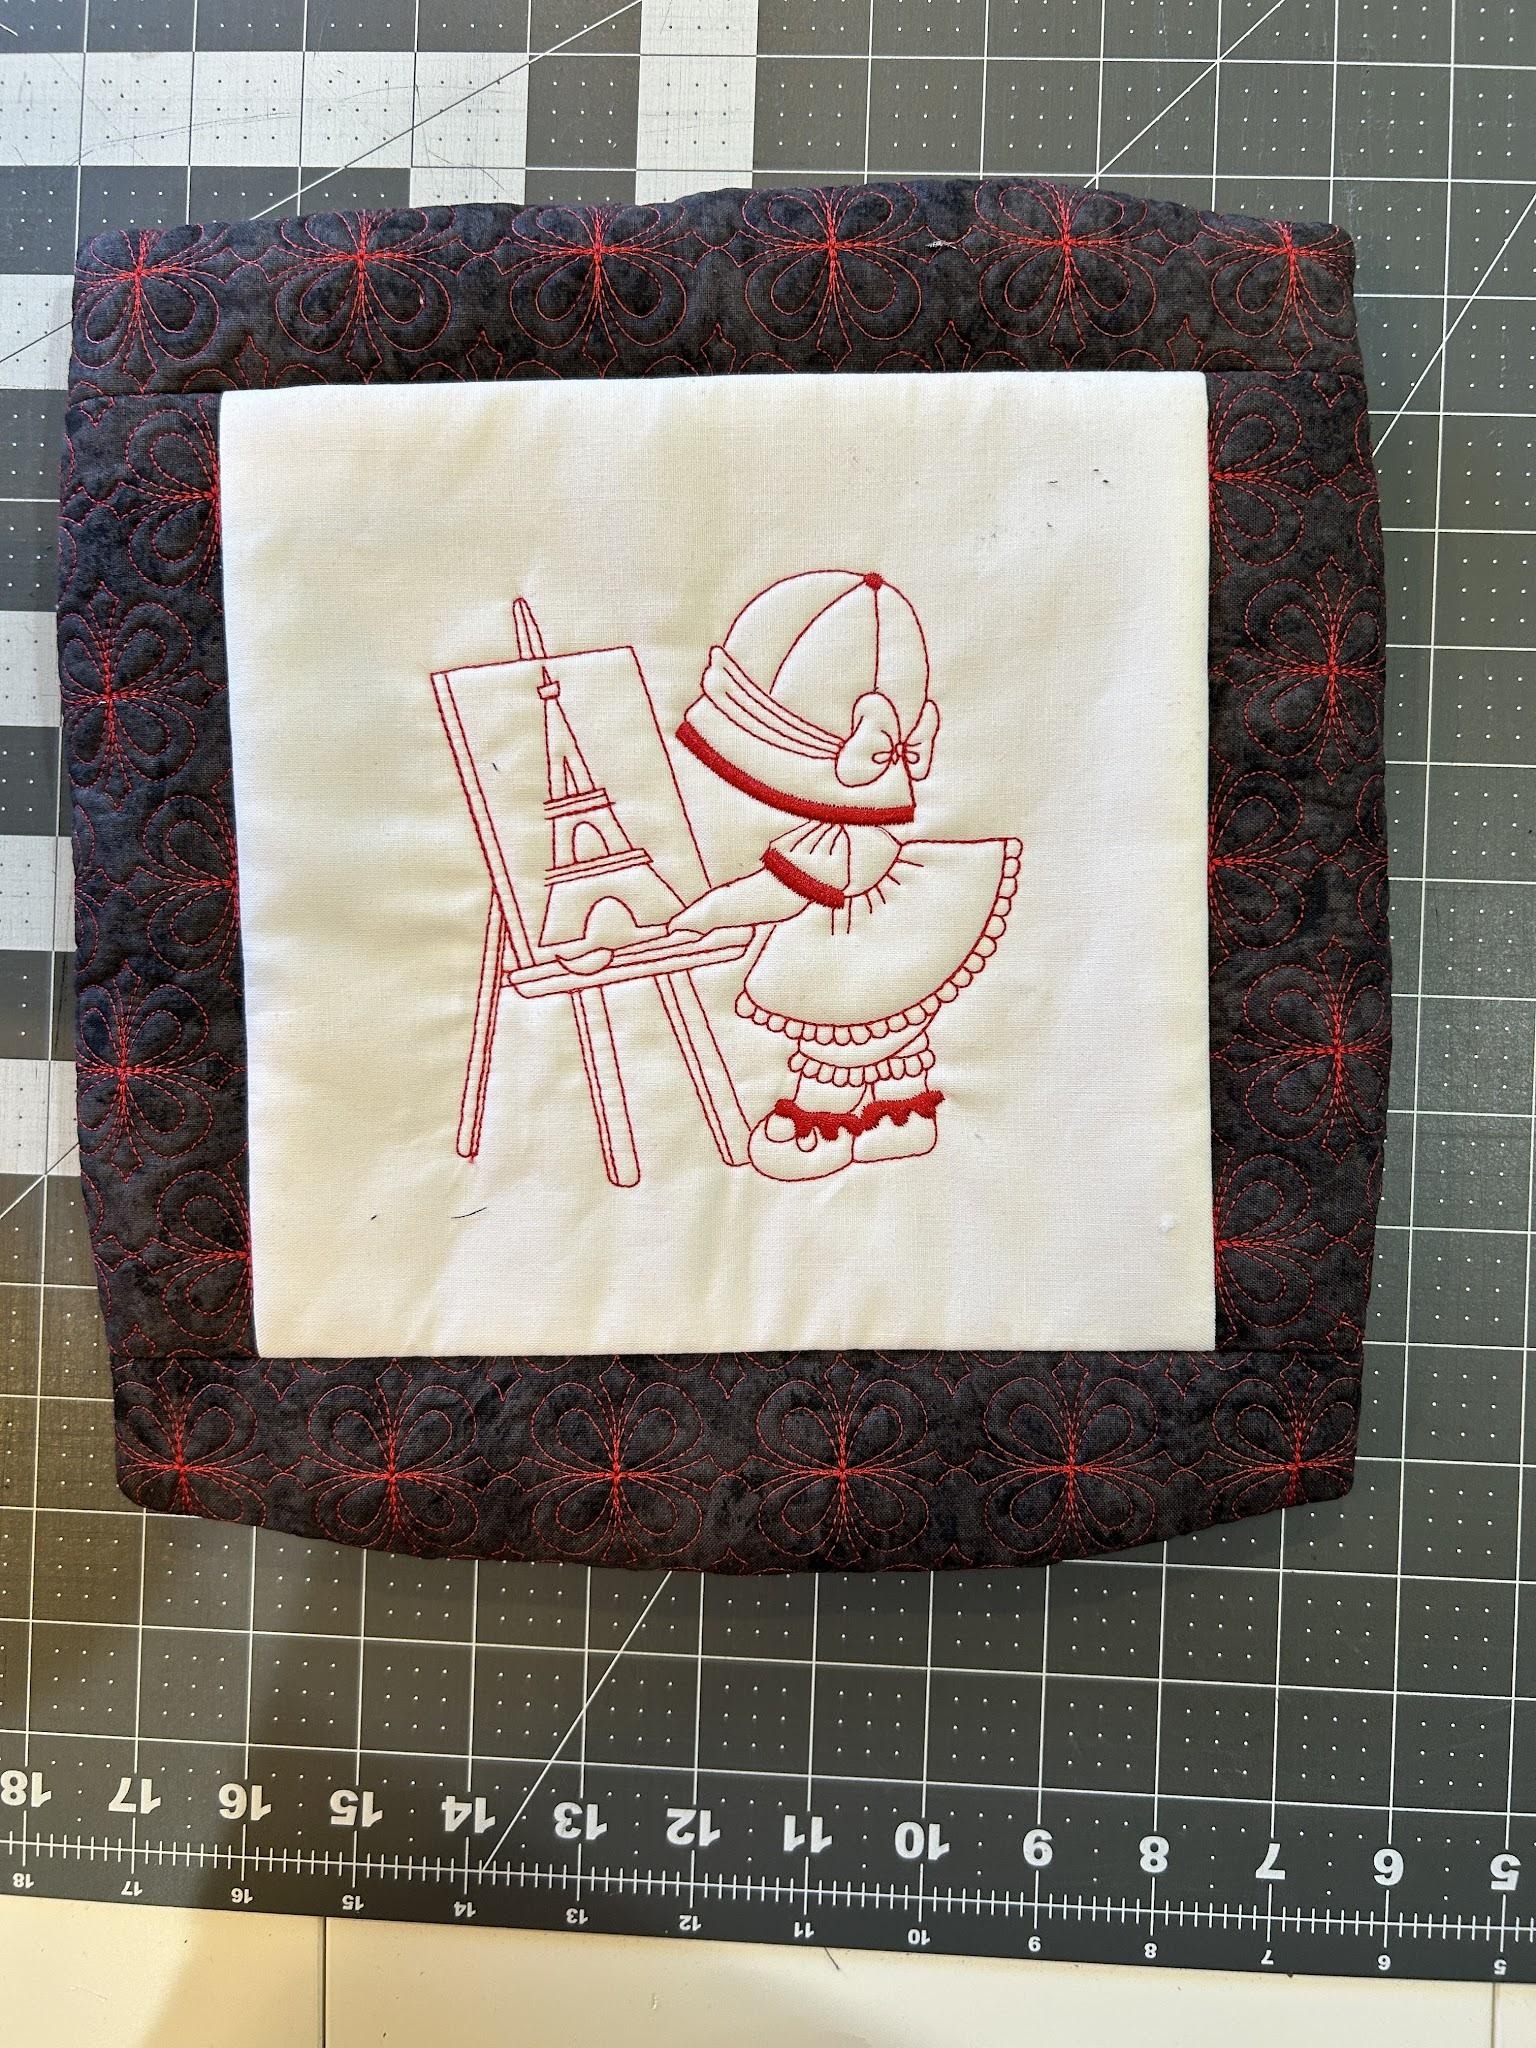
Put the pillow form in and use your pillow to decorate your room!
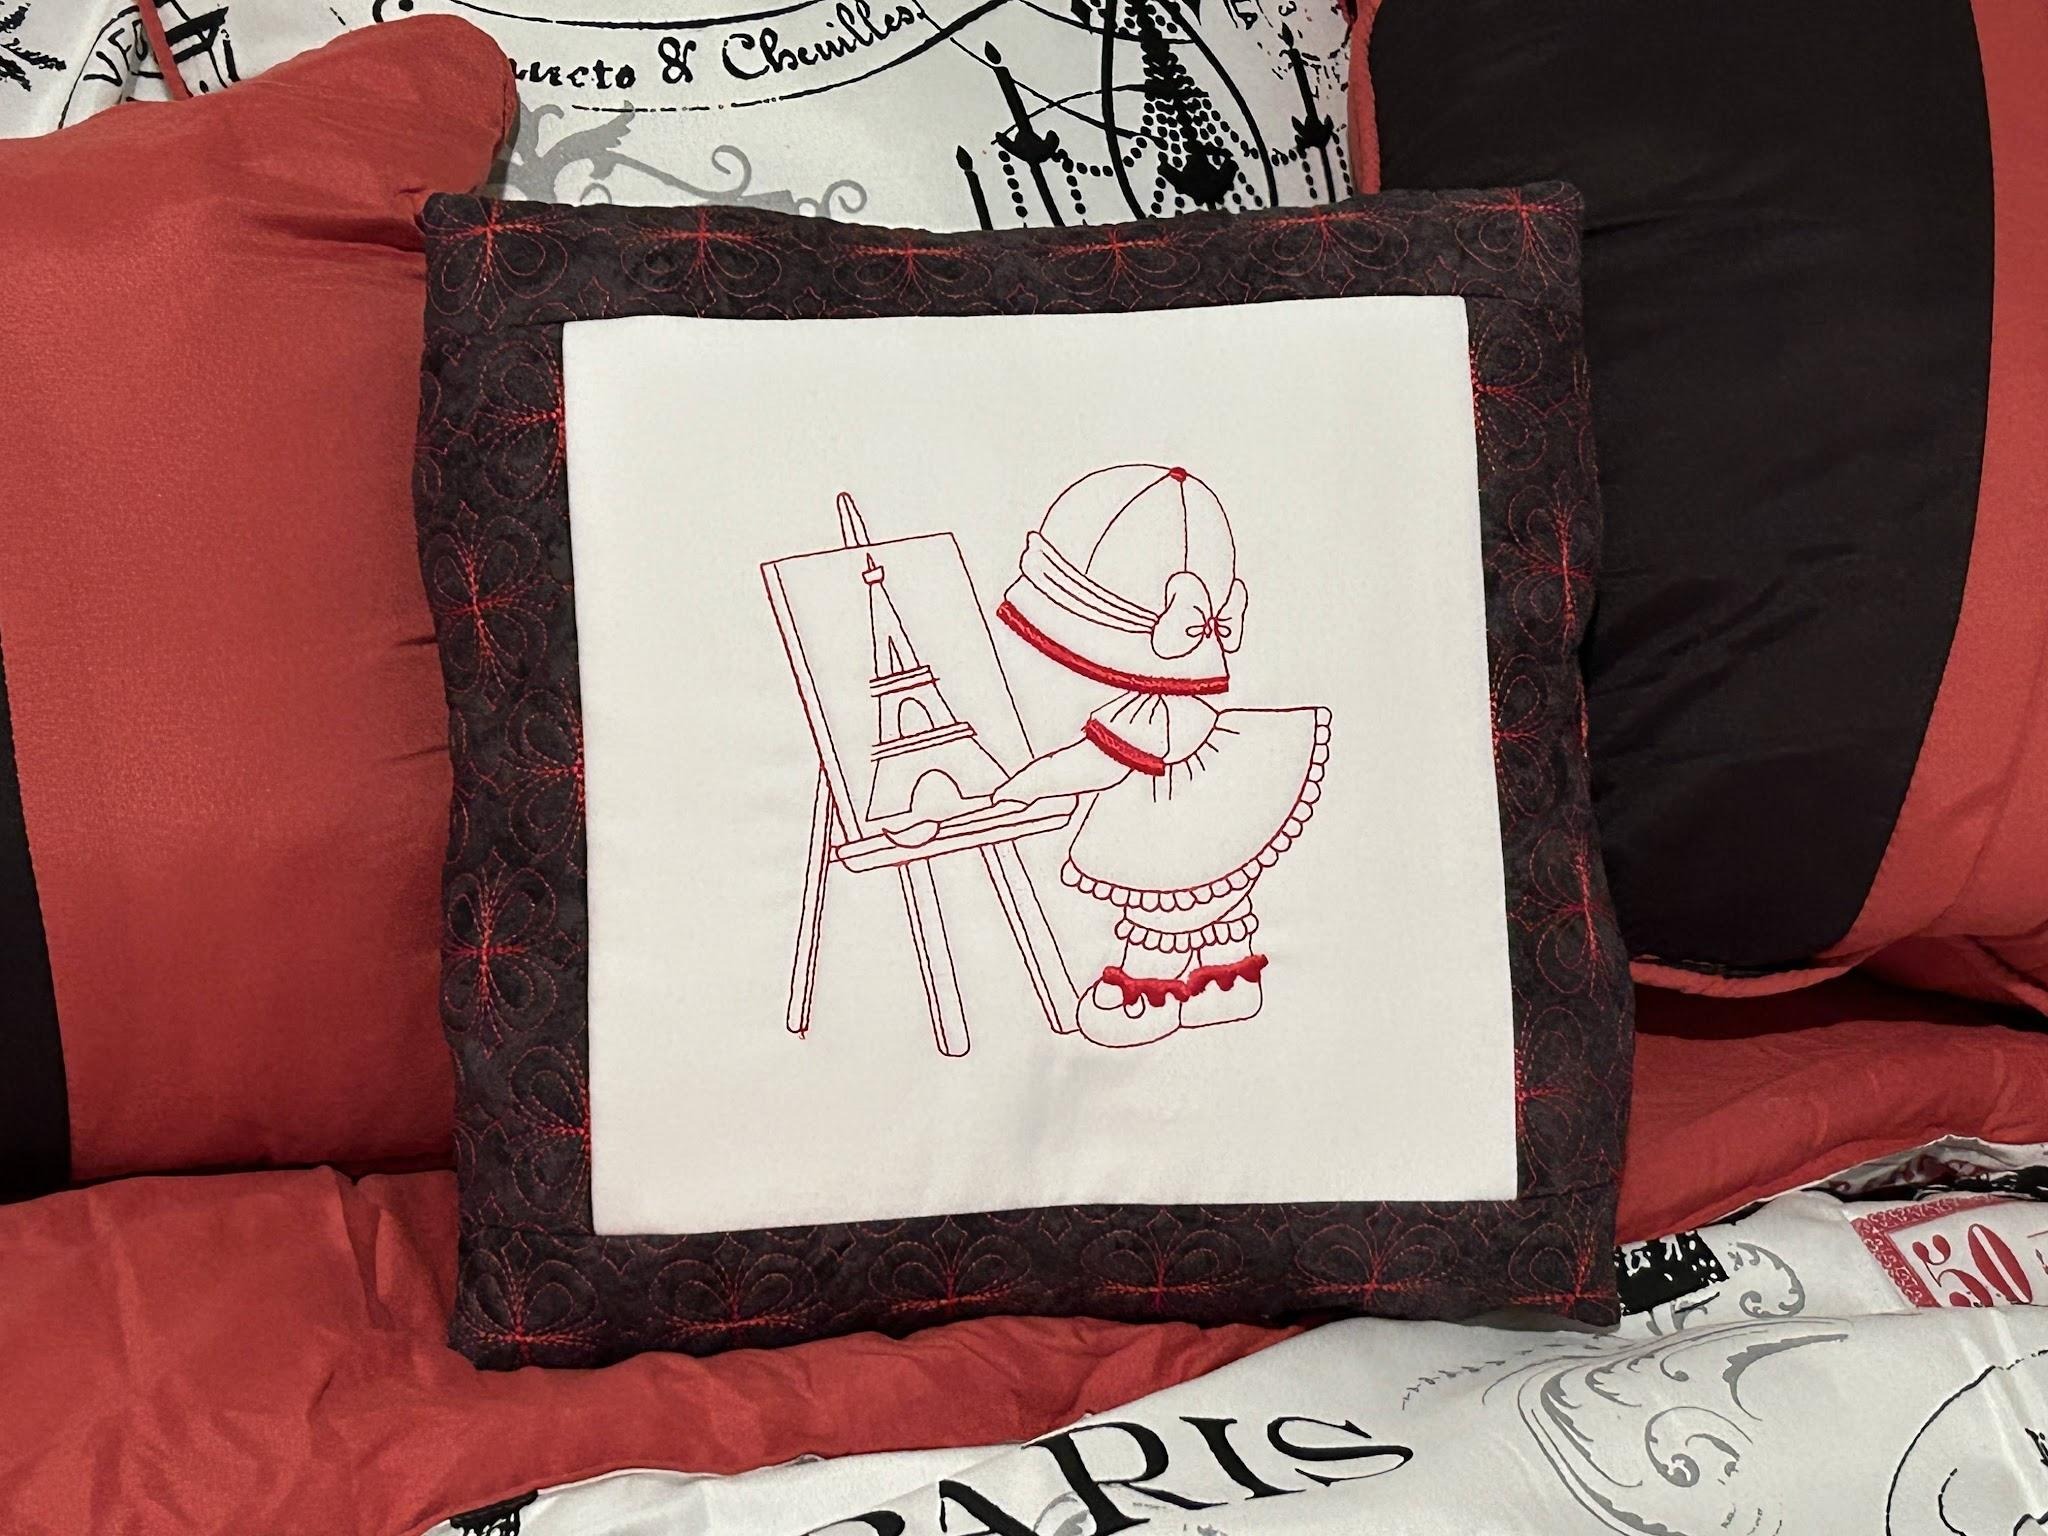
I hope this post taught you a new technique or inspired you to create a pillow with one of your favorite Designs by JuJu designs.
We love to see what you create, so share with us in the Designs by JuJu Embroidery Blessings Facebook Group, or use the hashtag #designsbyjuju anywhere on social media, to help us all get our creative juices flowing.