Toggle Nav
 Inspire.
Create.
Stitch.
Inspire.
Create.
Stitch.
Inspire.
Create.
Stitch.
Search
Inspire.
Create.
Stitch.
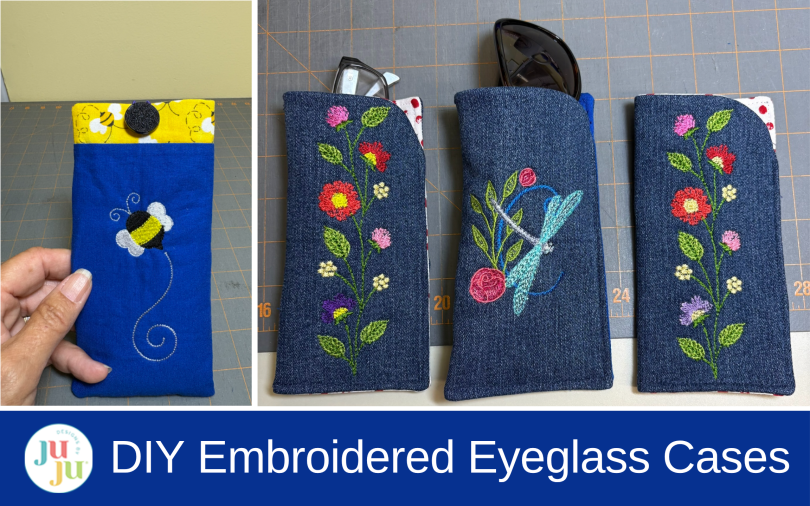
Learn how to sew embroidered eyeglass cases in two easy styles, with sizes for glasses and sunglasses, upcycled denim ideas, and optional snap closures.
Follow along as I show you two different options if you want a case that prevents the glasses from slipping out using either KAMsnaps® or a button and elastic.
Check out the DBJJ team’s favorite supplies in the Designs by JuJu Amazon store. For stabilizers, batting, and threads, Designs by JuJu+ has everything you need.
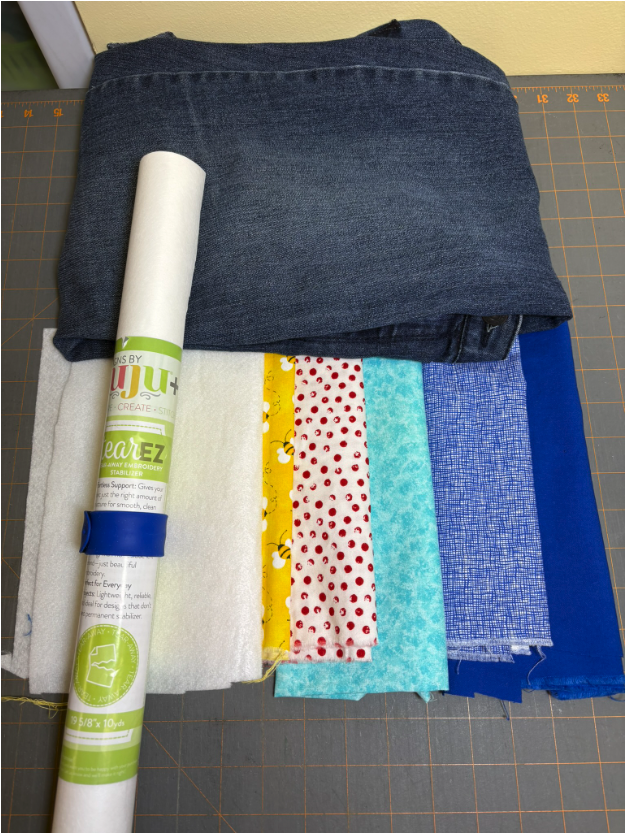
This is the easier case to make. Cut one each of the case fabric, the lining, and the fusible fleece.
For readers and regular-sized glasses cut:
For larger glasses and sunglasses (this will increase the width of the case):
*If you want to add KAMsnaps to close your case, add ½” to the length of the case and lining fabrics and fusible fleece.
I am using denim, so I cut a 7” square out of the denim.
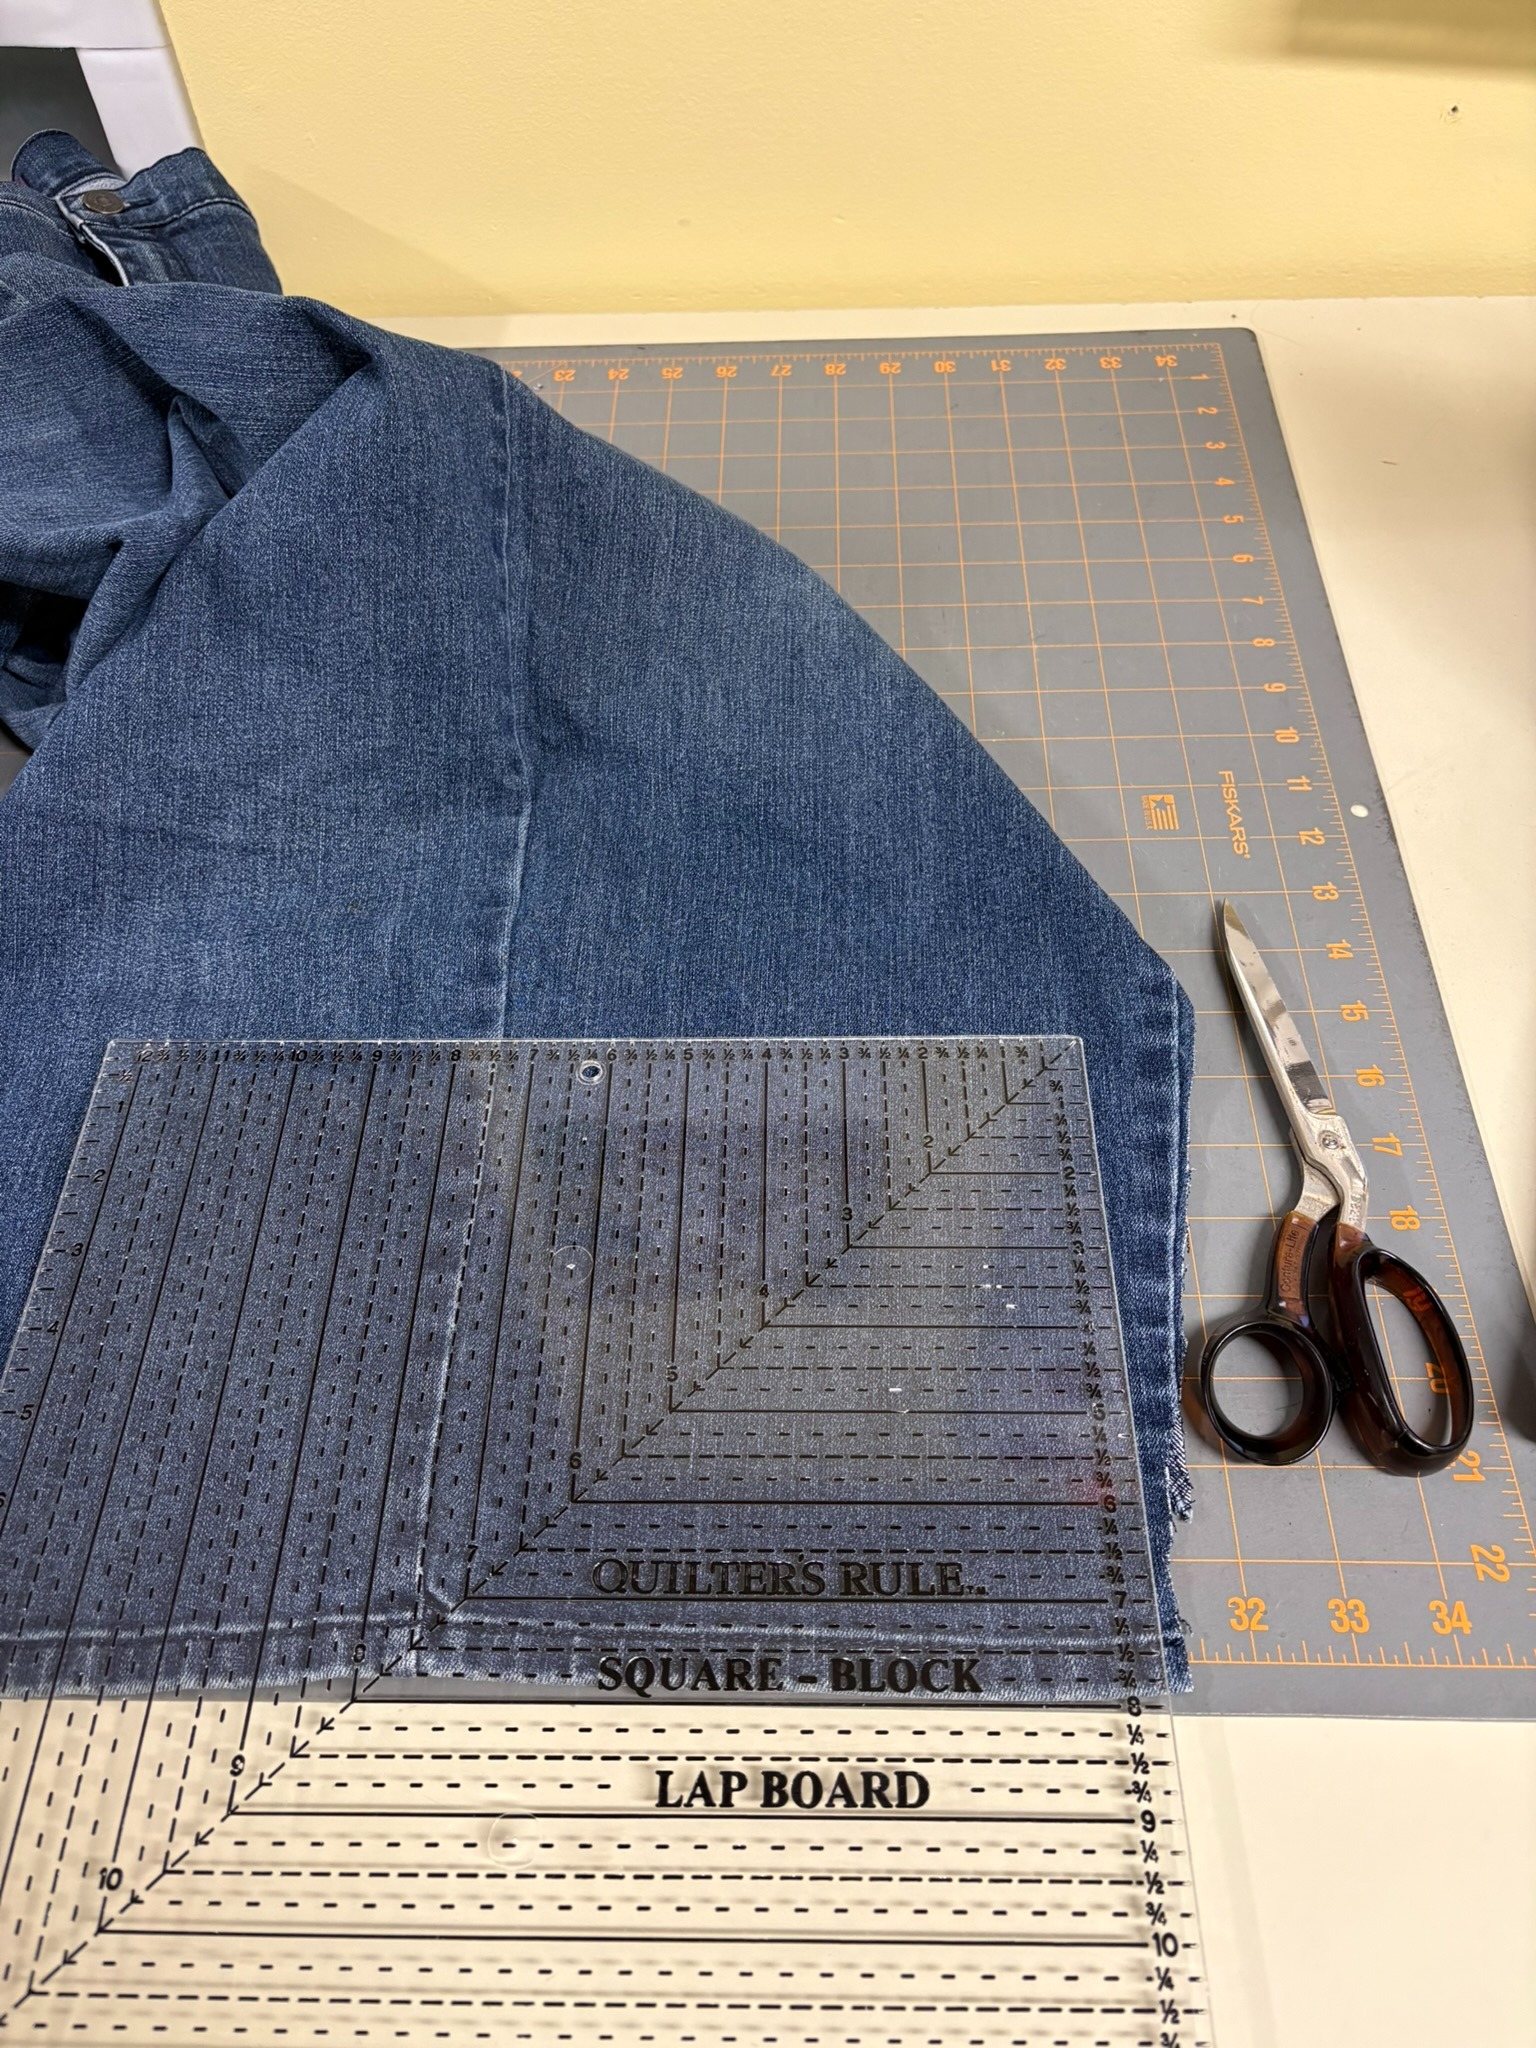
Next cut out a 6¾” square of fusible fleece and fuse it to the wrong side of the denim.
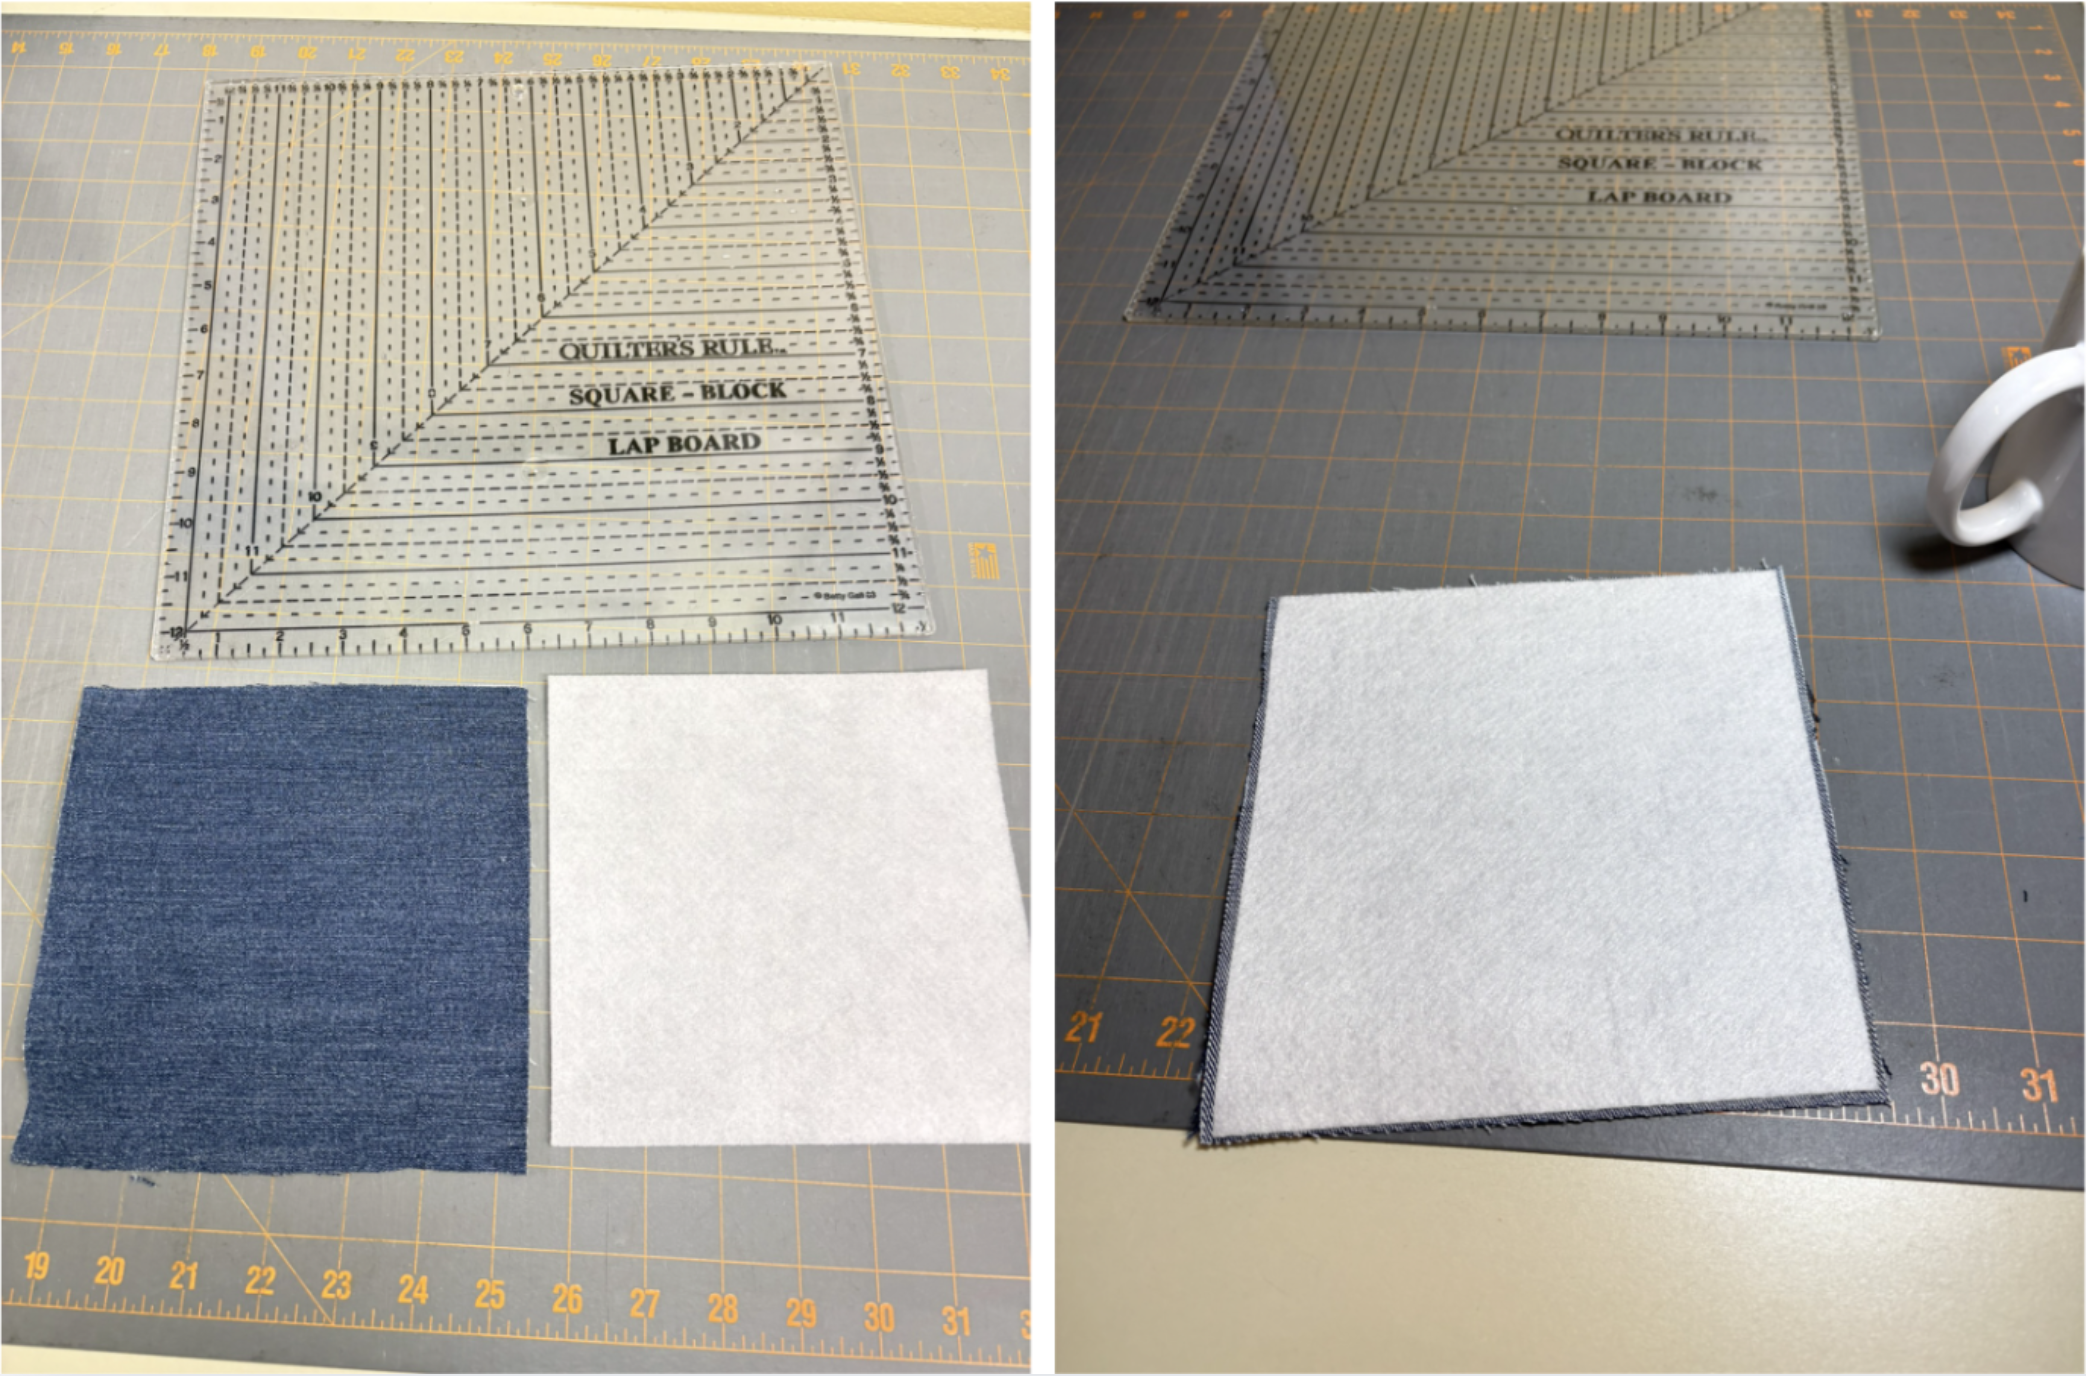
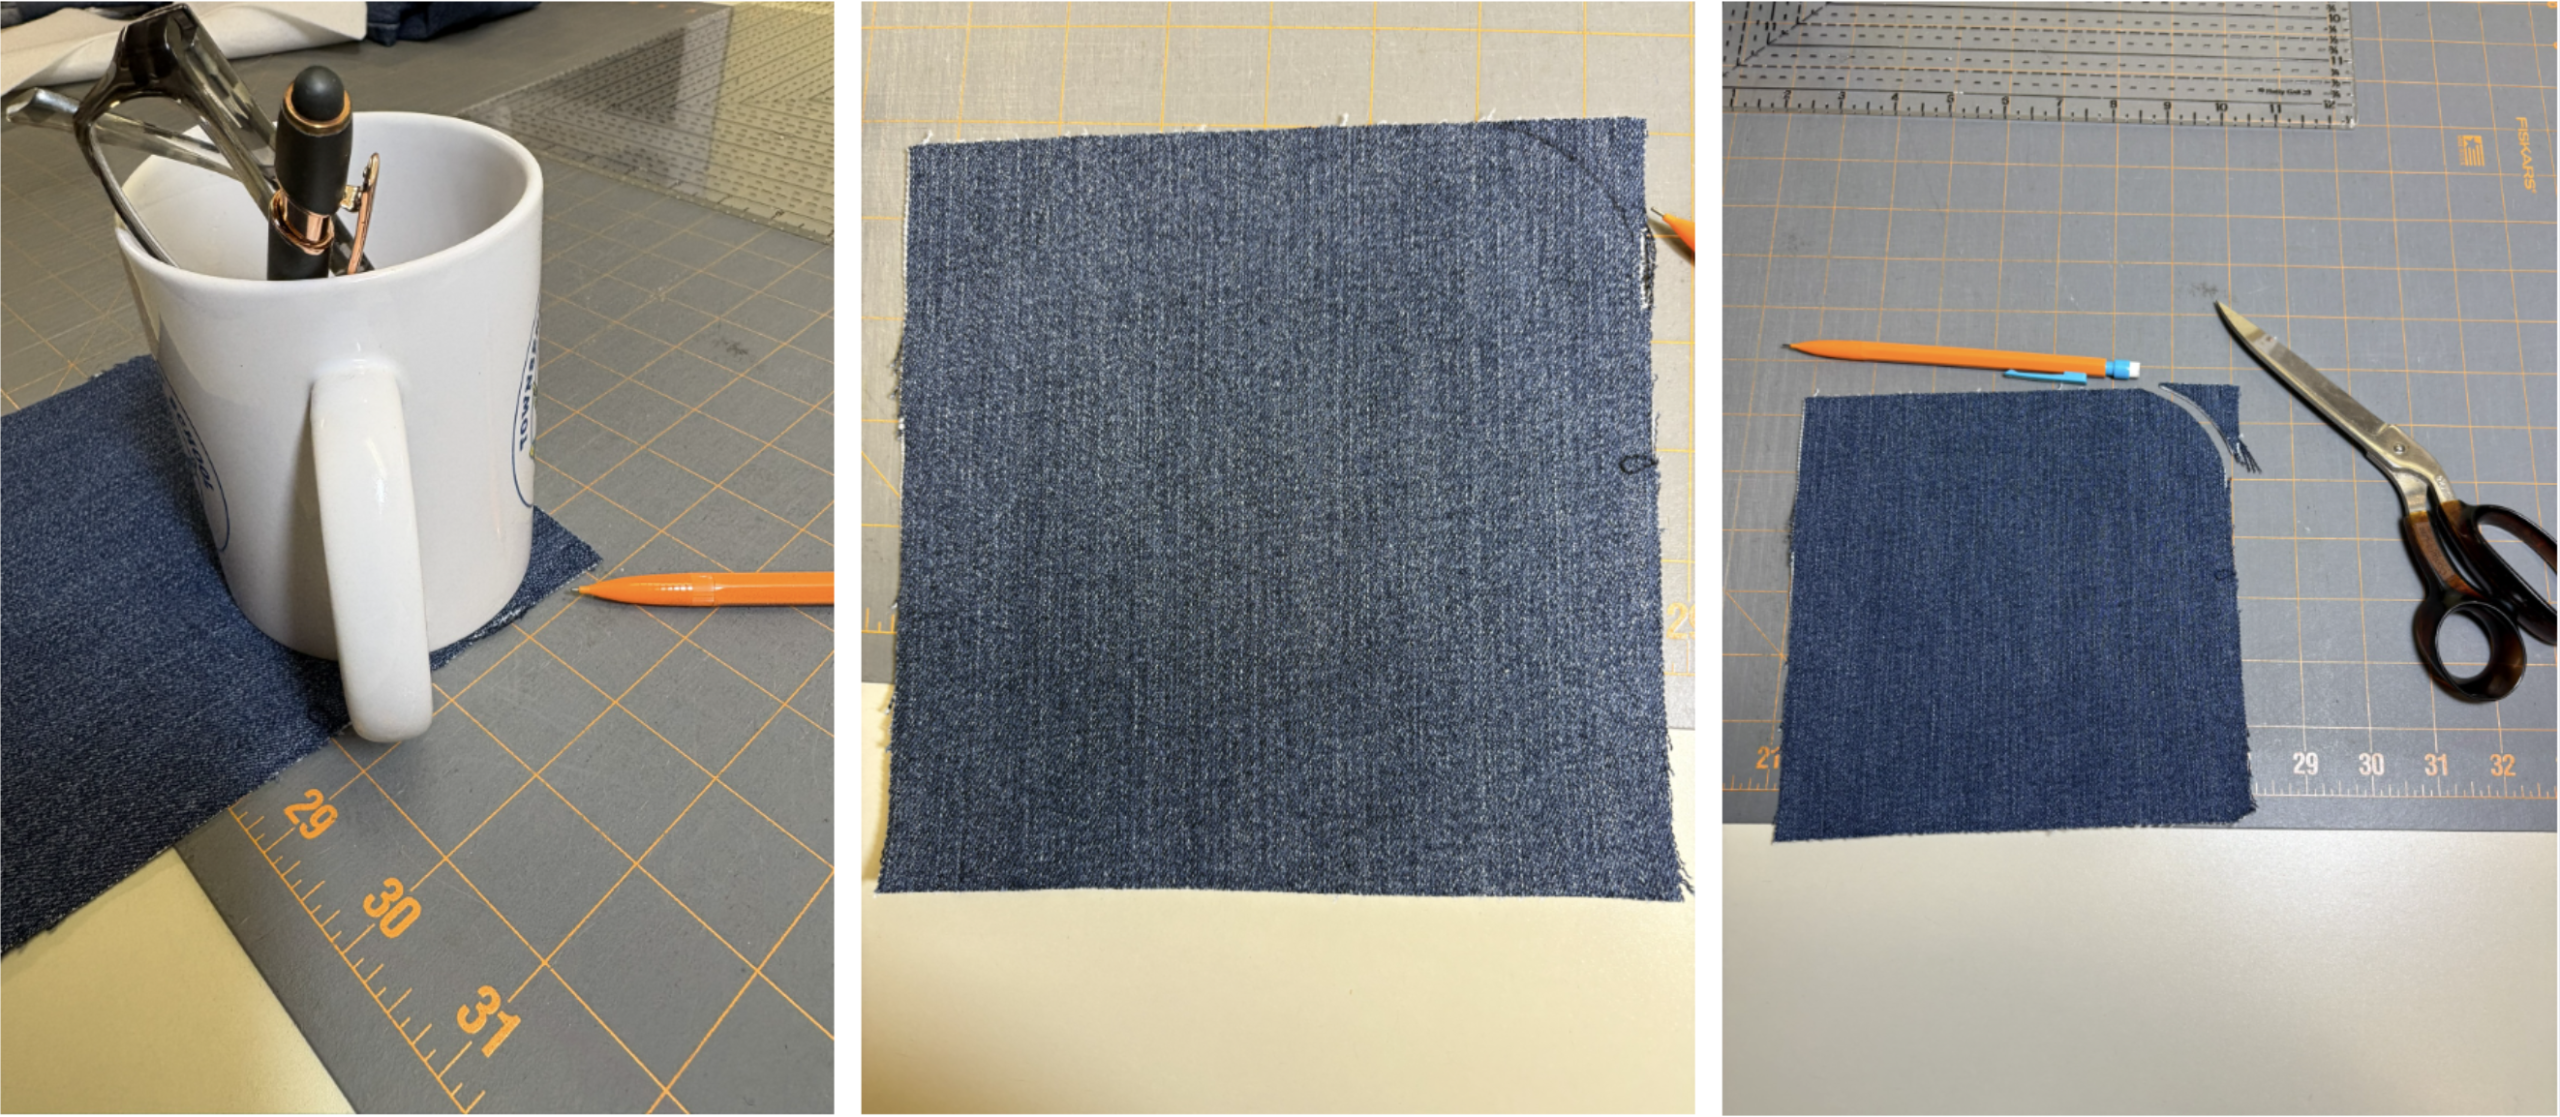
Round the top right corner of the case by tracing around the edge of a coffee mug. The larger the mug, the more of an opening the finished project will have. I wanted to keep most of the surface for embroidering, so I used a smaller mug. Cut along the tracing line.
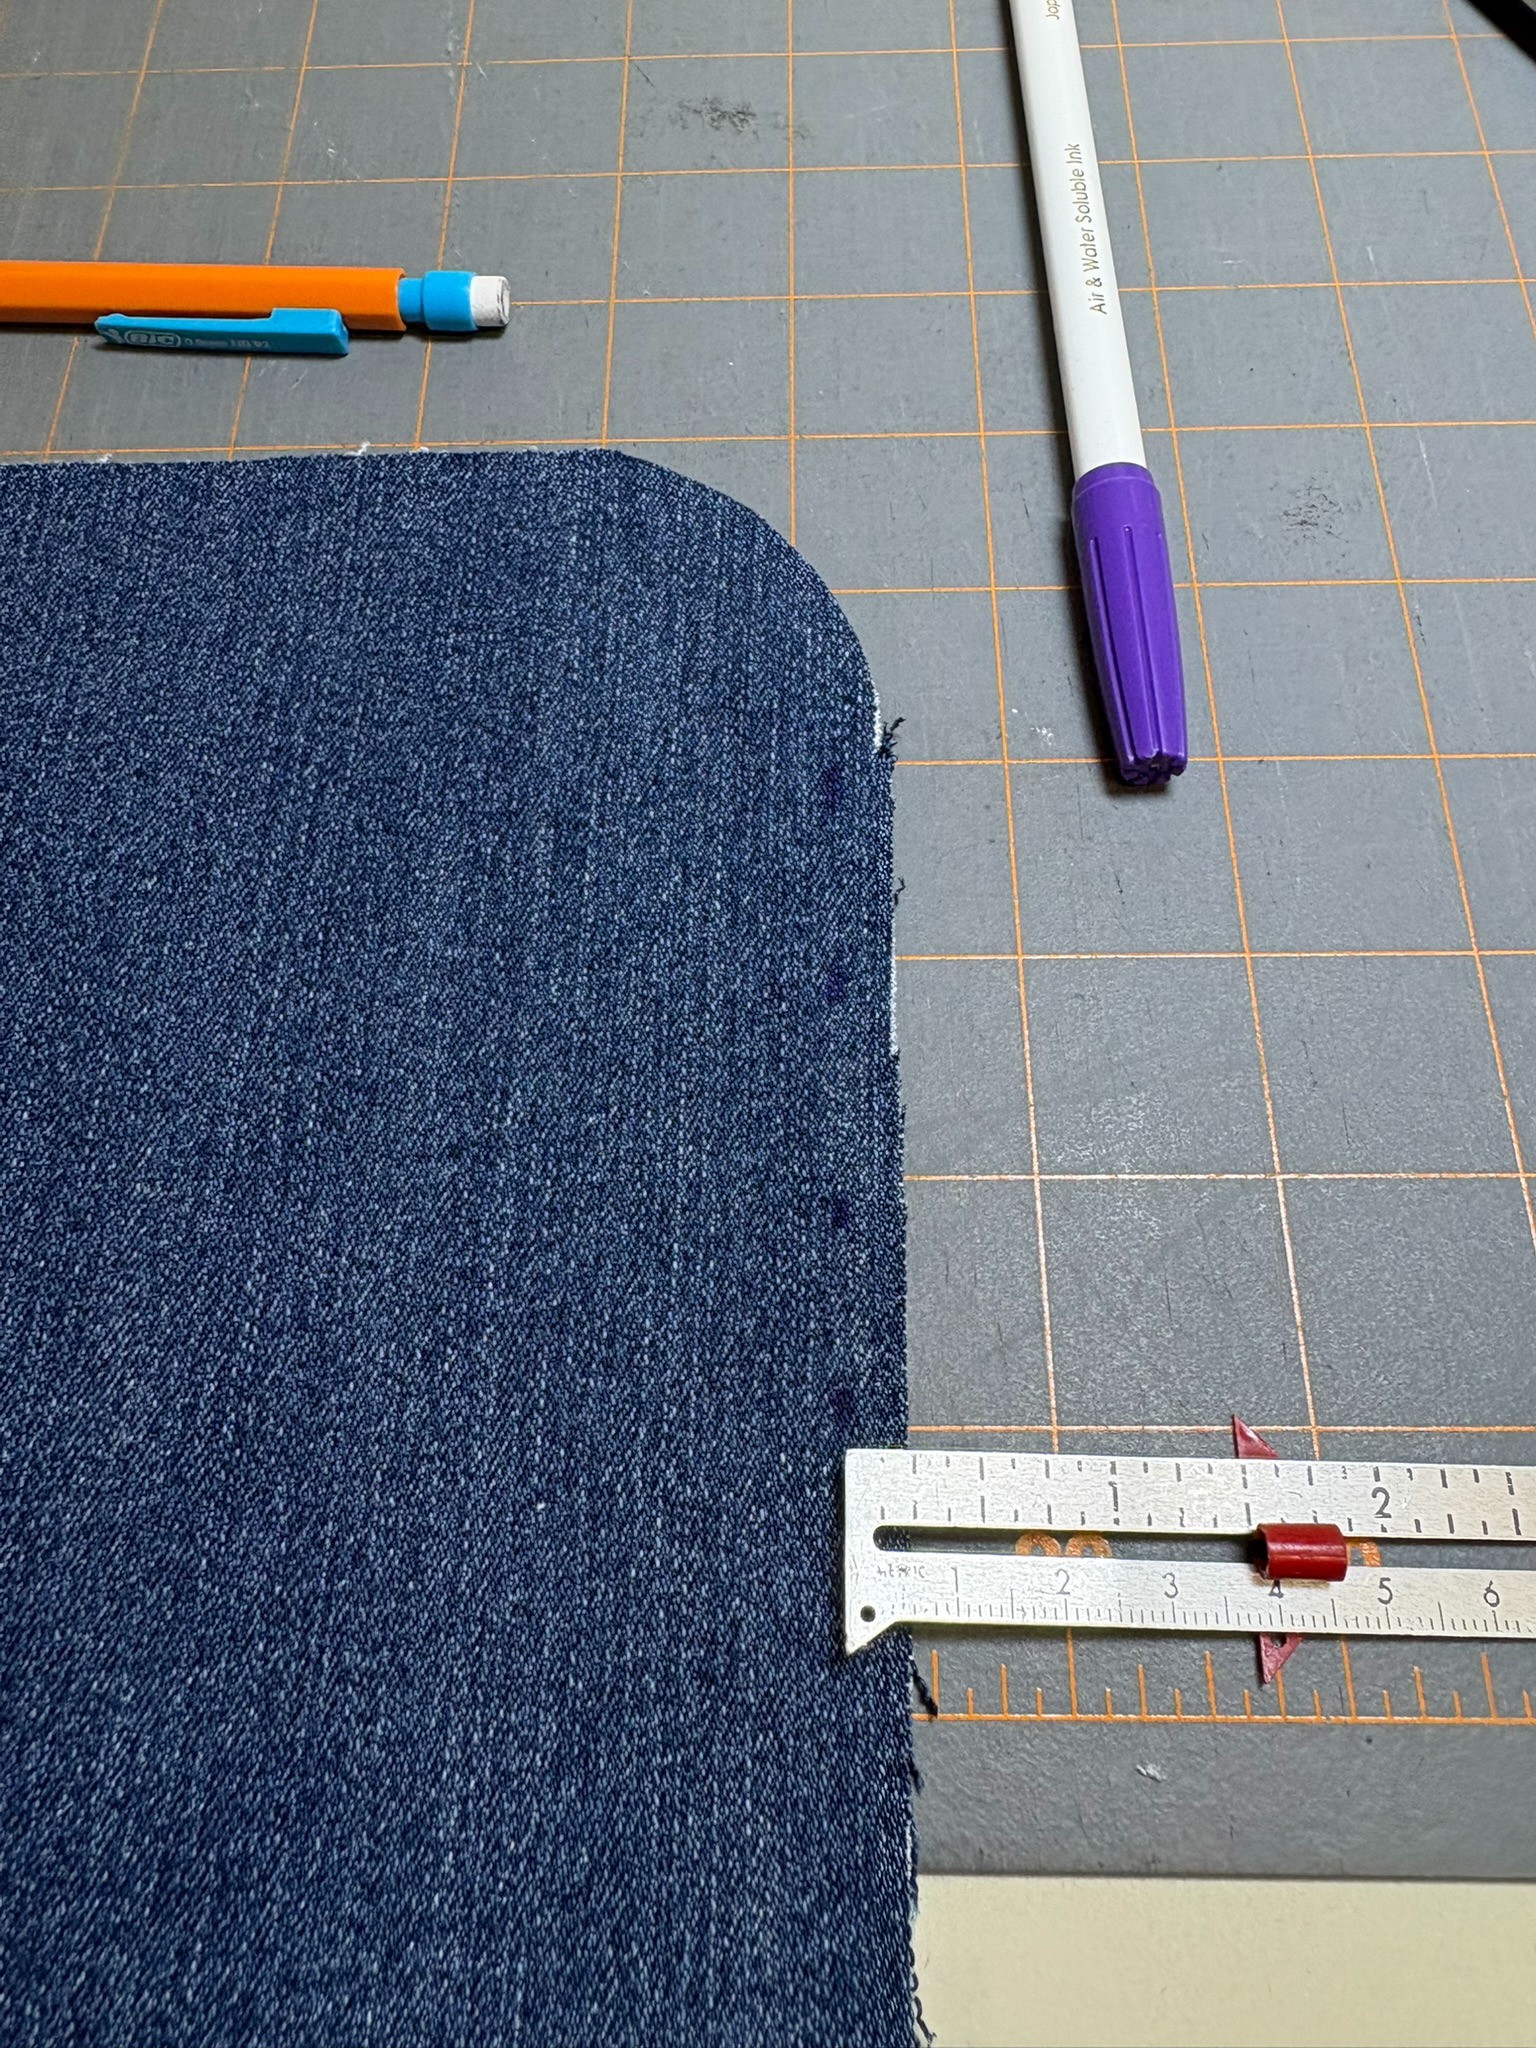
Next, calculate where the center of the design will go. Using a disappearing marker, mark a few dots ¼” from the right edge to note where the seam will be.
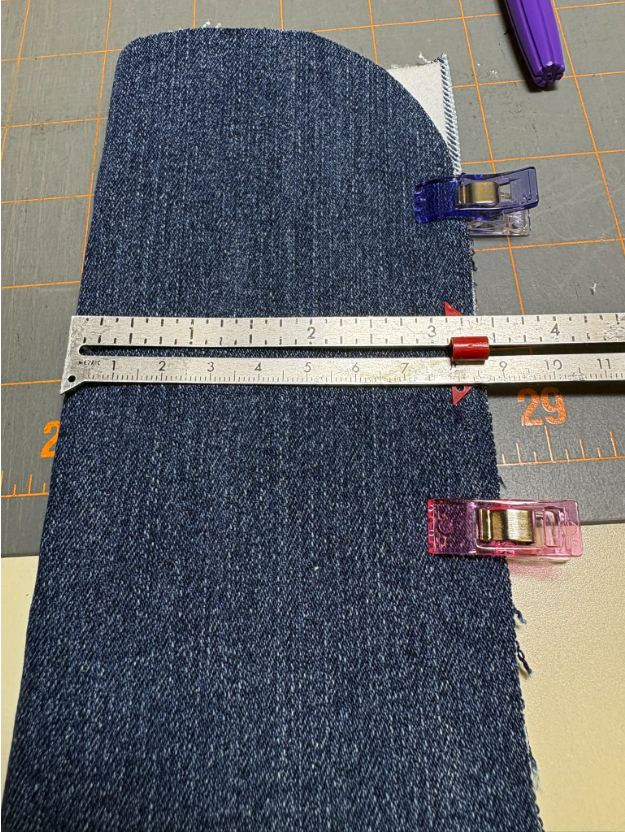
Then fold the case in half and measure from the left side to the dots.
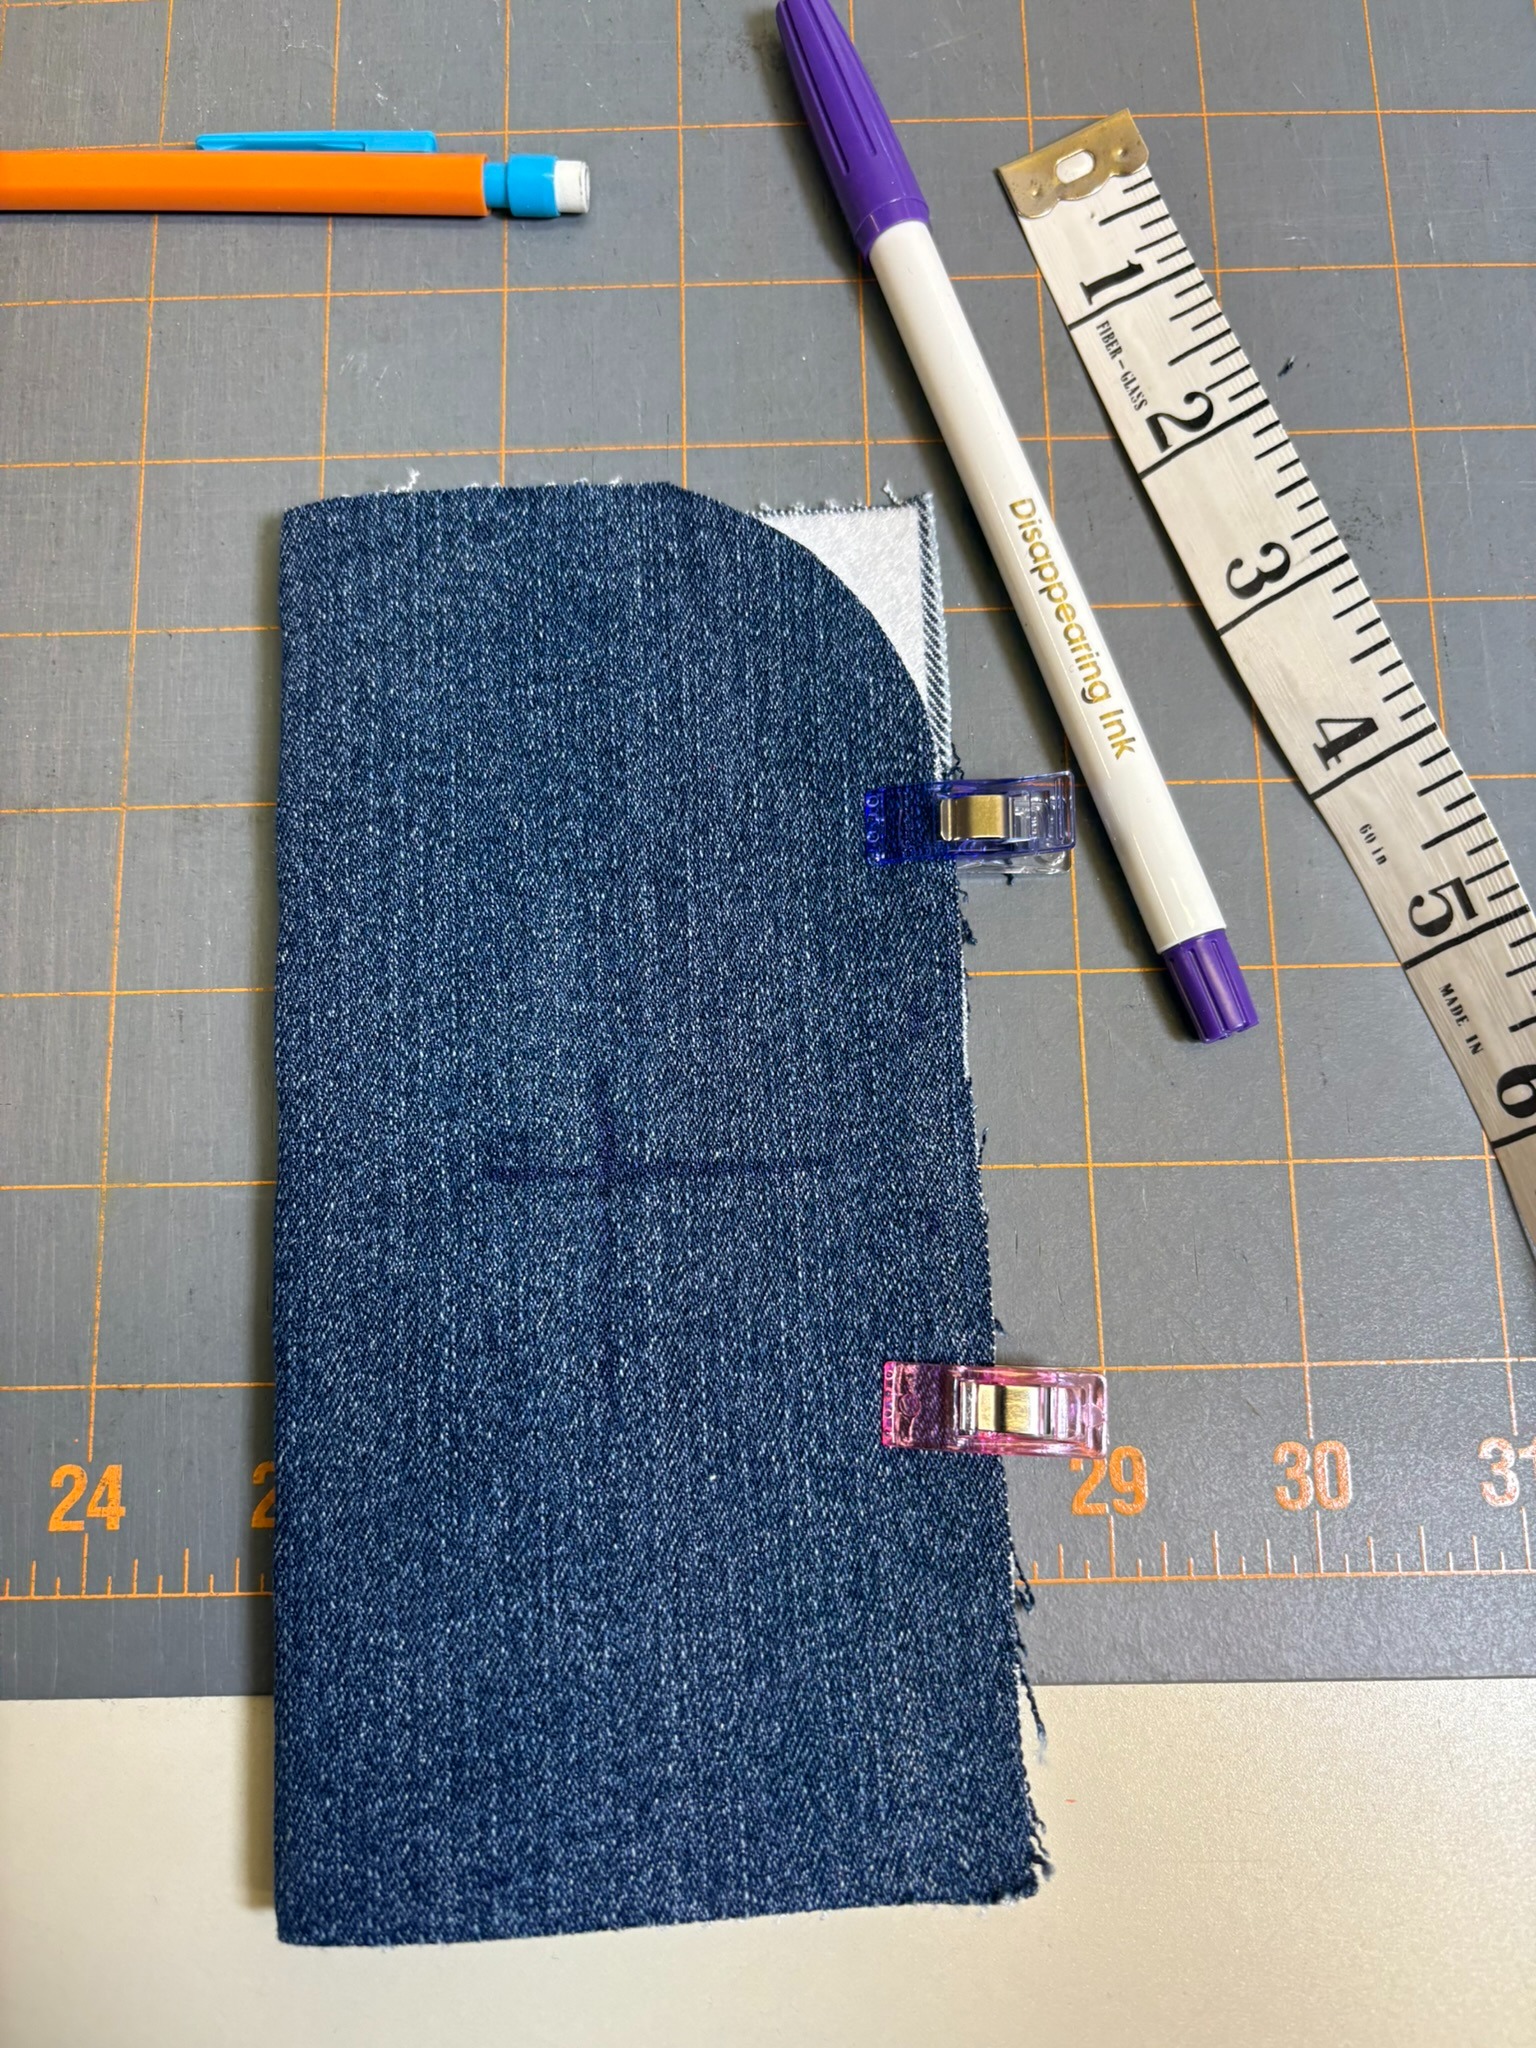
On my case, the embroidery area will be 3¼” inches. Half of that measurement is 1⅝” inches, so that will be the left/right center for my design. Since I started with a 7” square, the top/bottom center is 3½”. I mark the center.
I loaded my 5x7 hoop with Designs by JuJu+ tearEZ Tear-Away Stabilizer and marked the center of the hoop.
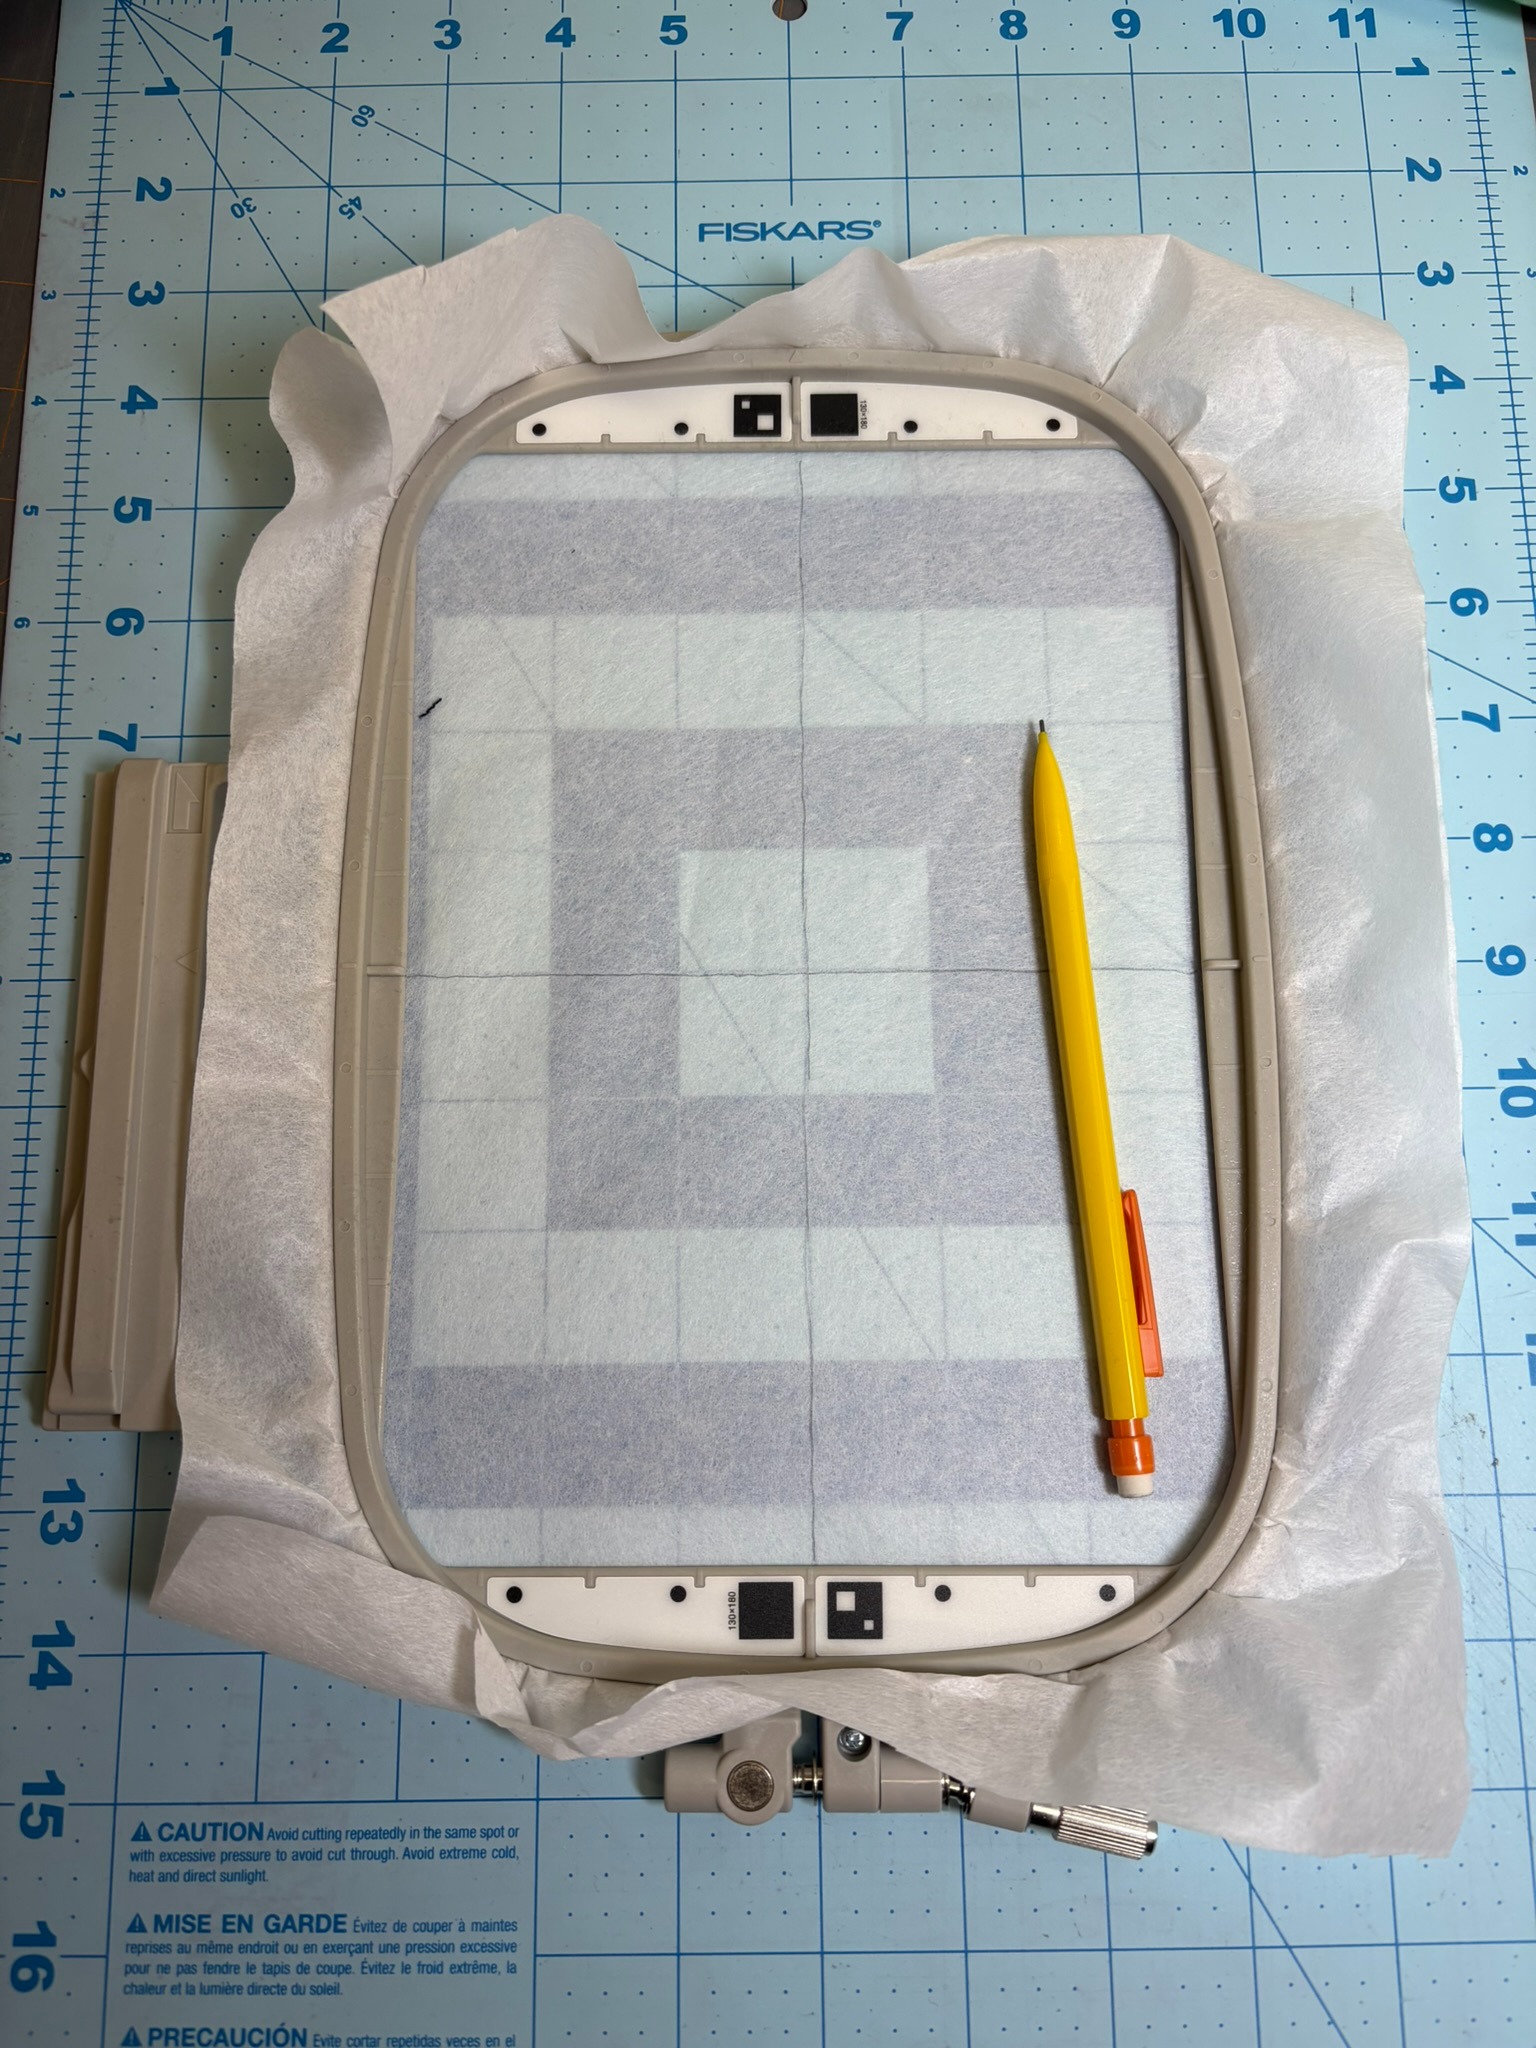
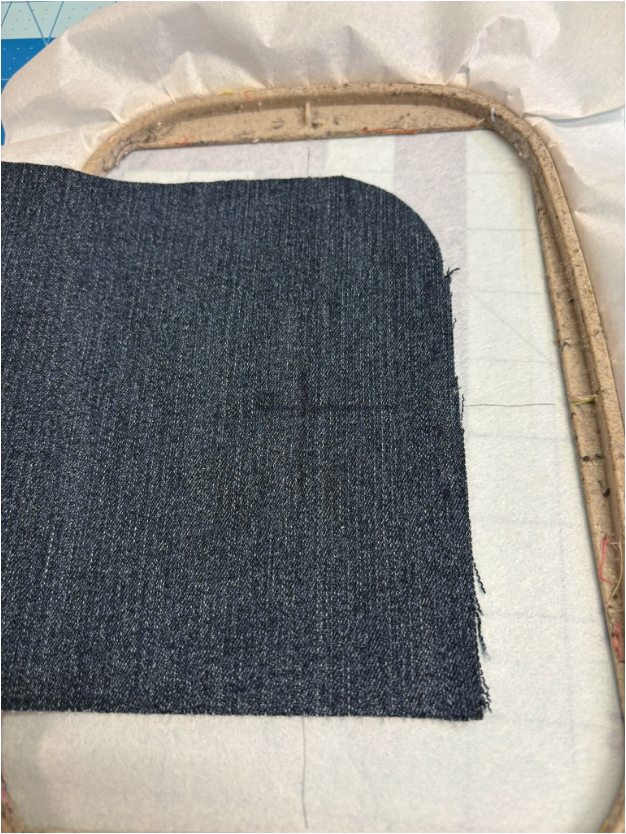
Using 505® Temporary Adhesive, I float the case in the hoop.
I love flowers and the denim is so plain that choosing a design was easy. I’m using the 8” design 3 from In The Hoop Floral Bookmarks Project to embellish the case with flowers.
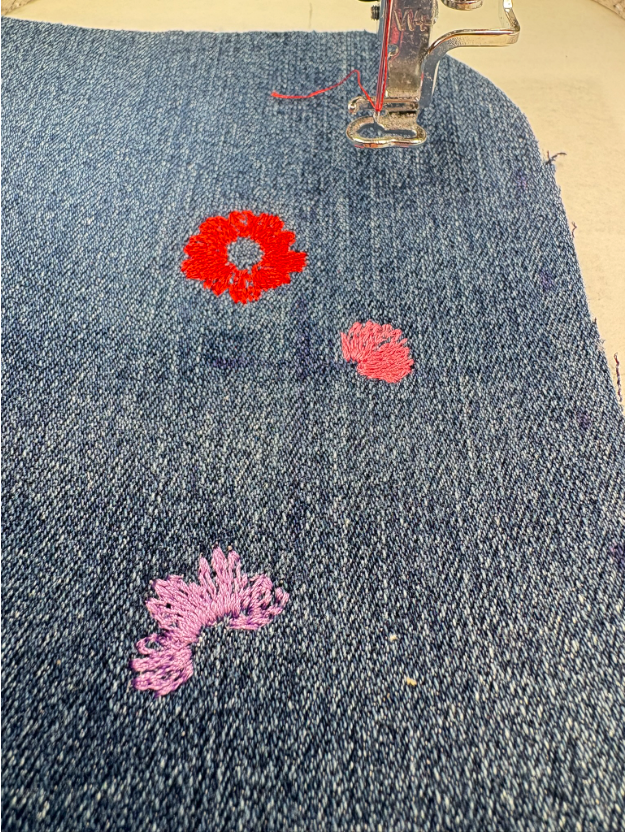
Whether or not you have Embrilliance, it’s easy to use this design on your eyeglass case. If you have Embrilliance, depending on the module, you’ll simply delete the steps for making the bookmark that you don’t need. If you don’t have Embrilliance, after centering the design on your machine, skip to Step 3 and stitch out all the flowers. You are done embroidering after you stitch Step 11.
With the right side up, use the same coffee mug from earlier in the project to round the LEFT corner of the lining OR pin or clip the case and lining right sides together and trim away the corner using the case as the cutting line.
Fold the case in half with wrong sides together. Mark a 2” opening starting about 1¼” from the rounded corner.
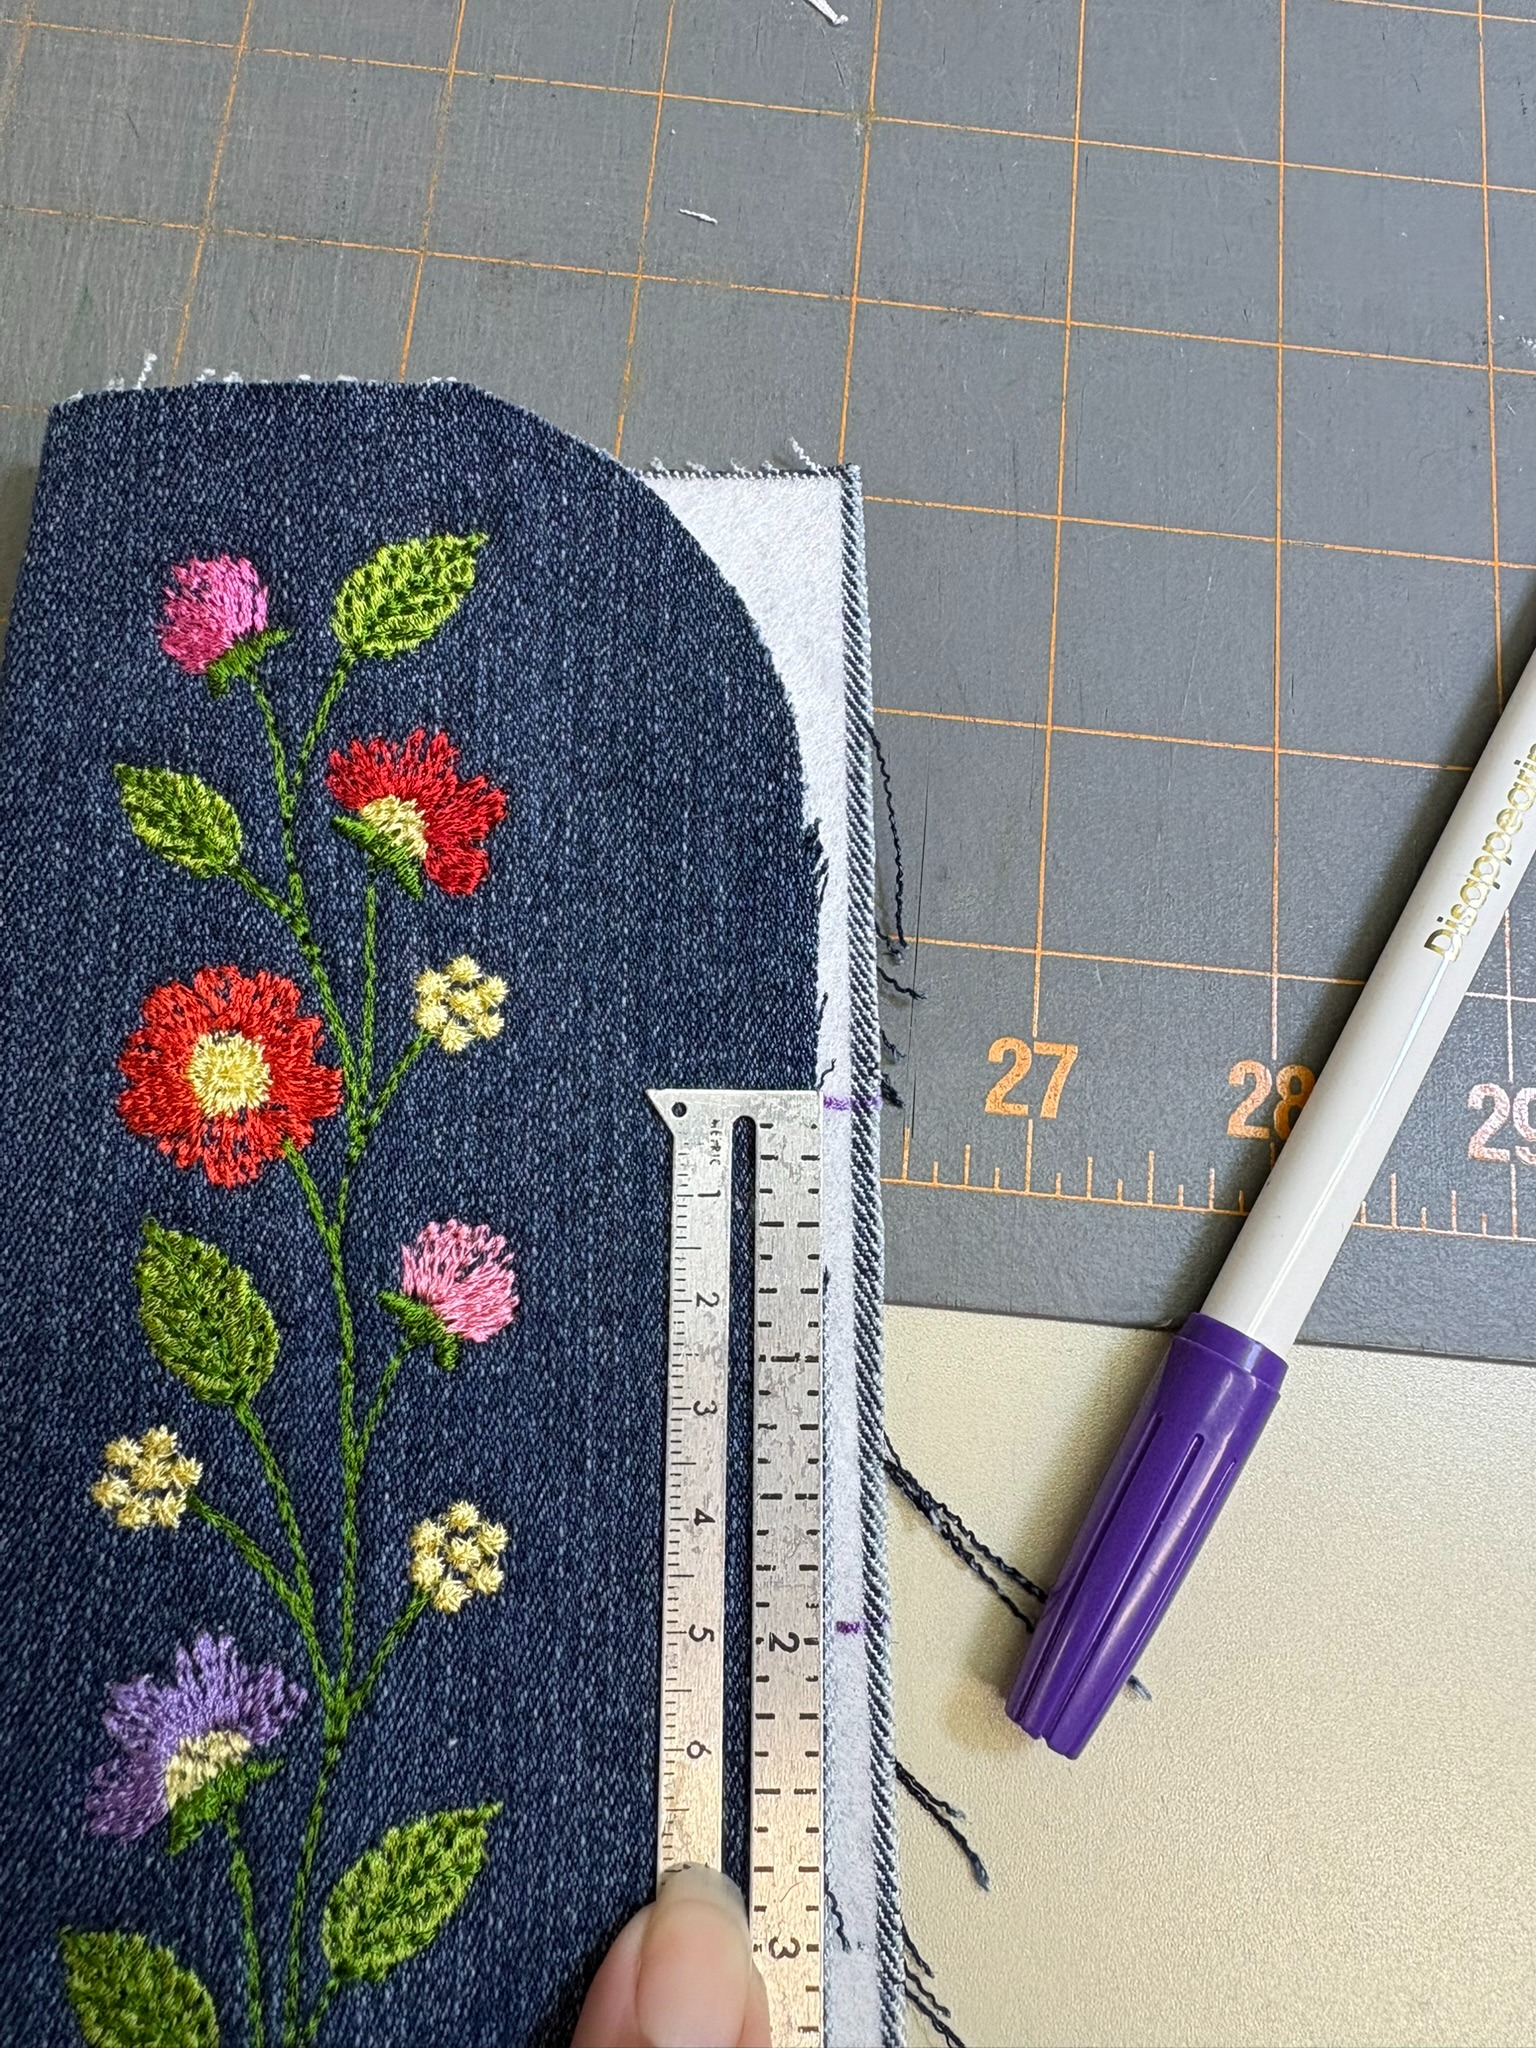
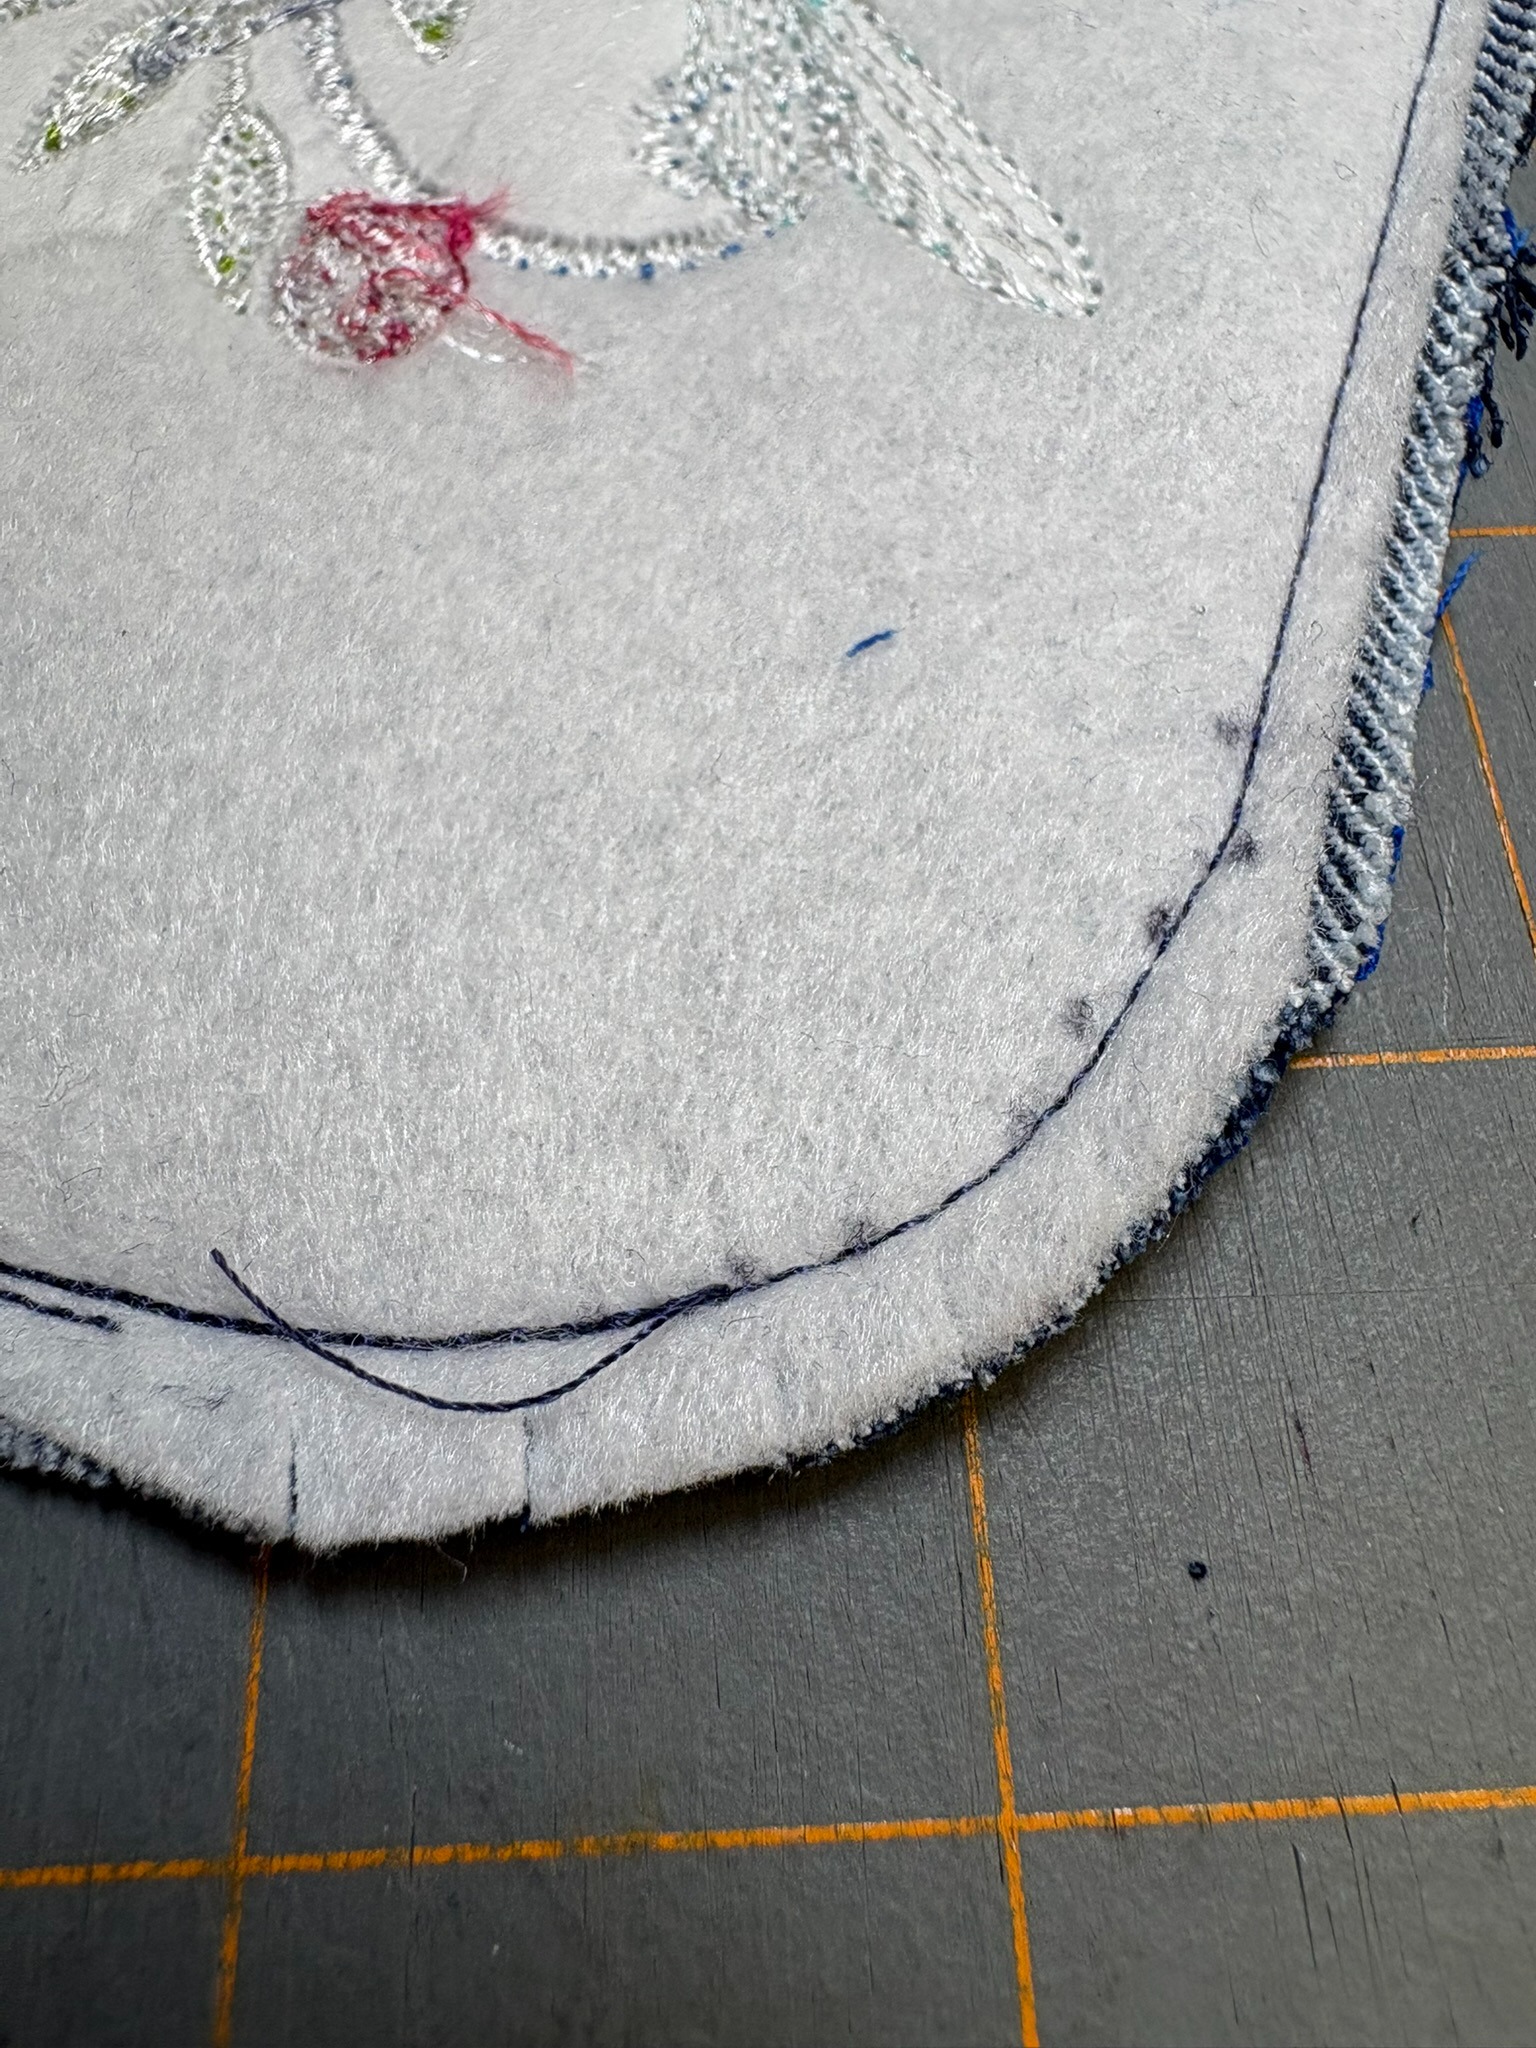
With right sides together, stitch the case and lining together using a ¼” seam allowance, backtacking at the beginning and ending of the stitching leaving the opening for turning. My sewing machine was making it difficult to keep a consistent 1/4" seam going around the curve. I solved that by using a ruler and making dots at the 1/4" seam allowance that I could follow while sewing. You can see them in the photo below.
Trim the corners and clip the curves.
Turn the case right side out and press well. Fold the case in half and put marks at the fold and where the curve intersects with the side of the case. Topstitch from the mark at the fold to the second mark.
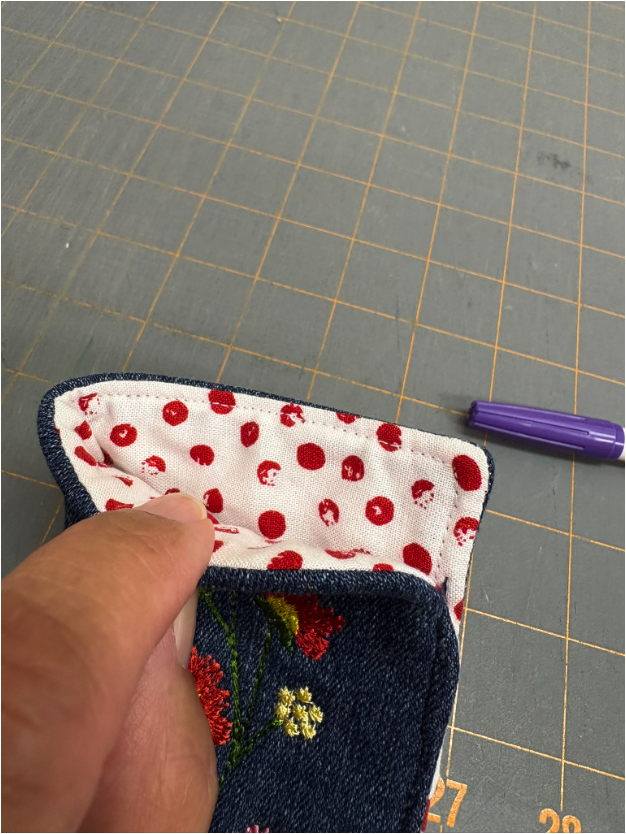
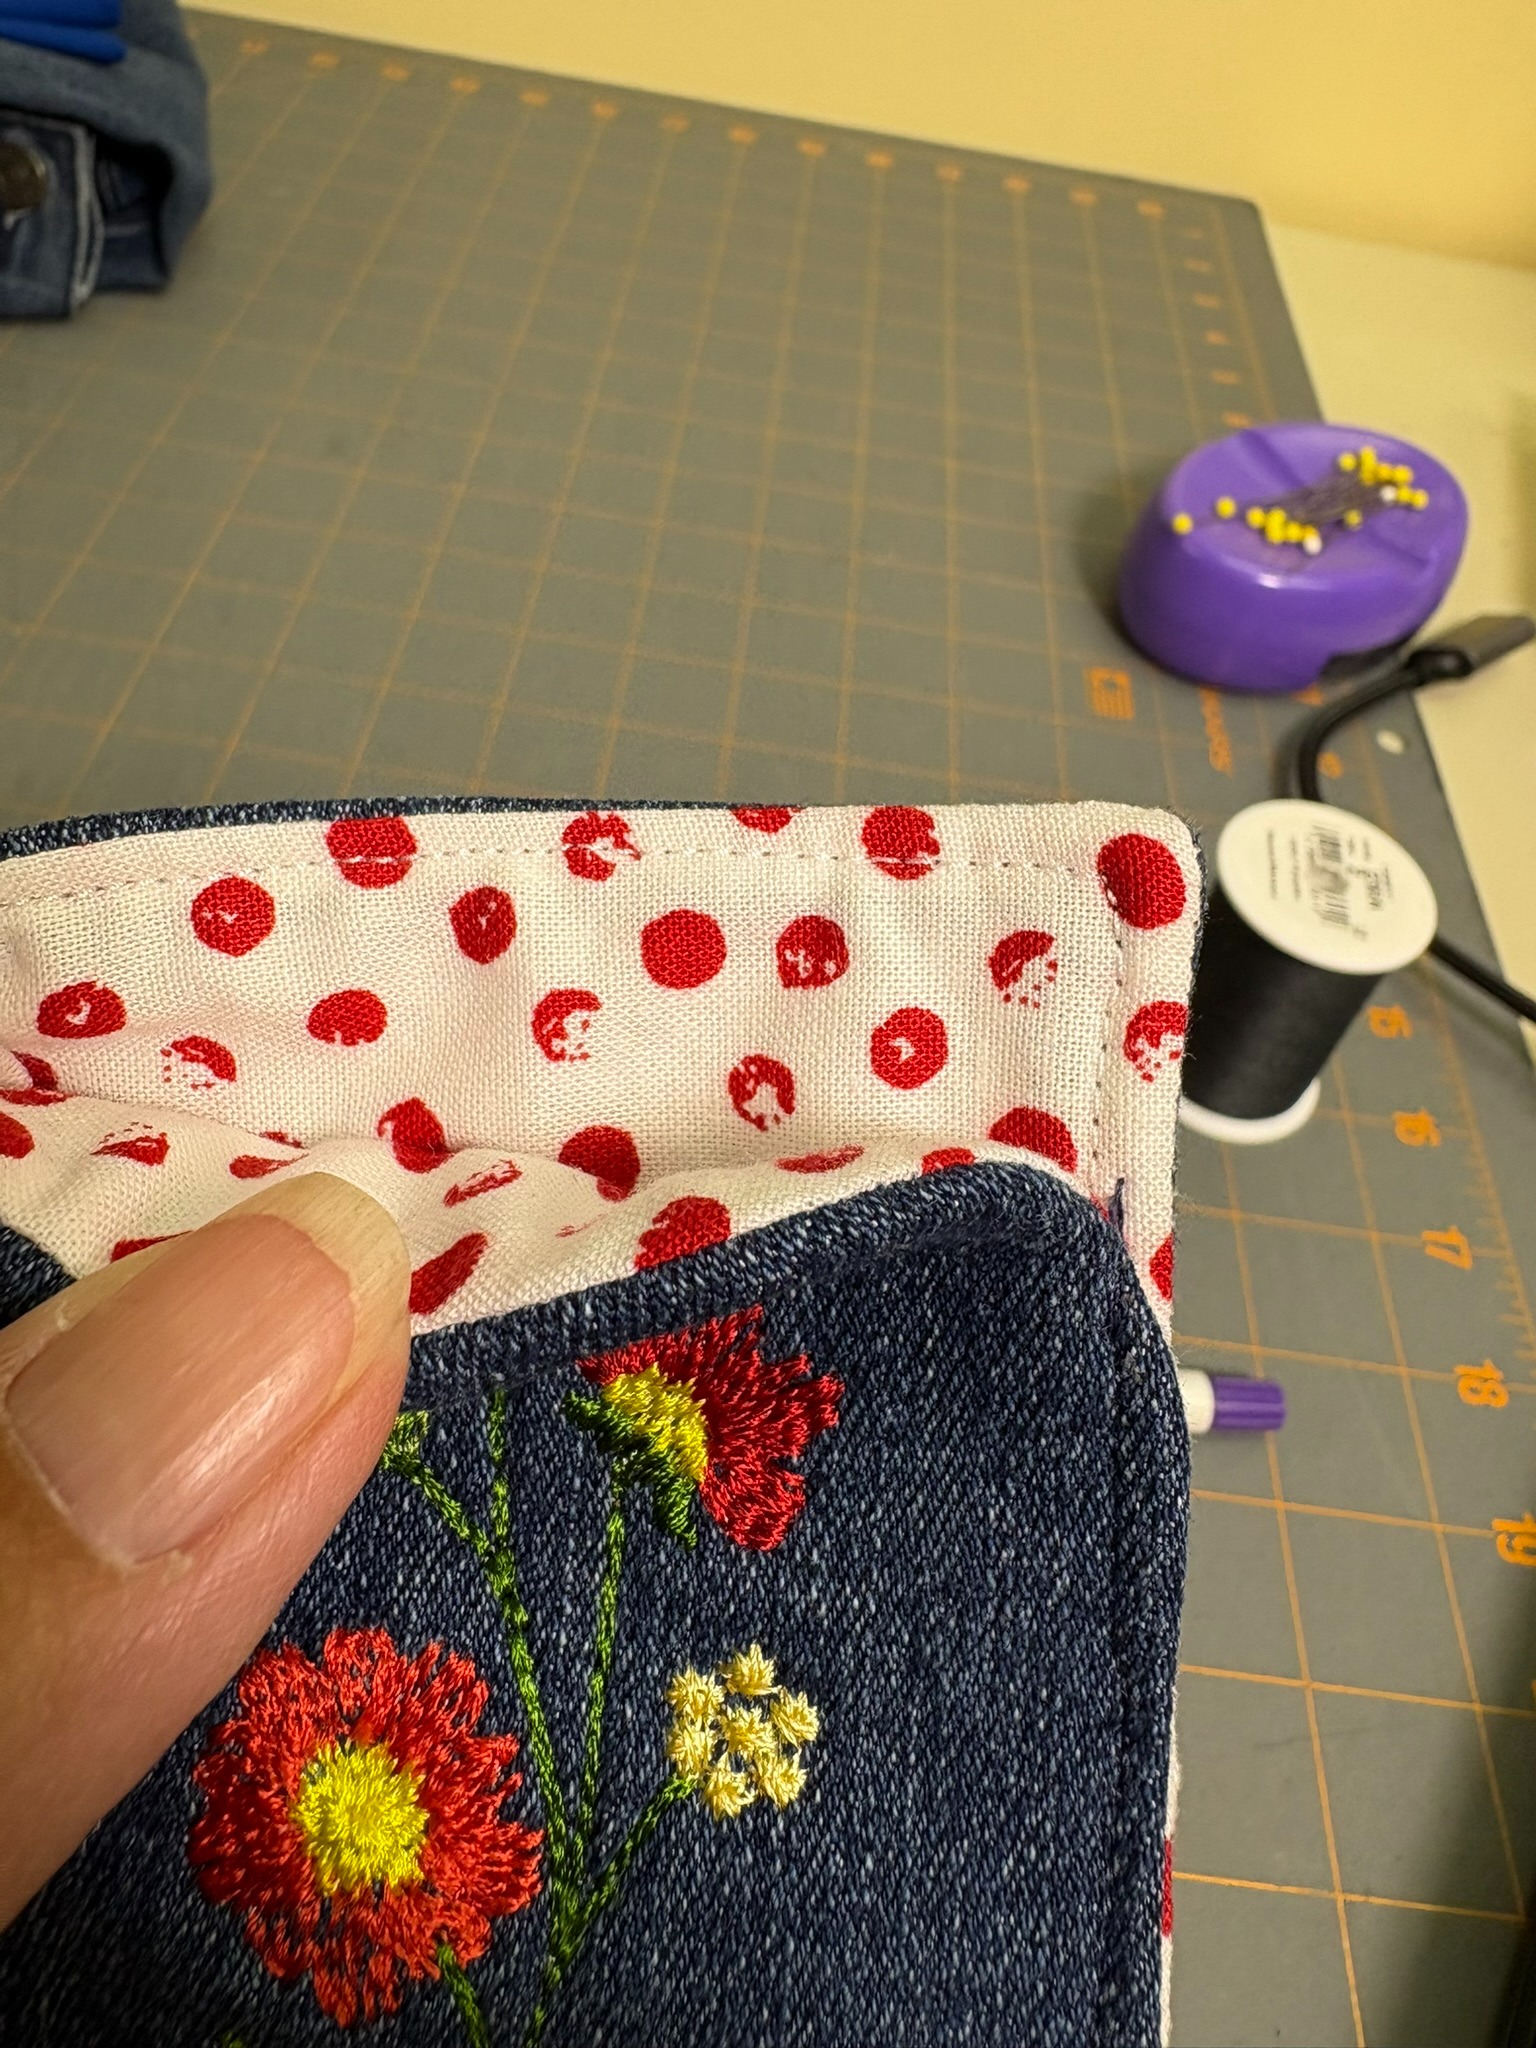
Then securely pin the case in half and topstitch from where the curve and the side of the case intersect all the way around to the bottom, making sure that the opening that was used for turning the case is securely sewed. There is no need to topstitch the left-hand side of the case.
Here I’m making another case embroidered with a dragonfly.
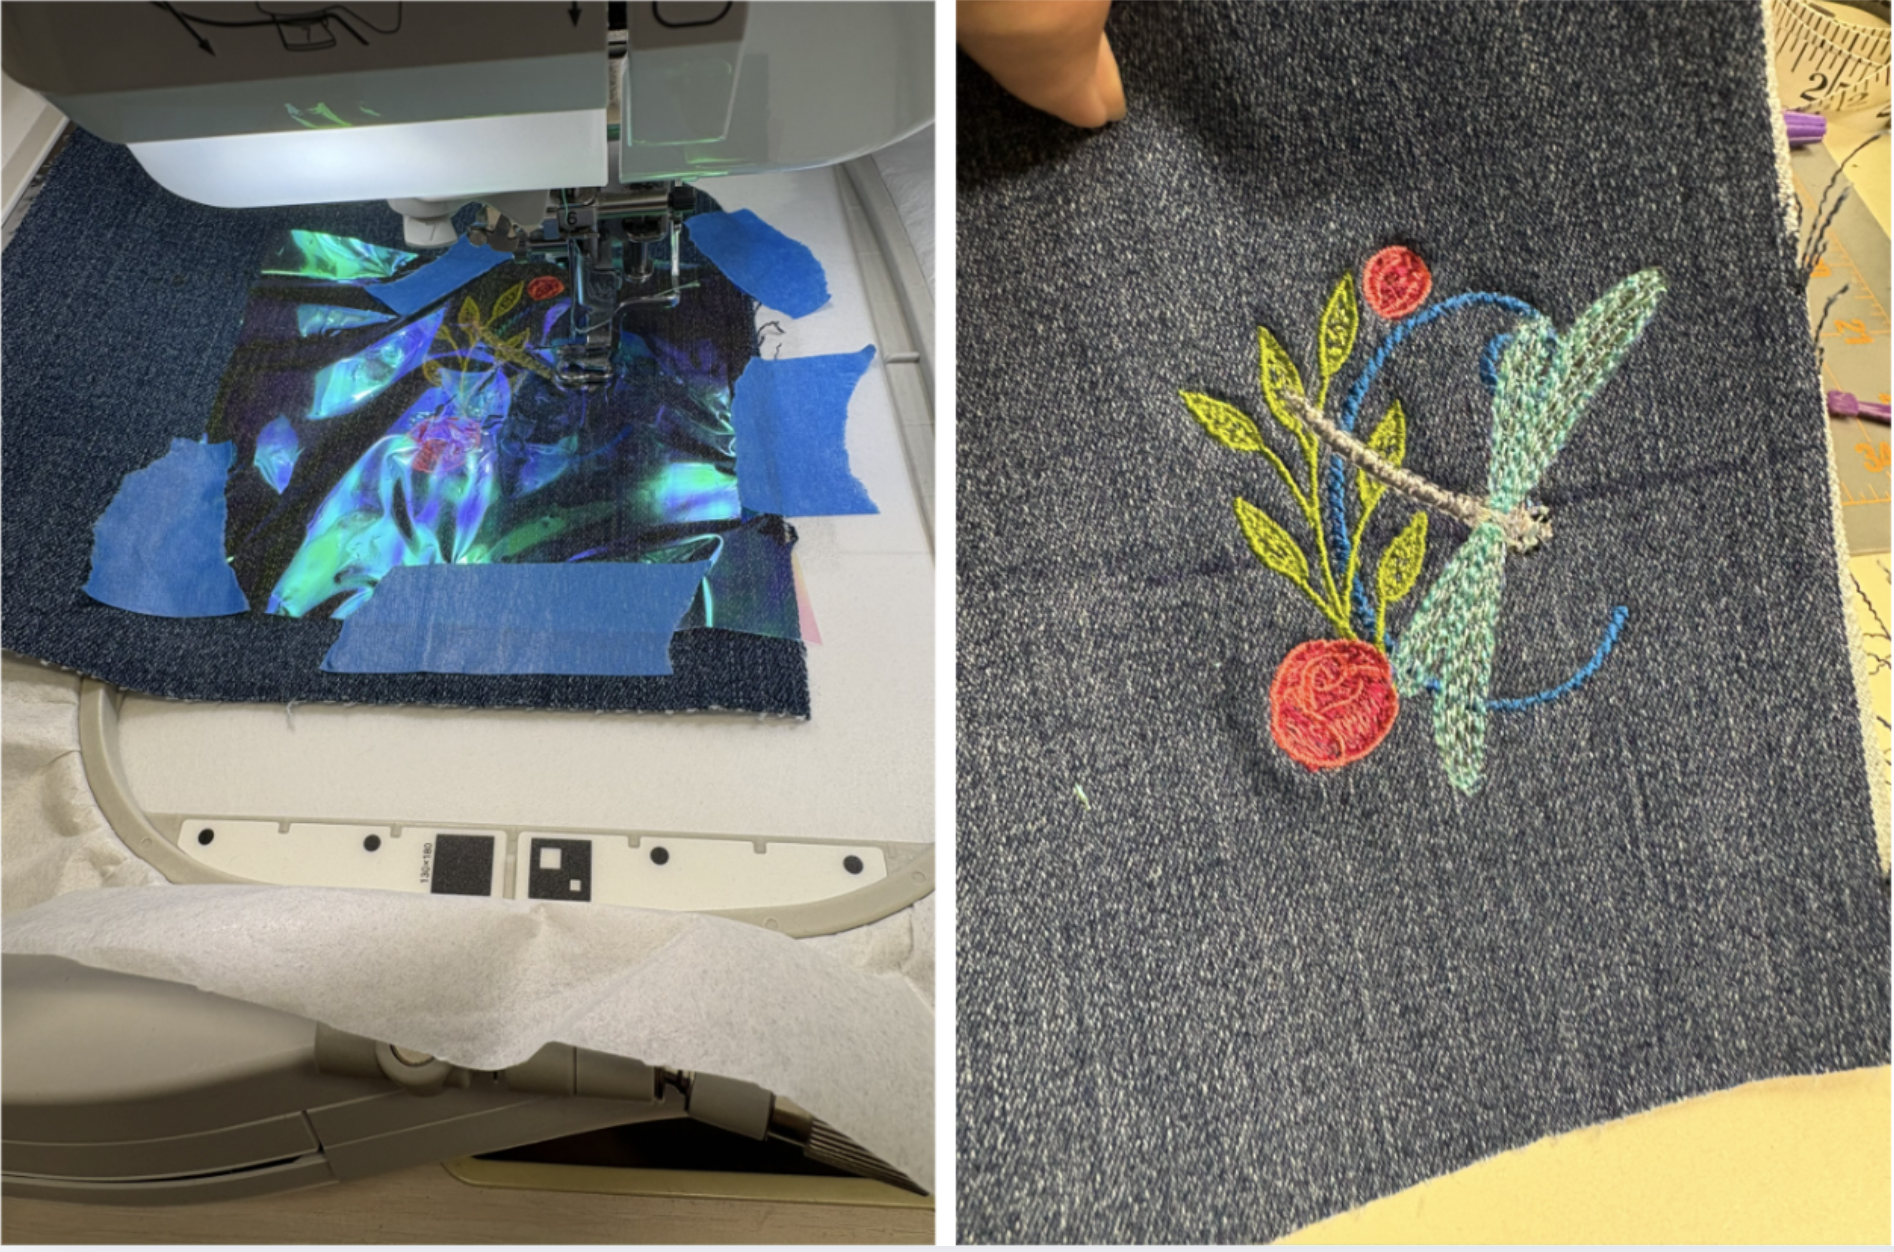
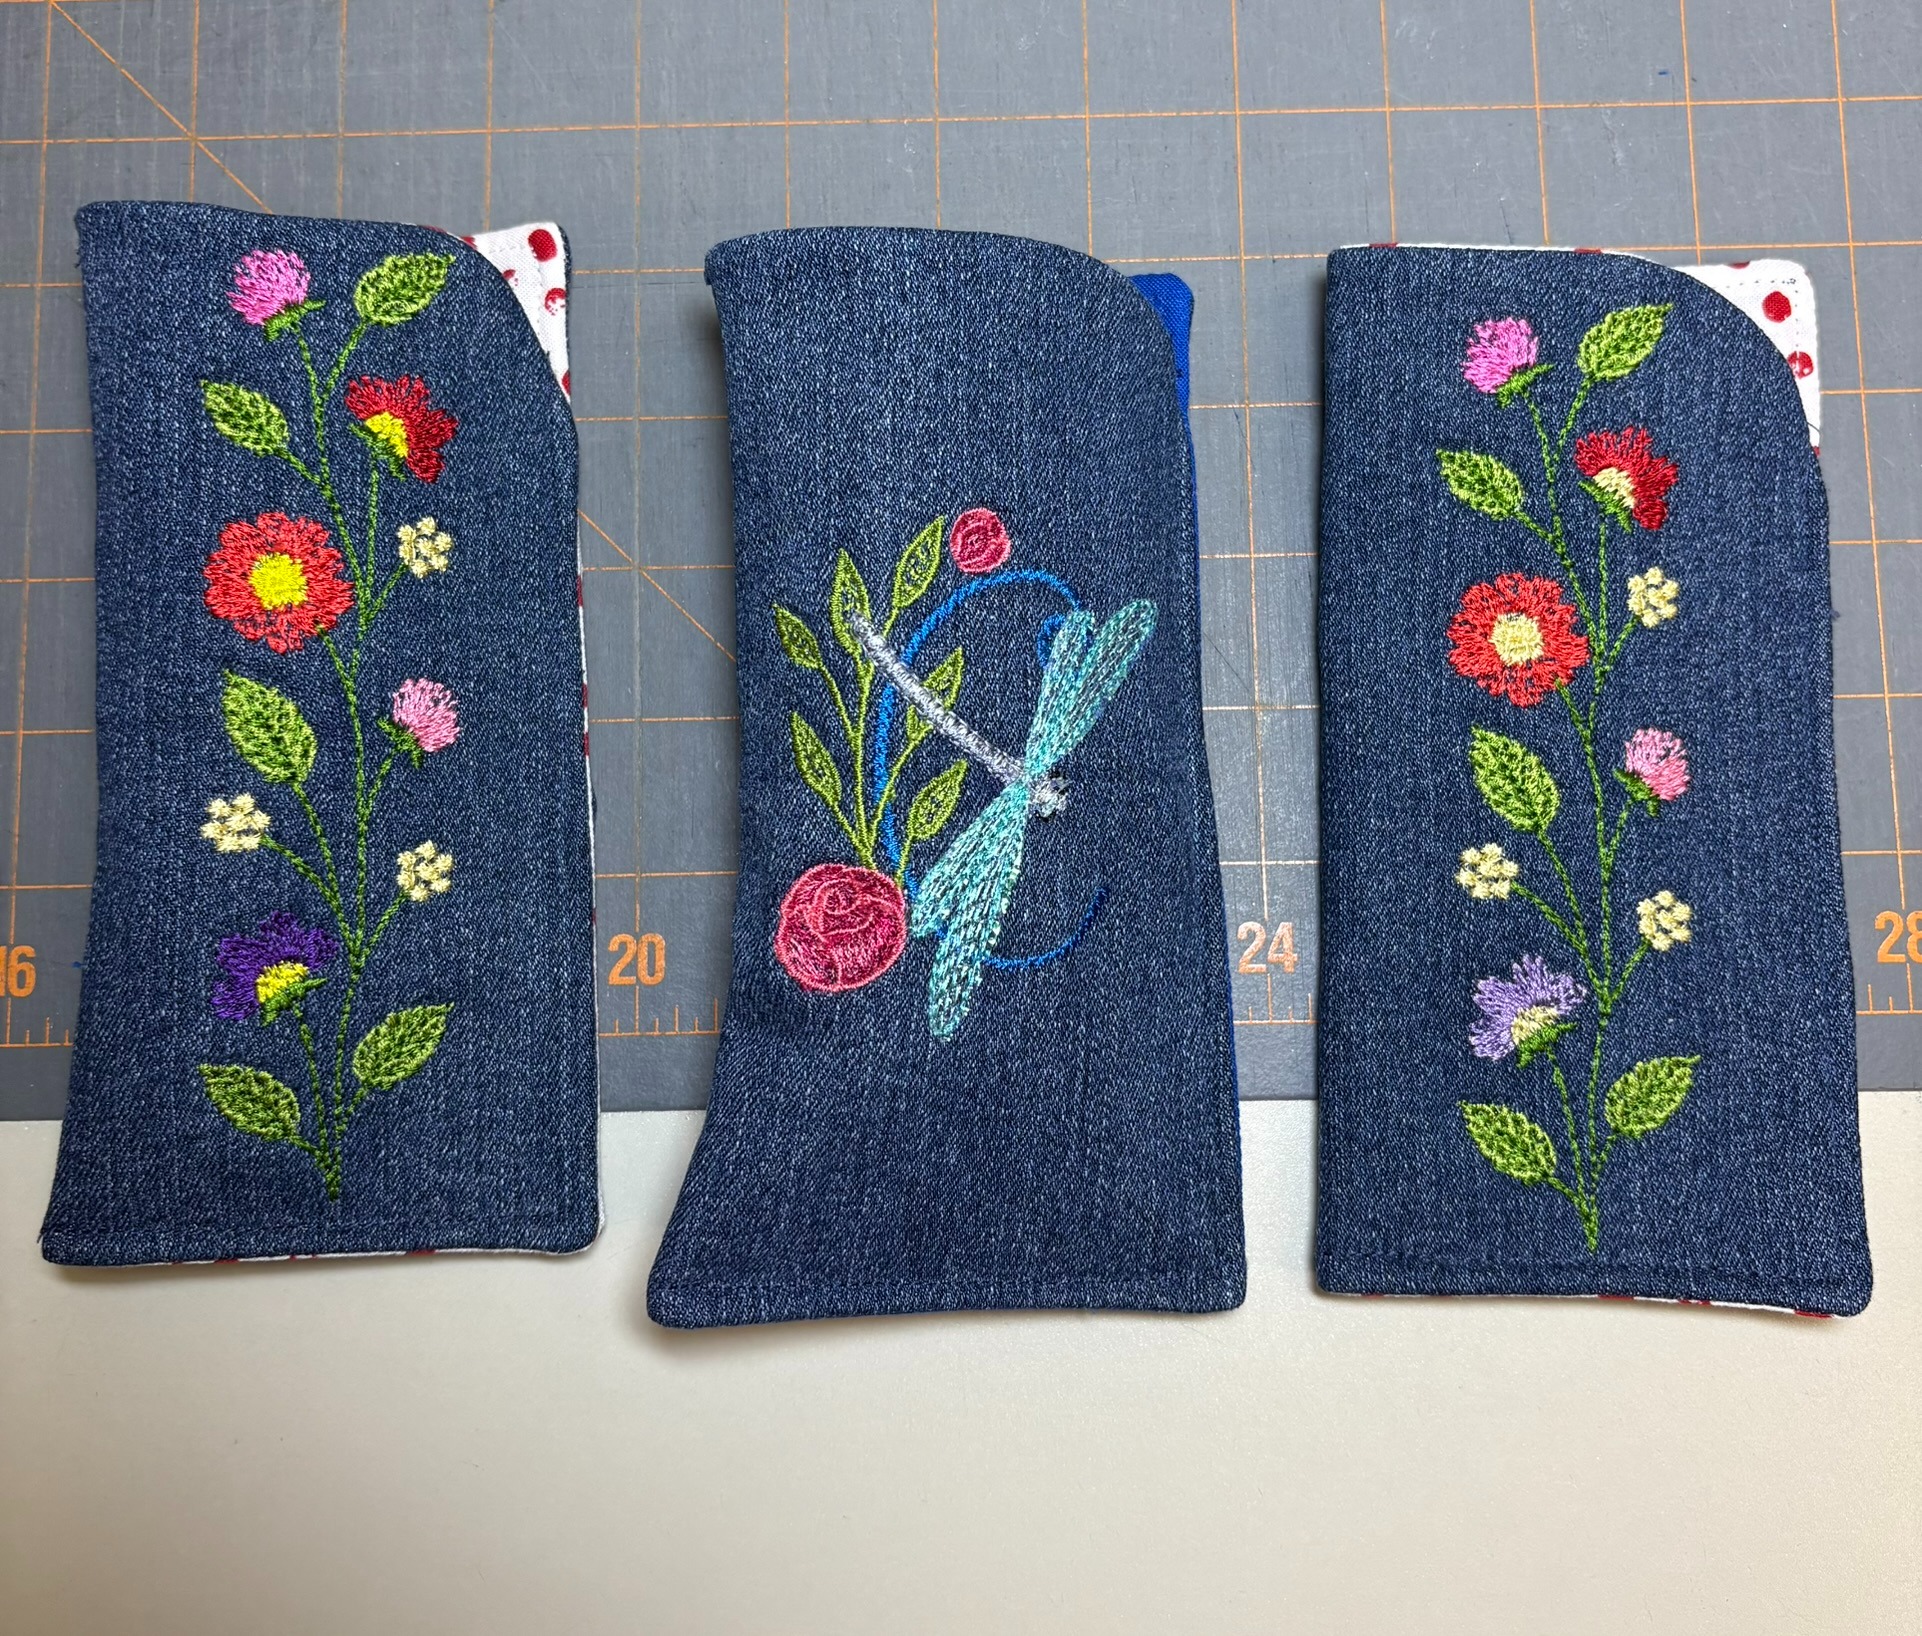
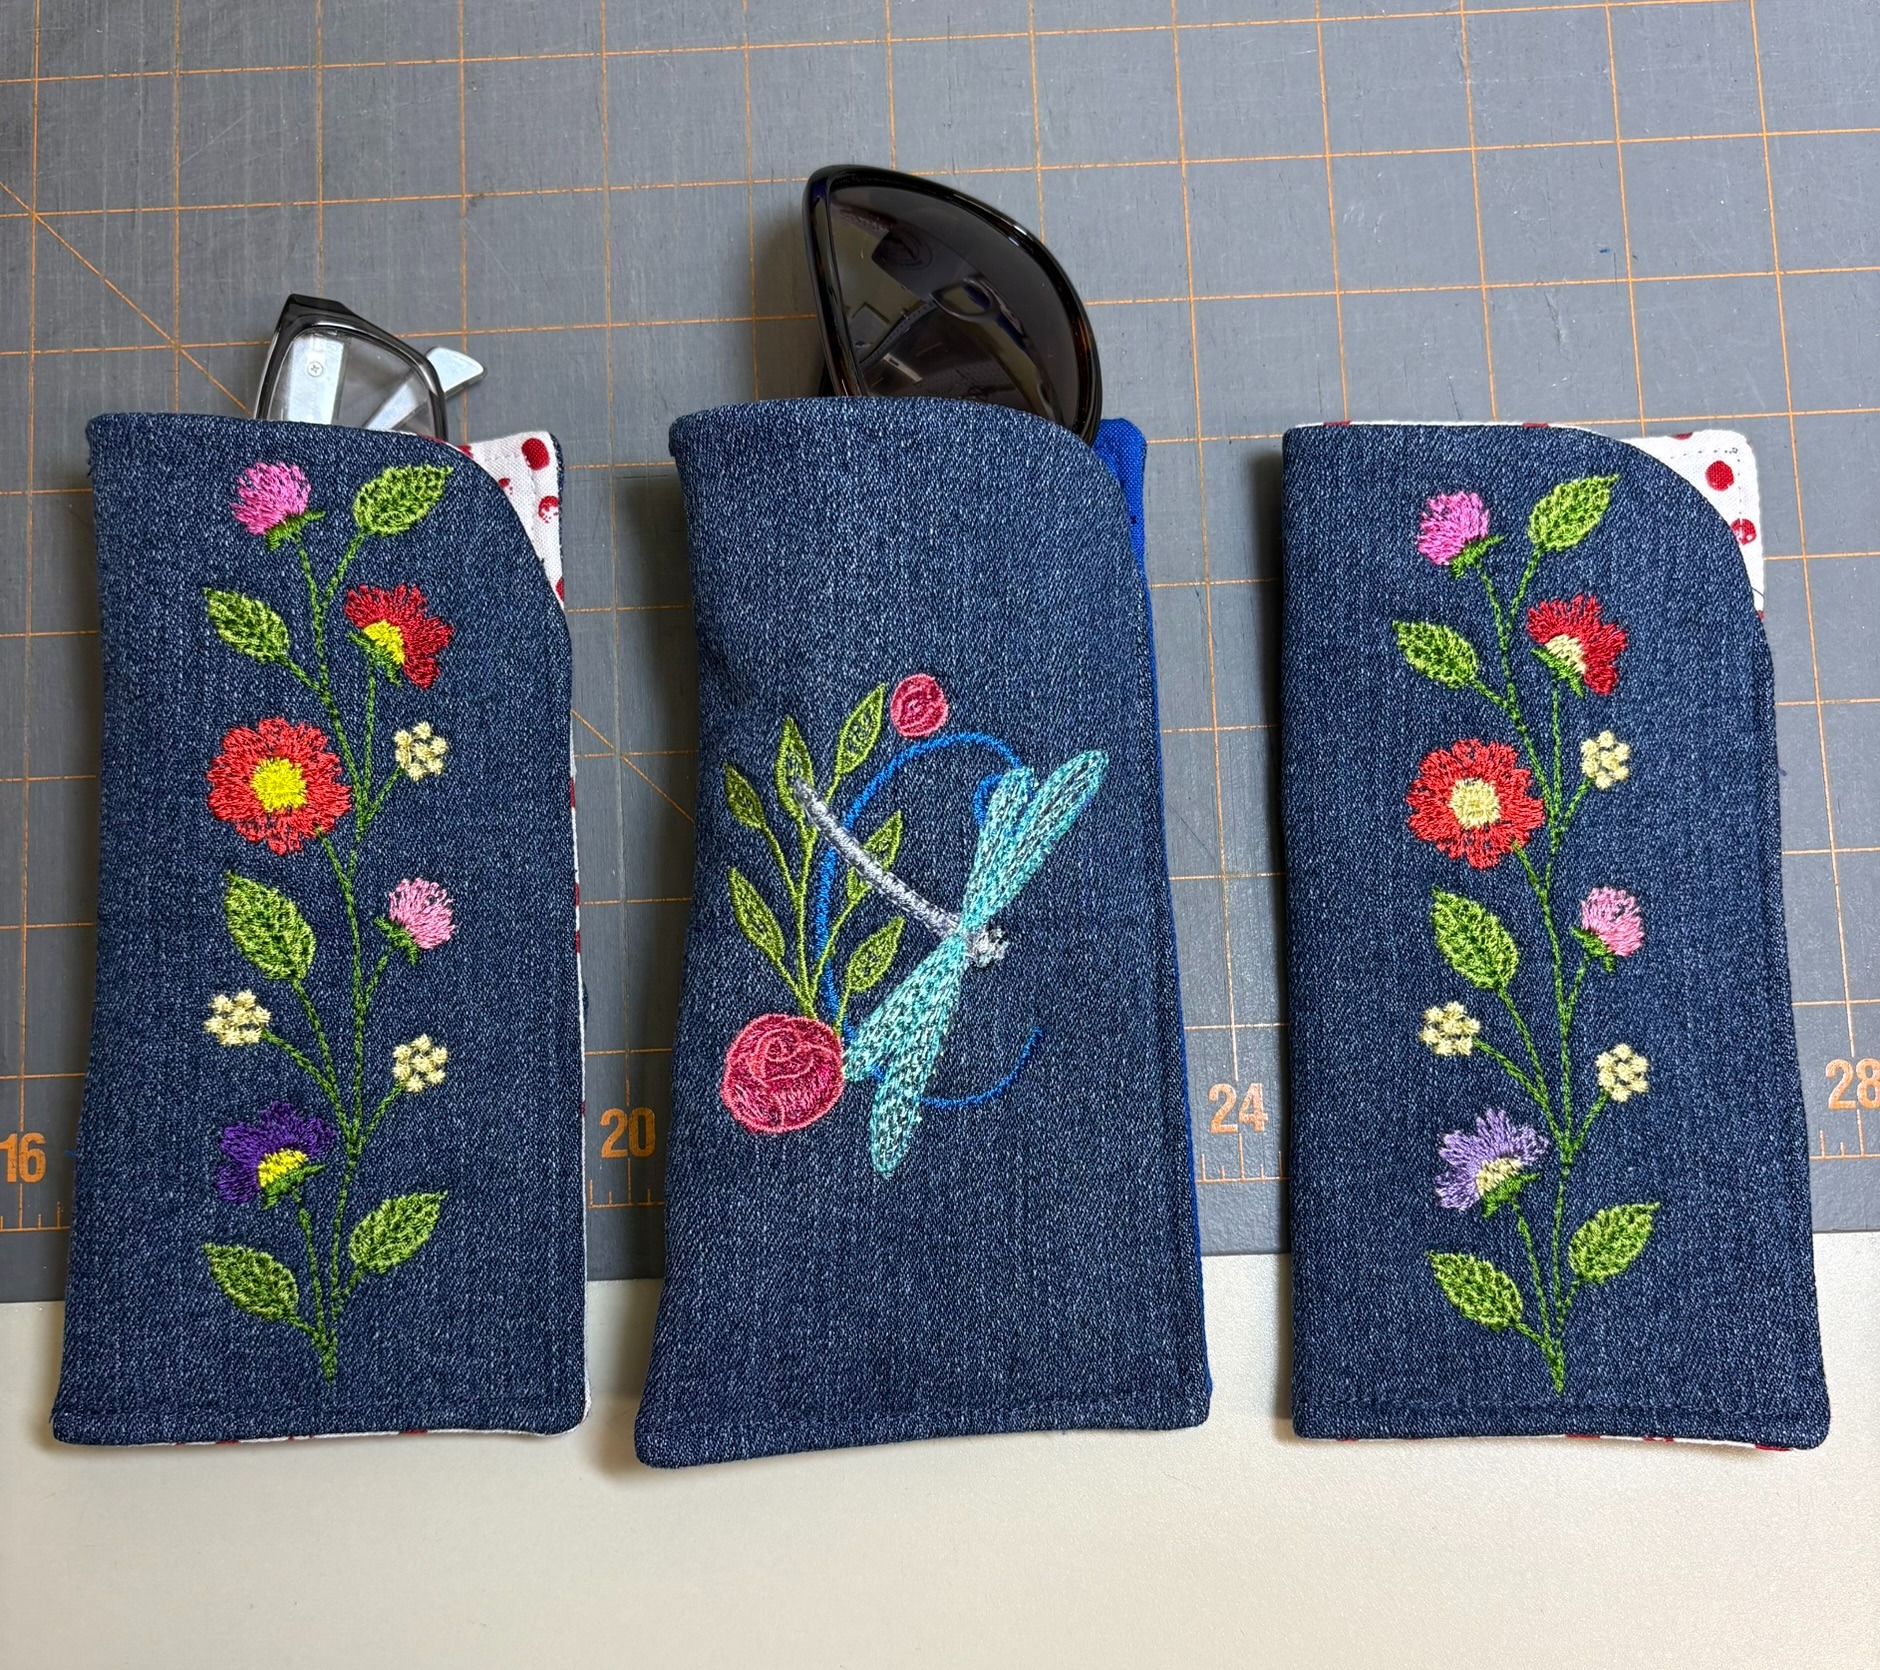
If you want to add KAMsnaps to the top of an eyeglass case, add ½” to the length of the pieces you’re cutting out. For the case pictured below I cut:
The flower design from Dots n Doodles needed to be reduced and turned so the width would fit on the front of the case. Designs can usually be reduced or enlarged, but by no more than 20%. I try to resize by no more than 10%. (Sketch designs should never be resized.) Using Embrilliance I also copied and pasted a couple more dots to the design to add to its length.
Use the same steps from above to make the case. Fuse the fleece, and with right sides together sew the lining to the case, leaving an opening for turning. Clip the corners, turn, and firmly press.
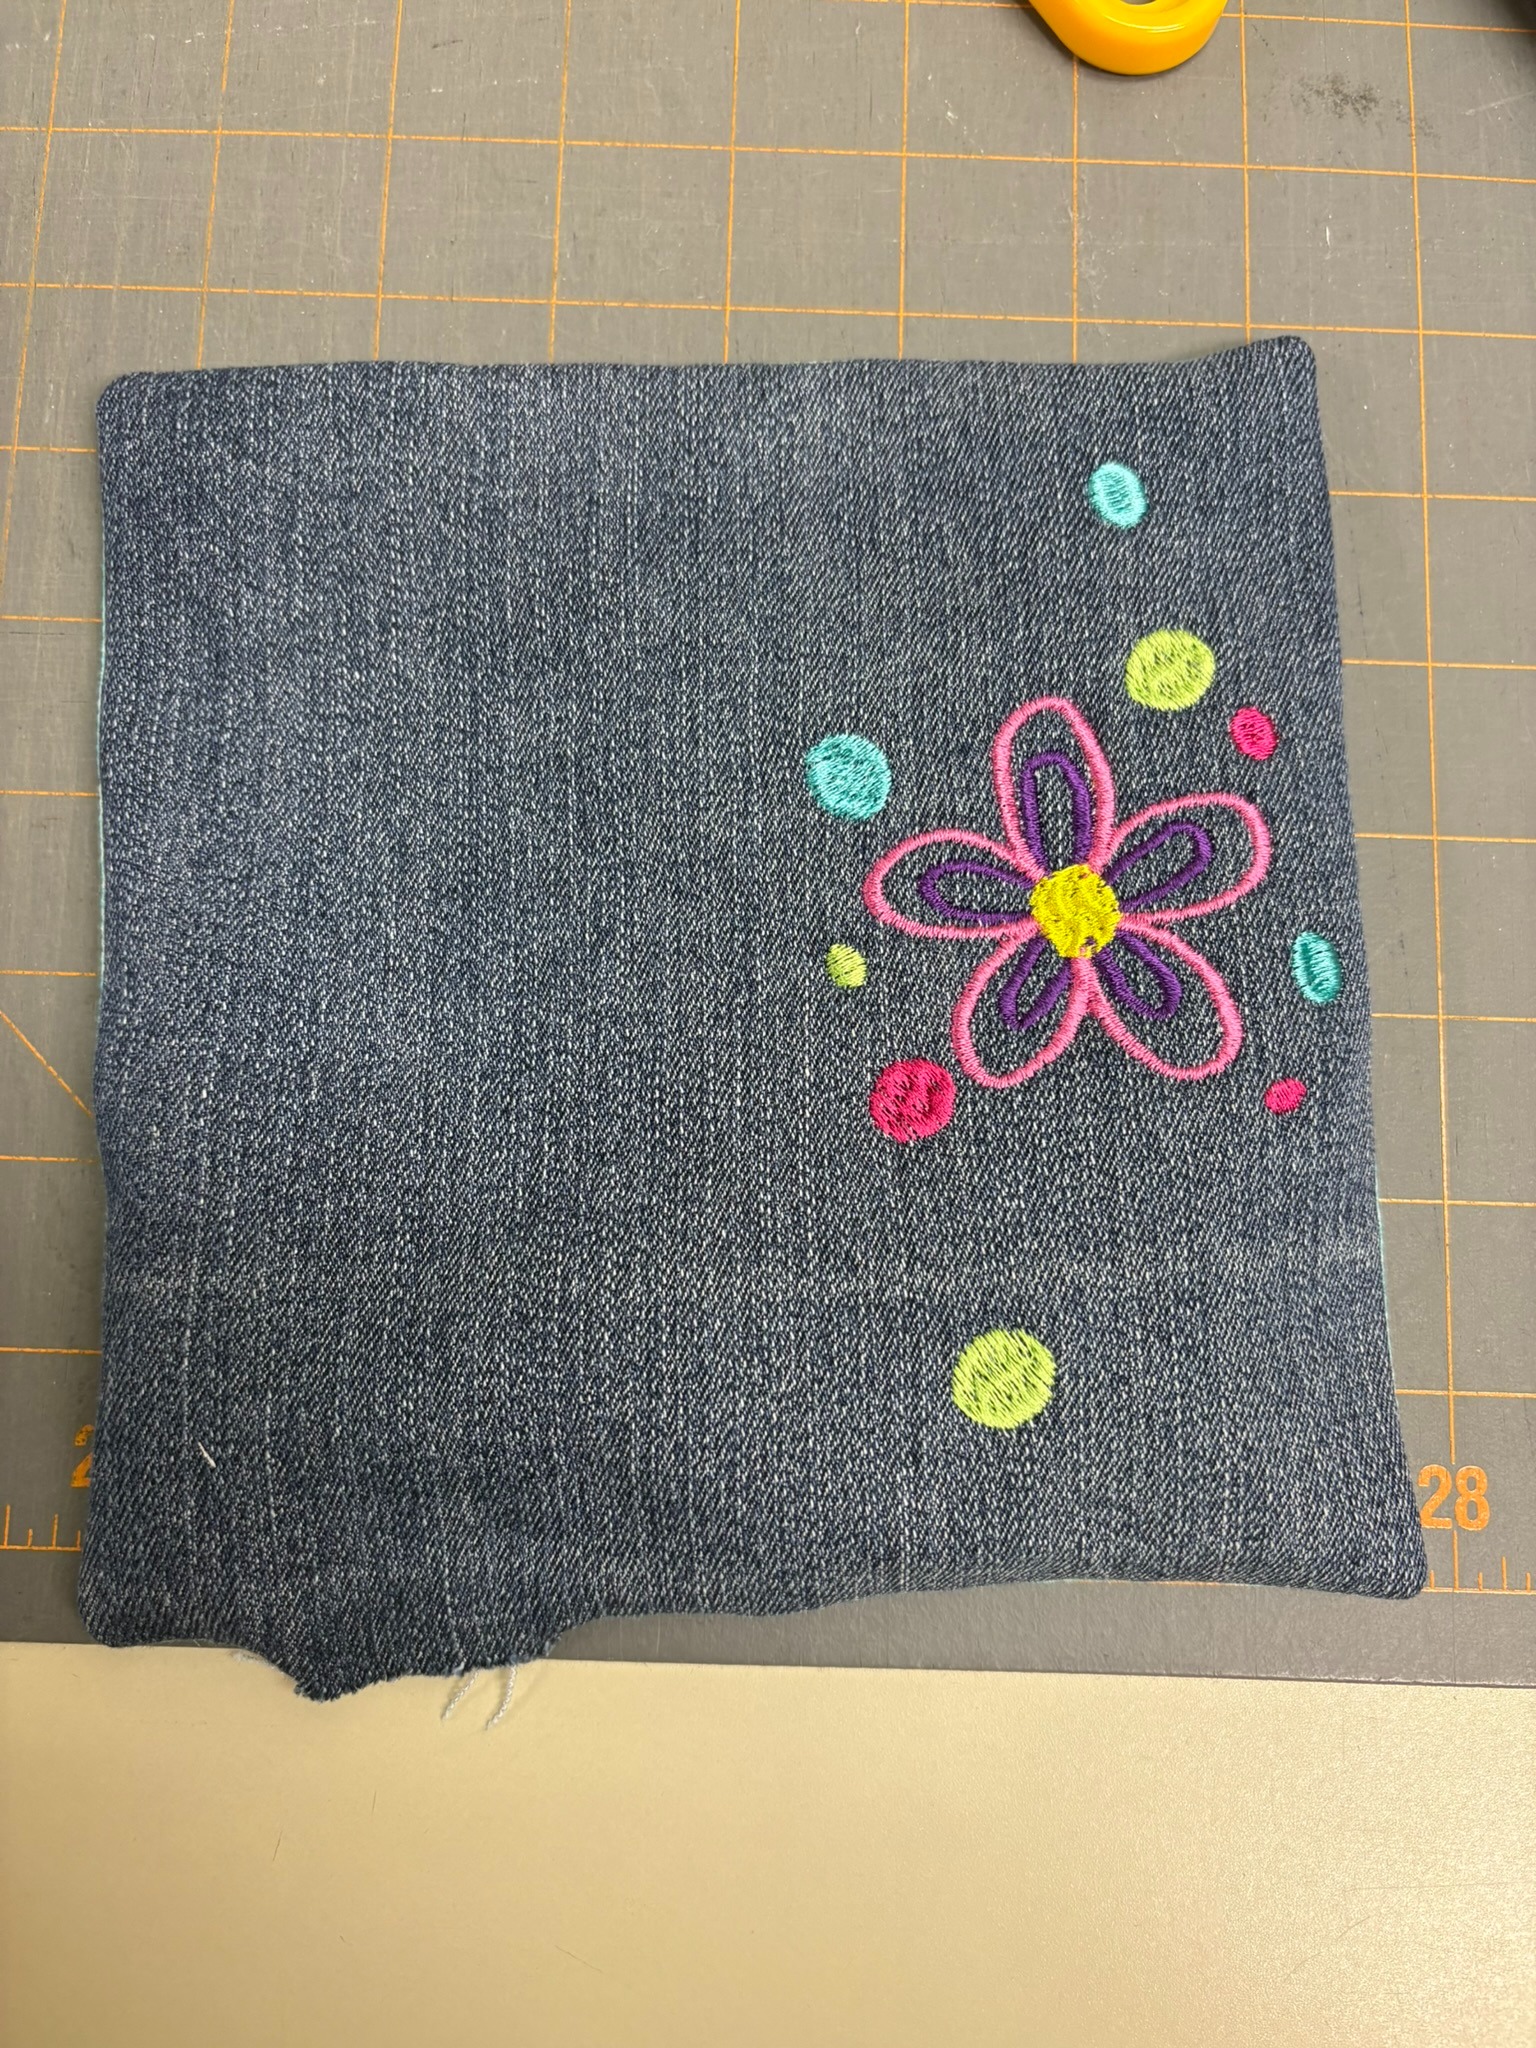
Topstitch the top of the case. Then fold the case in half and pin or clip securely. Topstitch the side and bottom. The last step is adding the snap.
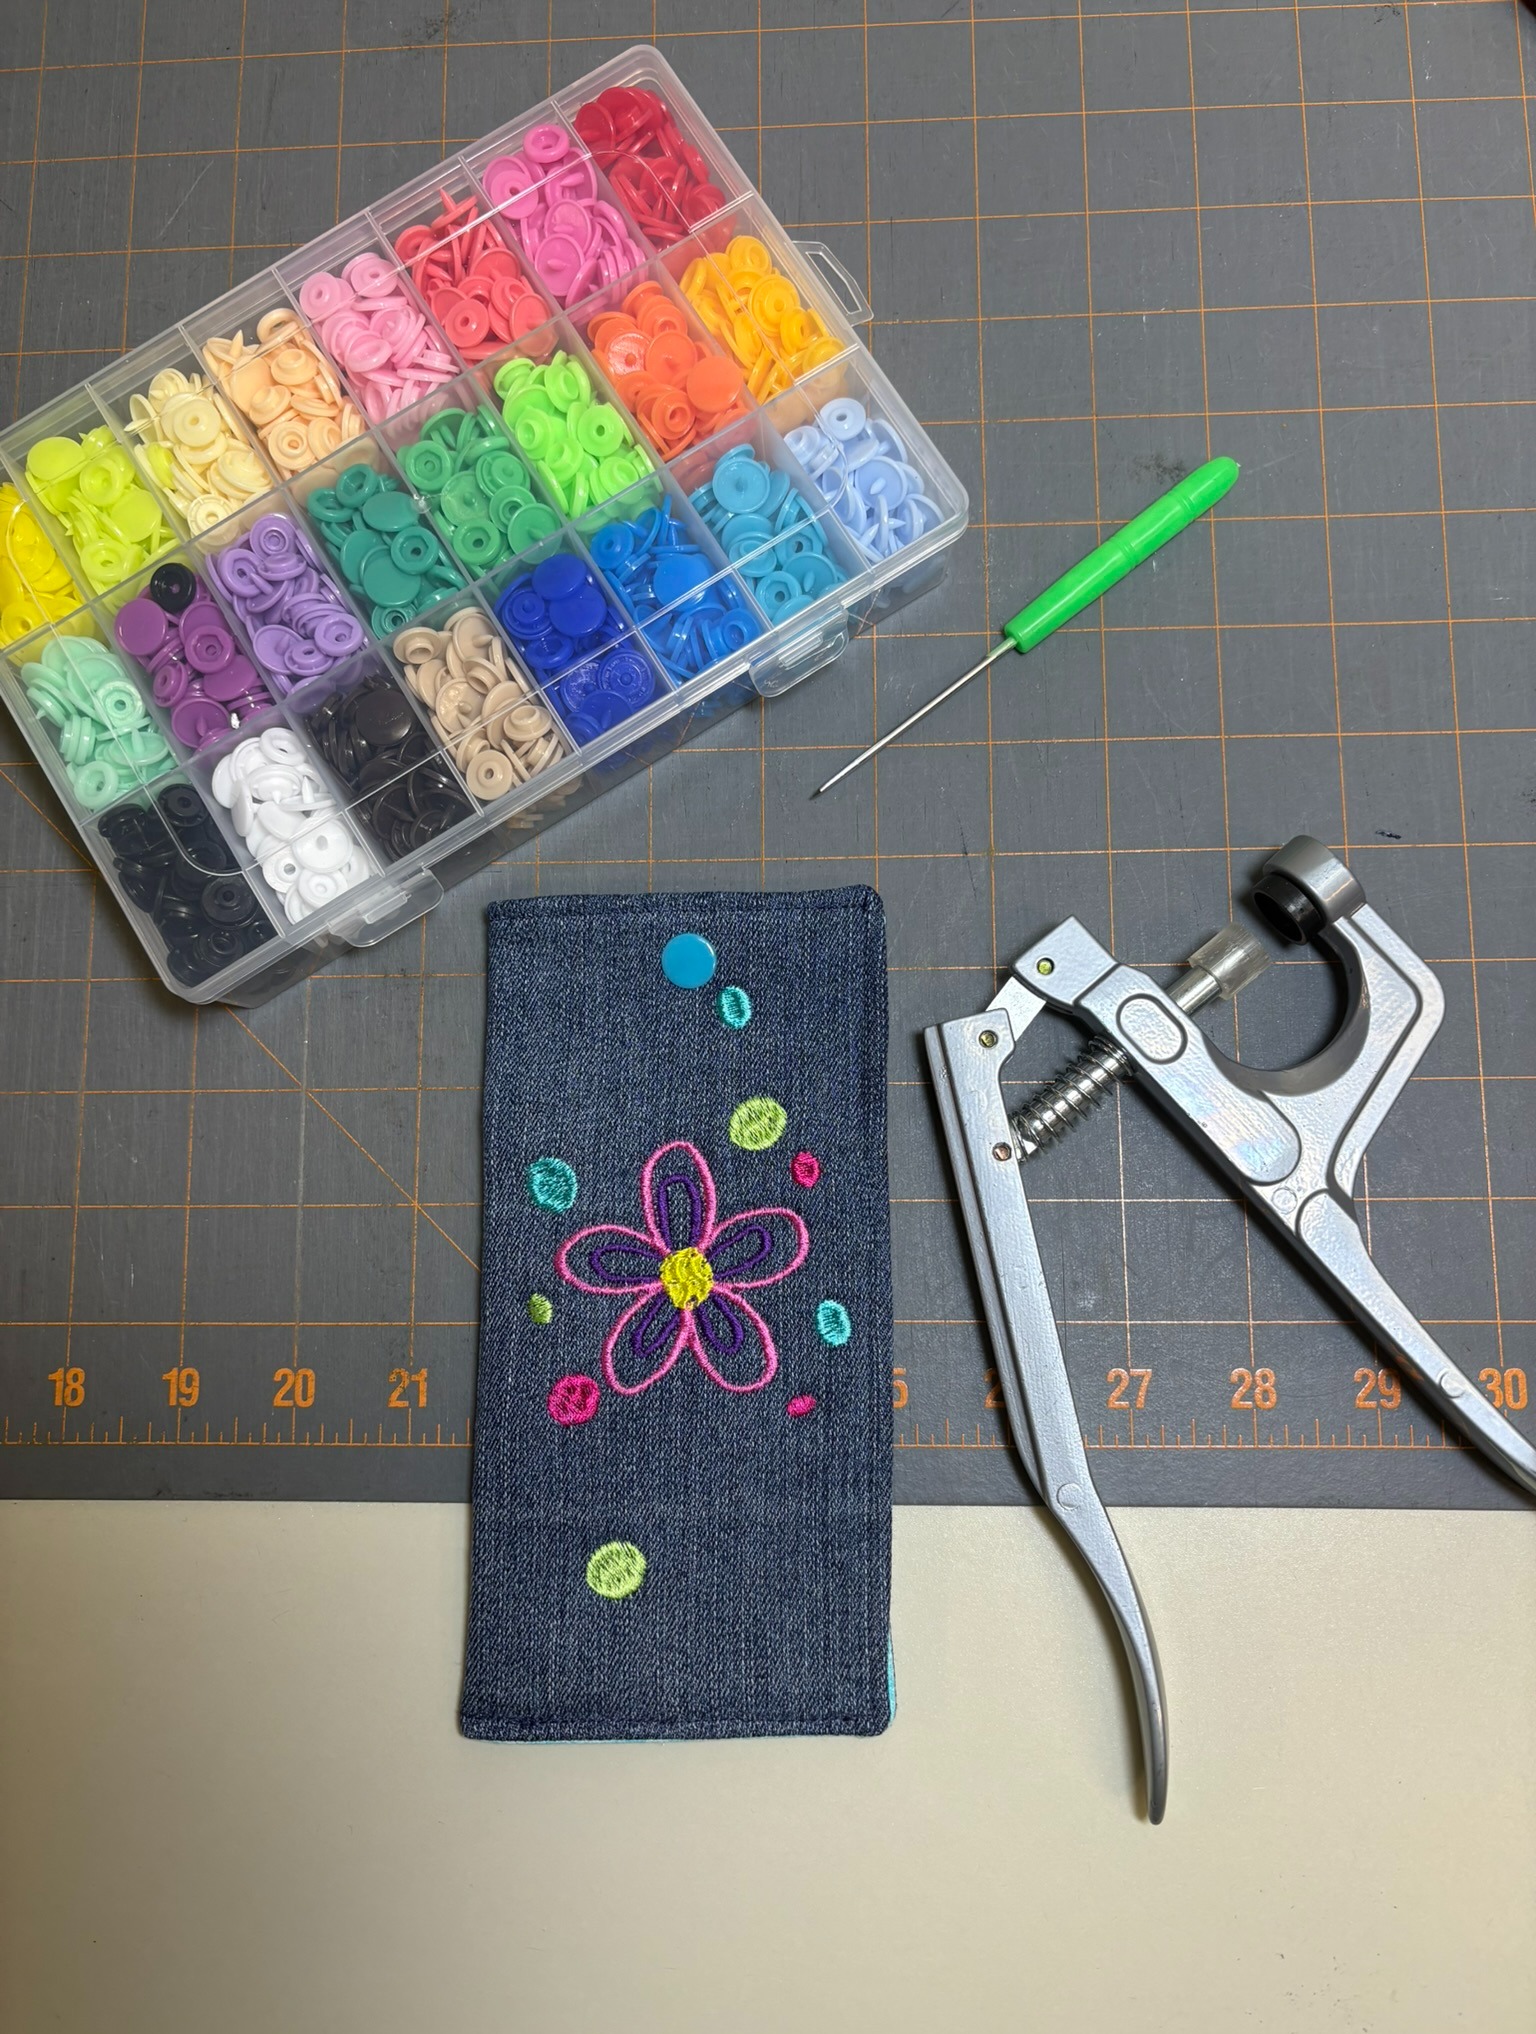
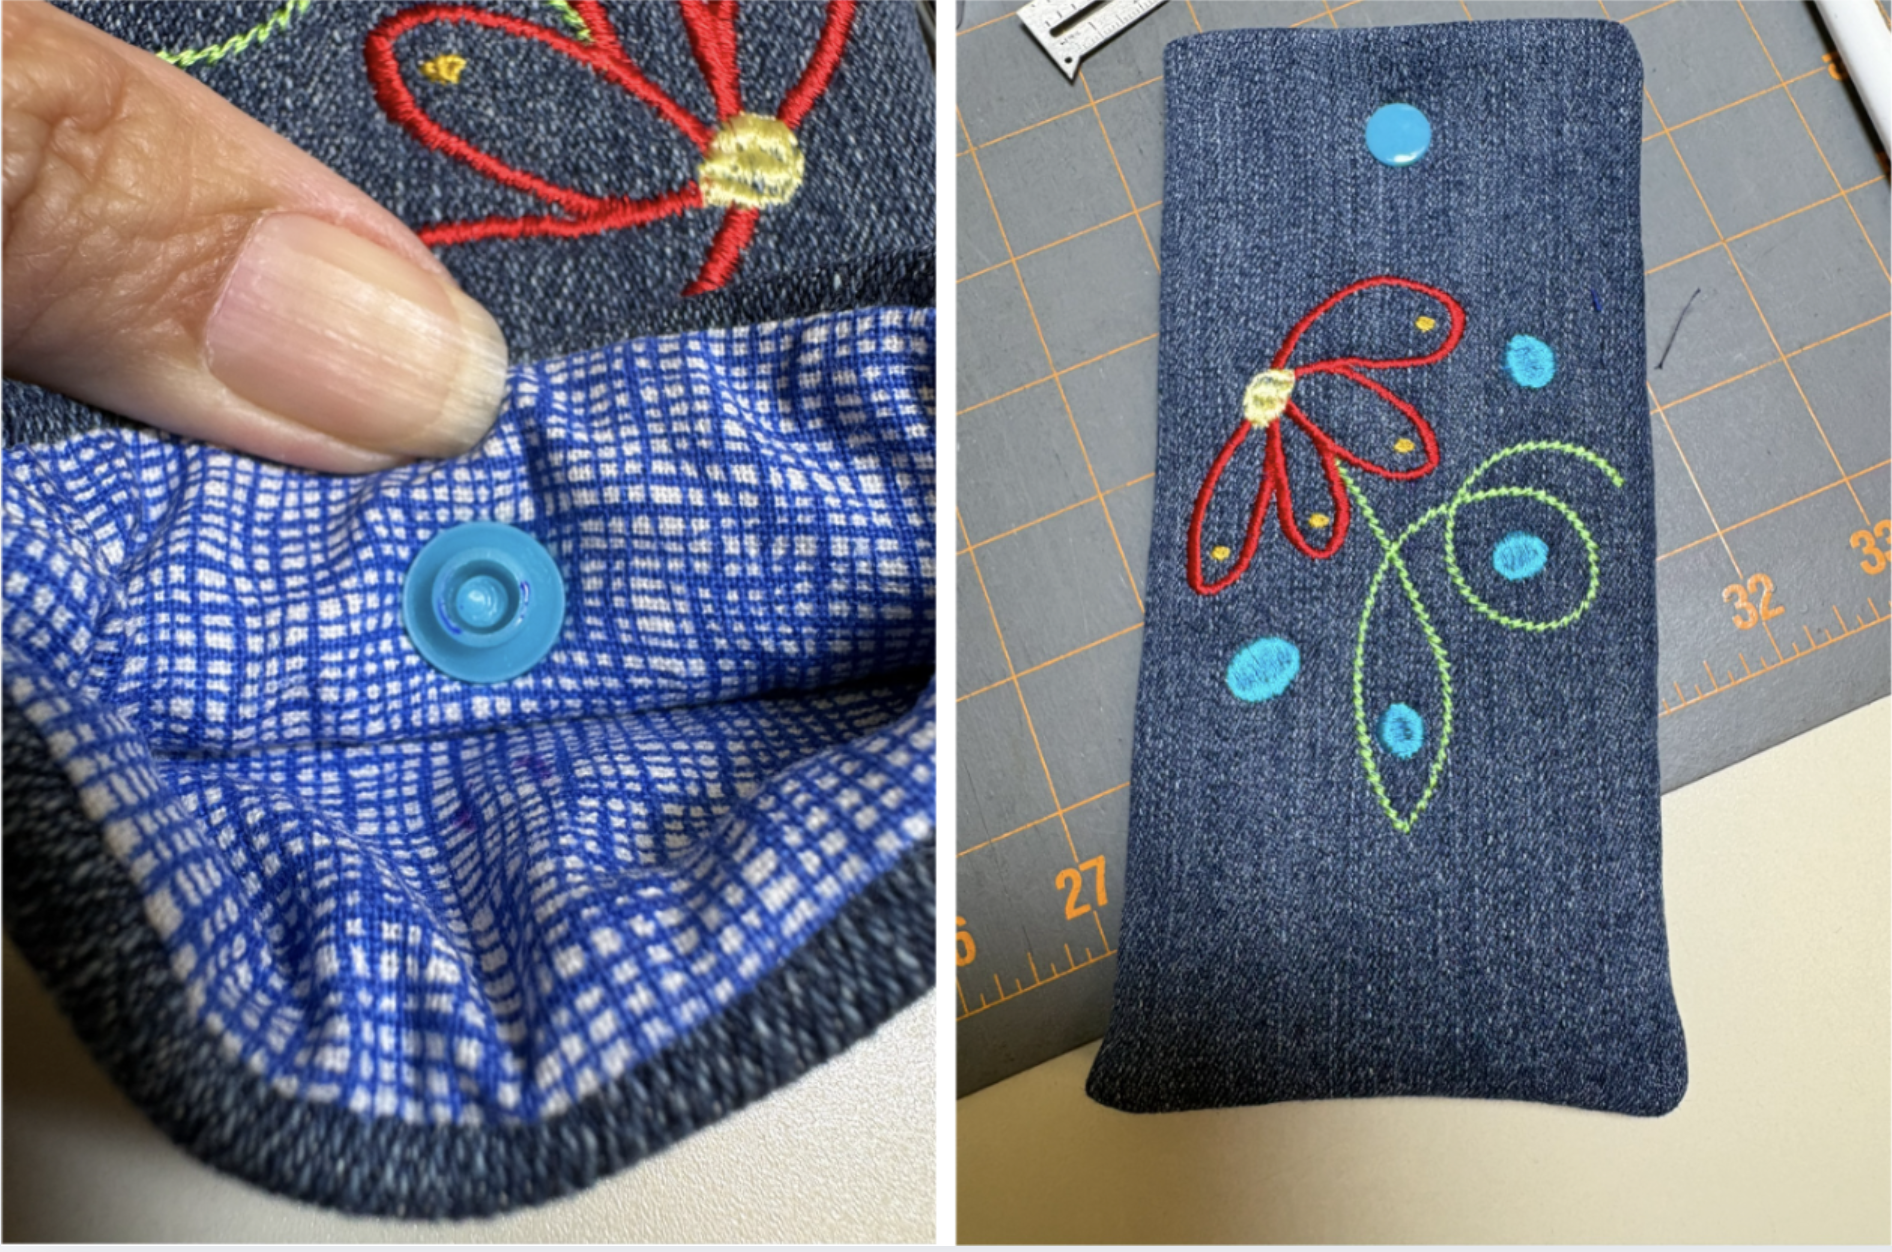
If you have used KAMsnaps, you know how to fasten them on. I purchased my kit over the summer and was excited to use it for the first time. That’s how I found myself on a YouTube video (How To Use Plastic Snaps On Fabric) with the narrator starting off with, “You’ve just purchased snap pliers and have no idea how to use it because there are no instructions.” Luckily she did a great job on the video.
How To Apply KAMSnaps is another video that was helpful because it explicitly showed the direction the male and female snaps should be in when applying them. If you’ve never tried them, they really are easy to use and there are lots of videos online showing you how.
This case is also easy to make. The difference between this case and the one above is that the lining tucks into the case. I’m also making these a tad bigger for sunglasses.
Cut:
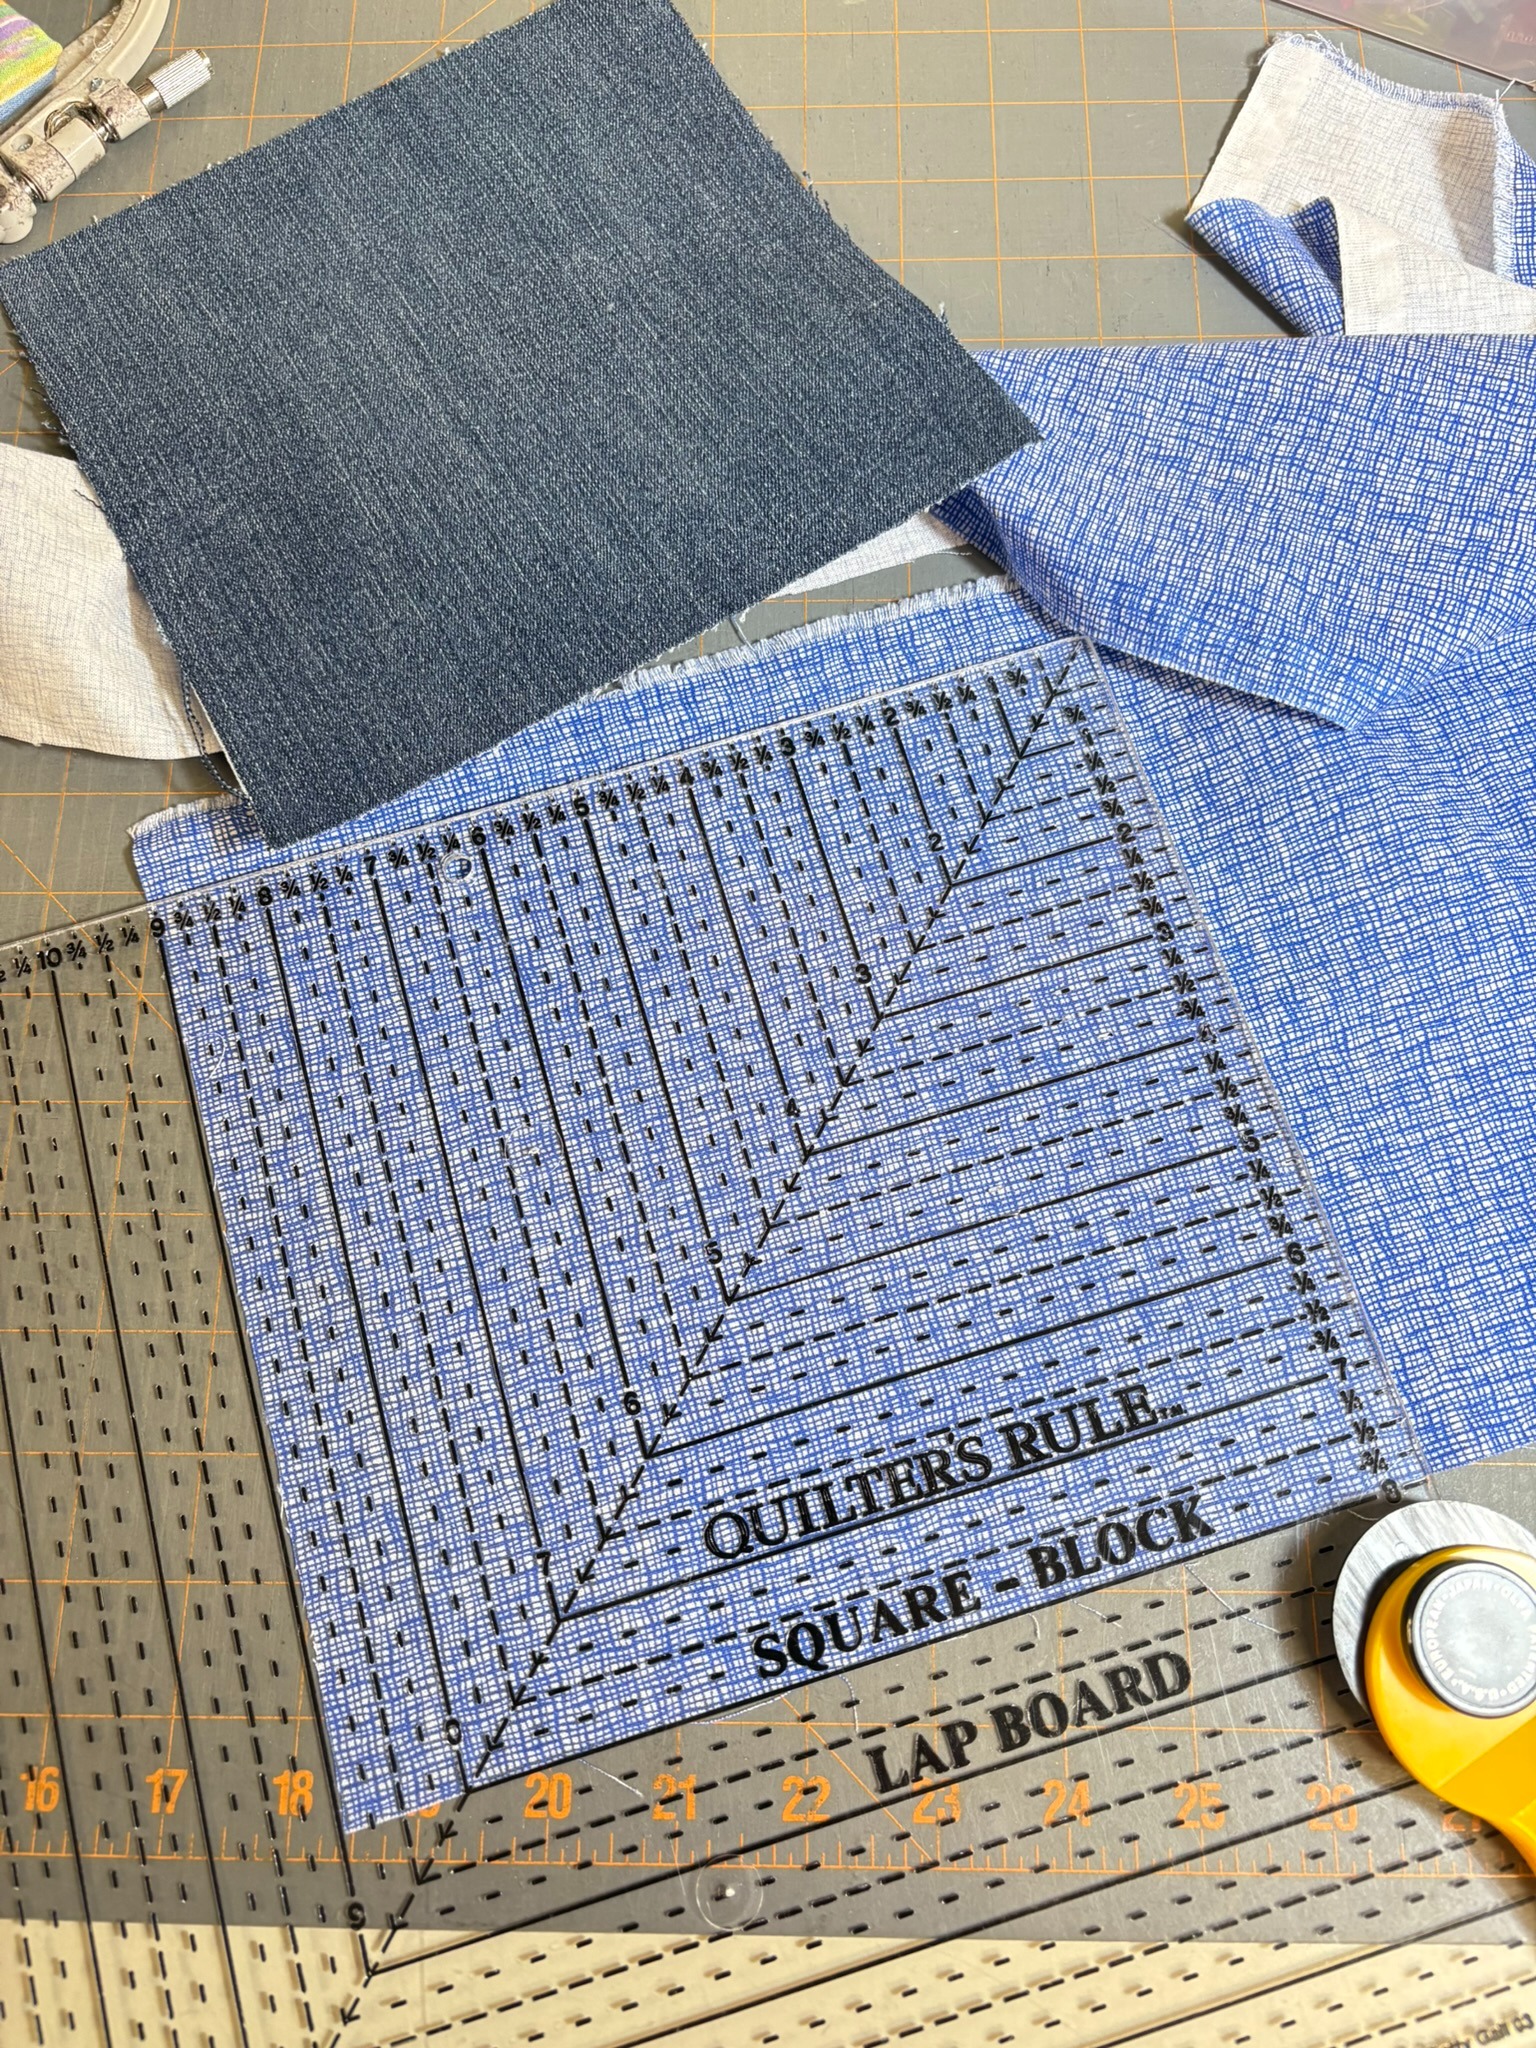
Fuse the fleece to the wrong side of the case fabric.
With right sides together, stitch the top edge of the case to the top of the lining. Press the seam toward the lining.
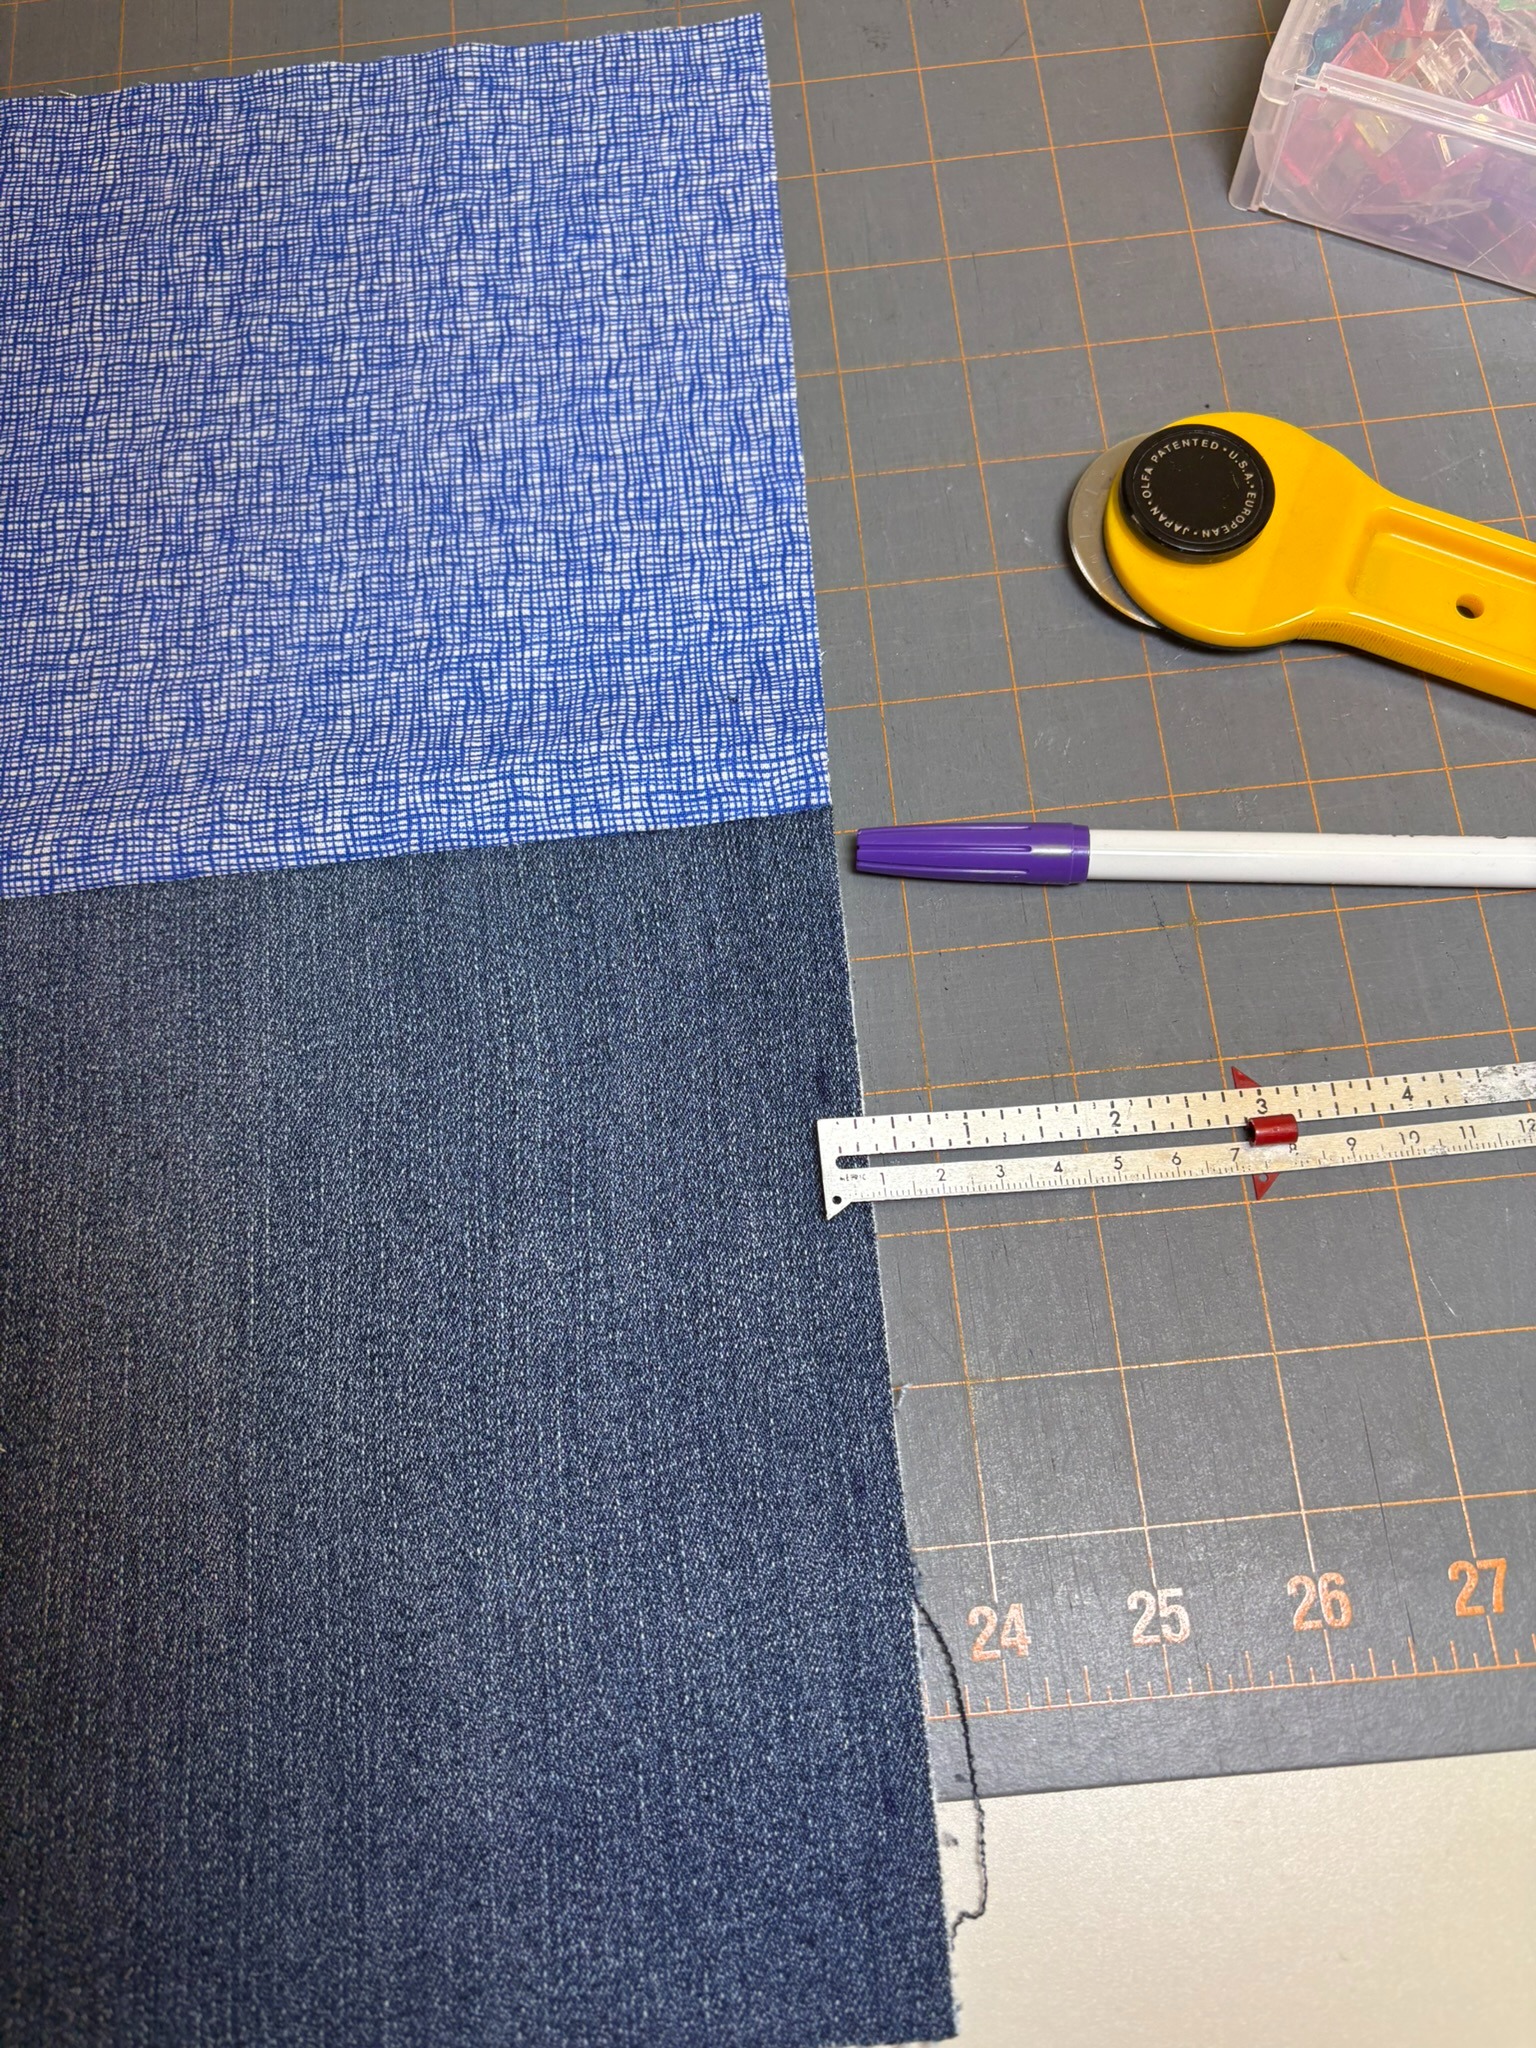
Now it’s time to find the center for the design. I mark the ¼” seam with my disappearing marker. I fold the case in half hot-dog style and measure from the left to the marks I made—3⅝”. Half of that is 1 13/16”. I mark that for the center.
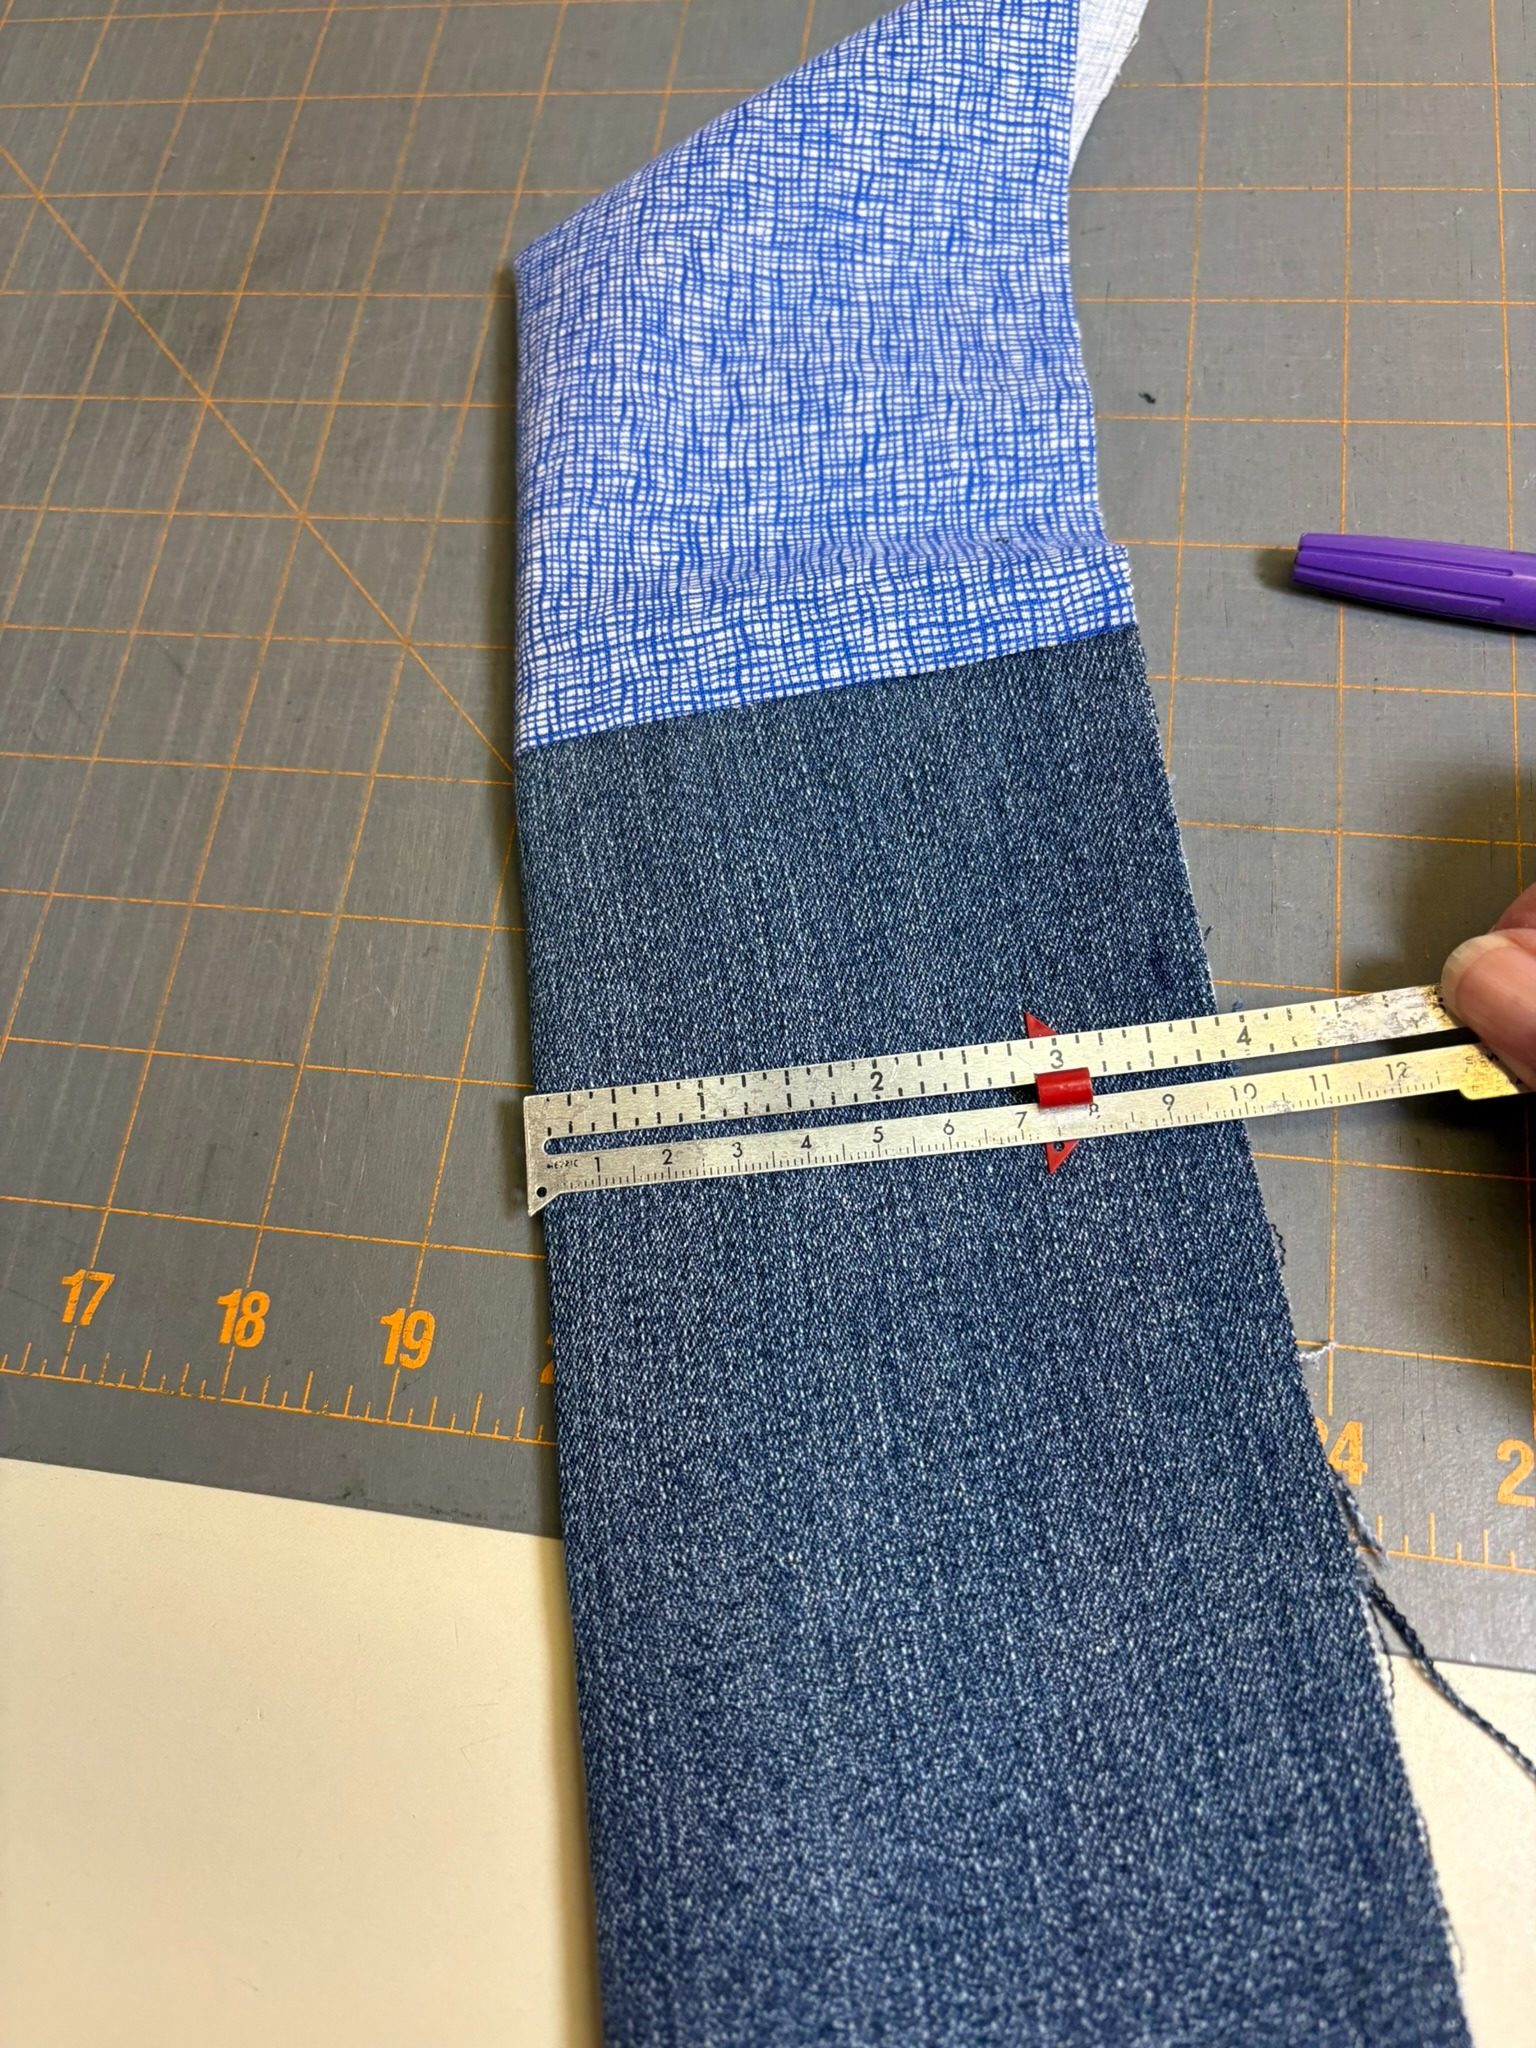
Always check your design placement by running the Trace feature on your embroidery machine, which shows you where the design will go. Even though I thought I had looked at it correctly, one of the designs I was going to use was too big. Thank goodness I ran the Trace feature before starting to stitch out the design.
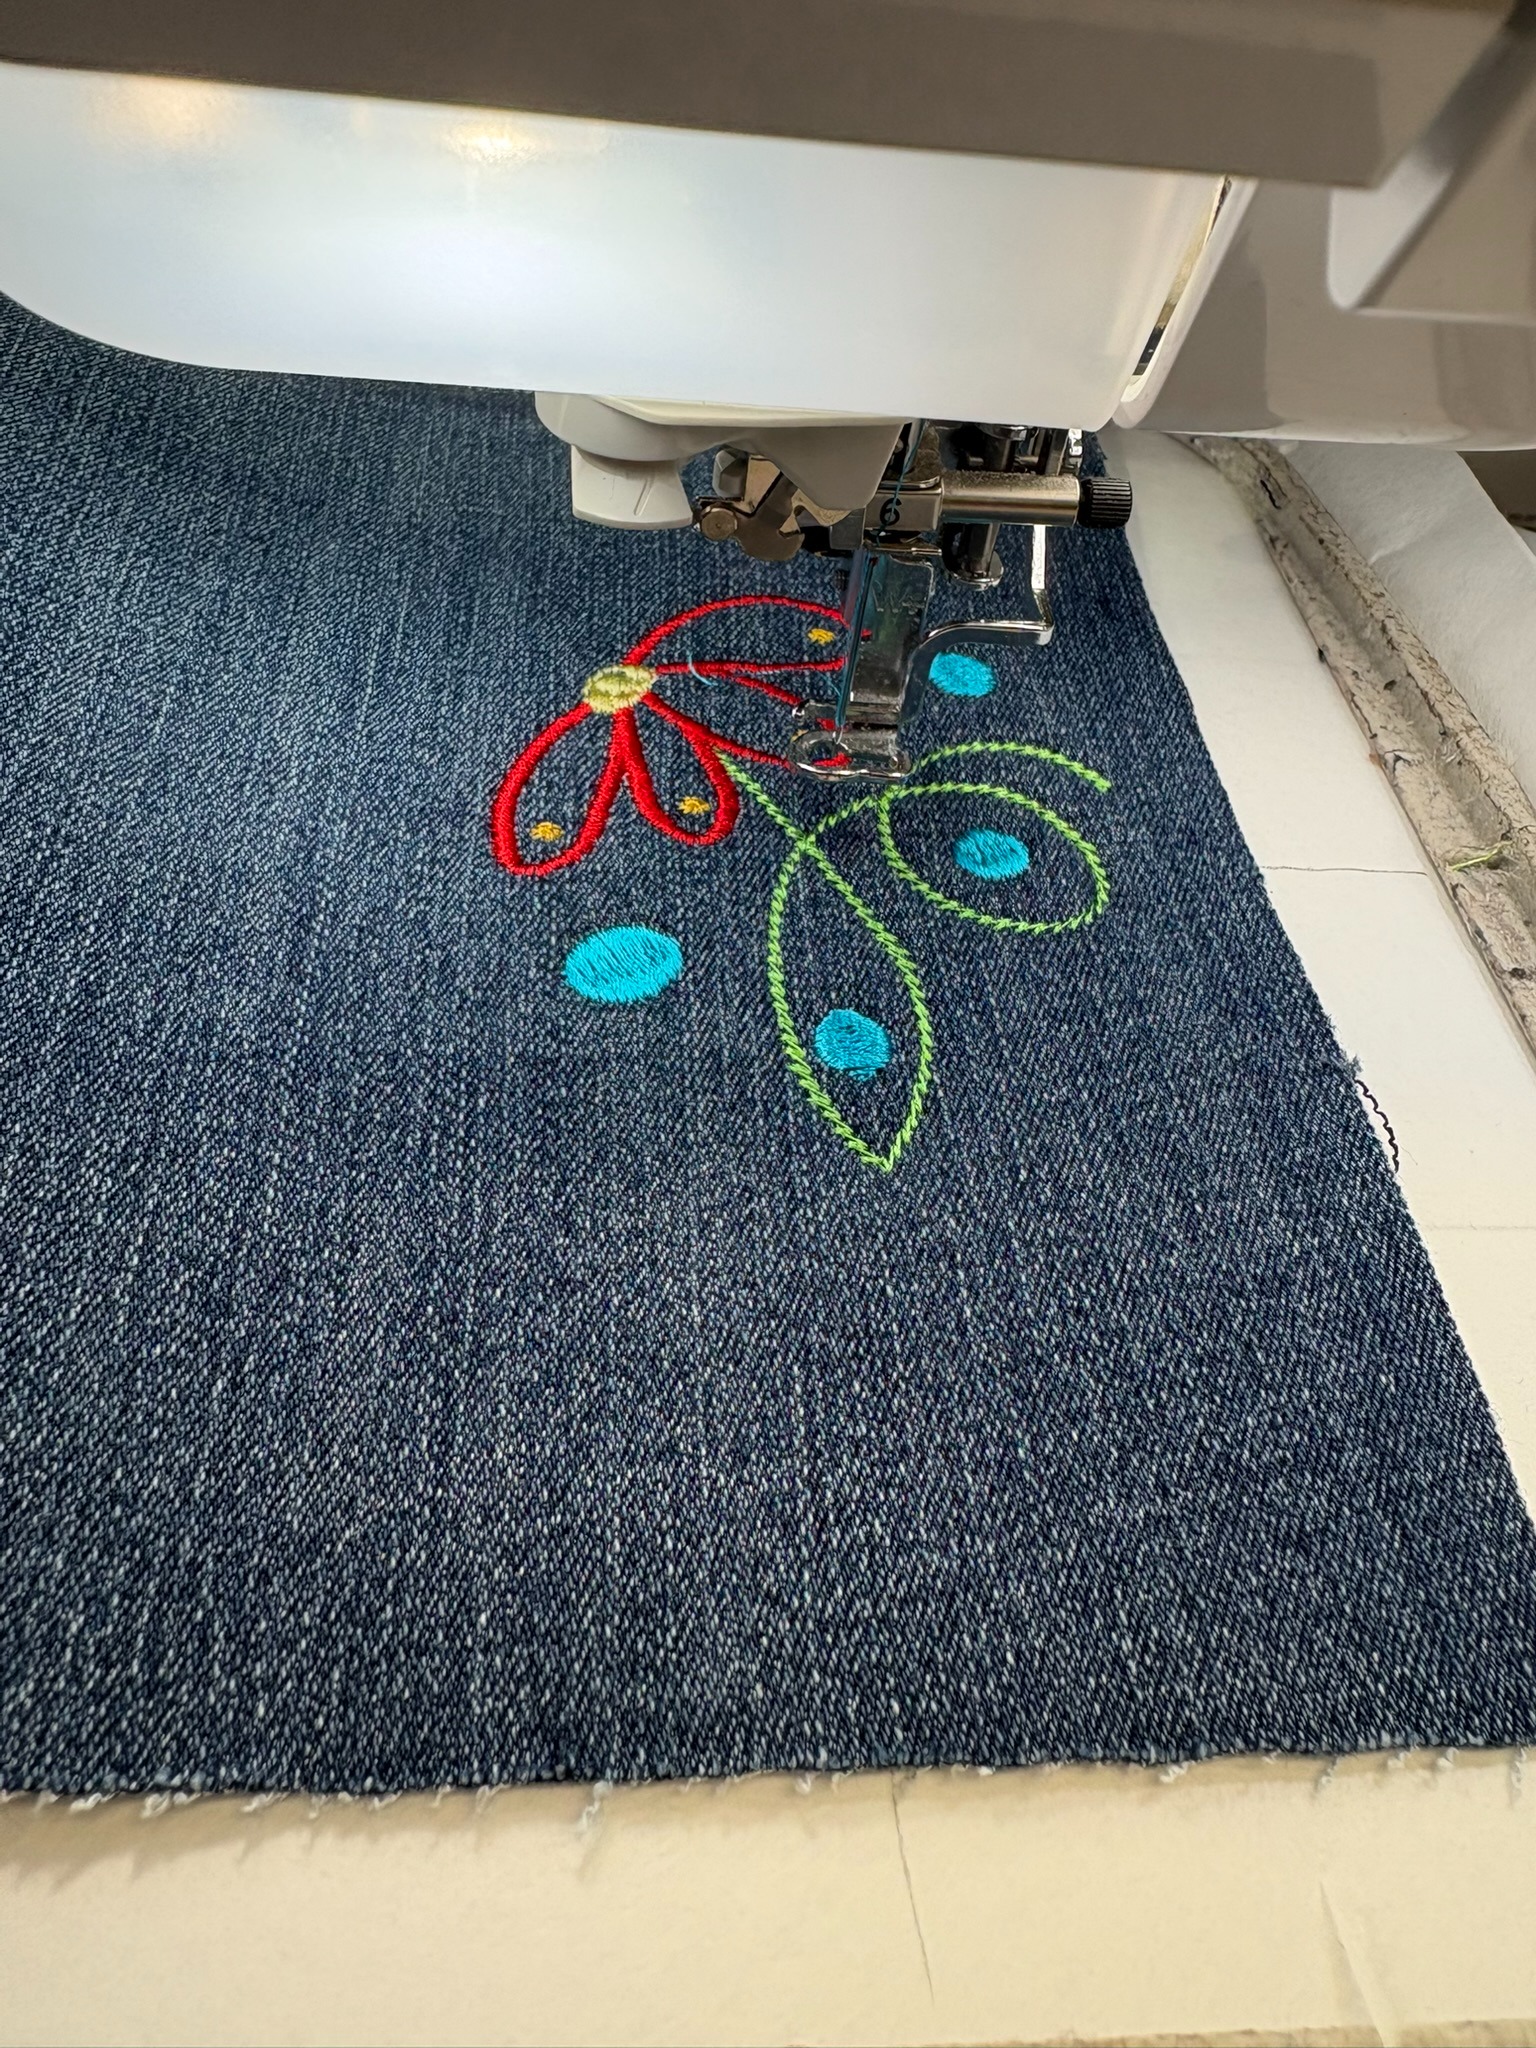
Once the design is embroidered, remove the stabilizer. Fold the case hot-dog style, right sides together. Be sure to line up the seamline.
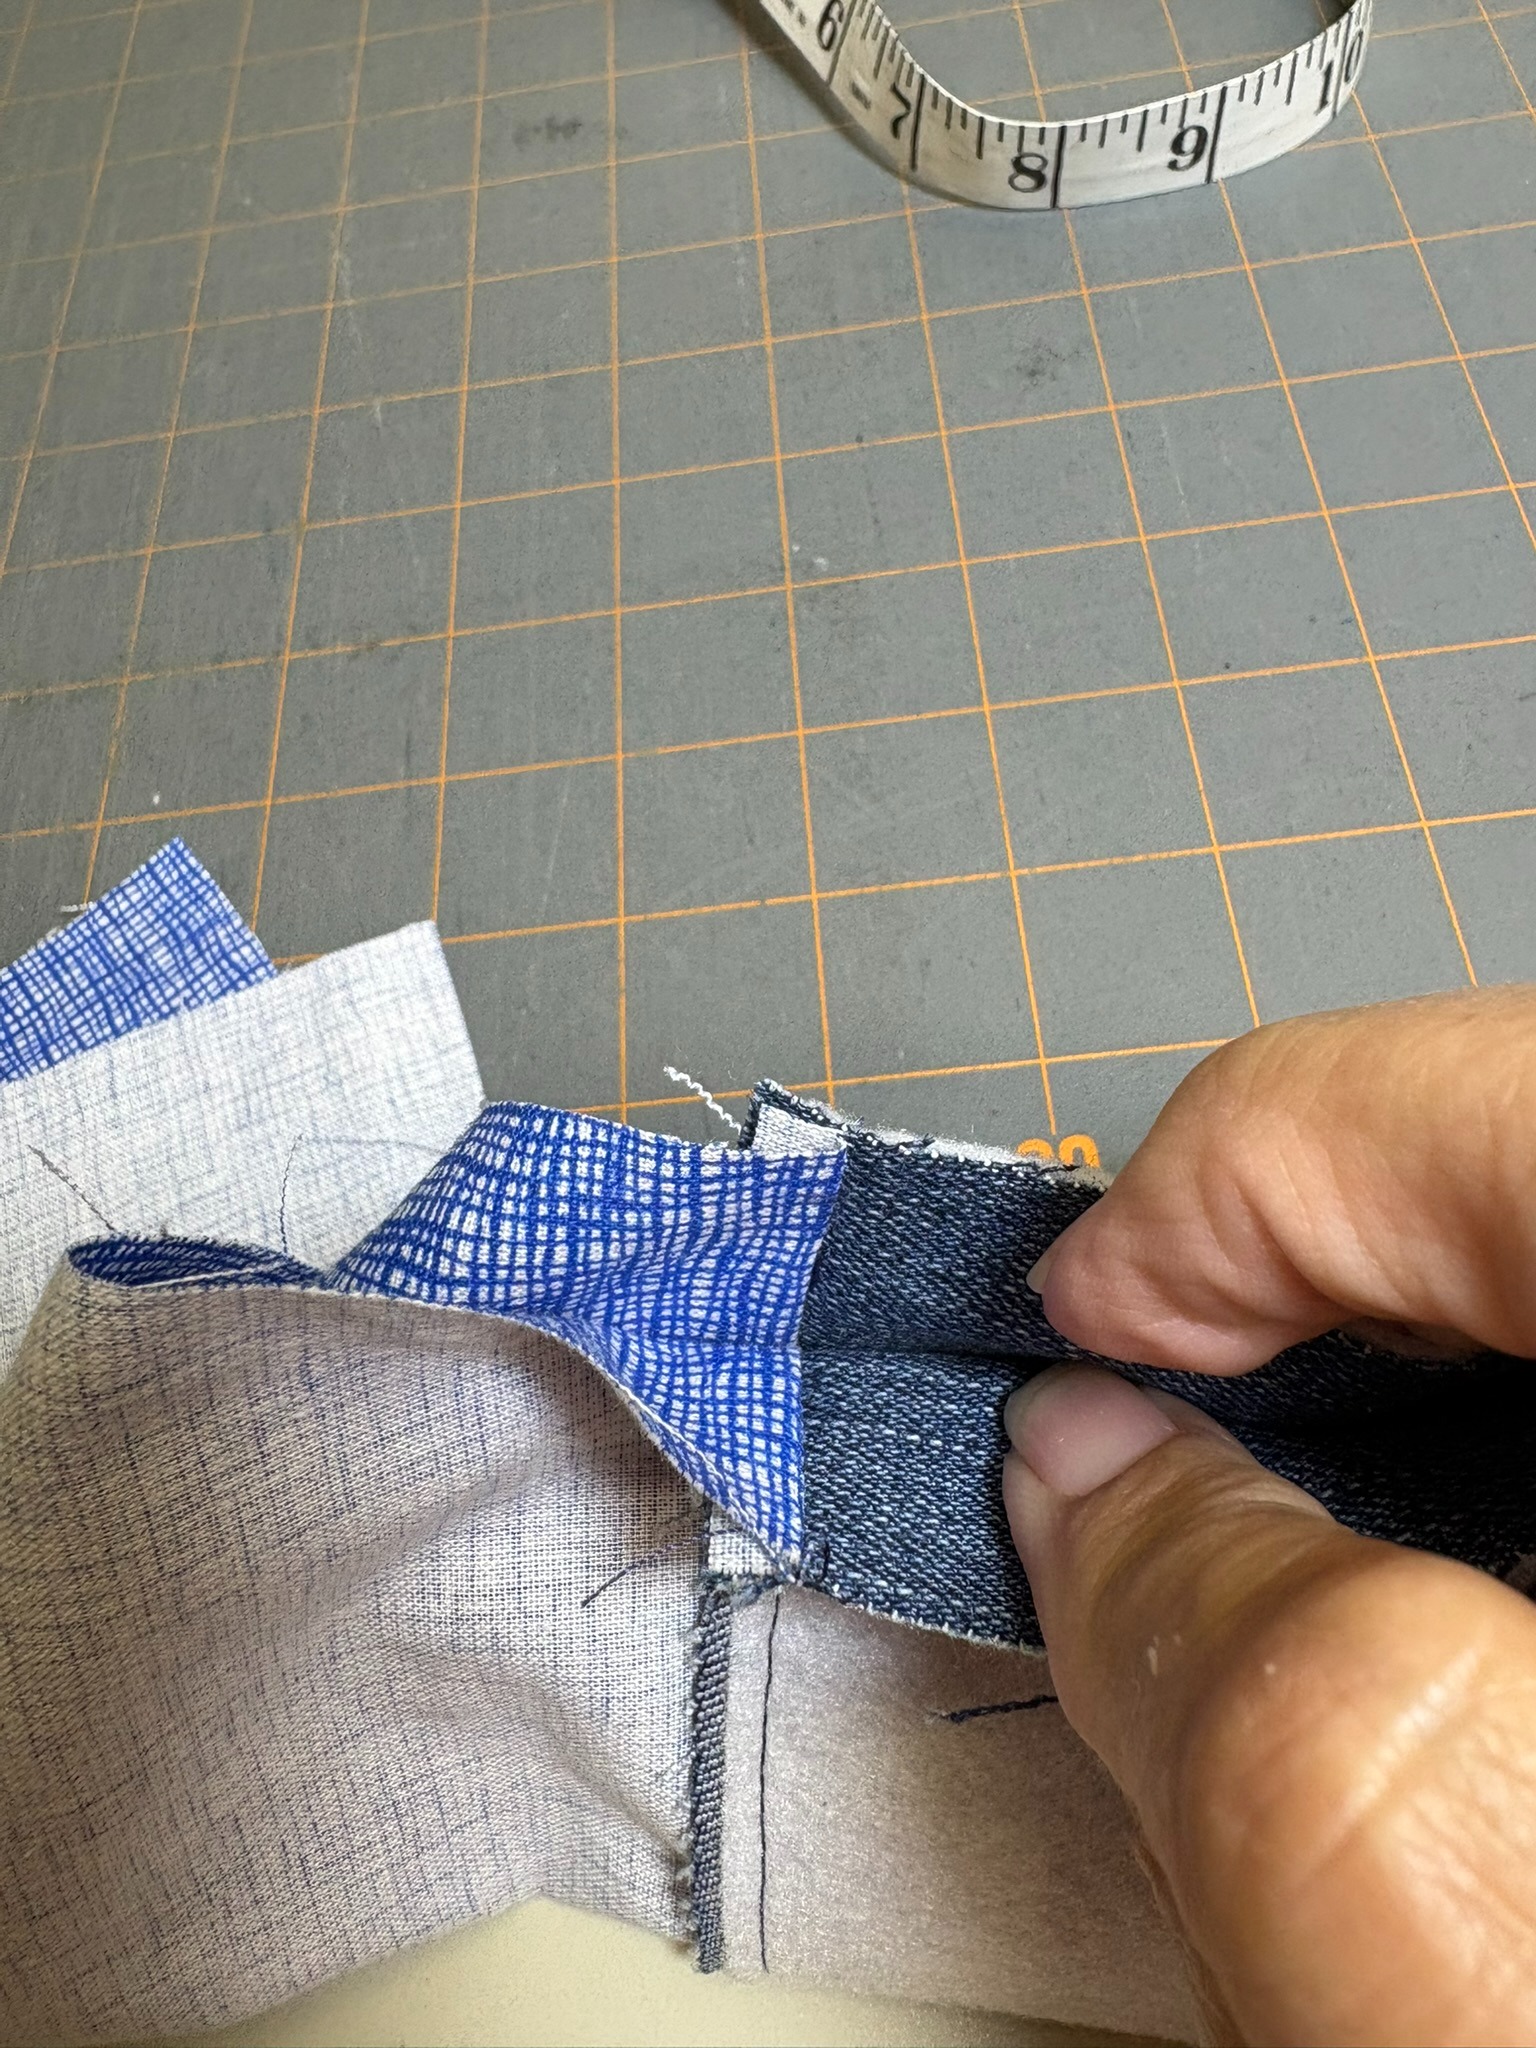
Pin or clip, leaving a 2” opening in the lining for turning the case right side out. Since I generally use pins, leaving a clip in that spot reminds me to stop.
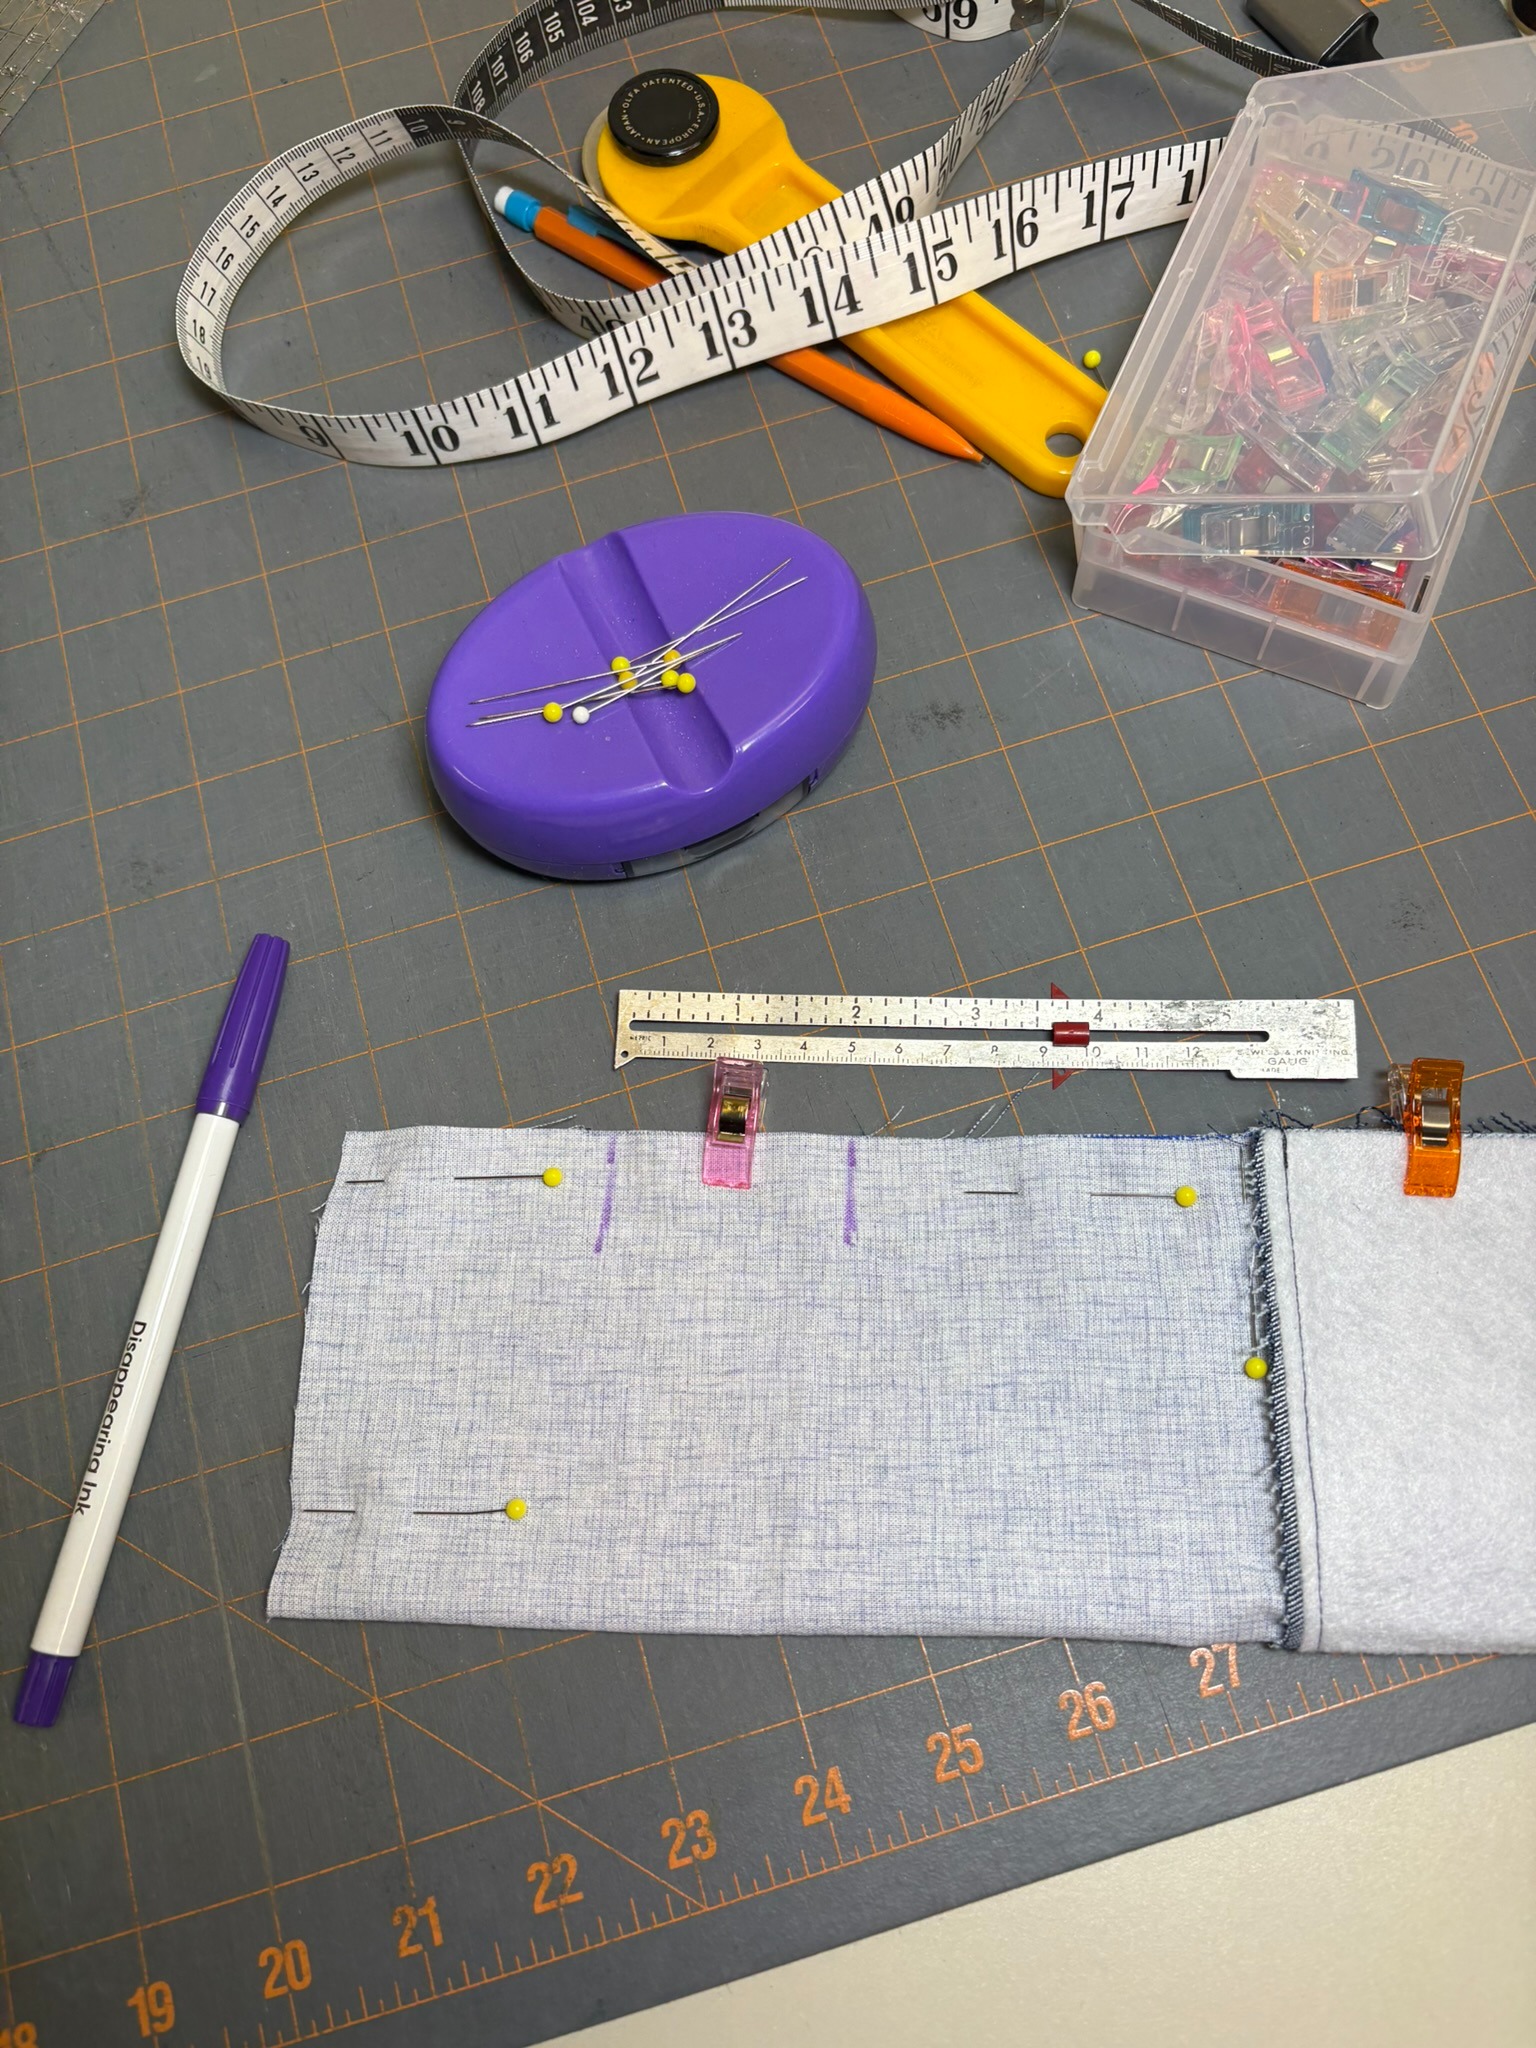
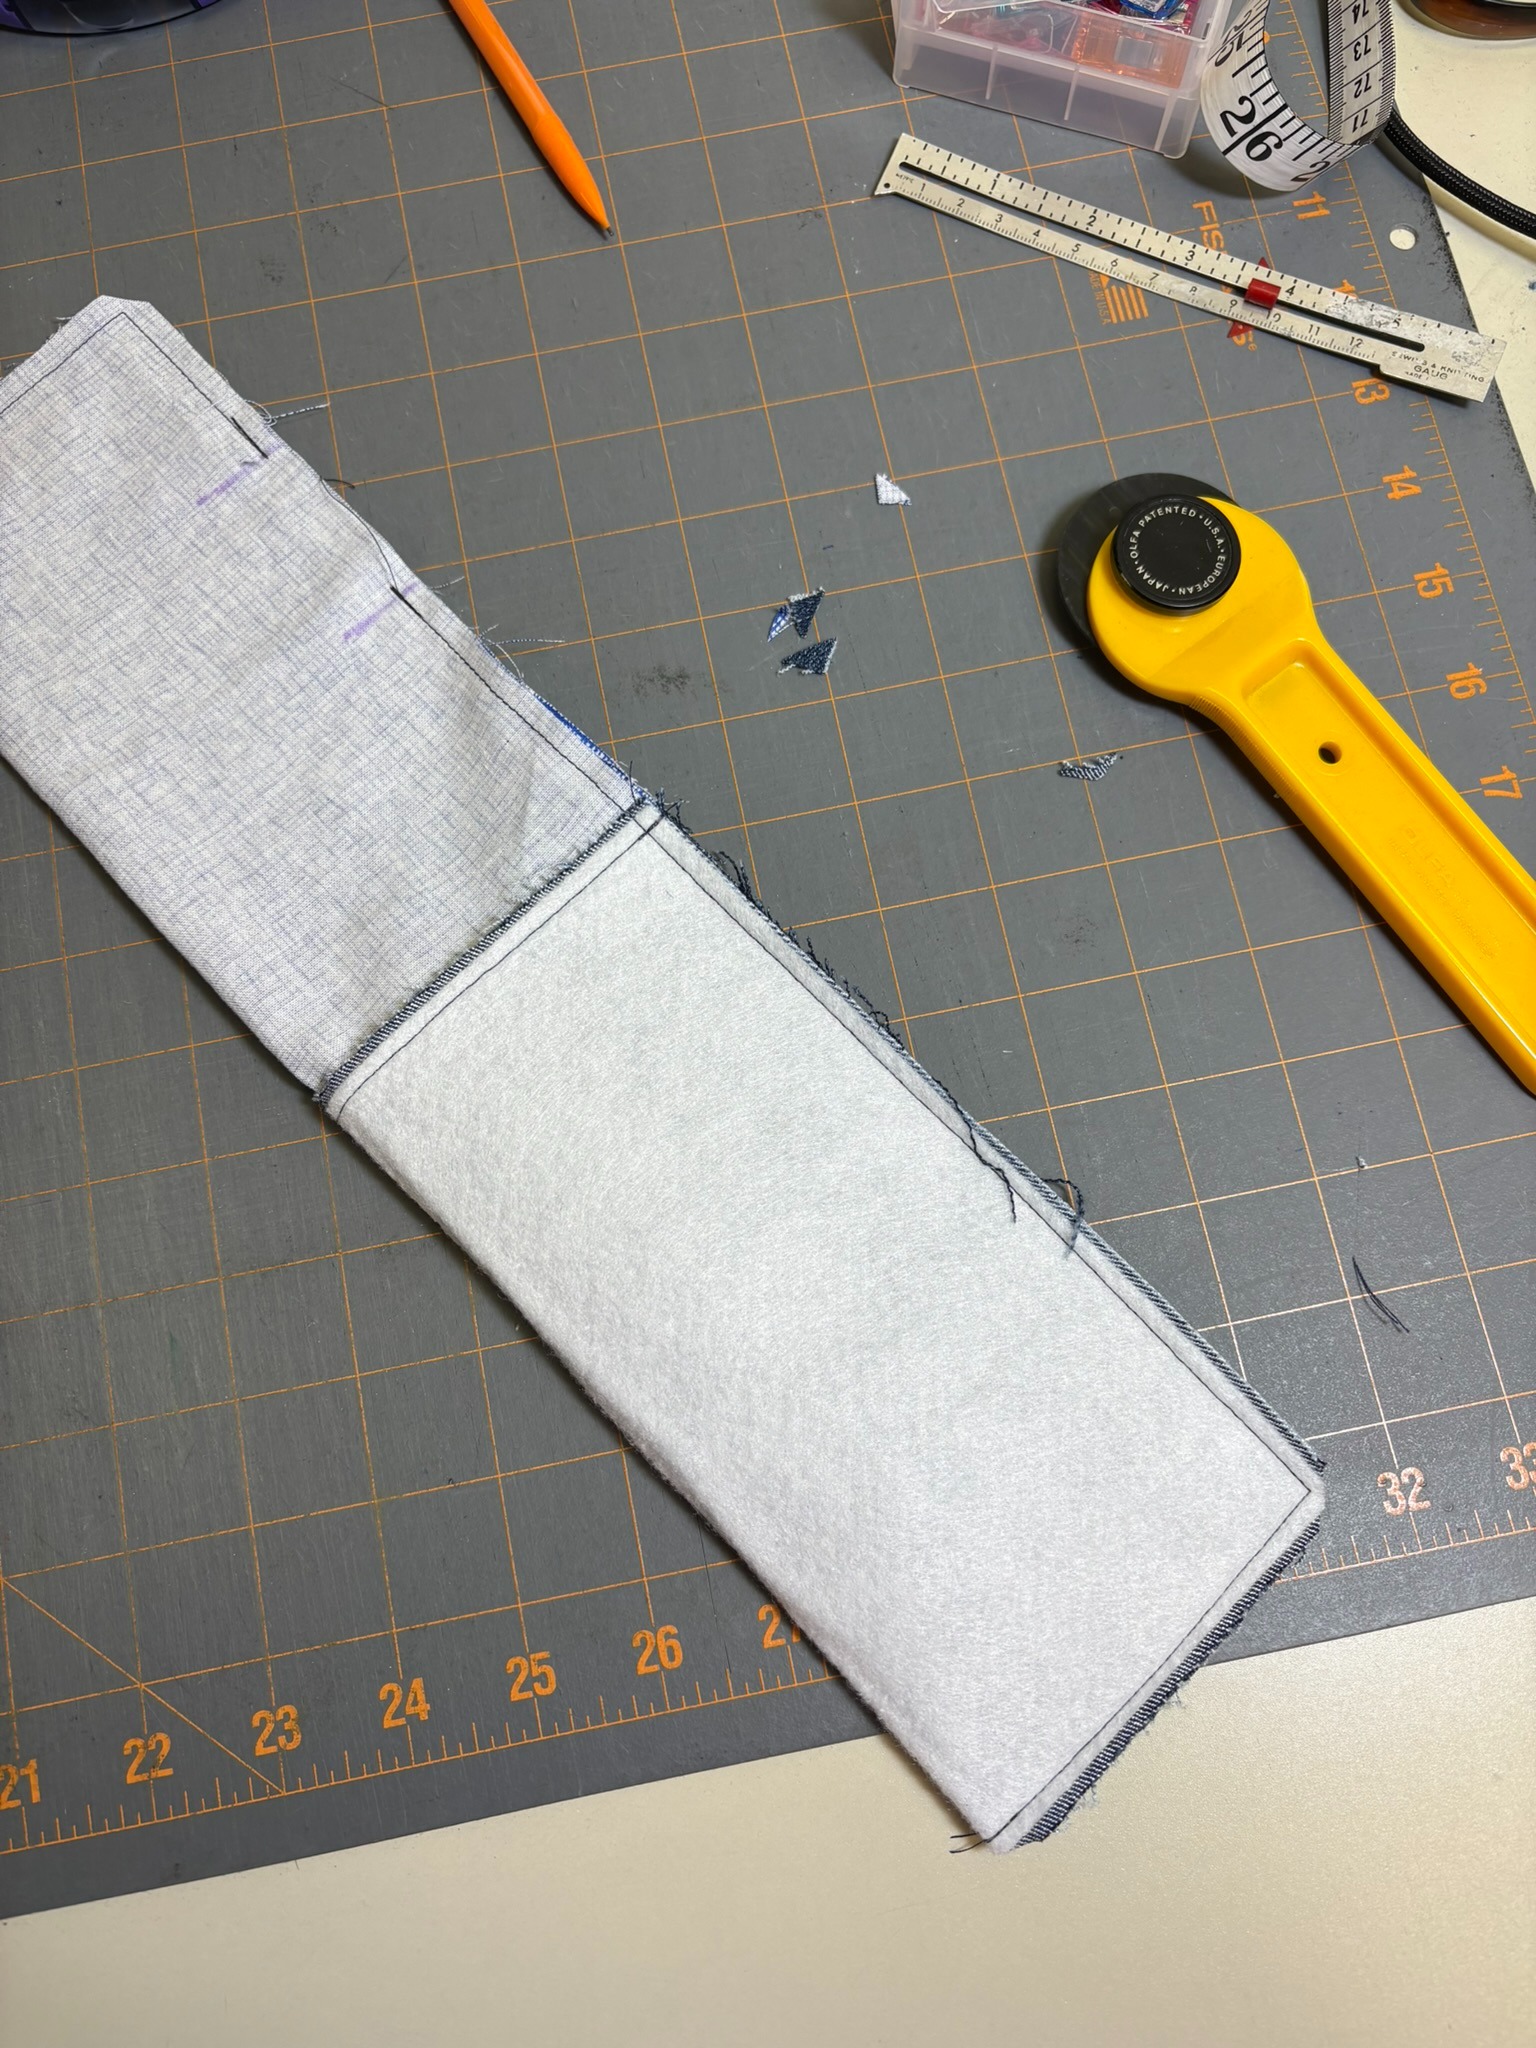
Start turning the case right side out by reaching through the opening and pulling the lining. Roll the case with the fleece and feed that through.
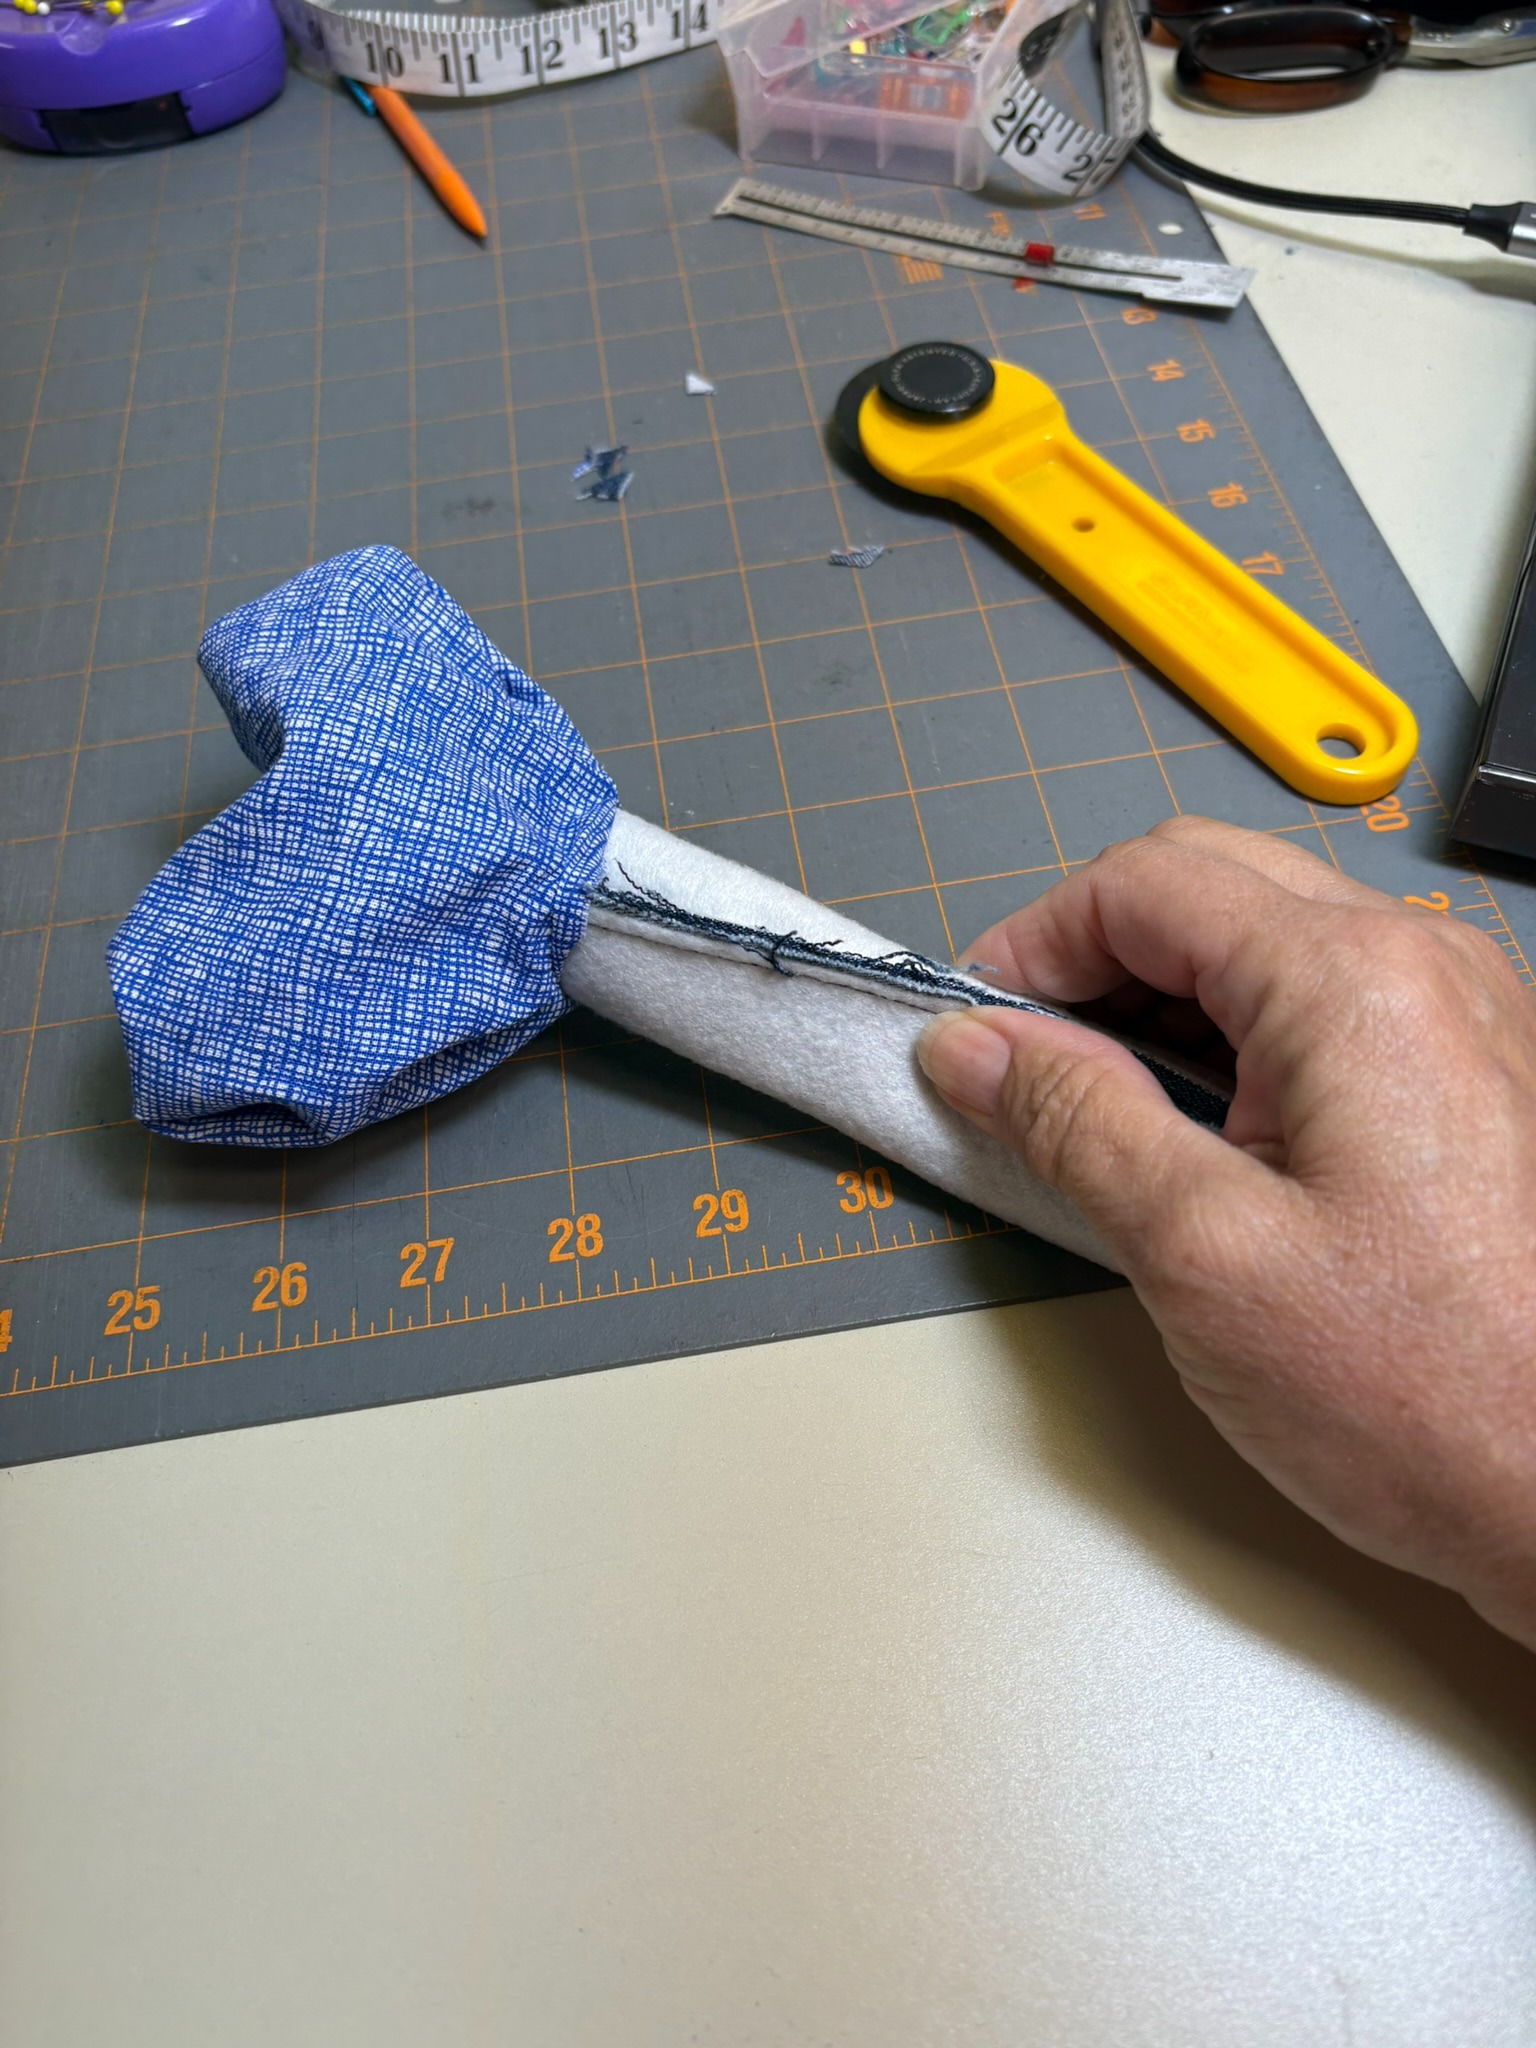
It’s actually not as difficult as you’d expect. Push out the corners with That Purple Thang or your favorite tool. Press. Close the opening by either hand sewing or machine sewing right at the edge.
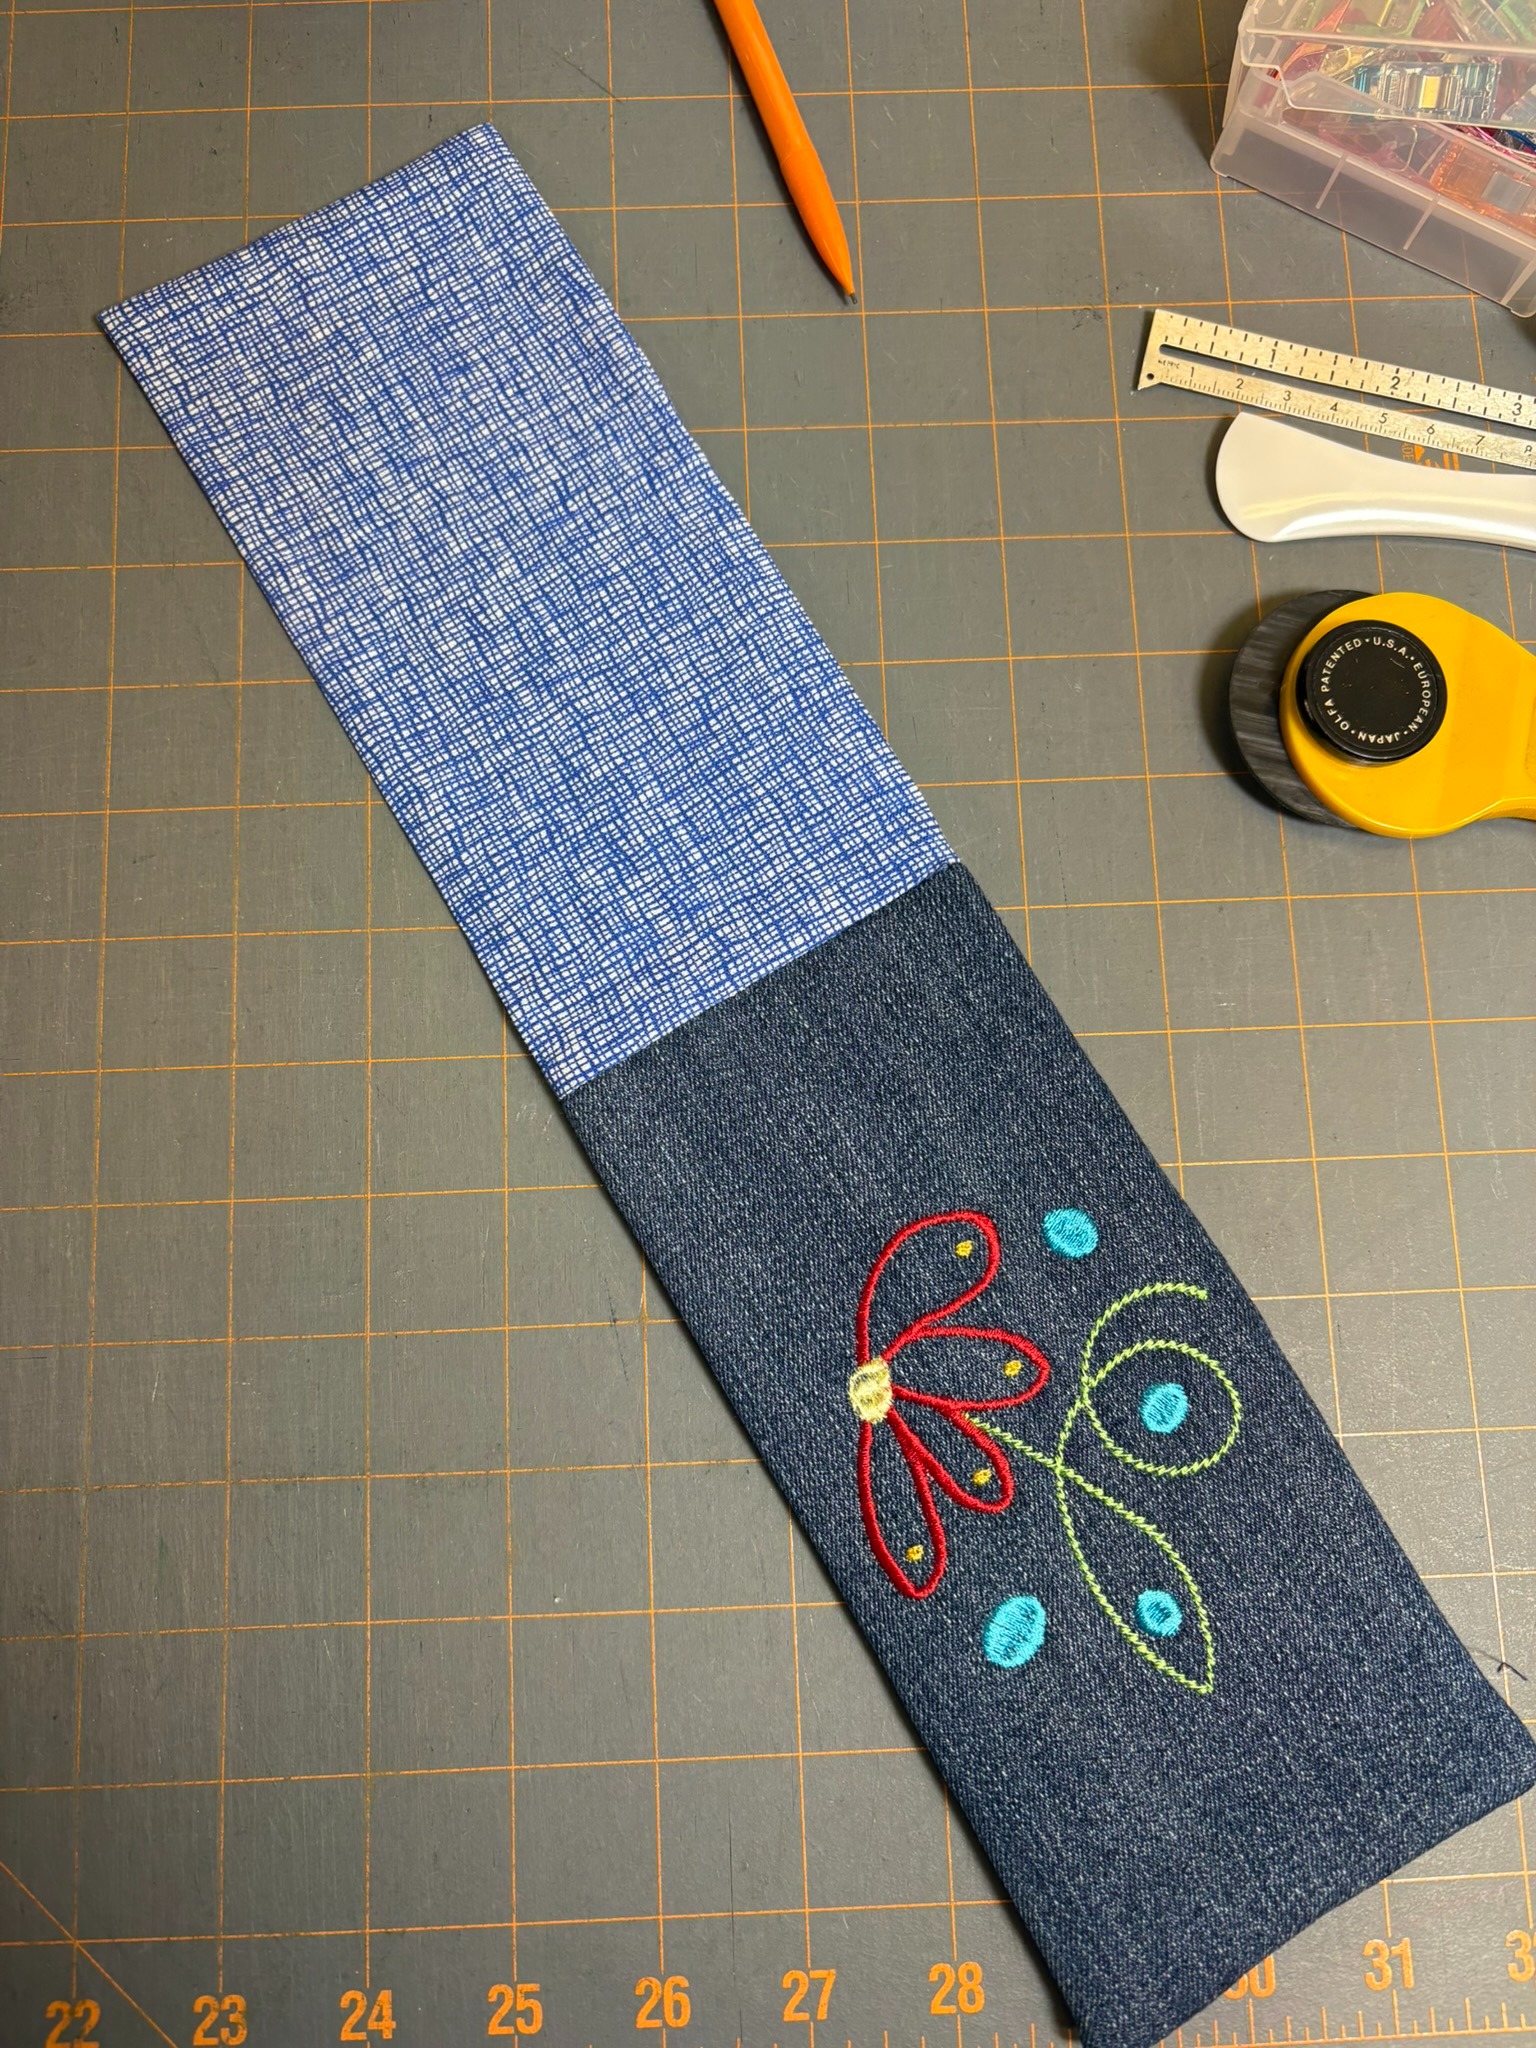
Push the lining into the case, pushing the corners of the lining into the corners of the case. Press the top of the case. You can leave the case open or add a snap to it.
I did not topstitch the top of the denim eyeglass case. My machine would have struggled with it too much.
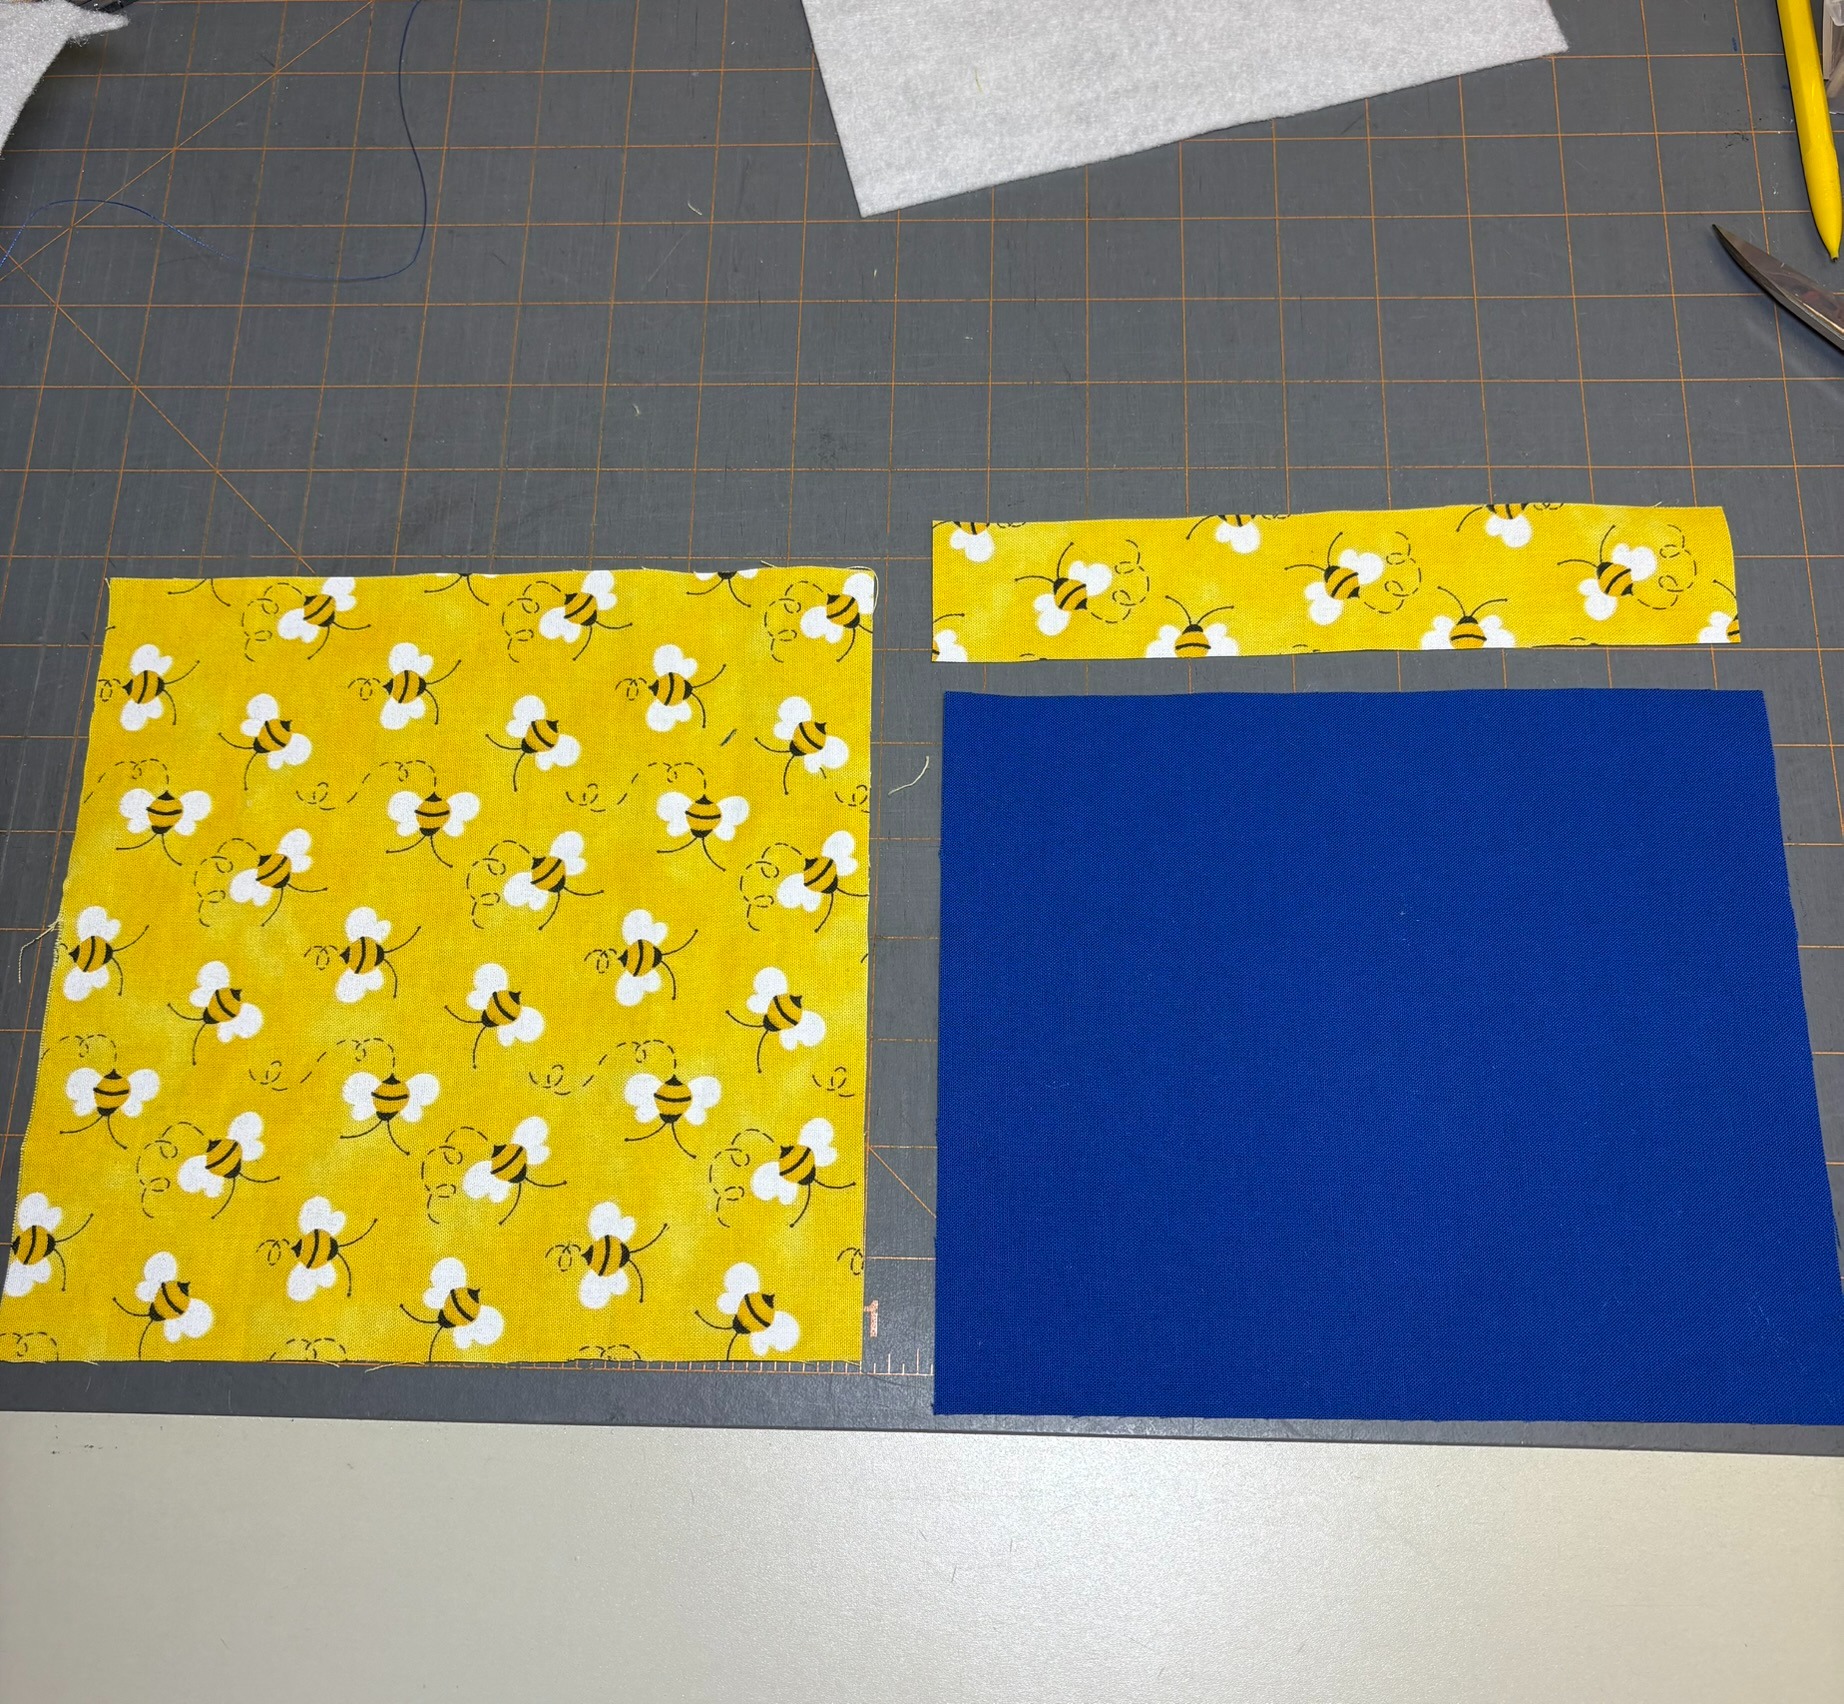
Cut:
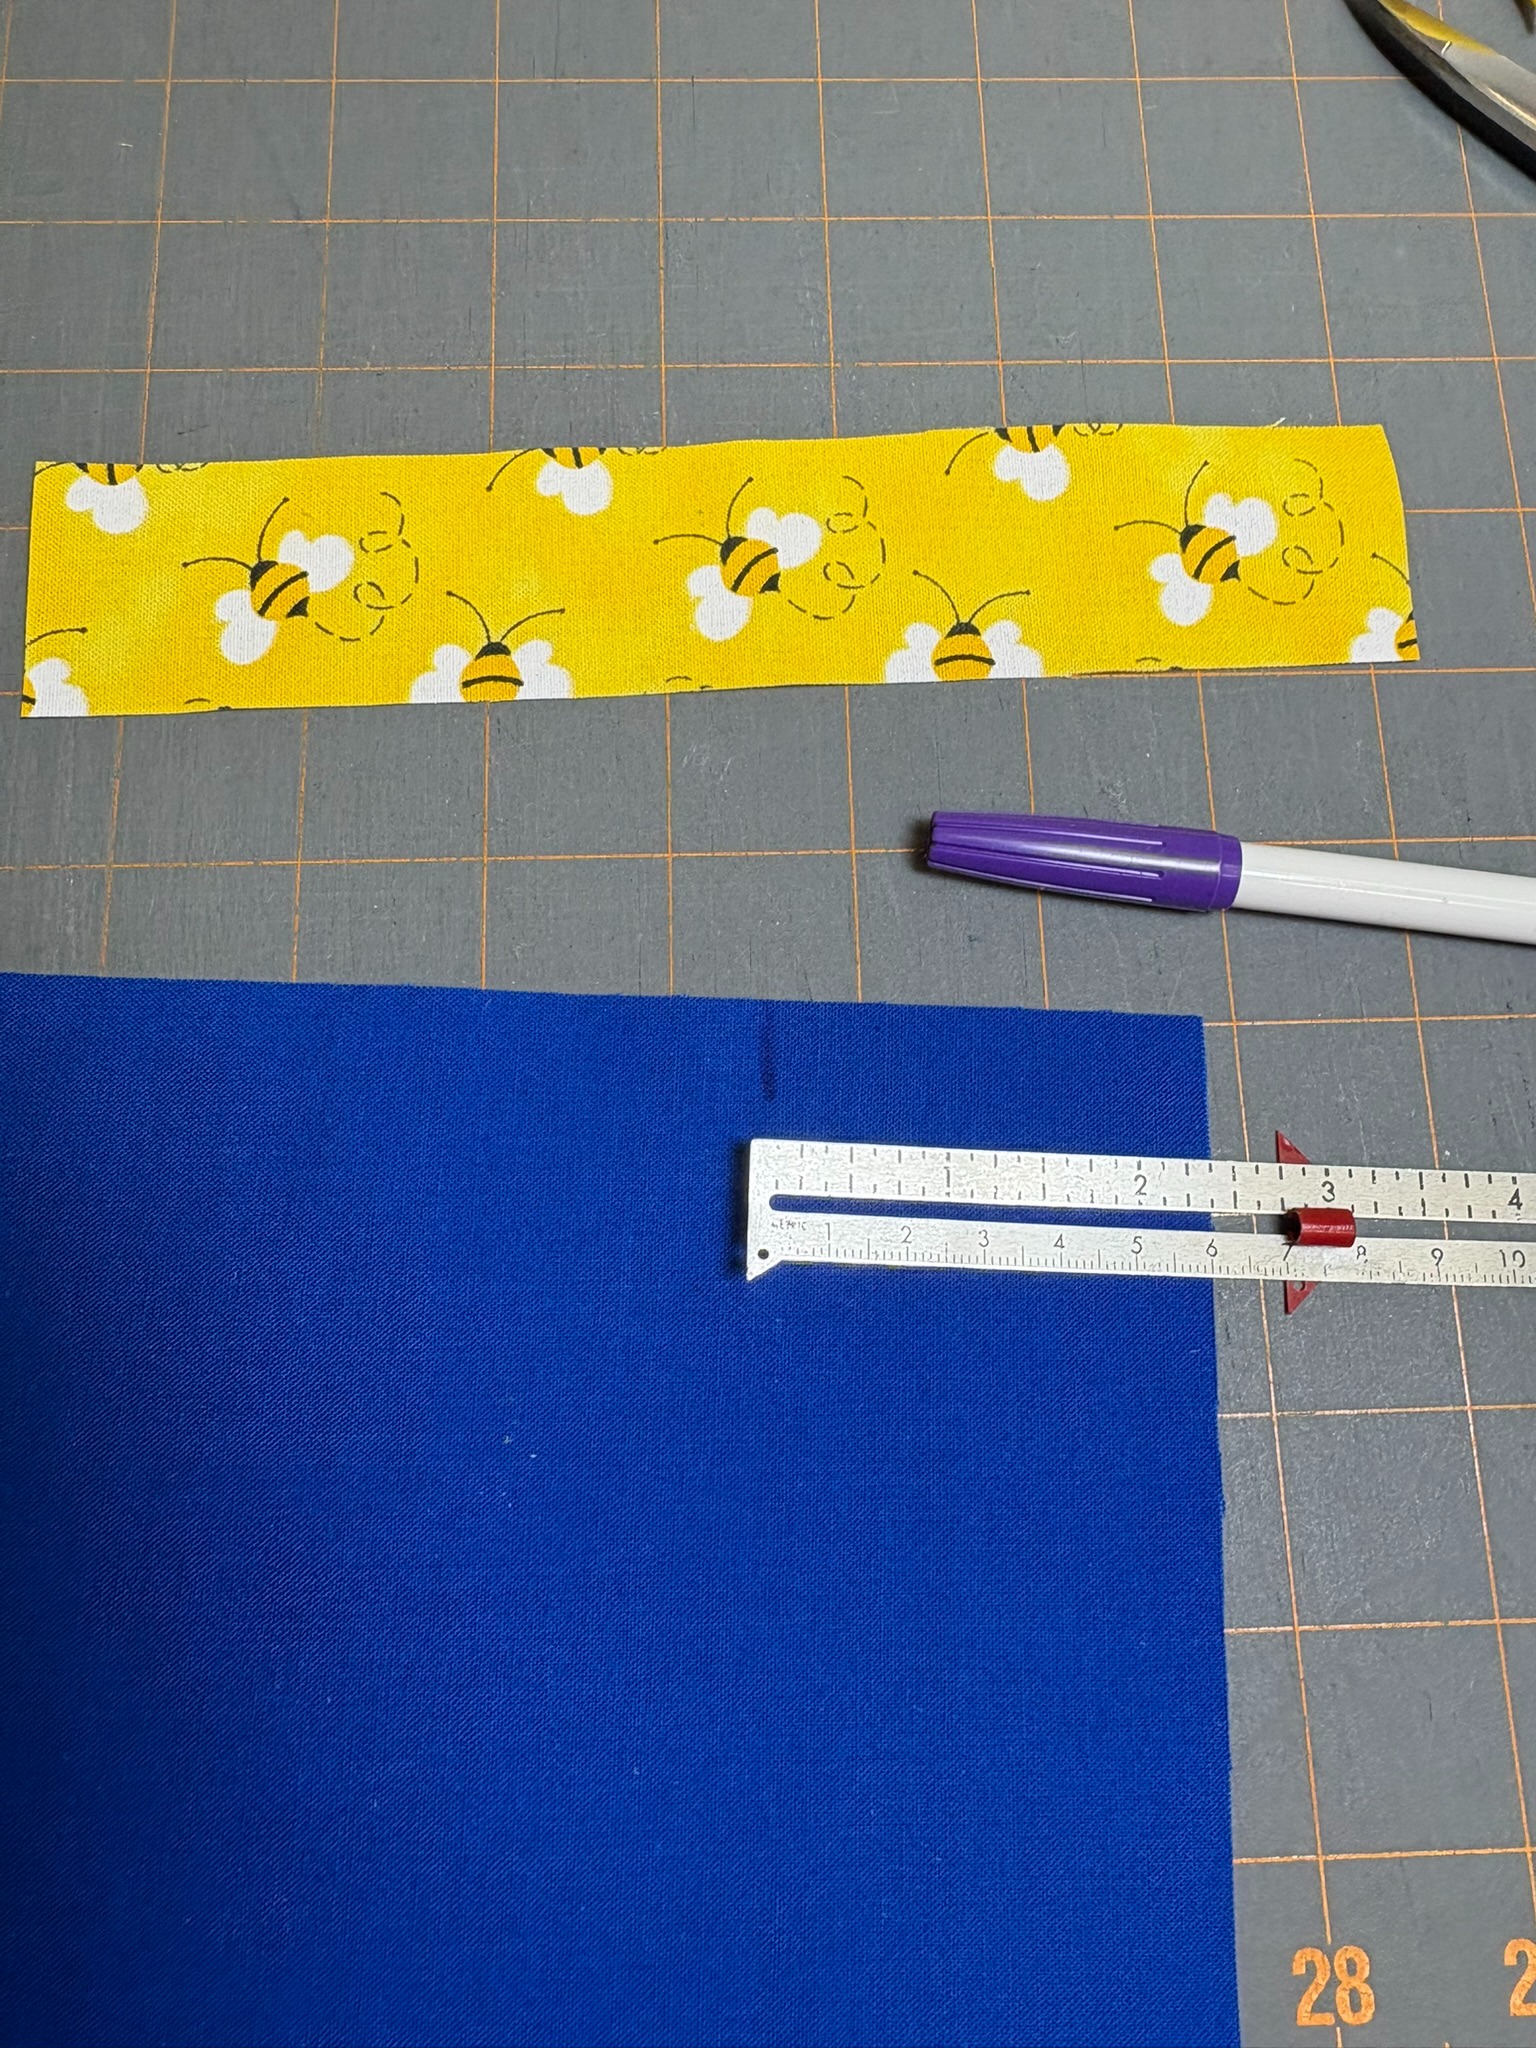
Using a disappearing marker, make a mark at the top of the case 2¼” from the top LEFT corner. (I did it on the right, but that threw me off because I’ve been embroidering all the designs on the right side of the case. Where I accidentally put the elastic meant that I had to use the left side for the design. I’d rather be consistent so it’s less easy to make mistakes, so put it on the left-hand side.)
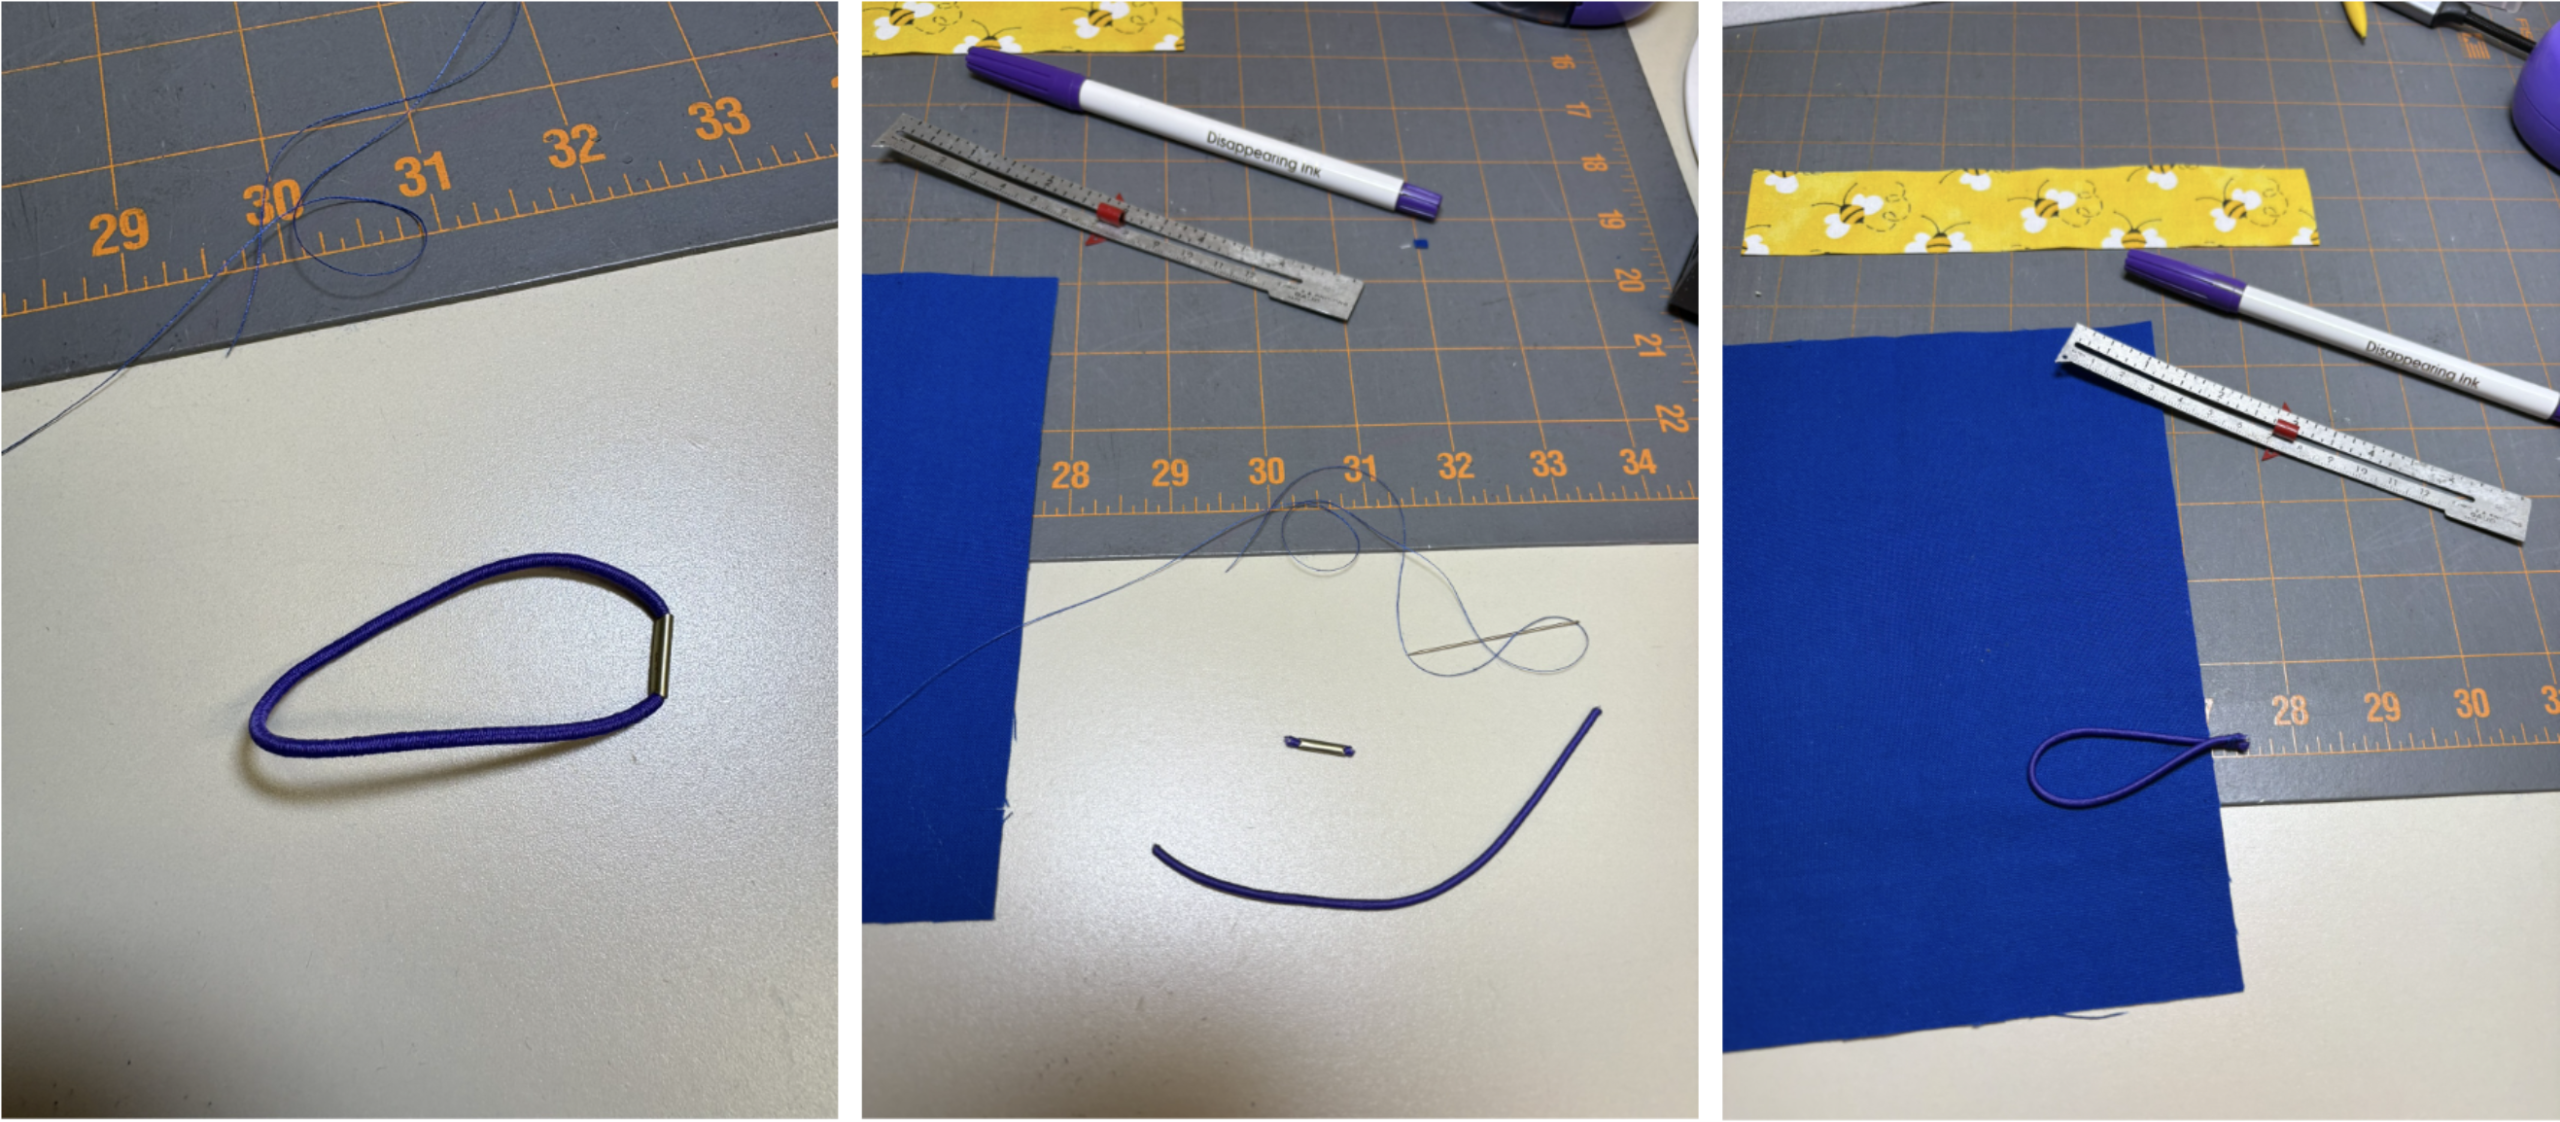
Pinch an elastic hair band about ¼” to ⅓” from one end and remove the metal piece. Use a needle and thread to keep it pinched together. I use a piece of painter’s tape to temporarily hold the elastic down with the loop hanging toward the bottom edge. Carefully run a line of stitching inside the ¼” seam line to hold the loop in place.
With right sides together, sew the case and band together. Backtrack over the loop.
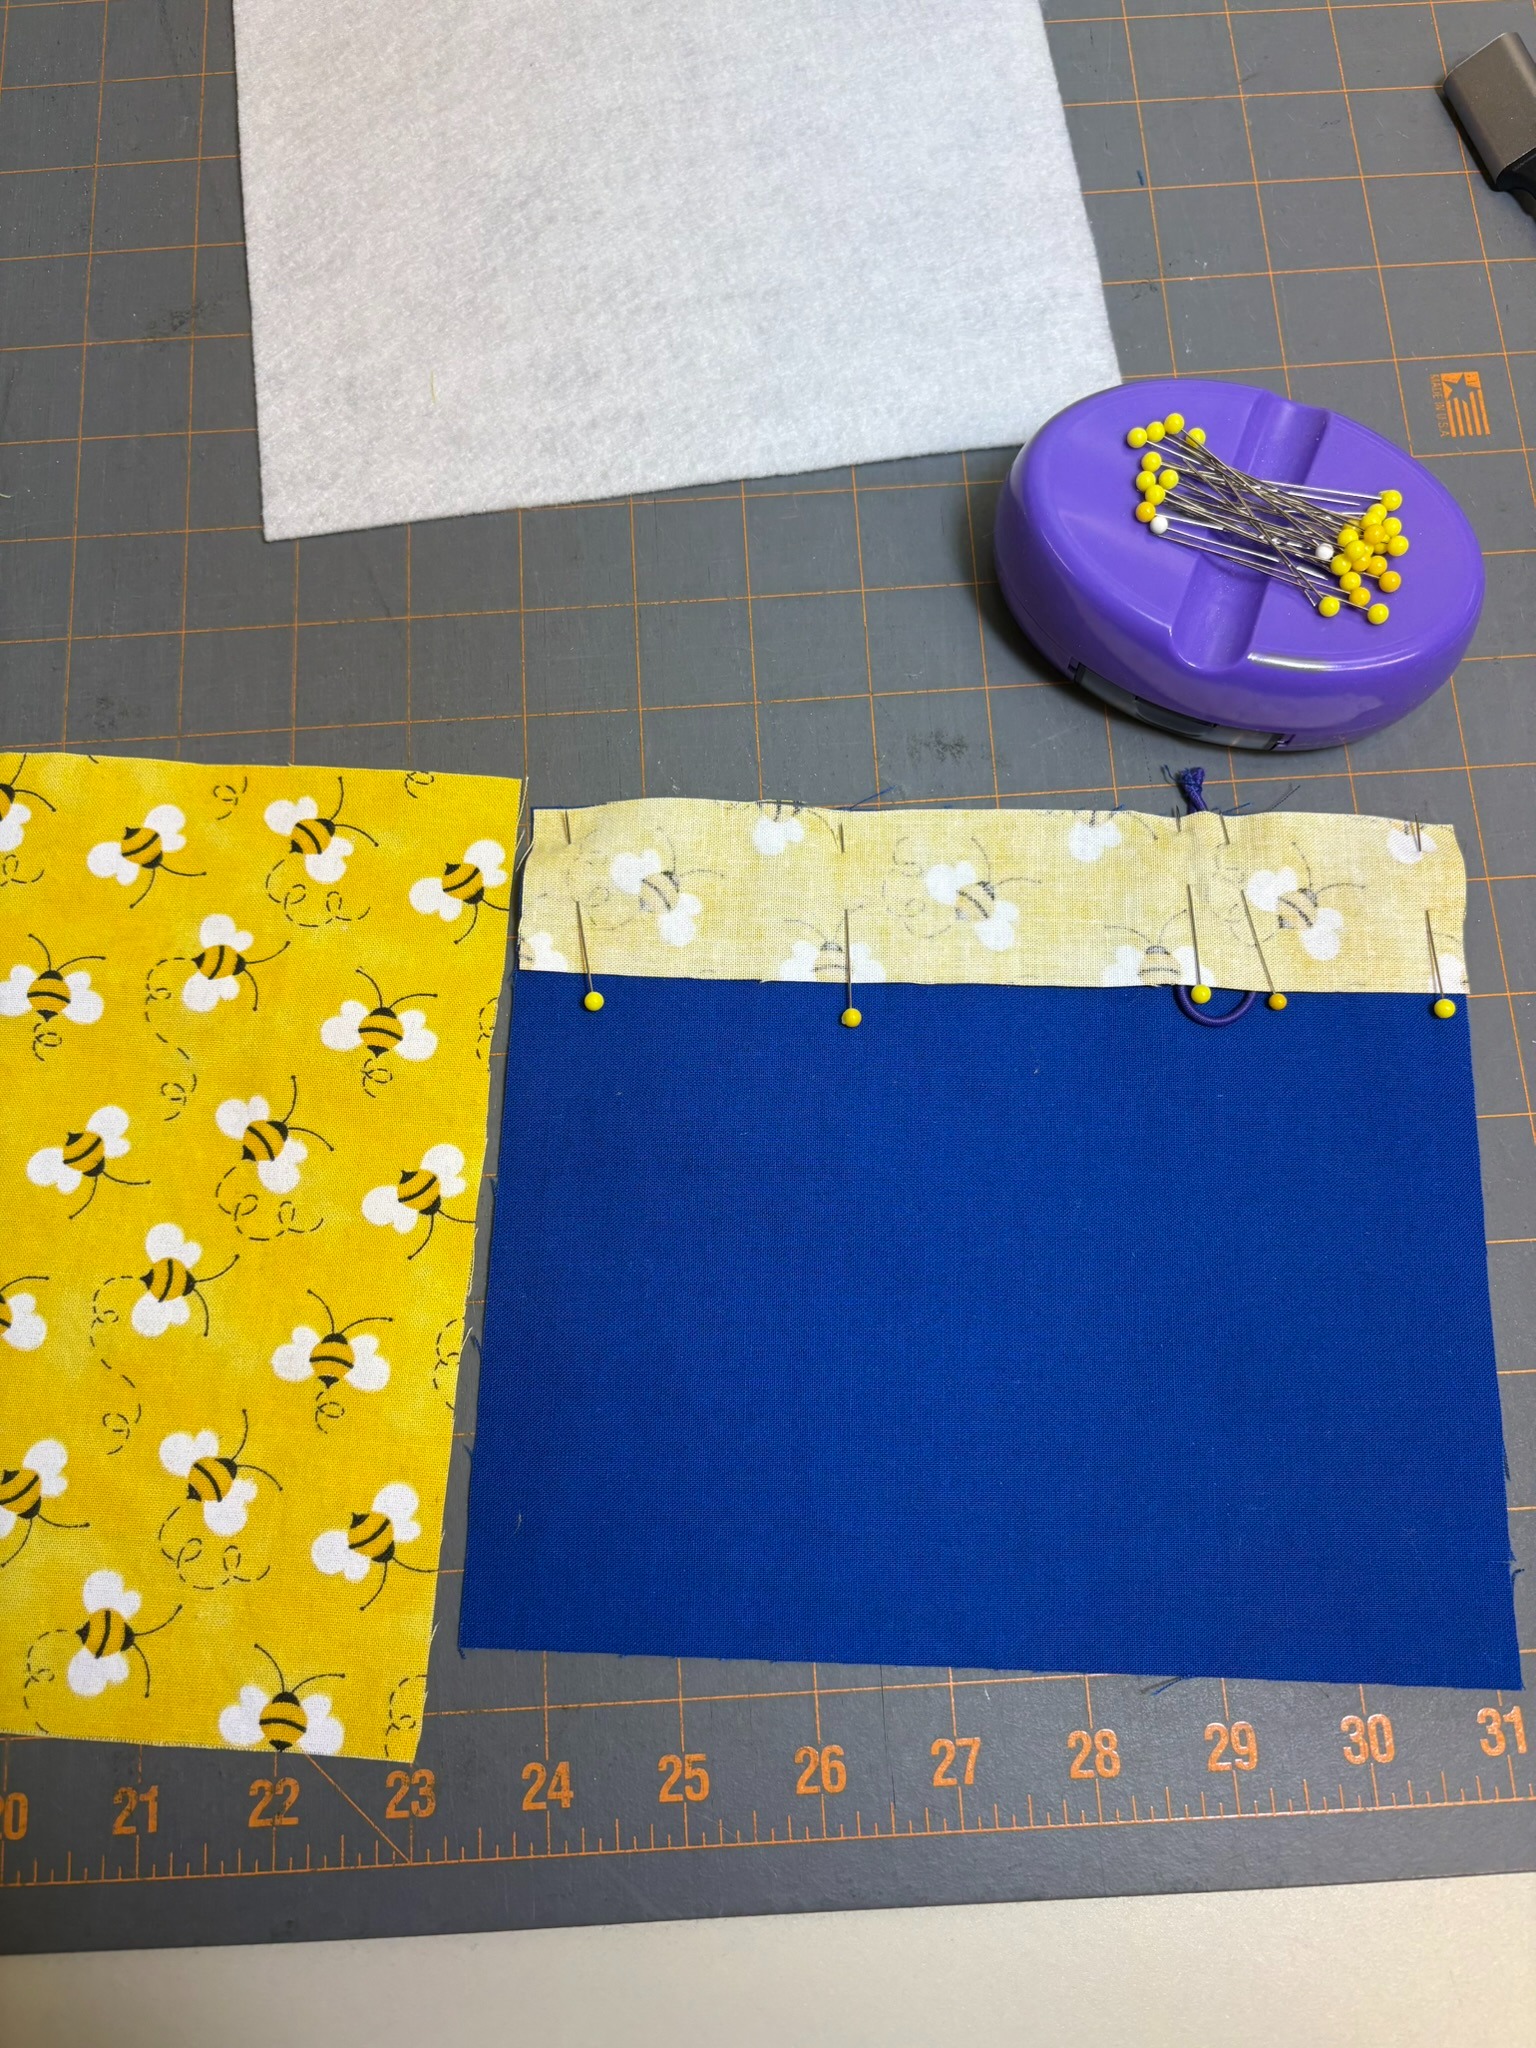
Press the seam toward the case. Double-check that your case is measuring 7¾” from top to bottom. Fuse the fleece to the back.
Embroider the design, making sure you have aligned the center of your stitch area. I’m using the bee from the ITH Busy Bees BeeYouTiFul Mug Rug.
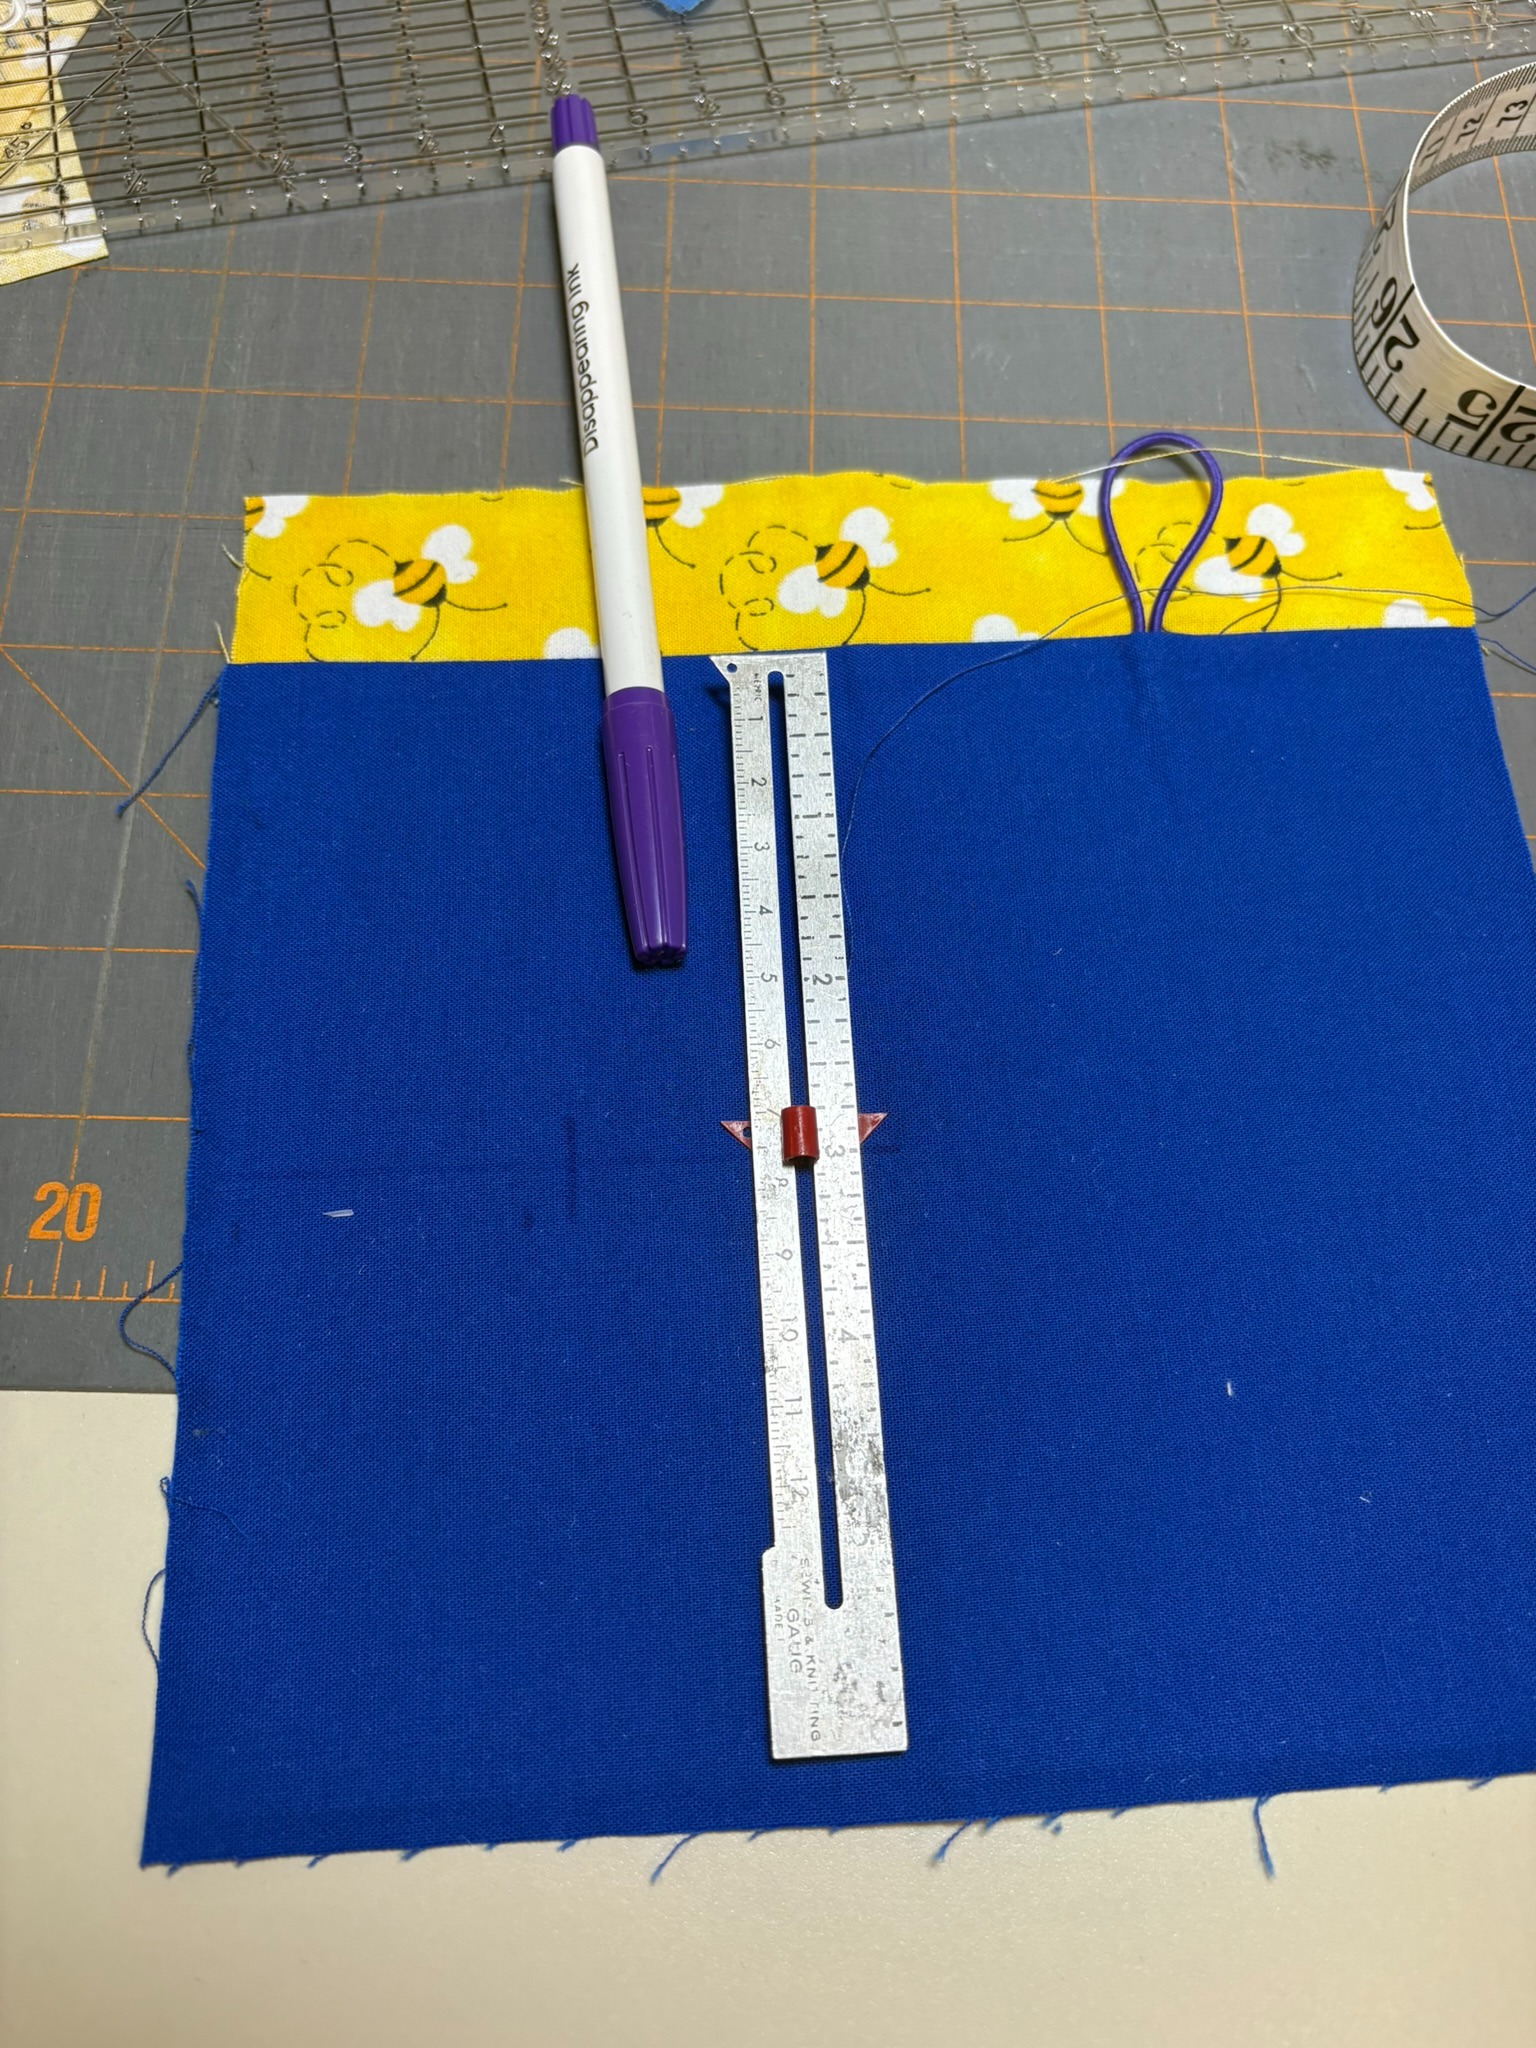
Once the design is stitched out, remove the stabilizer. Place the case and the lining with right sides together.
Stitch just the top seam, being careful not to catch the elastic loop. Press the seam toward the lining.
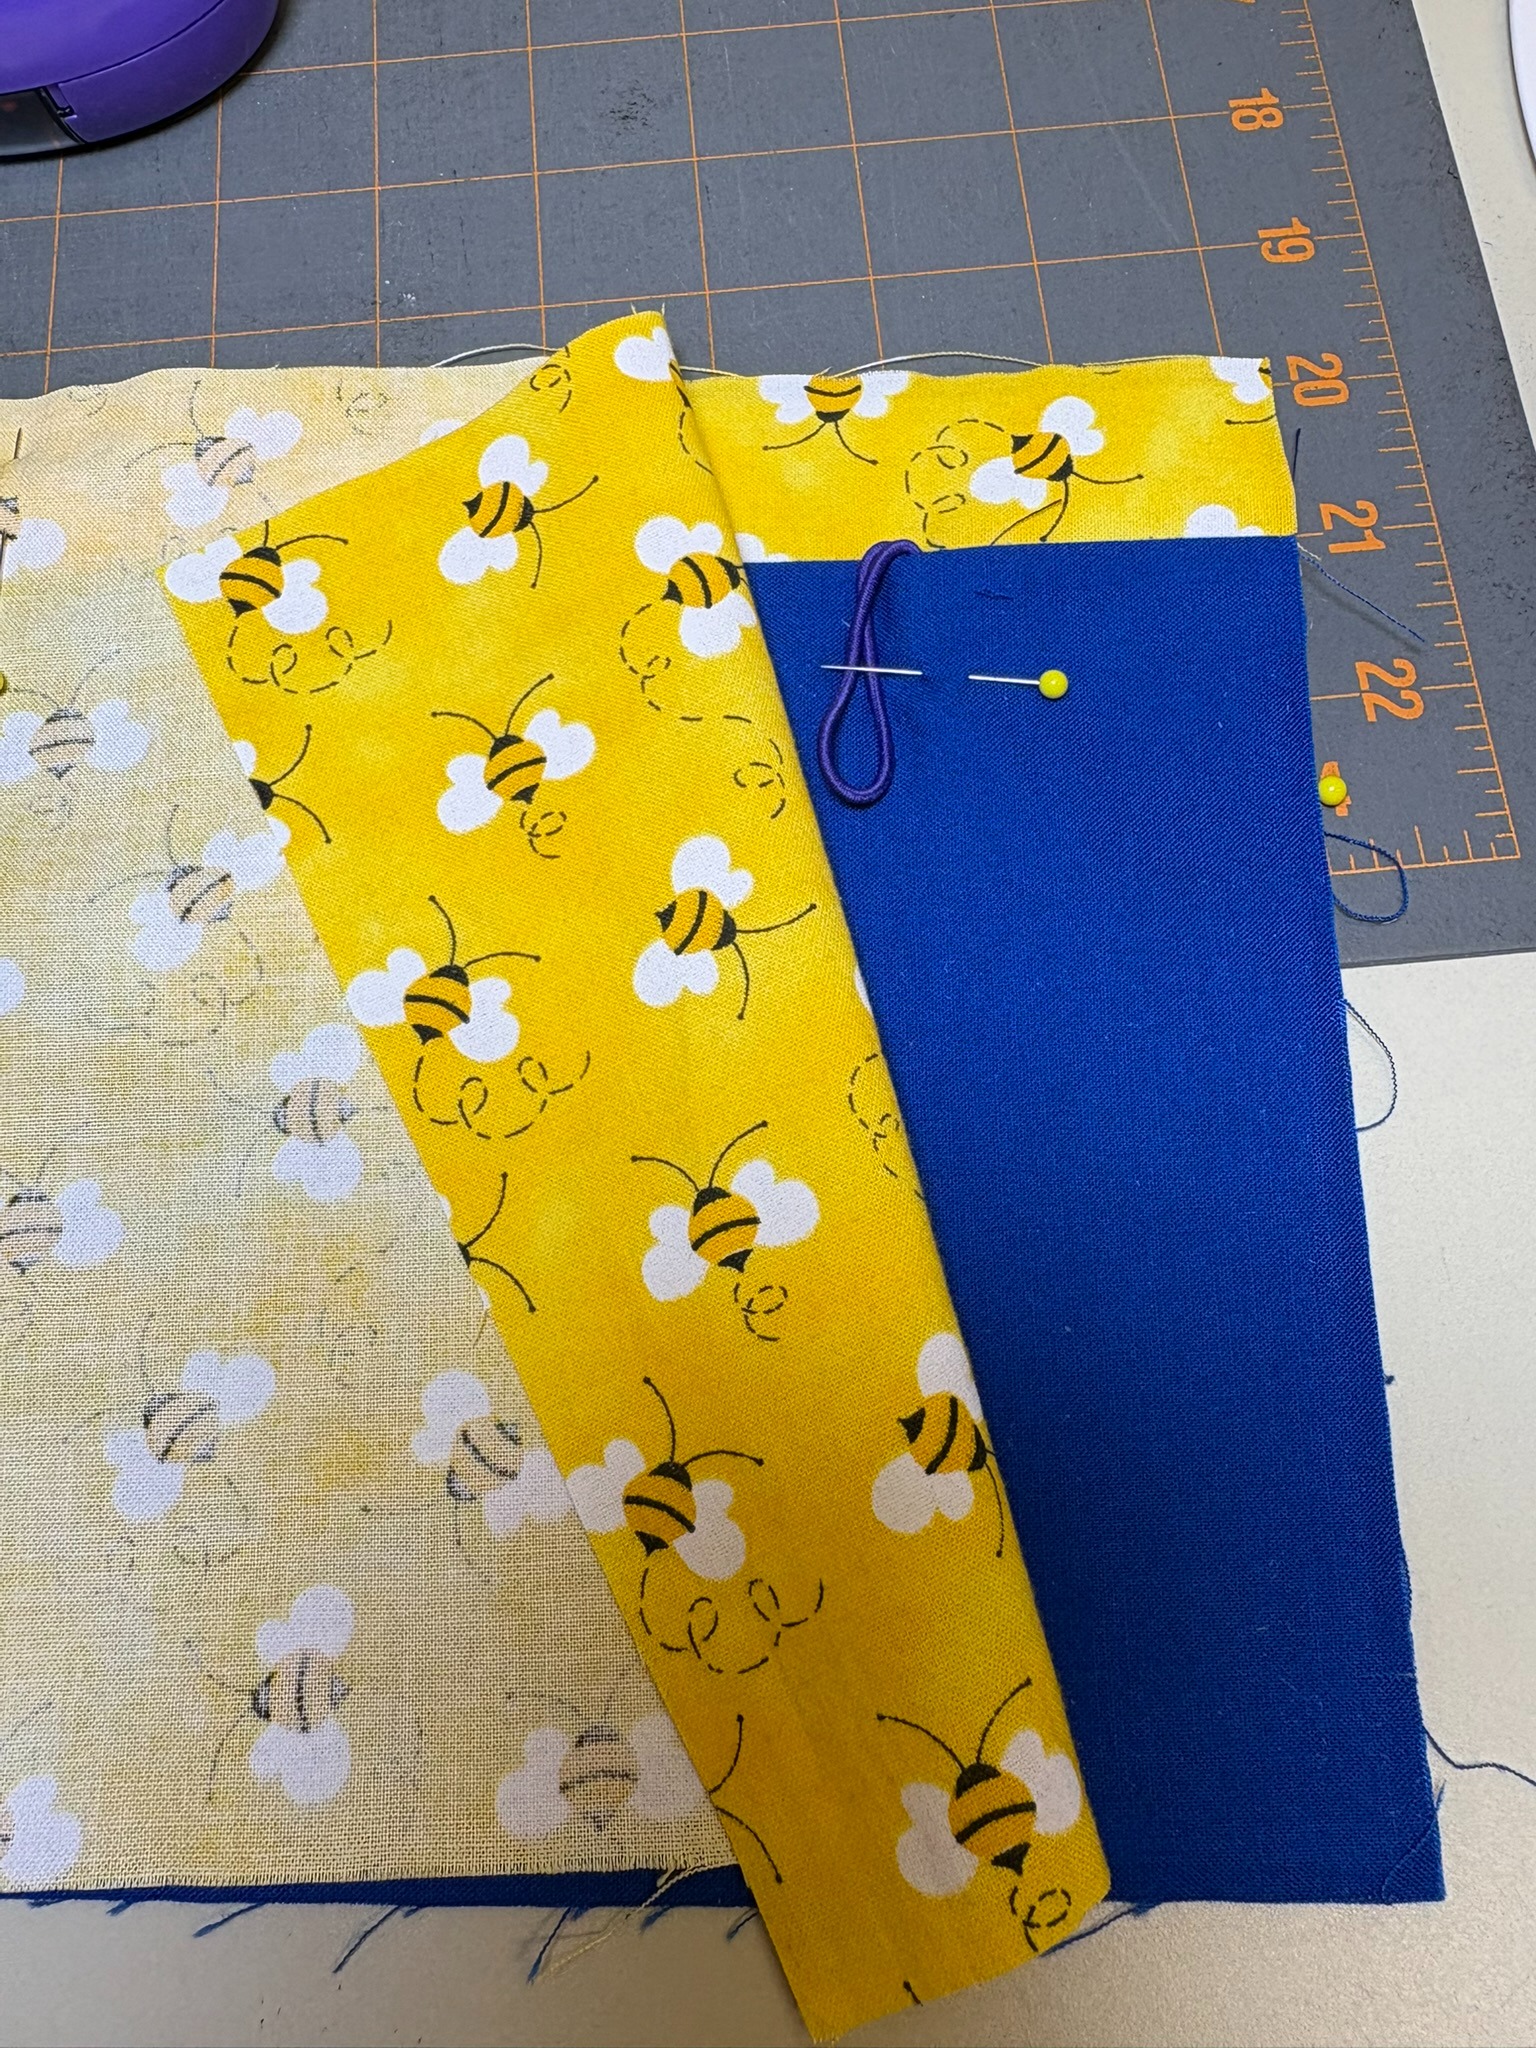
Fold the case in half hot-dog style, matching up the seams. Sew the seam, remembering to leave a 2” opening for turning. Trim the corners, and turn right side out. After using a tool to push the corners out, press the case. Hand or machine stitch the opening closed.
Tuck the lining into the case, using a tool to push the corners of the lining into the corners of the case. Press well. After pressing, you can topstitch along the top of the eyeglass case.
Add a button in the middle of the band for closing your eyeglass case.
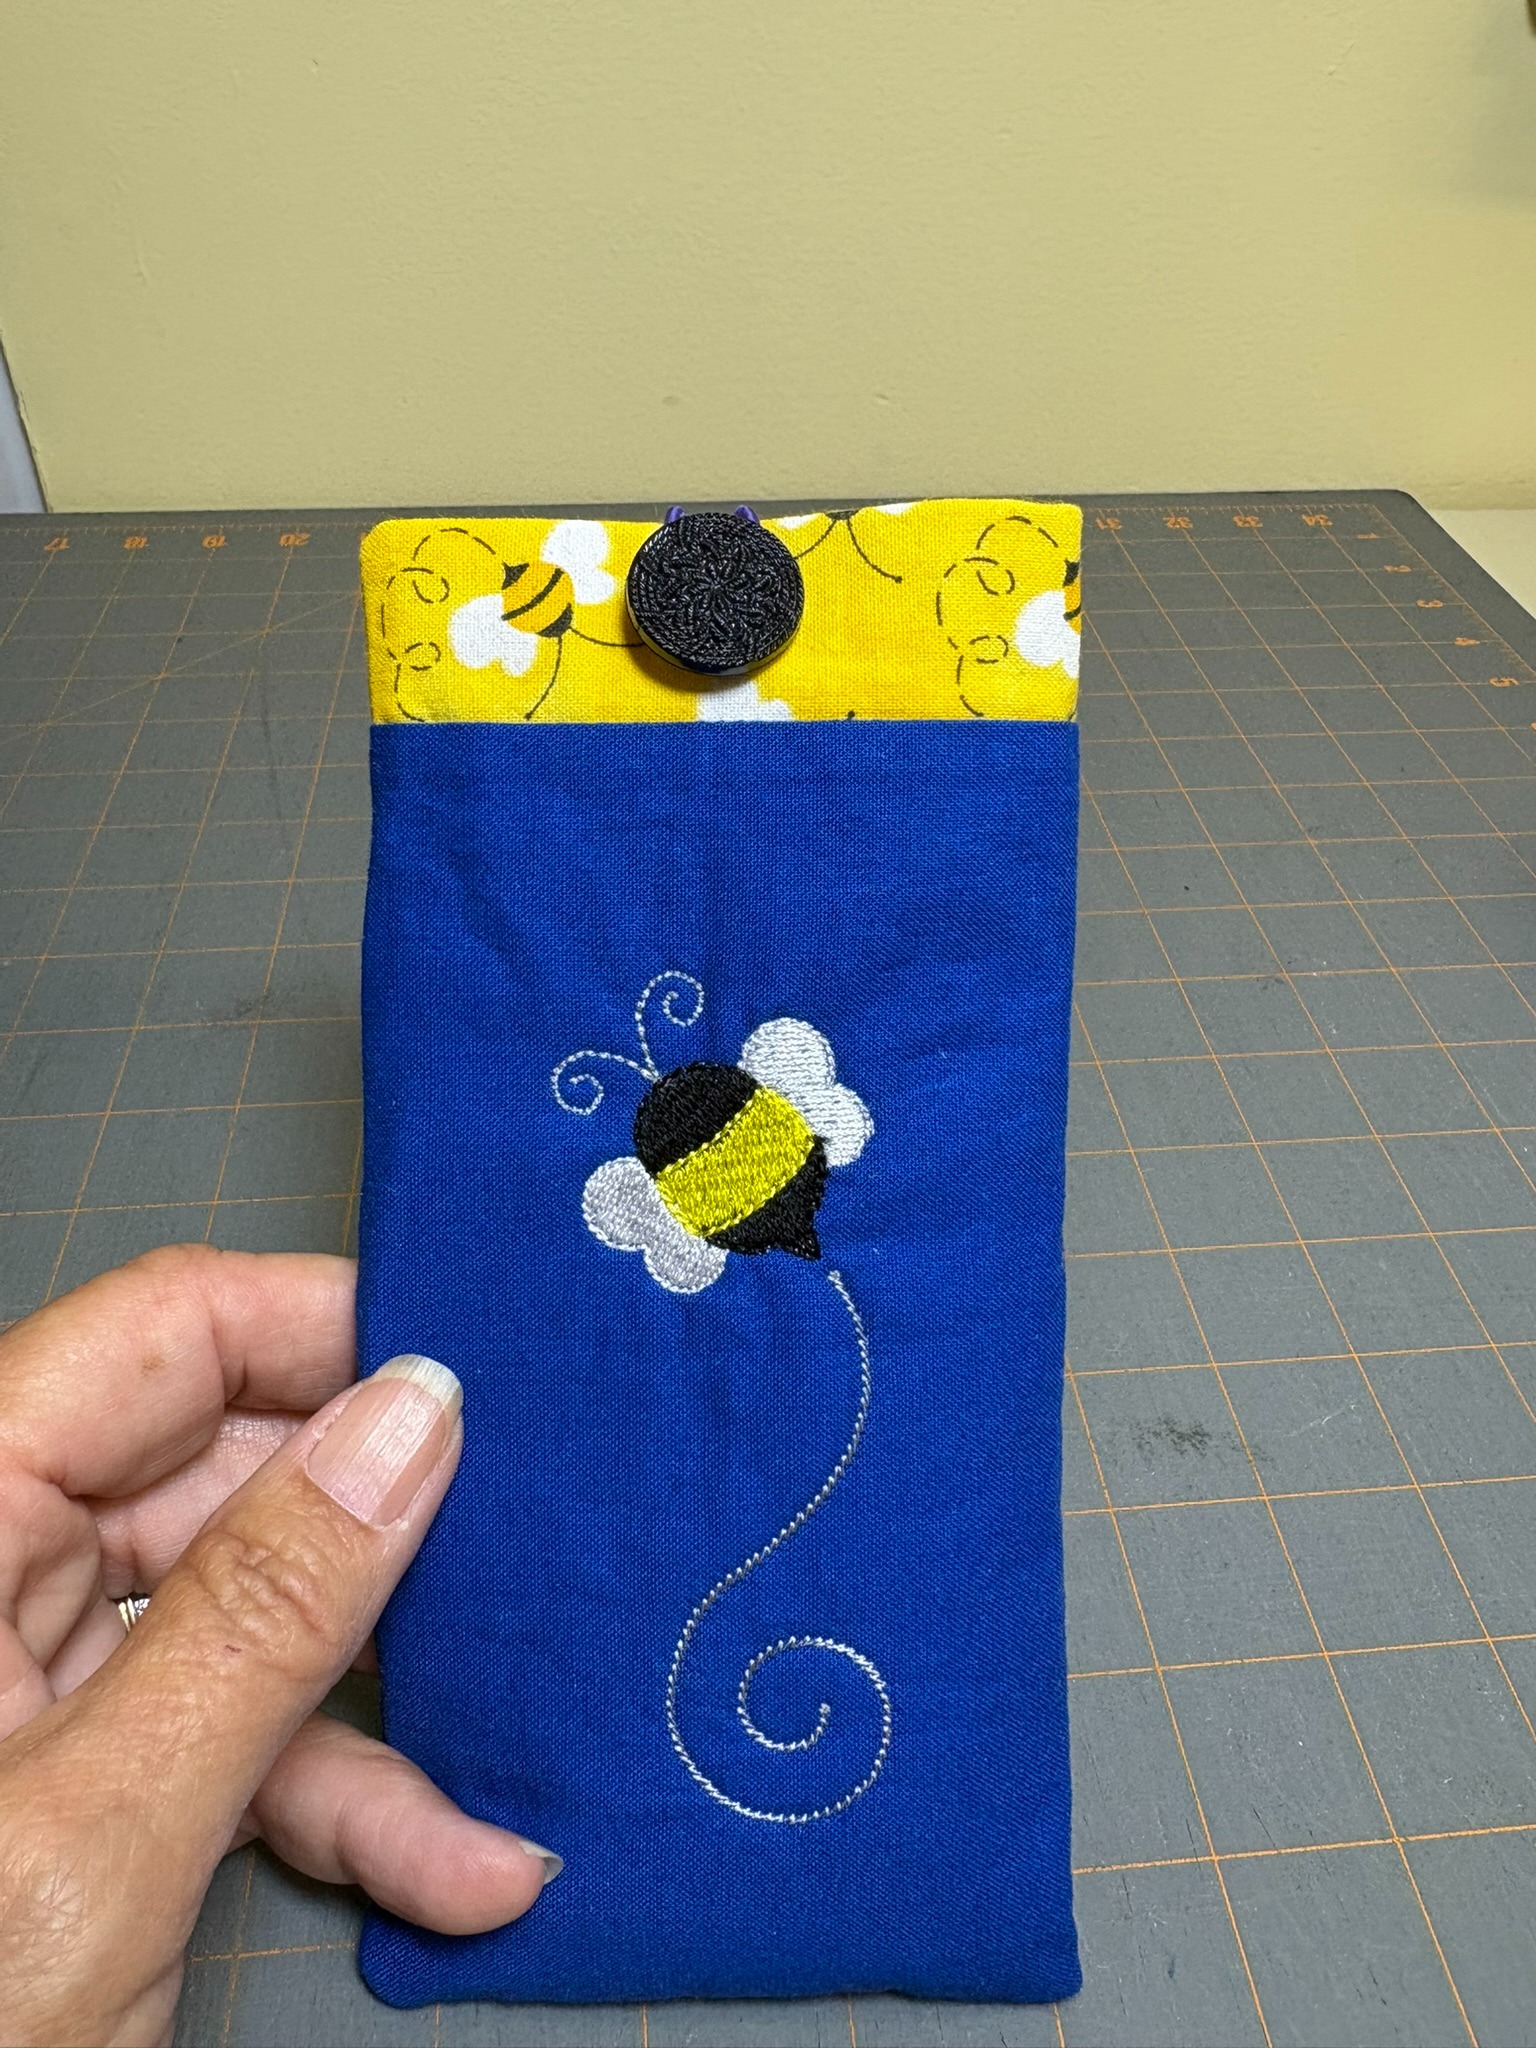
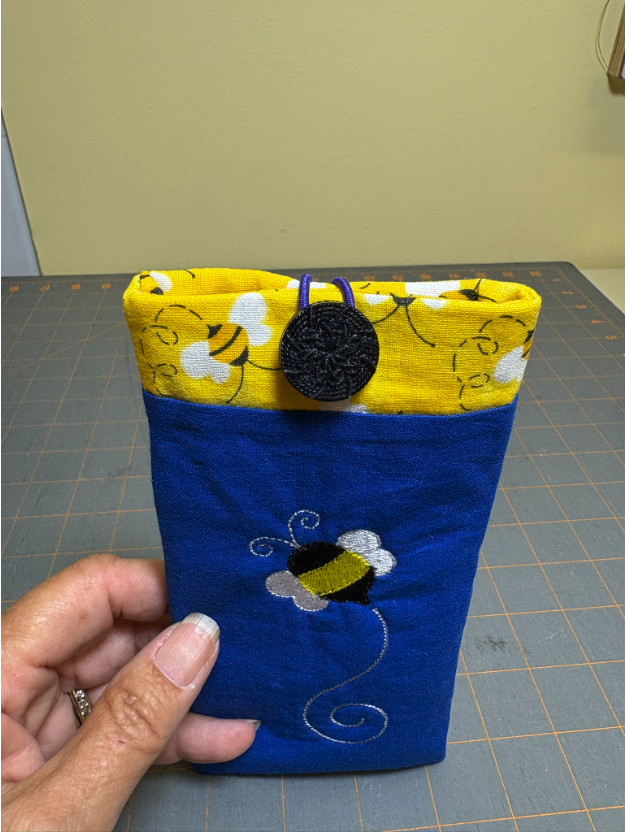
Both of these eyeglass case styles are very easy to make. You can easily change the width and the length for different kinds of glasses. If you’re not using an elastic loop closure, you can make a bigger band for coordinating designs and fabric prints. Plus, because the design area is small, most of the designs you’ll choose will stitch out super quick. The red flower took only 6 minutes! Keep these eyeglass cases in mind for quick gifts or to make a coordinated accessory to go with one of the DBJJ bags you make. Have fun!
Please be sure to share your projects in the Designs by JuJu Embroidery Blessings Facebook Group, or use the hashtag #designsbyjuju anywhere on social media. We all love to see what you create!
*Yes, that’s a purple elastic. I had a black one with my supplies, but I either buried it under clutter or accidentally threw it away with trimmings, or it walked off on the head of a 6-year-old granddaughter.