Toggle Nav
 Inspire.
Create.
Stitch.
Inspire.
Create.
Stitch.
Search

Designs by JuJu has once again revolutionized the embroidery design industry with their new Quilting Backdrops! Similar to other In The Hoop (ITH) projects, Quilting Backdrops allow embroidery enthusiasts to combine their love of embroidery, sewing, and quilting to create custom, one-of-a-kind, Quilt-As-You-Go projects (QAYG). These new files give sewists a vast amount of creative freedom to design, mix and match, and explore the unlimited capabilities found within each Quilting Backdrops design set.
Every Quilting Backdrops design set includes:
A) Square Blocks,
B) 2” Sashing Blocks, and
C) 3”, 4”, and 6” Width Blocks.
JuJu has included both horizontal and vertical rectangle blocks for directional image motifs, to avoid upside down or sideways images within your QAYG project. As an additional bonus, JuJu has also included “Quilting Only” files that can be used to embroider a finished quilt top, similar to End-to-End designs.
**NOTE: These bonus files are only included for motifs that are closed shapes to ensure a nice finished look for projects.**
As you begin your QAYG project, it is important to consider the size and desired look you would like to achieve. Baby blankets, placemats, full size quilts, wall hangings, etc. only begin to scratch the surface of what can be made using these new and revolutionary Quilting Backdrops!
When brainstorming ideas for a project I would like to tackle, a mini quilt seemed like the perfect choice for me. I should admit that I have absolutely NO quilting experience whatsoever. My mom is the true seamstress in my family and I always can count on her support in my extensive sewing projects, when needed. That being said, I know my way around an embroidery machine. I also trust that any design I purchase from Designs By JuJu is going to have been rigorously tested to ensure the highest quality. Don’t let being a beginner shy you away from the amazing design capabilities of Quilting Backdrops.
For today’s project guide, I will be stepping out of my comfort zone and dipping into the realm of quilting to create a mini quilt for my daughter’s bedroom. As stated before, I have absolutely zero quilting experience, but I have made numerous sets of ITH placemats and table runners from DBJJ. The assembly process for QAYG projects and JuJu’s ITH projects is very similar. What sets QAYG projects apart from other ITH projects though is the option for customization and creativity.
Check out Embroidery Supplies JuJu Uses for our favorite supplies!
As a beginning quilter, I needed to do some research on mini quilt design and etiquette. My first question was, “What size is a mini quilt?” I learned that mini quilts are traditionally 12 to 24 inches per side. They can be smaller, but are typically not larger than 24 inches. They are miniature versions of larger quilts and are composed of various quilt blocks and sashings, perfect for using DBJJ’s Quilting Backdrops!
Before I ever began stitching, I designed my project using Embrilliance Embroidery Software. Software is not required to complete QAYG projects, but it does allow you to play around with the various blocks and create a layout that works best for you. I found it very helpful for the design process.
For my mini quilt, I decided to use Quilting Backdrops Daisy Chain. I first started with a 9” x 9” square block as my focal piece and outlined it with four 2” square blocks, two 2” x 9” horizontal 2” sashing blocks, and two 2” x 9” vertical 2” sashing blocks. I completed my mini quilt design with the Stay Wild word art from the Wildflower Sayings 1 on the 9” x 9” quilt block. Based on these dimensions, my completed mini quilt would measure 13” on each side.

Step 1: Hoop cutaway stabilizer.

Step 2: Stitch the placement line for your batting.
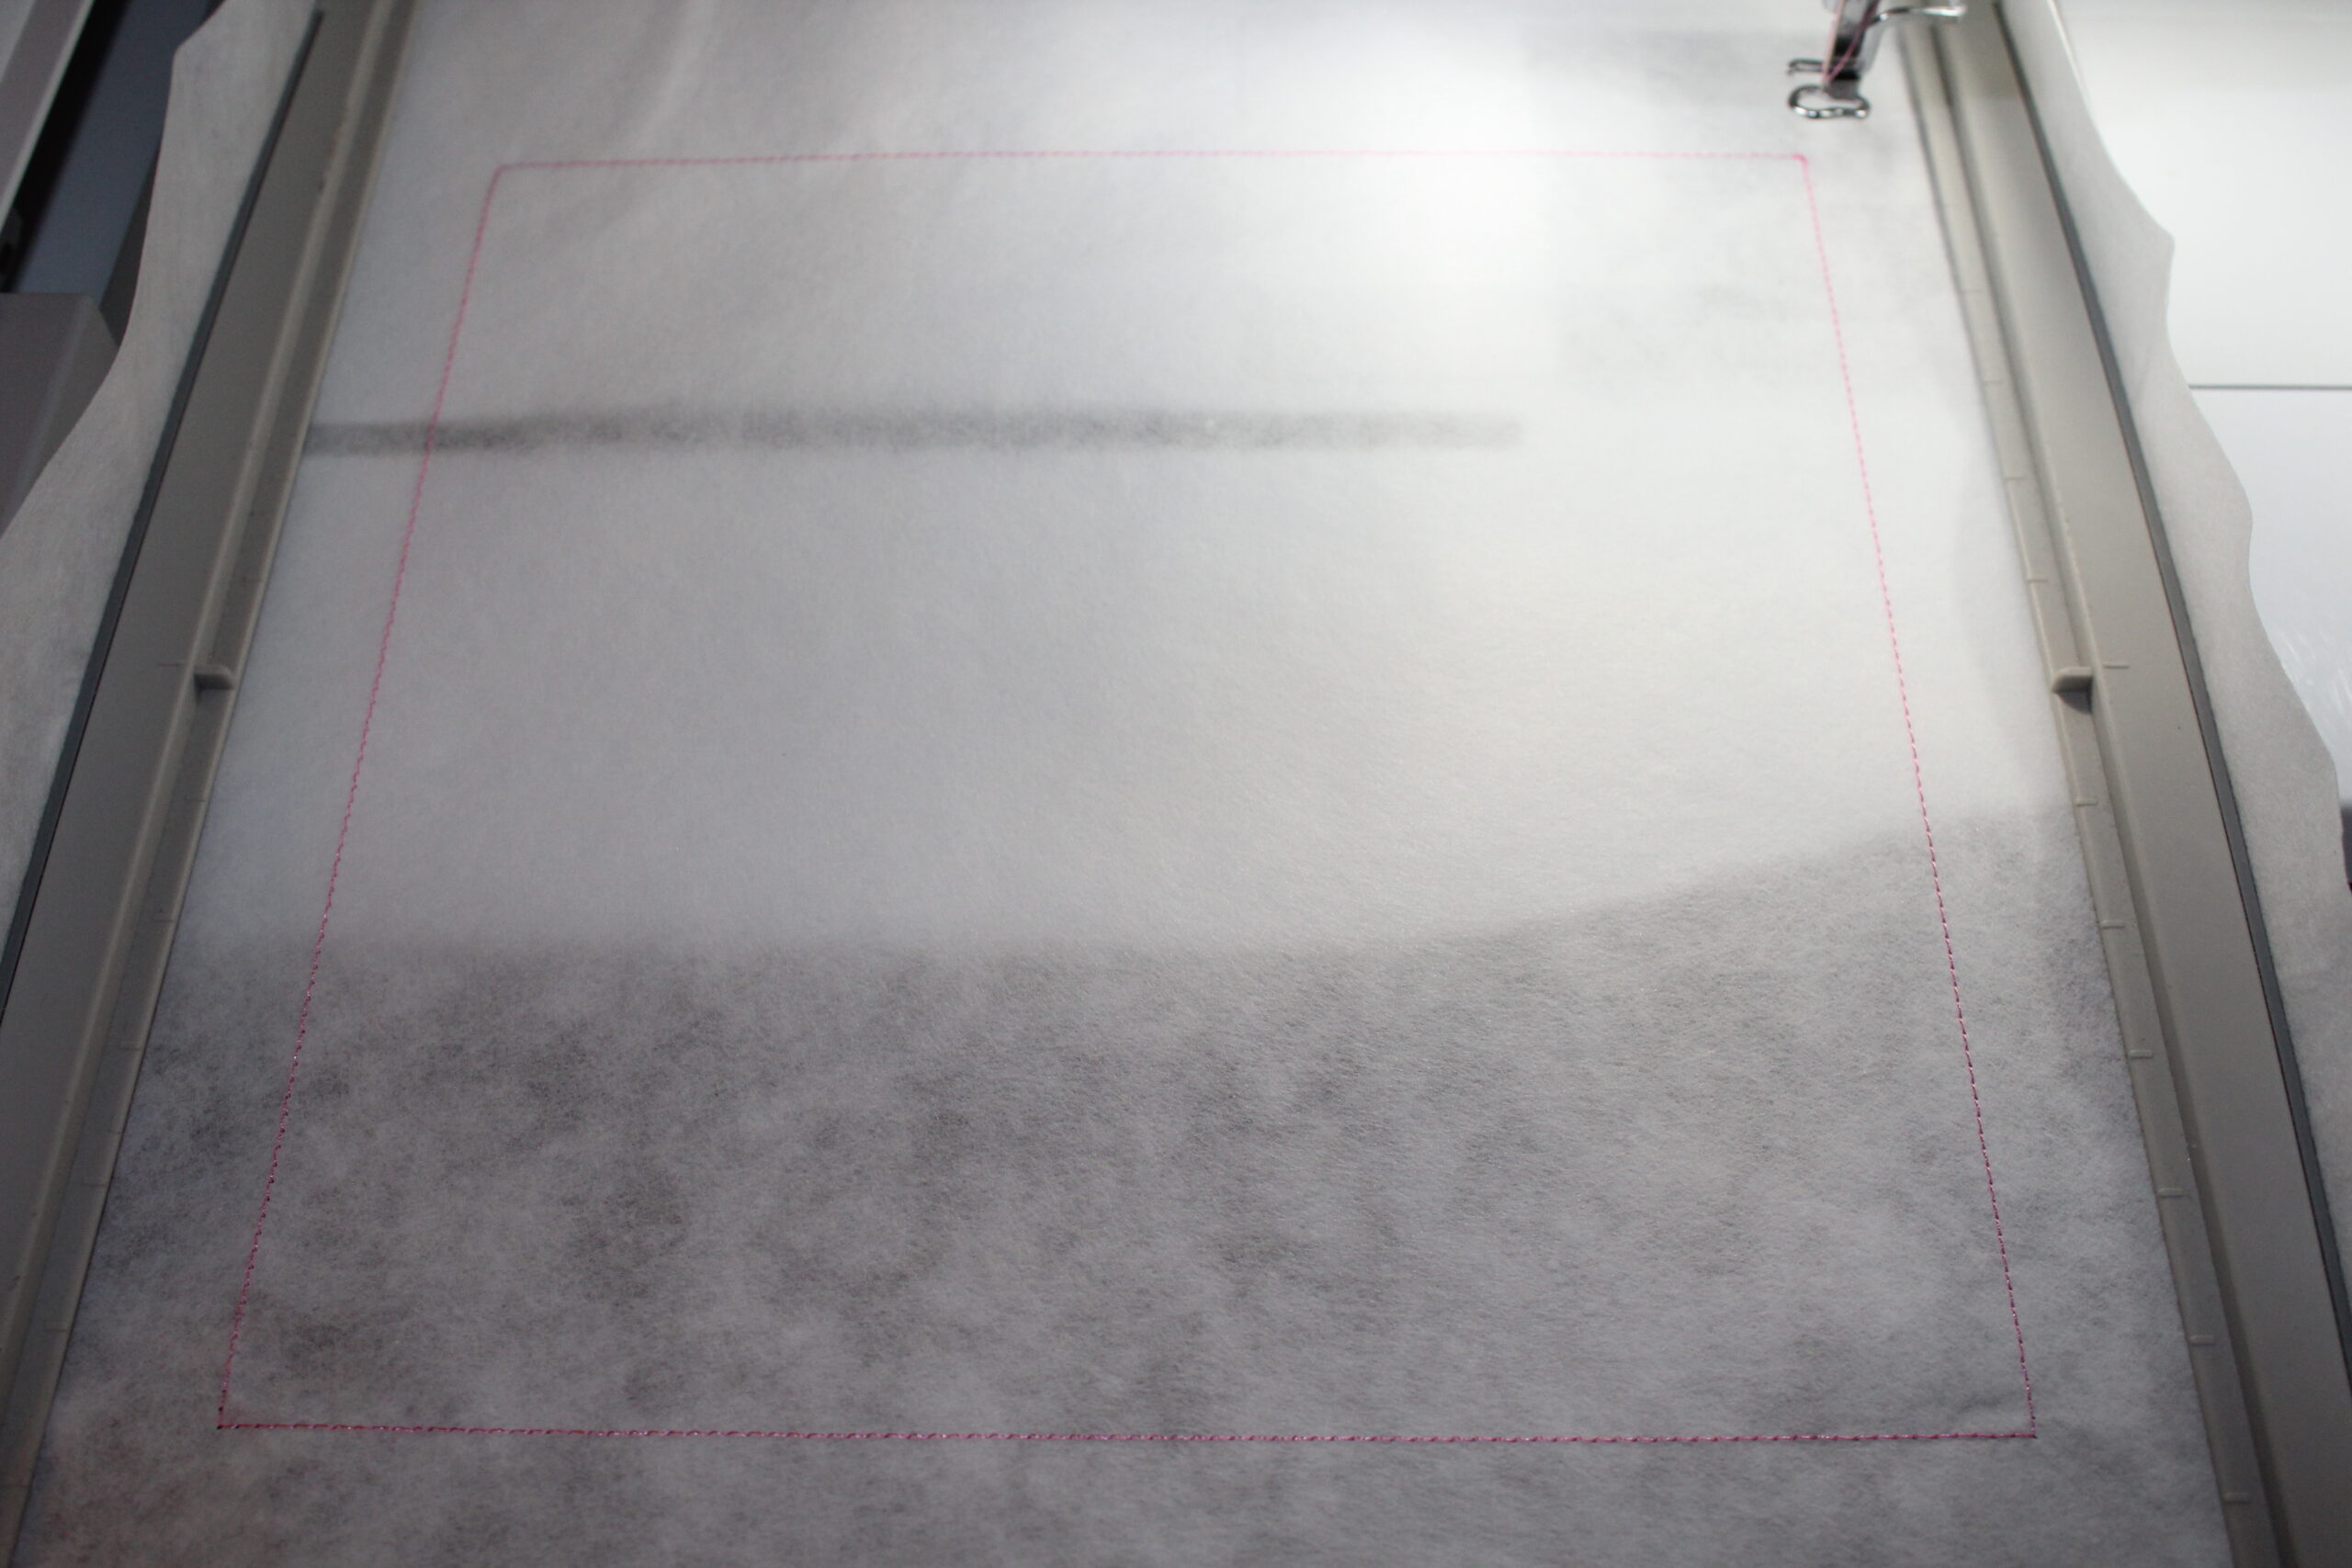
Step 3: Tack down your batting and trim around it, being careful not to cut any stitches

Step 4: Lay your fabric on top of your batting and tack it down. It should extend beyond the batting line by over ½” on all sides.
Step 5: Stitch the decorative quilt block design.
Step 5a (Optional): Stitch any additional design elements (ex. Stay Wild on 9" x 9” focal block).

Step 6: Remove the block from the hoop and set aside.
Step 7: Repeat steps 1 - 6 for any remaining quilt blocks.
Step 8: Cut away excess stabilizer from the quilt blocks.
Step 9: Using scissors or a rotary cutter, trim each block, leaving ½” excess fabric around the outer stitch line.

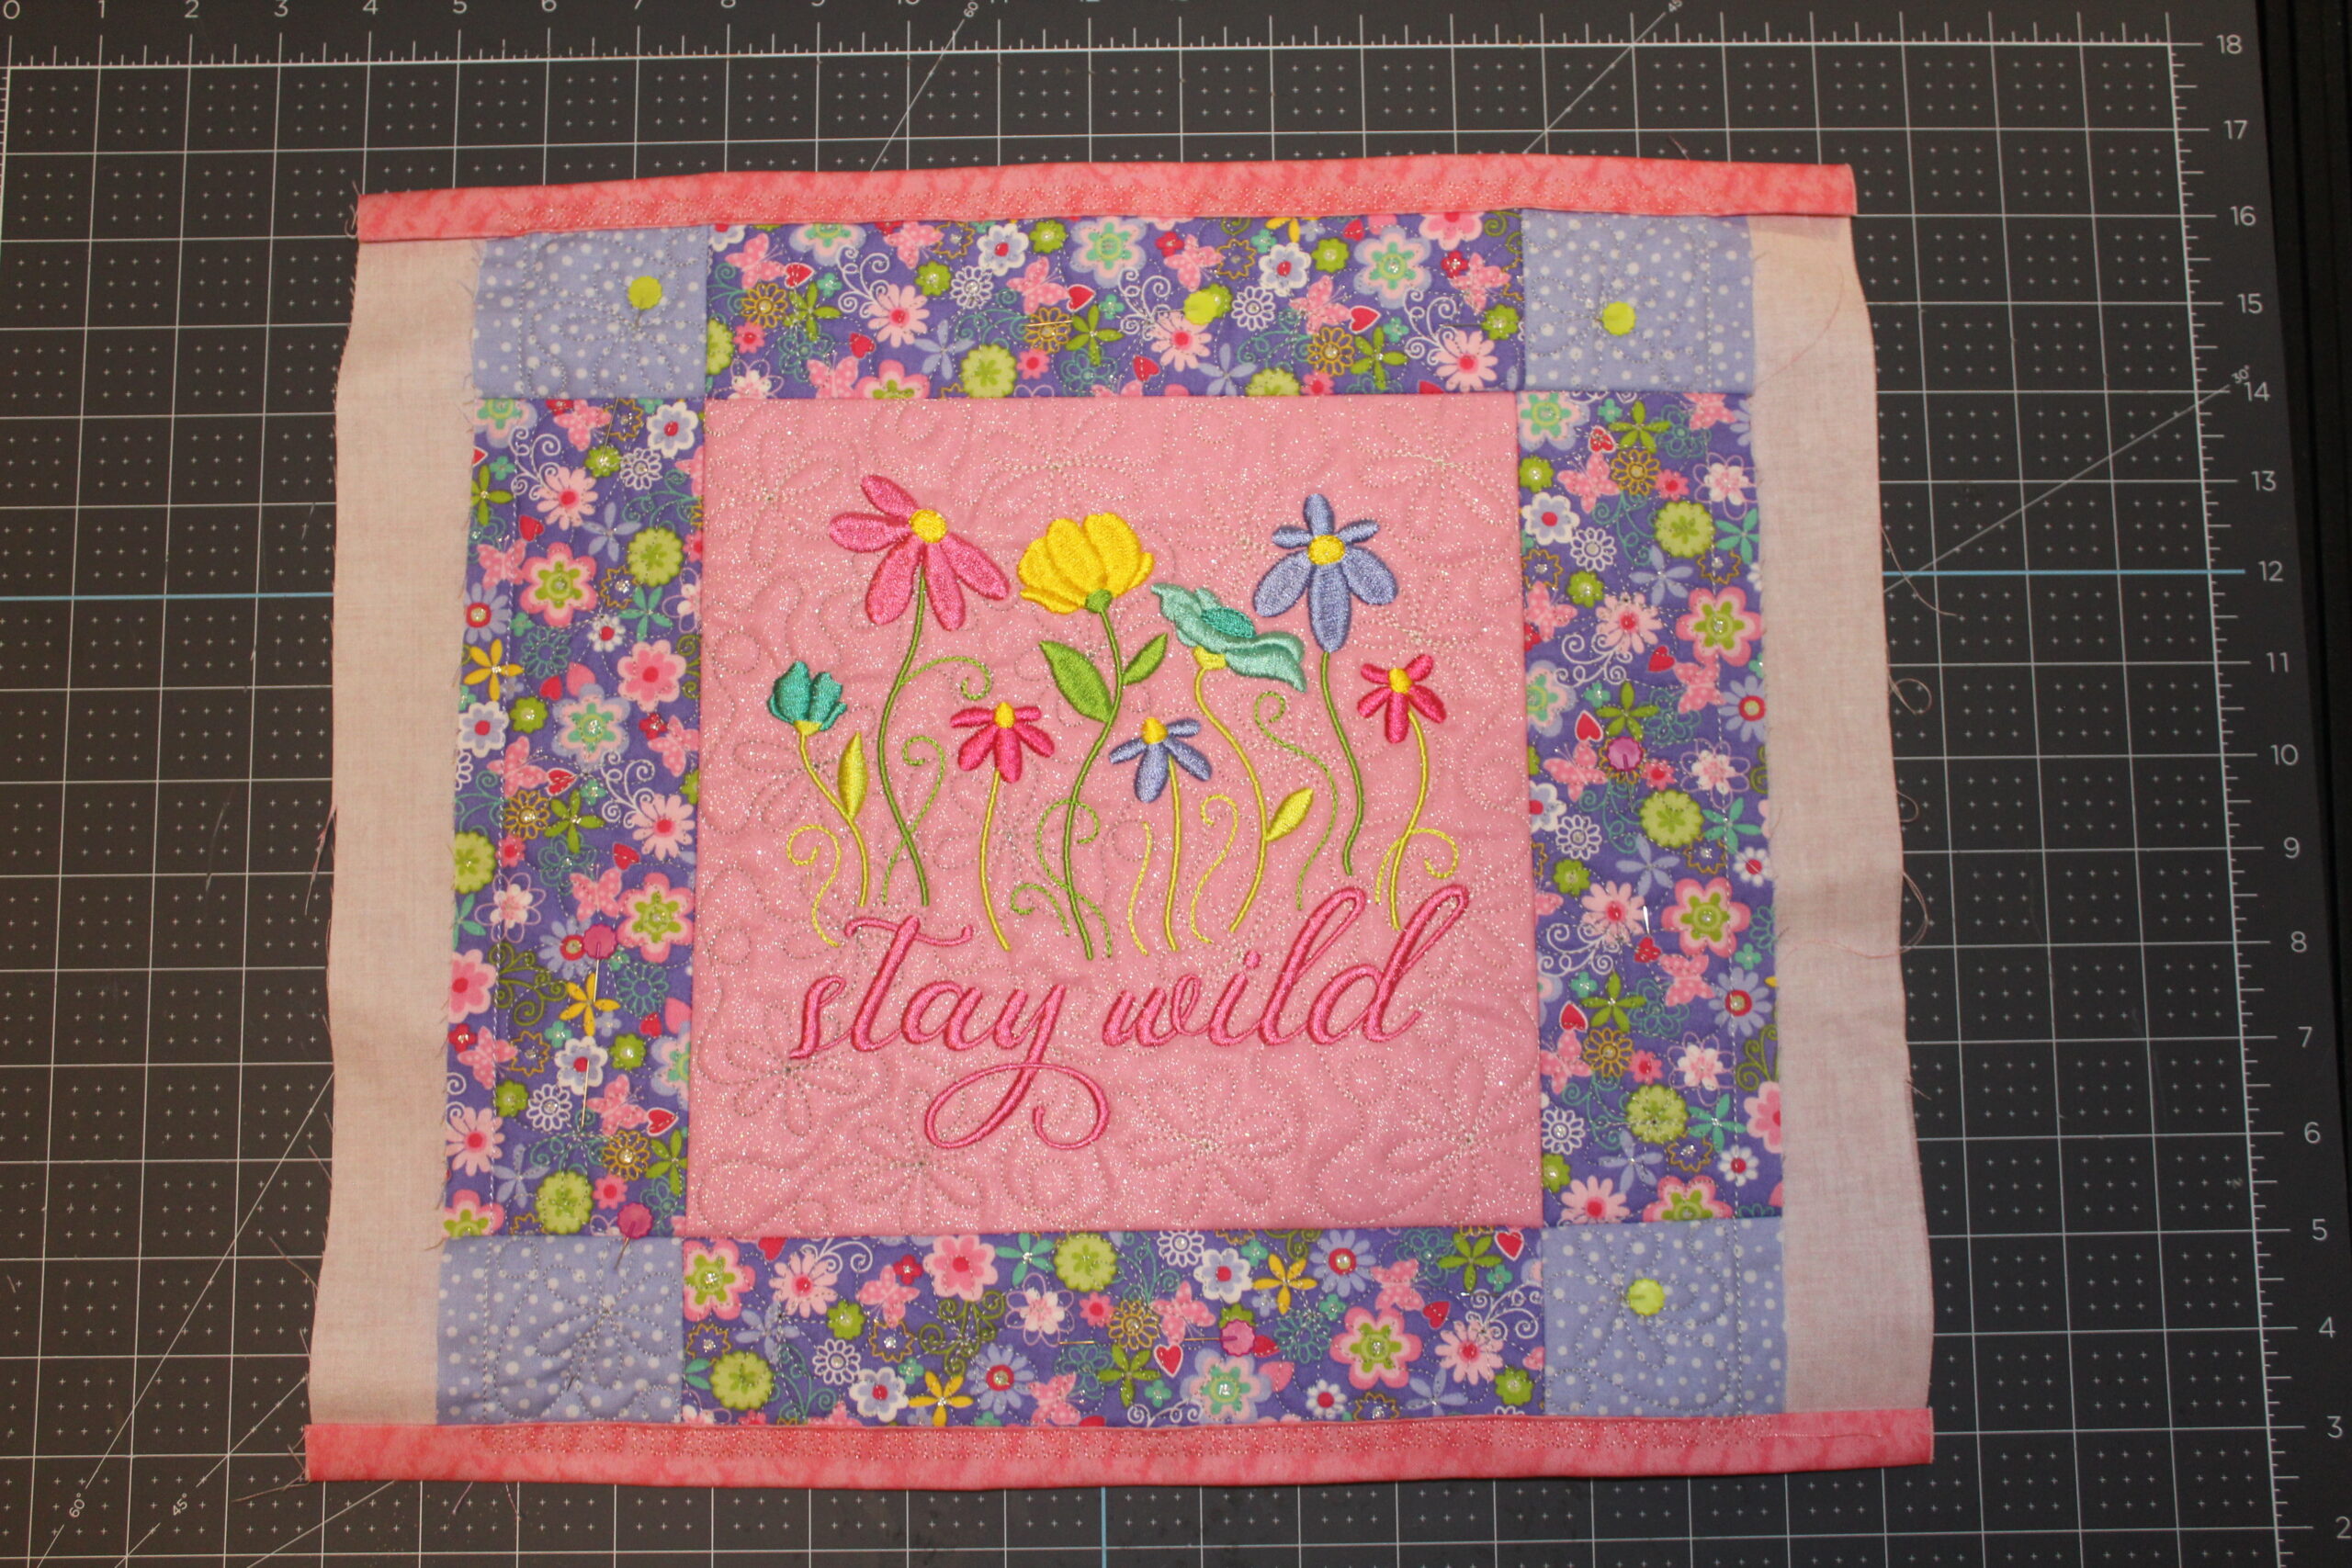
Step 10: Lay out your quilt blocks according to your original design.
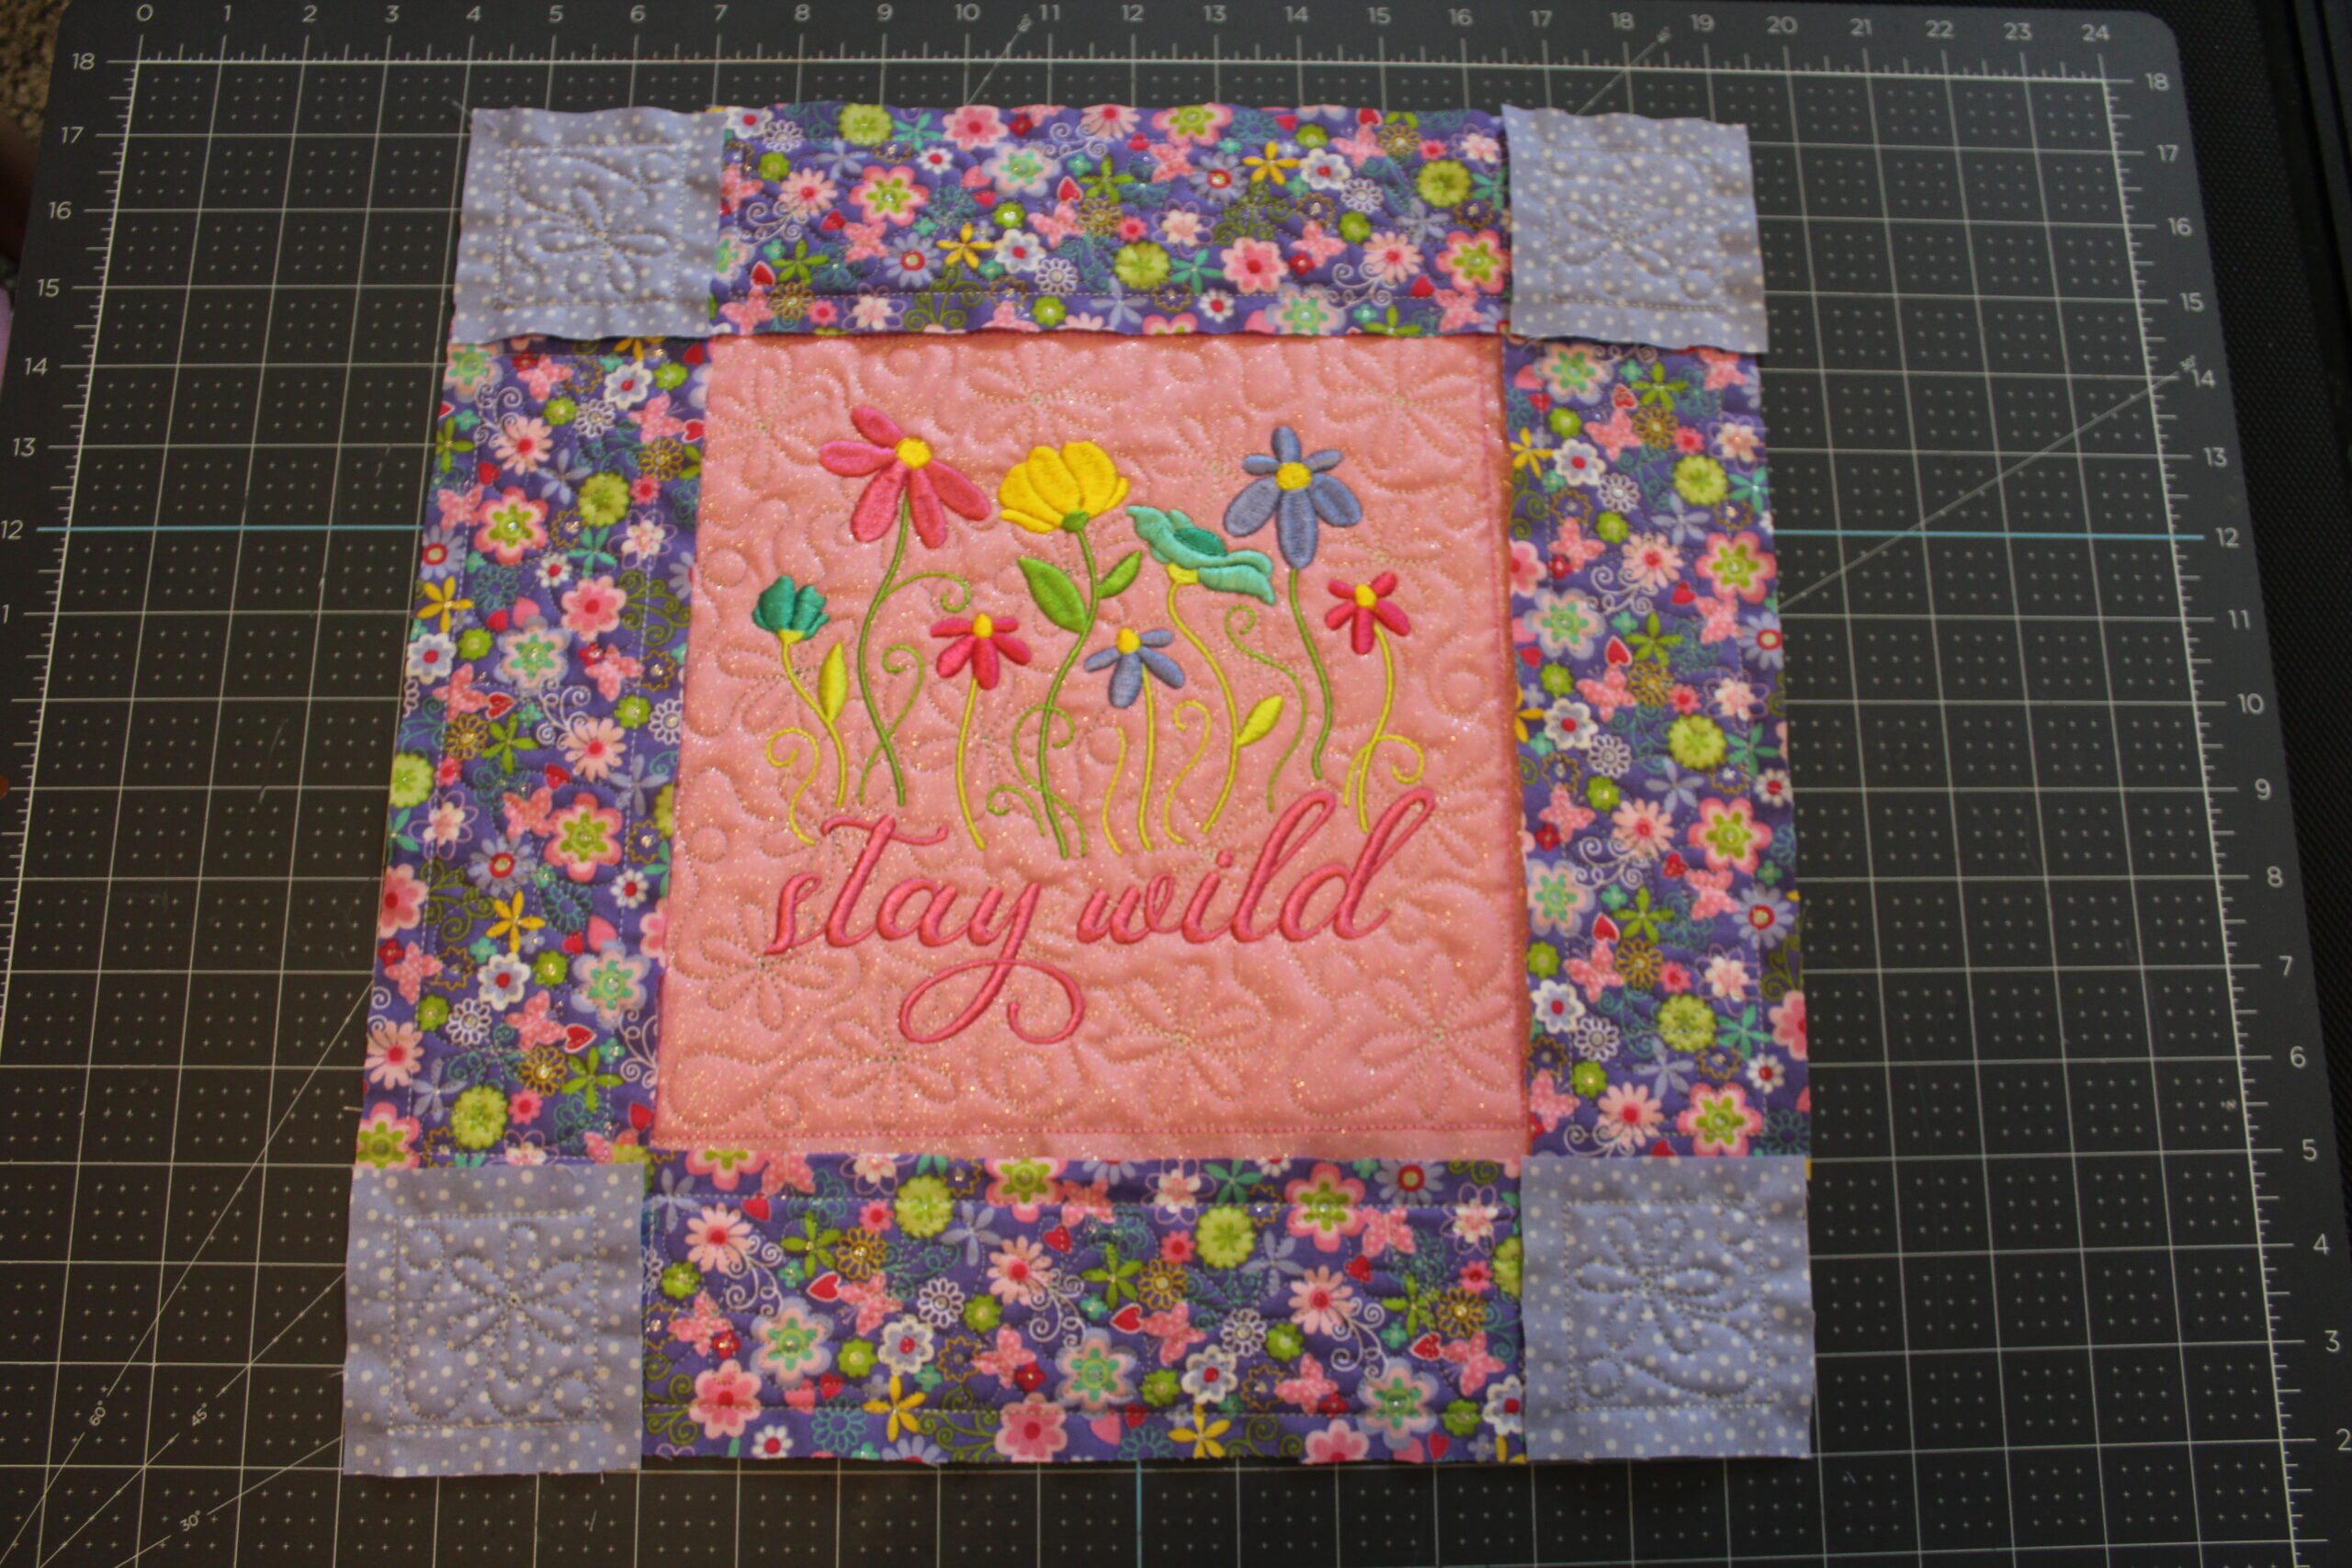
The easiest method for ensuring proper block alignment and placement is to stitch together individual blocks into larger, same size strips or rows. You can see in the picture below that I have created three rows of equal length to stitch together before assembling the entire mini quilt.

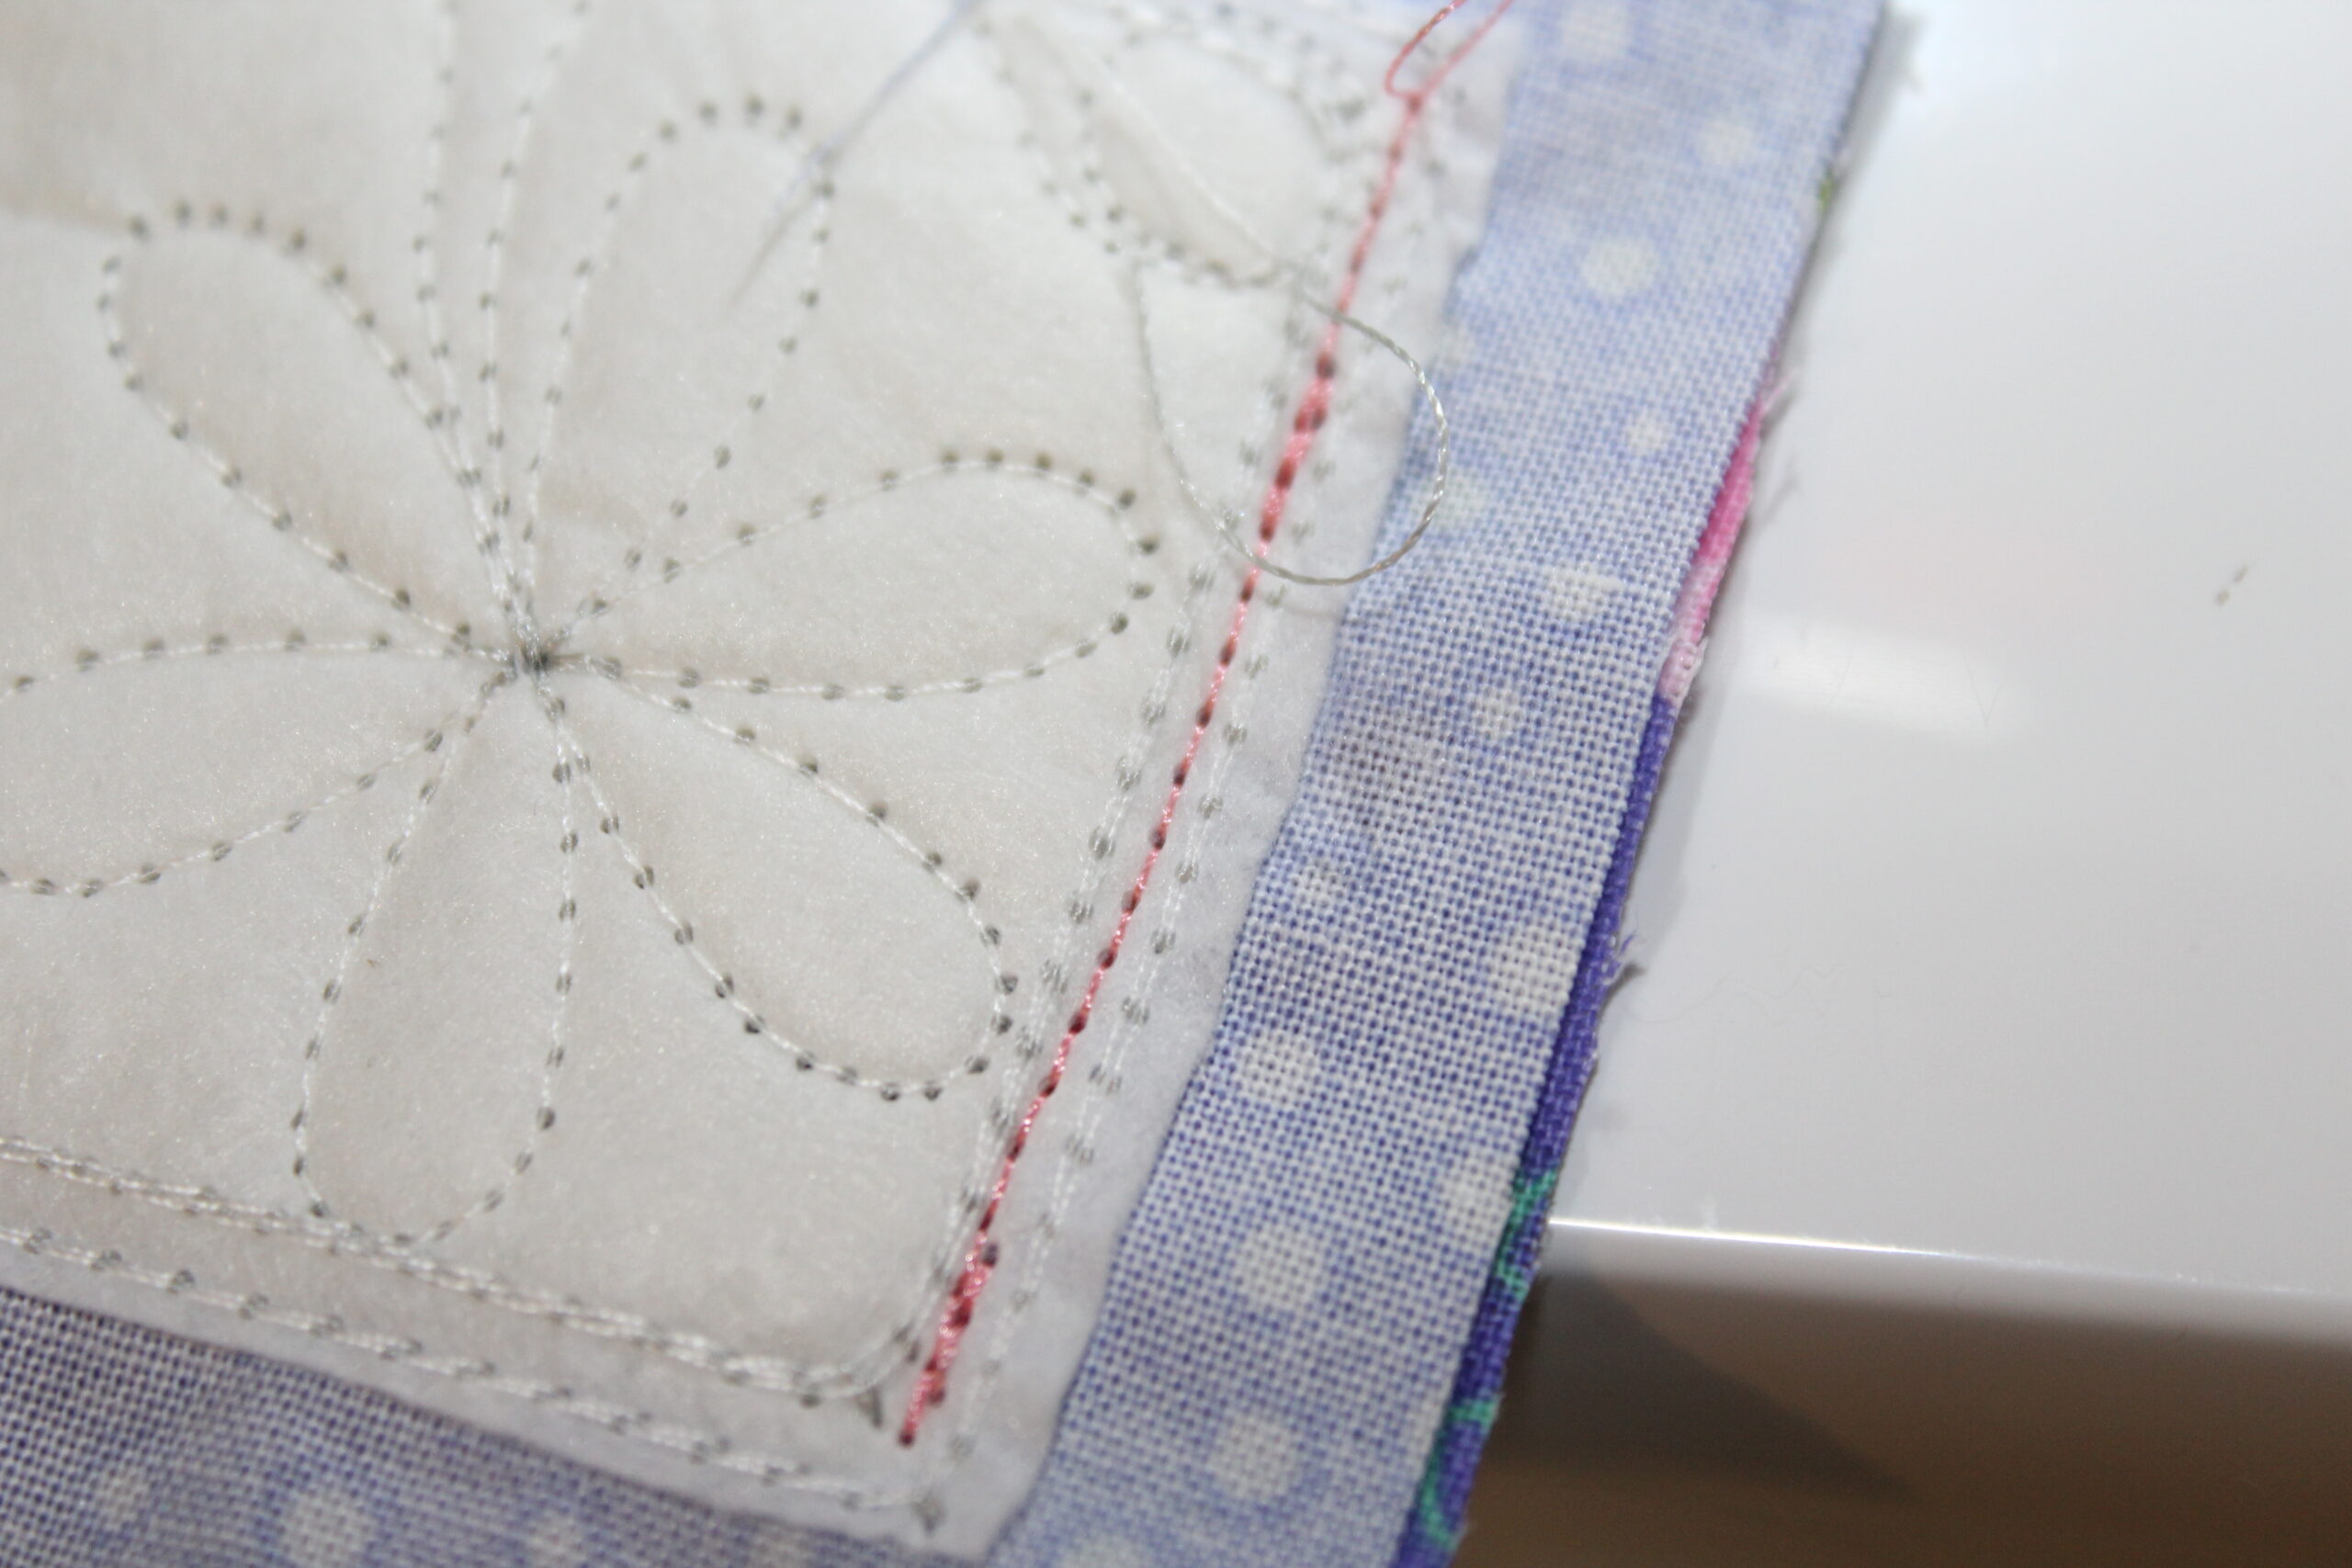
Step 11: Focusing on one “strip” at a time, align the outermost tack down stitches of two blocks (right sides together) and secure using pins or clips.


Step 12: Stitch “strips” together using a sewing machine.
You will want to position your needle to stitch between the batting placement line and the fabric placement line. If you have done this step correctly, the only stitches you should see from the front of your QAYG project are the quilting designs themselves, no outline/tack down stitches.

Step 13: After all “strips” are stitched, repeat steps 11 and 12 again to assemble your QAYG mini quilt. Press seams.

Step 14: Once the front of your mini quilt is completely stitched together, you are ready to add your backing. Your backing should overhang each edge of your mini quilt by at least 1.5”. Lay your mini quilt on top of the backing, wrong sides together, and pin around the edges and seams of the mini quilt.

Step 15 (Optional): Using the stitch in the ditch method, sew each seam line to the backing.
Note: I chose to skip Step 15 for my mini quilt, but if you were creating a larger QAYG project, it does help to secure your backing to your front.
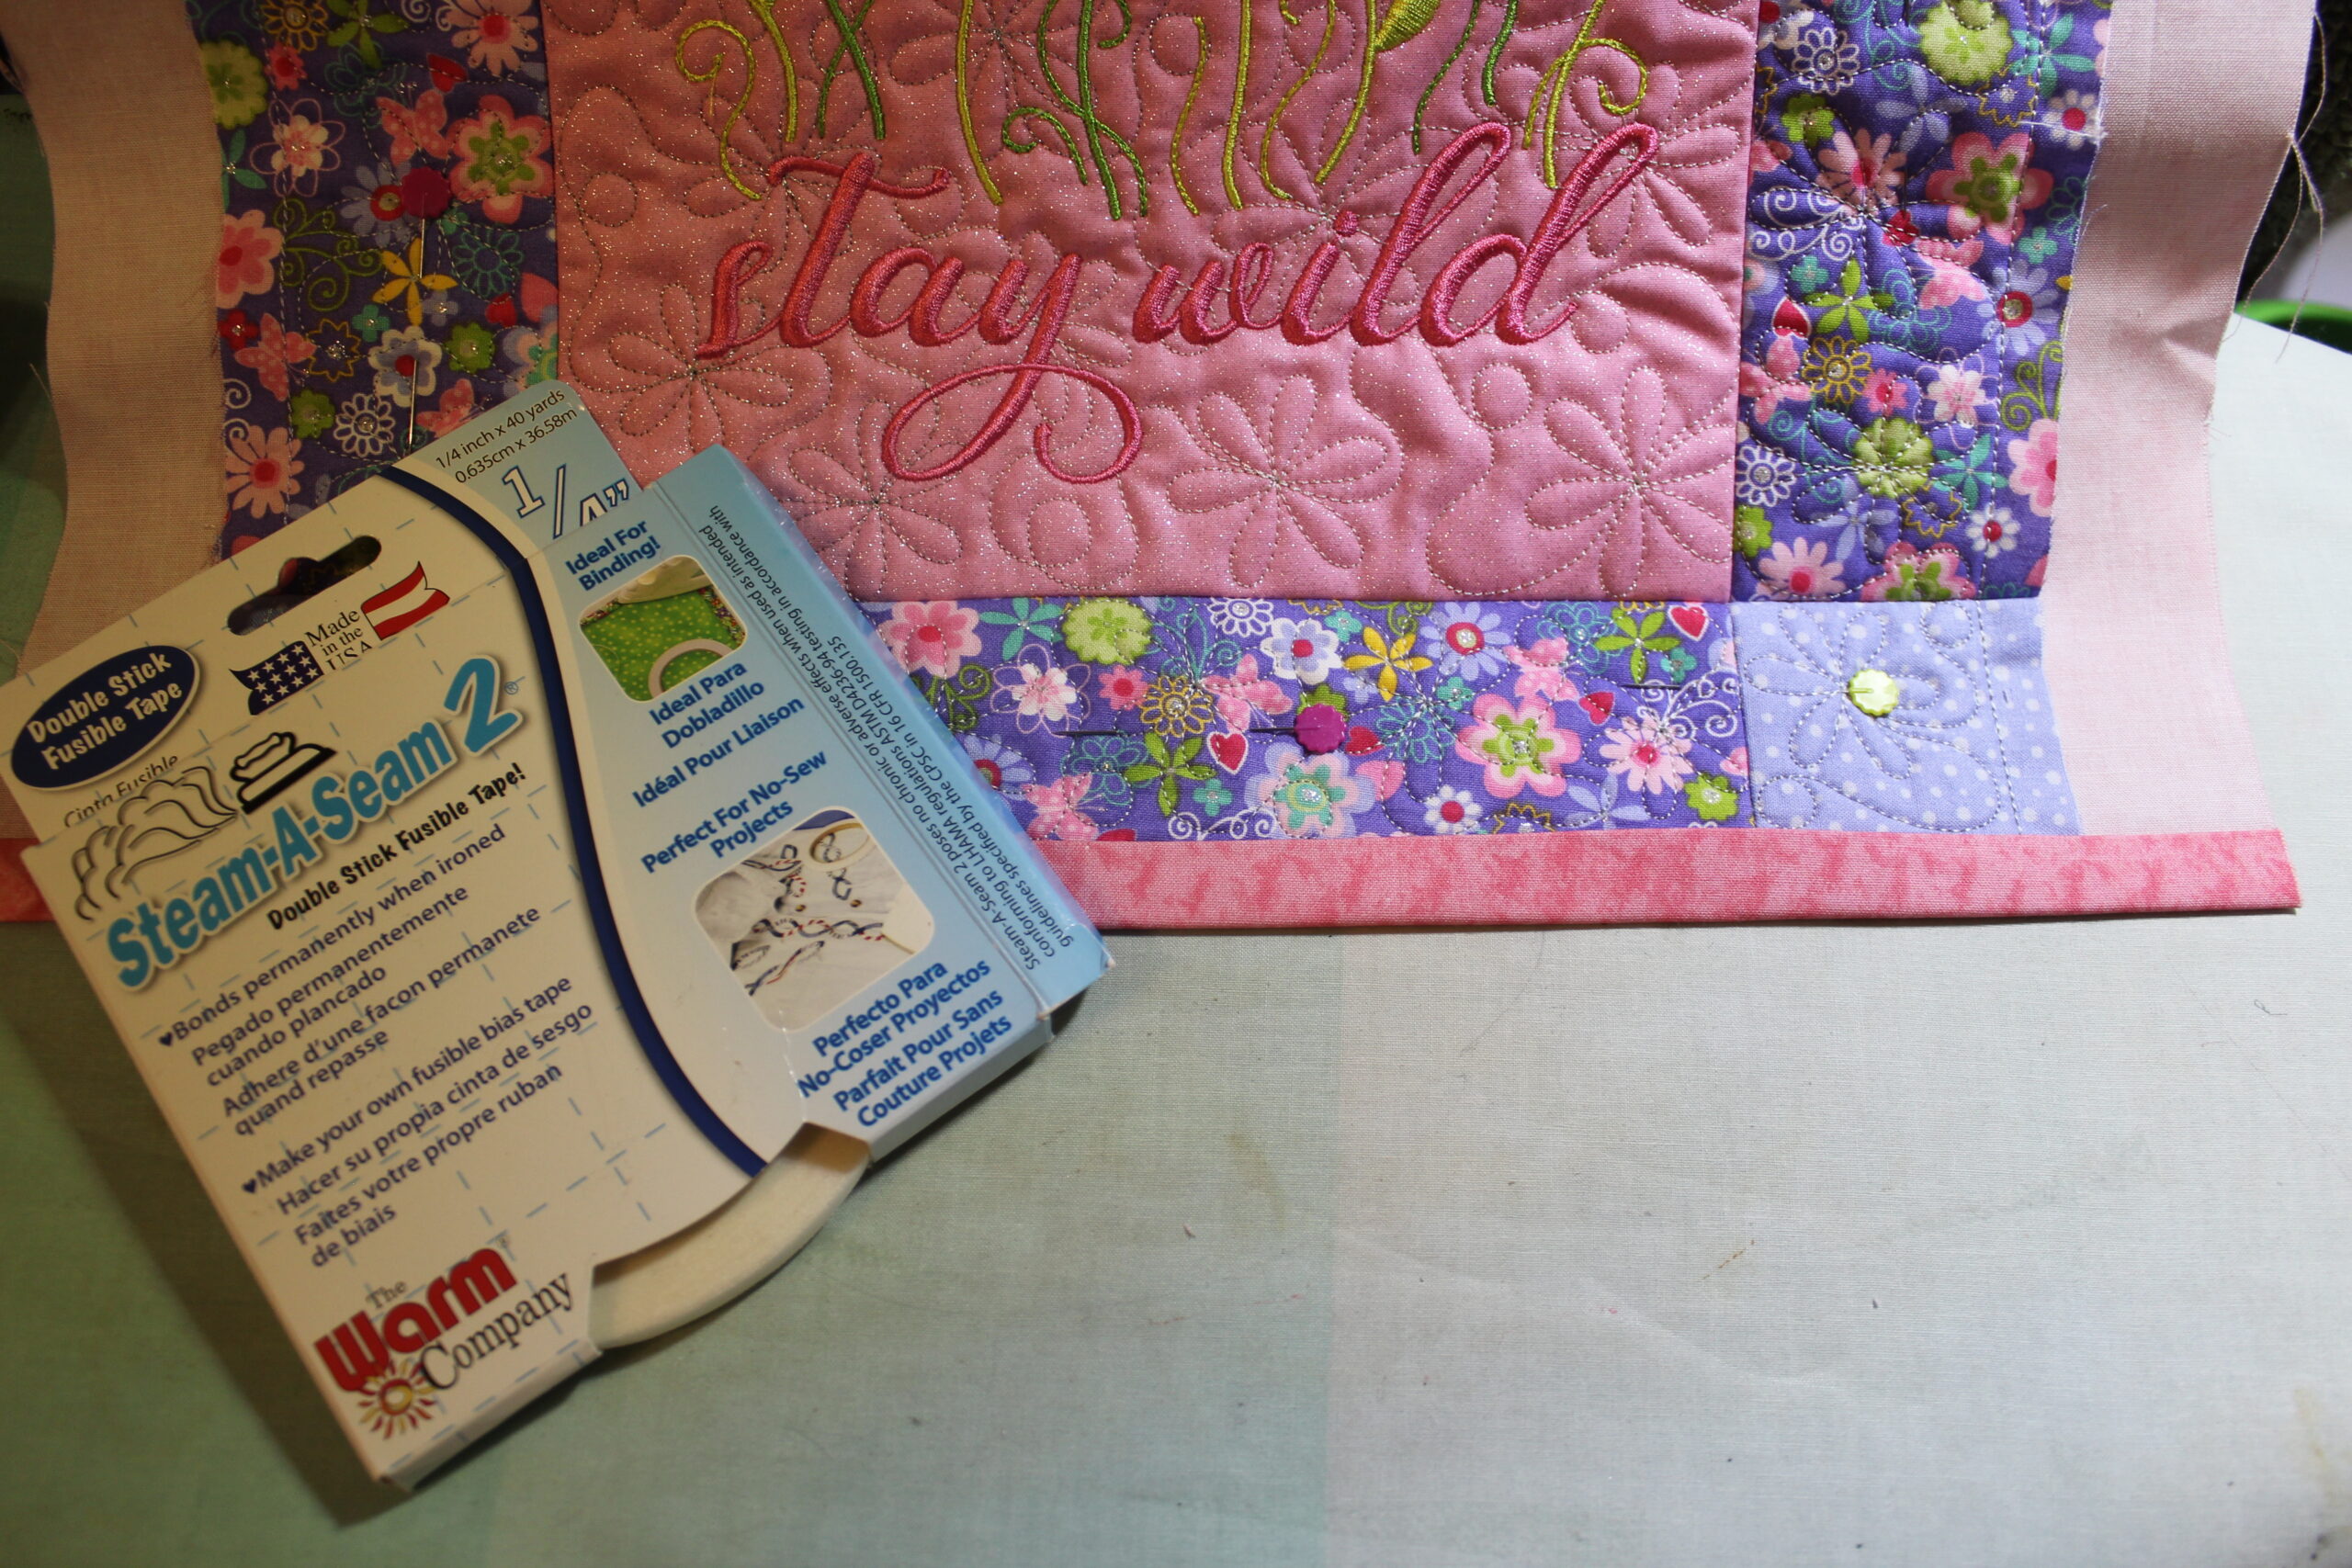
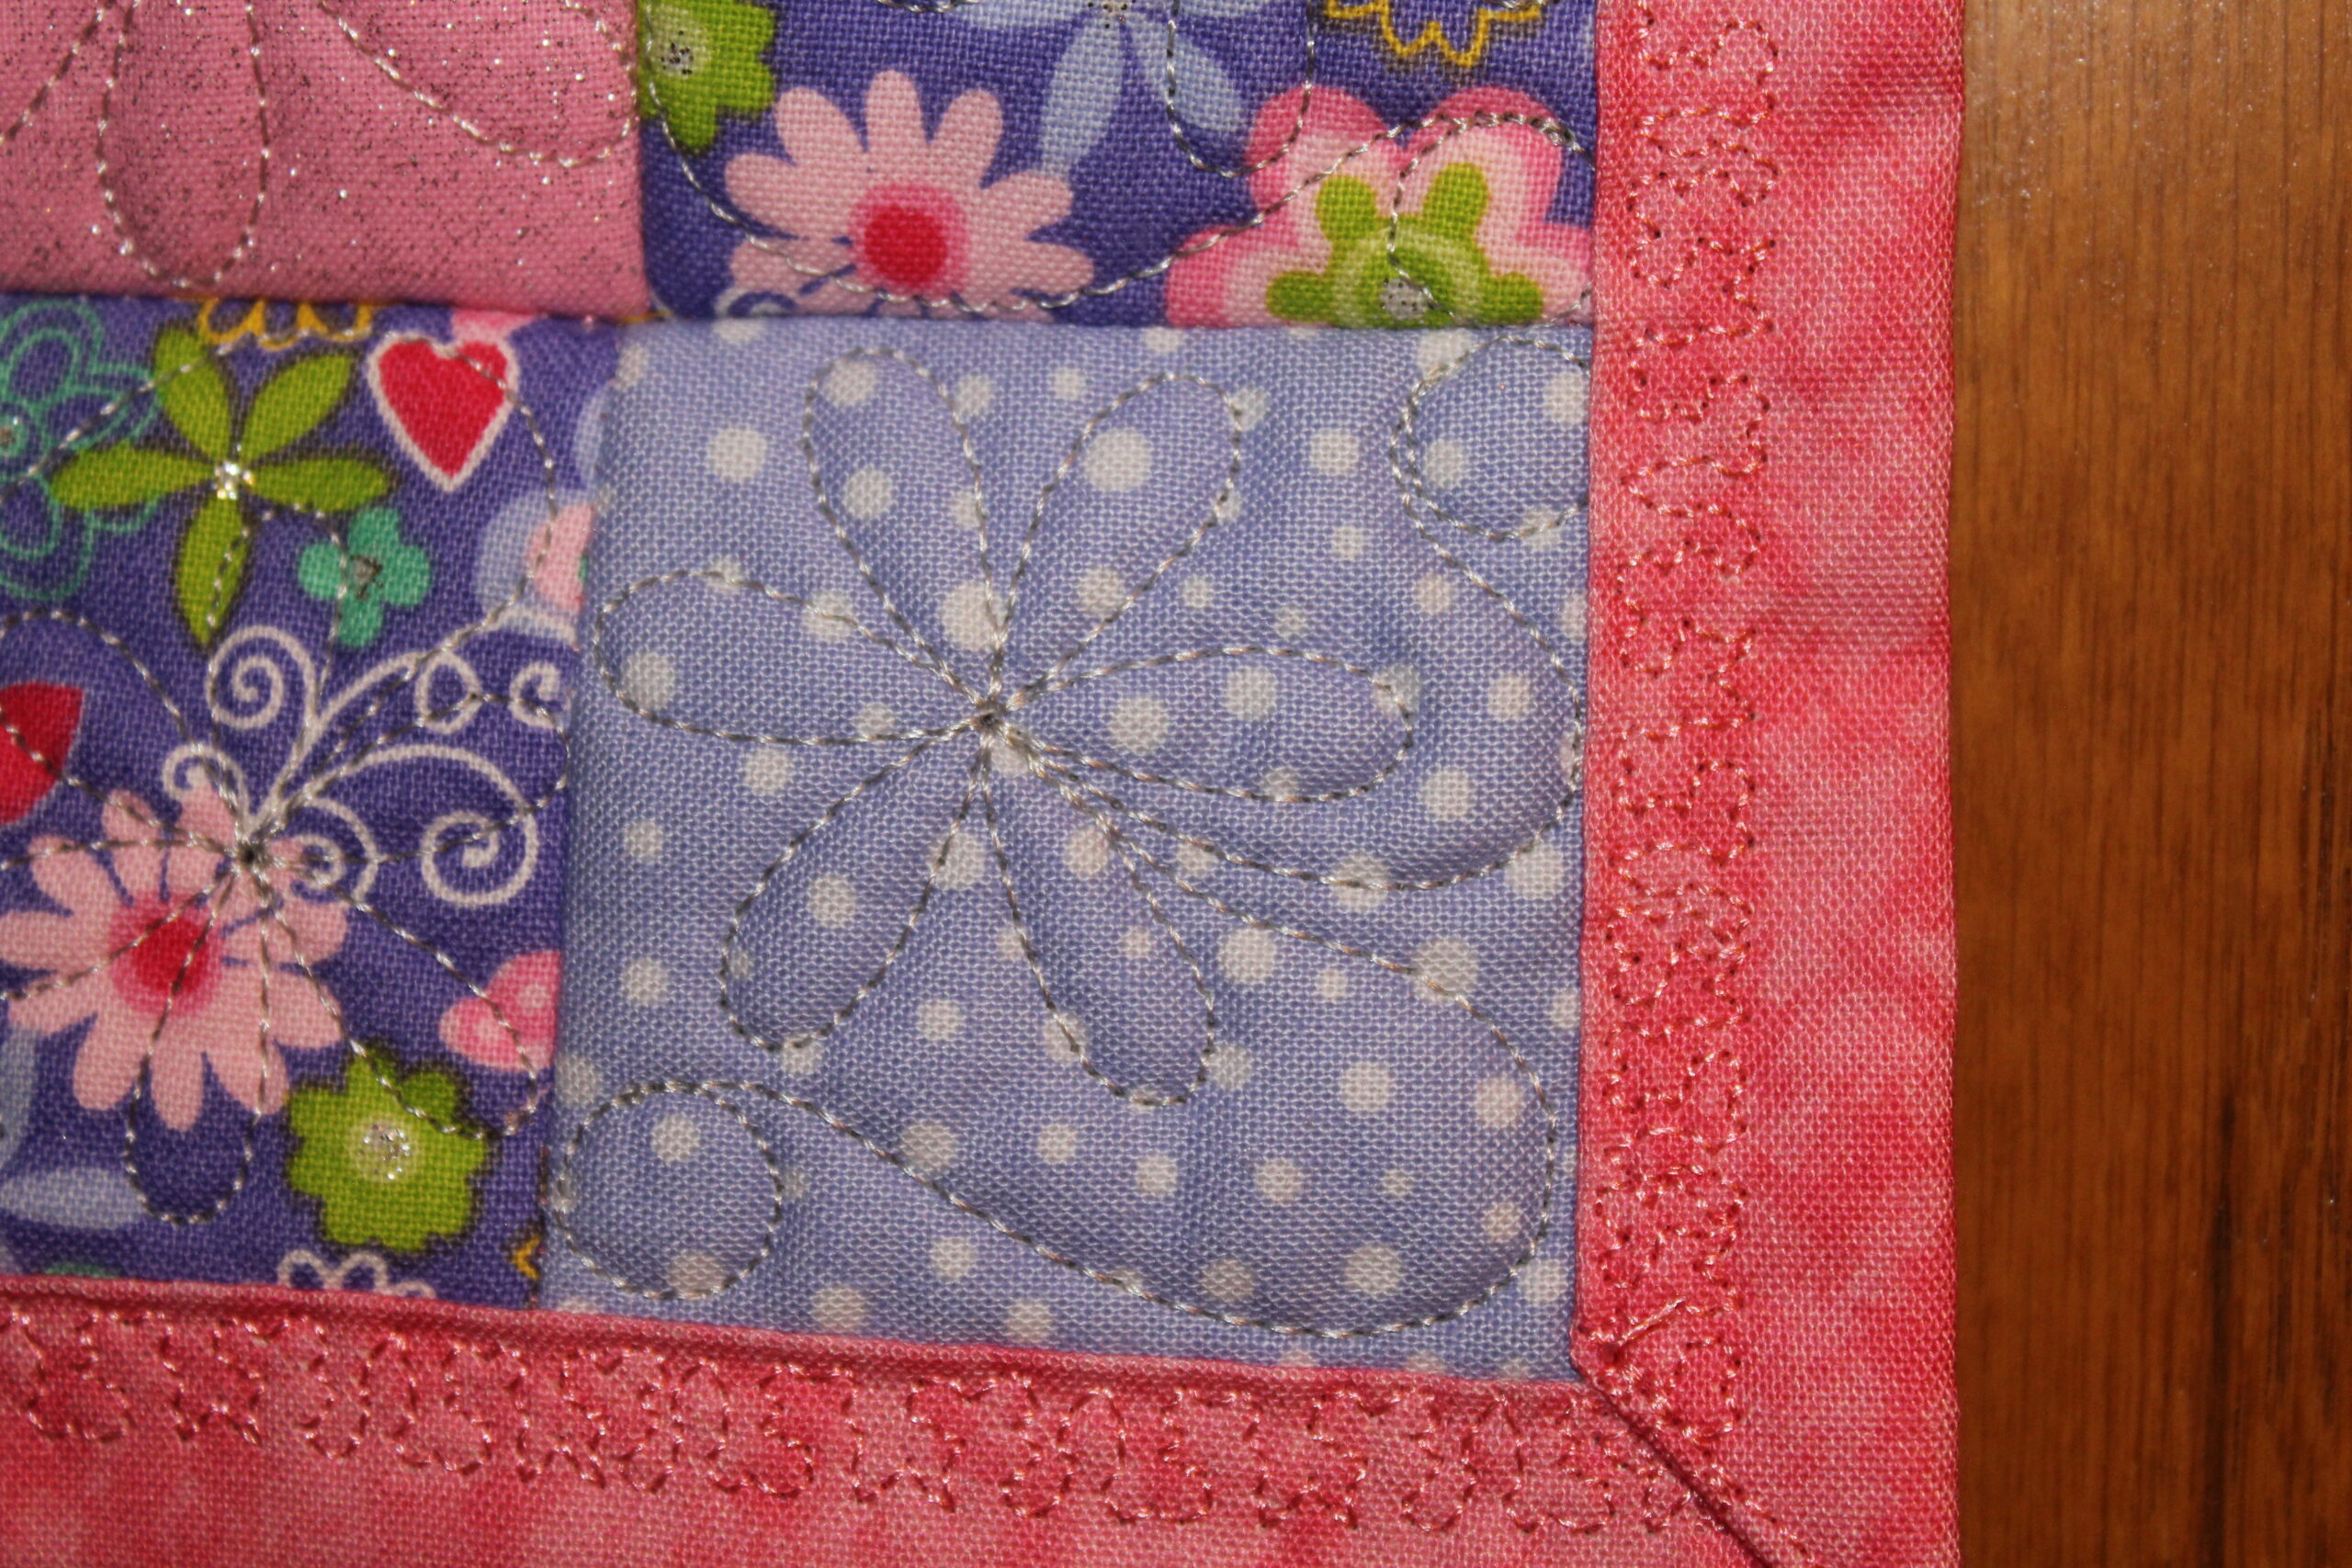
Step 16: The final step for your embroidered QAYG mini quilt is to bind the edges. There are many ways you can complete the binding. JuJu recommends this tutorial for sewing mitered corners or choose an option that suits your project best.

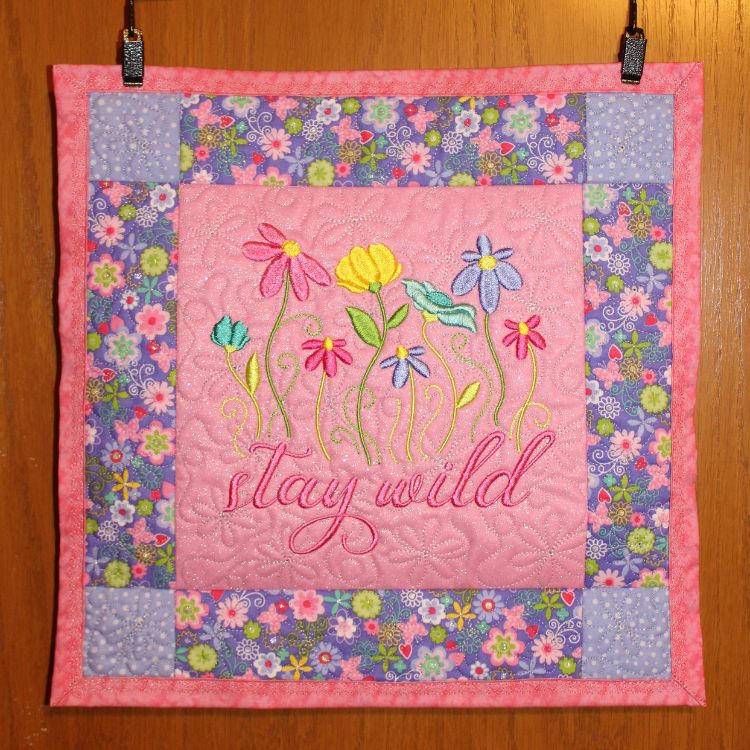
Now it is time to display your mini quilt. Select a hanger that complements the size of your mini quilt and marvel at the amazing quilt-as-you-go-project you have created! The design capabilities for DBJJ’s revolutionary Quilting Backdrops are truly limitless. Have fun mixing and matching various quilting backdrops and quilt block sizes to create your own, one-of-a-kind QAYG masterpiece!

Don't forget to share your creations with us on social media using #designsbyjuju!