Toggle Nav
 Inspire.
Create.
Stitch.
Inspire.
Create.
Stitch.
Search
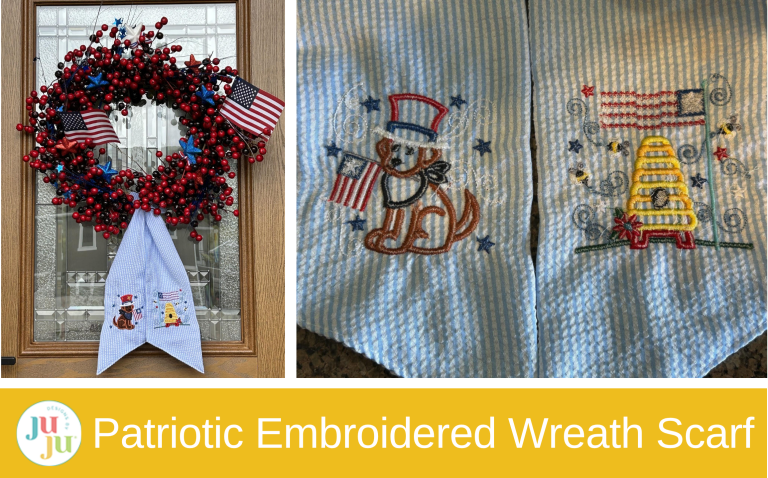
Create a custom embroidered wreath scarf with this easy tutorial. Learn how to add Star Spangled Stitches designs to patriotic door decor using machine embroidery for a personalized seasonal look.
I love the look of a wreath scarf to help tie the theme of my wreath together. When the Star Spangled Stitches came out, I saw two designs that I knew would fit the patriotic theme while adding in elements that signify our family.
But don’t stop at Star Spangled Stitches! You can use my hints today to add any DBJJ design to your purchased wreath scarf. It is super easy. When fall comes around use the Vintage Trucks Fall, and then for Halloween try the Sweet Halloween Applique. Round out your year with Sweet Thanksgiving Applique and some Christmas Animal Laurels or FREE Menorah Embroidery Design for your holiday decorating.
I’ll be using a purchased wreath scarf for my project today, but if you’re interested in making your own, check out our blog post From Start to Finish: Your Complete Guide to Making an Embroidered Wreath Scarf.
Don’t forget to check out the Designs by JuJu Amazon store for our design team’s favorite supplies. And for stabilizers and batting, Designs by JuJu+ has everything you need.

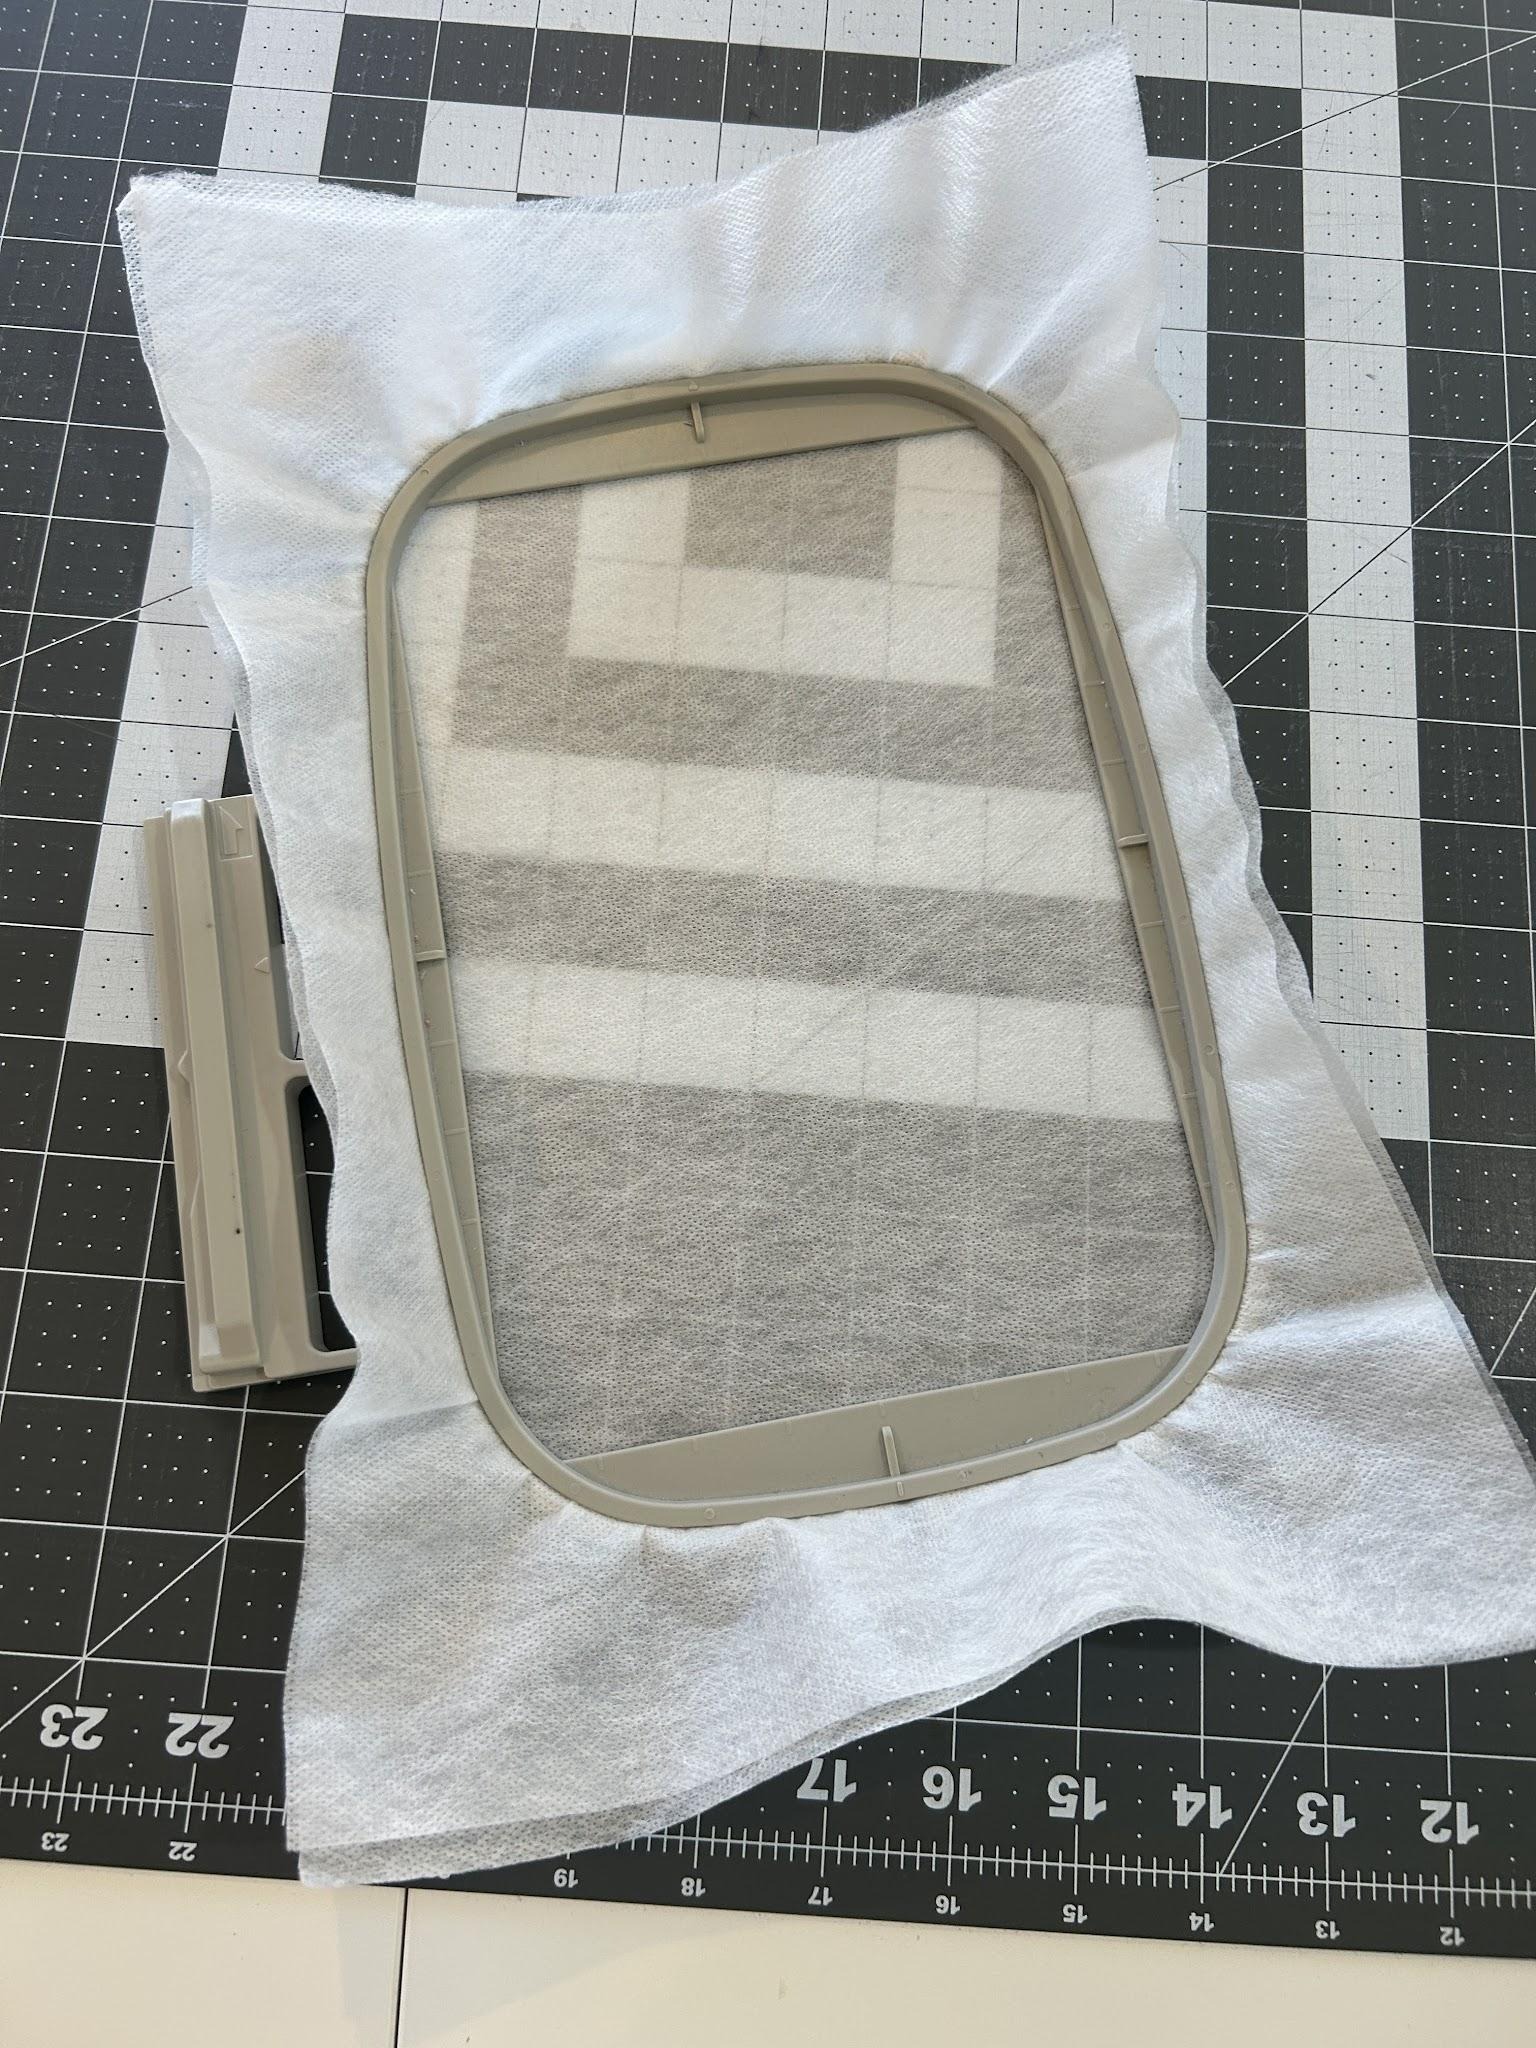
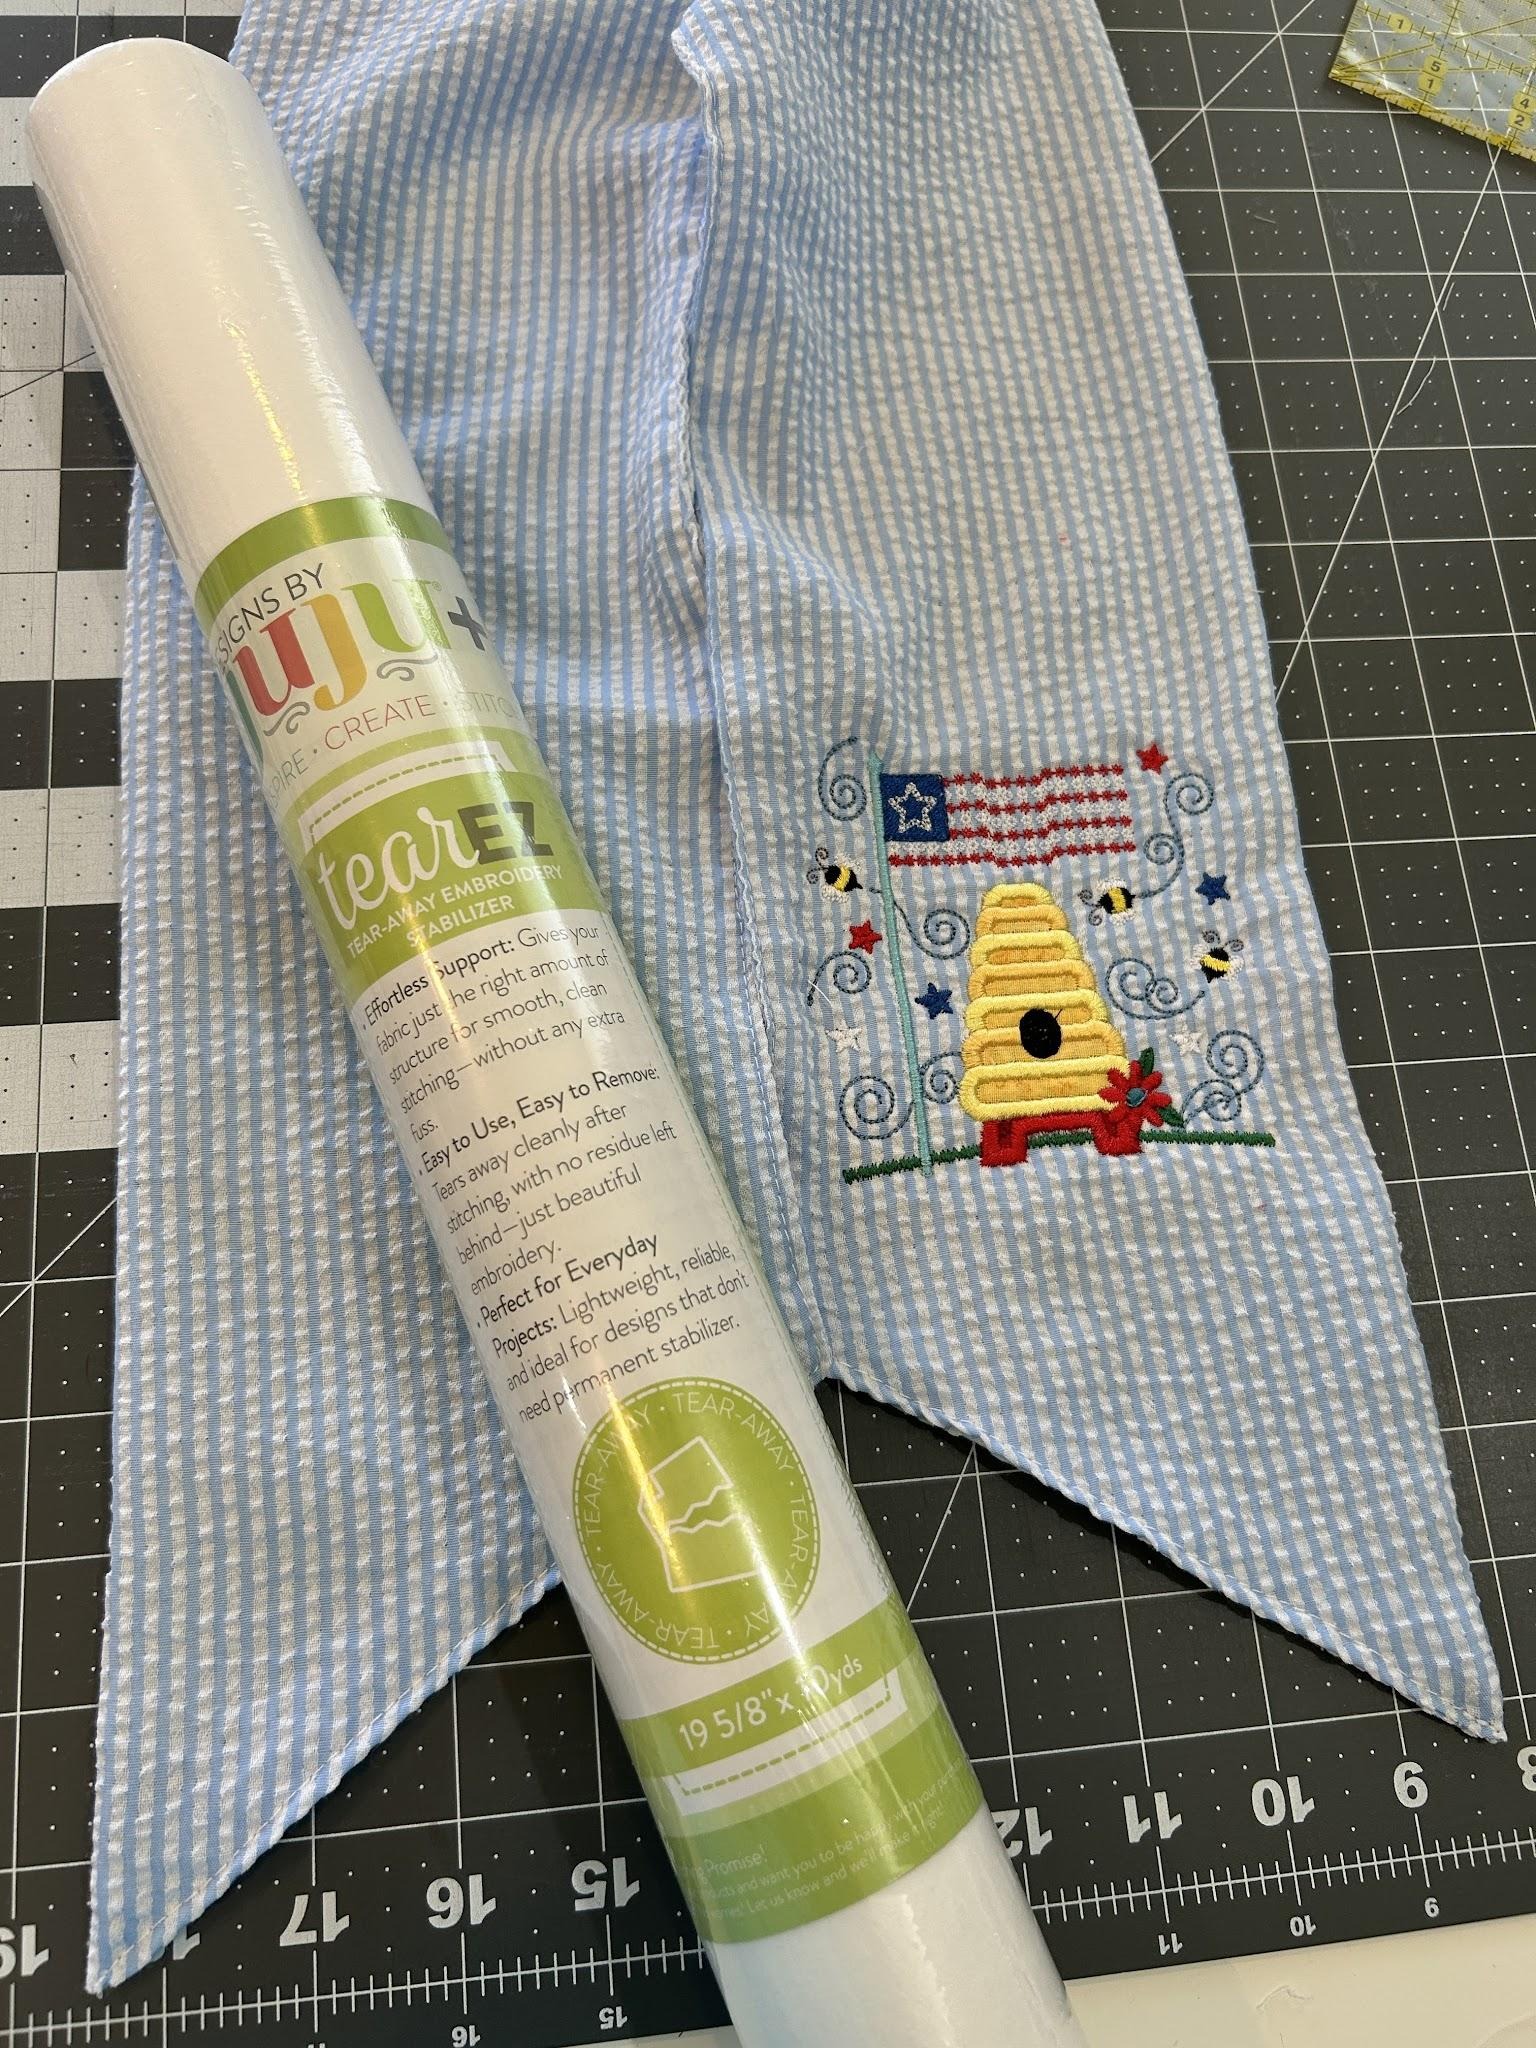
I am going to embroider a design on both ends of my scarf, so I decided to try two different types of stabilizer for this project: the water-soluble kind and the tear-away kind. I’ll show you how they both turned out so you can choose the stabilizer that works best for you.
For the first end, let’s hoop two layers of water-soluble stabilizer.
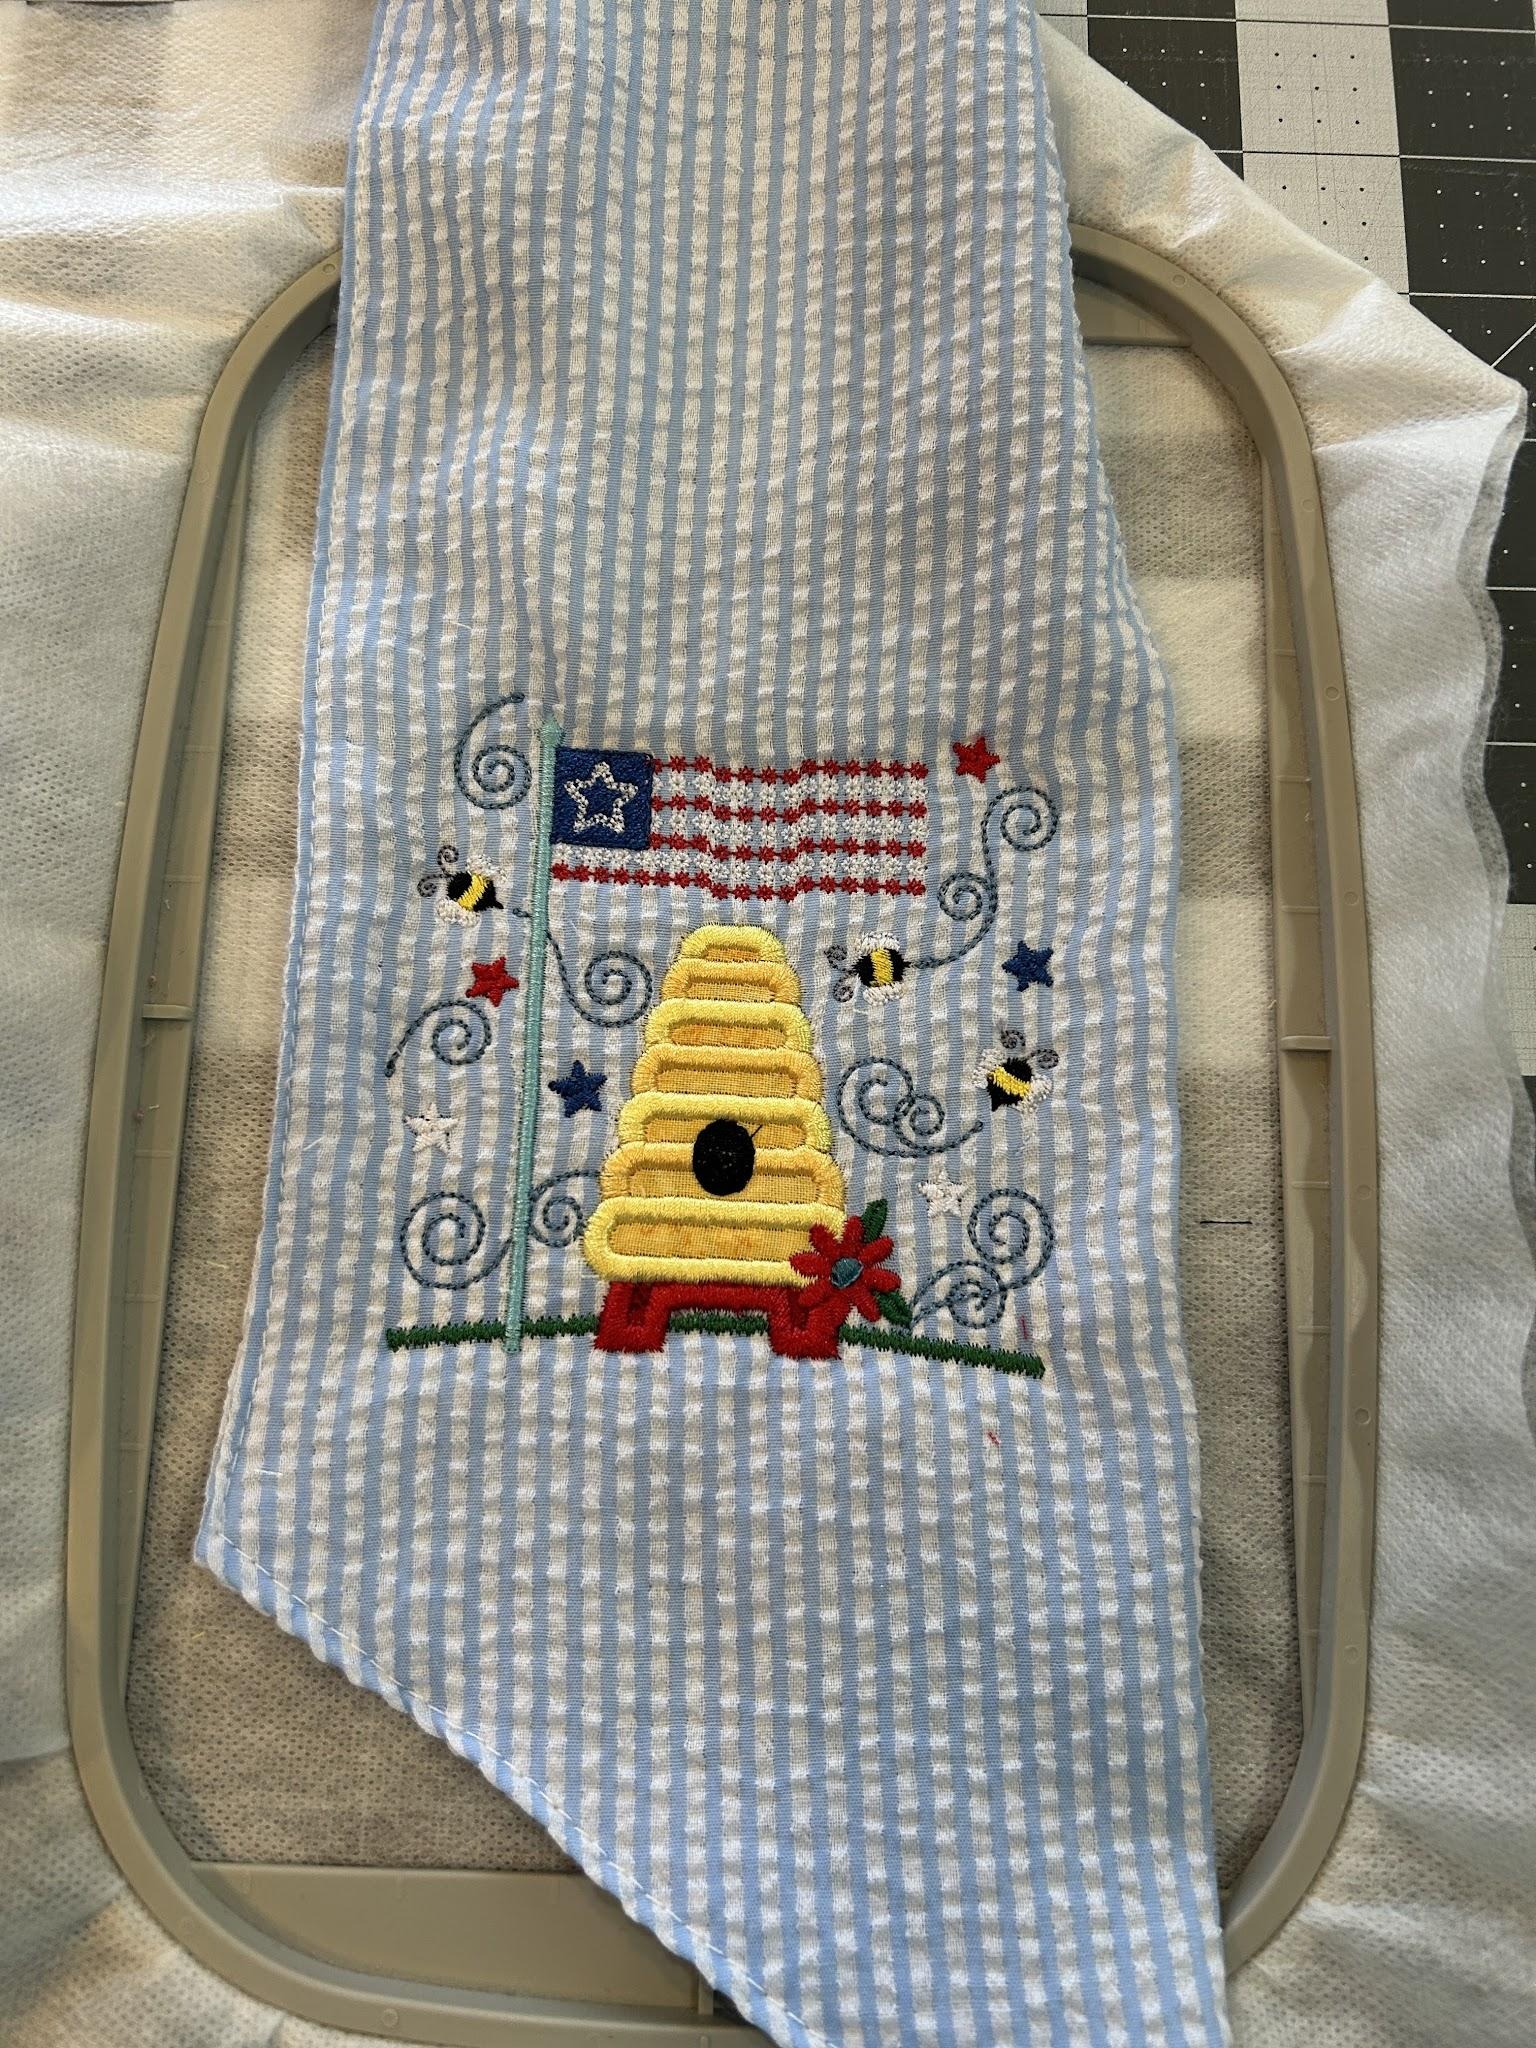
I’m now going to float my wreath scarf on the stabilizer. Line up where you want the center of your design to be on your scarf. I secured it with some pins well out of the embroidery area just to help it hold. Sometimes I’ll use a fabric adhesive spray or glue stick to help my floated fabric stay in place, but I didn’t want the residue still there after I washed the stabilizer off. The pins worked great because this pattern was small.

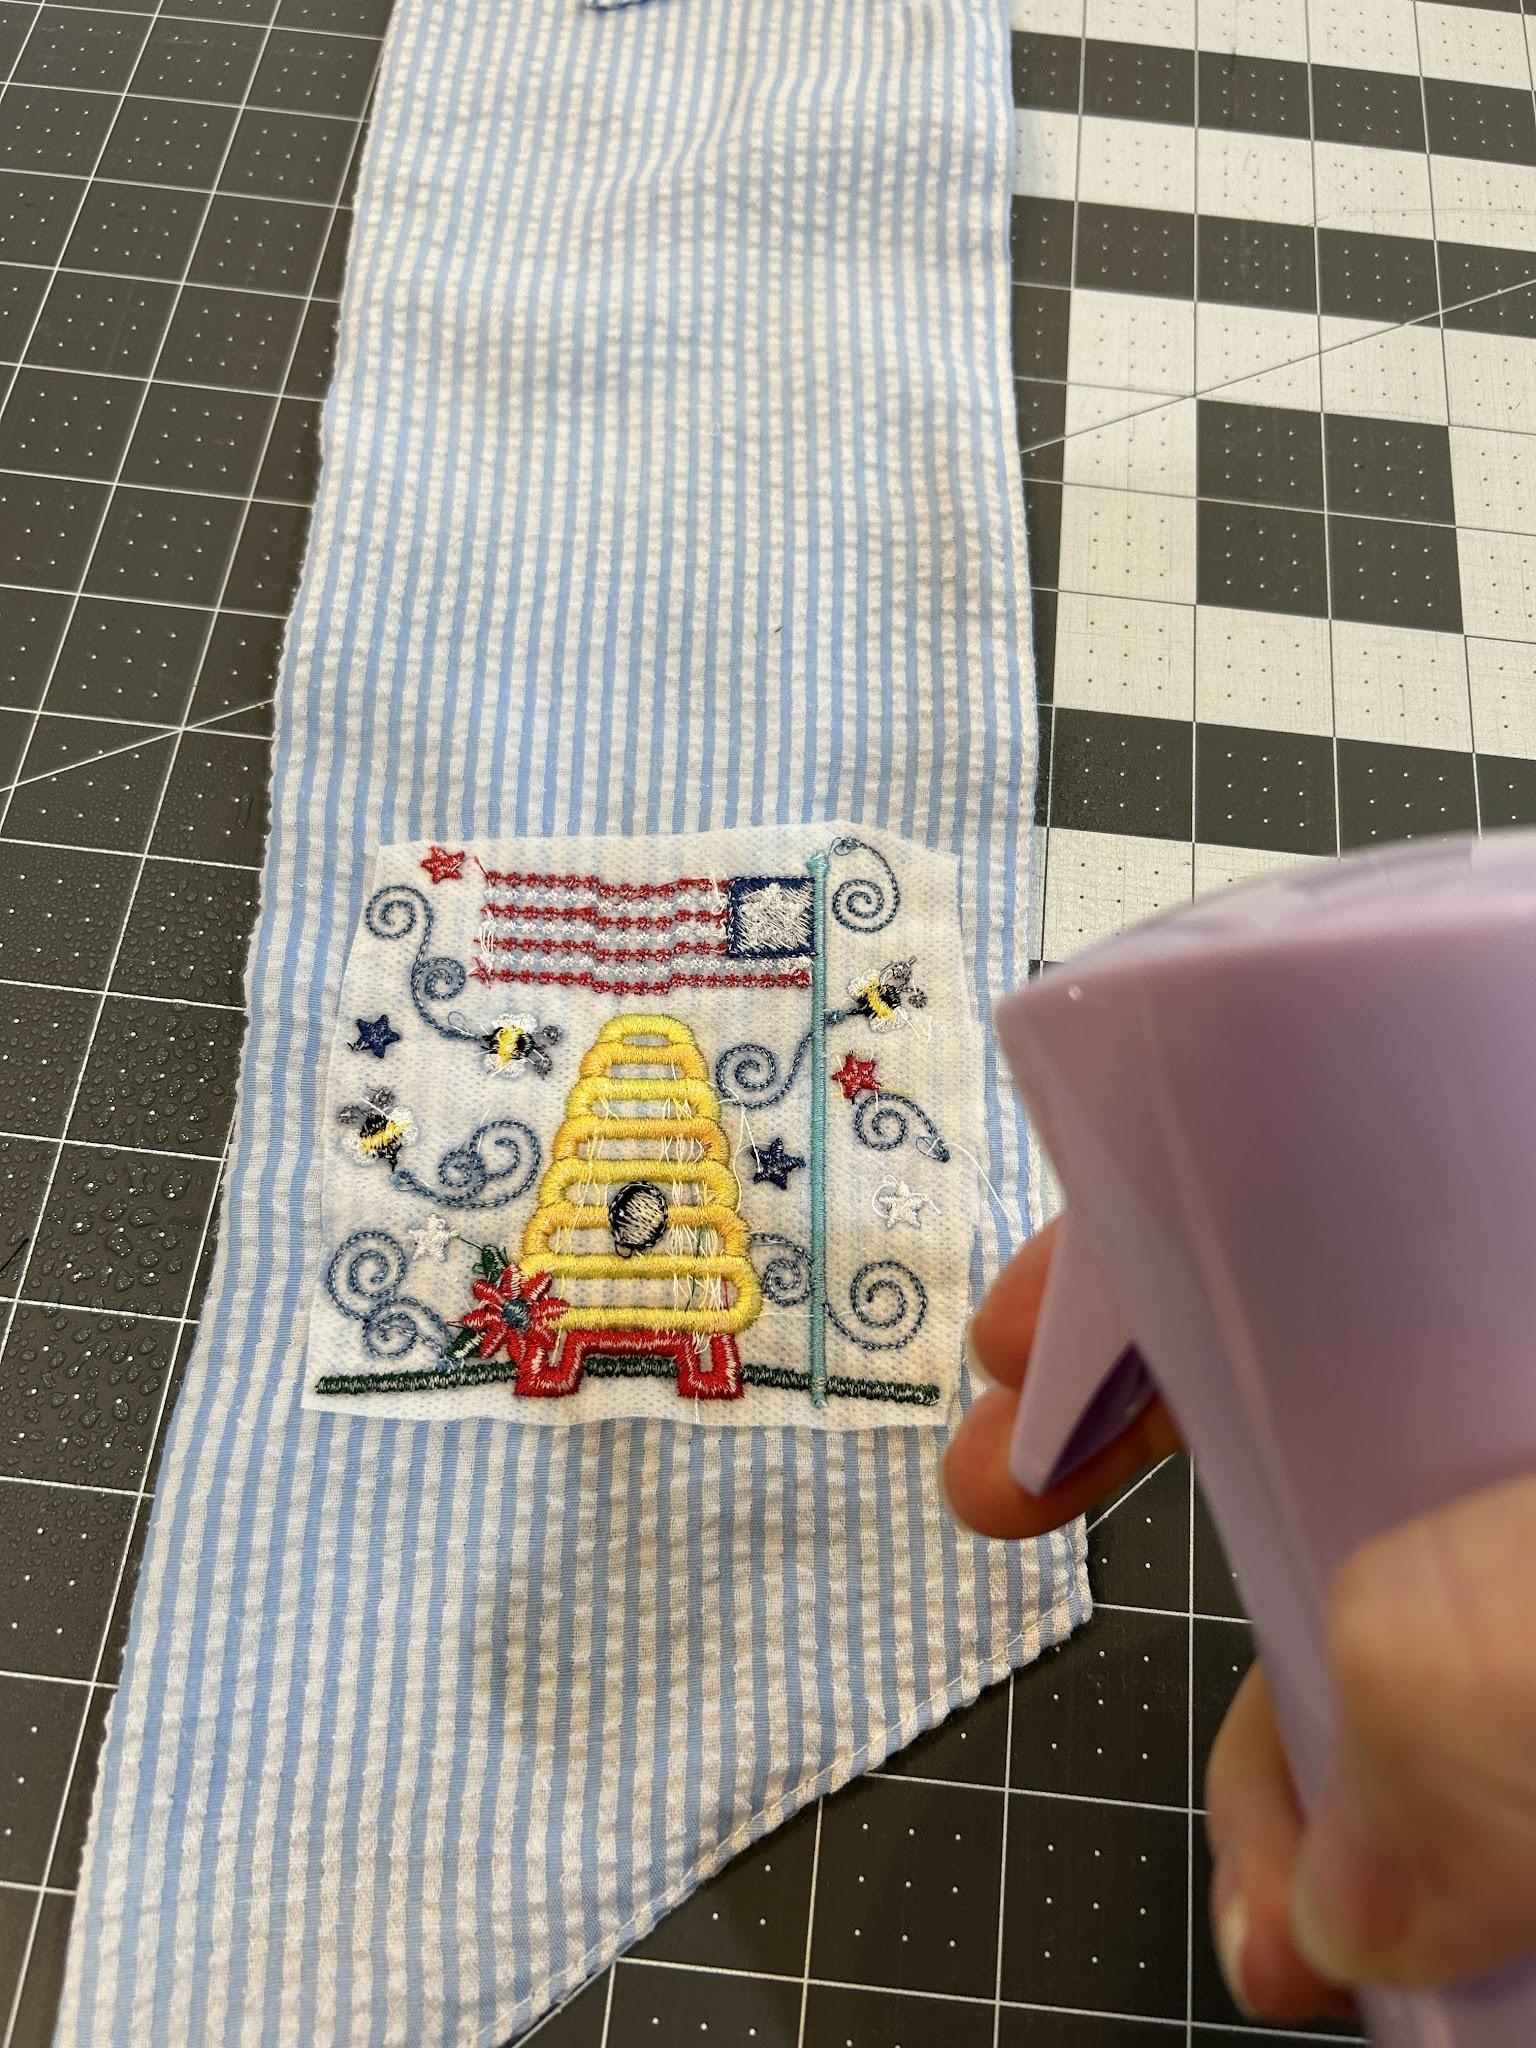
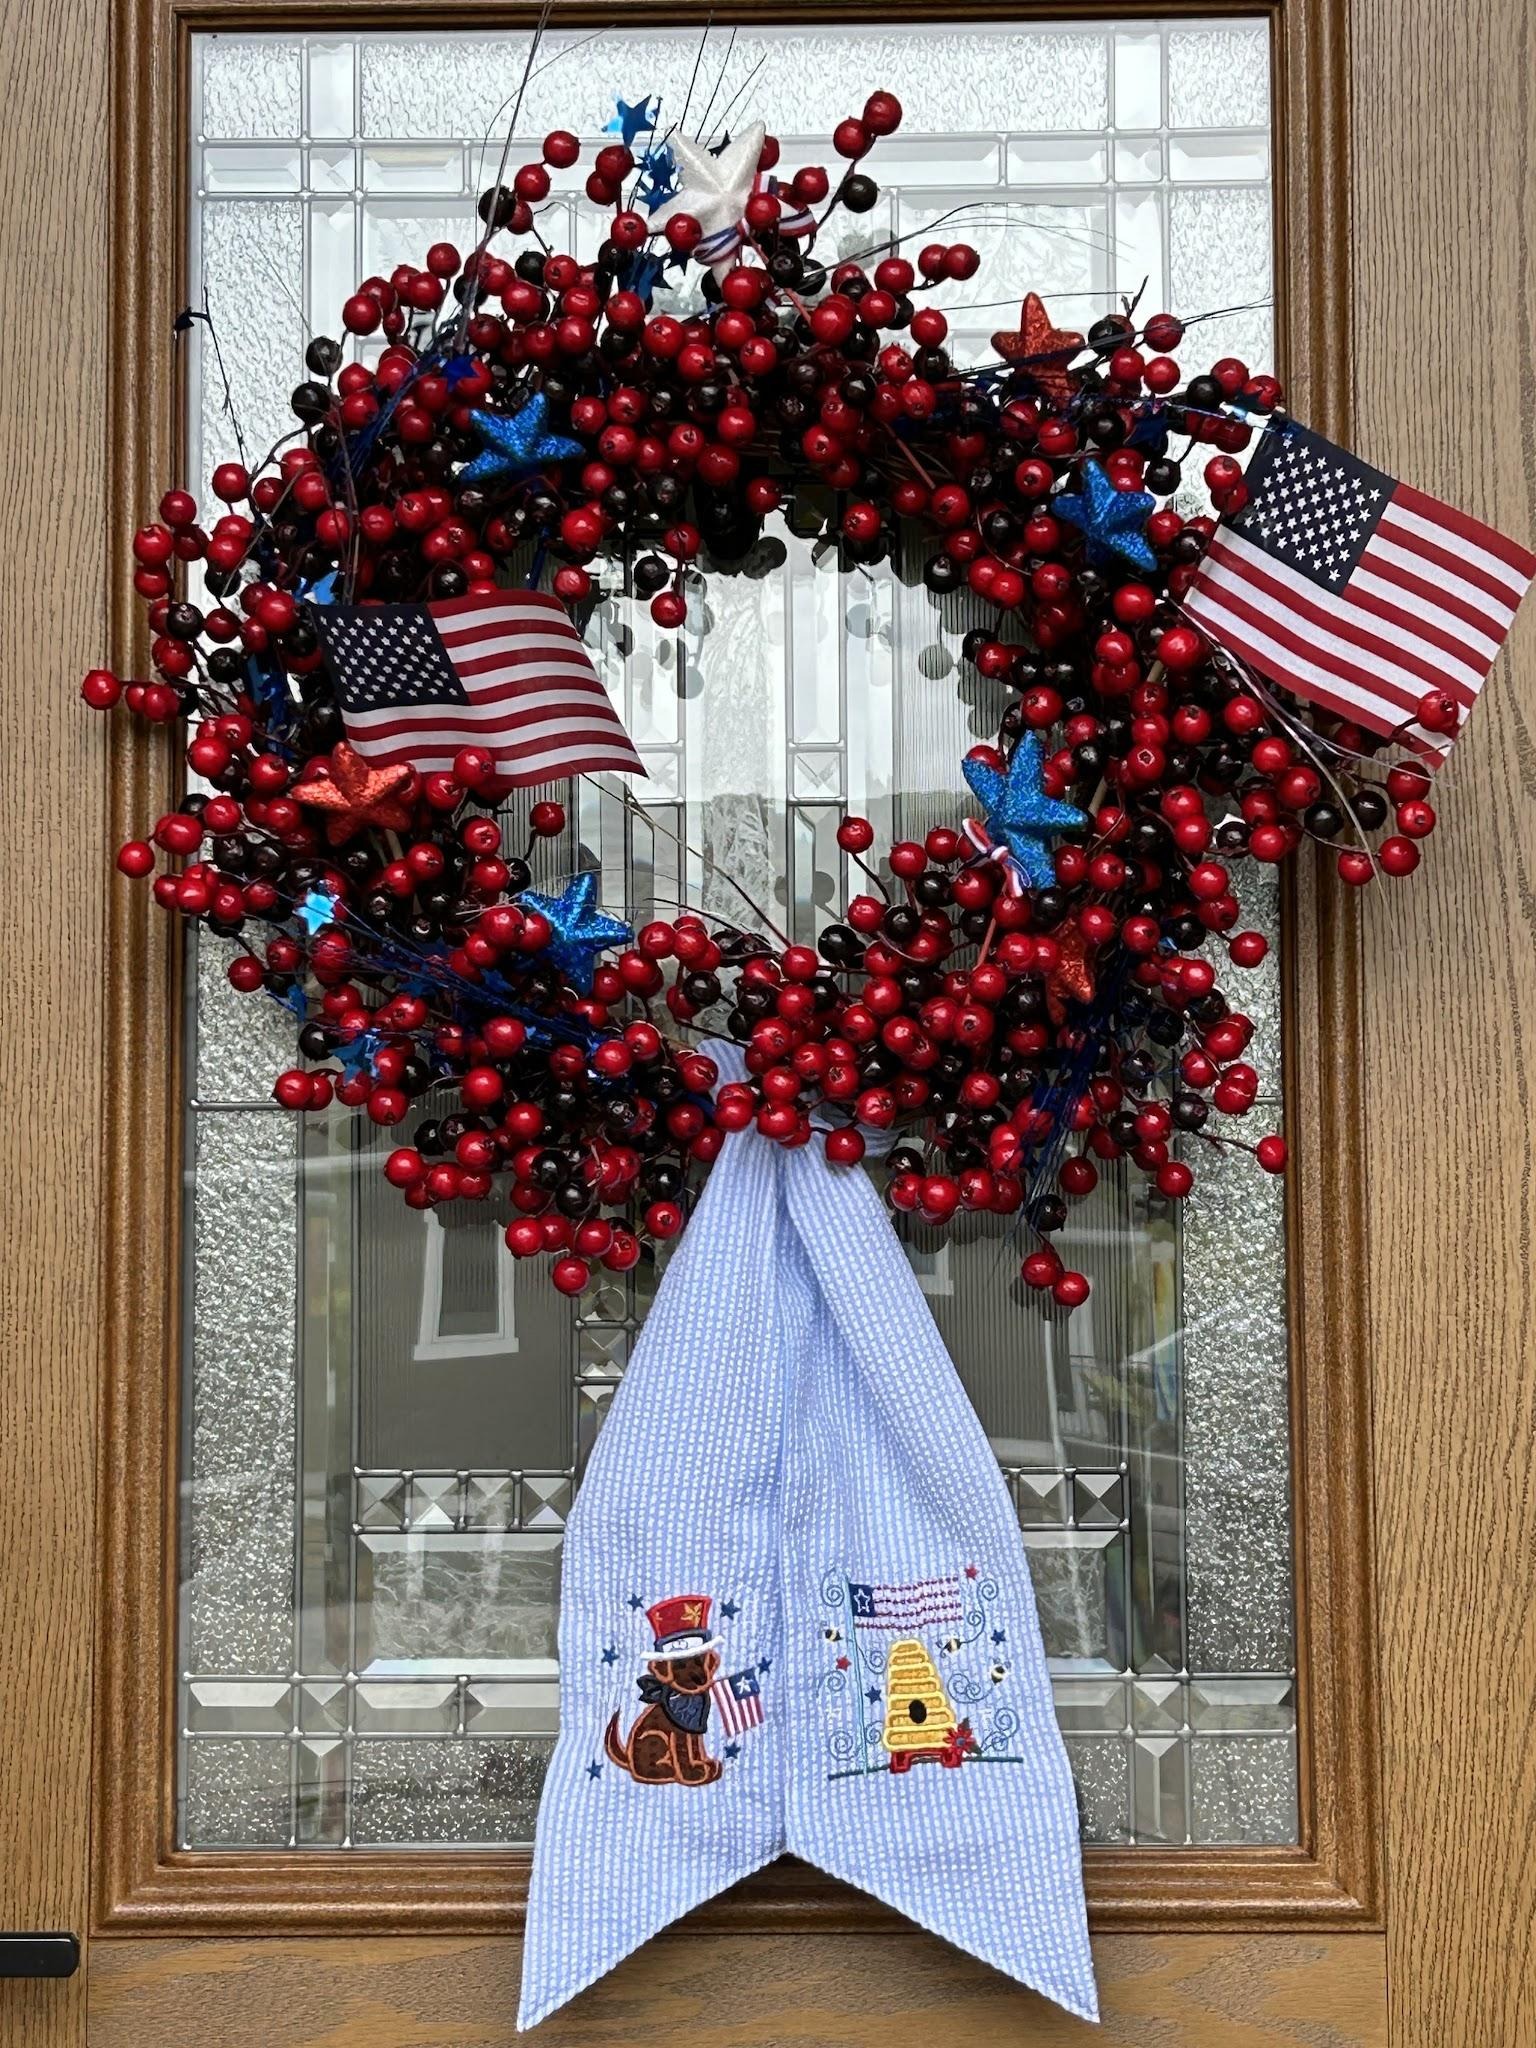
For the first end of my scarf, I chose the pattern with the beehive and the flag. We talk about bees in our home and how they work together often, so I loved the symbolism of it with the patriotic theme for my scarf. I am only using the decorative and applique stitches on this project and not the stitches to build the block. Go ahead and stitch out your first steps. For me this was a bit of applique.

And then progress through the stitches until you’re finished with the design.
Flip your design over and clip all of your threads on the back.
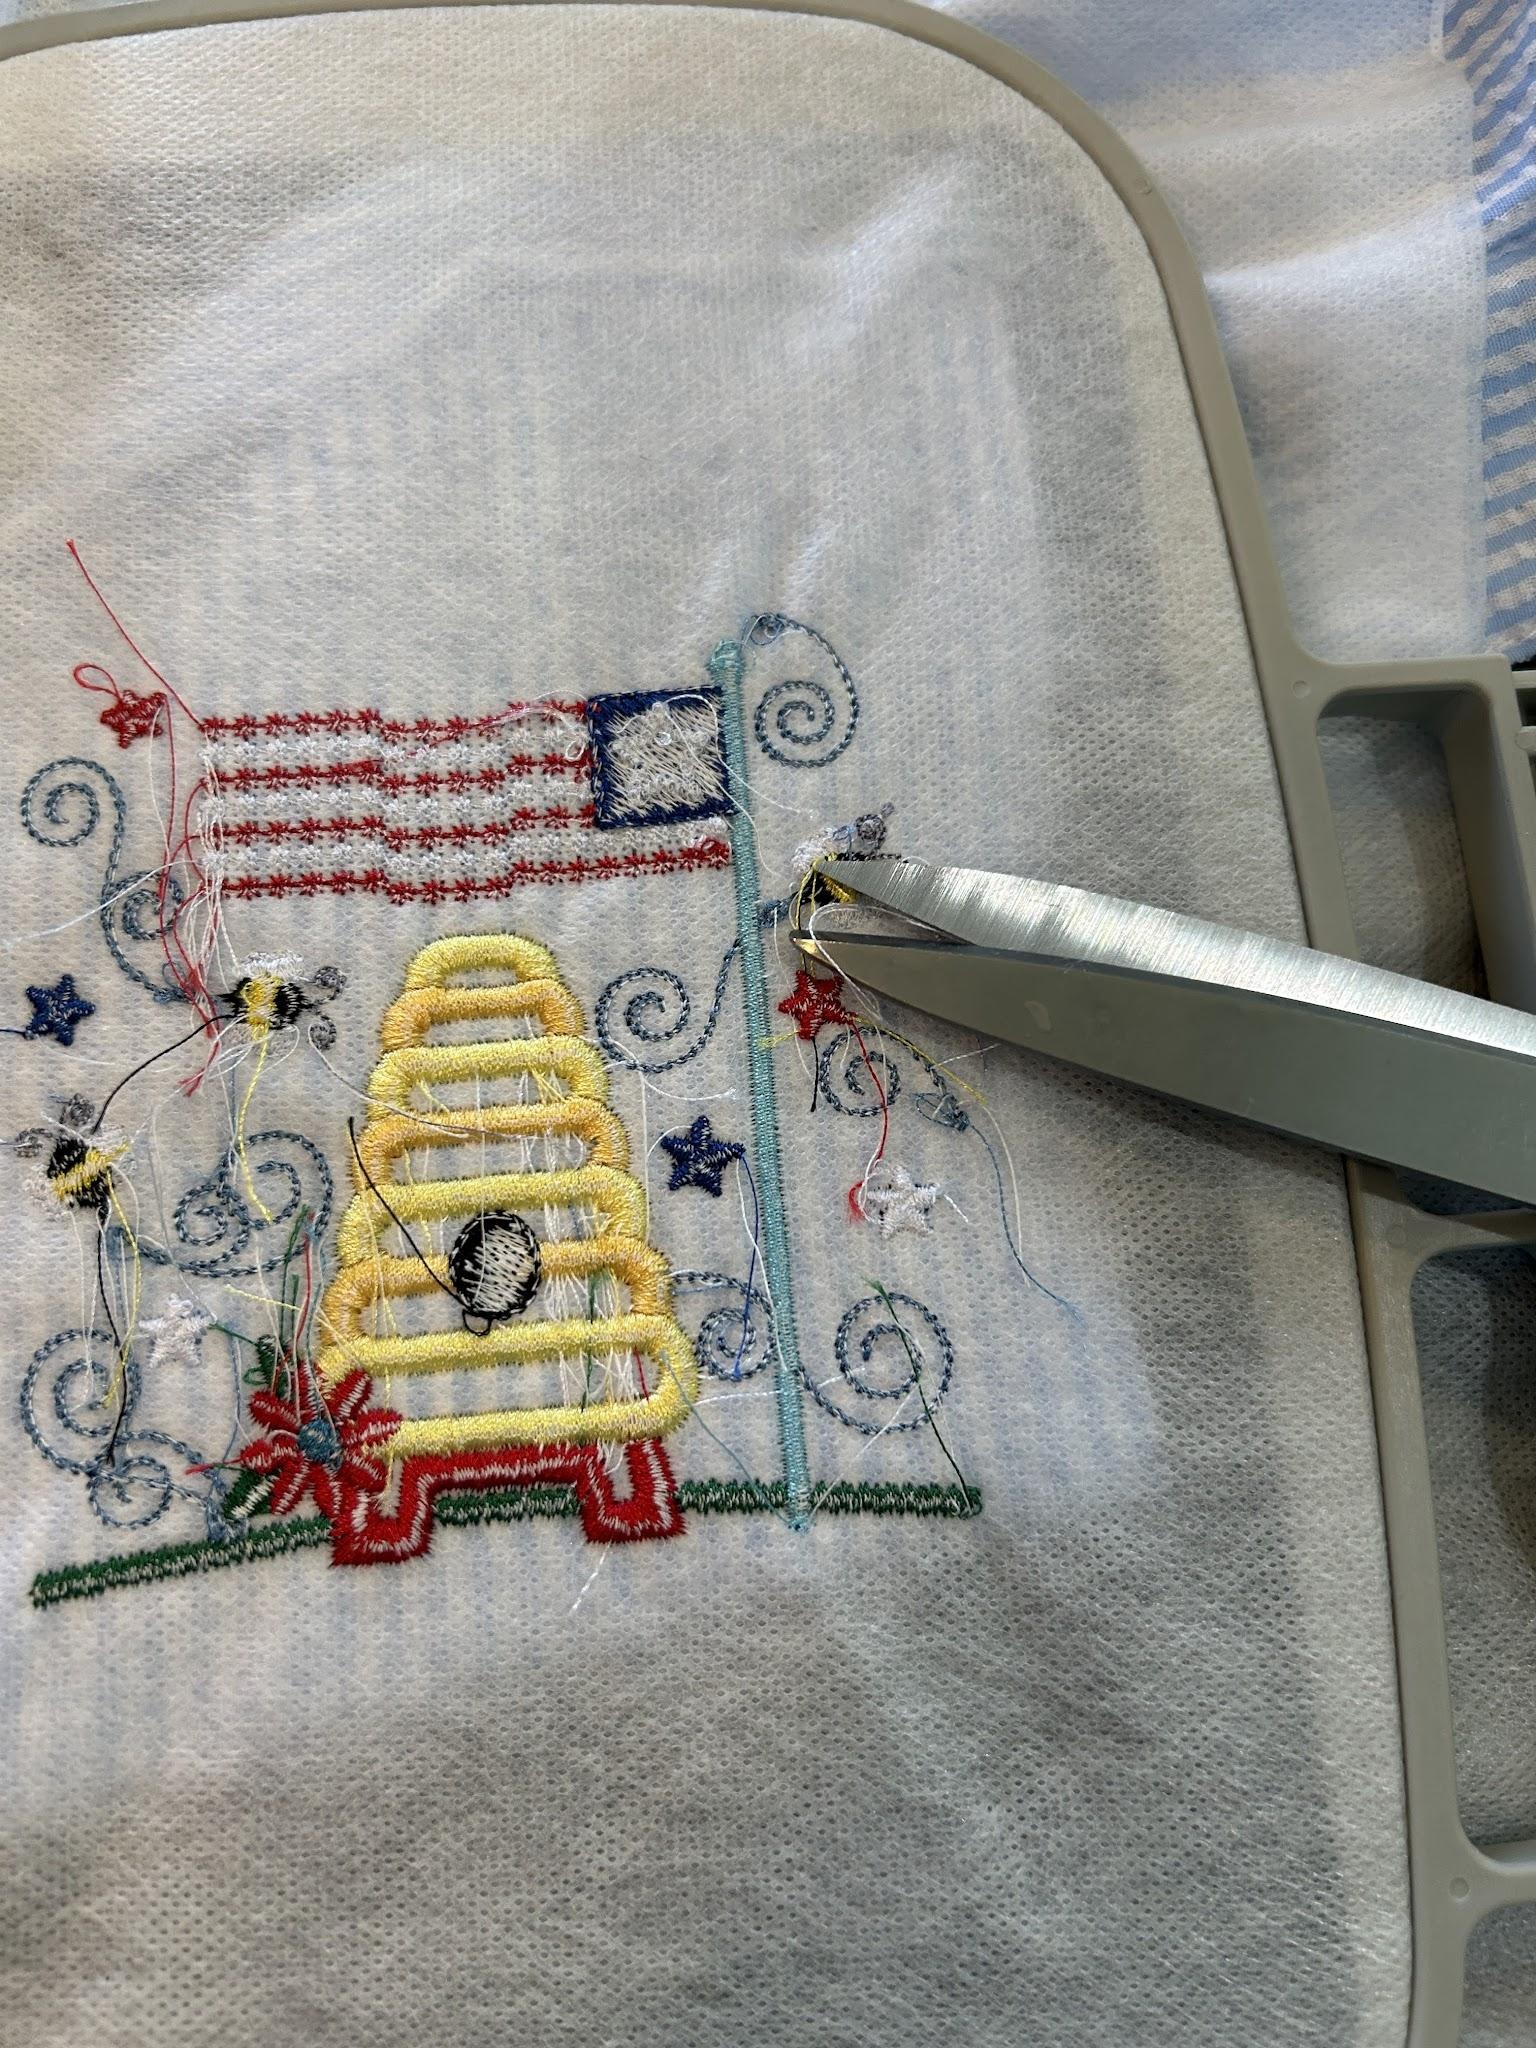
I trimmed up the stabilizer close to the design and spritzed it with water. The stabilizer melted away and I rubbed slightly to make sure it had all dissolved.
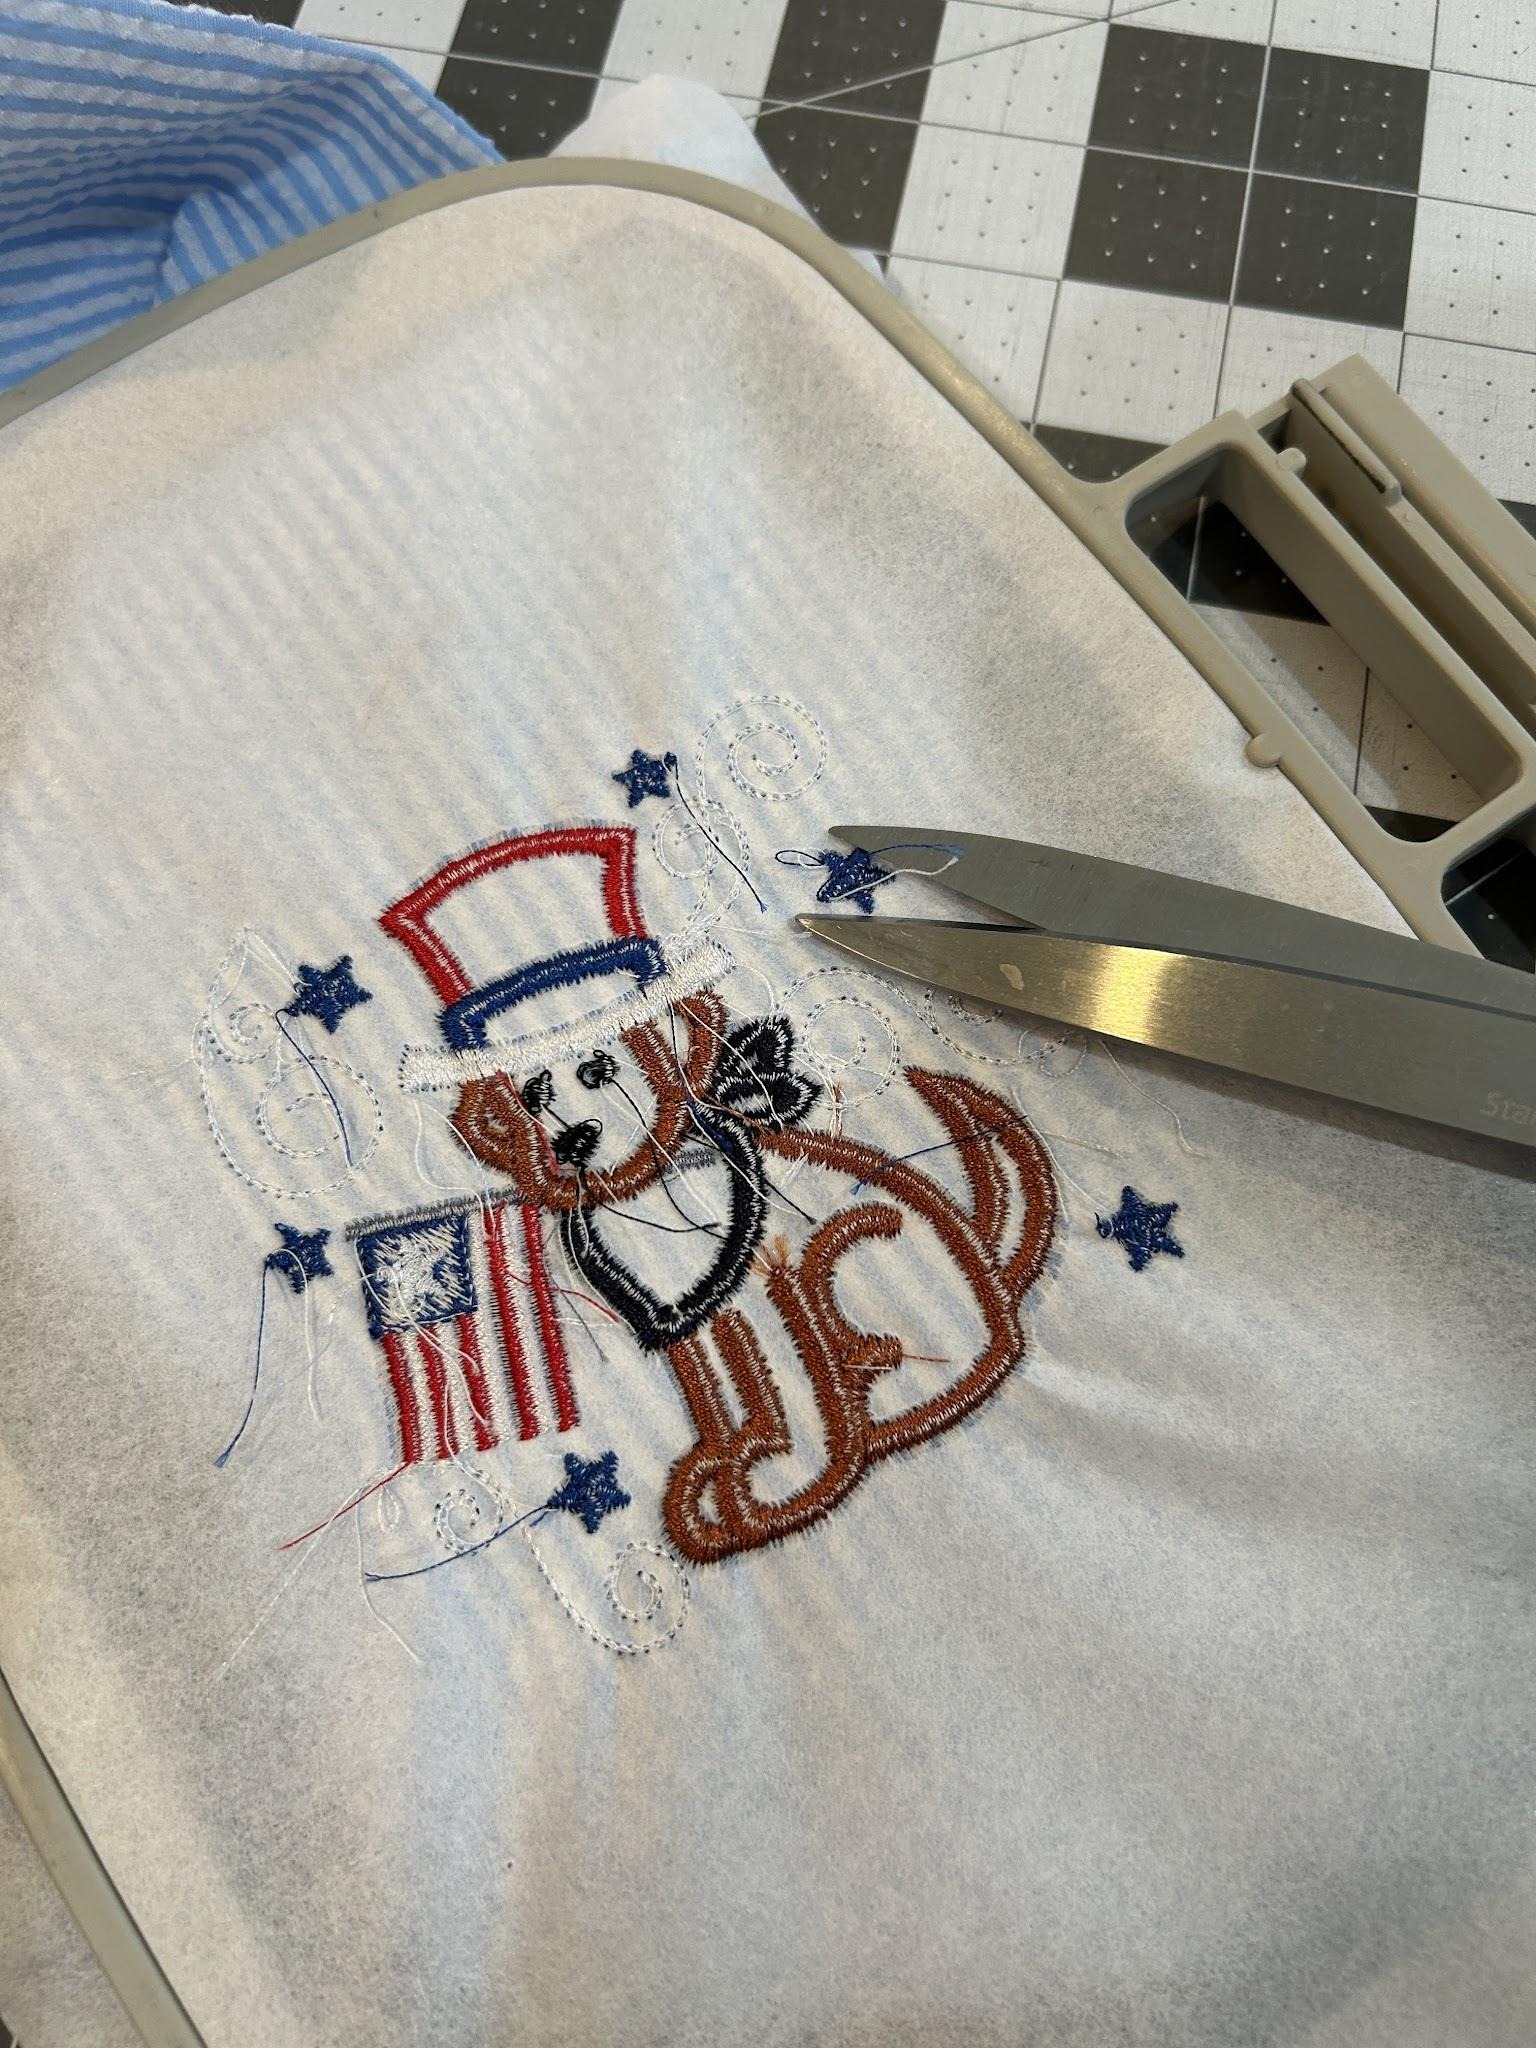
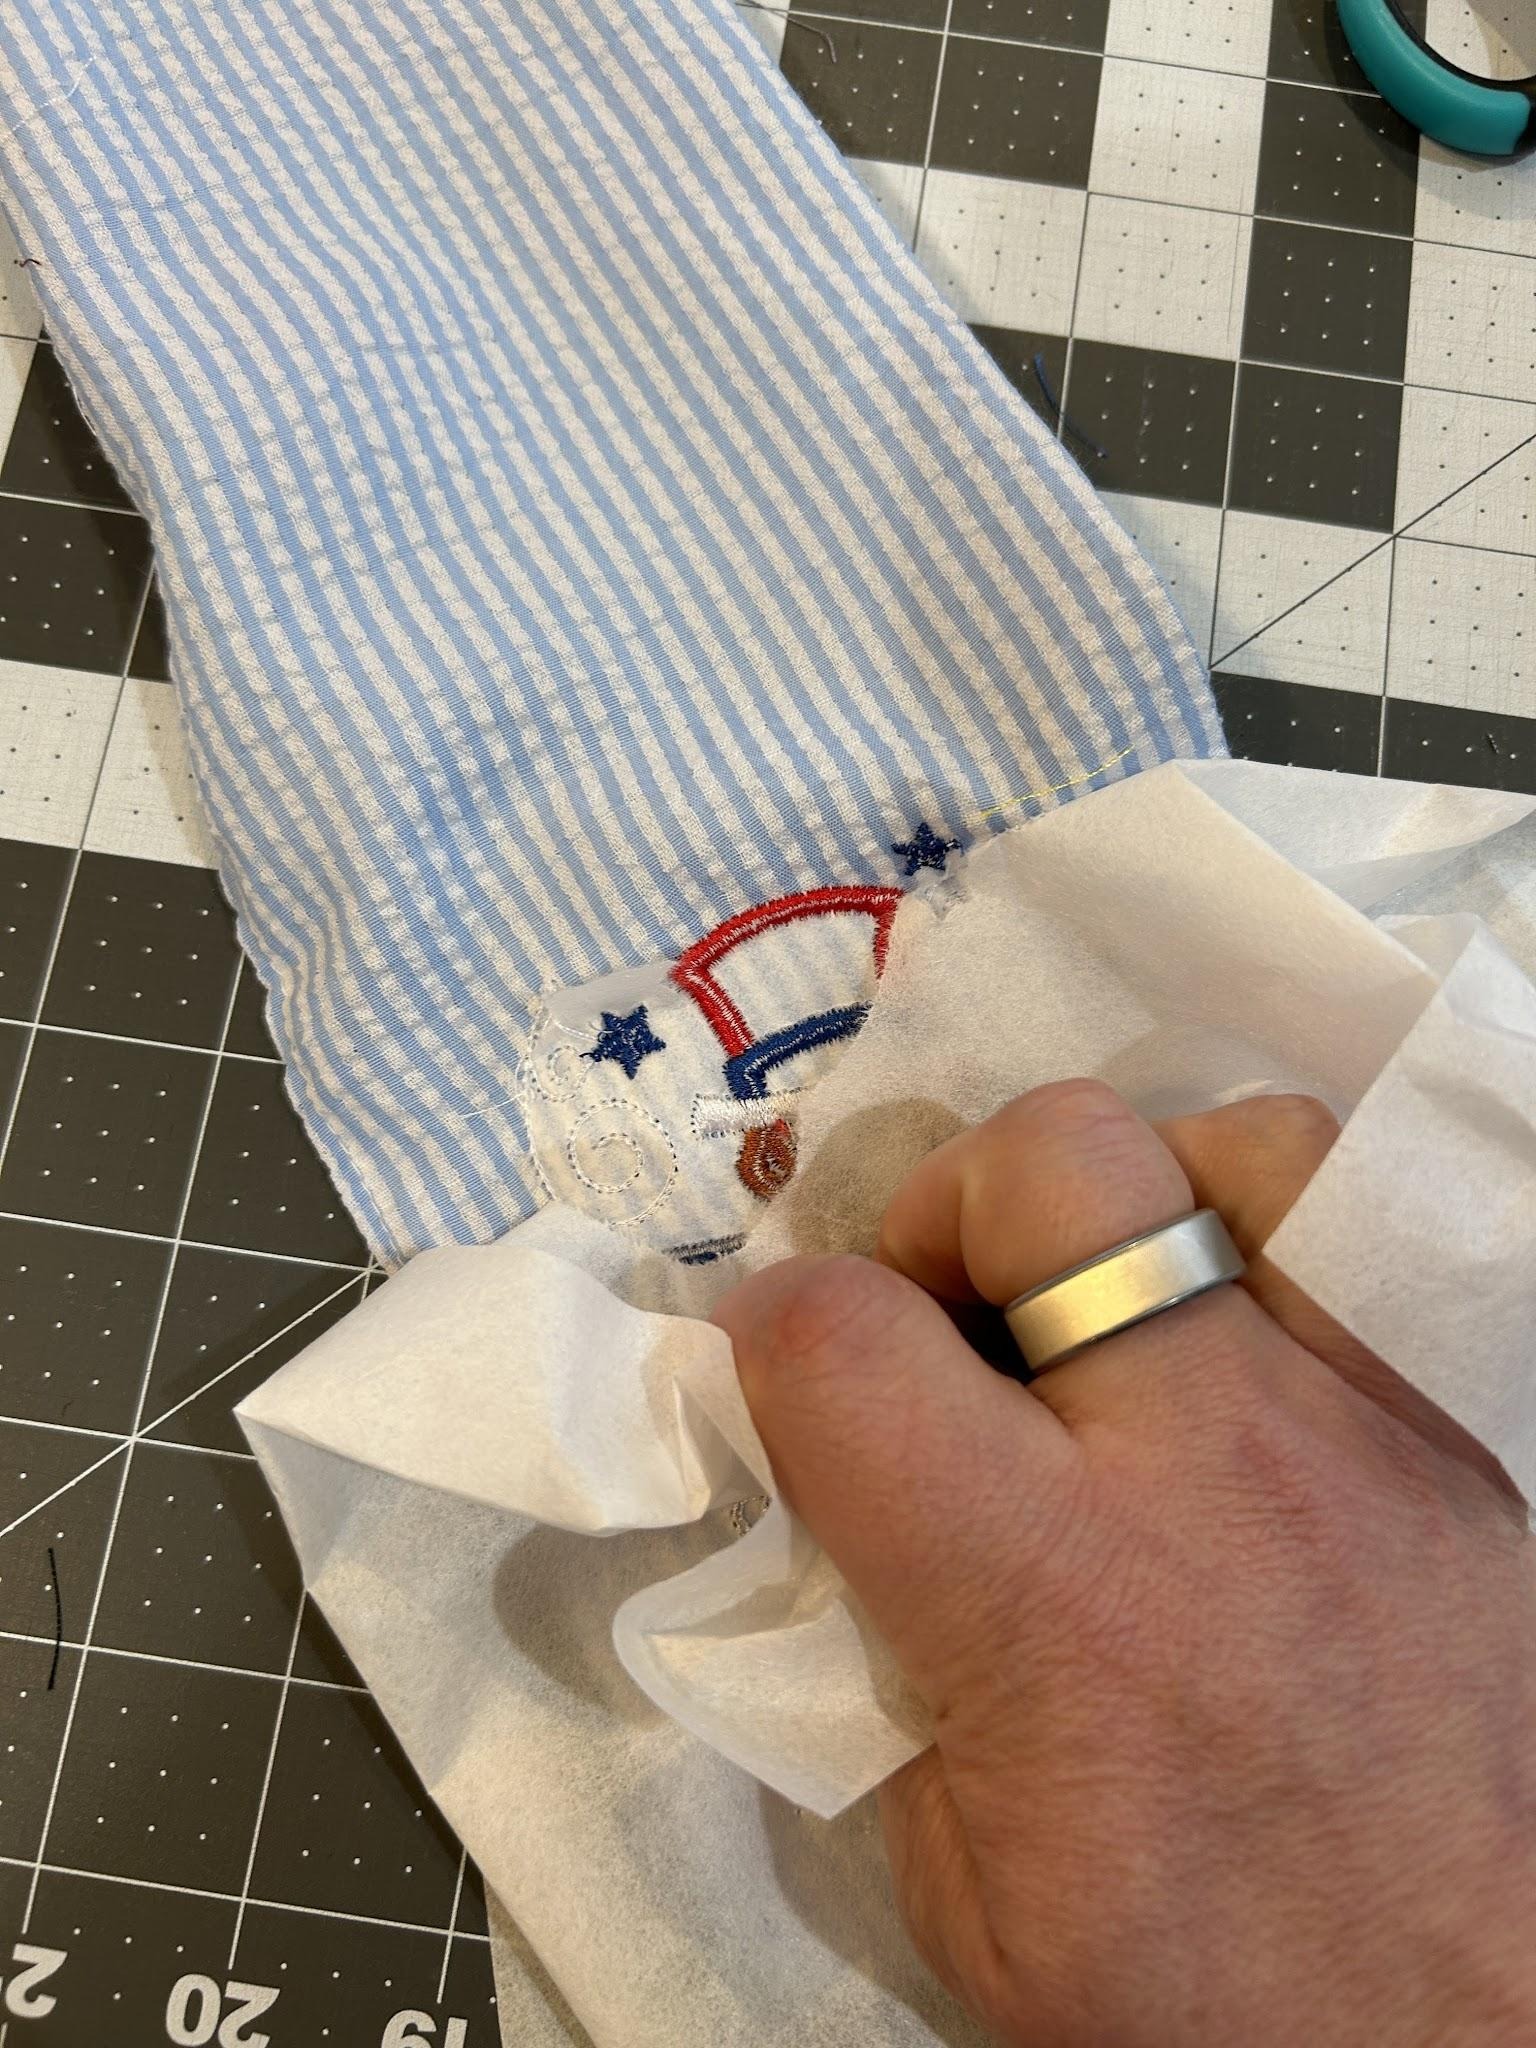
Now we will repeat on the other end. This time I used tear-away stabilizer.
Stitch it out like you did the other side. This time I chose the dog pattern because we like to let everyone know that the dogs are part of the family. When you're finished stitching your design, trim up the back.
Remove the stabilizer from the design.
And now your wreath scarf is finished.
As far as the stabilizers go, I felt the two layers of wash-away stabilized better than the one layer of tear-away. But the tear-away was much easier to remove. When it was all said and done, the water-soluble side was a bit stiff, so keep that in mind if a little stiffness will help or harm your project.
My final conclusion is as long as your stabilizer can’t be seen when you're finished, and it works with the fabric type you use, choose the one you prefer. I know that the scarves get blown every which way at my house, so having a pretty back is a must!

Wrap your scarf around your wreath and display it so everyone can see your creativity and personalization!
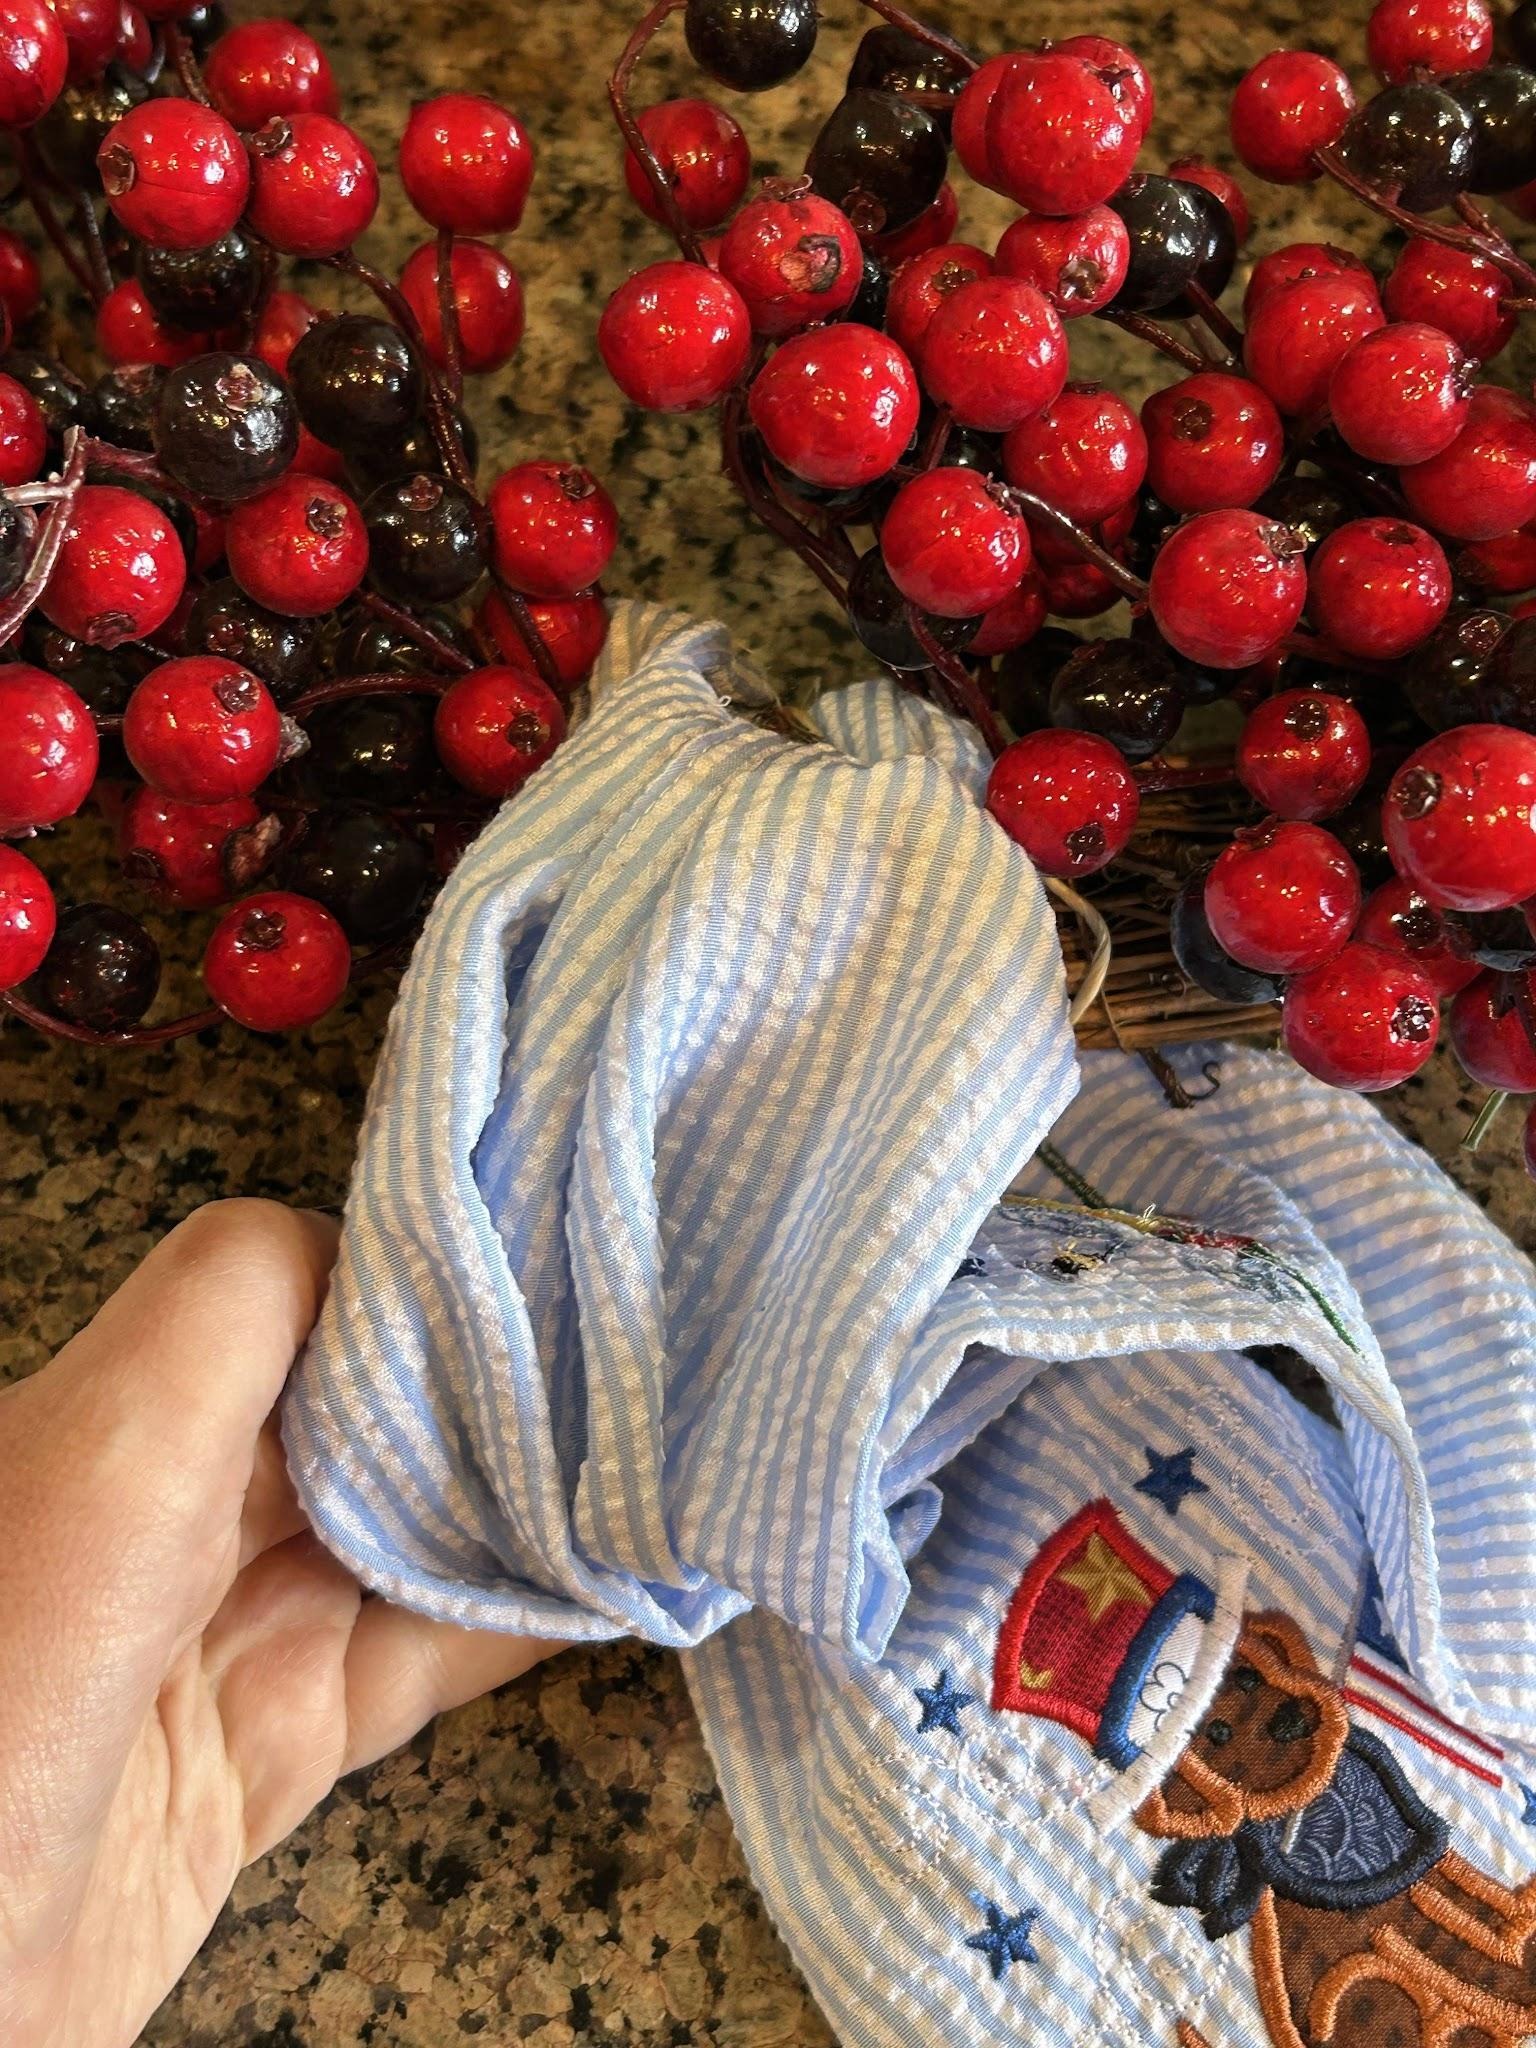
And then decorate your wreath and hang it on your door.
If you make a wreath scarf, please post it in our Designs by JuJu Embroidery Blessings Facebook Group or use the hashtag #designsbyjuju anywhere on social media to inspire us all with your design choices and wreaths. We love to see what you create!
