Toggle Nav
 Inspire.
Create.
Stitch.
Inspire.
Create.
Stitch.
Search
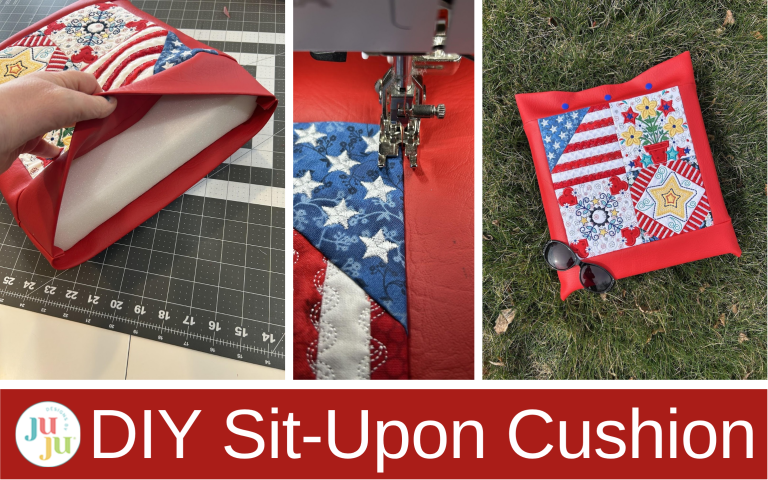
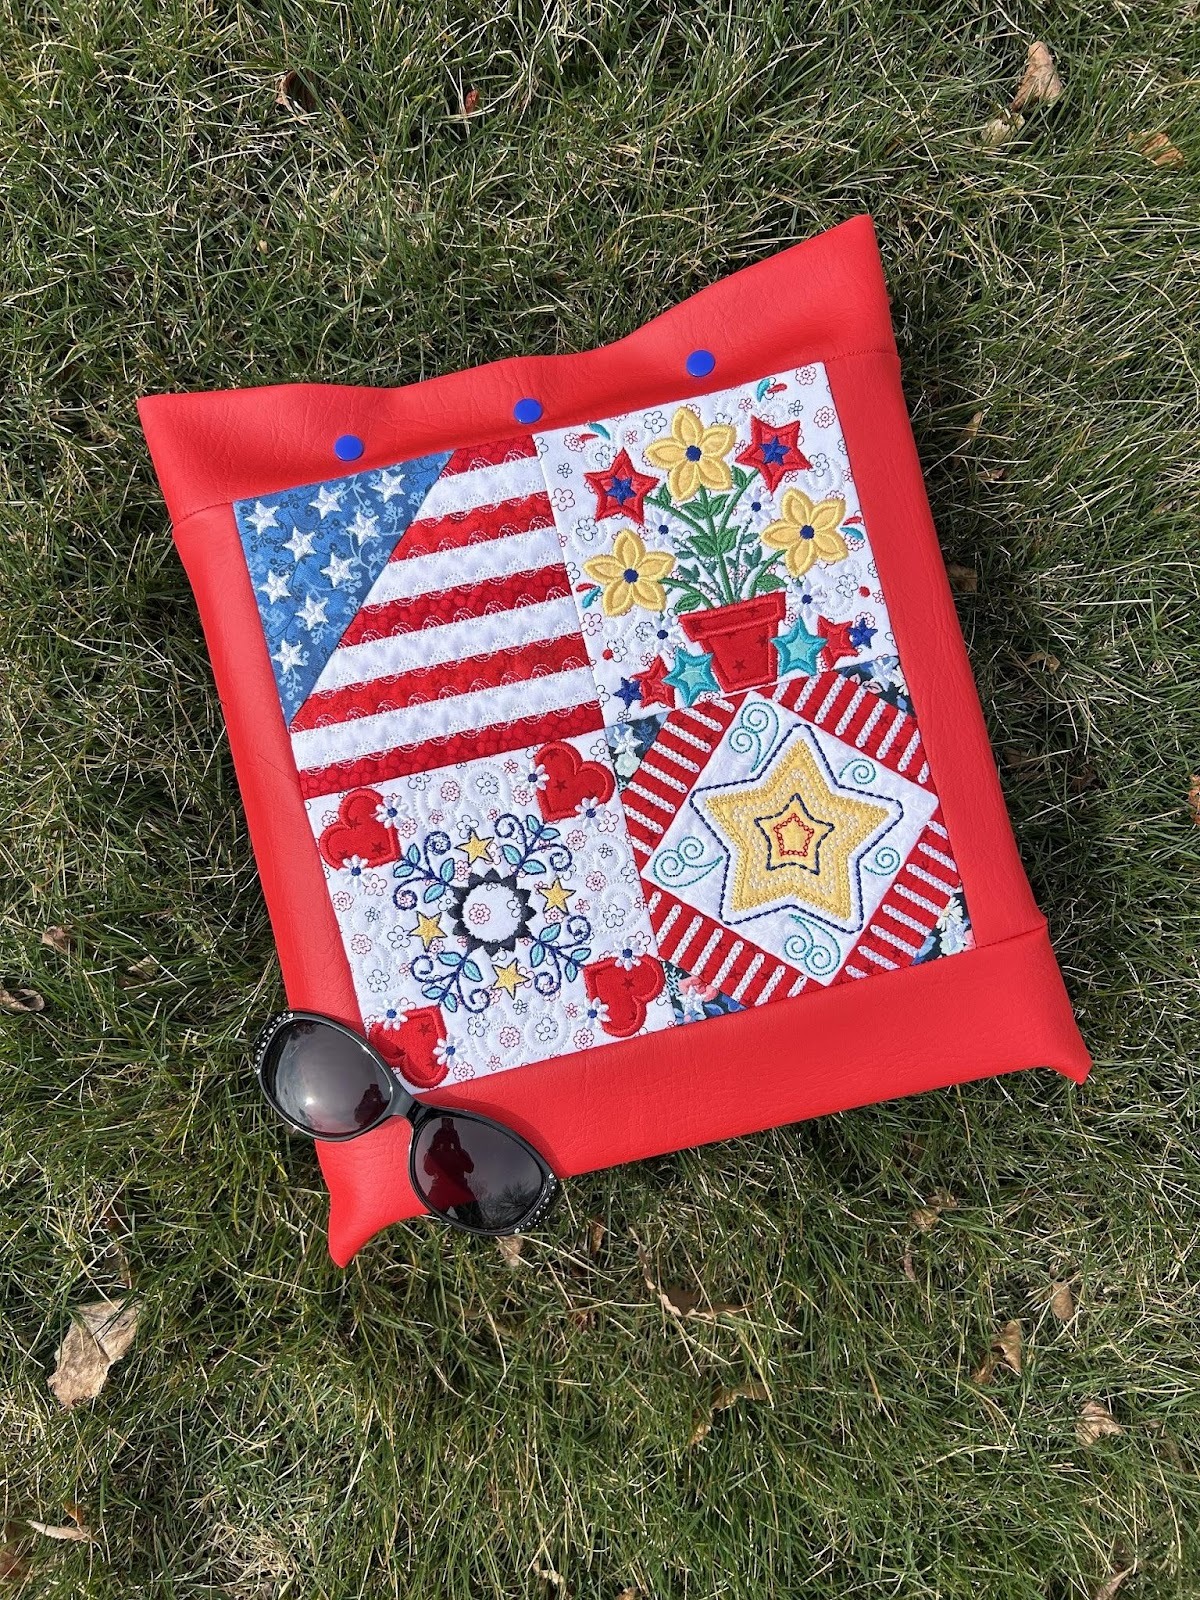
Who says outdoor seating can’t be personal? Create a sit-upon with marine vinyl and a pieced embroidery top.
Whether you're going to a sporting event, camping, or maybe even a picnic, it’s always nice to have a soft spot to sit on. Today I’ll show you how to make one that is backed with marine vinyl to create a semi-waterproof place for you to sit for your activities! Grab some vinyl, foam, and fabric, and let’s get started!
Finished size: 15” x 13” x 2.5”
Check out the DBJJ team’s favorite supplies in the Designs by JuJu Amazon store. And for all your stabilizer and batting needs, Designs by JuJu+ has you covered.

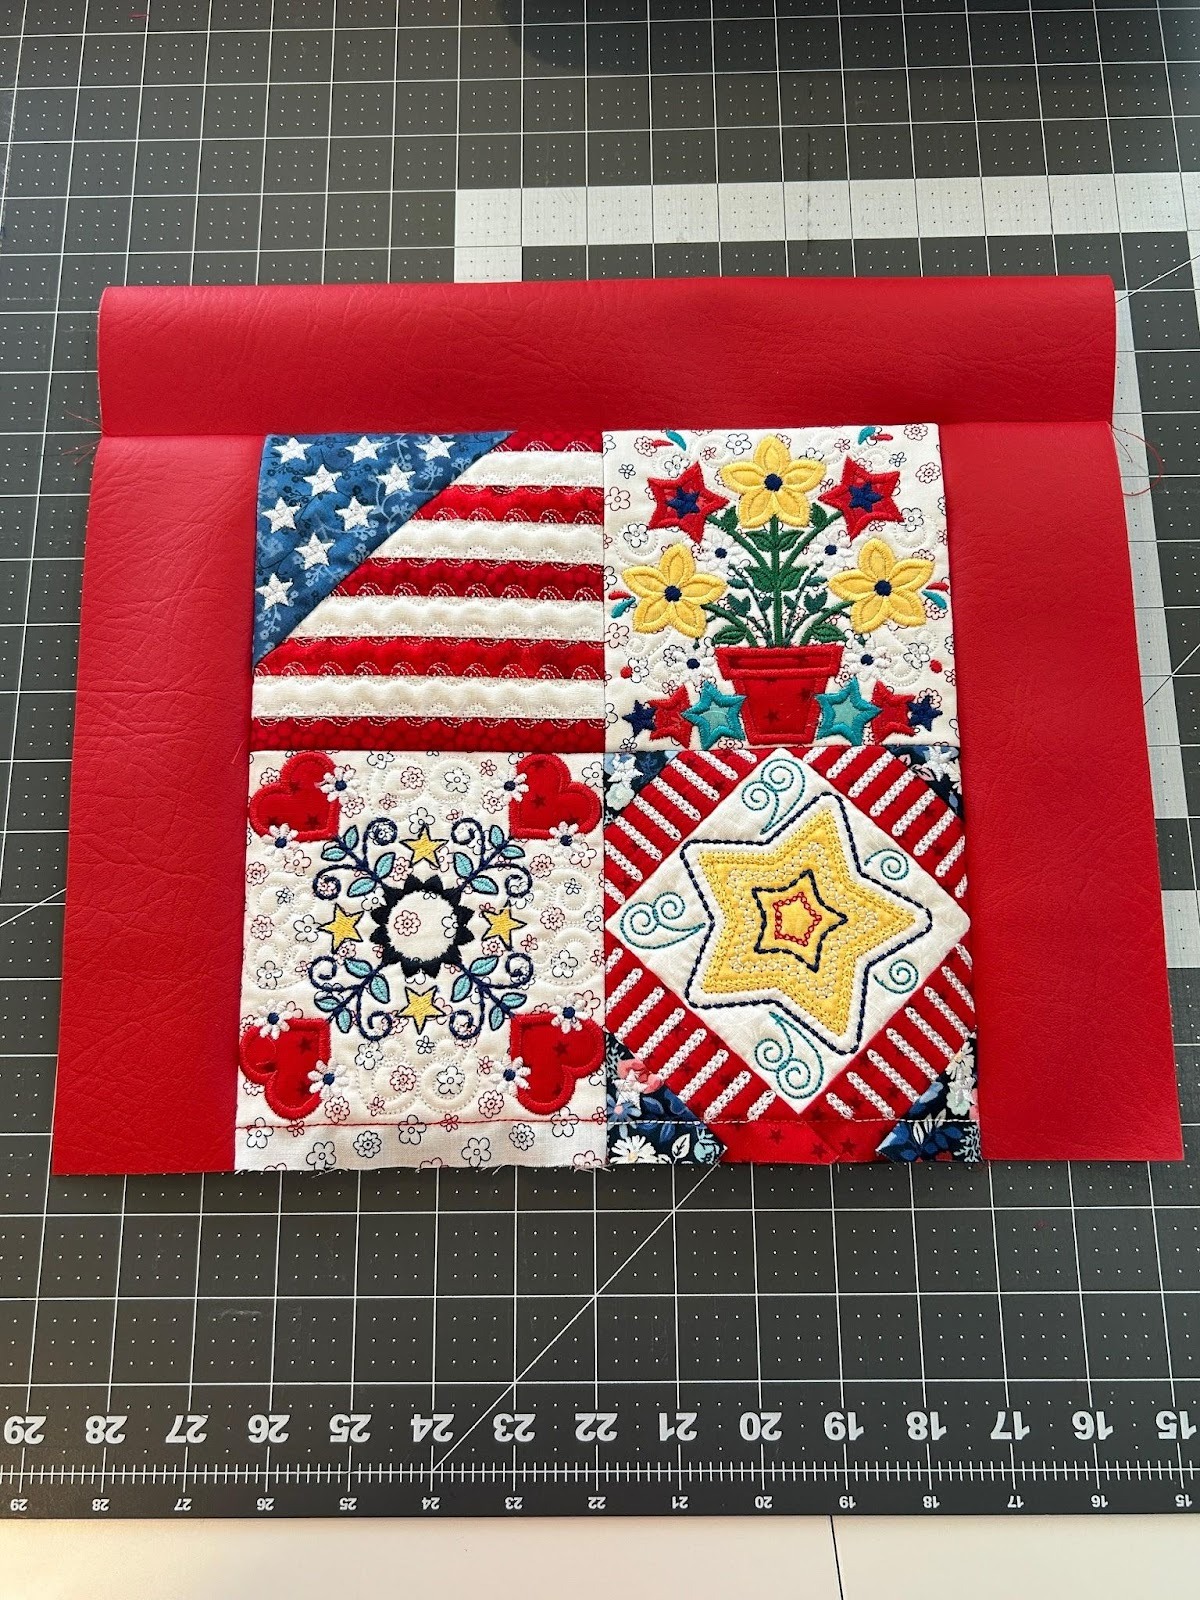
This sit-upon is made with a marine vinyl back and border. The top is made with four 5” squares arranged in a patchwork. I’ve chosen to make mine with blocks from the Star Spangled Stitches sets. I think this will be perfect for summer fireworks, parades, and games we go to. But don’t feel limited by this.
If you attend a lot of sporting events you could create blocks from Sports Subway Art, the 5” quilting blocks from All-Star Quilting Backdrop Design, and Split Sports Applique to personalize them.
Maybe you like to garden and would love something soft to sit on while you're doing your work. Make your blocks out of Honey Bees, Butterflies, & Flowers Quilting Backdrops Design, Gardening Word Art 1, and Gardening Kids Applique.
If camping is more your style, consider Camping Word Art, Camping Vintage Sketch 1, and Camping Vintage Sketch 2. Whatever you're up to, I’m sure you can find designs to make the perfect sit-upon for you!
Begin by stitching out your four 5” blocks. Hoop your stabilizer.

Stitch the placement line for the batting, cover it with batting, and stitch the tack-down stitch.

Trim your batting close to the stitches and then start your block. The first block I made was the Pieced Flag Block from Star Spangled Stitches Set 1 so I started with applique strips along the edge. Your first chosen block may have a solid piece of fabric for the back. Follow the instructions for your specific block. If you’re using the Quilting Backdrops™, check out this post to see how to use them.

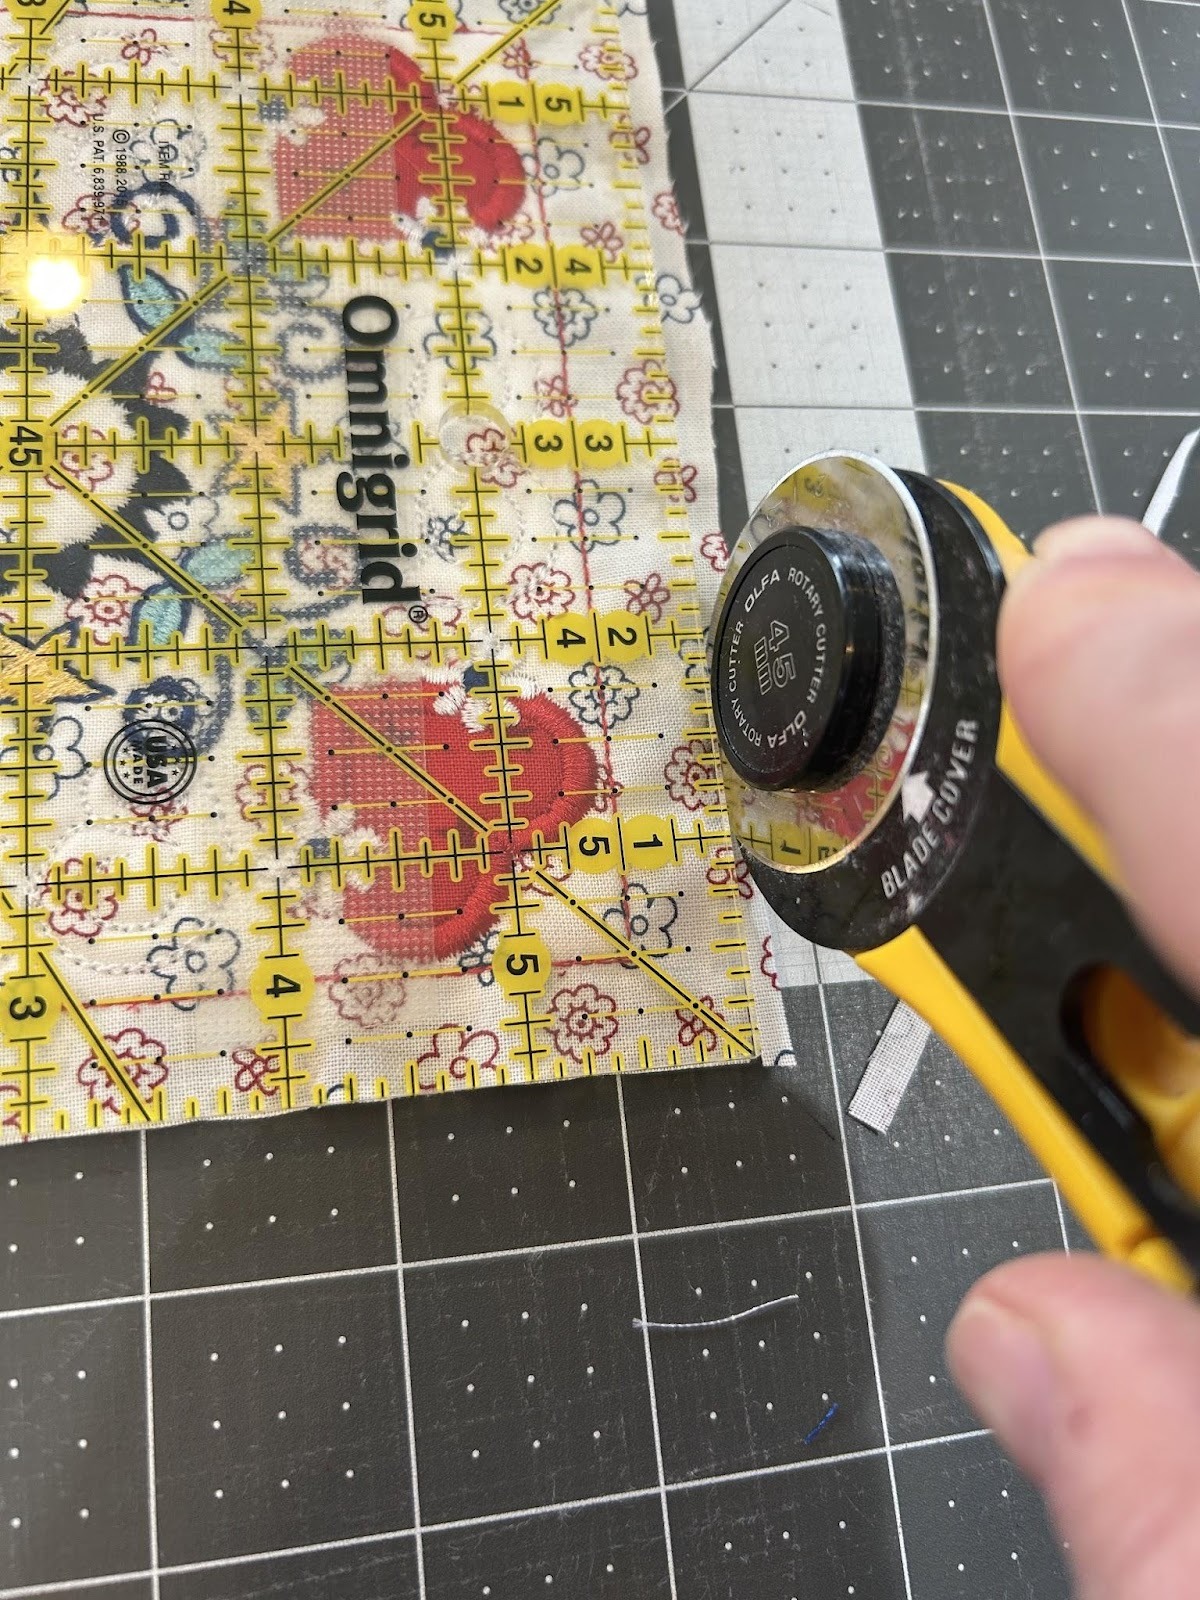
After you complete your first block, make your second, third, and fourth. I enjoyed this project because it was fun to find designs that worked together and were all different in their own way! When you have all four blocks stitched out, cut the stabilizer away from each block close to the stitches.

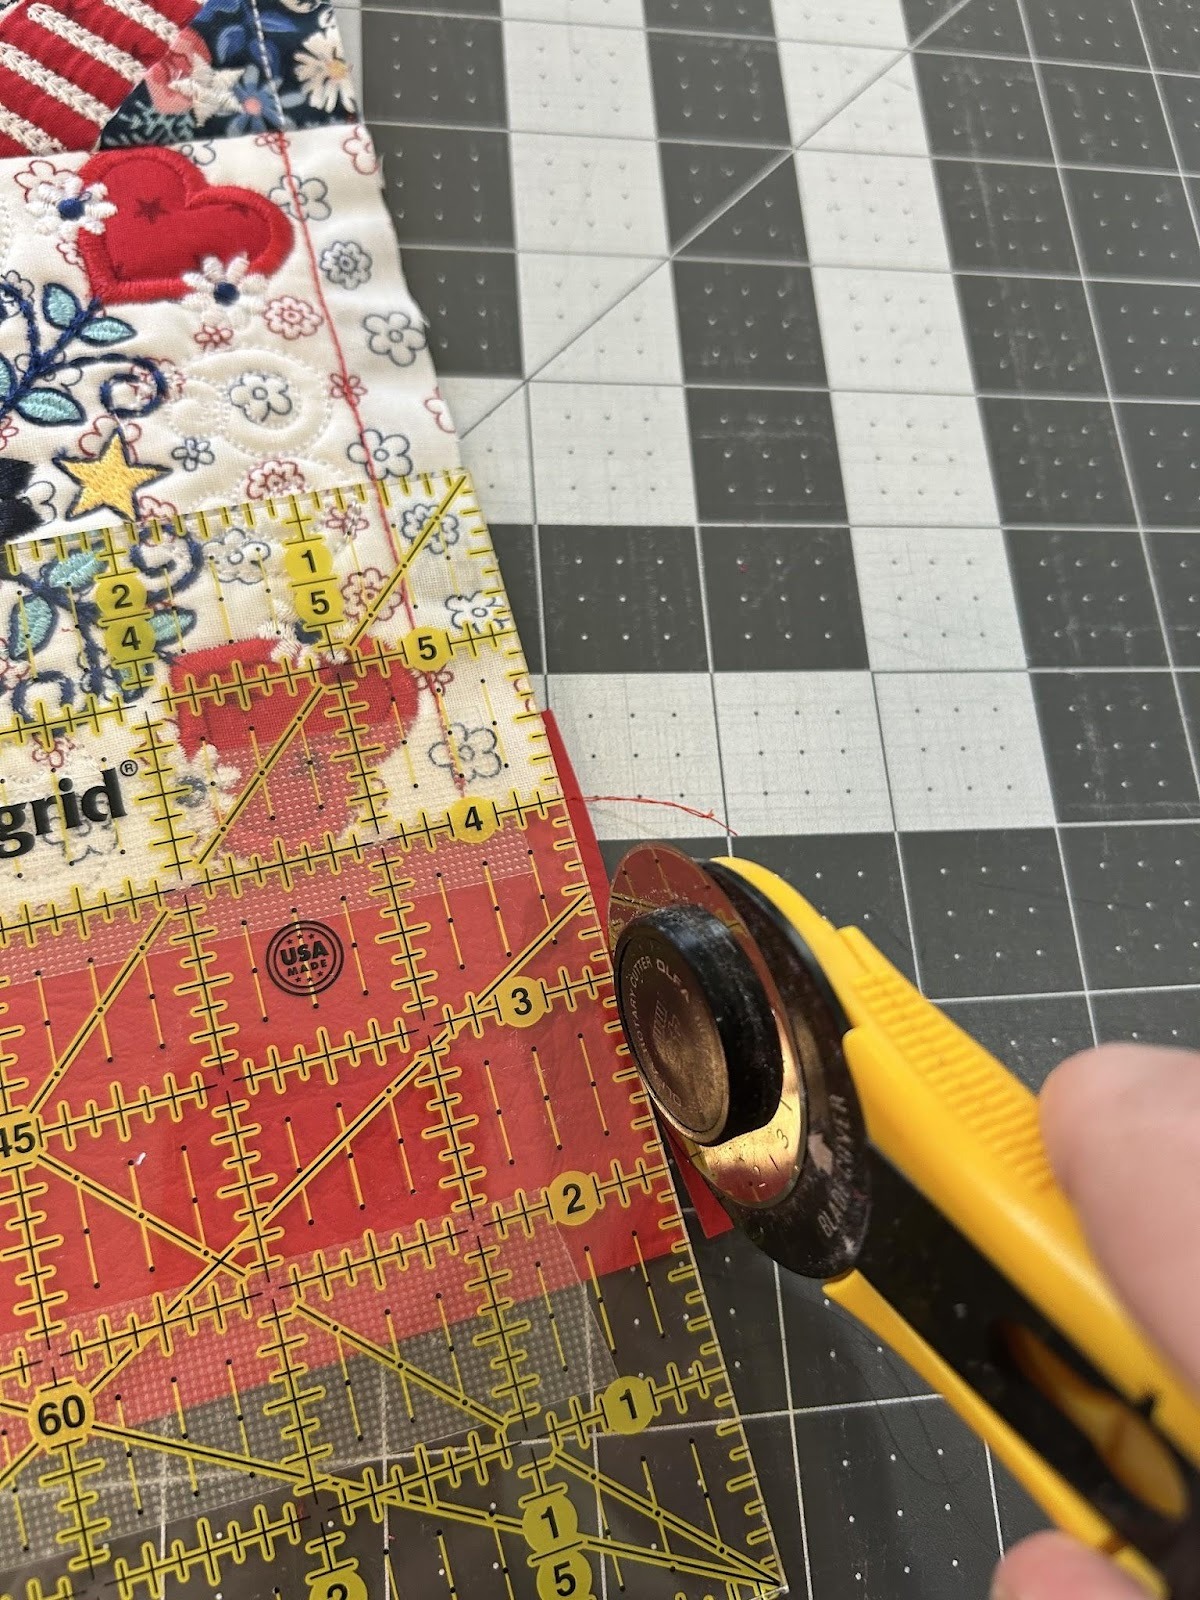
And then trim each block ½” from the outer stitching line.
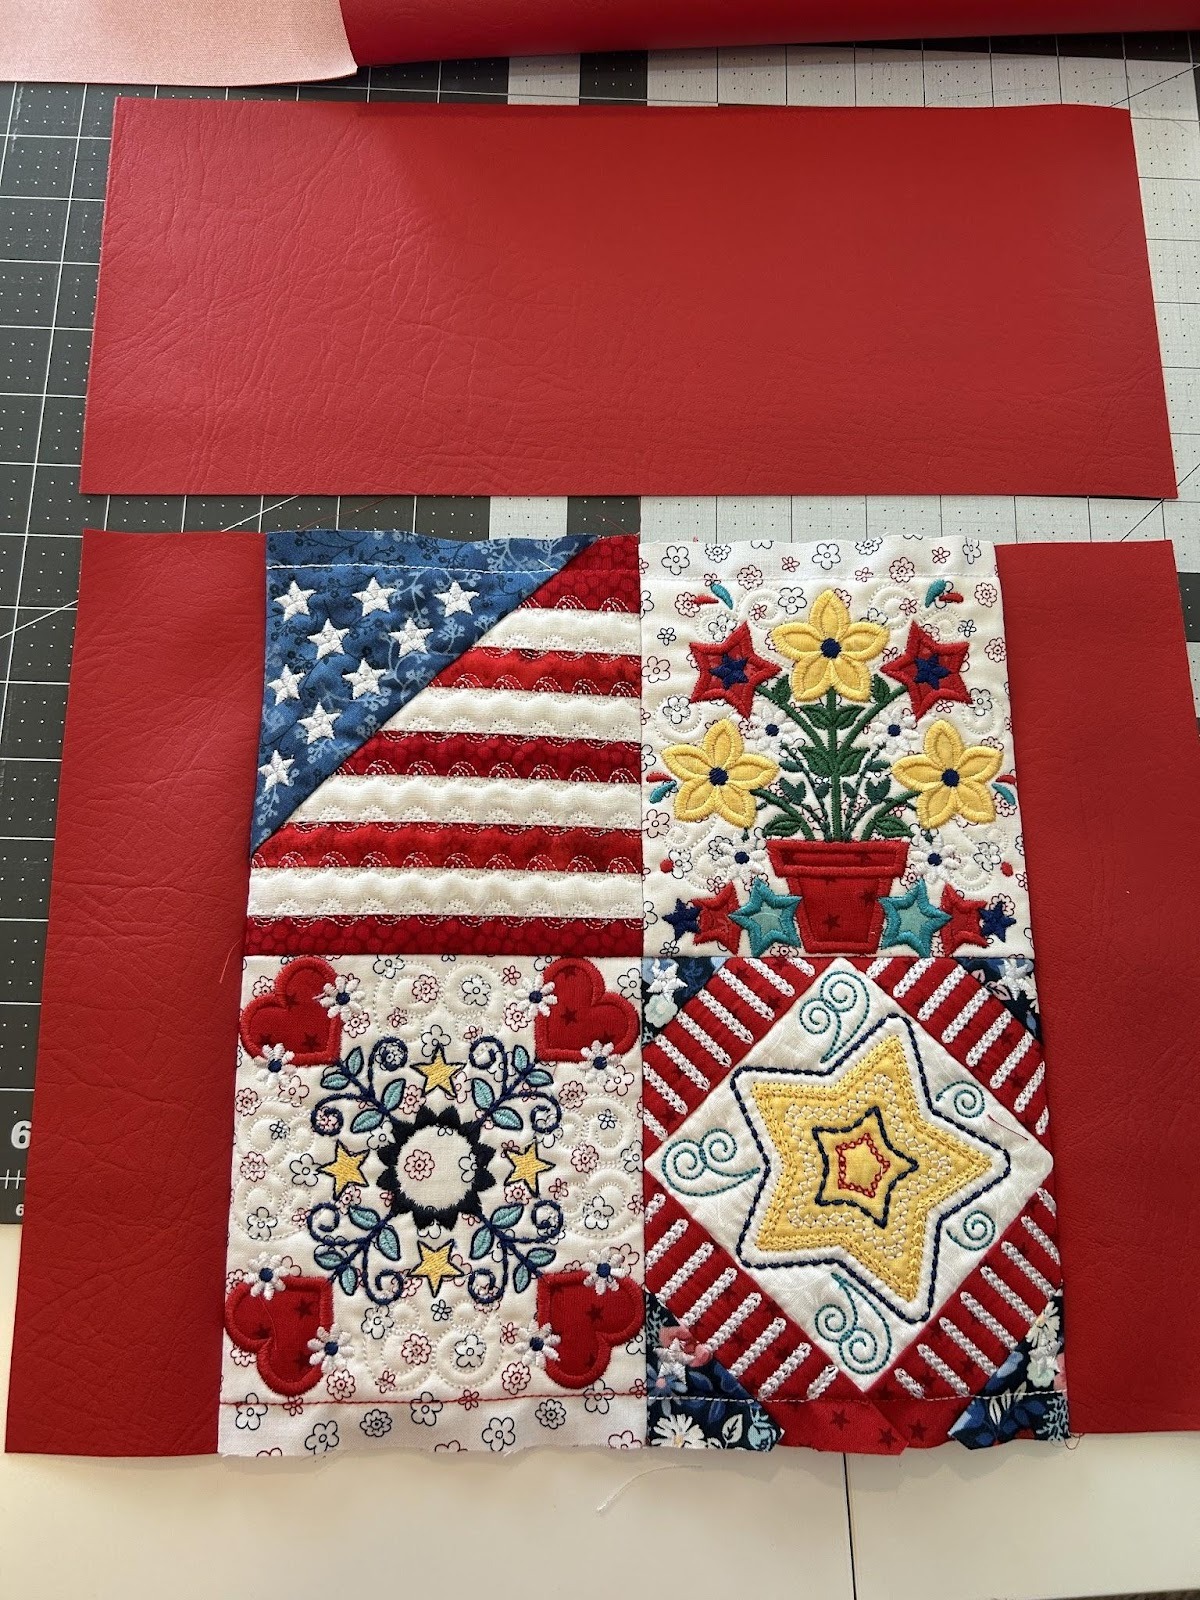
Decide how you want your designs to be positioned in your sit-upon.

Starting with the top two blocks, align the stitching lines with the blocks right sides together. Stitch between the two stitching lines. I find lining up the corners with a pin, through the outside stitching line and the inner stitching line, makes for easy sewing.

Clip or pin the blocks together.
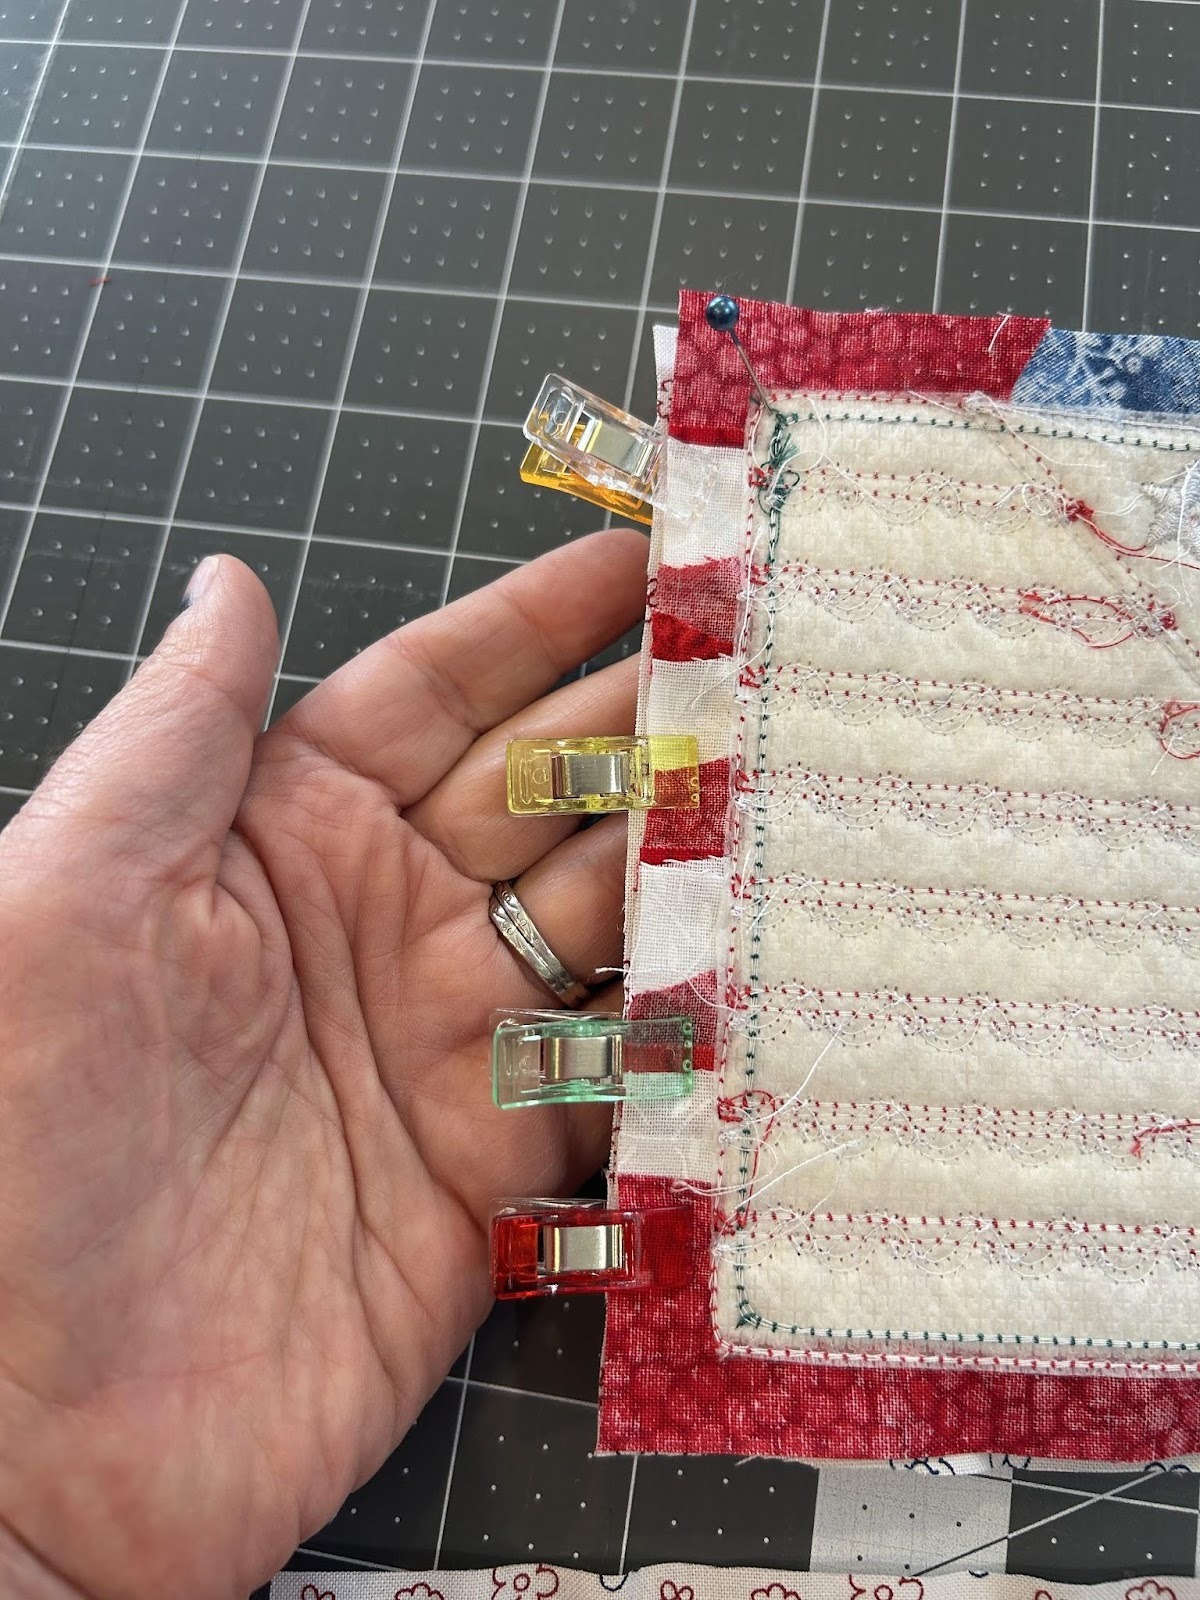
Sew the center seam down the racing lane (the outer stitch line and the inner stitch line) of the block.

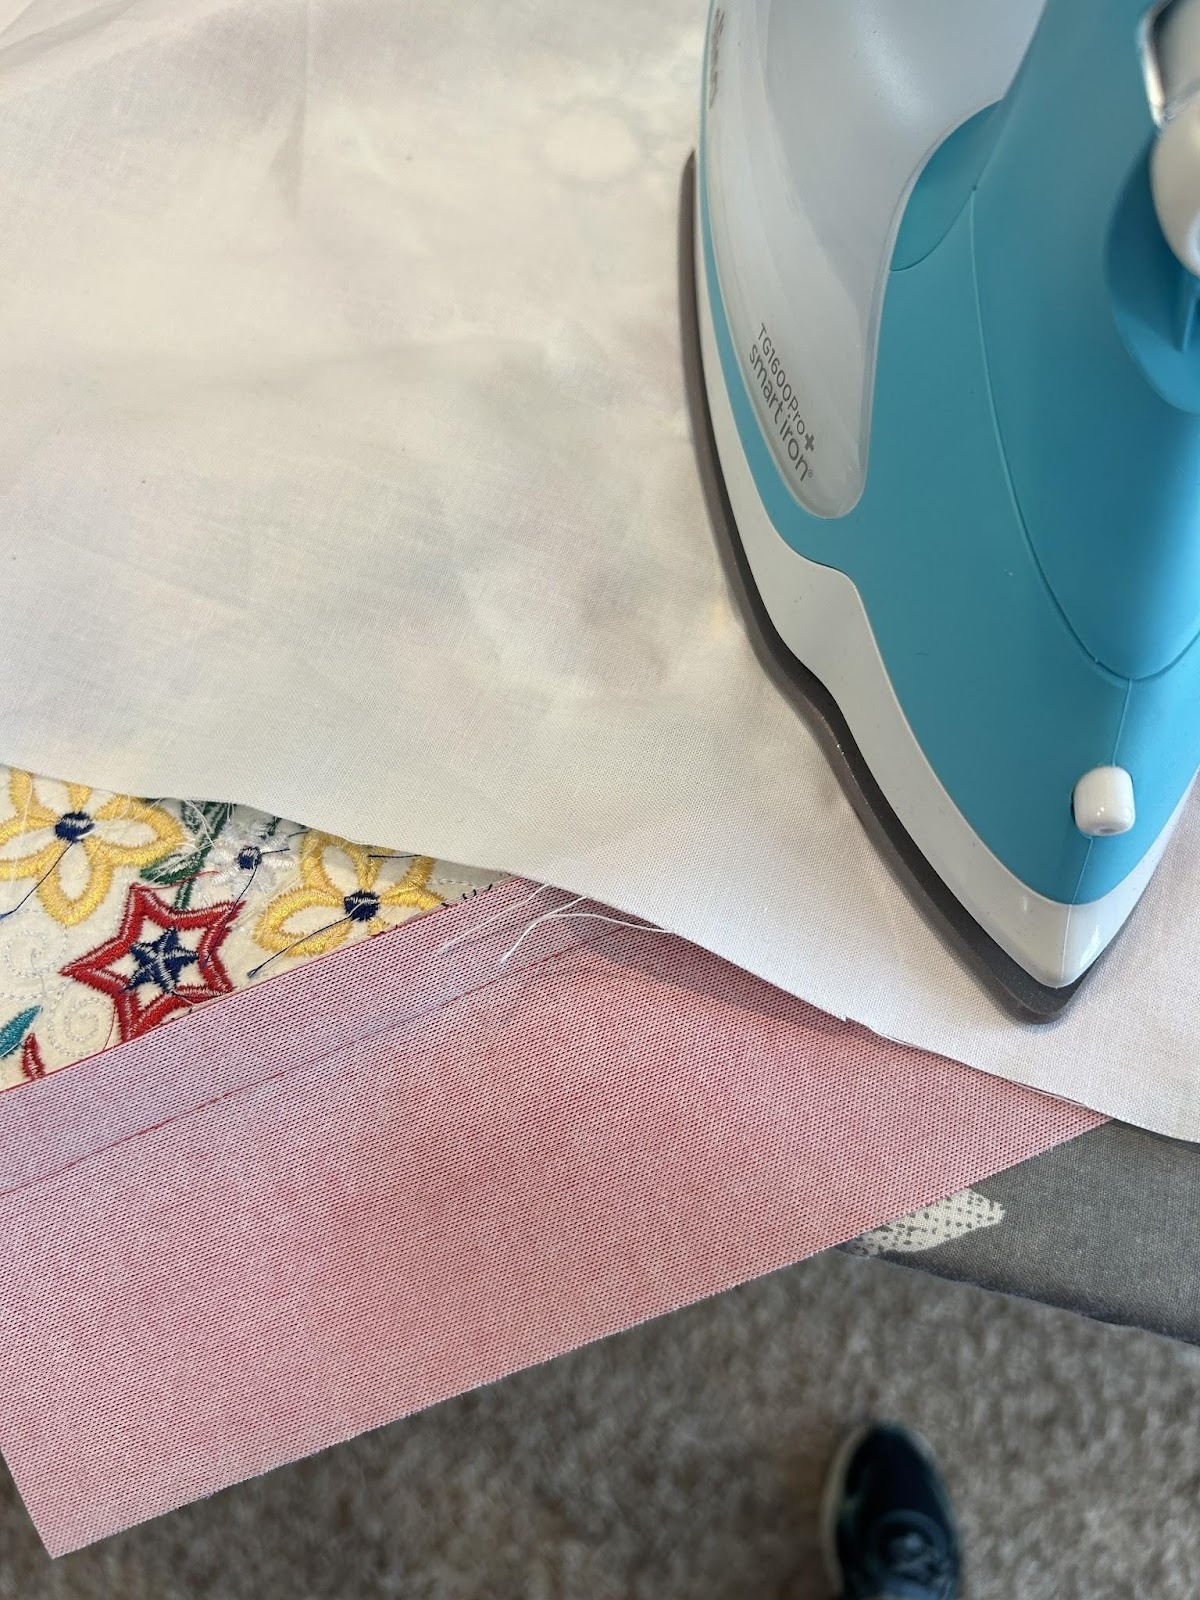
Press the seam open. I like to do this with the tip of my iron first so it’s not touching the stabilizer, and then cover it with a pressing cloth to press it with the whole iron.

Sew the bottom two blocks together the same way. Once the seams have been sewn and pressed, sew the top to the bottom using the same method. Press your seam open.
Once you have the top sewn to the bottom, you will attach the 3” x 11” marine vinyl strips to the sides of the four-patch using a ½” seam allowance.

Once they are sewn, use a warm iron to press the seam allowance toward the embroidered pieces.
Trim the marine vinyl even with the embroidered pieces.
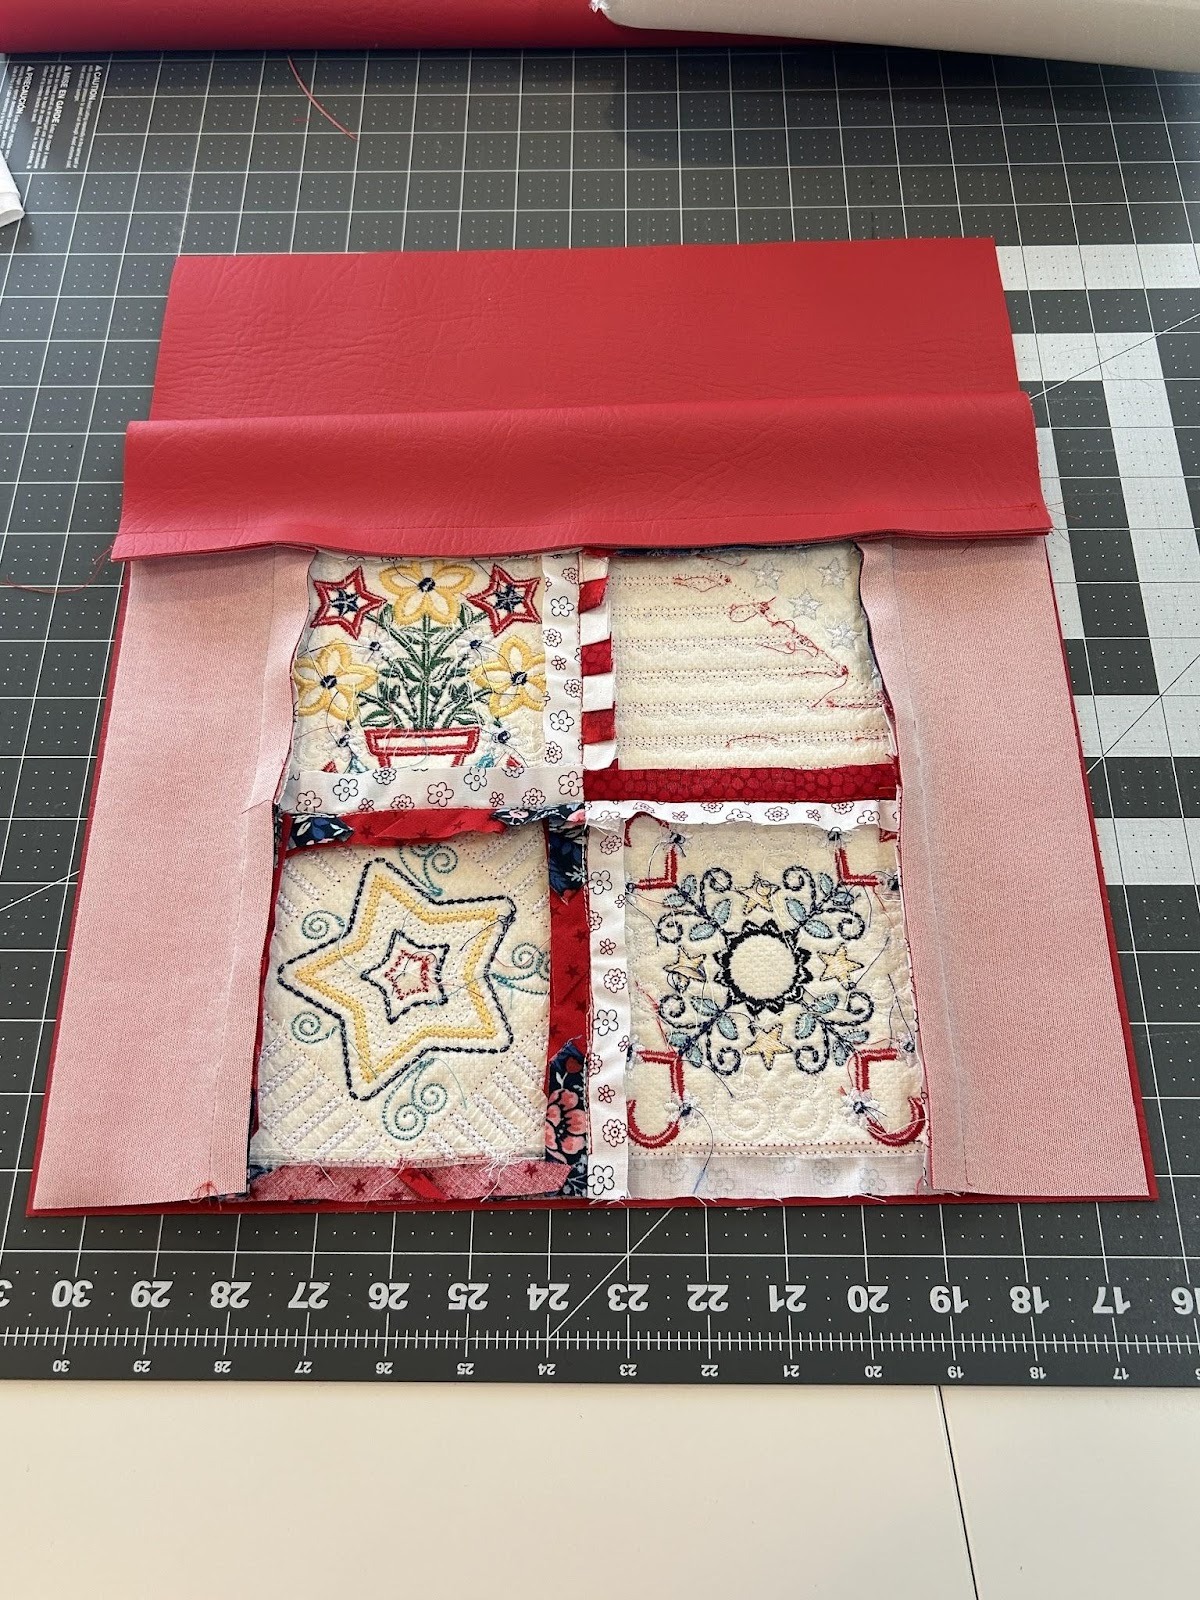
Now attach one of the 14.5” x 6” pieces of vinyl to the top of the design, using ½” seam allowance.
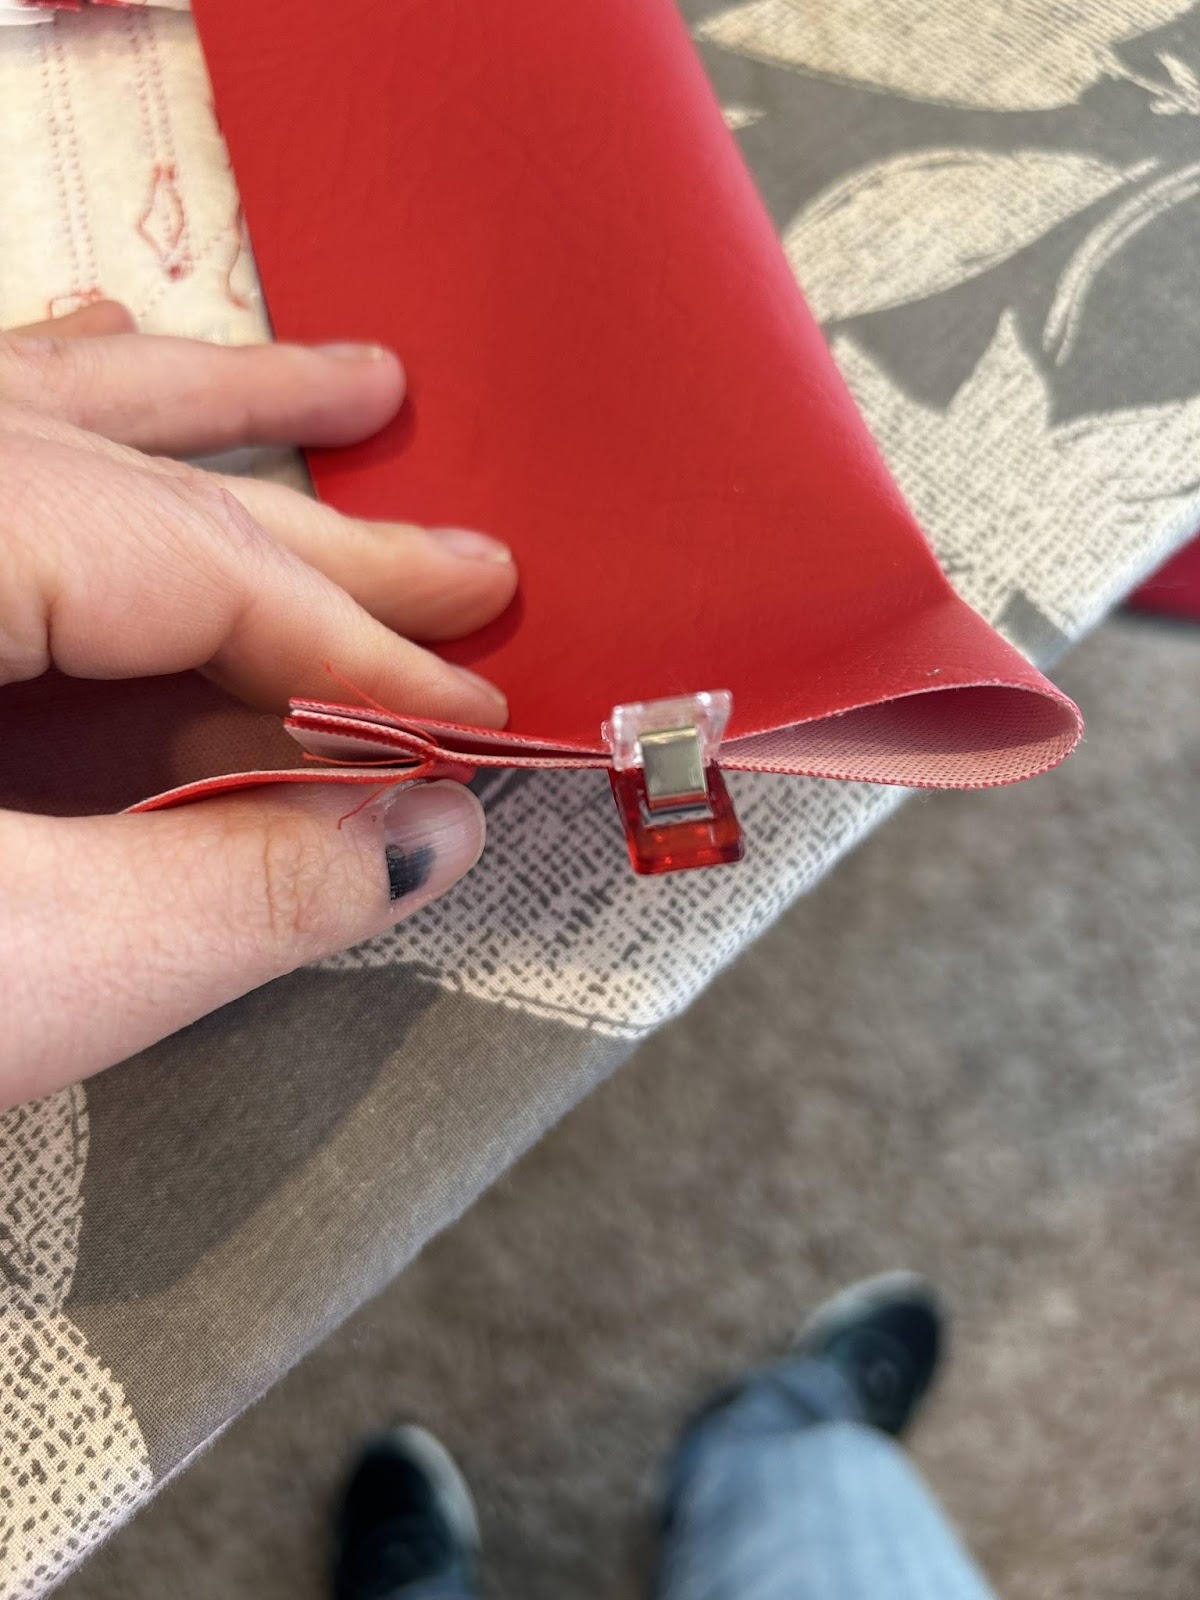
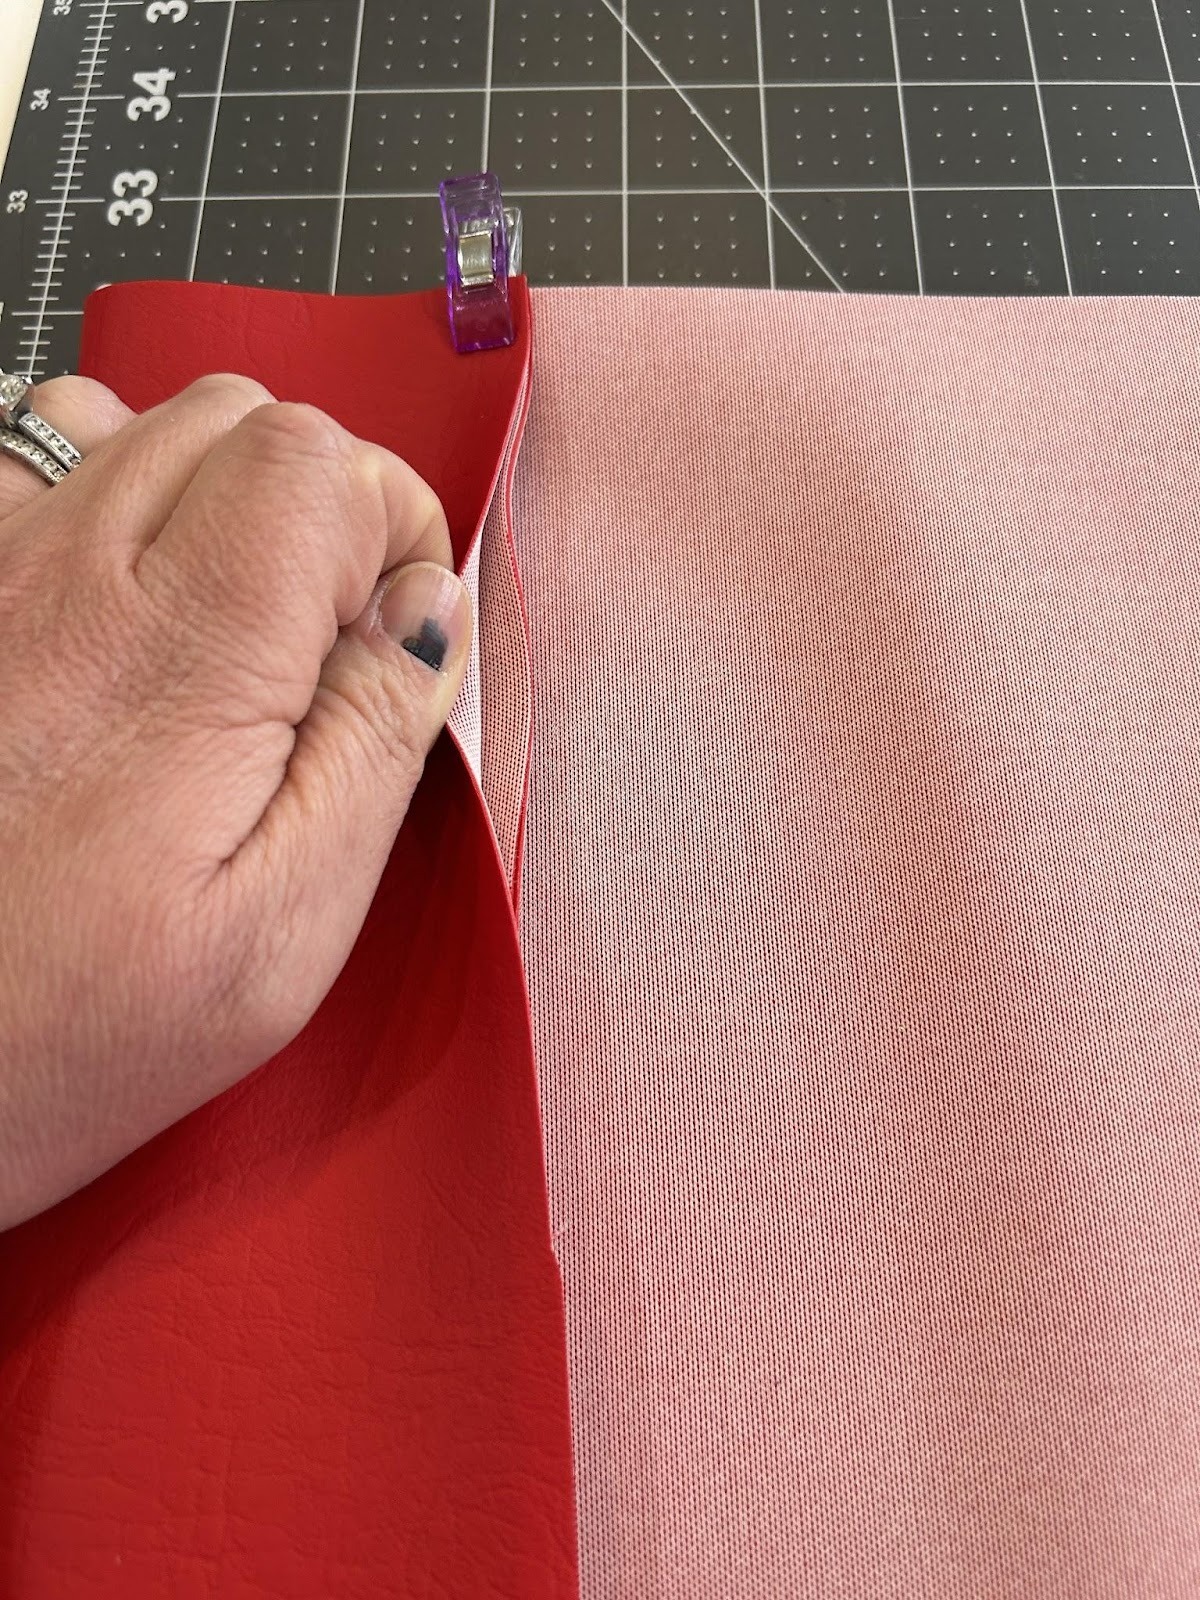
After it’s sewn, fold the vinyl wrong sides together and line up all the raw edges along the 6” side and the 14.5” side. I use clips to secure this so I’m not poking holes in the vinyl.
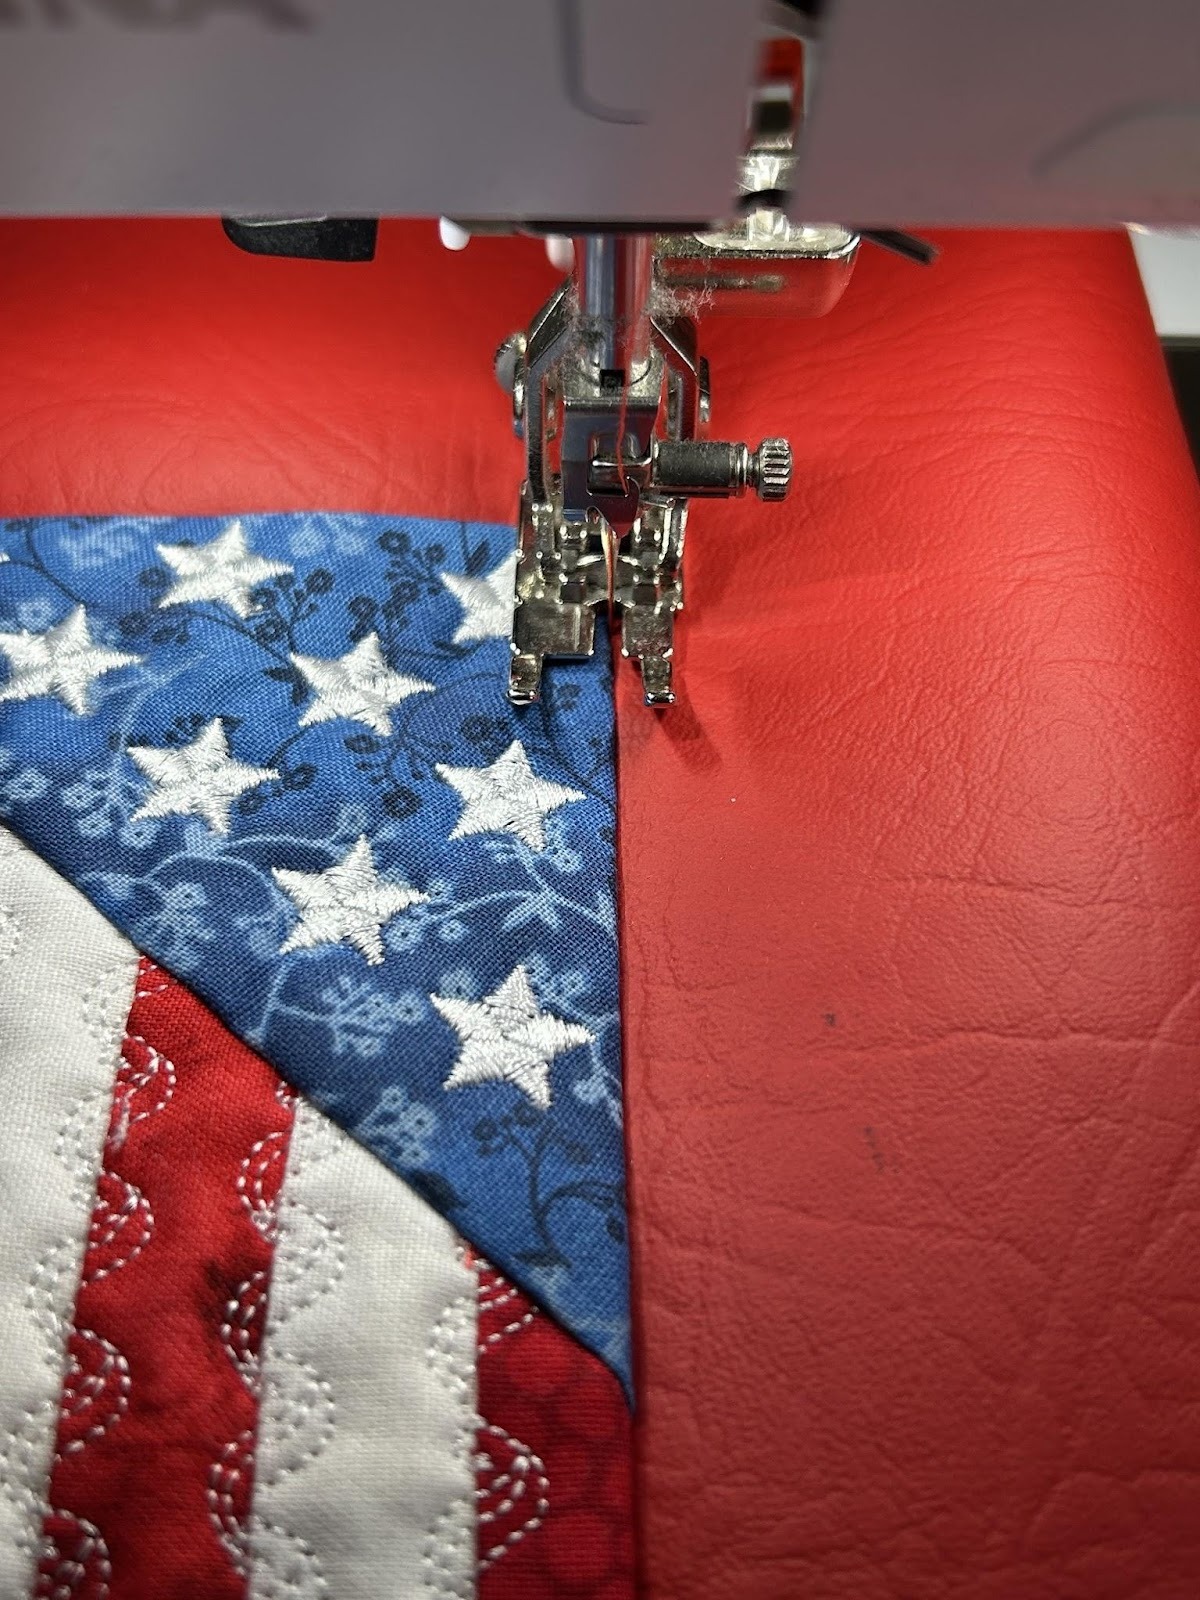
On the front side of the design, stitch in the ditch to stitch the top piece in place.
This is what the project looks like at this point.
Now take the 14.5” x 16.5” bottom/back piece and place the front piece on it, right sides together, lining up the 14.5” raw edges. Sew this with a ½” seam allowance.
After the front piece is sewn to the bottom/back, attach the other 14.5” x 6” top piece to the end of the bottom/back pieces. Sew this with a ½” seam allowance.

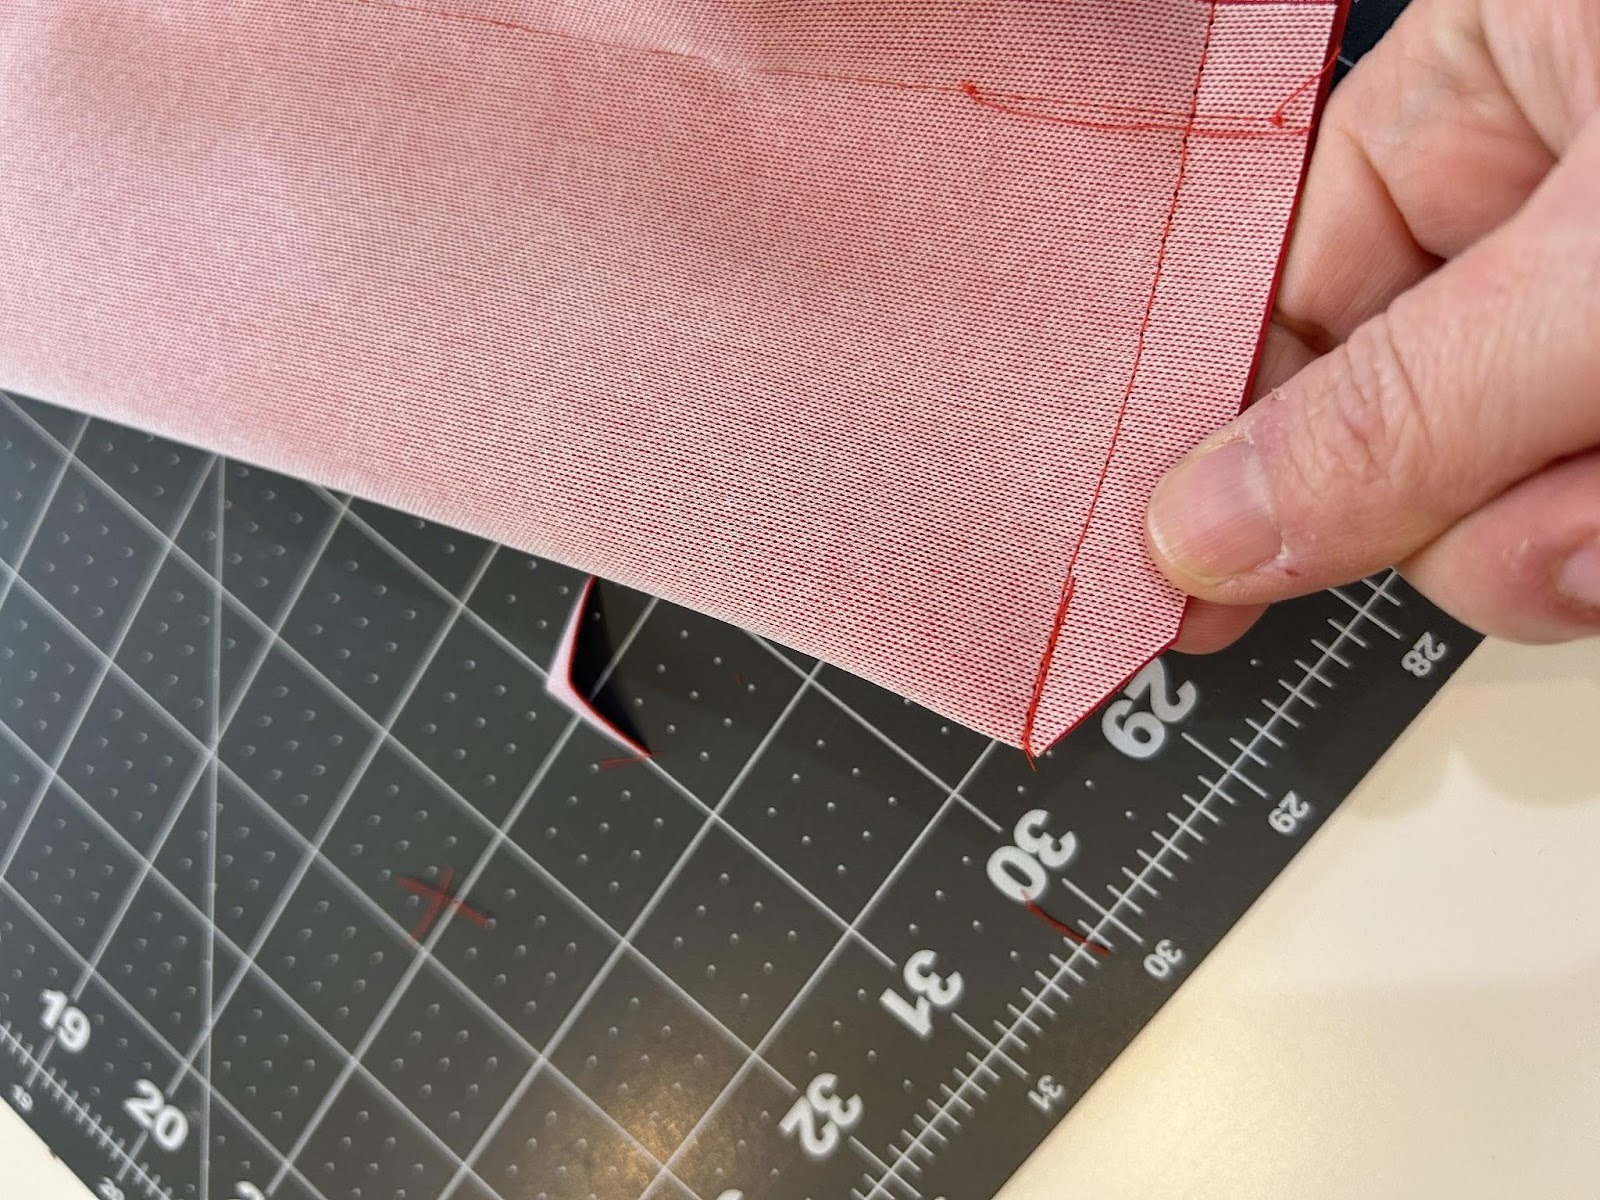
Finish this top piece like the other one. Fold it over, wrong sides together, so that the raw edges of the top piece line up. Stitch in the ditch from the front side.
Now you will sew the sides of the sit-upon. Fold the piece in half so the top finished edges line up. Clip them in place and sew down each side with a ½” seam.
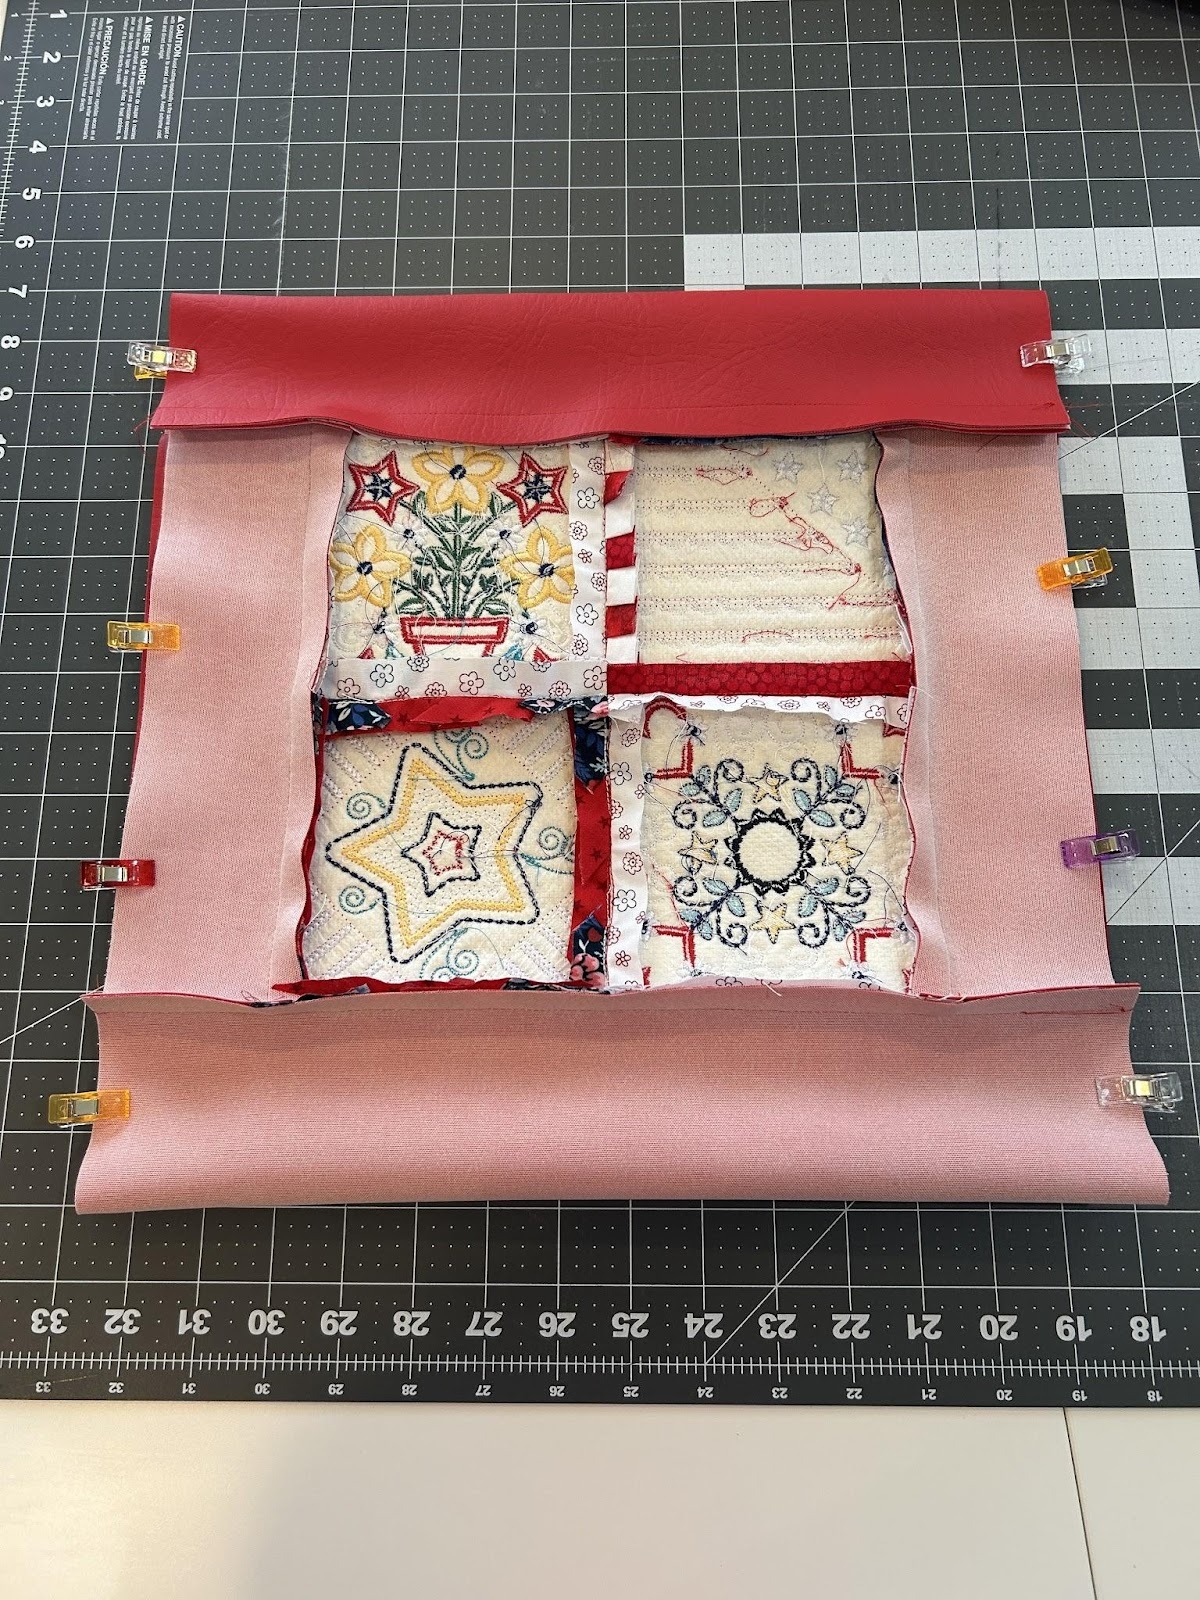
Your project should look like this right now.

Clip your bottom corners.
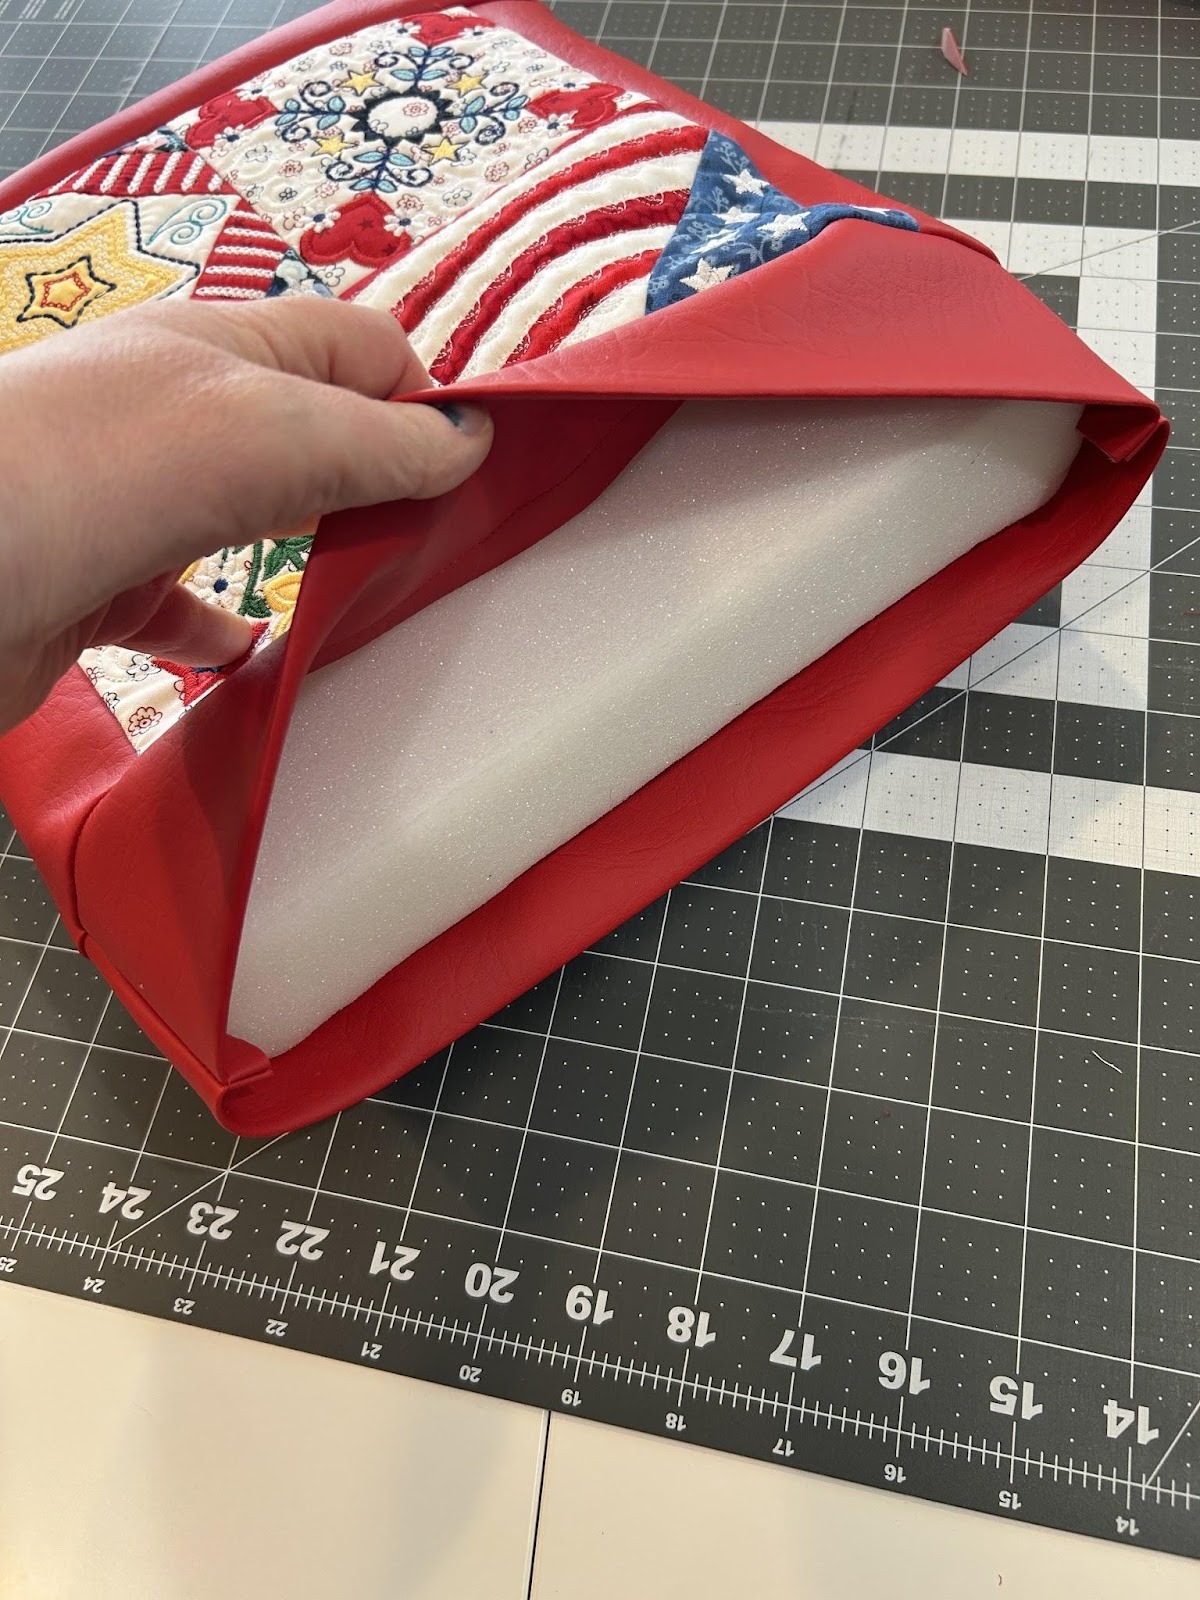
And slide your foam into the sit-upon. It will be a tight fit, but with a bit of squishing and patience you can get it in.
After placing the foam, you can apply the KAMsnaps. Mark the center of the top band both from top to bottom and left to right. Then I do a mark 3” left and right from the center mark.
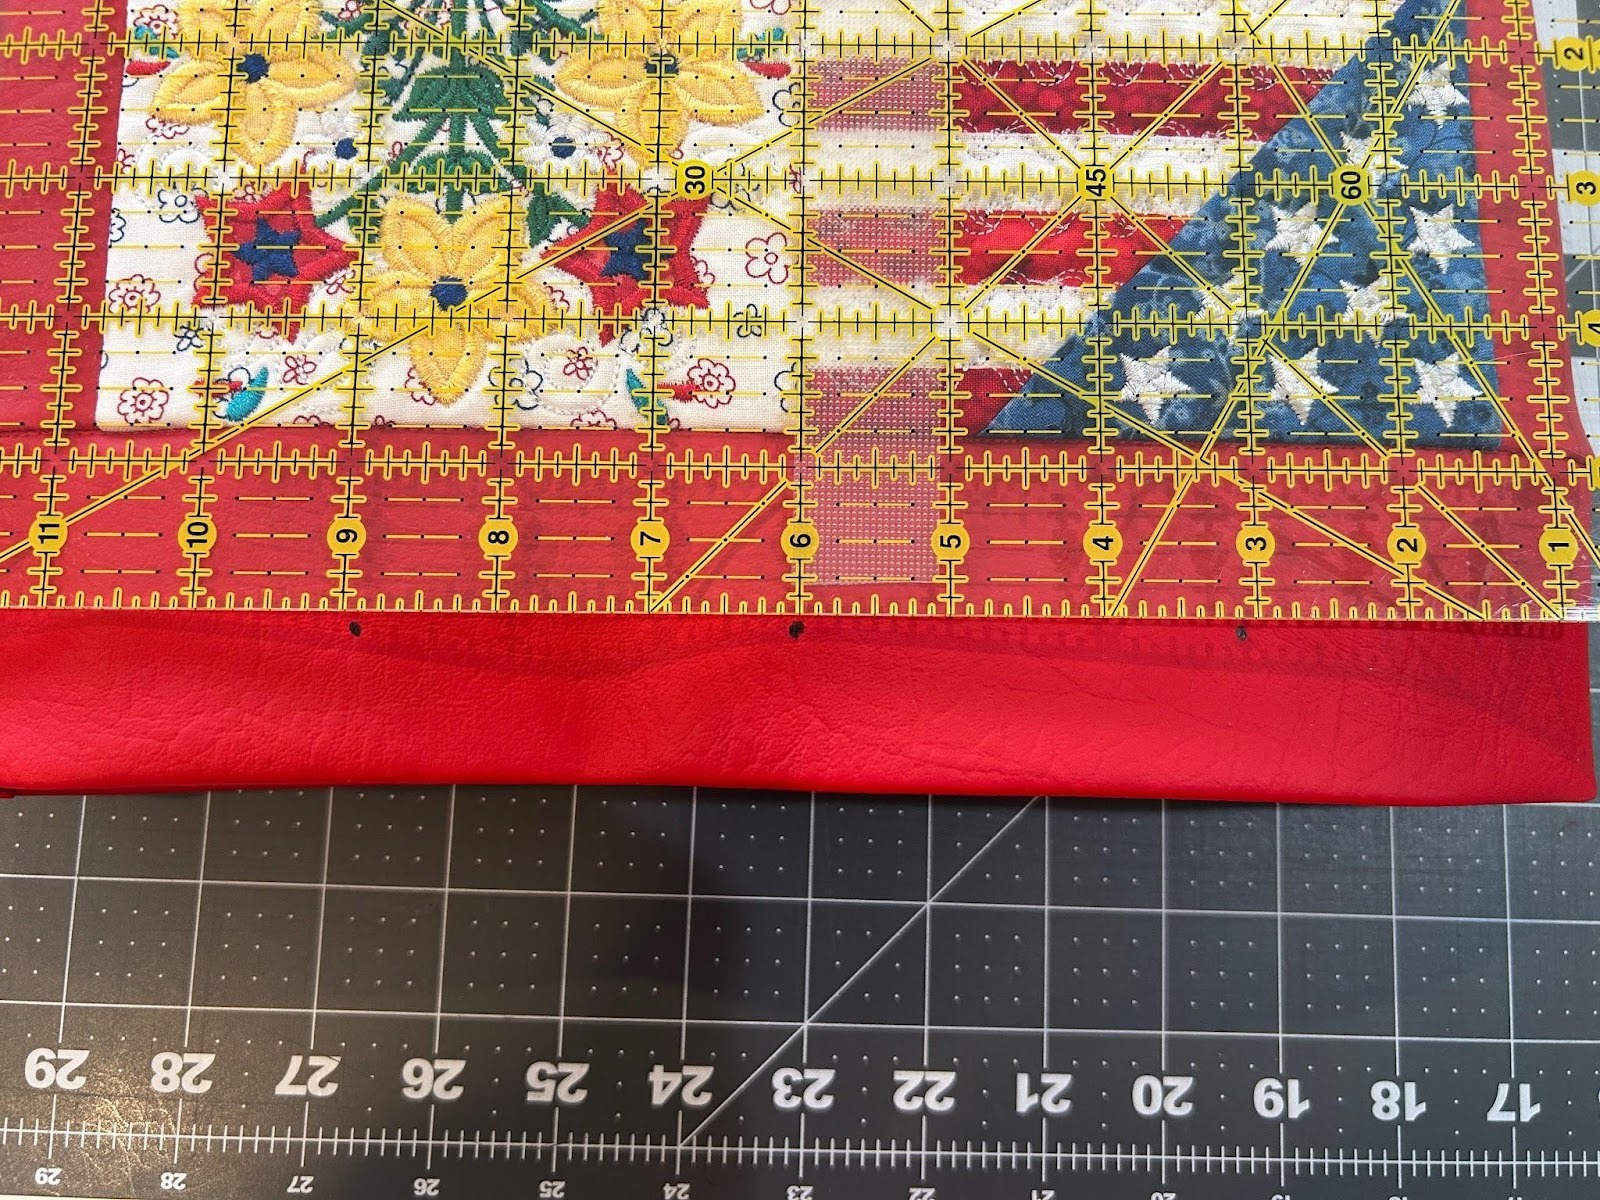
Place the KAMsnaps according to the directions that come with your kit.

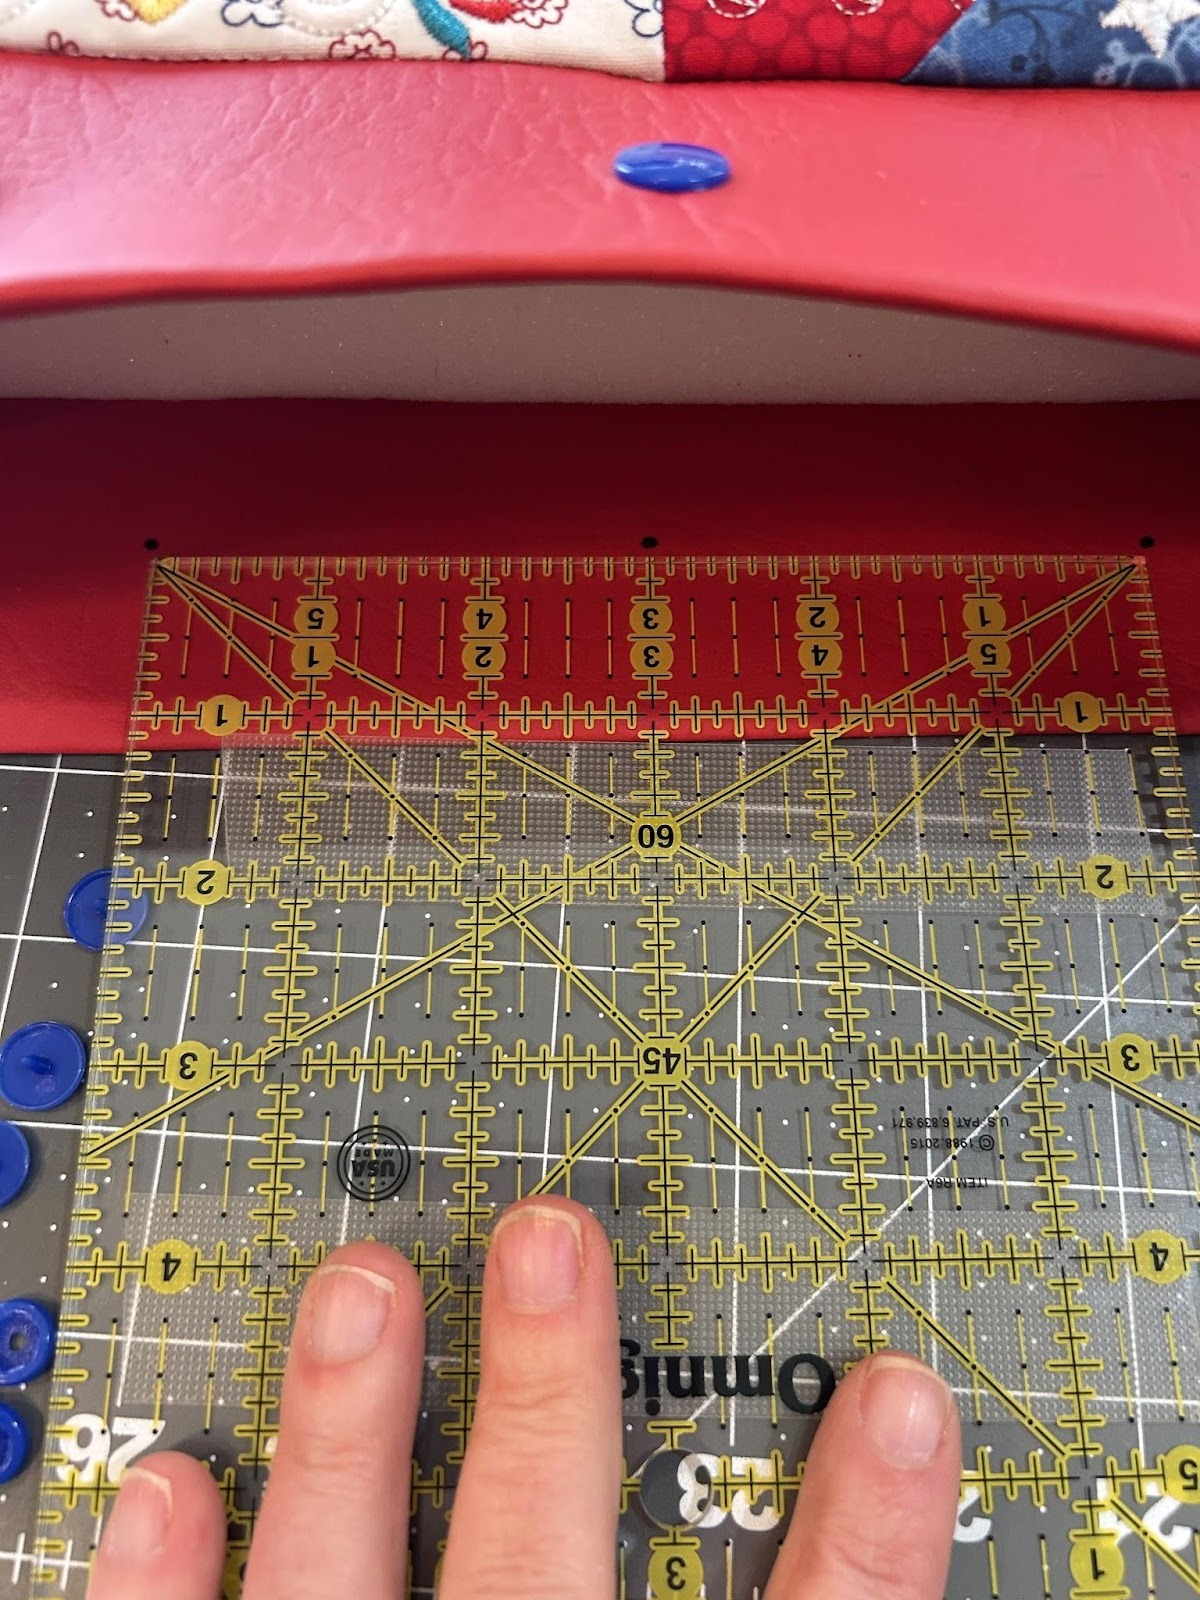
Now make matching marks on the bottom layer of the sit-upon. Make sure they line up with the top snaps. Mark the center one and the right and left ones 3” from the center one. Install your KAMsnaps.
Snap your sit-upon together and your project is finished!

Your sit-upon is now ready for you to take to your next party!
I would love to see how your sit-upons turn out. Share them with us in the Designs by JuJu Embroidery Blessings Facebook Group, or use the hashtag #designsbyjuju anywhere on social media. I love to see how you make the project work for you and what designs you choose!
