Toggle Nav
 Inspire.
Create.
Stitch.
Inspire.
Create.
Stitch.
Search
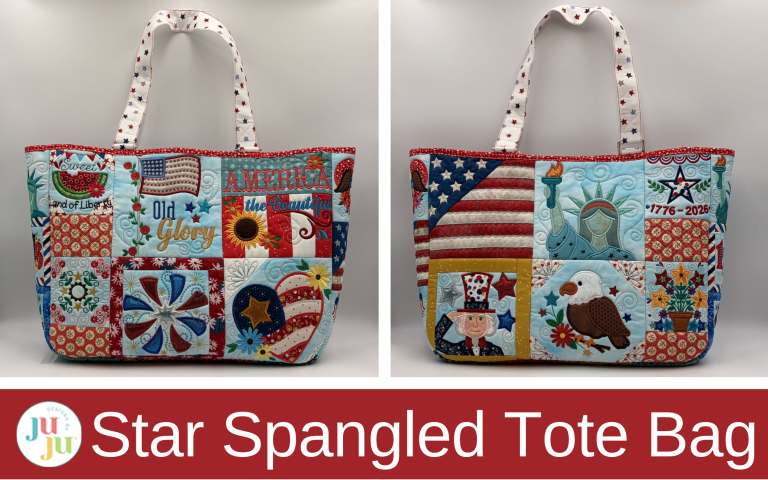
Create a beautiful quilted tote bag with patriotic flair using Star Spangled Stitches embroidery designs. This step-by-step tutorial shows you how to combine patchwork and machine embroidery to make a stylish, functional bag you’ll love to carry or gift.
When I discovered the Designs by JuJu Star Spangled Stitches block sets, I knew it was the perfect opportunity to create a unique and meaningful tote bag that would showcase my love for all things patriotic. The Star Spangled Stitches sets feature a range of classic Americana-inspired designs, including stars, stripes, and other iconic symbols, designed to celebrate America’s 250th birthday. By combining these elements, you can craft a tote bag that’s not only visually stunning but also serves as a proud expression of your patriotism.
Check out the DBJJ team’s favorite supplies in the Designs by JuJu Amazon store.
I used ByAnnie’s Soft and Stable instead of batting to give the tote a bit more structure. Of course, you can use batting if you prefer. If you choose batting, I recommend Designs by JuJu + loftySOFT™ Batting.
I used a variety of fabrics from my stash. Cut the background fabrics according to the cutting chart. I recommend you fuse Designs by JuJu+ fuseEZ to the background fabric to help it hold up to the dense satin stitching in these designs. In addition to the background fabrics, you will need a variety of fabrics for the appliqué shapes.
There are two ways to do the lining for this tote:
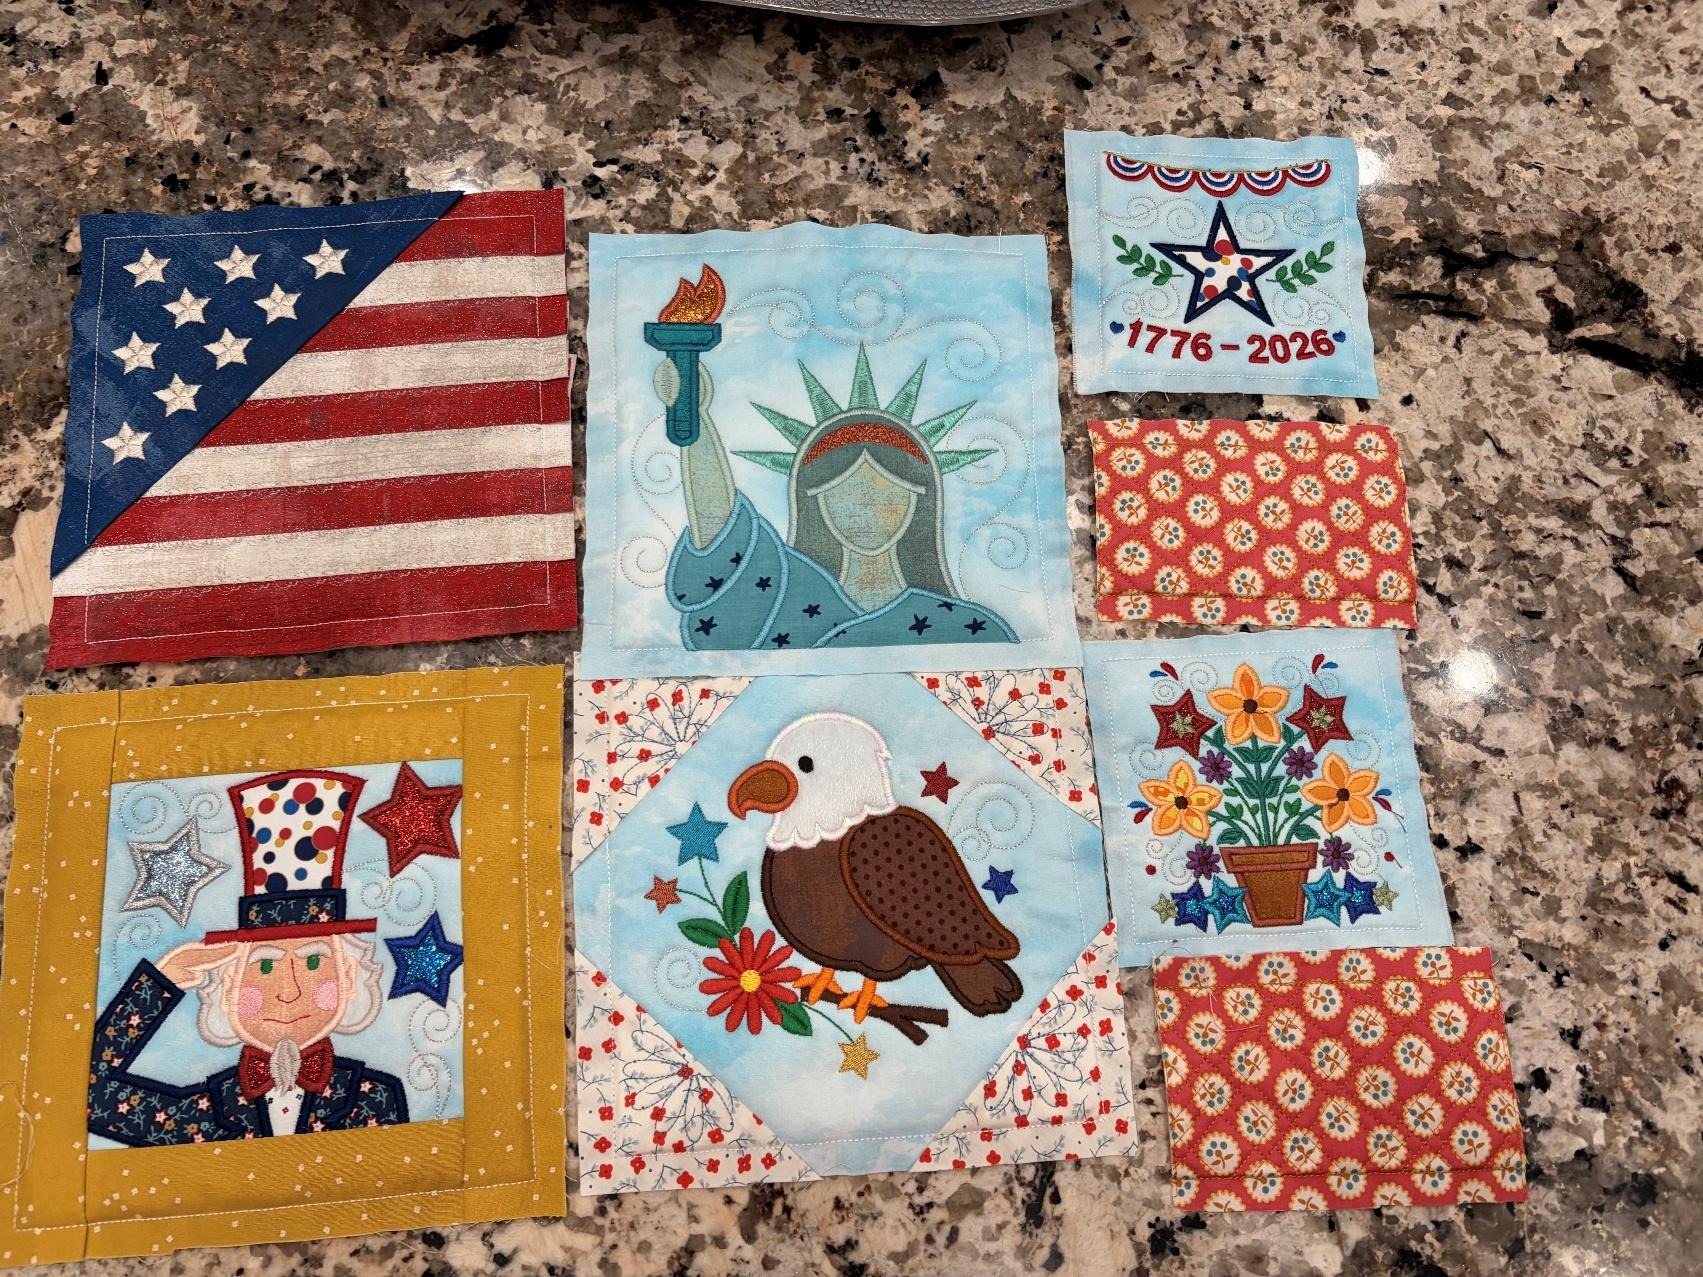
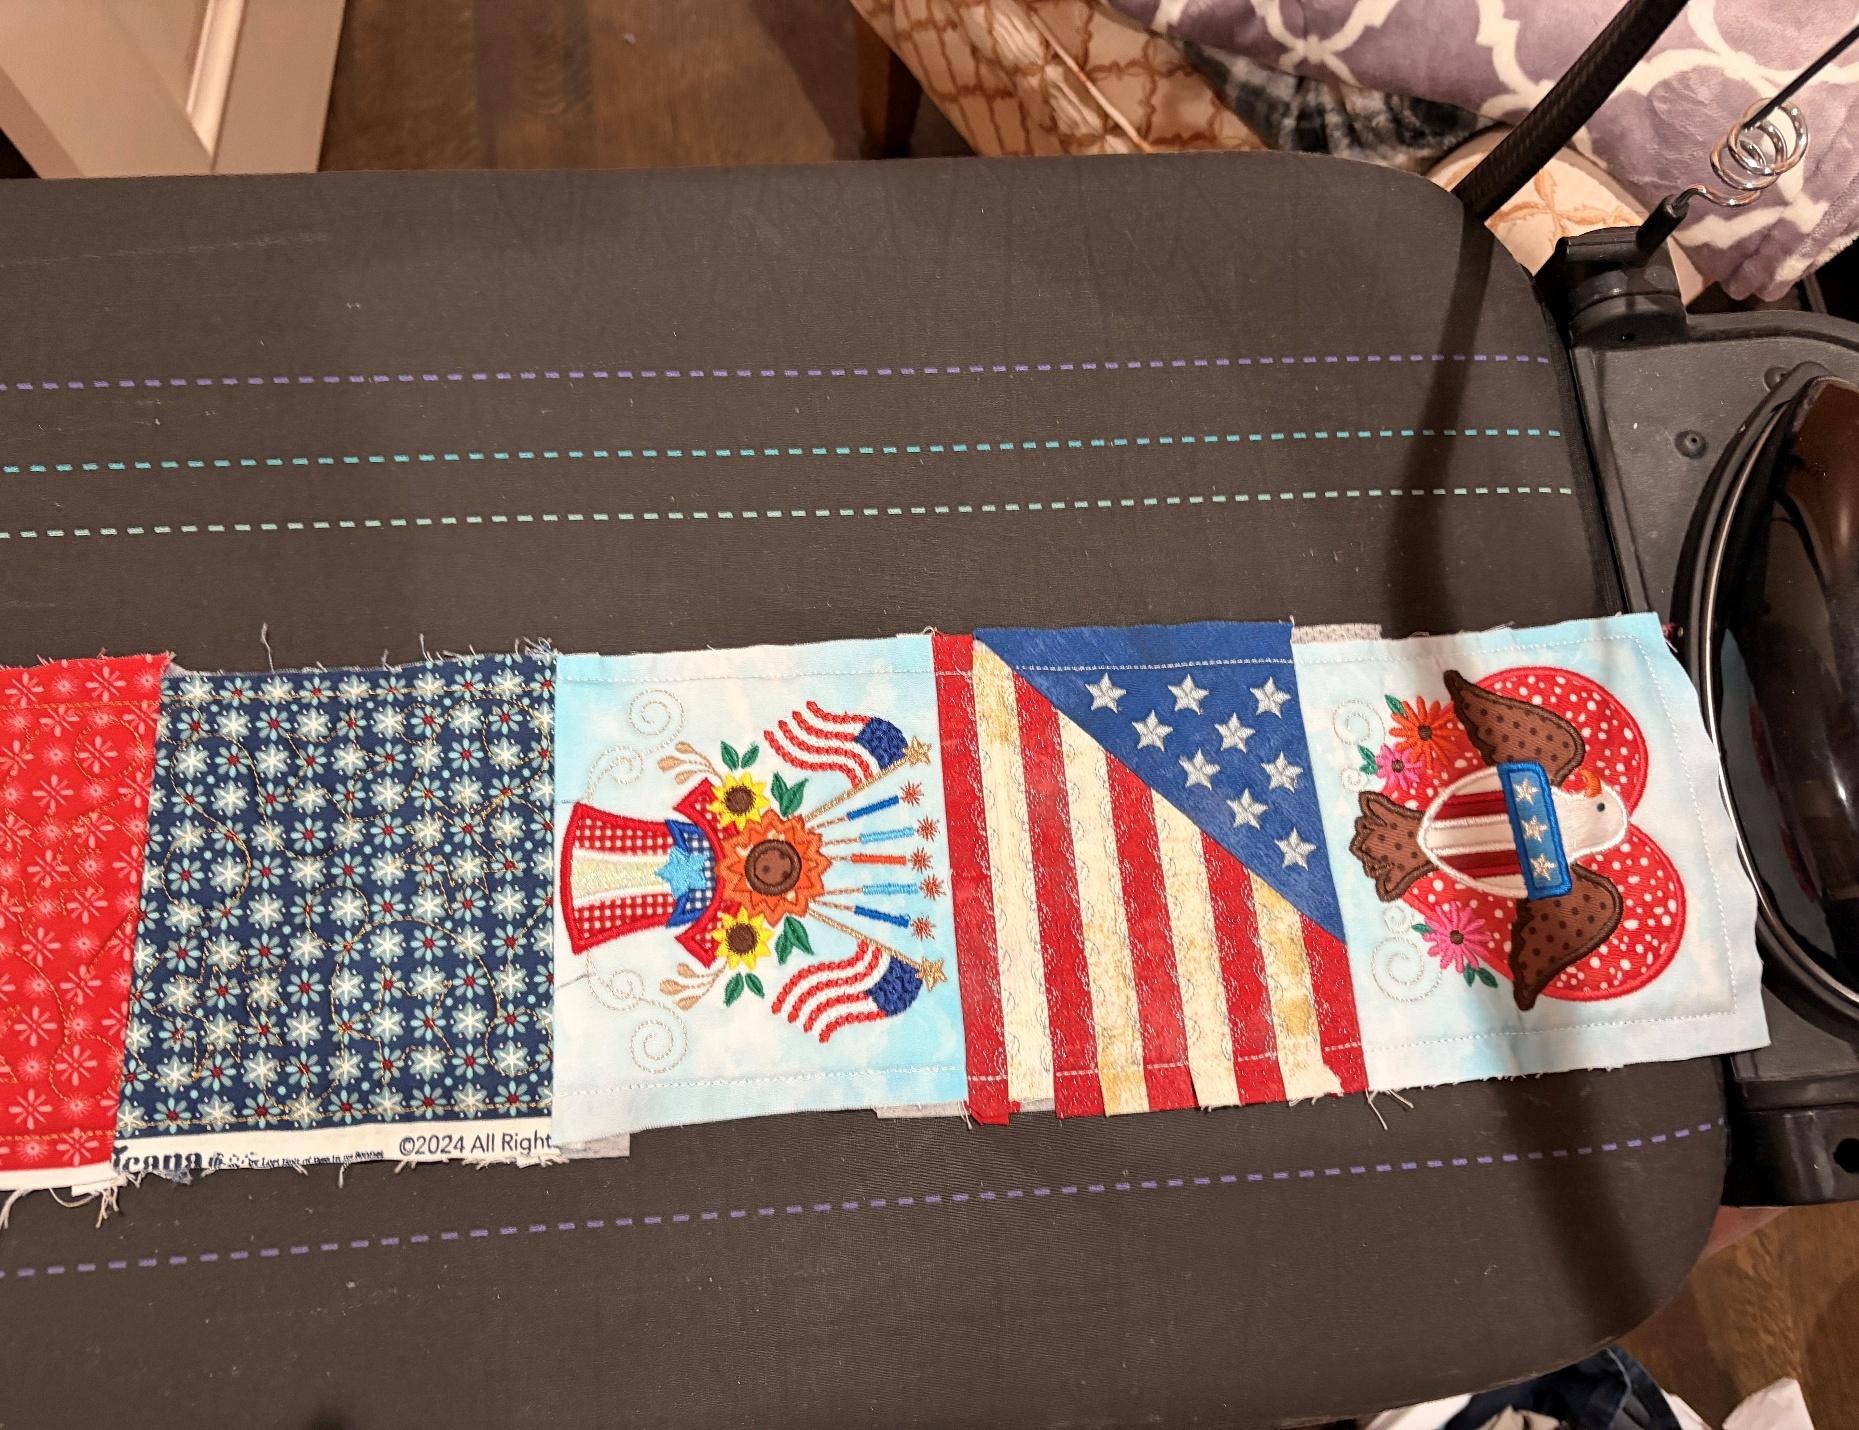
There’s no specific pattern for this tote bag—it’s made up of a front panel, a back panel, two side gussets, and one bottom gusset. The first thing you’ll want to decide is how big you want your bag to be. For my bag’s front and back panels, I used 8 blocks each: four 8x8 designs and two 5x5 designs. I also added two 3x6 quilt-as-you-go designs, but I trimmed half an inch off each side to make them 3x5. This gave me panels about 21 inches wide by 16 inches tall. Just be sure to stitch all your blocks following the instructions included with the design files you download.
After stitching all your blocks, lay them out to visualize them all put together. Once you're happy with the arrangement, stitching the blocks together just inside the fabric placement line on the back will give you neat seams. I also like switching to a 90/14 needle when stitching blocks together—it's my personal favorite for this part.

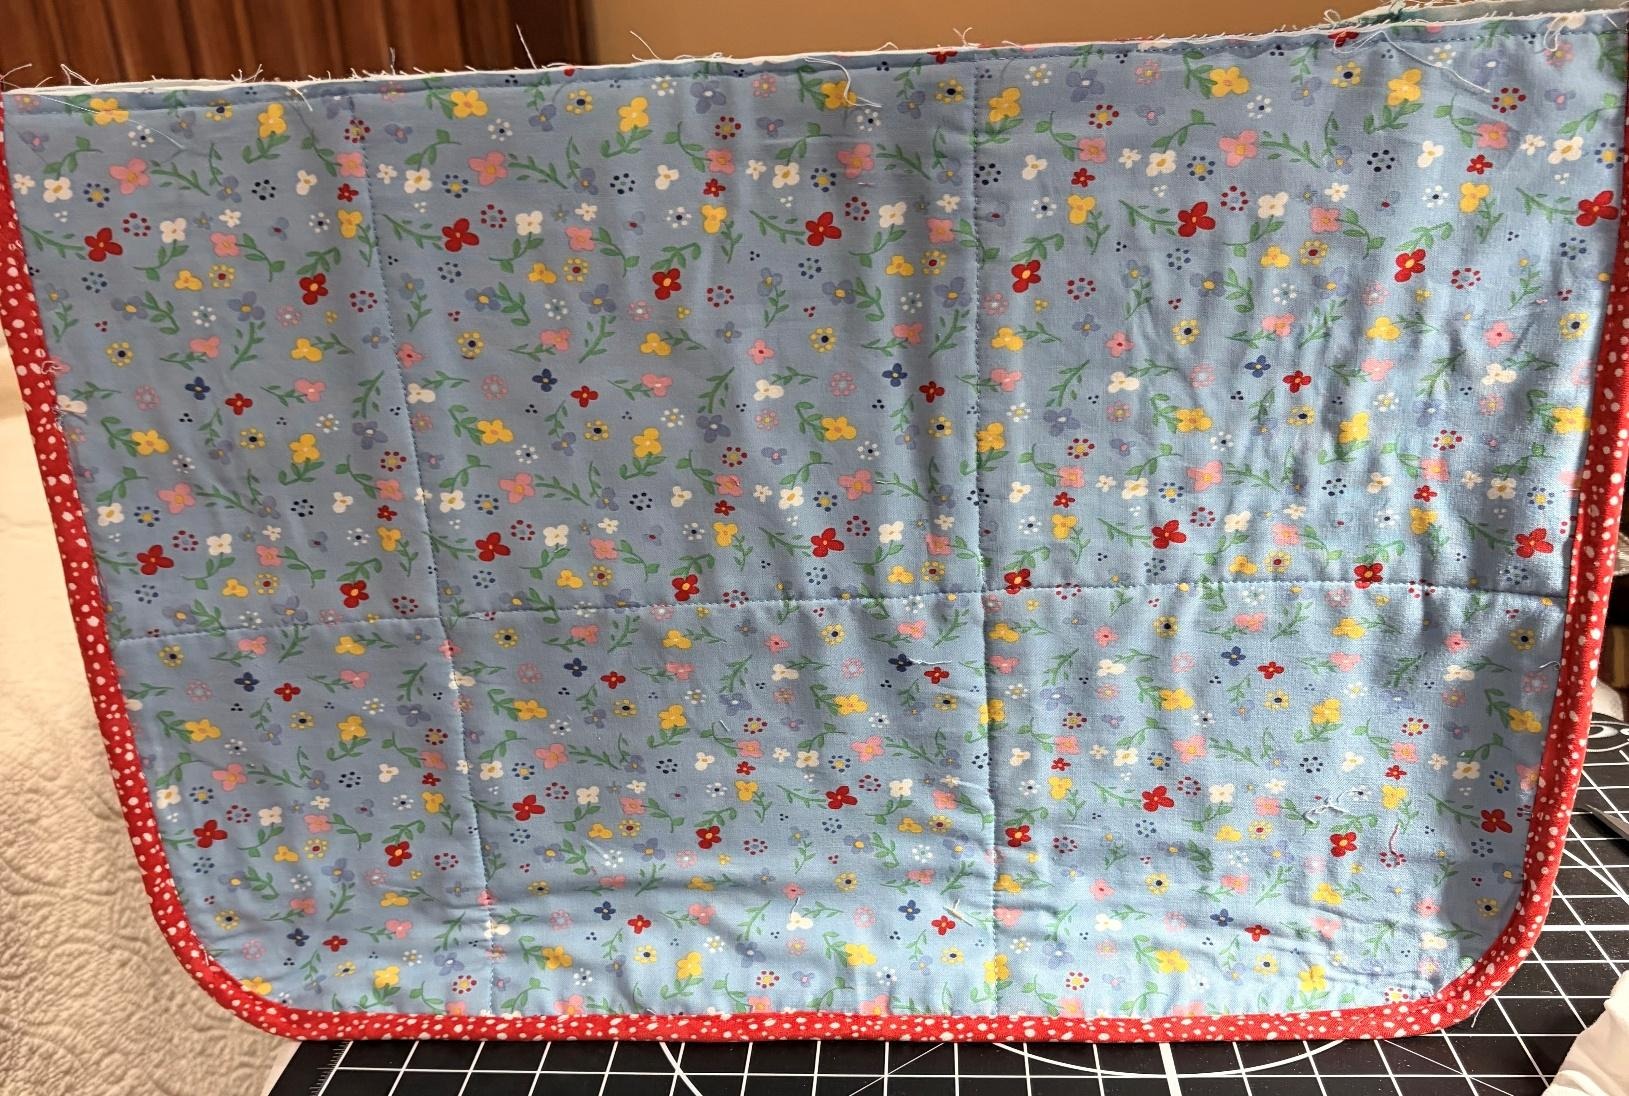
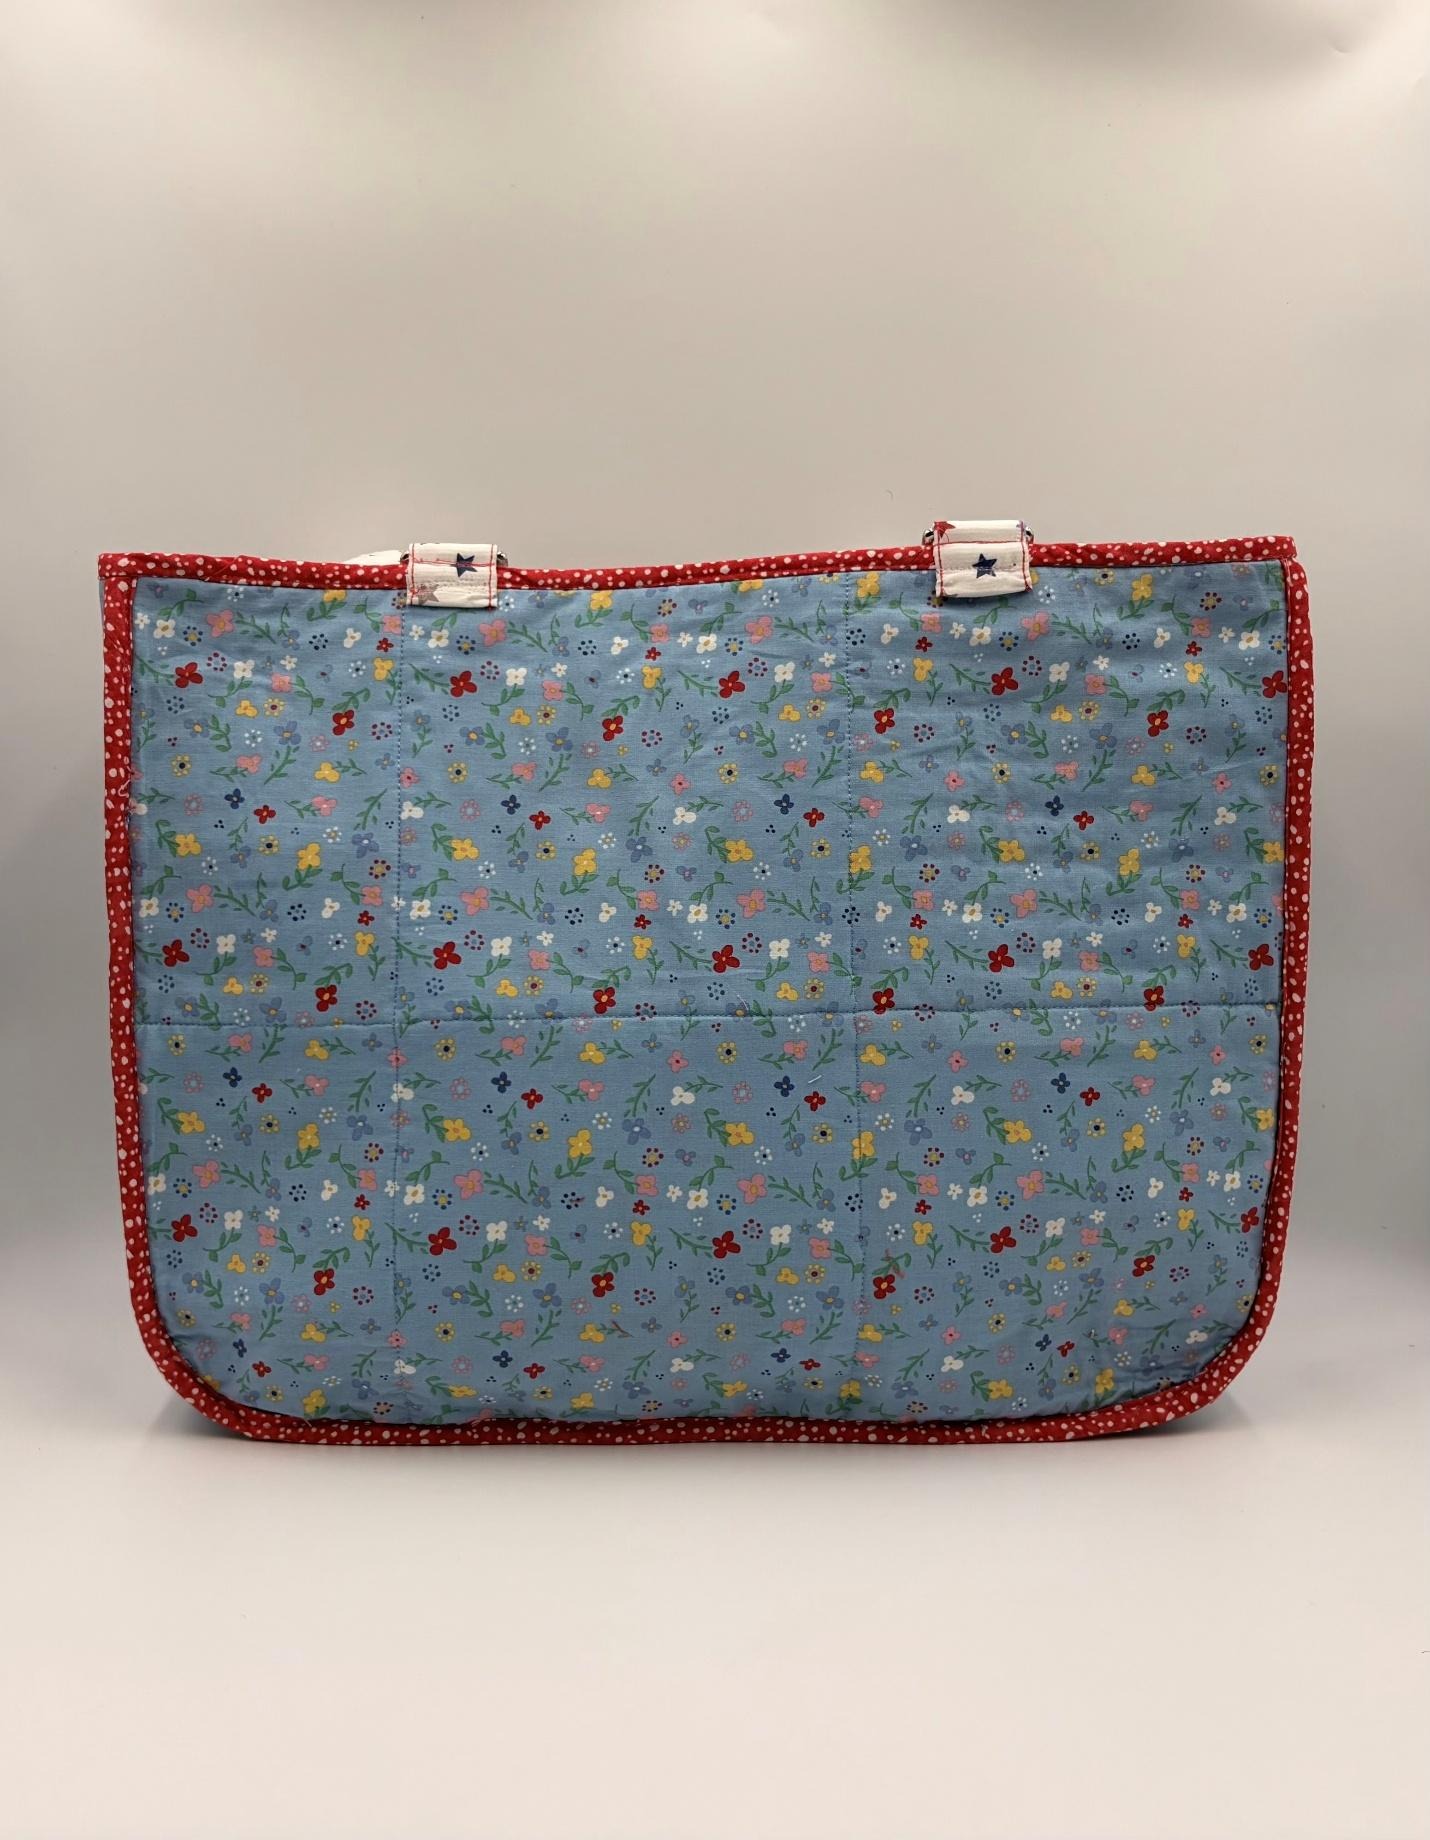
Adding a backing fabric to the finished panels and then stitching in the ditch is a neat way to quilt the backing to the panels and create an easy lining. Once all the panels are attached to the gusset, covering the raw seam edges with bias binding will give it a nice, polished finish.
Once the panels are sewn together and the backing fabric is quilted on, I like to round the bottom corners of my panels. I find it makes sewing easier, but feel free to go with square or boxed corners if that suits you better. I used a 6.5” circular template to shape my corners evenly.

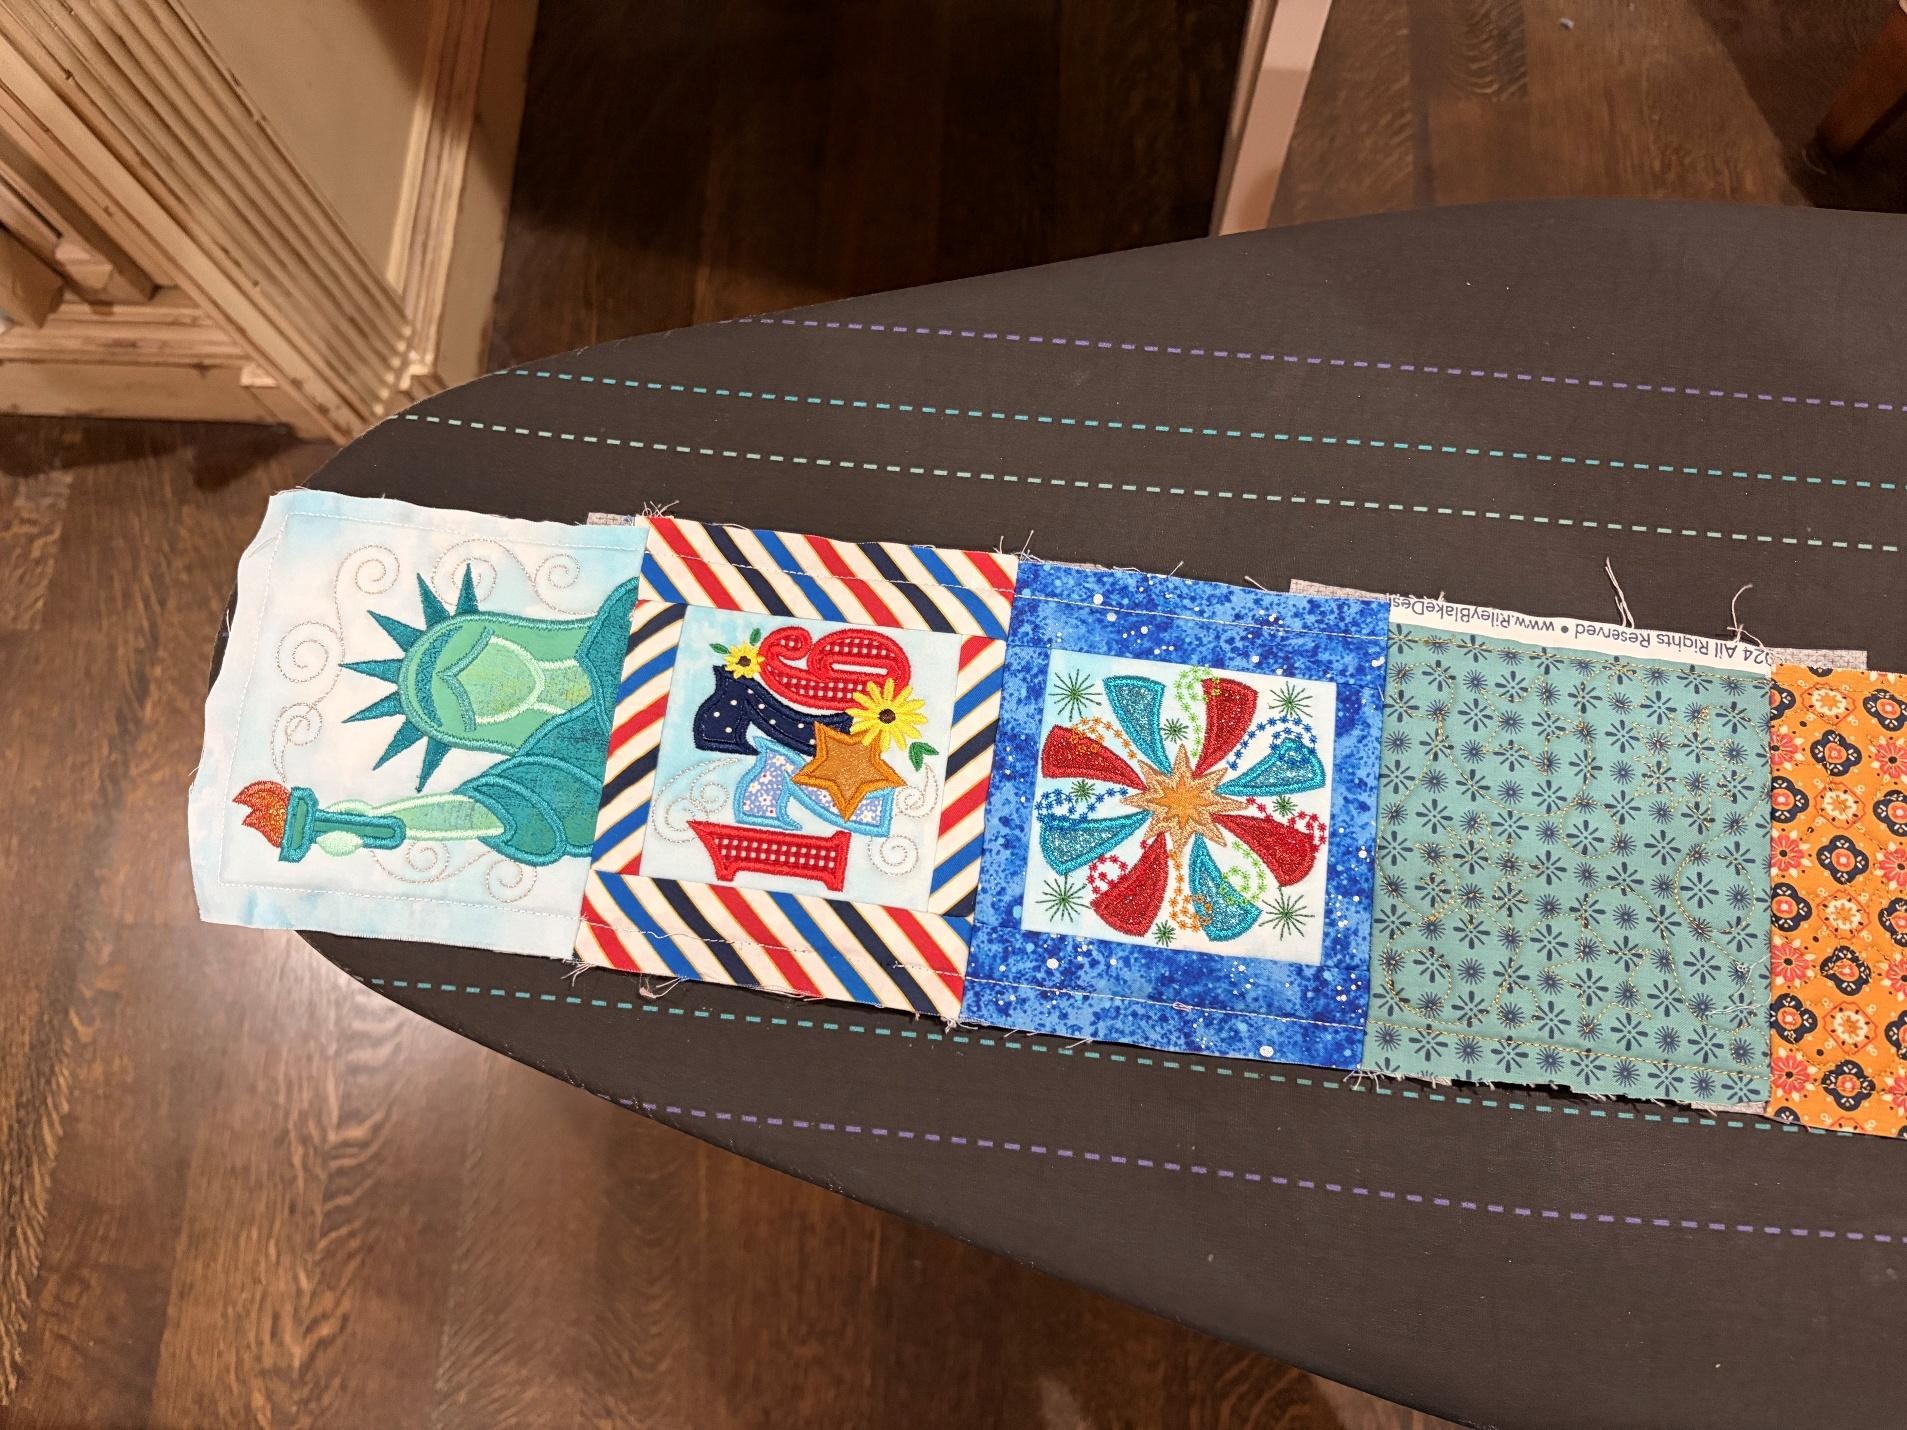
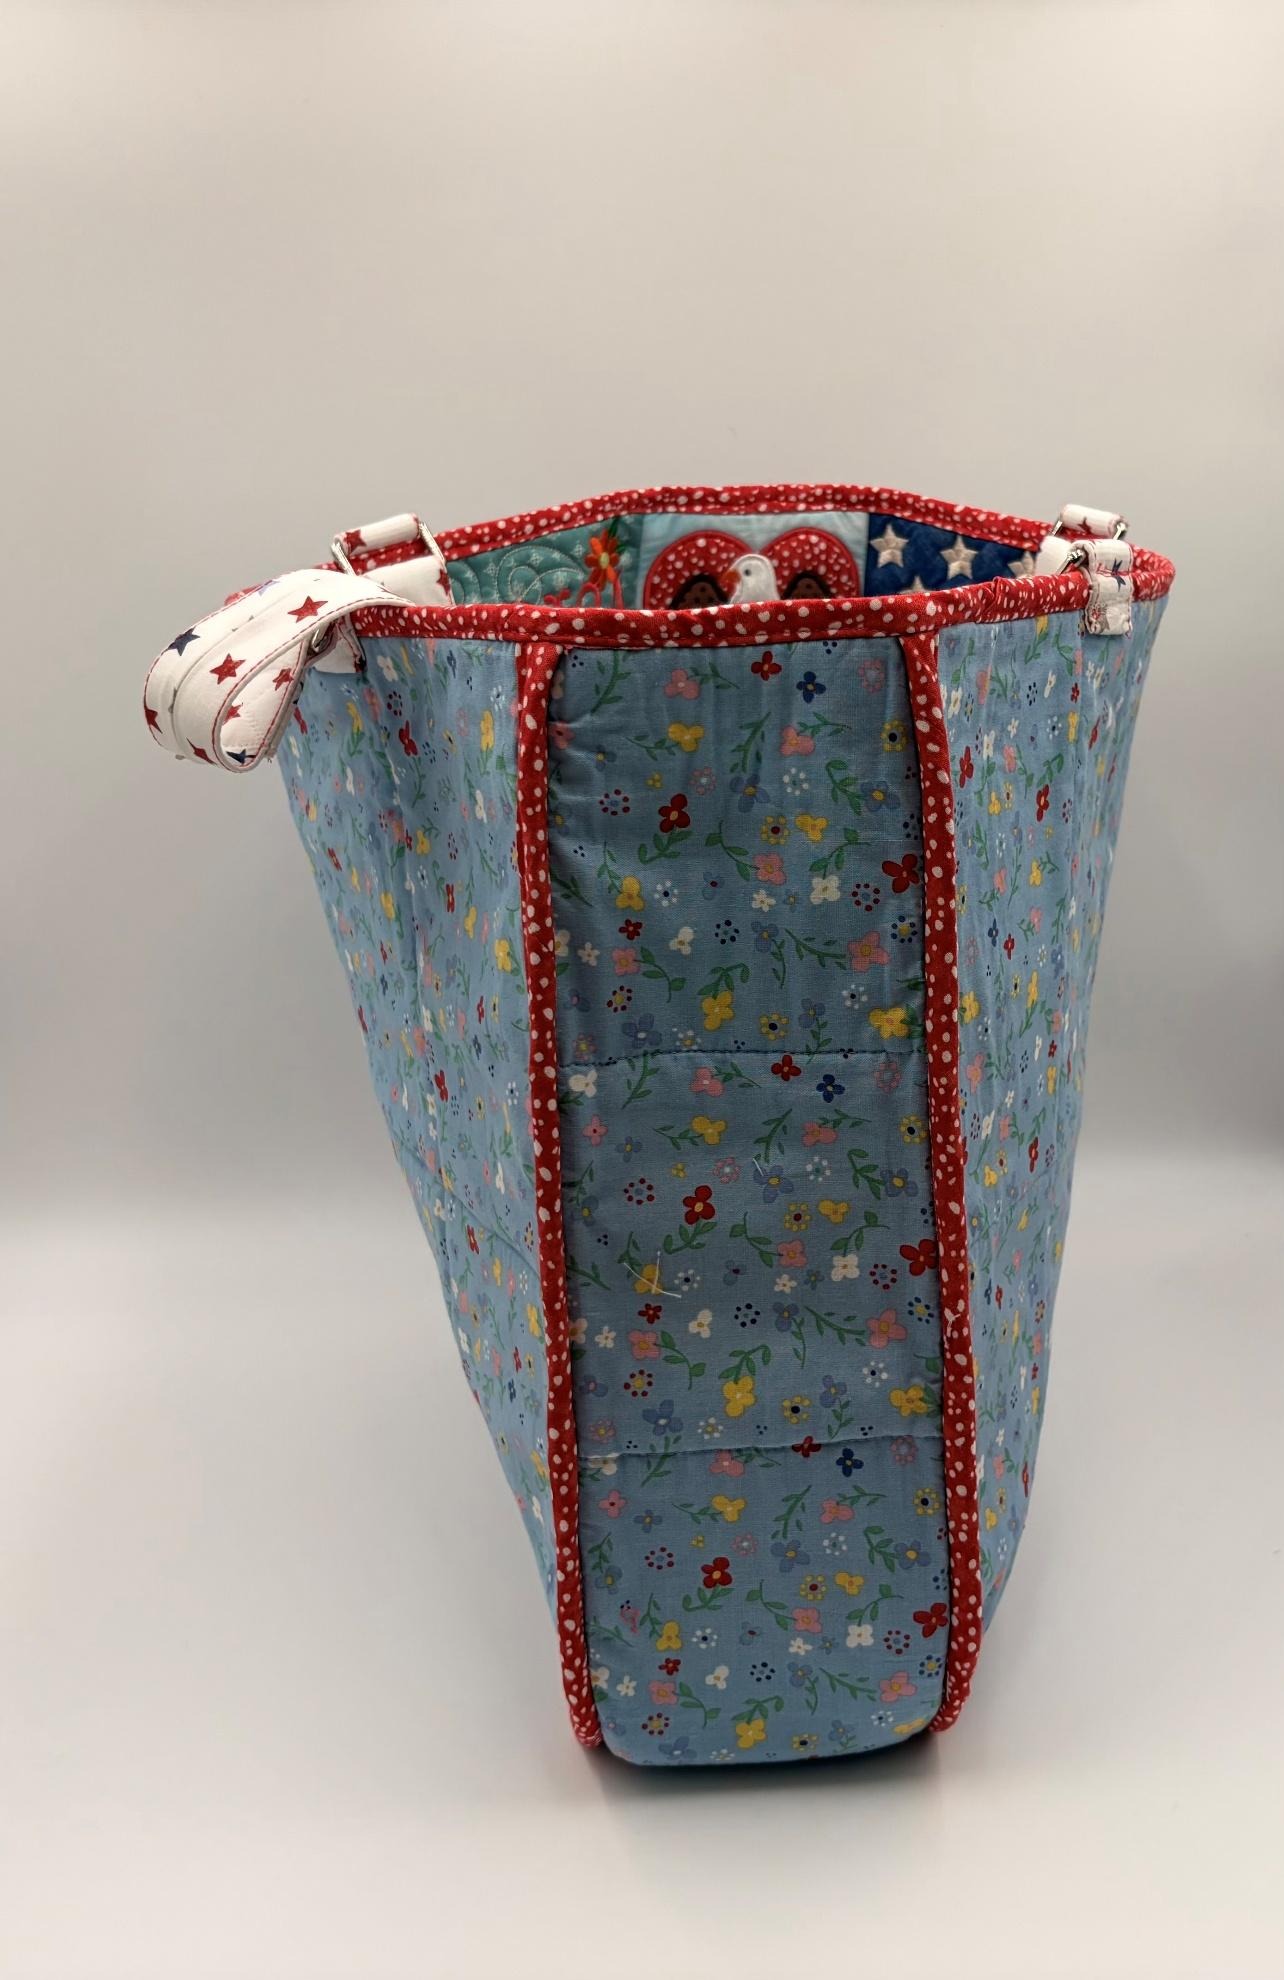
I made the side and bottom gussets using ten 5” x 5” blocks, three design blocks per side, and four quilt-as-you-go blocks in scrap fabric for the bottom gusset. I decided on the total length of the gusset after I pieced together the front and back panels and rounded the bottom corners. I laid one flat and ran a tape measure along the edge. It measured about 50”. It is important that you orient the side gusset blocks correctly, so they face upright on each side. I stitched the gussets together, so I had one long gusset.
Take it slow when sewing curves or bulky seams. Stop frequently to reposition so edges remain even.
You will finish the inside edges and the top of the bag with bias binding.
For the straps, I used 1.5” webbing and covered it with fabric. I cut my fabric about 3¾” wide, put right sides together, and sewed about a ¼” seam. I then turned the fabric right side out using a bodkin; you can use your favorite turning implement. I slid the webbing into the fabric covers using my granny’s method, a safety pin. You can make your straps as long as you want. I made my straps about 36” long.
I didn’t want to sew the straps directly over any of the designs, so I used metal rectangular rings to attach them. I sewed them on with tabs I made from the same 1.5” webbing, covered in the same fabric. I attached them to the bag by sewing along the stitch line on the binding edge, and then I sewed just below the bottom edge of the binding as my second seam to hold the straps securely.
Your tote bag is now complete!
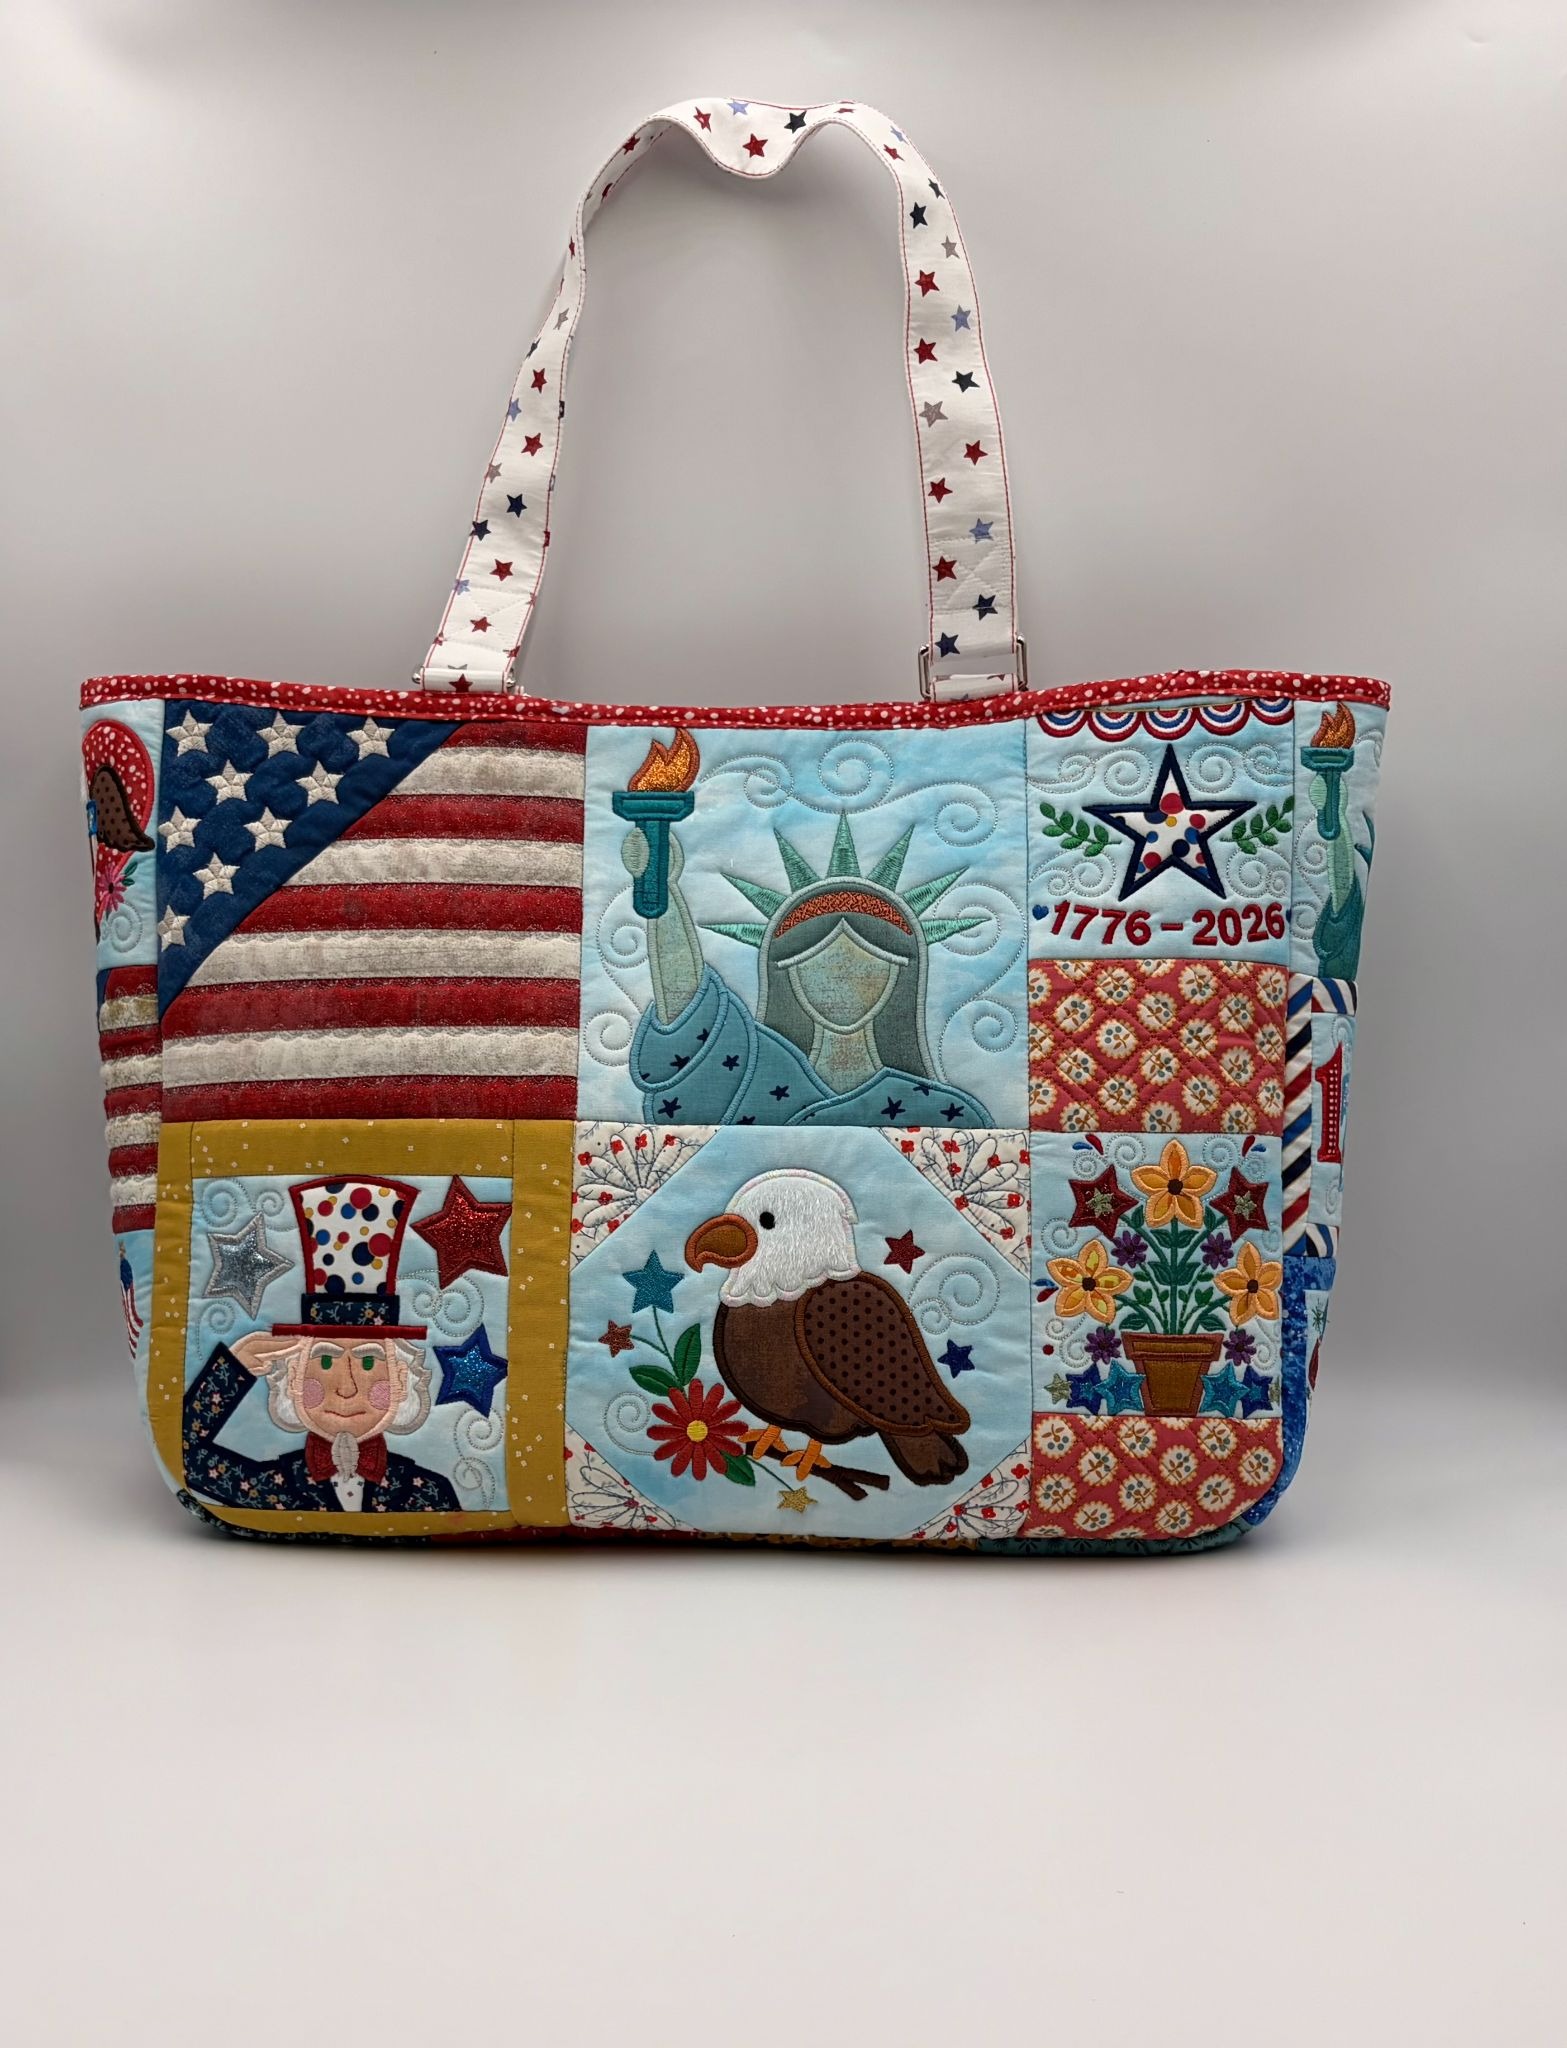
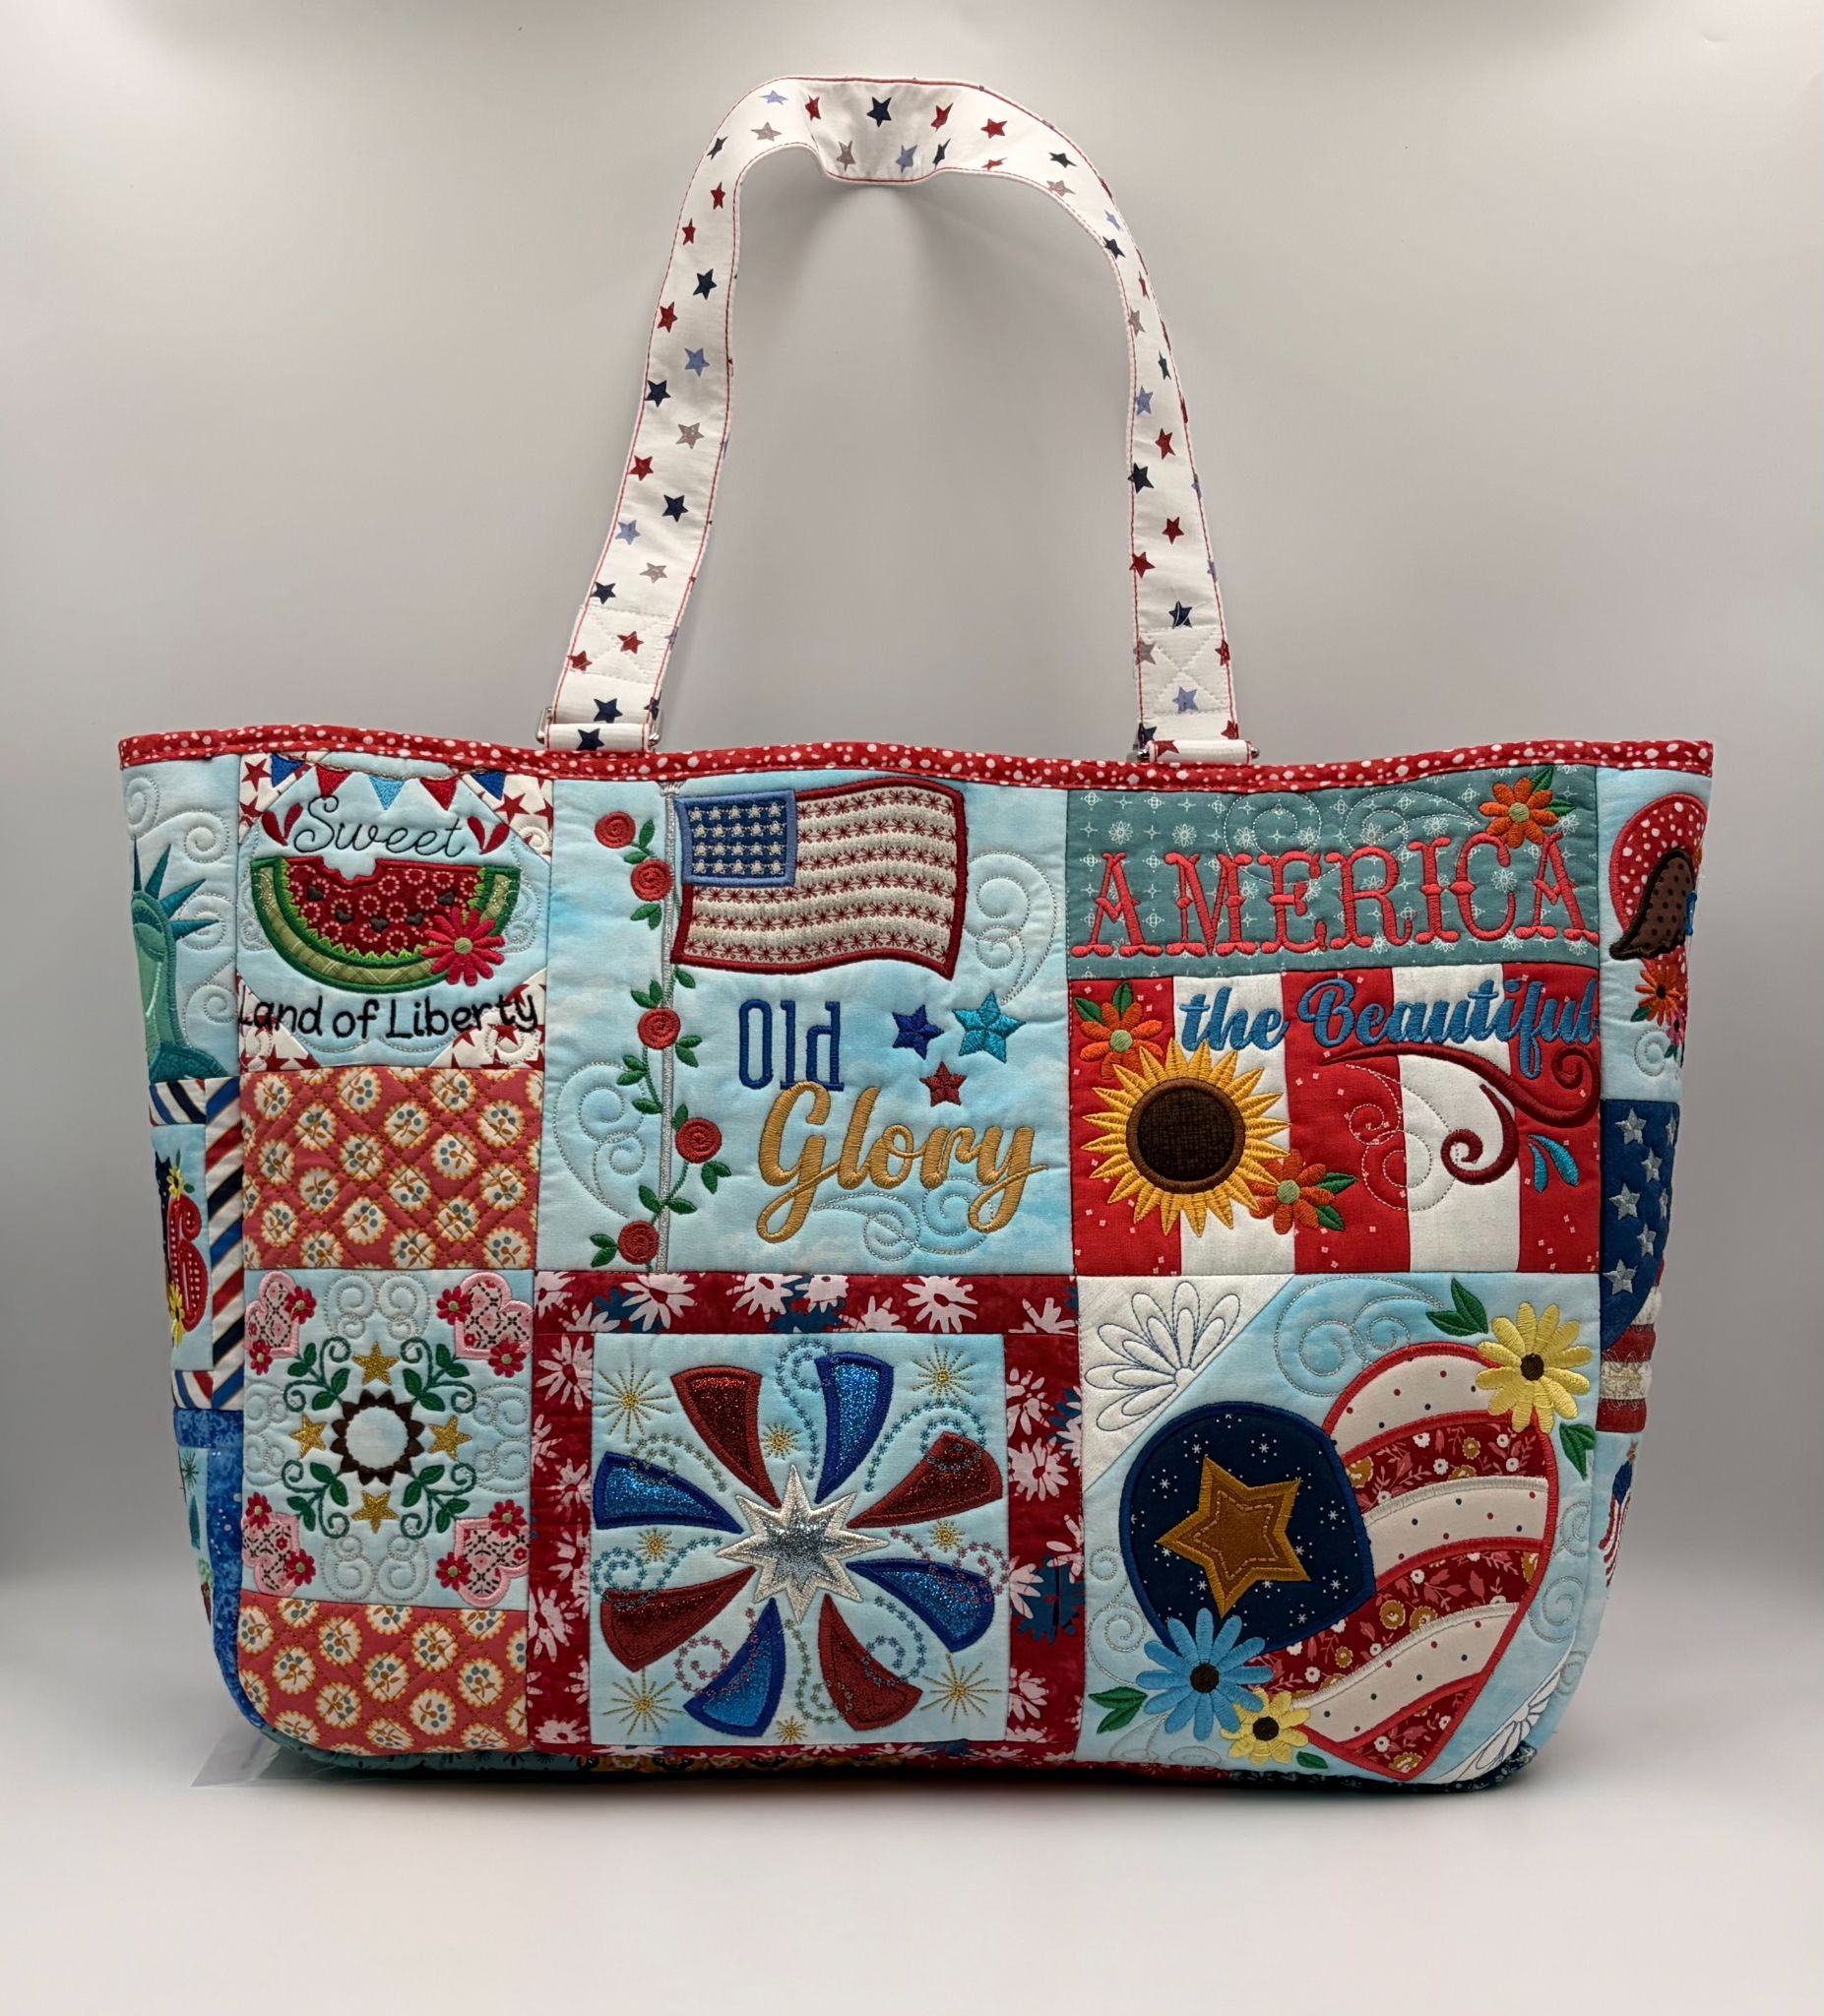
I hope you will pick out your favorite Star Spangled Stitches blocks and make your very own patriotic tote. Happy 250th birthday, America!
Be sure to share your projects with us in the Designs by JuJu Embroidery Blessings Group on Facebook, or use the hashtag #designsbyjuju anywhere on social media. We love to see what you create!