Toggle Nav
 Inspire.
Create.
Stitch.
Inspire.
Create.
Stitch.
Search
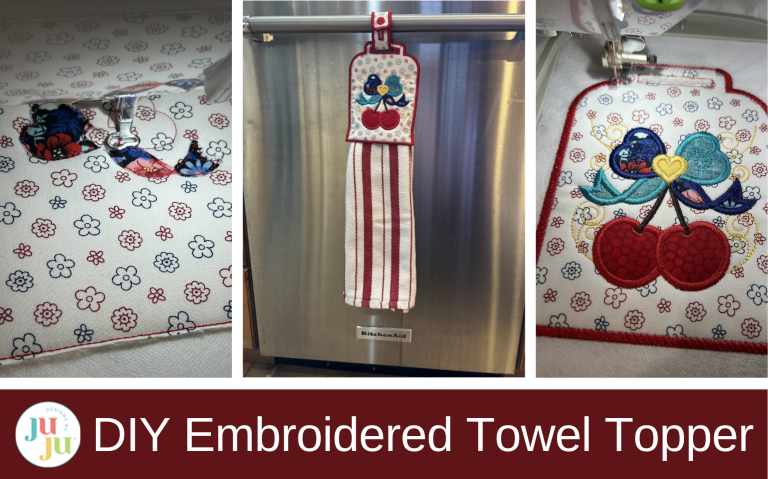
Turn any embroidery design into a towel topper that perfectly matches your kitchen, your mood, or the season.
I love to spend time in my kitchen cooking up something that tastes good for my family, friends, or just myself. While I’m cooking, I often misplace towels around my kitchen so I never know where one is when I need to dry my hands. I love these towel toppers that have the elastic on the back so I can keep the topper hanging in my kitchen but I can change out the towel as I need a new one! Let’s make one together and I’ll show you how to change it so your design can match your kitchen's vibe.
Finished size: 8” x 6” plus towel
Check out the DBJJ team’s favorite supplies in the Designs by JuJu Amazon store. And for all your stabilizer and batting needs, Designs by JuJu+ has you covered.

These towel toppers are so fun. It’s easy to swap out the designs that come with them for anything that fits your vision. I’m using the Cherries from the Star Spangled Stitches Set 3, but maybe some fun sayings from Kitchen Word Art 3 are more your style! If you just want to stitch and not worry about applique, check out Floral Swirly Kitchen 1 or Kitchen Sayings Embroidery Set. Need some quick holiday gifts? Check out Sweetheart Applique Embroidery Set and Christmas Kitchen 1 Embroidery Set. Any 4x4 design will fit on these and work great!
Start your project by cutting your fabrics and batting to the sizes listed in your instructions. Next, fuse the fuseEZ Fusible Interfacing to the wrong side of the main background fabric for your design.

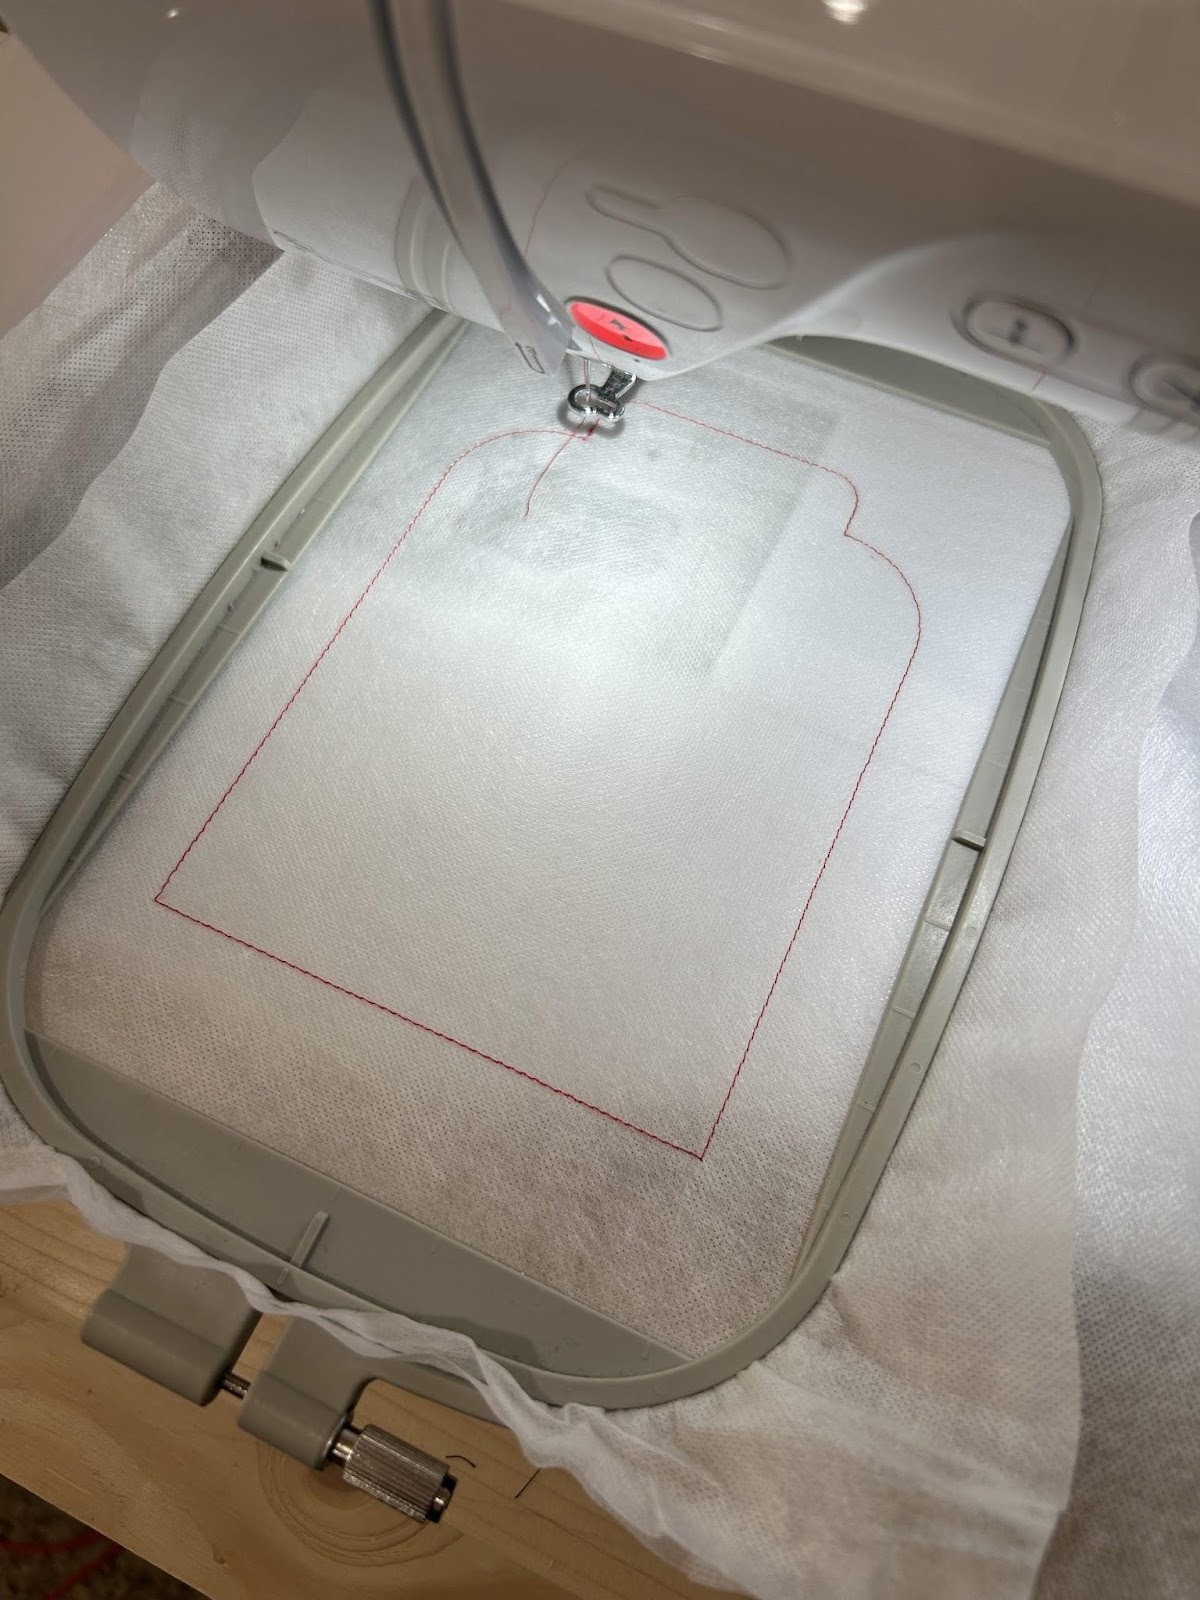
Hoop two layers of magicMELT Water-Soluble Stabilizer. This makes the edges look nice when you’re finished as it just washes away with water and disappears!

Take your hooped stabilizer to the machine. Load the main panel for the topper and stitch out the first step. This is a placement stitch for the topper.
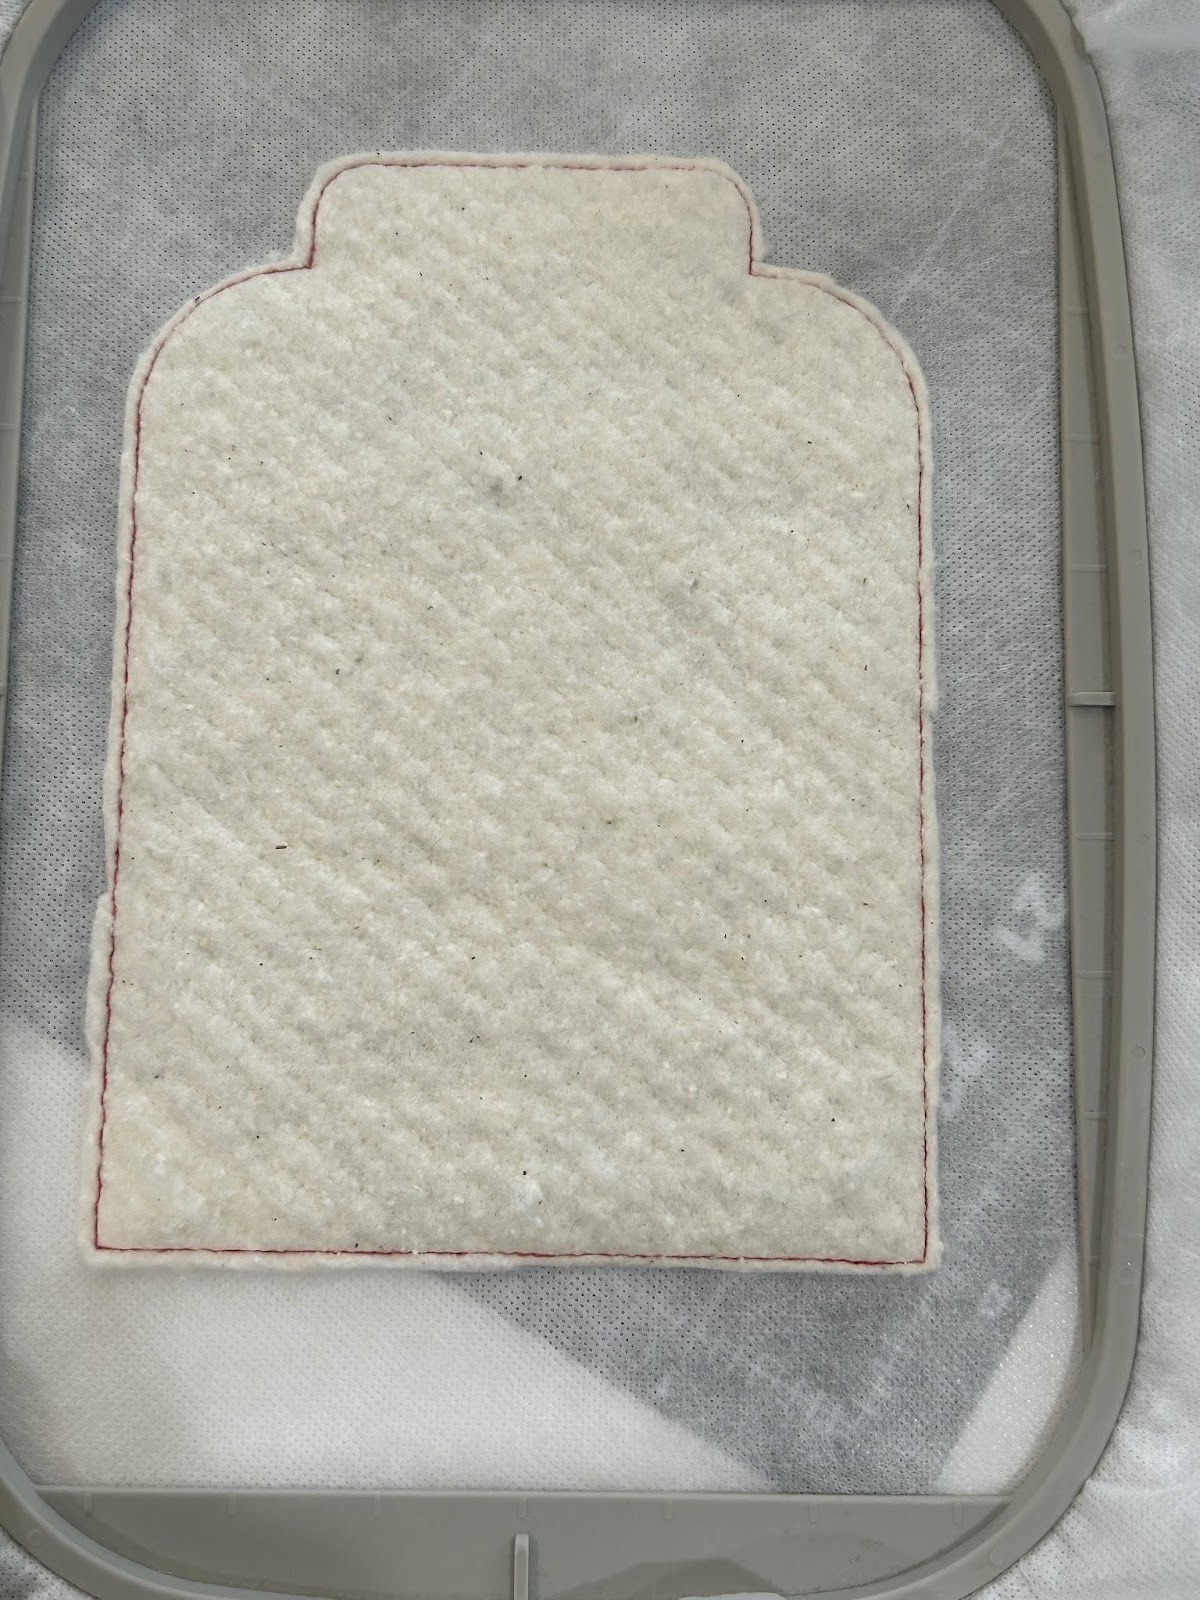
Cover your placement line with loftySOFT™ Batting, stitch the tack-down stitches, and trim the batting close to the stitches.
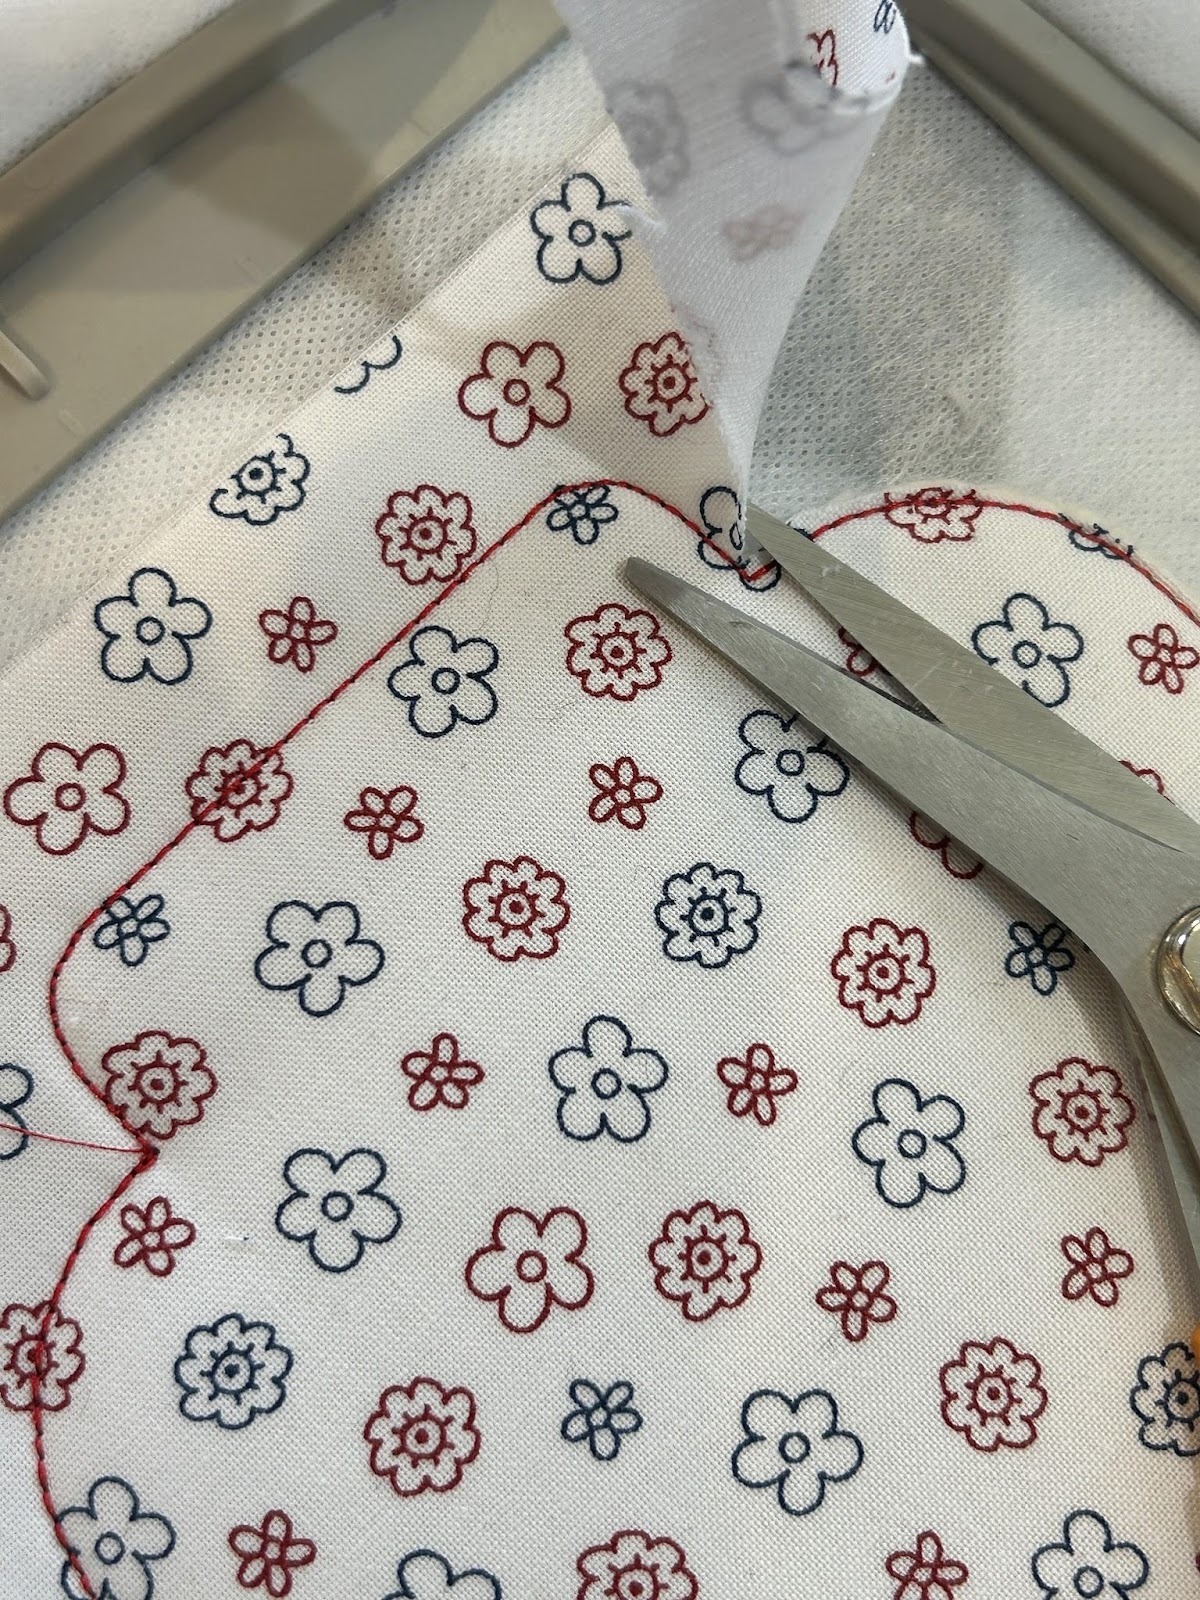
Cover the batting with your prepared main background fabric. Then stitch a tack-down stitch.

Trim the fabric close to the stitches.
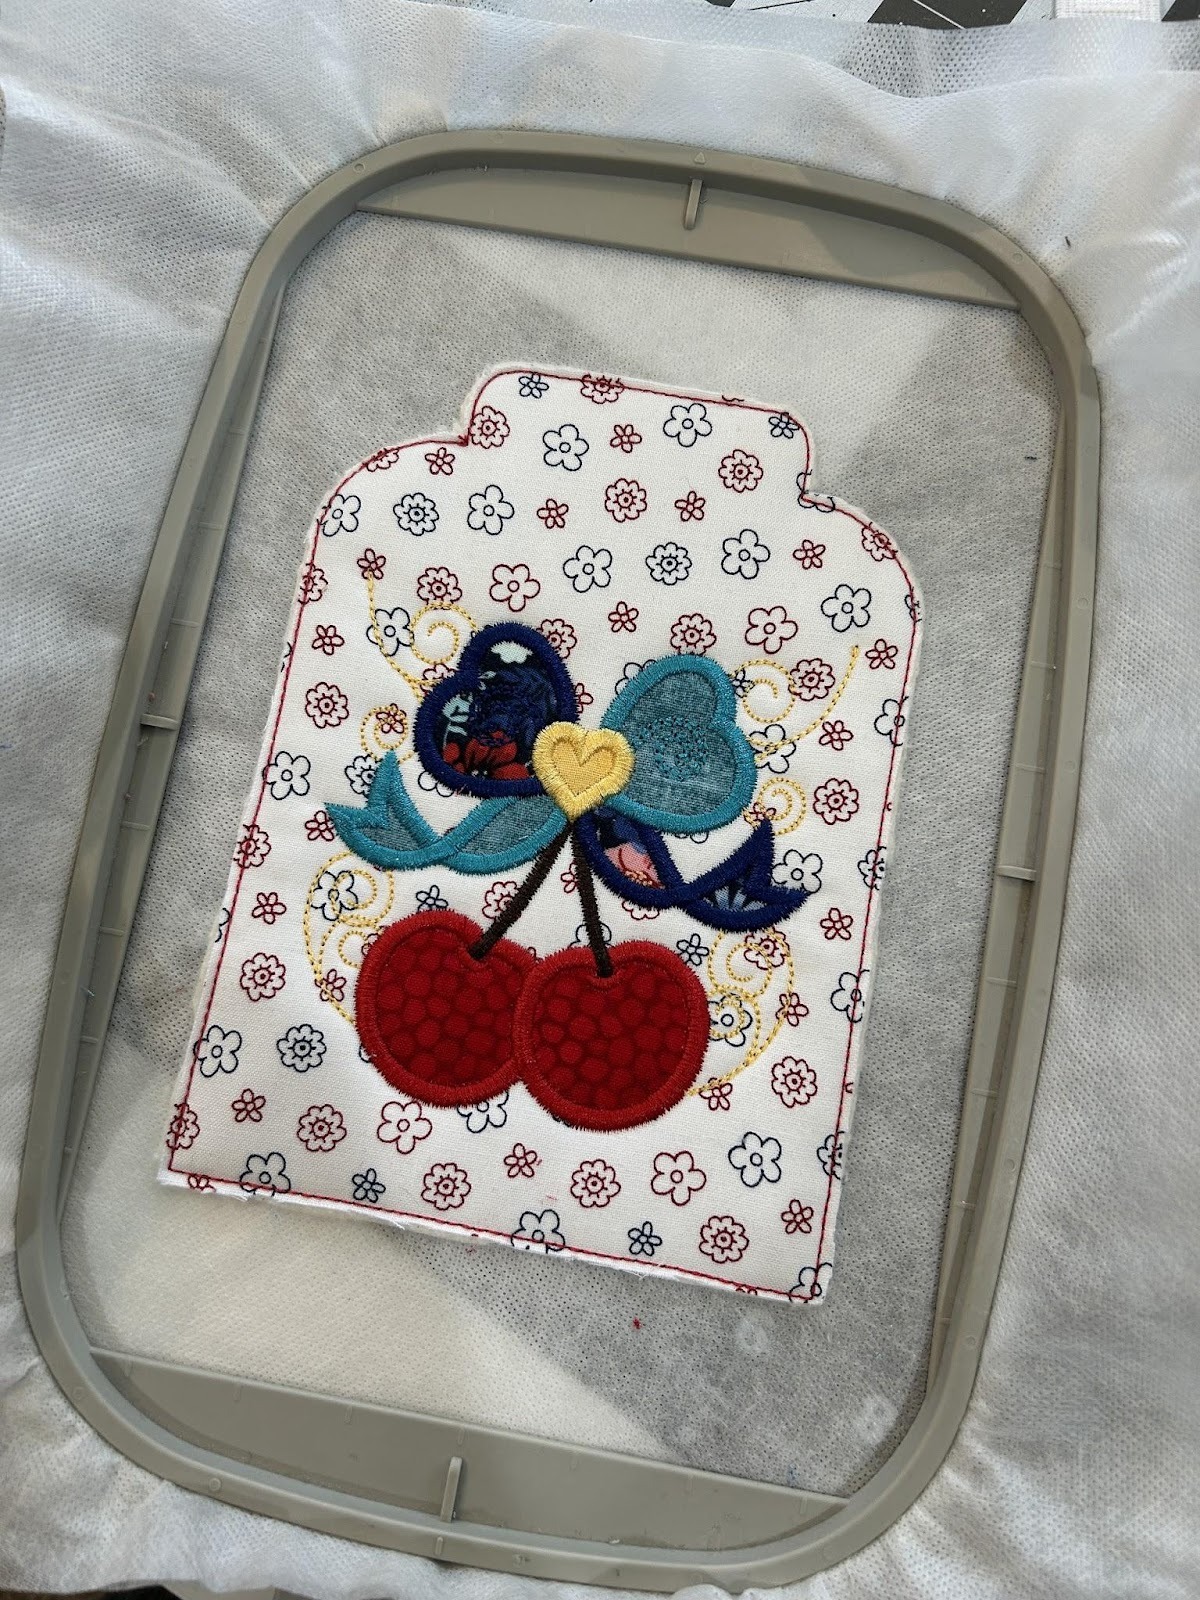
This is where we are going to change things up a bit. We aren’t going to stitch the decorative stitches that came with the design, but insert the design that we want to use instead. I added the cherries from the Star Spangled Stitches Set 3 to my towel topper. I only used the decorative stitches from this block. Center them in the design and start to stitch it out. This particular design starts with applique stitches. If you're new to applique, check out our applique blog post series and you’ll be confident in no time.
Continue stitching until your design is completely finished.
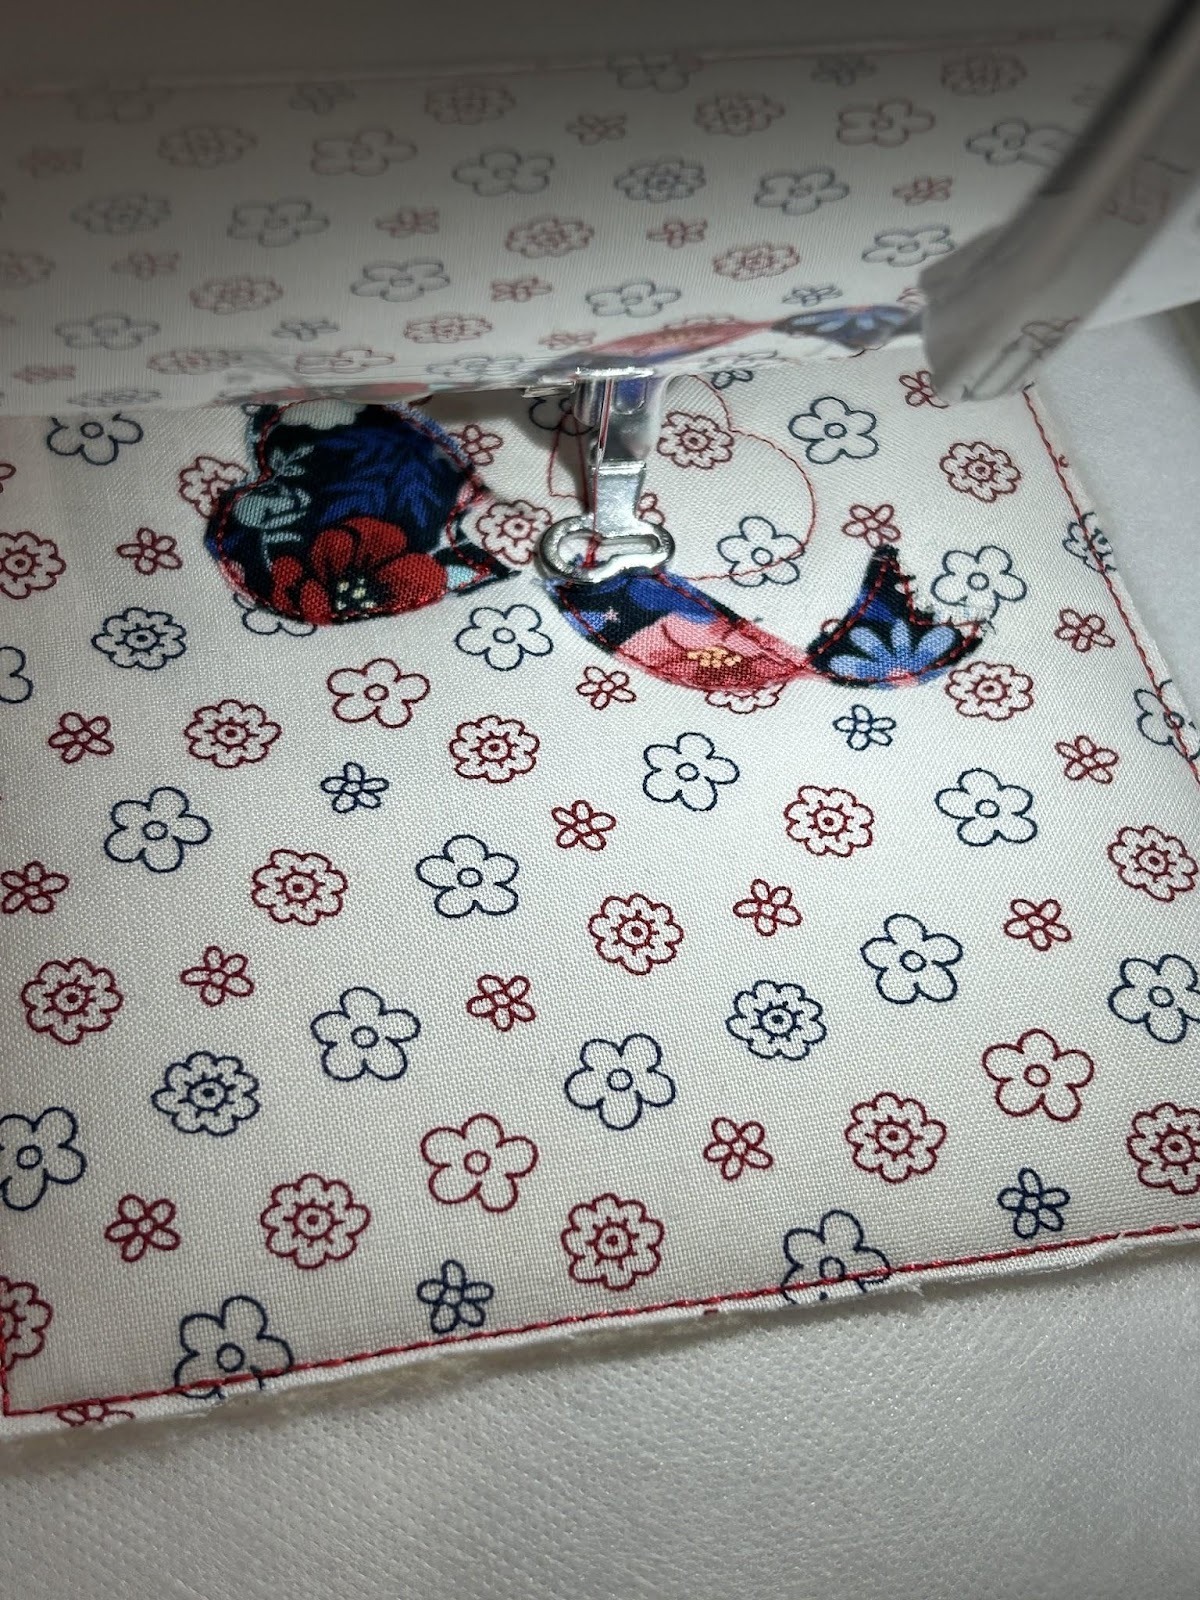
Now with your hoop out of the machine, flip it over and place the last piece of fabric over the stitches. Tape it in place so it will hold as you stitch it to the design.

Place your hoop back in the machine and stitch your tack-down stitch.
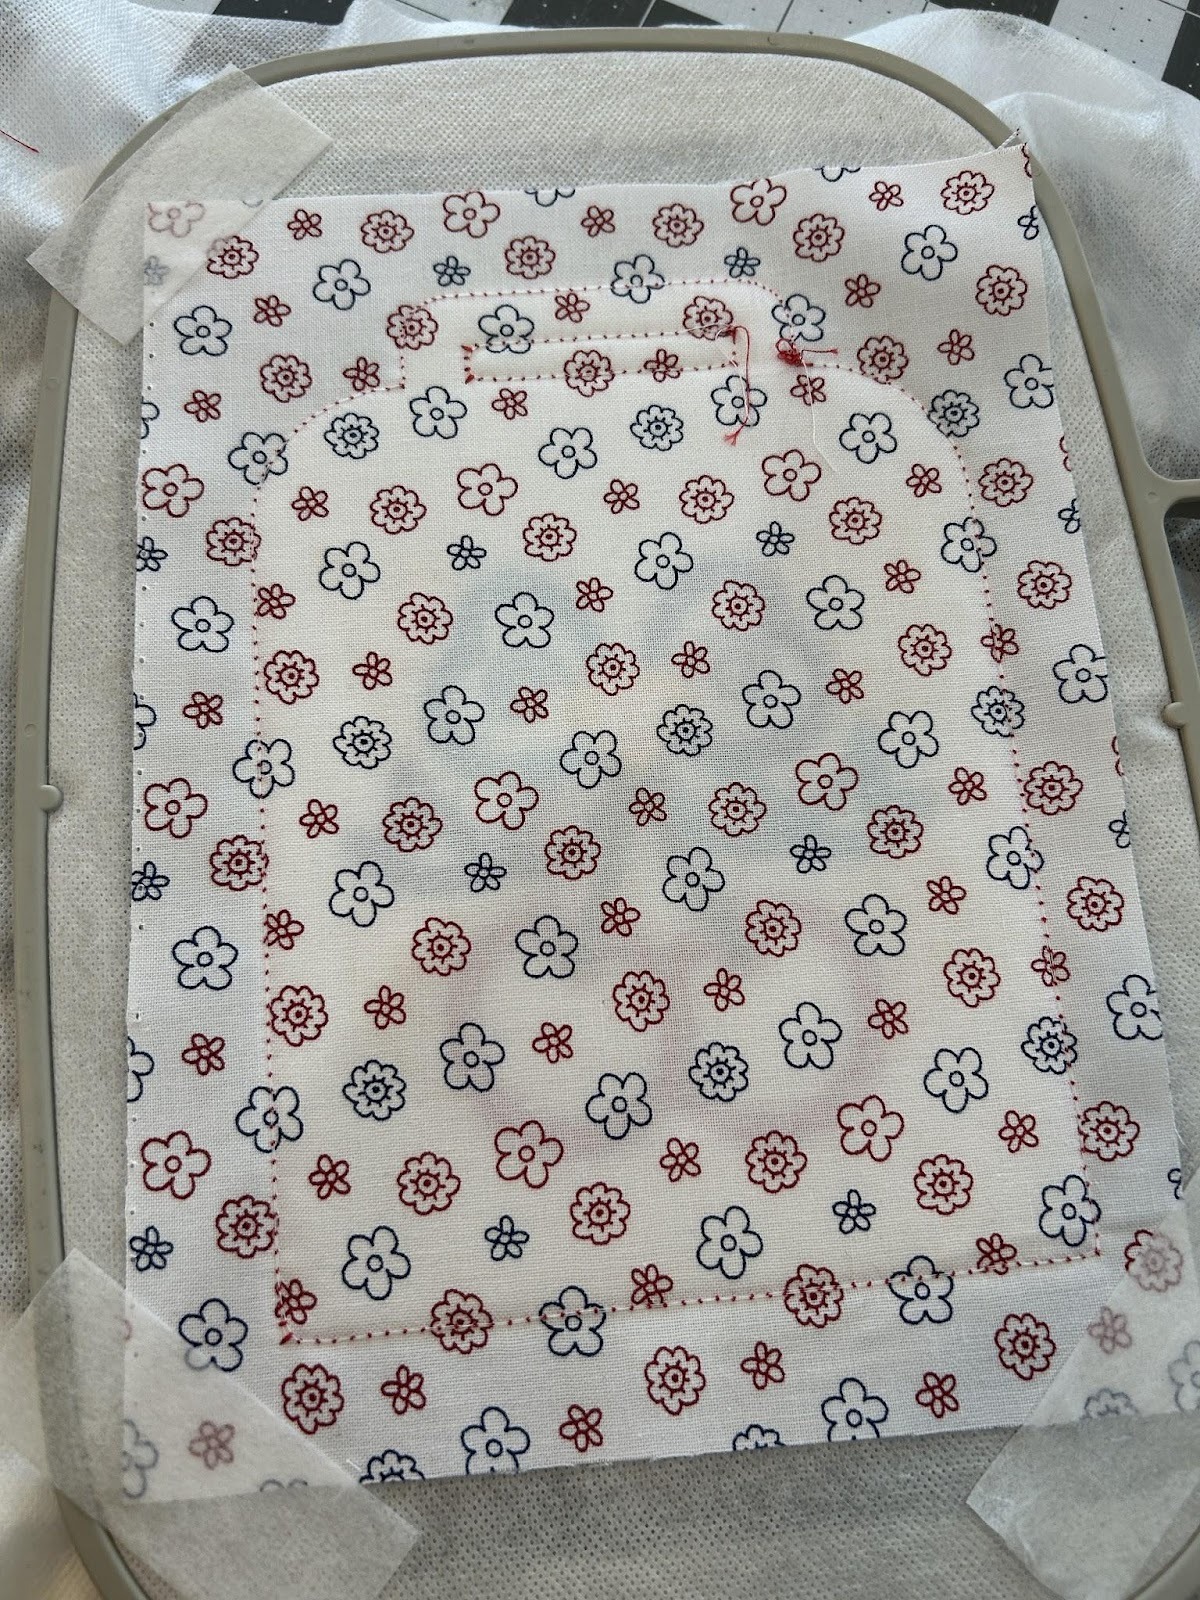
Trim up the fabric on the back close to the stitches. Don’t forget to trim around the slot at the top that was stitched in this step.
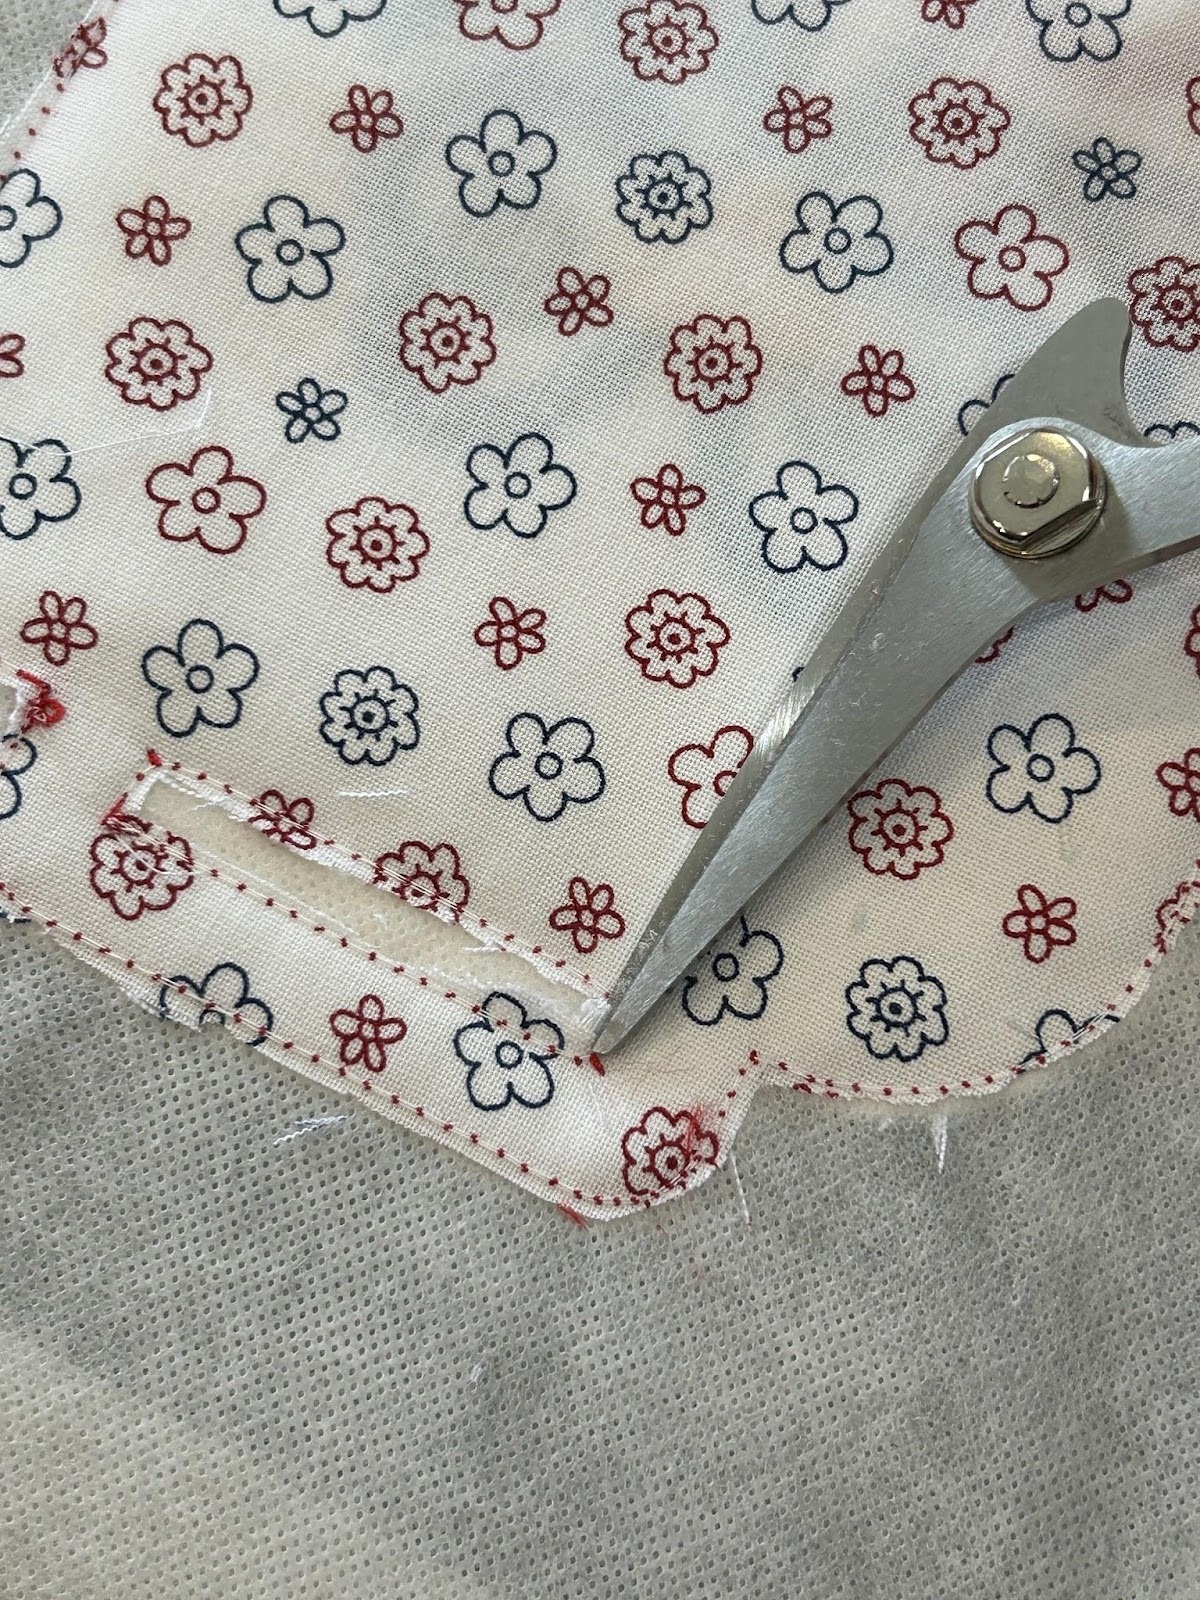
Flip your hoop so the design side is up and trim out the fabric and batting from the slot that was just stitched.

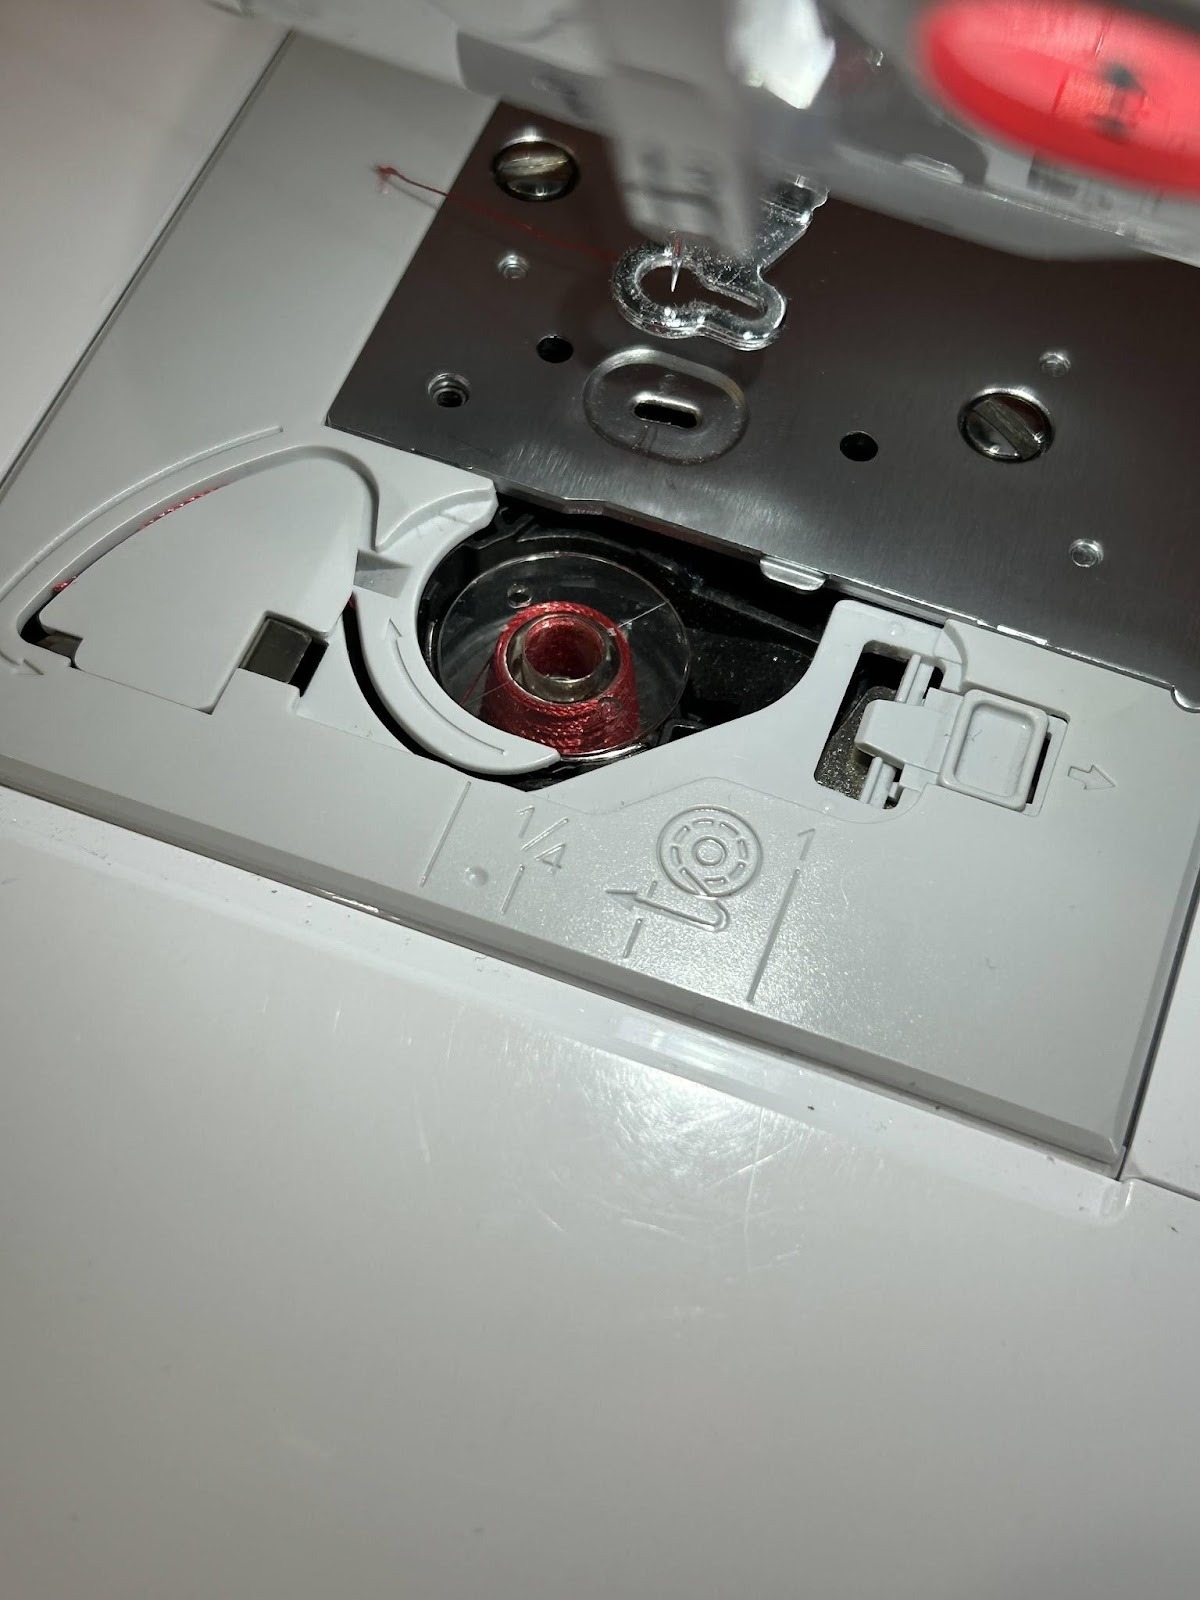
At this point, I change the bobbin in my machine to match my top thread. I like to do it here so I don’t forget to do it for the decorative satin edge, and it helps me see the placement stitches for the elastic.
Stitch the placement stitches for the elastic. Remove the hoop from the machine and turn it over. On the back side place the elastic over the placement stitches and tape in place.
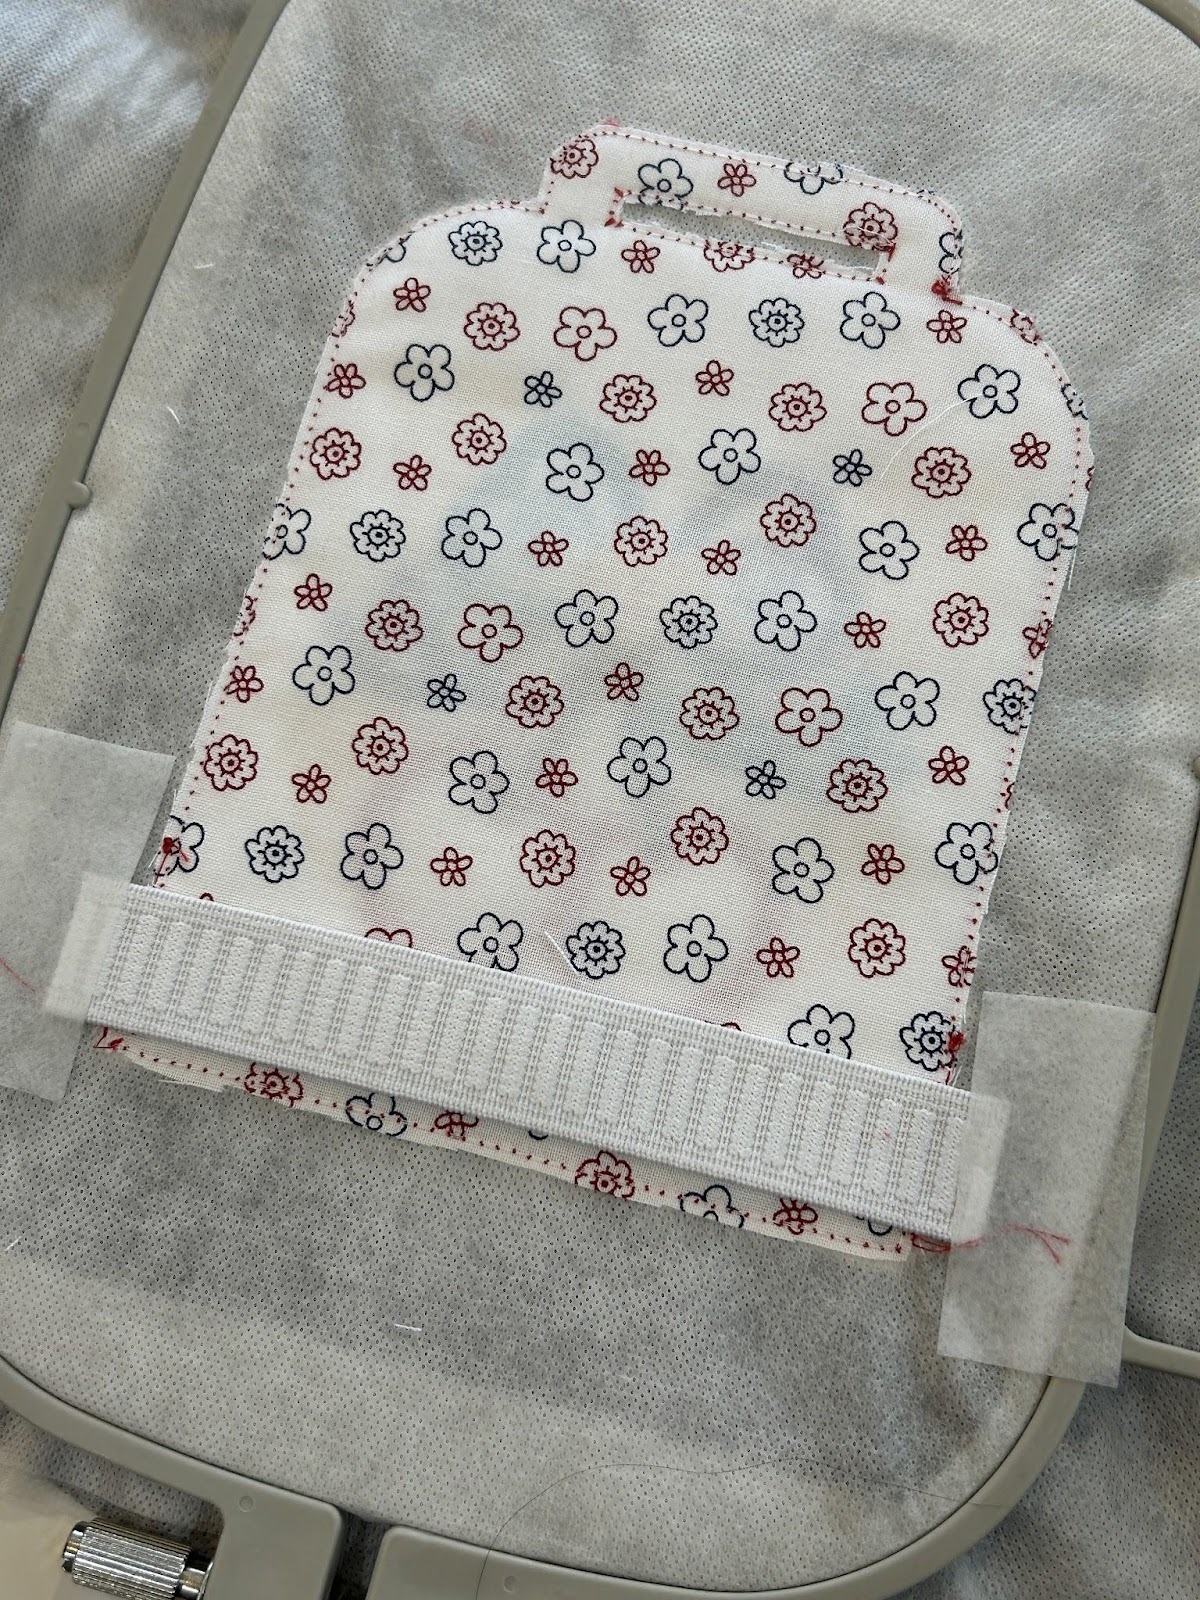
Now stitch the tack-down stitches for the elastic, and when you’re finished trim them up as close as you can to the stitches.

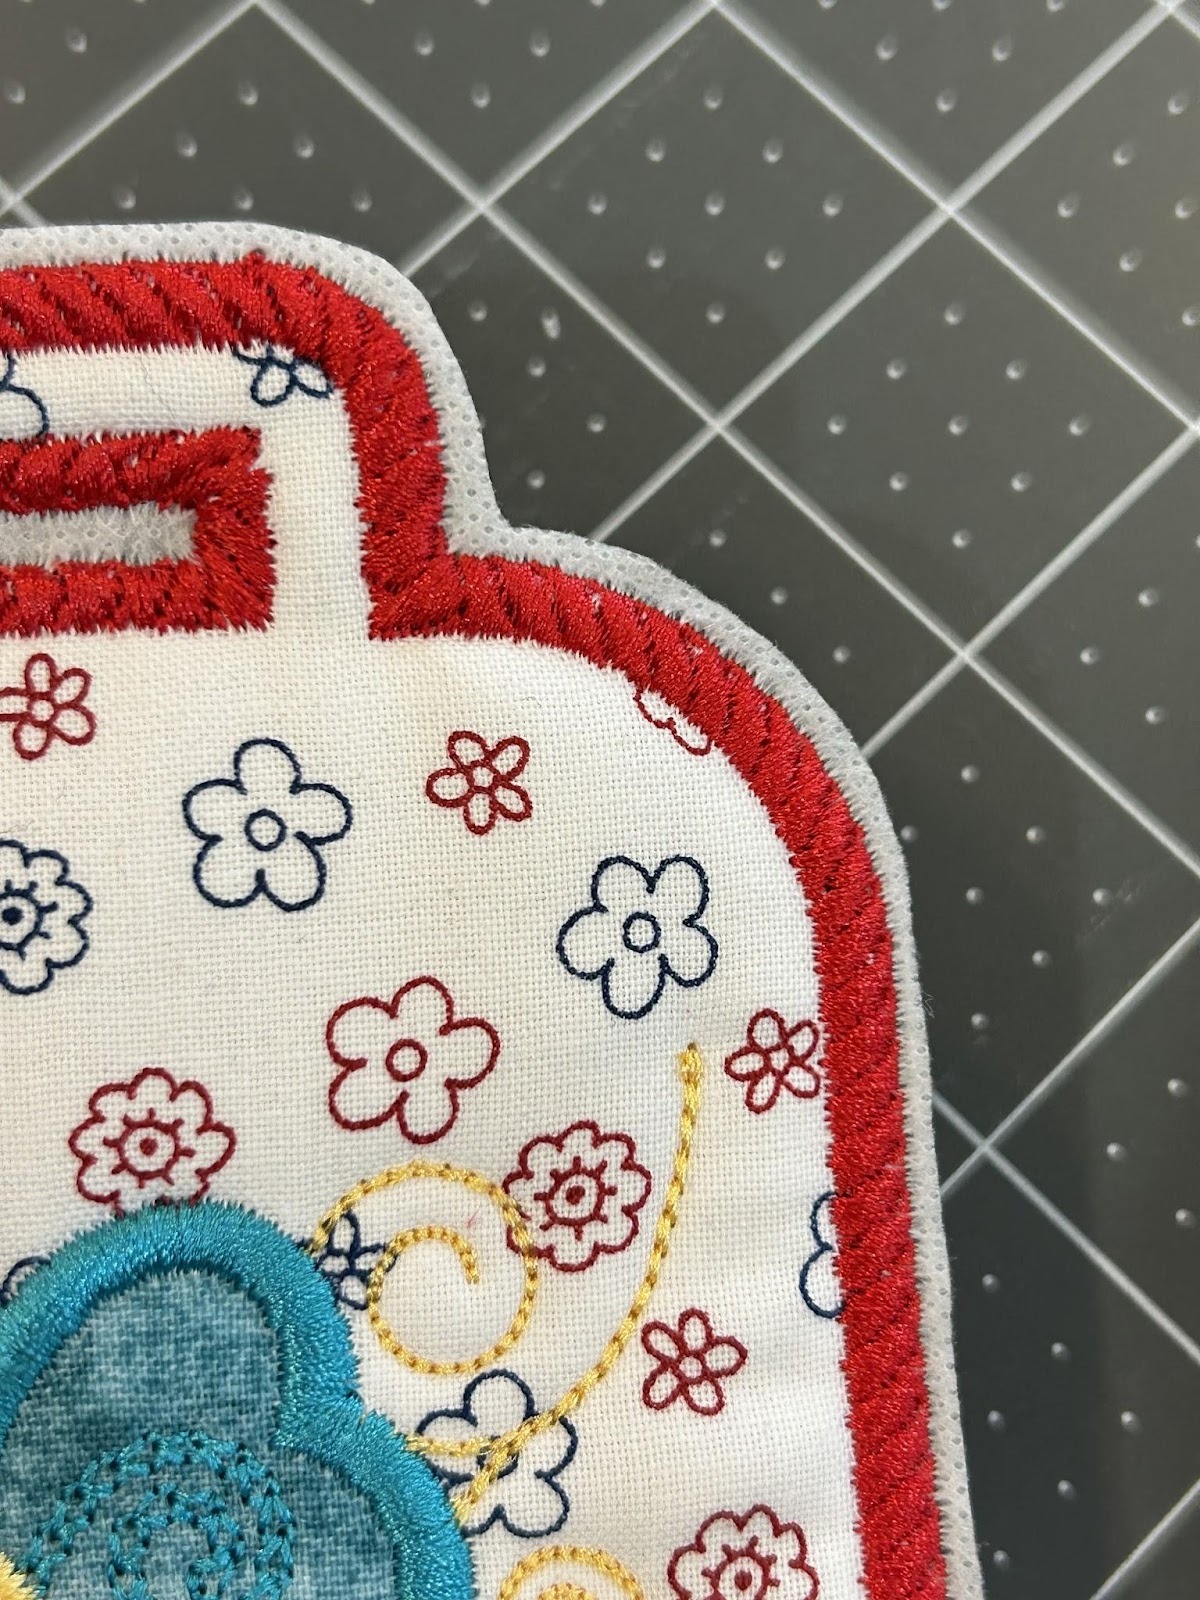
Now it’s time to do the decorative satin edge to finish it all off.

Remove your design from the hoop and trim the stabilizer close to the stitches. It’s okay to leave some stabilizer because you will remove the excess with water. It's most important to make sure you don’t clip a stitch!
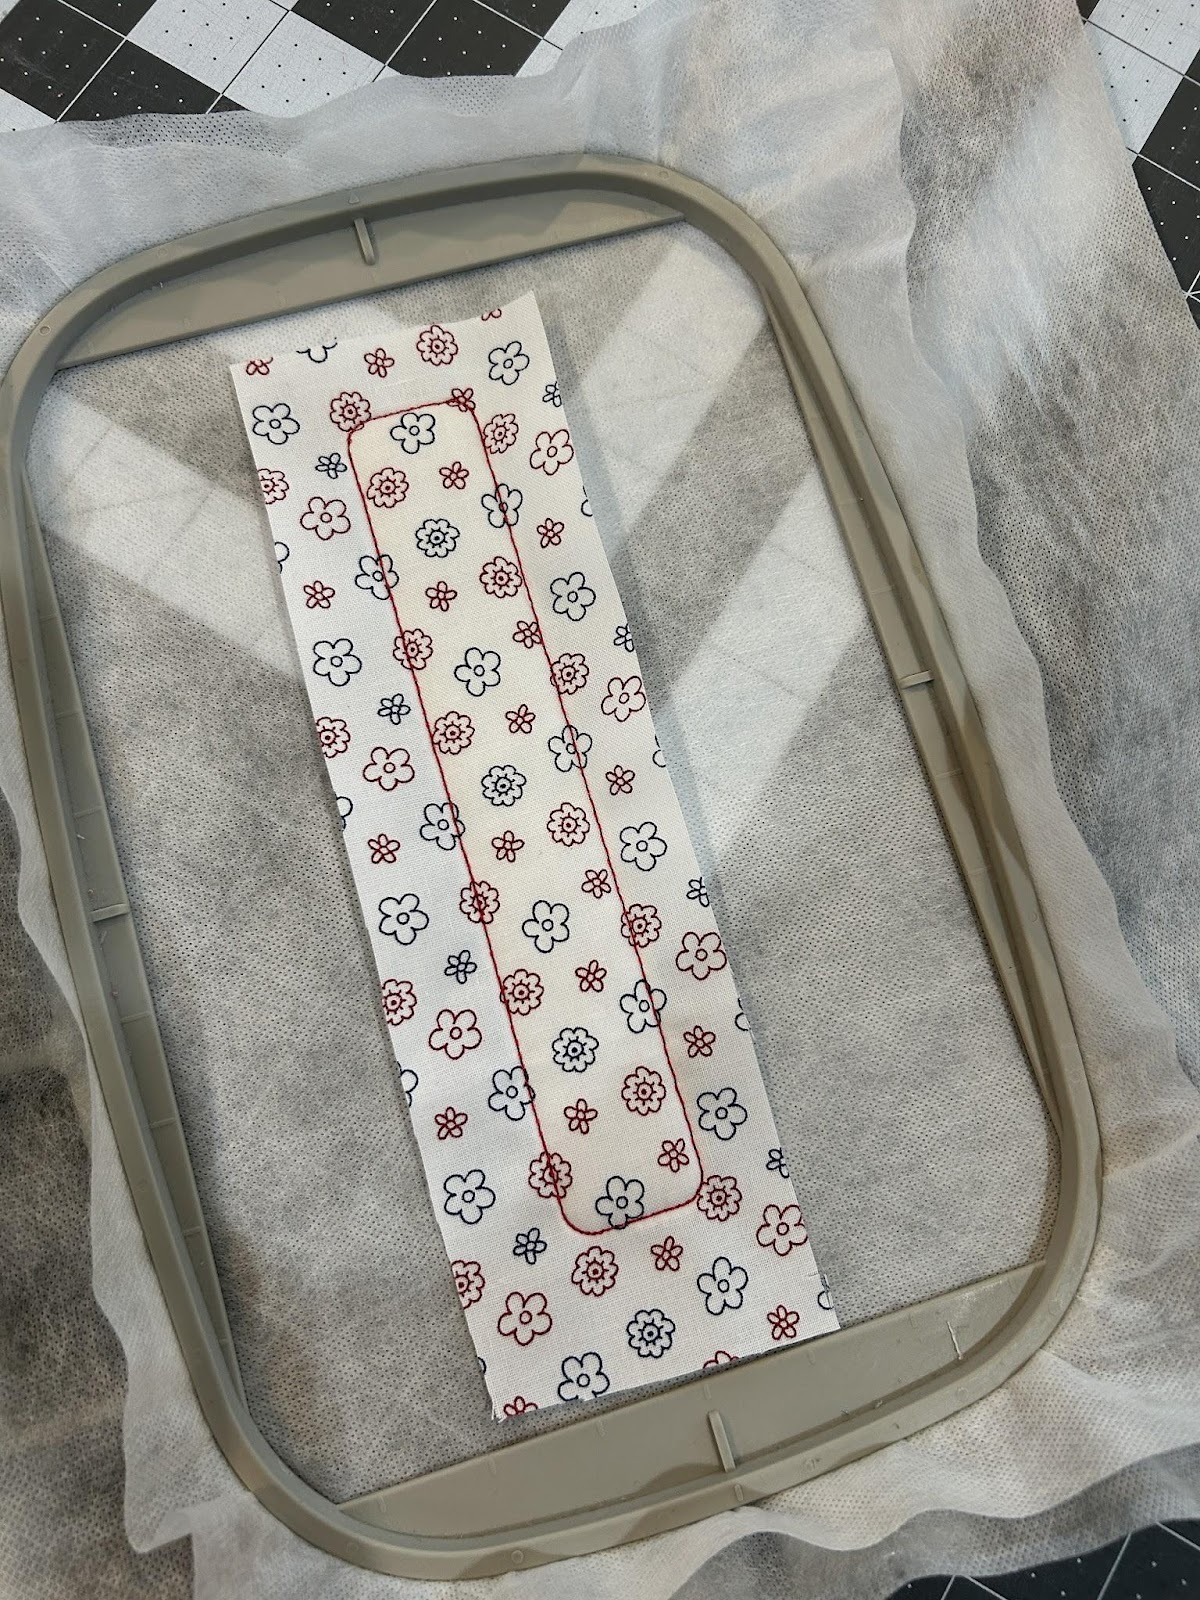
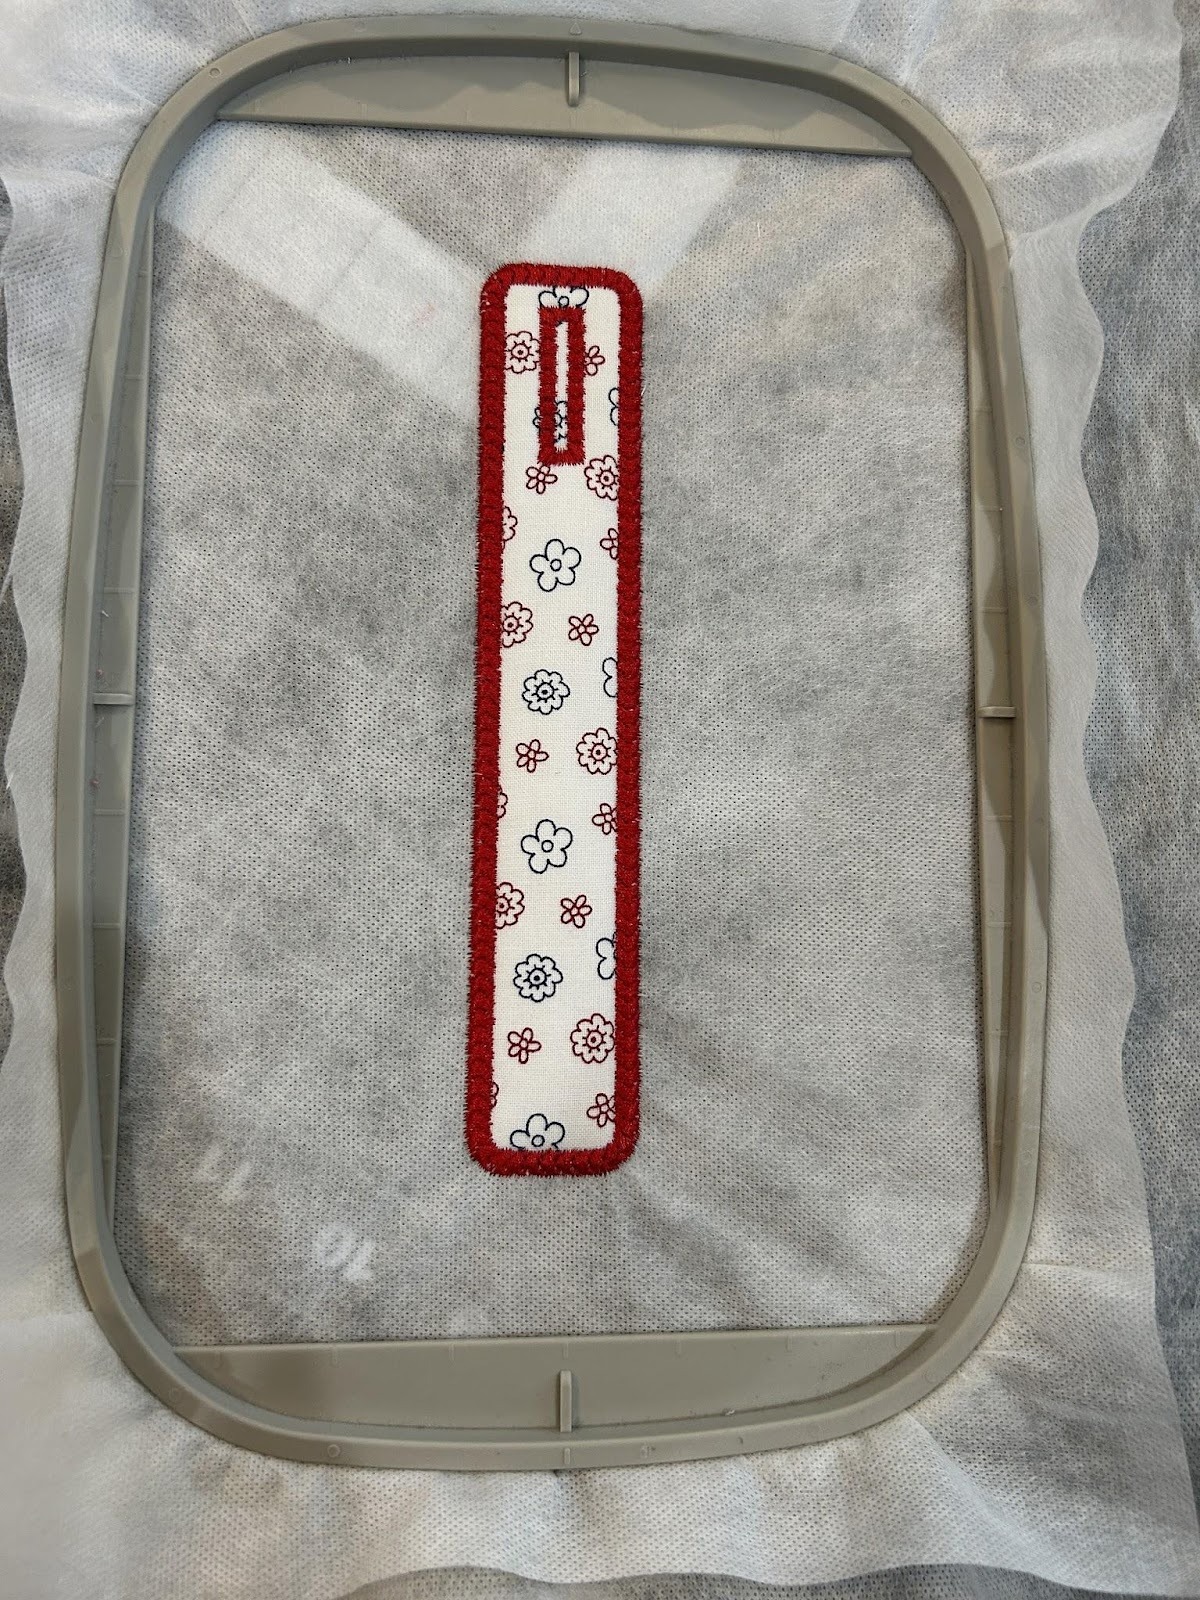
Now you will stitch the strap. This is easy and is done in the same steps as the front. Hoop two layers of magicMELT Water-Soluble Stabilizer. Stitch your placement stitch for the batting. Cover the placement stitches with batting and run the tack-down. Trim your batting and cover with the fabric piece. Then stitch the tack-down.
Trim your fabric on the front side.

Flip your hoop and tape a fabric piece to the back side, covering the stitches. Tape it in place.

Stitch your tack-down and trim the fabric close to the stitches.

Stitch the decorative satin edge around the design.
Remove the strap from the hoop and trim the stabilizer away from the design, making sure not to clip your stitches.
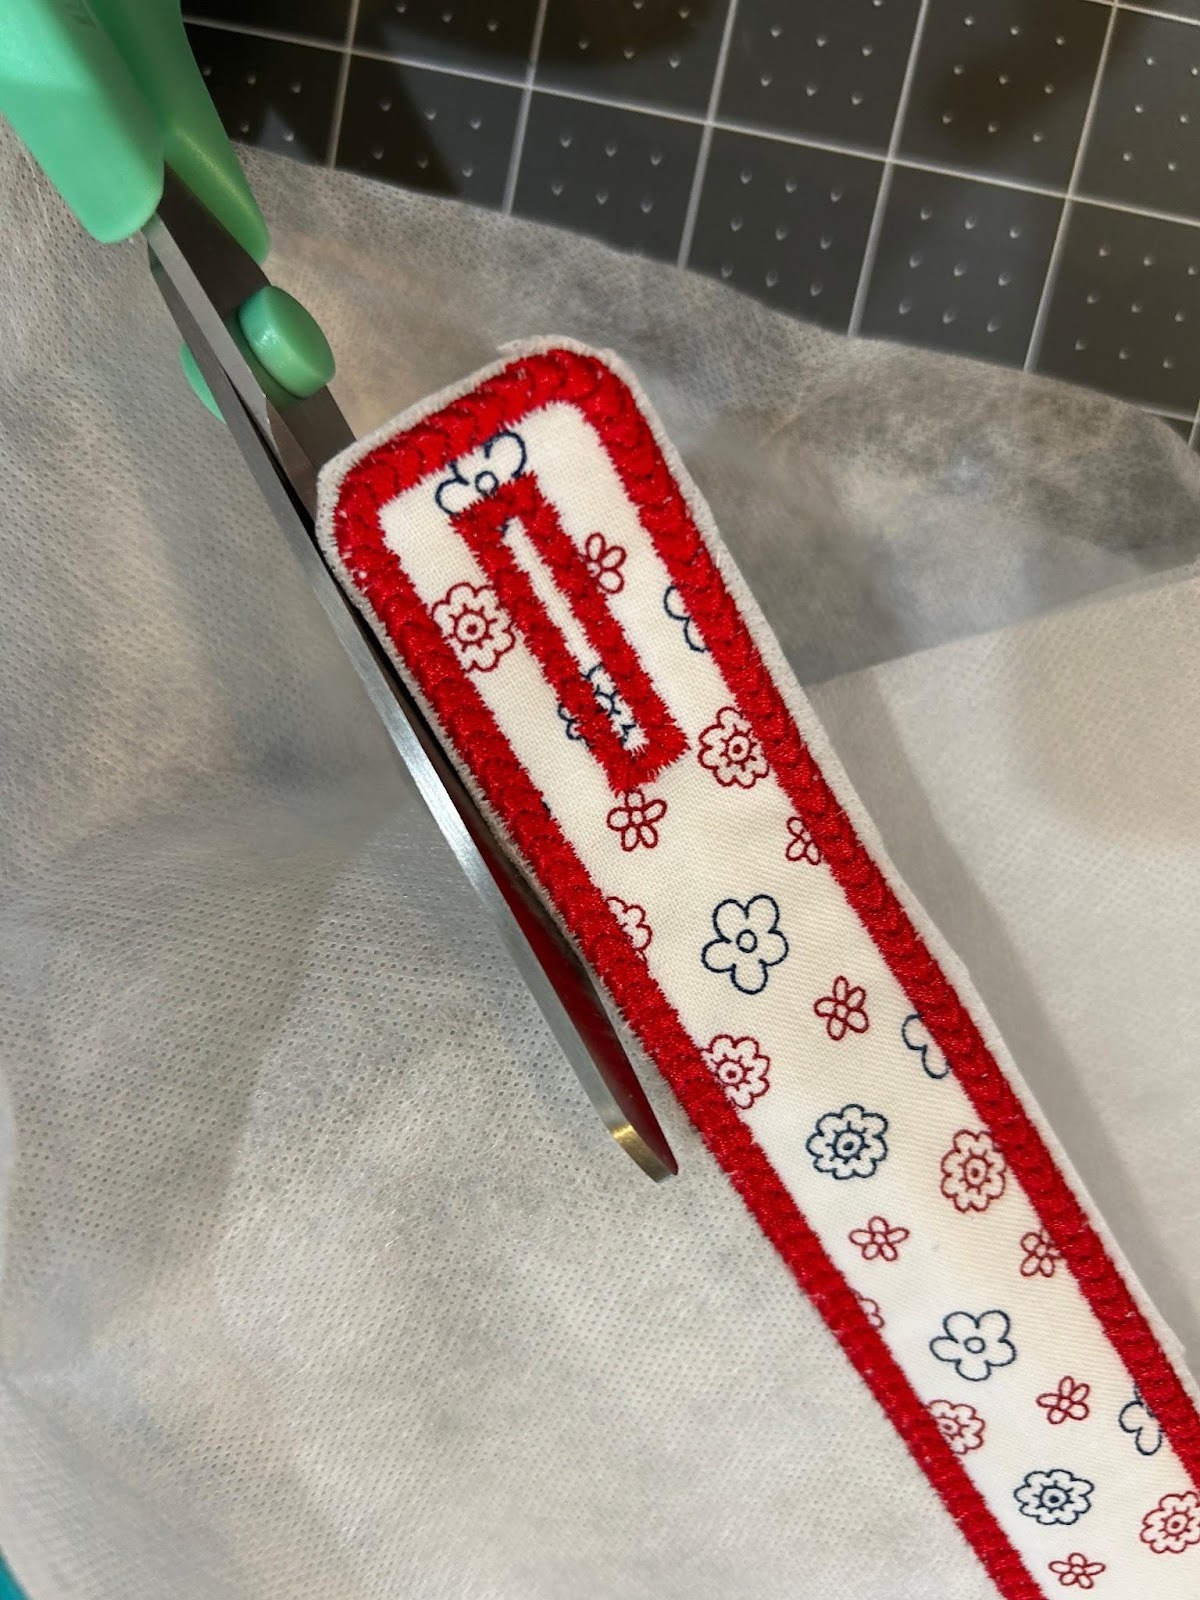
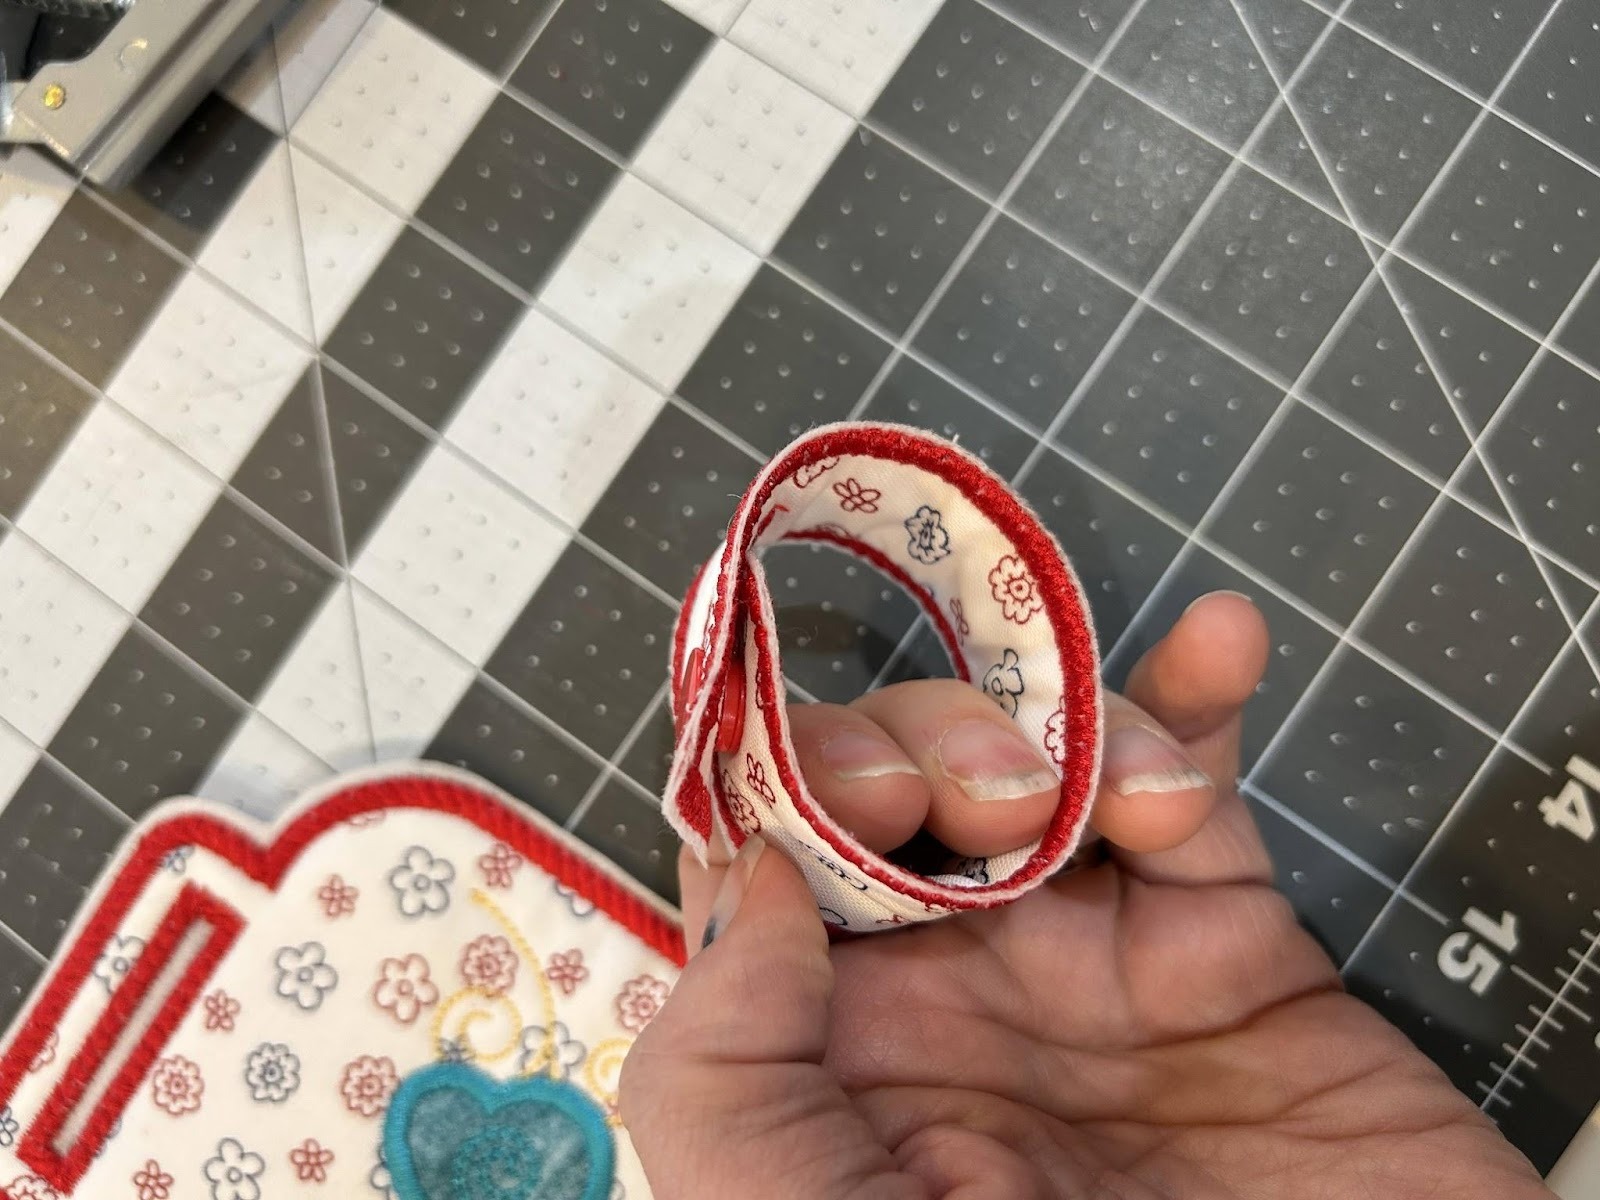
It’s time to decide how you want to have your strap close. You can attach a button to one end and open the buttonhole or you can use some KAMsnaps. I’m choosing to use the KAMsnaps, mostly because I hate sewing on buttons!
Find the placement for your KAMsnaps.

And following the directions that came with them, connect your snaps.

I always double-check to make sure my strap will close and I didn’t put one of the snaps on backwards because I have done that more times than I like to admit.
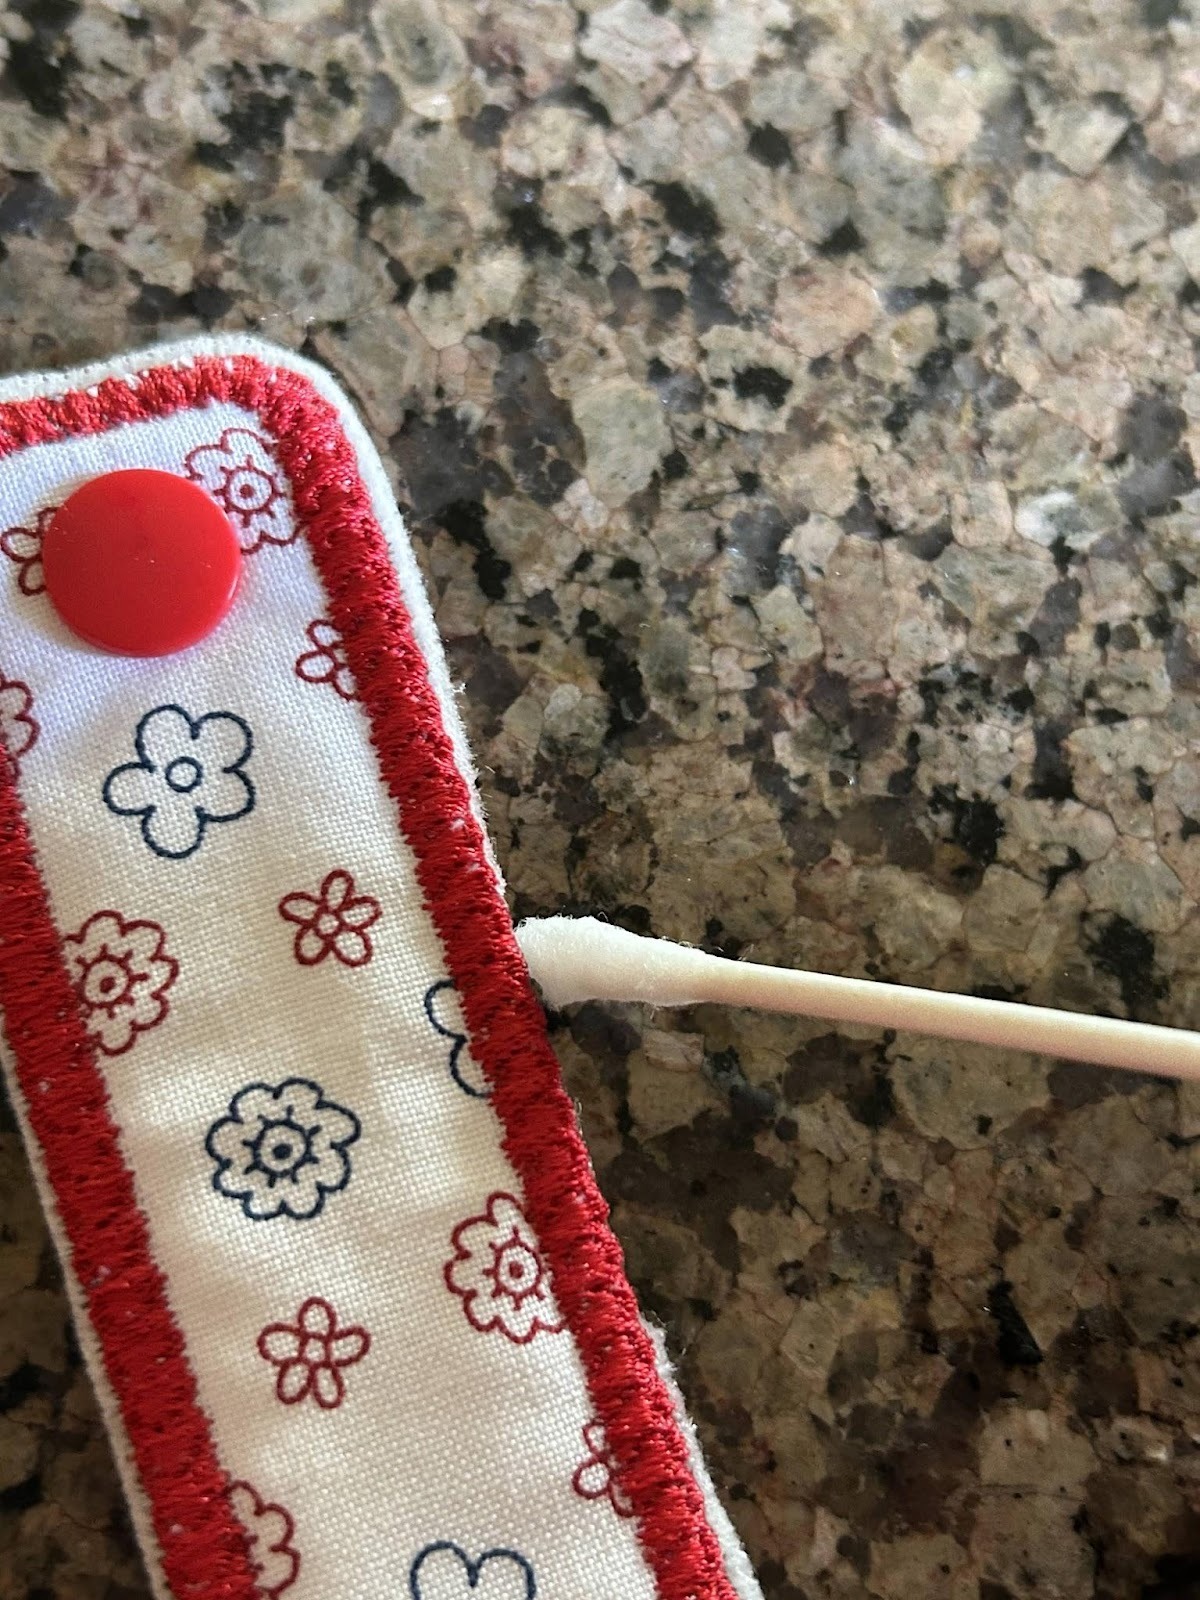
Get a cotton swab wet with hot water and “paint” around the edges of both pieces of the design. This will melt away the stabilizer, leaving behind a nice finished edge.
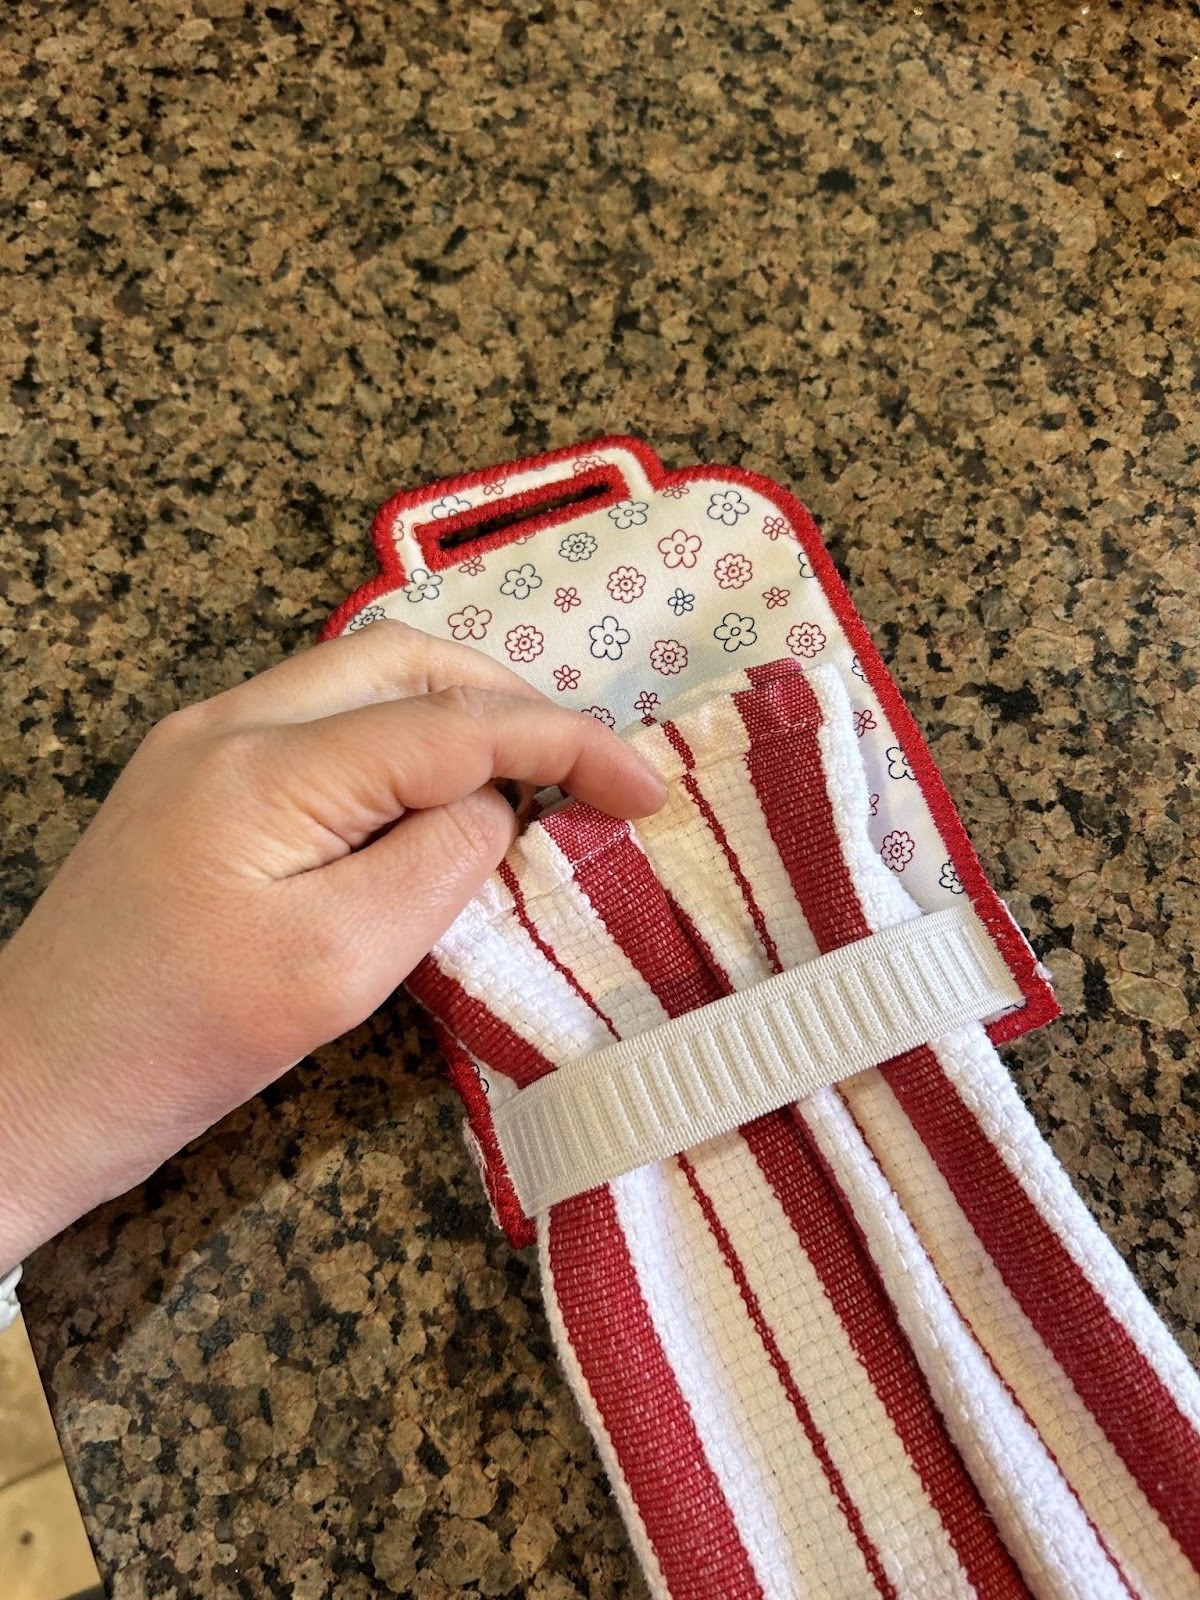
Find the towel you’d like to use with your topper and pull it through the elastic on the back side.
Thread the strap through the opening on the top of the towel topper.

And your towel topper is finished! Hopefully this will help you keep track of the towels in your kitchen! I know it does for me. I love that I can quickly change out the towels when one is ready for the laundry.

We love to see what you make after reading our blog articles, so please share with us in the Designs by JuJu Embroidery Blessings Facebook Group, or use the hashtag #designsbyjuju anywhere on social media. I’d love to see the designs you choose for your towel topper and create some more of my own!
