From Start to Finish: Your Complete Guide to Making an Embroidered Wreath Scarf
Posted on June 14 2024 by Charlotte McKinney
Looking to add some handmade charm to your home decor? Make an embroidered wreath scarf! Embroidered wreath scarves are a great way to add a pop of color and personality to your wreaths. In this tutorial, you'll learn how to create a beautiful and unique decoration that can be customized with your favorite colors, patterns, and messages. We’ll be using the Flourishing Patriotism designs from Designs by JuJu to add a touch of patriotic summertime spirit to our wreaths!
⅓ yard of 60”-wide fabric (outdoor or heavier weight fabrics are ideal)
If using lightweight fabric, SF101 to enhance the weight of the fabric
Stabilizer (appropriate for the fabric and design you’re using)
Sewing machine
Embroidery machine
Heat-erasable markers
Ruler
Stiletto/chopstick
Pins/clips
Select an Embroidery Design
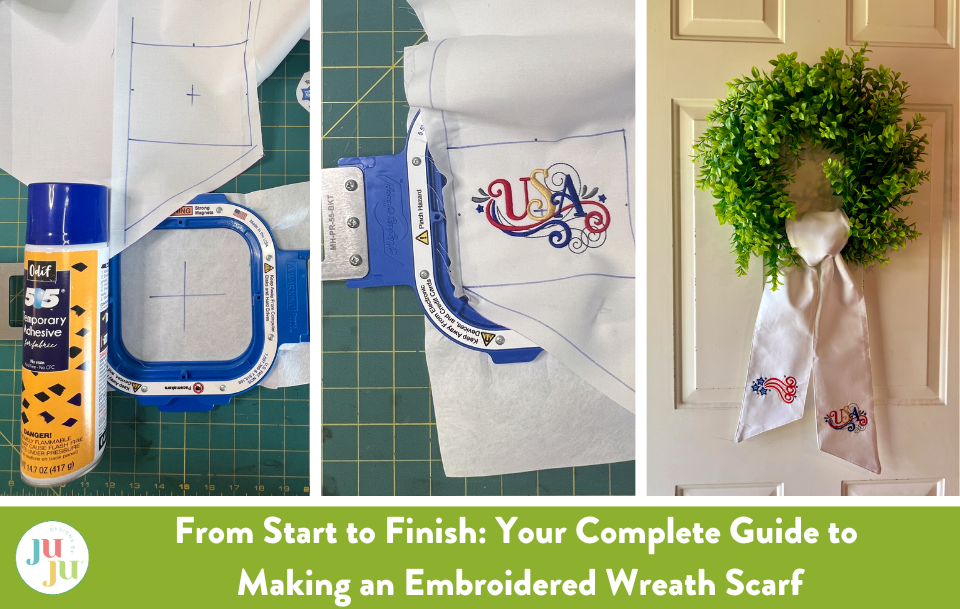
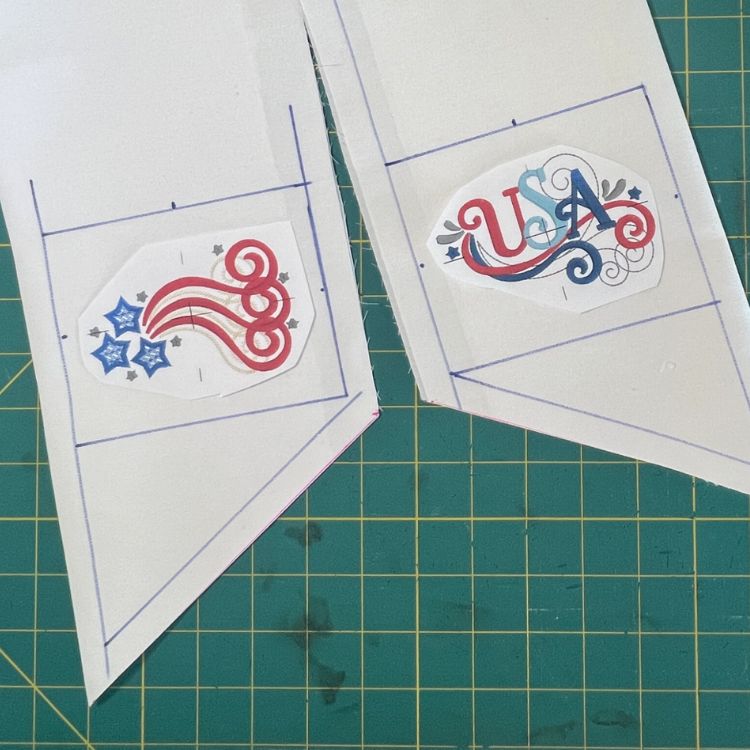
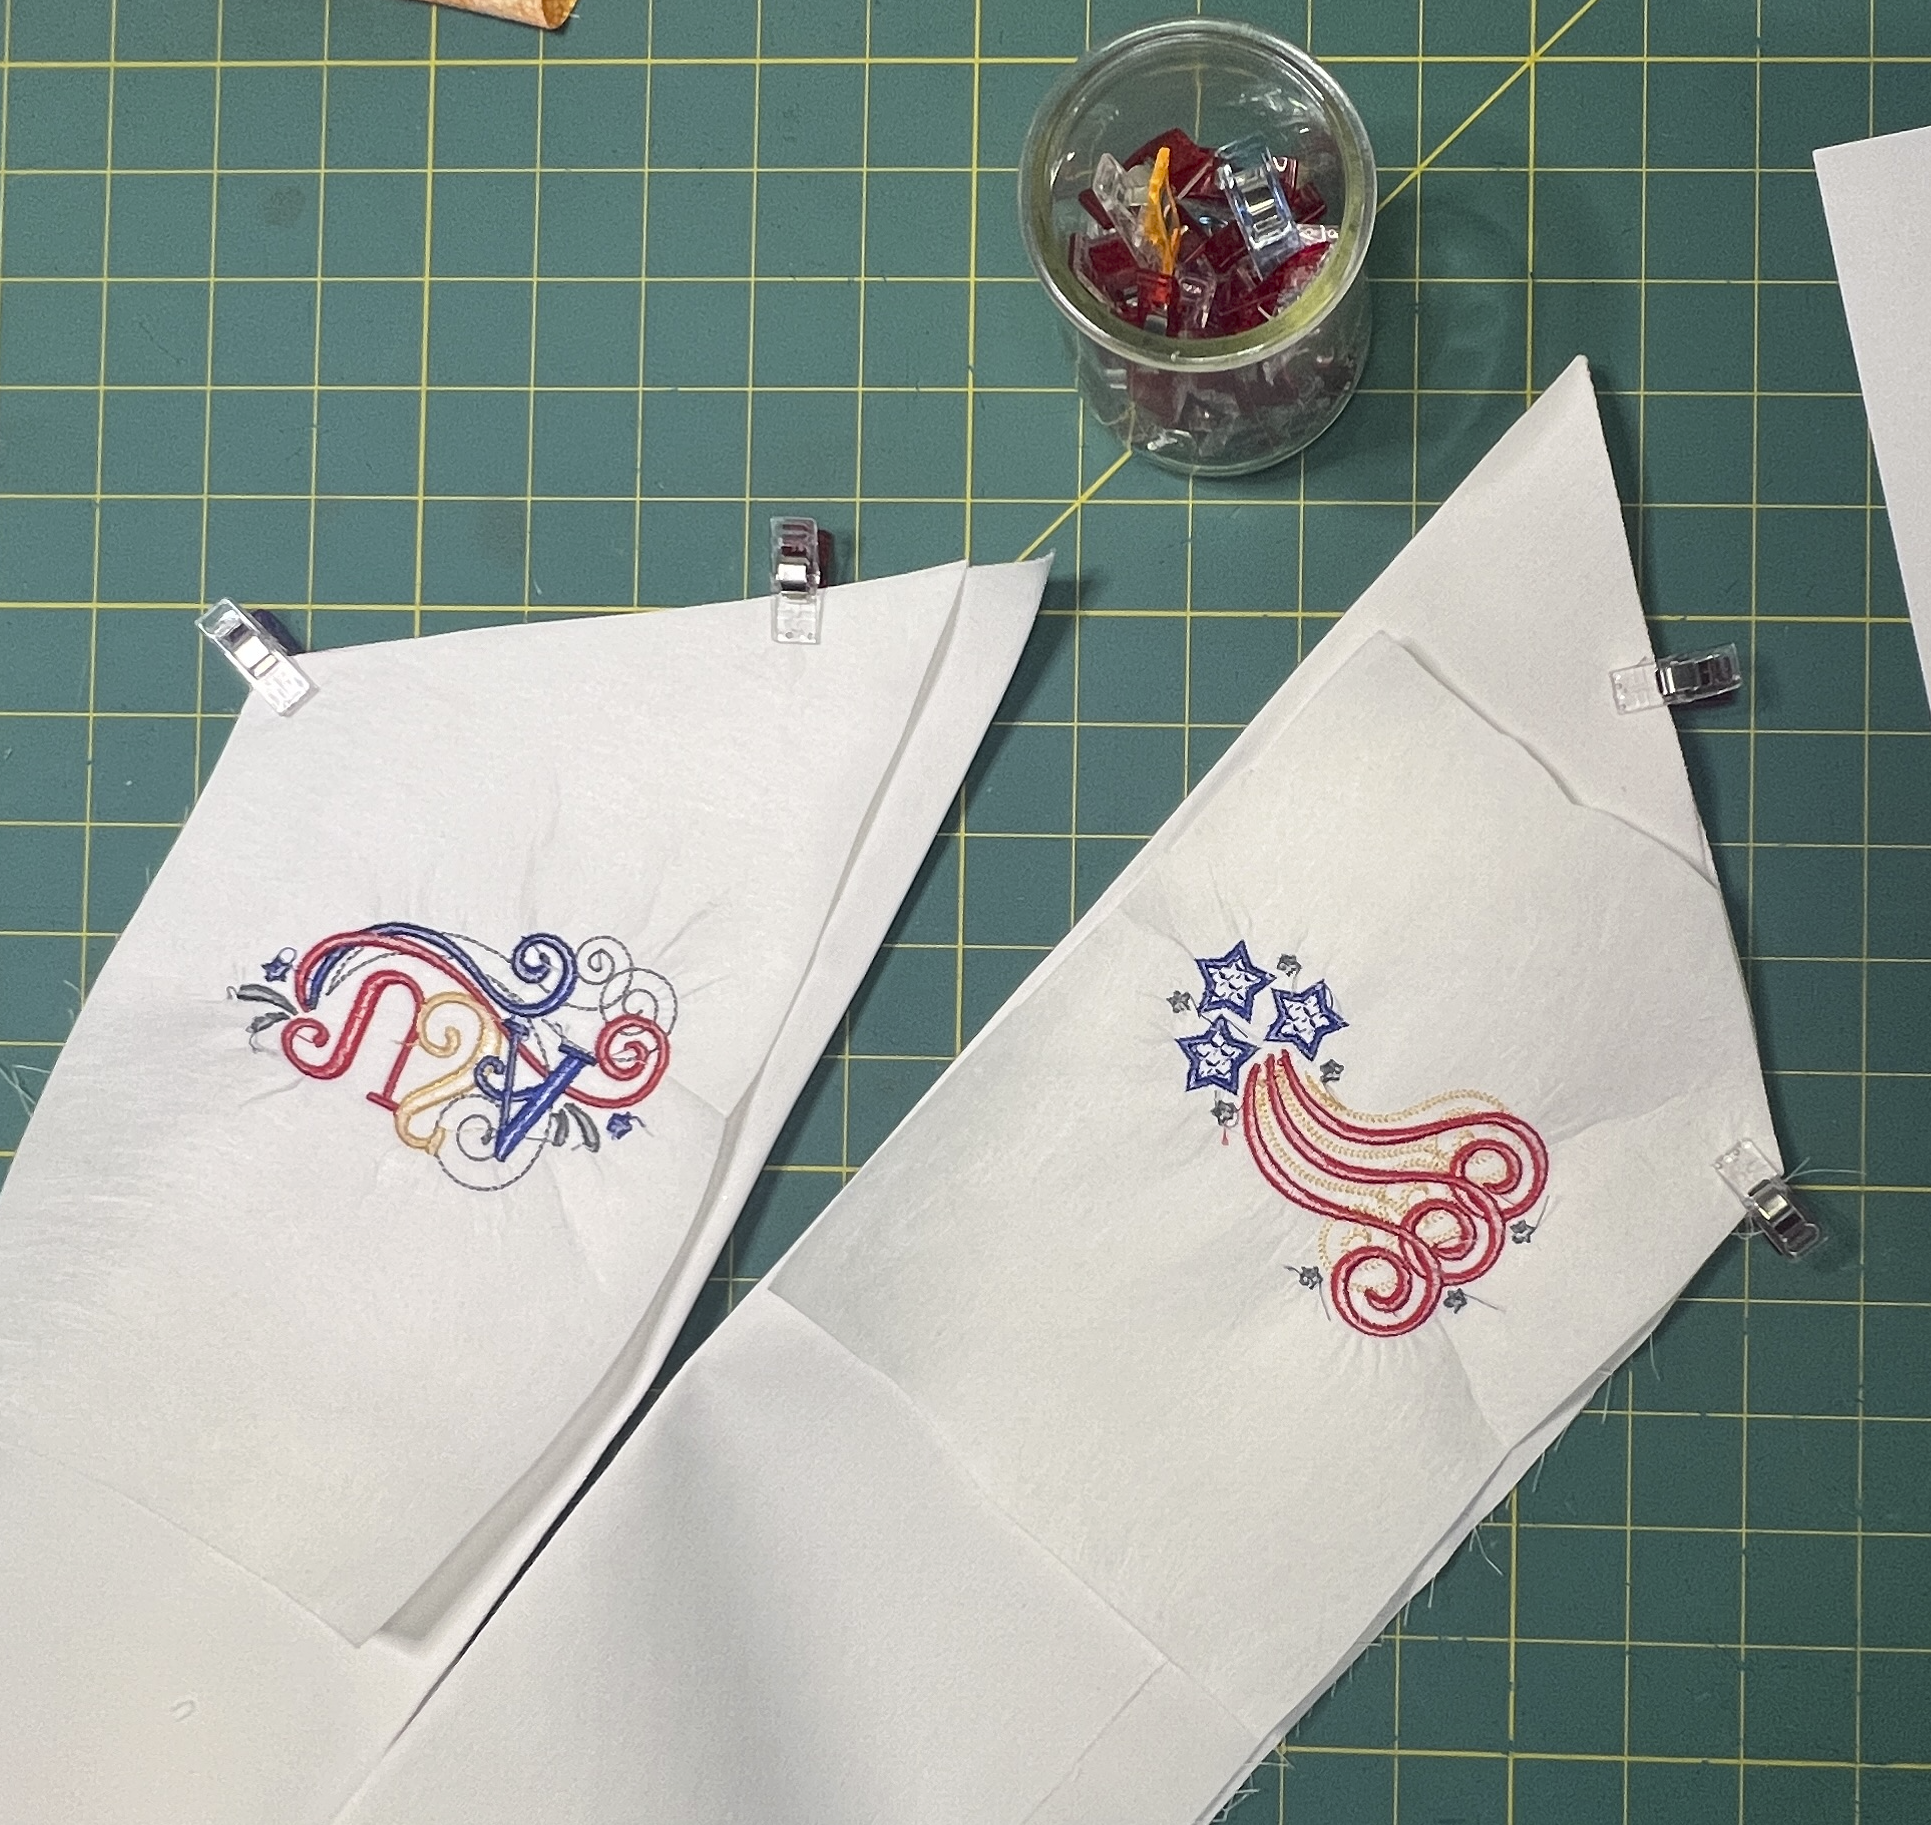
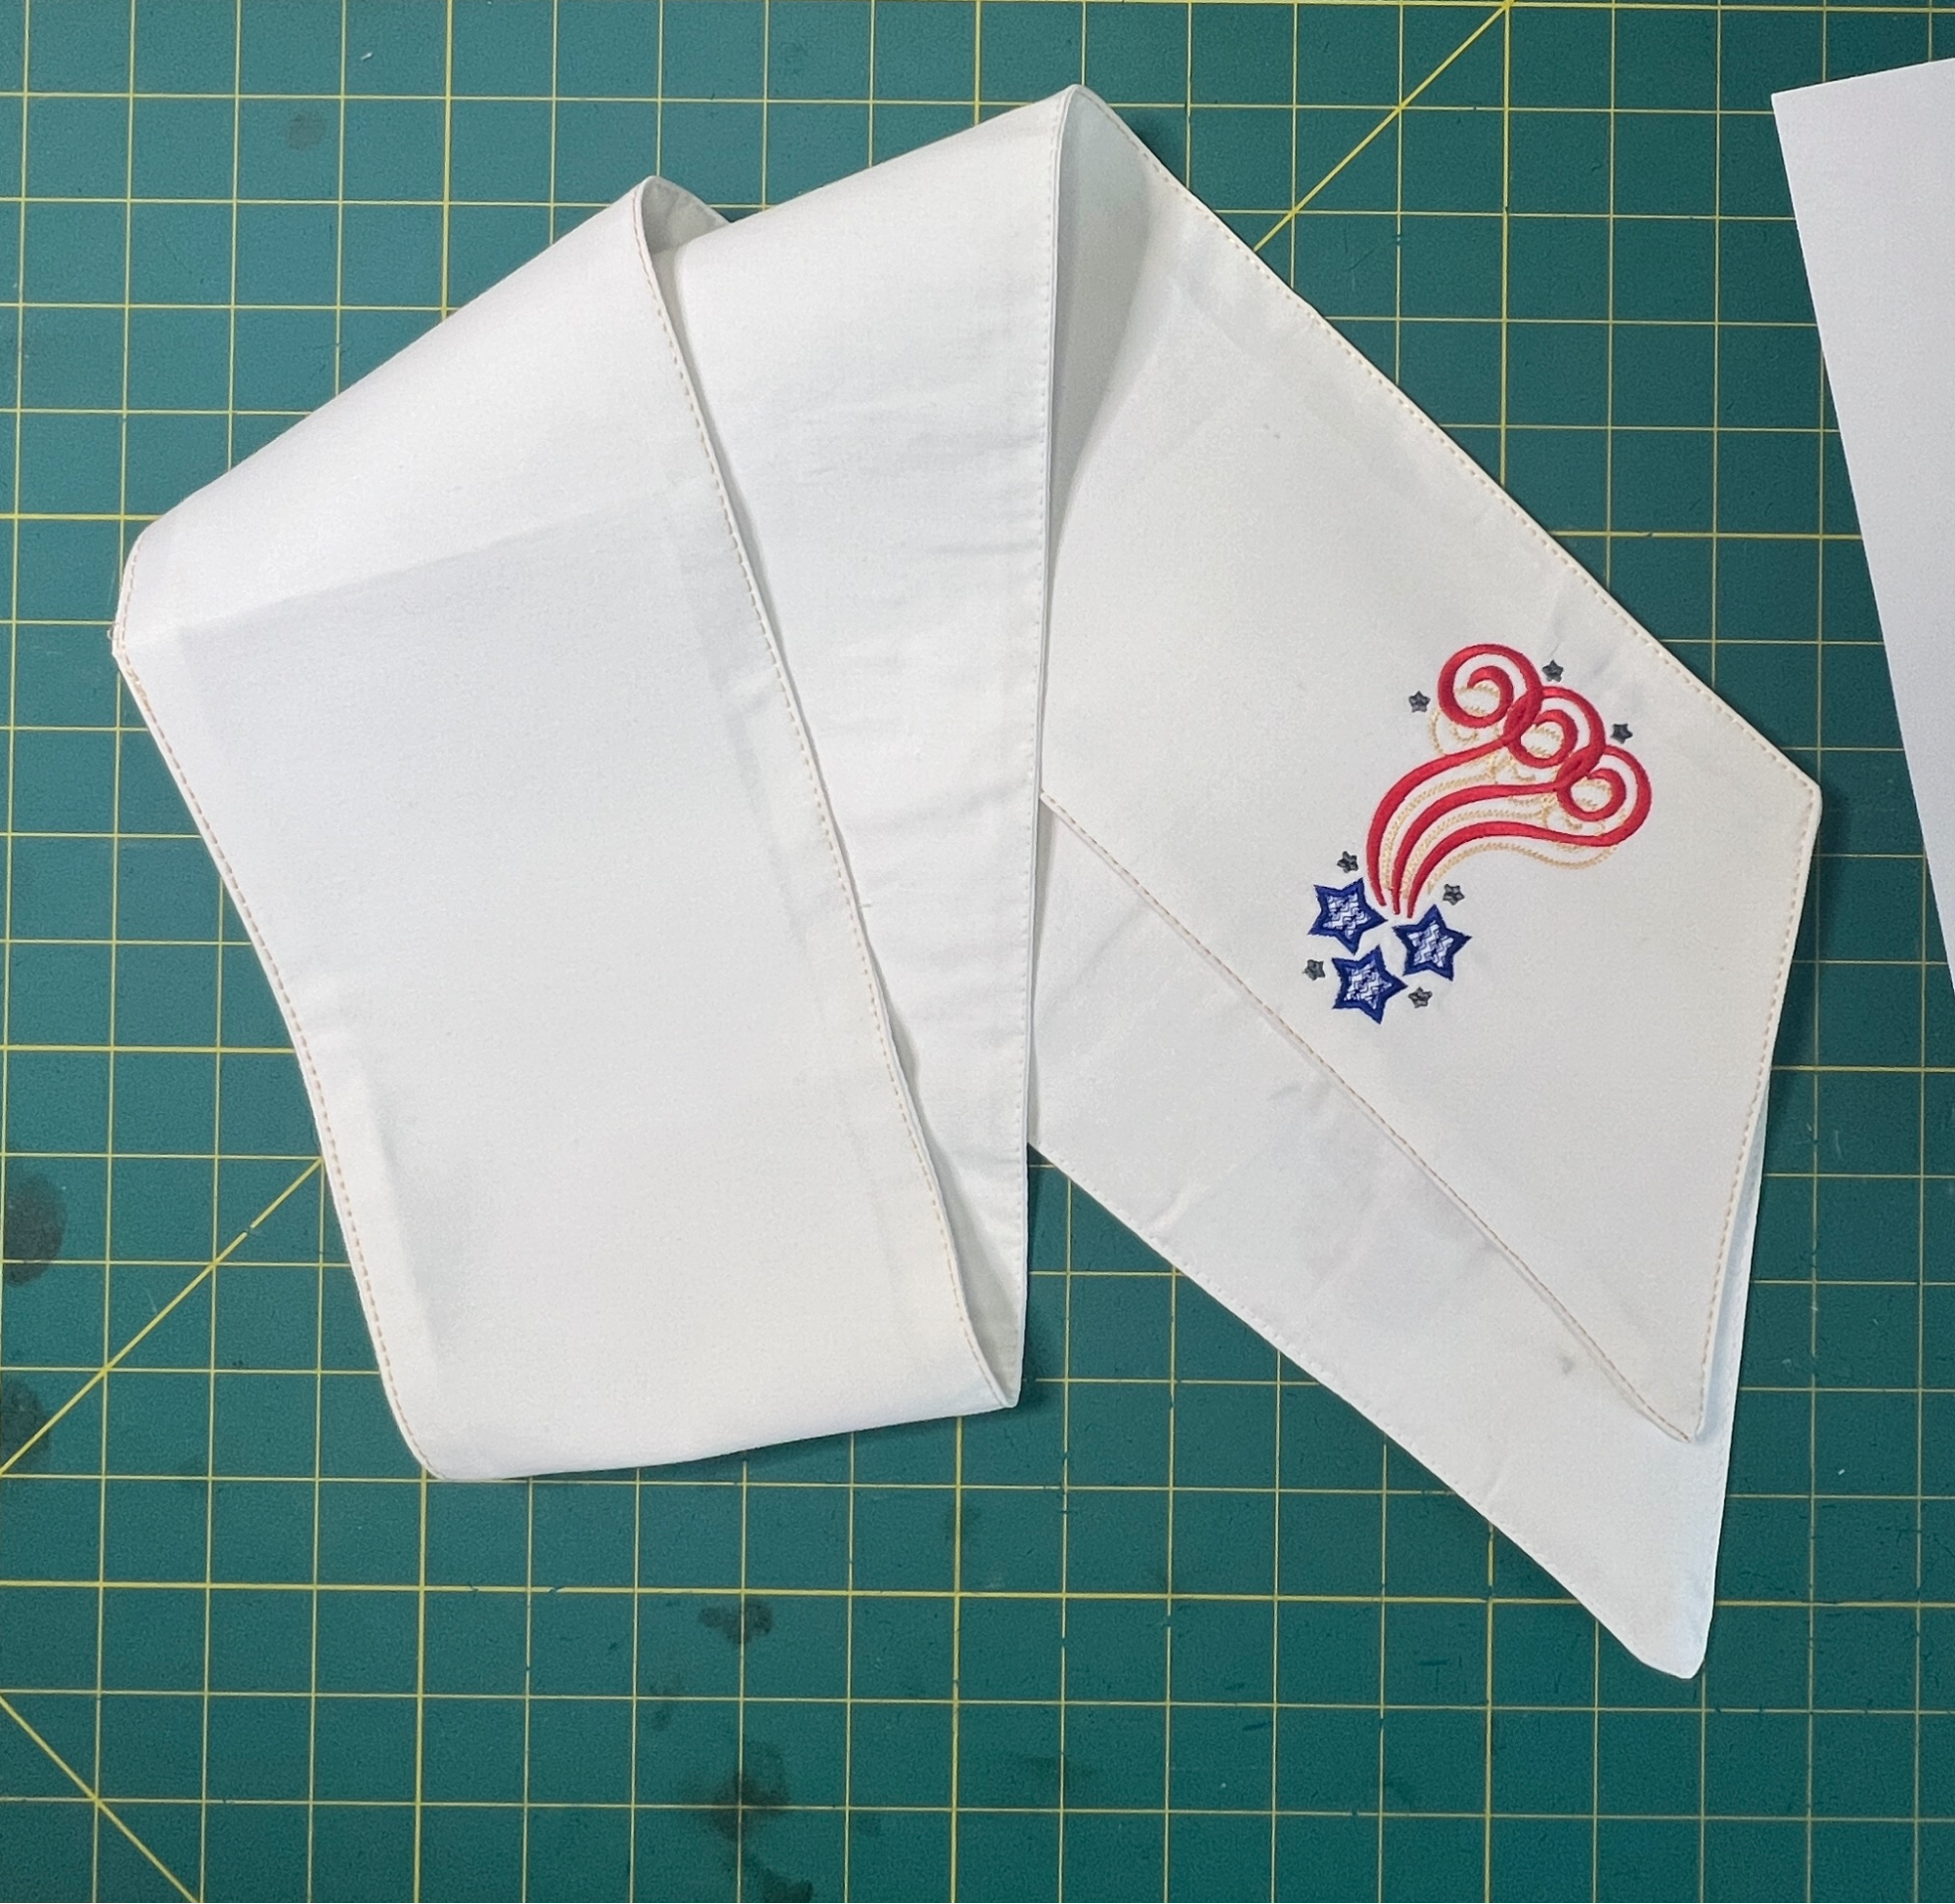
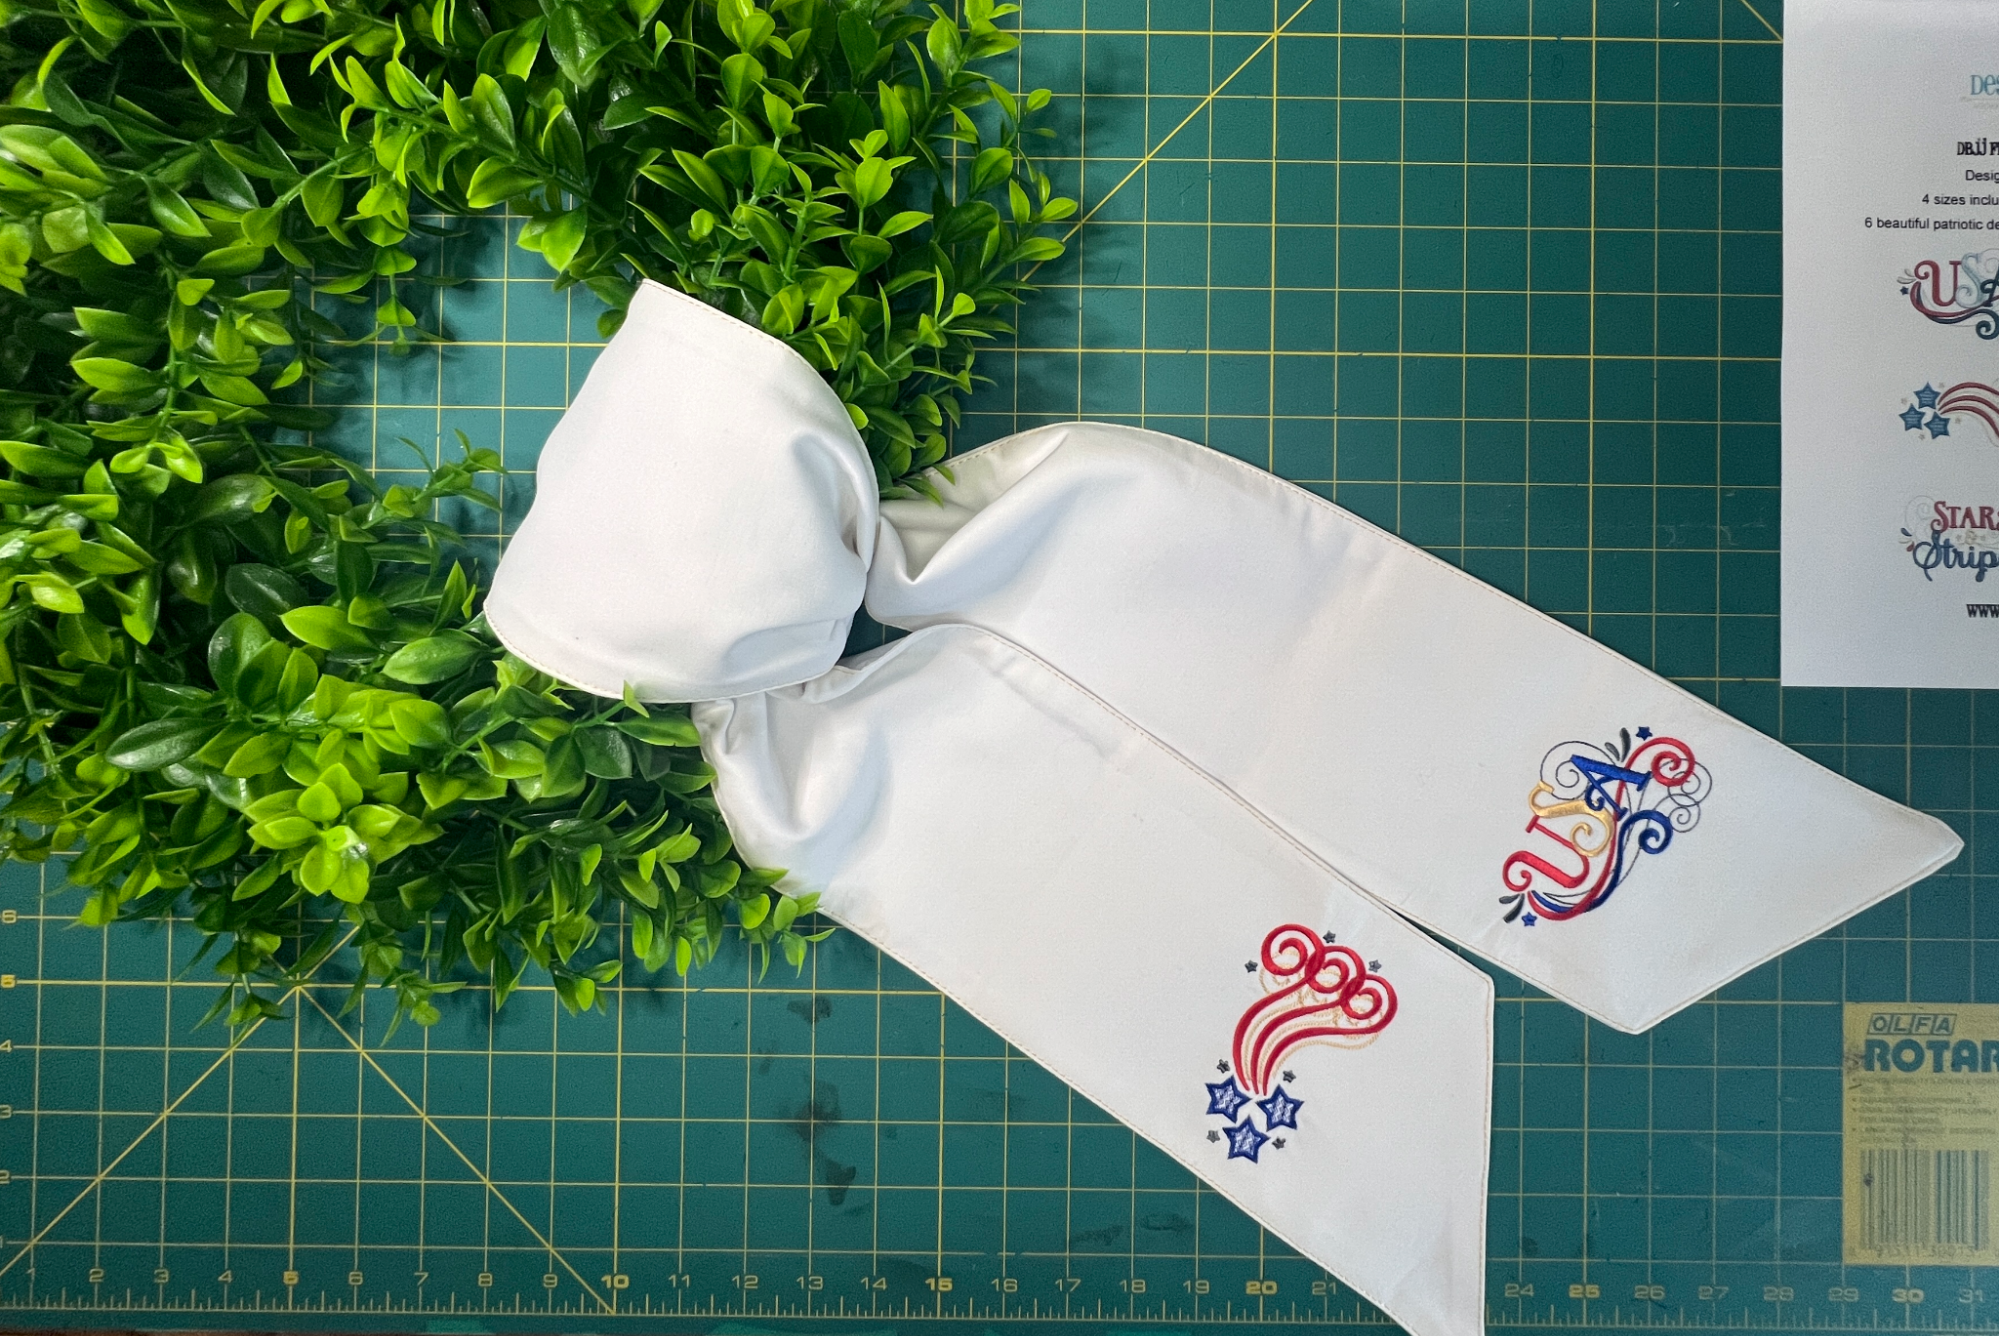
I selected the Flourishing Patriotism design set from DBJJ for this project. With summer just around the corner, these patriotic designs will look great on a summery, embroidered, wreath scarf. You could also make several scarves with various designs related to special occasions and seasons. Feel free to personalize your wreath scarf to your liking!
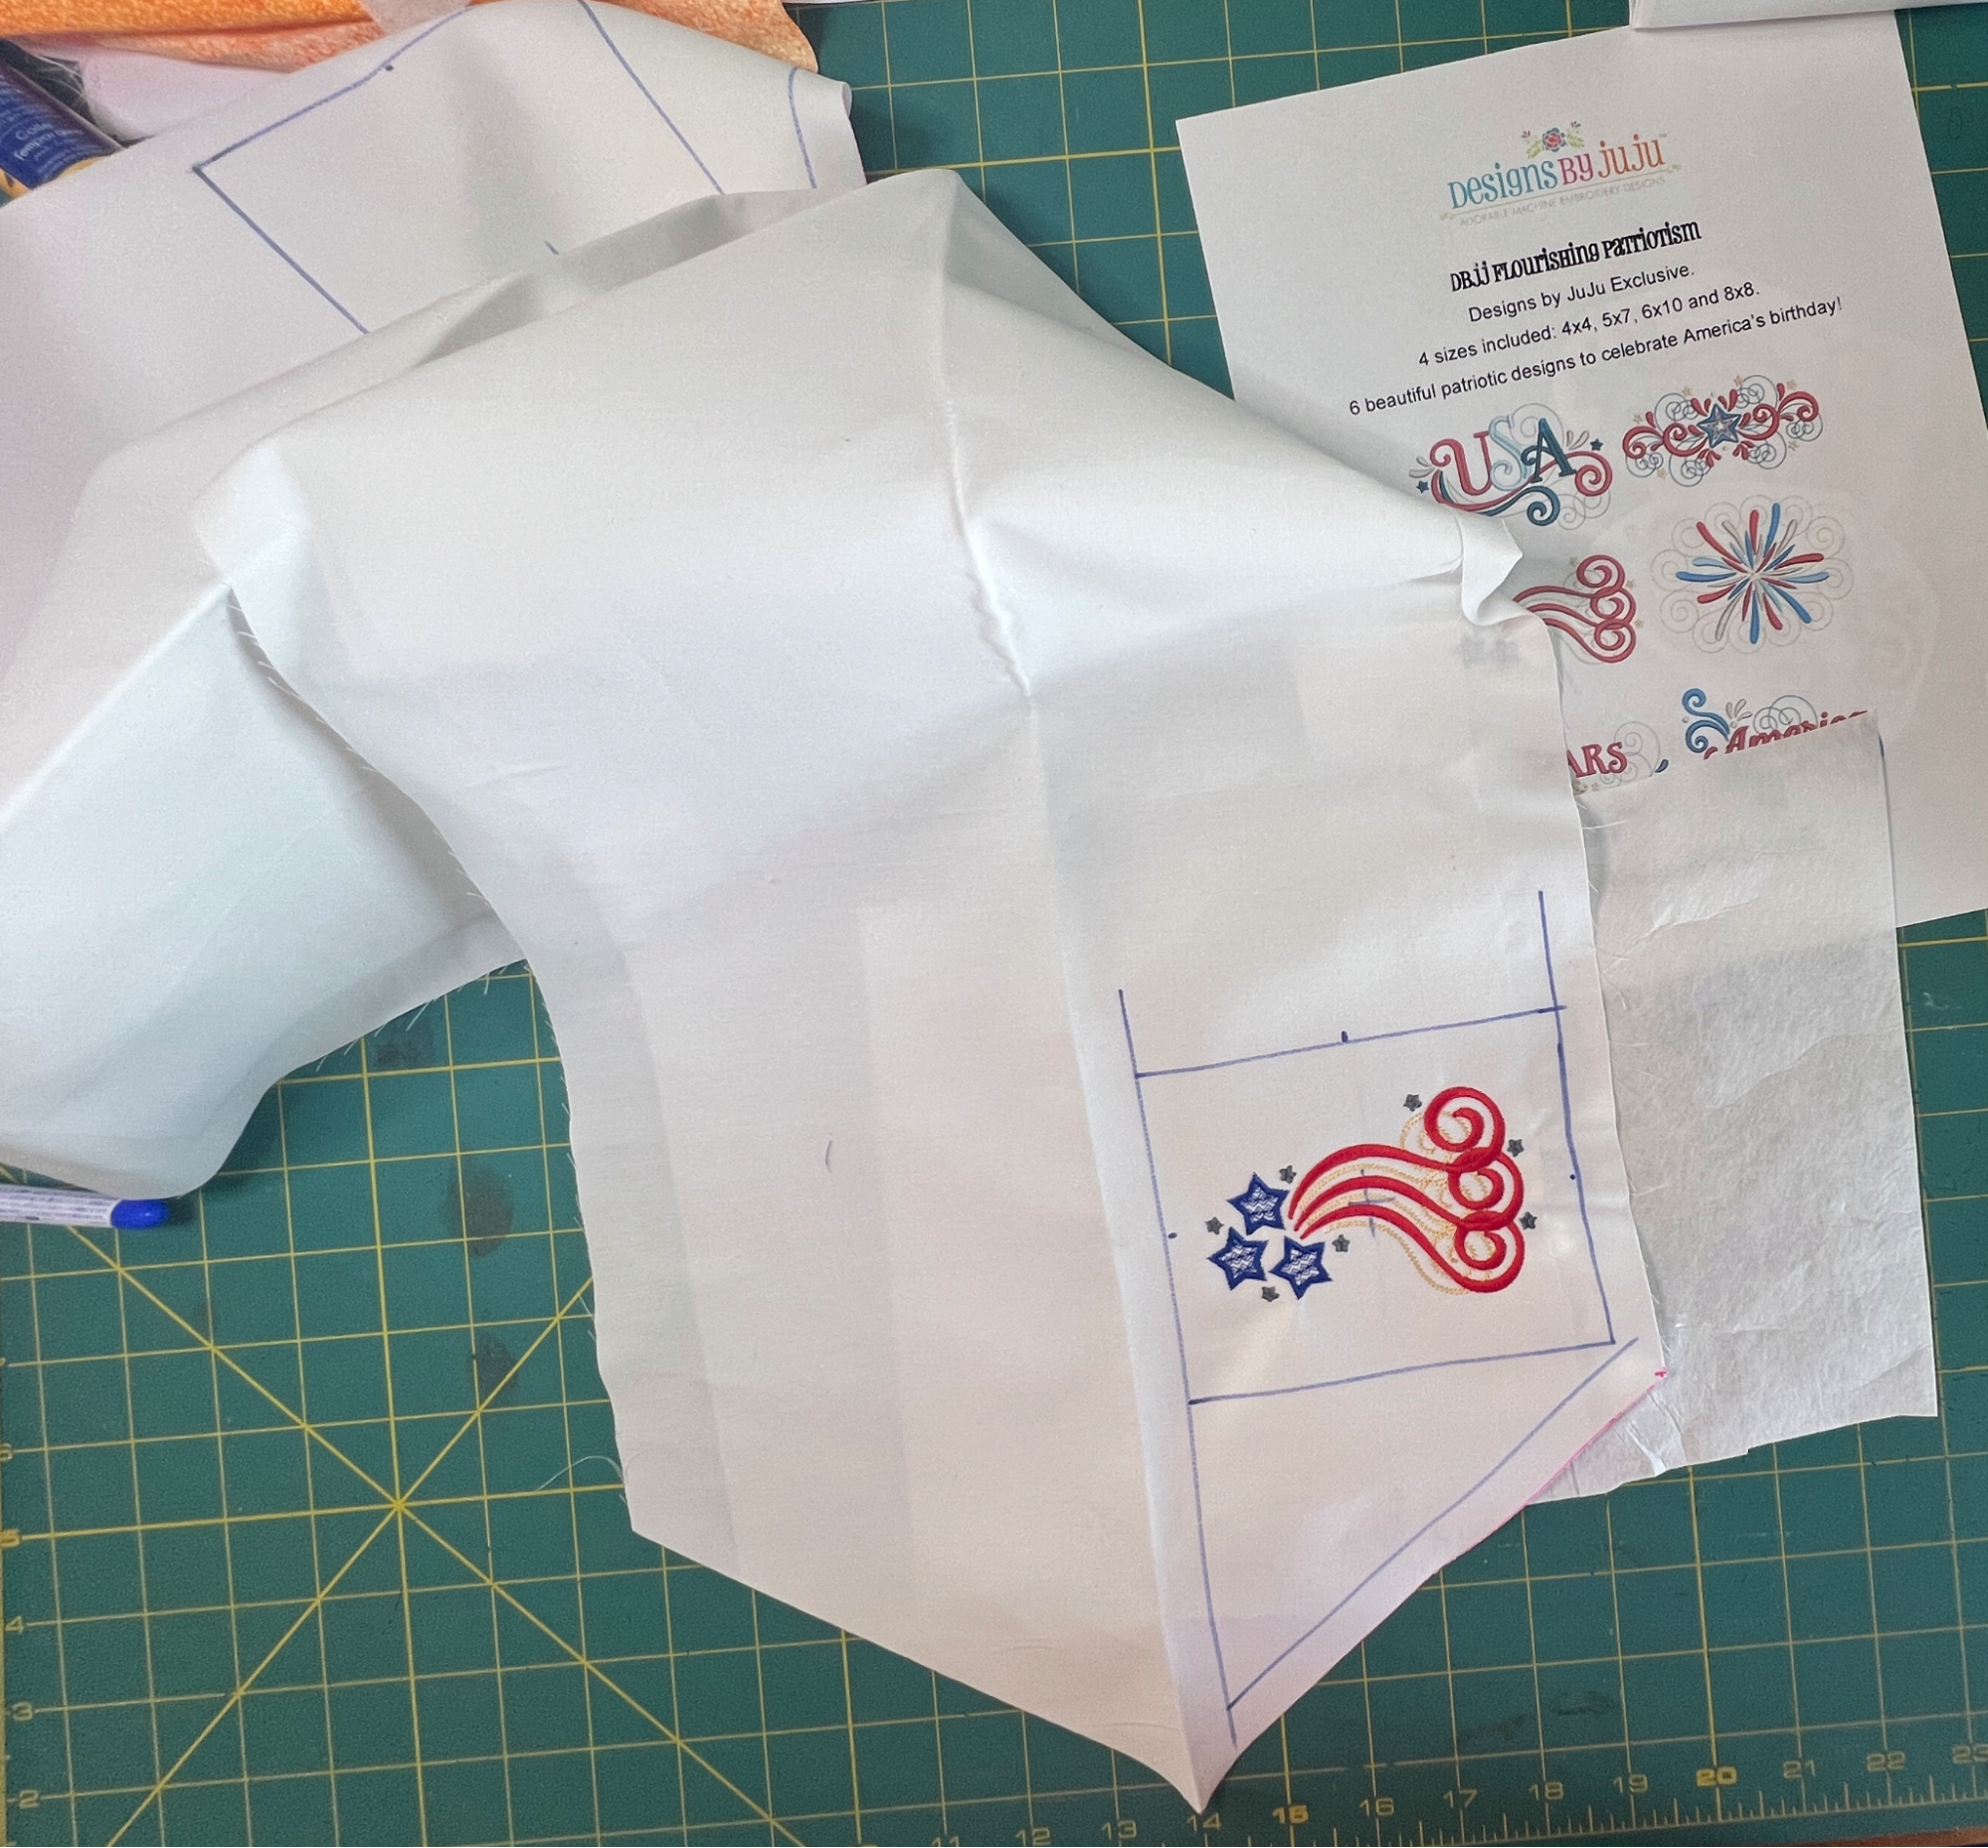
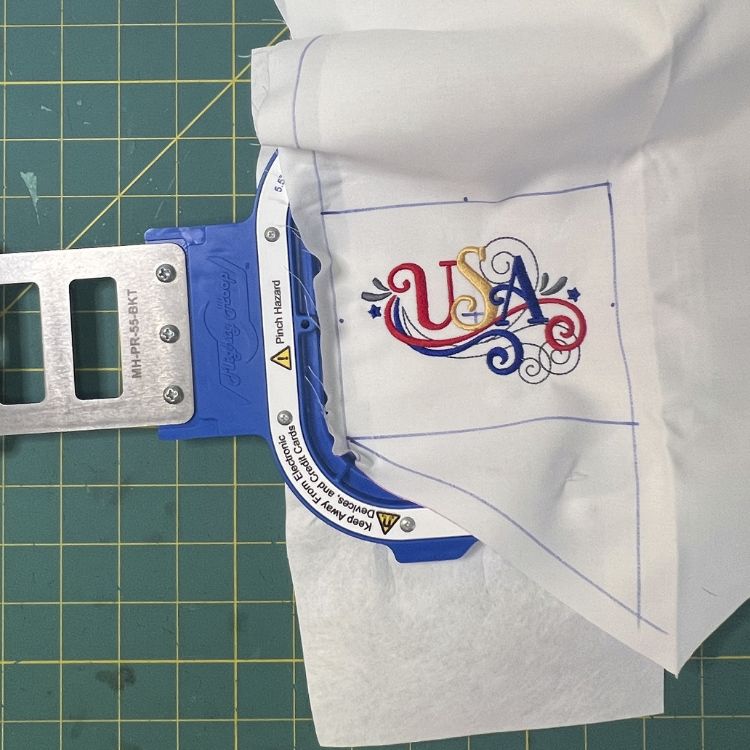
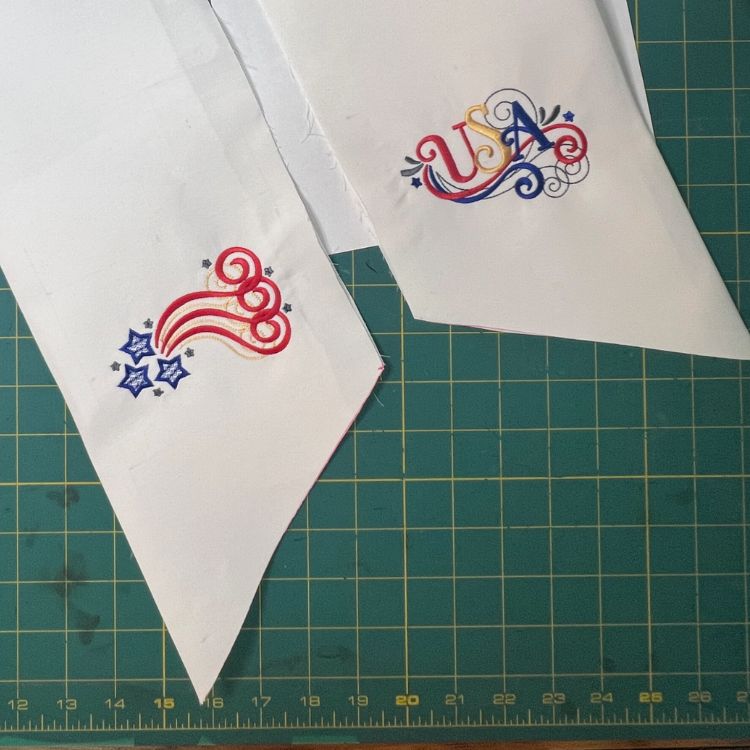
To fit within the dimensions of my wreath scarf, I’m using the 4x4” design sizes for this project and chose to put a different design on each end.
I always recommend reviewing the color chart that is included with your downloaded files. Look for a folder named something like “DBJJ Flourishing Patriotism-Color Charts.” The folder will contain a color chart for each design in the set. I like to print out my charts and review them as I plan my project. The color chart file serves as a roadmap for the project and is helpful for planning out what threads you’ll need and the order in which they’re used.
Now that you’ve familiarized yourself with each step of the design, select your thread colors and line them up in the order you’ll need them (for single-needle machines) or load them onto your thread stand (for multi-needle machines) to avoid confusion during stitching.
Prepare Your Fabric
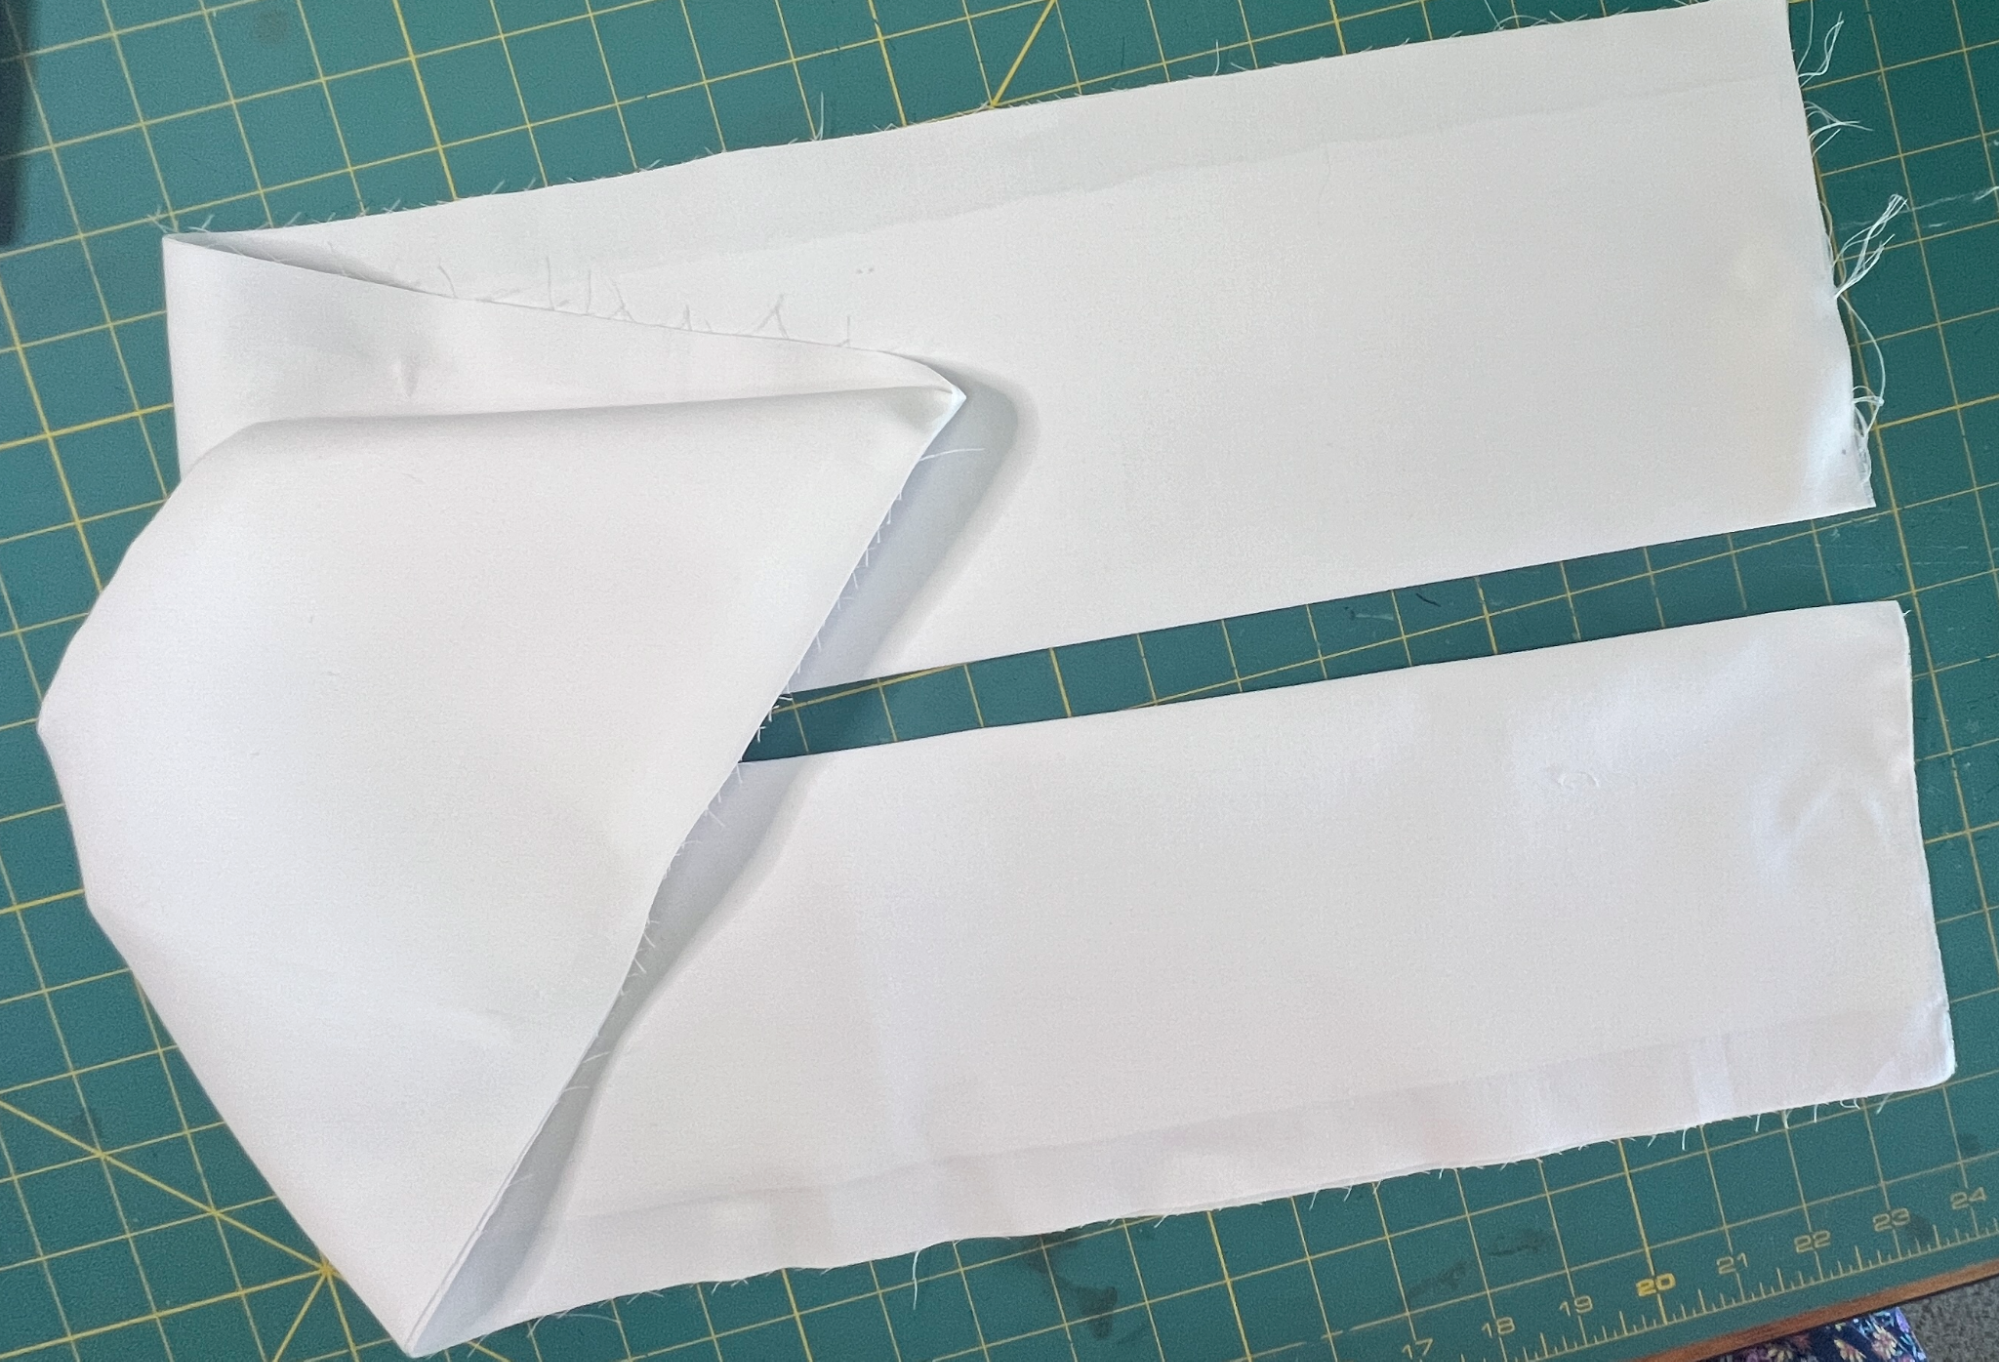
Cut two strips of fabric about 6” wide. Iron or press both strips of fabric to remove any wrinkles or creases. If you’re using a lightweight fabric, fuse SF101 to the wrong side to give it a little more weight.
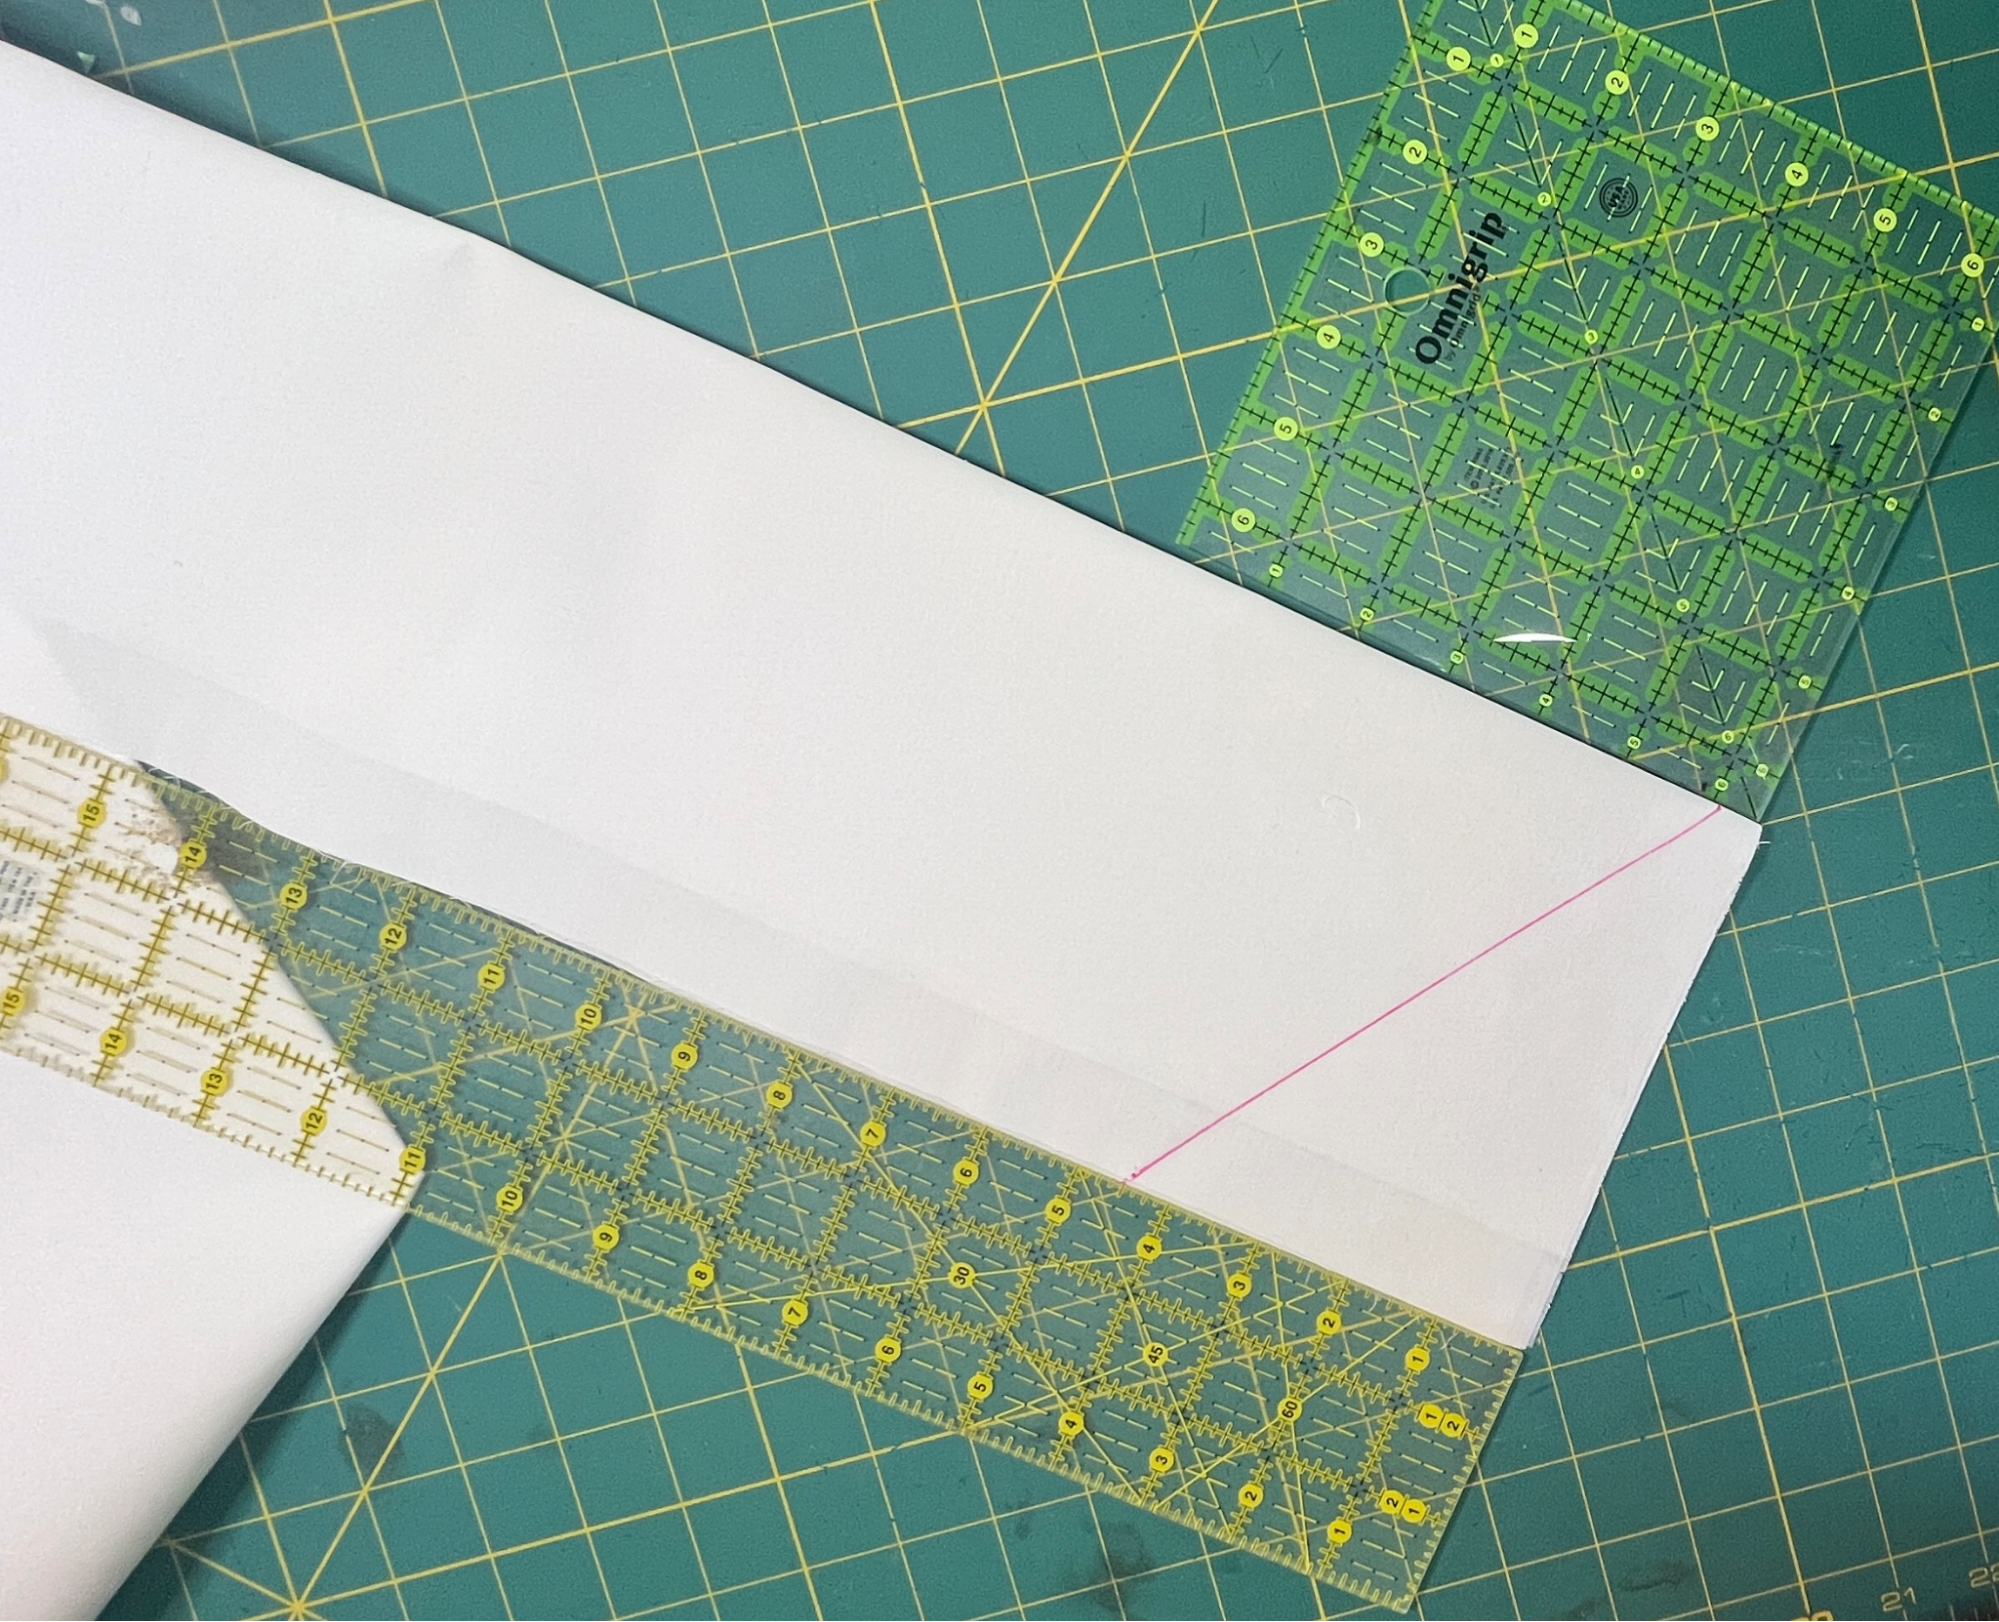
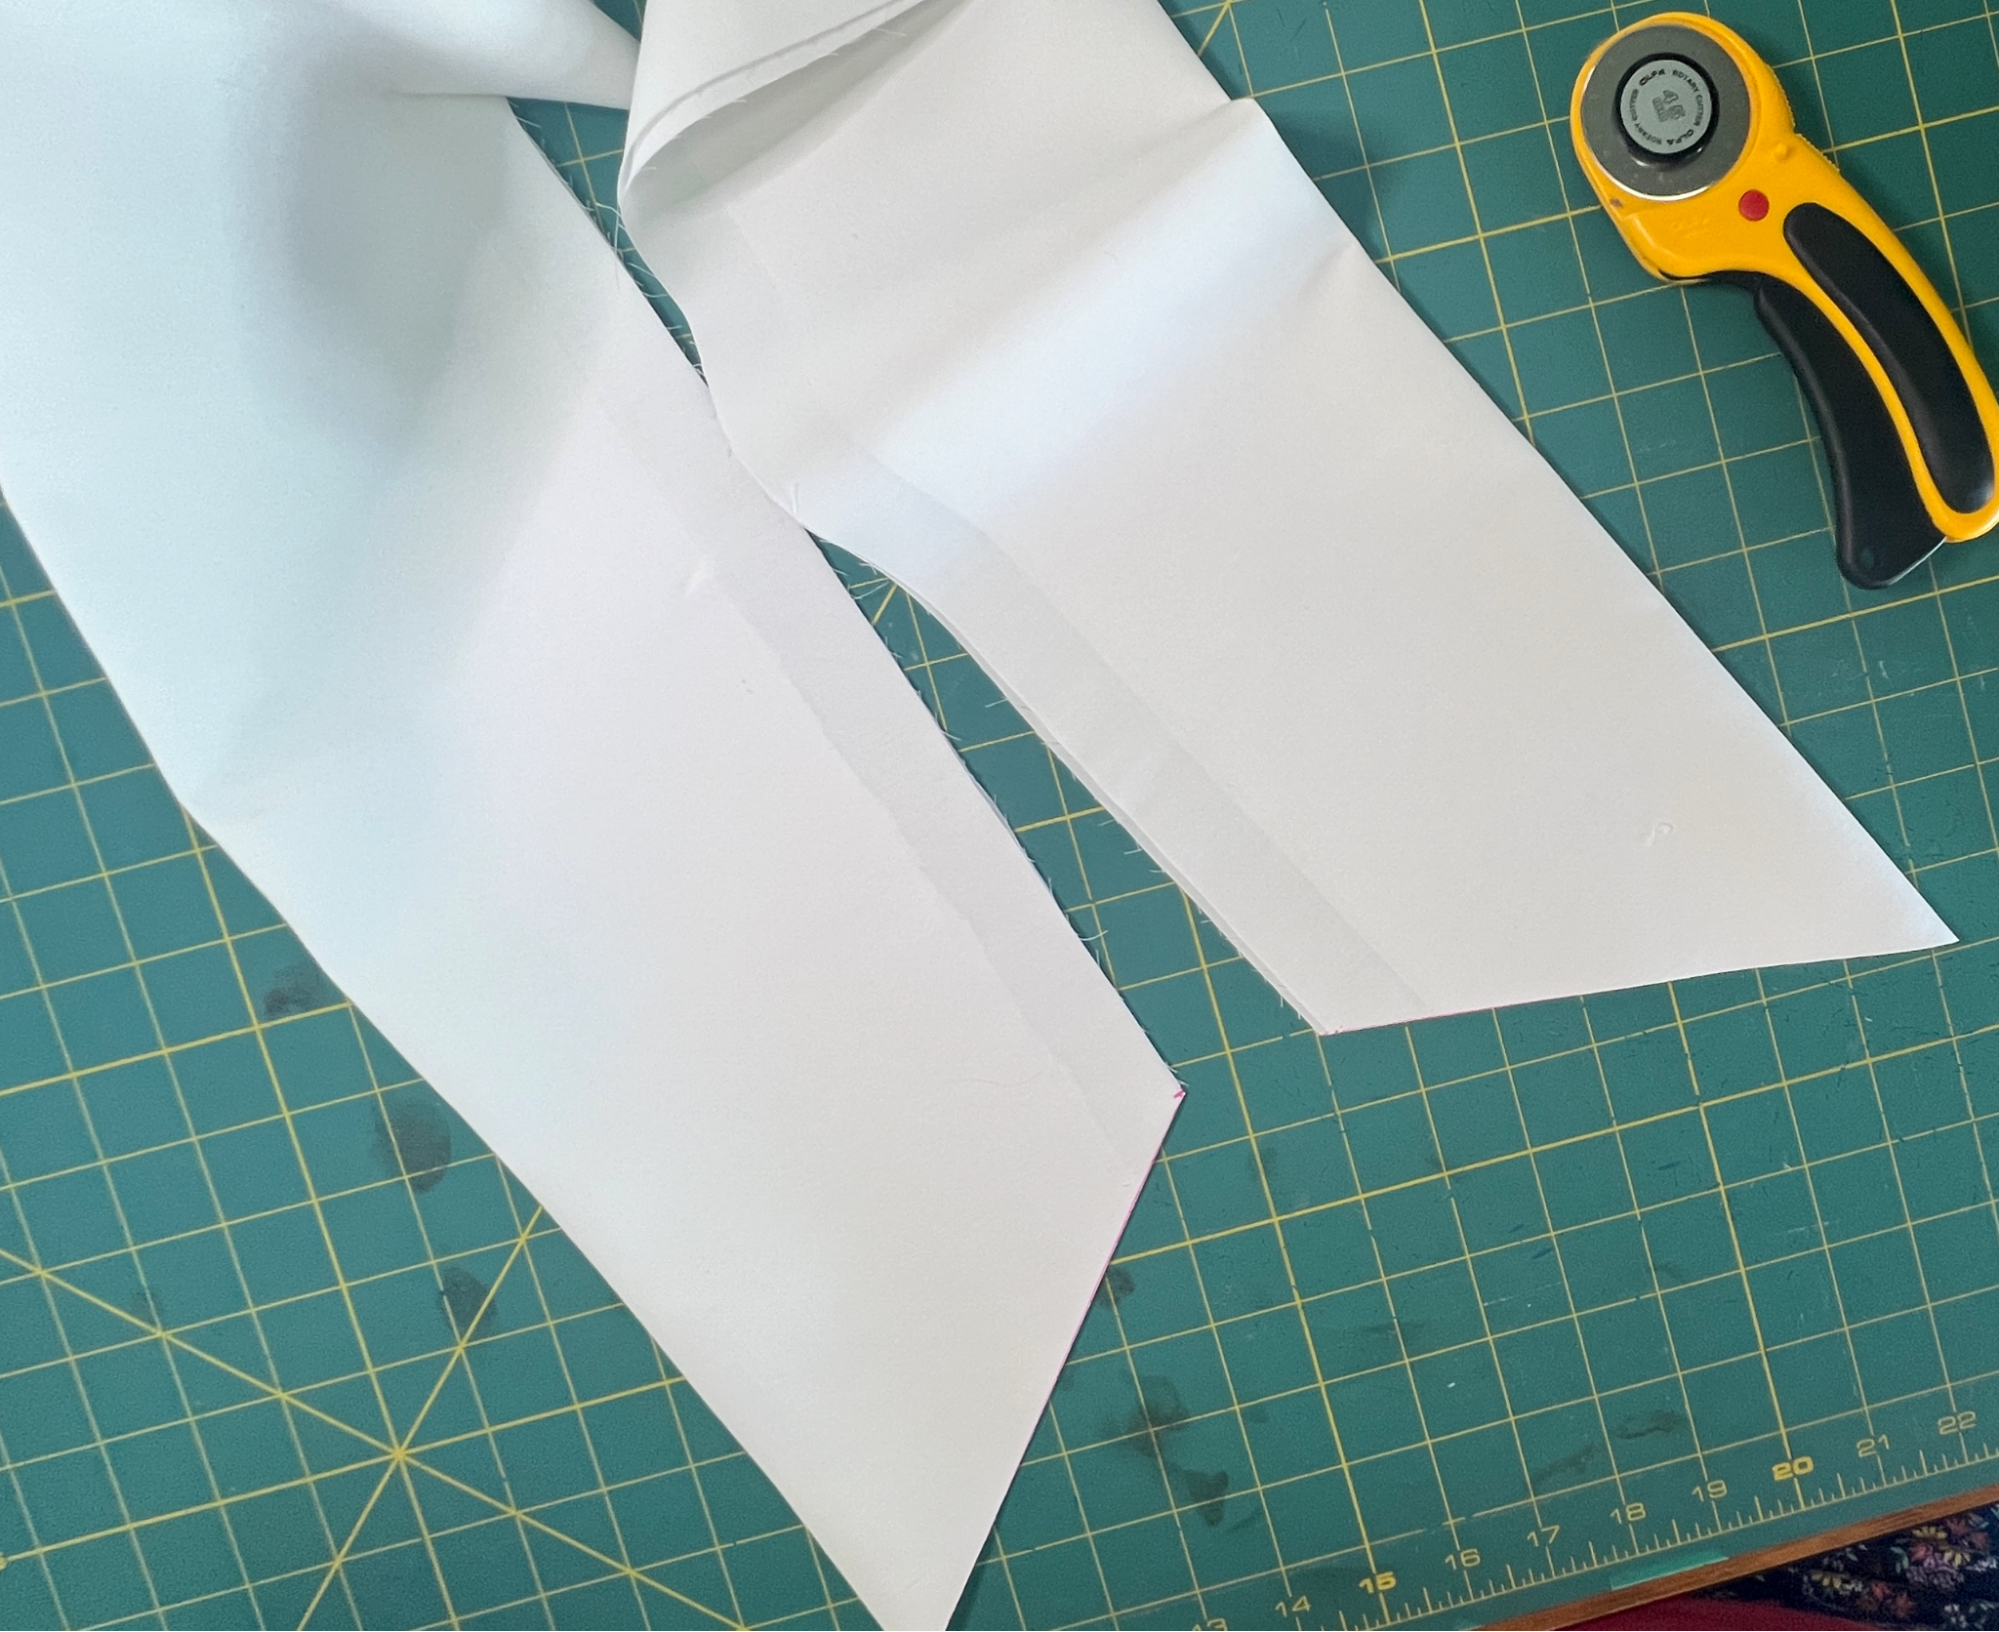
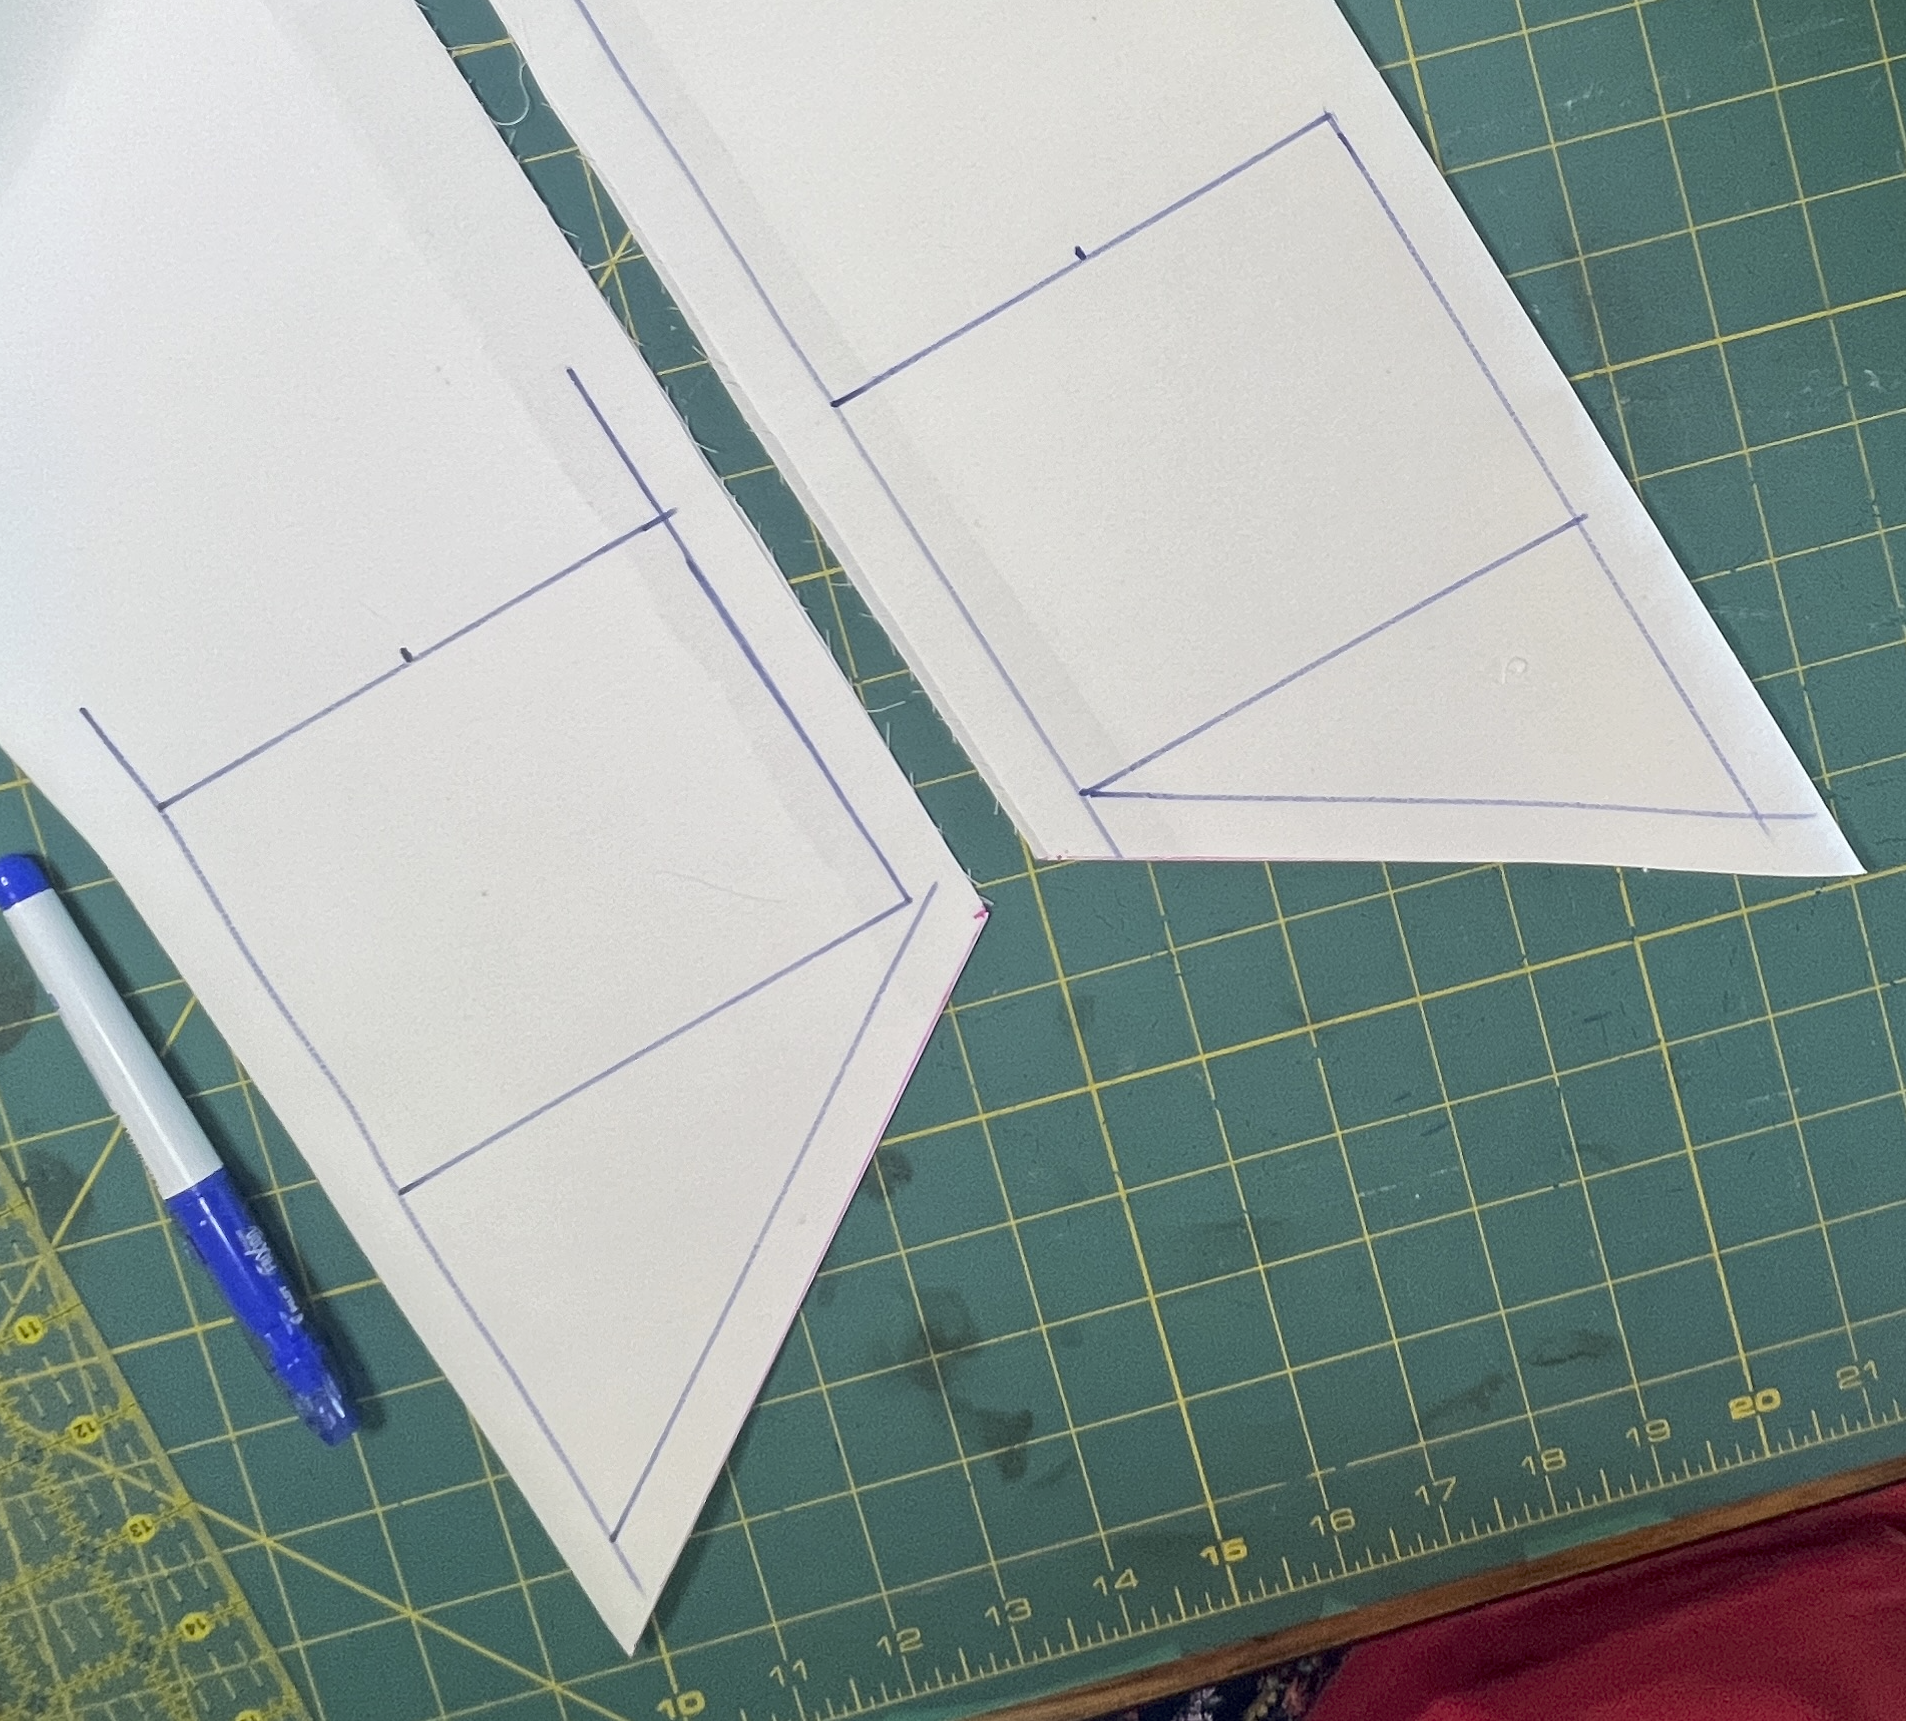
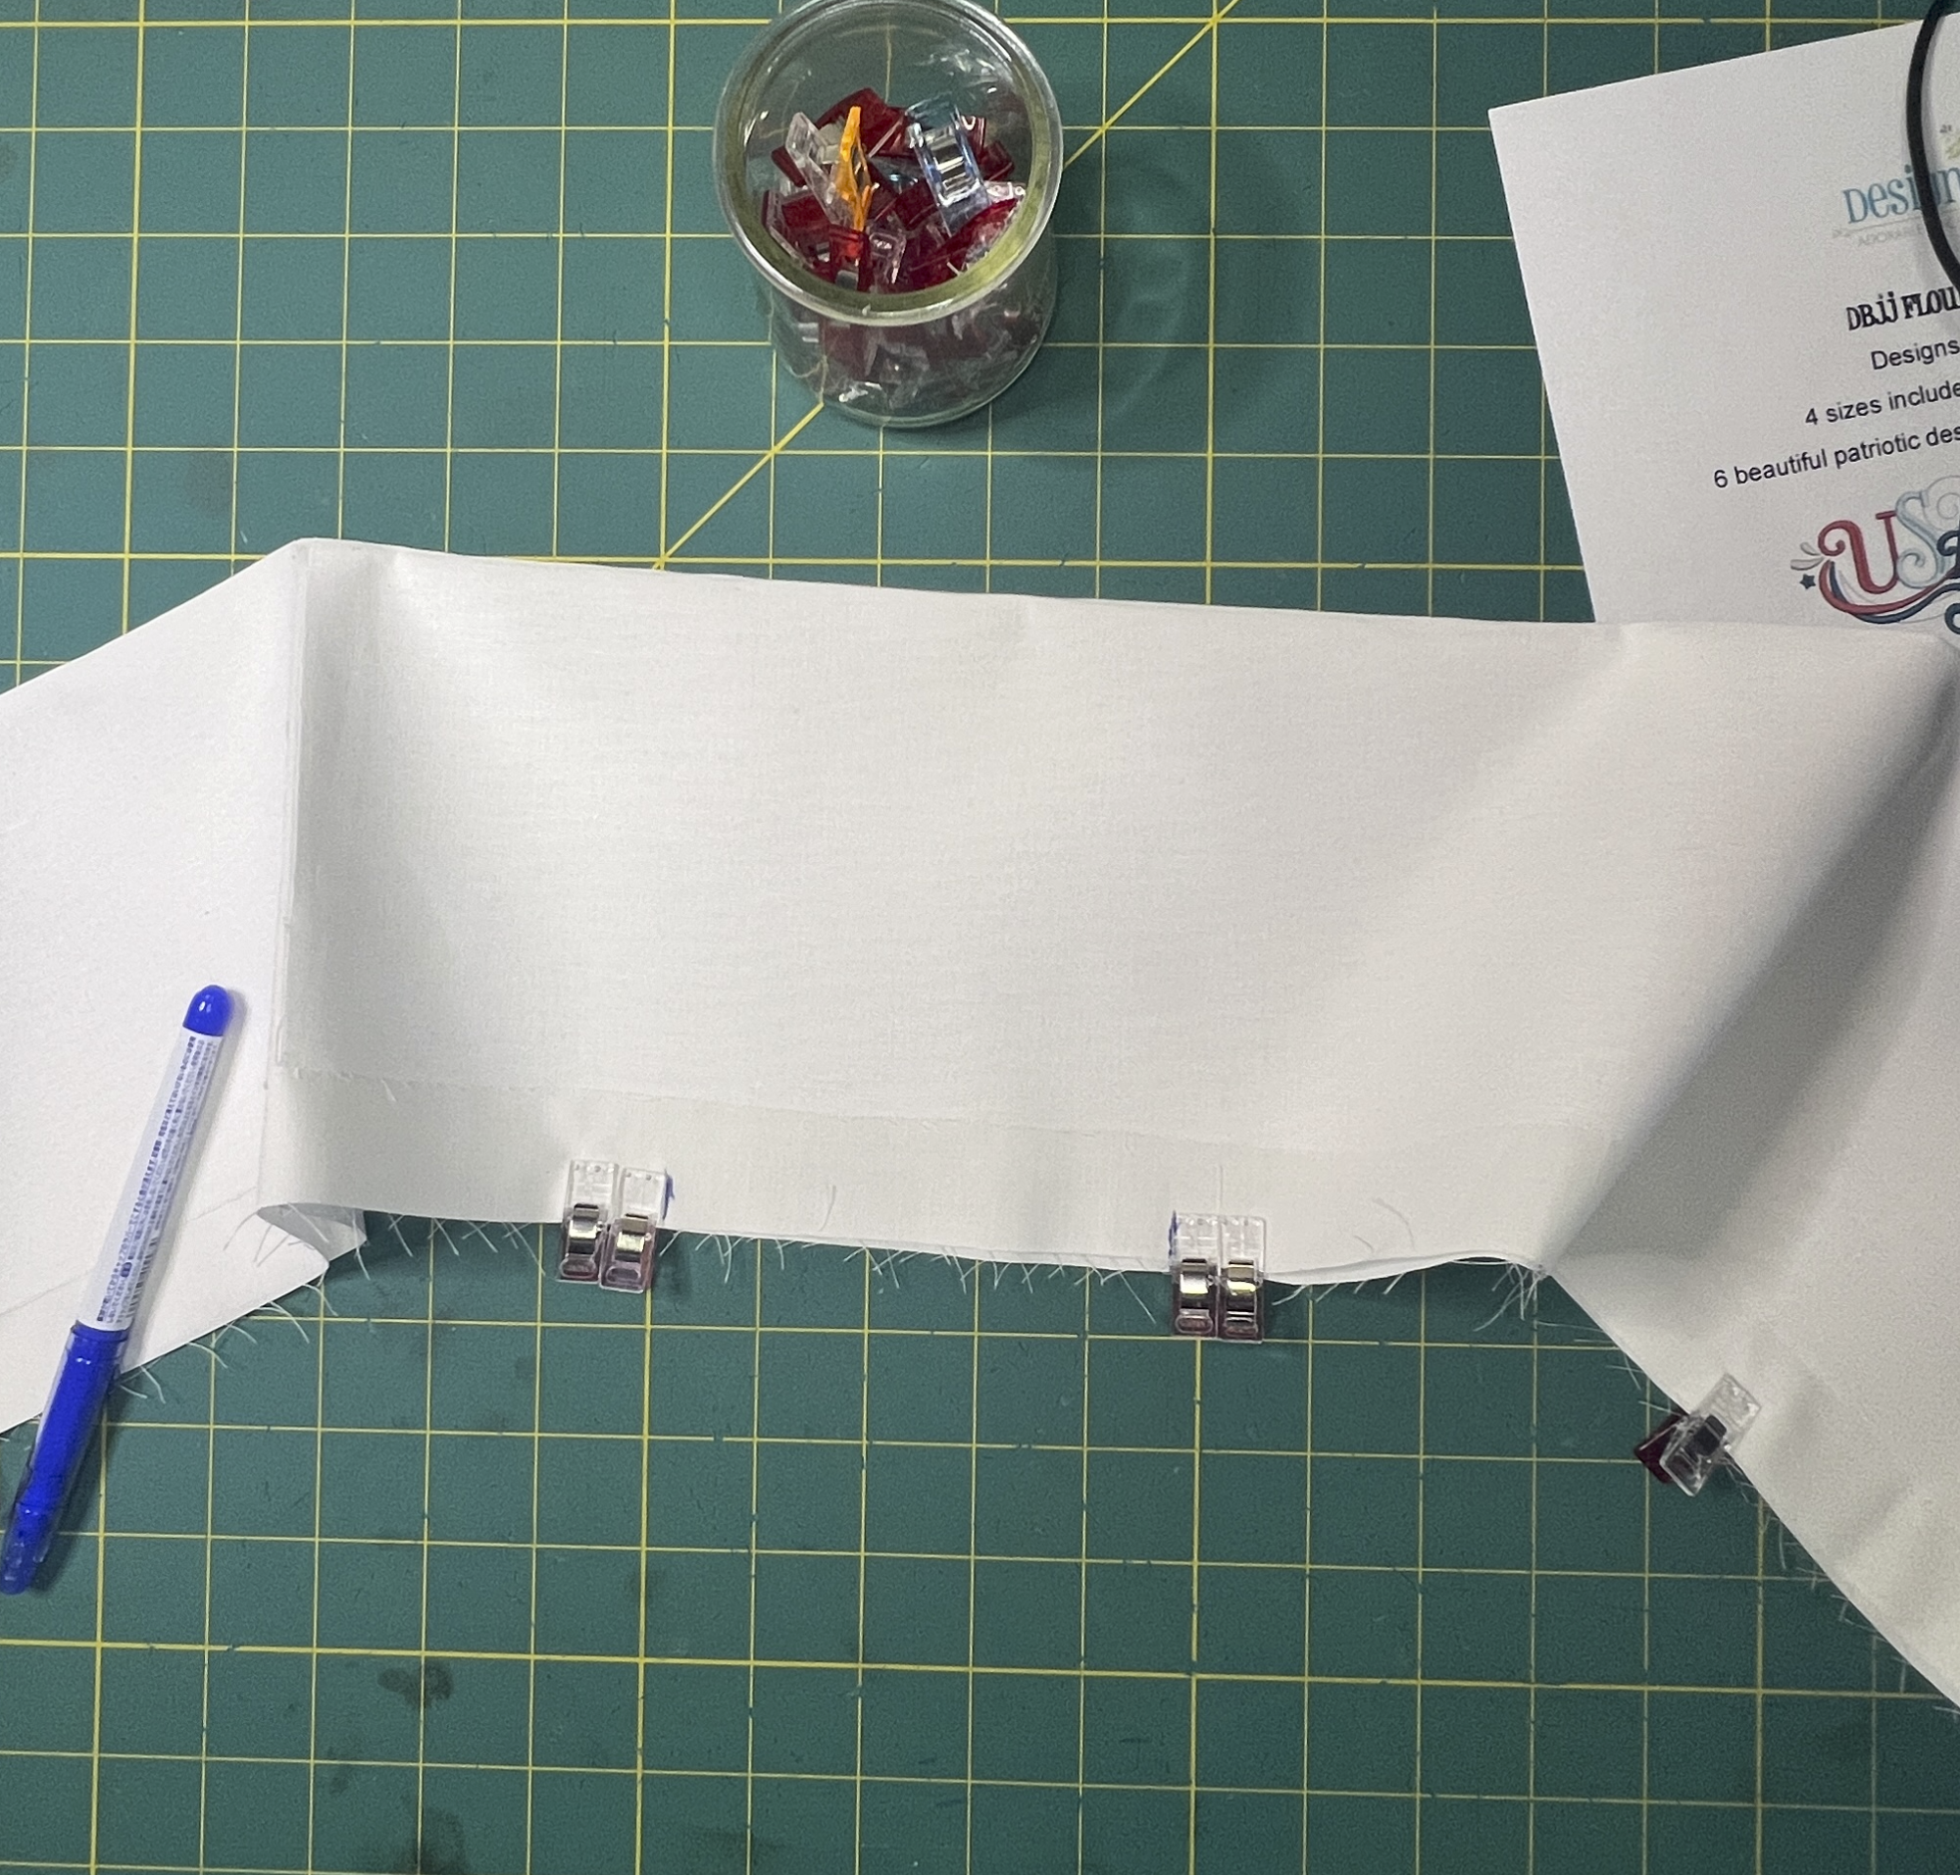
To make the points at the ends of the scarf, make a mark 4” above the bottom stitch line on one long side of your fabric, and another mark ½” above the bottom stitch line of the other long side.
Draw a line connecting these two marks. This is the diagonal line that will create the point.
Repeat these steps for the other end of each sash, making sure that the points are oriented the way you want.
Now, trim off the excess fabric.
If it helps you visualize the placement of your embroidery design, or if you want a specific seam allowance, you may mark your stitch lines accordingly on the right side of the fabric at each end of the sash.
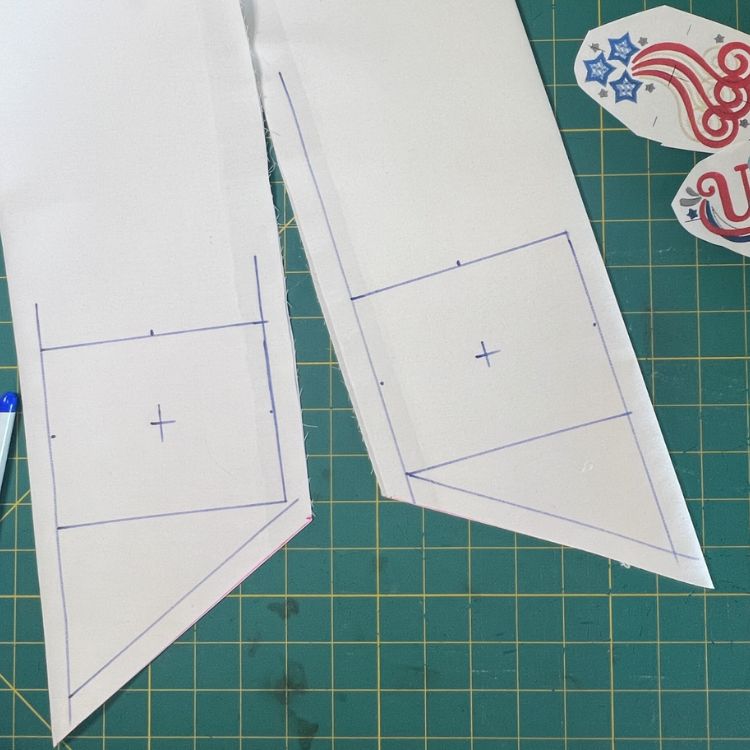
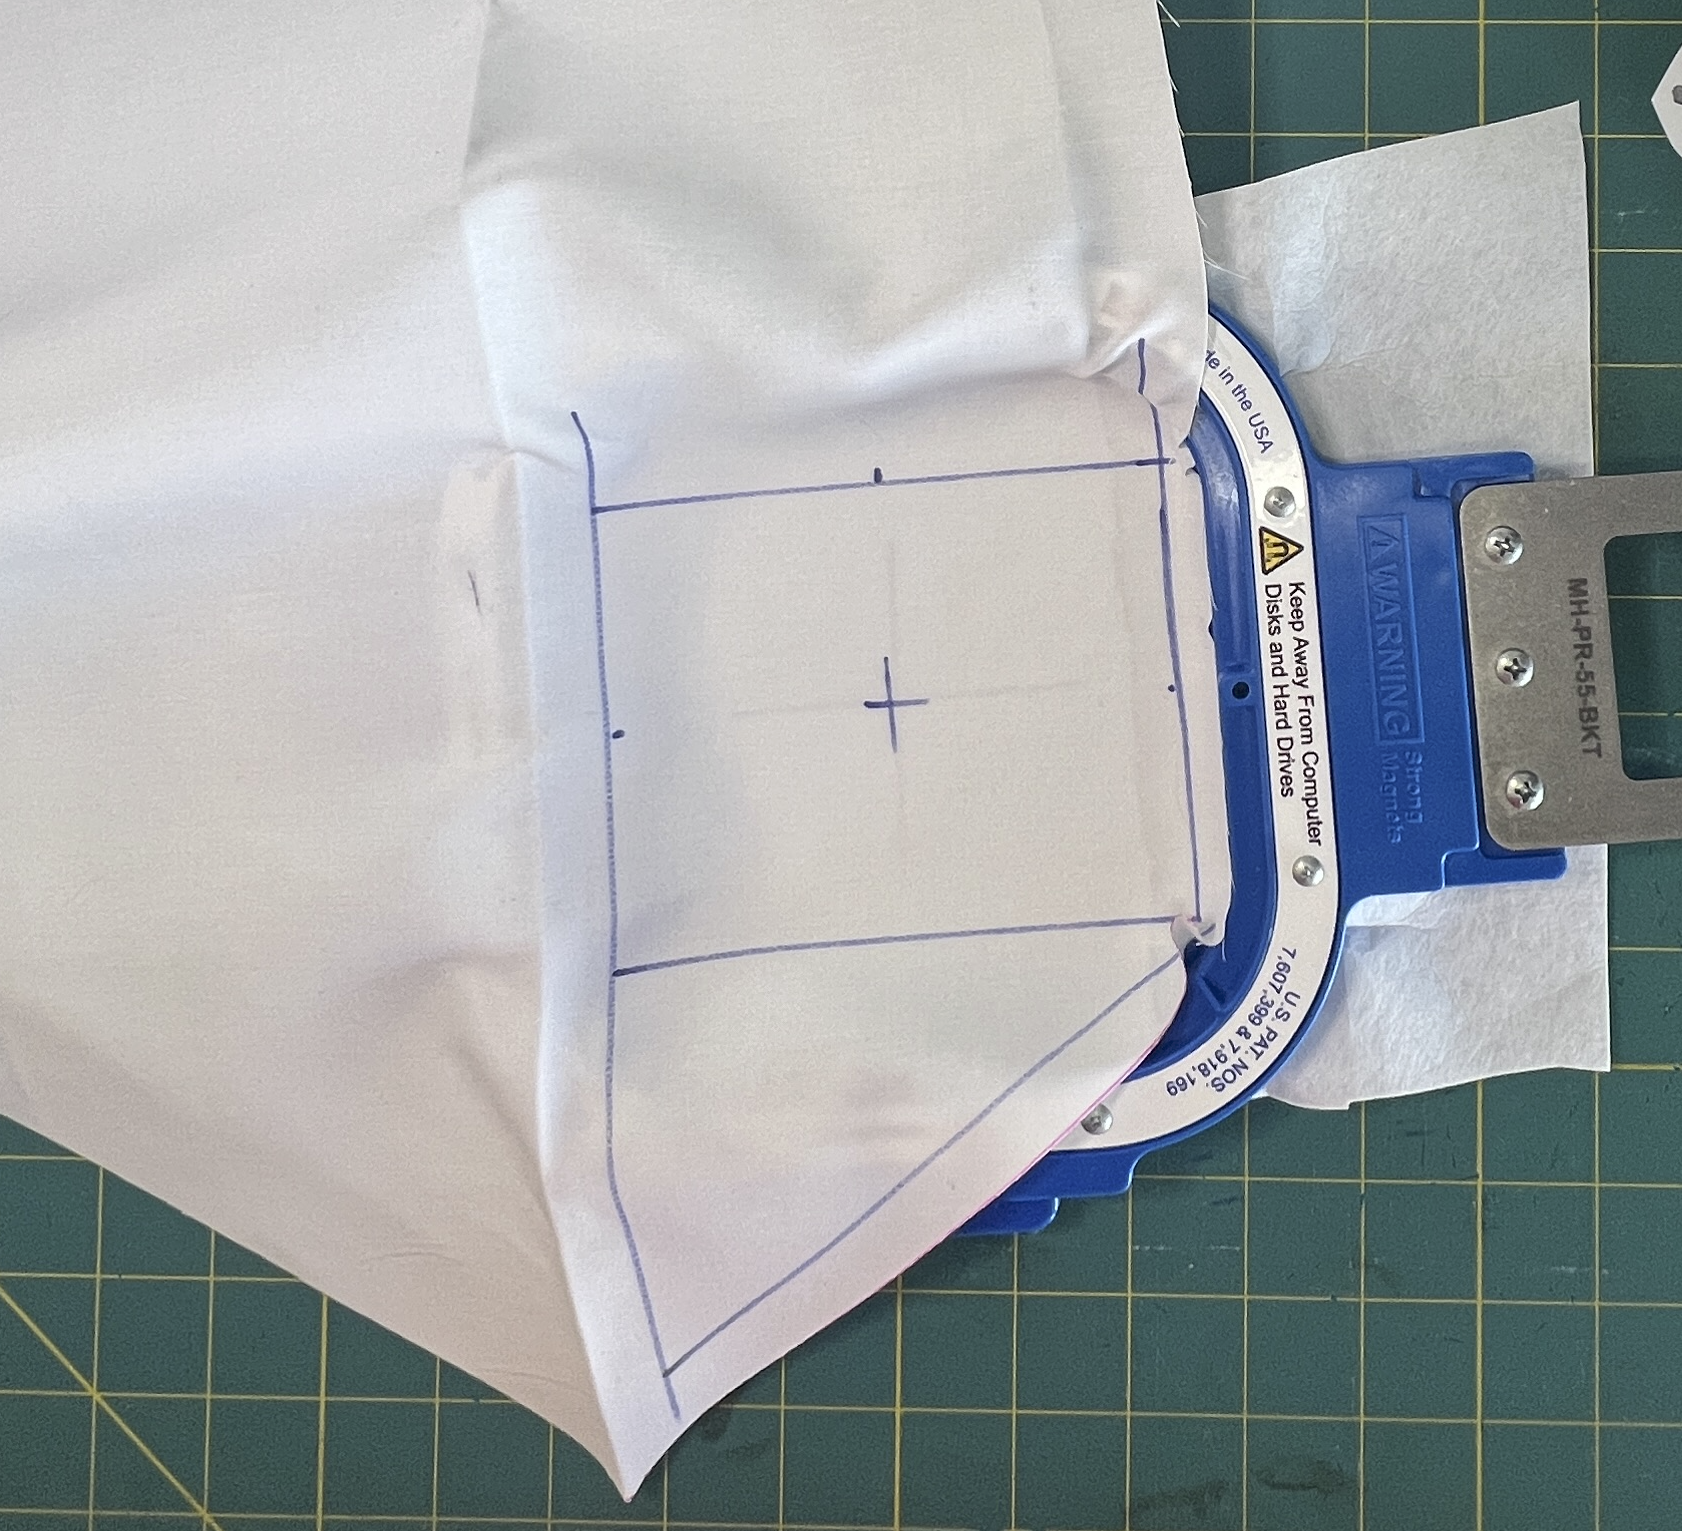
To mark the placement for your embroidery design, draw a line parallel to the bottom of the sash about 4.5” up from the raw edge.
Mark the center of this line between the two stitch lines. This will be the placement for the center of your embroidery design.
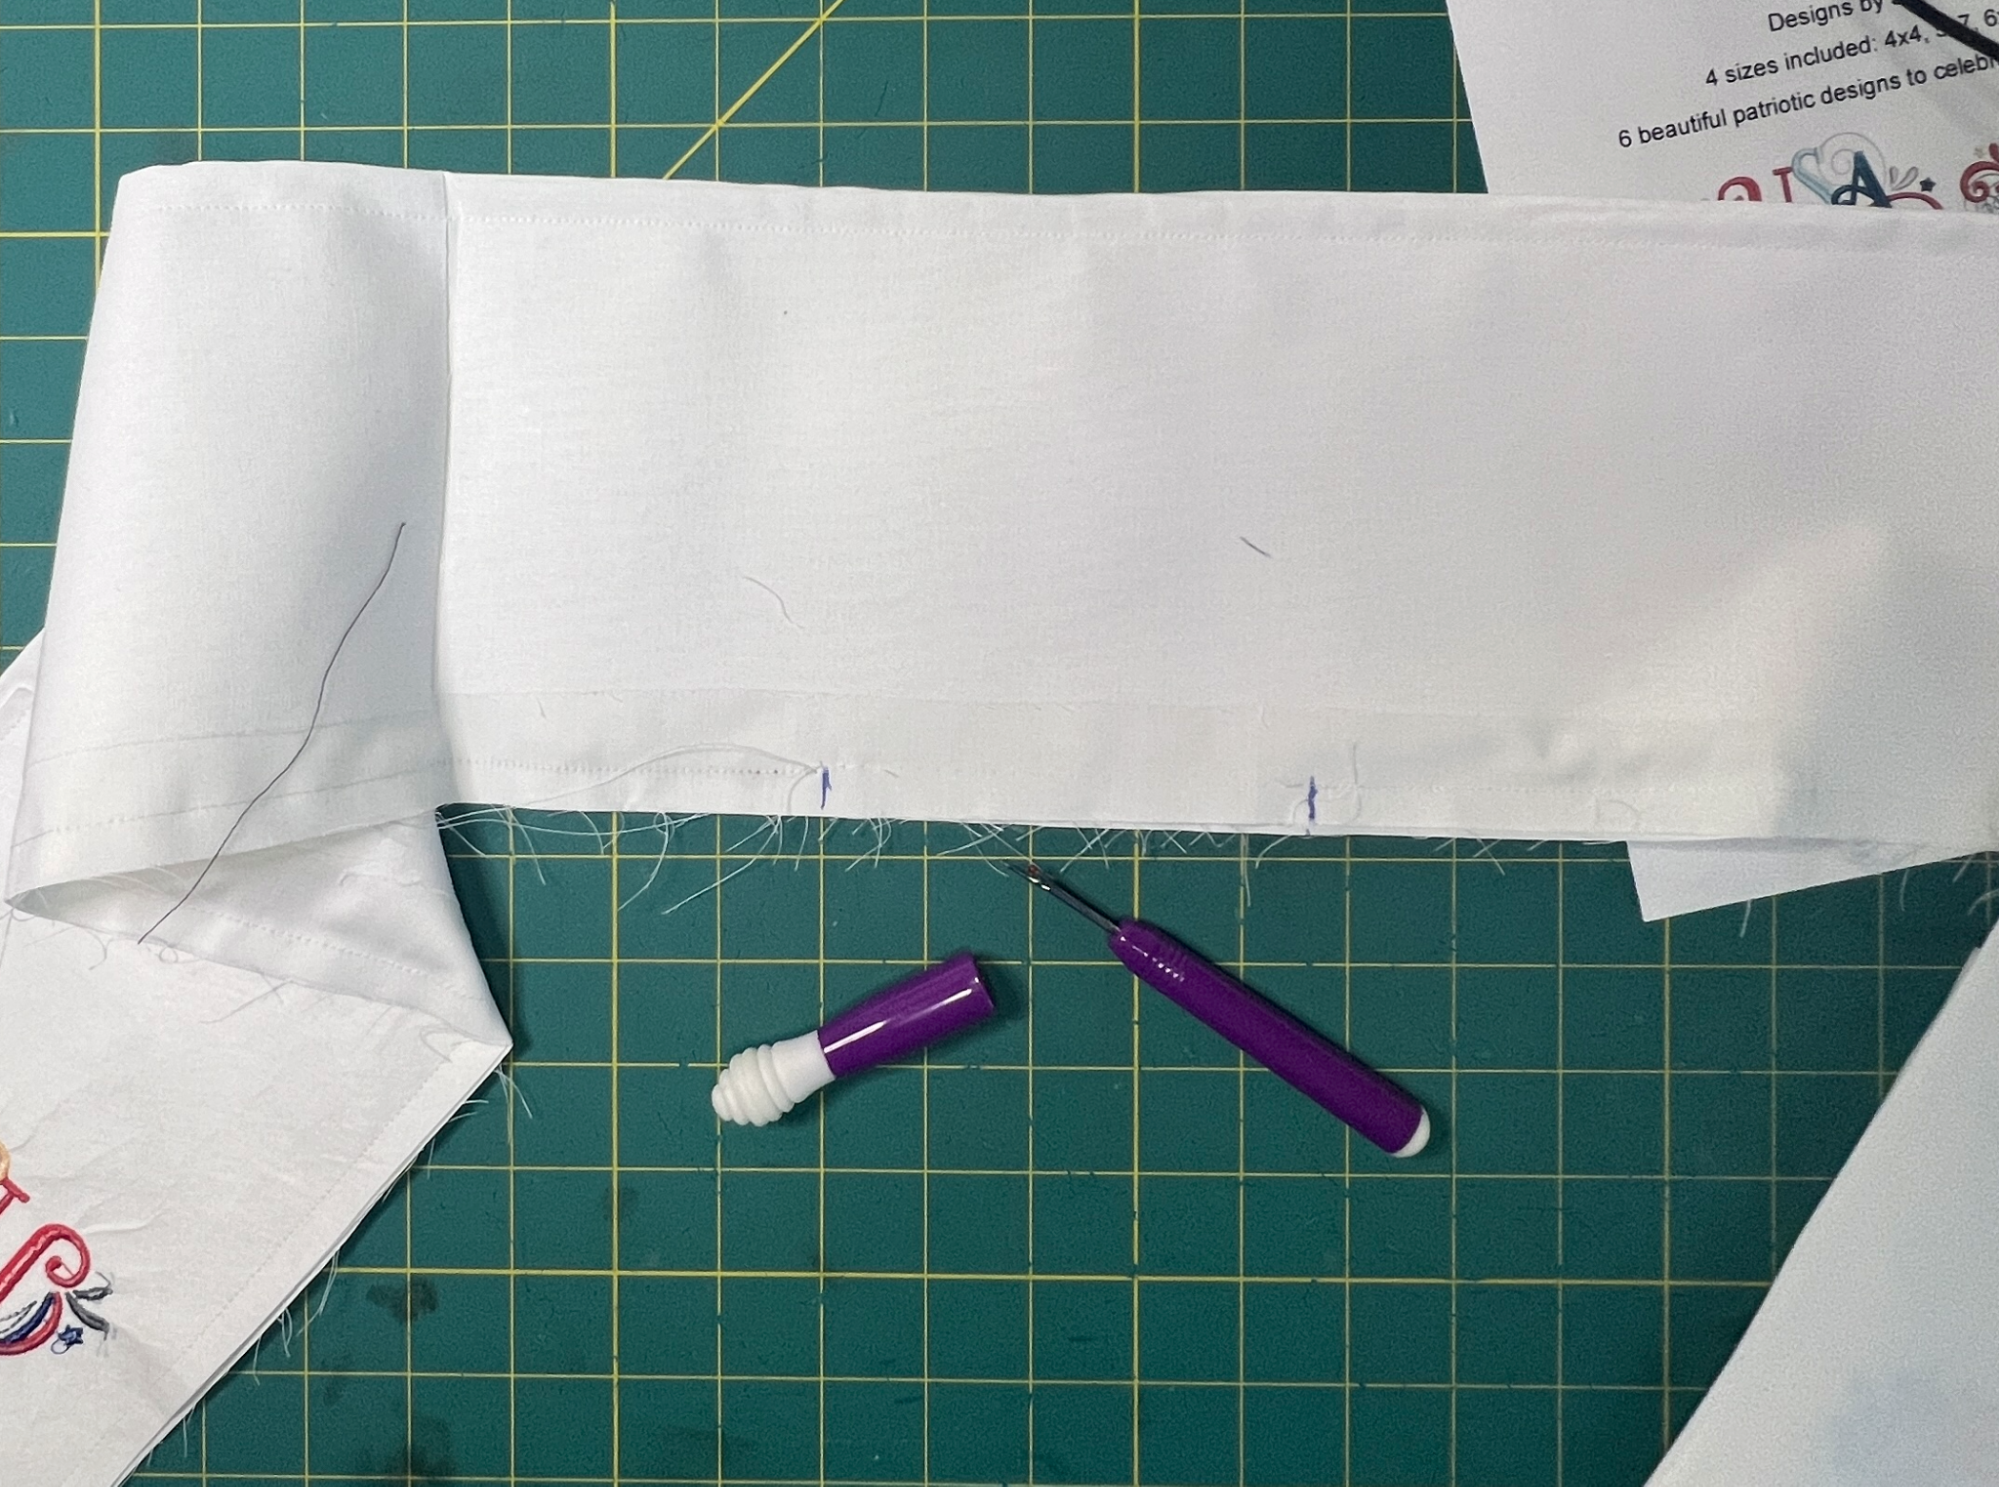
This is optional, butI like to print the actual size designs (from Embrilliance) on paper so I can cut them out and place them where I intend to stitch them. This is very helpful to ensure I’ve chosen the right size and placement.
Hoop and Embroider
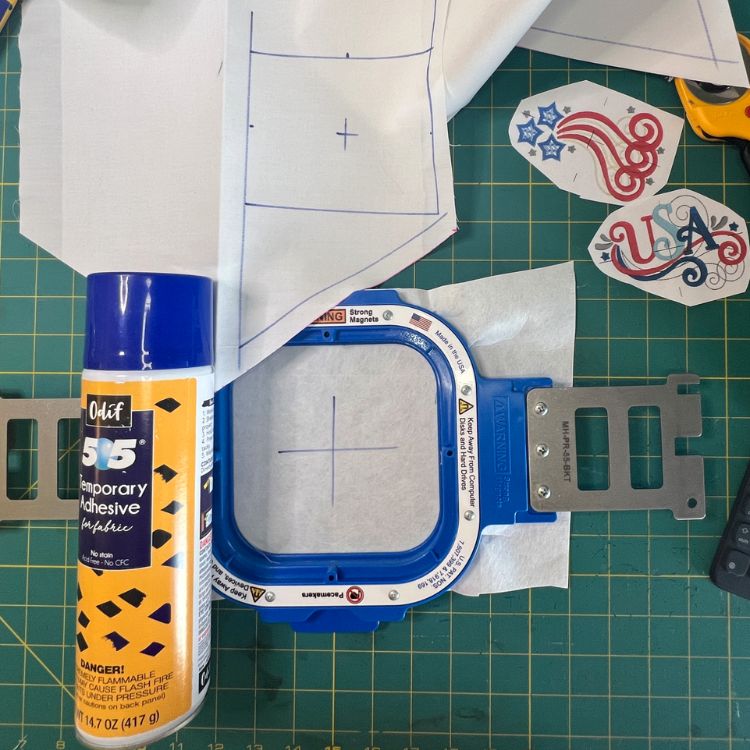
Hoop a piece of stabilizer appropriate for the fabric and design (I used a medium weight cutaway stabilizer) in a size-appropriate hoop. In this project, I’m using a 5.5” x 5.5” hoop.
Mark the center lines of the hoop on the stabilizer for reference, and spray the stabilizer with temporary spray adhesive.
Float the piece of fabric you’ve marked, lined up with the markings on the hoop and the stabilizer. Smooth out any wrinkles as you press the fabric to the sticky stabilizer.
Load your hoop in the machine and use the trace functionality to confirm the appropriate placement and orientation for your design. I find this step helps avoid tears, broken needles, and trips to the repair shop.
Stitch all steps of the design.
Remove the hoop from the machine and then the fabric and stabilizer from the hoop.
Trim away any excess stabilizer.
Repeat this process for the other end of the wreath scarf.
Press the entire piece of fabric after embroidering to remove any wrinkles or creases and your temporary placement marks.
Sew the Wreath Scarf
Now, return to your sewing machine to sew the DIY wreath scarf together.
Align the two sash pieces, right sides together, meeting up all of your edges. Pin or clip in place.
Mark a 3”-4” opening in the middle of one long side (to leave open for turning).
Starting at one of the marks above, sew a seam with the width you’ve chosen (generally ¼” - ½”) from the raw edges. Sew all the way around, back to the other opening mark.
In this project, I experimented with basting across the turning opening, then removing the basting stitches before turning, so the needle marks created a clear fold line before topstitching. However, do what works best for you!
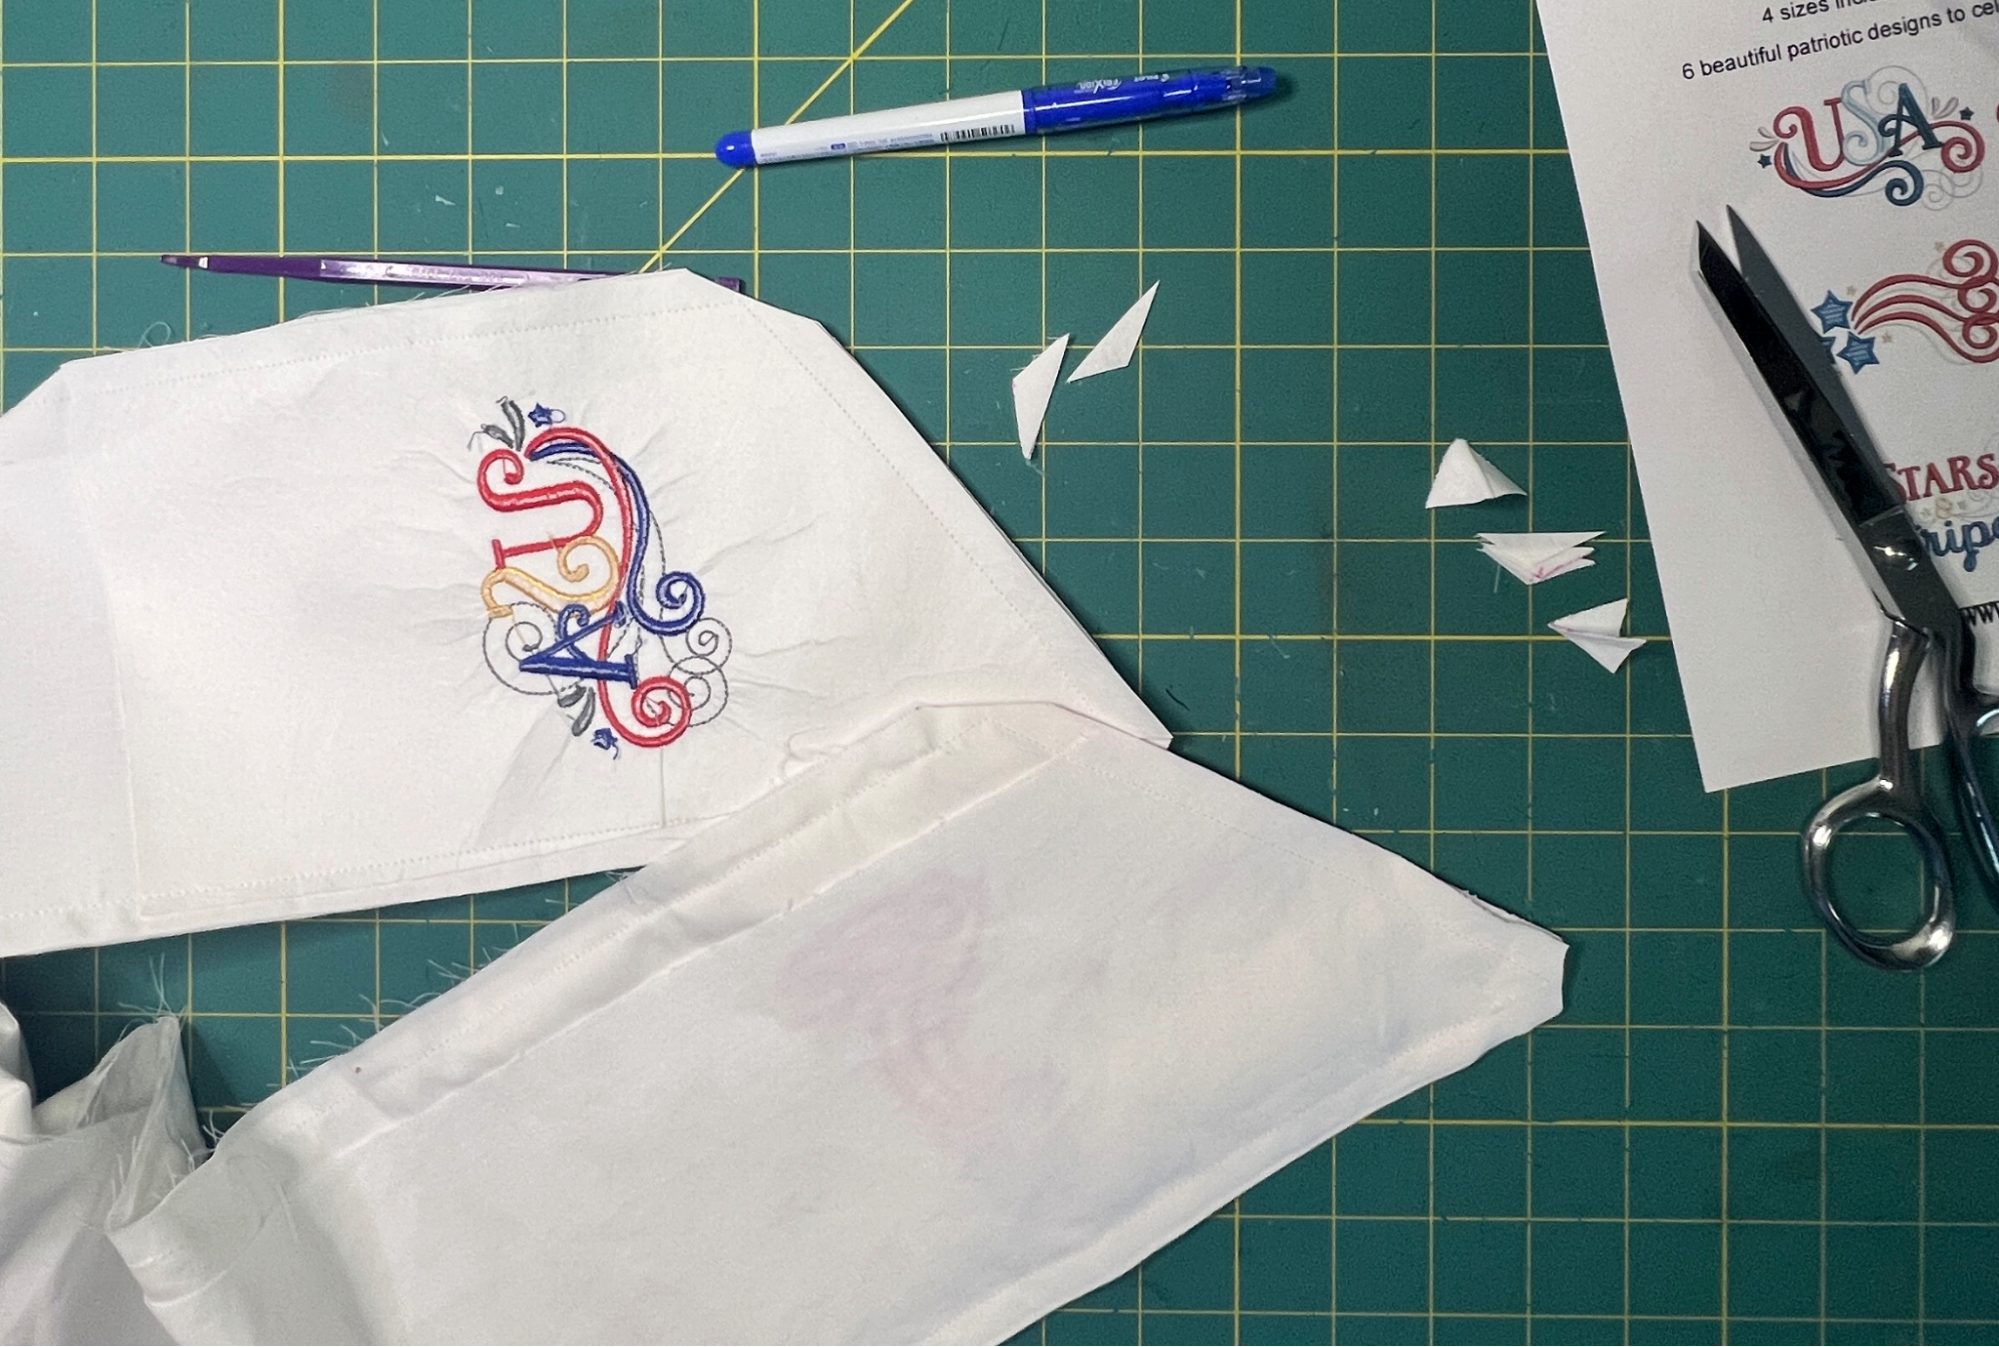
Clip the corners to ensure you’ll have nice, sharp points when you turn the sash right side out.
Turn the sash right side out through the turning opening.
Use a stiletto, chopstick or whatever thin and long object you have handy to push out the points.
Press the sash and ensure the seams are fully pushed out.
Topstitch all around the sash at a small enough seam allowance to ensure it catches the turned-under edge of the turning opening. This will close your opening.
If you have an edge foot, I highly recommend using it to get a nice, straight line, close to the edge of the sash. For this project, I used decorative thread for the topstitching, but you can also use matching thread.
Give your finished sash another good pressing when you’re finished!
Tie Your Wreath Scarf
There are many different ways you can tie your wreath scarves! For this project, I simply draped the center of my scarf over the bottom center of the wreath and tied a single overhand knot at the very bottom of the wreath. I carefully arranged the scarf to minimize wrinkles and creases and ensured the embroidered ends of the scarf hung straight and faced outward.
That’s it. We’re done. Pretty simple, right? This project came together quickly and with common supplies. It’s a great project to provide new life to an old wreath or give a little extra pizazz to your front entry.
Don't forget to share your creations with us on social media (#designsbyjuju). Enjoy!
Charlotte McKinney
Charlotte McKinney has been learning machine embroidery since 1999. She caught the bug from her mother and through all the seasons of her life it’s brought her joy.
Whether squeezing it in late at night after the toddlers went to bed or having larger chunks of time to devote to it in retirement, embroidery has been a trusted friend and creative outlet.
 Inspire.
Create.
Stitch.
Inspire.
Create.
Stitch.