Toggle Nav
 Inspire.
Create.
Stitch.
Inspire.
Create.
Stitch.
Search
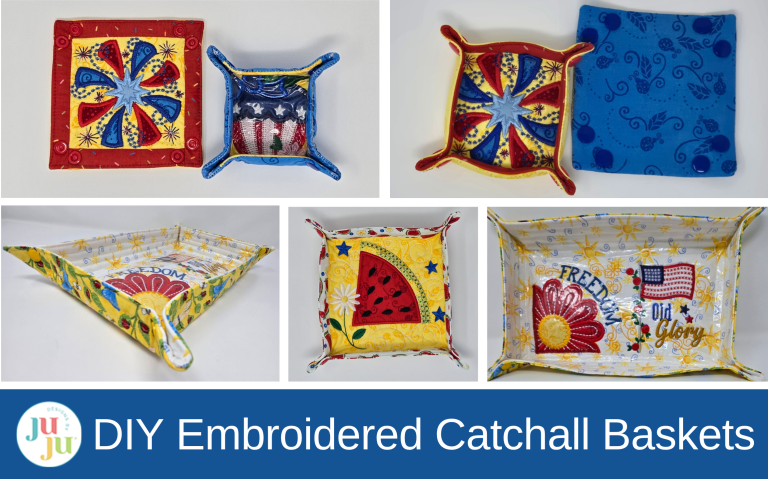
Make functional and fun fabric catchall baskets using Star Spangled Stitches embroidery designs. This step-by-step tutorial shows you how to create quilted organizers perfect for home decor, storage, and gifts.
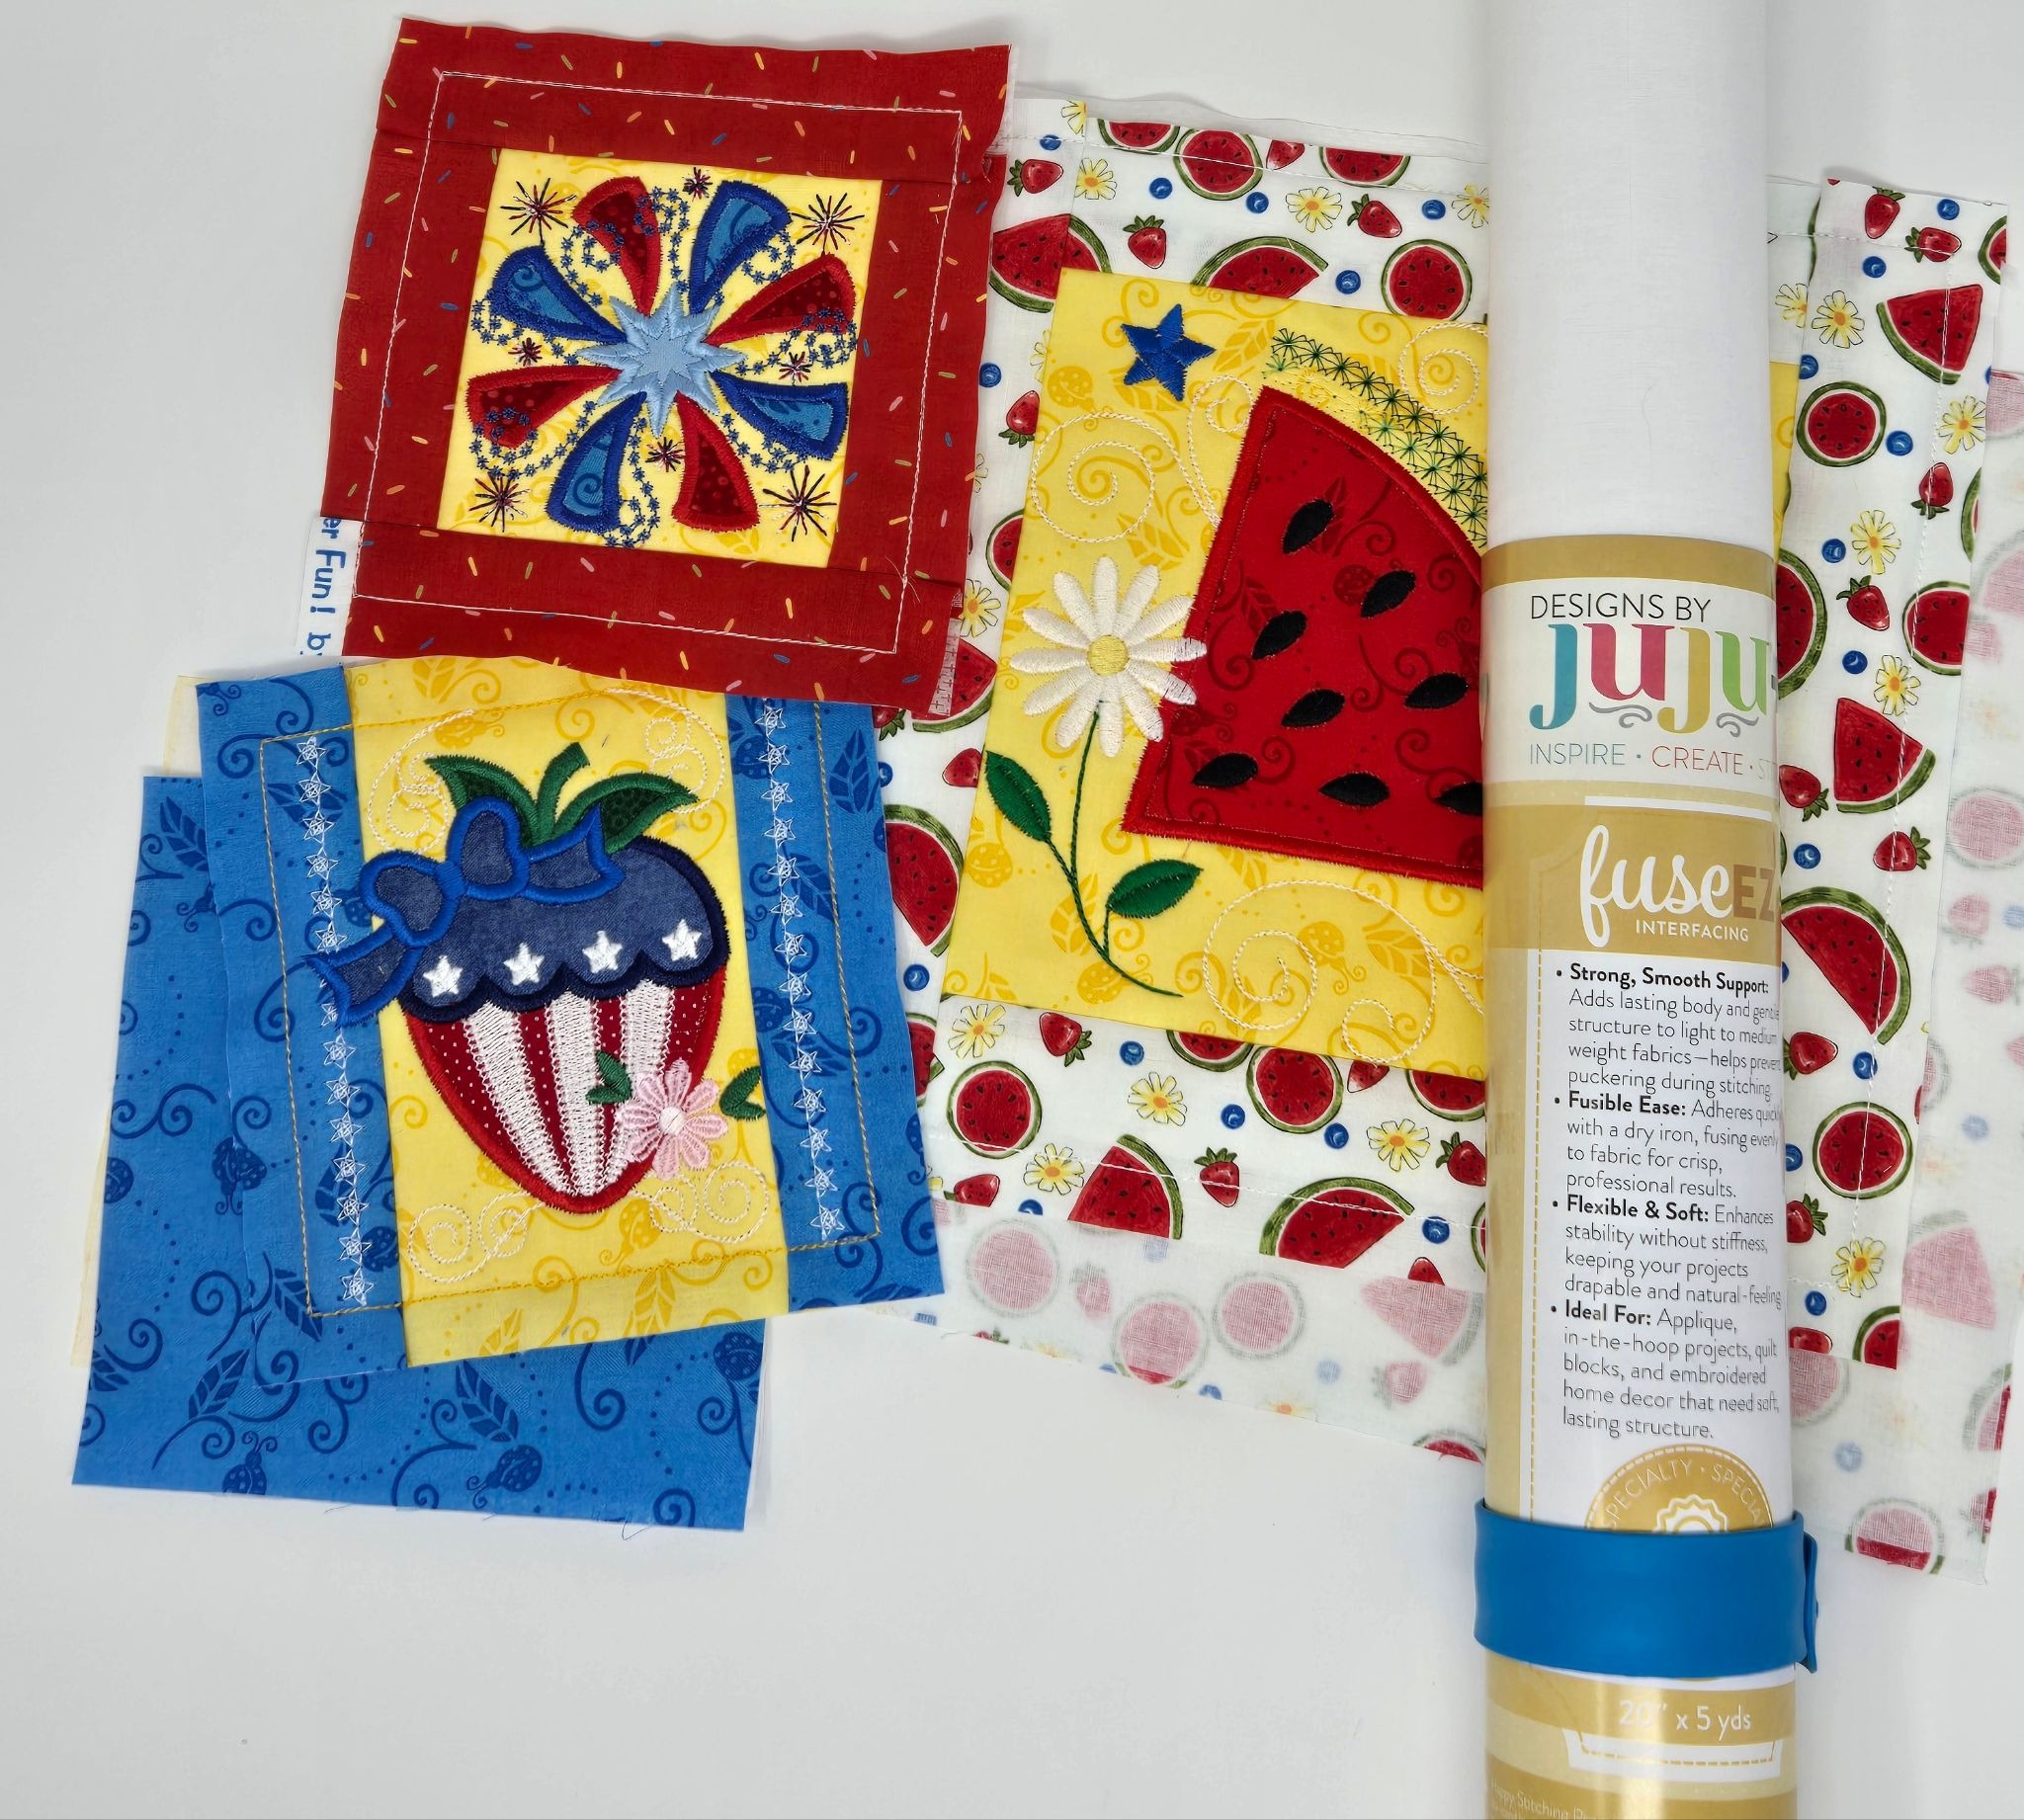
Let’s use the Star Spangled Stitches blocks to make some fun baskets and catchalls! I have baskets all over the house and love to have a place for everything from keys to you-name-it!
In January I wrote a blog post about making nursery baskets using Winnie-the-Pooh designs. The Star Spangled Stitches blocks would work great on that type of basket! This time, let’s make catchalls.
The finished size of the project depends on the block size you choose. My bigger square catchall is a 9” square when unsnapped. The smaller ones used 5” blocks and the rectangular one is 9¼” x 13¾”.
Please be sure to check out the DBJJ team’s favorite supplies in the Designs by JuJu Amazon store, and for our favorite stabilizers, batting, and interfacing, Designs by JuJu+ has everything you need.
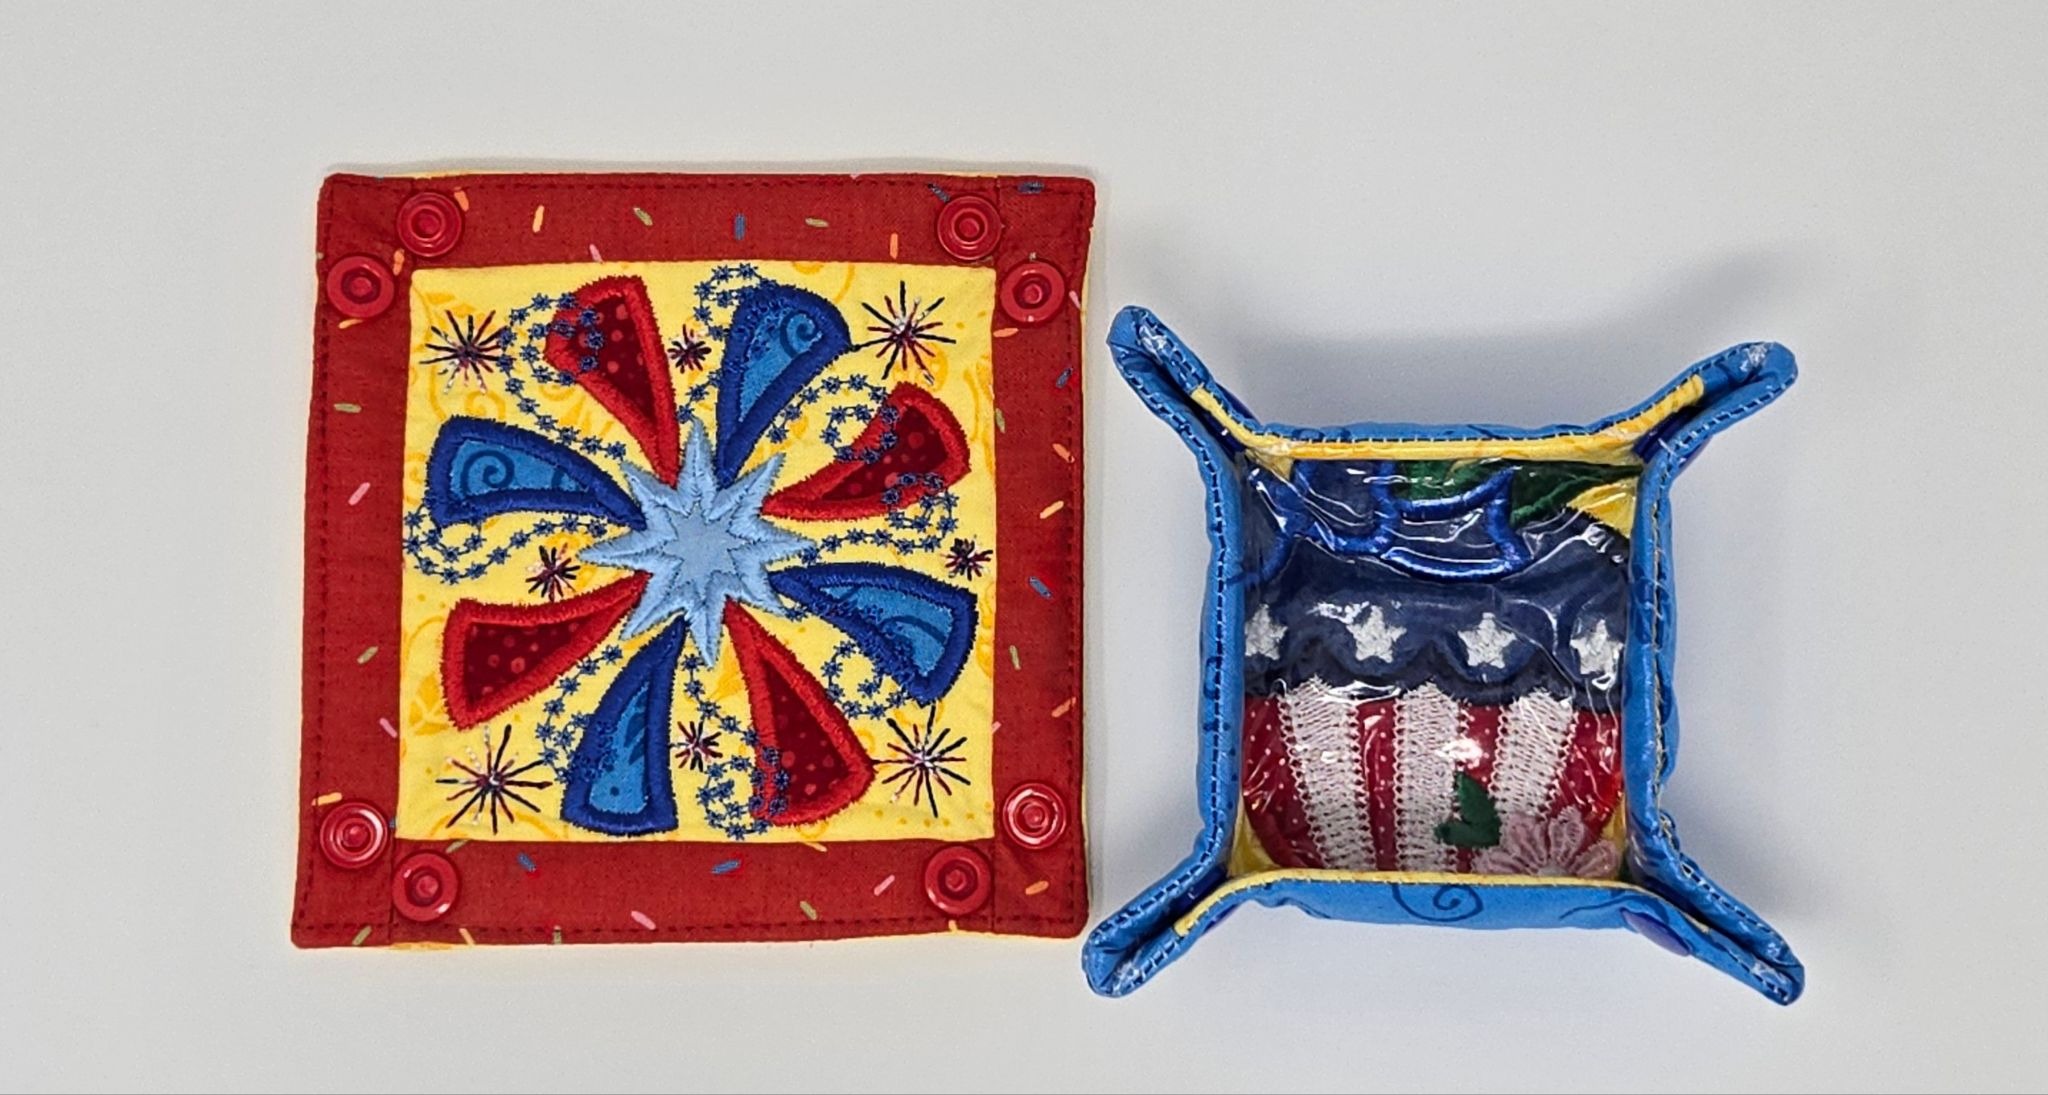
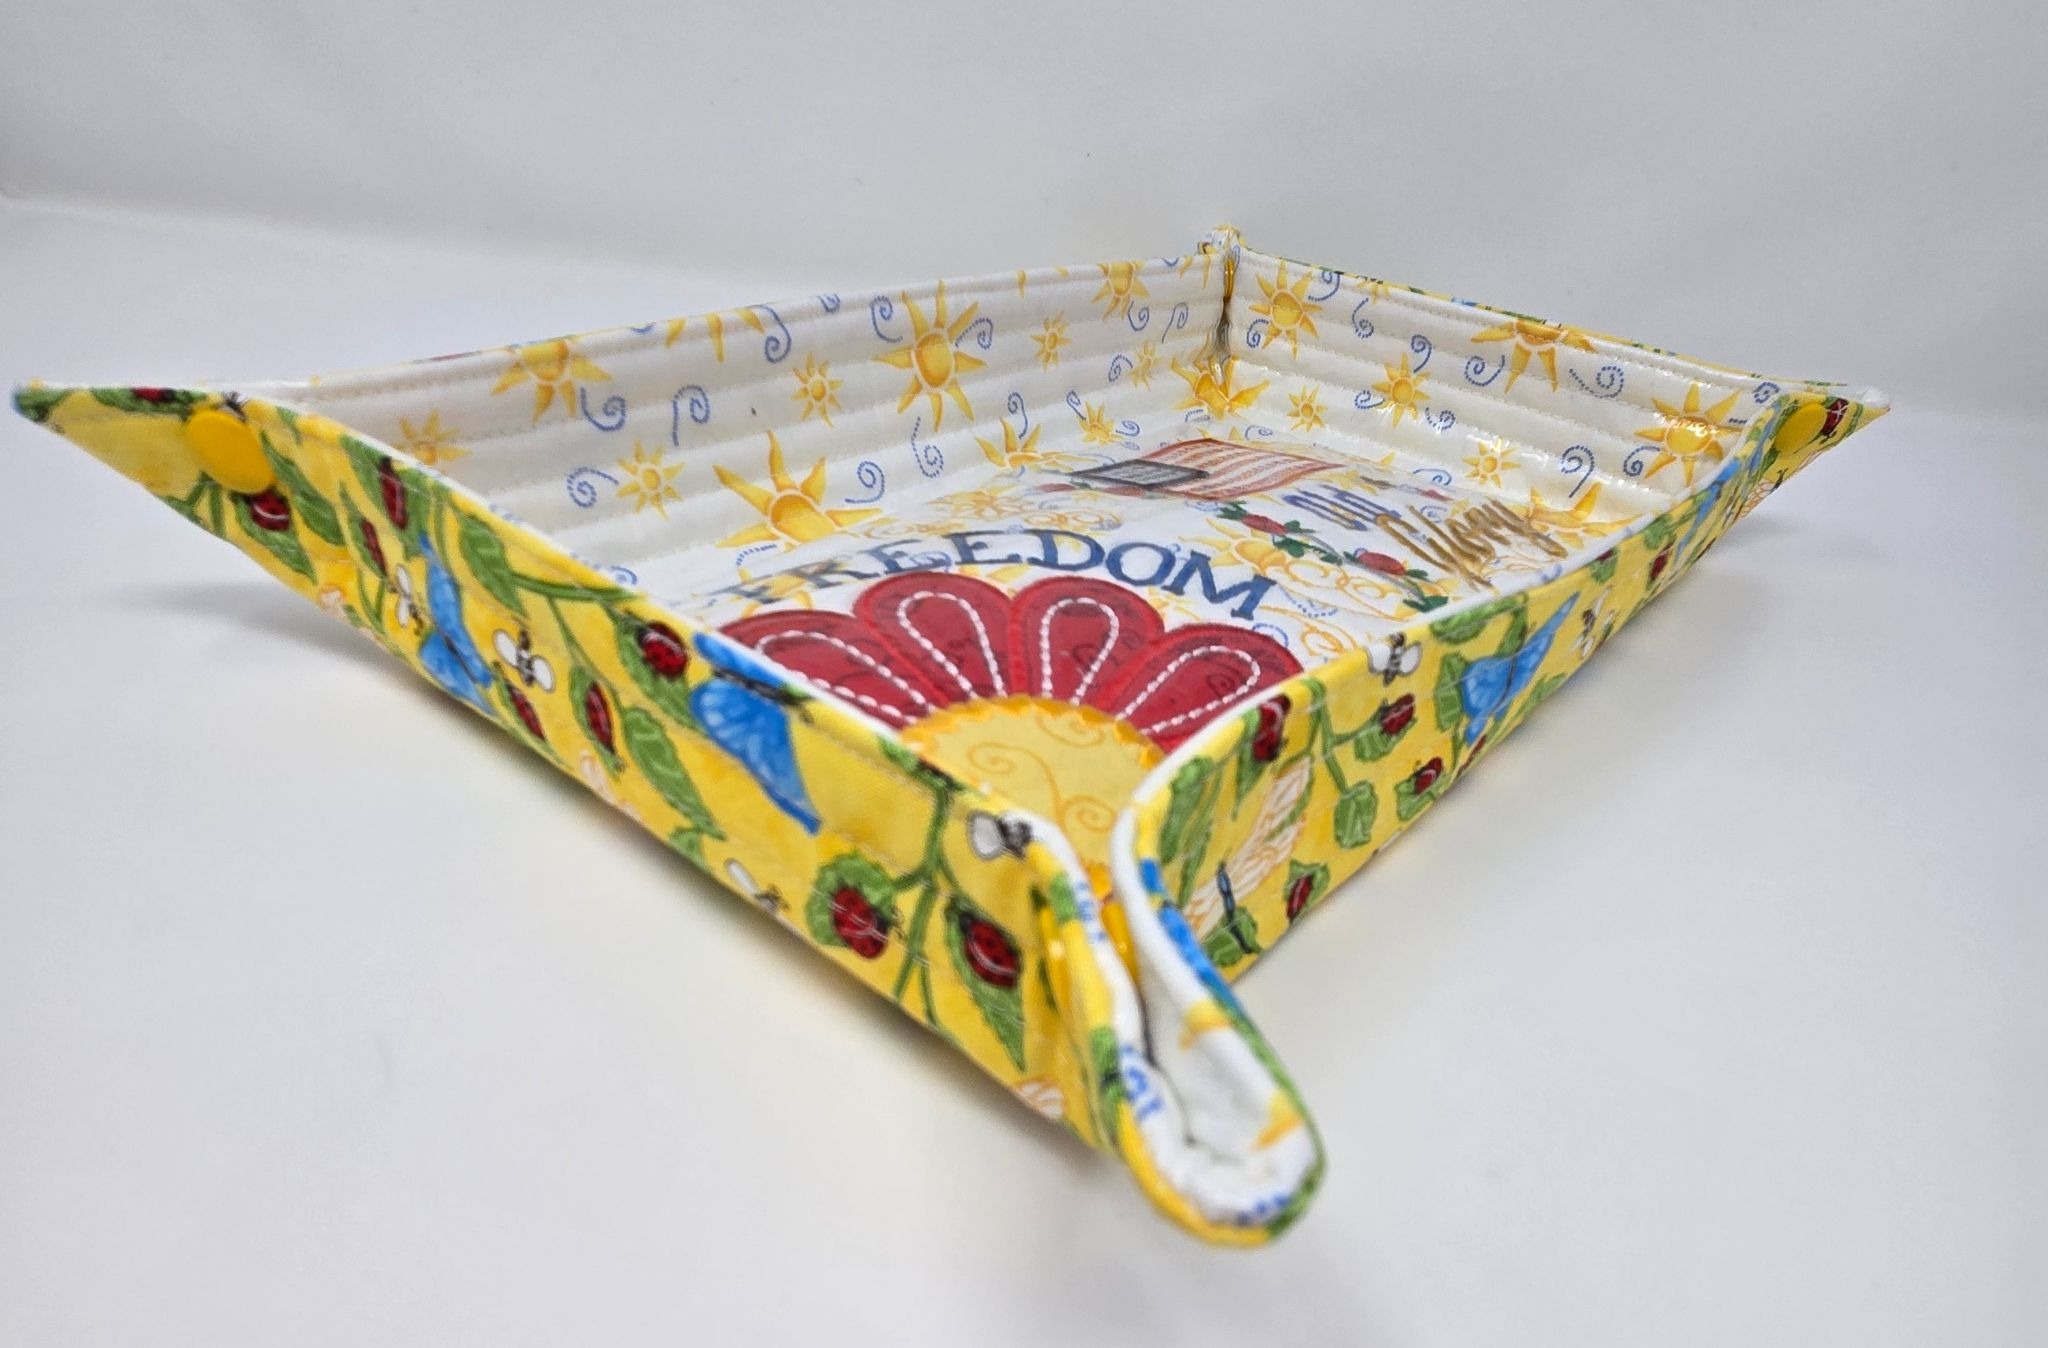
This little basket can be made in any size you desire. It is great for dice games with the kids because when they make a wild throw, the dice just have to land in the basket! It can be unsnapped for flat storage. I wanted to see how small I could go, so the 5” squares were an experiment. They are perfect for little thread snips or bobbins next to your machine. For the strawberry one, I used some iron-on vinyl on the top so it can easily be wiped clean, or threads can quickly be brushed out.
Gather your supplies and load your designs onto your USB. For my larger catchall, I chose the watermelon from Star Spangled Stitches Set 1 in the 9” size. This is a great block for a catchall because it has the border around the design, perfect for forming the catchall sides! For the smaller ones, I chose the 5” designs Firework Blast from Set 2 and the Strawberry from Set 1.
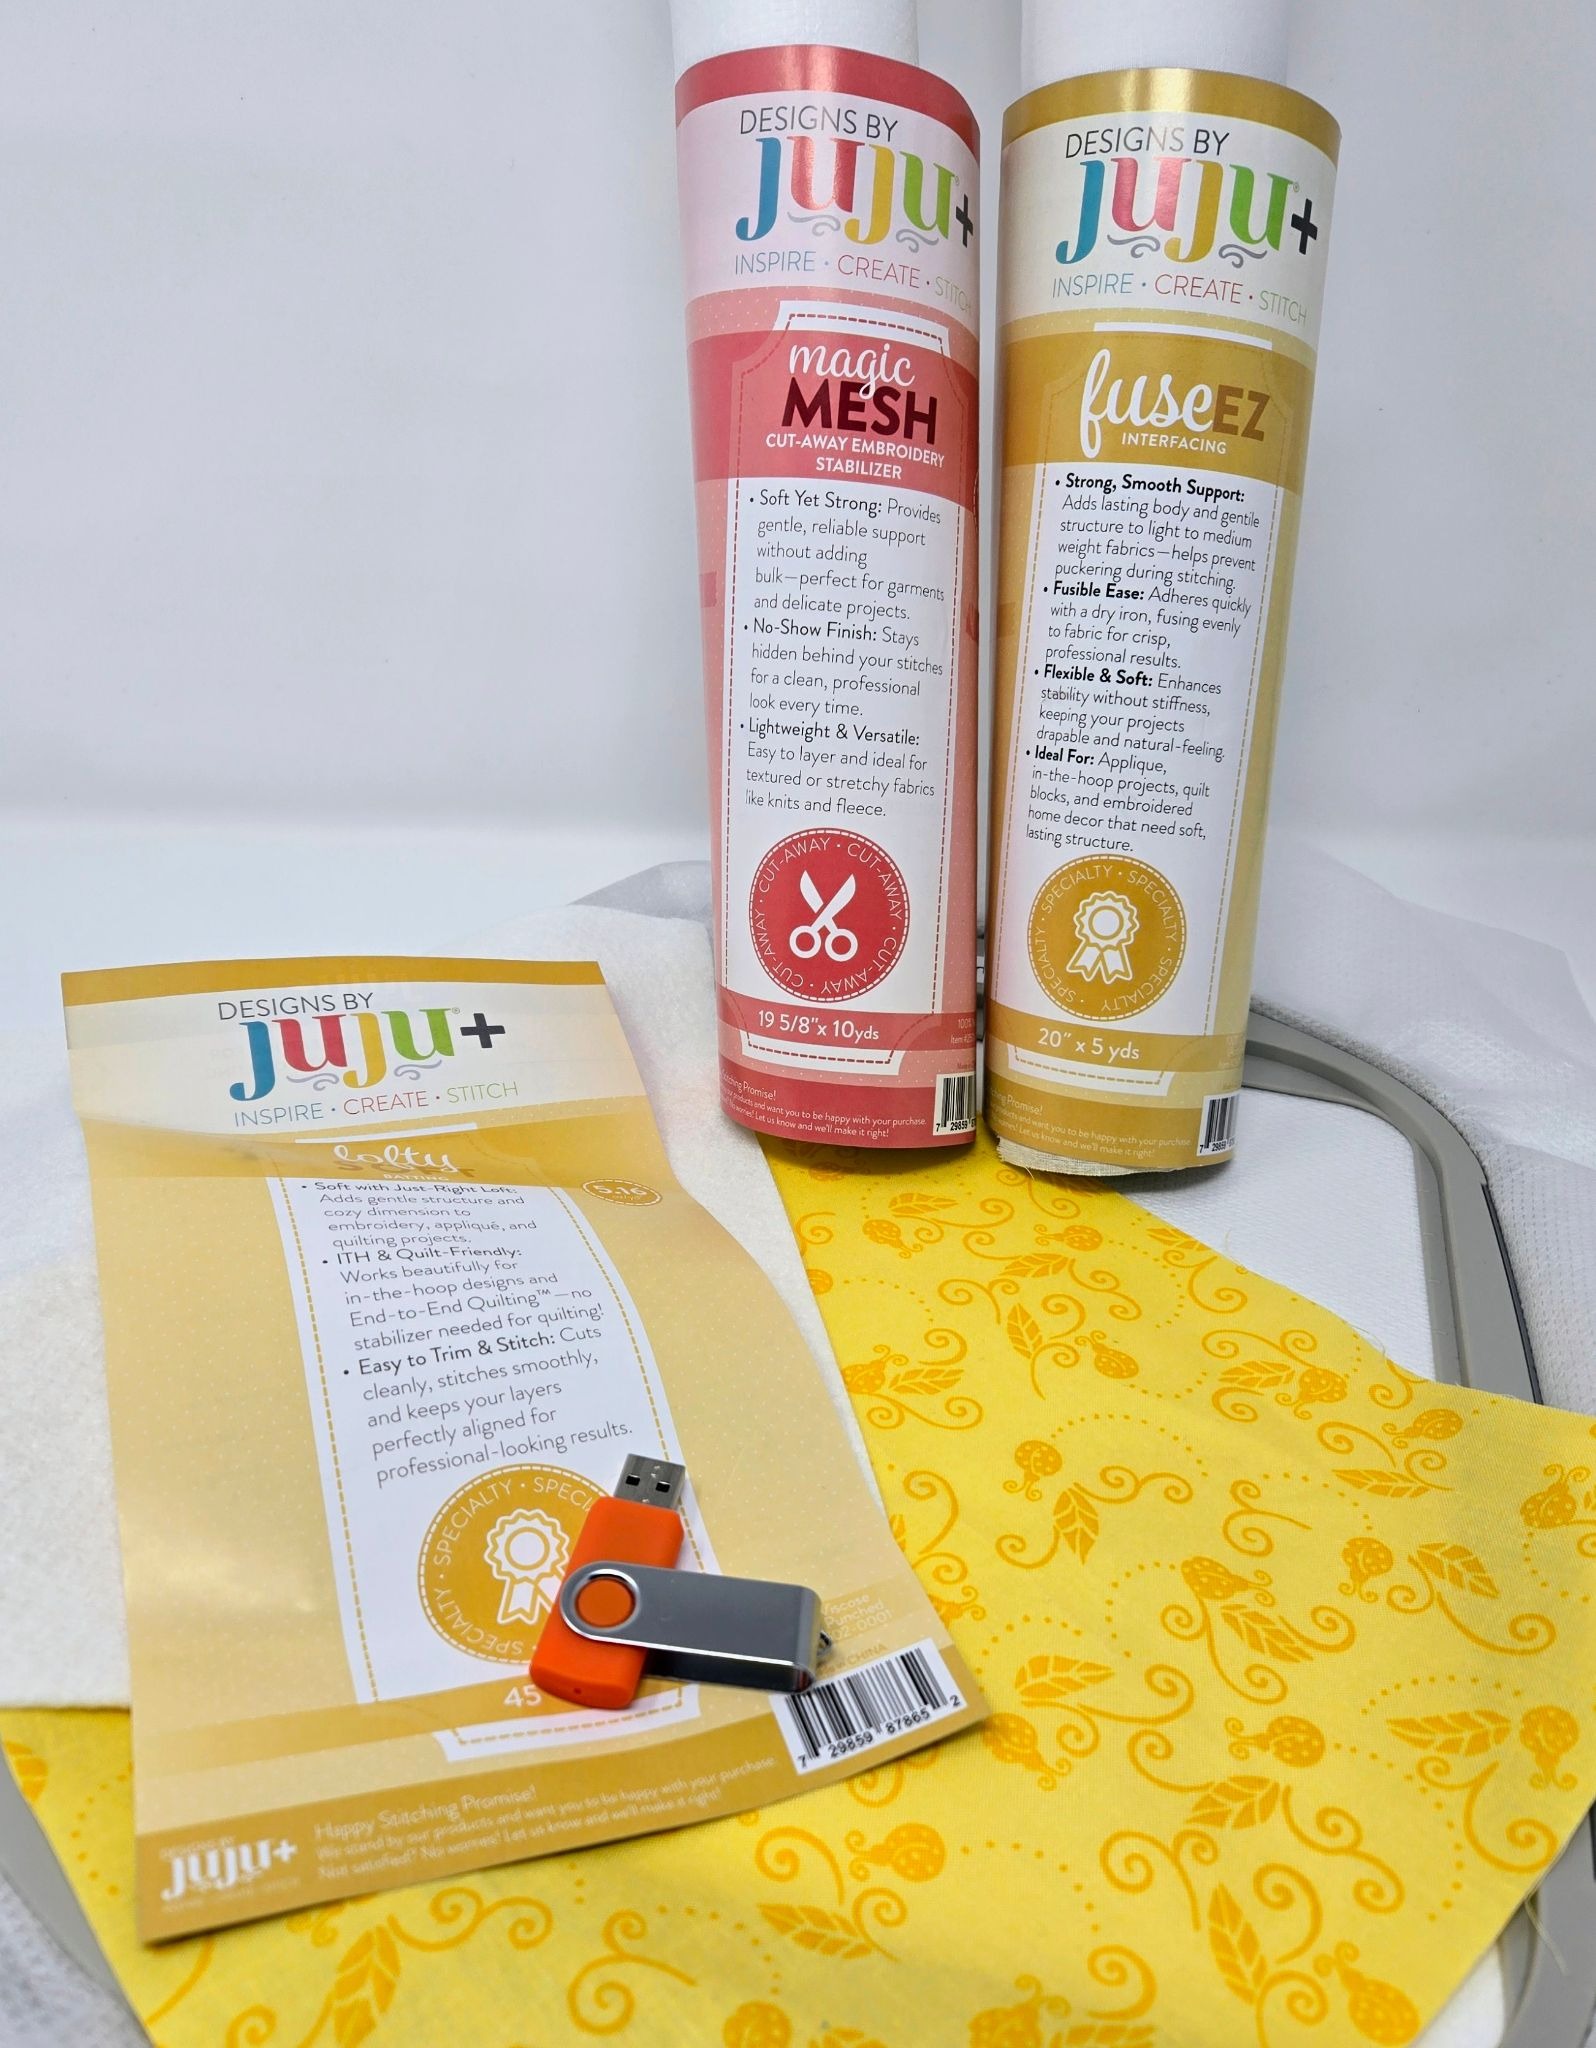
Hoop the magicMesh and follow the block steps to stitch out your chosen block.
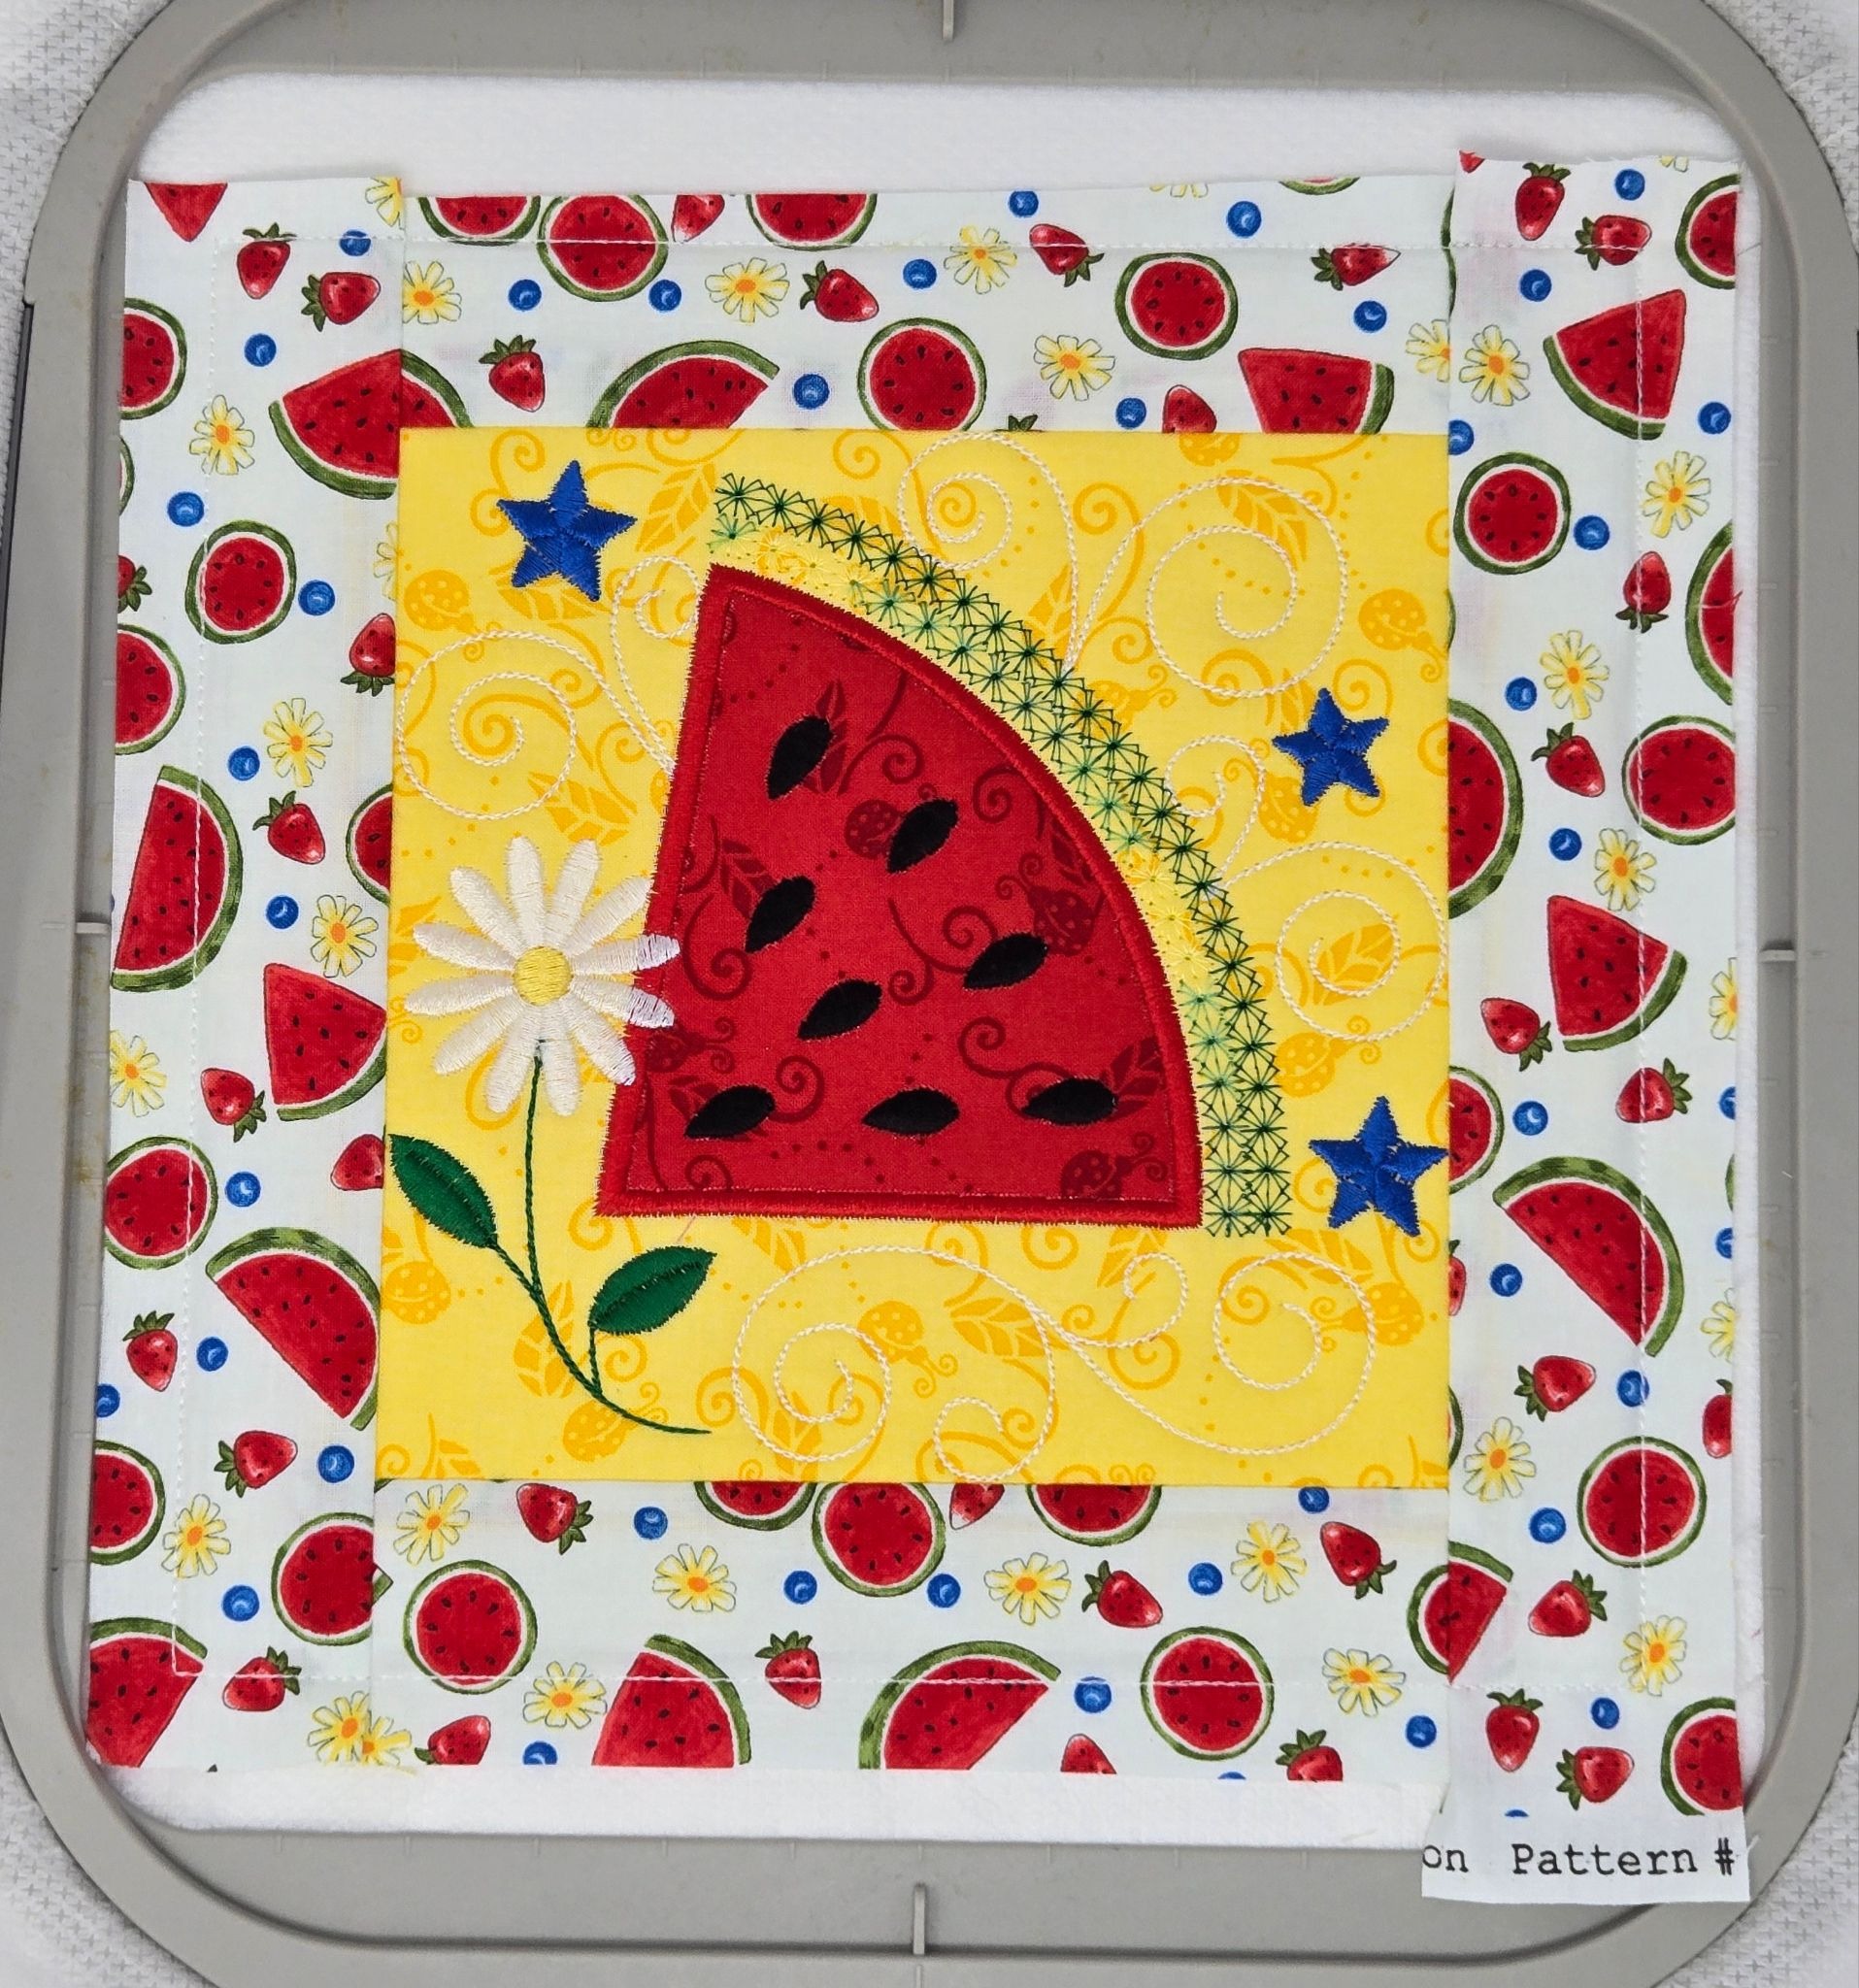
I went ahead and embroidered the two 5” blocks as well. Once the blocks are all embroidered, trim to ½” from the stitching line. Cut a piece of backing fabric the same size, as well as a piece of fuseEZ. Fuse the stabilizer to the back of the backing fabric.
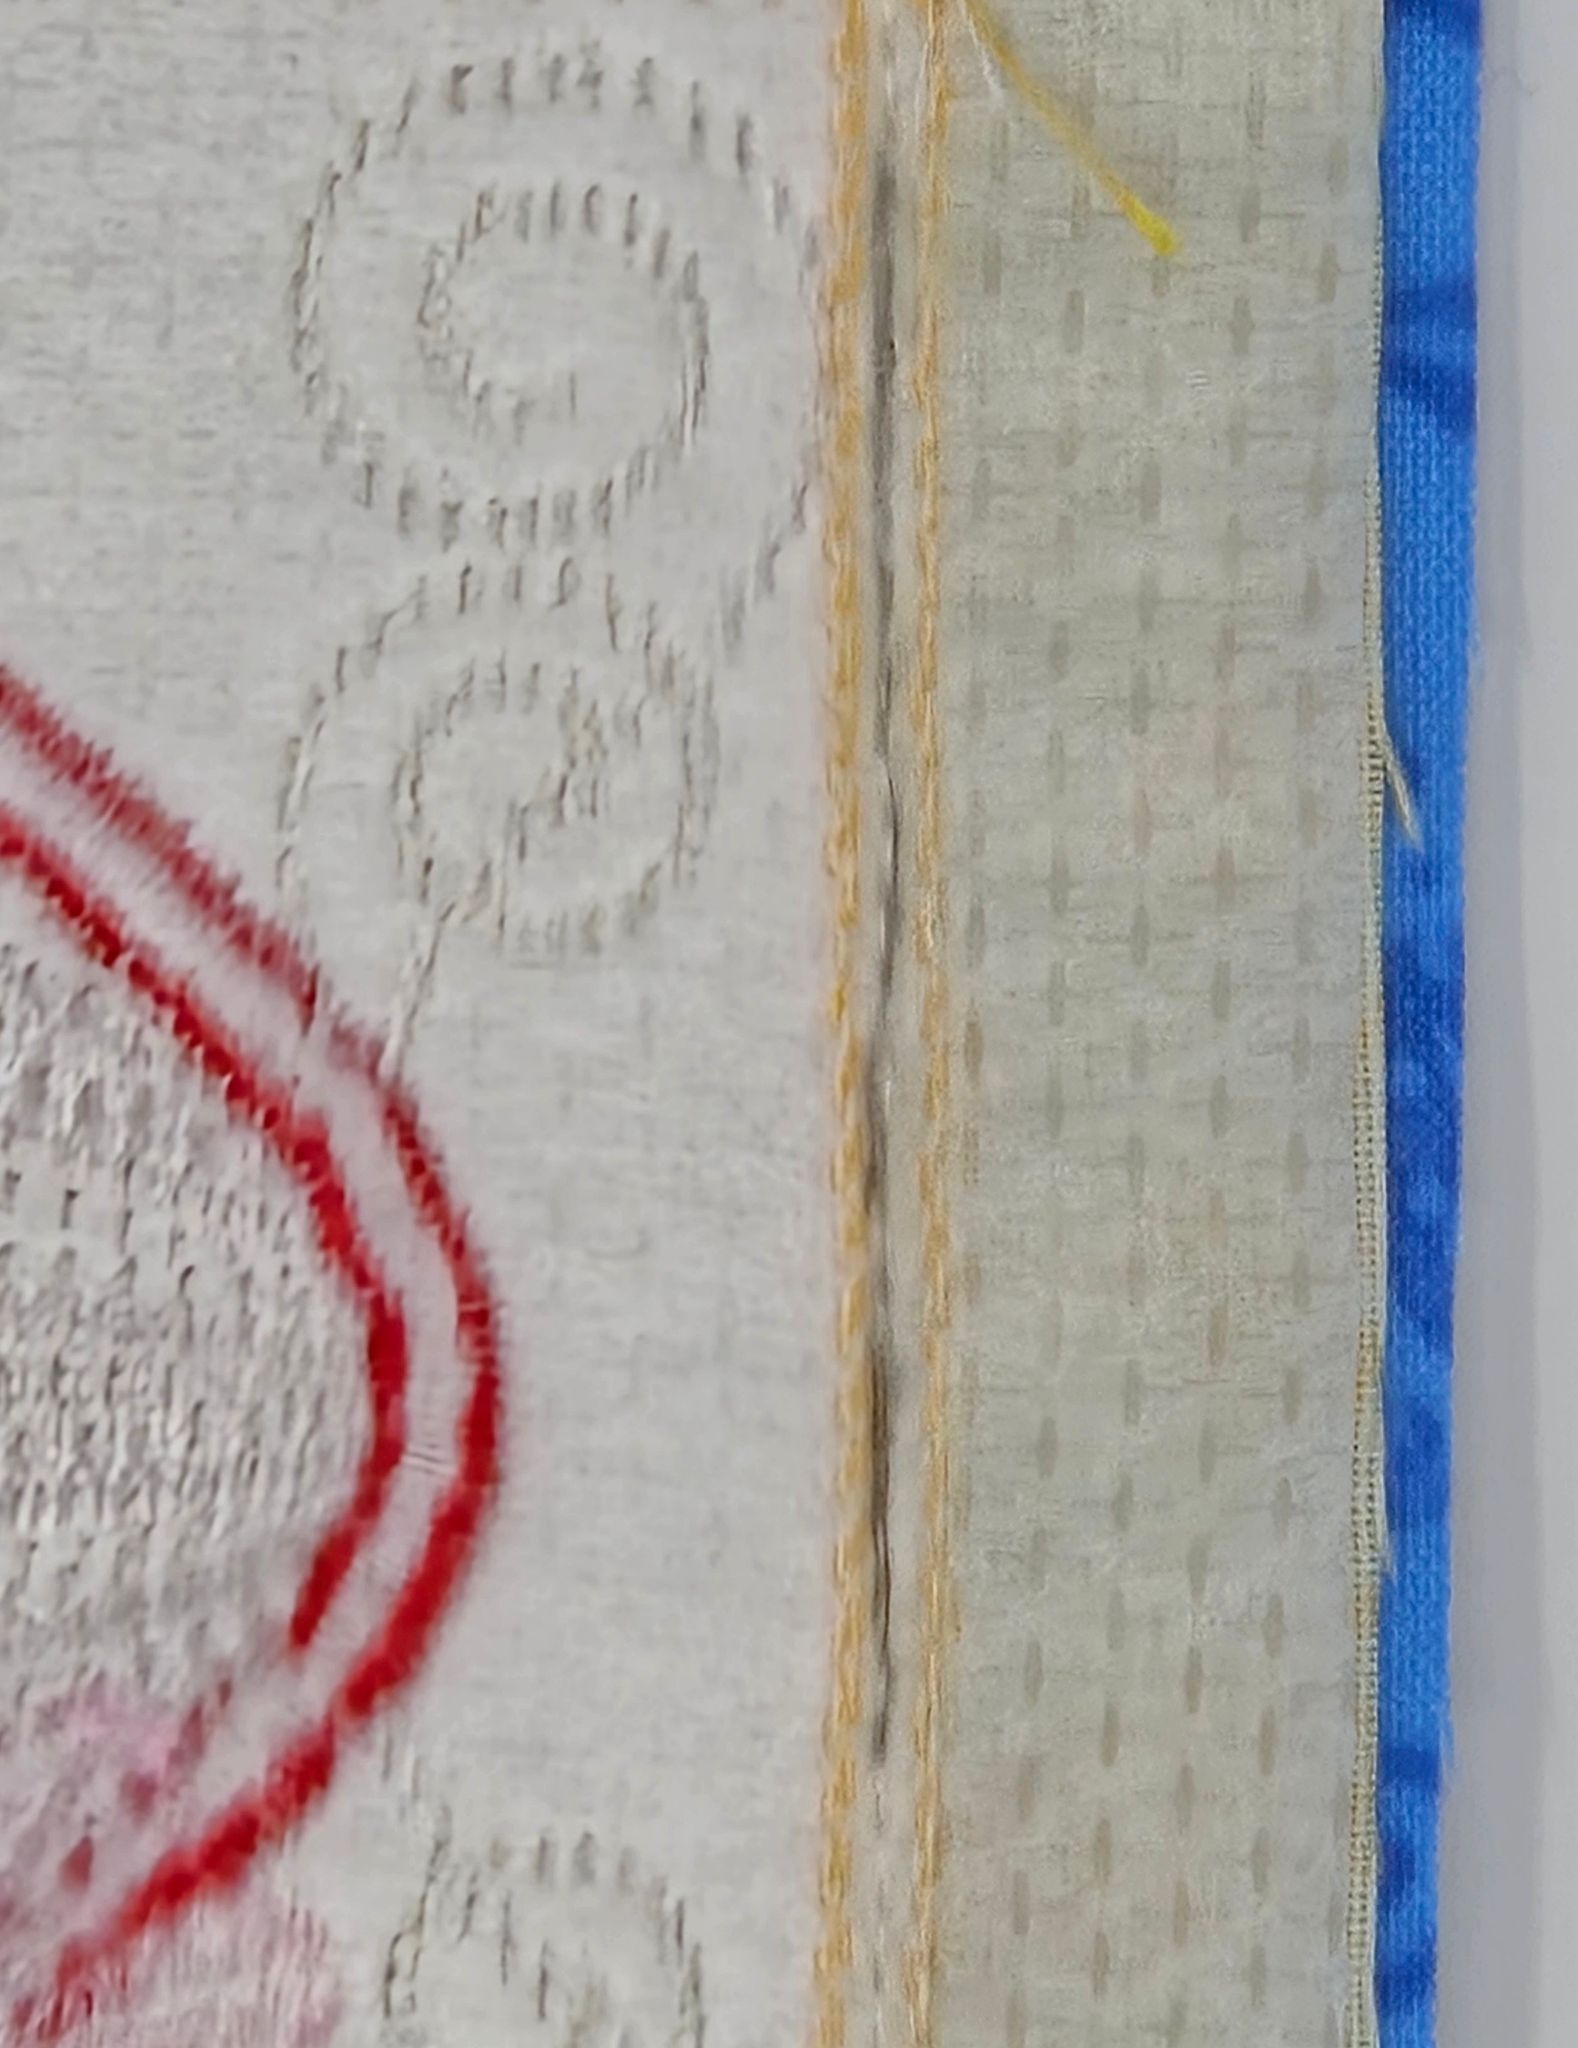
Place your backing right sides together on your block front and sew around them, leaving a 3” or larger opening for turning. Sew between the tack-down stitching for the batting and the outer placement stitching, marked in pencil below.
Trim around your square. Also trim the corners to reduce the bulk. DO NOT trim the seam allowances for the opening.
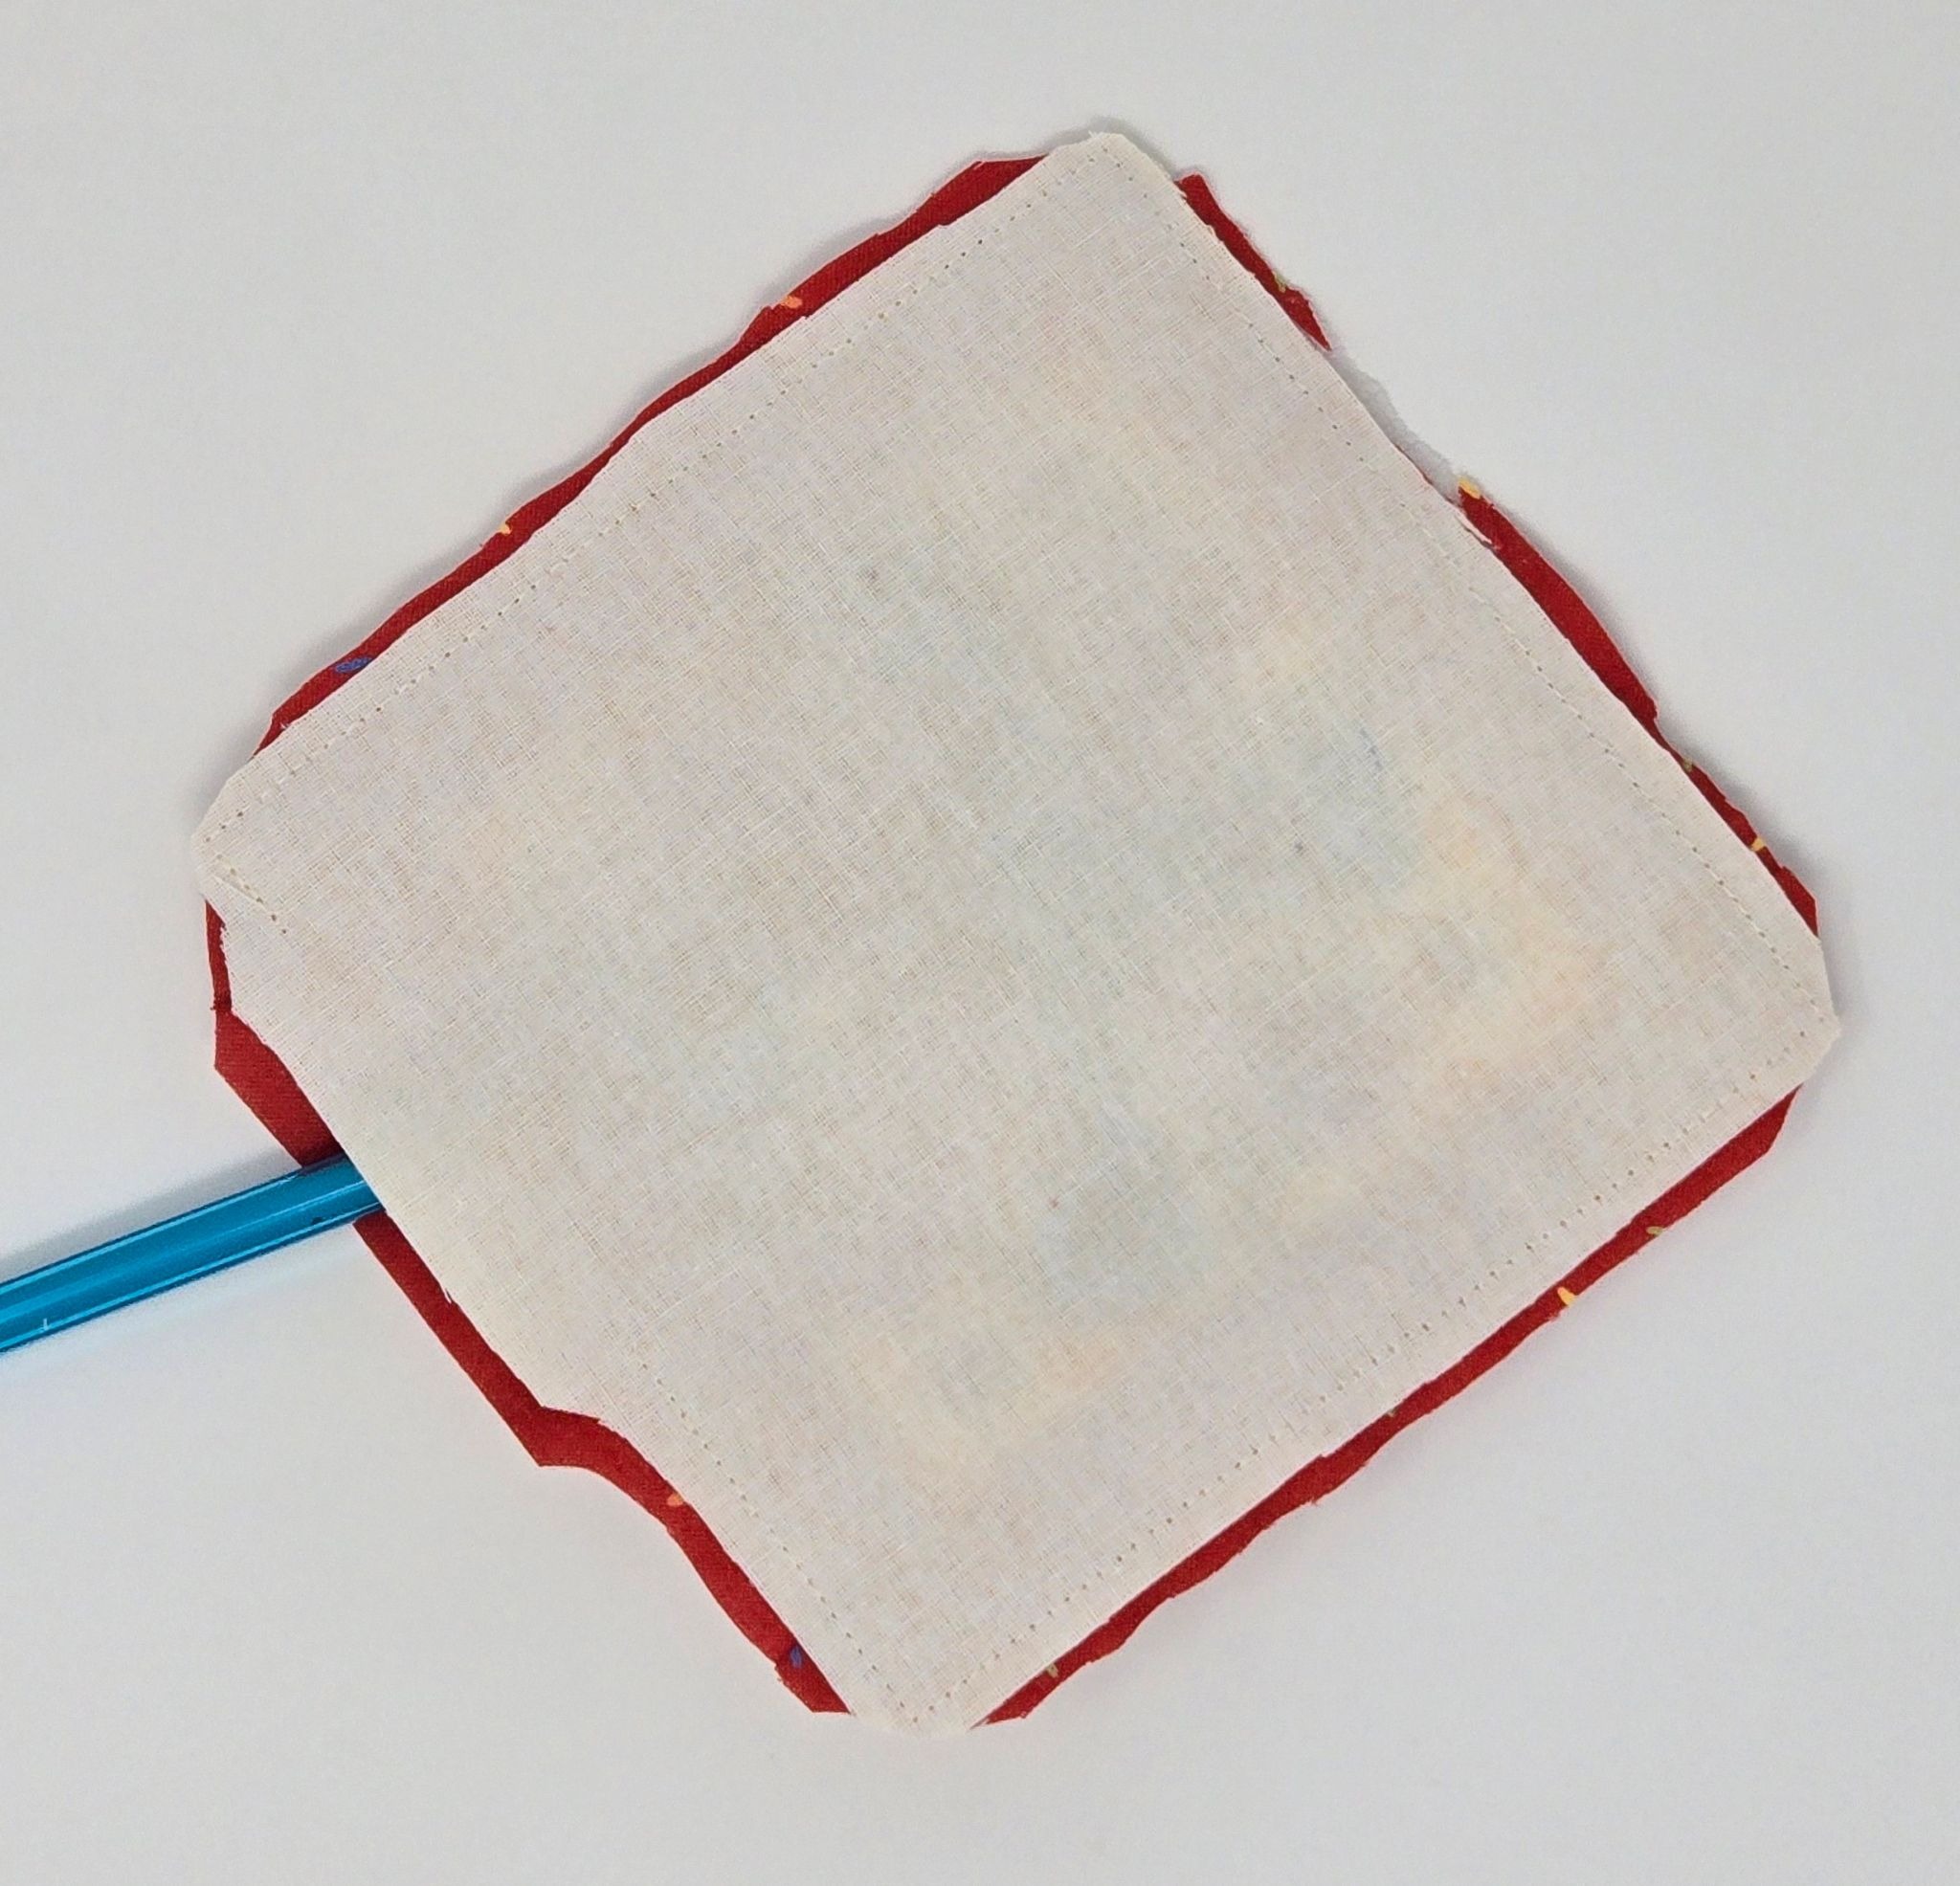
Turn right side out and use a small skewer to poke out the corners as best you can. Be careful not to use so much force that you poke all the way through the corner stitching! Give your square a good press, turning the opening seam allowances to the inside.

Topstitch around the outside edge, approximately ⅛” from the edge. I used a 3mm stitch length. This will close the opening. Repeat for the 9” block.
For the 5” strawberry block, I pressed iron-on vinyl to the block front. Follow the manufacturer’s directions. It is very quick and easy to do, just never touch your iron directly to the vinyl.
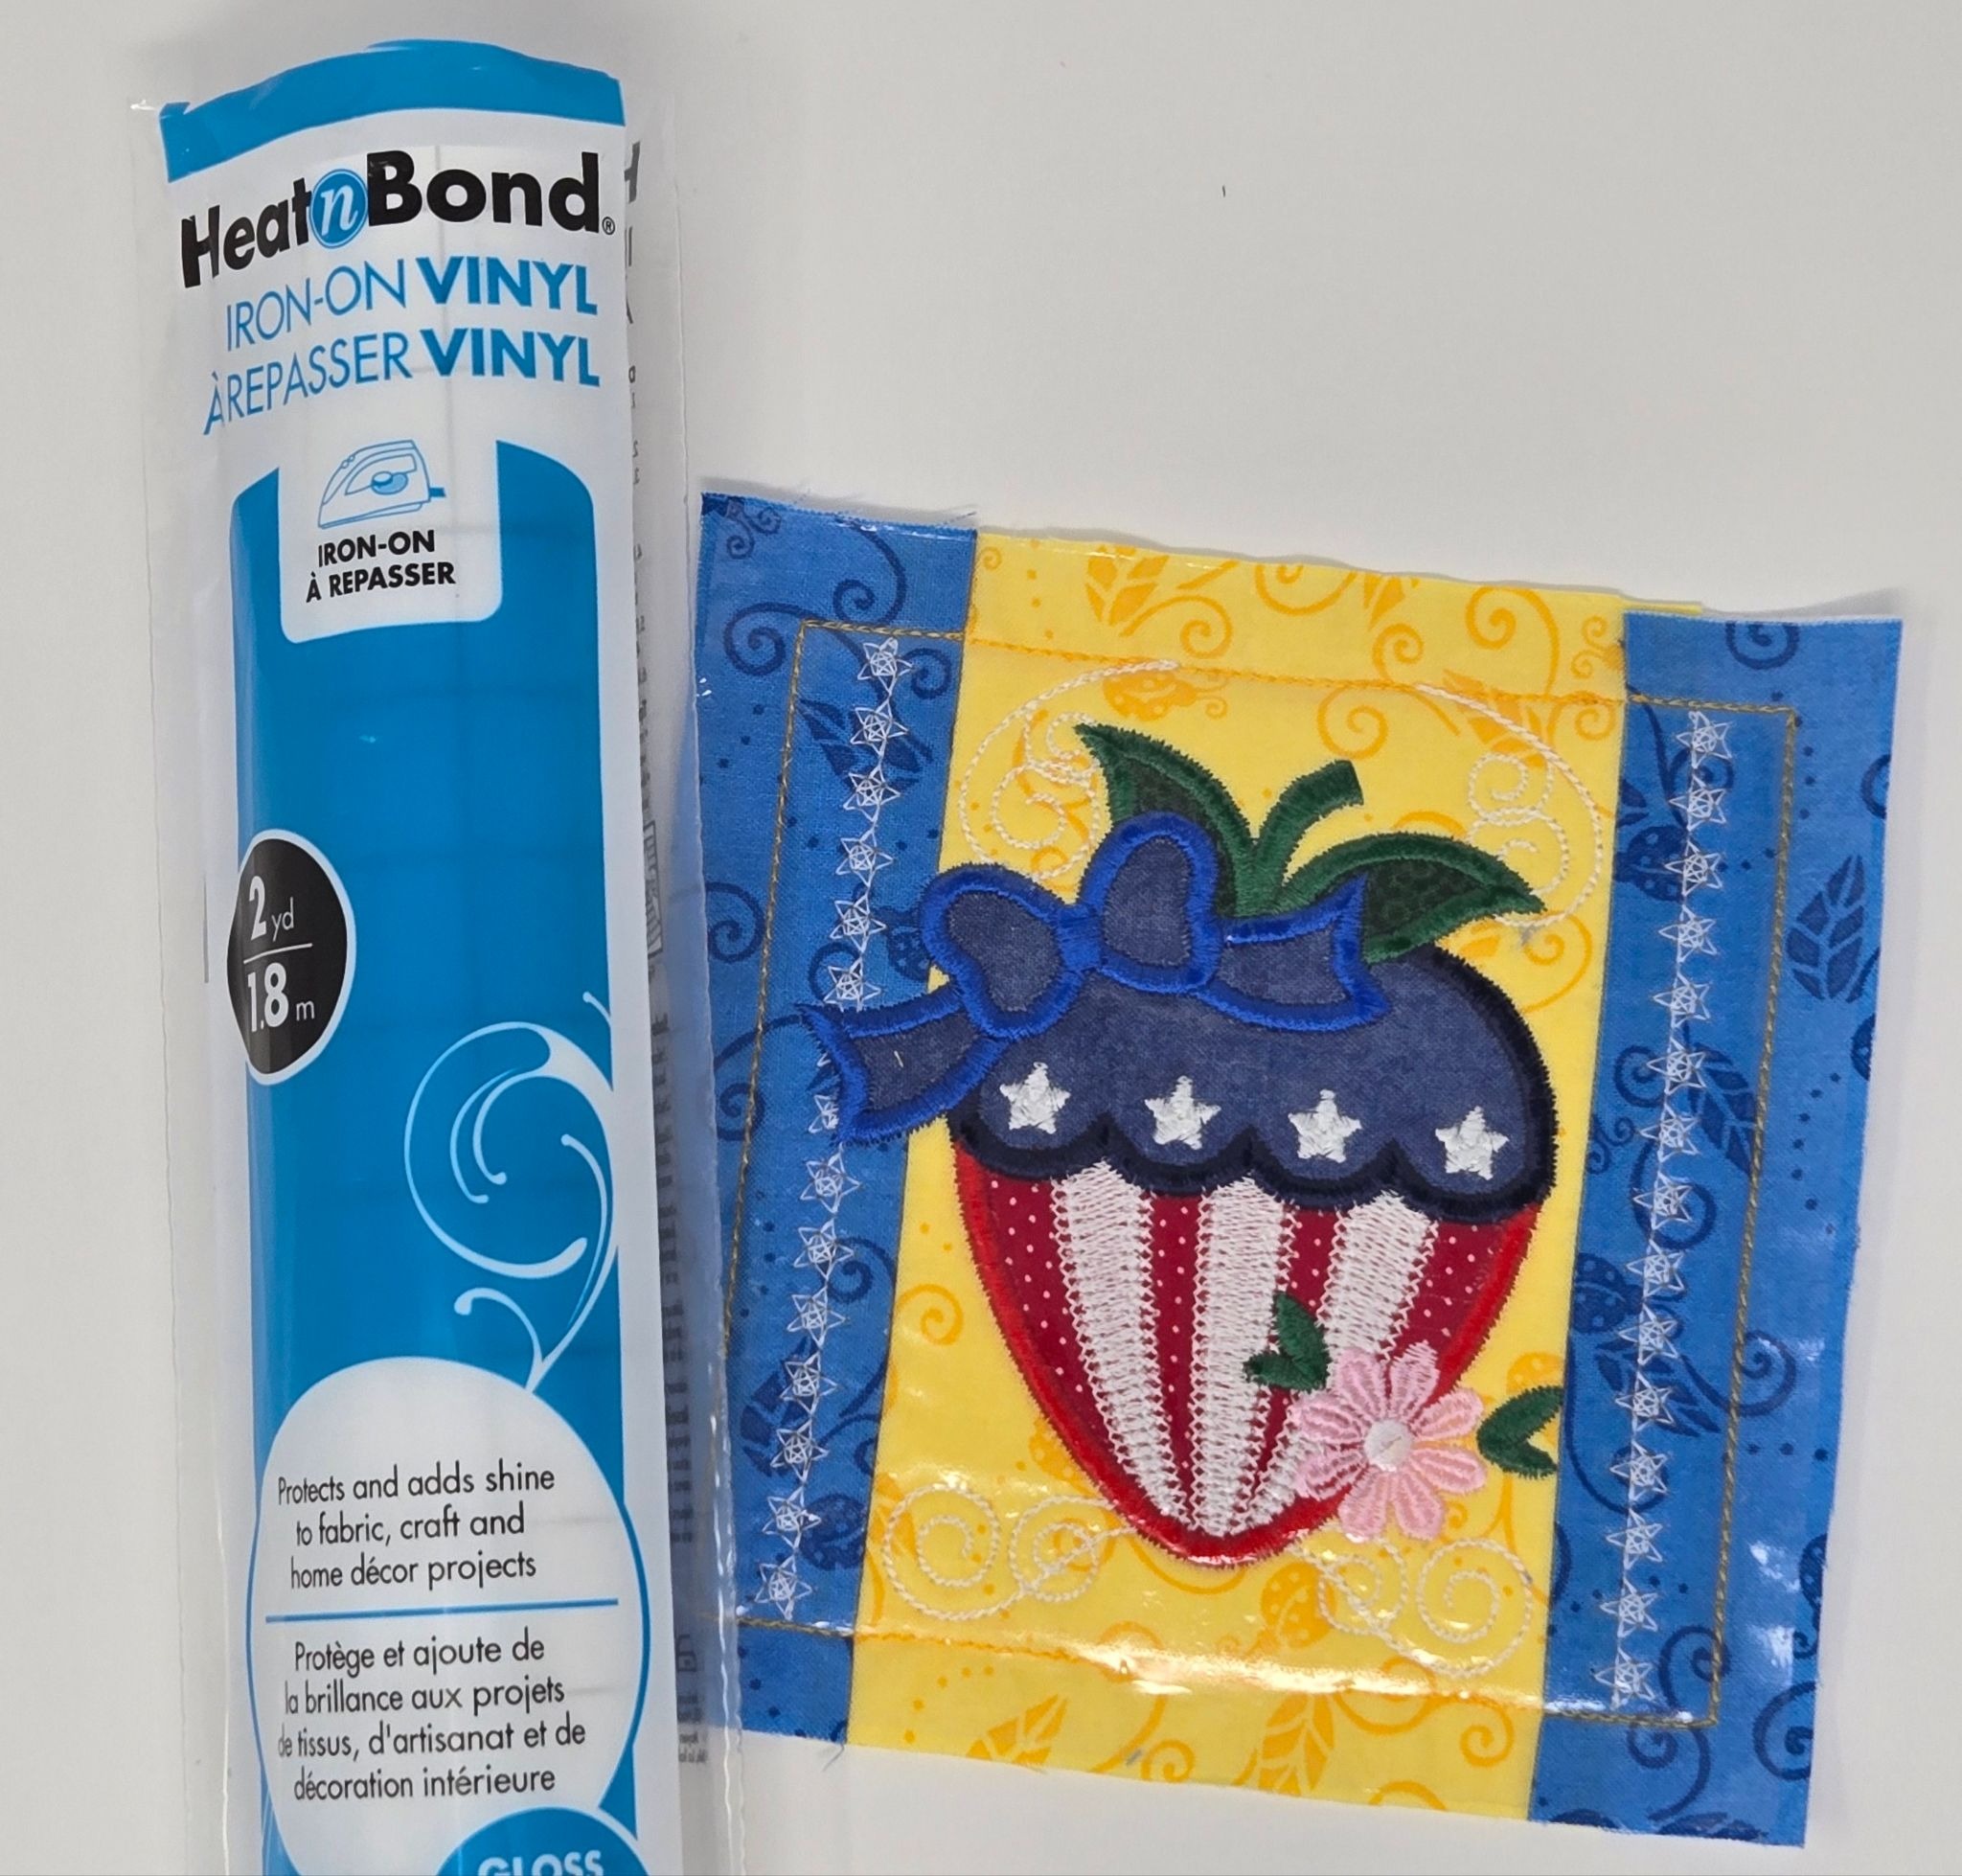
Sew this block together with the backing the same way you did the other two. The vinyl makes it a little thicker to turn, so leave a bit larger opening.
This time I hand sewed the opening closed.
Now it’s time to add the snaps. I have two lengths of snap prong, and I used the XLong size 20 snaps.
Decide where you want the snaps for each basket. For the 9” catchall, I wanted the sides to be as high as the outer block border. I measured 1” from the corner and approximately ⅜” down from the outside edge and made dots. Use a stiletto to poke the hole at your mark and set the snap according to your setting tool instructions.
For the 5” catchalls, I marked my dots ¾” from the corner and about ⅜” from the sides on the red one. For the blue one, since it has the vinyl and is thicker, I needed to place the snaps closer to an inch from the corners.
Aren’t they cute? My granddaughter has already put dibs on these for her rings.

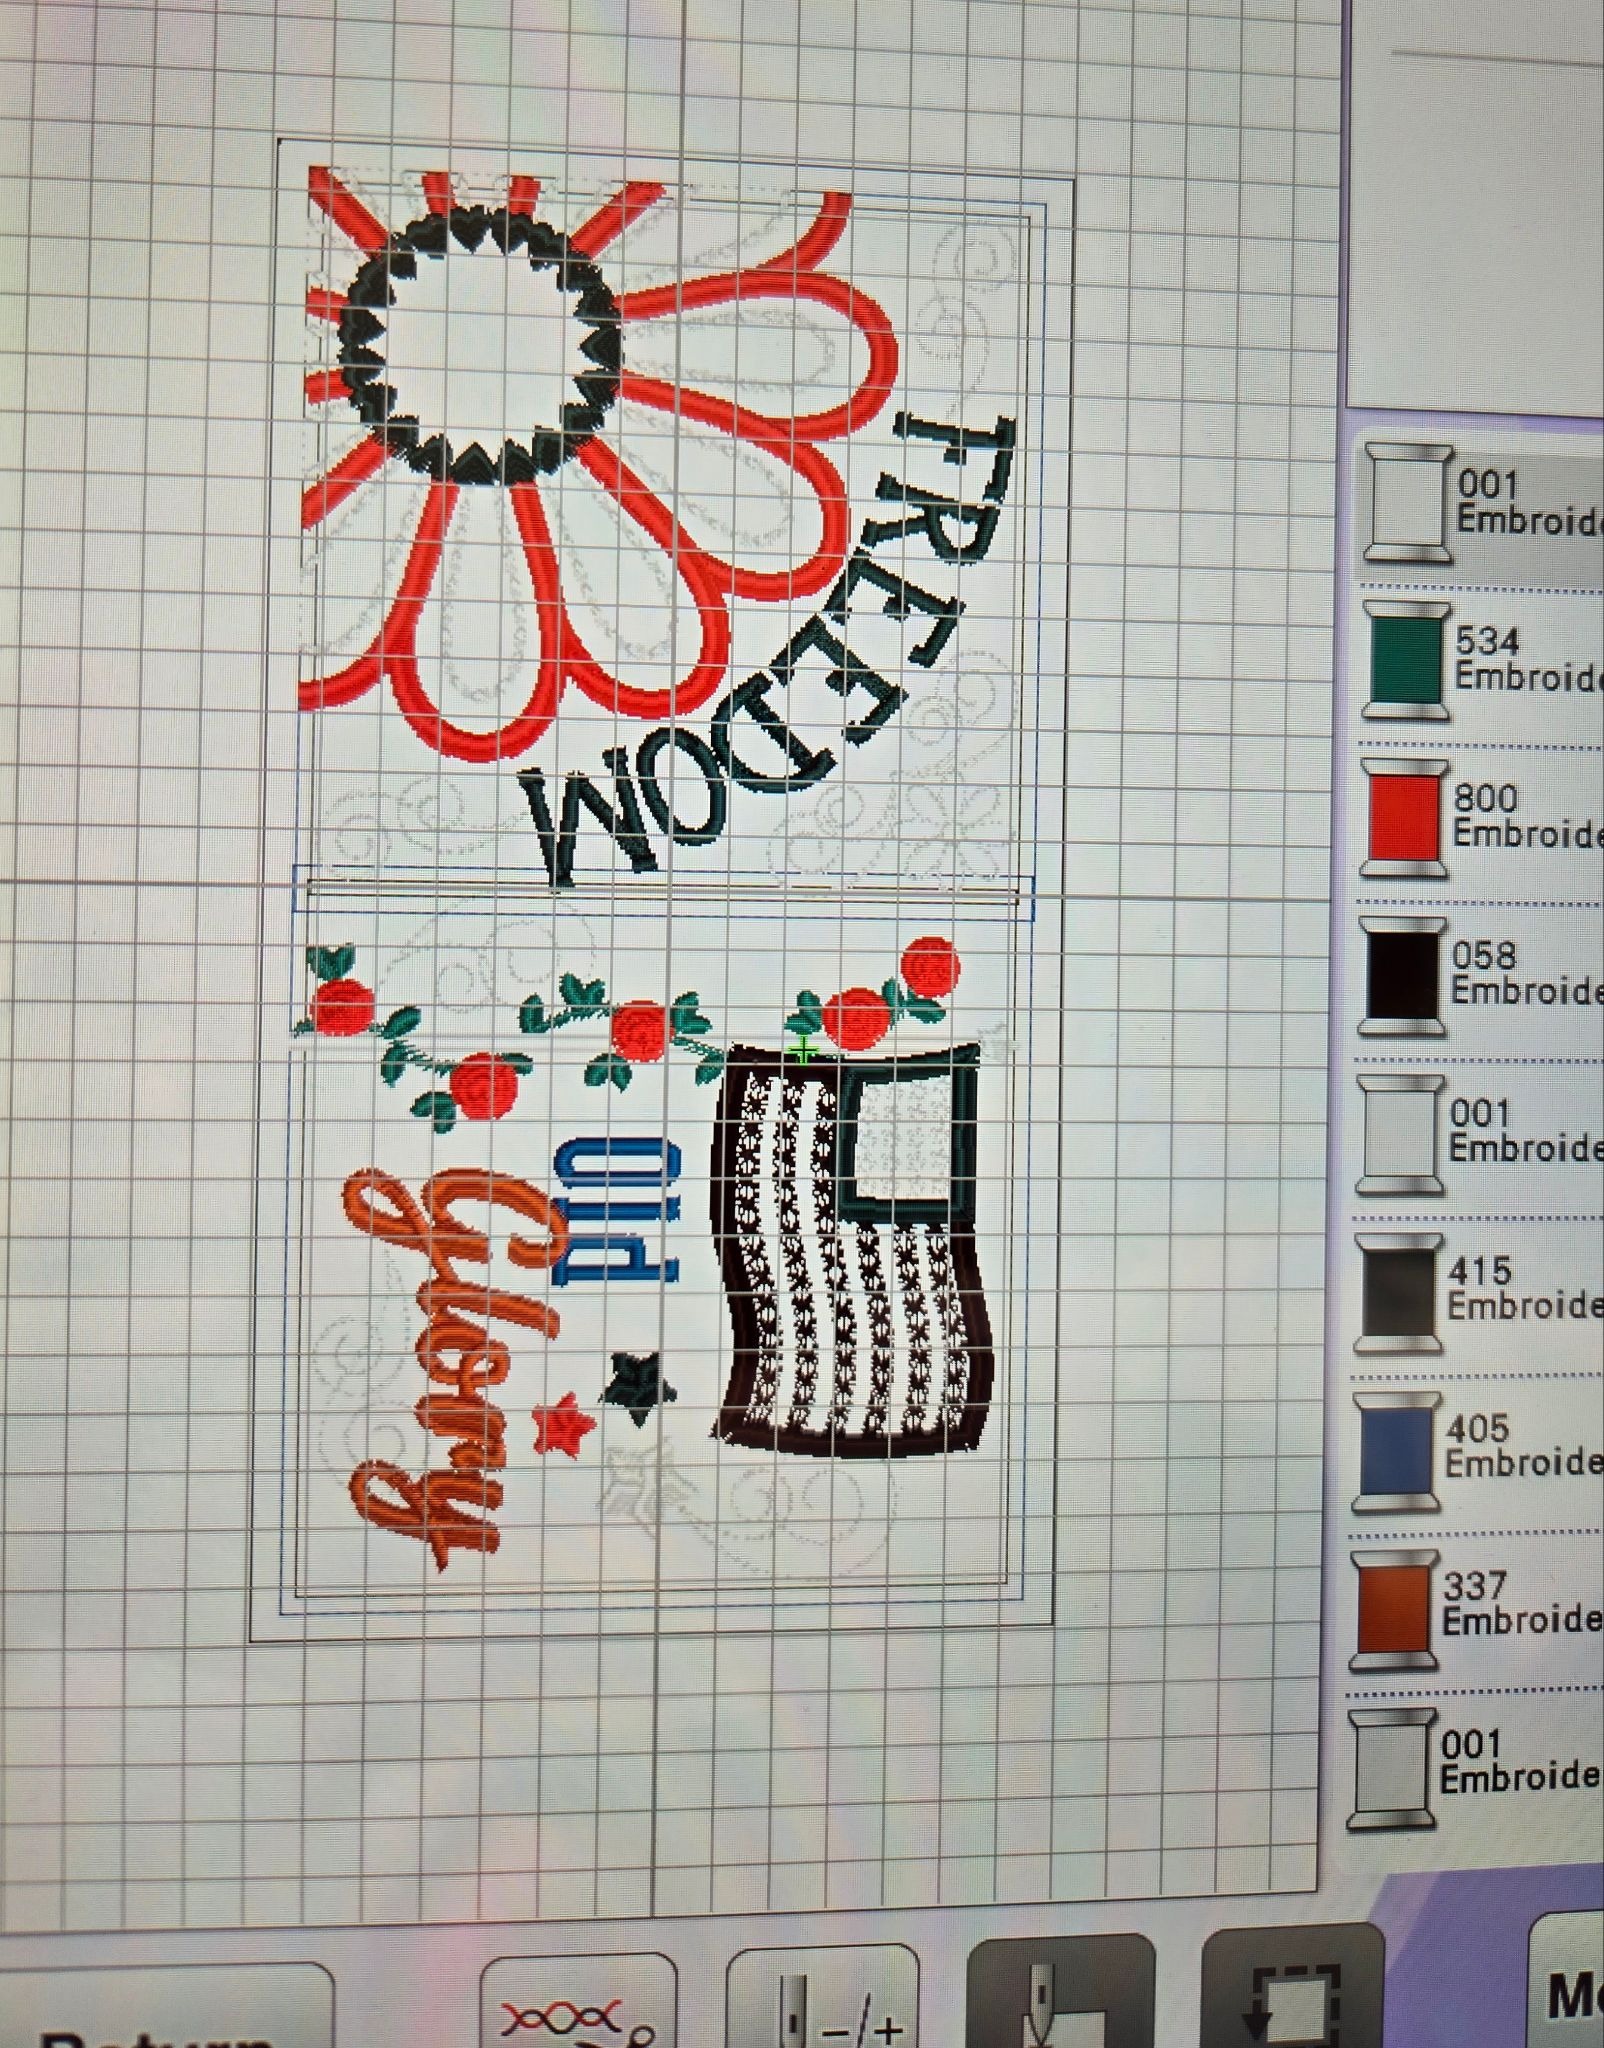
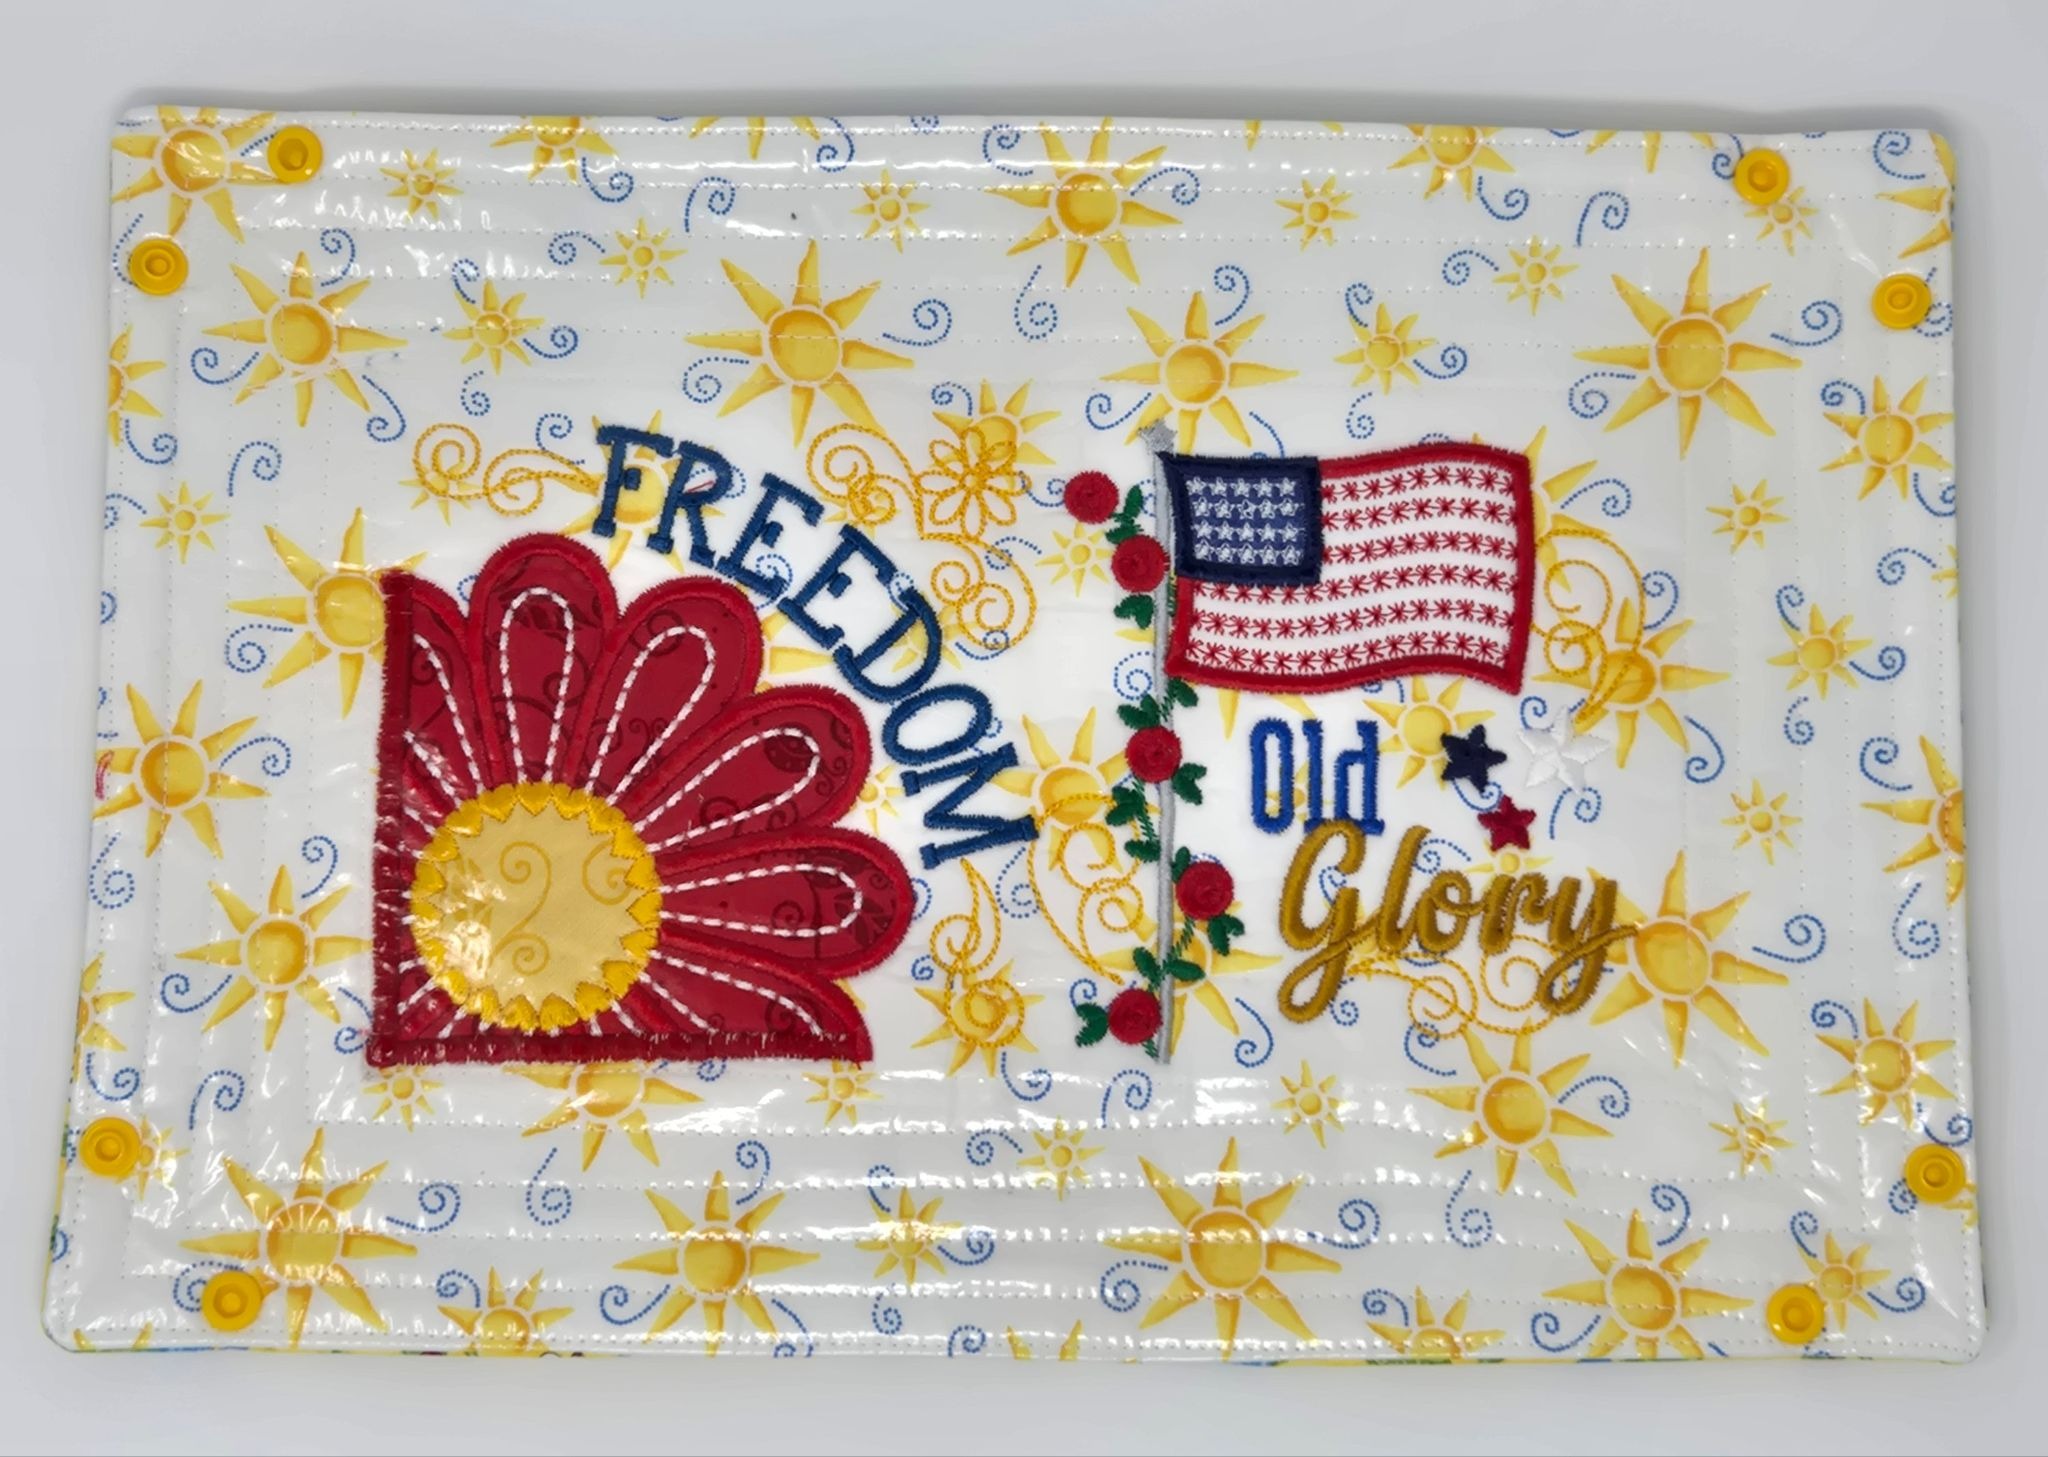
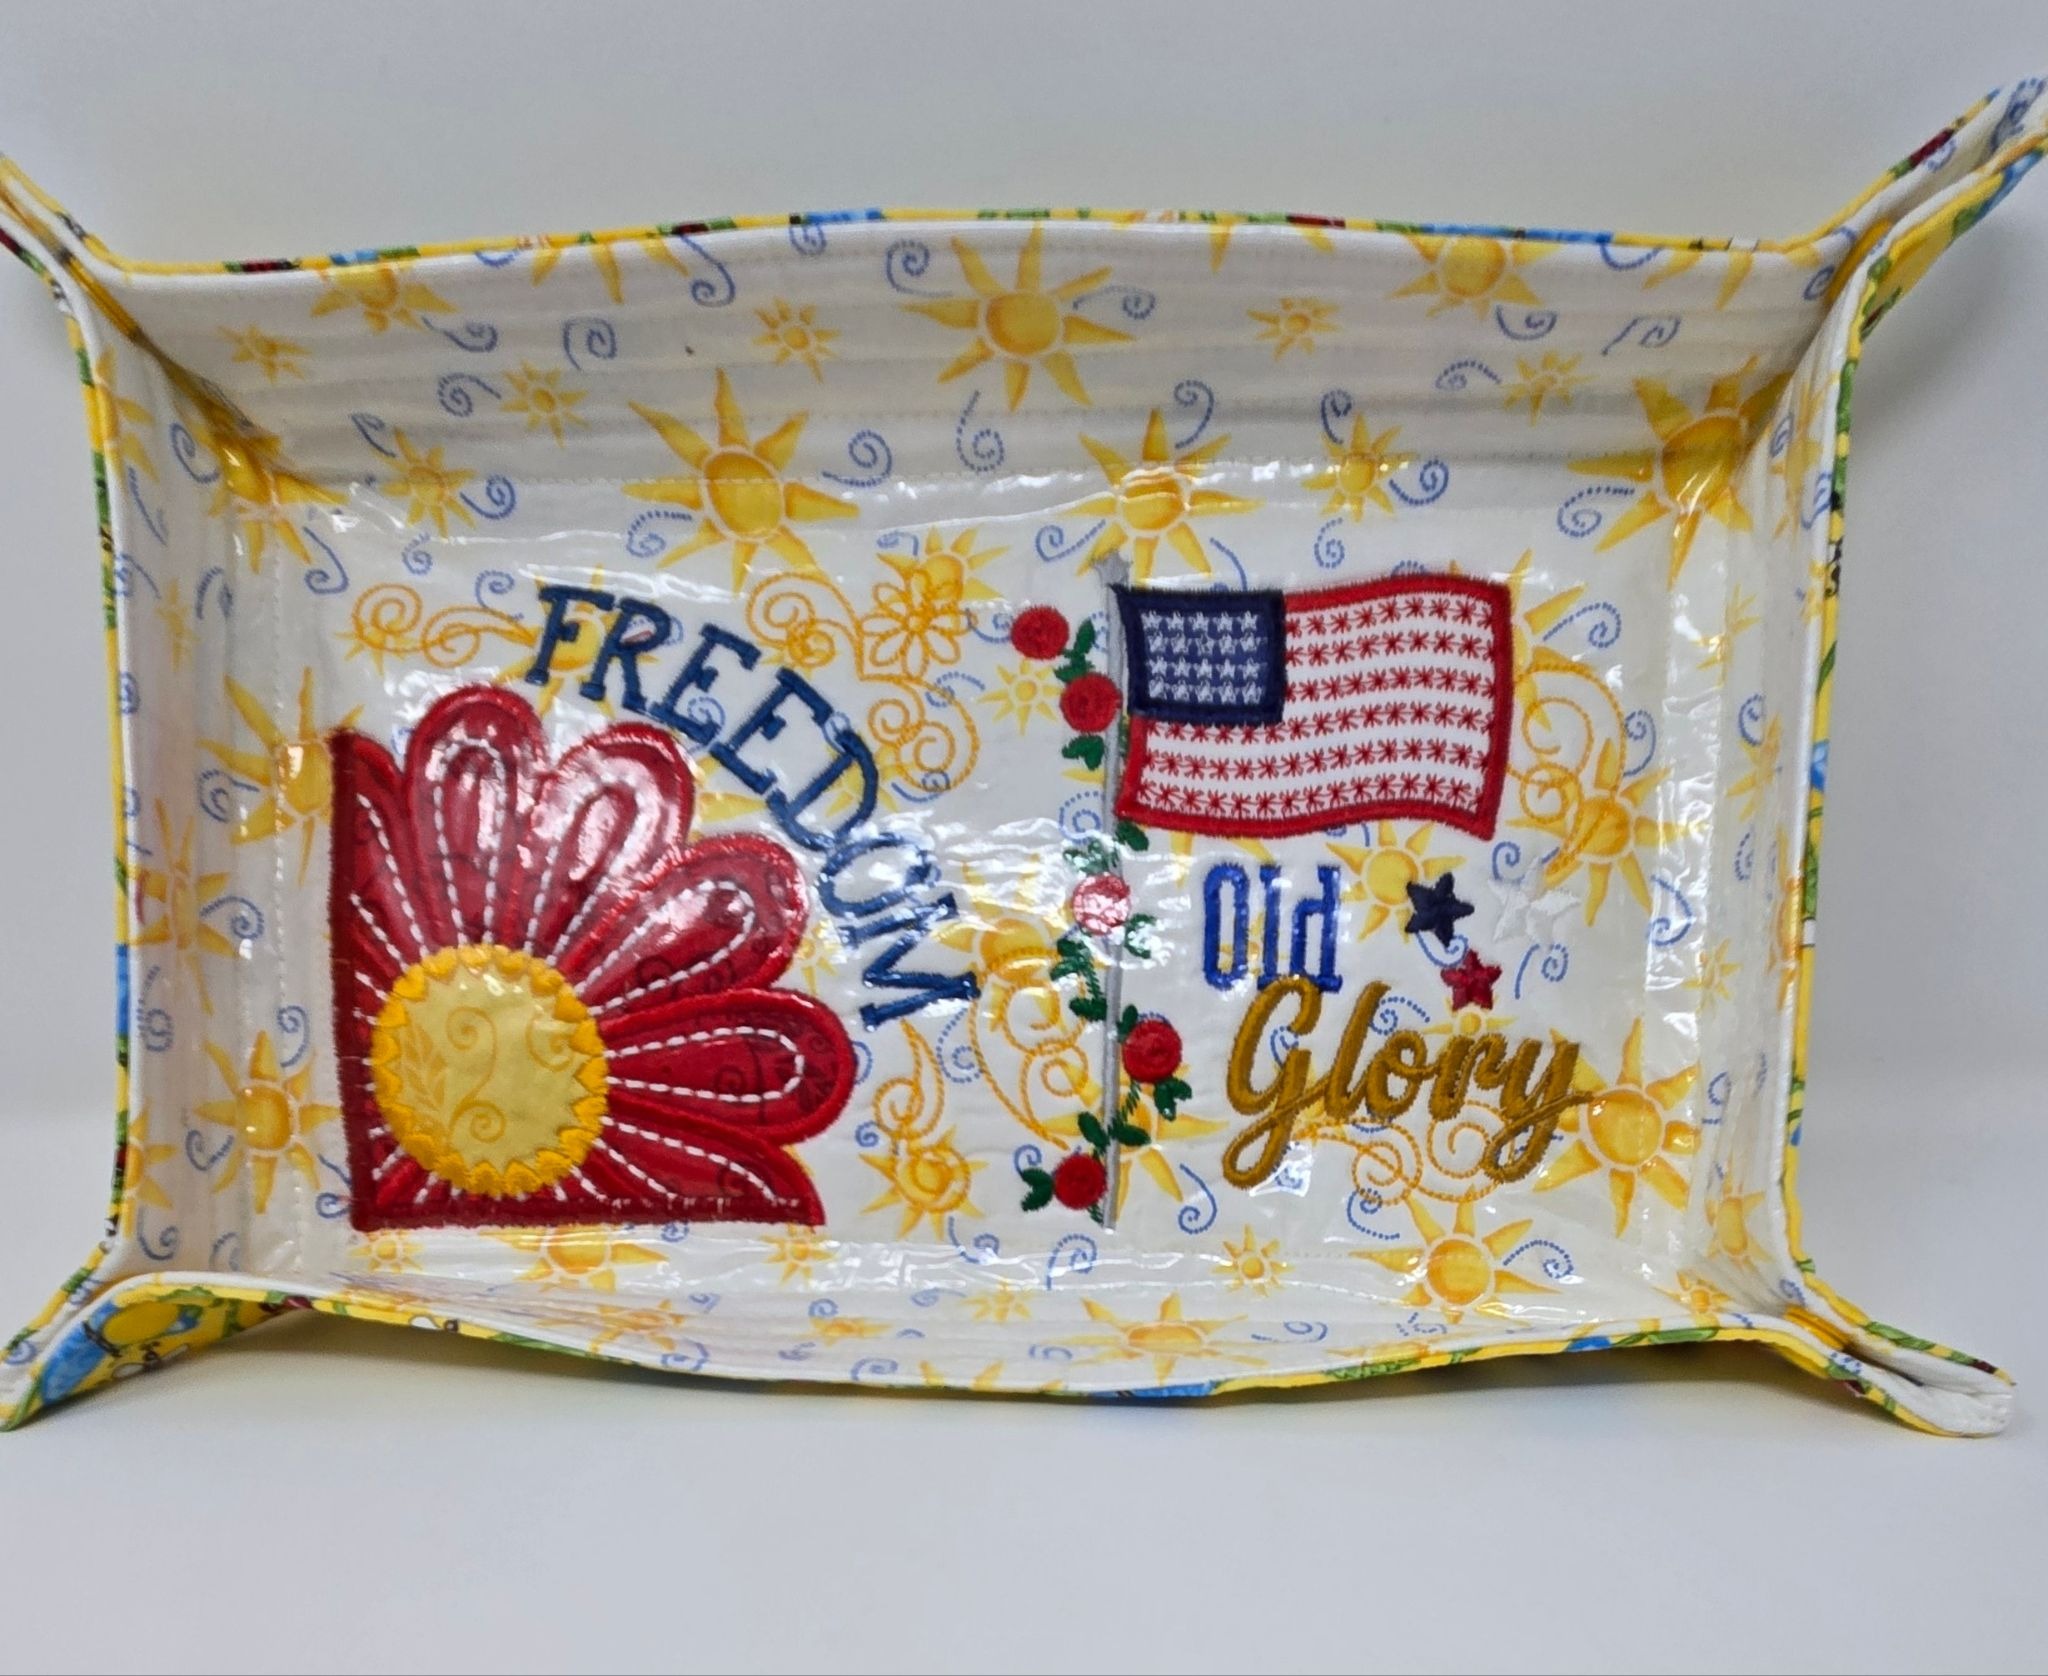
As I was making the squares above, I kept thinking about making a larger, rectangular one and making the sides taller. I took two designs—Freedom from Set 3 and Old Glory from Set 4—and added them both to my embroidery machine screen, then moved them until they were right next to each other. If you have software, you could do all these steps in the software, removing the unneeded parts.
Using my largest hoop, I hooped the magicMesh and cut a piece of fabric and loftySOFT batting approximately 13” x 17”. Center your fabric and batting over the hoop. Adding a basting box meant I didn’t need to hoop the fabric and batting. Embroider the designs, skipping the steps for placement and tack-down for background fabric, batting, etc. I did use a double layer of white fabric for the flag to avoid any show-through of the background fabric.
Continue embroidering until you have both designs embroidered, skipping the steps that aren’t needed.
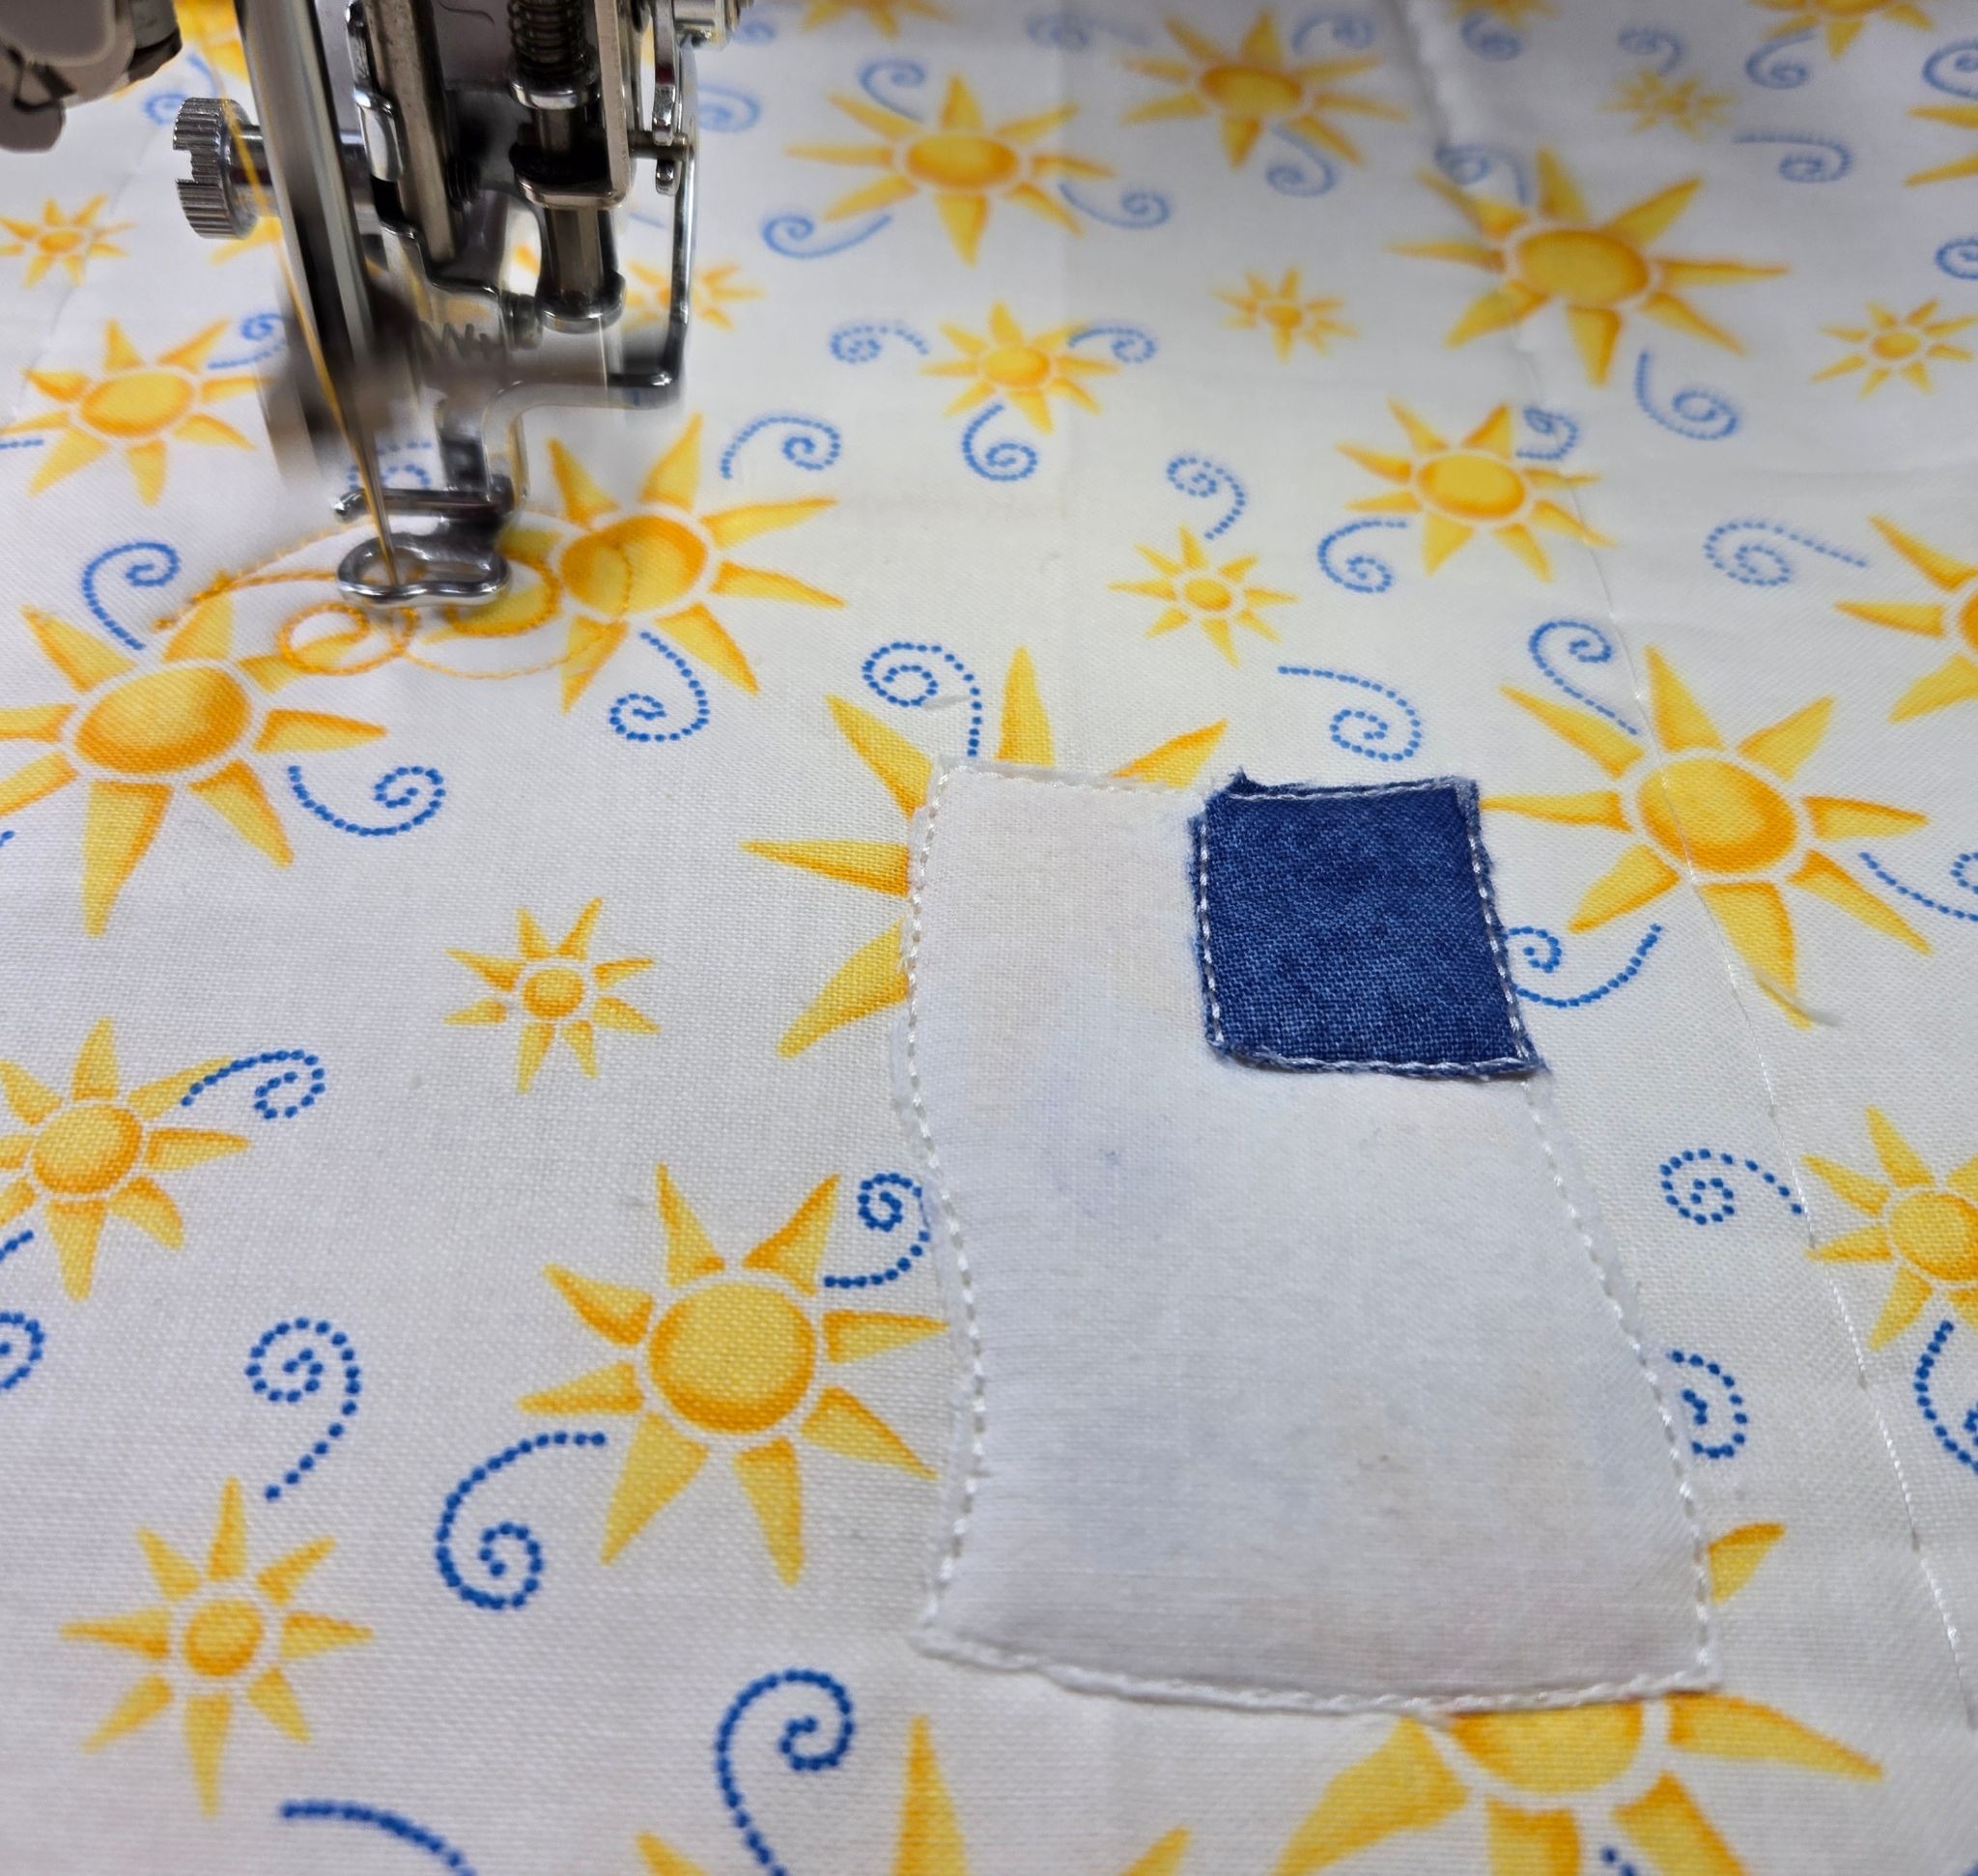
Since the left and bottom edges of the flower would normally be in a seam allowance in a quilt, I needed to take this to my sewing machine and run a satin stitch along these two edges to cover the raw edges of the flower. I trimmed the fabric 2½” from the basting box on all sides. Then, I removed the basting stitches.
I decided I might want to put small snacks for the kiddoes in this basket so I pressed iron-on vinyl to the top and cut a backing, adding fuseEZ to the backing.
With right sides together, I sewed around the catchall using a ⅜” seam allowance. Remember, there are no tack-down or placement lines this time. Leave an opening for turning, larger if you use iron-on vinyl. Clip all the seam allowances the same way we did for the square catchalls, and turn right side out. Press, but remember not to touch the iron to the vinyl!
Setting my stitch length to 3.5mm, I sewed ⅛” from the edge all the way around, closing the turning opening. Then I stitched ⅜” lines around the outside band until I reached the design, sewing on top of any holes left from the basting box.
This time I measured 1¼” from the corners and centered between the stitching lines for the snaps.

And voilà! Your larger, rectangular basket is ready for some goodies!
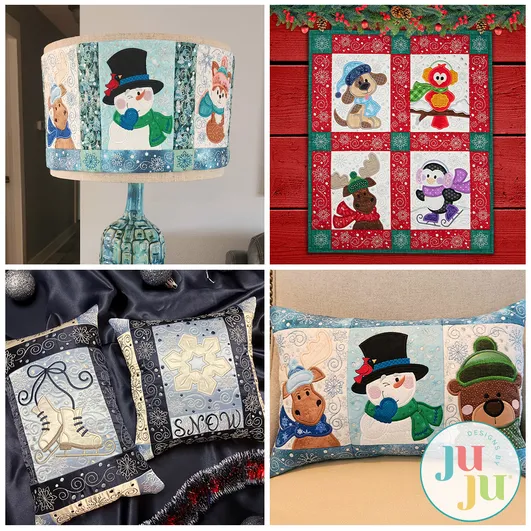
I hope I have inspired you to create some special baskets for your summer decorating! These handy catchalls can be made using any of the Designs by JuJu quilt designs. How about a winter one with the cute little penguin, moose, or snowman from the Build a Winter Wonderland Project in it? The possibilities are endless!
Be sure to share your projects in the Designs by JuJu Embroidery Blessings Facebook Group, or use the hashtag #designsbyjuju anywhere on social media. We all love to see what you create!