Toggle Nav
 Inspire.
Create.
Stitch.
Inspire.
Create.
Stitch.
Search

Create a custom embroidered photo album cover with this easy tutorial. Learn how to make a quilted fabric cover using machine embroidery designs to personalize your memory book for any occasion.
What is better than a photo album that you covered with embroidery designs? I love how easy this was to personalize to match my house. I also love how easy it is to personalize for any occasion or event in your life. I’ll show you how to make a cover to dress up an existing photo album you have. If your album is a different size, I’ll also give you some general directions on how to customize an embroidered cover for the size album you have.
Don’t forget to check out the Designs by JuJu Amazon store for the design team’s favorite supplies. And for stabilizers and batting, Designs by JuJu+ has everything you need.
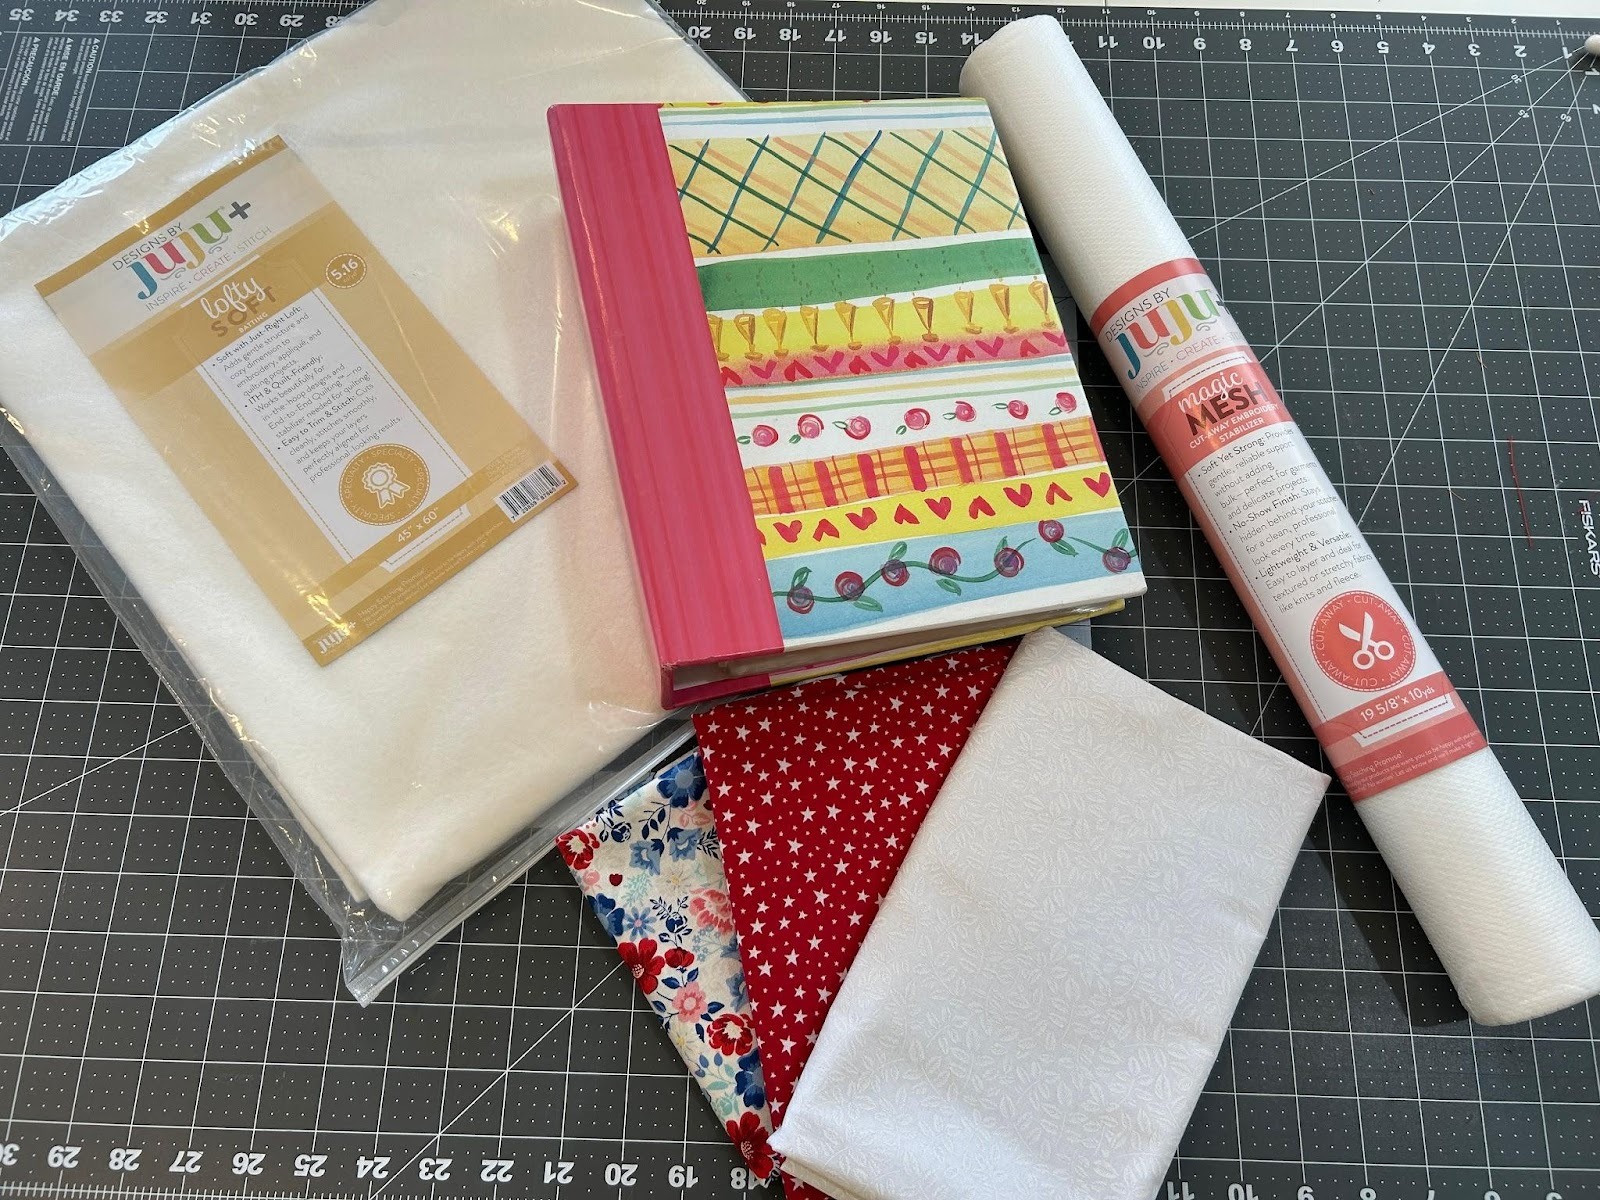
I will be using the Sewing Machine Block from the Star Spangled Stitches Set 1 for my center block. But it’s easy to swap out any 6” Quilting Backdrops style and add any design to it. If you’re making a photo book for all of your kids' baby pictures, check out Kids Word Art 3. If it’s a vacation album, try Vacation Word Art 1. Or a nice holiday book would look great with a Holiday Houses design. Apply the design of your choice to the center of a 6” quilted block and you’re ready to go.
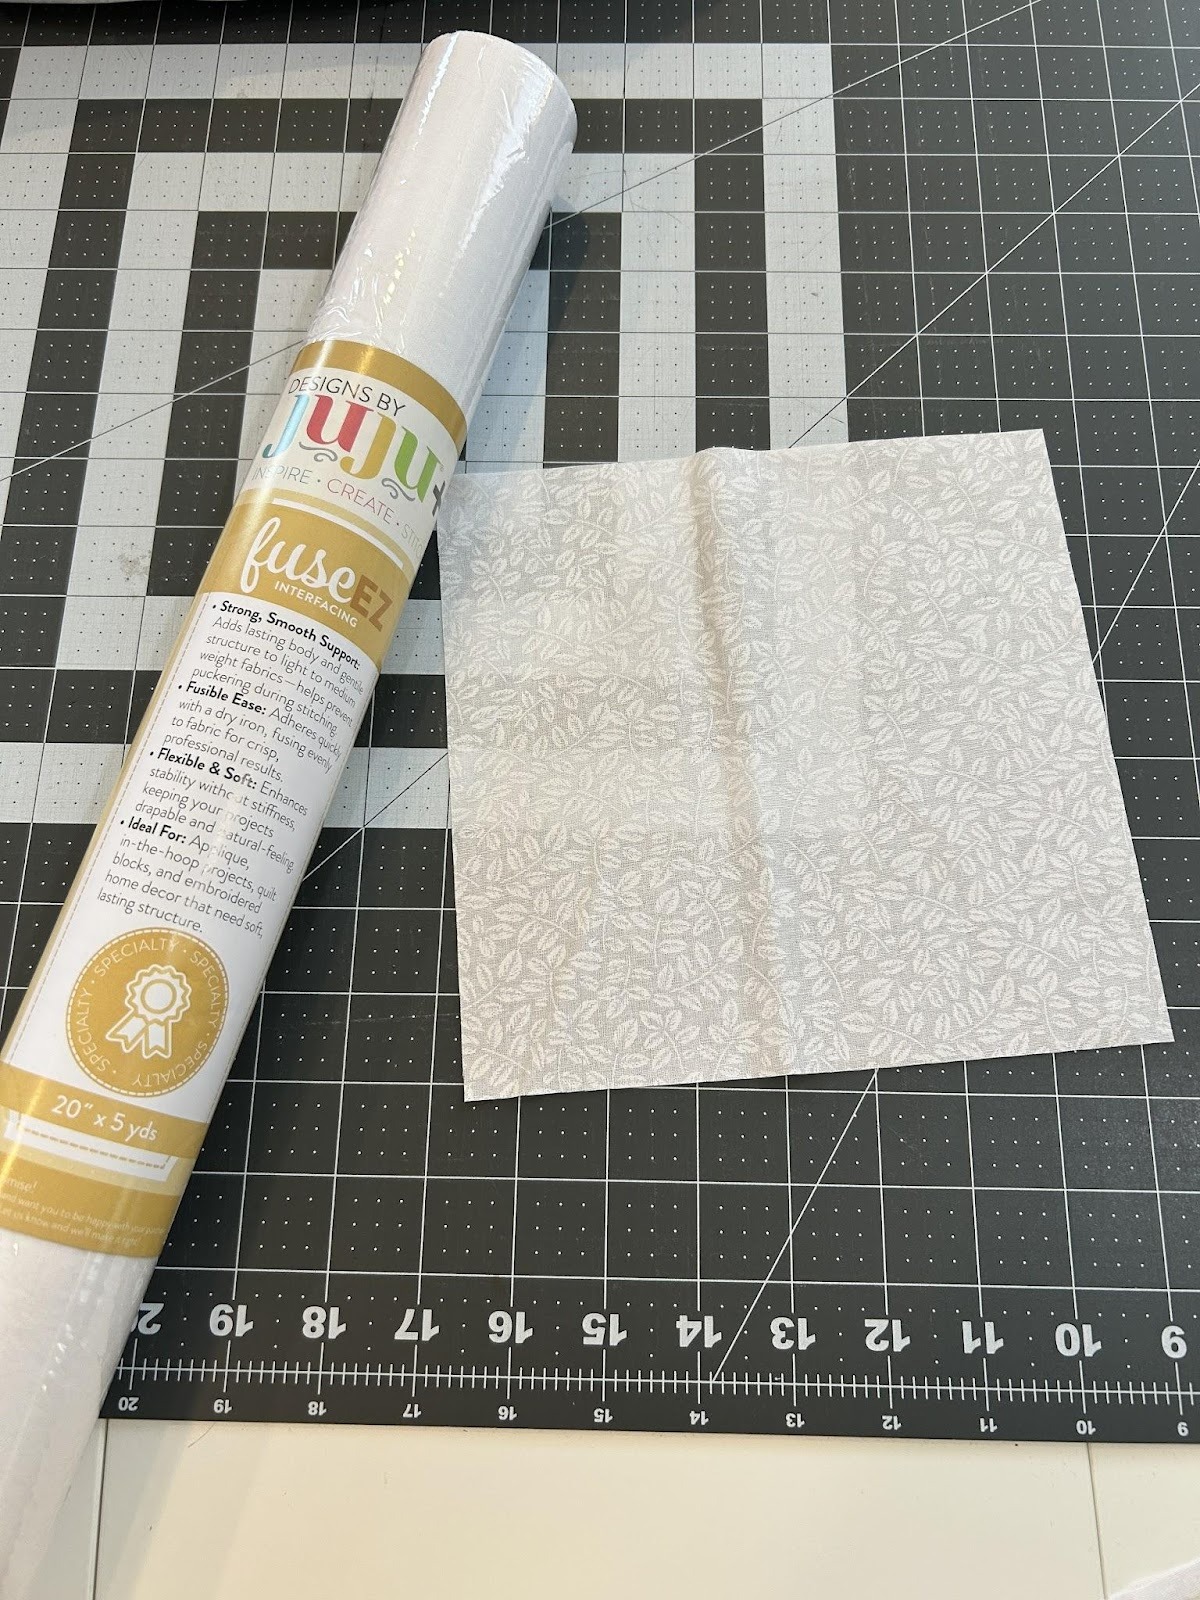
Let's start our books by stitching out the center 6” design. I used interfacing on my block because the fabric was a little thin. Fuse the interfacing to the wrong side of your fabric.
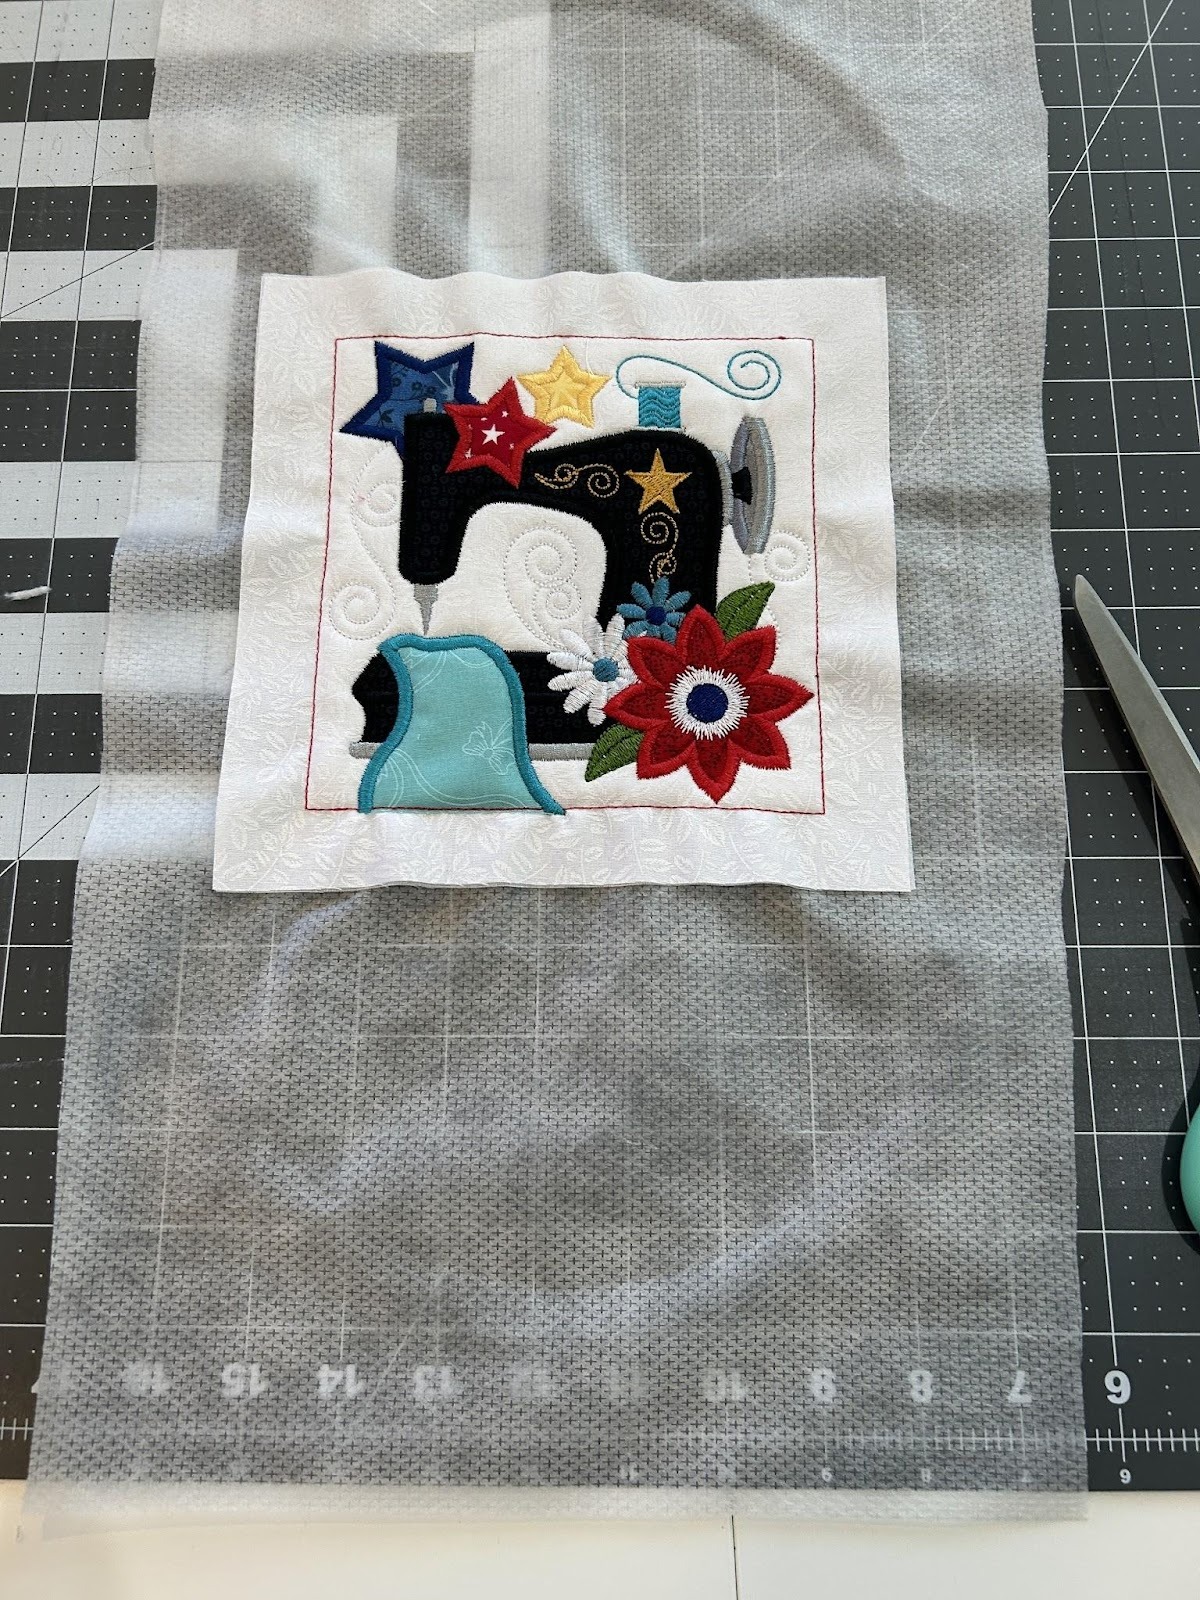
Then hoop your fabric with some magicMesh stabilizer. Stitch out your specific design.
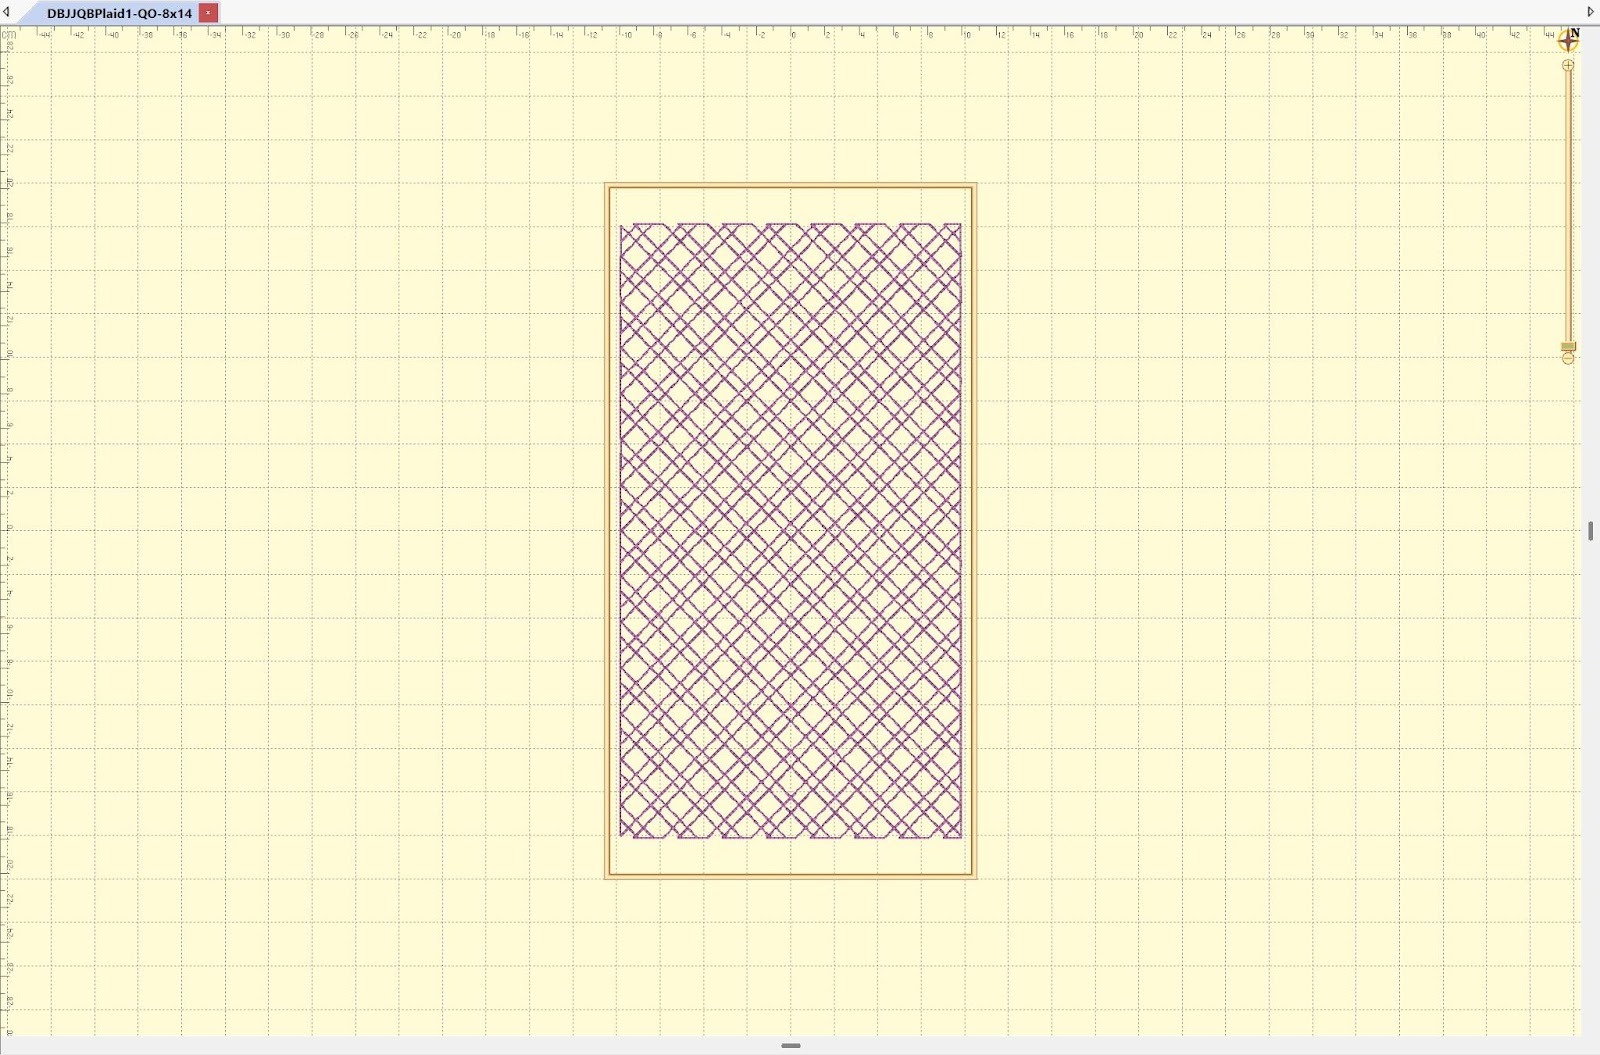
Then we will need to stitch out the panels for the rest of the book using the batting and fabric we have chosen. I’ll list the finished block size (the one you will download and load in your machine) with the fabric below. If you’re new to Quilting Backdrops, check out our post on how to use them: Quilt-As-You-Go Project Guide: Mini Quilt Using Quilting Backdrops.
MAIN FABRIC
CONTRASTING FABRIC
CUT FABRIC (these will not be quilted so set them aside for now)
*Note about the panels: There isn’t a 12x8 quilting block but there are hoop fillers under the Quilting Only files. I have a hoop in which I can complete this size in one pass, so that’s what I did.
I you only have smaller hoops, you can use any combination of sizes to make sure you have a 12” x 8” finished panel at the end. For example, if you have only a 6x10 hoop, you can do three pieces that are 4” x 8” and sew them together to make your back panel.
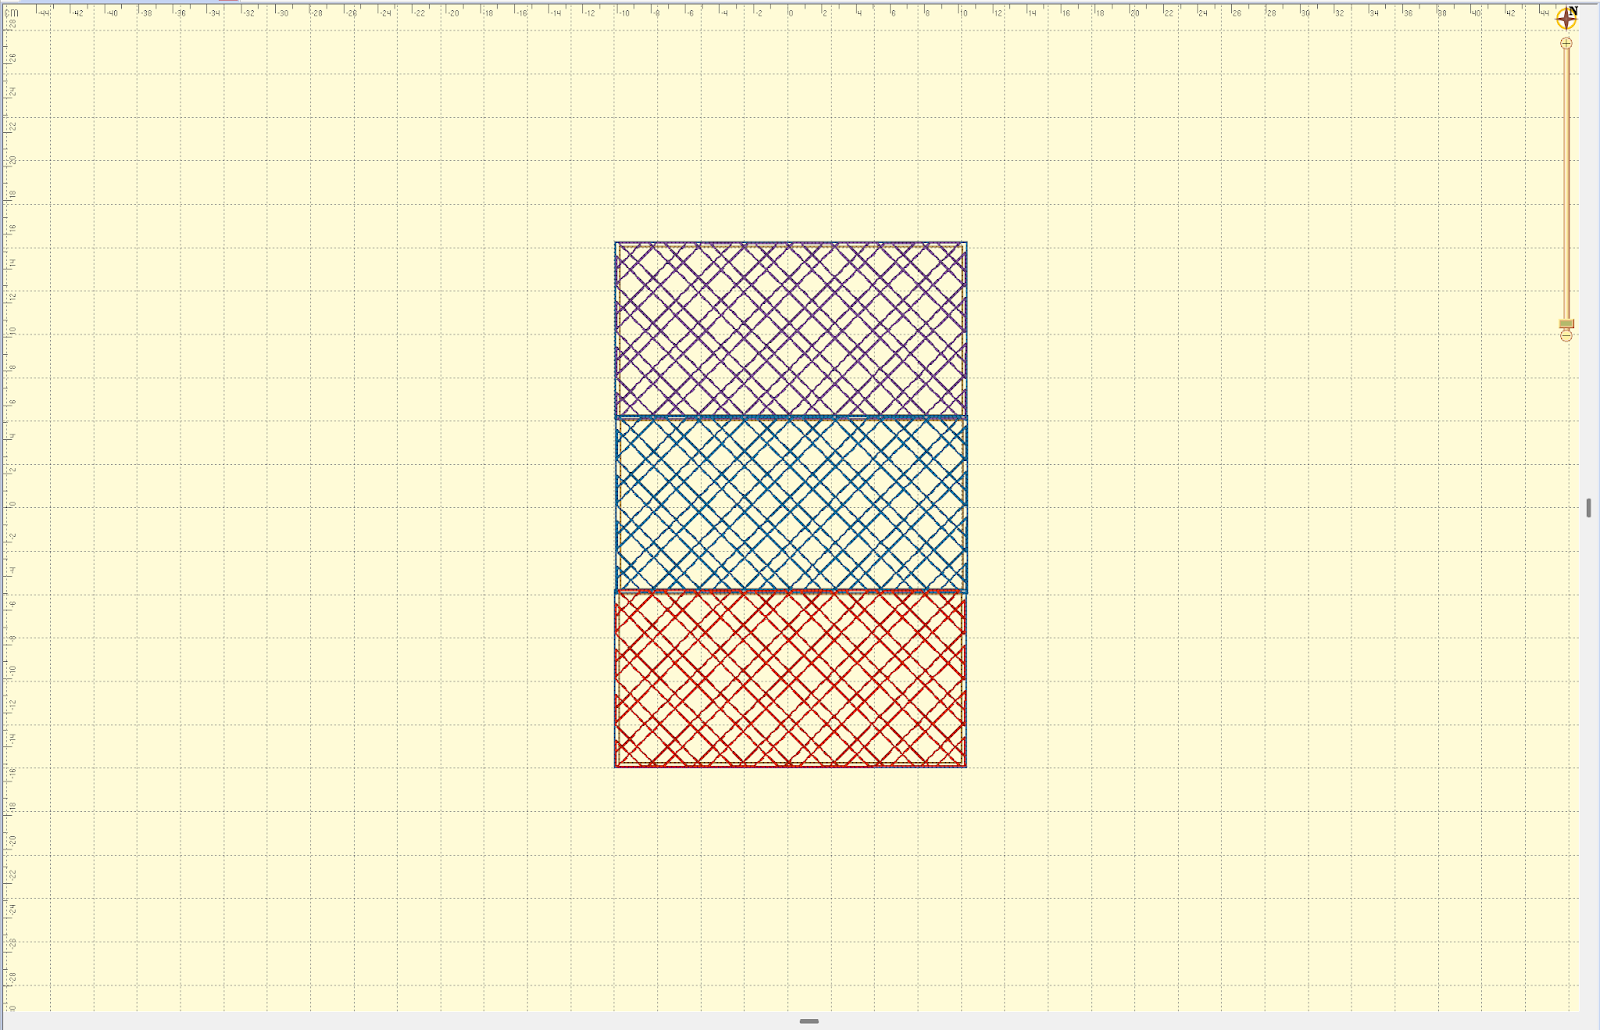
But our smaller-hooped friends are not excluded either. With a 5x7 hoop you can make six 3” x 7” panels. This will end up being a bit bigger than you need at 9” x 14”, but that’s okay. You can trim them down. So this bigger project is easy to do with even a small hoop!

When all of your panels and the center block are finished, trim up the stabilizer from the backs.
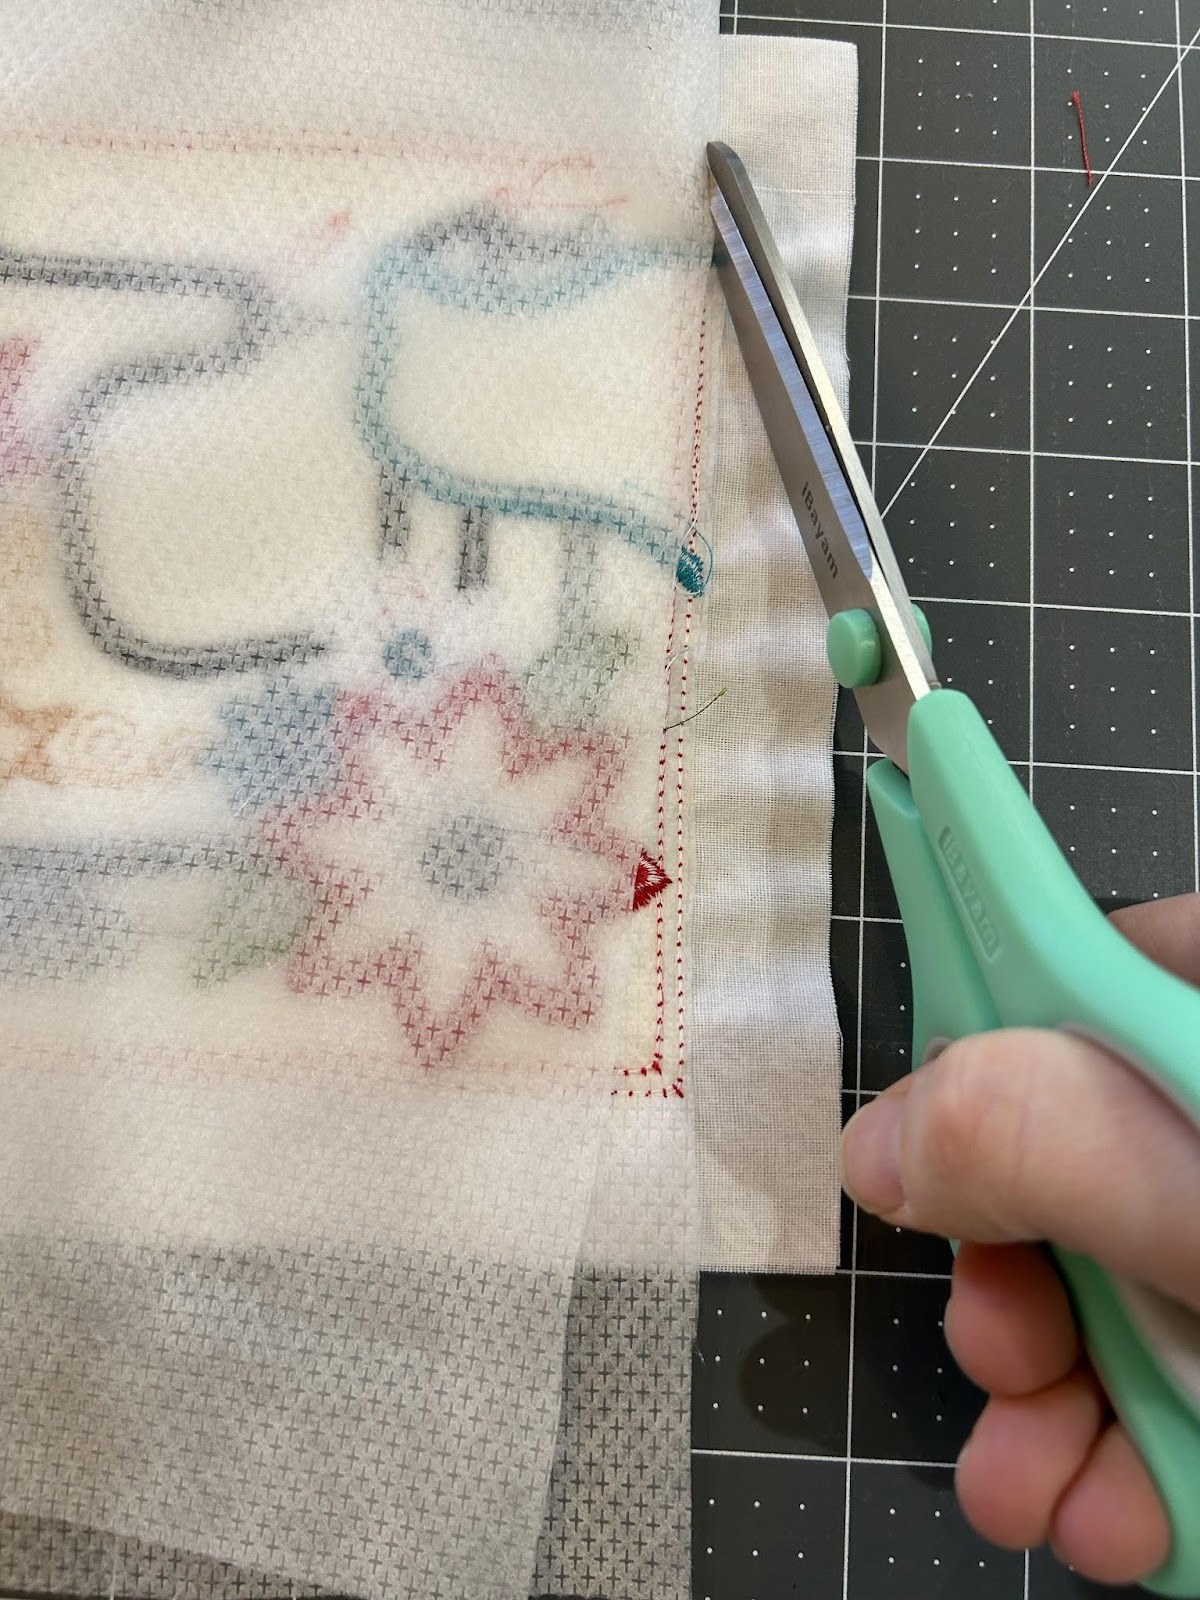
And then trim the fabric to ½” from the outer stitch line.

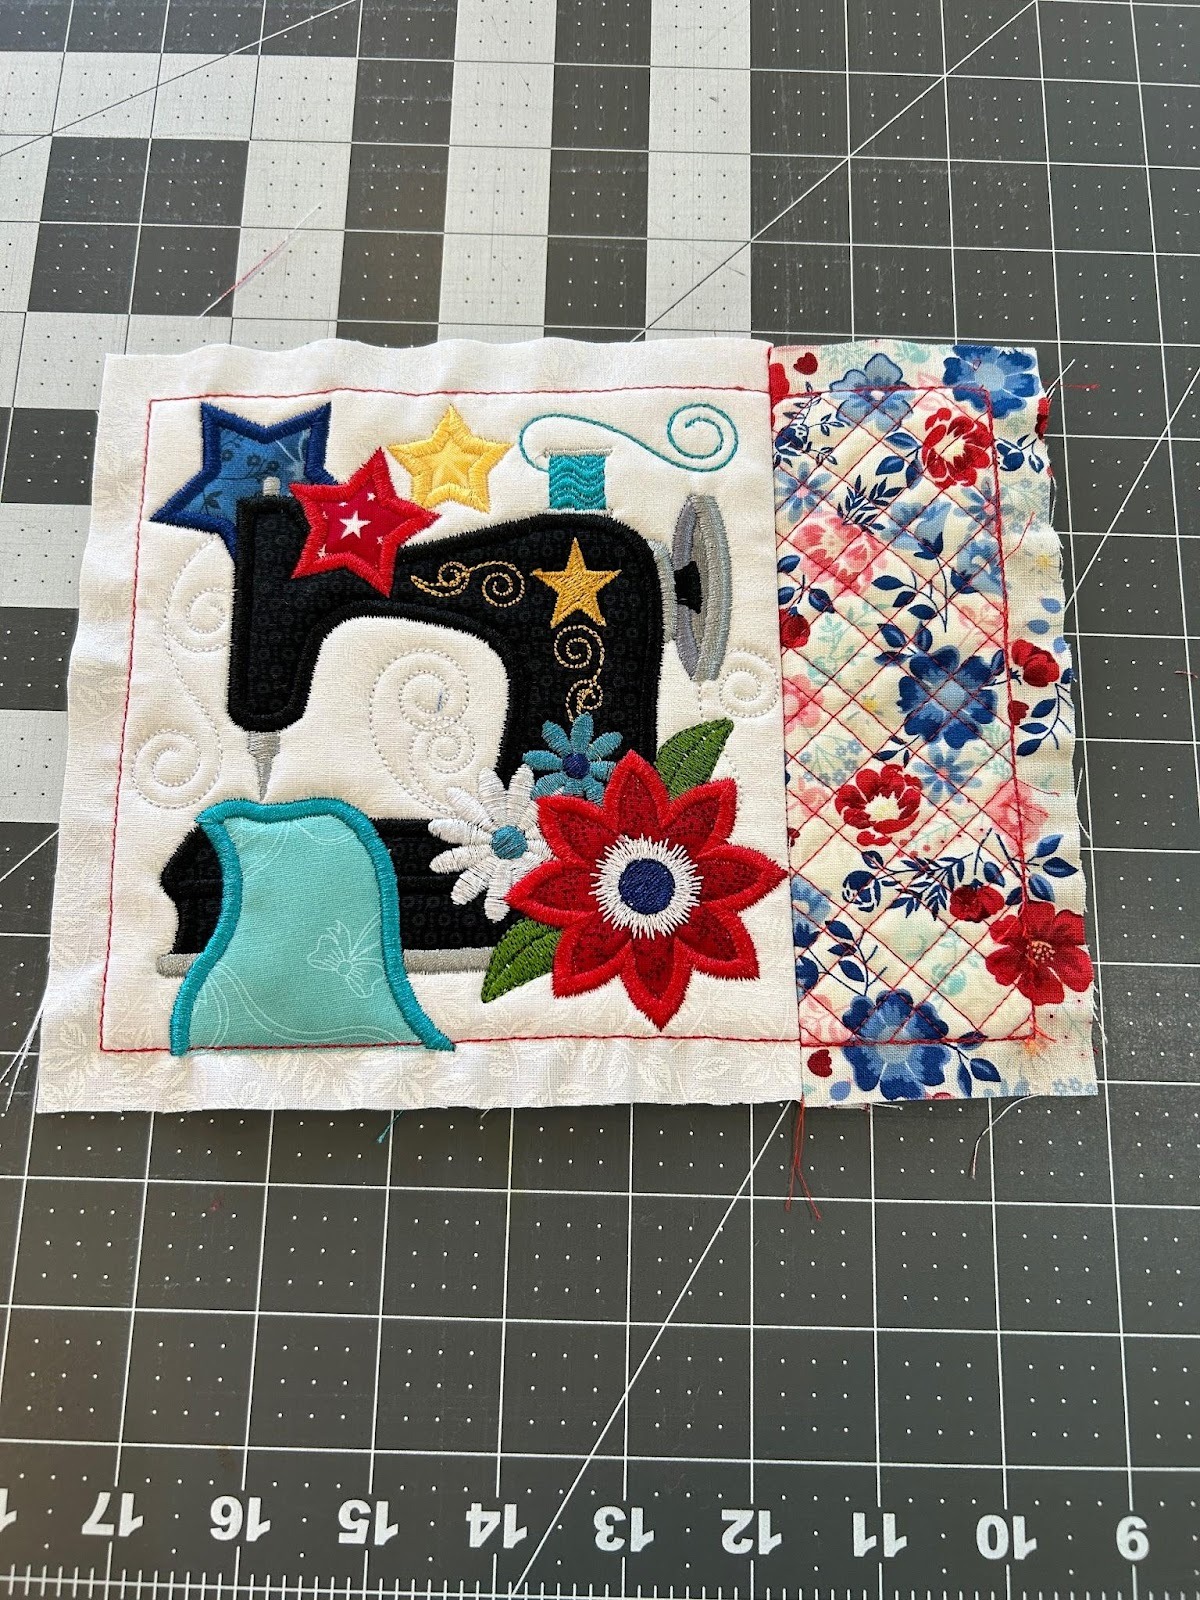
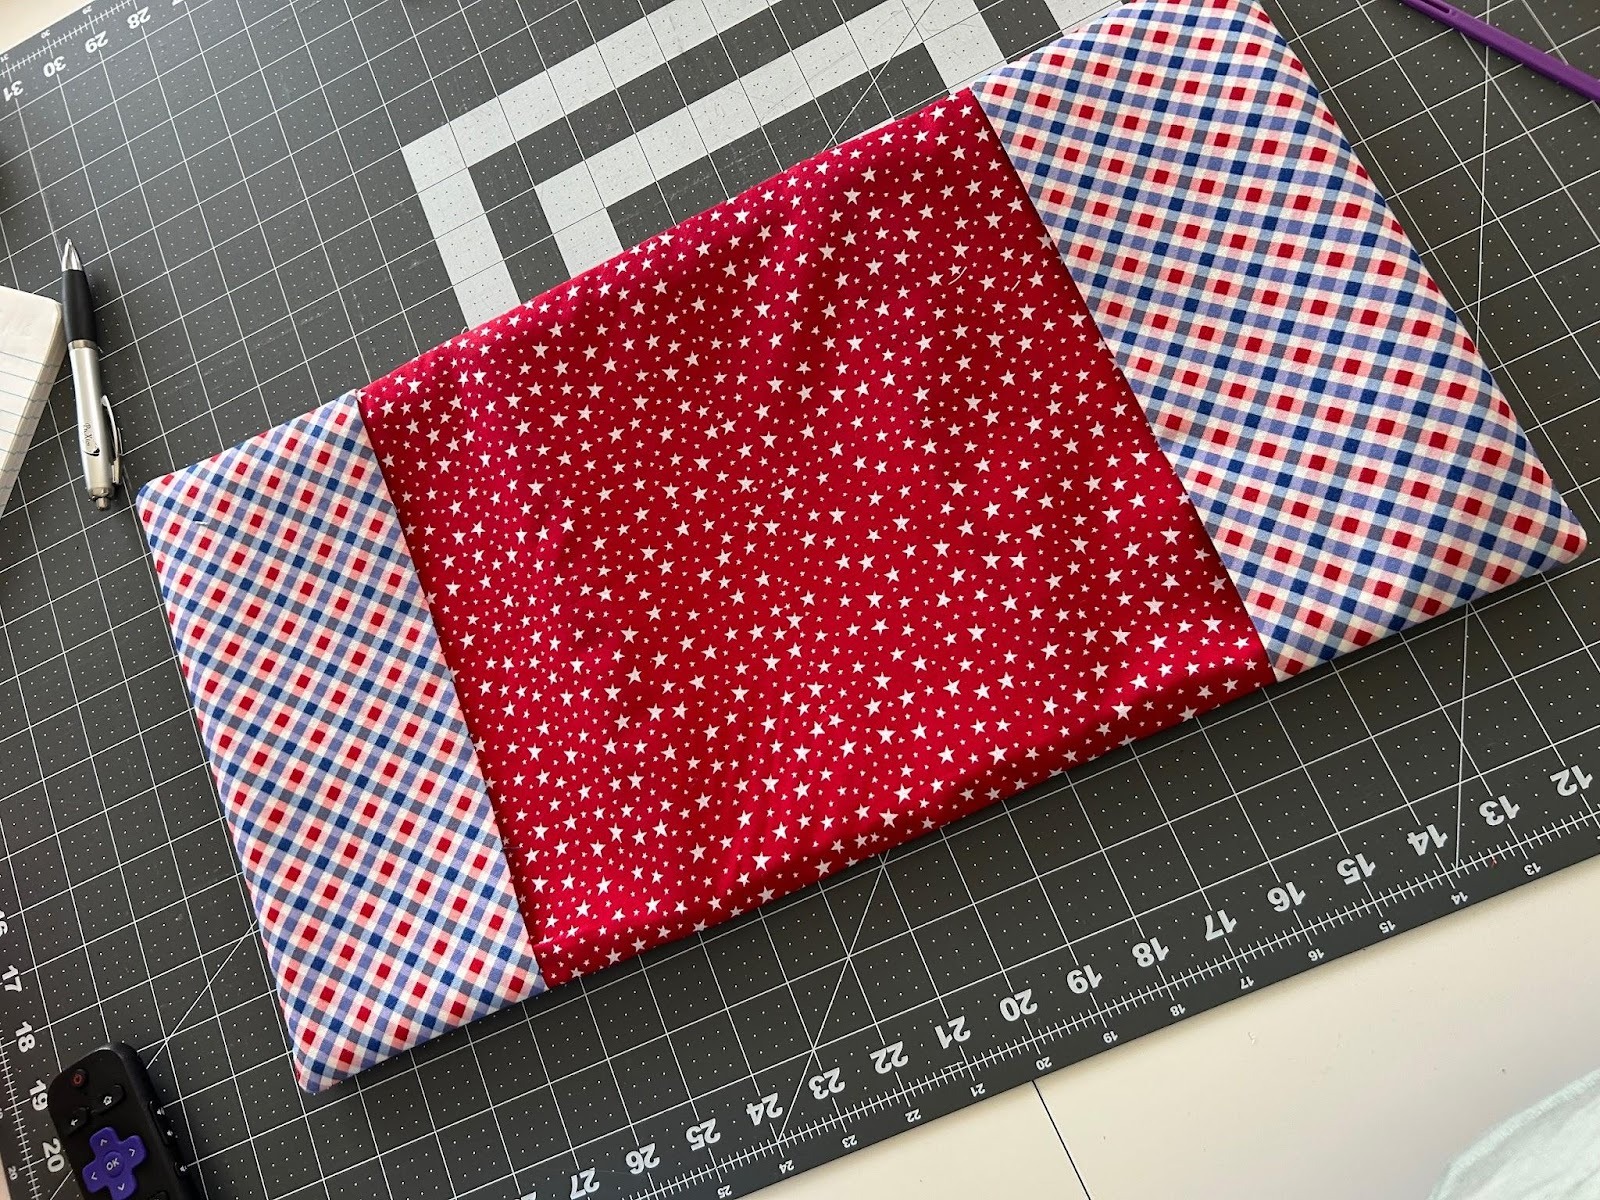
Now we will lay out the front panel. The center 6” design will have the smaller 2” x 6” panel to the right and the 3” x 8” panels on the top and bottom.

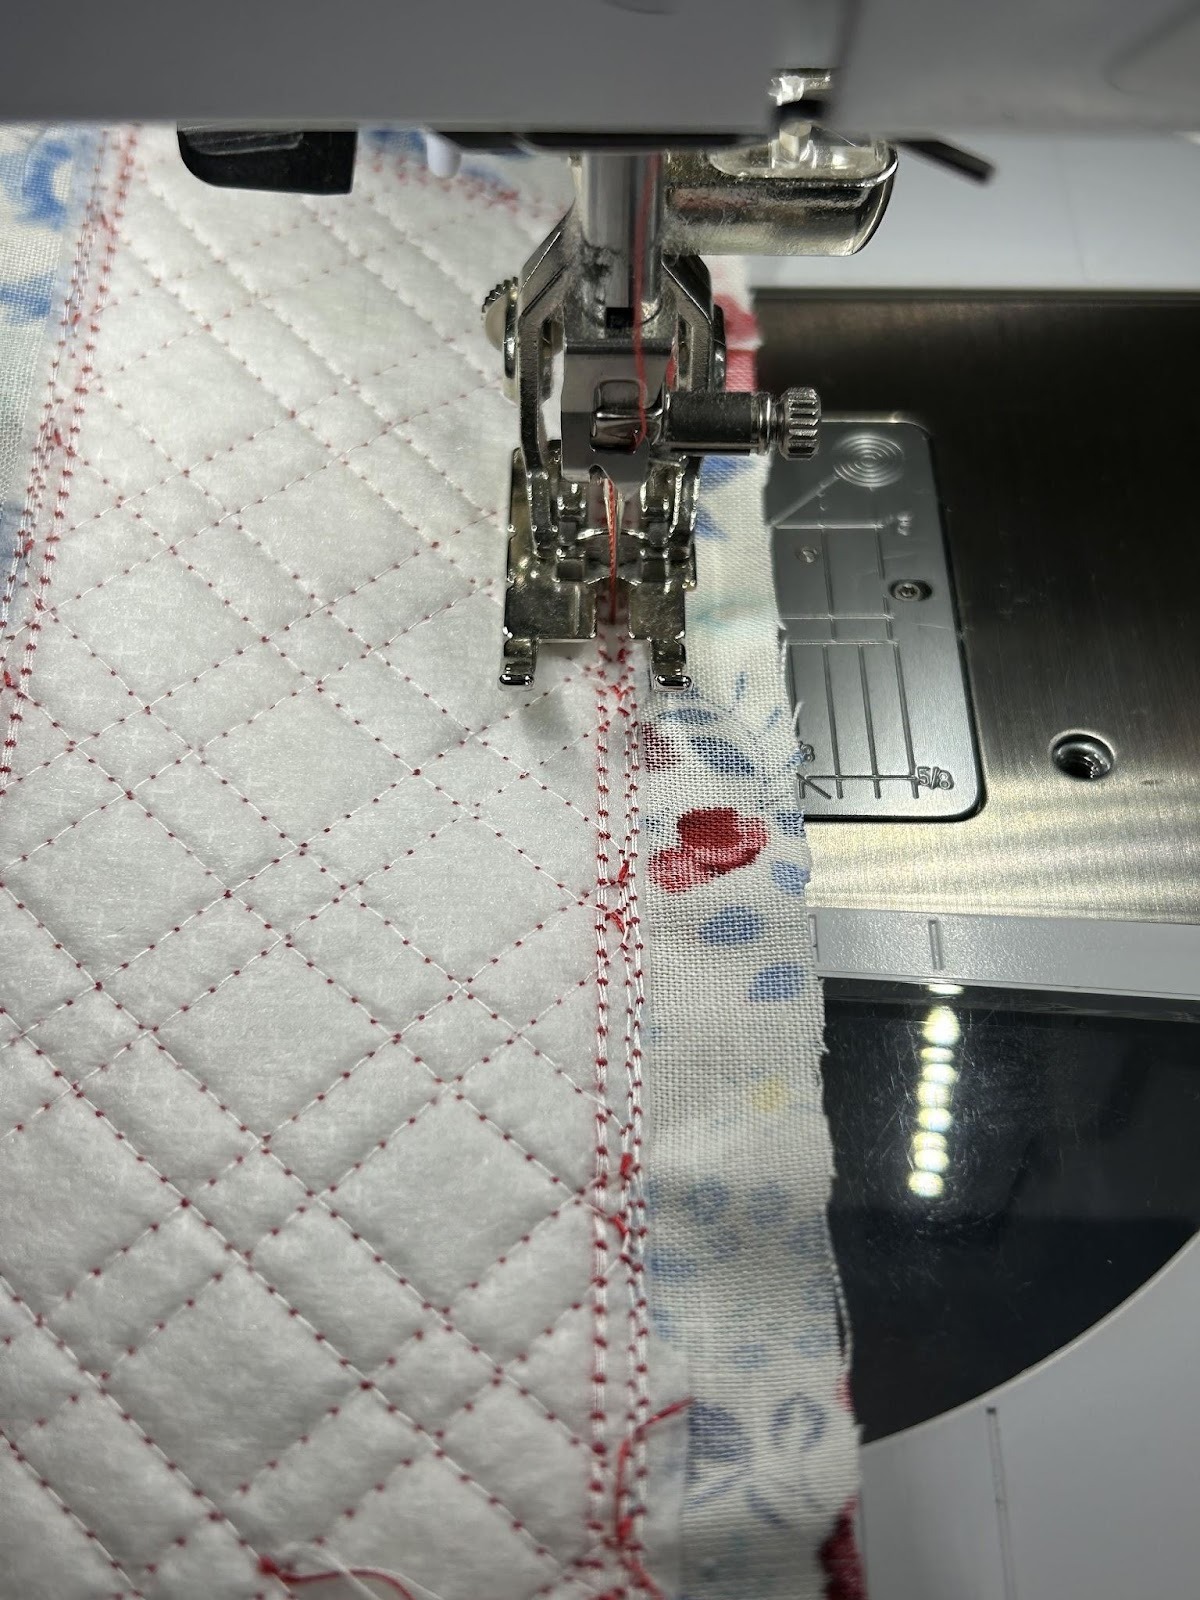
We will stitch the square to the side panel first. Place the two pieces right sides together. Line up the edges and outside lines and stitch through the “racing lanes”.
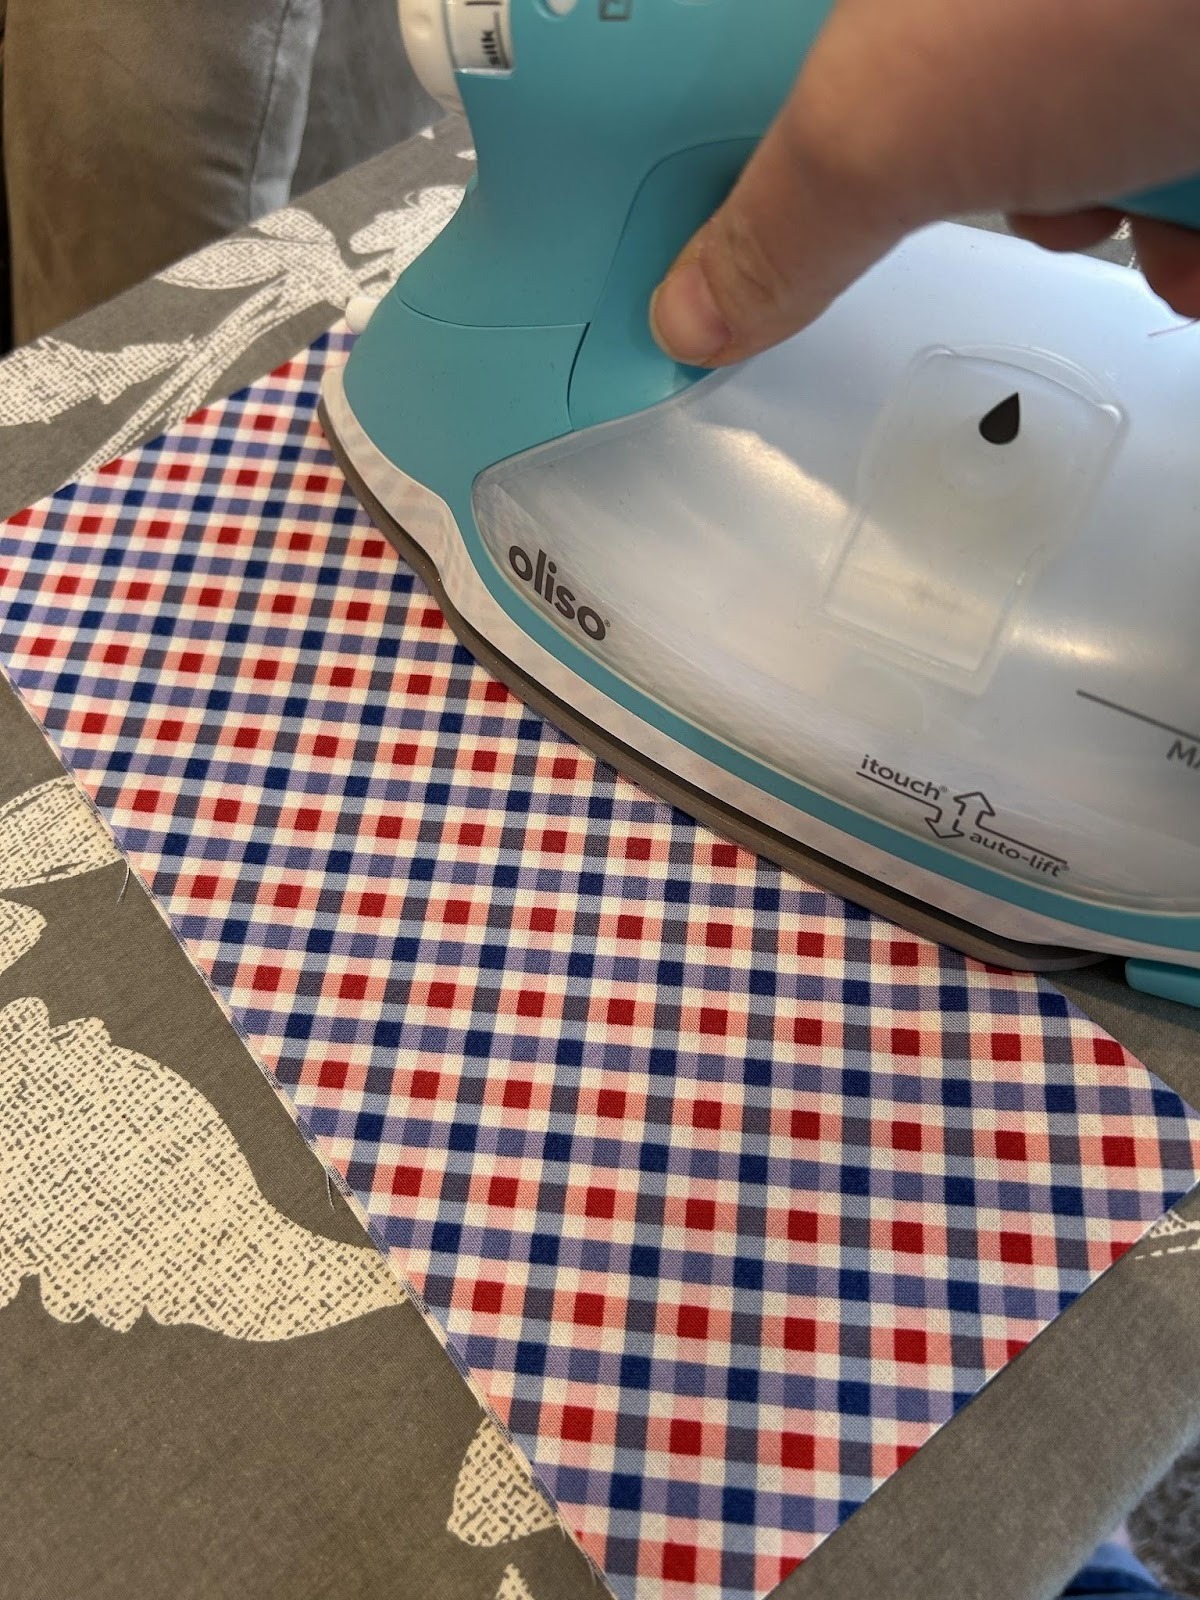
Using a pressing cloth, press your seams open.
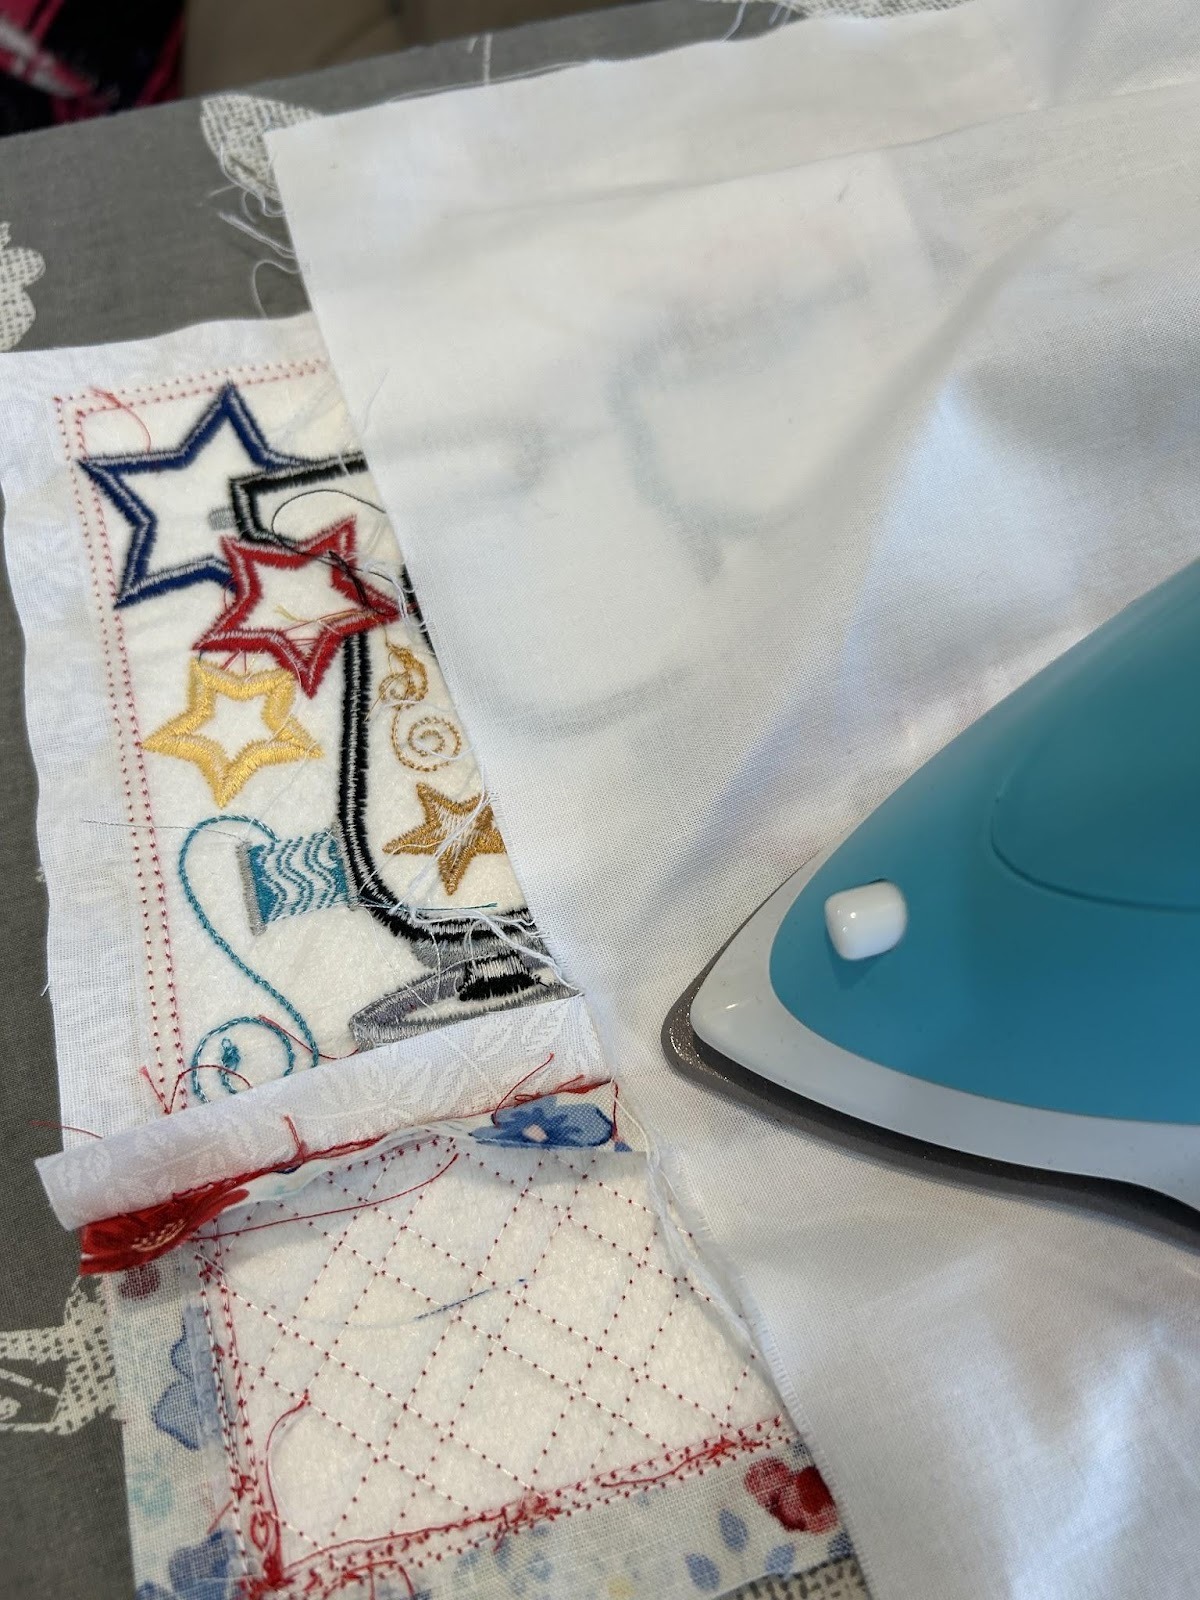
Here’s our finished middle piece.
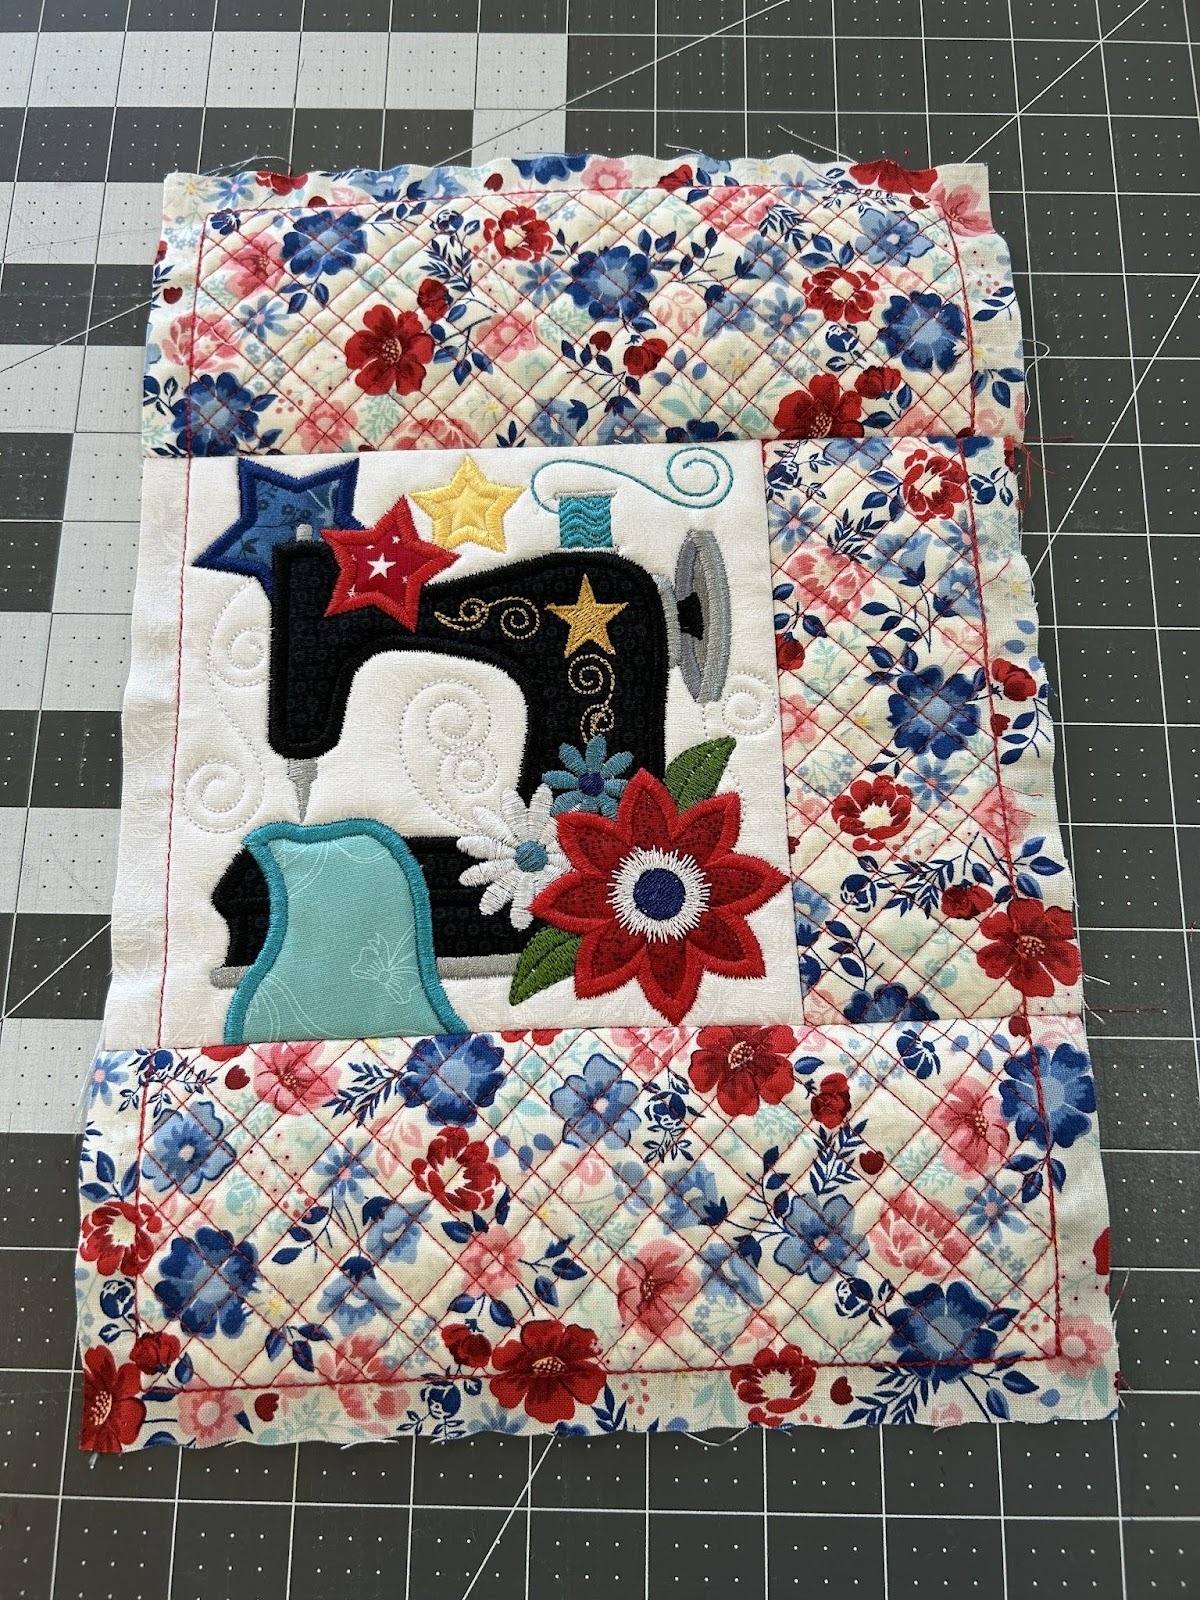
Then we will add the top and bottom panels the same way.
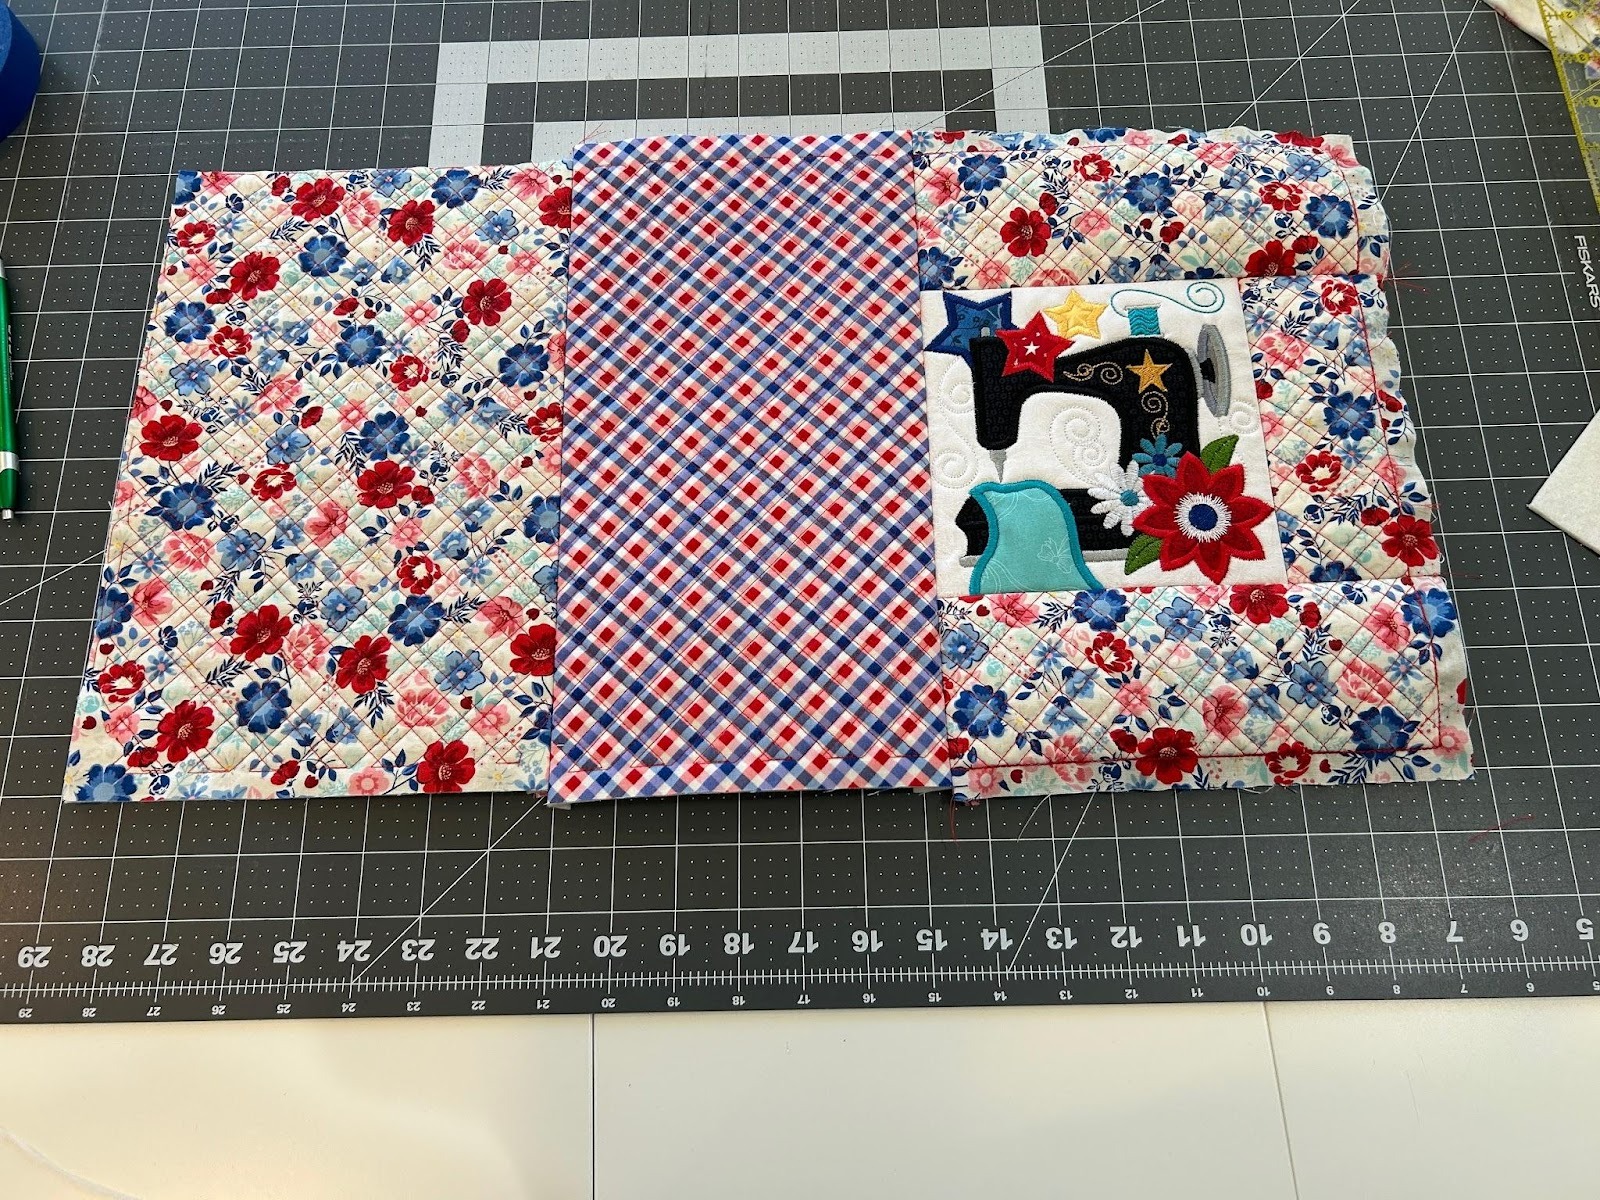
Now we are going to attach the spine piece to the left side of the front panel. If you used a bigger hoop and filled more space than you needed, or if you used a smaller hoop so that you could piece together your spine, just trim it to 12” x 7½”. It’s okay if you cut through the decorative stitches.

Then attach the back panel to the spine. Use the whole 12” x 8” piece here. We will trim it to fit later. Press your seams open.
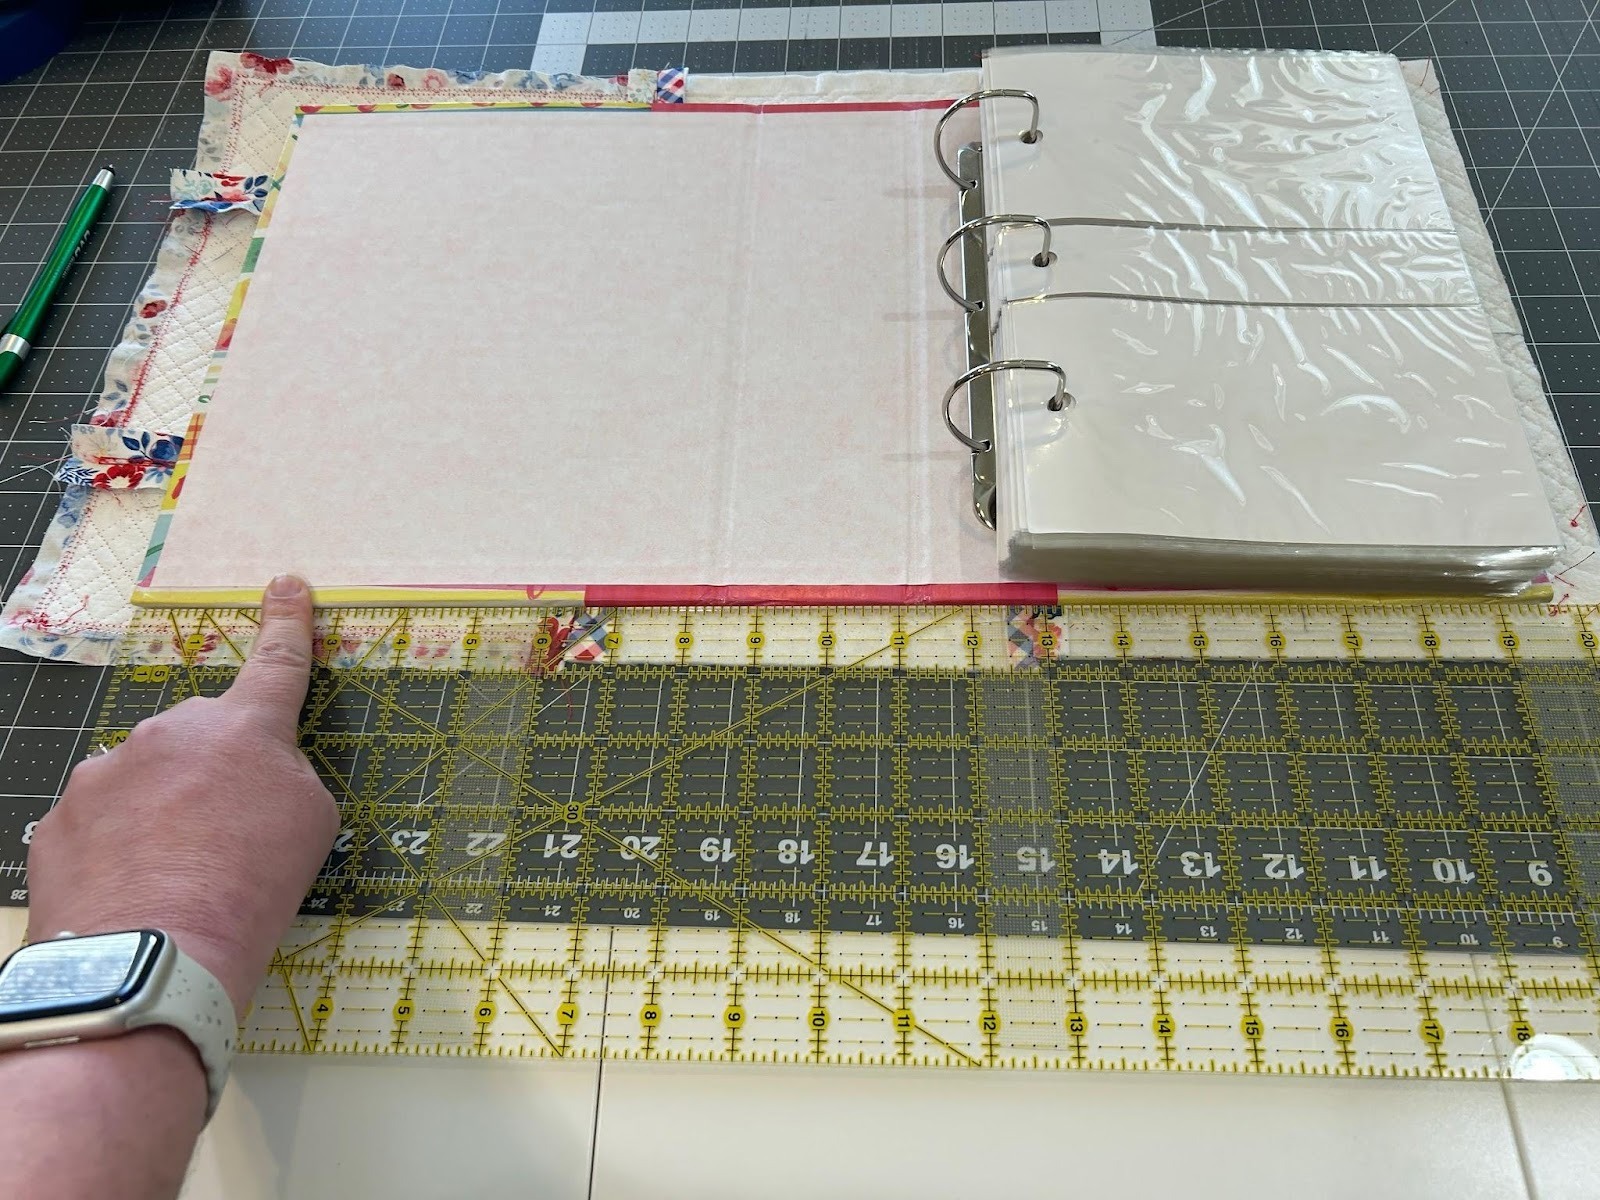
Now that we have the outside cover done, place the photo book on the cover. Every book is going to be just a little bit different in size. The cover is a bit oversized at this moment so I’ll show you how I made mine fit my book perfectly.
I measured my open book. Mine measured 19½” wide by 10” tall.
Fold your cover in half, right sides together, so it’s like a closed book. Line up the spine seams with each other. This helps center the spine on the book in case your back panel is larger than your front. Now we will divide the 19½” width of the book in half and add a ½” seam allowance to each end, making a total width of 20½”. So we will measure 10¼” from the center fold to each end and draw a line there. Don’t cut on this line yet.
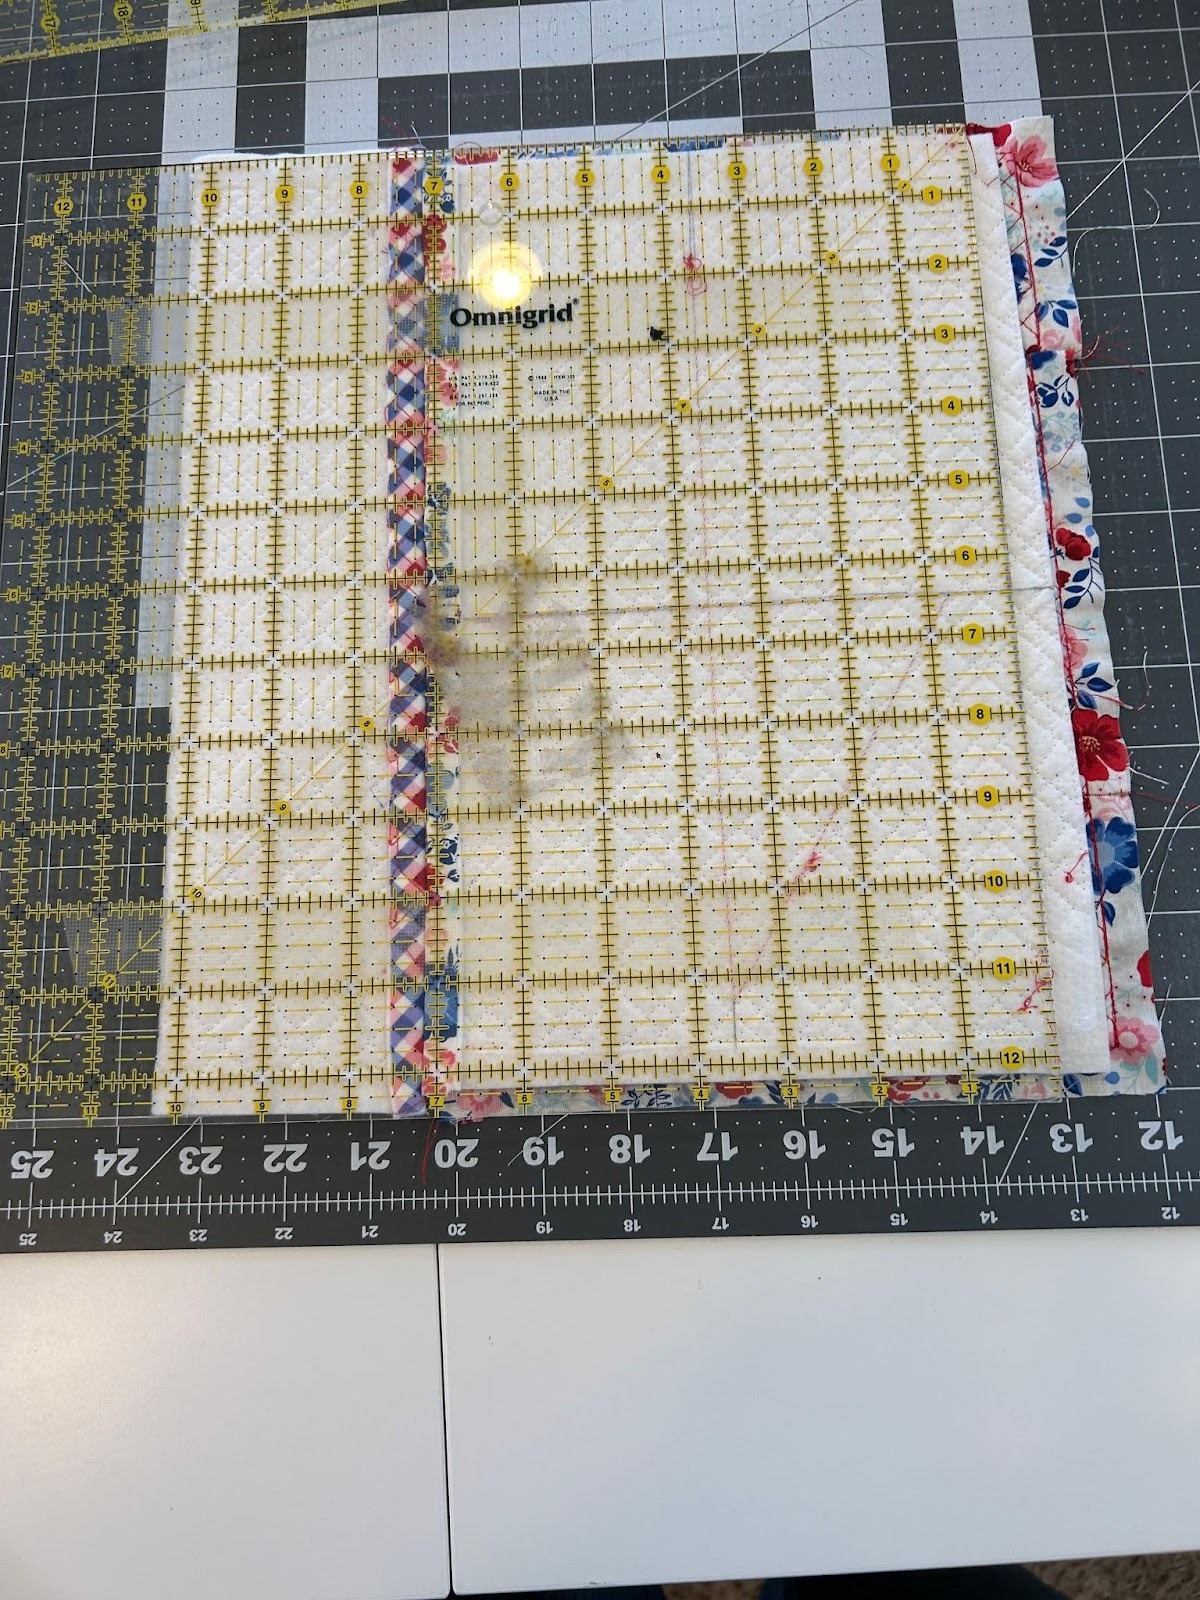
Make sure you’re marking both ends of the cover.
To make some allowance for the bulk of the cover, I cut ¼” outside the drawn line.
The height of my book was 10”, and the height of the cover measured 12”, so I added ½” seam allowance to top and bottom, and drew my lines at 11” on center. Again, I cut about ¼” outside the line to account for the bulk of the cover, and I only ended up cutting off about ¼” from the top and the bottom. The front side did have a bit more to cut off because of the seam allowances I had left on the side, top, and bottom panels. My finished panel was 21” x 11½”.

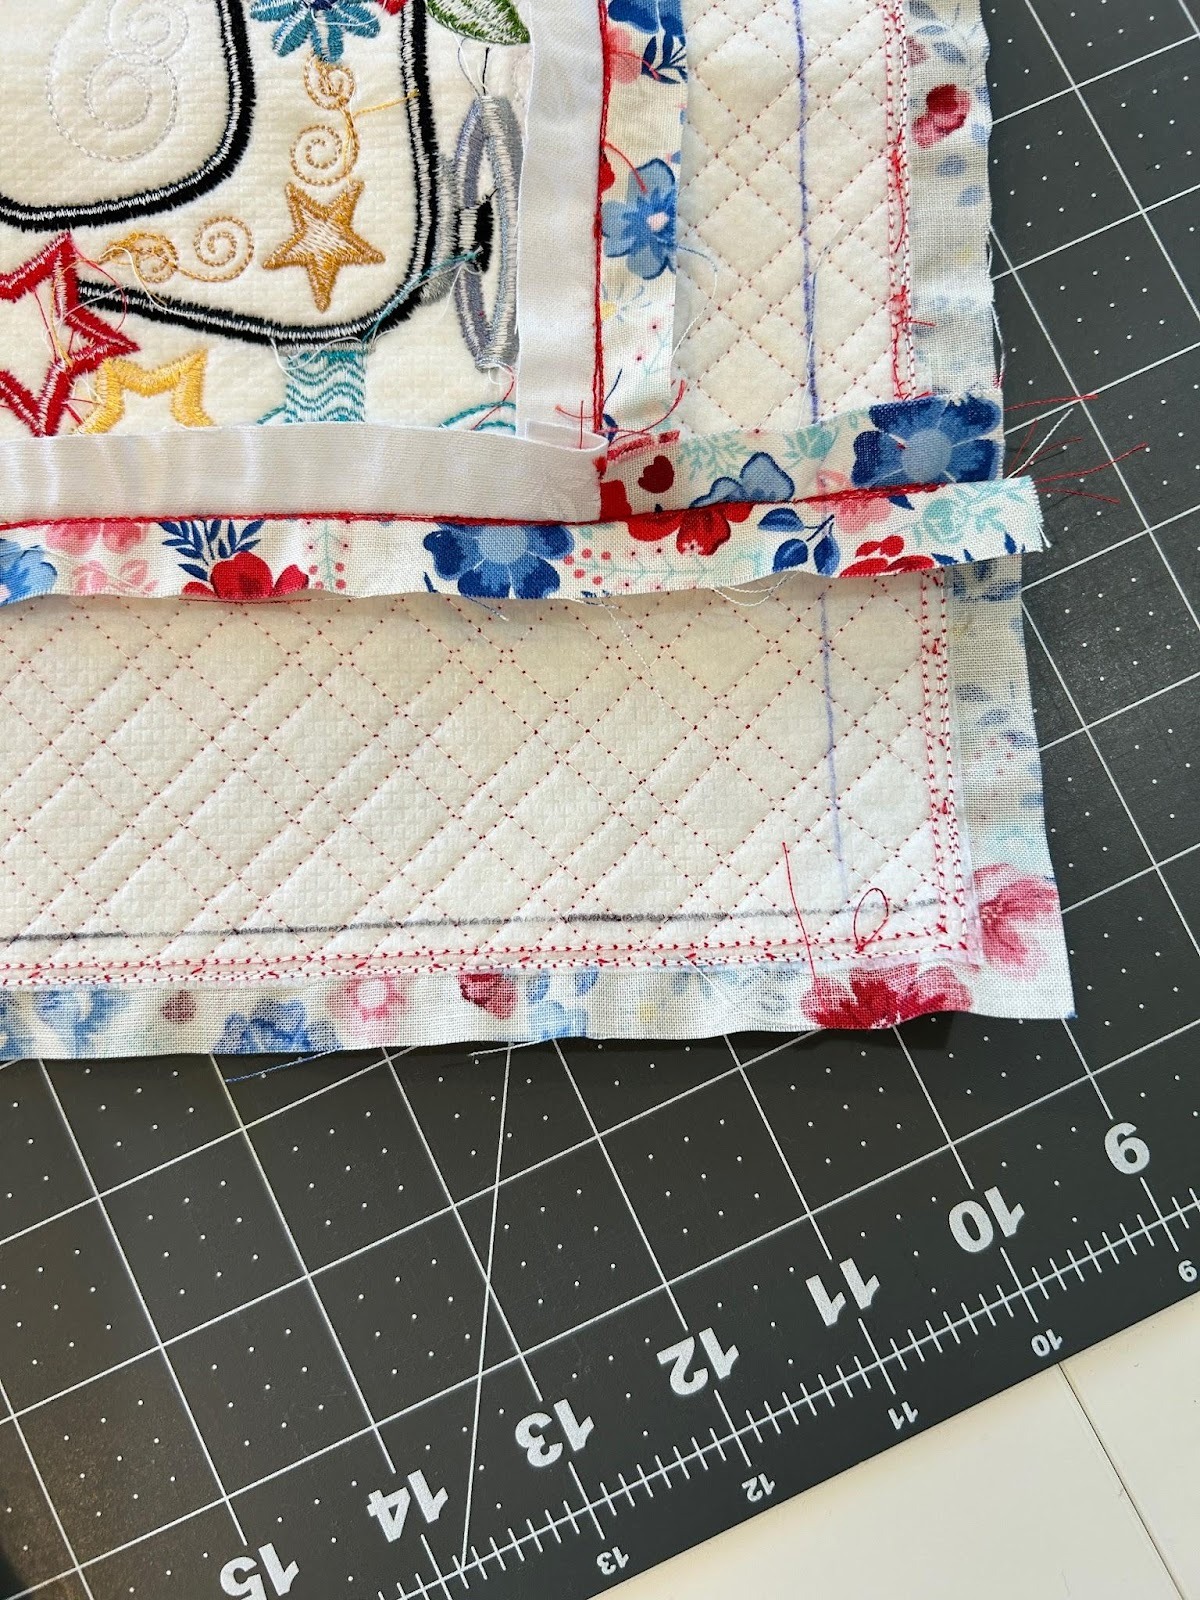
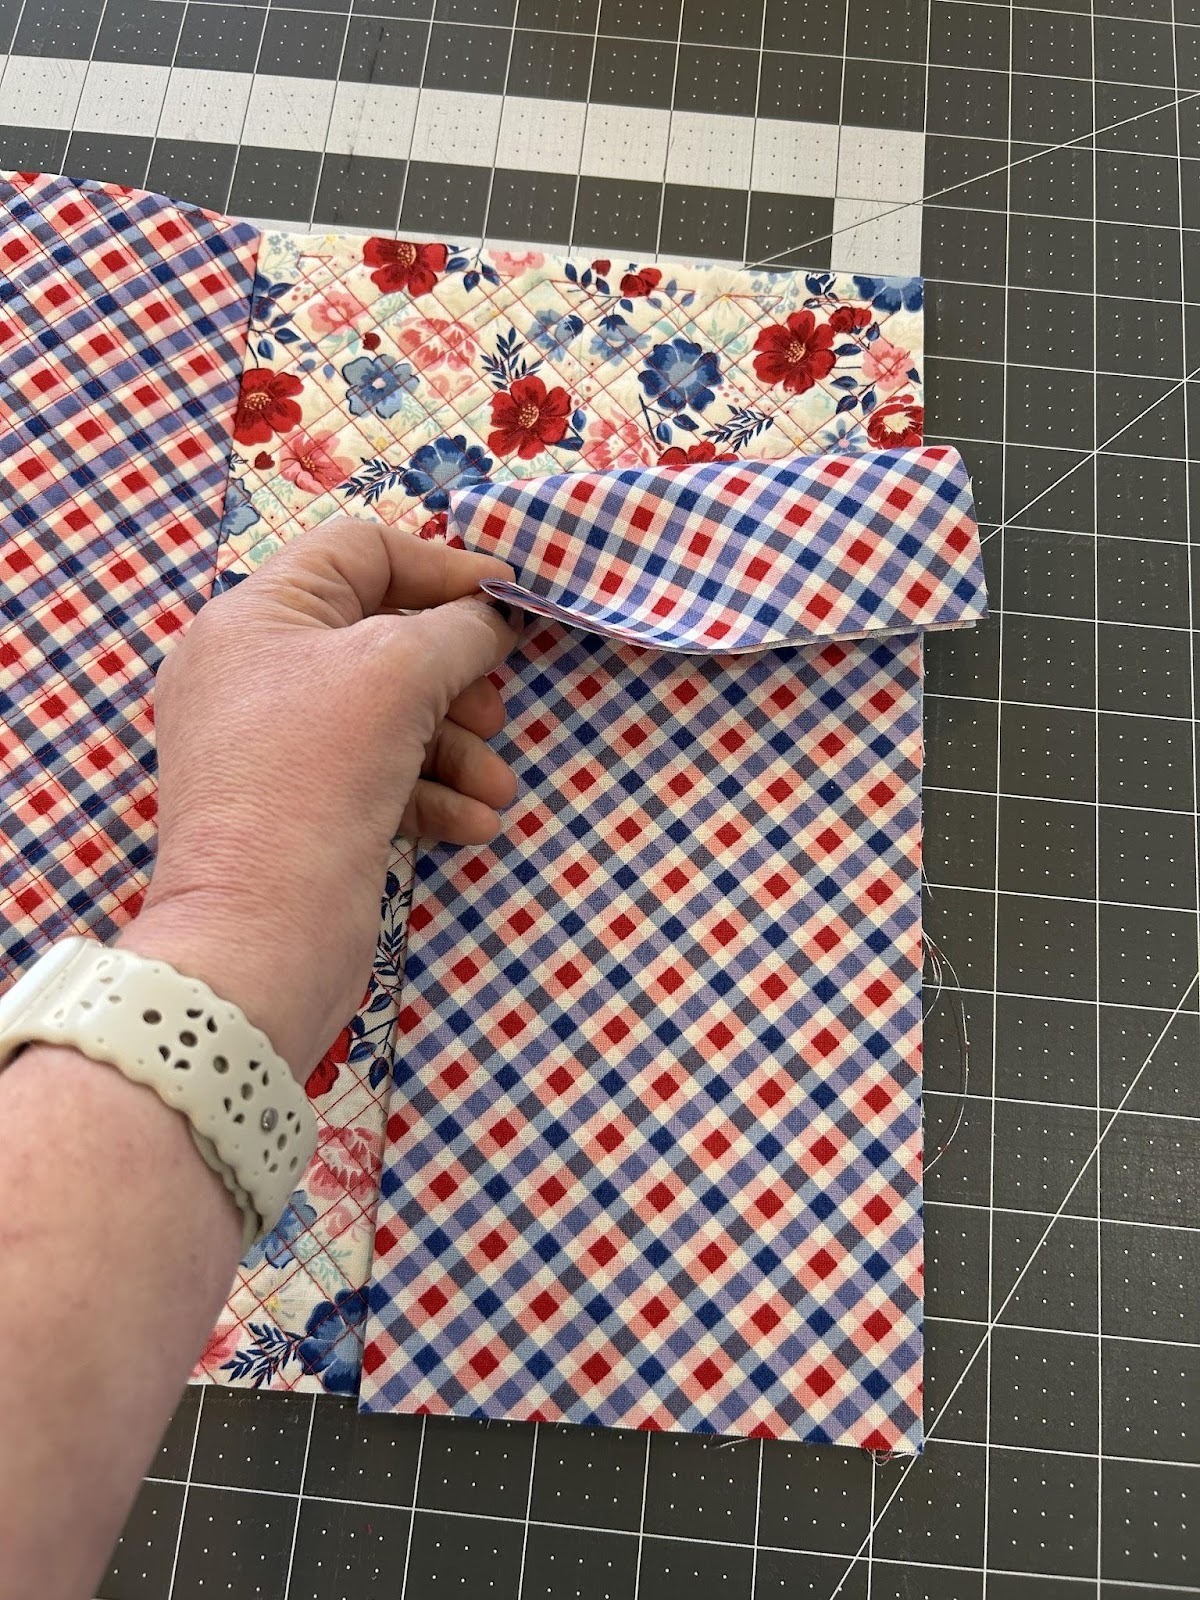
Now we will take our two flap pieces that measure 11½” x 10”. Fold them in half, wrong sides together so they measure 11½” x 5”. Press the fold.
Now we will lay the flaps on each end of the book. The fold should face the center and the outer edges line up. Stitch along the three raw edges with a ½” seam allowance. At the fold, I reverse and backstitch over the edge to secure it.
Trim up your corners to reduce bulk.

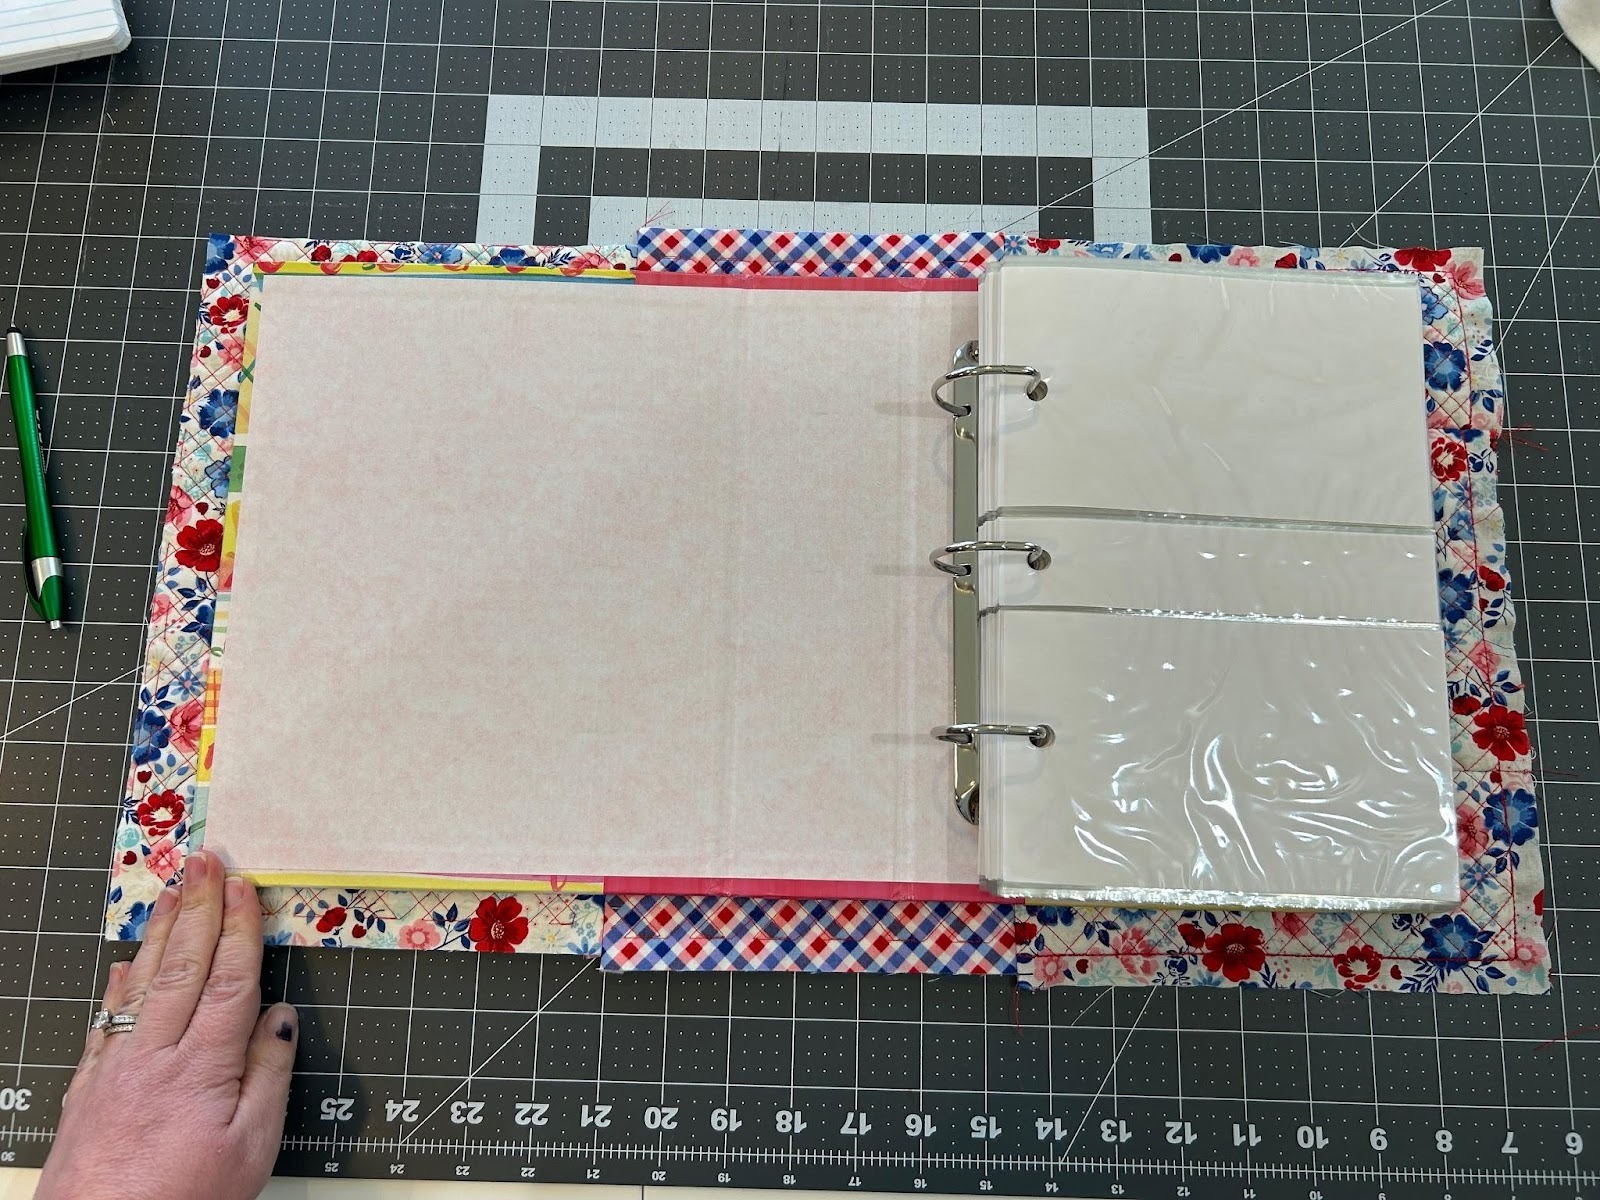
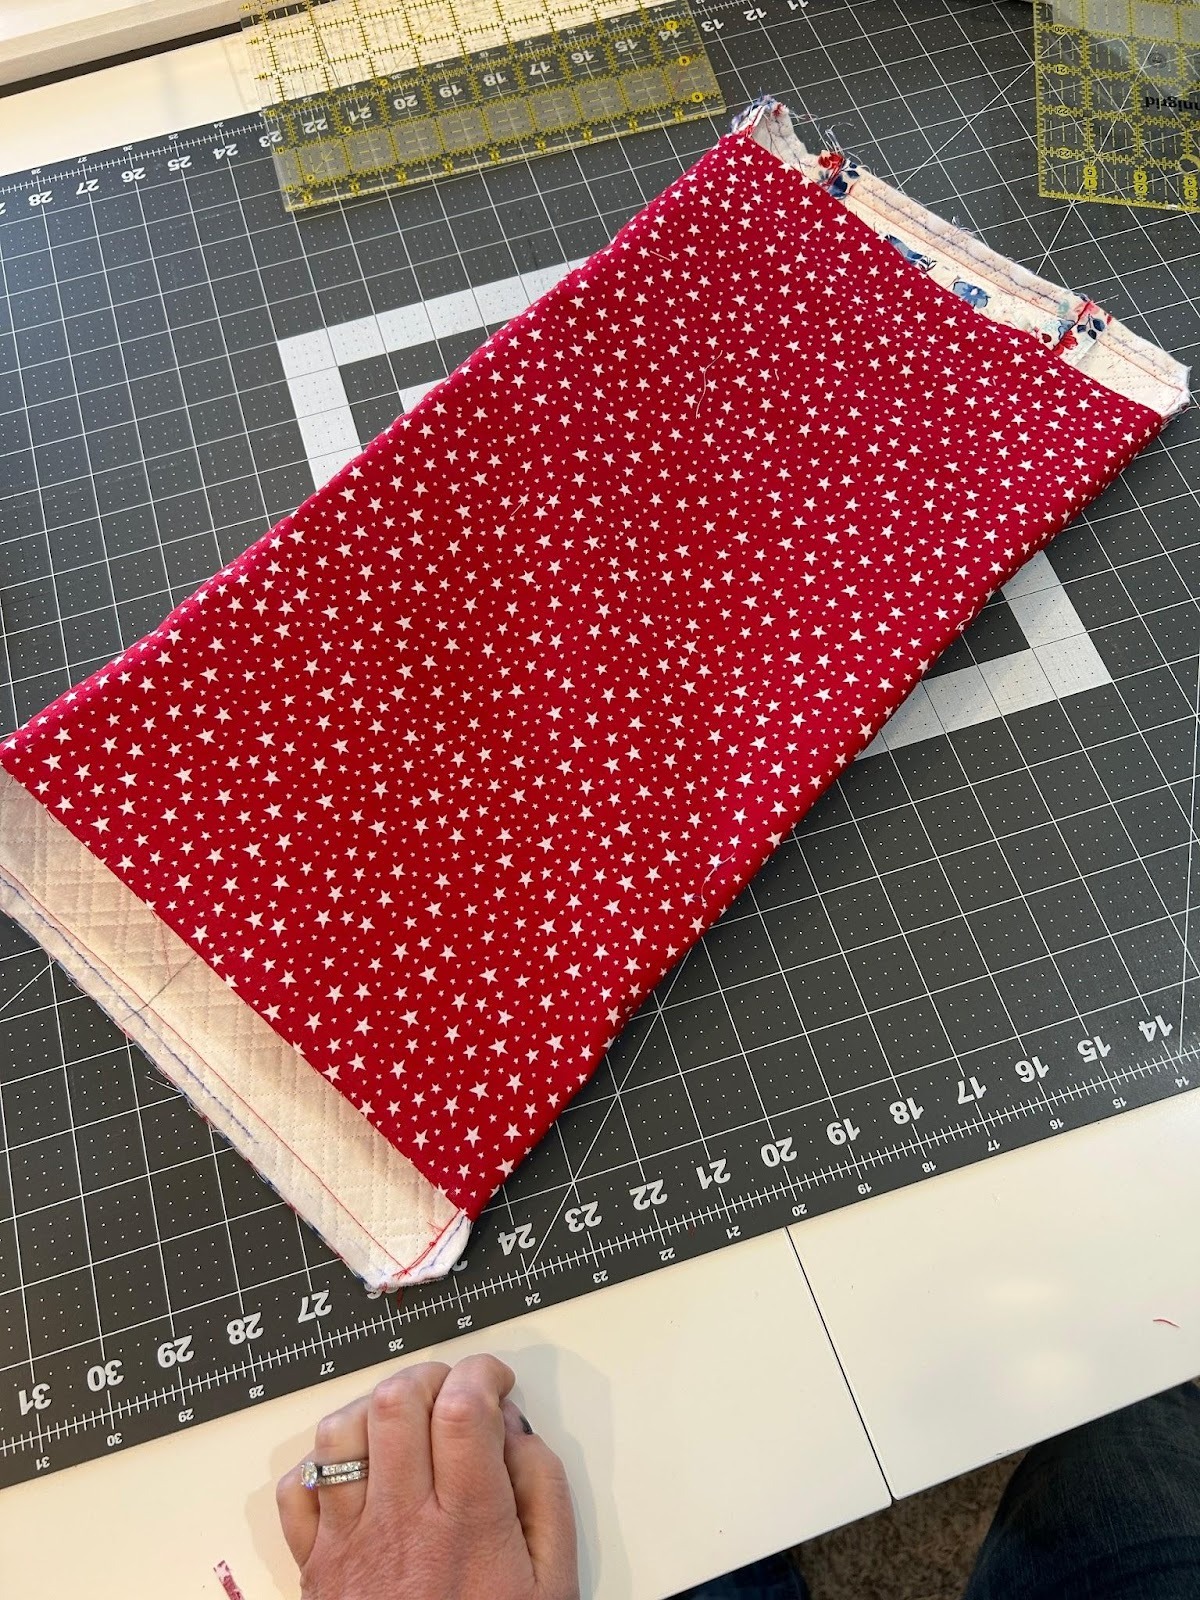
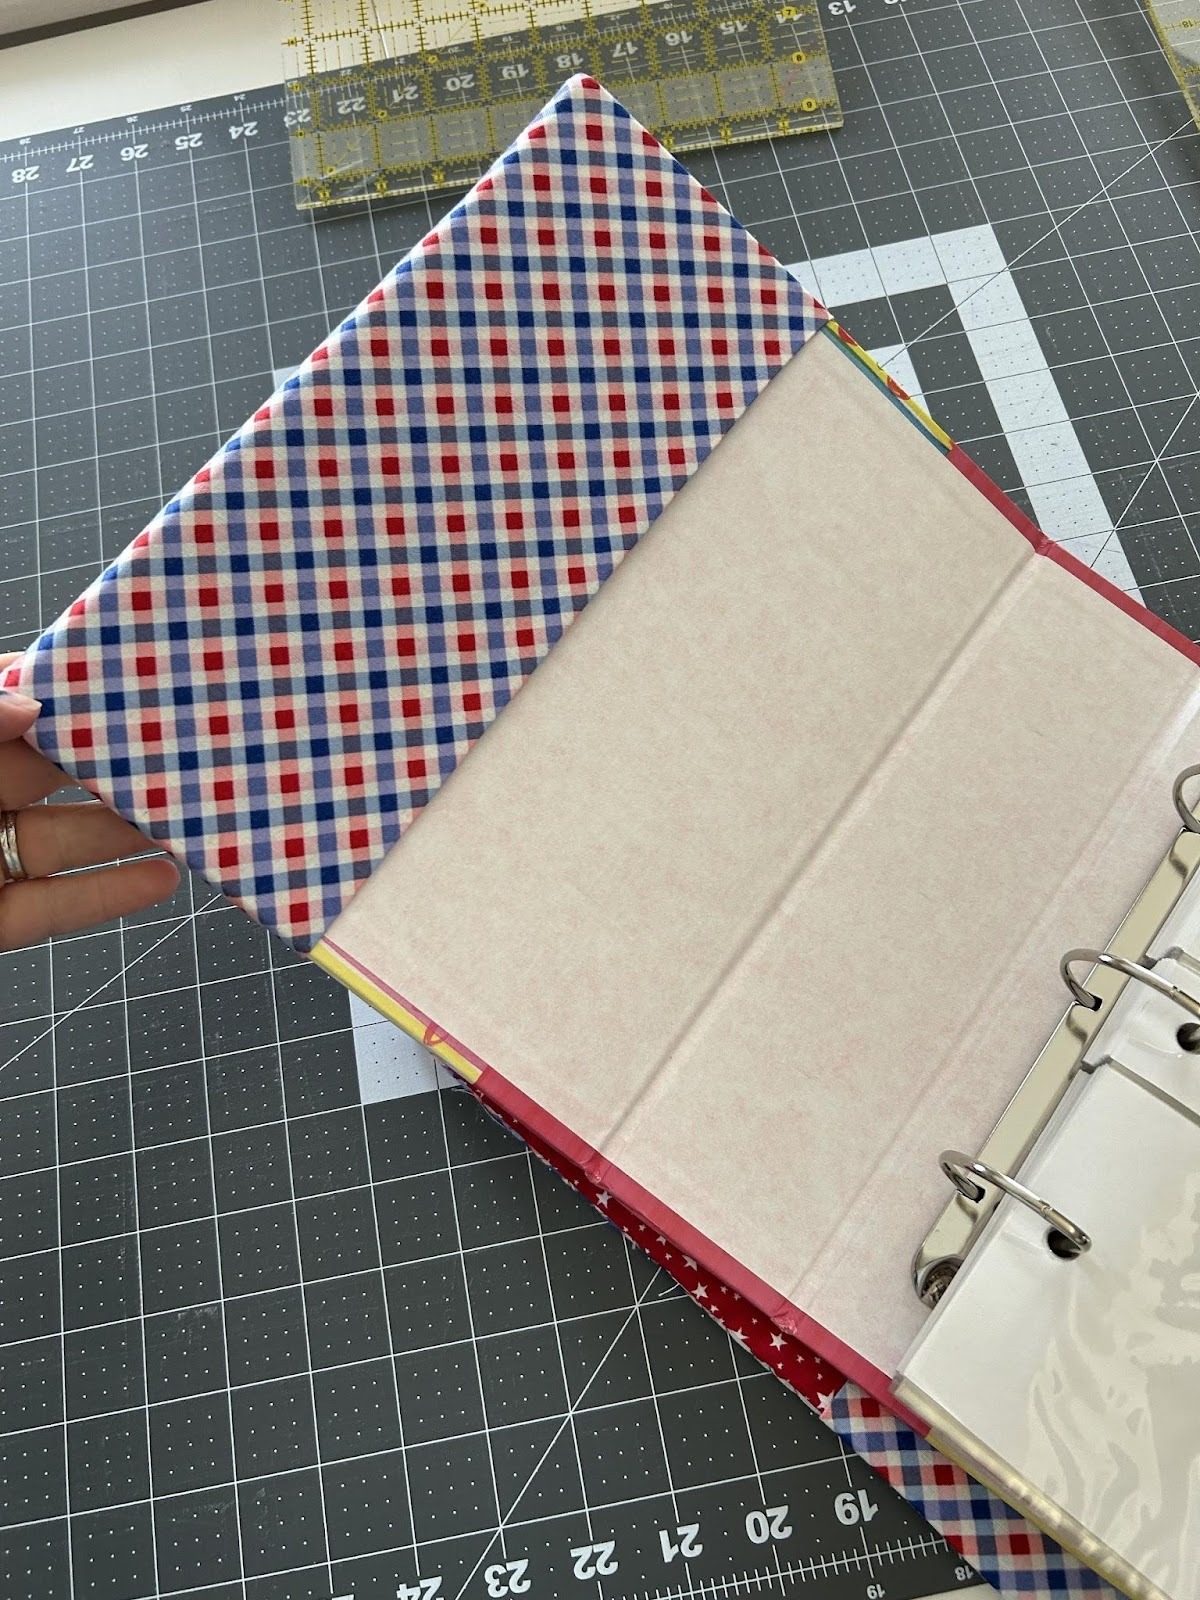
Now we will lay the lining piece over the cover. It will line up on the top and bottom but not reach the edges. Center it between right and left on the cover.
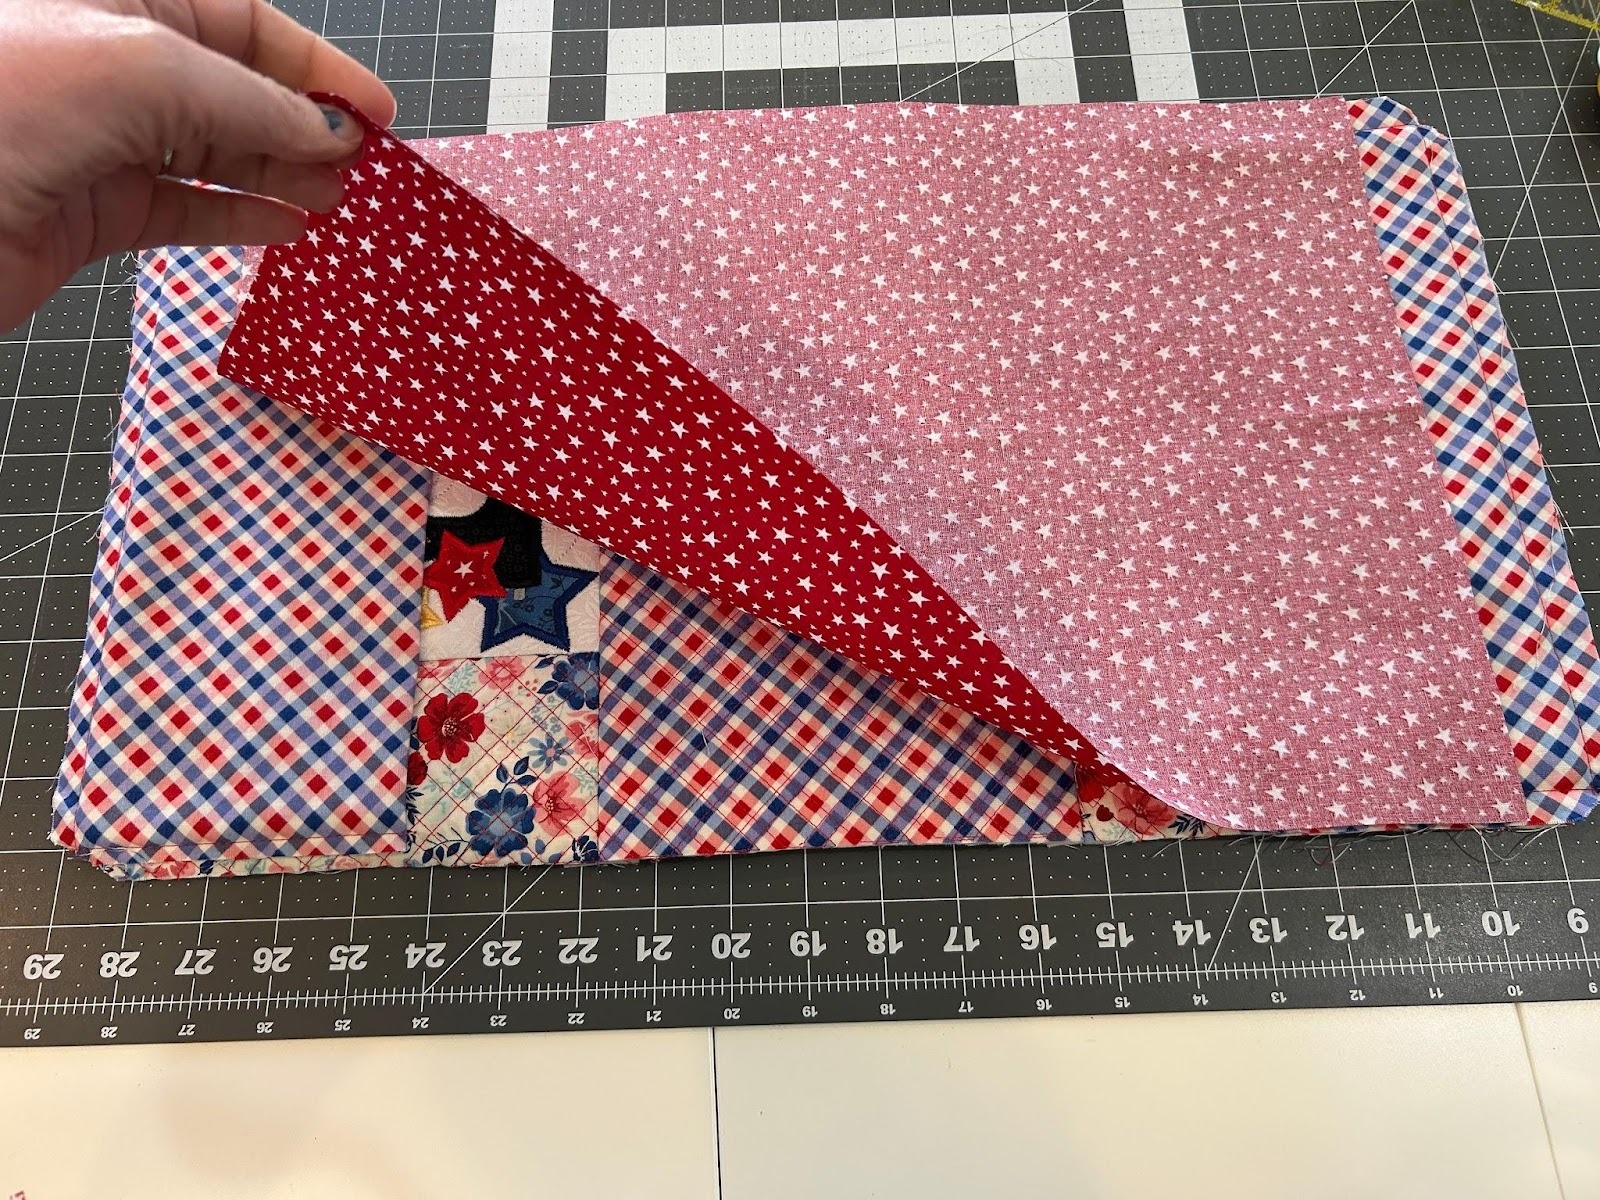
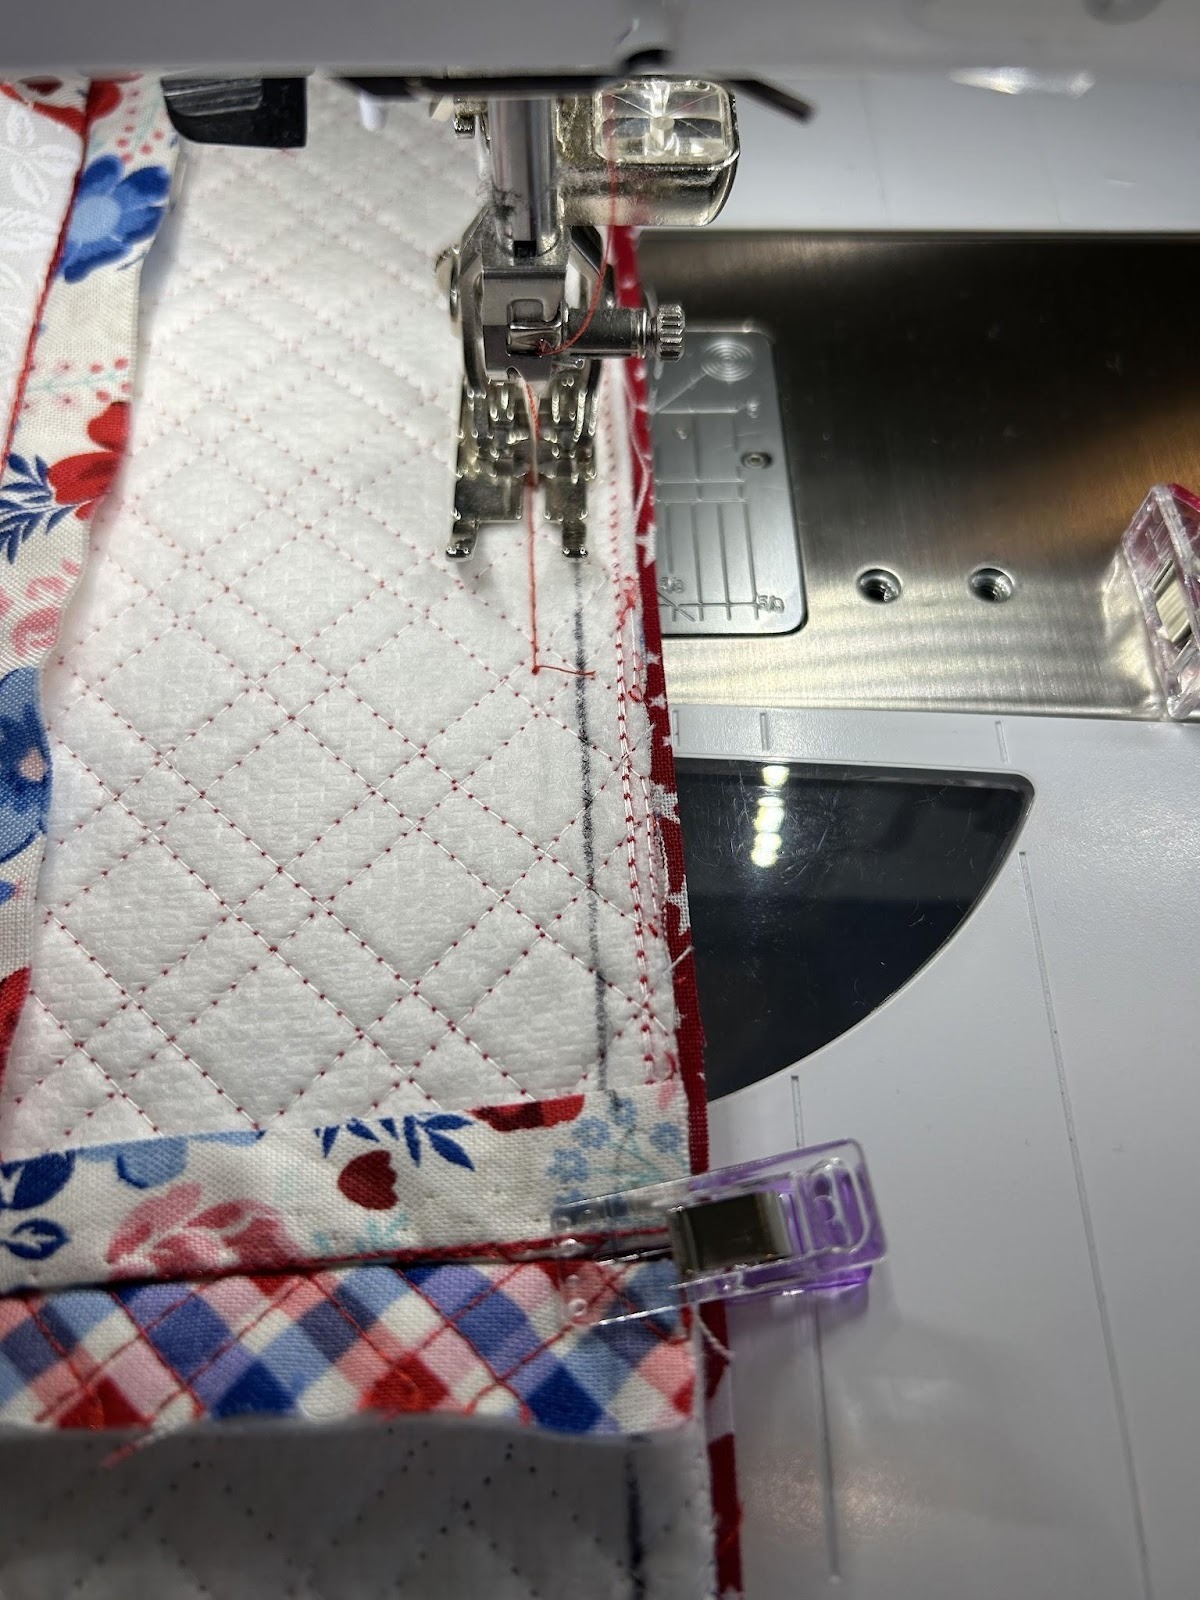
Now stitch along the top and bottom edges only, using that same ½” seam allowance. I just go from one end to the other with this piece.
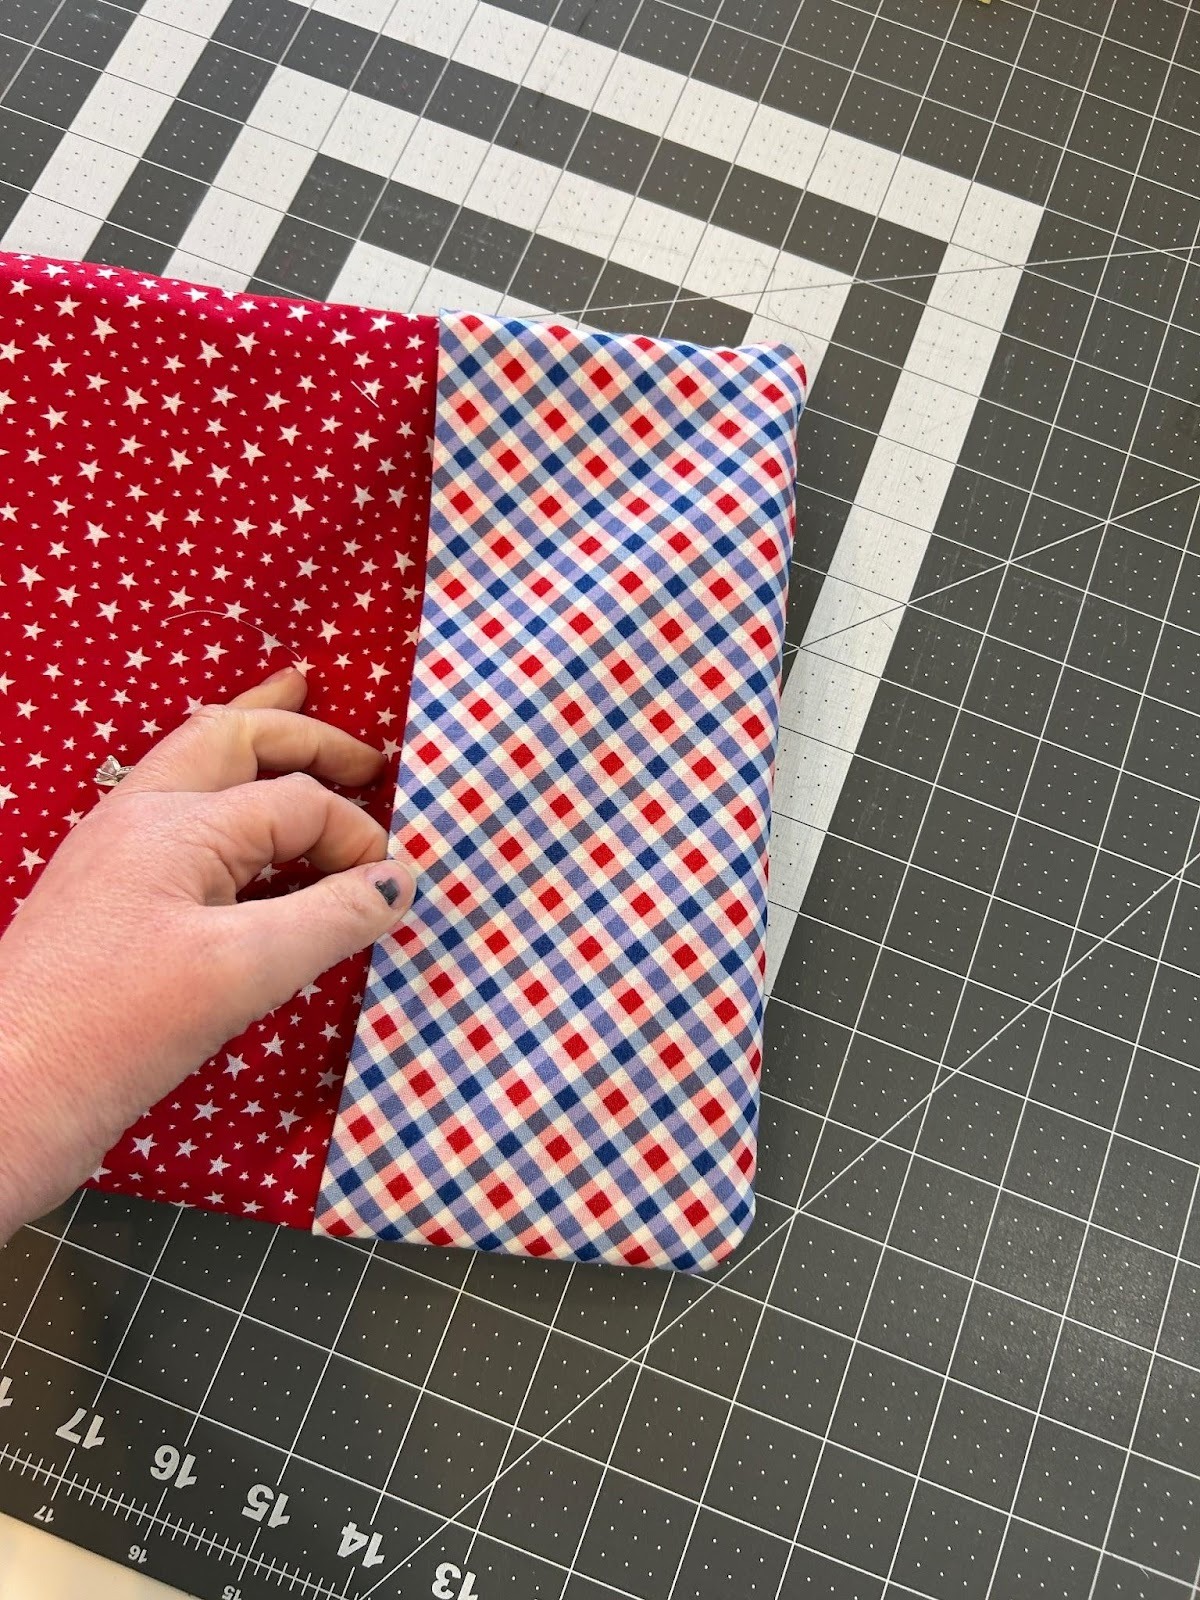
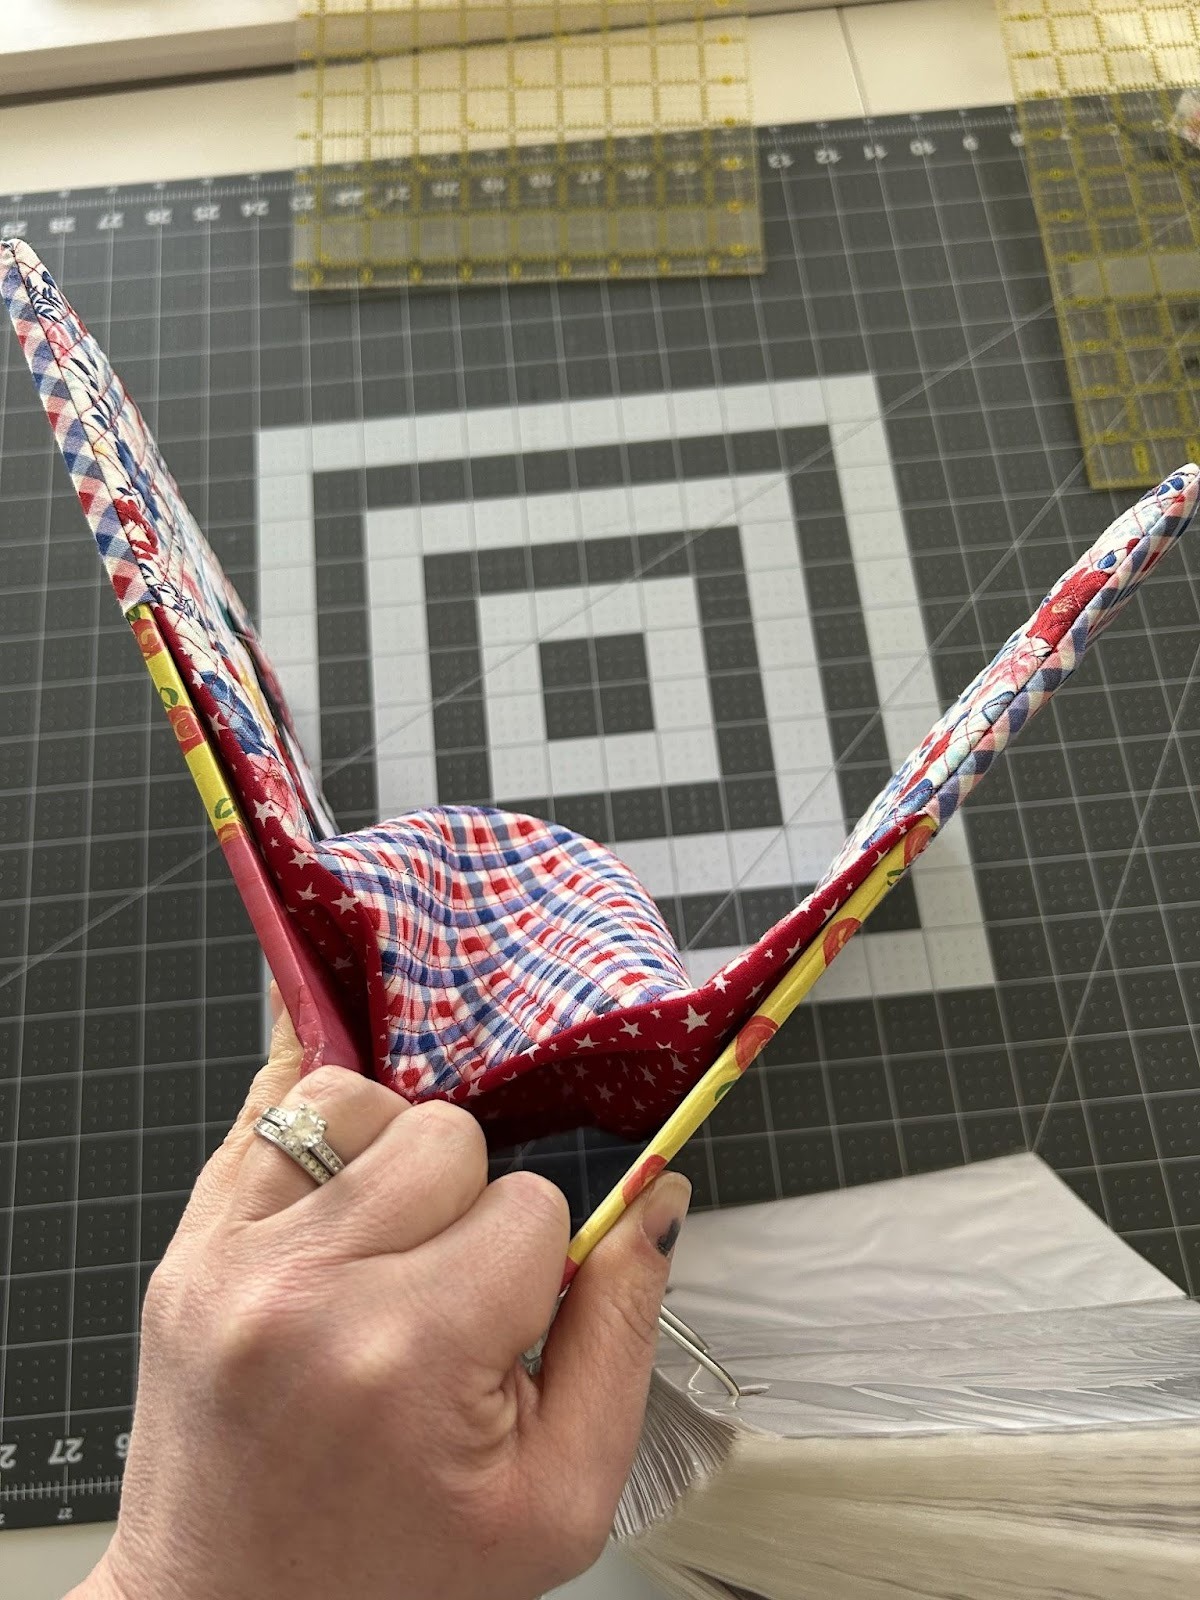
Now that you have it all sewn, reach through the lining and pull it right side out.
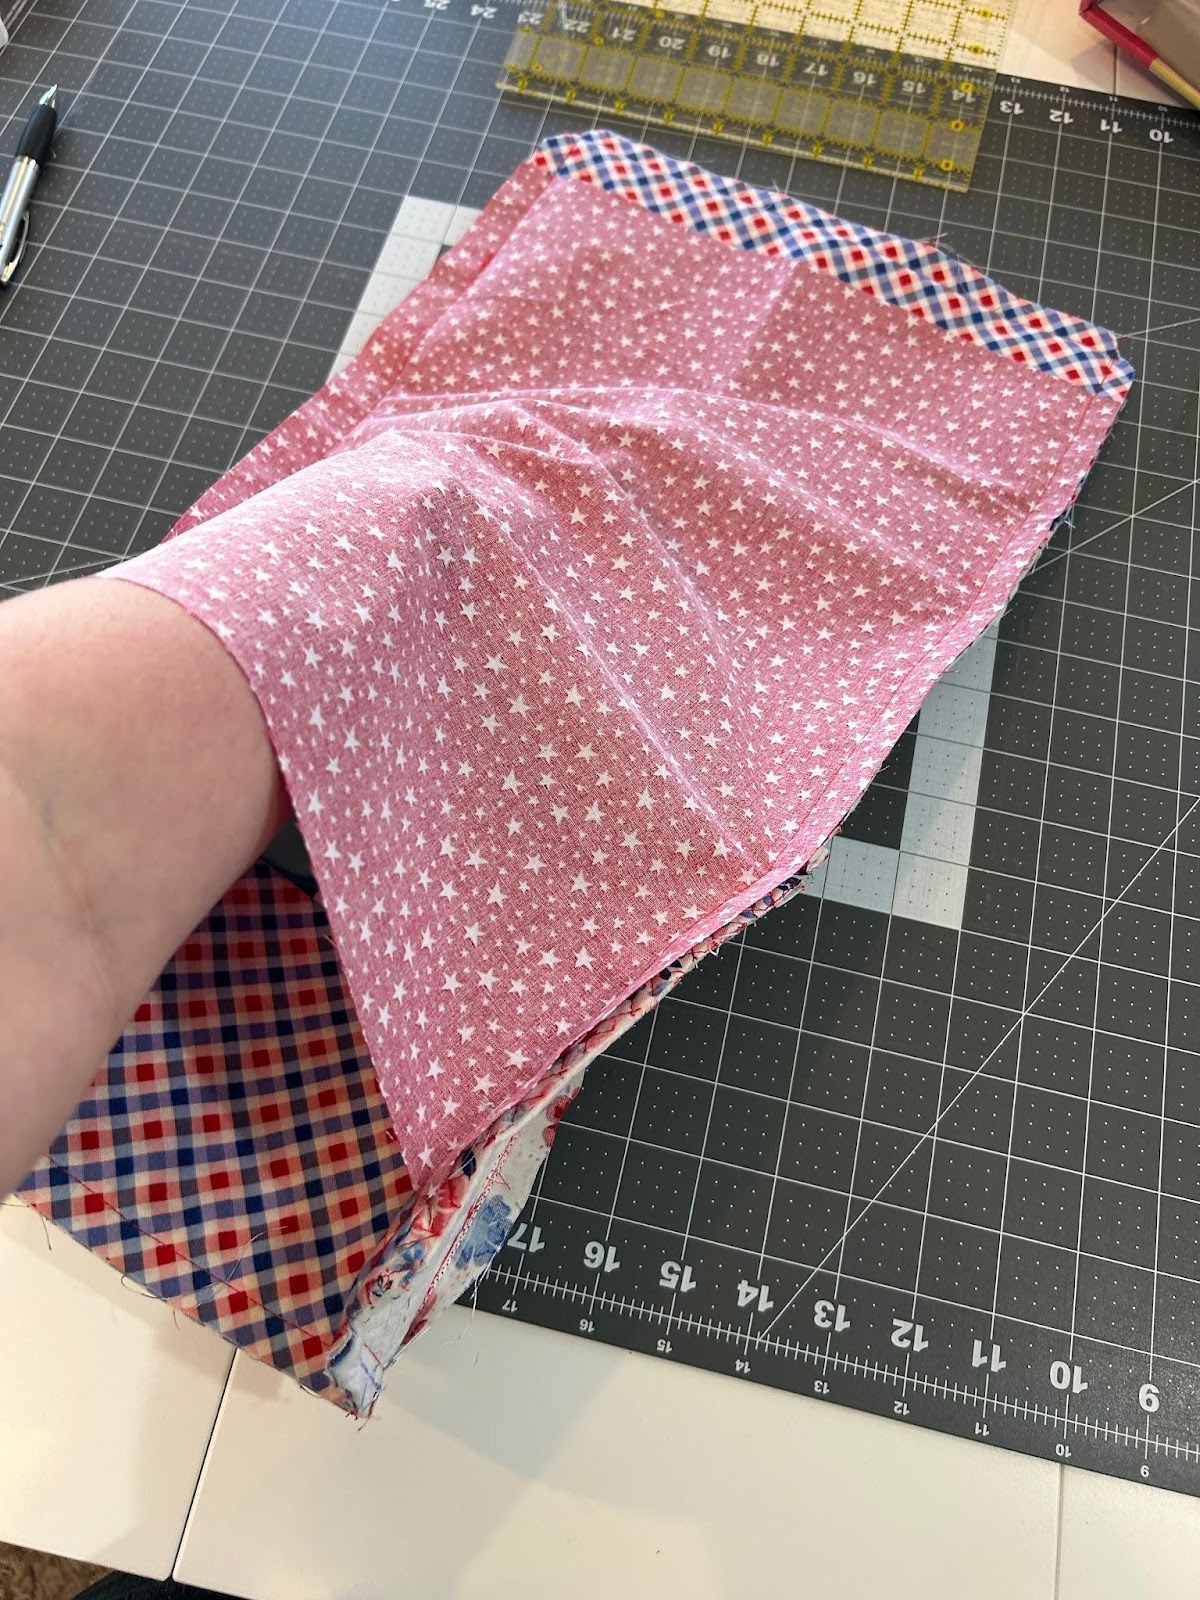
This is what it looks like at this point.
Next, flip your flaps to the inside of the cover. This hides the raw edge of the lining.
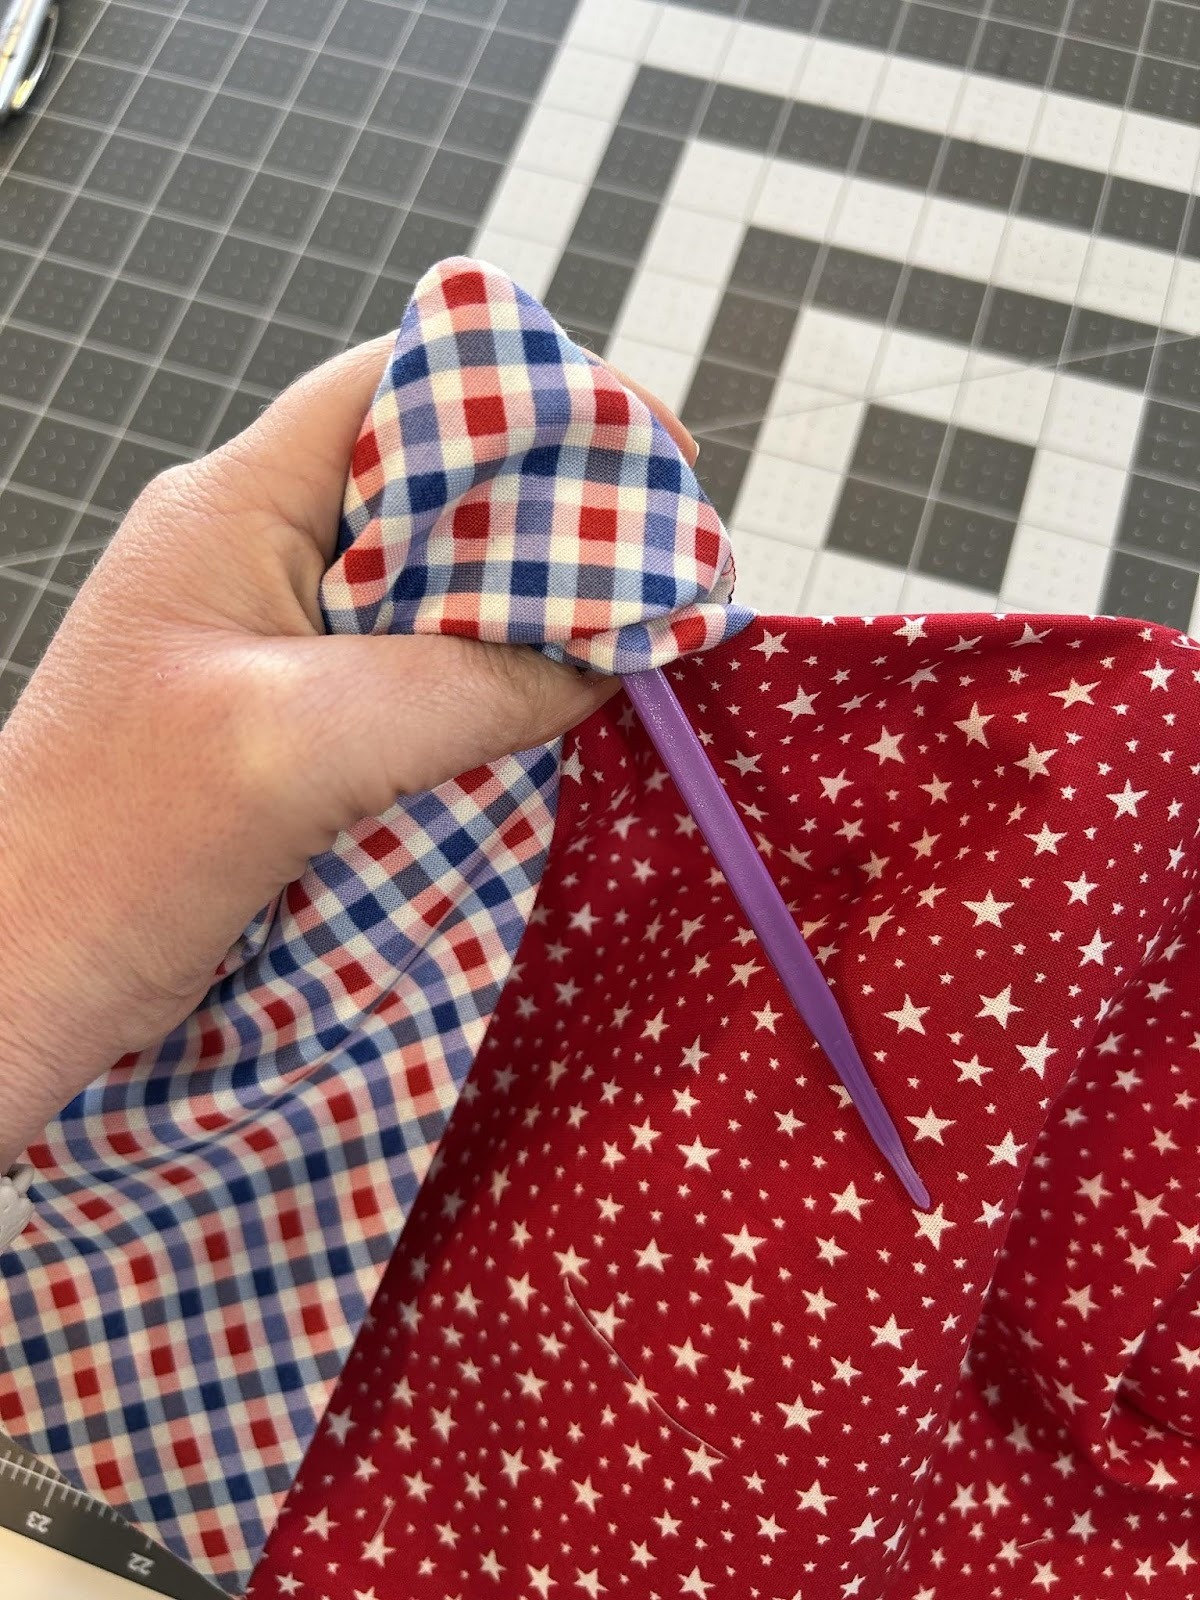
Use a turning tool to get your corners pushed out so they are nice and crisp.
Press the edge of your cover. I like to make sure that the seam is right at the edge so the fabrics aren’t being seen from the other sides.
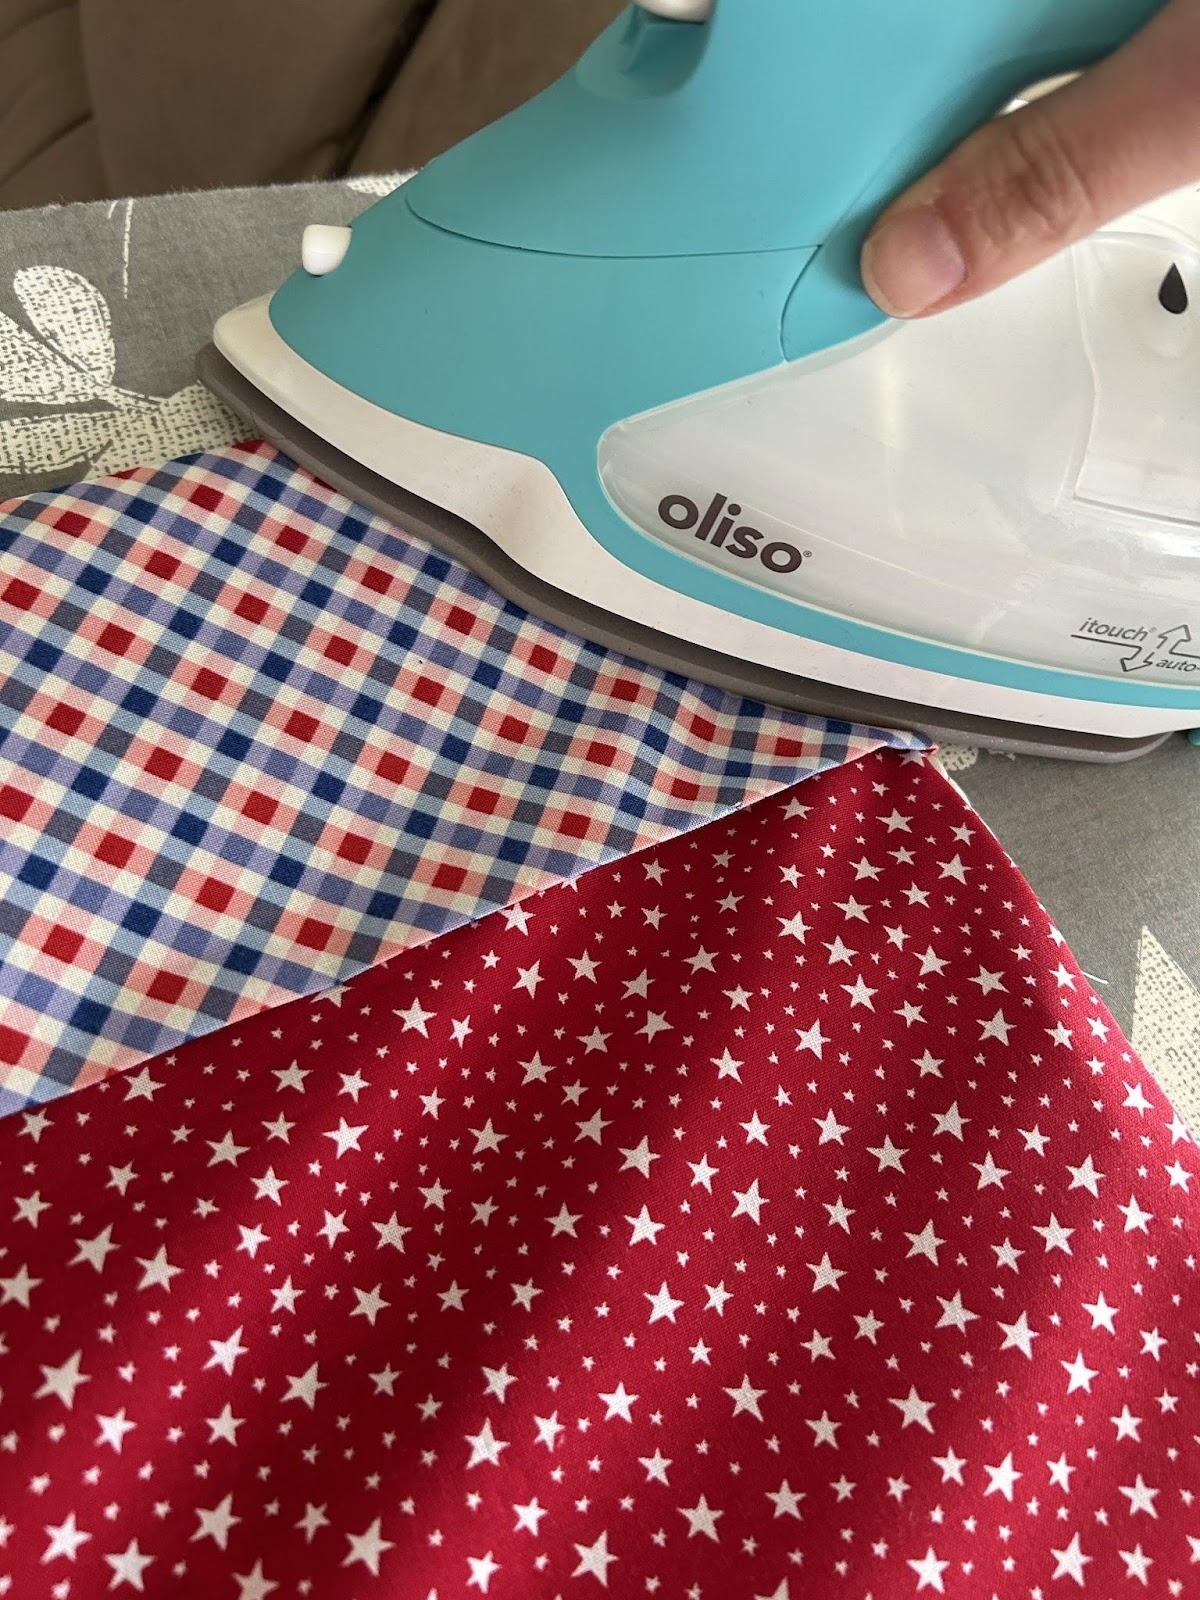
Here’s your pressed cover ready to go!
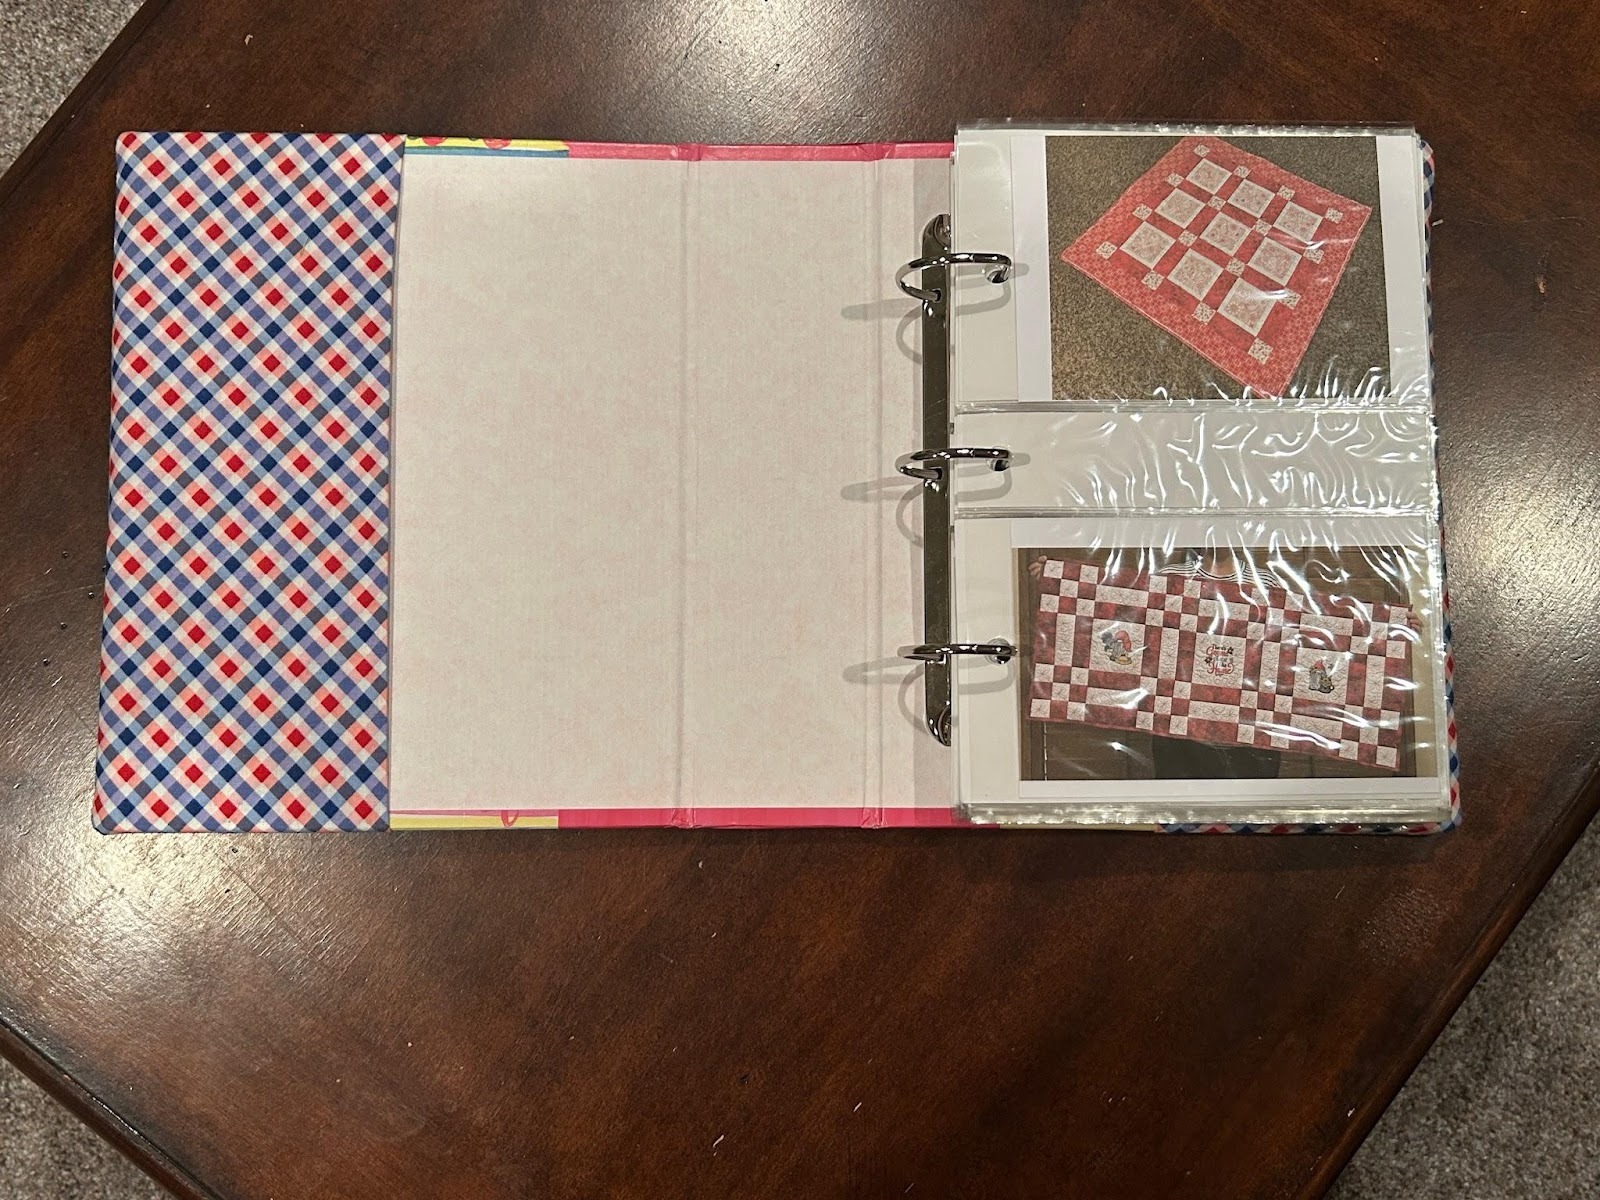
Slide in one side of your album.
And then I had to bend my album backwards to get the other side in its flap.
If at any time your cover feels too tight or loose, you can go back and take out a seam and stitch ¼” or so either way to help tighten or loosen up the fabric. I know albums can vary slightly on measurements even when they say they are the same.
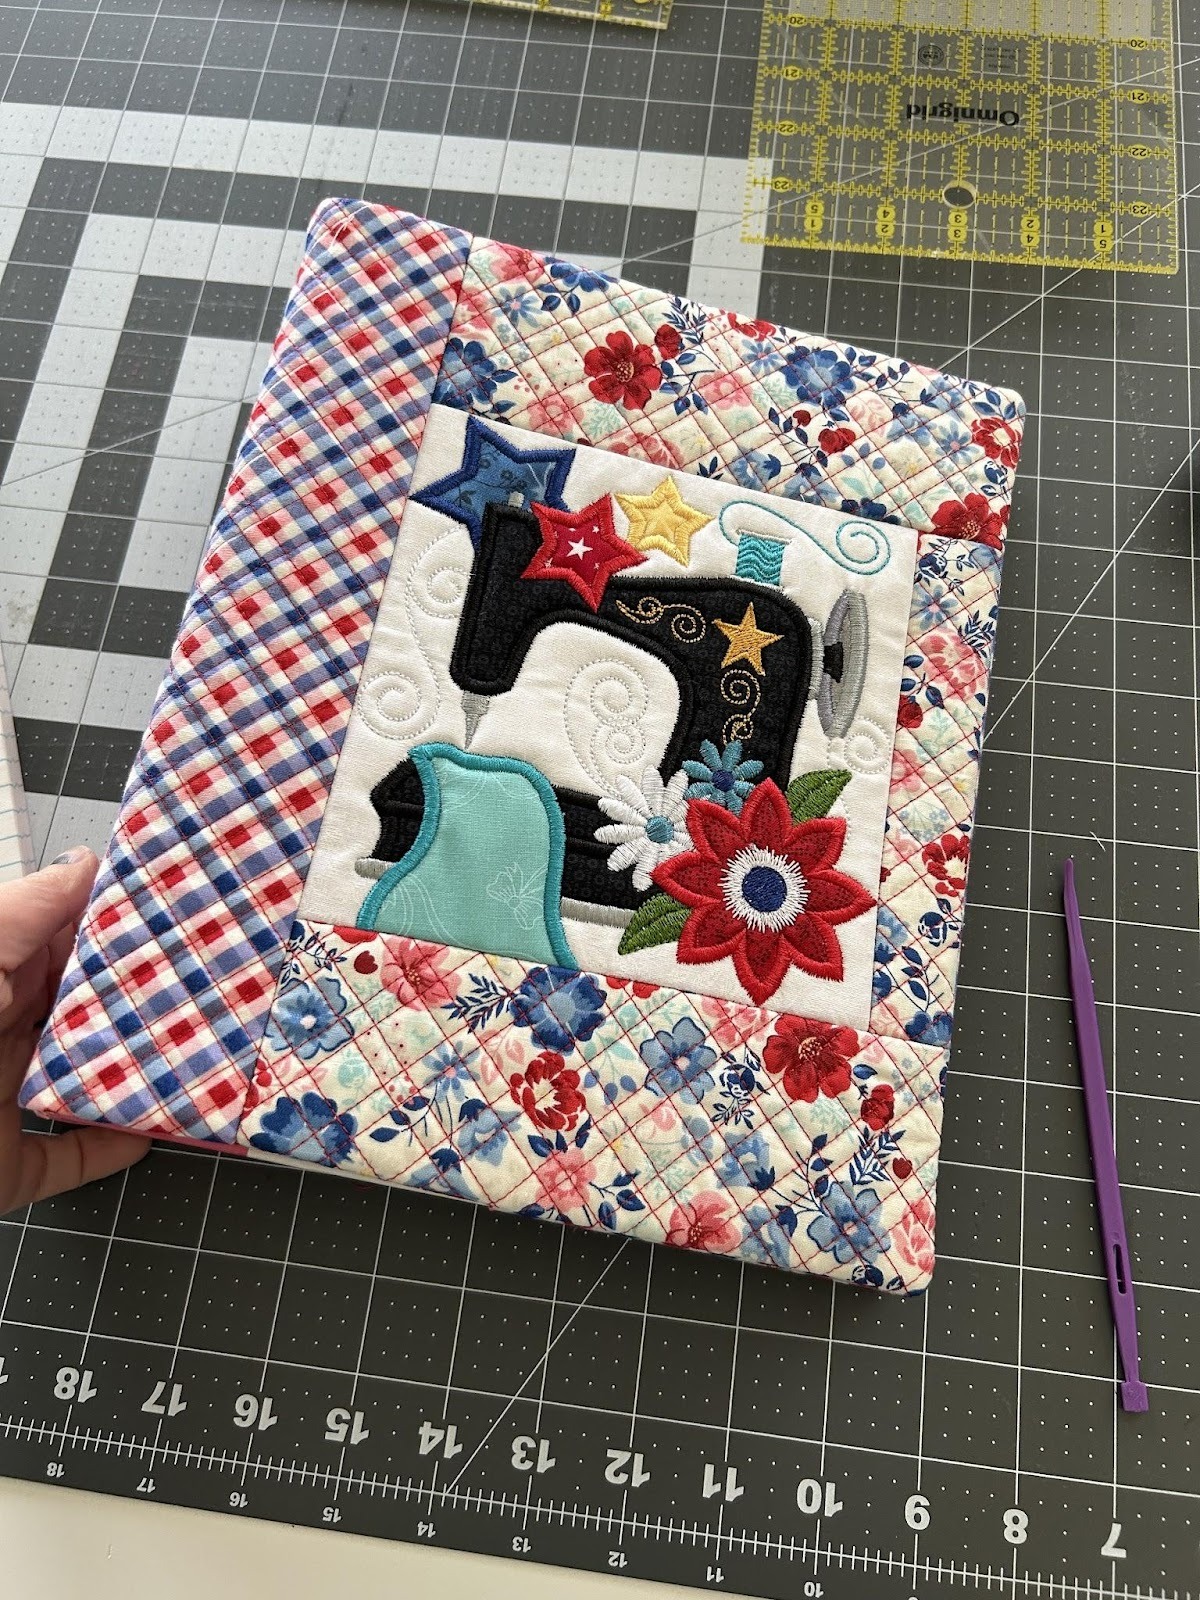
And there you have your finished photo album cover. I’m excited to display mine with all my sewing and embroidery project pictures where I can see it often. It’s fun to have a record of all those things we make, especially if we give things away and don’t see them around our house.
I’d love to see how you’re making your photo album covers. What designs do you find to put in the center to celebrate the pictures inside? What fabric choices do you use to make yours? Share with us in the Designs by JuJu Embroidery Blessings Facebook Group, or use the hashtag #designsbyjuju, so we can see them. We love to see what you create!
