Toggle Nav
 Inspire.
Create.
Stitch.
Inspire.
Create.
Stitch.
Search
Inspire.
Create.
Stitch.
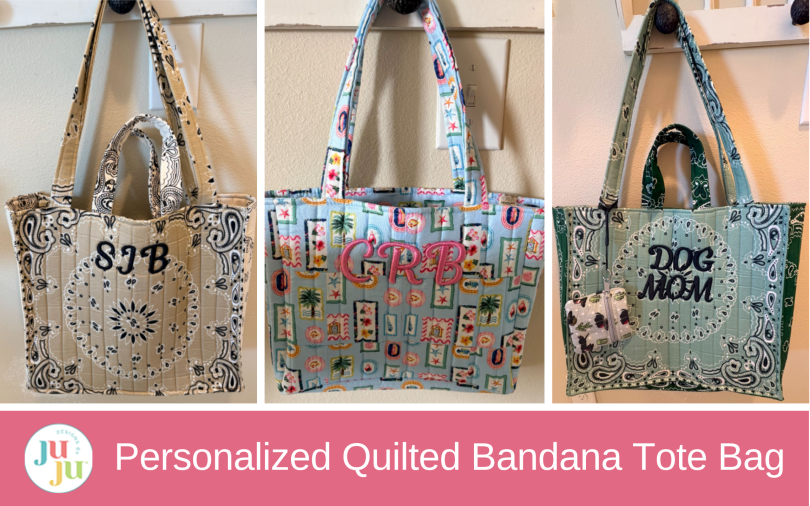
Make a DIY personalized bandana tote bag with quilted bandanas, fusible foam, puffy foam embroidery lettering, optional boxy edges, and a custom handmade finish.
Bandana totes are having a major moment, and it's easy to see why! They're colorful, fun, and packed with personality. Instead of buying one, why not create one that's uniquely yours? In this tutorial, we'll transform classic bandanas into a sturdy quilted tote and add eye-catching personalized, puffy-foam lettering for a one-of-a-kind finish. Whether you're headed to the farmer's market, the dog park, a sewing retreat, or just running errands, this trendy tote is sure to become your new favorite accessory. Grab your favorite bandana colors, and let's sew something as fashionable as it is functional!
Finished size: 16” W x 14” H x 5” D
Check out the DBJJ team’s favorite supplies in the Designs by JuJu Amazon store. For all your stabilizer, thread, and batting needs, be sure to check out Designs by JuJu+.
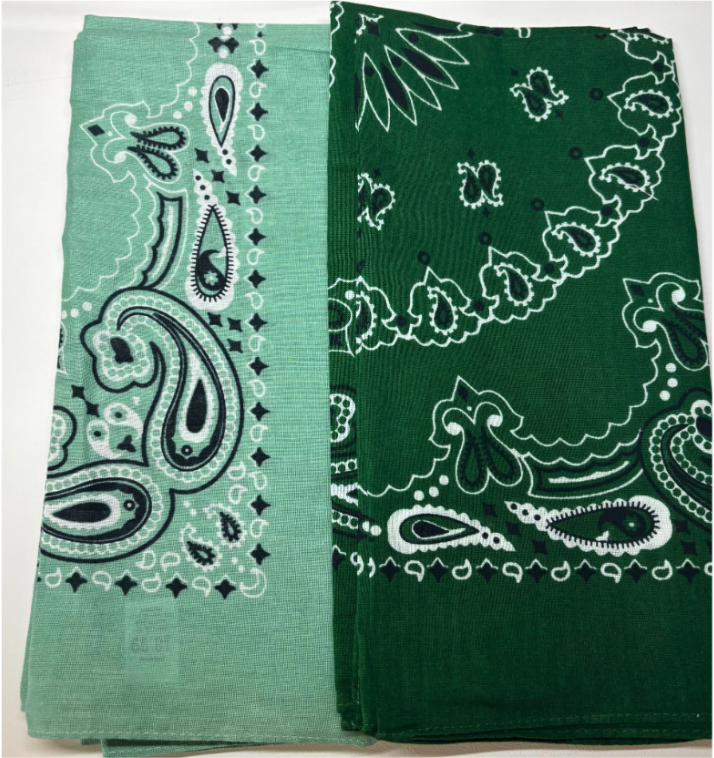
First, pick out two colors that you love for the outside of your bag. It’s time to be creative!
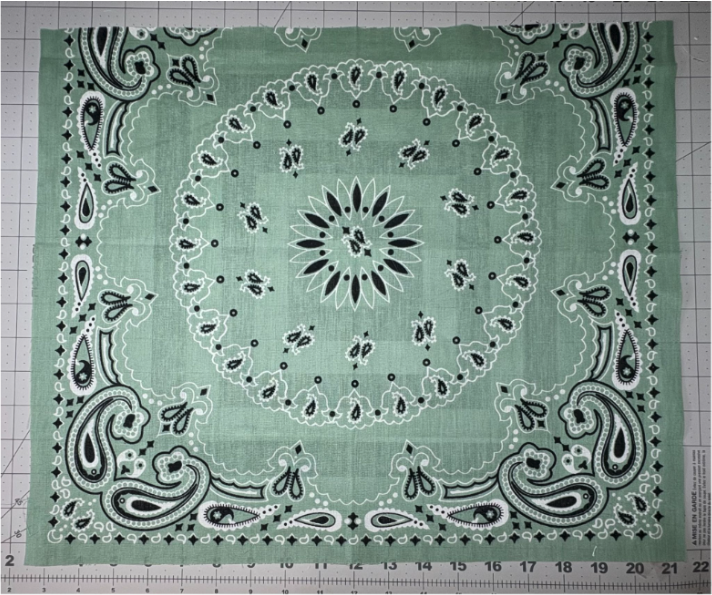
Give those bandanas a quick press to remove any wrinkles. This will help them look nice and fresh.
Choose two bandanas in your selected colors for the bag’s front and back.
Now, trim those down to 16” down and 19” across.
Tip: To keep it looking great, trim the sides and bottom ½ inch from the design first, then tackle the top for an even finish.
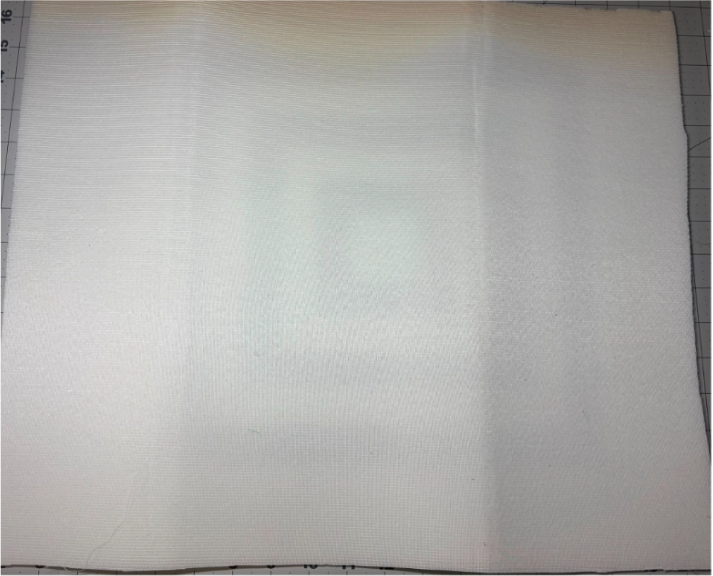
Cut two pieces of foam to match those same measurements (16” x 19”).
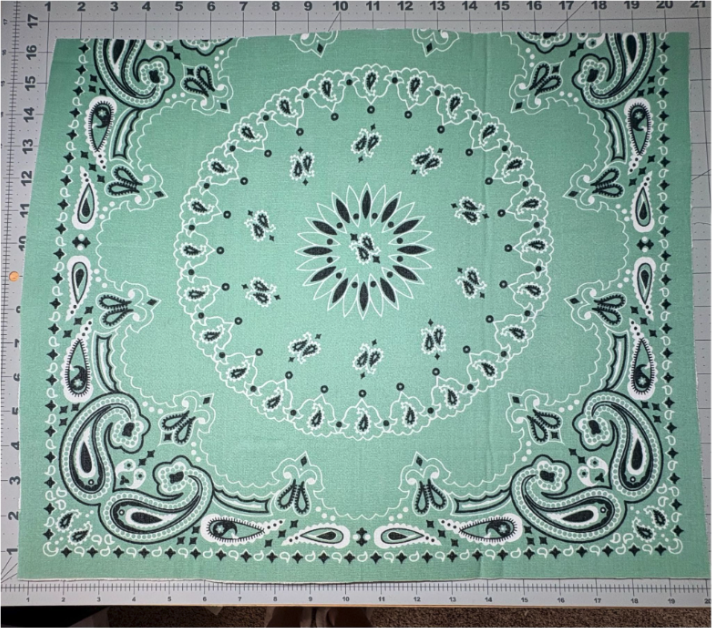
Fuse the front and back fabric onto each piece of fusible foam so they adhere nicely.
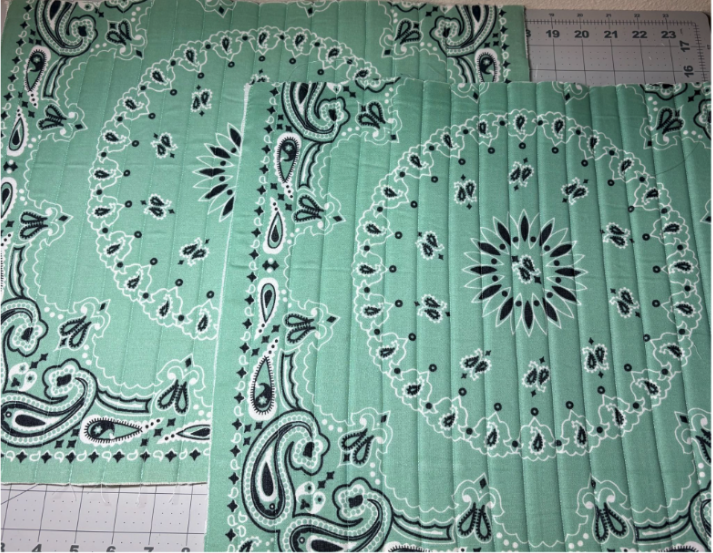
It’s sewing time! Head over to your sewing machine and quilt those front and back pieces by sewing vertical lines 1” apart.
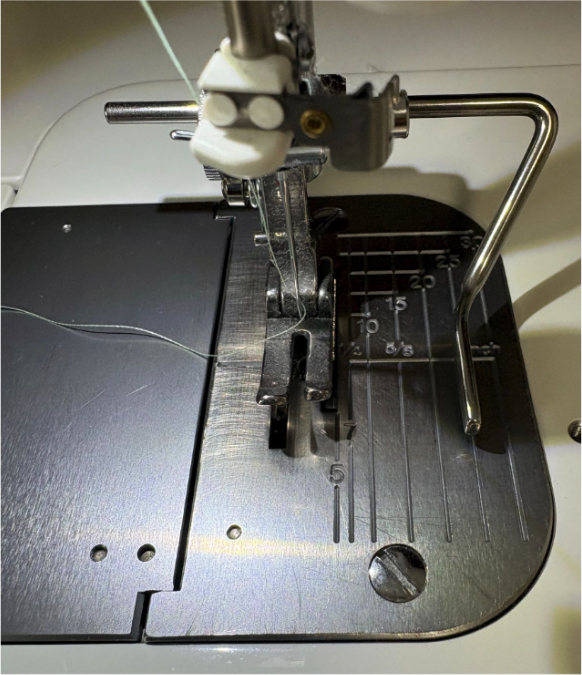
Tip: If you have a quilting foot guide, it’s super helpful for keeping your lines straight. If not, grab an erasable pen and draw lines 1” apart on your fabric before you start sewing.
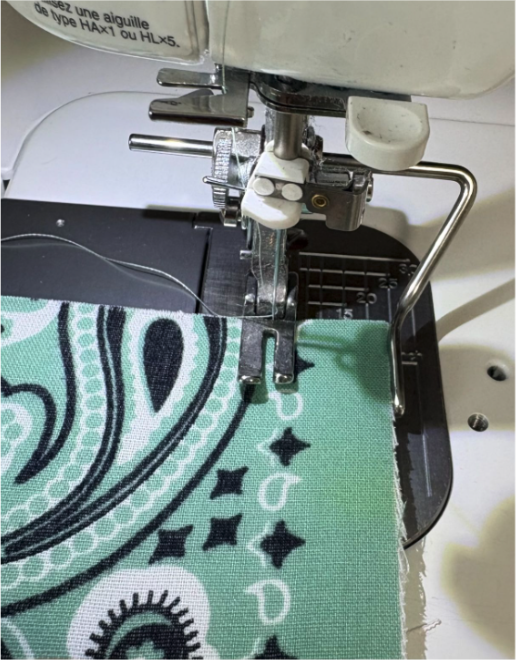
Begin on the right side and place the fabric and foam against the quilting guide. Set your stitch length to 3.5 mm and sew down. Remember to backstitch at the beginning and end.
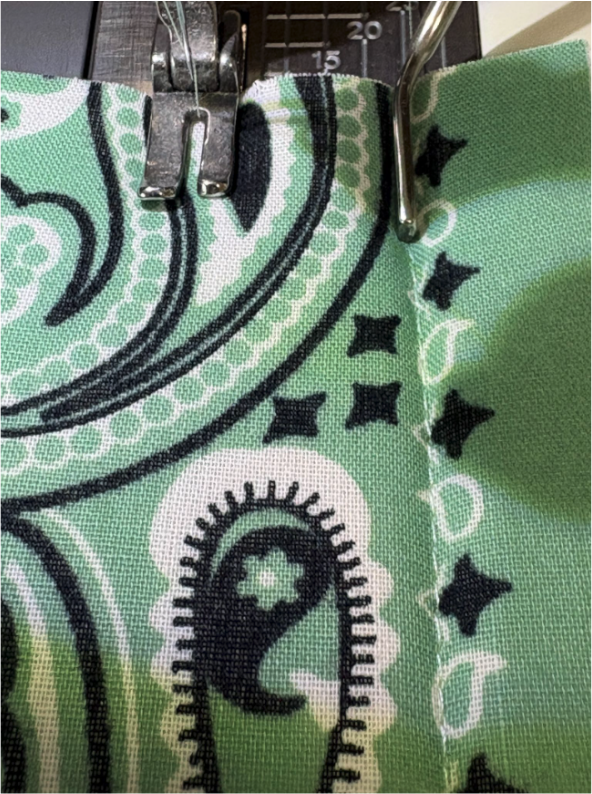
Move the fabric over. Set the guide into the previous stitches and continue stitching down. Repeat these steps until you have quilted the front and back pieces.
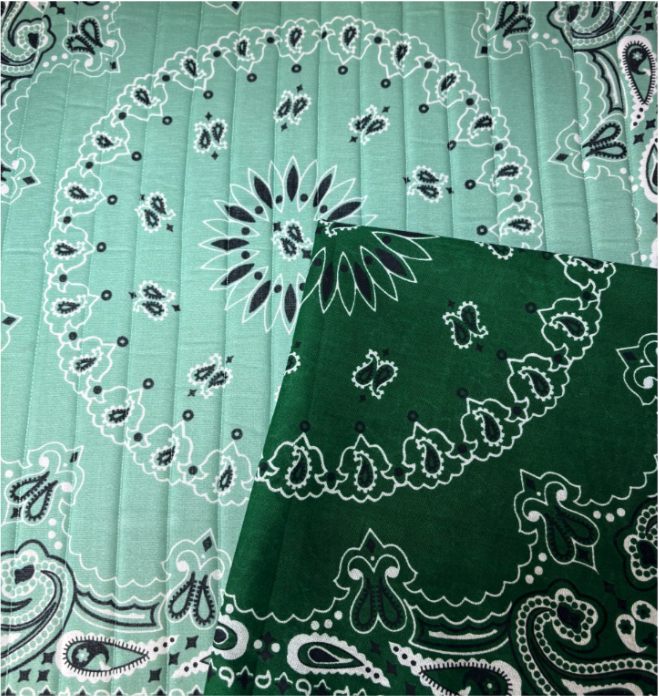
For the sides and bottom, select your coordinating bandanas.
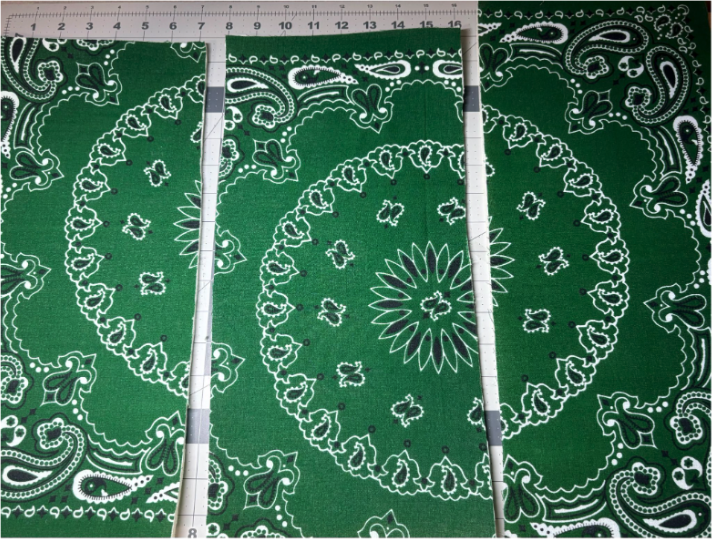
For the bottom, cut one 8” x 19”. For the sides, cut two 16” x 8”.
Cut one foam piece 8” x 19” and two pieces 16” x 8”.
Fuse the fabrics to the foam.
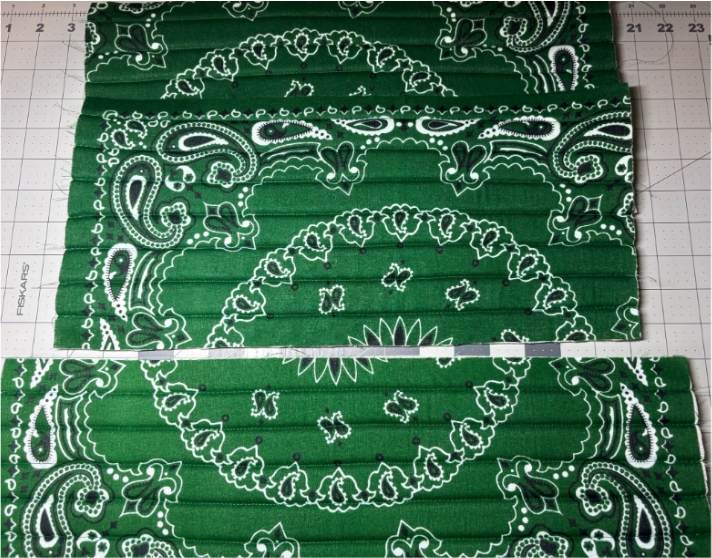
Repeat the above steps to sew lines down the sides and across the bottom.
Tip: Make sure to sew the lines lengthwise on the bottom.
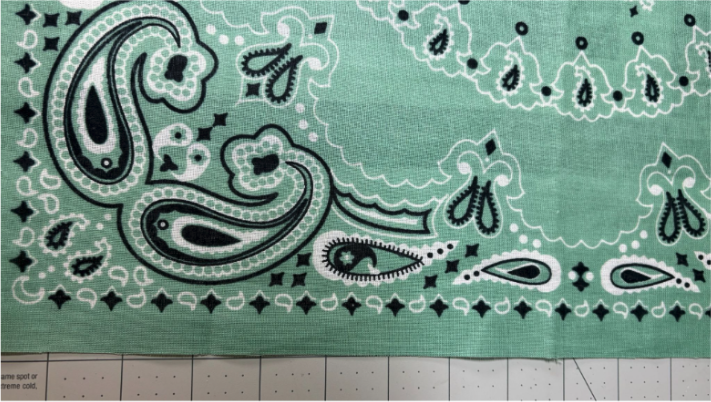
For the straps, we will make two sizes.
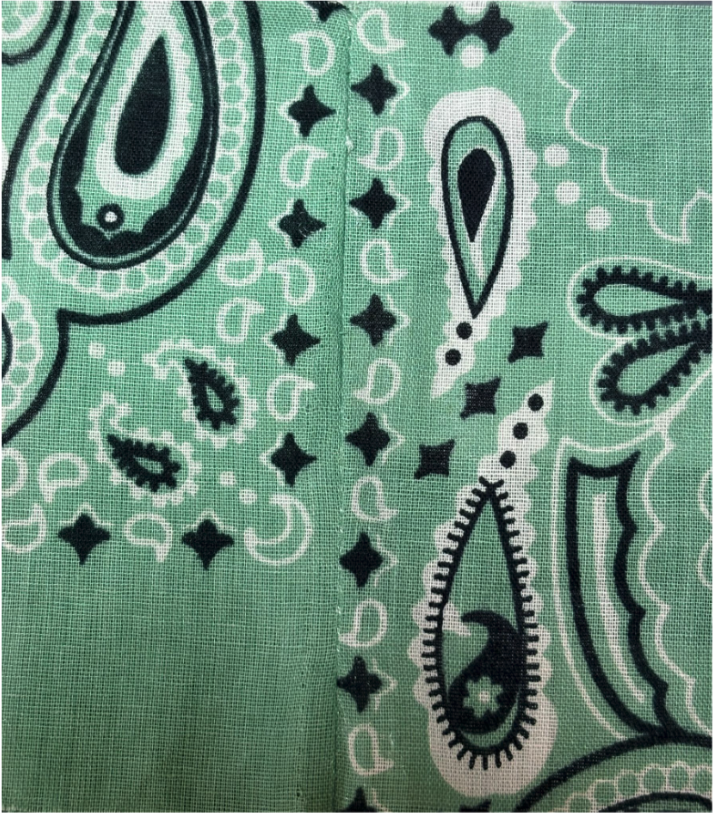
For the long straps, select your desired color. Cut two pieces 5” wide x length of the bandana. Place ends together and sew across.
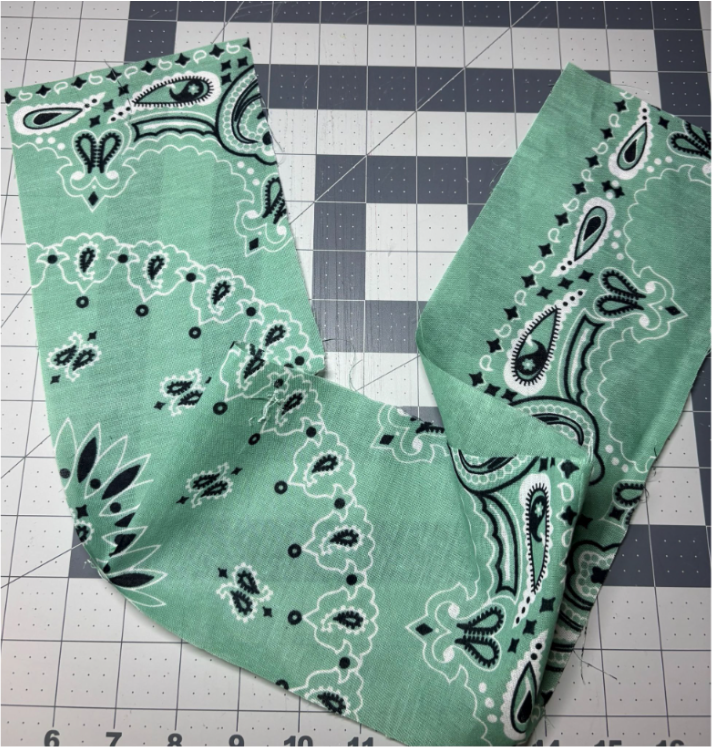
Trim to 29”.
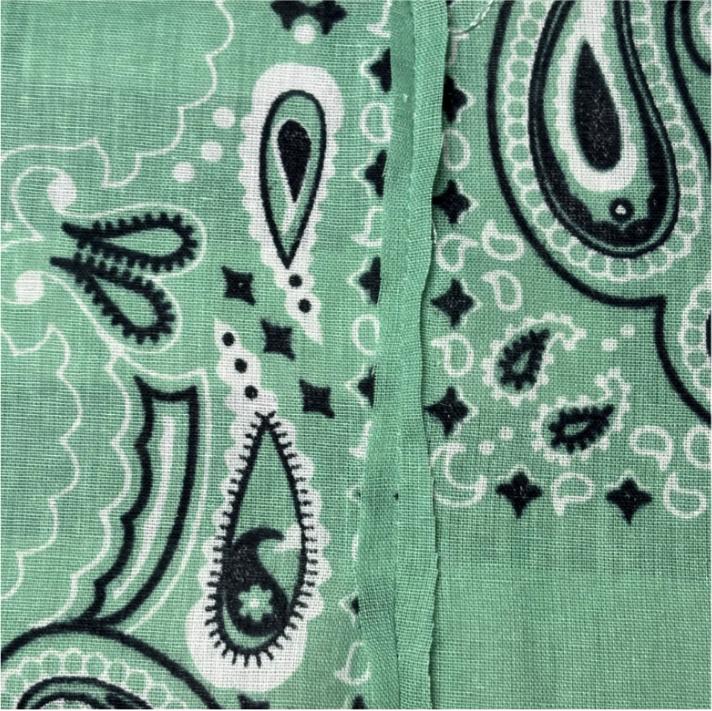
Do the same for the second strap.
Trim the seam and press it open.
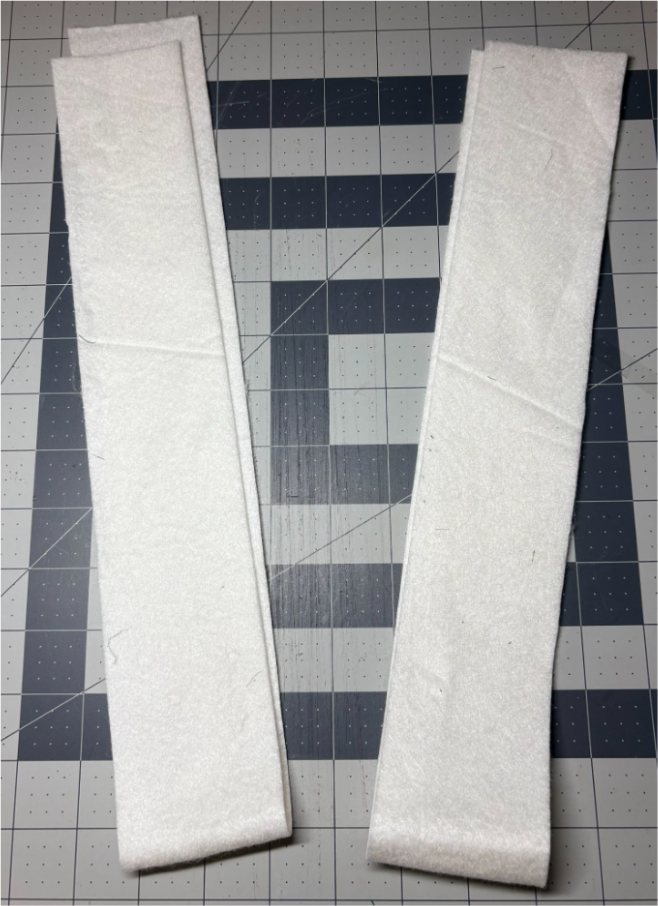
Cut two pieces of batting 2½” x 29”.
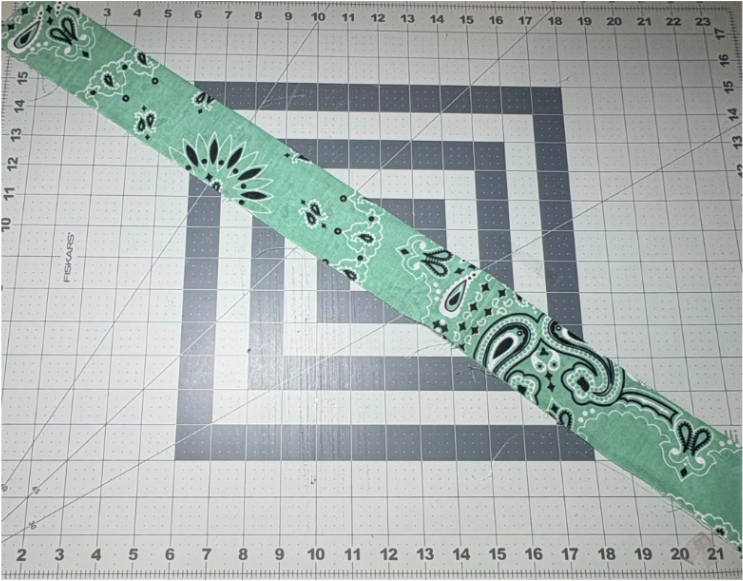
Fold the strap fabric in half lengthwise and press.
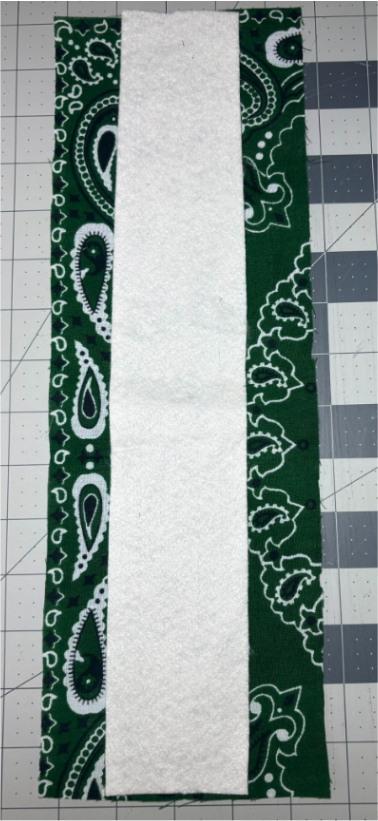
Open the fabric and center the batting on the wrong side. (To make photography easier, I am showing my short strap.)
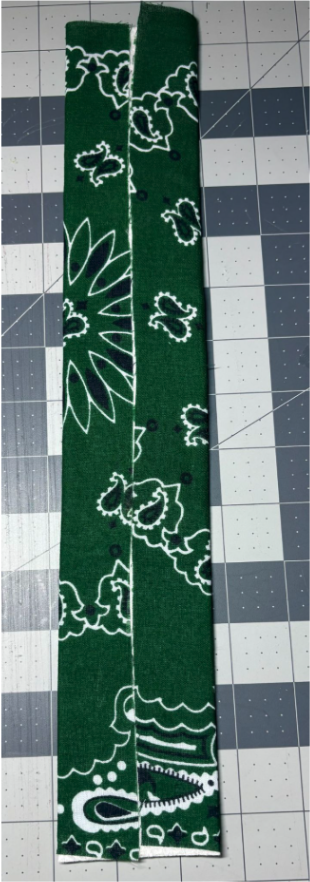
Fold the sides inward and press.
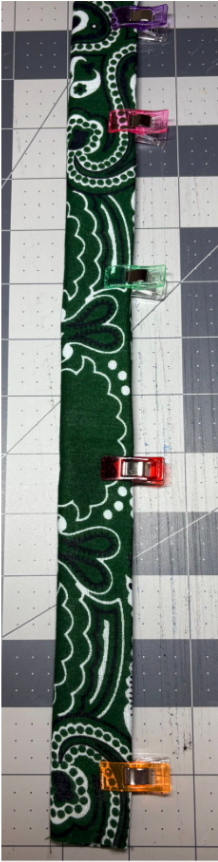
Bring the two sides together and clip.
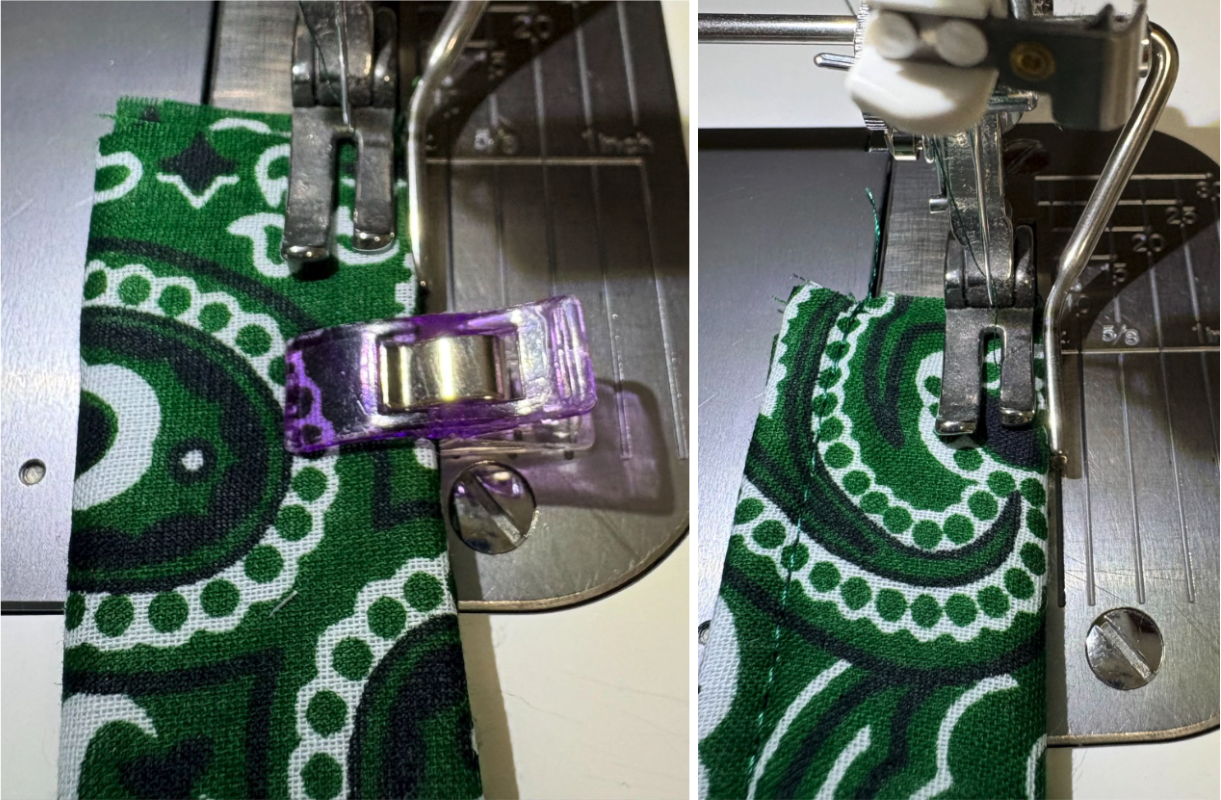
Take it to the sewing machine and sew ¼” from the edge on both sides.
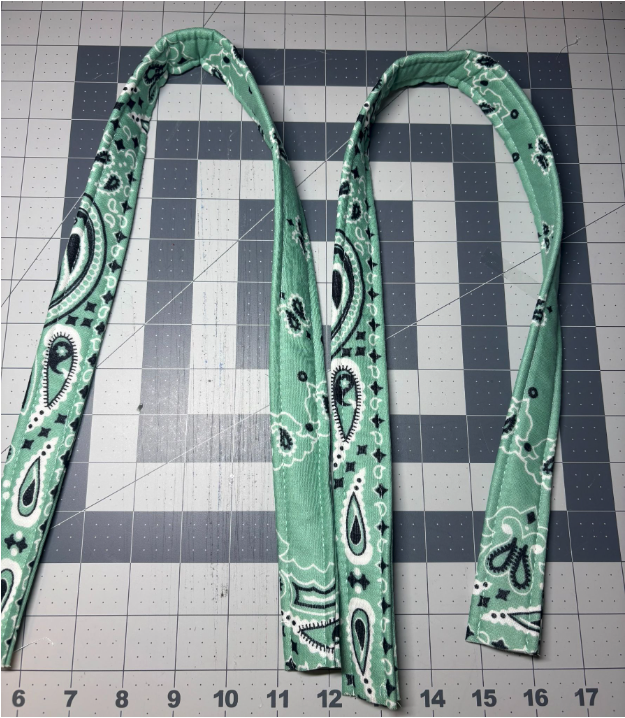
Trim the ends, making sure both straps are the same length.
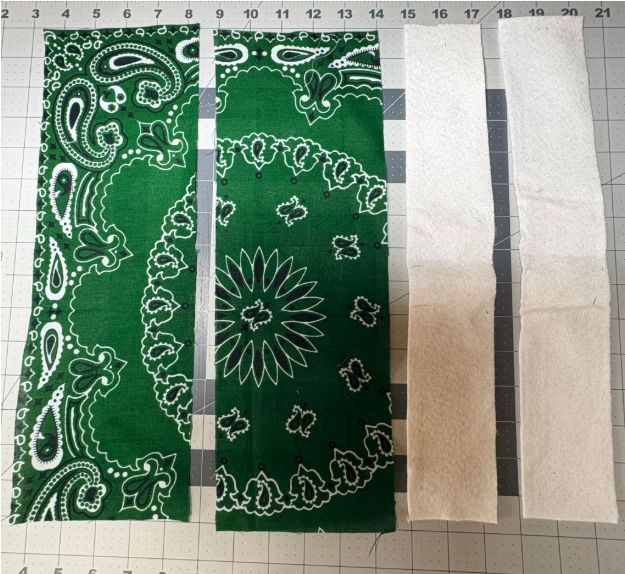
If you want to make the short straps, select the bandana you want to use. It can be the same fabric as the long straps or the coordinating fabric.
Cut two pieces of fabric 5” x 15”.
Cut two pieces of batting 2½” x 15”.
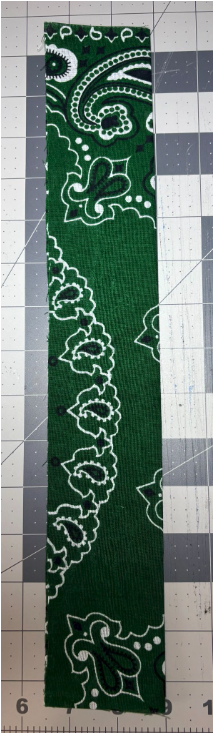
Fold and press the strap fabric.
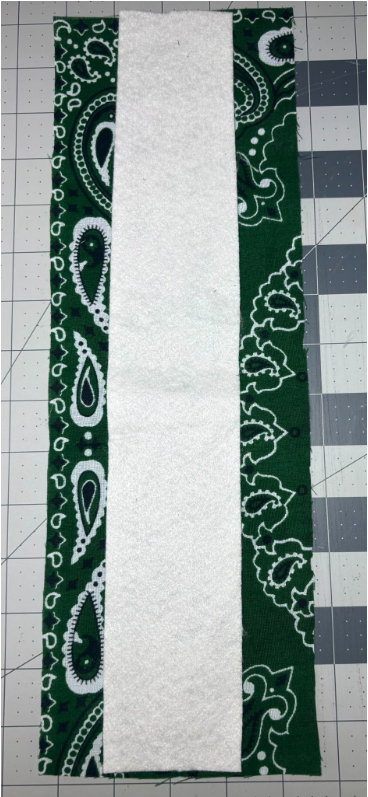
Center the batting.
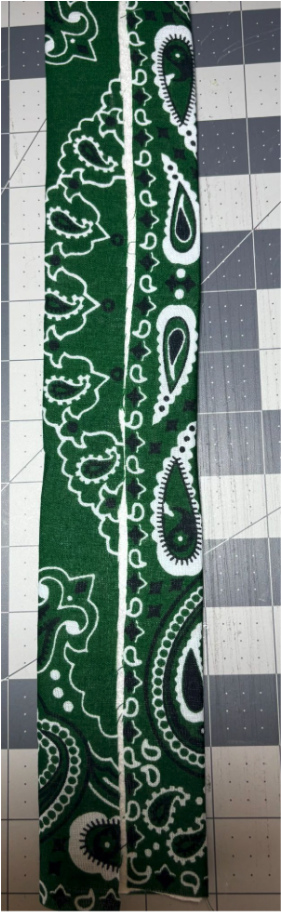
Fold and press the sides inward.
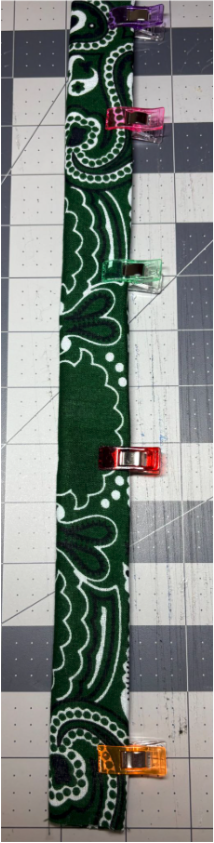
Fold in half and clip.
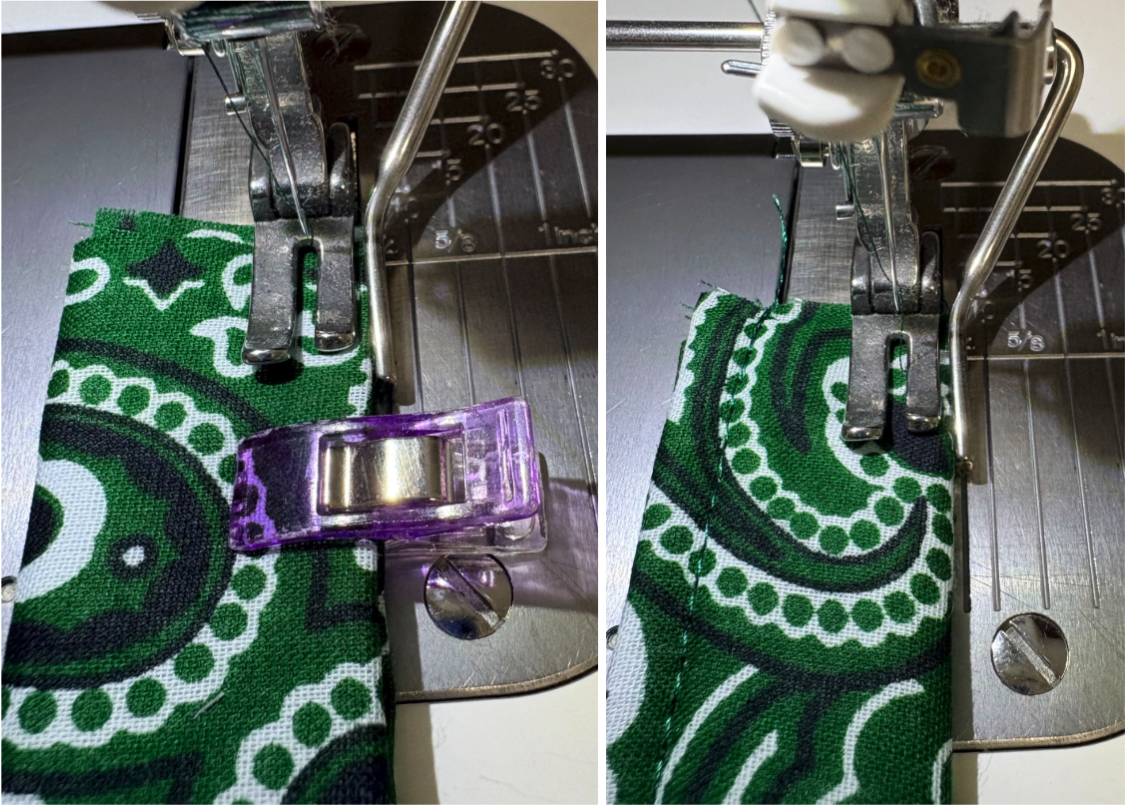
Sew ¼” from the edge on both sides.
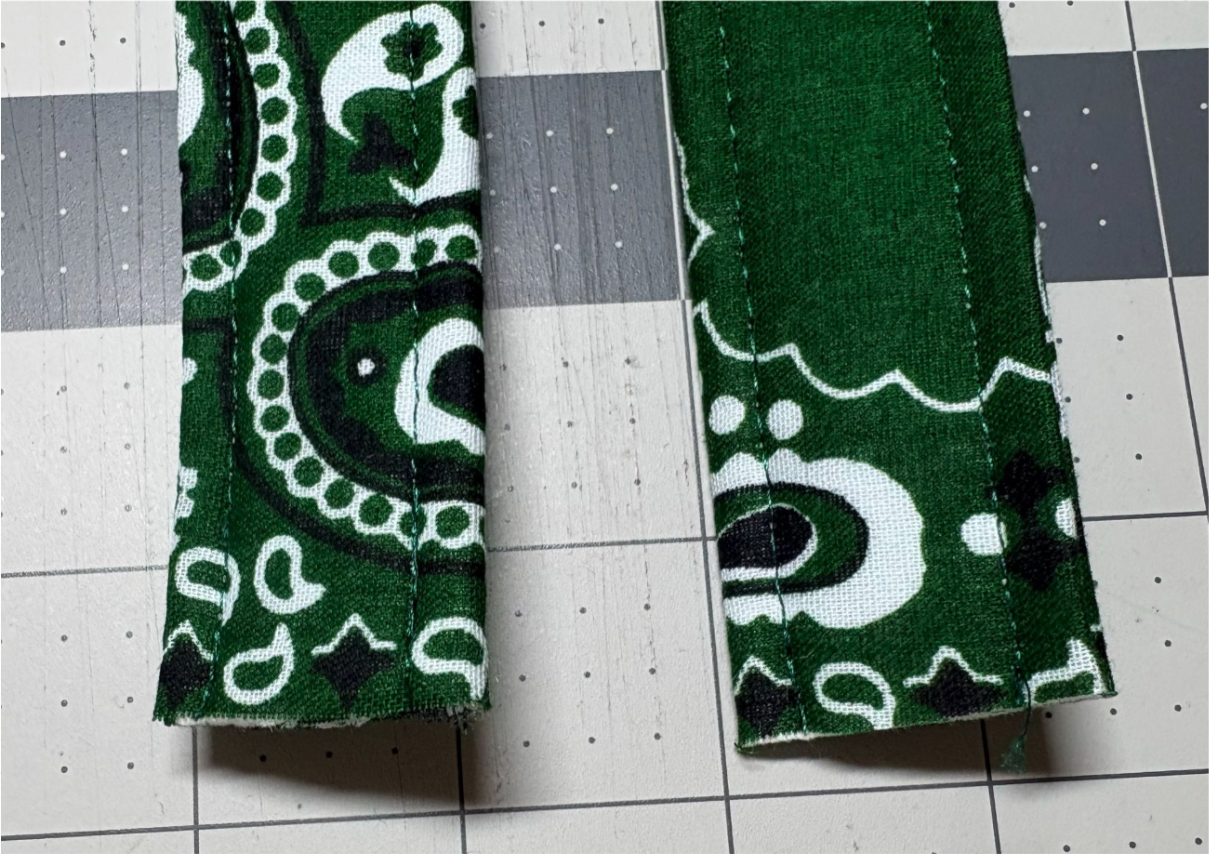
Trim the ends, making sure the straps are the same length.
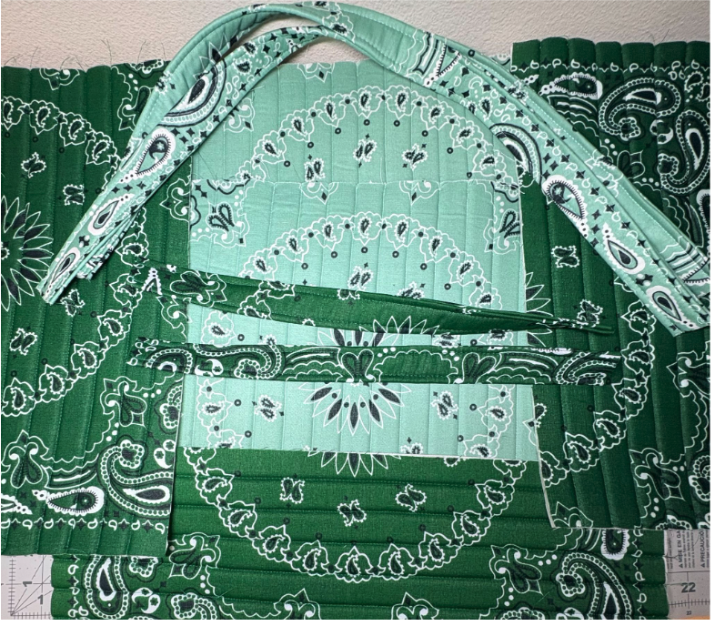
You should now have the front, back, sides, bottom, and straps sewn and quilted.
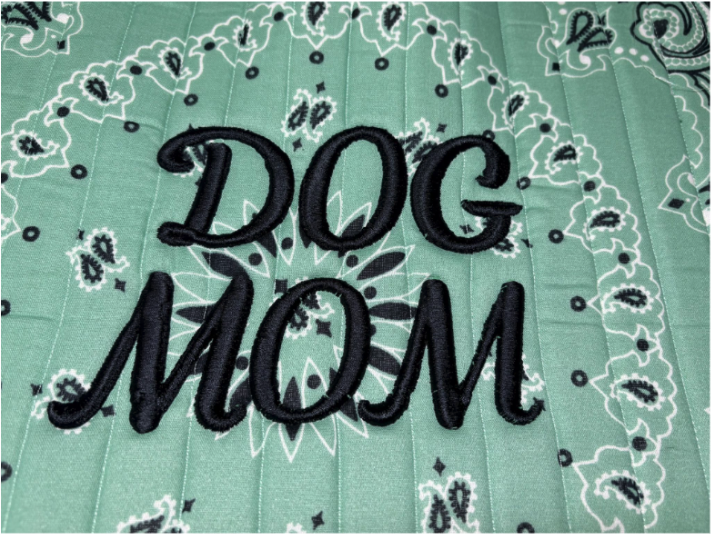
Now we will personalize the front of the bag.
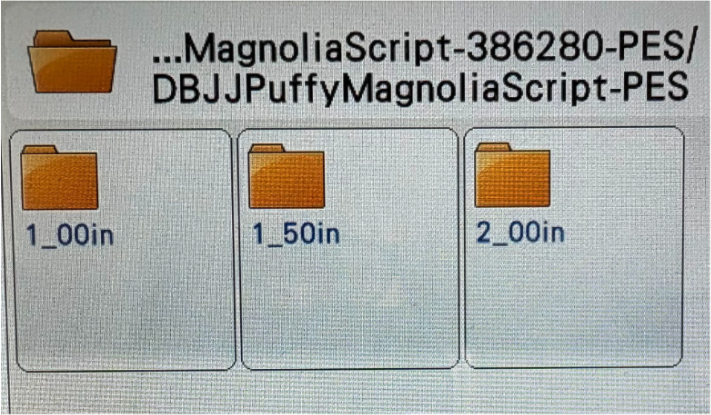
Load Puffy Magnolia Script Satin Stitch Embroidery Font to your machine. I am using the 2” letters. The number of letters you will be using will determine the size you want to use.
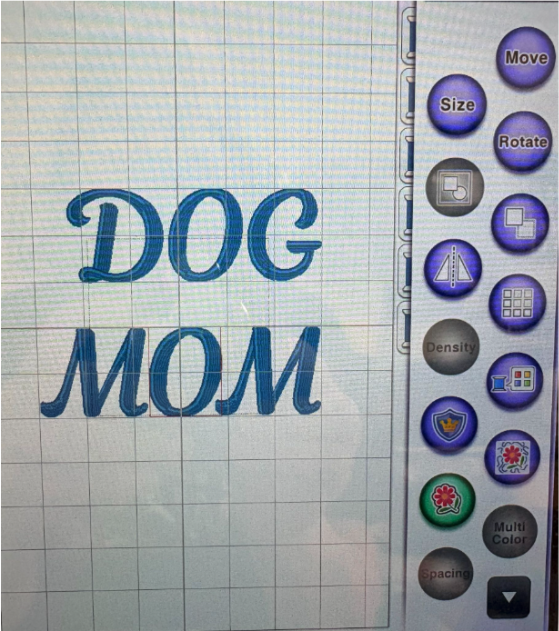
For this tote, I am going to add DOG MOM to the front.
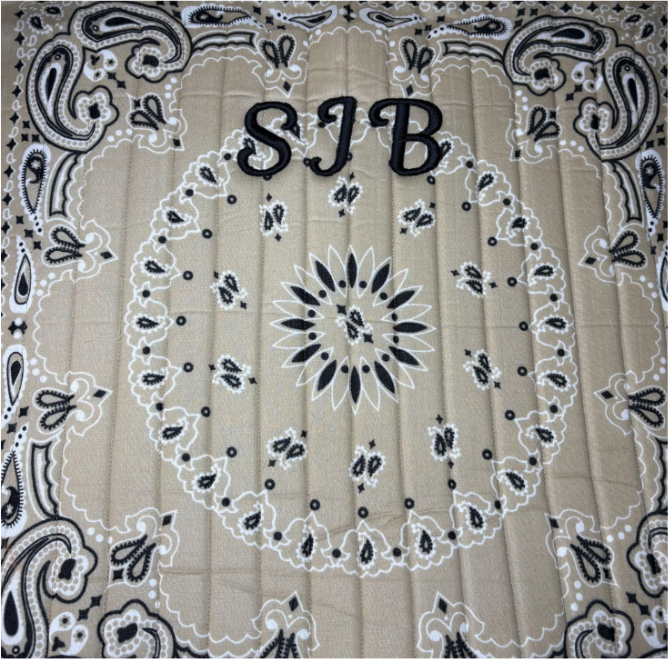
Other examples can include a full name or just initials.
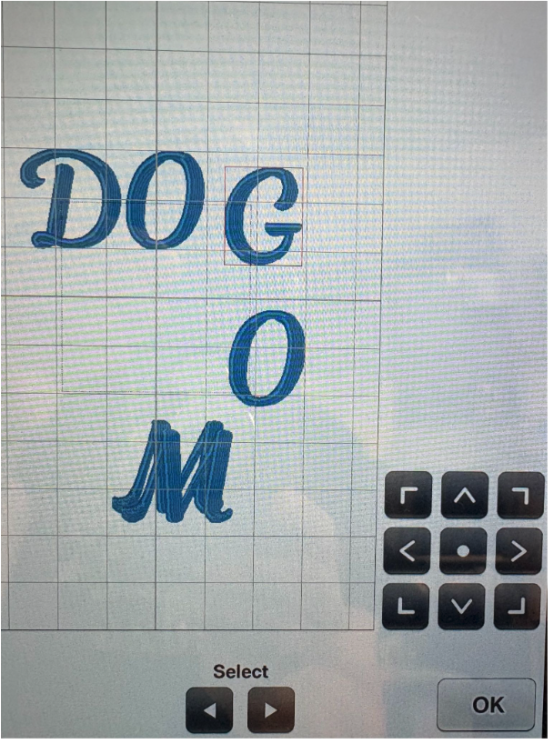
Add the letters. Use the Move keys to arrange them on your screen. If you prefer, use software and then transfer to your machine.
Once you are satisfied with your placement, you can begin stitching.
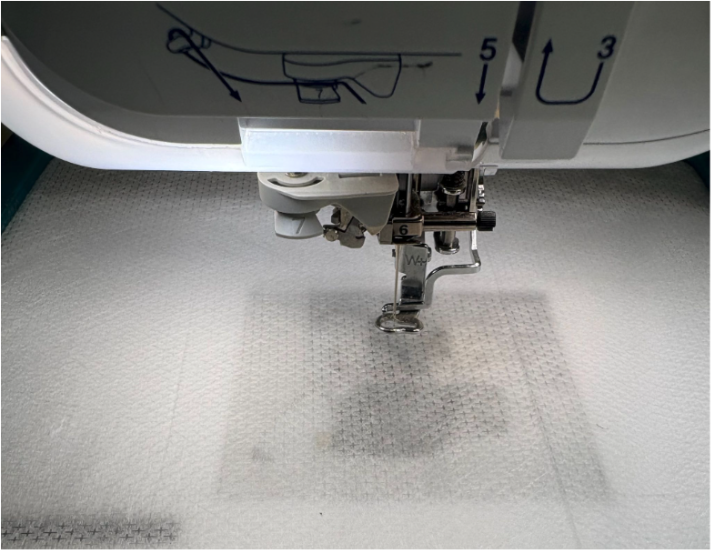
I always like to check my placement first. To do this, hoop a piece of stabilizer and take it to the machine.
Tip: Save scrap pieces of stabilizer for placement tests.
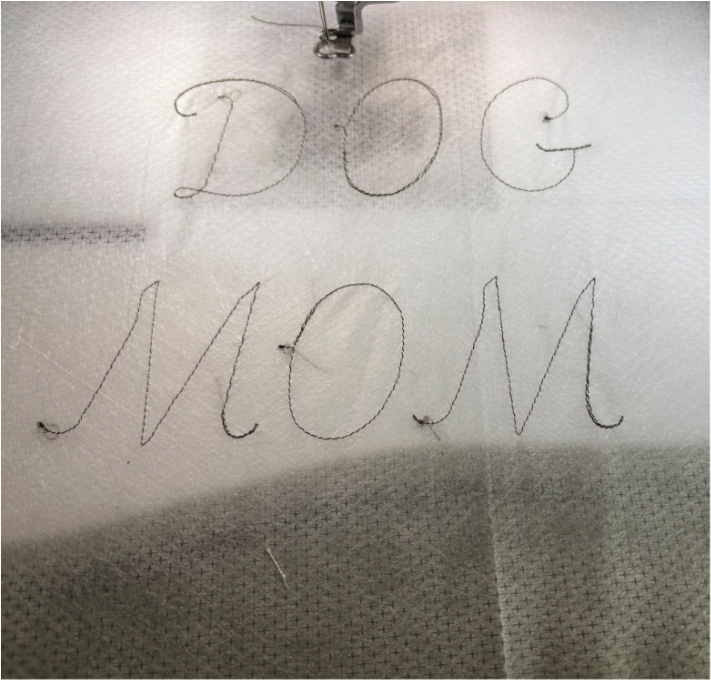
Run just the outline of each letter.
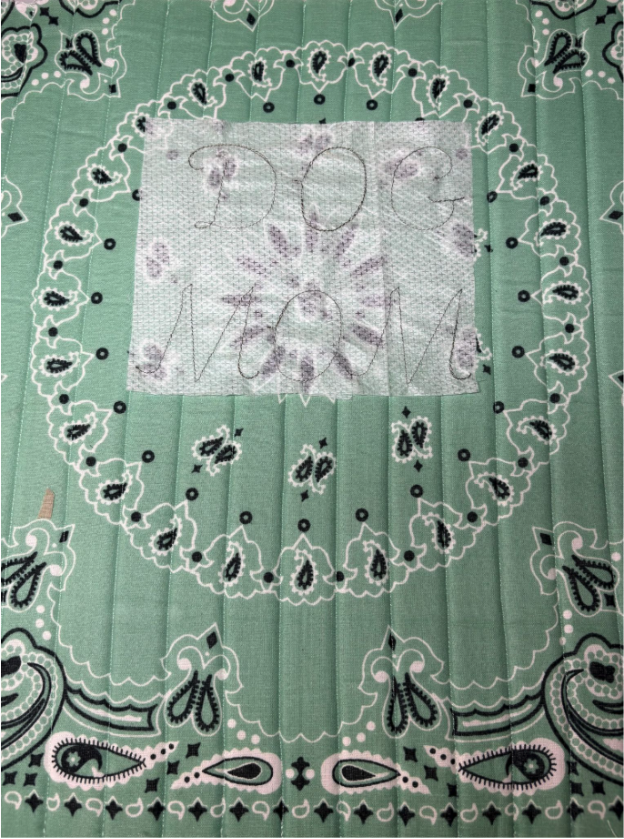
Remove the stabilizer and trim it. Lay it on top of the front of the bag.
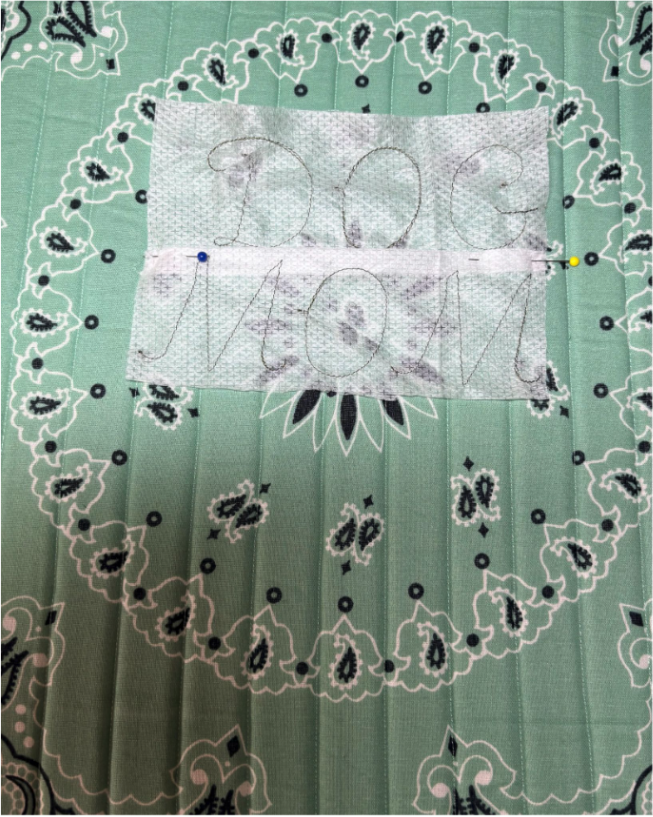
Does it look good? I am not happy with mine. I want the MOM up closer to DOG.
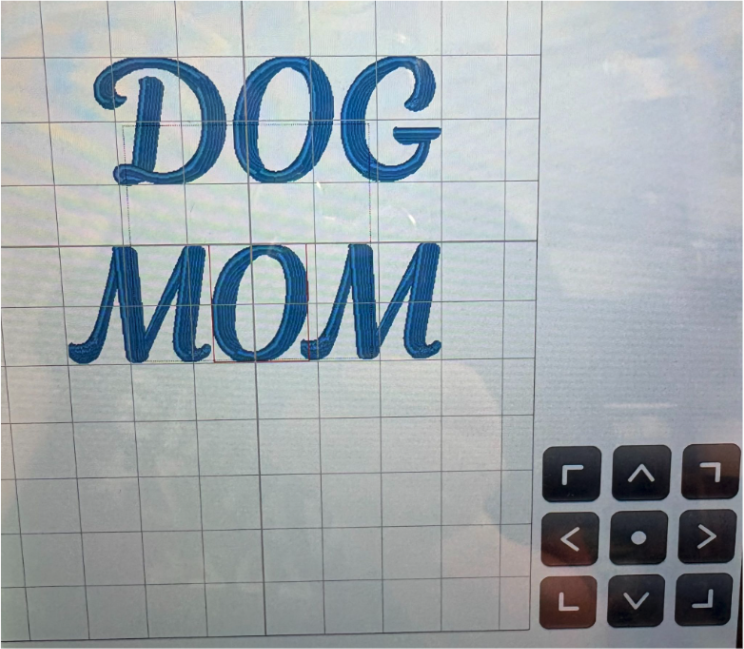
So I am going to return to my machine and again use the Move keys to adjust my letters.
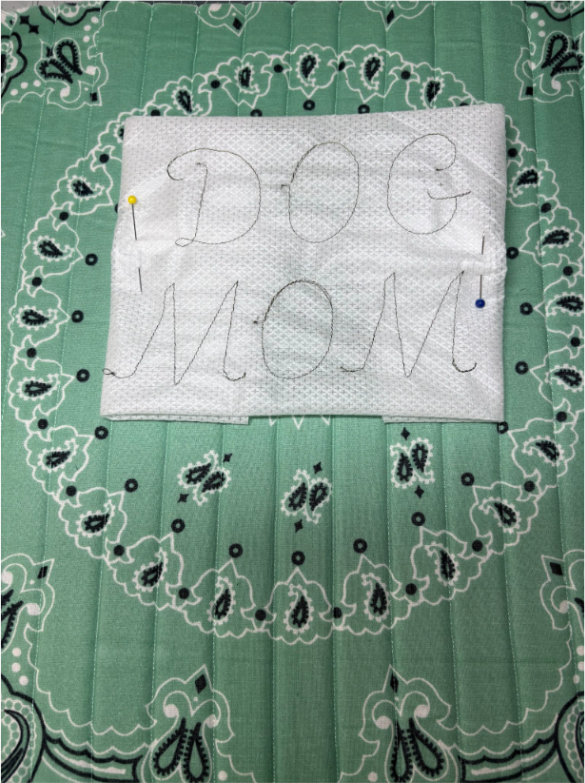
I am now going to stitch out just the outline of the letters again. This only takes a couple of minutes.
I am satisfied with the changes I made, so now I am ready to stitch it out. Use a 90/14 needle. No stabilizer is needed.
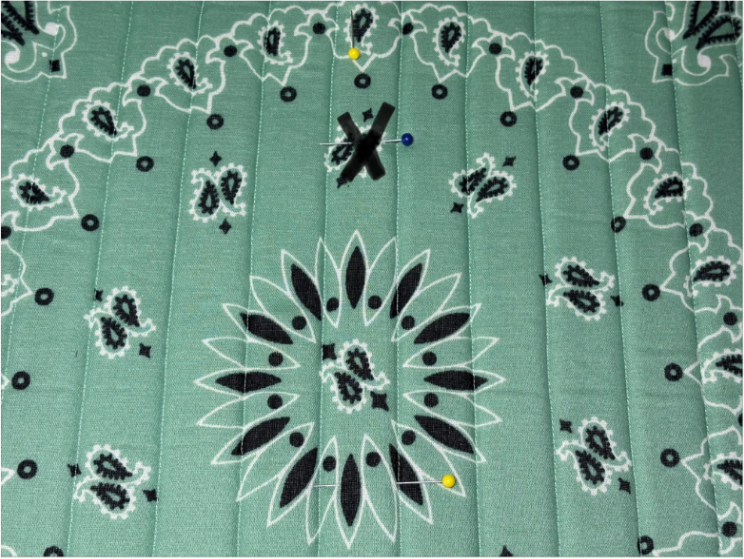
Find the center of the front of the bag and mark it with a pin.
Next, if you stitched out the letters on the stabilizer, mark with a second pin where you want the top of the letters to begin.
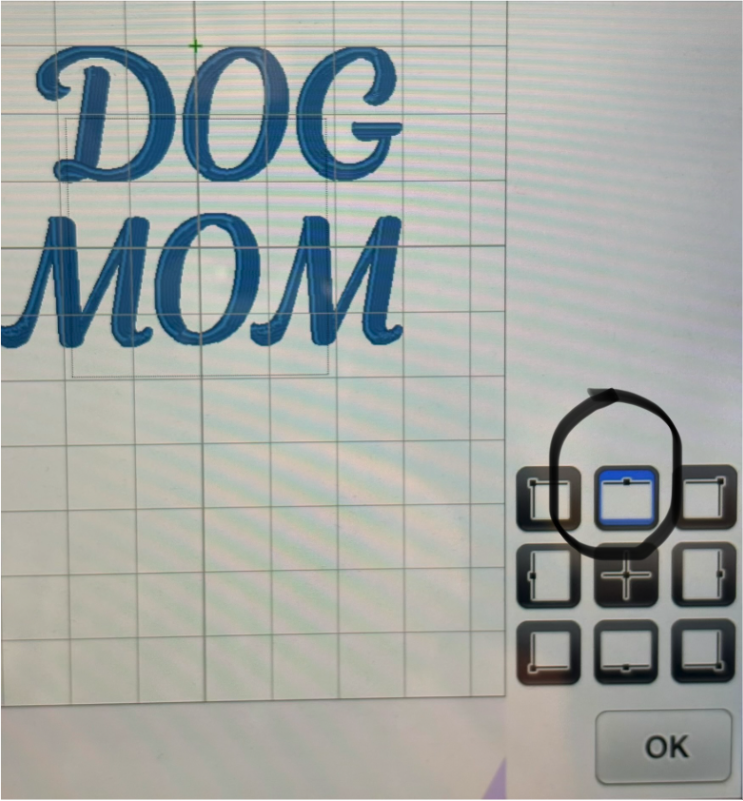
Find the top center of the design on your screen.
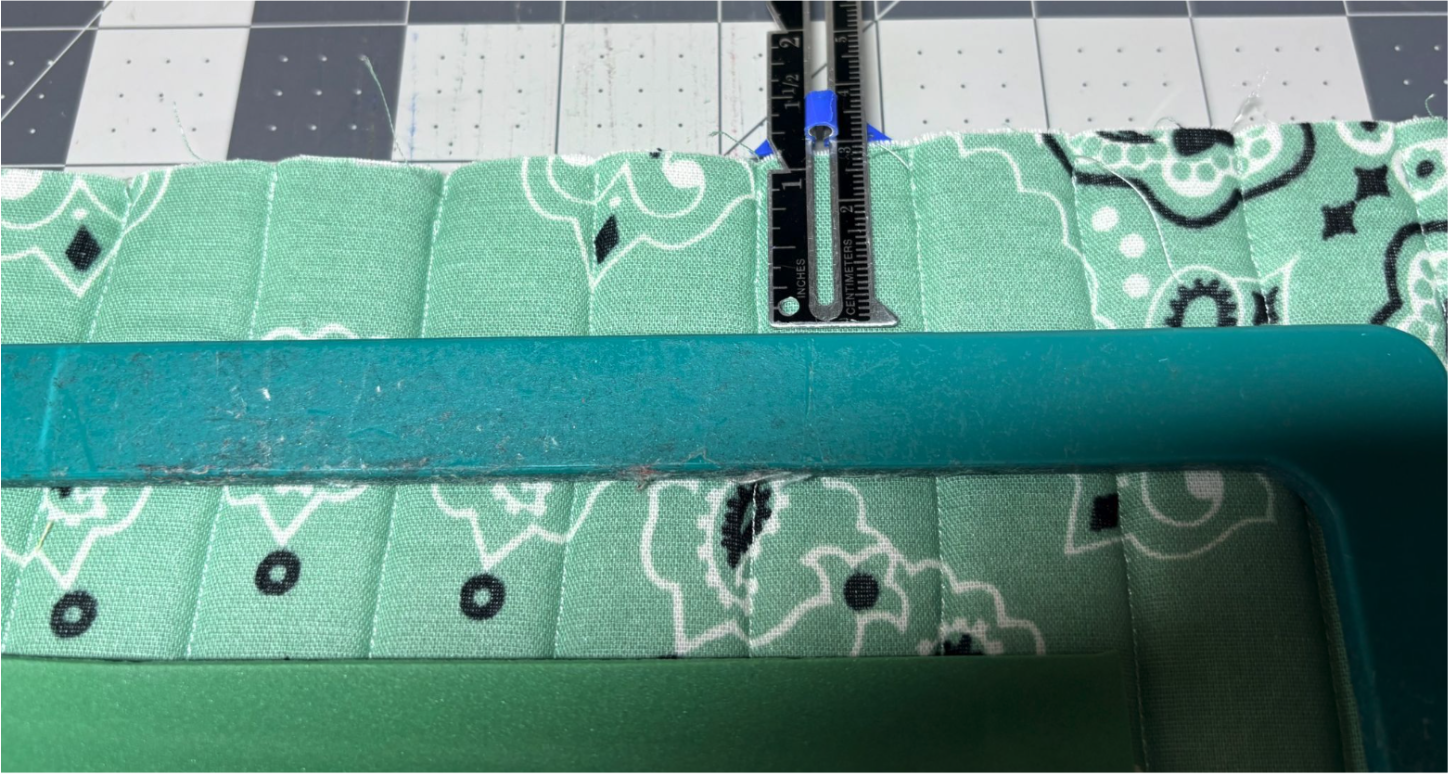
Hoop your fabric; measure across the top to ensure your fabric is straight.
Tip: If you have a magnetic hoop, I recommend using it. If you don’t, no worries; just take your time.
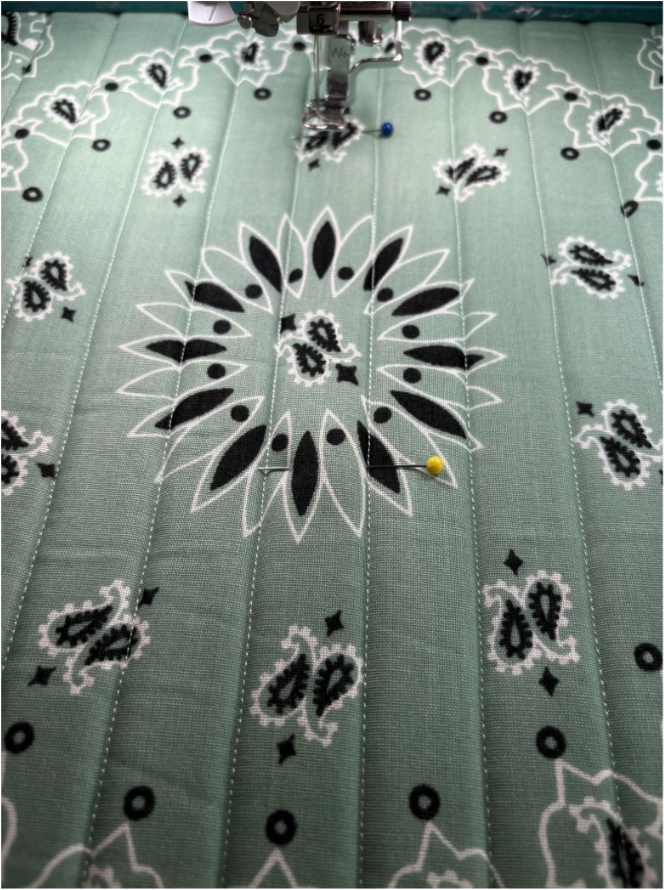
Match the top center on the screen with the top center of your pin. You can move the design on the screen to line up with the pin in the fabric.
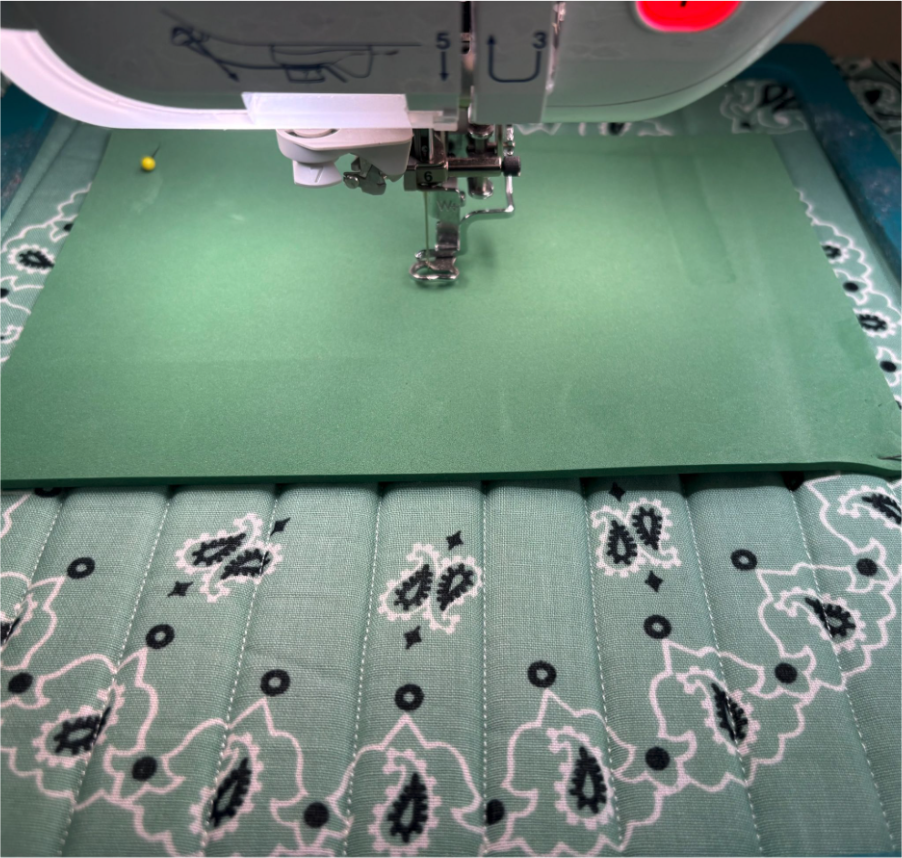
Once the fabric is in the correct place, add the puffy foam.
Puffy Foam Tips: When using puffy foam, make sure you are using foam for embroidery. I do not recommend using craft foam. The color is not important. If your fabric is dark, a dark foam is ideal because any tiny bit that peeks through is less noticeable. If your fabric is light, white foam is usually a good choice.
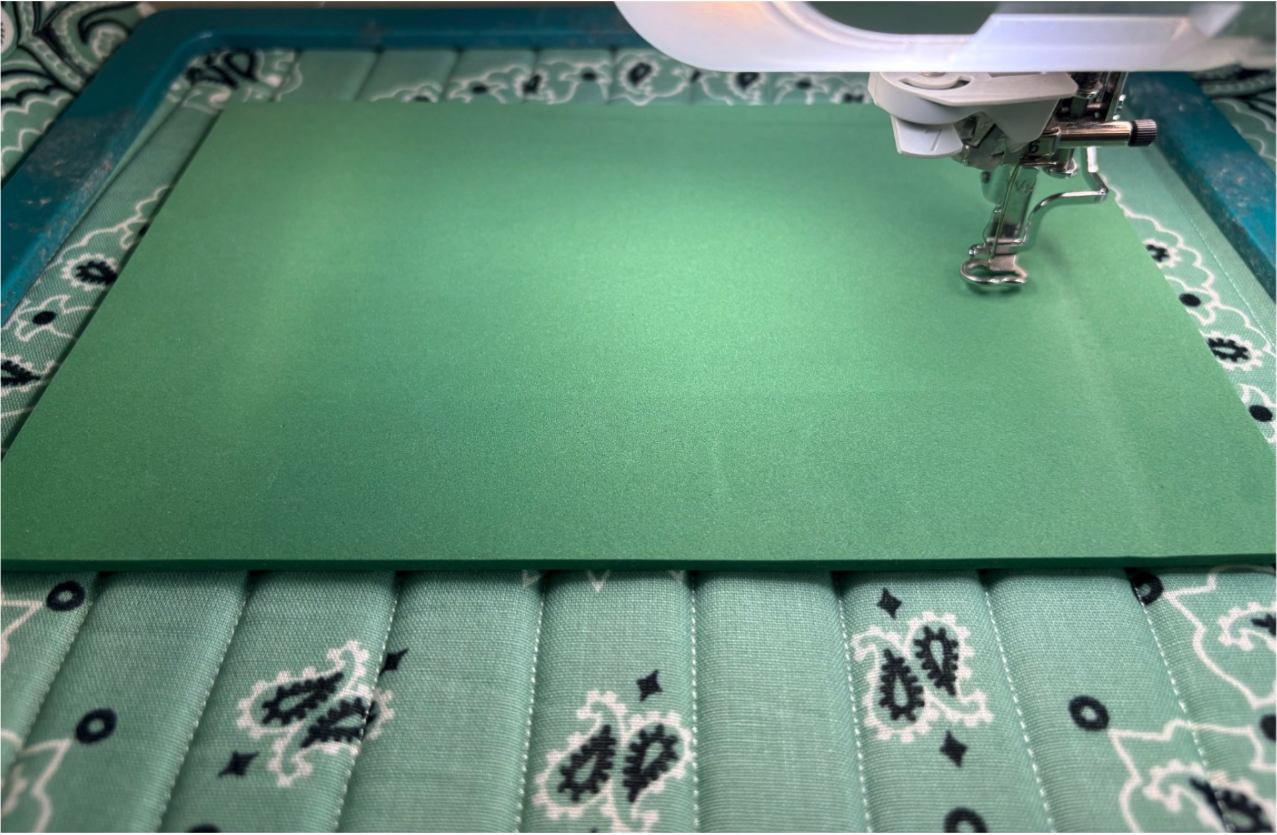
Lay the puffy foam on top of the bag front and, using the machine's Placement keys, adjust as needed.
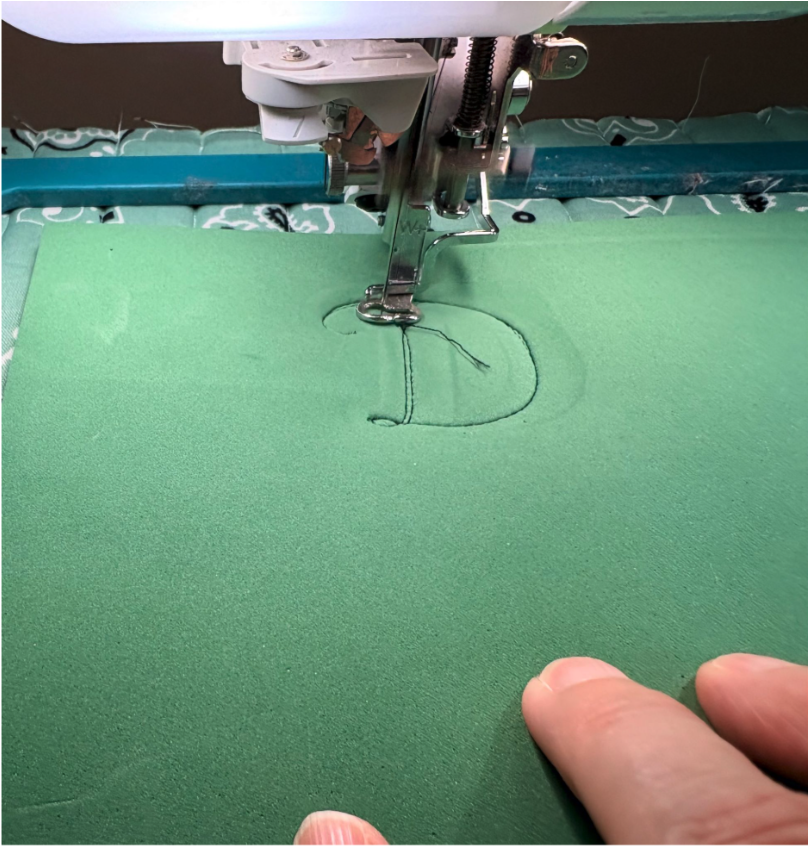
Pin the foam to the fabric, or hold it steady with your fingers until the design begins to stitch out.
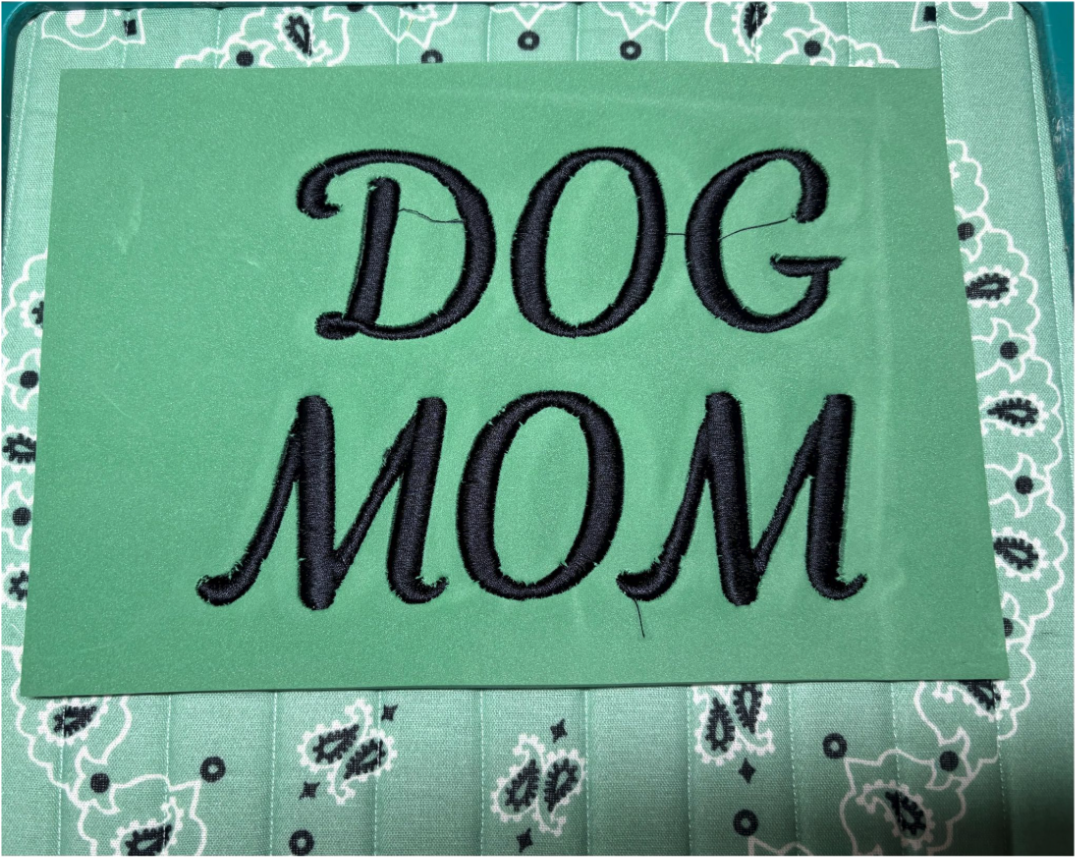
Stitch out the letters. Check to make sure there are no skipped stitches. If needed, go back and stitch over those areas.
Remove the hoop from the machine and set it on a flat surface.
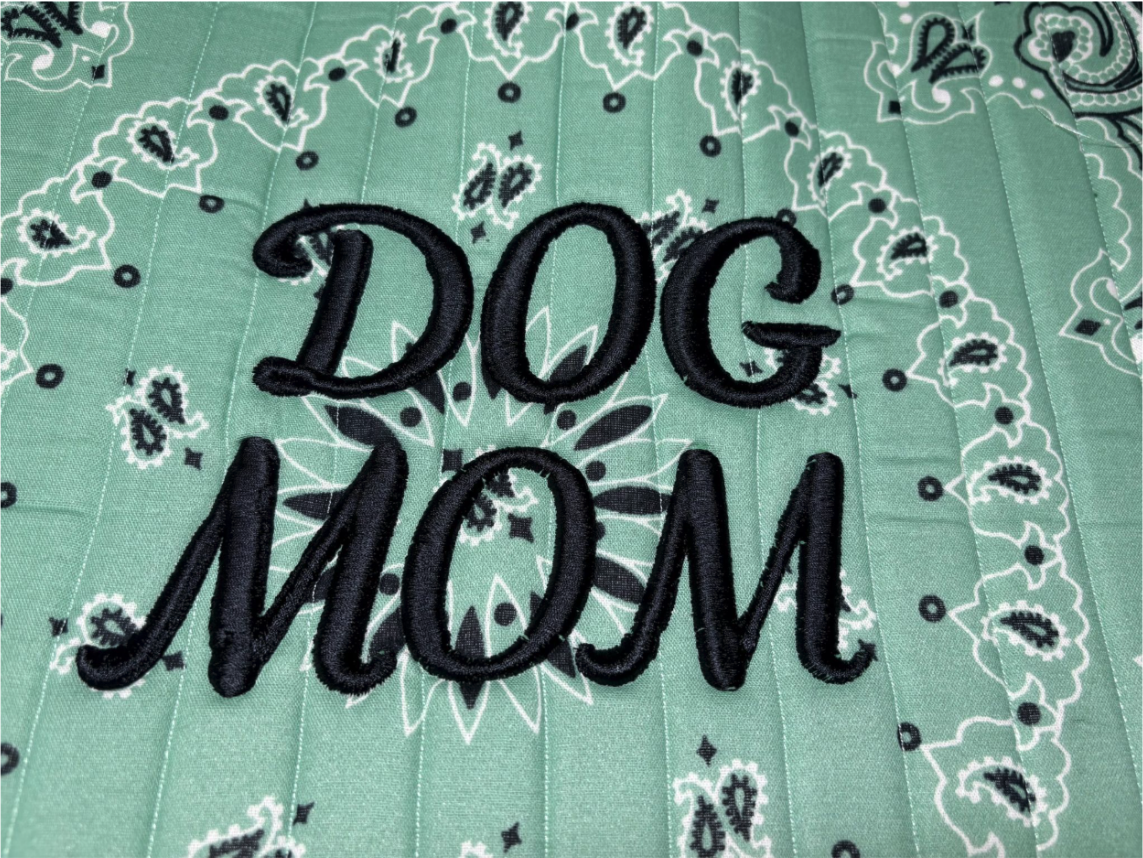
Gently pull the foam away.
The front of the bag is done. Now we will assemble all our pieces.
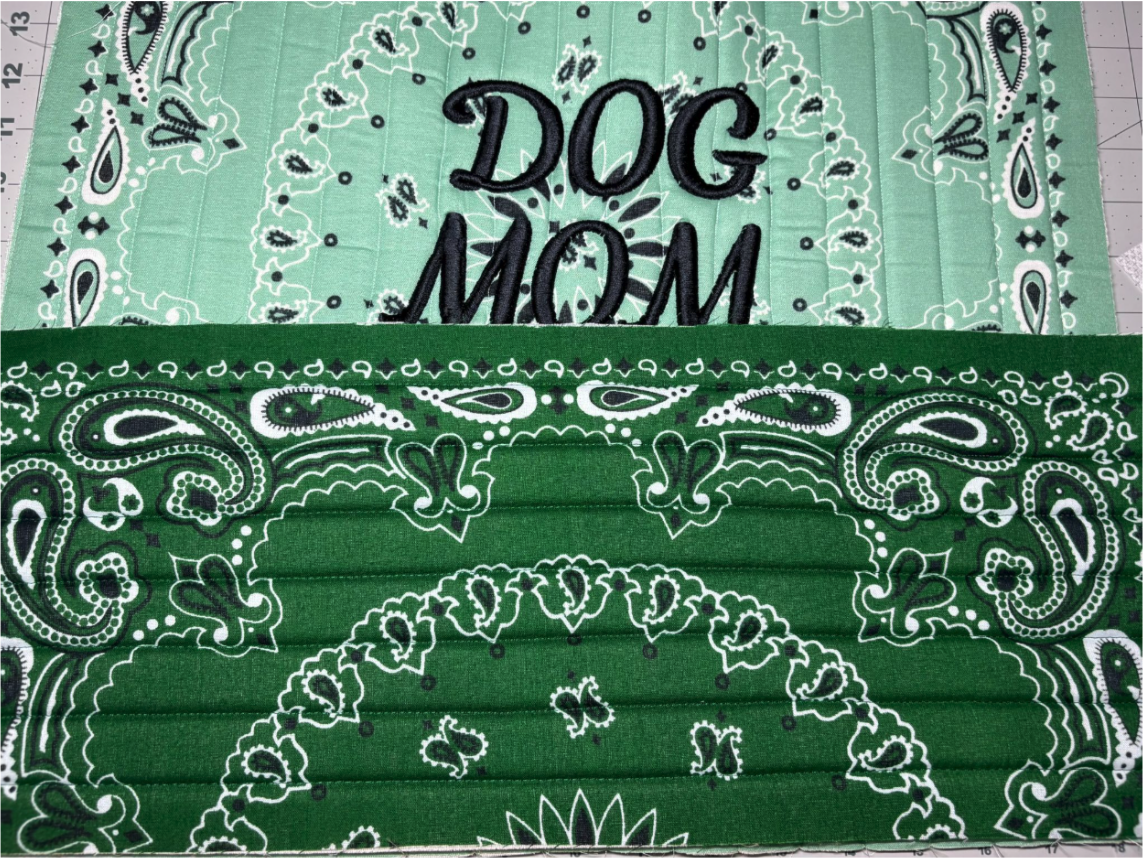
Start with the front and bottom pieces.
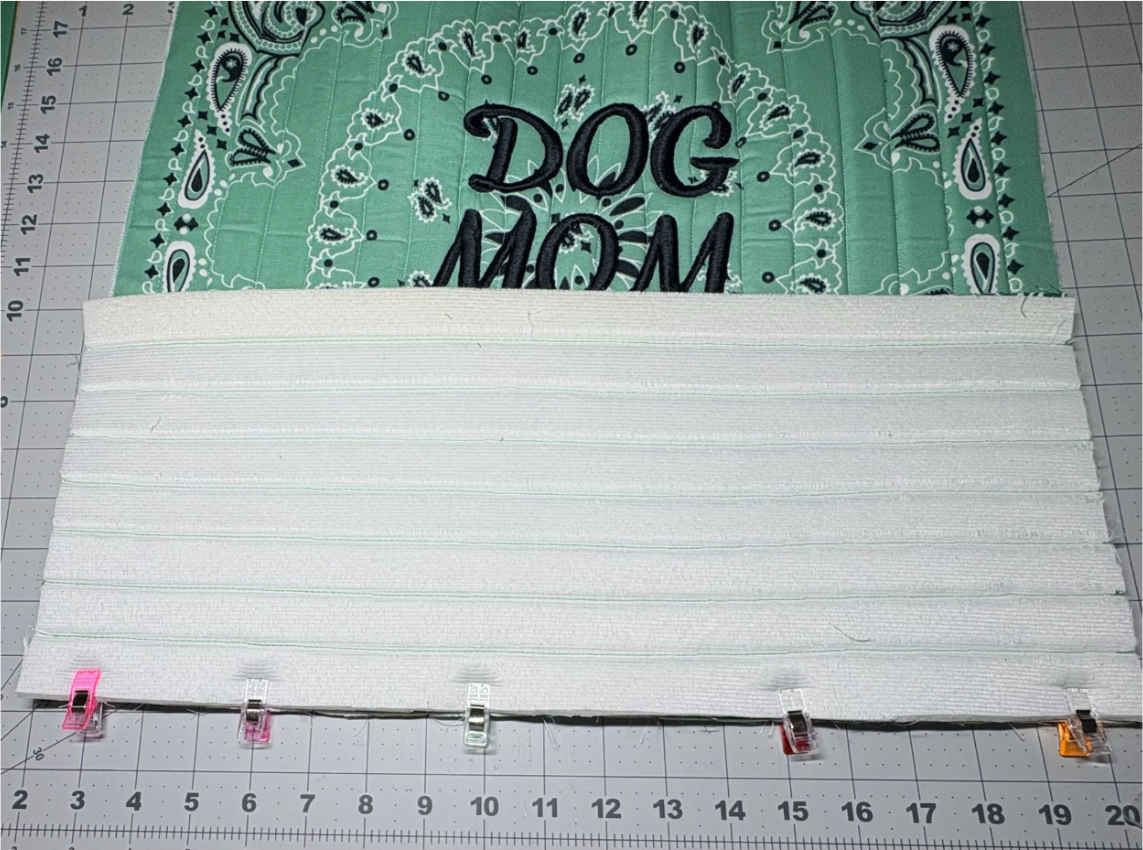
With right sides together, align the bottom panel with the bottom of the front. Use clips to hold it in place.
Tip: Take a moment to check the bottom piece for any extra material on the sides. Sometimes the foam and fabric can shift a bit while you’re quilting, so a little trimming might be necessary to make sure everything lines up nicely with the top pieces.
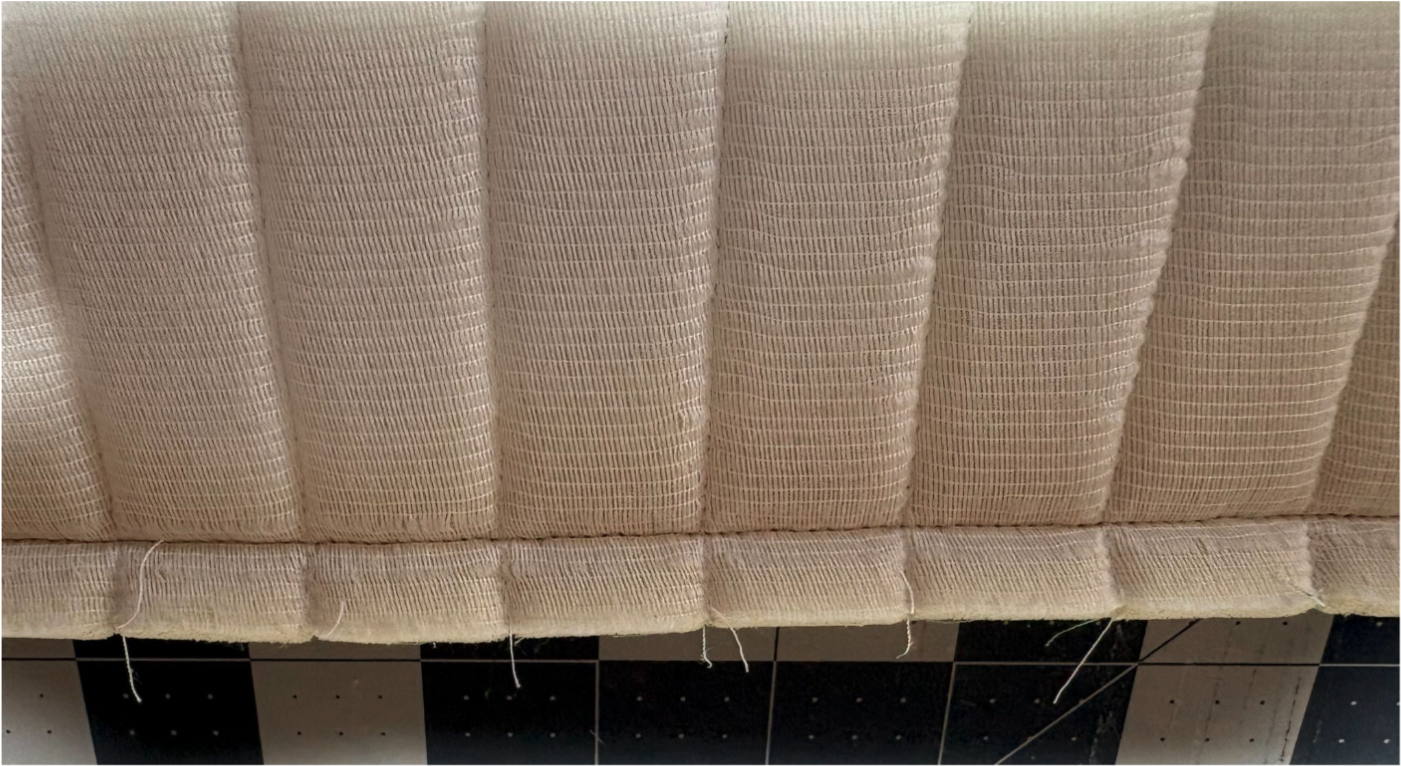
When you’re ready to sew, use a ½” seam allowance. This works well with foam and helps keep the edges aligned. Watch the alignment as you sew across to make sure everything comes together perfectly.
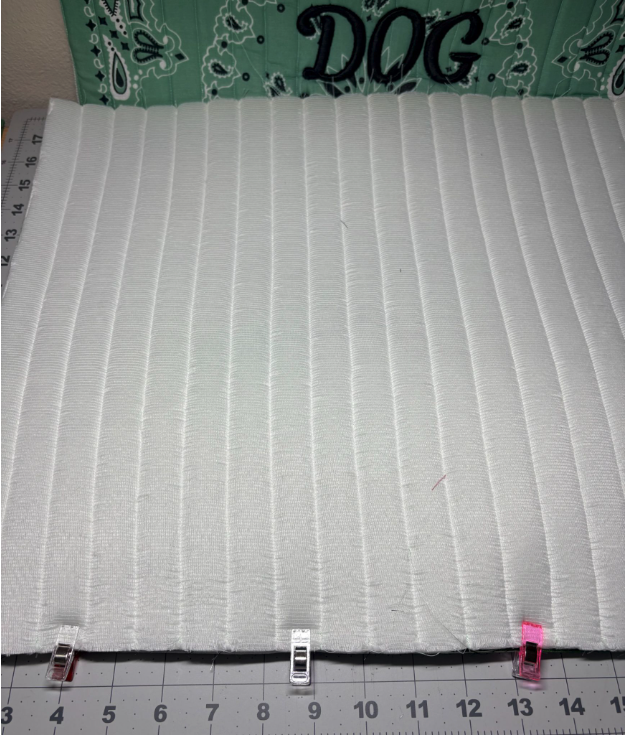
Sew the opposite edge of the bottom to the back panel.
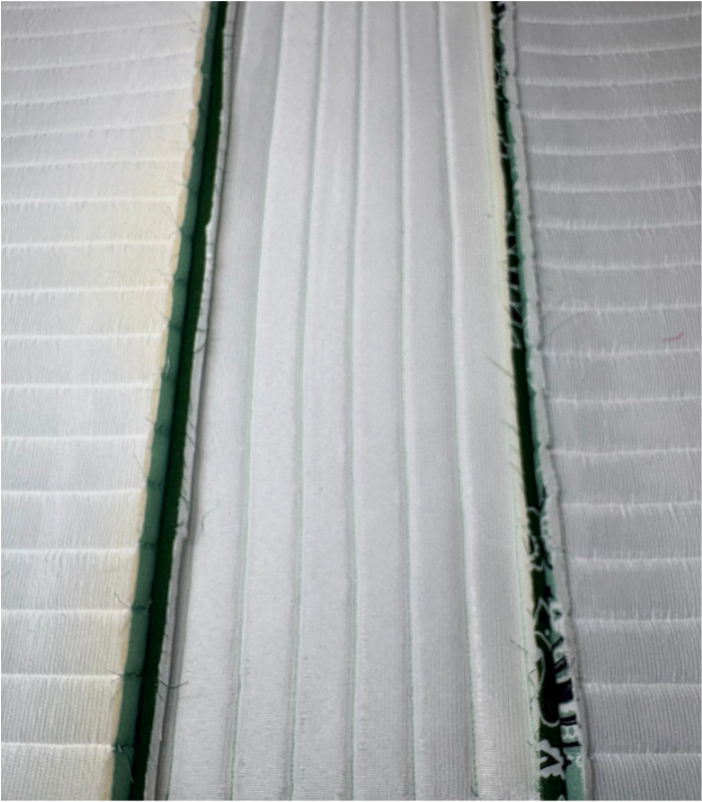
Press the seams open.
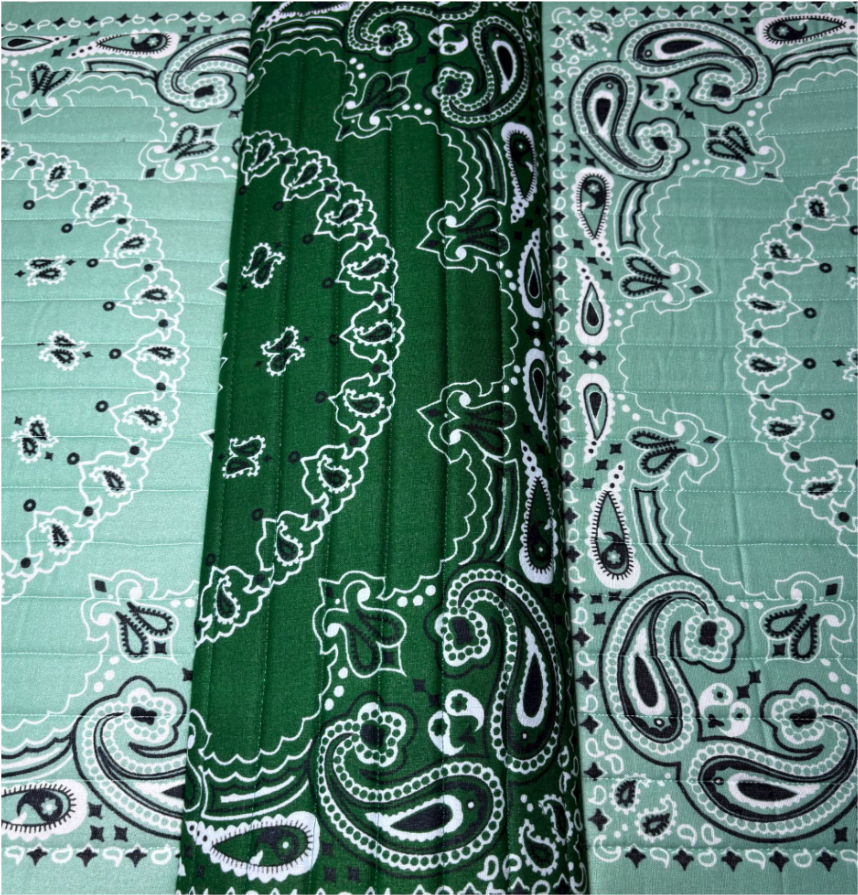
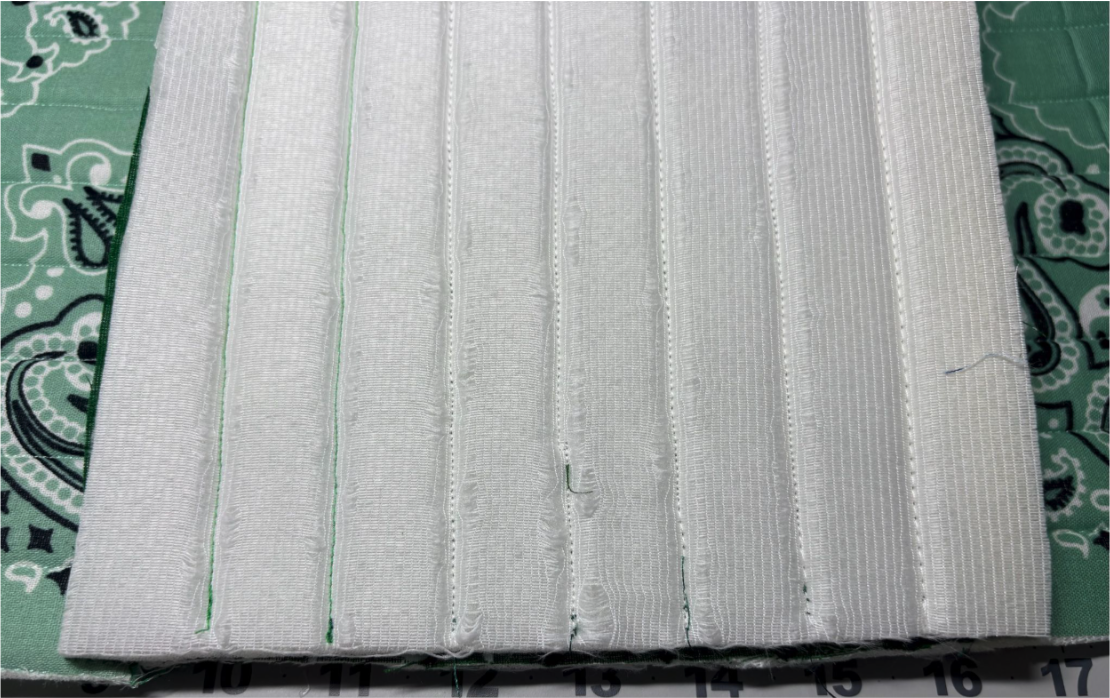
Next, align the short edge of the side panel with the corresponding short edge of the bottom piece, ensuring that the edges are perfectly matched.
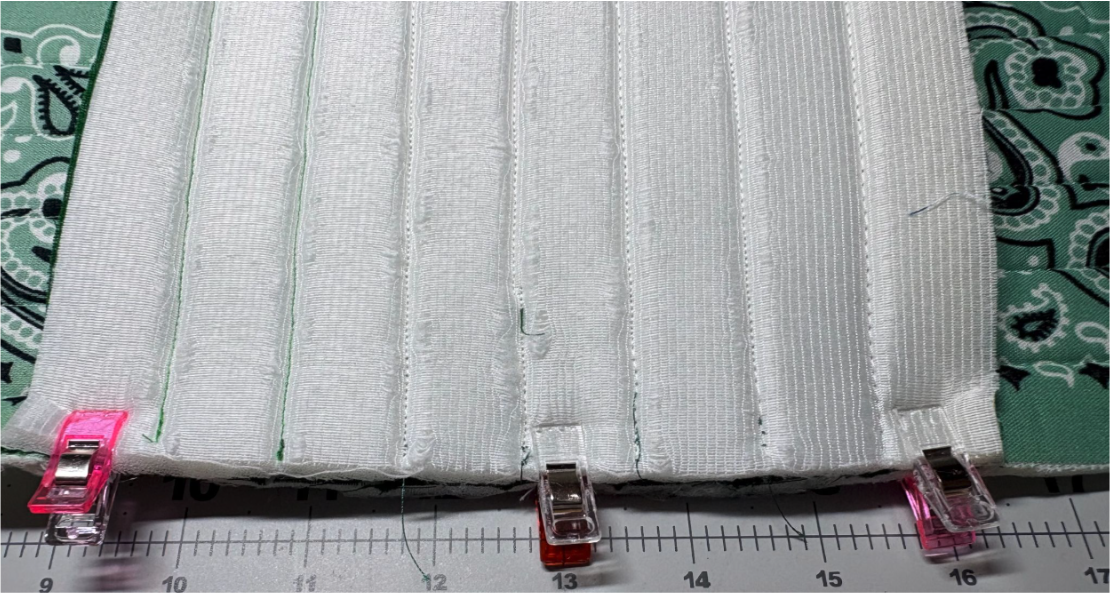
Clip in place.
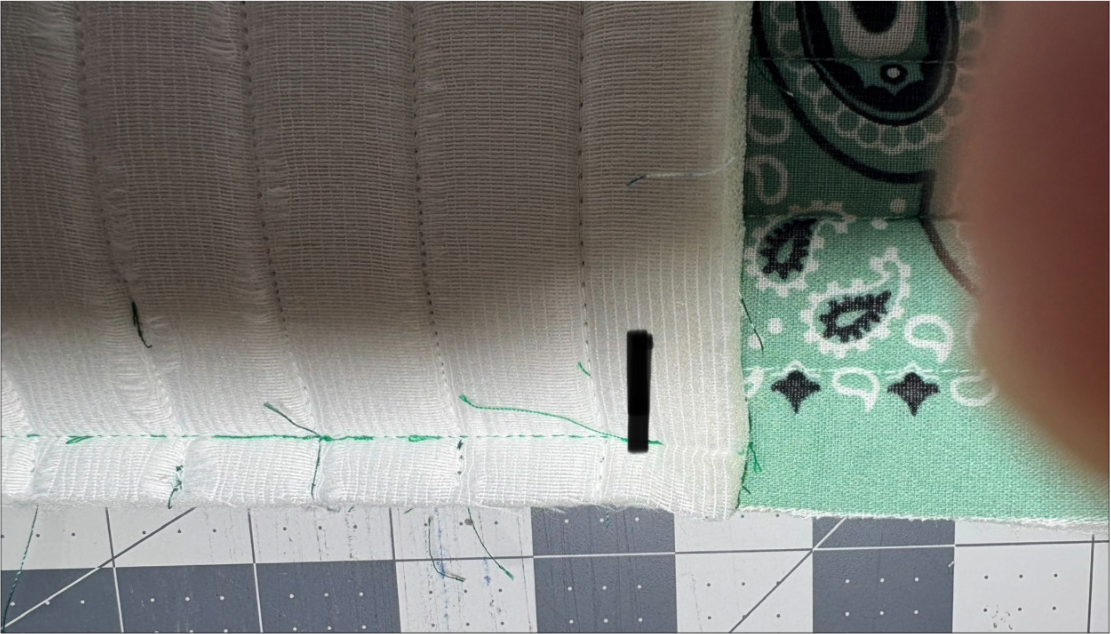
At your sewing machine, position the fabric so that you start sewing approximately ½” in from one end of the panel. As you sew, carefully guide the fabric and stop sewing ½“ from the opposite end. Your goal is to stitch from one seam to the next, creating a seamless transition that ensures a neat finish at the bottom of the bag.
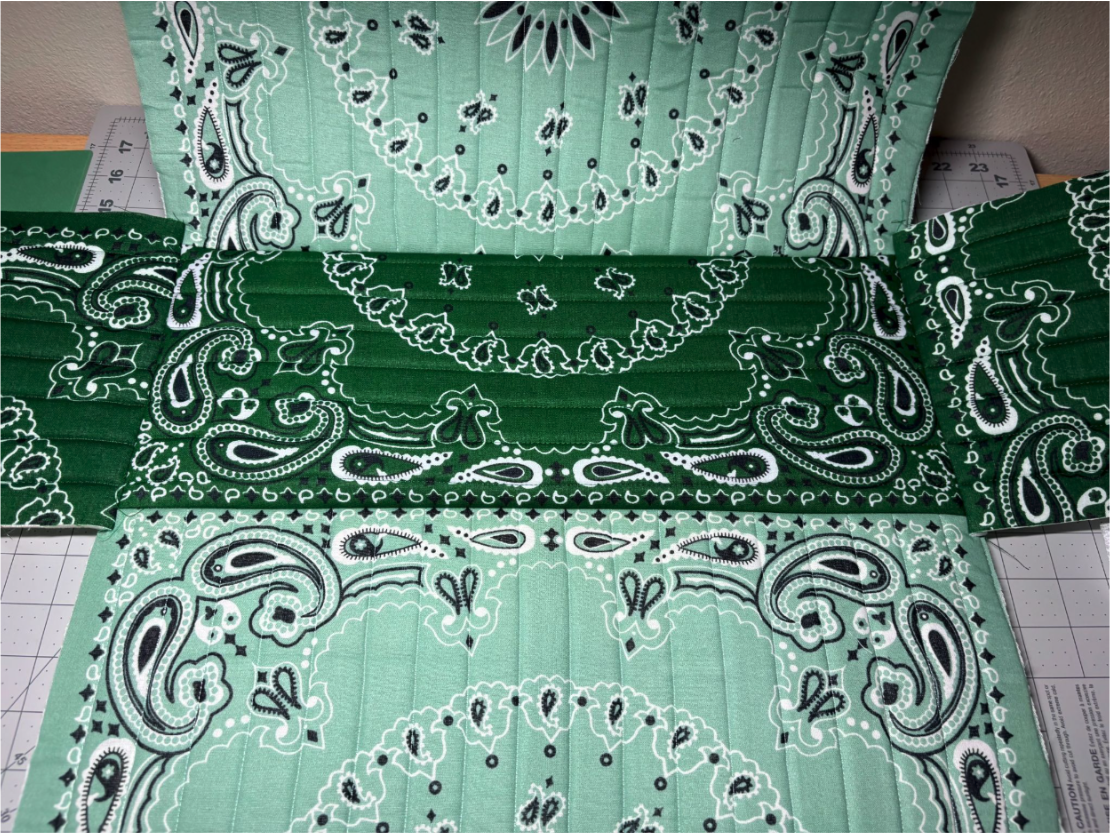
Repeat with the opposite side panel.
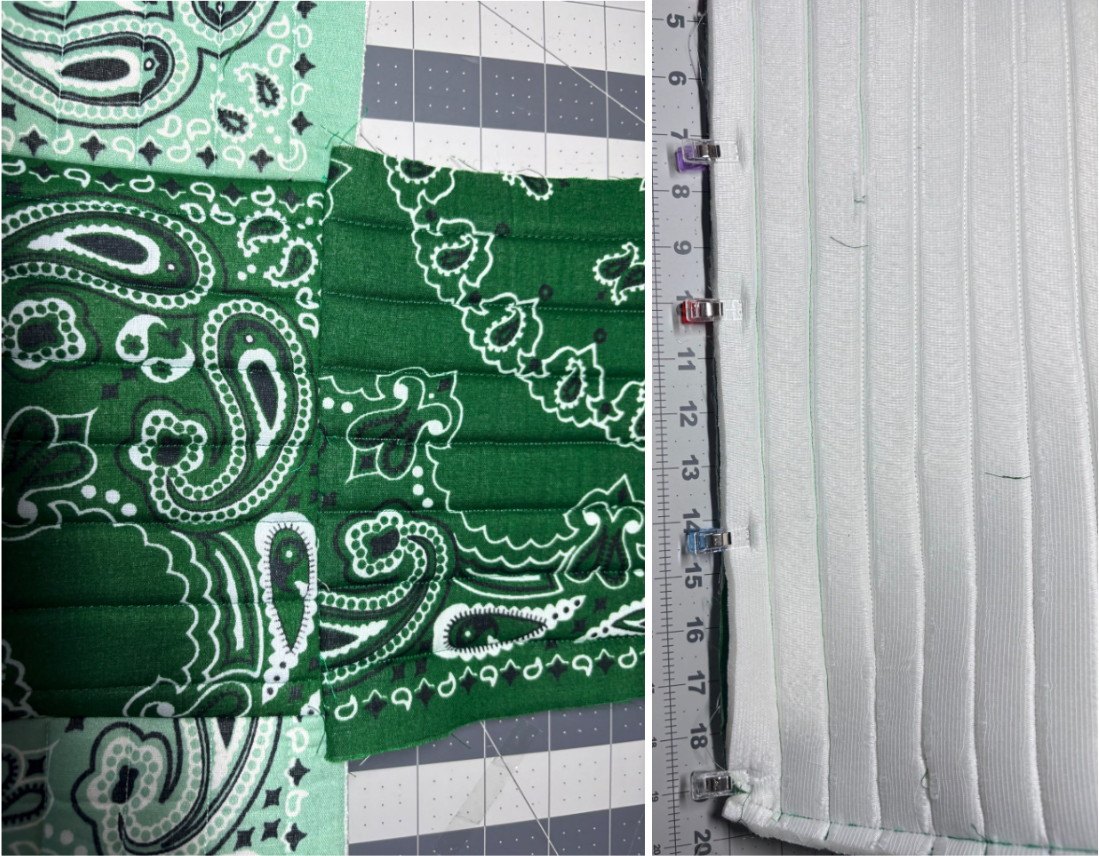
To form the bag, clip the long edge of the side panel to the front of the bag with right sides together.
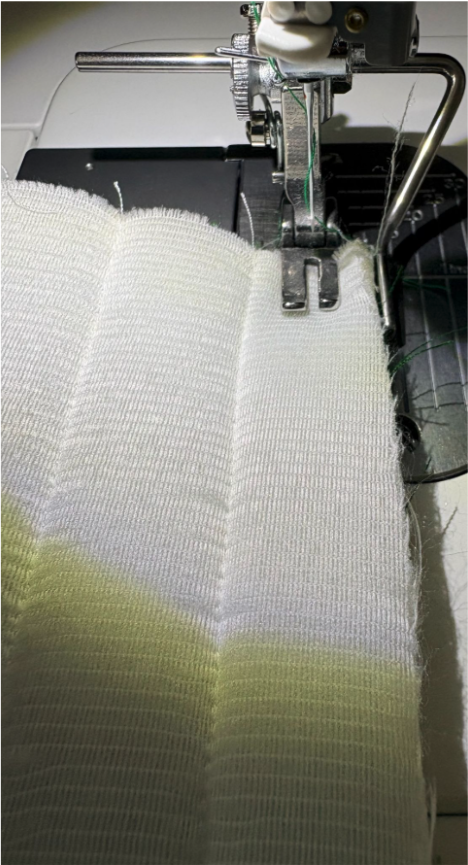
Sew down with a ½” seam allowance. Begin at the top and sew down to the bottom. Remember to backstitch at both the beginning and the end of your seam to reinforce your stitches.
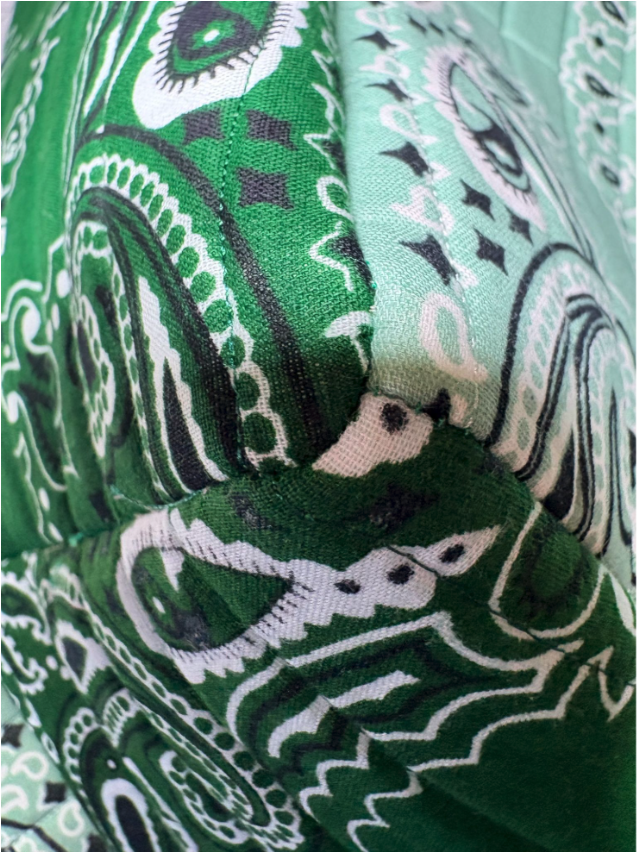
Now, repeat this process for the other three sides of the bag, taking your time to ensure that each seam is straight and secure. After completing all the seams, gently turn the bag right side out. Take a moment to inspect the bottom corners, ensuring they are crisp and well-formed for a polished look.
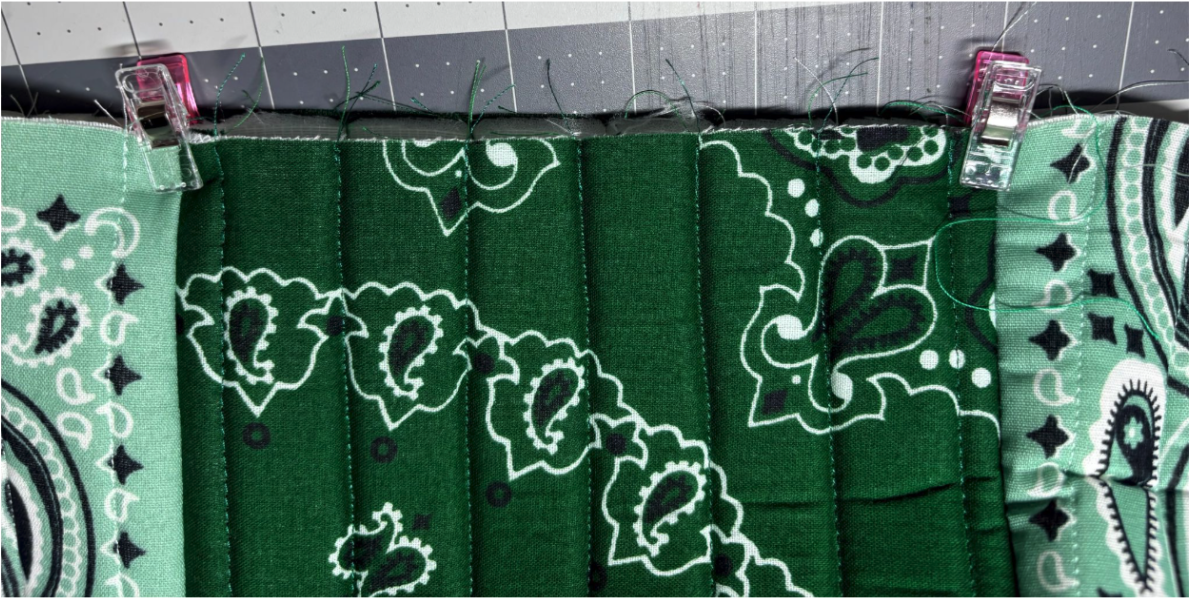
To attach the handles, match up the side seams.
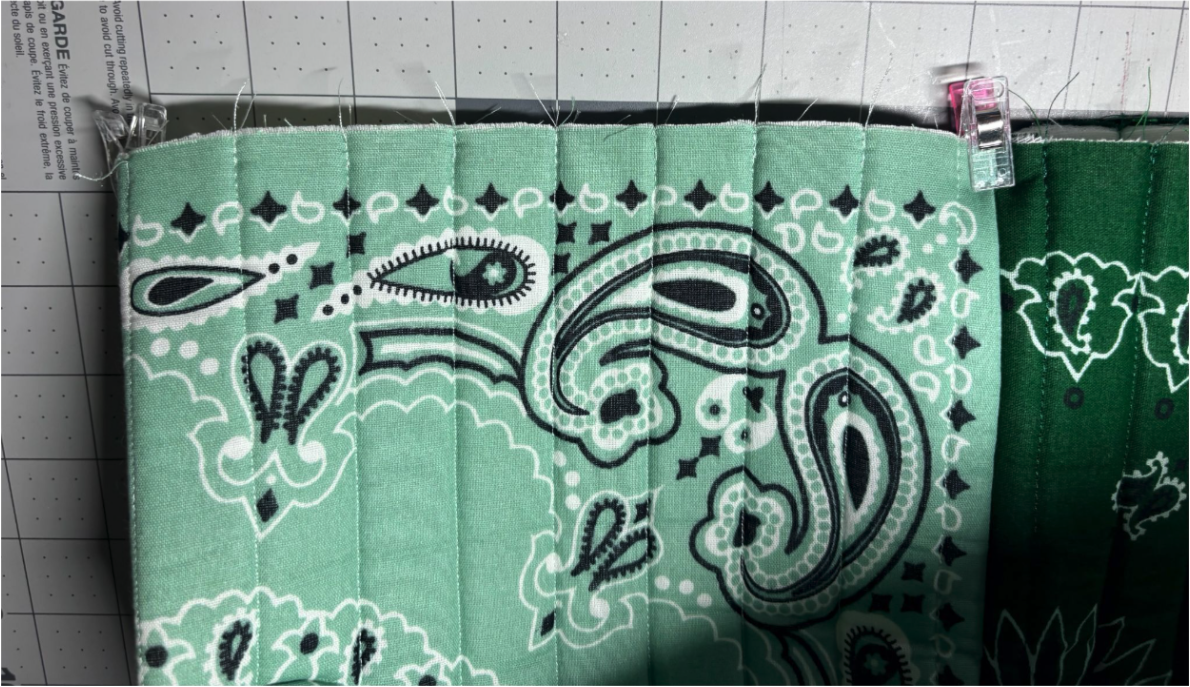
Then find the centers of the front and back and mark them with a clip or pin.
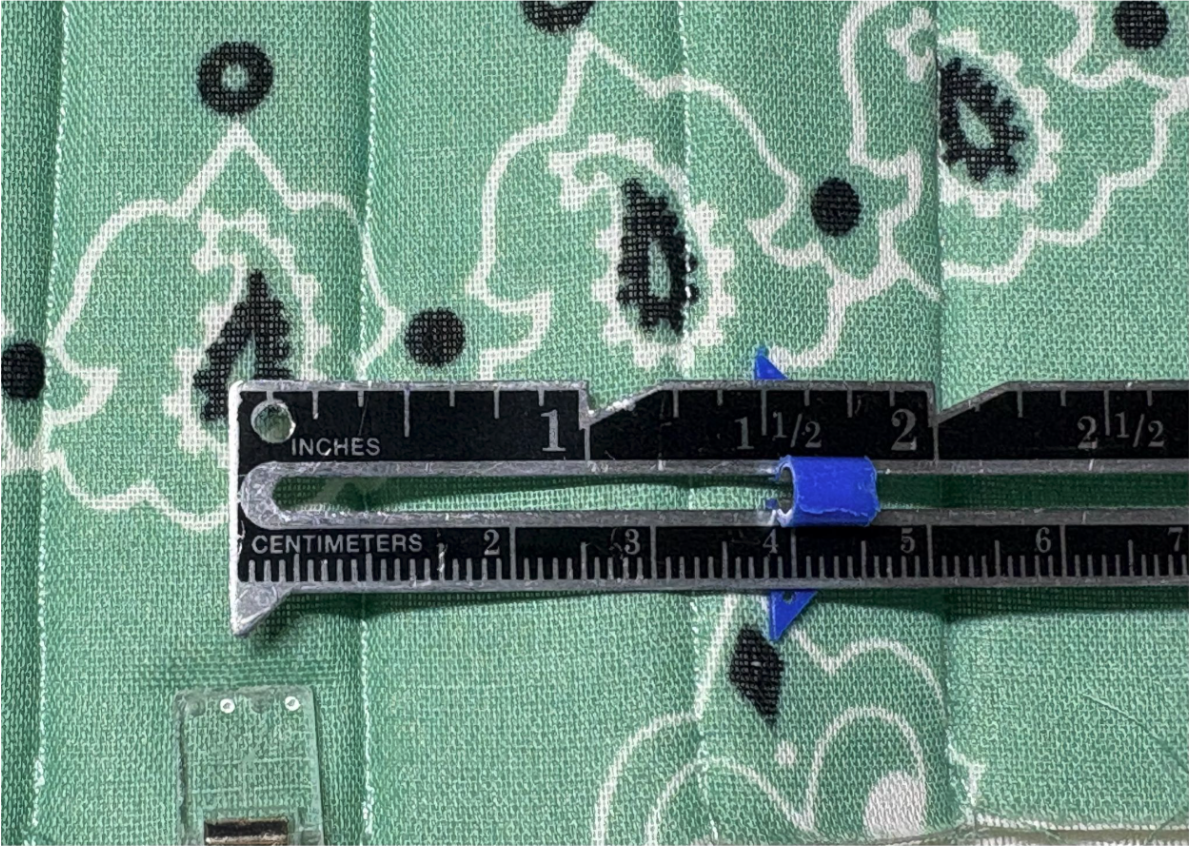
If using both short and long handles, we will begin with the short one.
Measure 1½” from either side of the center.
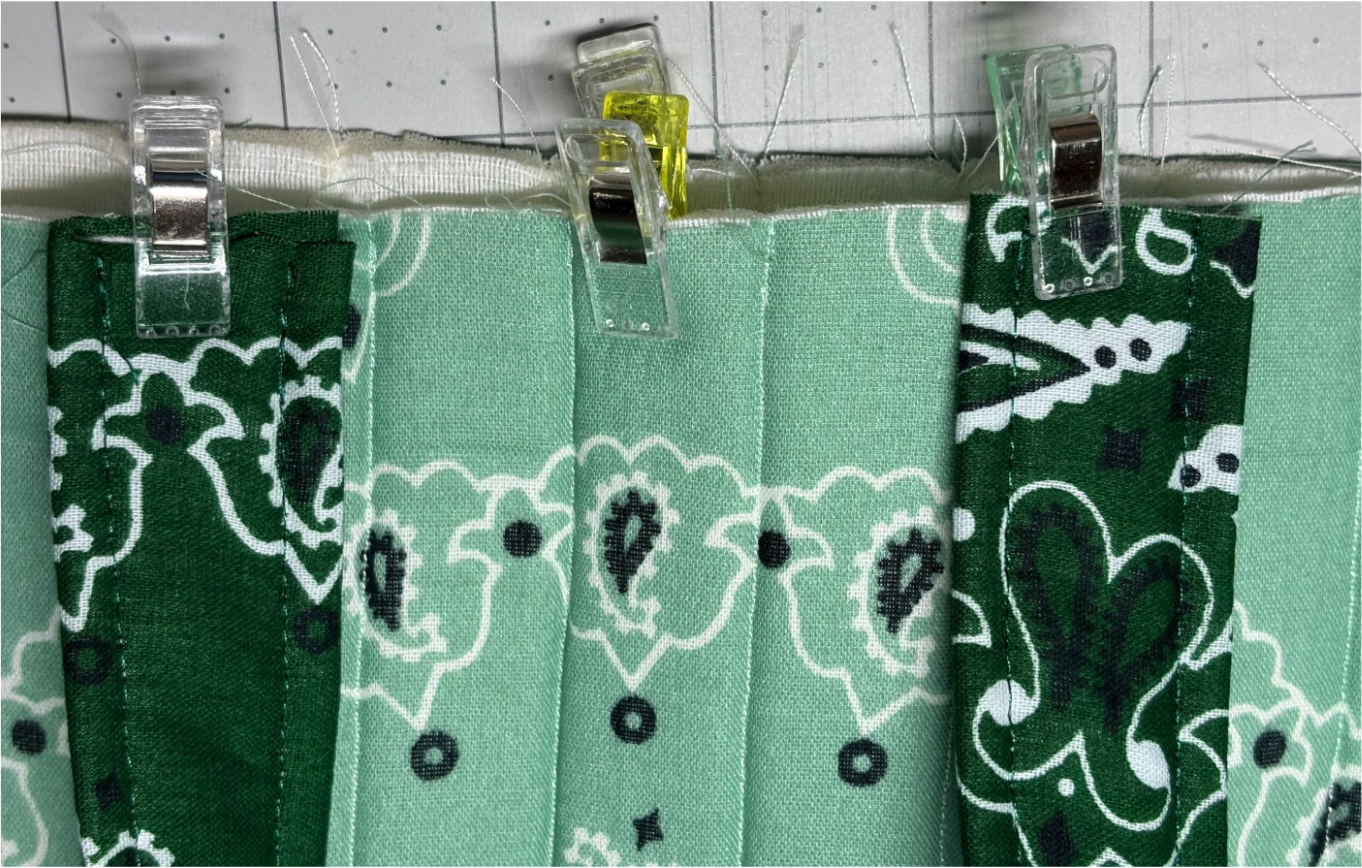
Align the short handles’ edges with the top edge of the bag’s front.
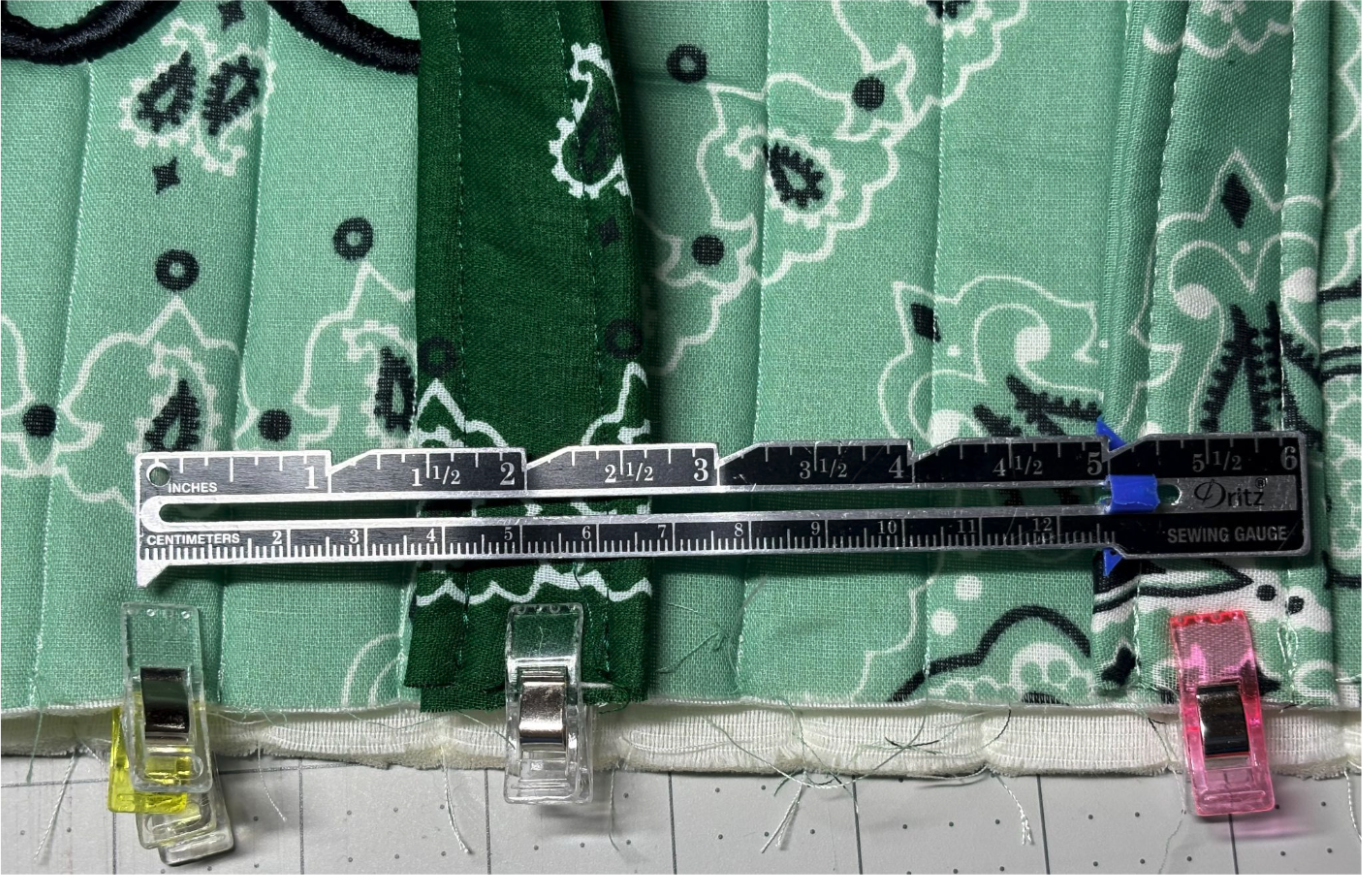
Next, measure 5” from the center on both sides.
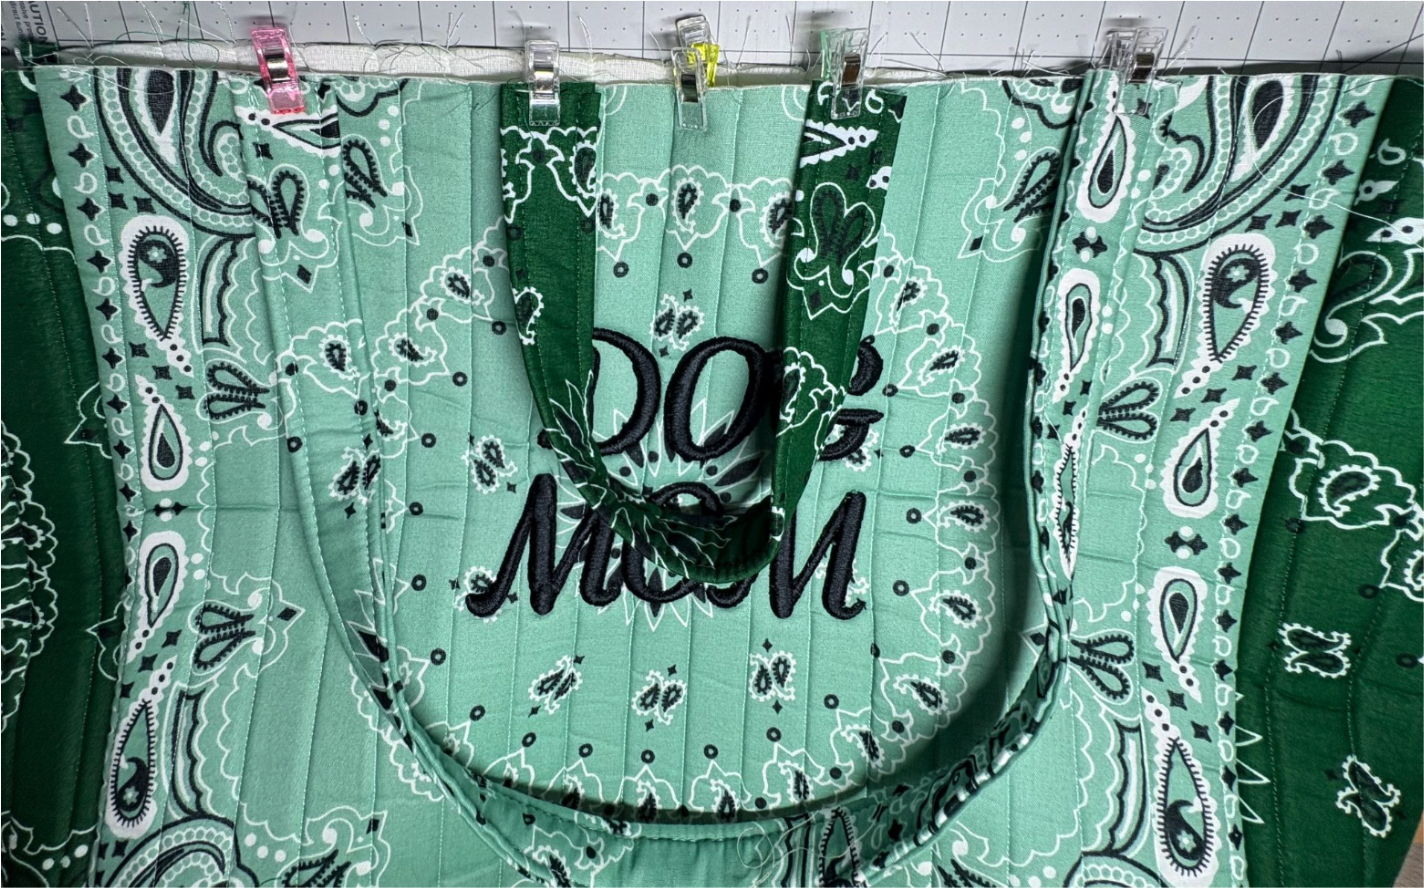
Align the long handles’ edges with the top edge of the bag’s front.
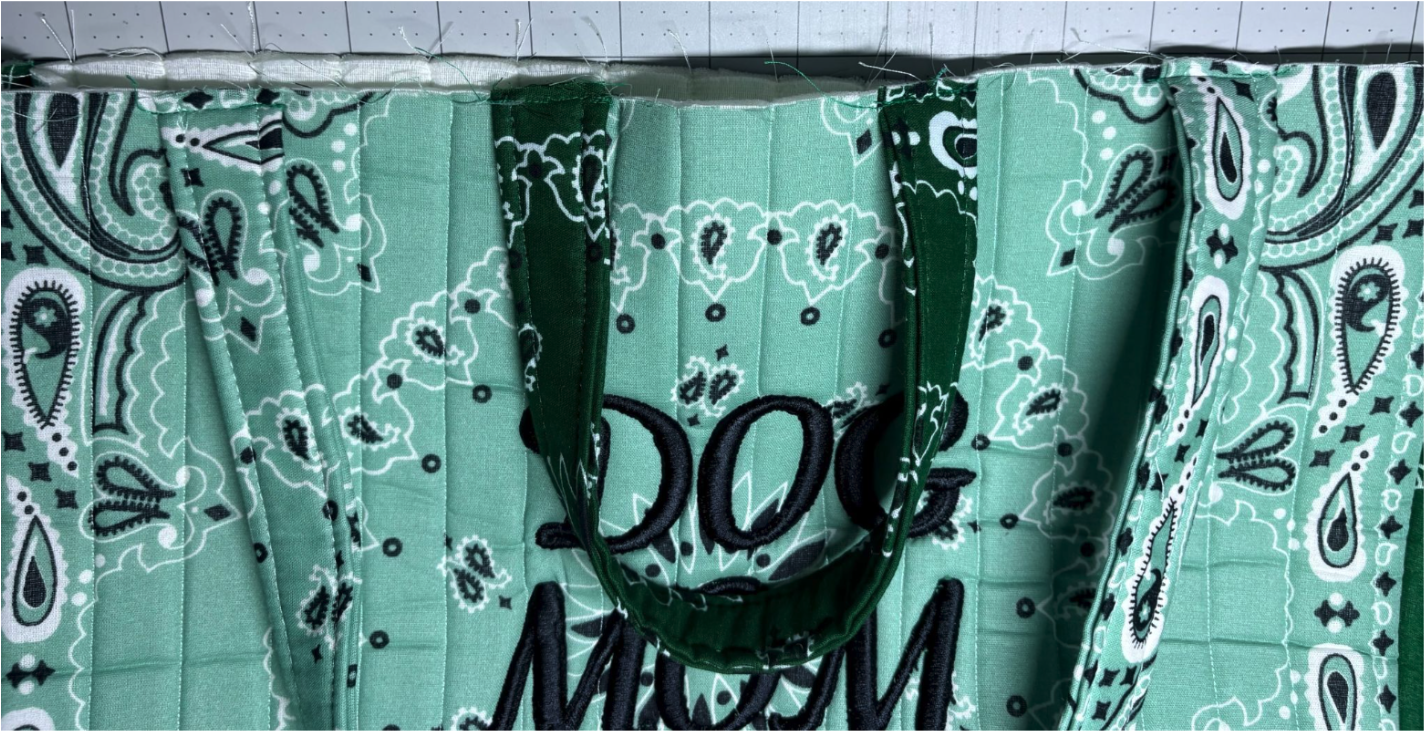
Take it to the sewing machine and sew each handle ¼” from the top edge.
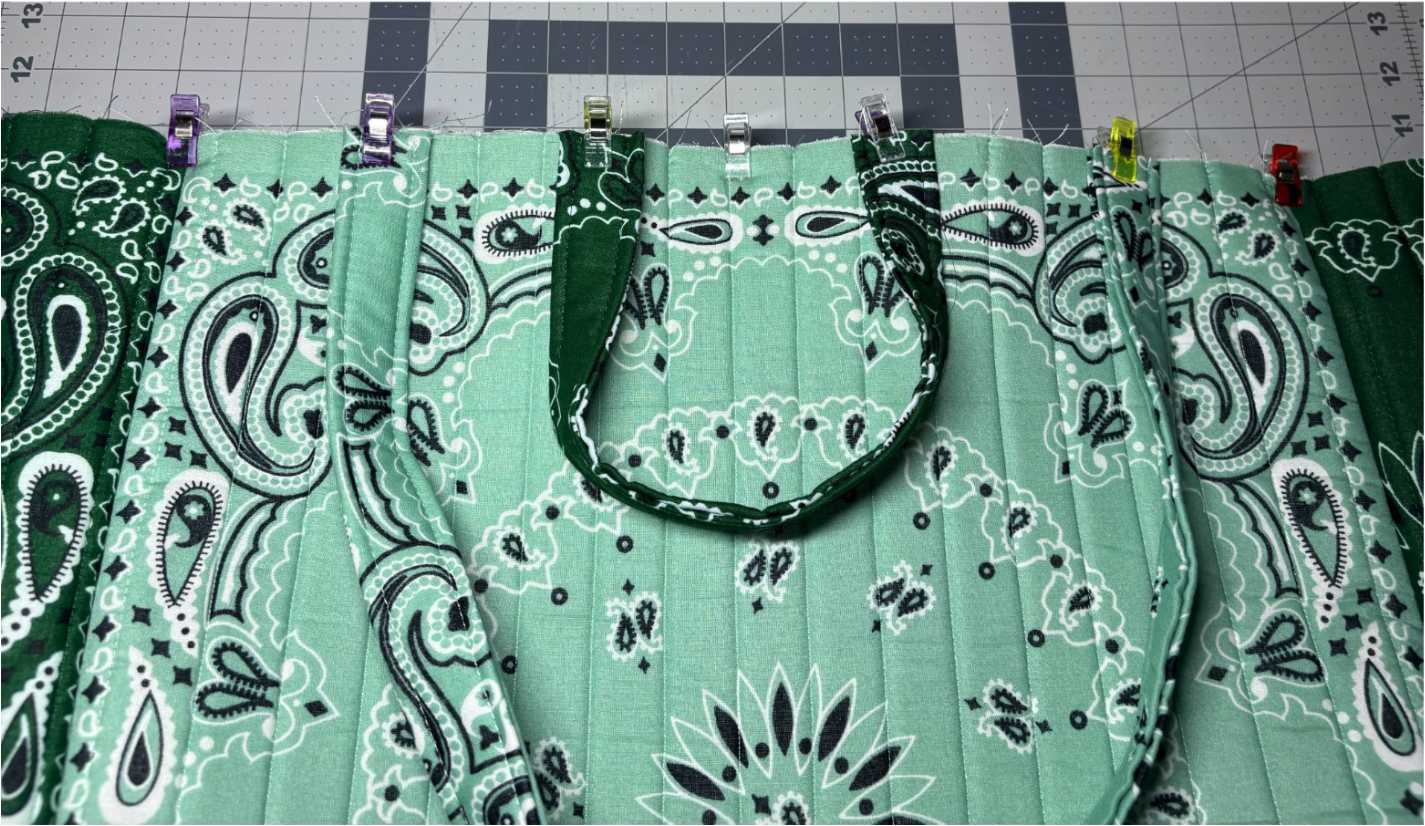
Repeat on the back. Before sewing, make sure the handles are evenly spaced on both sides.
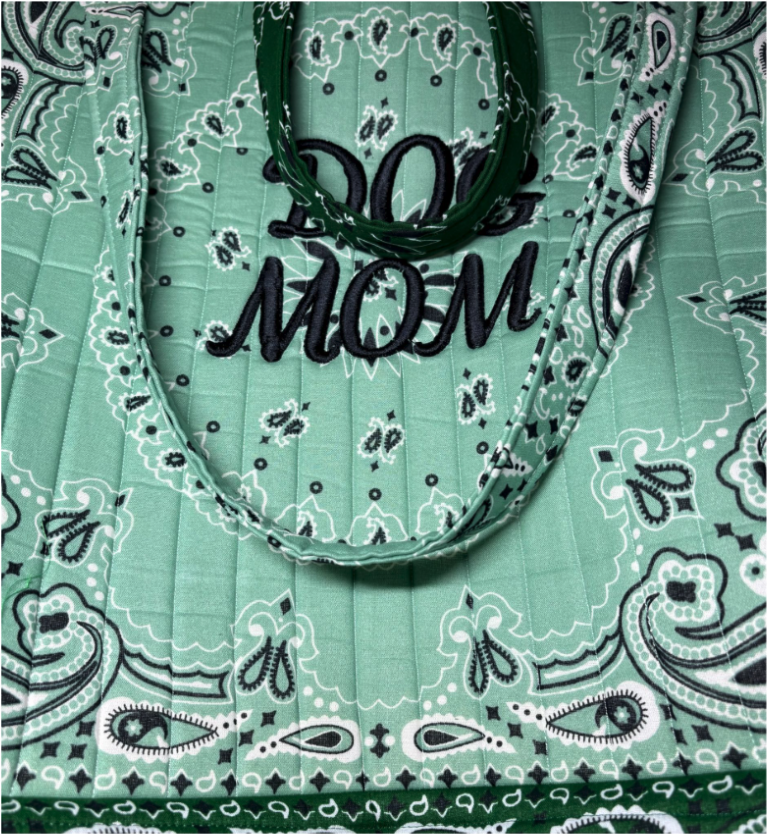
The outside of your bag is complete.
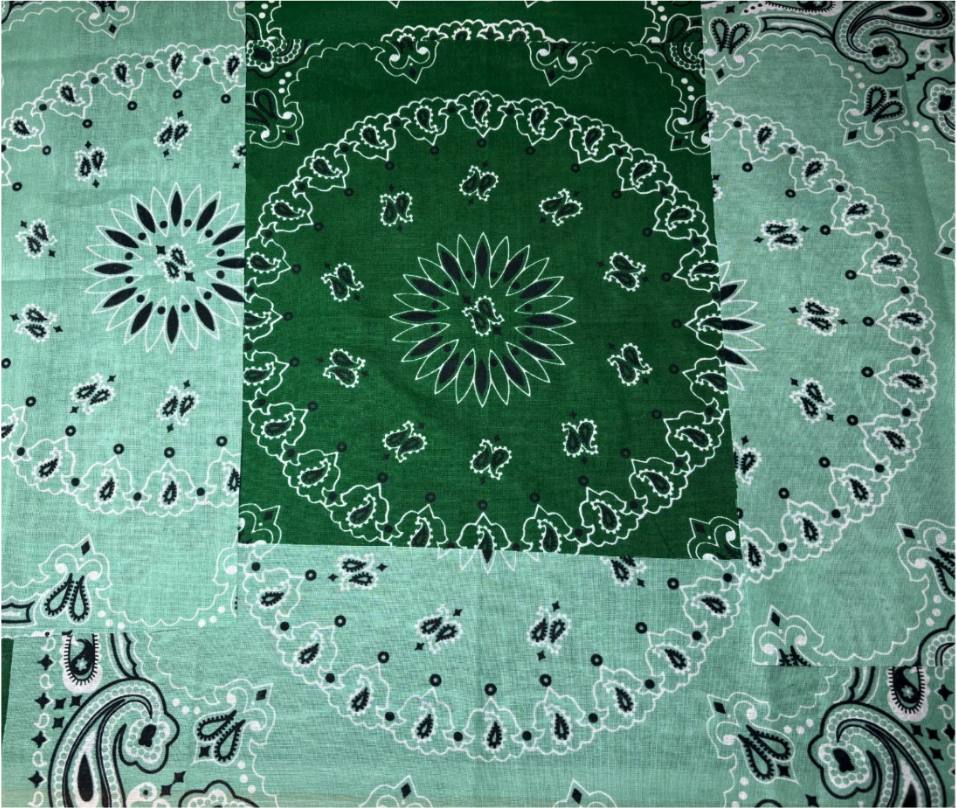
Next, we will make our lining. You can use the same bandana colors as the outside, or you can choose just one color—it's entirely up to you.
To create the lining, repeat the steps used for the outer bag.
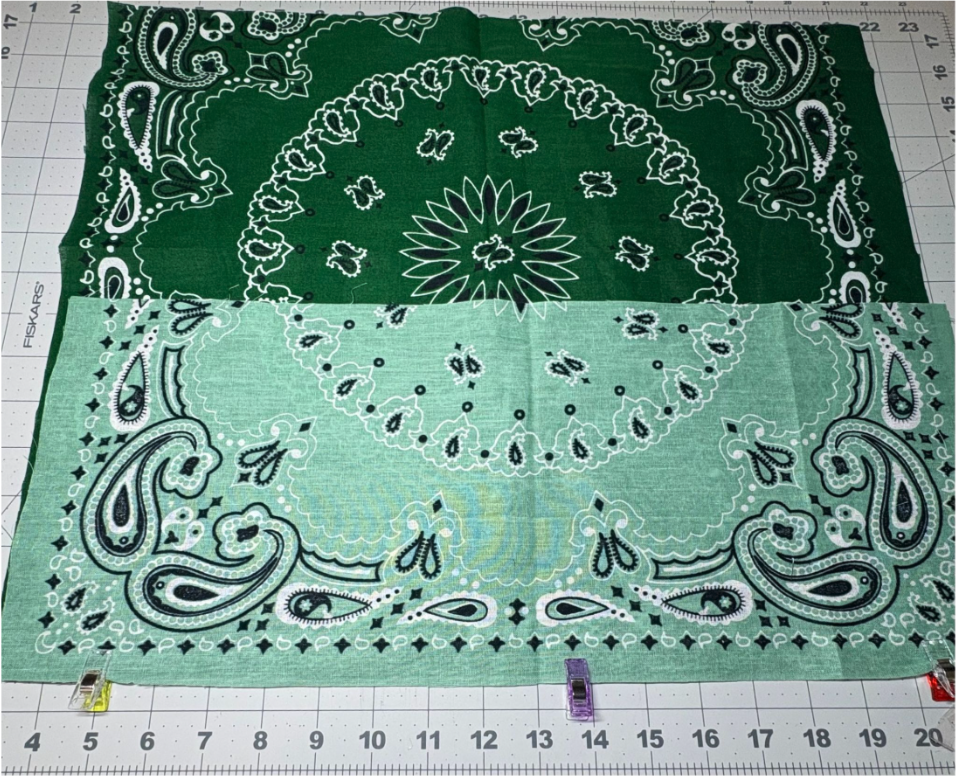
Clip the bottom panel to the front panel with right sides together. Sew across using a ½” seam allowance.
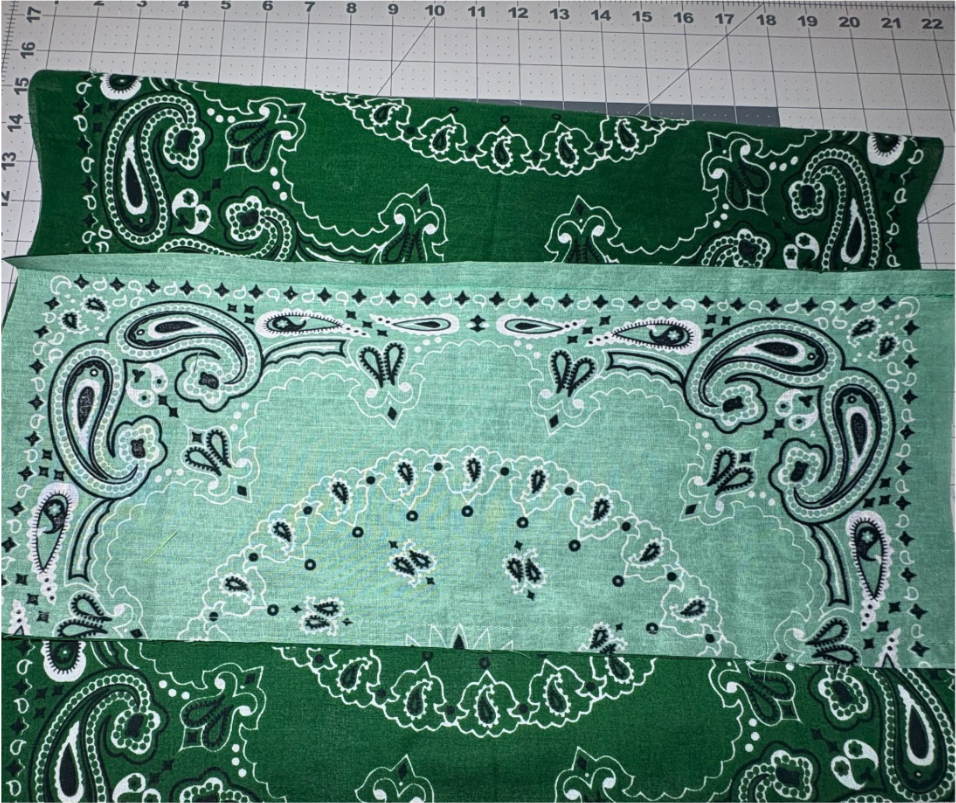
Clip and sew the opposite bottom edge to the back panel, also with a ½” seam allowance.
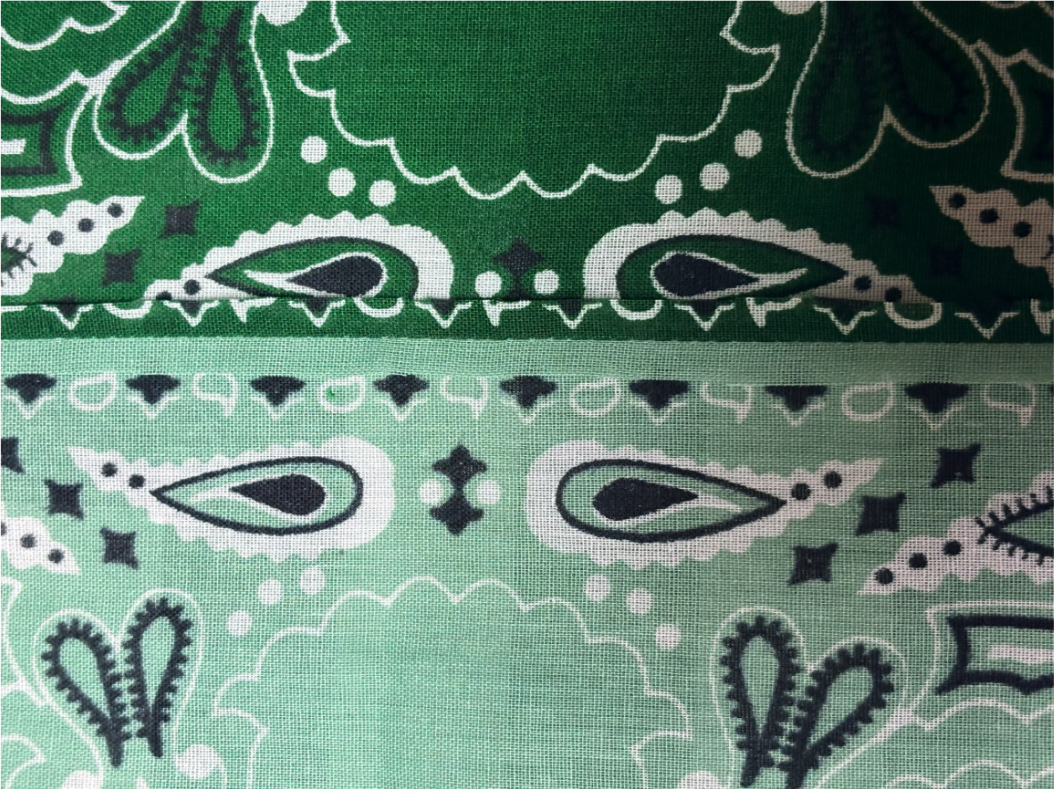
Trim the seams down to ¼”. Press open.
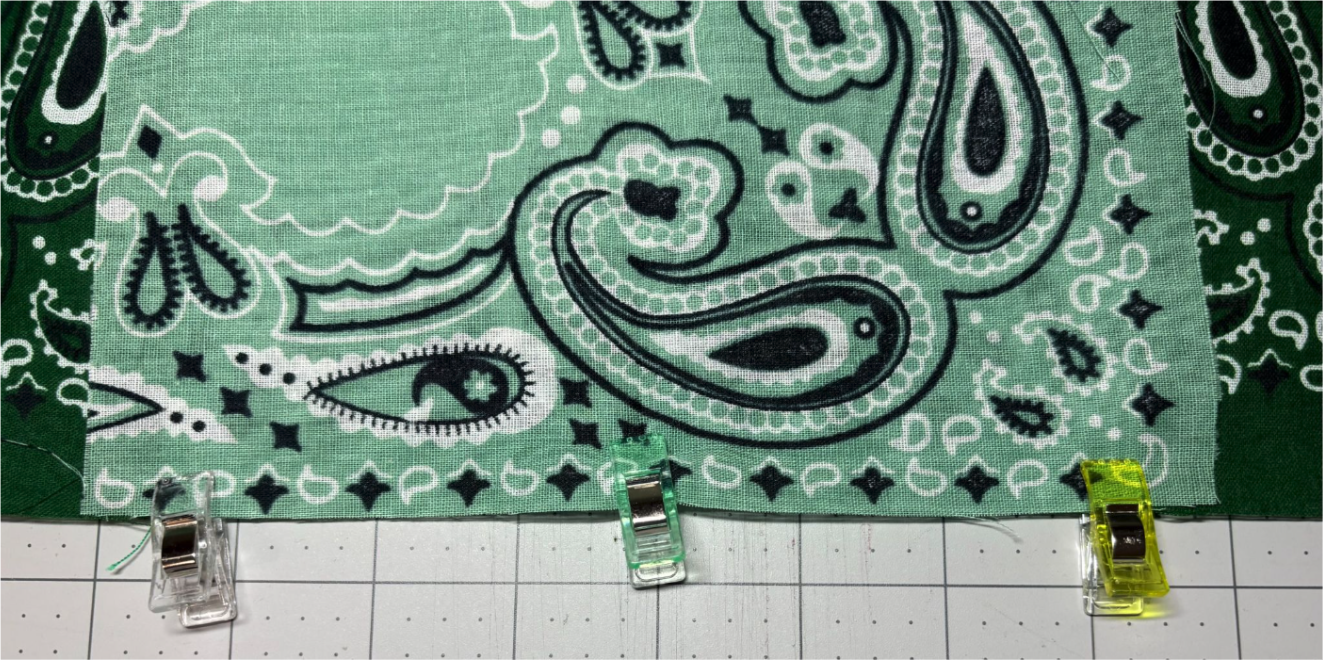
Center one short edge of a side panel on the short bottom edge. Clip in place.
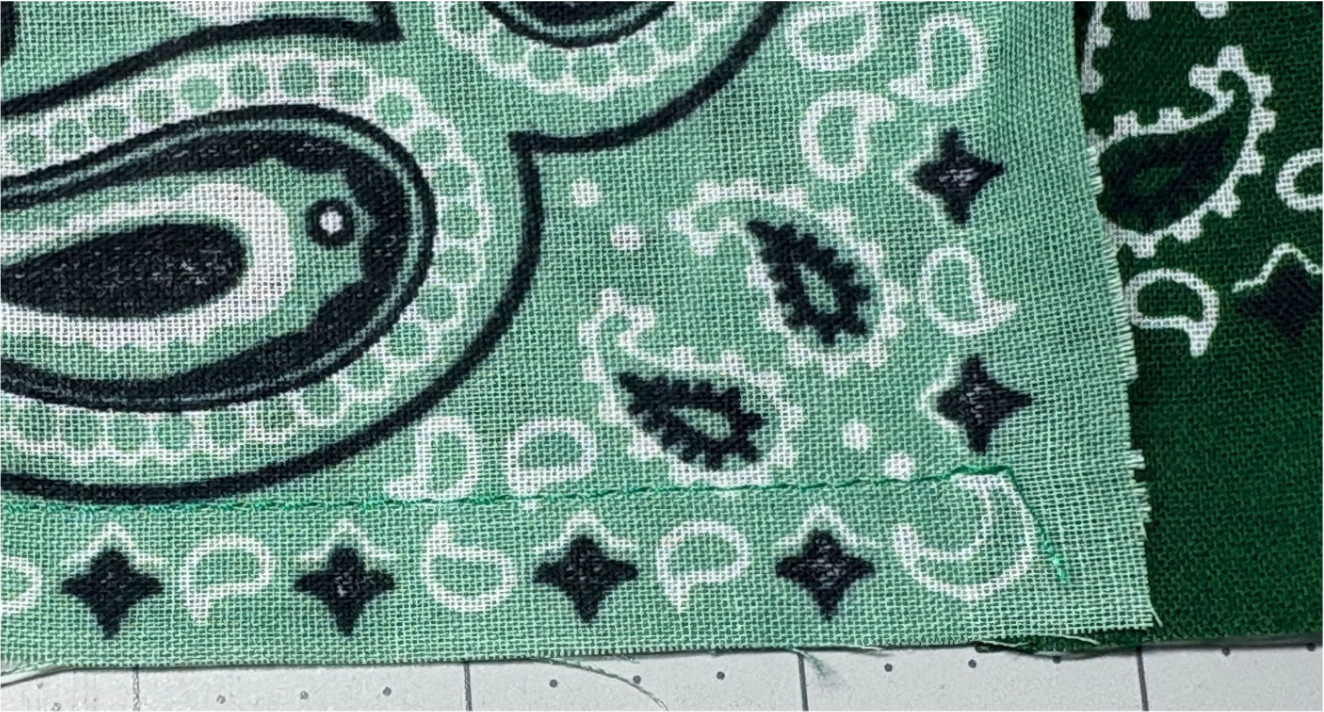
Sew across, starting about ½” in and ending ½” from the other end. Repeat this step for the other side panel, sewing the side to the bottom.
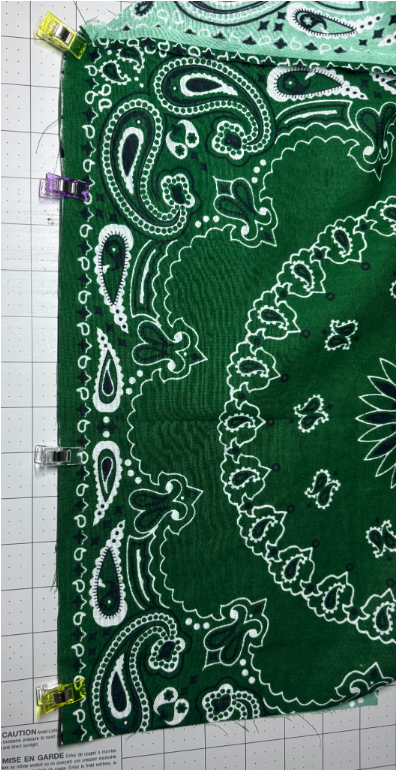
Clip the long edges of the side panels to the front and back panels, leaving a 3”–4” opening on one side for turning.
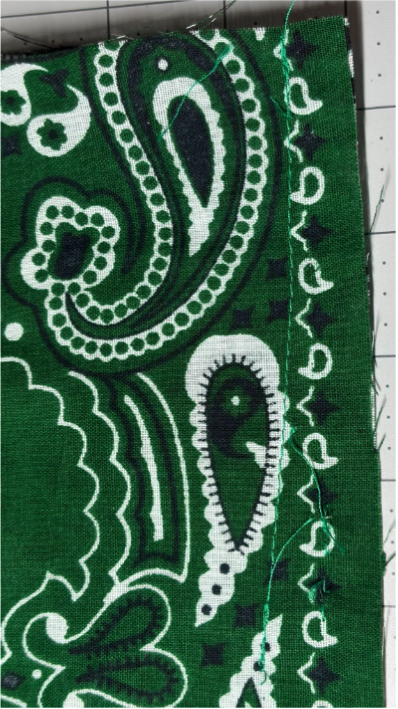
We want the lining smaller than the outer bag at the bottom. So we will be adjusting the seam allowance.
Start sewing from the top with a ½” seam allowance, gradually increasing it to 1” as you go down the side.
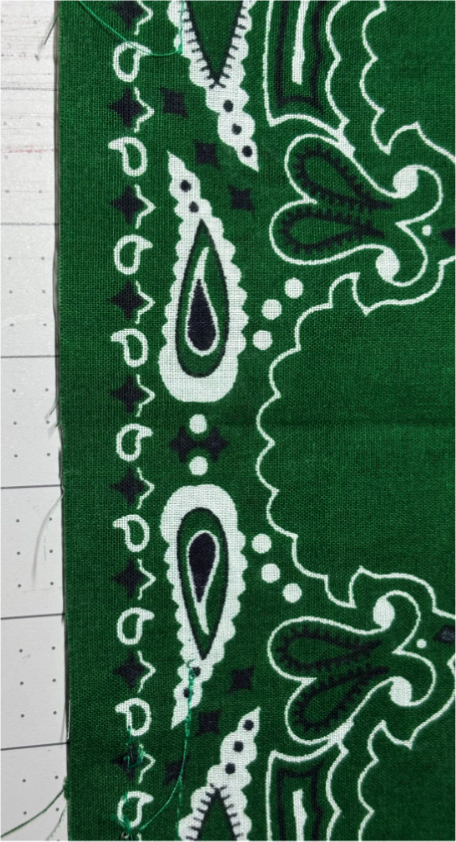
For the side with the opening, start at the top with a ½” seam allowance. Sew down, gradually increasing the seam allowance, then stop and backstitch. Start again beyond the opening and continue sewing down, increasing to a 1” seam allowance.
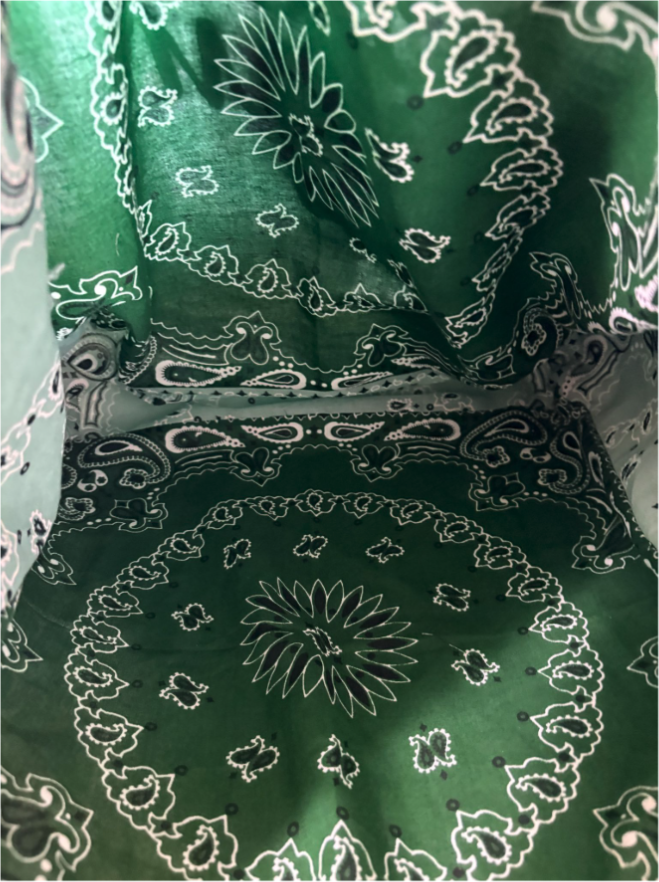
Trim the seams to ¼”, leaving the opening untrimmed.
Turn the lining right side out and check that all corners are sewn properly. Turn the lining wrong side out again.
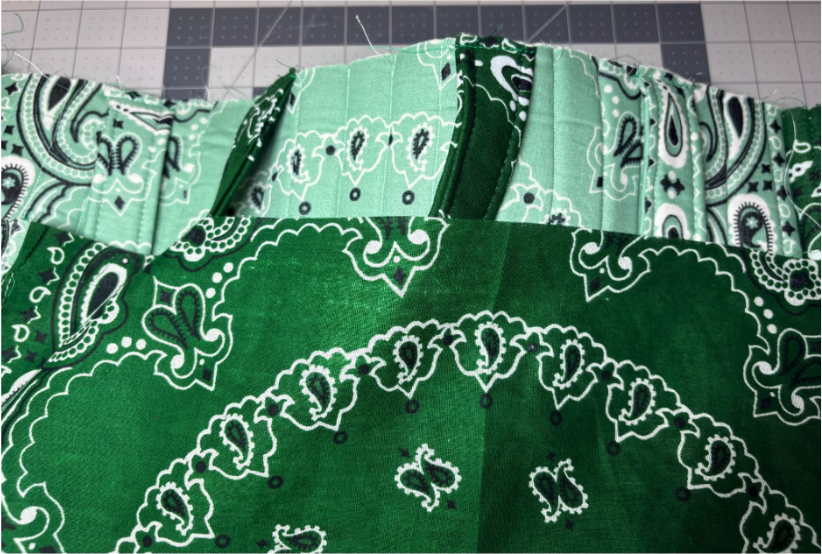
Next, insert the outer bag (right side out) into the lining (wrong side out), so right sides are together. Ensure that the straps are tucked down inside.
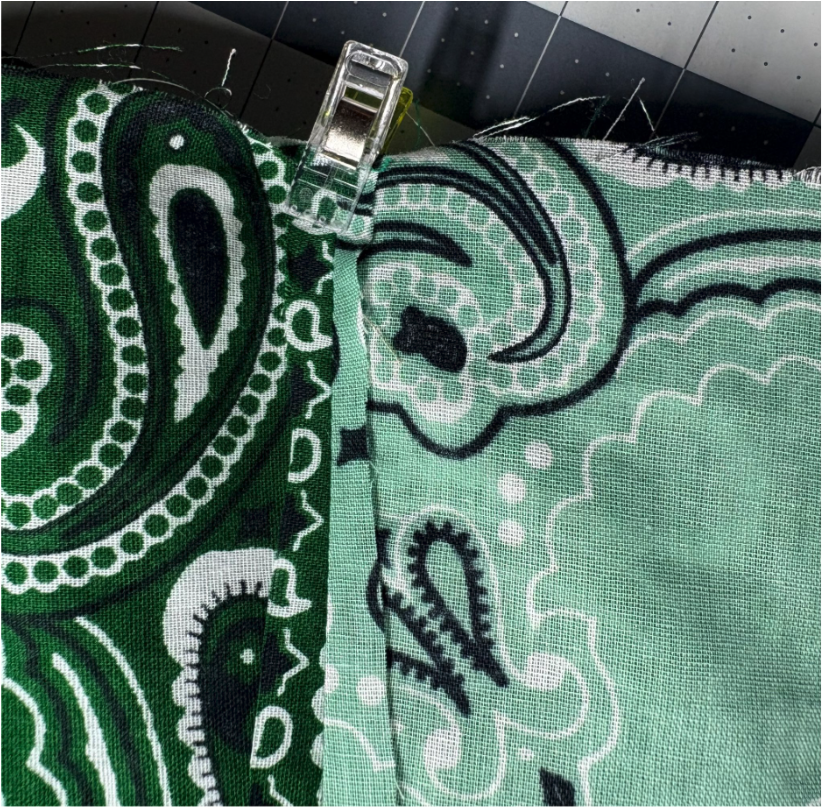
Match the lining's side seams to the outer bag's seams and clip them in place.
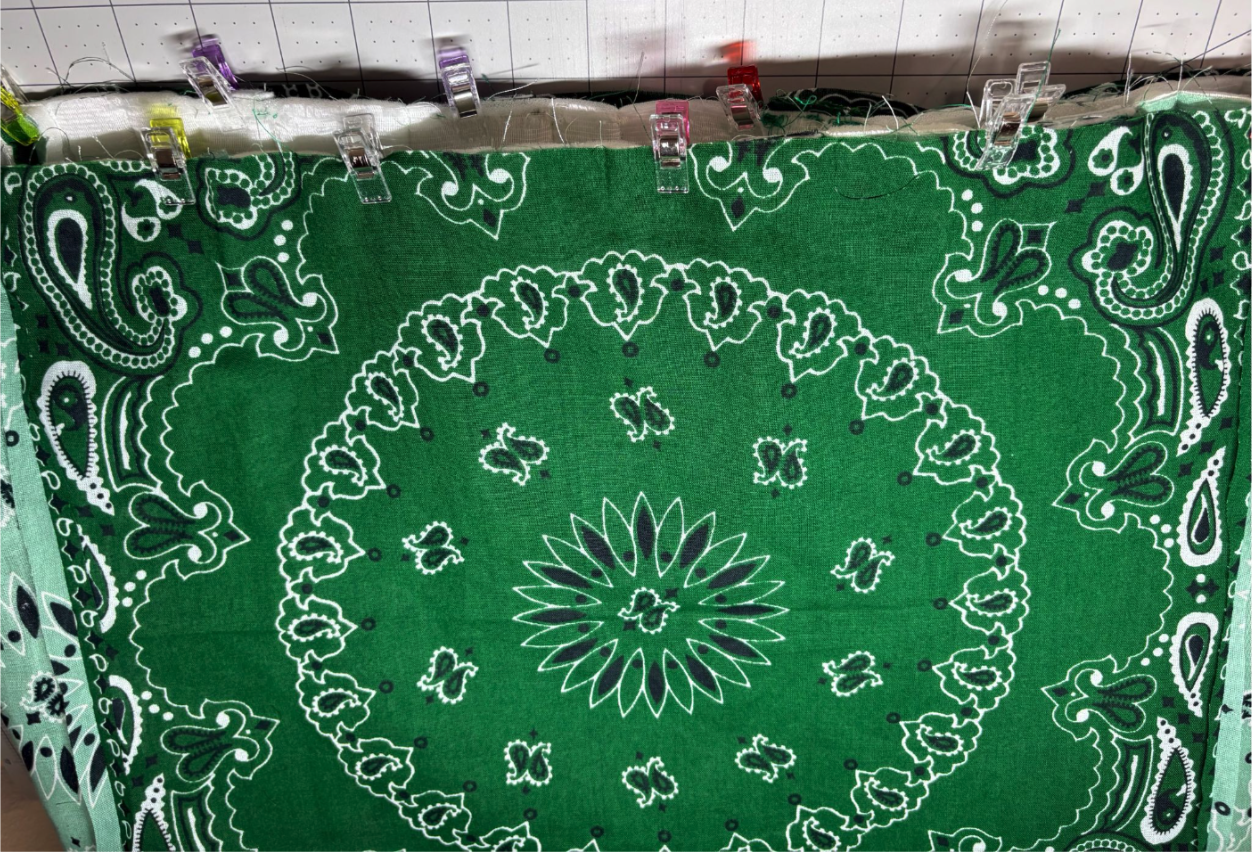
Clip around the entire top of the bag to hold it securely in place.
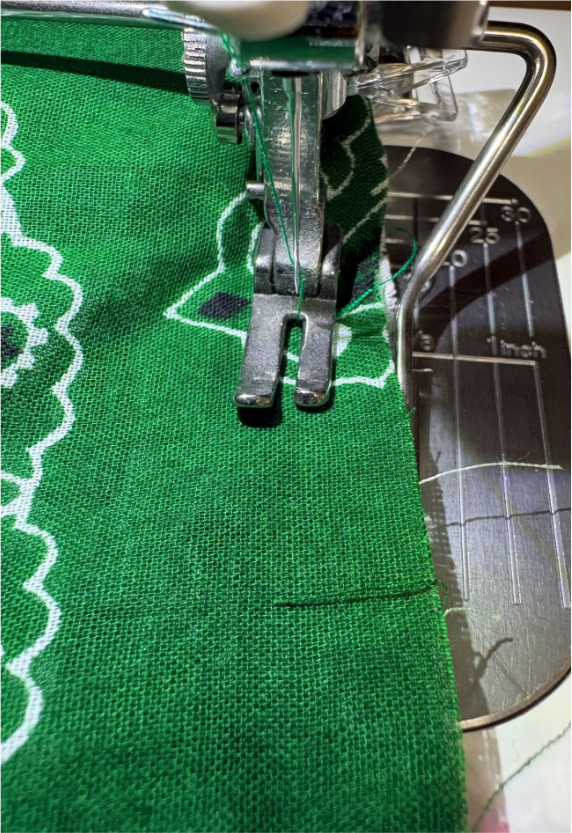
Sew around the entire top with a ½” seam allowance. For added security, you can backstitch over each strap.
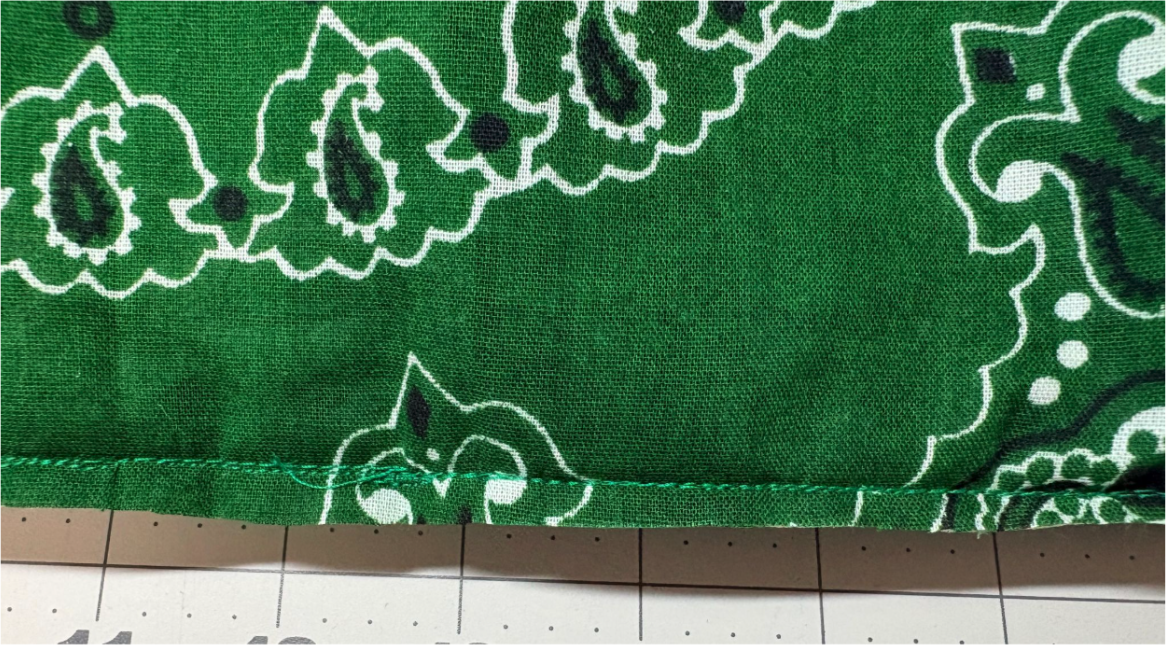
Trim the top seam to ¼”.
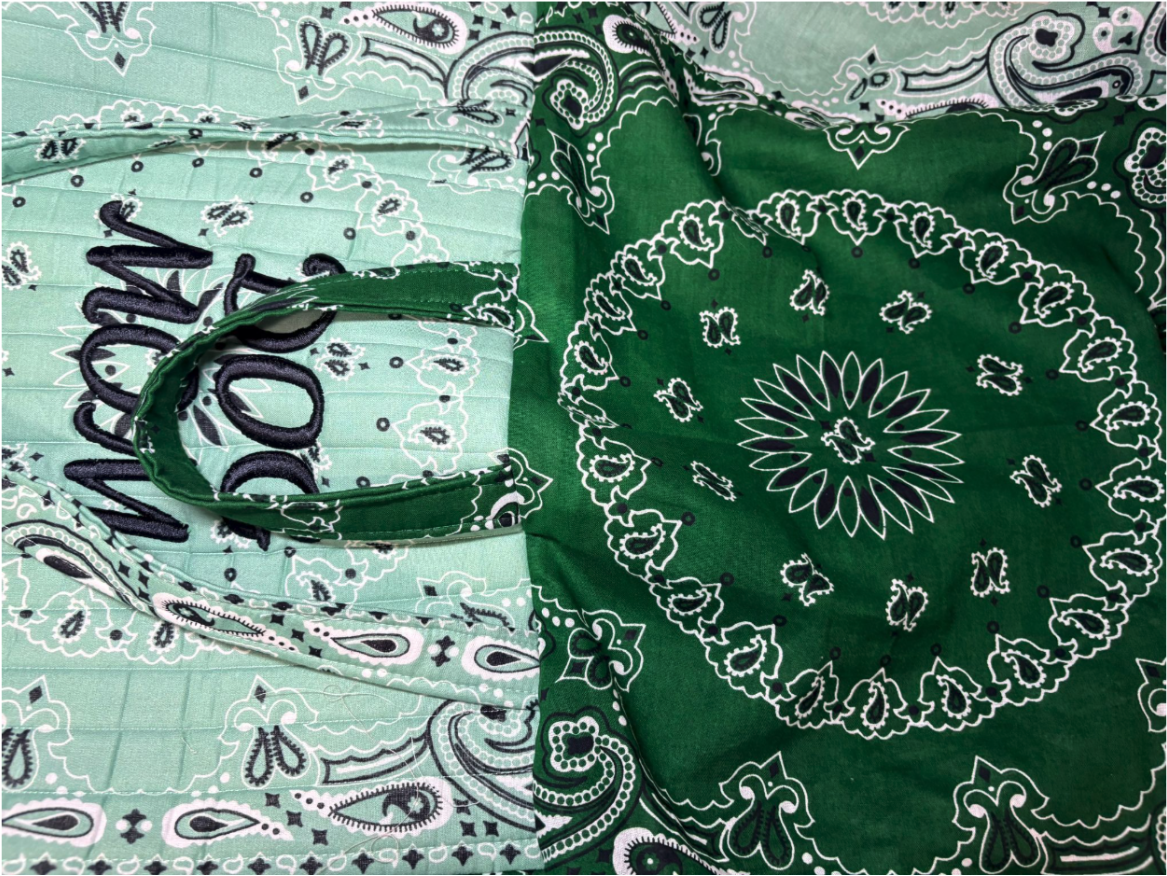
Gently pull the bag through the opening in the lining and press the lining.
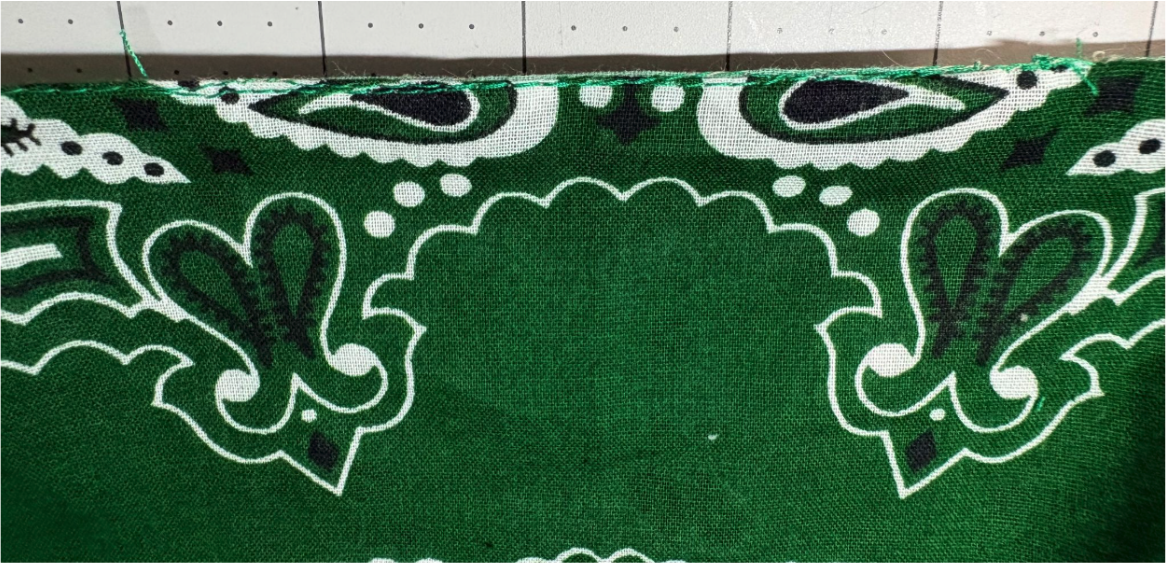
Sew the opening closed and tuck the lining back into the bag.
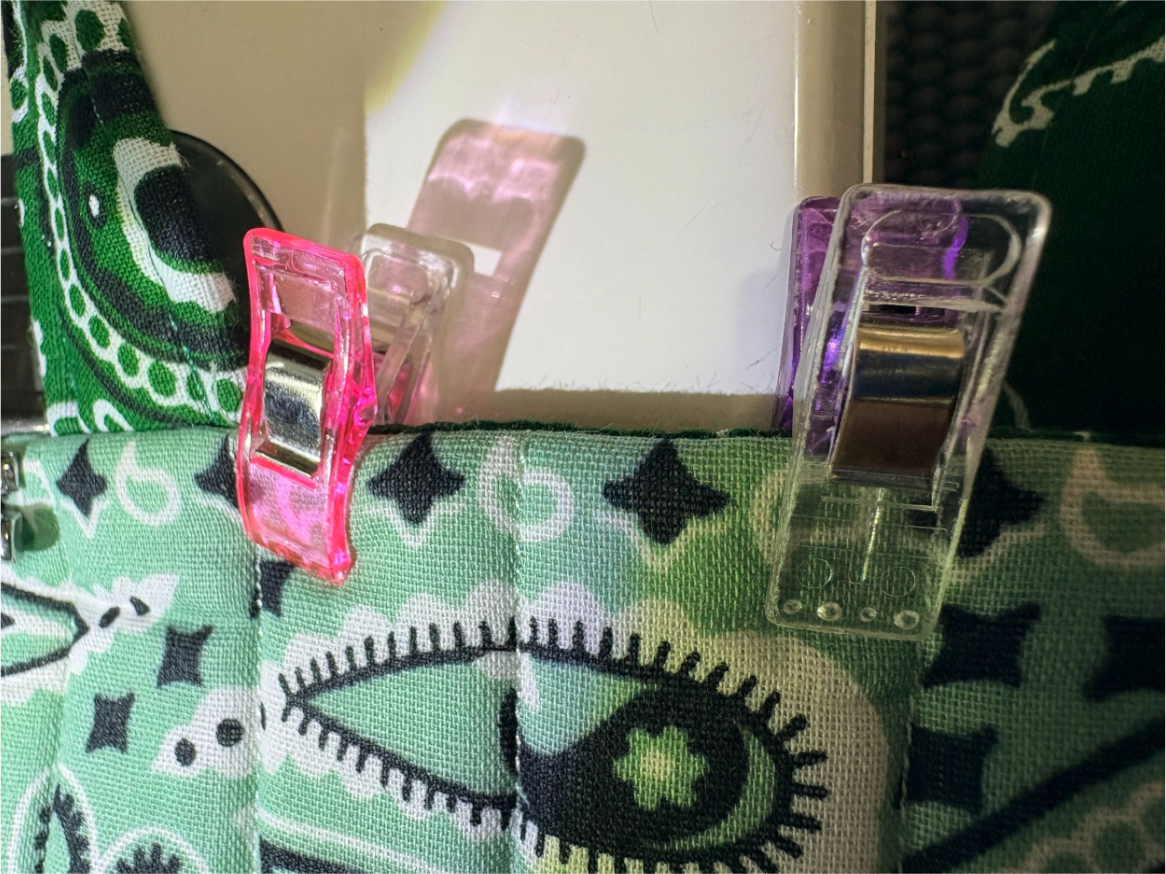
Push the lining down inside the bag, smoothing it into the corners. Clip the lining and outer bag together around the top edge, making sure the lining sits just below the edge so it won’t peek out.
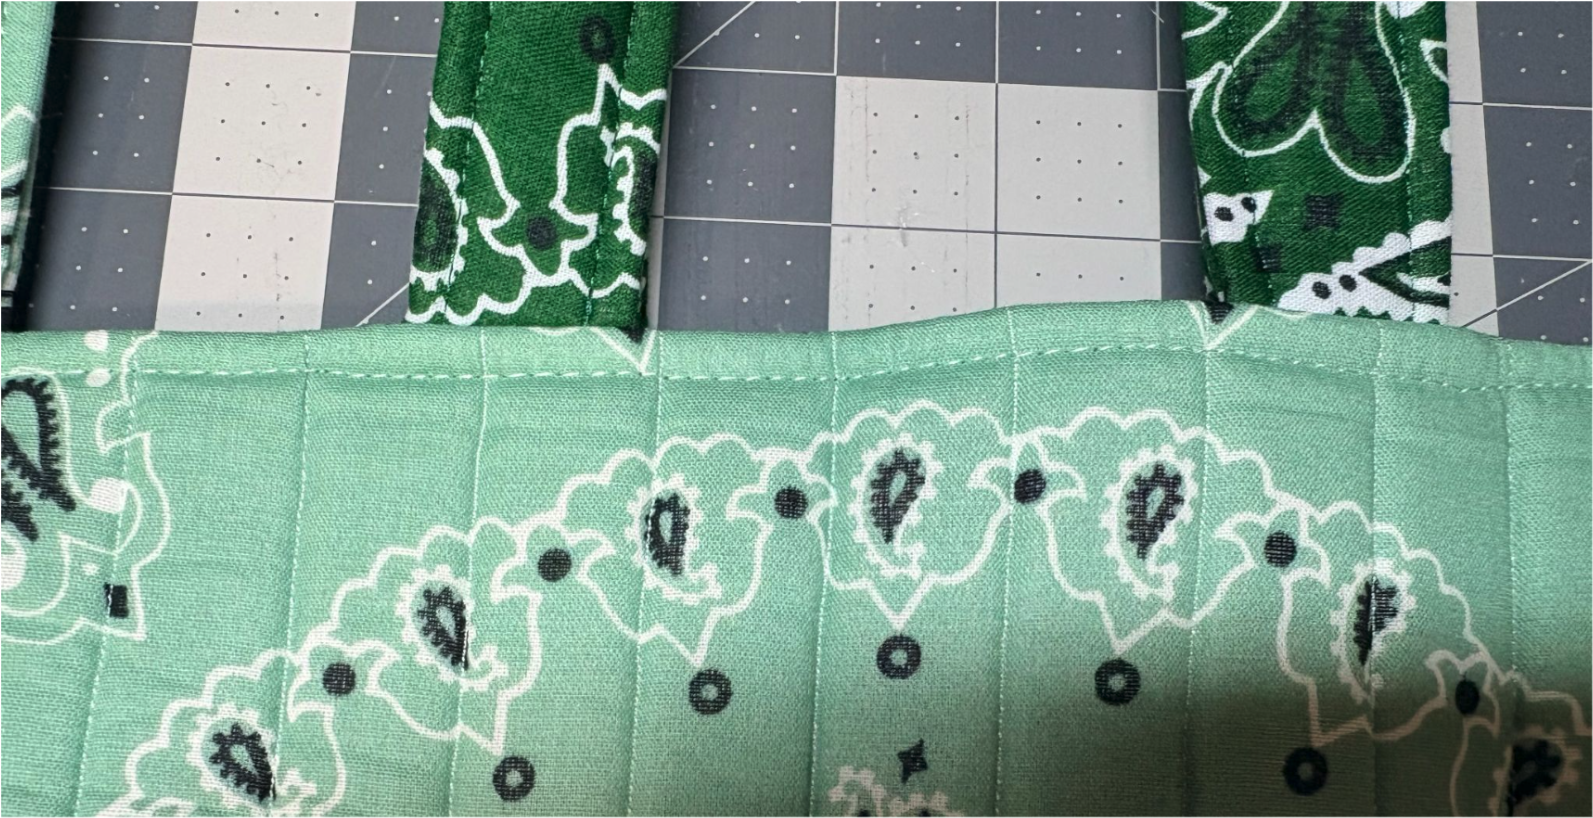
Topstitch around the top of the bag using a ¼" seam allowance. A 3–3.5 mm stitch length works beautifully for a neat, finished look. Before you start stitching, be sure to move the straps out of the way so they don’t accidentally get caught in your topstitching.
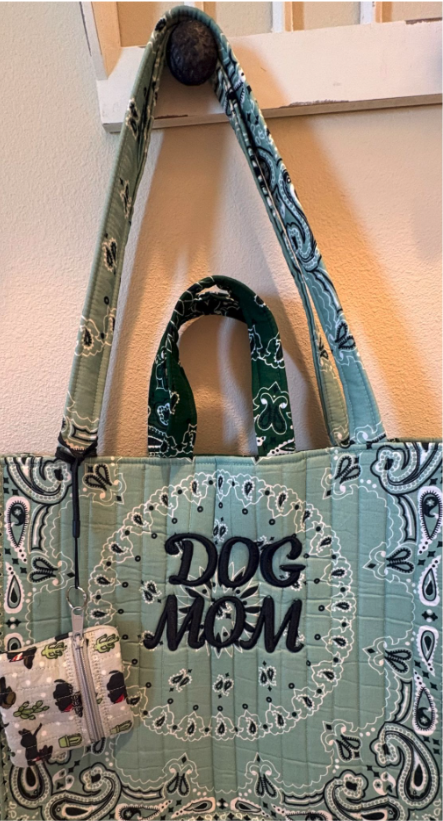
You can leave your bag like this or continue to create a boxy look.
Want to give your bag a little more structure? You can easily create a boxy bottom and sides by pinching and clipping the edges of all four side seams. Then, pinch and clip the four bottom seams in the same way.
You have two options for handling the lining. You can leave it tucked inside the bag while you sew the boxed seams, or pull the lining out of the bag first. If you leave the lining inside, some of it will be caught in the boxed seams. I’ll admit, I find it a little tricky to get every bit of the lining perfectly positioned in those seams.
If you prefer, pull the lining out before sewing. The lining will remain loose inside the finished bag, but it can make it a bit easier to create those boxed edges.
For these thicker seams, switch to a 90/14 needle. Stitch each seam with a ¼" seam allowance, taking your time as you sew through the extra layers.
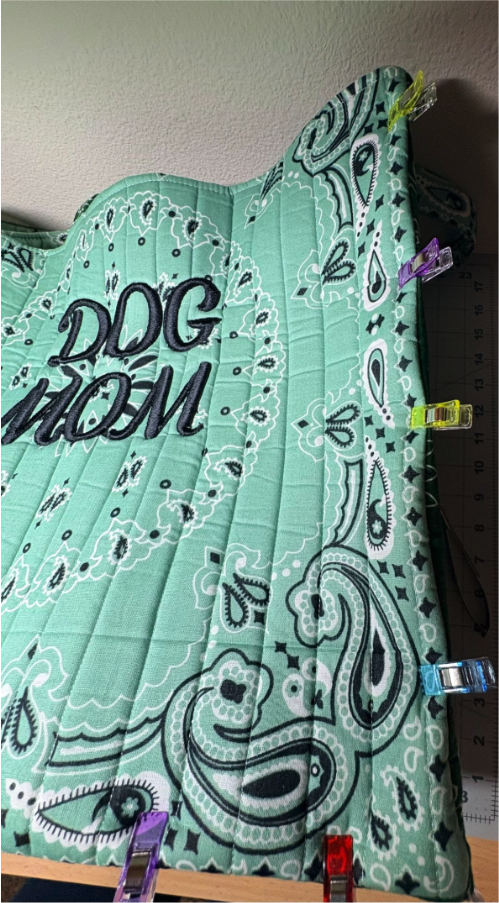
Pinch and clip the four side seams and four bottom seams. Flatten them down.
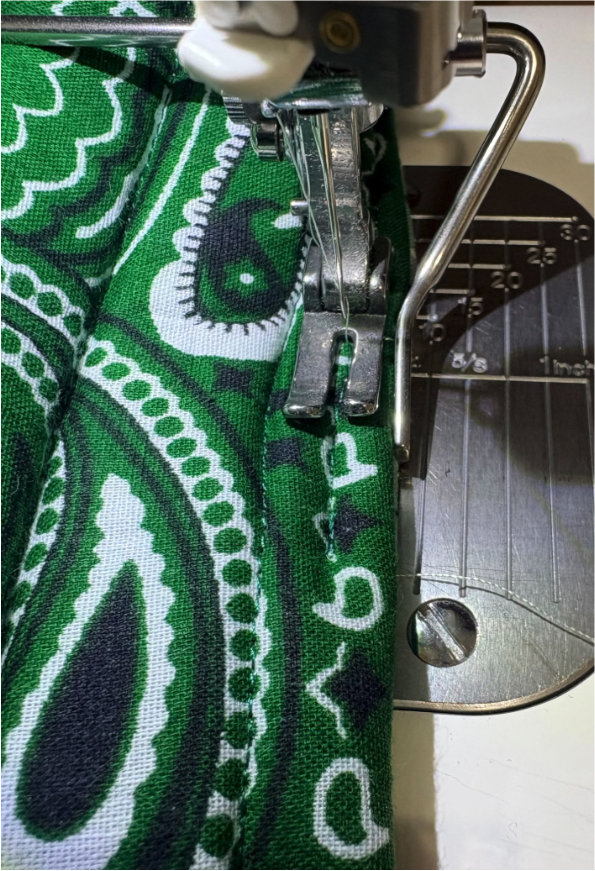
Start with the bottom seams. Beginning at one end of the long edge, stitch along the seam, remembering to backstitch at the beginning and end. Repeat on the opposite side.
Next, sew down both short edges, backstitching at the beginning and end of each seam.
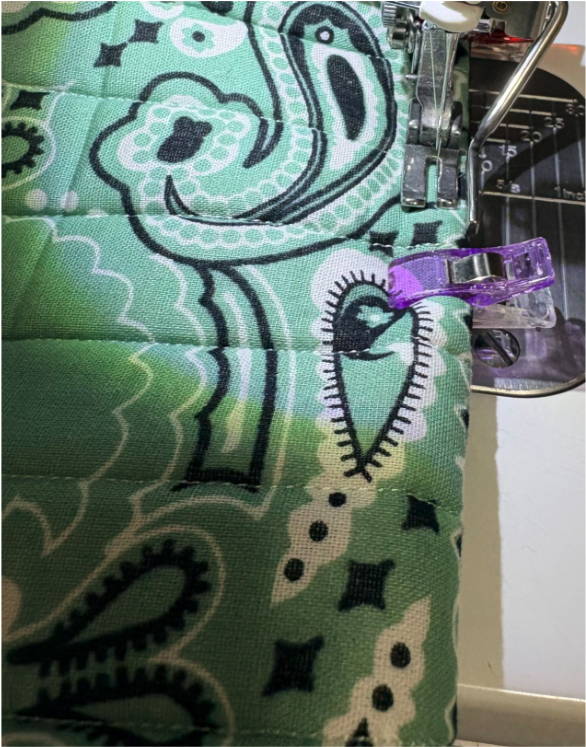
Now it’s time to finish the four sides. Starting about 1" down from the top edge, backstitch and sew all the way to the bottom seam. Backstitch again at the bottom to secure your stitches.
Flip the bag over and sew from the 1” mark back up to the top. Working this way makes it easier to sew through the bulky layers at the top of the bag.
Repeat these steps for the remaining three sides.
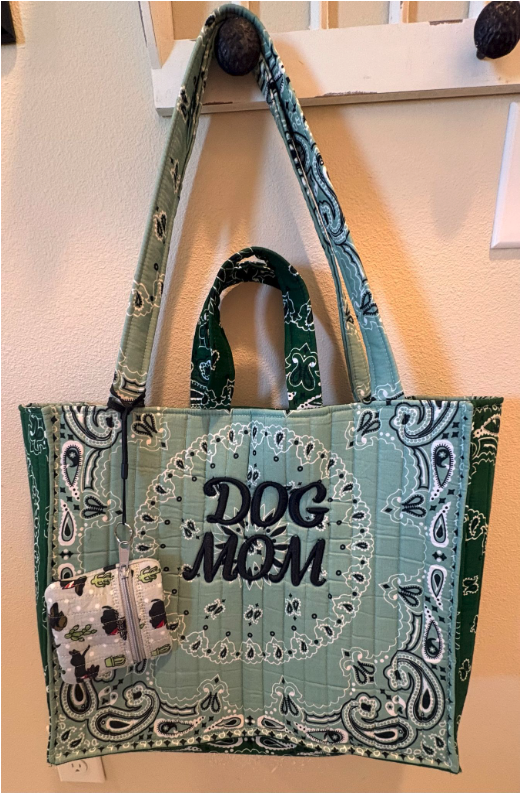
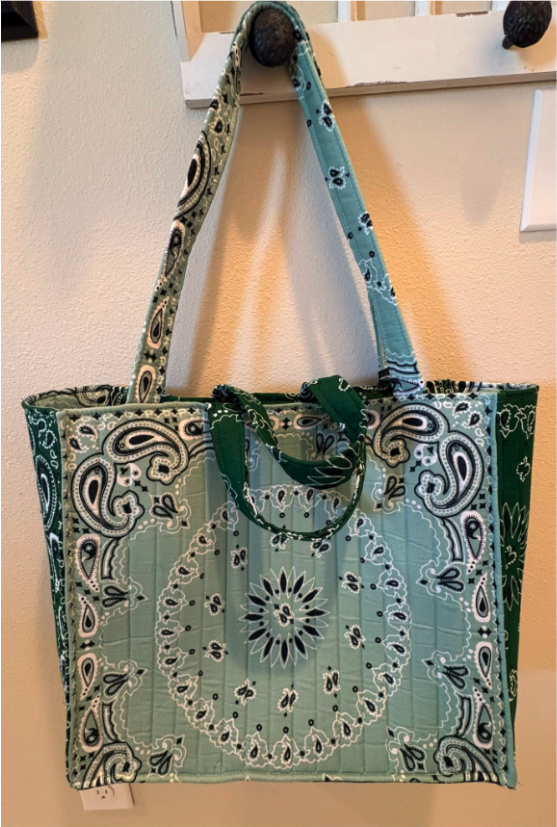
And just like that, your tote is complete! Give it a little press, and admire your handiwork.
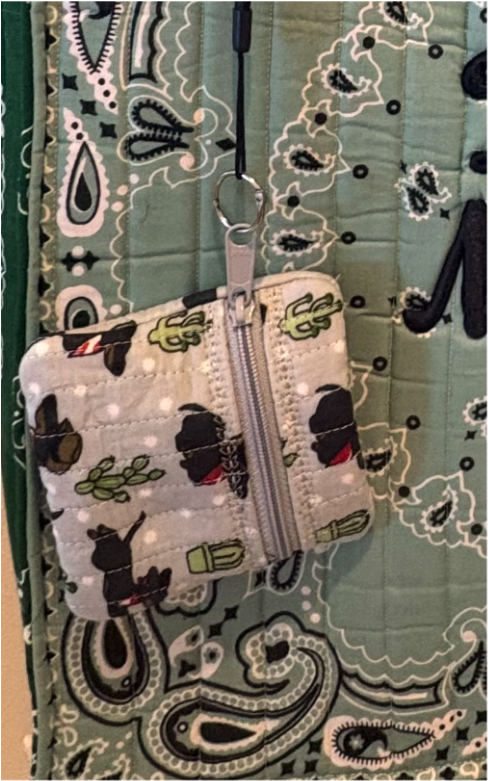
Want to make your tote even more useful? Add a small zipper bag for keeping little essentials organized. For this tote, I used the Quilted In The Hoop Zipper Bags 1 design.
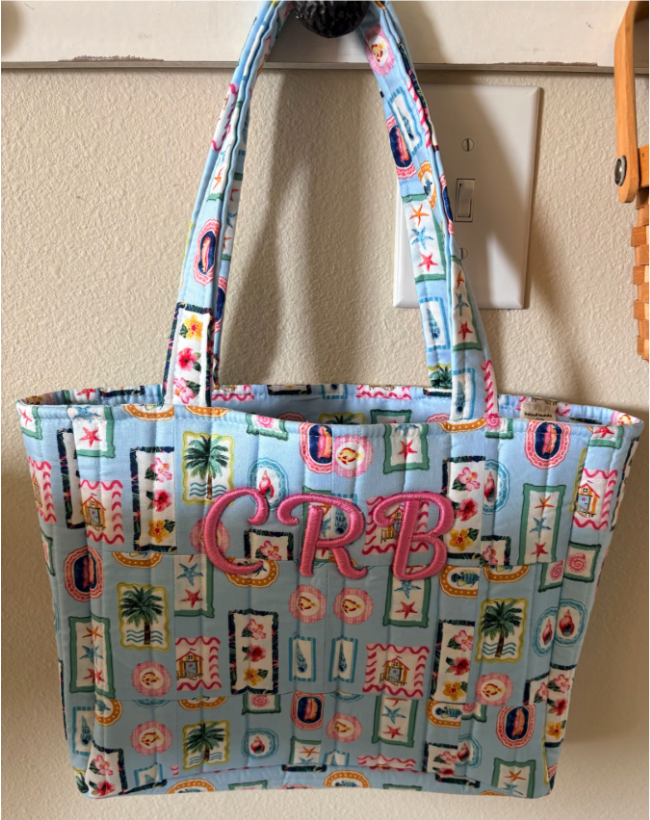
Want to make a smaller tote? I am including the measurements. The directions remain the same.
Fabric and Foam
Lining
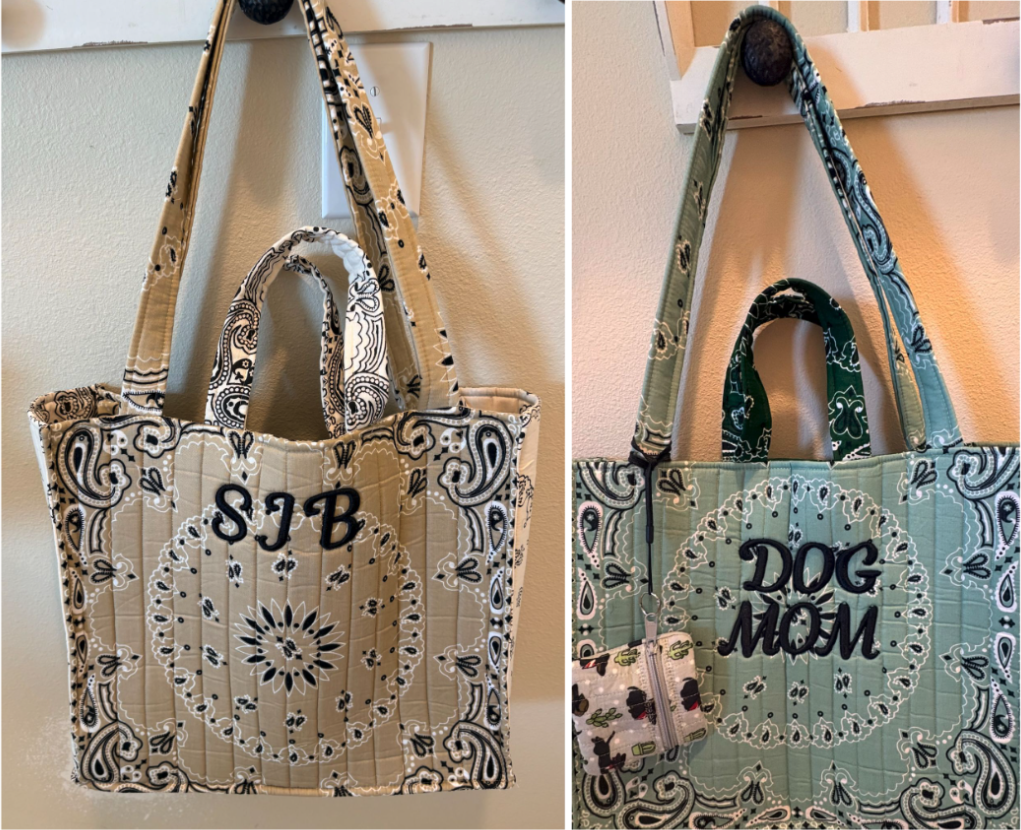
You've just created one of the season's trendiest accessories—with a handmade twist! Your personalized bandana tote is more than just a stylish bag; it's a reflection of your creativity and a project you'll be proud to carry everywhere.
The best part? No two totes have to look alike. Mix bold colors, playful sayings, monograms, or themed embroidery to make a collection that's perfect for every occasion. Totes also make thoughtful handmade gifts that are both practical and personal.
We'd love to see how you put your own spin on this trending project! Share your finished bandana tote in the Designs by JuJu Embroidery Blessings Group on Facebook, or use the hashtag #designsbyjuju anywhere on social media, and inspire others with your creative fabric combinations and personalized embroidery.
Until next time, happy stitching! Keep following the trends, adding your own creative flair, and filling your handmade wardrobe with projects that are as fun to sew as they are to show off.