Toggle Nav
 Inspire.
Create.
Stitch.
Inspire.
Create.
Stitch.
Search
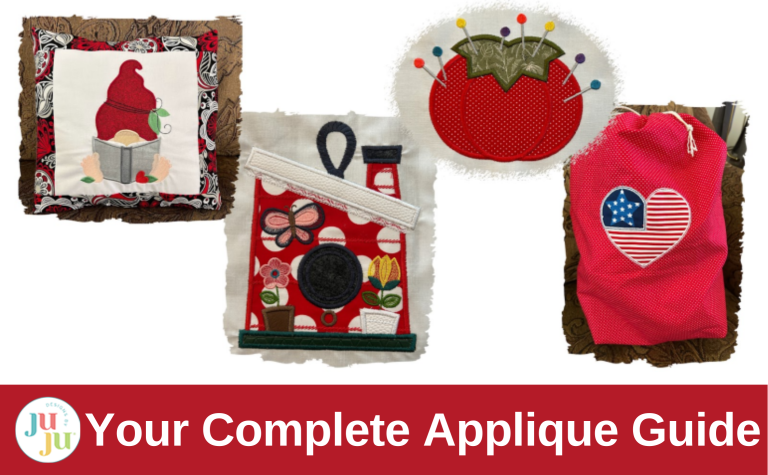
Your complete applique guide—stitch with confidence, spark creativity, and craft with heart, one design at a time.
This is Part 8 of our 8-part series, Applique Made Easy. Over the past several weeks, we’ve walked through every step of the applique journey — from the very basics of what applique is, to choosing fabrics and threads, trying specialty materials, adding personal touches, fixing mistakes, and beyond.
Now it all comes together in this complete guide to mastering machine applique from start to finish. Think of this post as your one-stop reference: a place you can return to anytime you need a refresher, a boost of confidence, or a spark of creative inspiration. Whether you’re brand new to applique or looking to polish your technique, this guide will help you stitch with skill, style, and heart. Here’s what you can expect from the full series:
August 7, 2025 - Applique Made Easy - What Is Applique Embroidery? A Beginner’s Guide to This Fun and Easy Machine Embroidery Technique
August 14, 2025 - Applique Made Easy - How to Choose the Best Fabrics and Threads for Applique Machine Embroidery Projects
August 21, 2025 - Applique Made Easy - Your First Applique Project: A Step-by-Step Guide for Embroidery Beginners
August 28, 2025 - Applique Made Easy - Using Mylar and Vinyl in Applique Embroidery: Add Sparkle and Shine to Your Designs
September 4, 2025 - Applique Made Easy - How to Personalize Premade Items with Applique: Easy Embroidery Gifts and Custom Touches
September 11, 2025 - Applique Made Easy - Creative Applique Ideas: Adding Personality to Your Embroidery
September 18, 2025 - Applique Made Easy - Troubleshooting Applique Embroidery: How to Fix Common Problems and Avoid Mistakes
September 25, 2025 - Applique Made Easy - Complete Guide to Mastering Machine Applique from Start to Finish (You are here)
The ultimate applique series from Designs by JuJu! Whether you’re just starting with embroidery, looking to elevate your skills, or you’re a seasoned pro, this series walks you through everything applique. We start with the basics and work our way up to some bold embellishments.
Each post is packed with practical tips, creative inspiration, and real project examples. Jump in with us and learn something new!
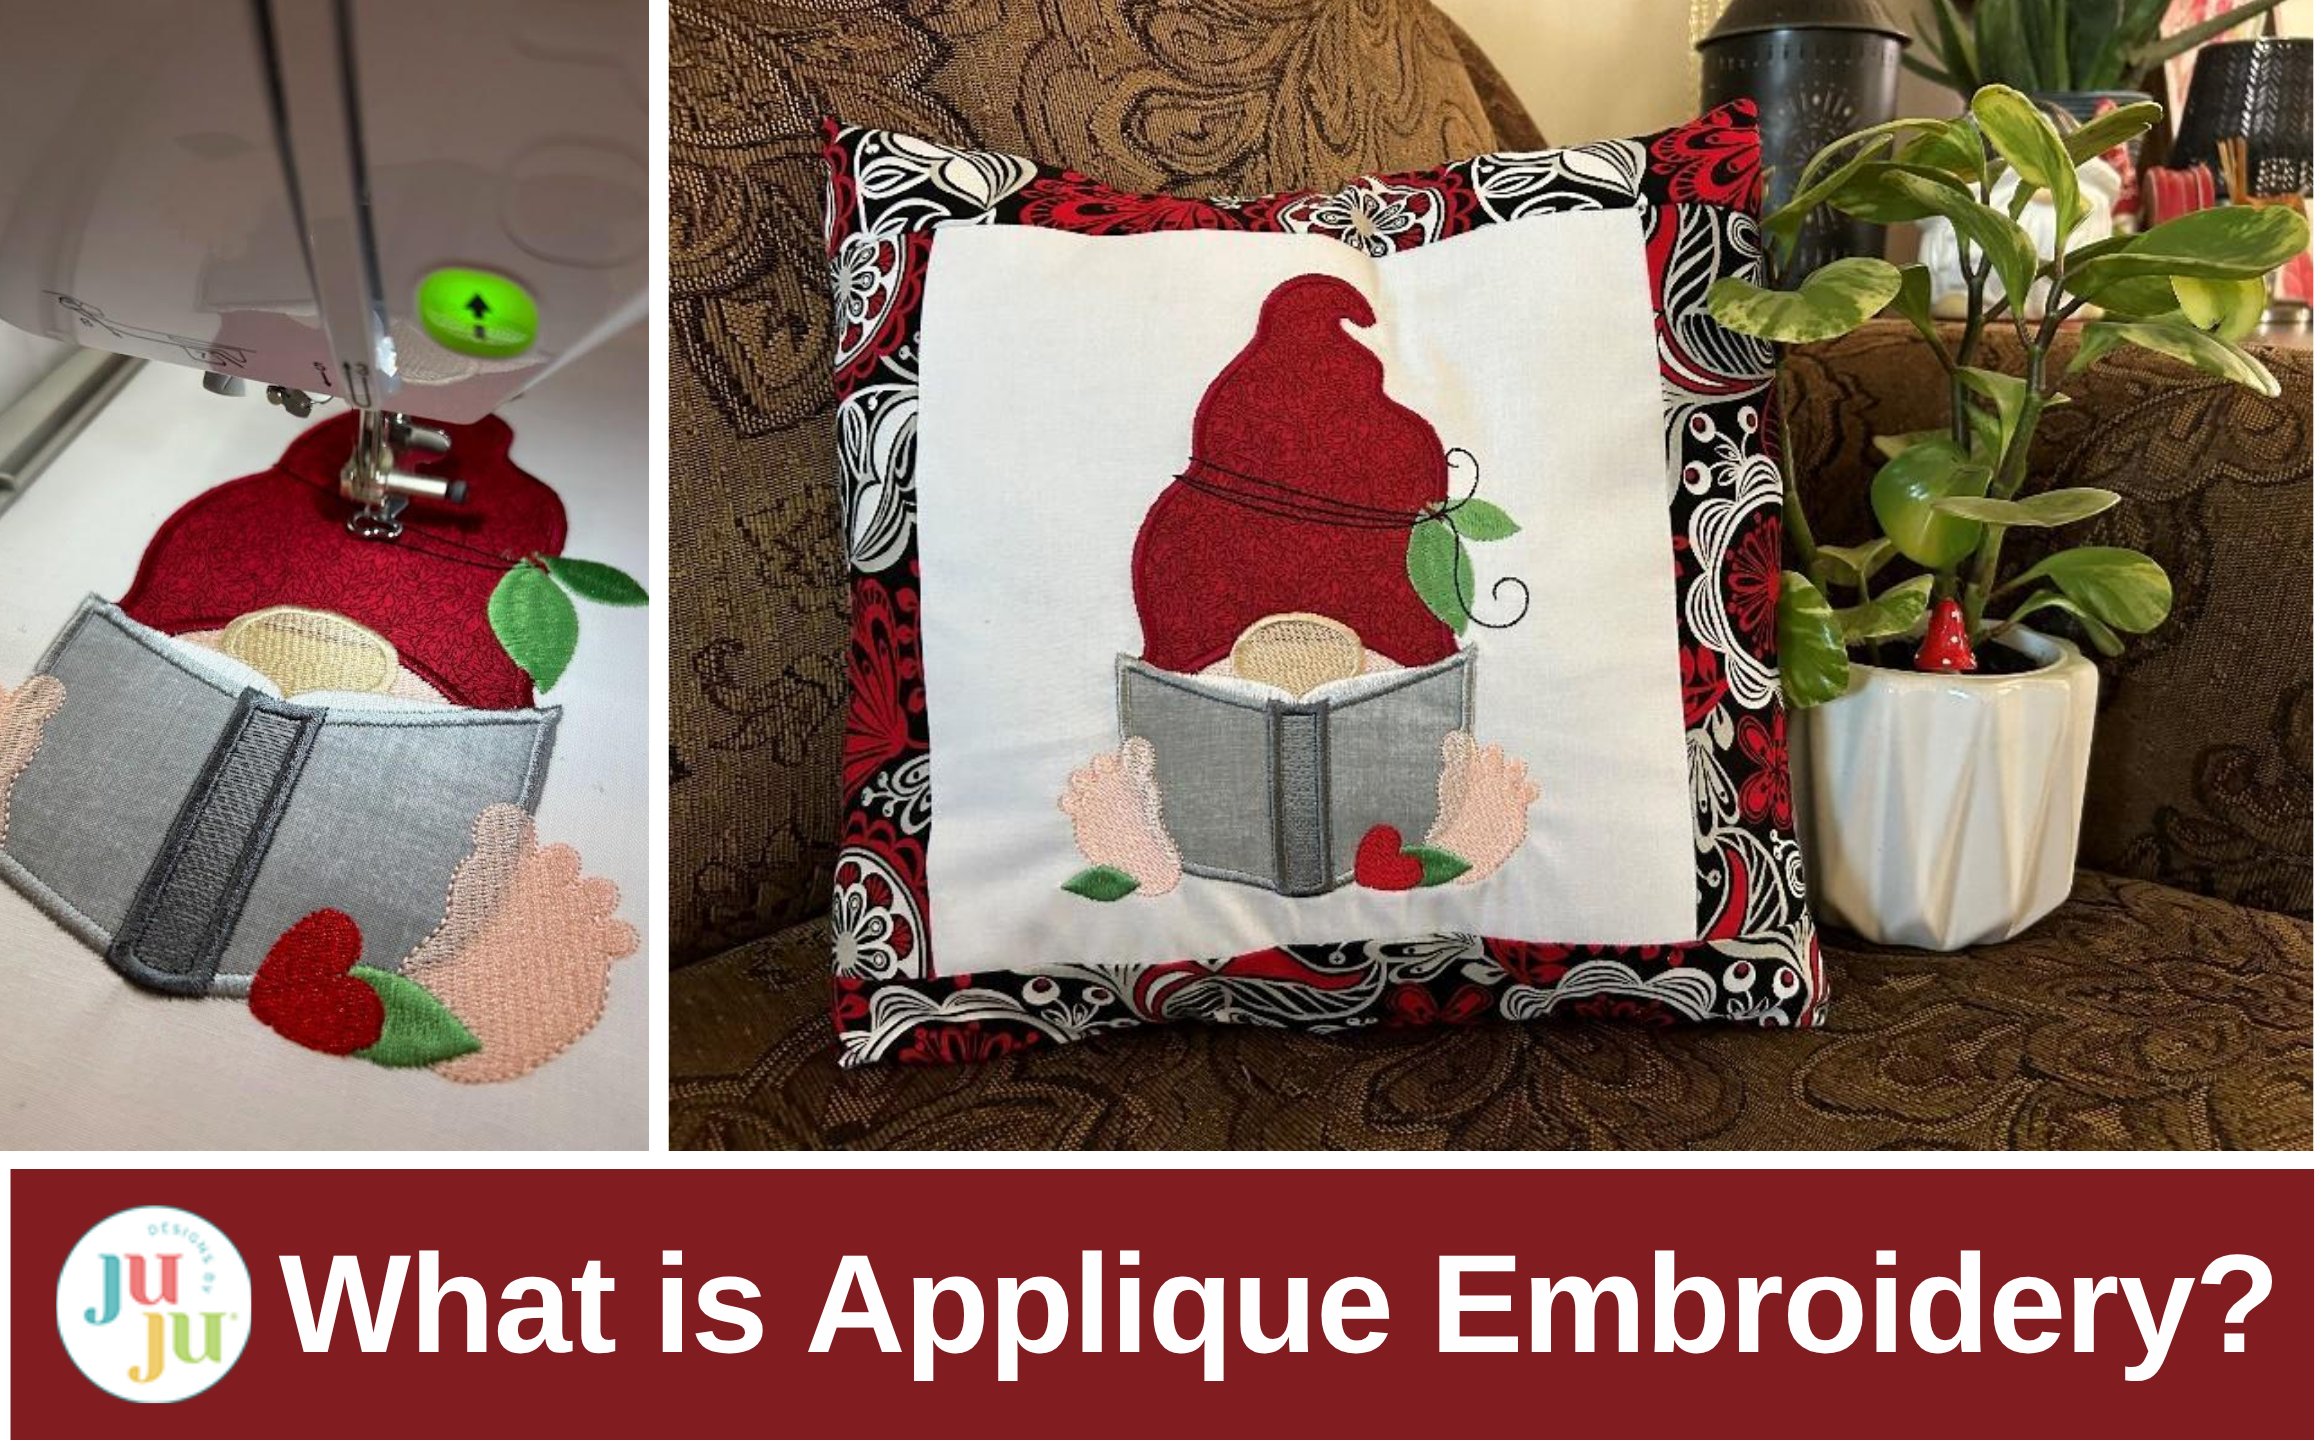
Our first post teaches what applique is, why it’s perfect for beginners, and how it transforms fabric scraps into meaningful projects. Start here to learn how to begin and what supplies are needed for a successful applique project.
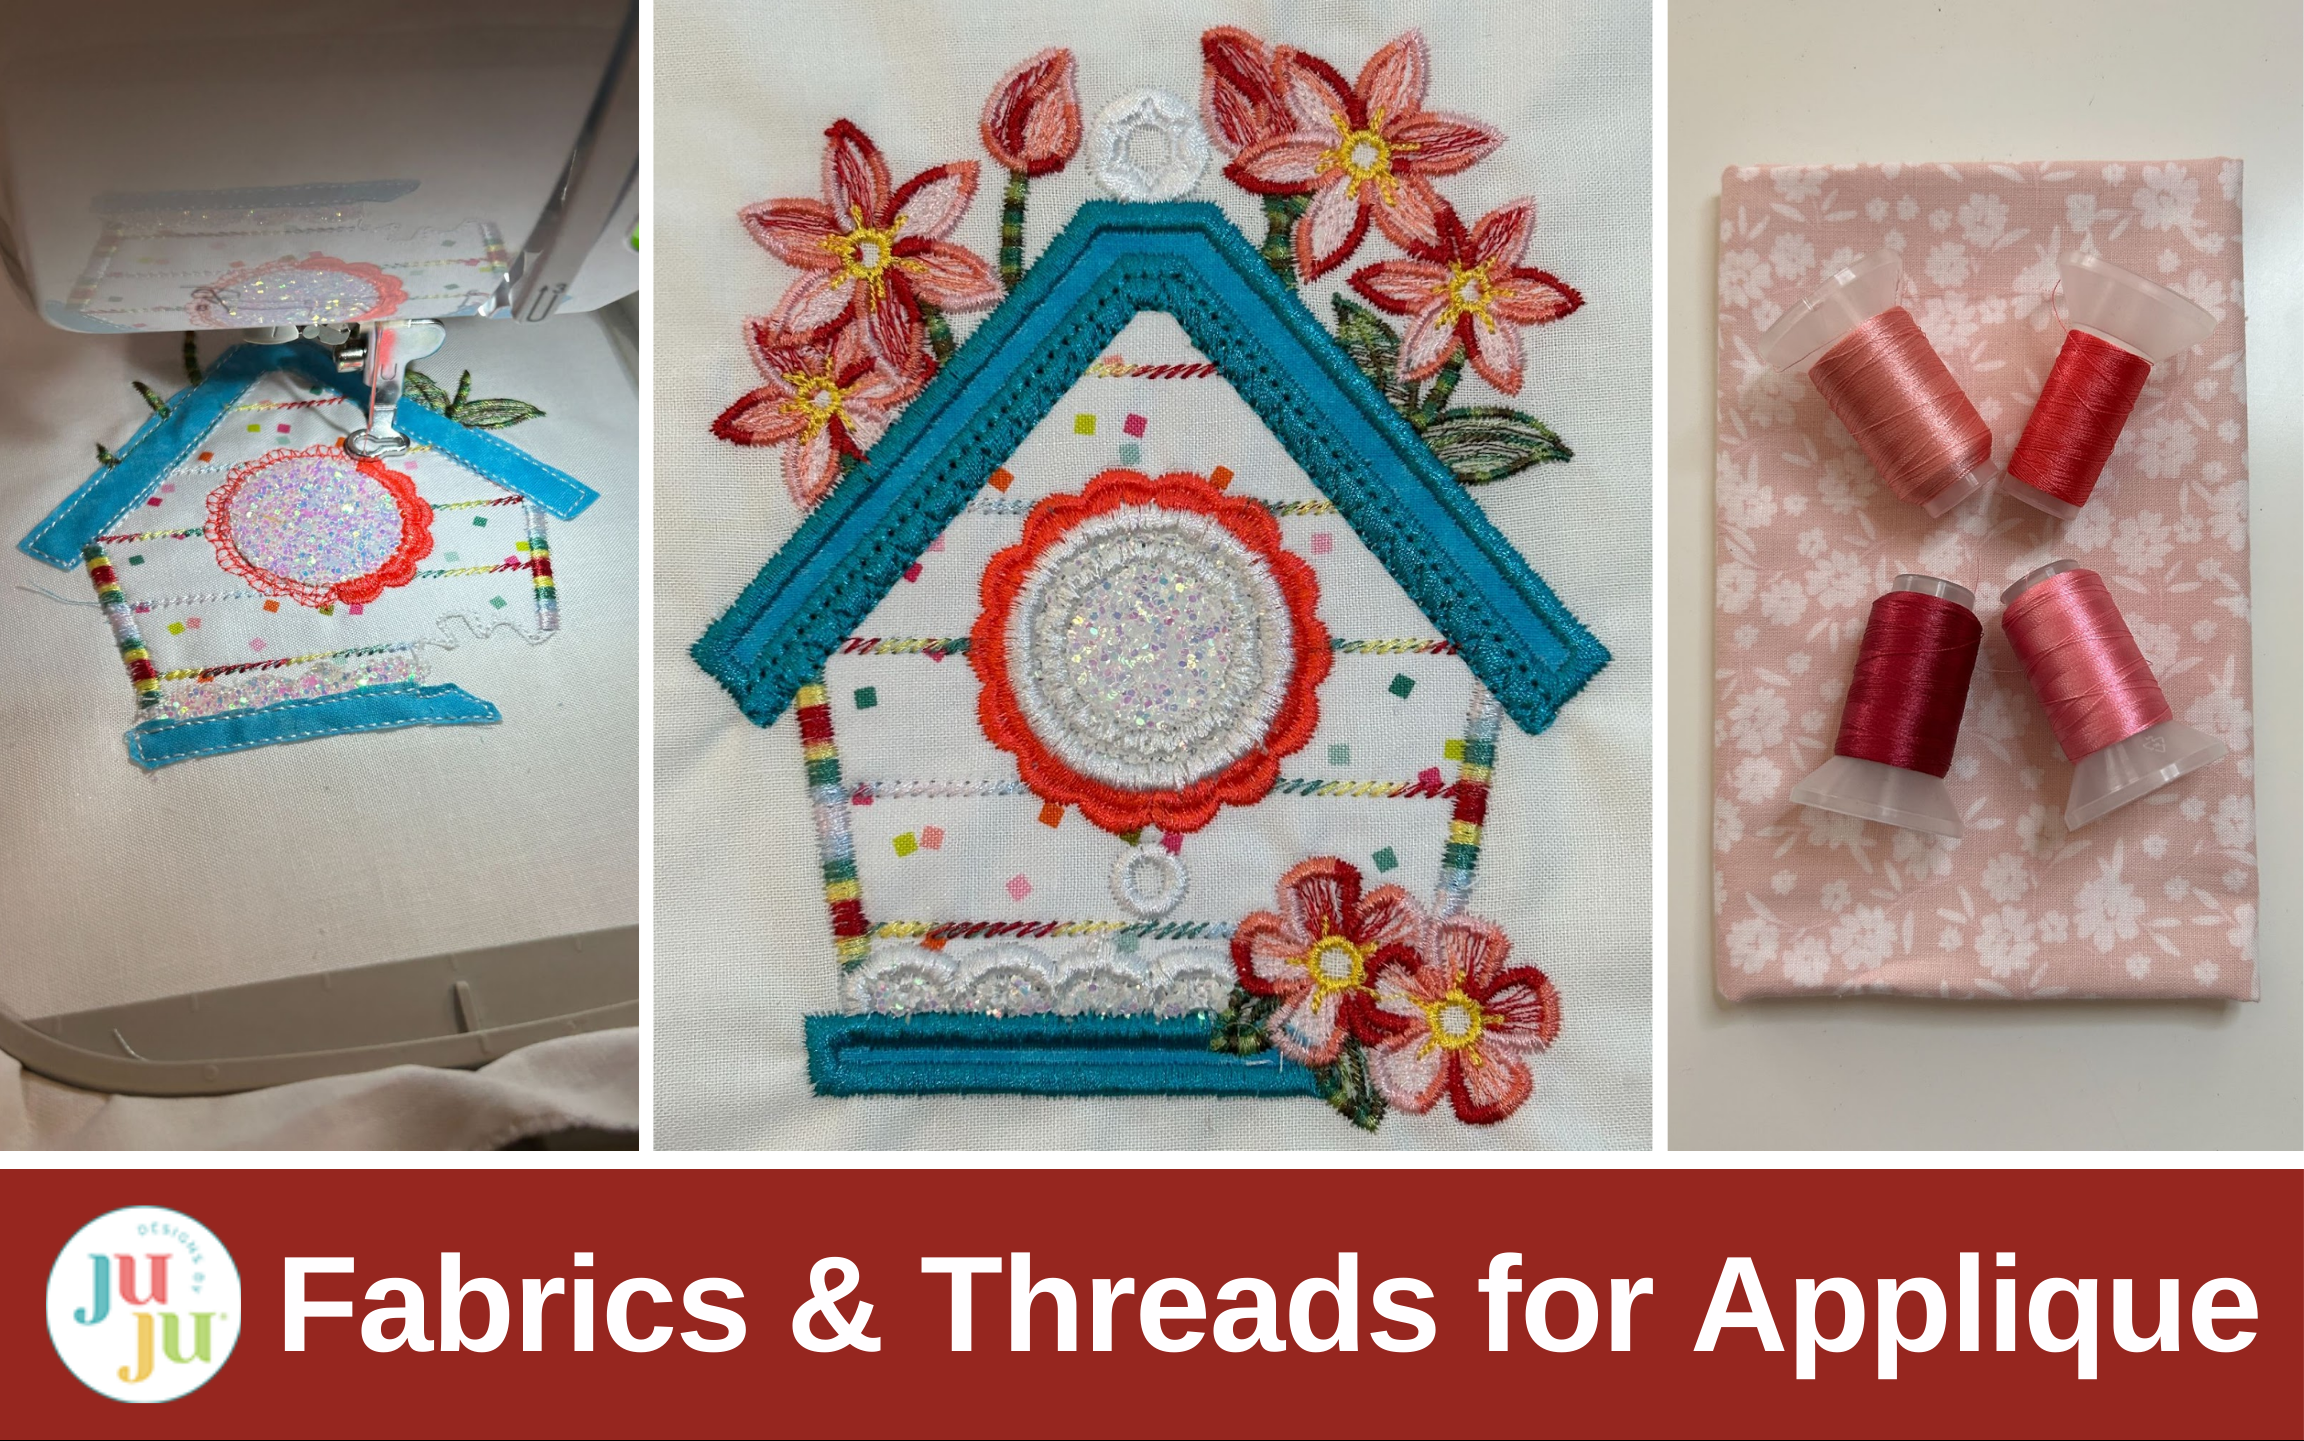
Choosing the right fabrics and threads is key to creating a cohesive, eye-catching design. From mixing prints and balancing color values to experimenting with variegated and specialty threads, this guide walks you through tips, real-world examples, and creative inspiration to help you make each design uniquely yours. You’re the artist; now you can practice how you design your craft.
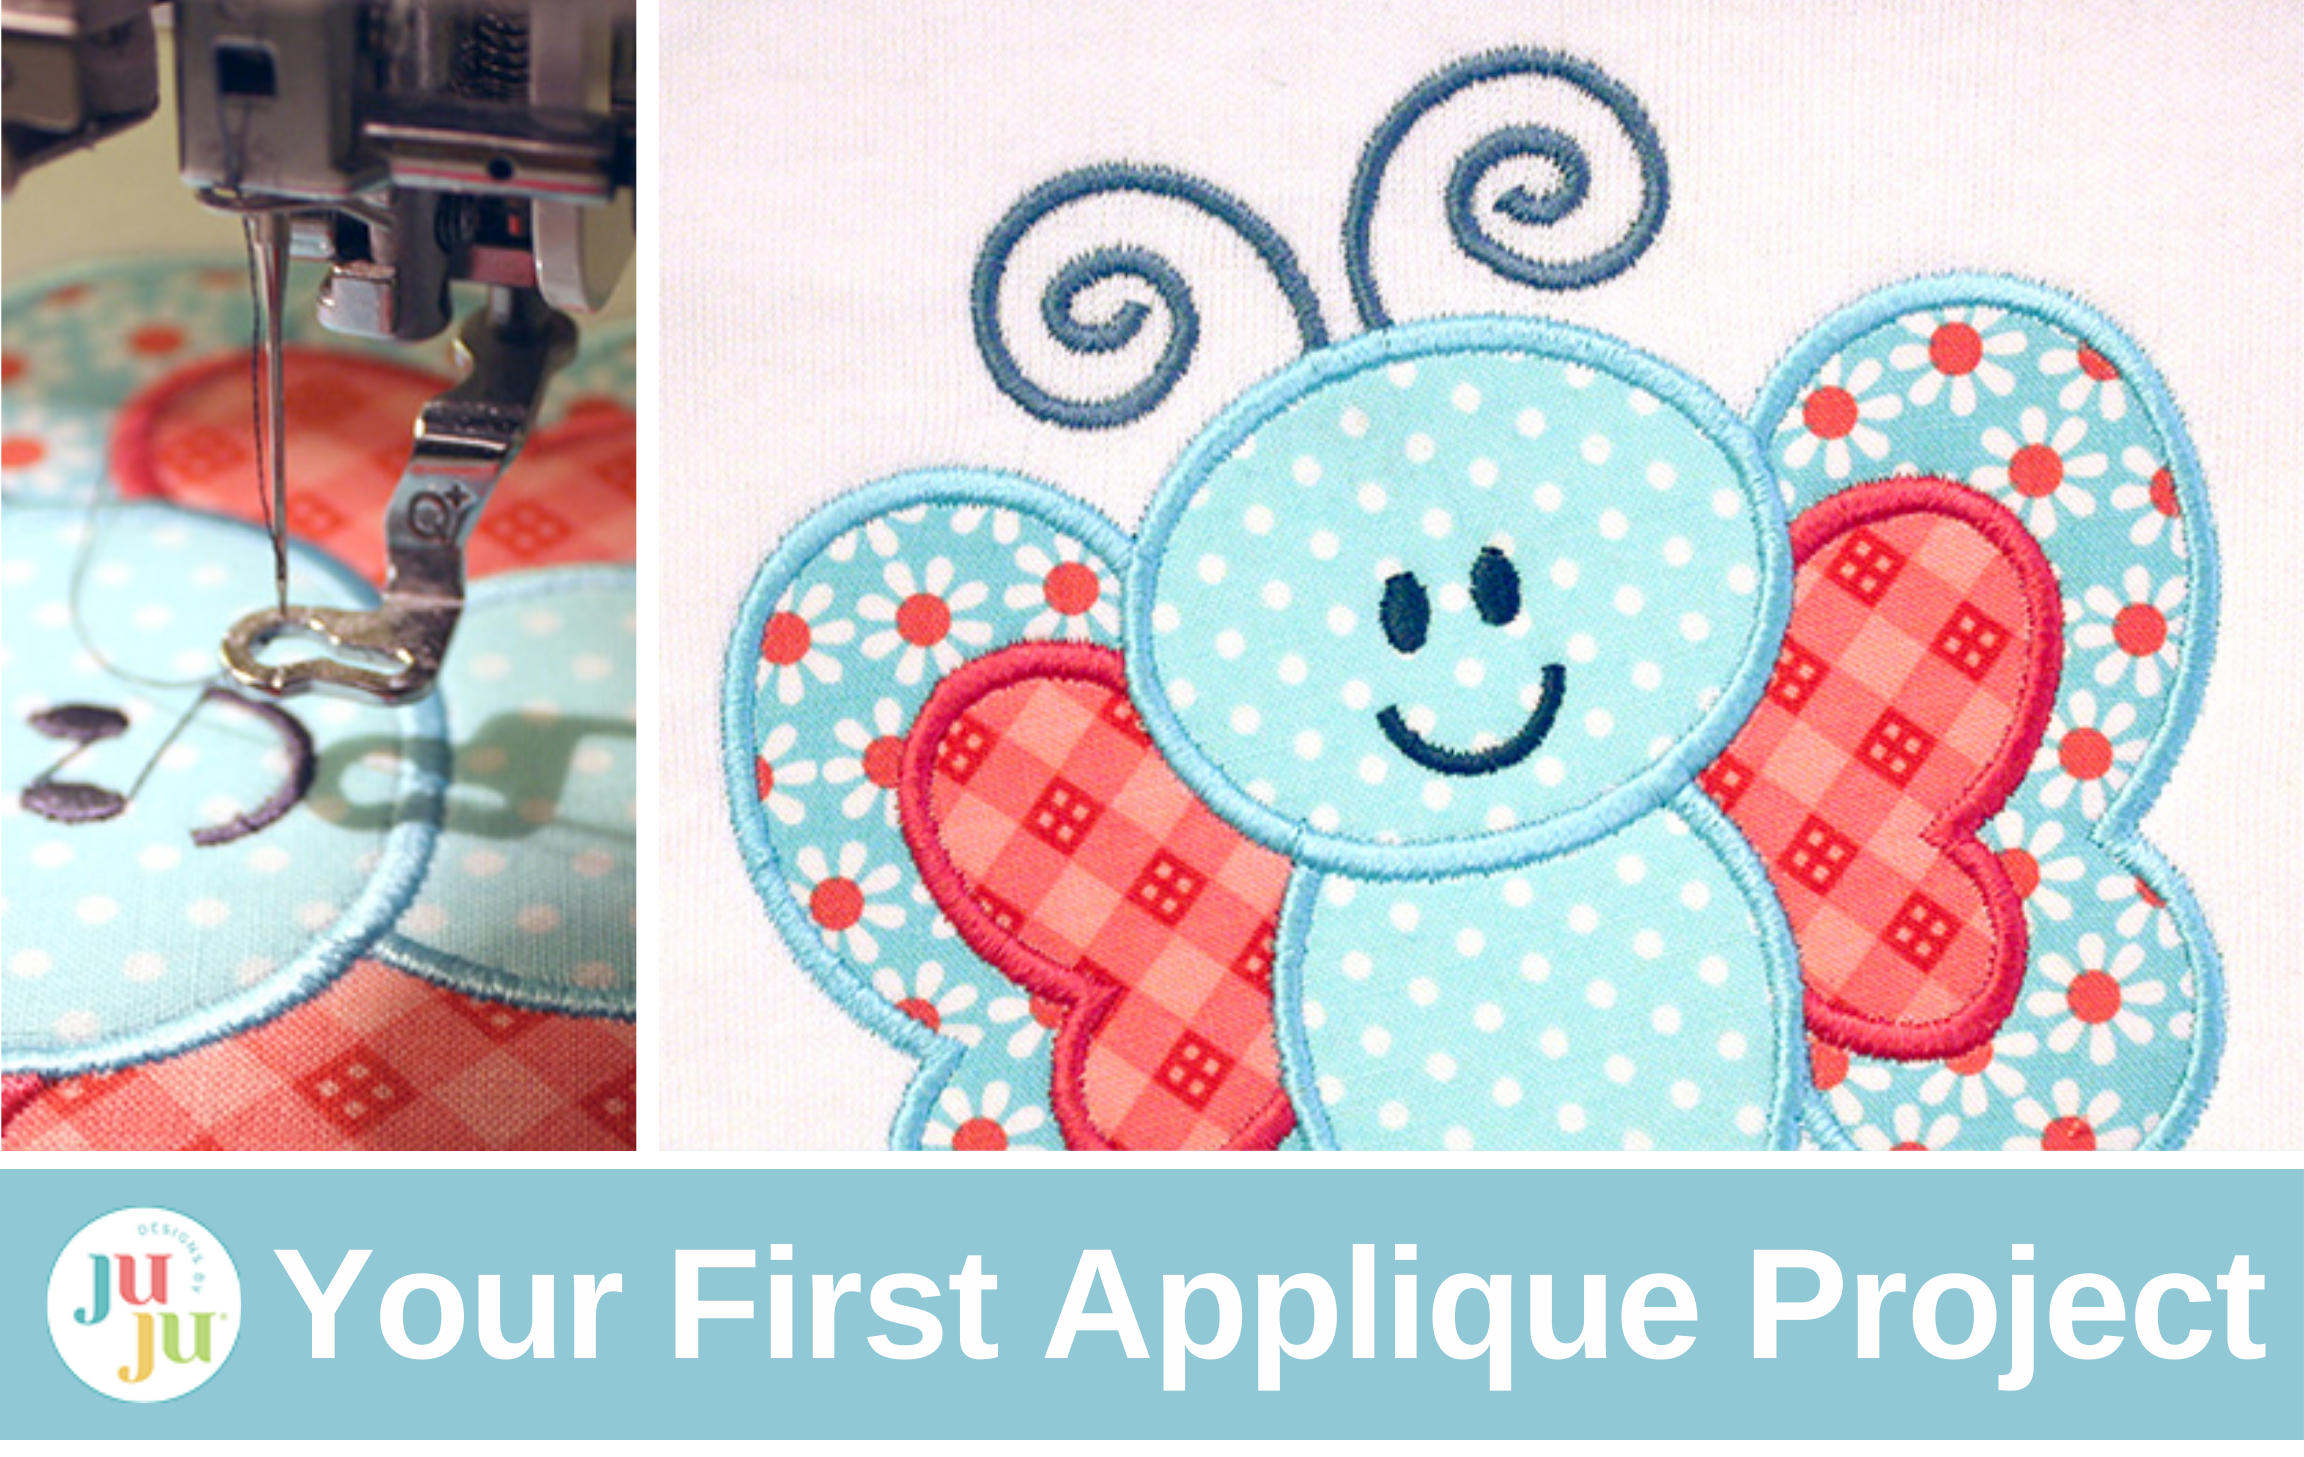
Learn how to create your first machine applique project with confidence in this beginner-friendly step-by-step tutorial. Using a charming three-fabric butterfly design, you’ll discover how to prepare materials, stitch placement and tack-down steps, trim fabric neatly, and finish with beautiful satin stitches. Perfect for building your skills and stitching something you’ll be proud to show off.
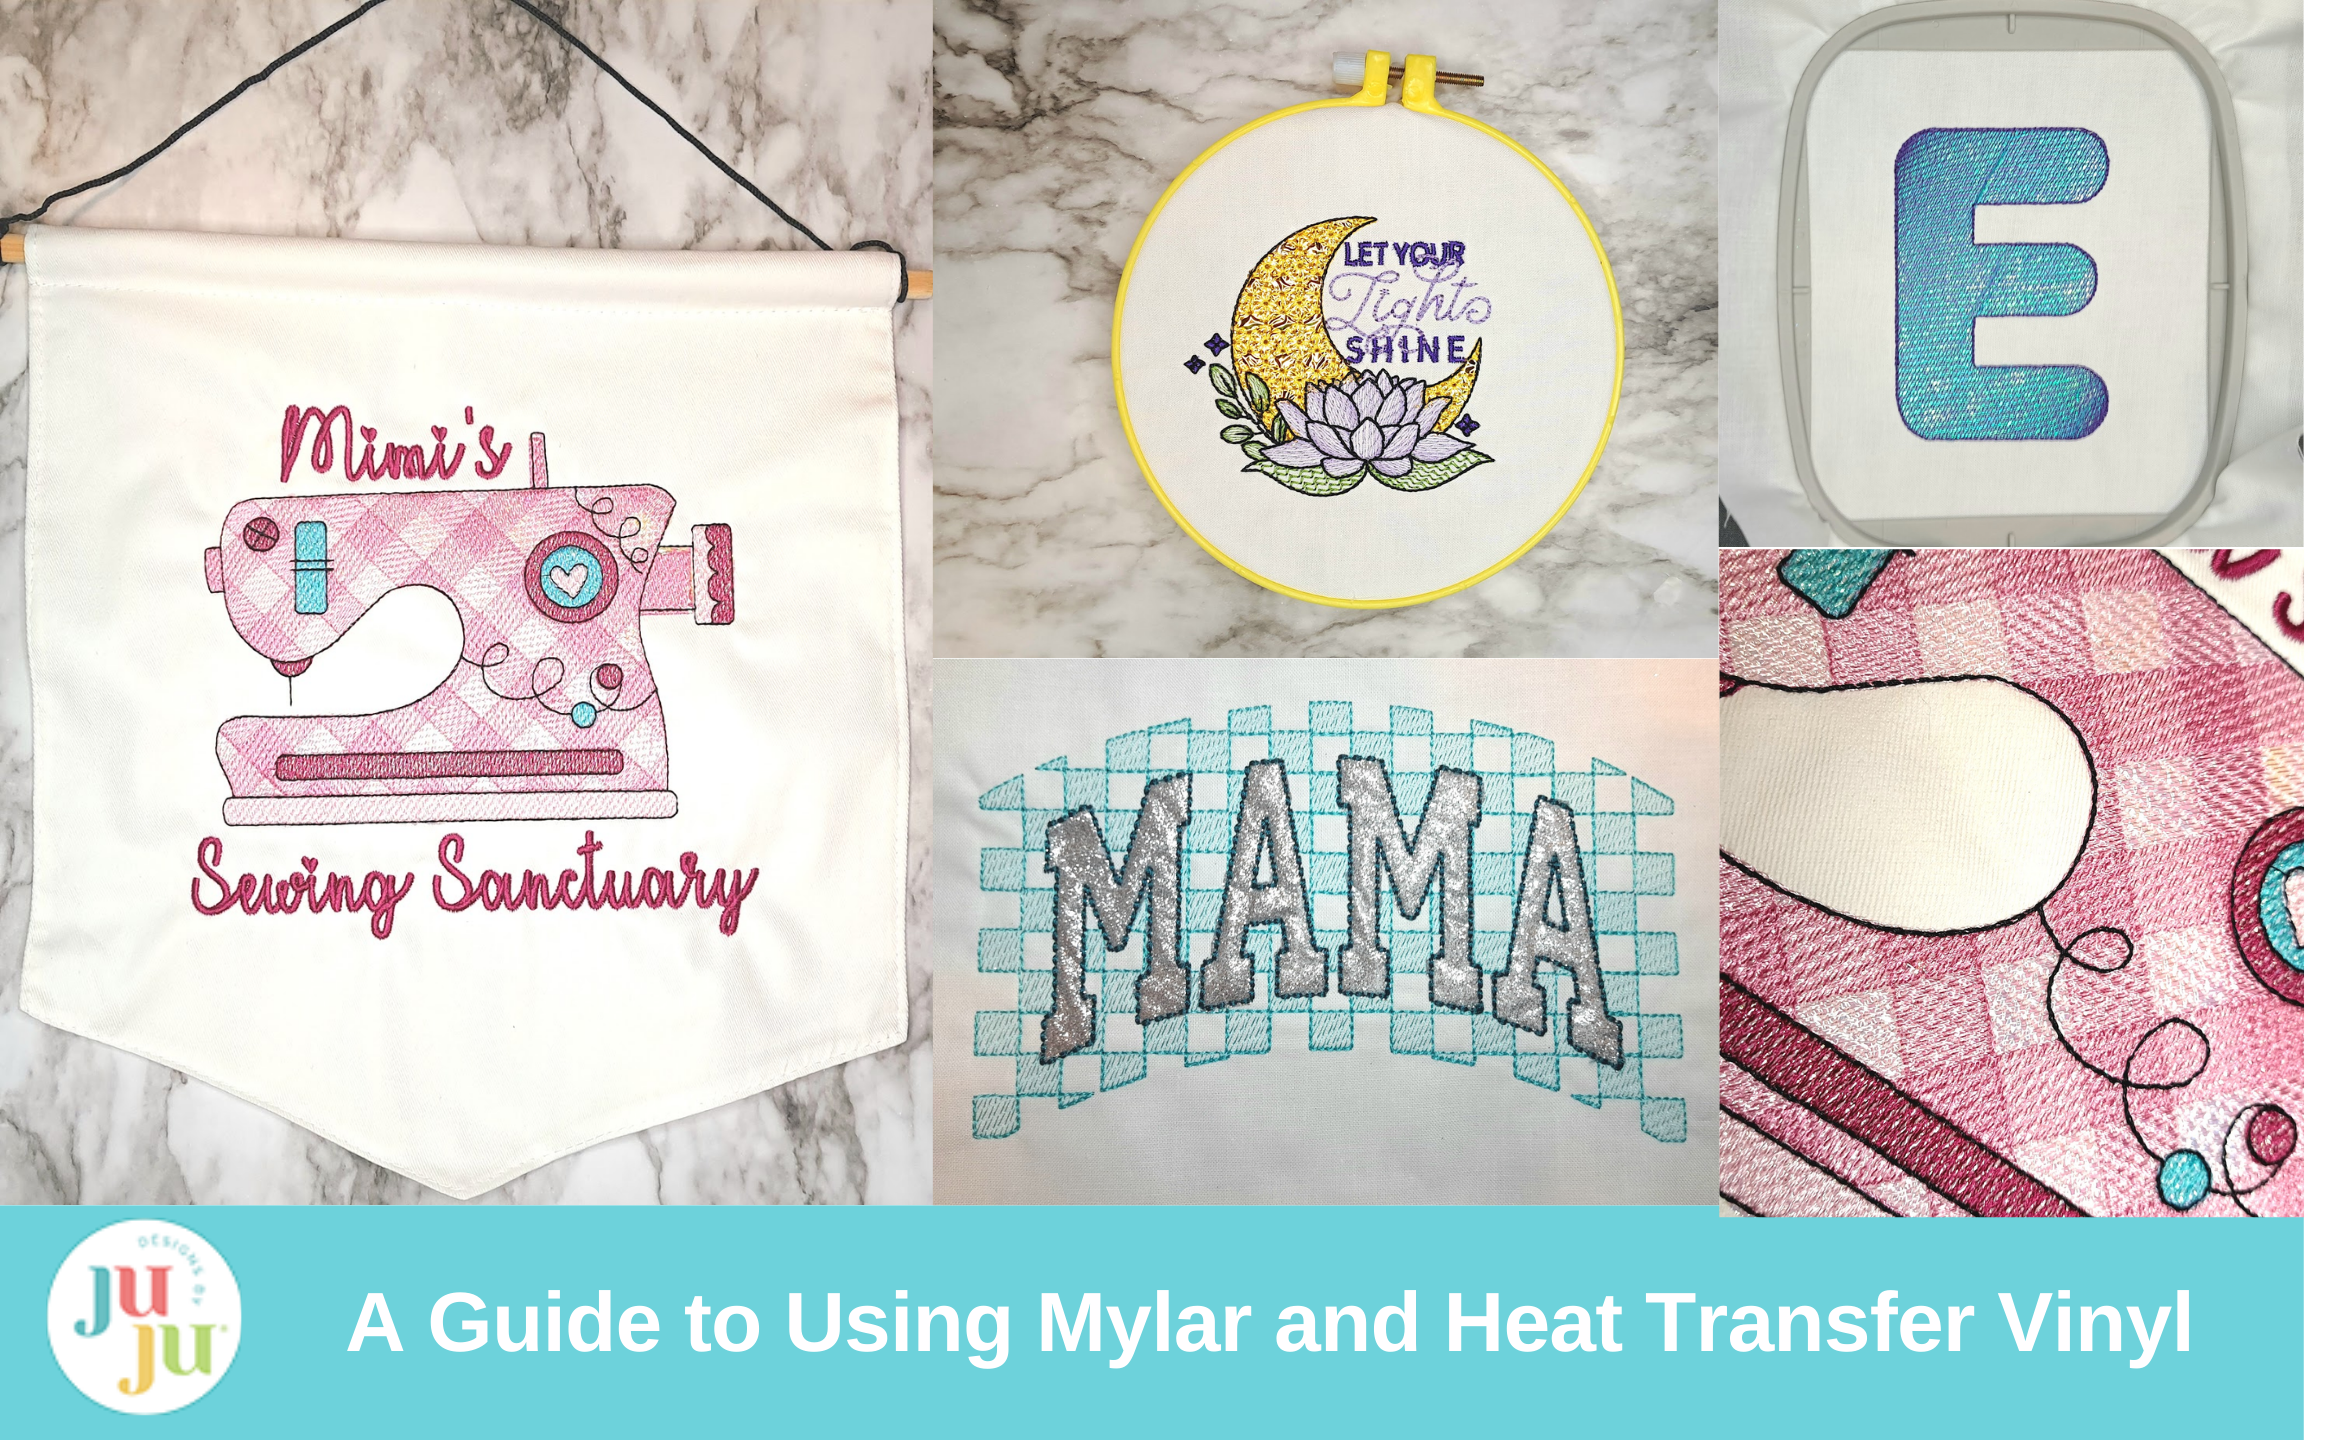
Add instant sparkle to your embroidery with this guide to using Mylar and heat-transfer vinyl (HTV). Learn what these specialty materials are, which designs they work best with, and step-by-step tips for adding shimmer, shine, and texture to your projects. Whether you want a subtle glint or bold glitter, this tutorial shows you how to elevate your embroidery with eye-catching results.
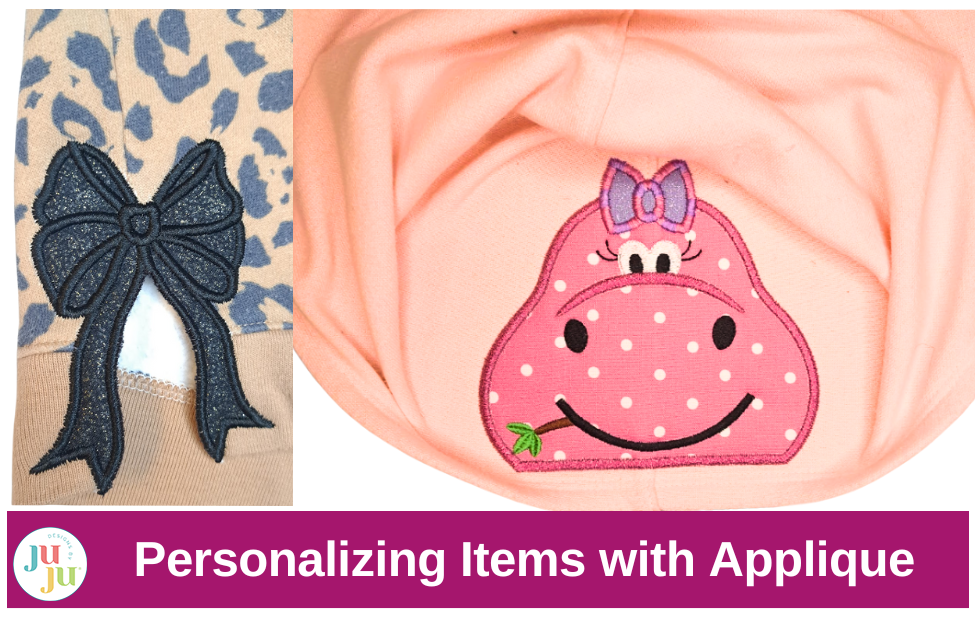
Discover how to give everyday items a fresh, personal touch with applique on premade clothes, gifts, and home decor. From upcycling well-loved pieces to creating meaningful, one-of-a-kind presents, this guide is packed with inspiration, tips, and tutorials to help you customize ready-made items with confidence and creativity.
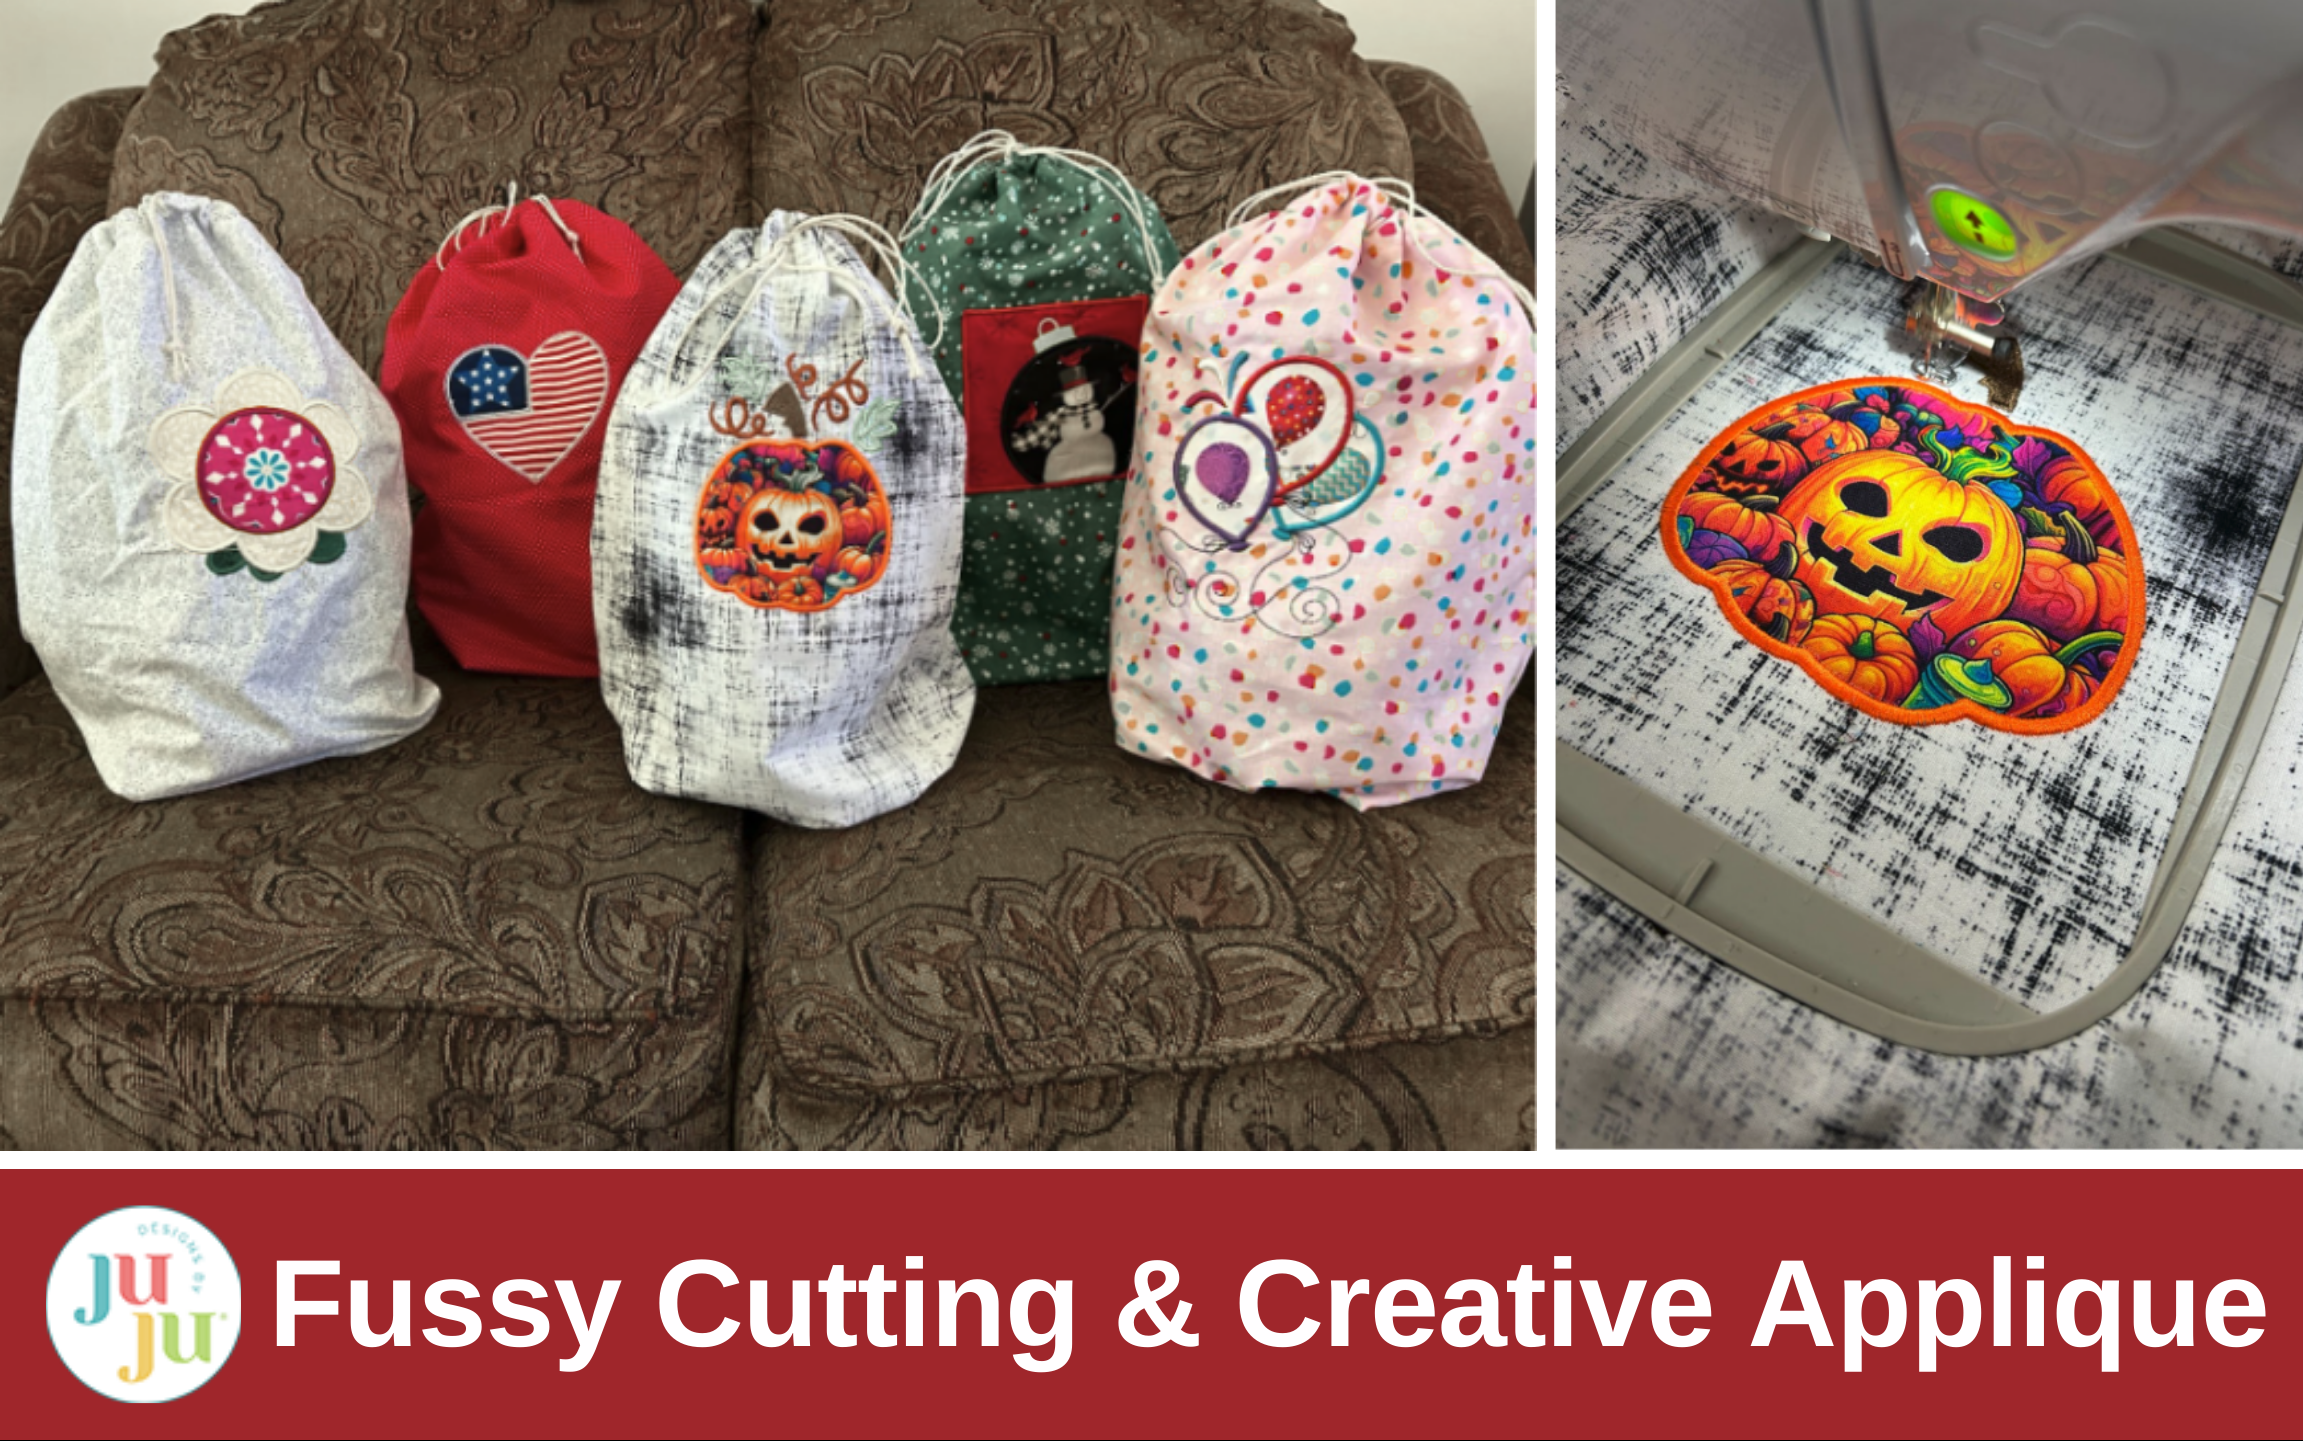
Learn how to elevate your applique projects with creative embellishing and fussy cutting techniques. In this tutorial, you’ll discover multiple ways to showcase your favorite fabric motifs, turn them into seasonal gift bags, memory quilt blocks, and custom patches, and even incorporate special fabrics with meaning. These ideas will help you add personality, precision, and a polished finish to every applique creation.
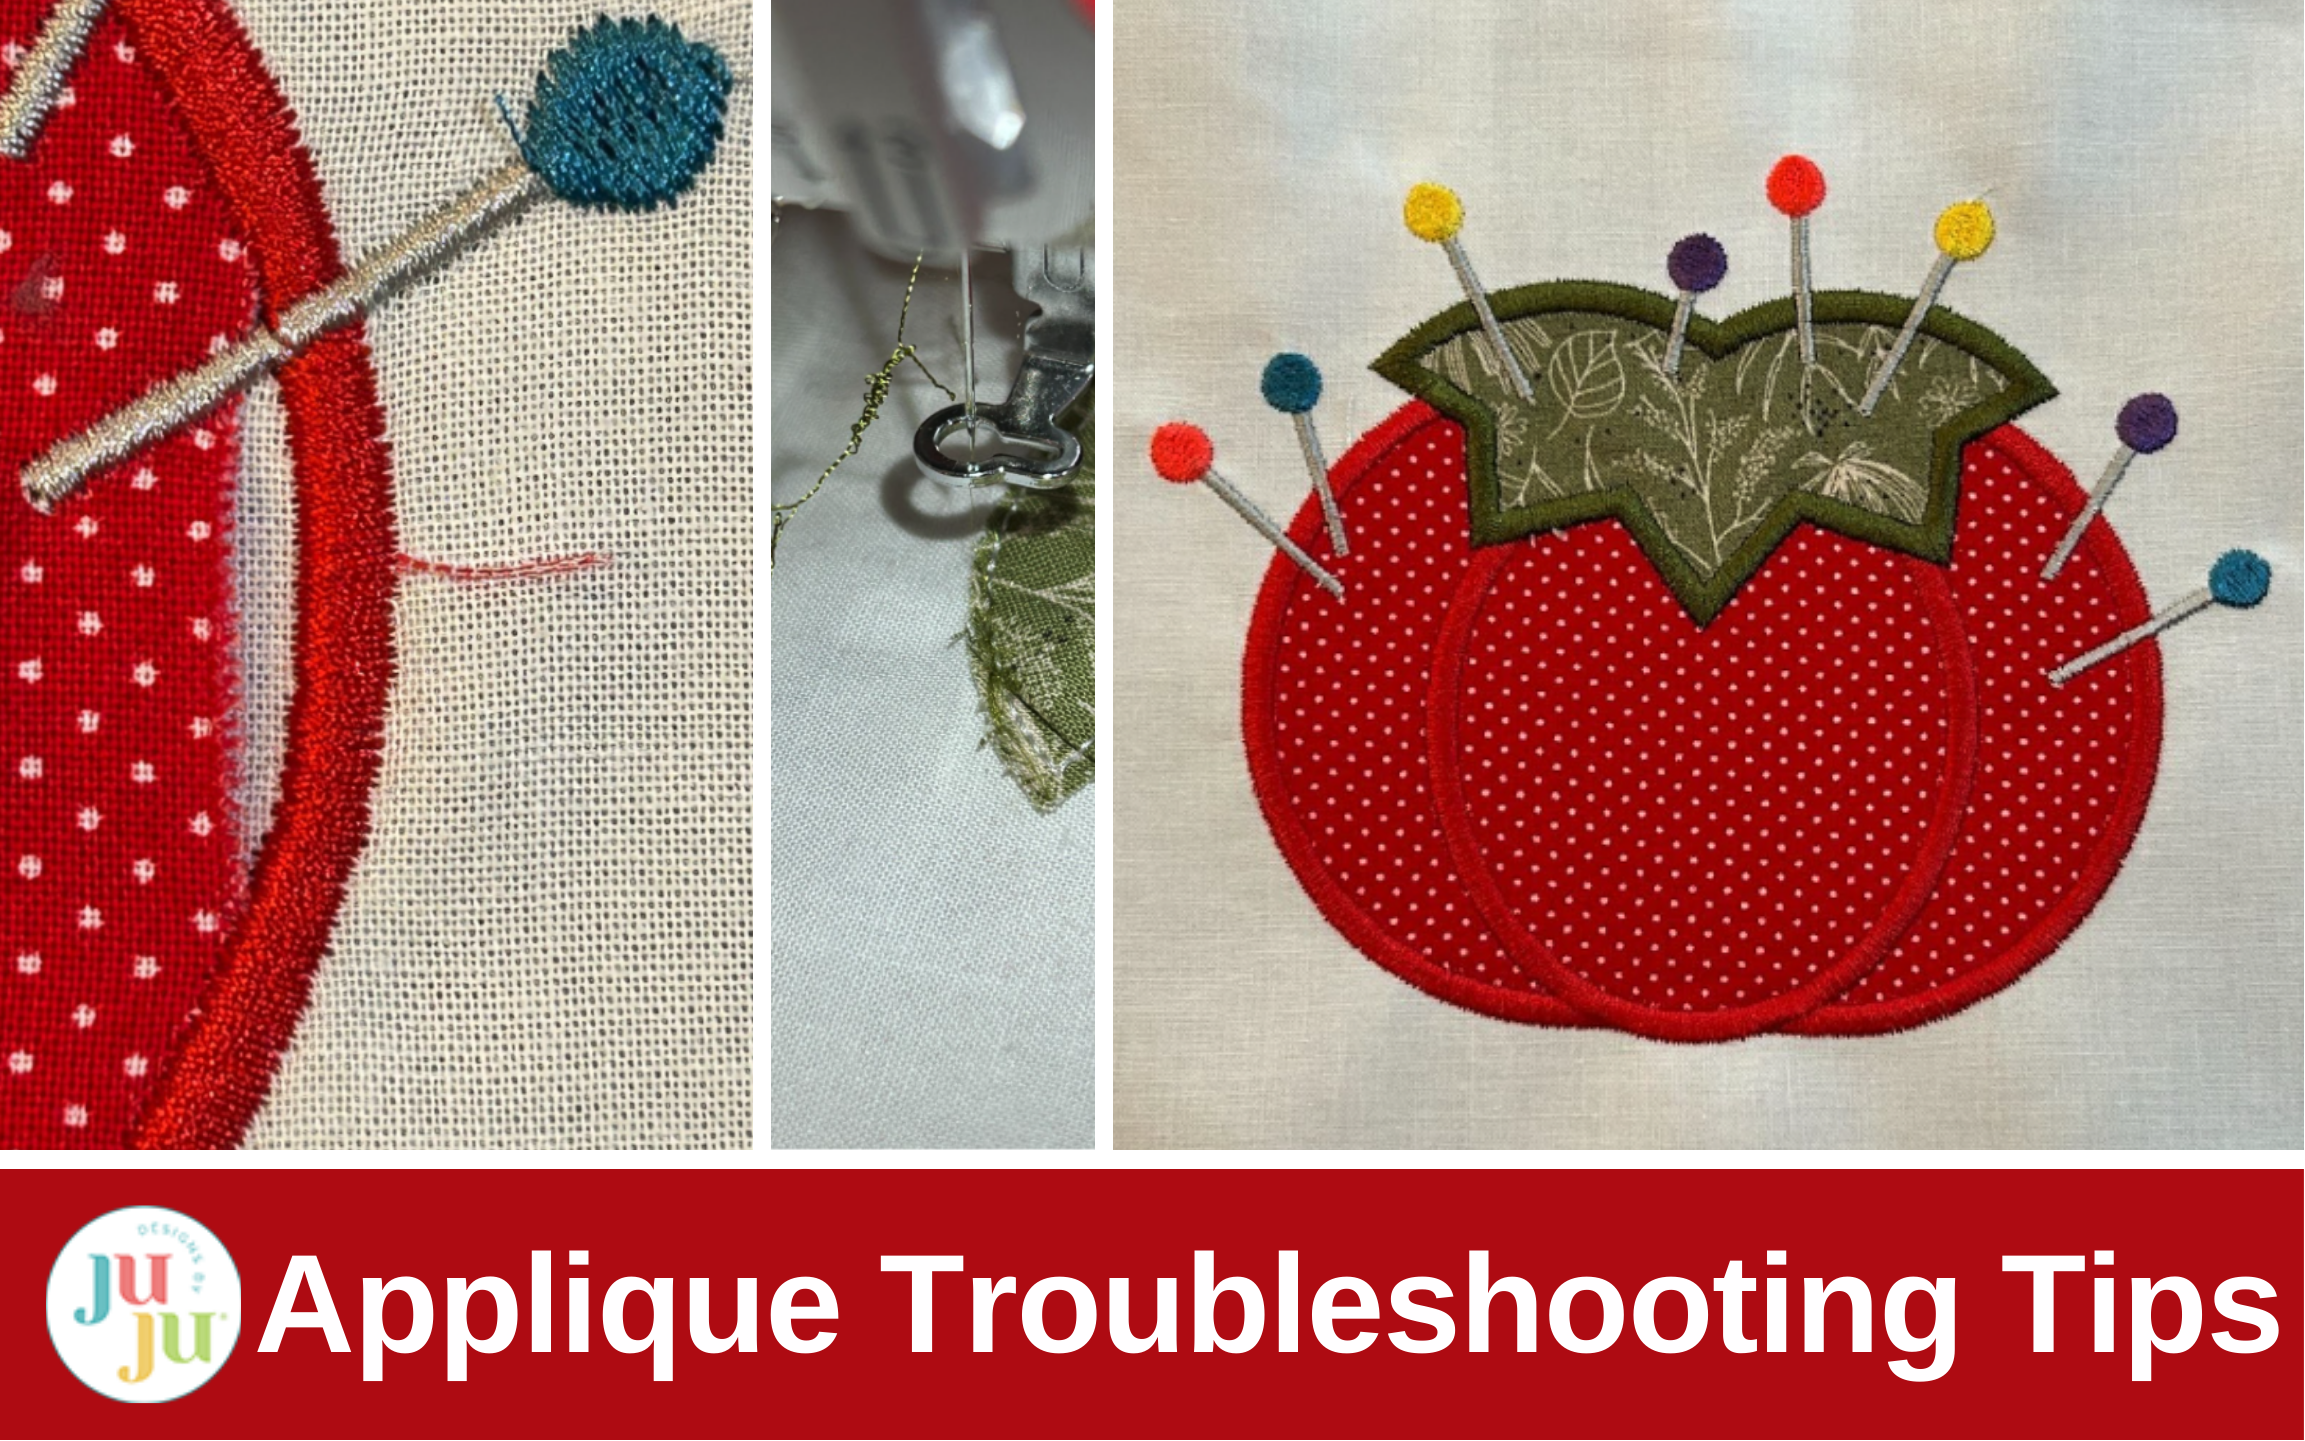
Finish your applique journey with encouragement, practical fixes, and inspiration to turn every “oops” into a masterpiece. From puckering fabric to frayed edges, learn how to troubleshoot with confidence and get excited for your next creative adventure.
And that’s a wrap on our Applique Made Easy series! We’ve loved guiding you from the very first stitches all the way to this complete masterclass. Our hope is that you now feel confident, inspired, and ready to tackle any applique project that sparks your creativity.
But remember — this is only the beginning. Every design you try is a chance to grow, experiment, and put more of yourself into your stitching.
We'd love to see what you've learned and created through this series. Share your applique creations and tips in the Designs by JuJu Embroidery Blessings Facebook Group, or anywhere on social media using the hashtag #designsbyjuju. Your projects inspire our whole community.
Thank you for joining us on this journey. Keep stitching, keep creating, and most of all, keep having fun with applique!
