Toggle Nav
 Inspire.
Create.
Stitch.
Inspire.
Create.
Stitch.
Search
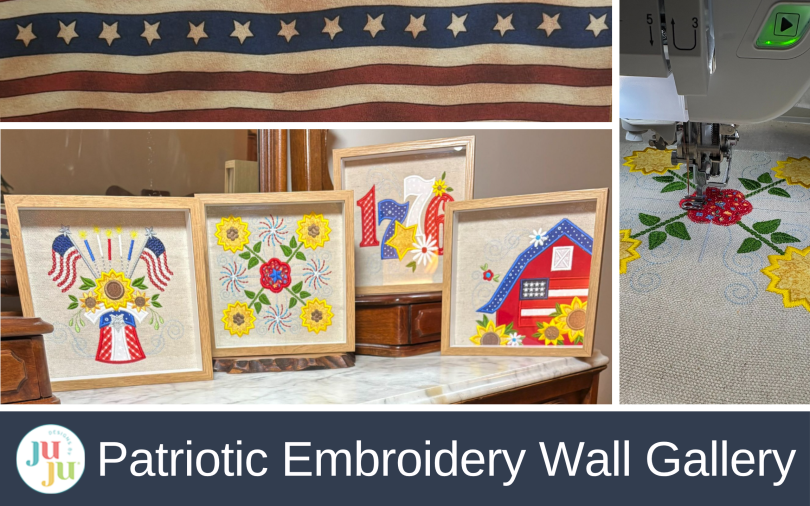
Celebrate America’s 250th birthday with patriotic machine embroidery decor! Learn how to frame Star Spangled Stitches blocks for versatile wall, shelf, and tabletop displays perfect for the 4th of July.
I love decorating seasonally, and DBJJ makes it so easy! This year I’m going all out for the Fourth of July because it’s the 250th birthday of the USA. As soon as you walk into my house you’ll see the proud red, white, and blue designs from the Star Spangled Stitches sets. Follow along with me as I create some versatile patriotic decor!
Check out the DBJJ team’s favorite supplies in the Designs by JuJu Amazon store. And for stabilizers and batting, Designs by JuJu+ has everything you need.
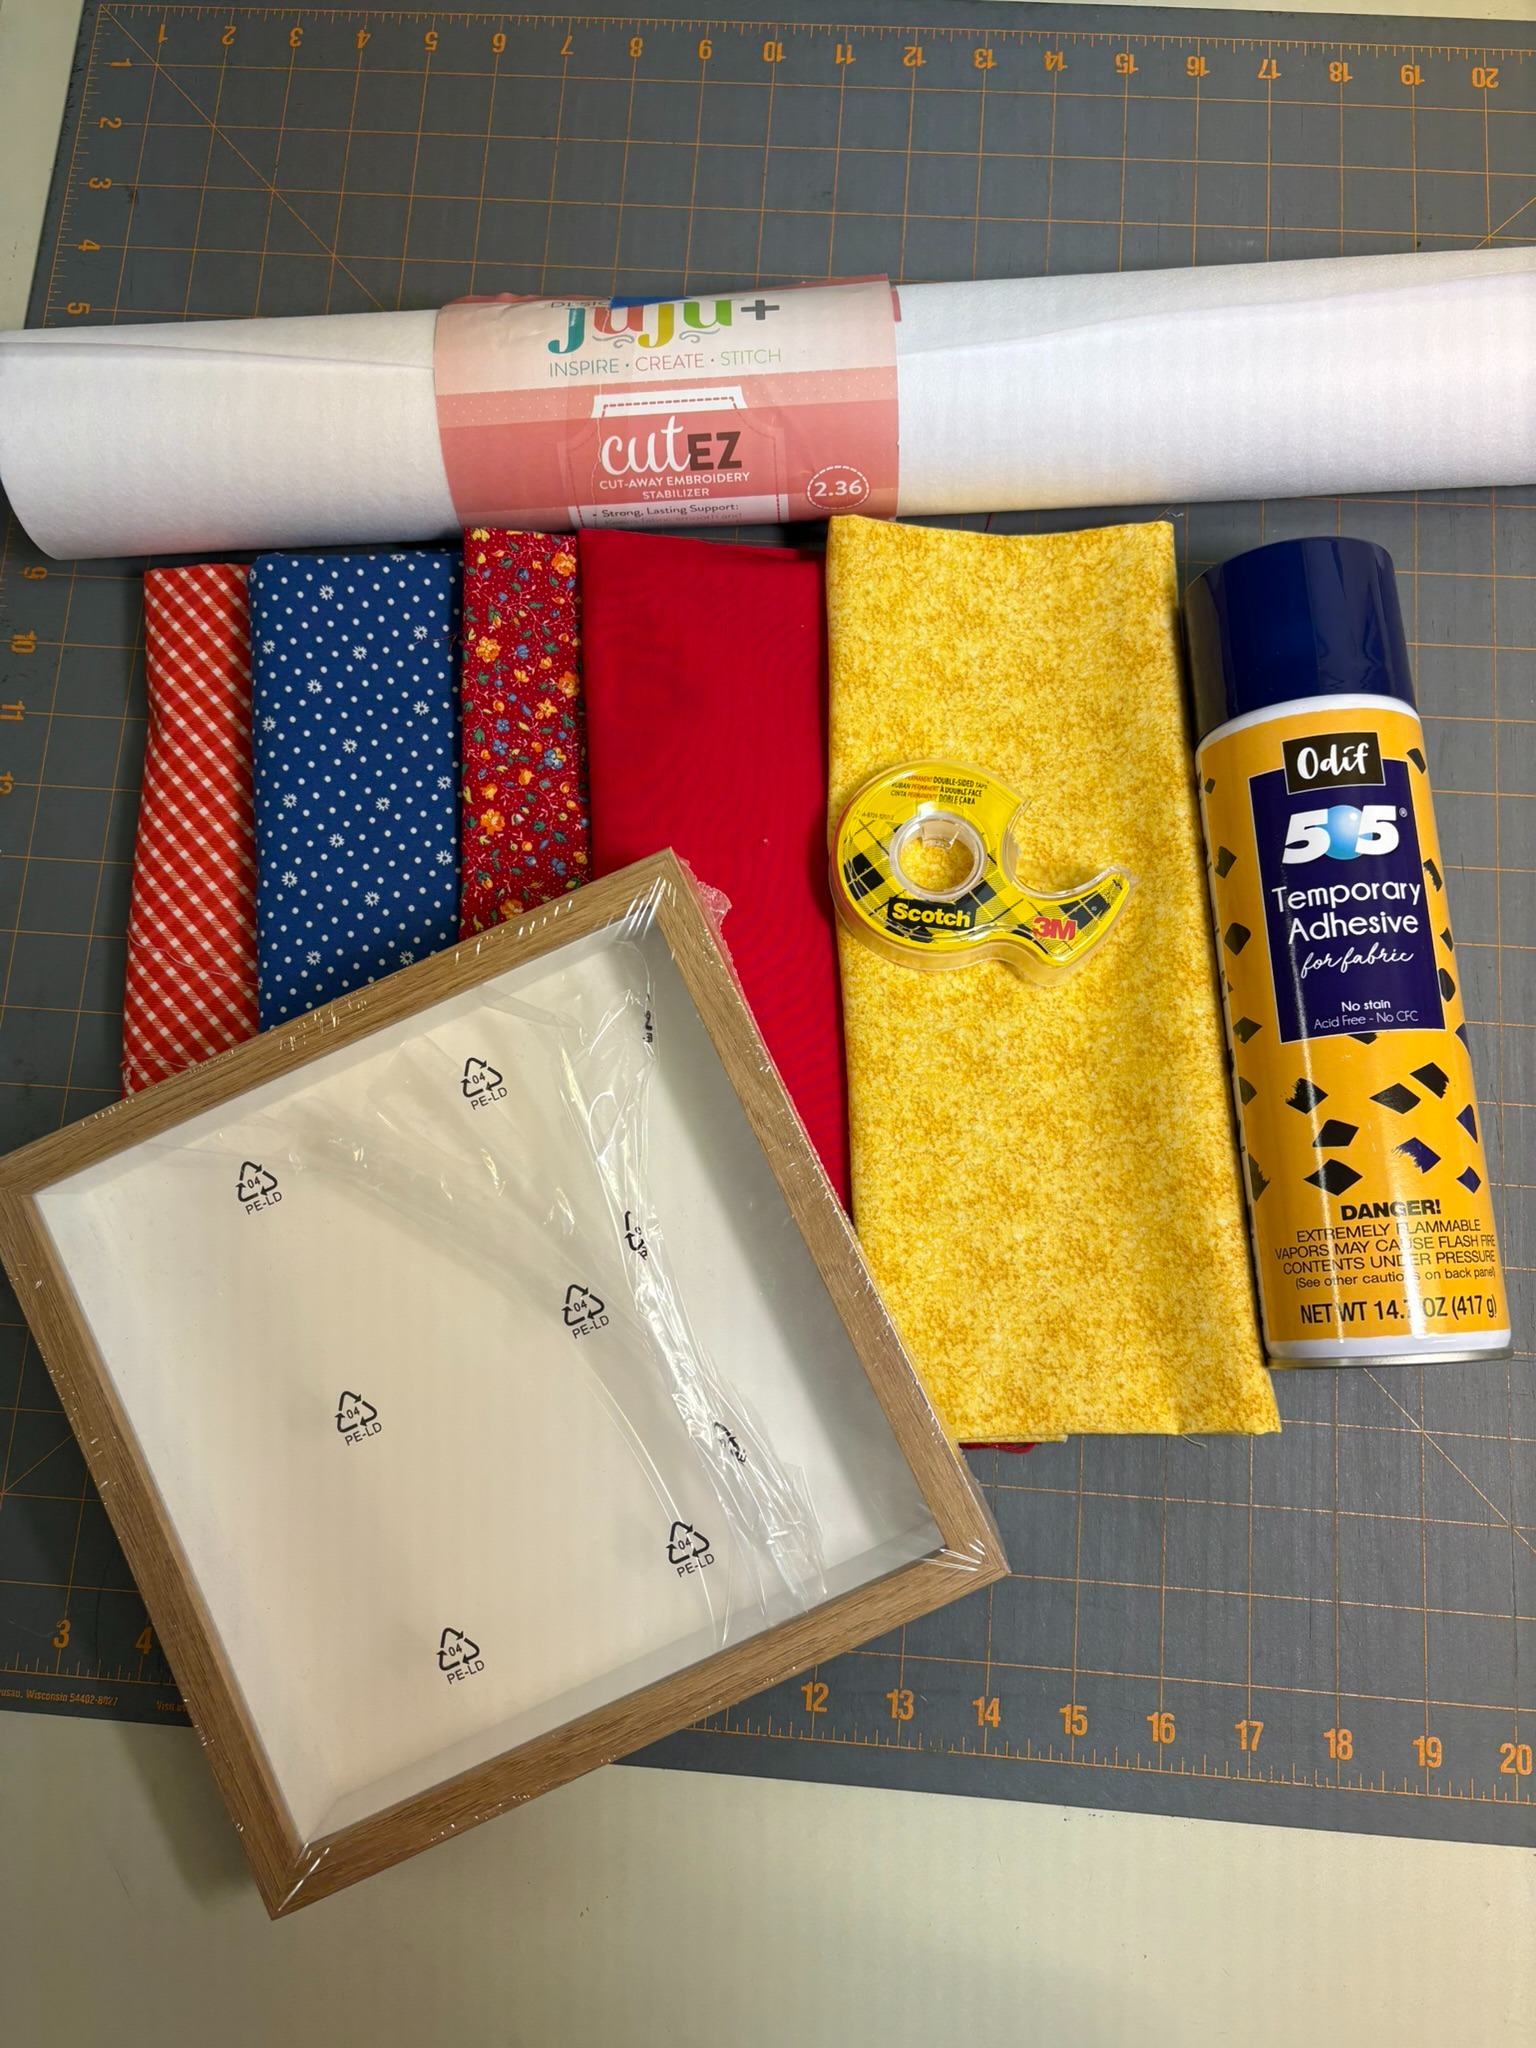
I started this project with a set of regular picture frames purchased through Amazon. They didn’t work out because there wasn’t the depth needed to fit the foam board. I returned them and ordered a set of shadow boxes. These worked well for my project and actually were better suited for some decorating ideas I have in mind.
The picture frames are 8” x 8”. Three of the designs I used were simple designs, like the Baltimore Album block, so I could use the 7” x 7” design size to fill the frame. The Barn Block has border fabrics making up some of the size, but I’ll be deleting them. For that block I used the 9” x 9” size and deleted the borders. For all the blocks, I deleted the initial steps for placement and tack-down of the batting and background fabrics. I added a basting box to every design.
I didn’t stitch the blocks in set order.
I’ve seen Designs by JuJu Embroidery Blessings Facebook Group members say they’ve used drop cloths from Harbor Freight for projects they want to frame. I’ve never used them before and thought this would be a good time to try one out. Since there are fewer fabric stores around, this can be a convenient resource for embroiderers. The drop cloth I purchased from my local Harbor Freight measures 5 ft x 5 ft and was only $8. After cutting my fabric squares for my Star Spangled Stitches designs, I have a lot left for future projects.
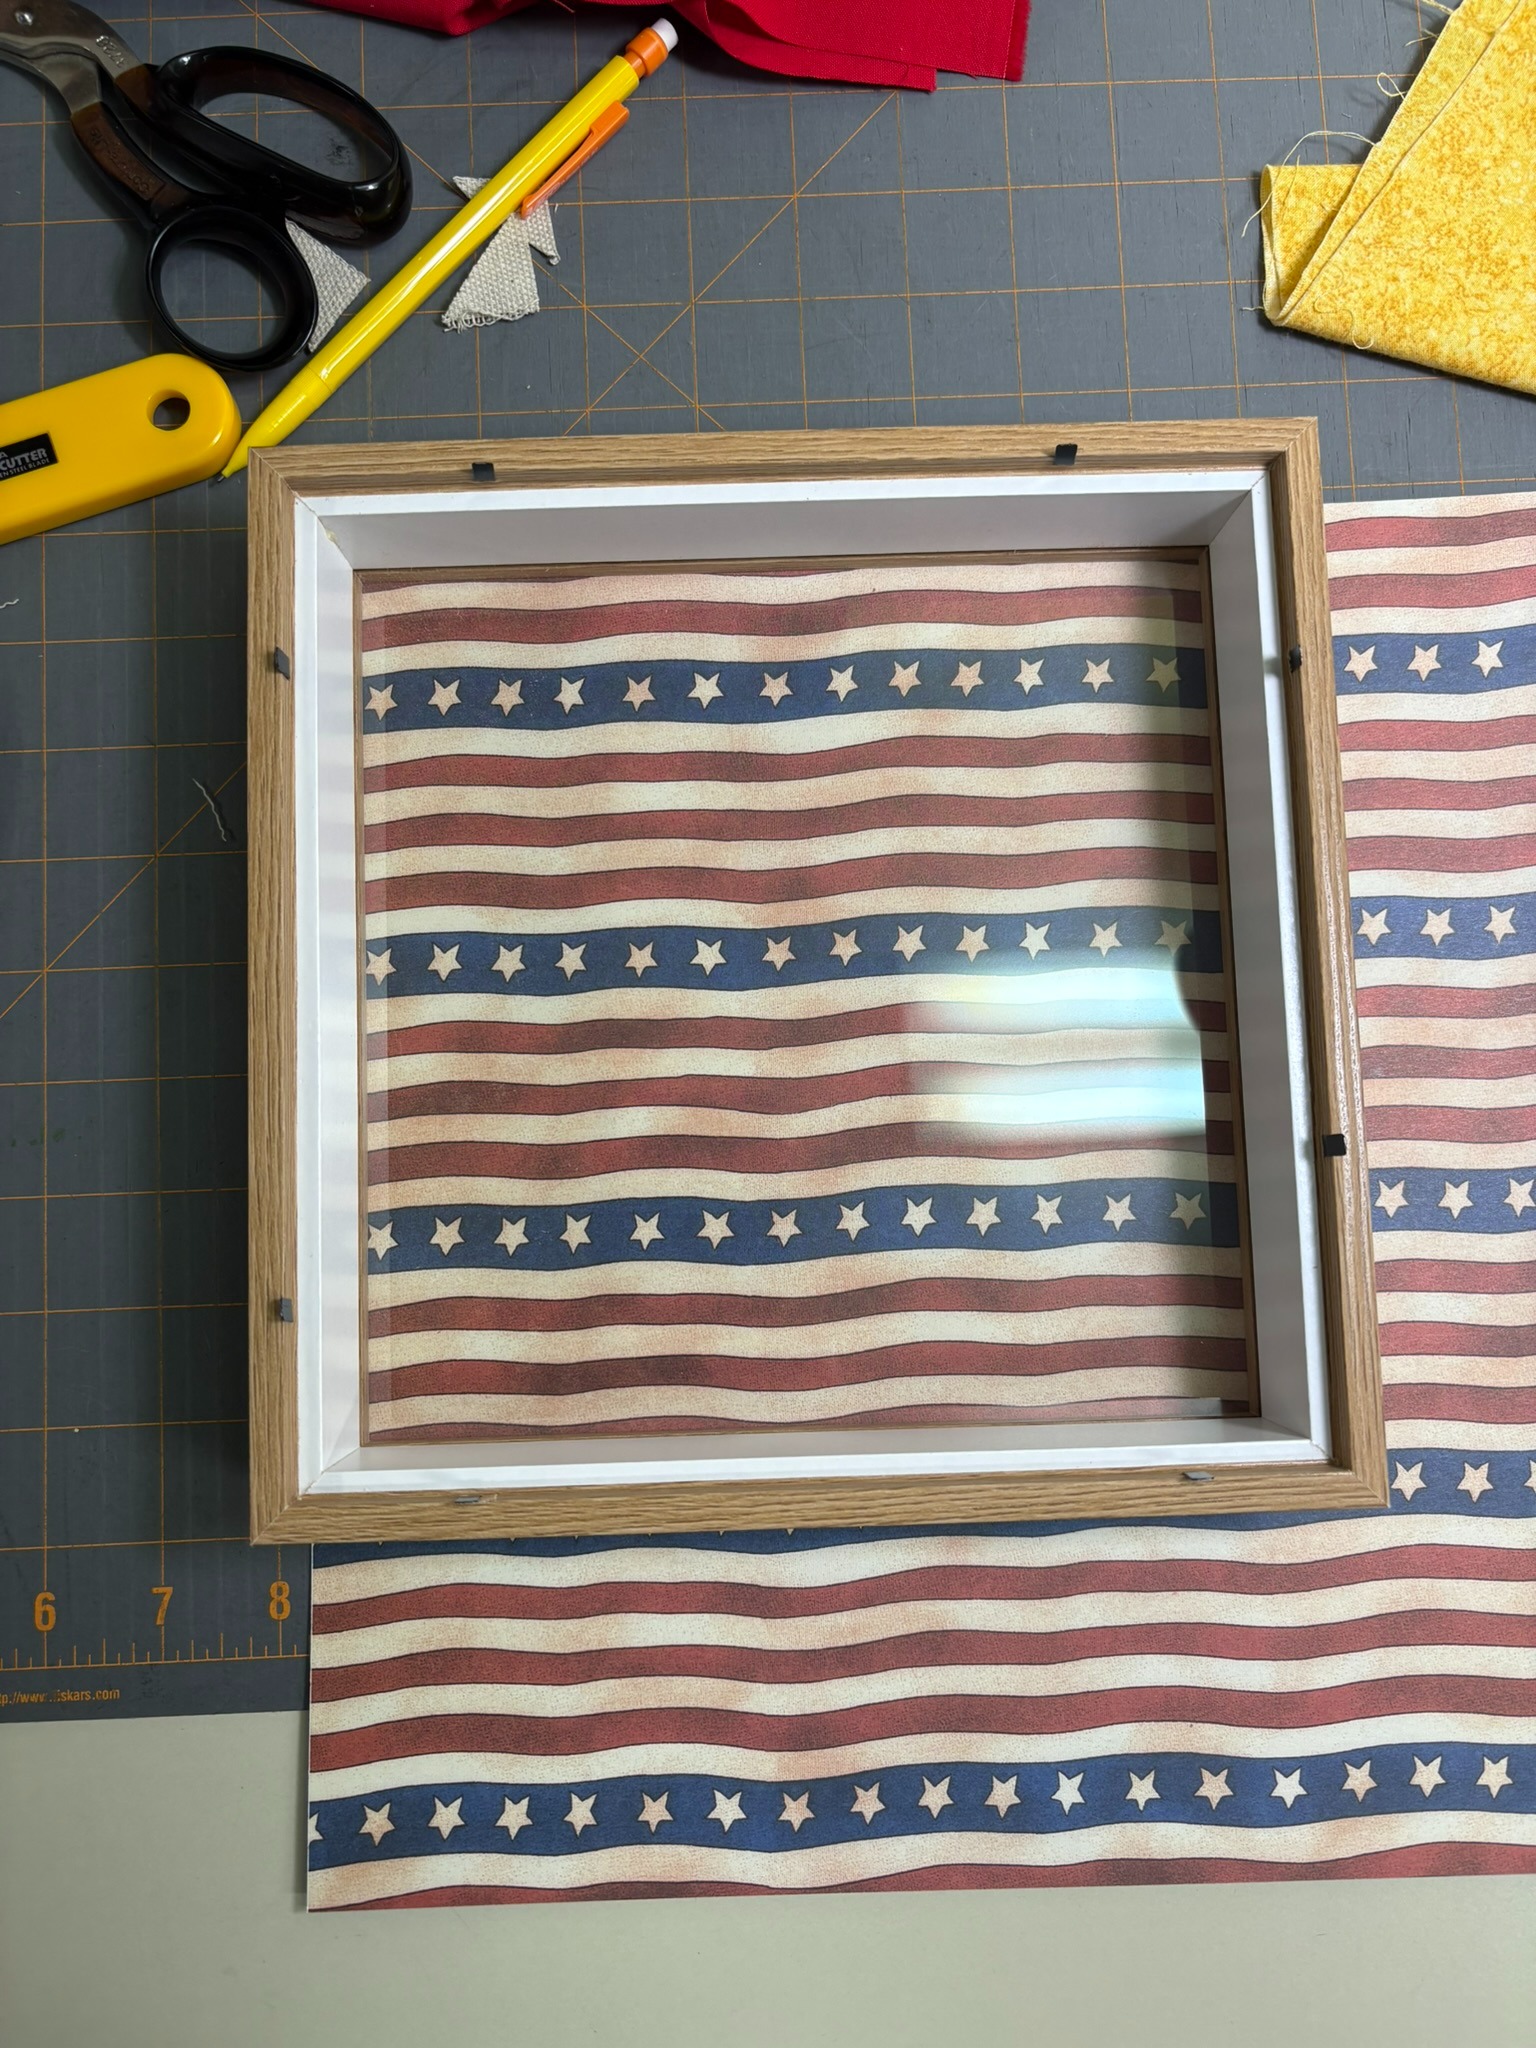
After ironing the wrinkles out of the cloth, I used the frame’s backboard as a template and cut a square 2” larger on all sides. Before removing the board, I marked the four OUTSIDE corners of the board with dots using my disappearing ink marker to note the design area. Next, I measured the marked area to determine what size Star Spangled design I should use. The interior will be 8” from side to side. Since I want some space on each side, I’m going to use the 7” design. I folded my square into quarters and used my fingers to make light creases. After unfolding I marked a dot in the center of the square.

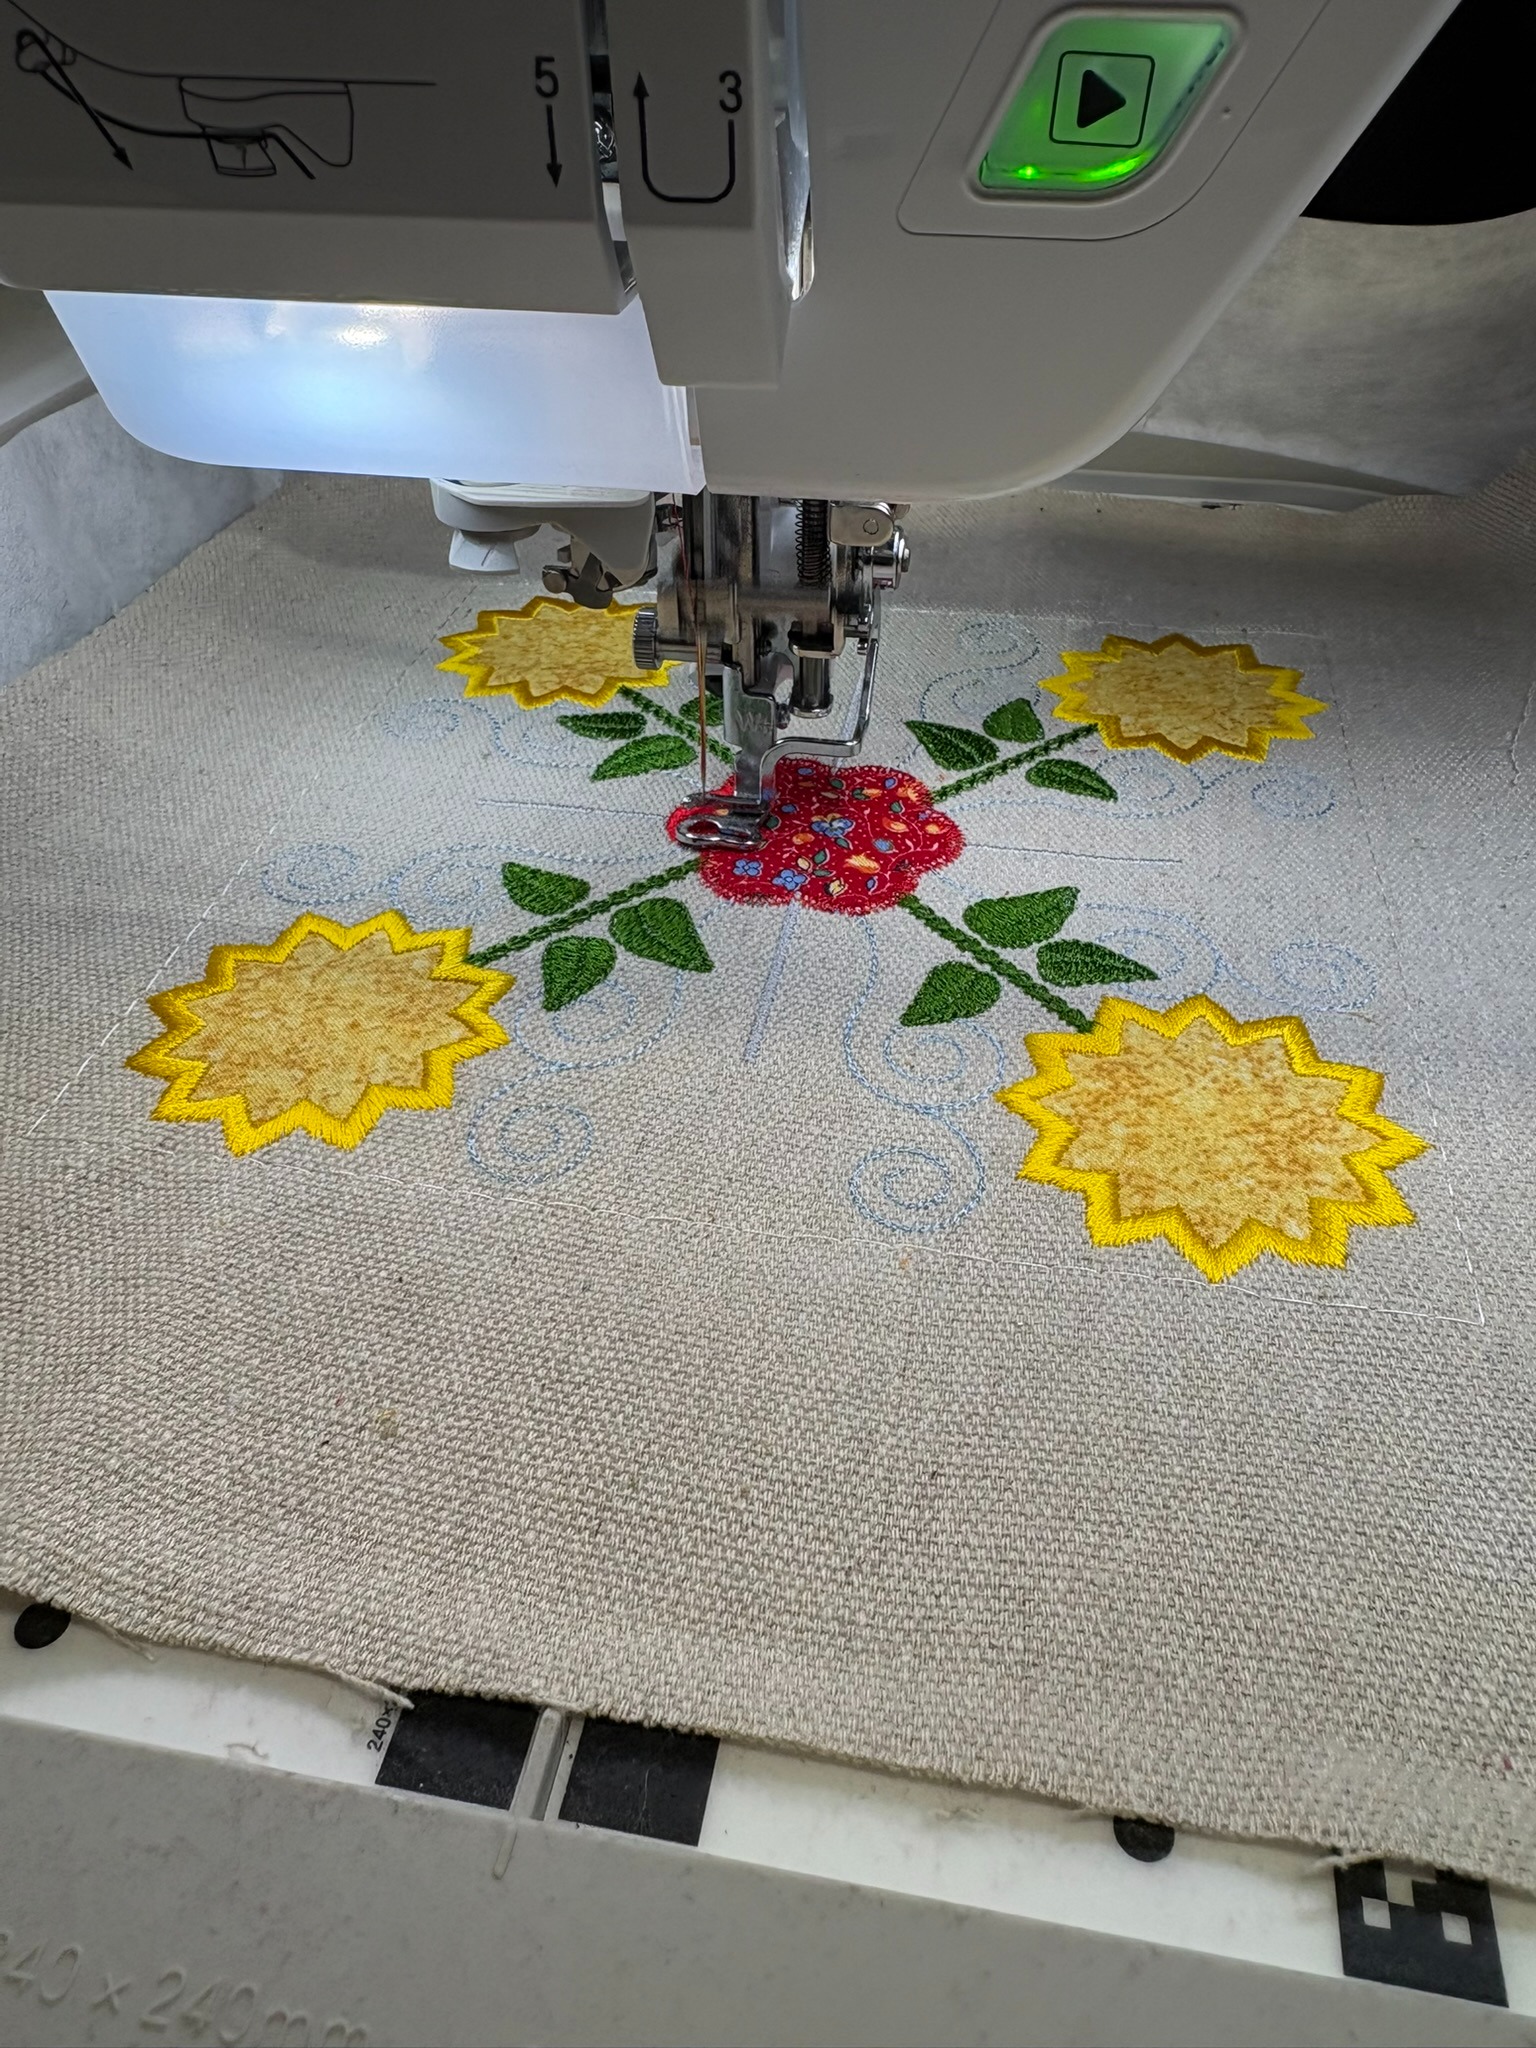
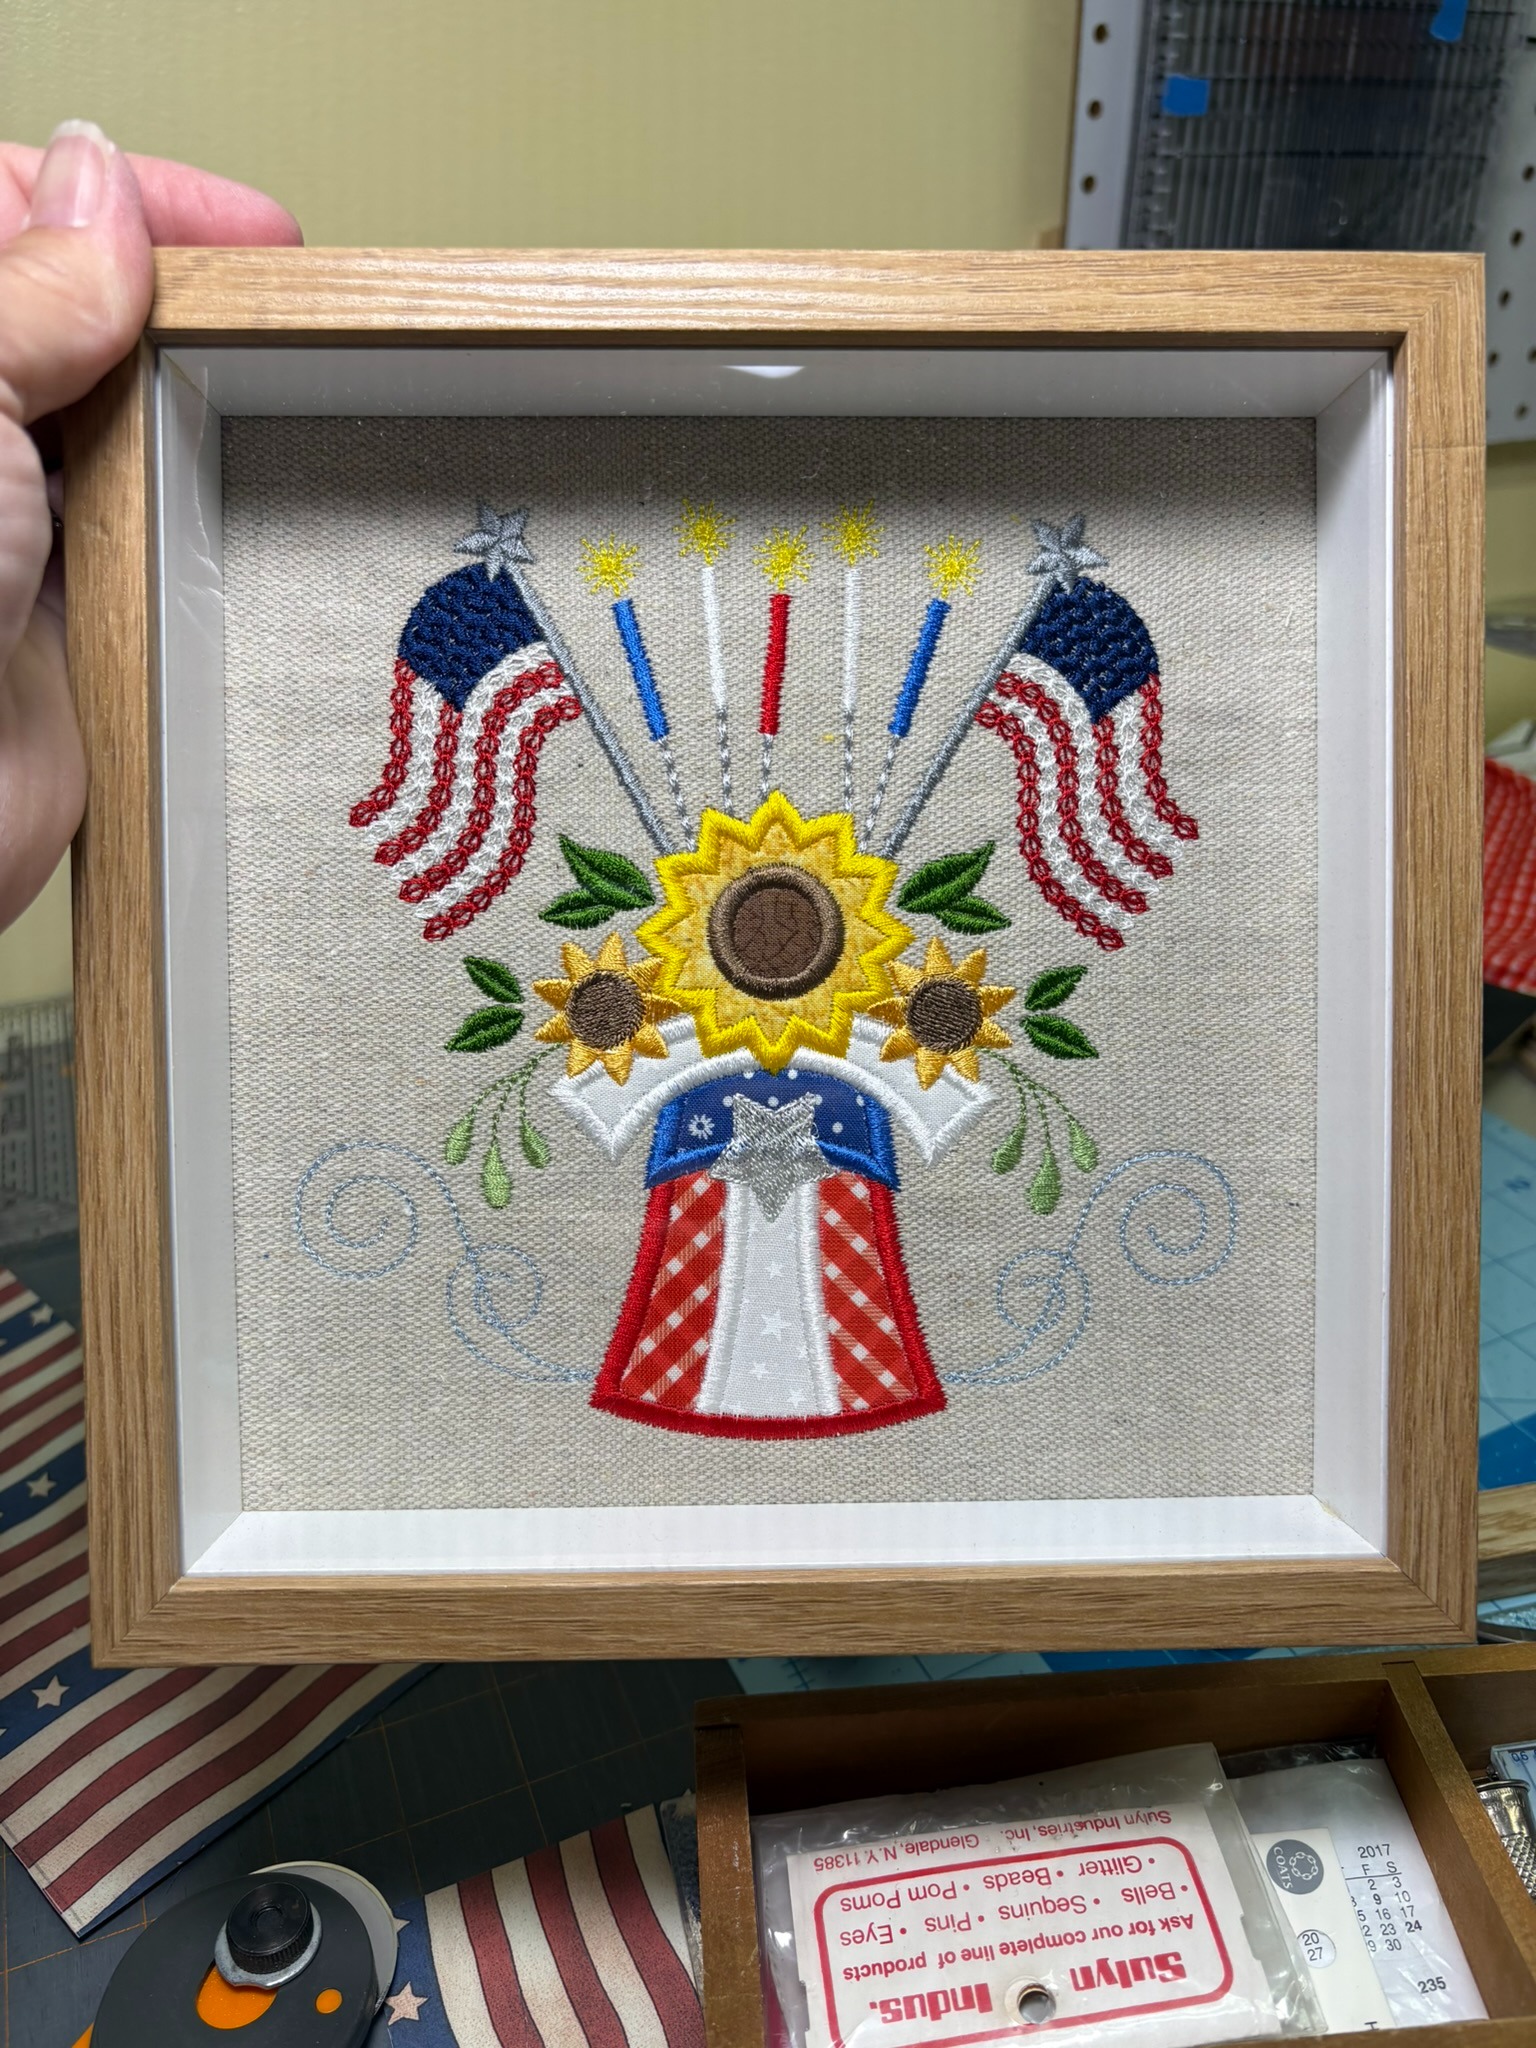
I’m using Designs by JuJu+ cutEZ Cut-Away Stabilizer in my 8” hoop. It will help keep the design straight when I frame it later. I also added a basting box because the Baltimore Album Sunflower block has a lot of stitching and the box will help prevent puckering. I deleted the first four steps (placement and tack-down).
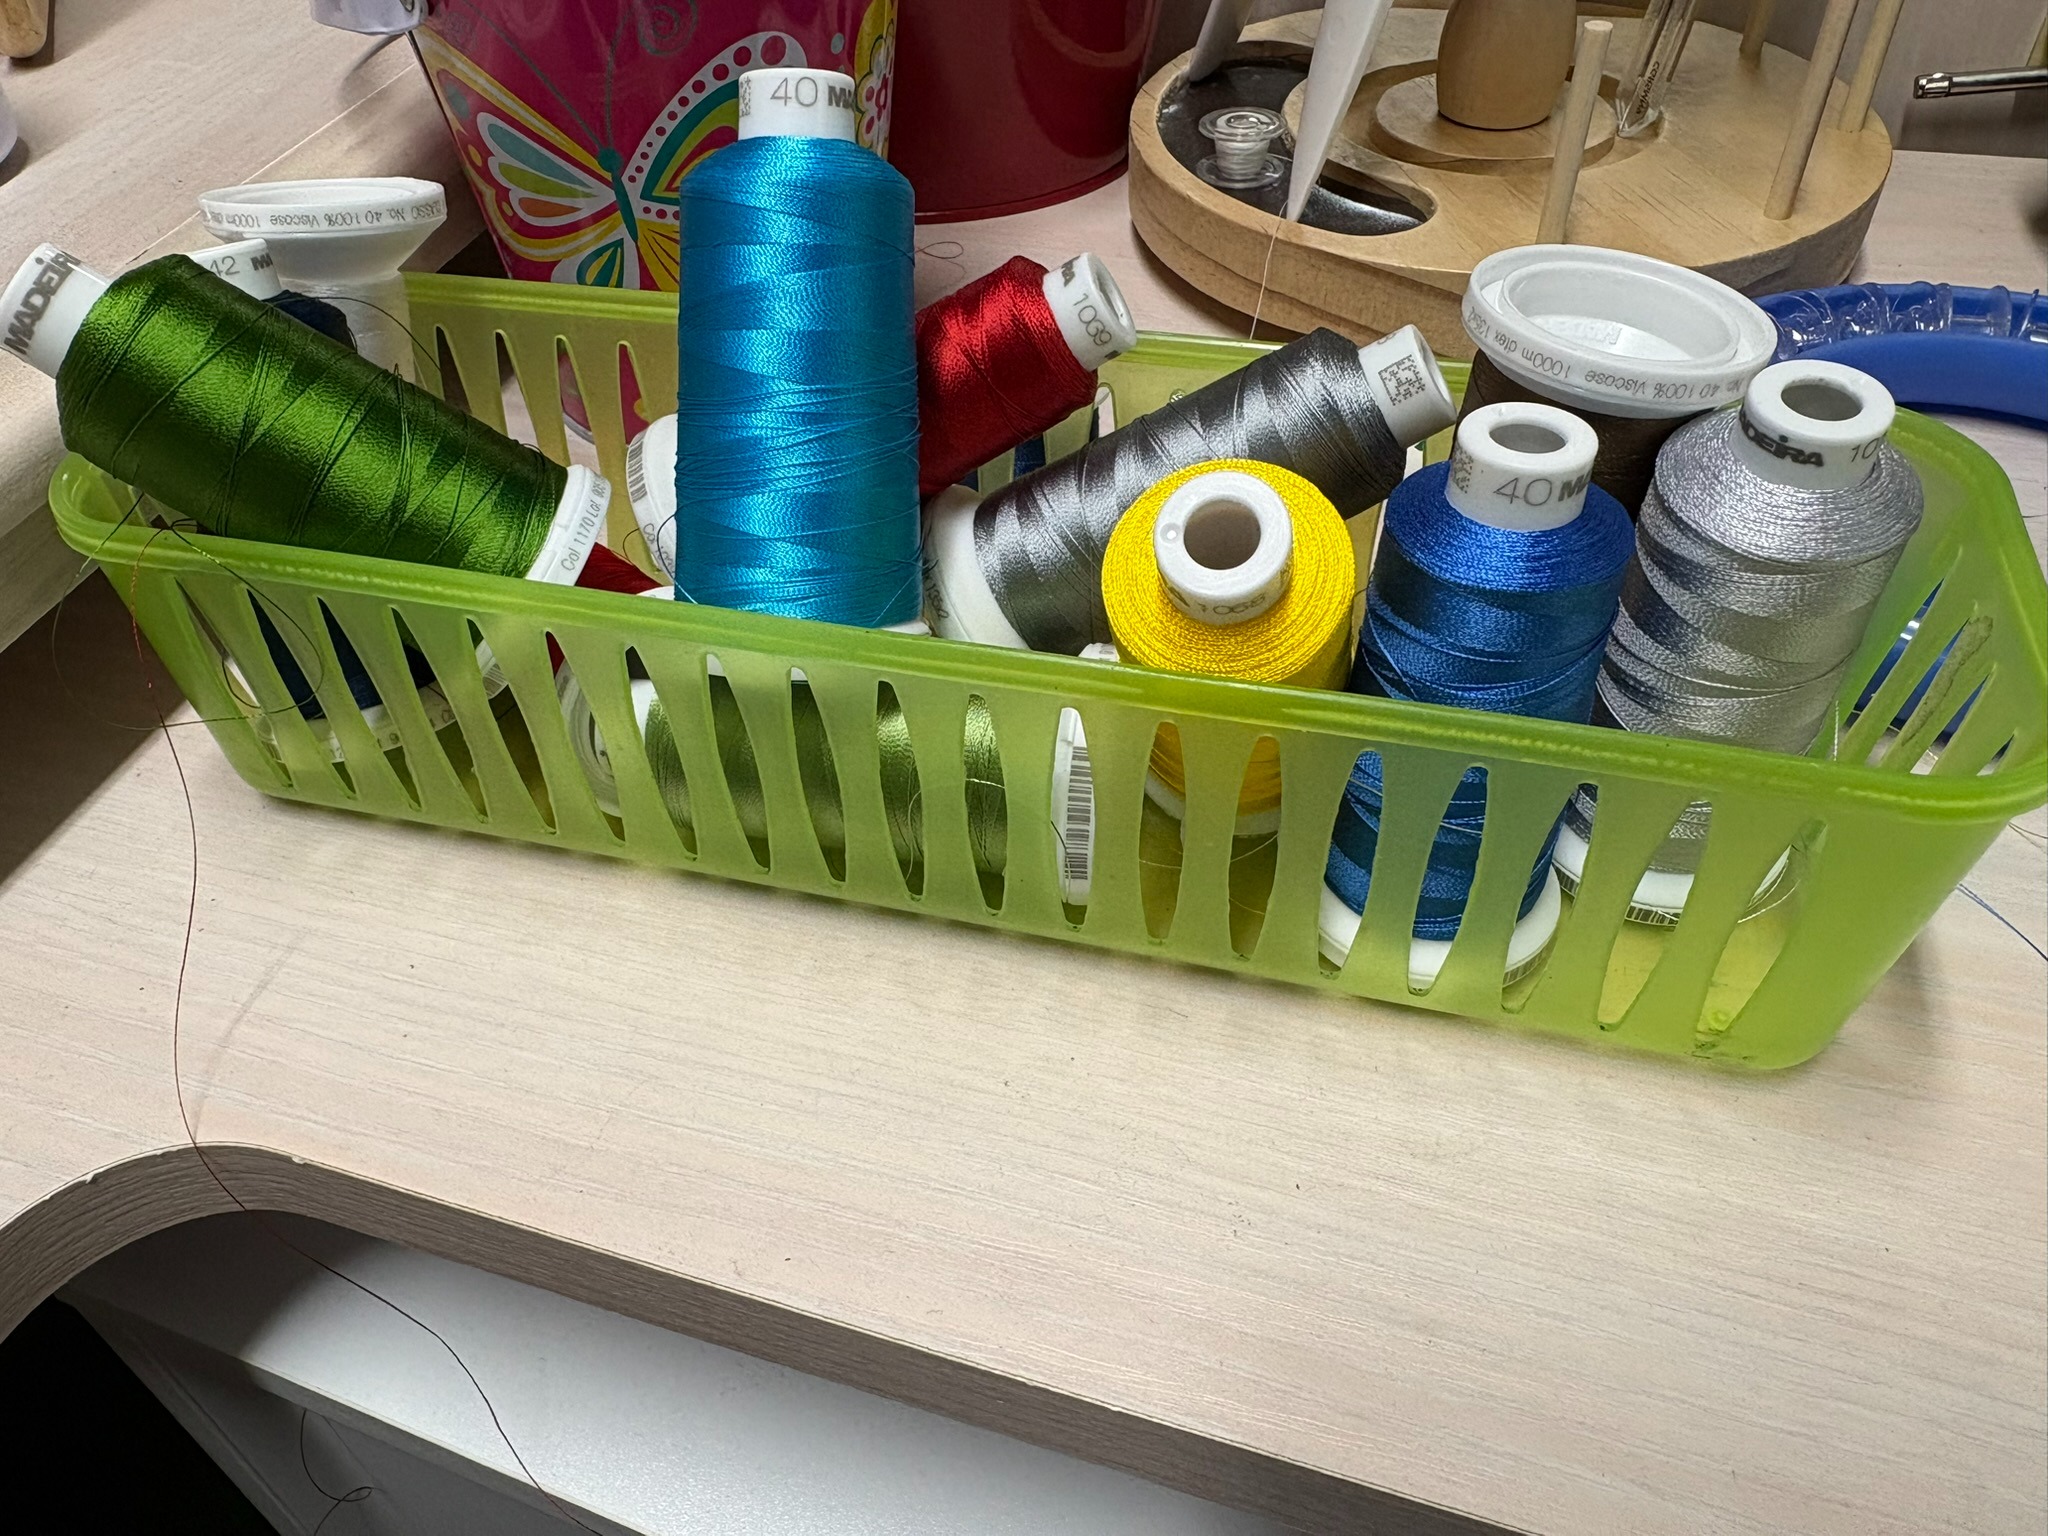
As I chose and used my embroidery thread colors for this first block, I put them into a basket at the side of the machine so I can use them in the next three blocks for a coordinated wall gallery.
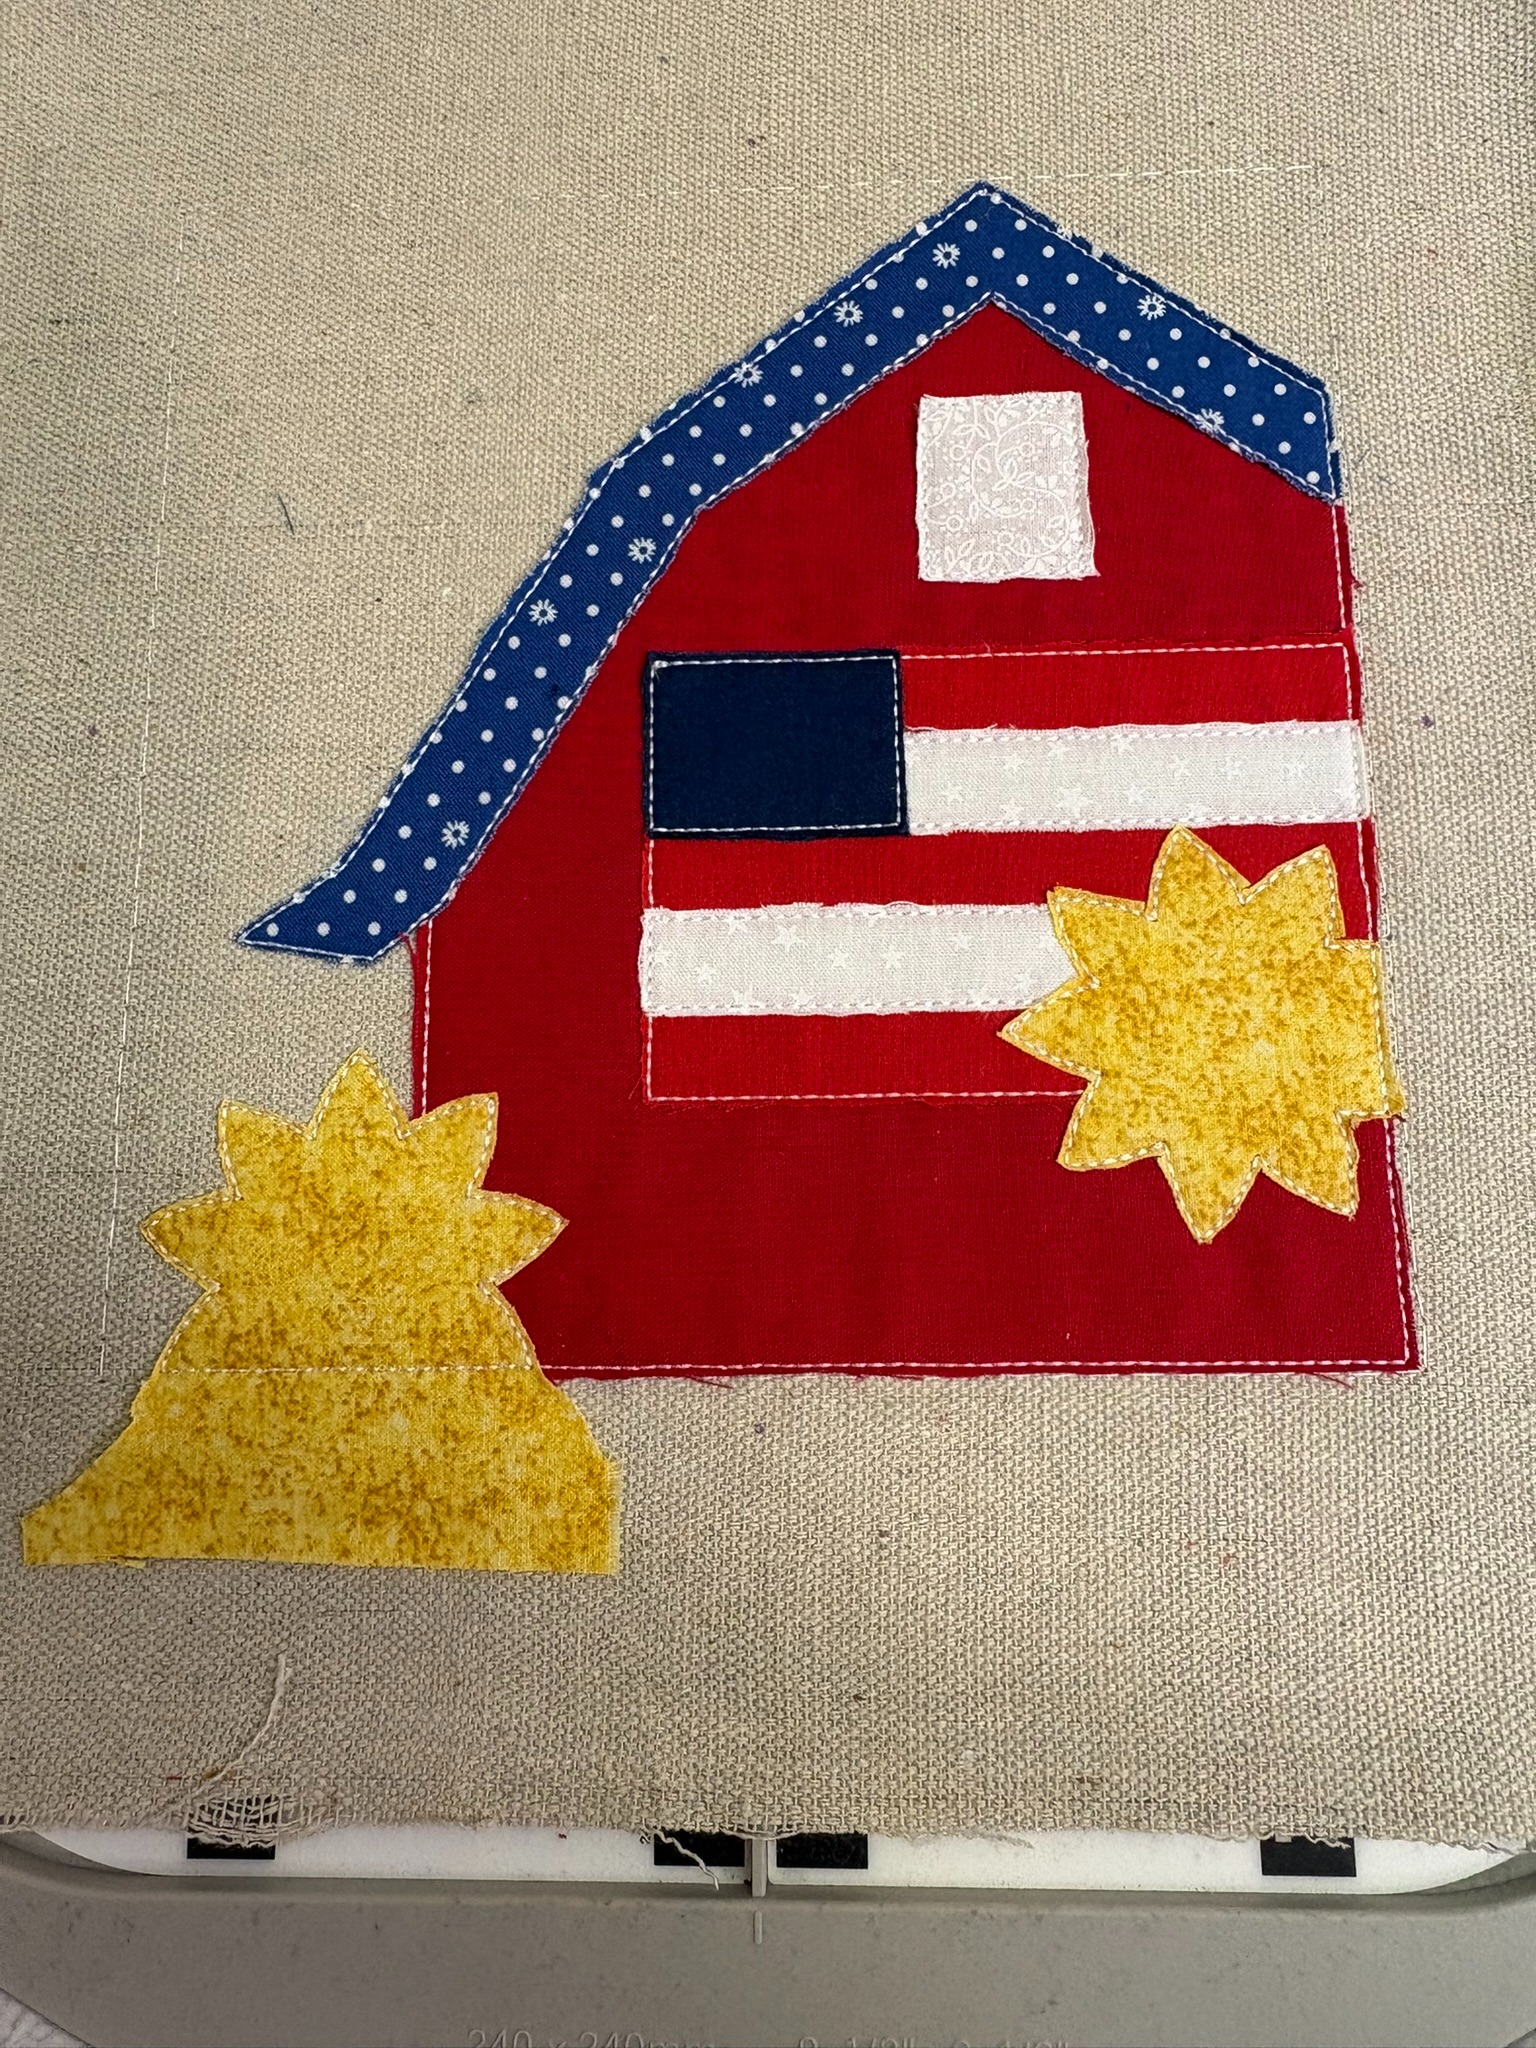
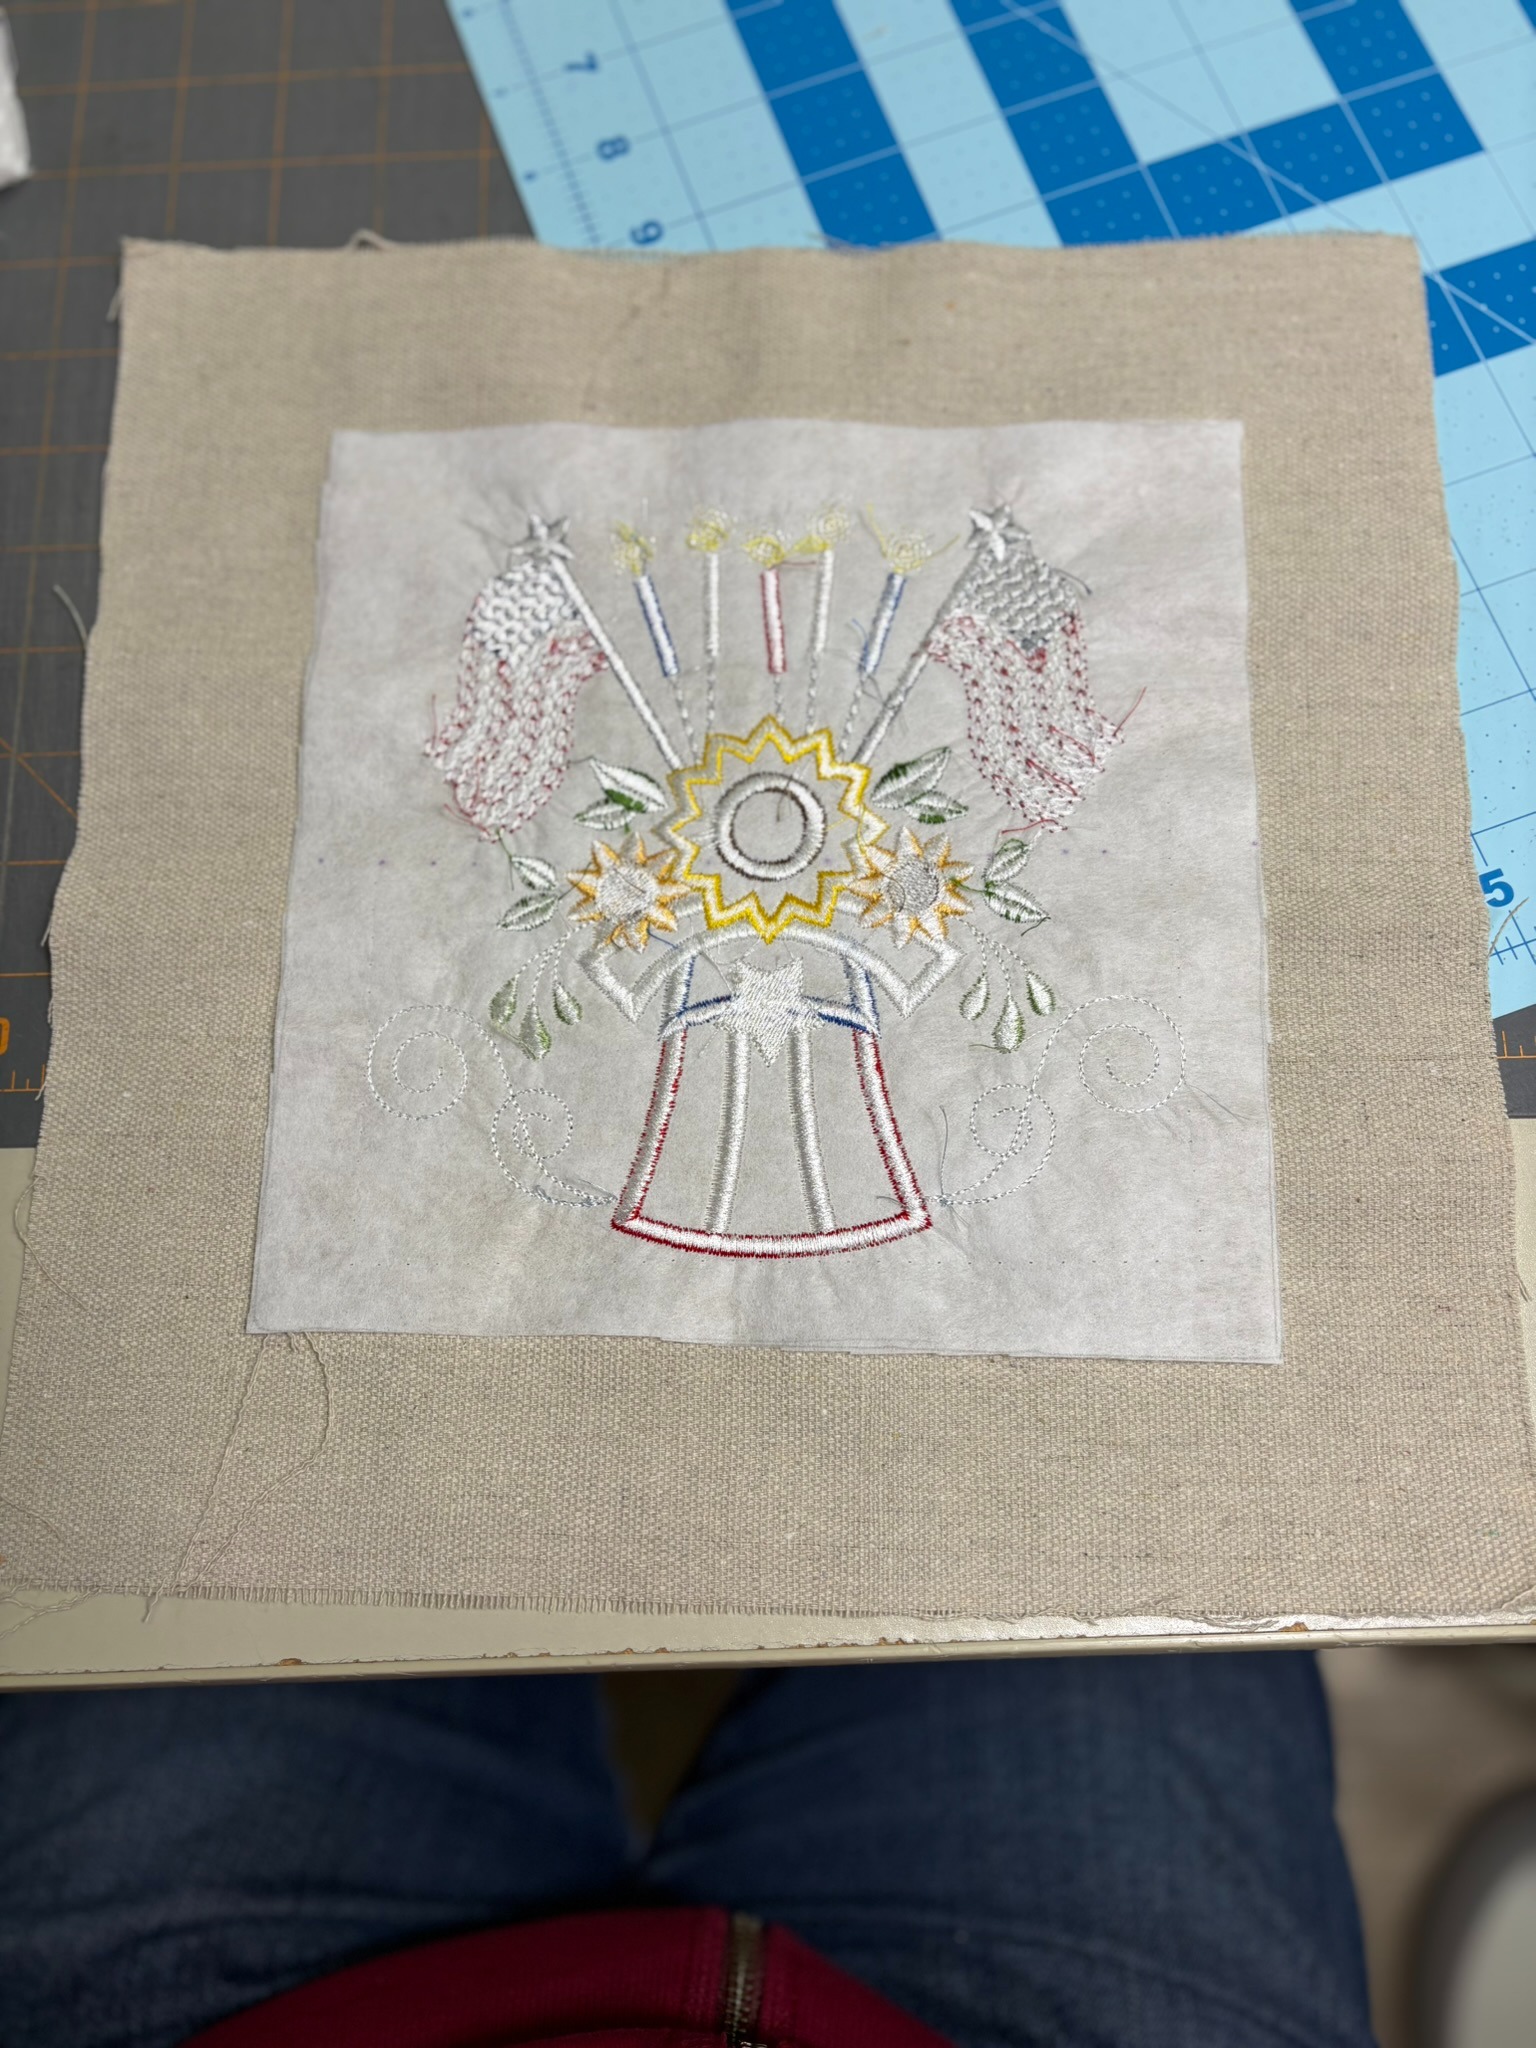
This block is a scene, compared to the Baltimore Album Sunflower design that I just made. I didn’t want the 1” border all around. Instead, I wanted it to fill in the 8” picture frame as much as possible, so I’m using the 9” x 9” design size. Once again, I marked four dots on the fabric to show my design area. I deleted the first four steps (placement and tack-down) and the last 12 steps (border fabrics) and added a basting box. After I saved the design onto my thumb drive, I loaded it into the embroidery machine and used the Check Design Area feature to make sure the design would fit well.
Because the Barn block has stitching out to the sides, when I frame it I’ll need to wrap the stitch lines to the side of the foam board so they’re not visible.
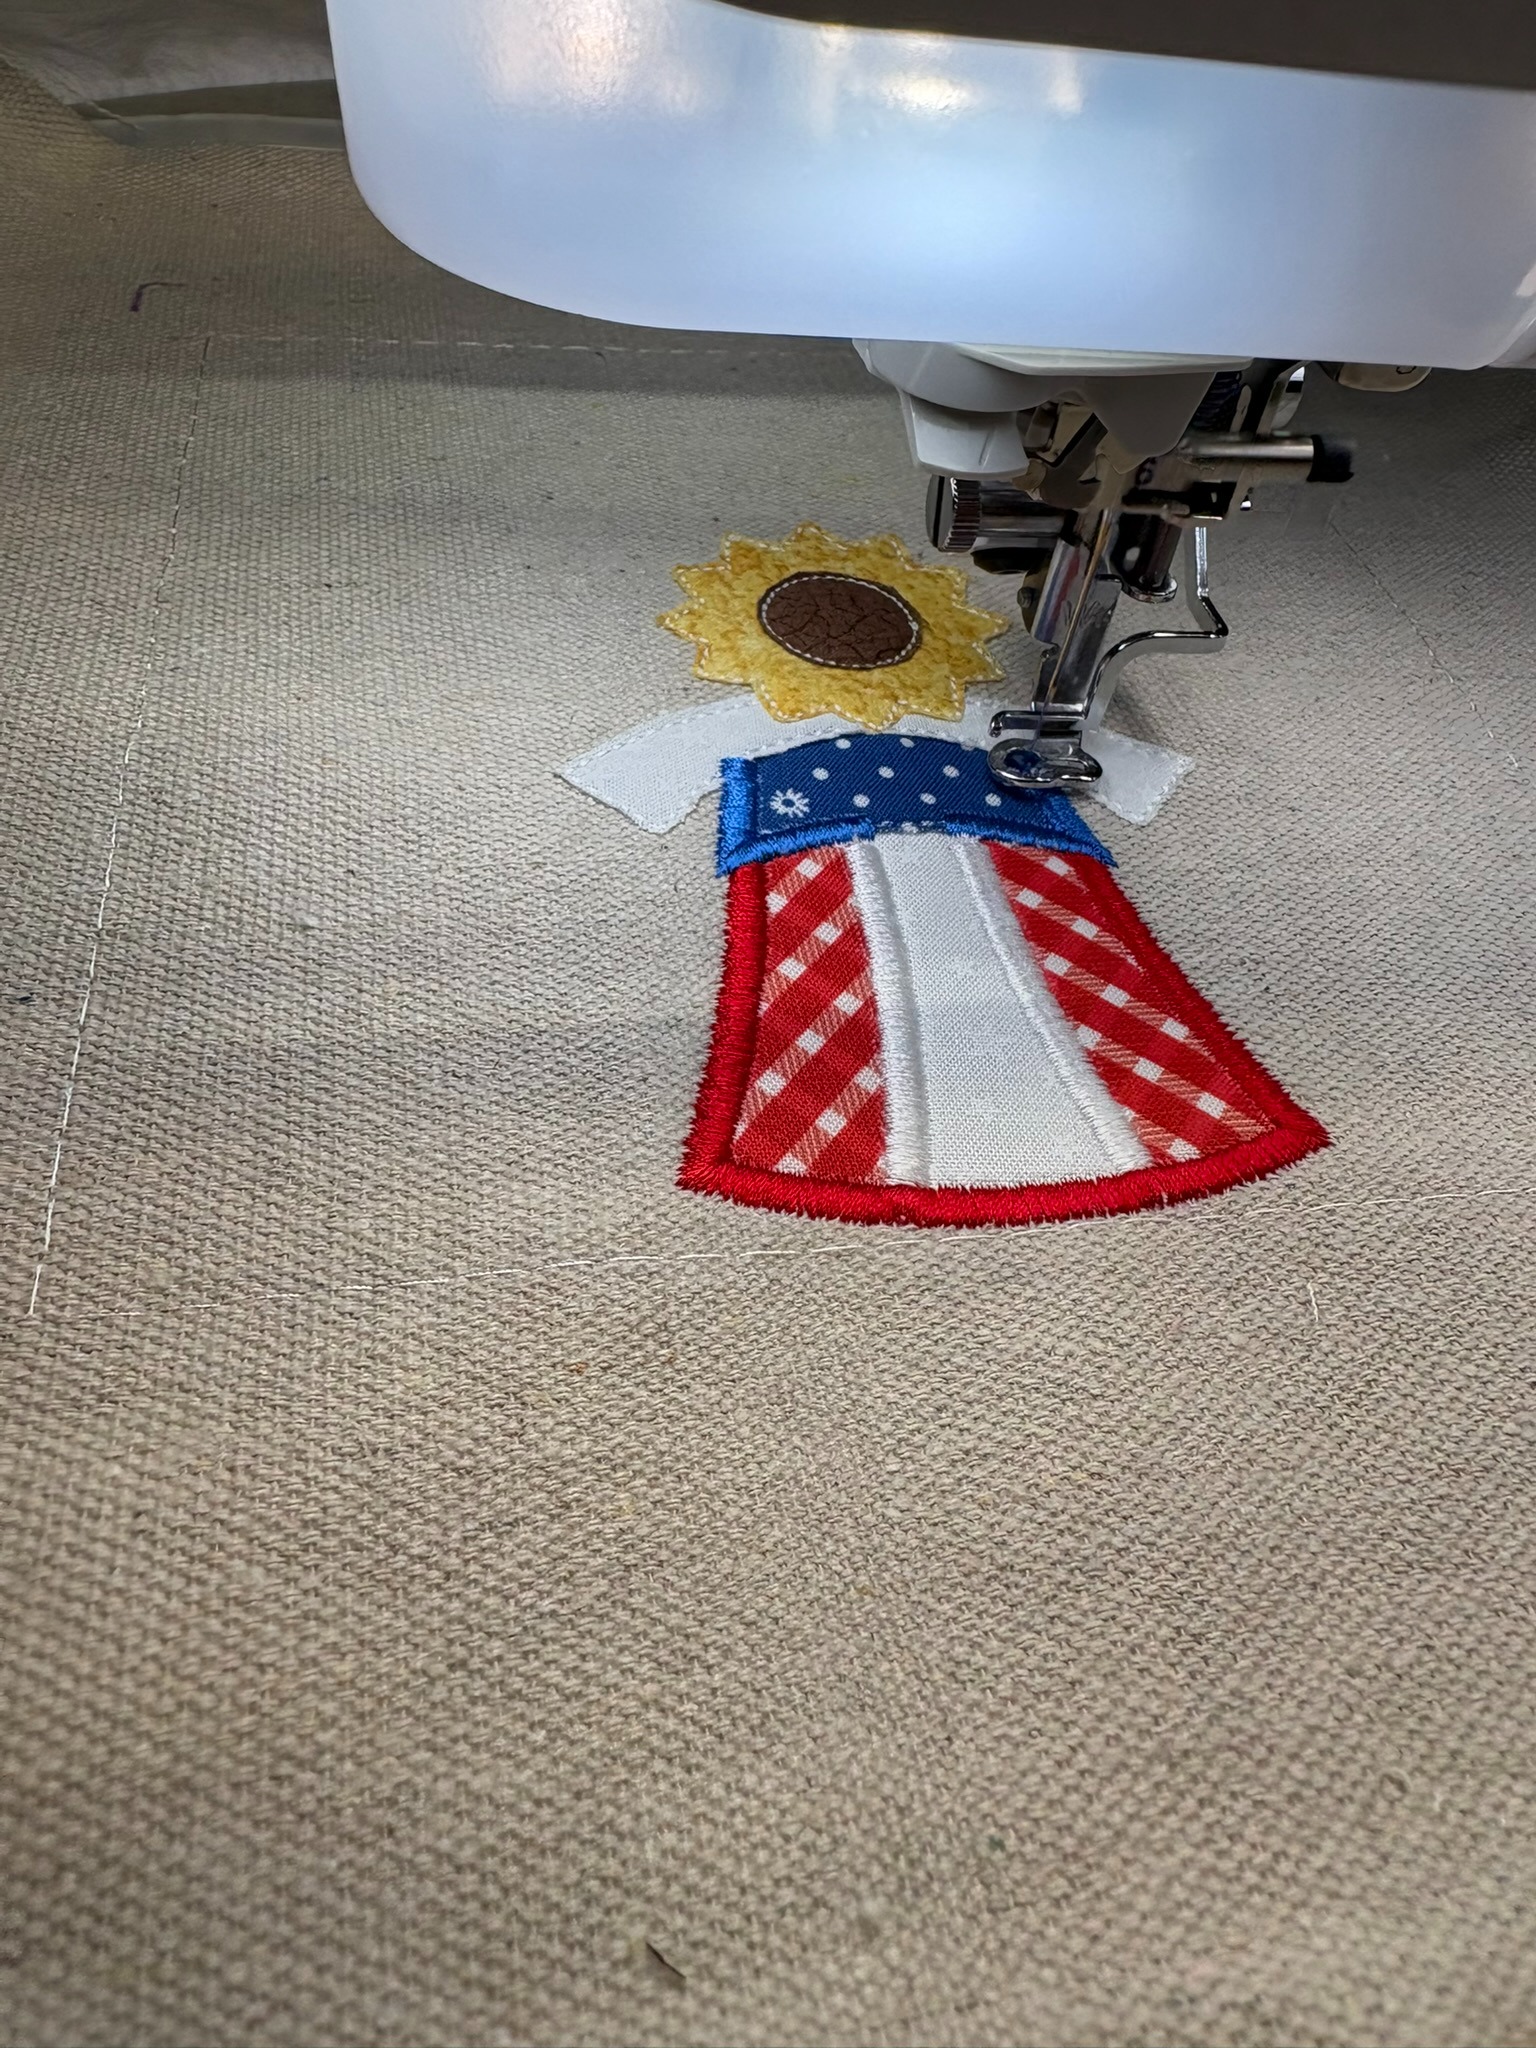
I used the 7” x 7” design for this block. I’m making sure that some of the same prints are used throughout the four designs. If you use a plaid like I did for the hat parts, be sure to line them up so they don’t look wonky.
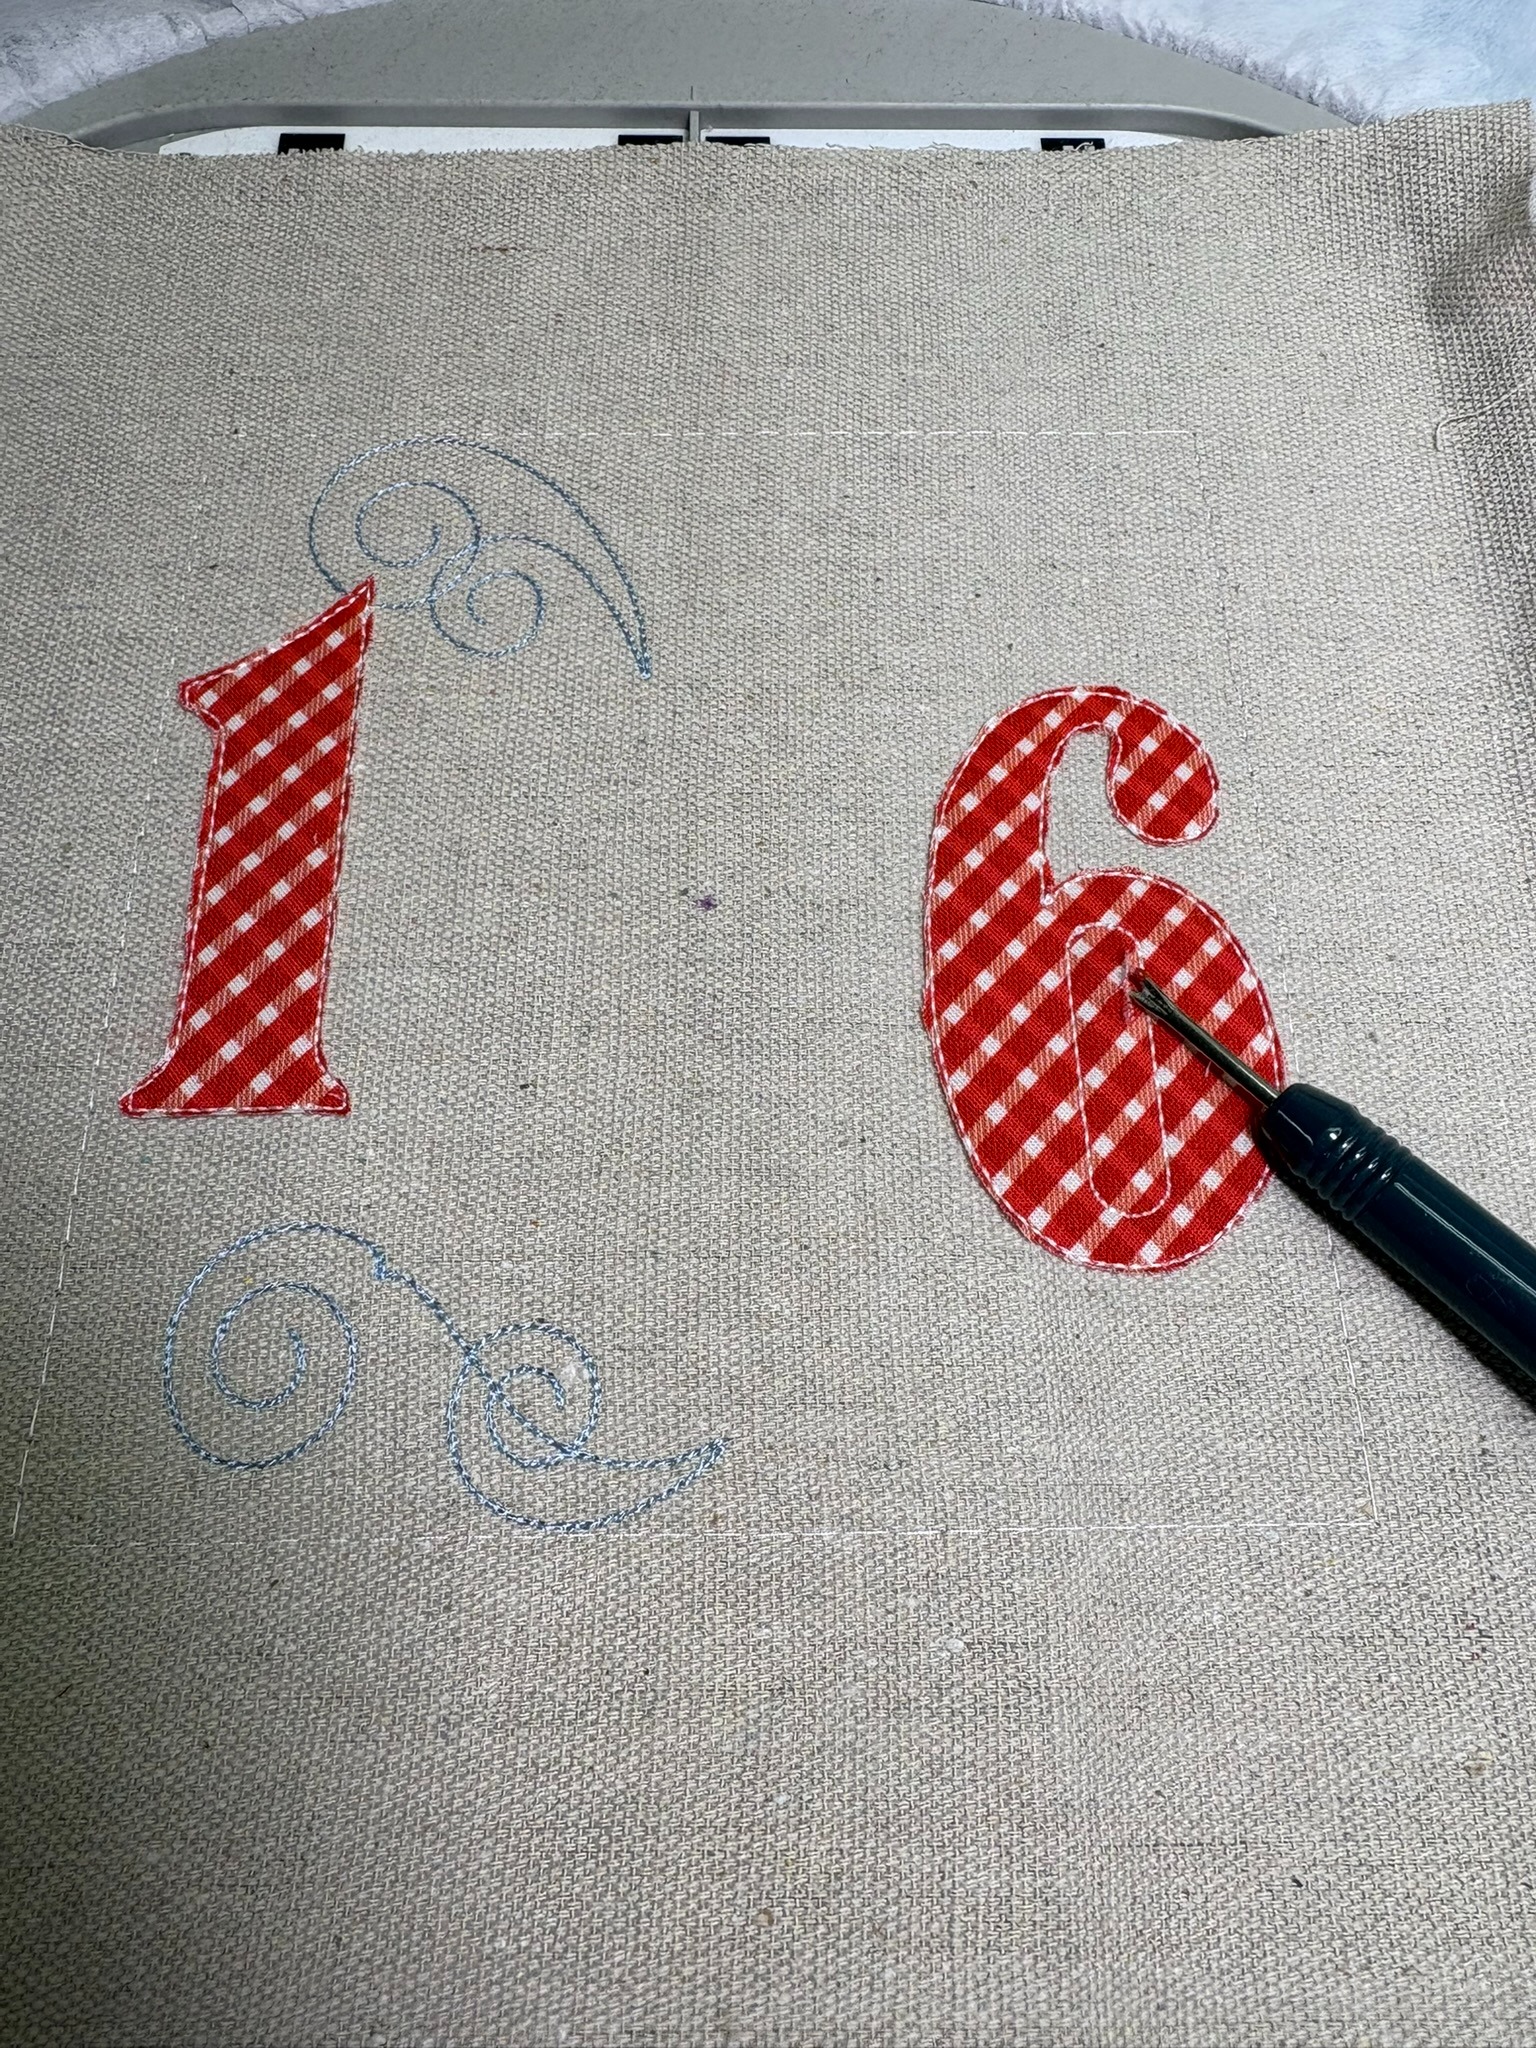
This block was the quickest to stitch out. Have your hoop on a flat surface when you use the stitch ripper to open up the center of the 6. I did this one very slowly, as the drop cloth fabric isn’t completely smooth like cotton fabrics and I was afraid of catching part of it and making a hole. If I had? I’d probably have added an embellishment from the Daisy Doodle Patriotic Bean Stitch Applique Embellishment Set and continued on.
Once a block was stitched out, I removed the basting stitches. I did NOT trim away any stabilizer yet. I used the backboard from the picture frame to trace a shape out on foam board. I then cut the foam board about ⅛” smaller on all sides. You can use a craft knife, a sharp kitchen knife, or a pair of scissors to cut out the foam board. I used a pair of paper scissors that I keep at my cutting table for my first block. The edge was a little rough, but since it’s going to be covered by fabric it’s not an issue. However, because I’m picky about things, I used a sharp kitchen knife to cut the other foam squares.
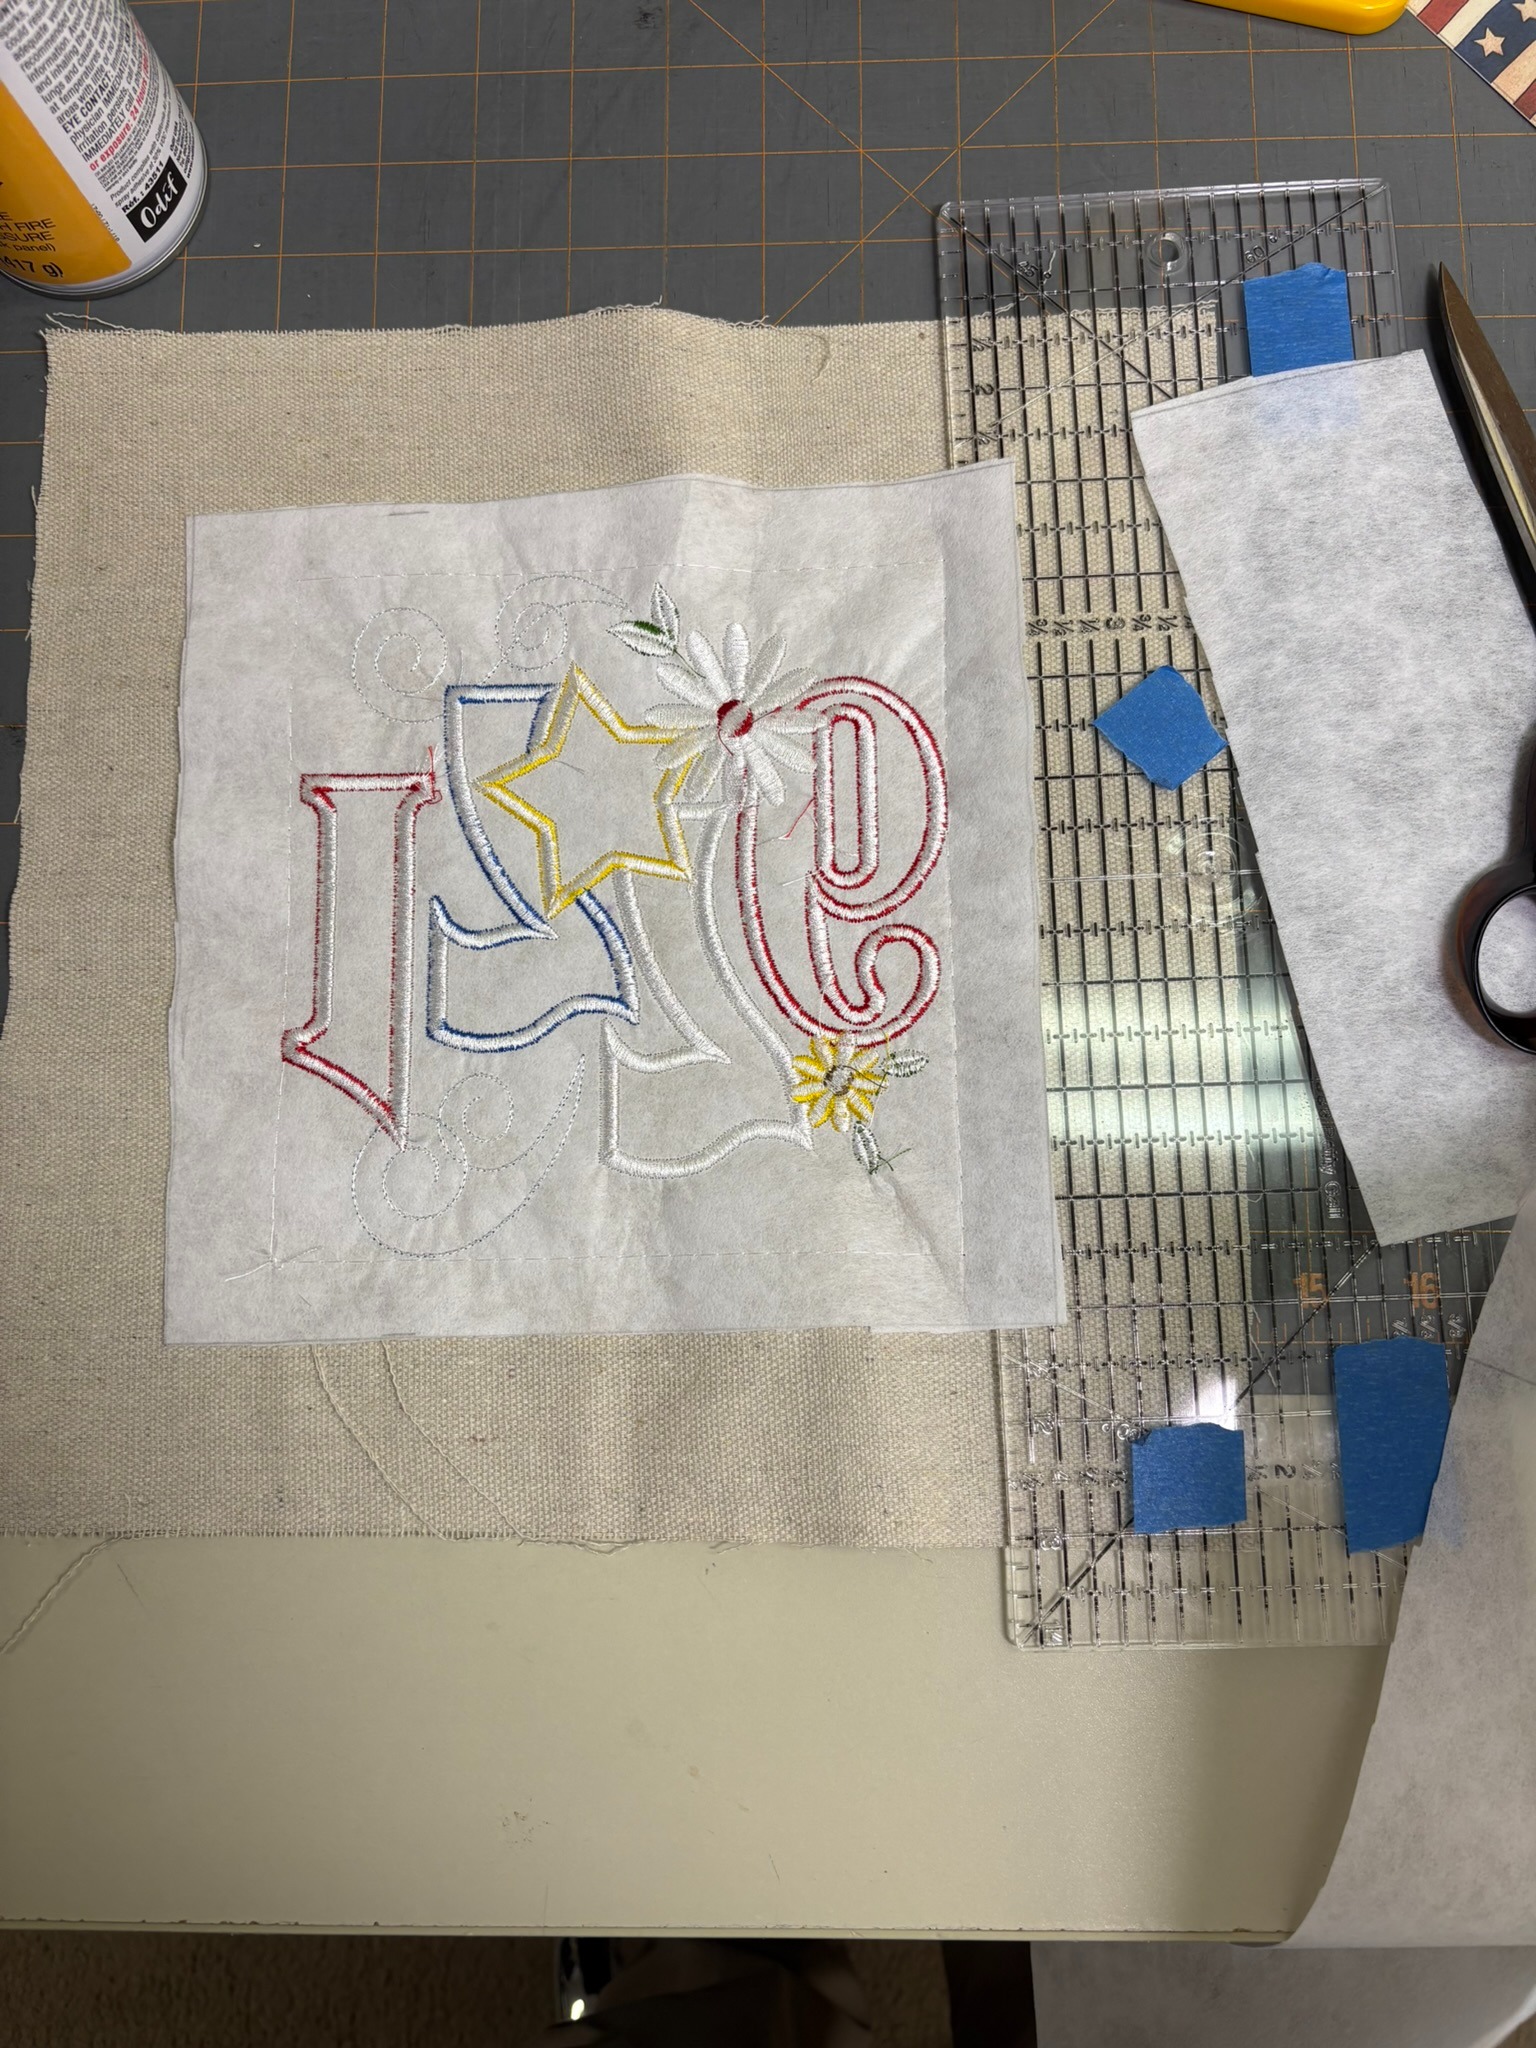
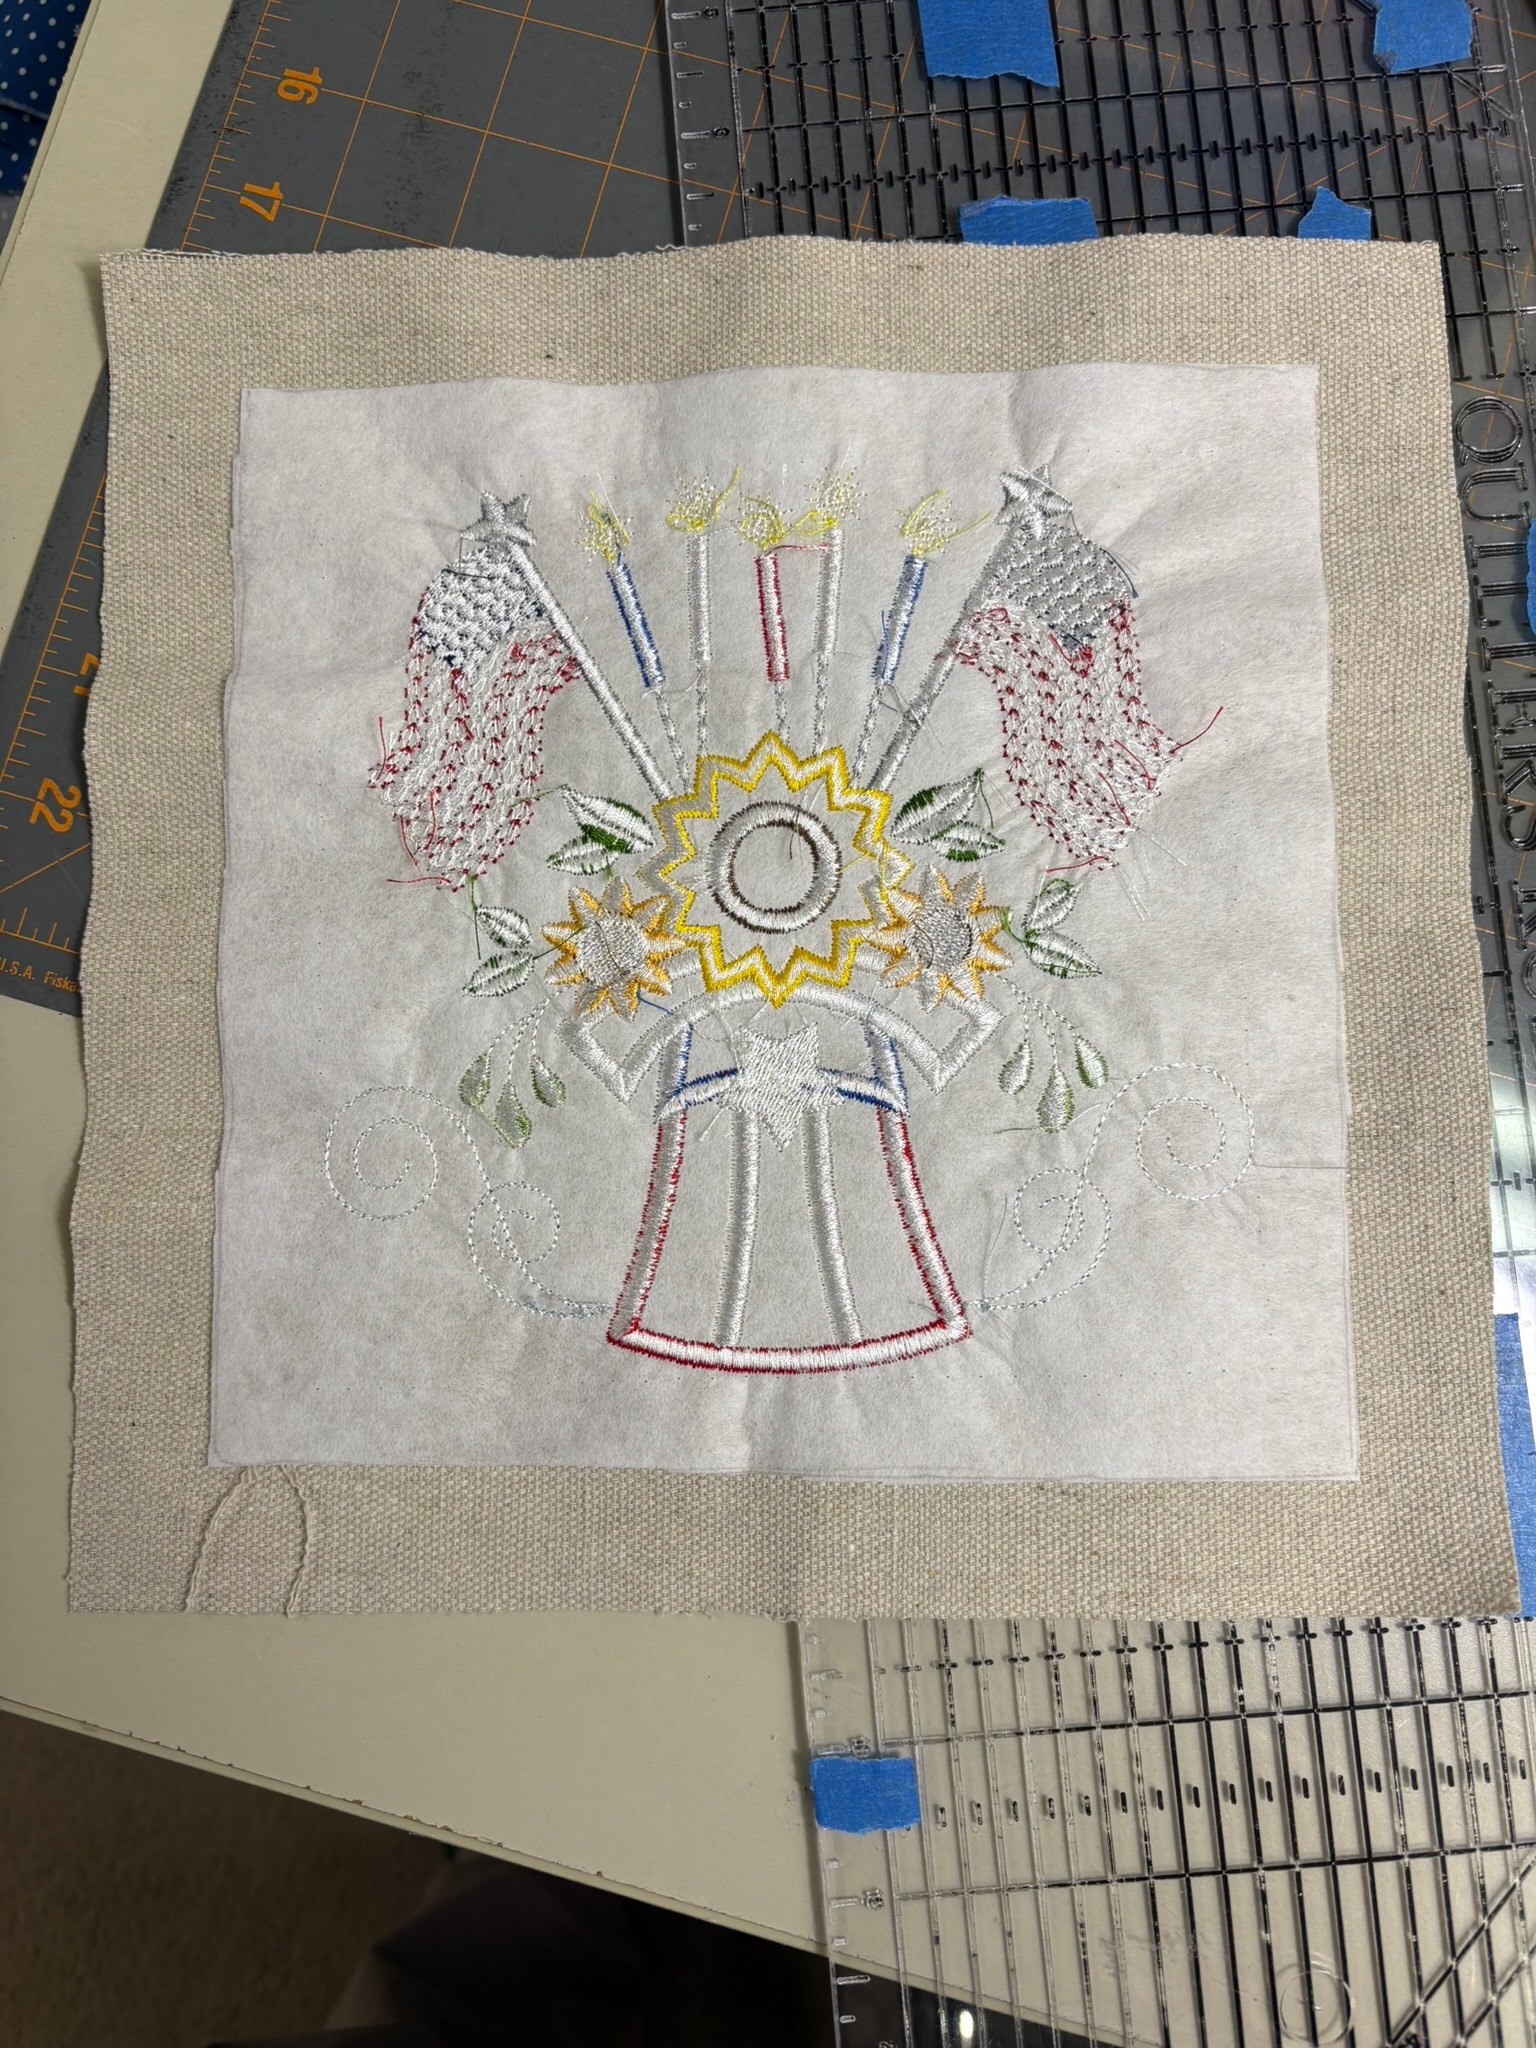
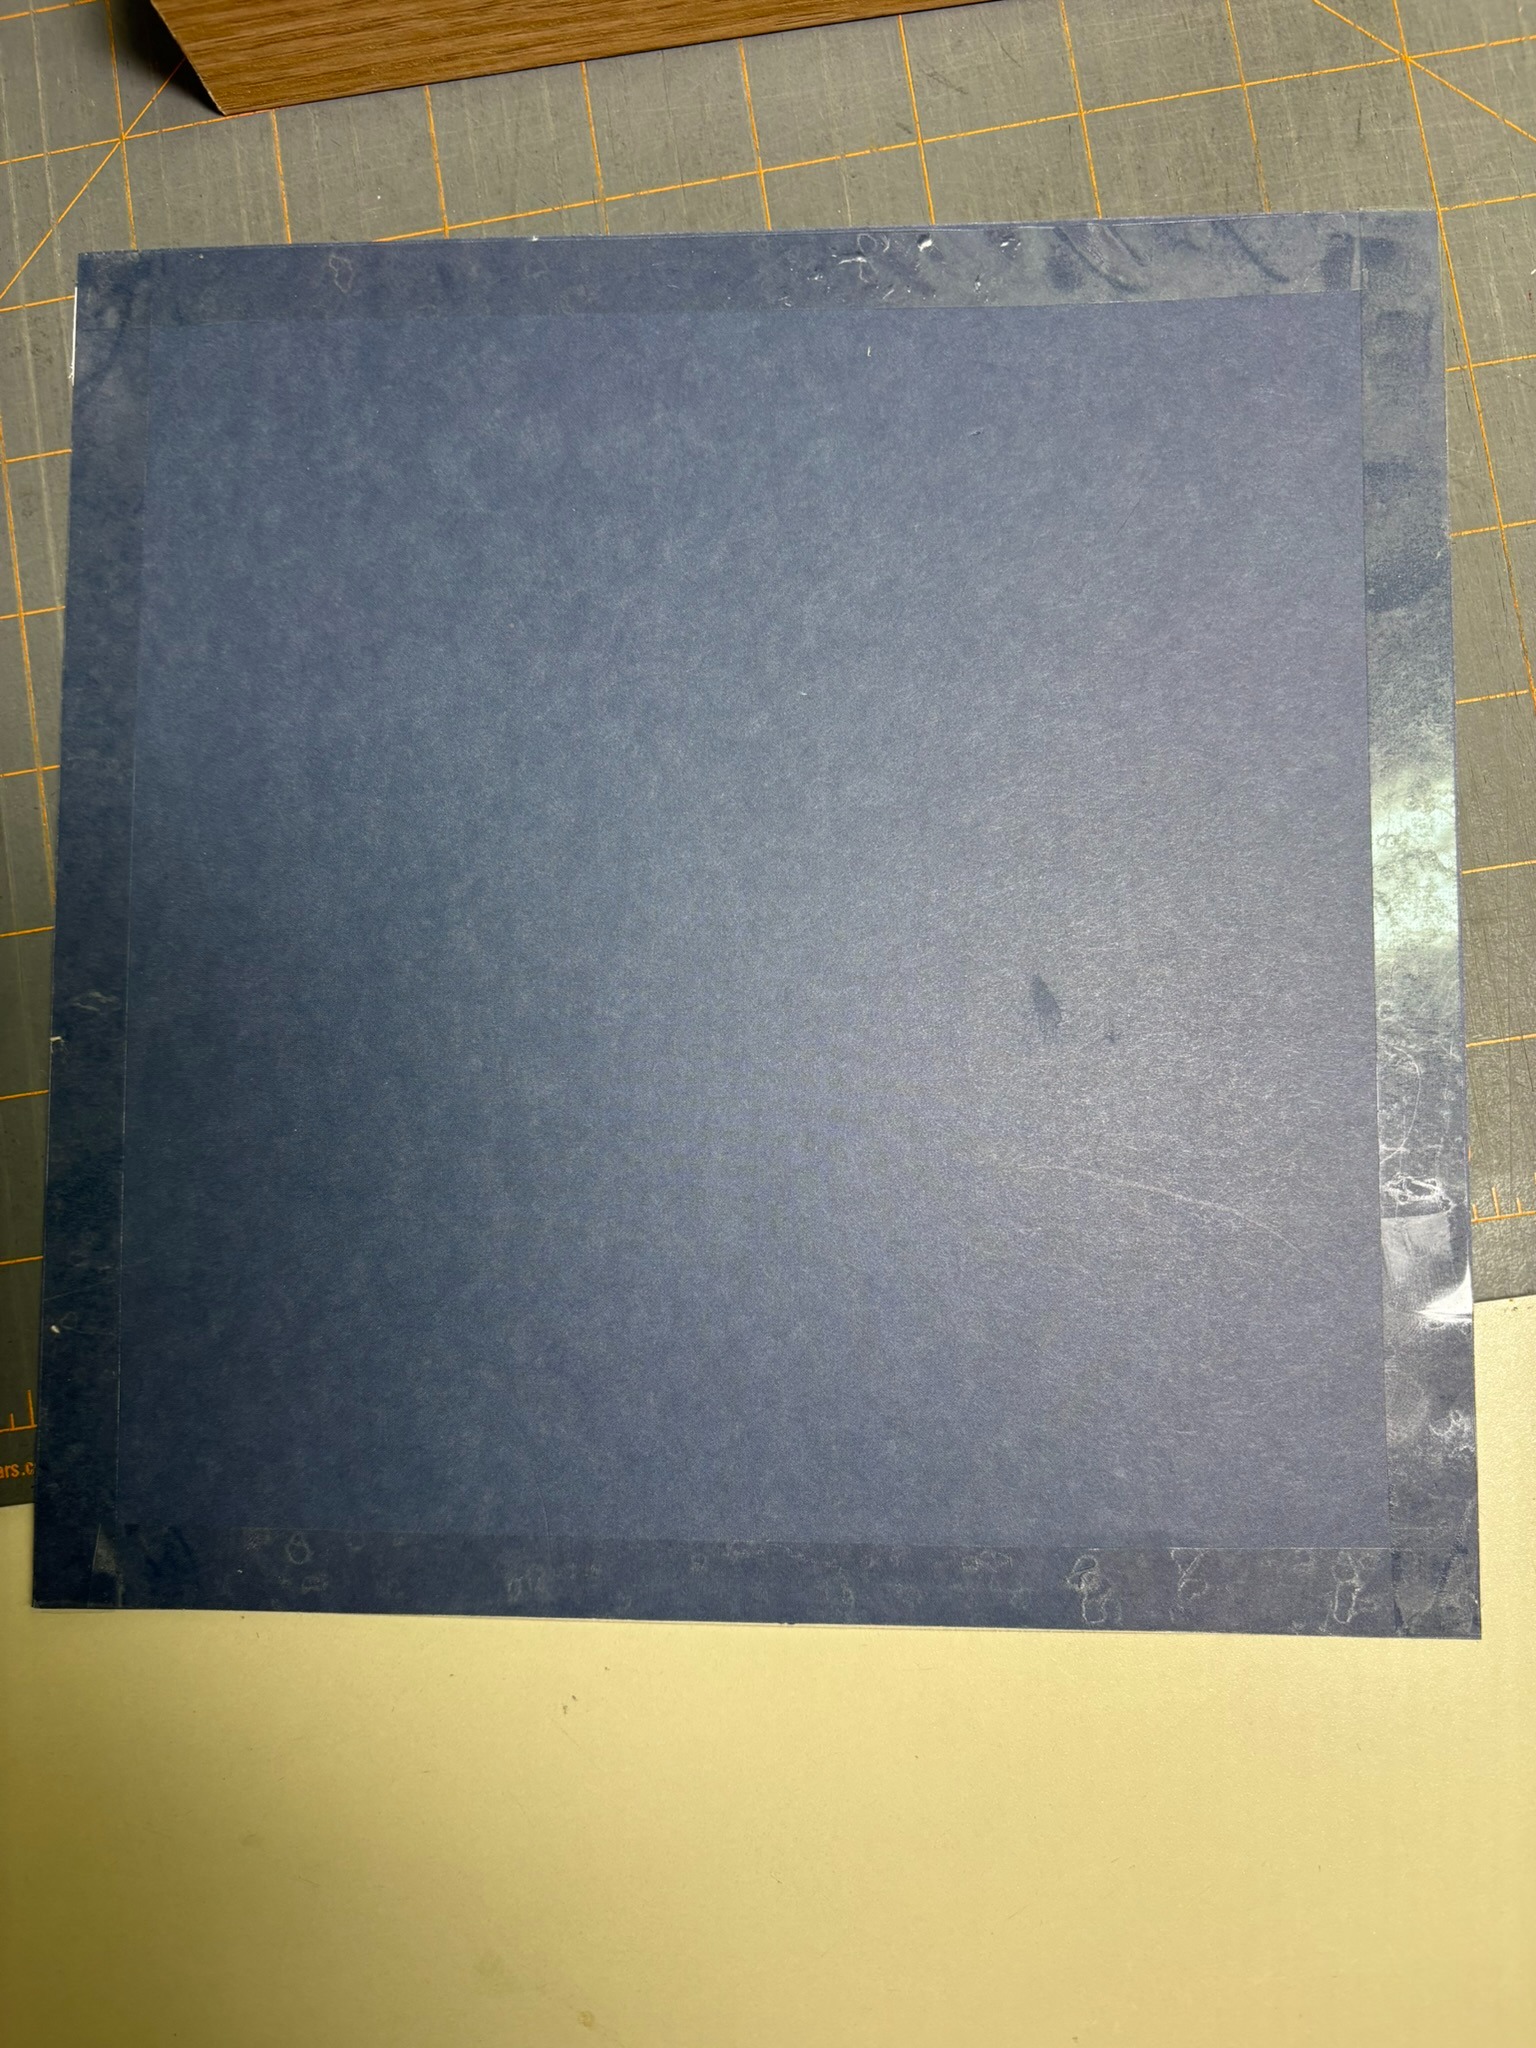
I carefully centered the frame’s backboard onto the back of my embroidery and then traced around it with a pencil on the stabilizer.

I then cut away the excess stabilizer. I found it easier to put a ruler between the stabilizer and fabric as I trimmed so I didn’t accidentally cut the fabric.
Before moving on I wanted to test that everything would fit correctly, so I wrapped the fabric around the foam board and loosely taped it with masking tape. Then I placed it into the frame. It was a perfect fit.
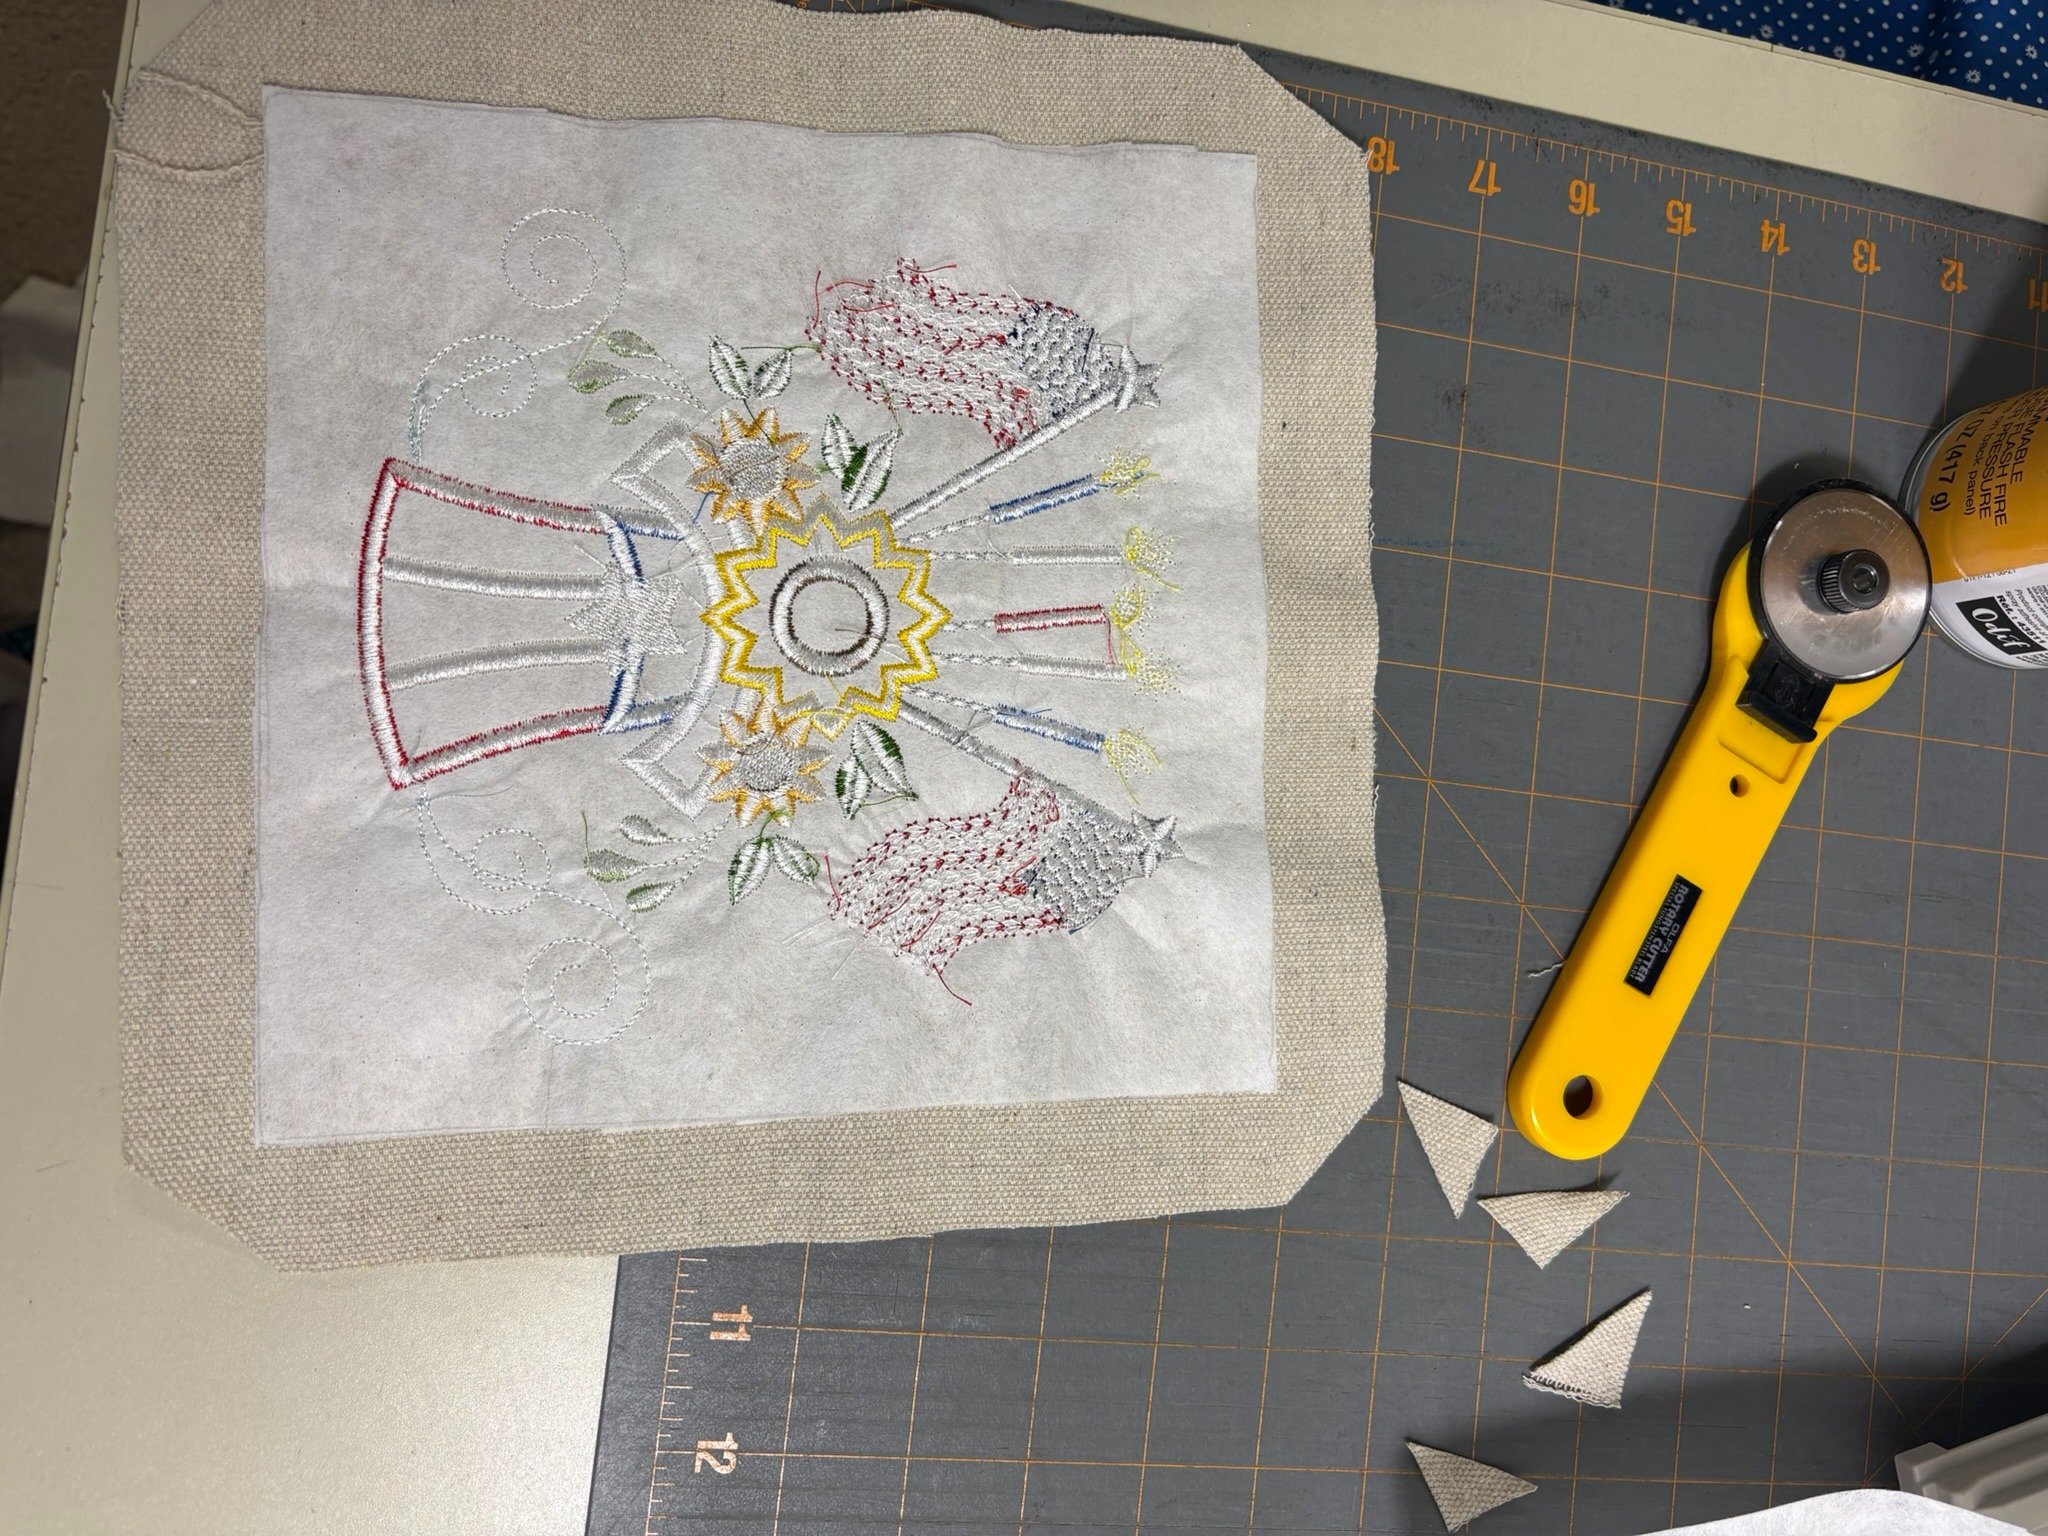
Next, I trimmed the fabric to 1” beyond the stabilizer and clipped the corners.
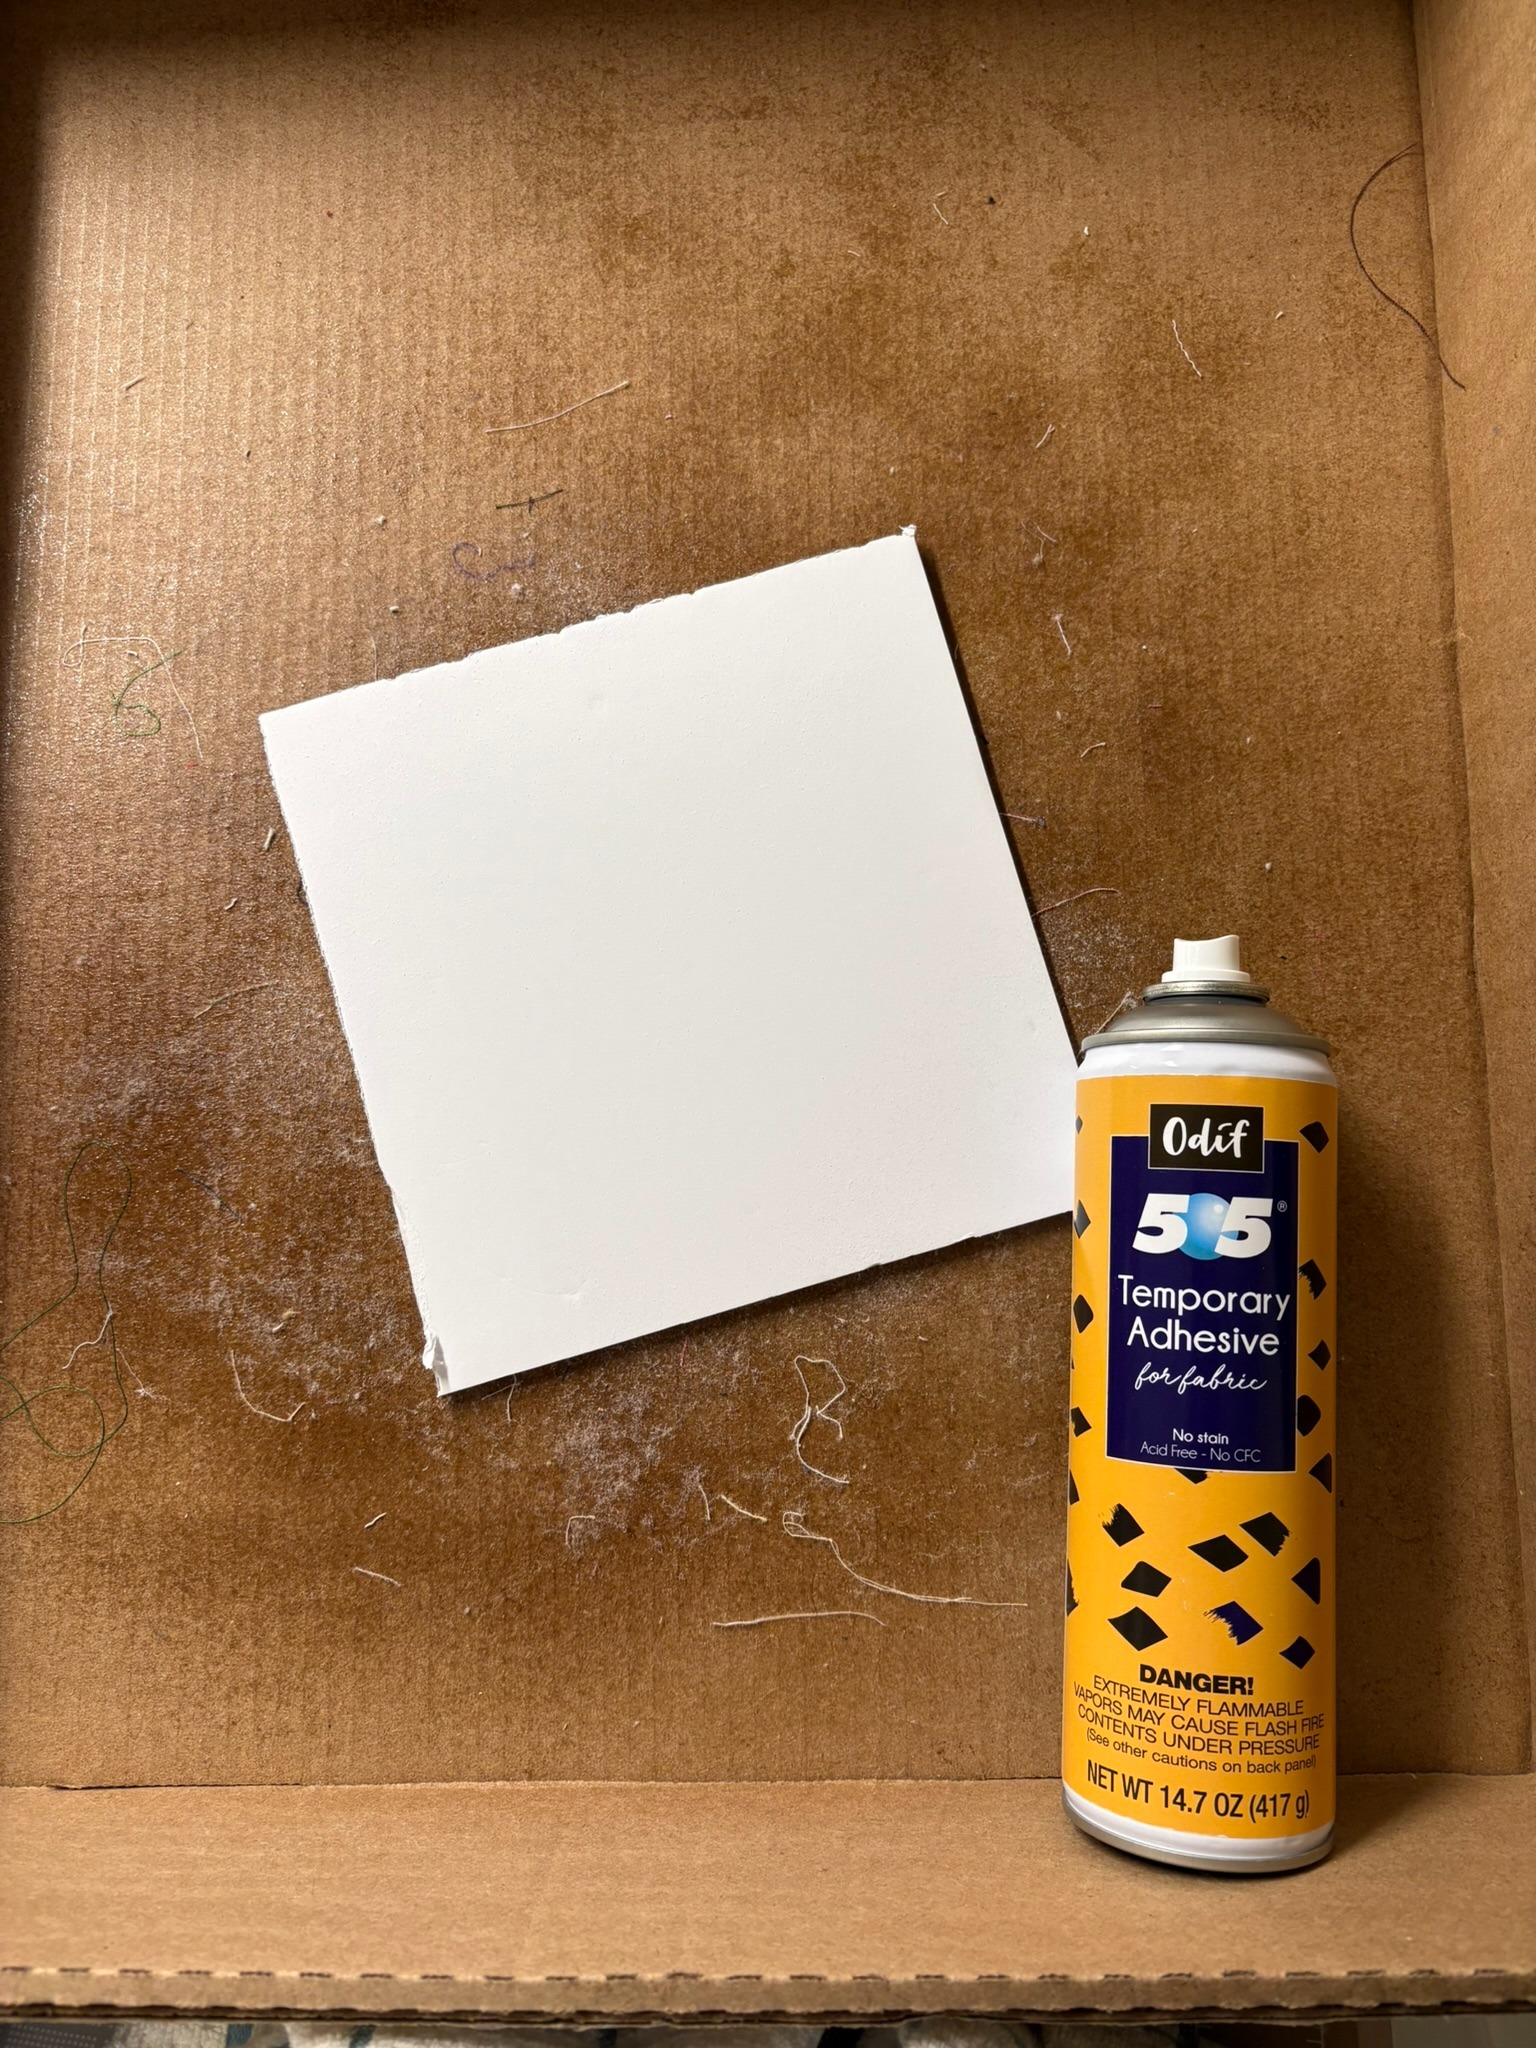
I sprayed the foam board with 505® Temporary Adhesive and placed it squarely on top of the stabilizer.
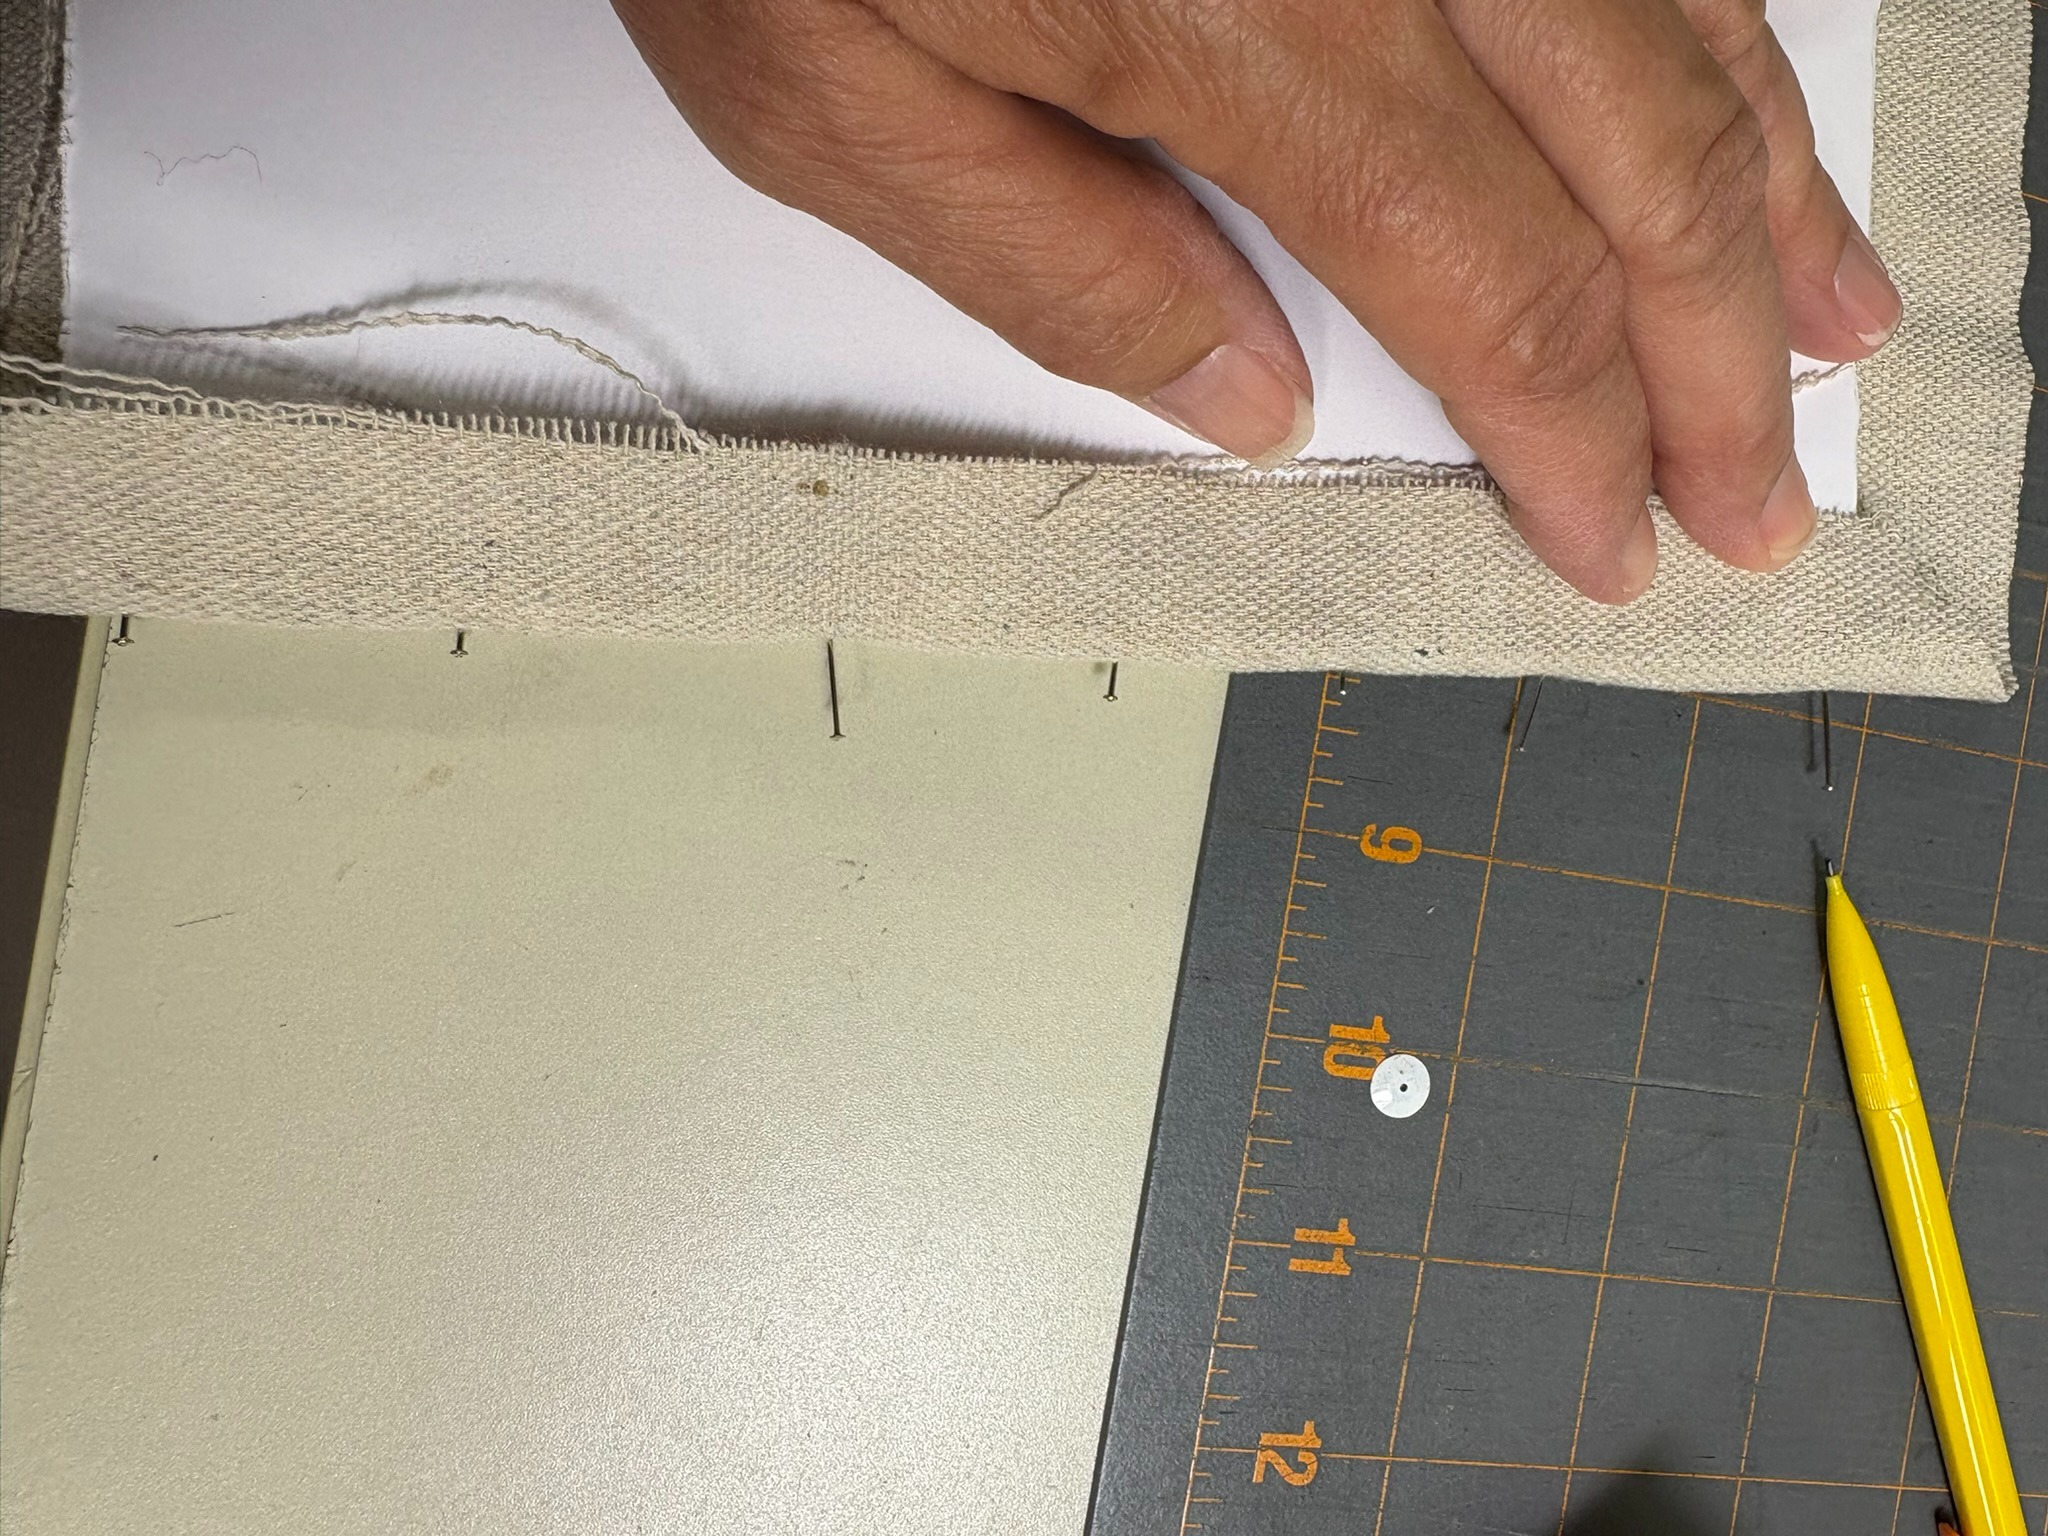
To secure the embroidery to the foam board, I’m going to use stainless steel flat-headed pins and double-sided tape. I’ll do the top of the board, the bottom, then the two sides.
I started at the top and folded the fabric to the back. Then using the pins, I pin the fabric to the edge of the foam board, moving from the center to one side, then center to the other side. I didn’t insert the pins all the way in the photo below because I wanted you to be able to see them. After the photo was taken, the pins were pushed flush with the edge.
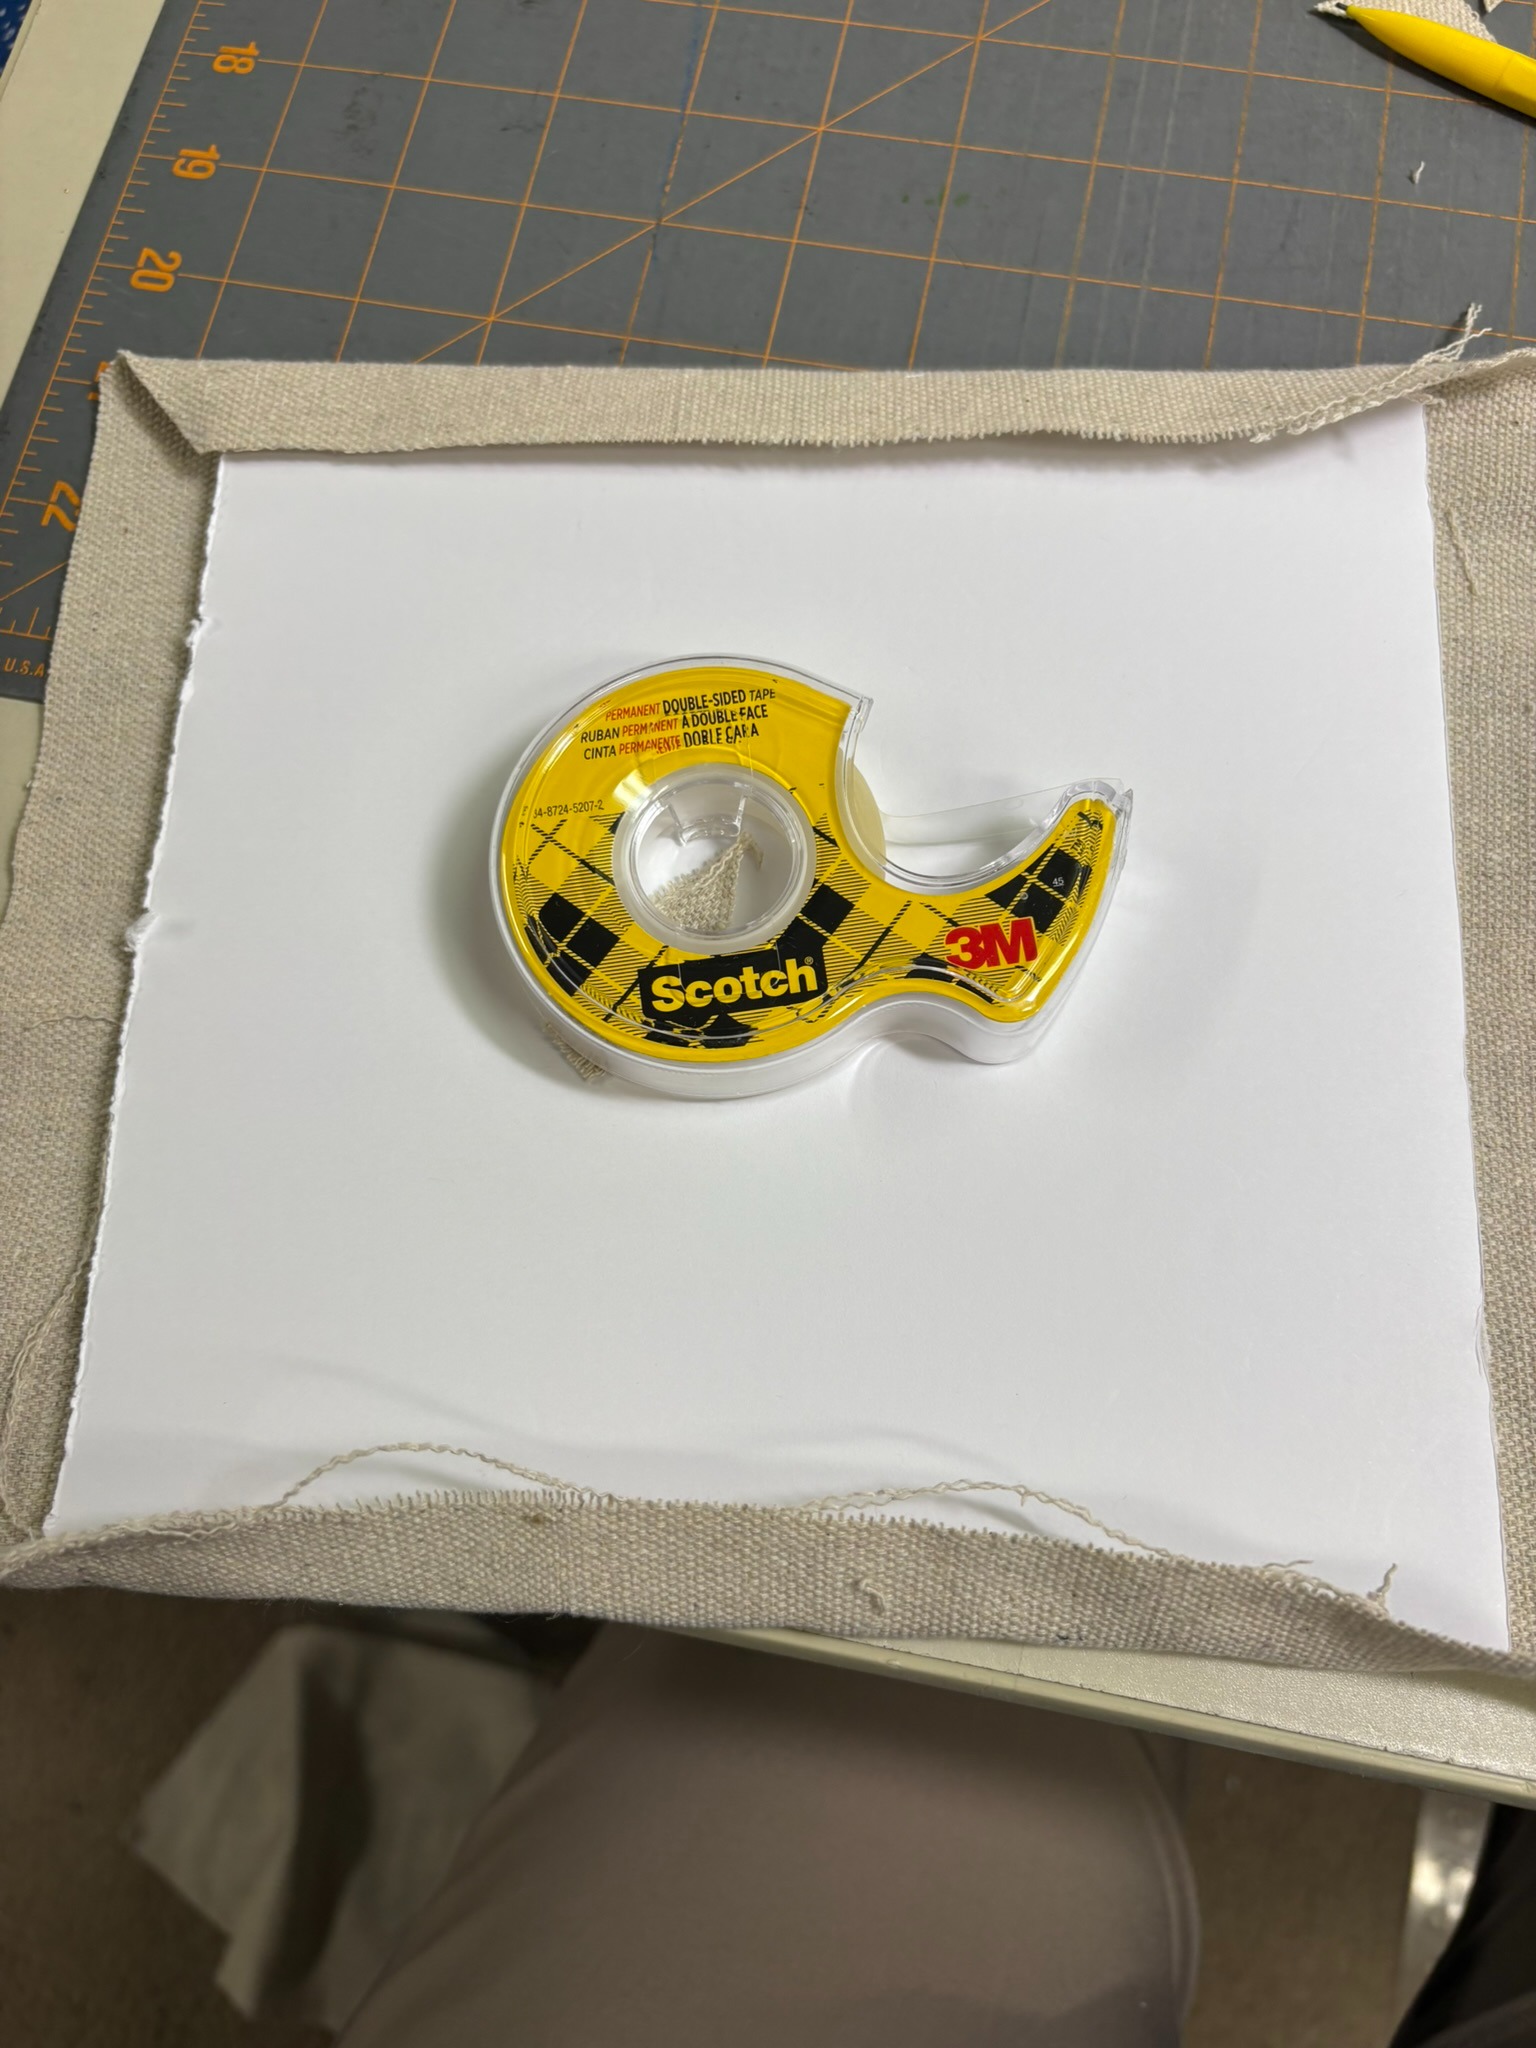
Once the top and bottom were securely pinned, I used double-sided tape to hold the fabric down. I had a long strip running along the middle and then put a piece at each corner. It really helps to make sure the corners are taped well.
I repeated these steps to secure the left and right sides.
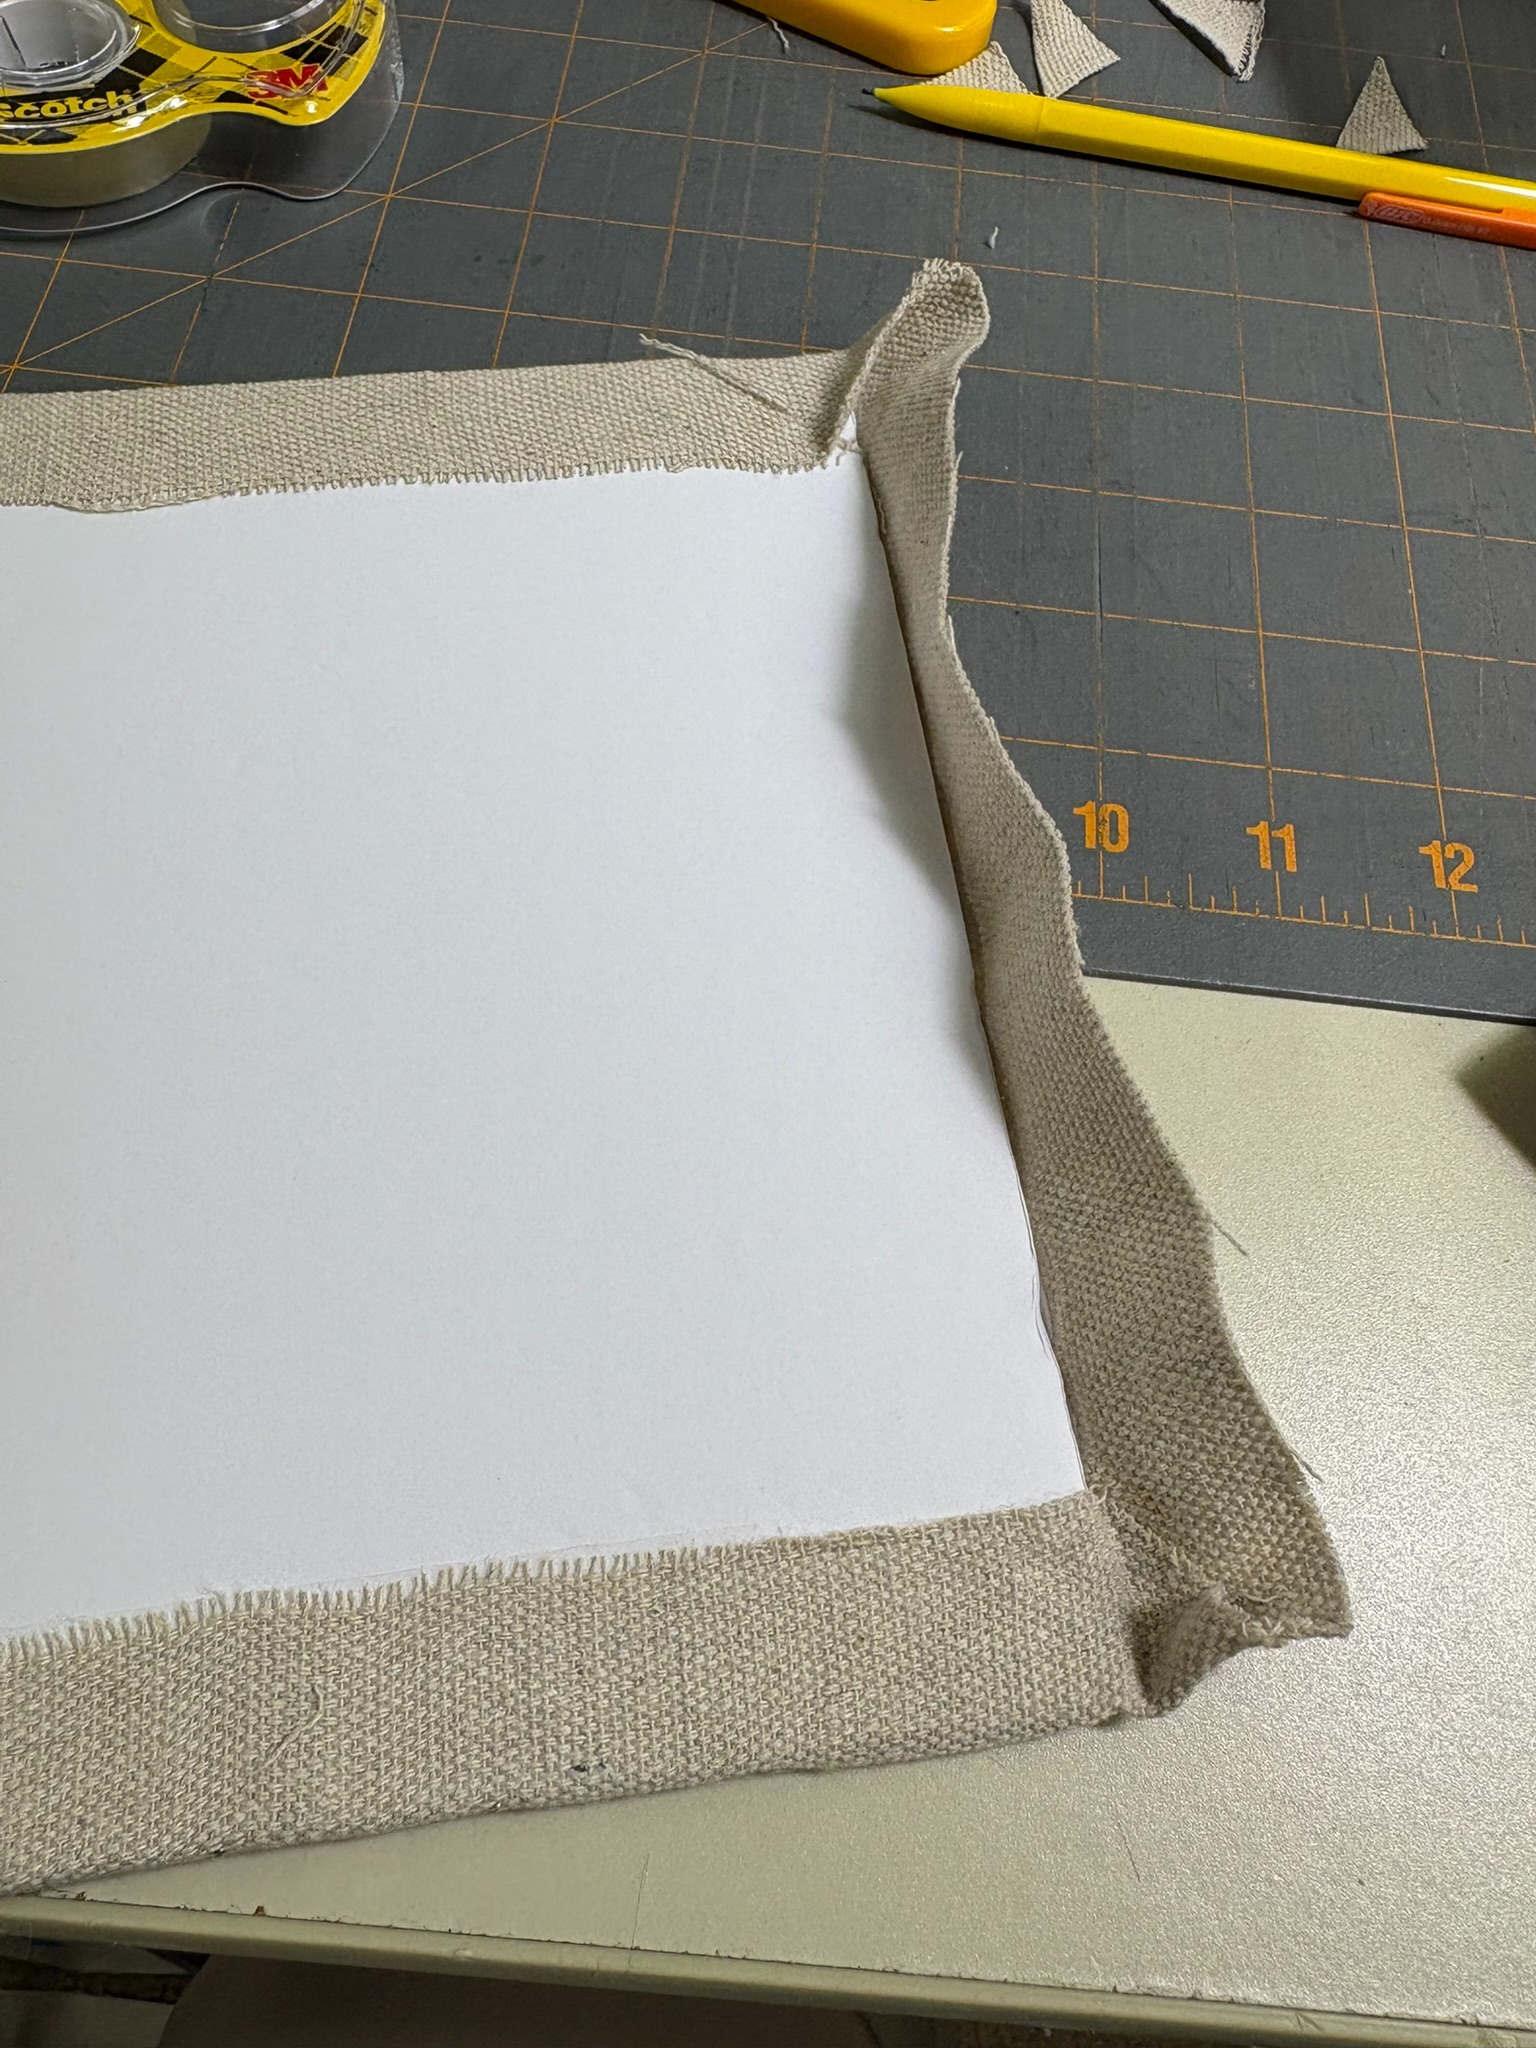
The corners are folded down similar to wrapping a package. Which also means . . . if you’ve experienced the same gift wrapping fun that I’ve had, there’s always one corner that just doesn’t want to fold as nicely. I found that for each design I framed, one corner would need a little more fabric trimmed, or tape, or a pin or two added for security.
Taping resembled a little bit of a comedy routine. The drop cloth tends to fray a little—nothing too bad, but I’d pick the tape up to find threads stuck to it, or one of the stainless steel pins.
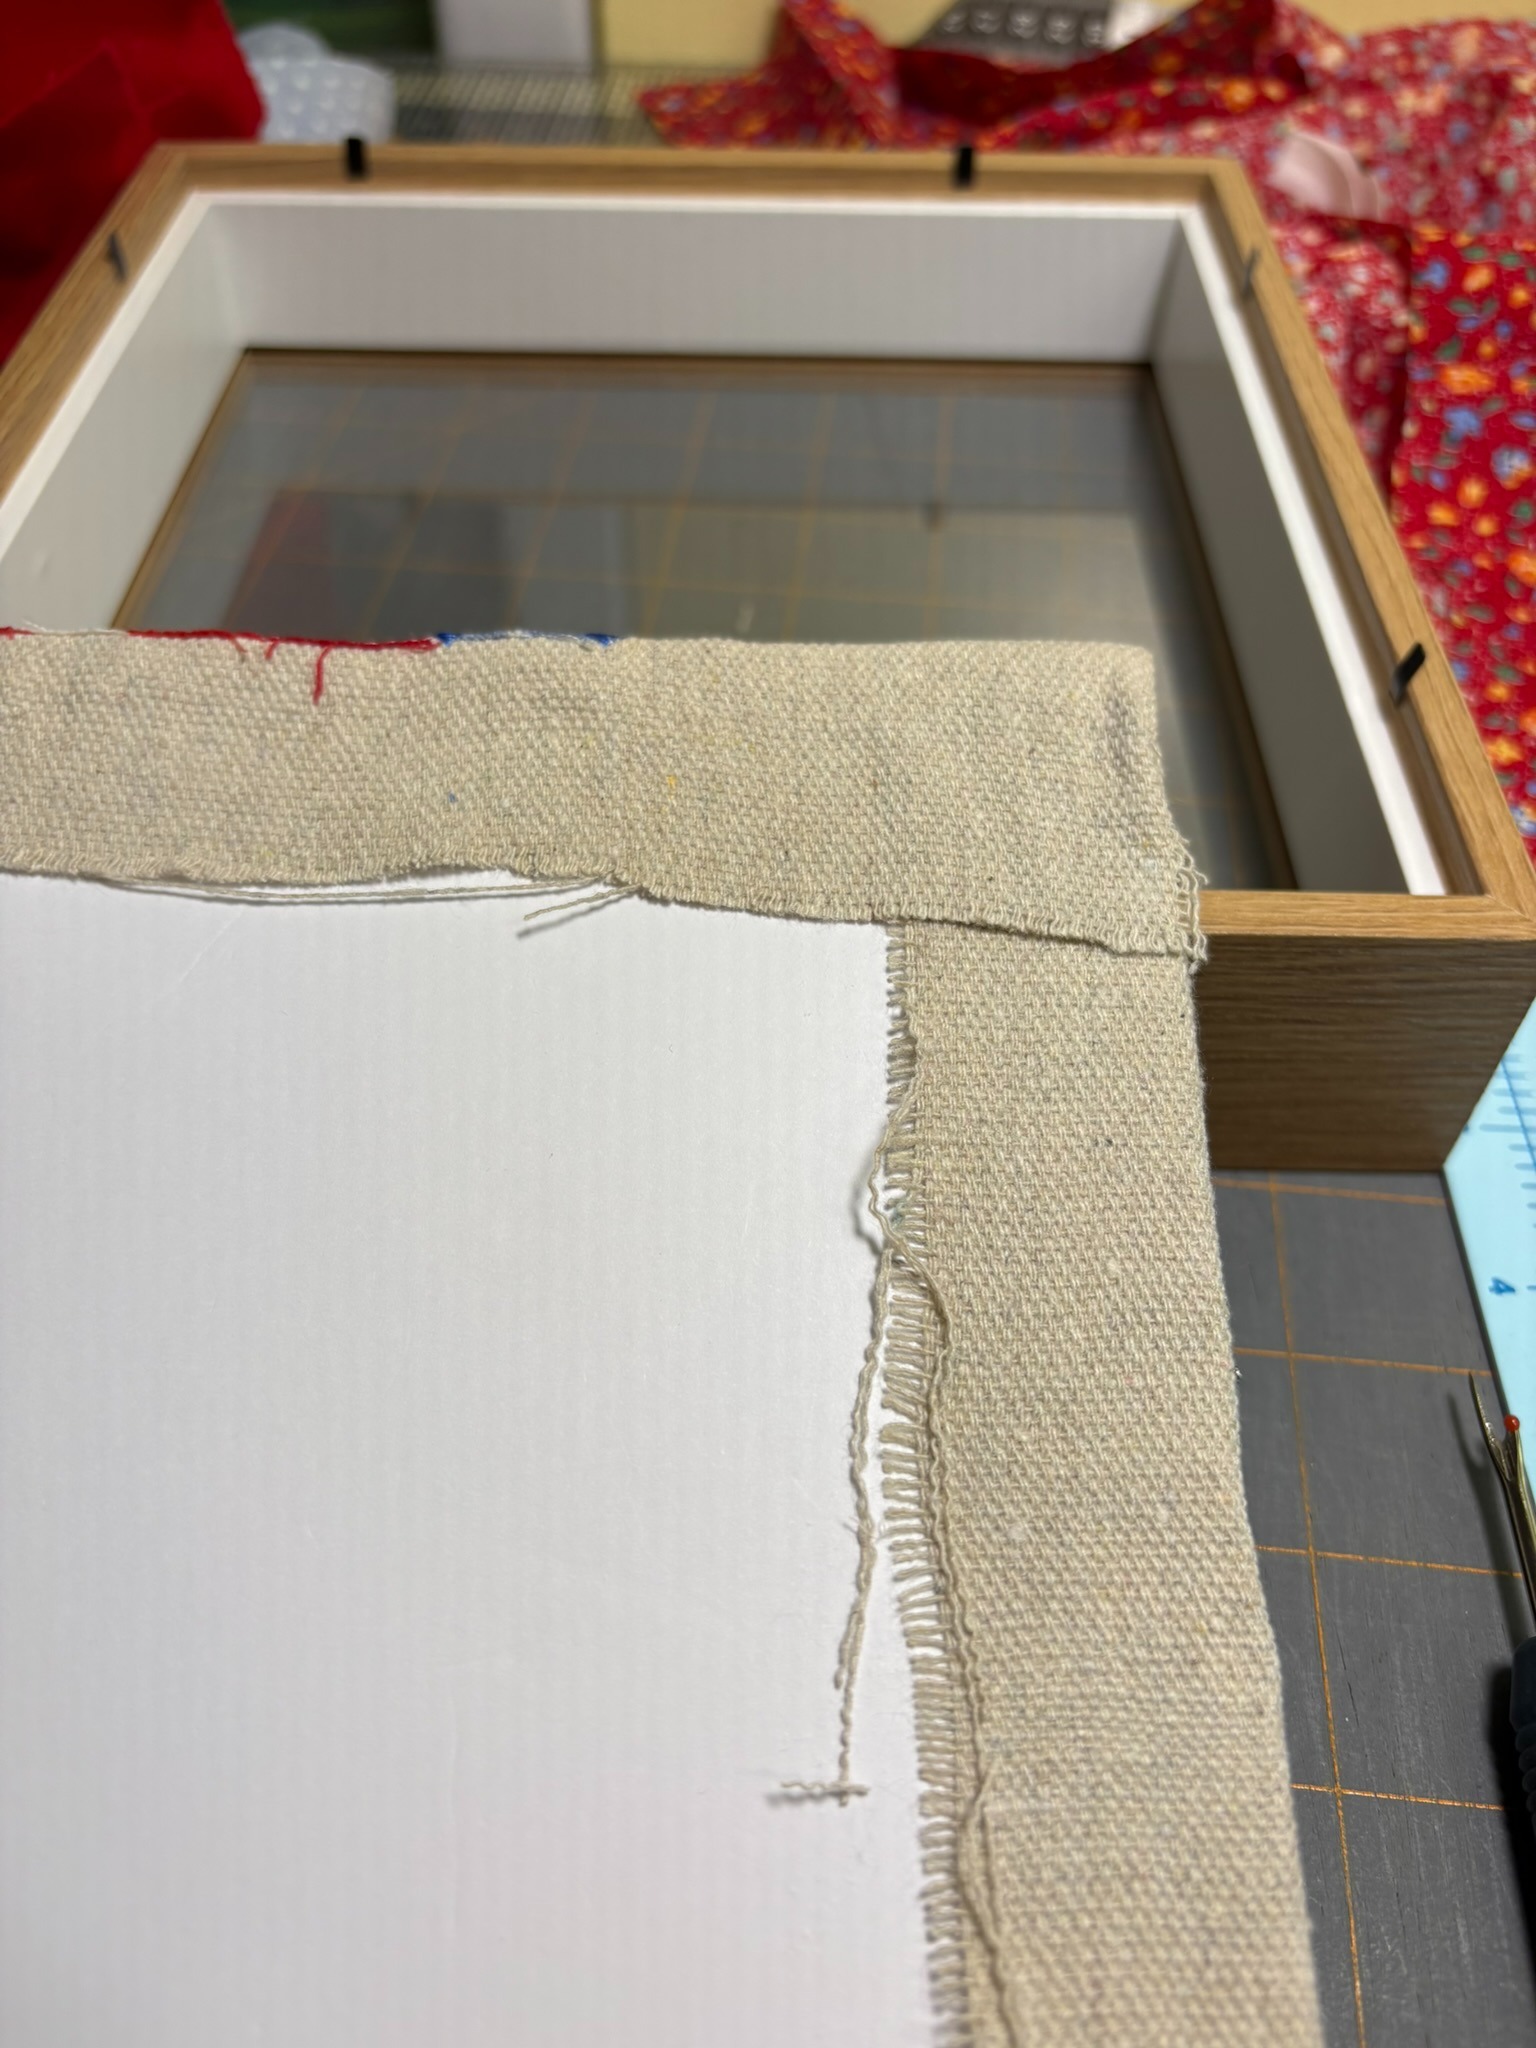
After the fabric was taped on all sides, I inserted the embroidery project into the shadow box frame. The nice thing about these frames was the little tabs that fold down to hold the project in place.
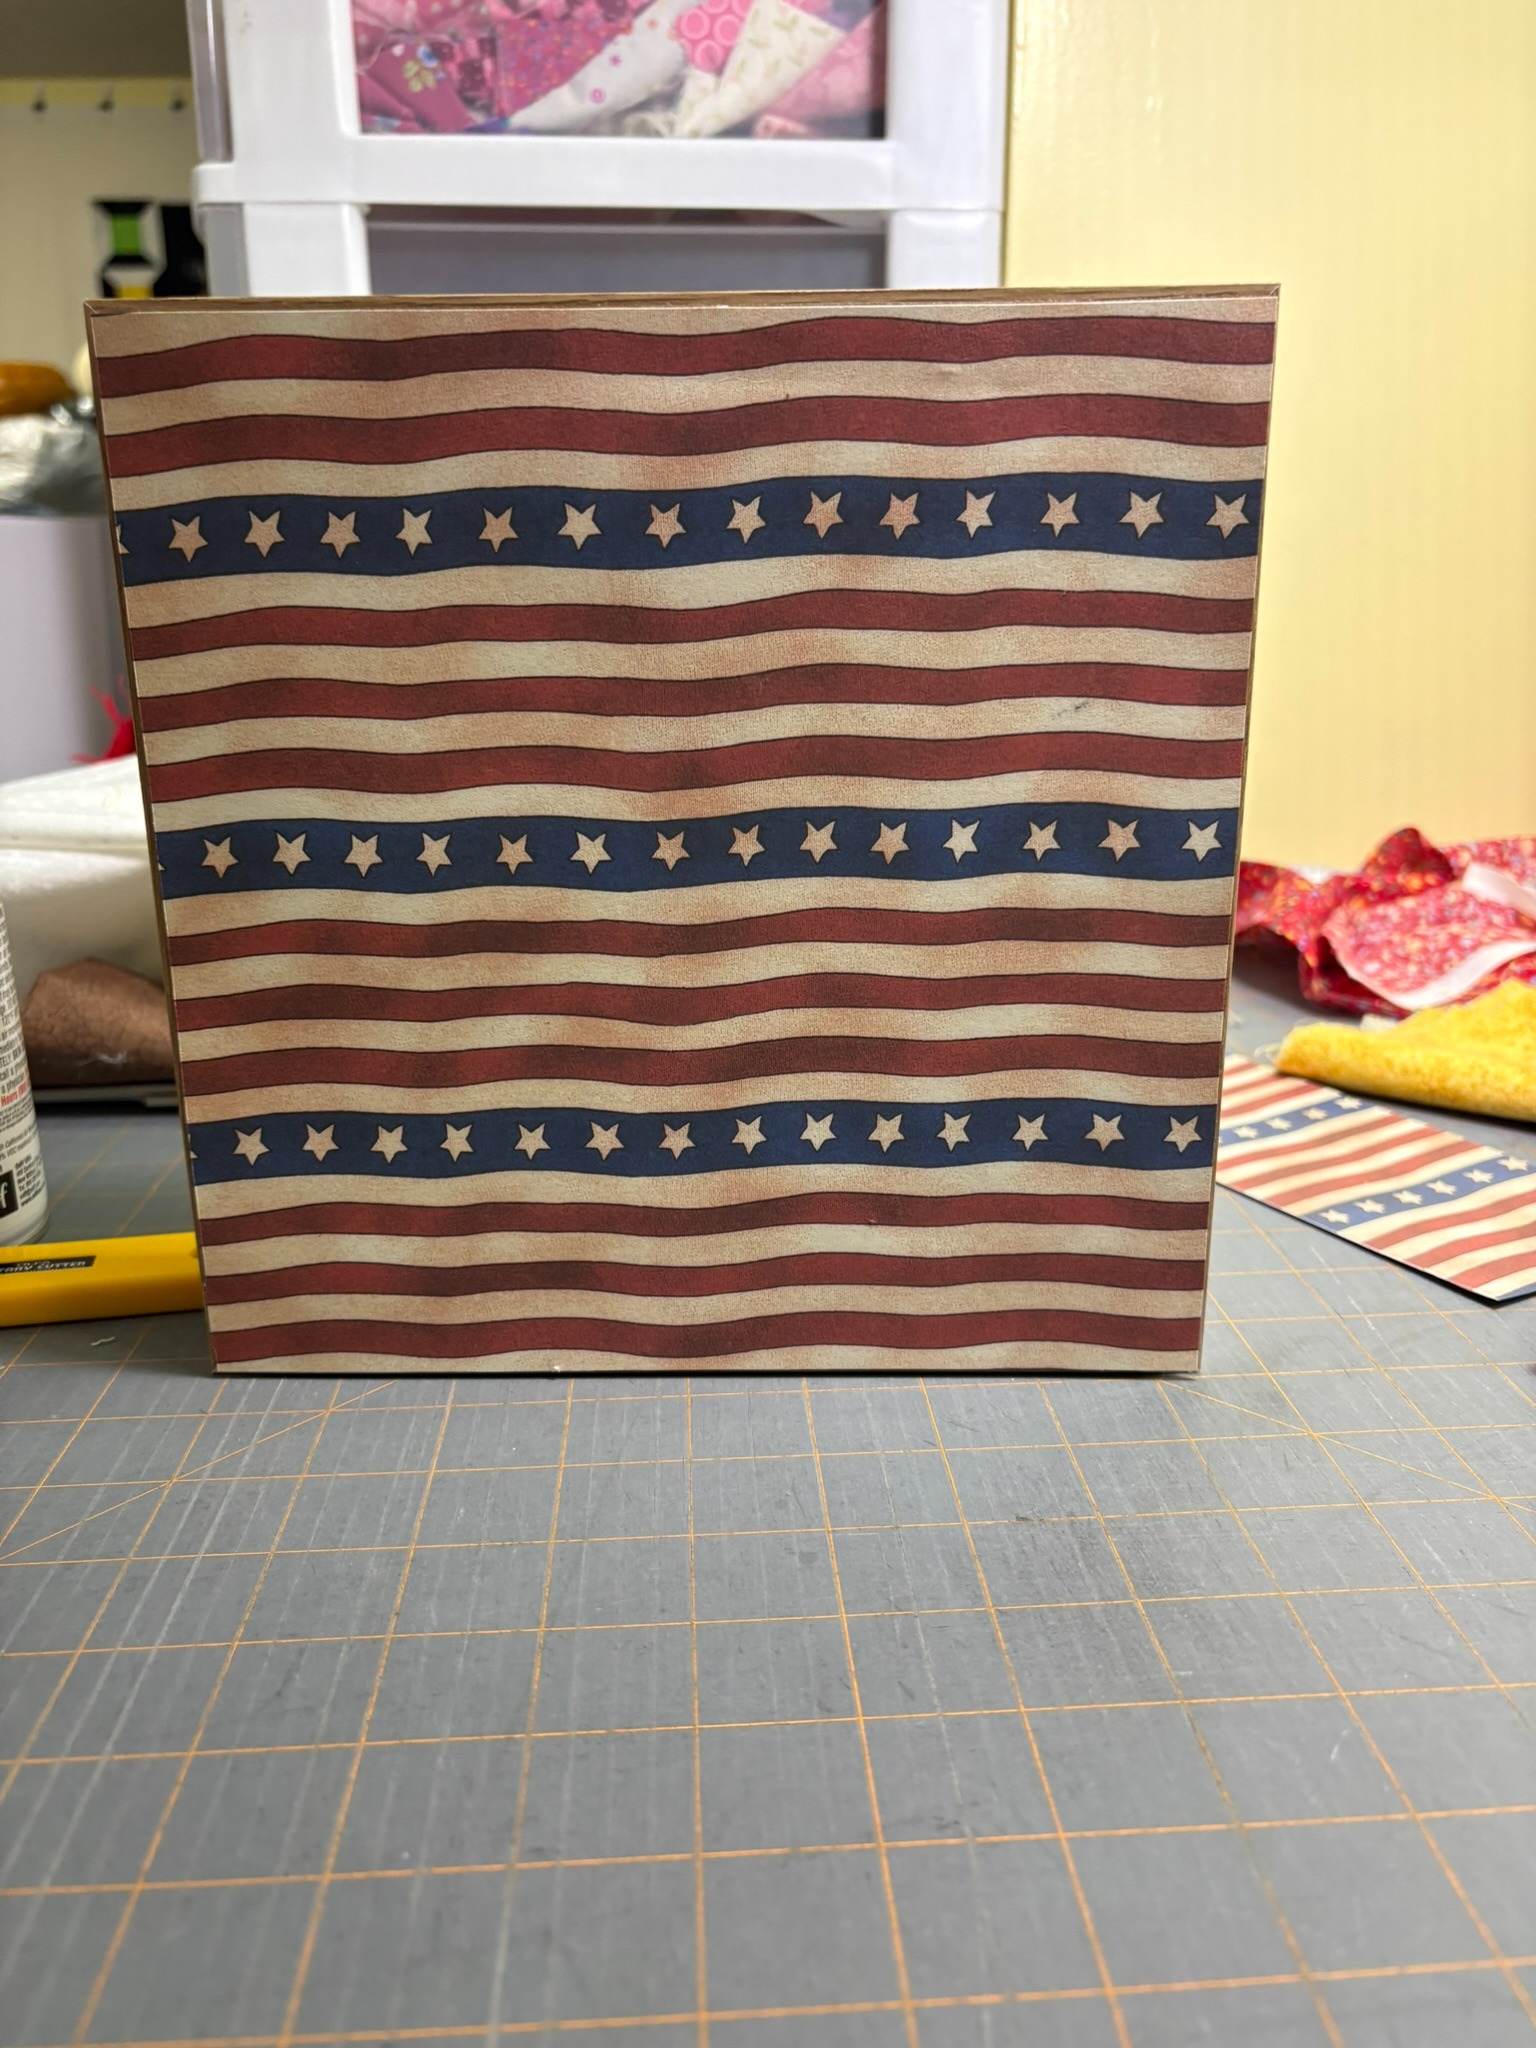
The final step was covering the back of the shadow boxes. Honestly, if I was just going to hang these on the wall where no one would ever see the backs, I might have just ended here. However, I did describe this project as “versatile” decor. So I traced the box onto cardstock, cut out the square, then trimmed it until it fit within the back edges of the shadow box.
Trace the shadow box to get the shape and size you need. Then trim so it’s about ⅛” smaller all the way around. I placed double-sided tape along all four sides.
The last step for my project was securing the cardstock to the back of the frame.

When I framed the Barn block, I made sure that the stitching lines were rolled over the edge of the foam board.

If you want to hang your framed designs, you can add picture hangers to the backs. As for me . . . I’ve been deliberately using the word "versatile" for my decor project. Remember at the beginning of this post when I said I had some decorating ideas in mind? I’m planning on putting these shadow boxes on our tables for our 4th of July party! One on the main food table, one on the dessert table, one next to the utensils. They’re wide enough that they stand up on their own. An advantage of this particular set is that they have acrylic rather than glass fronts. If they were to get knocked over we wouldn't have broken glass.

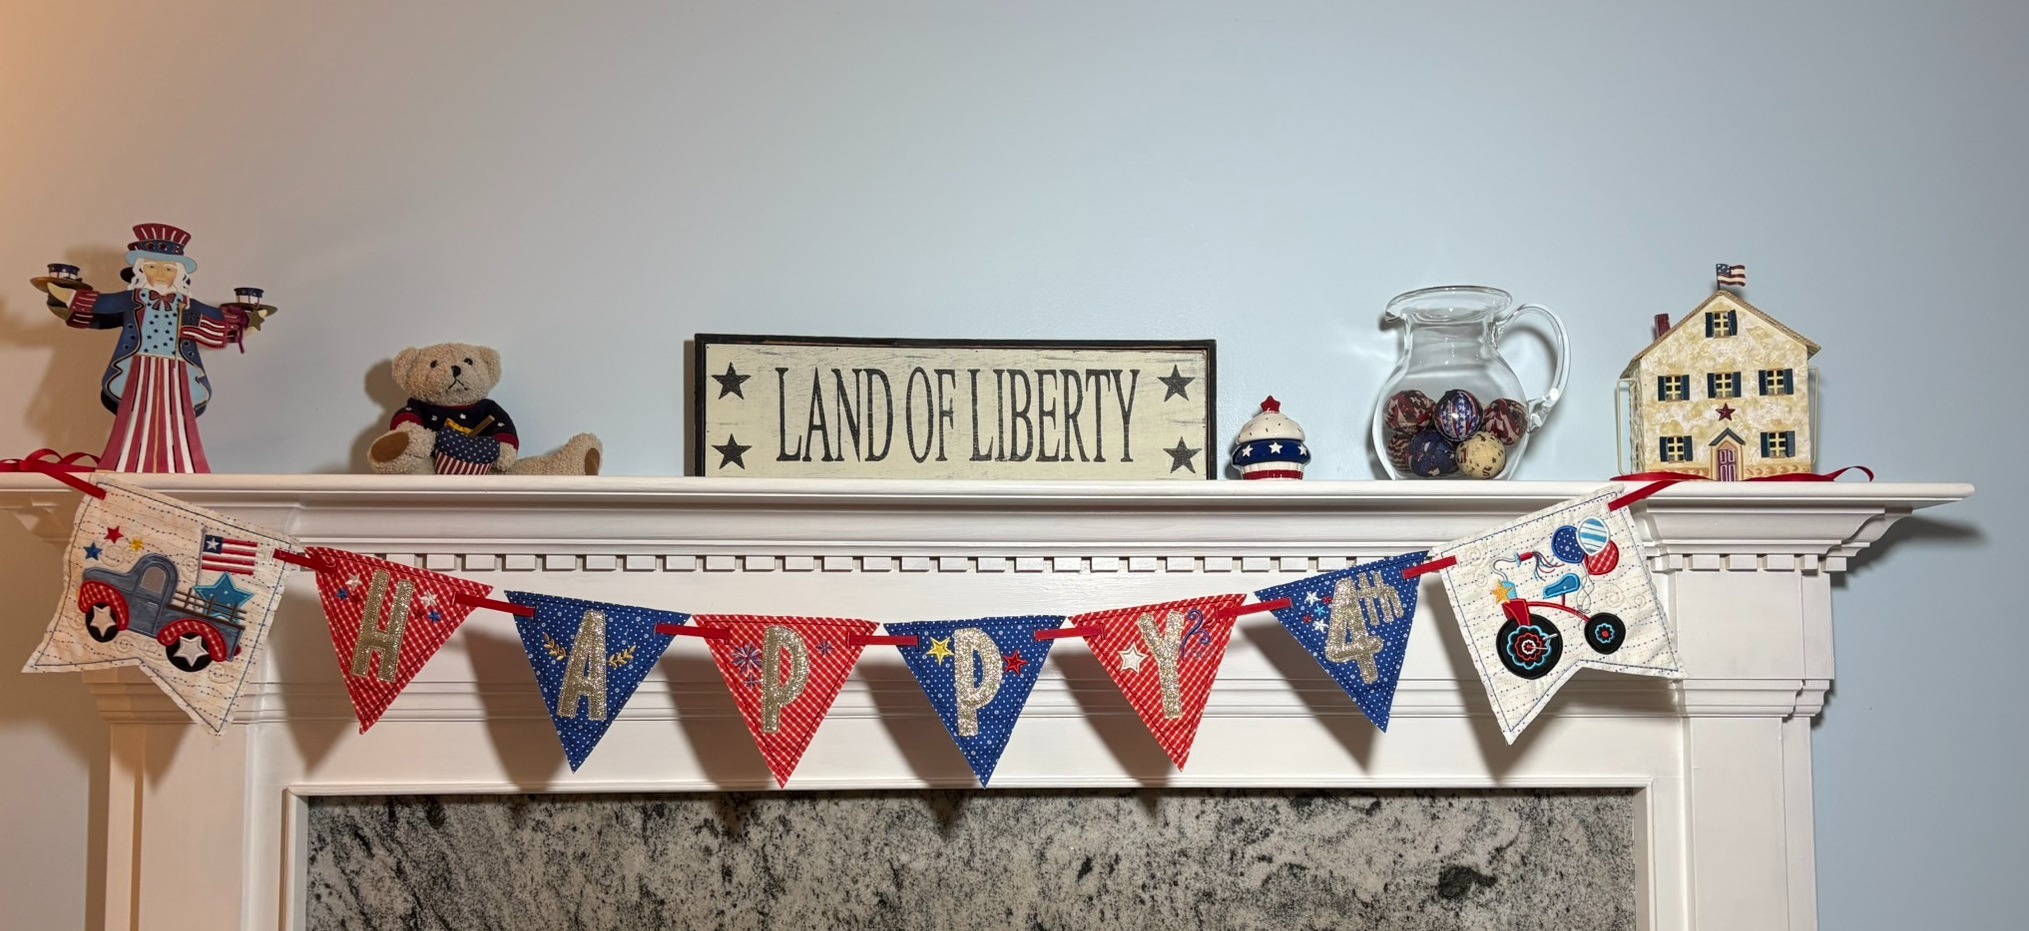
When not being used for the party, they’ll display their patriotic vibes in our family room. Won’t they coordinate wonderfully with my Star Spangled Stitches banner hanging on the fireplace mantel?


If you read my Embroidery 101: How to Frame a Piece of Embroidery blog post from last year, I show a different method for framing your embroidery projects. In that post I used picture frames I found at Goodwill that had workable depths. They were very inexpensive. The projects I framed were for two separate spaces so the frames didn’t need to match. I think it’s possible that four mismatched frames could work if they were all painted the same color.
As for the Harbor Freight drop cloth, I was very pleased! At first I wasn’t sure I would like the final products because the cloth is a tan color. But I decided after stitching the first block to continue on and I’m glad I did. There also wasn’t one bit of puckering in any of the stitch-outs!
I hope you decide to frame some of your embroidery projects! I can’t wait to see more of the Star Spangled Stitches that everyone’s been posting!
Please be sure to share your projects in the Designs by JuJu Embroidery Blessings Facebook Group, or use the hashtag #designsbyjuju anywhere on social media. We all love to see what you create!