Toggle Nav
 Inspire.
Create.
Stitch.
Inspire.
Create.
Stitch.
Inspire.
Create.
Stitch.
Search
Inspire.
Create.
Stitch.
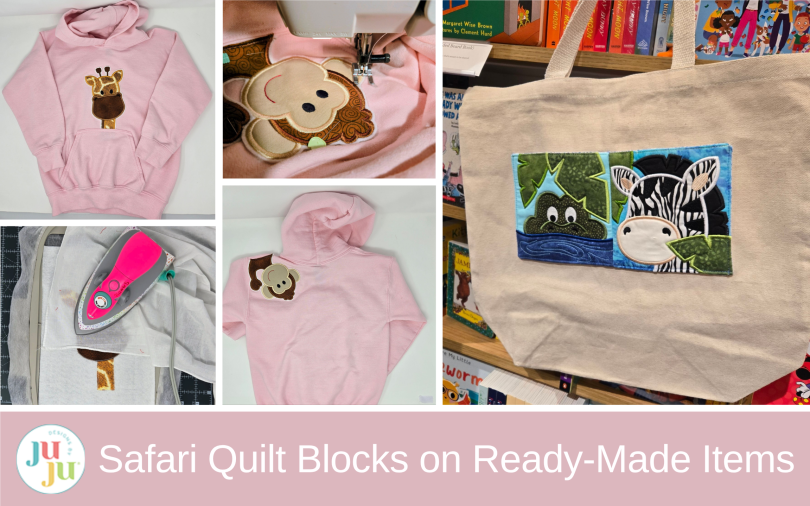
Transform ready-made clothes and tote bags with Safari Quilt Blocks from Designs by JuJu. This tutorial shows how to add applique animals to a sweatshirt and canvas tote for fun, personalized machine embroidery projects.
This is such a fun project where you can be adventurous and a little wild right in the comfort of your sewing room! I decided to add the cute safari animals to a child’s sweatshirt and a tote, but they could go anywhere your imagination takes you!
Approximate size of project varies depending on size of garment or bag used. My garment was an XS and the bag was approx 16” x 18” x 6”.
Please be sure to check out the DBJJ team’s favorite supplies in the Designs by JuJu Amazon store, and find our favorite stabilizers, batting, and threads at DesignsbyJuJu+.
Note: Wash and dry your garment as you would normally care for it. I washed the sweatshirt in my washing machine and tumble dried in the dryer so if it shrinks, it does it before I add the appliques.
Download the designs you want to use and load them to your USB stick. I chose animals that were not covered by leaves because I wanted the entire head part only. The giraffe head and monkey head in the 6x10 design size were perfect for the XS sweatshirt I purchased.
Gather your stabilizers and hoop a piece of magicMELT. Cut your fabrics according to the directions and press Heat-n-Bond Lite to the back of the applique fabrics according to the manufacturer’s instructions. I like to press the Heat-n-Bond to the appliques so they will adhere to the felt and not pucker through multiple washings. Cut the felt to the same the size the batting is cut in the directions.
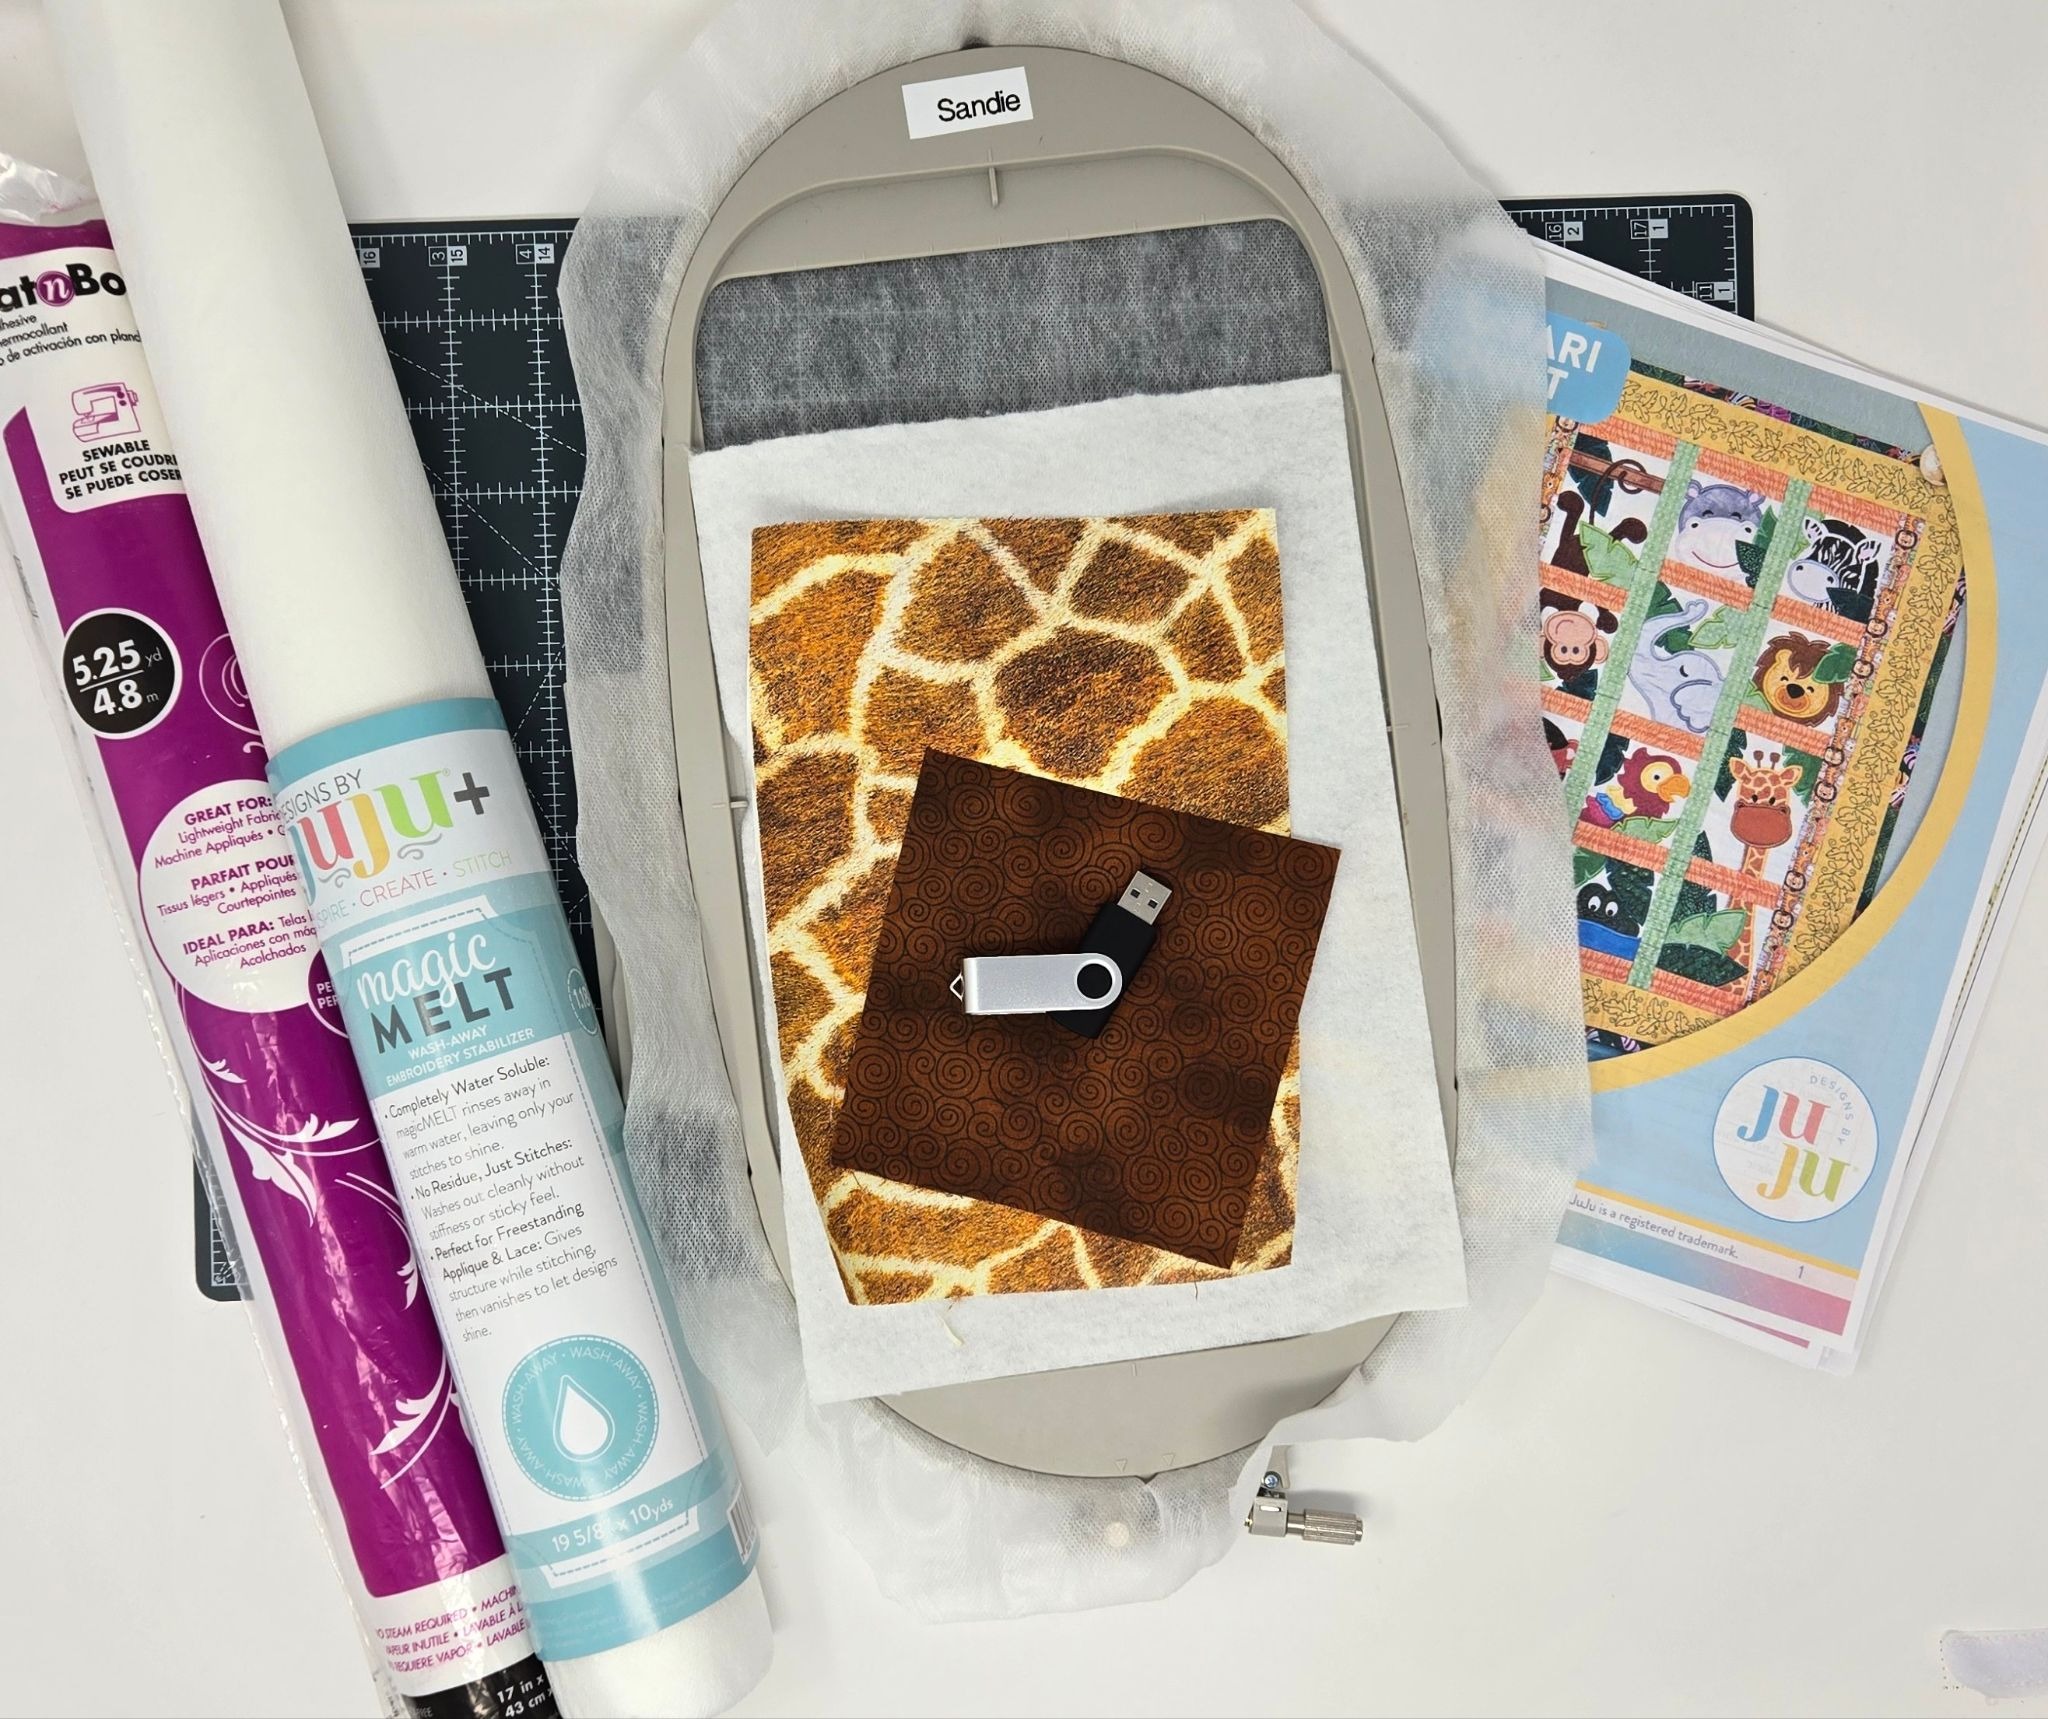
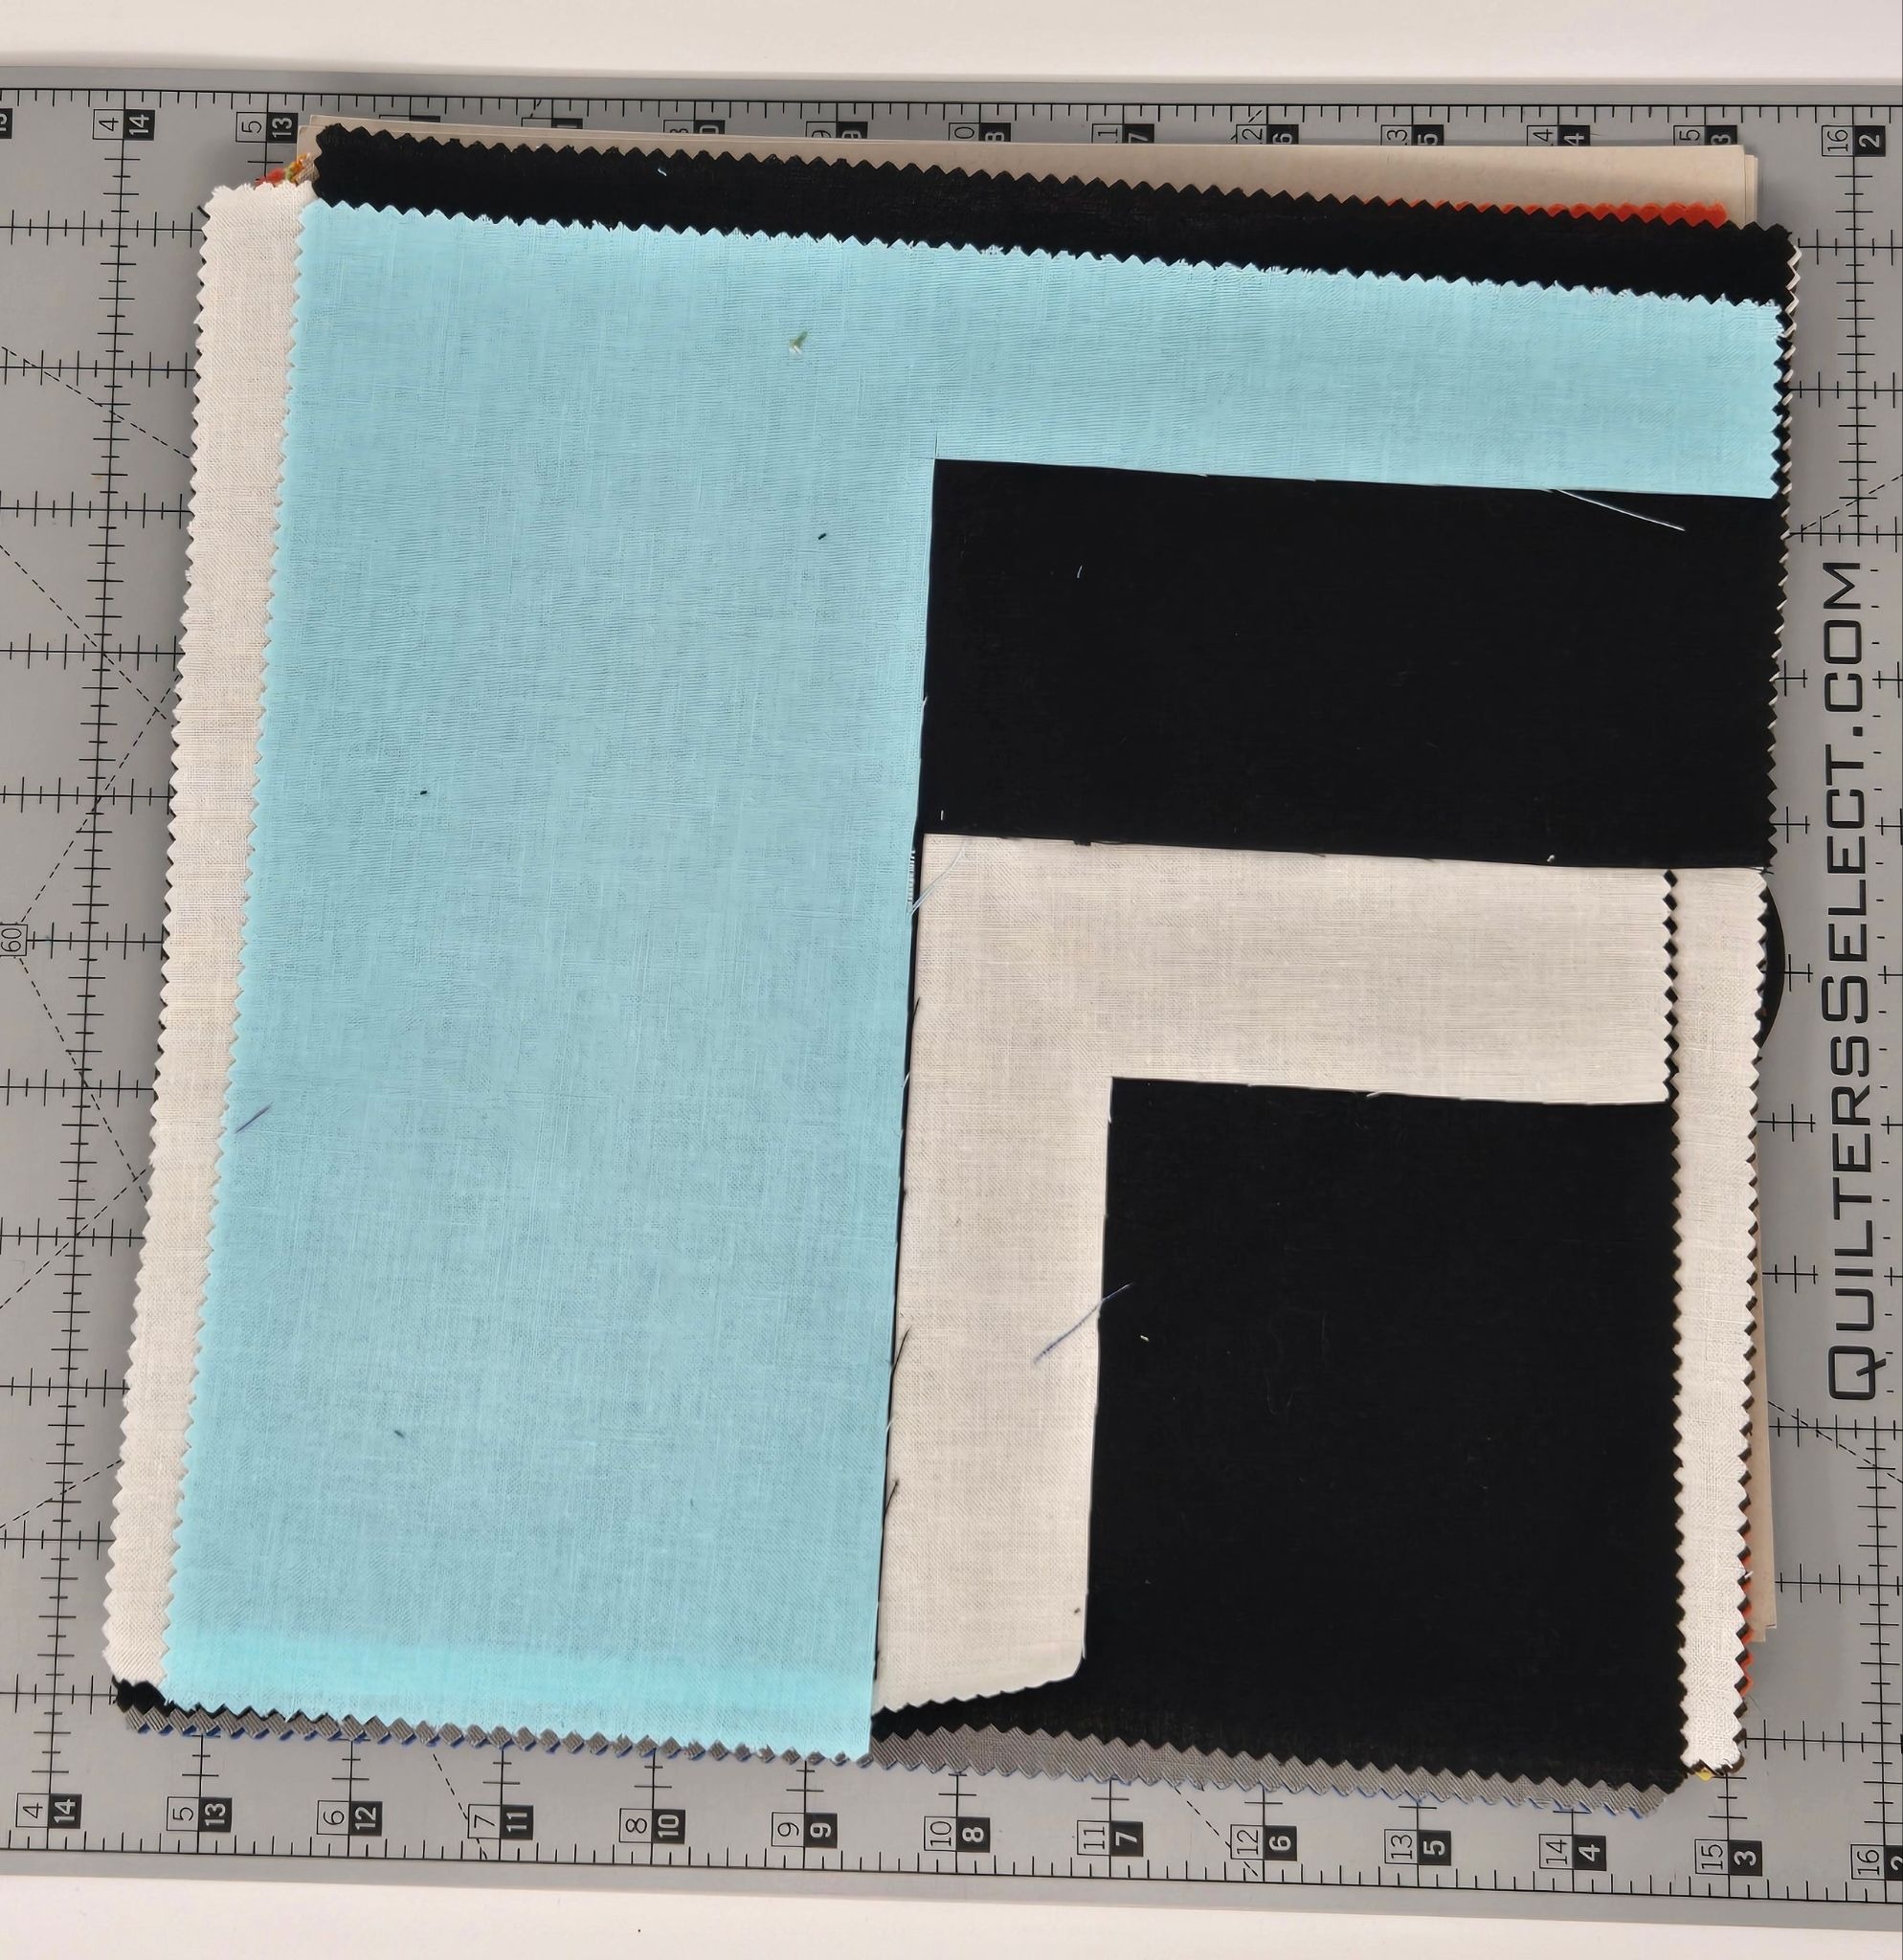
If you are new to machine embroidery and are worried about the amount of fabrics needed to make projects, consider purchasing a few 10” square bundles. I have one in solid colors and one in small scale tone-on-tone fabrics and they are so handy! I use my solid squares for snouts, manes, ears, faces—anywhere you just need a small piece of fabric.
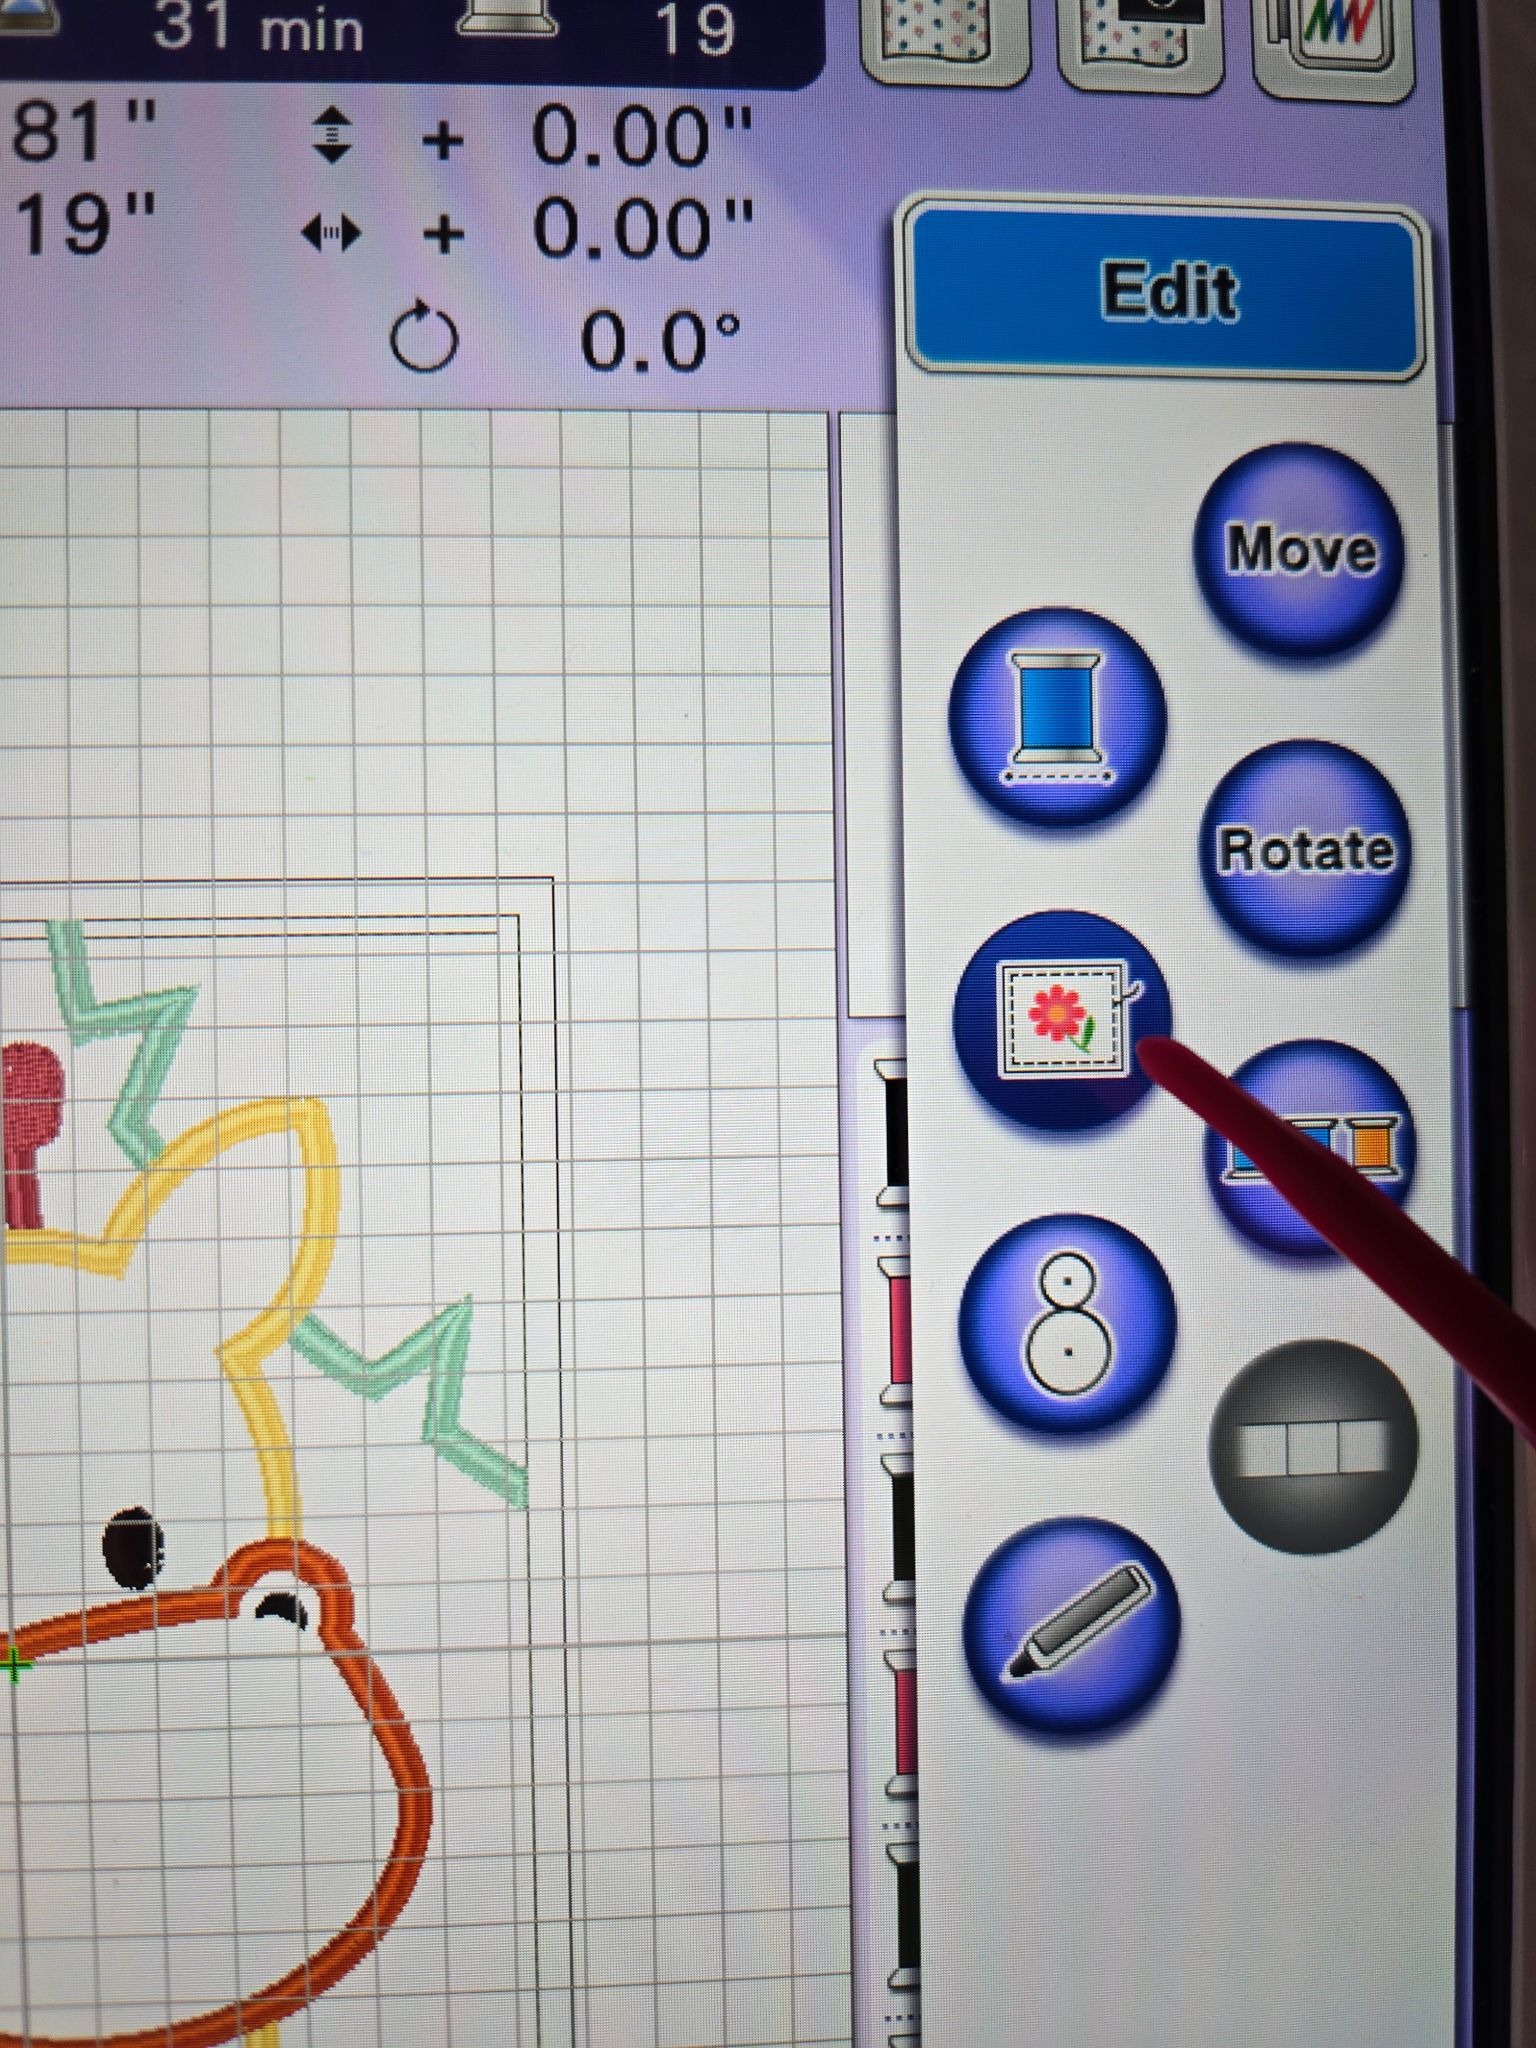
Once the design is loaded to your embroidery machine, go to the editing buttons and add a basting box.
Now we are ready to embroider—my favorite part! The first step is the basting box, so lay down your felt and run the box around the felt. This will hold the felt in place for the appliqueing.
Then skip the next few steps for placement and laying down the batting. This is done using the -/+ button at the bottom of the screen on my machine. If you have software, the steps could be removed in the software.
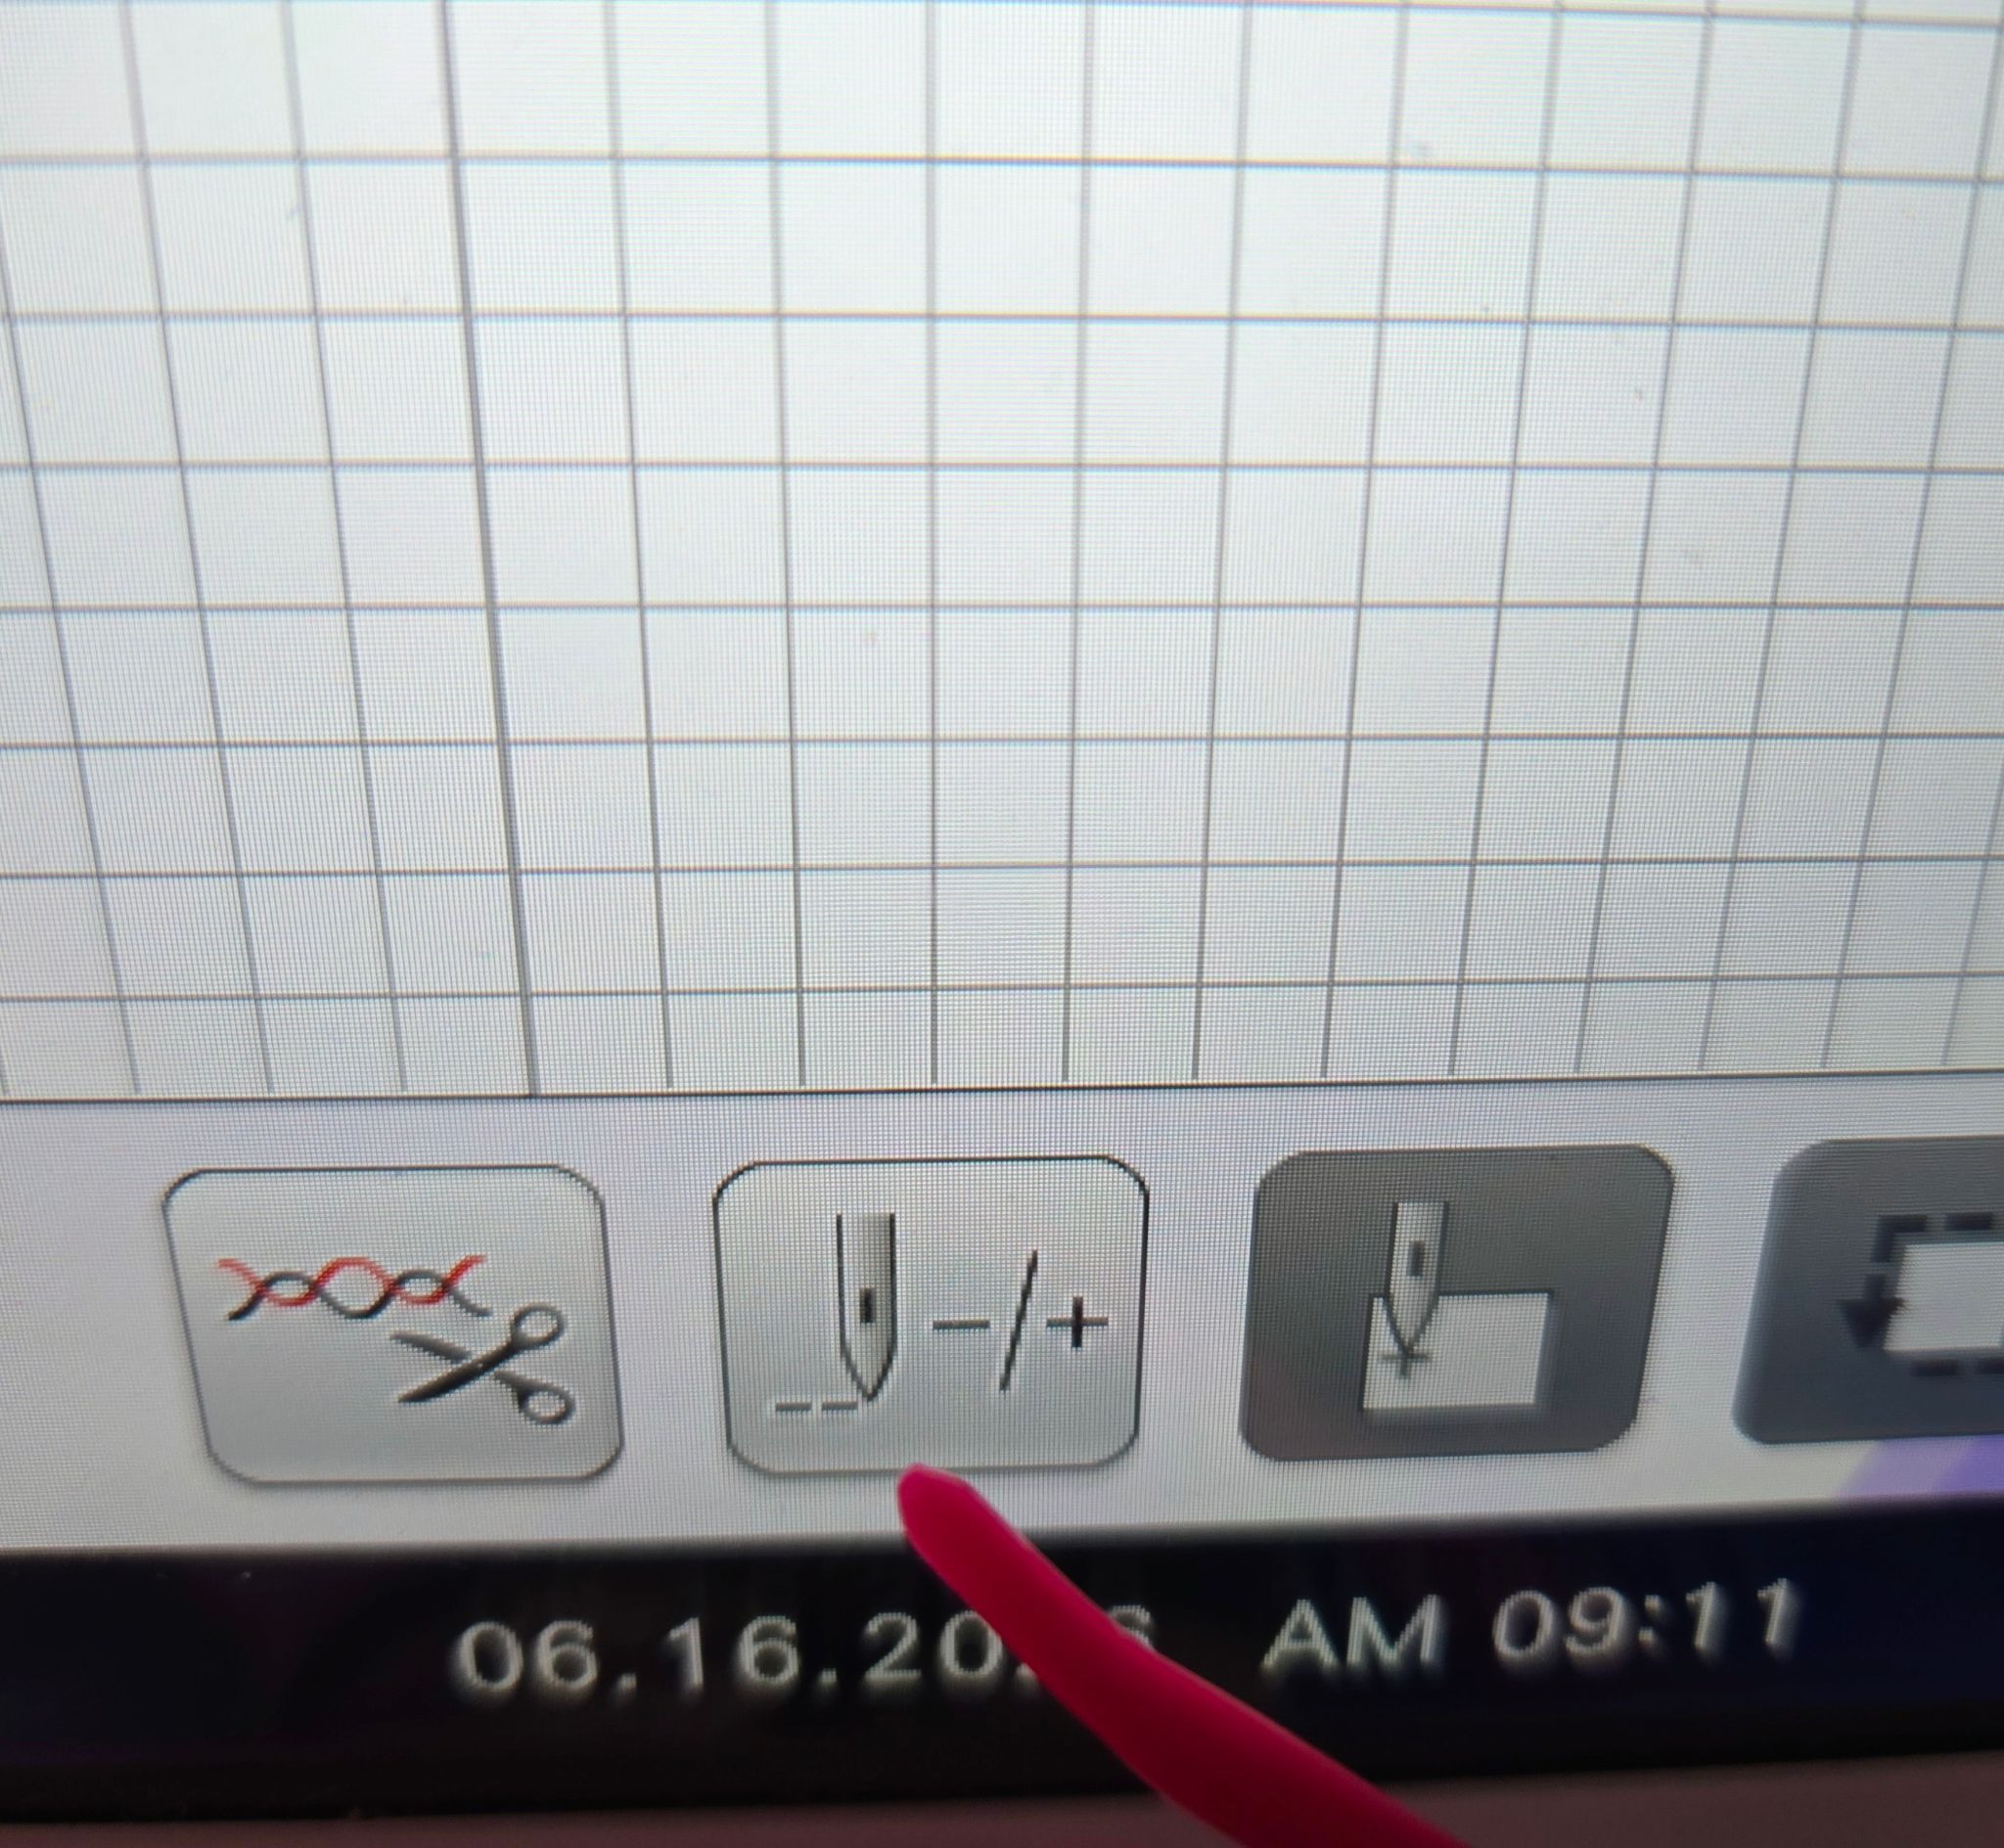
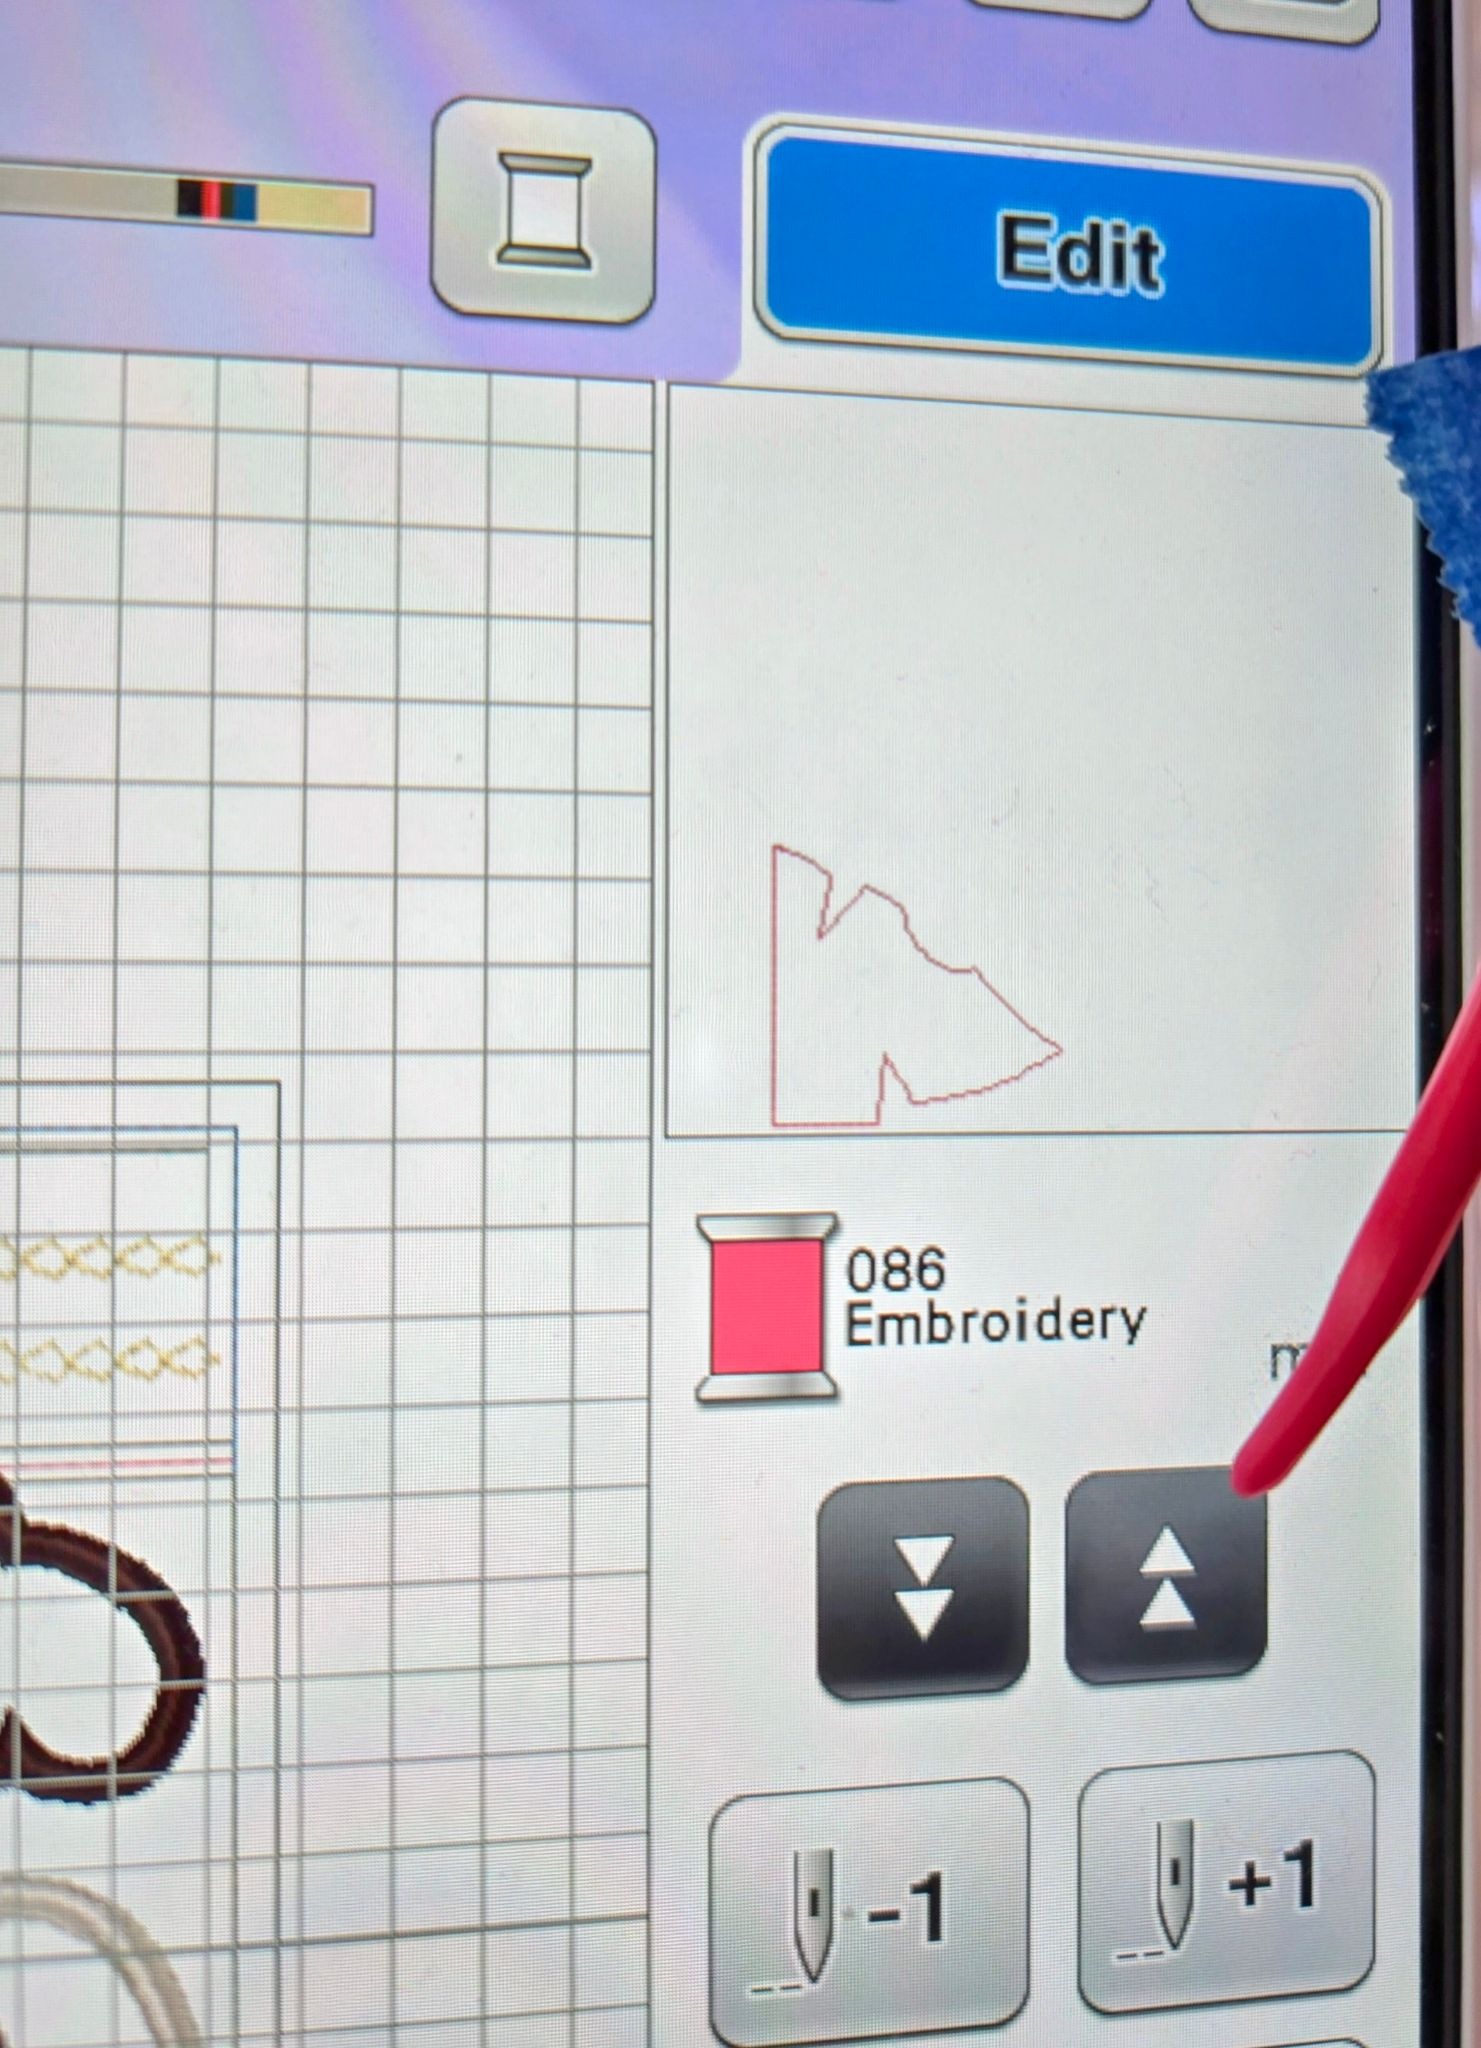
After you have pressed the -/+ icon, the next screen opens. Use these buttons every time you want to skip a step. I skipped steps until I got to the placement for the giraffe, skipping past the background and leaves. For the monkey I also needed to skip the top border part.
Once all the applique pieces are tacked down, remove your hoop from your machine (but not the design from the hoop!) and go back to your pressing surface to activate the Heat-n-Bond Lite with a light press. DO NOT use steam! Remember, we have a water-soluble stabilizer and steam will go through to the back and start removing the stabilizer. I used a press cloth over my applique pieces.

Now go back to your machine and finish embroidering your giraffe.
Next, I embroidered the monkey head. Using the same supplies, prepare your fabrics, hoop your magicMELT, and go have fun! The monkey has a border along the top of the block, but I skipped that and only embroidered the monkey.
With scissors, carefully cut around your appliques leaving a generous ⅛” of felt around the pieces. The monkey was in two pieces.
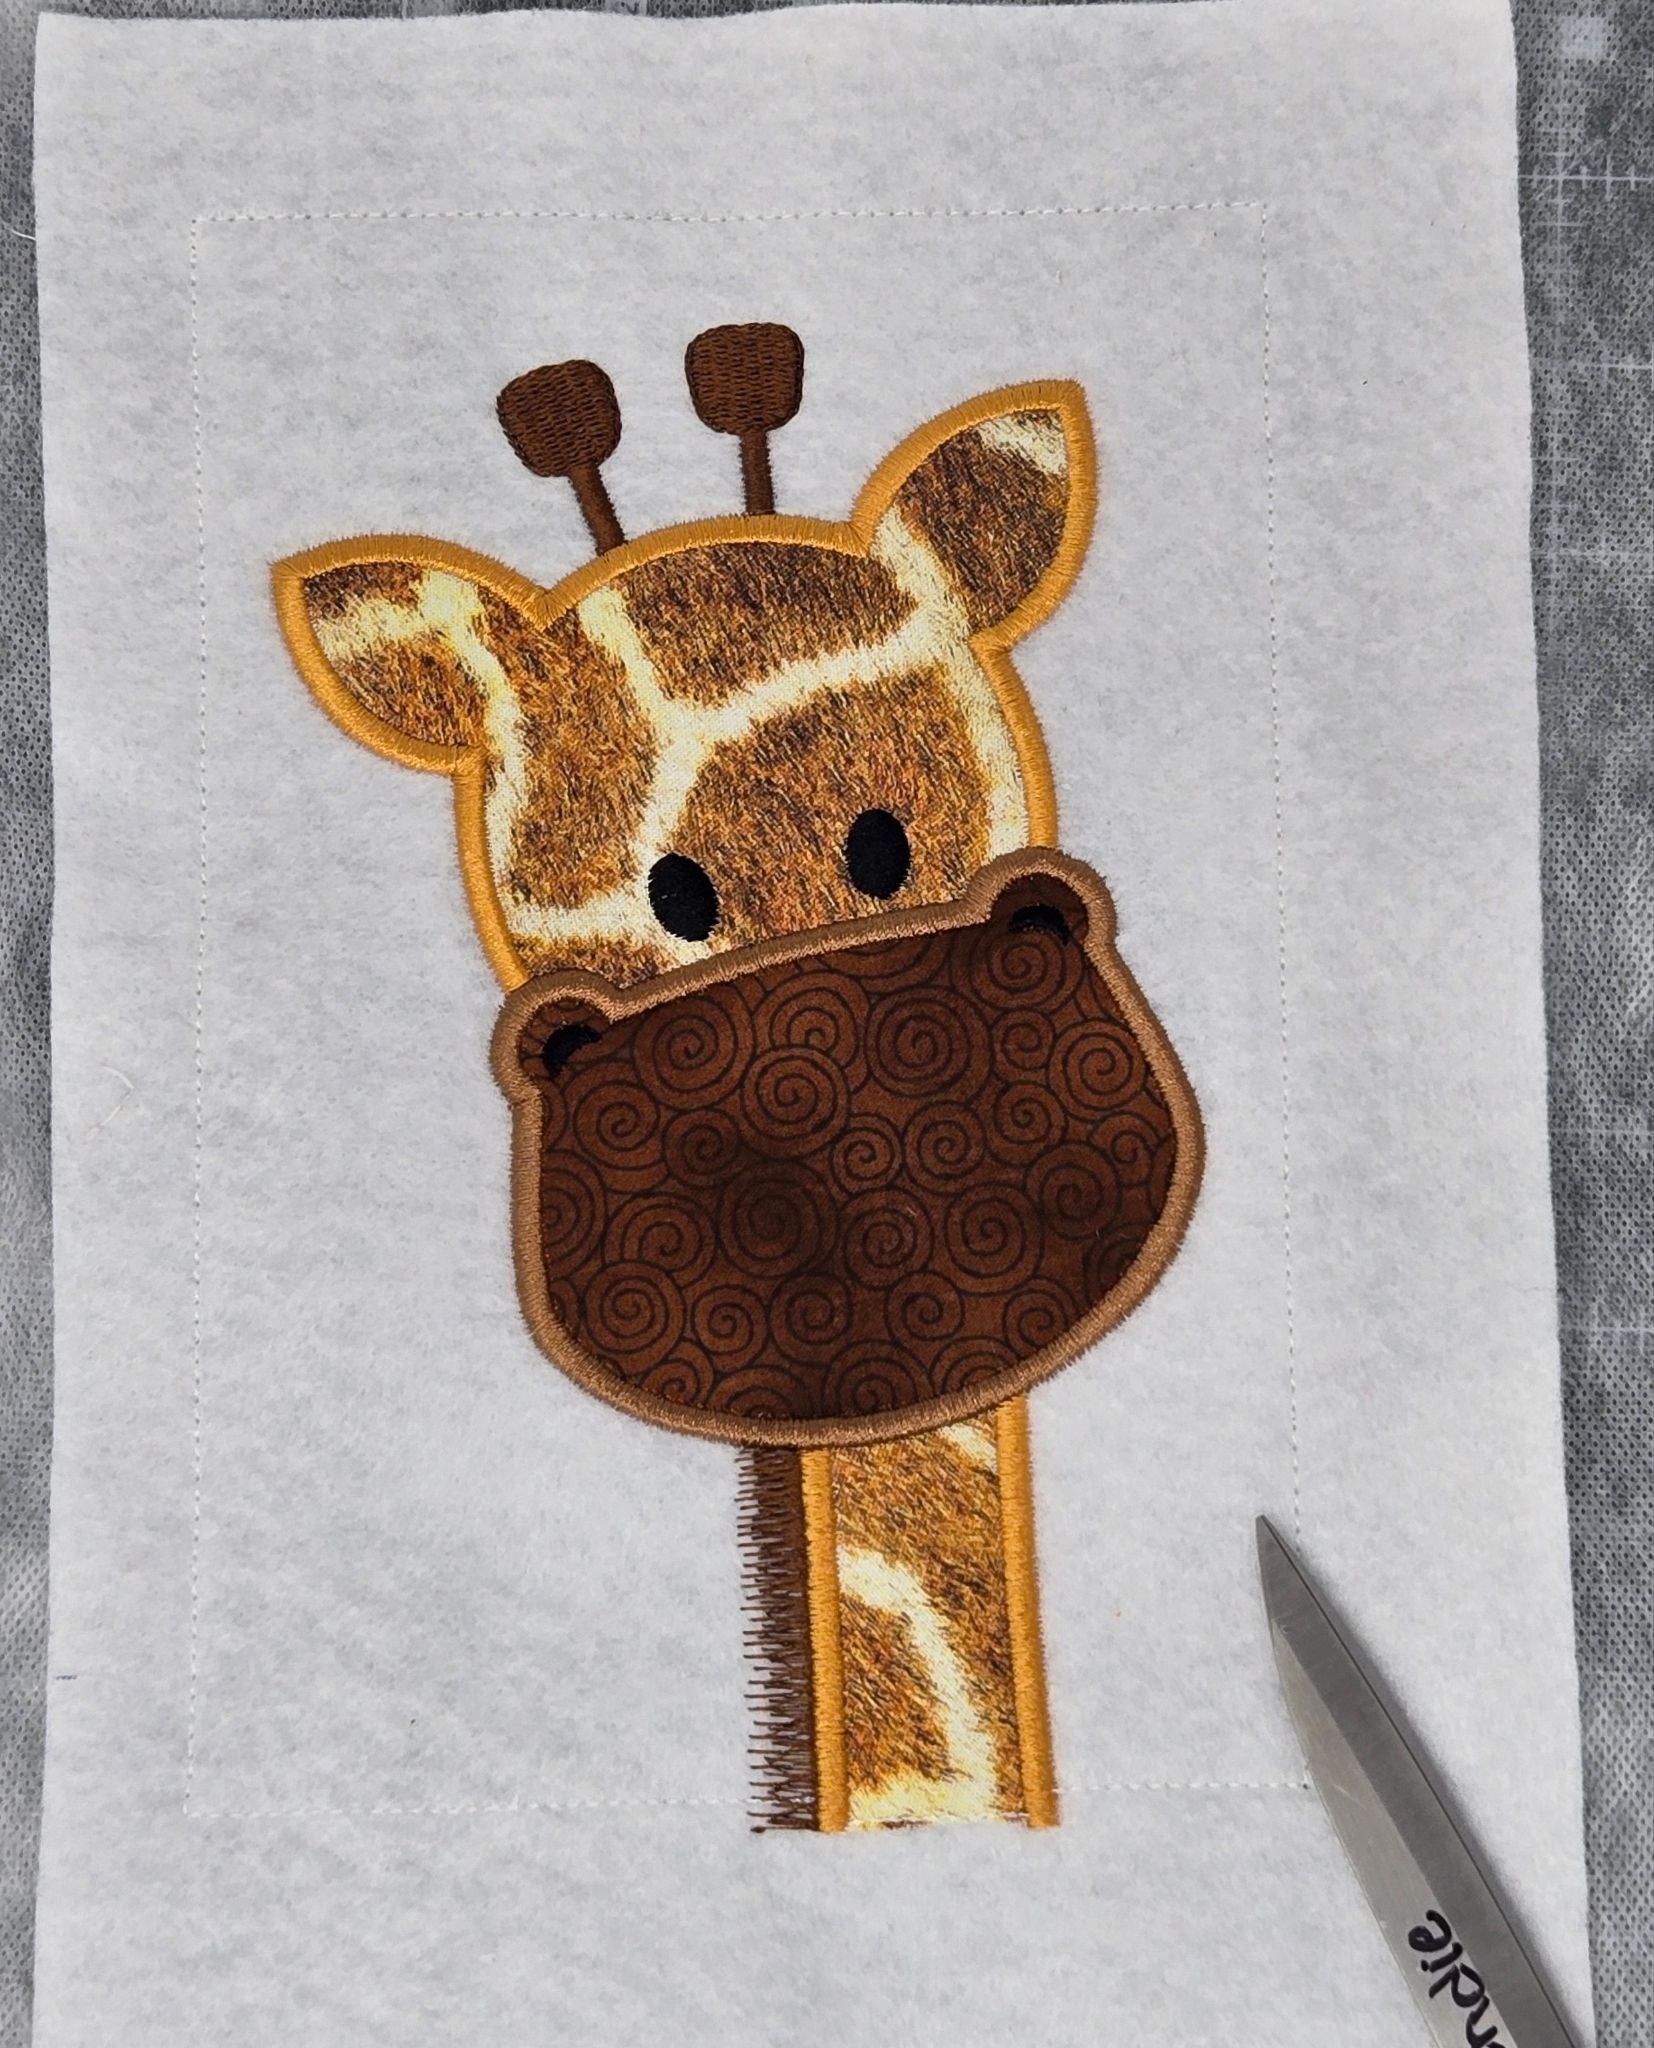
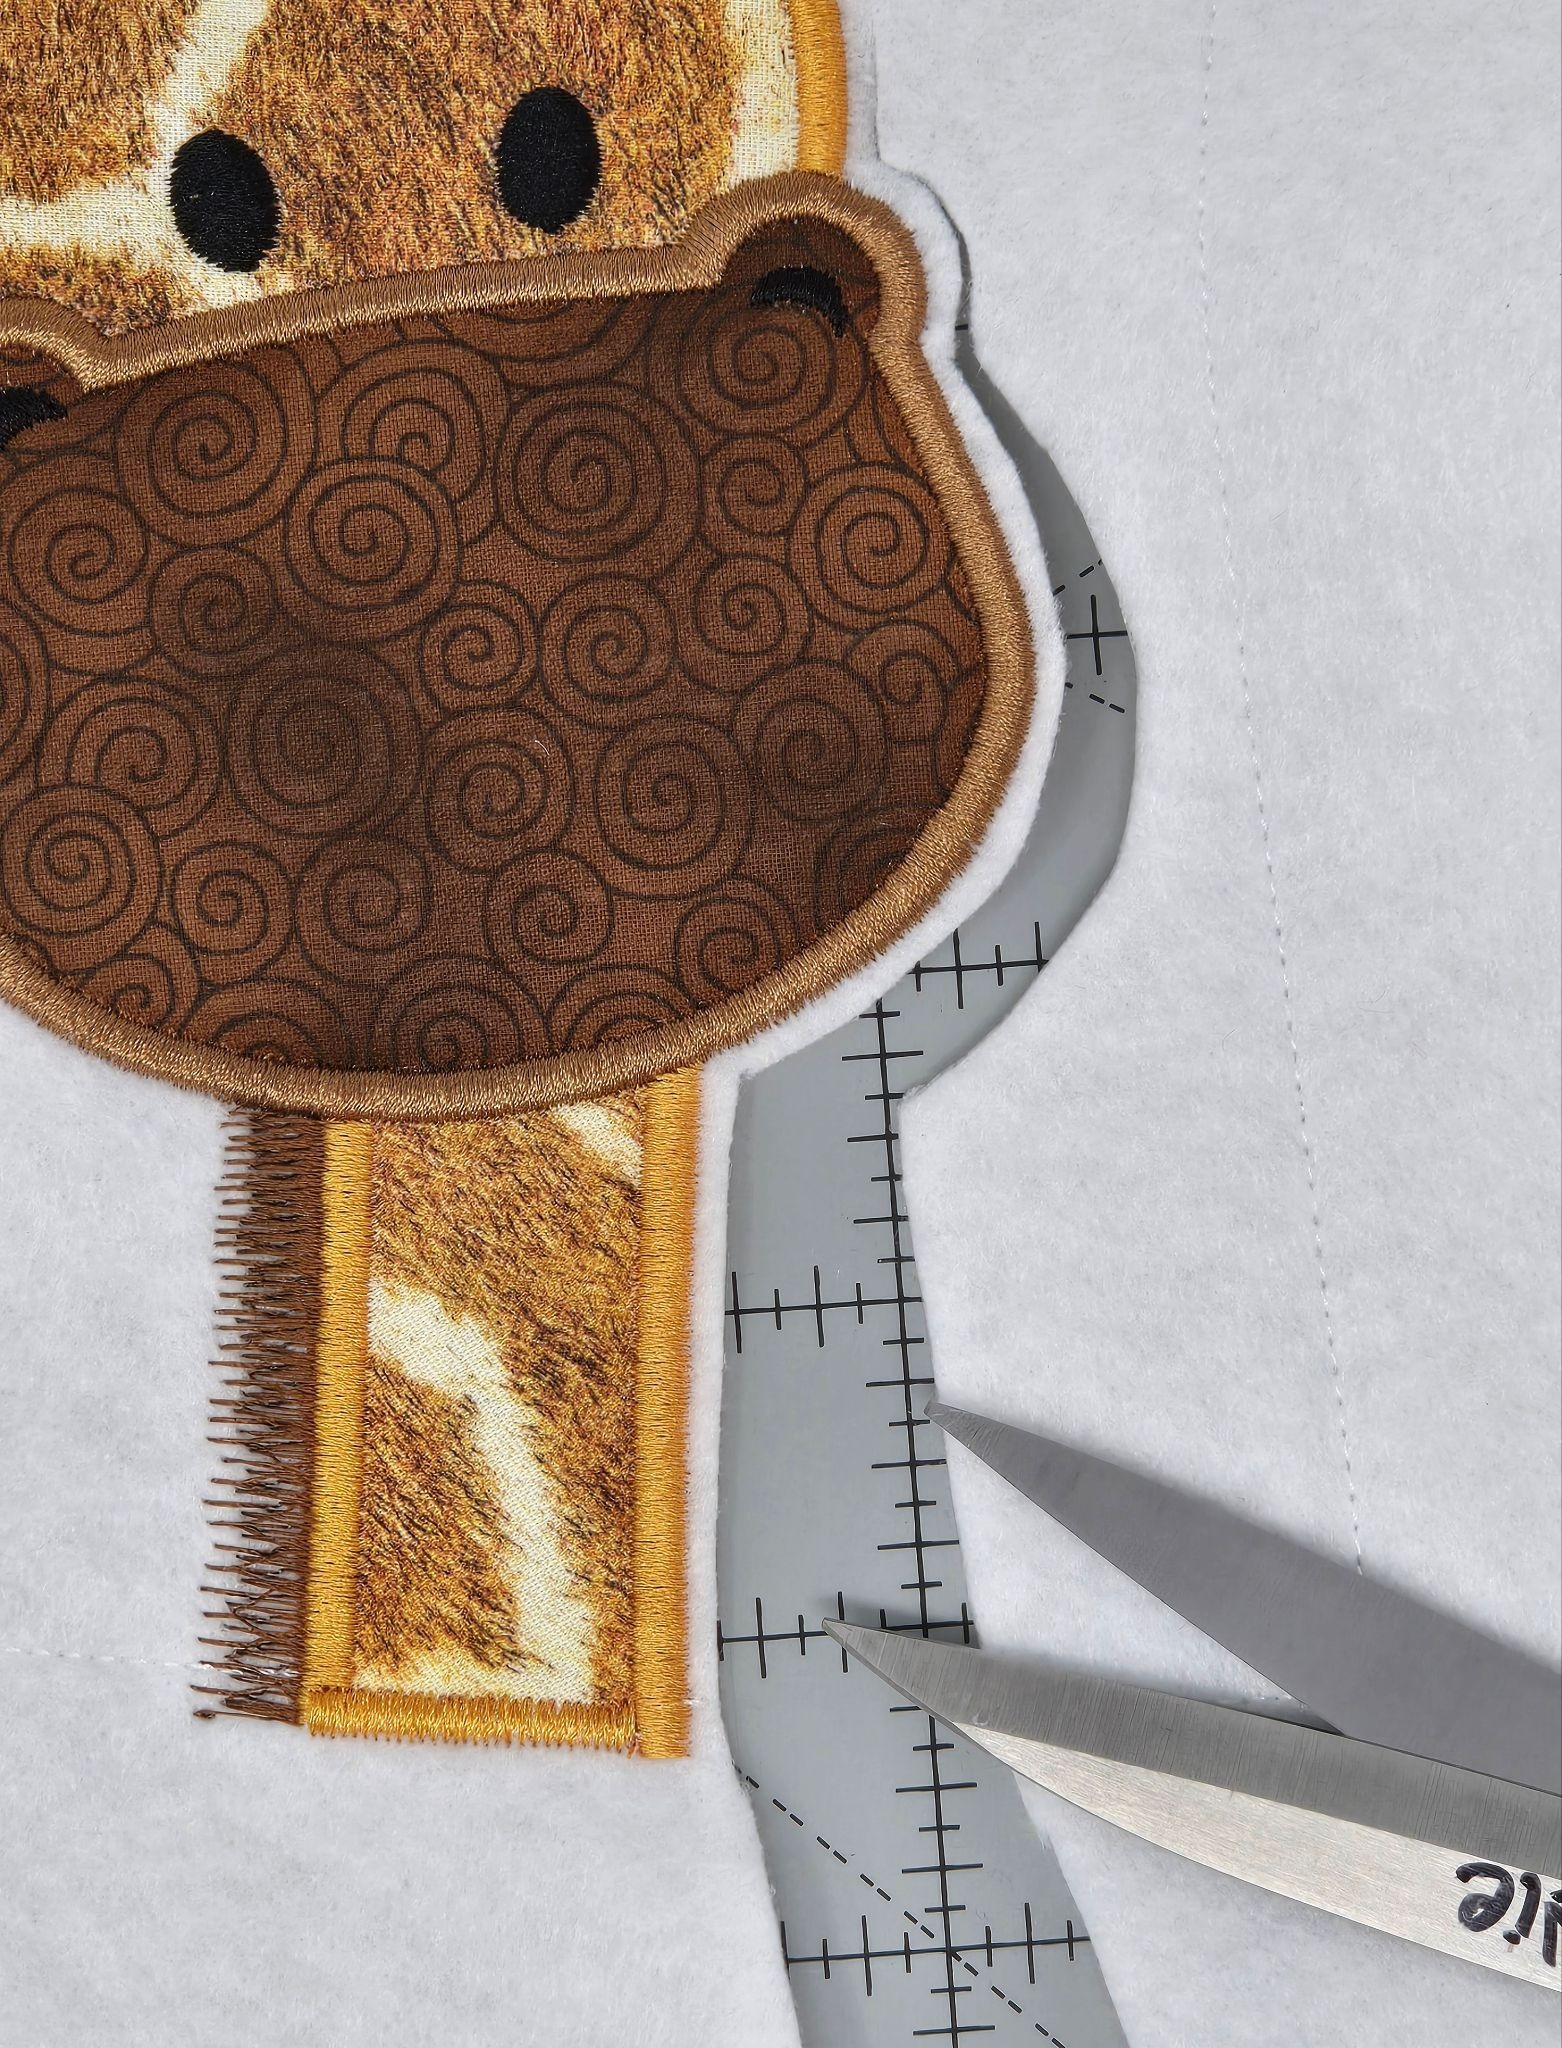
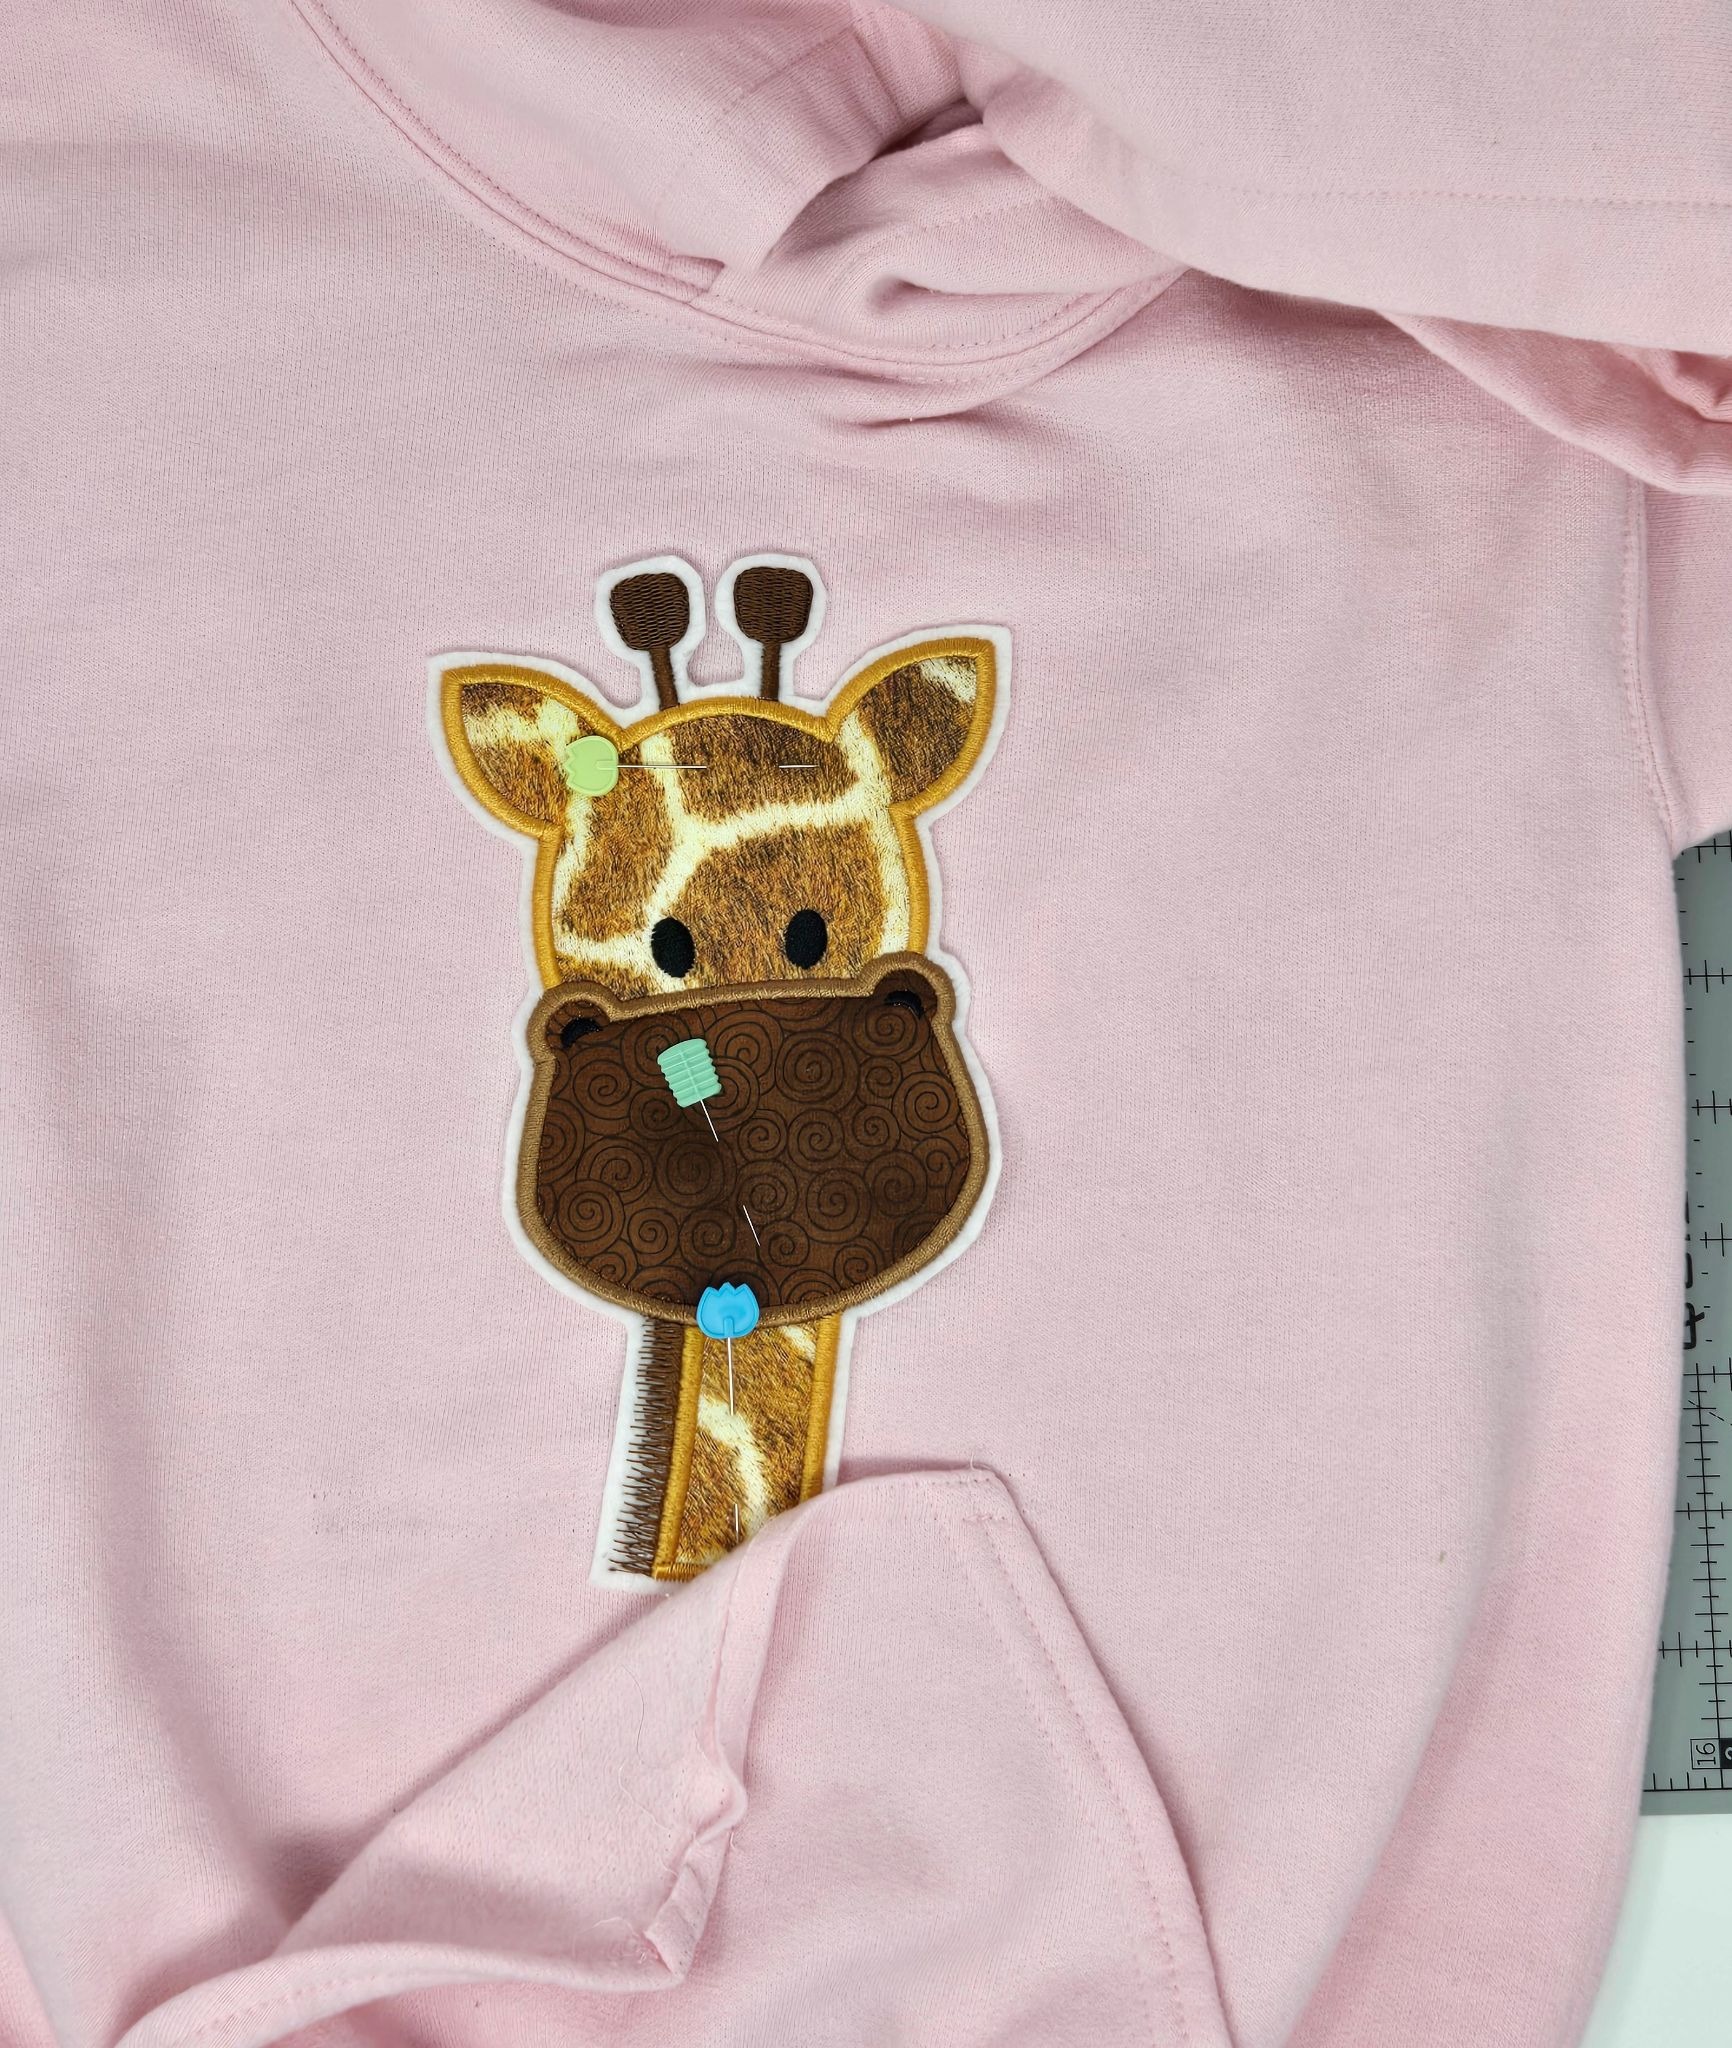
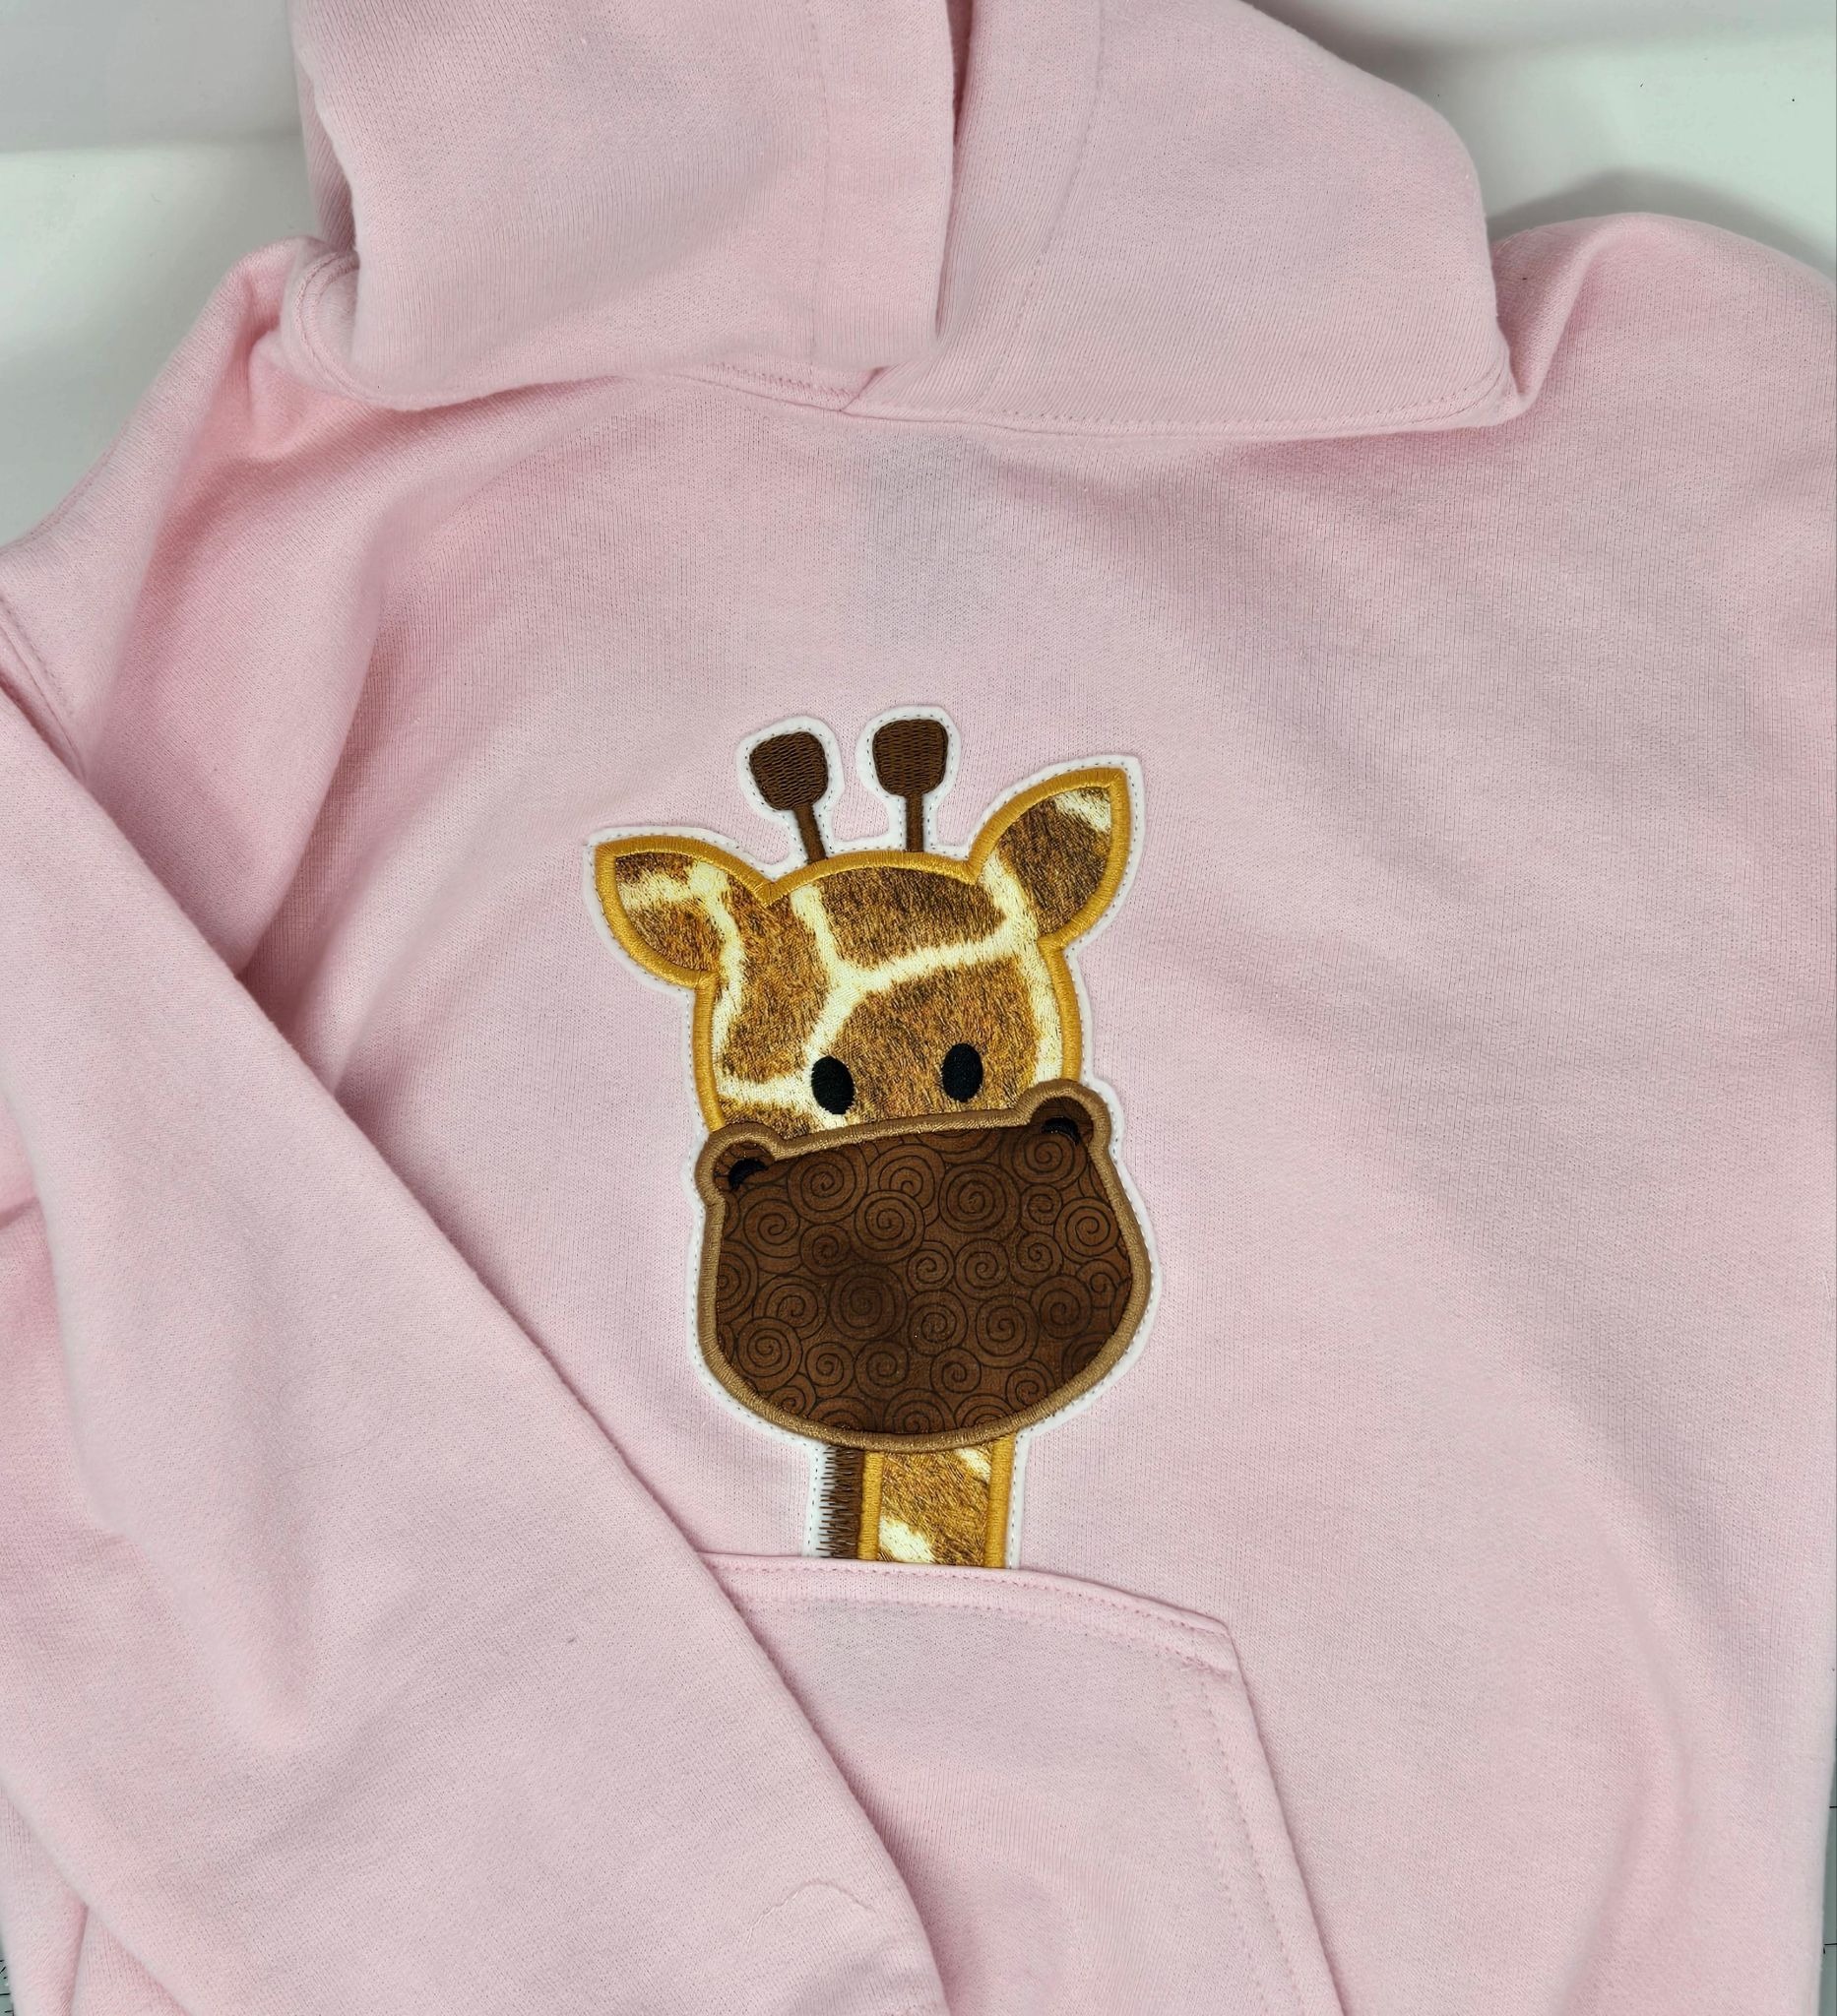
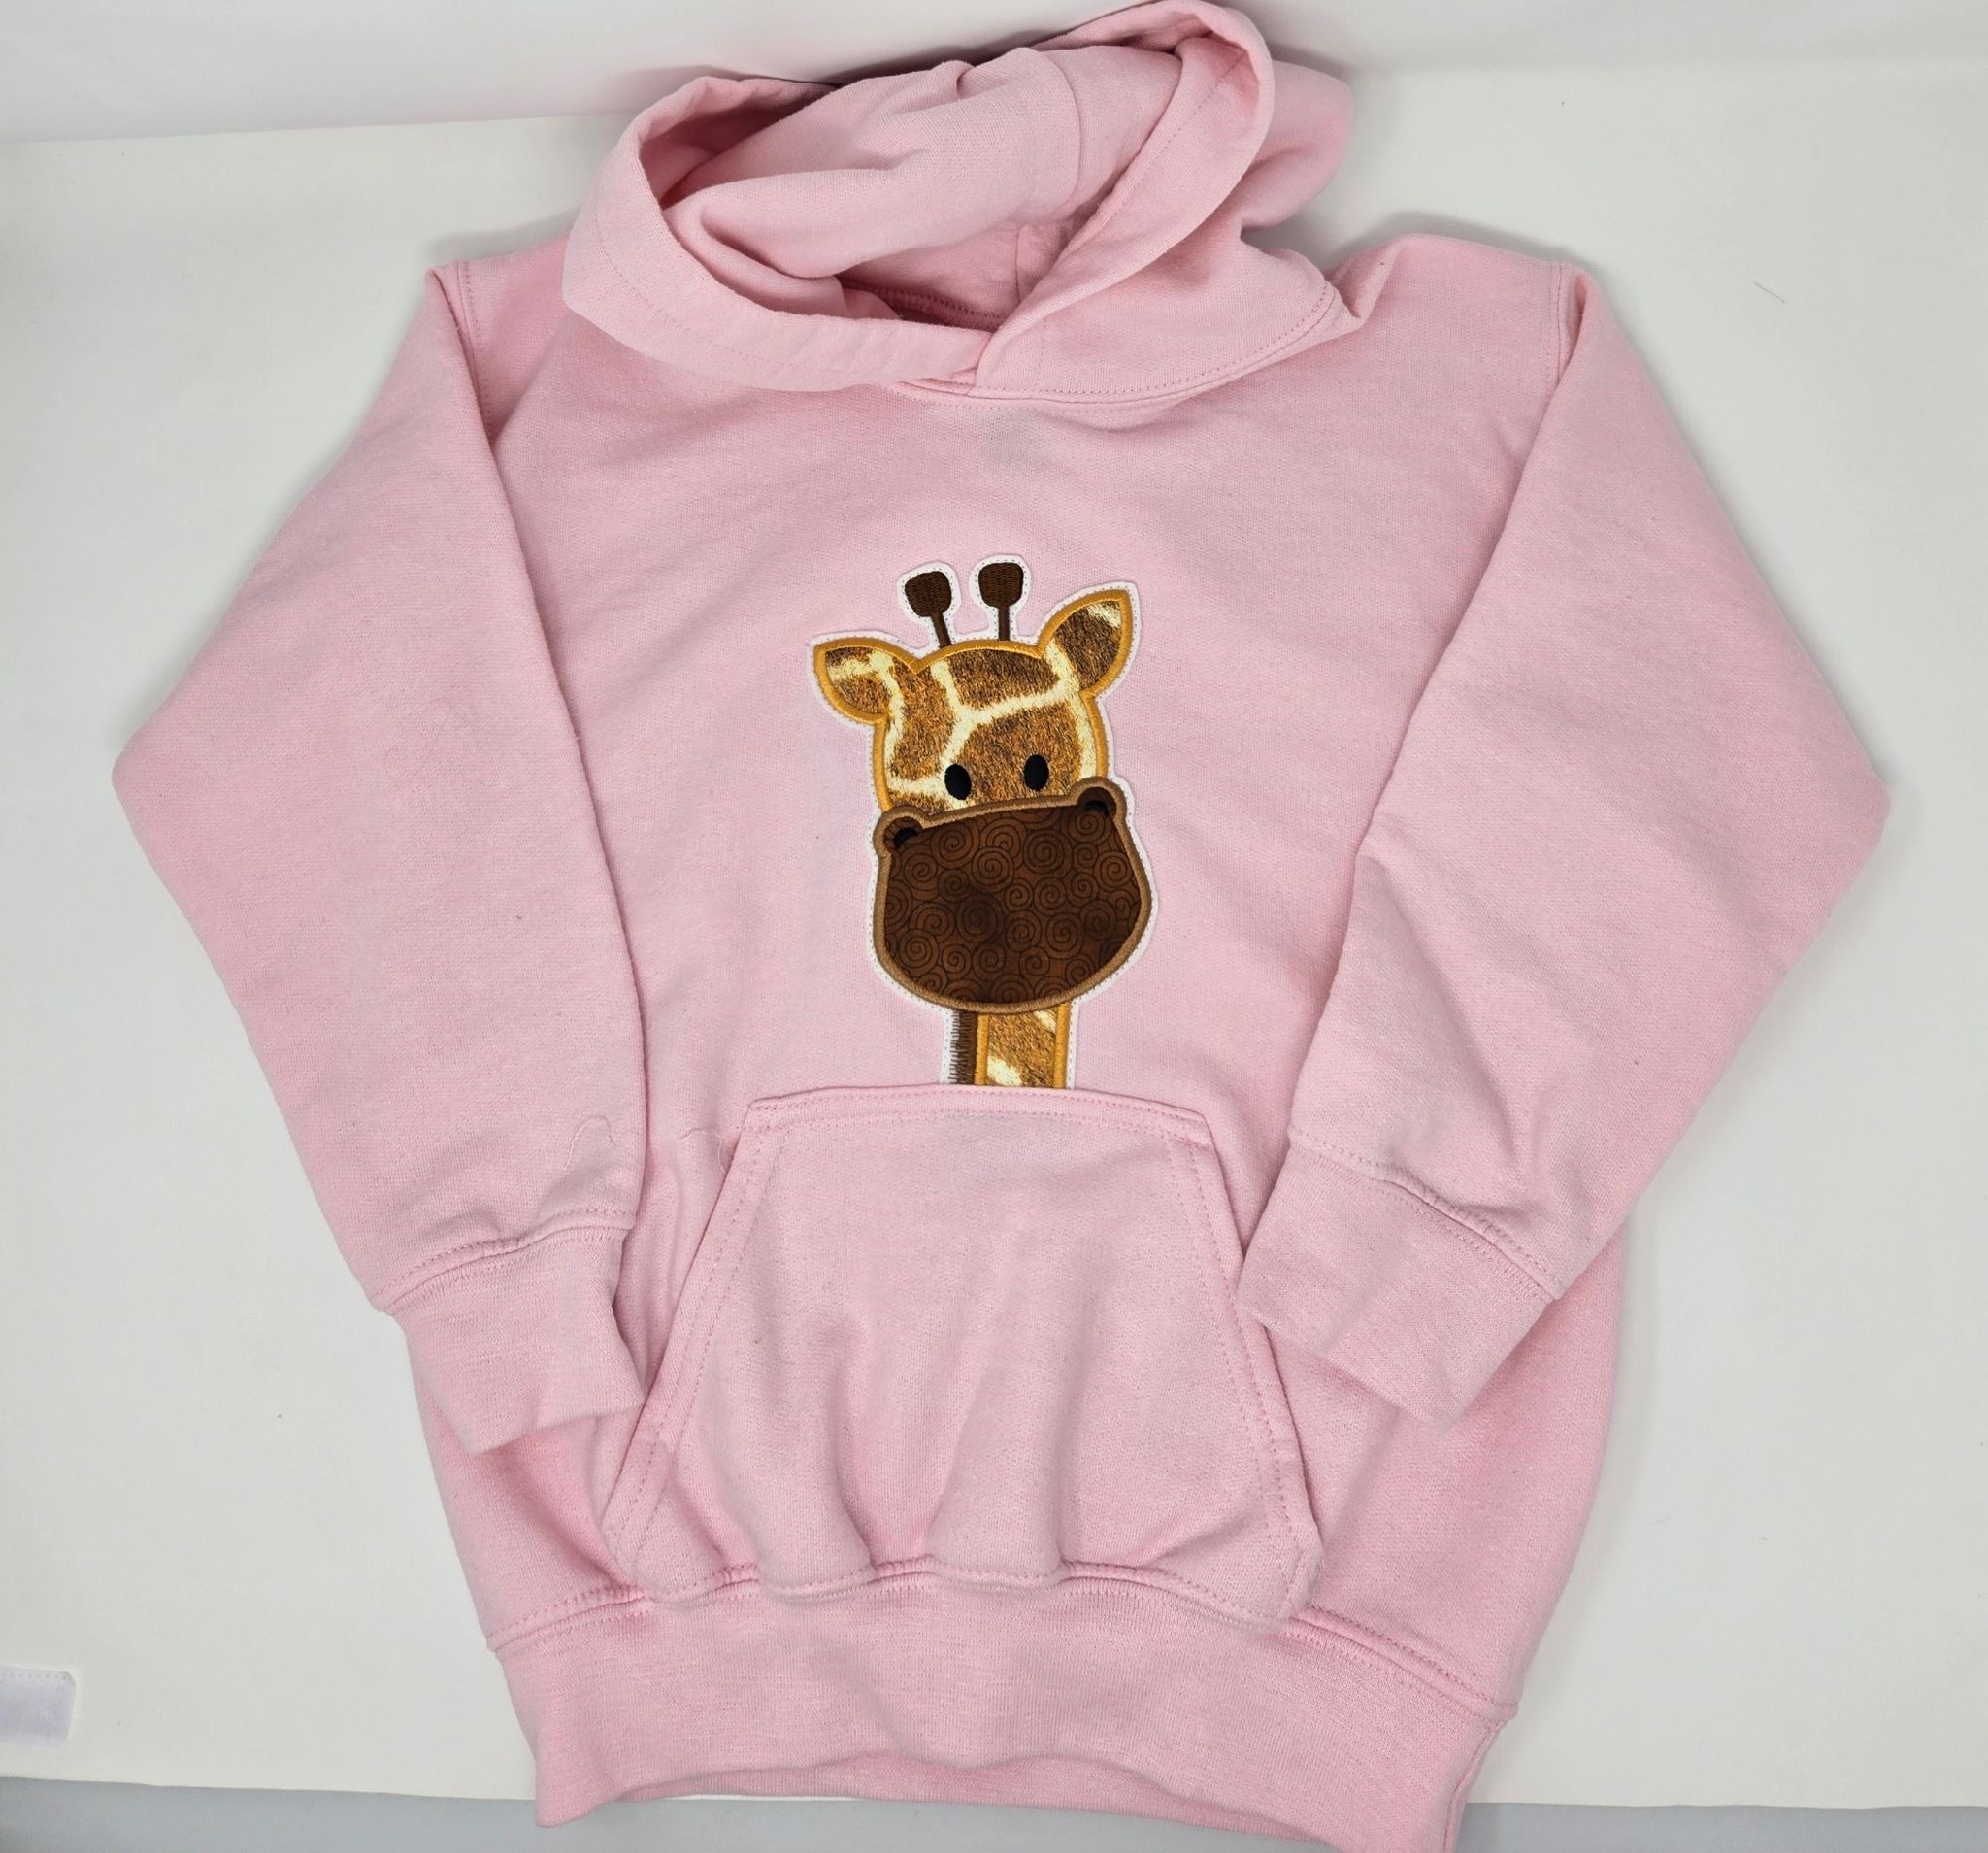
Trim around both of your appliques. For the giraffe, my plan was to open the pocket at the bottom of the sweatshirt and insert his neck. So I carefully removed the top pocket stitches and pinned my giraffe in place. I found the center of the sweatshirt by matching the shoulder and underarm seams and lightly pressing a fold in the center front. Unfortunately, you cannot see it in the photo—it really was a light press!
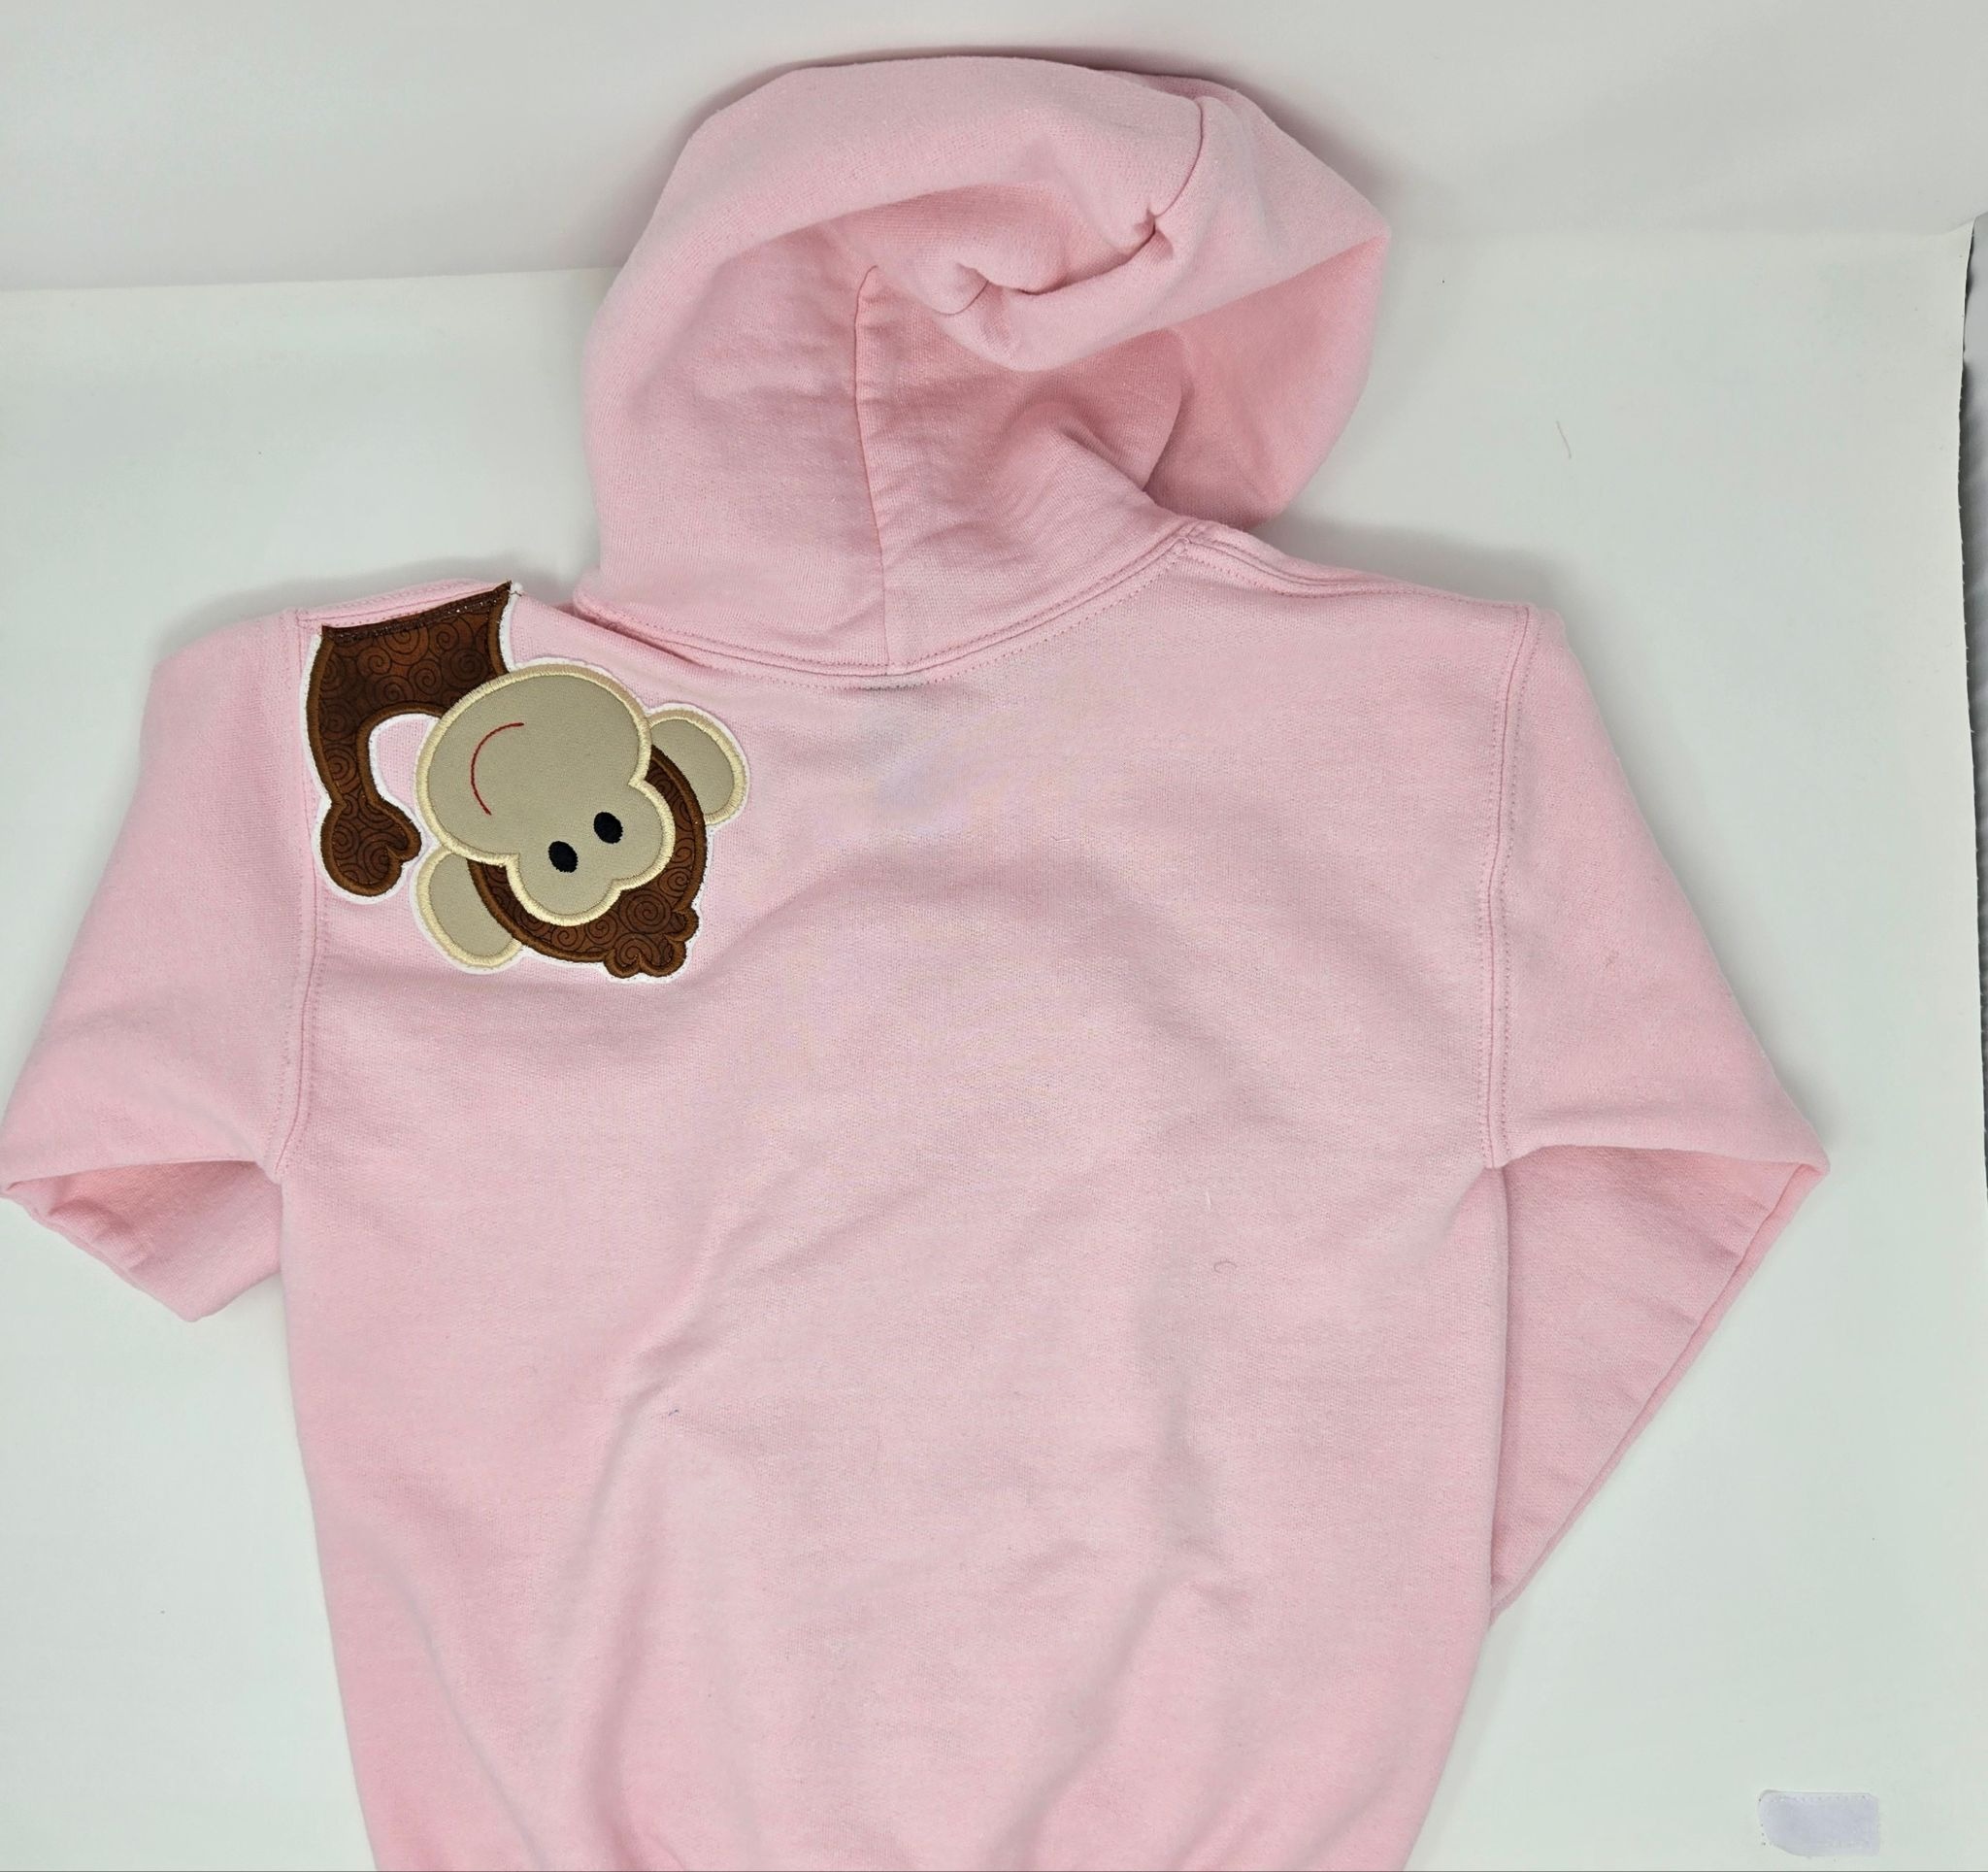
Since the monkey was going to be on top of the sweatshirt as opposed to being tucked into a seam, I used my sewing machine and a satin stitch to finish the bottom edge.
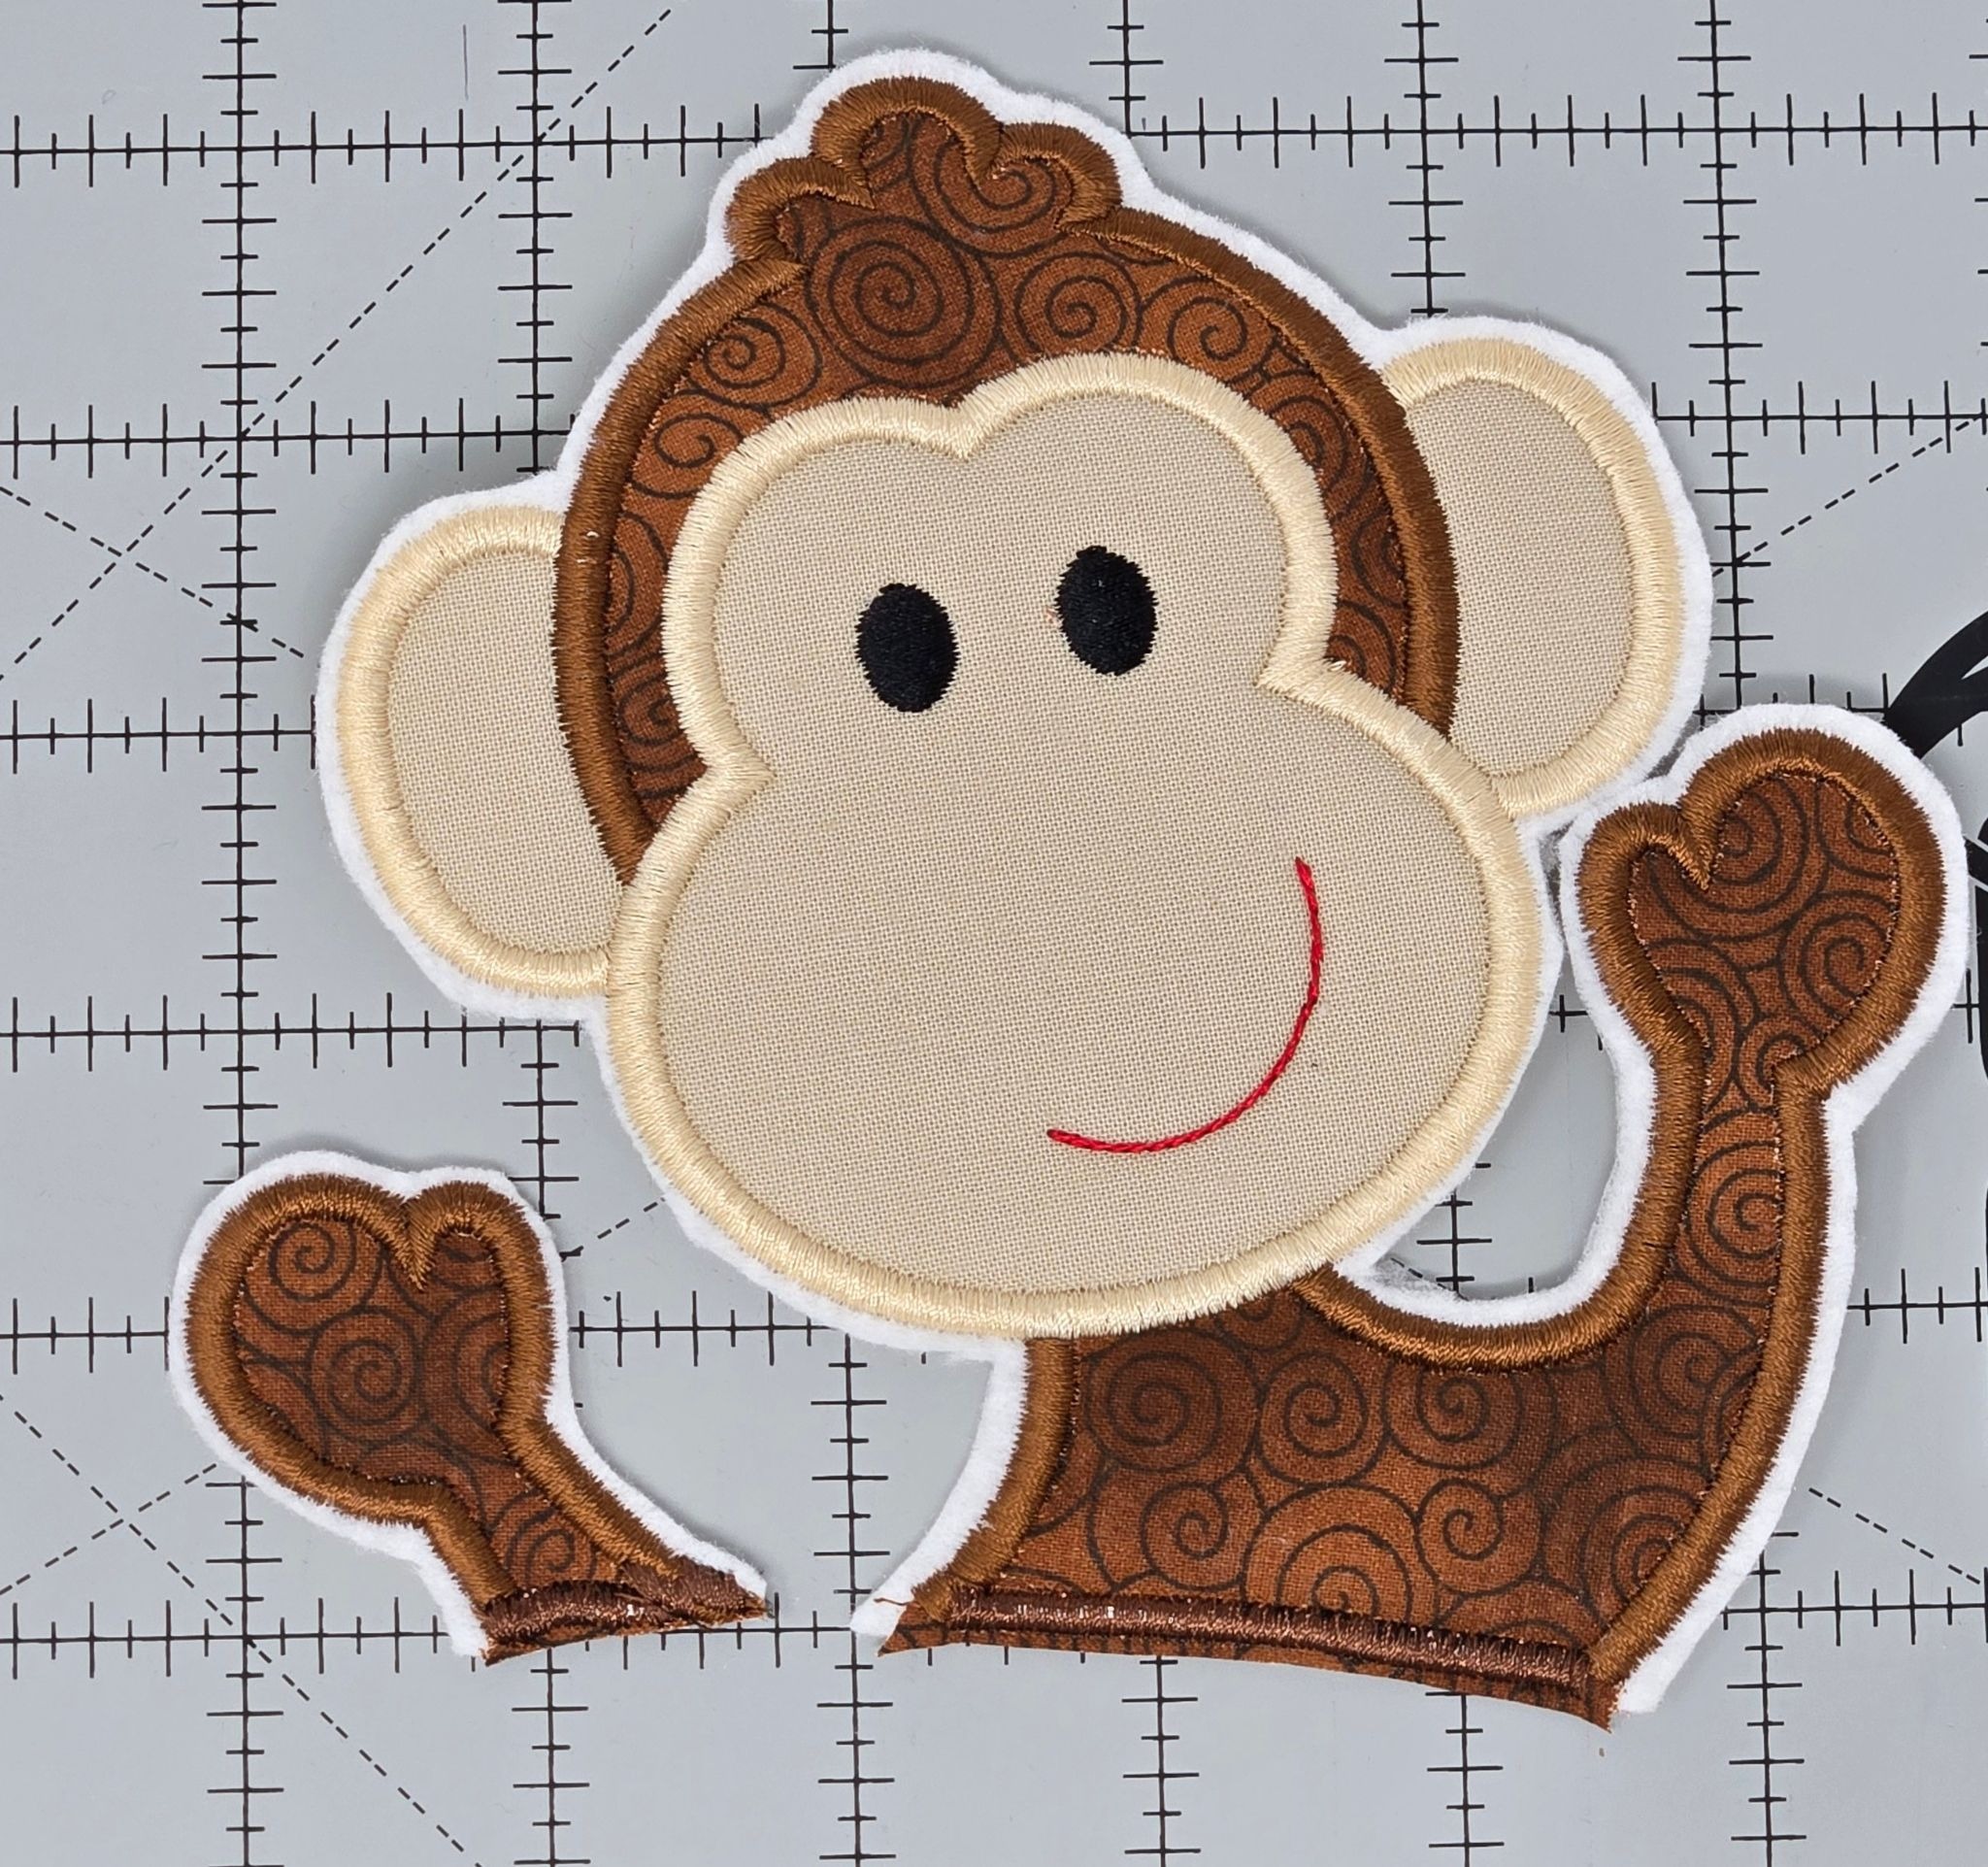
At my sewing machine, I used a white thread and a 3.0 mm stitch length to sew just outside the appliqued satin stitches. Take your time and sew slowly. I used an open-toe foot so I could see where I was stitching. I also did not use the monkey's right hand because it did not fit my small sweatshirt. I placed him looking over the back shoulder.

Once both appliques were stitched in place, I went back and changed to a light pink thread to sew the pocket top back into place.
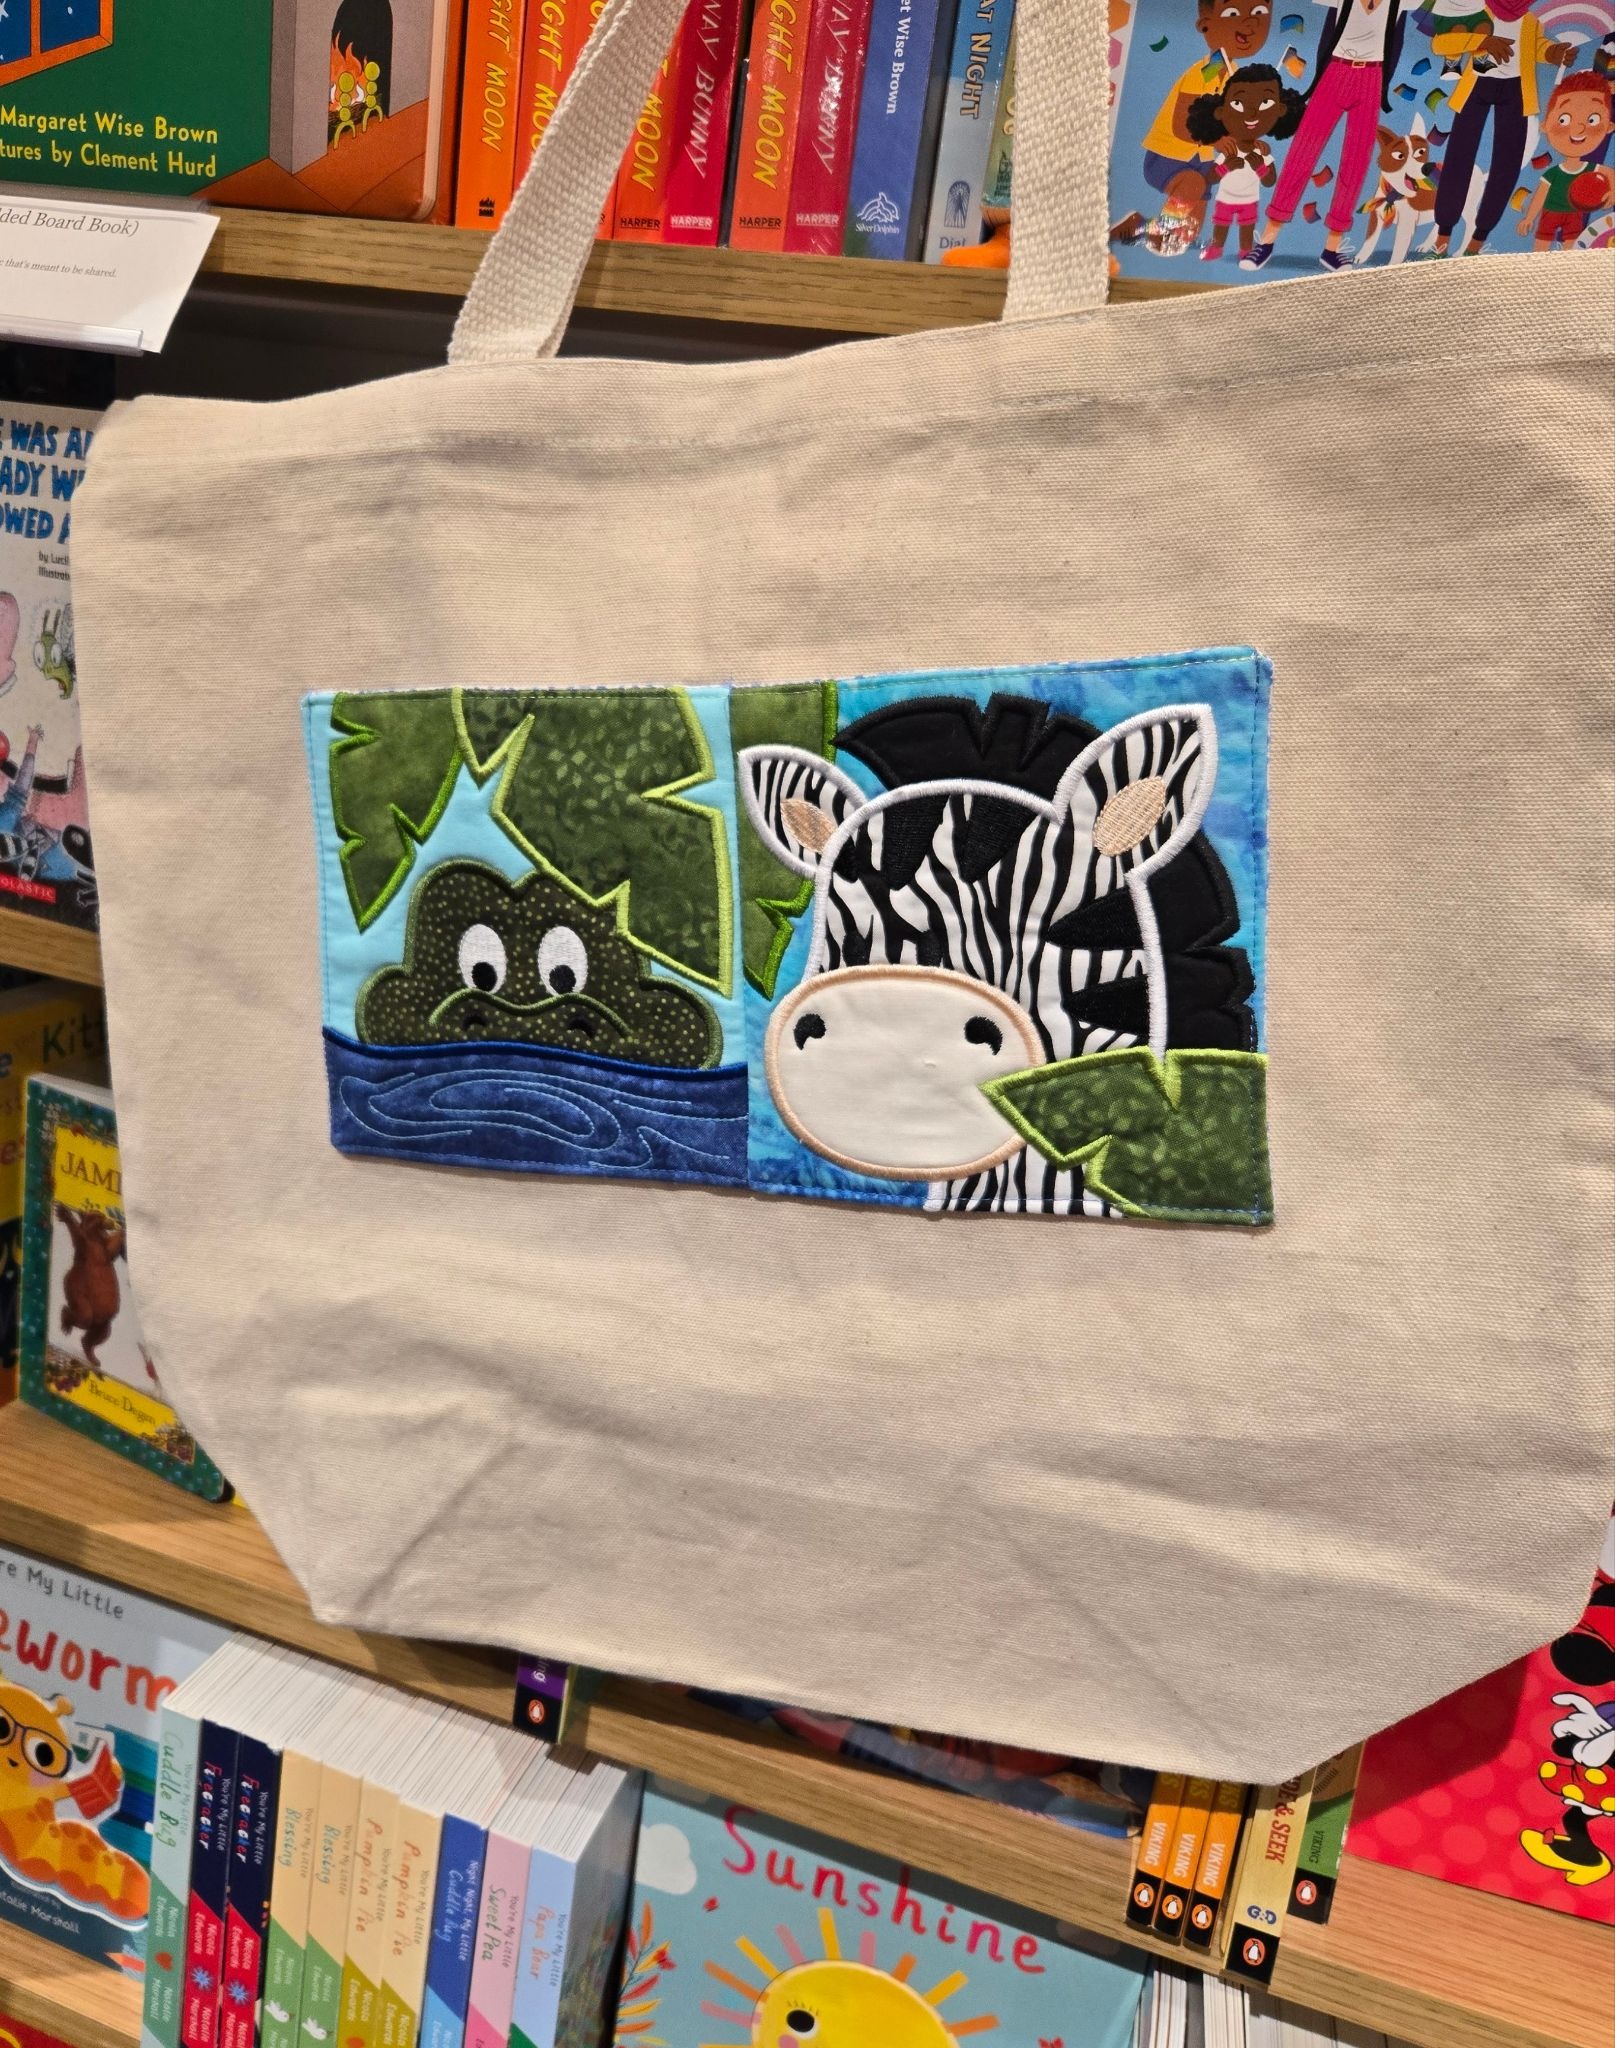
I purchased a large, ready-made canvas tote for my grandkids to use as a library bag. Summer reading programs are in full swing and when both kids can check out ten books, a good tote is a necessity! I wanted to add a couple outside pockets for keys and a cell phone so those items wouldn’t get lost in with the books.
Once again gather your supplies, cutting the applique shapes according to the instructions that came with the file. I chose the 6x10 hoop size again. This time, I went with the gator and the zebra. You could make the appliques the same way you would make the quilt blocks, just skipping the steps for the borders. loftySOFT batting would be perfect, or you can use Pellon Fusible Fleece. After I took my photo, I switched to the fleece to help make the pocket sturdier. I also added fuseEZ to the back of my applique fabrics.
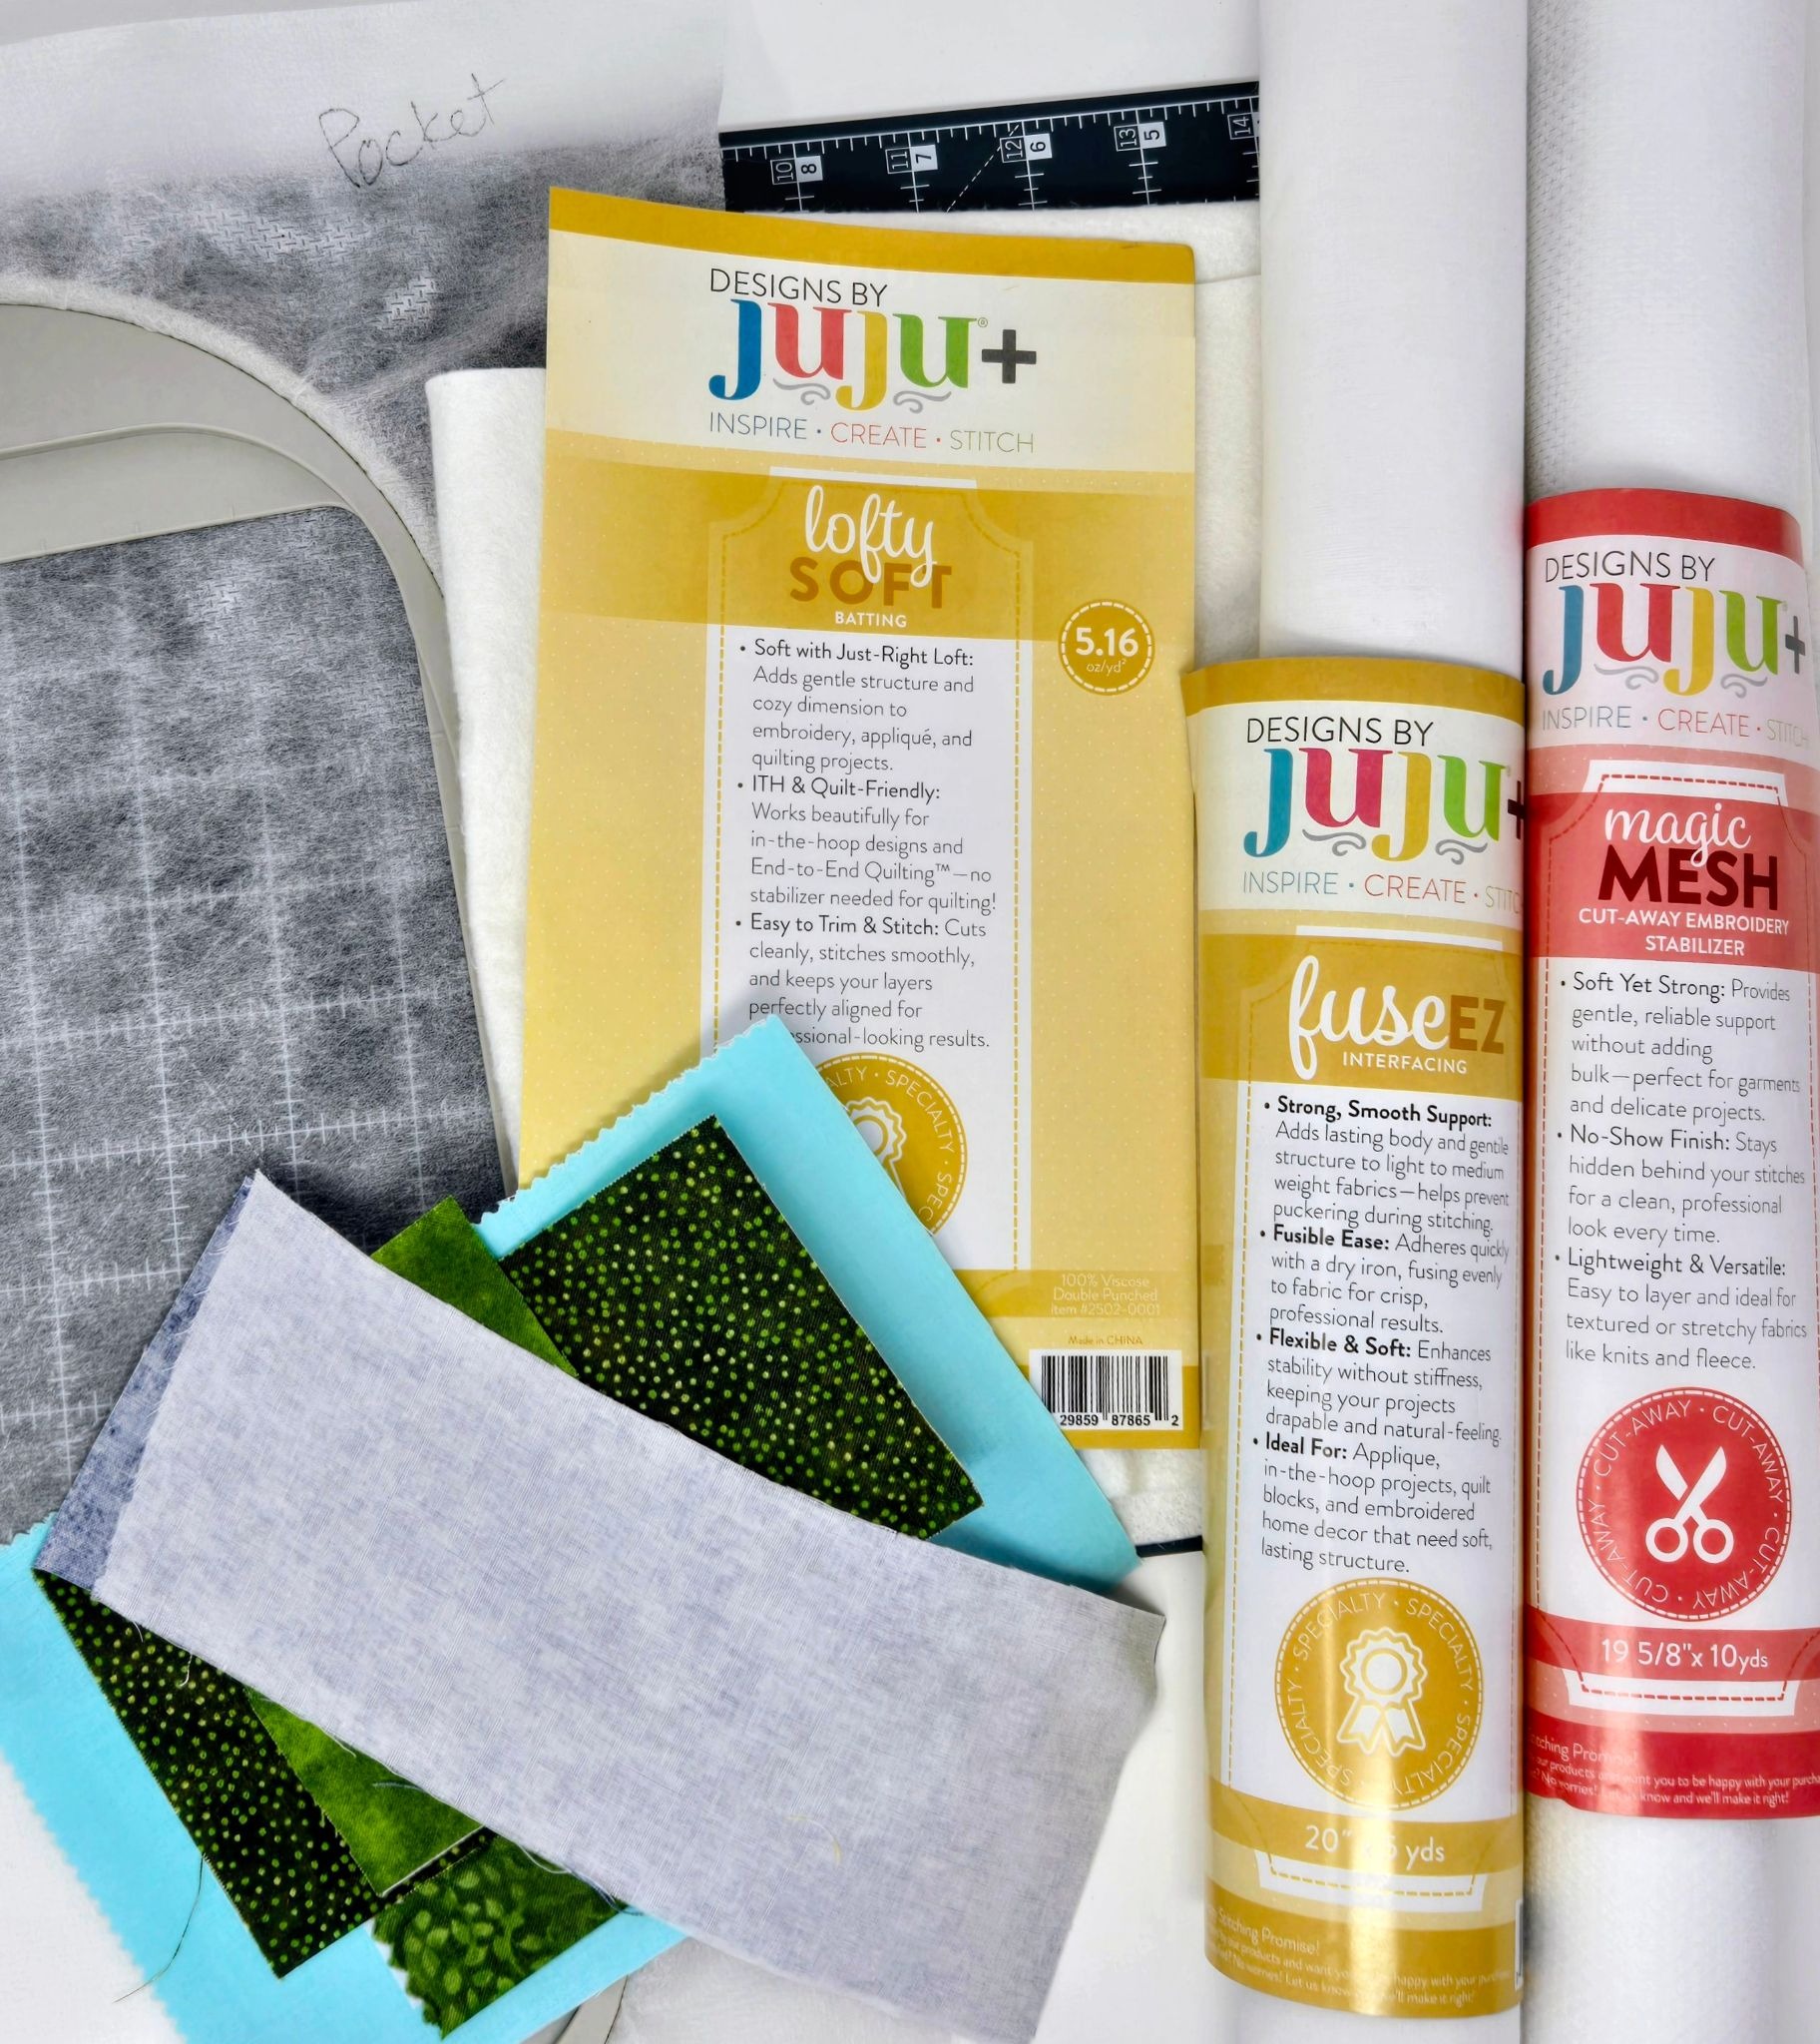
At my machine I ran the steps to place and tack down the batting/fleece (with bumpy side up), then I added each applique. Leave ample seam allowance outside each applique on all four sides. I left a little over ½”. Before doing the satin stitching, I went to my iron and pressed the appliques to the fusible fleece. I skipped the top and bottom border steps for each. Use a non-stick pressing sheet to cover the fleece that does not have any appliques attached so you don’t gum up your iron.
After finishing the embroidery on the animals, I trimmed the fleece from the seam allowances and trimmed each block, leaving a ½” seam allowance.
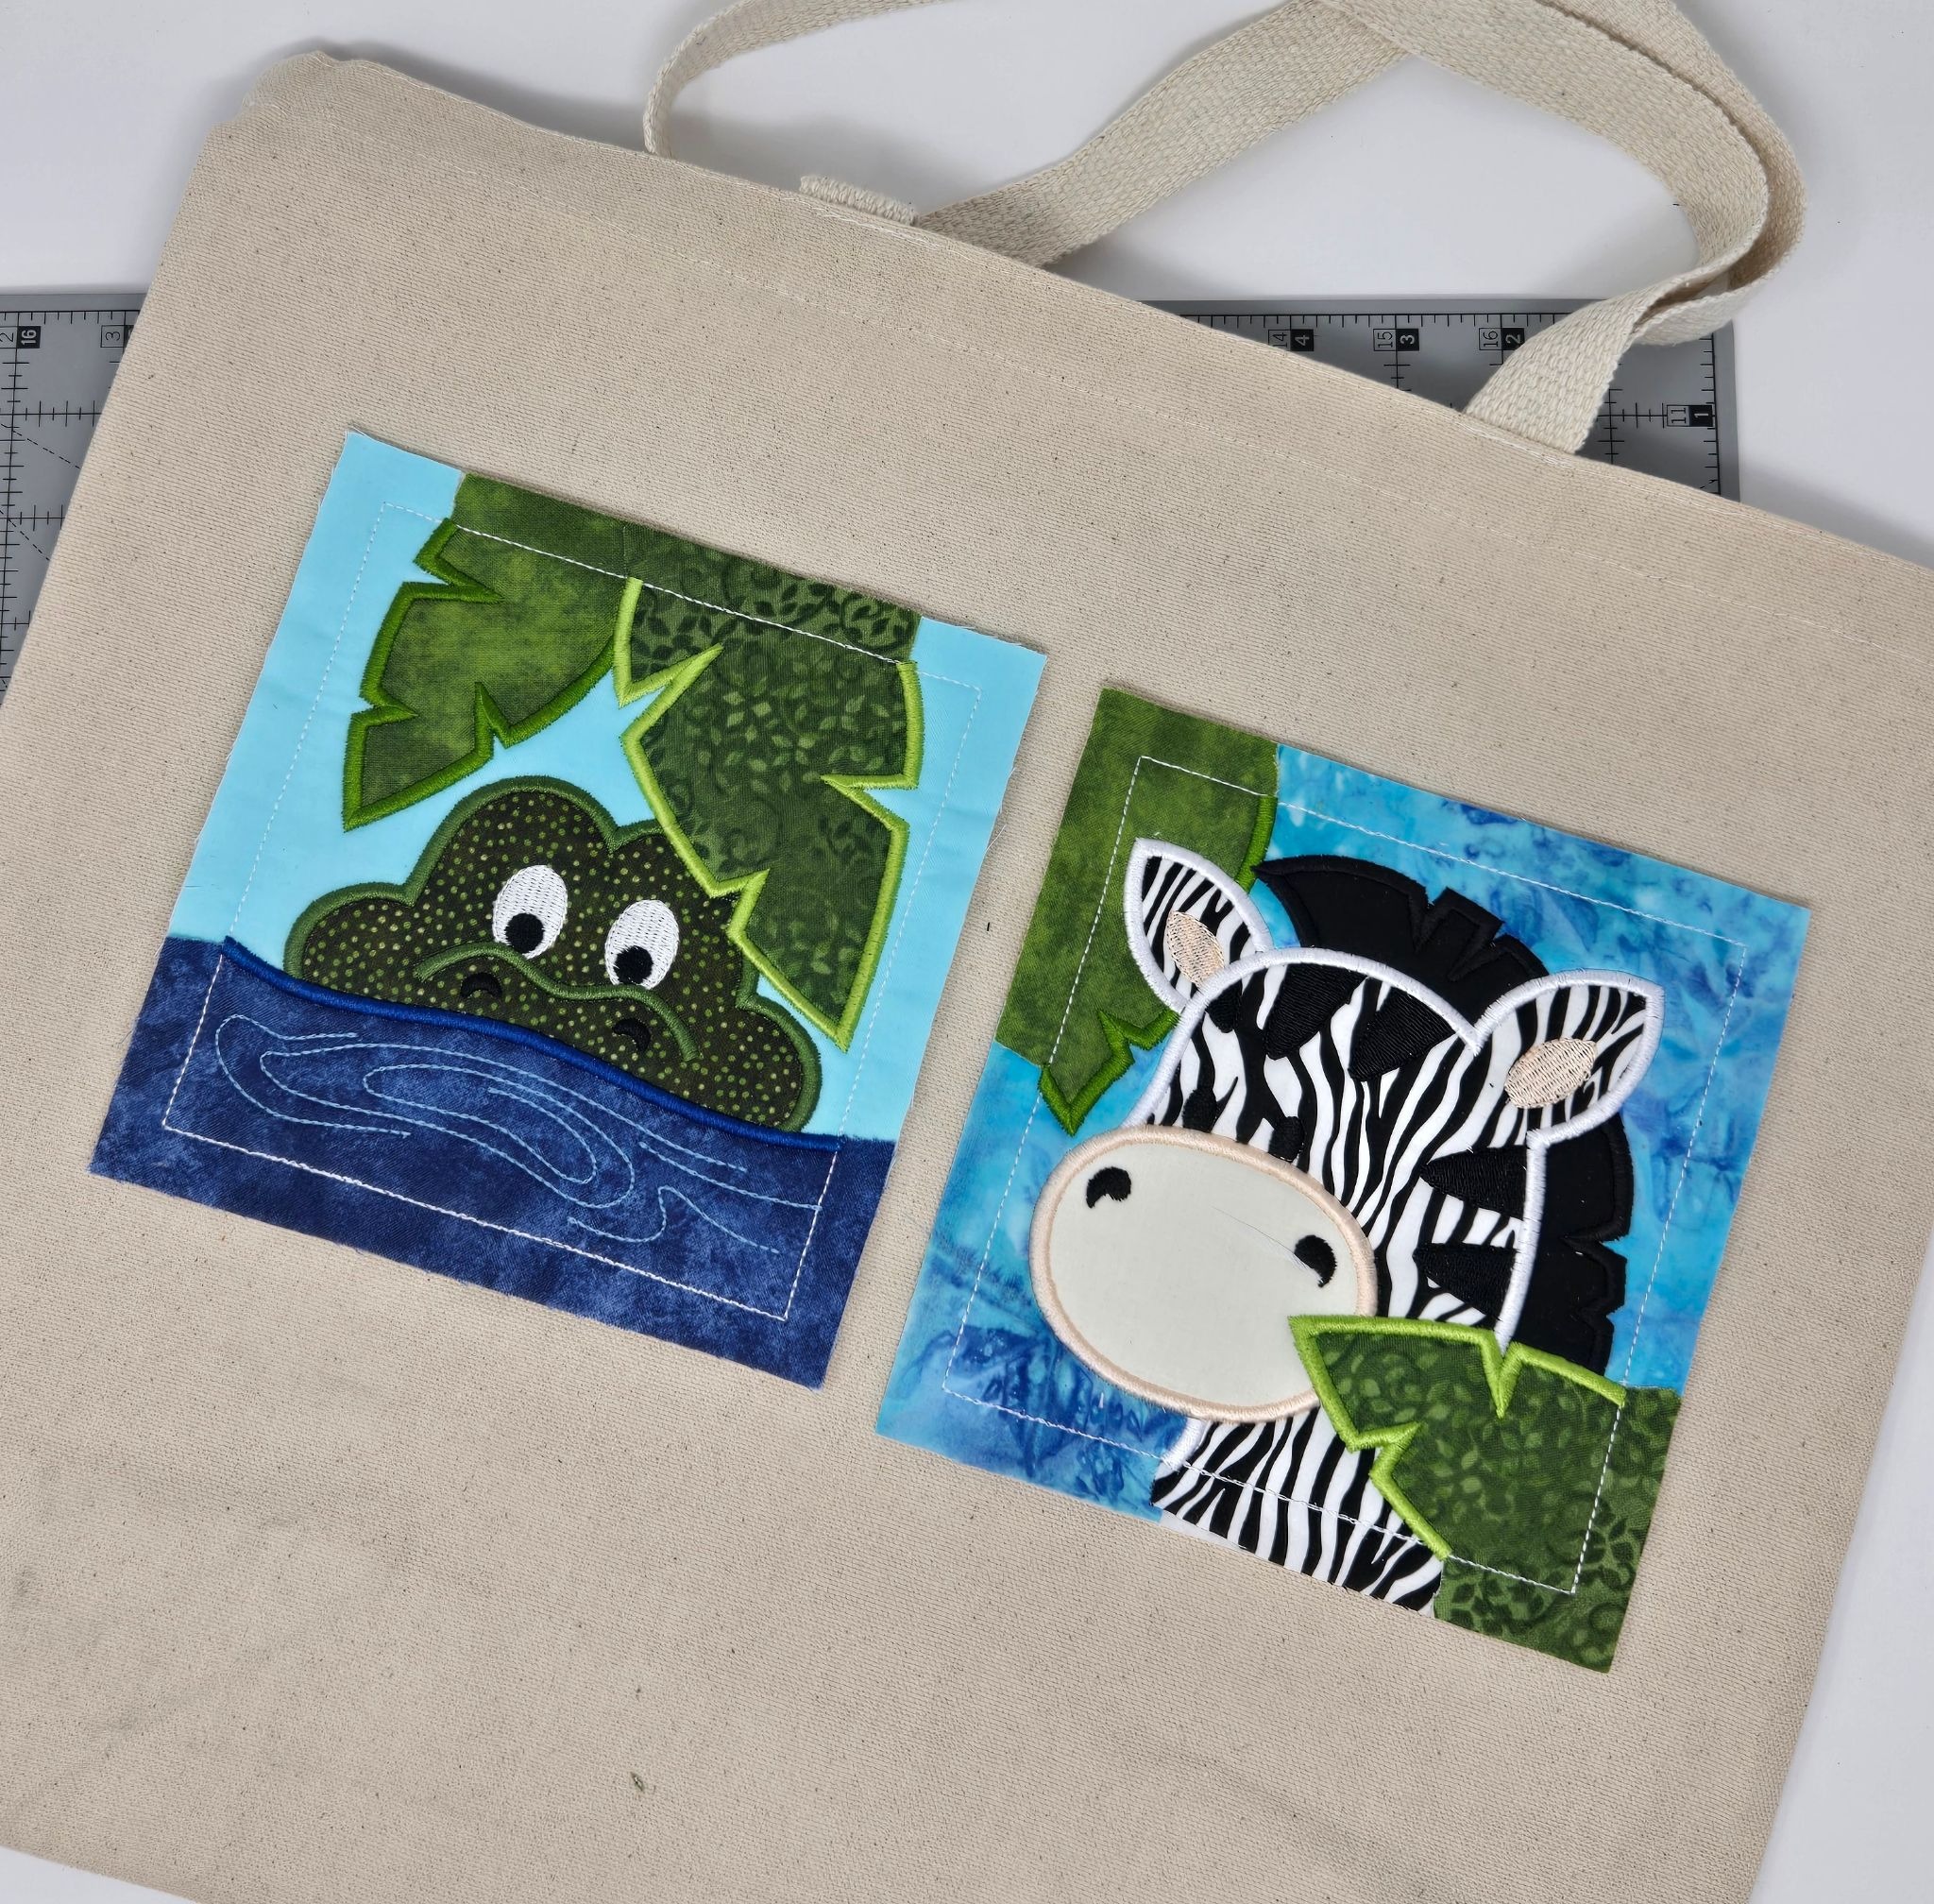
Once I laid my blocks on the tote, I decided to sew them together instead of adding a sashing between them. If your tote is larger, a small sashing could be added.
Sew the blocks together, side by side, as instructed in the quilt directions. Press this seam open. Measure this piece and cut a piece of lining fabric the same size.
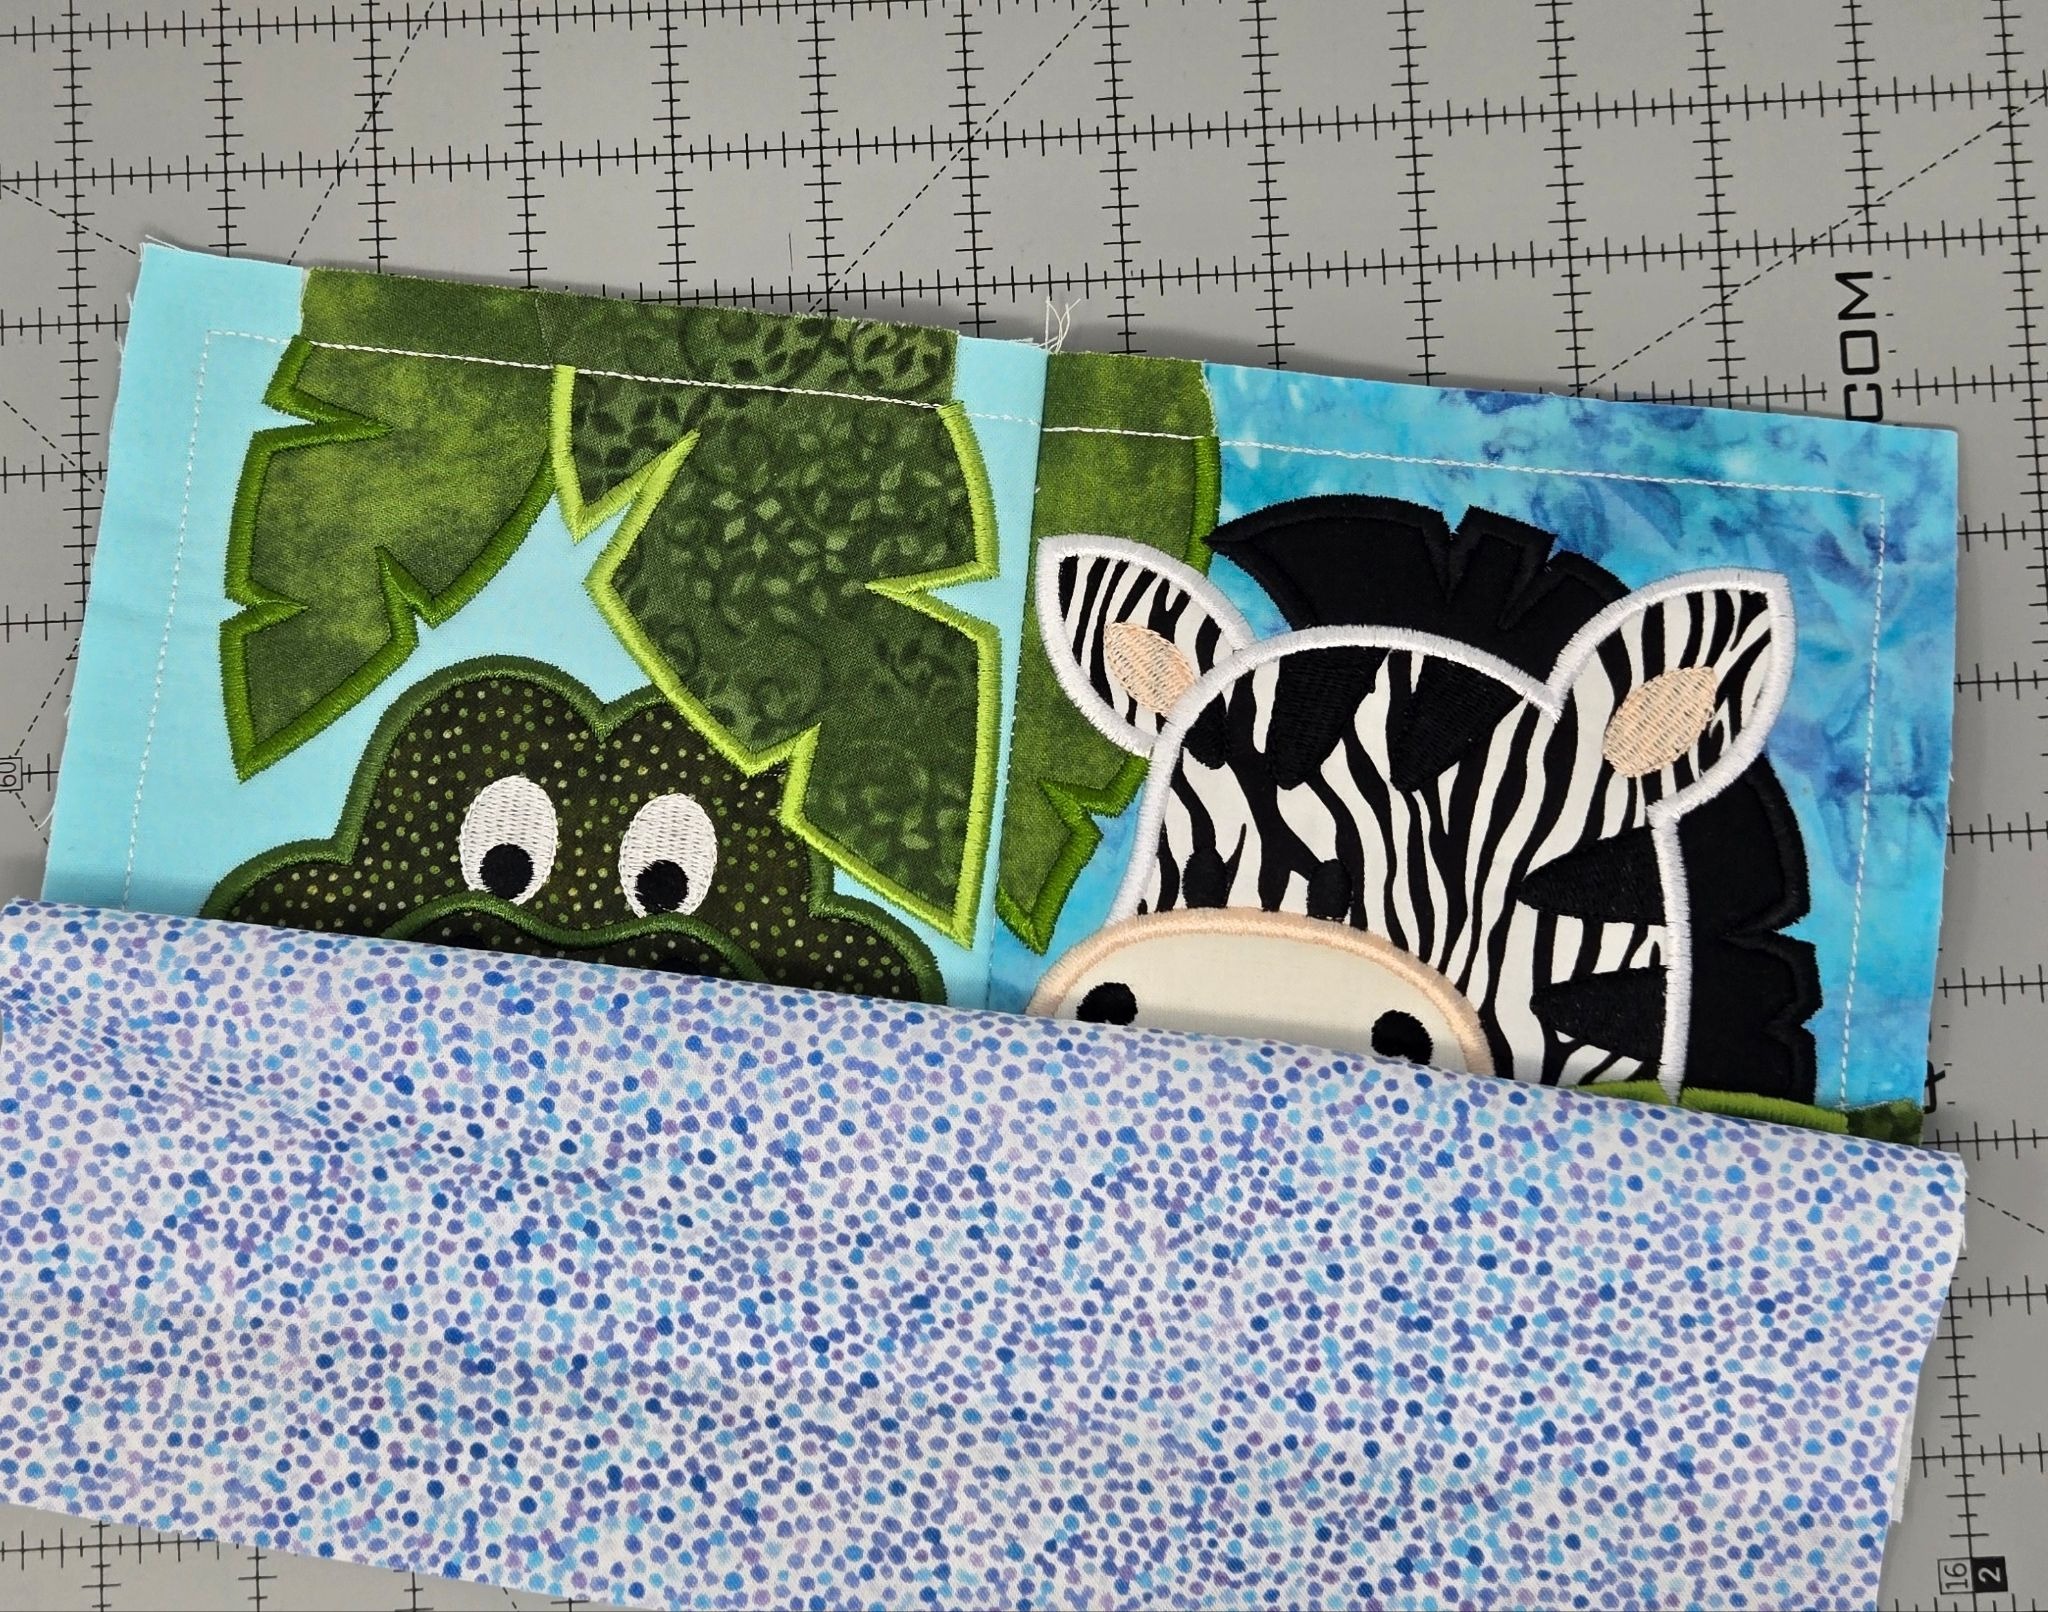
Place your lining right sides together with your block and sew around the outside edges, leaving an opening about 3” long at the bottom for turning. Once sewn, trim the corners and seams. I did peel up the fusible fleece and trim it back to the stitches.
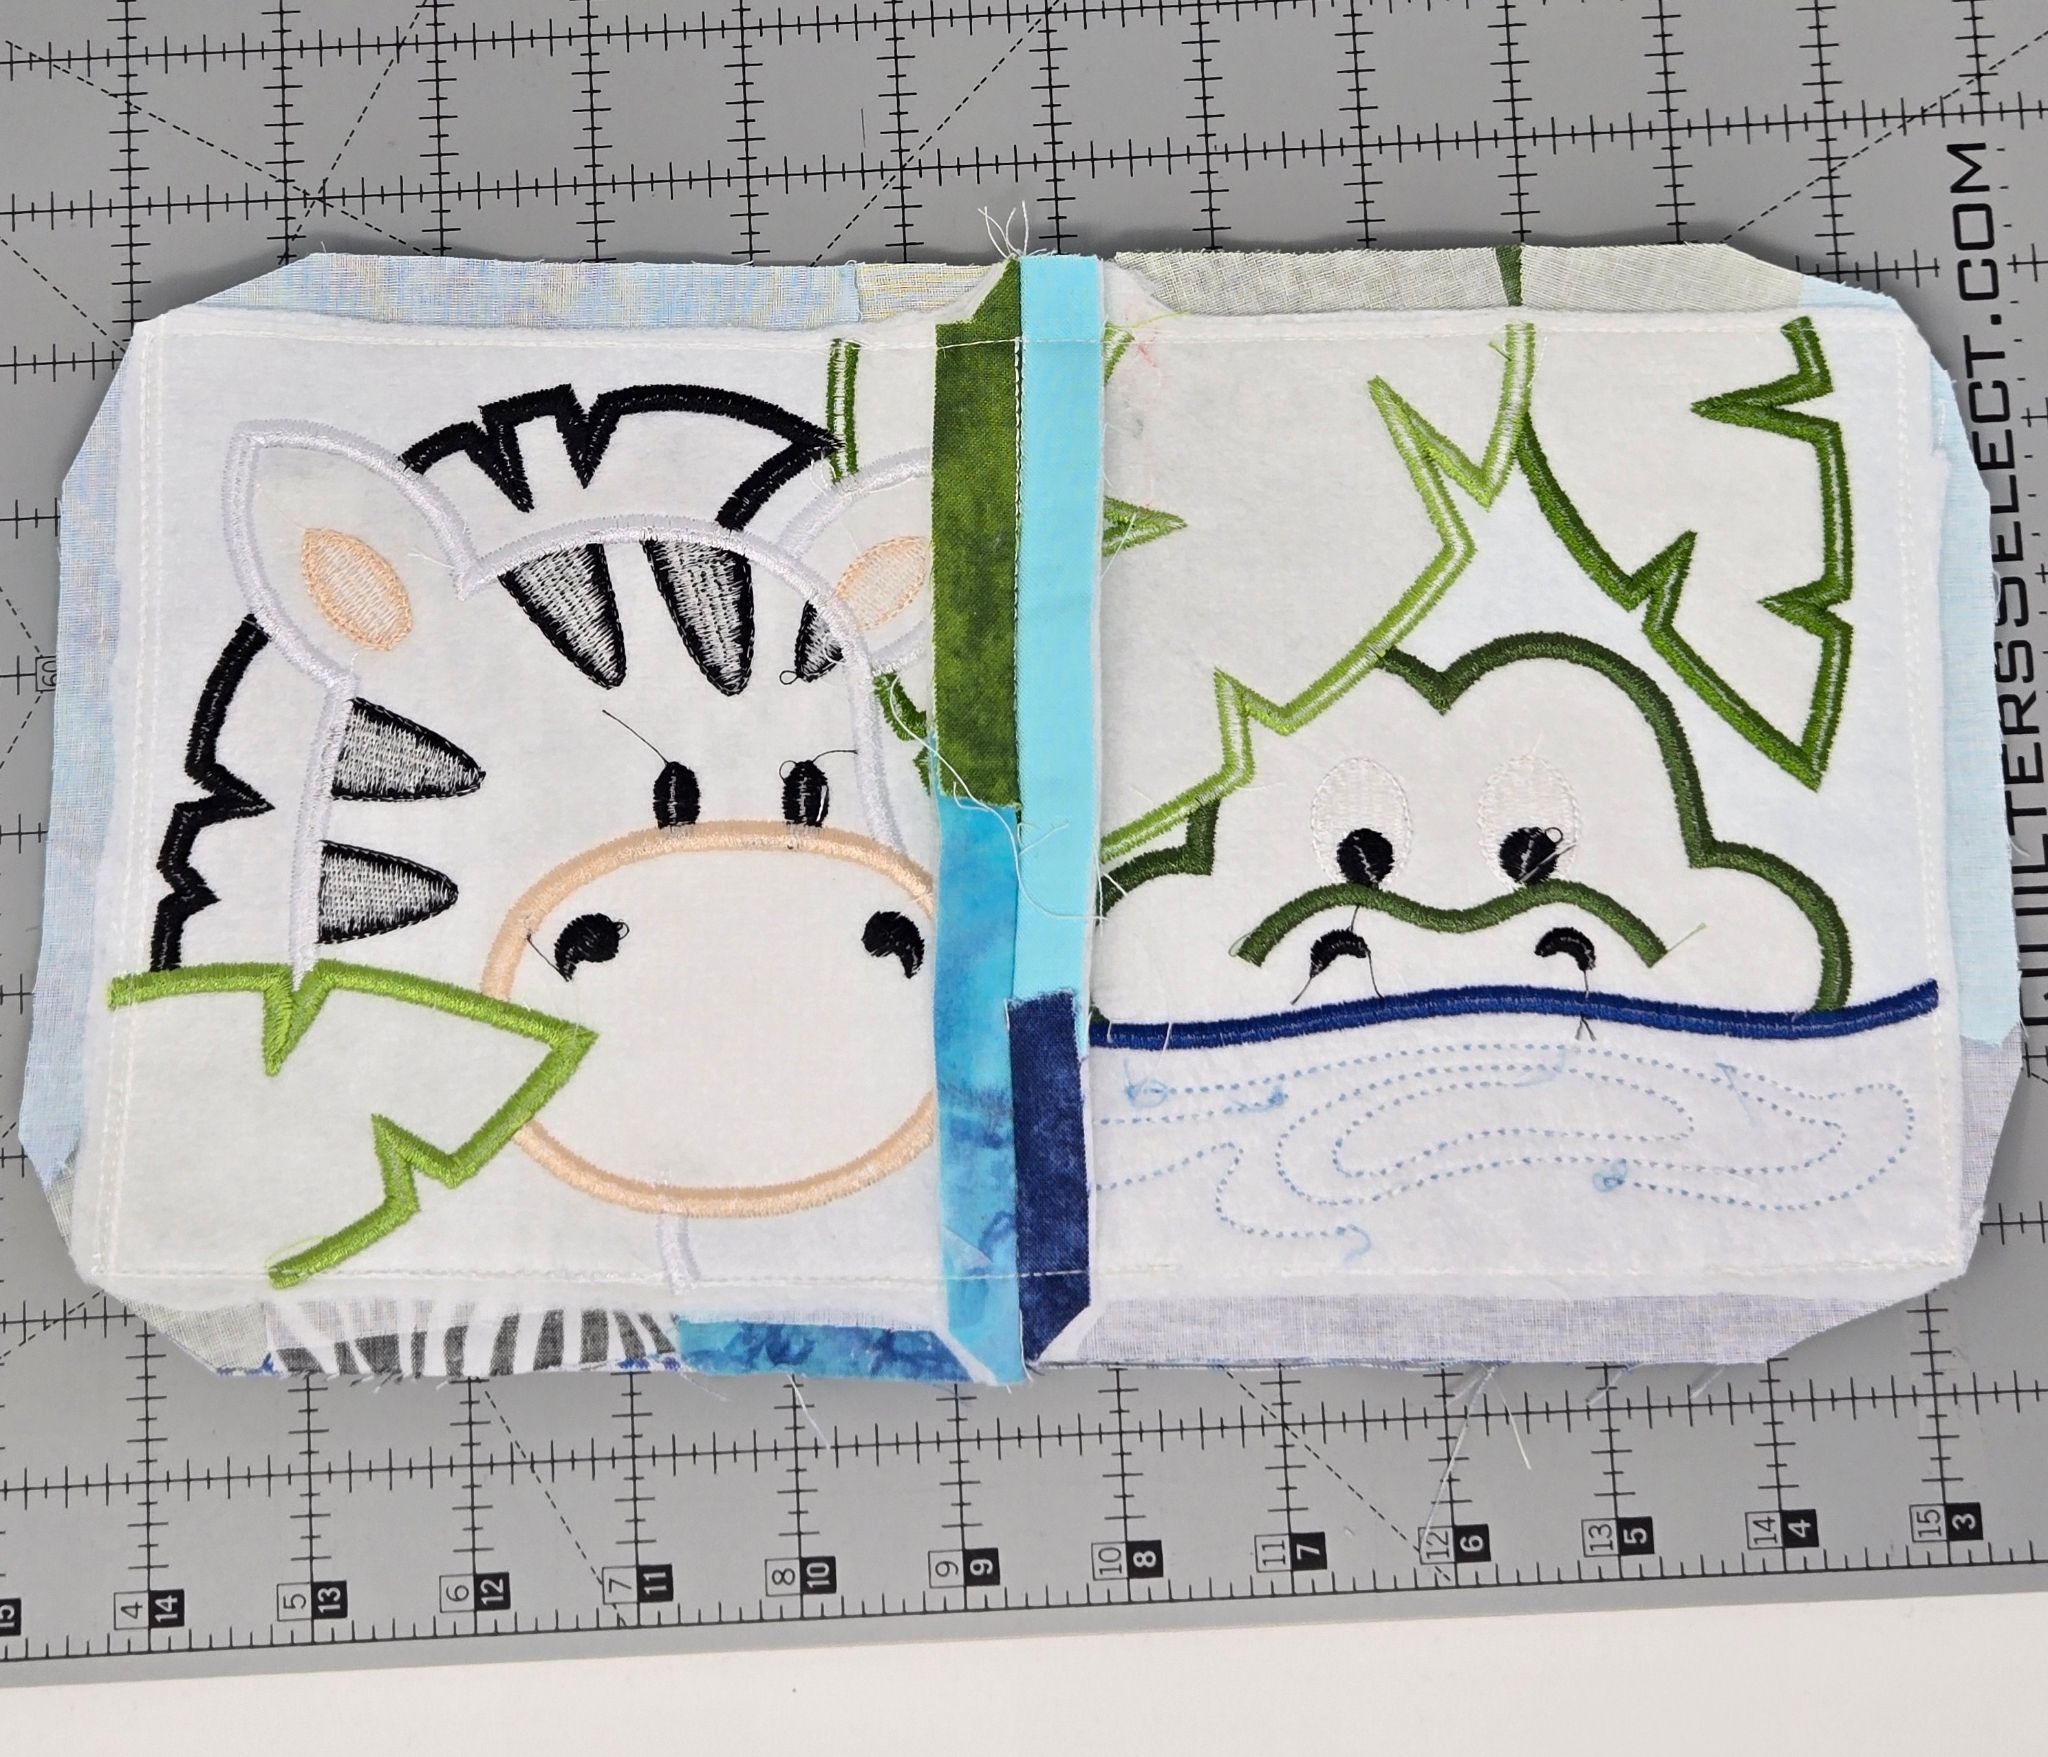
Turn the pocket right side out and tuck the opening seam allowance to the inside. Give it a good press.
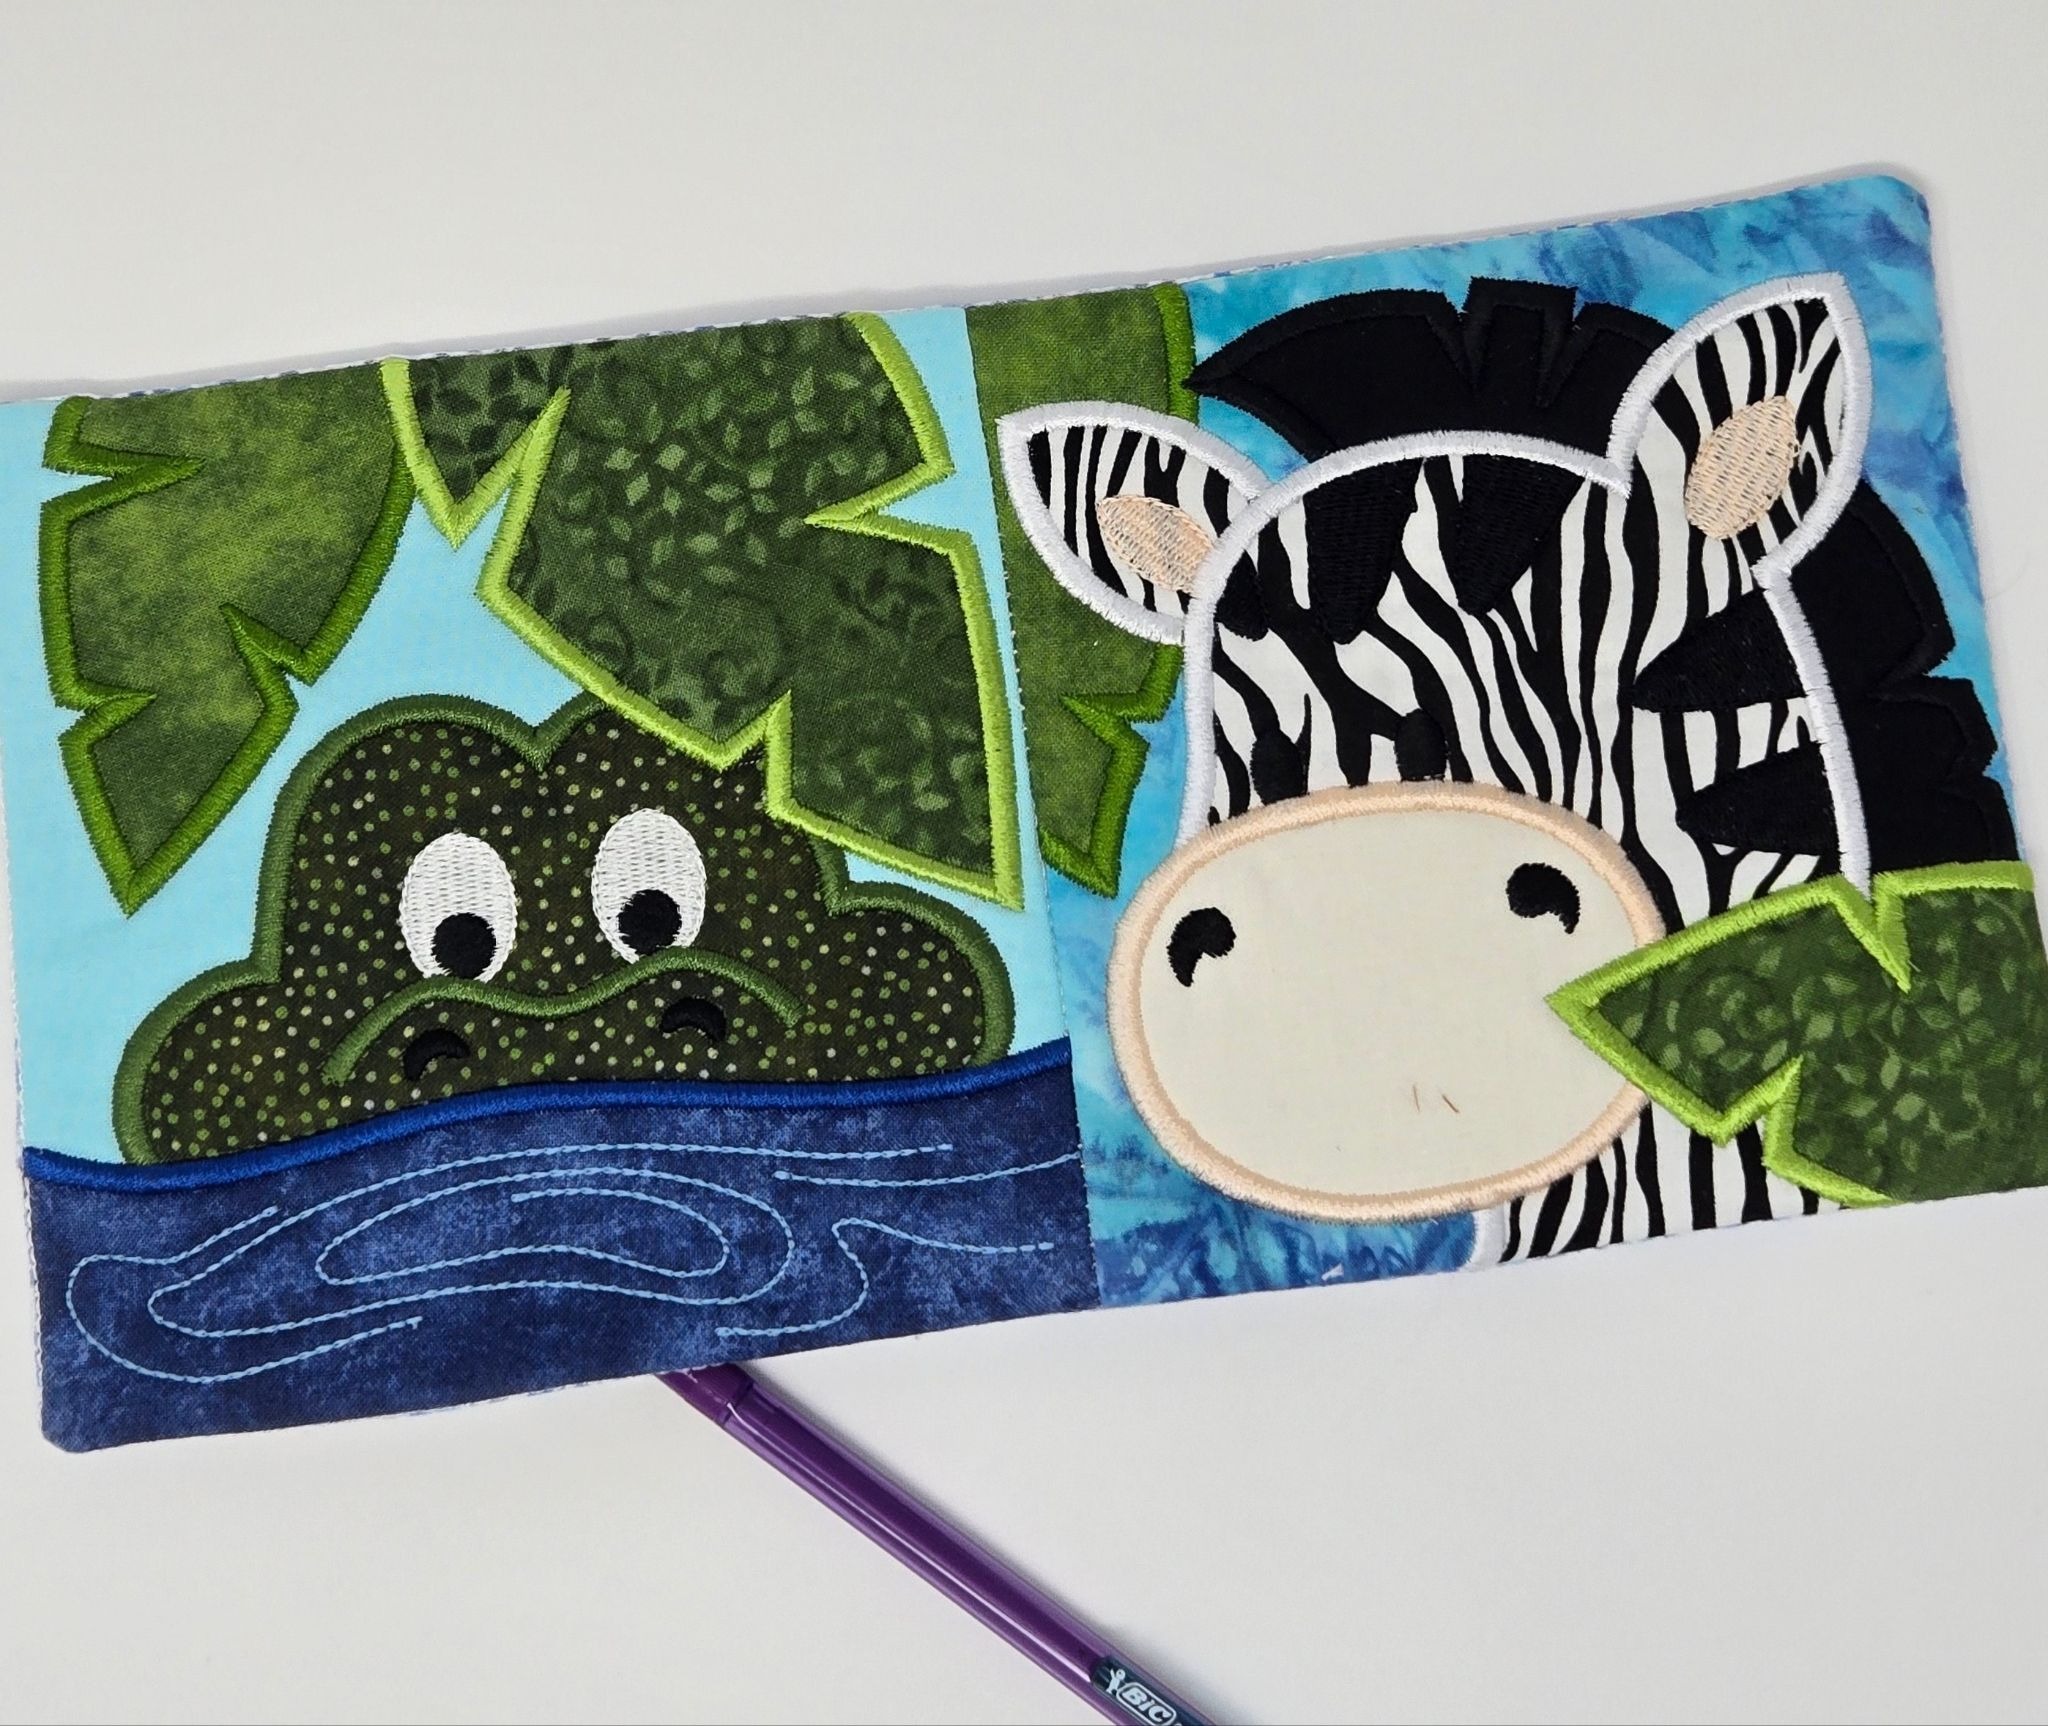
Next I chose to topstitch along the top edge about ⅛” from the pressed edge with a green variegated thread. I like to play with threads!
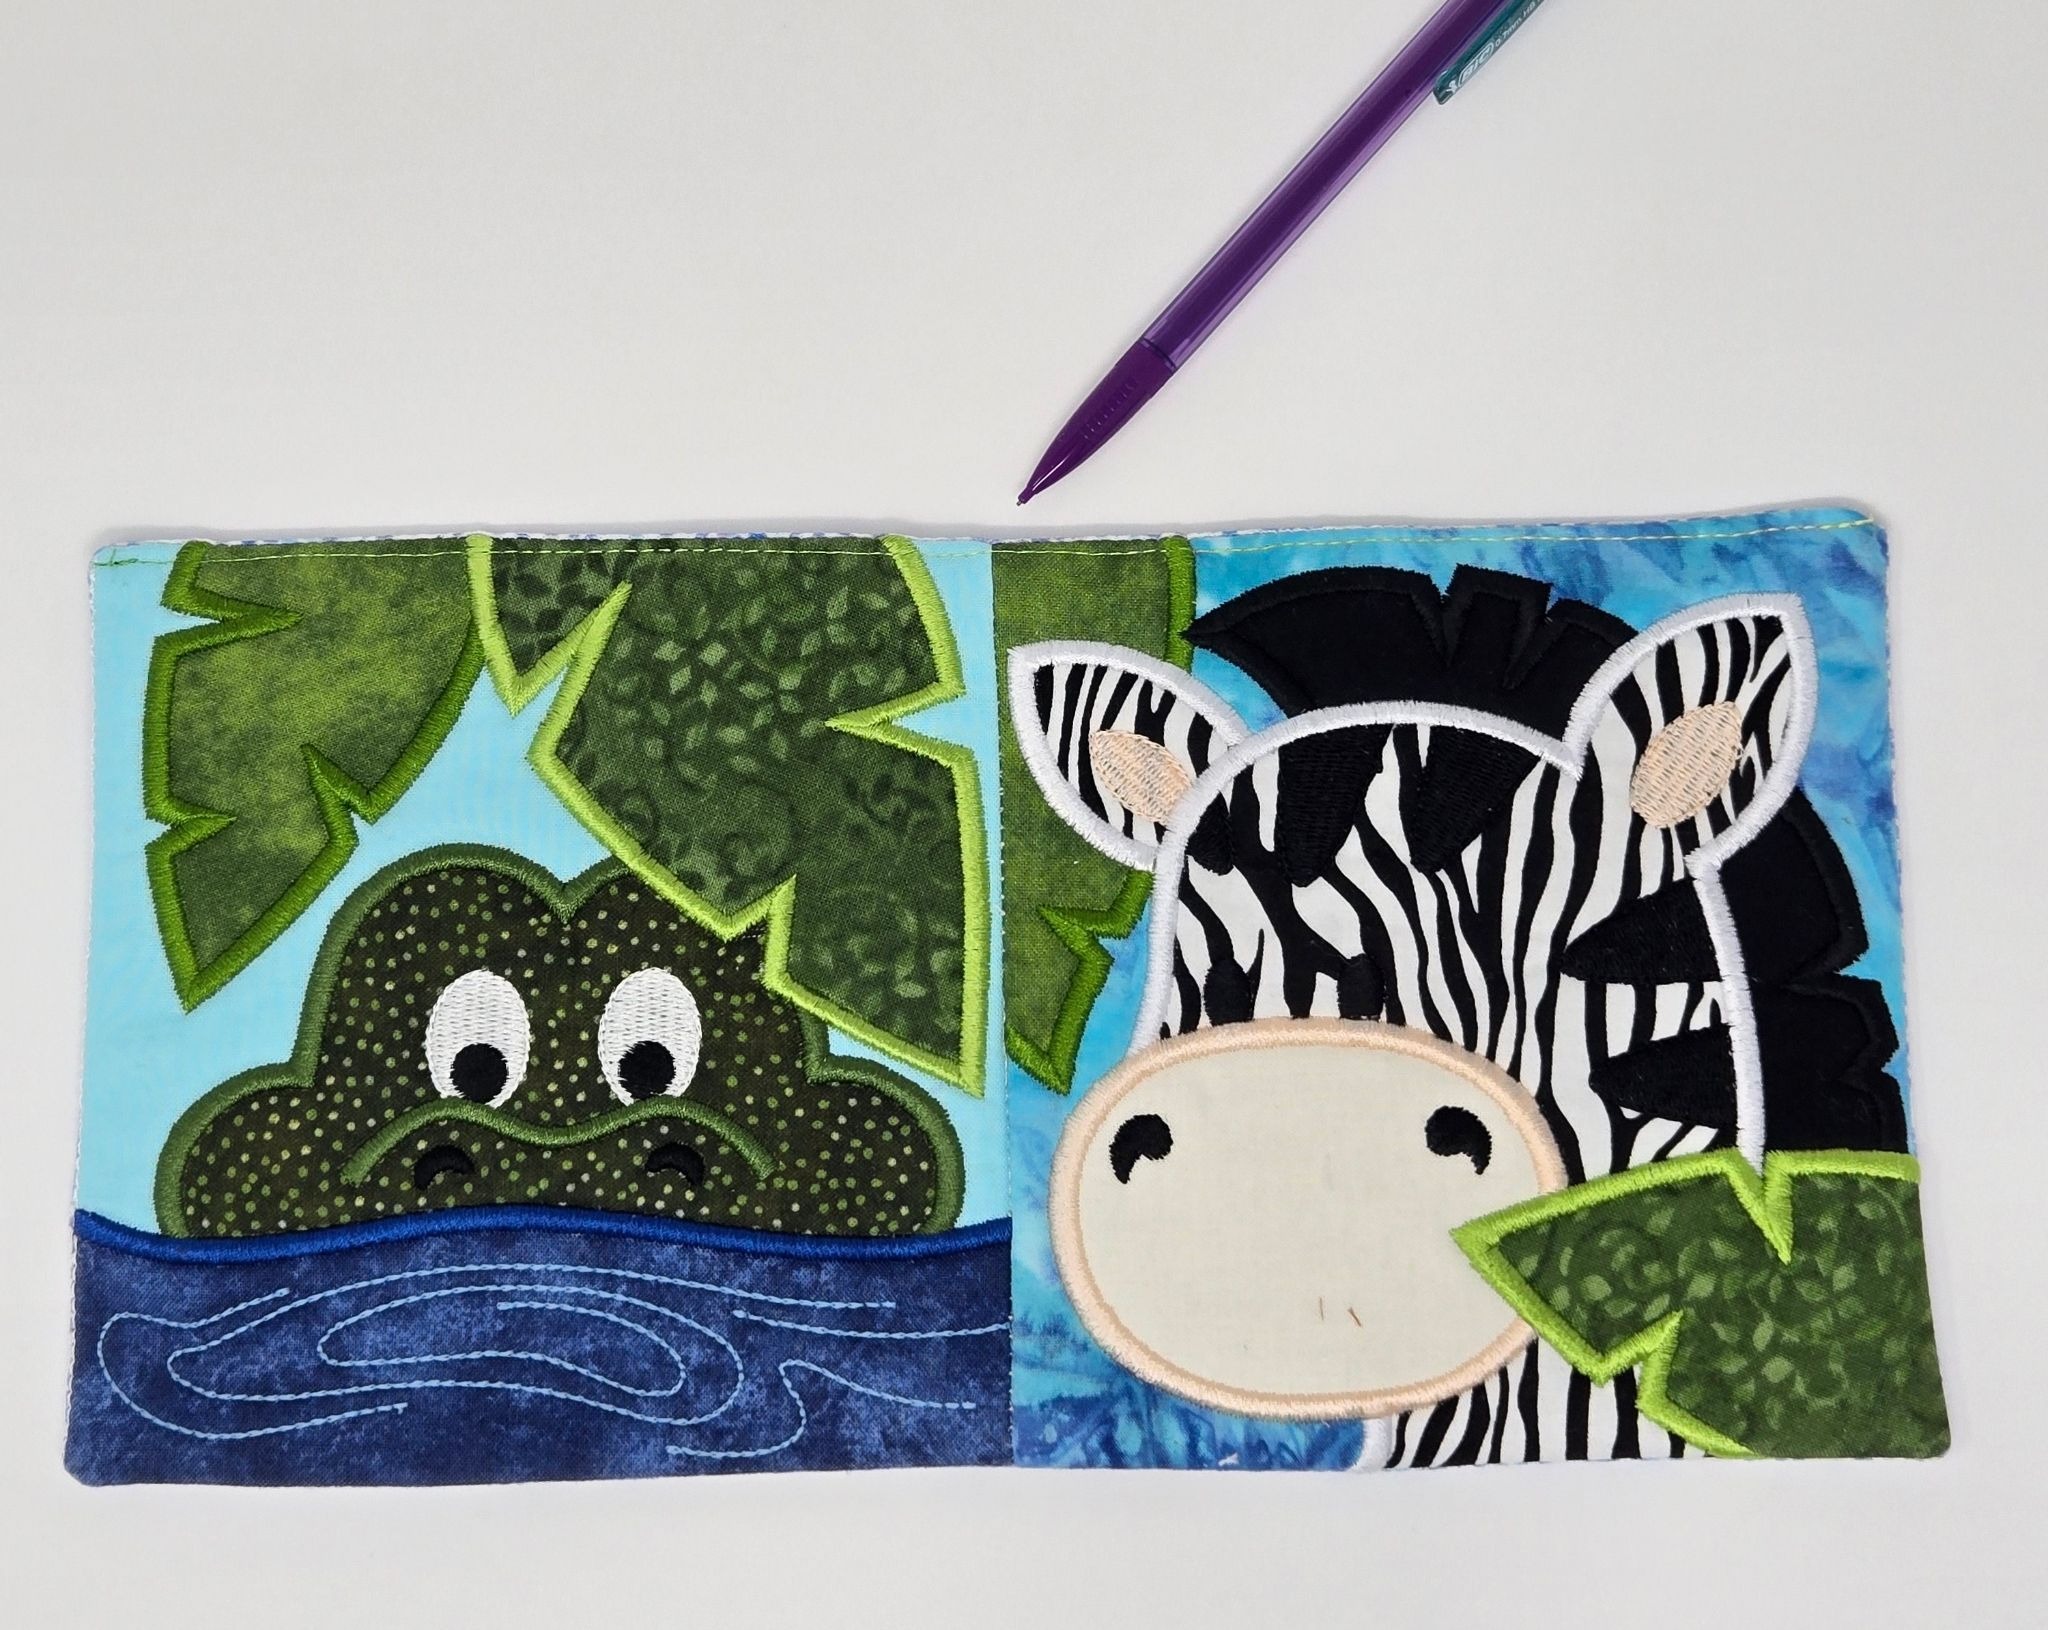
Place the pocket on the tote and center it. I placed it about 3½” down from the top.
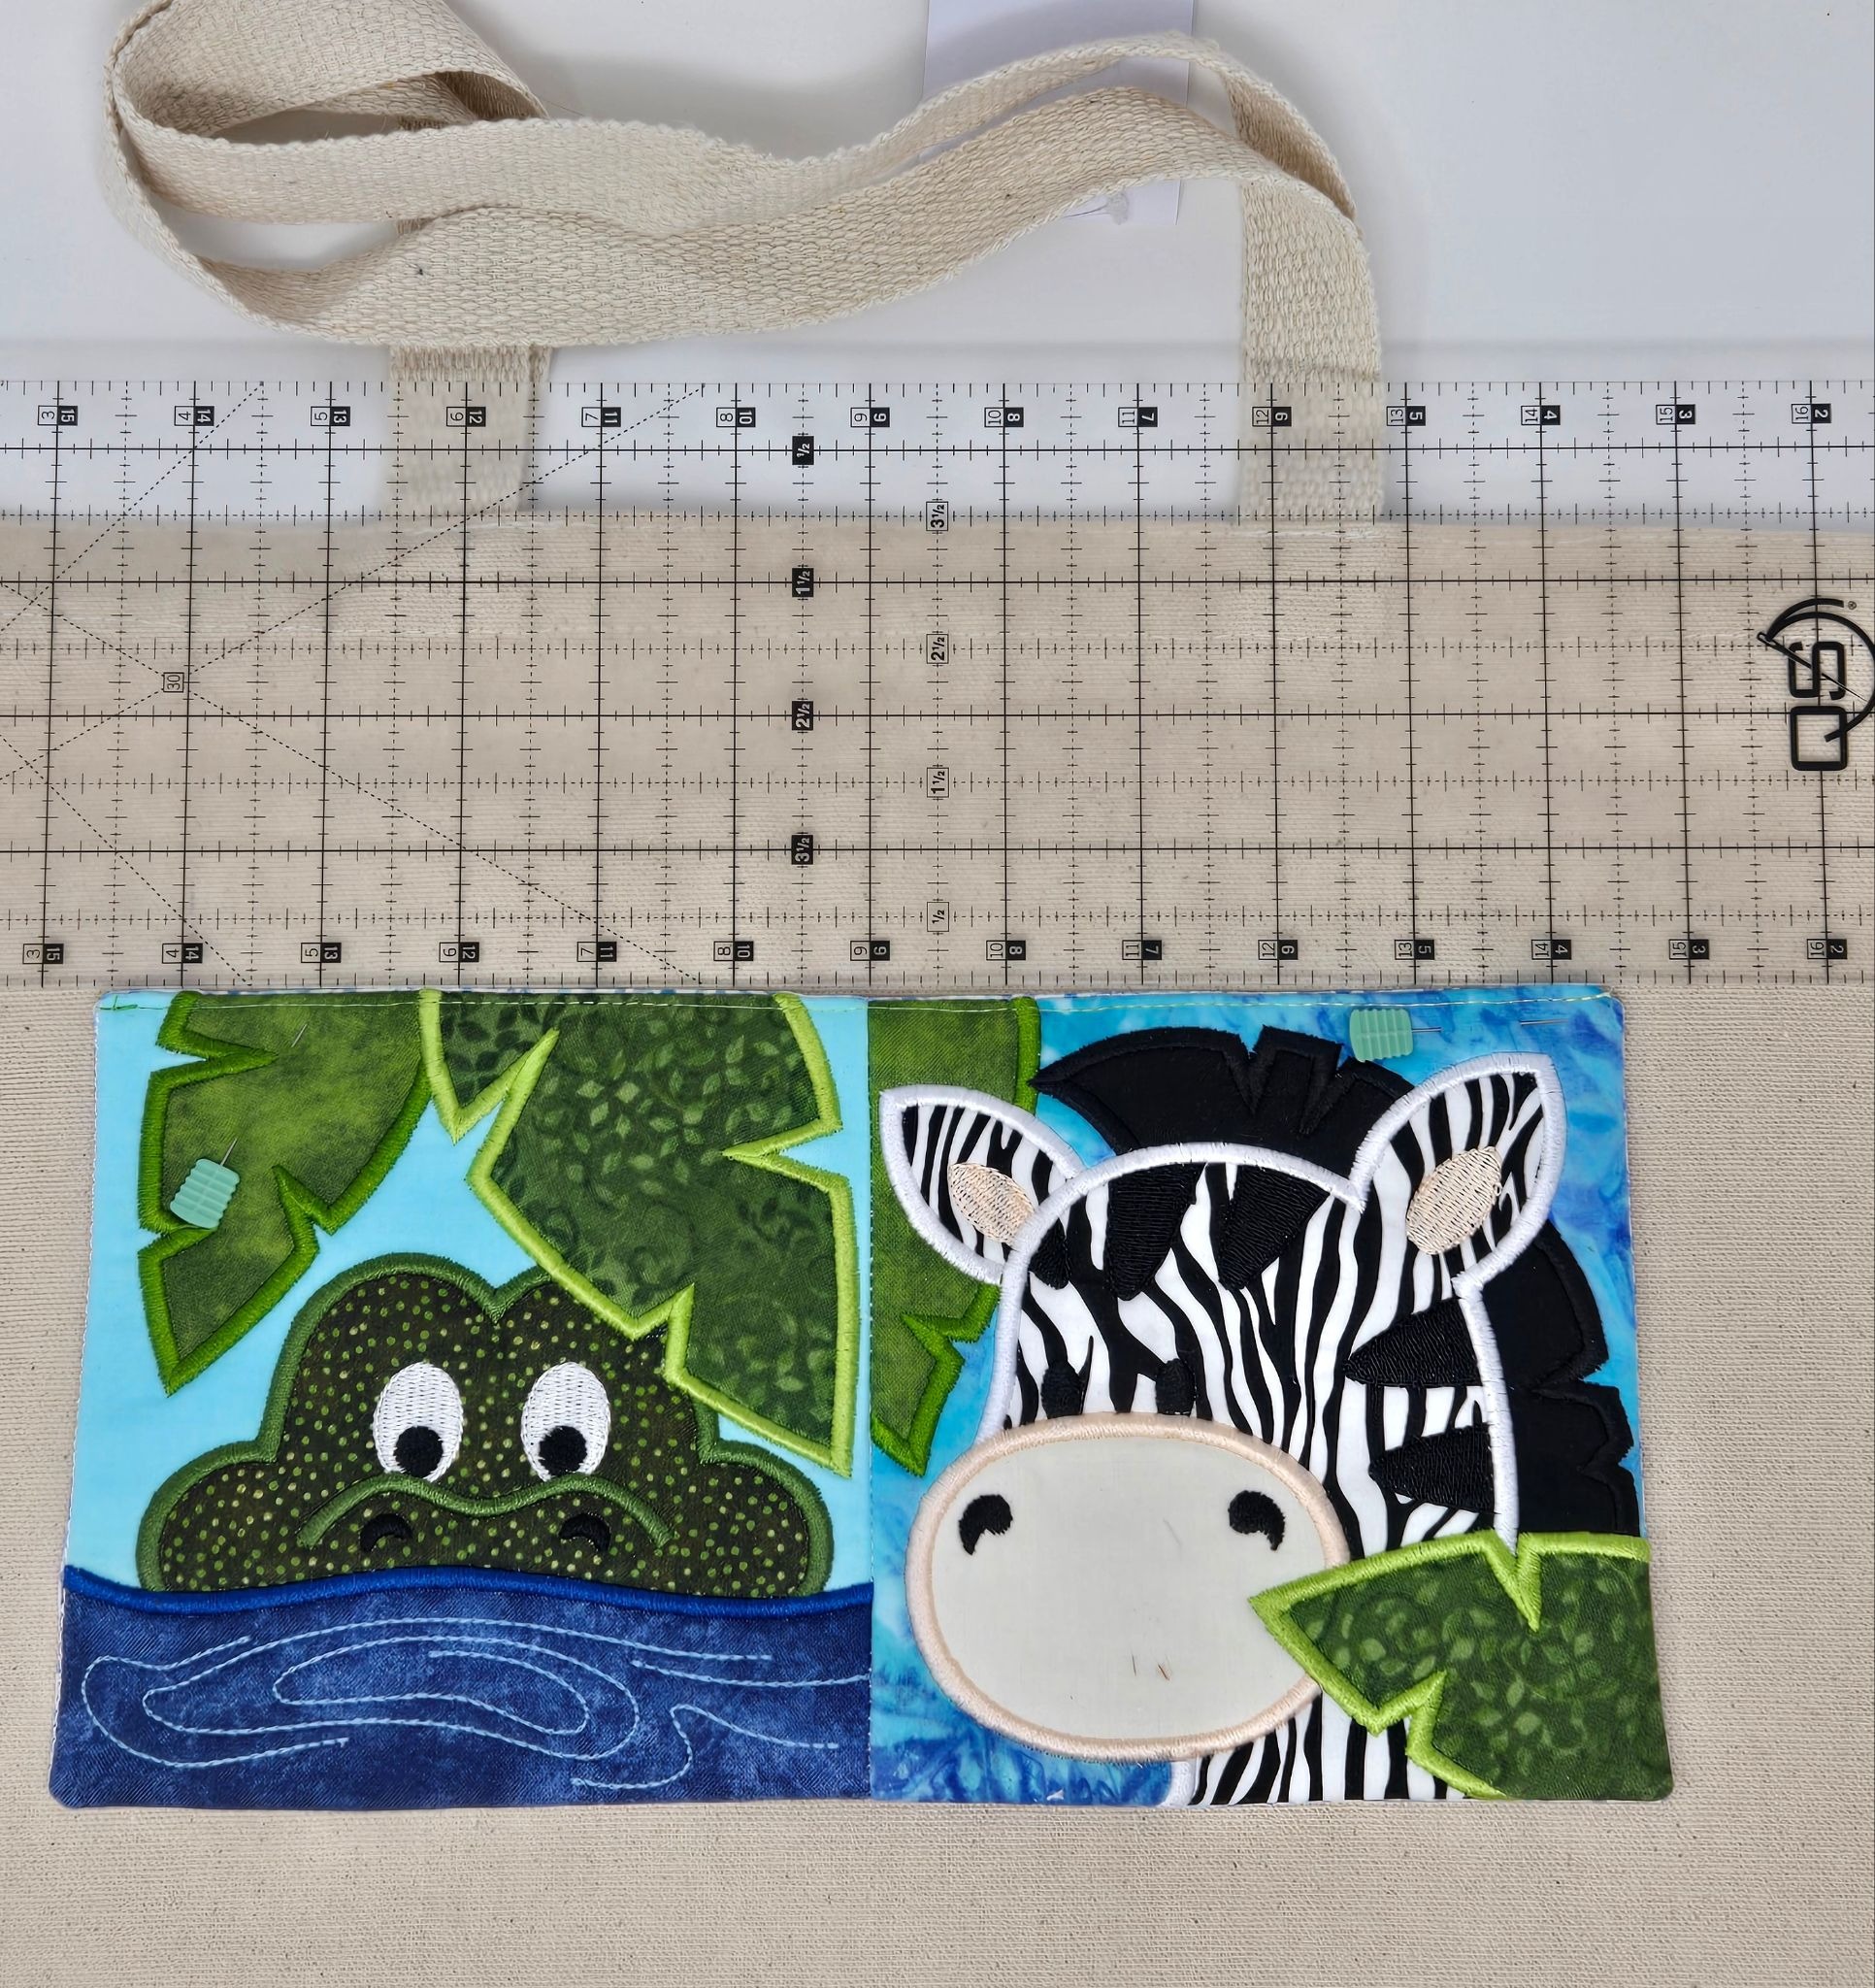
Folding the back out of the way, sew the pocket in place around the two sides and bottom edge. I also sewed down the middle between the animals to make two pockets.
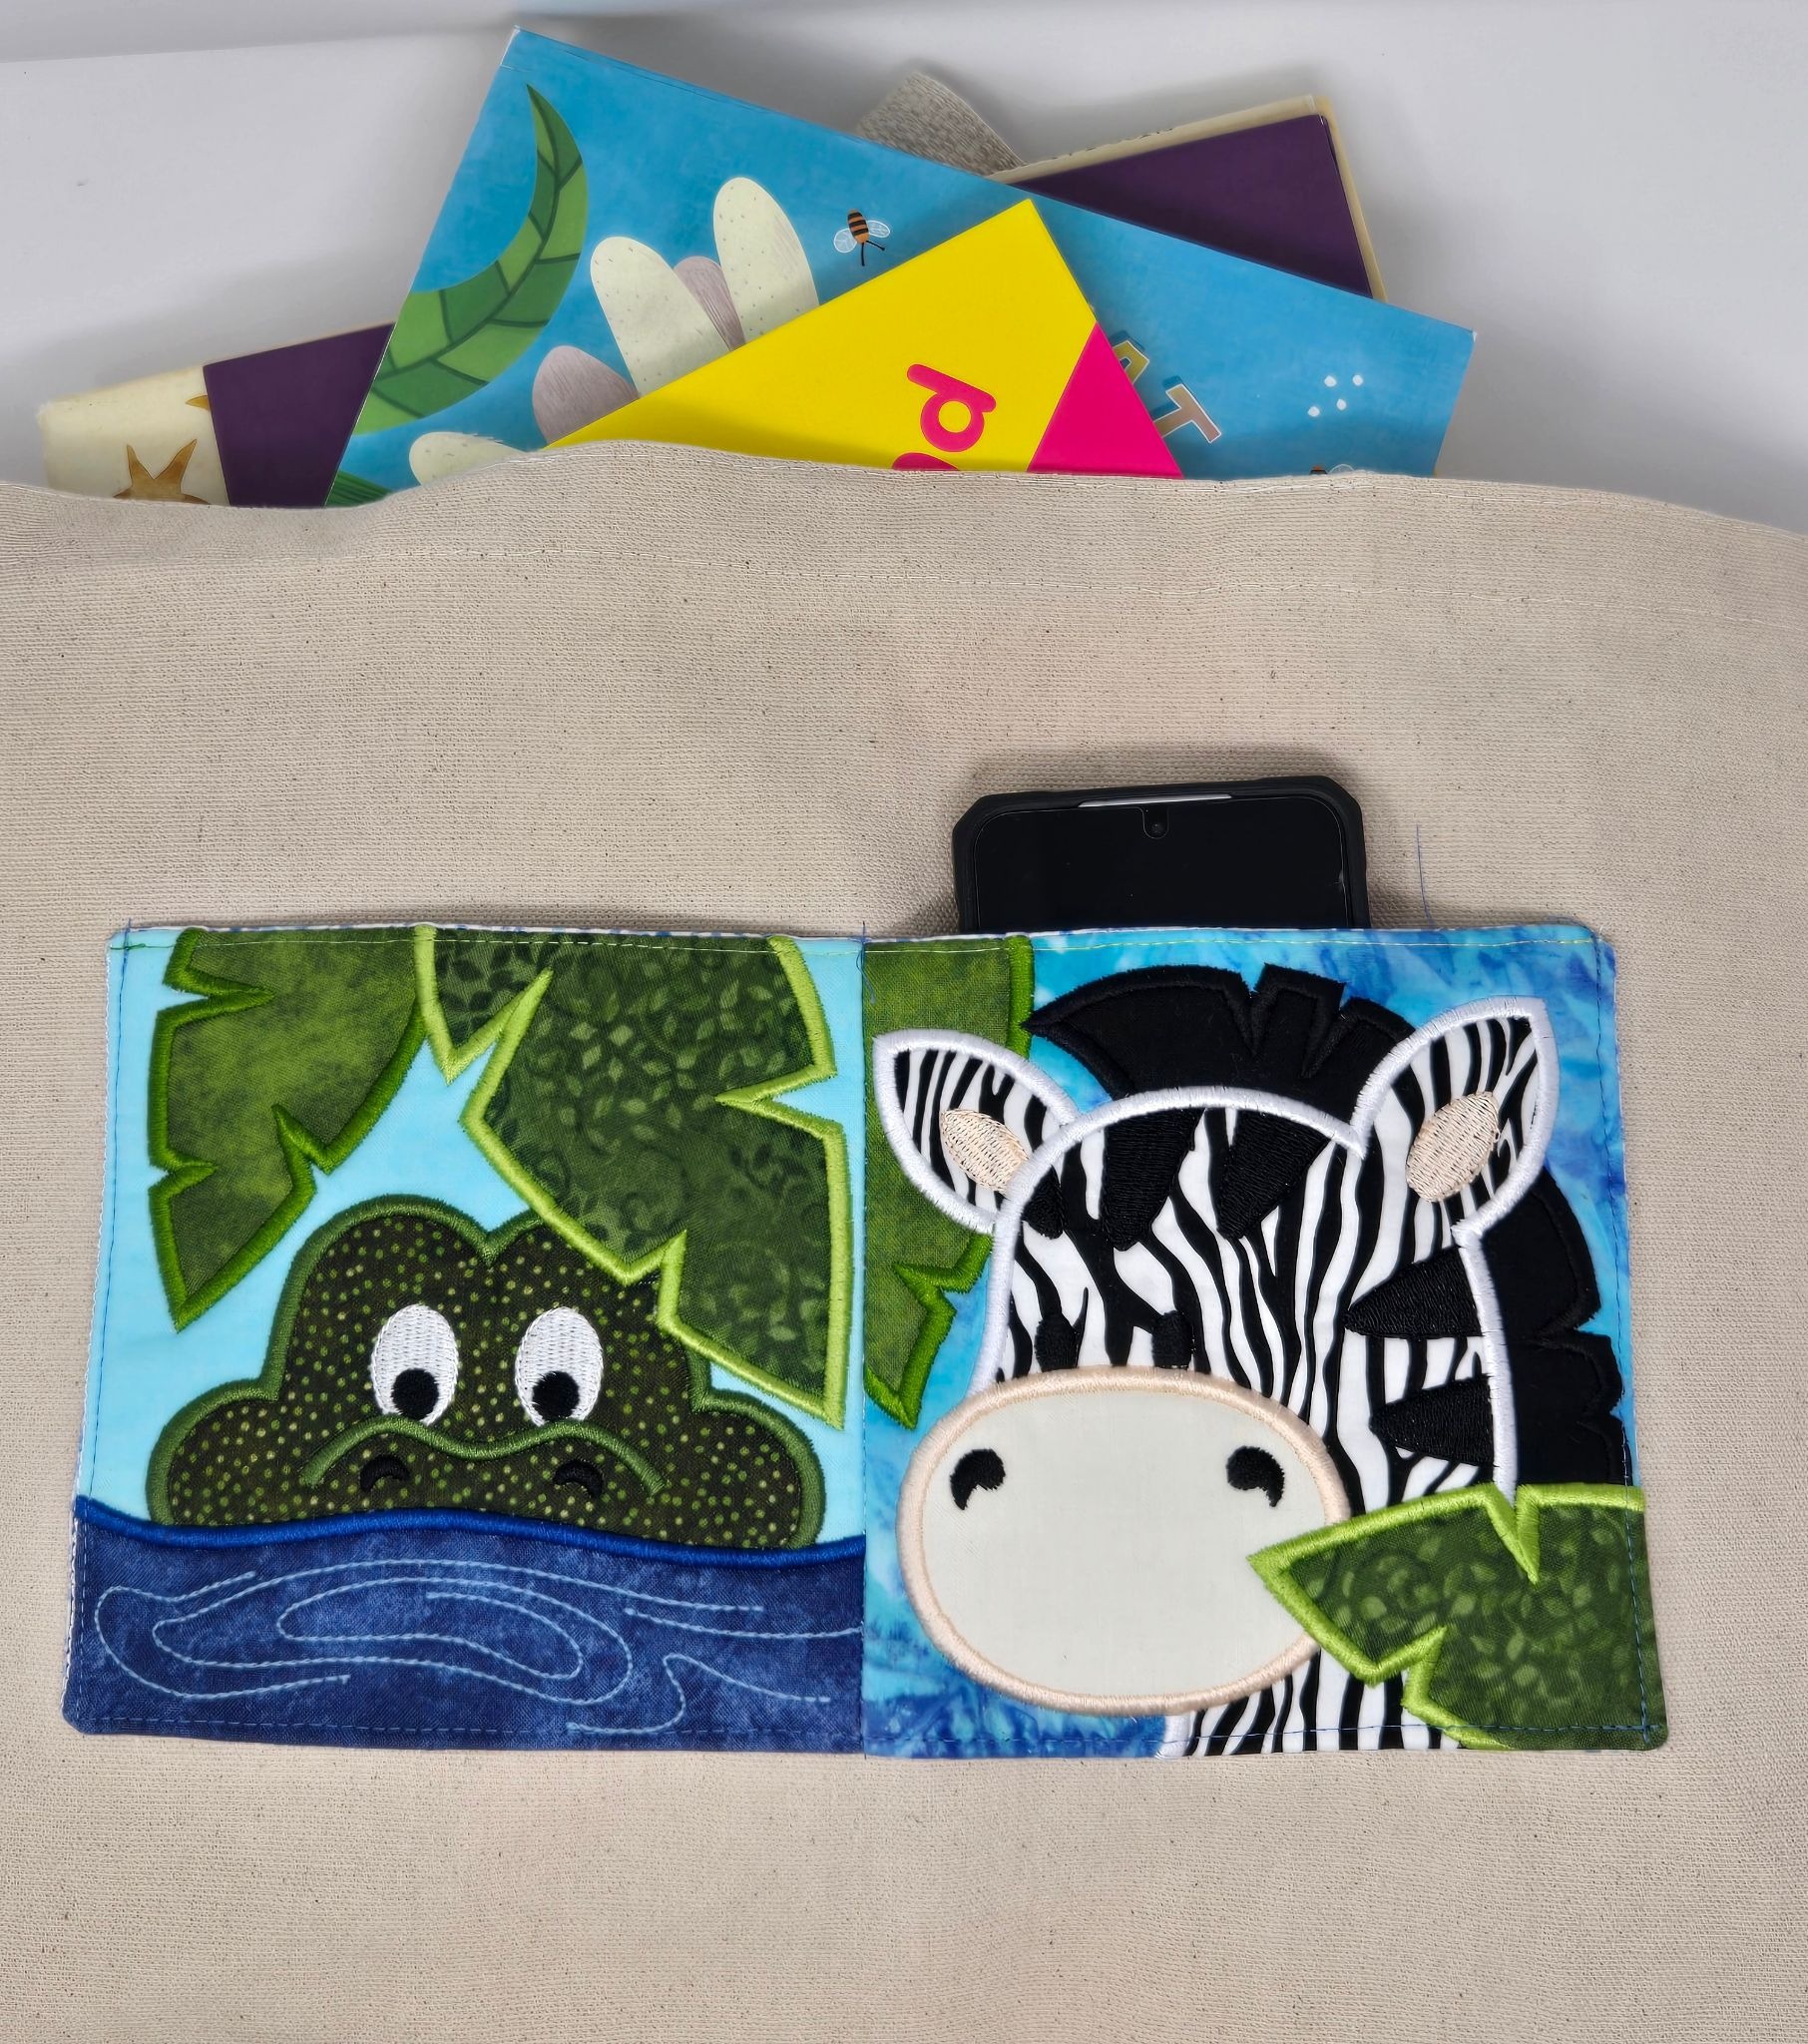
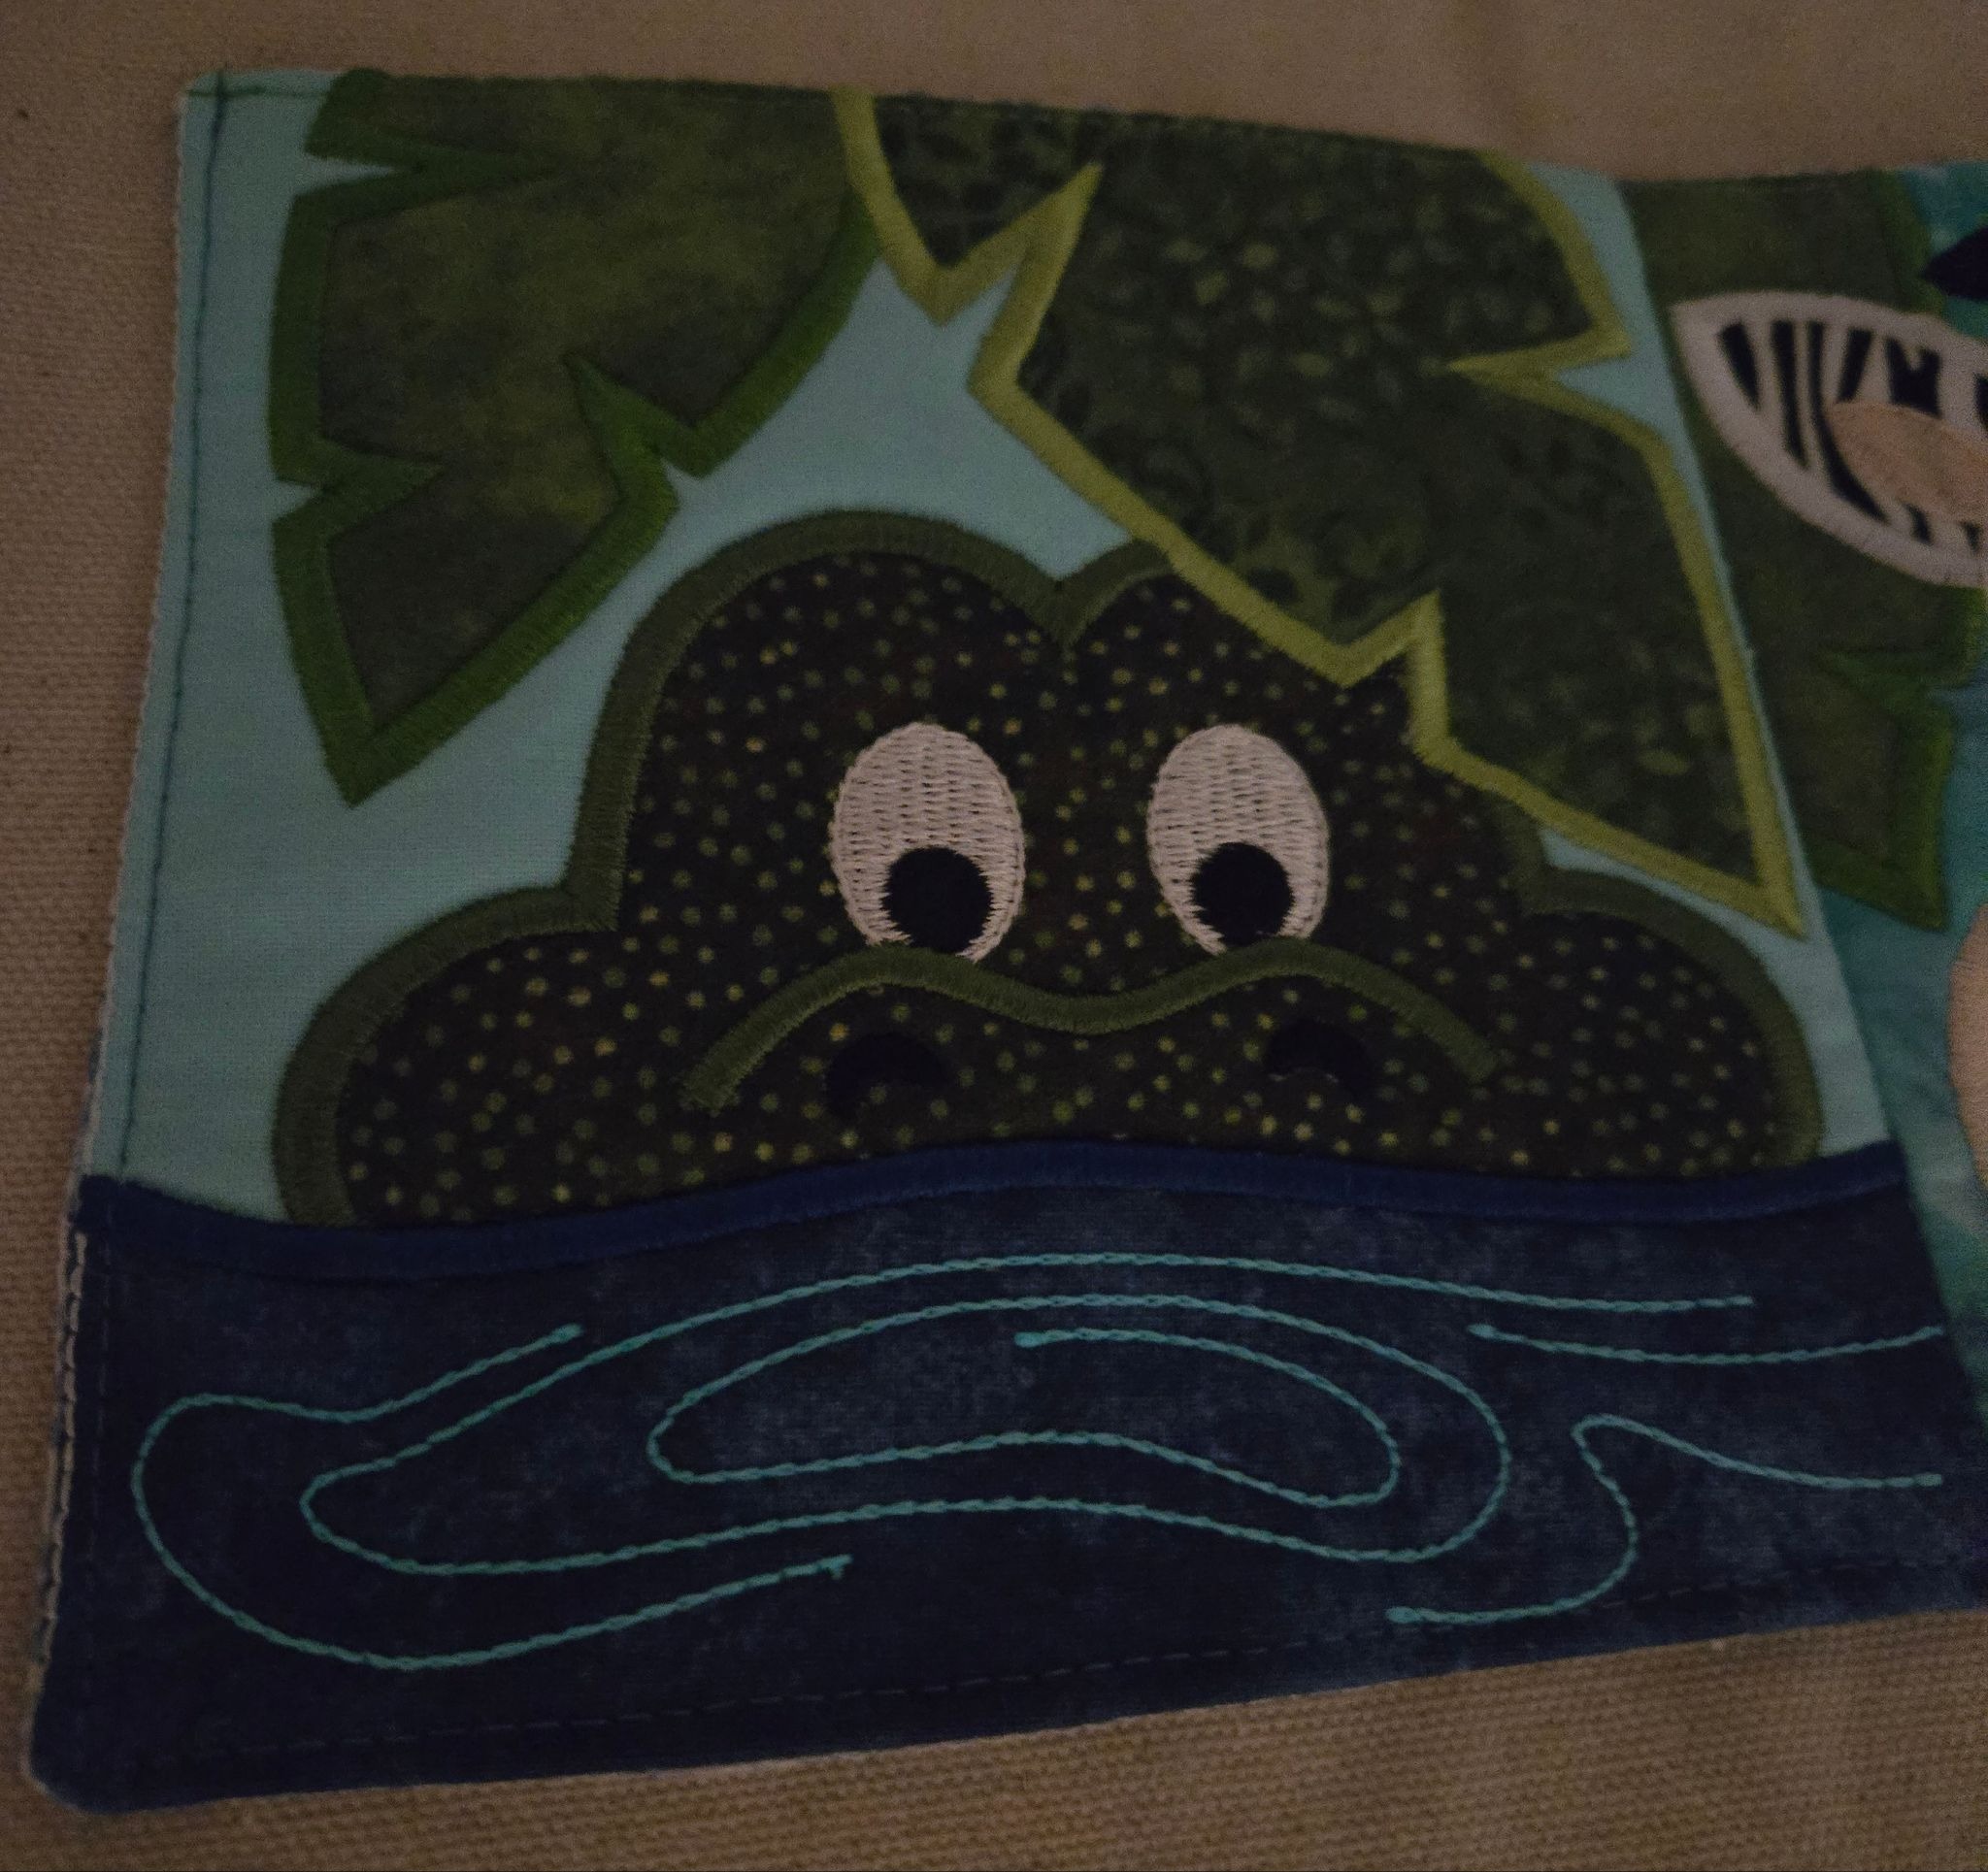
Just for fun, I used glow-in-the-dark thread for the water swirls. Don’t be afraid to pull out your special threads!
I hope I have inspired you to think outside the box. Take a walk on the wild side, and have some fun with these cute safari animals! They can be added to so many items: placemats, receiving blankets, a hoodie, a notebook cover . . . the possibilities are truly endless!
Love finding unexpected ways to use your embroidery designs? Explore our Creative & Unique Embroidery Projects collection for more ideas that rethink traditional embroidery, transform everyday items, and inspire you to try something completely different.
Please be sure to share your projects in the Designs by JuJu Embroidery Blessings Facebook Group, or use the hashtag #designsbyjuju anywhere on social media. We all love to see what you create!
