Toggle Nav
 Inspire.
Create.
Stitch.
Inspire.
Create.
Stitch.
Search
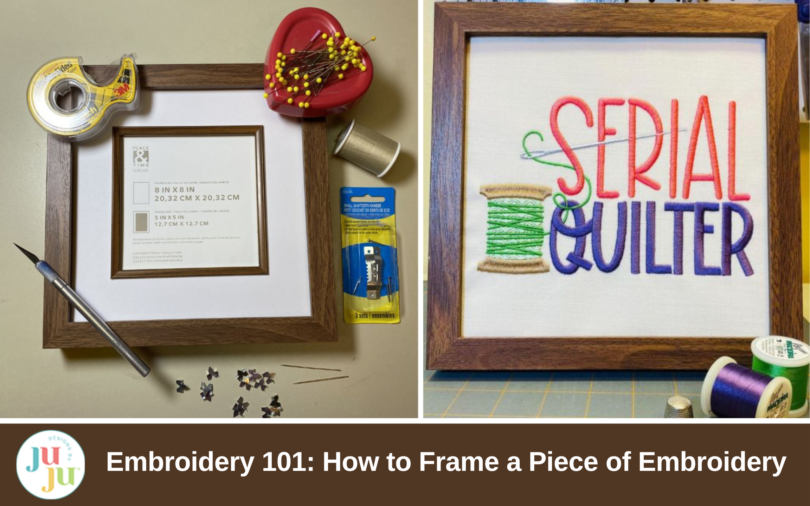
There are a lot of different things you can do with Designs by JuJu’s great embroidery designs! Today I’m going to show you how to frame a piece of embroidery. This tutorial isn’t going to tell you how to frame embroidery to the level of an heirloom piece, but how to frame a piece of embroidery that you can proudly gift or display on your walls or shelves without paying the expensive prices that a custom framing shop will charge.
The embroidery pieces I’m framing today are Reading Word Art 5 and Sewing Room Word Art 1 by Designs by JuJu.
If you haven’t stitched out your design yet, I’d like to offer a few suggestions.
First, linens, duck cloth, and canvases are good fabric choices for pieces to be framed. I’m using a linen-look poly-rayon blend. To prevent puckering, I heavily starched the fabric and put a basting box around the design before stitching.

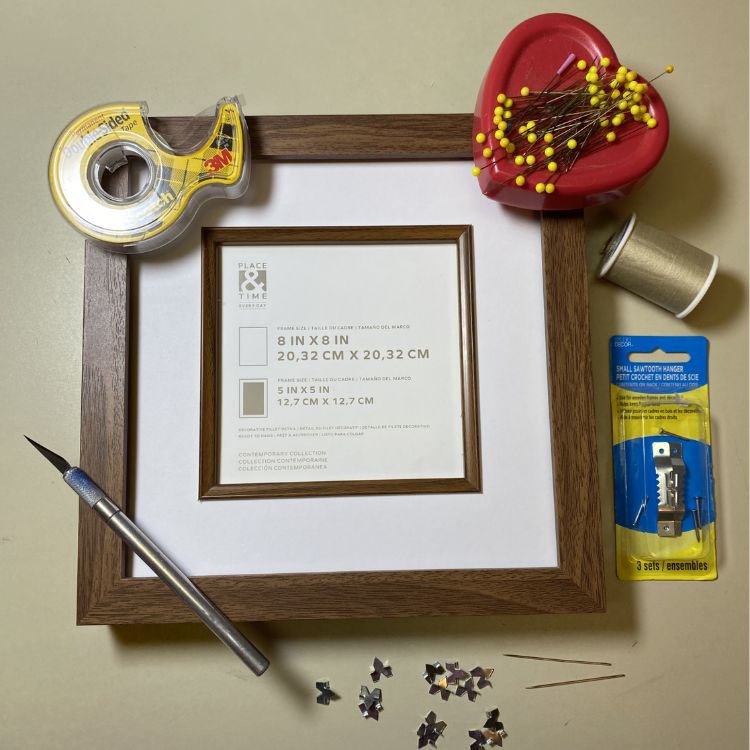
Second, if you haven’t already embroidered the piece you want to frame, I strongly encourage you to find your picture frame before deciding on the size of your design for two reasons. My experience has been that it’s not always easy finding a frame that matches the picture you have in your head for your embroidery piece. And for framing embroidery pieces, the frames should have at least a little depth to them. Take a look at the two frames I’m using for this tutorial. You don’t need to use a shadow box, but you also can’t use a completely flat frame.
Make sure that the embroidery piece you want to frame will have enough excess fabric to wrap around the back of the foam board by about 2” on every side.
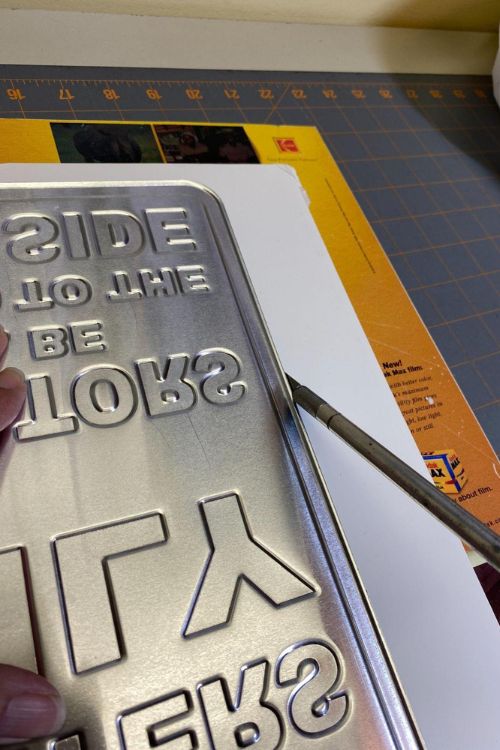
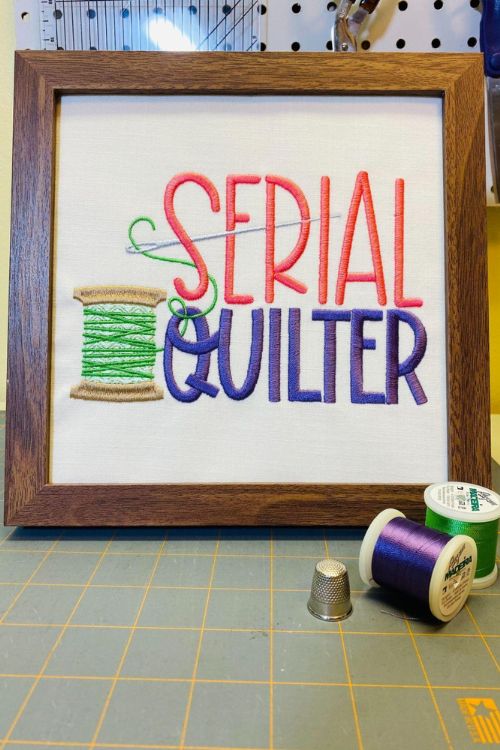
Once you’ve purchased your frame and your design is all stitched out, it’s time to prepare the embroidery for framing. You’ll need to cut the foam board ⅛" smaller than your frame size. The Serial Quilter frame opening is 8" x 8", so I cut the foam board into a 7 ¾" square. DO NOT cut the foam board on your cutting mat (if you have one) or the X-ACTO knife will cut into the mat. I use old magazines under the foam board. Use a ruler to draw your cutting lines and carefully cut along those lines. If you need a straight edge, use metal or something else that the X-ACTO knife won’t cut into. It will cut the edges of your quilting rulers, so don’t use them. In the second picture I was using the edge of a decorative metal sign I have, and still accidentally scratched the back of the sign. X-ACTO knives are very sharp!

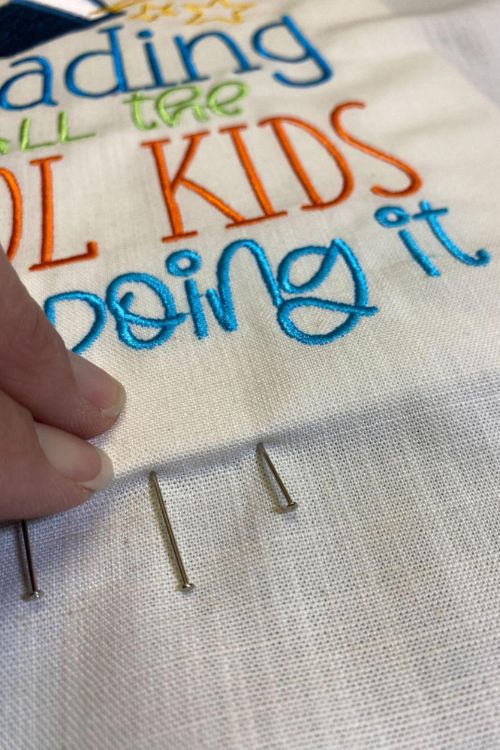
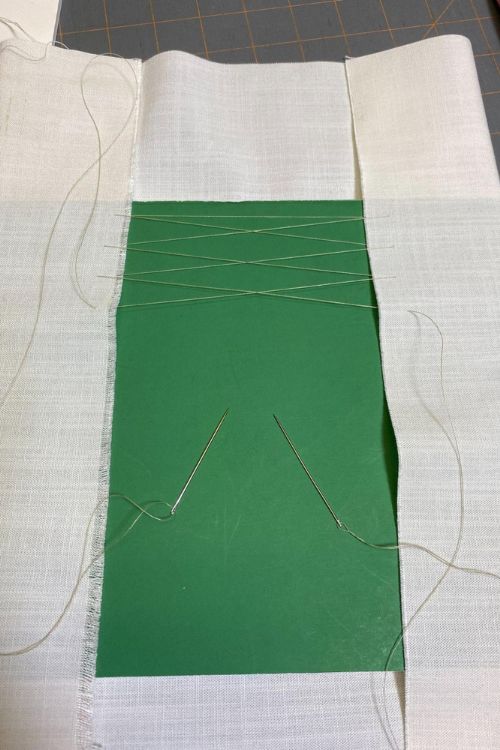
When the foam board is cut, lightly spray it with temporary adhesive spray and carefully center the embroidery piece that you’re framing on the board. Use sewing pins to hold the fabric to the edges.

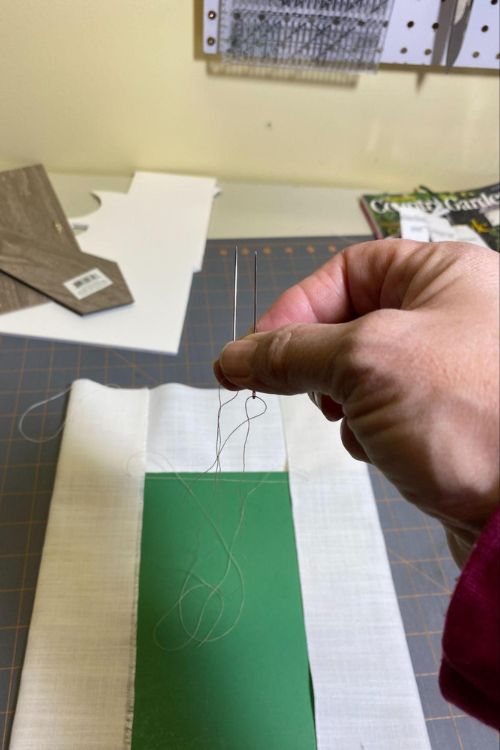
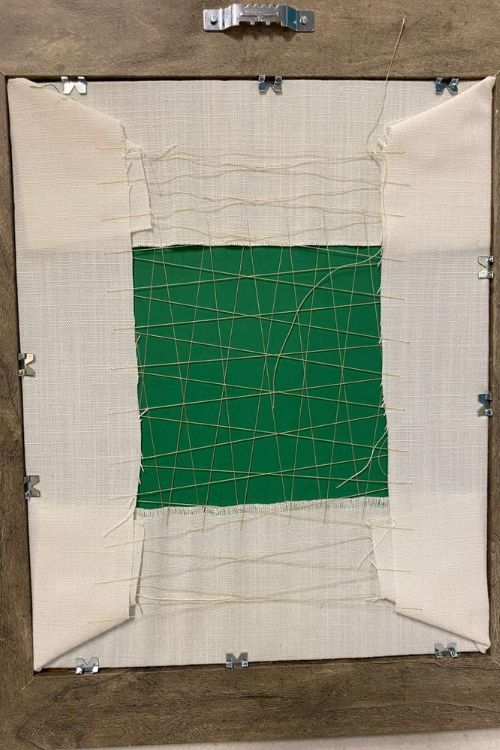
Using one very long piece of thread (I used 4 yards), thread a needle onto each end of the thread. Draw up both needles so the thread is evenly distributed.
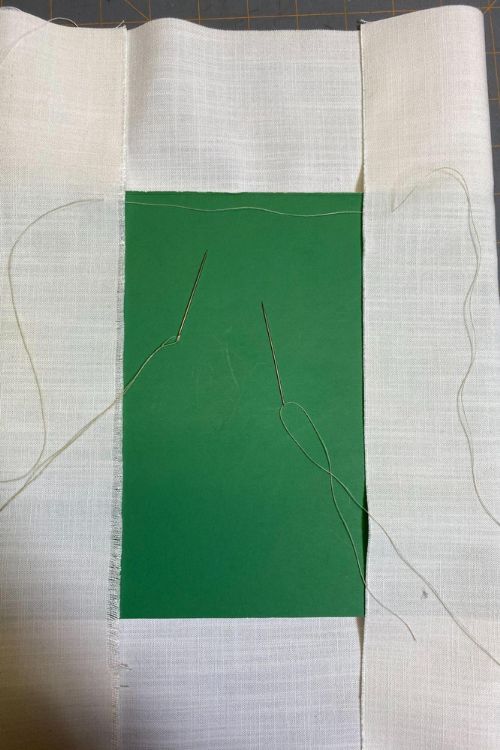
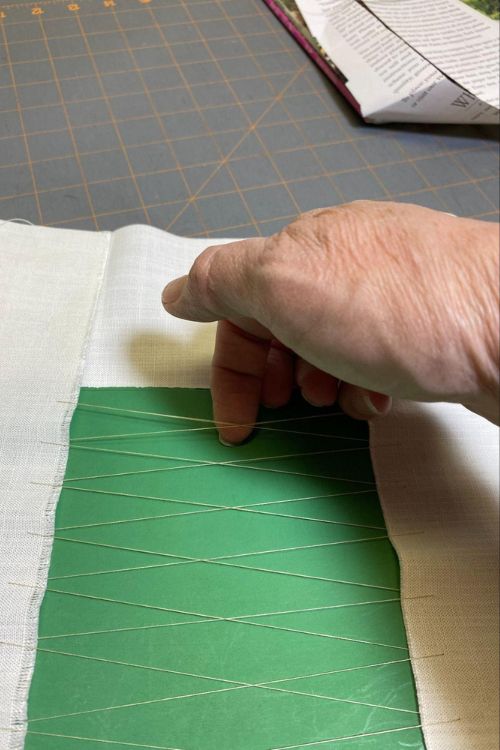
Alternating the needles, lace the sides. I stitched about ¾"- 1" apart. When you’re done, tighten up the stitches, much like you would if you were snugging up a pair of sneakers. Then tie off the ends in a knot. Just like making a bow at the holidays, you’ll probably need an extra hand to hold the strings down while you tie the knot.
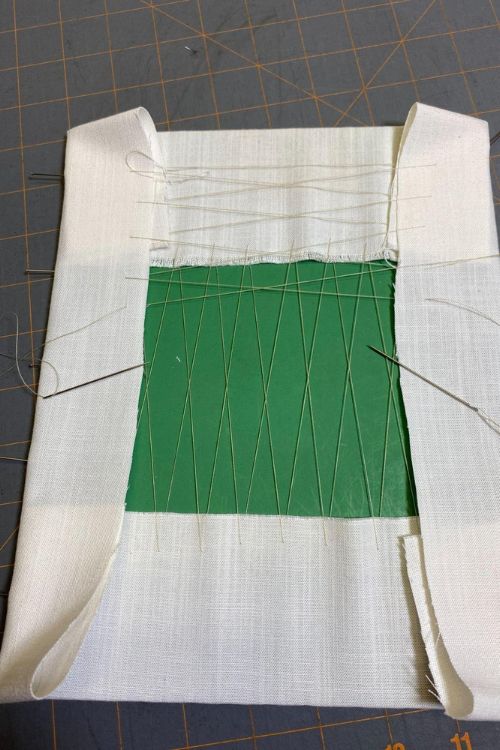
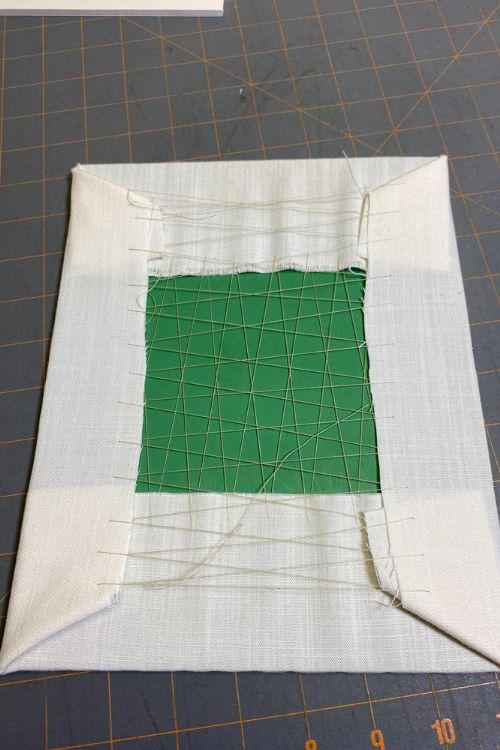
Starting about 1" down, do the same for the other two sides. When you’re done, tuck the corners in to miter them. Remove the sewing pins you used.
You can decide whether or not you want to use the glass over the embroidery piece you’re framing. For the Cool Kids, I chose to use the glass so library students can’t touch the embroidery itself. For the Serial Quilter, I I liked the look of the piece without the glass.
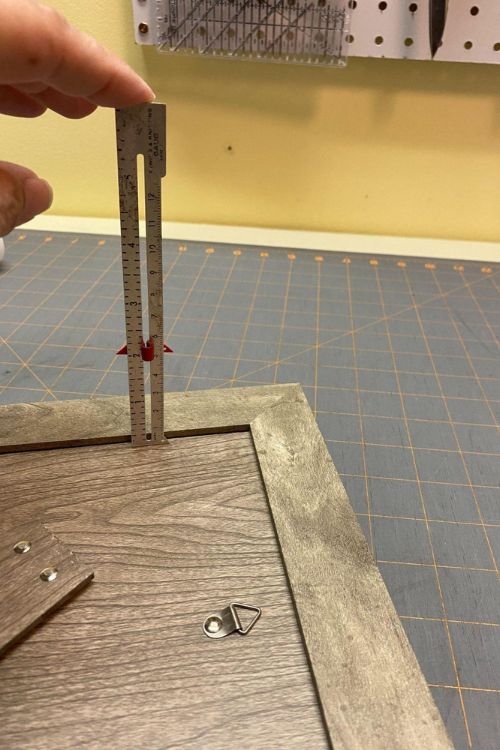
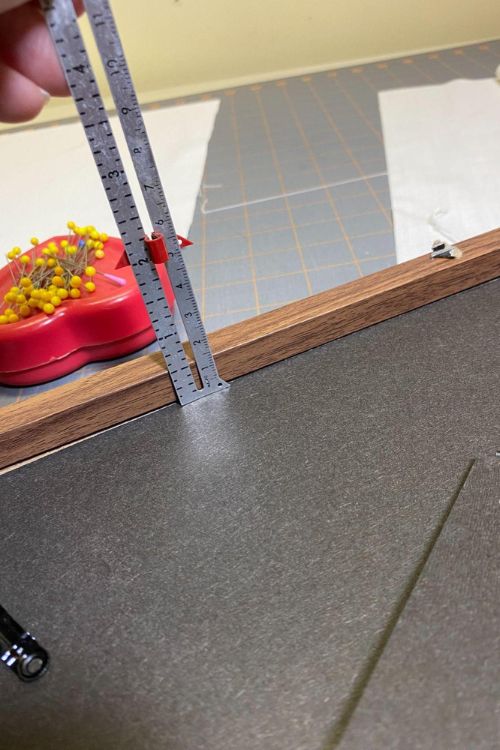
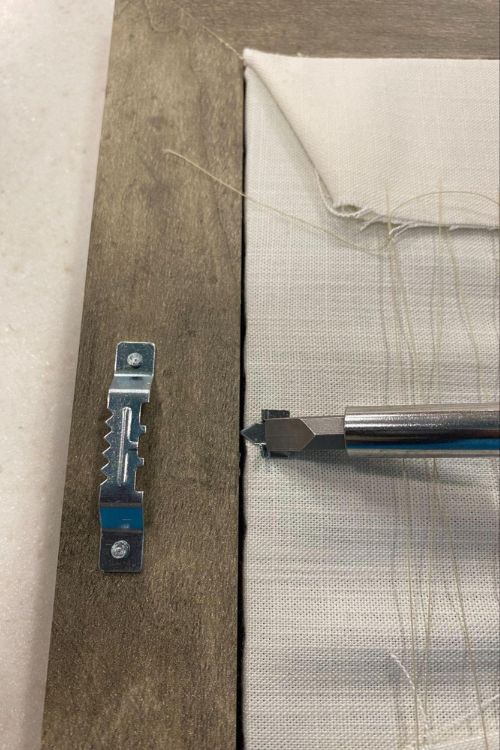
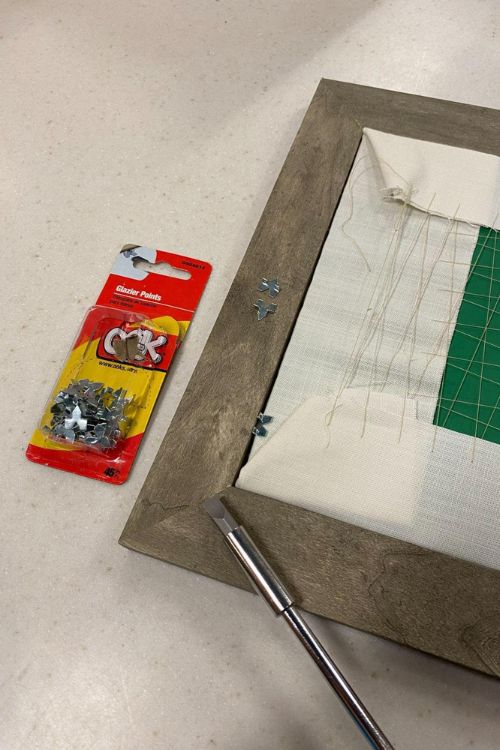
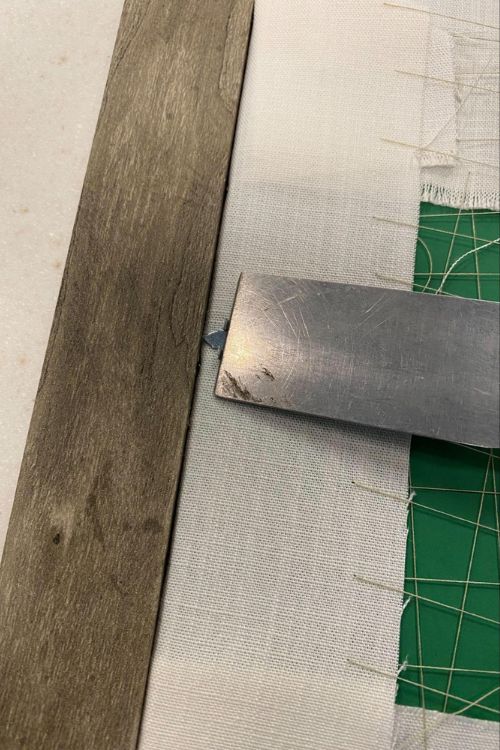
If your frame is shallow, like my Cool Kids frame, you won’t be able to use the backboard from the frame. While the glass is out of the frame, hammer a sawtooth hanger on the frame. Then replace the glass, put the embroidered piece in, and using the glazier points, secure the piece all around. I started with a screwdriver, but found a better flat tool. Unfortunately, I’m not sure what it’s called. Be careful to press the points into the frame and not downward so you don’t crack the glass.
Now the only thing left to do is cover the back. Use sturdy scrapbook paper, felt, or cardstock to make your own back. Cut your backing material a little smaller than the back of the frame, leaving clearance for the sawtooth hanger, and place double-sided tape along each edge. Then fasten it to the back of the frame. This is how I made the back for the Cool Kids piece.


If you can use the frame’s original backboard, go ahead and do that. You may need to use some glazier points if it doesn’t fit in snugly. This is what worked for the back of the Serial Quilter.
Tada! Framed embroidery pieces for a lot less than you’ll pay at a framing shop!

Don't forget to share your creations with us on social media using the hashtag #designsbyjuju!