Toggle Nav
 Inspire.
Create.
Stitch.
Inspire.
Create.
Stitch.
Inspire.
Create.
Stitch.
Search
Inspire.
Create.
Stitch.
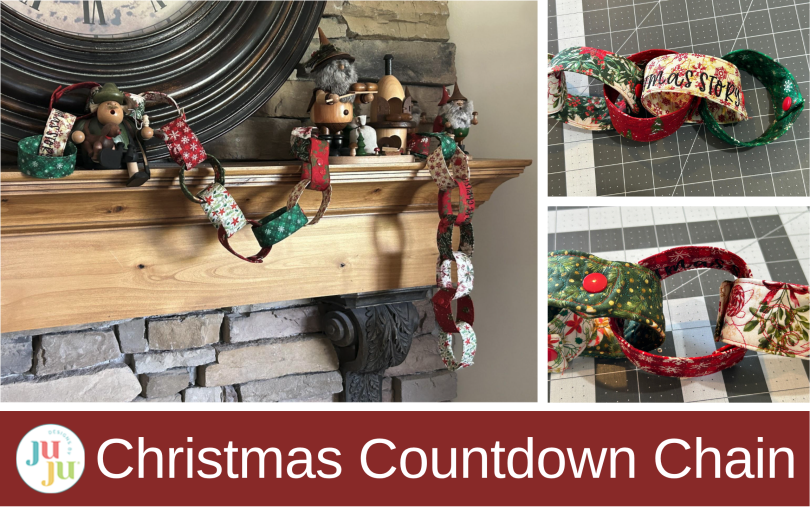
Create a reusable embroidered Christmas countdown chain with fabric, Quilting Backdrops, and KAMsnaps. This festive tutorial shows how to make personalized holiday countdown links your family can enjoy year after year.
Growing up, one of my favorite traditions was making a countdown chain for Christmas. I loved stapling the construction paper strips together and getting all ready to start on December 1. Then each night as I went to bed, it was fun to rip one of them off and watch the chain get shorter and shorter each night until there was only the last one left! Now that I’m grown, I still find it all very exciting and thought it would be fun to make a chain using Quilting Backdrops™ and some holiday fabric for a tradition we can use over and over.
Today I’m going to show you how to do it too! I’ll show you how to personalize some of the links so that they have an activity for the day (if you enjoy adding those kinds of things to your chain), but feel free to keep it plain if your holiday season gets a little busy. They are snapped together with KAMsnaps® and are bound to be a hit year after year.
Don’t feel like you can only make a chain for the holidays though. Pull out some summer fabrics and the Summer Fun Quilting Backdrops Design to make a countdown chain for a summer vacation, or use birthday fabric and the Party Time Quilting Backdrops Design for a birthday countdown. Make any event something to look forward to with this countdown chain.
Don’t forget to check out the Designs by JuJu Amazon store for our design team’s favorite supplies. And for stabilizers, batting, and threads, Designs by JuJu+ has everything you need.
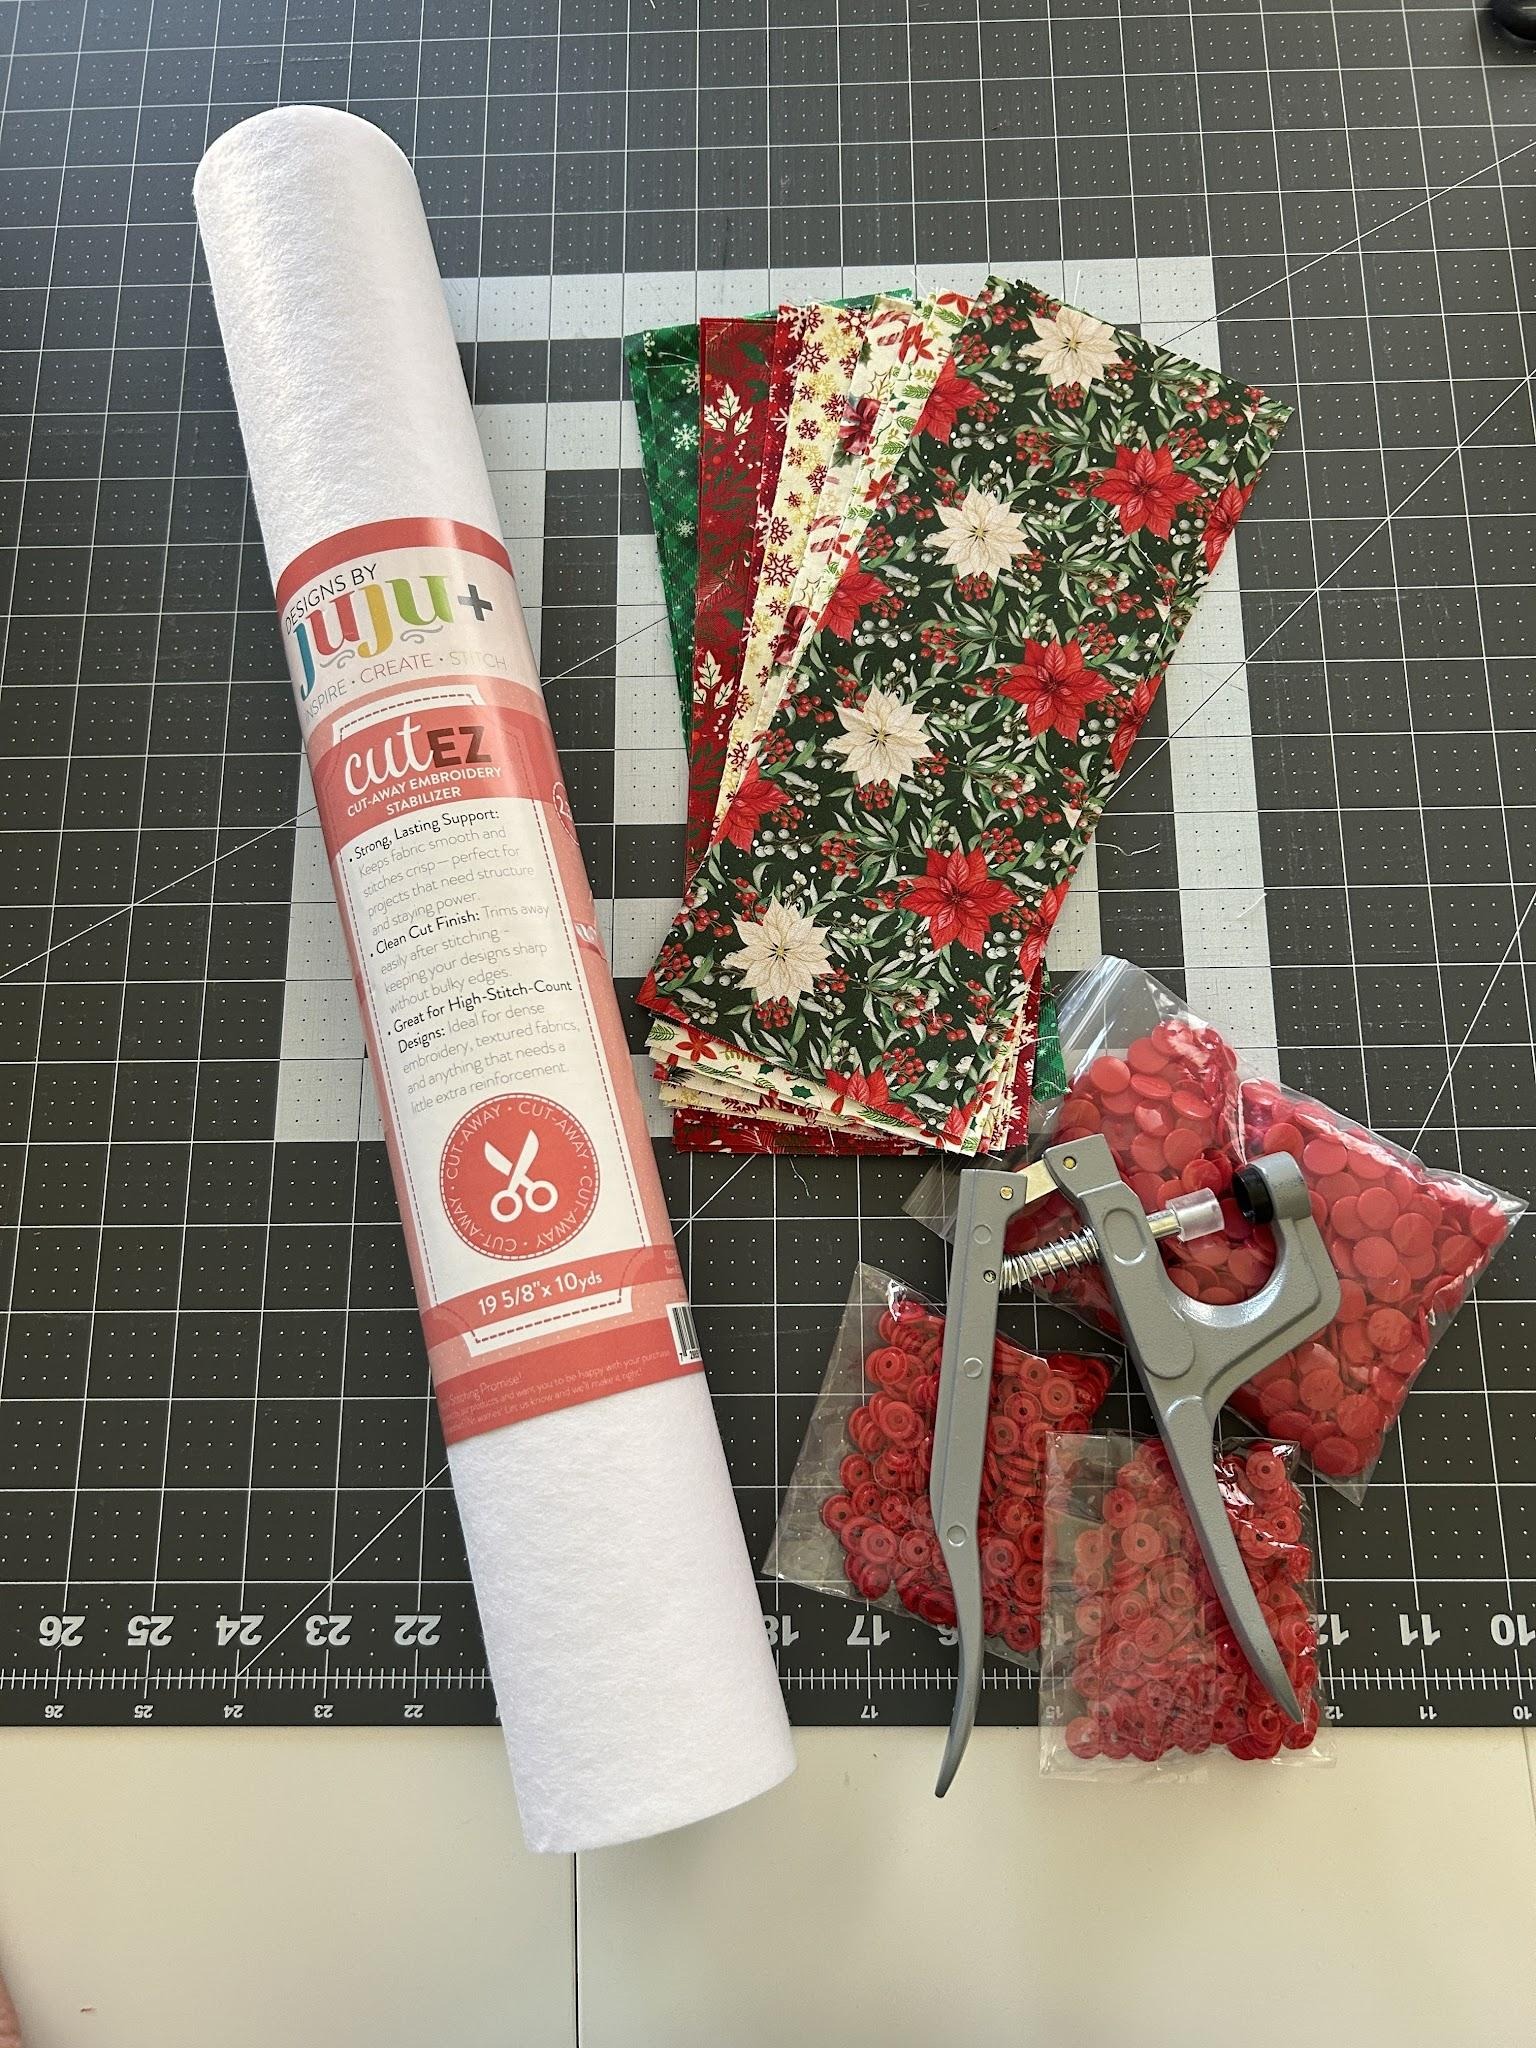
This is a simple project, but it does have multiple hoopings. We will be using a 3”x10” design for each of the chain links. My hoop was a 6”x10” hoop, but I’ll show you a small trick I used to make sure I got two chain links out of each hooping.
Cut your cutEZ stabilizer a little wider than your hoop. For the first hooping, I slid my stabilizer to the right as far as I could, so that most of the excess stabilizer was hanging out the right side of my hoop.

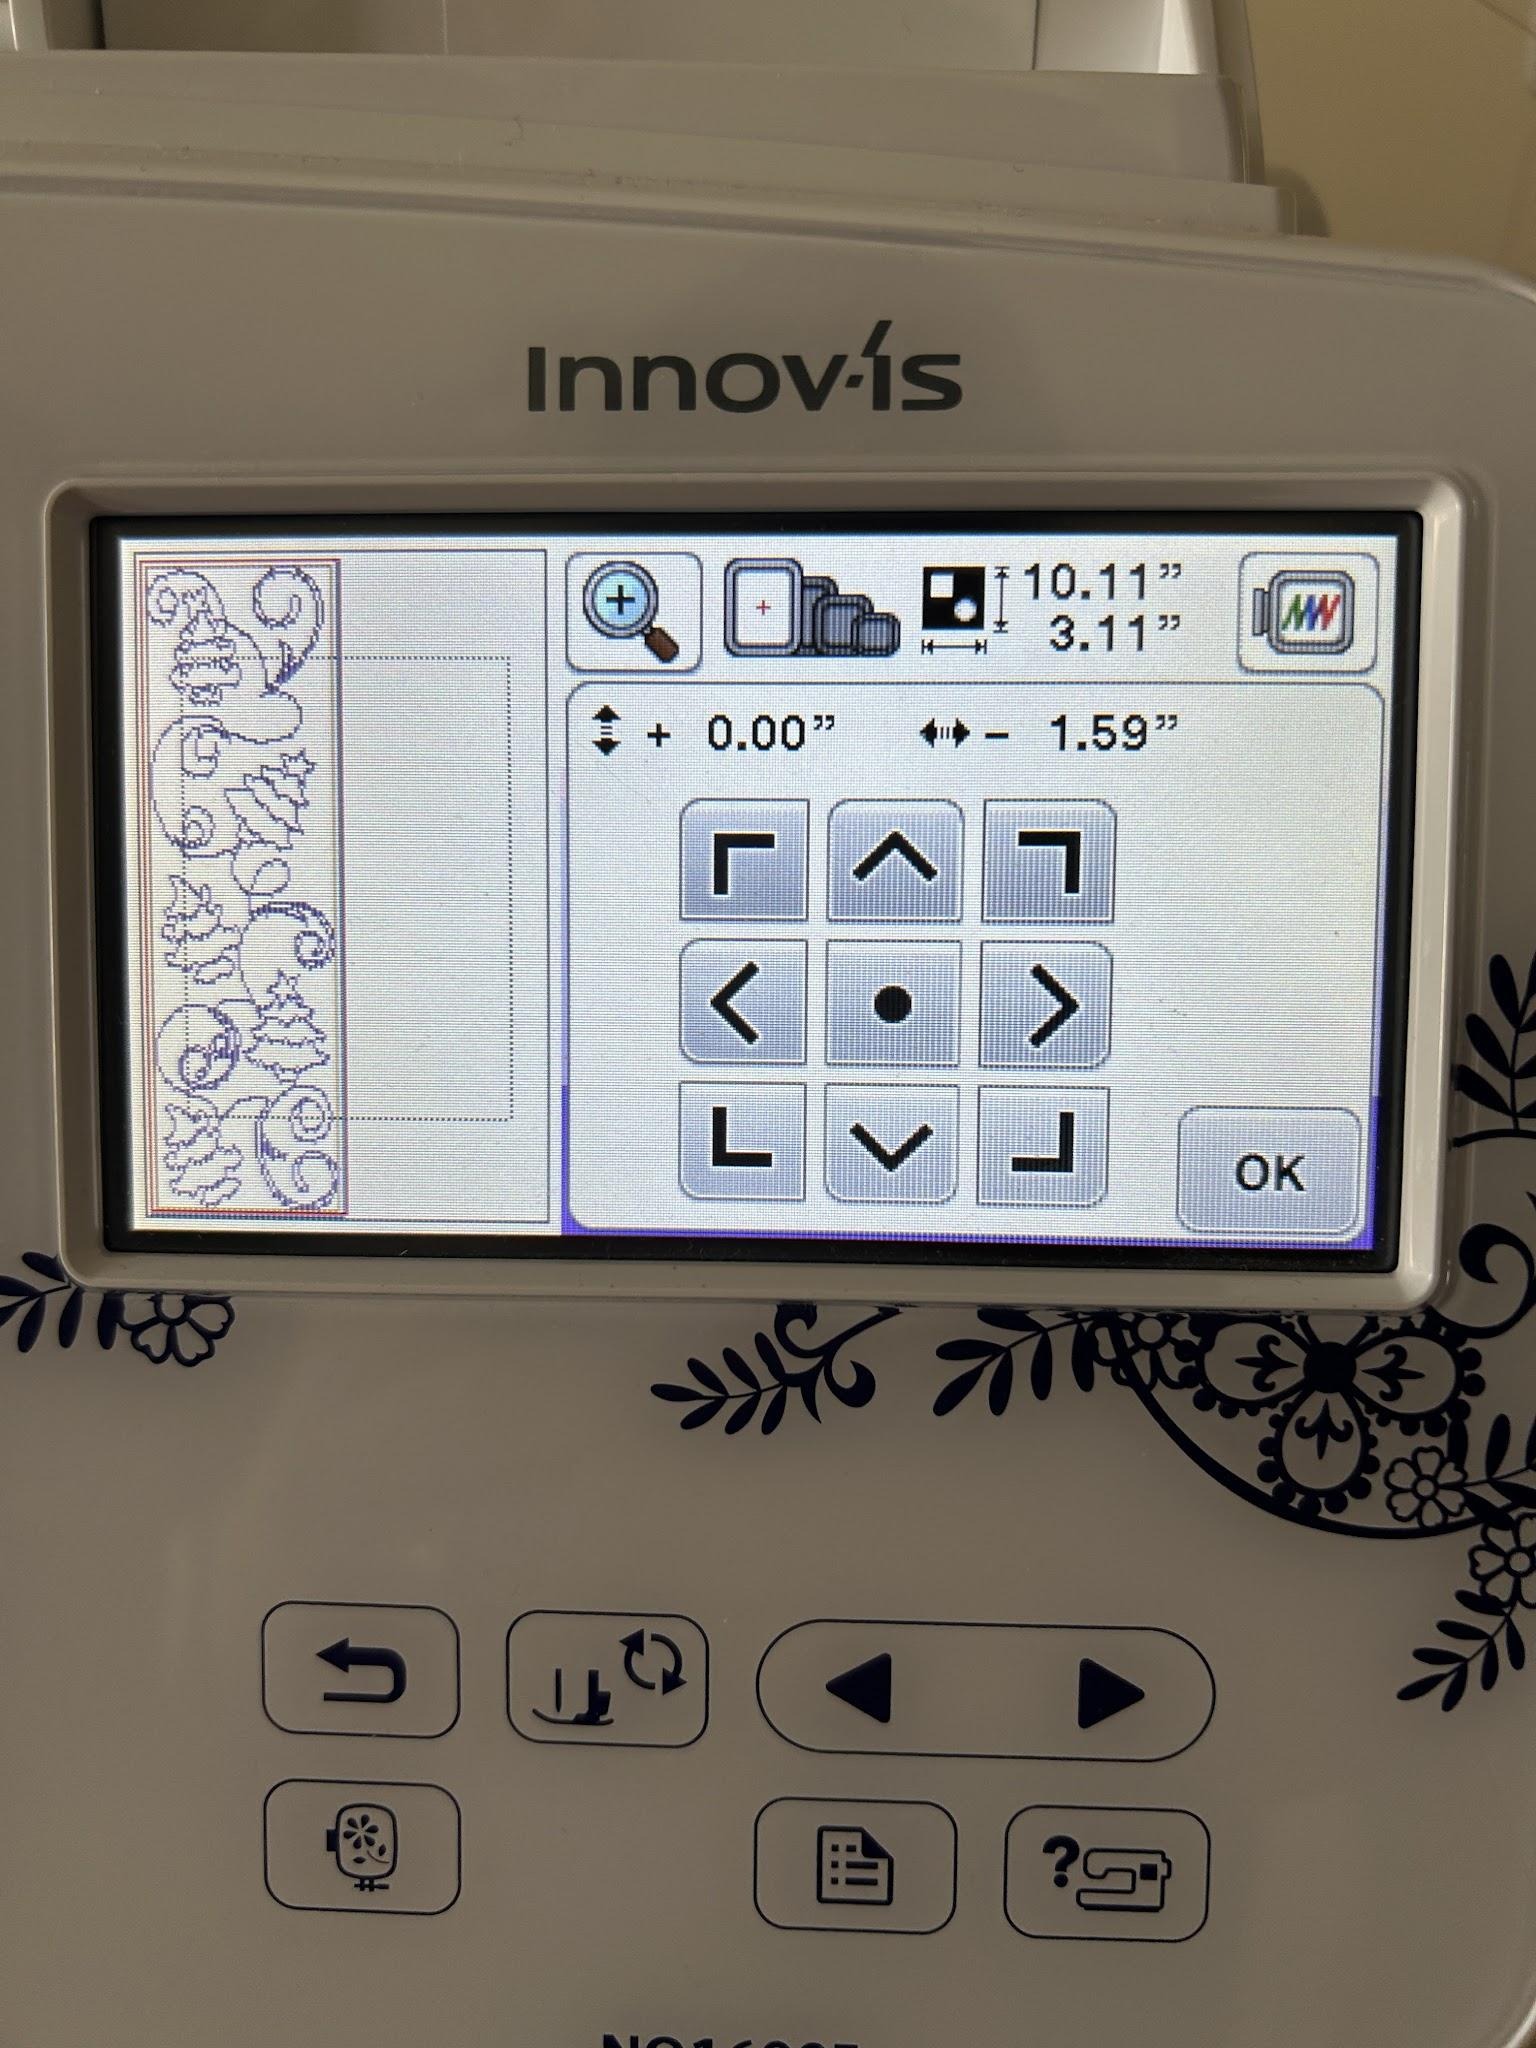
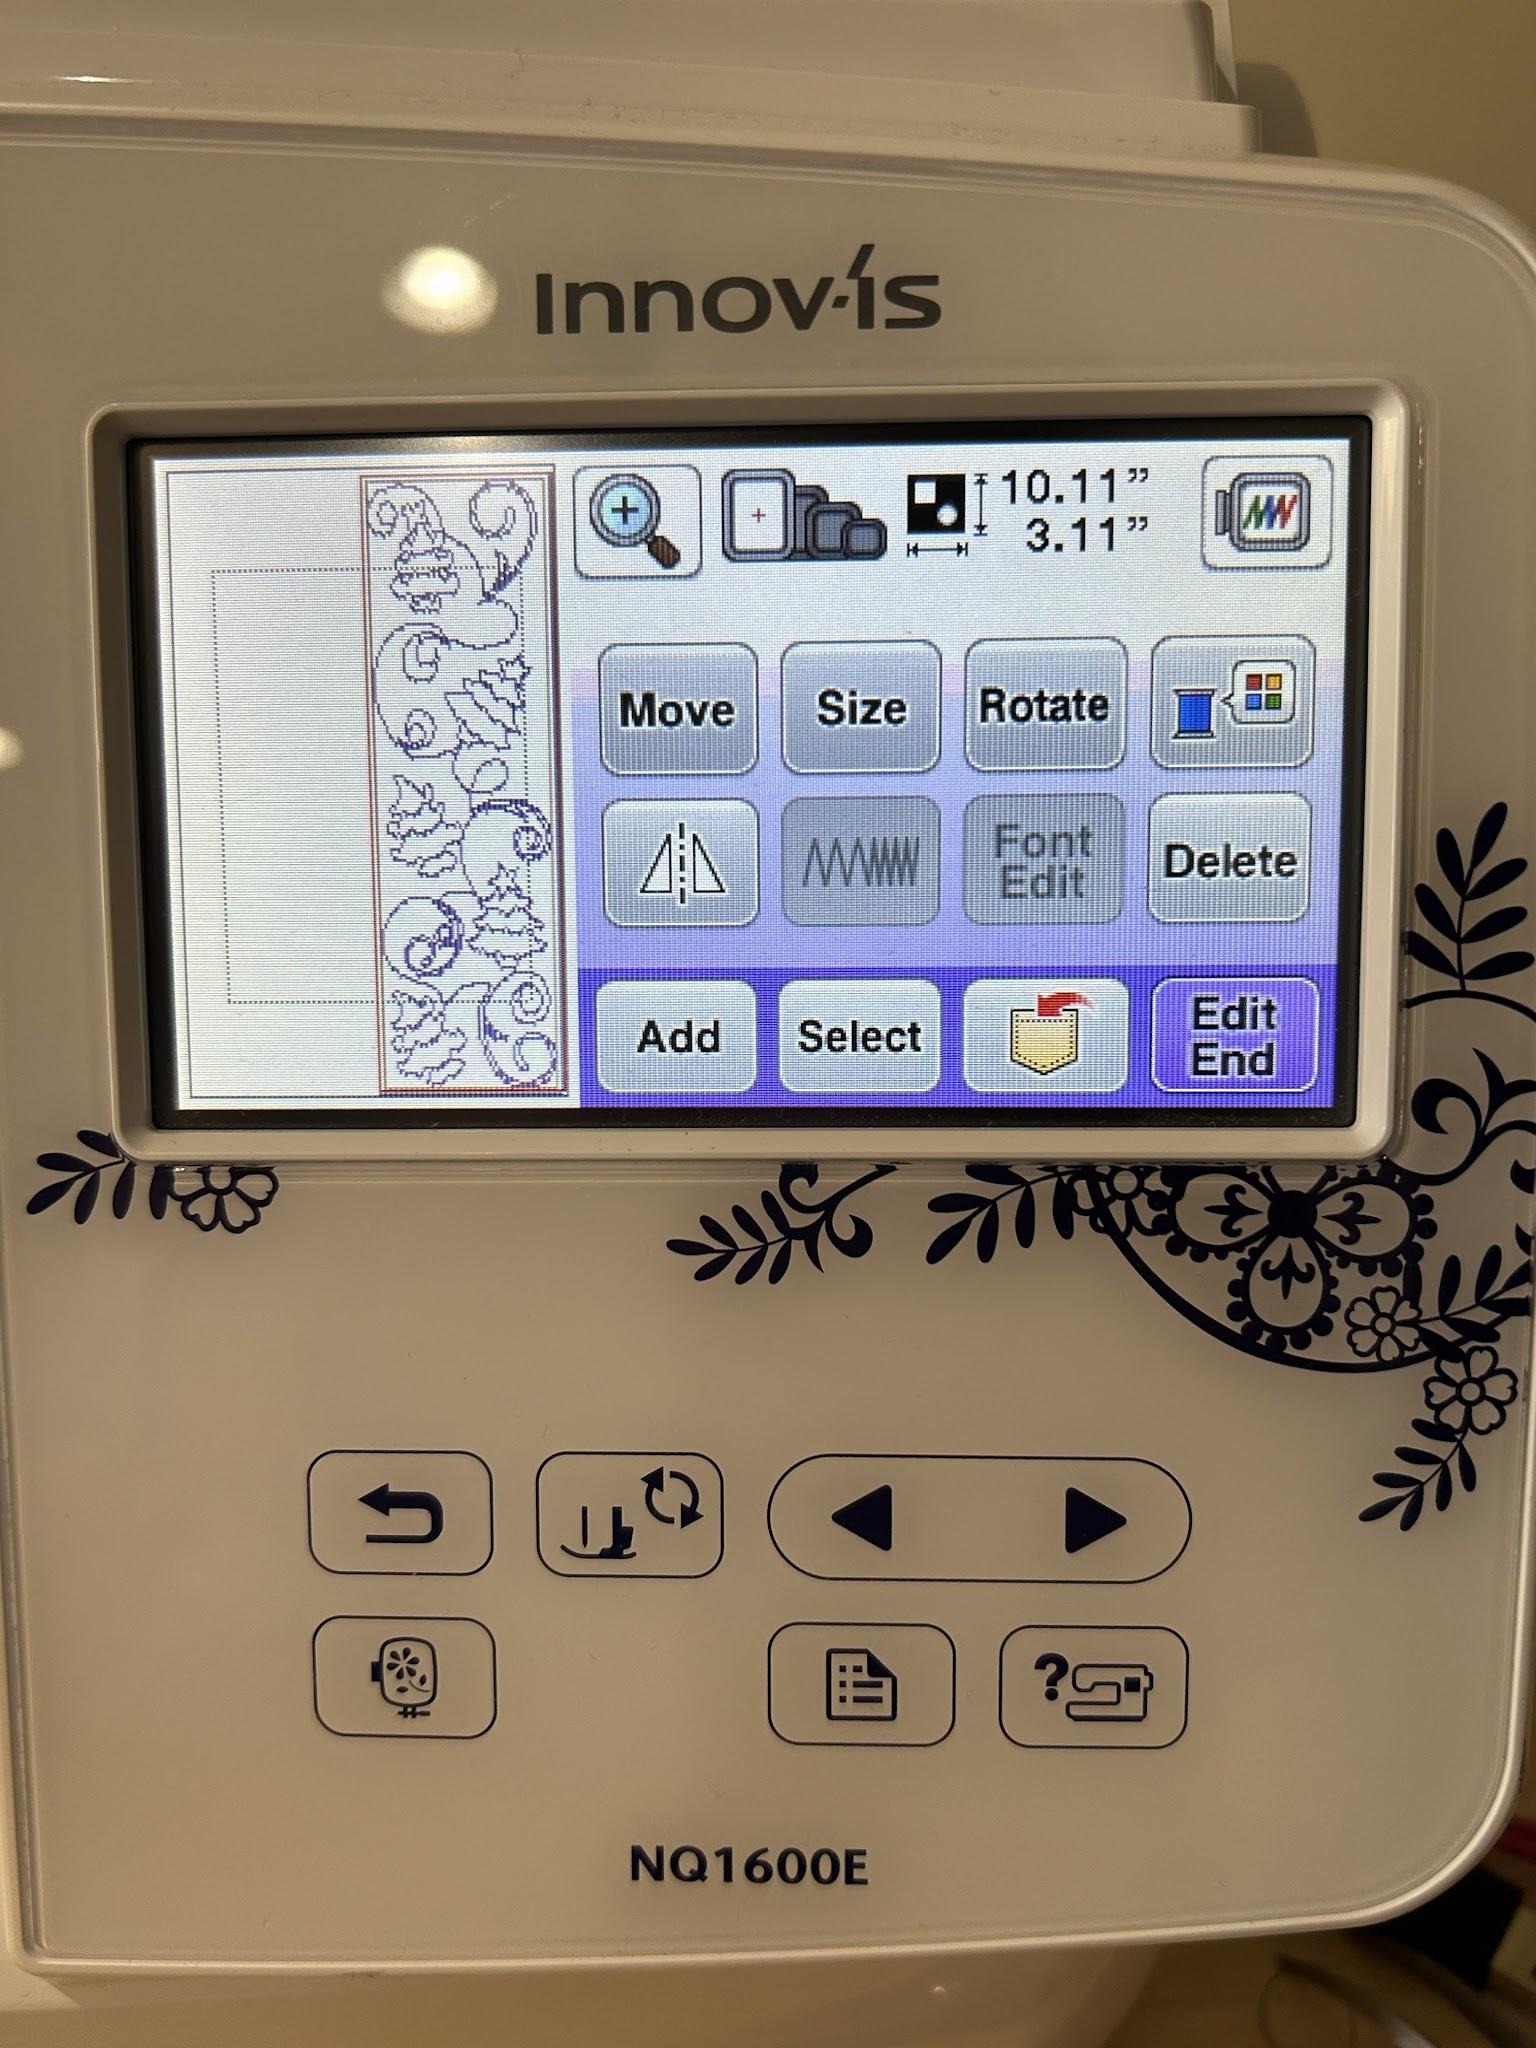
Now load your design into your machine and slide the design all the way to the left side of your hoop.
Stitch the first step, which is the placement stitch.

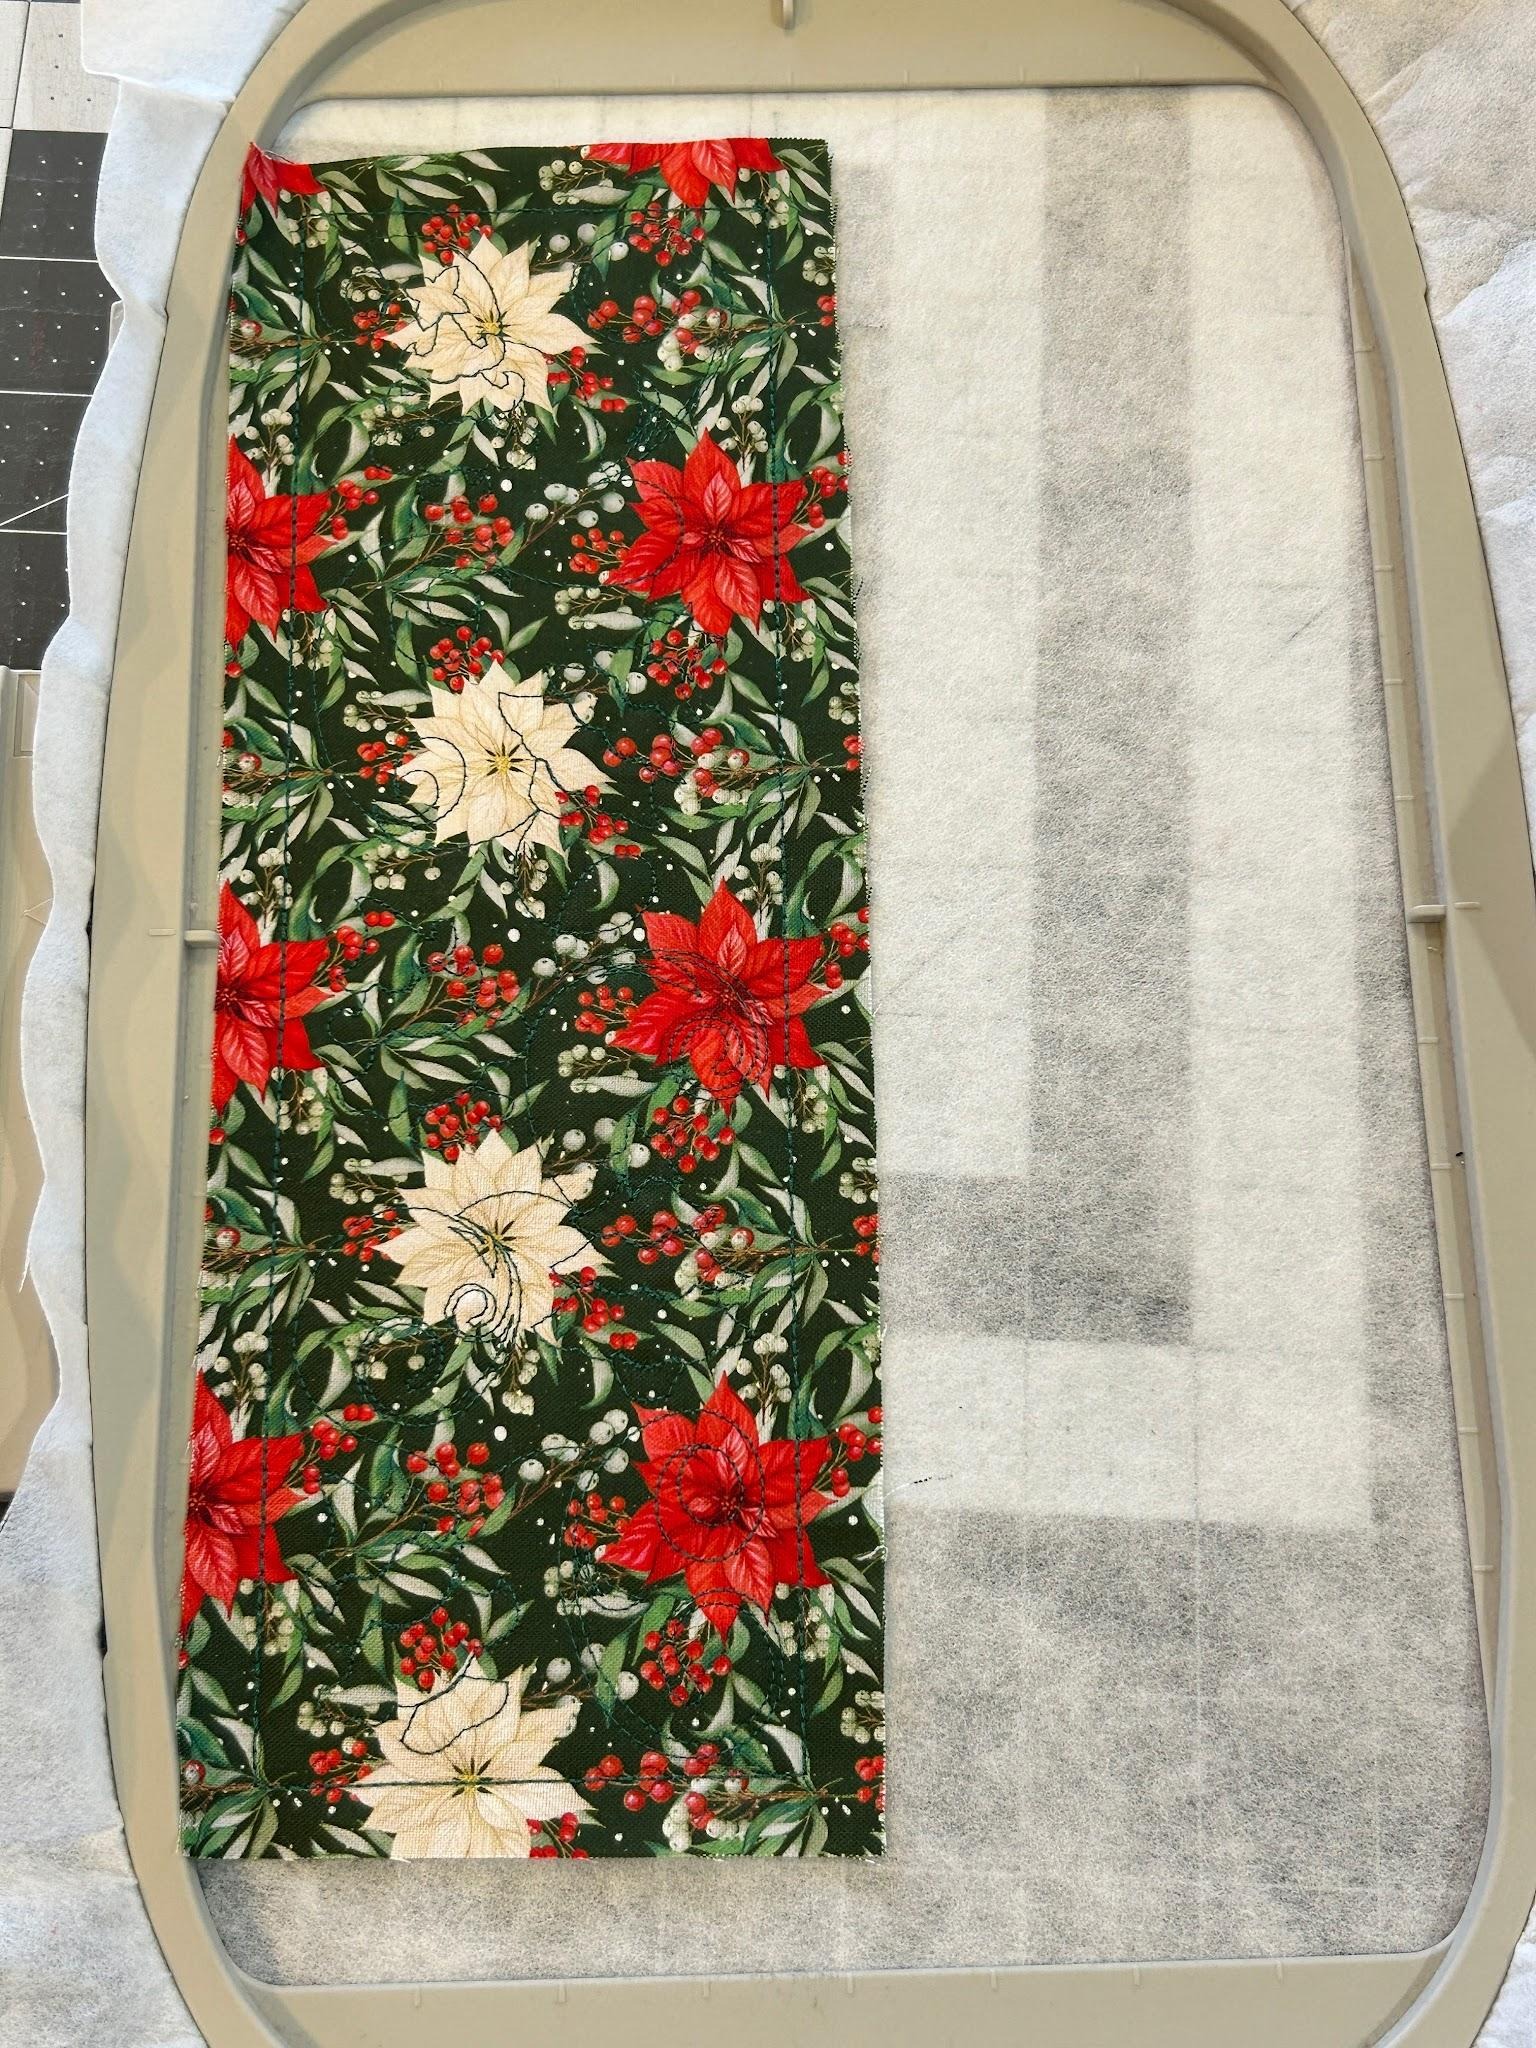
Skip the second step, the tack-down for the batting. We won't be using batting in the chain. Cover the stitches with your fabric and stitch out the third step, which is the tack-down stitch for the fabric.

Then stitch out the background decorative stitches.
To get the second chain link in this hooping, move the excess stabilizer to the left side of the hoop. It’s okay if the link that you already stitched is now sandwiched in between the hoops.
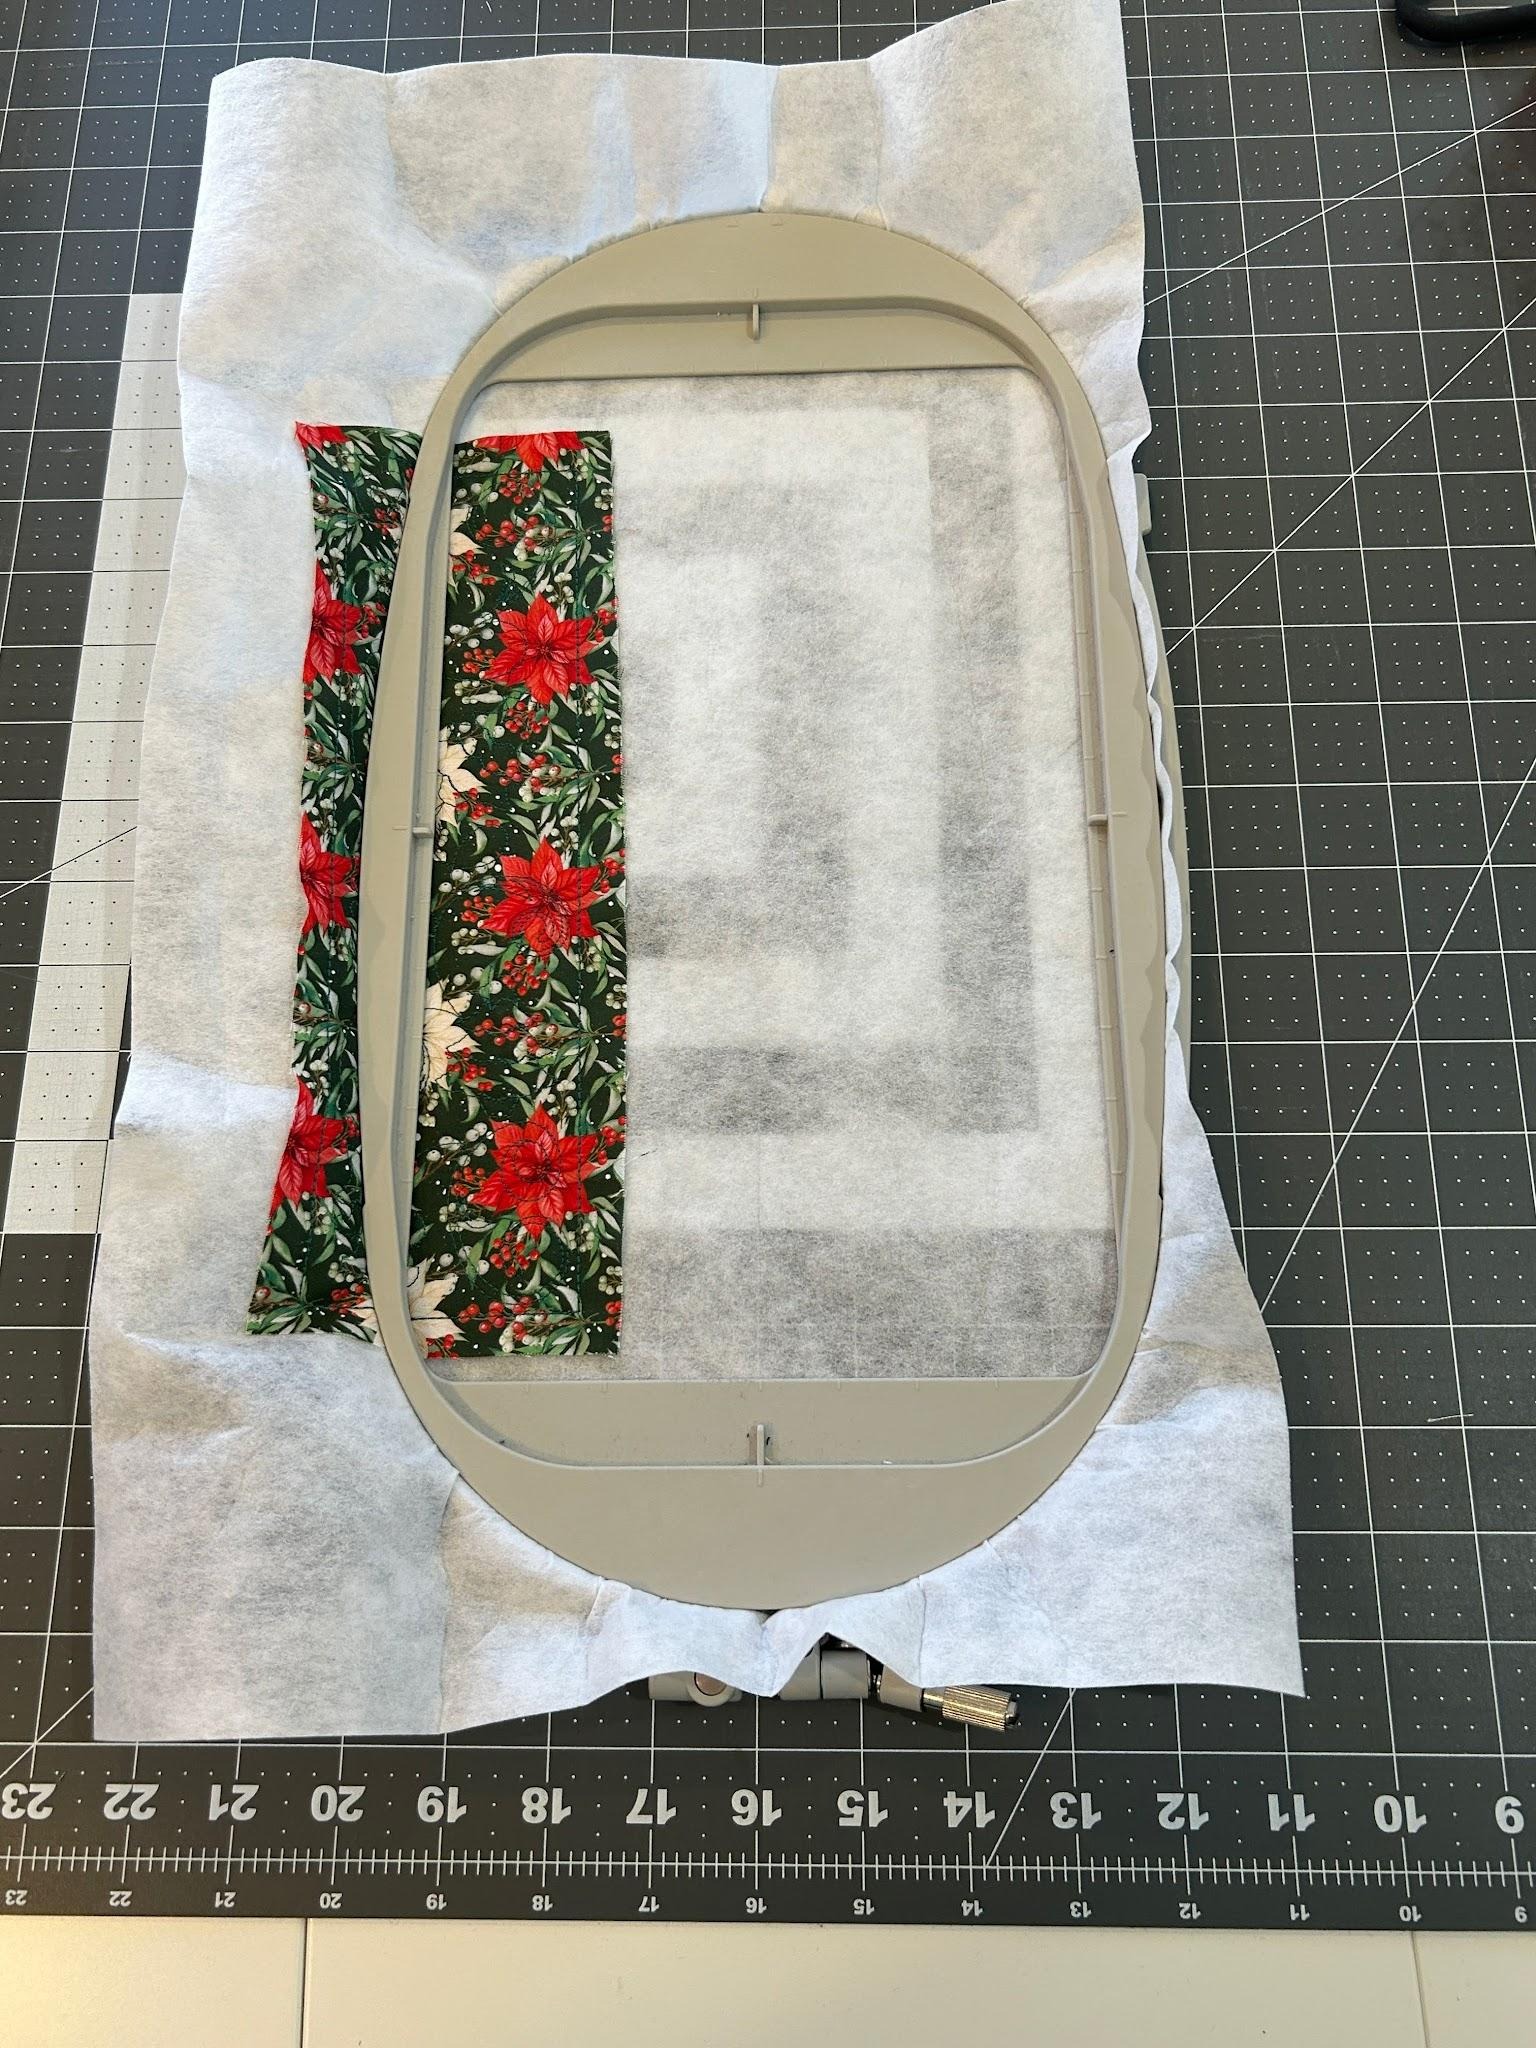
Change your design to stitch out on the right side of your hoop.
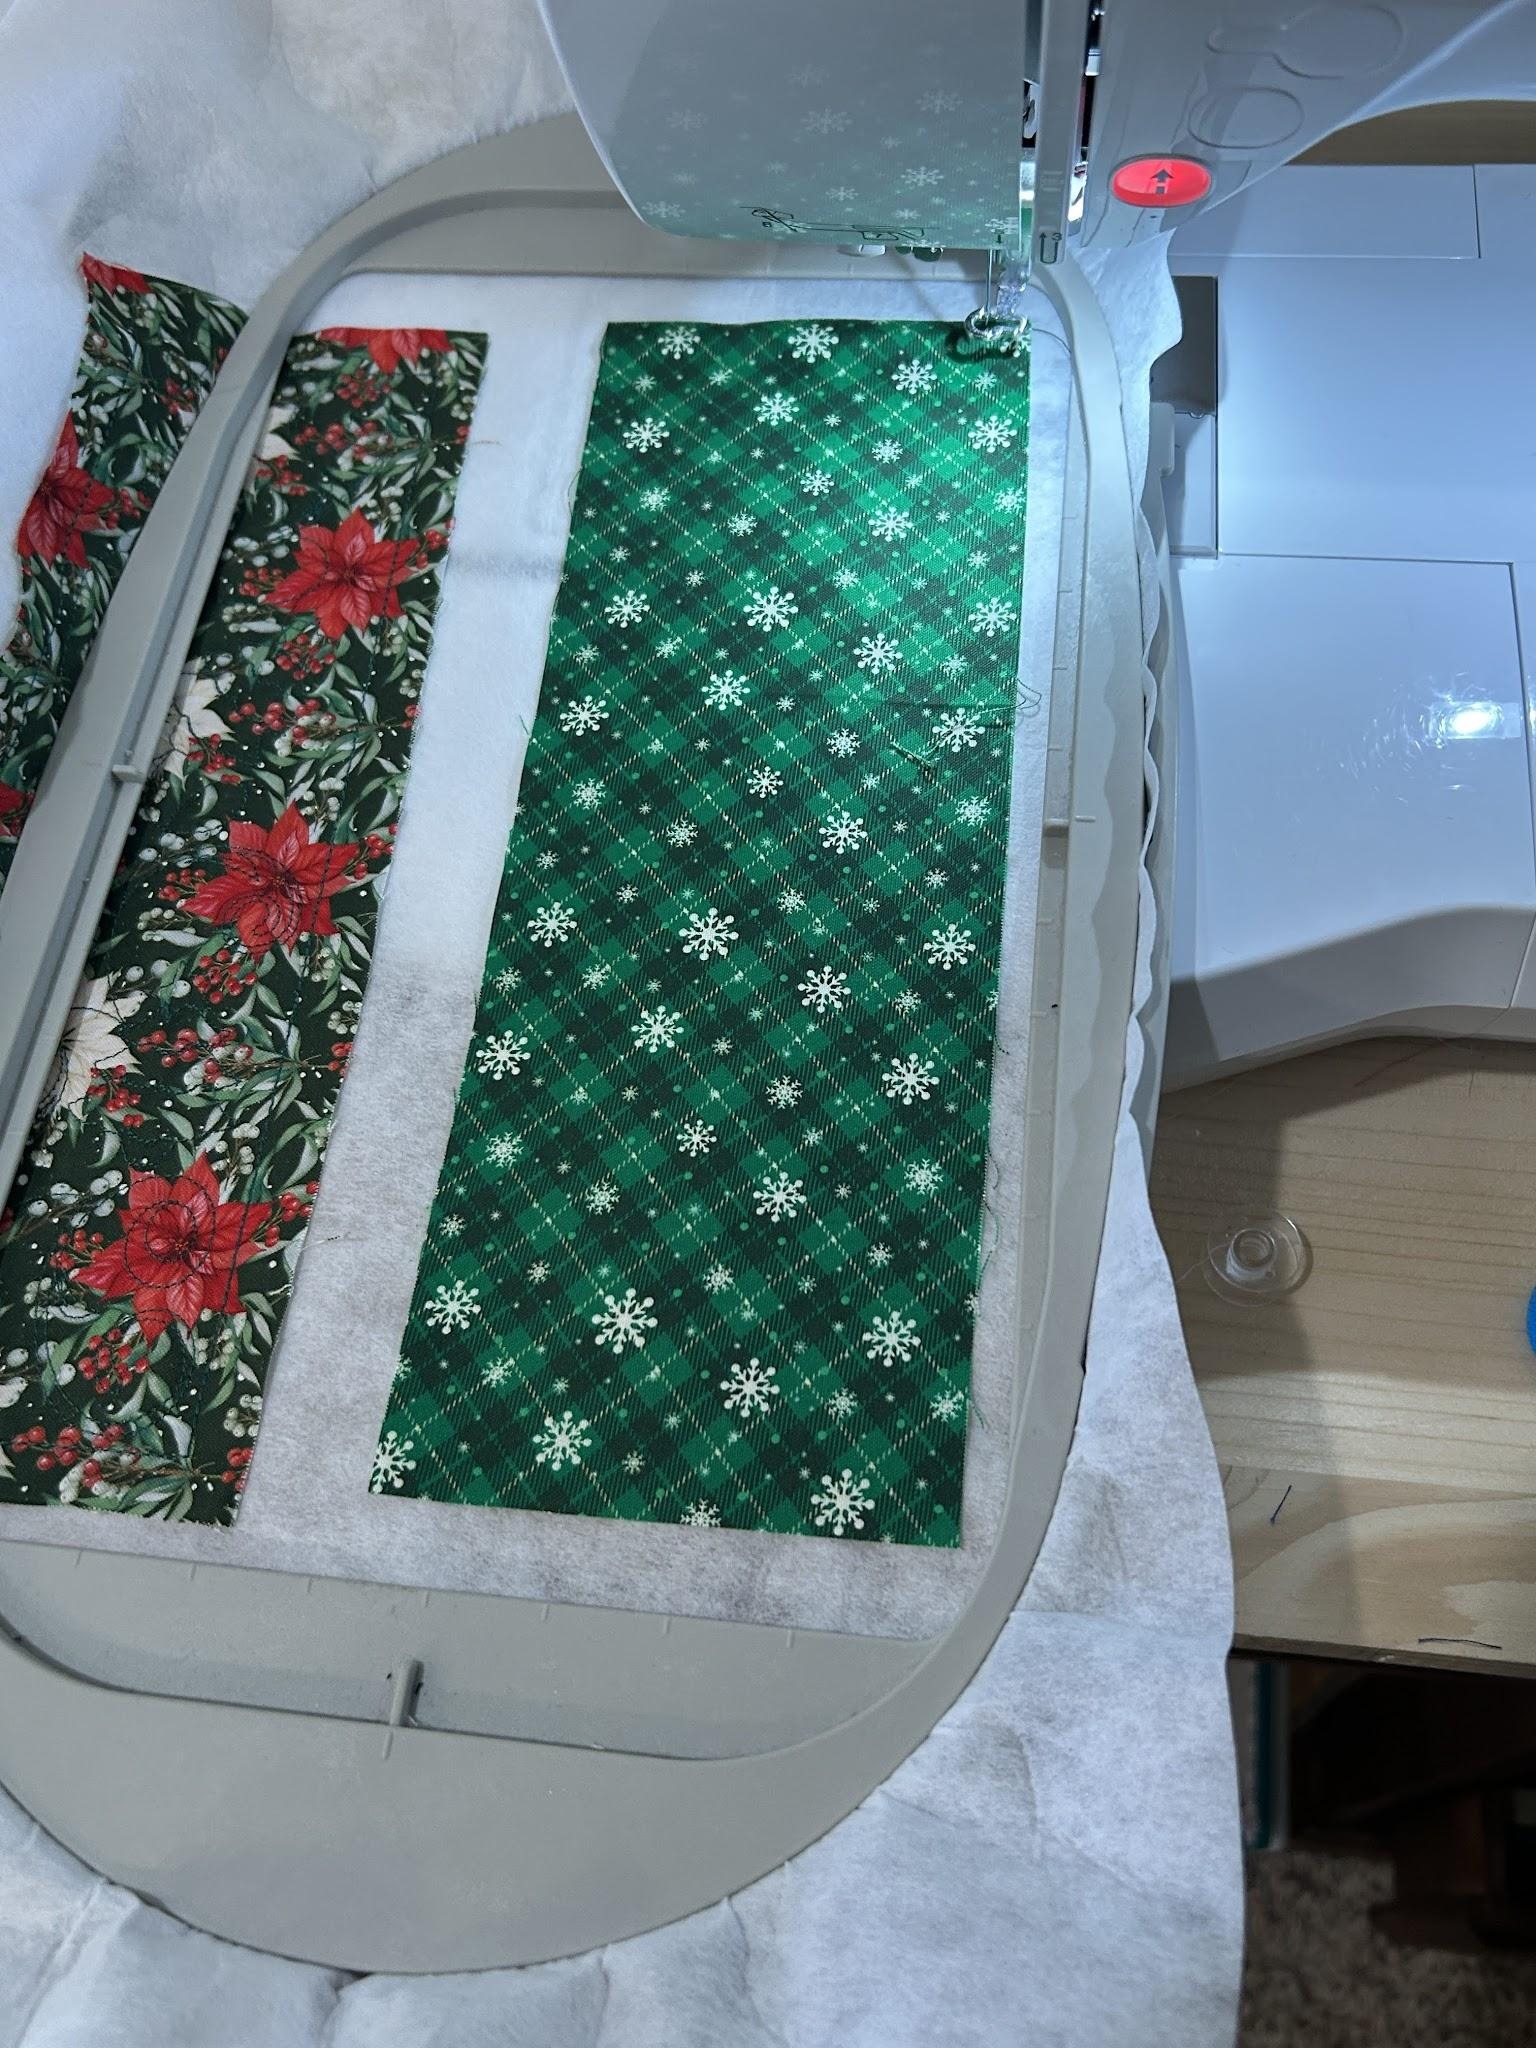
Then repeat all the steps. Stitch the placement stitch. Skip step 2. Cover the placement stitches with the fabric, and stitch step 3 to tack down the fabric. Complete the design by stitching out step 4, the decorative stitches for the design.
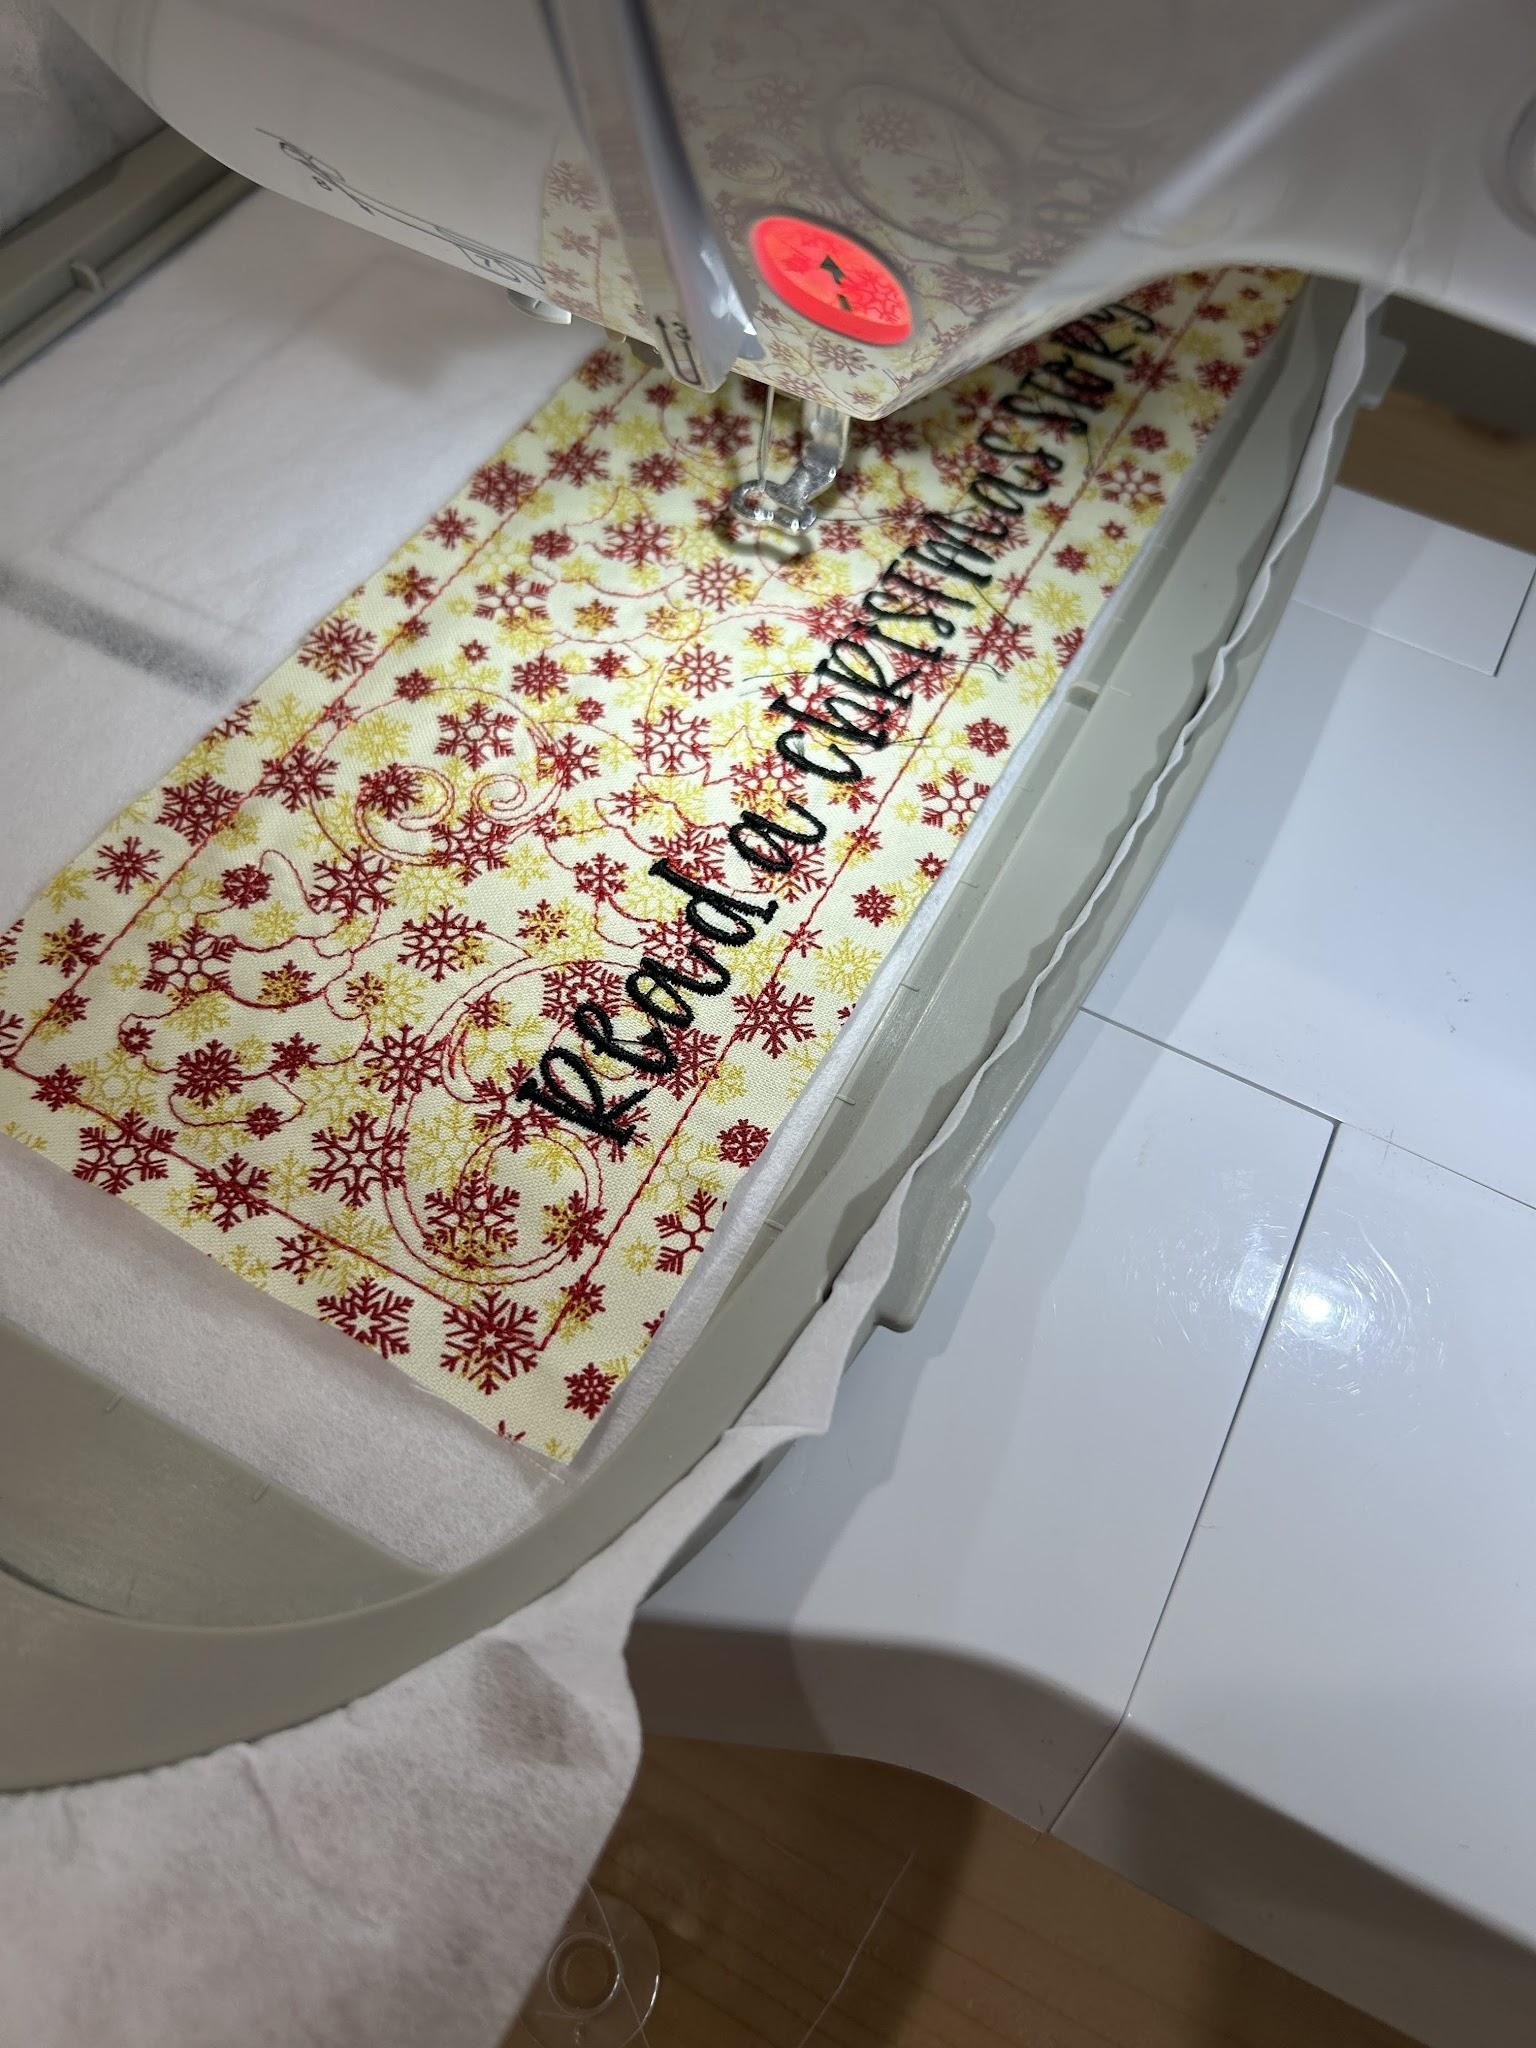
If you want to add some activities or personalization to a chain link, it’s easy to do. I used the ¾” Farmhouse Lemonade Satin Stitch to add an activity to the link. Place the words on the edge of the design.
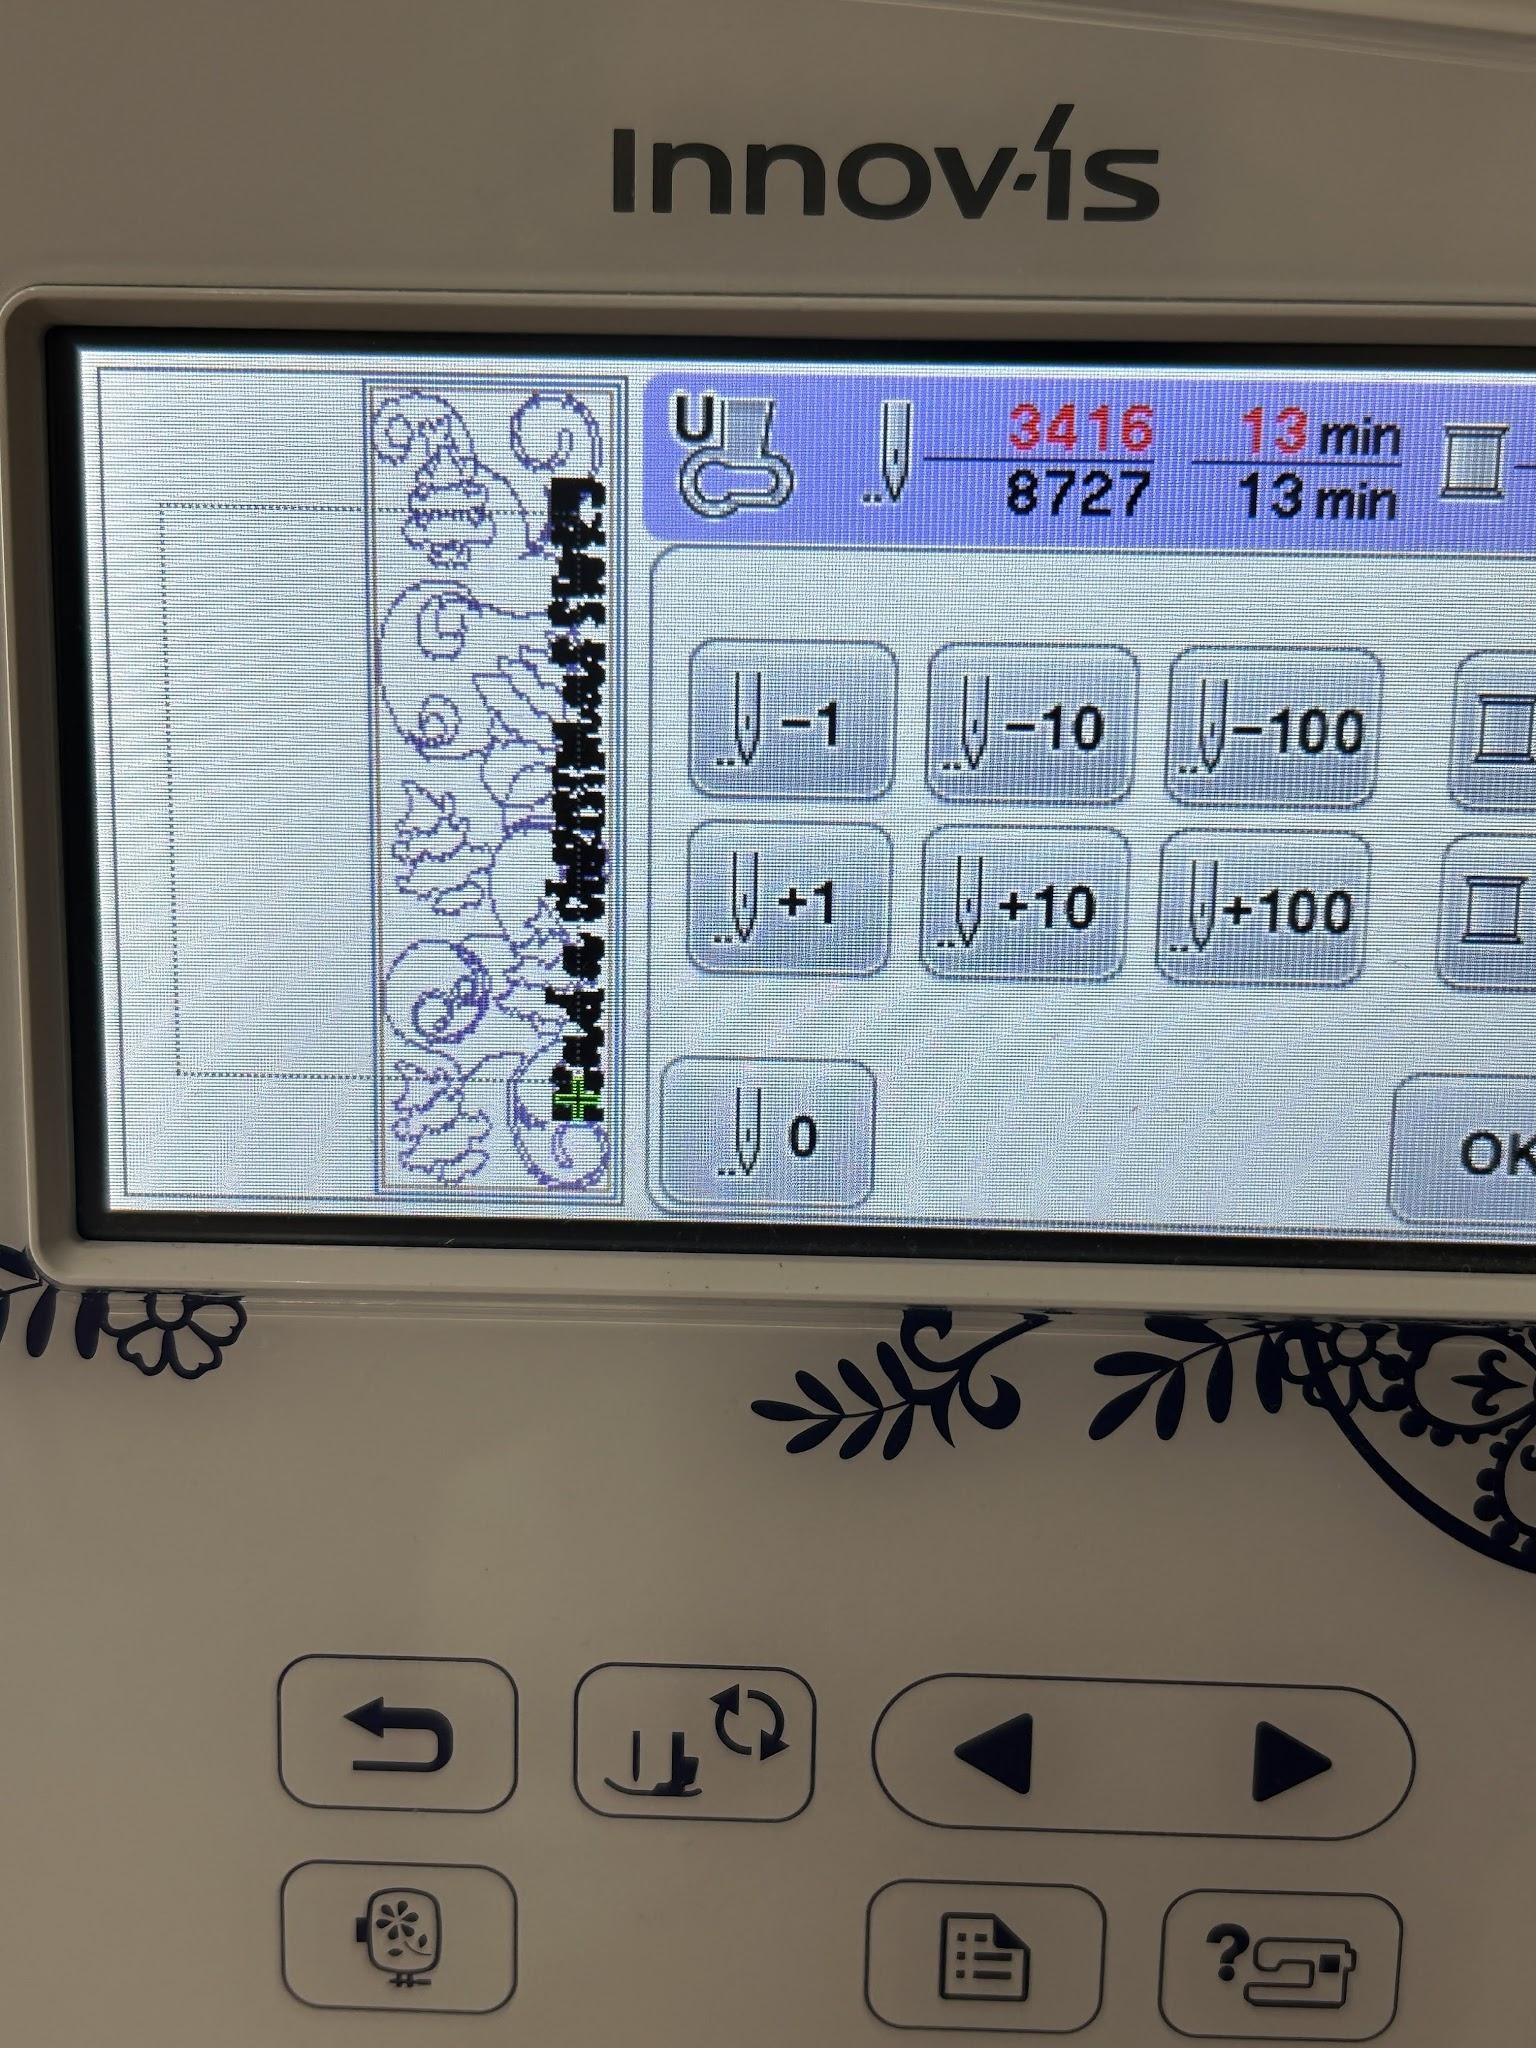
Stitch it out in a contrasting color so it can be easily read.
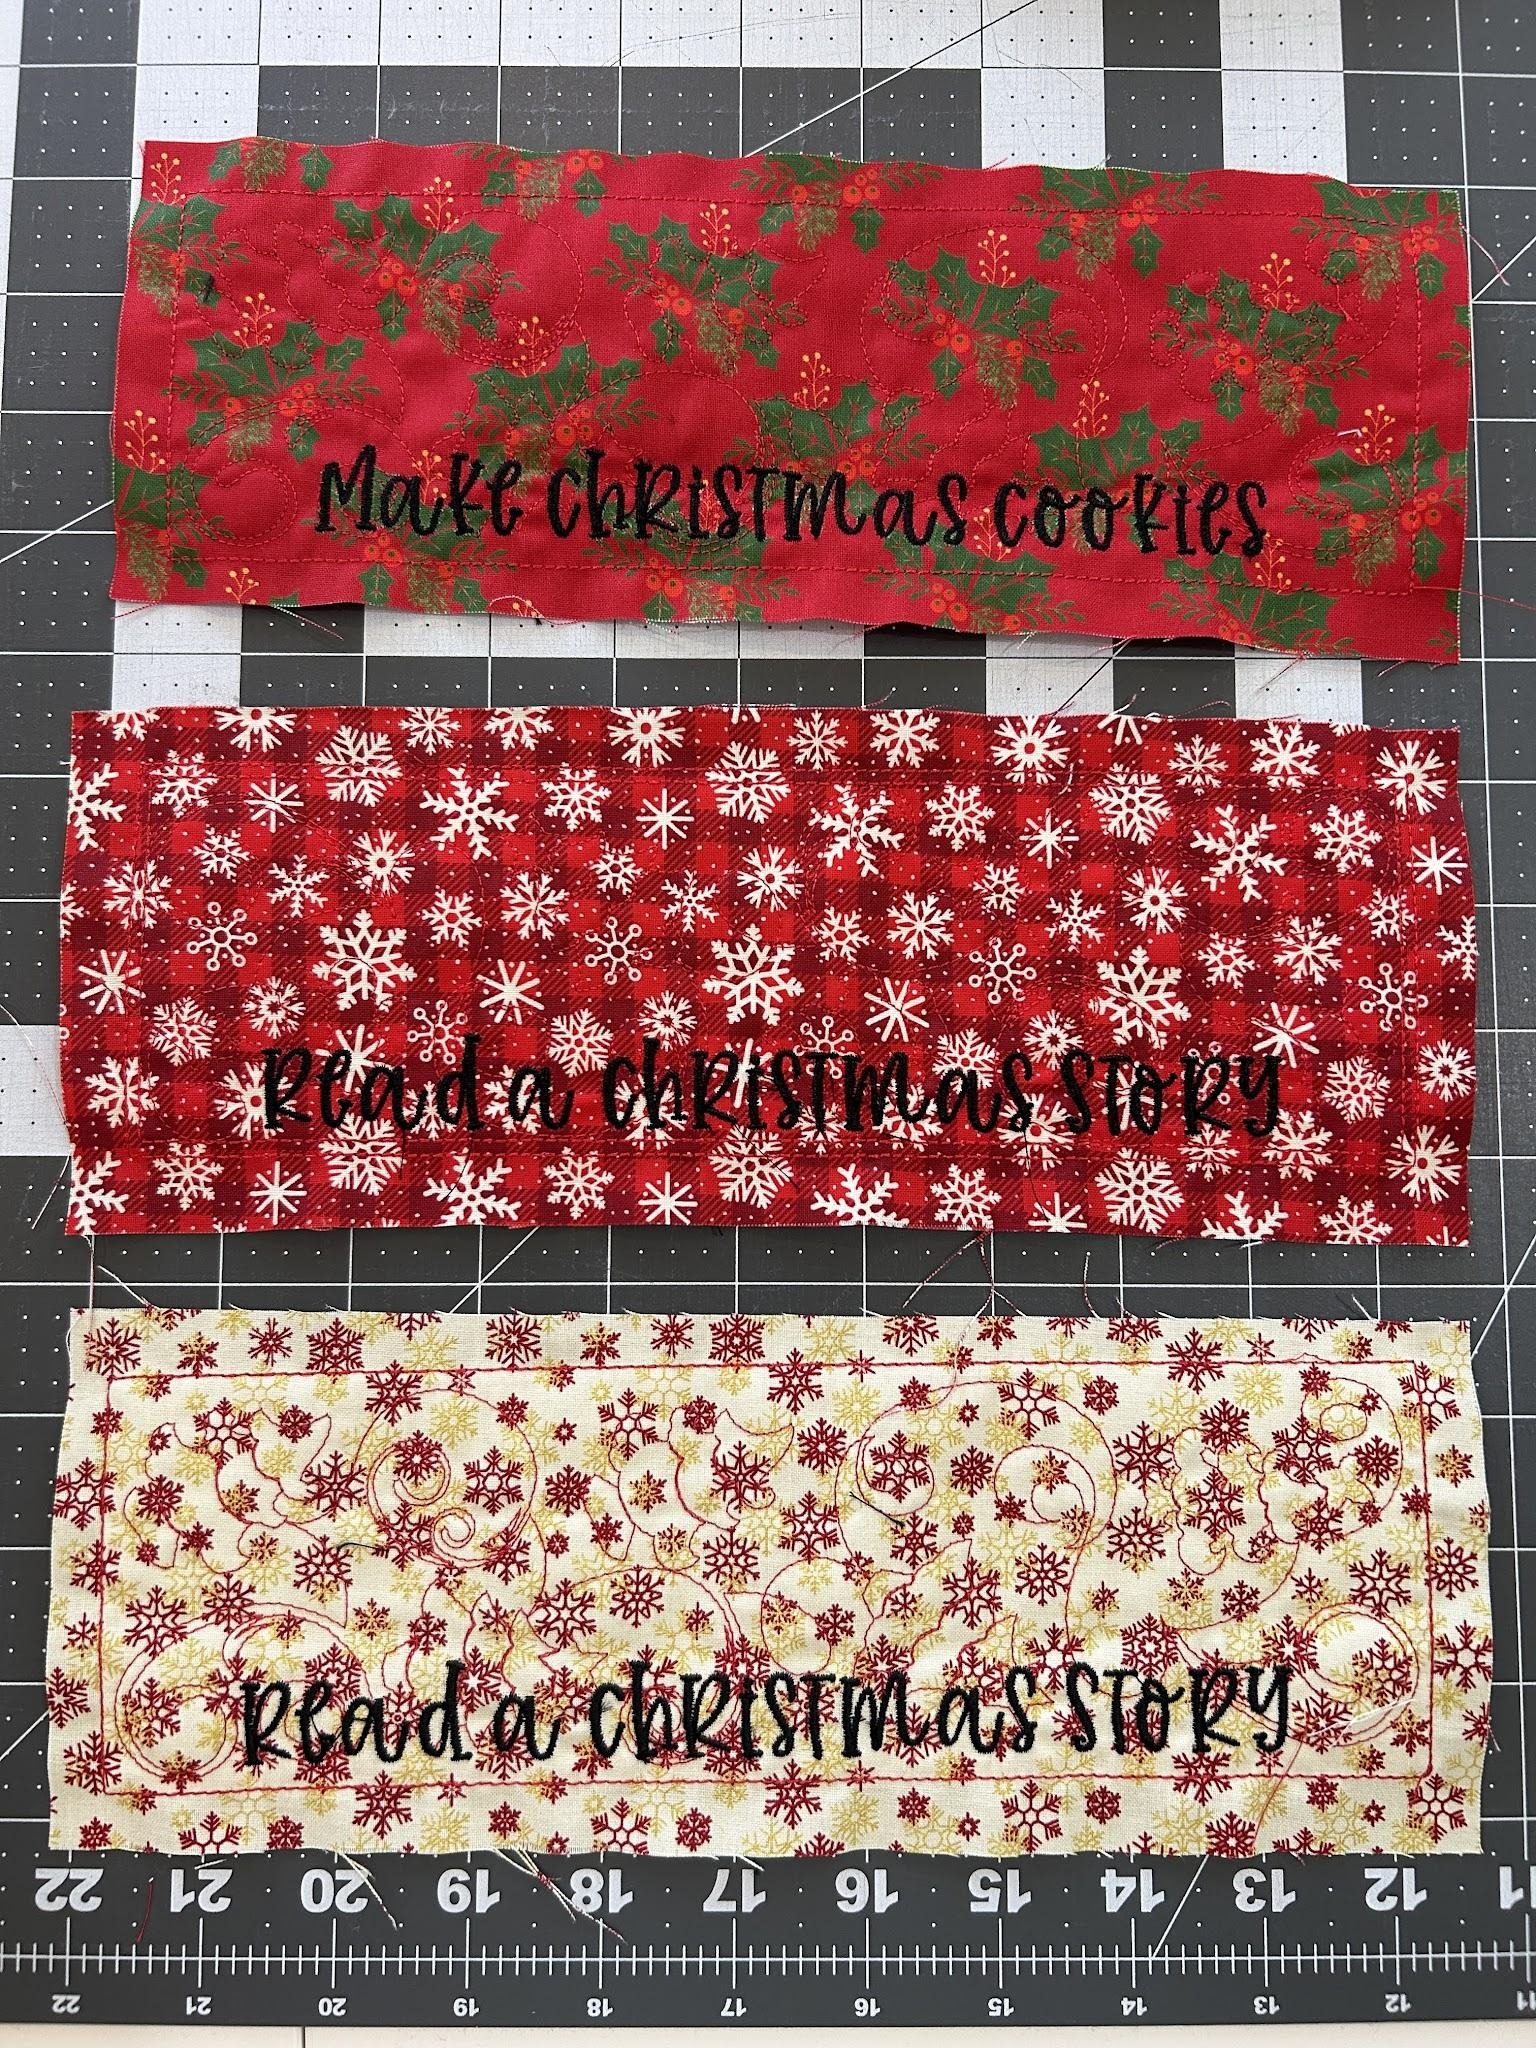
Here are a few ideas I had for my chain, but really you can add anything you’d like!
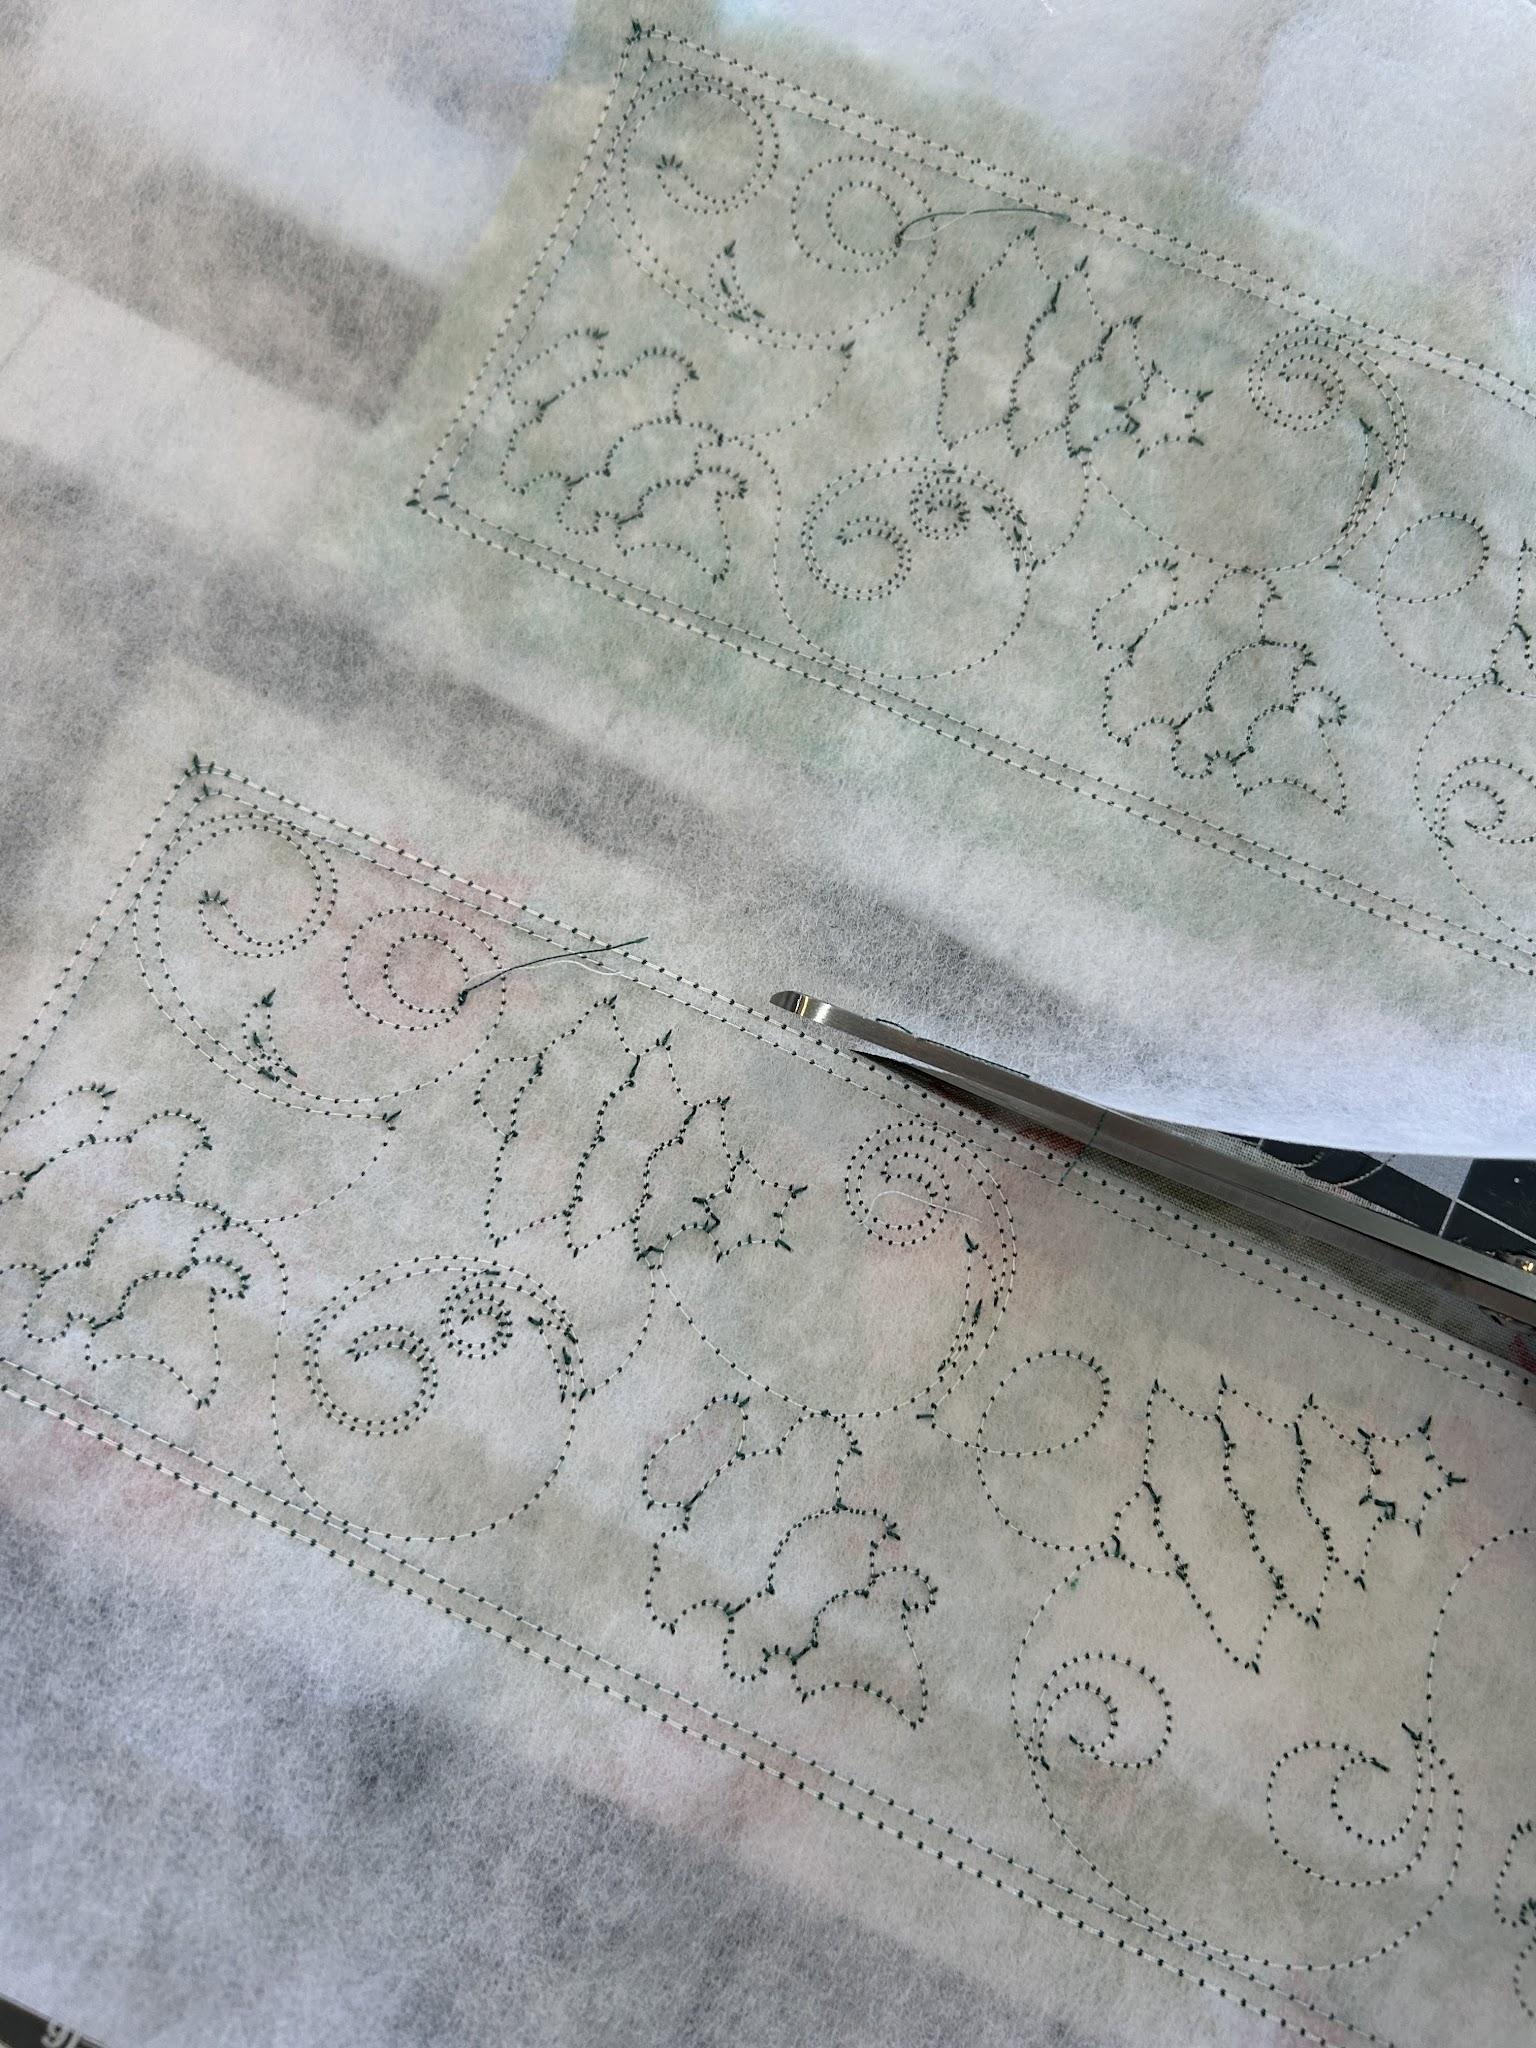
After you have finished the stitching, cut the stabilizer close to the stitching lines.
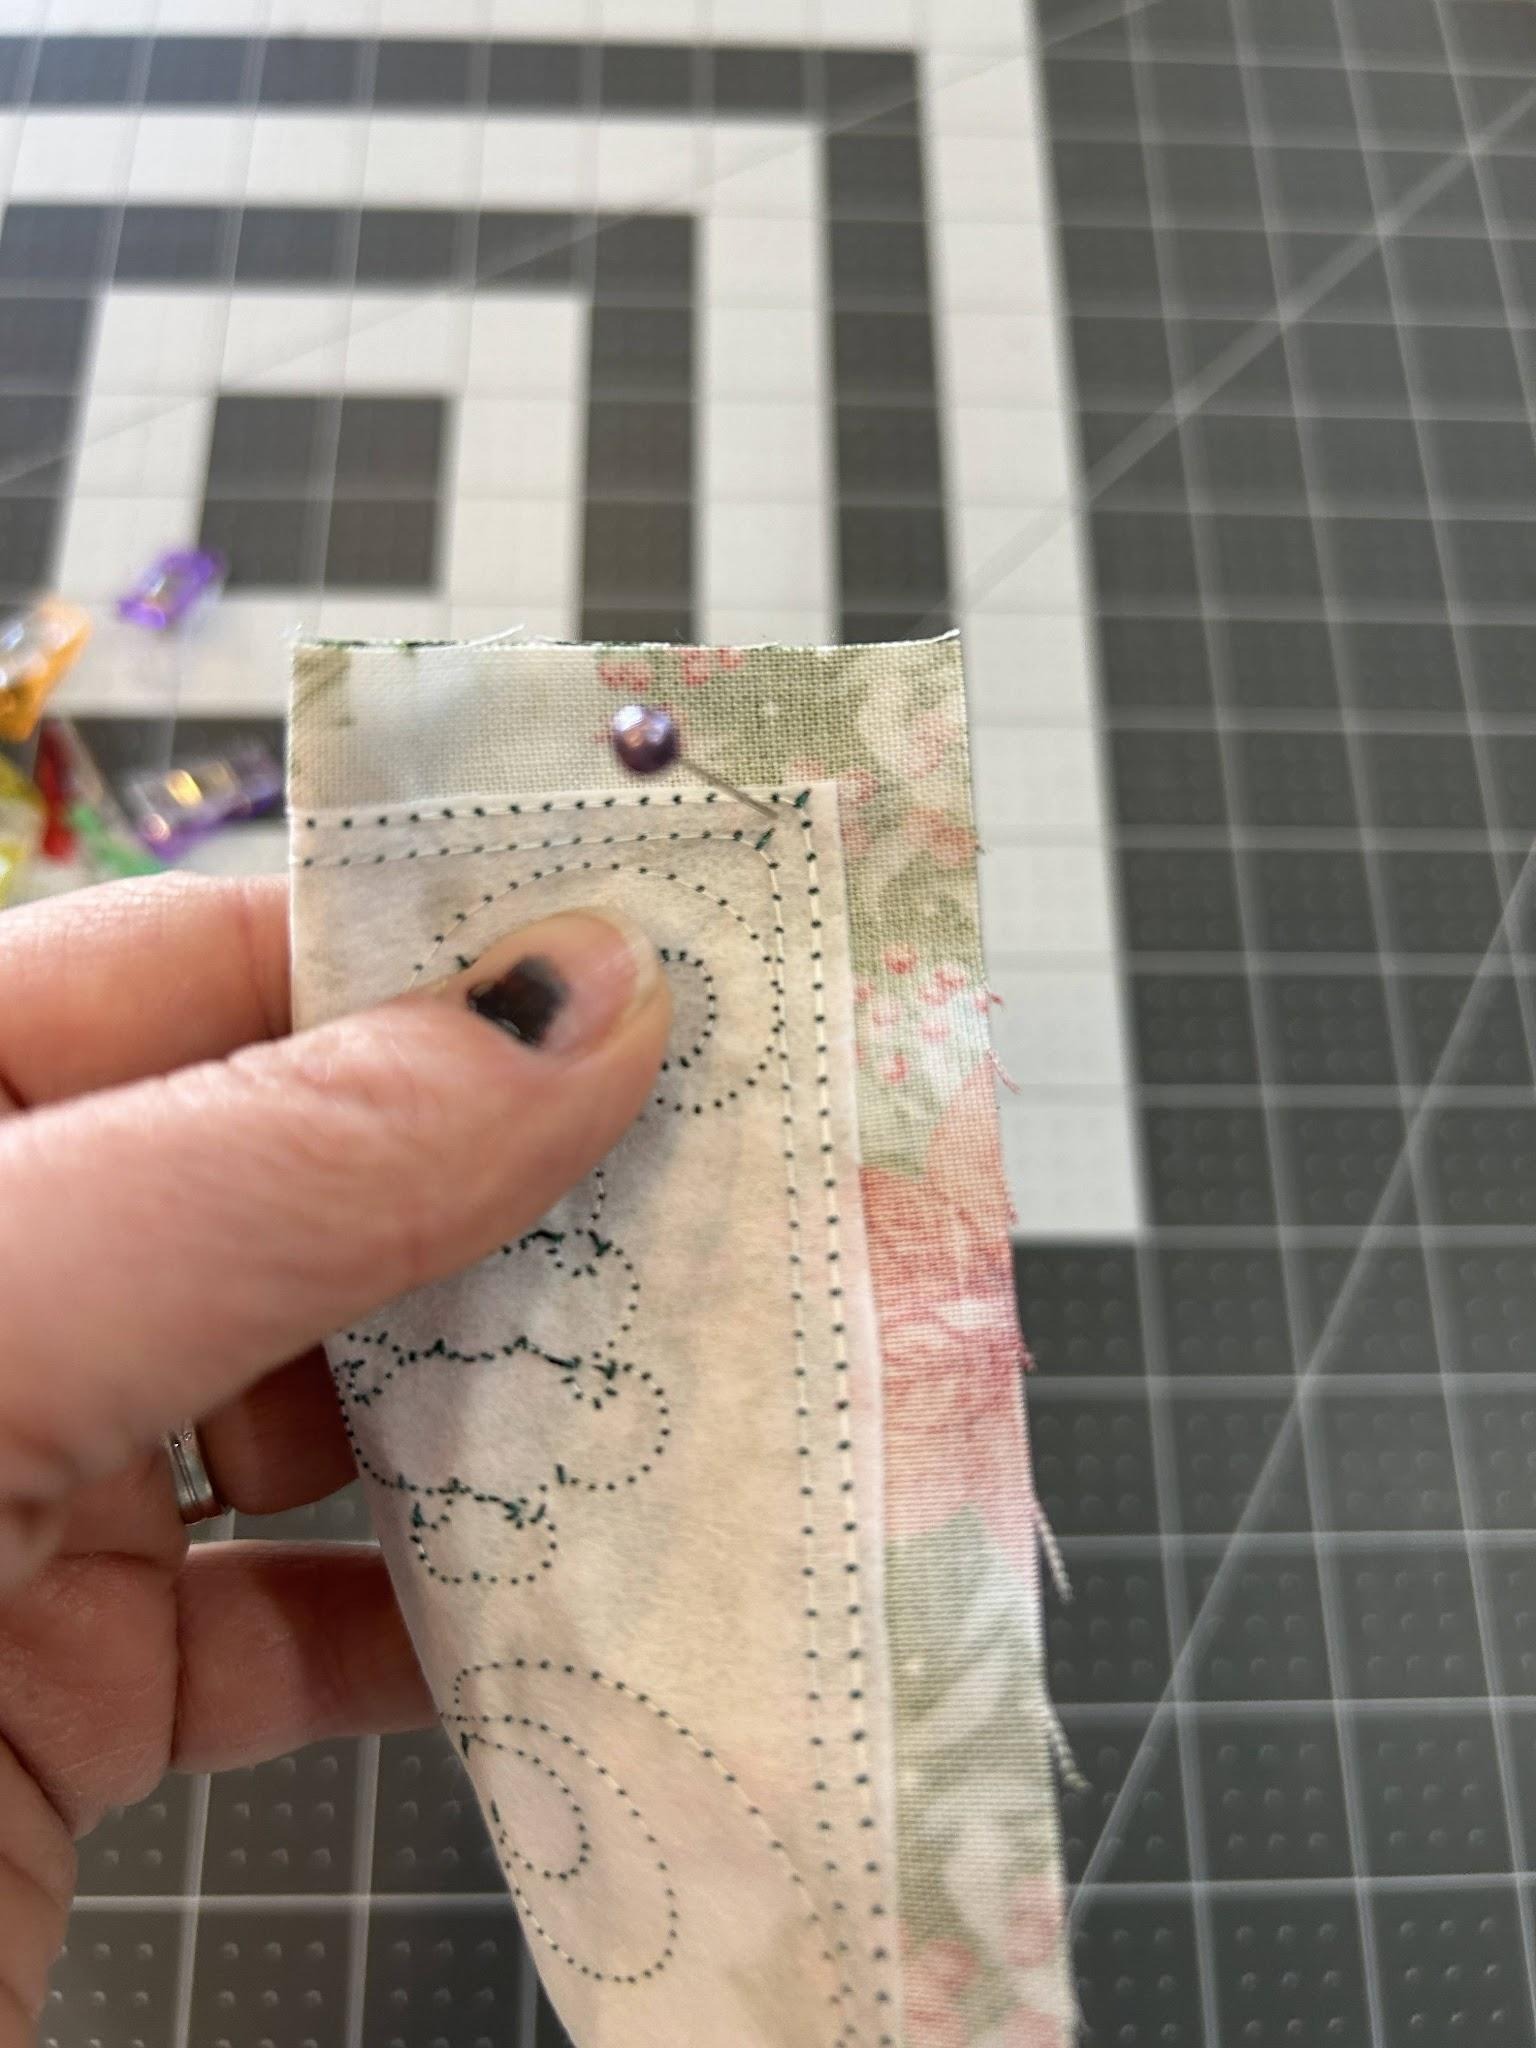
Fold the fabric in half lengthwise, right sides together, and line up the outside stitching lines. I used a pin to make sure the corners lined up.
Clip or pin all the edges together to hold it for sewing. I like to use two clips on the long edge because so I can leave an opening in the middle for turning.
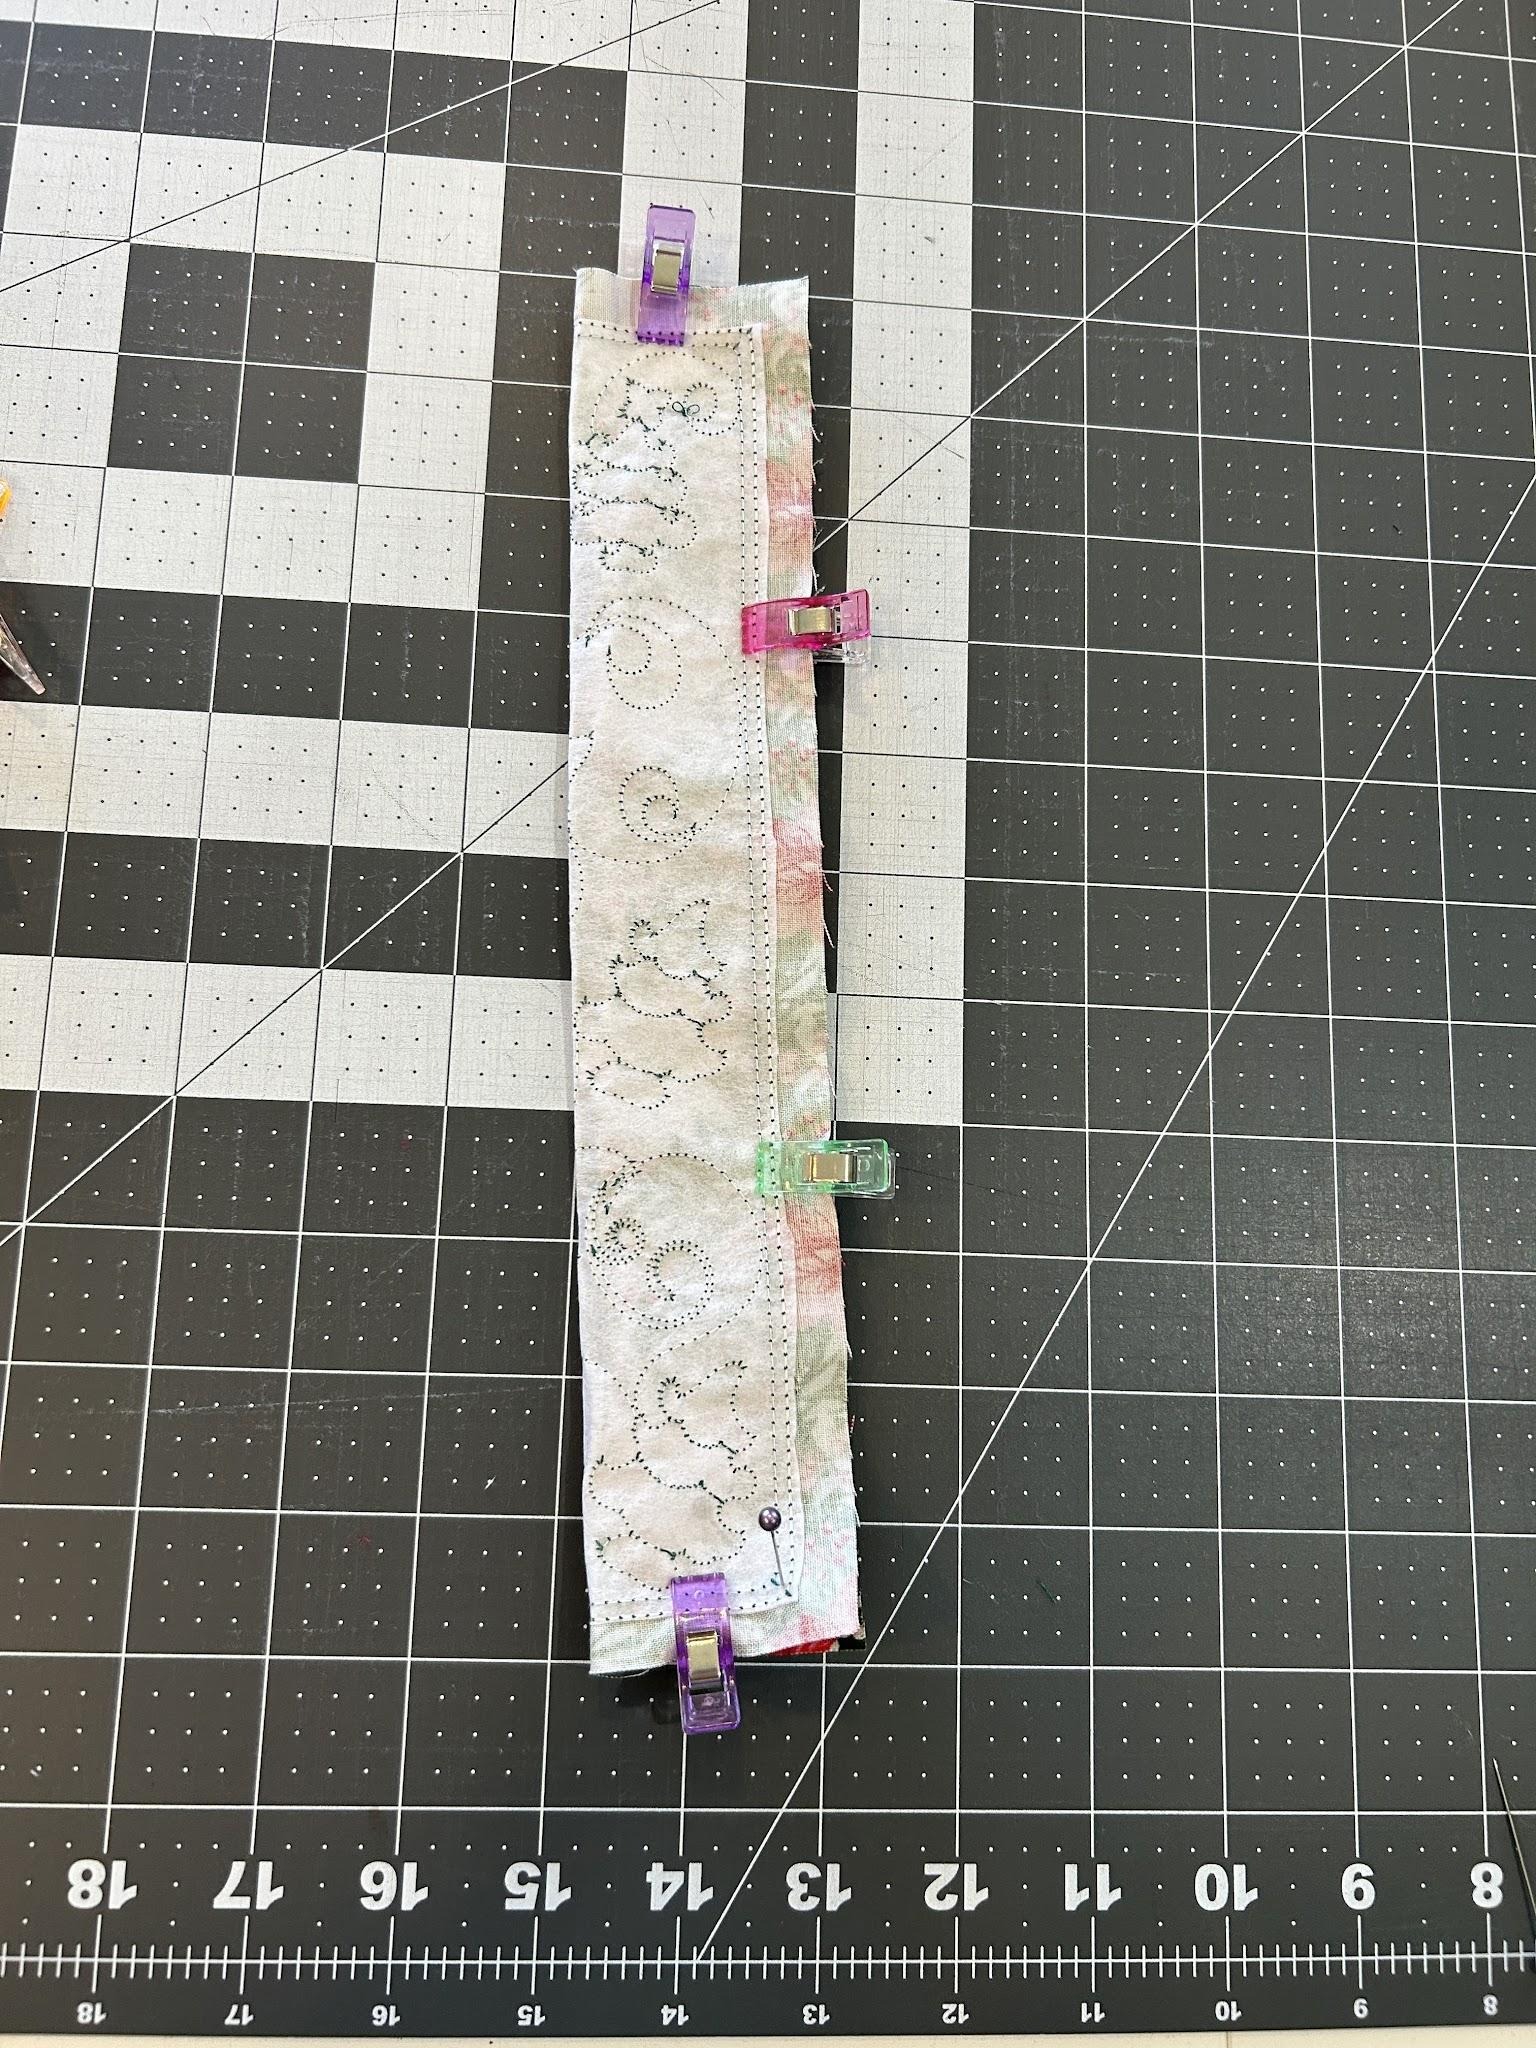
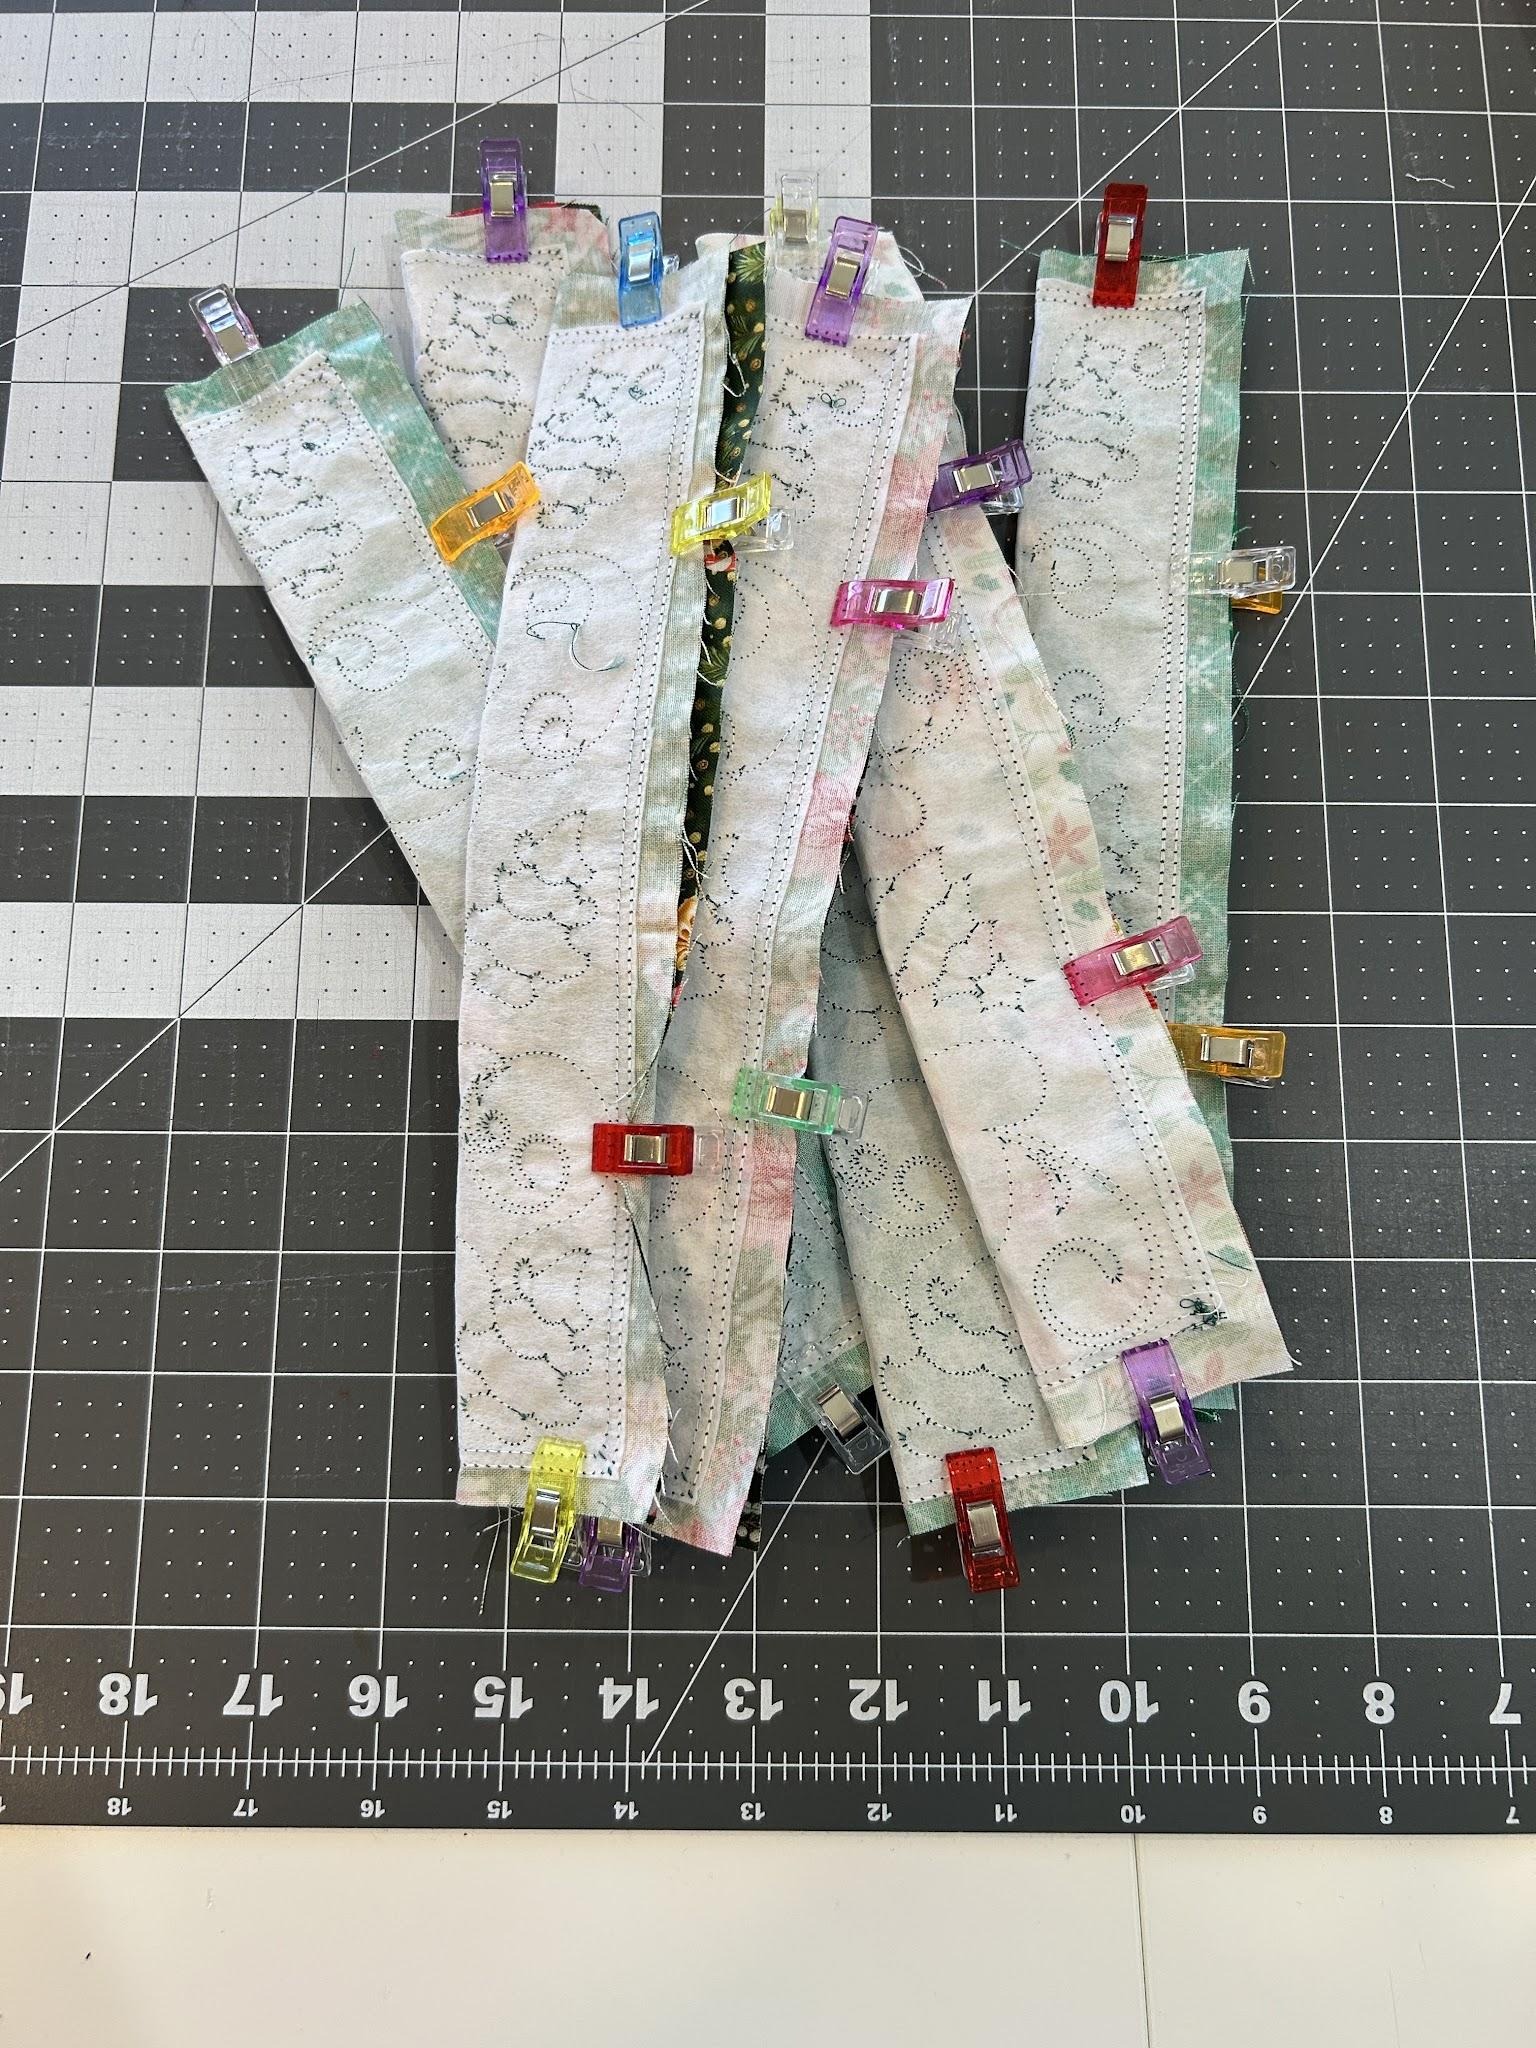
I like to make a pile of links to get ready for sewing all at one time.
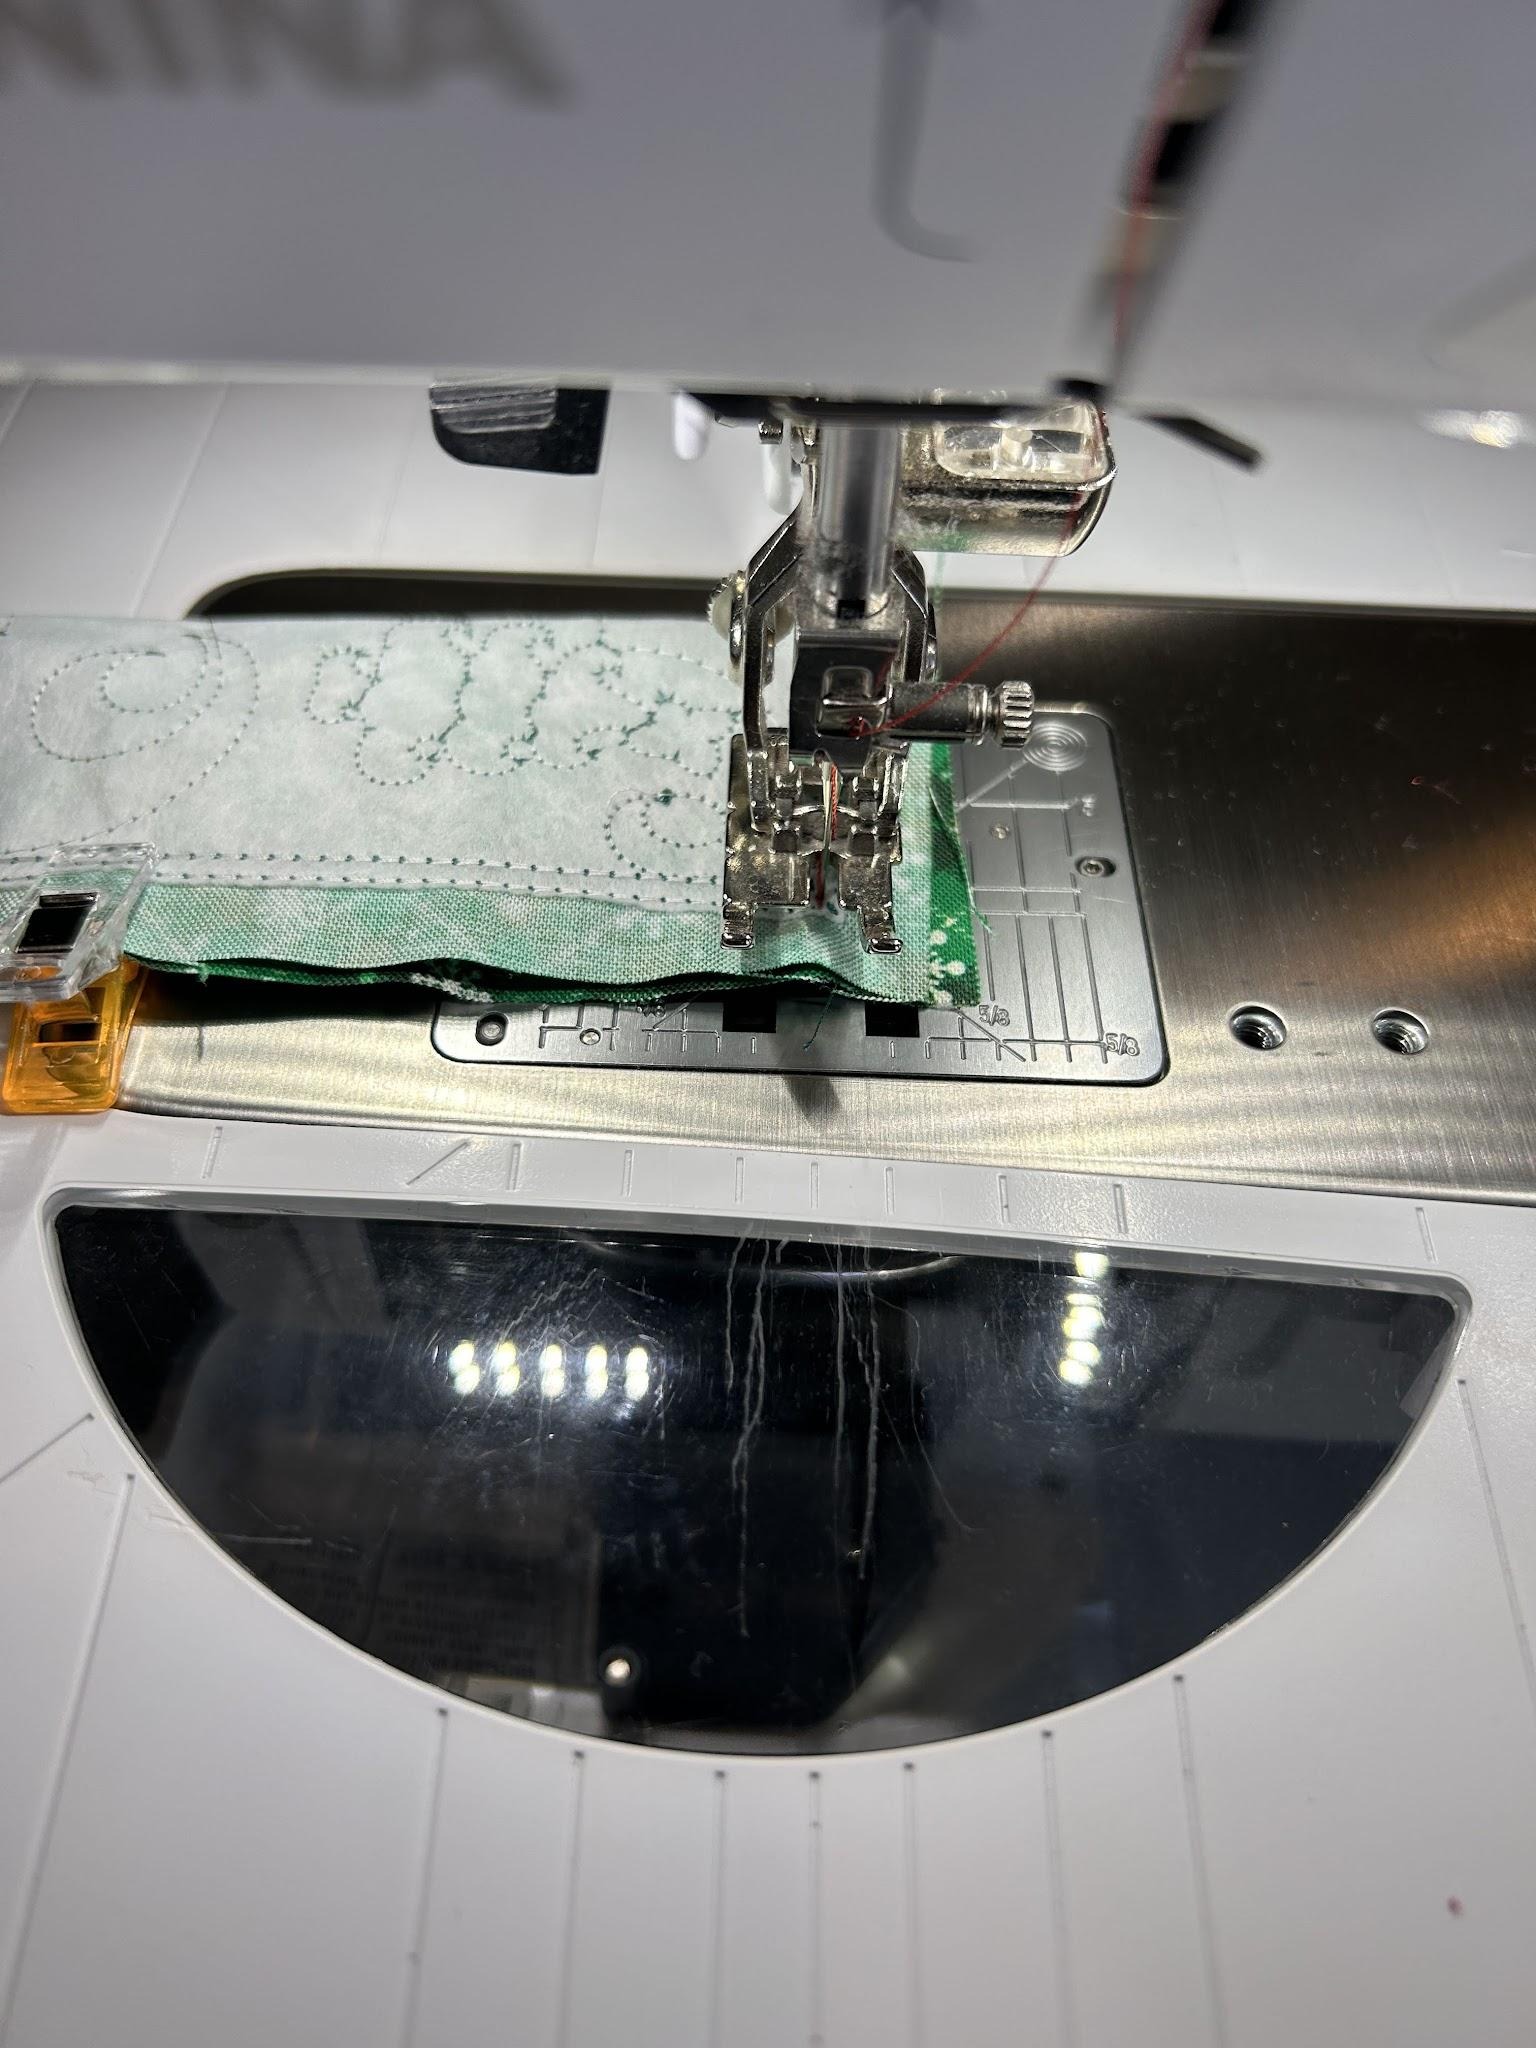
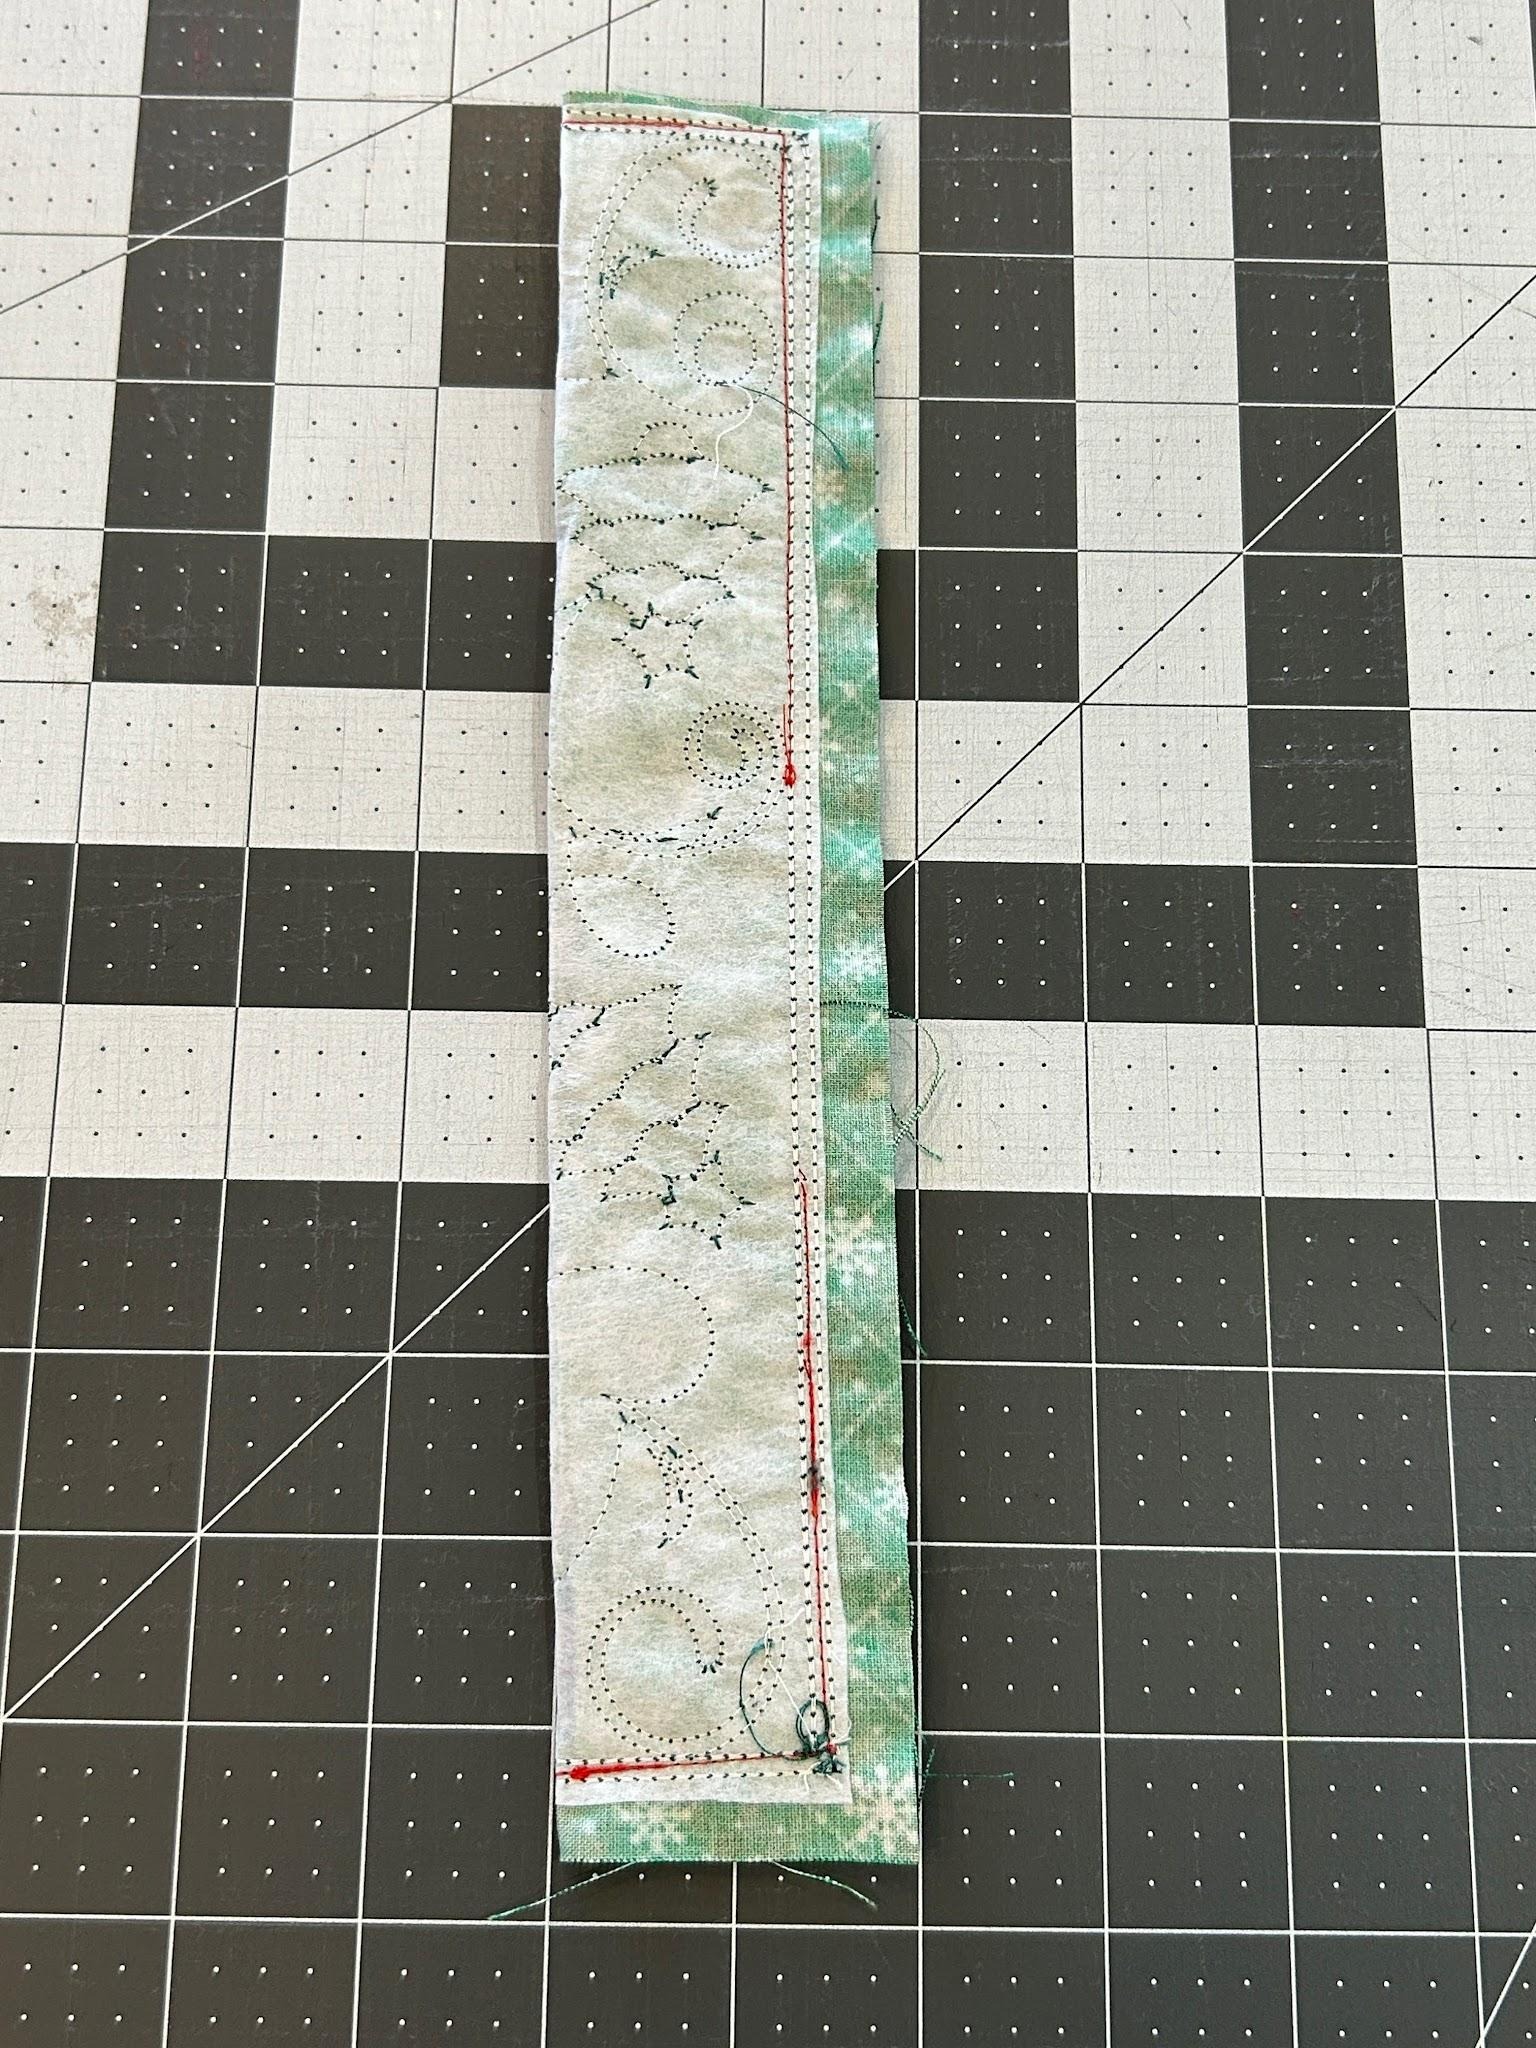
Start sewing on one of the short edges. At the corner, pivot and sew to the marker where you’ll leave your opening.
Finish stitching after the opening along the long edge, to the corner, pivot, and then finish with the short edge.
Trim your corners.

There are a few different turning tools, so use the one you like best (or just your fingers if you're good at that), and turn each of your links right side out.
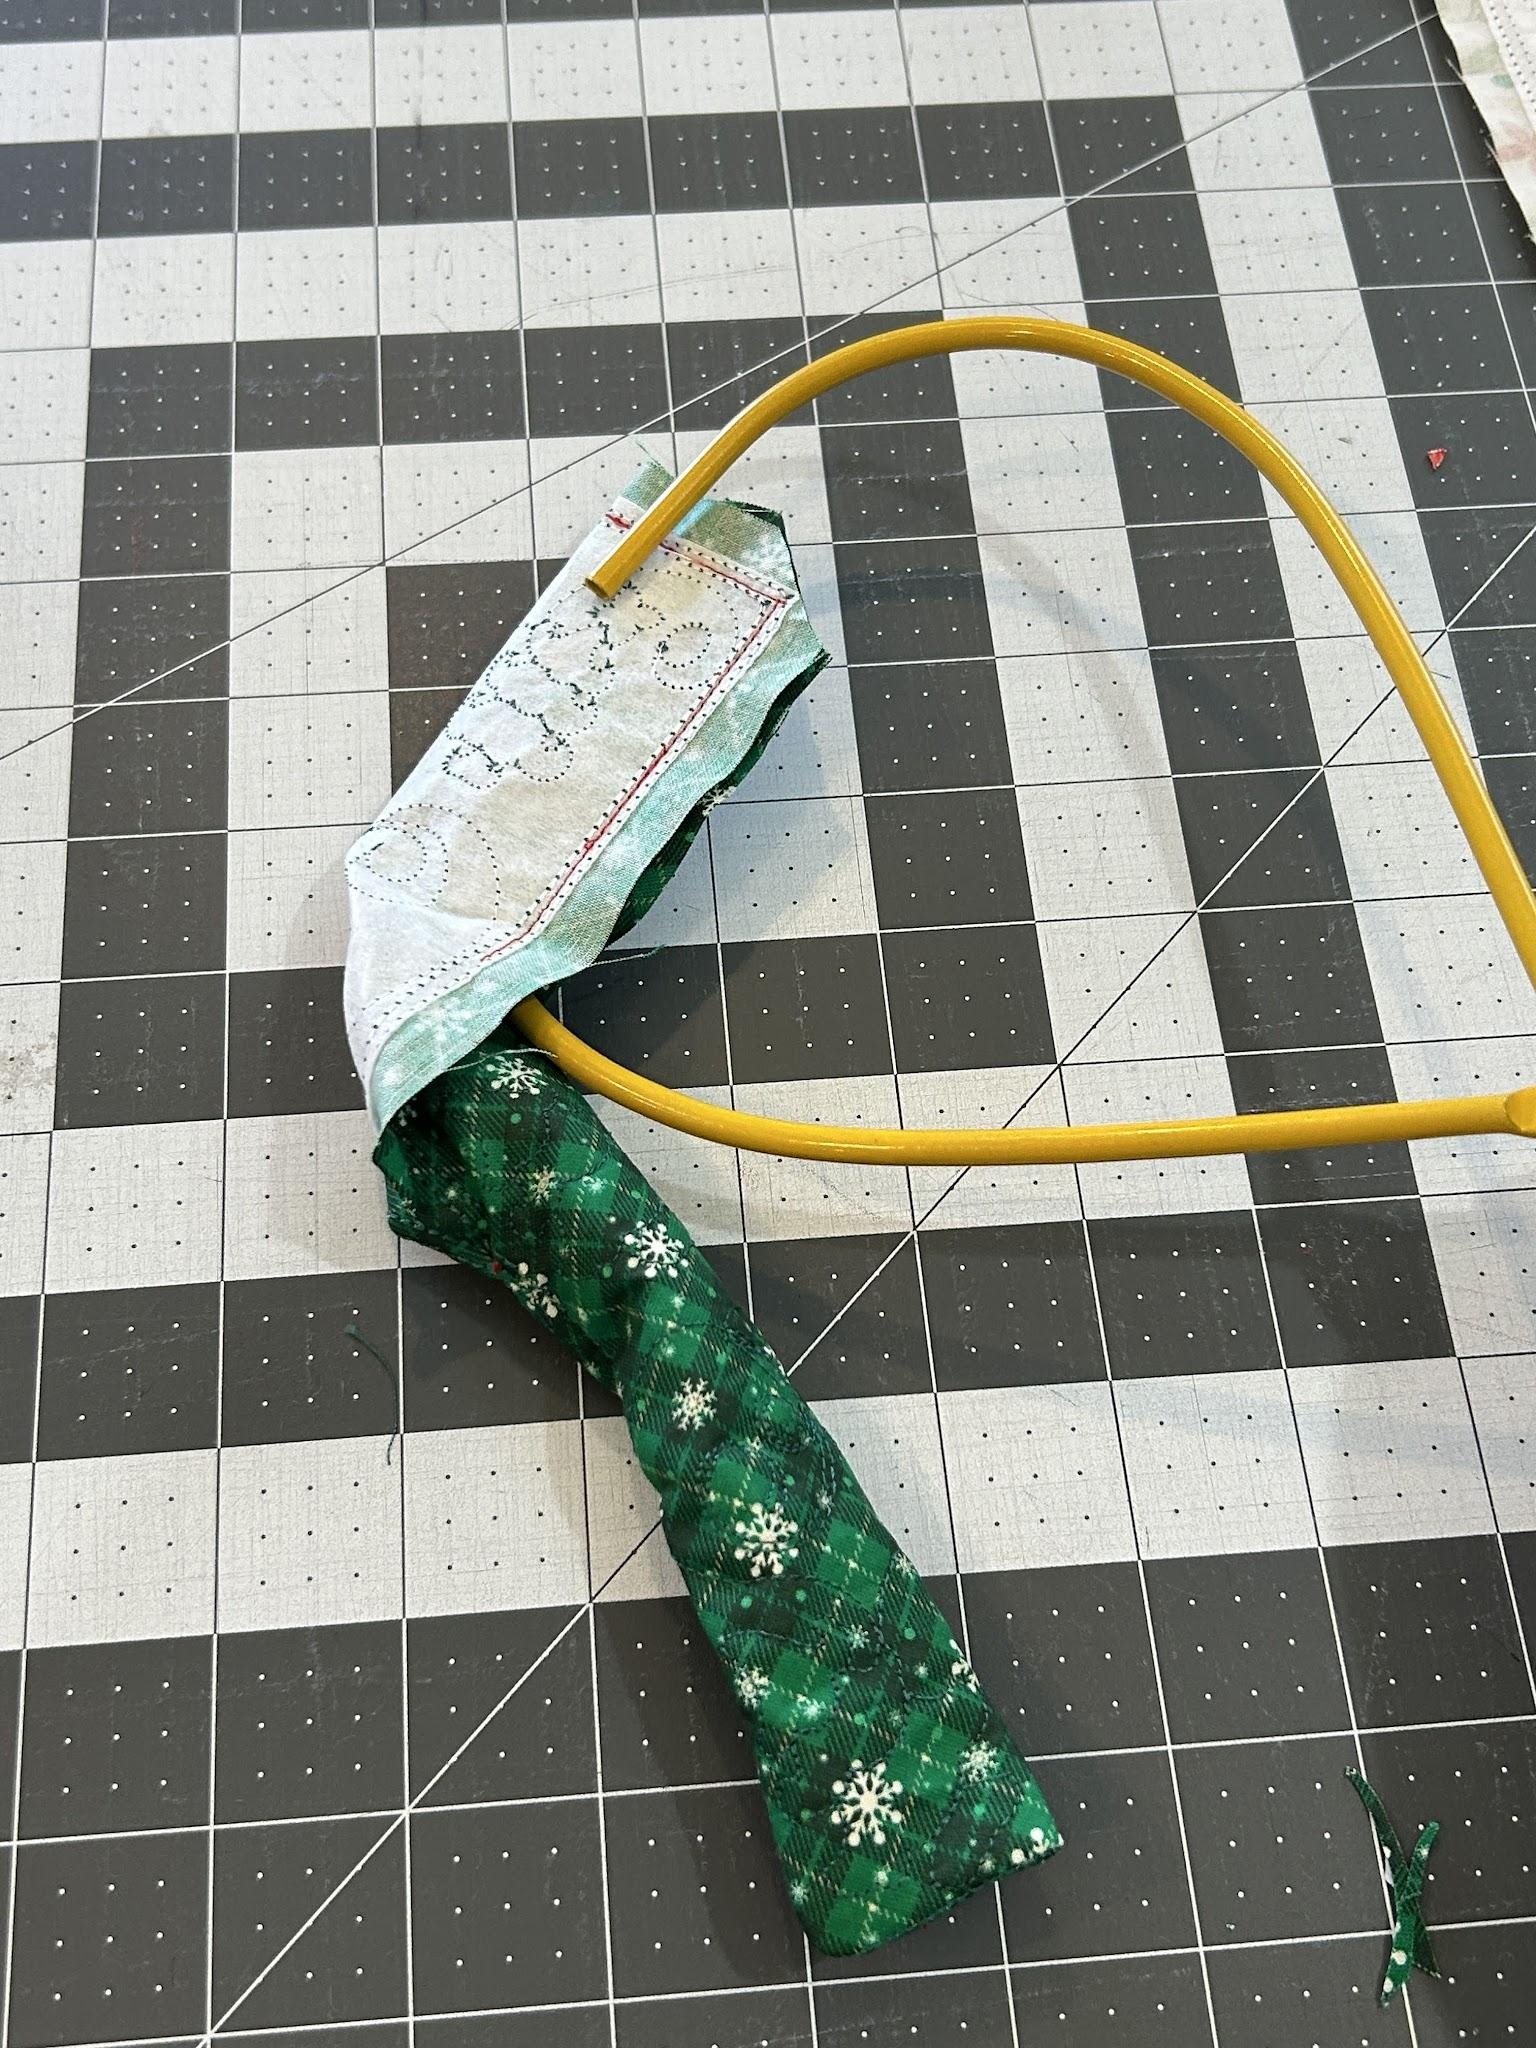
Use That Purple Thang or a chopstick to push your corners out so they are nice and square.
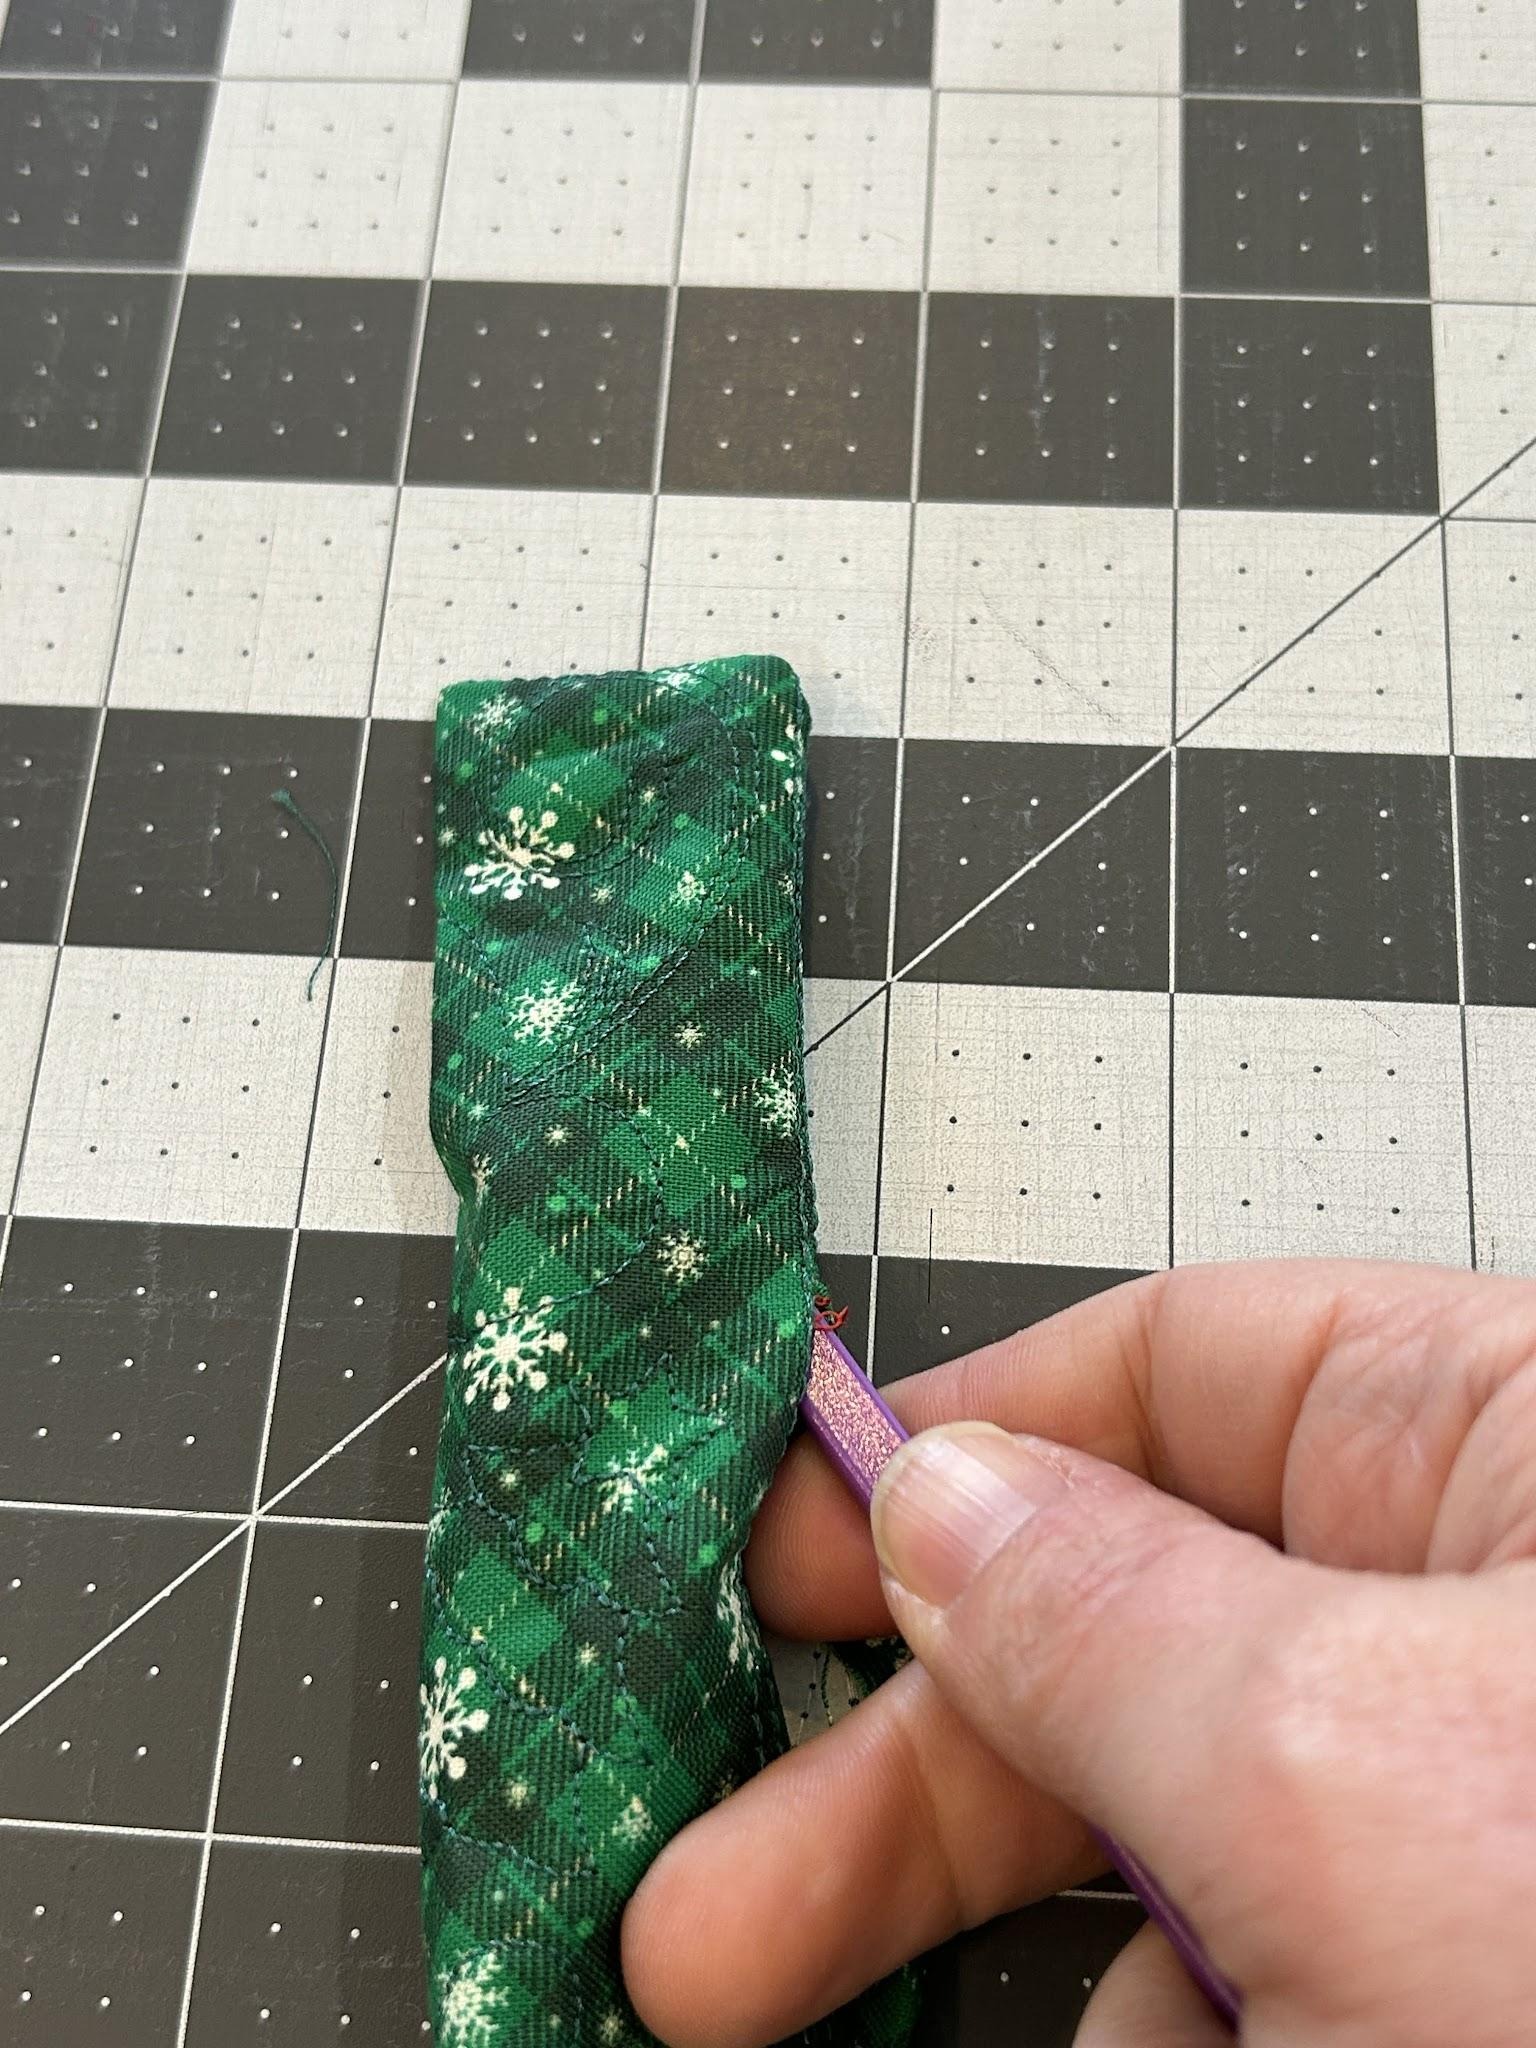
Fold the excess fabric to the inside at the opening.

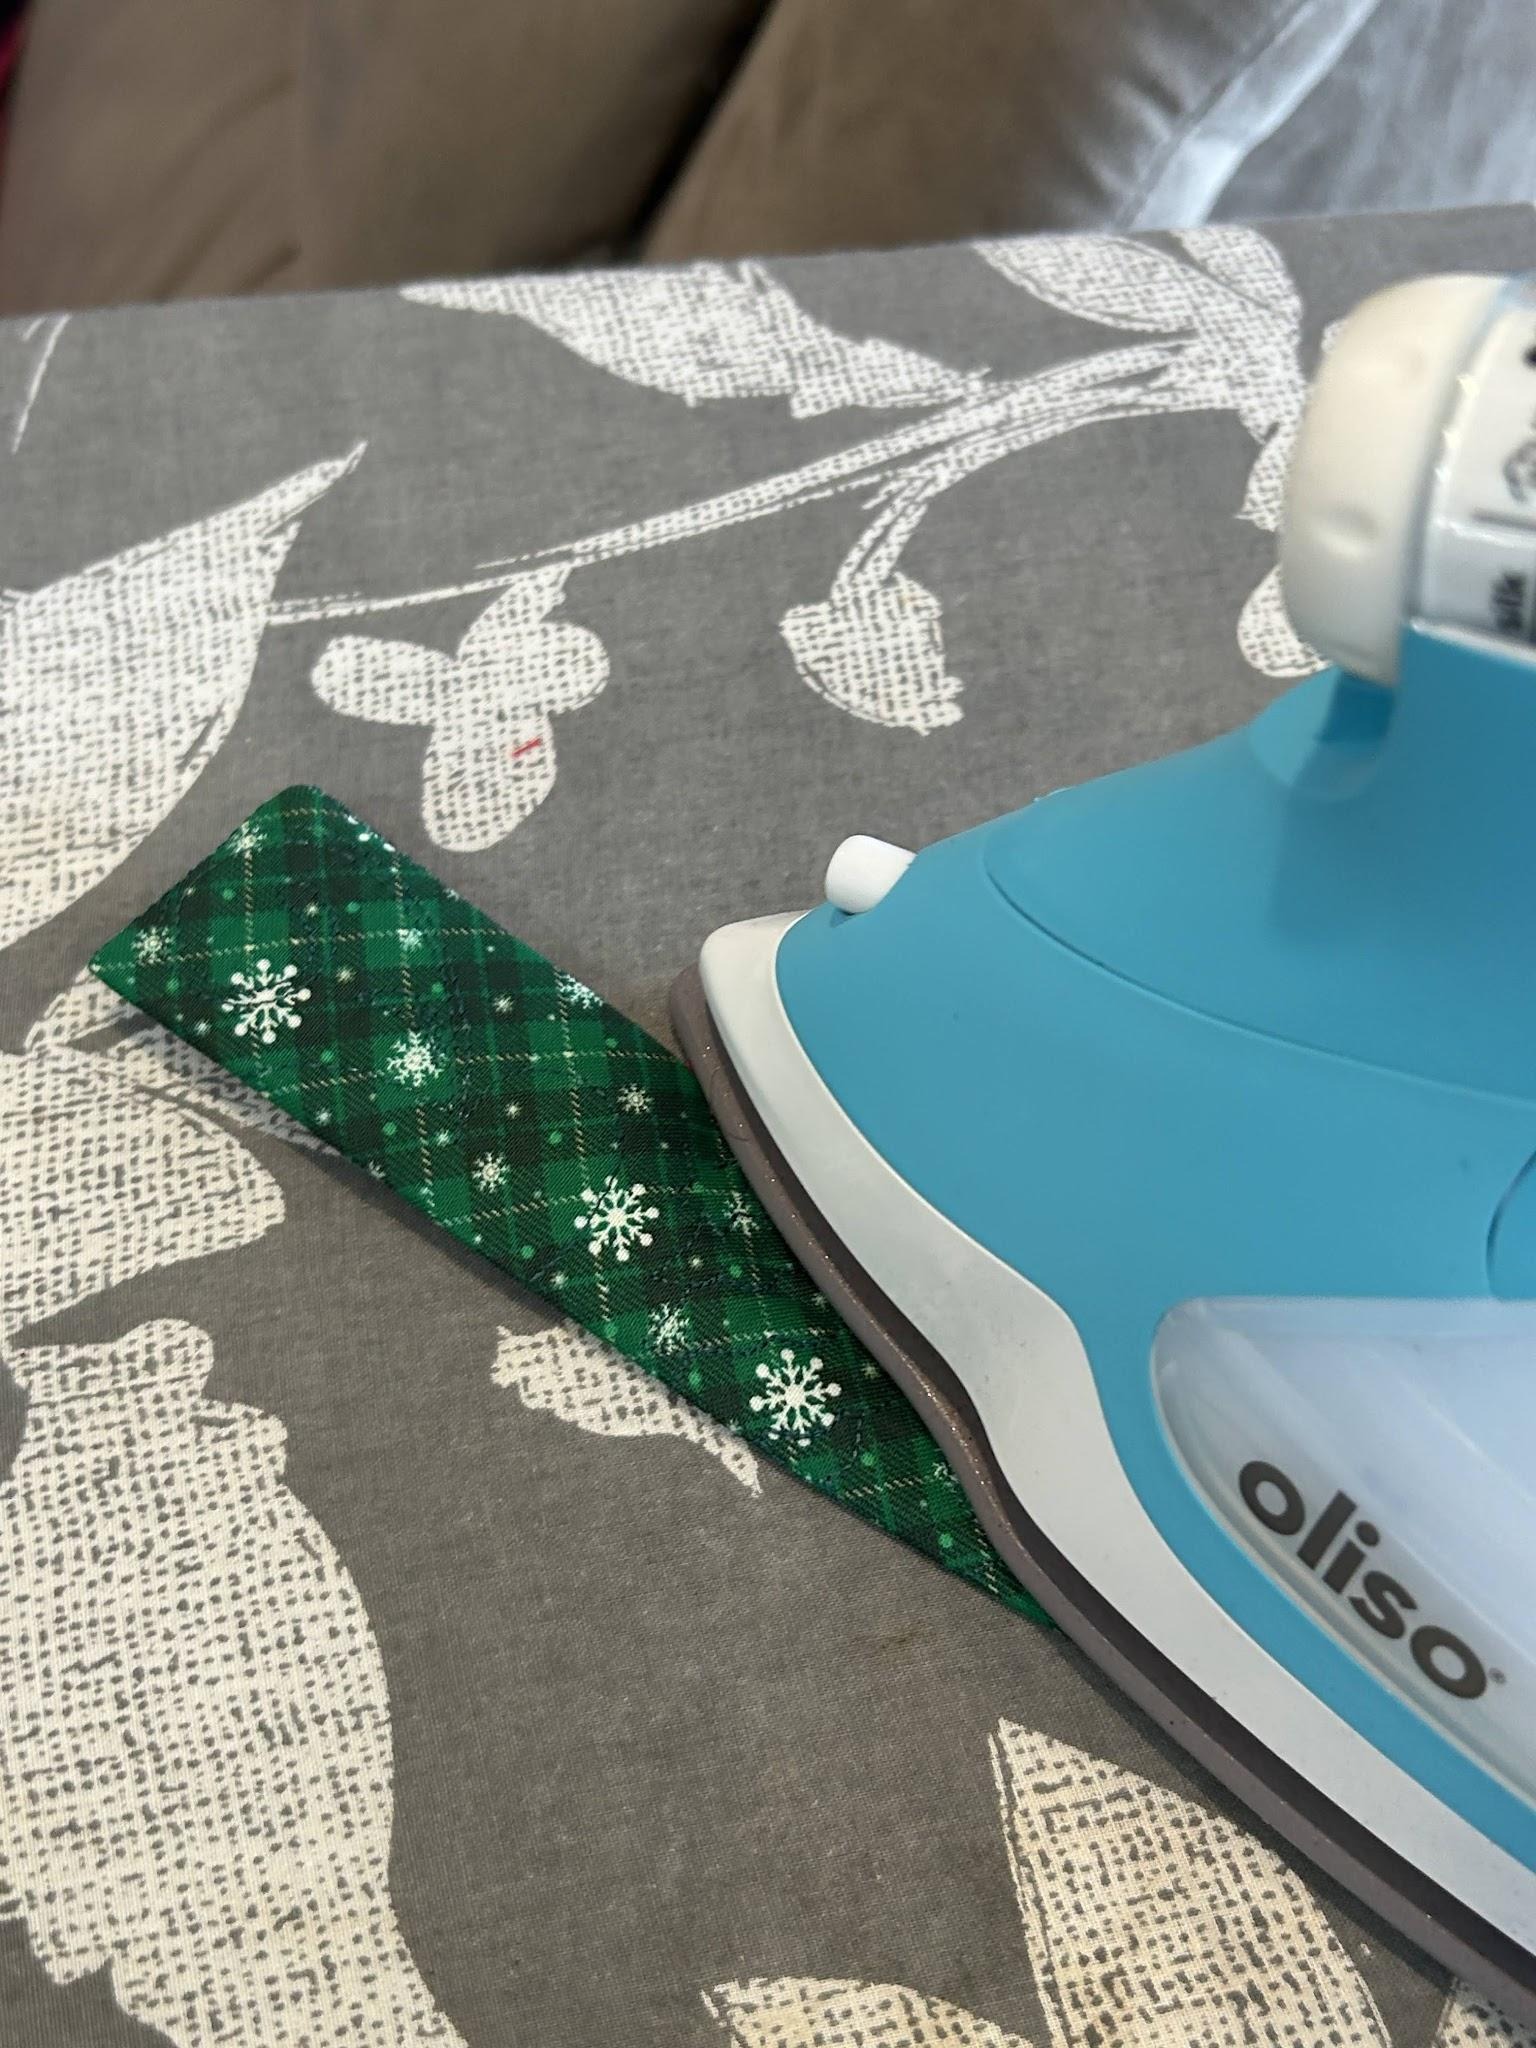
Press the link to hold the fabric inside for sewing.
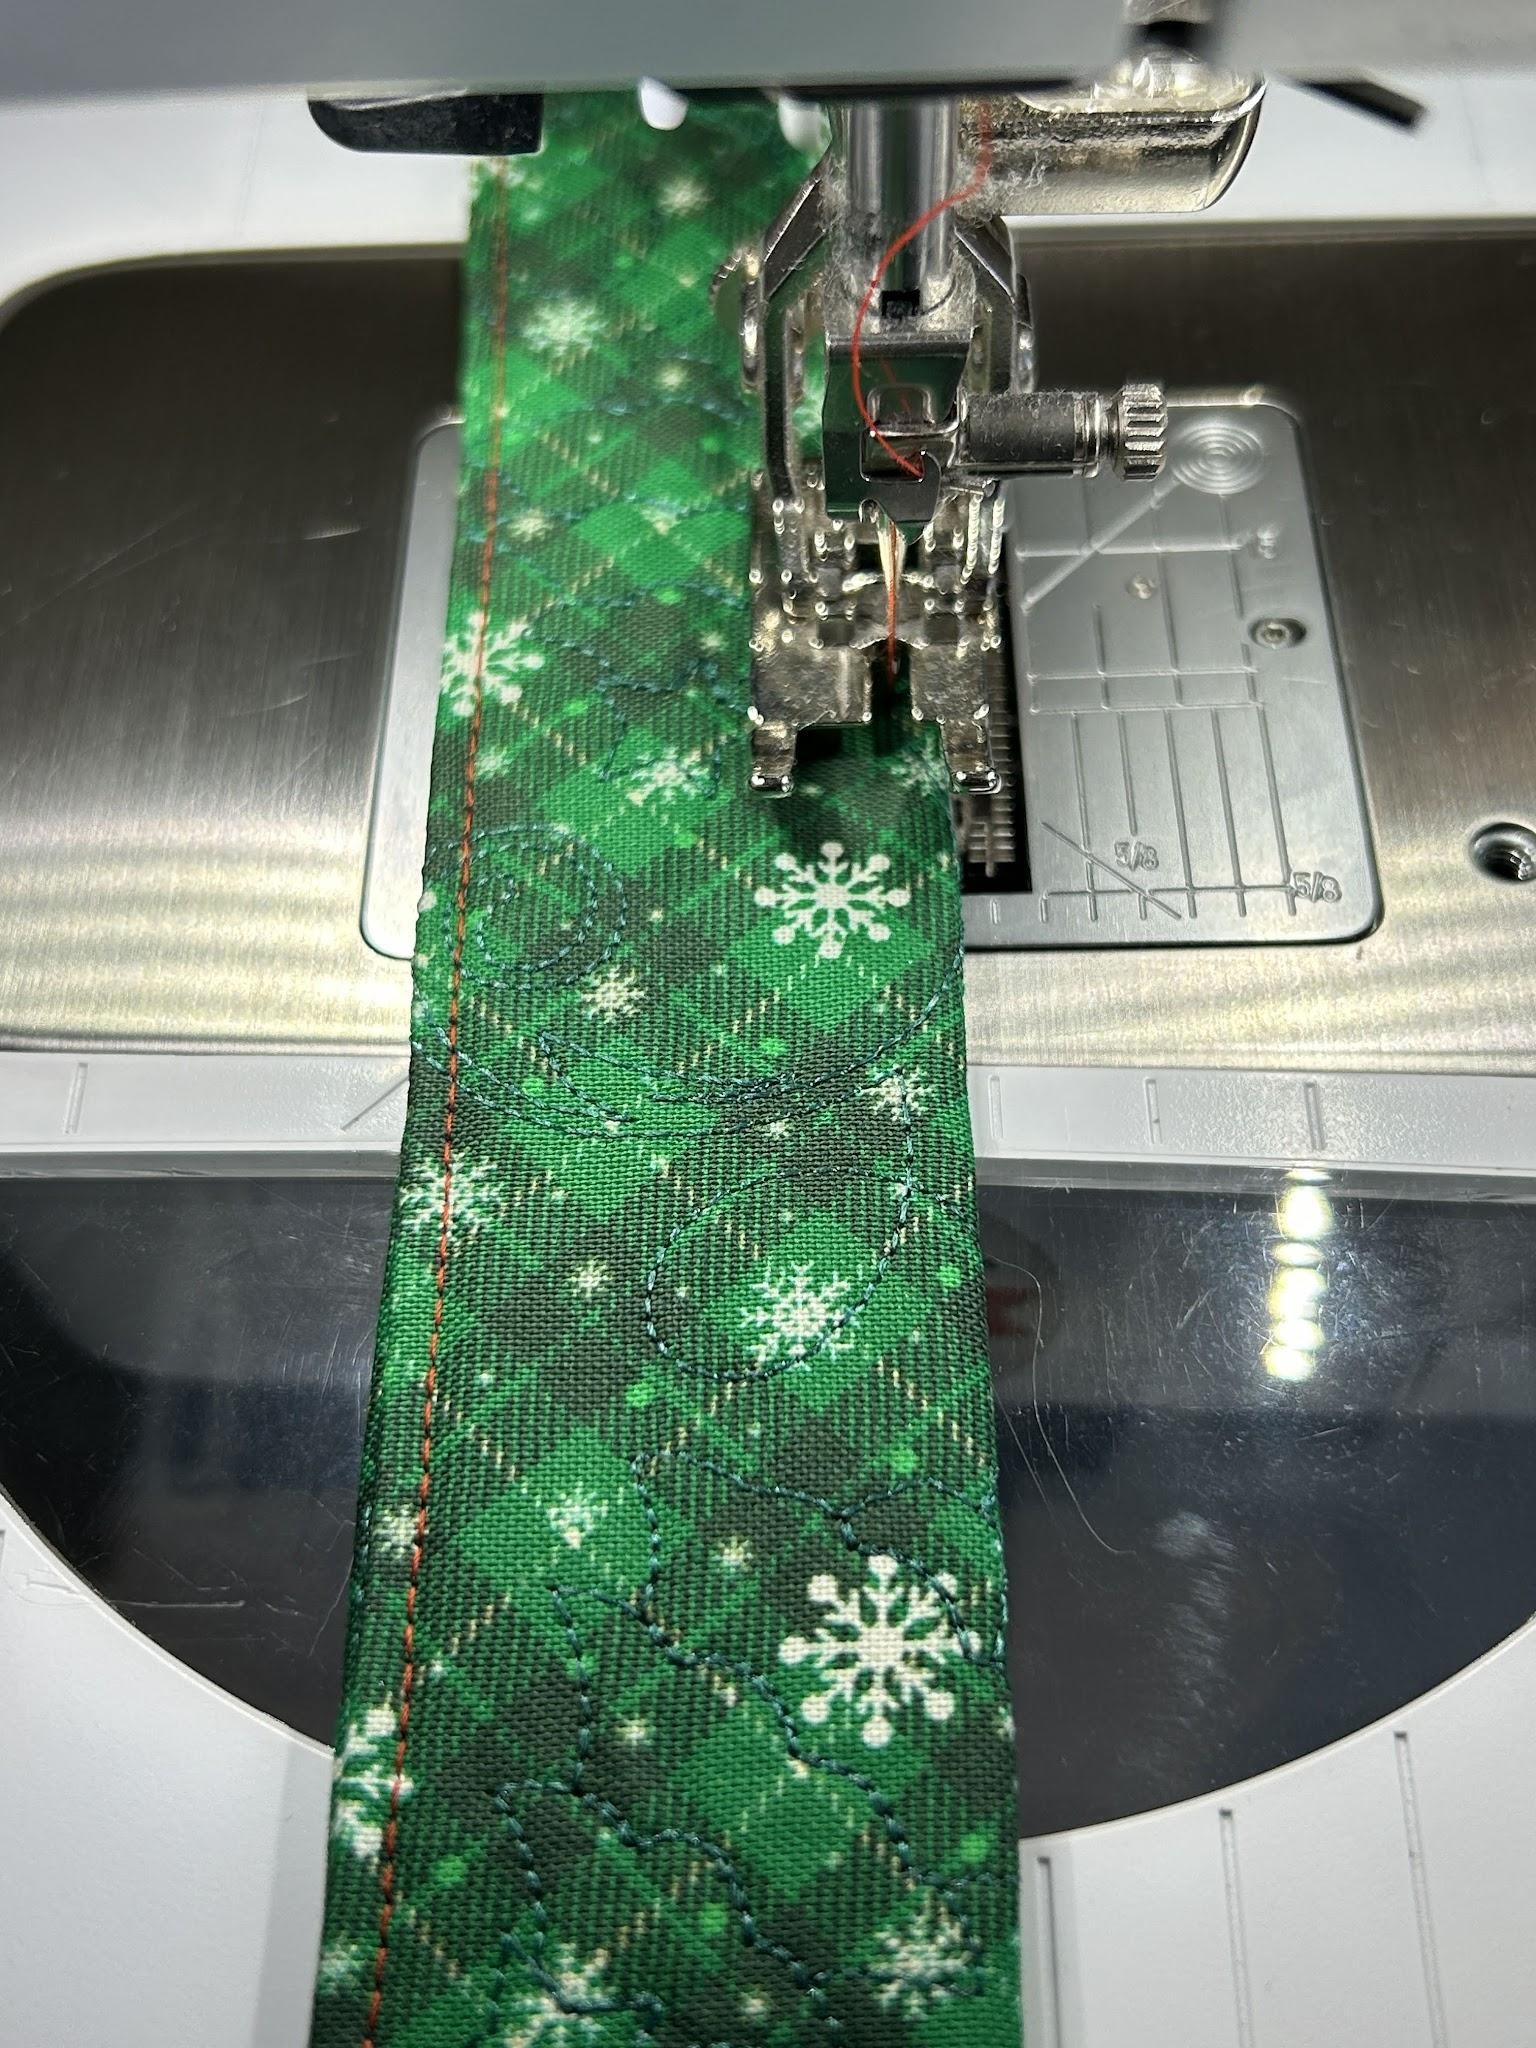
And then sew around the edge of the link with a ⅛” seam allowance. This will add a bit of a decorative finish, and will also close the turning opening.
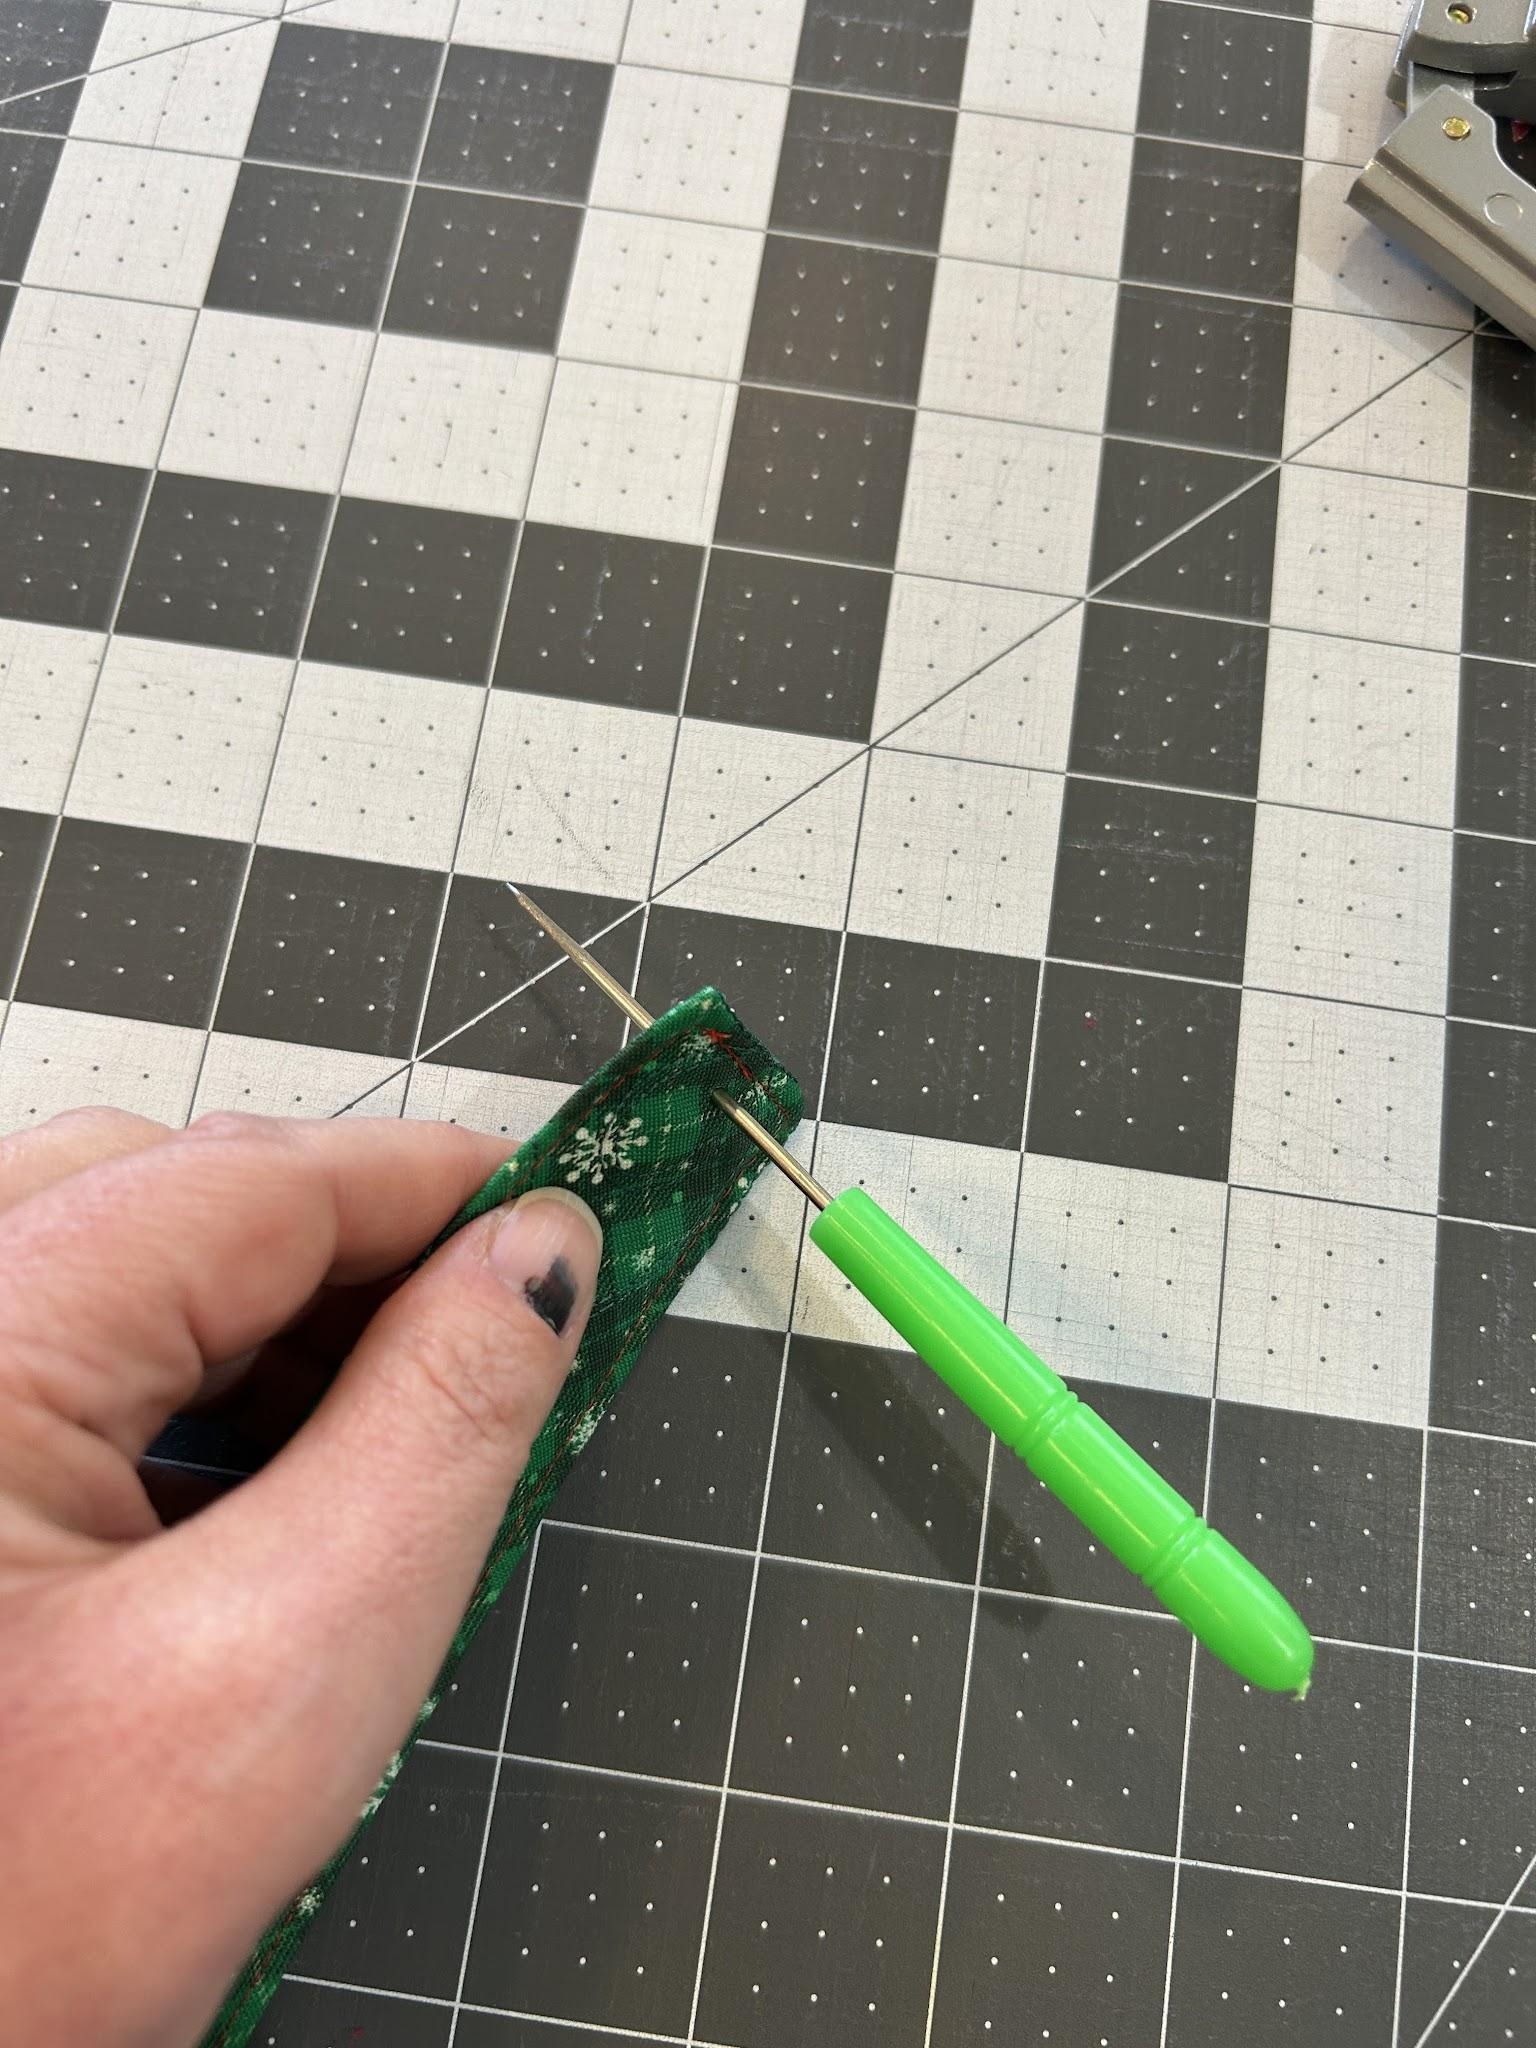
Now we can add the KAMsnaps to the design. I’ll show you the basic way to do them, but always refer to your specific instructions for the best results. Center your awl and poke a hole ⅓” away from the short edge.
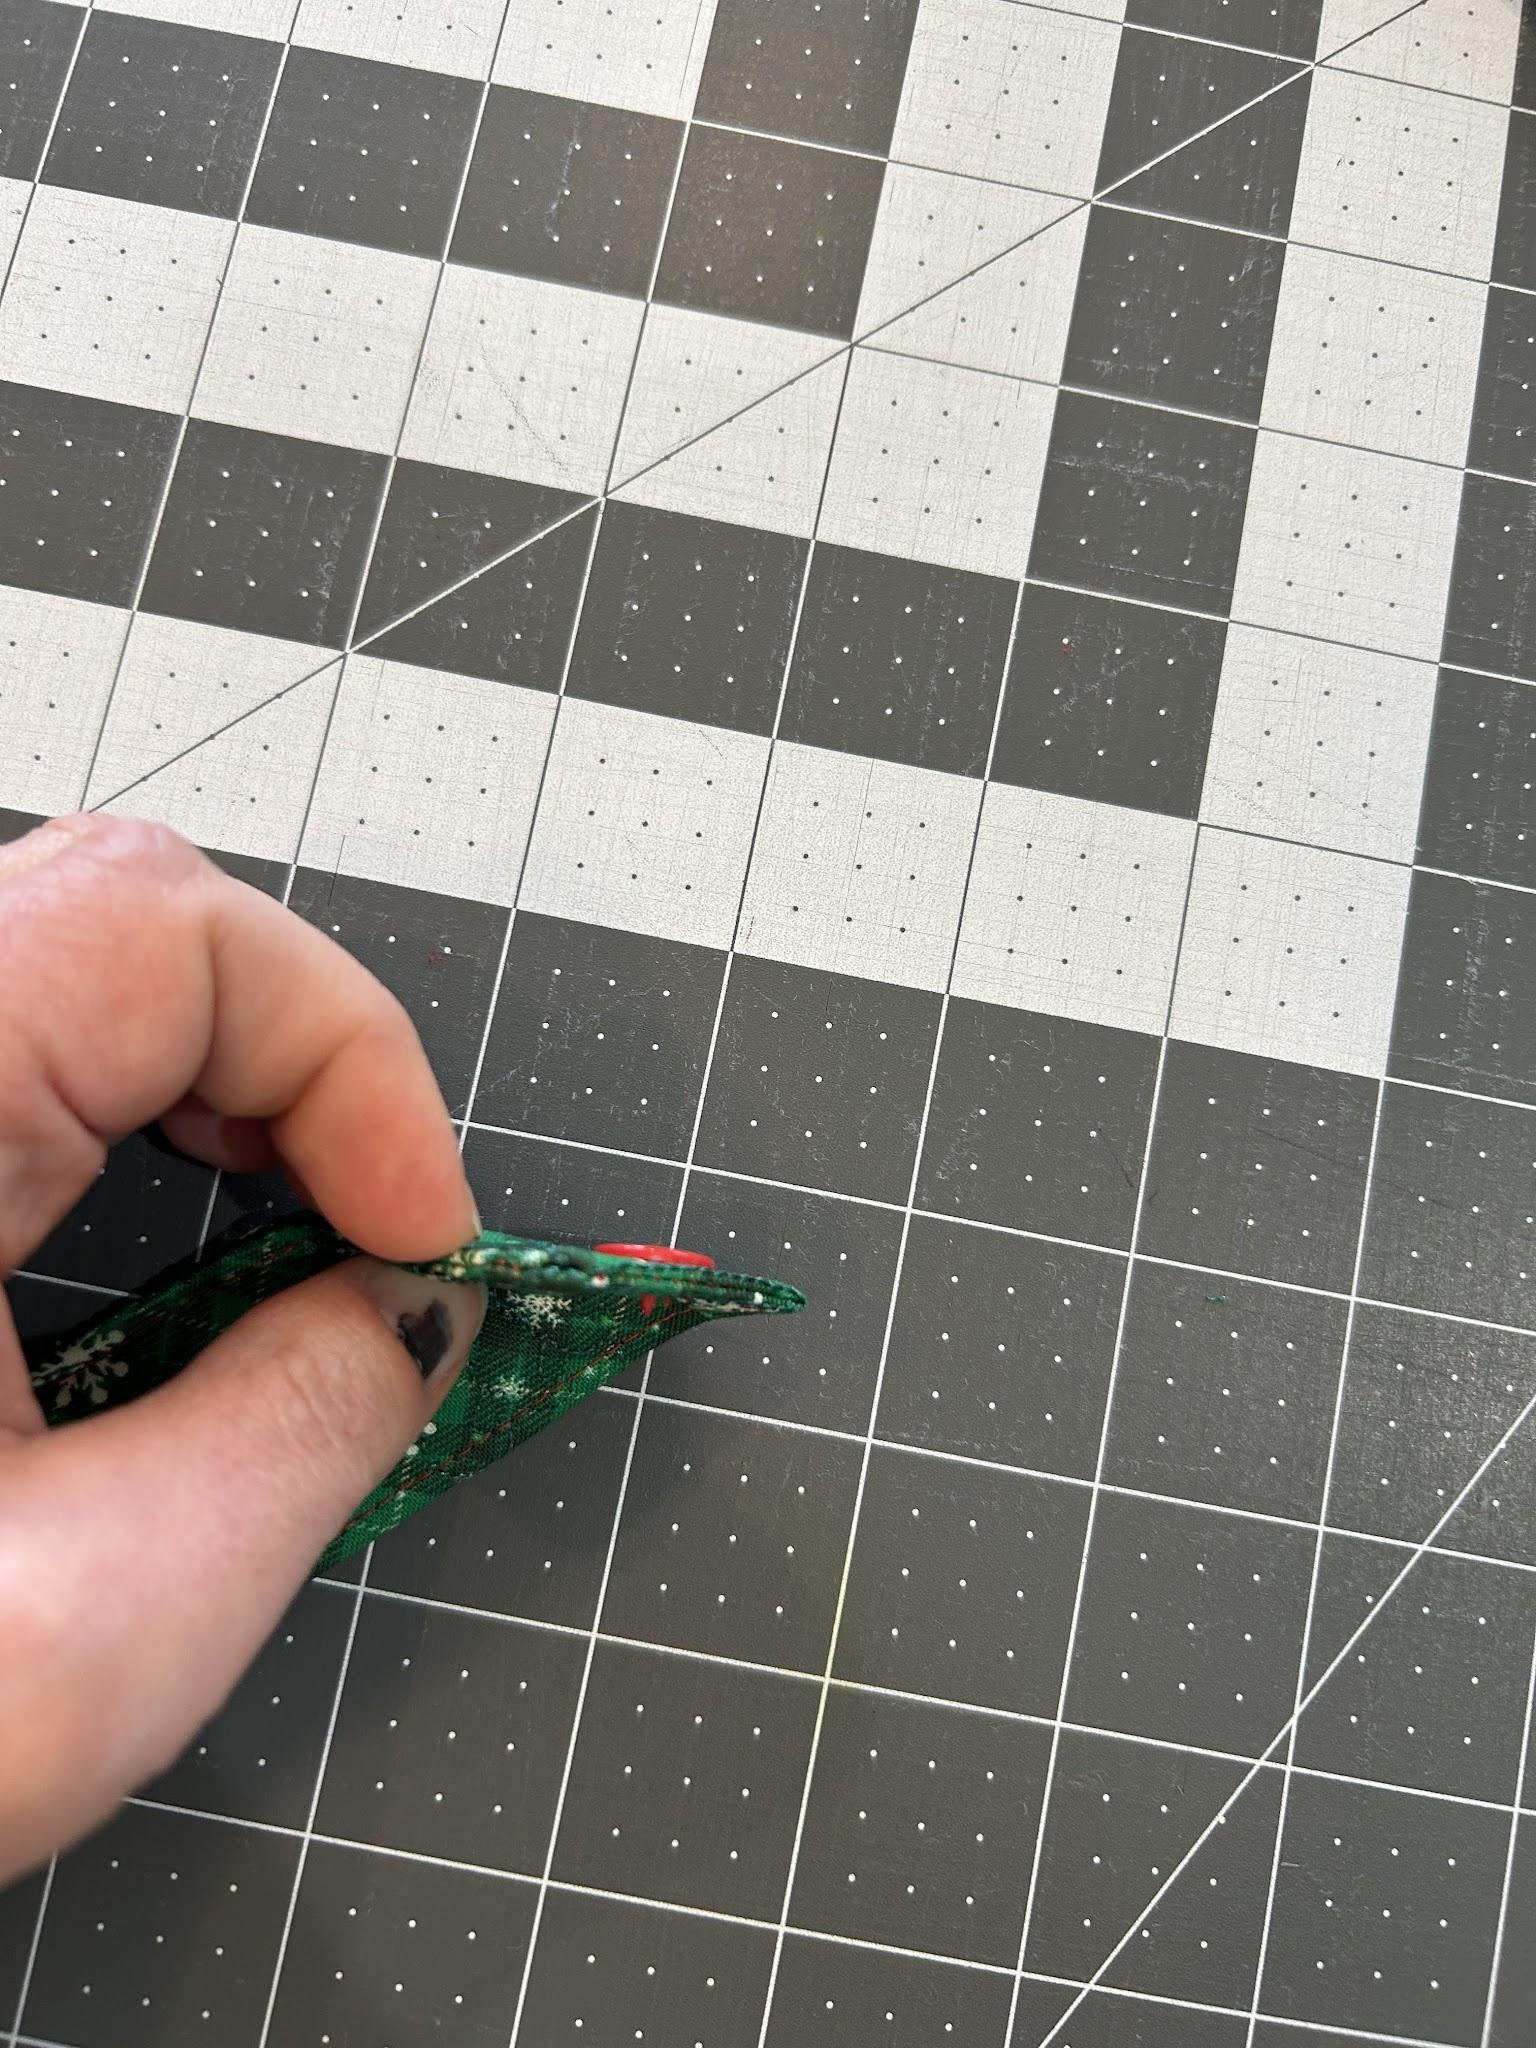
Using a cap with a sharp prong, push it through the hole.
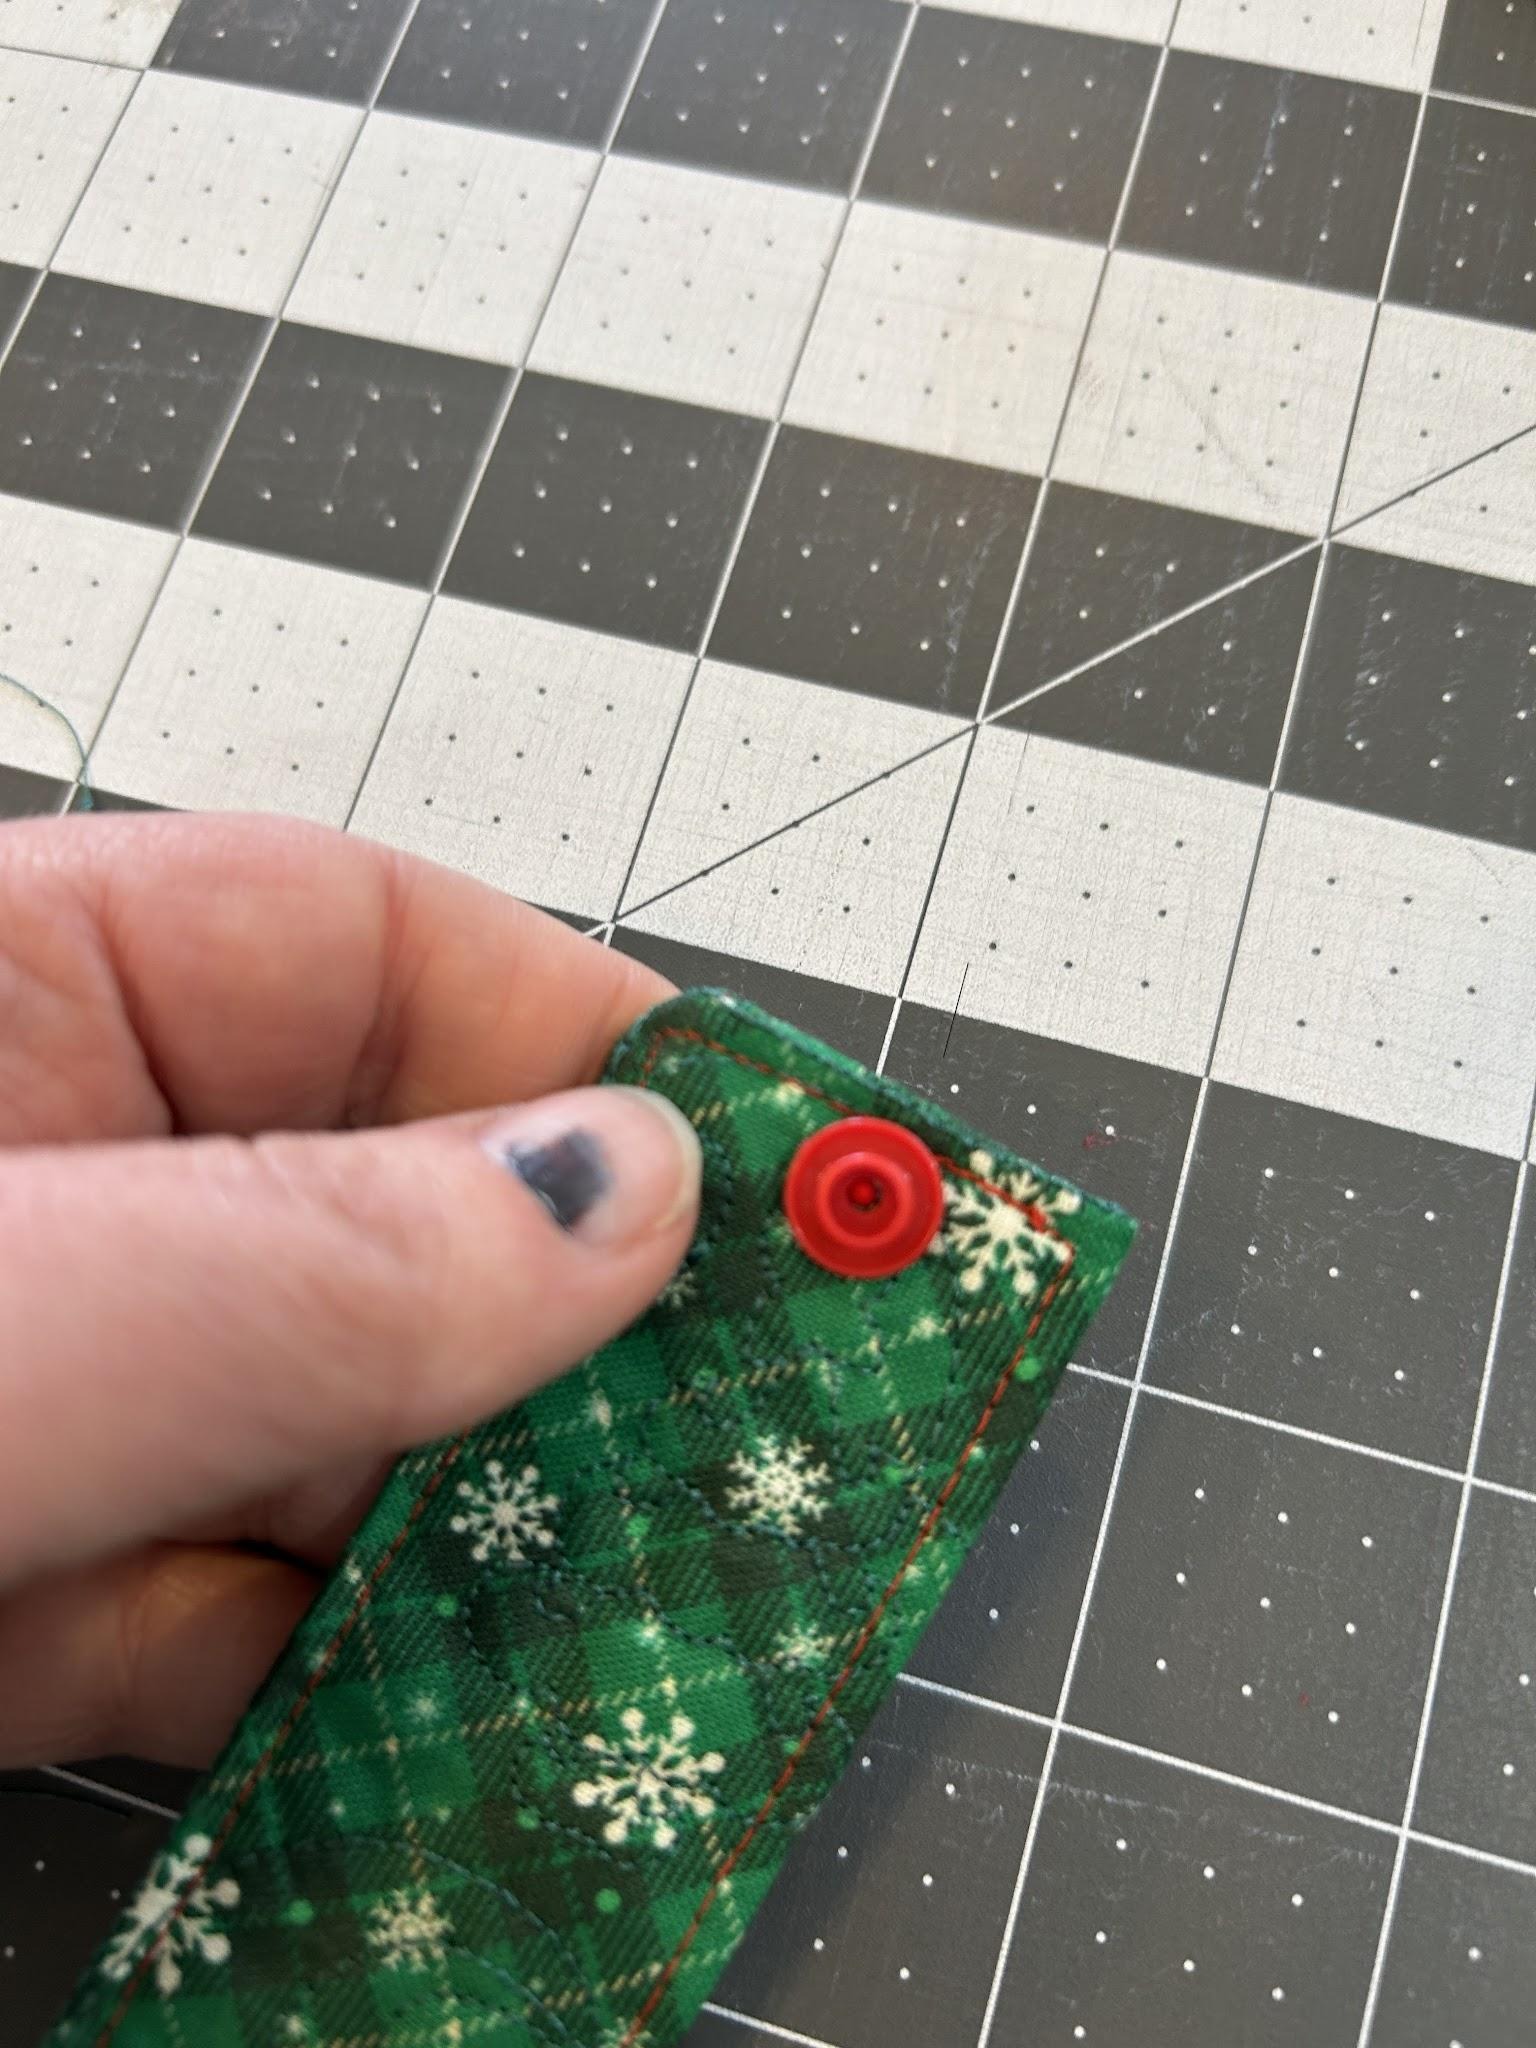
Cover the prong with the stud piece.
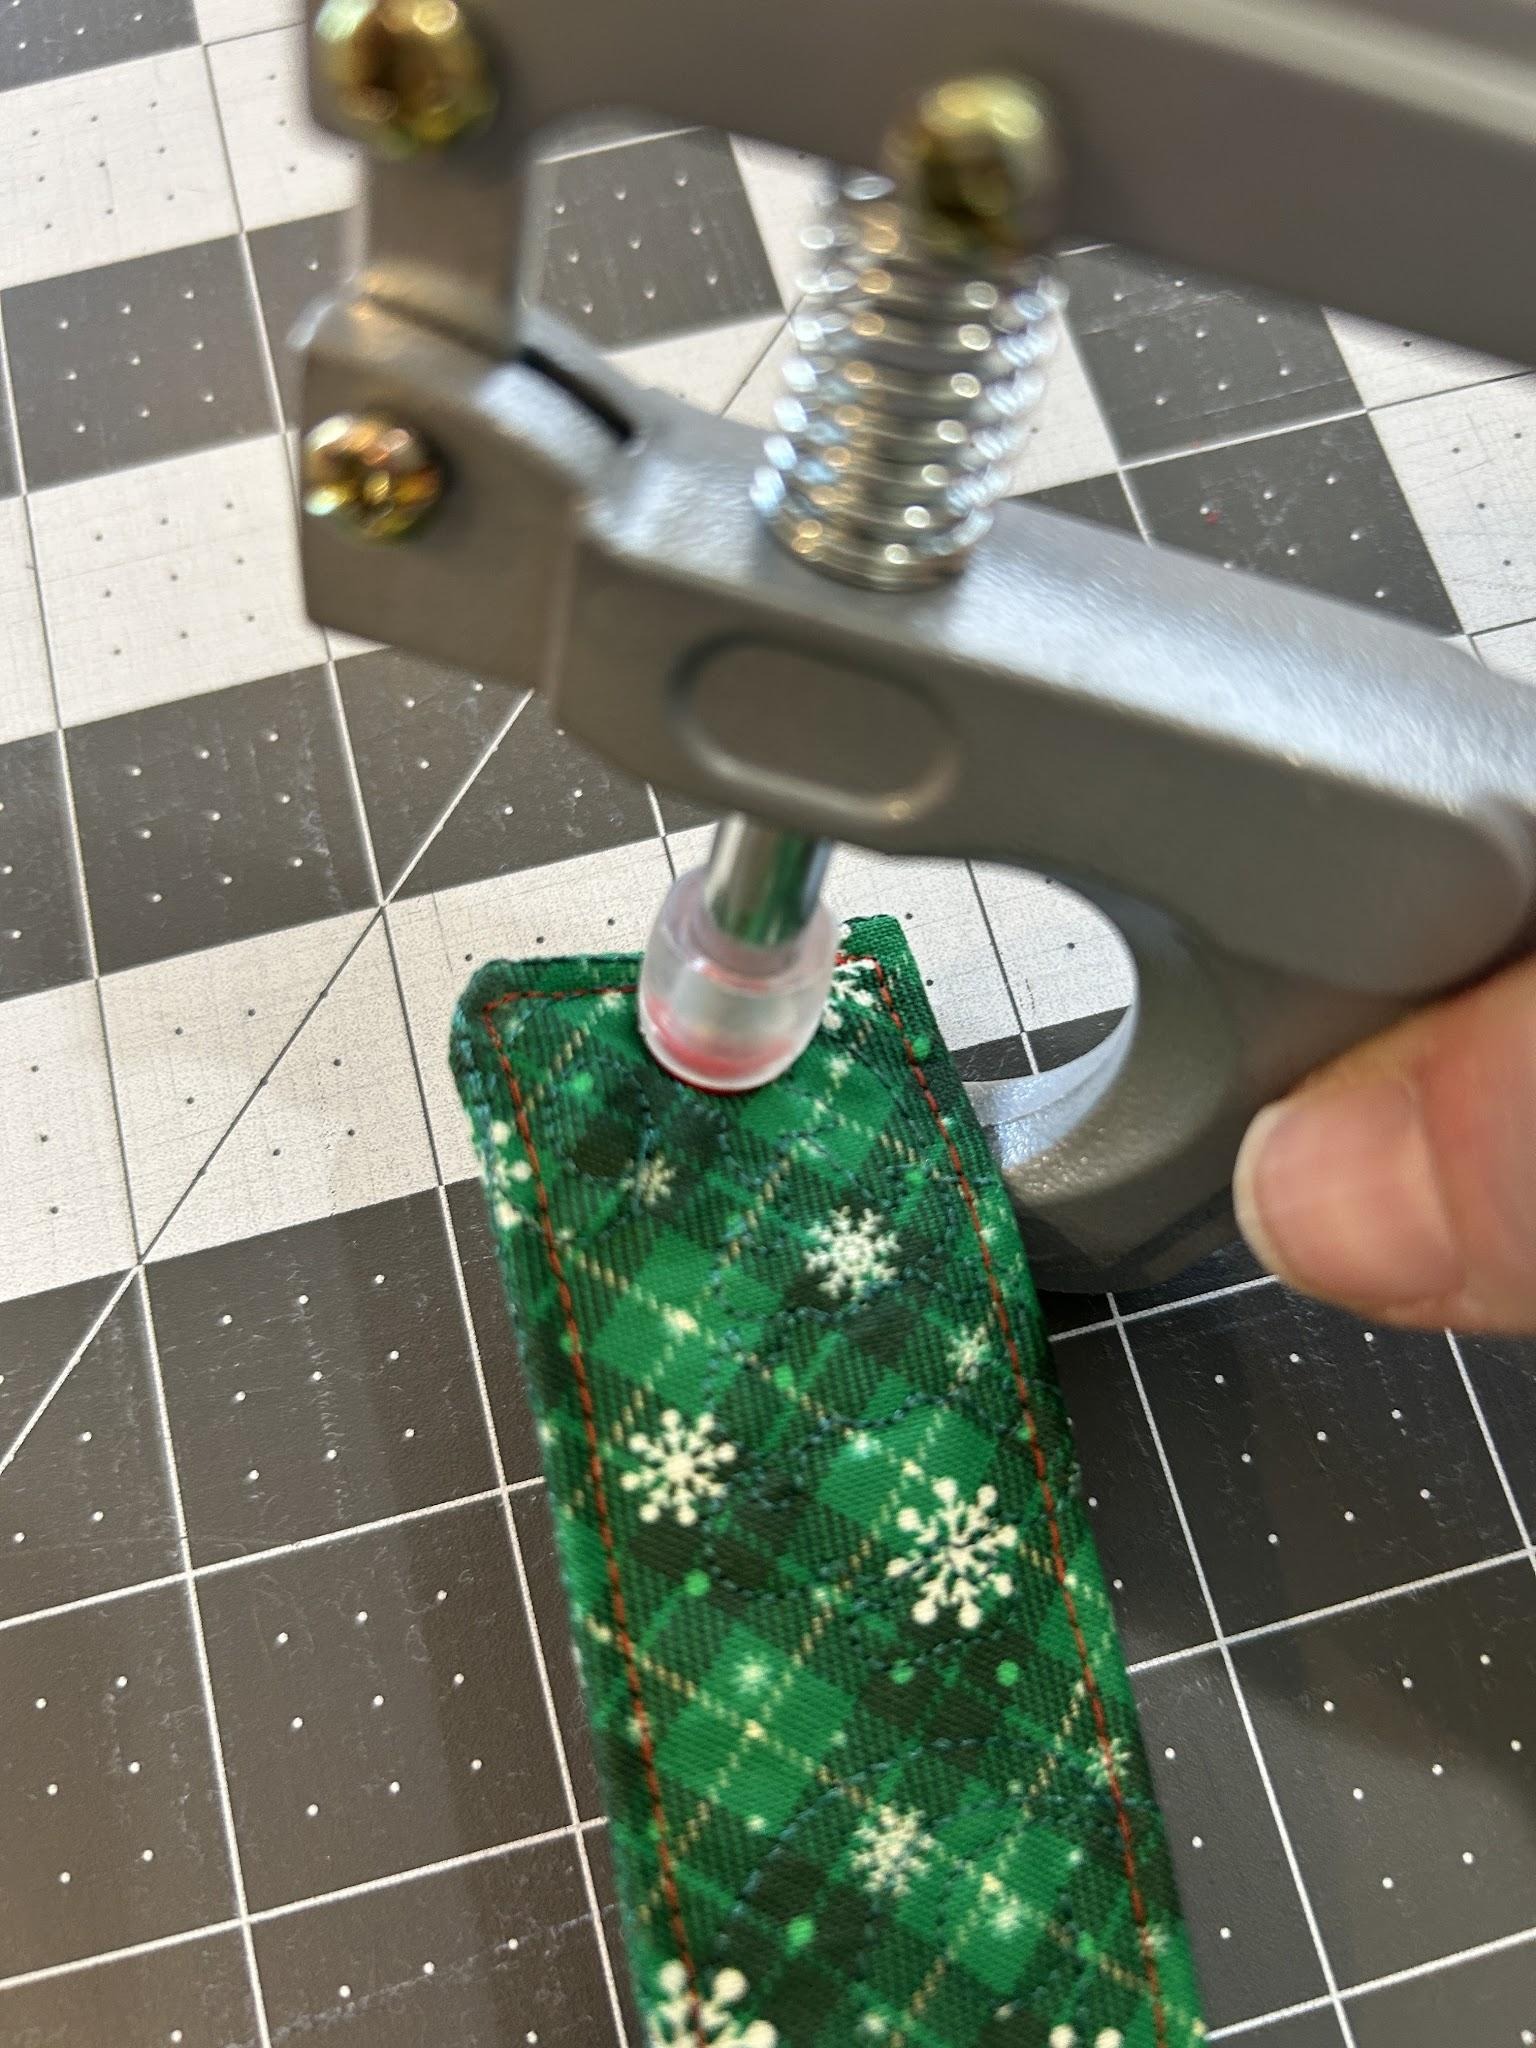
And using your setter, press the snap together.
On the other end, repeat the process using the socket piece.
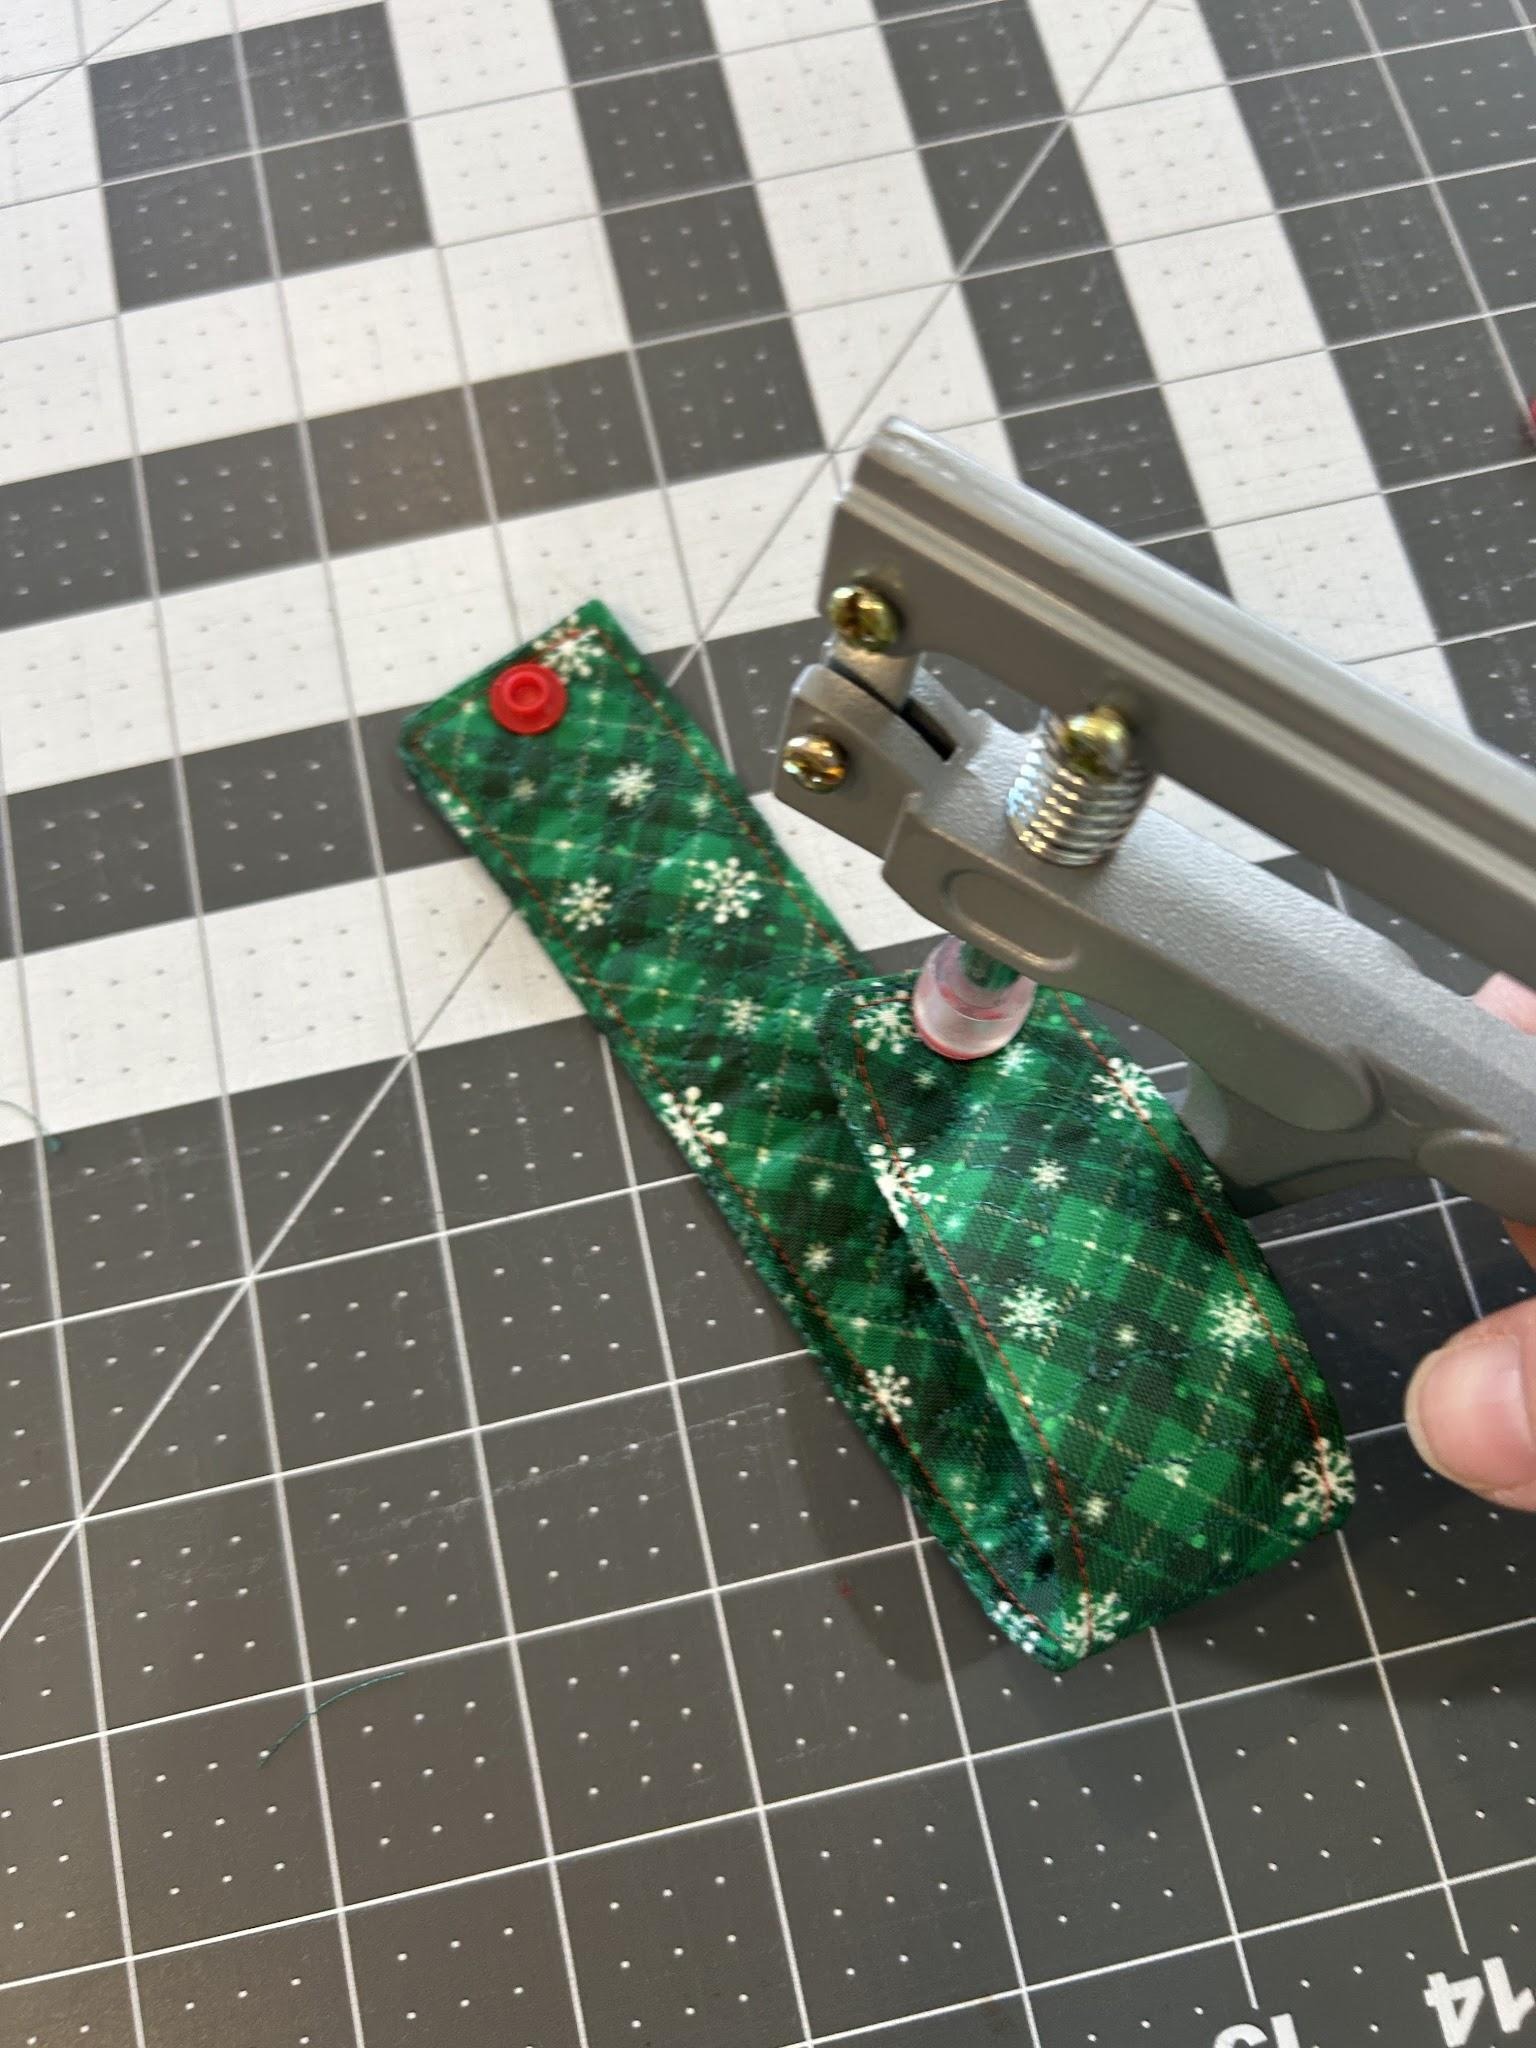
To make sure that the link will snap correctly, lay the link flat. One end should have a cap showing, and the other end should have either a socket or stud piece showing. If you end up with two caps on one side, it won’t snap without being twisted.
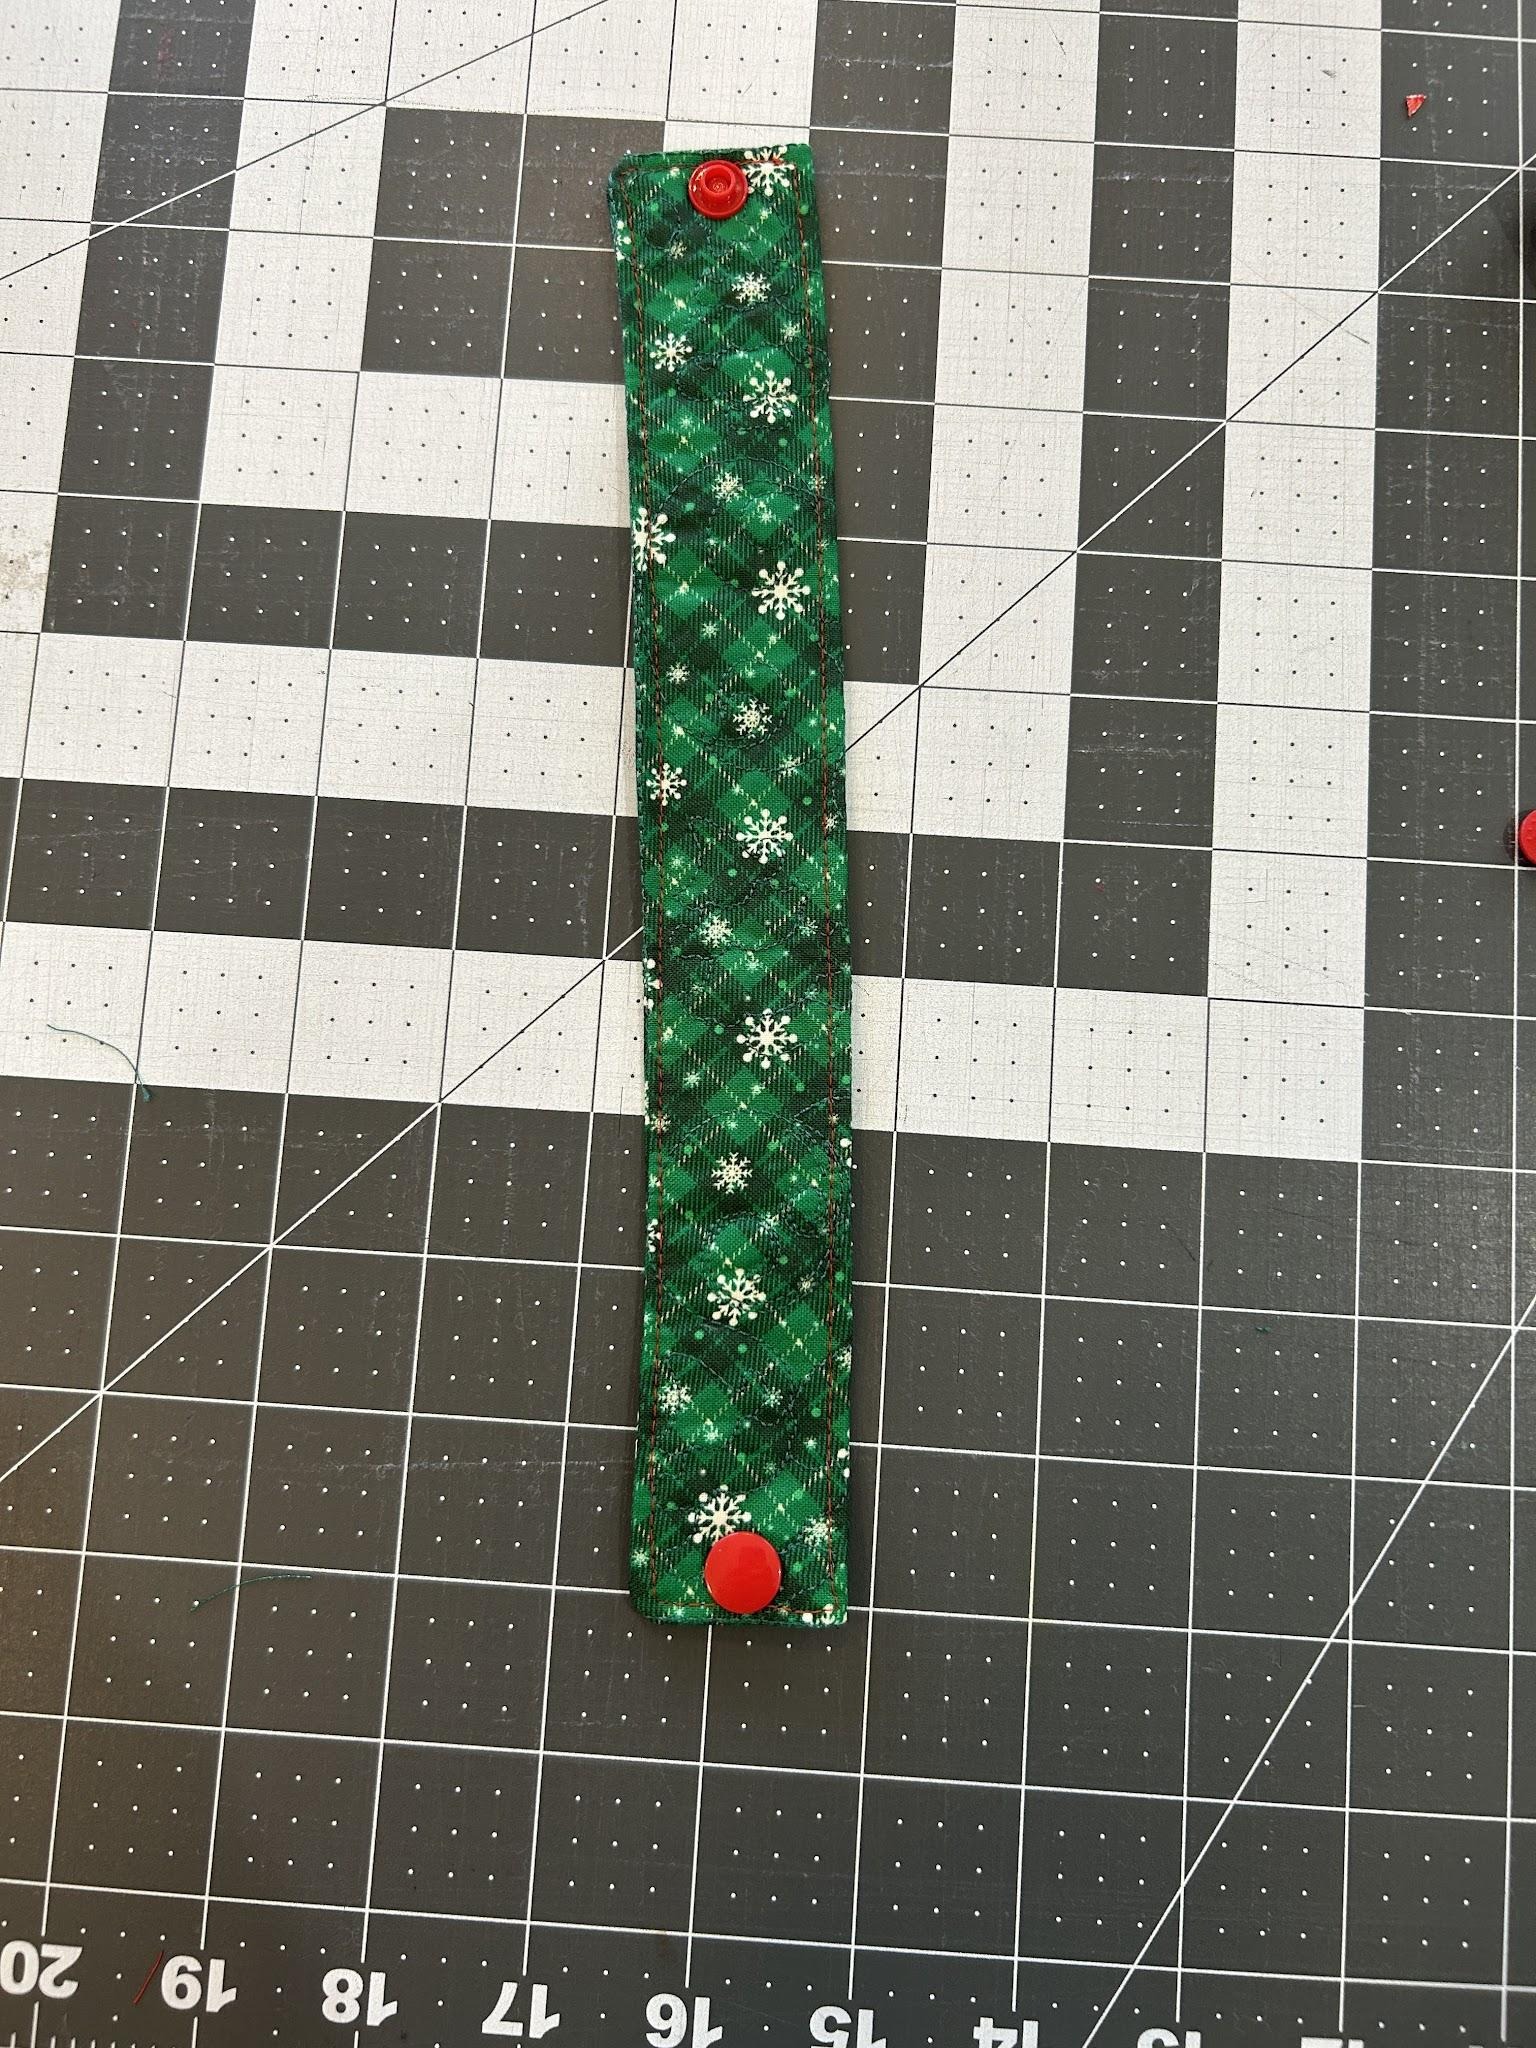
Here it is linked together and ready for all the other links.
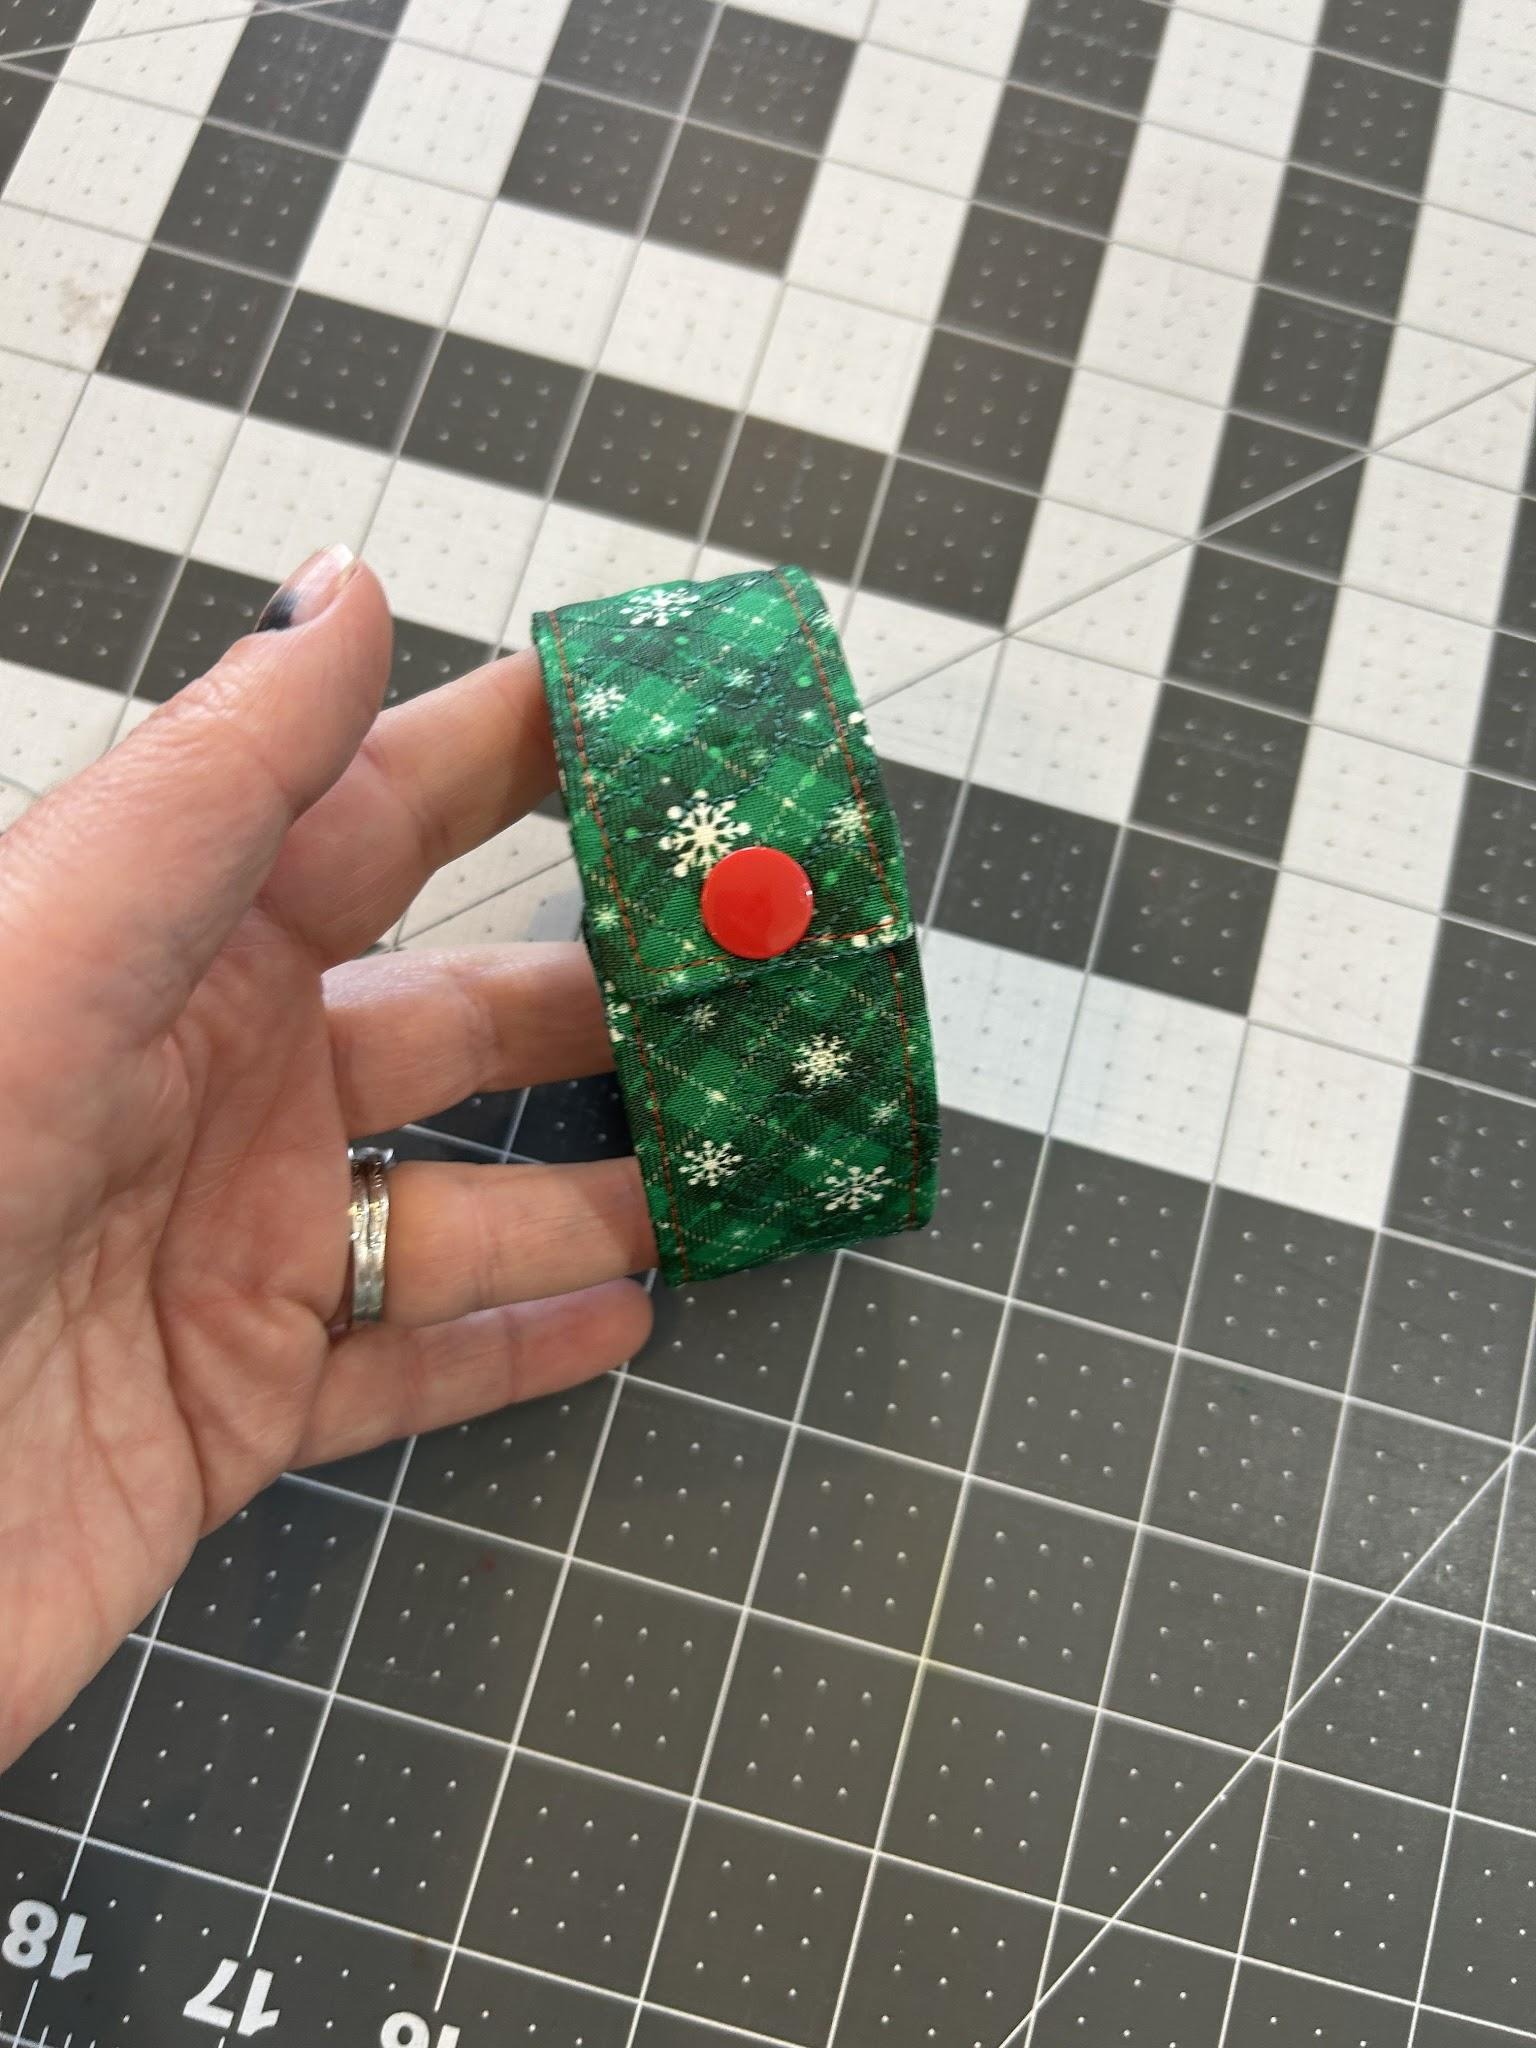
I find if I want my activities to be a bit more of a surprise, I can turn them to the inside while linking them.
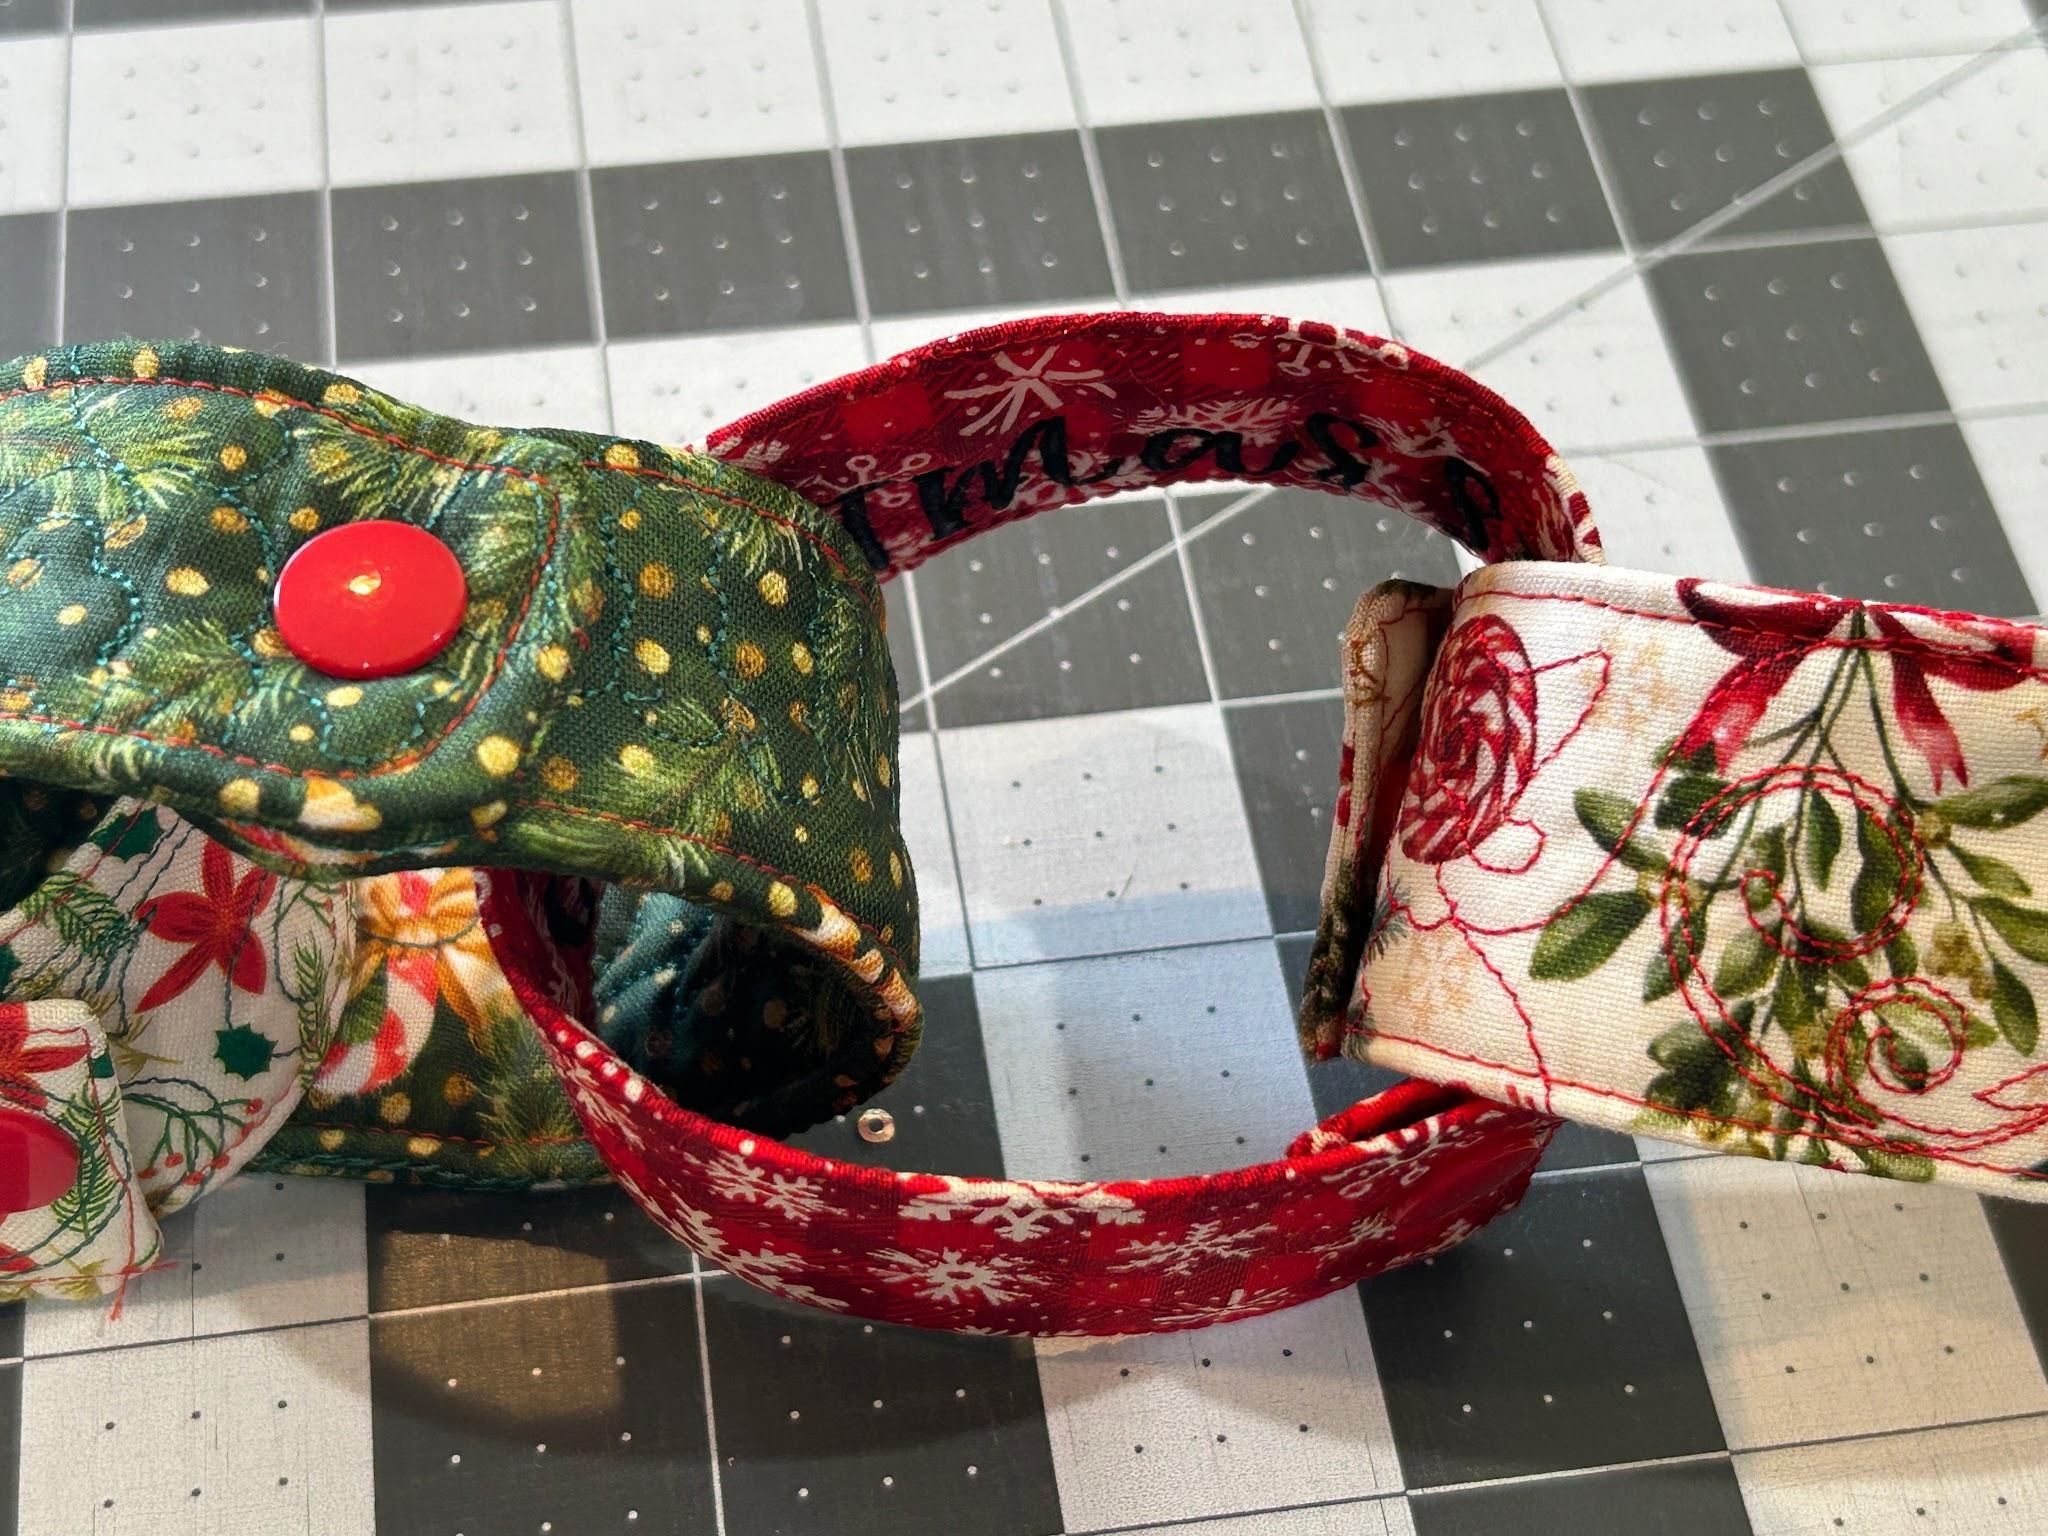
Or if I leave them outside, everyone can anticipate the activity that is coming up!
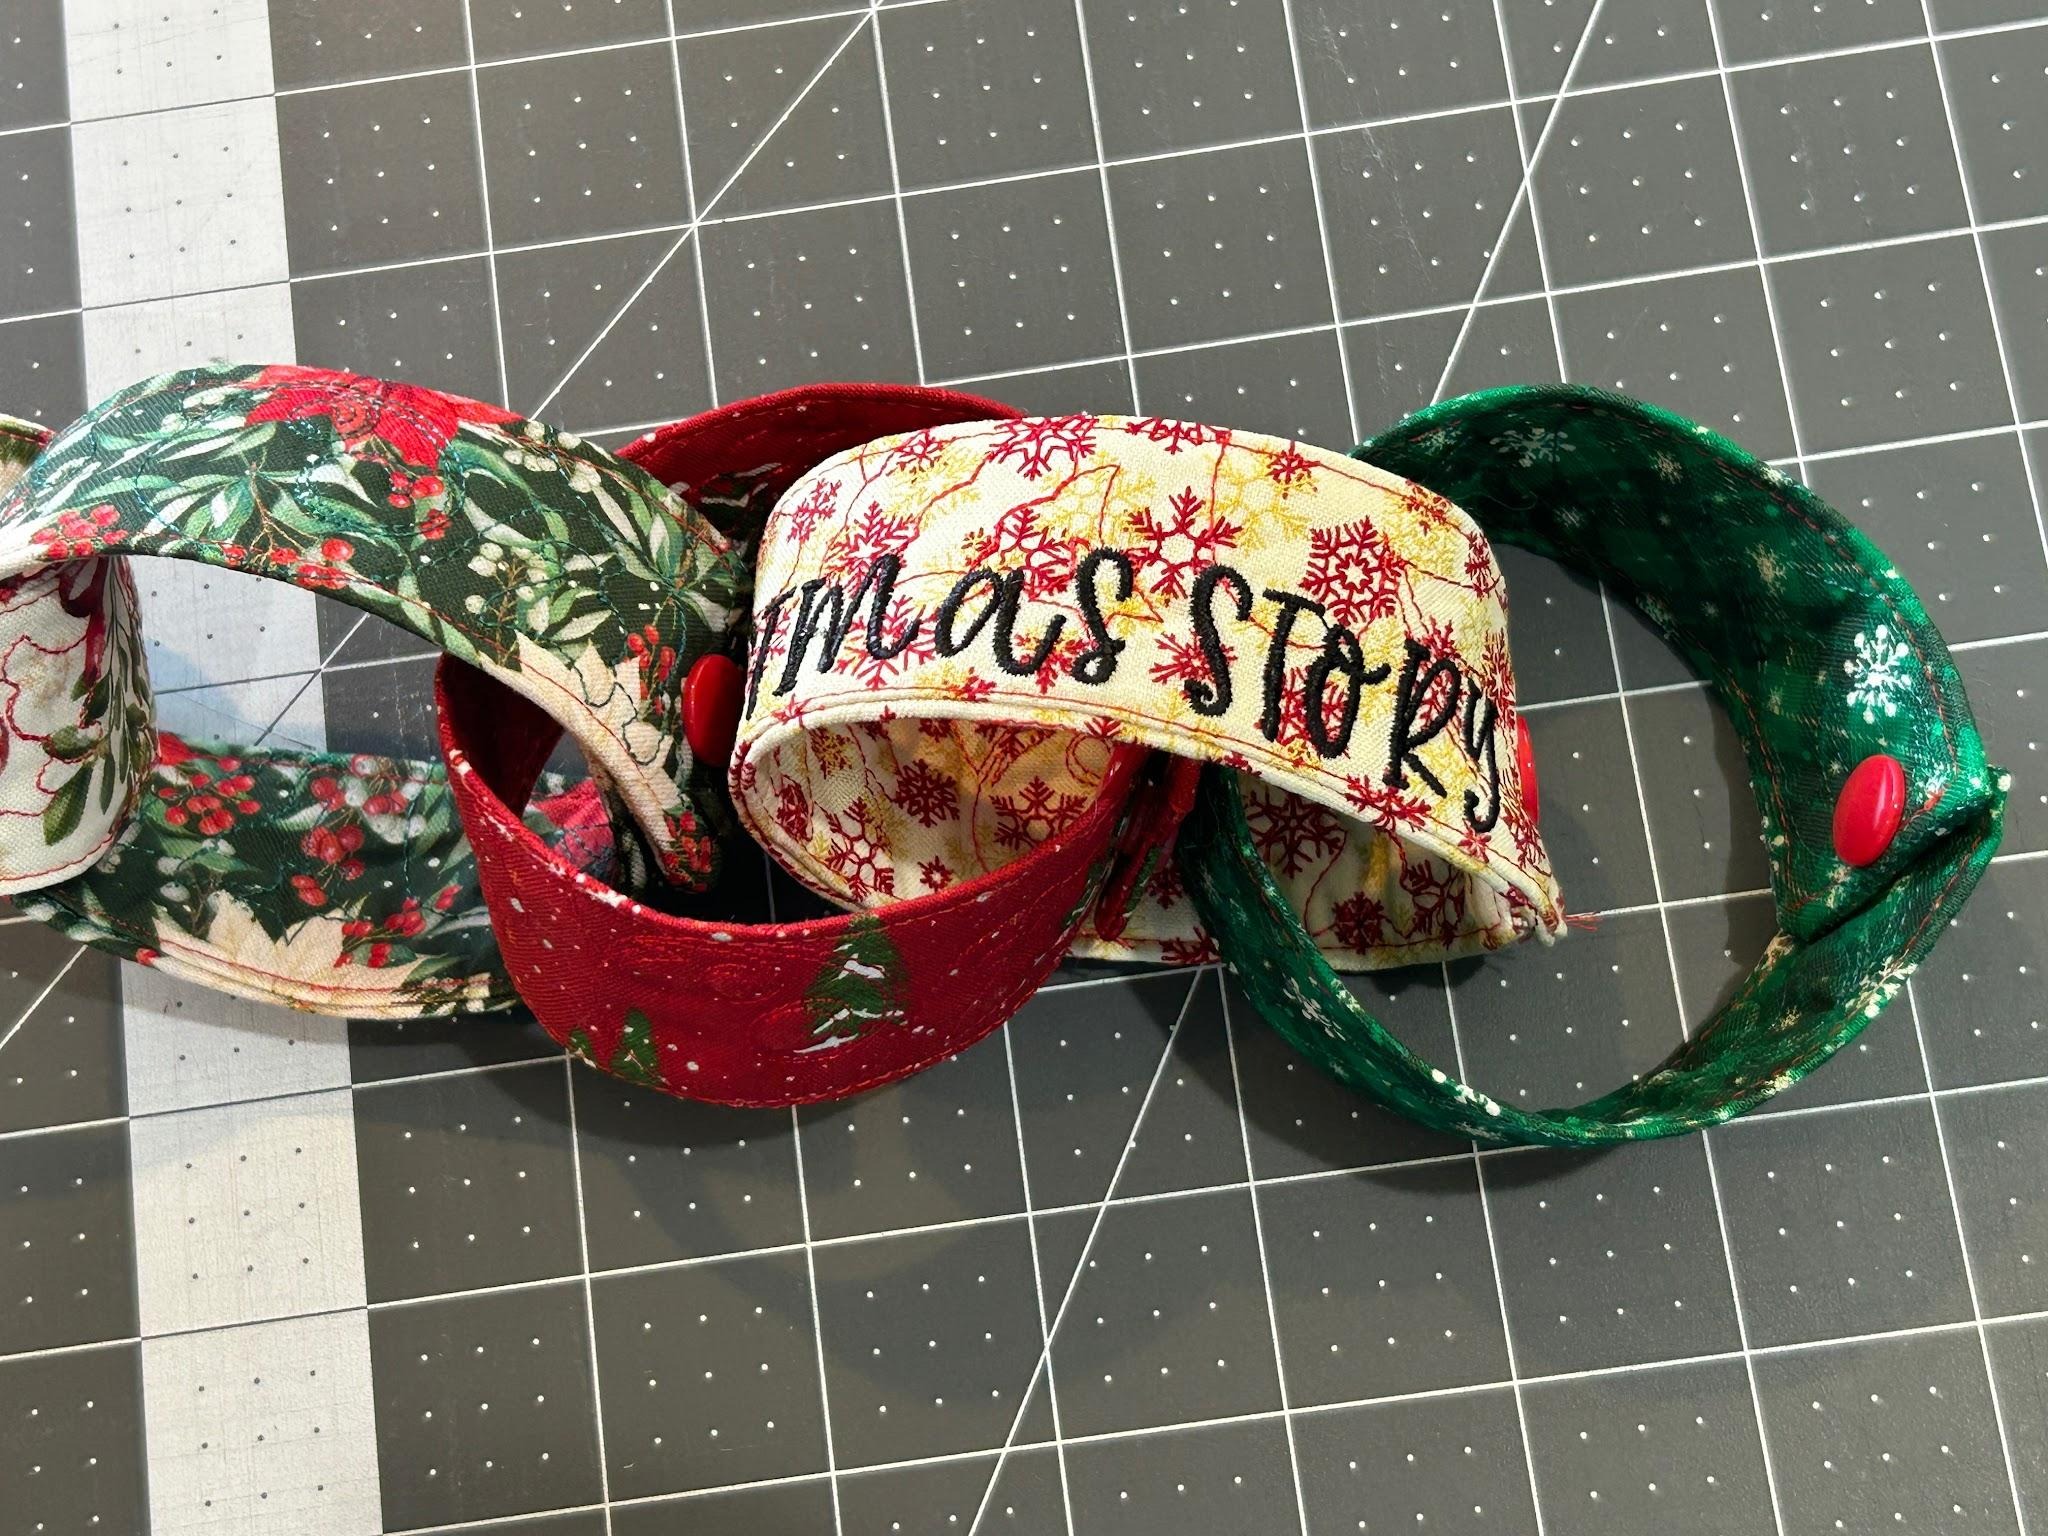
Whatever way you do it, your countdown chain is bound to be a hit for everyone that gets to take a link off as you’re counting down to Christmas!
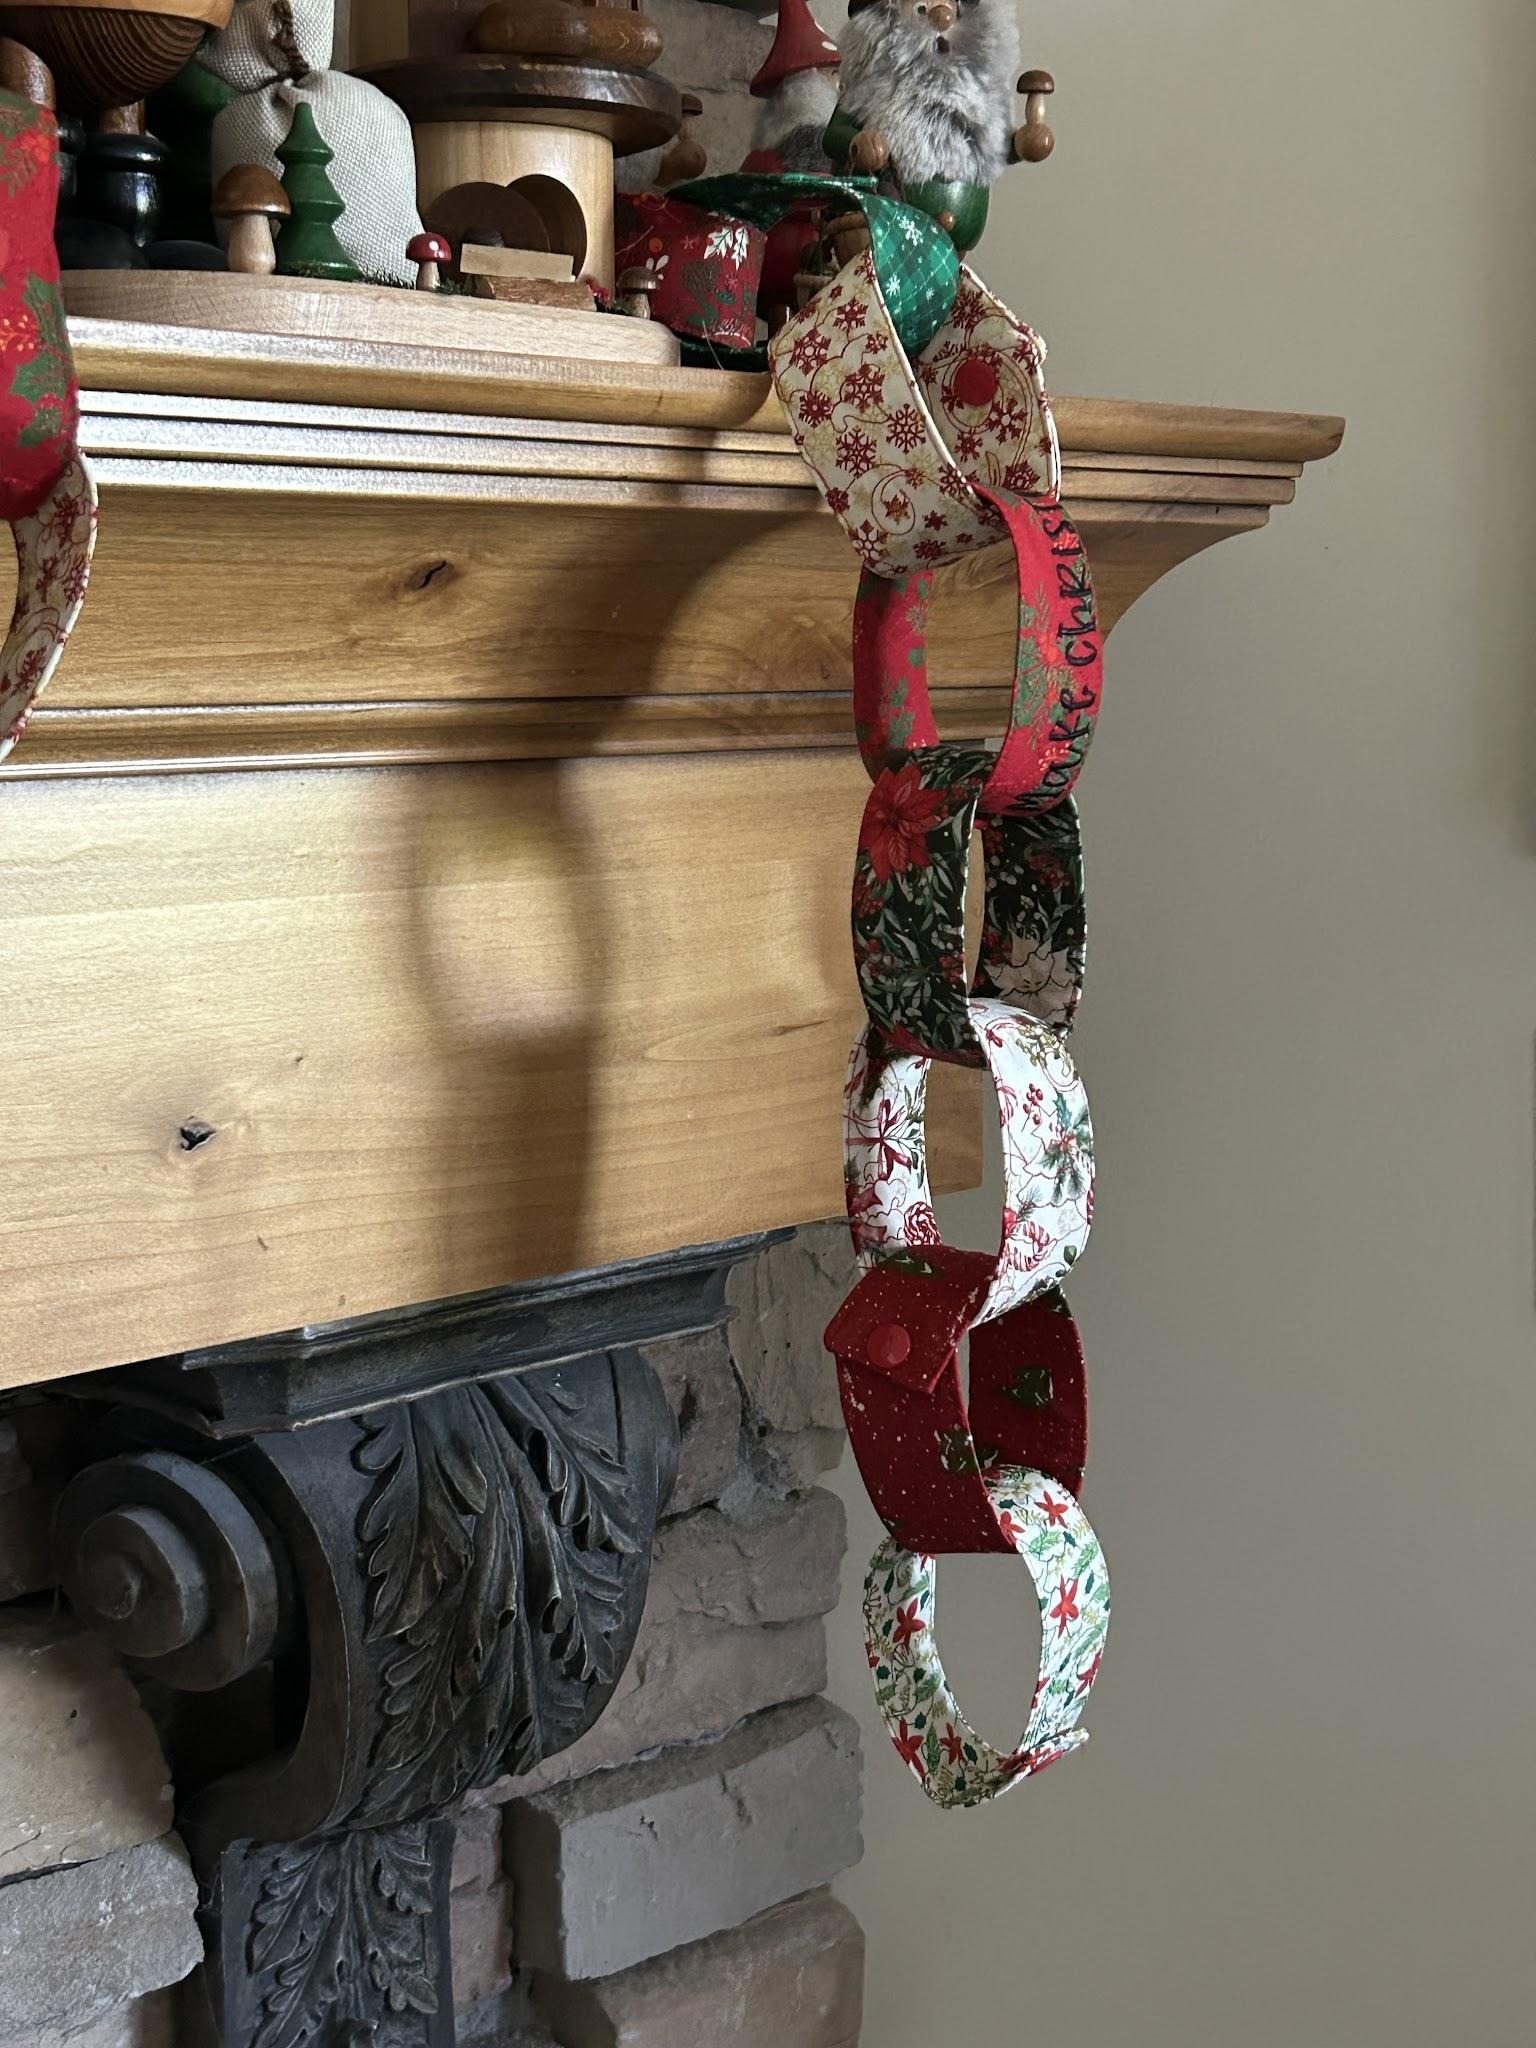
If you make a countdown chain, I’d love to see how you did it! Share with us in the Designs by JuJu Embroidery Blessings Facebook Group, or use the hashtag #designsbyjuju anywhere on social media so we can all enjoy your creativity. We love to see what you make!