Toggle Nav
 Inspire.
Create.
Stitch.
Inspire.
Create.
Stitch.
Inspire.
Create.
Stitch.
Search
Inspire.
Create.
Stitch.
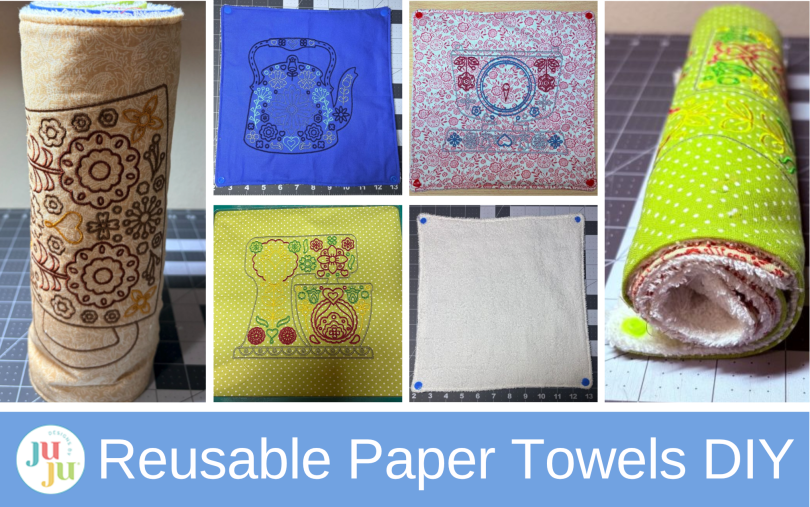
Learn how to make reusable paper towels with machine embroidery. This step-by-step tutorial shows how to create embroidered unpaper towels that snap together into a practical, eco-friendly roll for your kitchen.
Swap paper towels for something prettier and much more sustainable! These embroidered, zero-waste unpaper towels are both practical and charming. In this tutorial, we’ll make reusable towels that bring personality to your kitchen and help you reduce waste. Whether you’re new to embroidery or just want a quick project, this is a fun and useful craft you’ll use every day.
Let’s make a set of unpaper towels that look great and work well! Gather your supplies and let’s get started.
Finished size: 11” x 11”
Check out the DBJJ team’s favorite supplies in the Designs by JuJu Amazon store. And for all your stabilizer and batting needs, be sure to check out Designs by JuJu+.

Prepare your interfacing by following the instructions on the packaging. Cut into 12” x 12” squares. You will need one piece of interfacing for each towel.
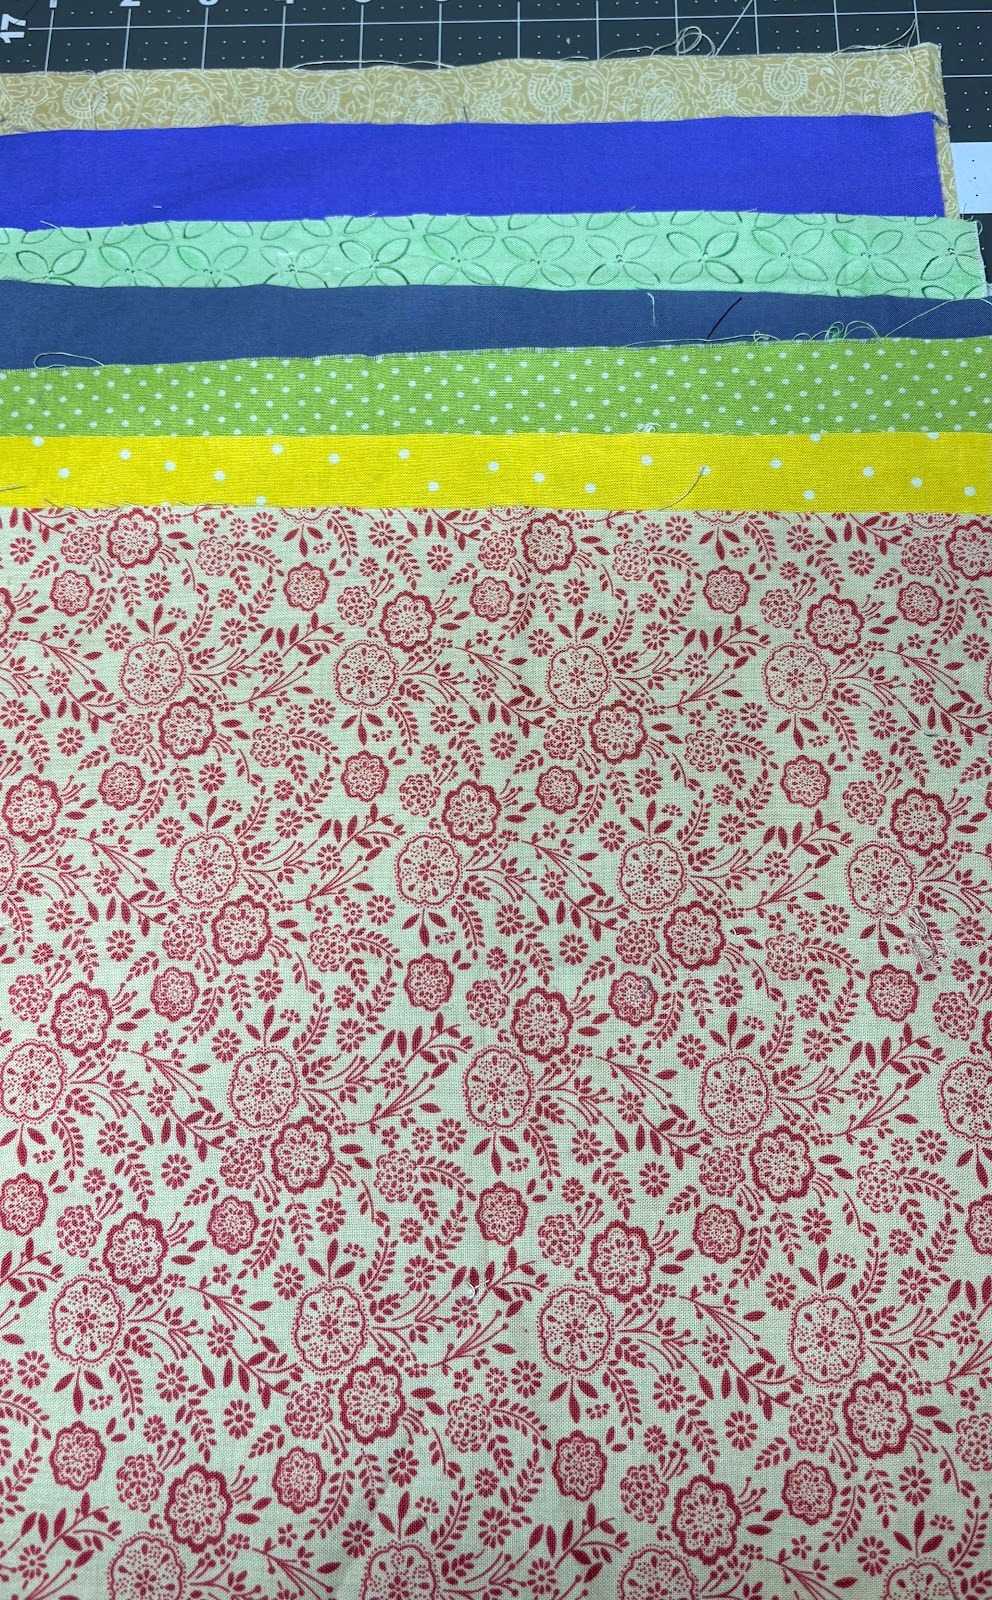
Wash, dry, and press all your fabrics first to keep them from shrinking later. This is extra important because you’ll be washing your towels a lot.
Cut your fabric into squares. A popular size is 12” x 12”, but feel free to customize.
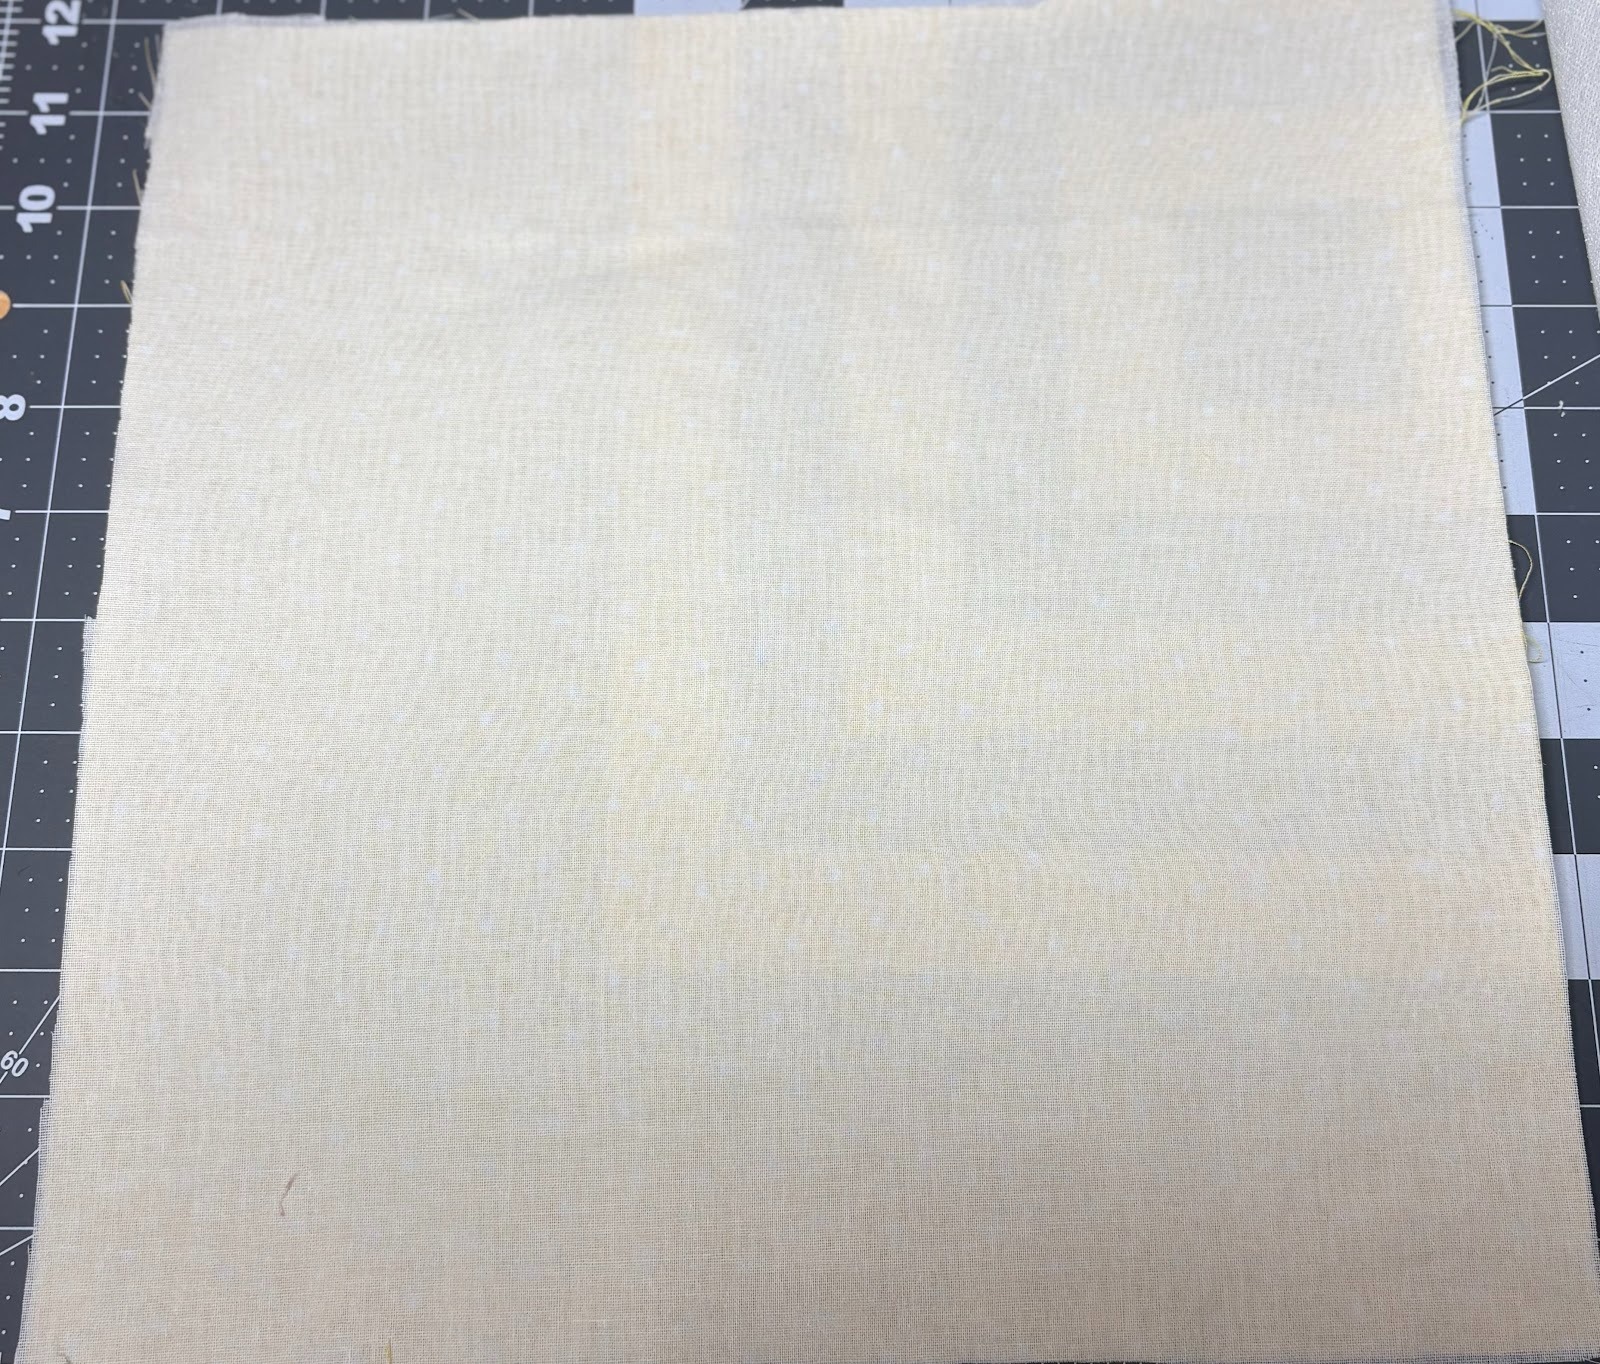
Fuse the fusible interfacing to the back of the cotton fabric.
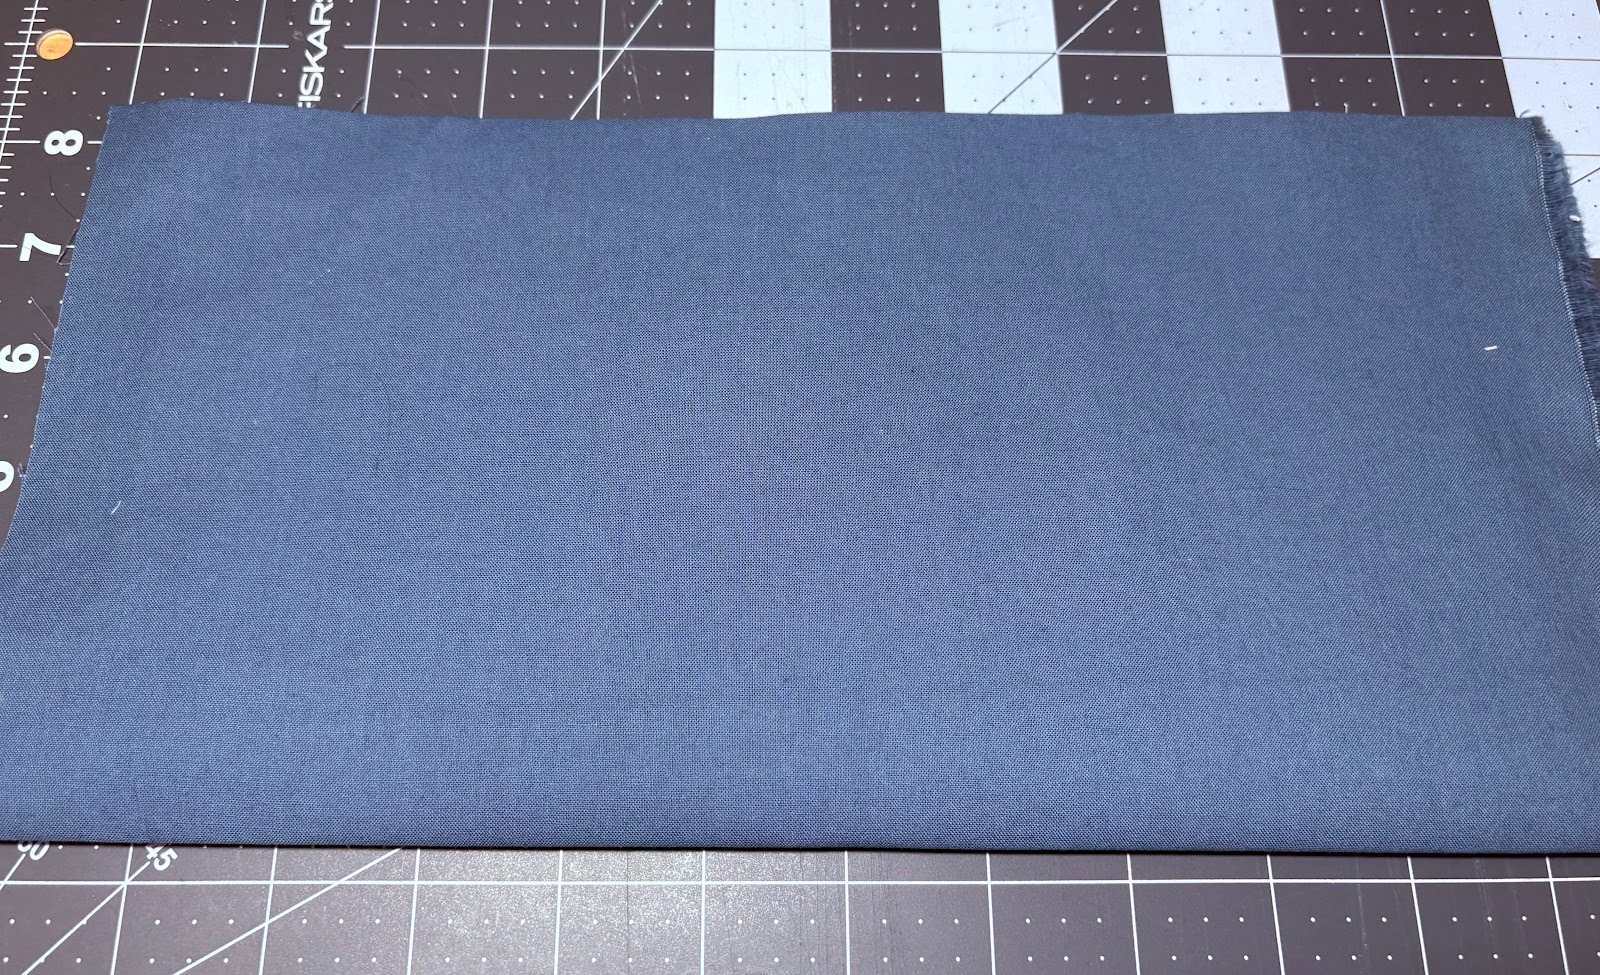
To find the center, fold the fabric in half.
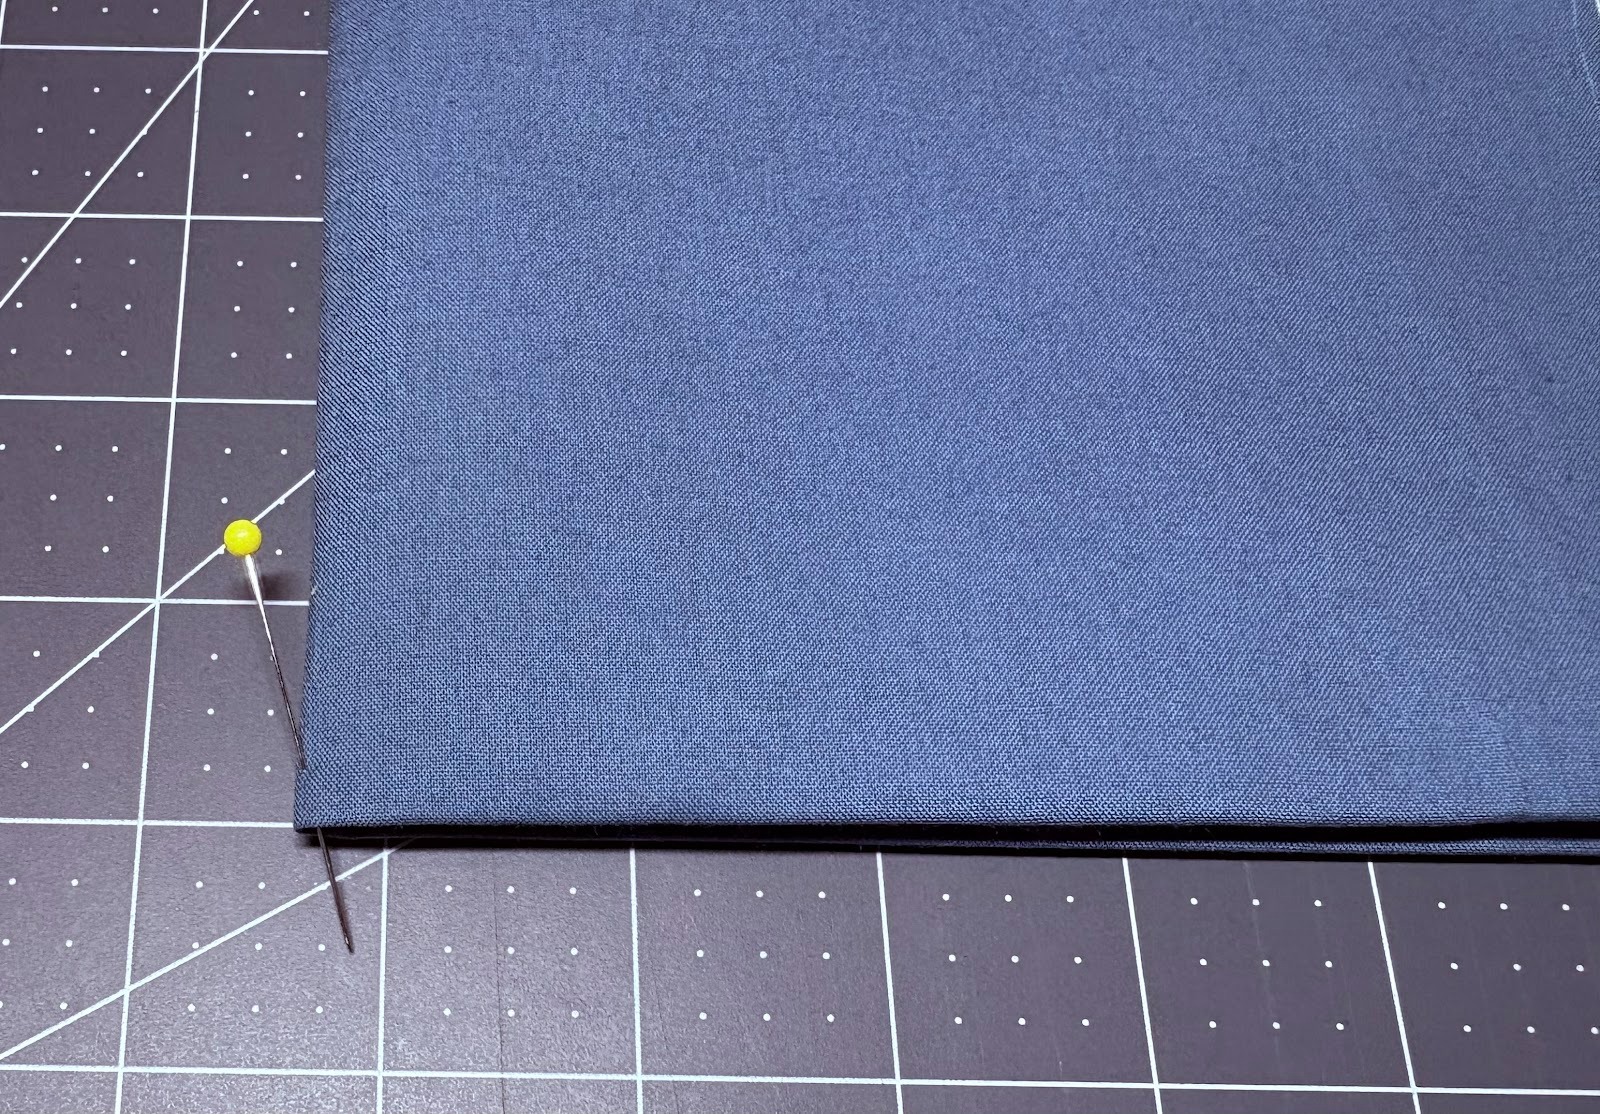
Fold in half again, and mark the center with a pin.
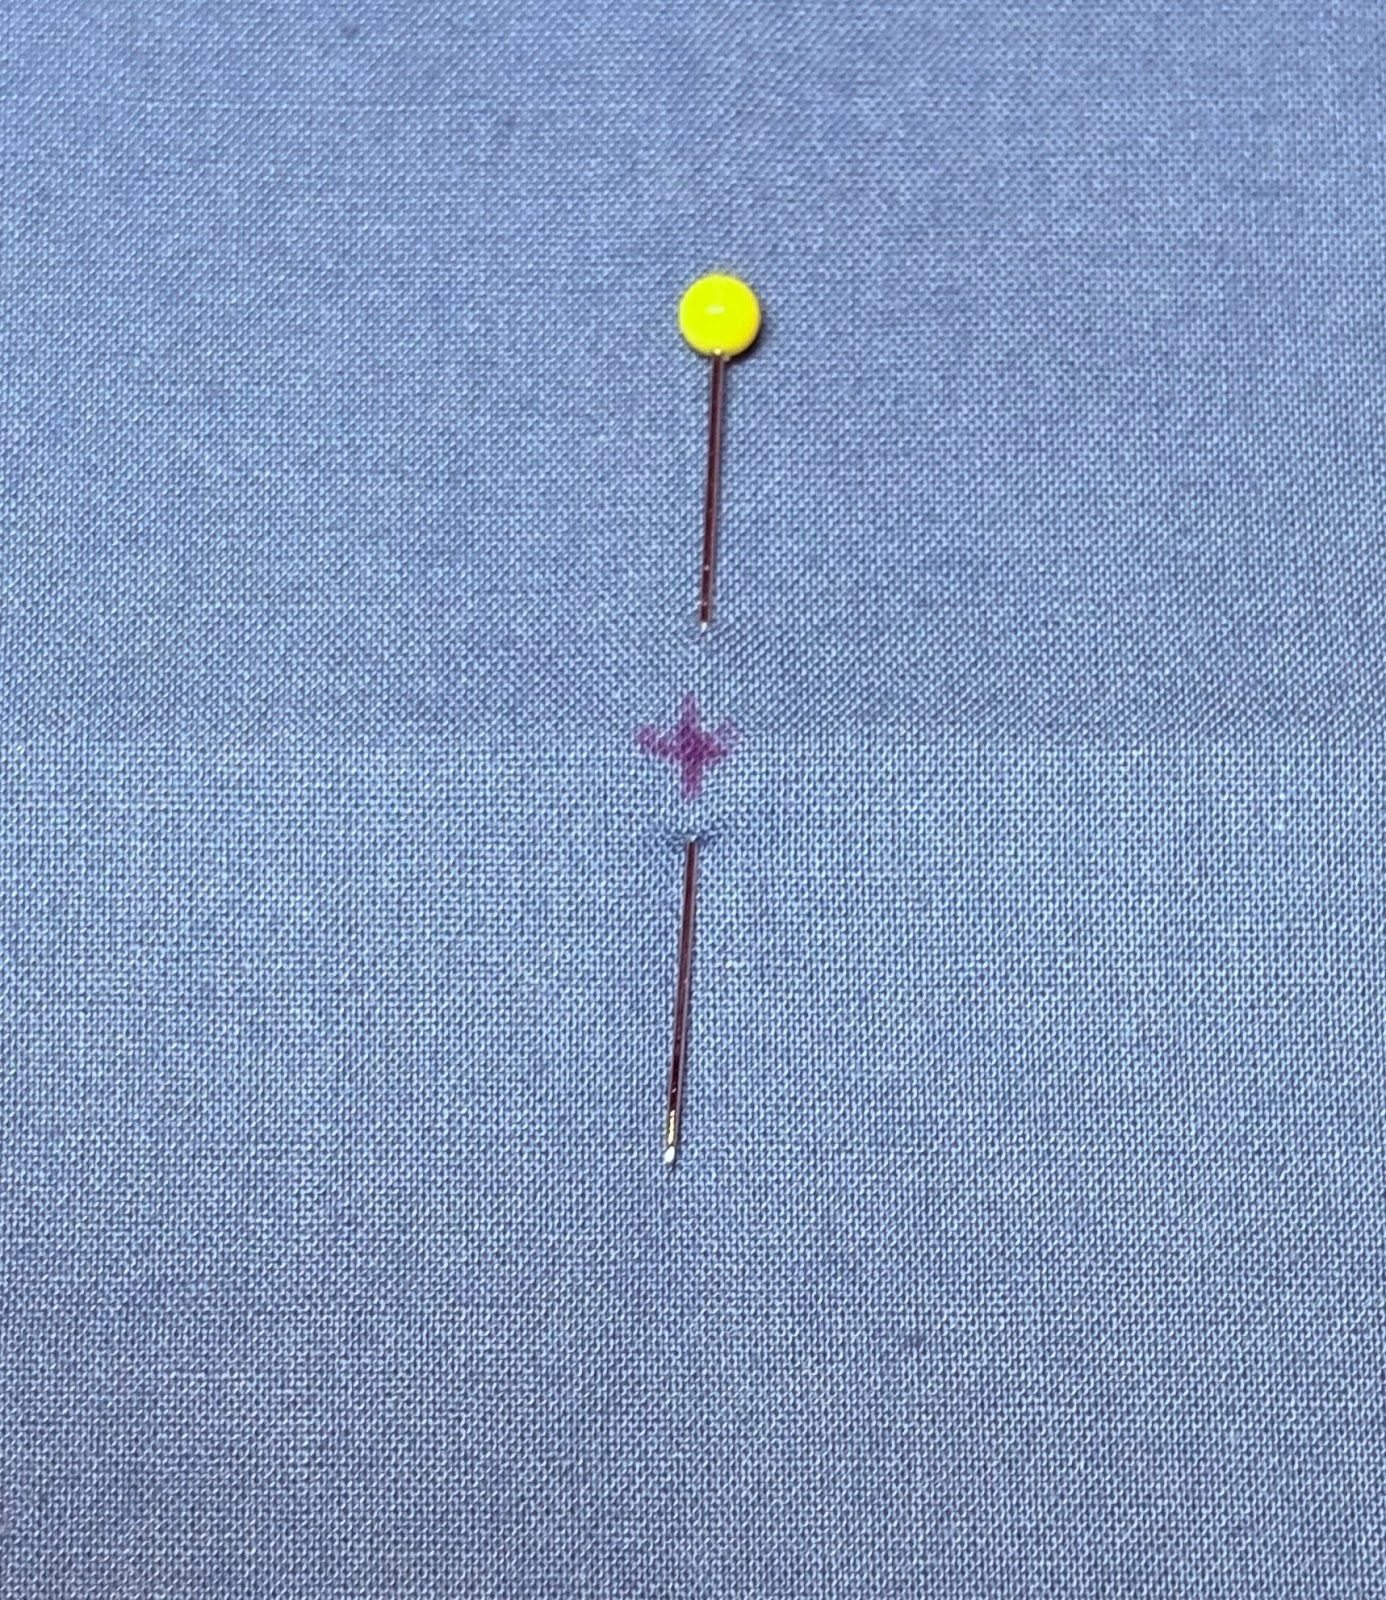
Unfold and mark the center with an erasable fabric marker.
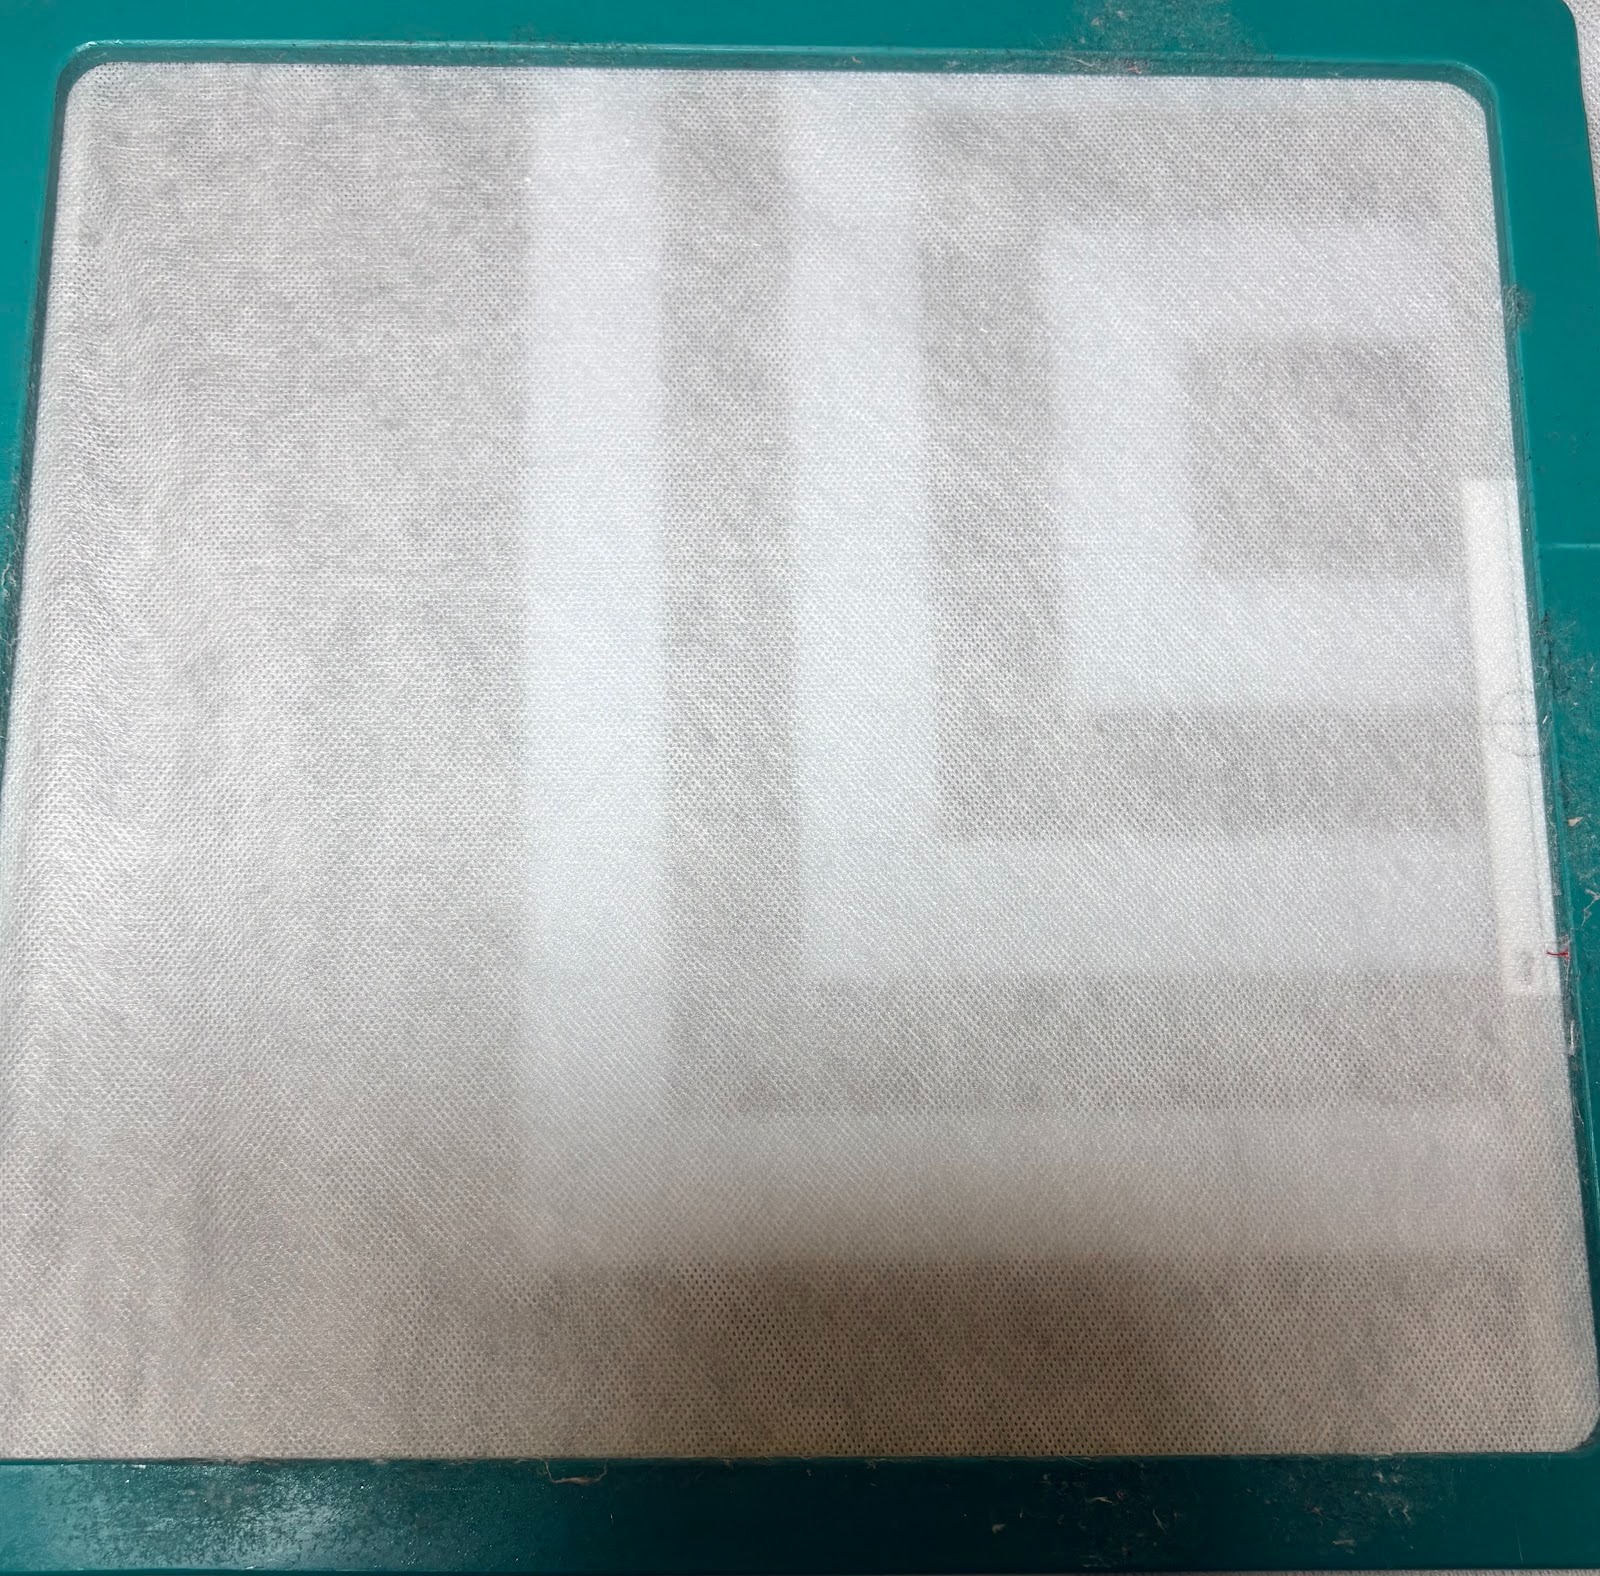
Hoop two layers of magicMELT Water-Soluble Stabilizer.
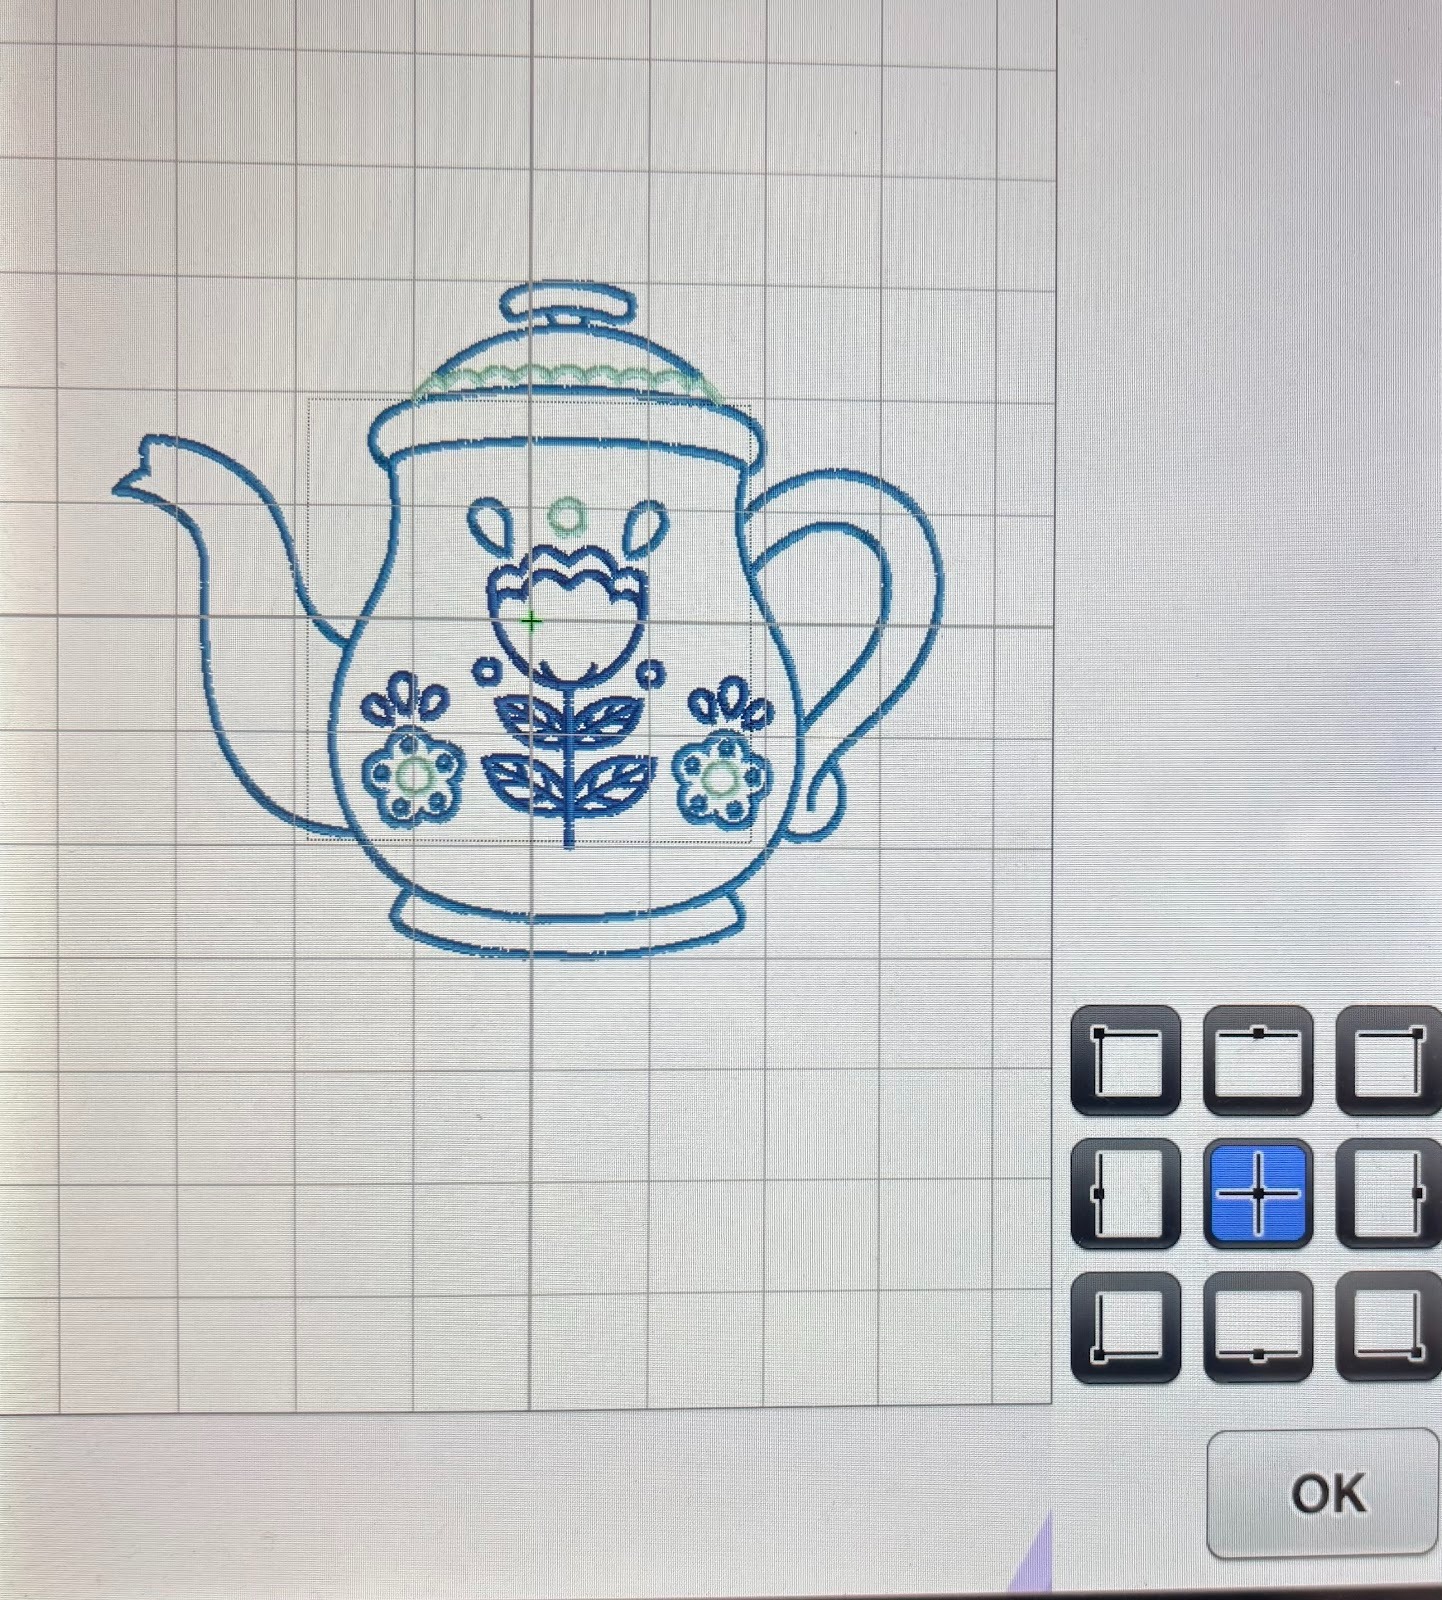
Select your design. This design is from the Retro Kitchen set. Load the size you wish to use. I chose the largest size for all my designs. You may want a smaller size. Using the design placement keys, find the center of the design.
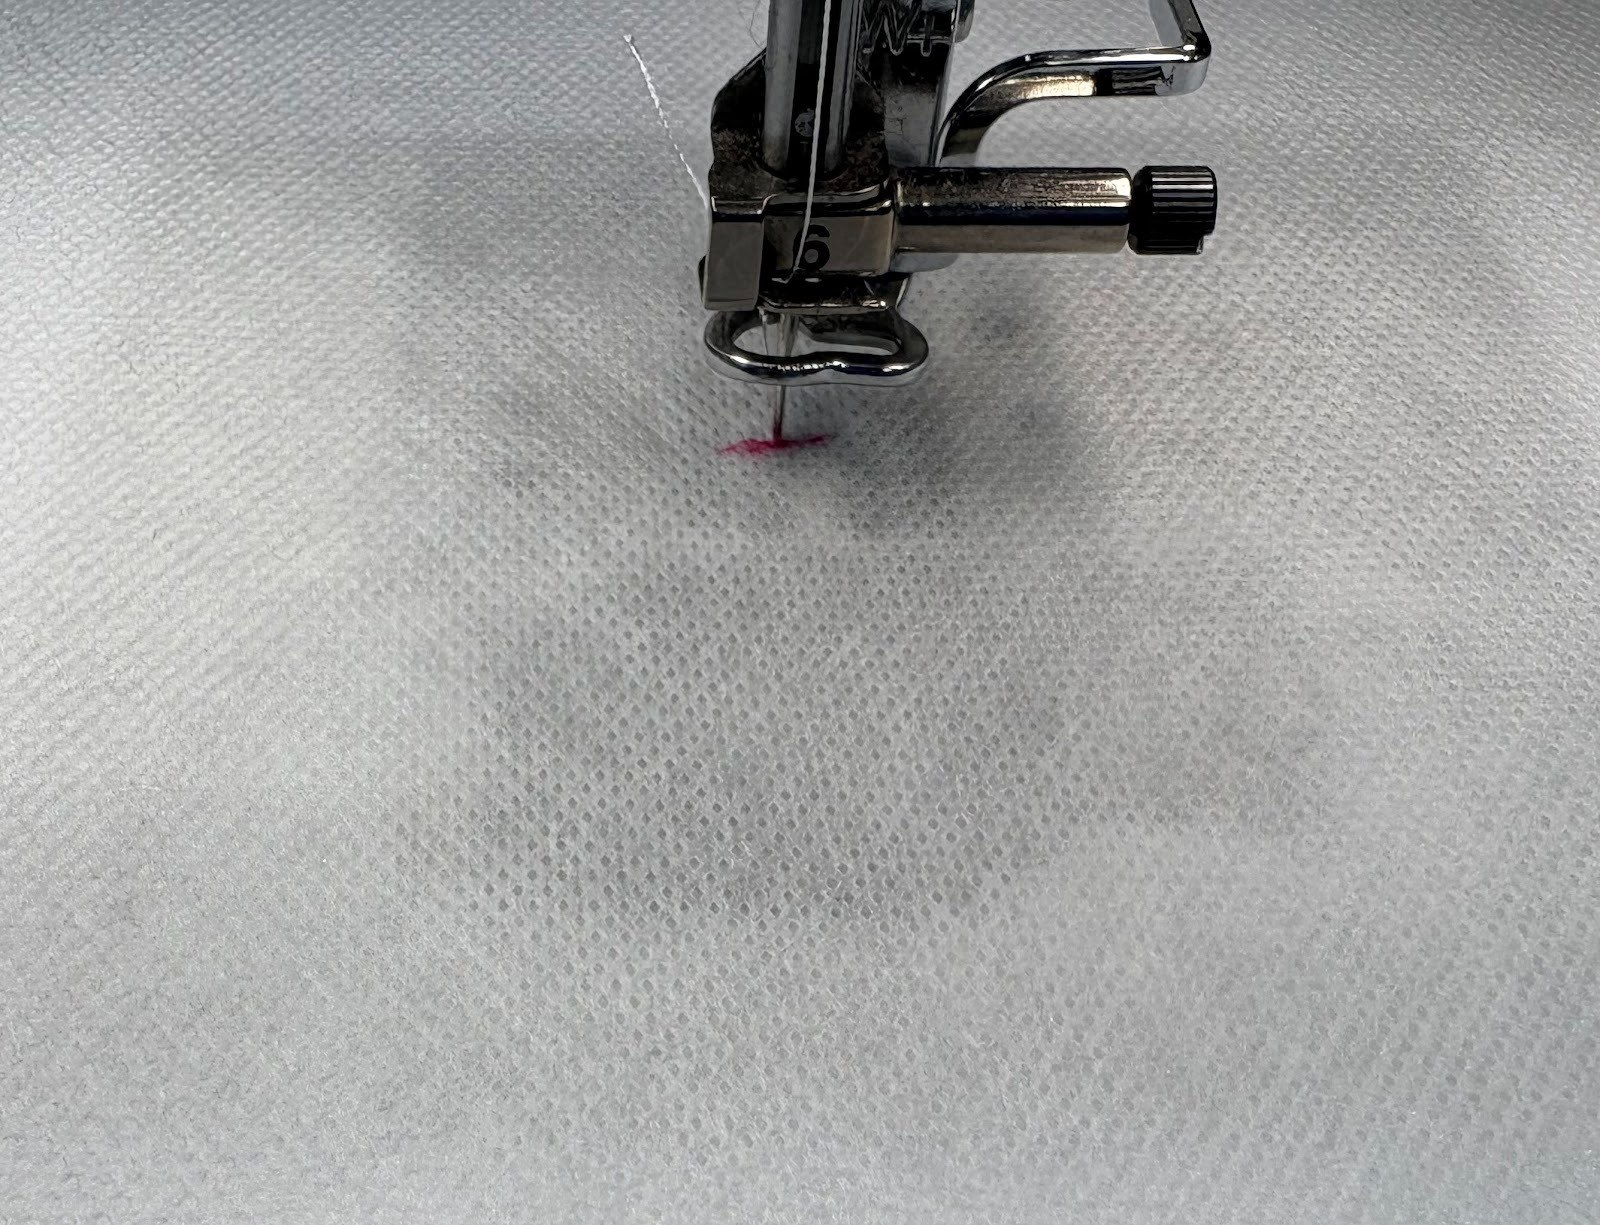
Load the hooped stabilizer into the machine and mark the center of the stabilizer. Remove the hoop and set it on a flat surface.

Spray the stabilizer with adhesive spray. Match the center mark on the stabilizer with the center mark on the fabric, and smooth flat. For additional security, you can also pin the fabric to the stabilizer, making sure to keep pins out of the stitching area. If you are using a magnetic hoop, carefully lift up the sides to slide the fabric underneath.
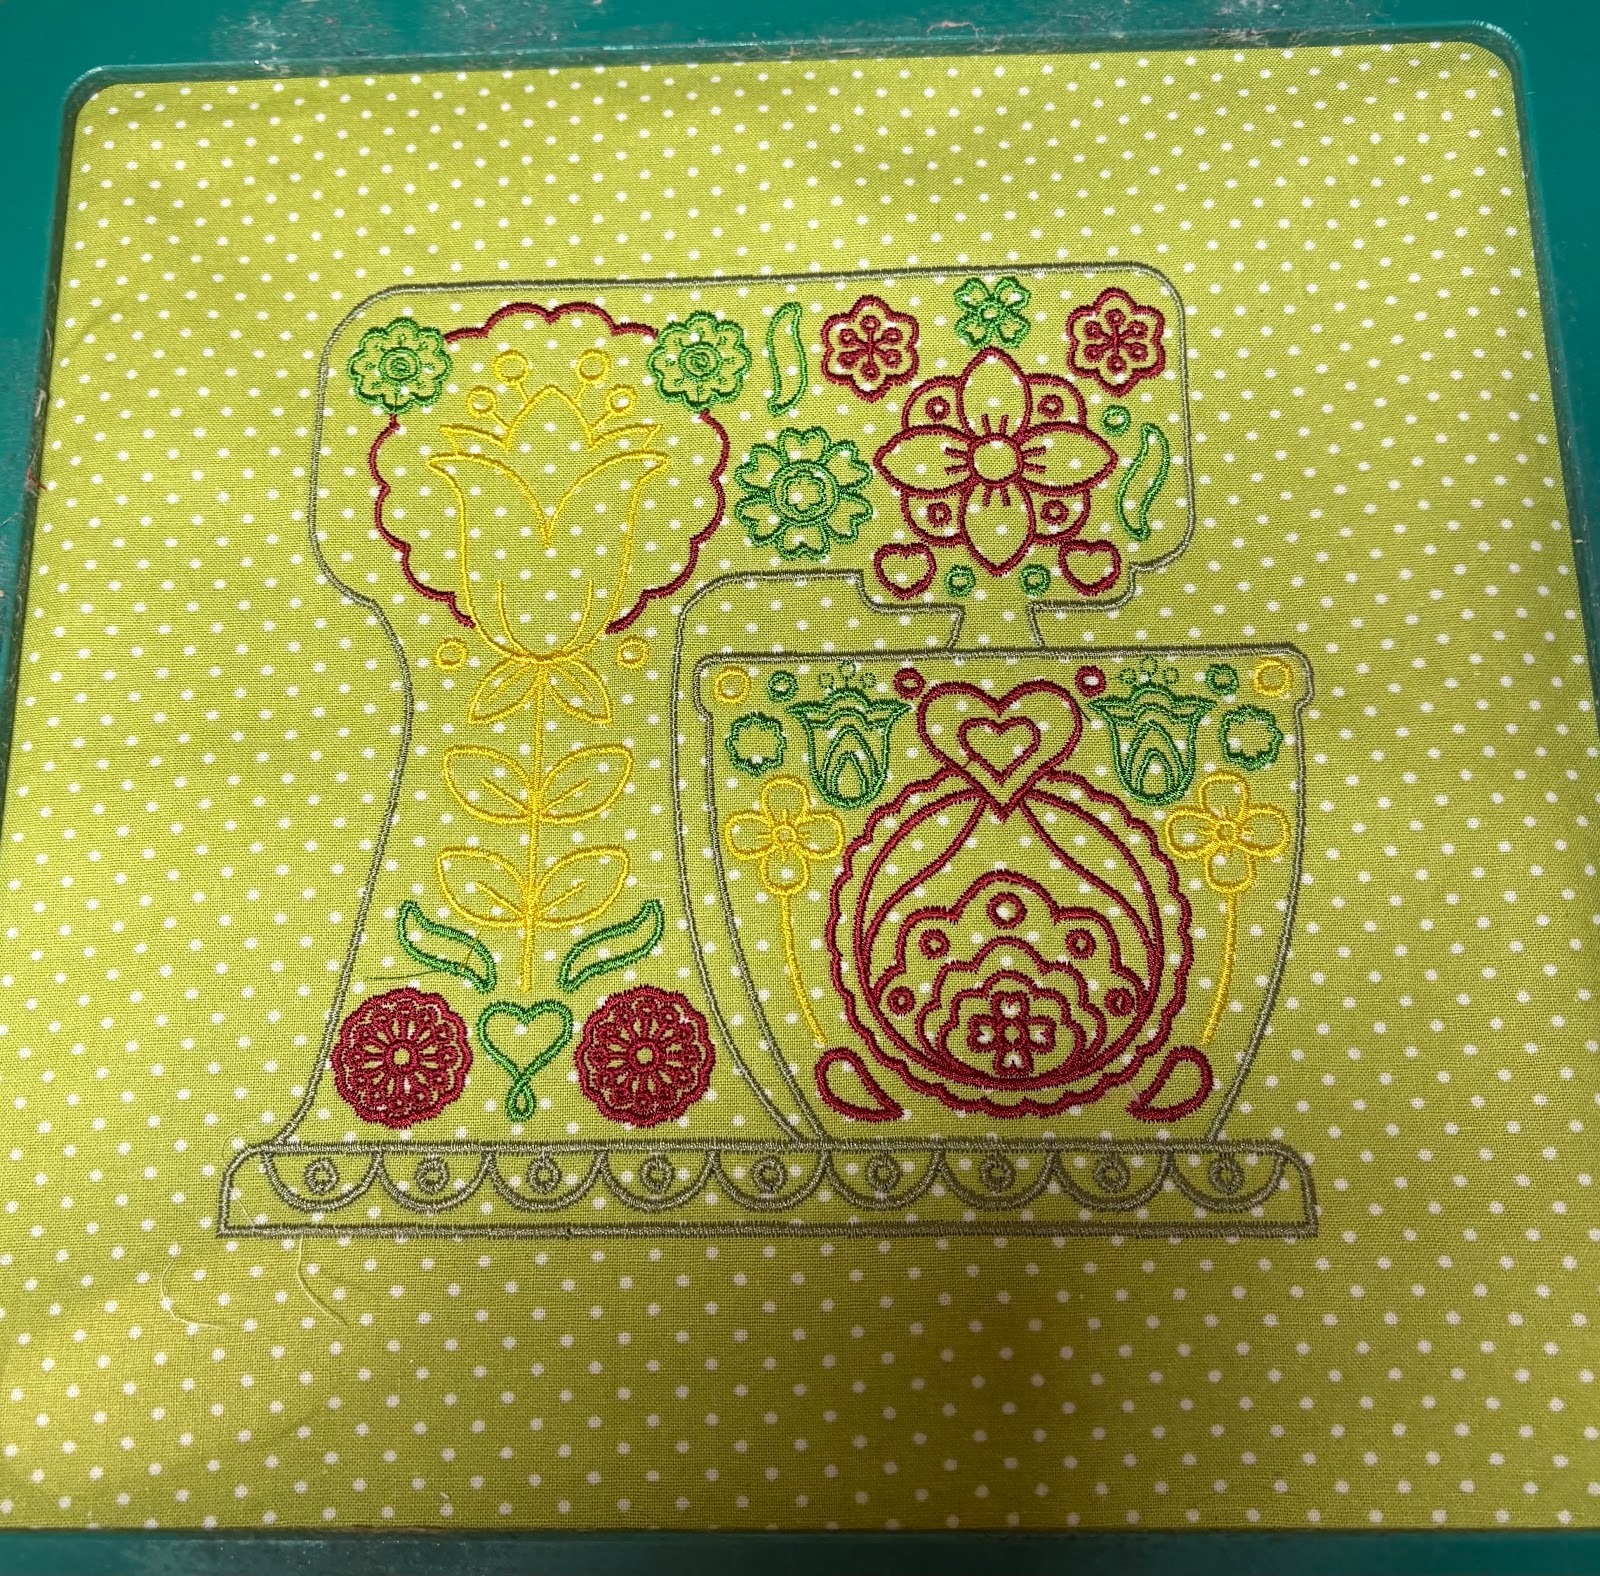
Return the hoop to the machine and stitch out your chosen design.

Once finished, trim the stabilizer and give your fabric a light press.
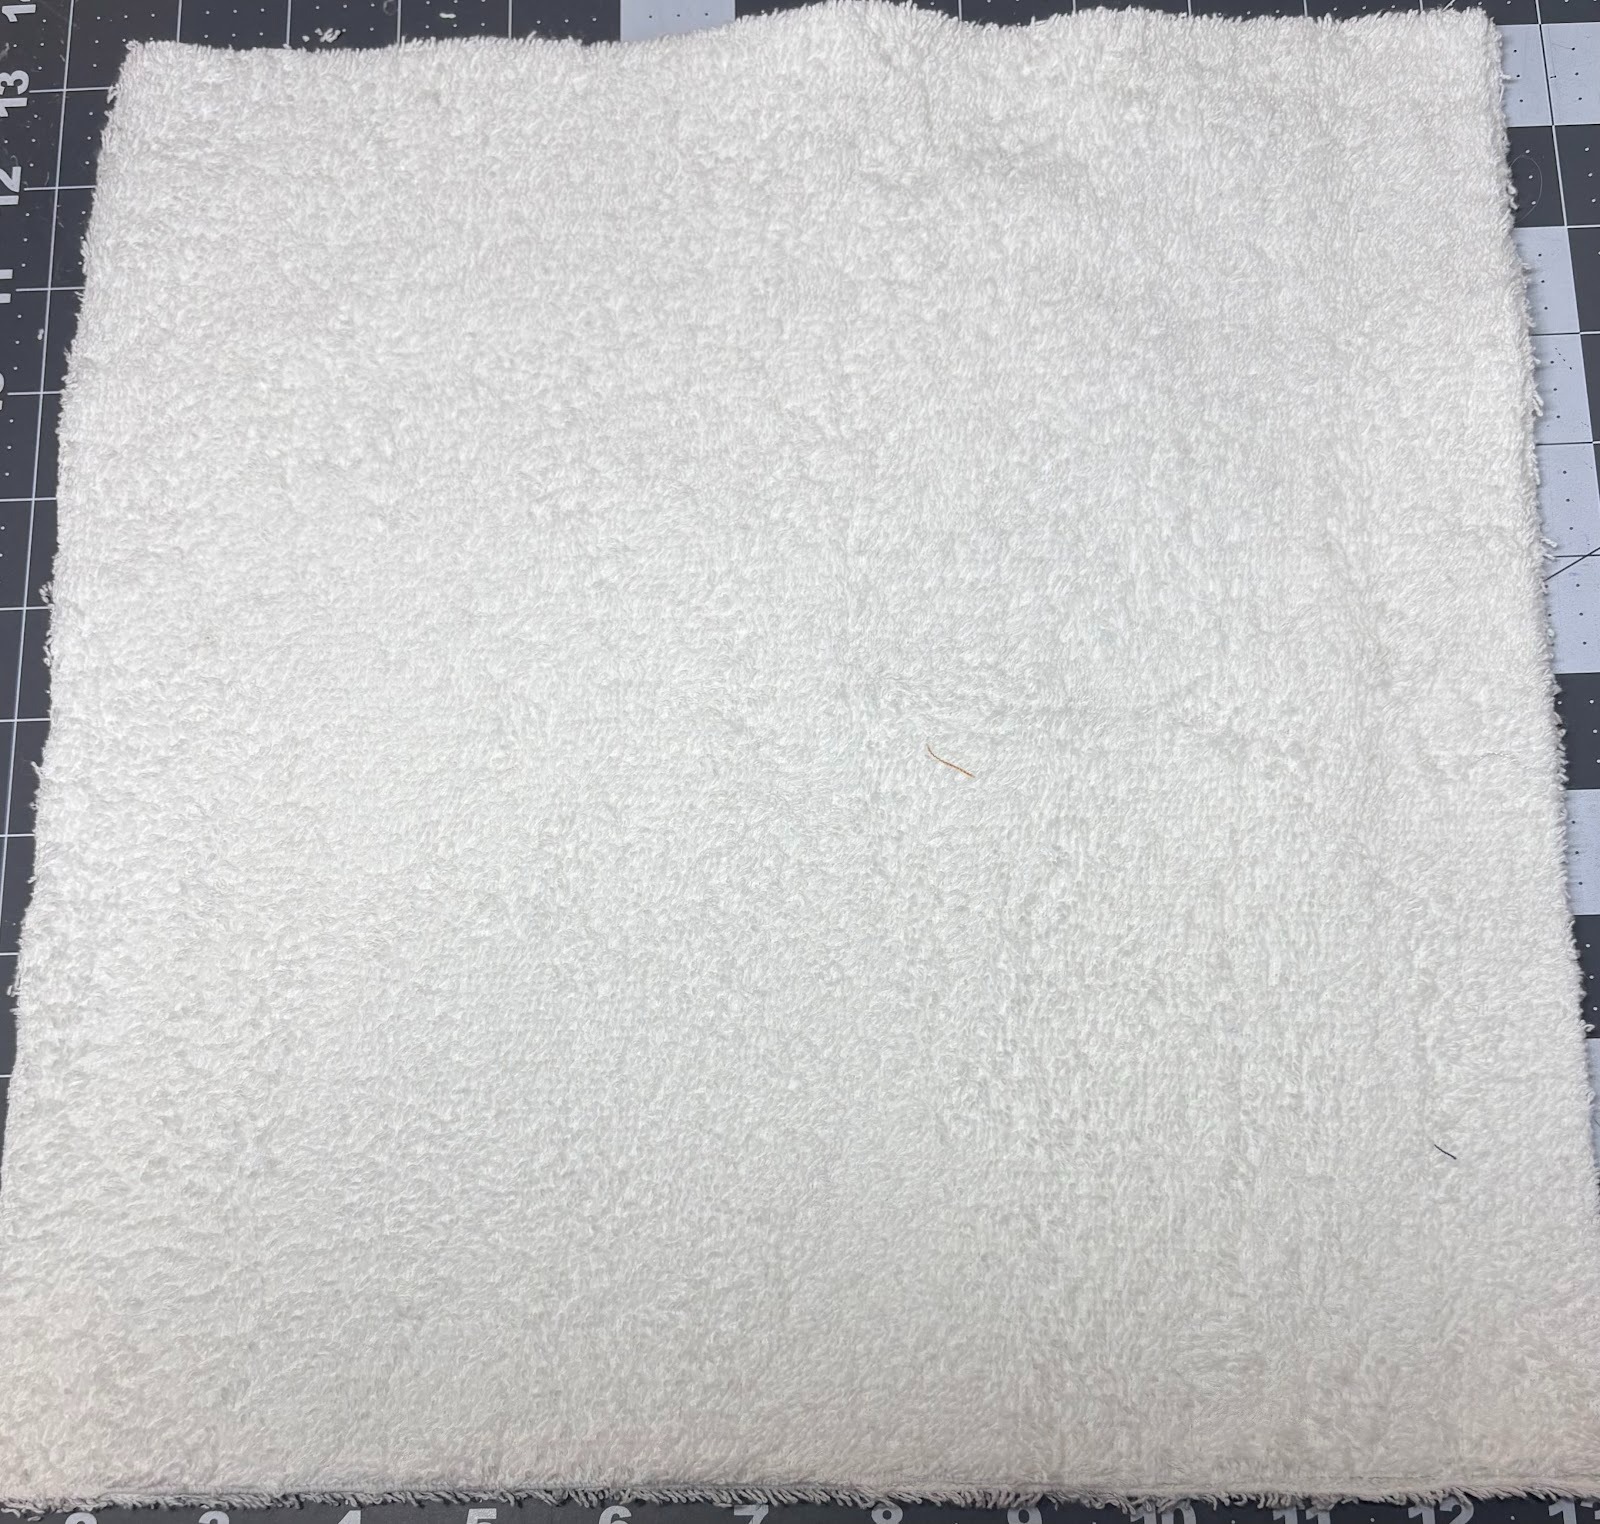
Cut a 12” x 12” piece of absorbent fabric. I am using terry cloth.
Tip: Towels work great for this.
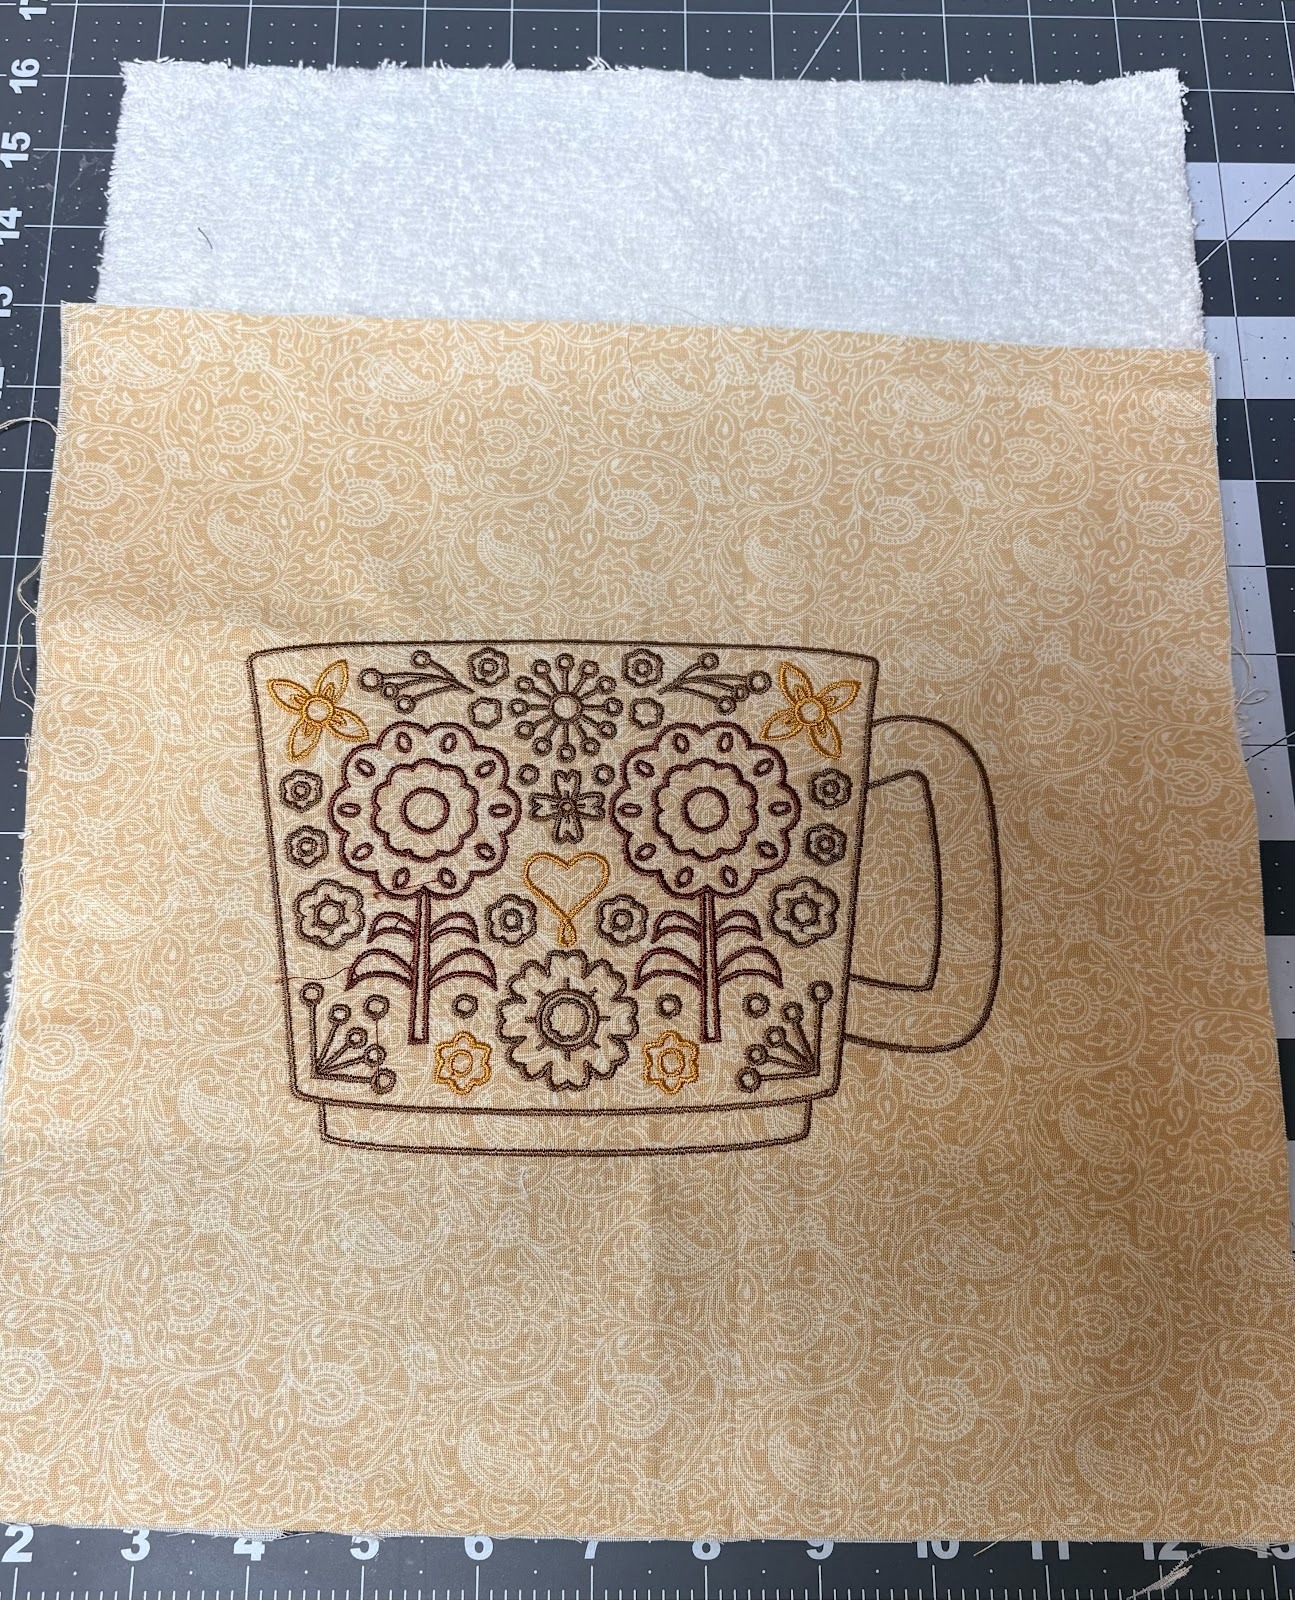
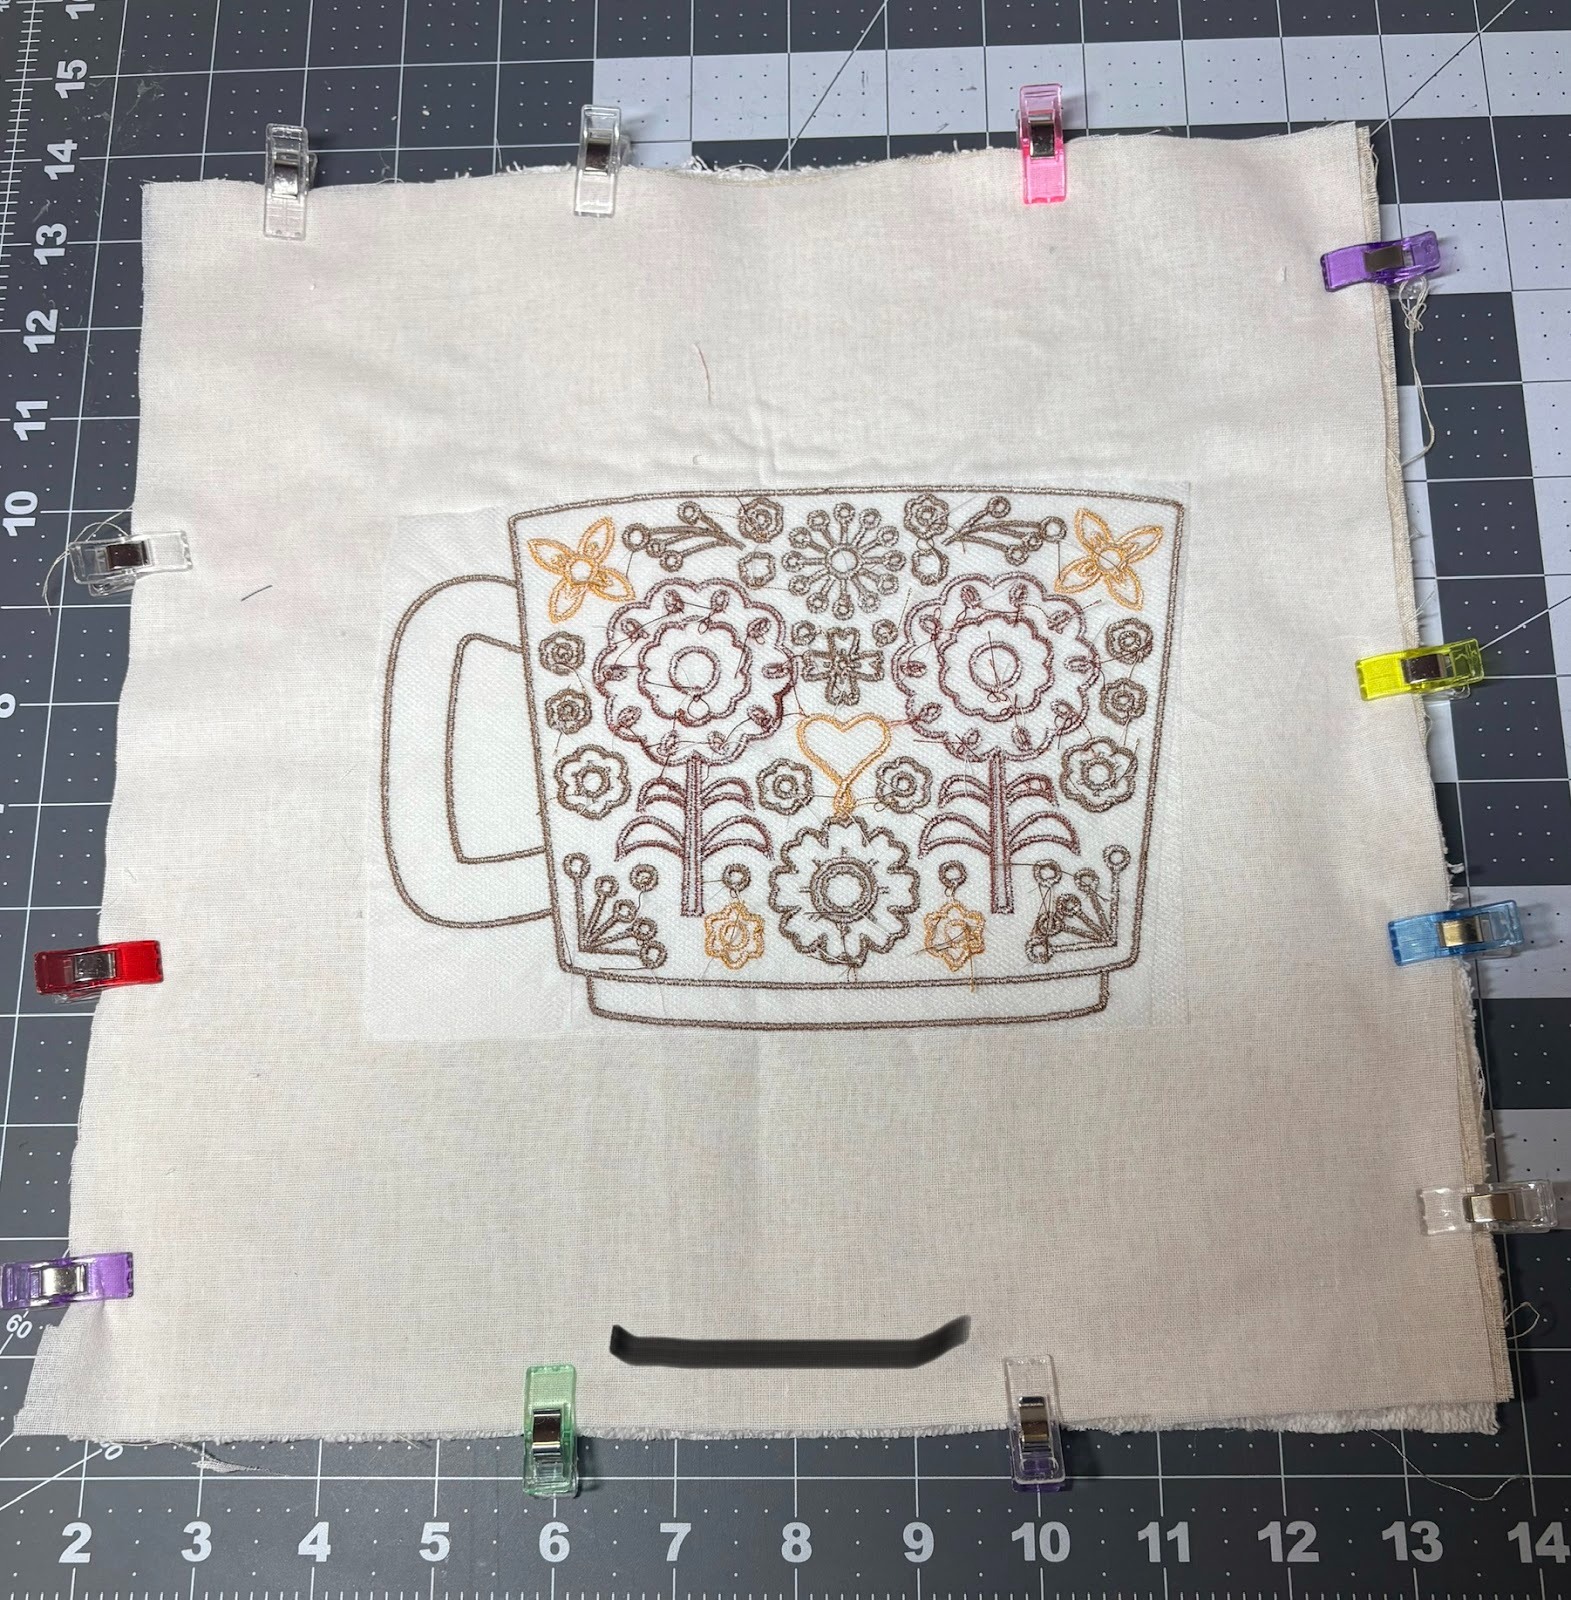
Place your embroidered cotton piece right side down on top of the absorbent fabric. If your absorbent fabric has a print, the two pieces should be right sides together.
Clip or pin around the edges. Leave a 2”–3” opening so you can turn the towel right side out.
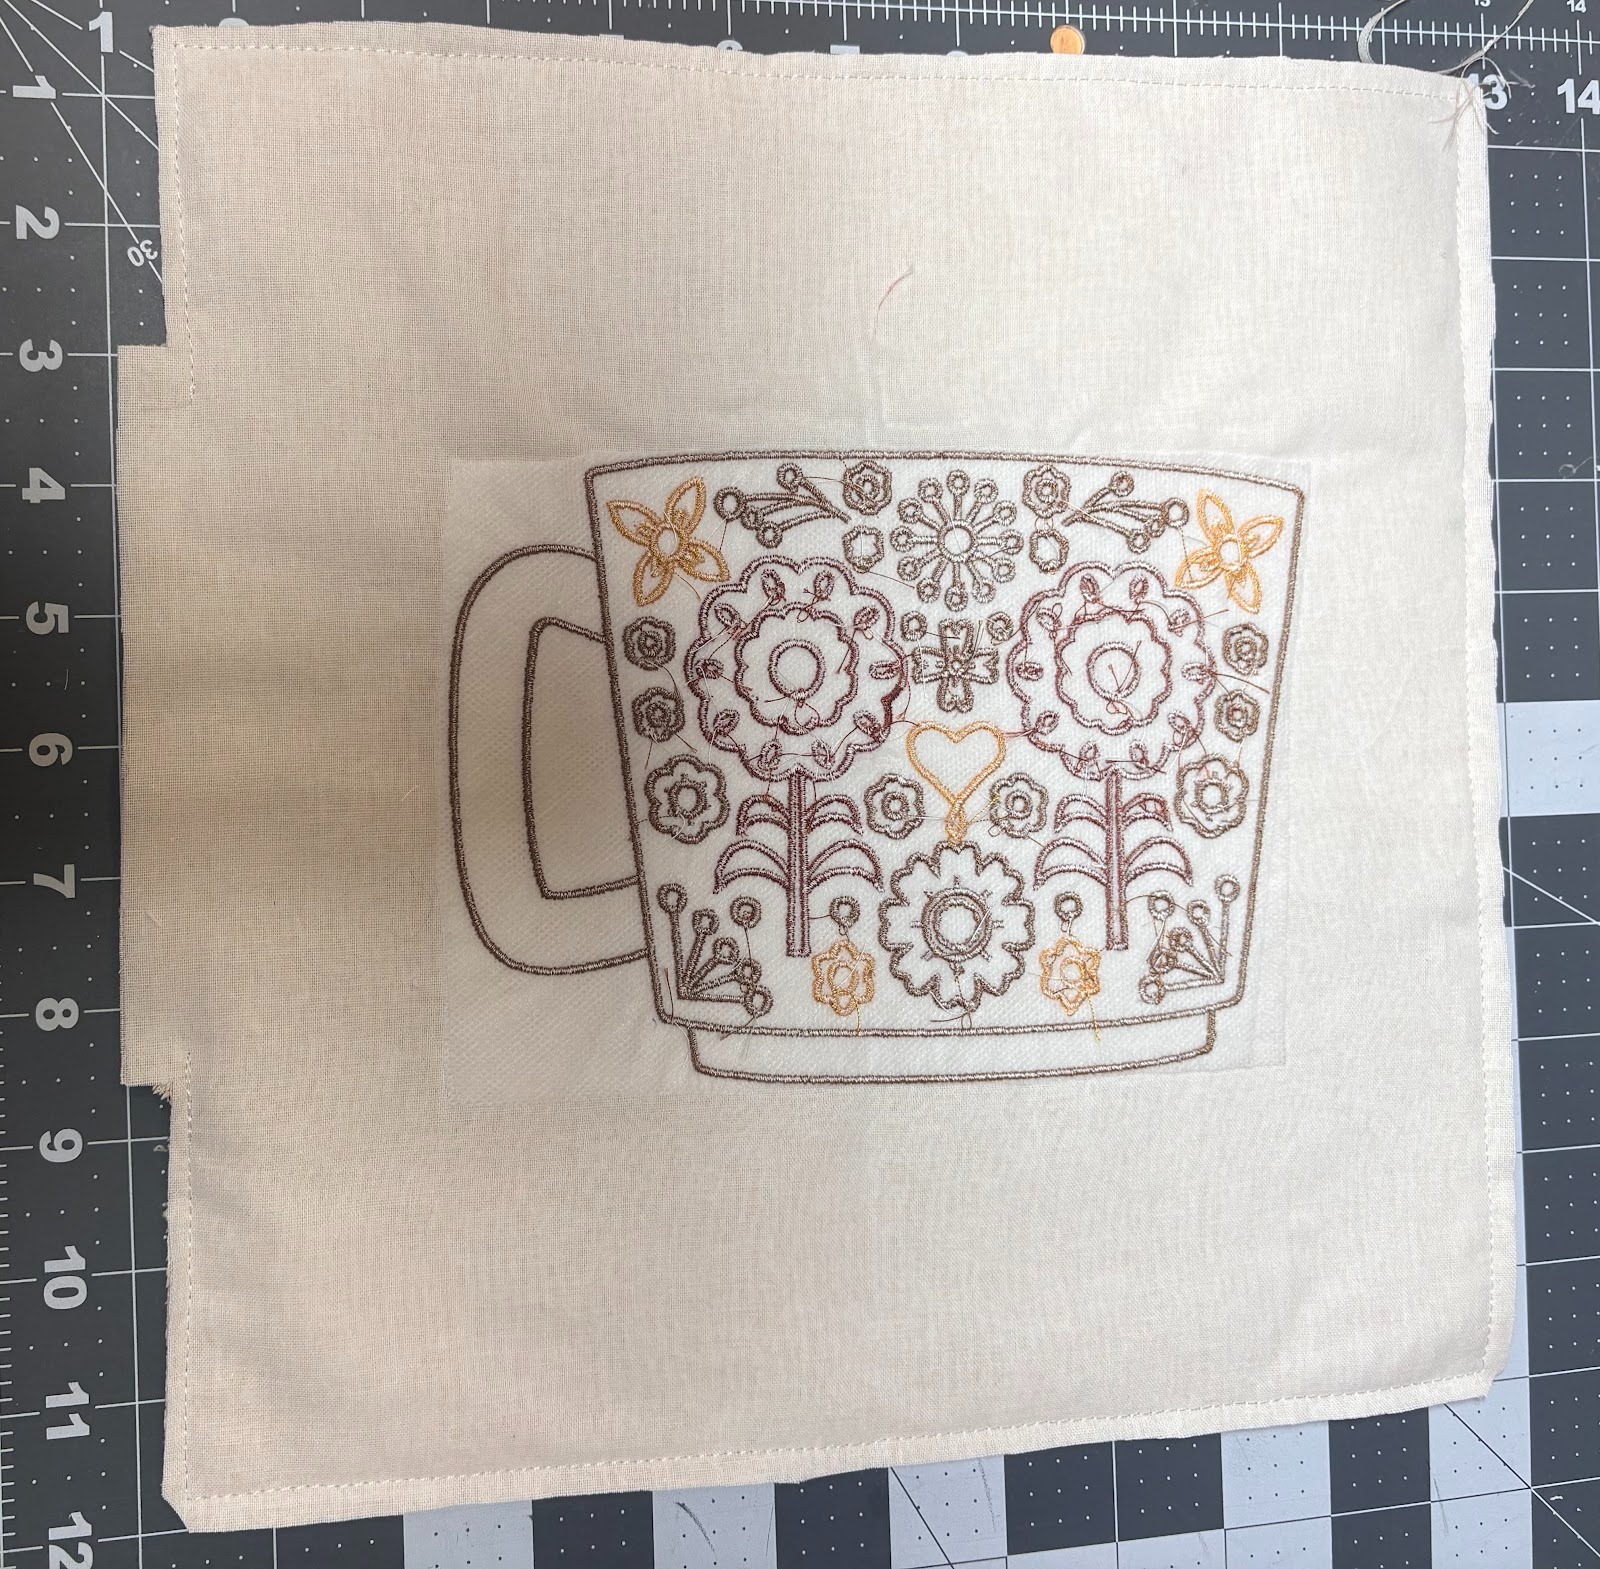
Sew around all sides with a ½” seam allowance. Trim about ¼” away from your stitching. Do not trim the opening area. Clip the corners to reduce bulk, but be careful not to cut through your stitches.
Tip: Trimming to ¼” from the stitching helps make snap attachment easier by reducing bulk.

Turn the towel right side out through the opening. Use a turning tool or chopstick to gently push out the corners.
Give your towel a nice press, folding the raw edges of the opening inward so they line up with the seam.
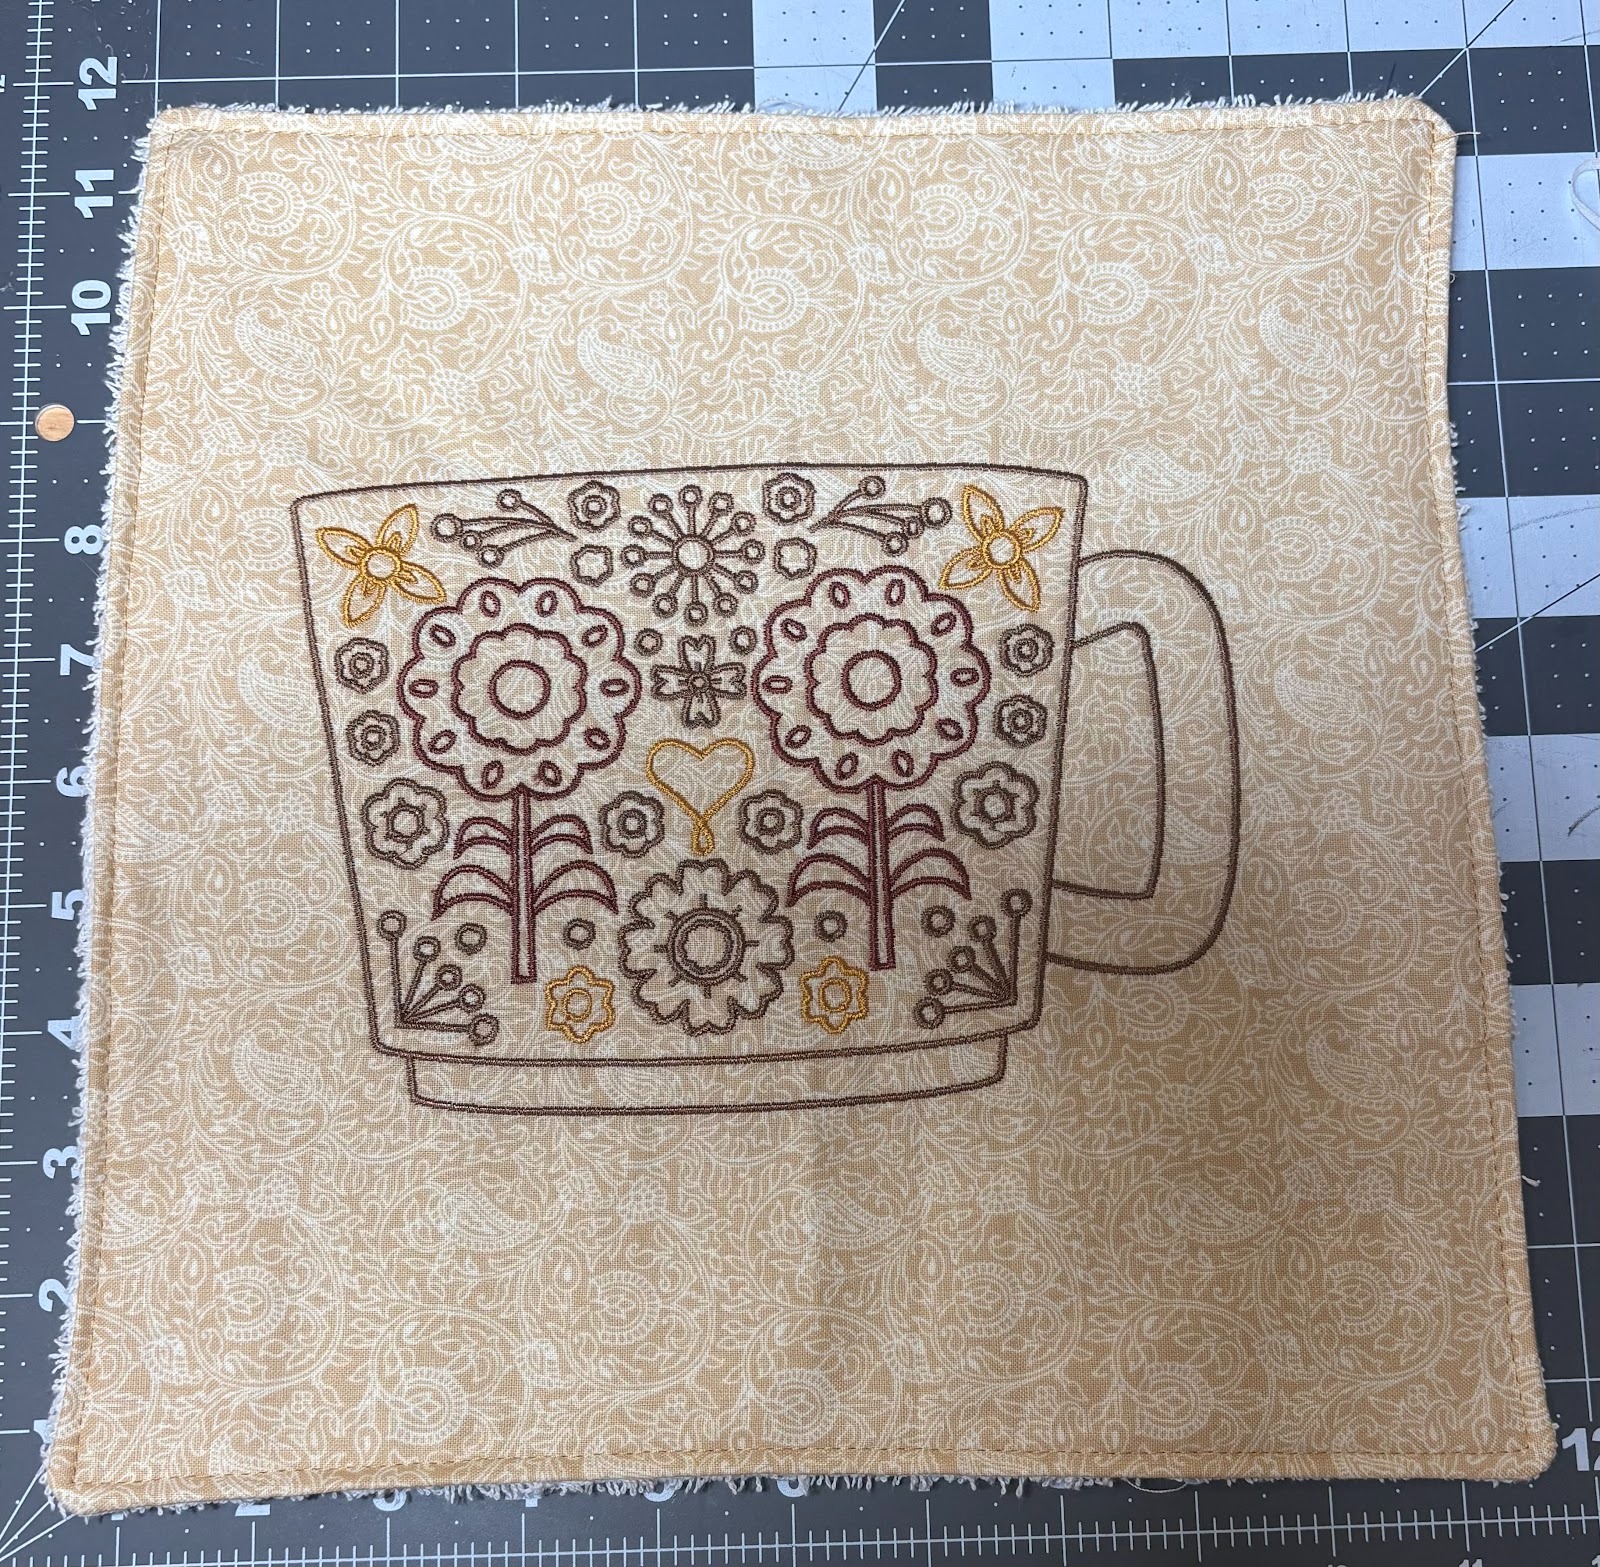
Topstitch all the way around the towel about ⅛” from the edge. This will:
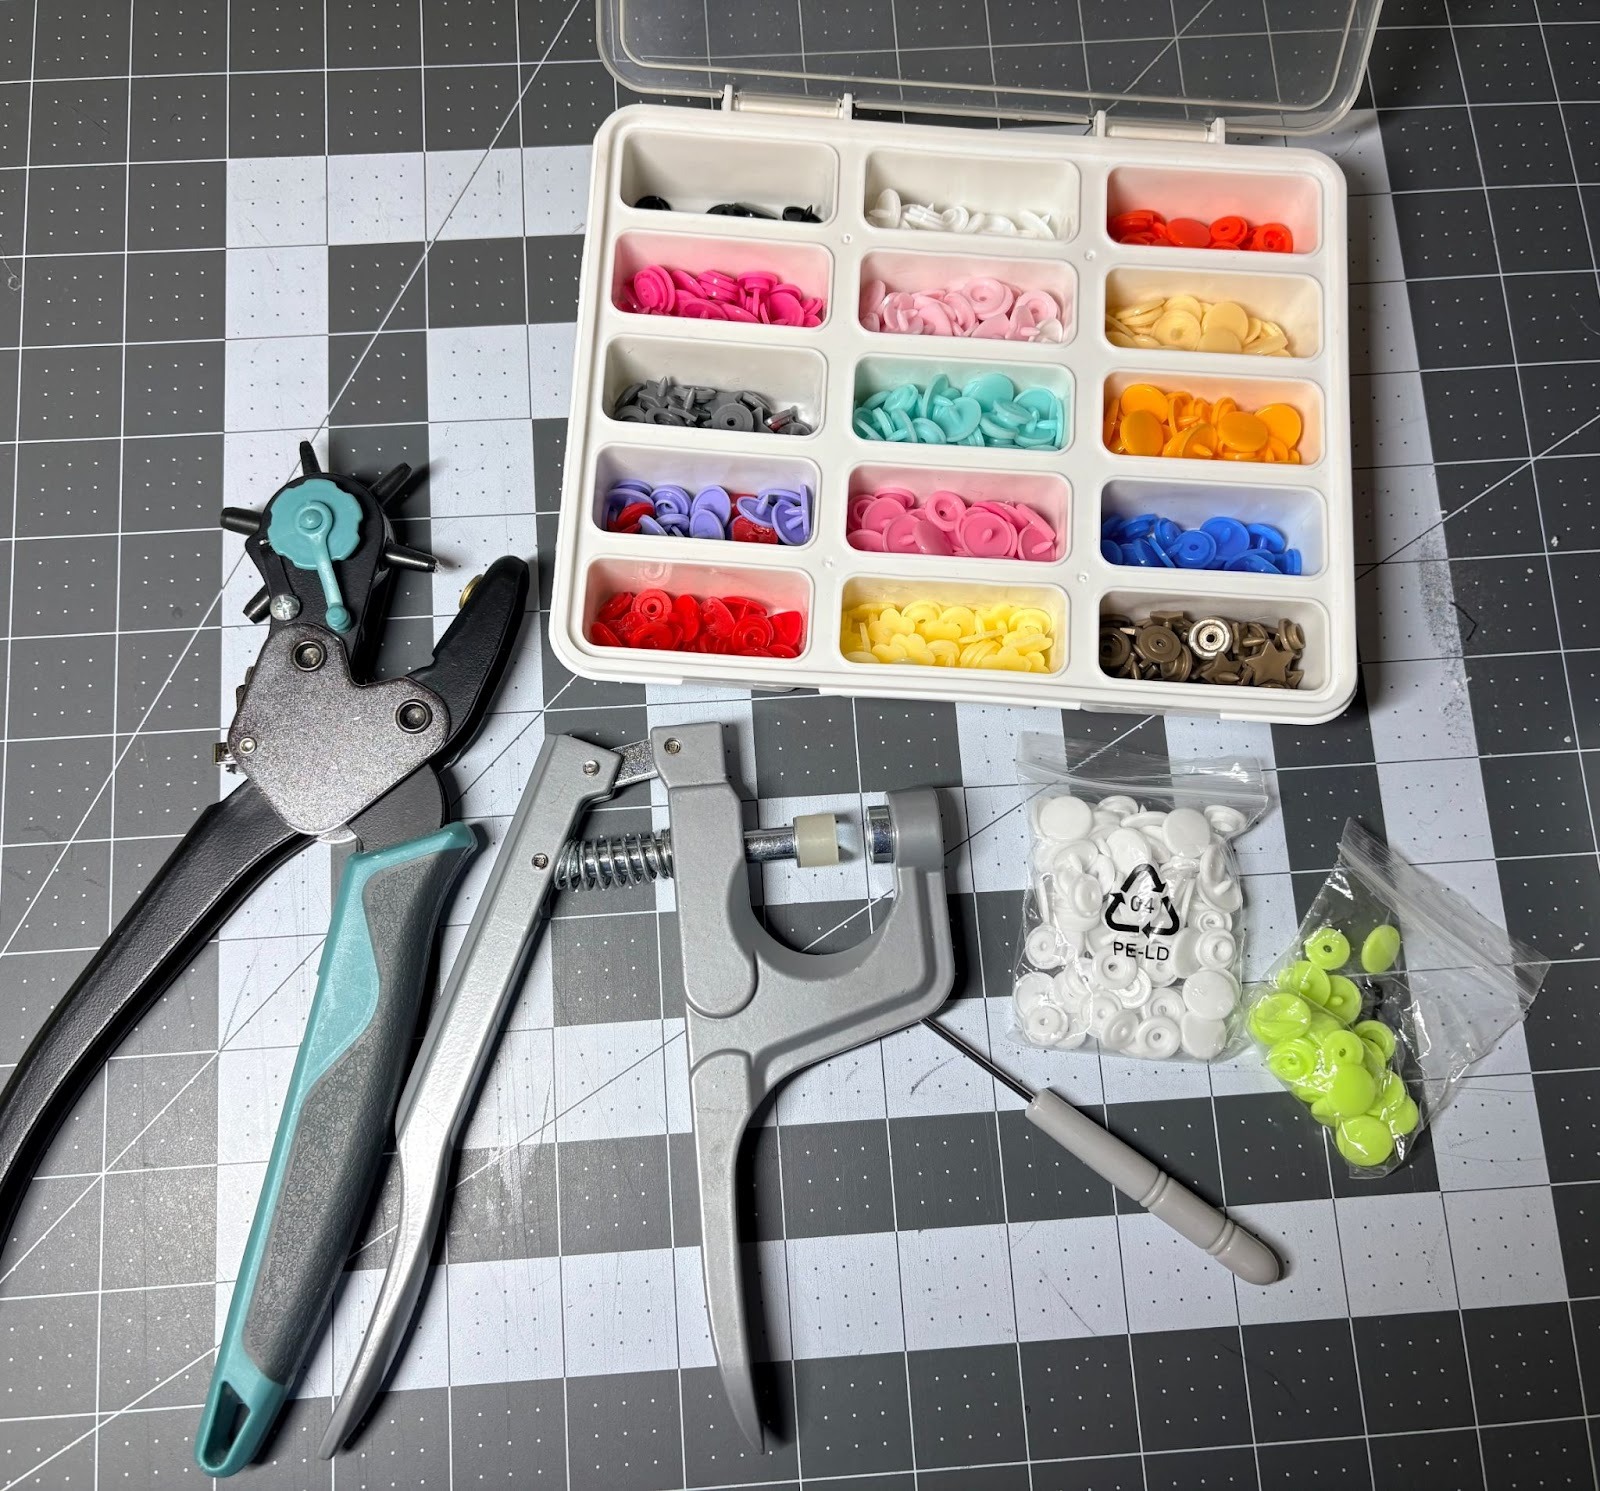
Gather the supplies needed to add the snaps. If you do not have these items, hook-and-loop tape will do. Simply cut the tape into 1” pieces and stitch them to the towels in place of the snaps.

To decide where to place the snaps, lay your towel flat. You will place snaps on the top and bottom corners so the towels can roll together.

On the top corners mark about ¼”–½” in from each edge, centered. Use an awl or fabric hole punch to gently create a small hole at the mark.
Tips: Use color-coordinated snaps for a fun look. Keep snaps slightly in from the edge to avoid bulk in seams.

Attach a snap top and a male backing in both corners.

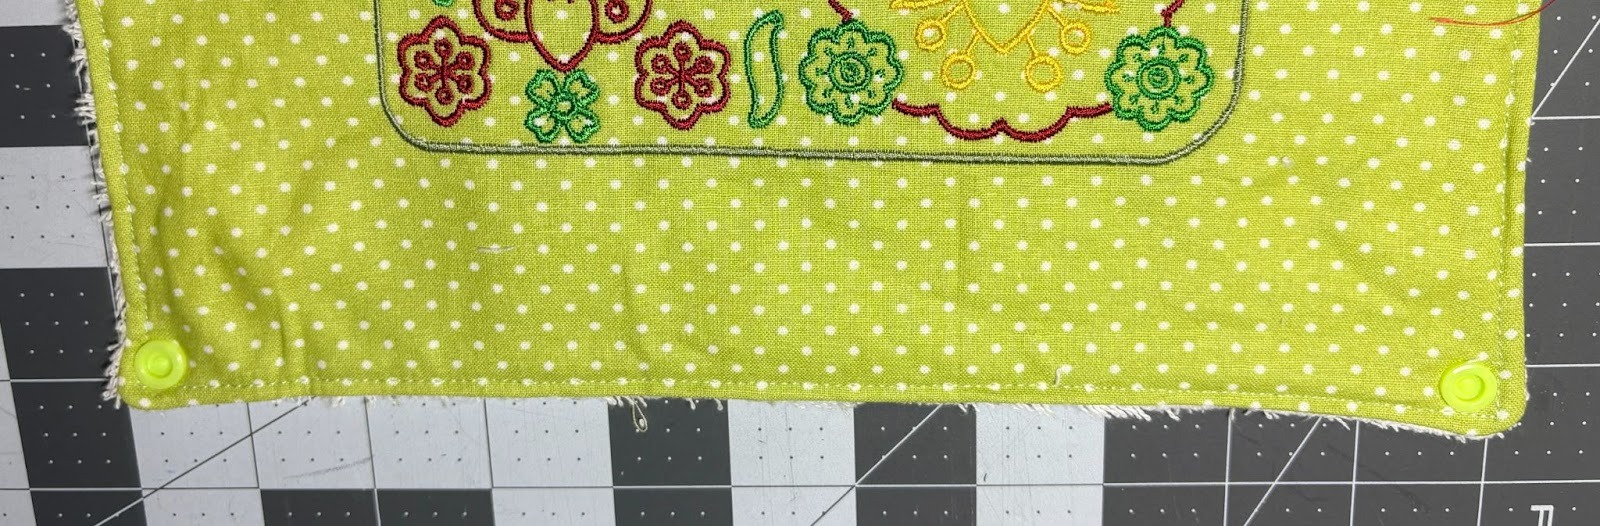
On the opposite side, mark the same placement and apply a top and female end. This time, place the female piece on the embroidered side, with the snap top on the absorbent side.
Tip: Place snaps in the same spot on each towel so they snap together easily. Use your snap pliers or press to firmly secure the snap in place.


Make sure:
This allows all towels to connect in a chain.
Repeat these steps to make a full set. Mix and match fabrics and embroidery designs for a coordinated collection! The great thing about this project is that it never has to be finished. You can continually add to your collection of unpaper towels.

Now your unpaper towels snap together into a neat roll, perfect for your counter or paper towel holder! These reusable towels are great for everyday messes and also make thoughtful, eco-friendly gifts. Once you try them, you might never want to use paper towels again!
With just a bit of fabric and some stitching, you’ve made something beautiful and useful. These embroidered unpaper towels are an easy way to reduce waste and add a handmade touch to your daily life. Keep a stack nearby, mix and match your favorite fabrics, and remember that even small changes can make a big difference.
Please share your projects in the Designs by JuJu Embroidery Blessings Group on Facebook, or use the hashtag #designsbyjuju anywhere on social media. We love to see what you create!
Happy stitching!