Toggle Nav
 Inspire.
Create.
Stitch.
Inspire.
Create.
Stitch.
Inspire.
Create.
Stitch.
Search
Inspire.
Create.
Stitch.
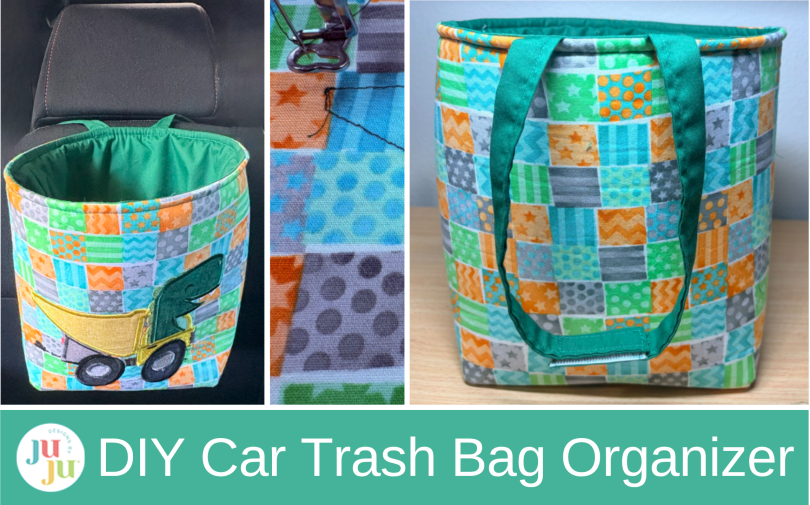
Make car rides cleaner with a DIY car trash bag organizer featuring machine embroidery, playful applique, foam stabilizer, and easy straps for kid-friendly travel.
This simple project uses playful fabrics and JuJu designs and helps keep messes under control, turning it into a car accessory kids will actually want to use.
Finished size: 9” x 9”
Check out the DBJJ team’s favorite supplies in the Designs by JuJu Amazon store. And for all your stabilizers and batting, Designs by JuJu+ has everything you need.
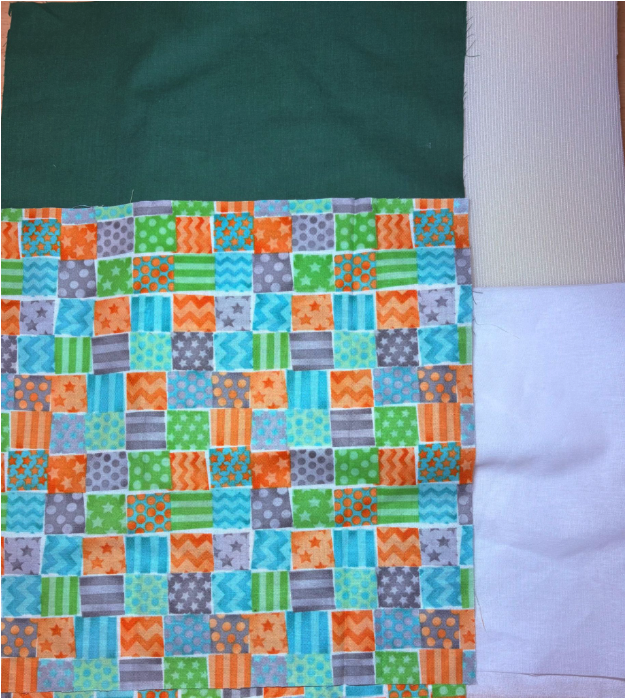
Cut two exterior and two lining pieces of cotton fabric, each 12” x 12”. Cut two pieces of fusible foam 12” x12”. Cut one prepared fusible interfacing 12” x 12”.
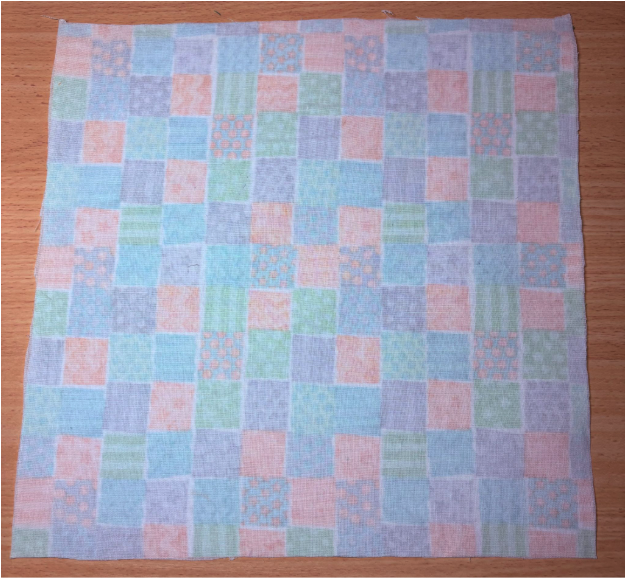
Fuse fusible interfacing to the wrong side of one exterior piece of cotton.
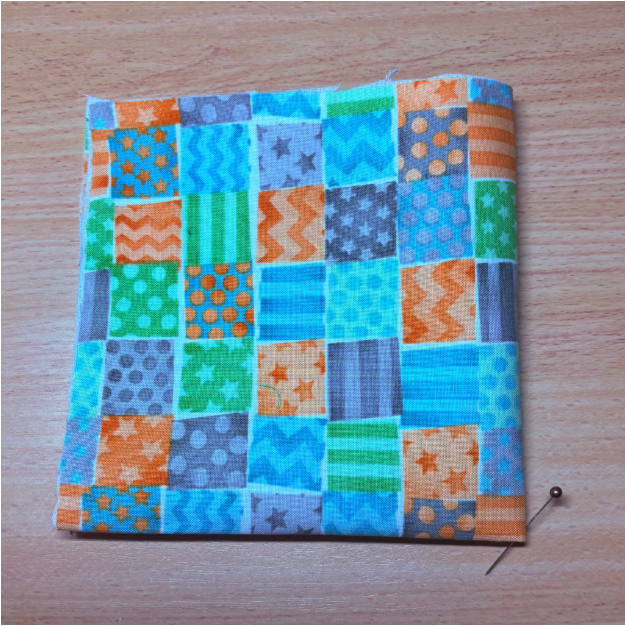
Fold the fabric in quarters to find the center
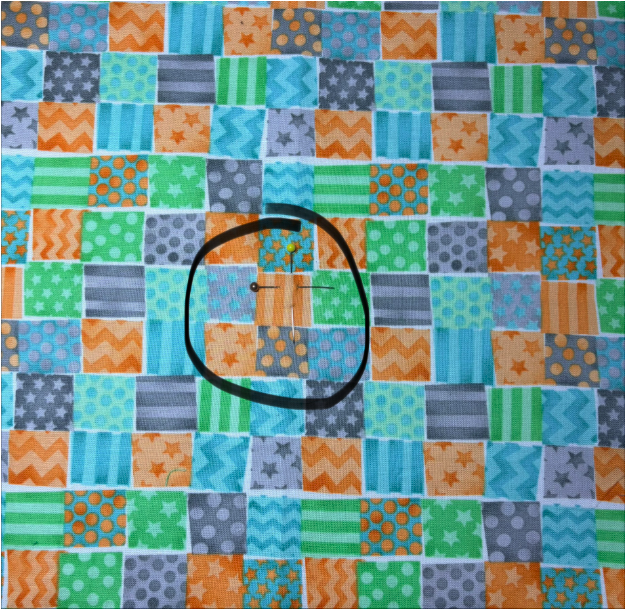
Mark the center with pins.
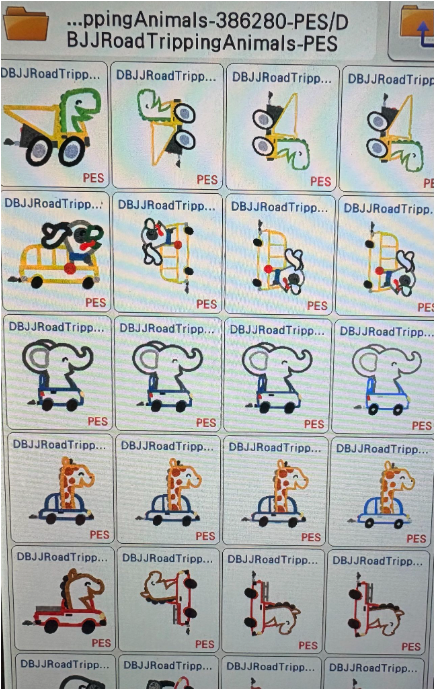
Load Road Tripping Animals into your machine. Select the design and size you wish to use. I chose the largest size of the dinosaur.
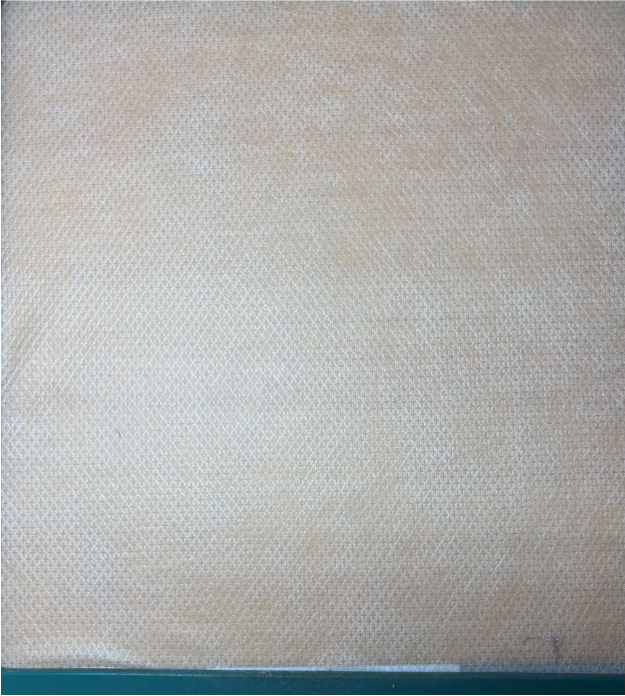
Hoop Designs by JuJu+ magicMESH Cut-Away Stabilizer to the hoop size needed for your design choice and take it to your machine.
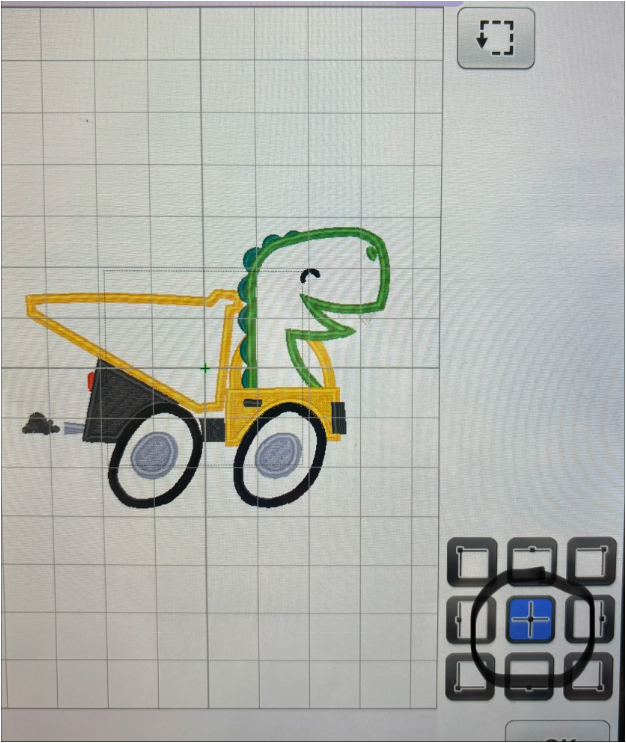
Find the center of the design. My machine is a Brother 8500; your screen may look different.
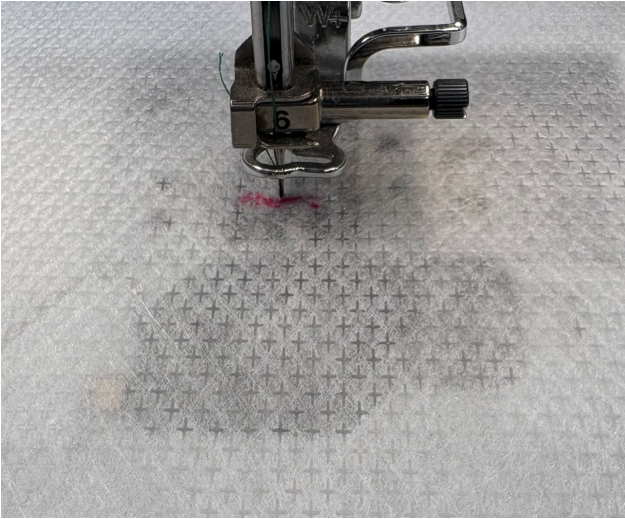
Mark the center on your stabilizer. Remove the hoop and place it on a flat surface.
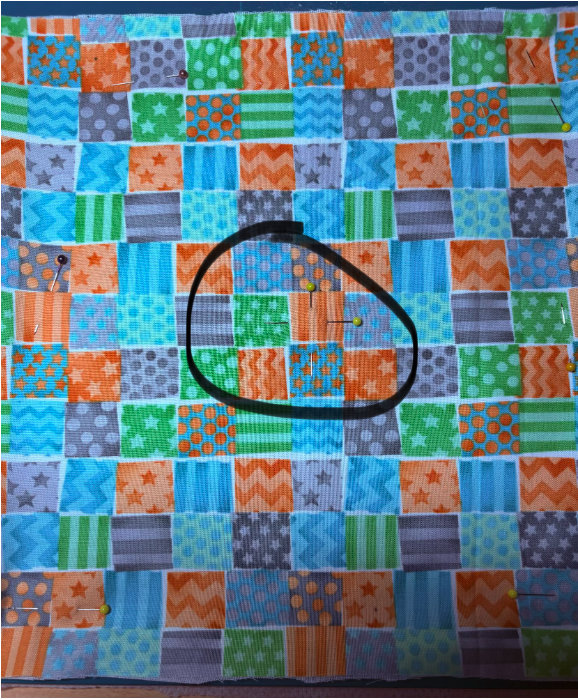
Match the fabric's center to the center mark on the stabilizer. Use adhesive spray or pins to keep the fabric taut. Make sure the pins are out of the stitching area.
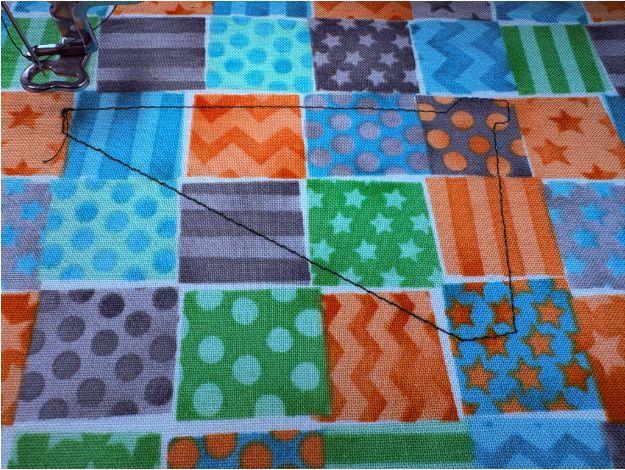
Remove the center pins, and begin with the applique. The first stitch is the fabric placement stitch.
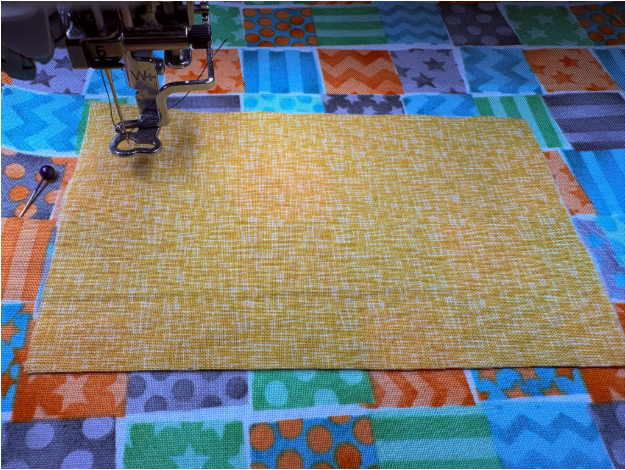
Lay the applique fabric down, covering all the stitches.
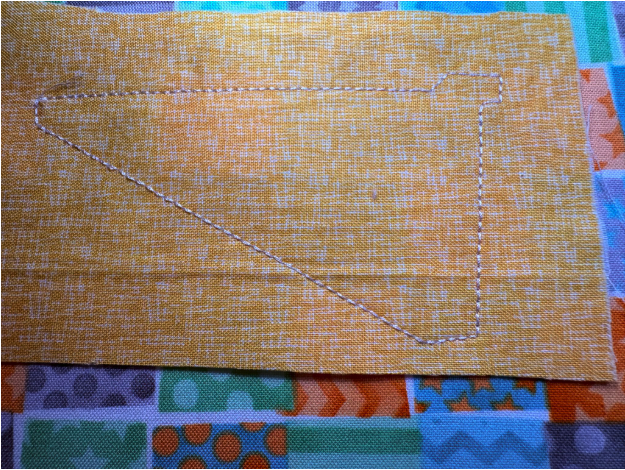
Run the fabric tack-down stitches. Remove the hoop and place it on a flat surface.
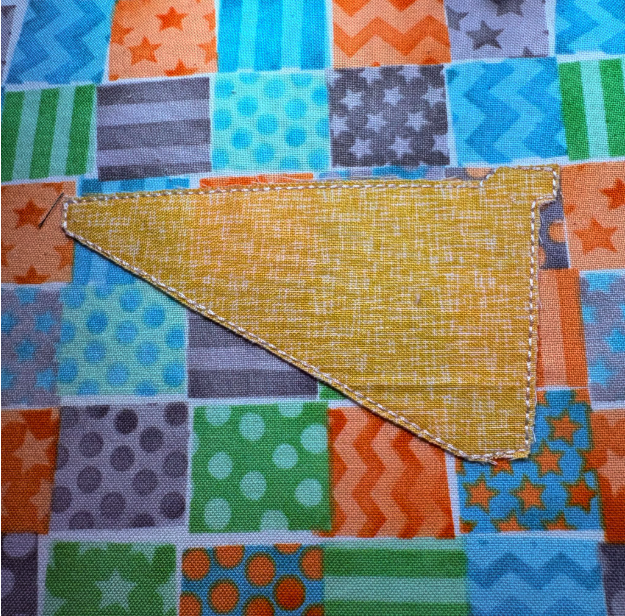
Trim the fabric close to the stitches. Return the hoop to the machine.
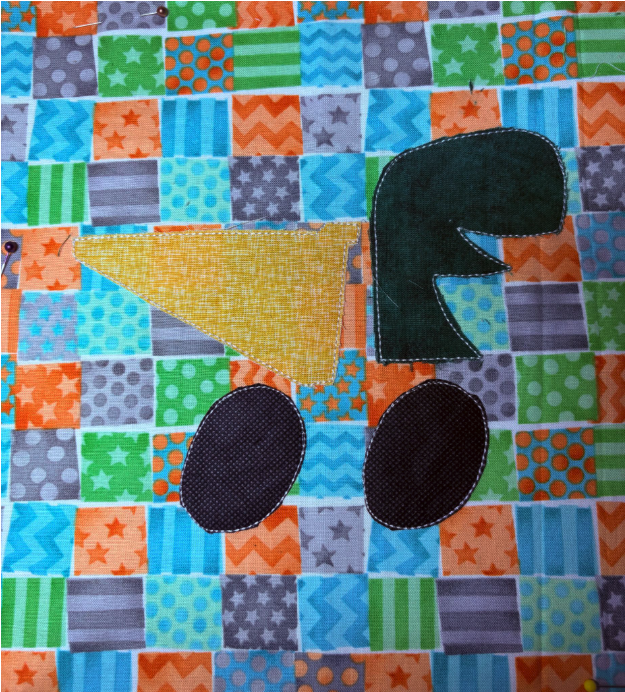
Continue with all the applique steps. Trim each piece before moving on to the next.
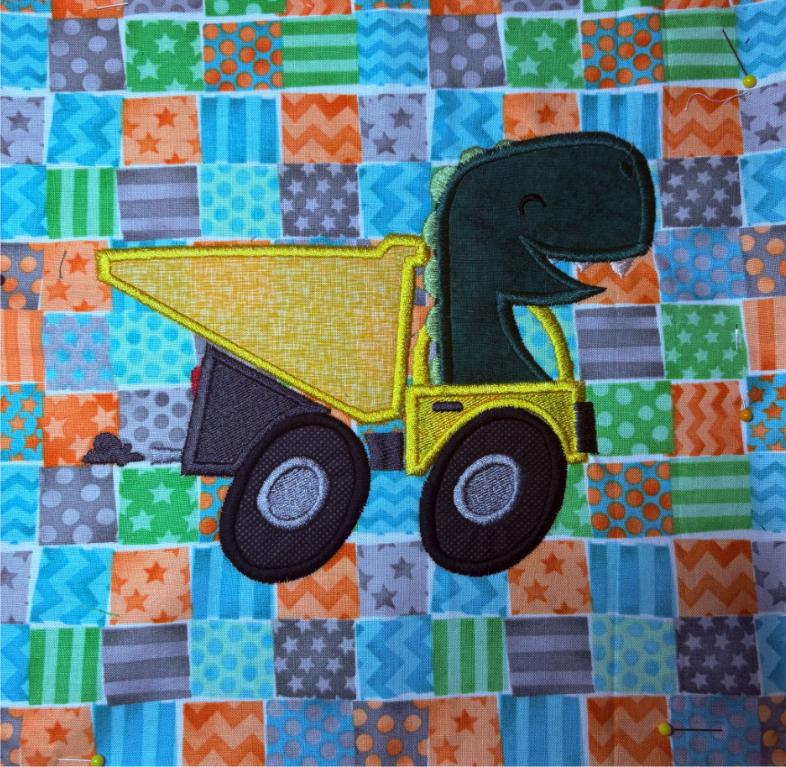
Finish with the decorative satin edge stitches. Remove the design from the hoop. Trim away the stabilizer.
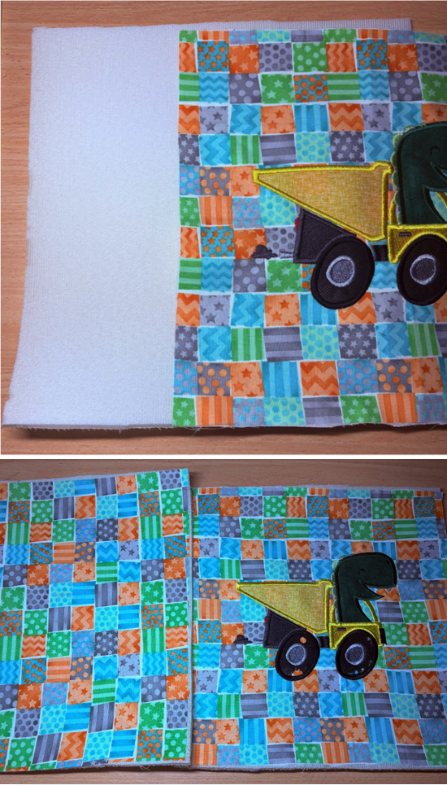
Fuse the front and back exterior pieces to the two 12” x 12” pieces of fusible foam.
Tip: You can spray adhesive on the foam for added fusibility.
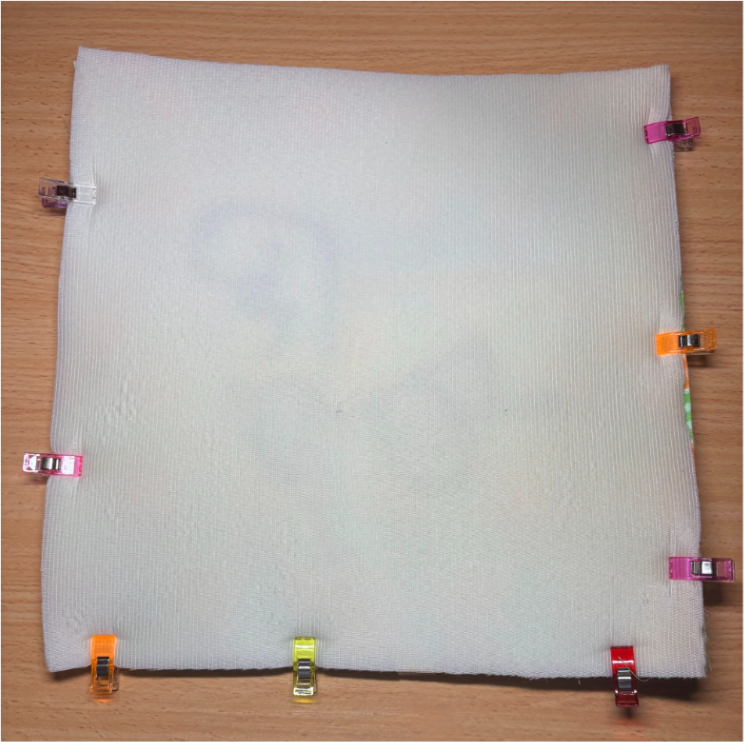
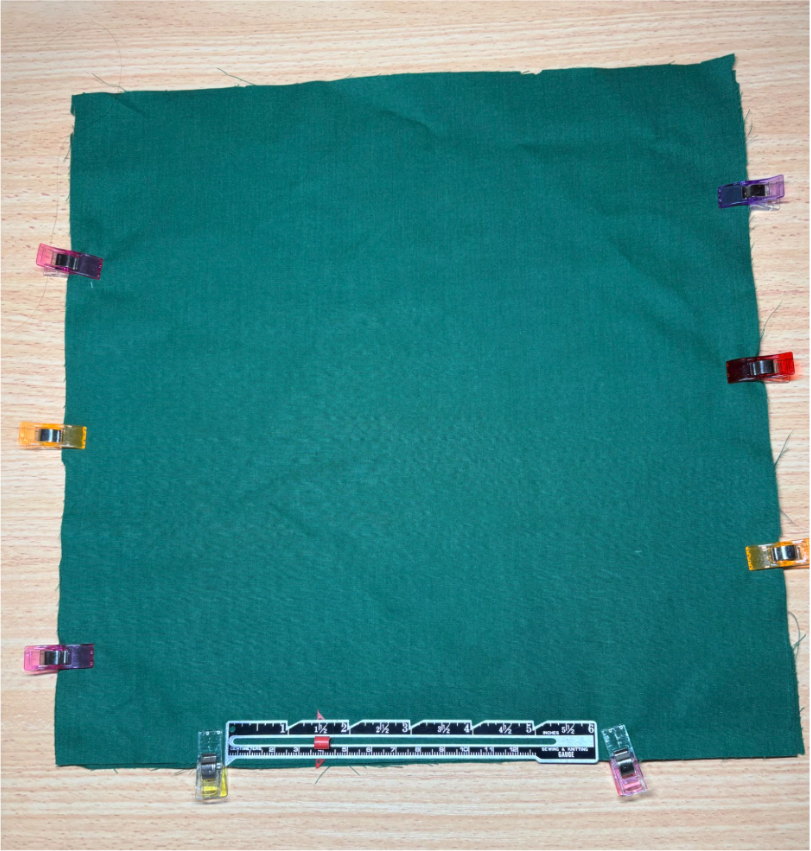
With the right sides together, pin or clip the front to the back.
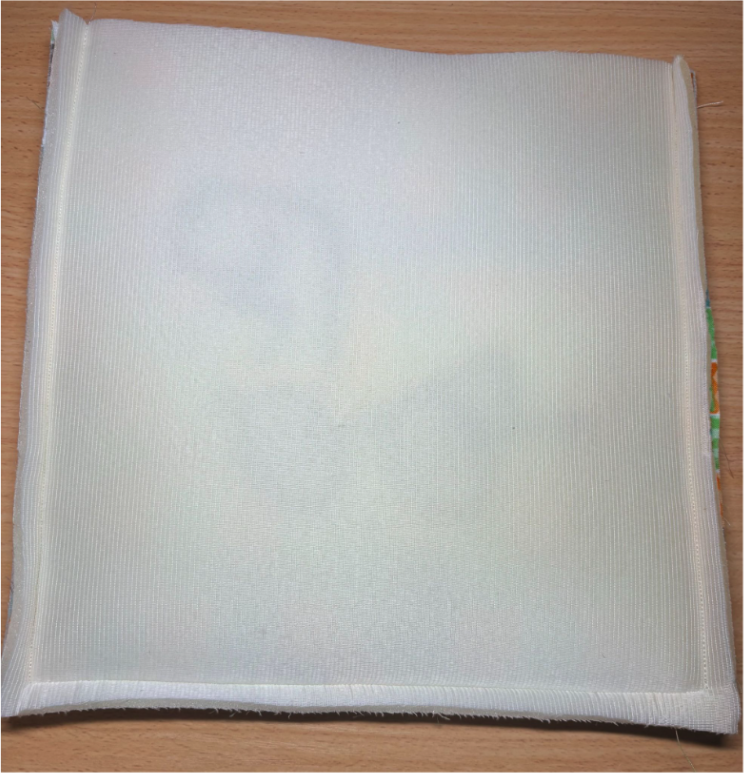
Sew down both sides and across the bottom with a ½” seam allowance.
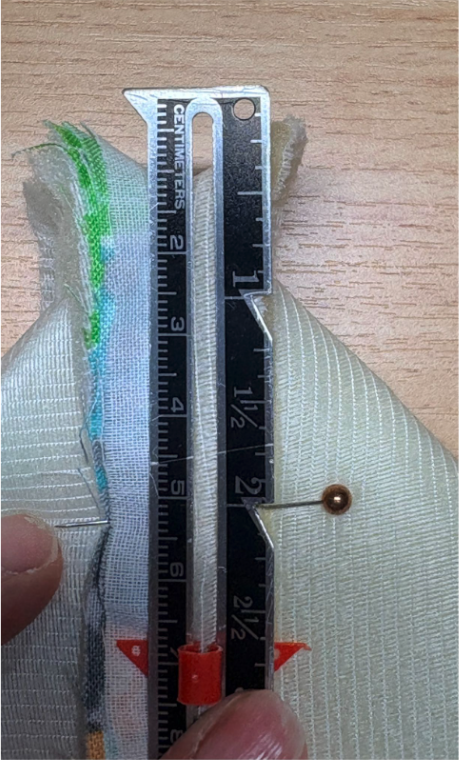
To box the bottom, pull each corner apart and flatten so the side seam lines up directly with the bottom seam, creating a triangle at the corner. Draw a line across 2” down.
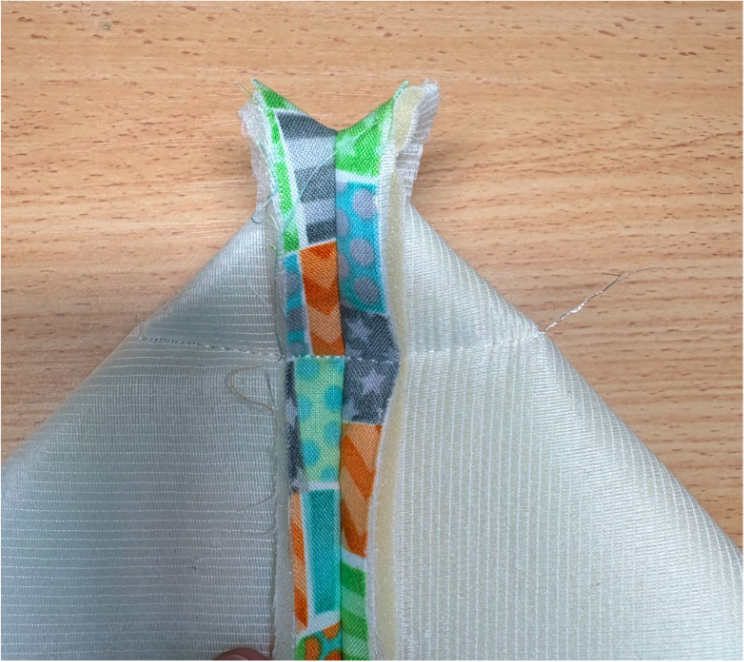
Sew across the line keeping the seams open. Remember to backstitch at both ends.
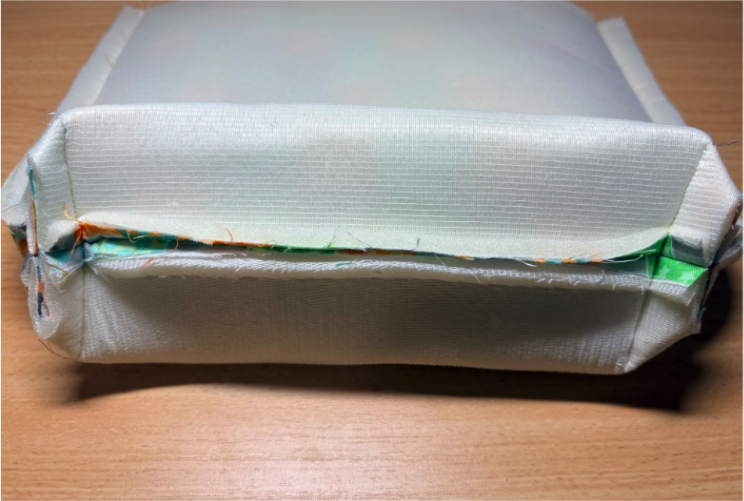
Cut off the excess triangle fabric, leaving about ¼” to ½” seam allowance. Follow the same steps for the second bottom corner.
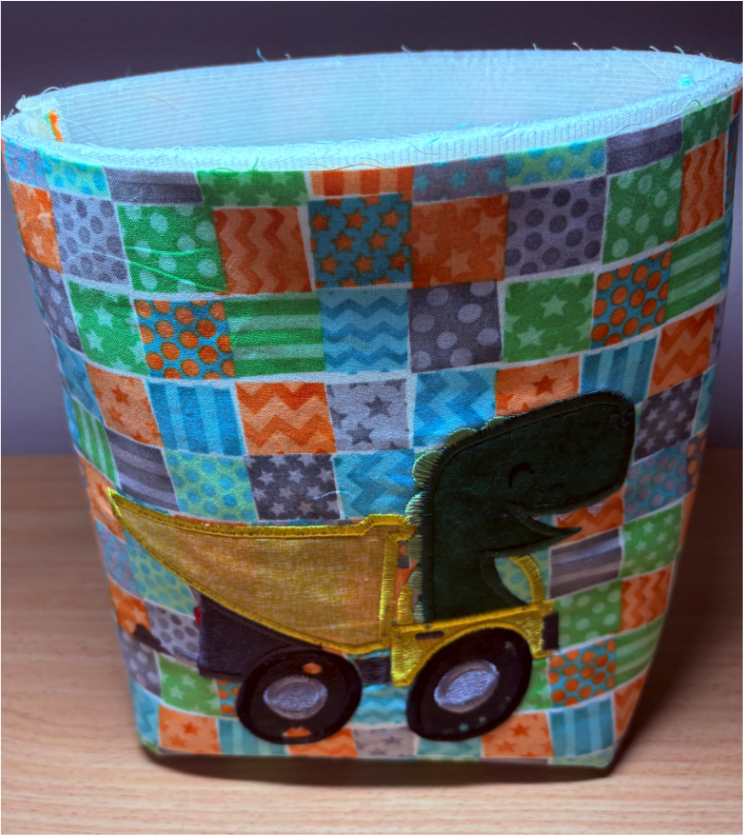
Your bag will now have a flat, roomy bottom.
With right sides together, pin or clip the two lining pieces together. Leave a 6” opening at the center bottom. This will be needed to turn the bag later.
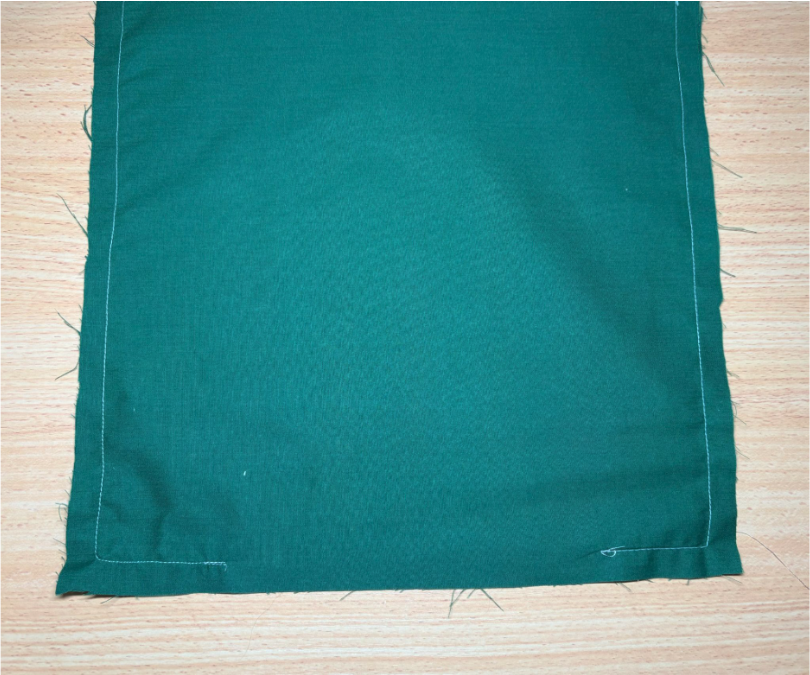
Sew down both sides and across the bottom, leaving the opening unstitched.
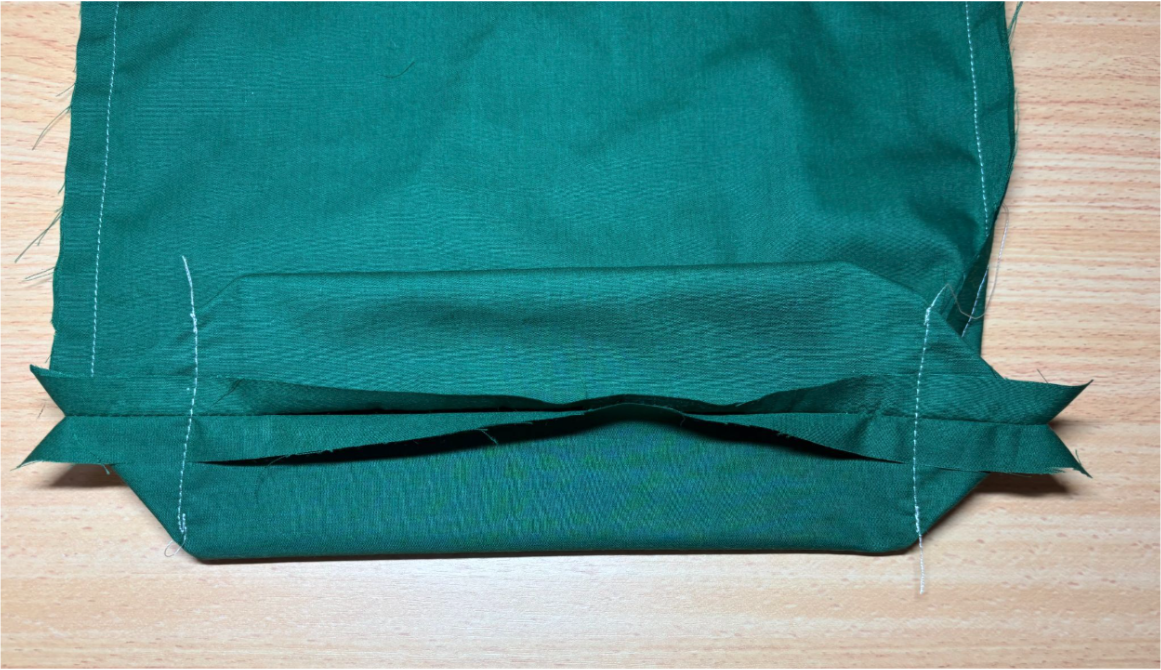
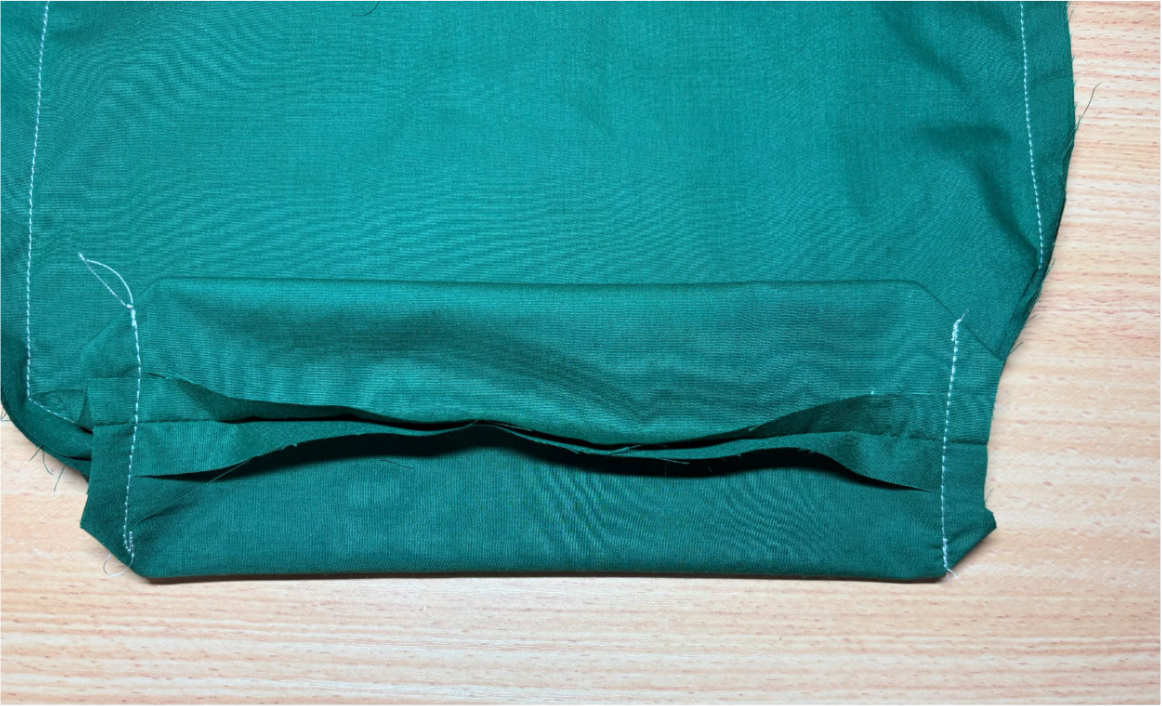
Box the corners using the same steps we used for the bag's exterior.
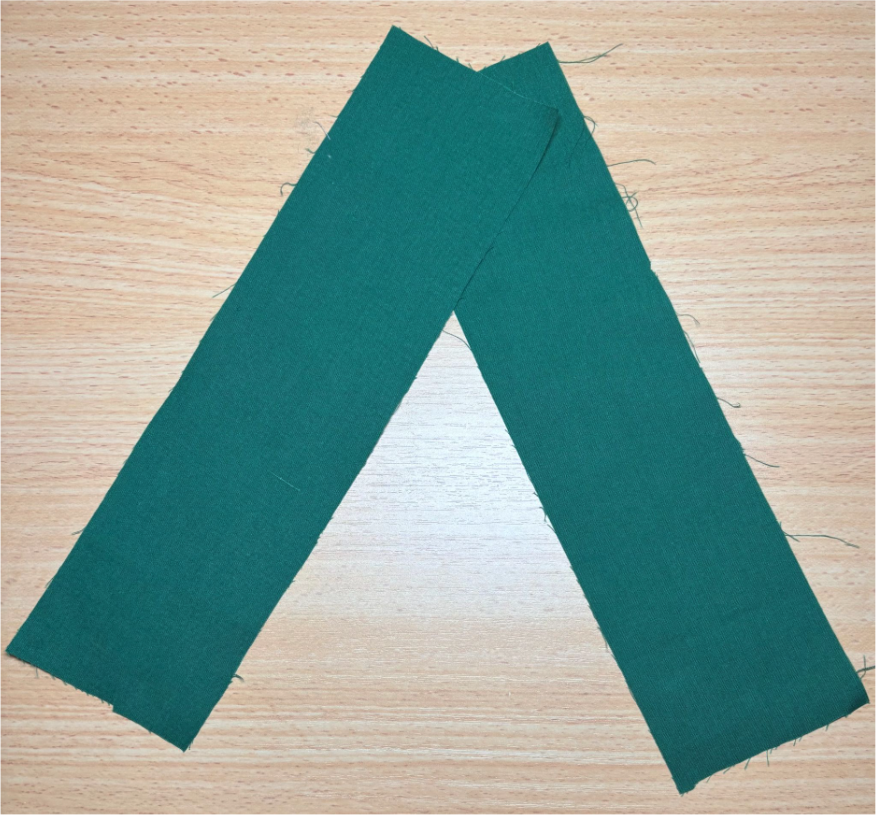
Cut two pieces of coordinating fabric 3” x 11” each.
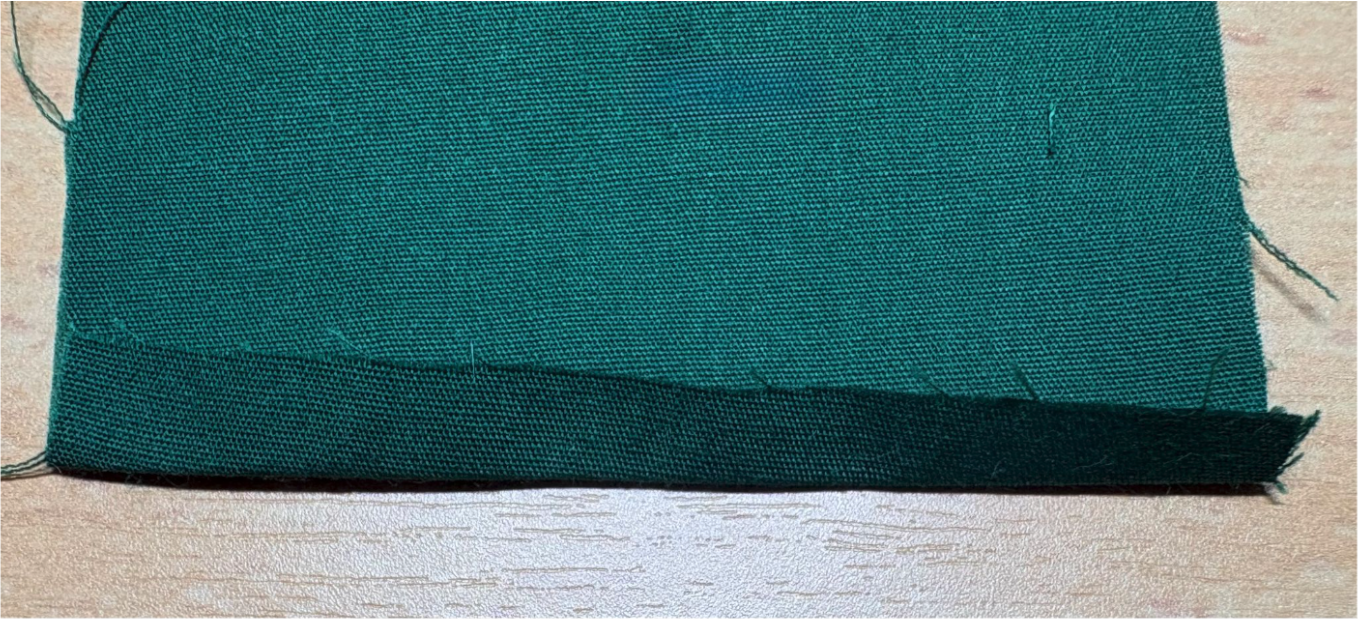
Fold under ¼” on one short end. Press.
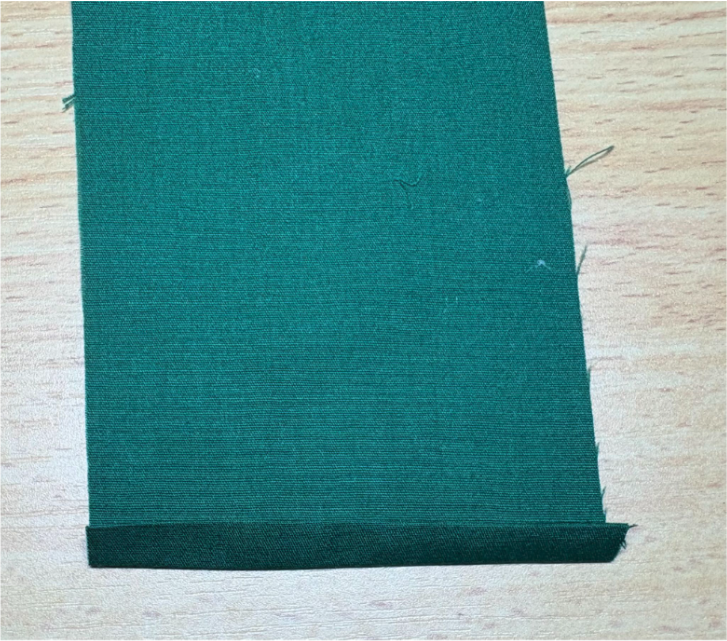
Fold under again. Press.
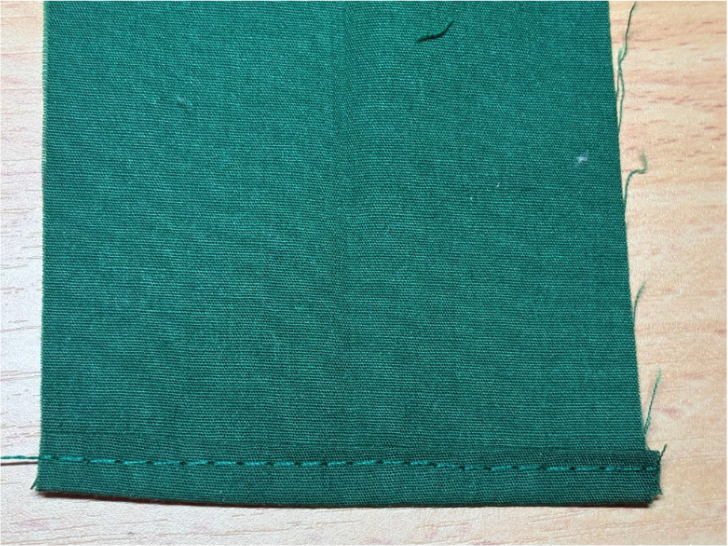
Stitch across close to the edge.
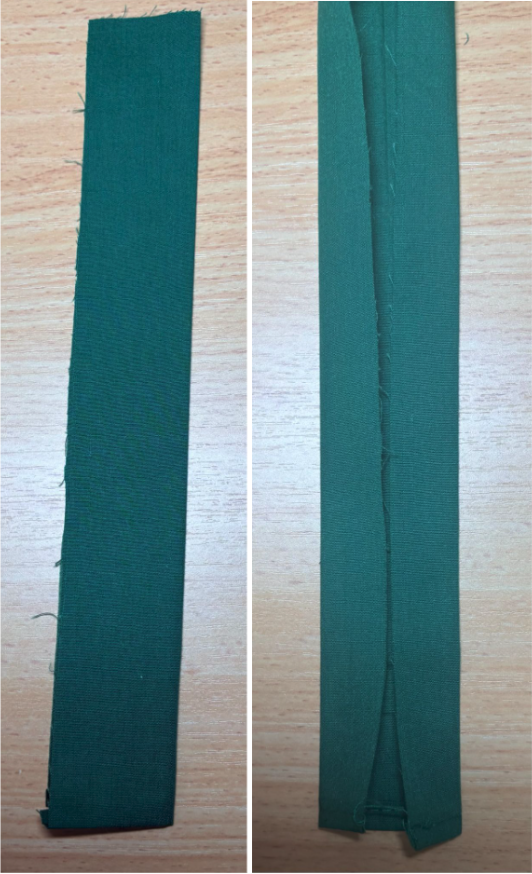
Fold the strap in half lengthwise and press. Open the fabric up and fold each raw edge to the center.
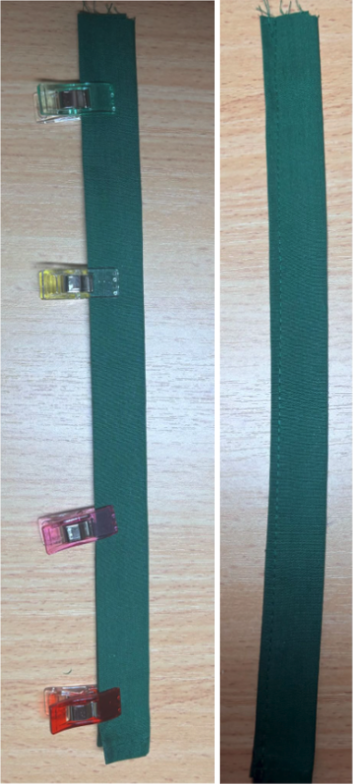
Fold in half and clip. Stitch down close to the edge.
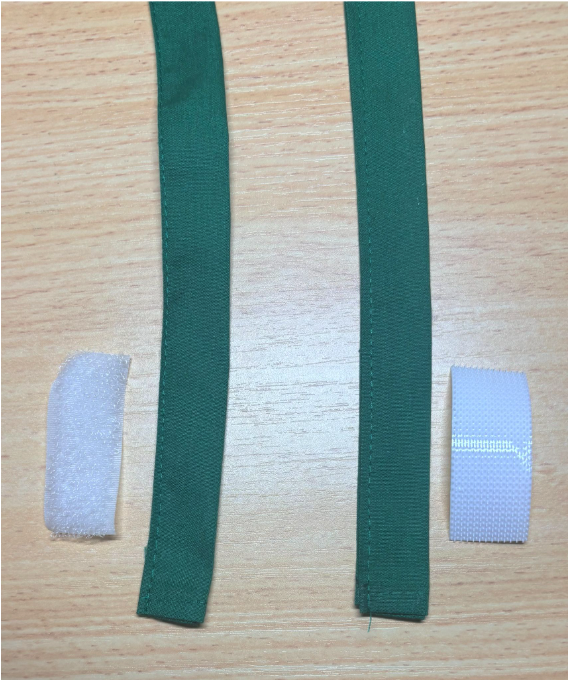
Do the same with the second piece of strap fabric.
Cut a 2” strip of hook-and-loop tape.
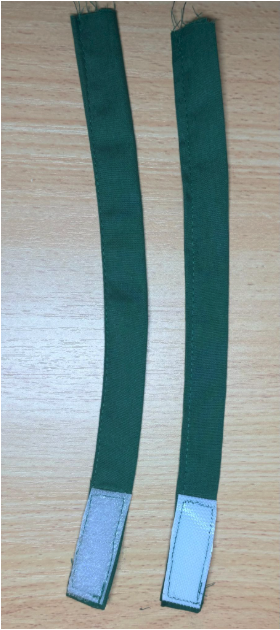
Sew the two sides of tape to the ends of the straps that have been folded in.
TIP: I used a darker thread for demonstration purposes. You may want to use white for a clean look.
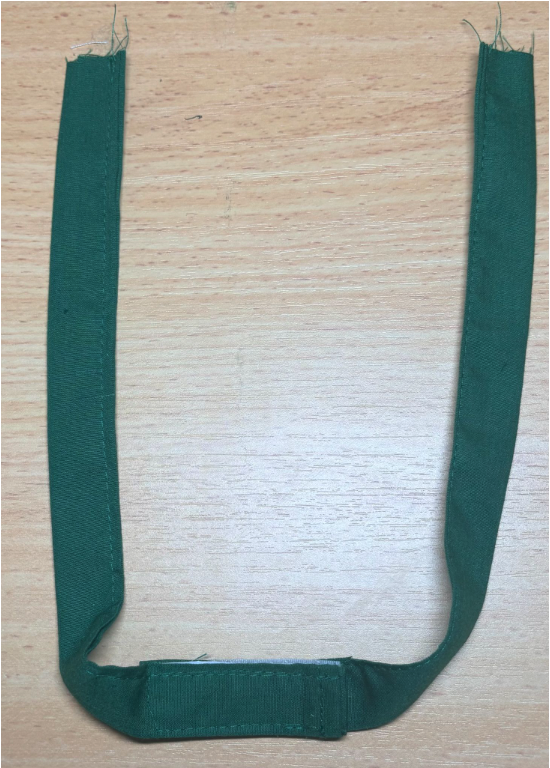
Press the two straps together. This will ensure they are not twisted when sewing to the bag.
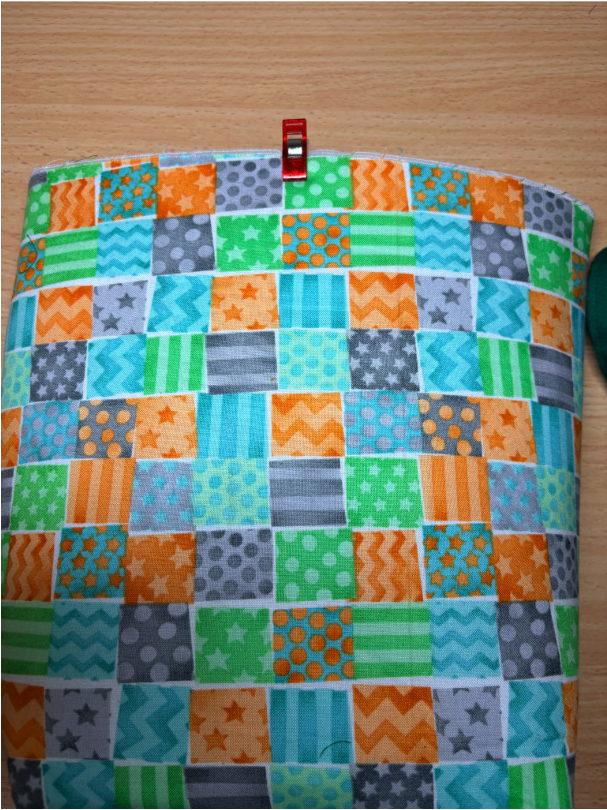
Take the bag exterior and find the center on the back.
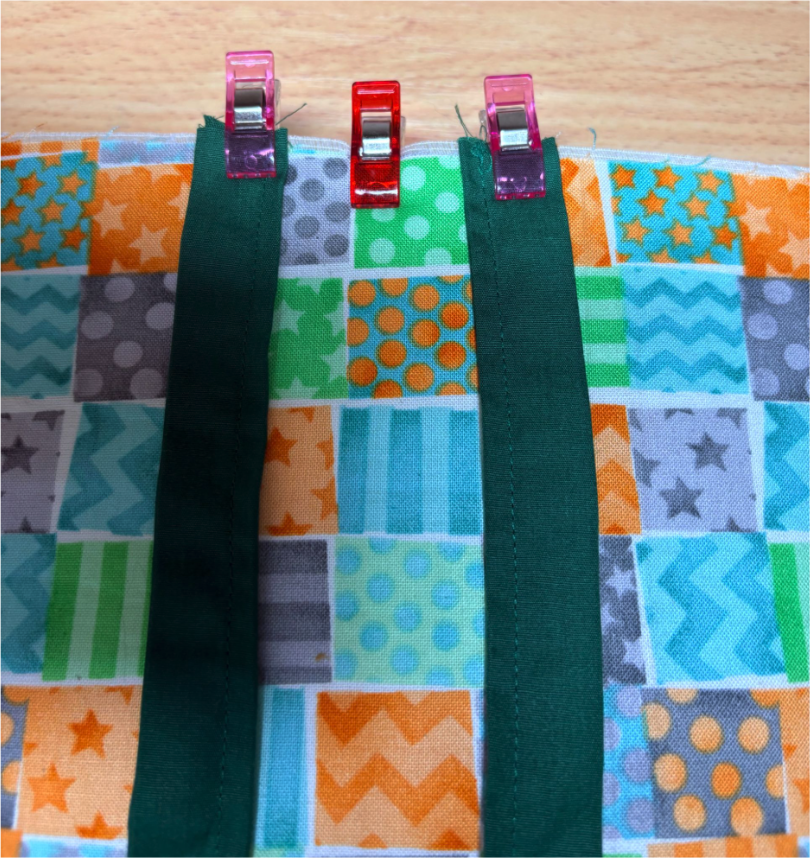
Clip the two straps to the top of the bag’s back, matching their raw edges.
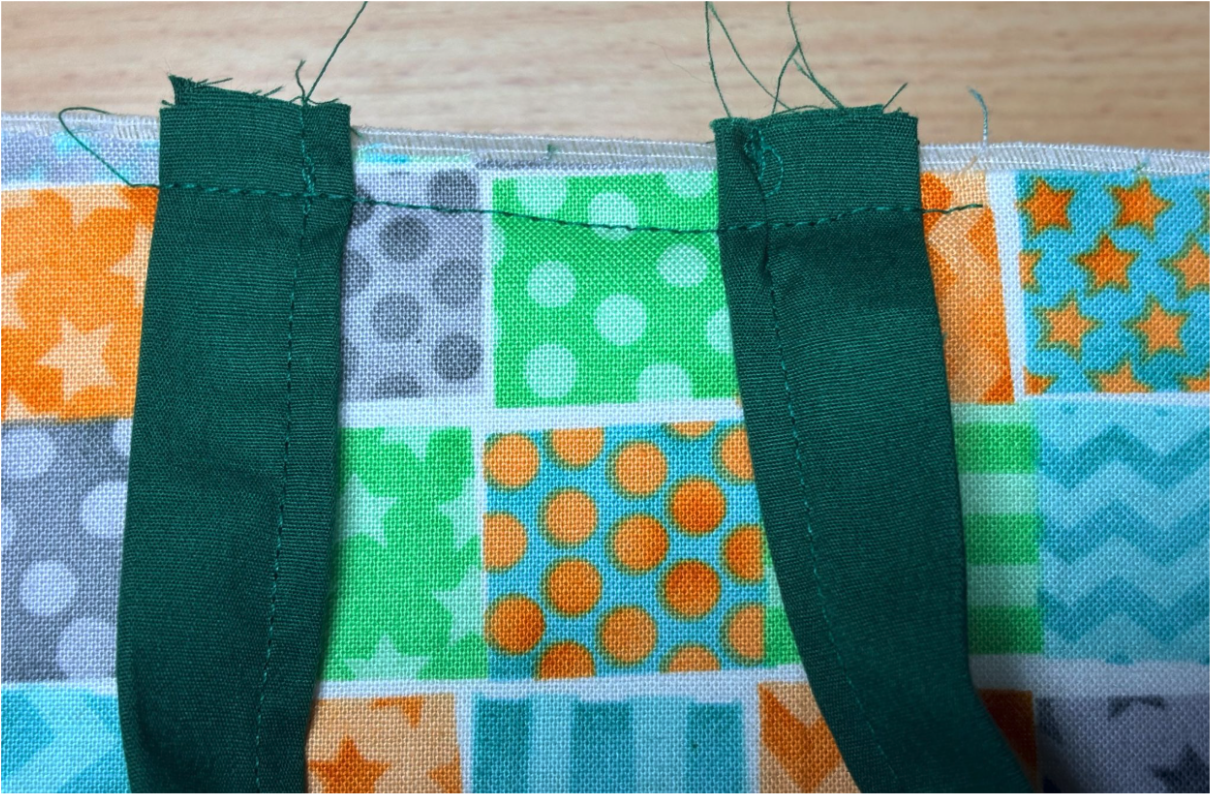
Baste across to hold them in place.
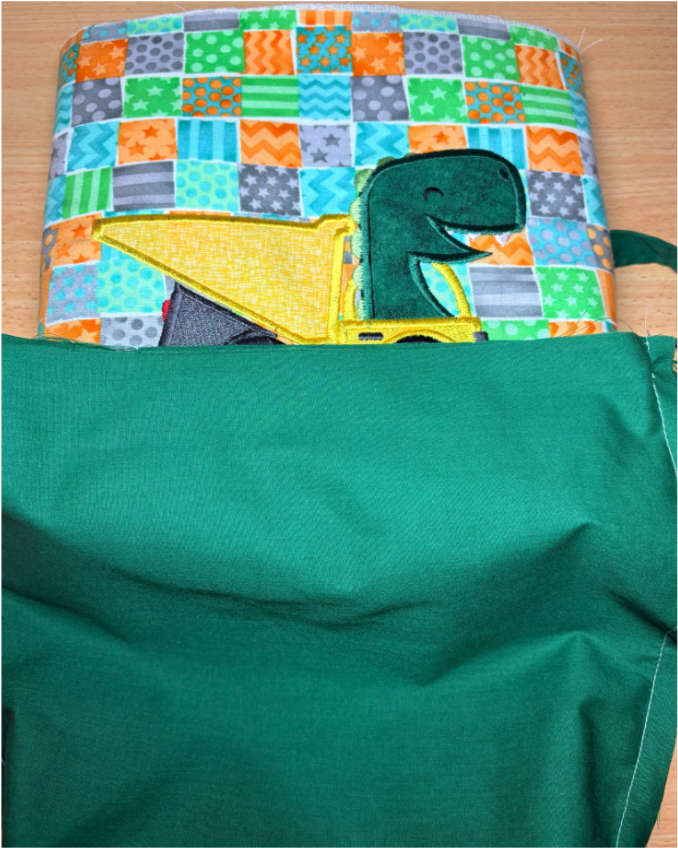
With the right sides together, insert the bag's exterior into the lining.
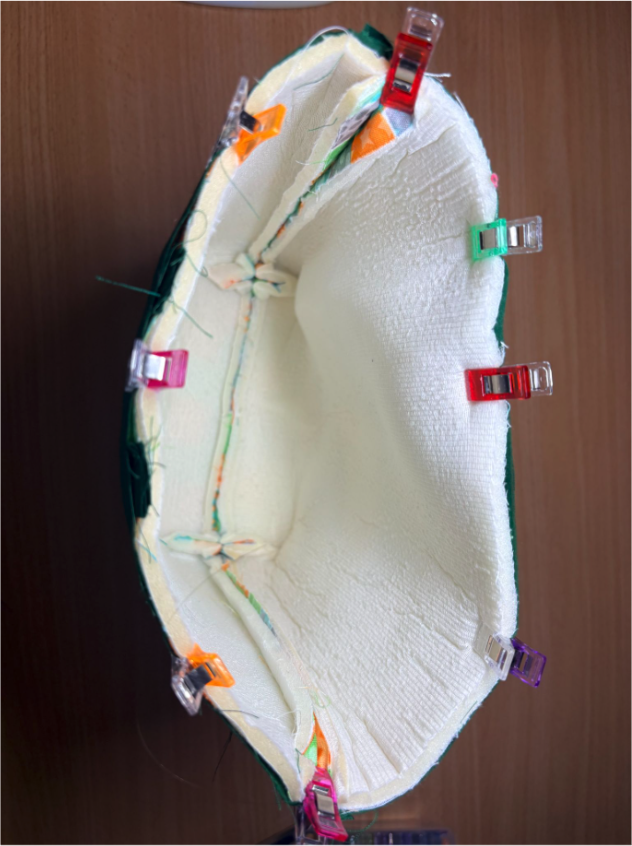
Line up and clip the side seams and raw edges around the top, keeping the straps down inside between the bag and the lining. Sew around the top with a ½” seam allowance.
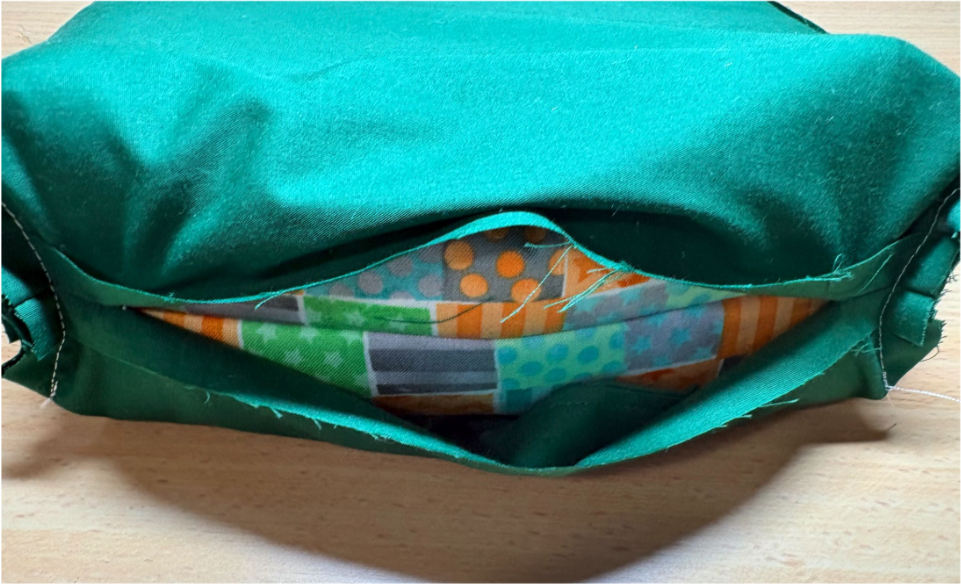
Pull the bag right side out through the bottom opening.
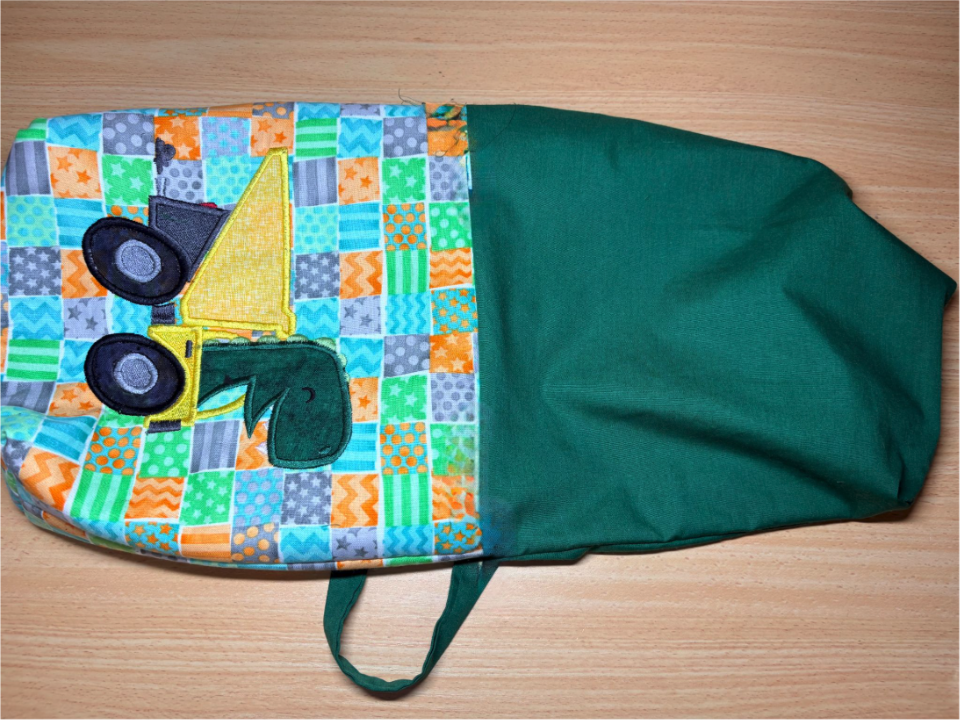
Your bag should now look like the image above.
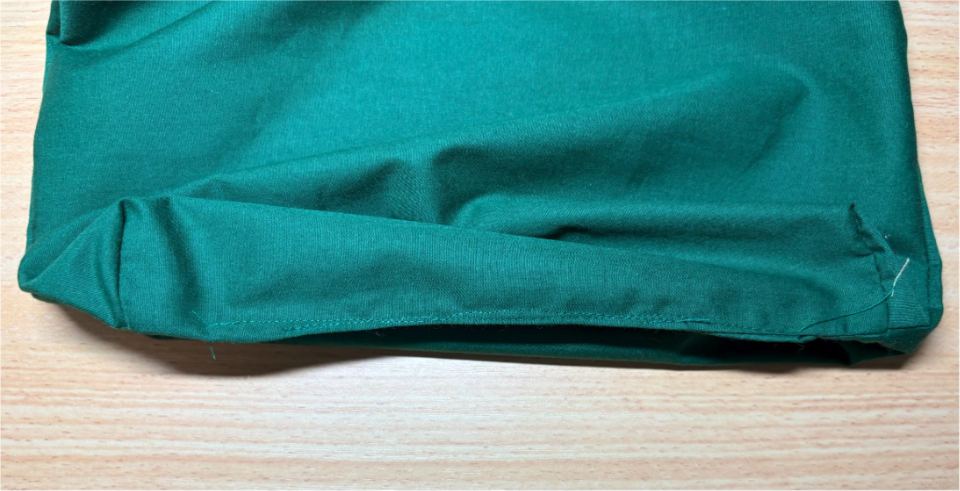
Sew the bottom opening closed.
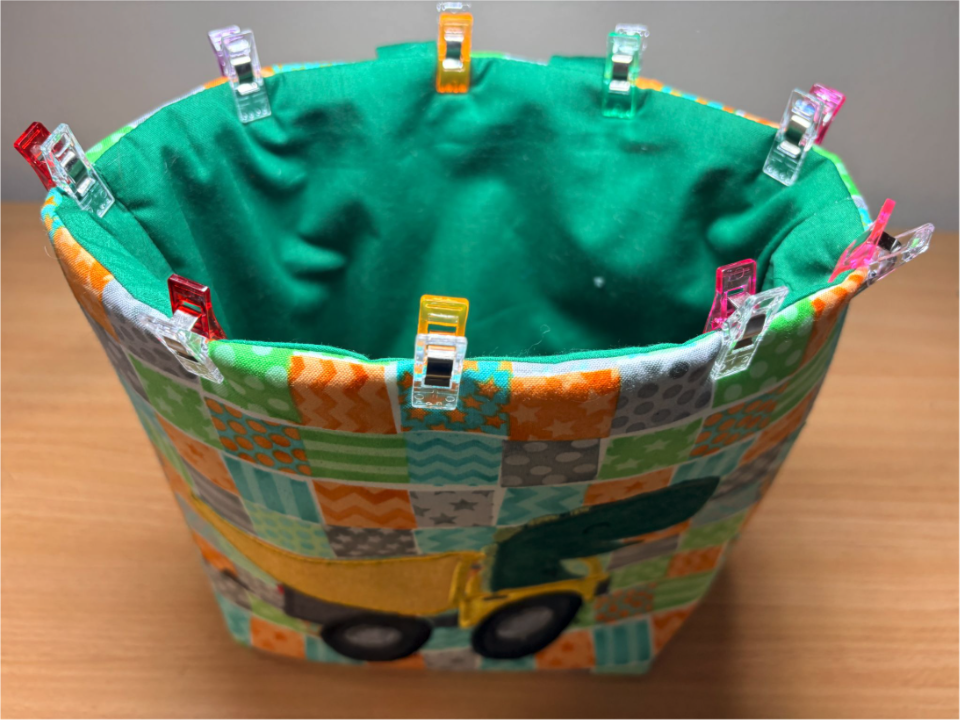
Tuck the lining into the bag. Clip around the top of the lining and bag exterior.
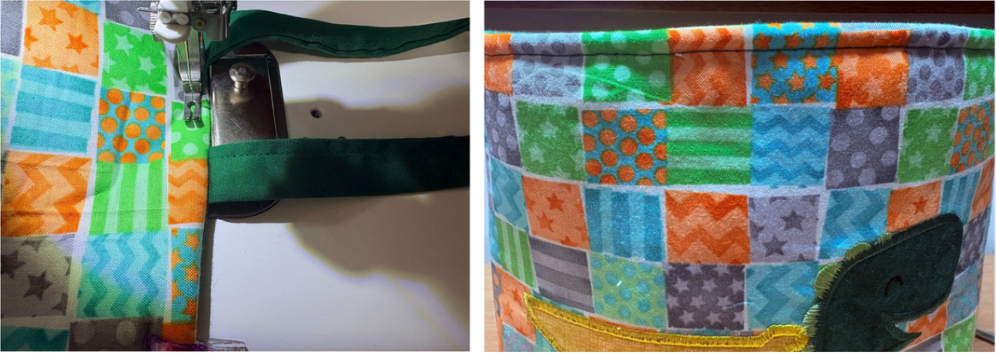
Topstitch around the top ⅛” to ¼” from the edge. Be sure to keep the straps pulled up and out of the way of the stitches.
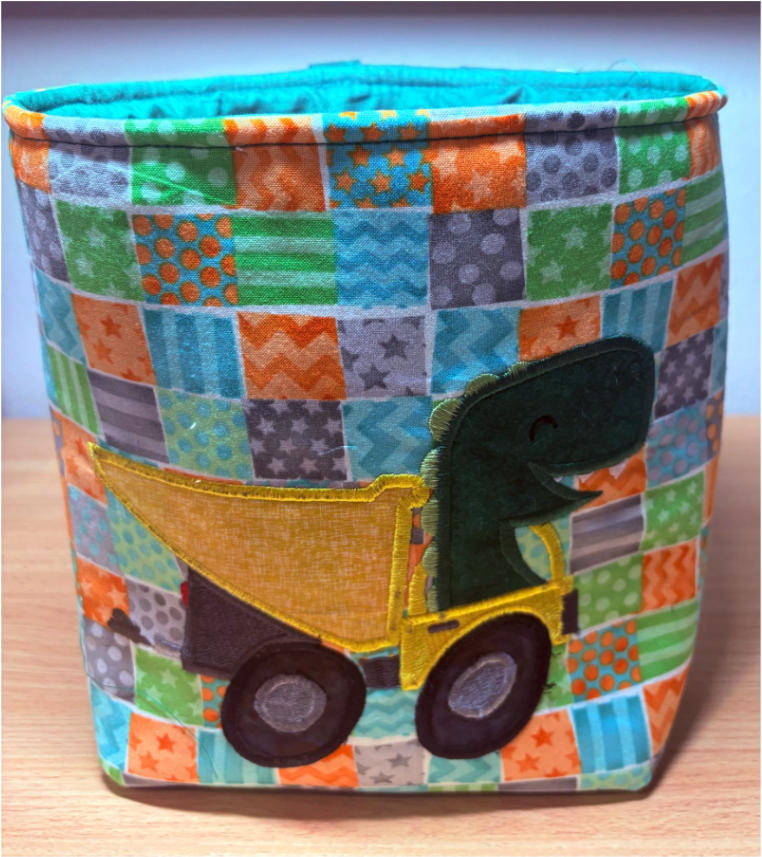
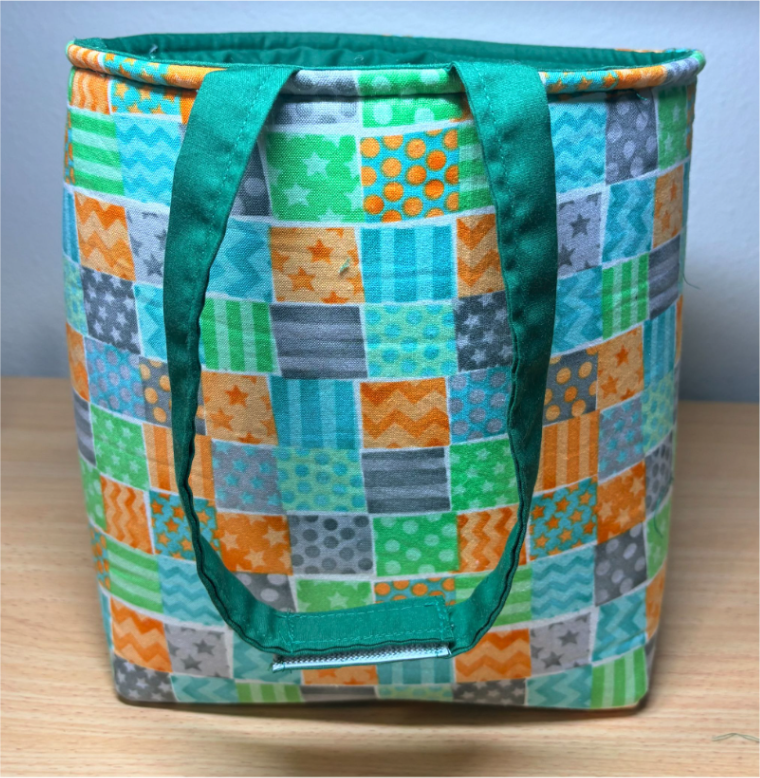
Your car organizer is now complete!
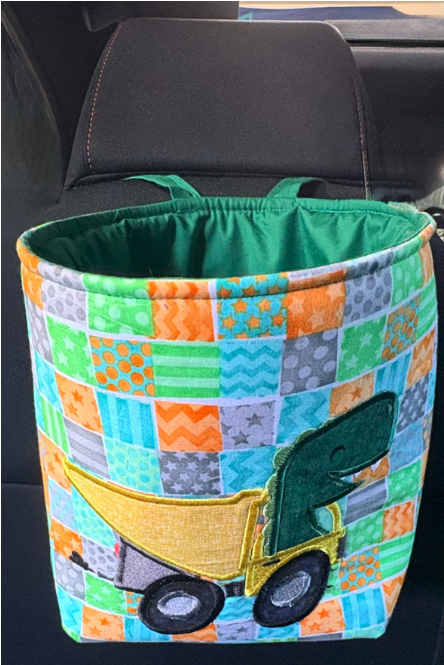
Attach to the head rest of the front seat using the straps for easy access on the go.
And just like that, you’ve added a little more calm (and a lot more cute!) to your car rides. This DIY car bag is a simple project with a big impact—keeping clutter under control while adding a handmade touch you’ll love. Whether you’re heading out on a road trip or just running errands, this handy bag is ready to go along for the ride. Want to switch things up? Simply adjust the cutting sizes to make your bag smaller or larger. These versatile bags are perfect for holding snacks, small toys, books, and all those little essentials that make a car ride more enjoyable.
However you decide to use these fun bags, please share your projects in the Designs by JuJu Embroidery Blessings Group on Facebook, or use the hashtag #designsbyjuju anywhere on social media. As always we love to see what you create!
Happy sewing!