Toggle Nav
 Inspire.
Create.
Stitch.
Inspire.
Create.
Stitch.
Search
Inspire.
Create.
Stitch.
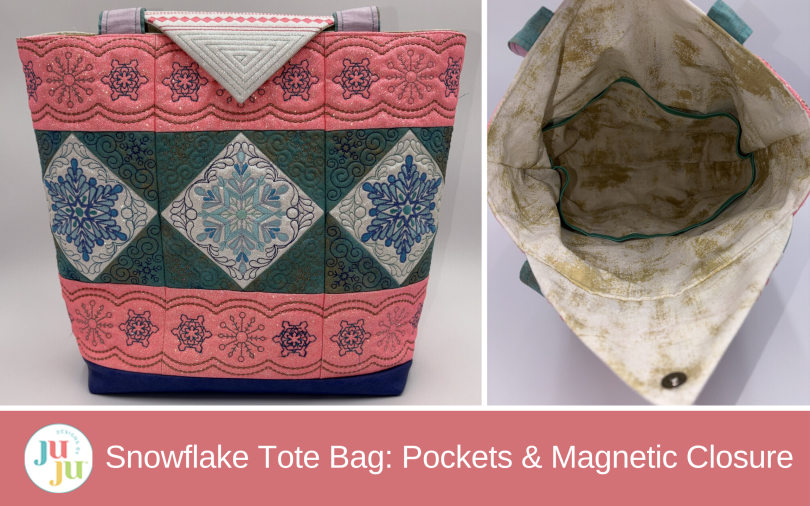
Customize an in-the-hoop Snowflake Tote Bag with interior pockets and a magnetic snap flap, plus tips for glitter fabric, bag structure, and lining assembly.
Make the charming Snowflake Tote Bag your own! In this blog post, You’ll add interior pockets and a magnetic snap closure to the top. Try zippers or custom-length straps too.
Check out the DBJJ team’s favorite supplies in the Designs by JuJu Amazon store. For stabilizers, batting, and threads, Designs by JuJu+ has everything you need.
I chose ByAnnie’s Soft and Stable foam stabilizer to give my tote a little more structure and help it hold its shape. You can certainly use regular batting if you prefer. If you go that route, I recommend DBJJ+ loftySOFT™ Batting.
For a little sparkle, I used glitter fabric from Beach Potato Embroidery. This is actual fabric, not glitter vinyl, so you can stitch it with your embroidery machine just like regular fabric. I chose glitter fabric for this bag because I didn’t think glitter vinyl would hold up as well. The glitter fabric comes in a variety of colors, giving you plenty of ways to make the tote your own.
When stitching with glitter fabric, I recommend changing your needle more often and paying extra attention to cleaning your embroidery machine. Glitter can collect inside the machine as you stitch, so take time to remove the buildup, following your machine’s cleaning instructions.
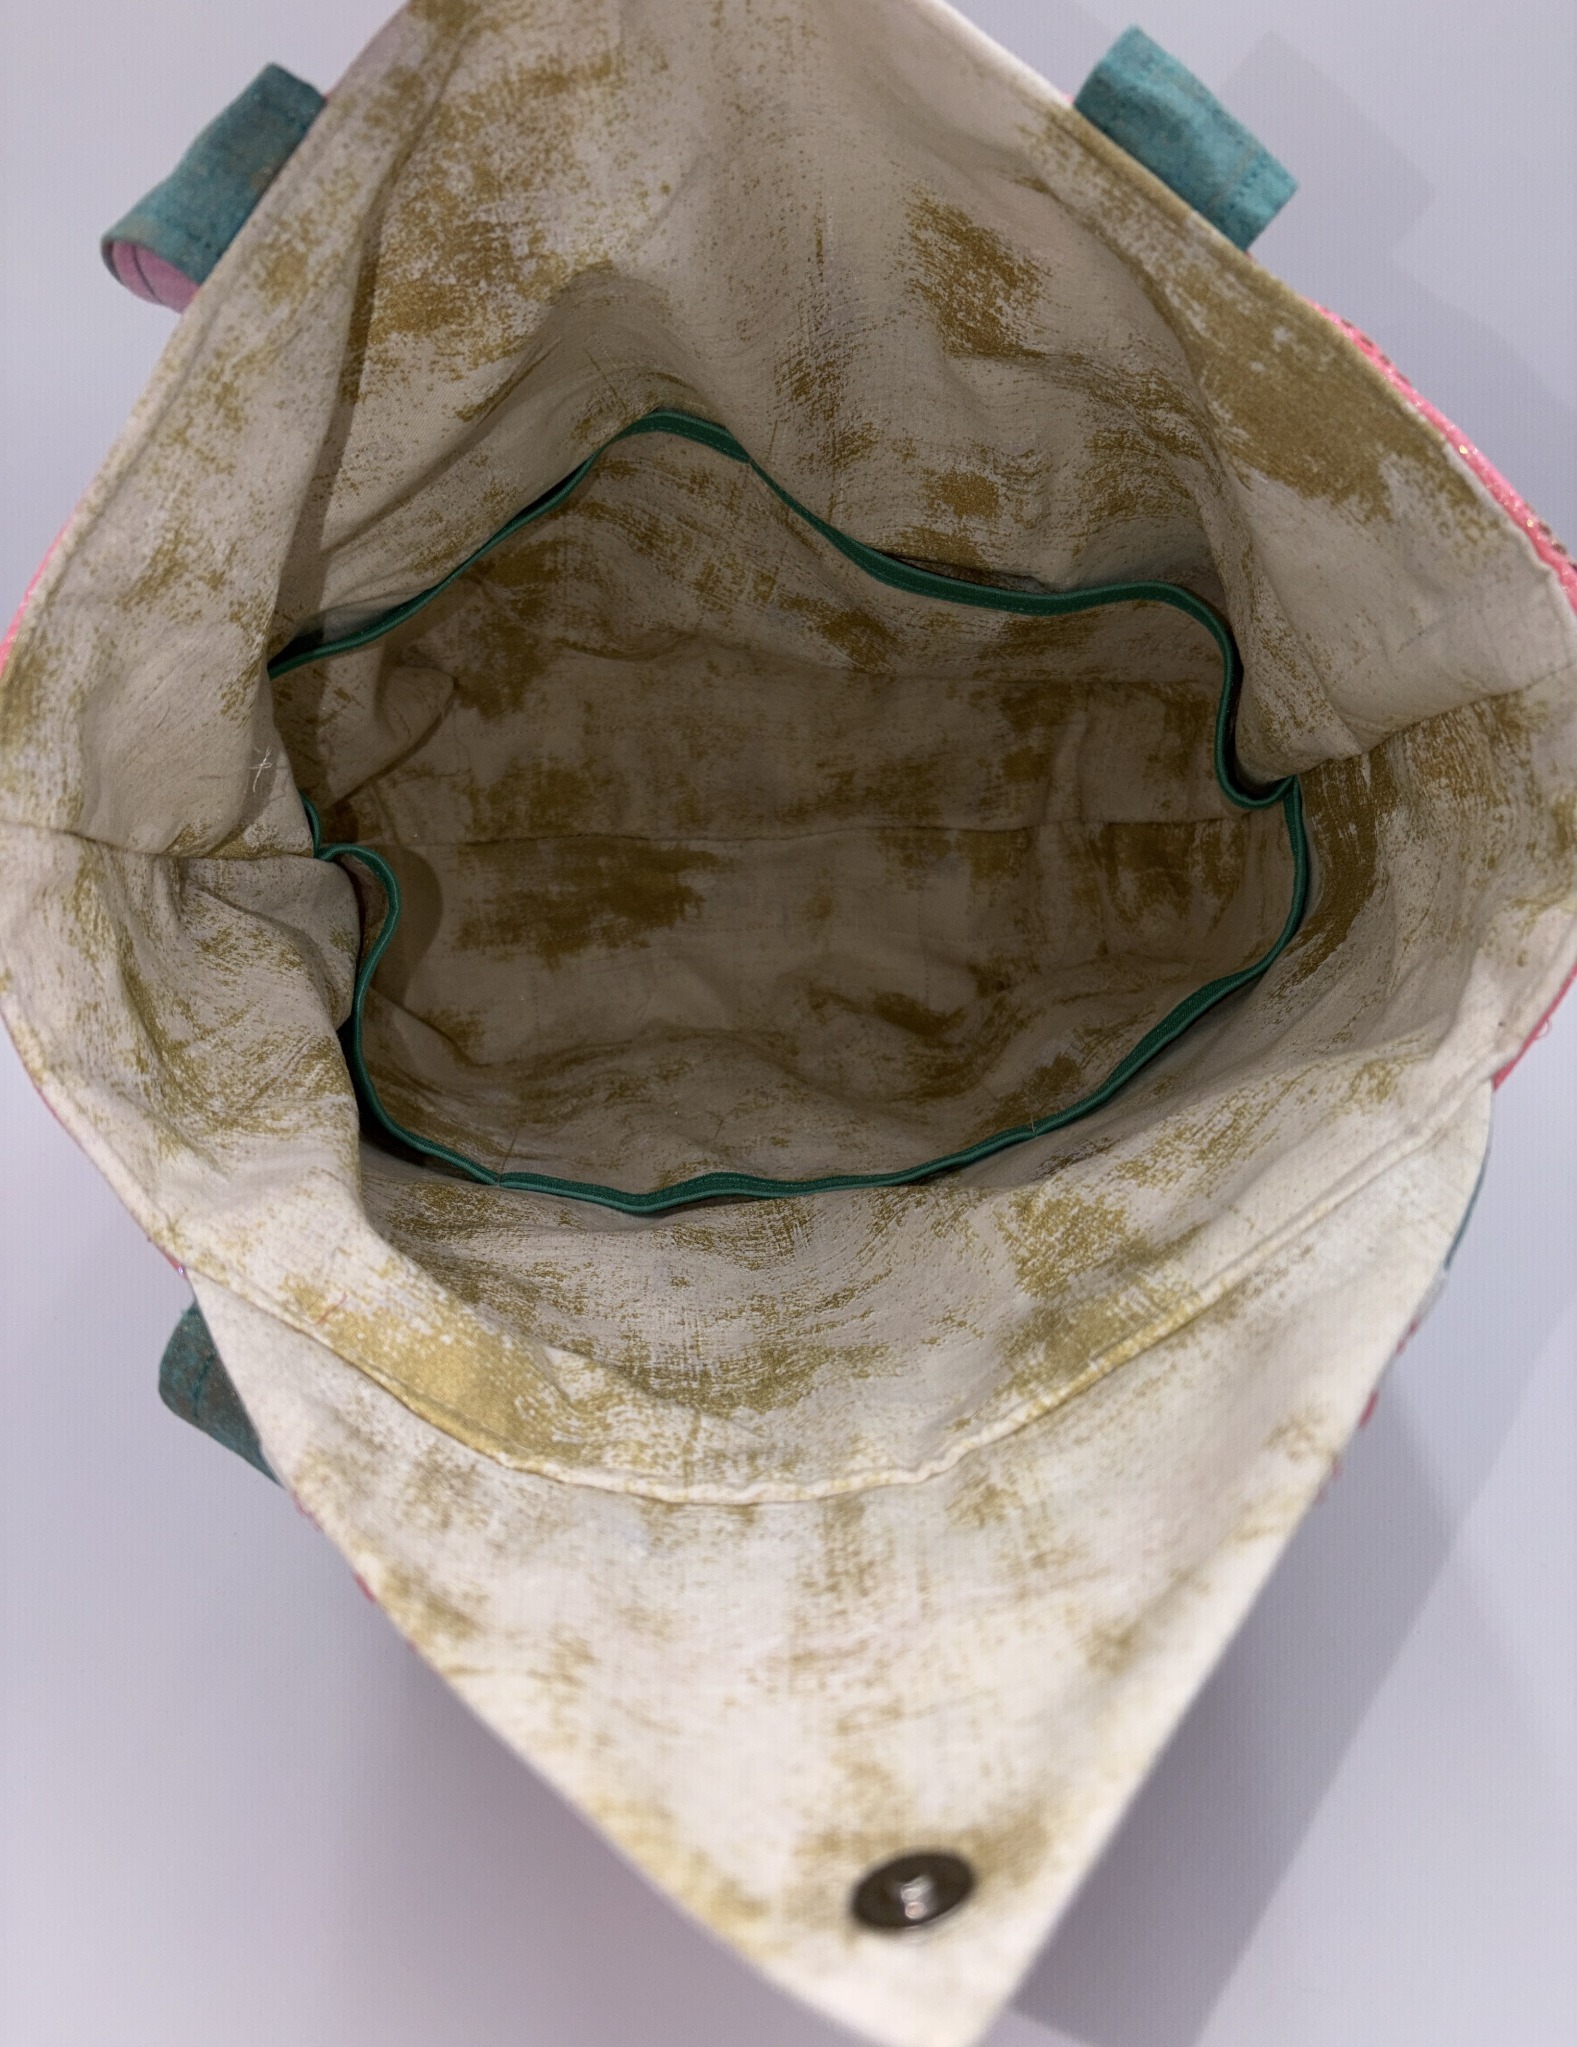
I assembled the bag according to the included instructions. The changes were in the lining, where I added interior pockets, and at the top, where I added a triangular flap with a magnetic snap closure.
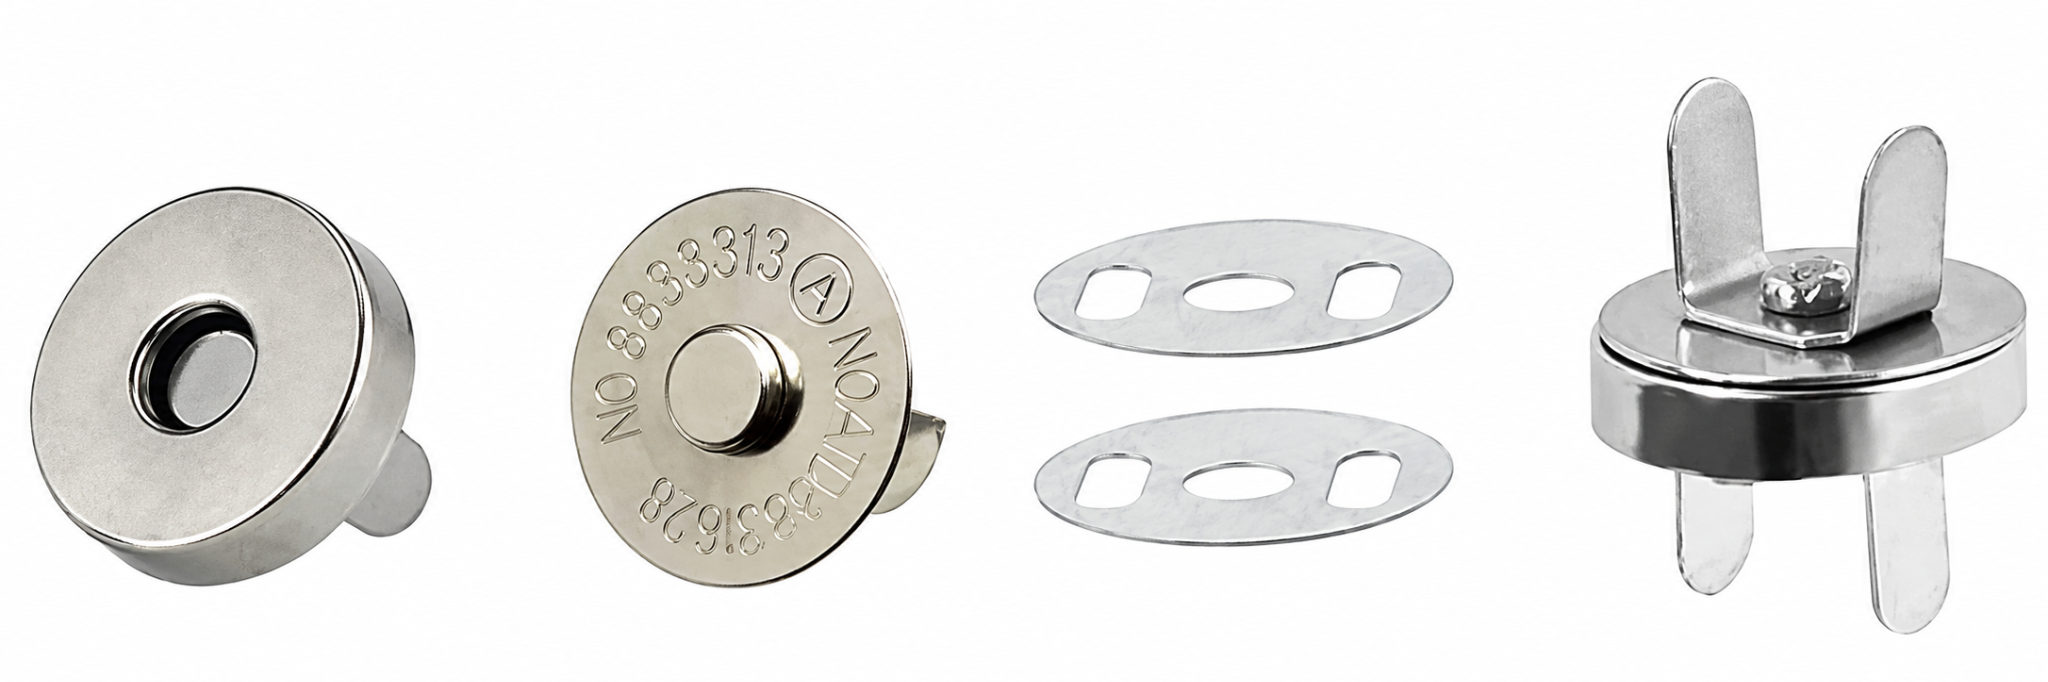
To make the flap, I borrowed a design piece from another Designs by JuJu in-the-hoop project: the Poinsettia Pine Table Topper. I used one half of an outer section to create the triangular shape, then finished the flap by adding fabric to the back and turning it right side out. Then I added clamp-style magnetic snap closures to finish the top closure.
I used the combined bonus file for the 6x10 design size, which fits in a 9x14 hoop. This file lets you stitch all the blocks together, so you don’t have to piece each block individually. It’s a wonderful time saver.
I’ll show you how to construct one of the blocks in the hoop. Once you’ve stitched the six combined panels or the 18 single panels, follow the project instructions to piece them together and assemble the body of the bag, including adding the base.
For my bag’s base, I used vinyl, but you can use cork or fabric if you prefer. I added fusible fleece to the vinyl as described in the instructions and cut the boxed corners as directed. Refer to the instructions included with your project files for the full process of assembling the stitched blocks and the bag’s body.
I also made the handles exactly as described in the project instructions.
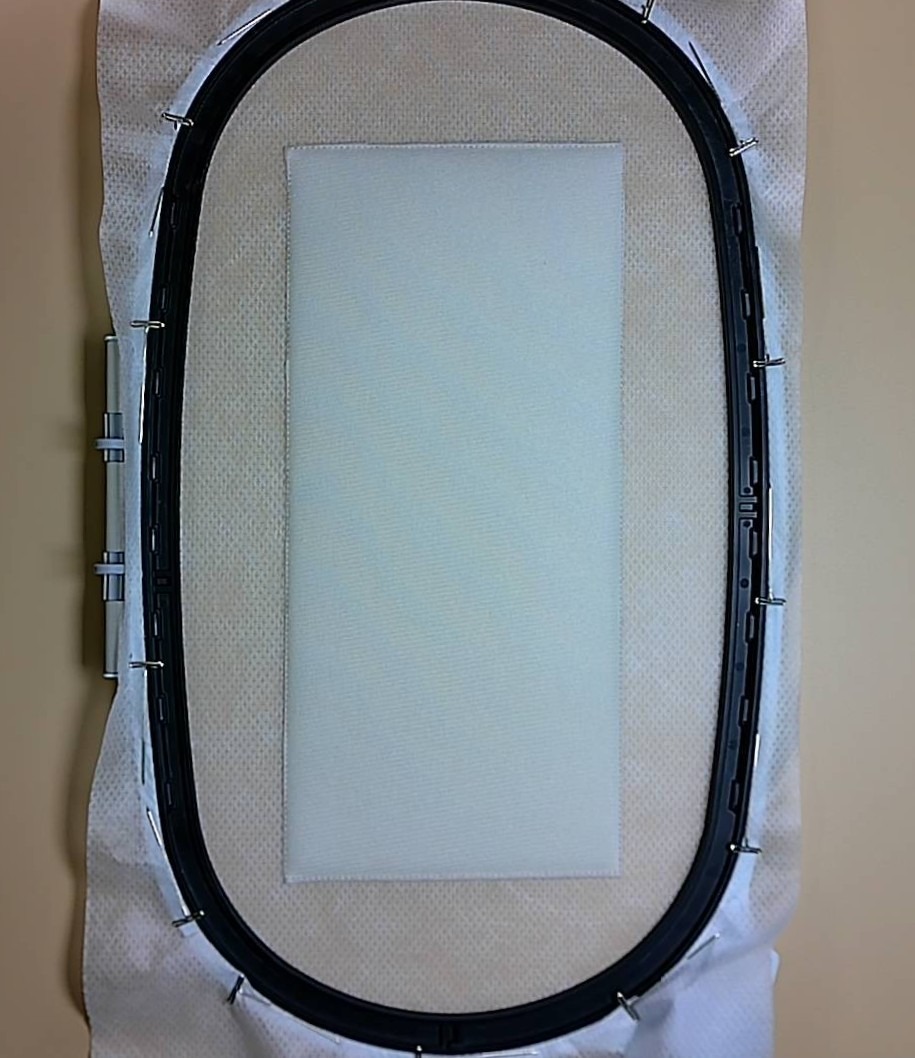
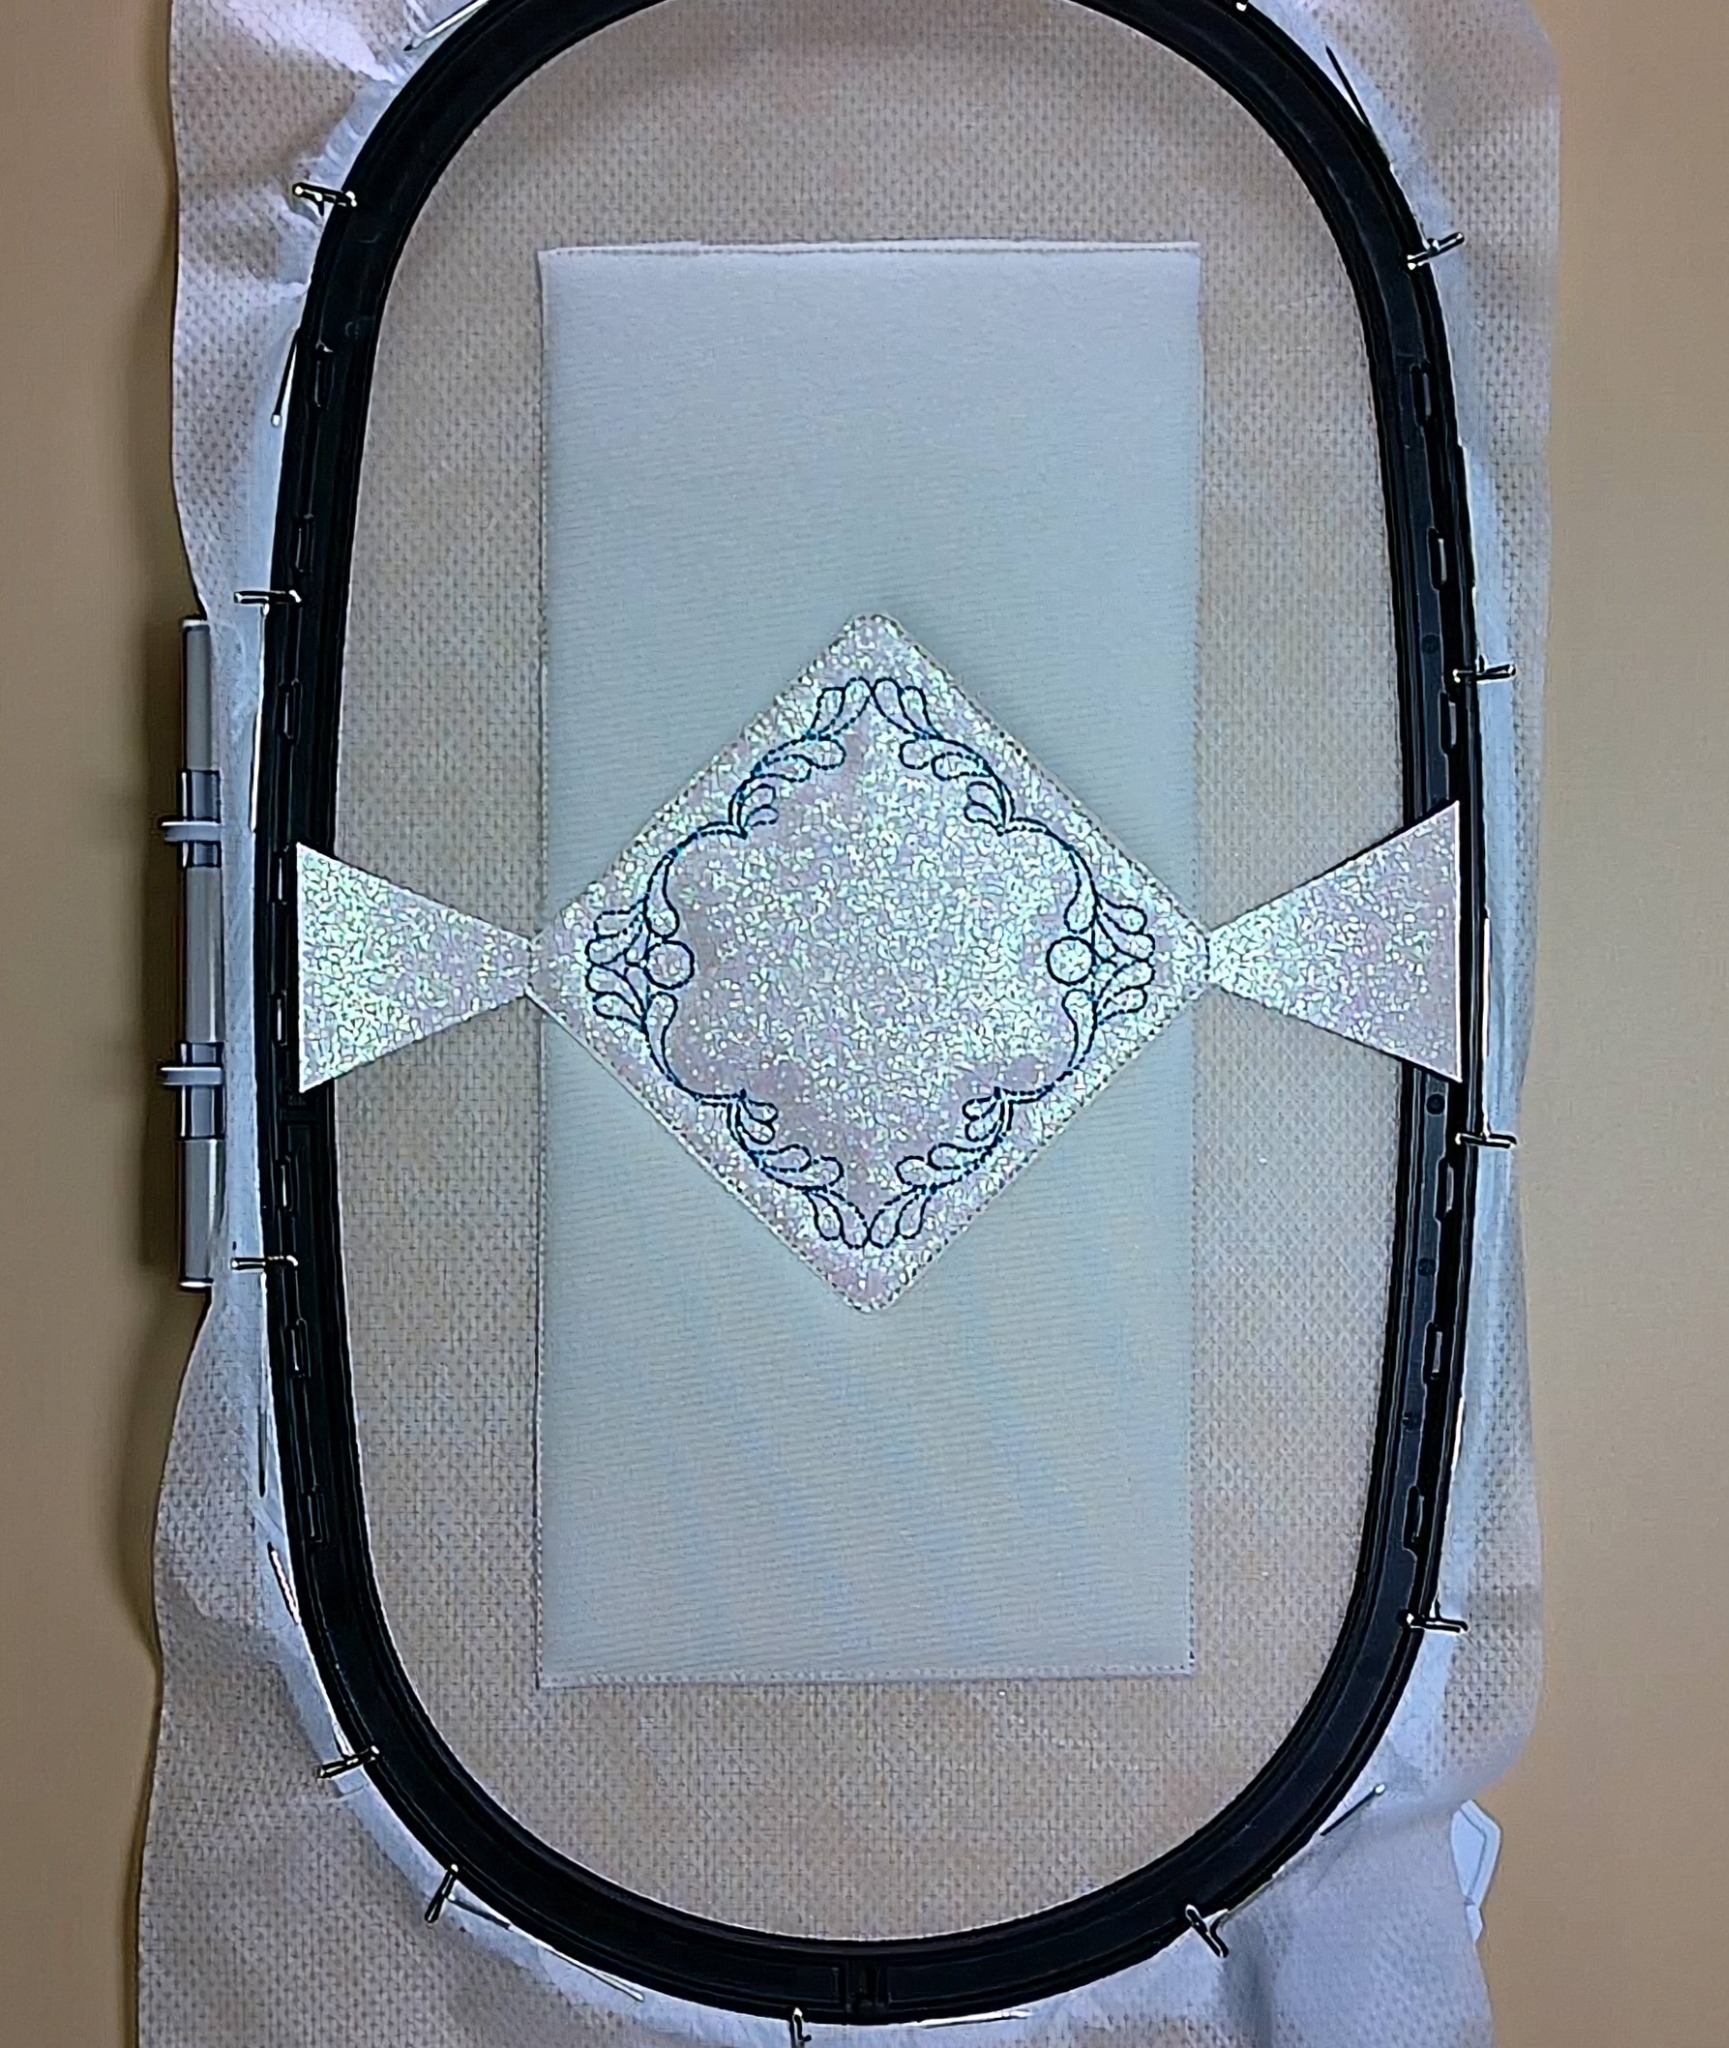
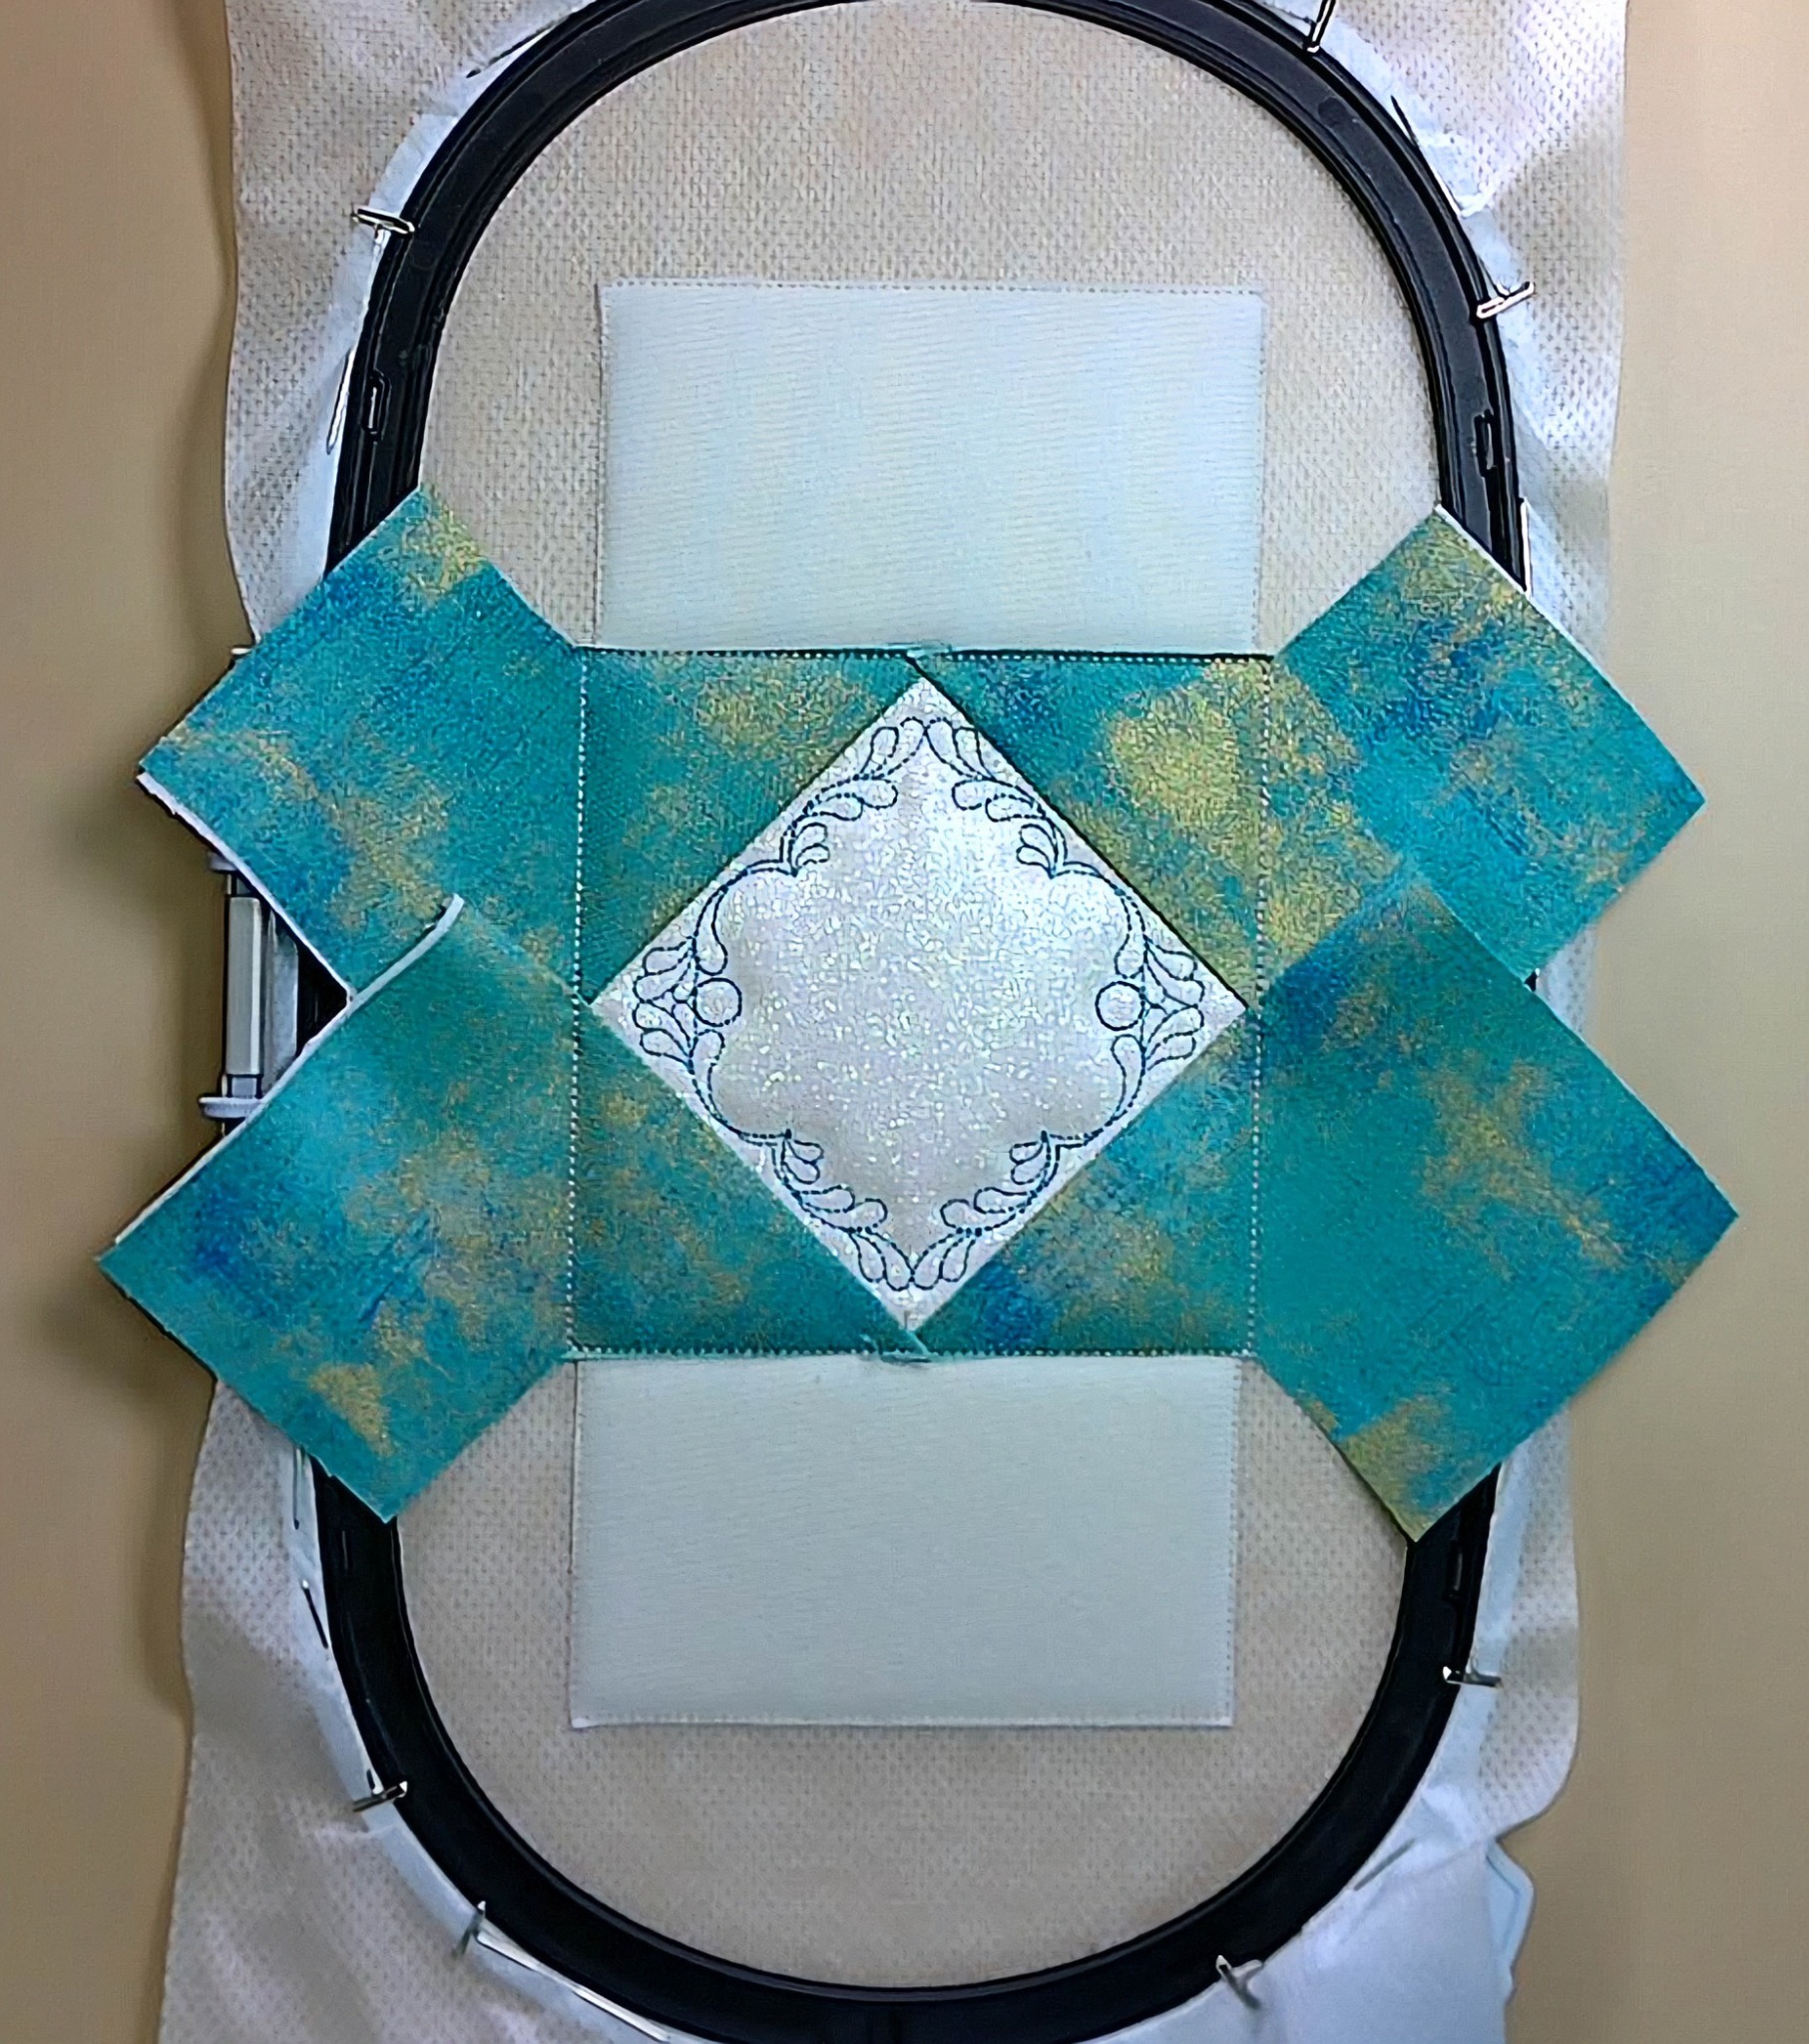
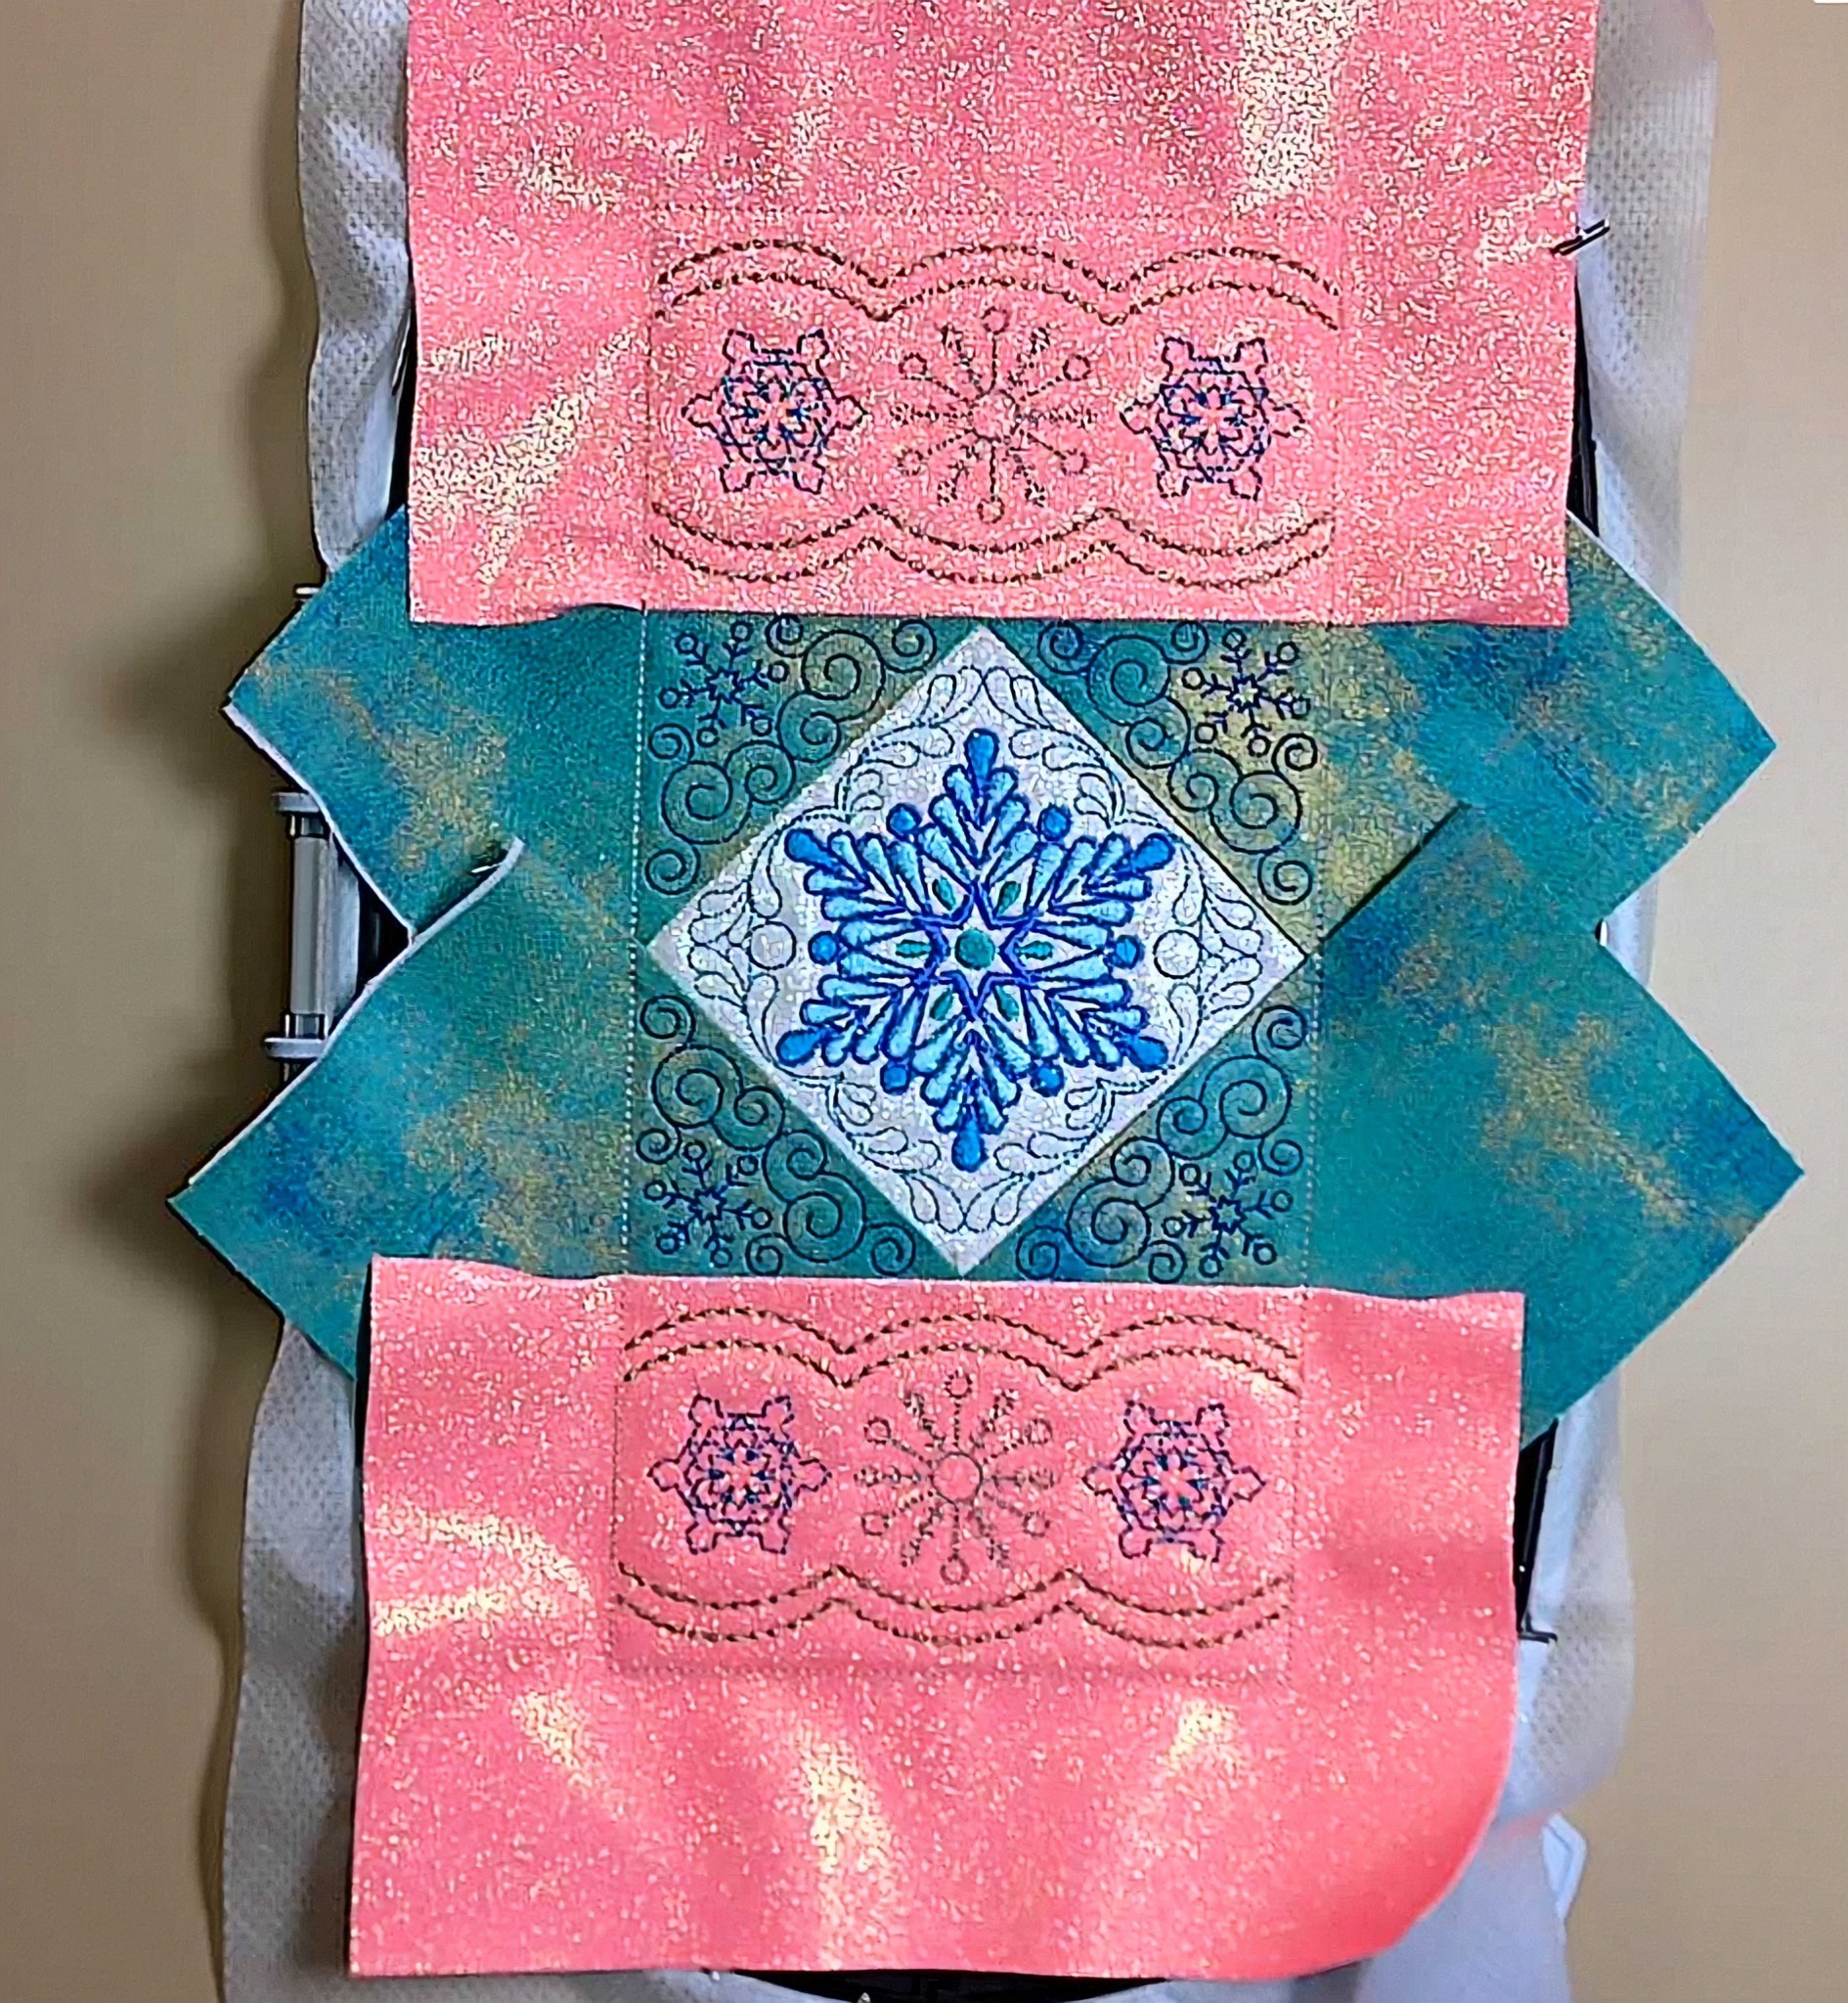
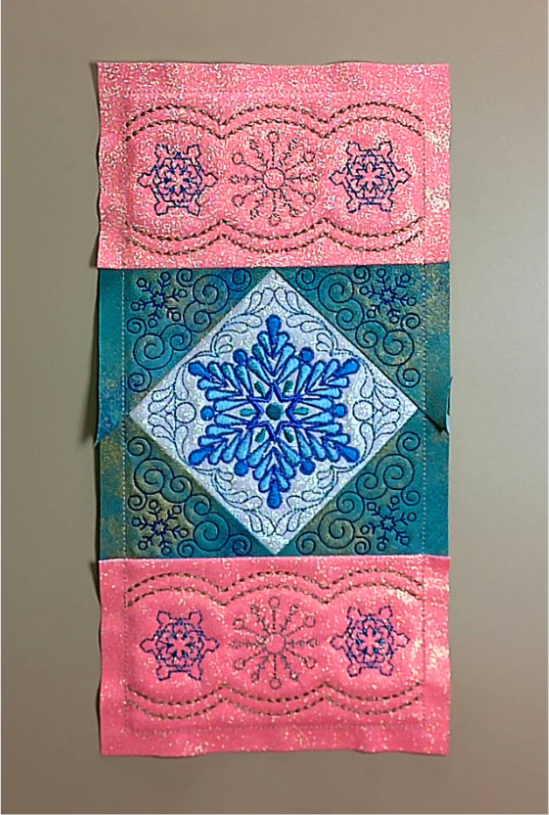
Once you’ve constructed the bag body and finished the boxed corners, it’s time to make the top closure. The following photos will walk you through the construction process.
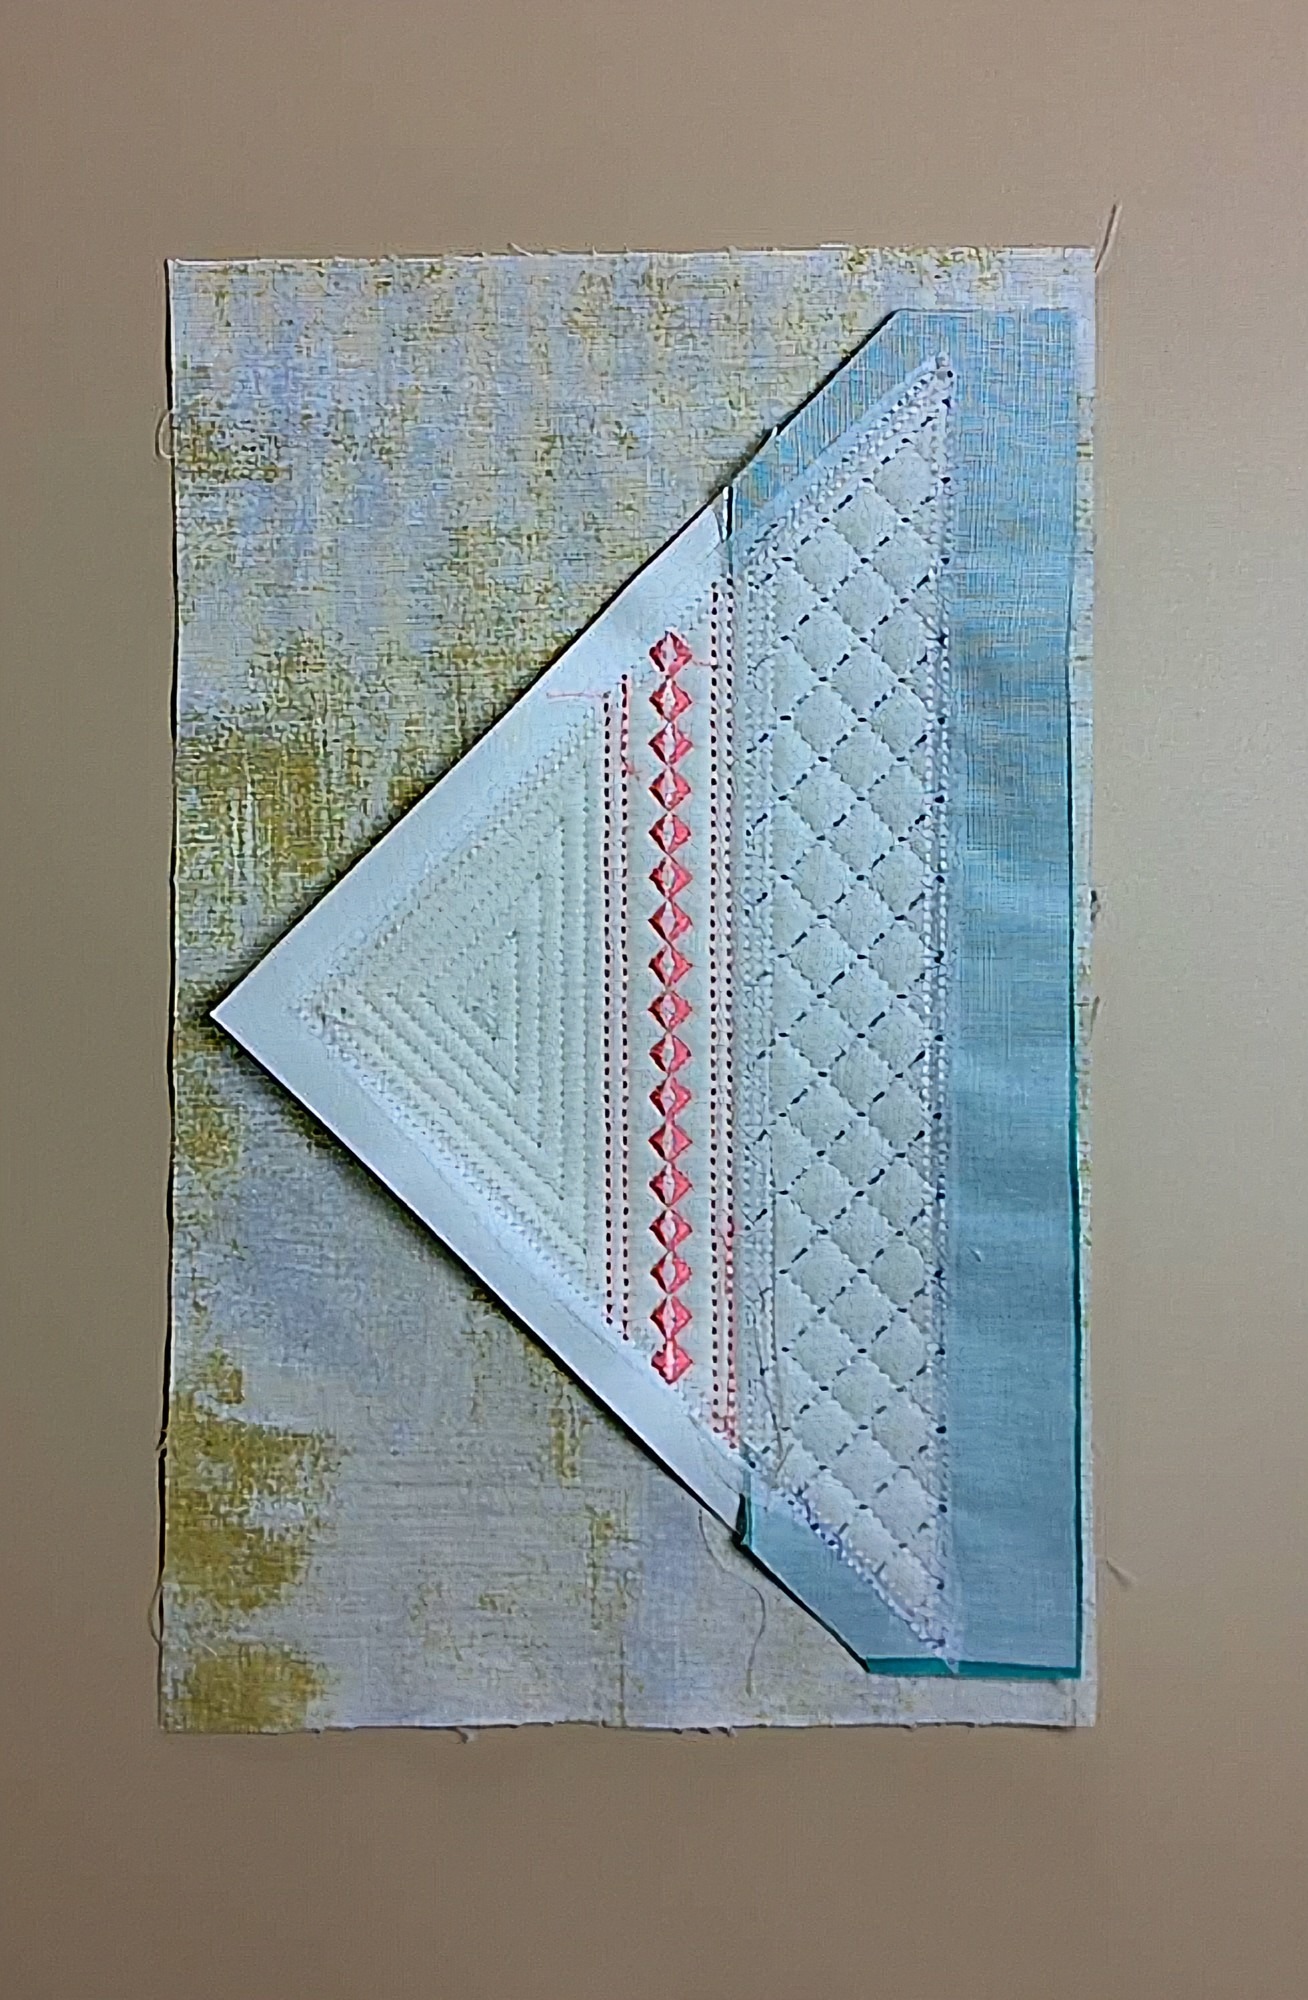
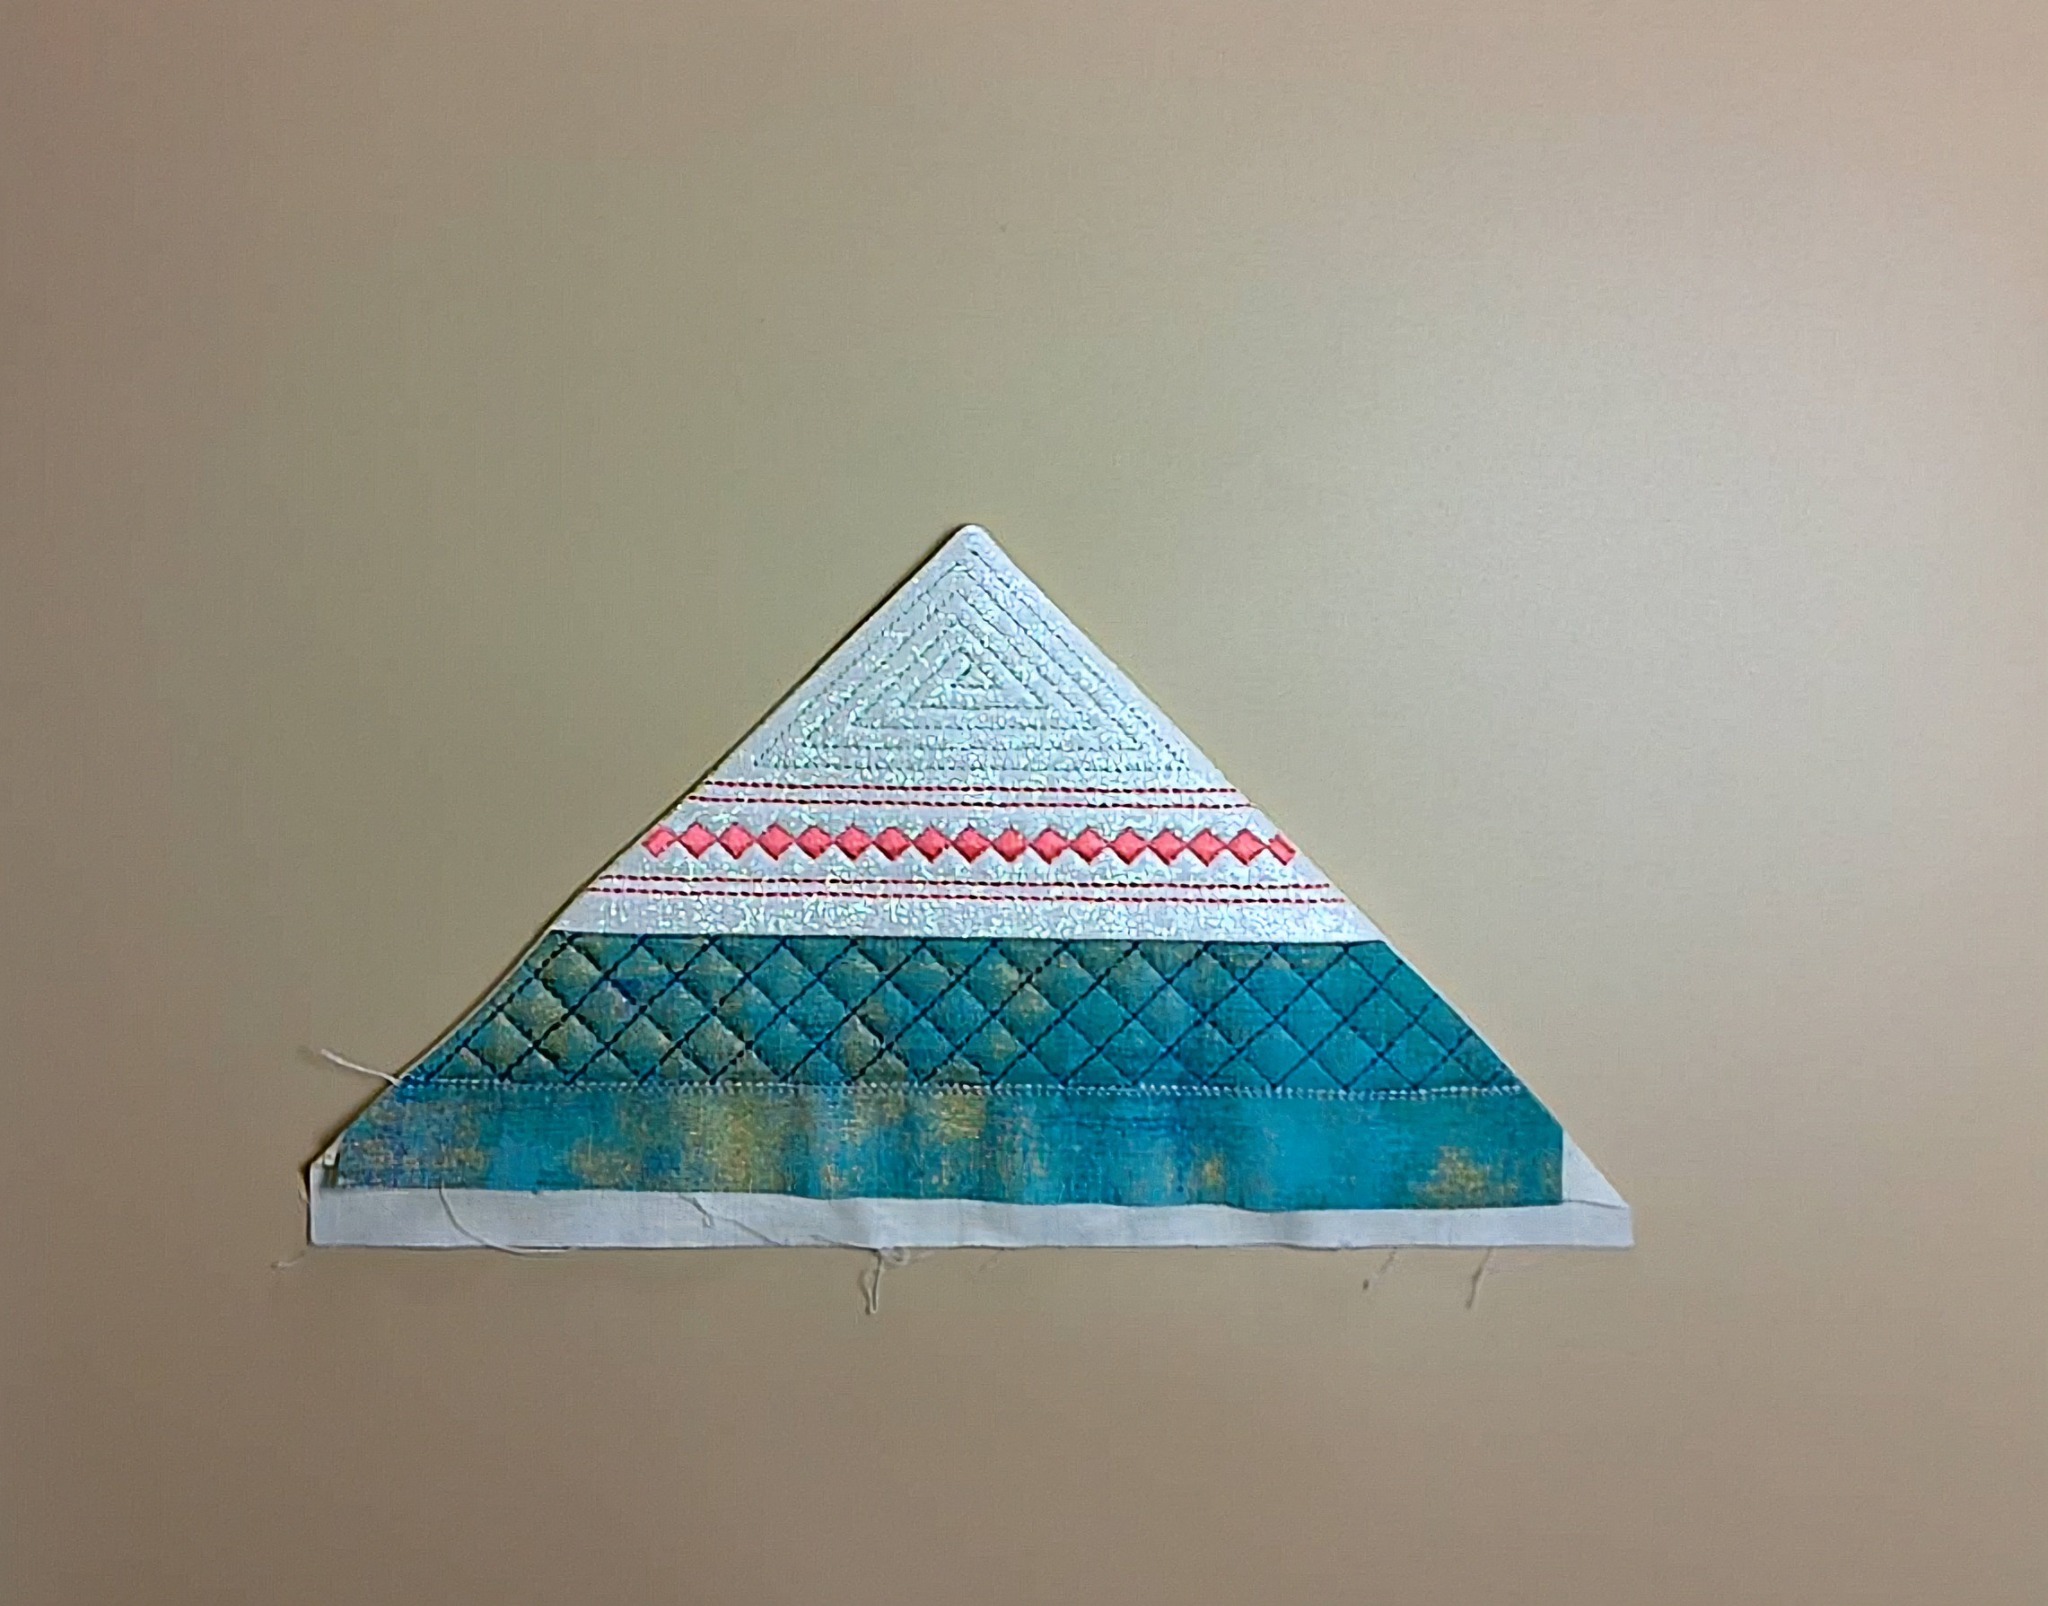
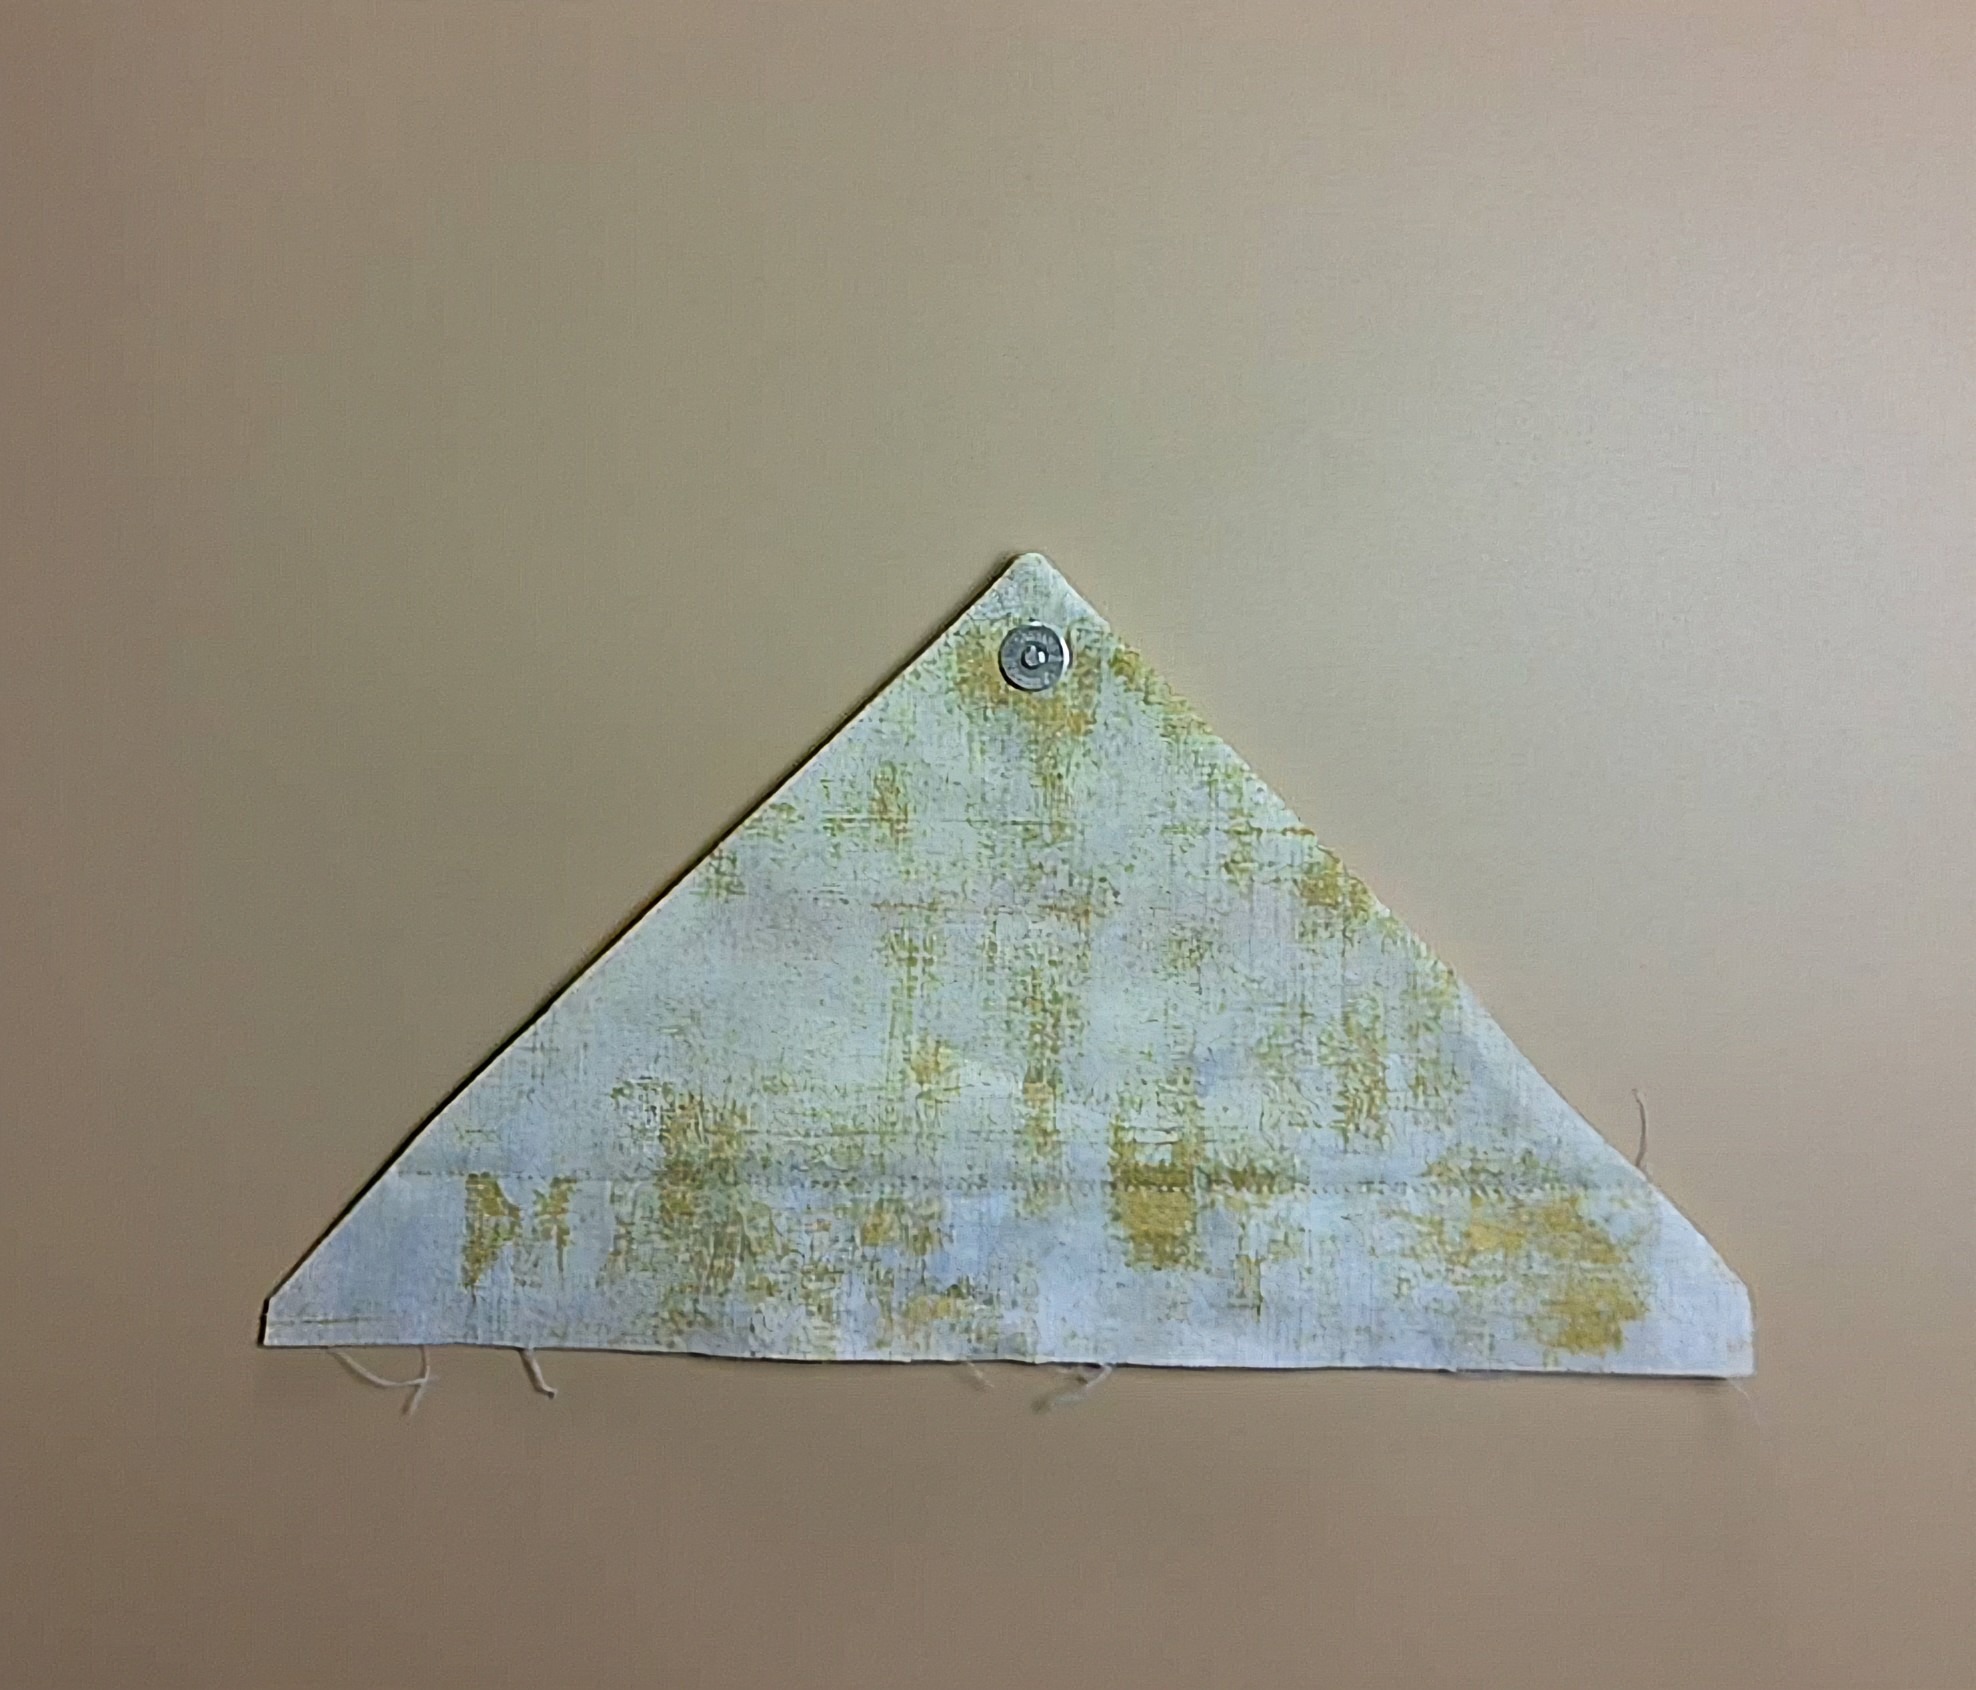
For the closure flap, I used Block D from the 8x12 size of the Designs by JuJu Poinsettia Pine Table Topper. This block contains two triangles, which you’ll see in the first photo below. Since I only needed one triangle for the flap, I used my embroidery software, Embrilliance, to delete the other one (if you don't have software you could just skip those steps on your machine). The second photo shows the single triangle ready to stitch.
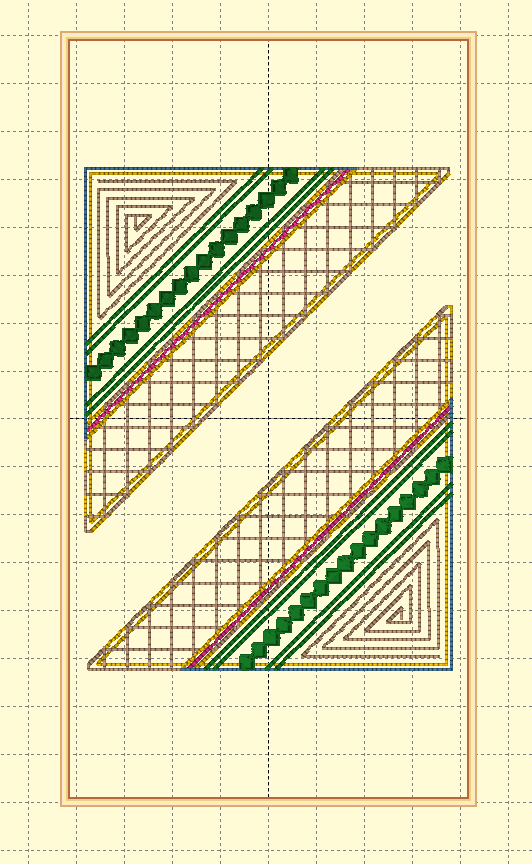
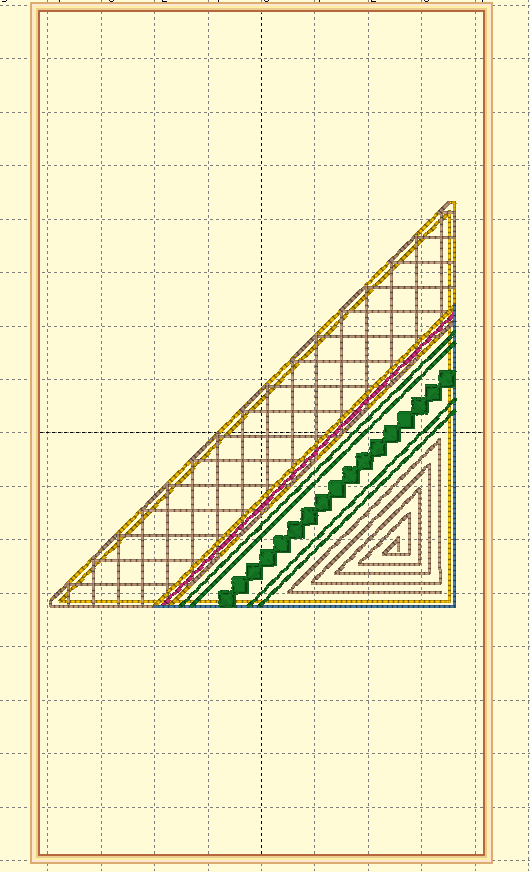
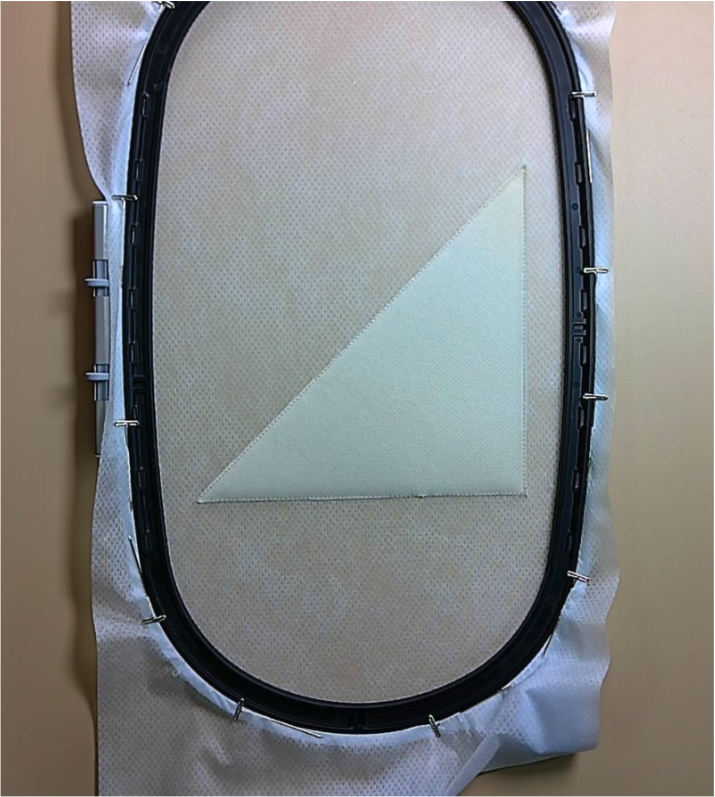
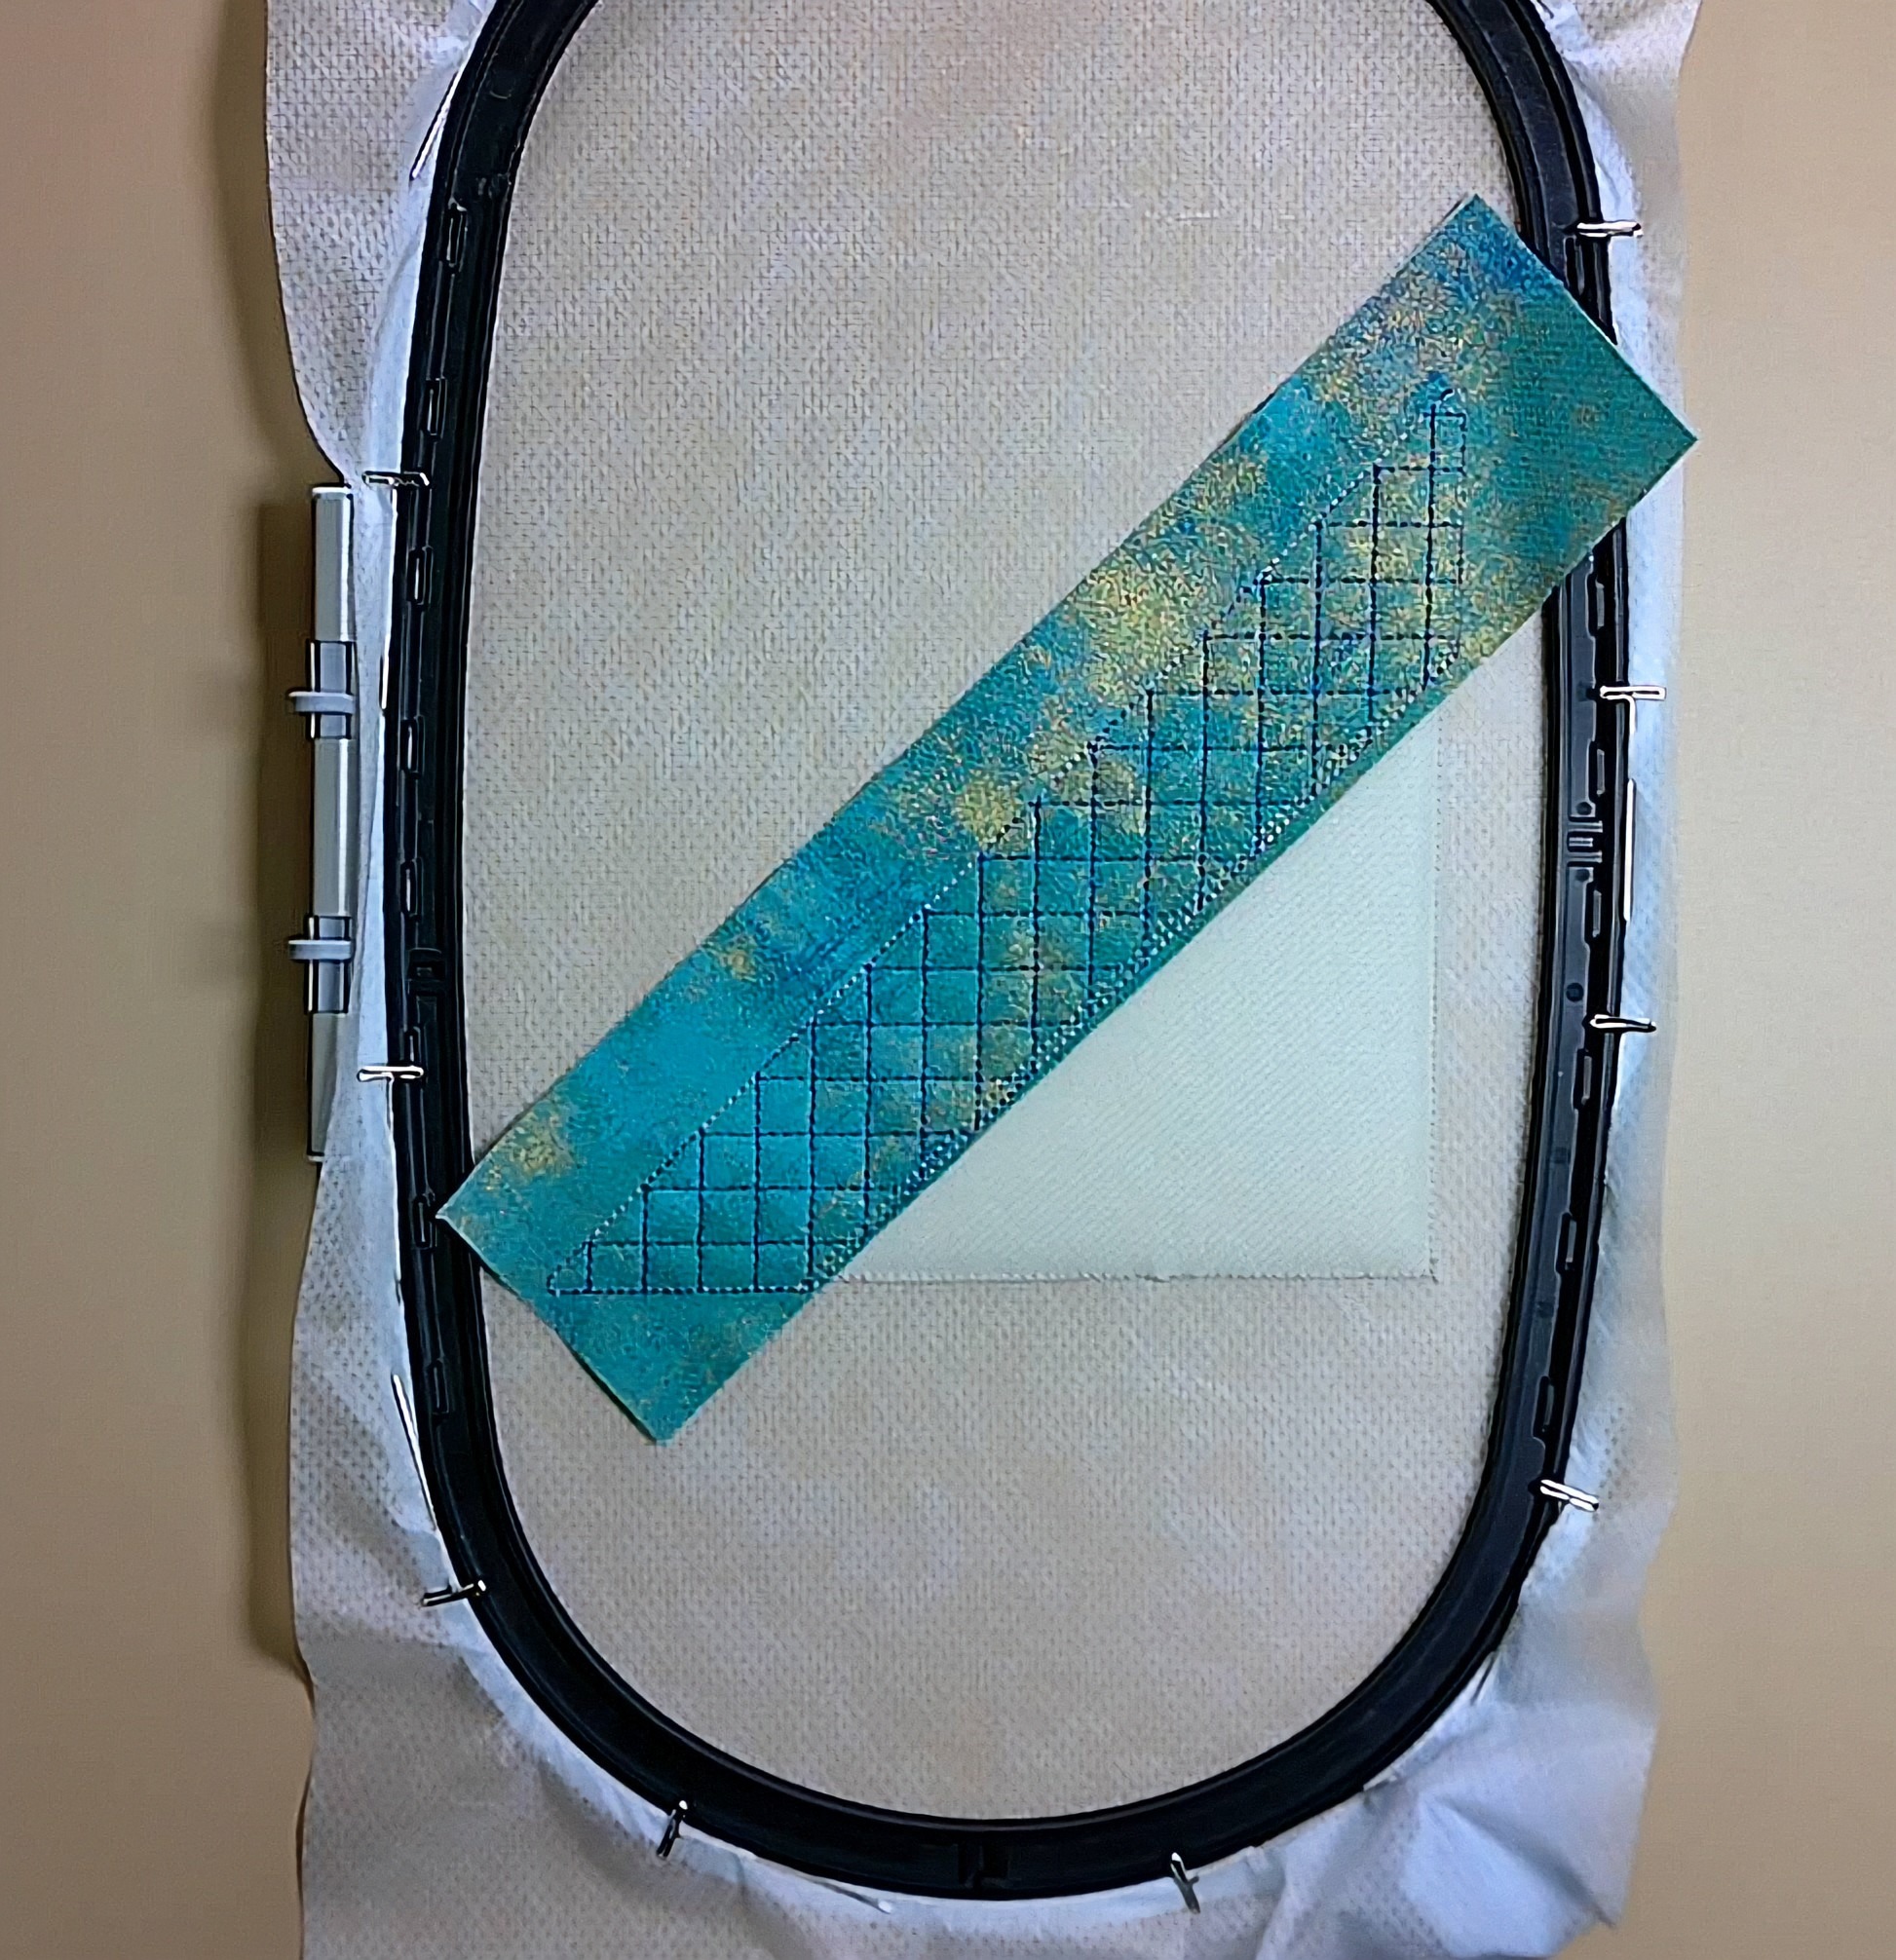
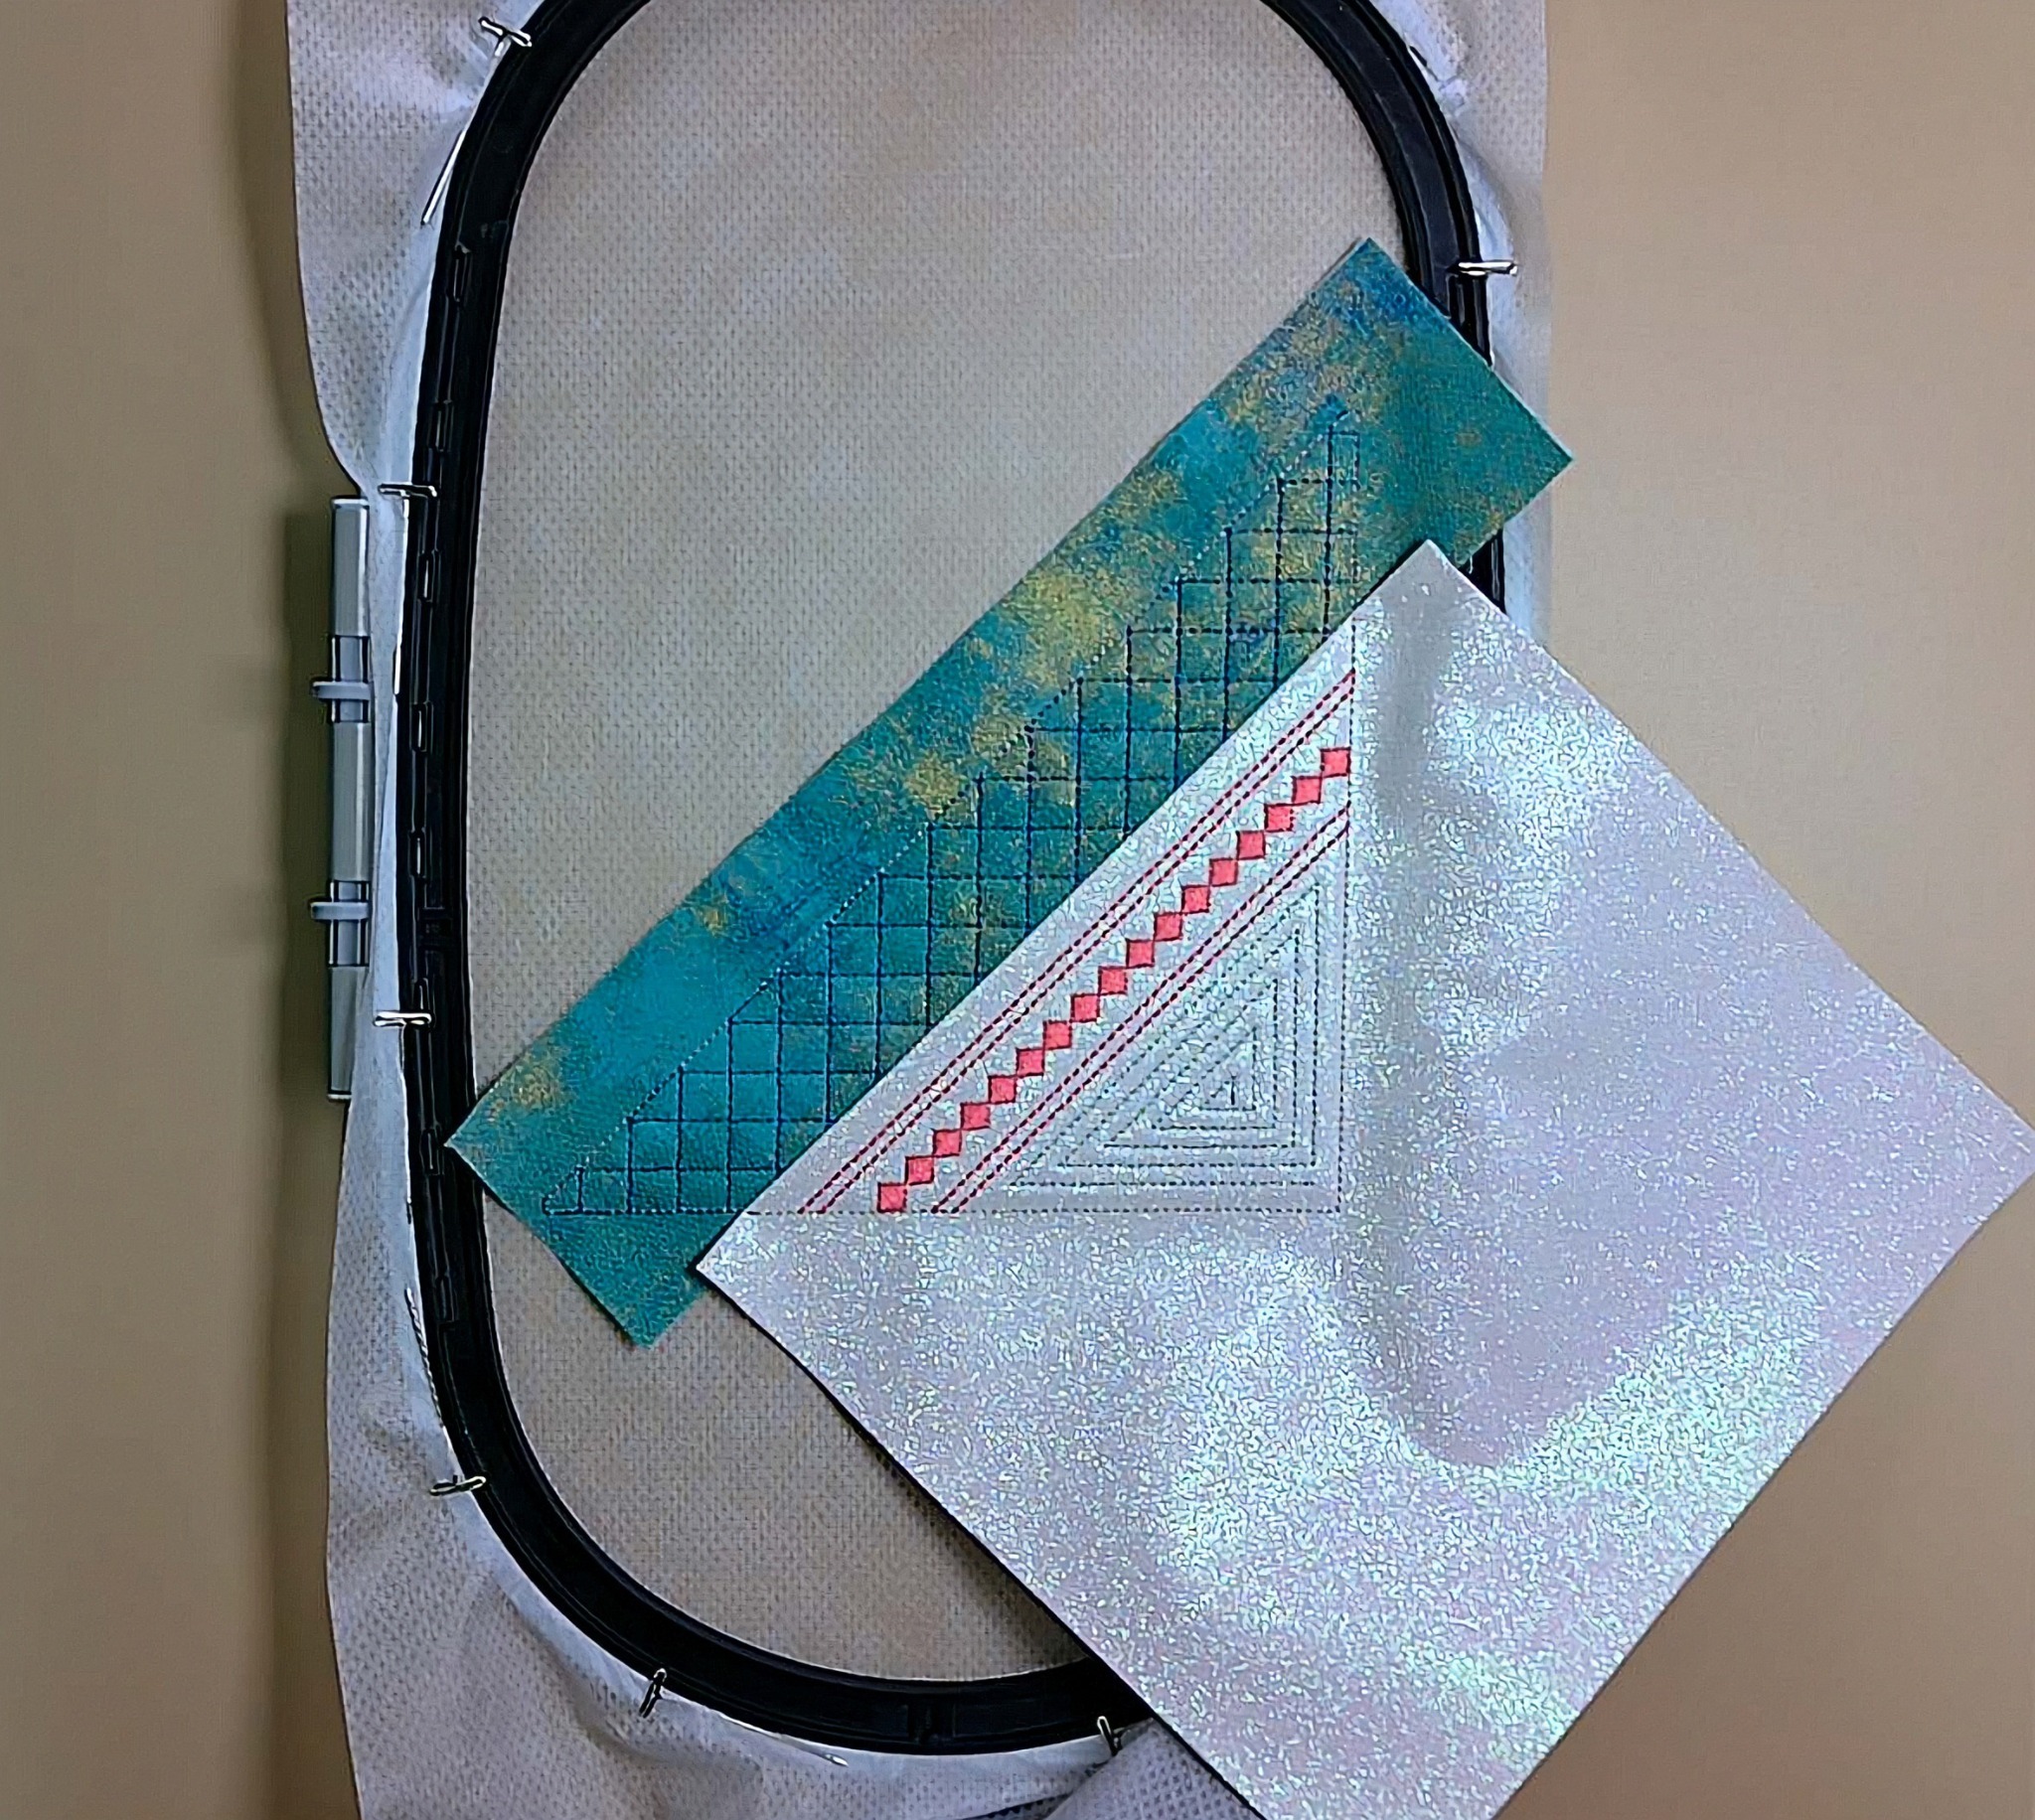
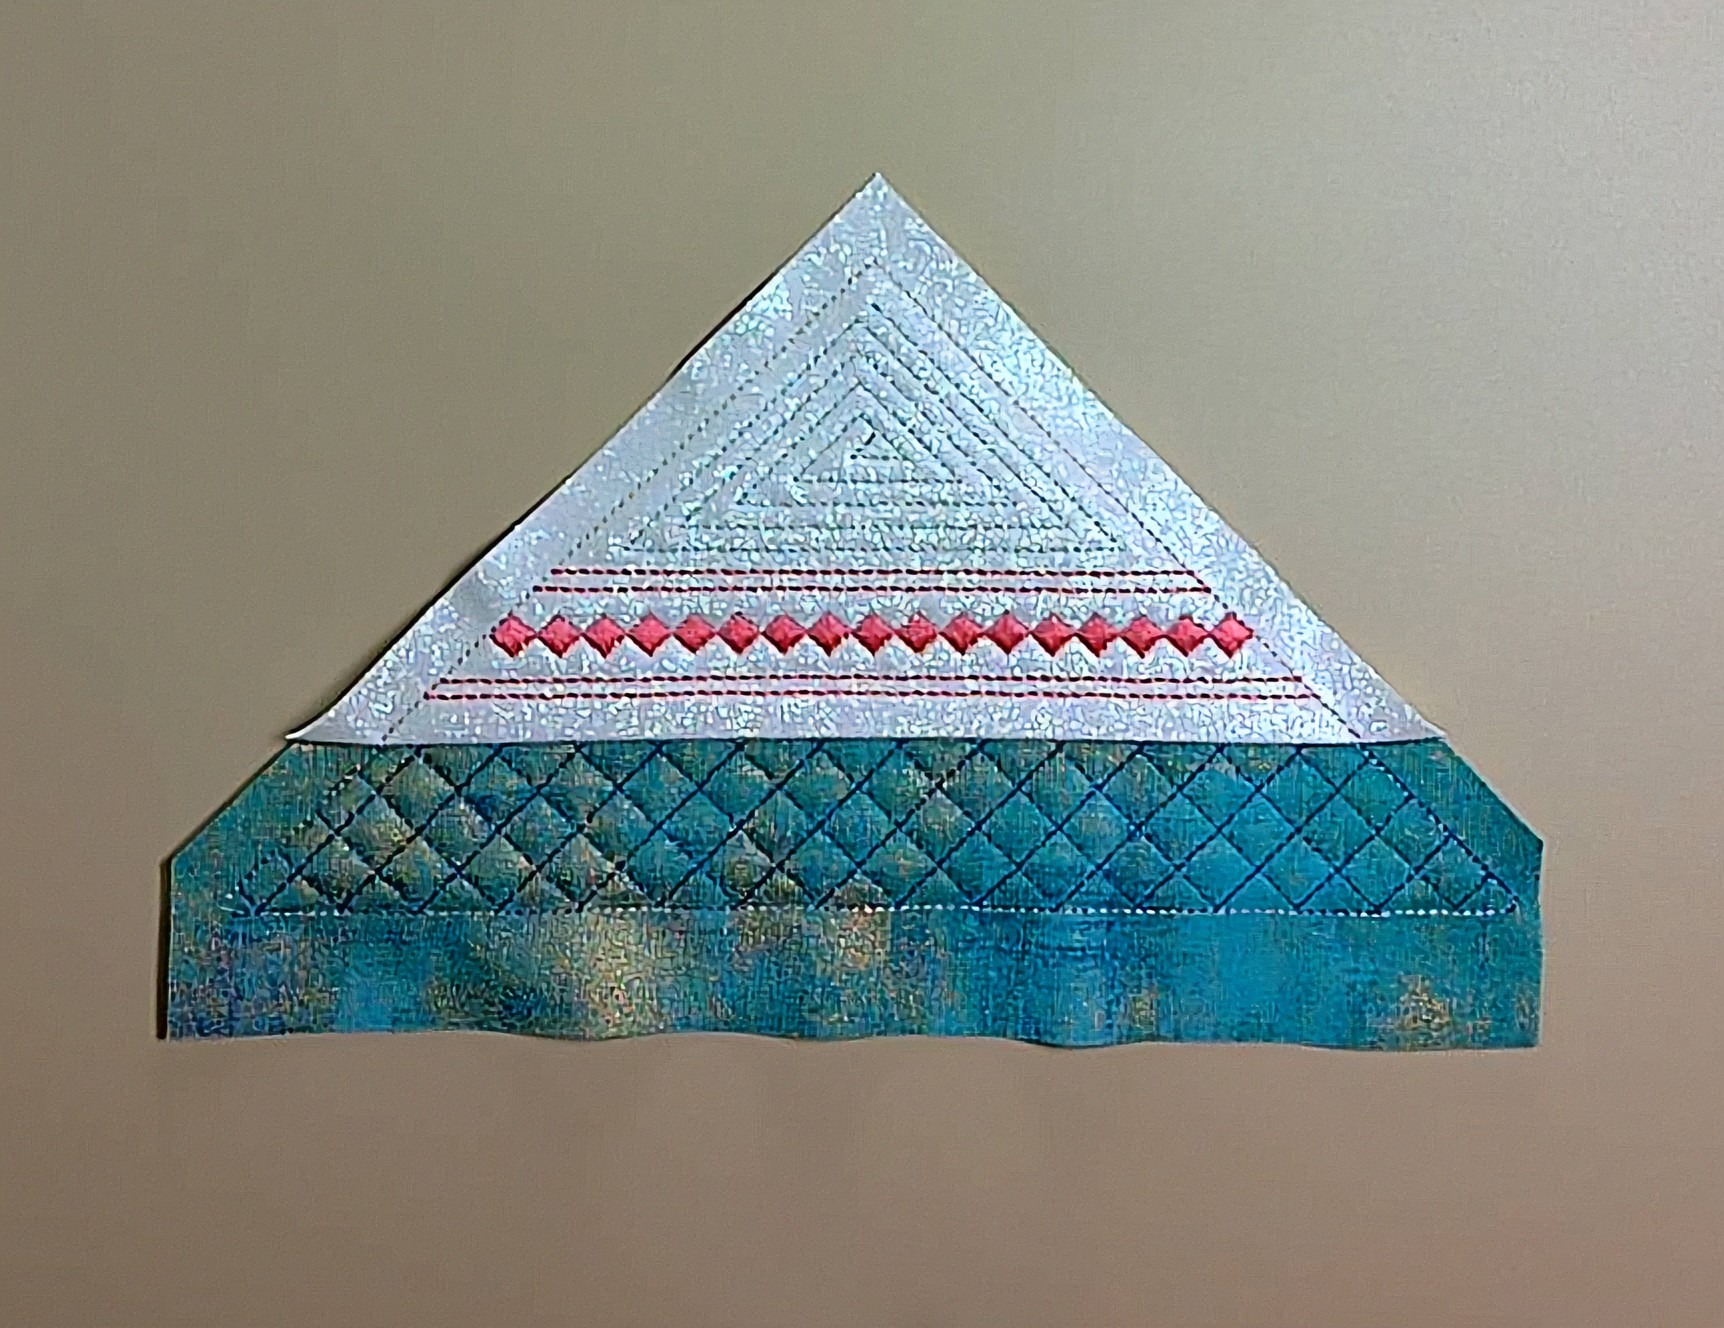
Once your wedge is complete, trim it, leaving ½” extra fabric along each side and 1” along the bottom. That extra inch at the bottom is where you’ll attach the flap to the bag. I left a little extra fabric there, just to be sure I had enough to work with.
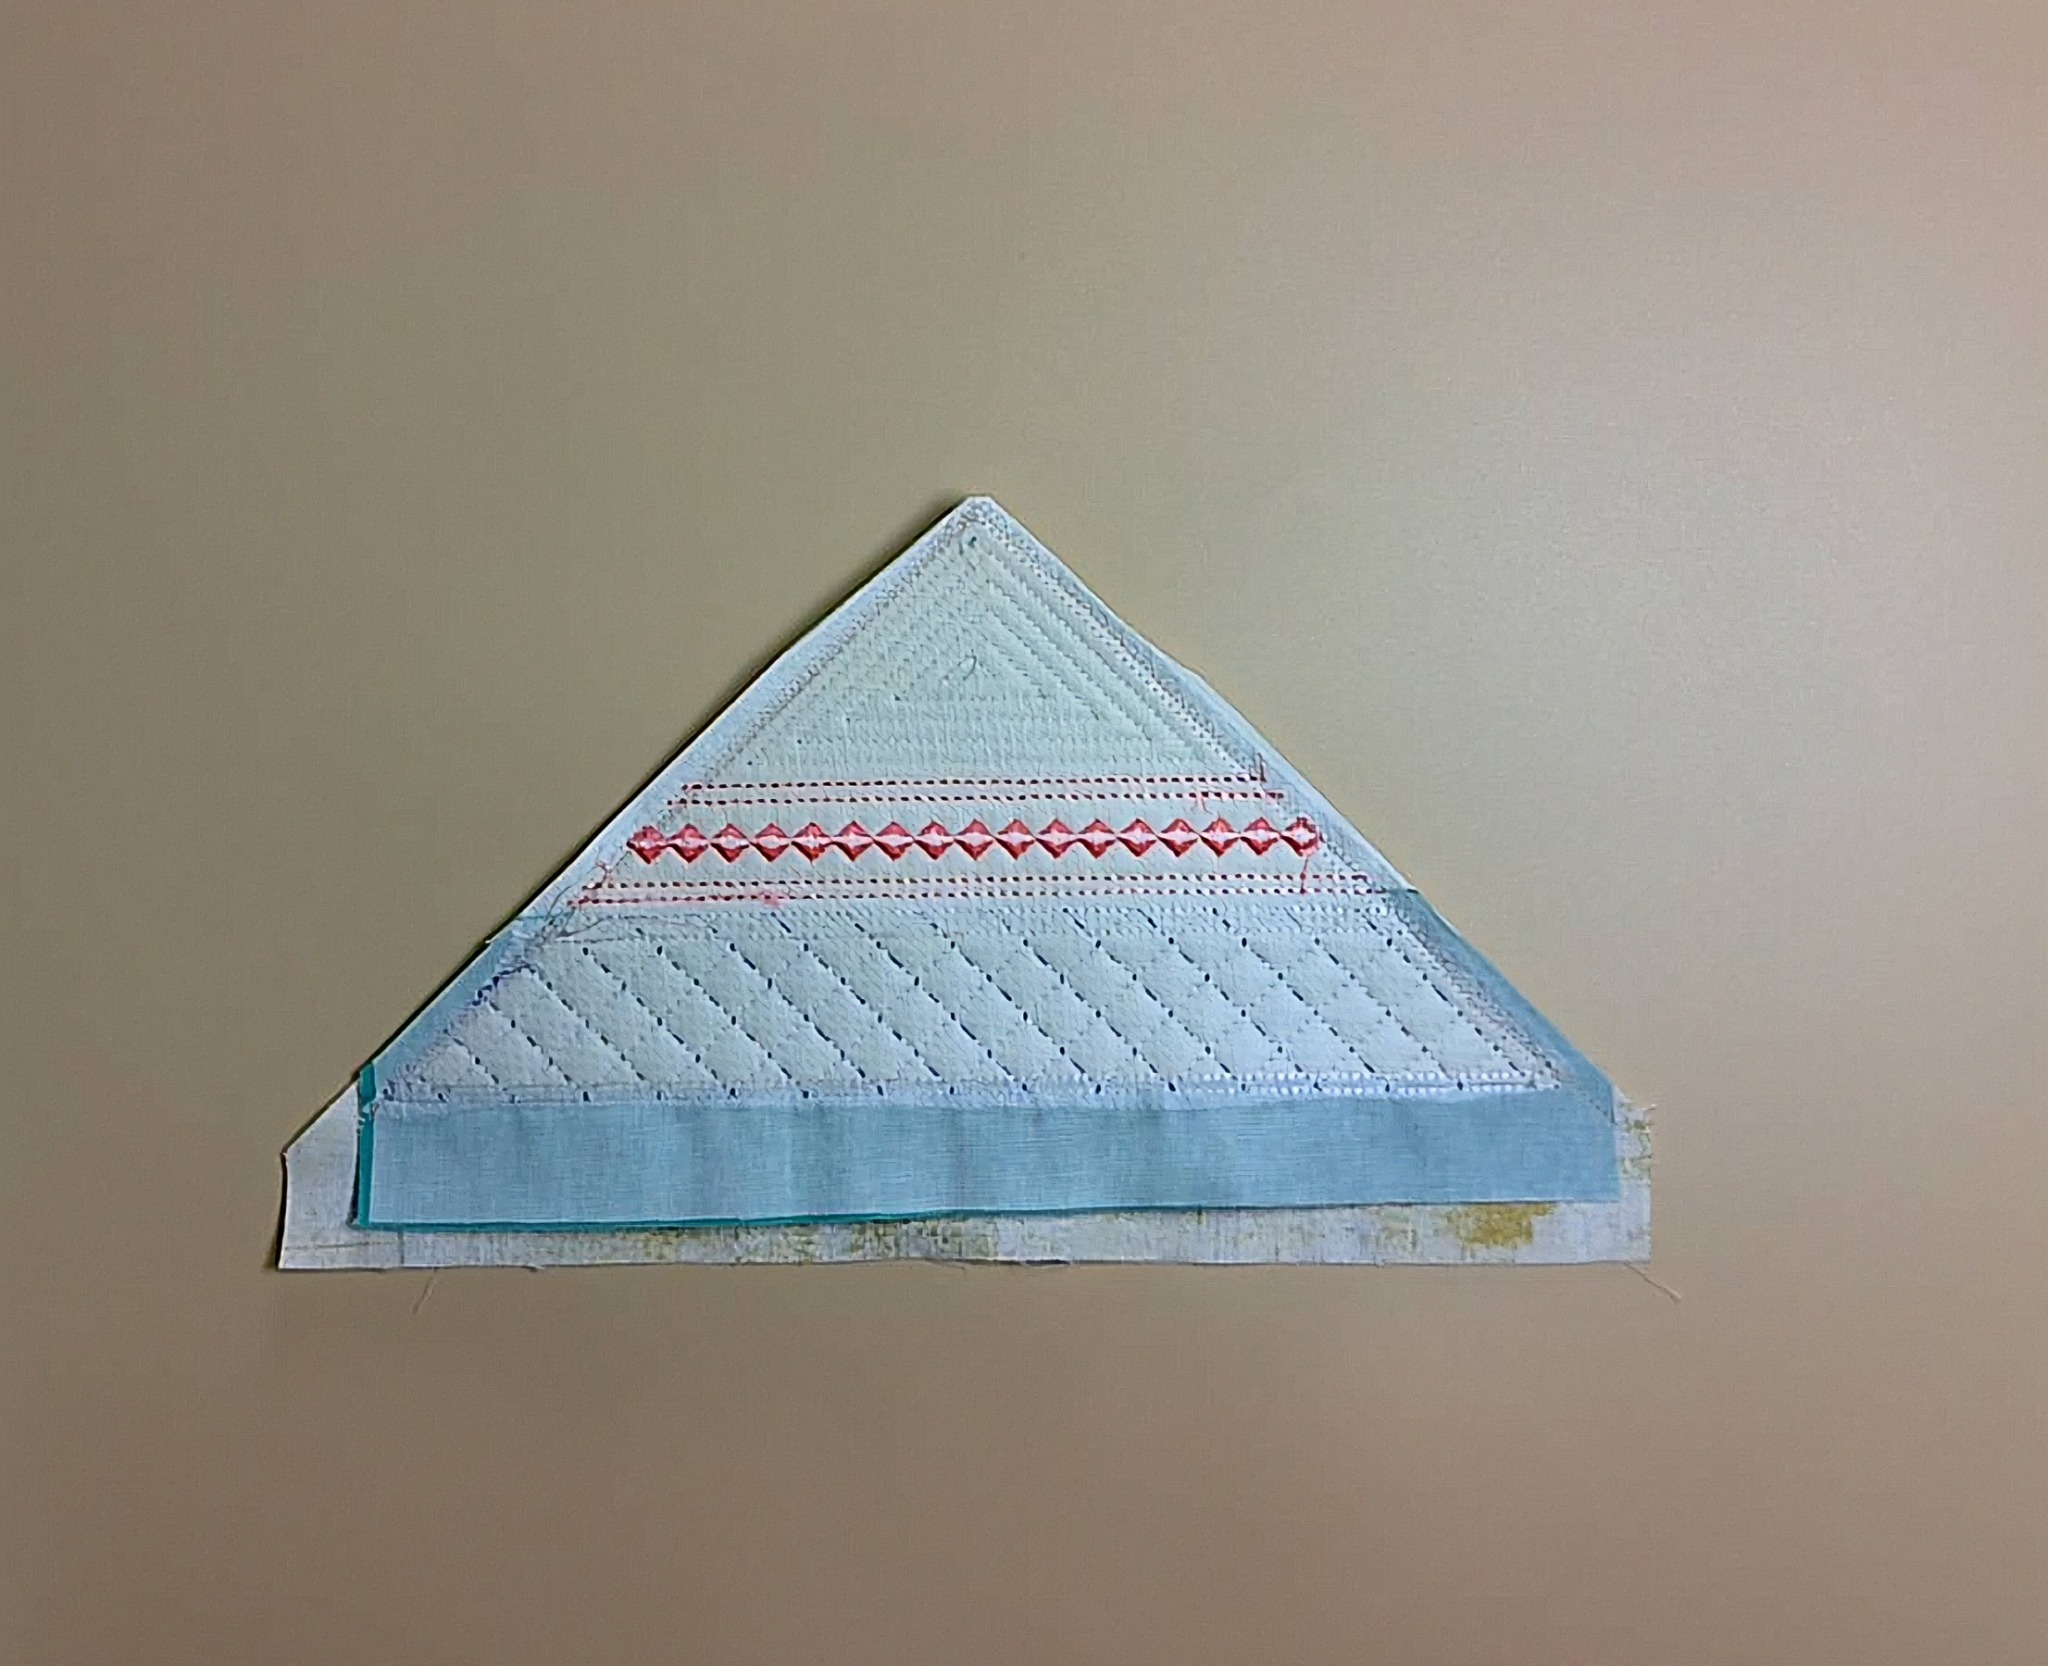
Next, choose the fabric for the back of your wedge. I fused Designs by JuJu+ fuseEZ Fusible Interfacing to it beforehand to reinforce the fabric. Place the backing and embroidered wedge right sides together, then sew along both sides of the wedge, between the batting tack-down and fabric tack-down lines. Leave the bottom open so you can turn it right side out.
Trim the seam allowances along the two sides to ¼”, then carefully trim a little fabric from the point without cutting into the stitches. This helps reduce bulk for a neater point when you turn the wedge right side out.
Then attach the male portion of the magnetic snap closure to the lining fabric on the back of the wedge. The following photos will walk you through this process.
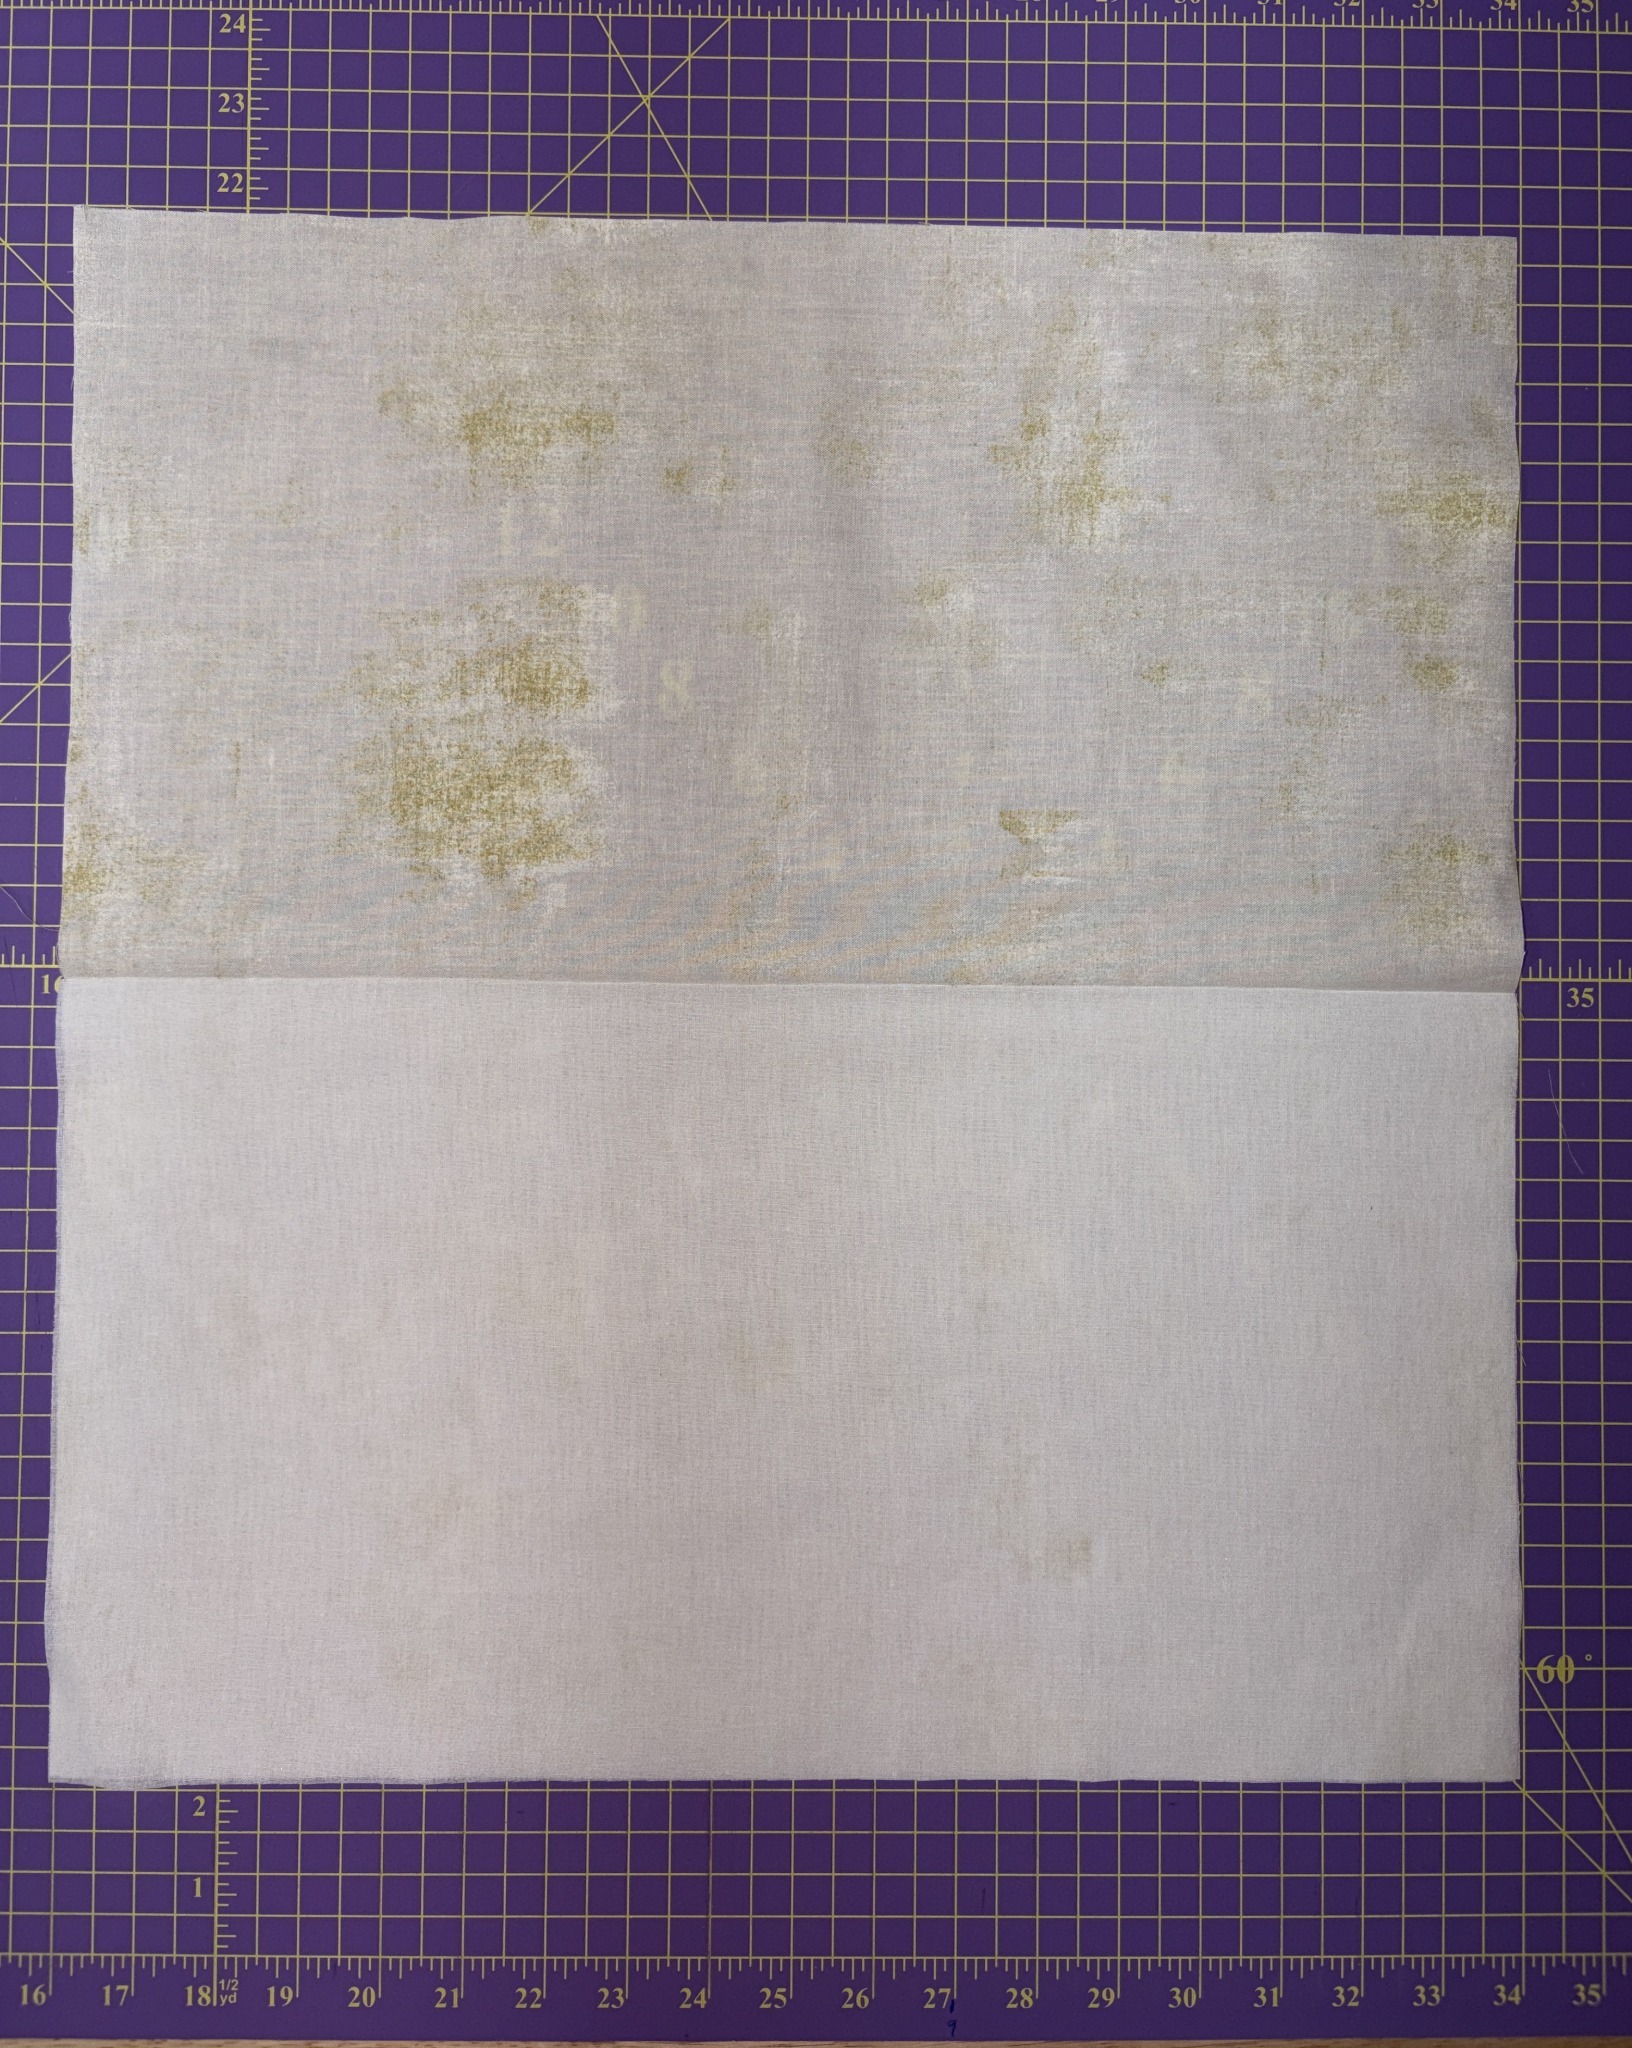
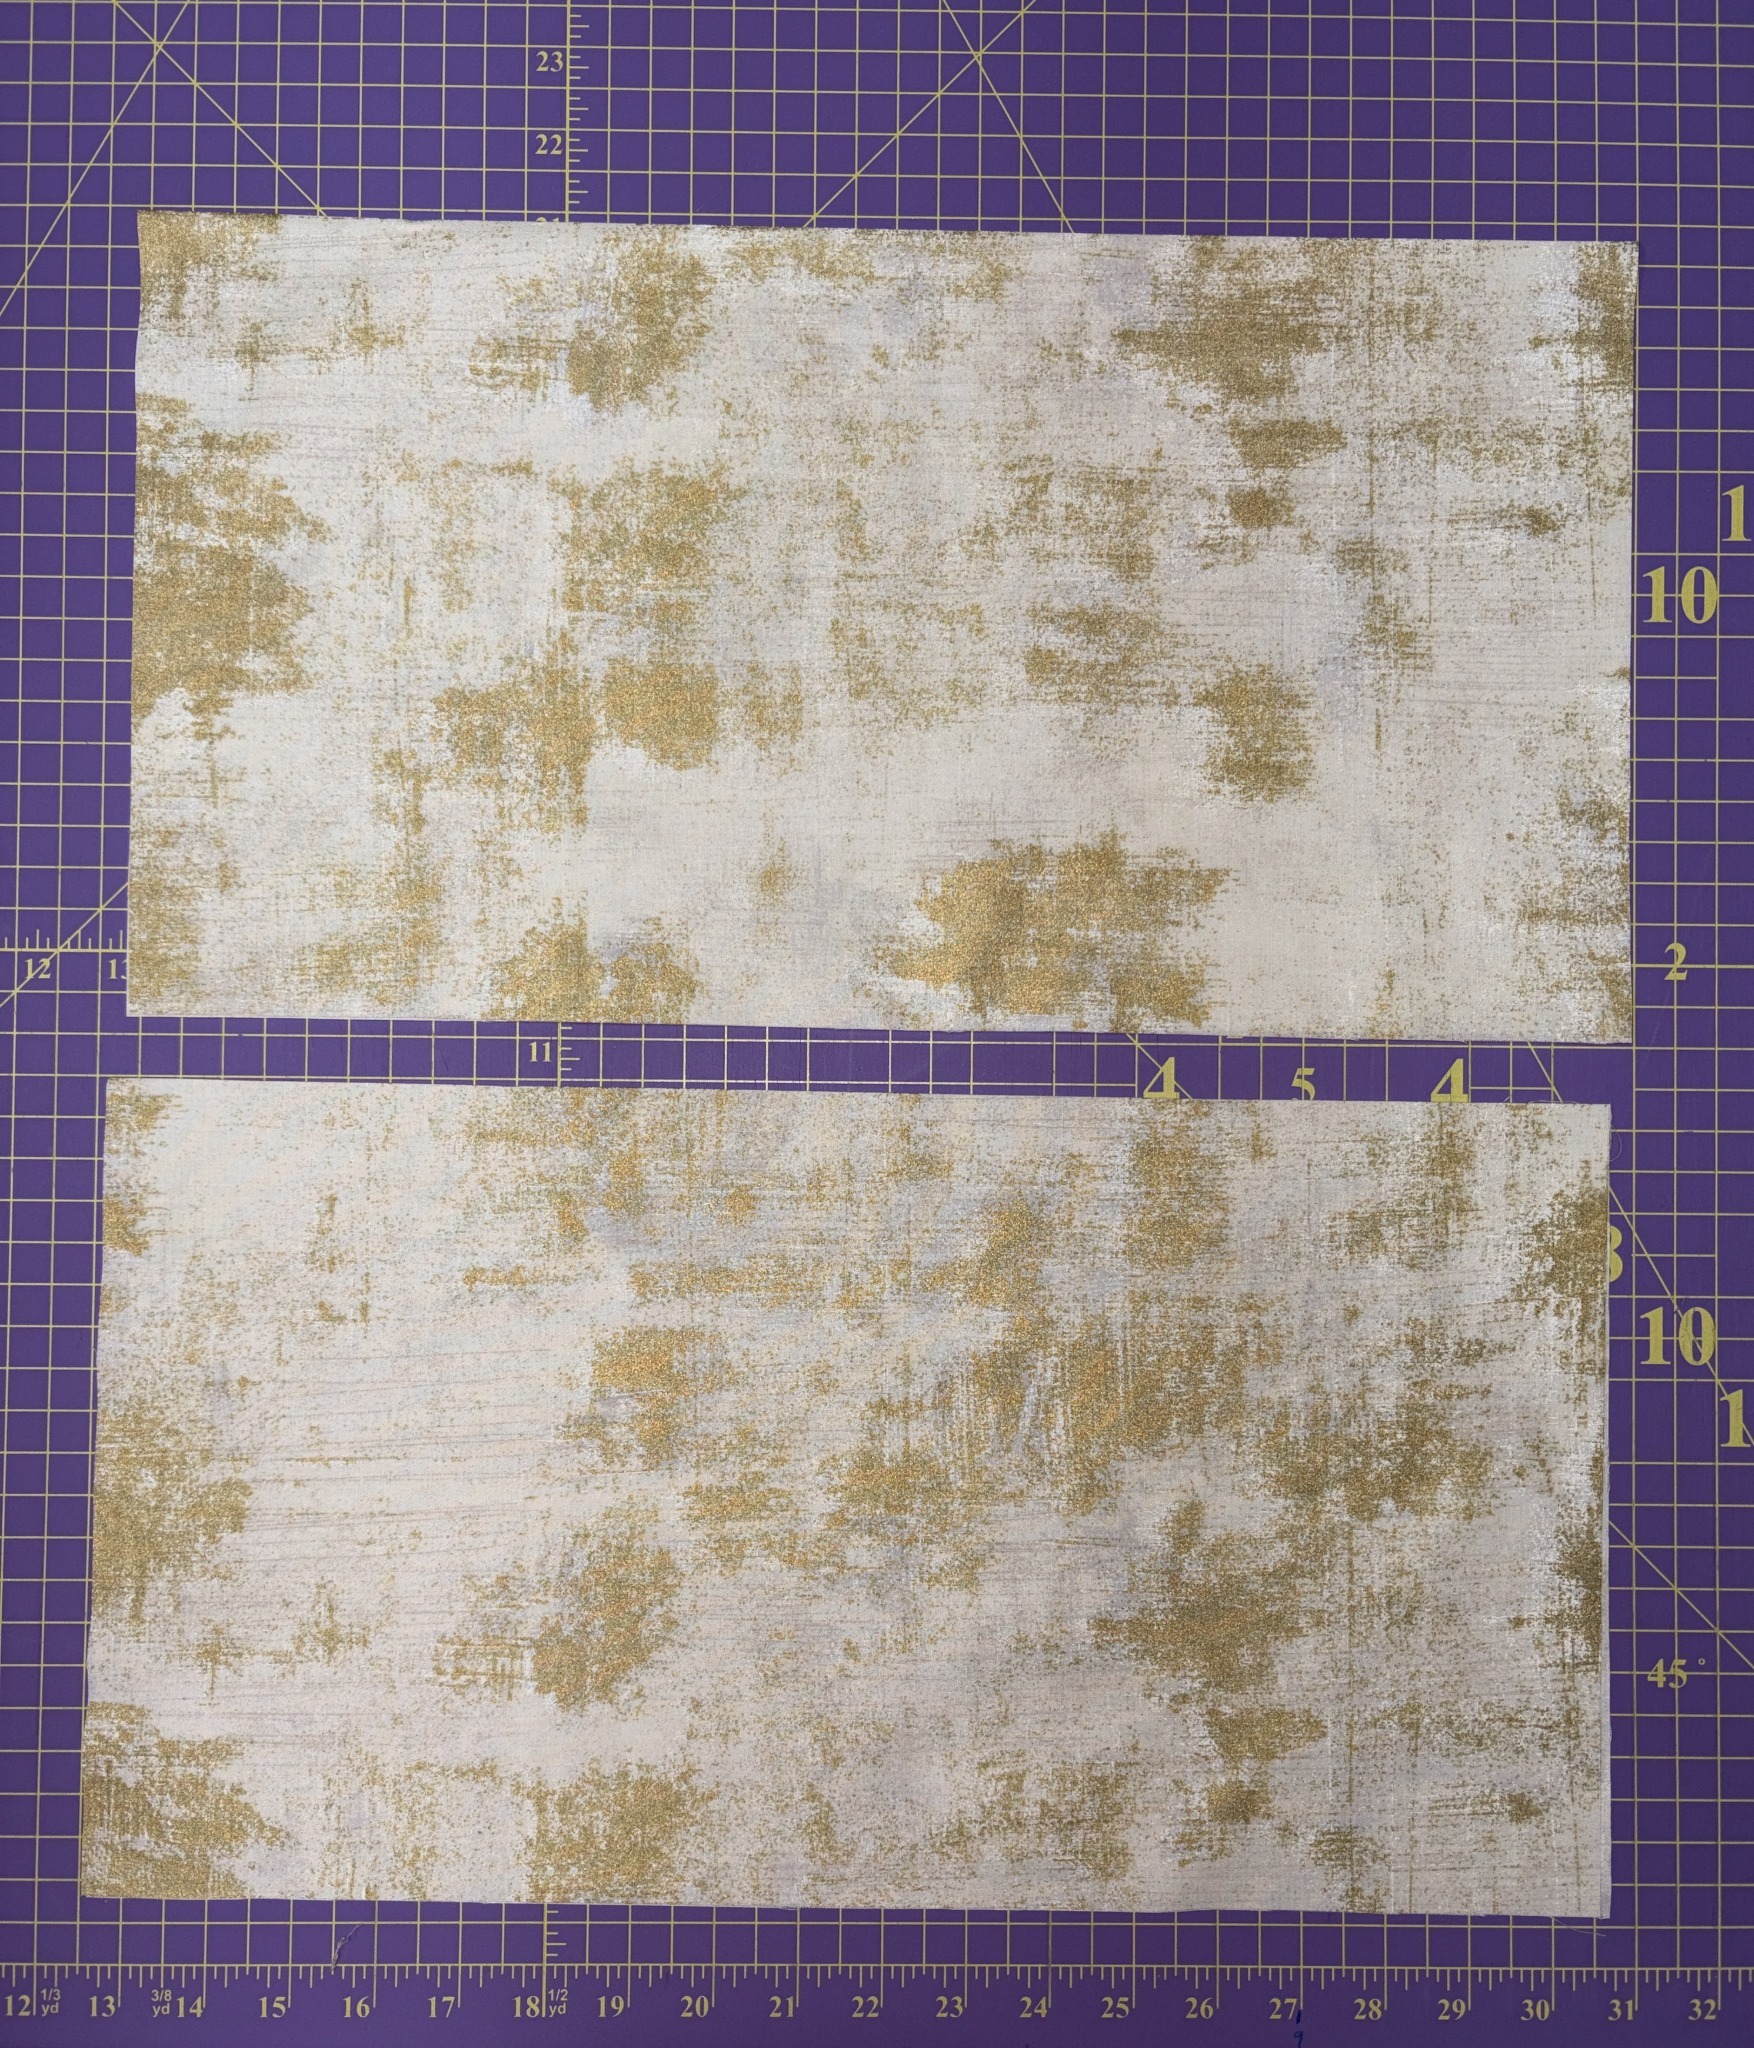
Cut the lining fabric according to the instructions included with your design file download. For the pockets, cut two additional pieces the same size as the lining pieces, then fold each one in half and press the fold.
To reinforce each pocket, cut a piece of Designs by JuJu+ fuseEZ Fusible Interfacing the same size as one half of the folded pocket piece and fuse it to that half. For a finishing touch, fold ByAnnie Fold-Over Elastic over the folded top edge and stitch it in place.
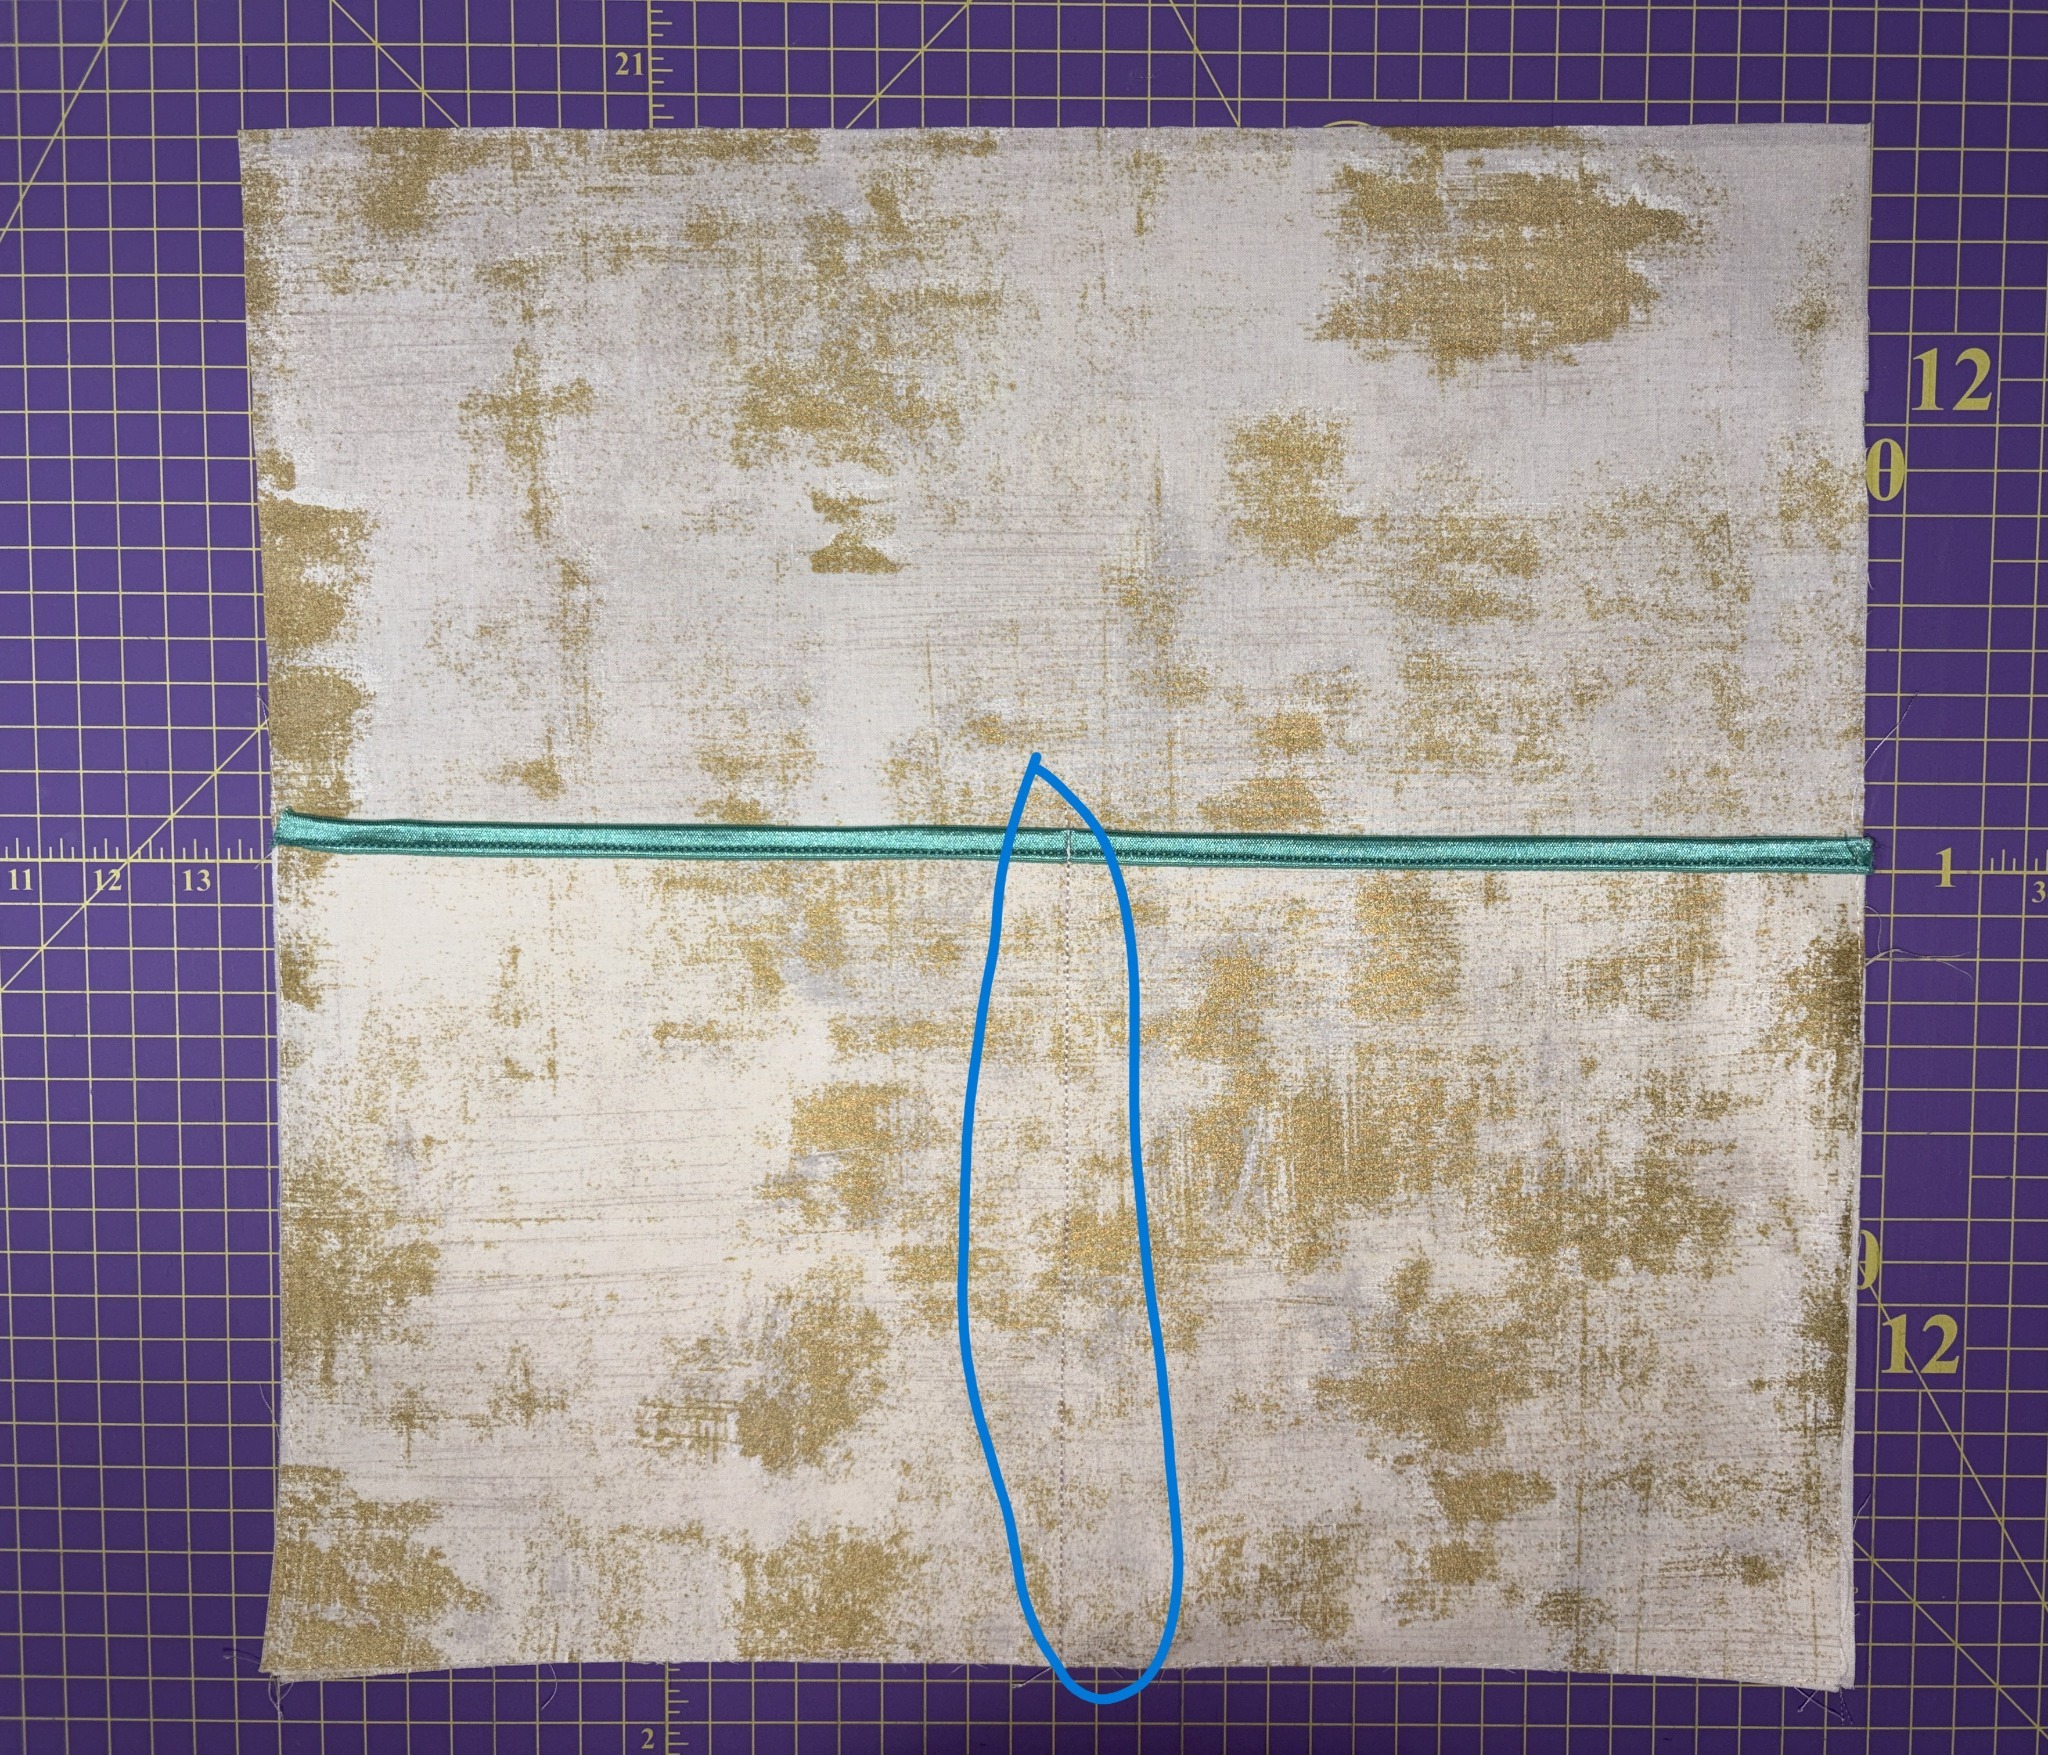
Next, place a pocket on each lining piece and baste around the outside edges with a ⅛” seam allowance to hold it in place. On one pocket, stitch straight down the middle using a reinforced stitch on your sewing machine, starting at the fold-over elastic and continuing to the bottom. This creates two pockets. On the other lining piece, stitch two dividing seams in the same way to create three smaller pockets.
Once the pockets are attached, follow the project instructions to assemble the lining. Place the lining pieces right sides together and sew them using the seam allowance specified in the instructions.
Then turn the lining right side out and follow the cutting instructions to cut the squares for the boxed corners. On each side of the lining, draw a line from the top corner of one cutout square across to the top corner of the other. Carefully stitch along these lines to create a new bottom for the pockets. This makes the pockets a little shallower so they won’t extend into the boxed corners.
Finally, complete the boxed corners and finish the lining according to the project instructions. The lining is then ready to be inserted into the bag following the directions. The following photographs outline this process.
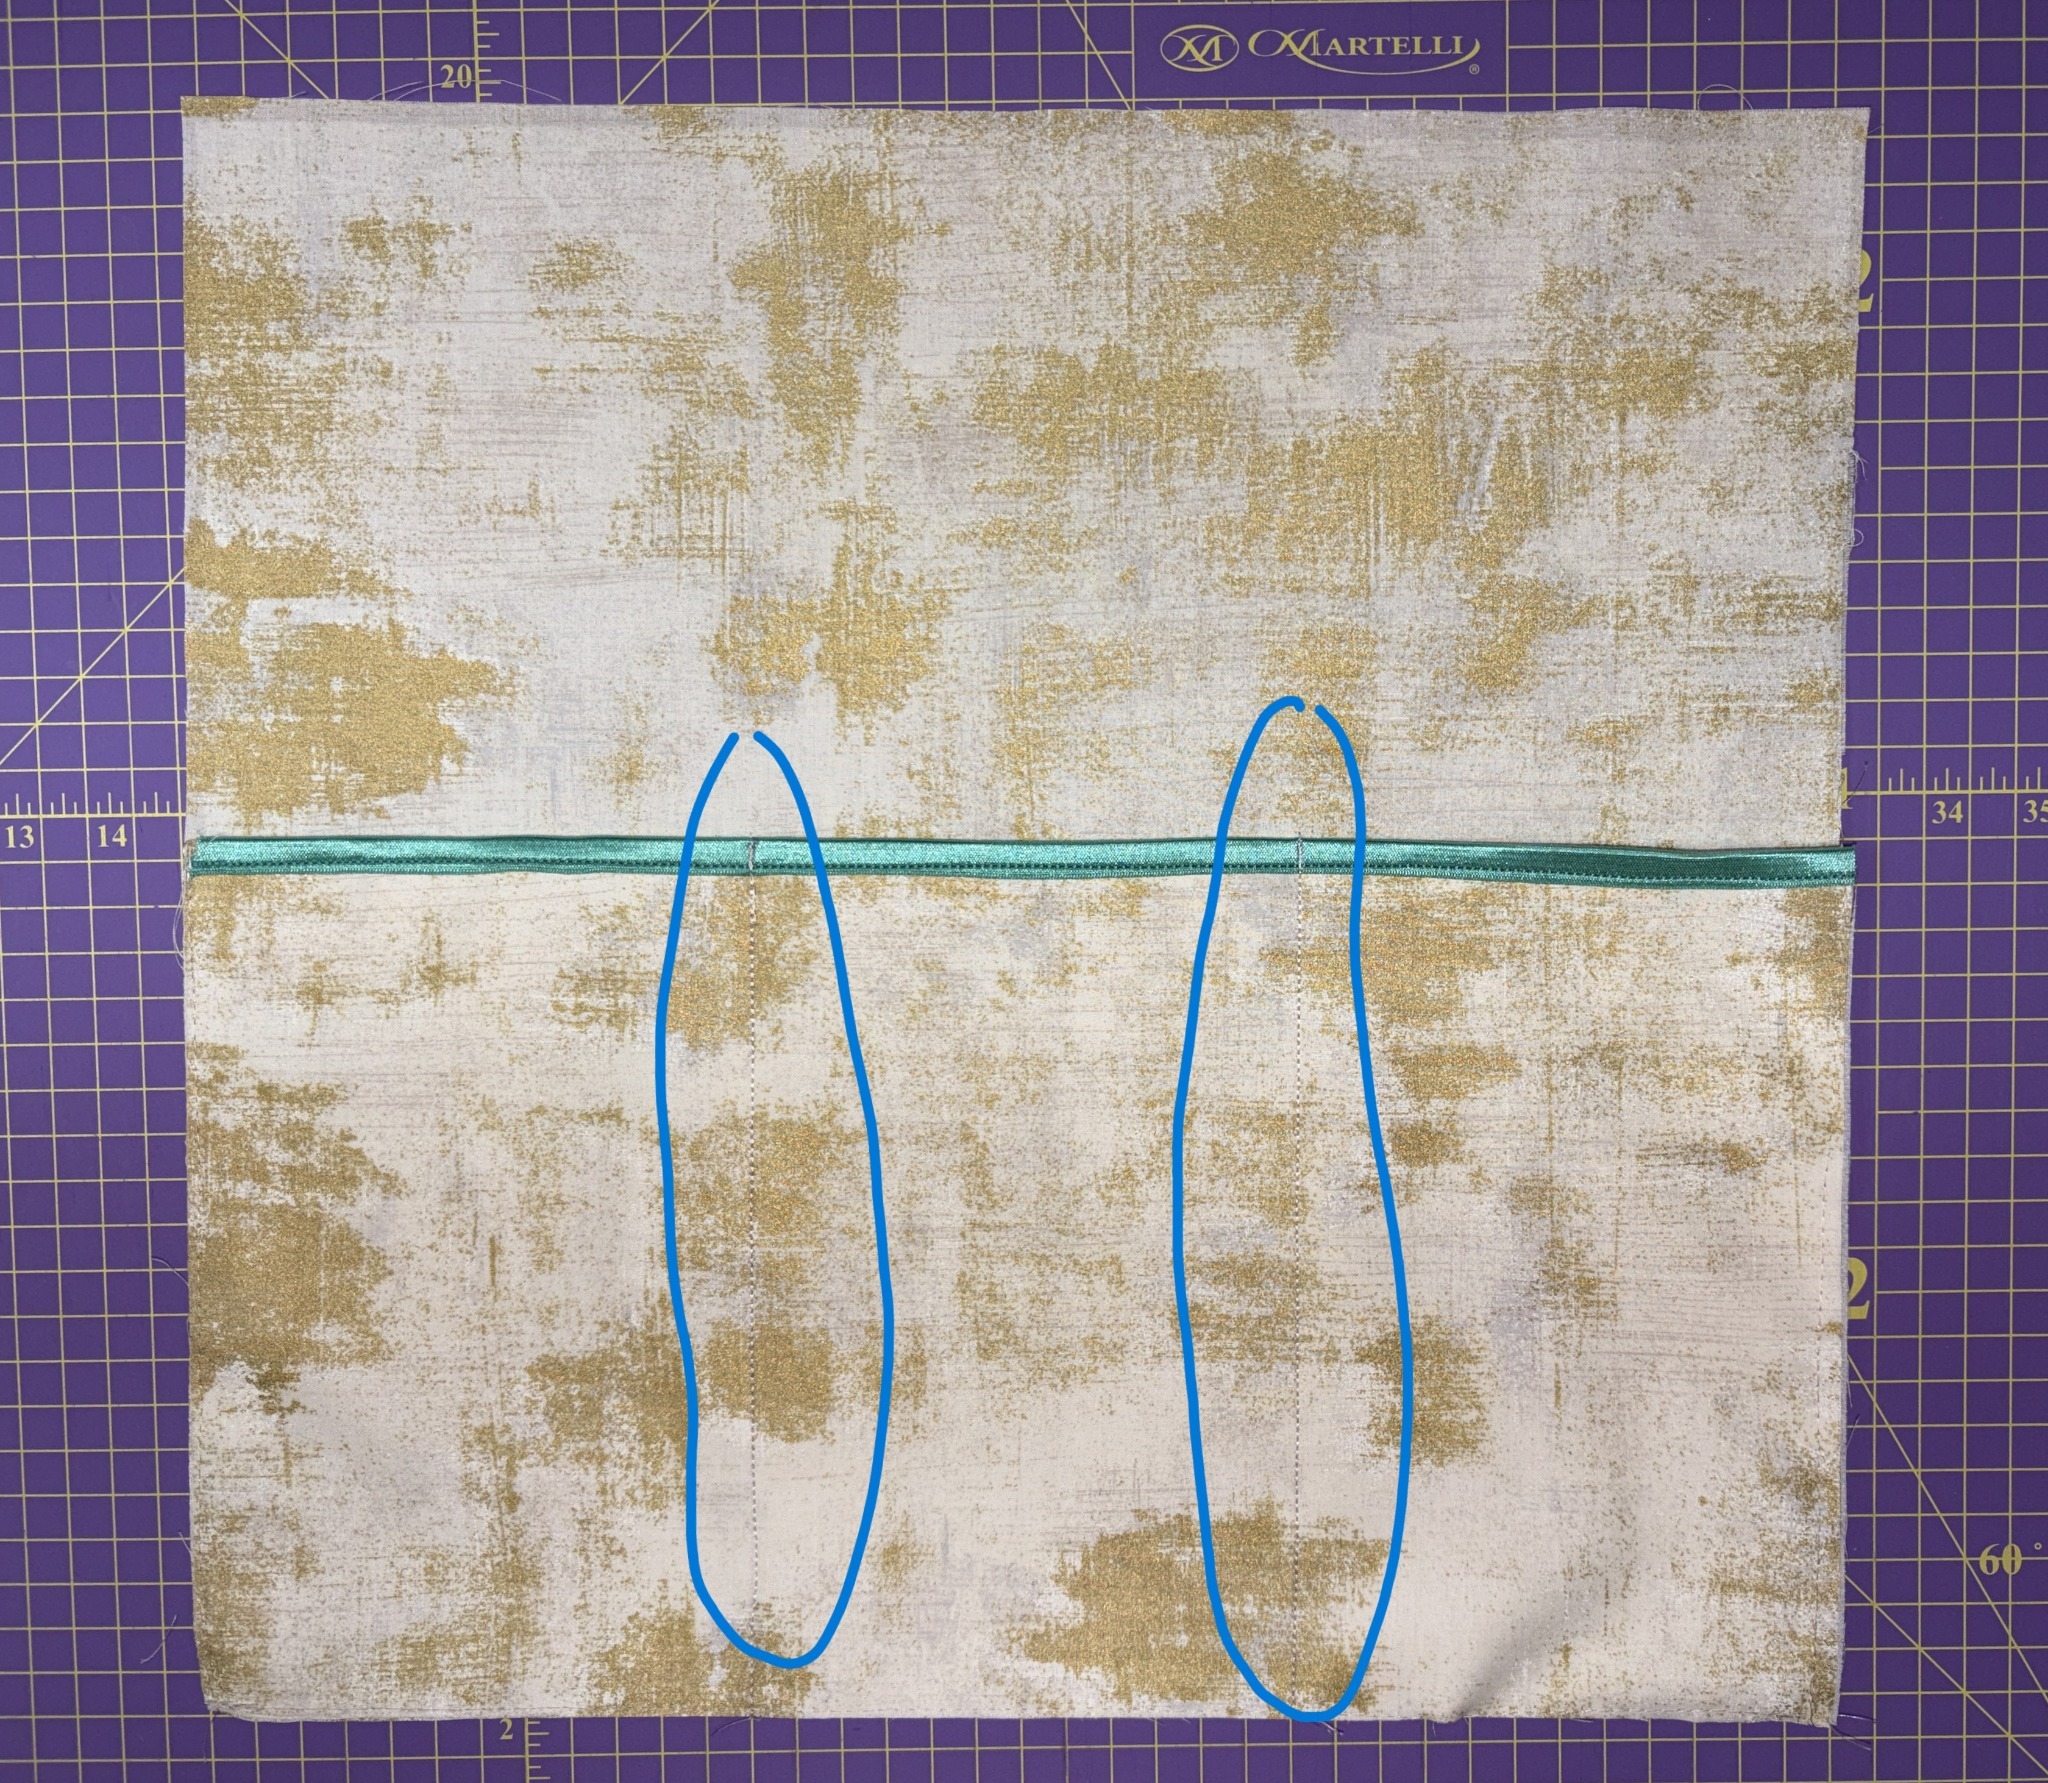
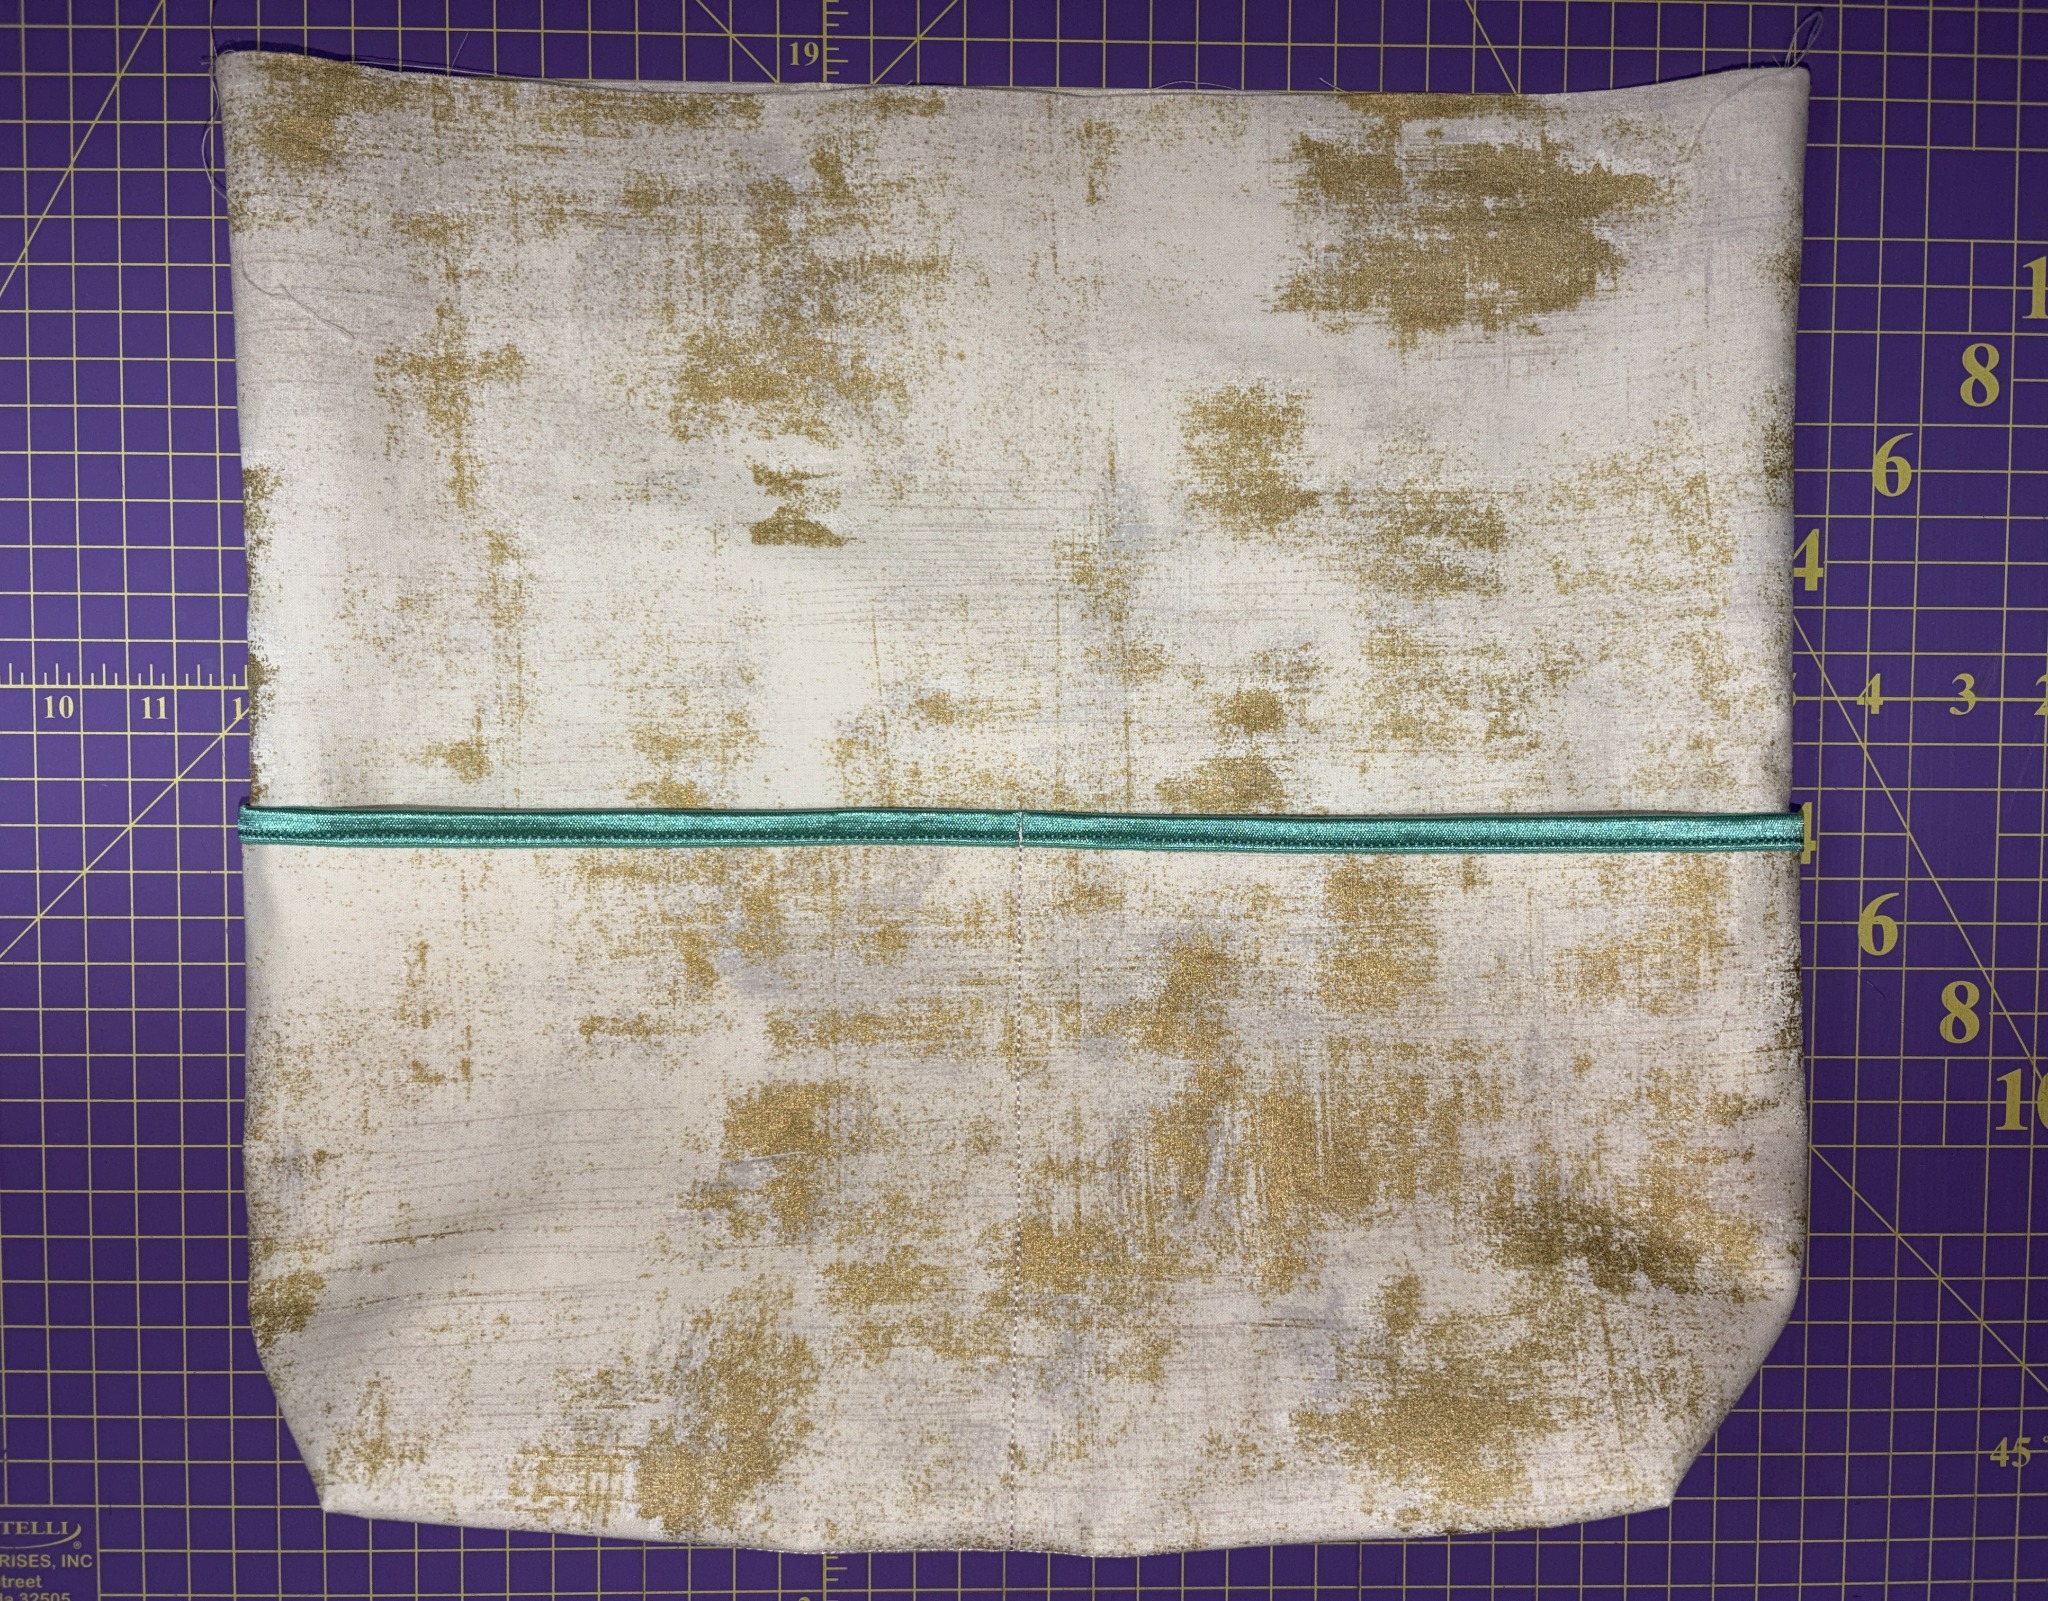
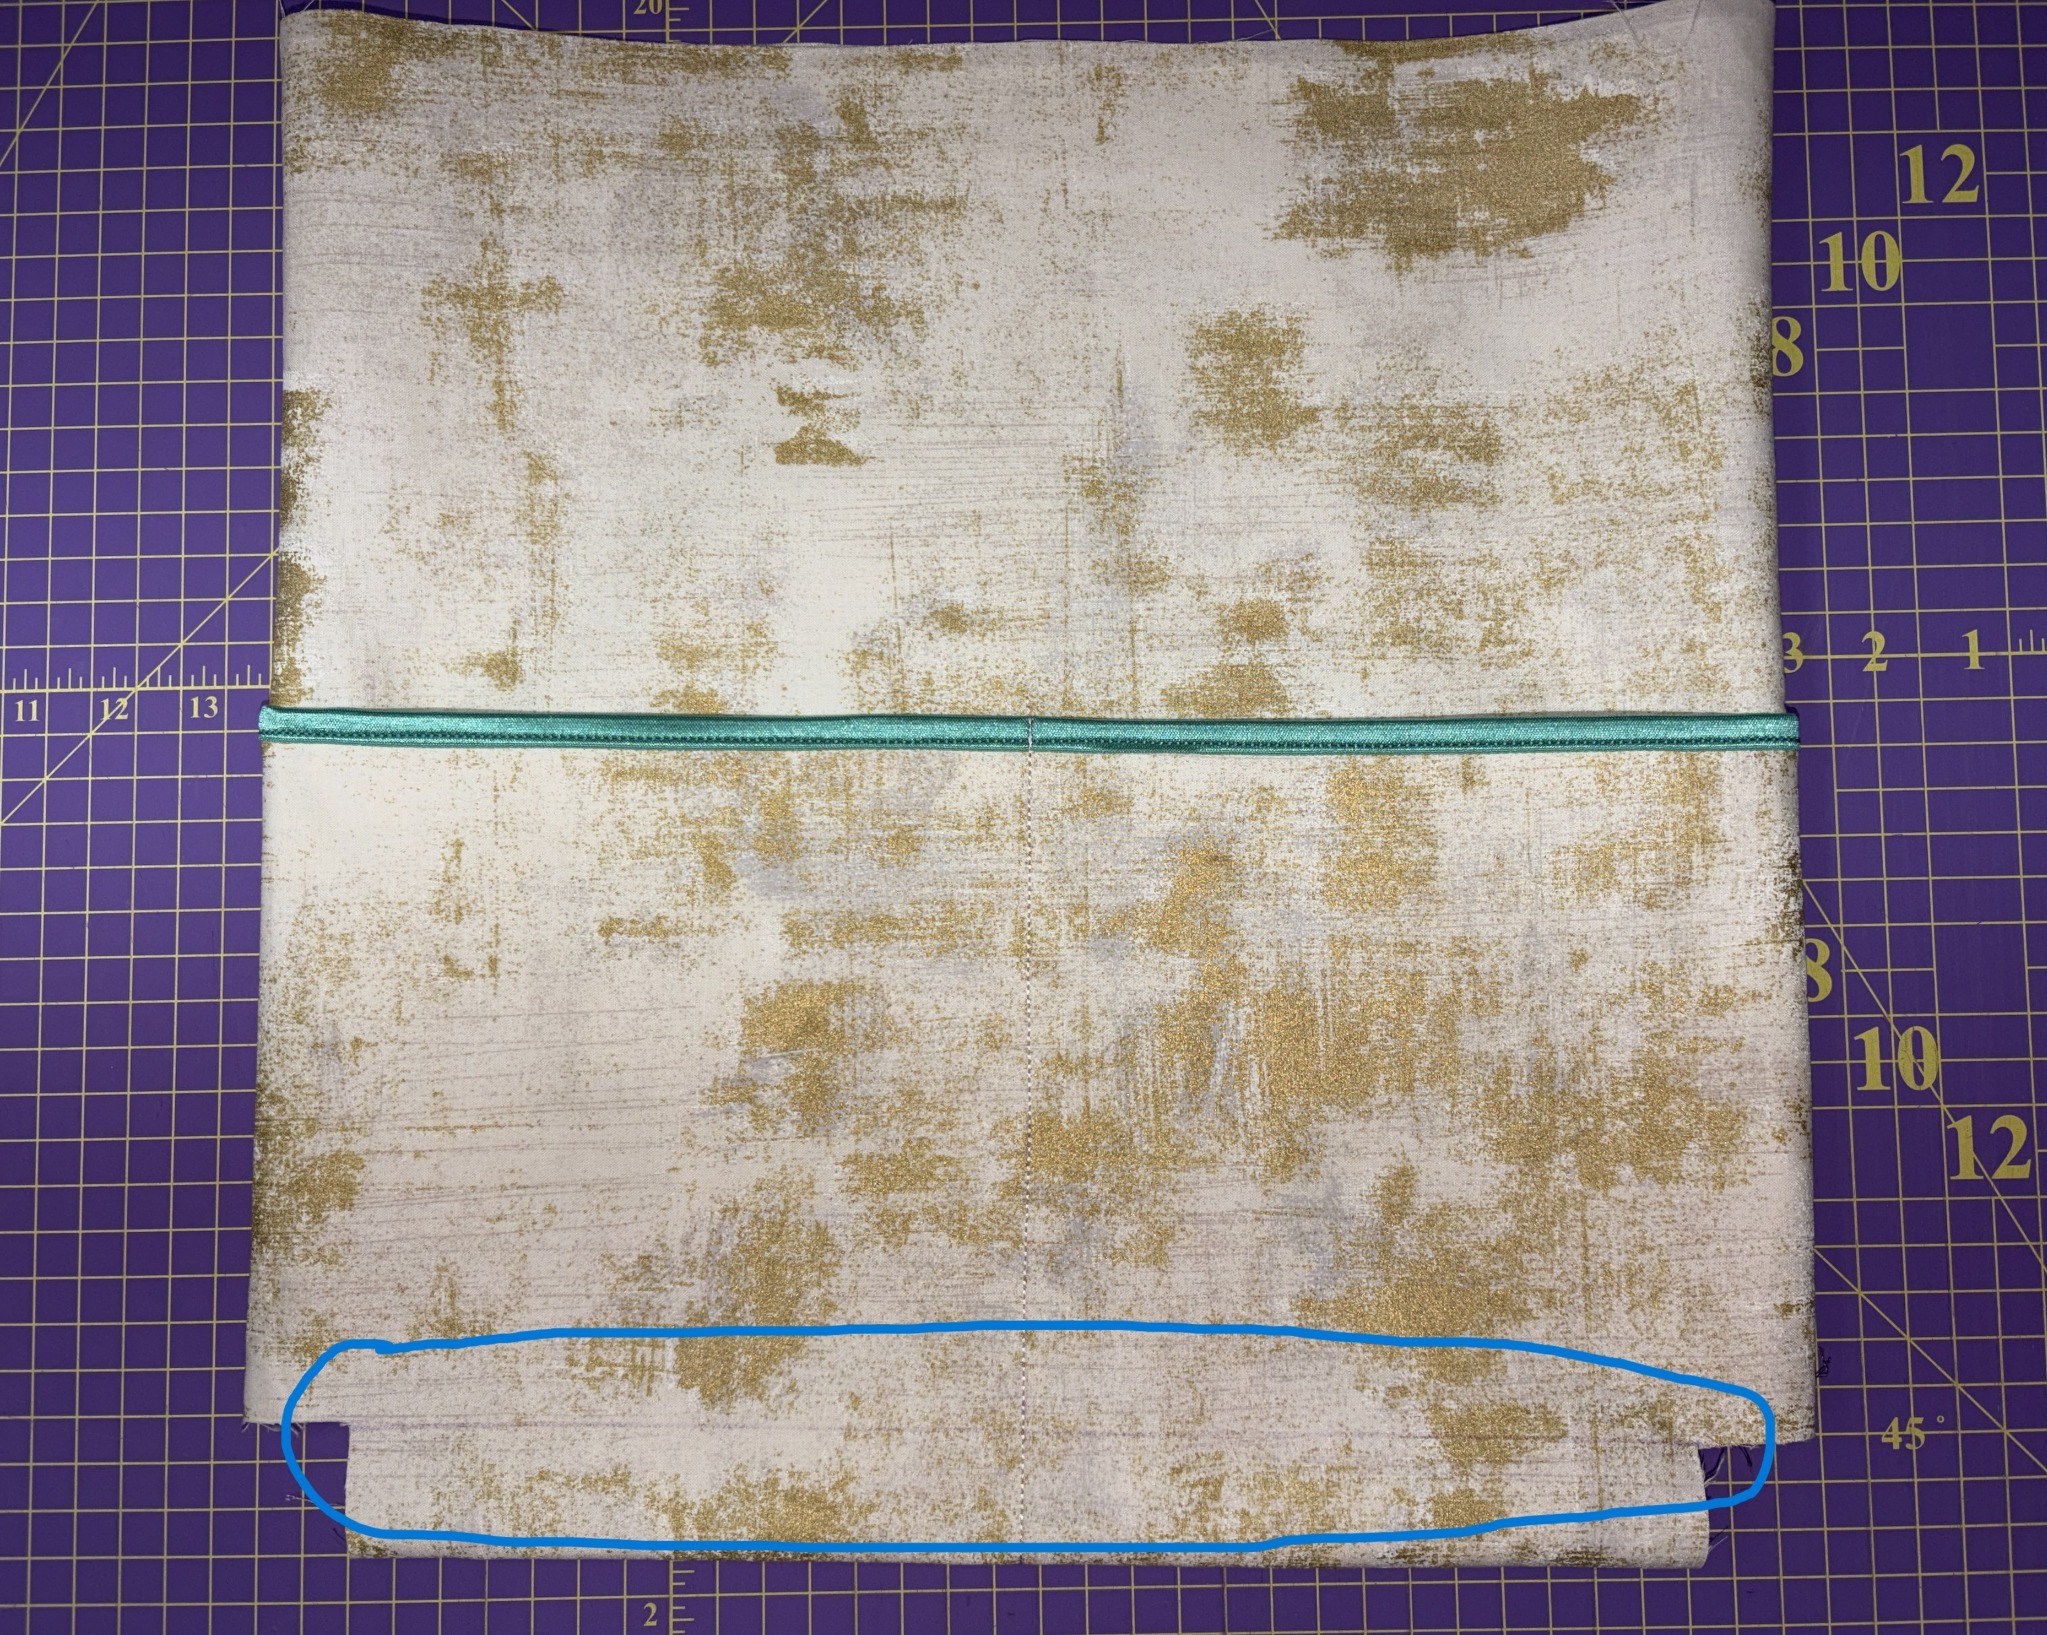
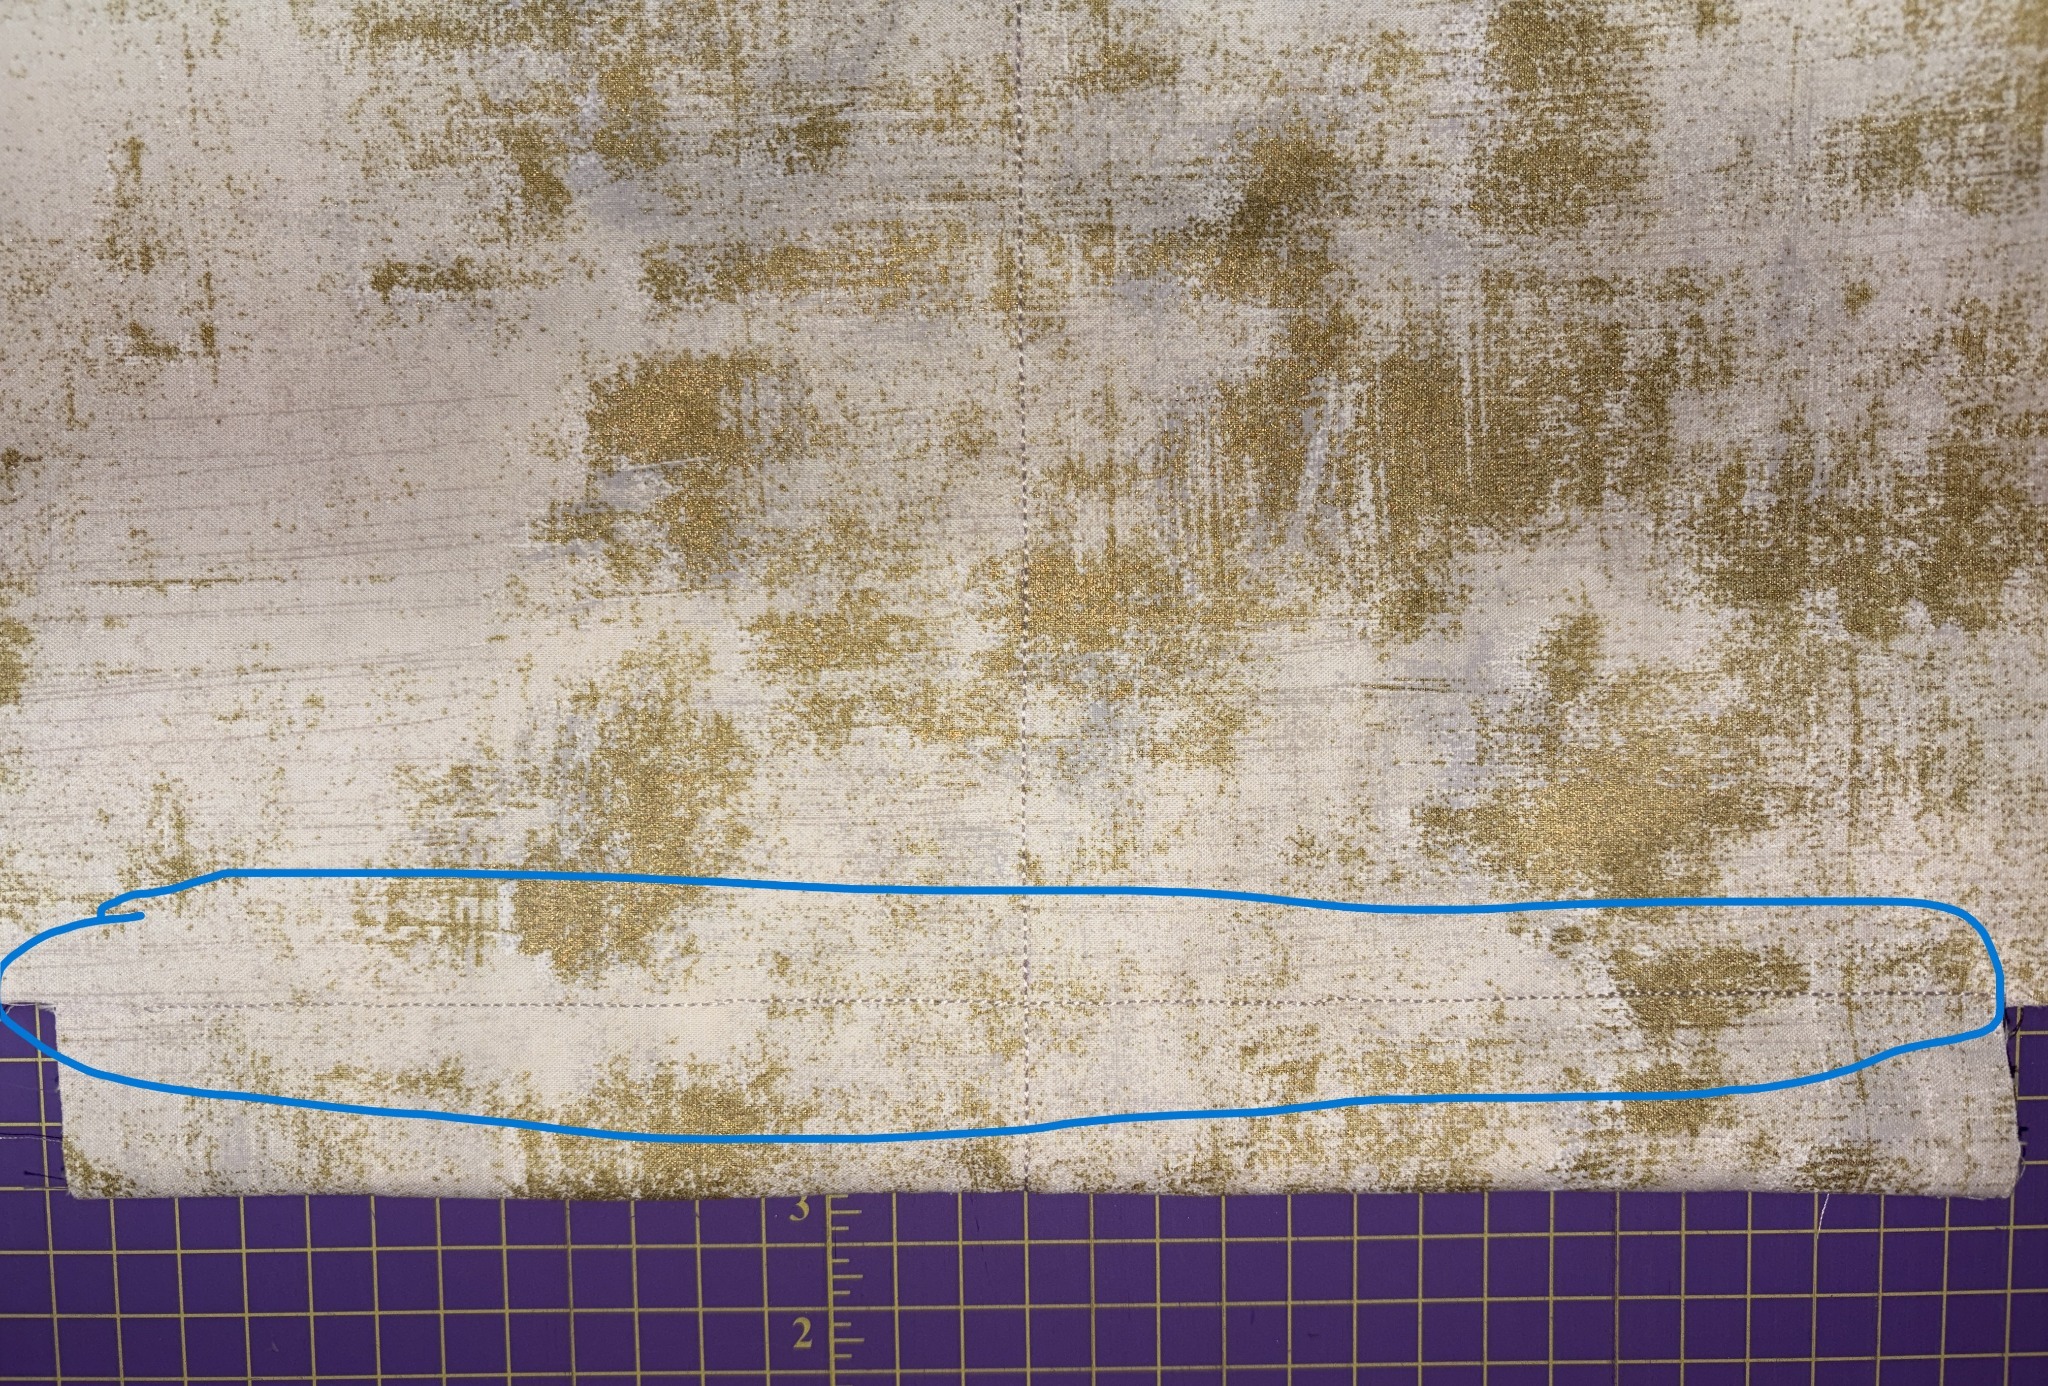
The instructions included with your design file download explain how to attach the handles and add the lining. Before inserting the lining, you will also attach the wedge you made for the bag’s closure.
Attach the handles first, following the project instructions. On whichever side of the bag you choose for the closure, place the wedge over the handles with the embroidered right side facing down. The photo below shows how to position it. Baste the handles and wedge in place, then follow the instructions to add the lining.
I recommend taping the handles and wedge down before adding the lining to help keep them out of the way while you work.
You’ll also need to attach the female portion of the magnetic snap closure to the bag. I placed mine in the center of the top snowflake on the completed block and installed it there, following the manufacturer’s instructions.
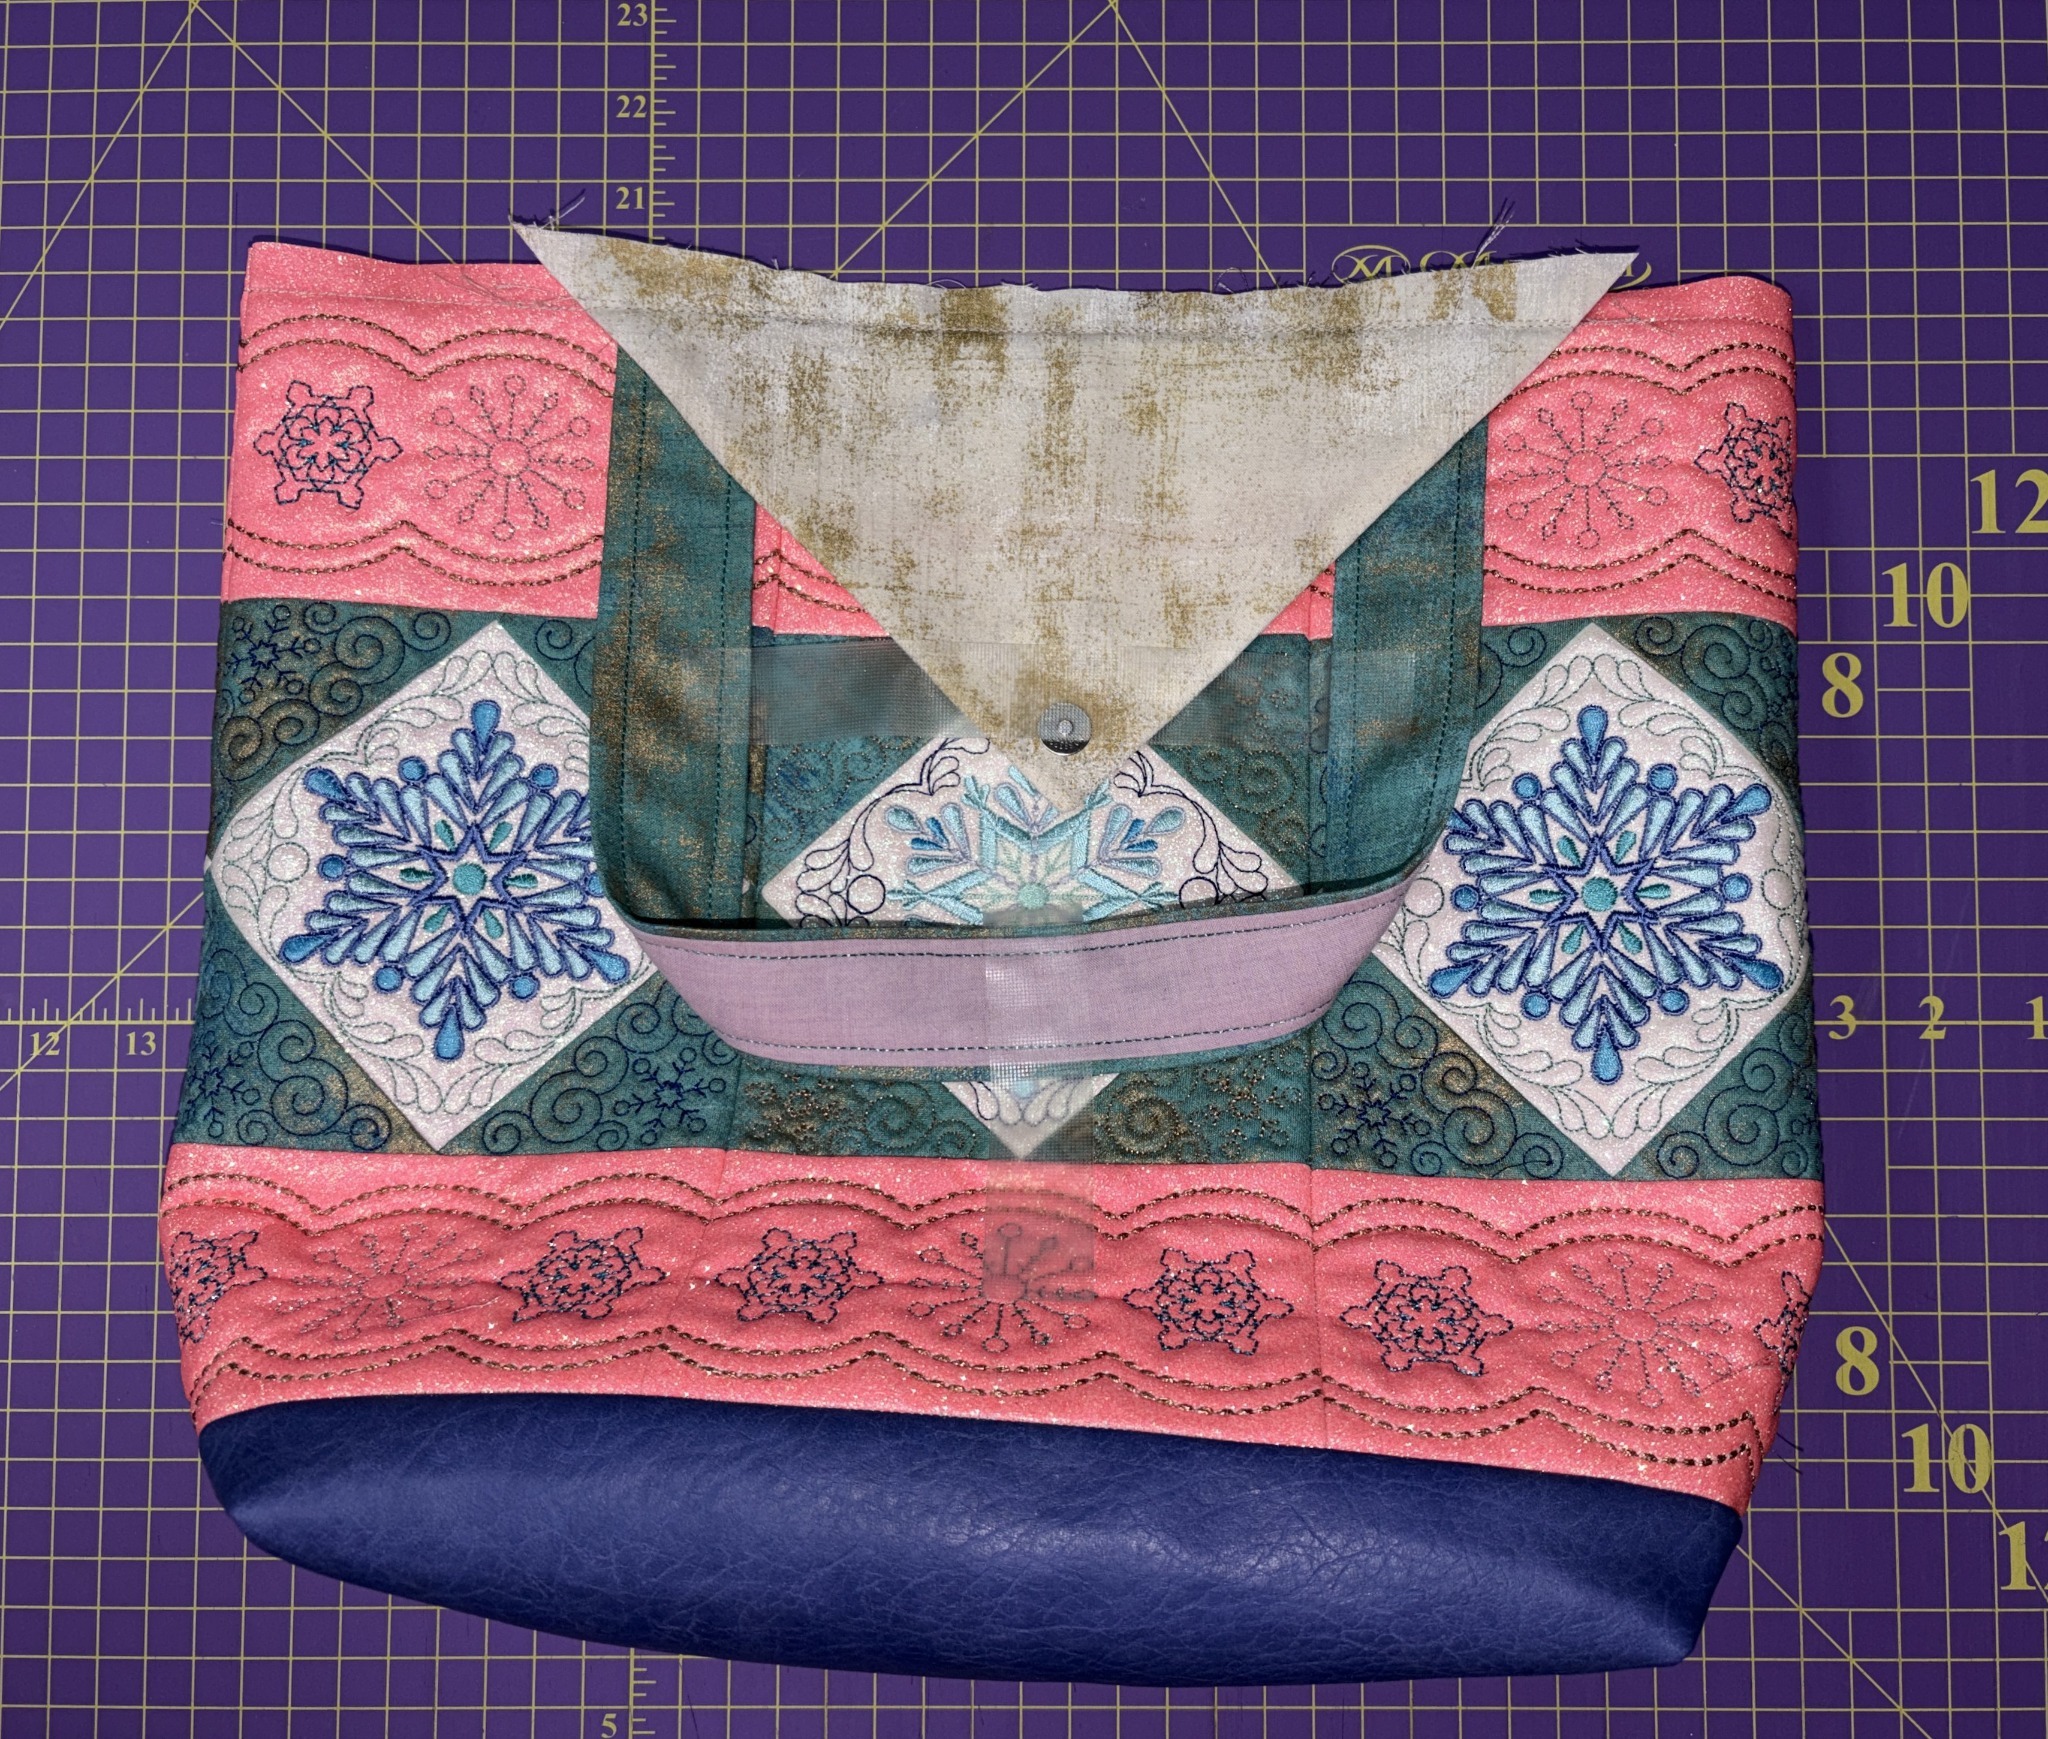
After attaching the lining, turn the bag right side out through the opening you left in the bottom of the lining. Be sure to check the instructions for the bag size you’re making and leave the recommended opening so you can turn your project easily.
Once the bag is right side out, follow the instructions to close the opening. You can hand sew it with a ladder stitch, sew it closed on your sewing machine, or use a suitable fabric glue if you prefer. Choose the method that works best for you.
Next, topstitch around the top of the bag, following the project instructions, to hold the lining in place. And just like that, your tote is finished!
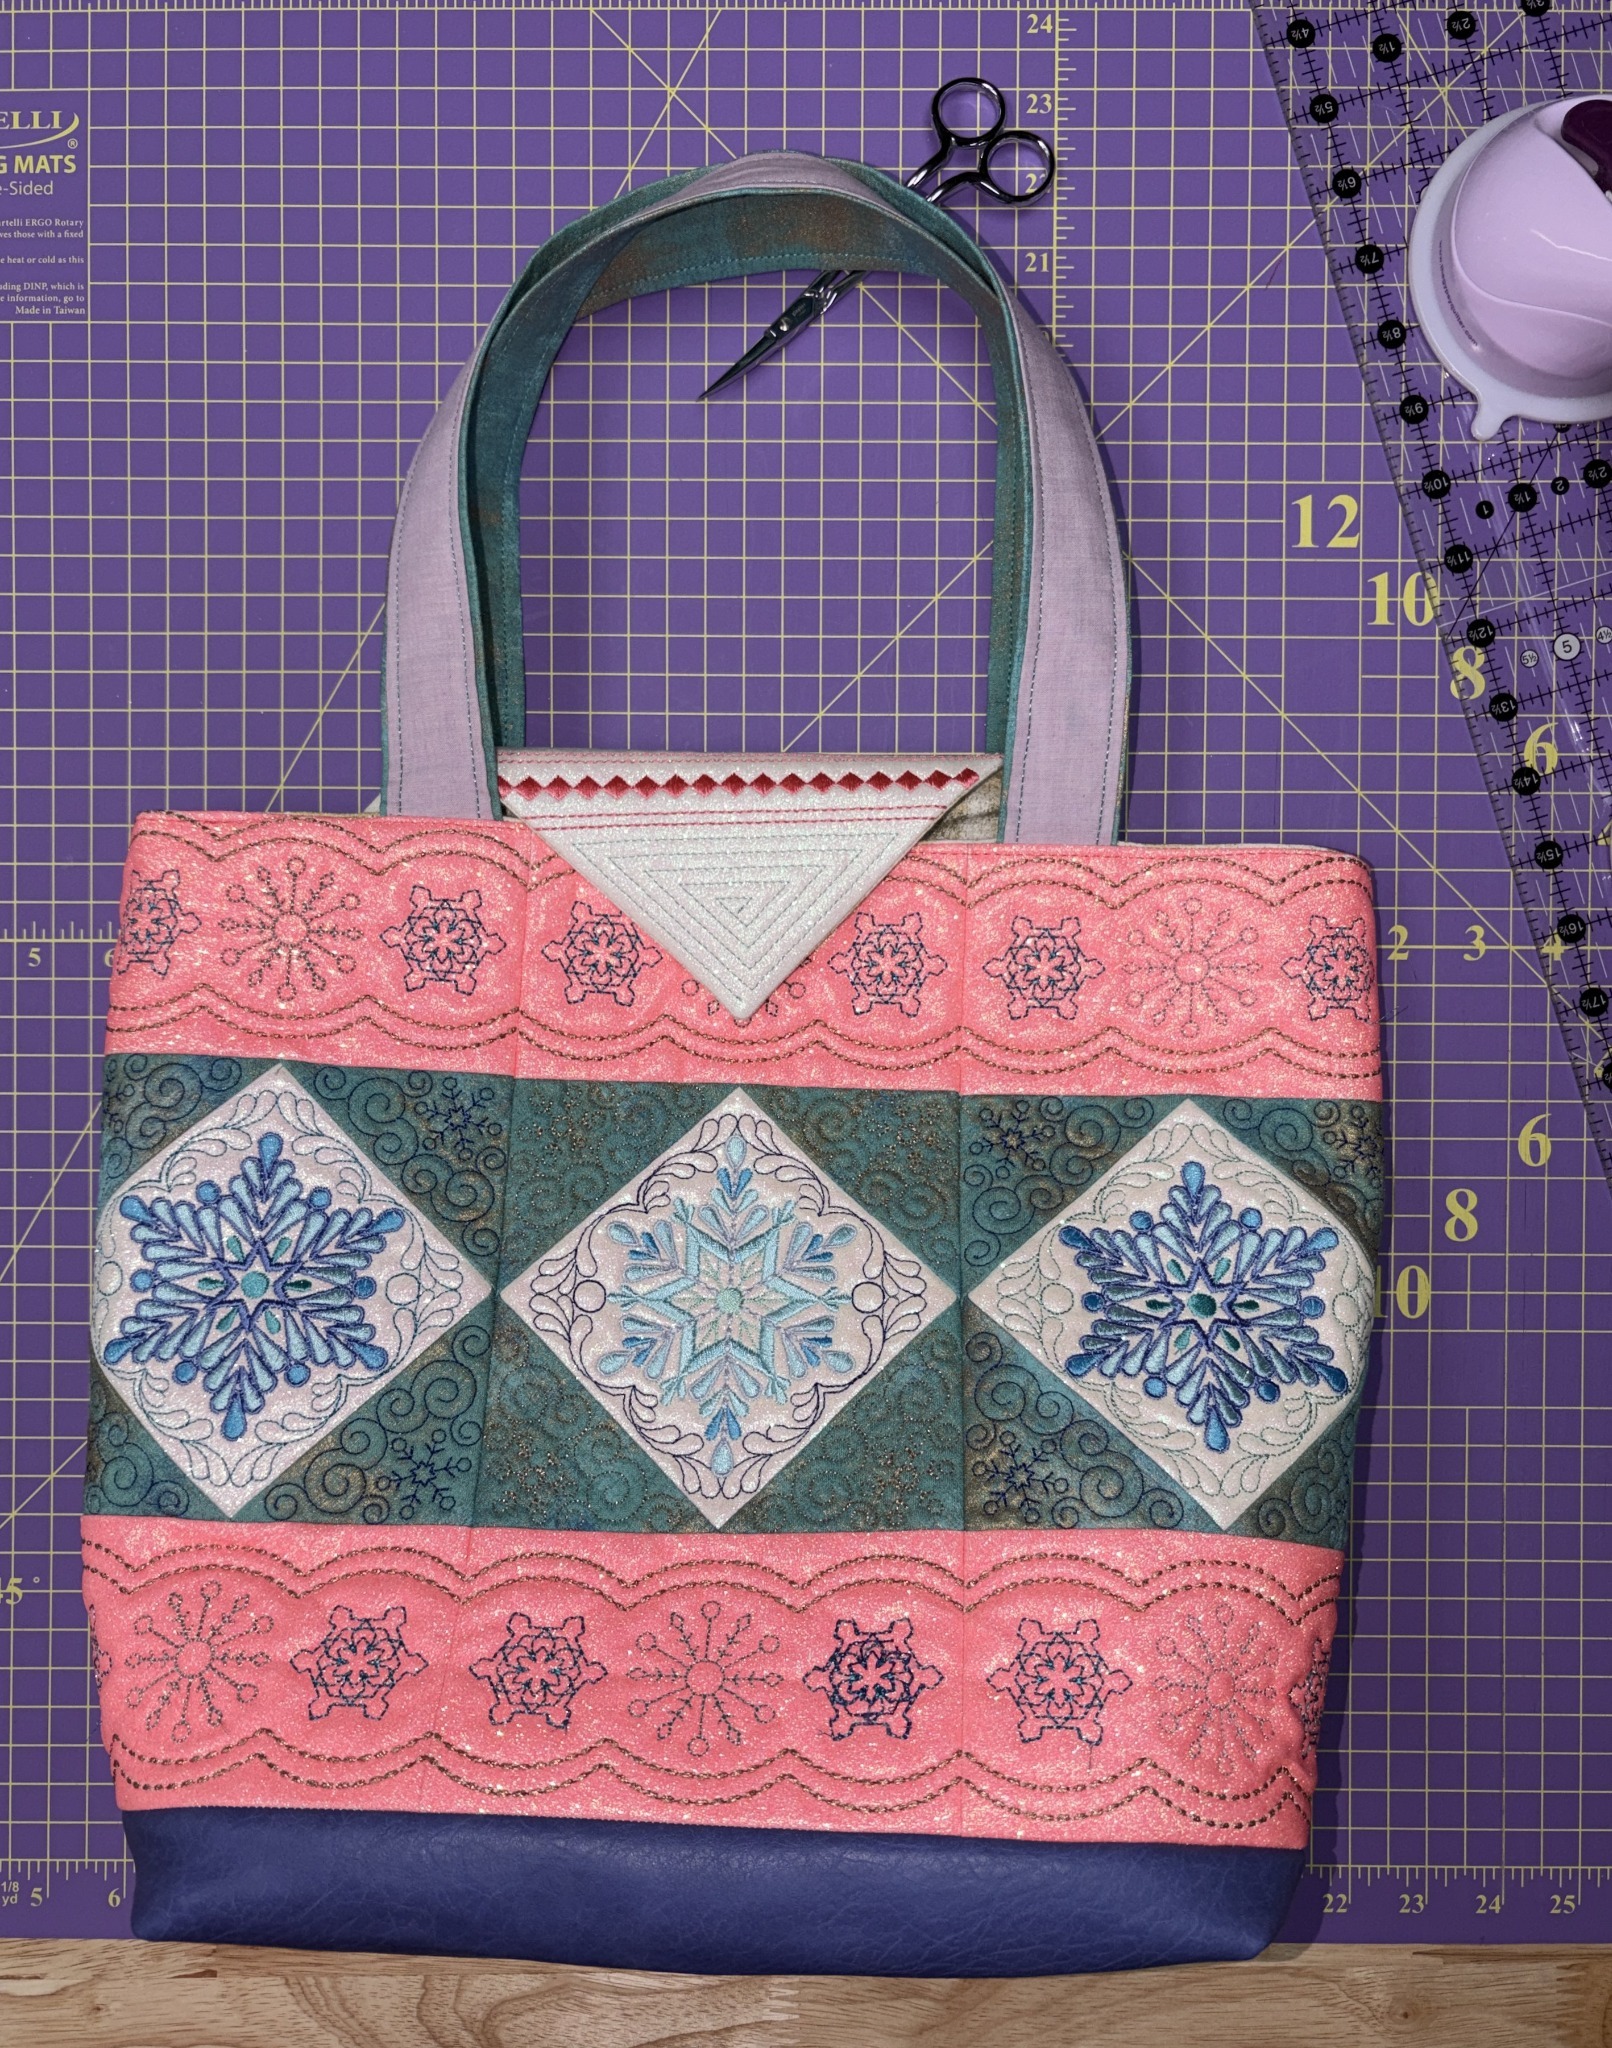
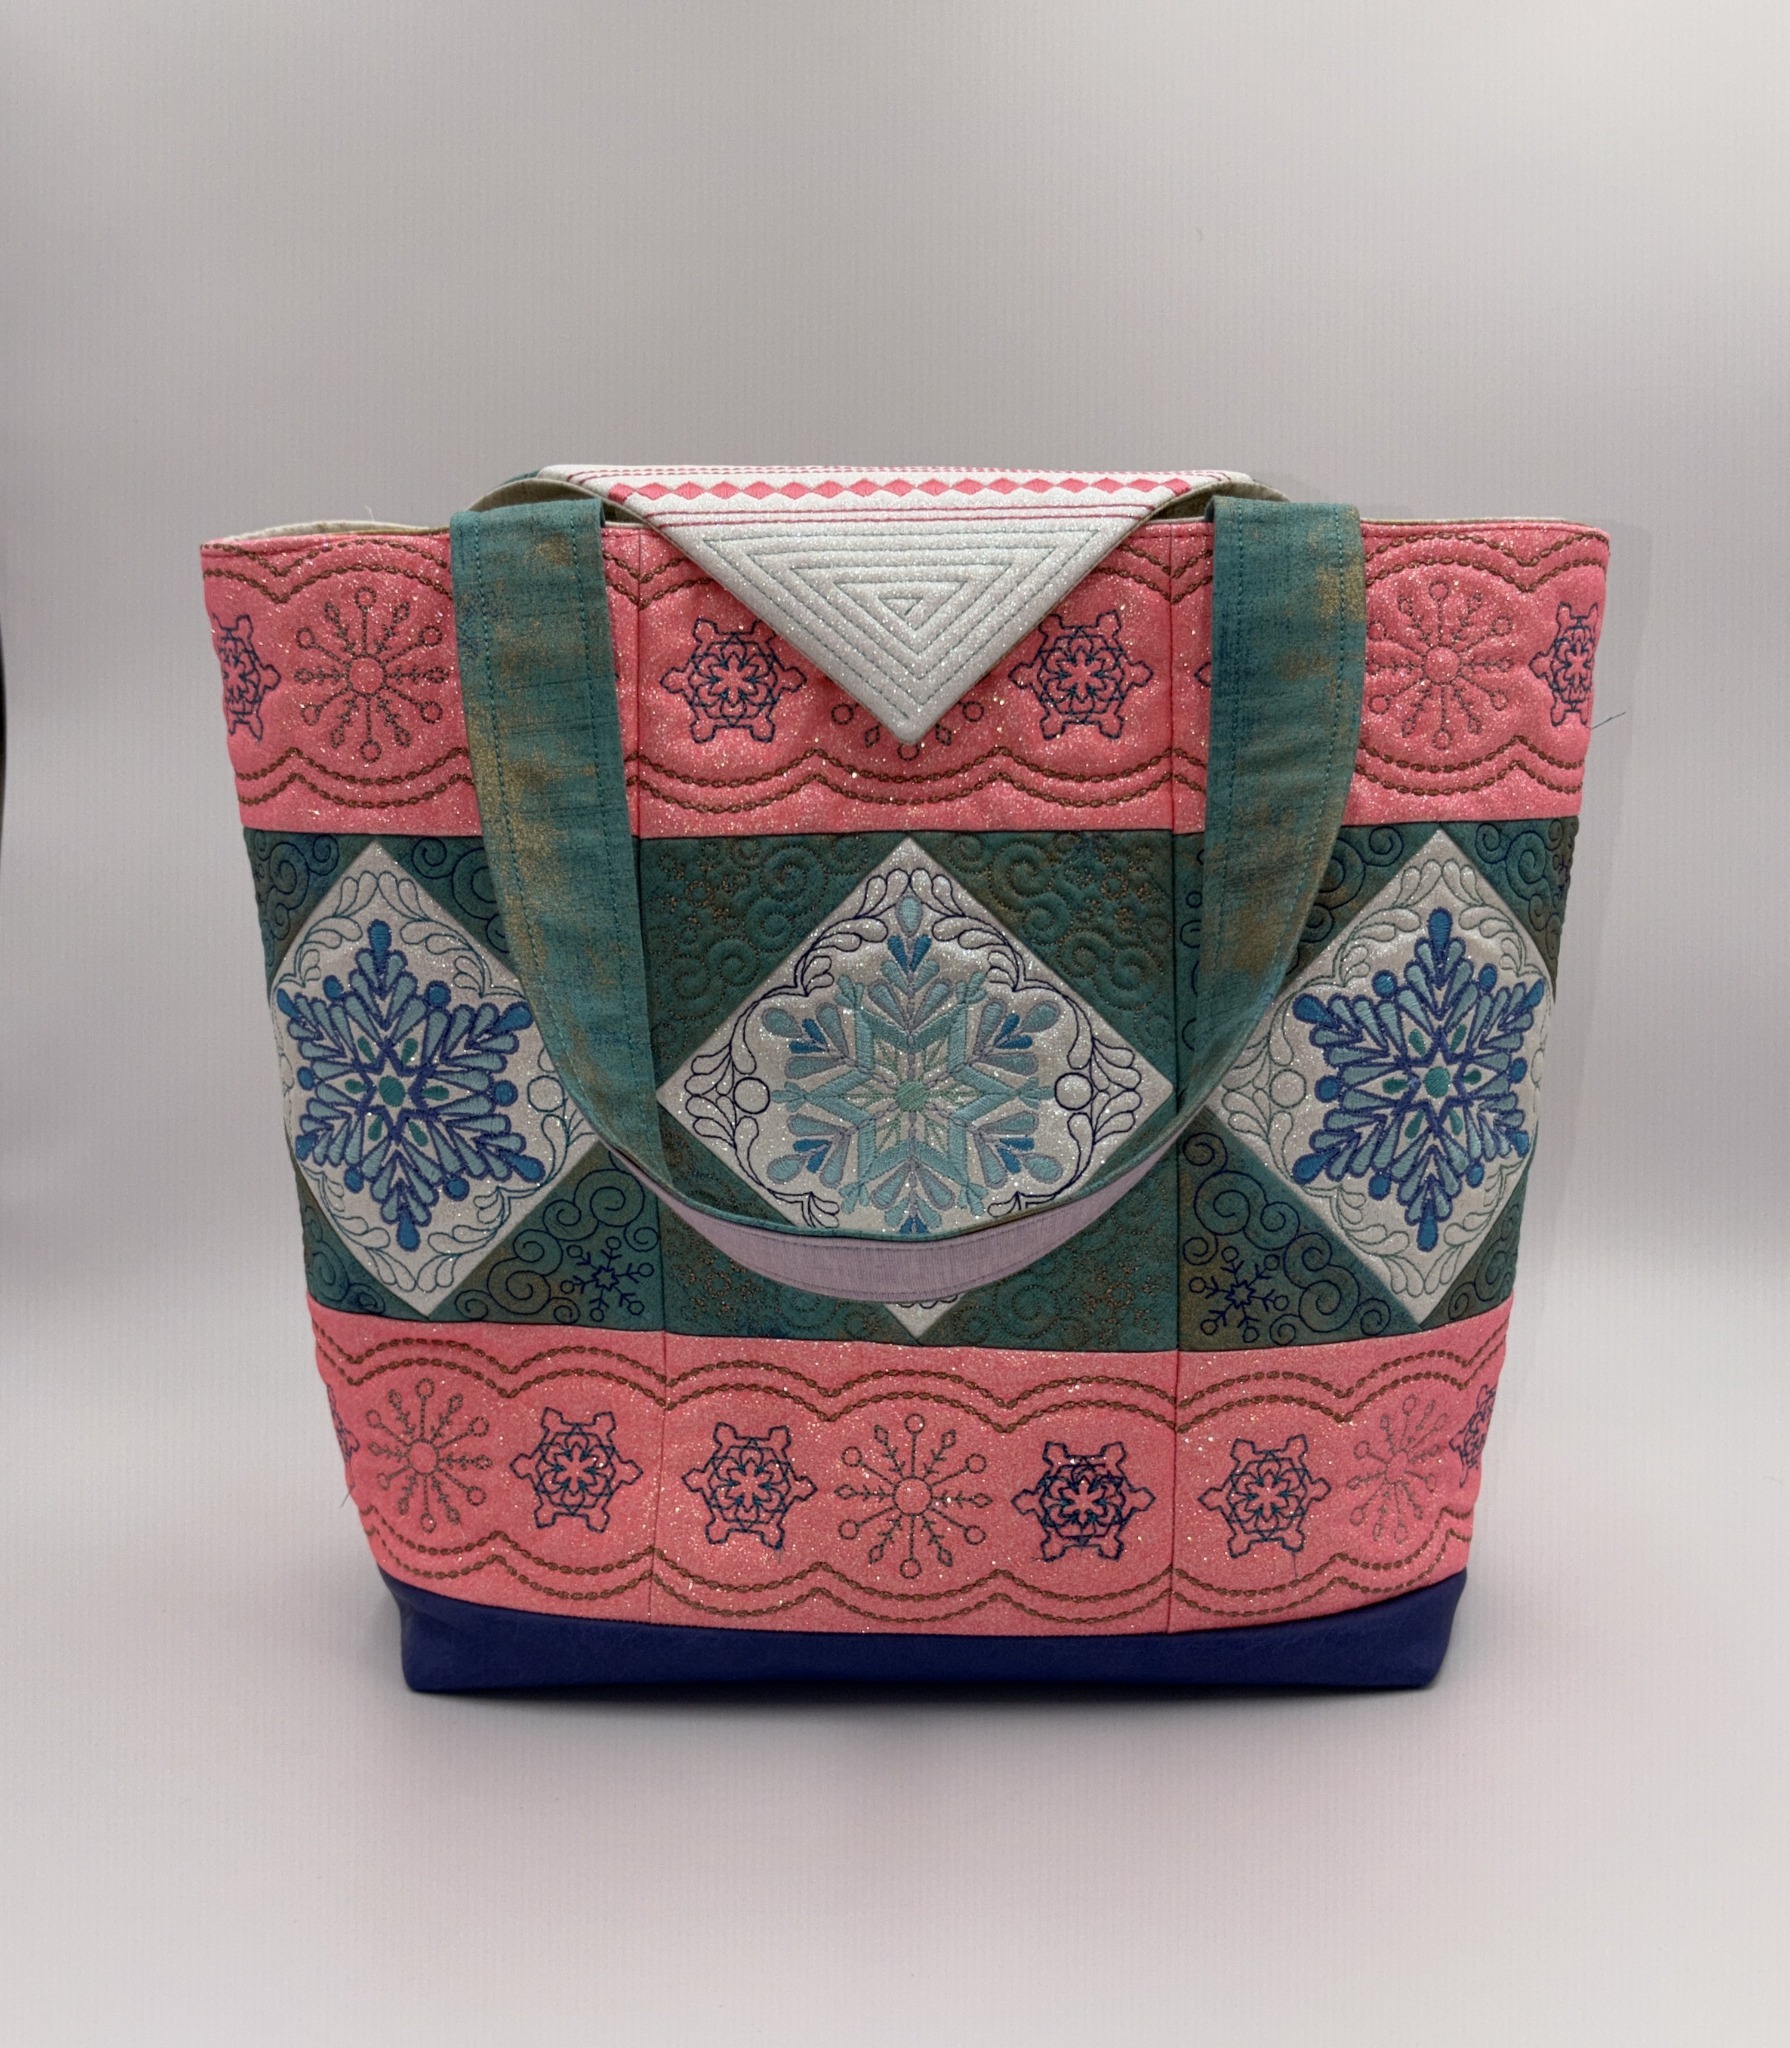
There are so many ways to make these bags your own. Lengthen the straps, add a zipper, or use embroidered blocks to create pockets on the outside. The possibilities are endless for this tote and other Designs by JuJu tote bags!
Please share your projects in the Designs by JuJu Embroidery Blessings Facebook Group or use the hashtag #designsbyjuju anywhere on social media. We love to see what you create!