Toggle Nav
 Inspire.
Create.
Stitch.
Inspire.
Create.
Stitch.
Inspire.
Create.
Stitch.
Search
Inspire.
Create.
Stitch.
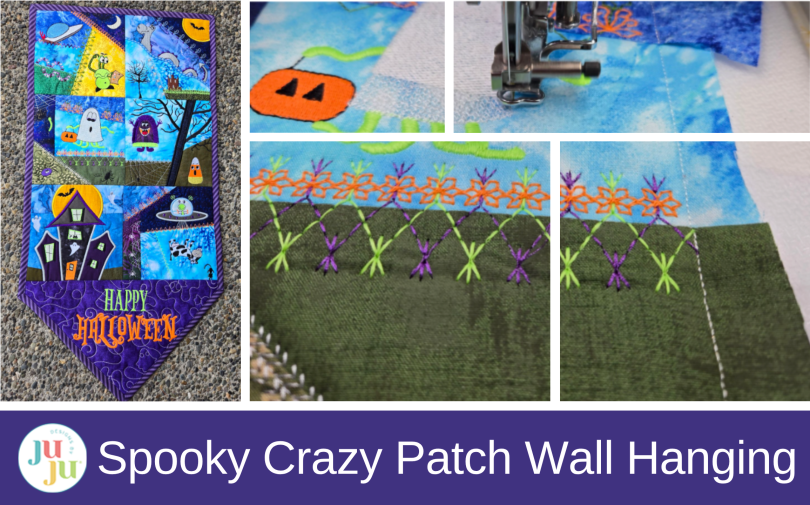
Stitch a playful Halloween wall hanging with Spooky Crazy Patch Blocks, Quilting Backdrops™, specialty threads, and machine embroidery for festive handmade Halloween decor.
Spooky, maybe a little kooky, but always fun! These In The Hoop Spooky Crazy Patch Blocks Bundle designs are so versatile, beginner-friendly, fast, and fun to make! And they come in multiple sizes!
Approximate size of project: 14” x 28½”
Please be sure to check out the DBJJ team’s favorite supplies in the Designs by JuJu Amazon store, and find our favorite stabilizers, batting, and beautiful threads at Designs by JuJu+.
When I saw these designs, I knew I needed to make them! All the “work” is done in the hoop. The fun is in choosing your threads and fabrics.
Don’t be intimidated by specialty threads. I had a blast choosing glow-in-the-dark and variegated threads for my blocks.
If you are new to embroidering crazy patch blocks, a quick watch of this video tutorial will get you started: How to Make the Crazy Patch Series 1 Blocks. You will learn all the basics of making any crazy patch block.
If you would like a tutorial on how to sew the blocks together, go to about the 6-minute mark on this video: How to Make the ITH January Mini Sampler.
Binding can be done in many ways, and the Binding 101: Step-by-Step Guide is a great help.
Finally, if you'd like some ideas and techniques for hanging your wall hanging, check out the How to Hang an Embroidered Wall Hanging: Easy Methods with Tabs, Triangles, Sleeves & Hangers blog post.
First gather your supplies and put the design size of your choice on a flash drive for your embroidery machine. I made the 7” x 7” size. If you have not tried the new JuJu embroidery threads, you are in for a treat! The DBJJ+ Thread 12-Pack Happy Colors are colorful and perfect for this project. I also have a small assortment of variegated and glow-in-the-dark threads I couldn’t wait to try out.
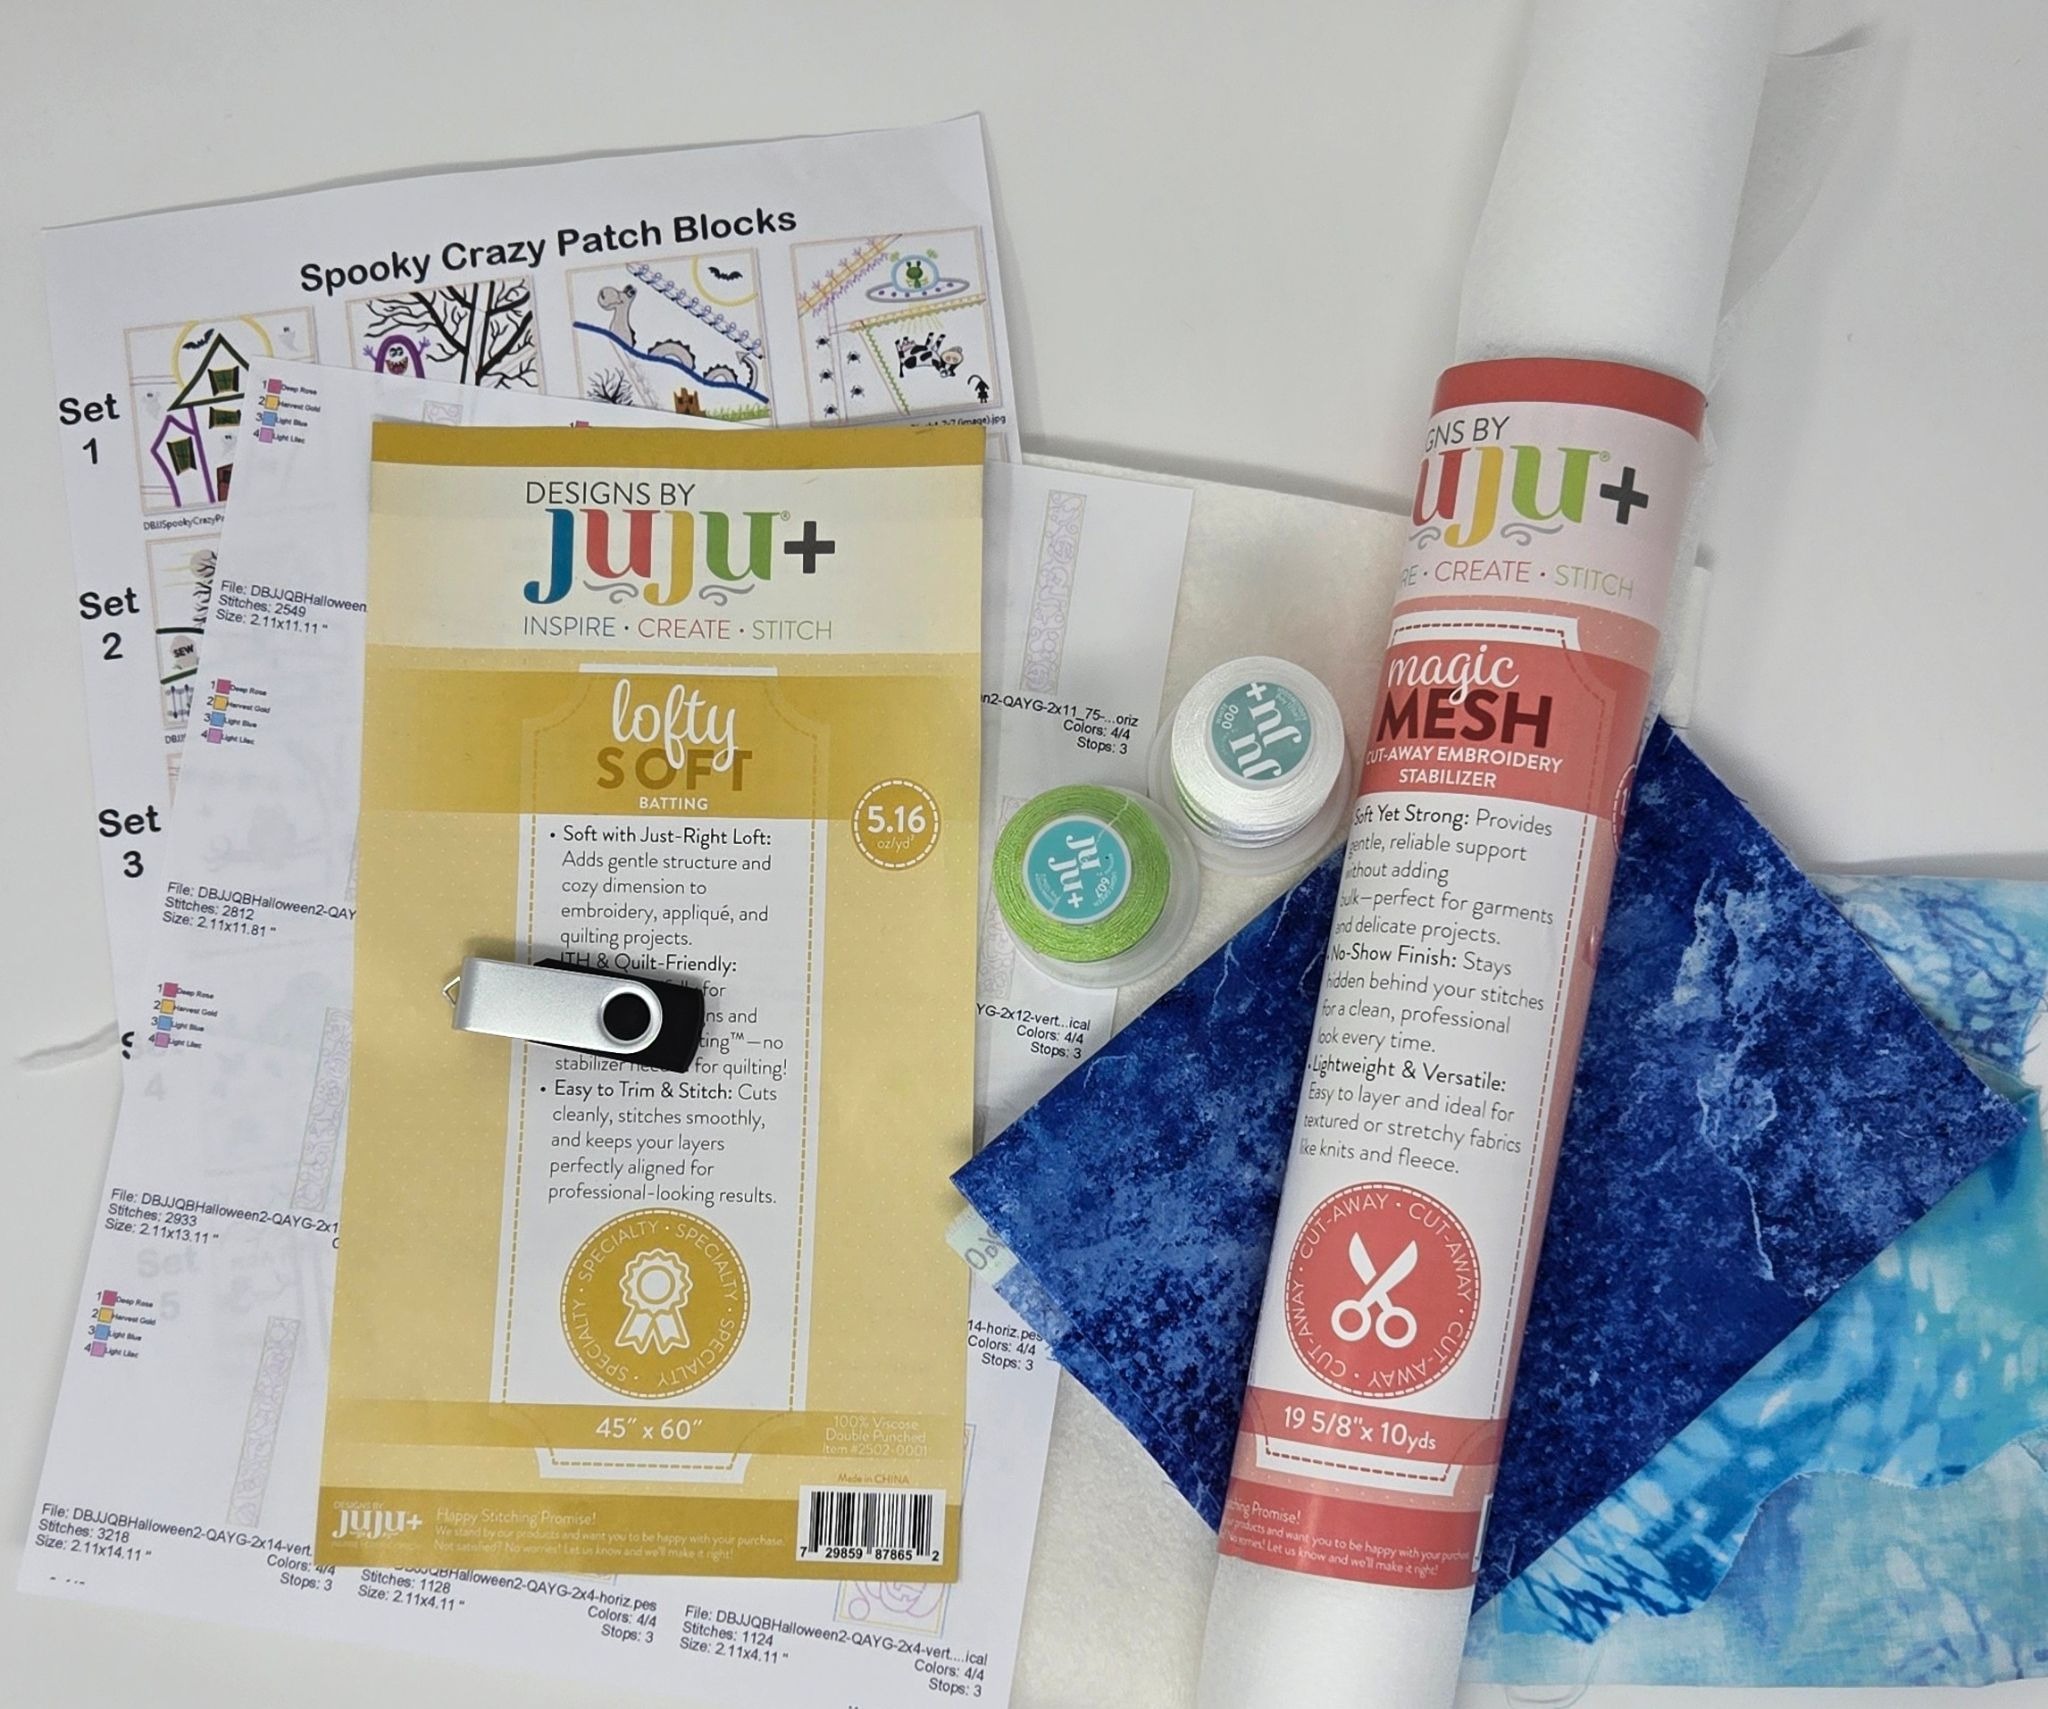
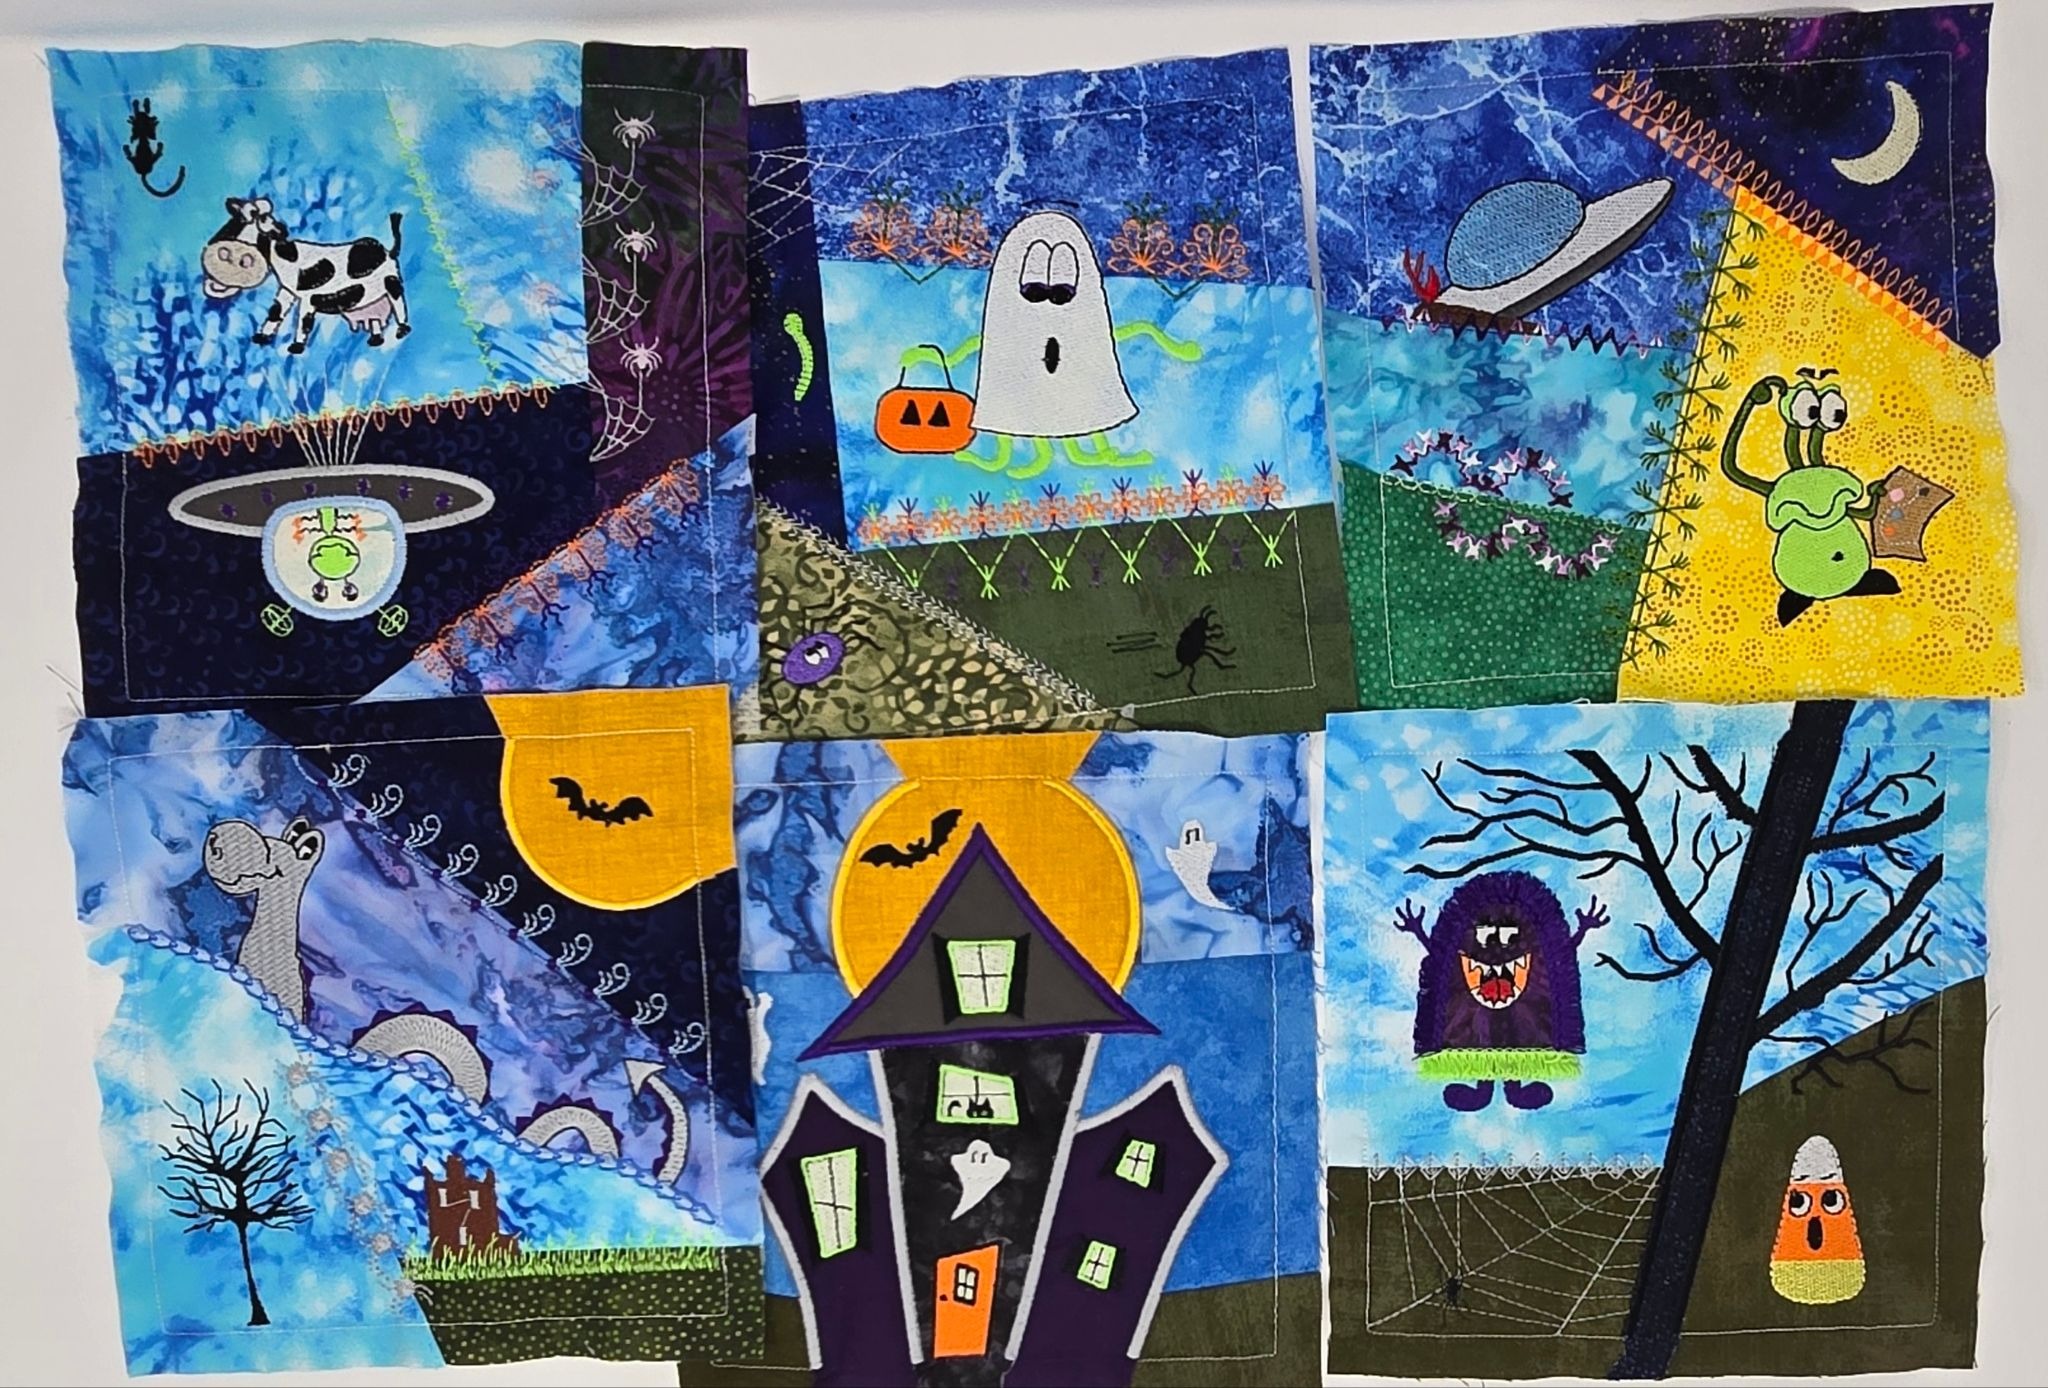
Follow the instructions that come with the design set to embroider your blocks. I chose to do the four blocks in Set 1 and two blocks from Set 3. Honestly, I had a hard time stopping at just six blocks!
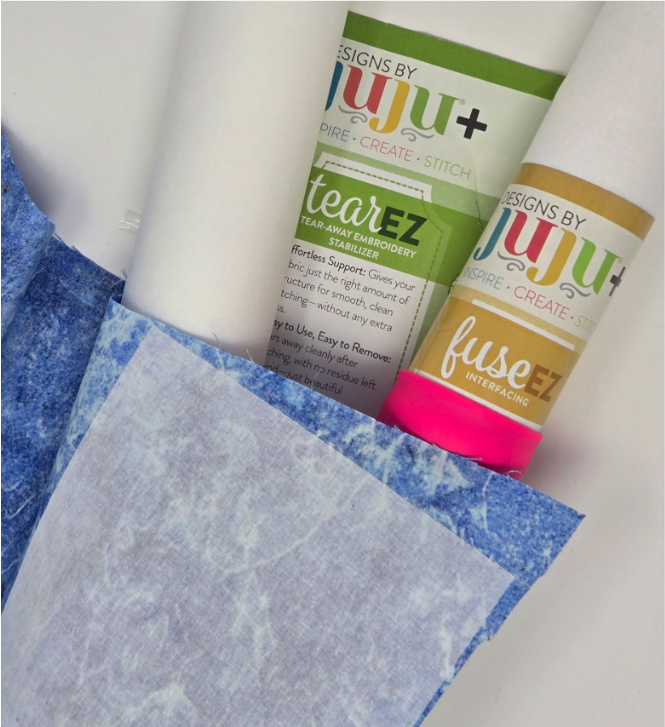
One thing I want to mention is stabilizing. A few of the designs have a lot of stitching in them. I didn’t want to chance any pulling or puckering, so I did press fuseEZ to the back of some of my patch fabrics. I also slid a piece of tearEZ under any fully embroidered designs, like the spaceship. It was just a little extra precaution and I must say, they stitched out beautifully.
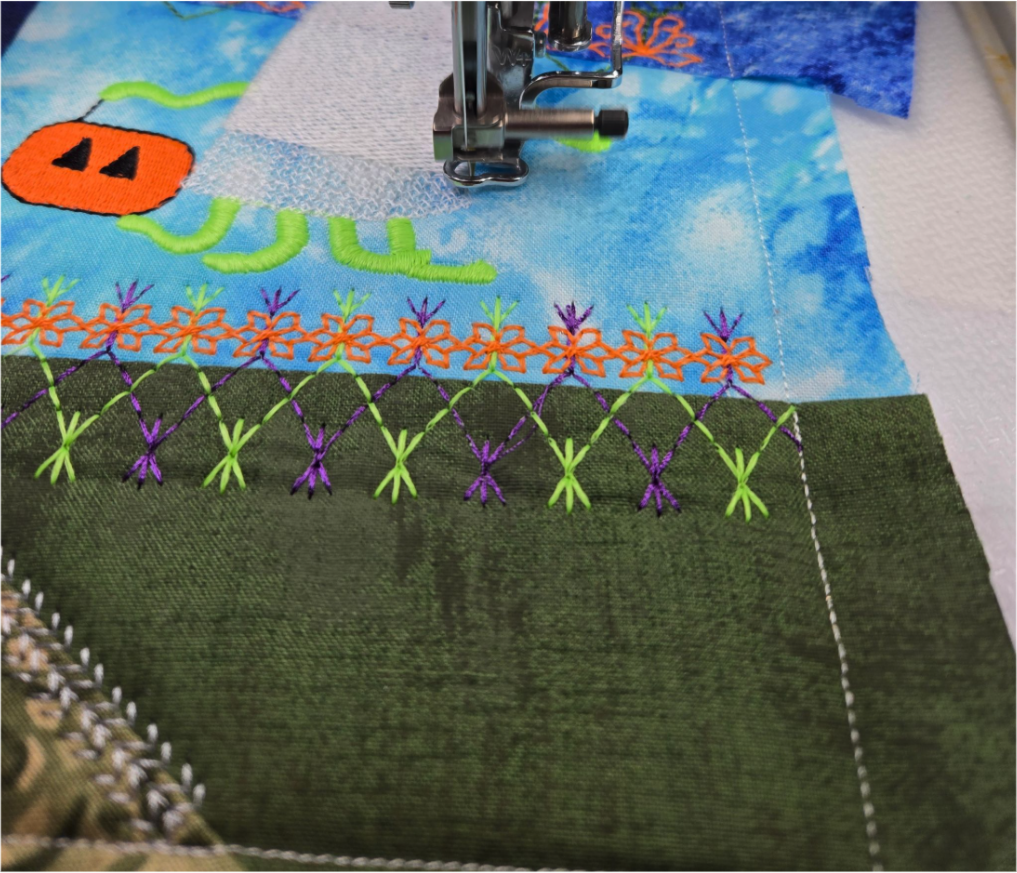
Once you have made your blocks, trim them according to the instructions. Then stitch them together as in the video, above. I placed them in rows of two and sewed the three rows together.
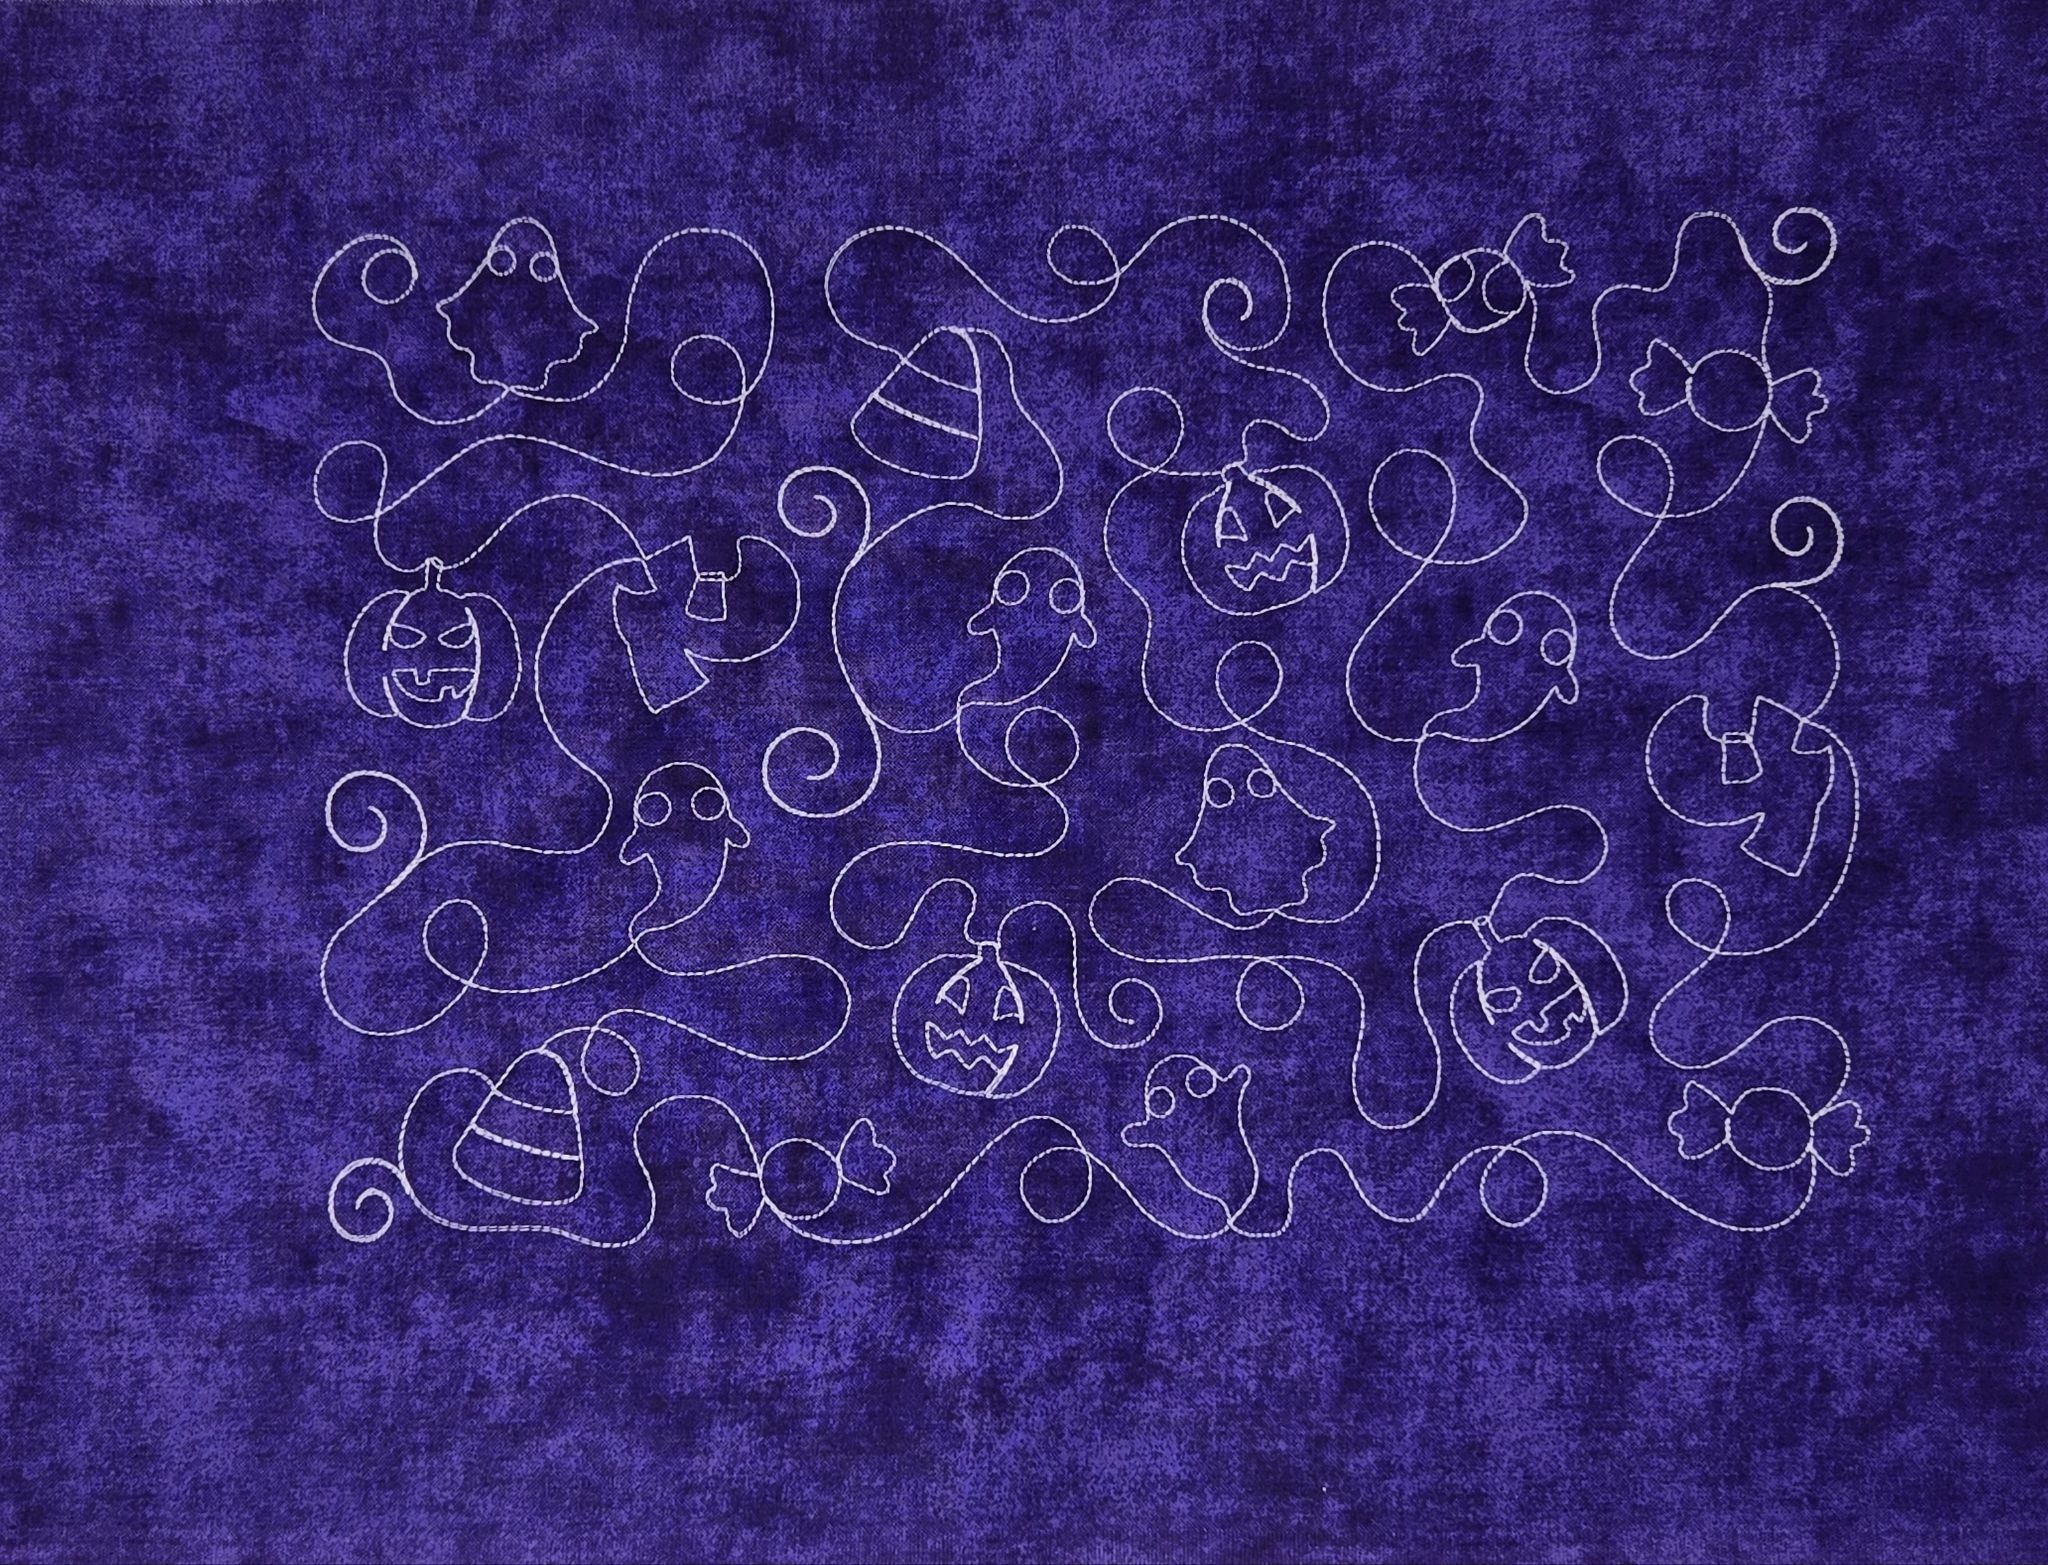
I plan to make a wall hanging for a skinny wall with these blocks. At the bottom, I want it to come to a V with a tassel, so I needed to embroider something for the V. I chose the 9” x 14” Quilting Only design from the Halloween 2 Quilting Backdrops set.
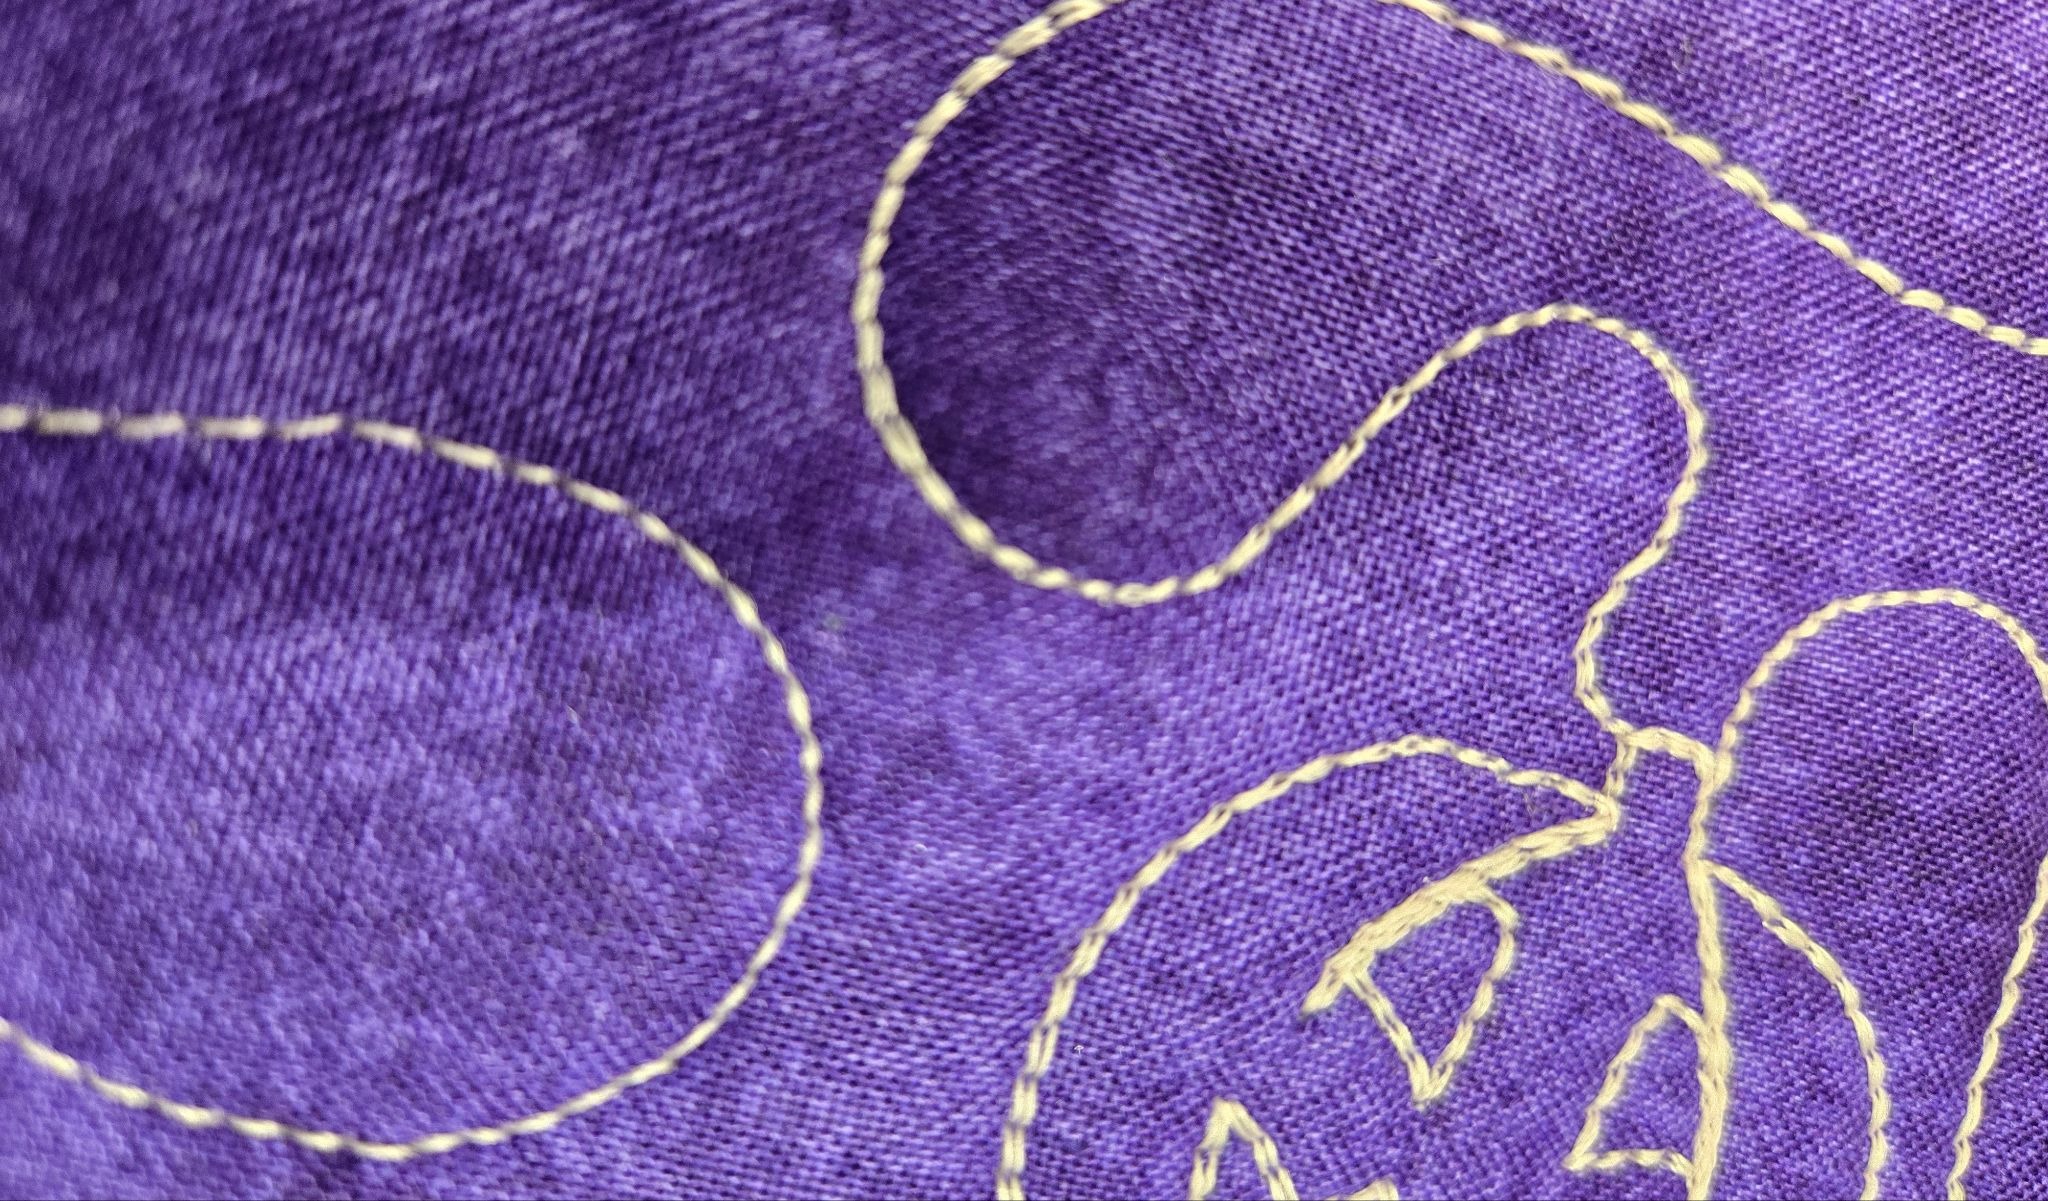
Using a very light lavender glow-in-the-dark thread, I ran the design twice. When you do that, you just push your button to run it a second time without changing anything else. Your machine will embroider over the first stitch-out and it gives the look of using a heavier thread, like a 20 wt, without the hassle of changing to a thicker thread! I do this often and love the look! You can see the difference below; the stitching on the left is from one run of the design and on the right, the second stitch-out looks heavier.
I decided I needed more than the quilting, so I put the piece back into my hoop and stitched the Happy Halloween from the Farm Fresh Halloween 5 set. You could put this design into software and delete the steps you don’t want, or you can do it right on your machine, if your machine has that capability. I used my machine and the +/- button on the bottom of the screen.
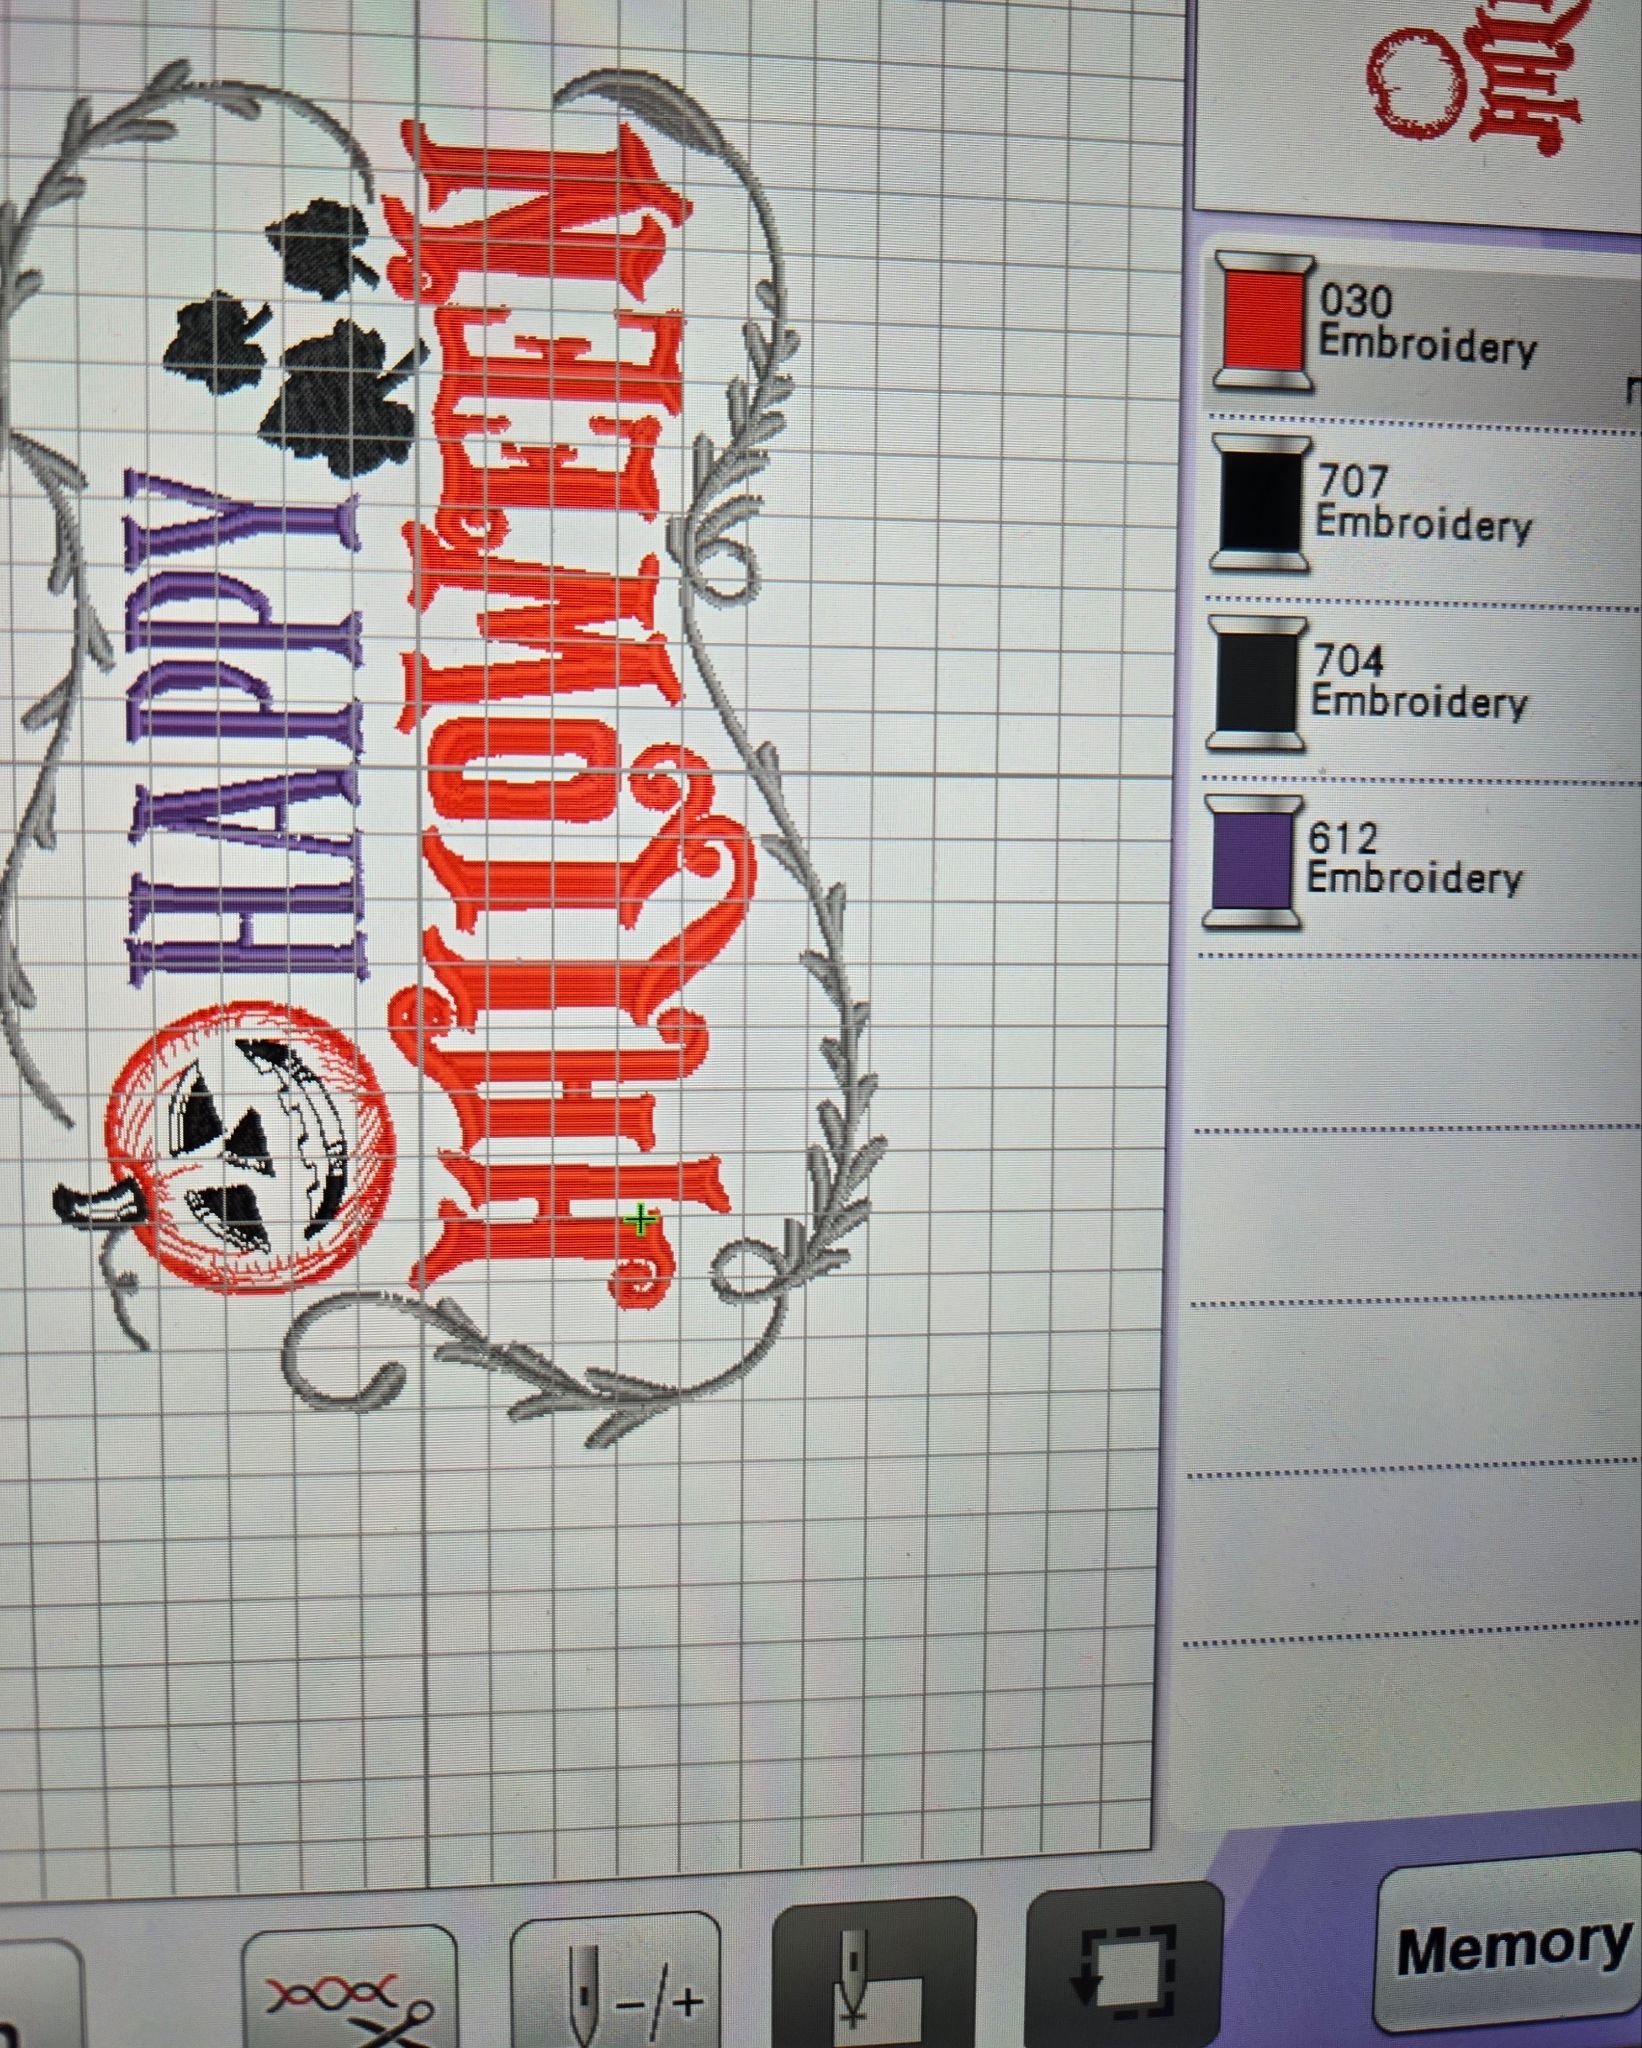
I skipped the border step and when it got to the orange thread, I skipped stitches for the pumpkin.
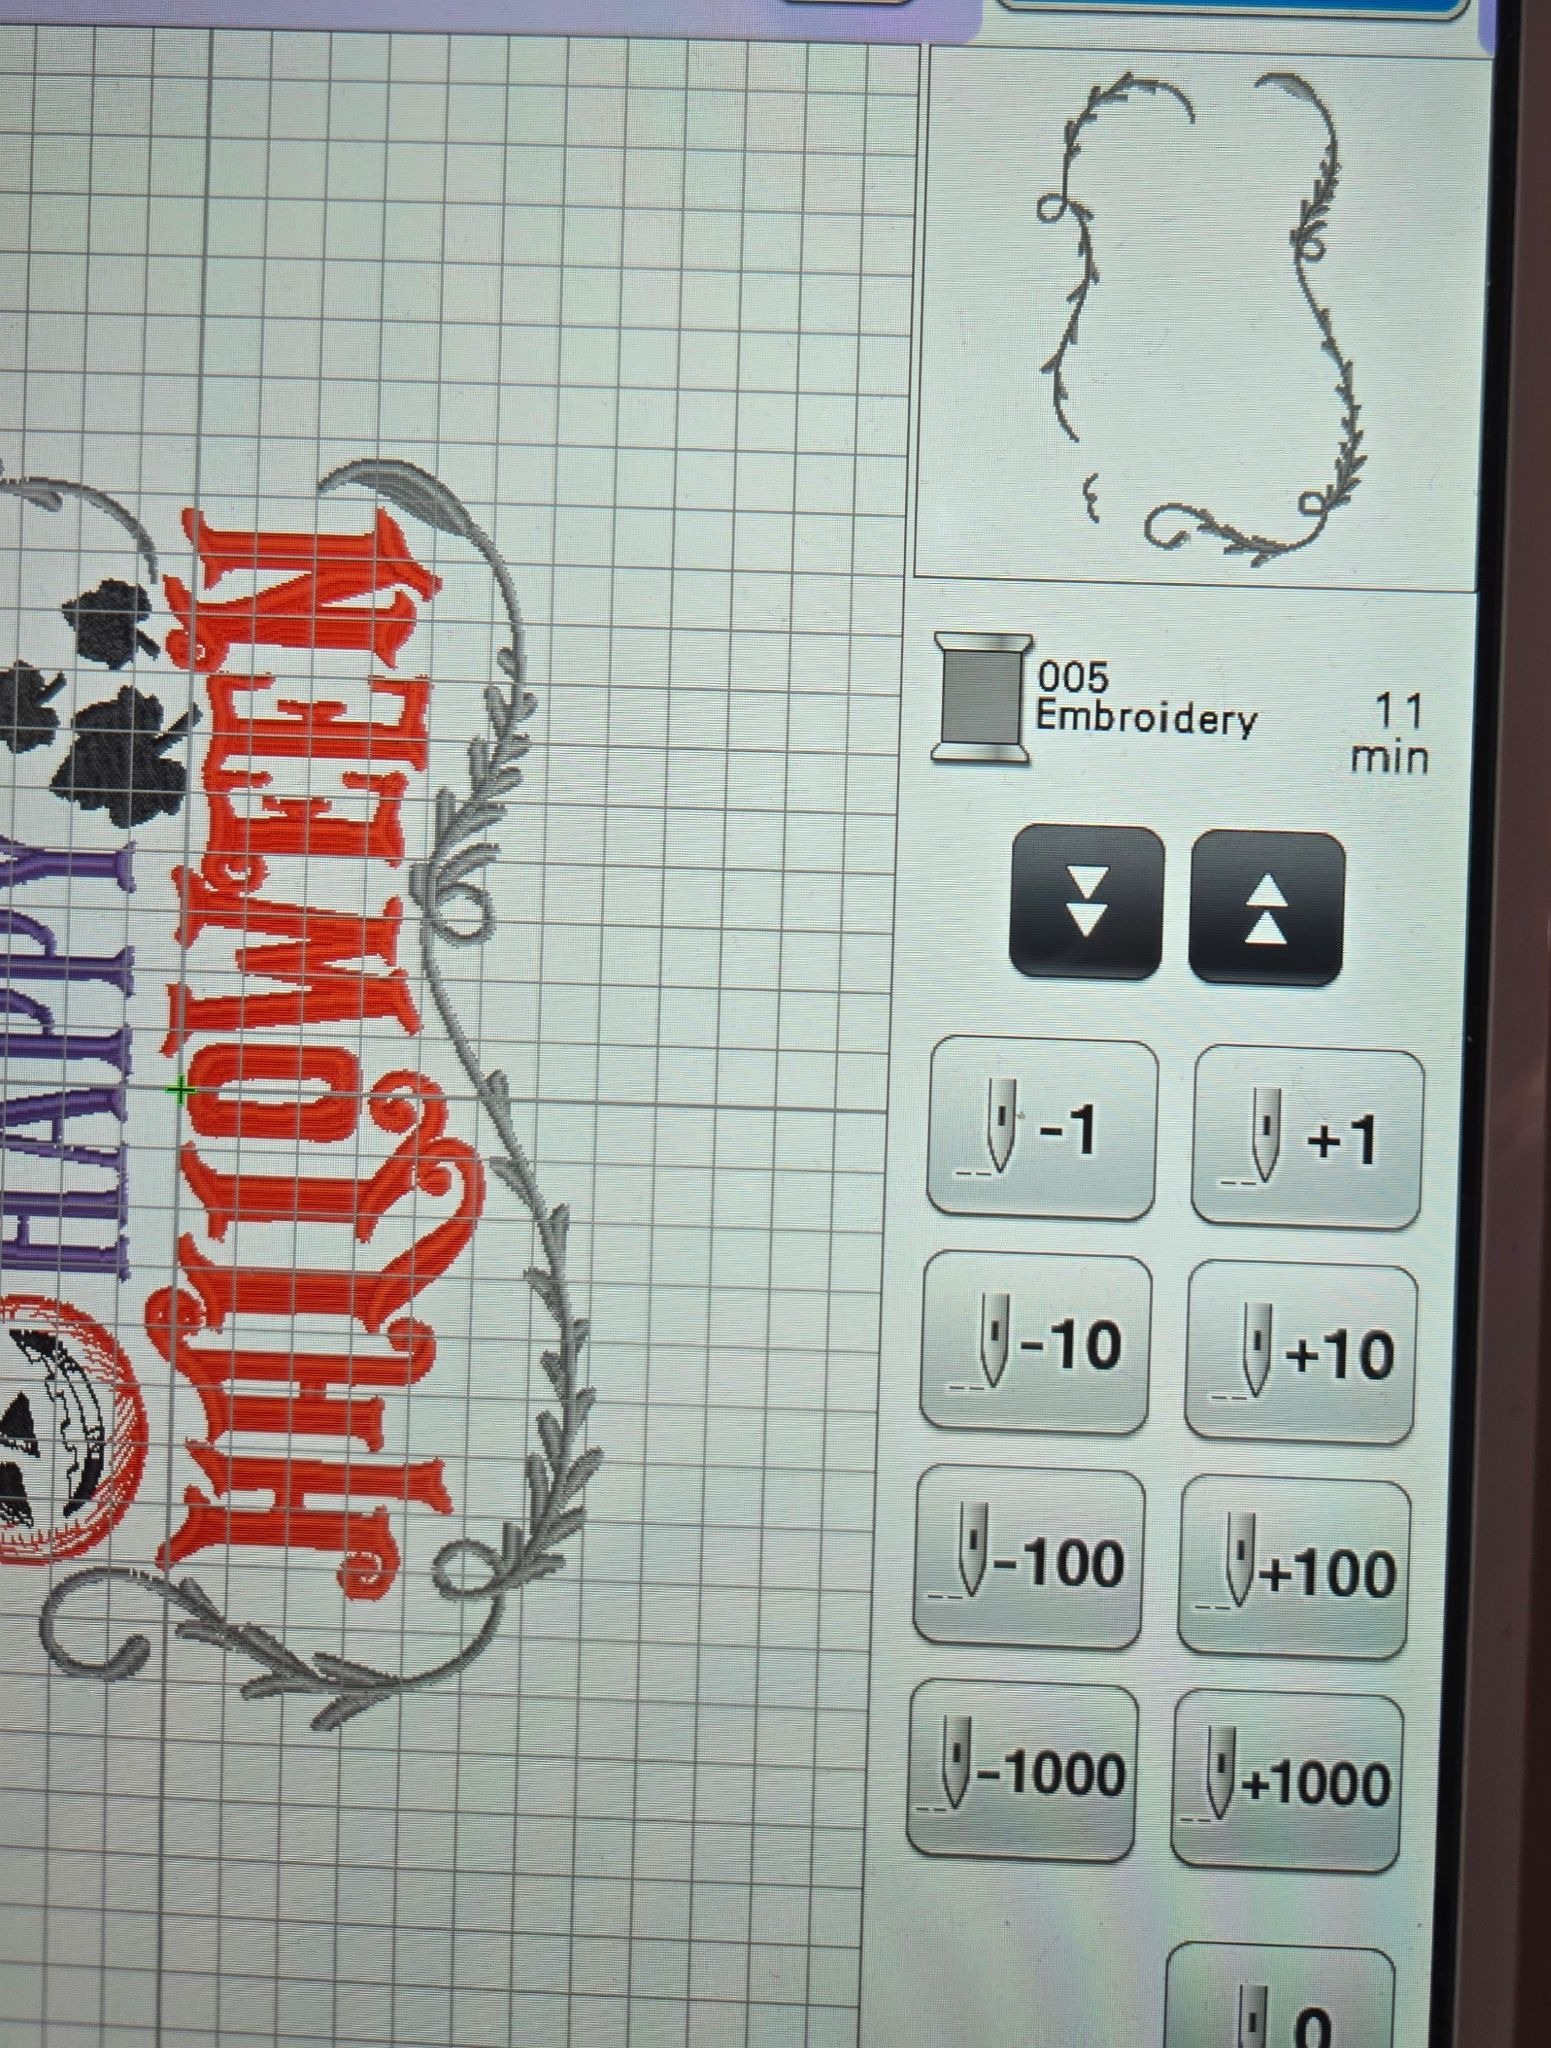
After embroidering the words only, I trimmed the outside edges to match the width of two of my blocks sewn together, and cut it to a point at the bottom. Do this by making a mark 1¼” down from each top side edge. Make another mark at the bottom center. Using a long ruler with a 45º angle line, I cut my piece.
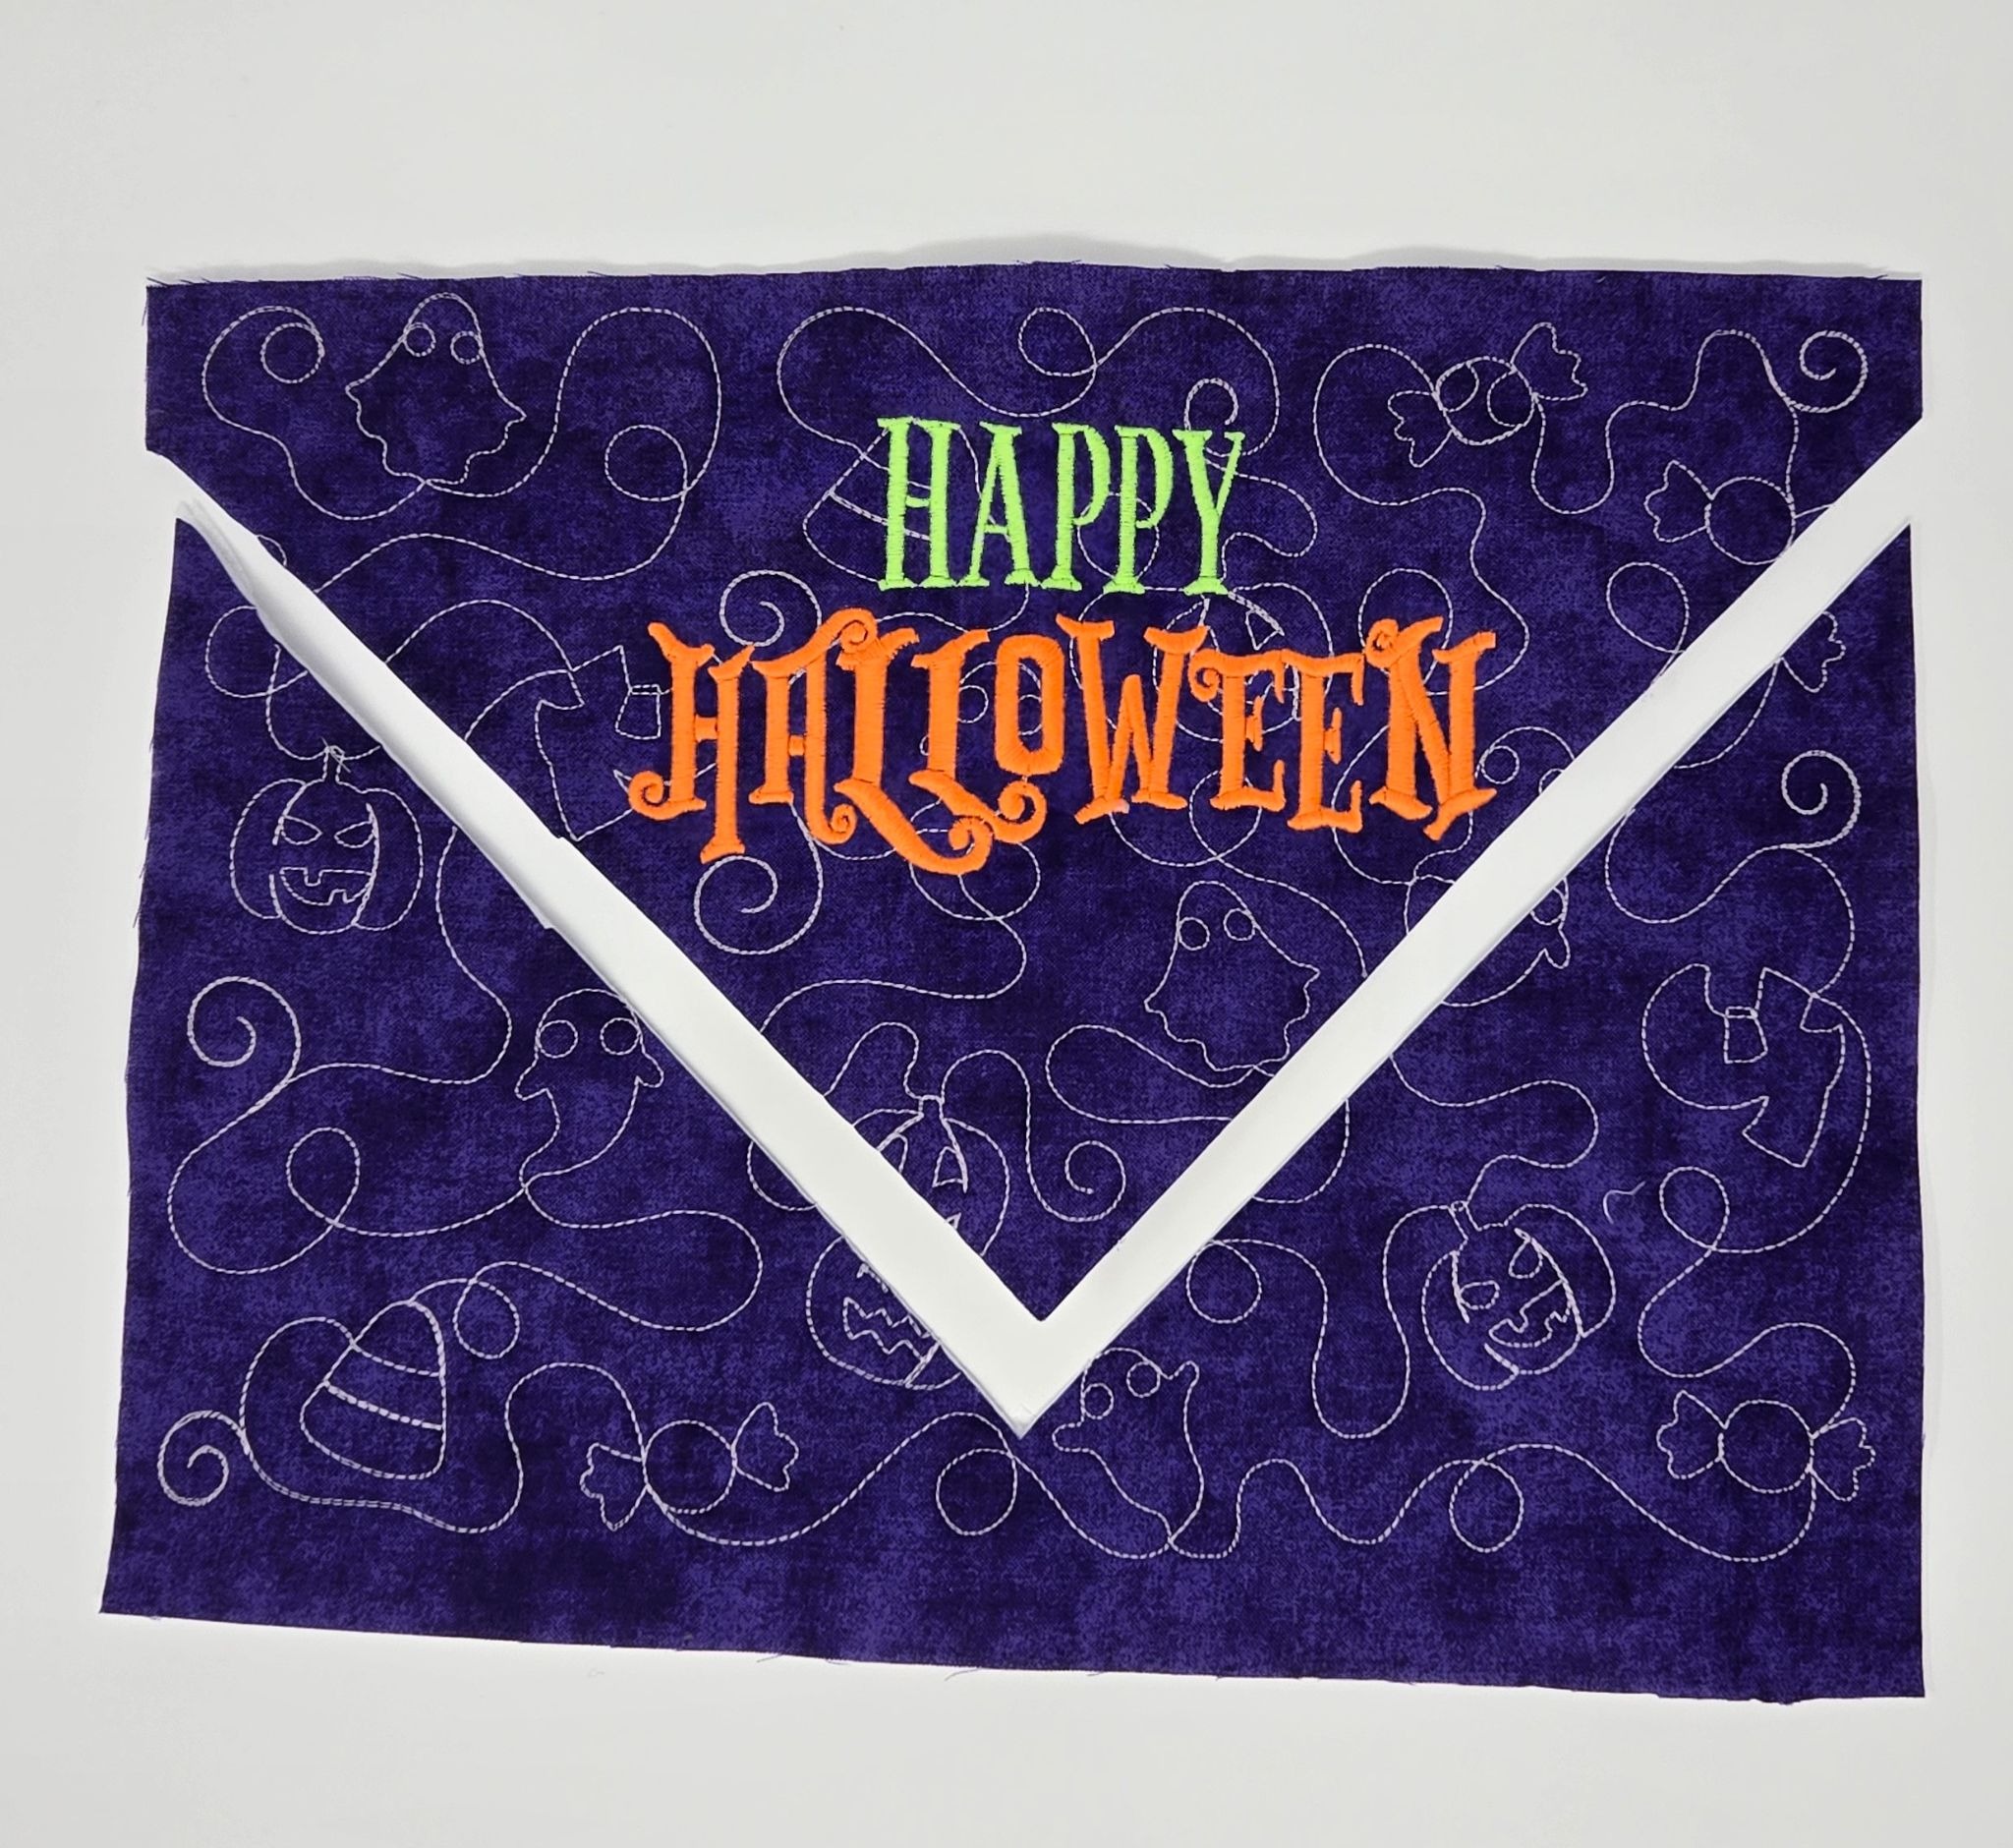
If you sewed your blocks together above, you just need to add the bottom triangle and you’ll be ready to back and bind. Add your backing and do some simple stitching to hold the pieces together. I stitched in the ditch of each block with invisible thread and a 3.0mm stitch length. I used a matching thread in the bobbin.
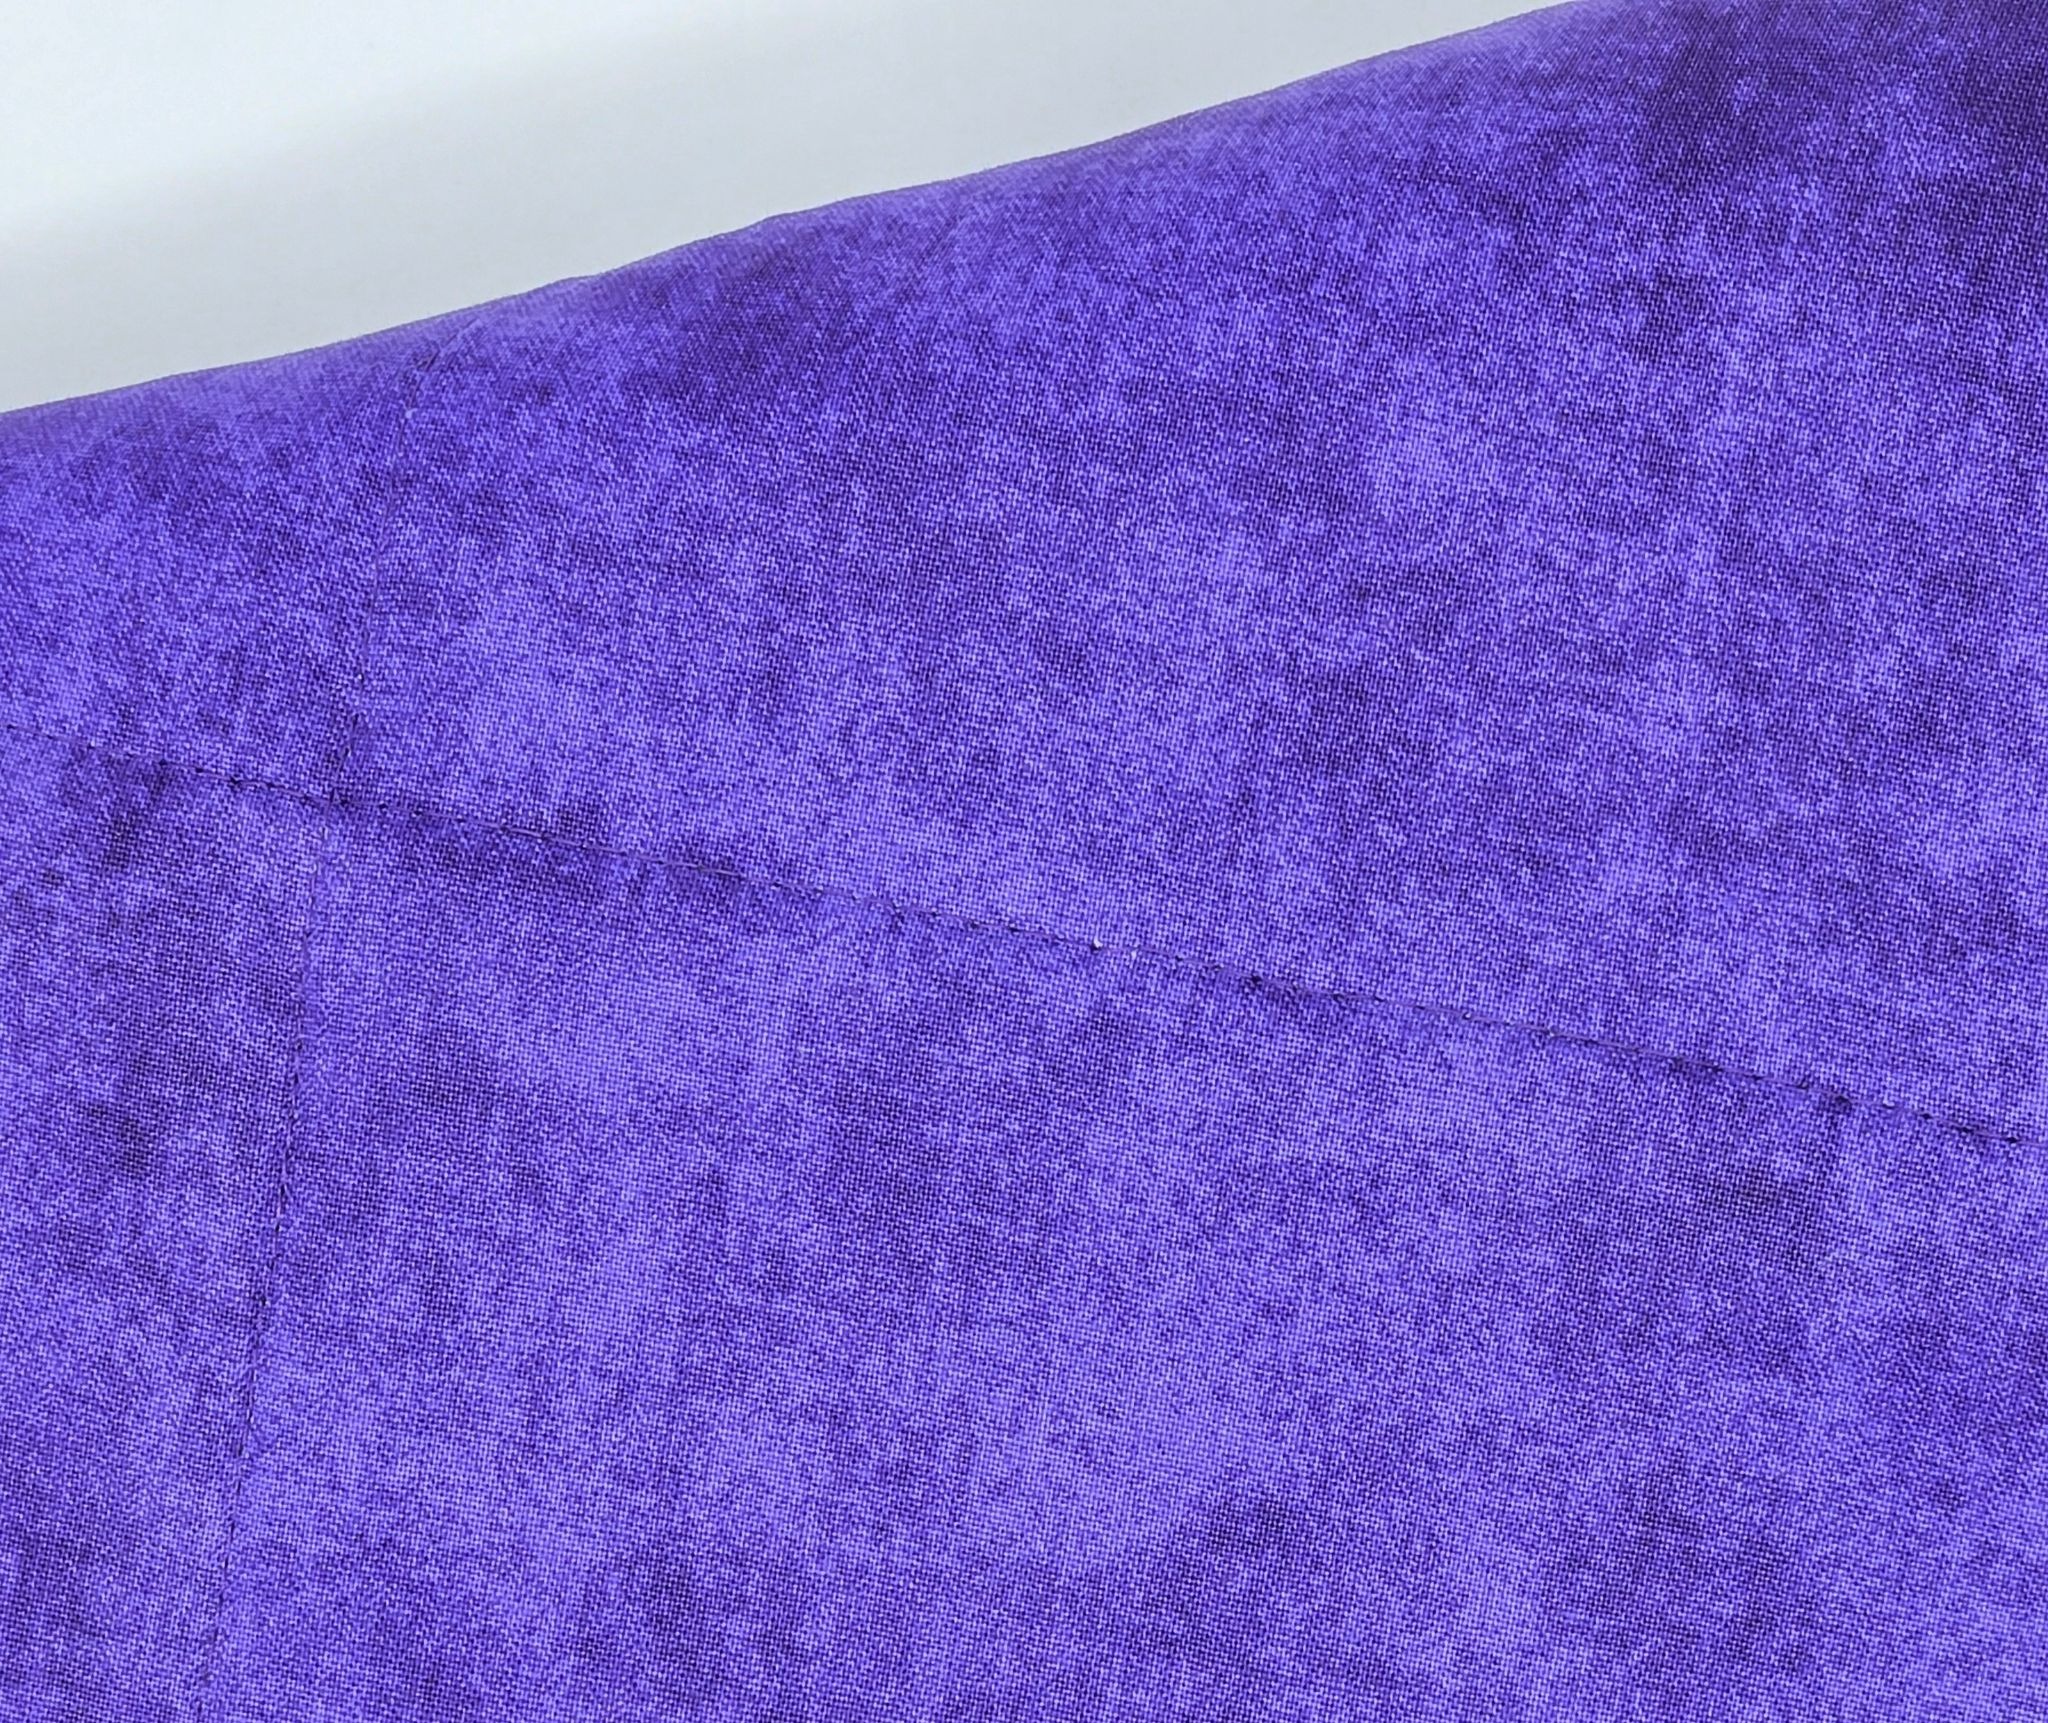
I trimmed the edges of the crazy patch blocks so a ¼” seam allowance was left around the sides and top. I did not trim any more on my bottom triangle.
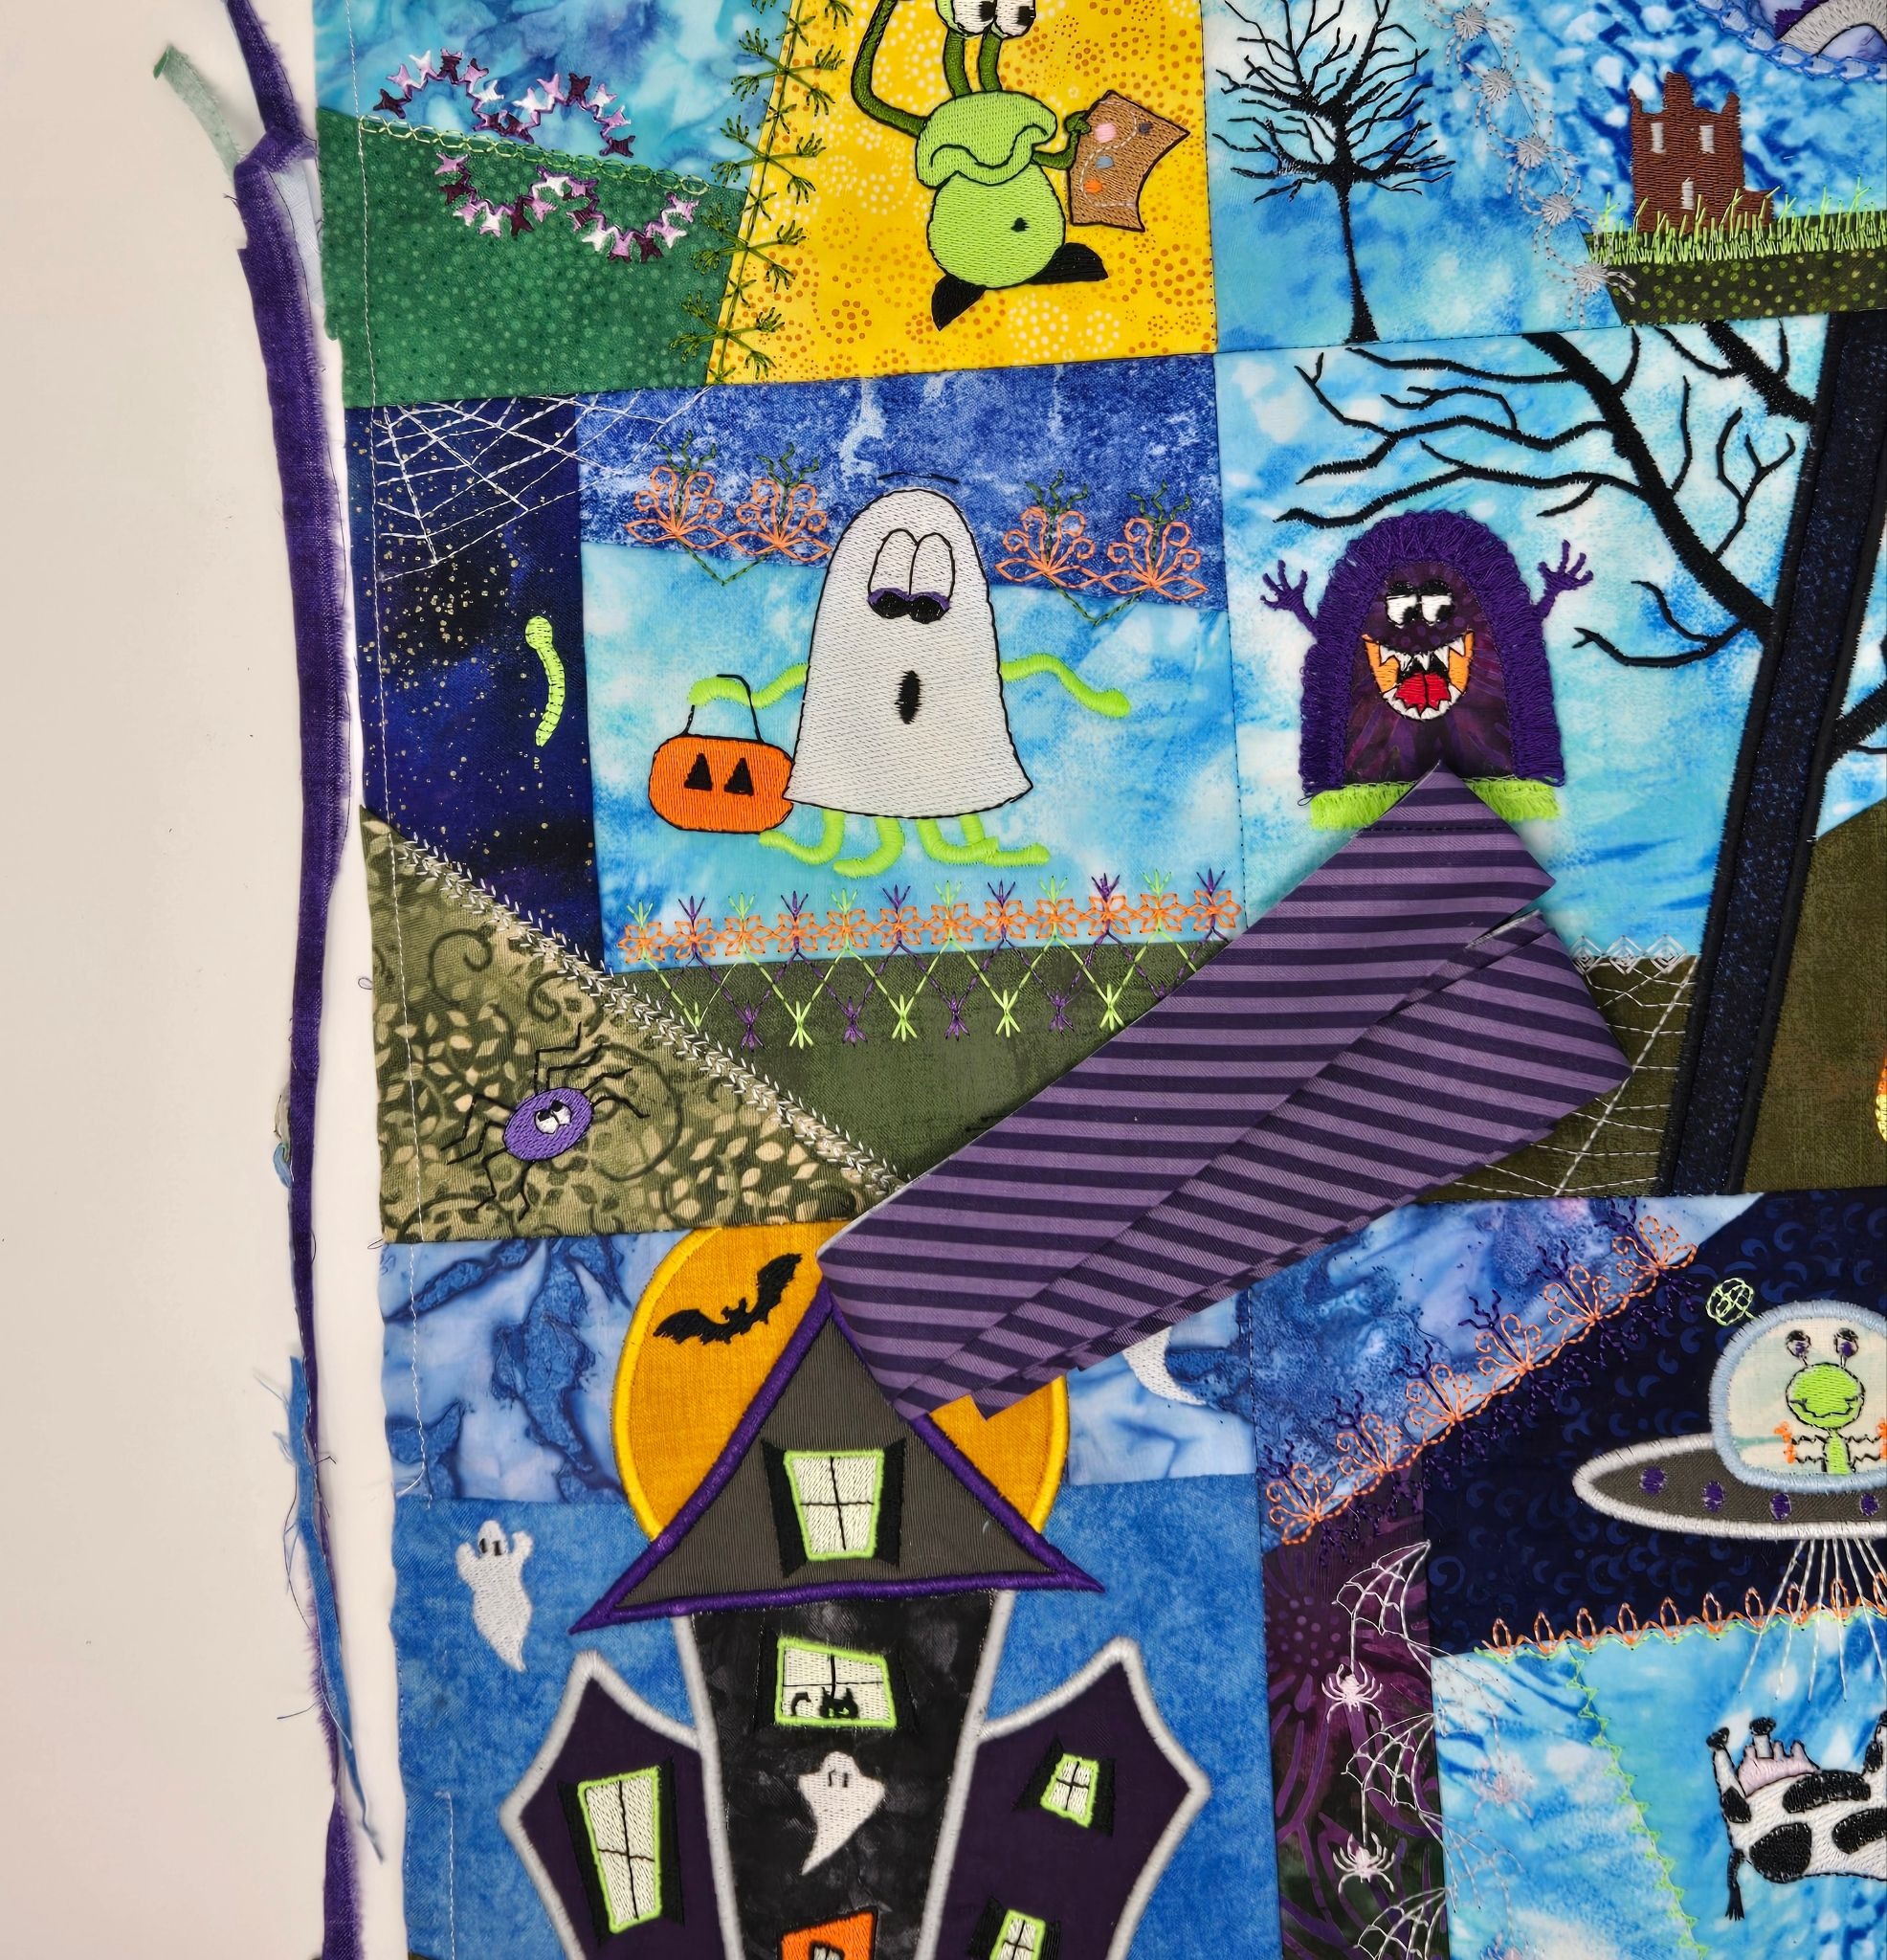
I added my binding from the back with a ¼” seam allowance, and then flipped it to the front to sew down with my machine. I did not add any hanging sleeve or tabs since my hanging bar has little clips.
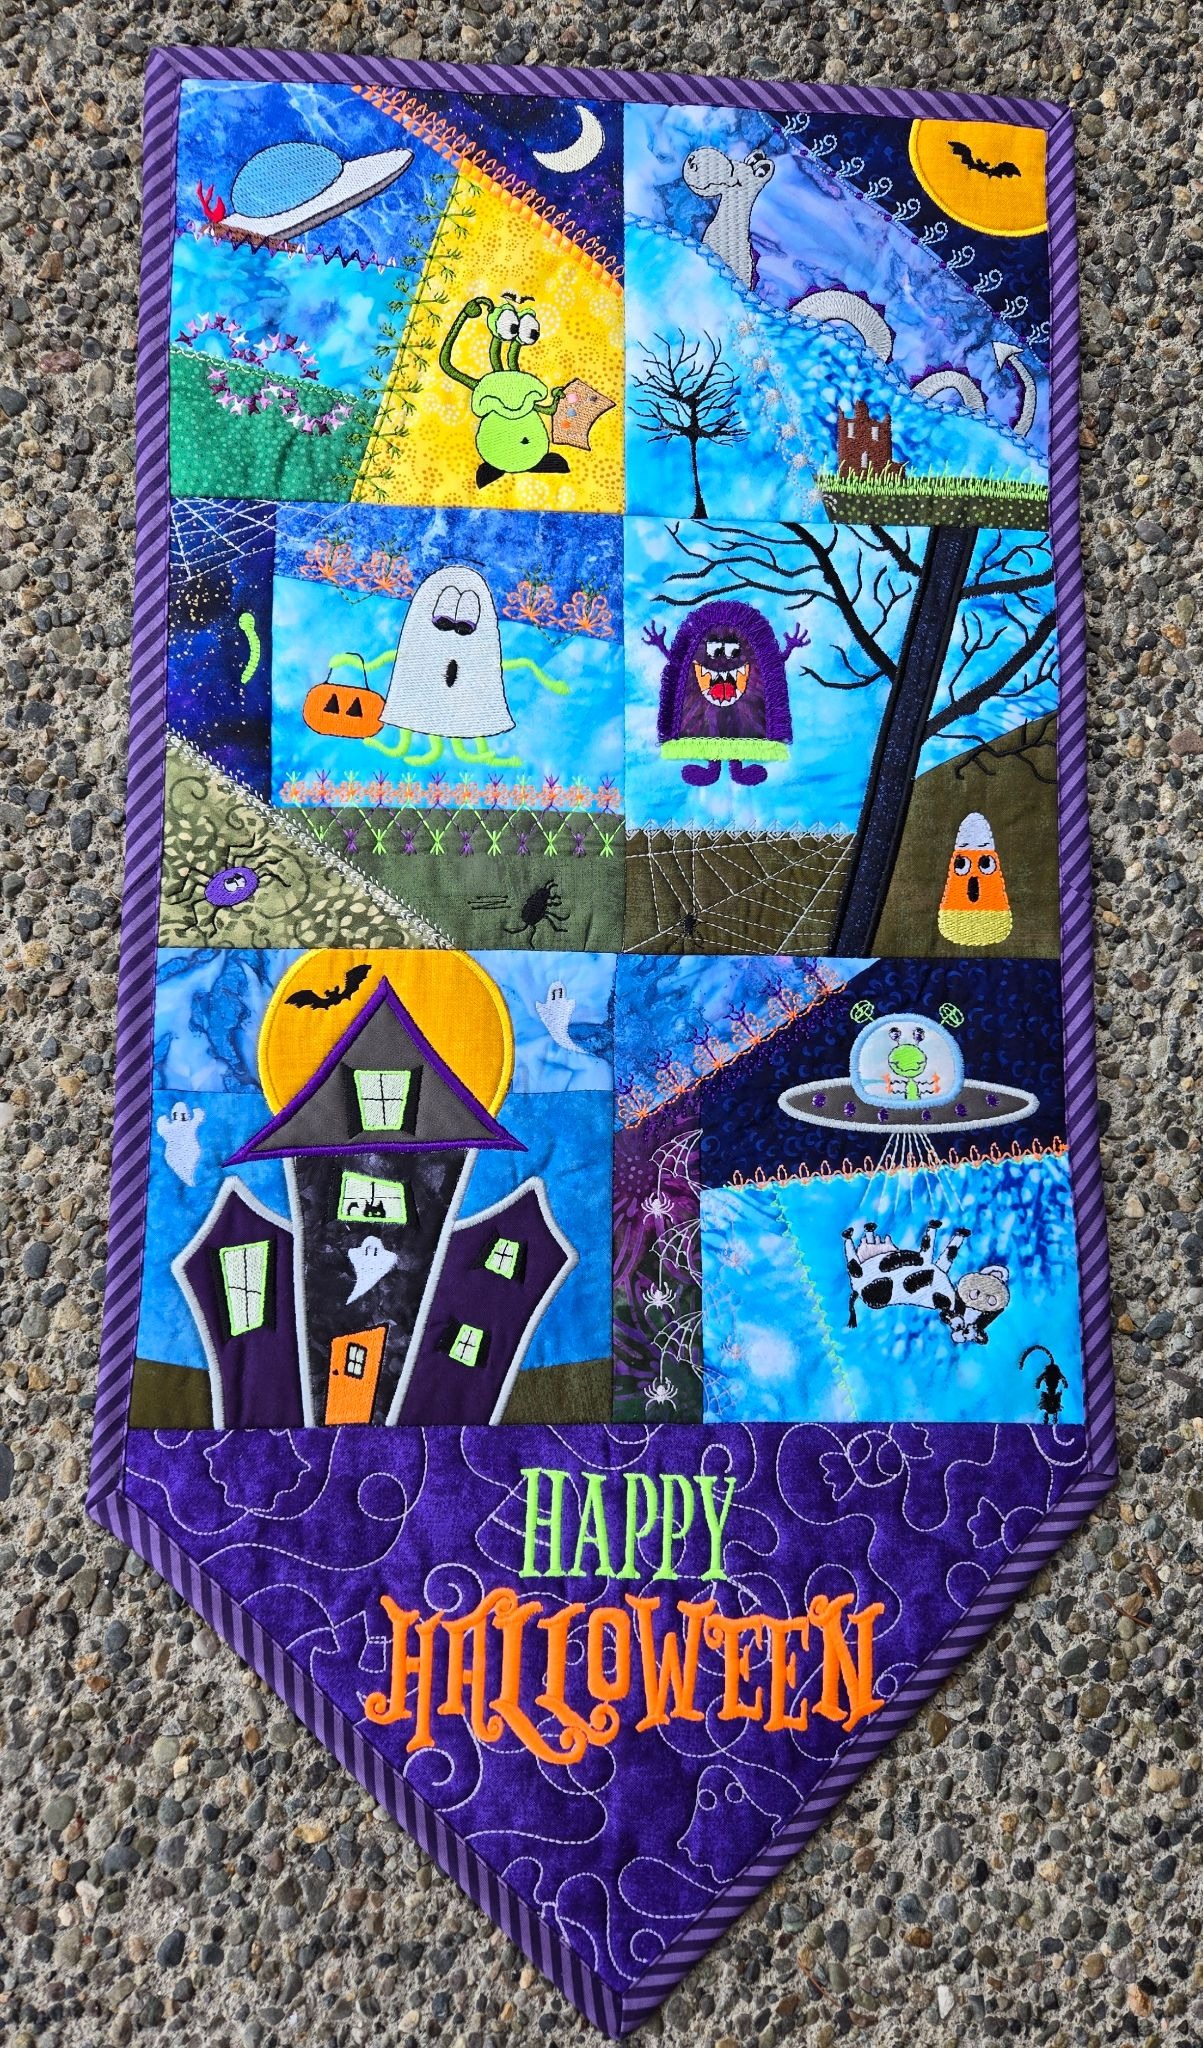
I am still thinking about adding a tassel to the bottom; I just haven’t found a purple and orange one—yet!
Now it’s your turn. Choose your favorite blocks and have some fun! There are so many things that can be made with these blocks—pillows, baskets, a bag pocket, or even a whole bag! Put them on a denim jacket, or down the side of jeans as shown in the How to Upcycle Jeans blog post.
When you have created your special Spooky Crazy Patch project, be sure to share it in the Designs by JuJu Embroidery Blessings Facebook Group, or use the hashtag #designsbyjuju anywhere on social media. We all love to see what you create!
