Toggle Nav
 Inspire.
Create.
Stitch.
Inspire.
Create.
Stitch.
Inspire.
Create.
Stitch.
Search
Inspire.
Create.
Stitch.
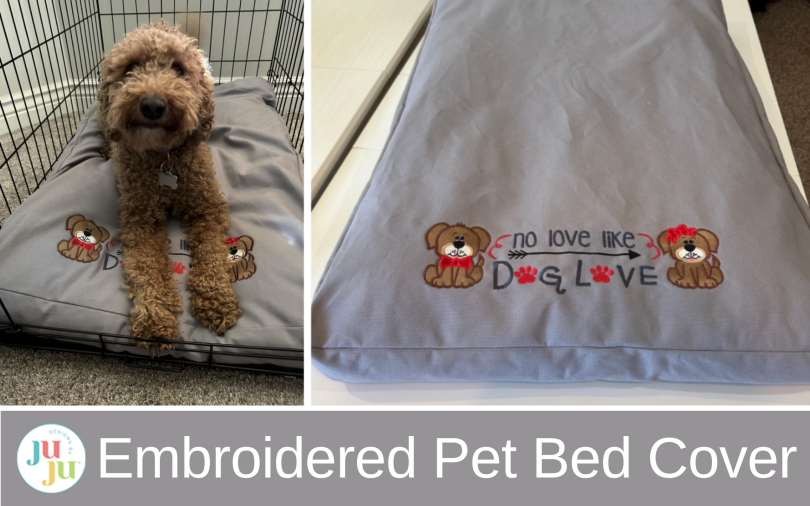
Sew a washable embroidered pet bed cover with a zipper, boxed edges, and machine embroidery. This tutorial shows how to customize a dog bed with style and function.
Do you have fur babies at your house? At our house we have three dogs, and I love to accessorize their spaces. I purchased a dog bed that didn’t have a removable cover, and at our house a removable cover is pretty necessary for easy washing. So I decided to make an embroidered cover for the bed so that not only is my dog comfy, but she’s fashionable too. I made a boxed edge with a gusset to allow for the height of the bed and added a zipper to facilitate easy change outs. If you’ve never done a zipper before, don’t be shy; the technique I use is one of the easiest out there for sewing a zipper.
So follow along to help accessorize your fur baby’s space!
Don’t forget to check out the Designs by JuJu Amazon store for our design team’s favorite supplies. And for stabilizers, batting, and threads, Designs by JuJu+ has everything you need.
Finished size: This pet bed measures 24” x 36”. It’s easy to adjust your fabric to your pet bed size.
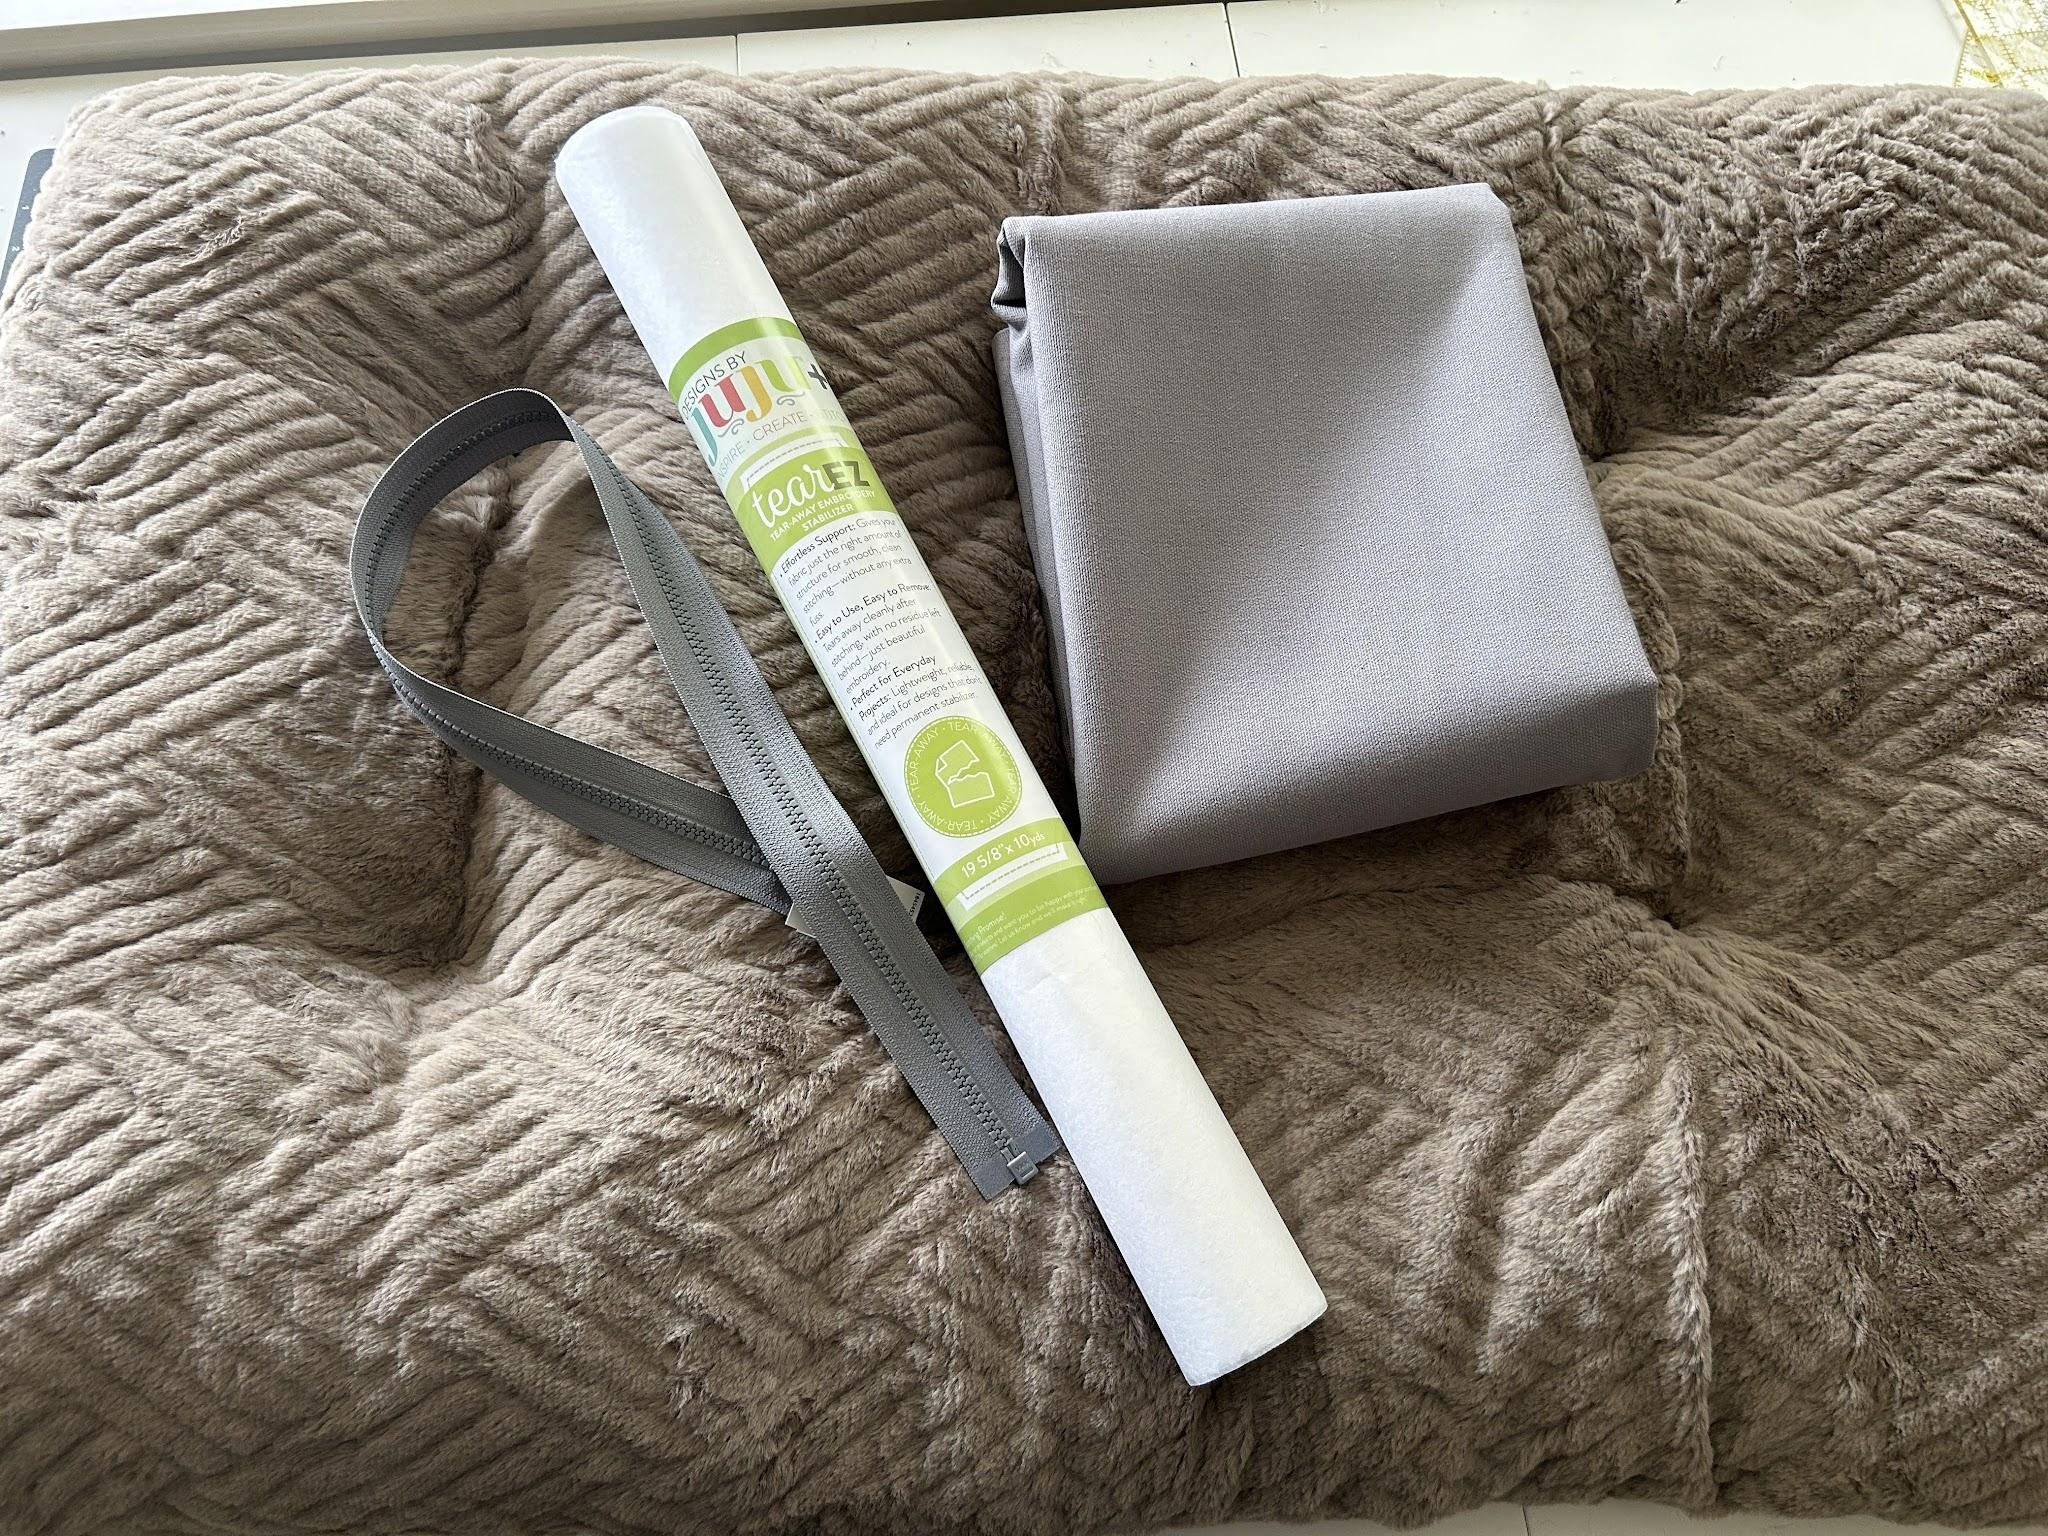
Cut your fabric into two pieces that measure 24” x 36” for the top and bottom of your bed. You will also need two pieces that measure 4” x 24” and two pieces that are 4” x 36” for the gusset—the piece that goes around the sides of the cover.
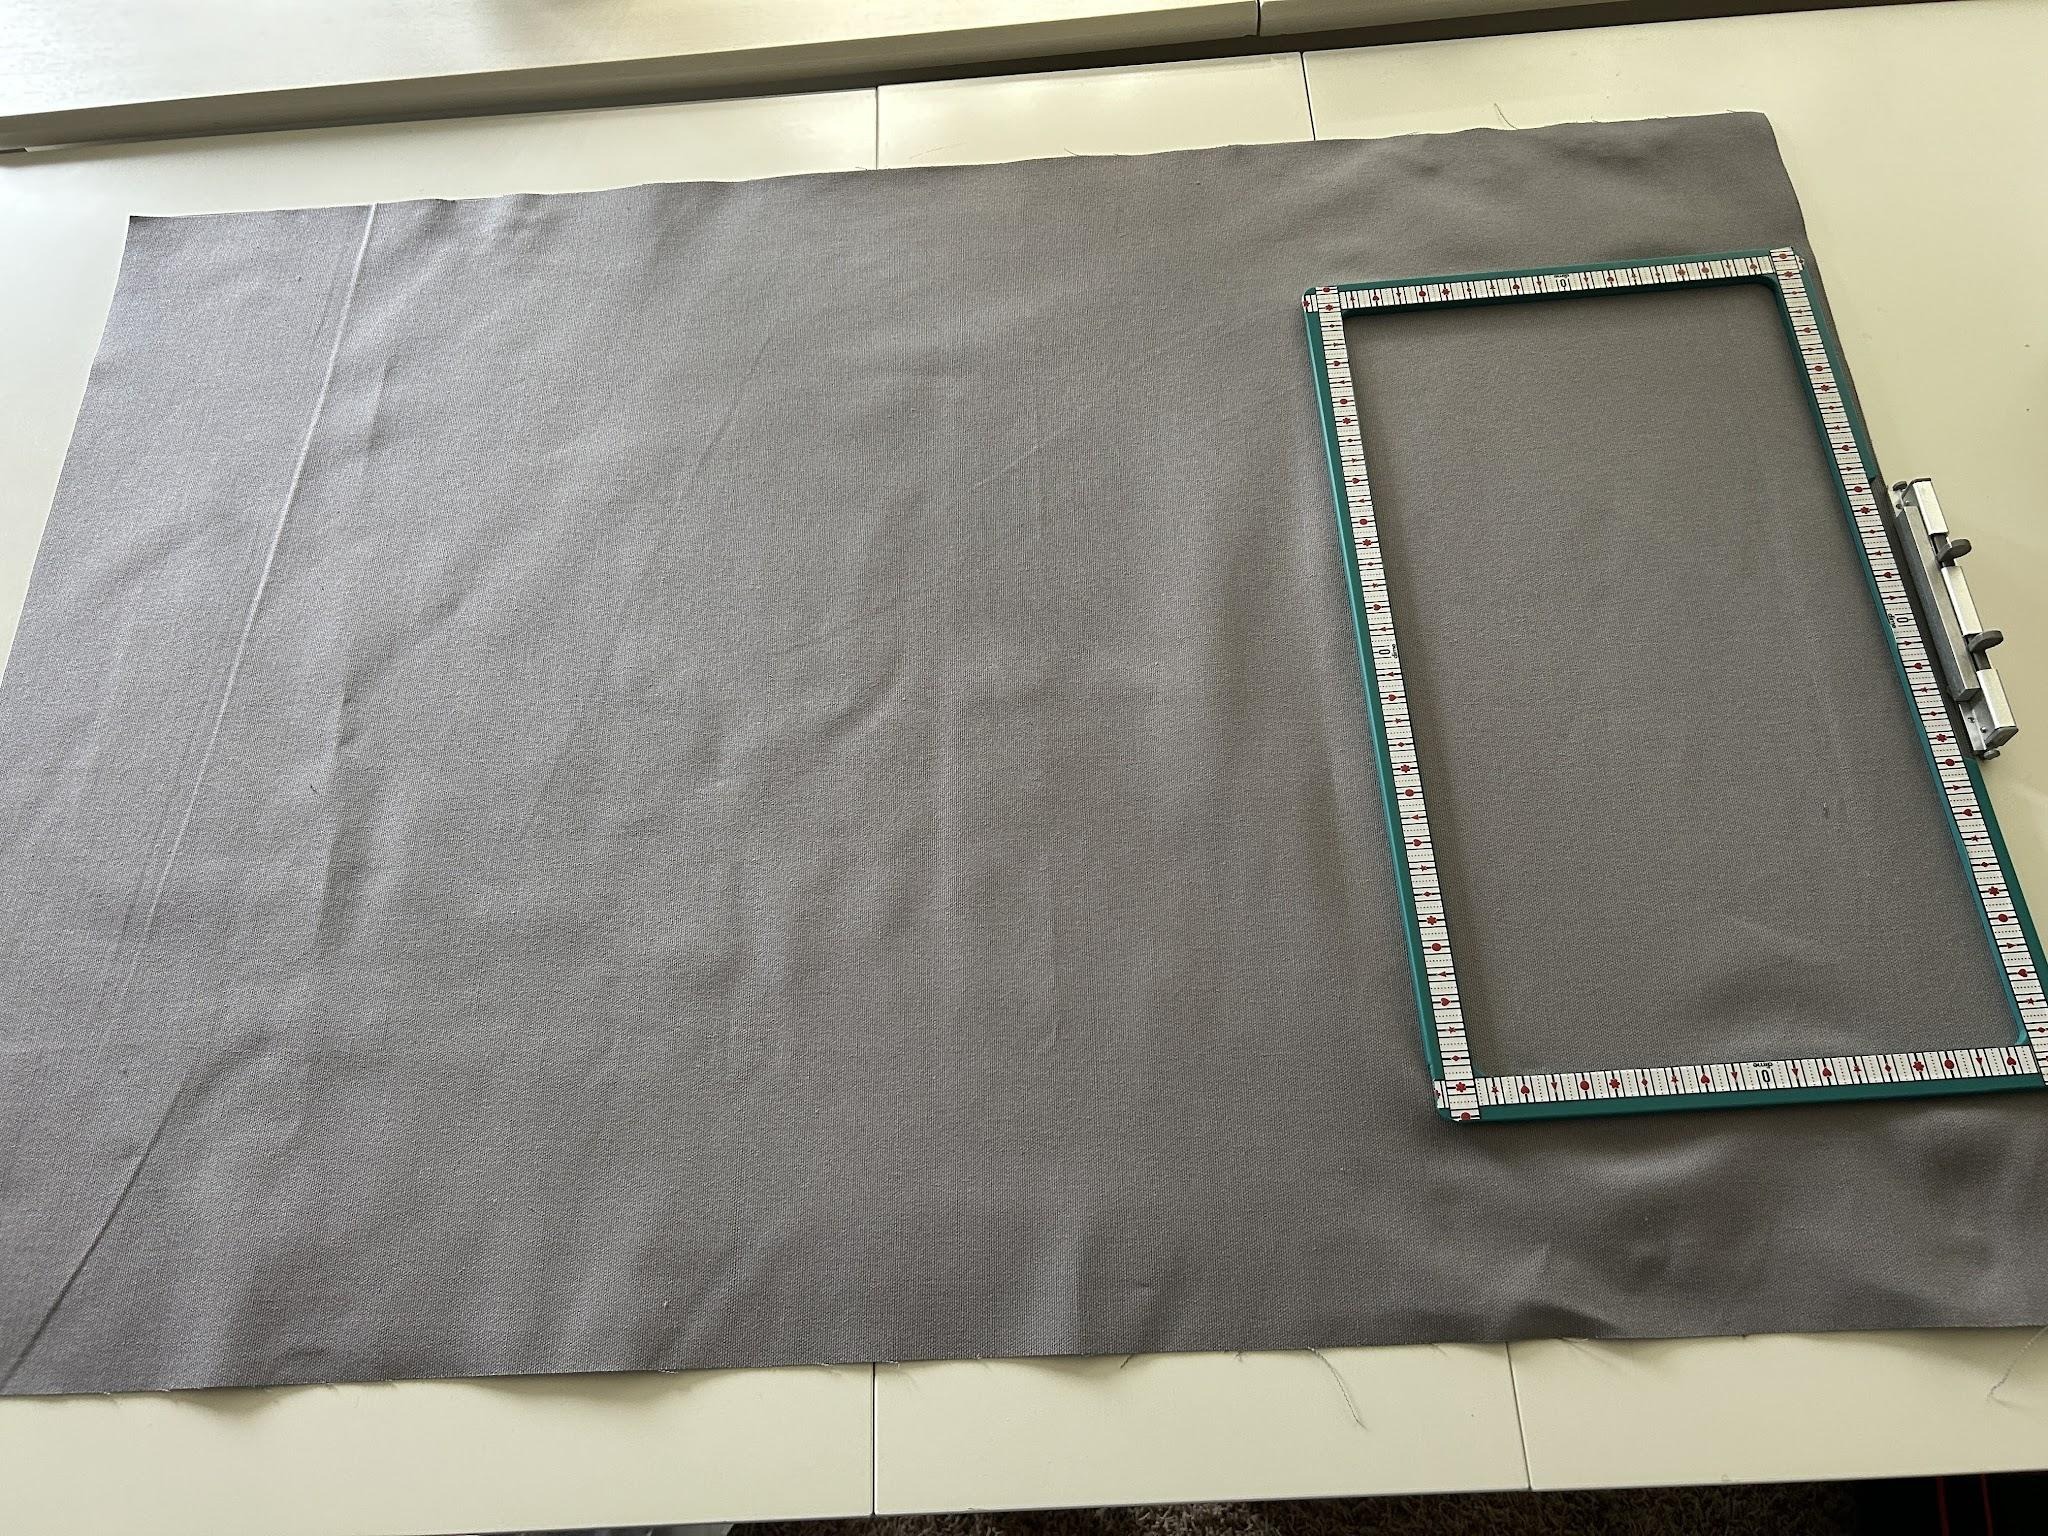
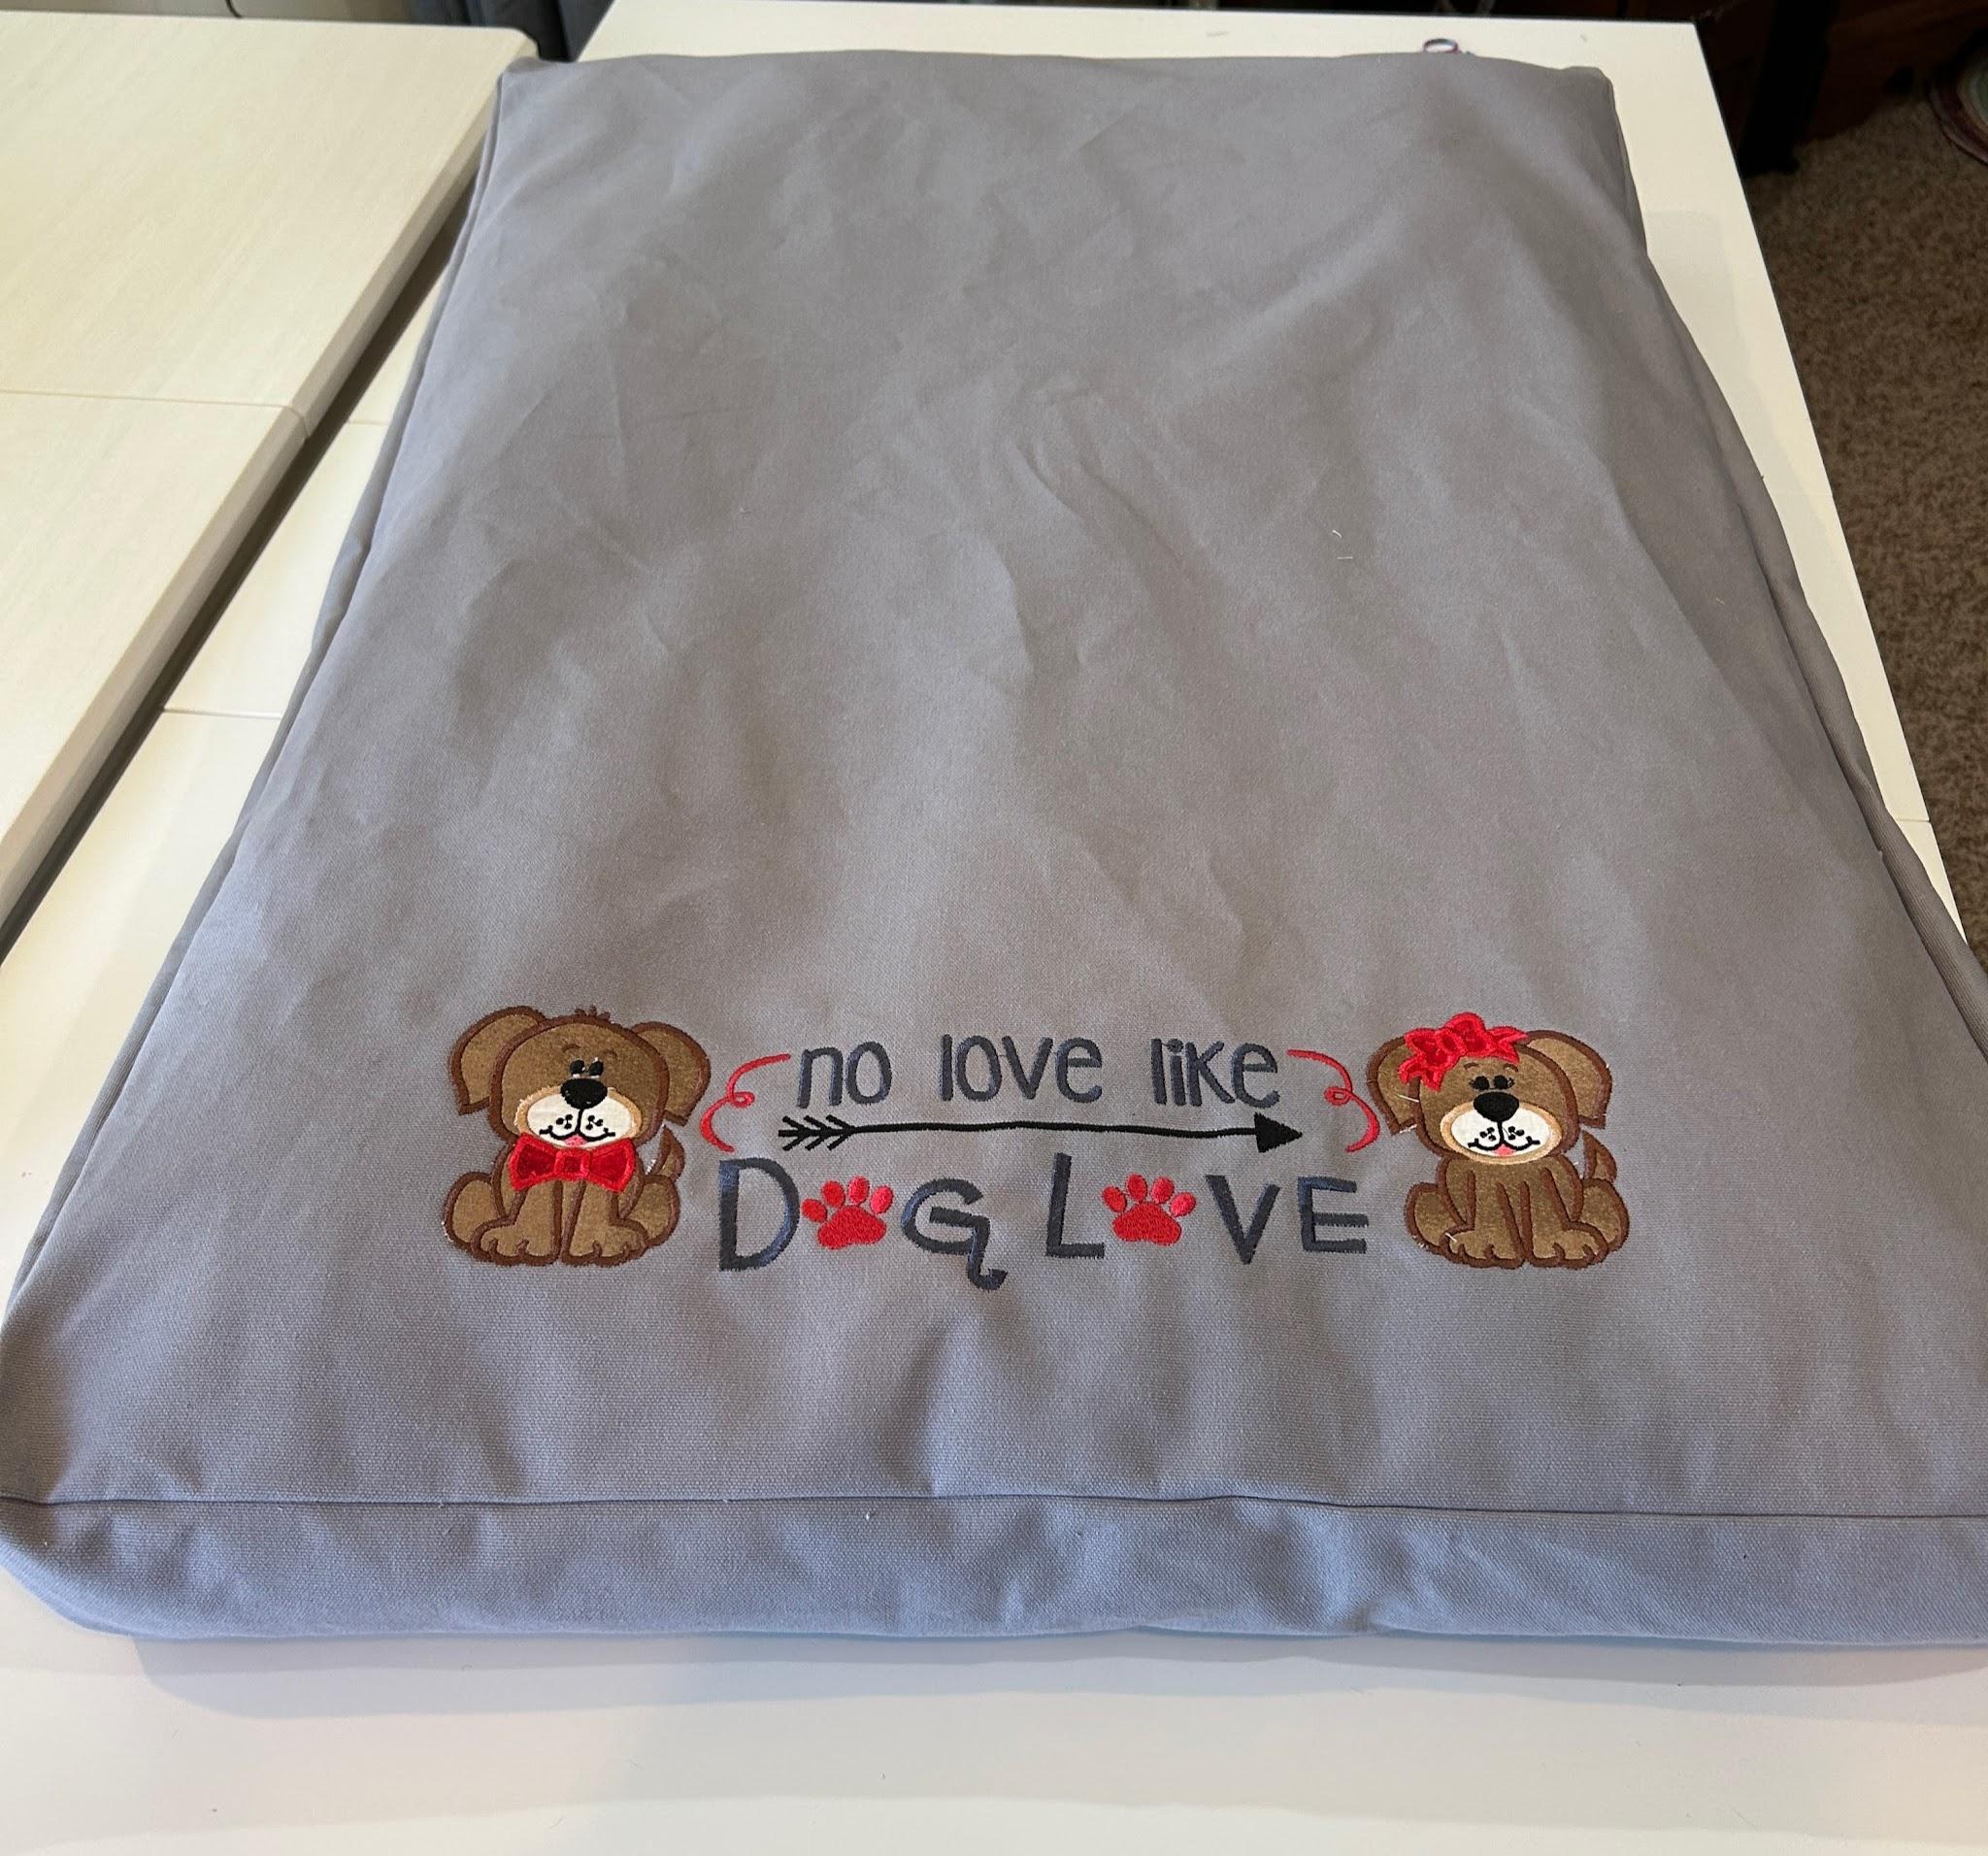
We will first embroider our design on the top of the pet bed. I wanted my design to run along the short end of the bed, but you can put your design on the long side or even in the center. Follow the directions for your design. Mine had applique on it; if you're new to applique check out our Applique Series for more help.
Hoop your fabric with the tearEZ stabilizer. Stitch out your design.
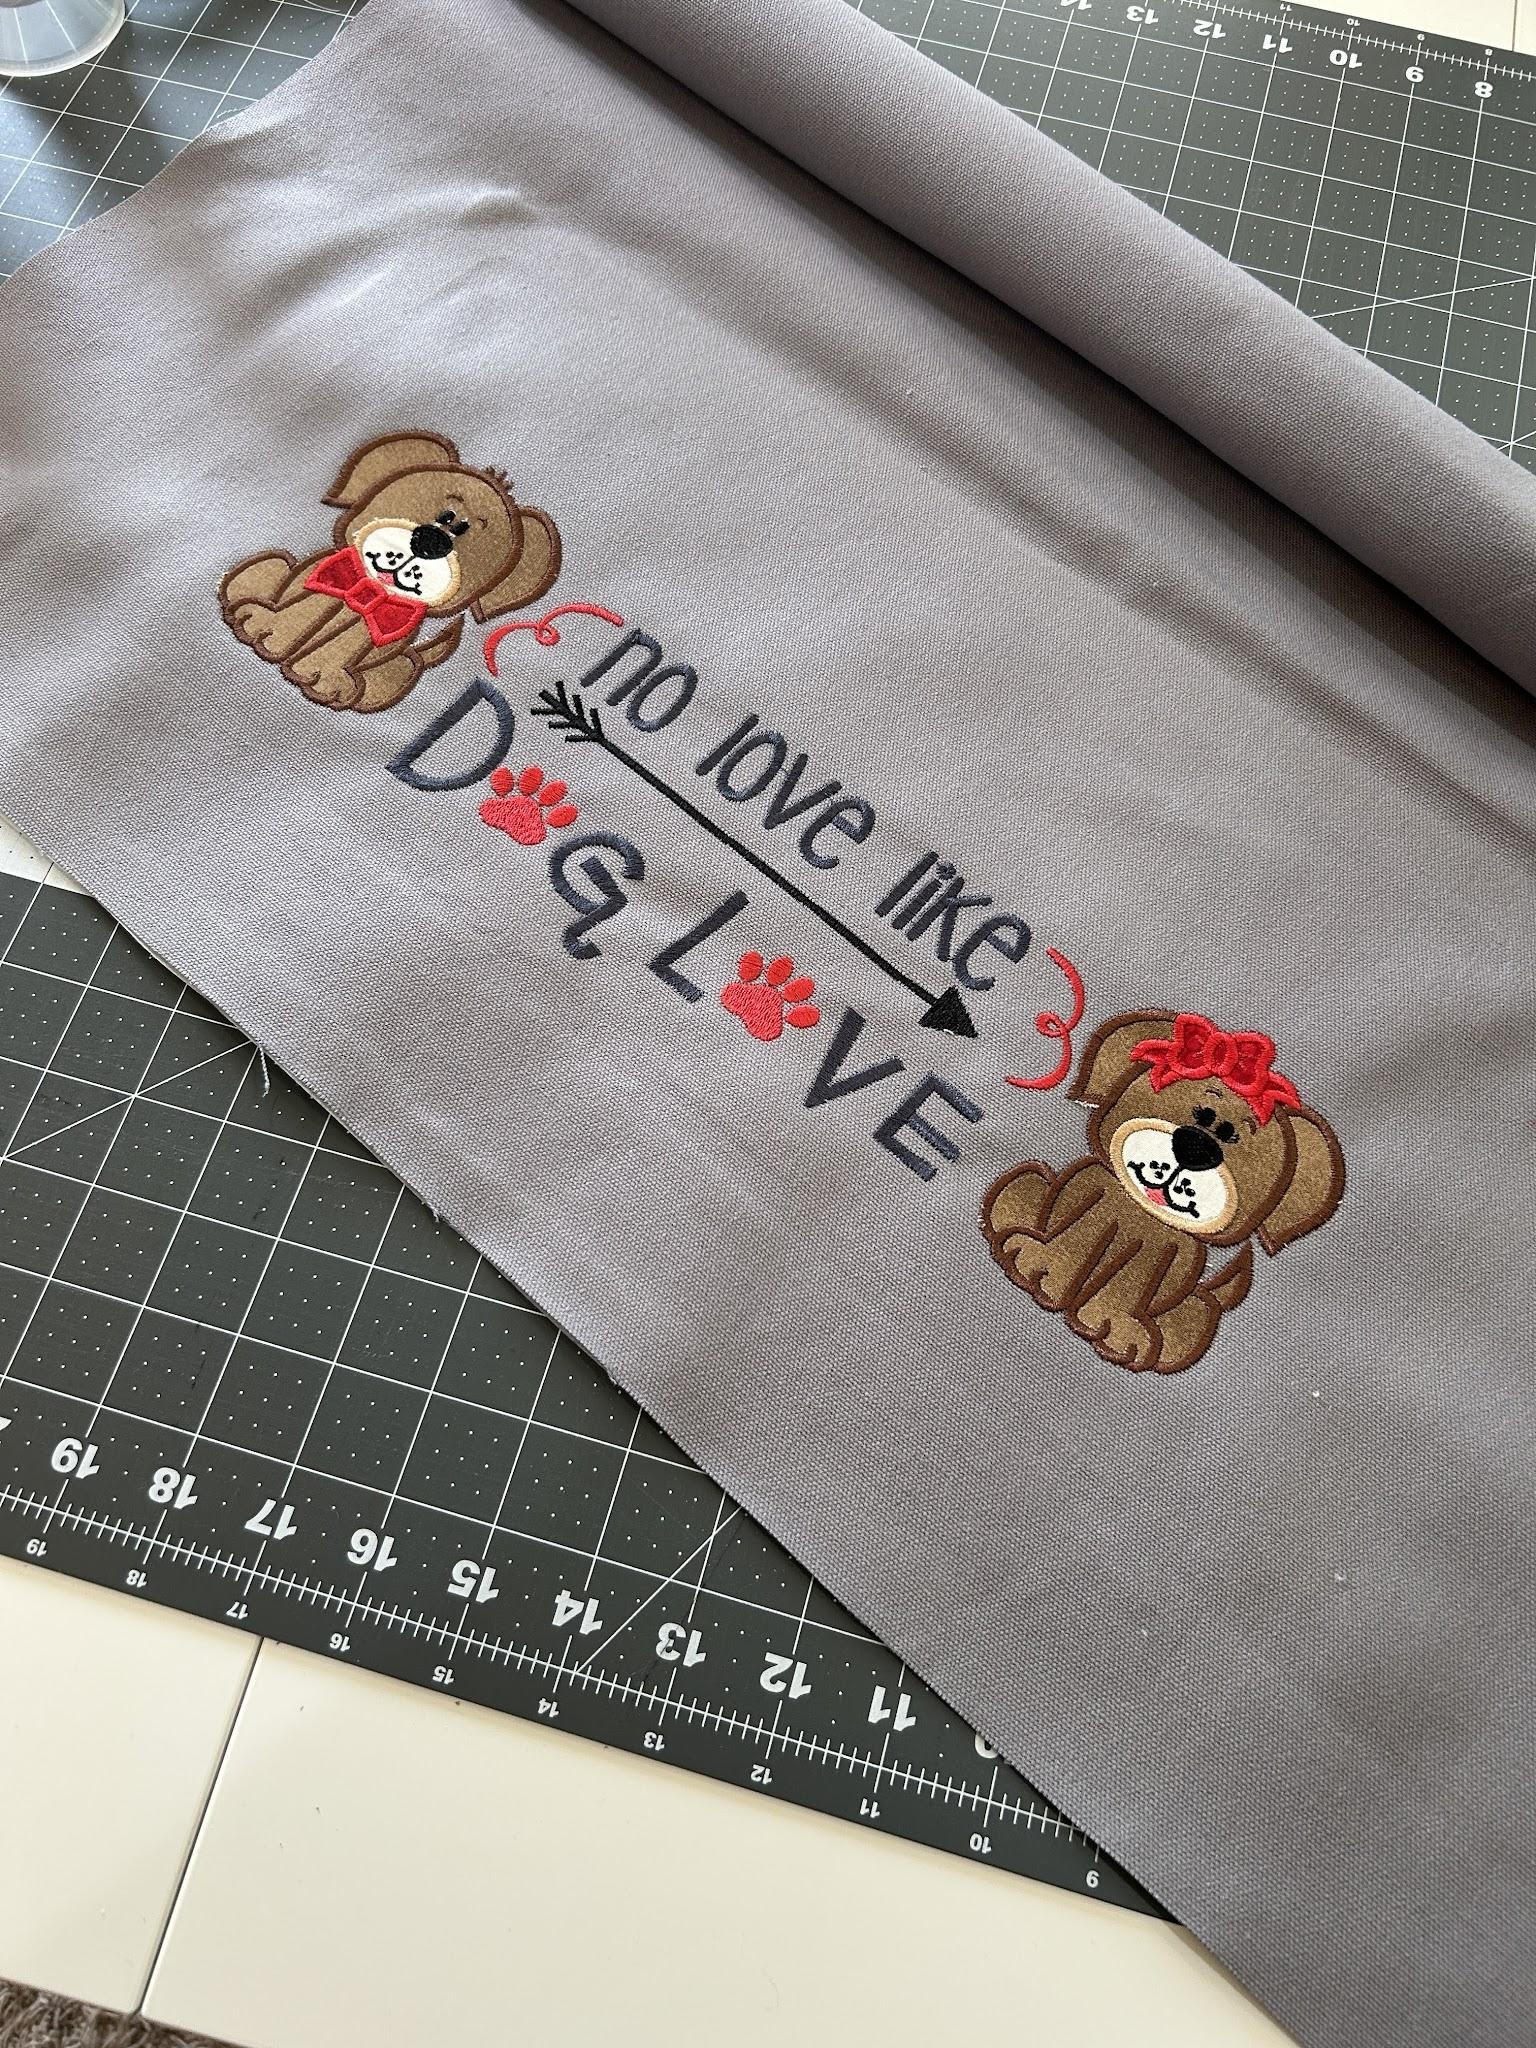
When it's finished stitching, you can tear away the unused stabilizer and trim the threads on the back.
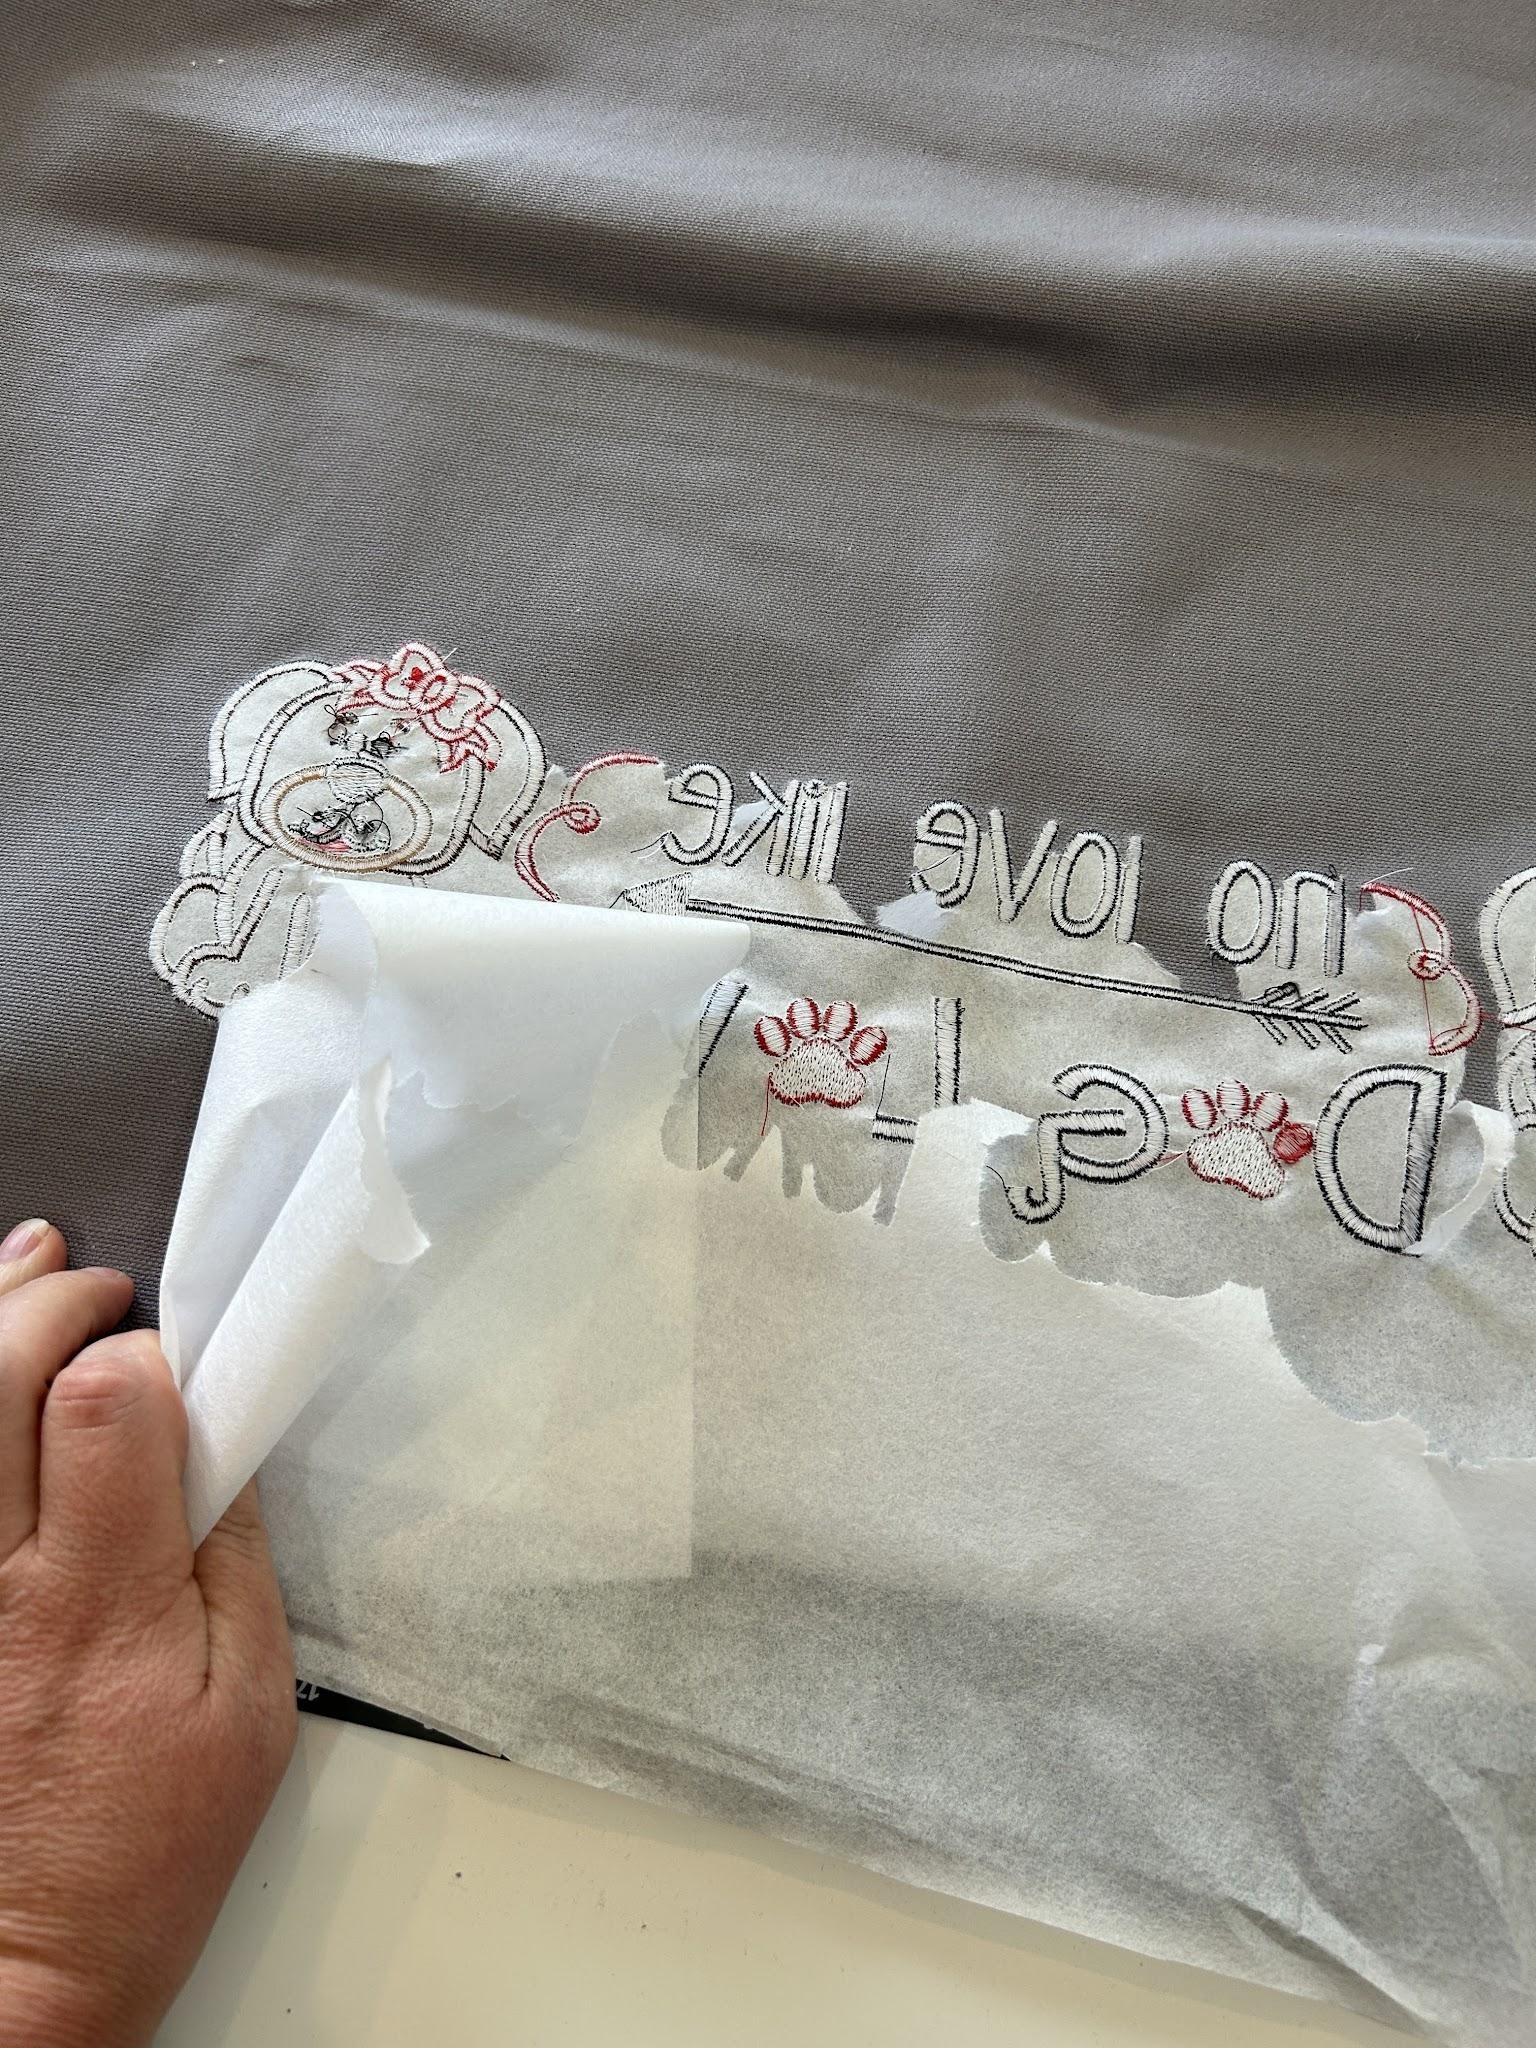
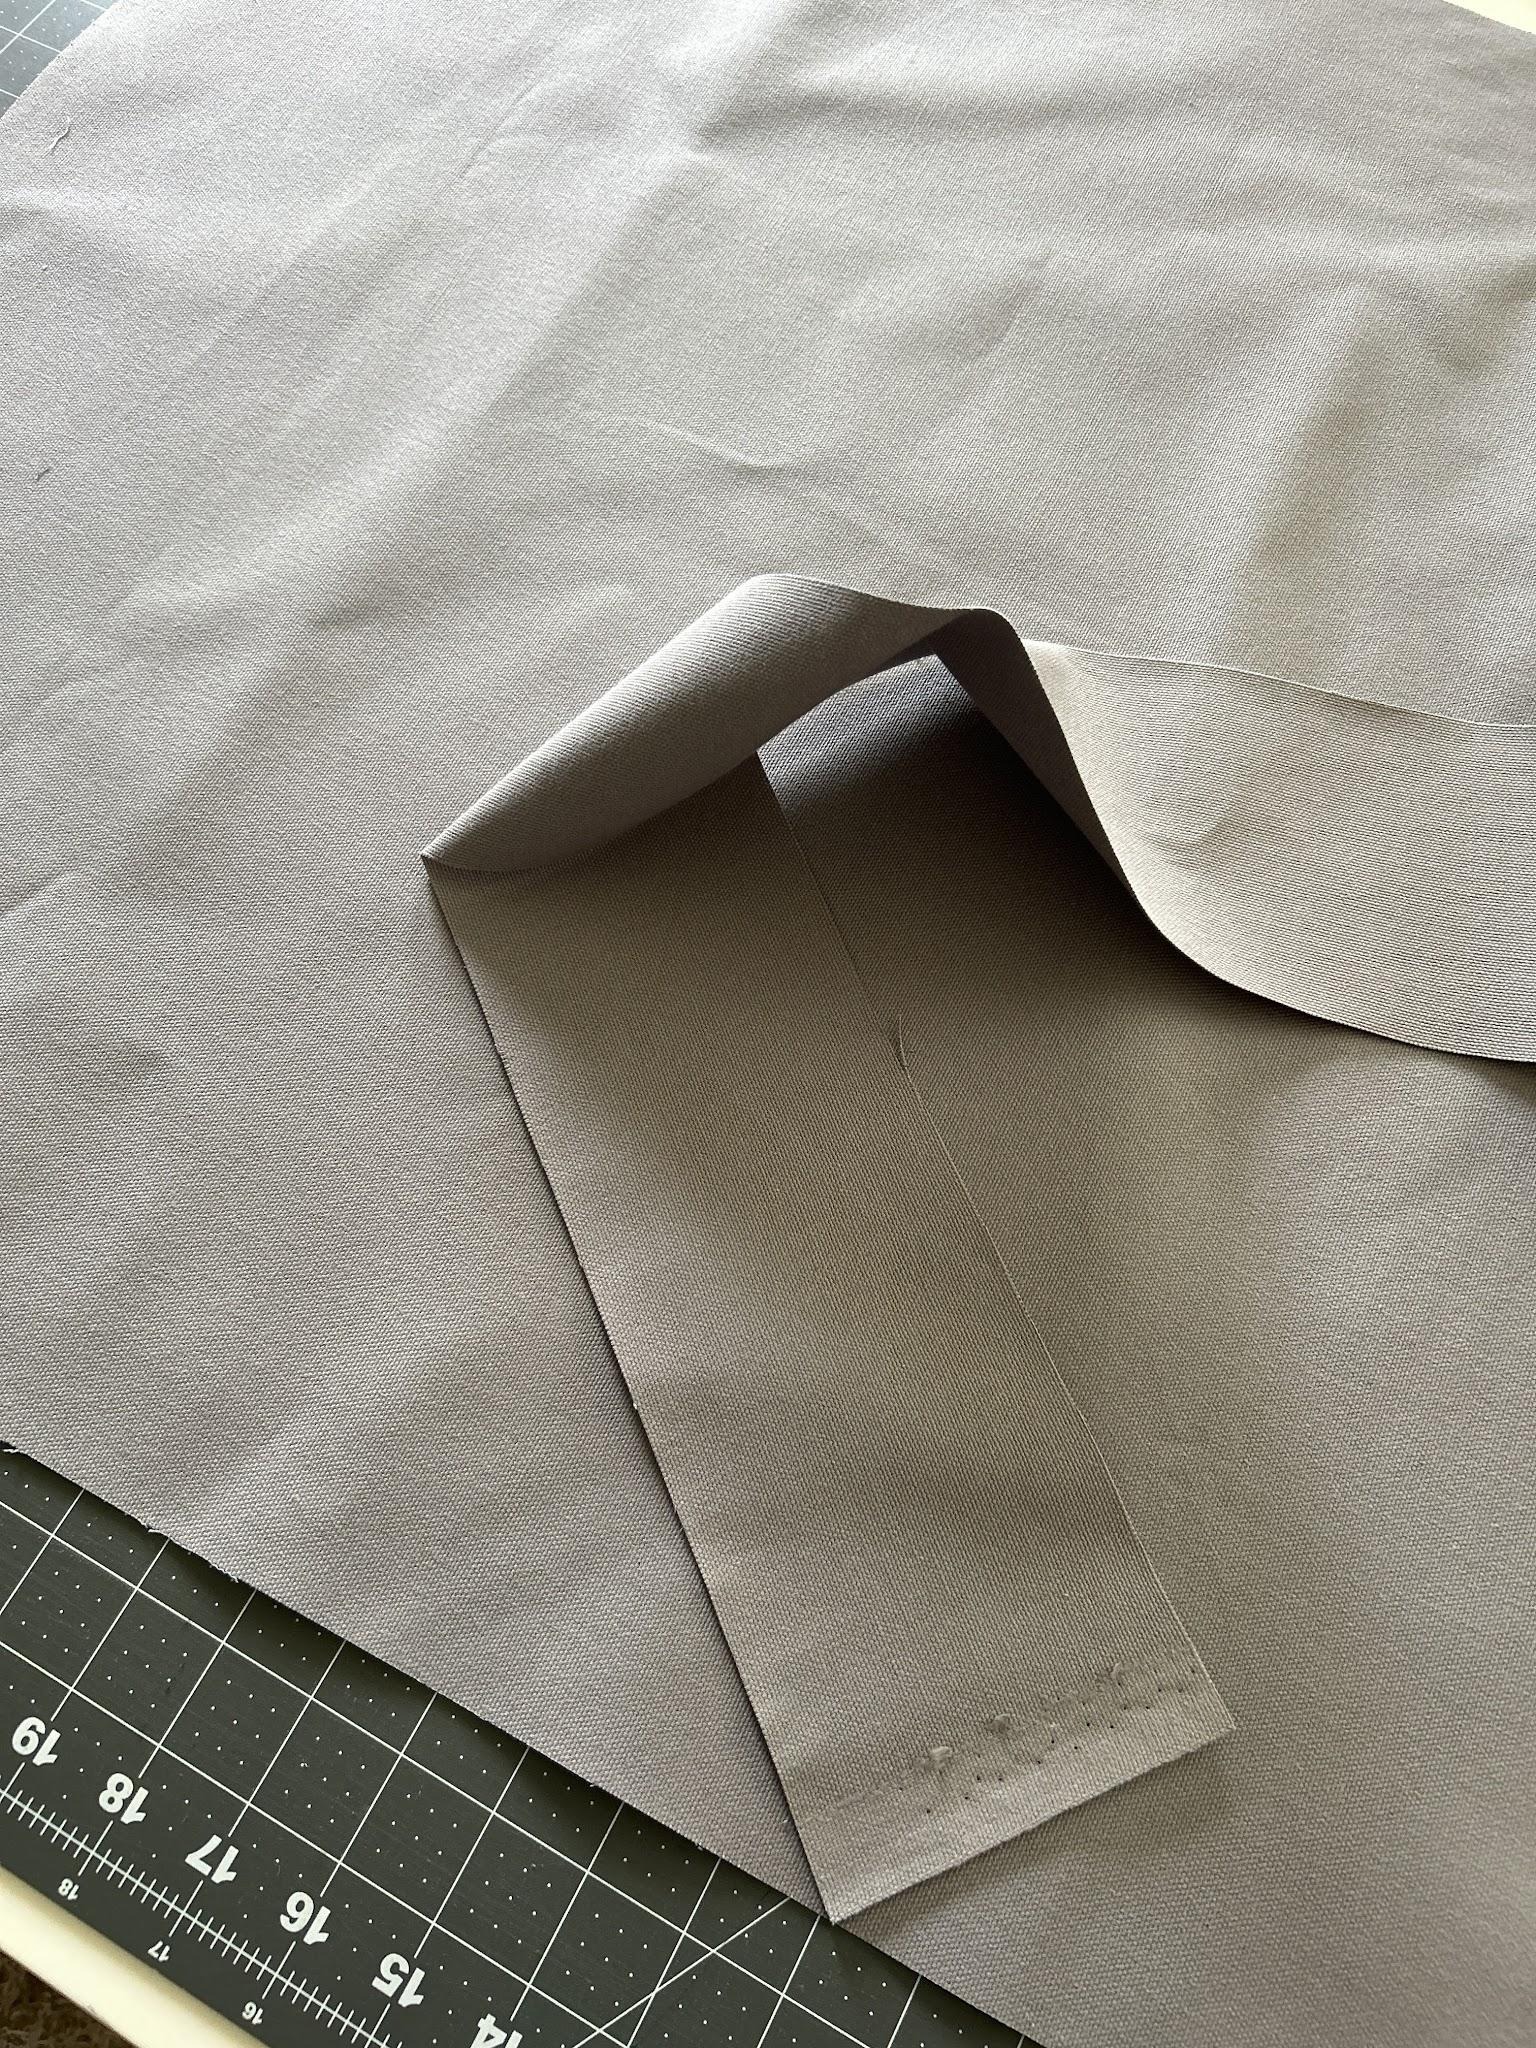
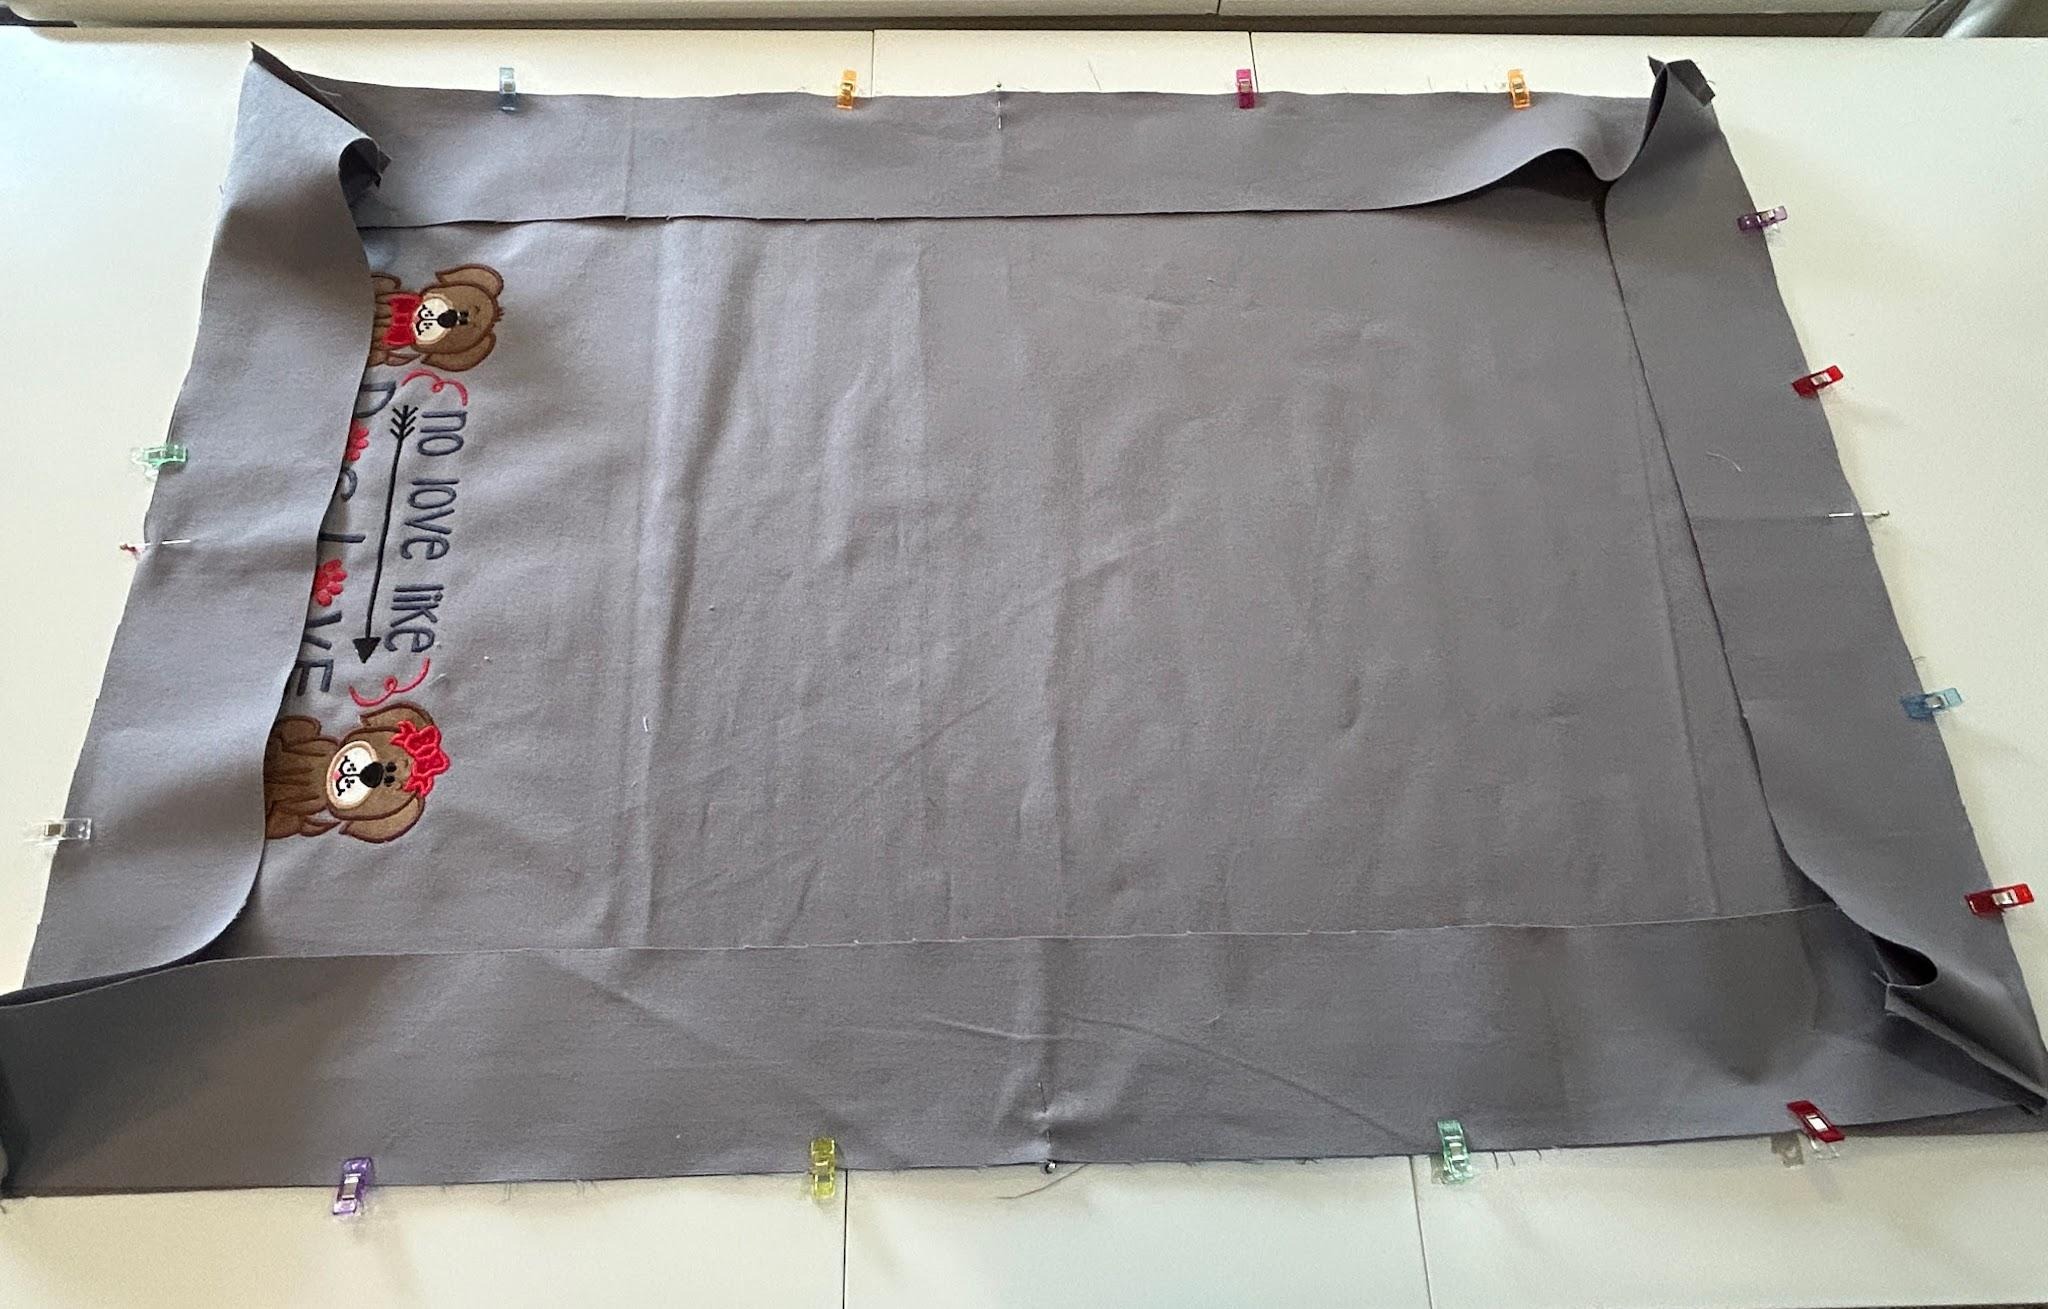
We will now sew the gussets for the edges of the bed. I laid them out matching the top piece.
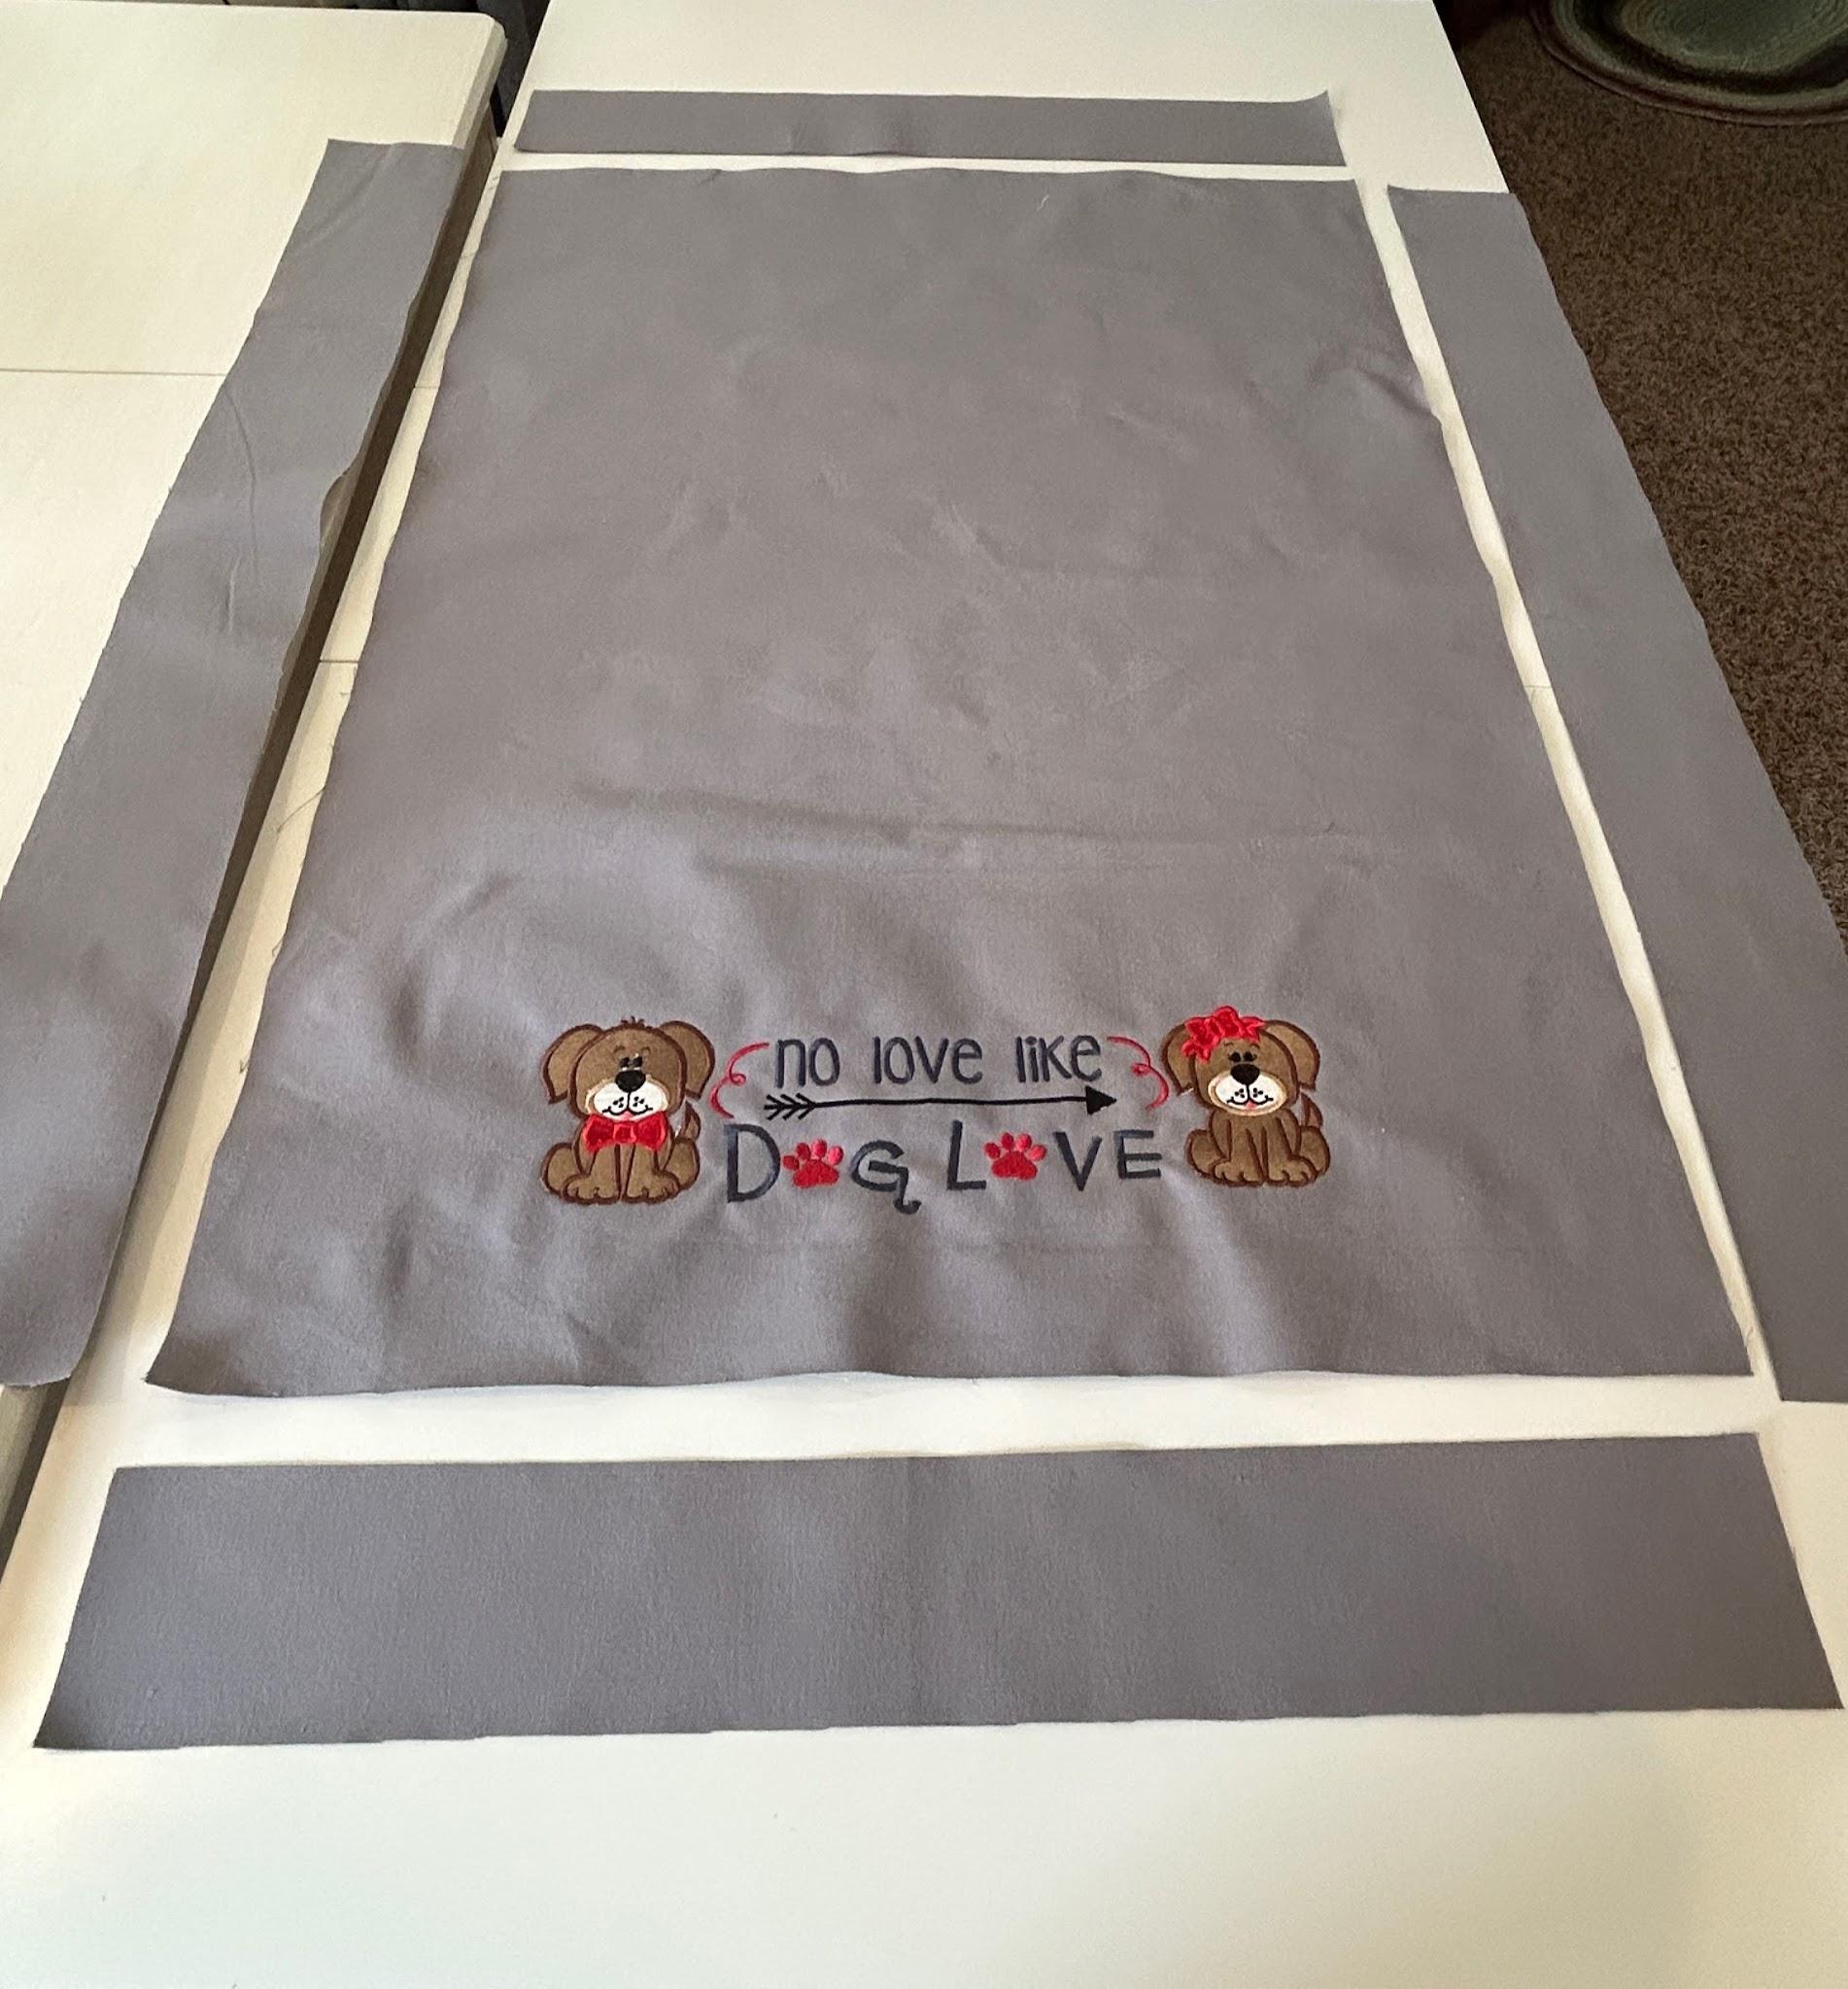
Sew the short ends of each gusset piece together so that they are all connected. It will be a big circle when you’re finished.
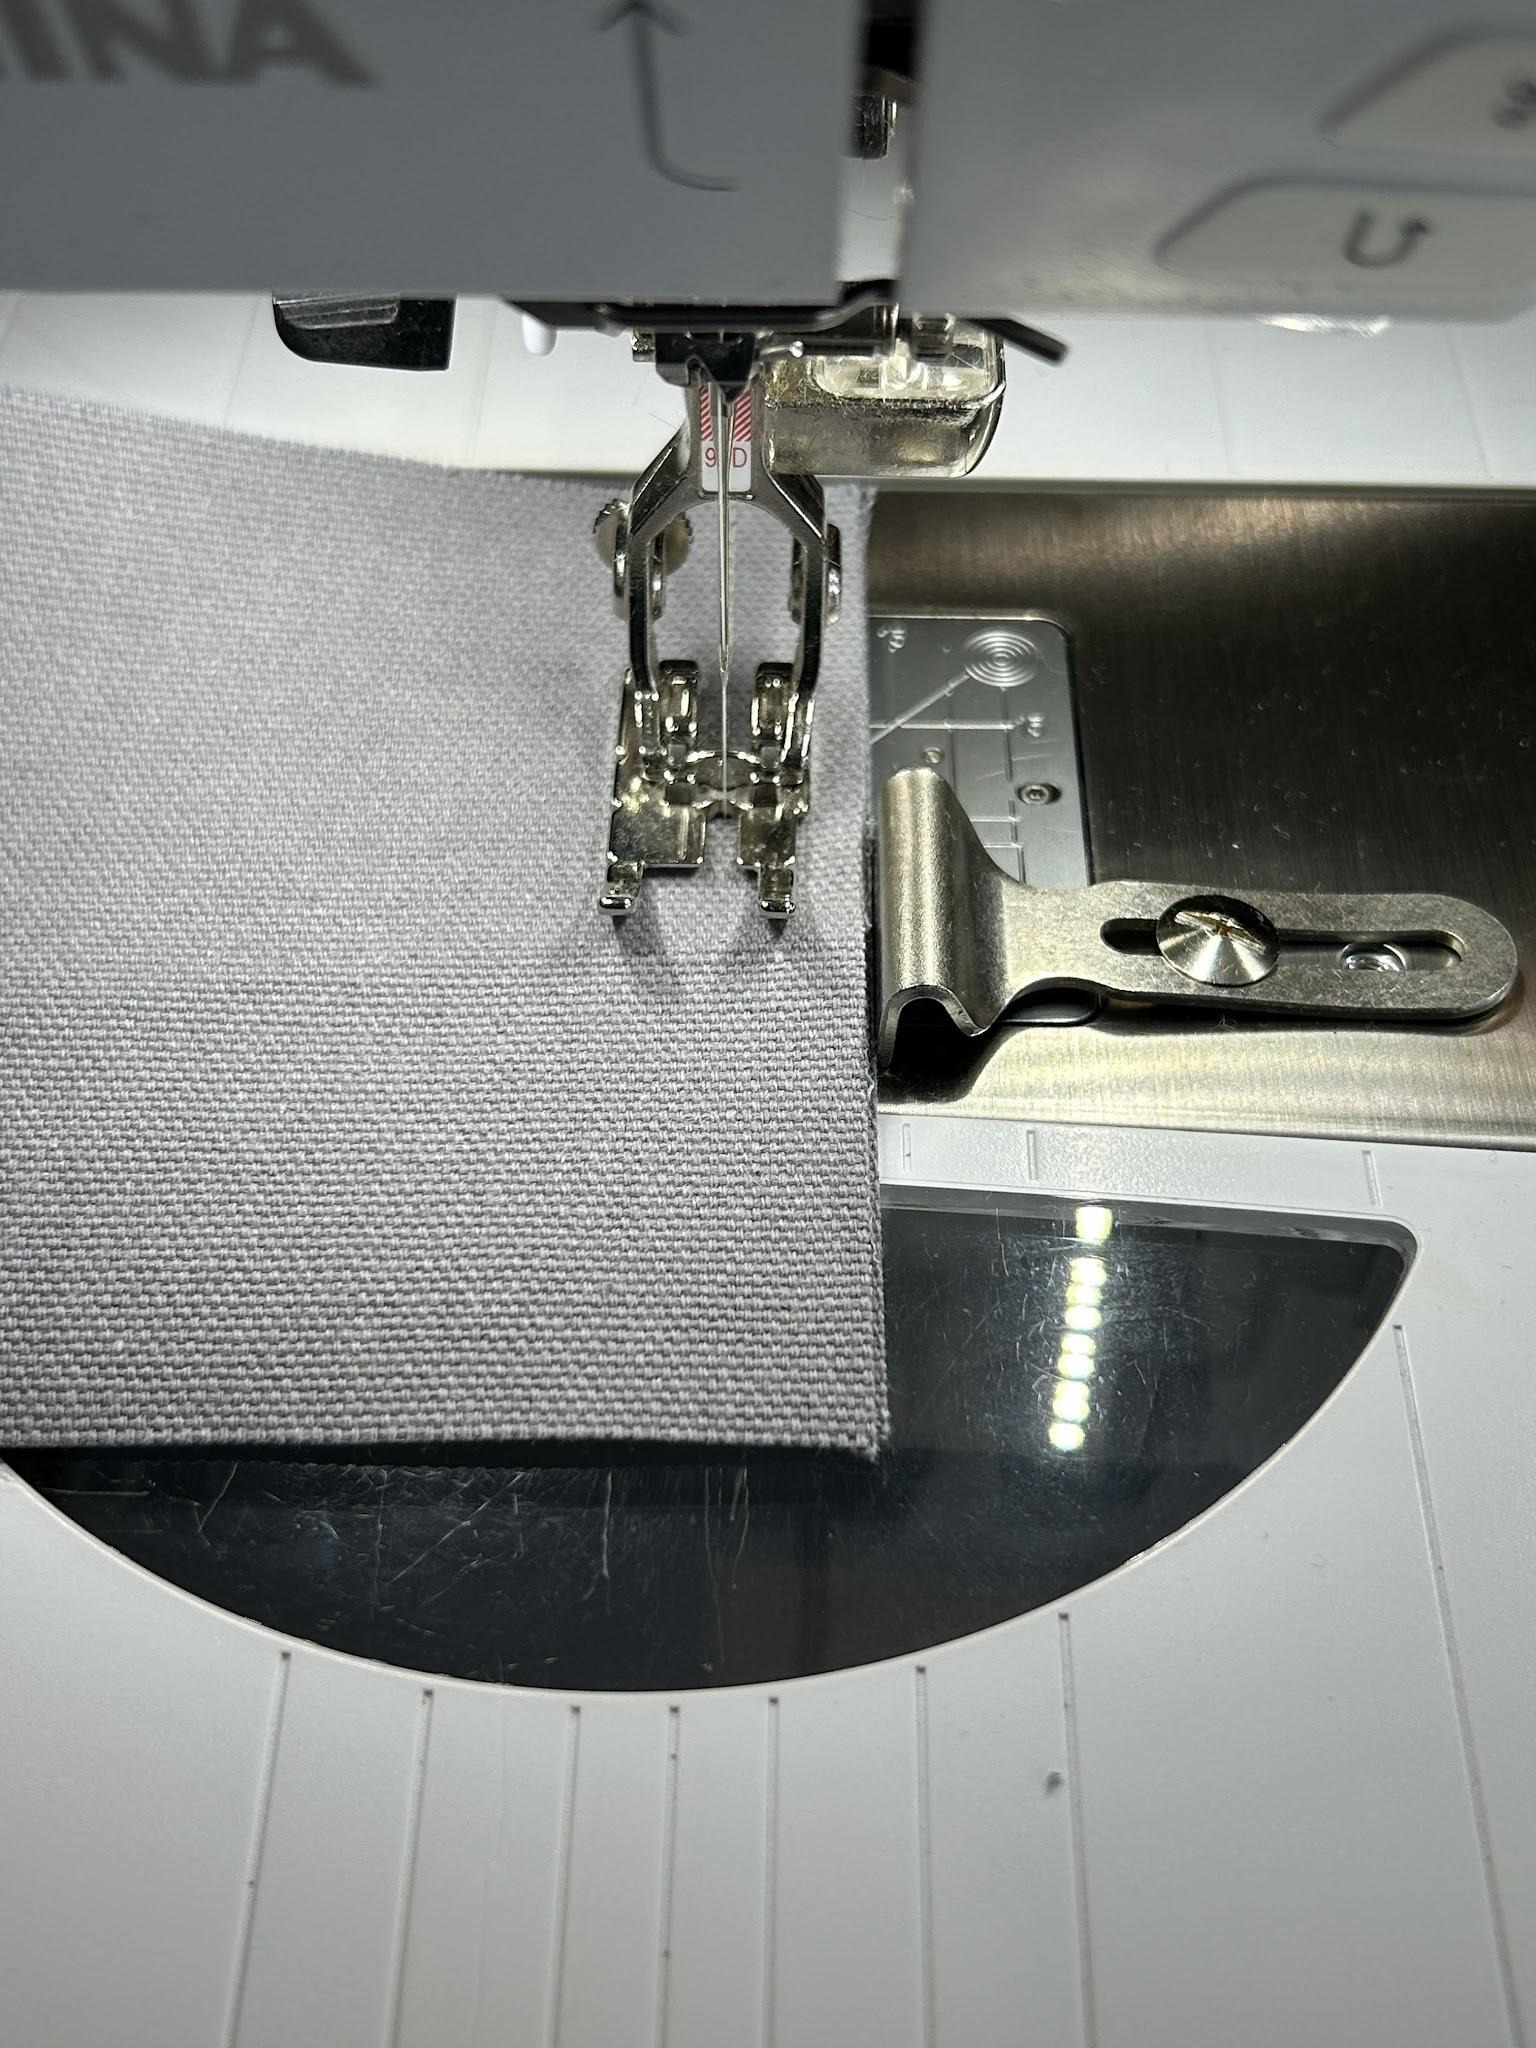
Press the seams open.
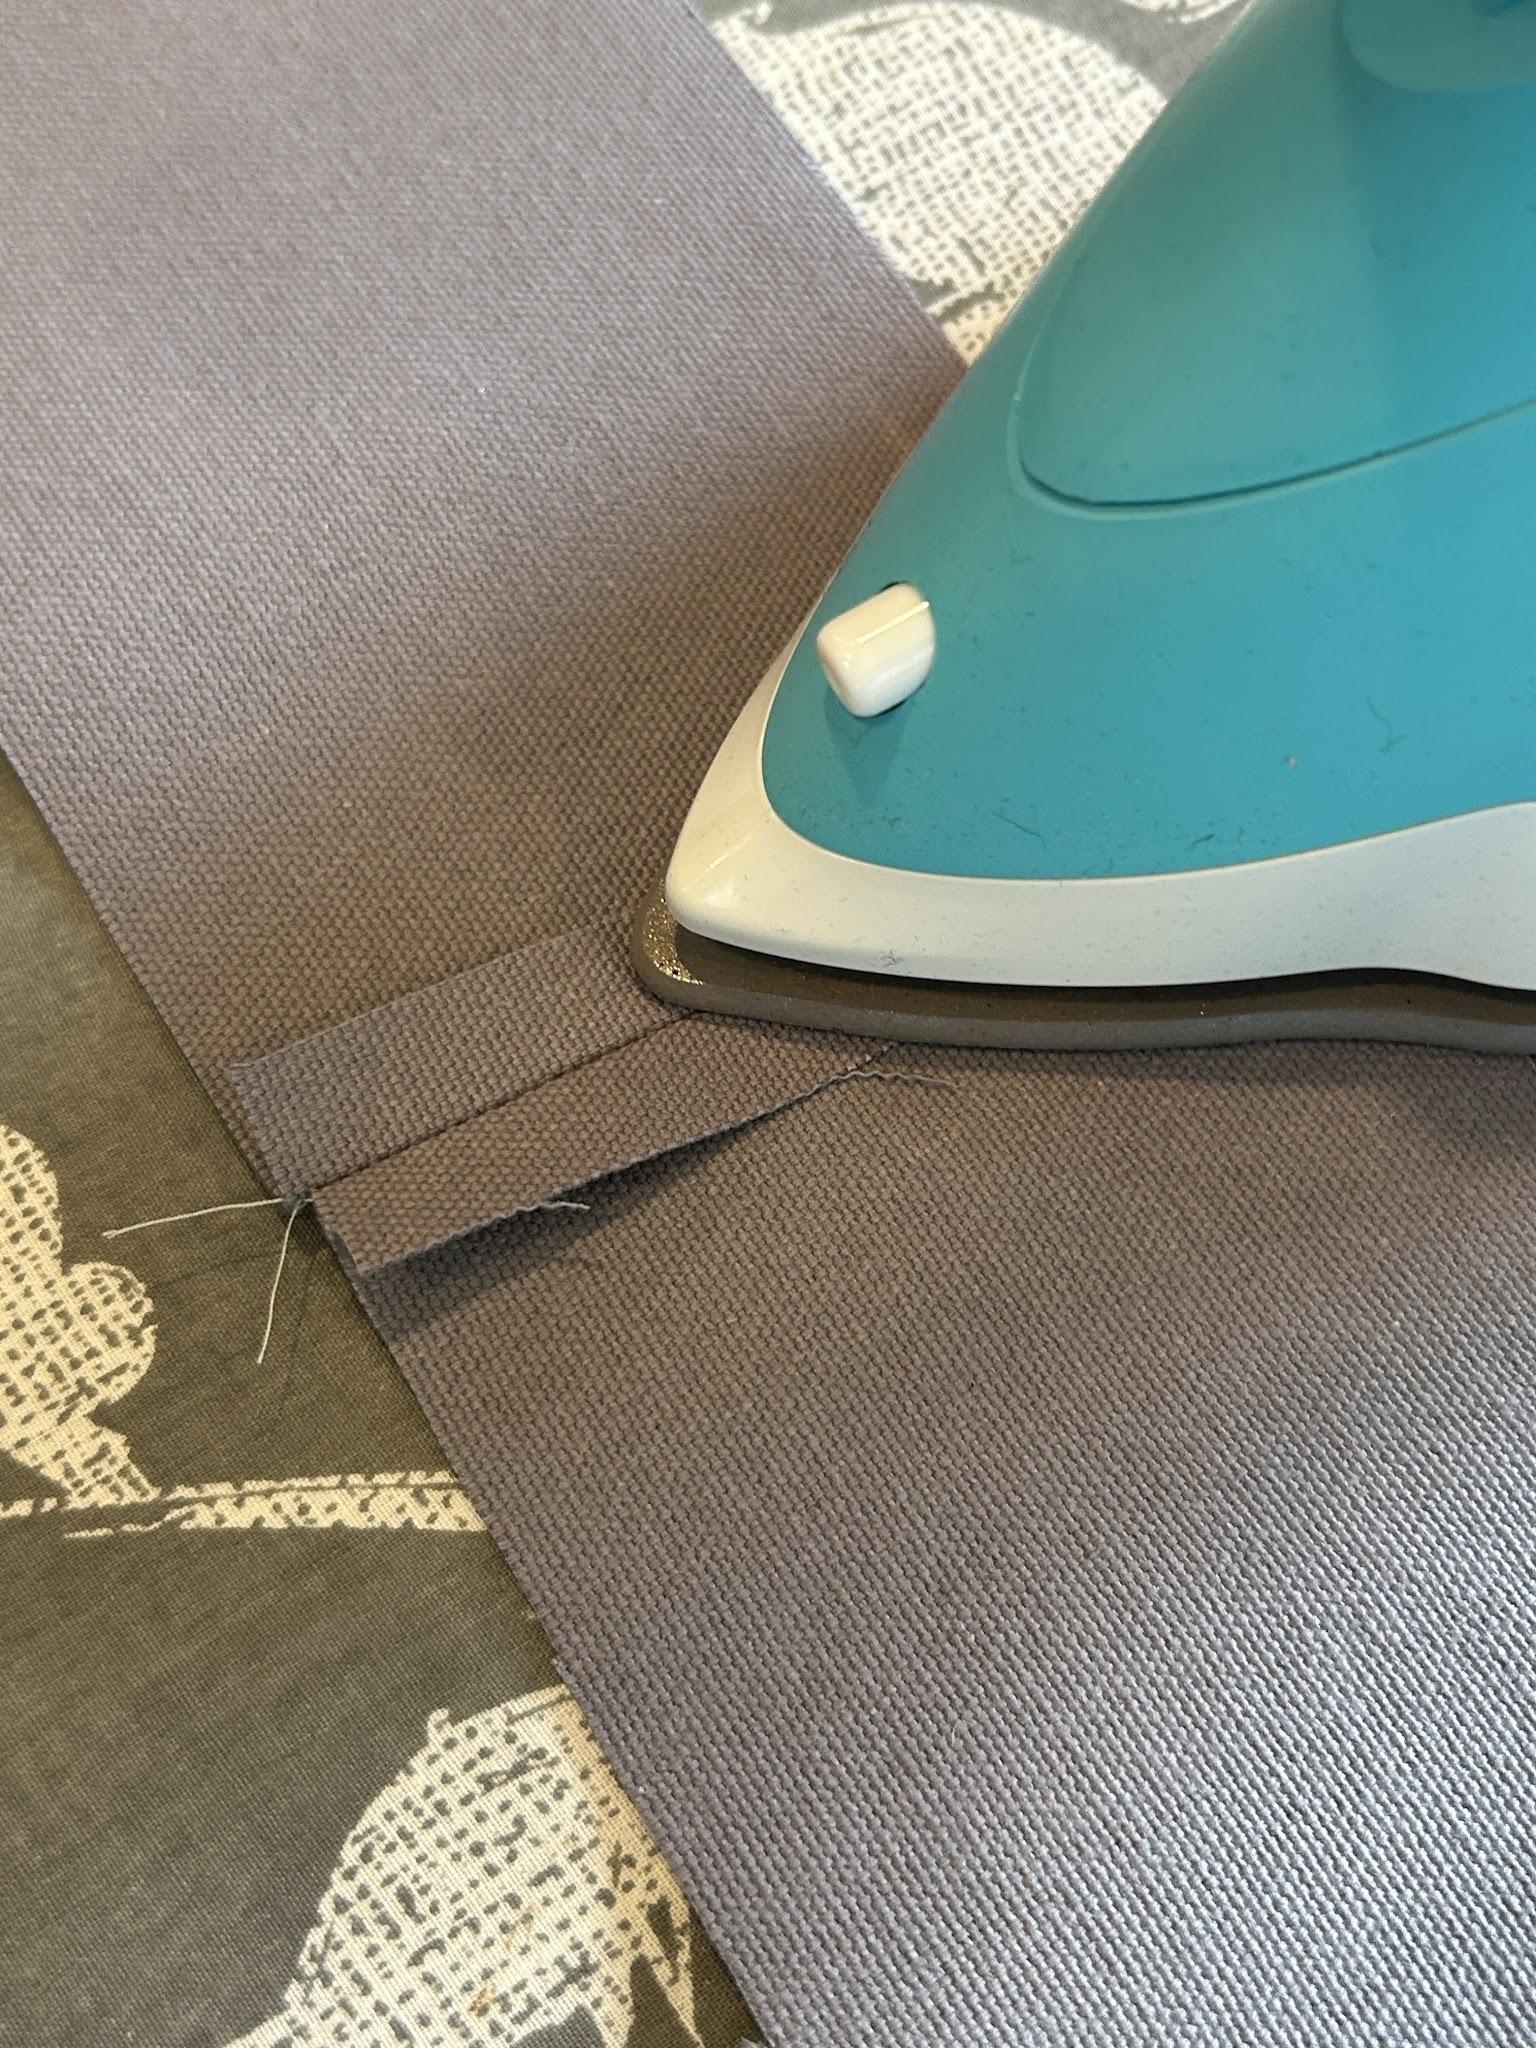
On each seam, make a mark ½” in from each of the edges.
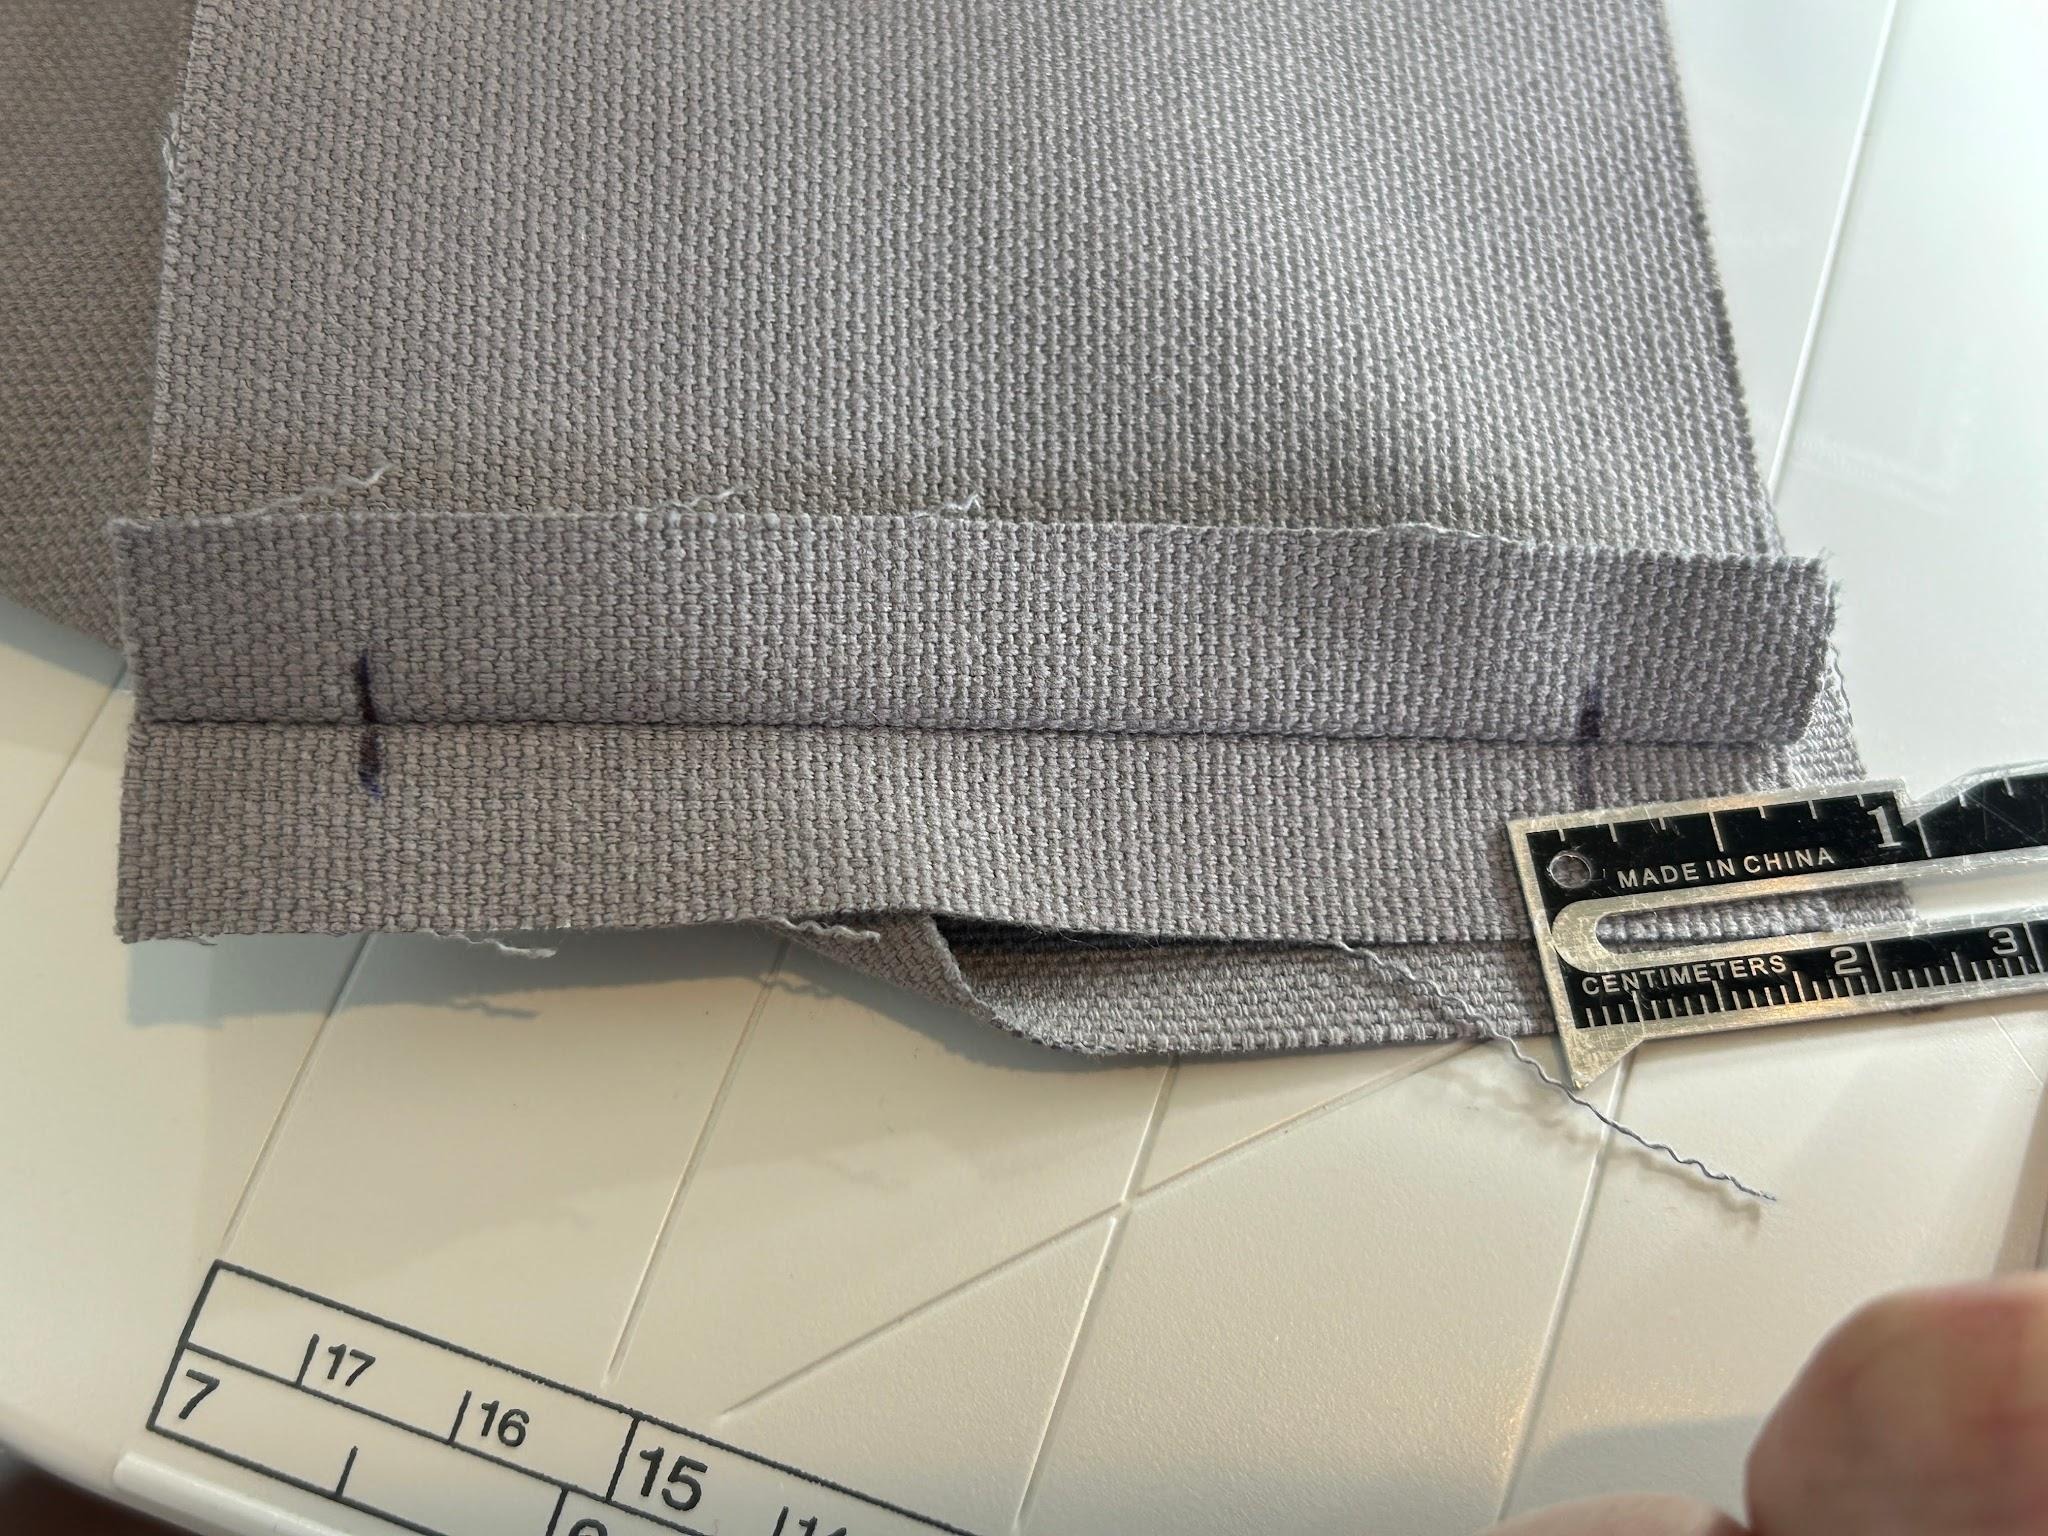
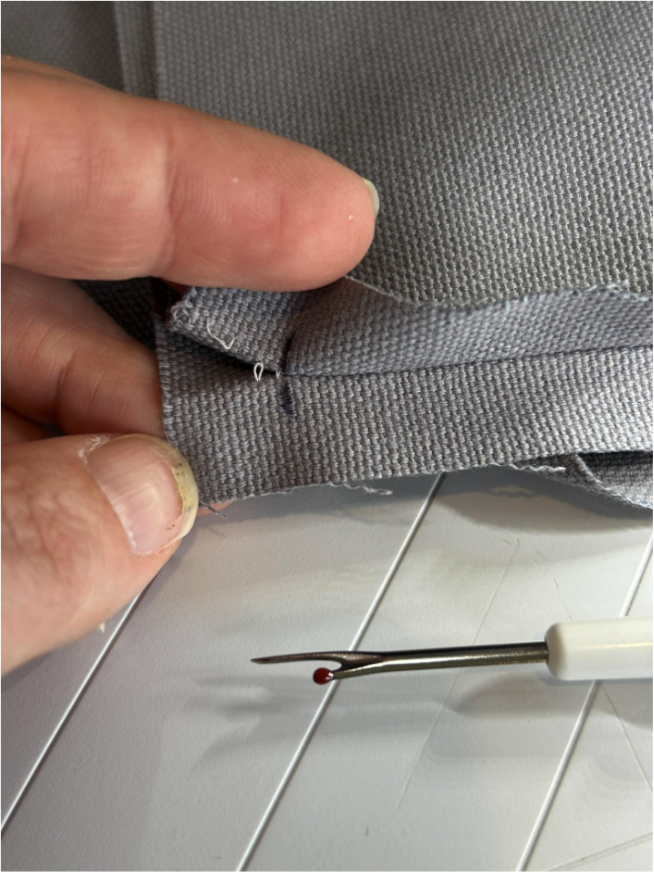
Open up the seams to just right before the mark you made.
Now we are going to prepare the pieces to sew the gusset to the top of the bed. I used a pin to mark the center of each side of the top piece, the bottom piece, and the center of each piece of the gusset. I only pinned on one edge of the gusset because I seem to poke myself with pins often, but if you’re better at that than I am, you can pin both sides. It’s easy enough to find the centers later if you choose to wait.
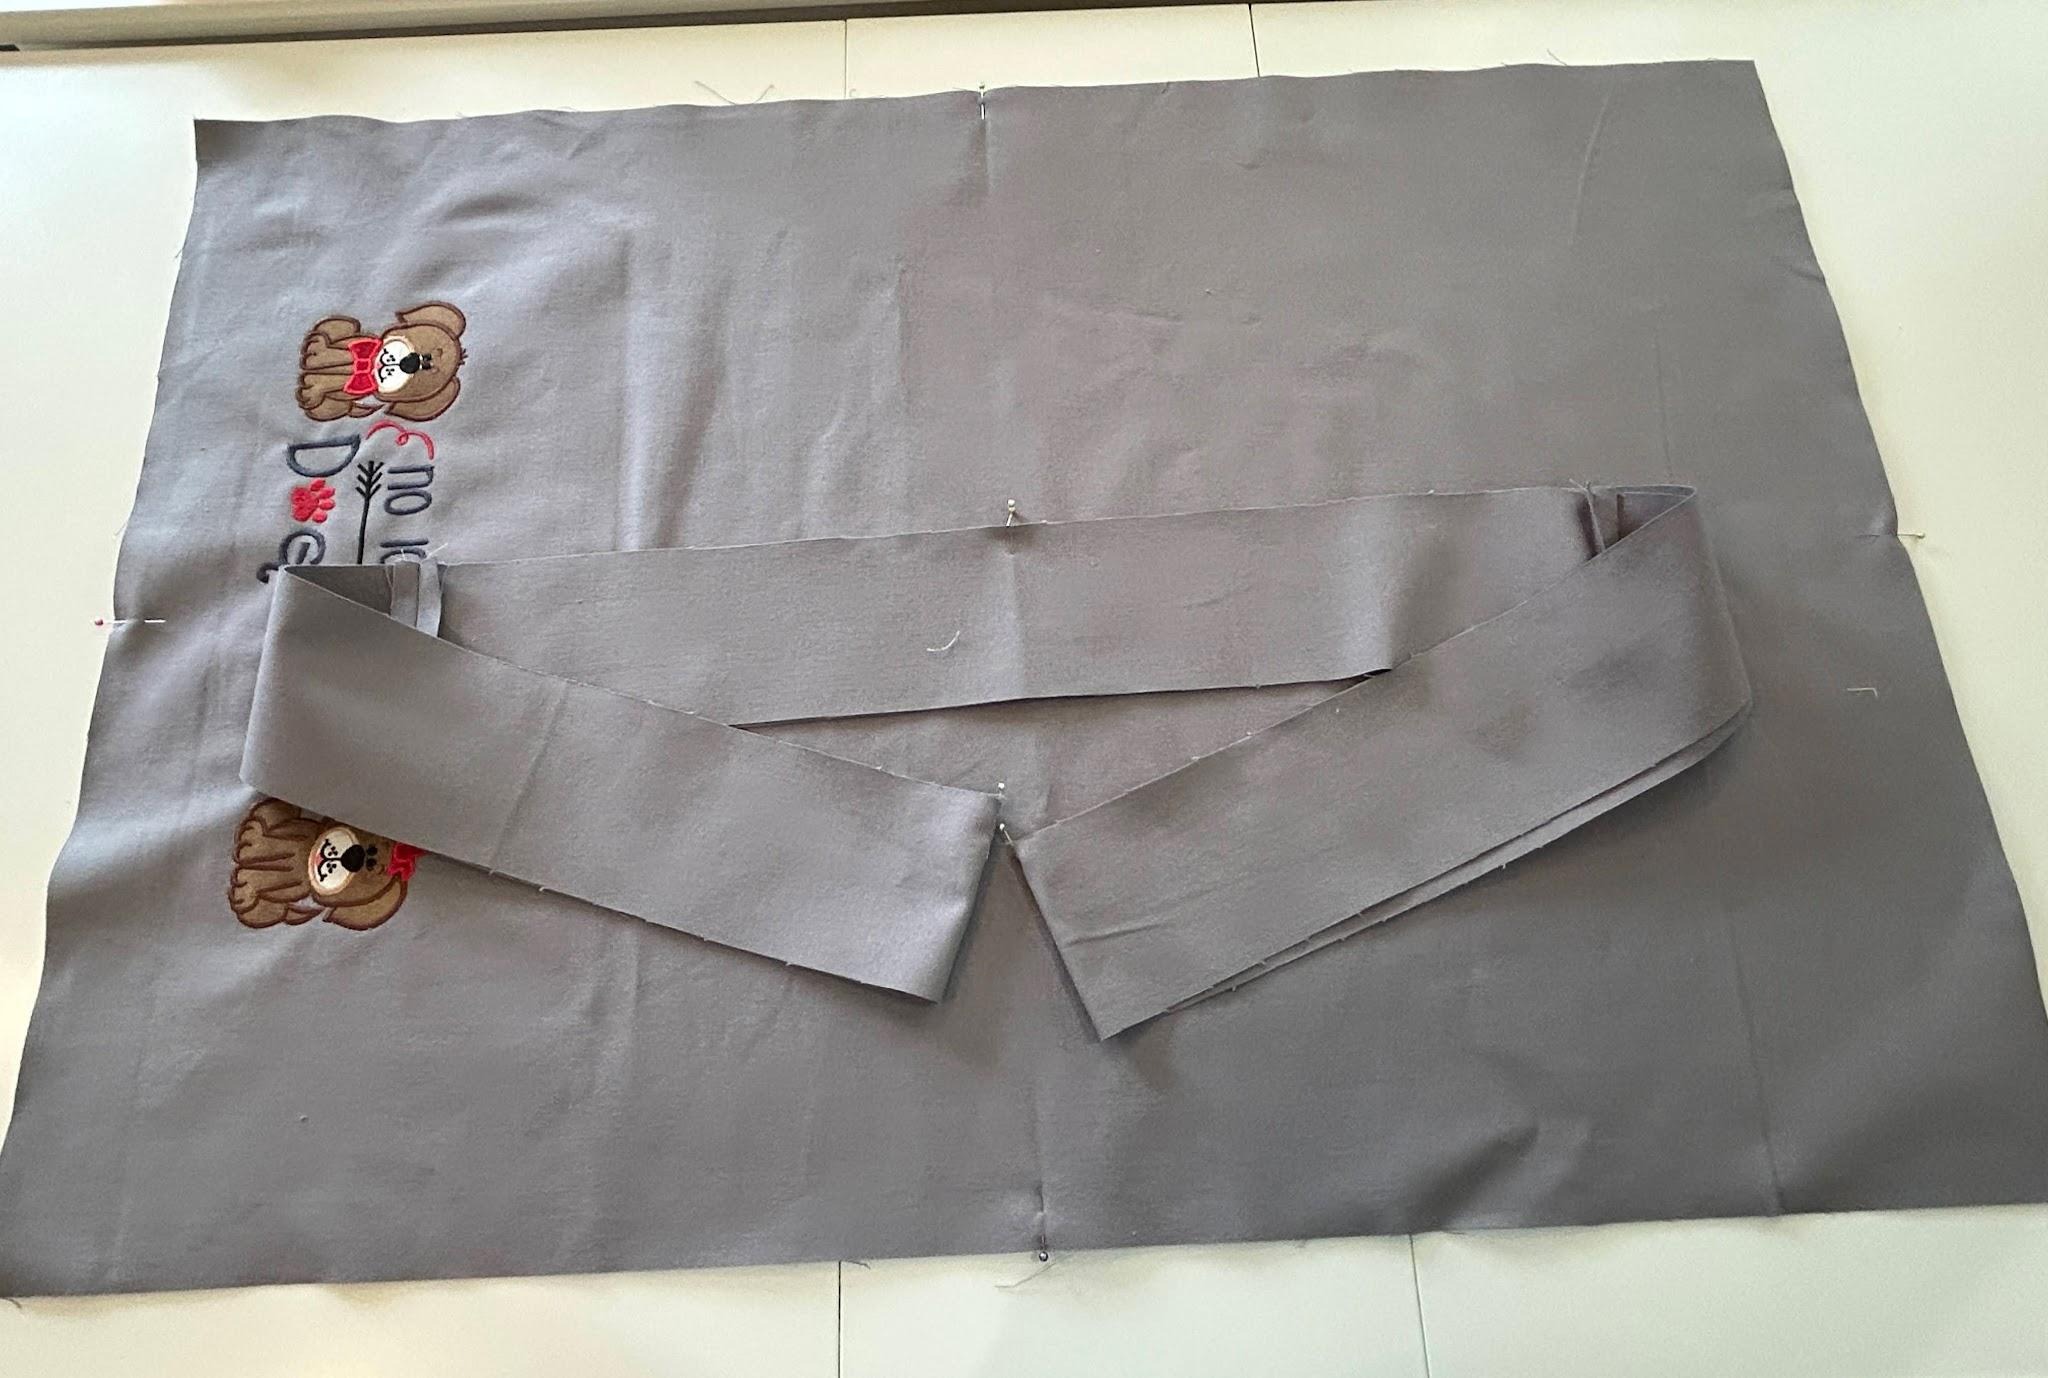
Line up the gusset with the top, matching centers and edges, right sides together. I use clips to hold everything in place. I keep my clips about 4” from the corners because turning requires a little bit of maneuverability with the fabric.
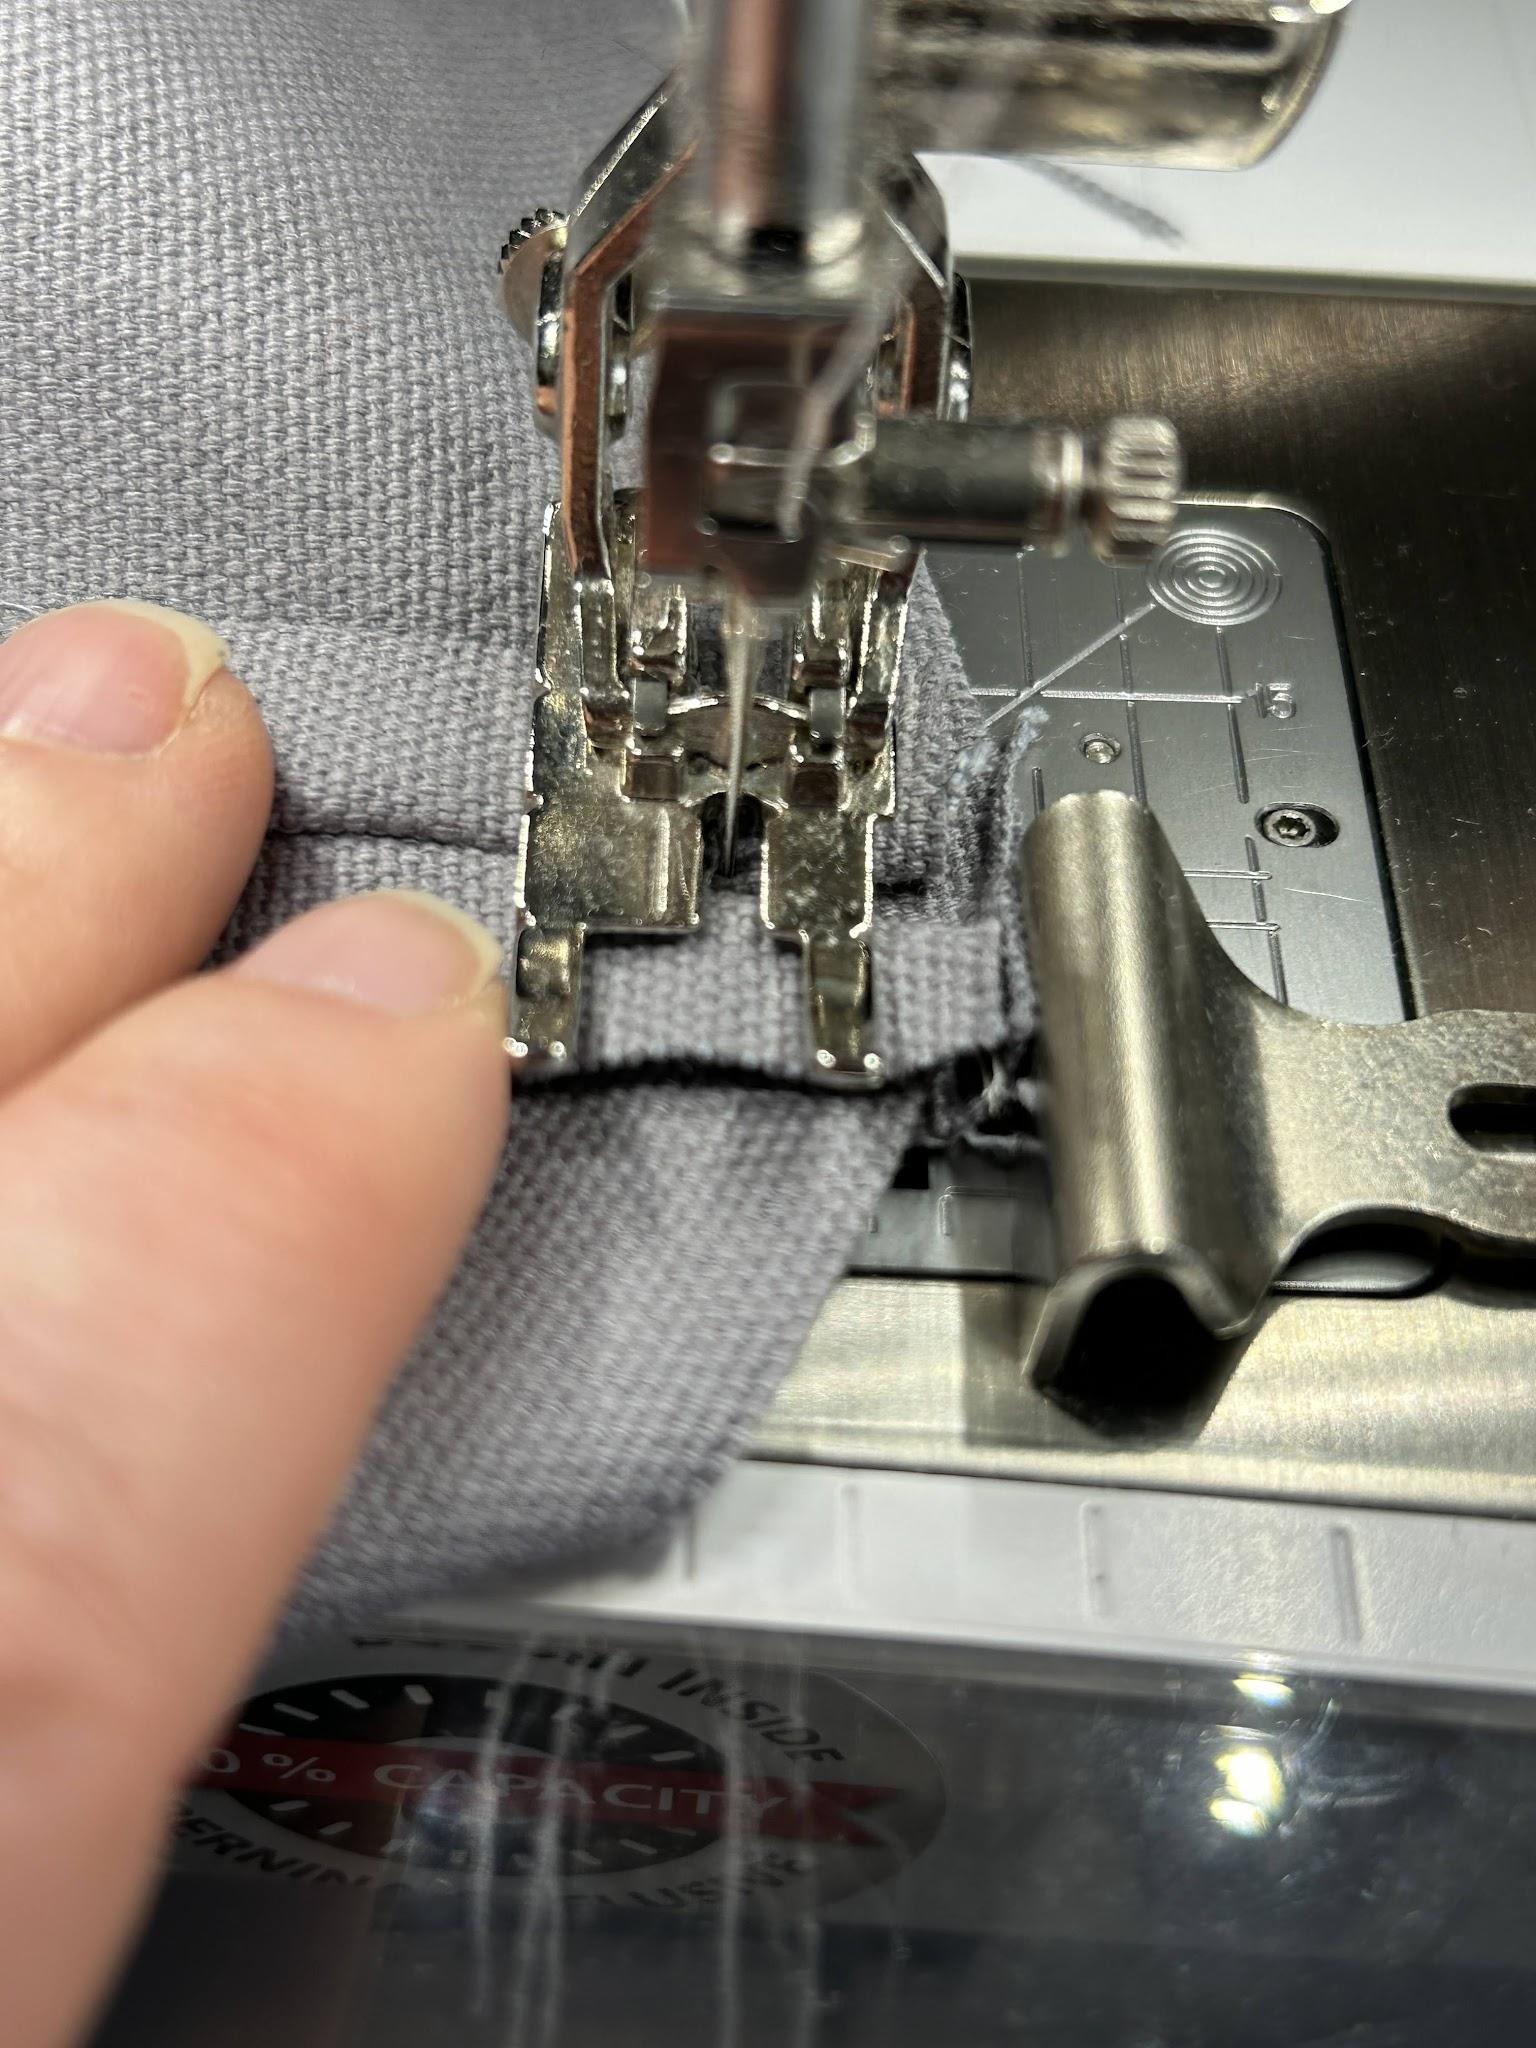
I start sewing in the center of the back of my bed. Sew with a ½” seam, stitching along the edge to the corner. I stopped stitching, with my needle down, right at the seam in the gusset.
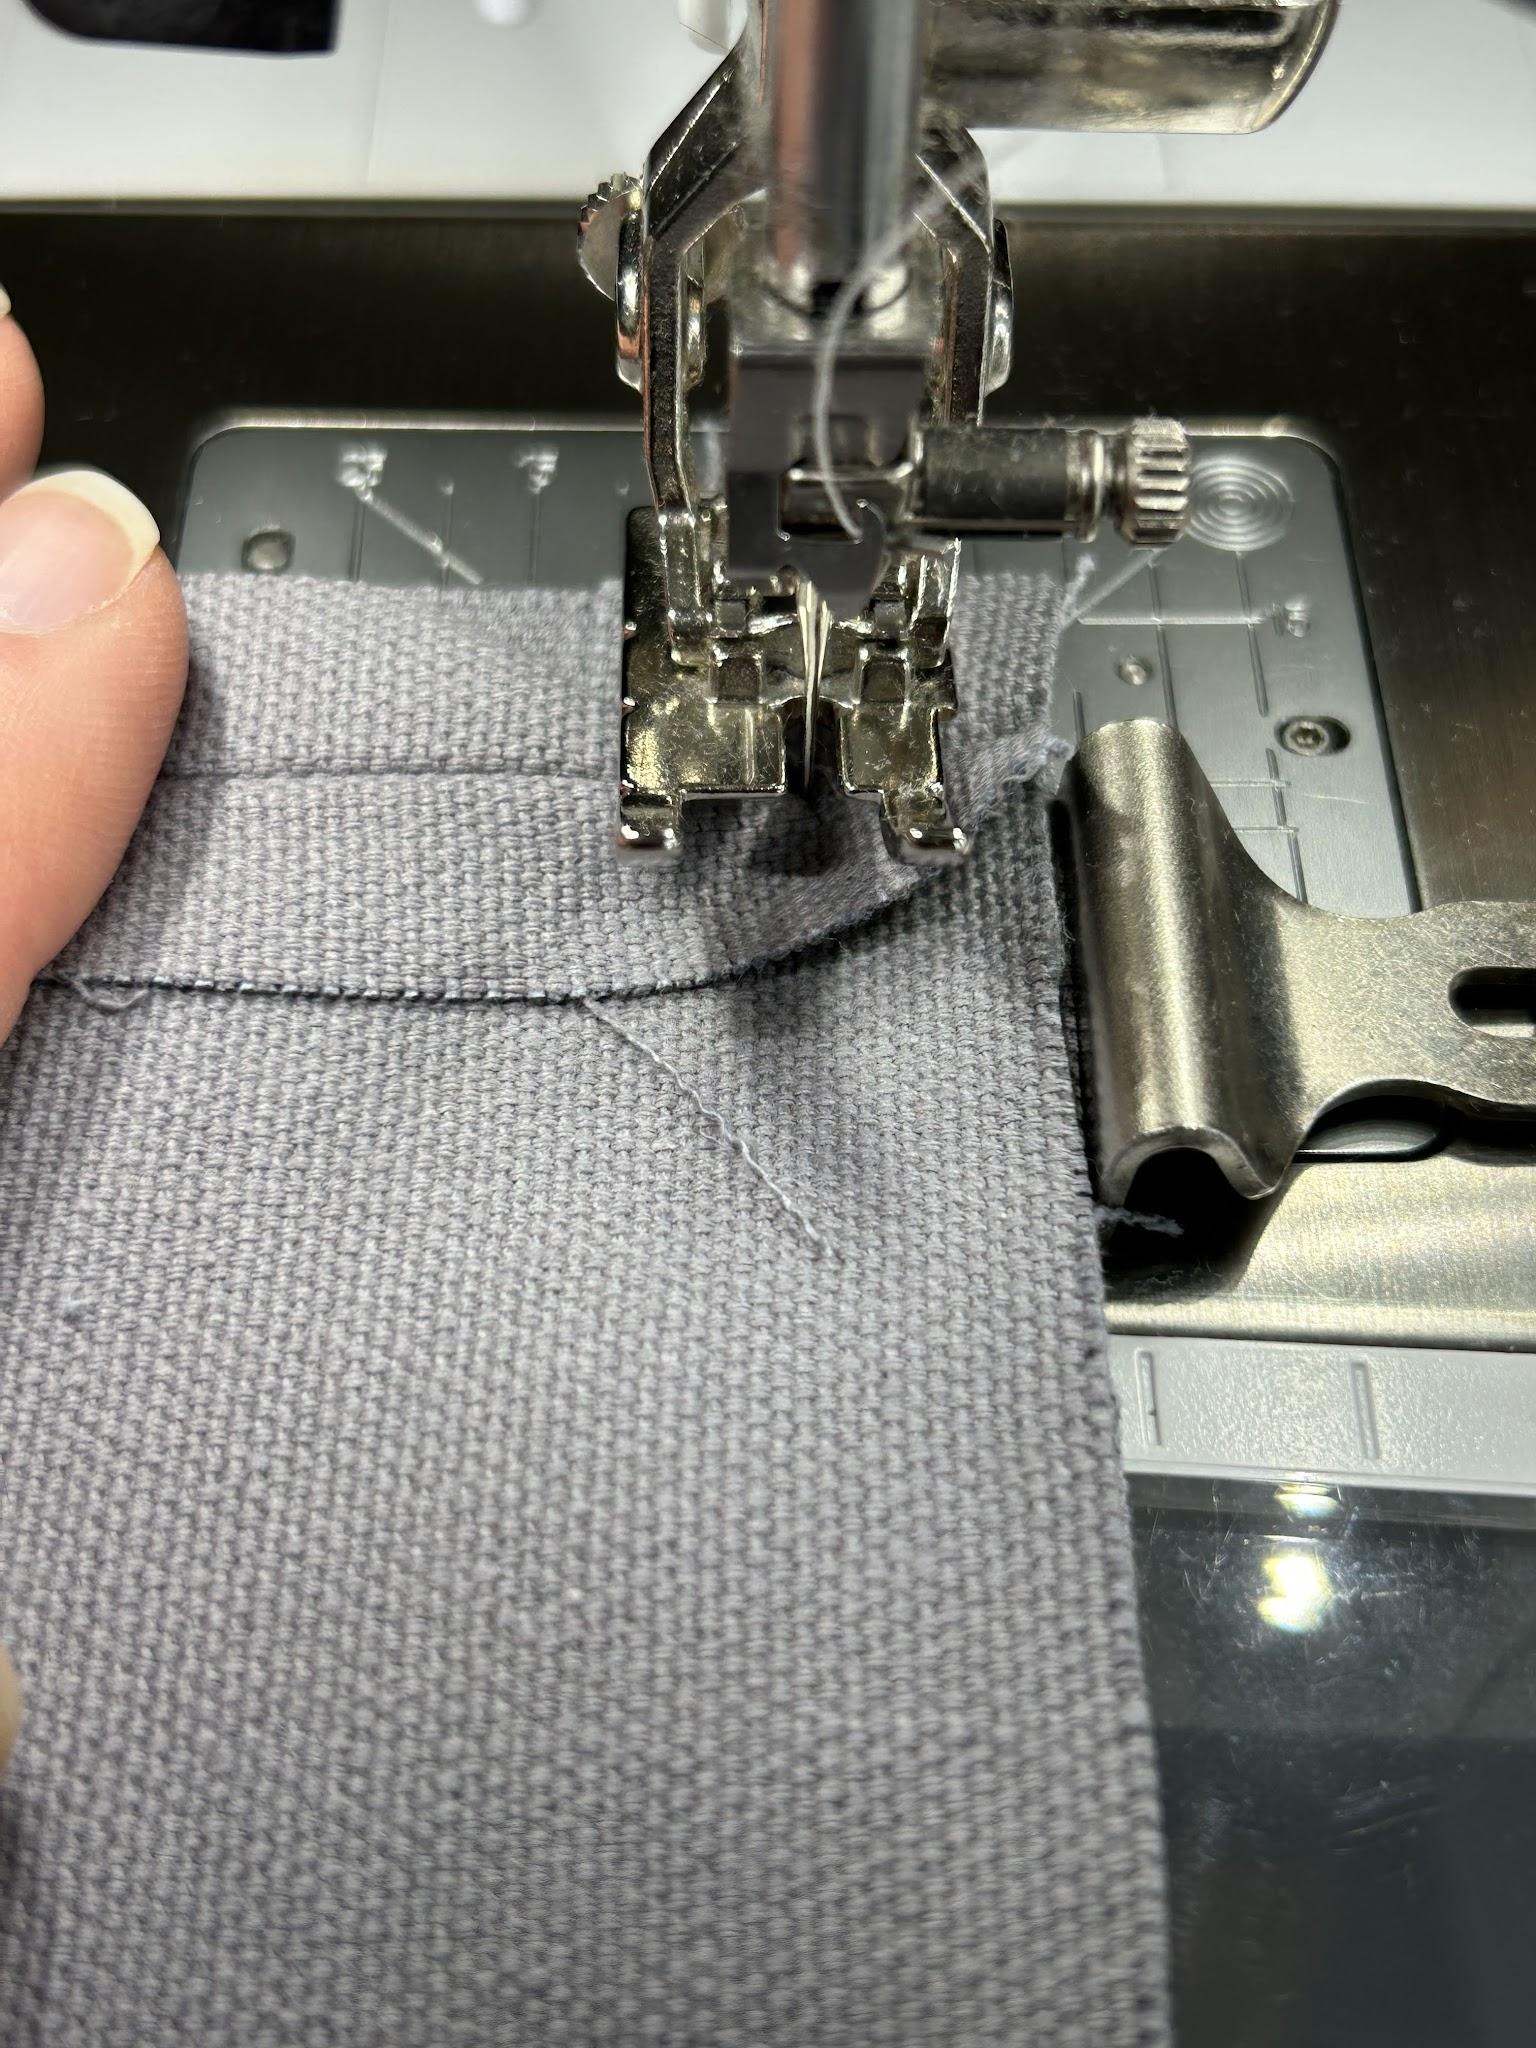
Pivot the project 90 degrees. Move the seam and gusset to the side so that it’s not going to get caught in your stitches. Line up the edges and sew down the length of the side until you get to the next corner, and repeat this process until you get back to your starting point.
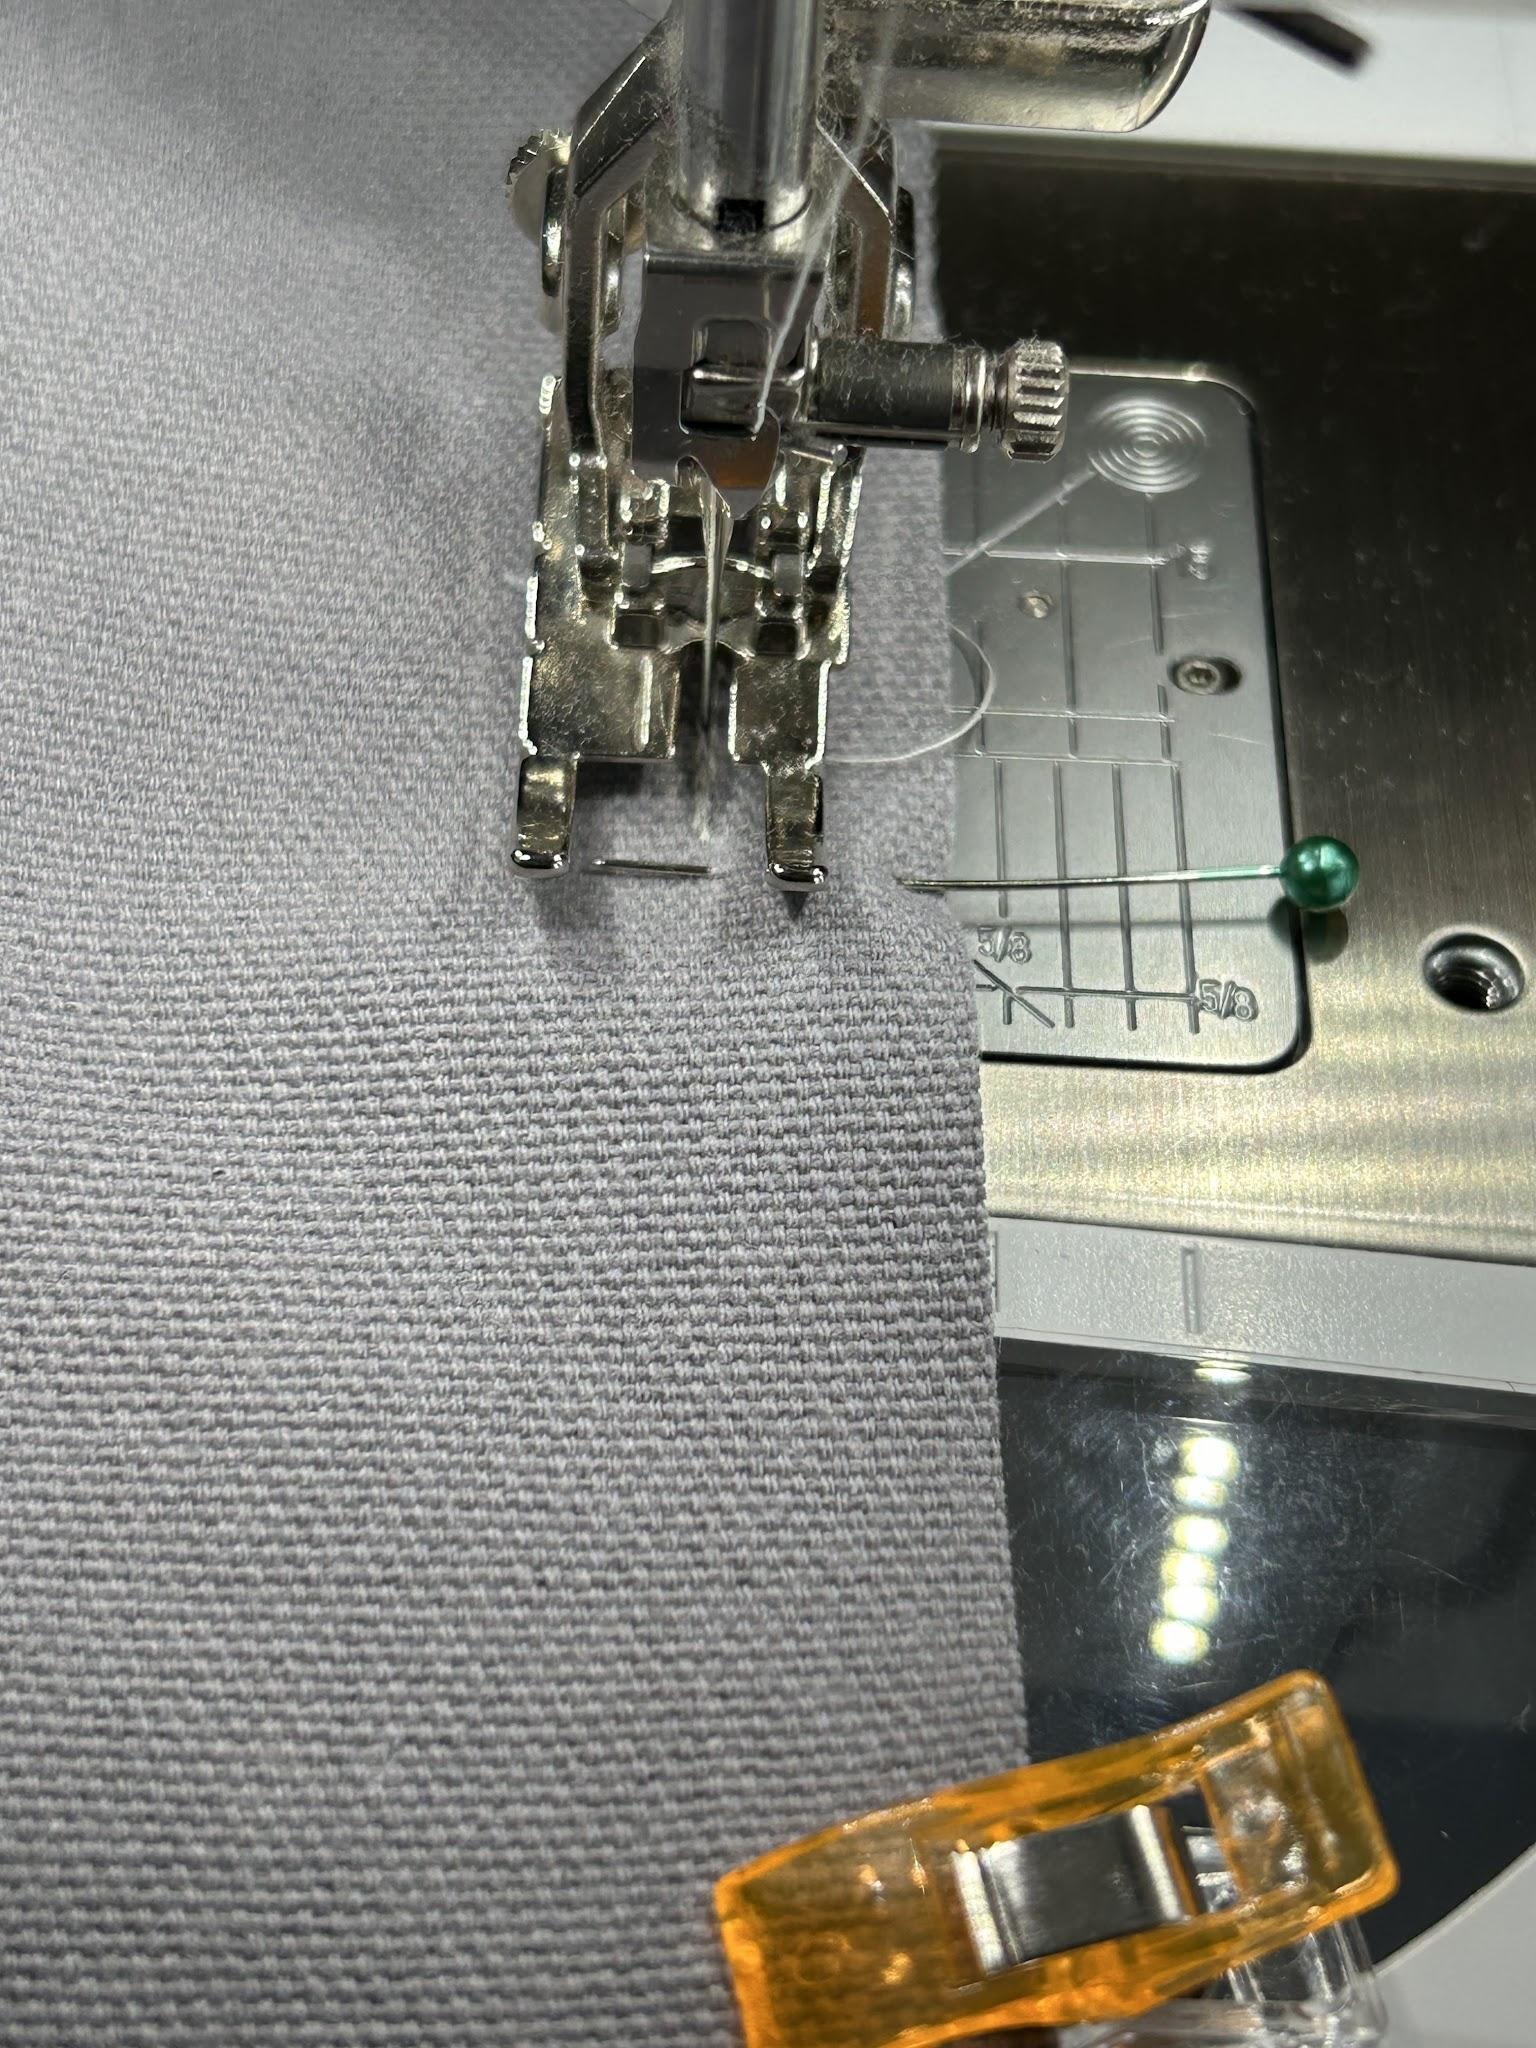
Your top part is finished. Next we will add the zipper. I am putting the zipper between the bottom panel and the gusset. If you didn’t mark the other side of the gusset in the center with pins, do that now.
Clip one long side of the gusset to one long side of the bottom piece, right sides together and matching centers. We will only be working with this one edge right now so don’t worry about the other three sides. Starting at the corner seam where we did our pivot before, stitch along the long edge to the other corner seam. Keep note of where the center is along this seam, either with the pin you had or a small mark on the wrong side of the fabric.
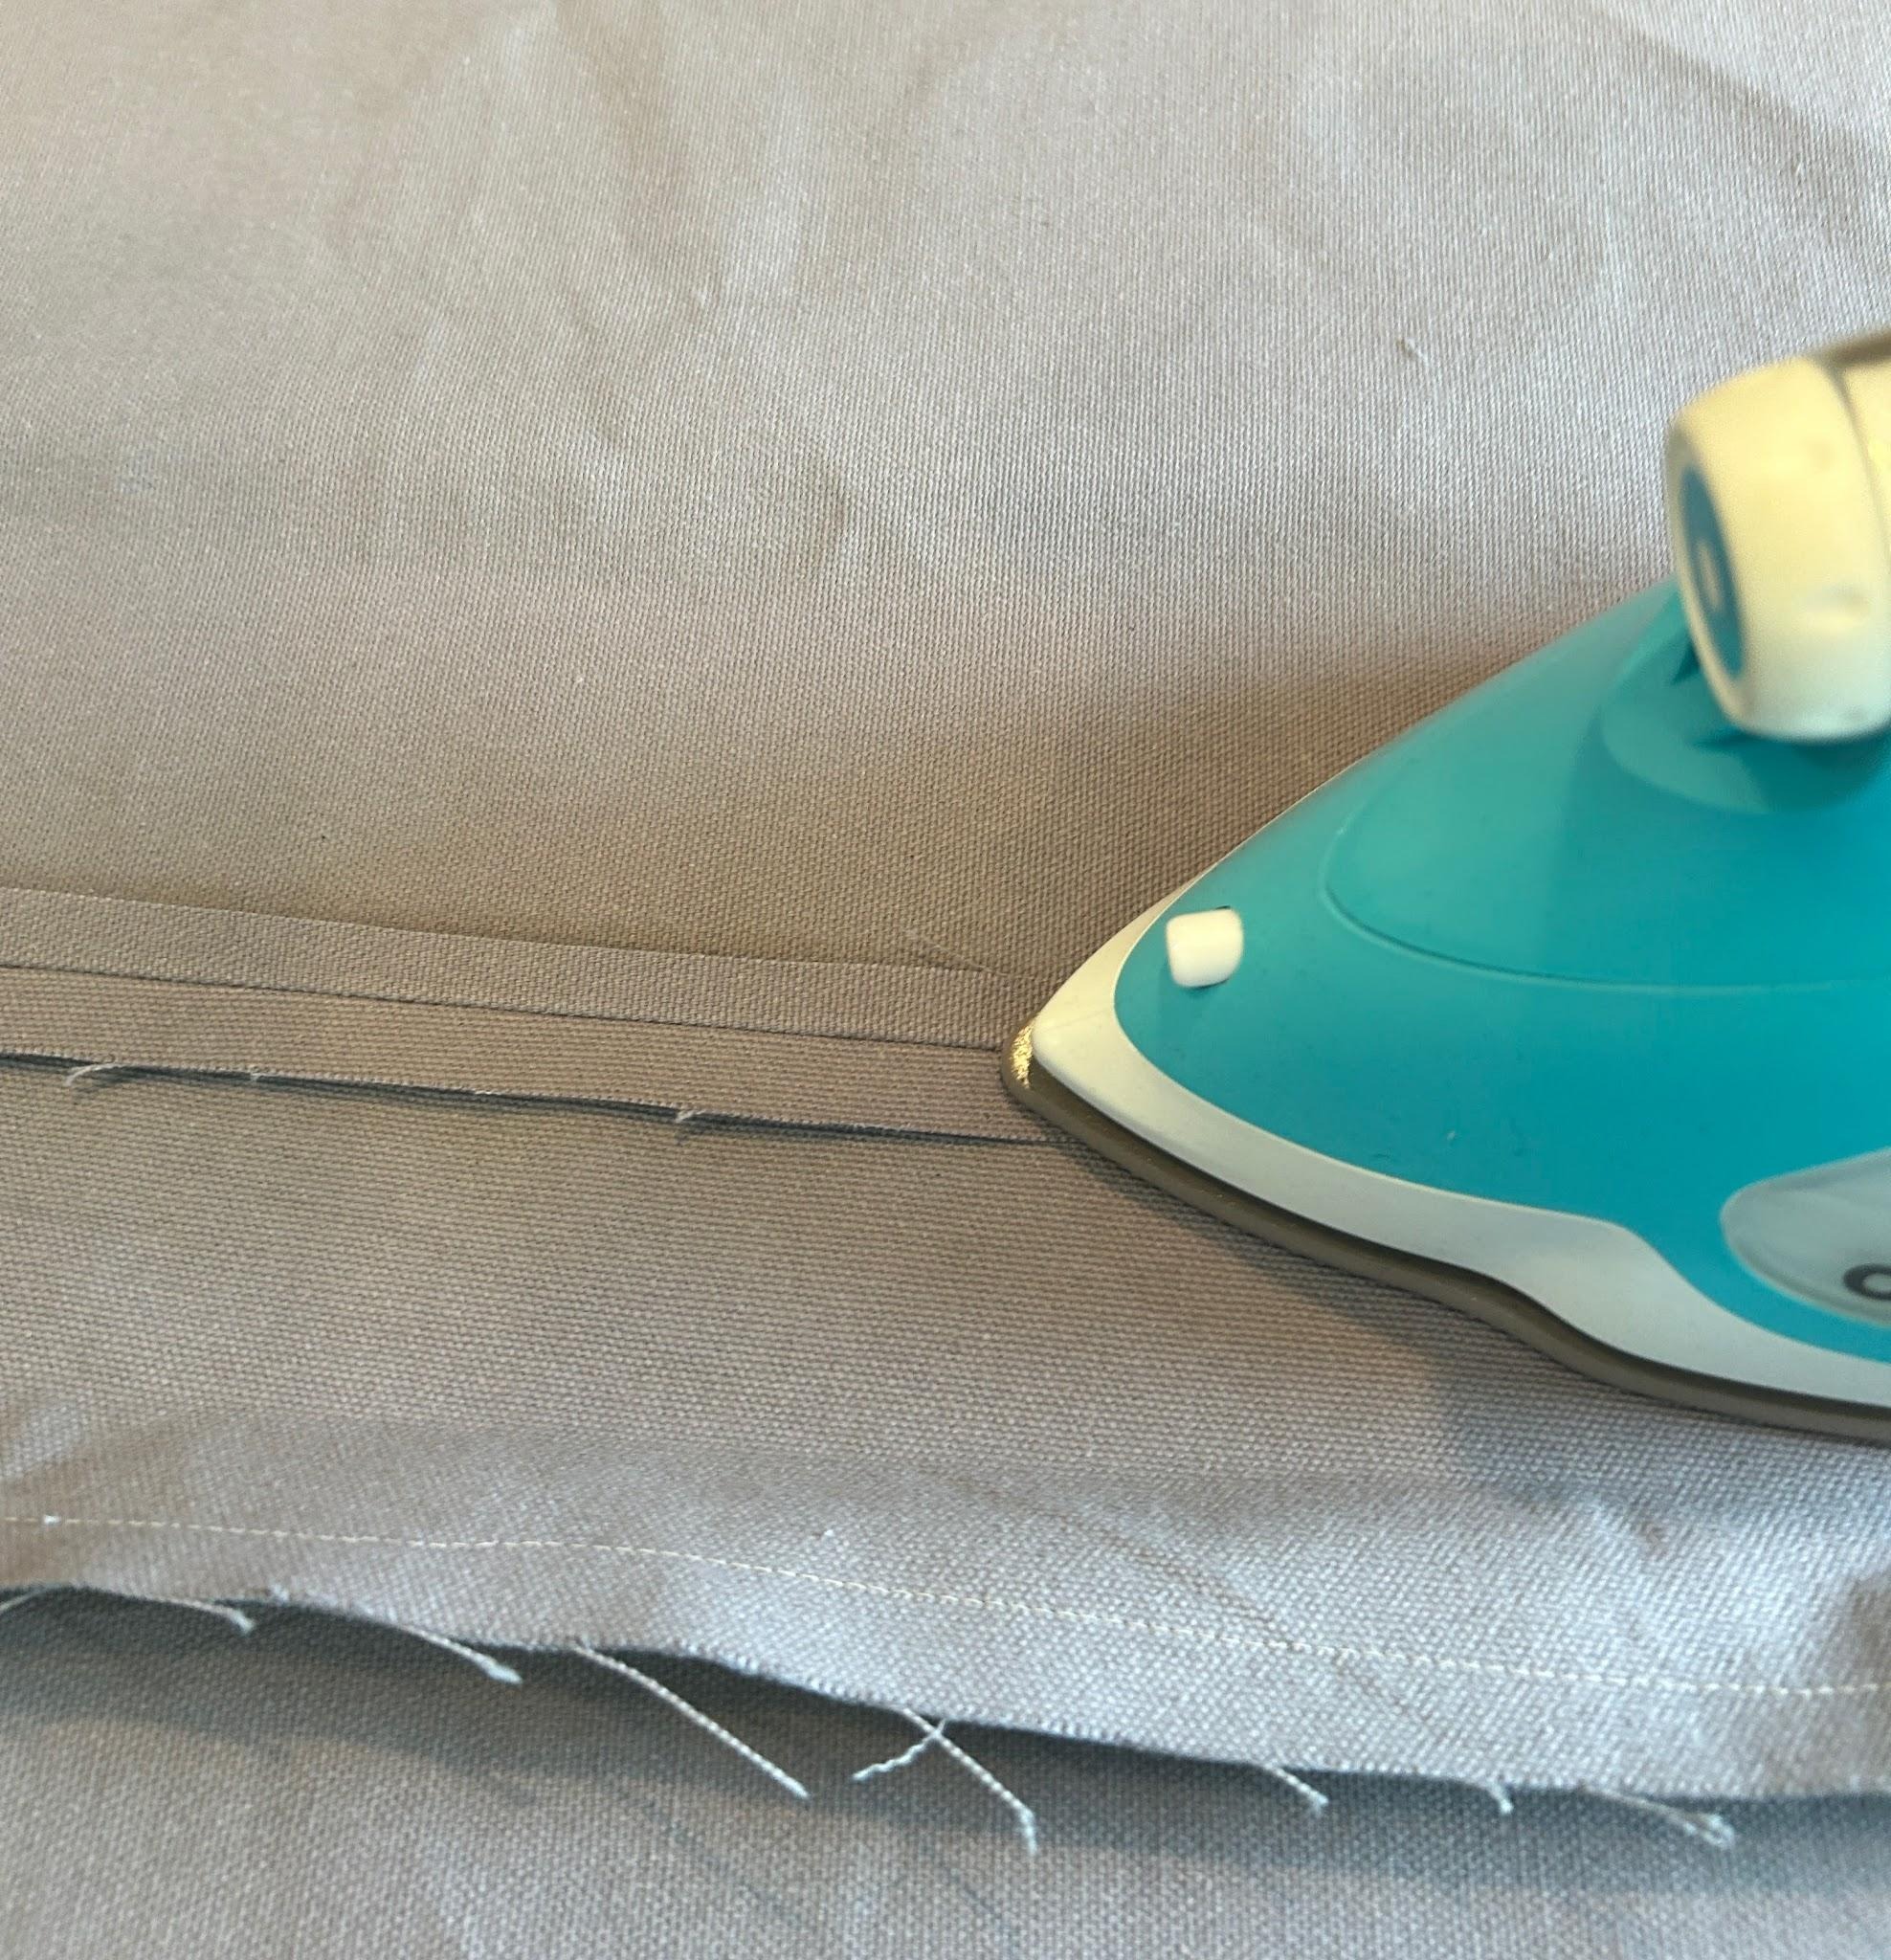
Take your project to the ironing board and press this seam open.
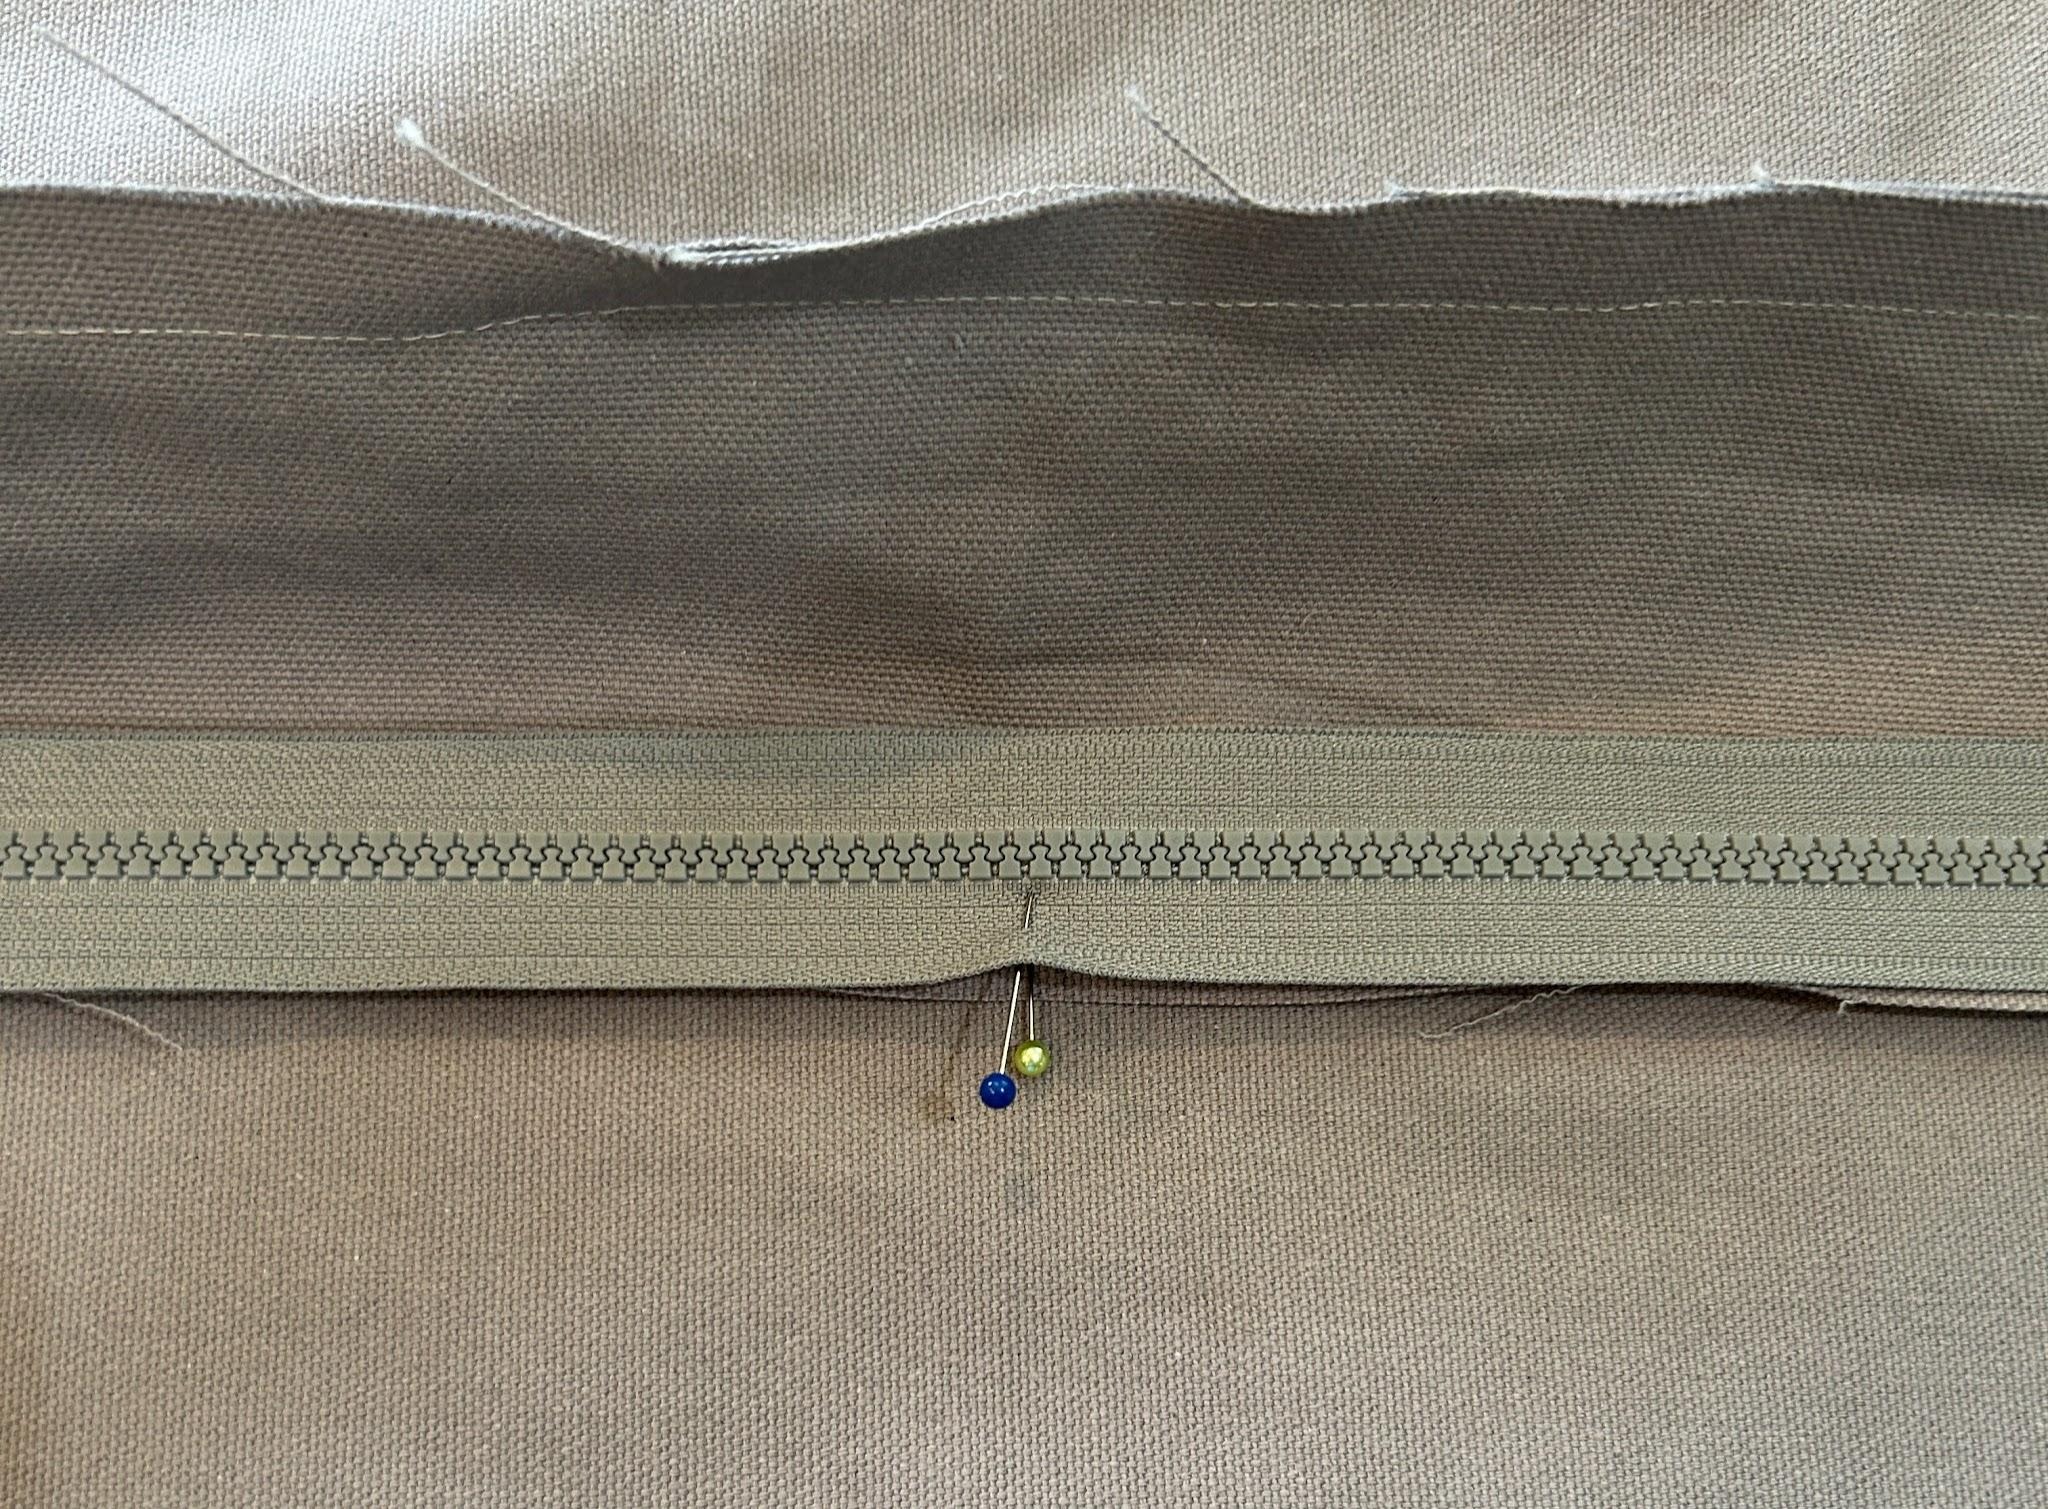
Now fold your zipper in half and mark the center with a pin. Open up your bed so that the wrong side is up and you can see the seam that is pressed open. Line up your zipper, right side down, along the seam with centers matching. The teeth should lay right behind the seam. You want to make sure that the zipper pull is facing the fabric and seam.
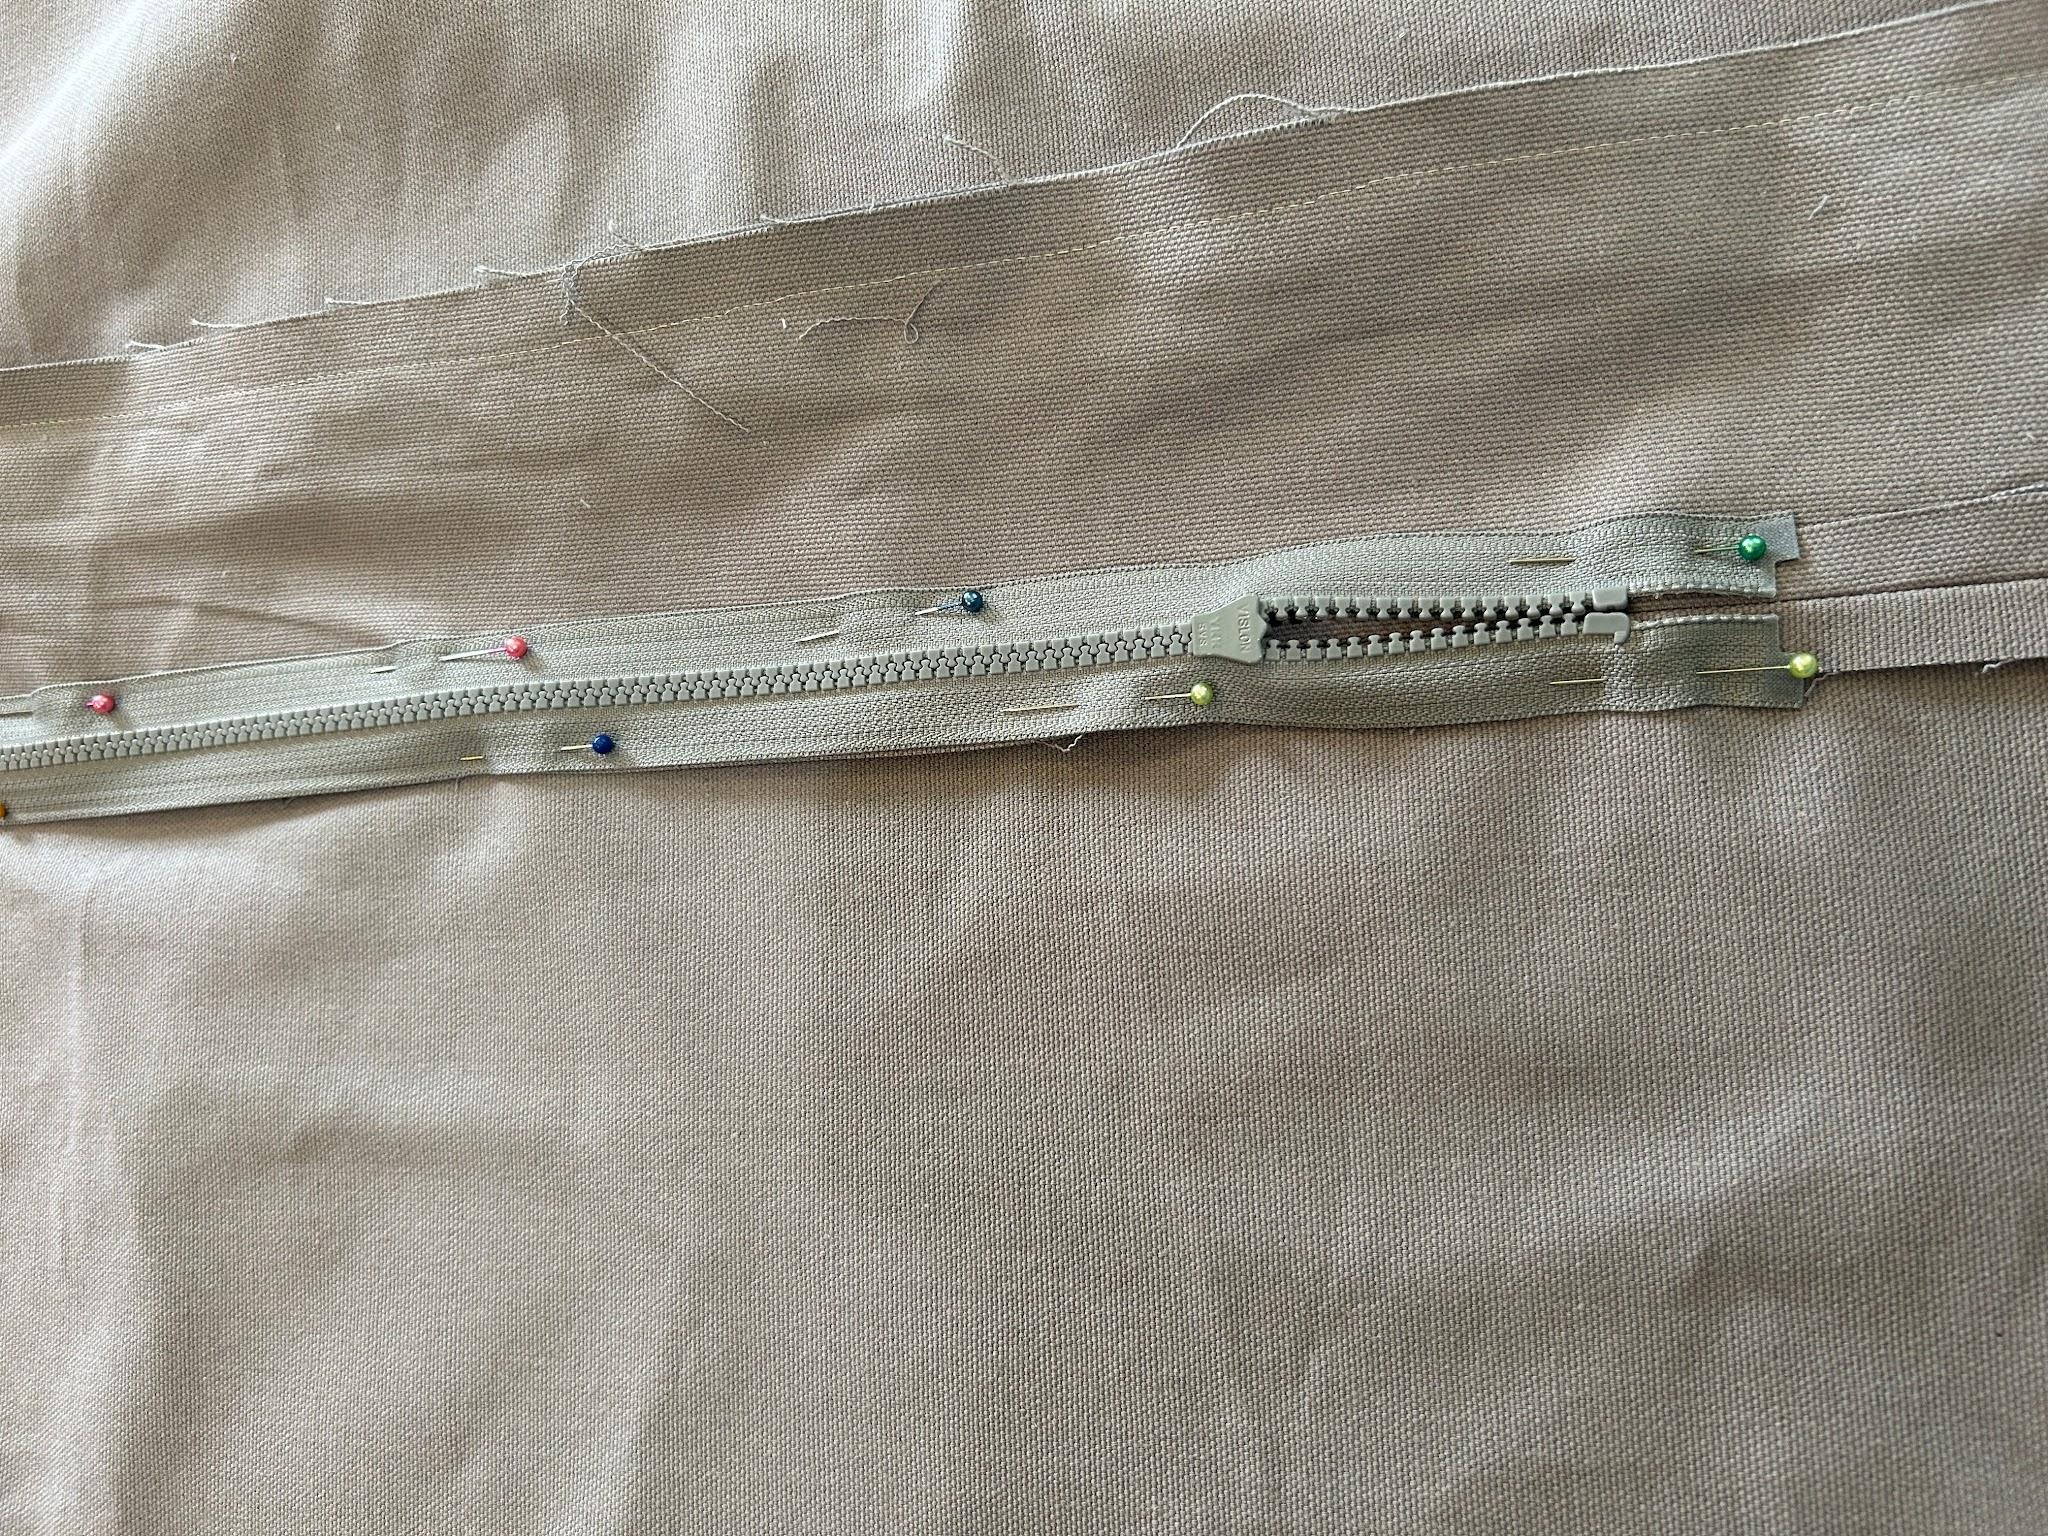
Now pin all along the edge of the zipper. This will hold it so that it doesn’t shift while we are sewing it in place. Remember, the right side of the zipper (the side with the pull that we use to open the zipper) needs to face the wrong side of the fabric. I mention this twice because I have put a zipper in the wrong way more times than I care to admit!
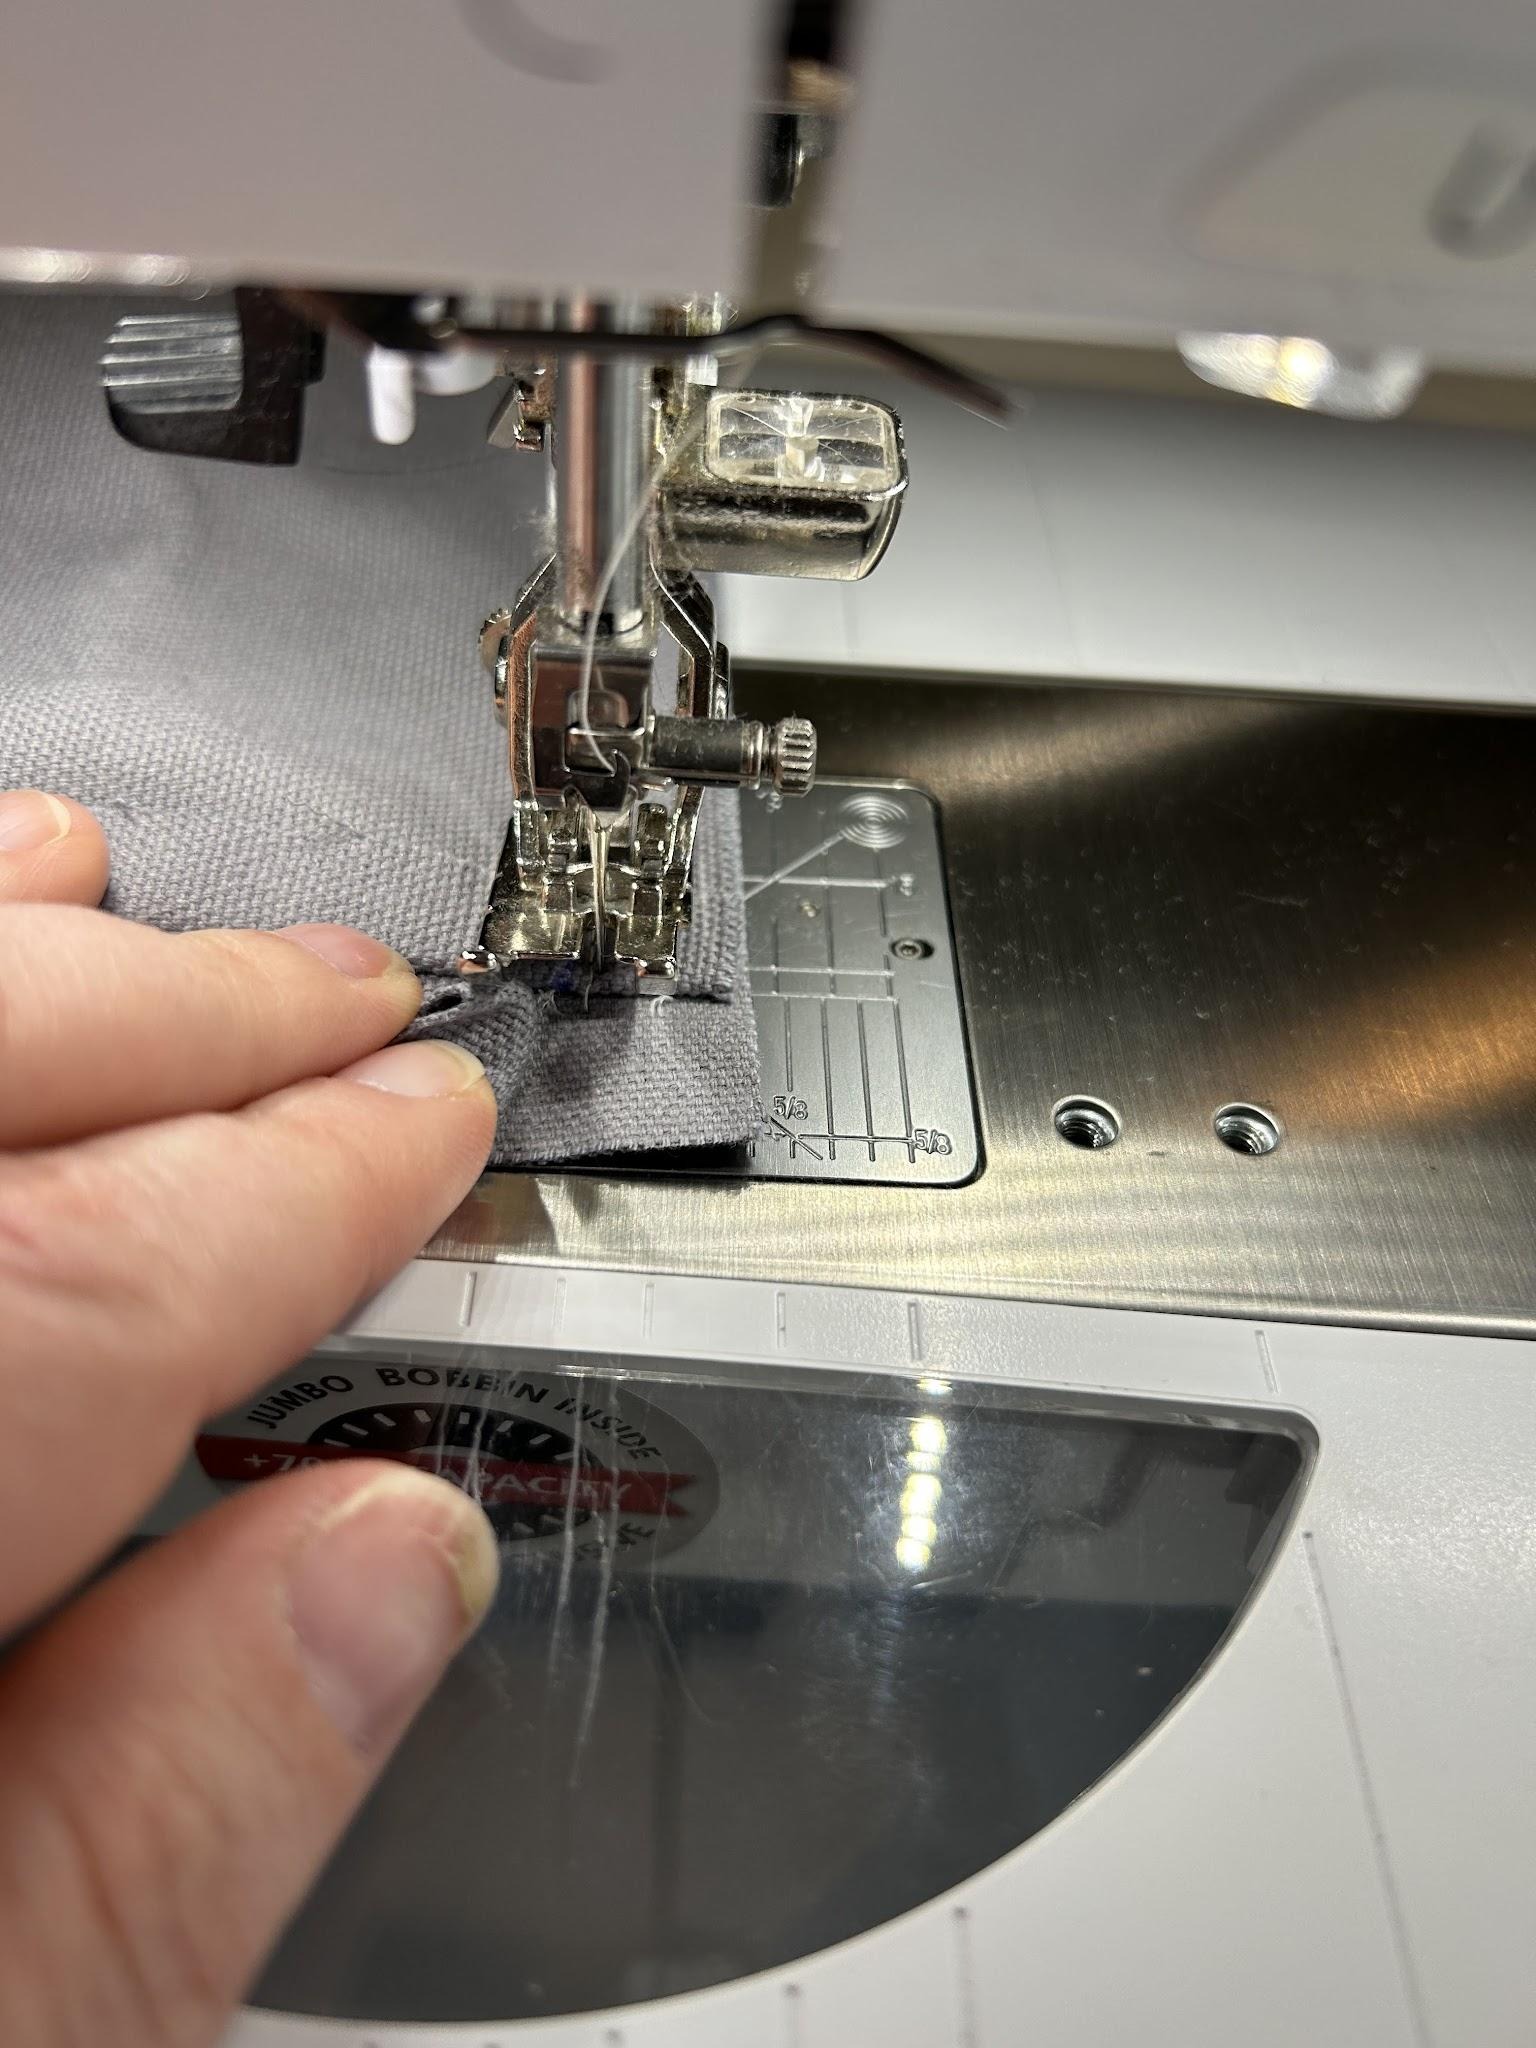
Using your zipper foot on your sewing machine, stitch down one side of the zipper with a ⅜” seam allowance. When I get to the zipper pull, I like to stop with my needle down, move the pull out of the way, and keep stitching.
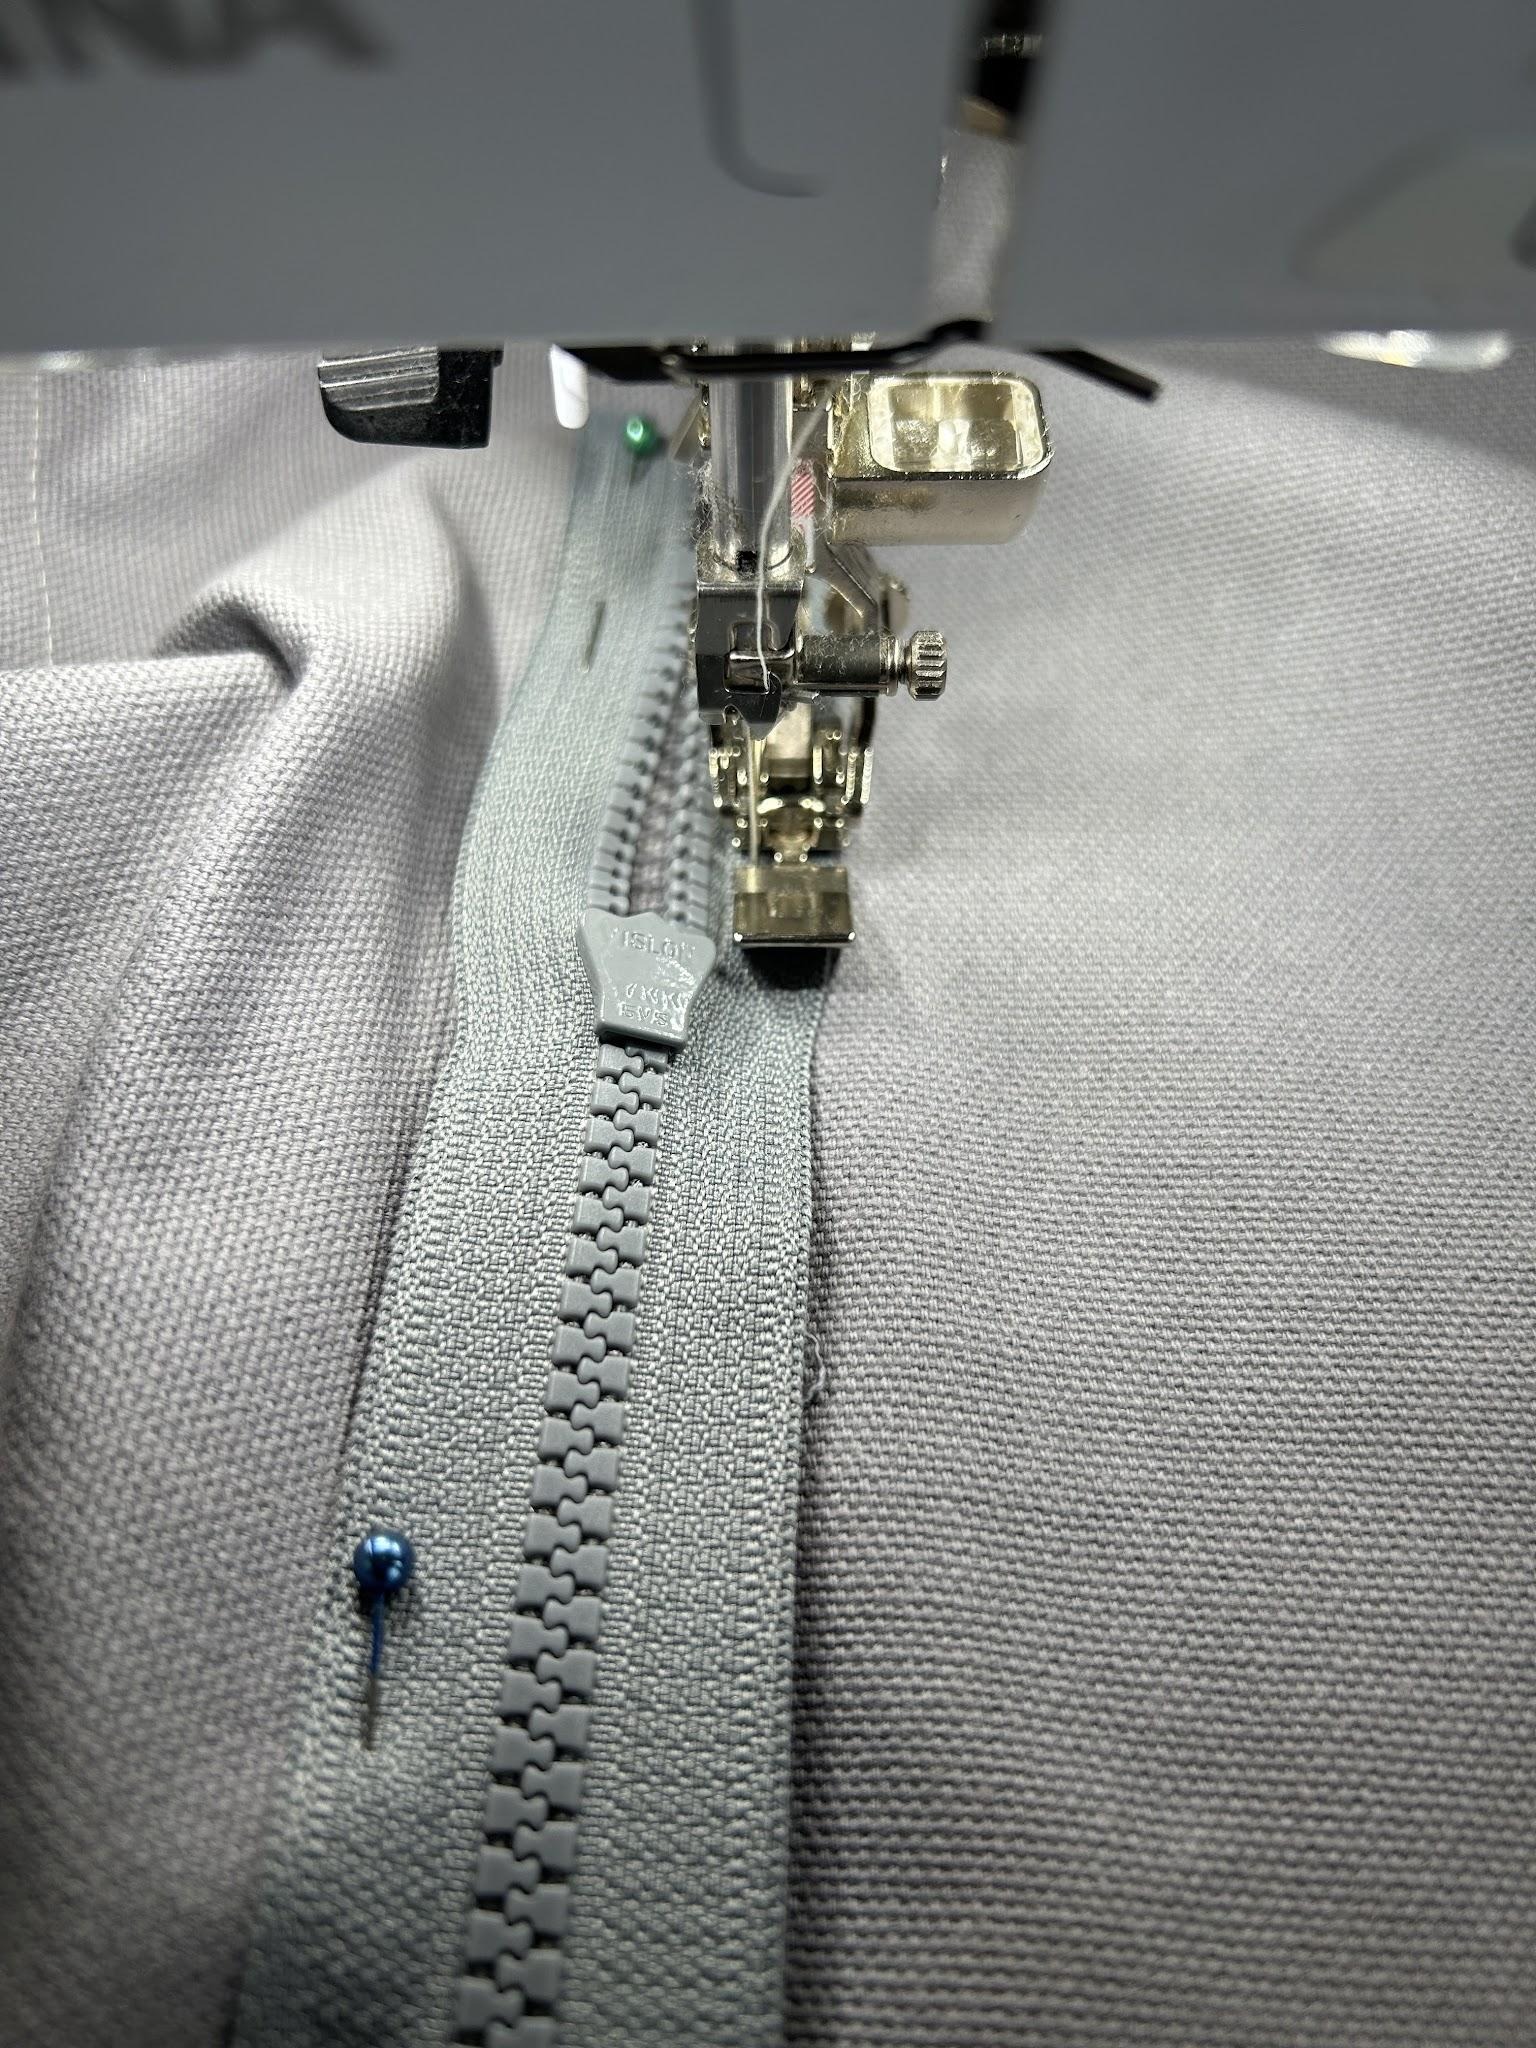
When you get to the bottom of your zipper, stitch across the bottom. I do this where the teeth are so that the bottom of the zipper is not seen. Stitch slowly! I even use my handwheel to make sure the needle will slip past the teeth and not break on them.
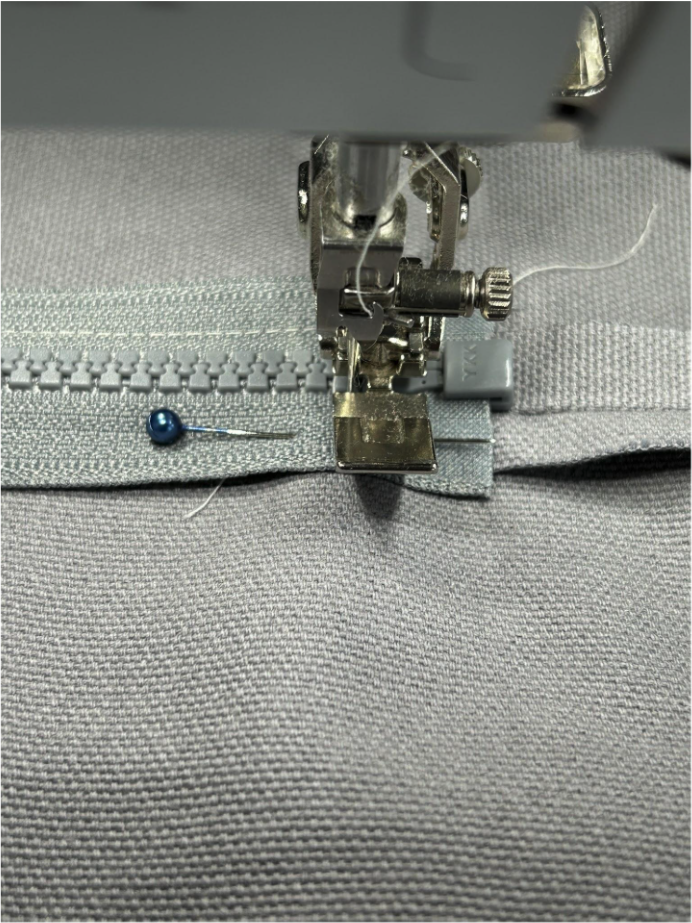
Then you can stitch back up the other side, again moving the zipper pull when you come to it.
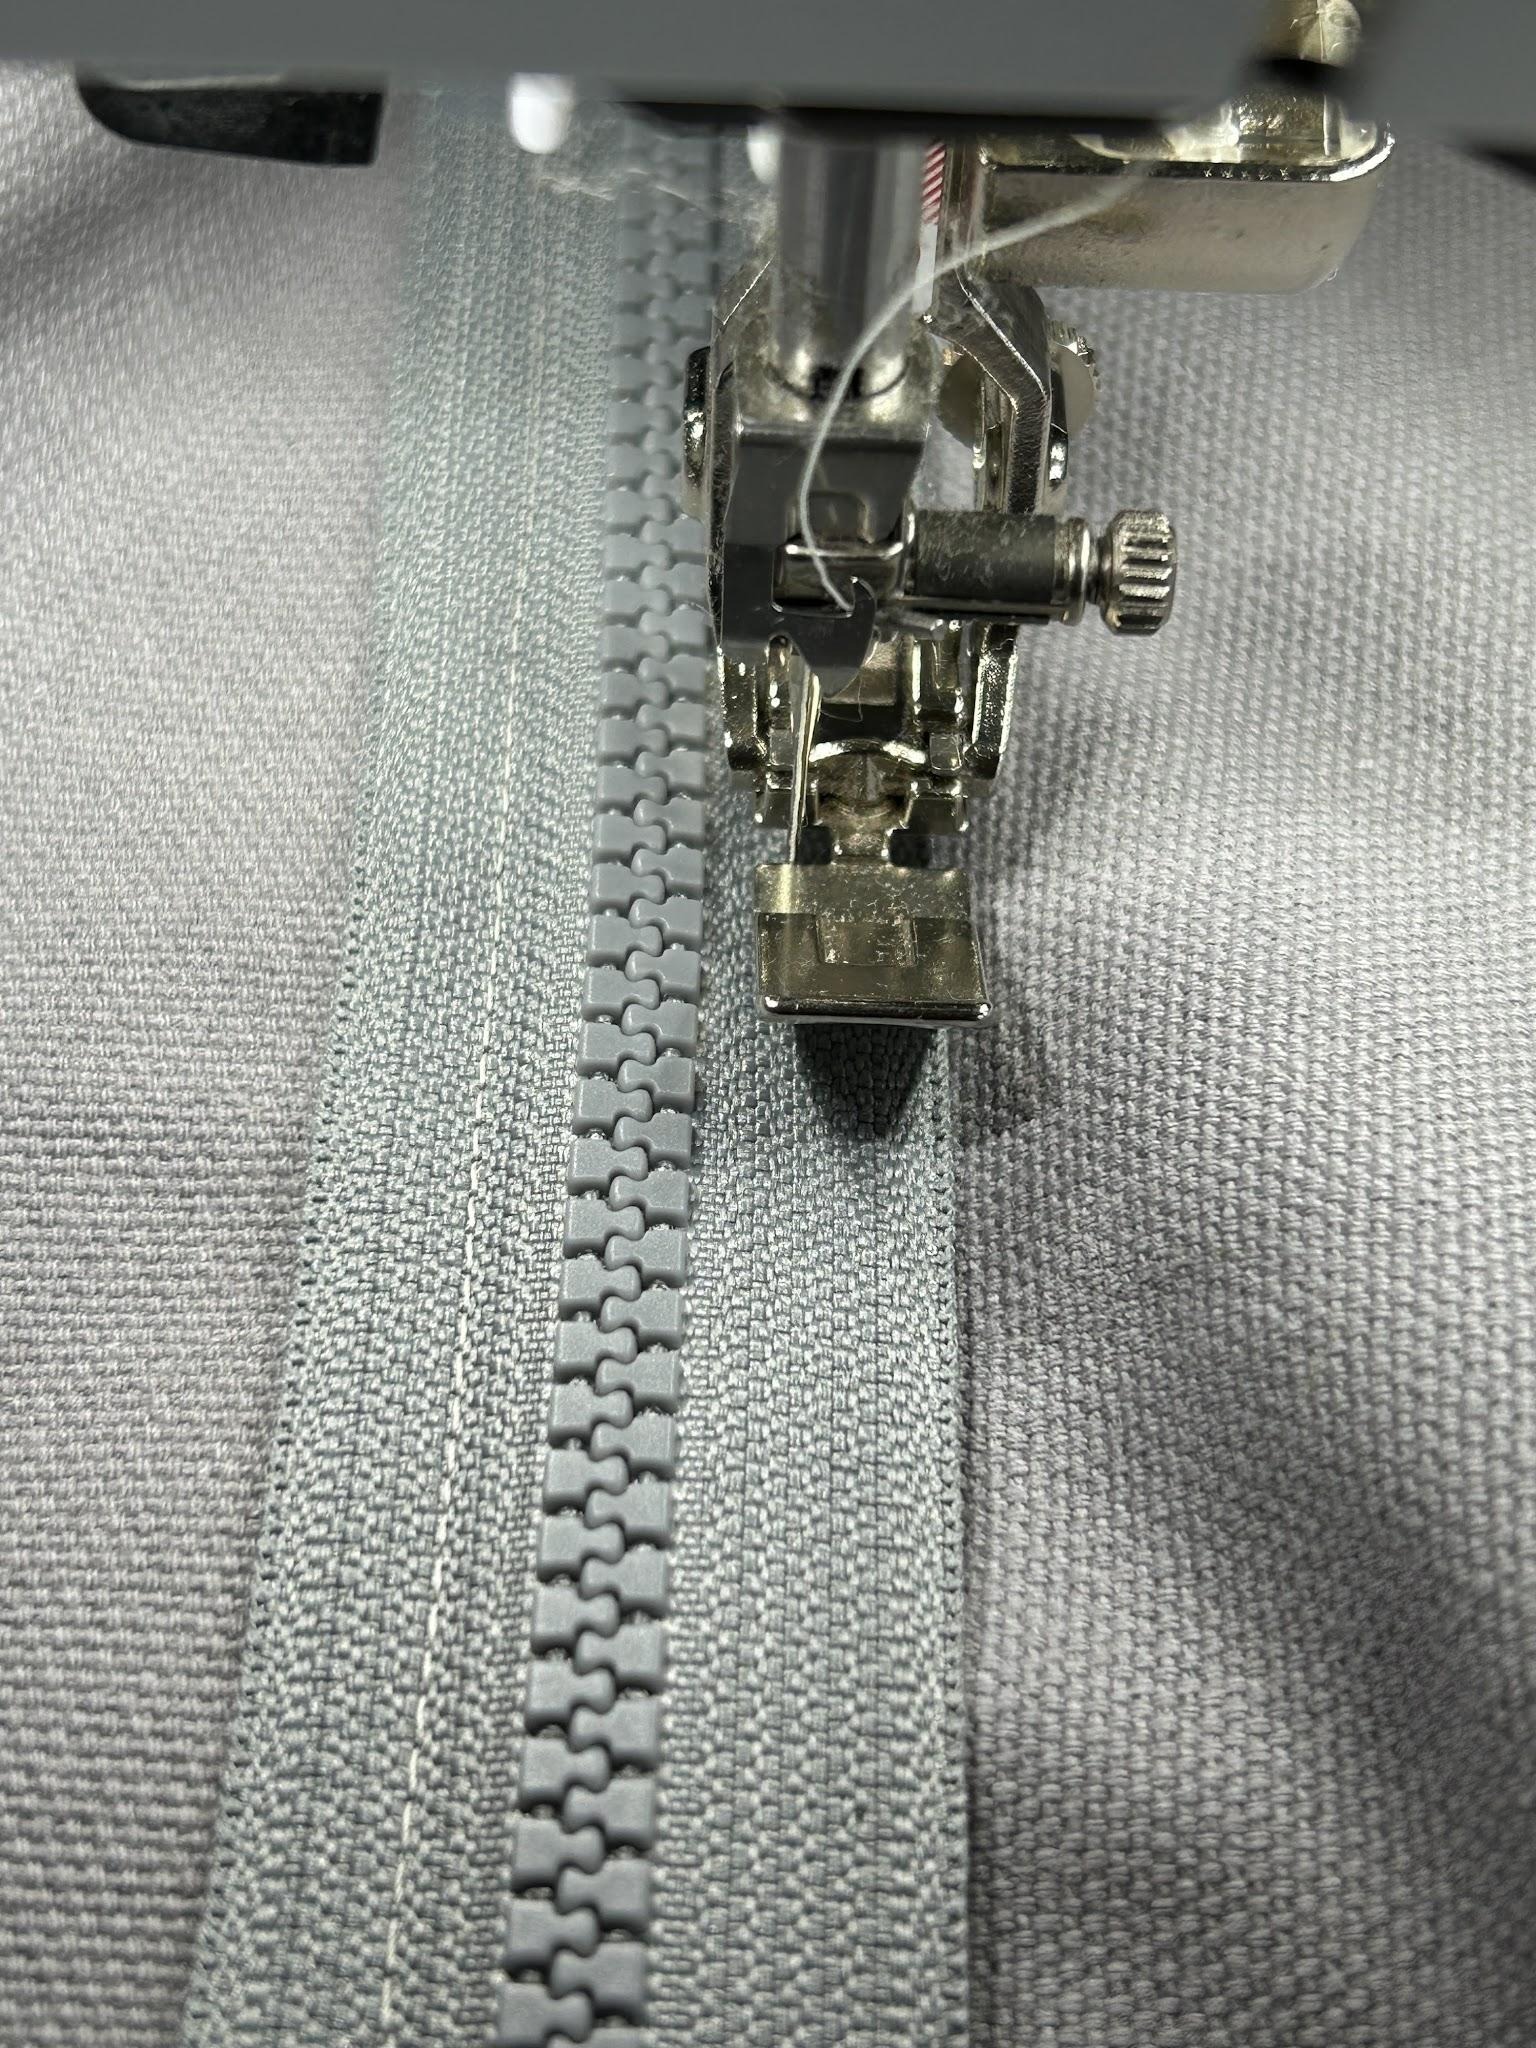
When you get back to the top, stitch across the top of the zipper. I backstitch a few times here to make sure the threads are secured.
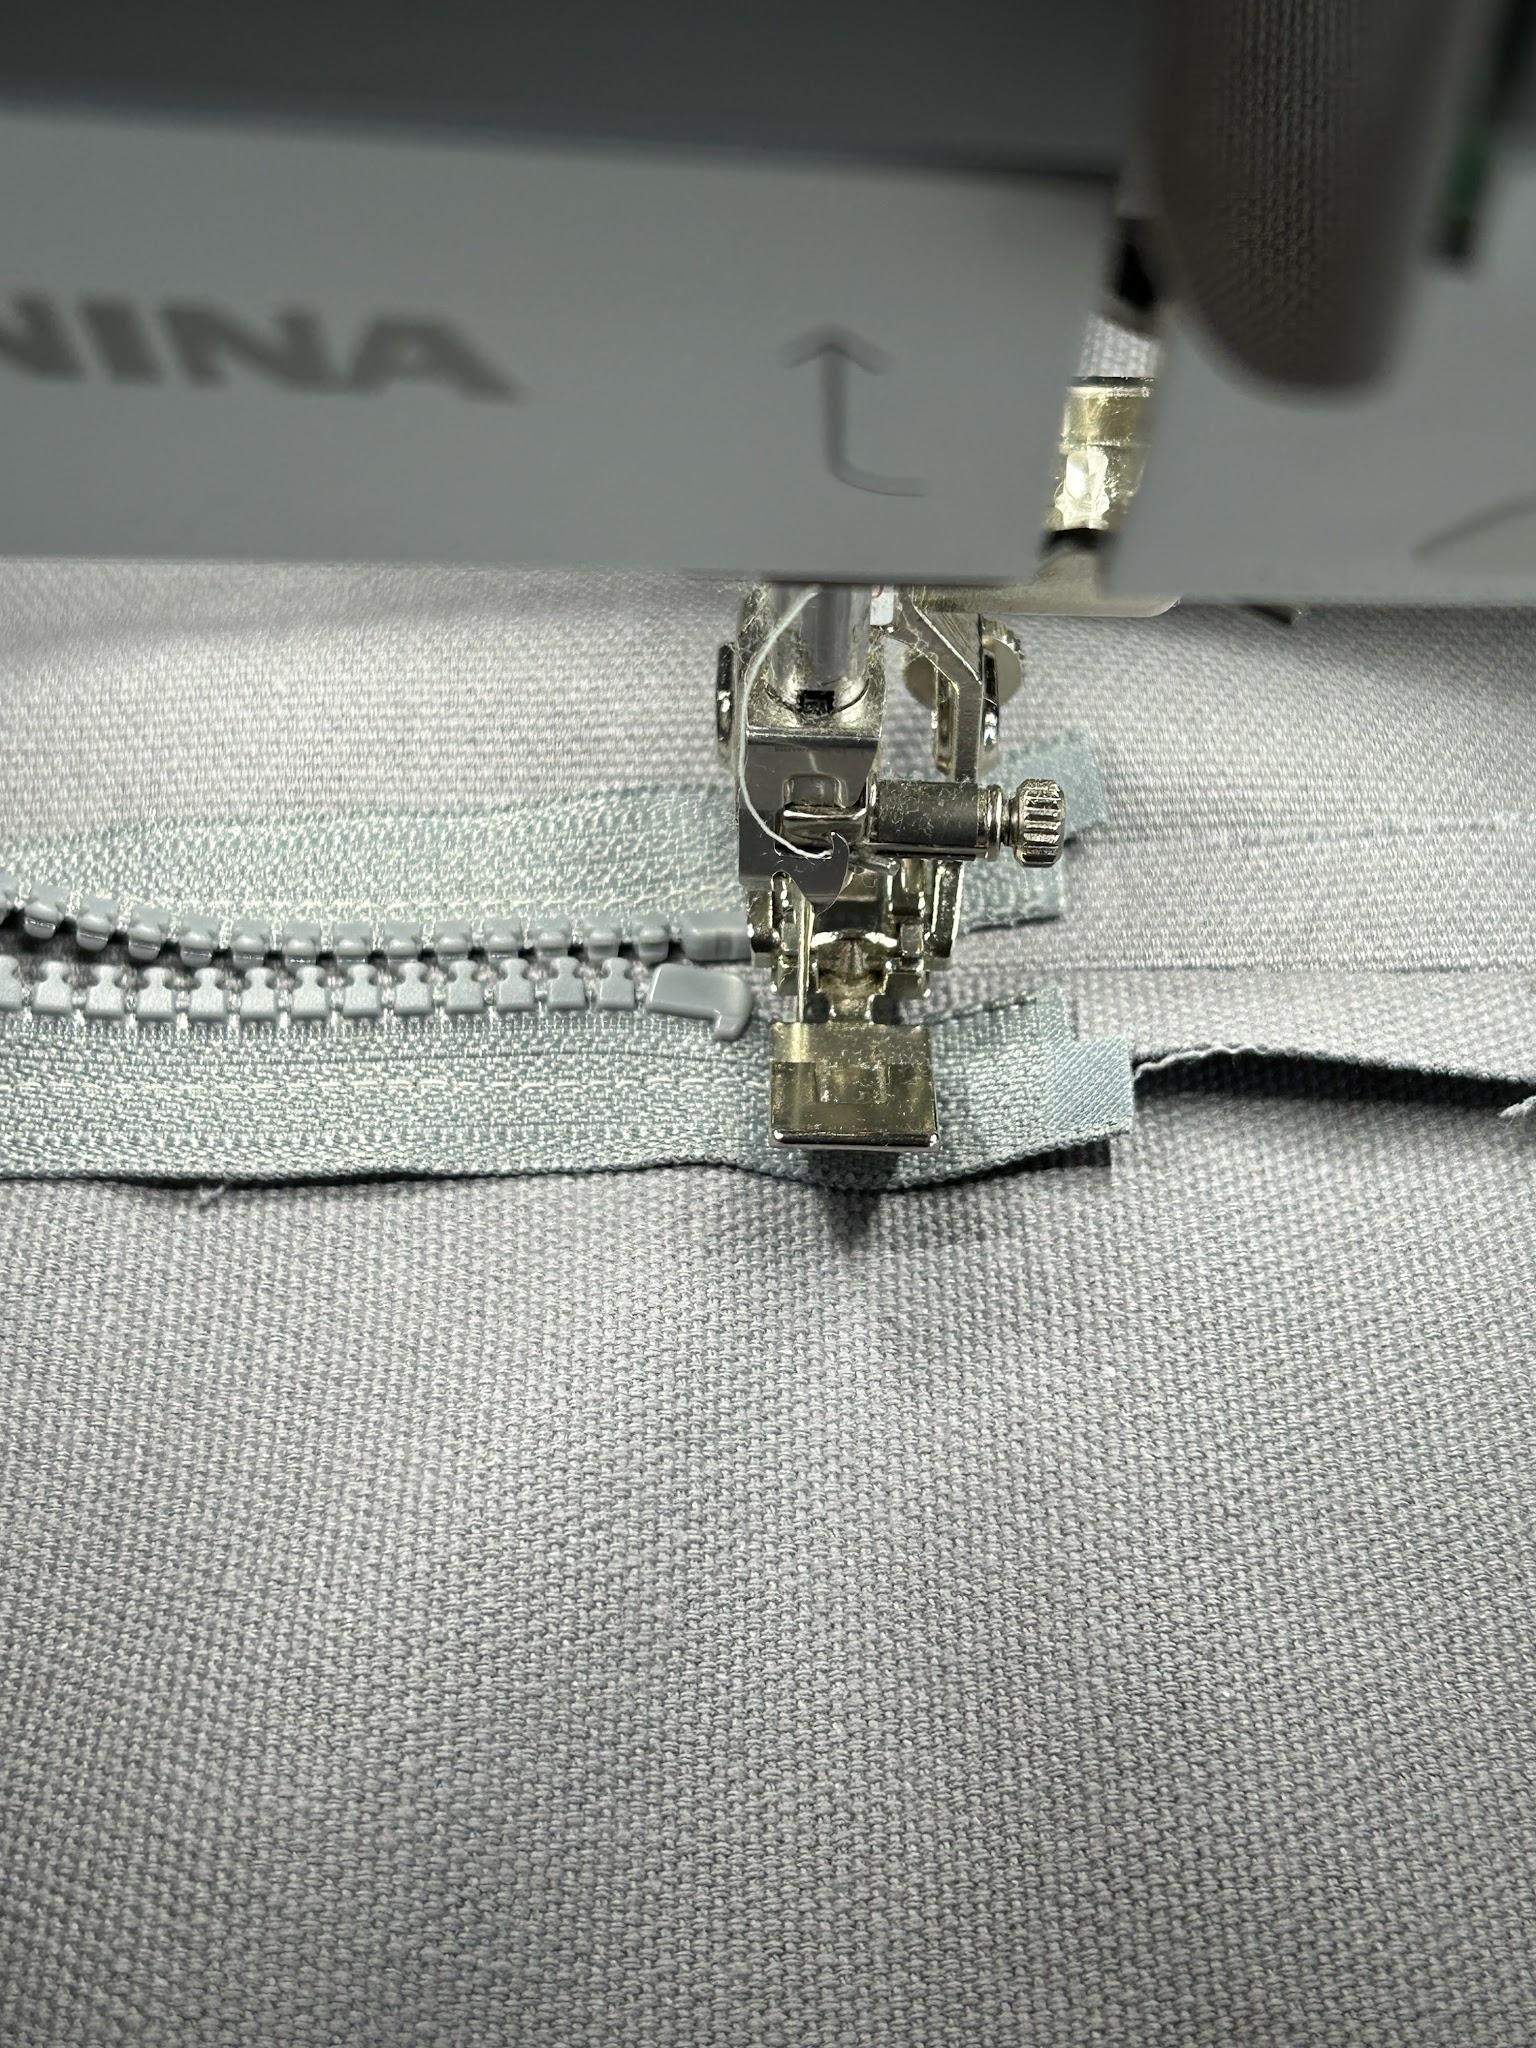
Now comes the fun part. Grab your stitch ripper and open the seam that you pressed open, where the zipper is hiding. You can see the “box” that encases the zipper. I usually start in the middle and work my way to the ends.
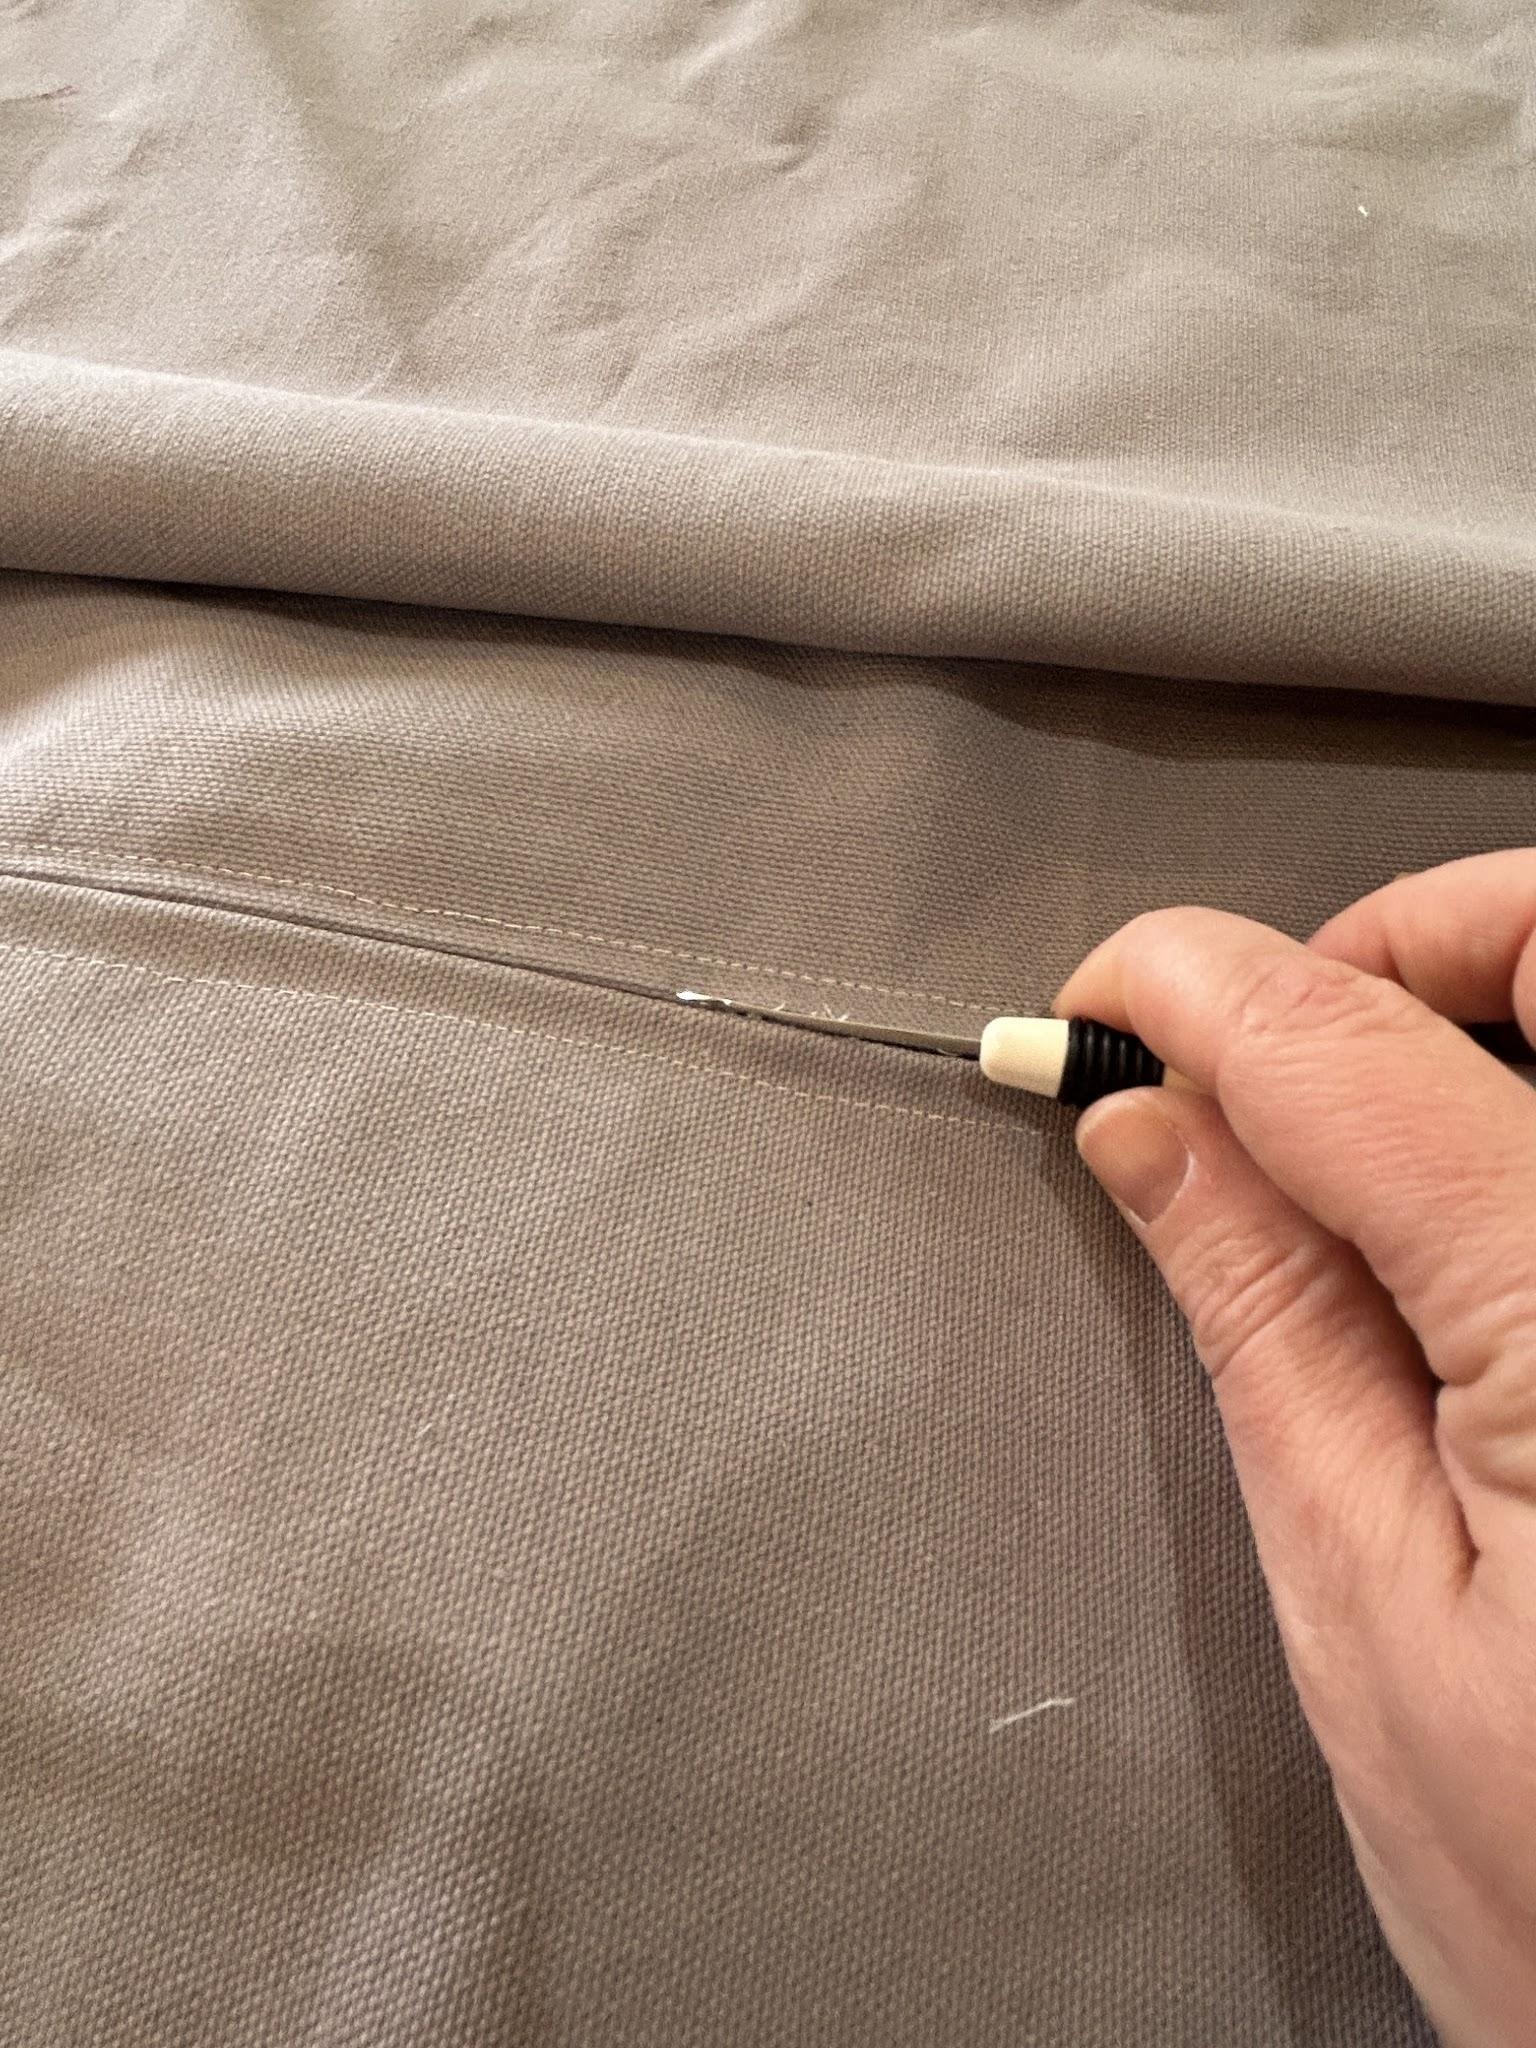
When you get to the ends of the zipper, be careful not to open the top and bottom of your box. I like to stop a couple stitches away from the seam that goes across the zipper.
Tip: You can put a pin across the end inside of the box to prevent your stitch ripper accidentally going too far.
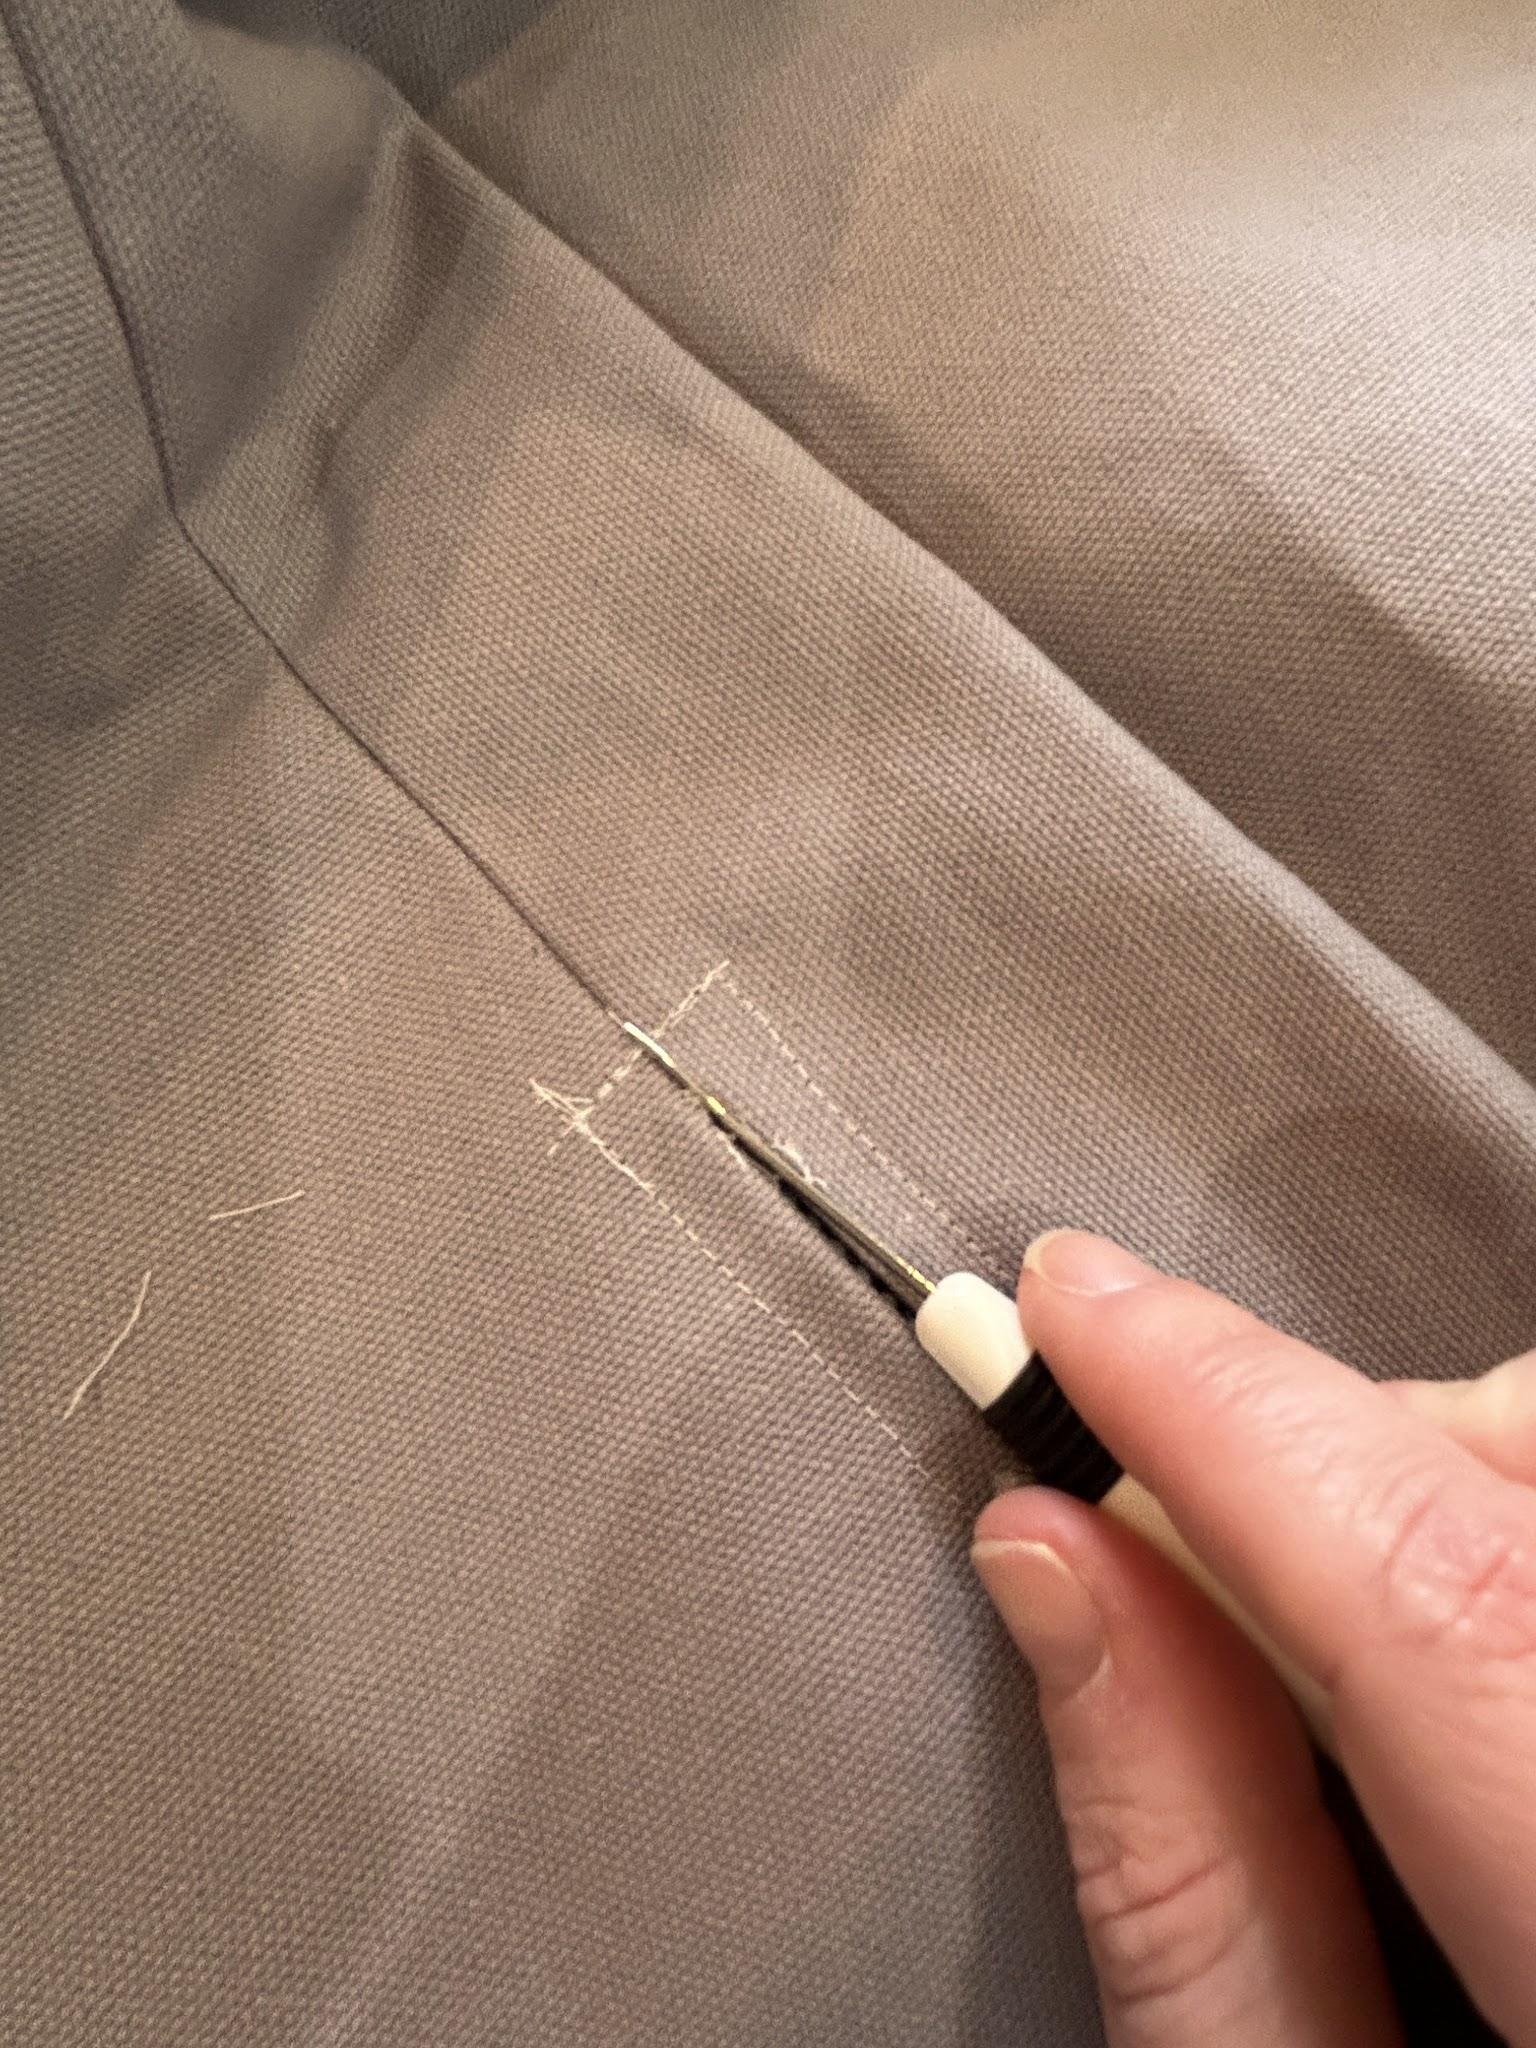
Now you can see how the zipper is exposed and the edges are finished.
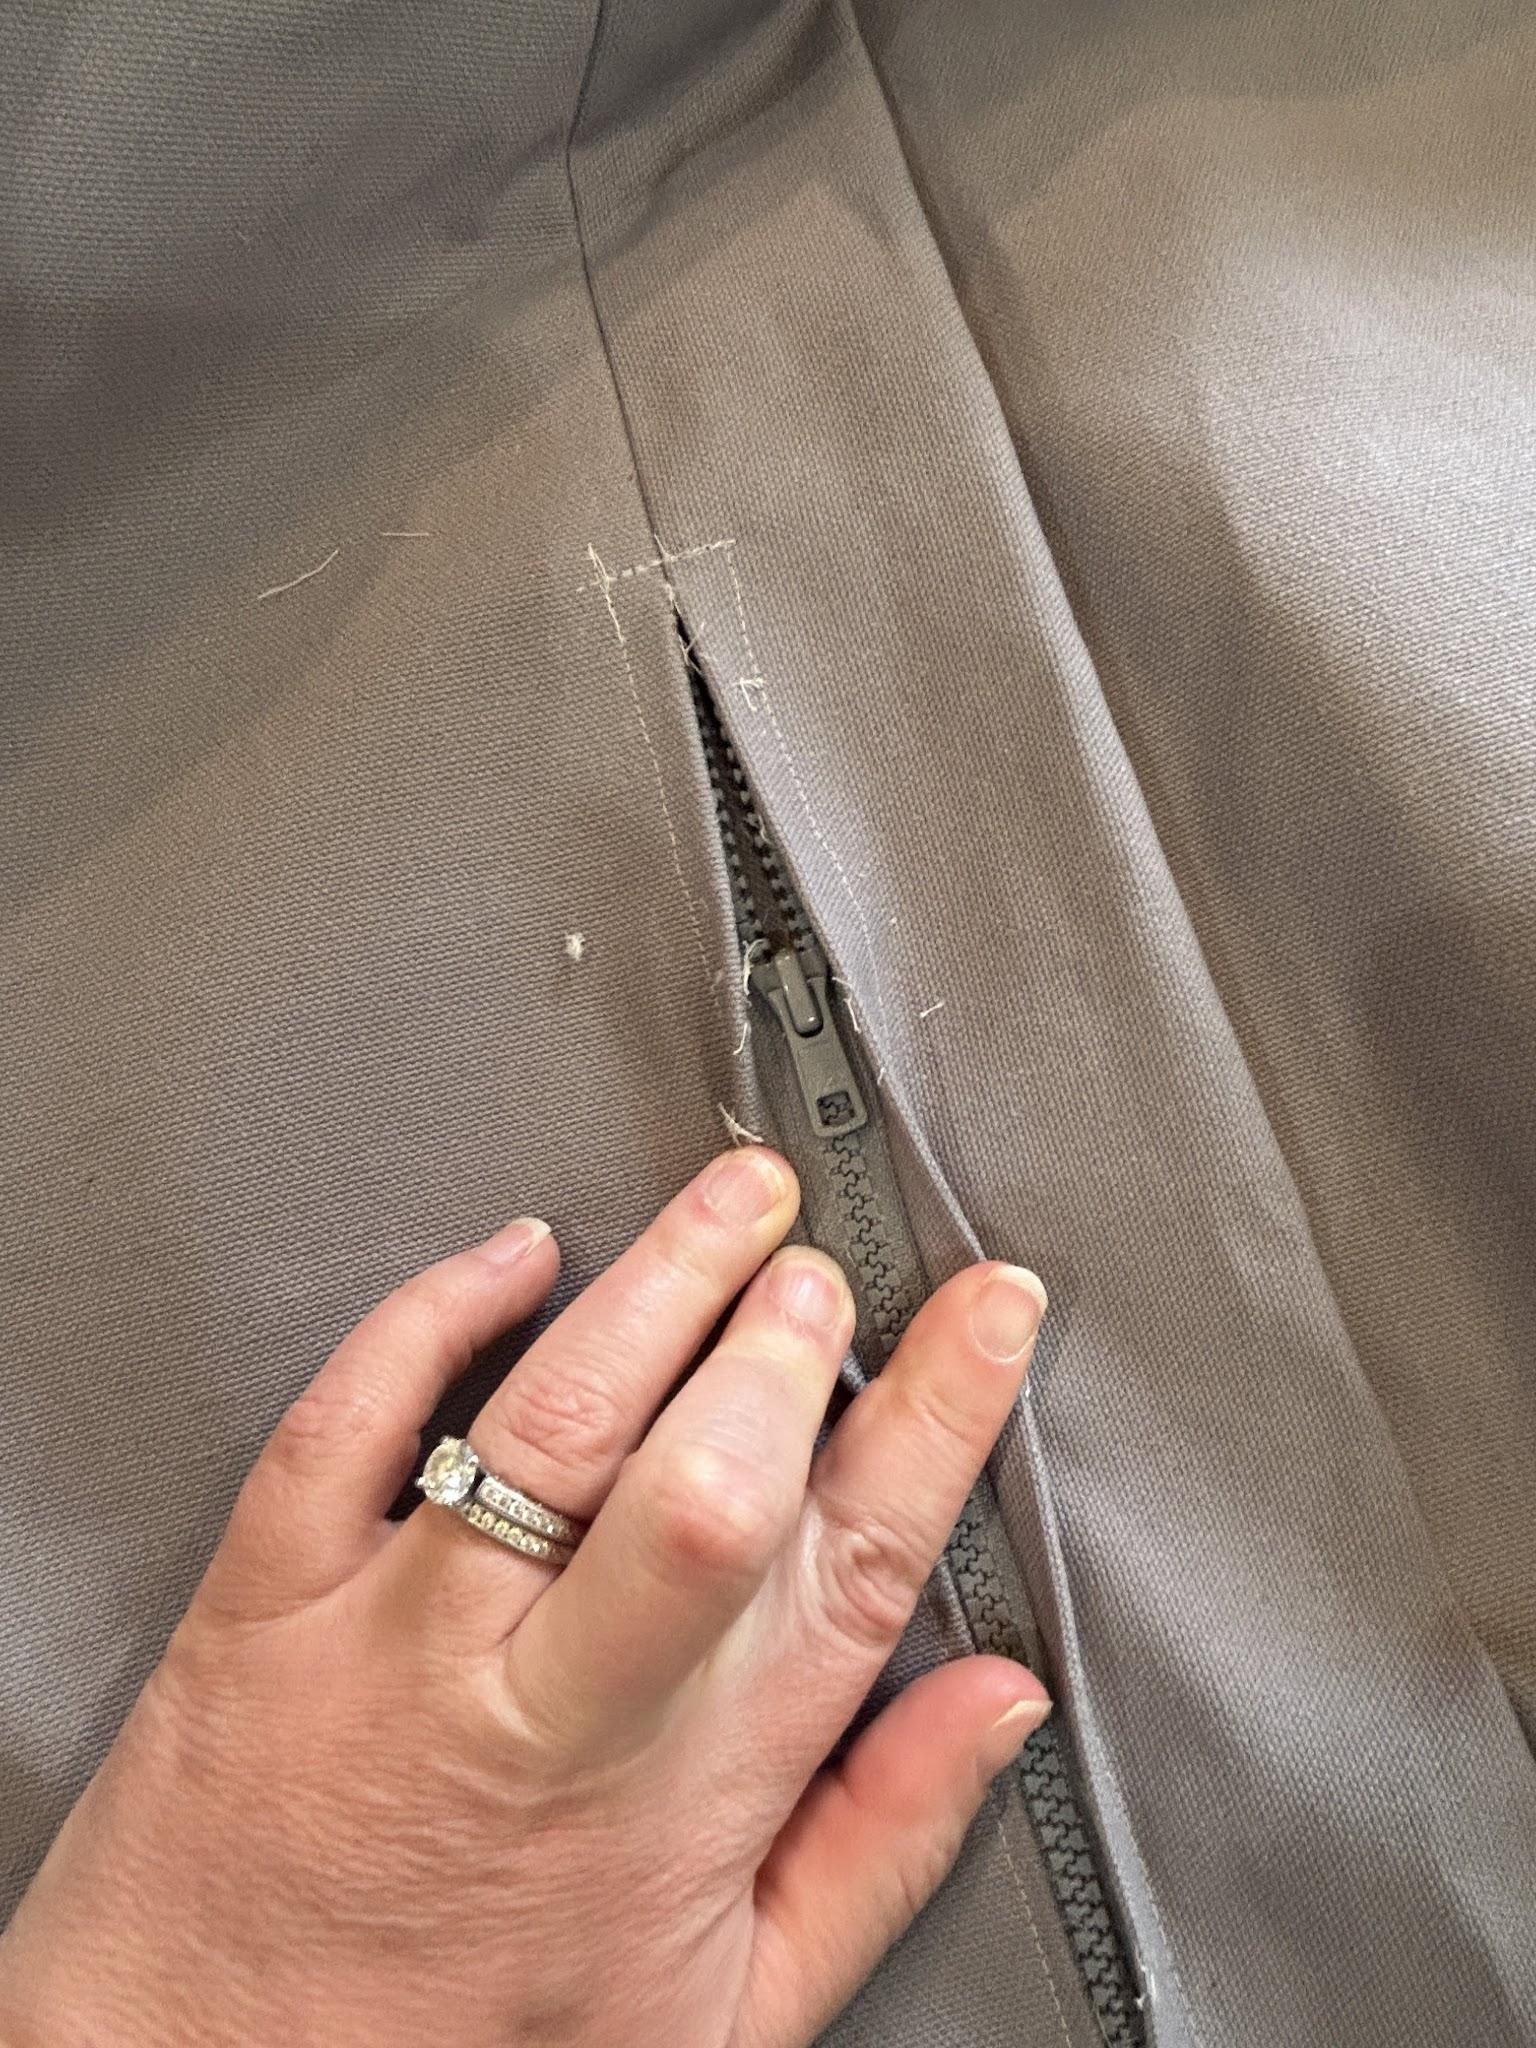
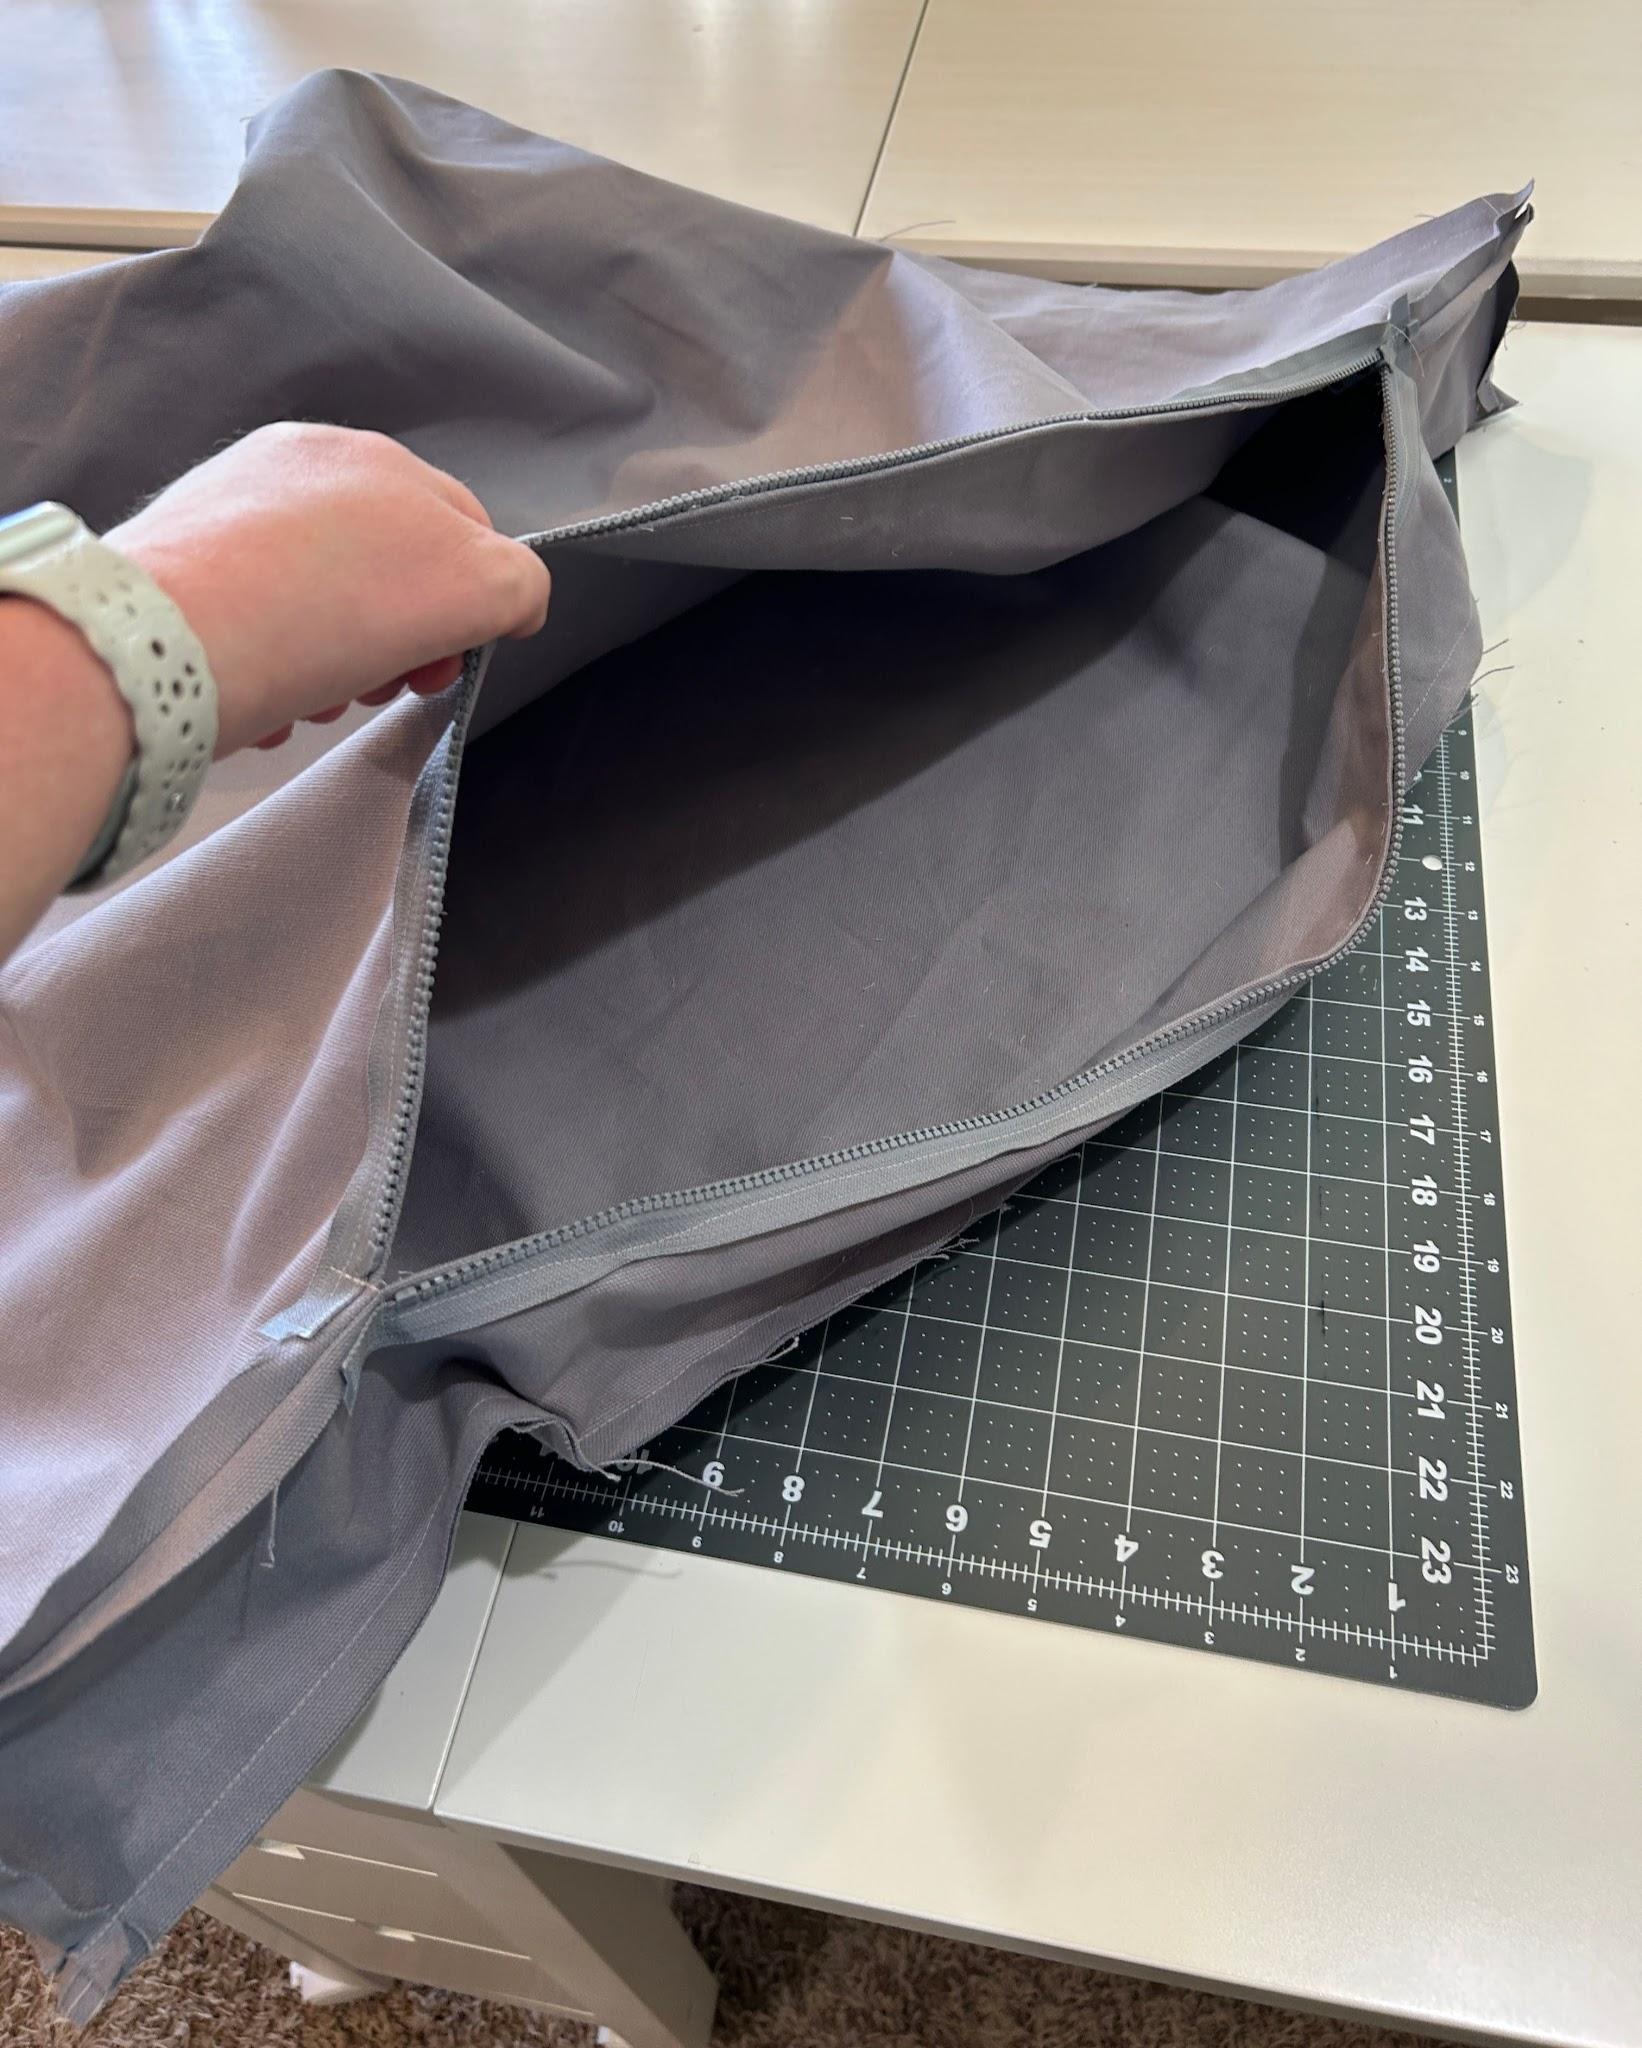
To get ready to sew the remaining three sides, you need to open the zipper at least halfway. This is where you will turn the bed later to the right side, so don’t leave it closed or there will be some not-so-fun stitch ripping to do later!
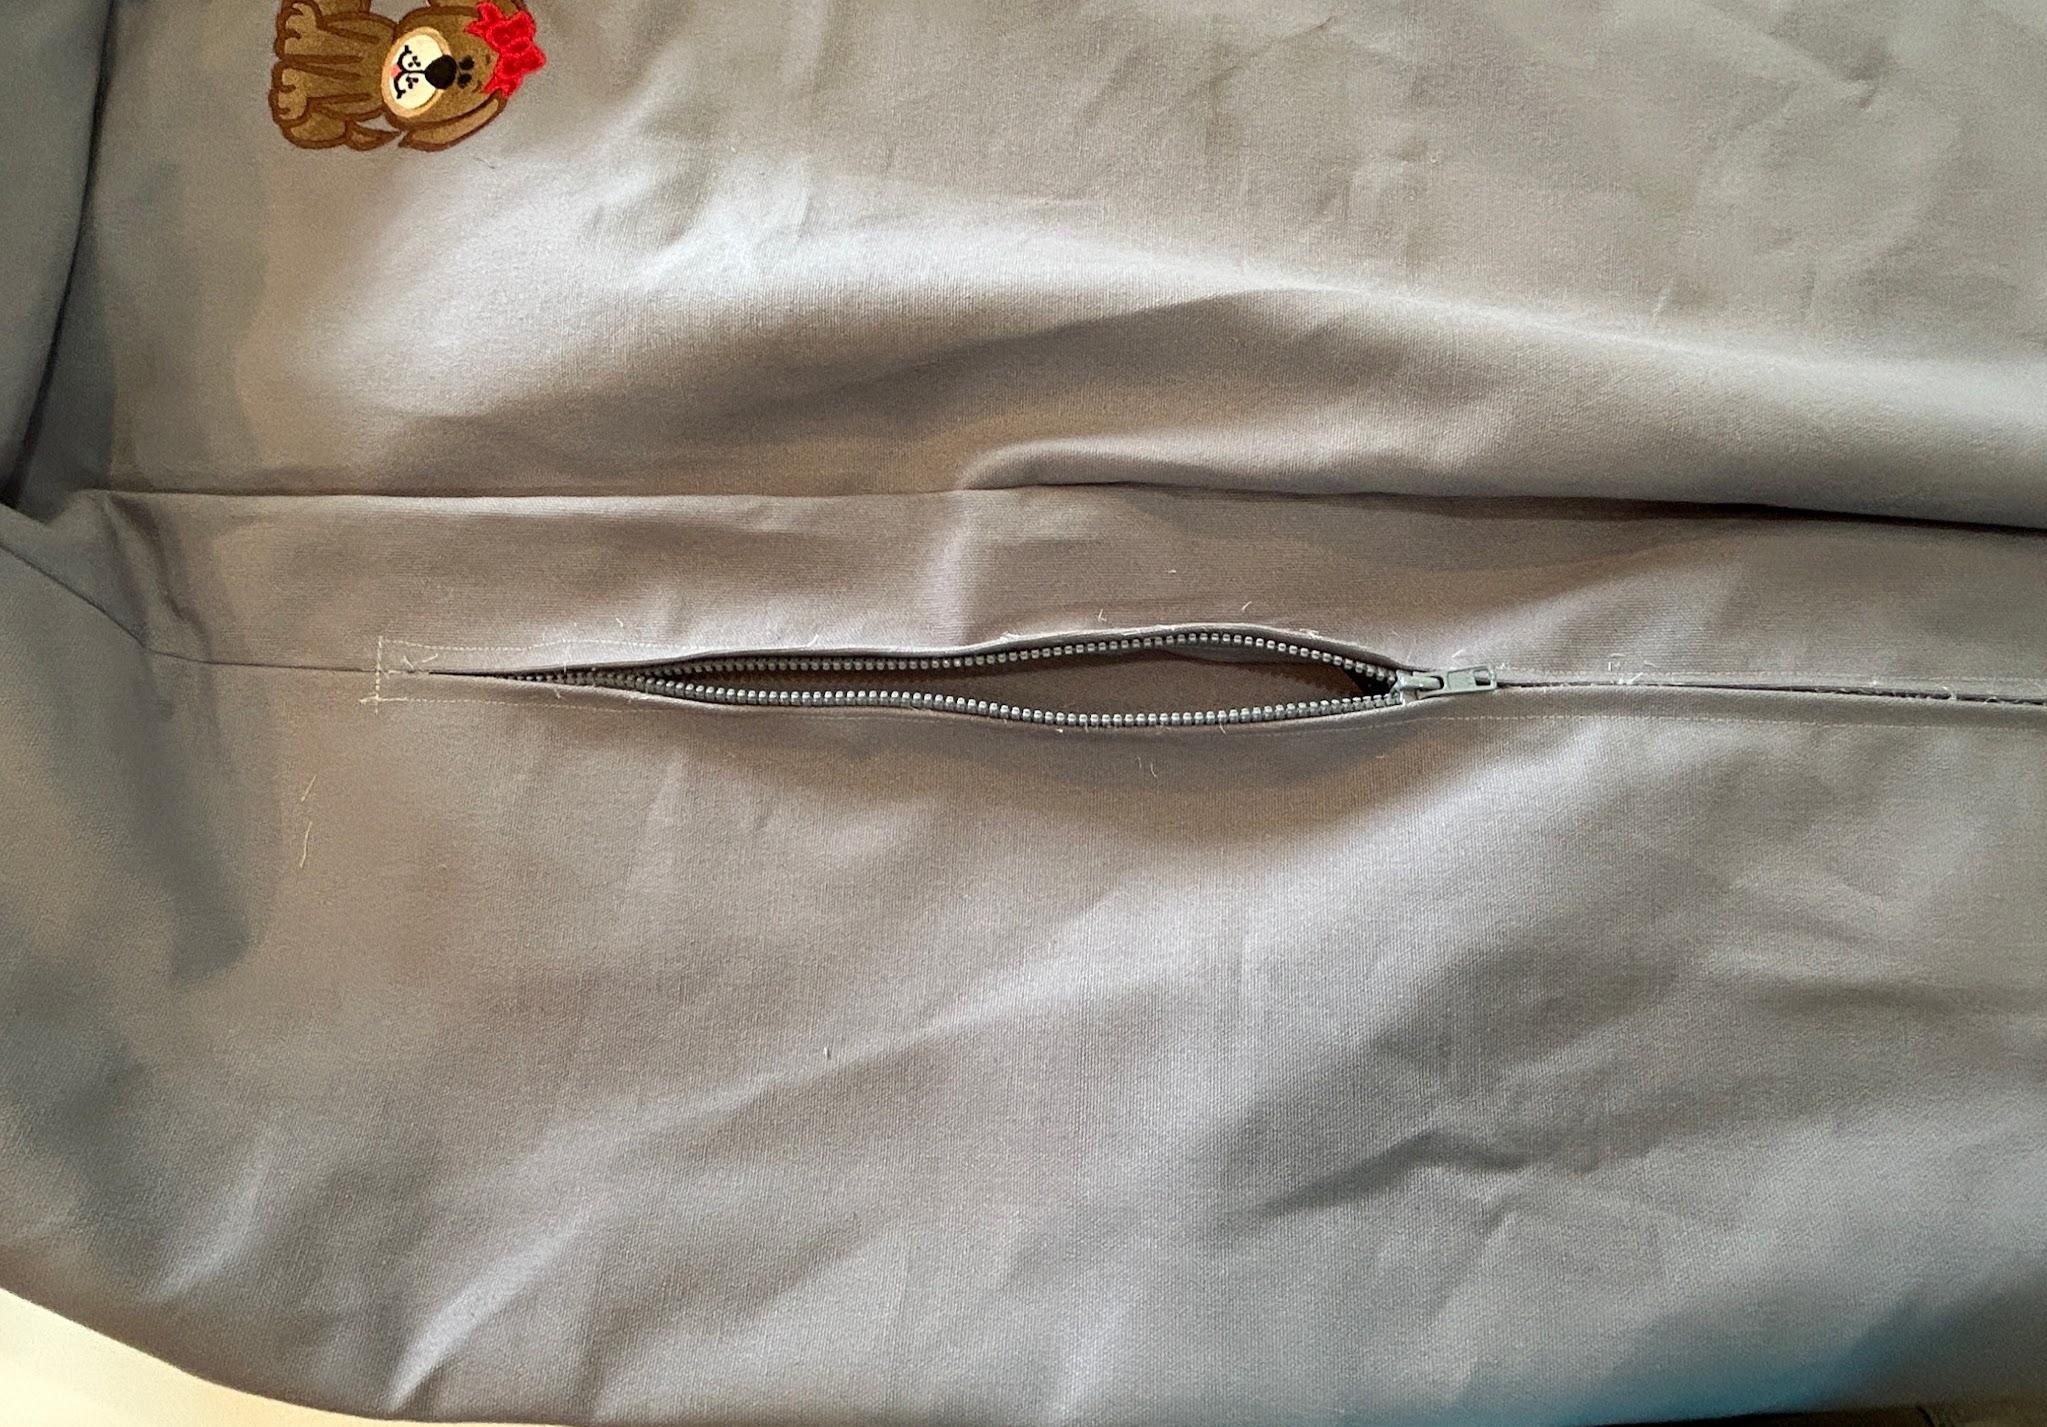
We will finish the other three sides like we did the top. Find the centers of the bottom and the gussets and clip them together, lining up raw edges.
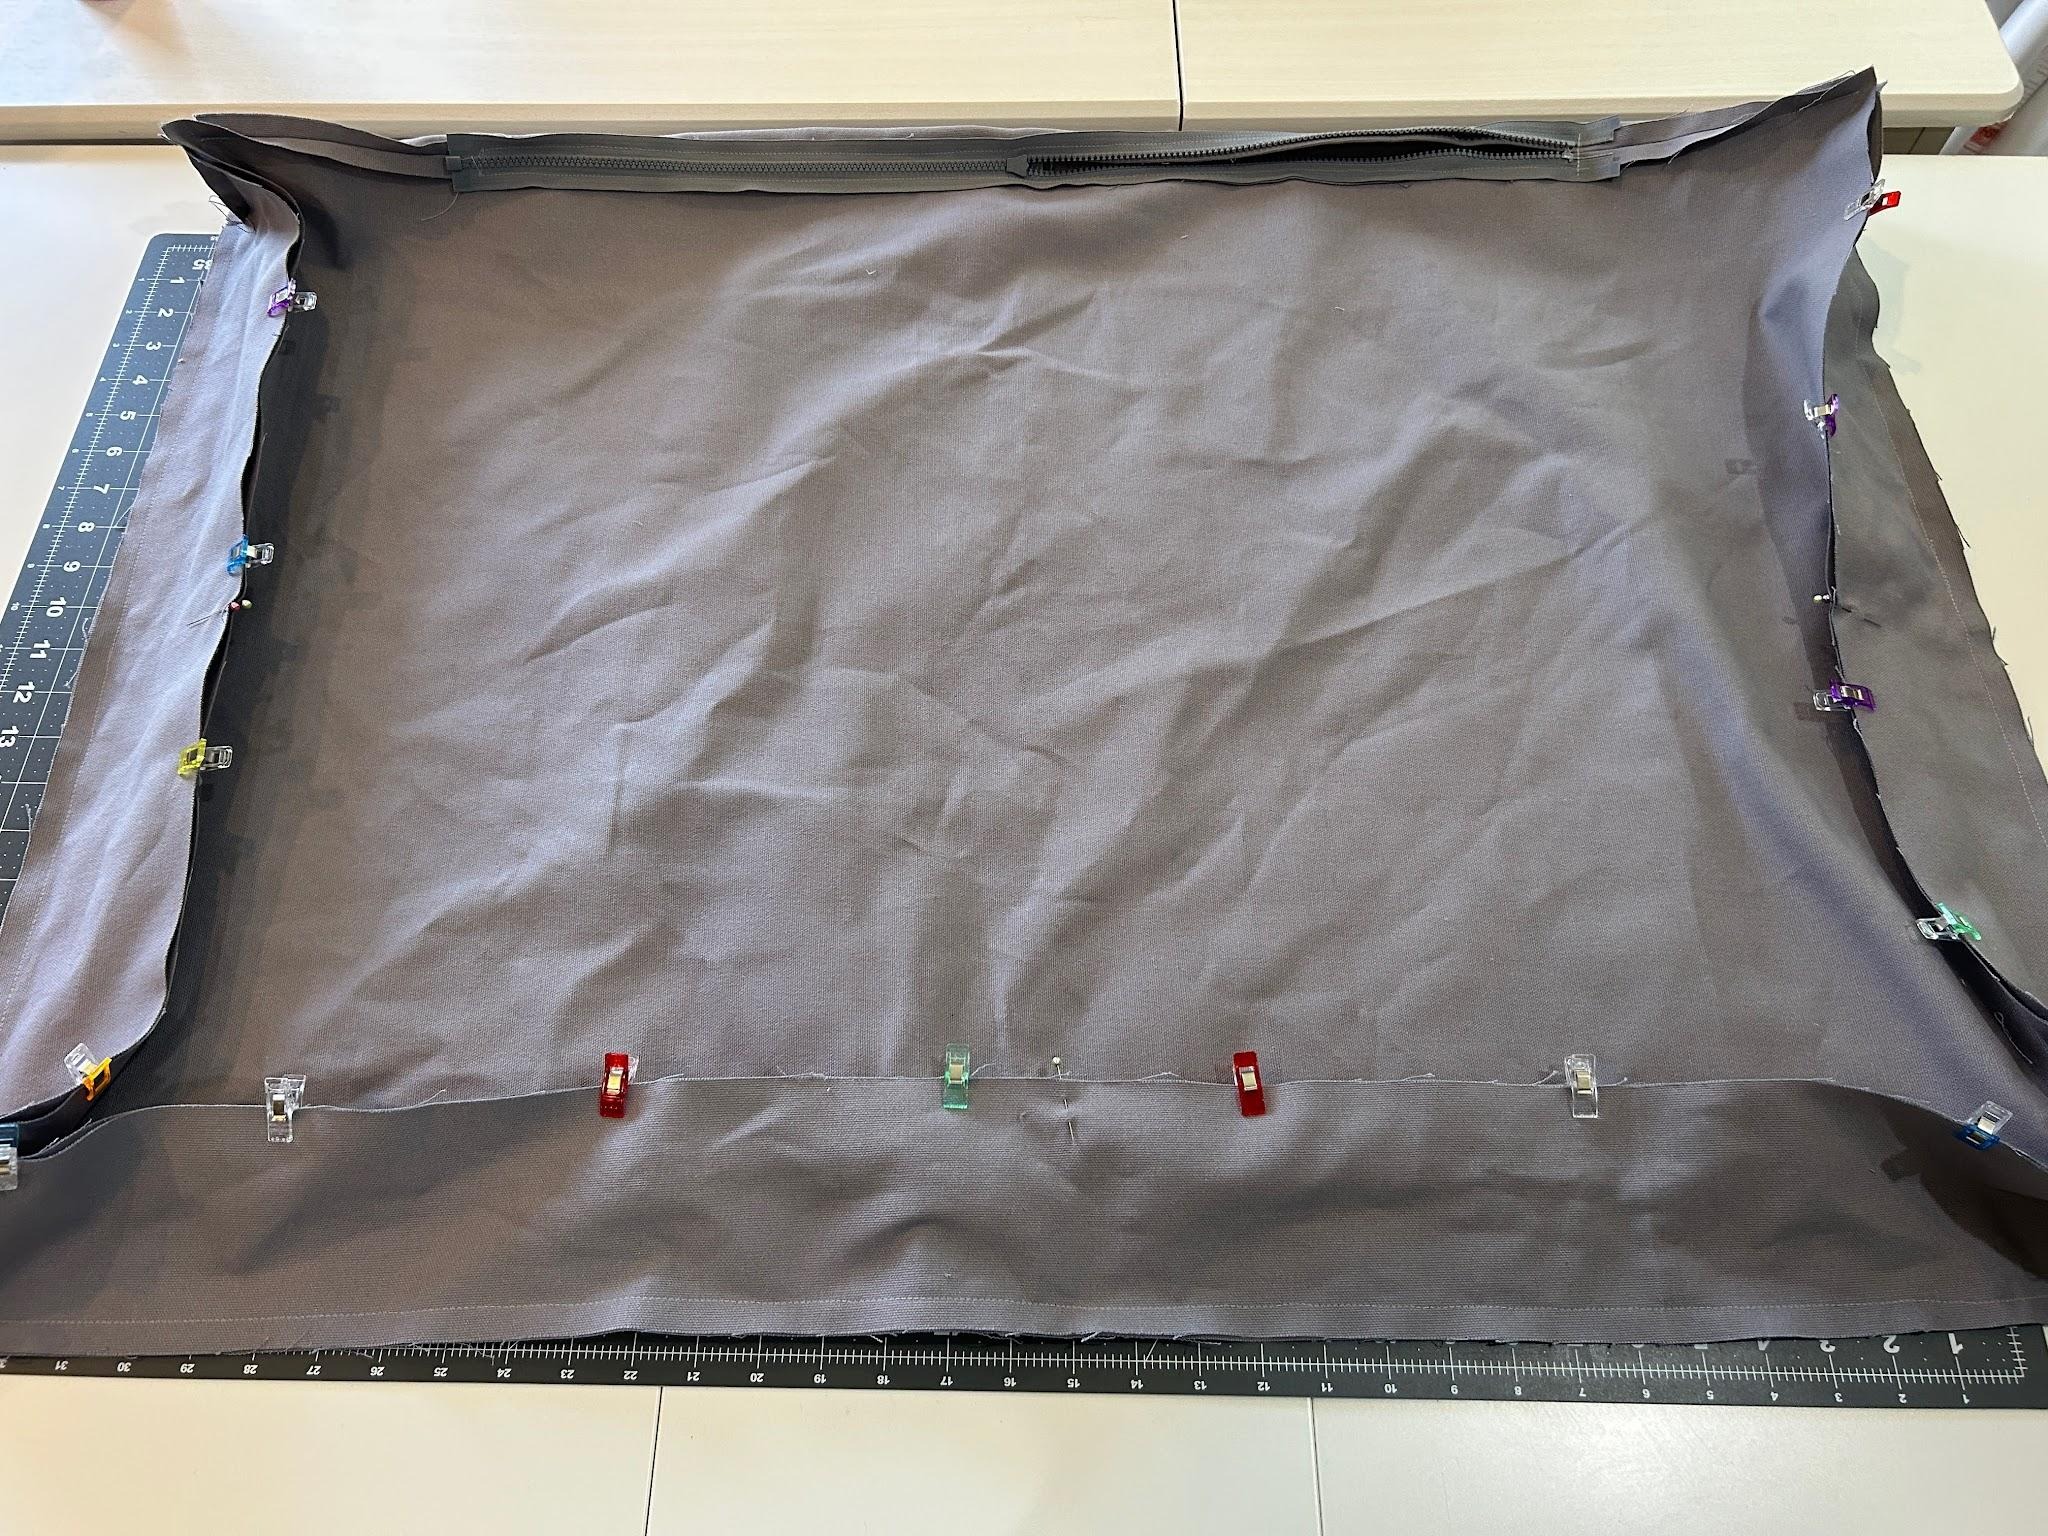
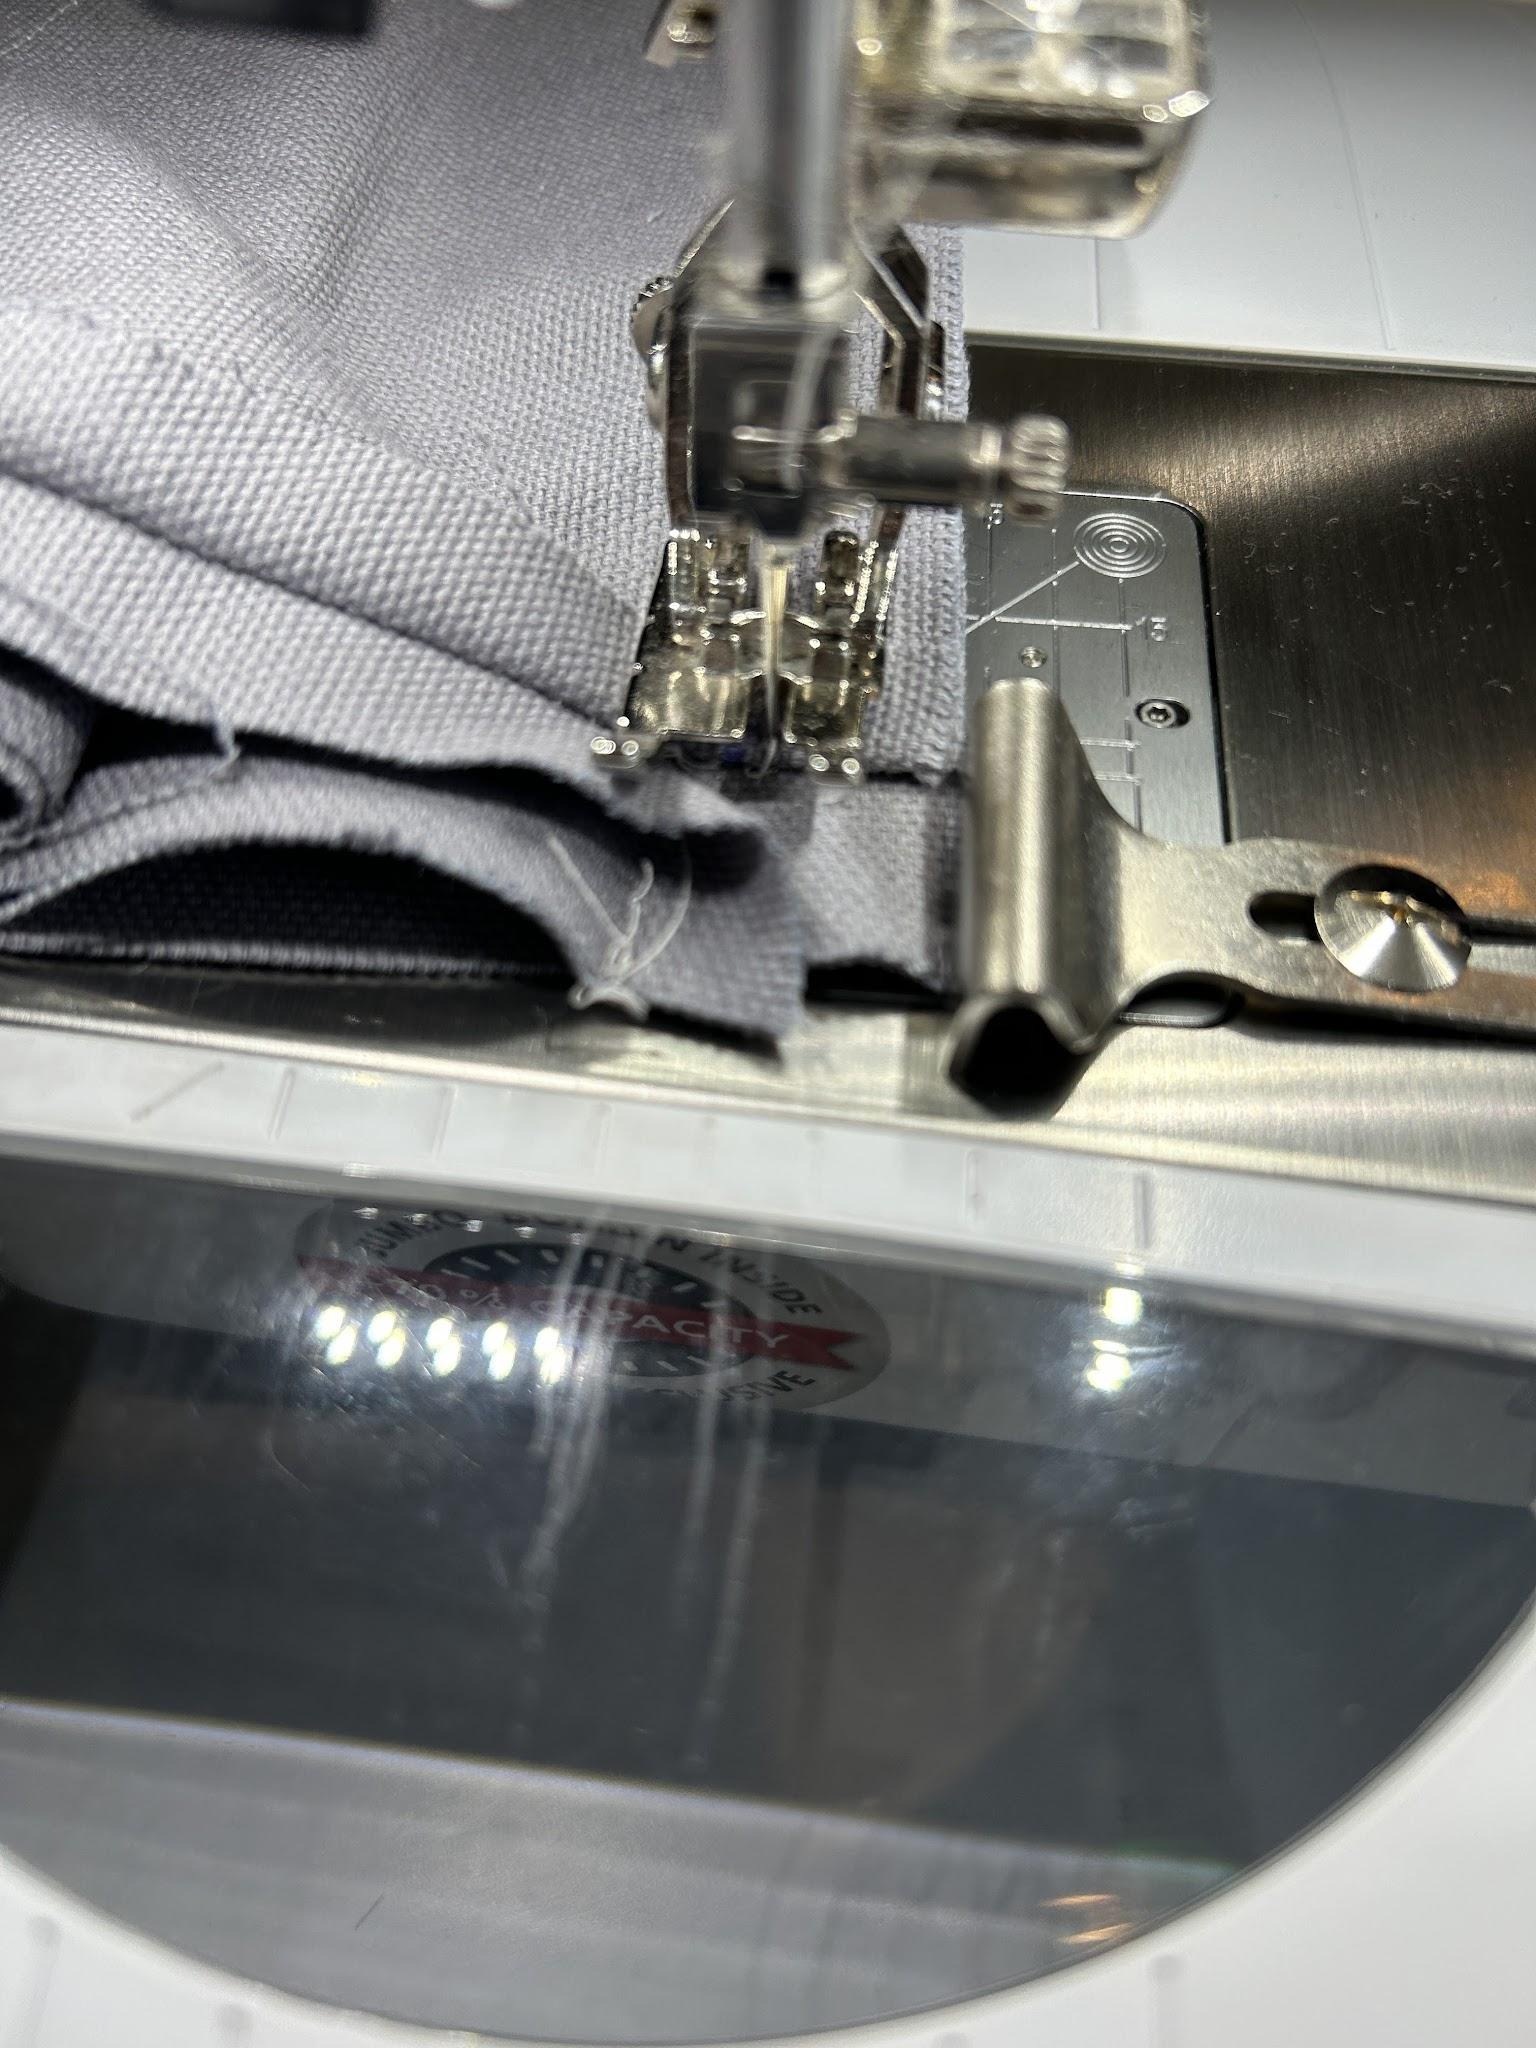
I like to start stitching on the side I put the zipper on and stitch over the previous stitching line for an inch or so from the edge, then stop and pivot just to make sure everything is connected. Stitch like you did for the top, pivoting at the corners and ending on the other end of the zipper side.
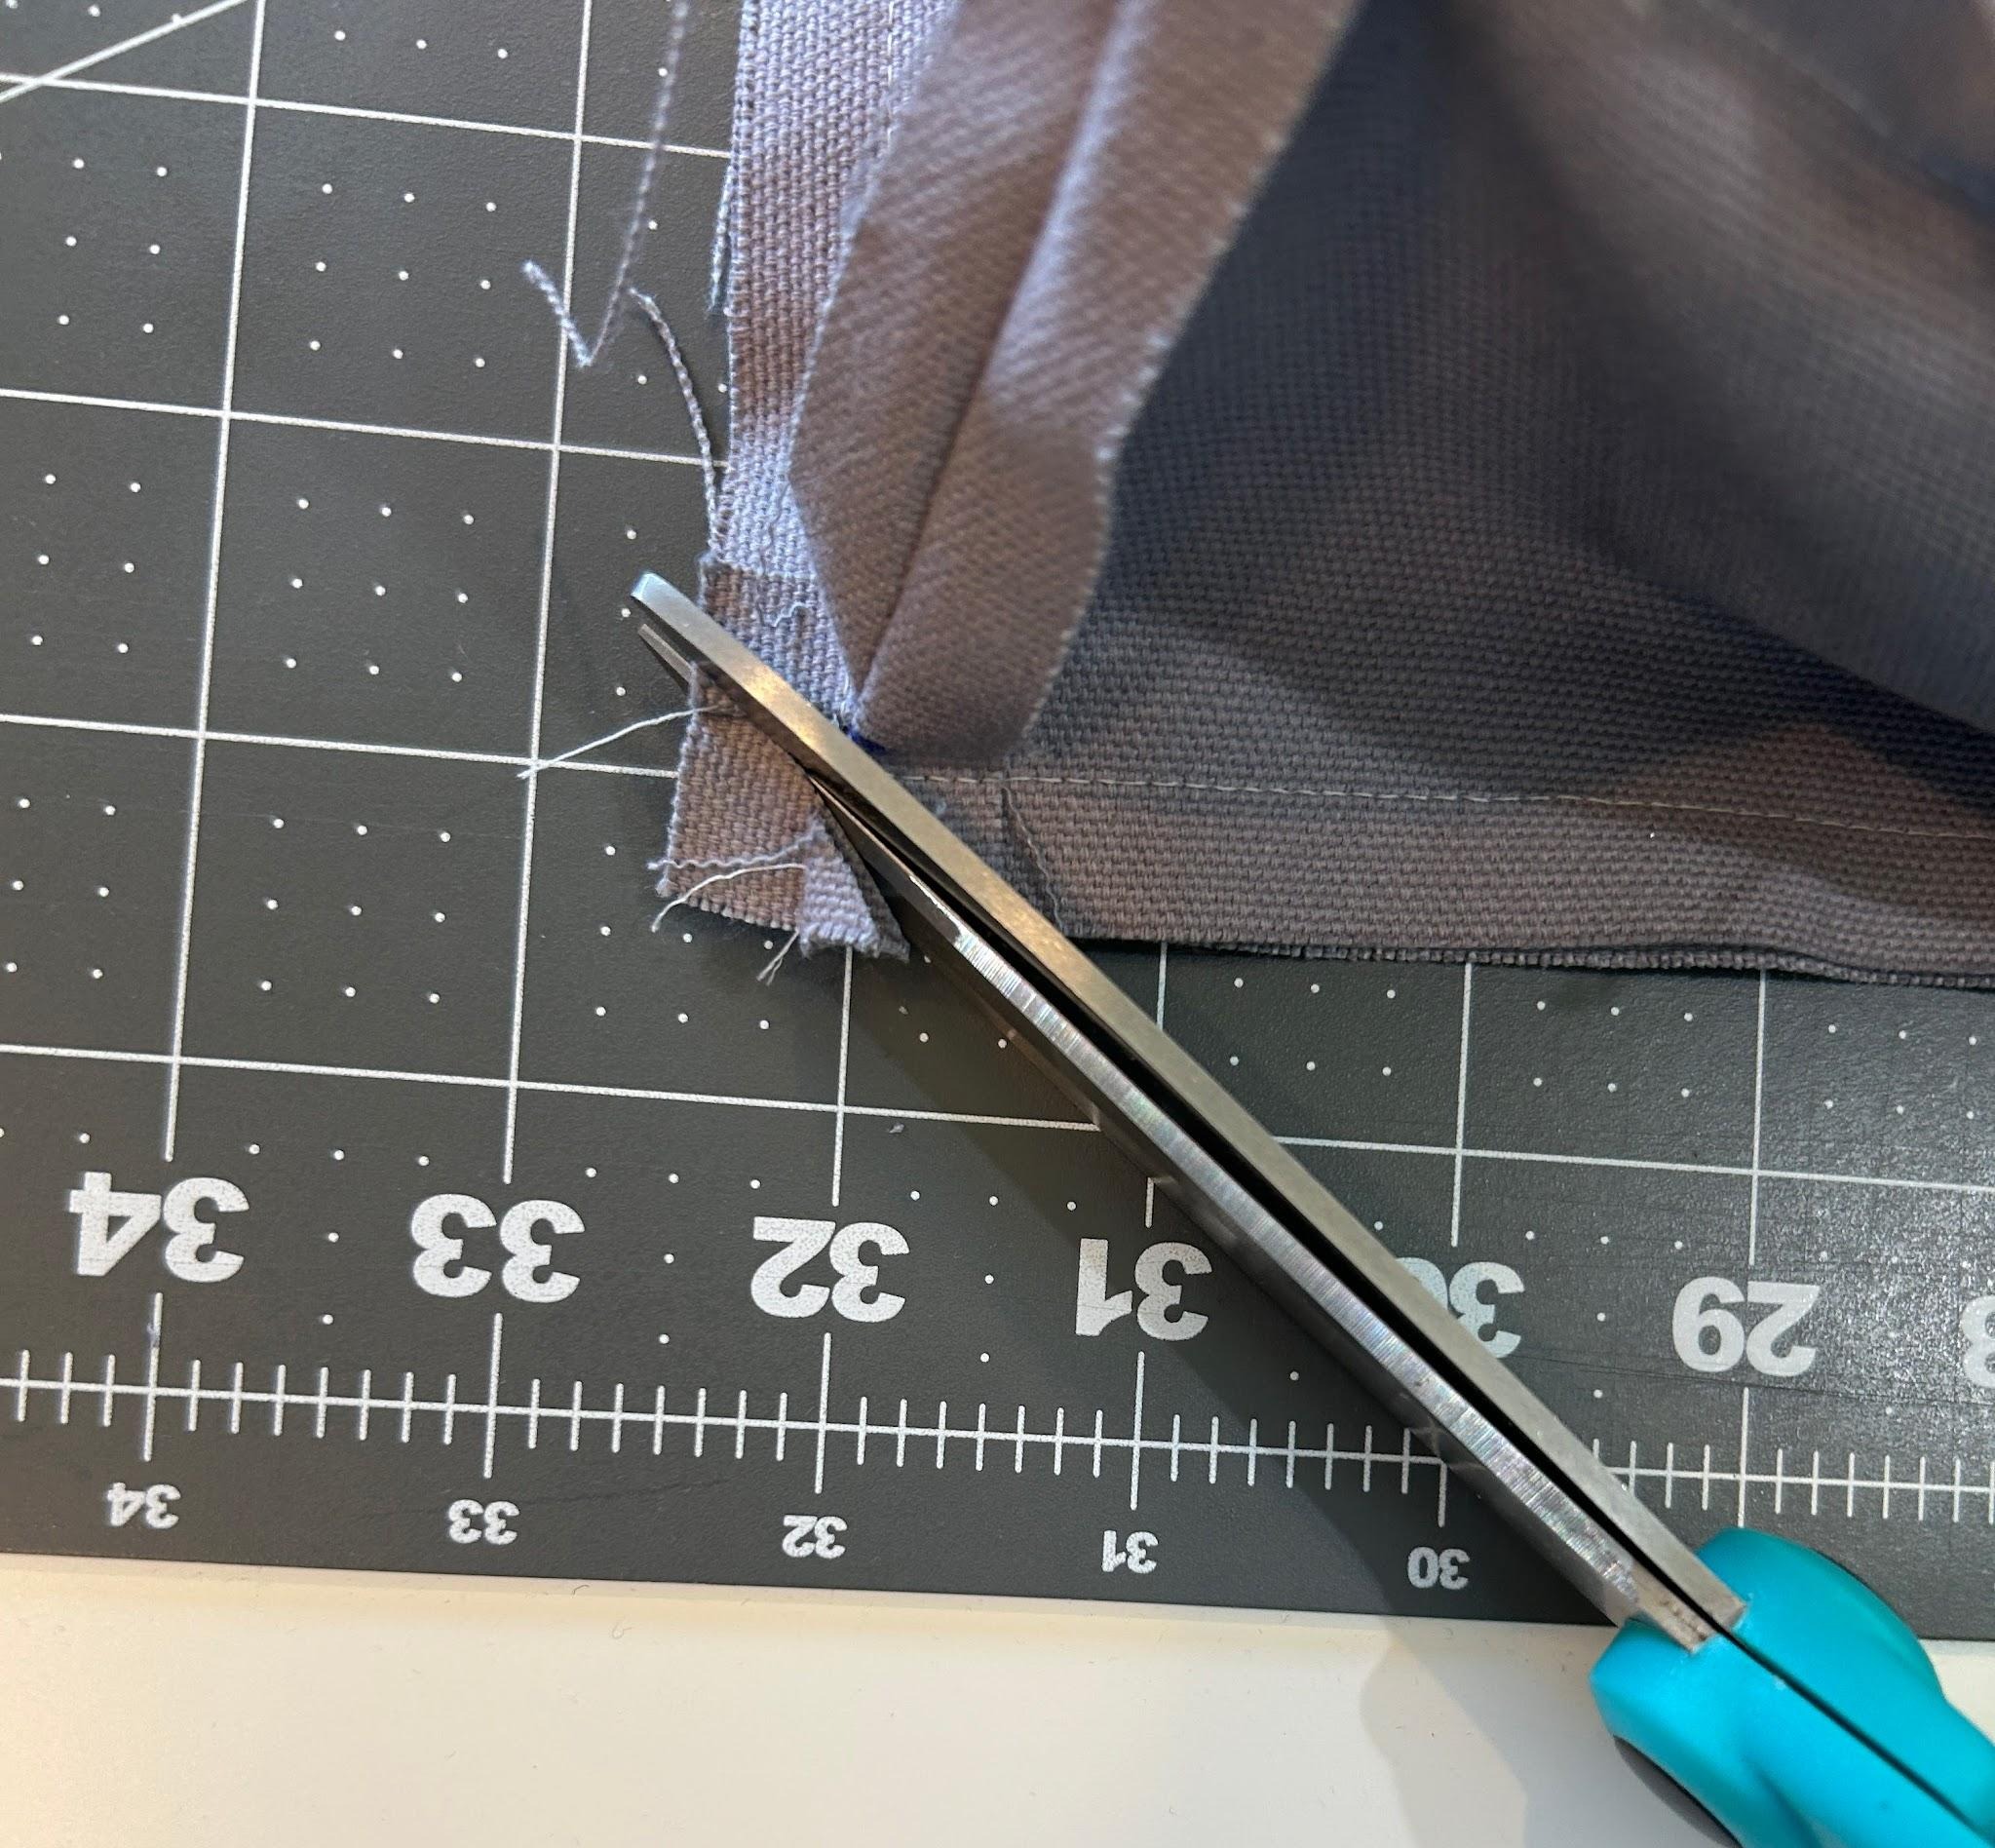
Once you are finished sewing, trim all eight corners, four on the top and four on the bottom.
Reach through the zipper opening and turn the bed cover right side out.
I like to work on my corners to make sure they are pressed out nice and crisp. You can use a Purple Thang, a chopstick, or whatever works for you.
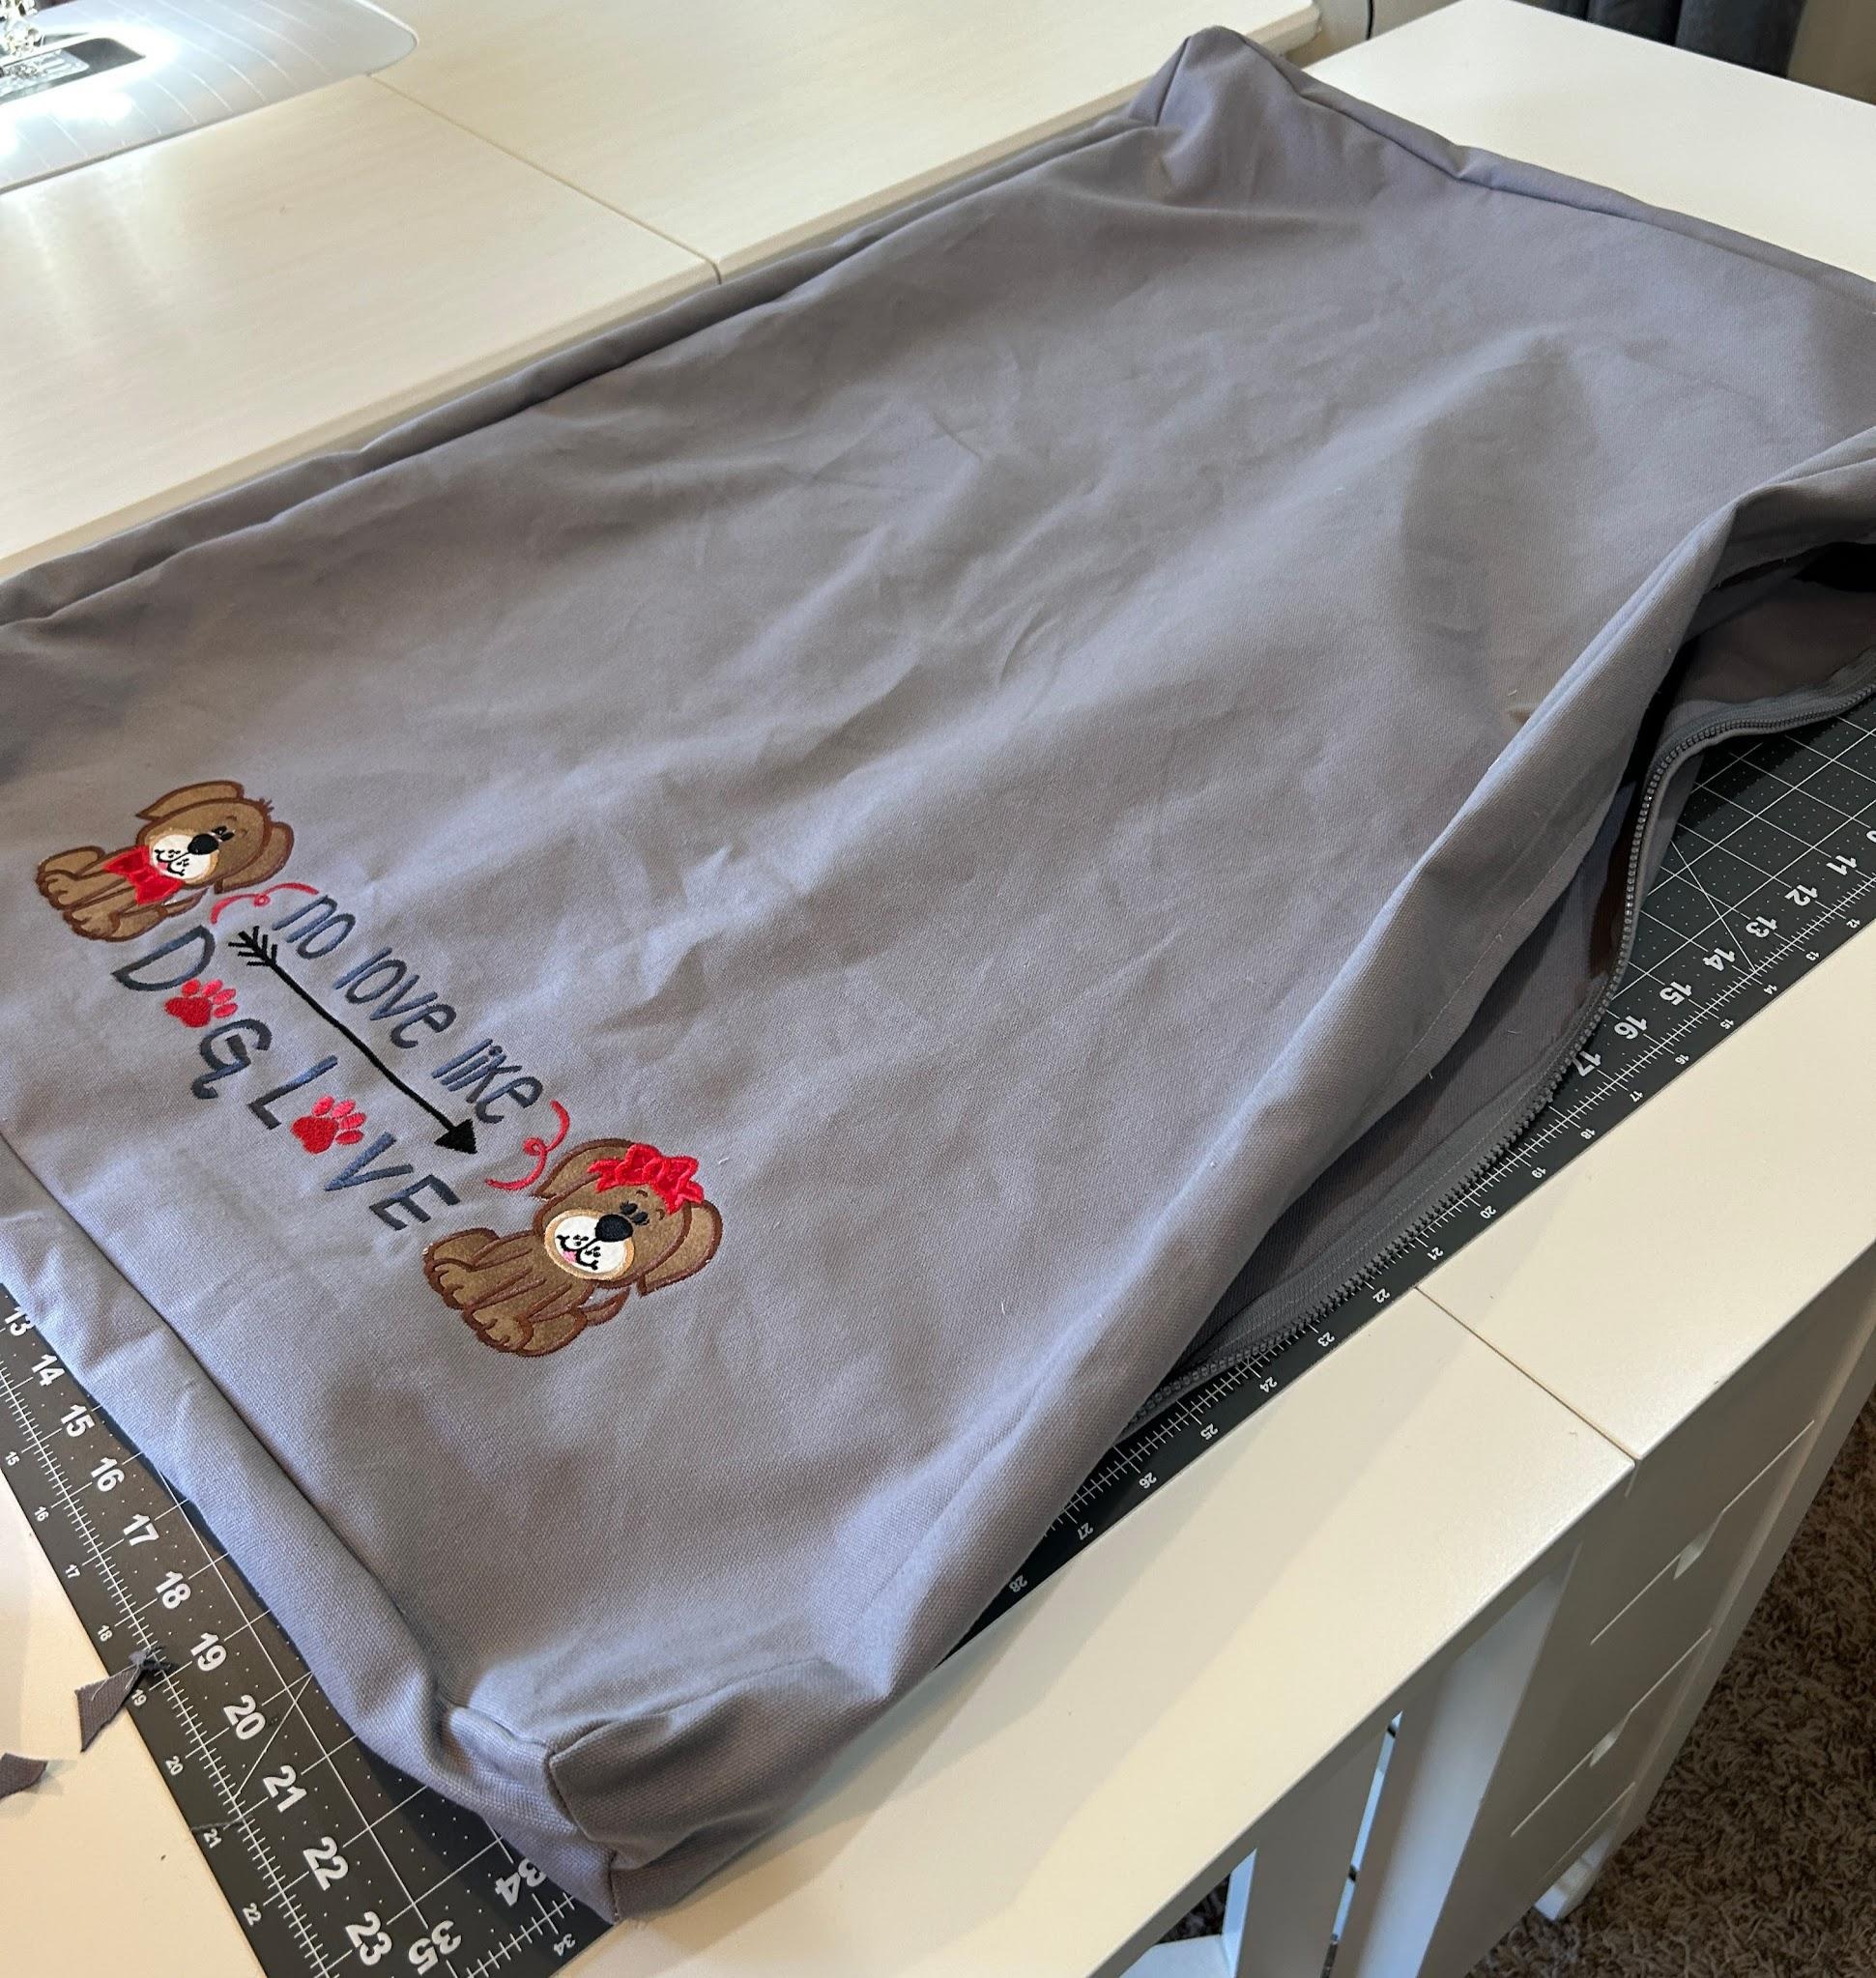
And then stuff it! The large opening along the side makes it much easier to put the big bed in.
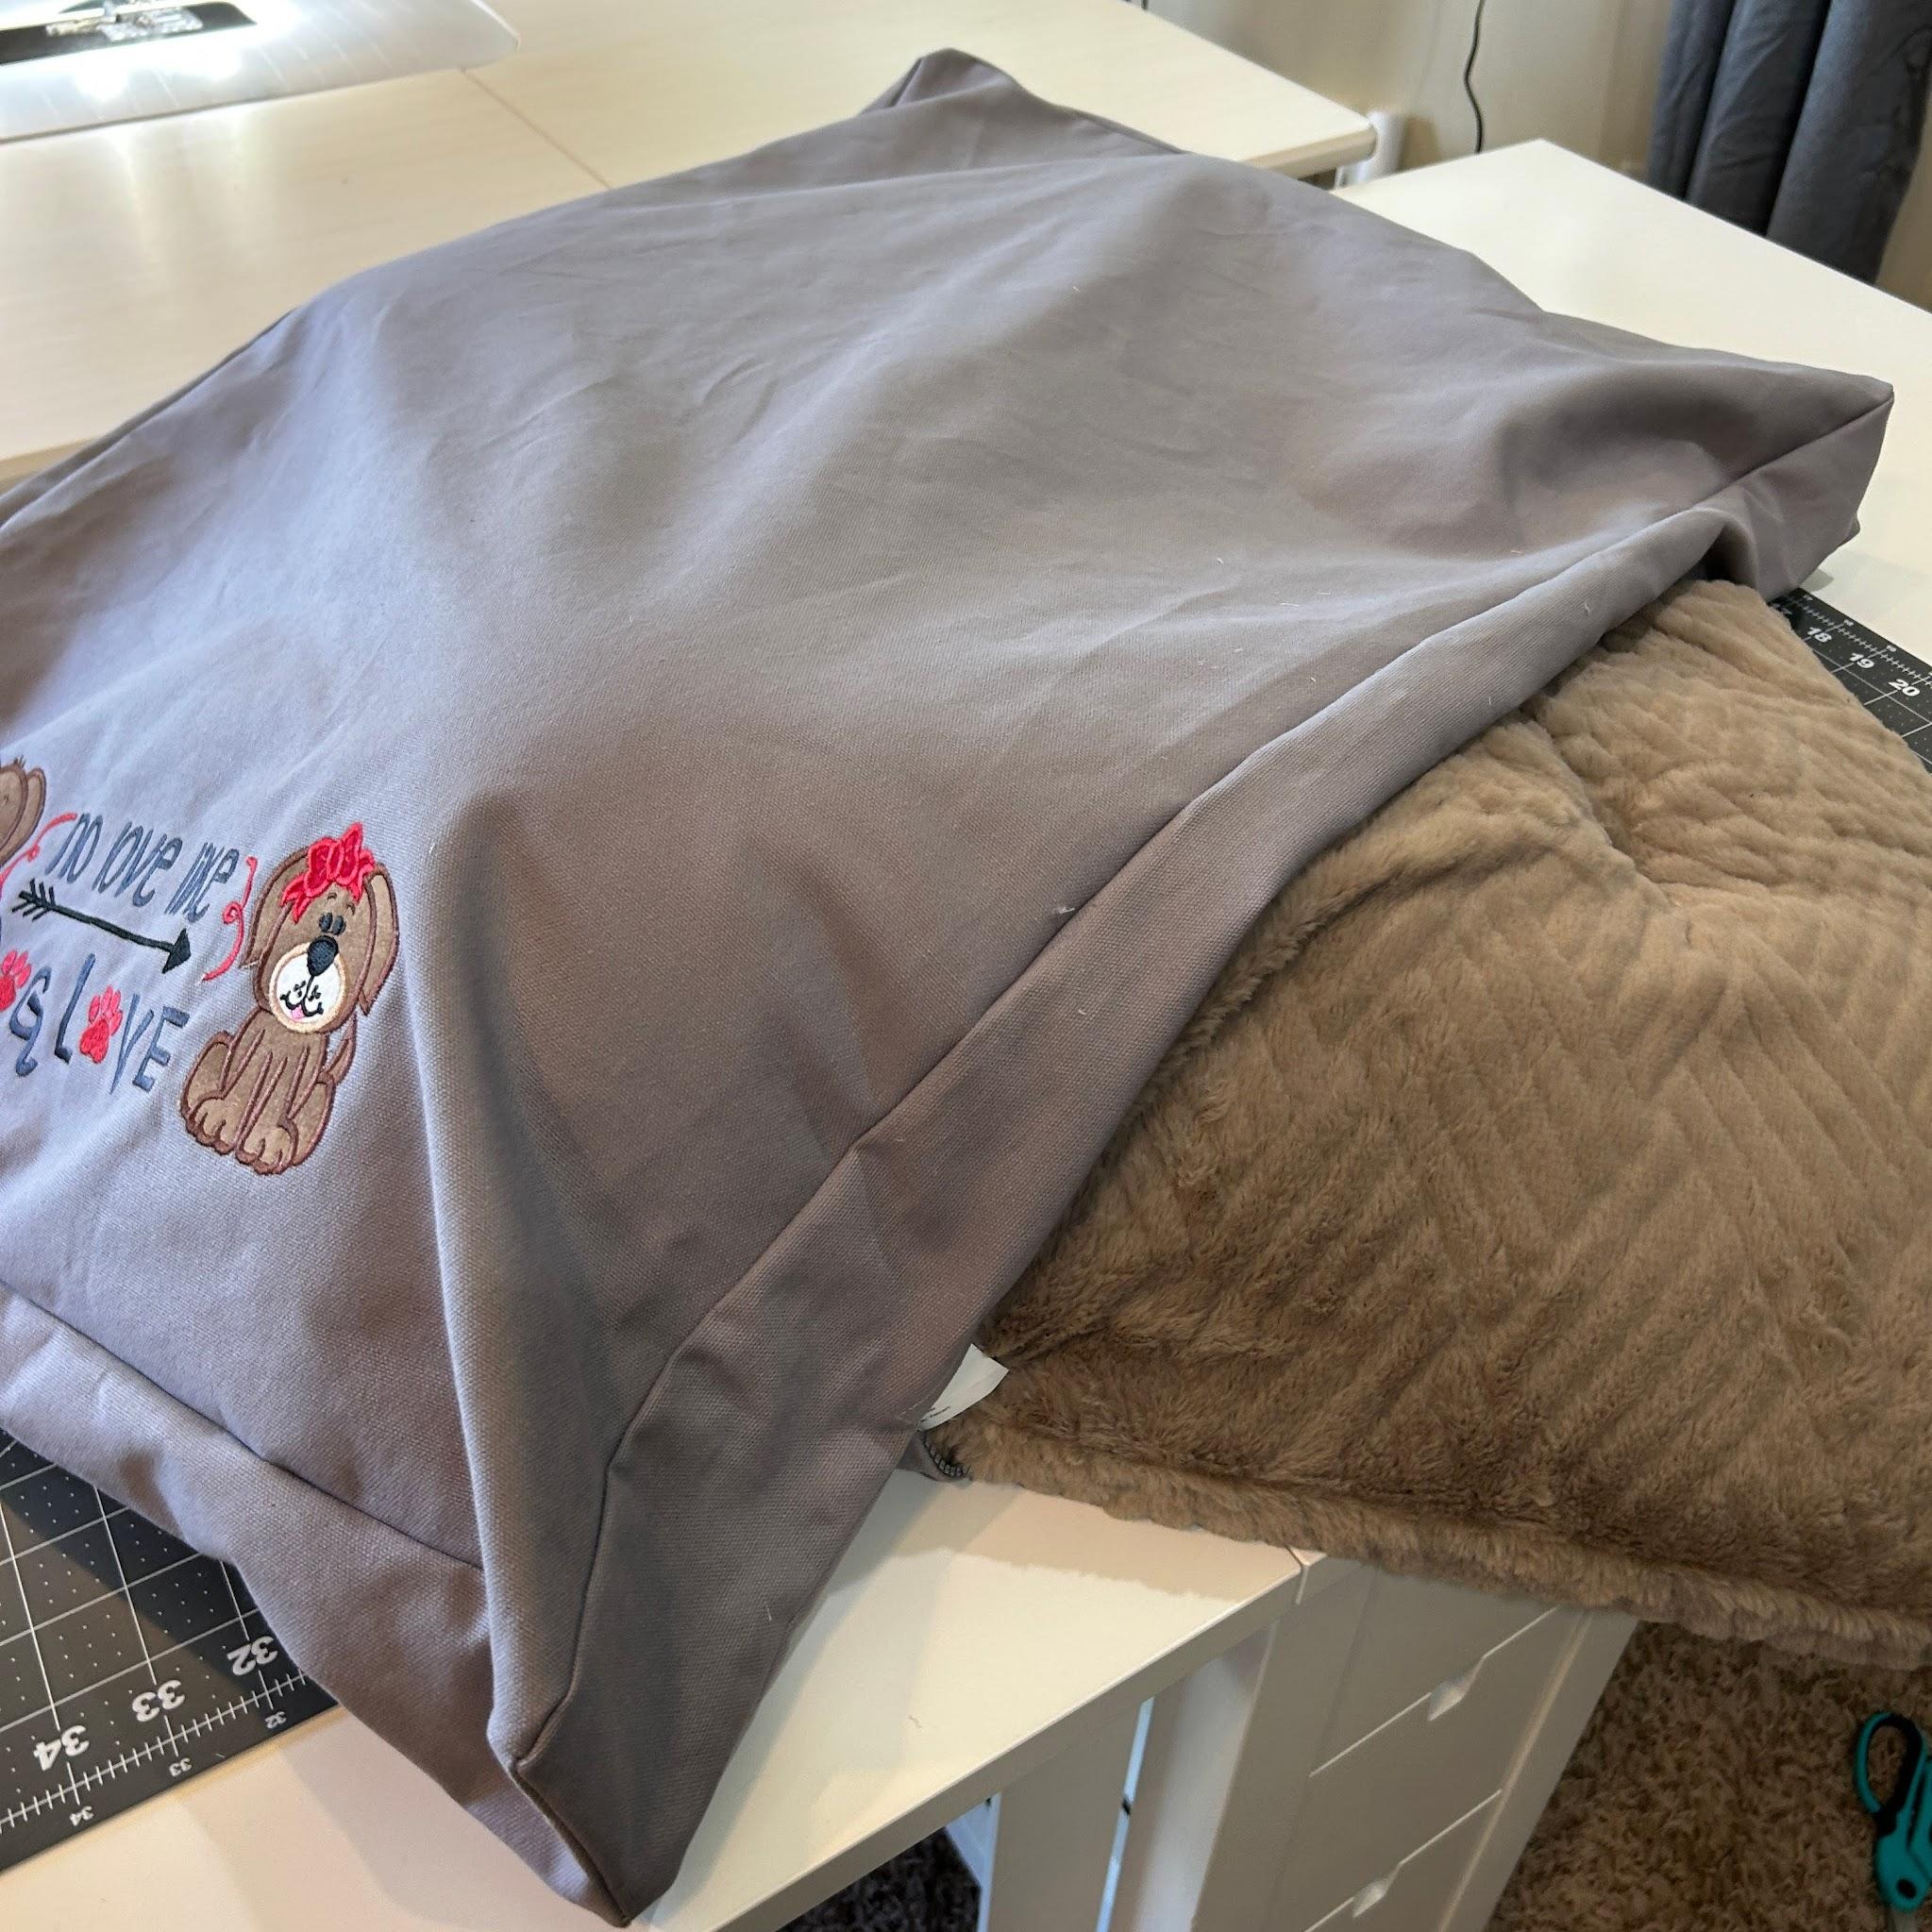
Zip it up and there you have it! It’s ready for your pet to have to snuggle on.
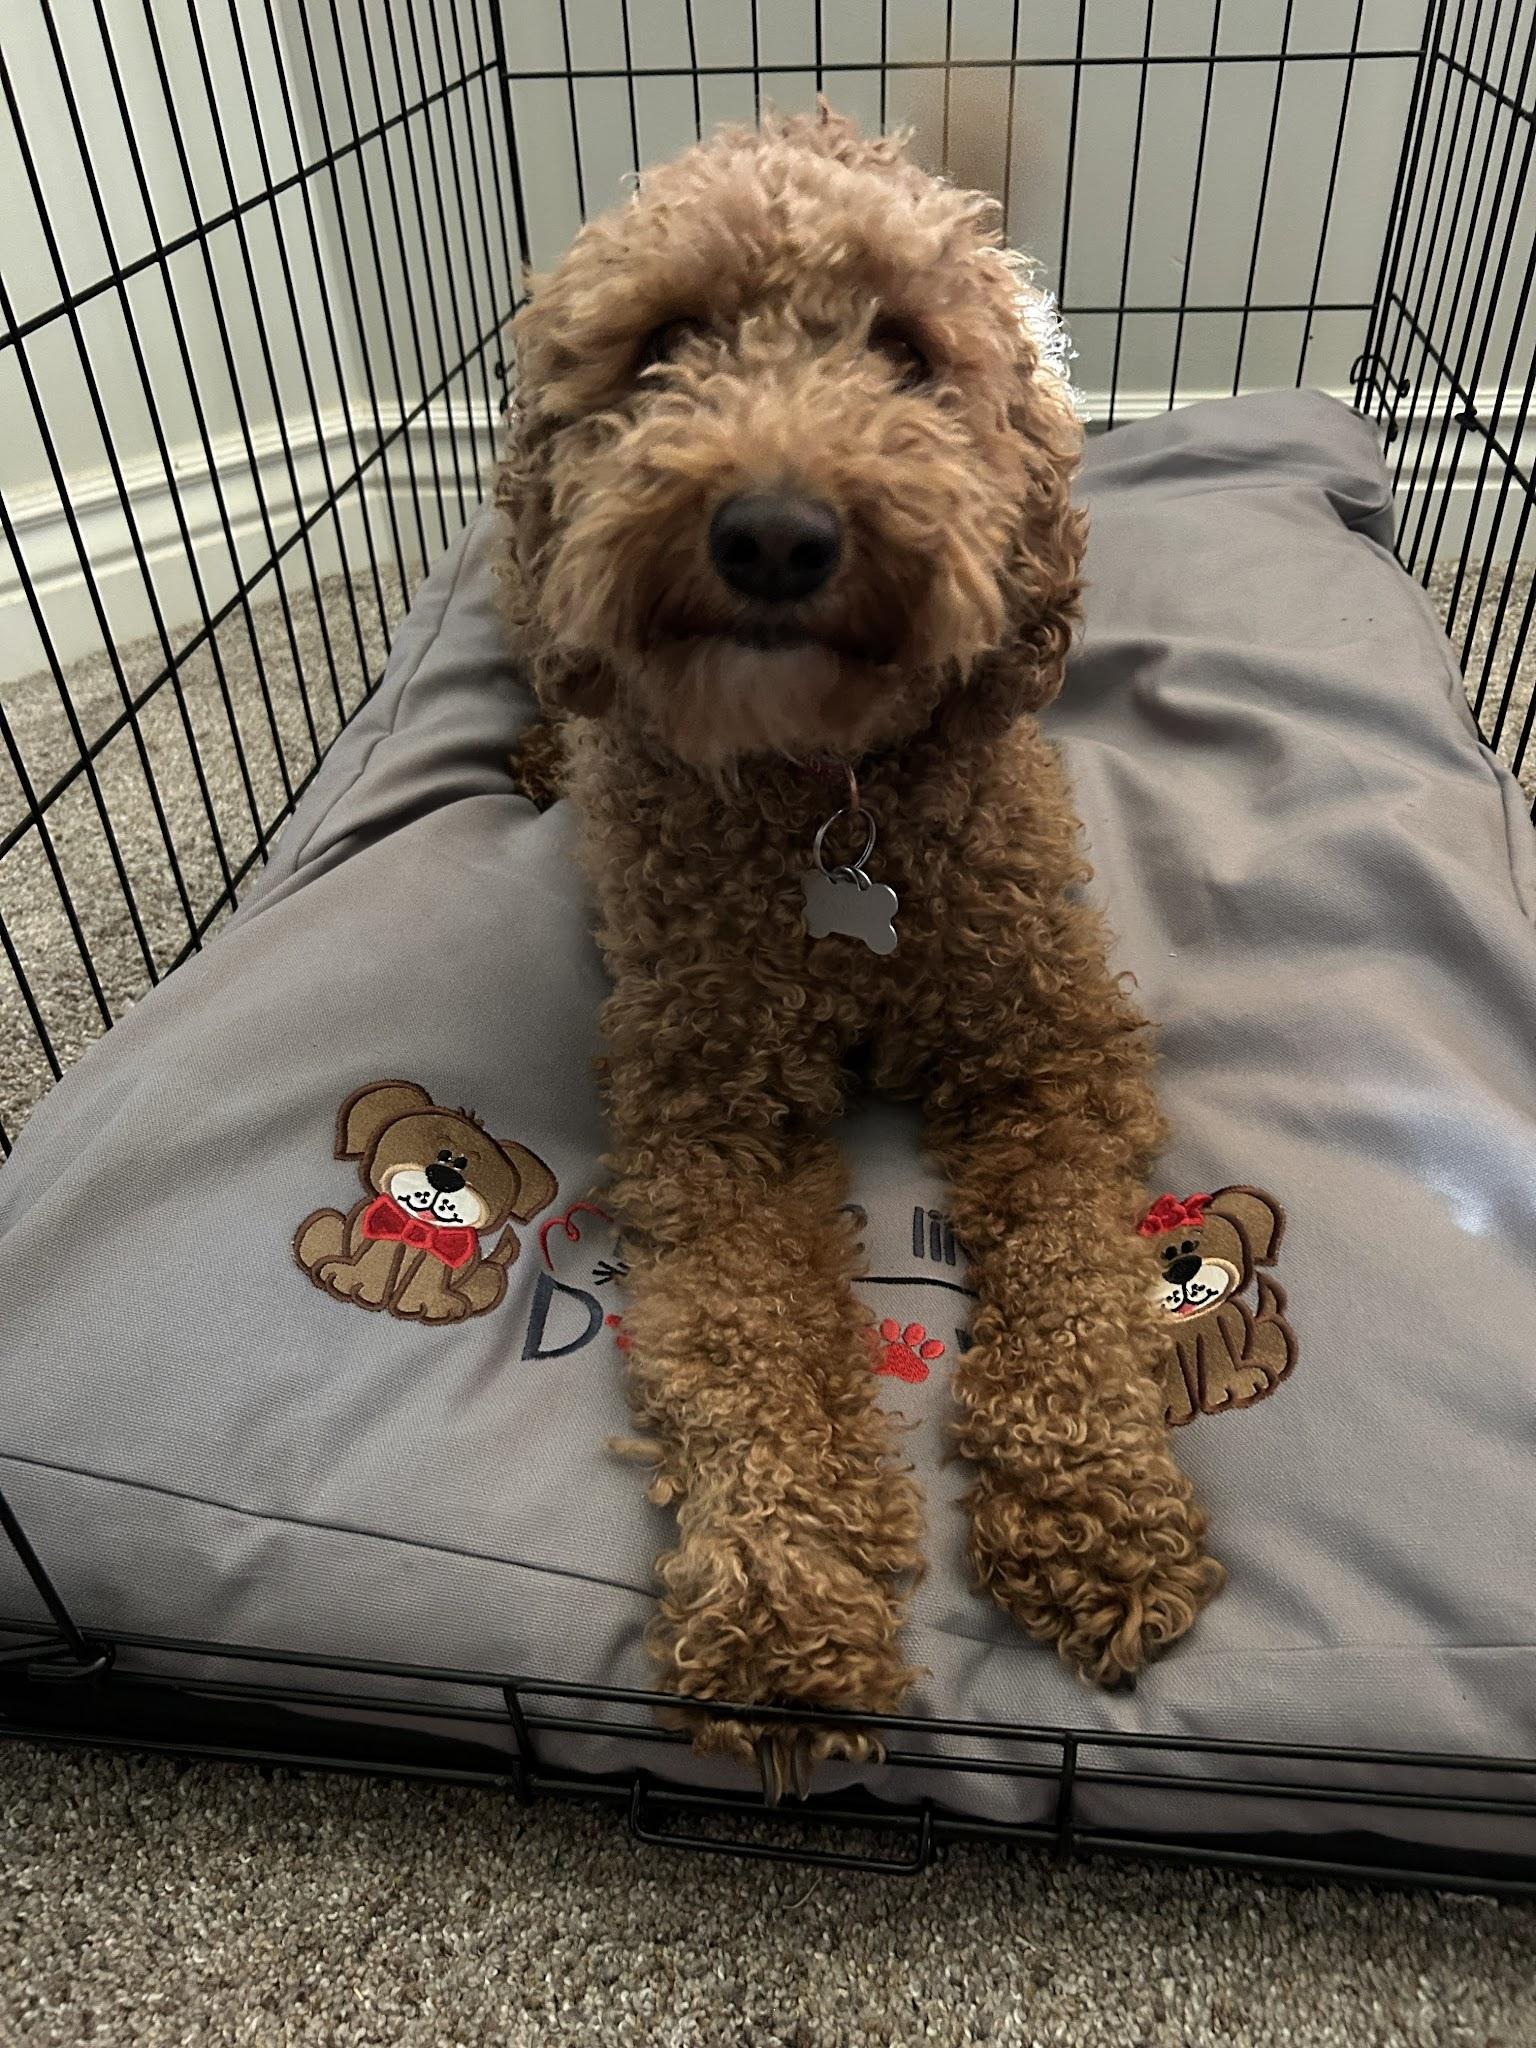
Of course I have to show it in use. Even though Bailey wouldn’t get off the embroidered part, she is in love with her new cushion that she can snuggle on. She gives it two paws up!
I would love to see what you make for your pet! Everyone is so creative with the designs and fabrics they use, so please post your creations in the Designs by JuJu Embroidery Blessings Facebook Group, or use the hashtag #designsbyjuju anywhere on social media, so we can all see what you made!