Toggle Nav
 Inspire.
Create.
Stitch.
Inspire.
Create.
Stitch.
Inspire.
Create.
Stitch.
Search
Inspire.
Create.
Stitch.
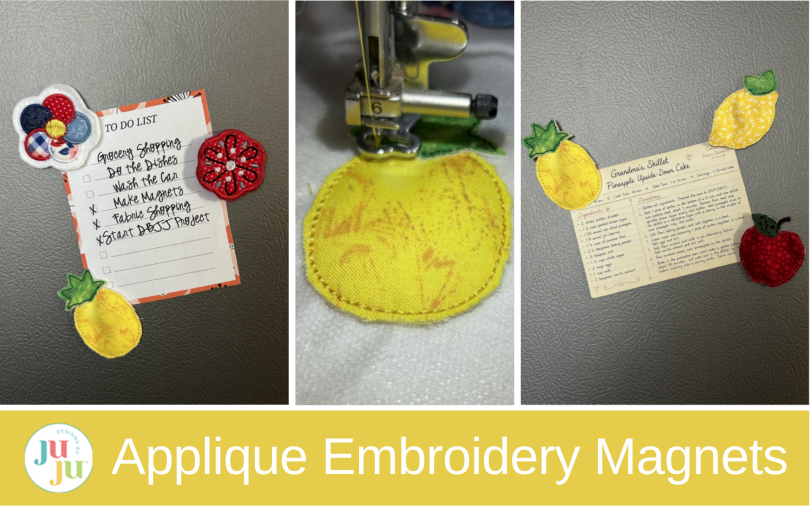
Turn your favorite applique embroidery designs into cute DIY fabric magnets. Learn three easy methods using felt backing, glued ceramic magnets, bean stitch applique, stabilizer, and fabric scraps.
Nothing beats having a cute magnet to hang up your to-do list or a recipe while you're cooking. Today I’ll show you how to make some using your favorite applique designs. First we will make an enclosed magnet with felt backing, which can be the safest for homes with little ones*. Then we’ll make one with a glued ceramic magnet, which is easiest for designs with a continuous satin-stitch edge. Our third magnet will be a bean stitched fabric magnet which is great for designs with a larger fabric body and decorative stitching. So load up your favorite applique designs and let’s make some magnets!
*This enclosed-magnet method keeps the magnet inside the fabric, making it a better choice for homes with young children. As with any small object, keep finished magnets away from children who may chew or pull them apart.
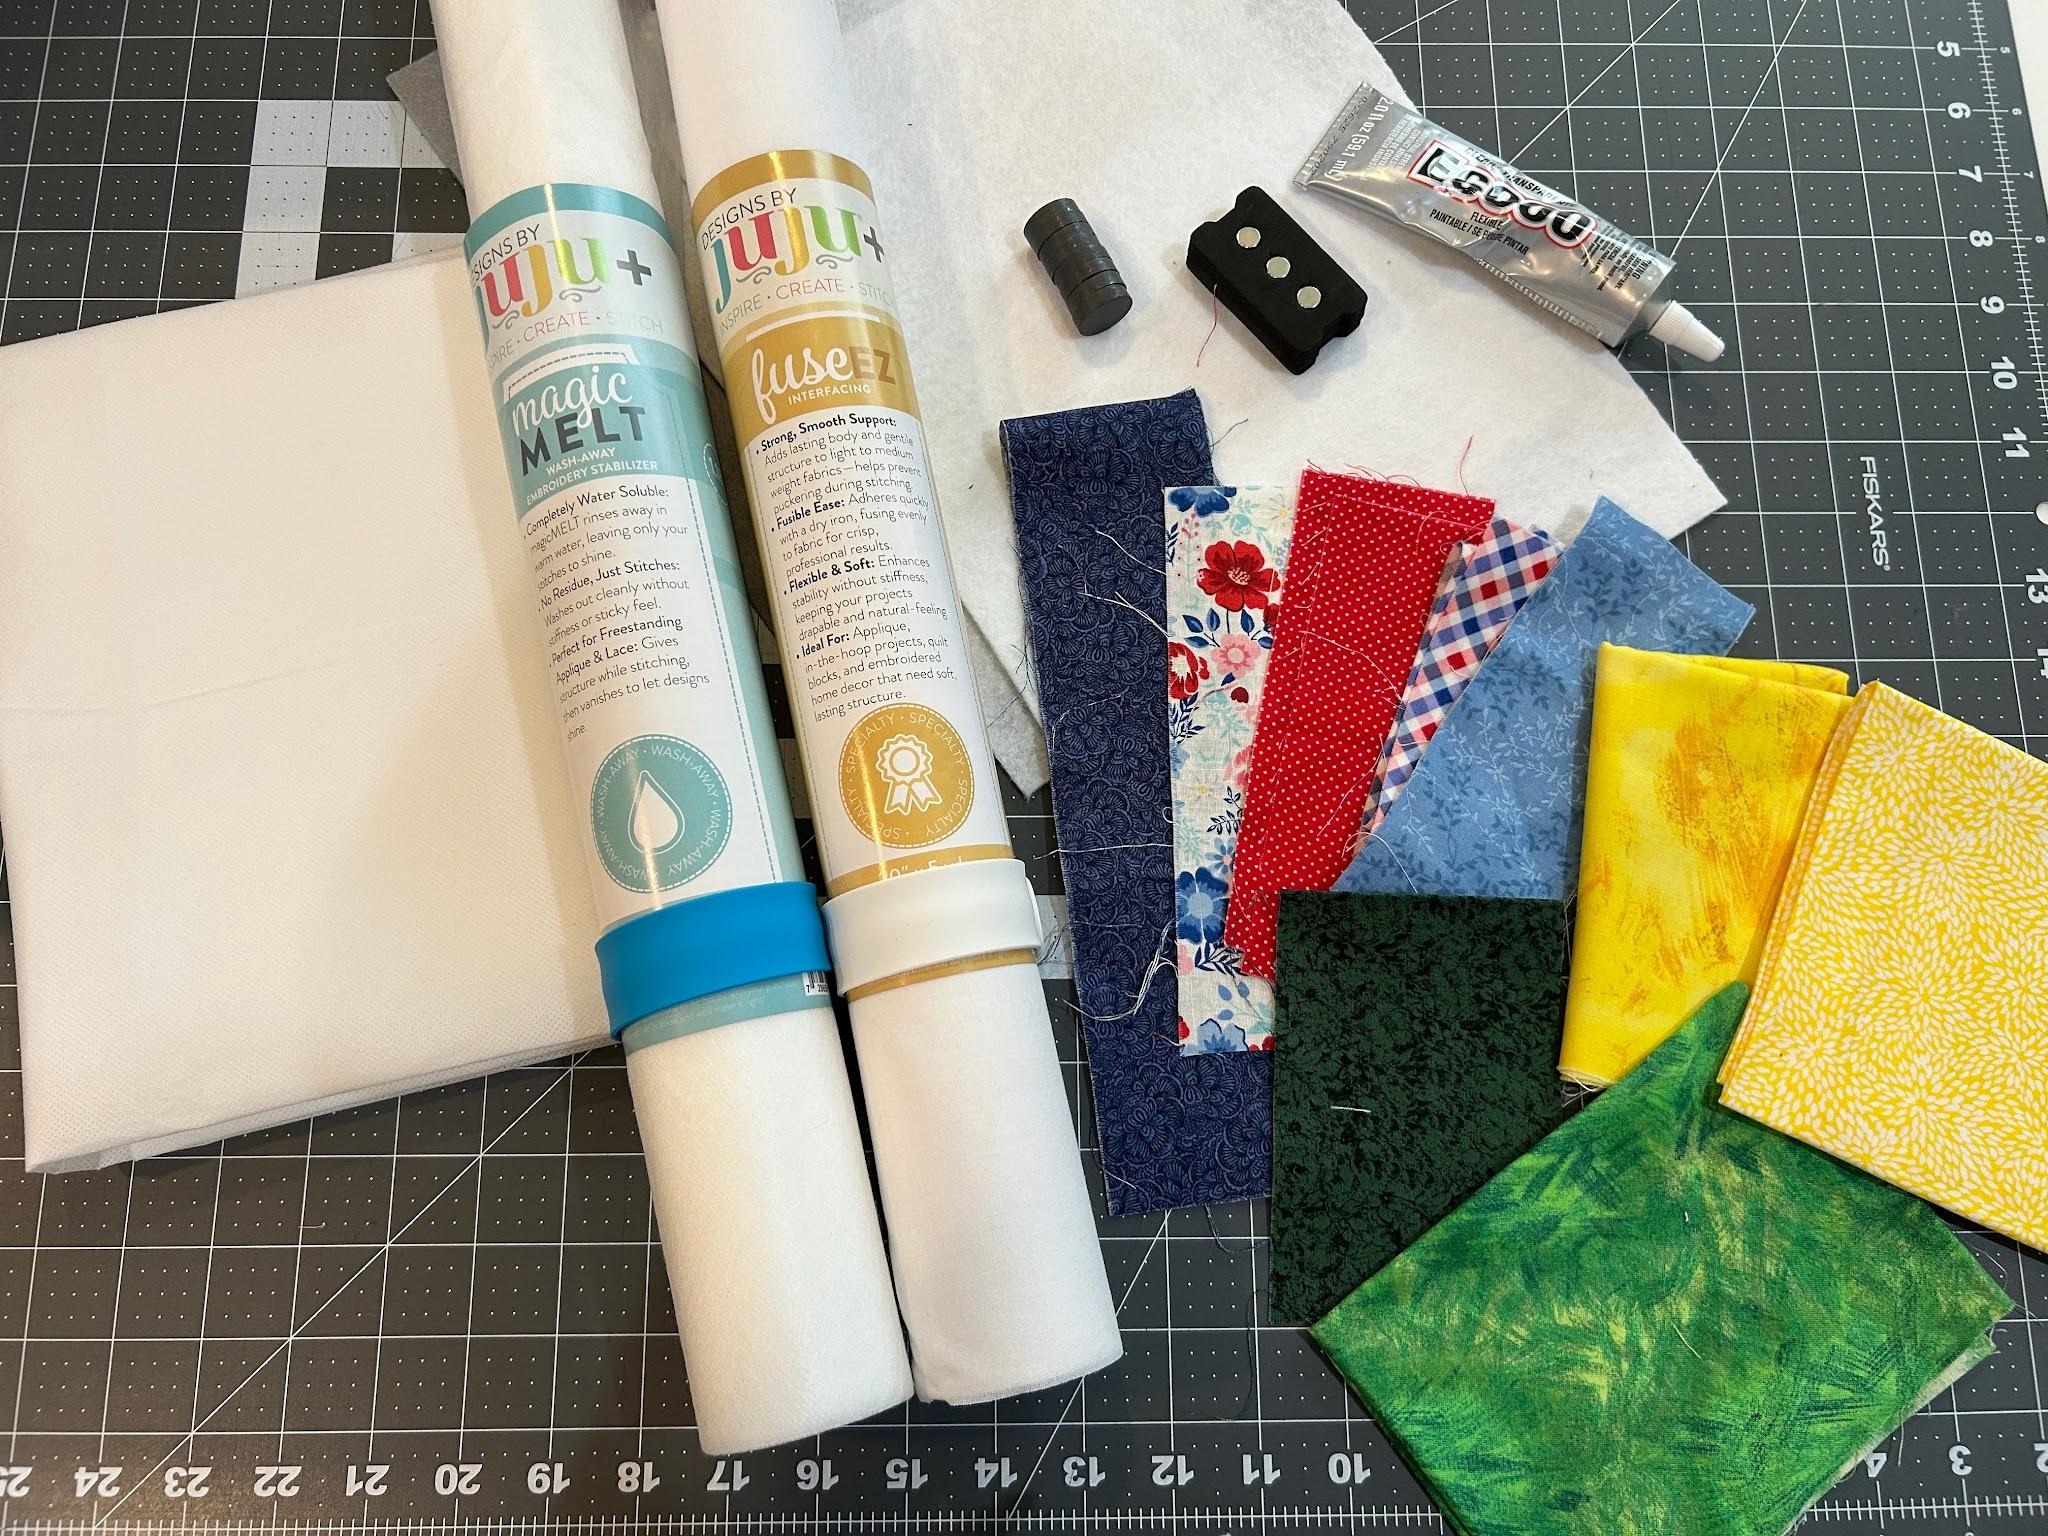
Don’t forget to check out the Designs by JuJu Amazon store for our design team’s favorite supplies. And for stabilizers, batting, and threads, Designs by JuJu+ has everything you need.
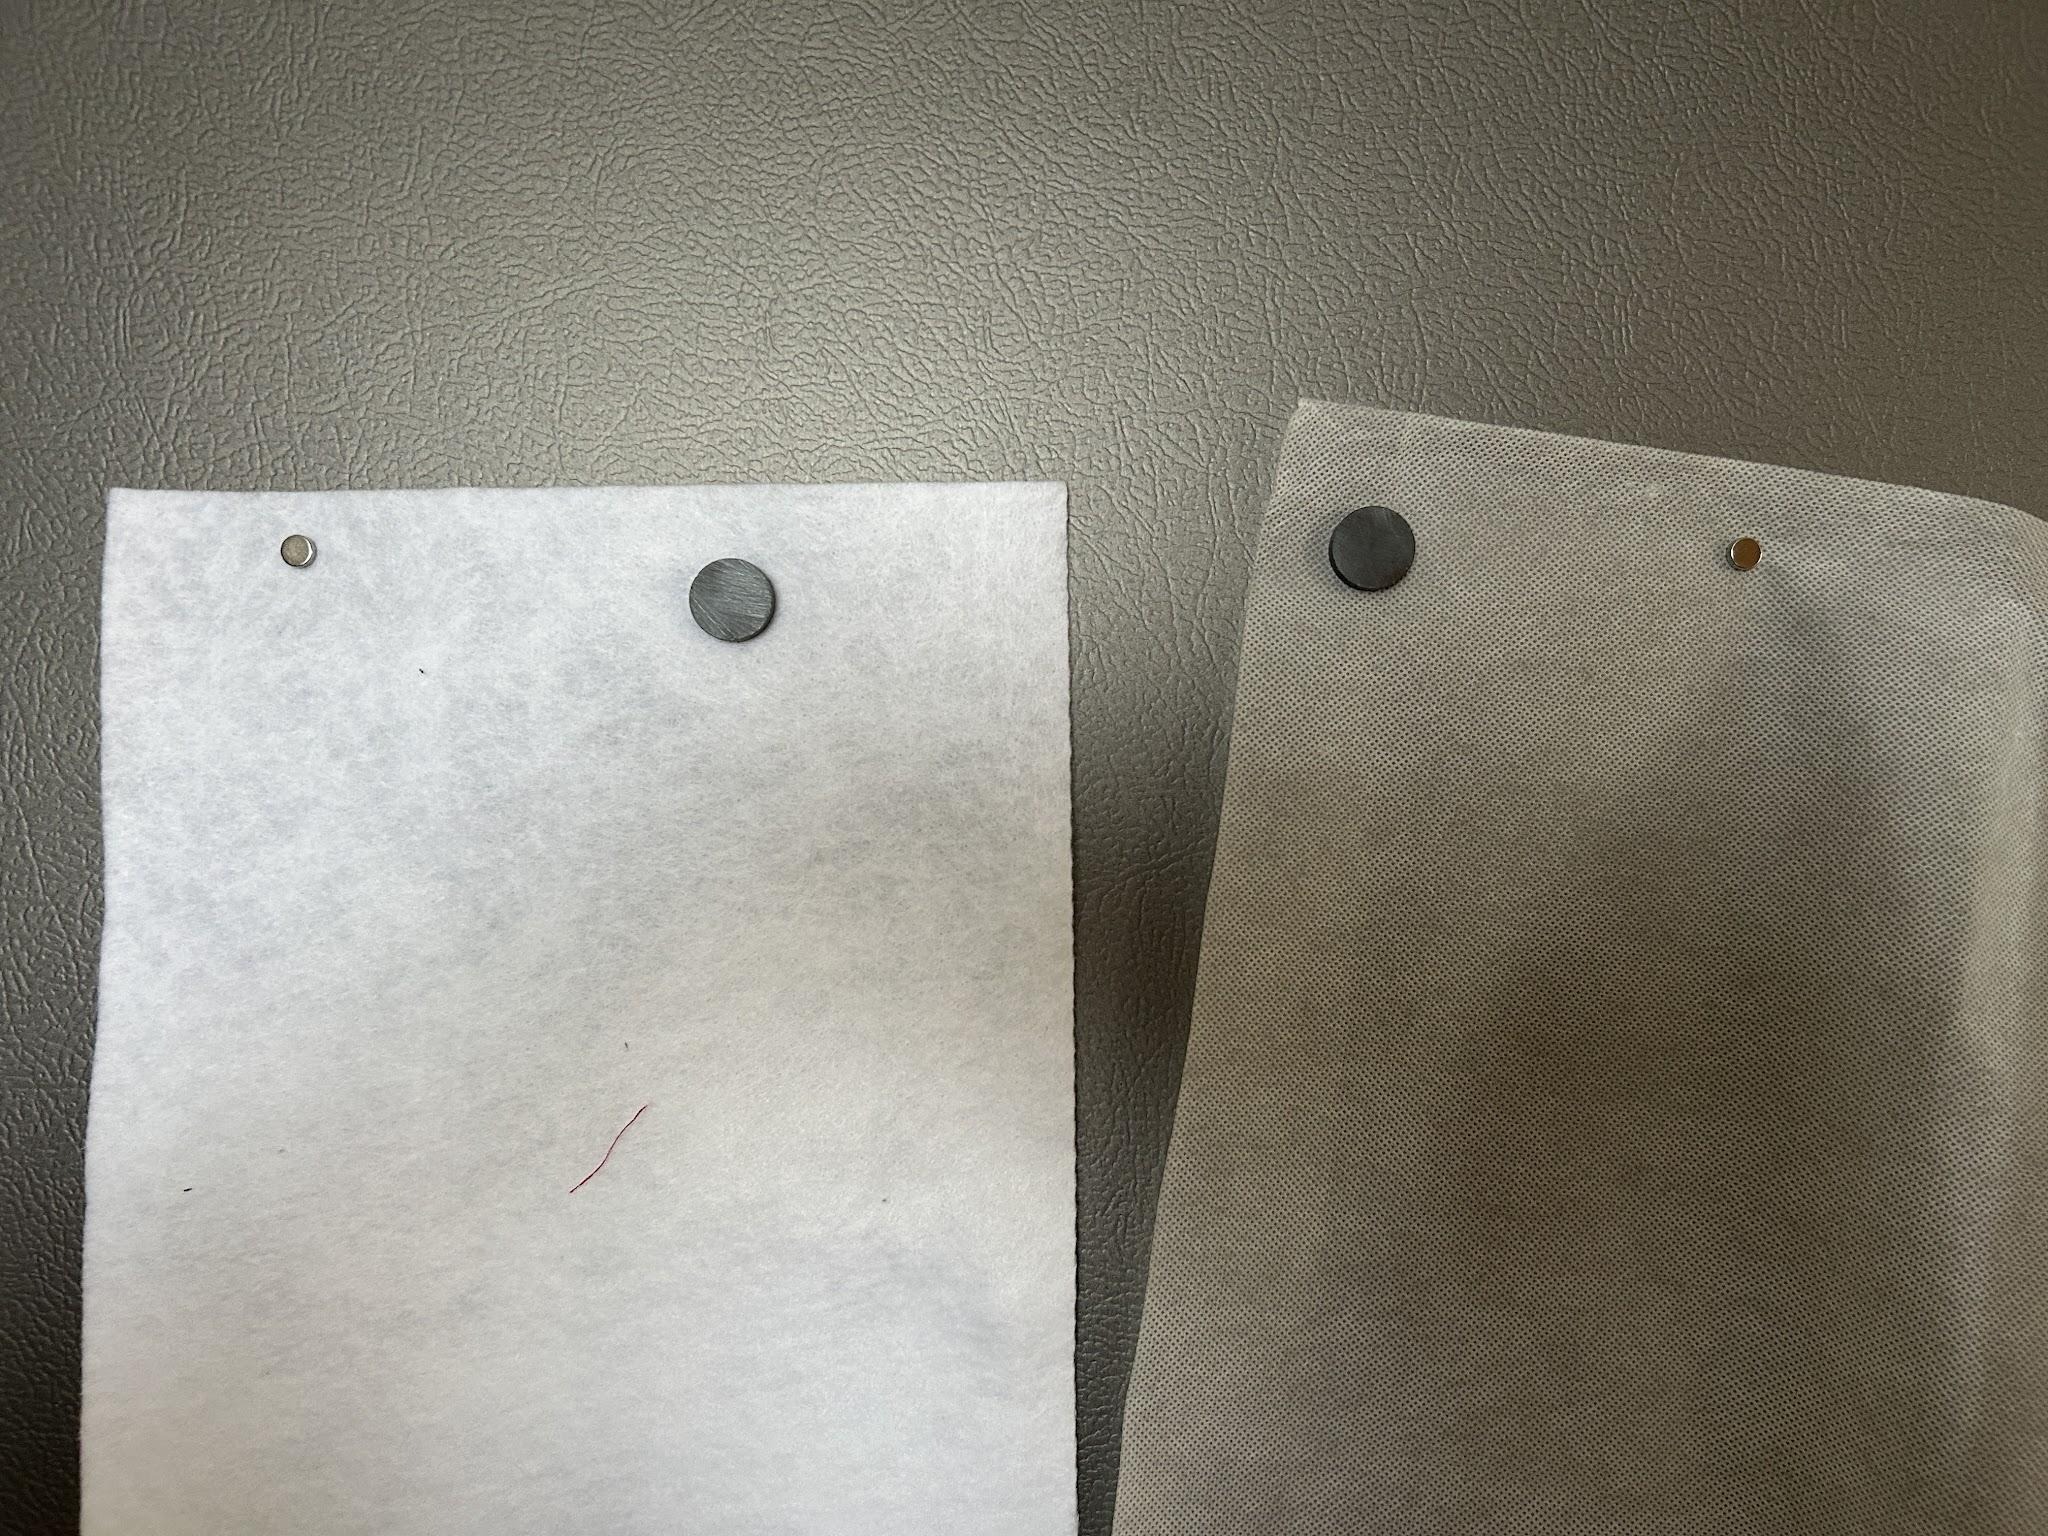
Pro tip: Test your magnet first!
I like to make sure my magnet will hold the finished magnet up. I test the fabric I want on the back of my magnet before I sew it. Some felts can be thick, so you’ll need a strong magnet to hold them in place.
Cambric fabric is a lightweight, tightly woven cotton fabric with a smooth, crisp feel. You may recognize it as the fabric commonly used on the underside of couches, chairs, and mattresses. Its lightweight construction makes it a great backing for magnets because it adds very little bulk while still providing a smooth surface for stitching or adhesive. You can use whatever backing fabric works well for your magnets.
Which applique designs work best for magnets?
This first magnet that we make will work with any applique design you can find. It doesn’t matter how much or how little stitching the design has as we will attach the back after the whole applique is stitched out. If you're new to applique, check out our Applique Series to help you get started.
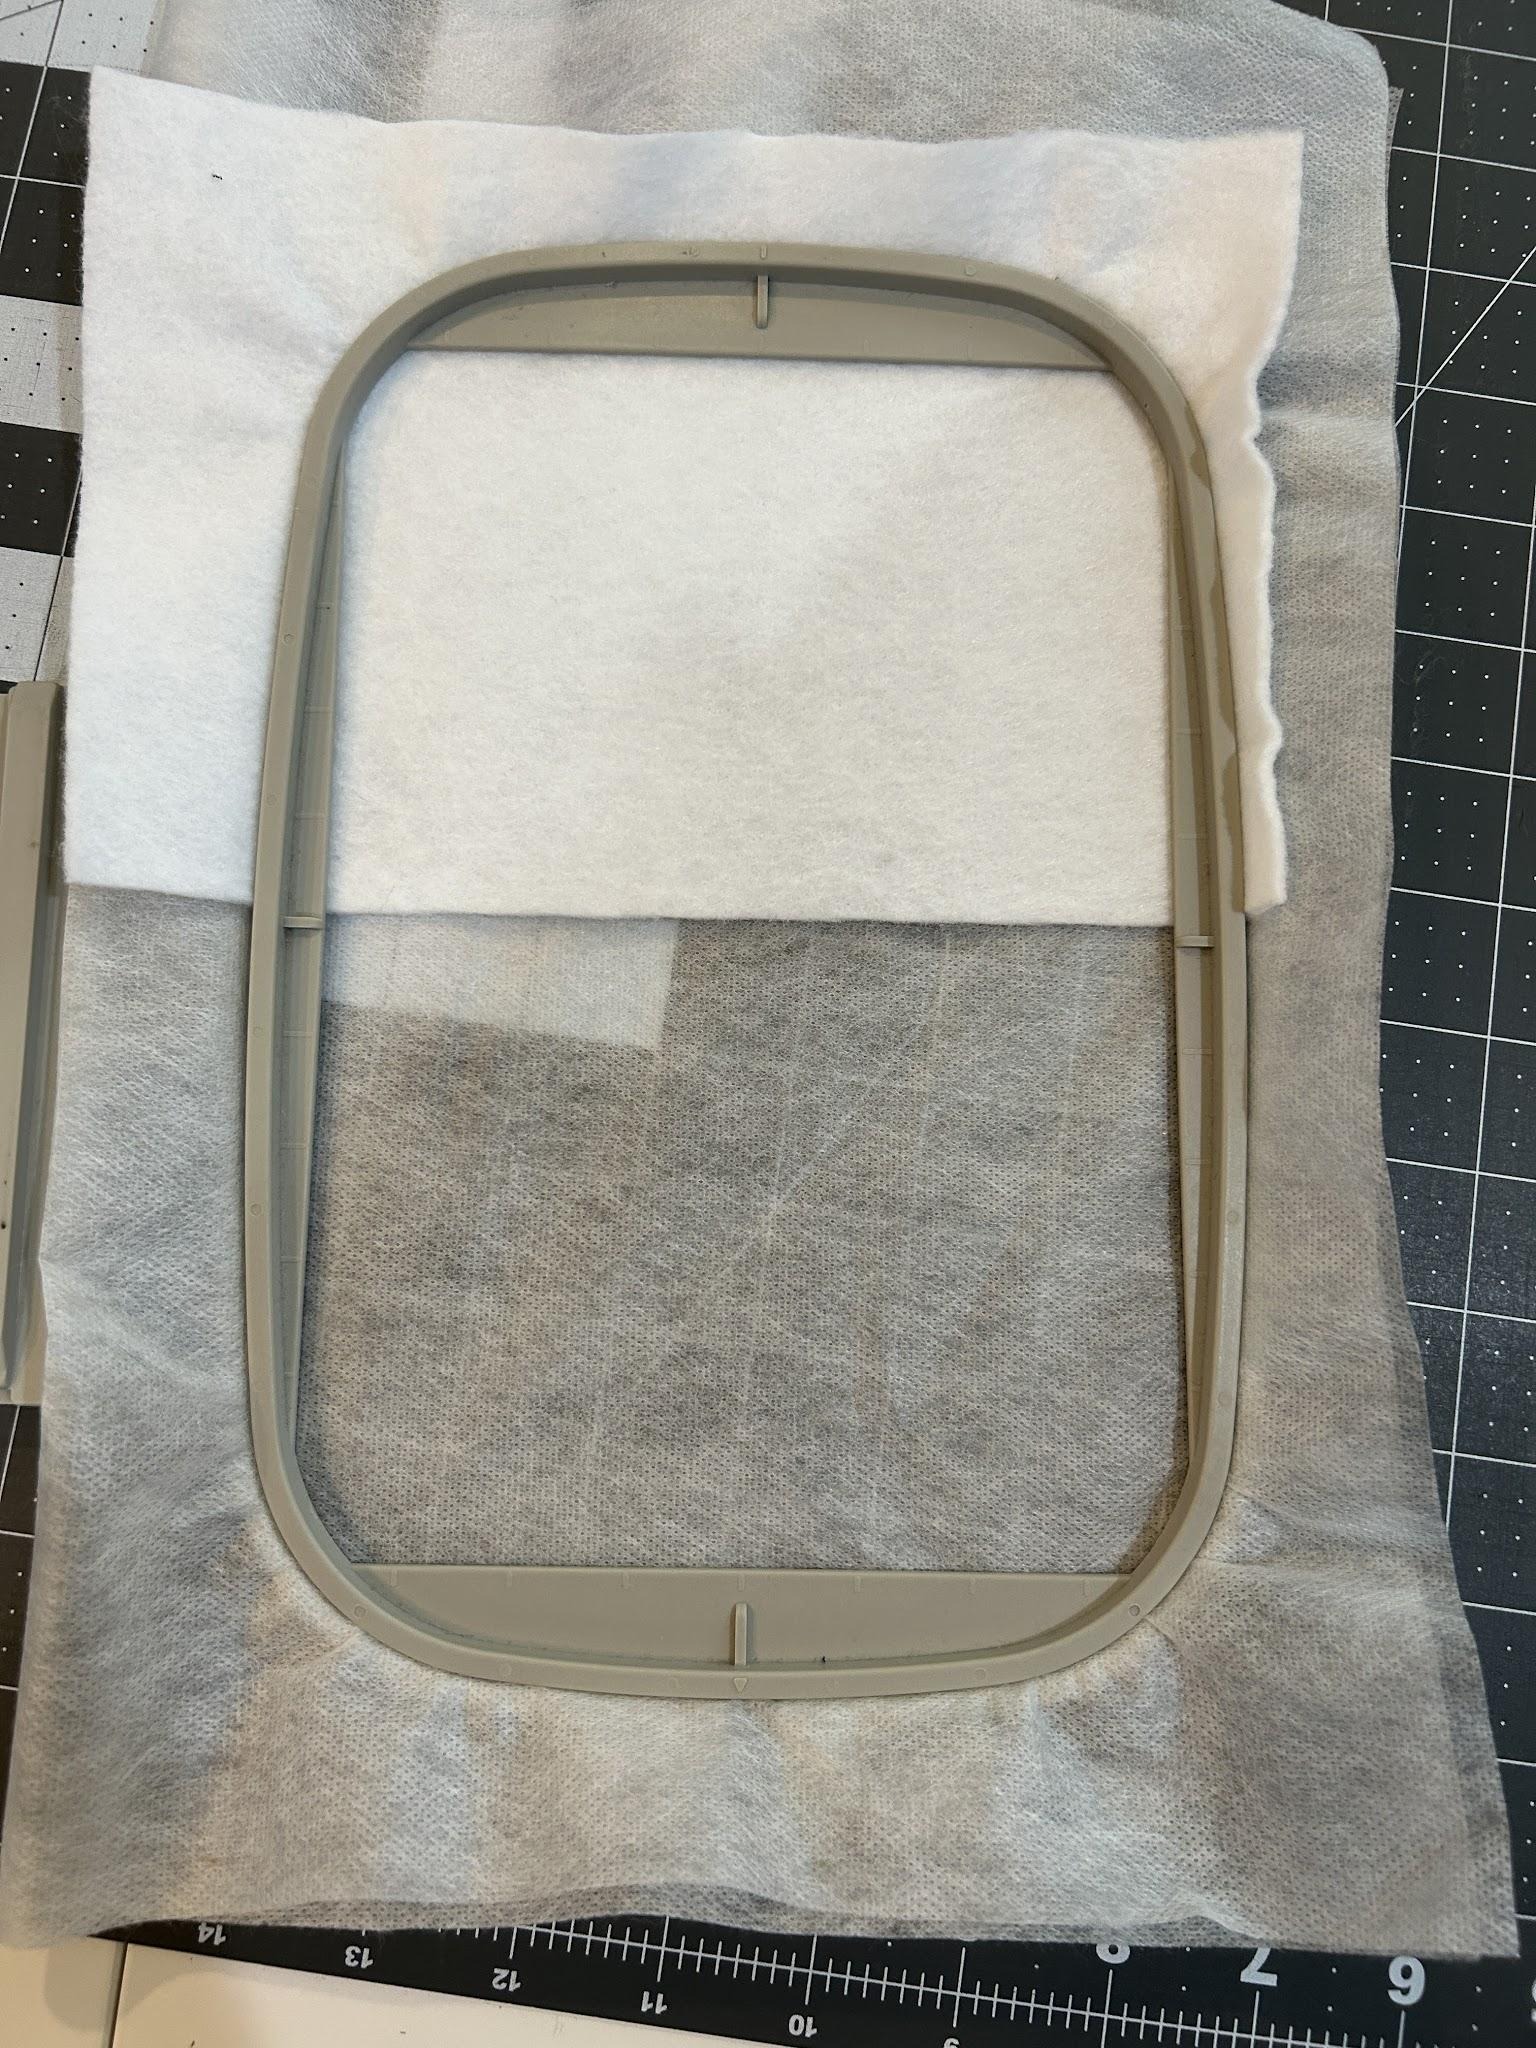
I started off by hooping two layers of magicMELT stabilizer with felt for the front of my magnets. I’ll be doing all the magnets shown in this tutorial in one hooping, so I only needed felt for half of the hoop. I also only required magicMELT for the Applique with Glued Magnets. If I were doing each type of magnet separately I could have used magicMESH for these Felt-Backed with Enclosed Magnets and the Fabric Magnets with Bean Stitch.
Start stitching out your applique design. In this example I used design 12 of the Flower Power Patches Applique set. Stitch your placement stitches, cover with your fabric, stitch your tack-down stitches, and trim the fabrics.
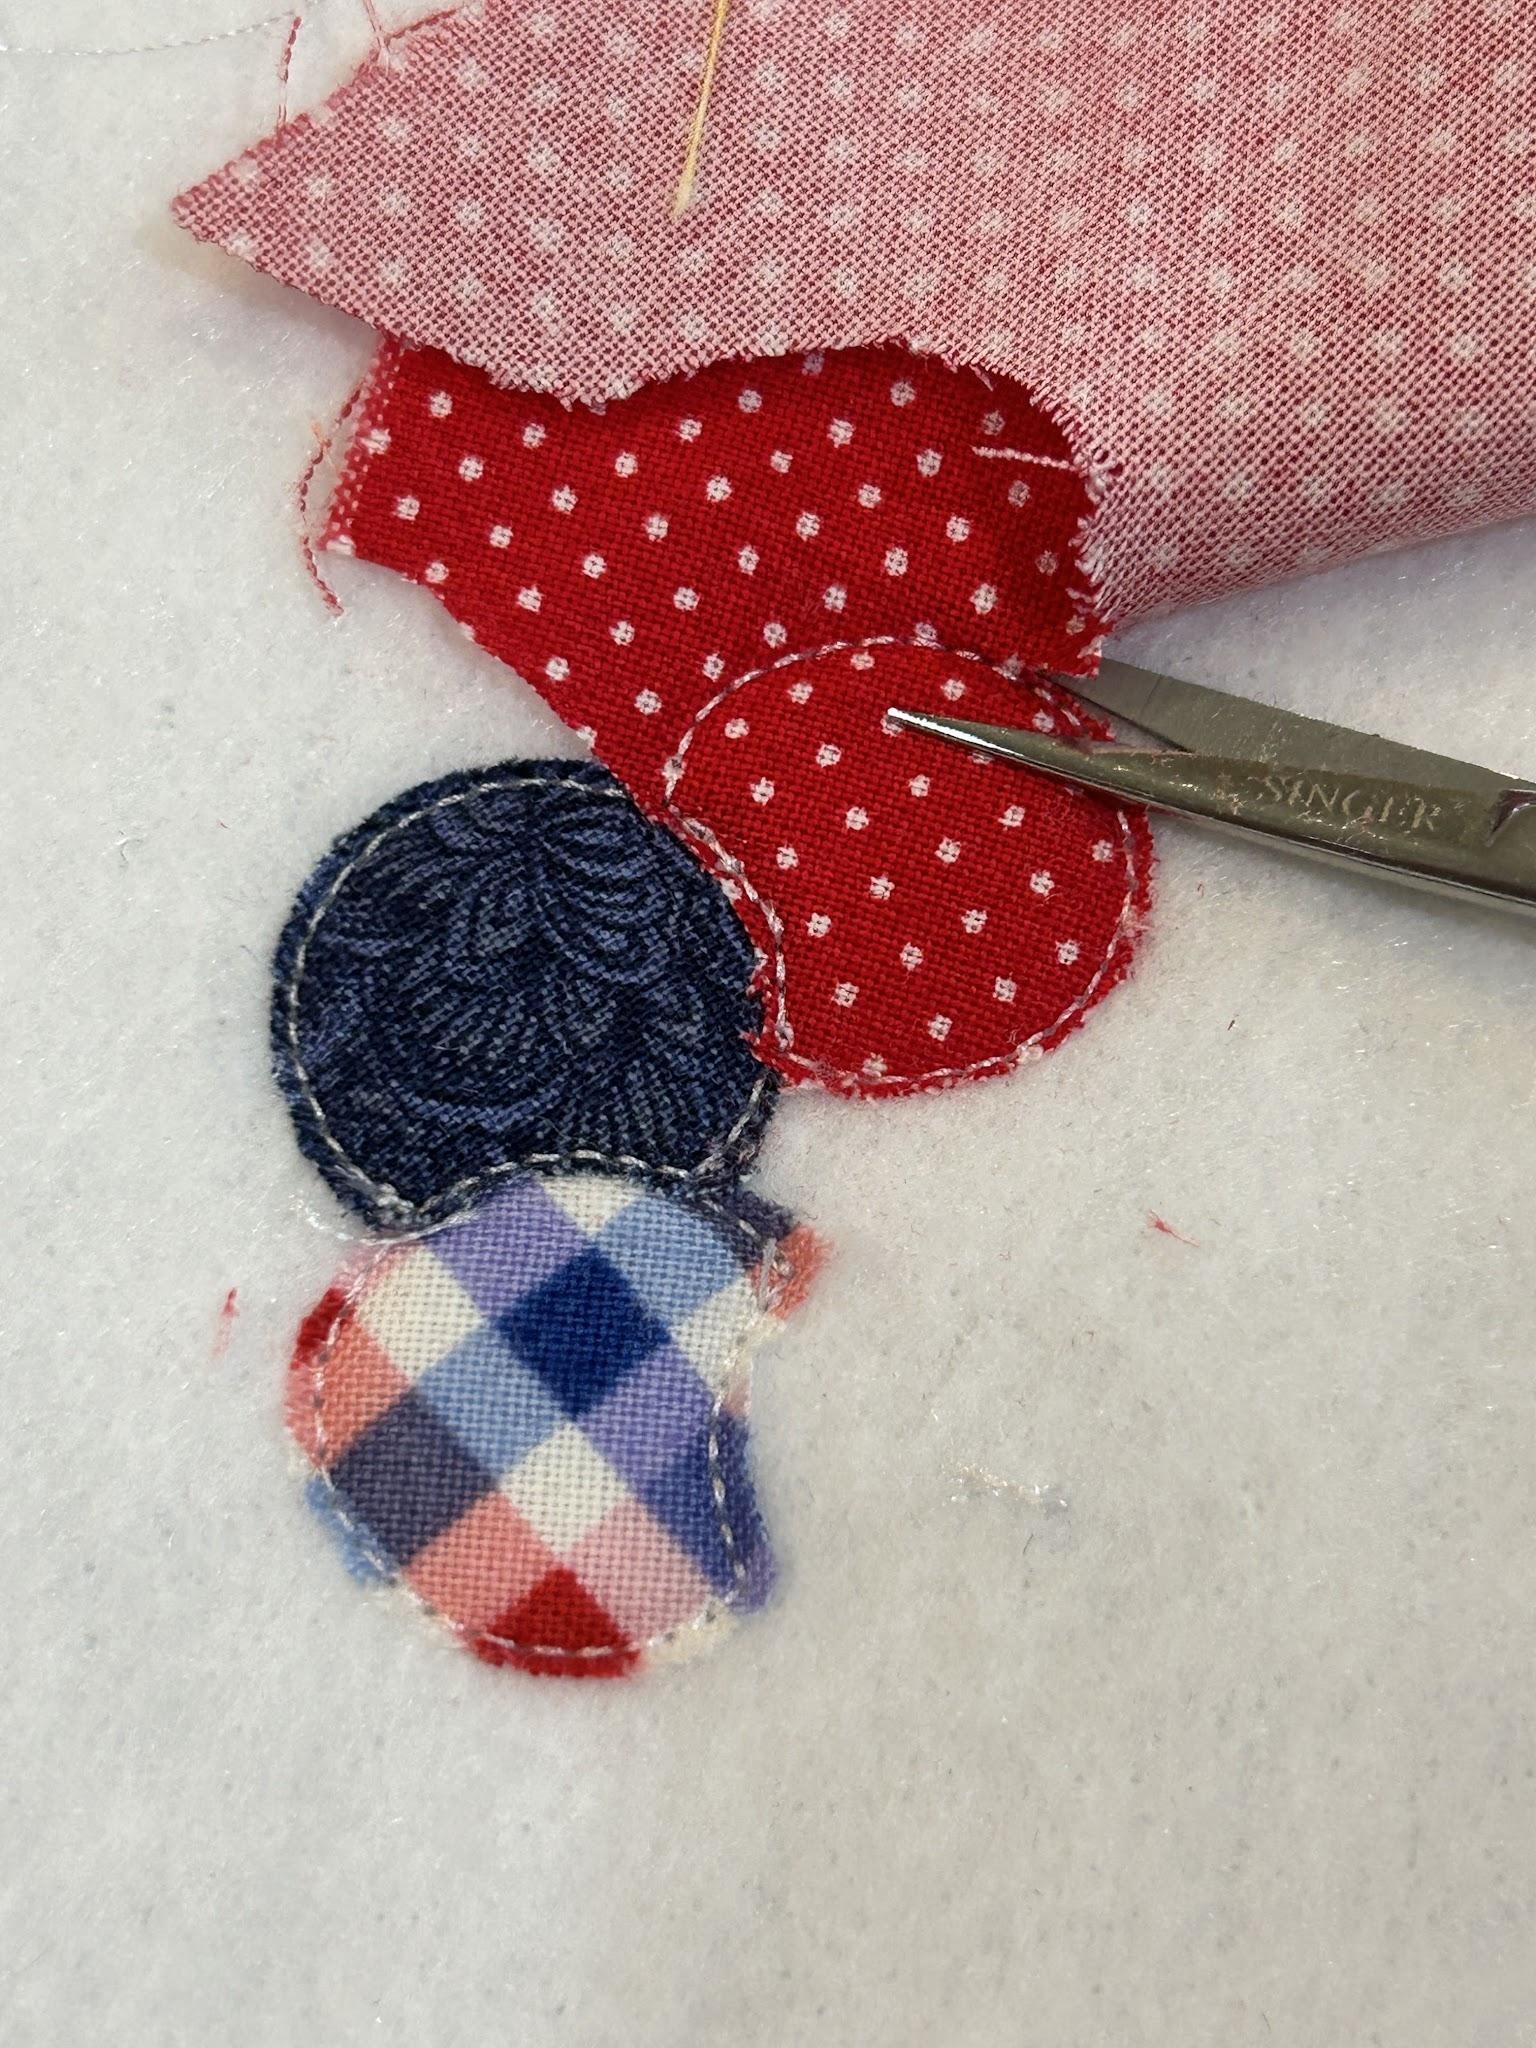
Repeat this until your design is ready for the decorative satin edges.
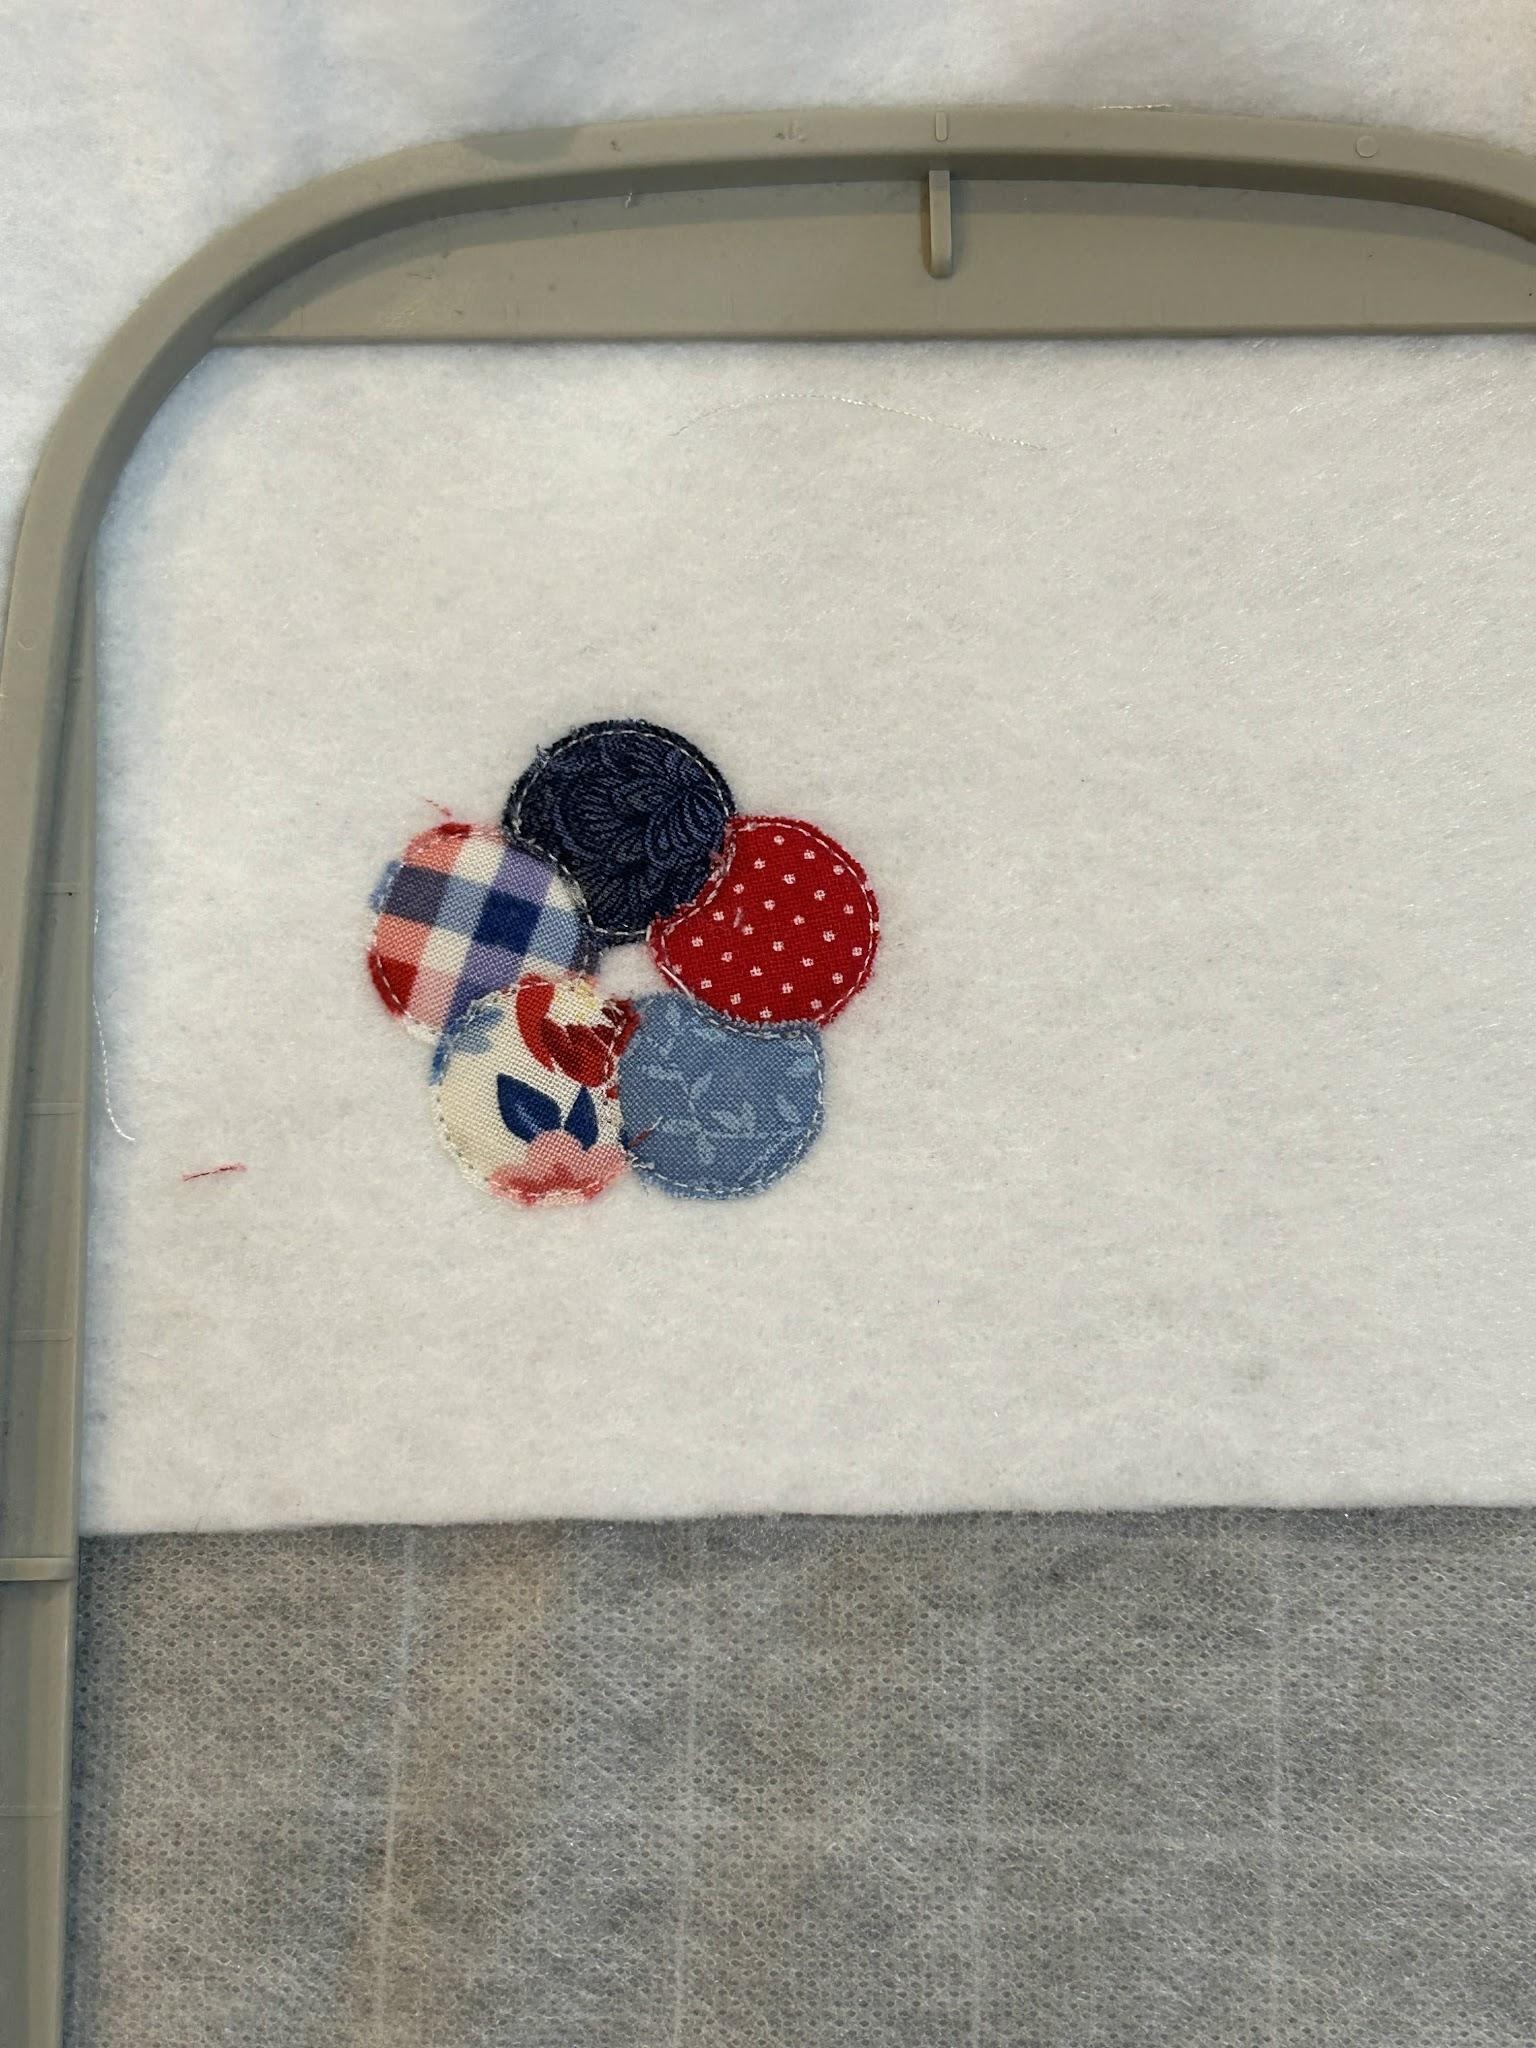
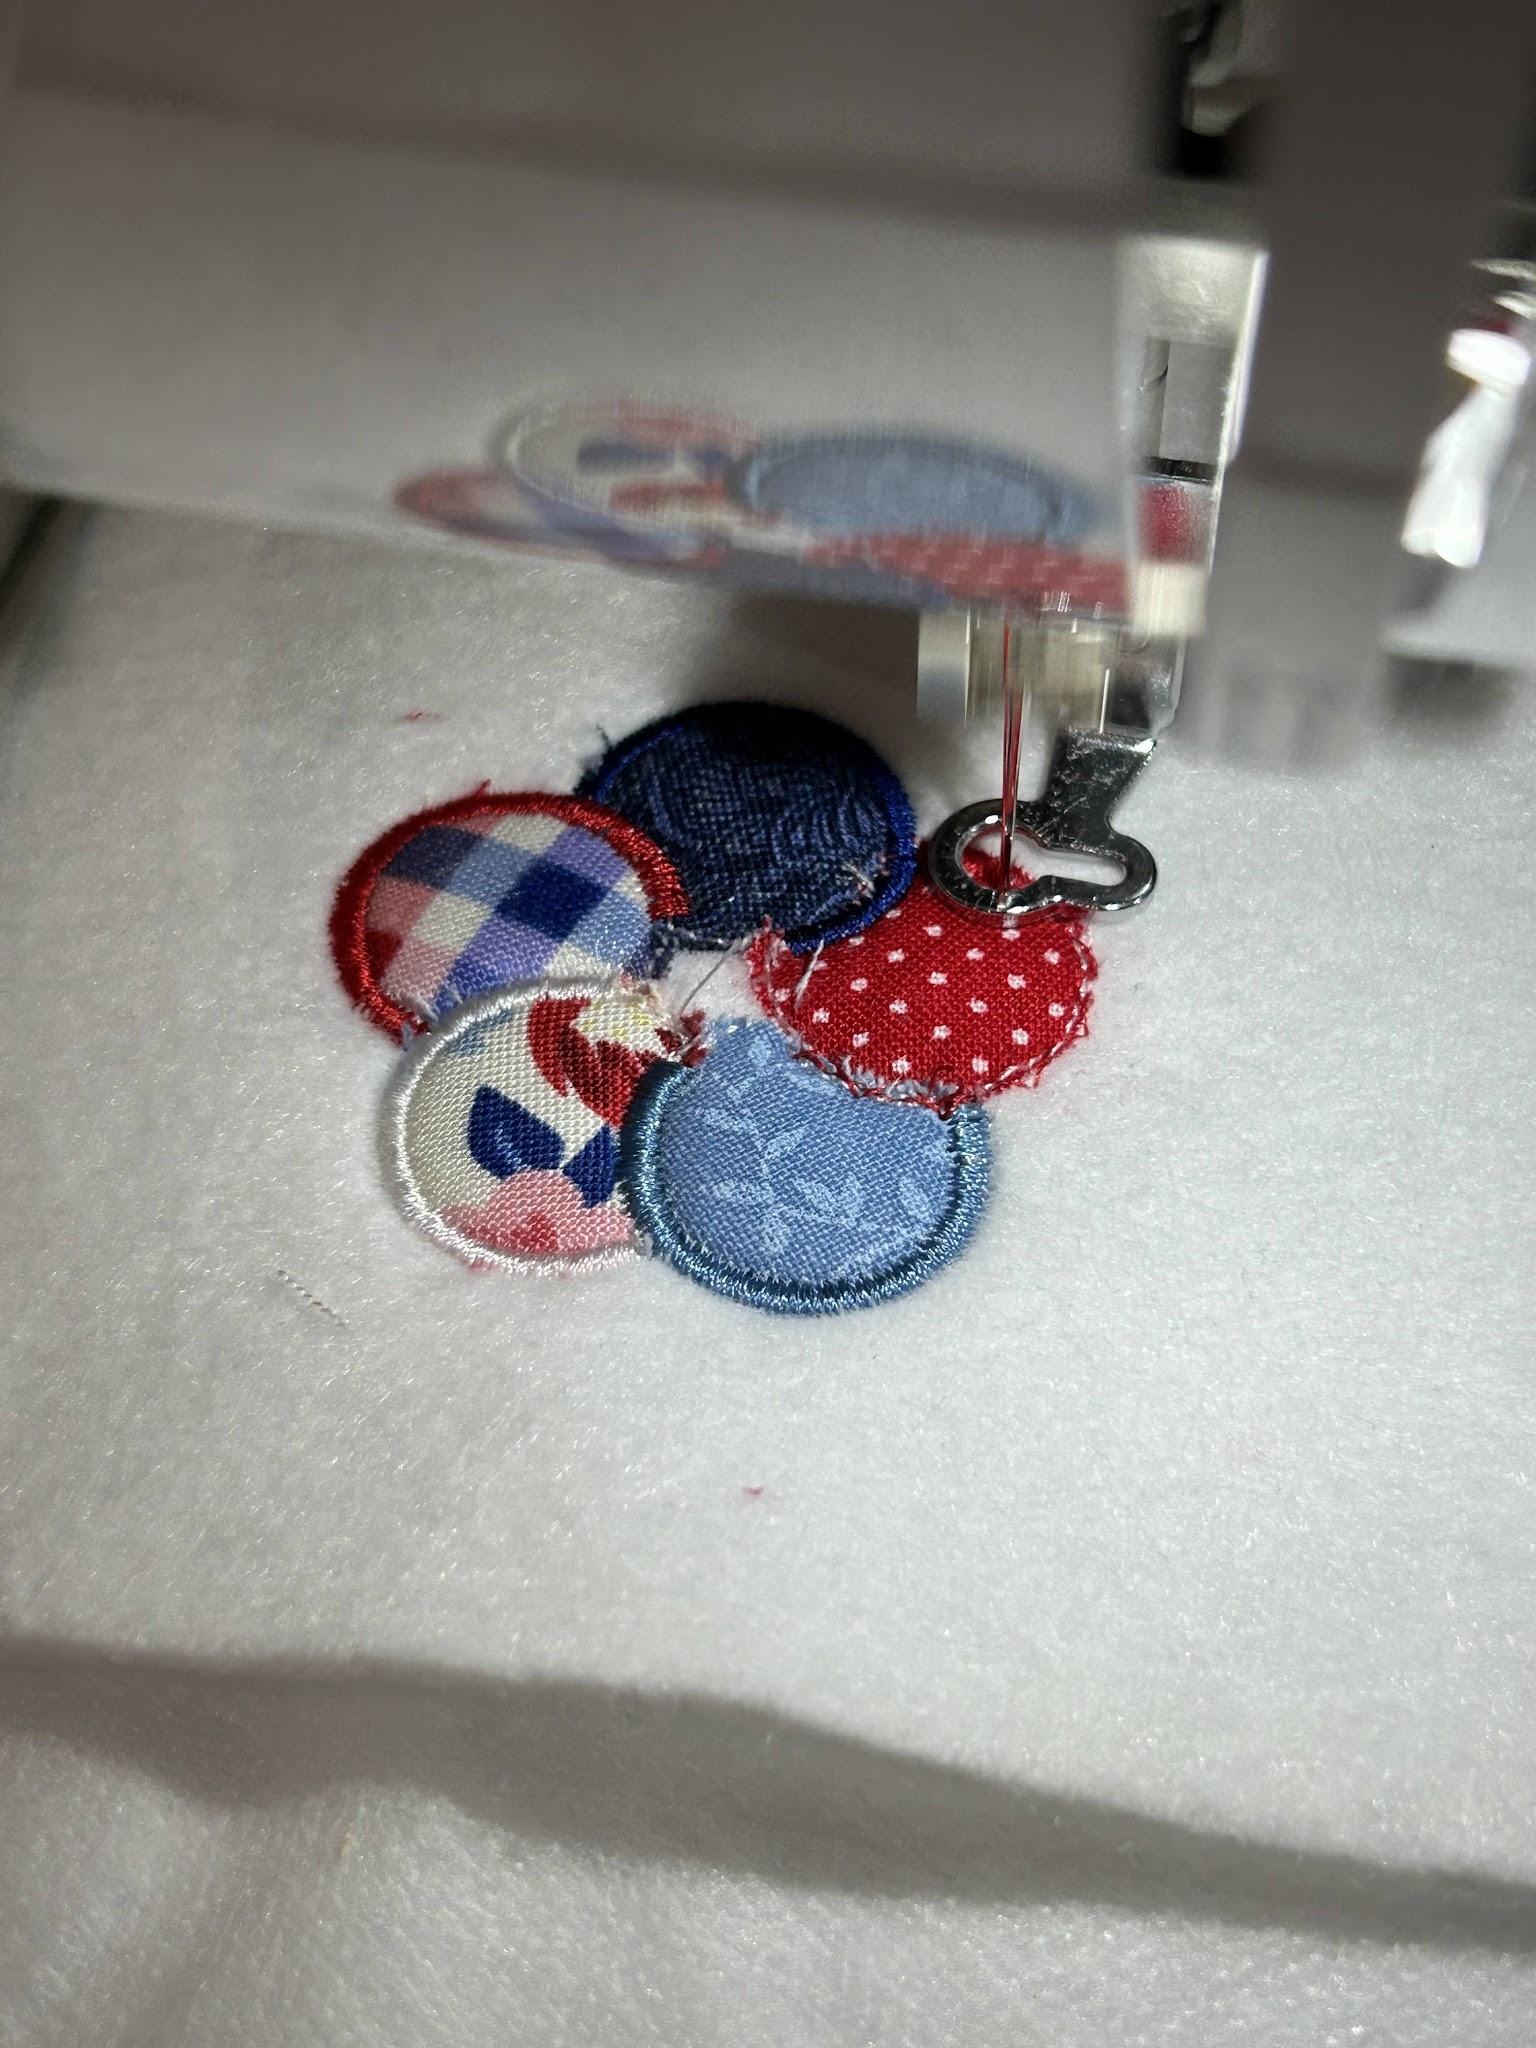
Stitch out the satin edges to finish your design.
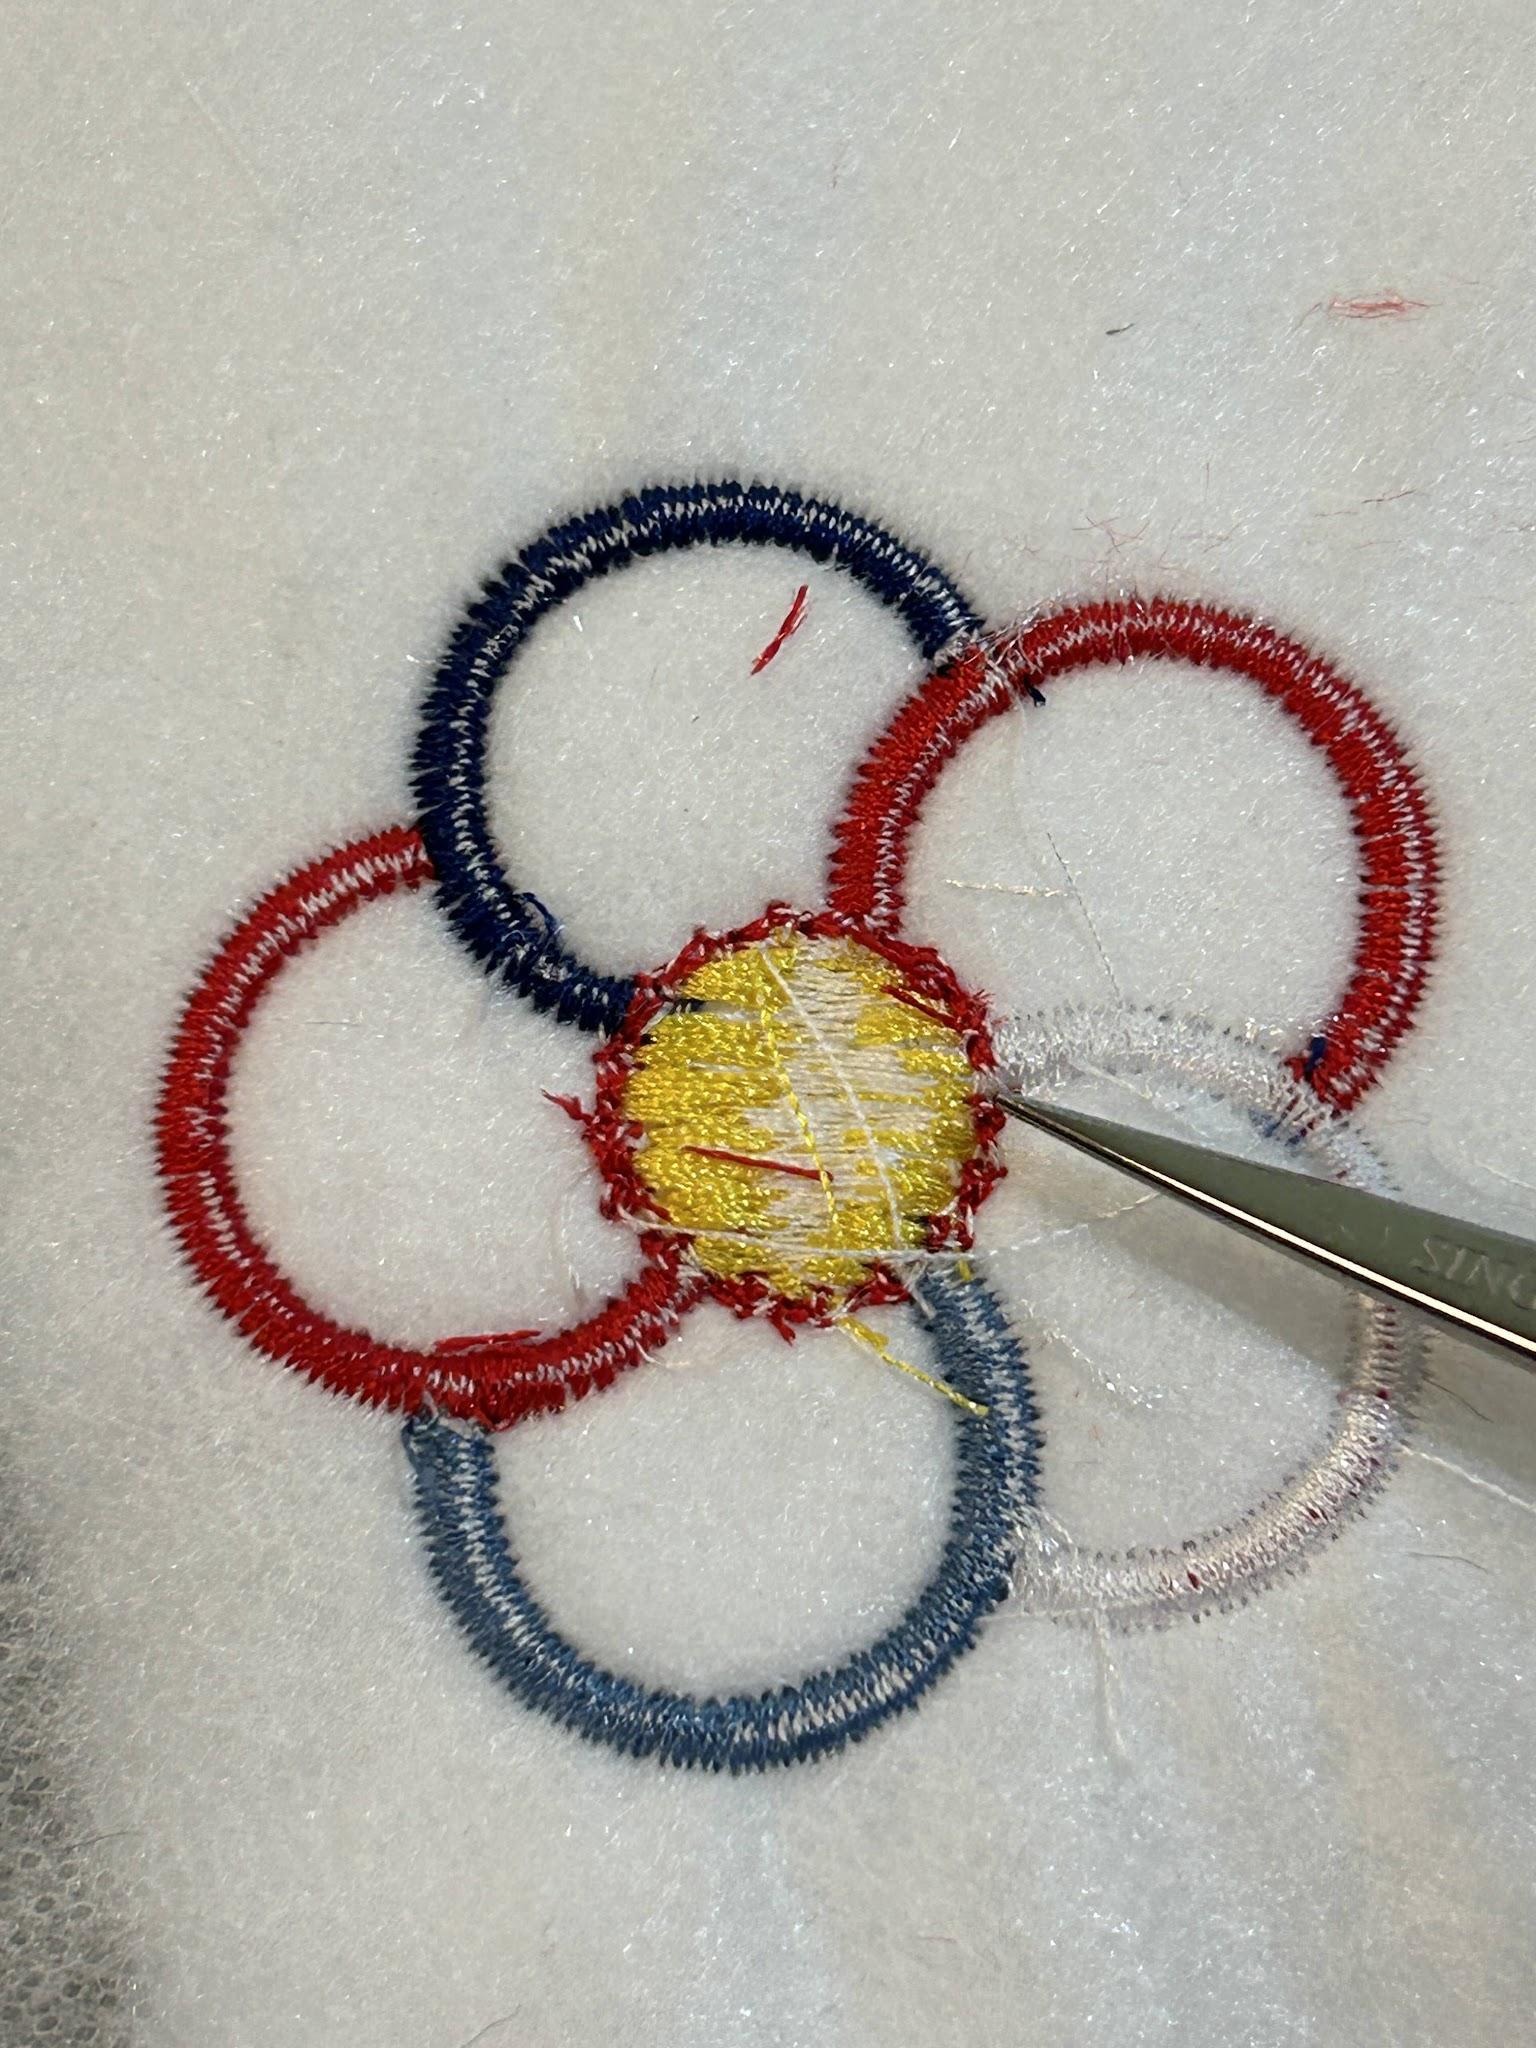
Trim up the threads on the back of your design.
Remove your design from the hoop and trim the stabilizer close to the design.
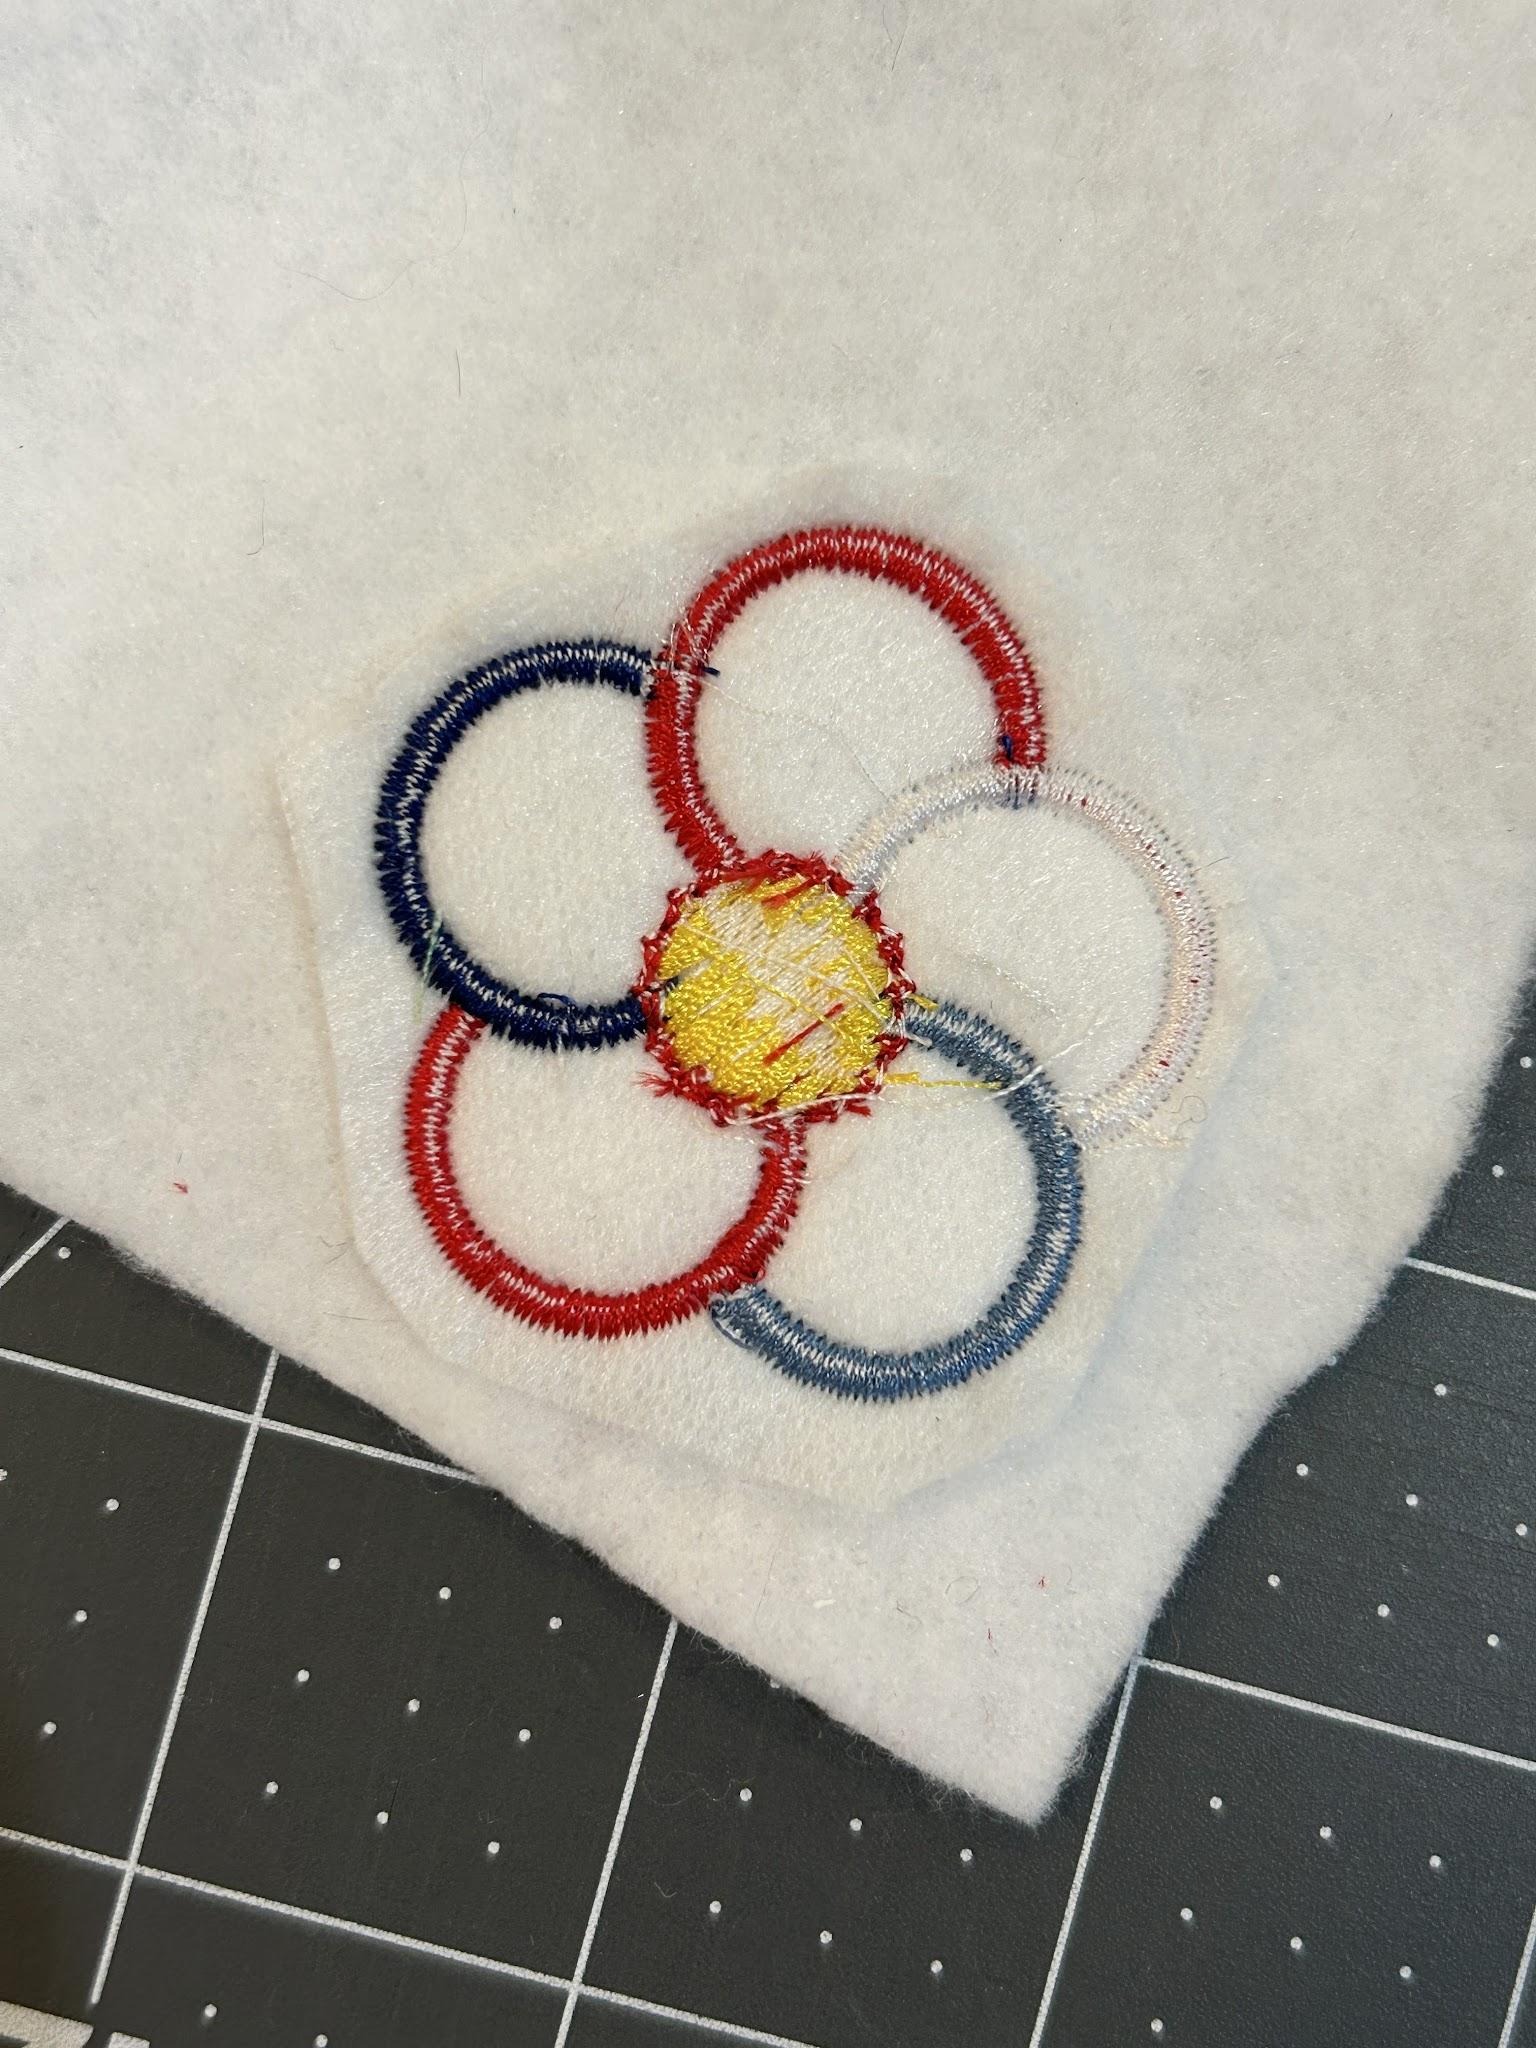
Cut the design and the backing piece so that they are the same size. Leave yourself a decent amount of fabric around the edges. I cut them out in a square shape, and used felt for the back of this magnet. Place them wrong sides together.
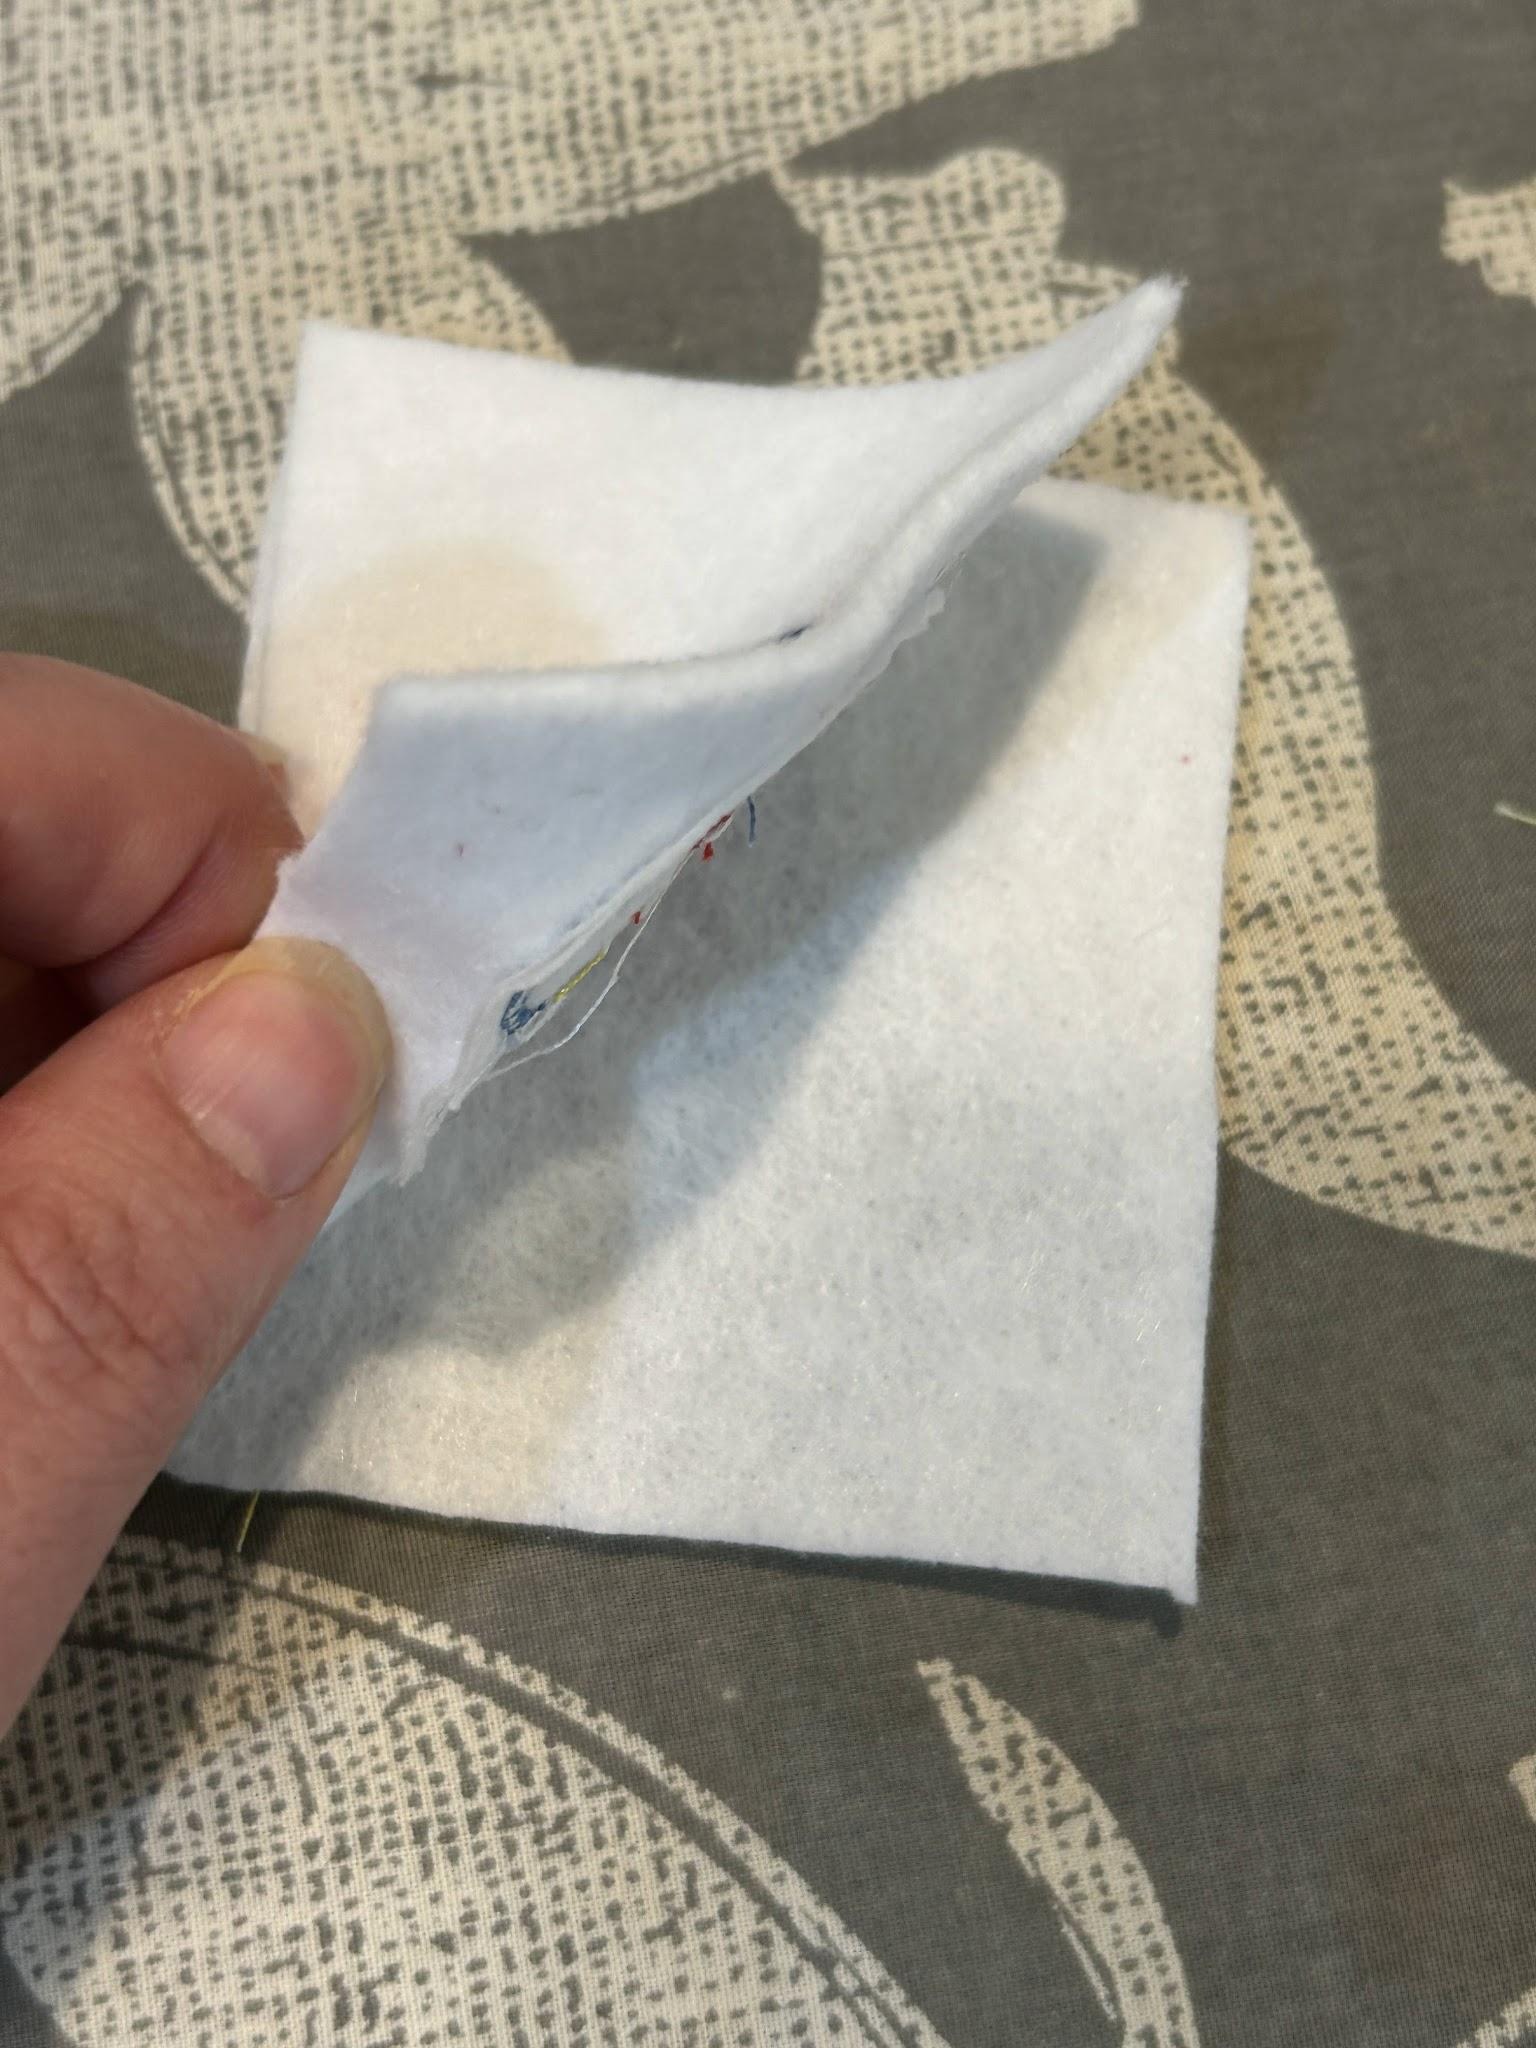
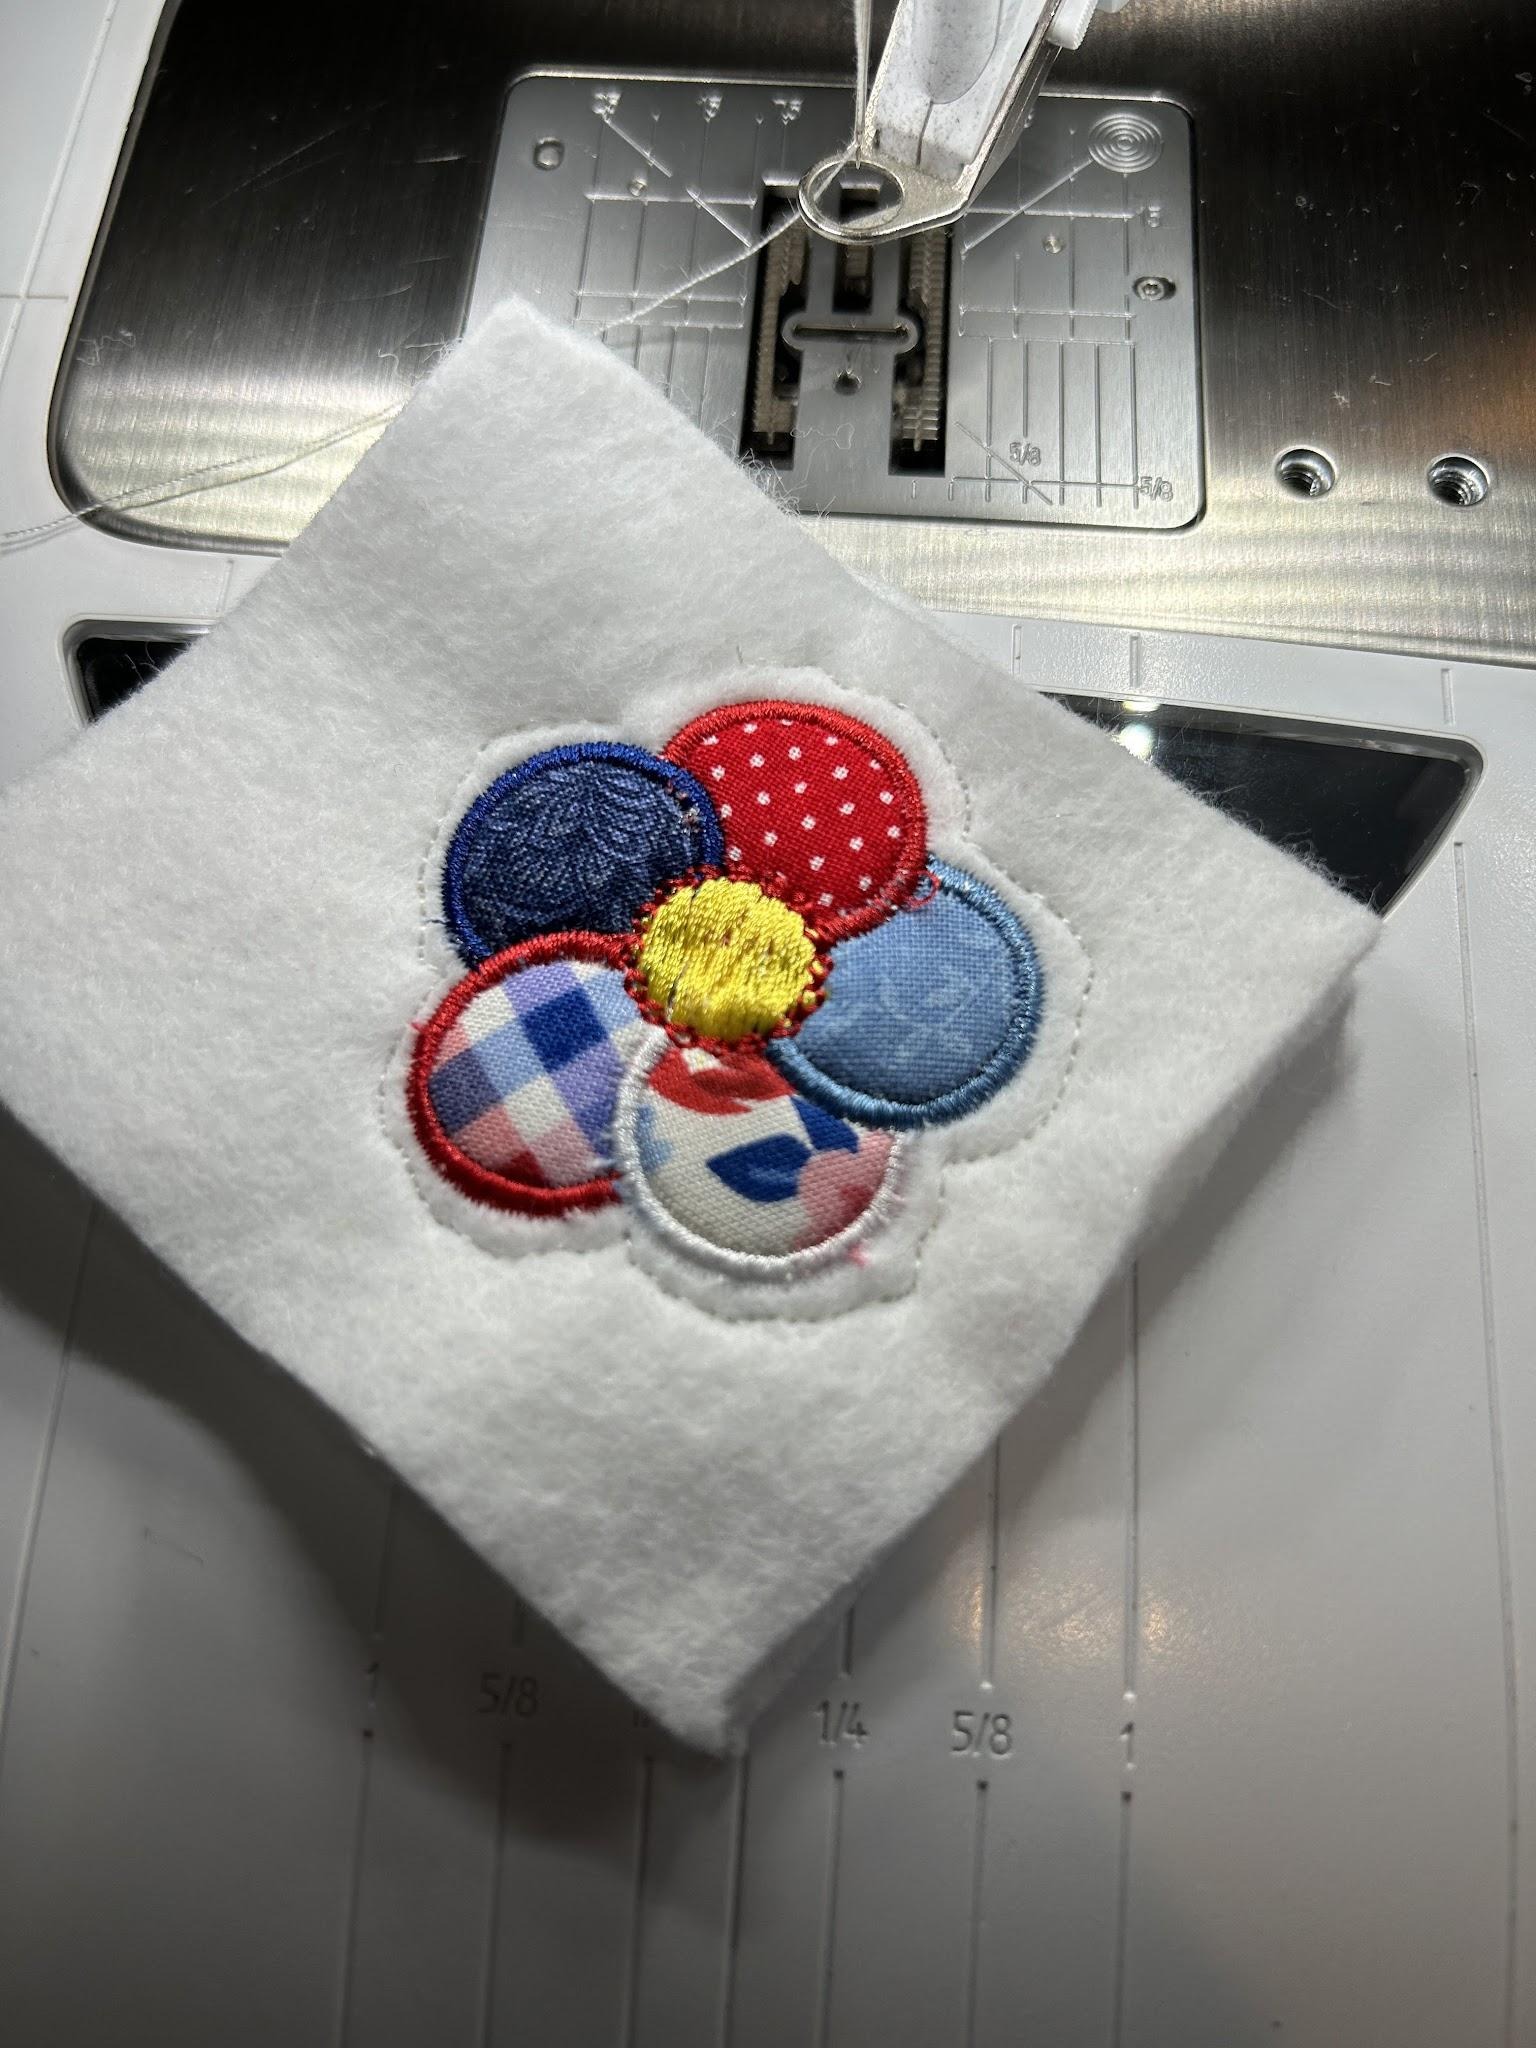
At your sewing machine, sew around the edge of your design. I like to leave about ¼” of the felt showing, but you can stitch as close or as far from the edges as you like. You could also just do a basic shape, like a circle or a square, around a complicated design. As you stitch around, leave an opening to put the magnet in.
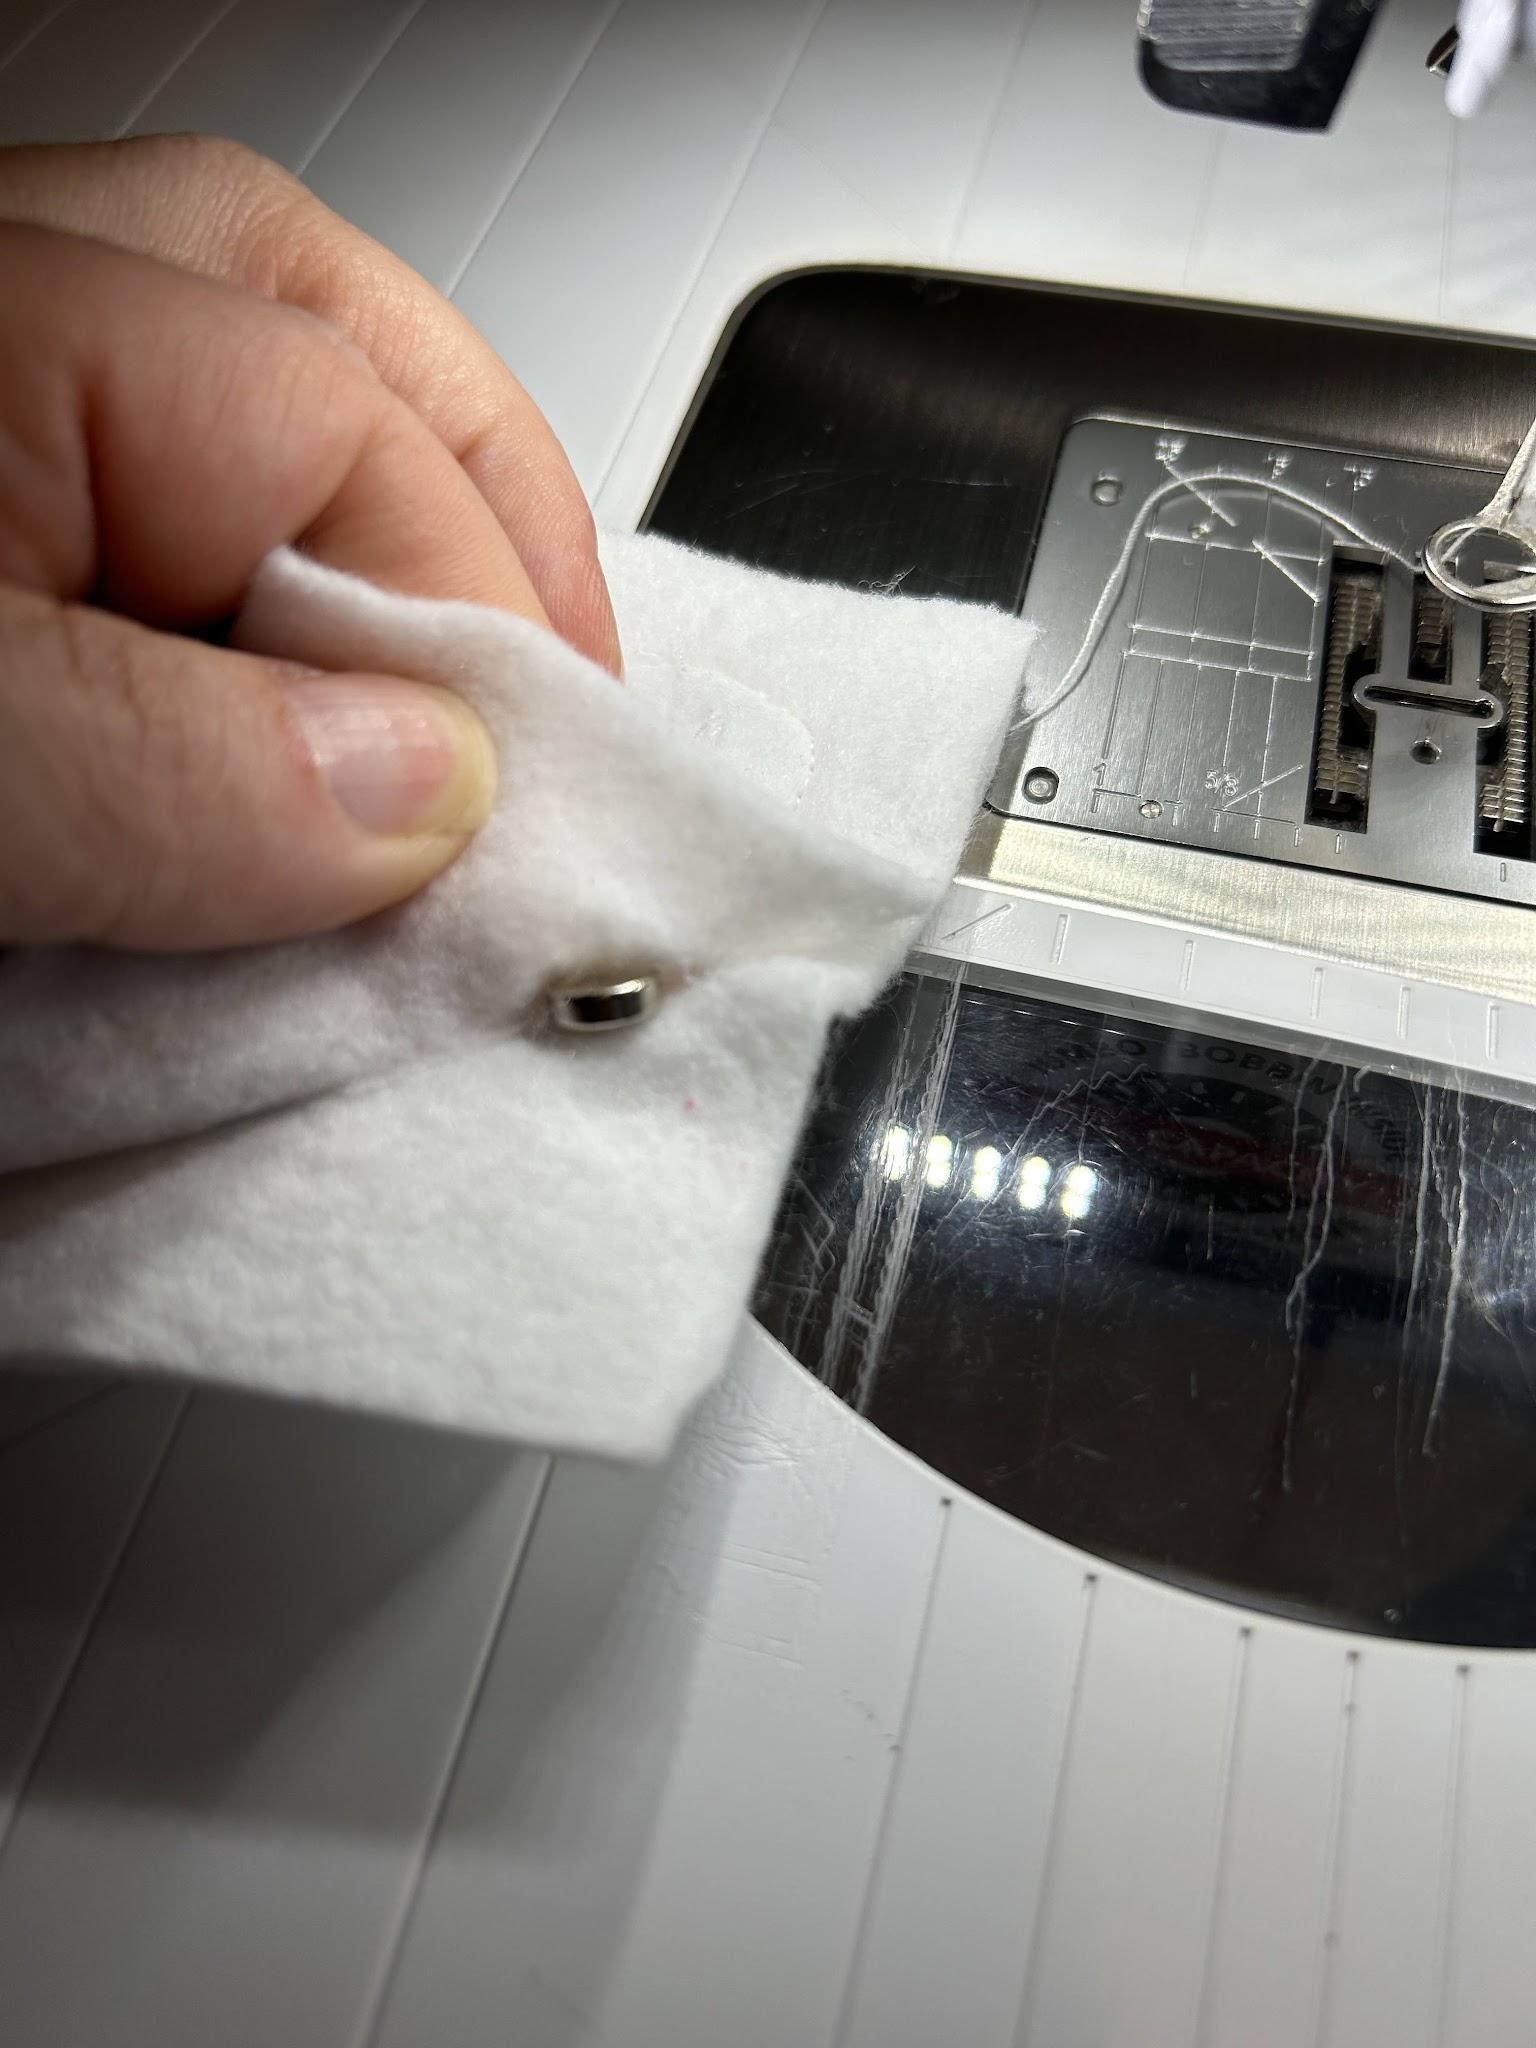
Slide the magnet in the opening. I like to push it to the bottom of the design so that it’s out of the way of my needle.
Stitch the opening closed.
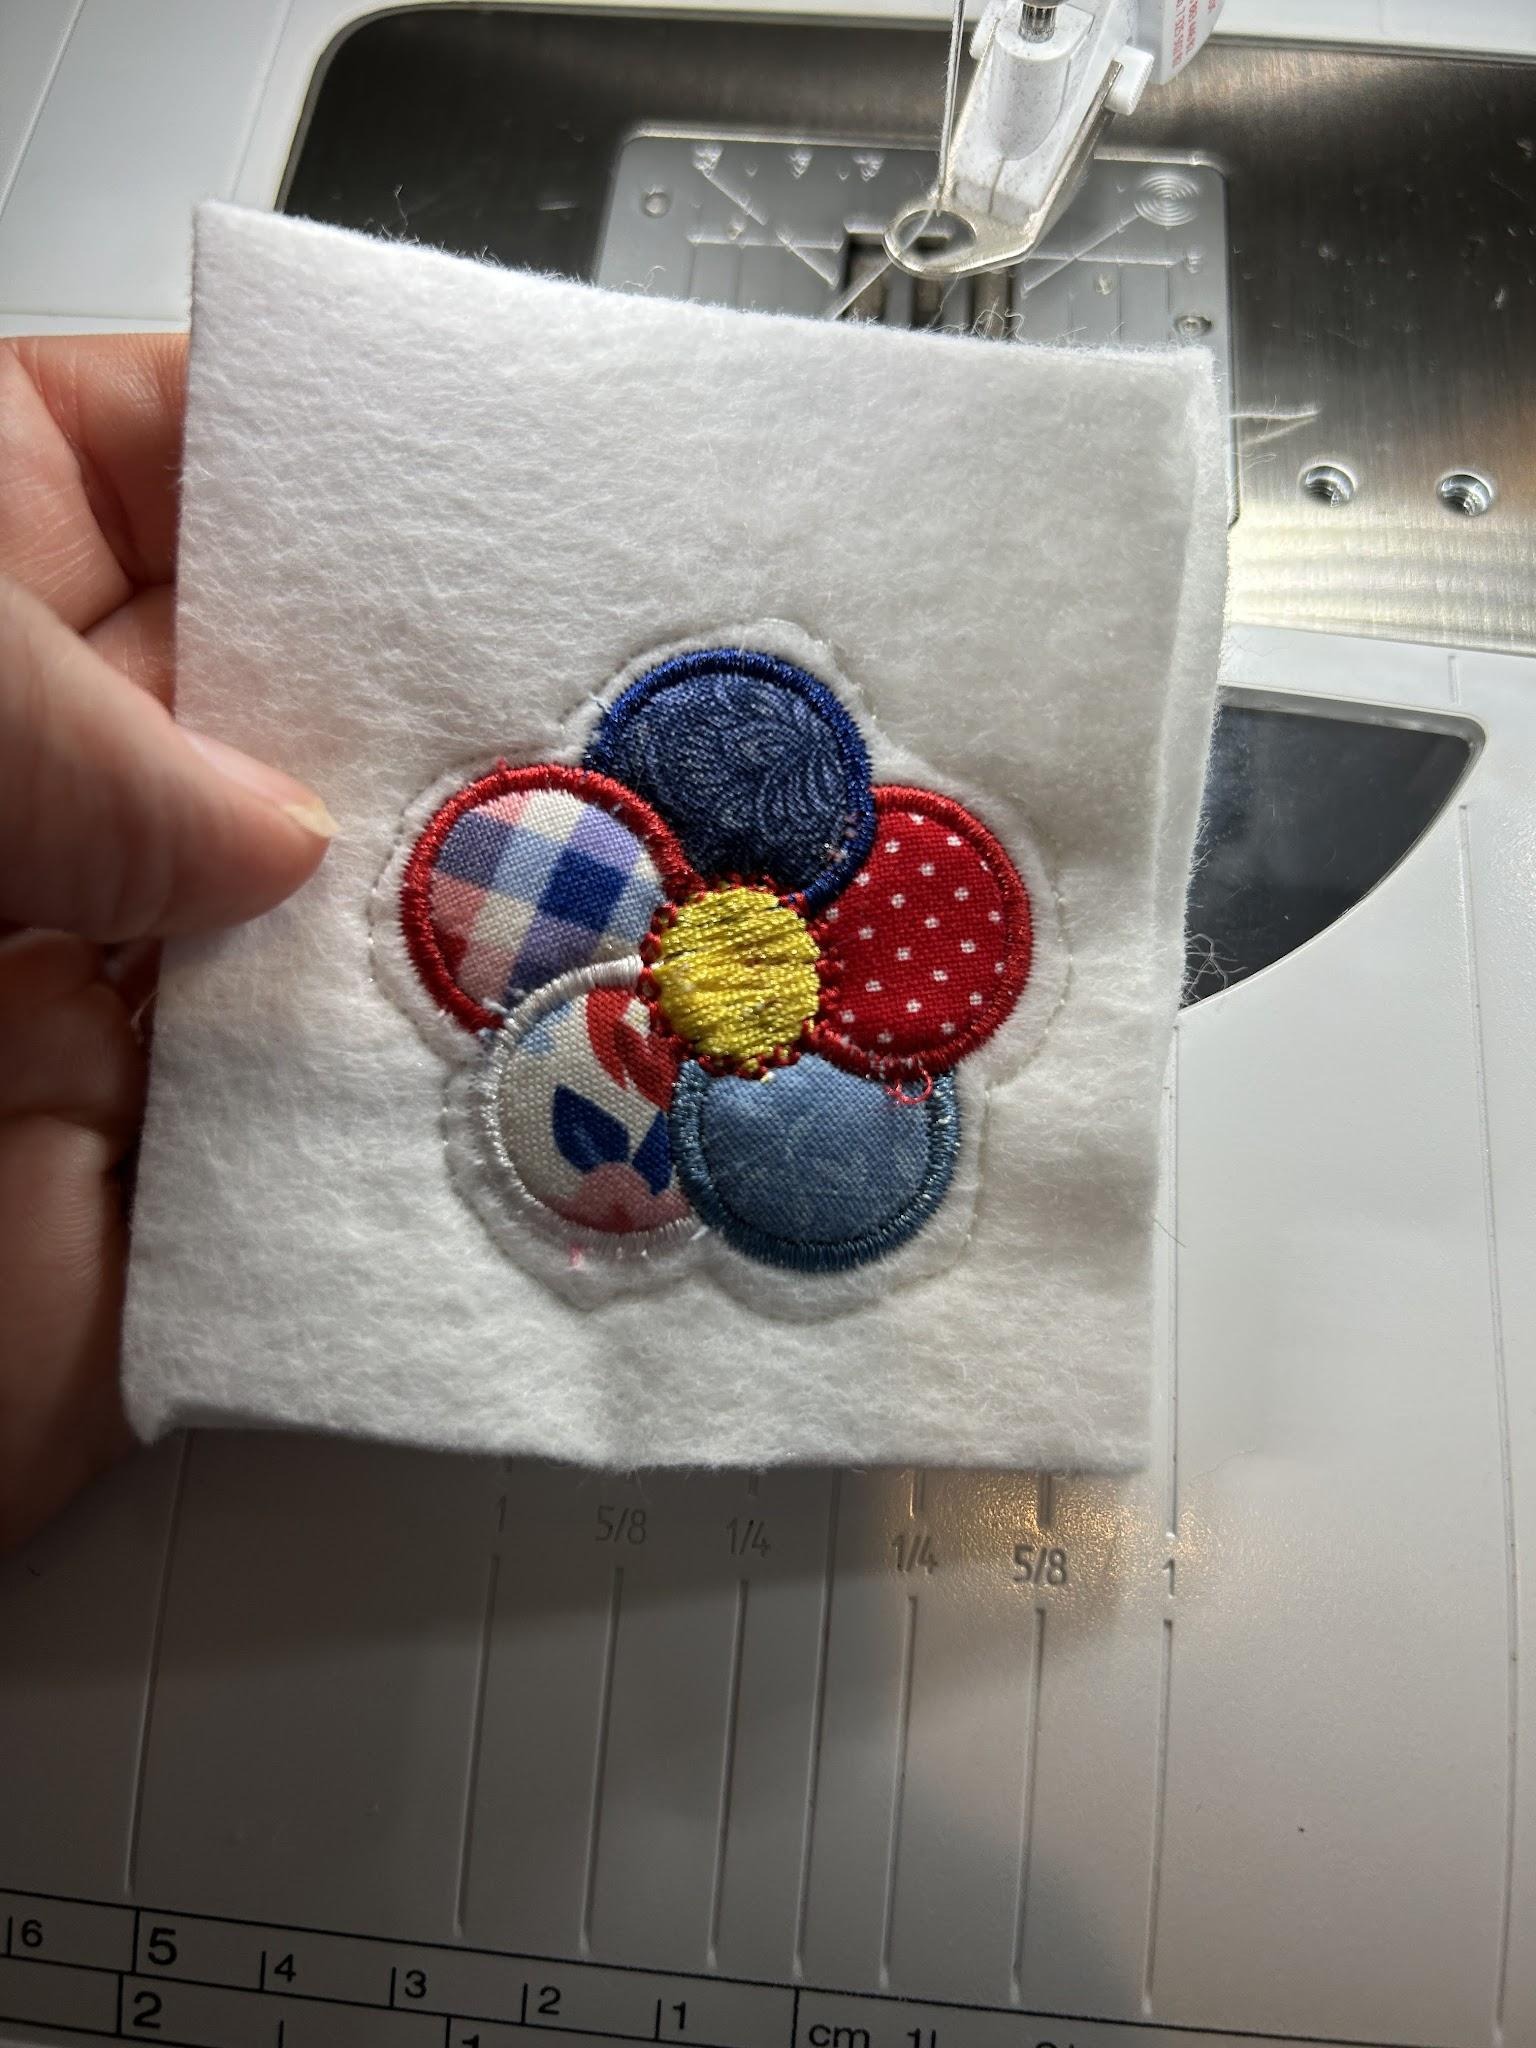
And trim around the edge of the magnet making sure not to cut the stitches. Your magnet is finished!
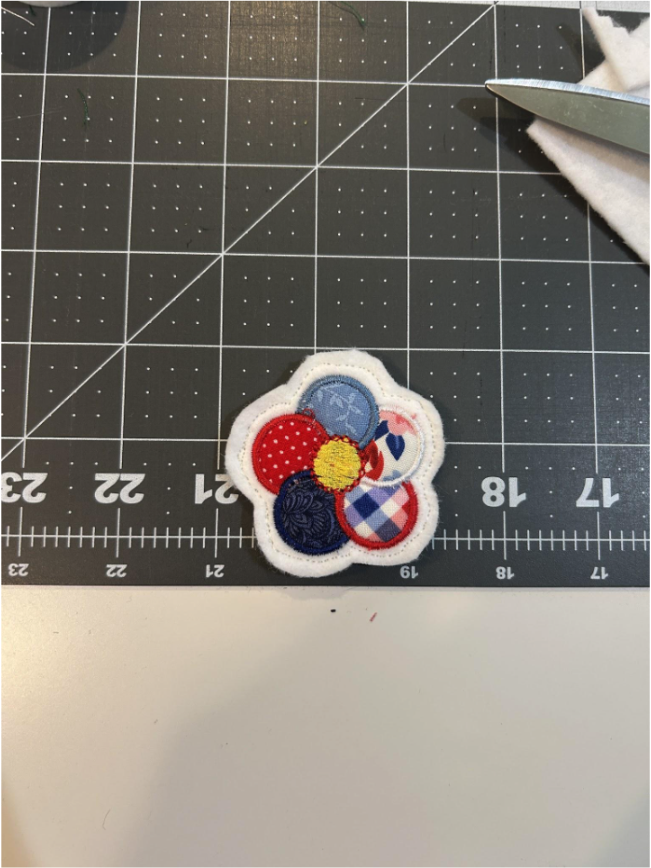
This type of magnet works better if your design has a decorative satin stitch that is continuous around the outside of the design, like we would do for a patch. In this example I used design 5 of the Flower Power Patches Applique set.
I'm still using the two layers of hooped magicMELT stabilizer with a layer of felt on top as mentioned in the previous section. Stitch out your placement stitch on the felt.
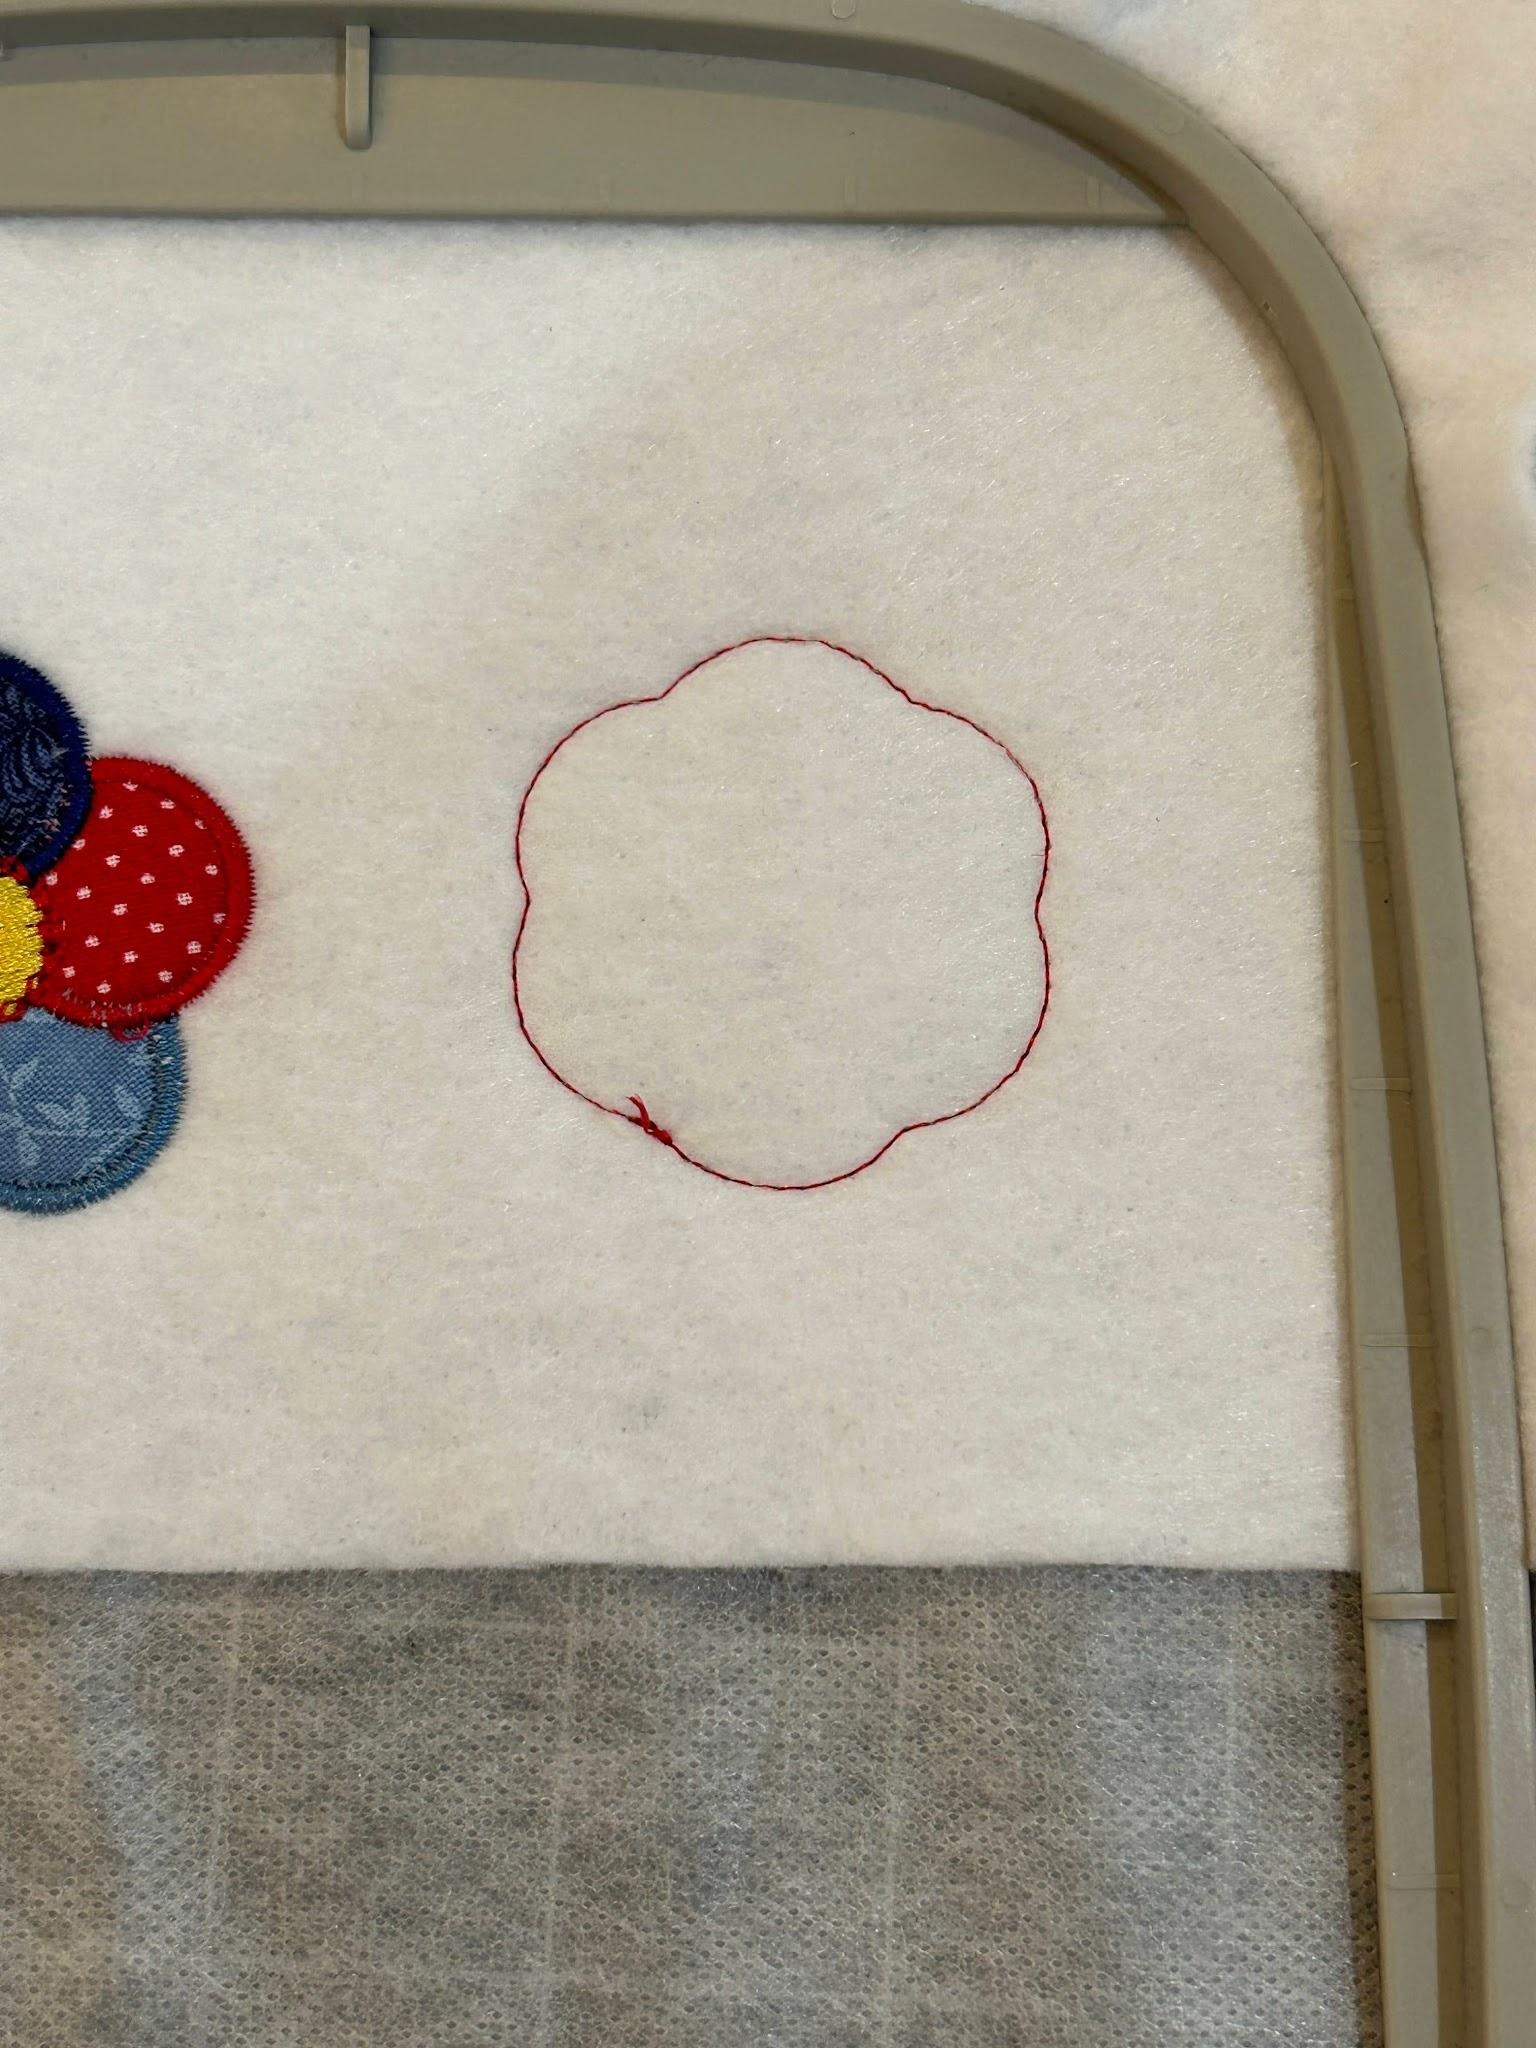
Cover the stitches with the fabric.
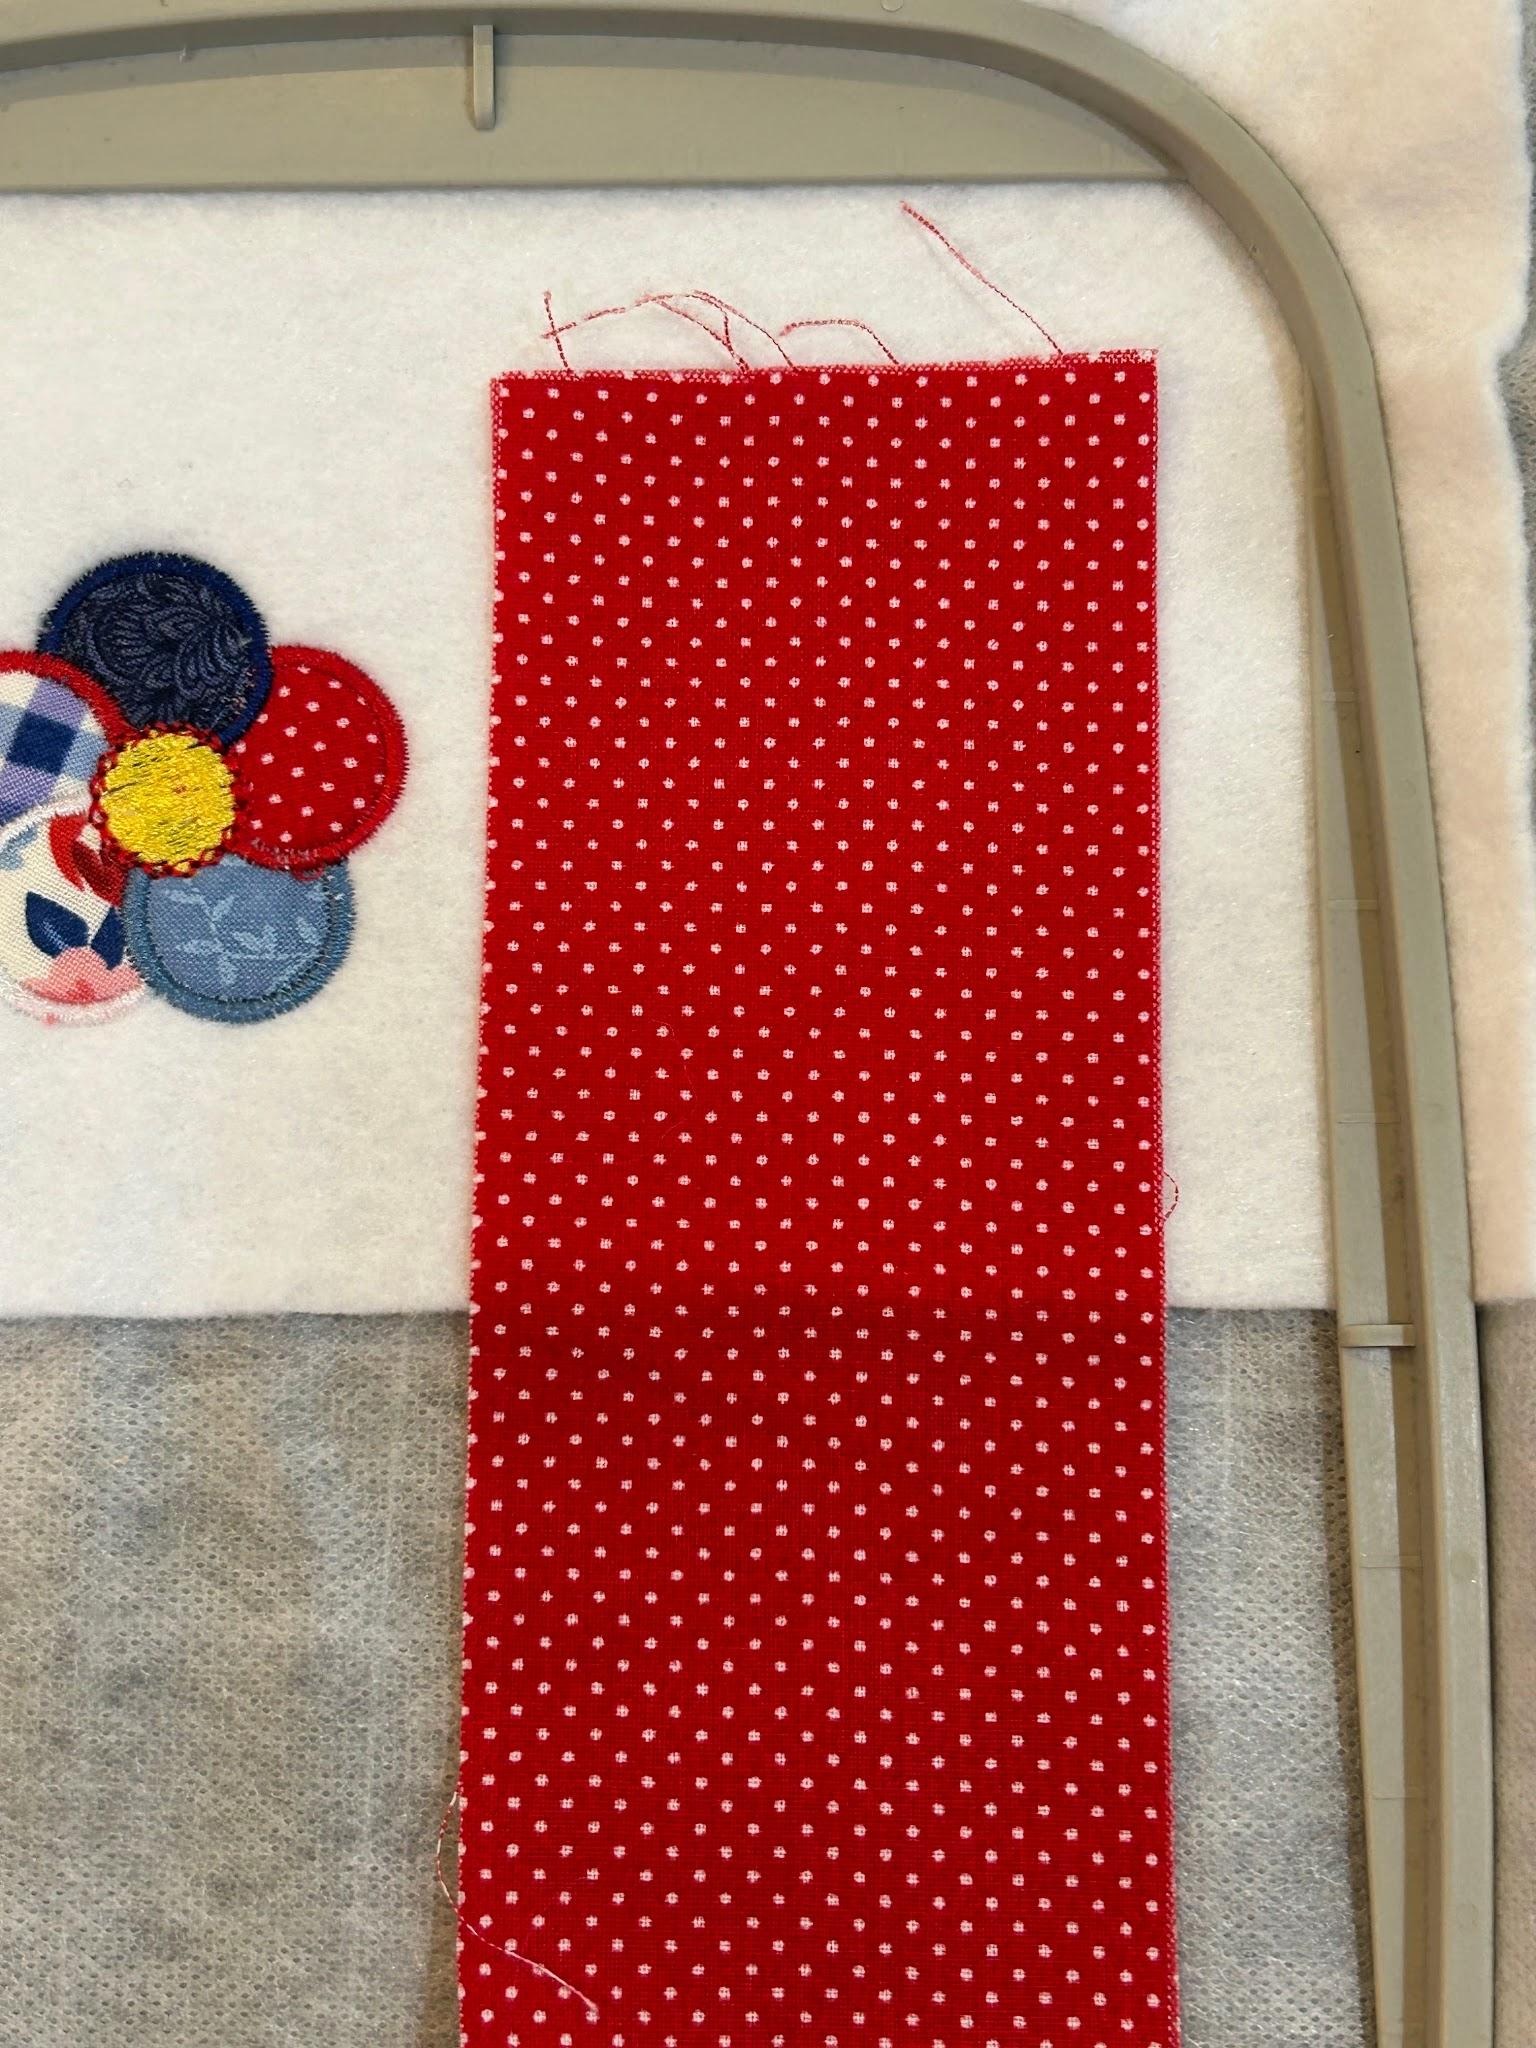
Stitch your tack-down stitches and remember what step this is—you’ll use this same stitch again later. Trim the fabric close to the stitches.
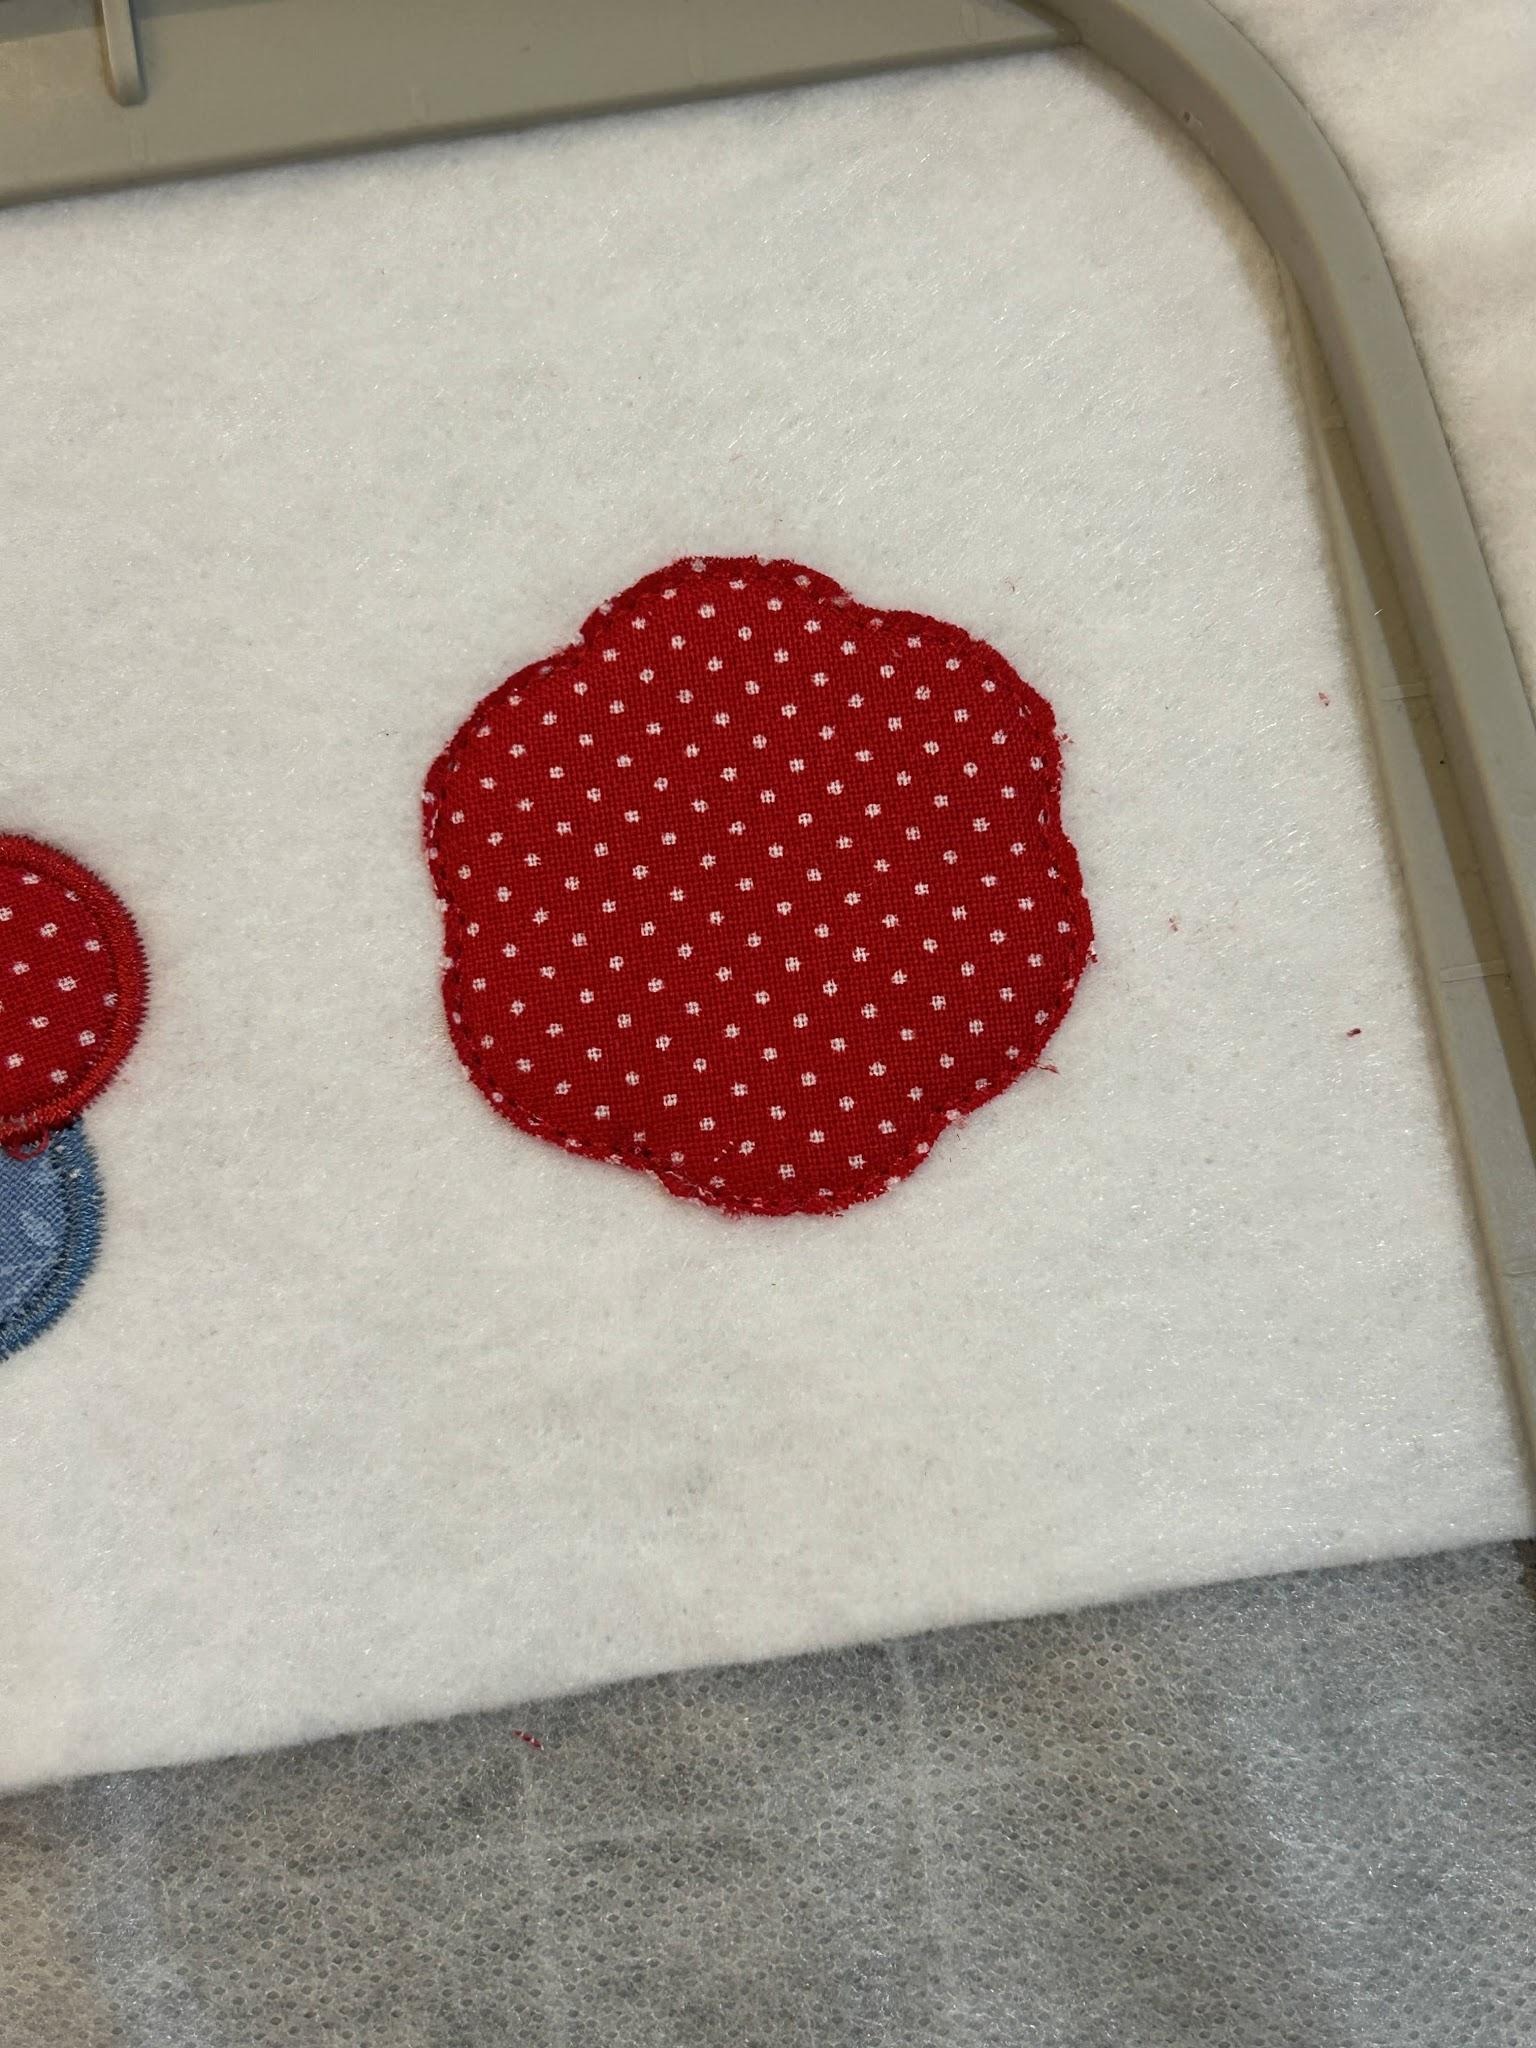
We will also trim the felt as close to the stitches as we can without removing the project from the hoop.
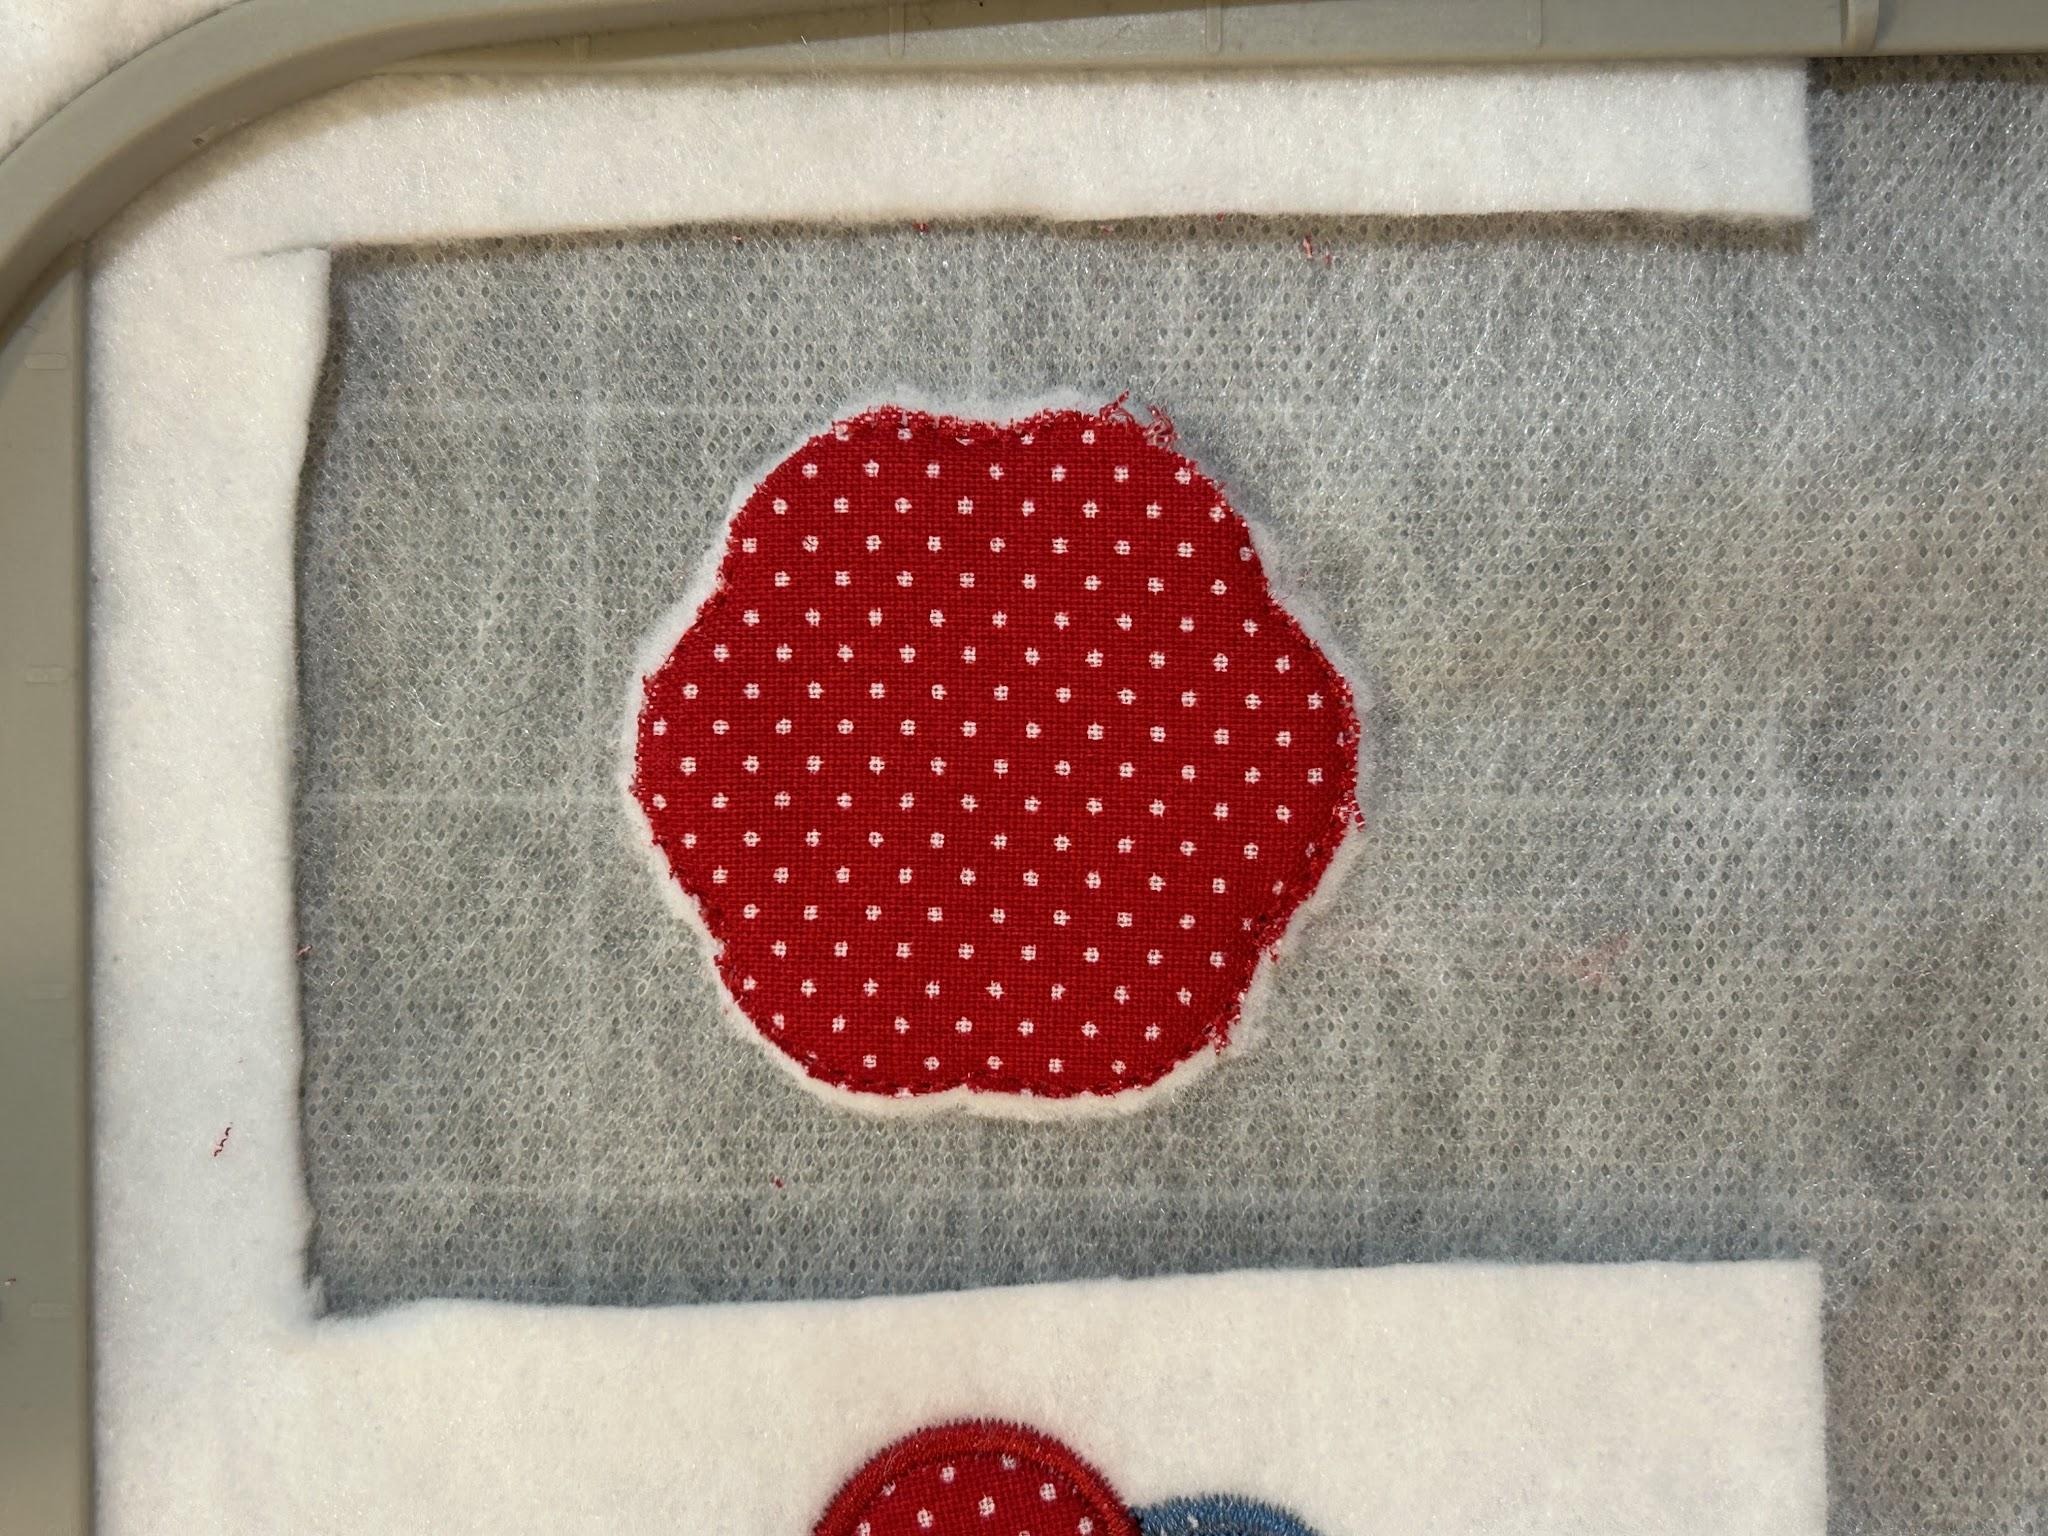
Stitch out your decorative stitches, and then trim up the back of the design.
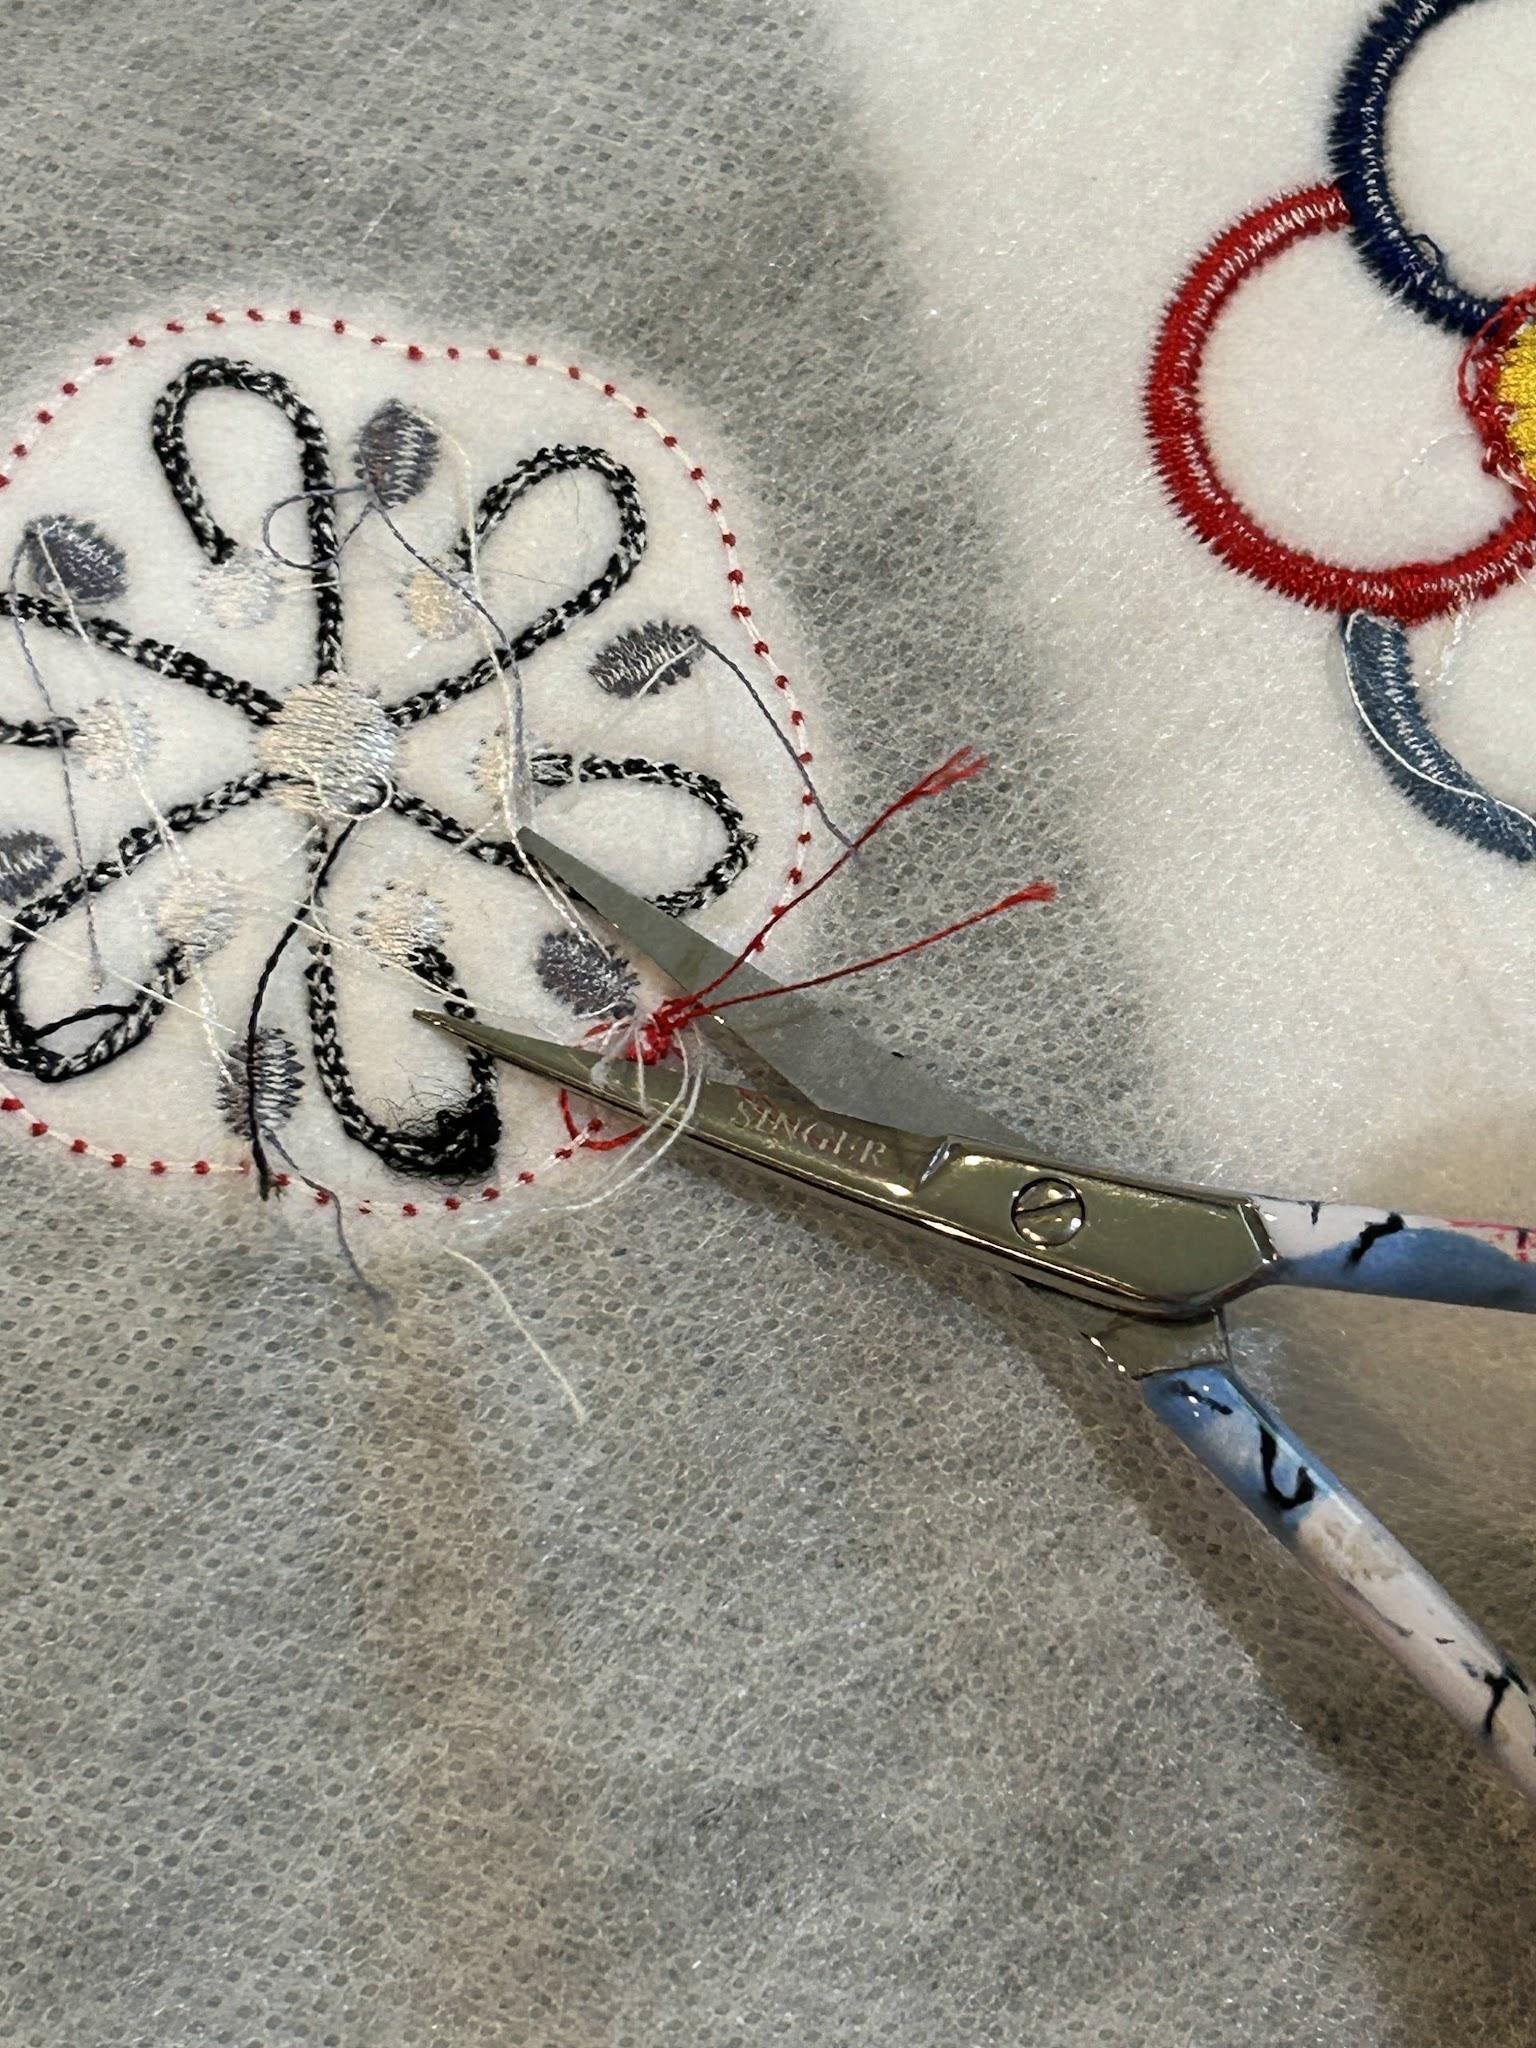
After trimming up your threads, tape the backing piece for your magnet to the design. I really like the cambric fabric here because it's smooth and the adhesive sticks well to it.
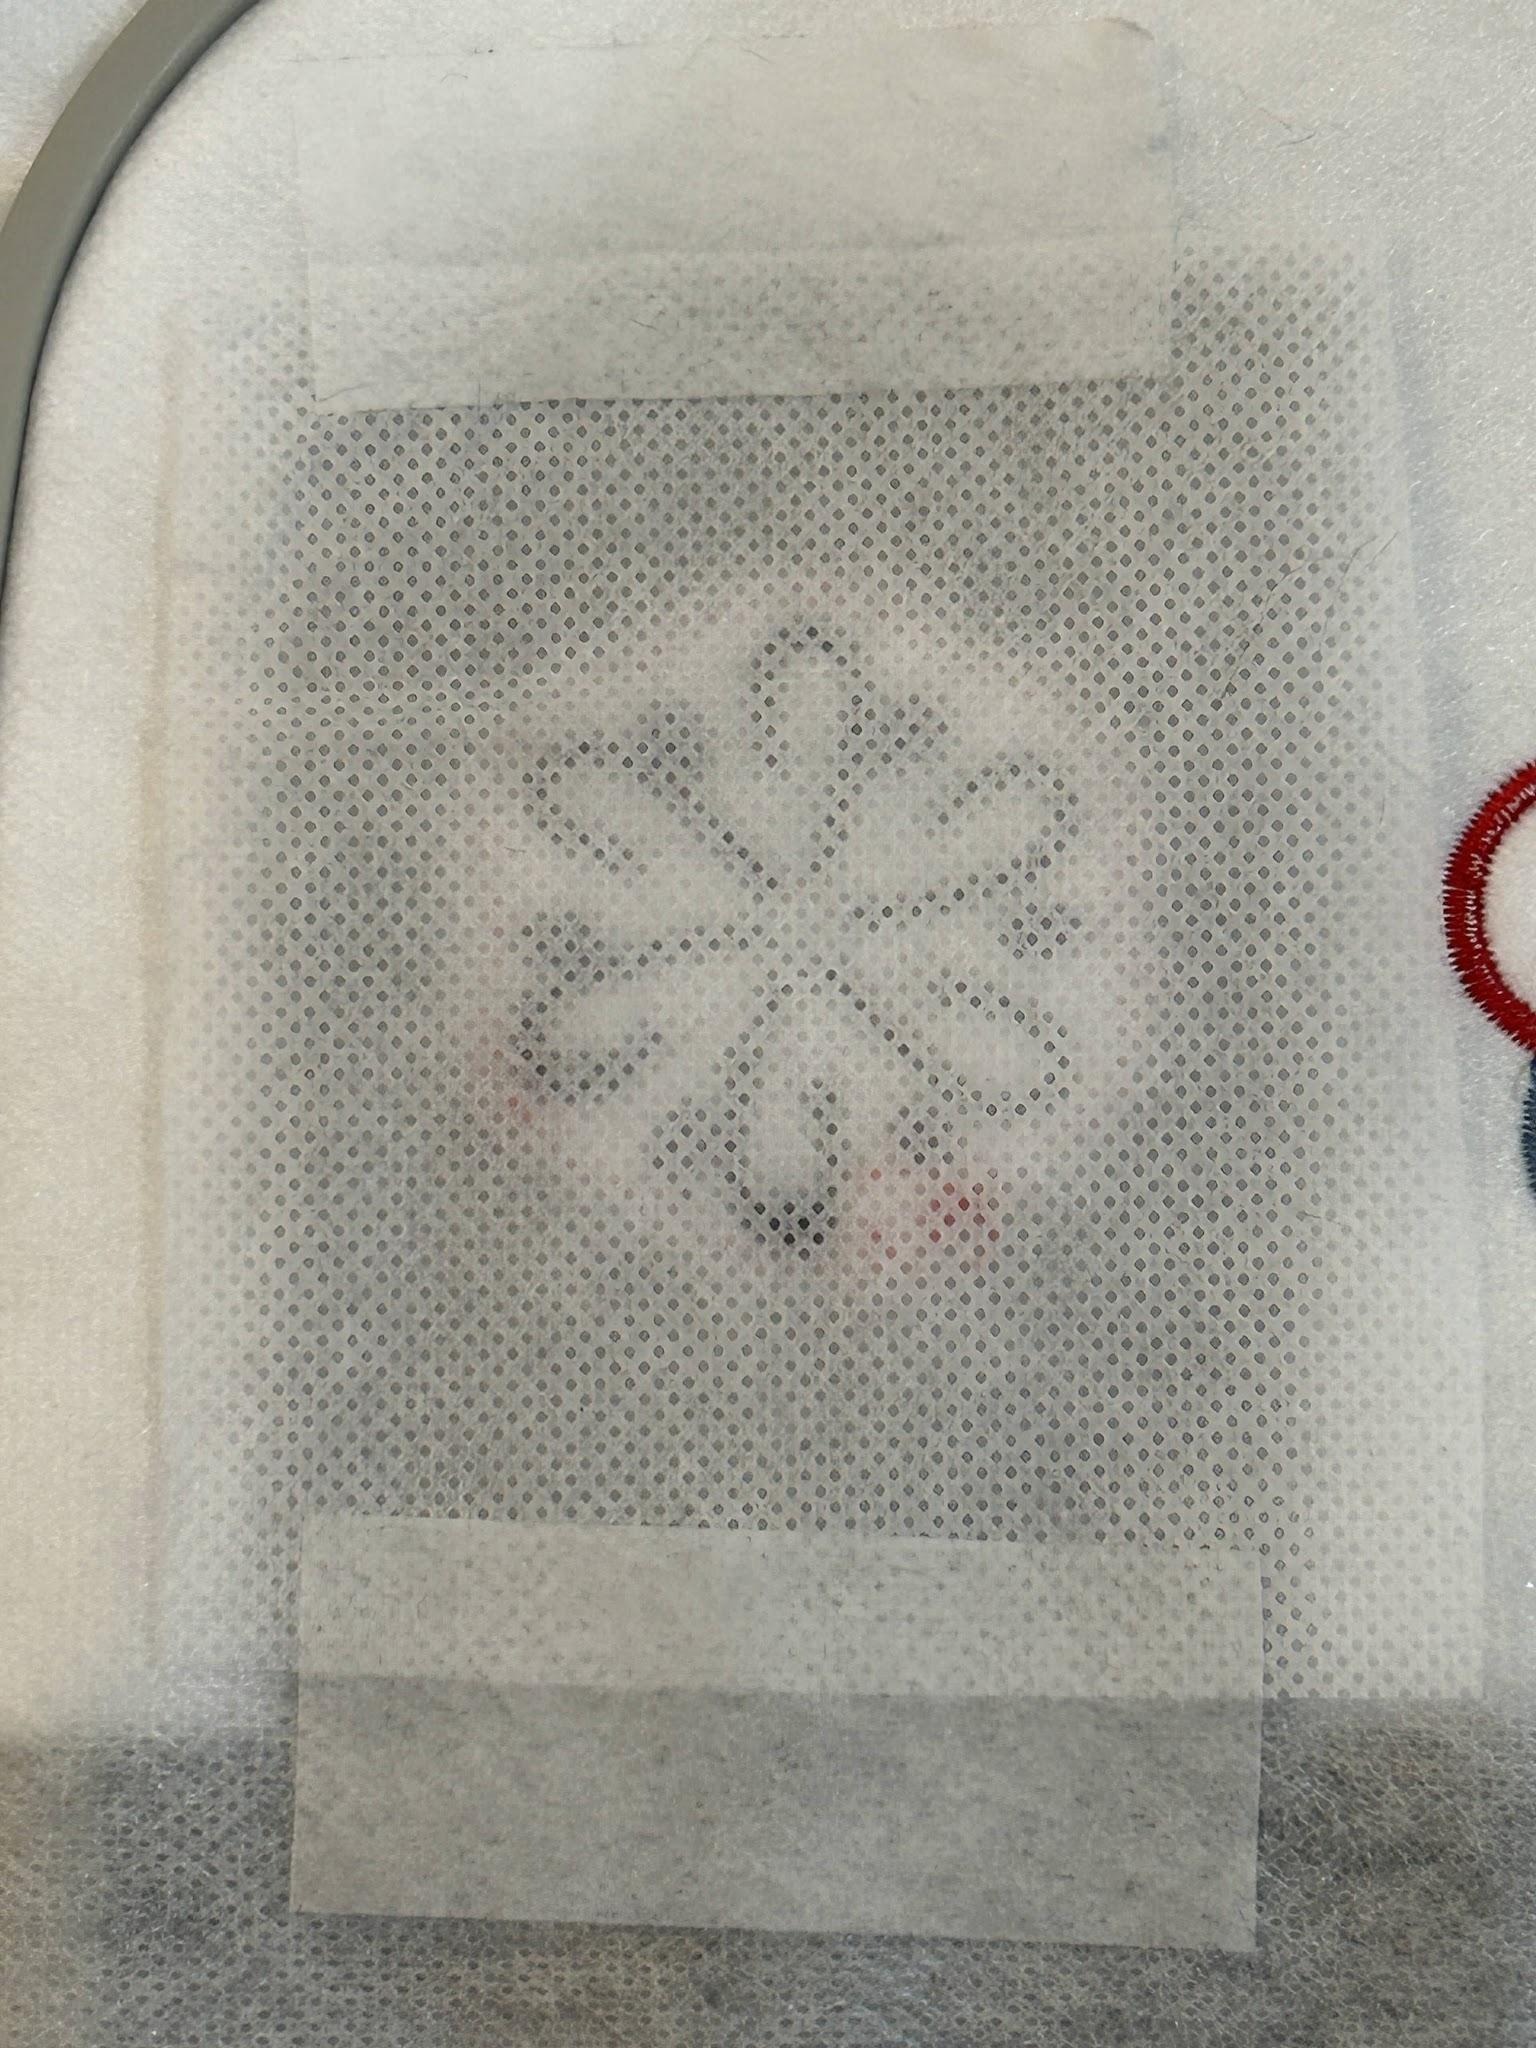
Go back and find the tack-down stitch you did for your main fabric and run that stitch again. Remove your hoop from the machine, and trim the backing fabric close to your stitches.
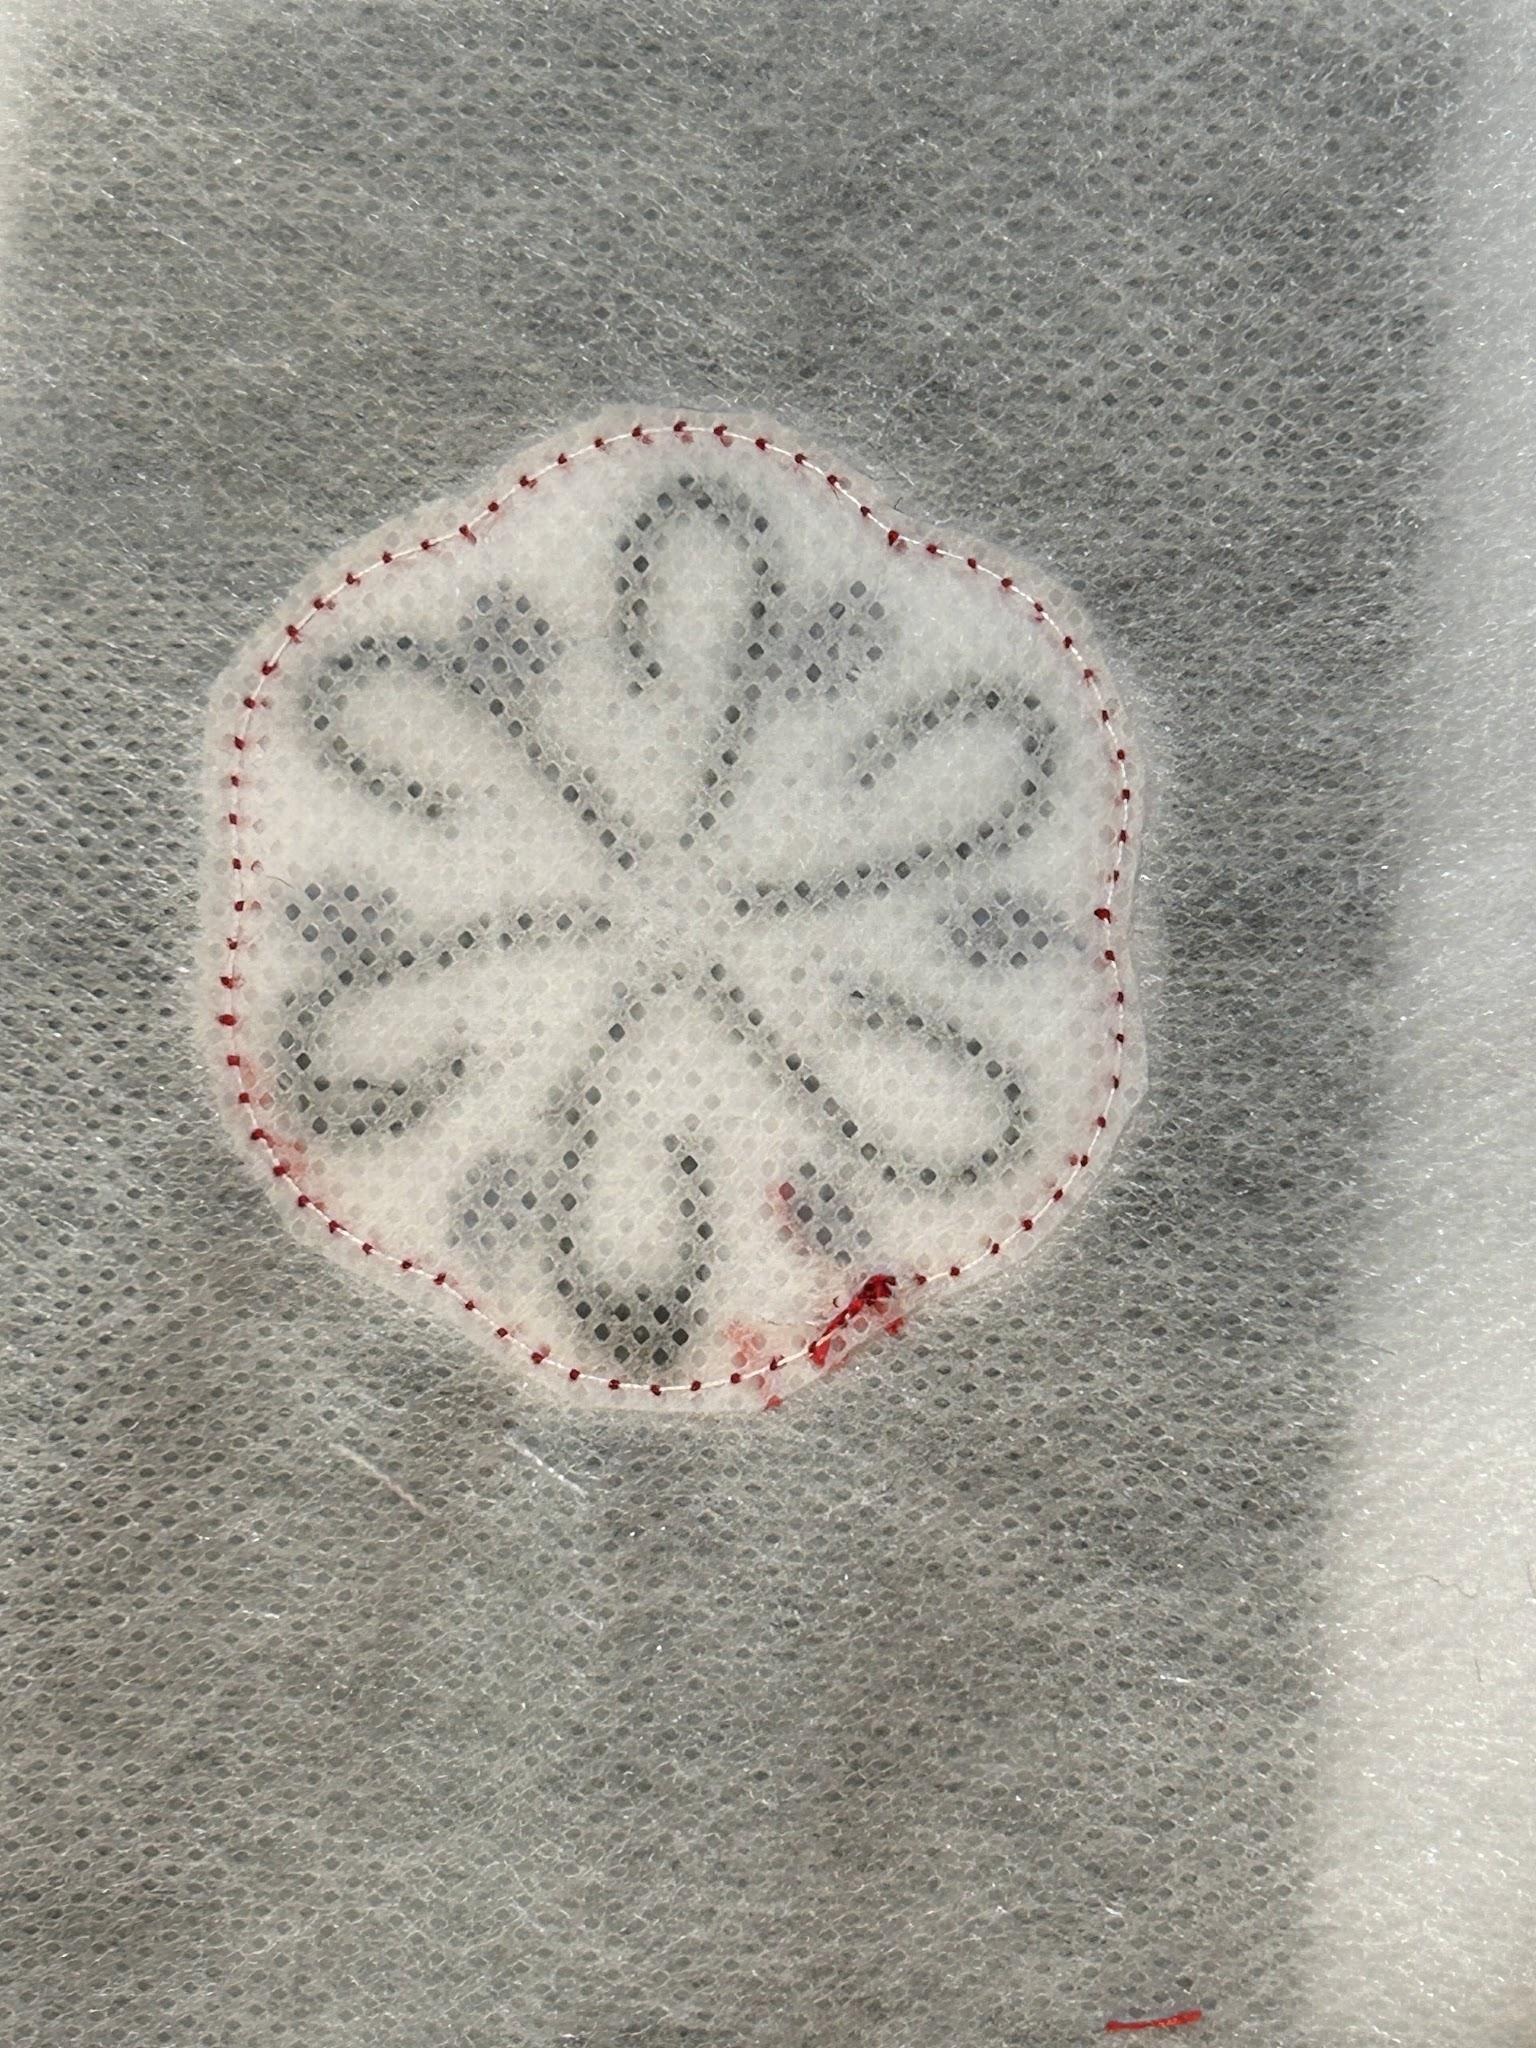
Now stitch out the final decorative edge stitches.
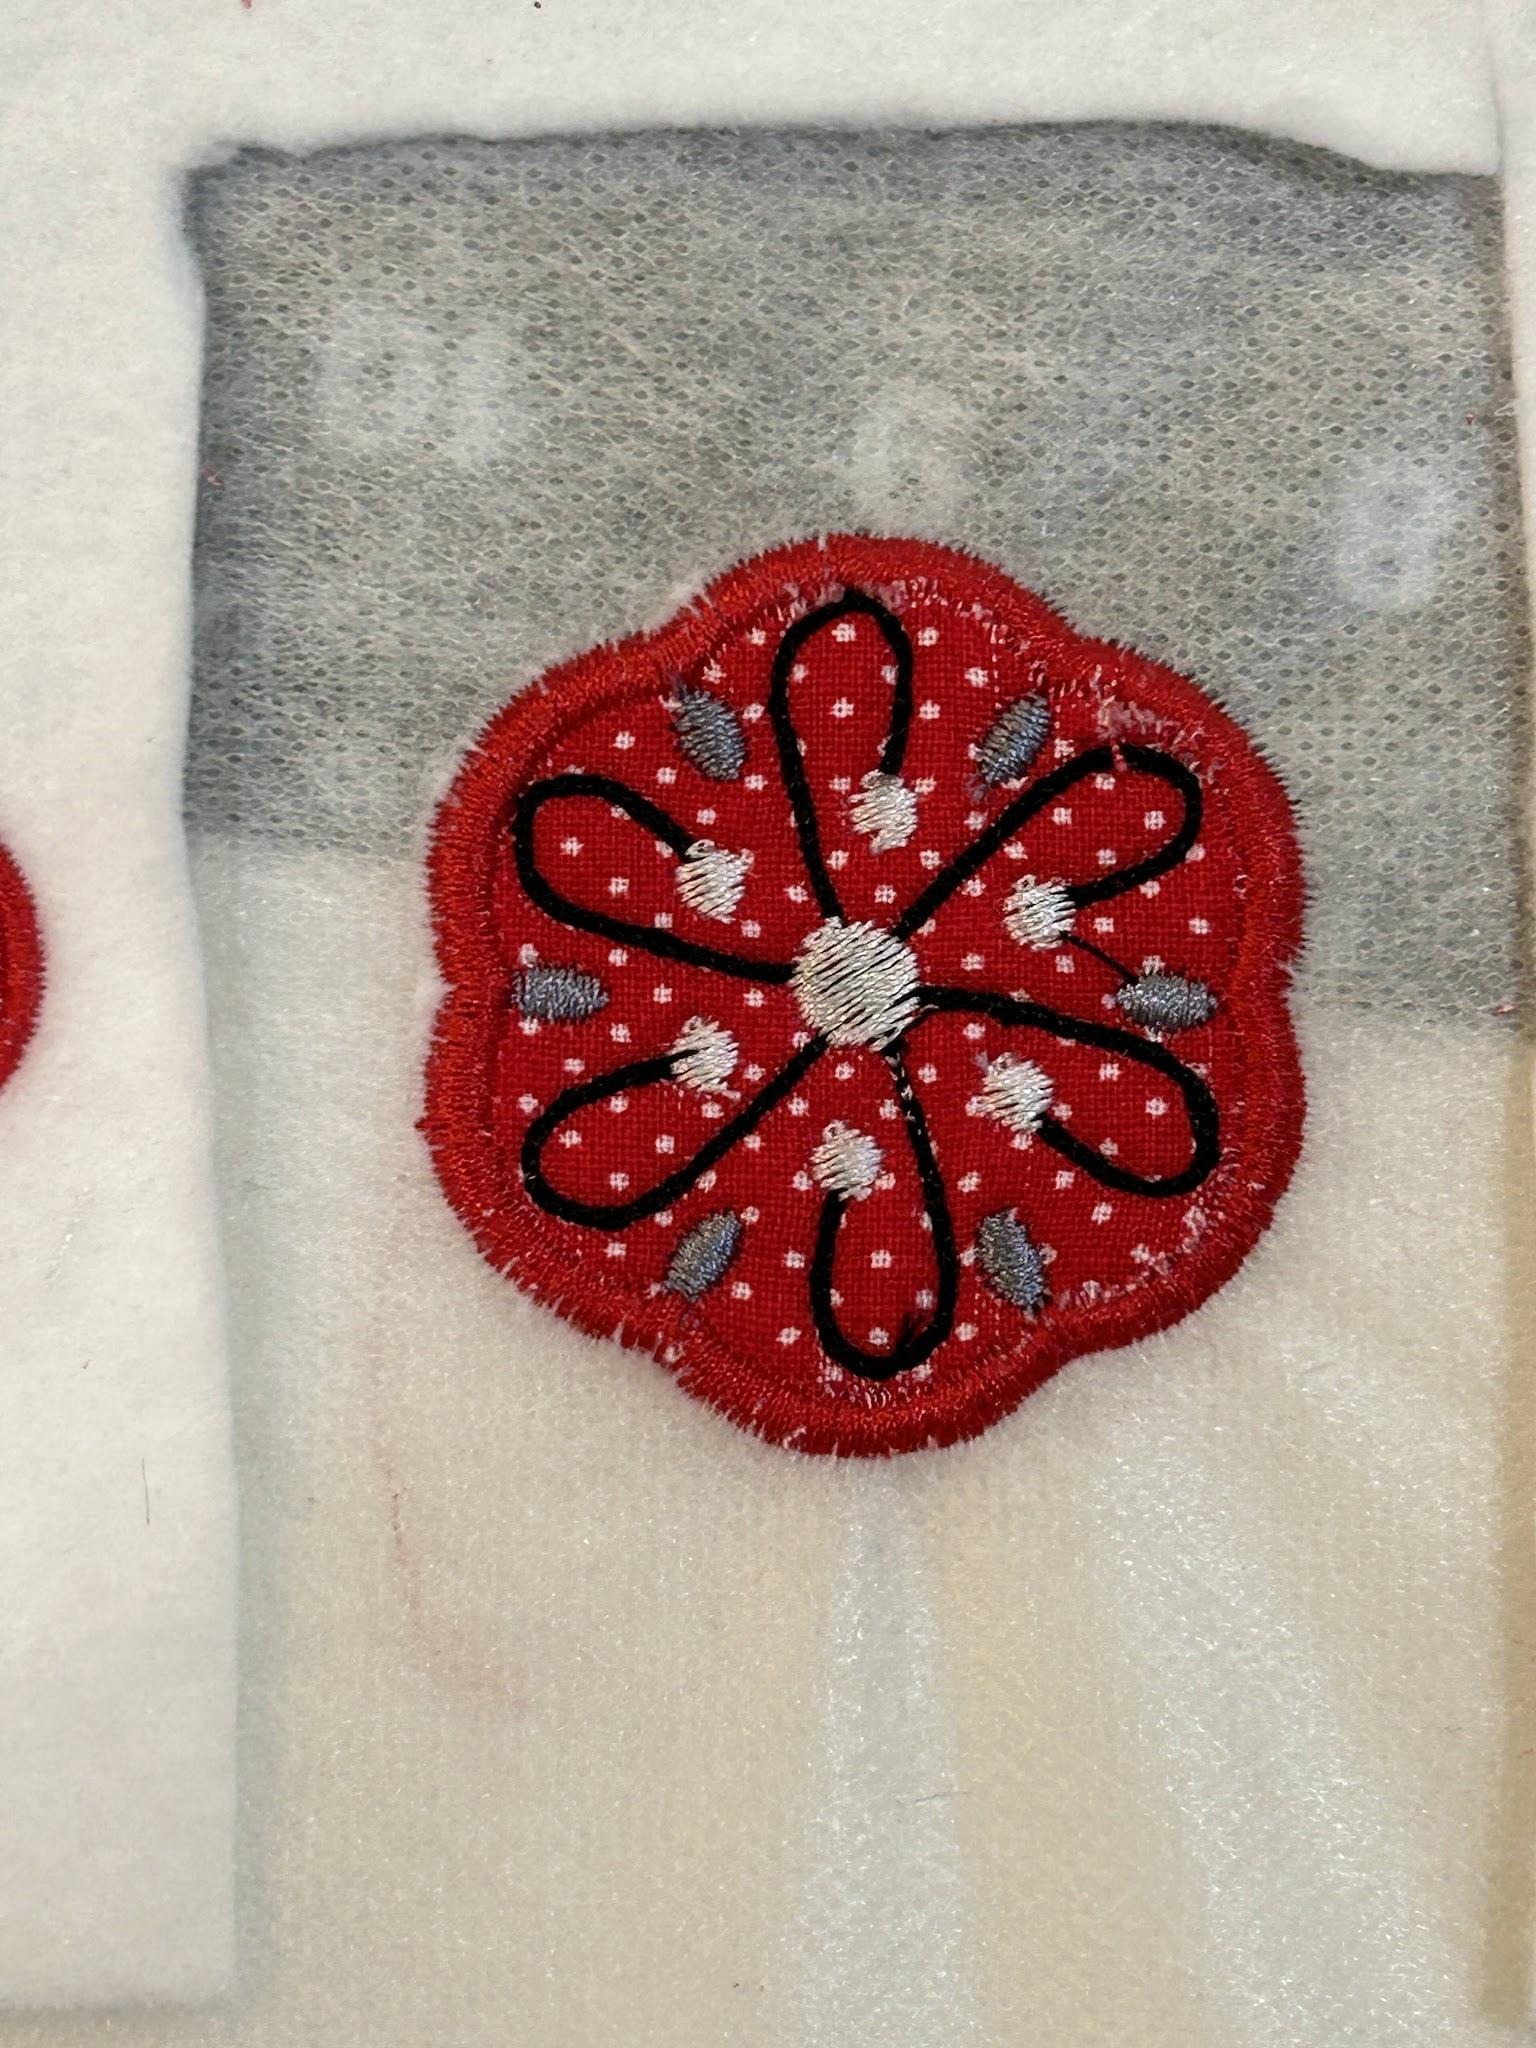
Remove the applique from the hoop. Trim the stabilizer close to the stitches, taking care not to cut the stitches.
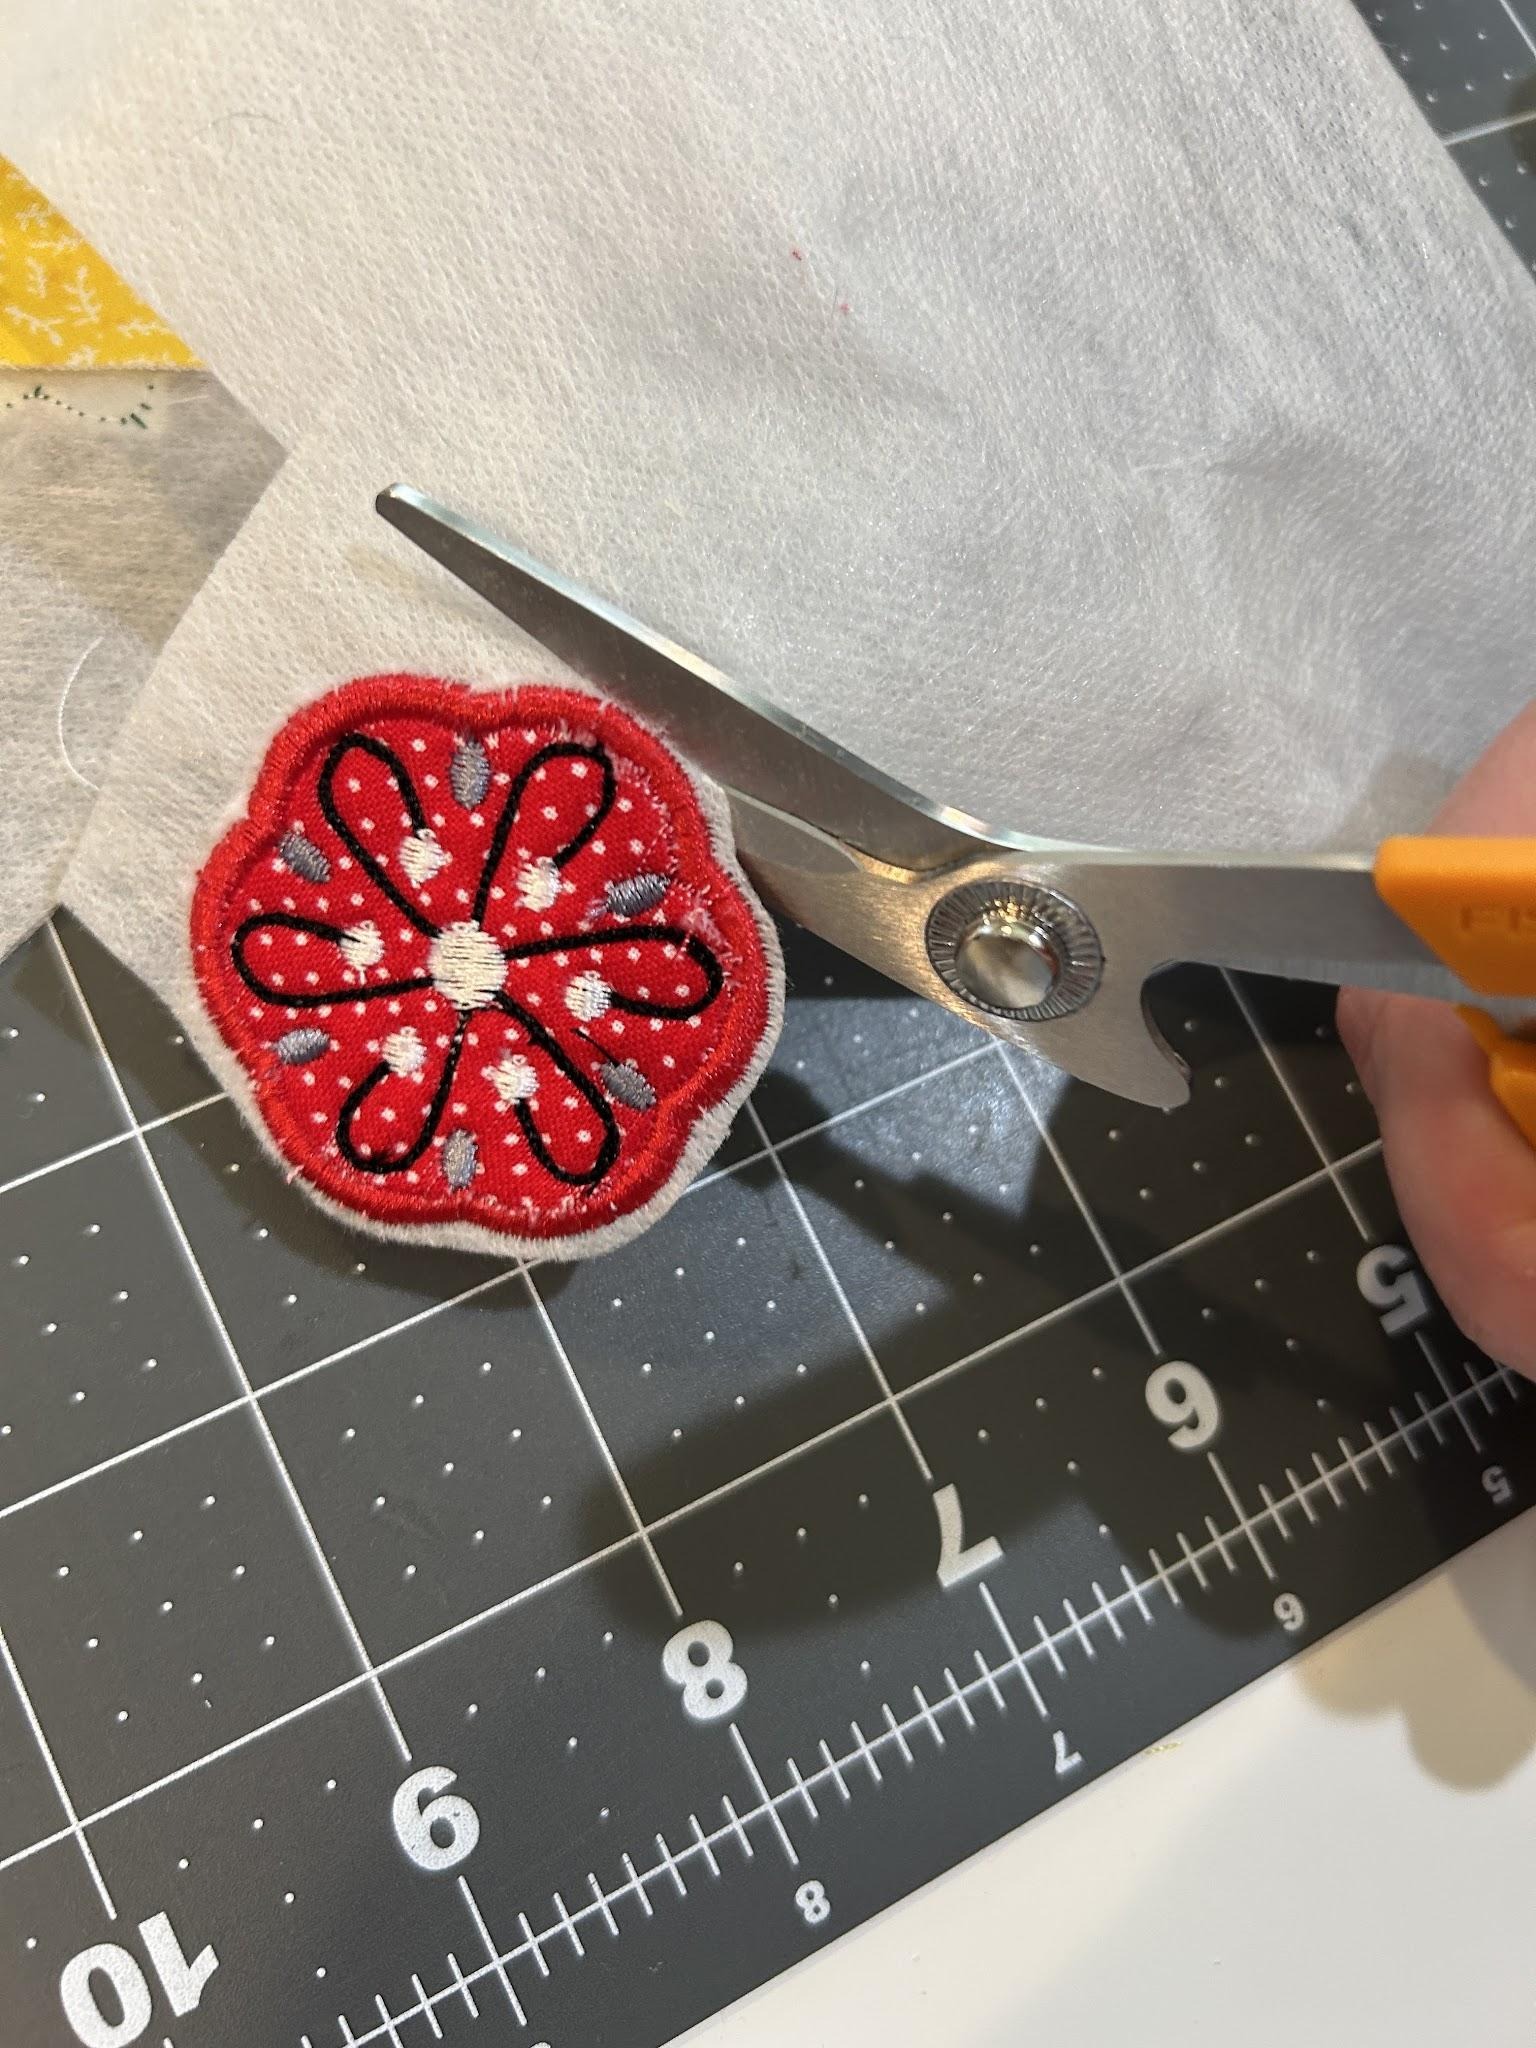
Use a wet cotton swab to help dissolve the stabilizer from the edge of the applique.
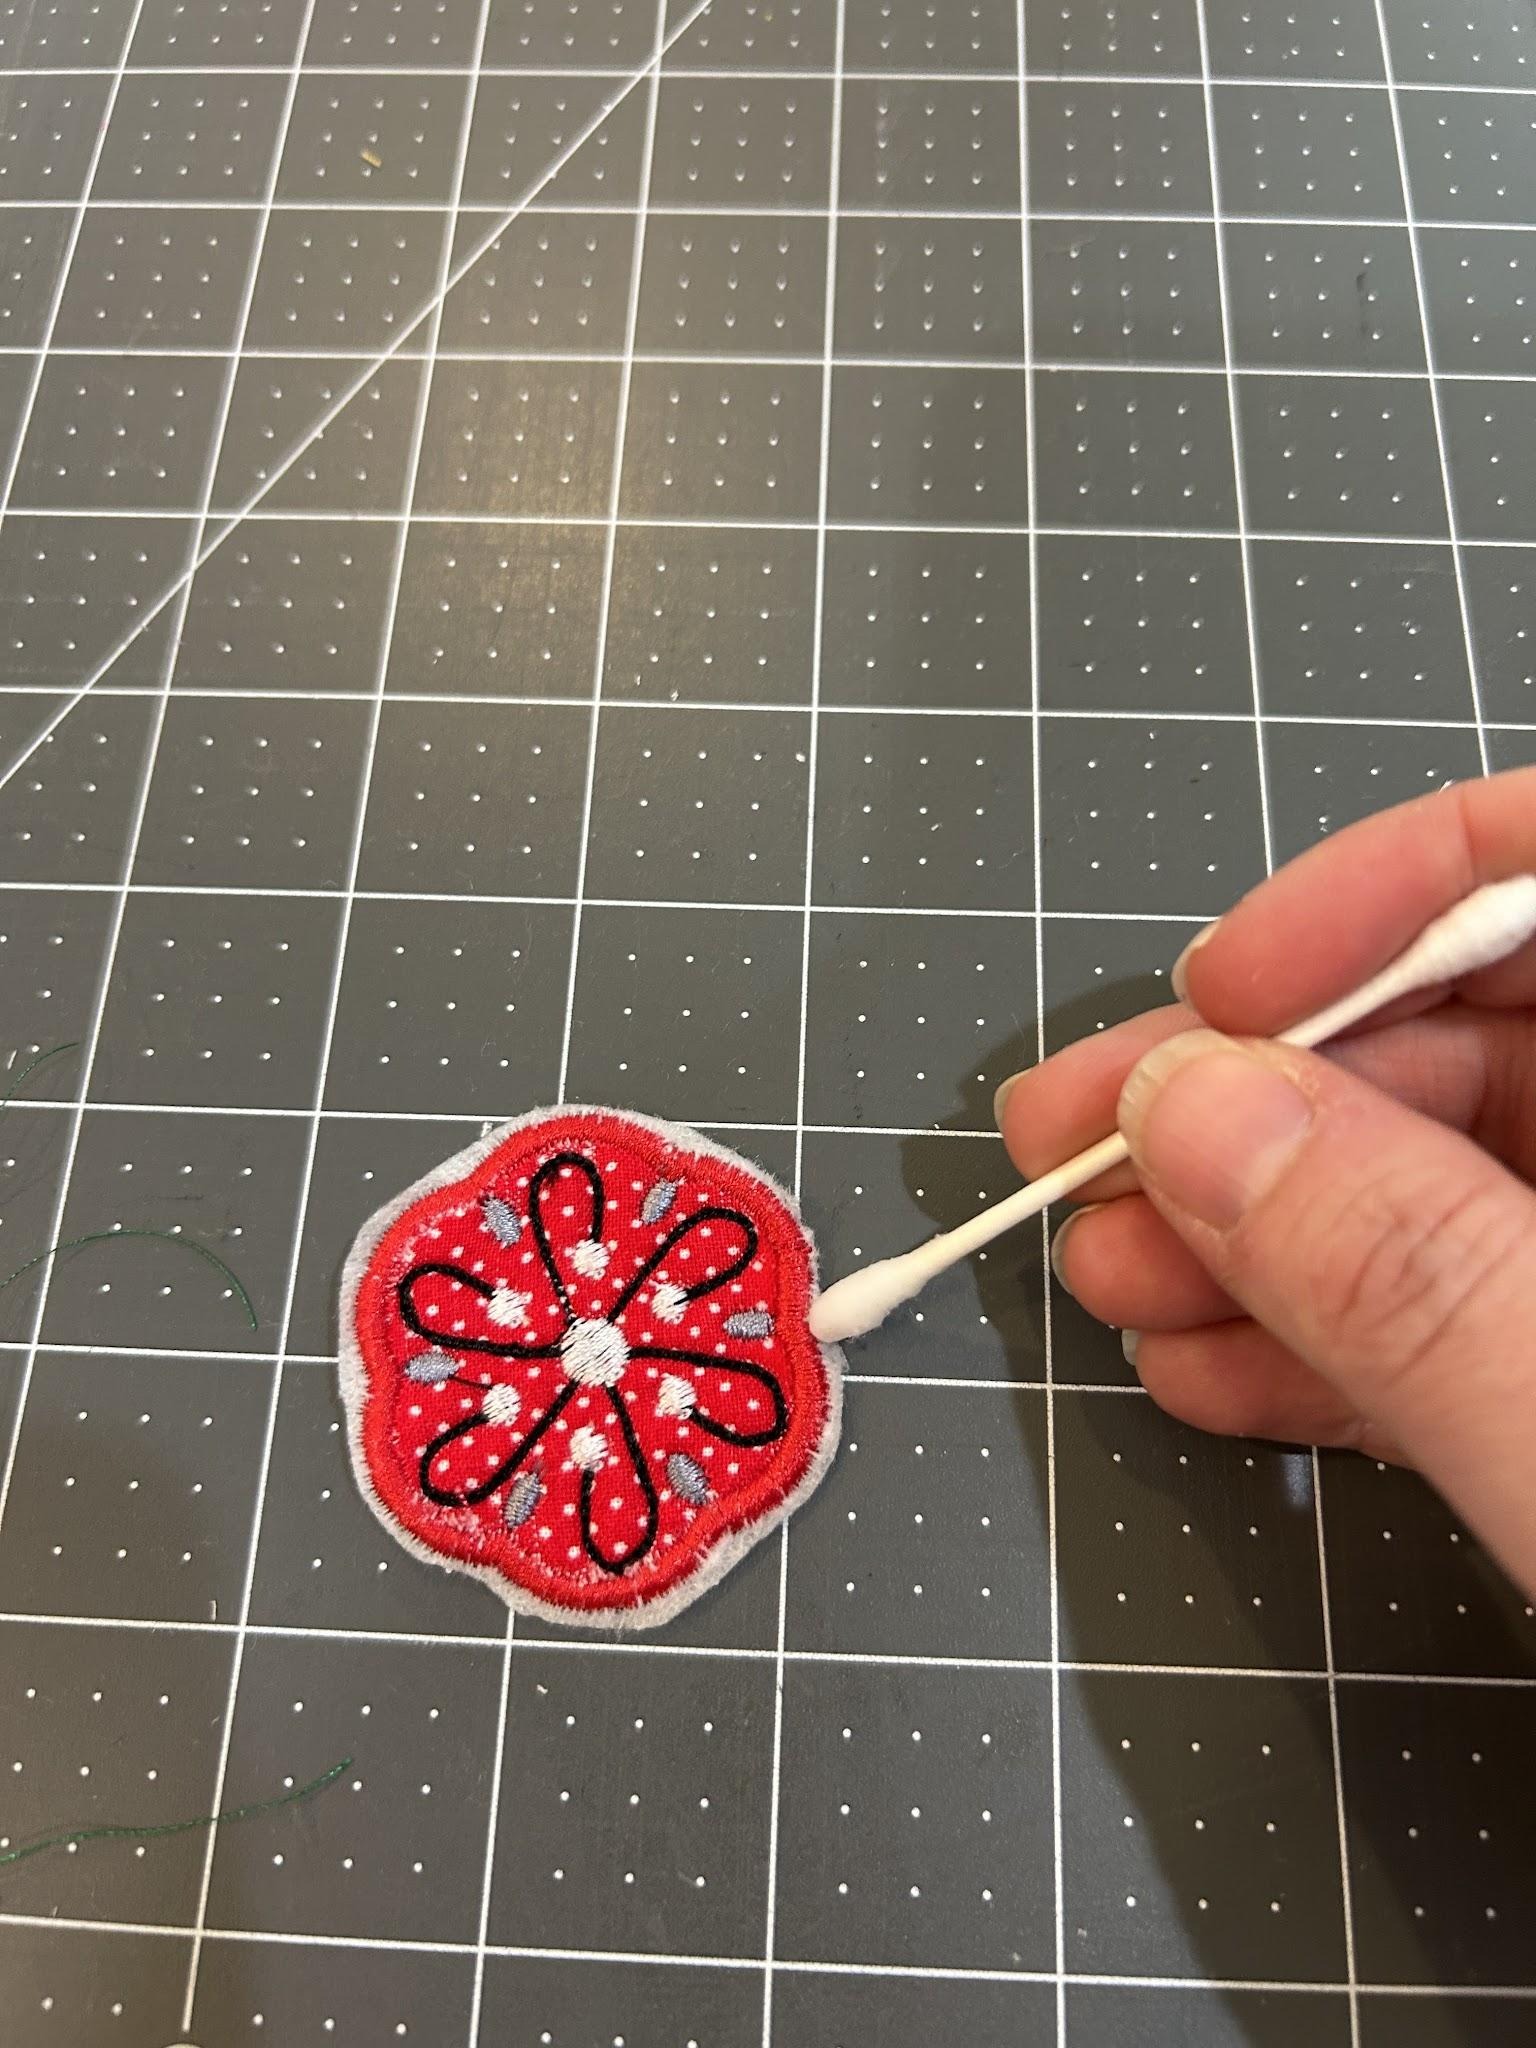
Turn your applique upside down and add a dot of E6000 glue to your ceramic magnet.
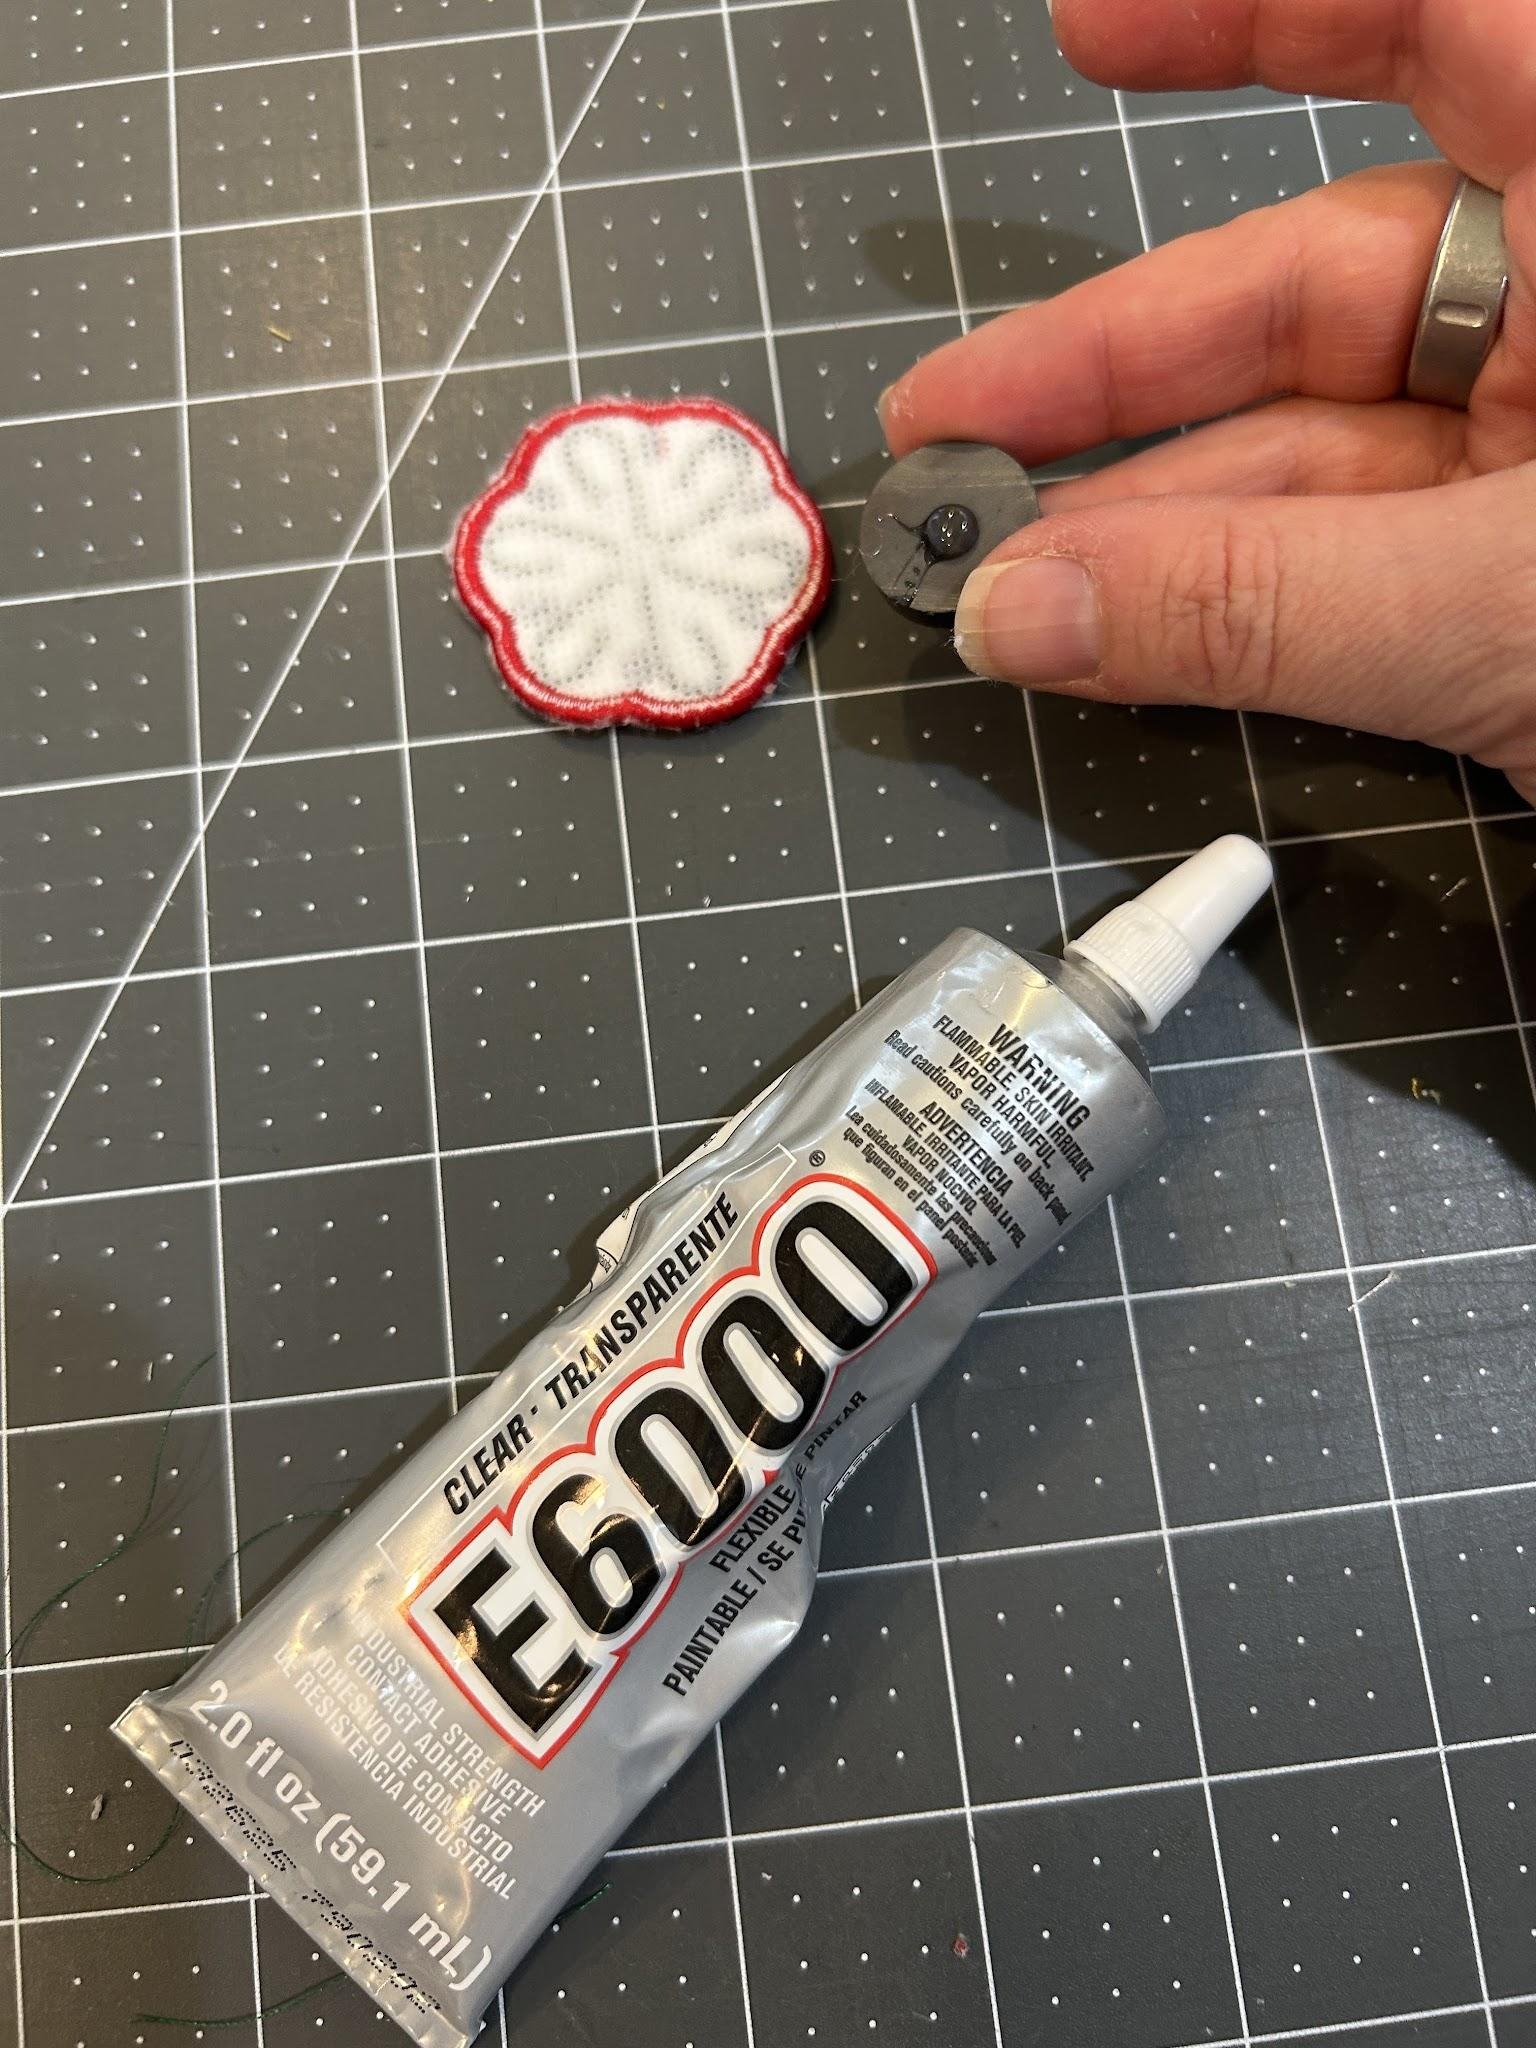
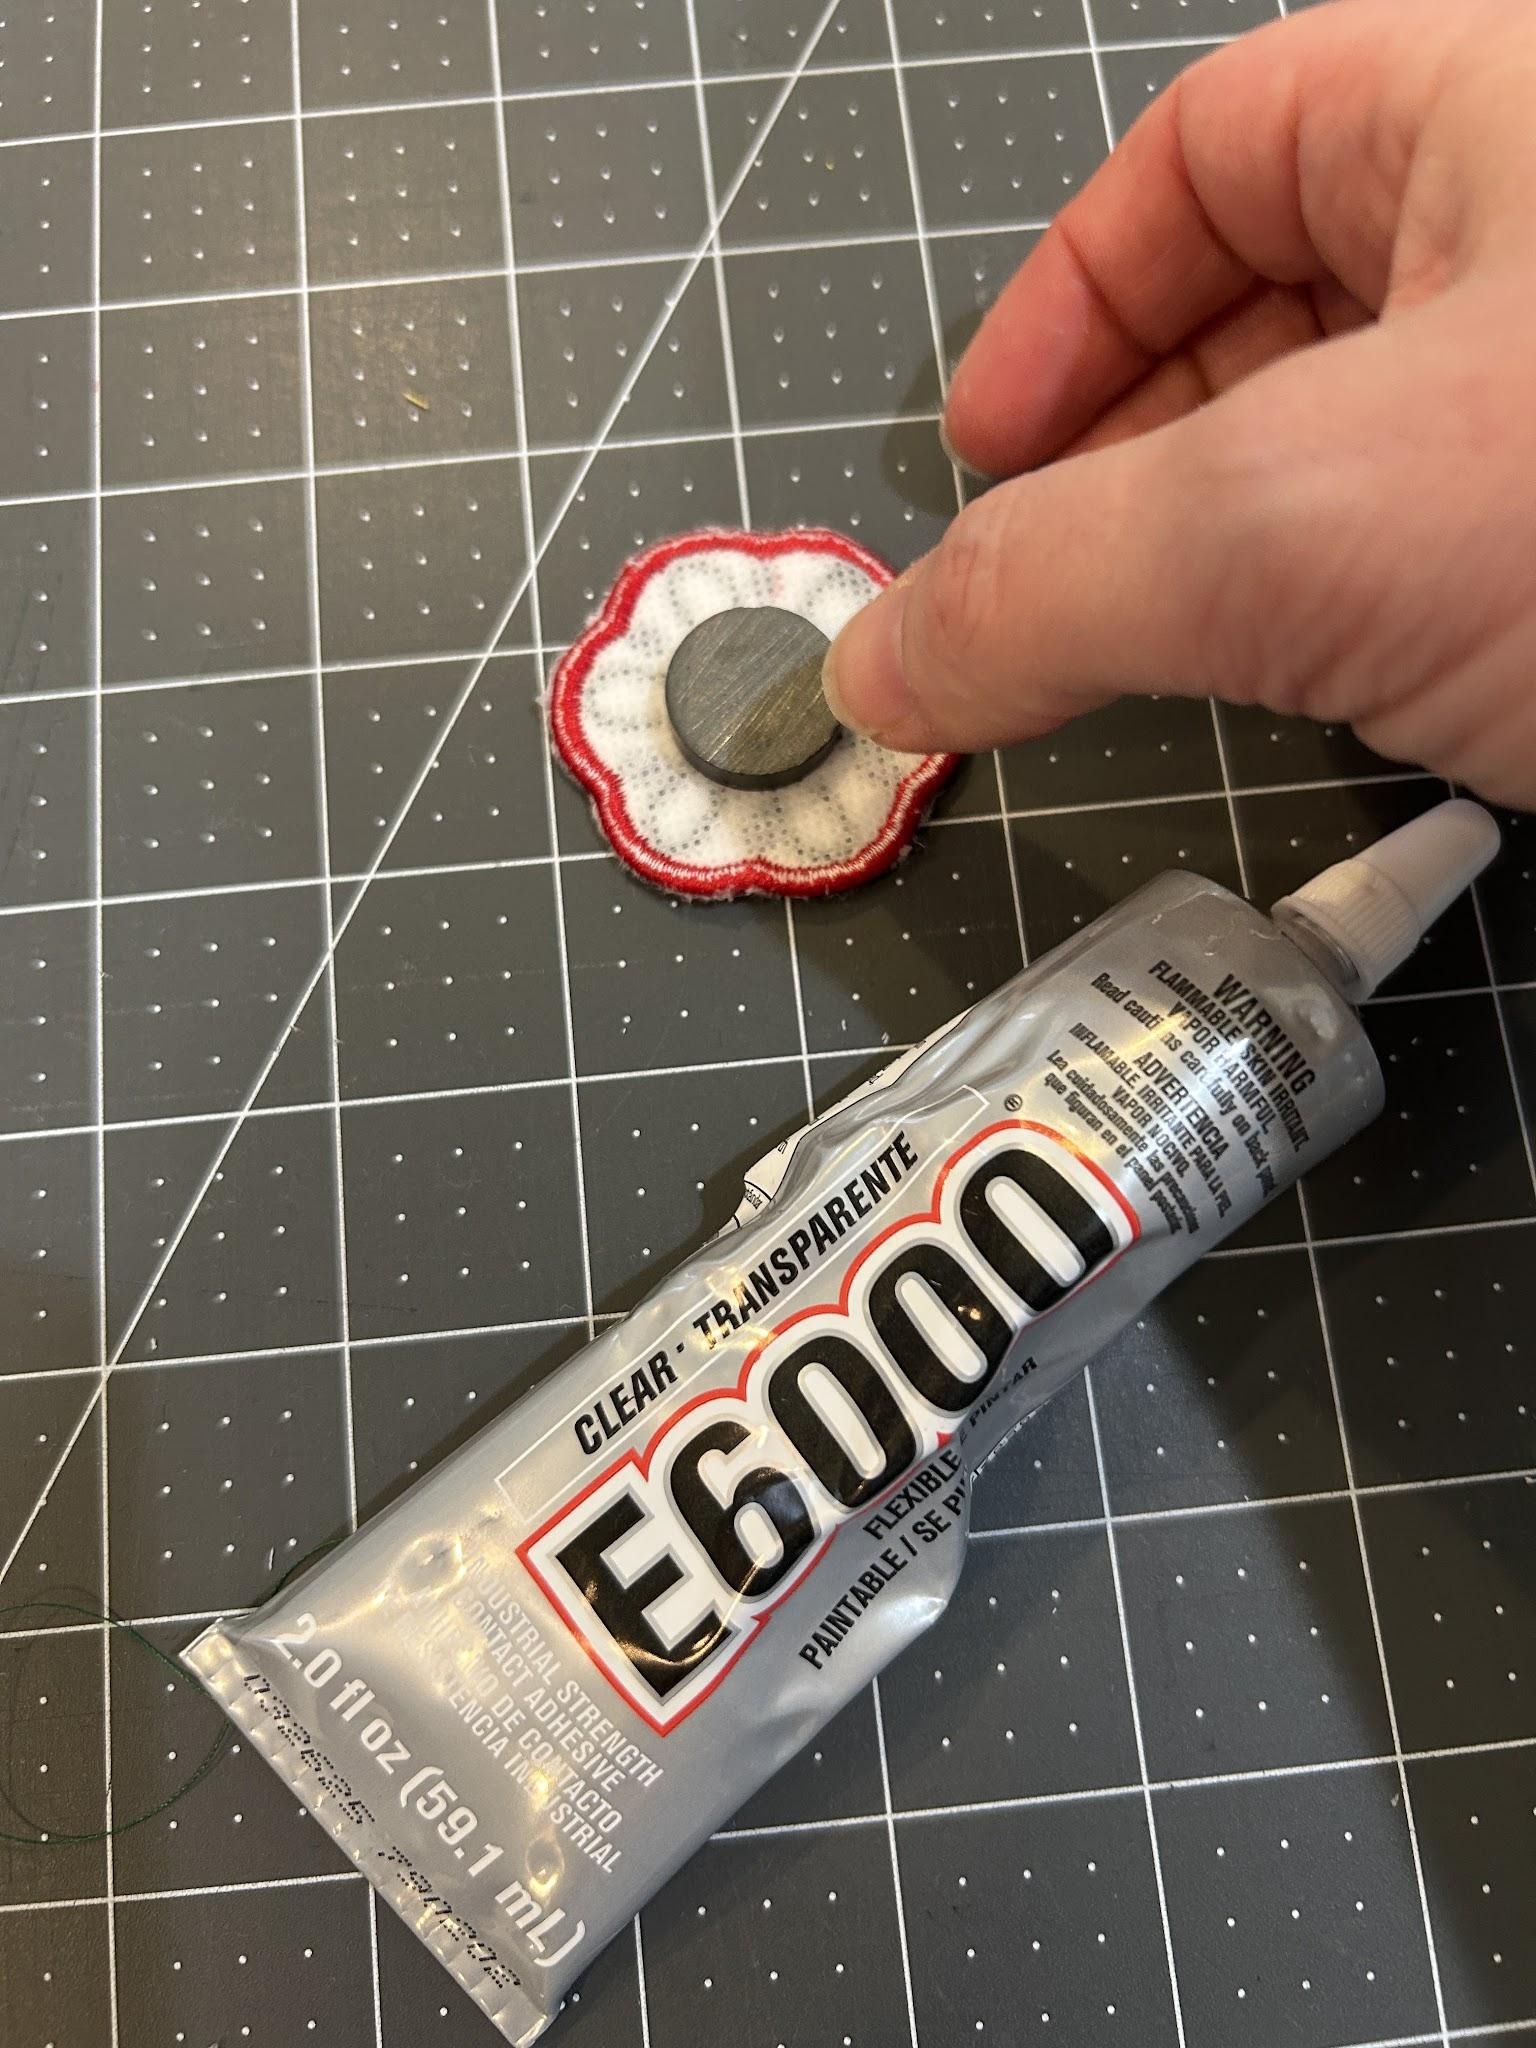
Center the magnet on the back of your applique and let it dry.
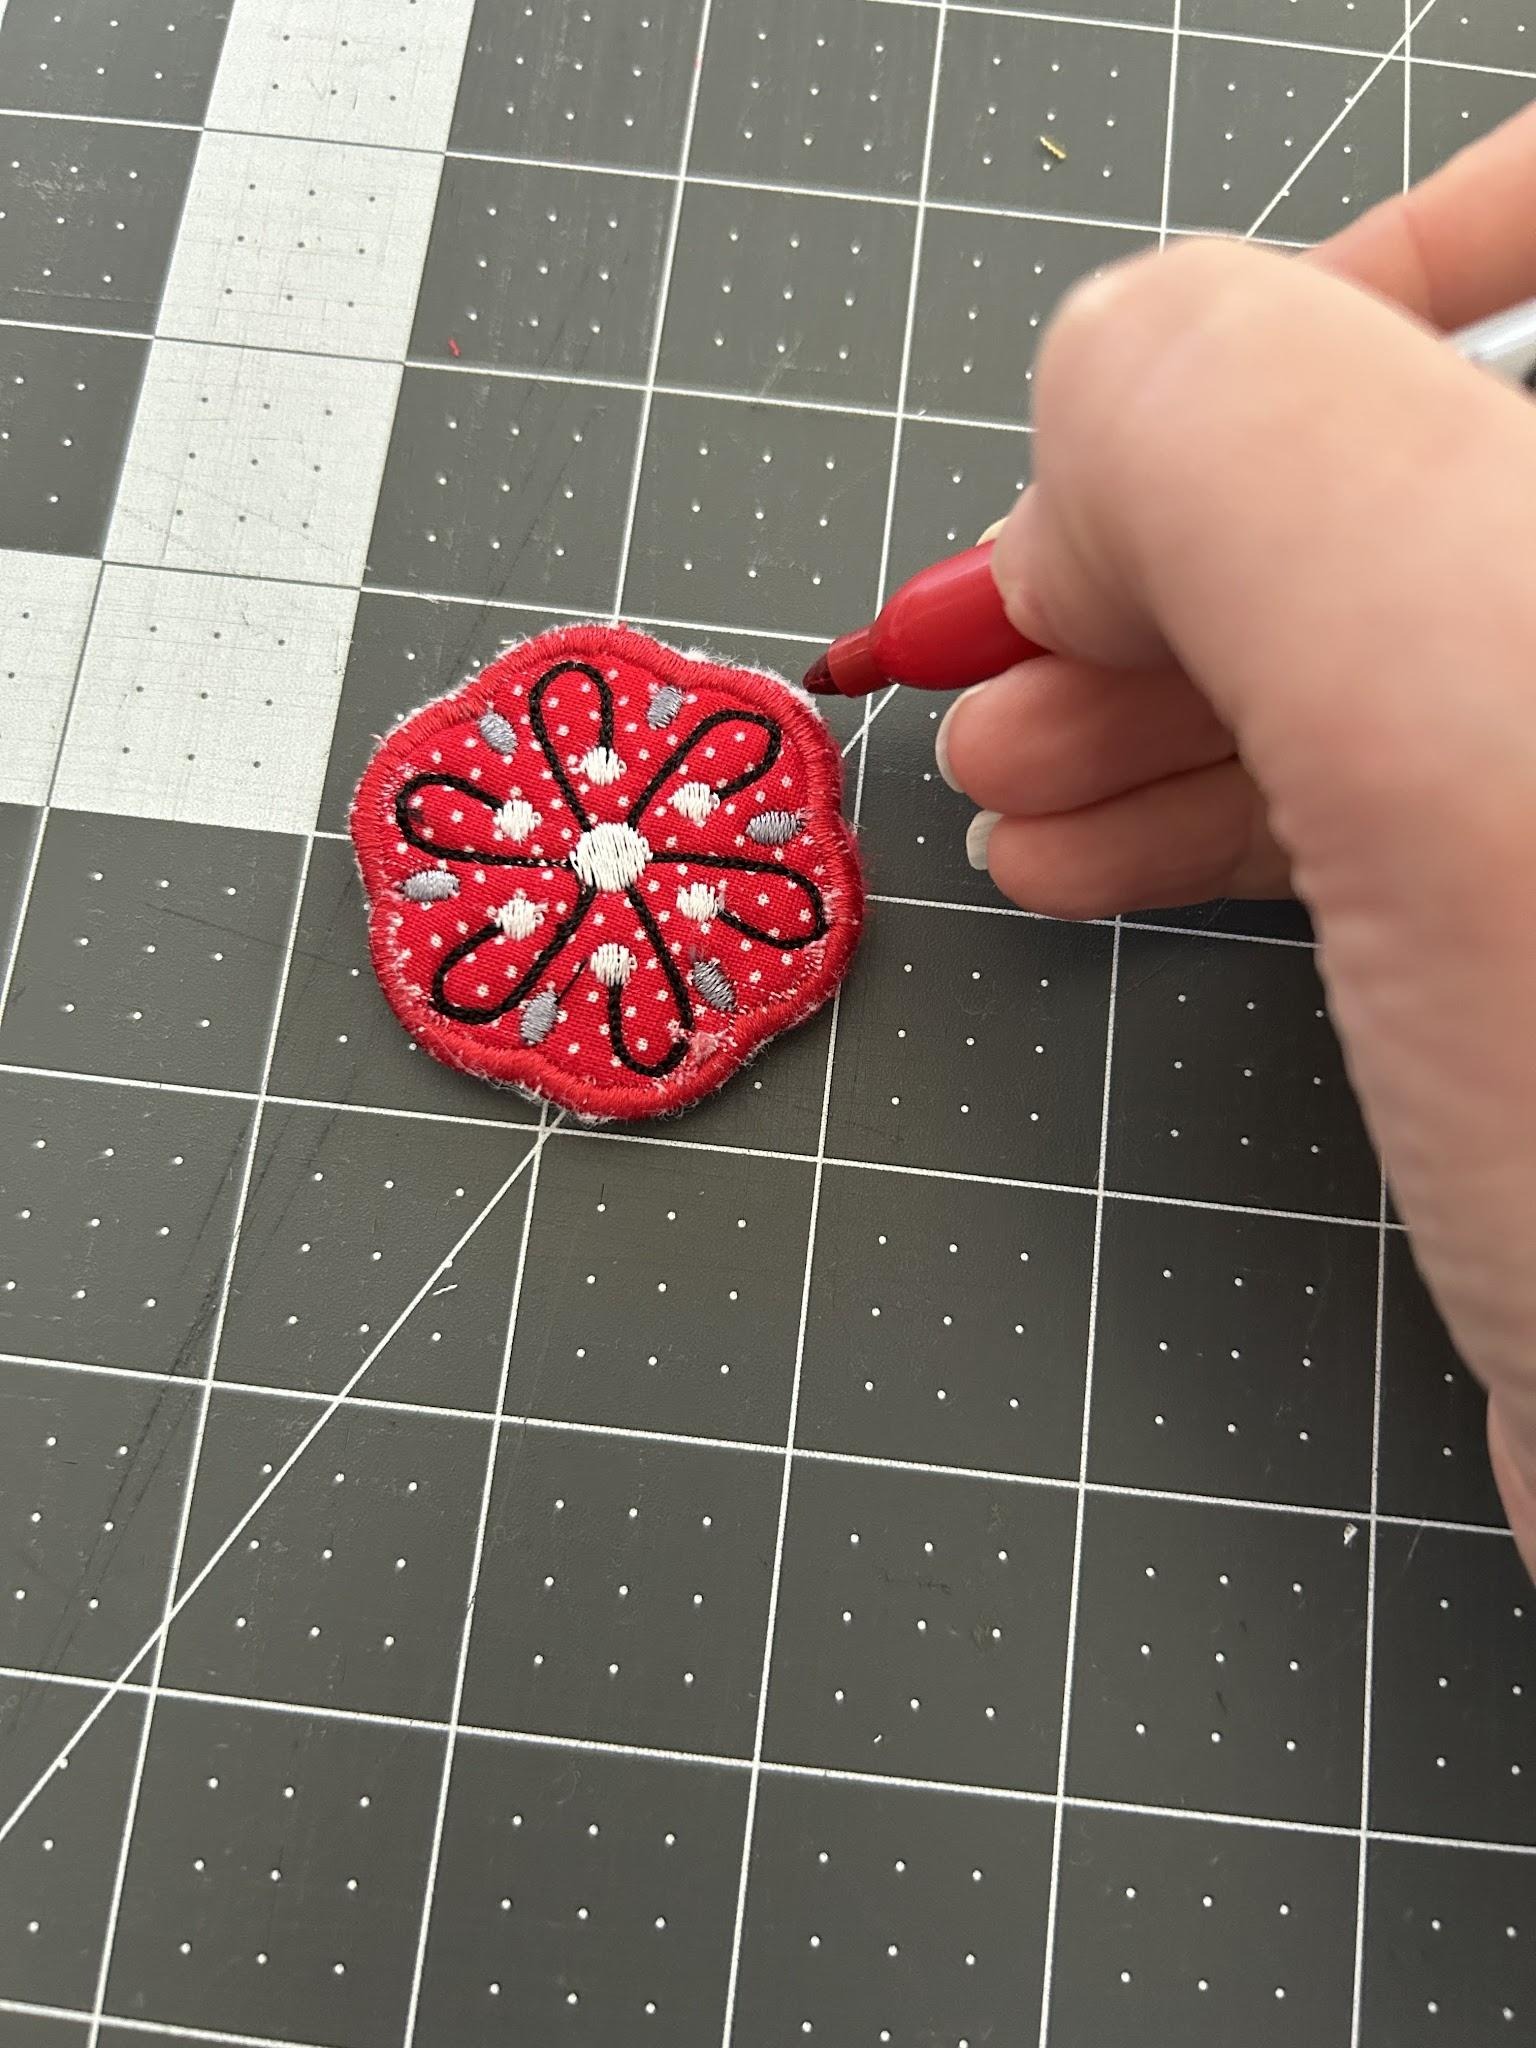
Sometimes no matter how close I clip my felt I still can see a bit of it through the cover stitches. I cheat by using a matching Sharpie® around the edges to color the felt that shows through to match my stitches.
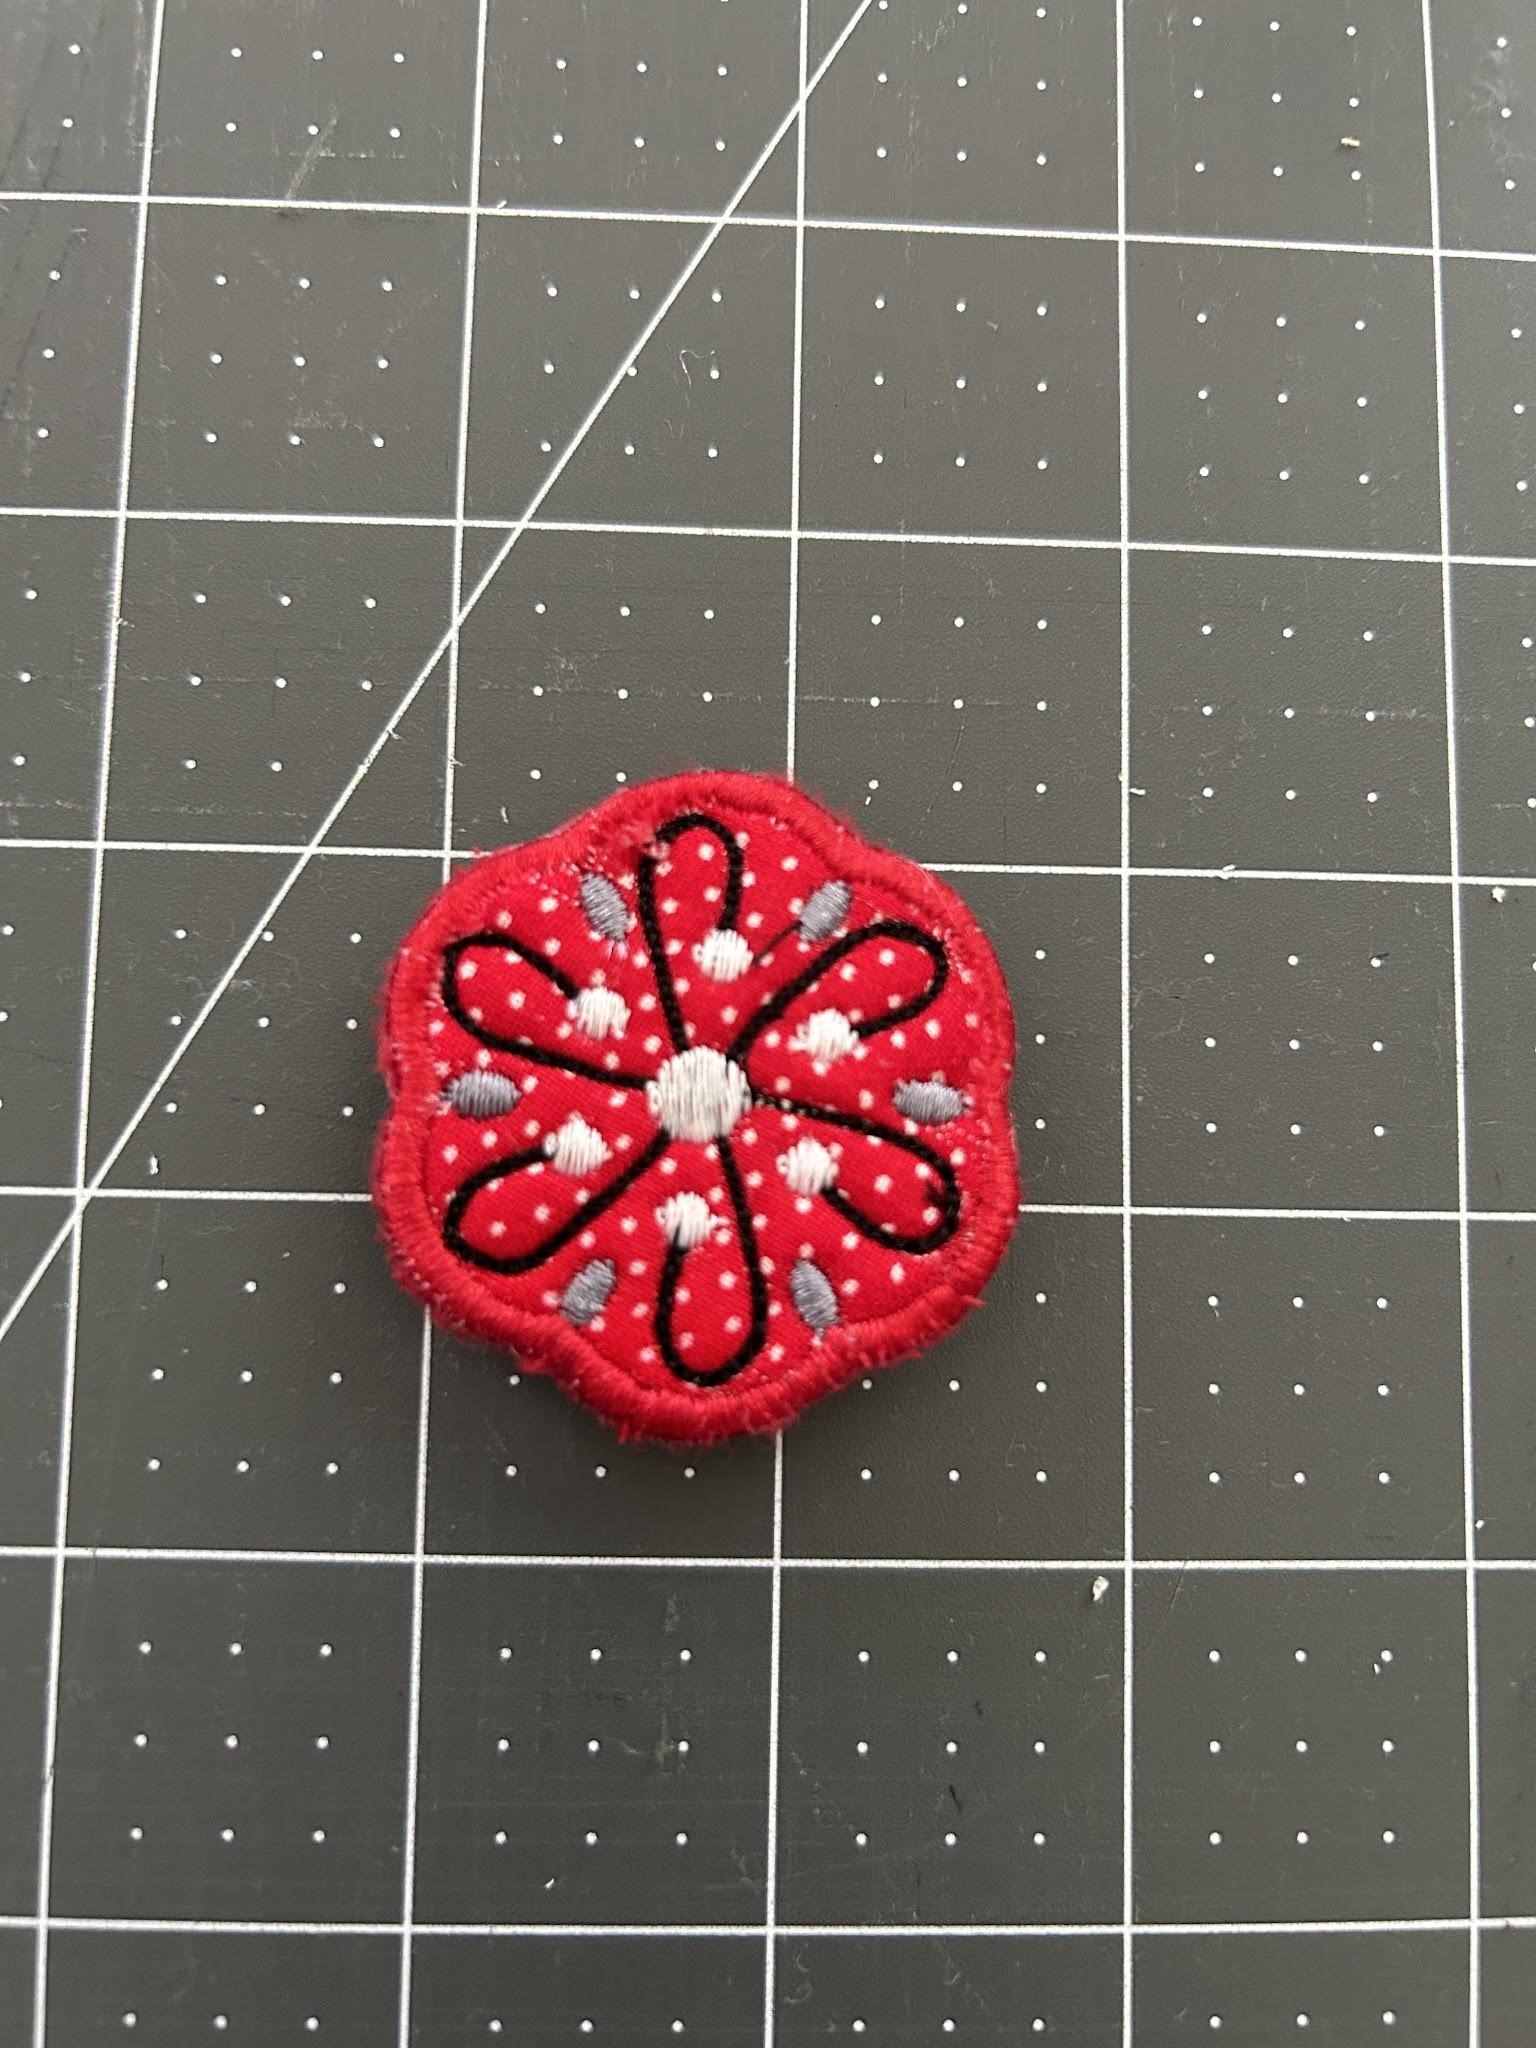
Your magnet is ready to be put to use!
I love using the alphabet embellishment kits for these types of magnets. To have a successful magnet using this technique, you want to find a design that has a main fabric for the body with some small designs around the edge. The pineapple from the Daisy Doodle Fruits Bean Stitch Applique Embellishment Set is perfect for this technique. The fabrics will have a raw edge so we will first fuse the fuseEZ to the wrong side of the fabric to prevent fraying.
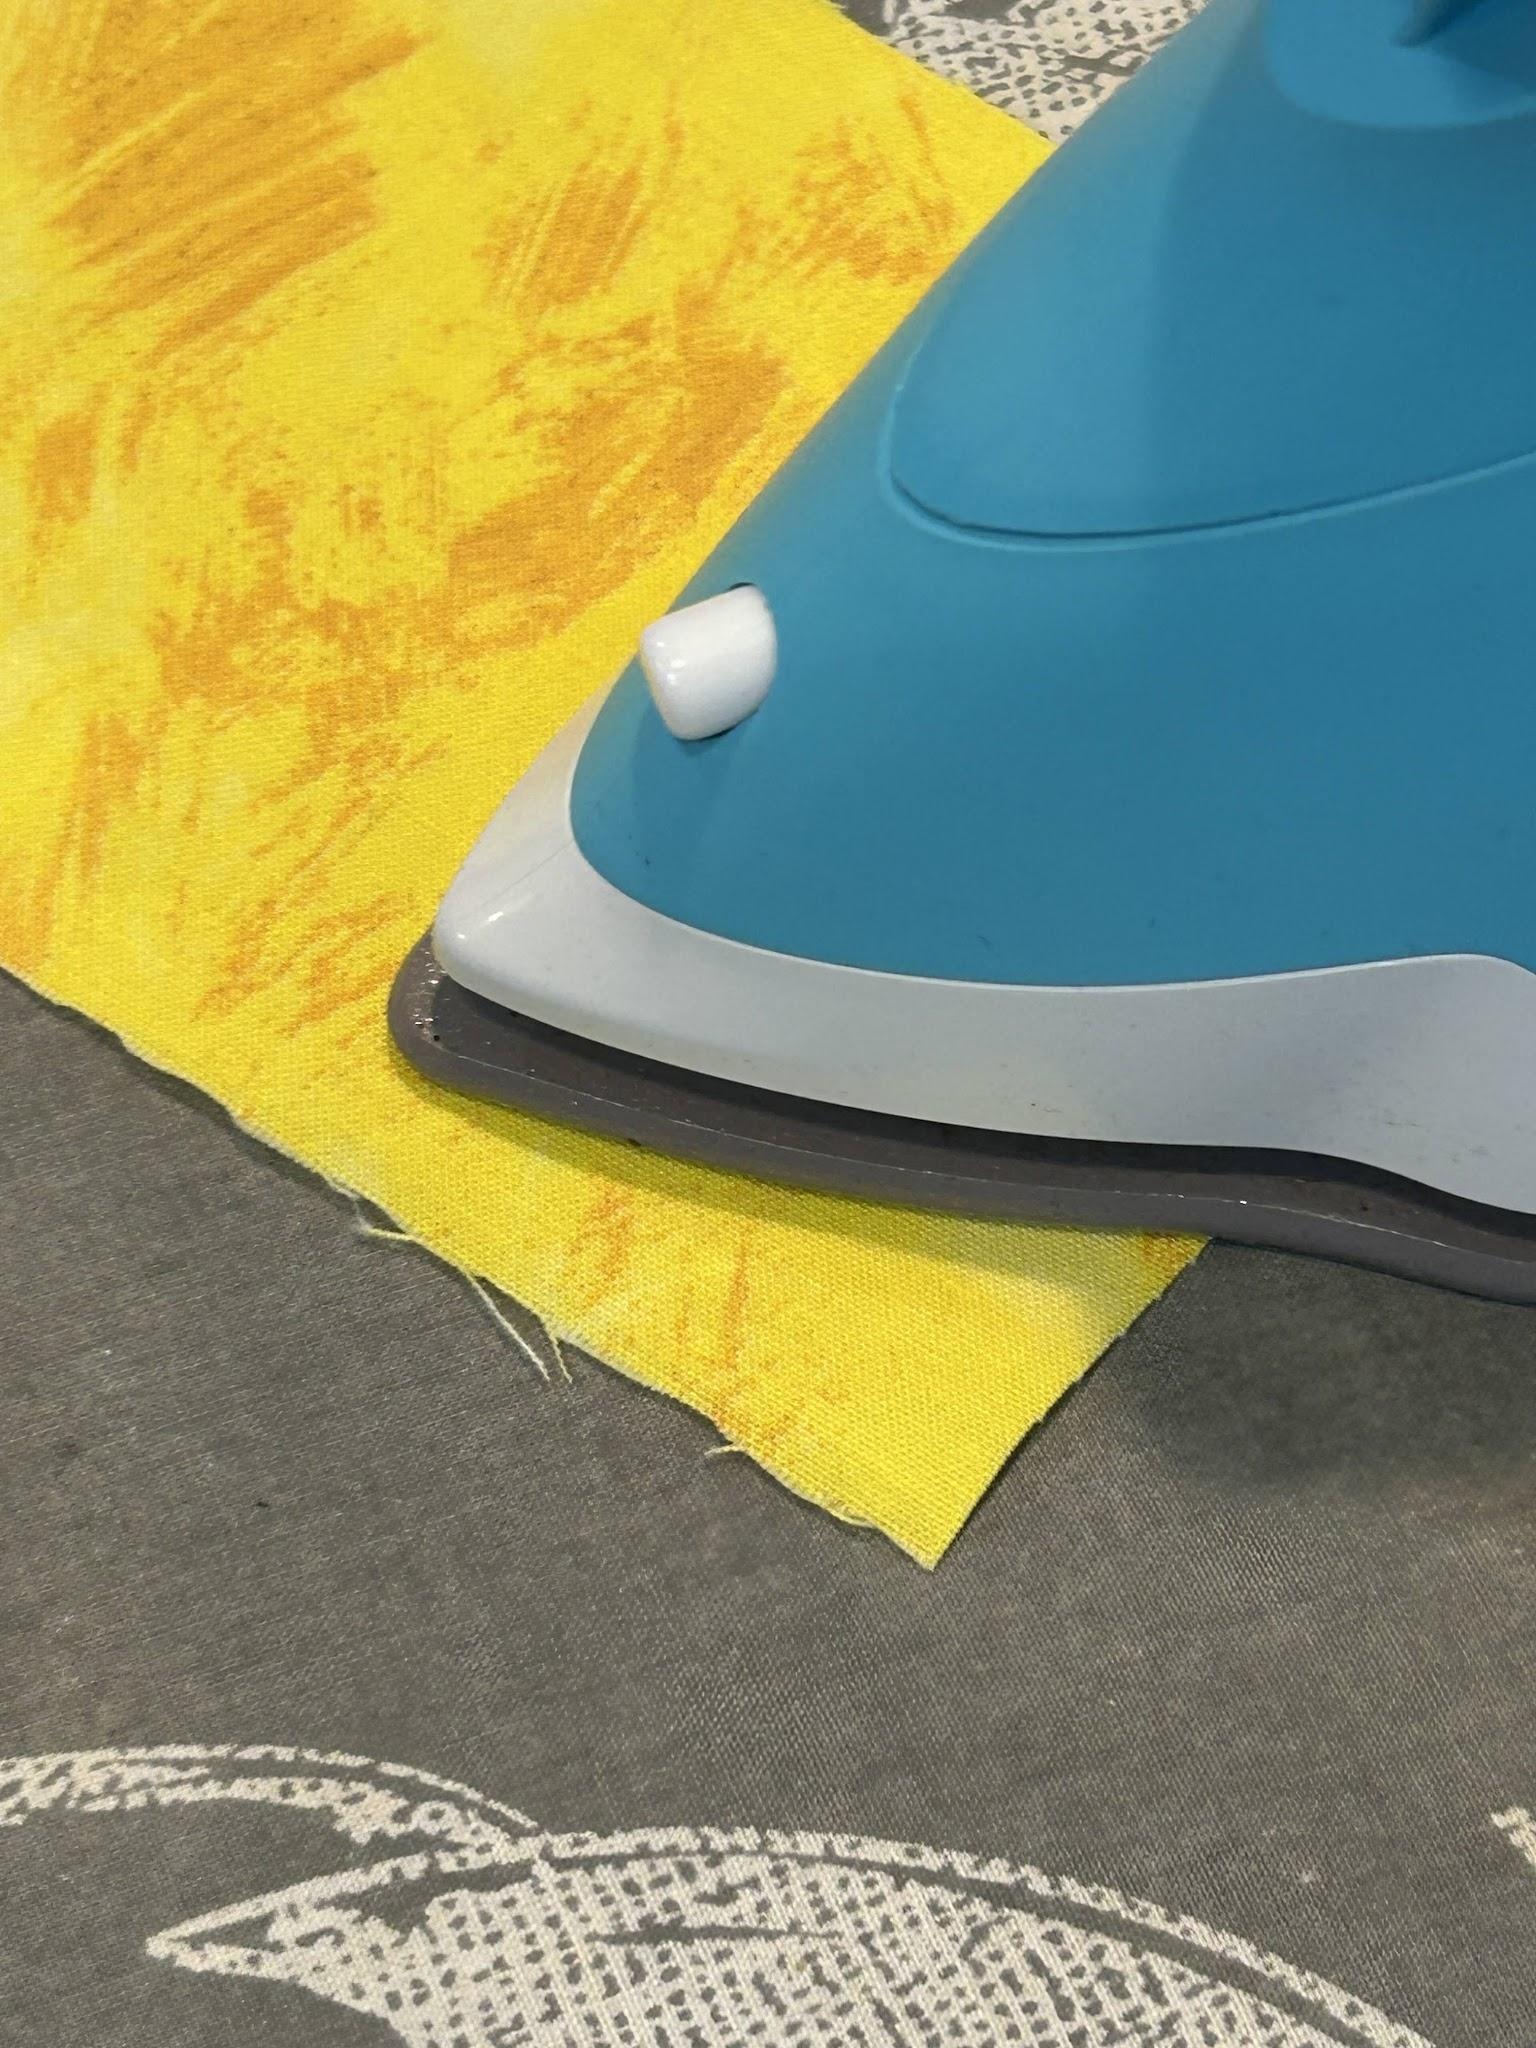
I'm still using two layers of magicMELT hooped for the previous two types of magnets even though it's not required for this type of magnet (magicMESH could also be used for this type of magnet). This time I'm using a portion of the hooped stabilizer without the felt. Stitch out your placement stitch. Cover the placement stitch with the fabric, tack down with the bean stitch, and trim around the stitches. These don’t need to be as close as when we are covering with a decorative edge. I try to make it so that I’m consistent around the stitches. Continue with the rest of your fabrics.
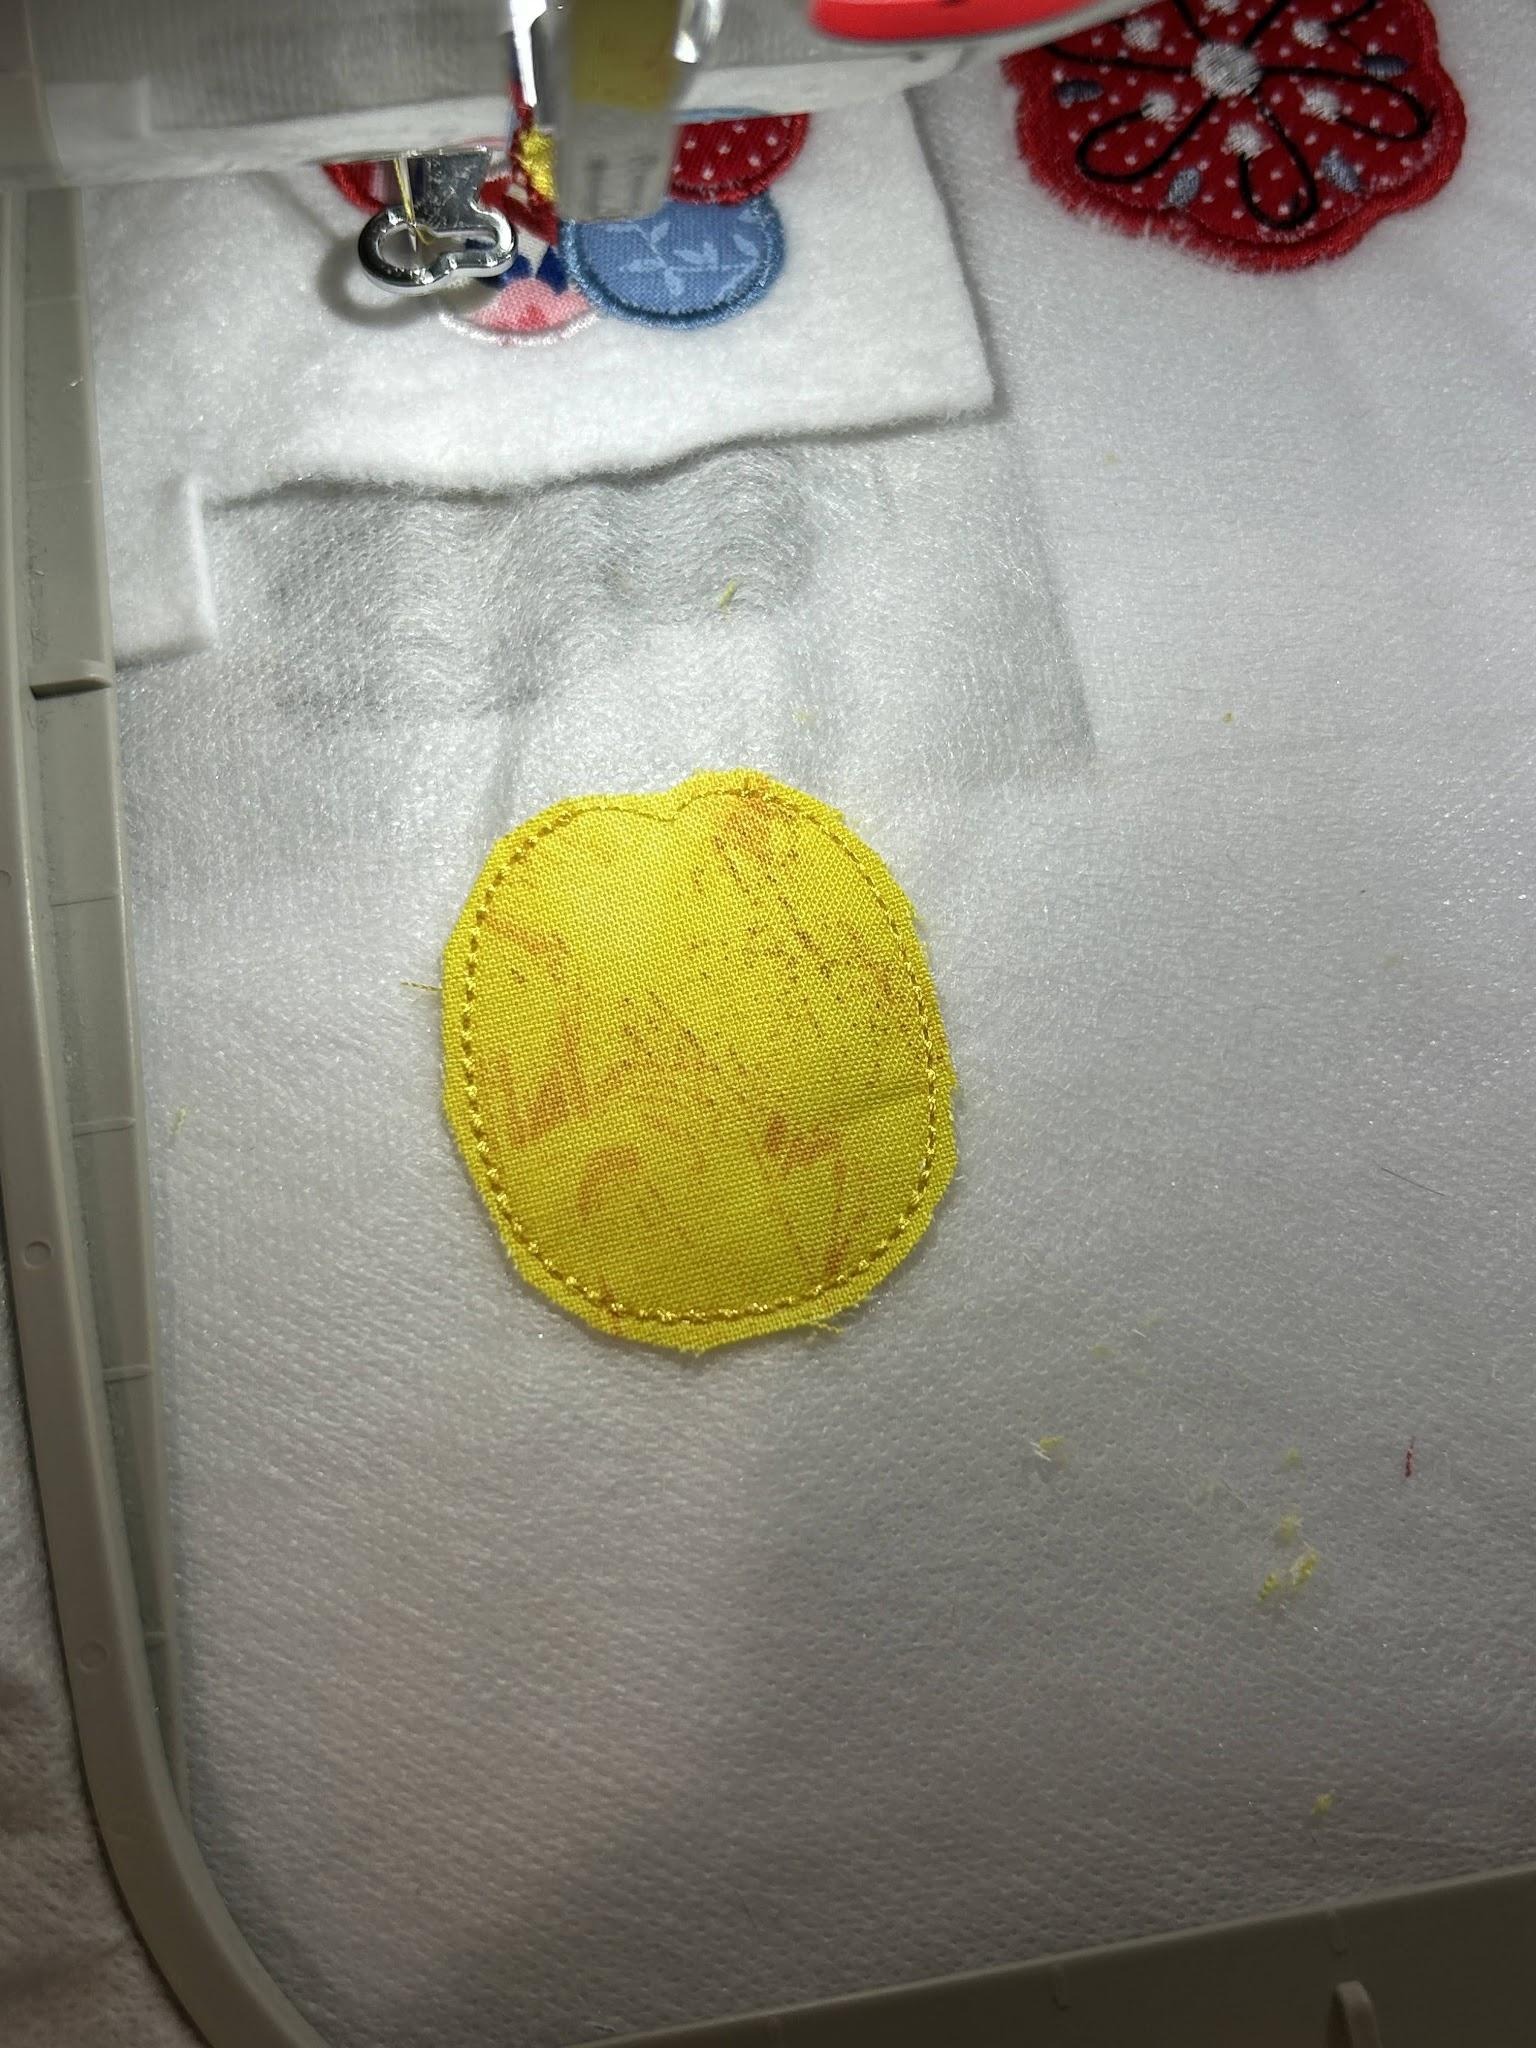
Remove your design from the hoop, turn the hoop over, and cover your stitches with the back fabric. Tape the fabric in place.
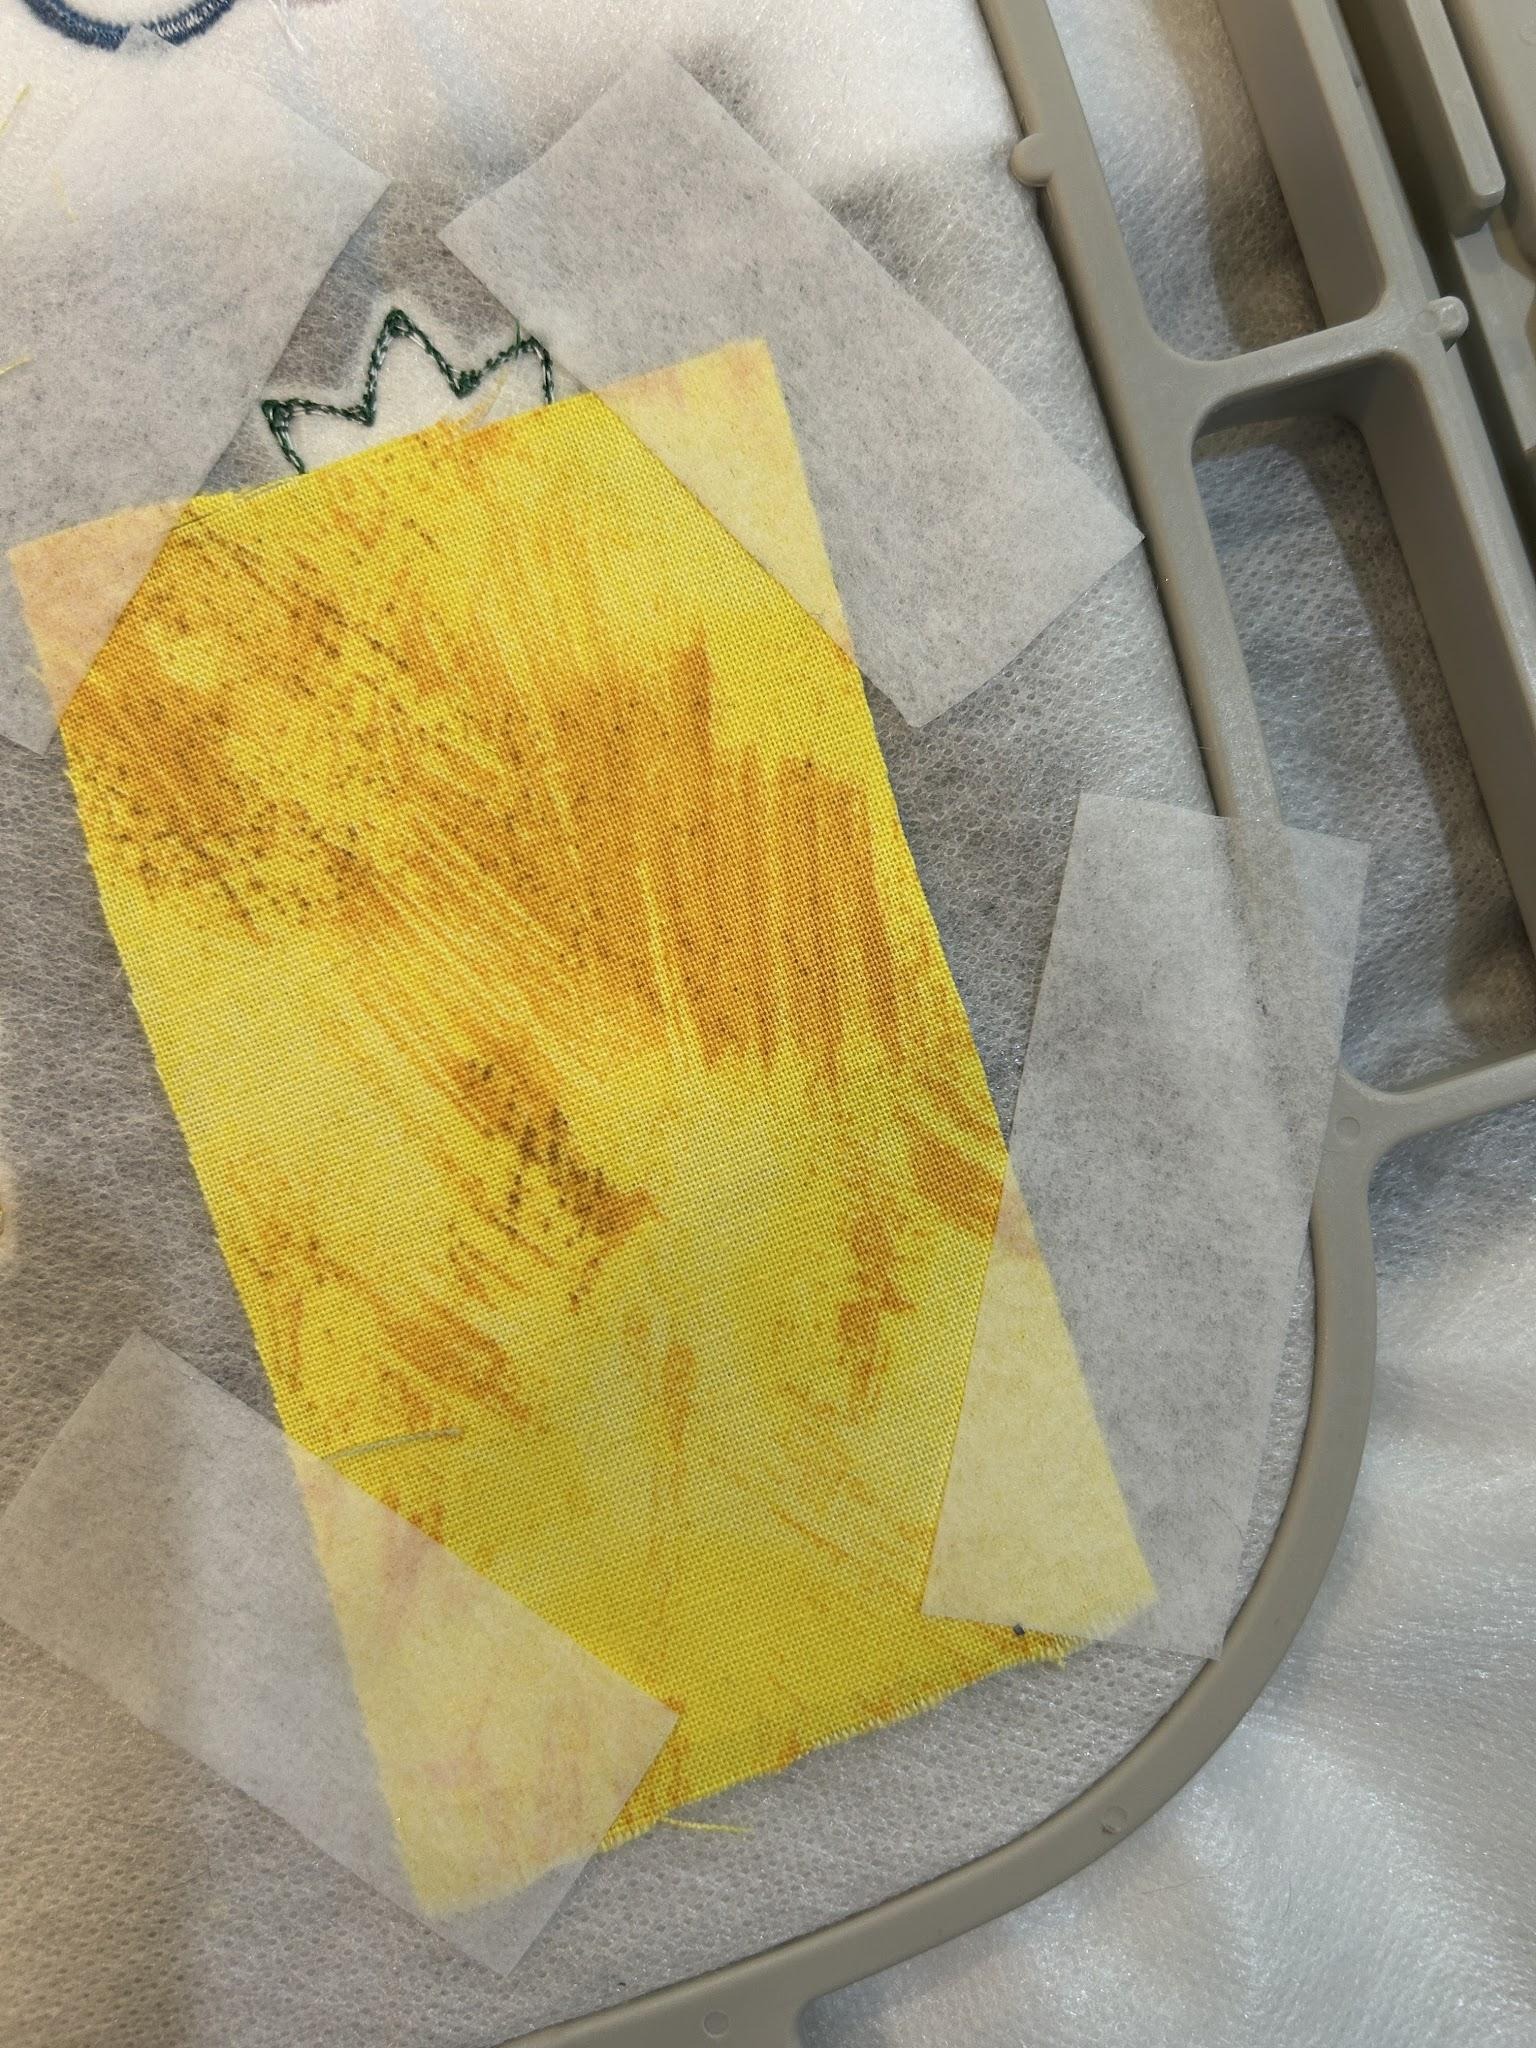
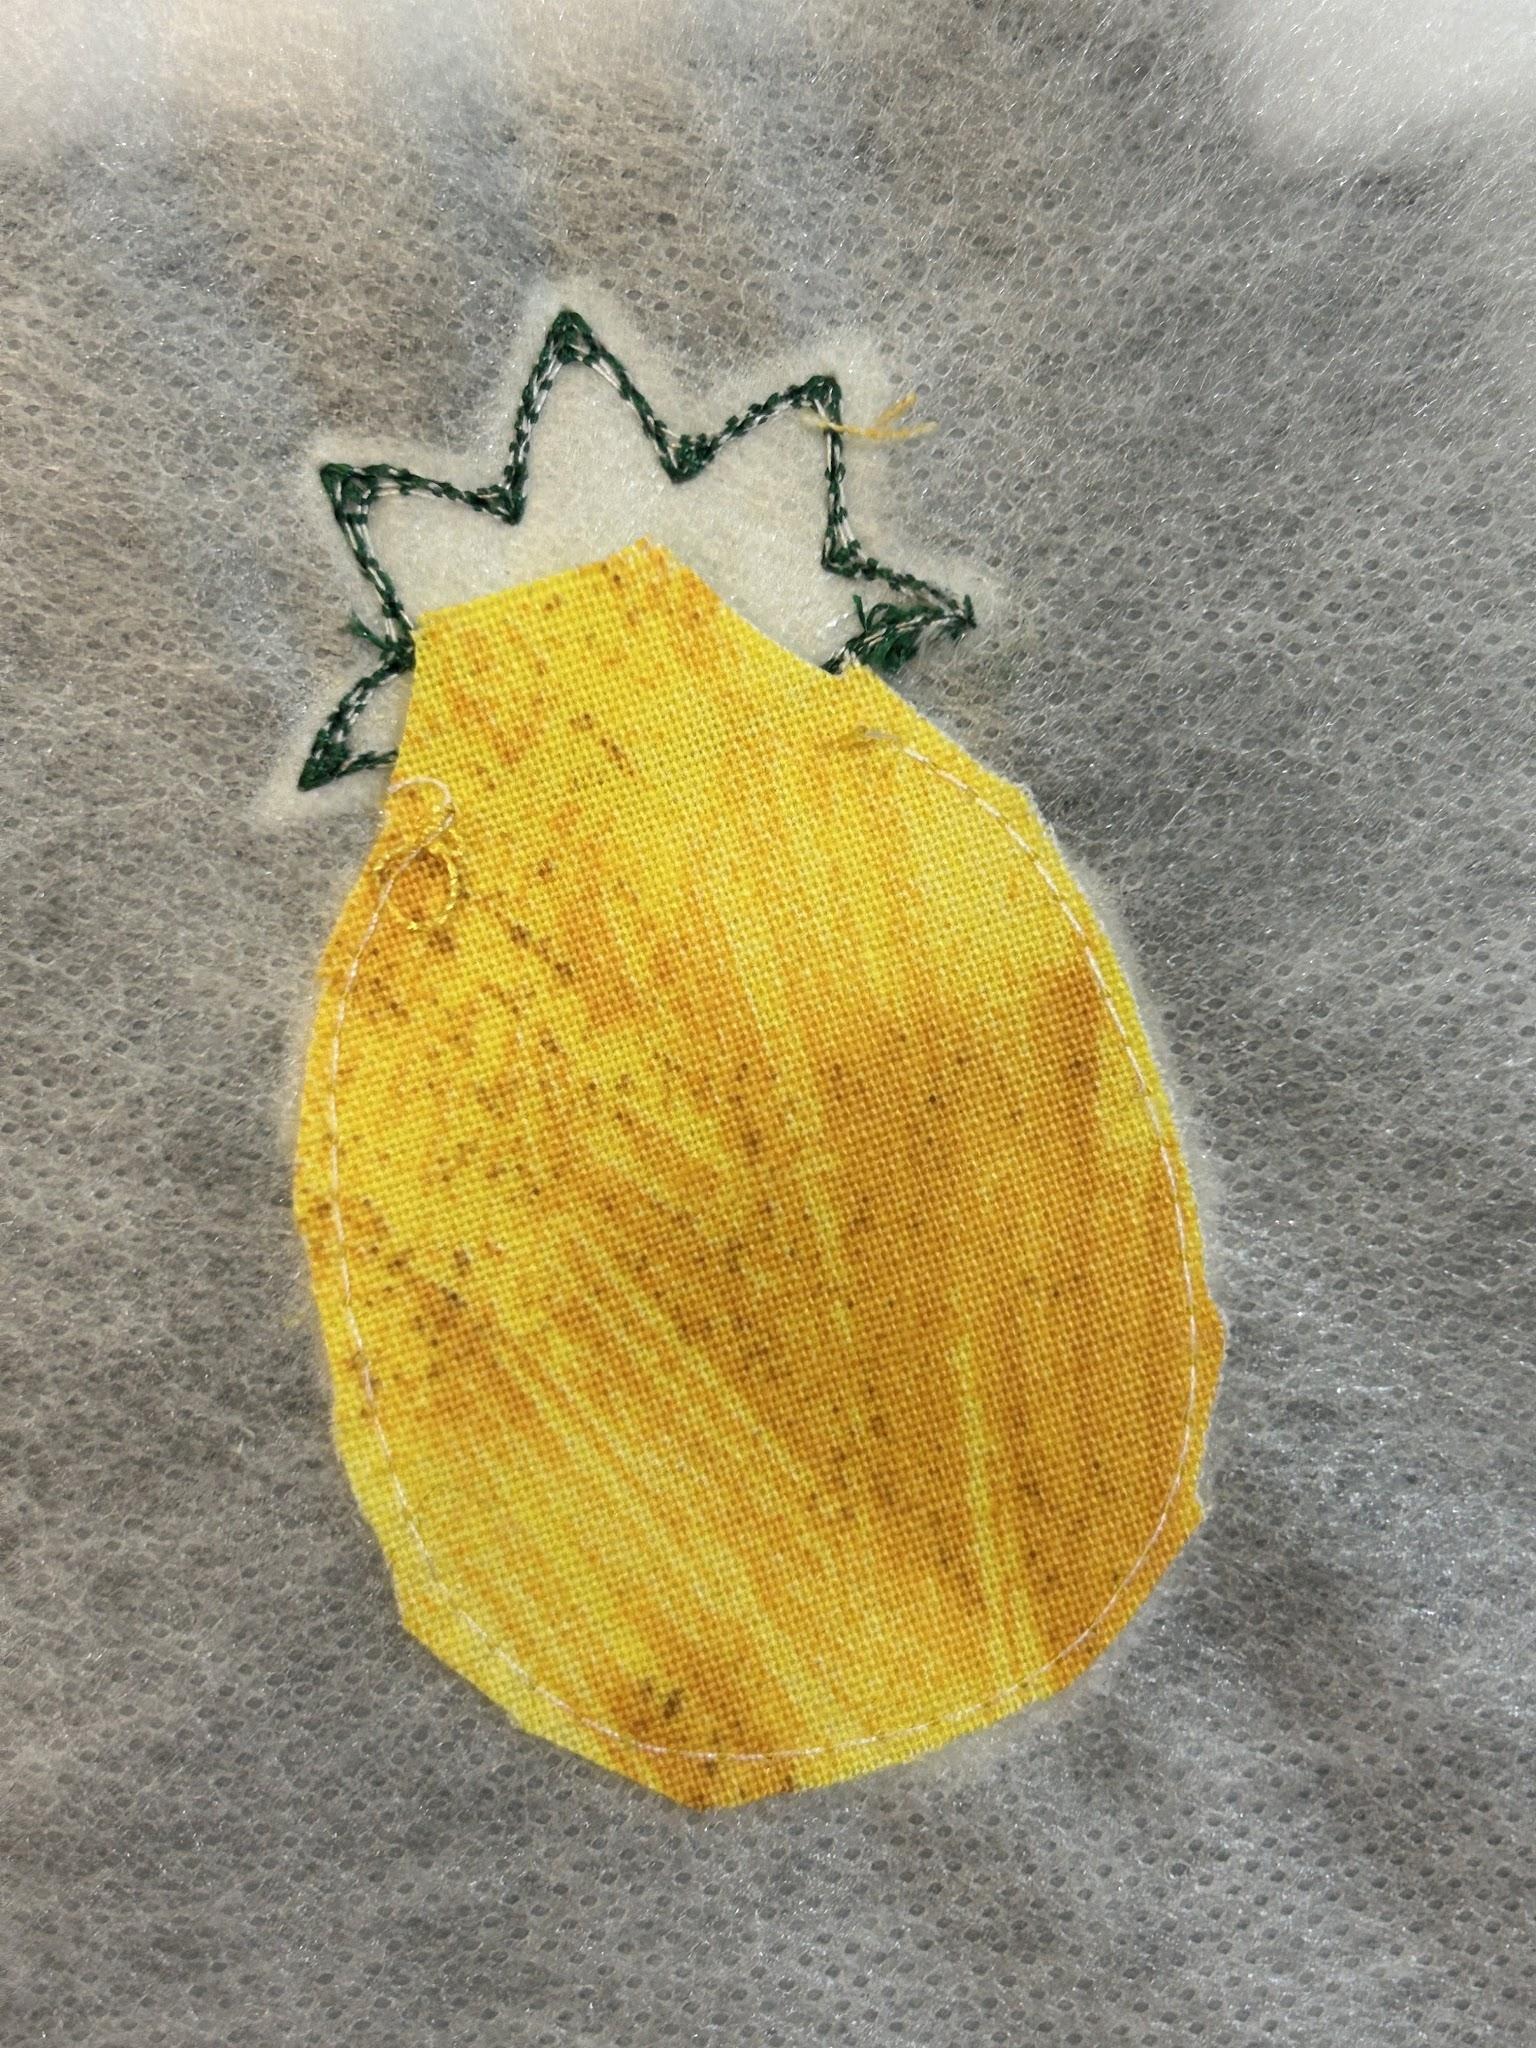
Prepare to stitch the tack-down stitch for the main part of your magnet. I went back through the stitches and found the tack-down for the body. We won’t stitch out the complete design, and we will need to stop the machine a bit early so that it leaves an opening big enough for us to put a magnet in. For my pineapple I started on one side of the green leaves and stopped when it reached the other side.
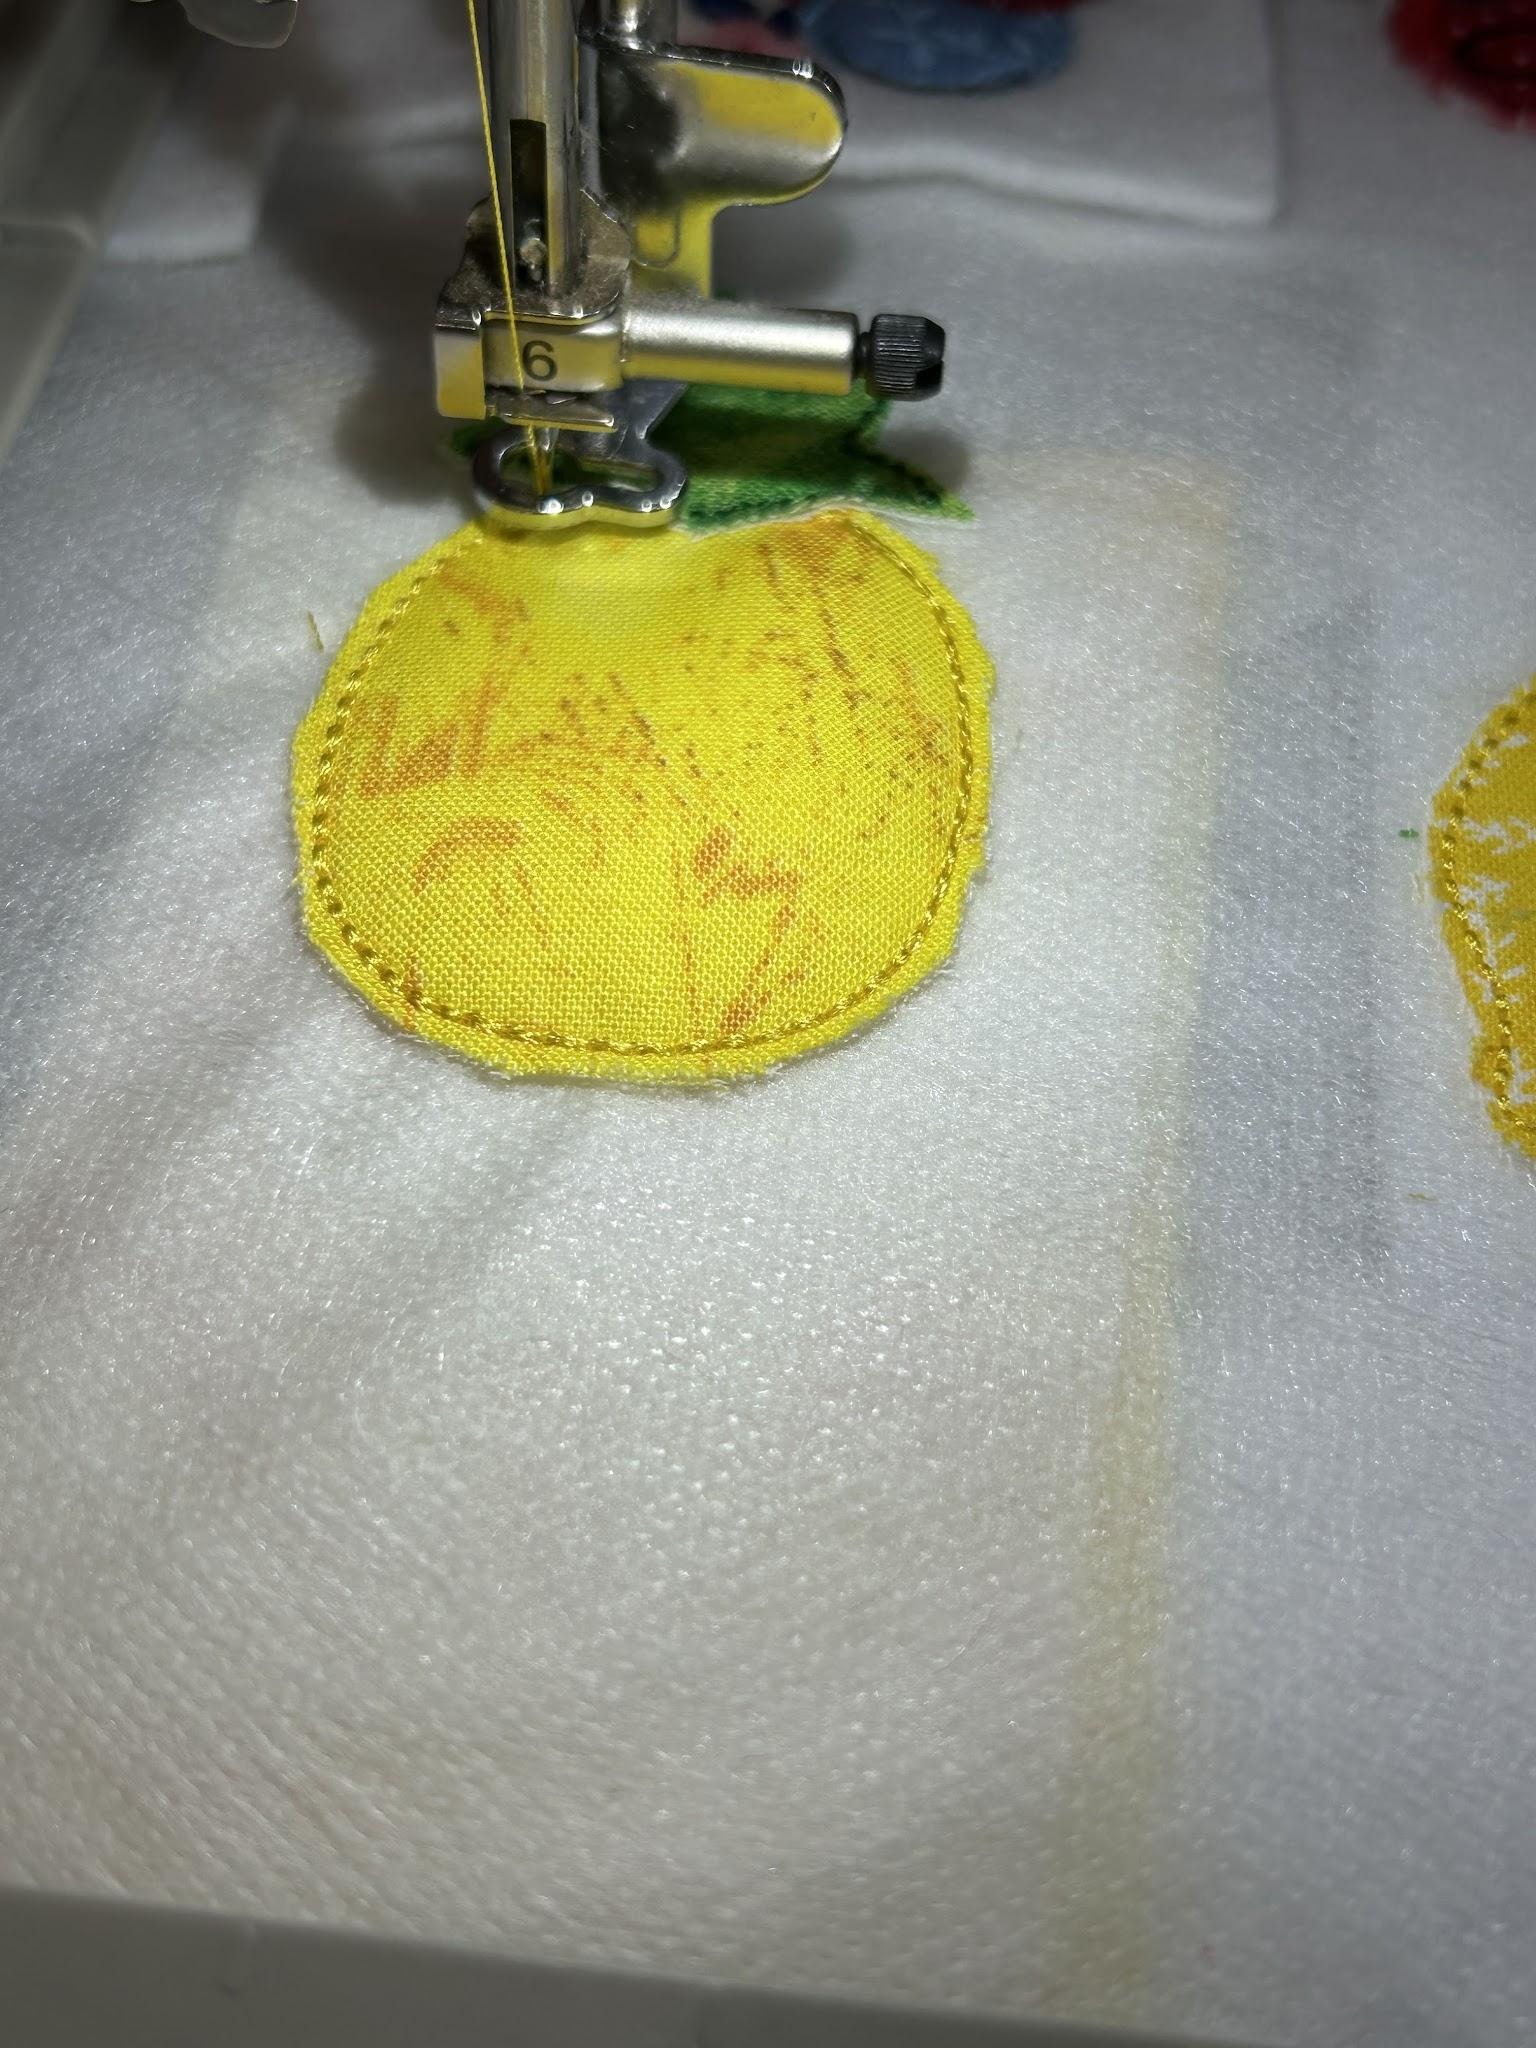
Remove your hoop from the machine and trim the fabrics close to the stitches. I left more fabric where the opening is.
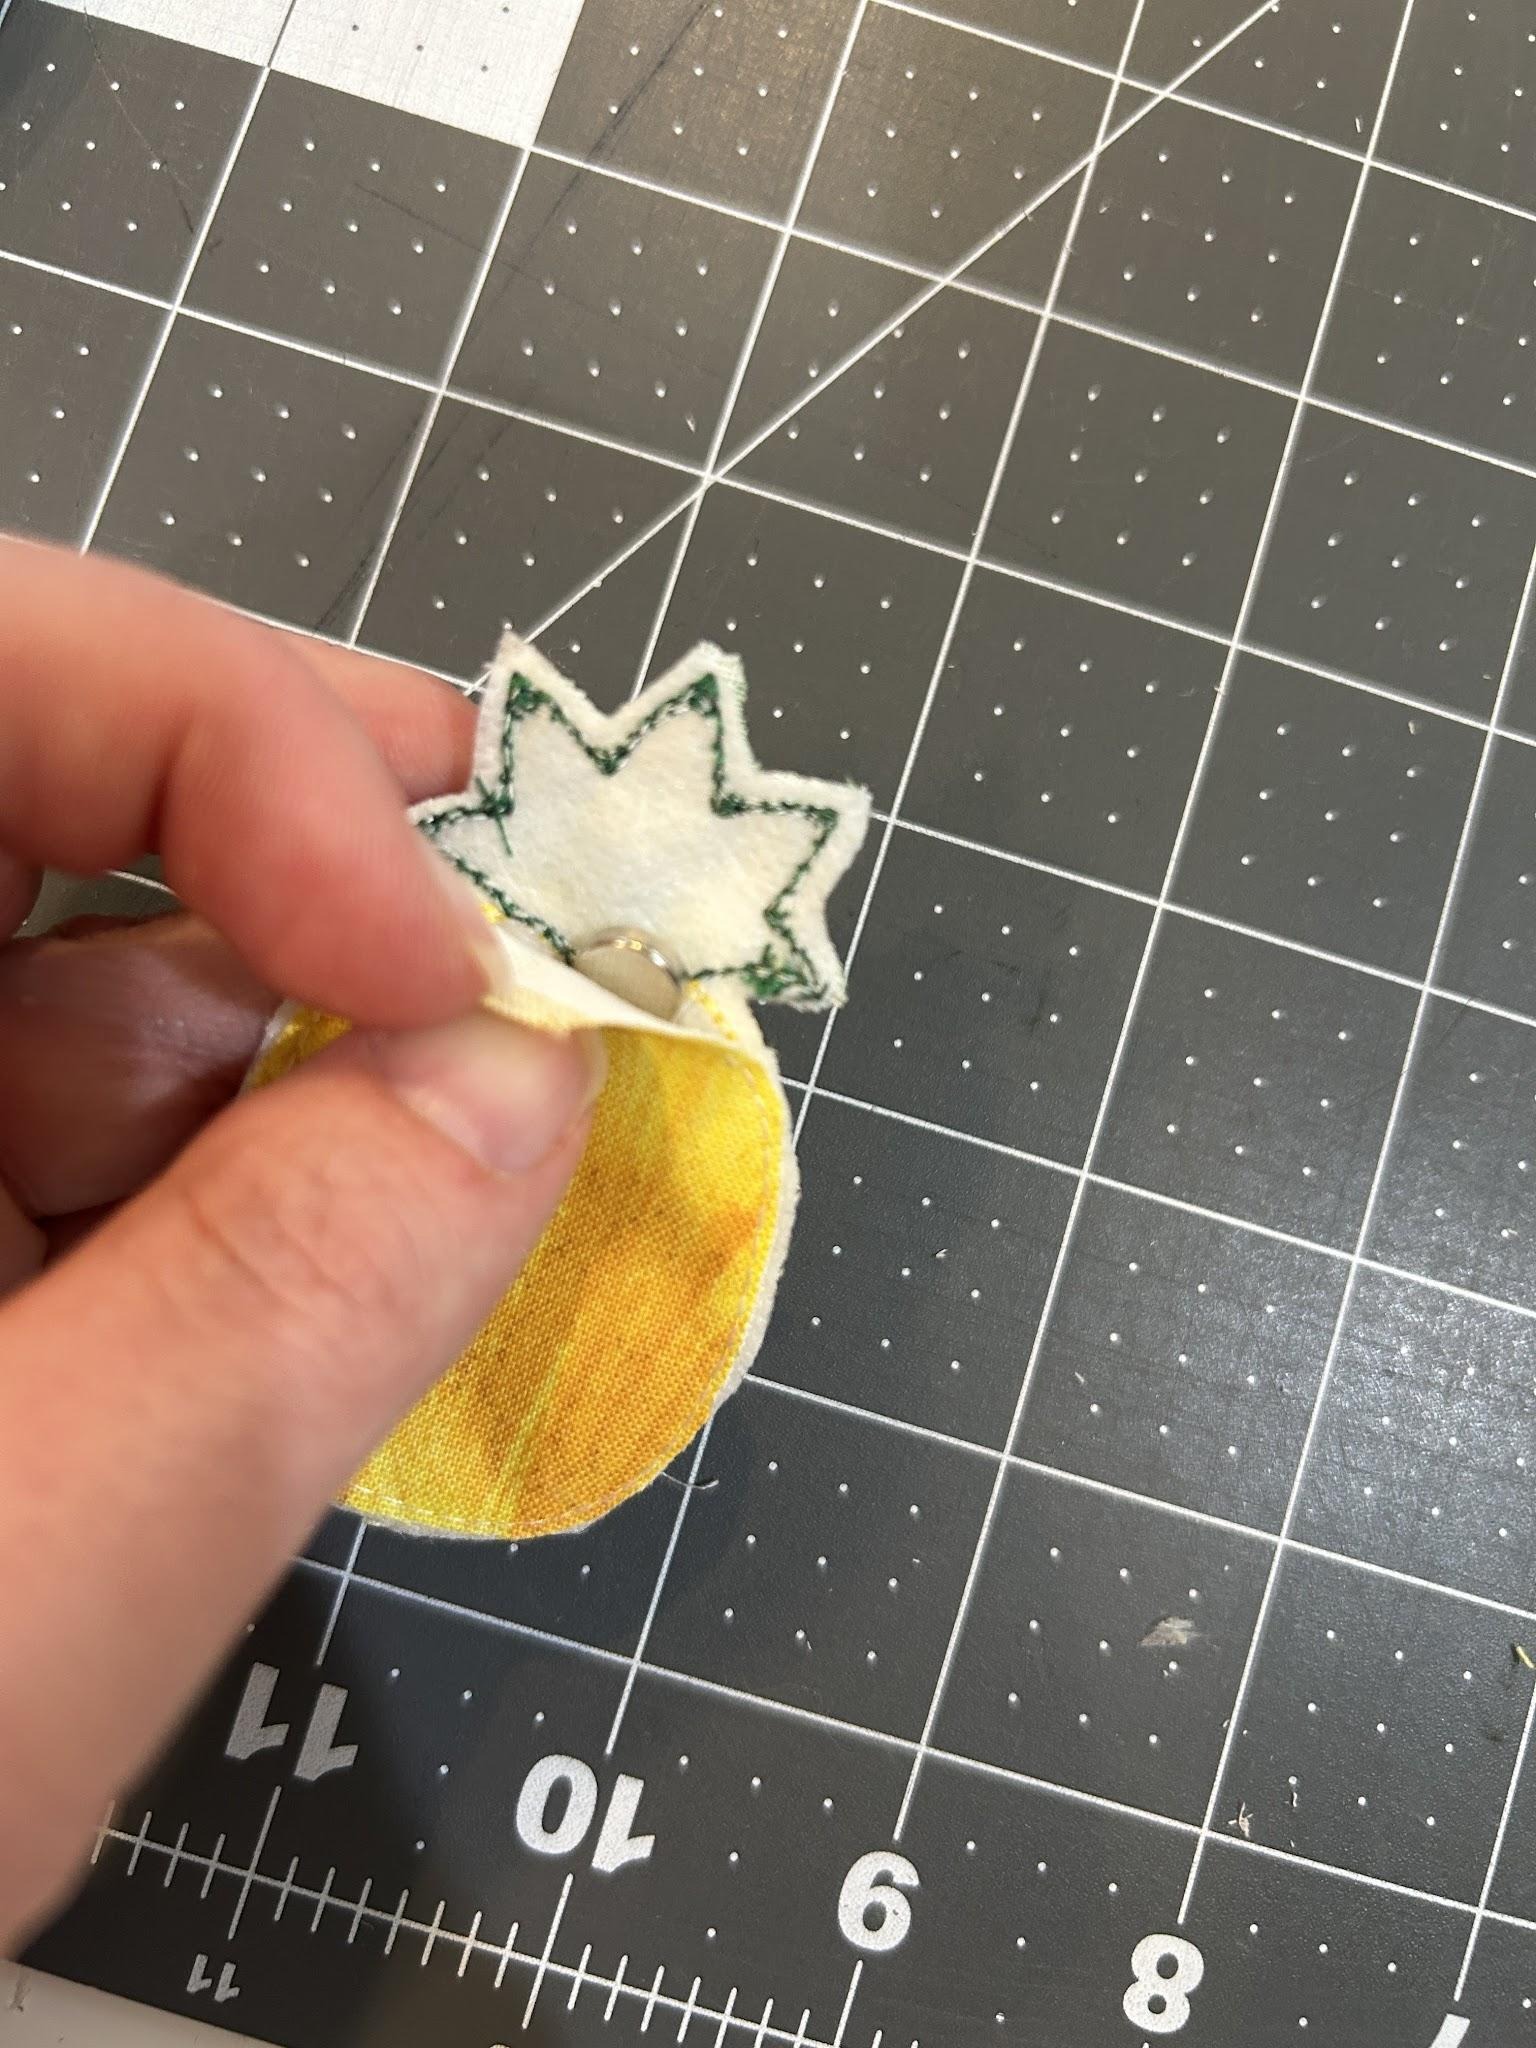
Remove the design from the hoop, trim the stabilizer close to the fabric, and slide the magnet in the opening.
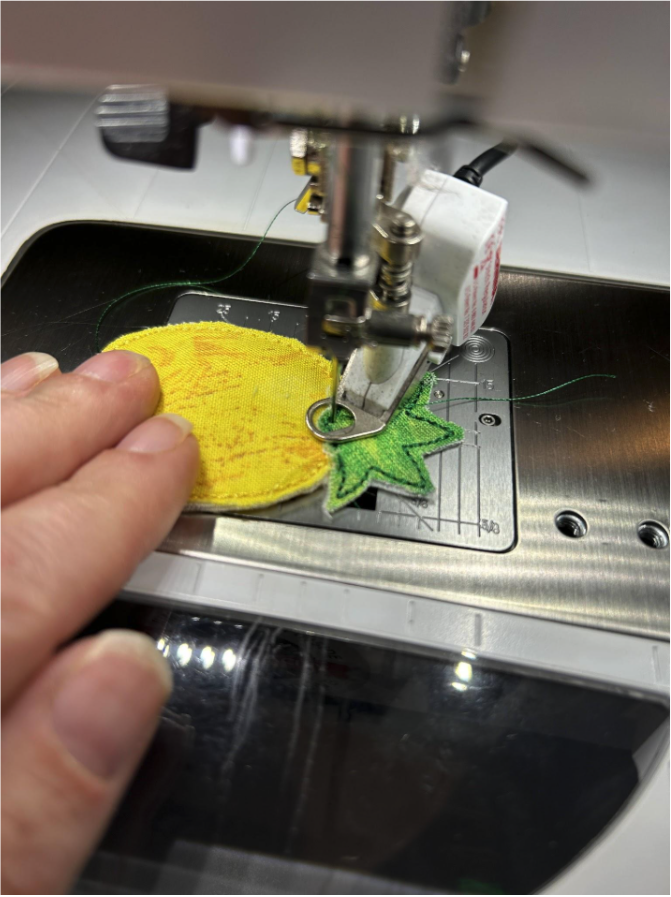
Using a matching thread on my sewing machine, I followed the existing stitches and stitched across the top of the opening. This closed the opening and the magnet is secure in the fabric.
And now it’s finished. It's fun to make a lot of matching friends so you have a whole collection!
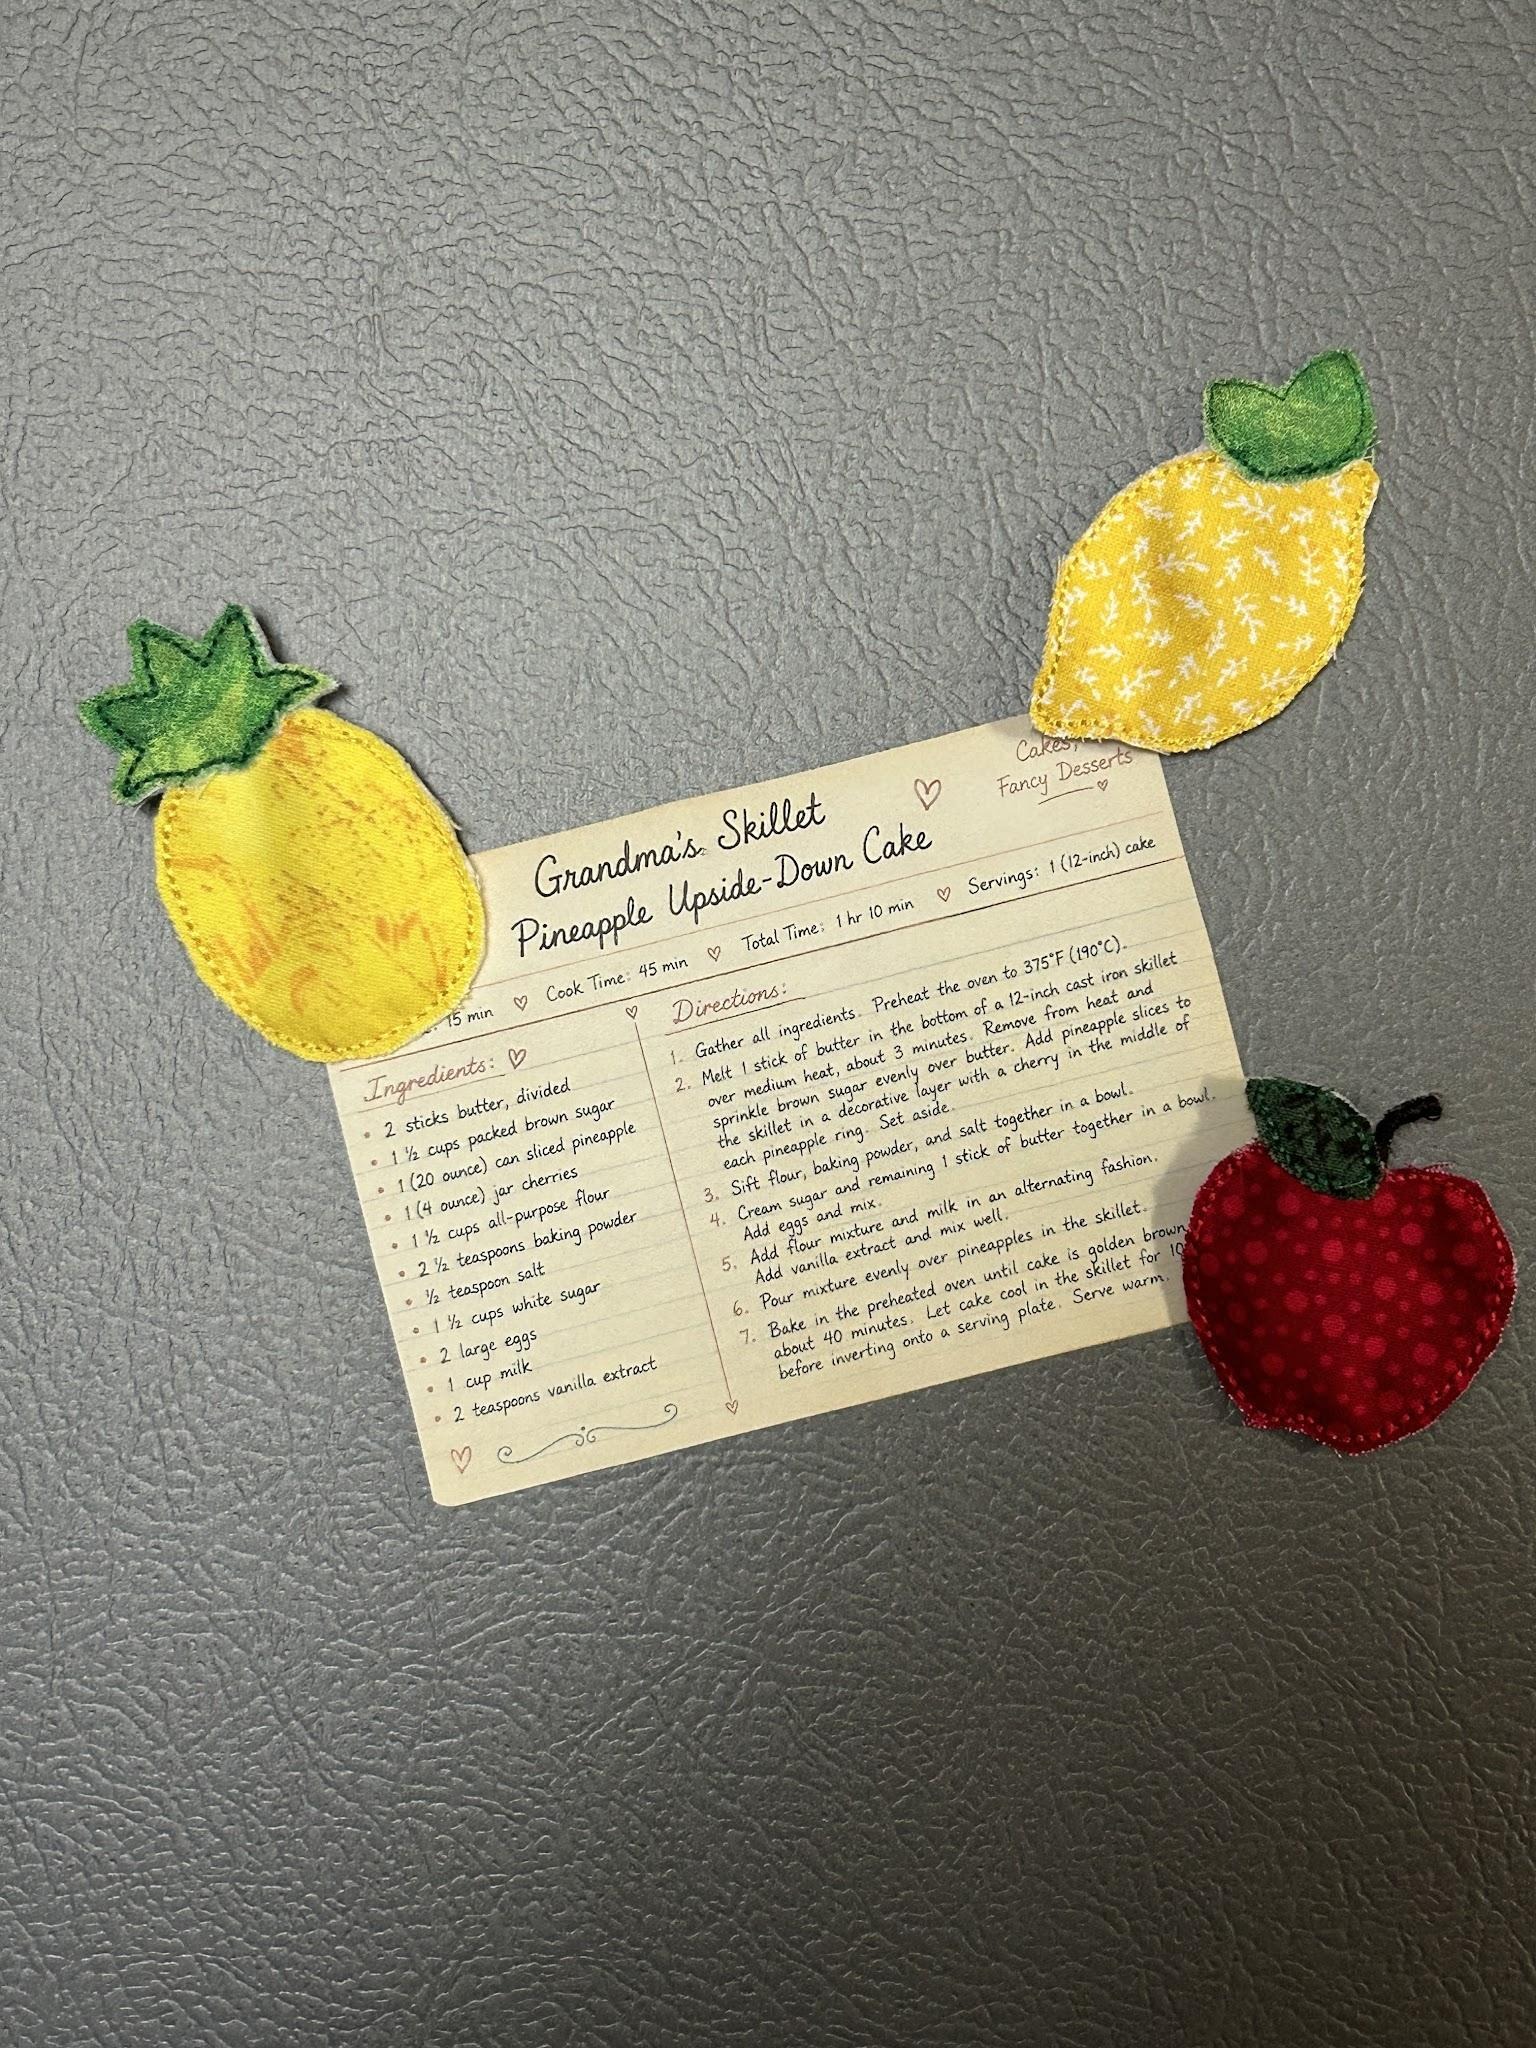
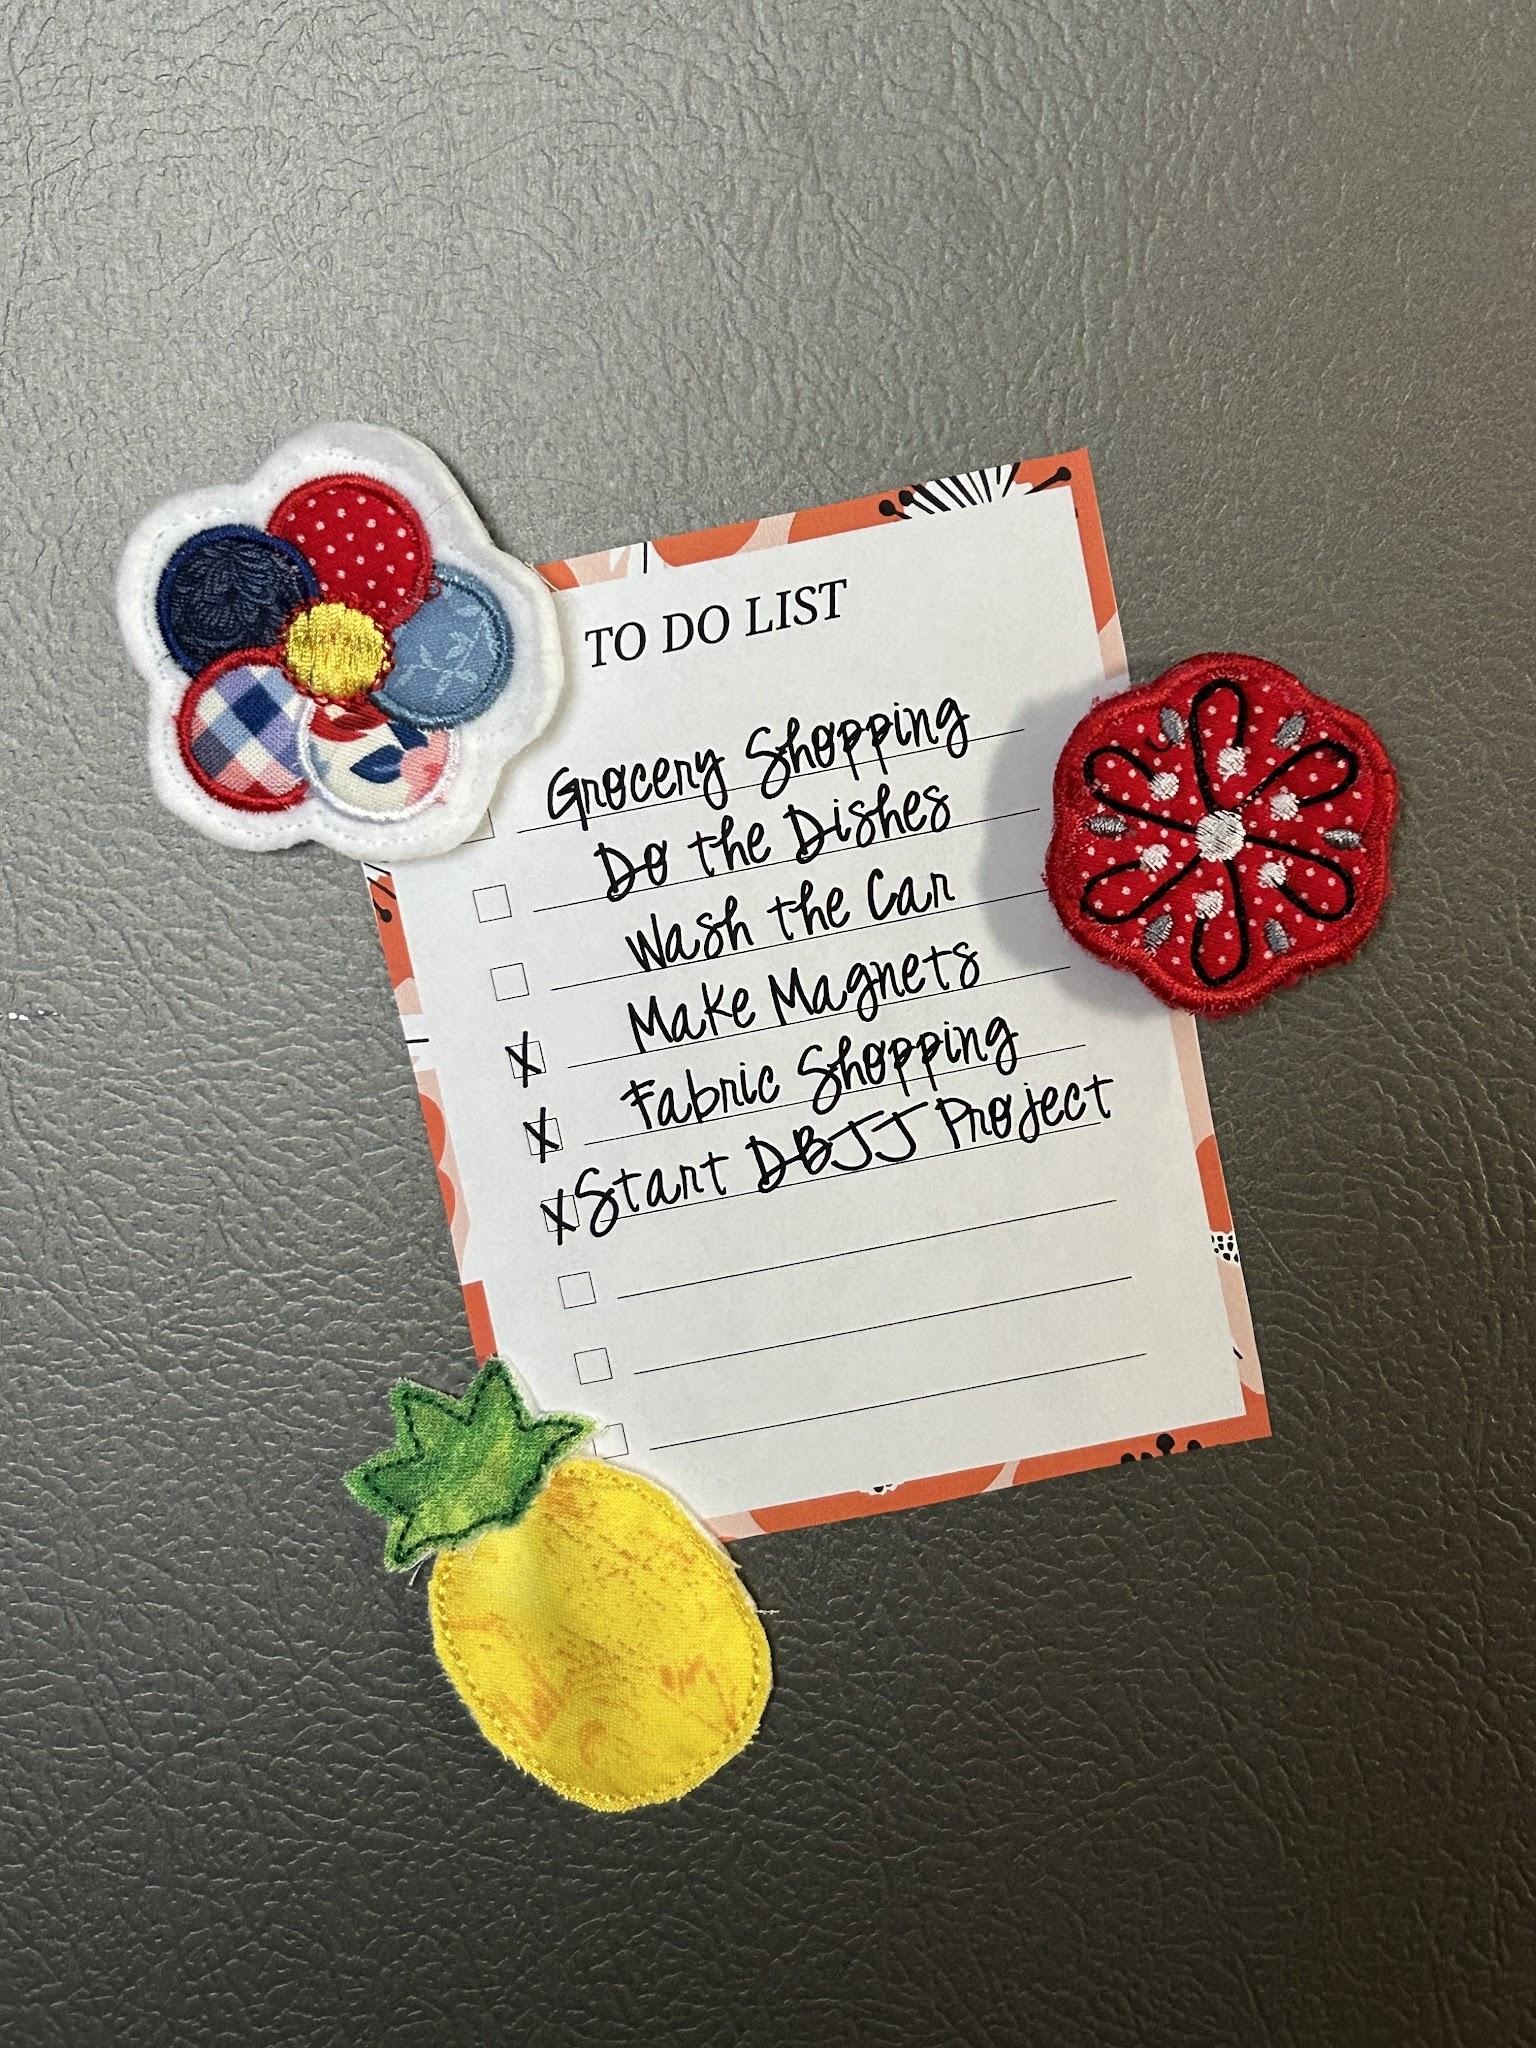
I can’t wait to see what applique designs you turn into magnets. Post your creations in the Designs by JuJu Embroidery Blessings Facebook Group or tag us with #designsbyjuju anywhere on social media. We love to be inspired by you and see how you take the designs and turn them into unique creations!