Toggle Nav
 Inspire.
Create.
Stitch.
Inspire.
Create.
Stitch.
Inspire.
Create.
Stitch.
Search
Inspire.
Create.
Stitch.
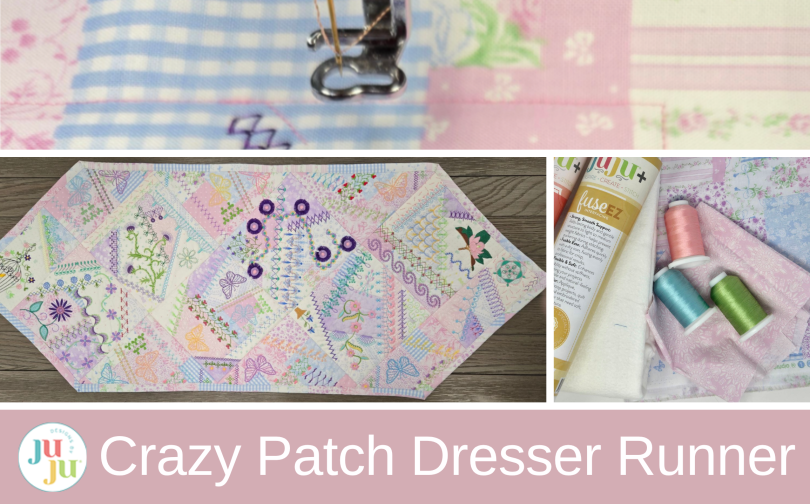
Unleash your creativity with Designs by JuJu’s in-the-hoop crazy patch machine embroidered blocks. The versatility of these unique designs makes it easy to create one-of-a-kind projects that you will love making, displaying, or sharing!
Approximate finished size of project: 15” x 38½”
Please be sure to check out the DBJJ team’s favorite supplies in the Designs by JuJu Amazon store, and find our favorite stabilizers, batting, and threads at Designs by JuJu+.
Whether you are looking to make a small project or a whole quilt, these blocks are for you. They mimic the look of heirloom hand stitching beautifully and can be done in much less time! I chose to go with a truly “heirloom meets shabby chic” look for a dreamy bedroom dresser runner. You might choose to go more modern with bright, bold colors or solids. Whatever you choose, have fun being creative!
If you are new to making in-the-hoop (ITH) crazy patch blocks, this video will walk you through the process: How to Make the Crazy Patch Series 1 Blocks.
Sewing your blocks together is quick and easy, and this tutorial gives you a little refresher: How to Make Crazy Patch Placemats.
I chose to take the backing fabric to the front for the binding on my runner. This tutorial will help you choose the right binding for your project: Binding 101: A Step-by-Step Guide.
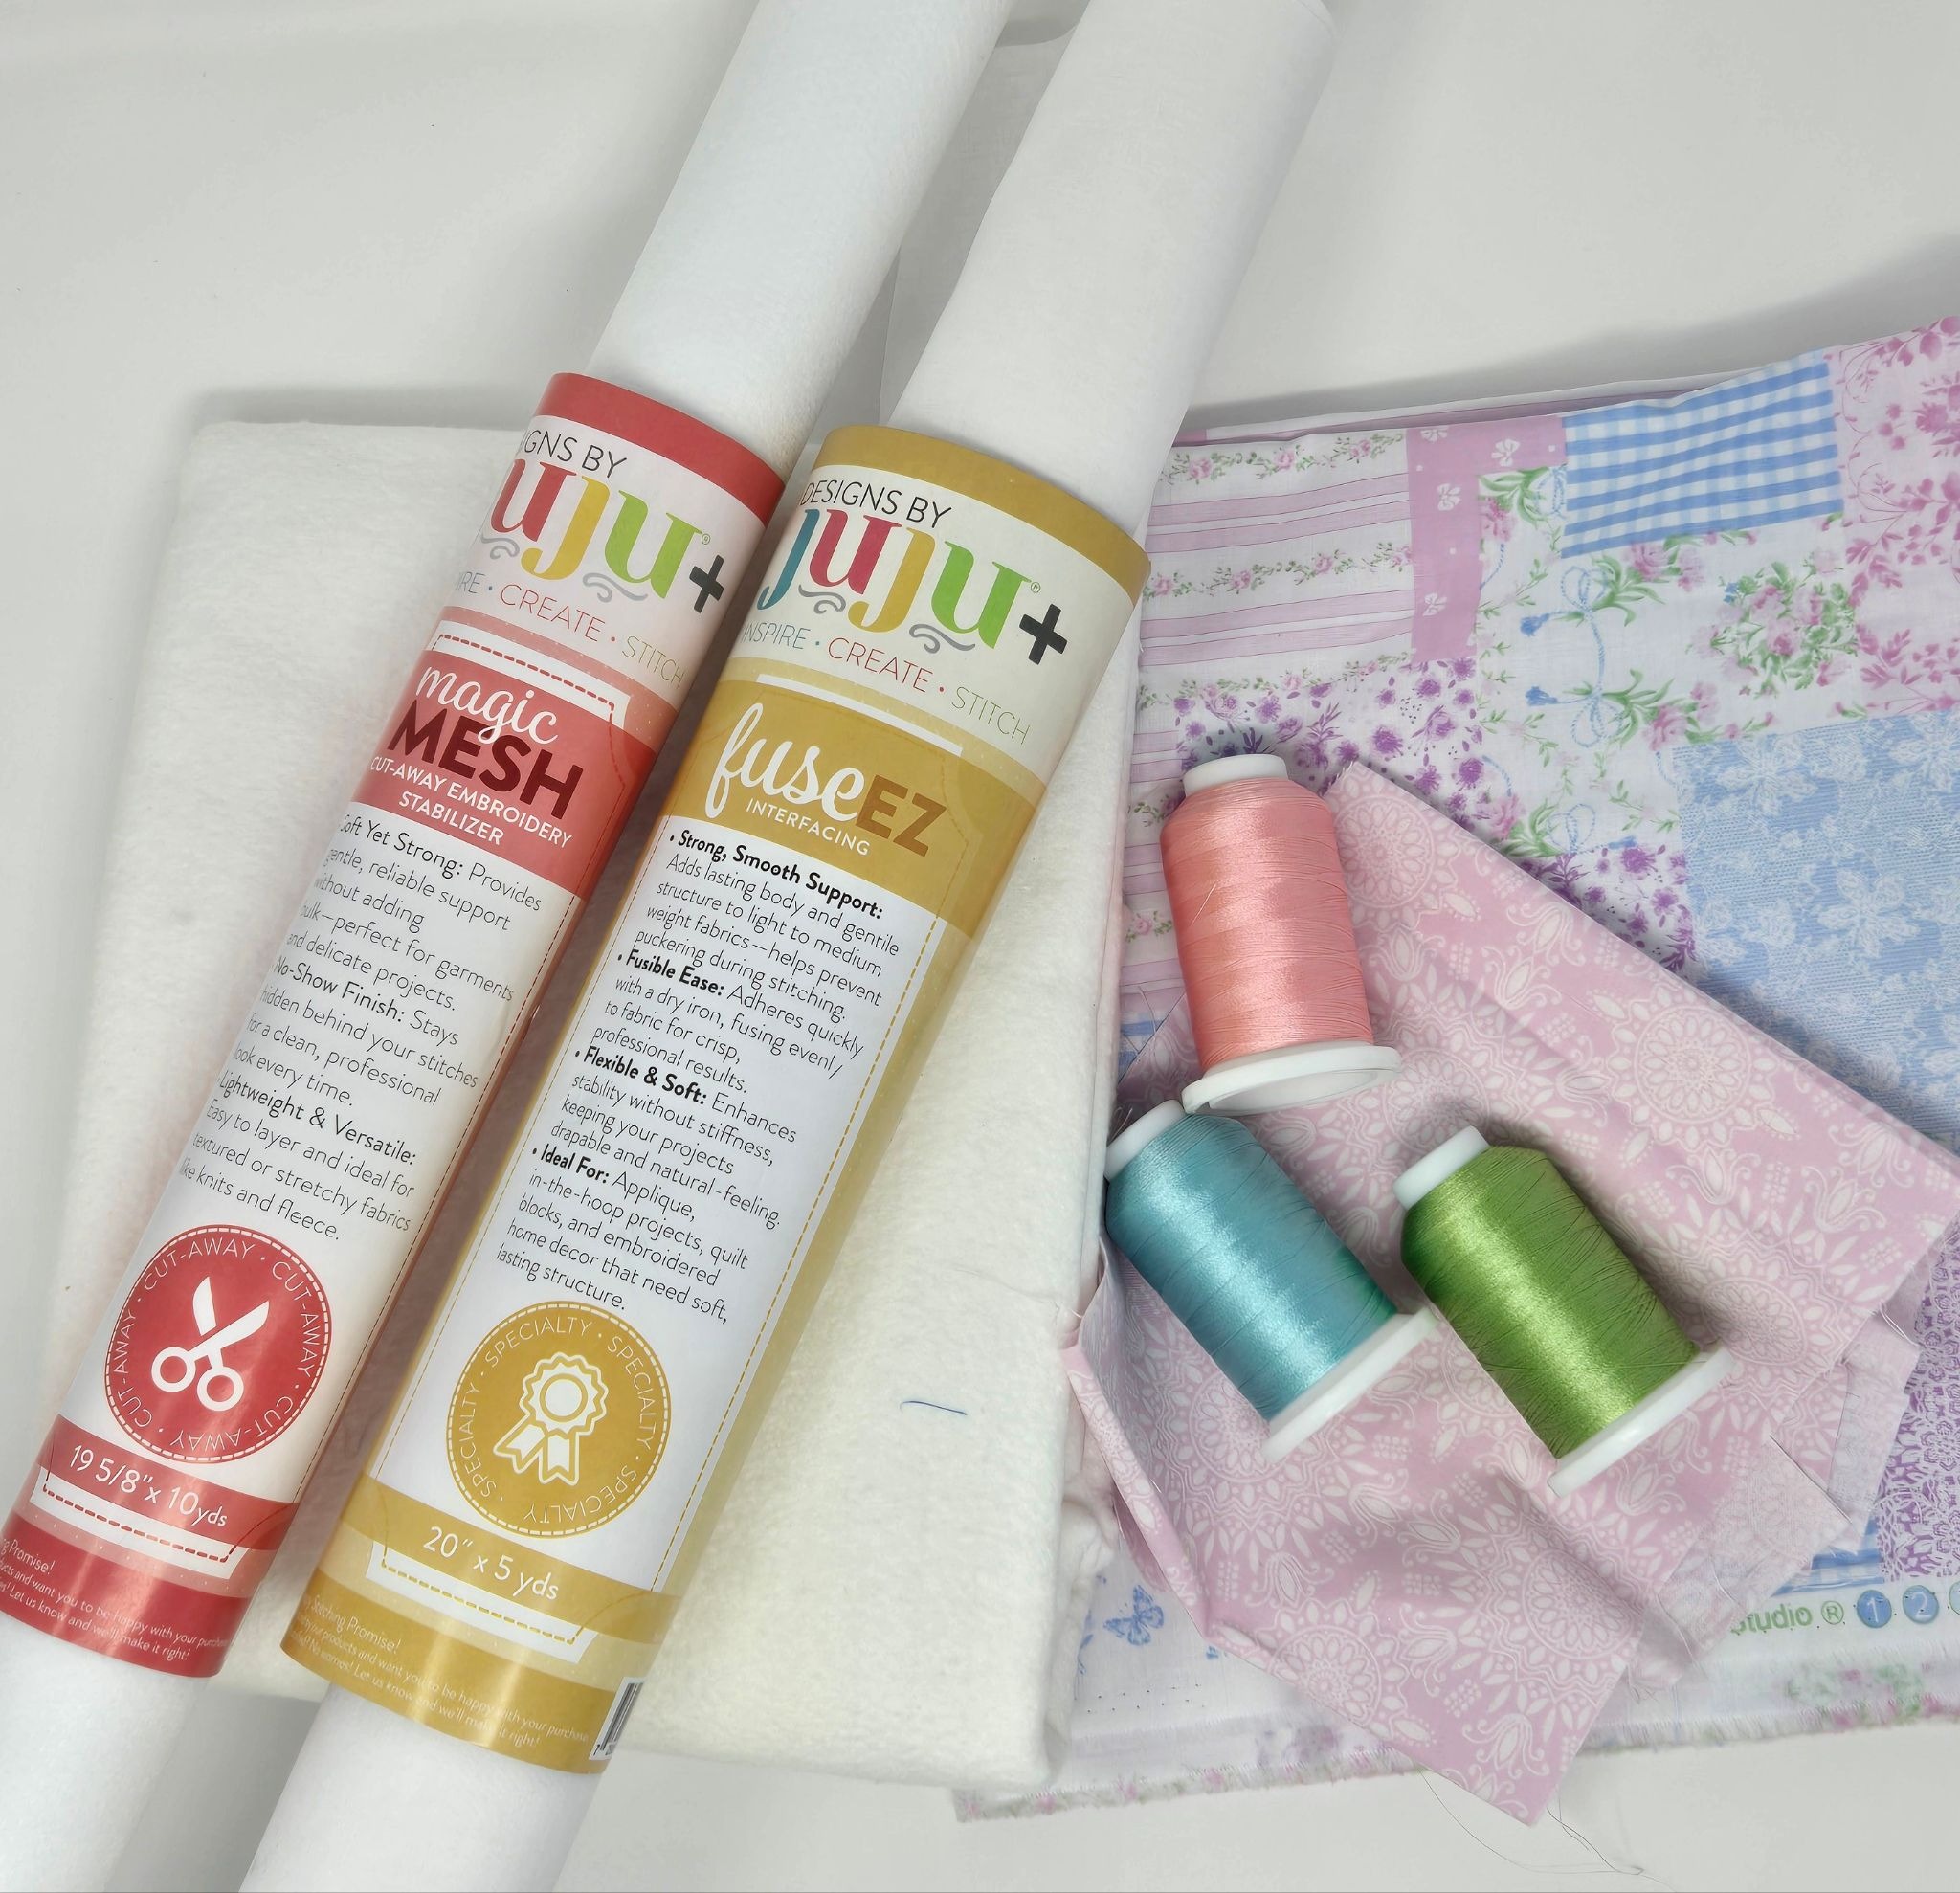
Gather your supplies, stabilizers, and threads, and load your designs onto a USB. For my blocks, I used fuseEZ on the back of the patch fabrics. For the more dense designs like the flower, I slid a piece of tearEZ under my hoop.
I just love the DBJJ+ threads and the 12-Pack Happy Colors were perfect for my blocks.
I found the patch fabric at Hobby Lobby and love the shabby-chic look.
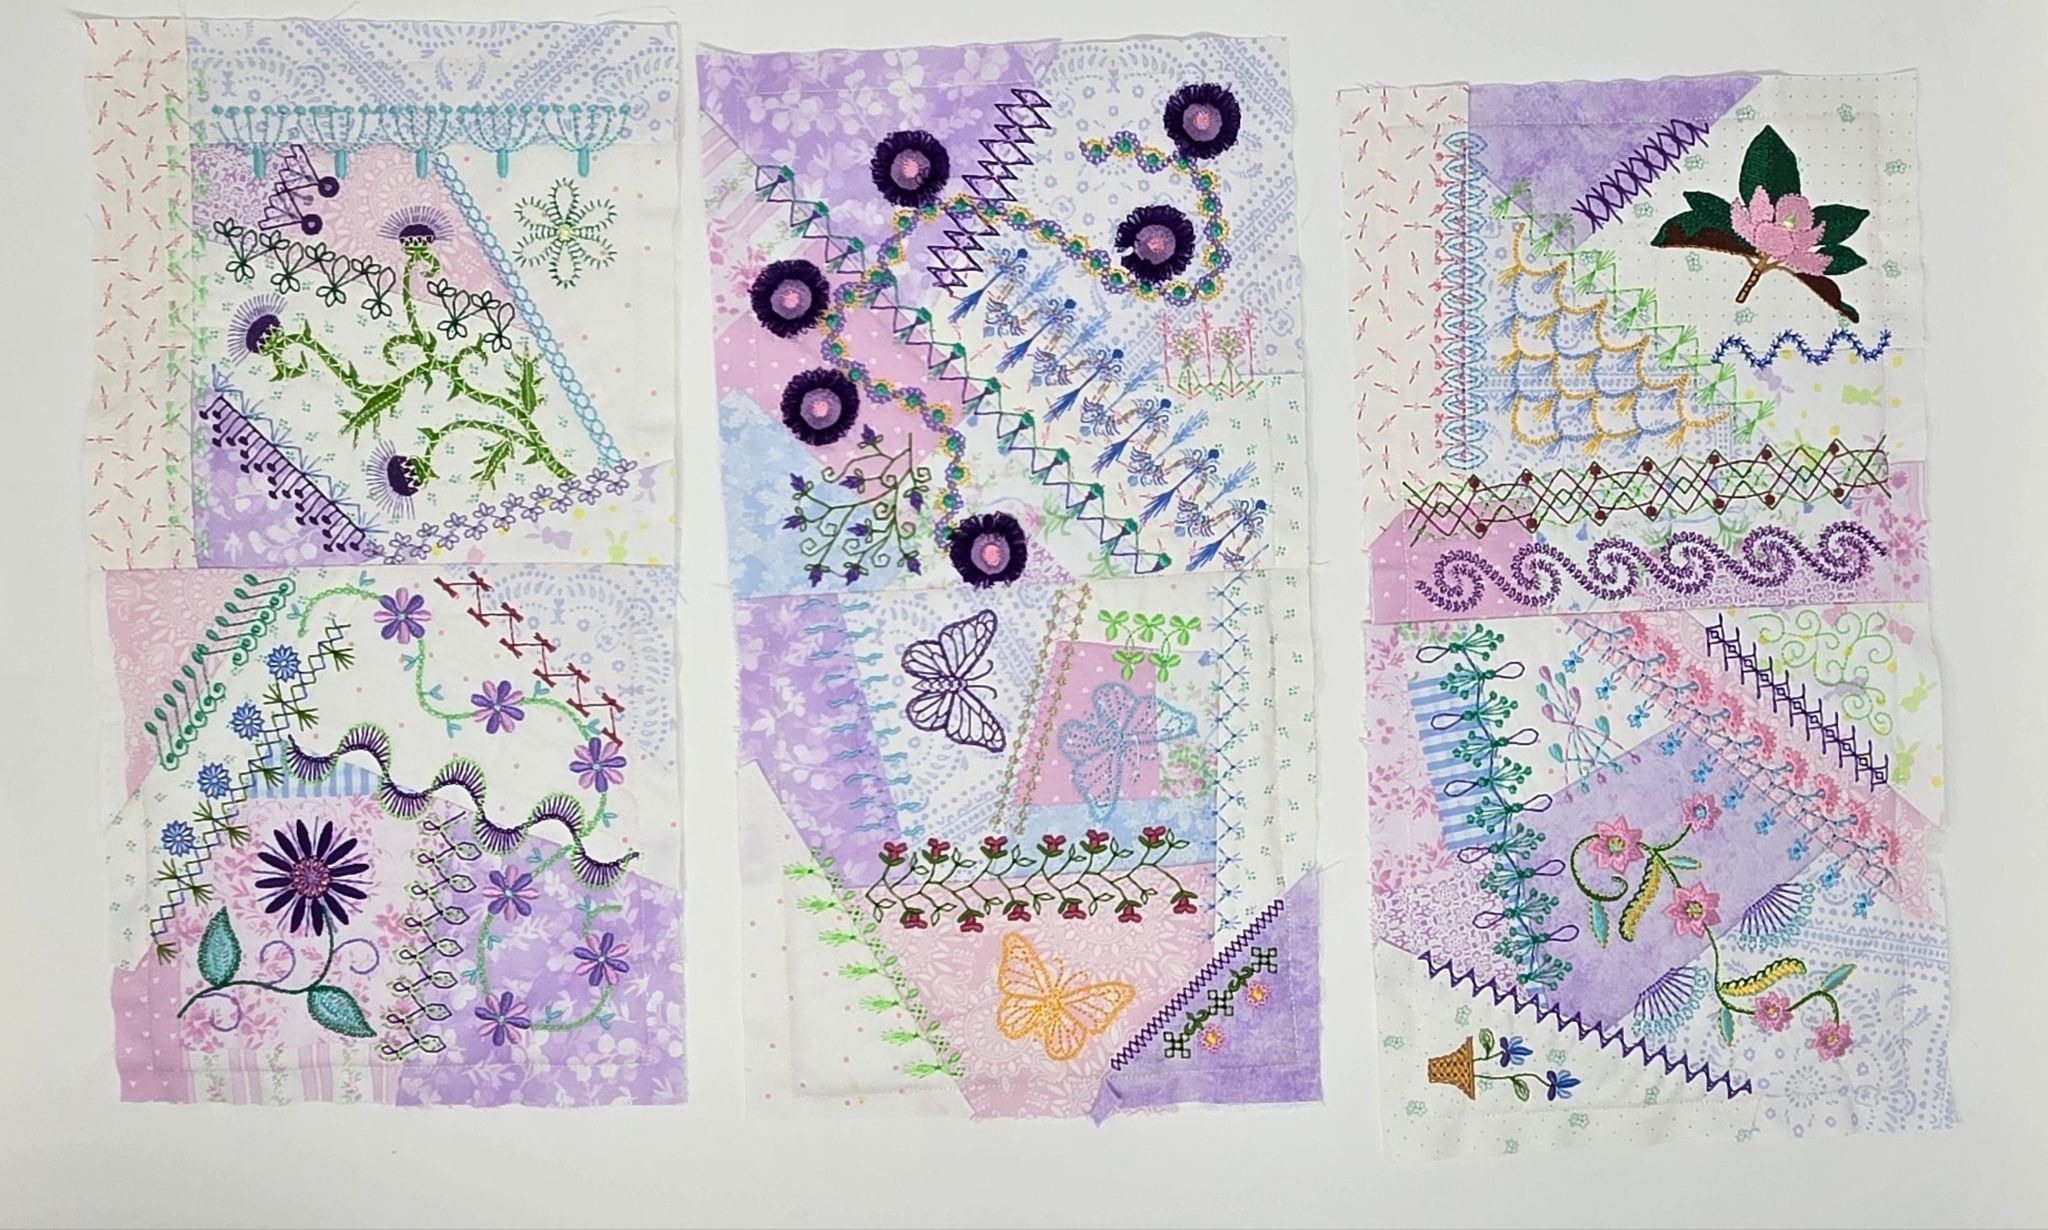
The hardest part for me was choosing which designs to embroider. I ended up making eight blocks.
Follow the steps for batting and fabric placement and have fun. Trim all the blocks, leaving a ½” seam allowance around the outside. Sew the blocks together in pairs, one on top of the other. Make three sets of two and leave the last two blocks single for now.
I want my blocks to be rotated so my runner is on-point, meaning my rows will be diagonal instead of horizontal.
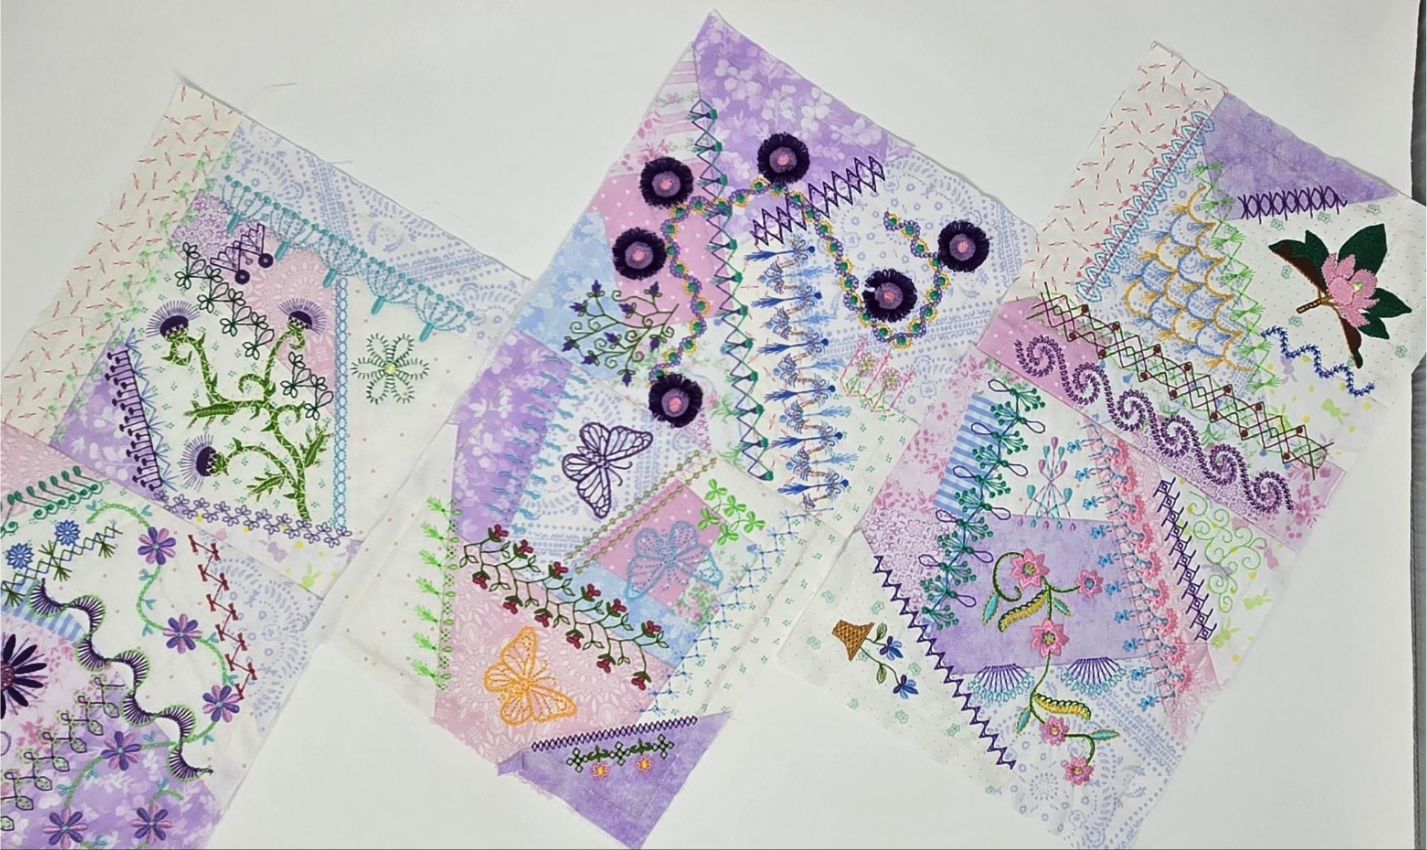
After your blocks are sewn into sets of two (except for the last two), we will go back to our embroidery machine and make the “setting triangles.” These triangles will go at the top and bottom of the rows to give us straight edges.
To make the setting triangles, I used the 8x8 design of the butterflies in Set 1, Block 2. These were purposely done oversized and will get trimmed later. I made the same block three times with my patchwork fabric, skipping all the steps that lay down crazy patch fabrics. The only steps I did were where the outside of a patch might be stitched down, I stitched the edge of my patchwork fabric. It does not stitch the entire perimeter of the block this way, but the four corners were tacked down. I stopped the stitching if it went into the block and went ahead steps to the next part.
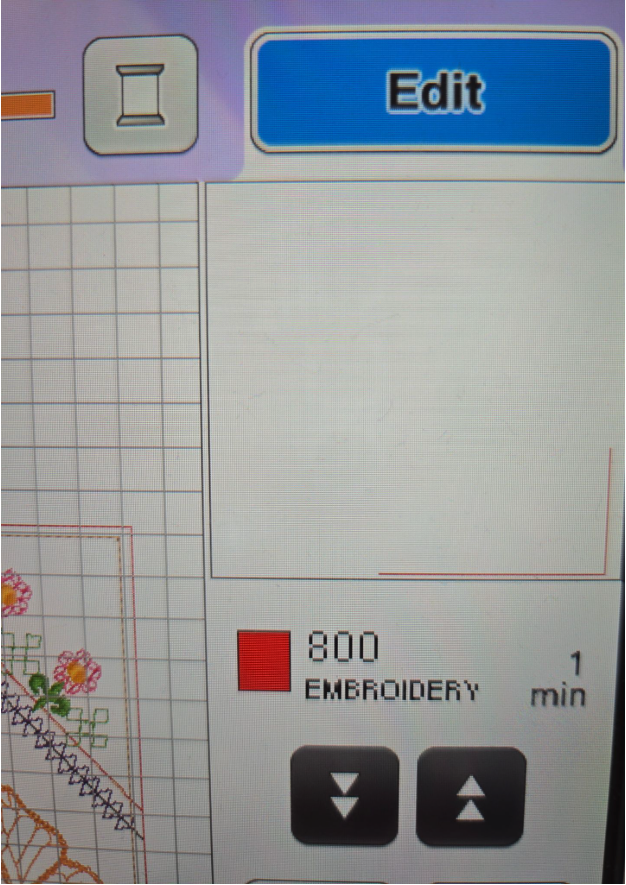
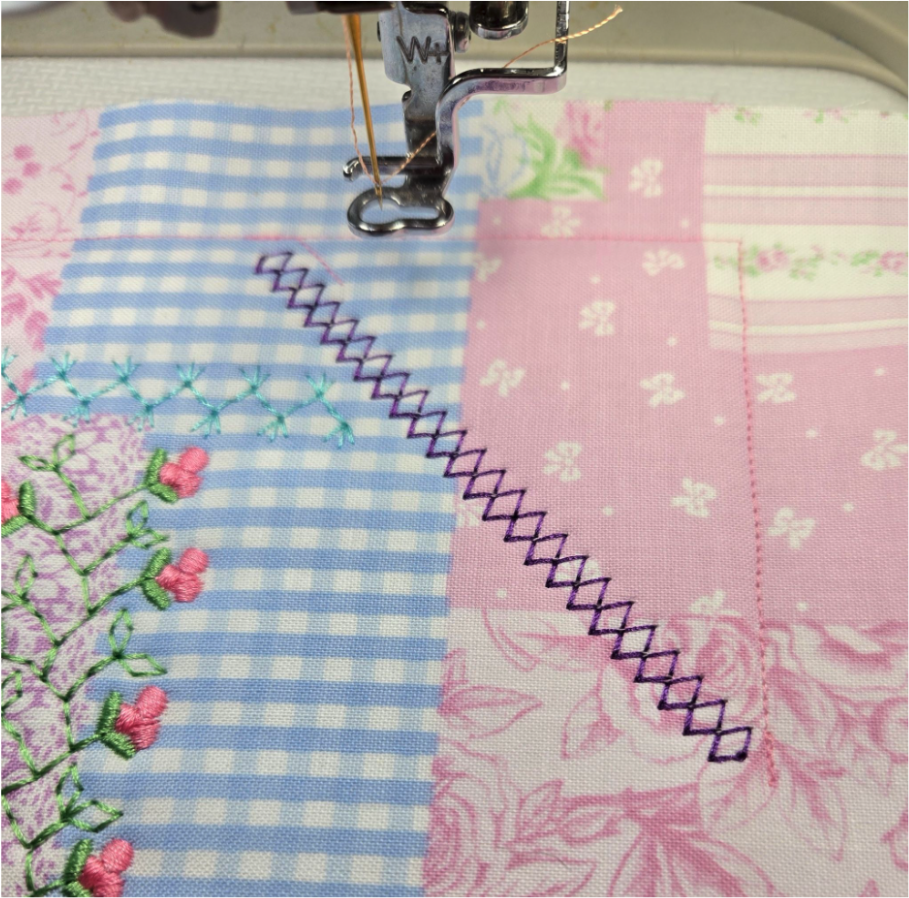
When I finished embroidering, I trimmed the edges, leaving a ½” seam allowance and I drew a line diagonally down the center.
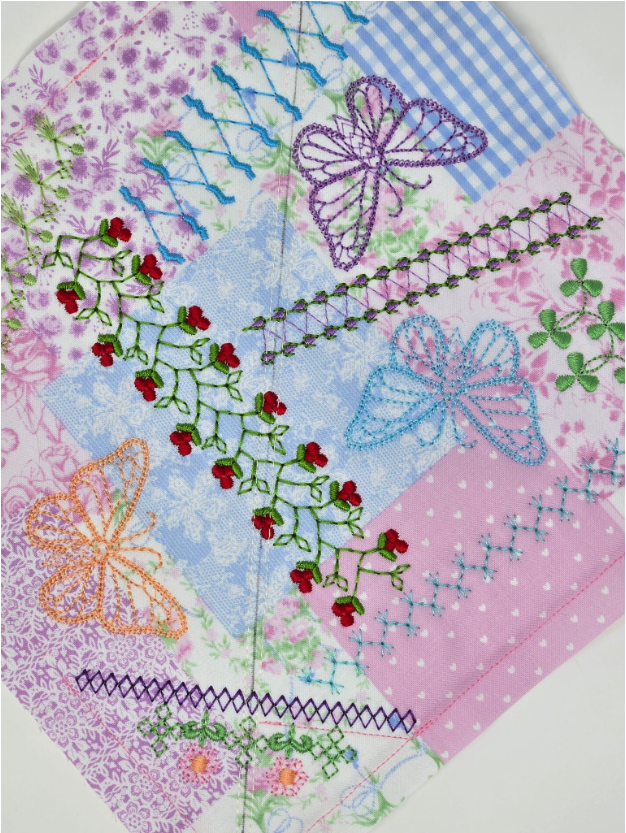
At my sewing machine, I sewed ⅛” from either side of this line with a 2mm stitch length. This will support the embroidery stitches when I cut this block apart into two setting triangles.
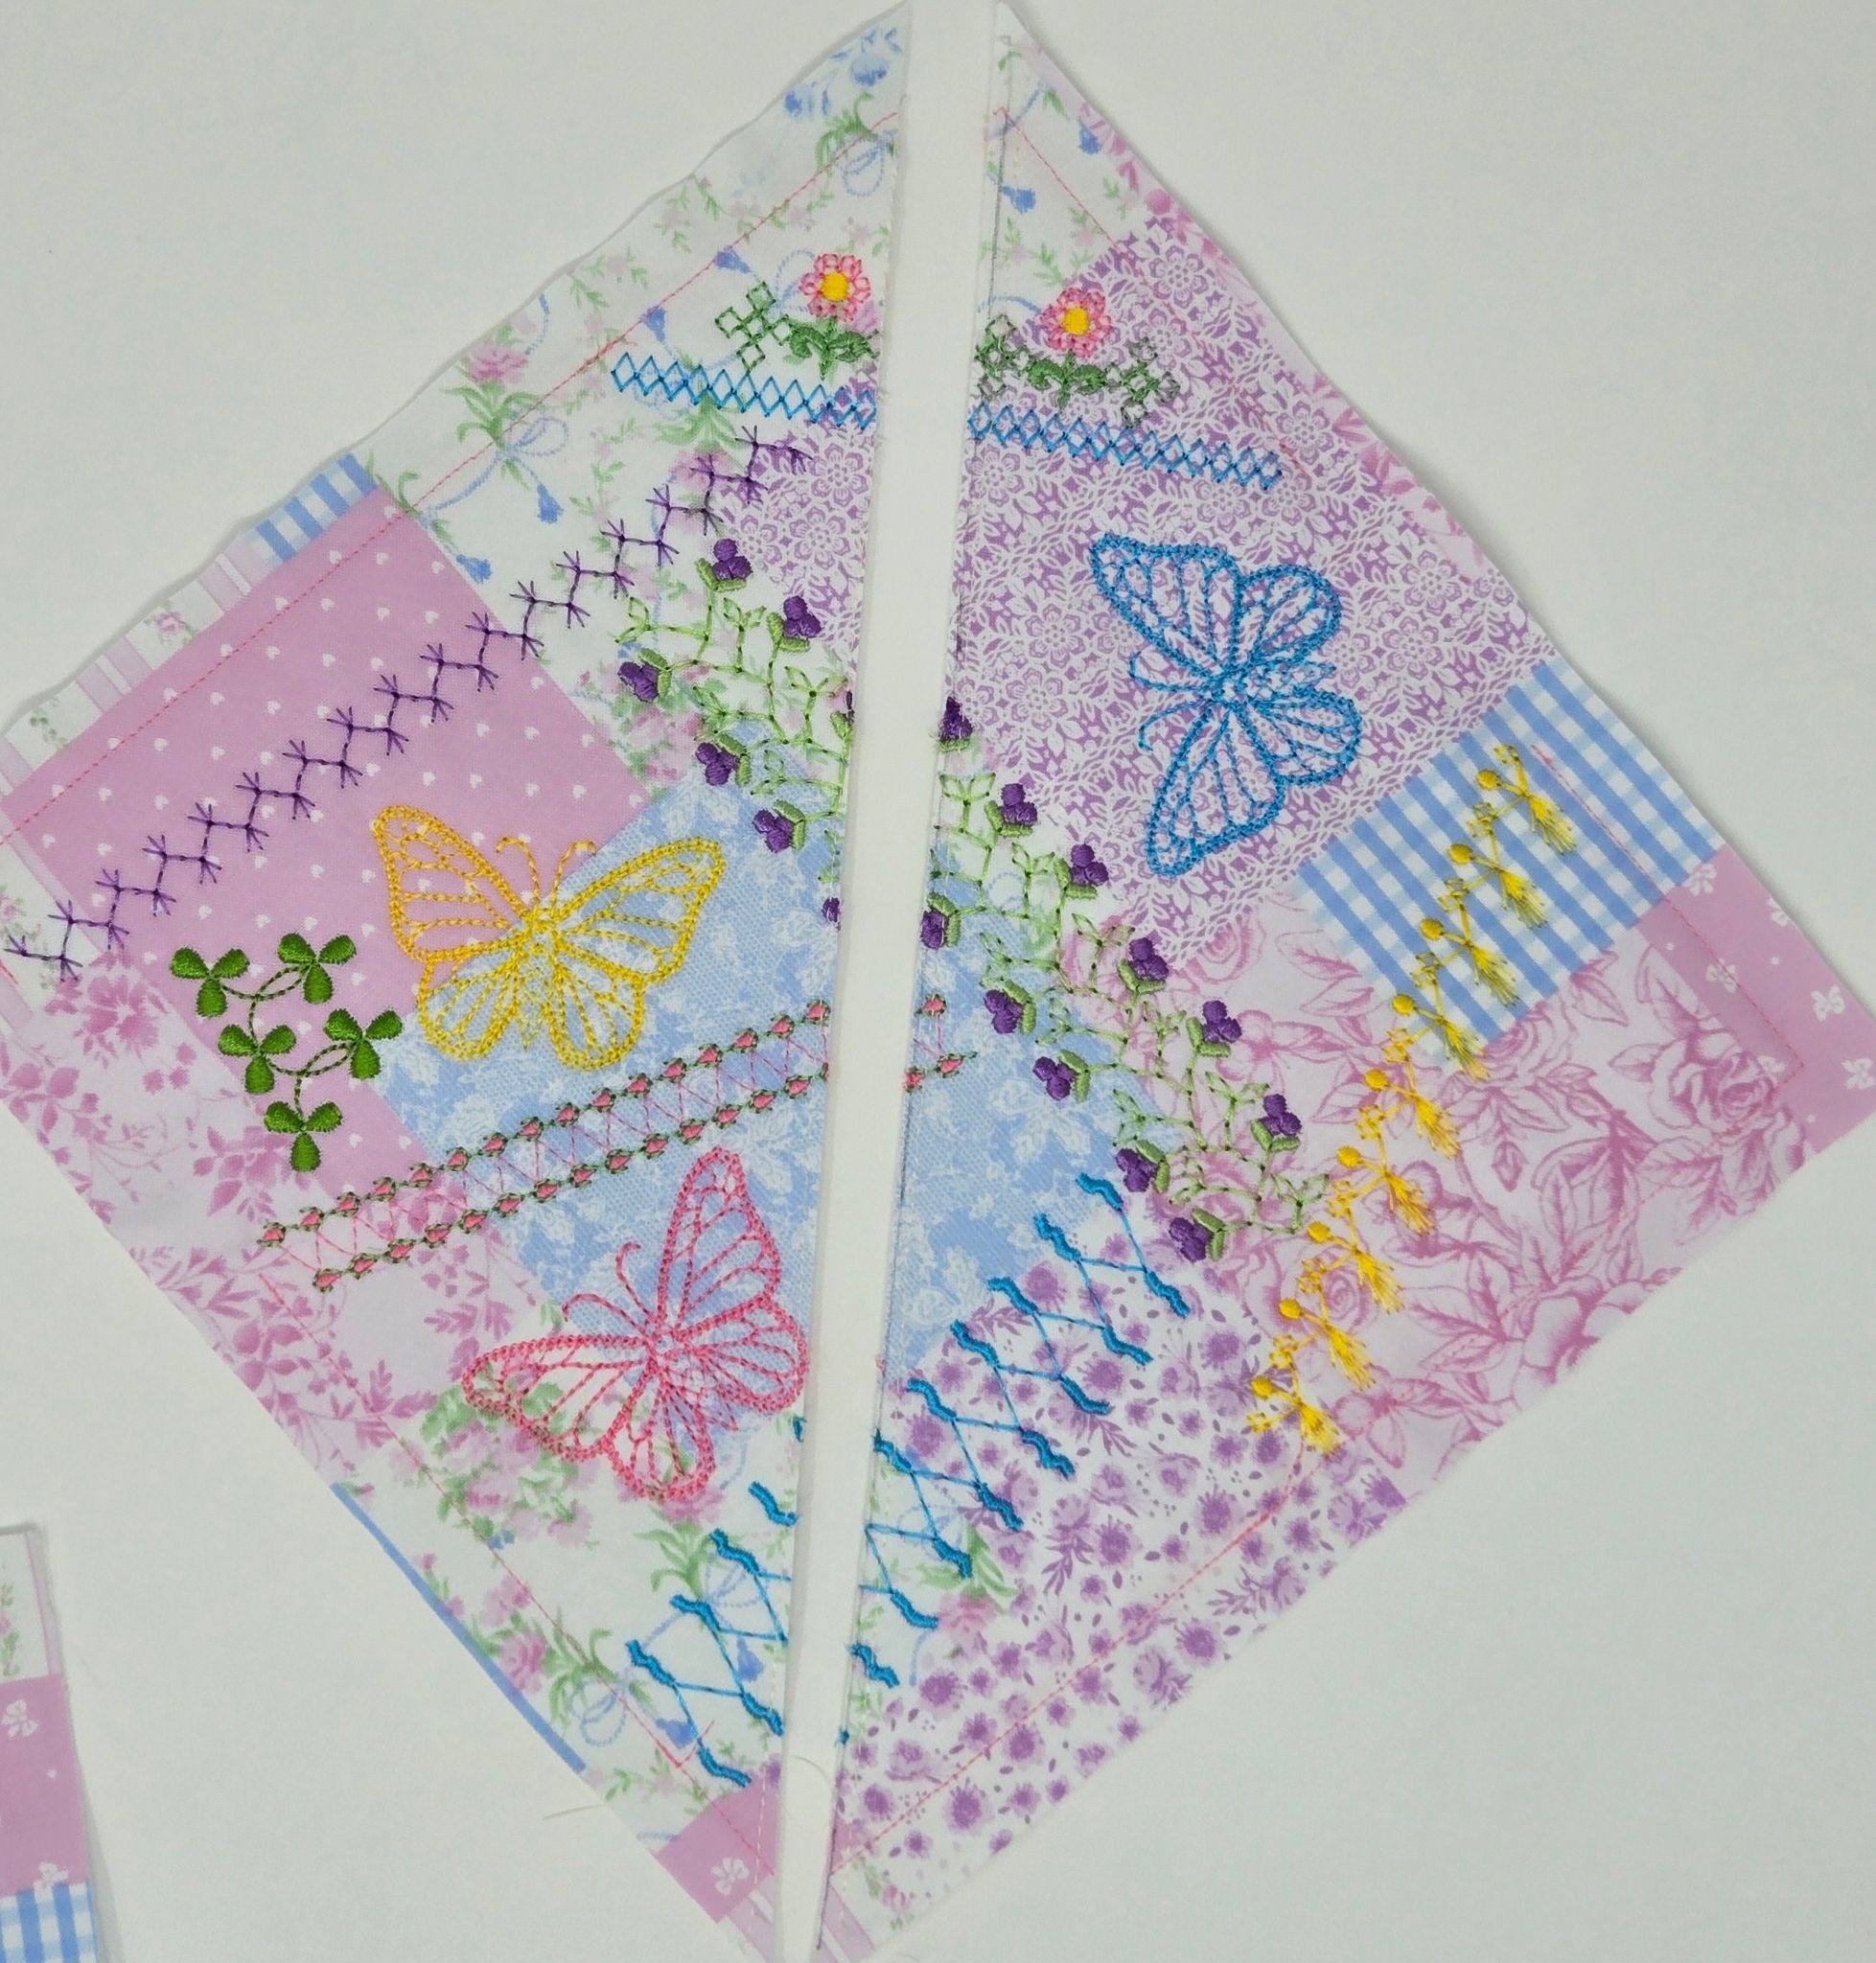
Next, take the setting triangles you just created and place them at the ends of your rows of crazy blocks, with the long cut edge to the outside.
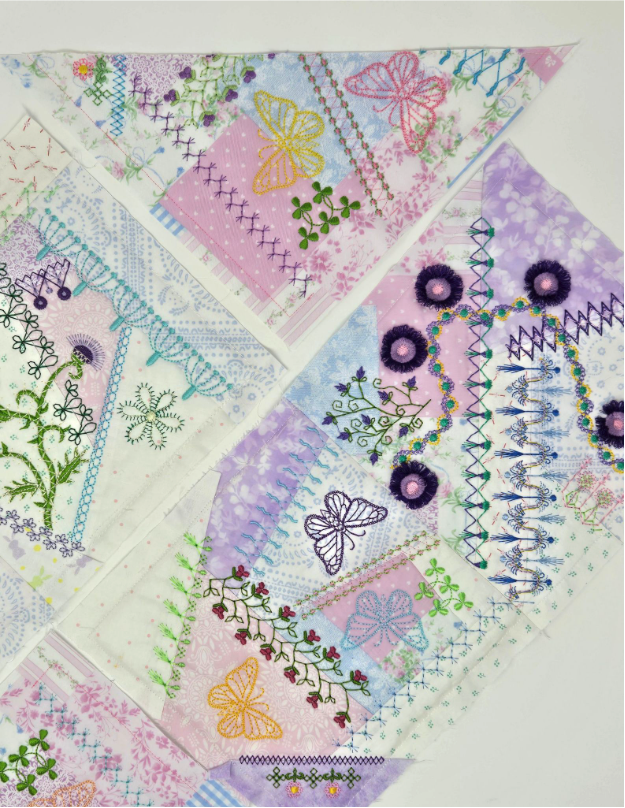
The center row will have two setting triangles, the first and third rows will only have one. Your final two blocks will each have one setting triangle. See photo below.
For the single blocks, one is at the top of the block, the other at the bottom. Lay out the rows starting on the left: lay down one of the single blocks with a setting triangle at the top. Then the first row has two blocks and a setting triangle, the middle row has two blocks and two setting triangles at the top and bottom. The third row has two blocks and a setting triangle at the bottom, and the final right-side row has a single block with a setting triangle.
Sew it all together, pressing your seams open as you go. Remember the triangles will be longer than the blocks, so don’t worry about that right now. It will look asymmetrical—that is okay too.
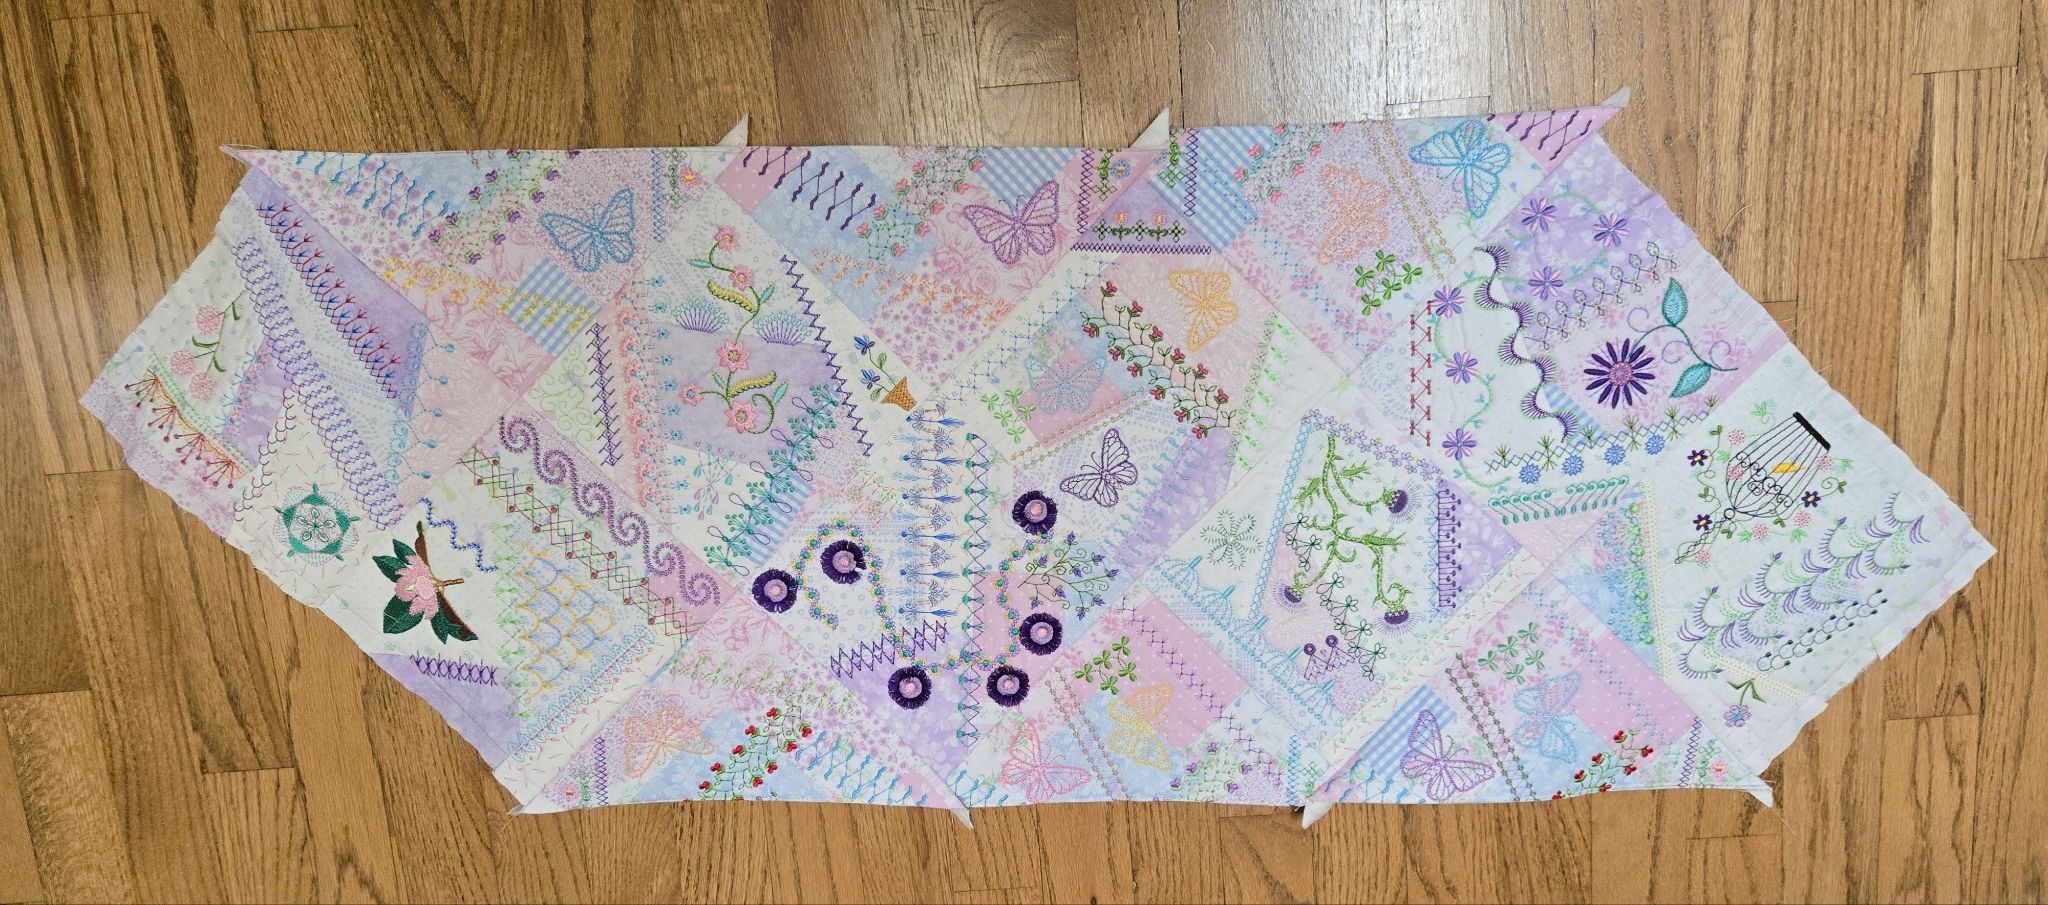
To make my runner symmetrical, I took my long ruler with the 45º line and first trimmed the long edges, trimming off any extra setting triangles, but leaving ½” from the intersections.
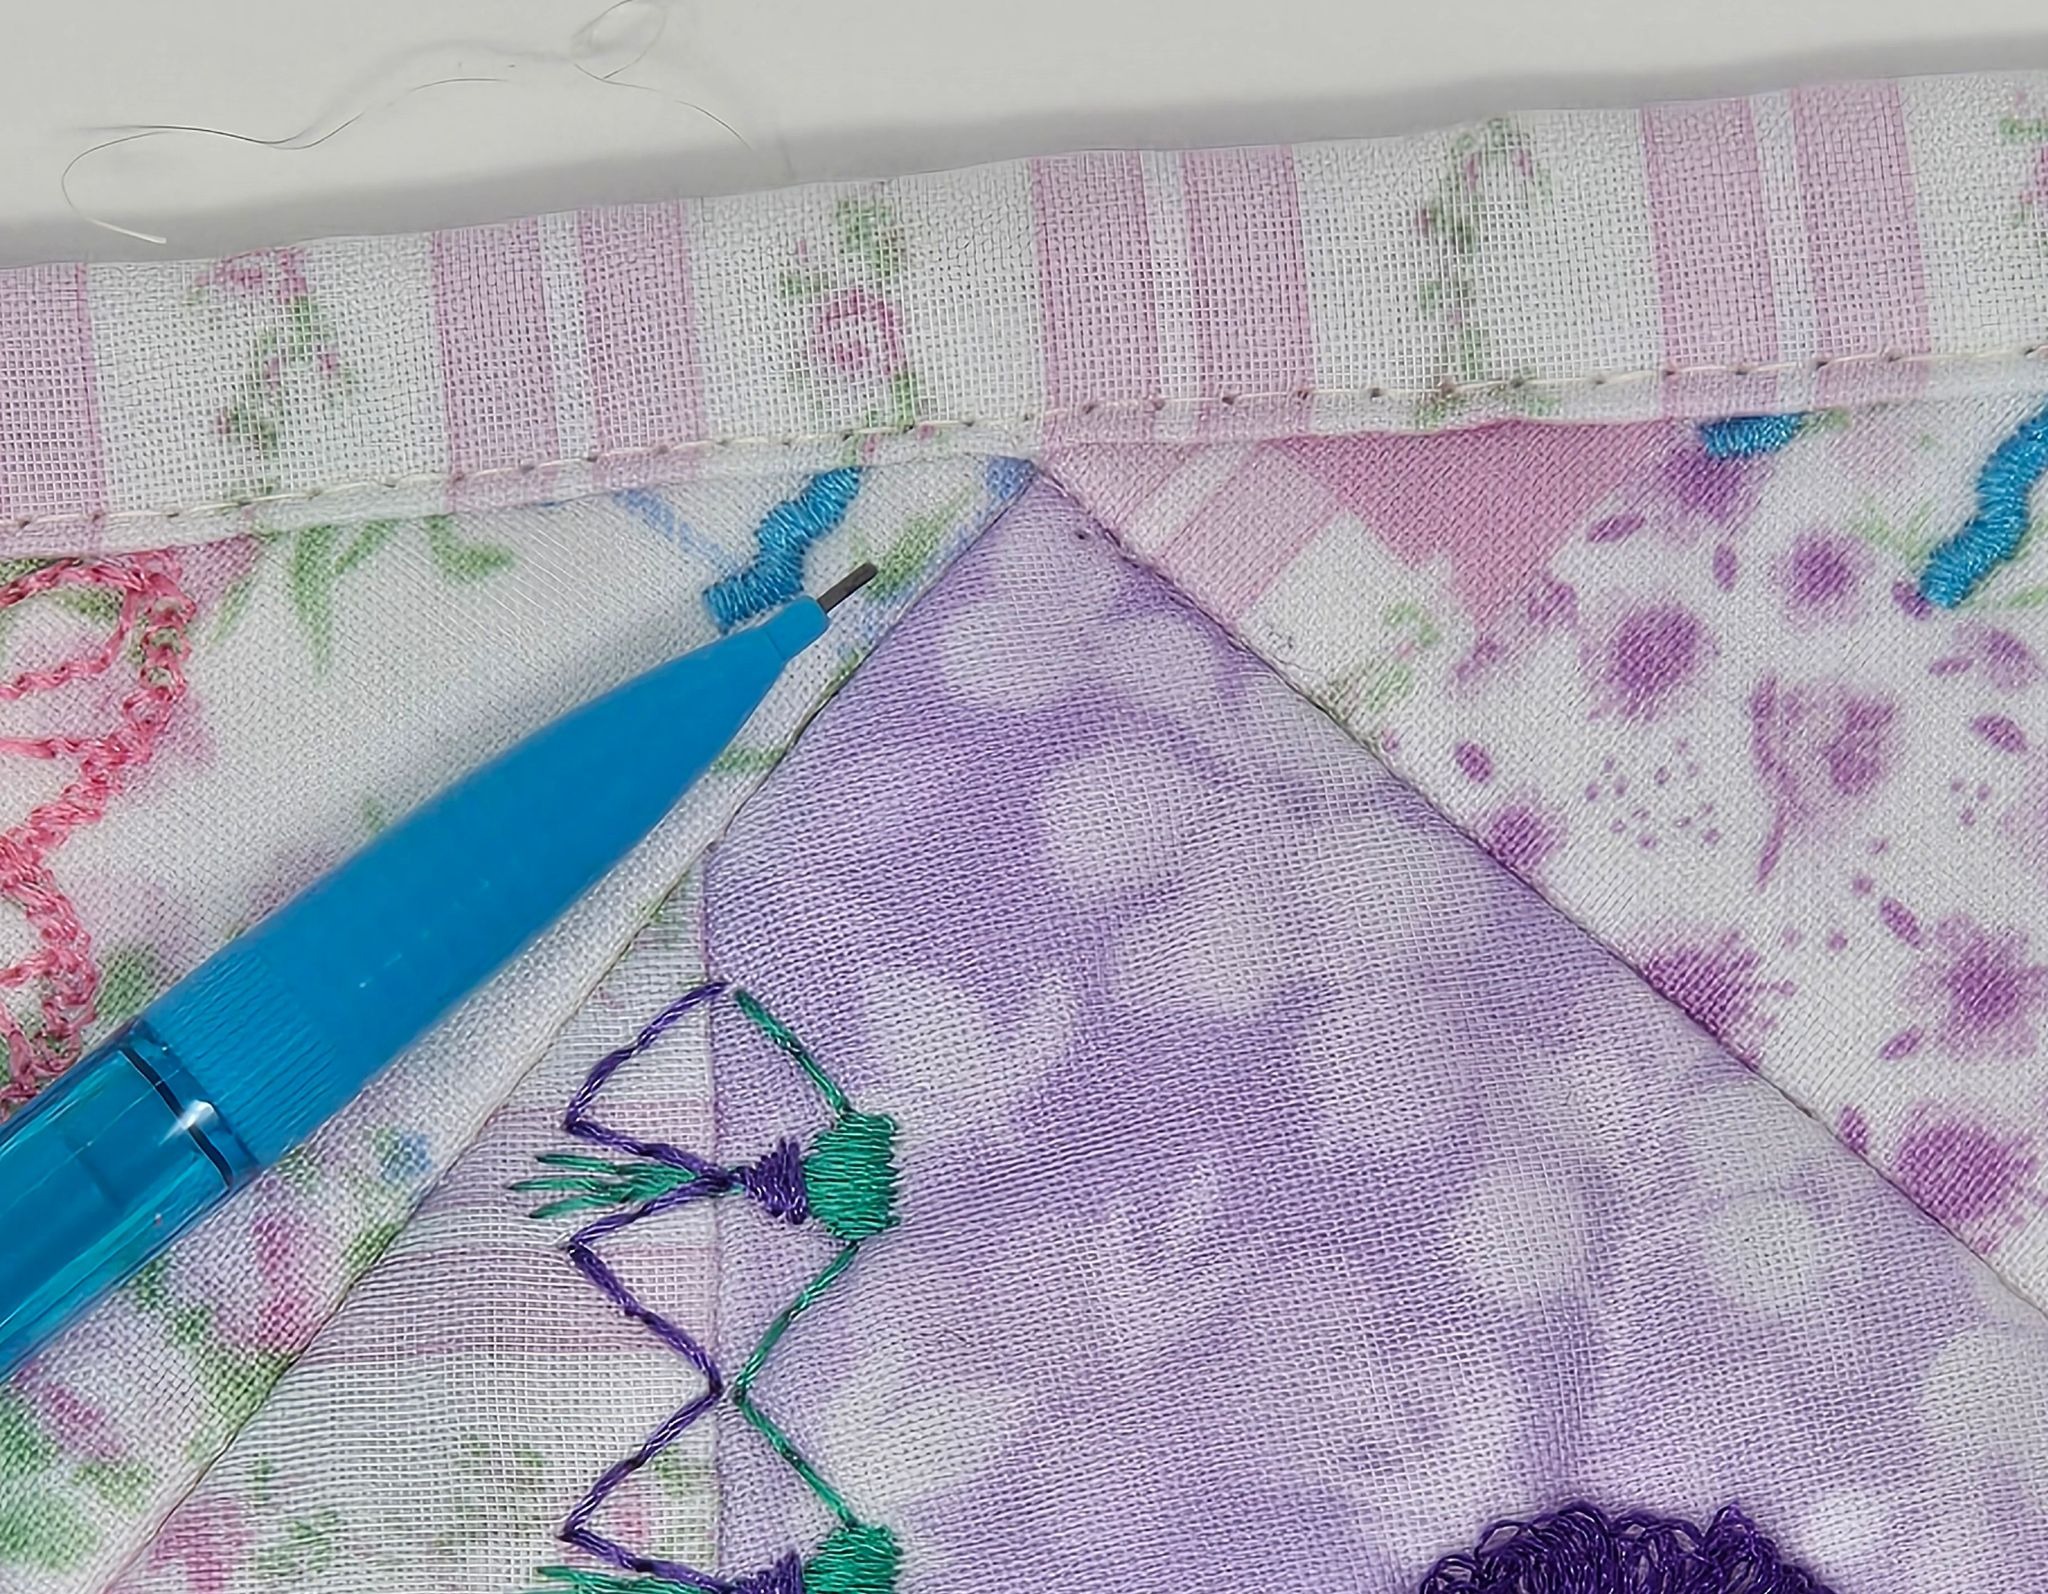
Then lay the ruler with the 45º line along a long, trimmed edge and mark. Trim off the excess crazy patch block outside the 45º line. Do this on both ends.
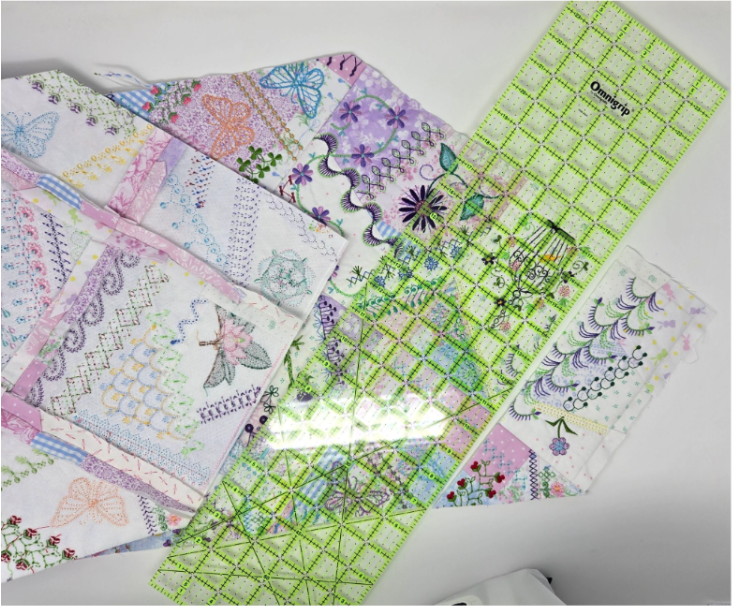
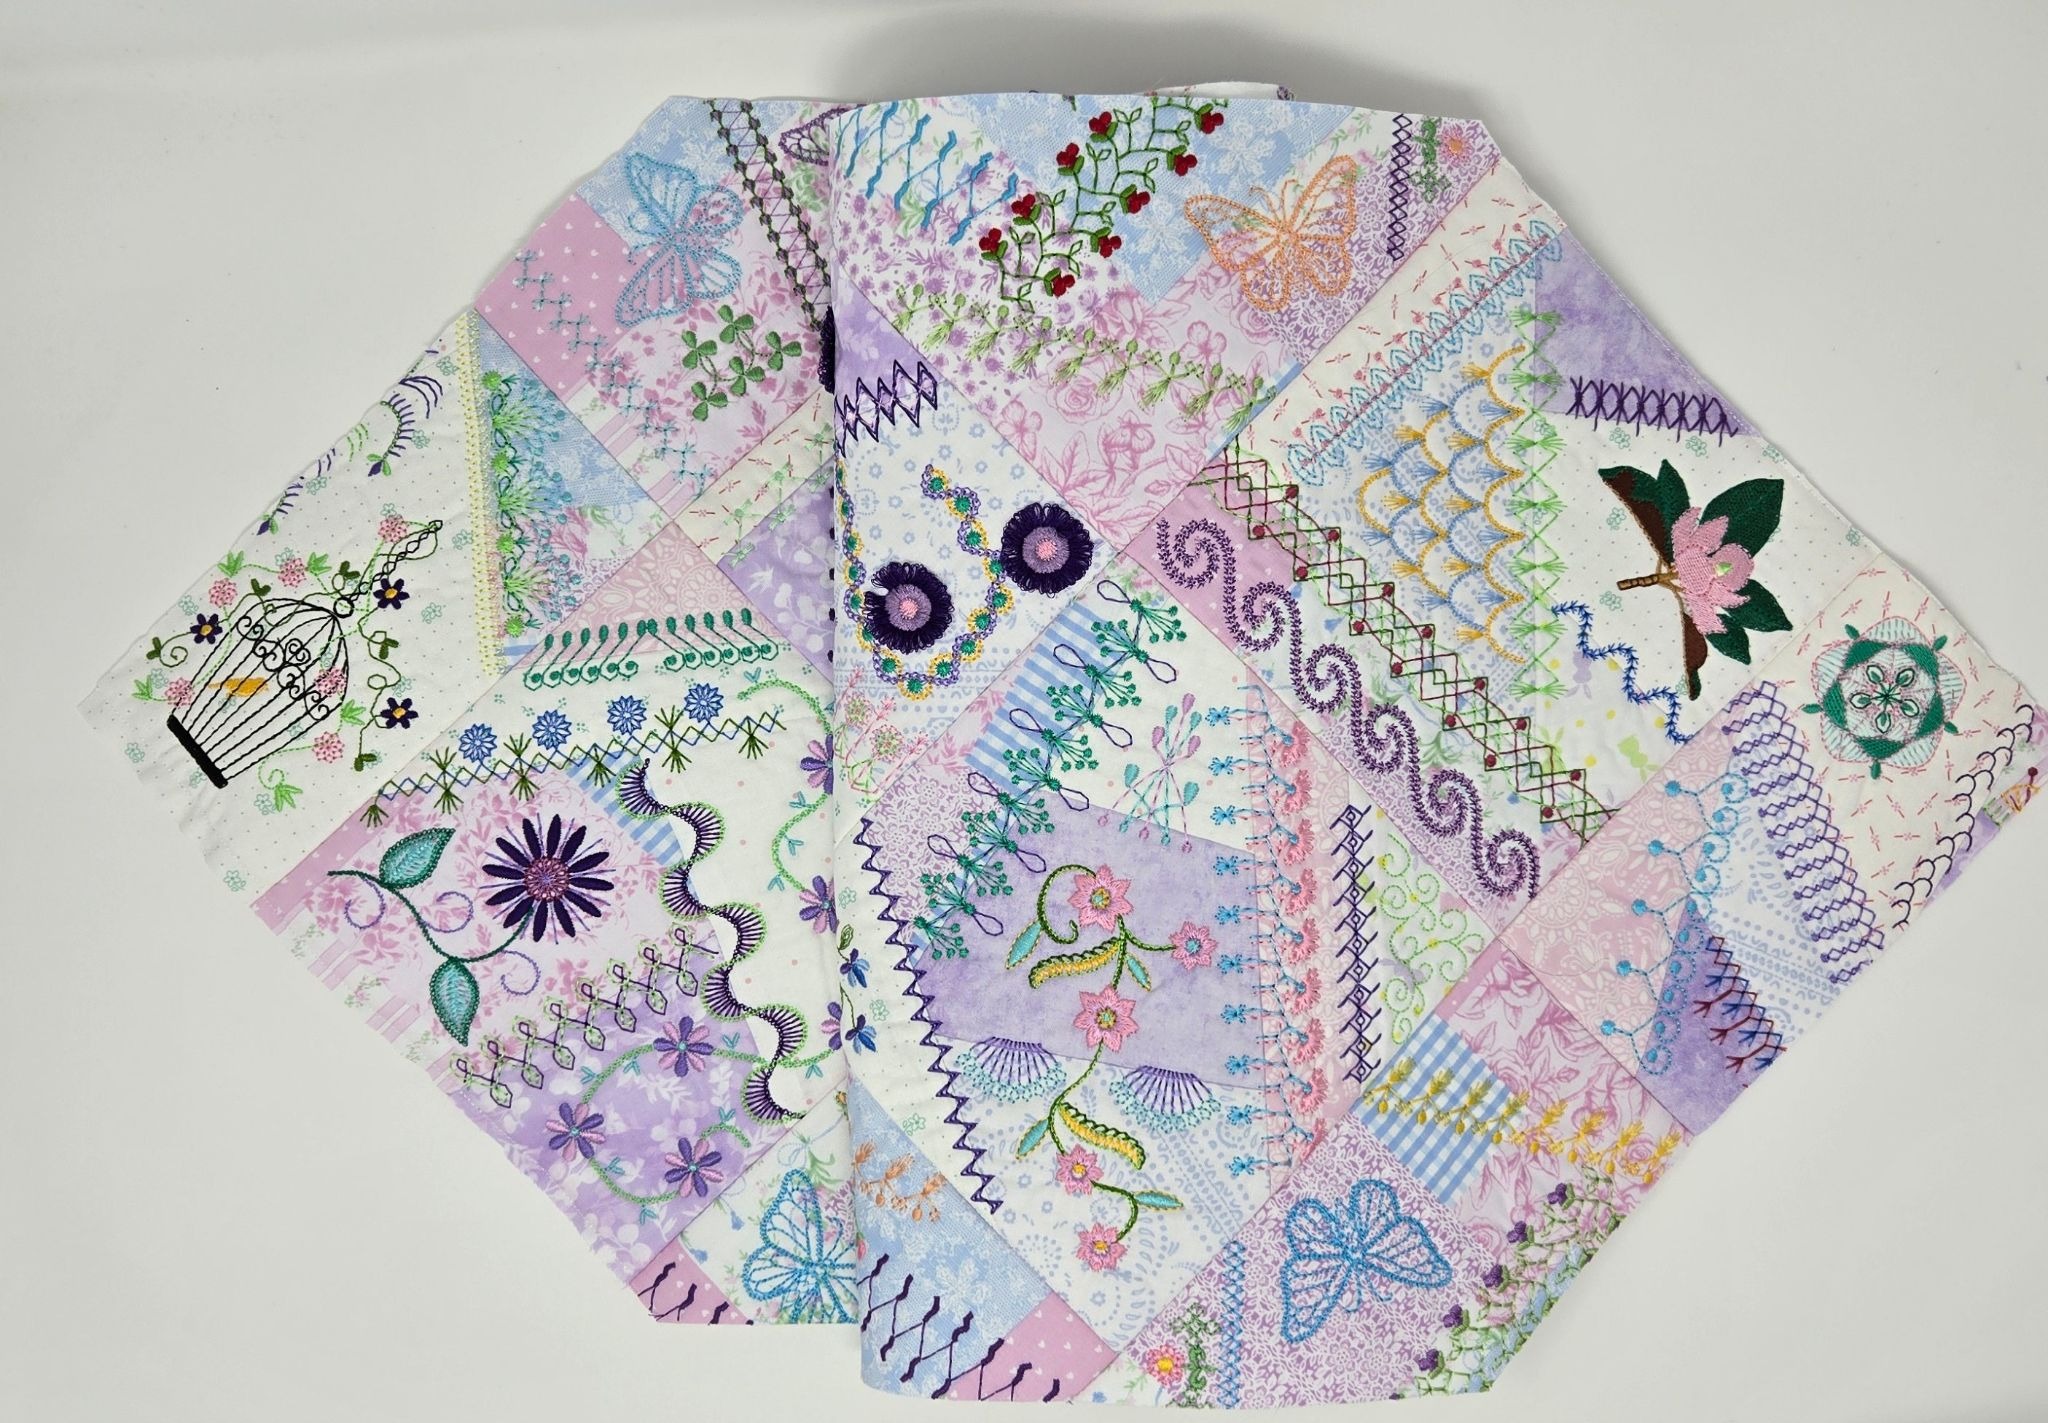
Here is where I used the fusible fleece: I backed my runner with it to give it a bit more body. Cut it the exact size of the runner and fuse it to the back. This is optional, but I love how my runner turned out.
Finally, I cut my backing, cutting it 1½” wider on all sides than my runner. I did this to allow for the fold-over binding, bringing the back to the front. Note: This is the only place where I strayed from the binding tutorial under Resources above, trimming 1½” instead of 1¼”.
Using a monofilament thread in the needle, quilt with 3mm stitches between the blocks. My bobbin had cotton thread.
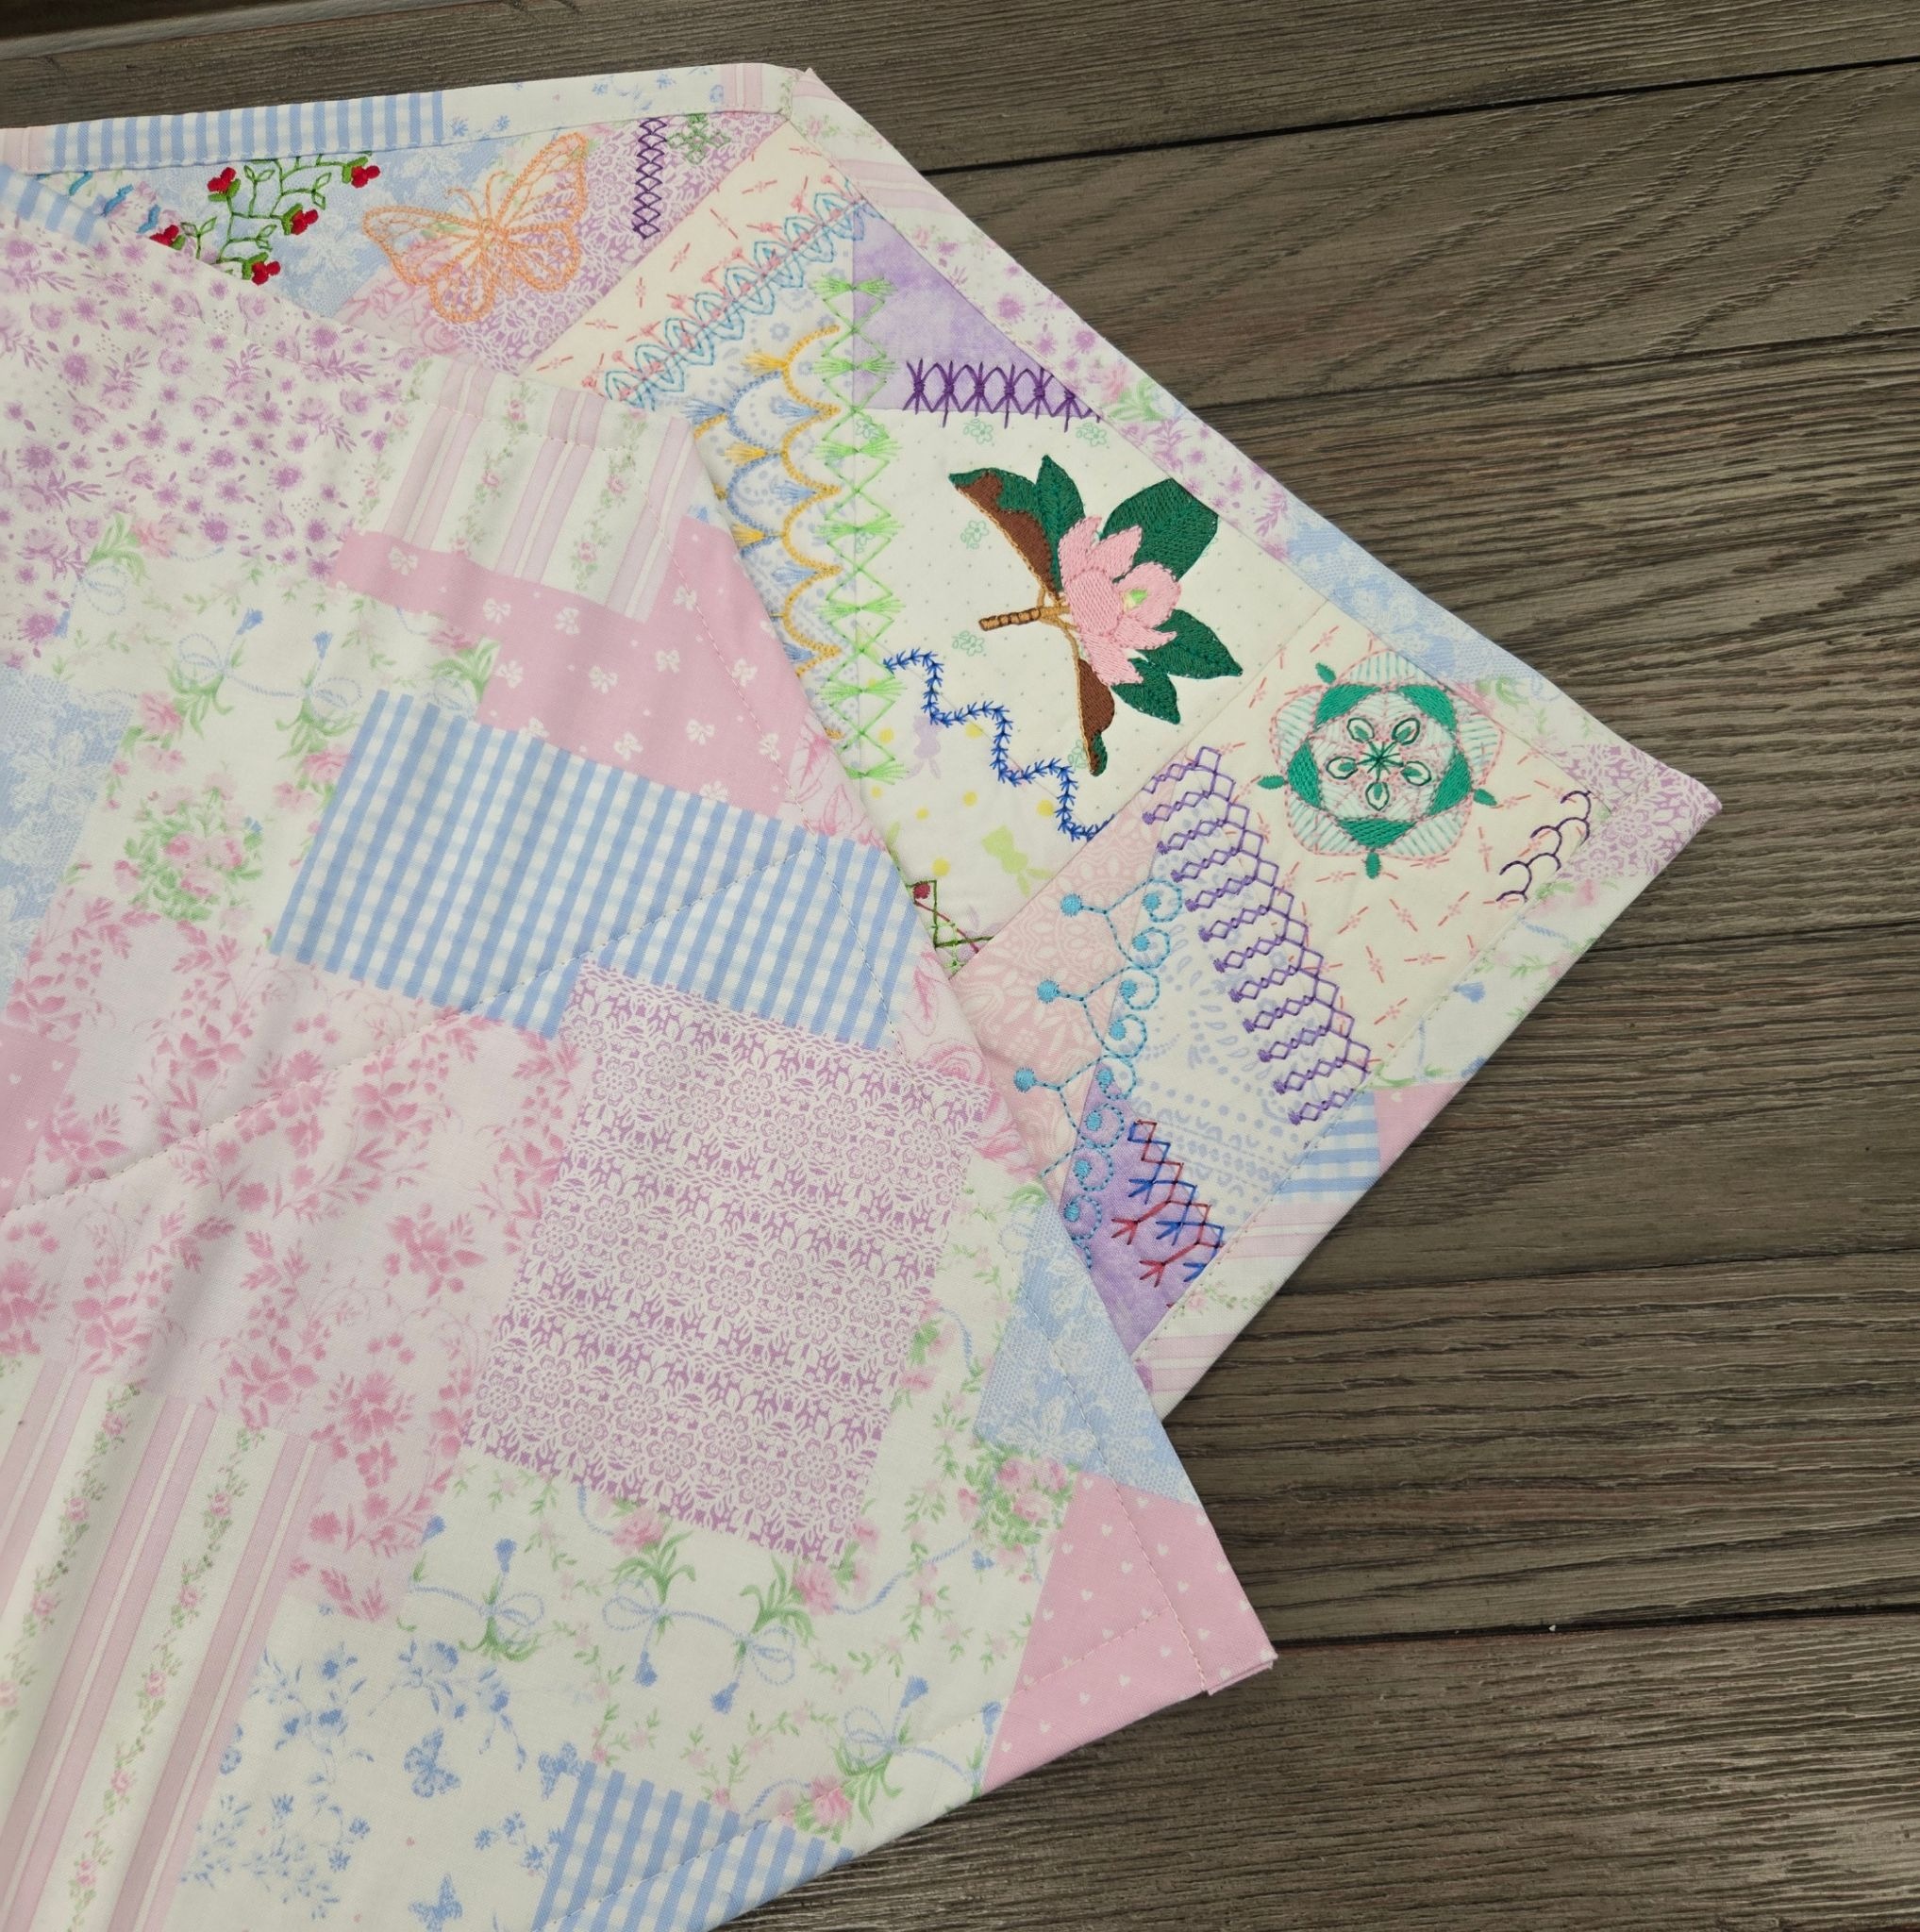
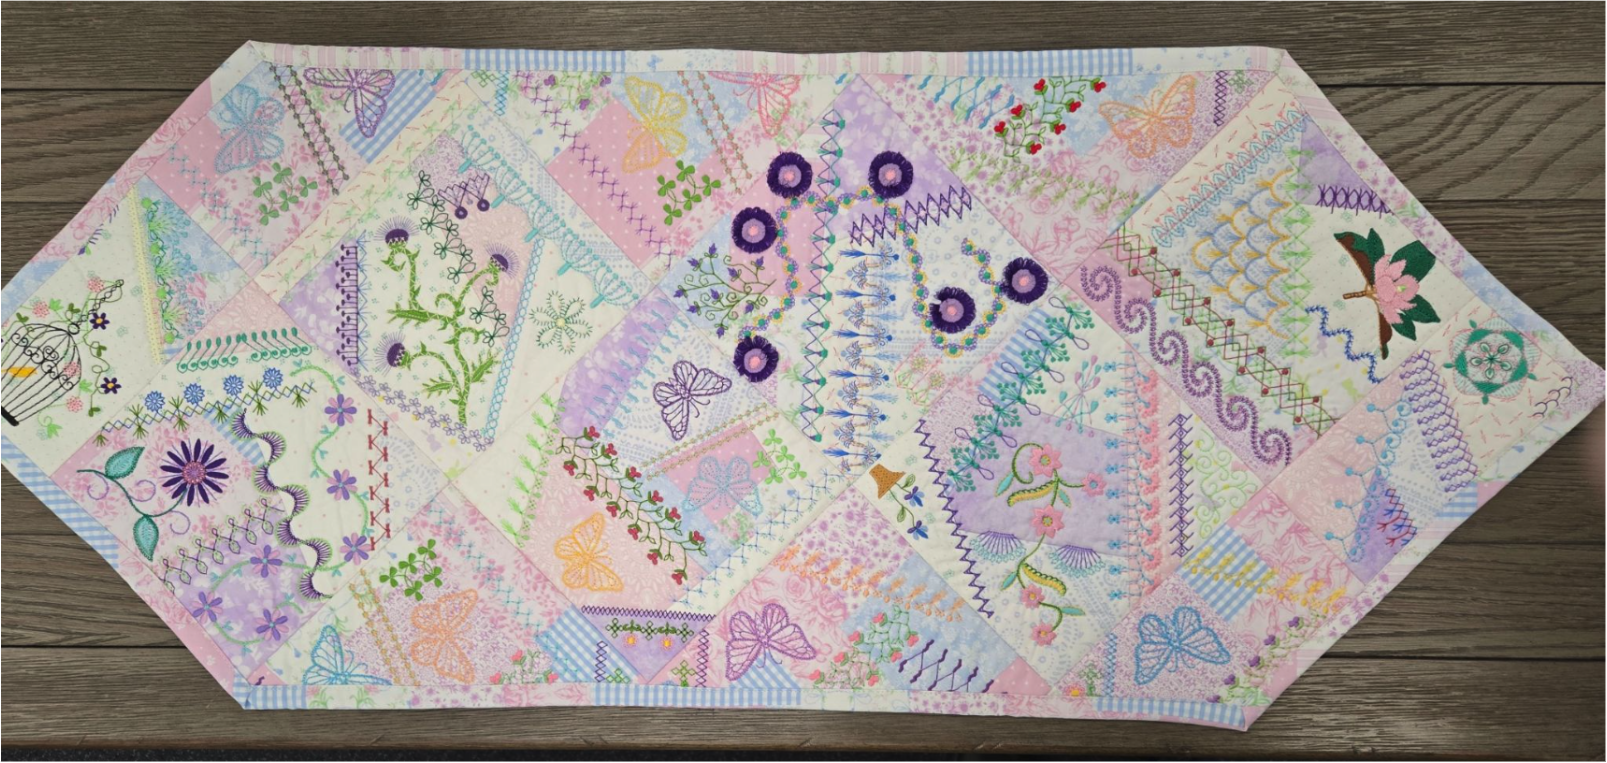
The options for using these blocks are limitless! You can decorate a bedroom, like I am doing, or maybe you would like to make a tablecloth for a bridal or anniversary party. Put the blocks diagonally around a pre-made cloth and you are set! How about a ring bearer pillow? Make it tone-on-tone or with various white fabrics with gold or silver threads. Or go bold and add the blocks to a sweatshirt or jacket, a tote, a keepsake photo album cover, or even a lamp shade!
Whatever you choose, be sure to share your projects in the Designs by JuJu Embroidery Blessings Facebook Group, or use the hashtag #designsbyjuju anywhere on social media. We all love to see what you create!
