Toggle Nav
 Inspire.
Create.
Stitch.
Inspire.
Create.
Stitch.
Search

Location, location, location—it really is everything in embroidery!
Once you’ve chosen the perfect design, the next big decision is where to stitch it. Placement can make all the difference in how your finished project looks and feels, whether you’re working on a shirt, tote, towel, or something totally new. It’s one of the first questions new embroidery folks ask—and even experienced embroiderers wonder about it when trying a new item. The good news? With a few simple guidelines and helpful tips, you can confidently position your design so it looks balanced, polished, and just right every time.
Check out the DBJJ team’s favorite supplies in the Designs by JuJu Amazon store. For stabilizers and batting, Designs by JuJu+ has everything you need.
These are guidelines for where to place your designs. You are making embroidered projects for yourself, your family, and your friends. Keep in mind that your own preferences matter in how you like things to look. No embroidery police are going to show up at your house.
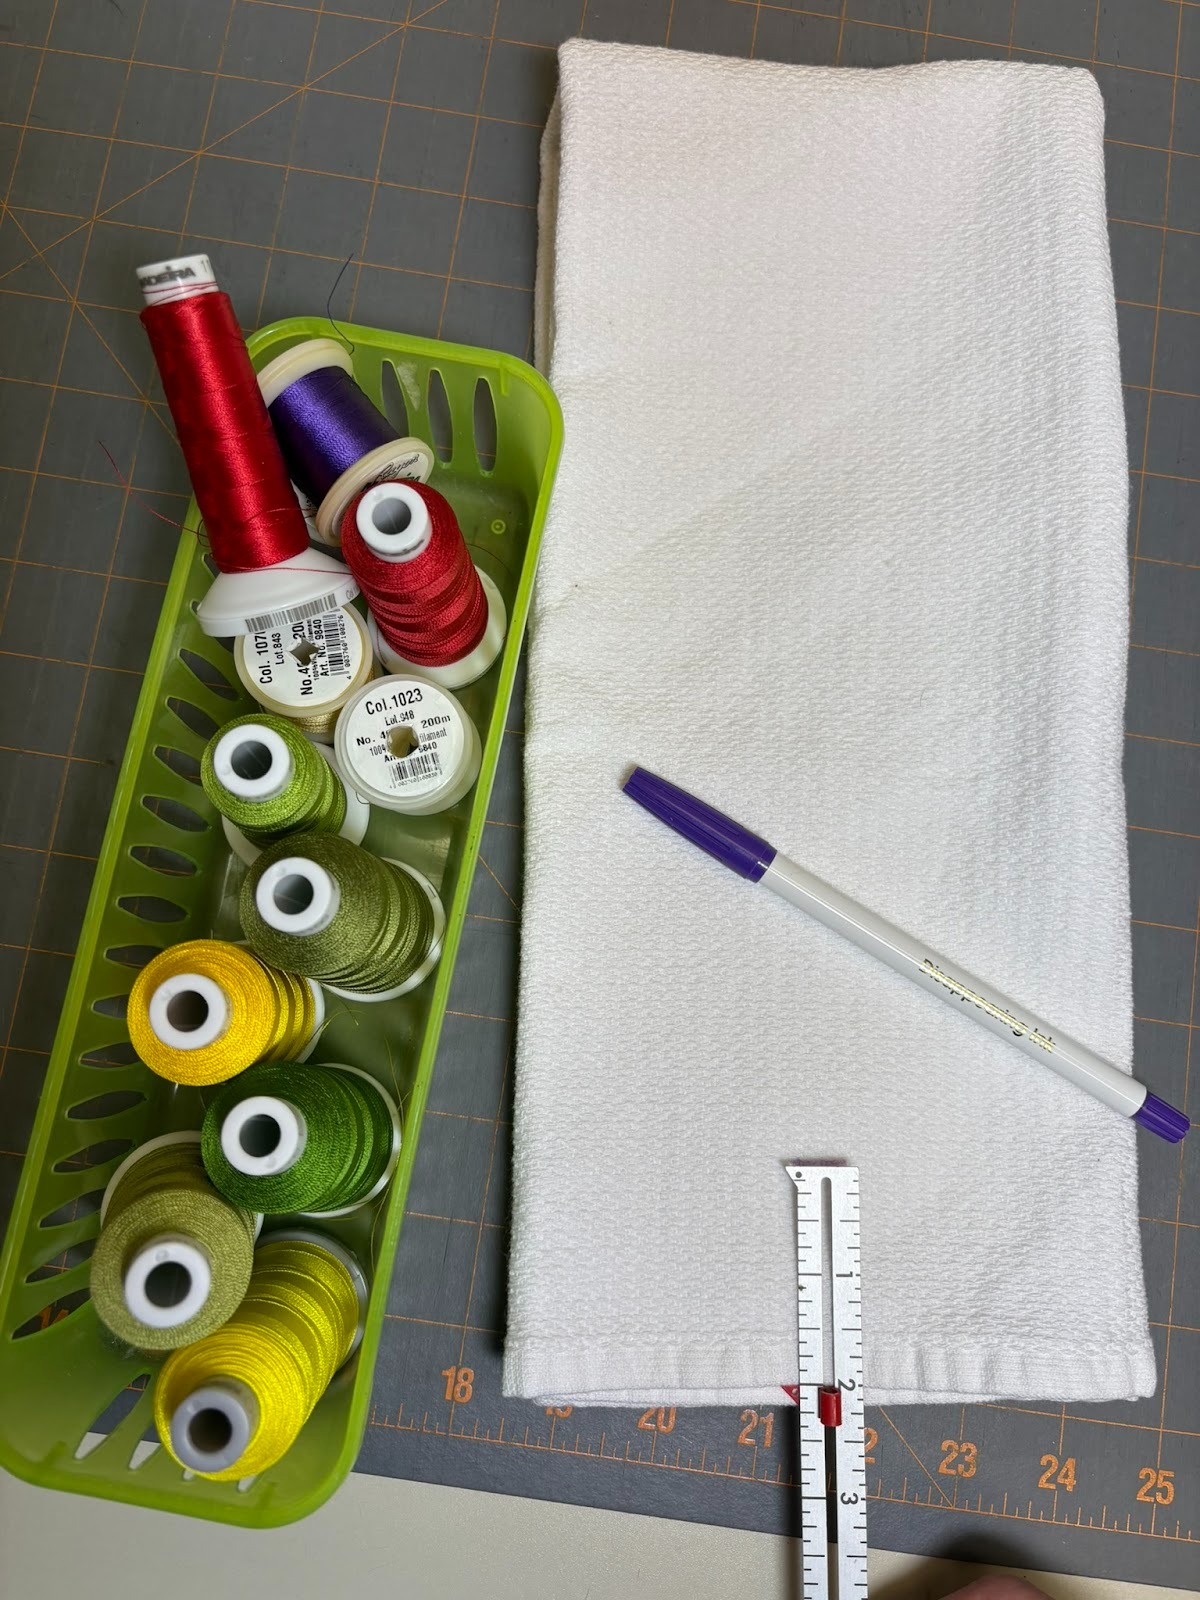
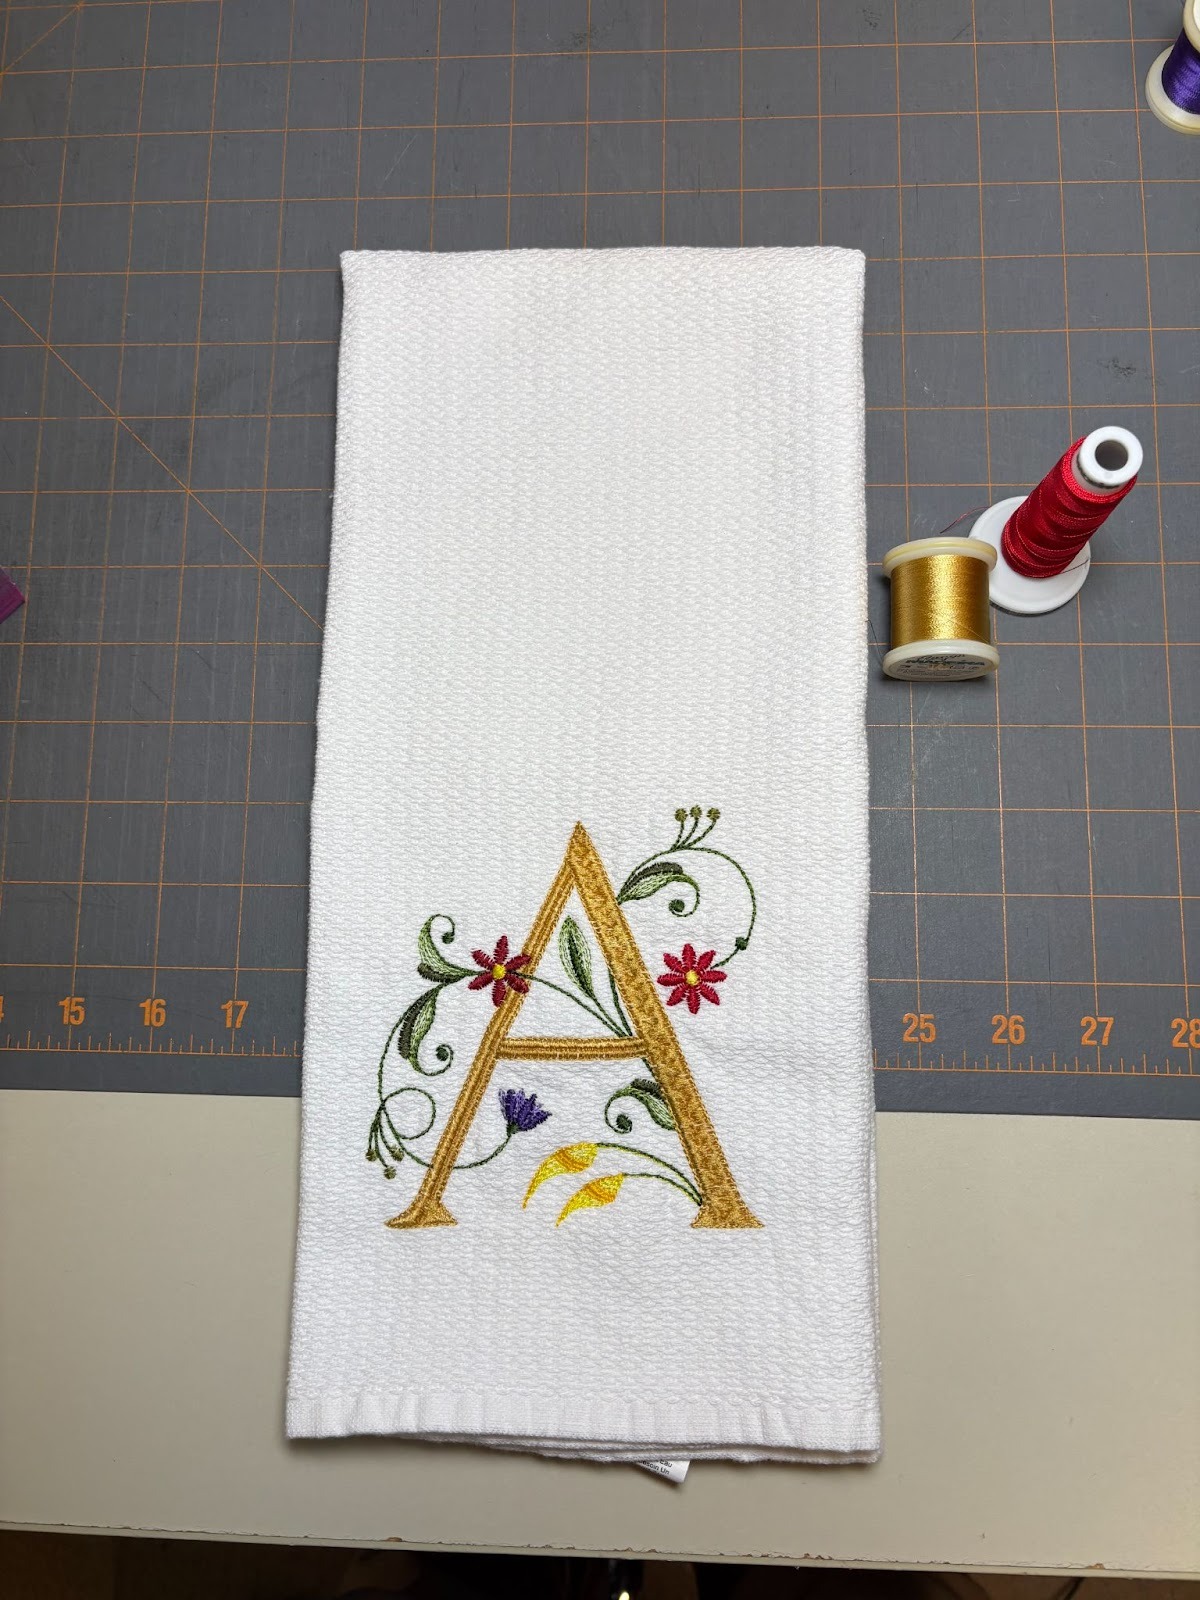
Kitchen towels and hand towels are great for first-time embroiderers because there isn’t a lot of bulk to handle. Generally, designs will be 2”–3” above the bottom edge. I usually use the 5x7 size designs.
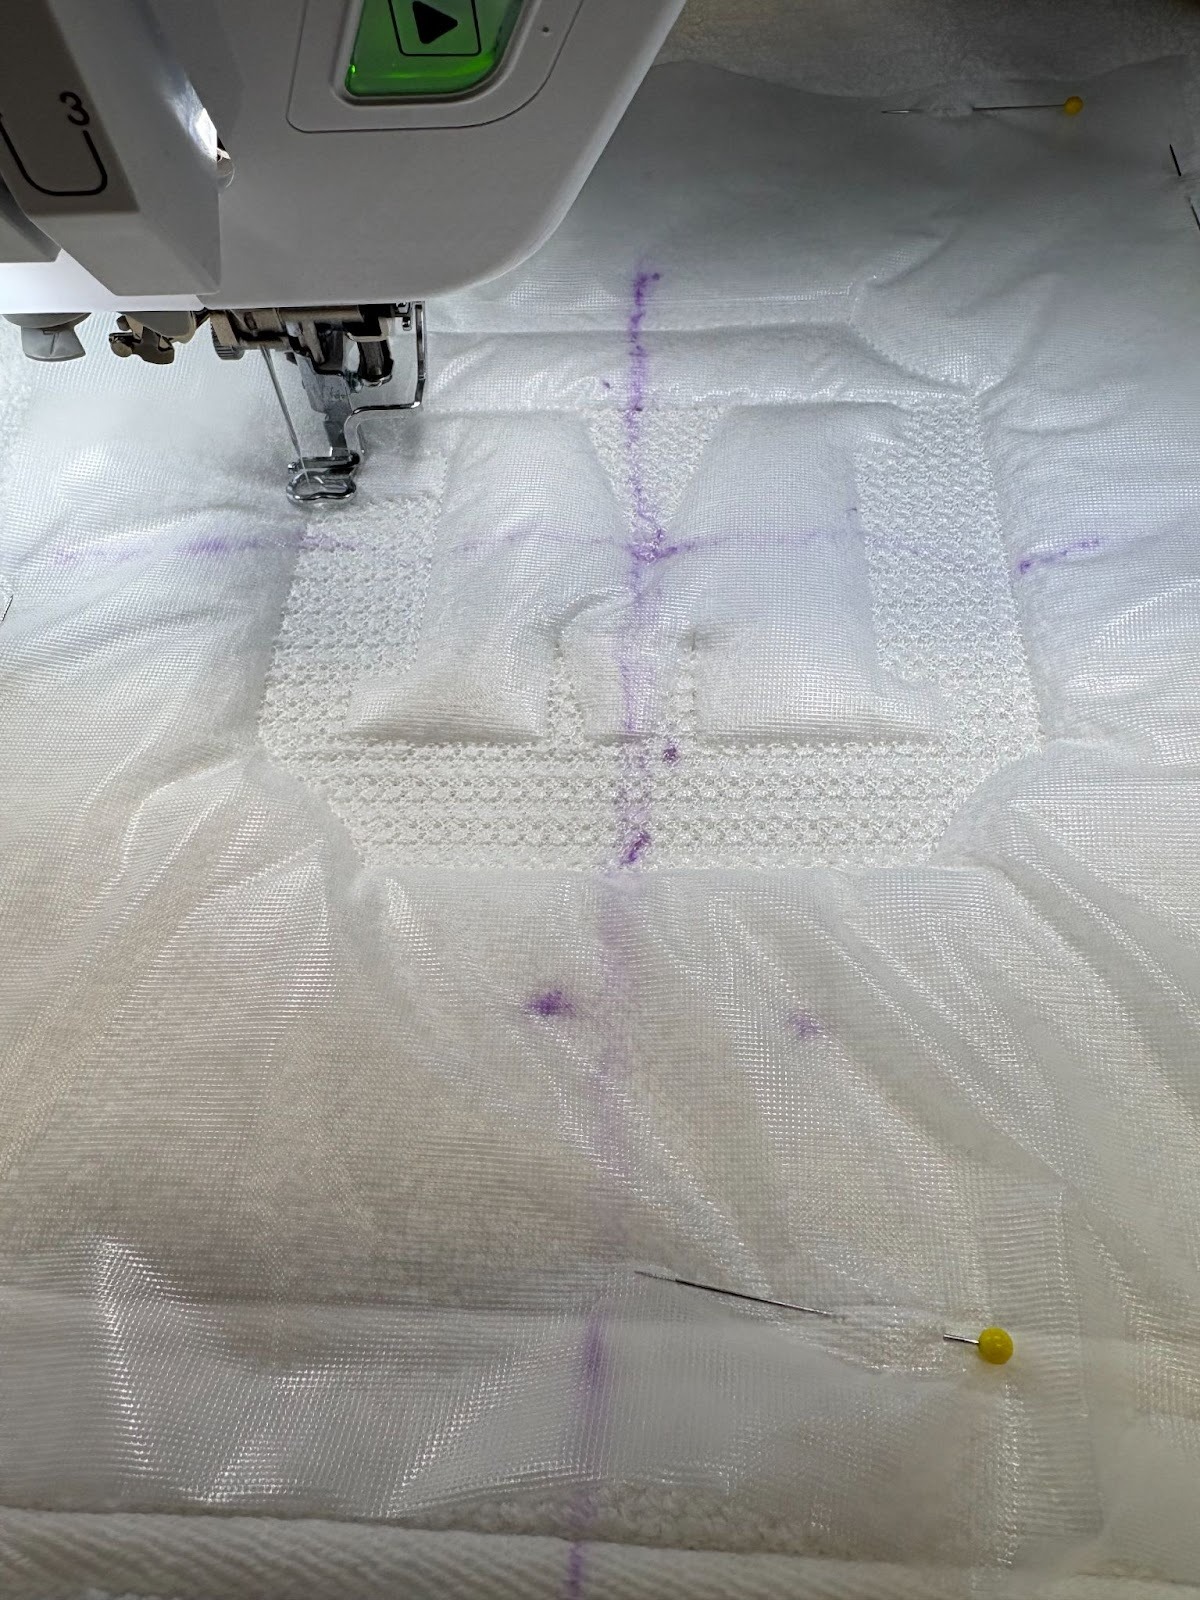
I always mark 2” from the bottom using the Dritz Disappearing Ink Marking Pen. Then I take the top-to-bottom measurement of the design, divide it in half, and mark the center of the design on the towel. Then fold the towel in half to mark the vertical center of the towel, or use a tape measure to find and mark the center. Center the design from top-to-bottom and left-to-right on the towel. Remember to use a water-soluble topper to prevent the stitches from sinking into the towel.
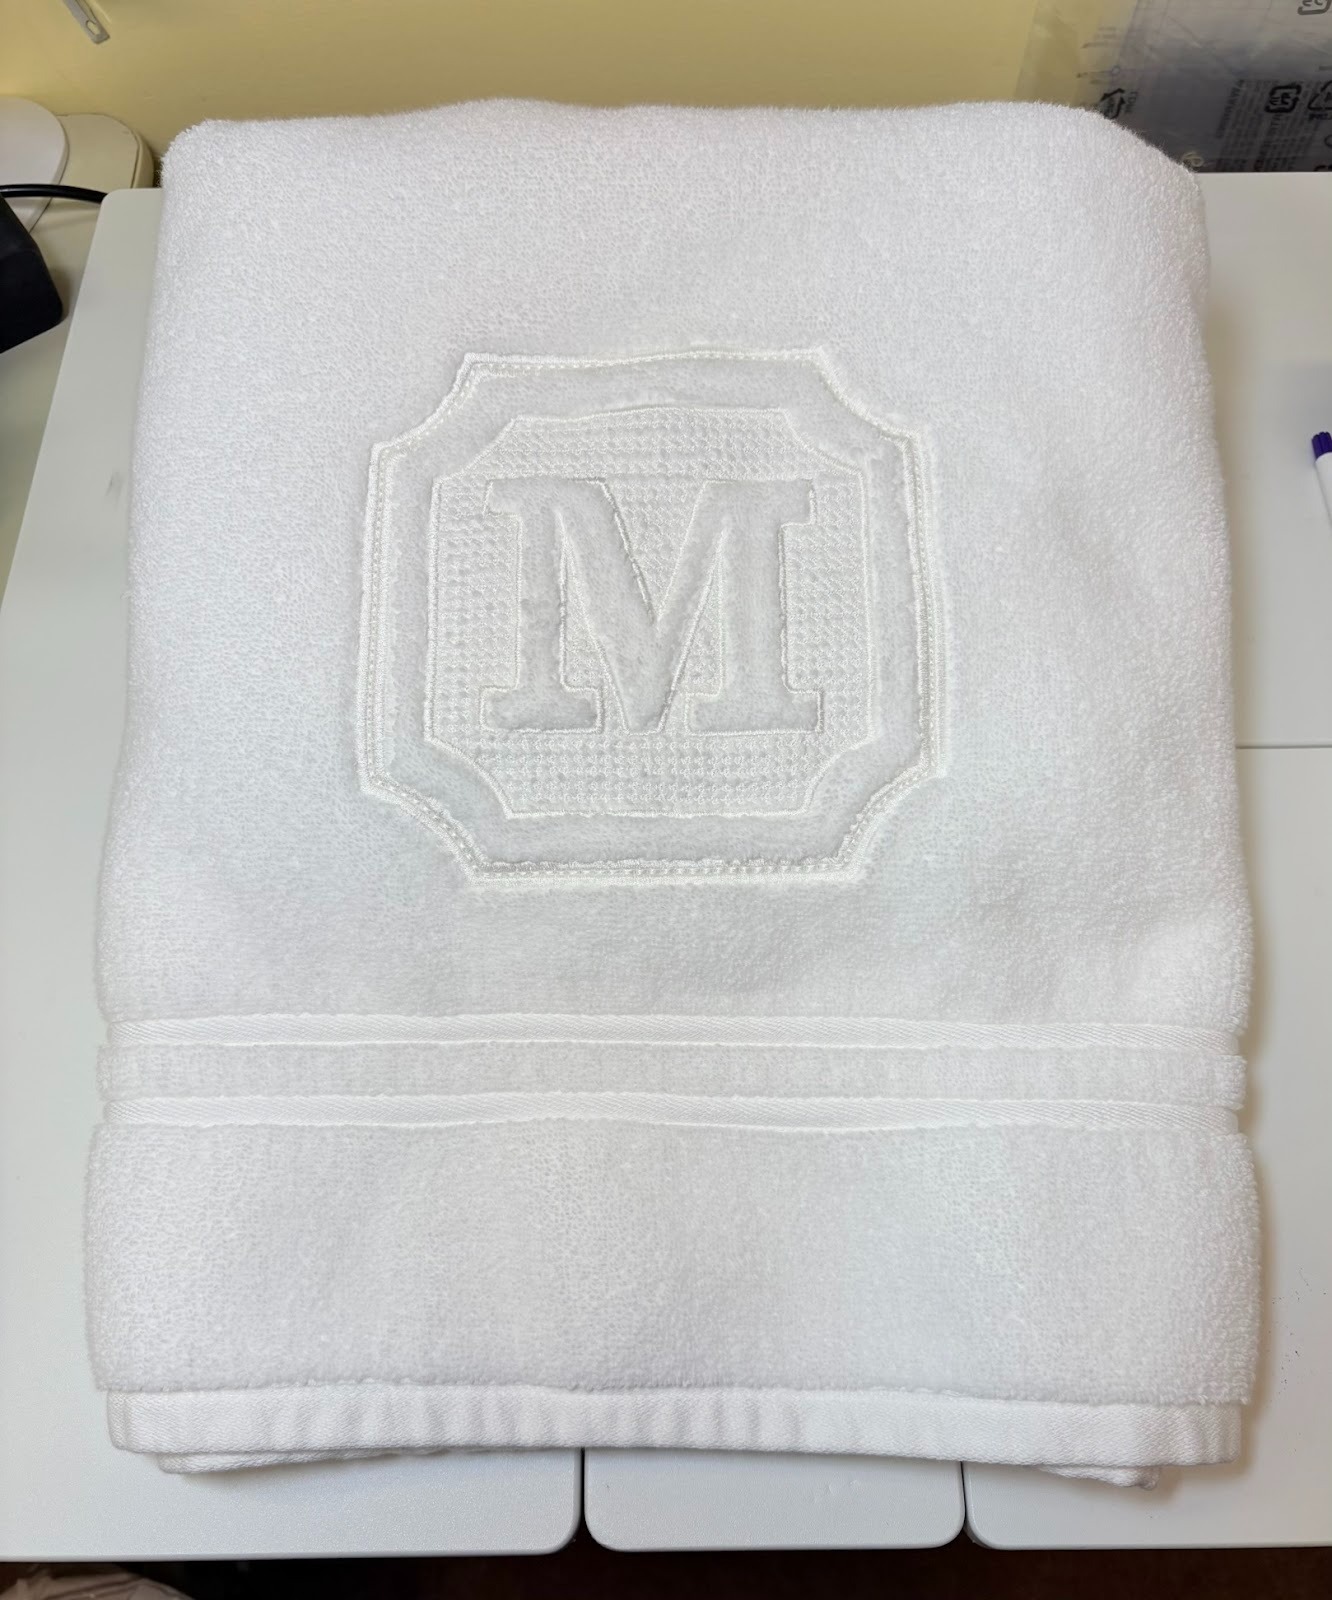
Bath towels are done similar to the smaller towels described above. If the towel doesn’t have a decorative band, place the design 4” from the bottom edge. If there is a decorative band, place the design 1½” above the band.
Remember above where I said design placement still has some leeway for personal preference? Golf towels are a great example of this. Online, I’ve seen golf towels embroidered in bottom corners, or with the design centered as on the kitchen towels above, or even embroidered up near the grommet like the towel pictured below. I have three family members who golf and they all prefer the design placed about 1” below the grommet near the top of the towel. This lets the design show, but it leaves the towel free for wiping balls and clubs during play.

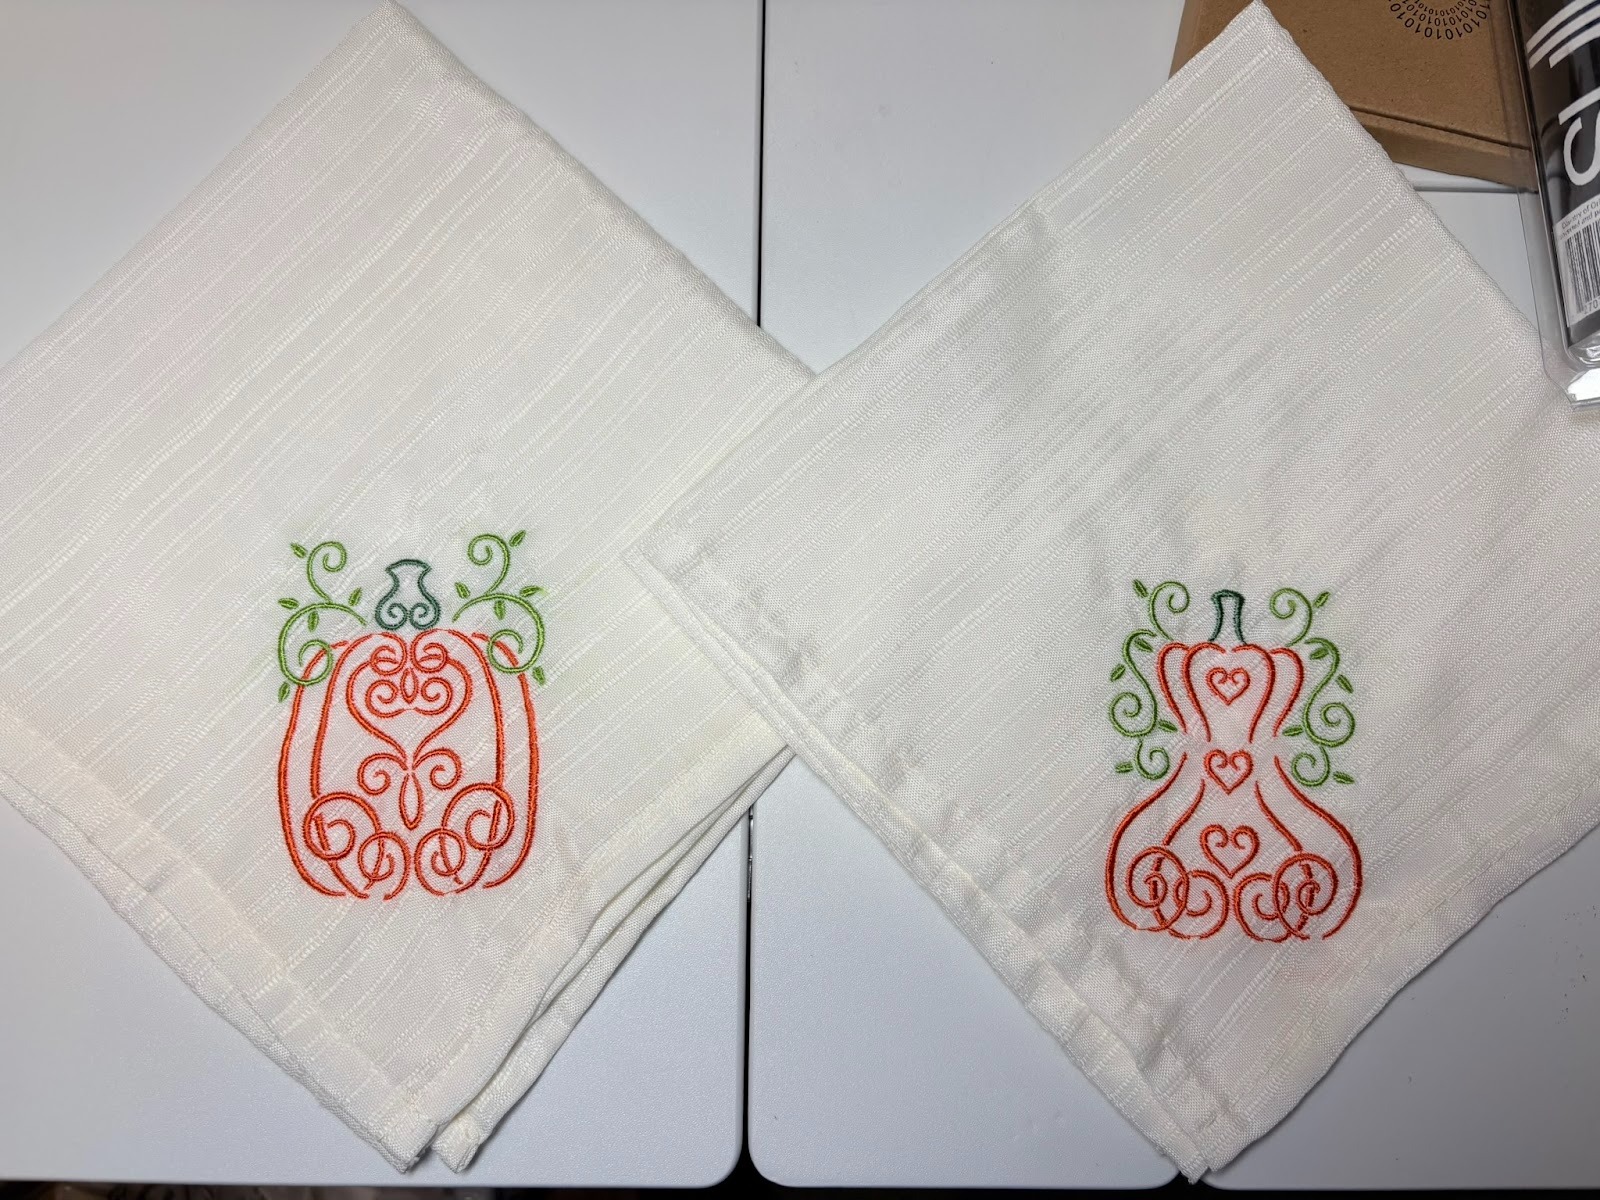
Napkins offer you a few placement choices: in the corner at a 45° angle, centered at the bottom of one side, or in the center. Place your design 2”–3” from the tip if you are using the corner placement. On the fall napkins I show below, the design is 2” from the tip. If you are embroidering along one of the sides, measure up 1”–2” from the edge. If there are already embellishments on the napkin, such as a frame or fancy stitching, you can adjust the placement so the design looks pleasing to you. The important thing is to have the measurement consistent for all the napkins in the set you’re embroidering.
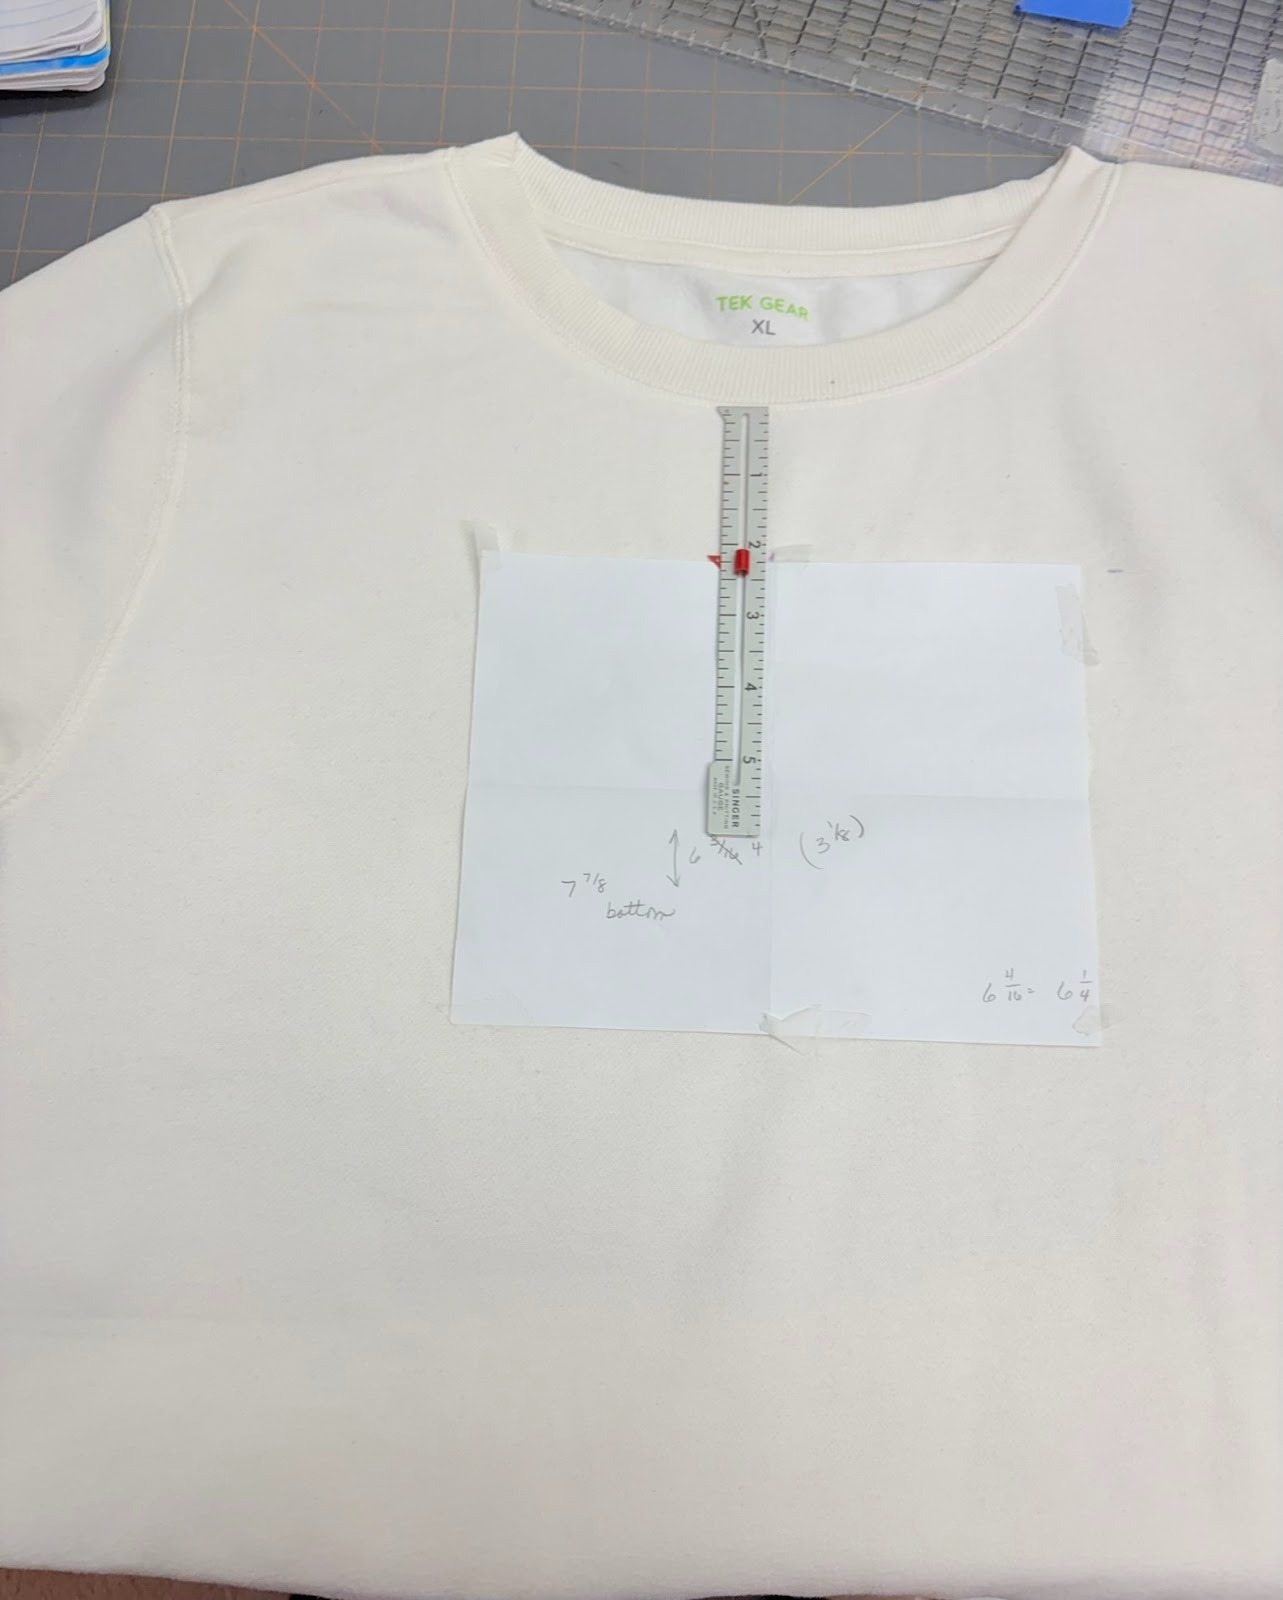
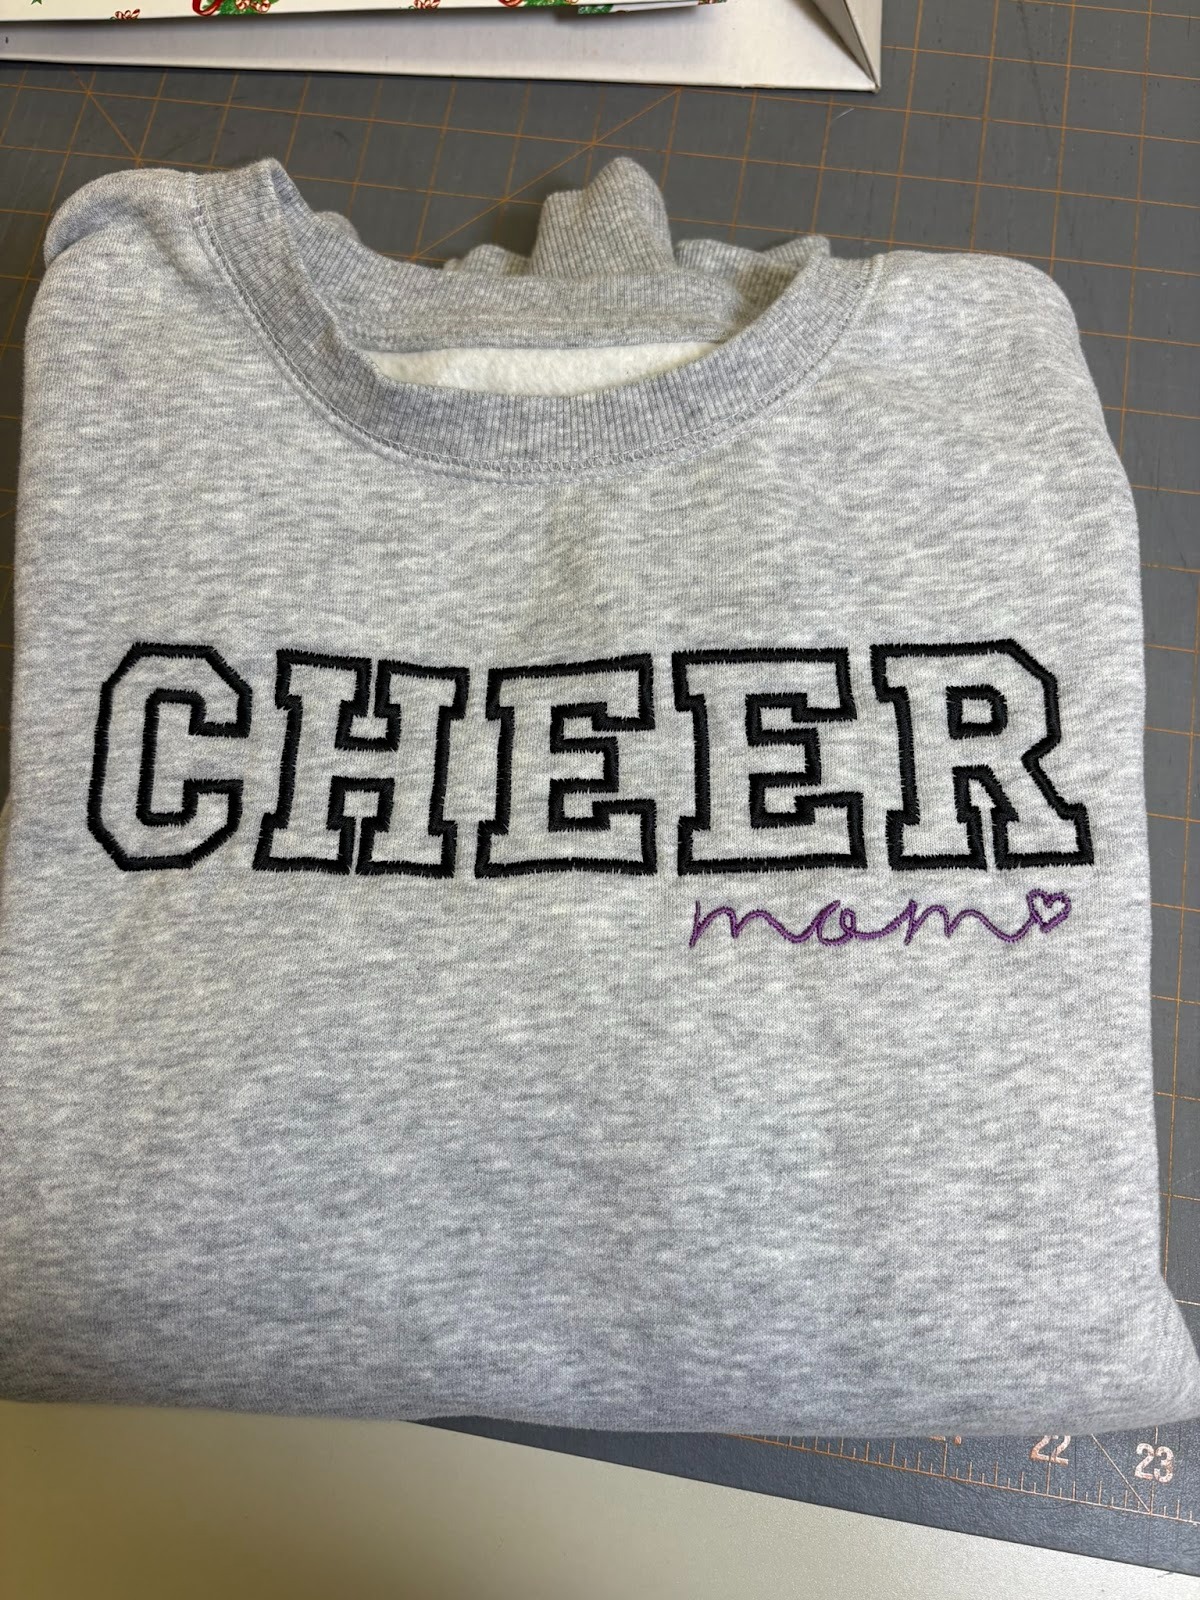
Placement on a sweatshirt (or shirt) front will depend on the size of the design and the design of the garment. I’ve seen recommendations for 2”–4” below the neck. Personally, I have found that placement will be anywhere from 2”–3” from the seam of the neck. When I’m making a shirt for myself, I’ll often cut out the size of the design on scrap paper, pin it on the shirt, and then check myself out in the mirror.
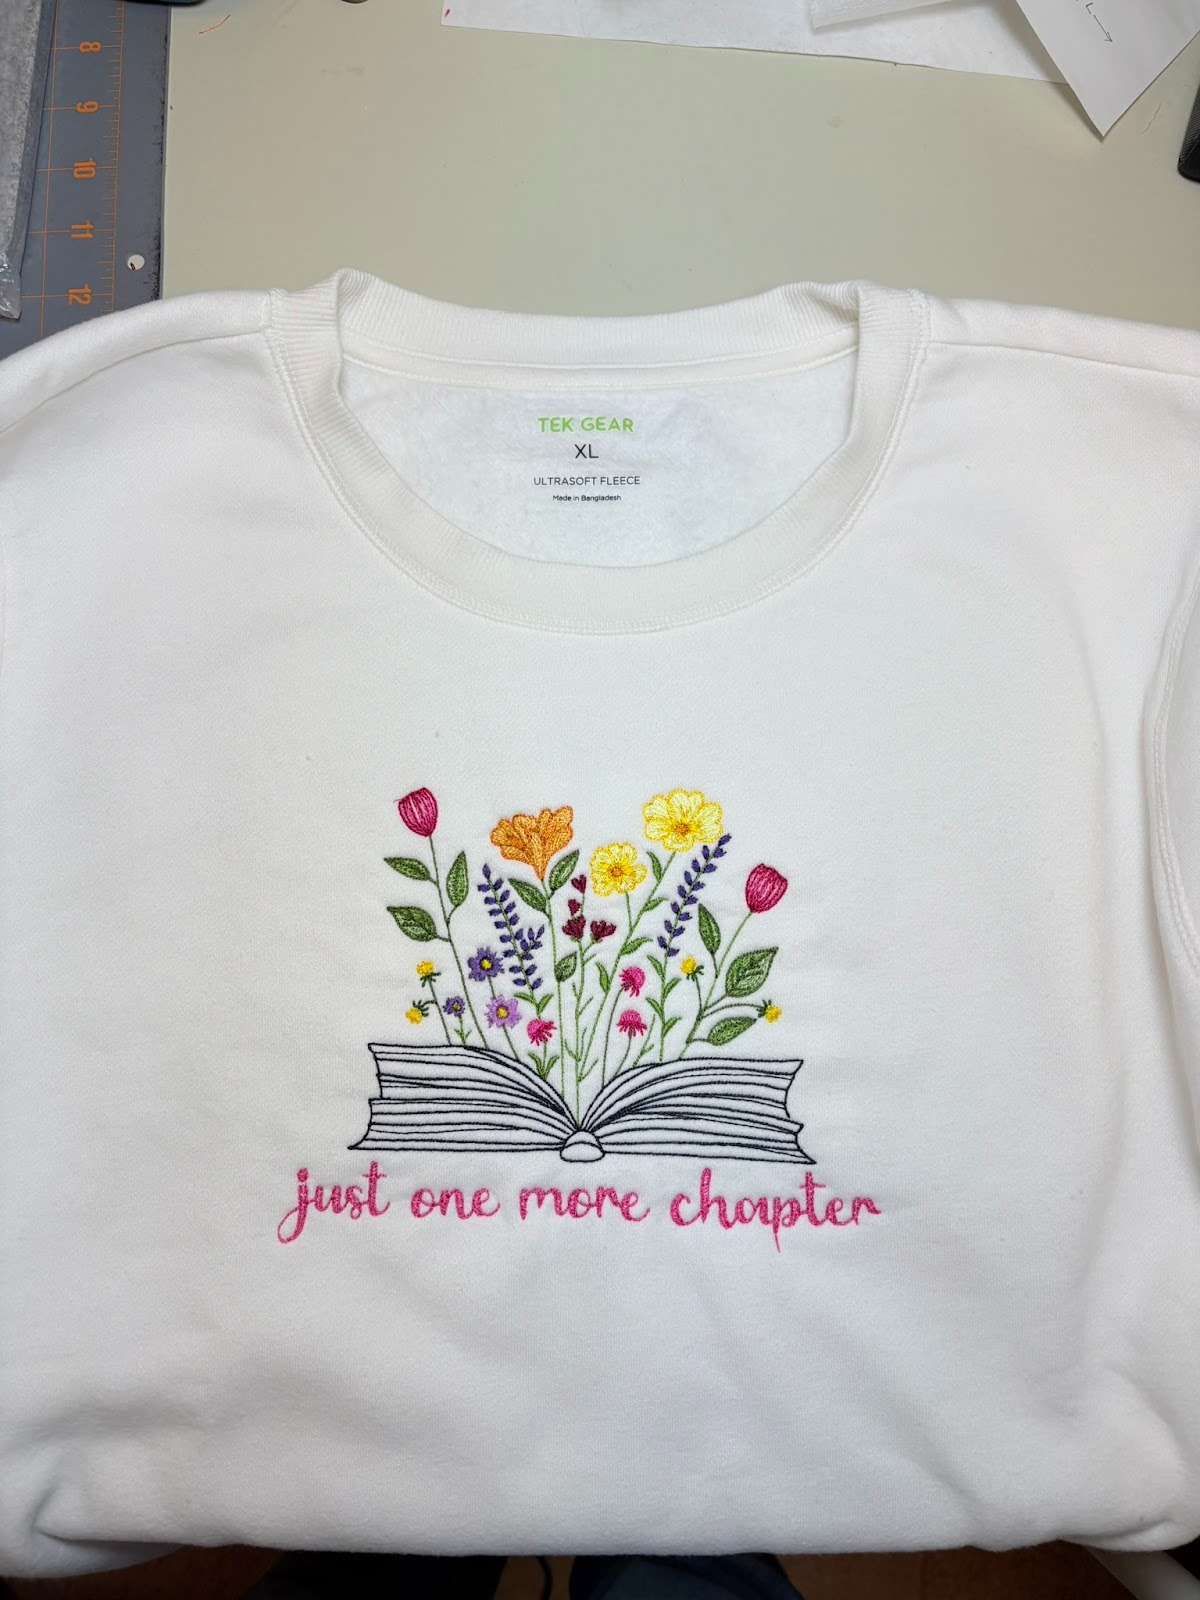
A couple of years ago I made one of my daughters-in-law a Mama sweatshirt. I placed the design 3” below the neckline. It turned out that because she is so petite and the shirt was a smaller size, it was too low on the shirt. Of course I never said that out loud to her, and she loves the shirt and has gotten loads of compliments. We learn by doing. This Christmas I made her a Cheer Mom sweatshirt and placed the top of the design 2” below the neck seam. It’s perfect and she loves it. She’s told me so several times!
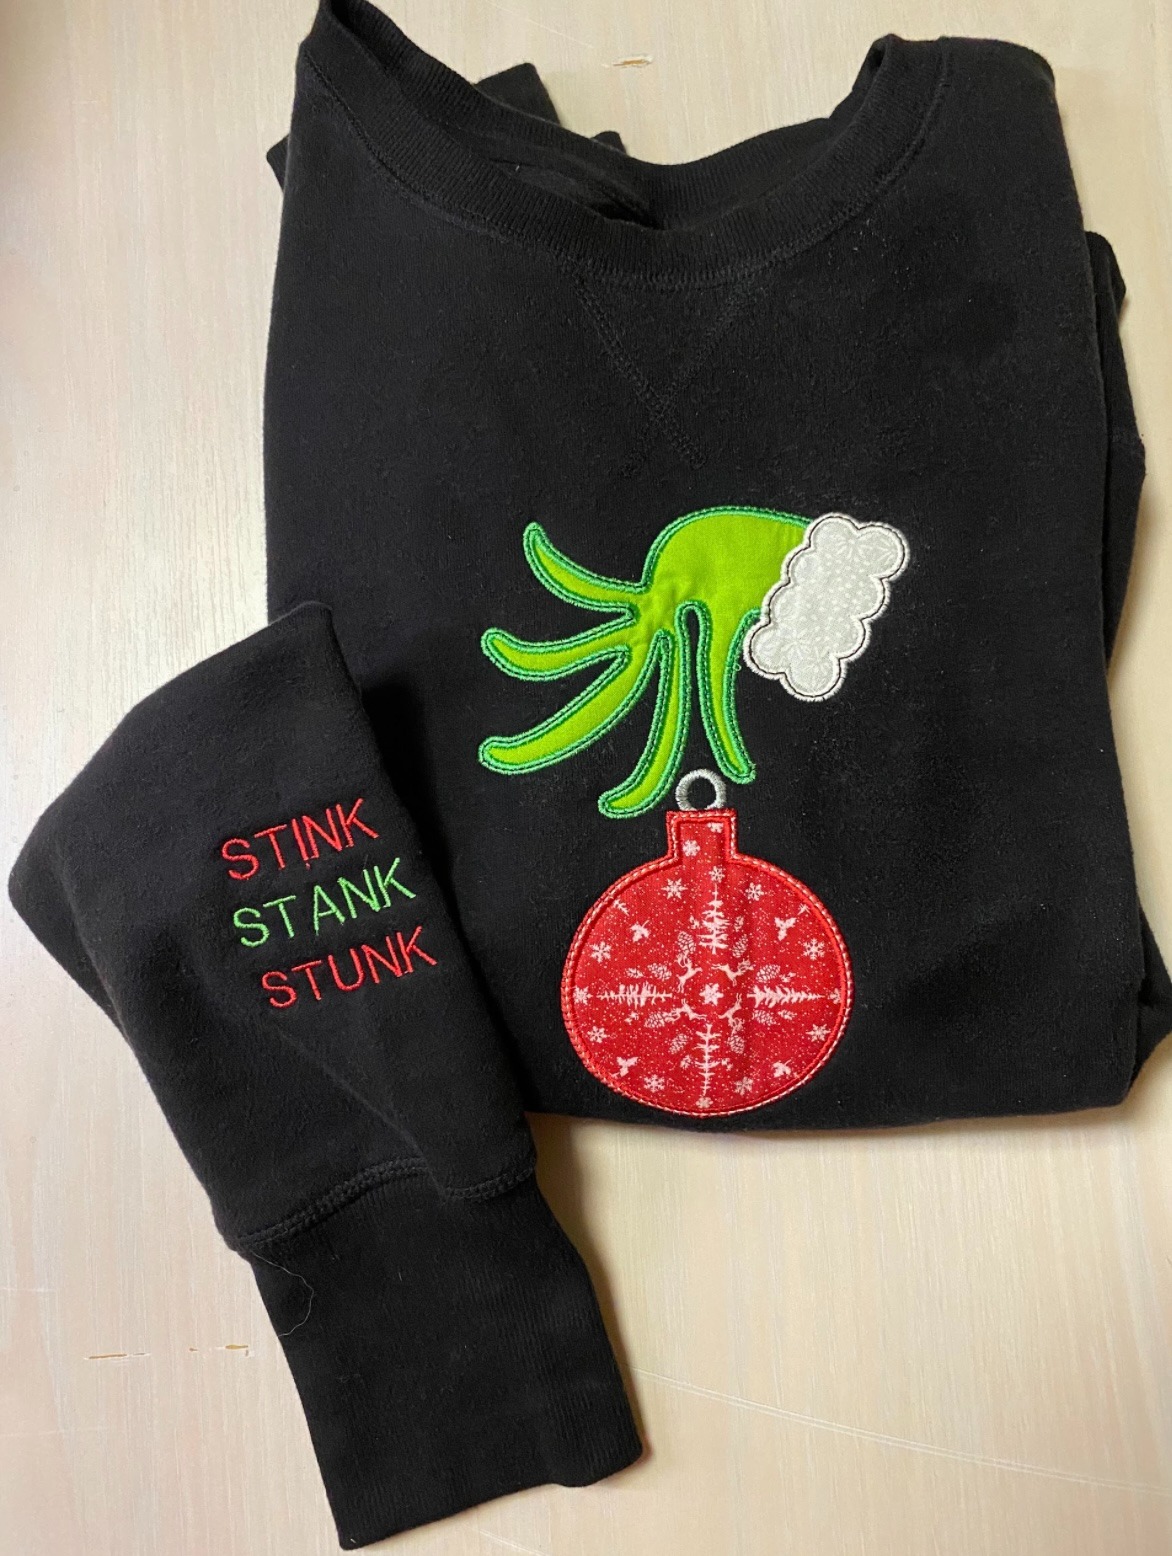
If you want to embroider names or a design on a sweatshirt sleeve, use your seam ripper to open the seam a few inches above the cuff. Embroider the design on the sleeve opposite the seam line. Don’t worry too much about how far above the cuff you sew, but you want to be at least the length of your presser foot above the cuff so you can easily resew it when the embroidery is done. Check out this blog to see this technique in more detail.
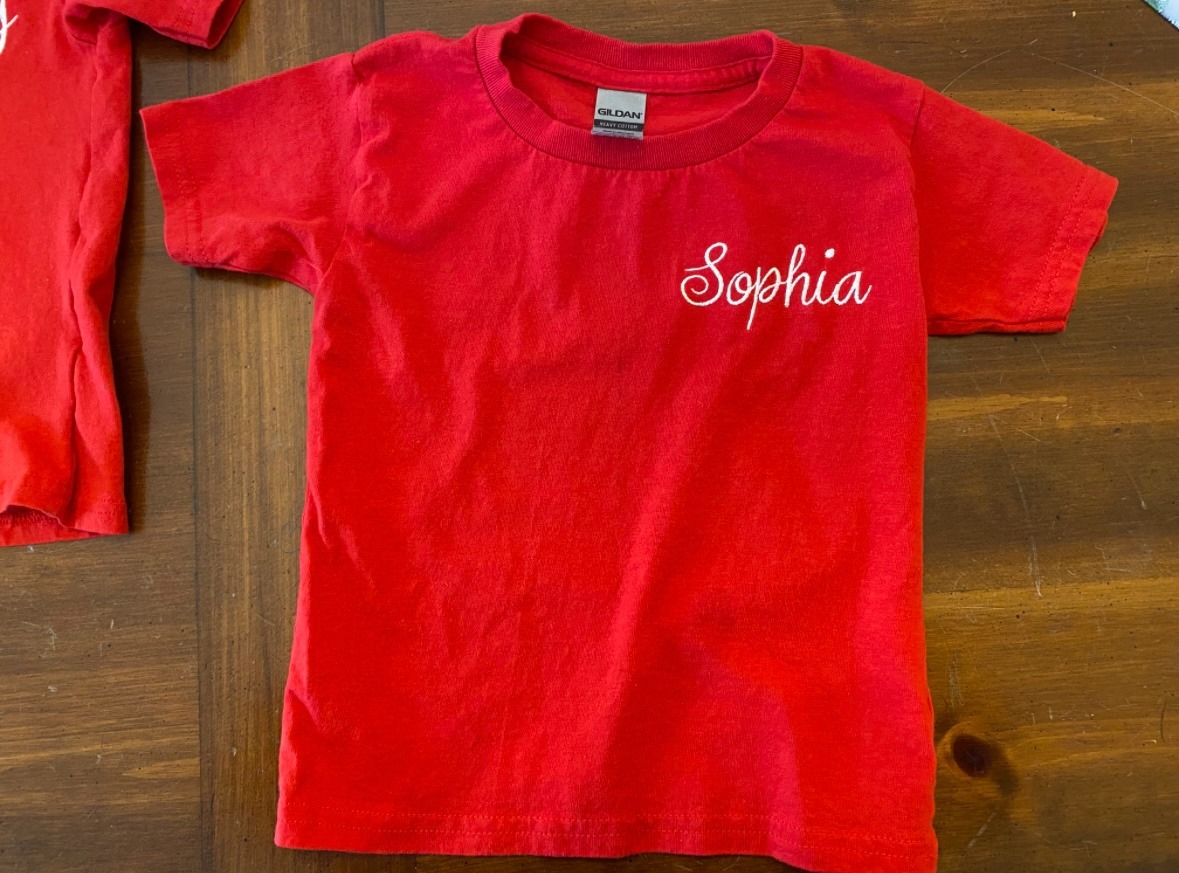
When embroidering on one side of a T-shirt, the design will usually be centered between the center of the shirt and the side seam. I always embroider on the left side. How far down you place the embroidery will depend on the size of the shirt. For adults, placement is usually 7”–9” down from the shoulder seam. For children it’s usually 3½”–4½” down. If there is a pocket, you can center the design right above it.
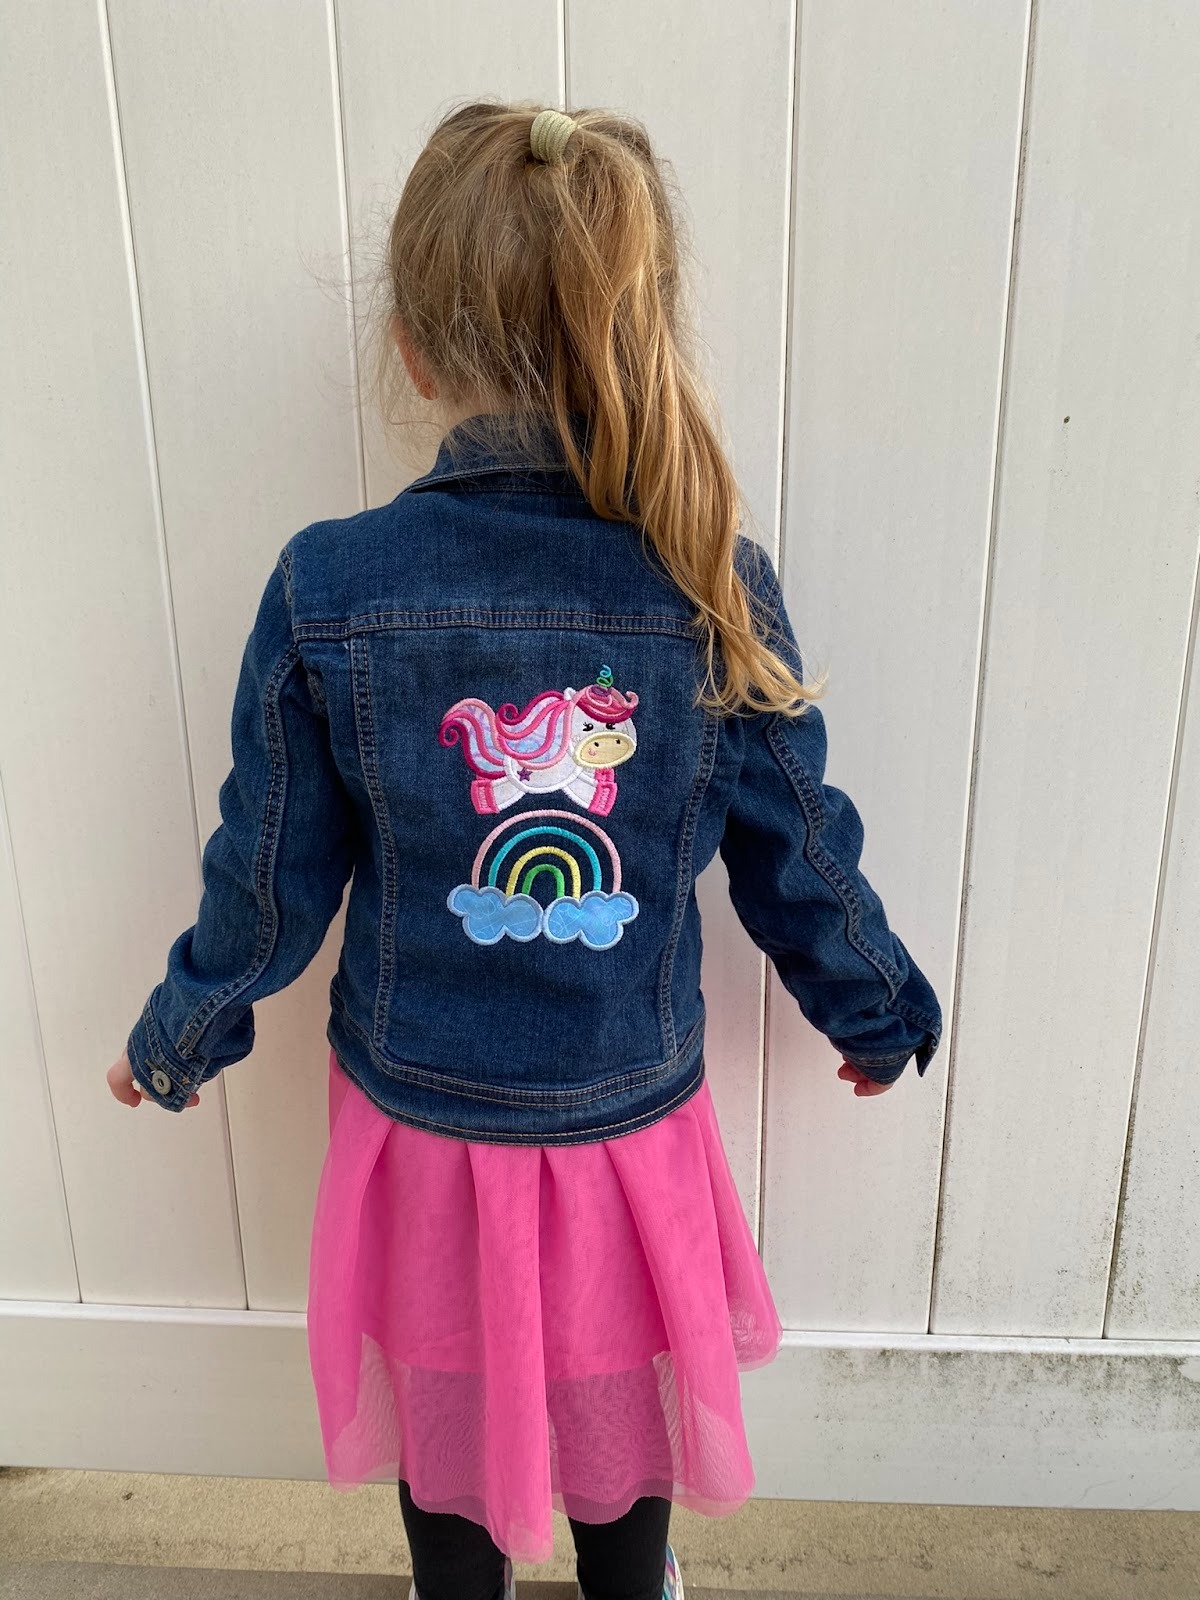
Designs on the back of jackets will be centered between the side seams. Jackets can be constructed with so many different seams or embellishments. The jacket below had an additional horizontal seam. I cut out the design on paper and after placing it on the jacket, decided that about 1” below the seam was the best placement. The design size definitely helped make the decision because it was pretty tall. Generally, an adult jacket will have the design 7”–9” below the neck seam, and 2”–4” on children's jackets.
There are going to be times when you may not be 100% satisfied with your design placement. We are our own worst critics, after all. But it’s more than likely if you don’t point it out, others won’t even notice. Years and years ago I made my boyfriend at the time a shirt for Christmas. I made the mistake of saying that I’d had a problem with one of the steps. He looked at a cuff and said, “Oh, this?” No, that wasn’t it. He proceeded to point to a couple of other things on the shirt, and each time I said no, that wasn’t it. Yes, I let him live. Good thing, as we’ve been married for 42 years now. But that proves my point that most people won’t even notice if something isn’t perfect and will simply love what you make for them.
Please be sure to share your projects in the Designs by JuJu Embroidery Blessings Facebook Group, or use the hashtag #designsbyjuju anywhere on social media. We all love to see what you create!