Toggle Nav
 Inspire.
Create.
Stitch.
Inspire.
Create.
Stitch.
Search
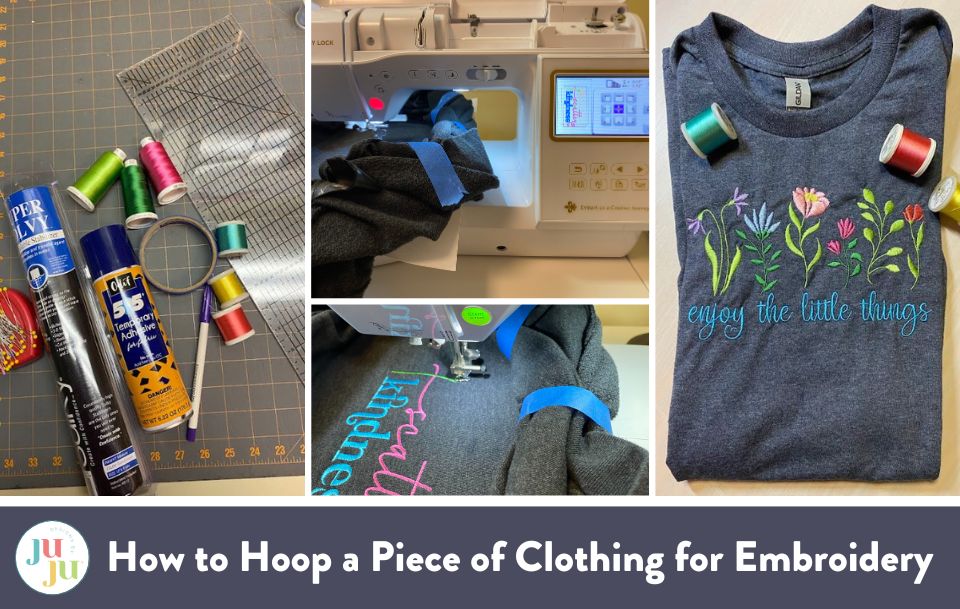
Machine embroidering is a way to personalize, bling up, and have fun with clothing. I’ve embroidered children’s jackets, pajamas, shirts, dresses, and onesies. I’ve done the same with adult clothing - well, maybe not adult onesies.
No matter the kind or size of clothing item you’re planning to embroider, you’ll always use a cutaway stabilizer in your hoop. Clothing gets a lot of wear and washing, so the cutaway will permanently support your embroidered design. If you’re a new embroiderer and shopping for the supplies you’ll need, an easy way to remember to buy cutaway (vs. tearaway) is the saying, “If you wear it, don’t tear it.”
You’ll only decide whether you’re using a lightweight or medium-weight stabilizer. Heavier fabrics require a heavier stabilizer, and lighter-weight fabrics will use lightweight. My local fabric shop says they can tell the season by what weight stabilizer they’re selling more of – heavier stabilizers for heavier clothing in the winter and light weights for lighter clothing in the warmer months. I like Sulky’s Soft and Sheer for lightweight because it doesn’t show through light-colored clothing. I usually use a Pellon cutaway for sweatshirts when using a midweight stabilizer.
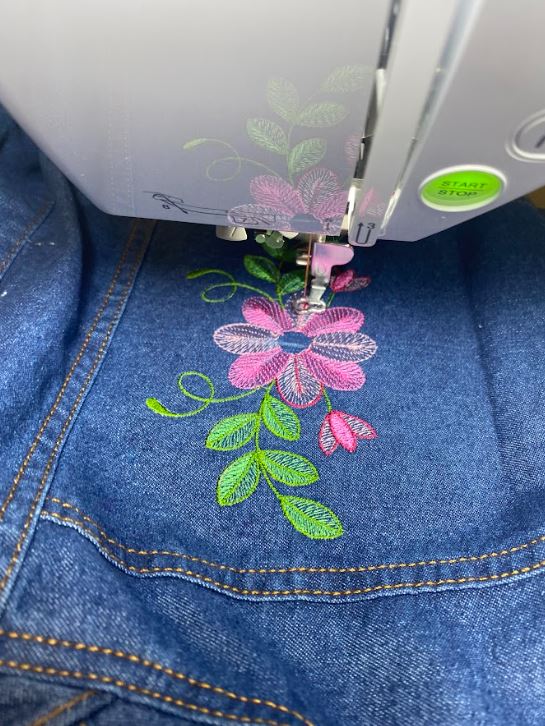
You might need an additional stabilizer, depending on your project. If you are machine embroidering a sweatshirt, sweater, or other textured clothing, use a water-soluble stabilizer like Sulky’s Super Solvy. Place this stabilizer on top of the clothing before embroidering to prevent stitches from sinking down into the fabric.
Finally, once you have your design all stitched out, you may want to consider using a product like Sulky’s Tender Touch to cover the back of the design if this is a onesie or another item of clothing for a little one. If you use it, round the corners before ironing it onto the item. After several washings, it may start coming off, but the stitching should have softened by that point.
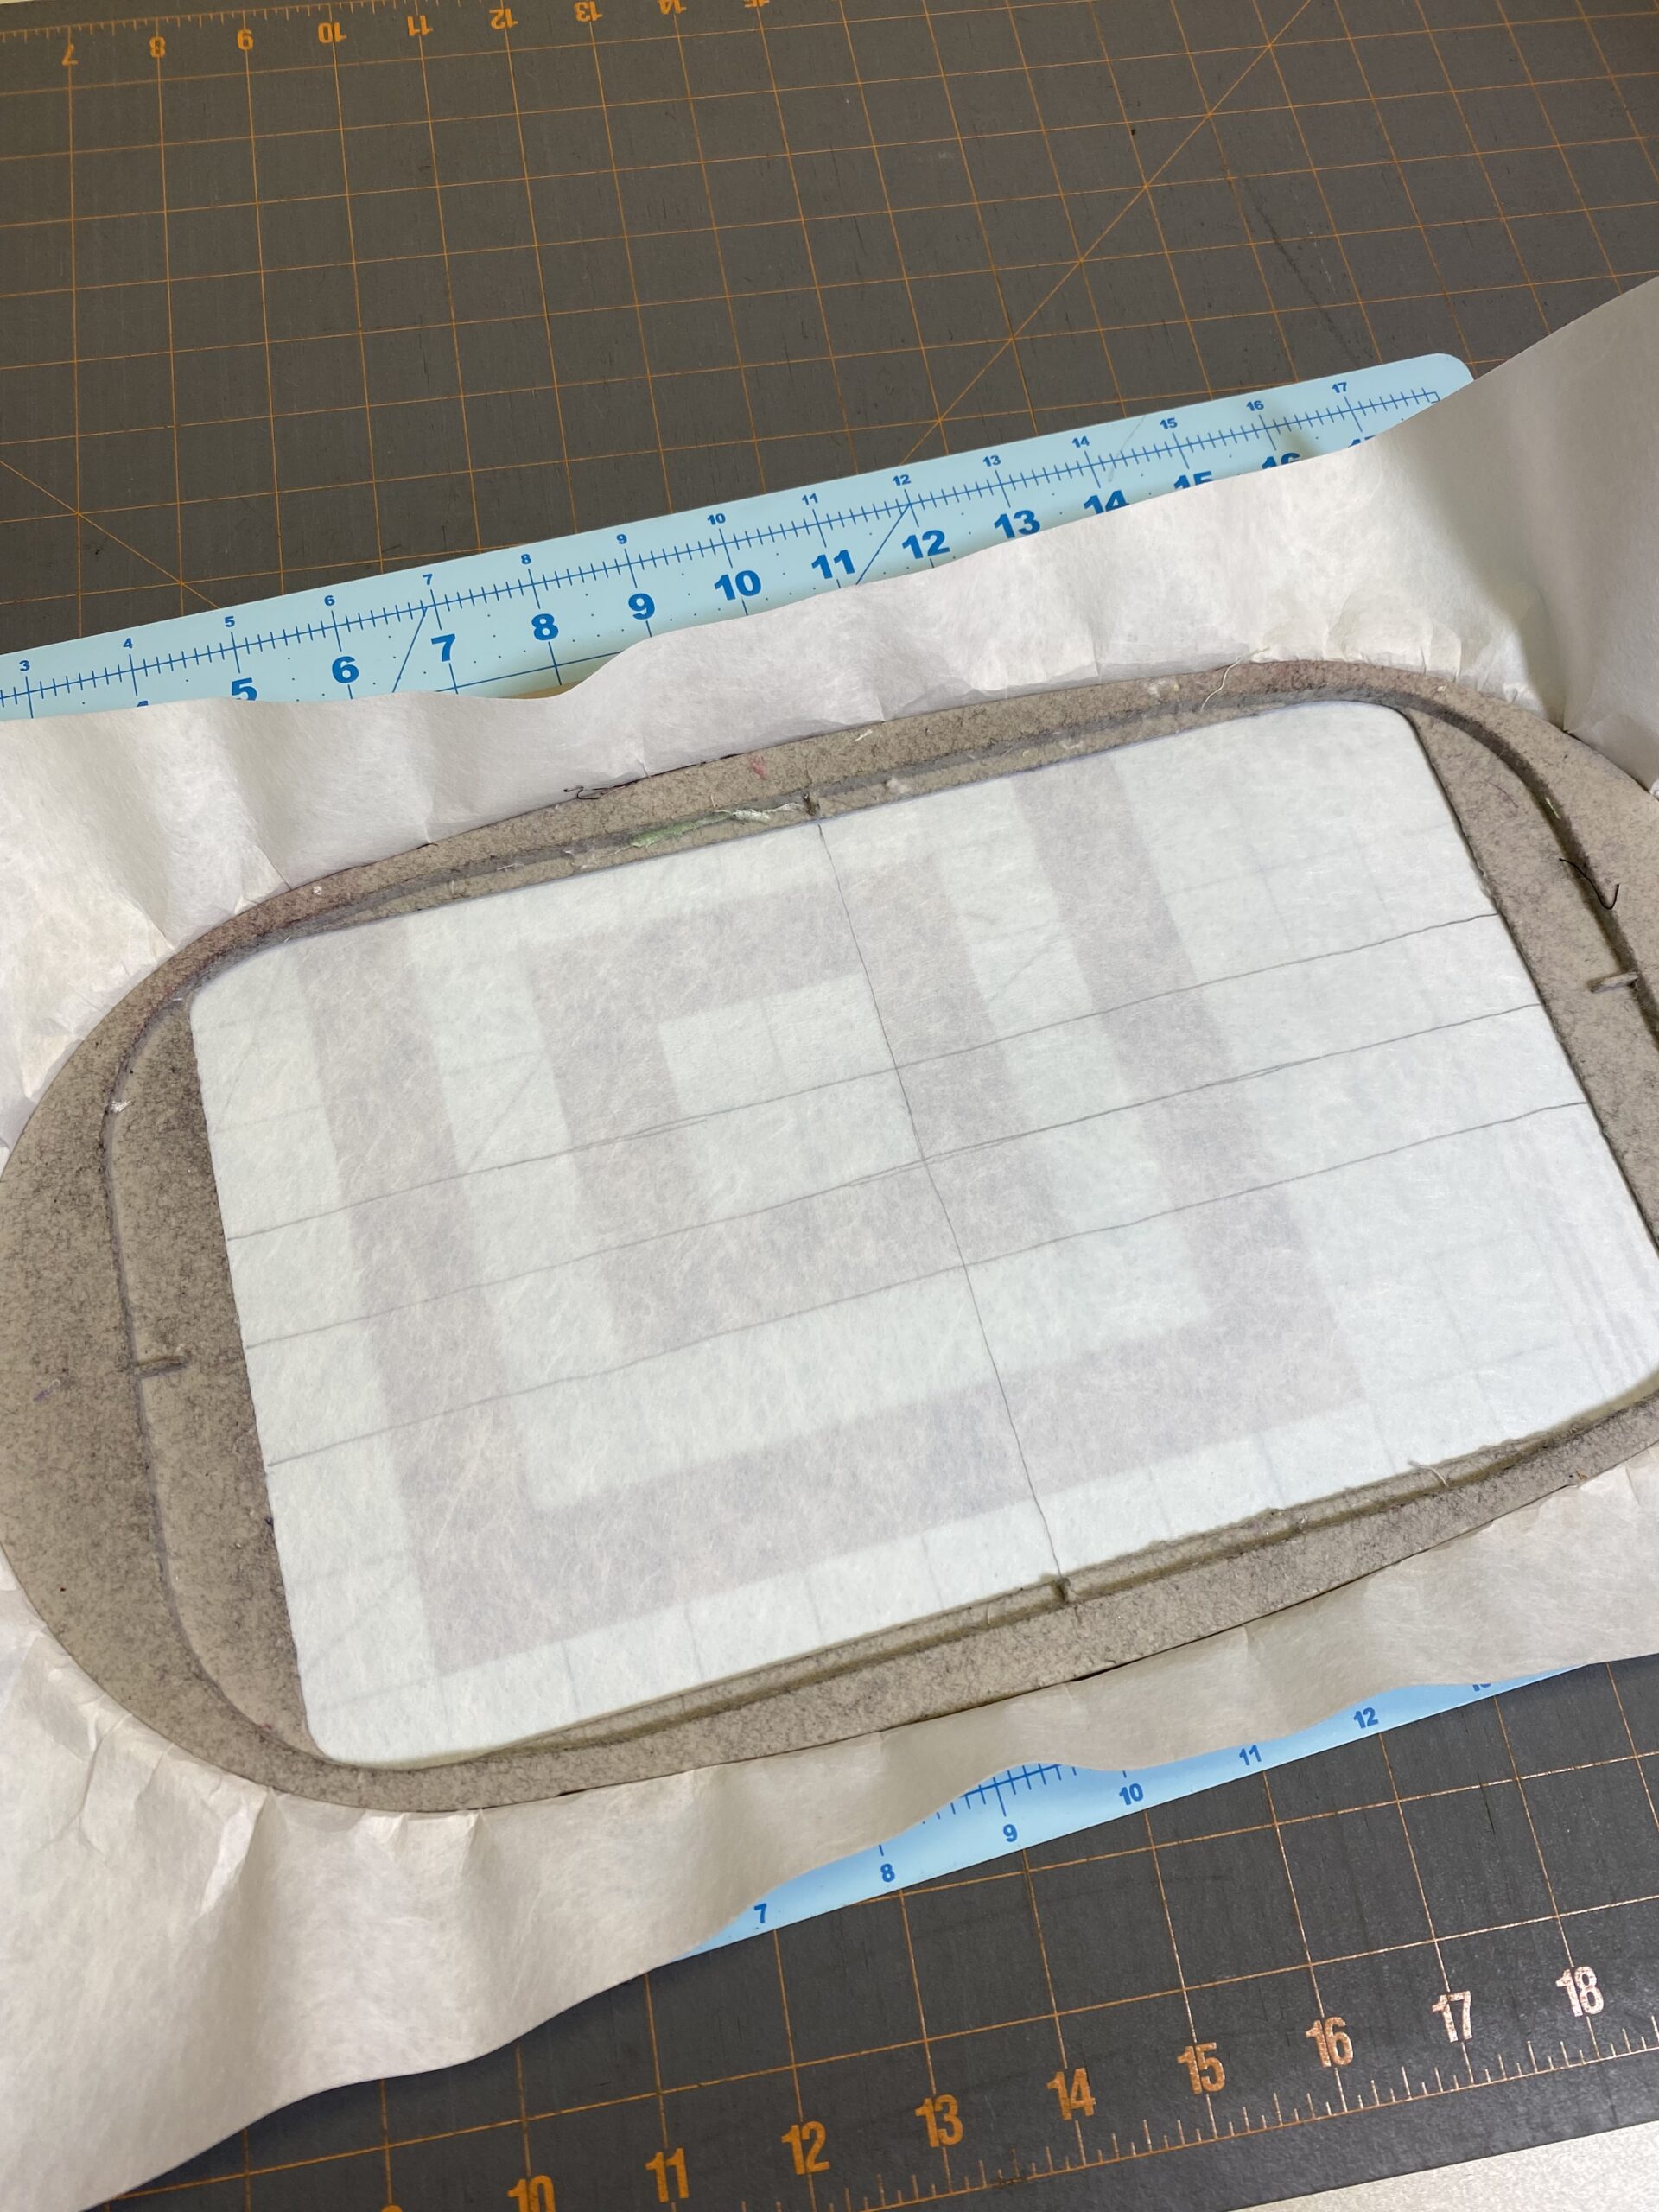
How do you hoop clothing for embroidery? Once you’ve chosen your stabilizer, you’ll need to hoop everything. Place the stabilizer inside the machine embroidery hoop and use either your grid or the lines of a cutting mat underneath to pencil in marks for lining up the clothing correctly. Use a disappearing marker like Dritz’s to mark the clothing where you want the design. I will not give directions for marking each type of clothing, but I will explain how I mark my placement lines for shirts.
For a design in the middle of a shirt, you can use a measuring tape to find and mark the center or fold and crease the shirt in half. I still mark the crease line as handling, and putting the hoop under the needle can make it hard to see. Most designs will start 2-3 inches below the neckline, depending on the design. If it’s a small design on the upper right or left part of the shirt, I usually cut a piece of paper the size of the design, pin it to the shirt, and use the Dritz to mark the four corners and middle points.
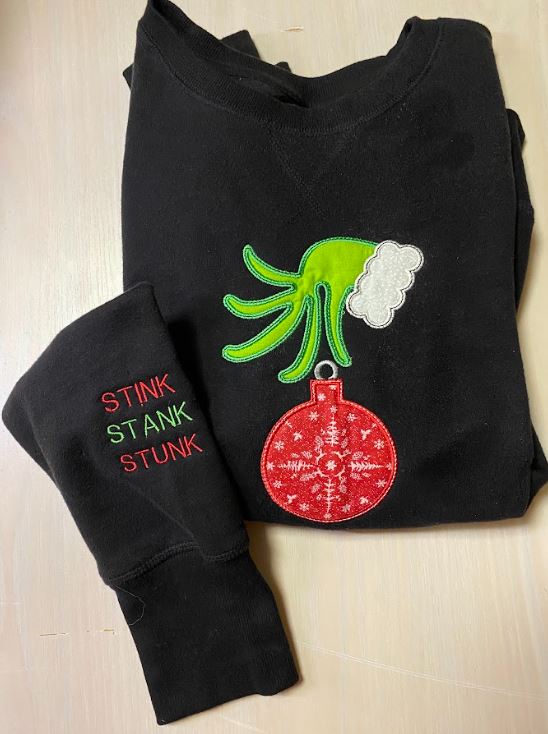
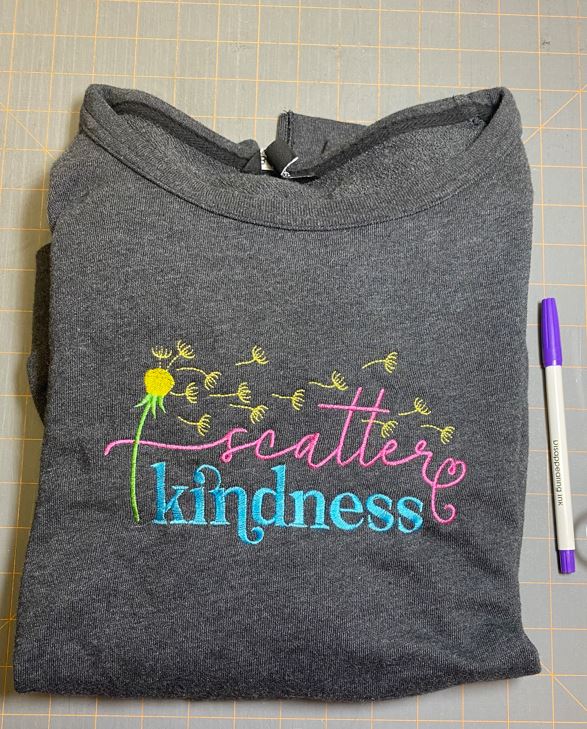
Sometimes, the area you want your design, such as a sleeve, is a bit trickier for embroidery hooping projects. Take a seam ripper and open up the seam. I start higher on the arm and undo the seam to about ¾’ – 1” above the cuff. Don’t get too close to the cuff, or you won’t be able to resew it closed all by machine. After the design is stitched, machine sew the seam closed and then go over the edges with a zigzag stitch. See the “Stink Stank Stunk” I embroidered on the Elf Hand sweatshirt sleeve? This technique can be used for small-sized onesies and the legs of pants, too. It eliminates frustration in trying to work in tight embroidery spaces.
Once all your marks for lining up are done you’re ready to hoop your clothing for embroidery. A lot of clothing will hoop easier if you turn them inside out. I float all clothing with Odif 505 Temporary Spray Adhesive instead of placing it in the hoop. Spray the stabilizer and lay the clothing on top, matching the marks on the stabilizer with the marks on the clothing. You can use painter's tape or binder clips to hold the rest of the clothing out of the embroidery area. This doesn’t mean you can leave the machine unattended because things can still get caught up by accident.
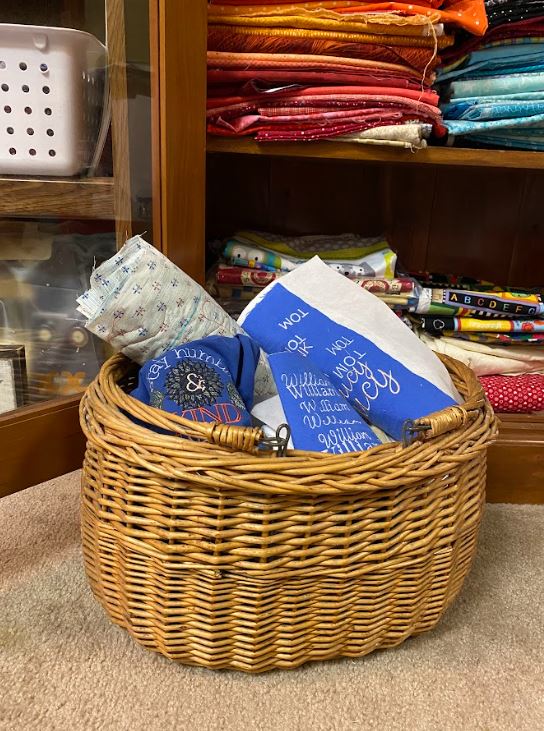
Early on in my embroidery journey, I made a mistake that many of us do, I caught part of the back into the embroidery on one of my first shirts. It was a learning experience, and when I shared my tale of woe at my sewing shop, one of the owners said something that stuck with me. She said, 'Everyone has a practice shirt.' She meant that everyone makes mistakes at some point. The funny part? I took her literally and used the shirt as a practice piece. Now, I have a basket full of practice pieces. It's a great way to test size, colors, or the stitch itself.
Are you ready to try embroidery hooping? Inexpensive tee shirts and sweatshirts can be found at stores like Michaels and Joanns. I’ve also found great shirts at Costco, Kohl’s, and Land’s End. Wash and dry everything first the same way you’ll wash the clothing in the future.
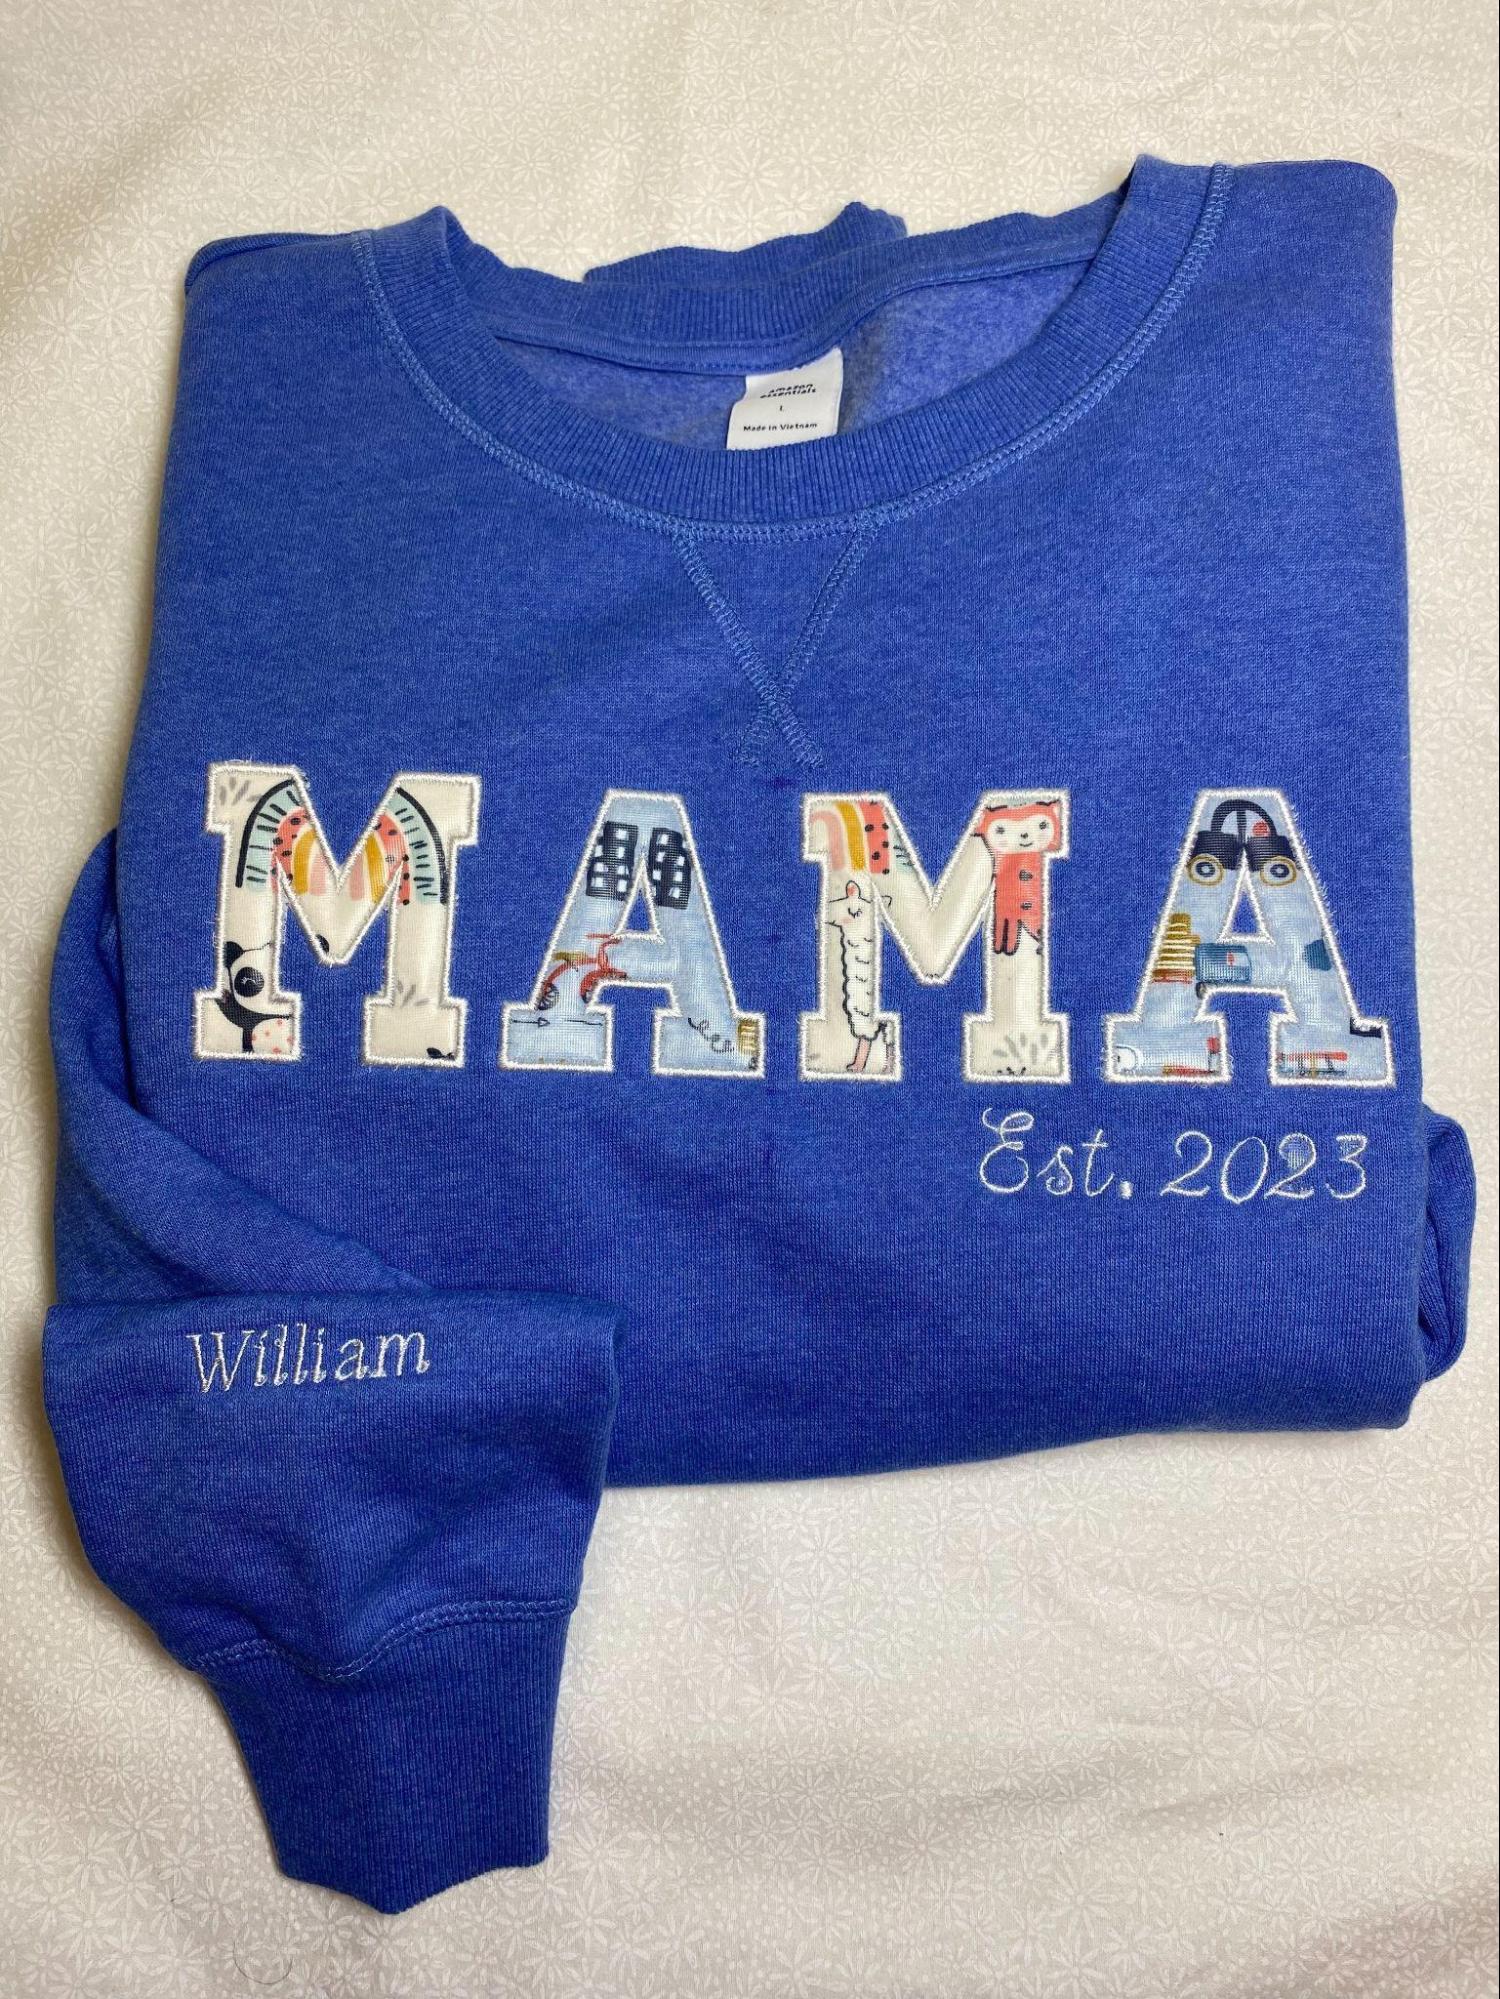
MAMA Mia! Let’s take what we’ve learned and make a MAMA shirt!
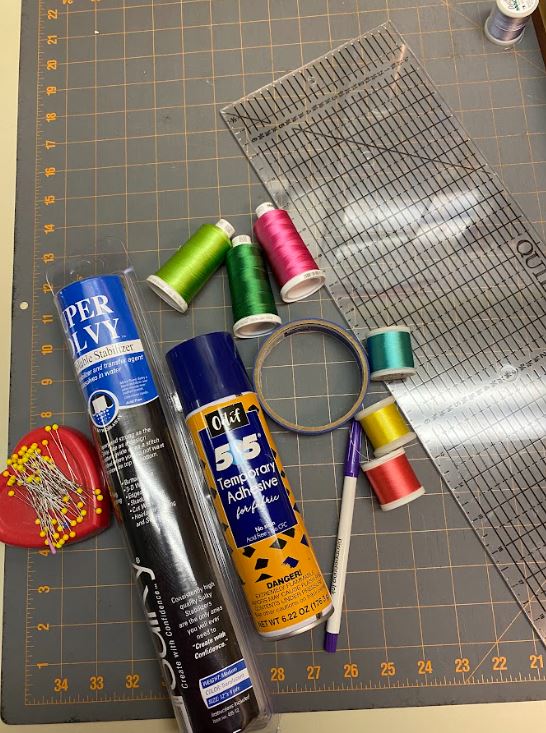
Your Supplies:
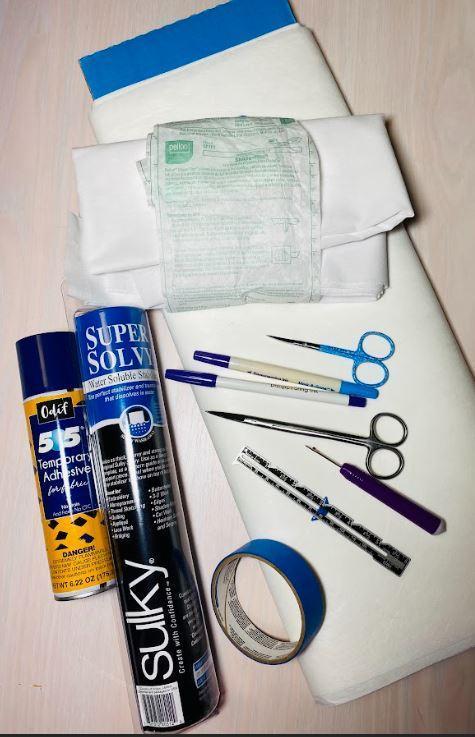
Gather your materials: a sweatshirt and baby or children’s clothing. I used baby clothes that were purchased from Good Will to embroider this shirt. (It’s a surprise for the mother, and the grandmother couldn’t sneak any of her grandson’s clothes out of the house.) Wash and dry everything.
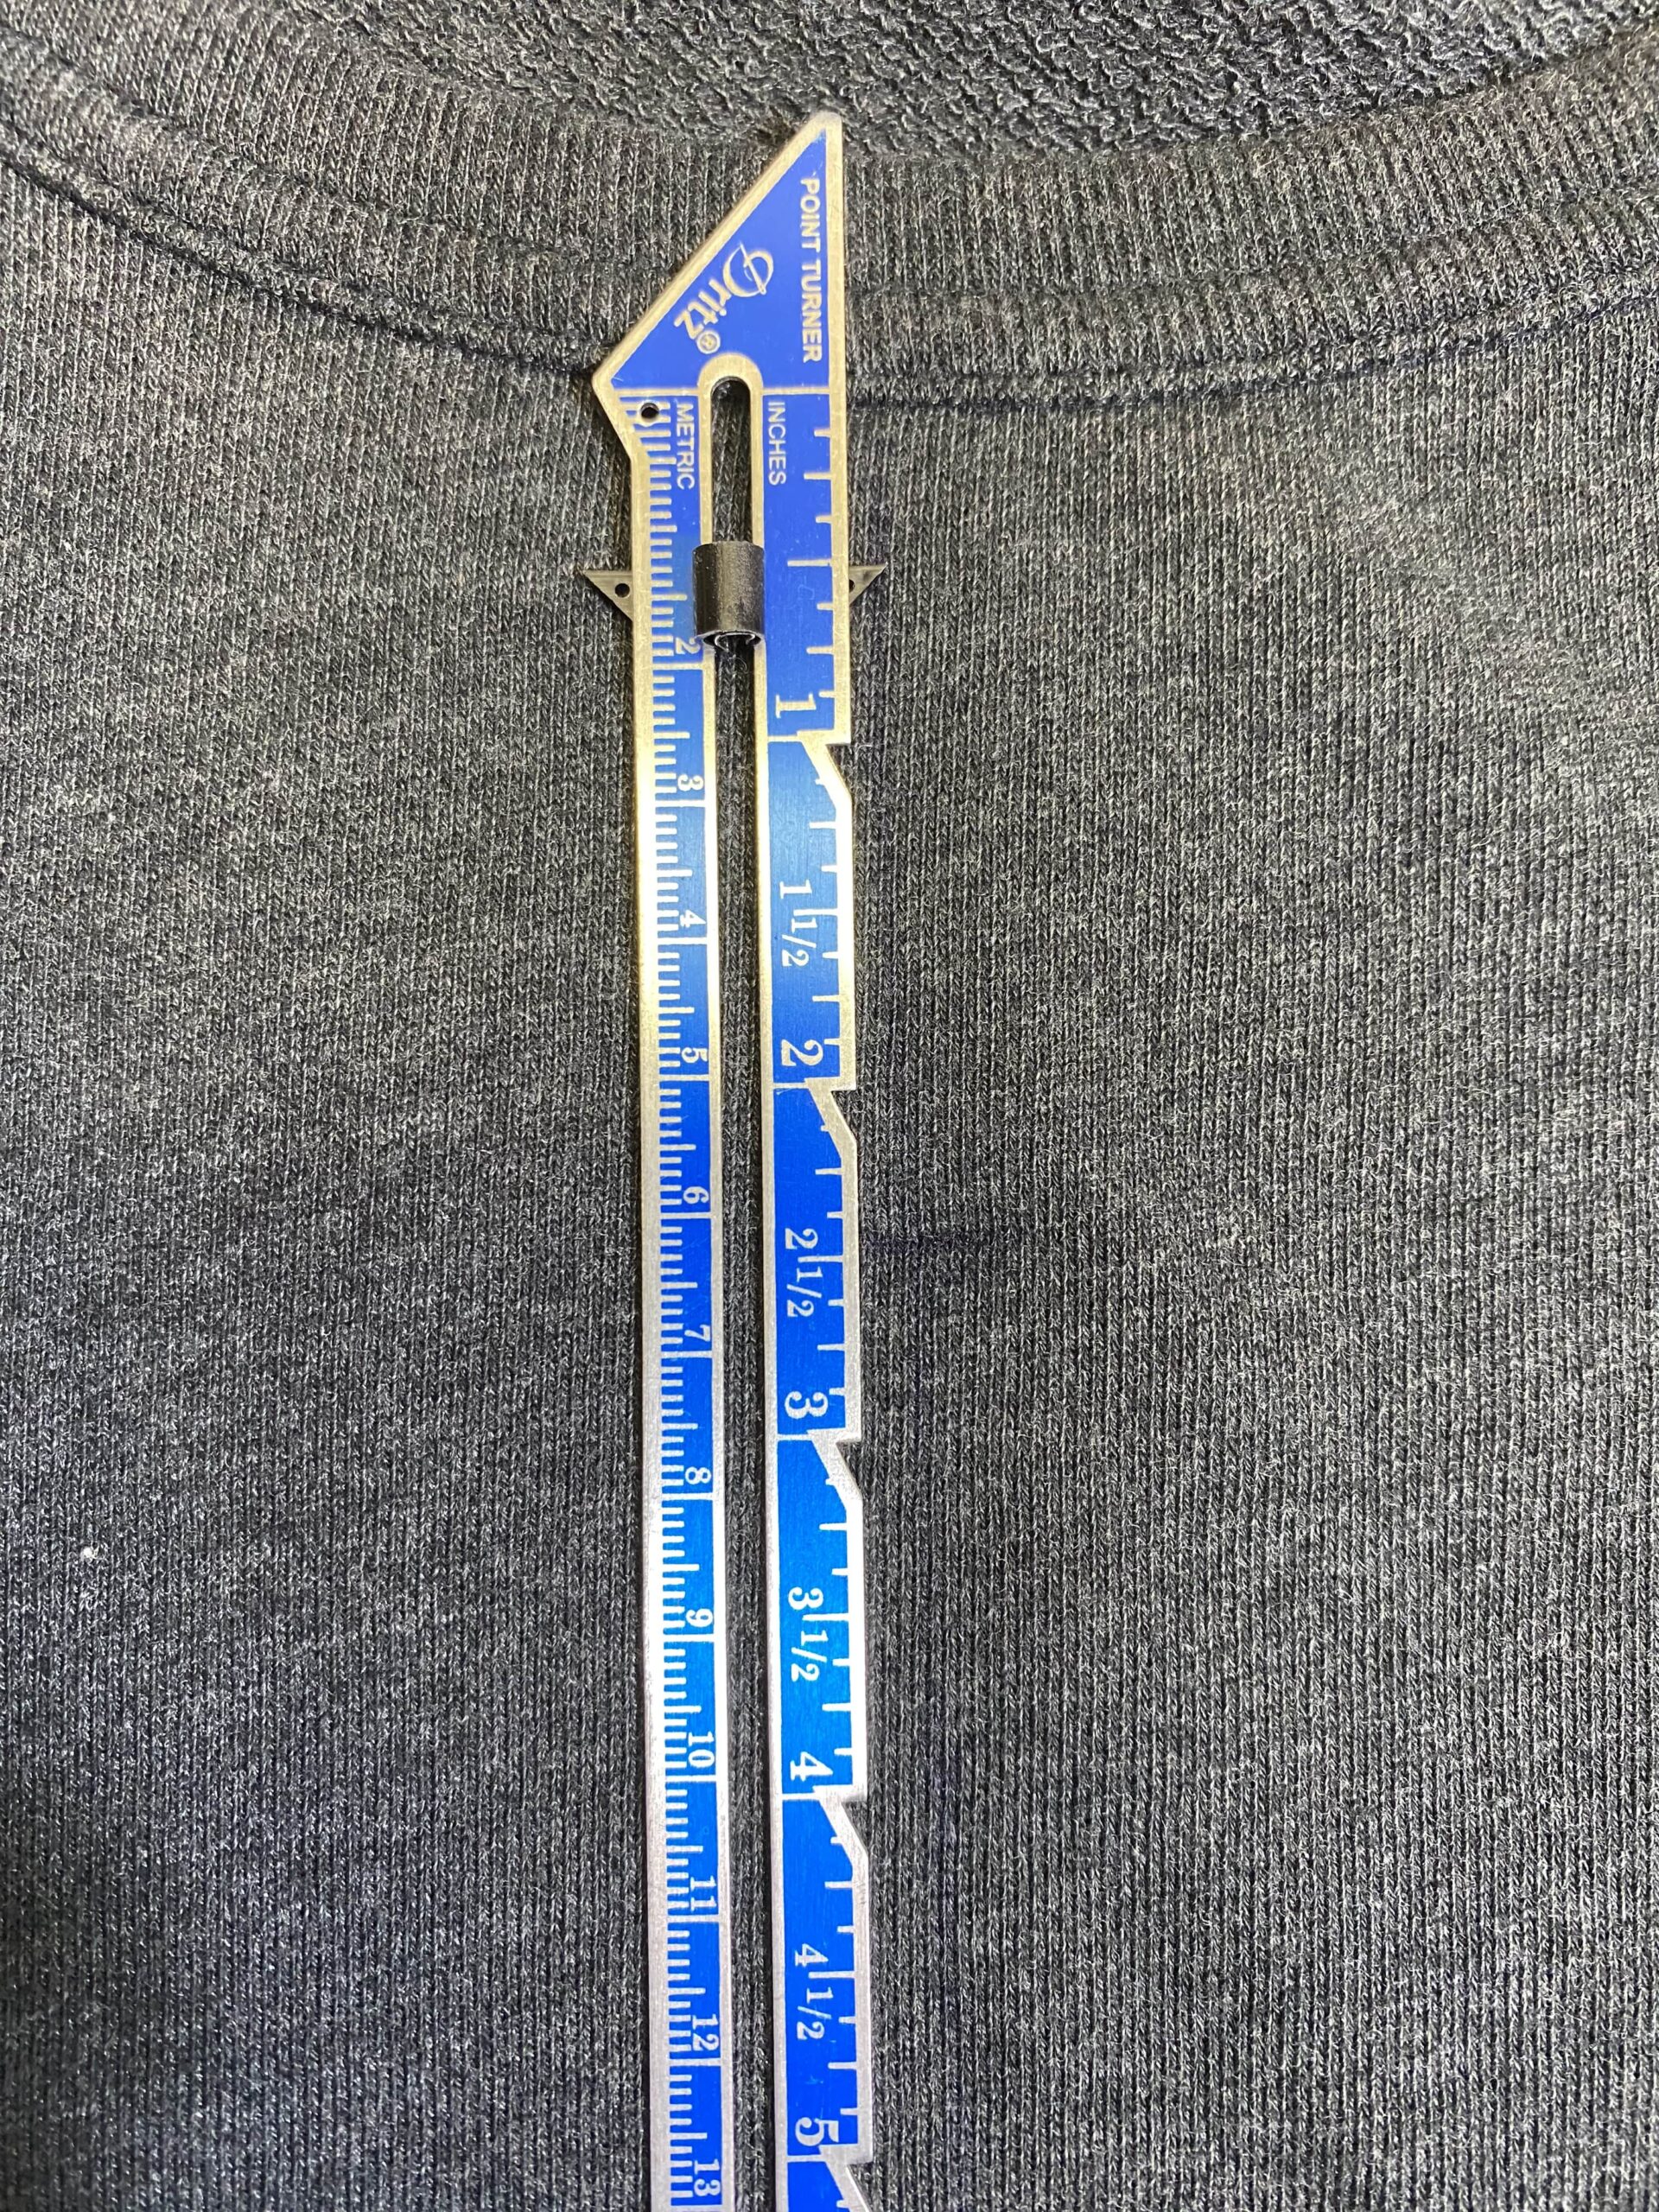
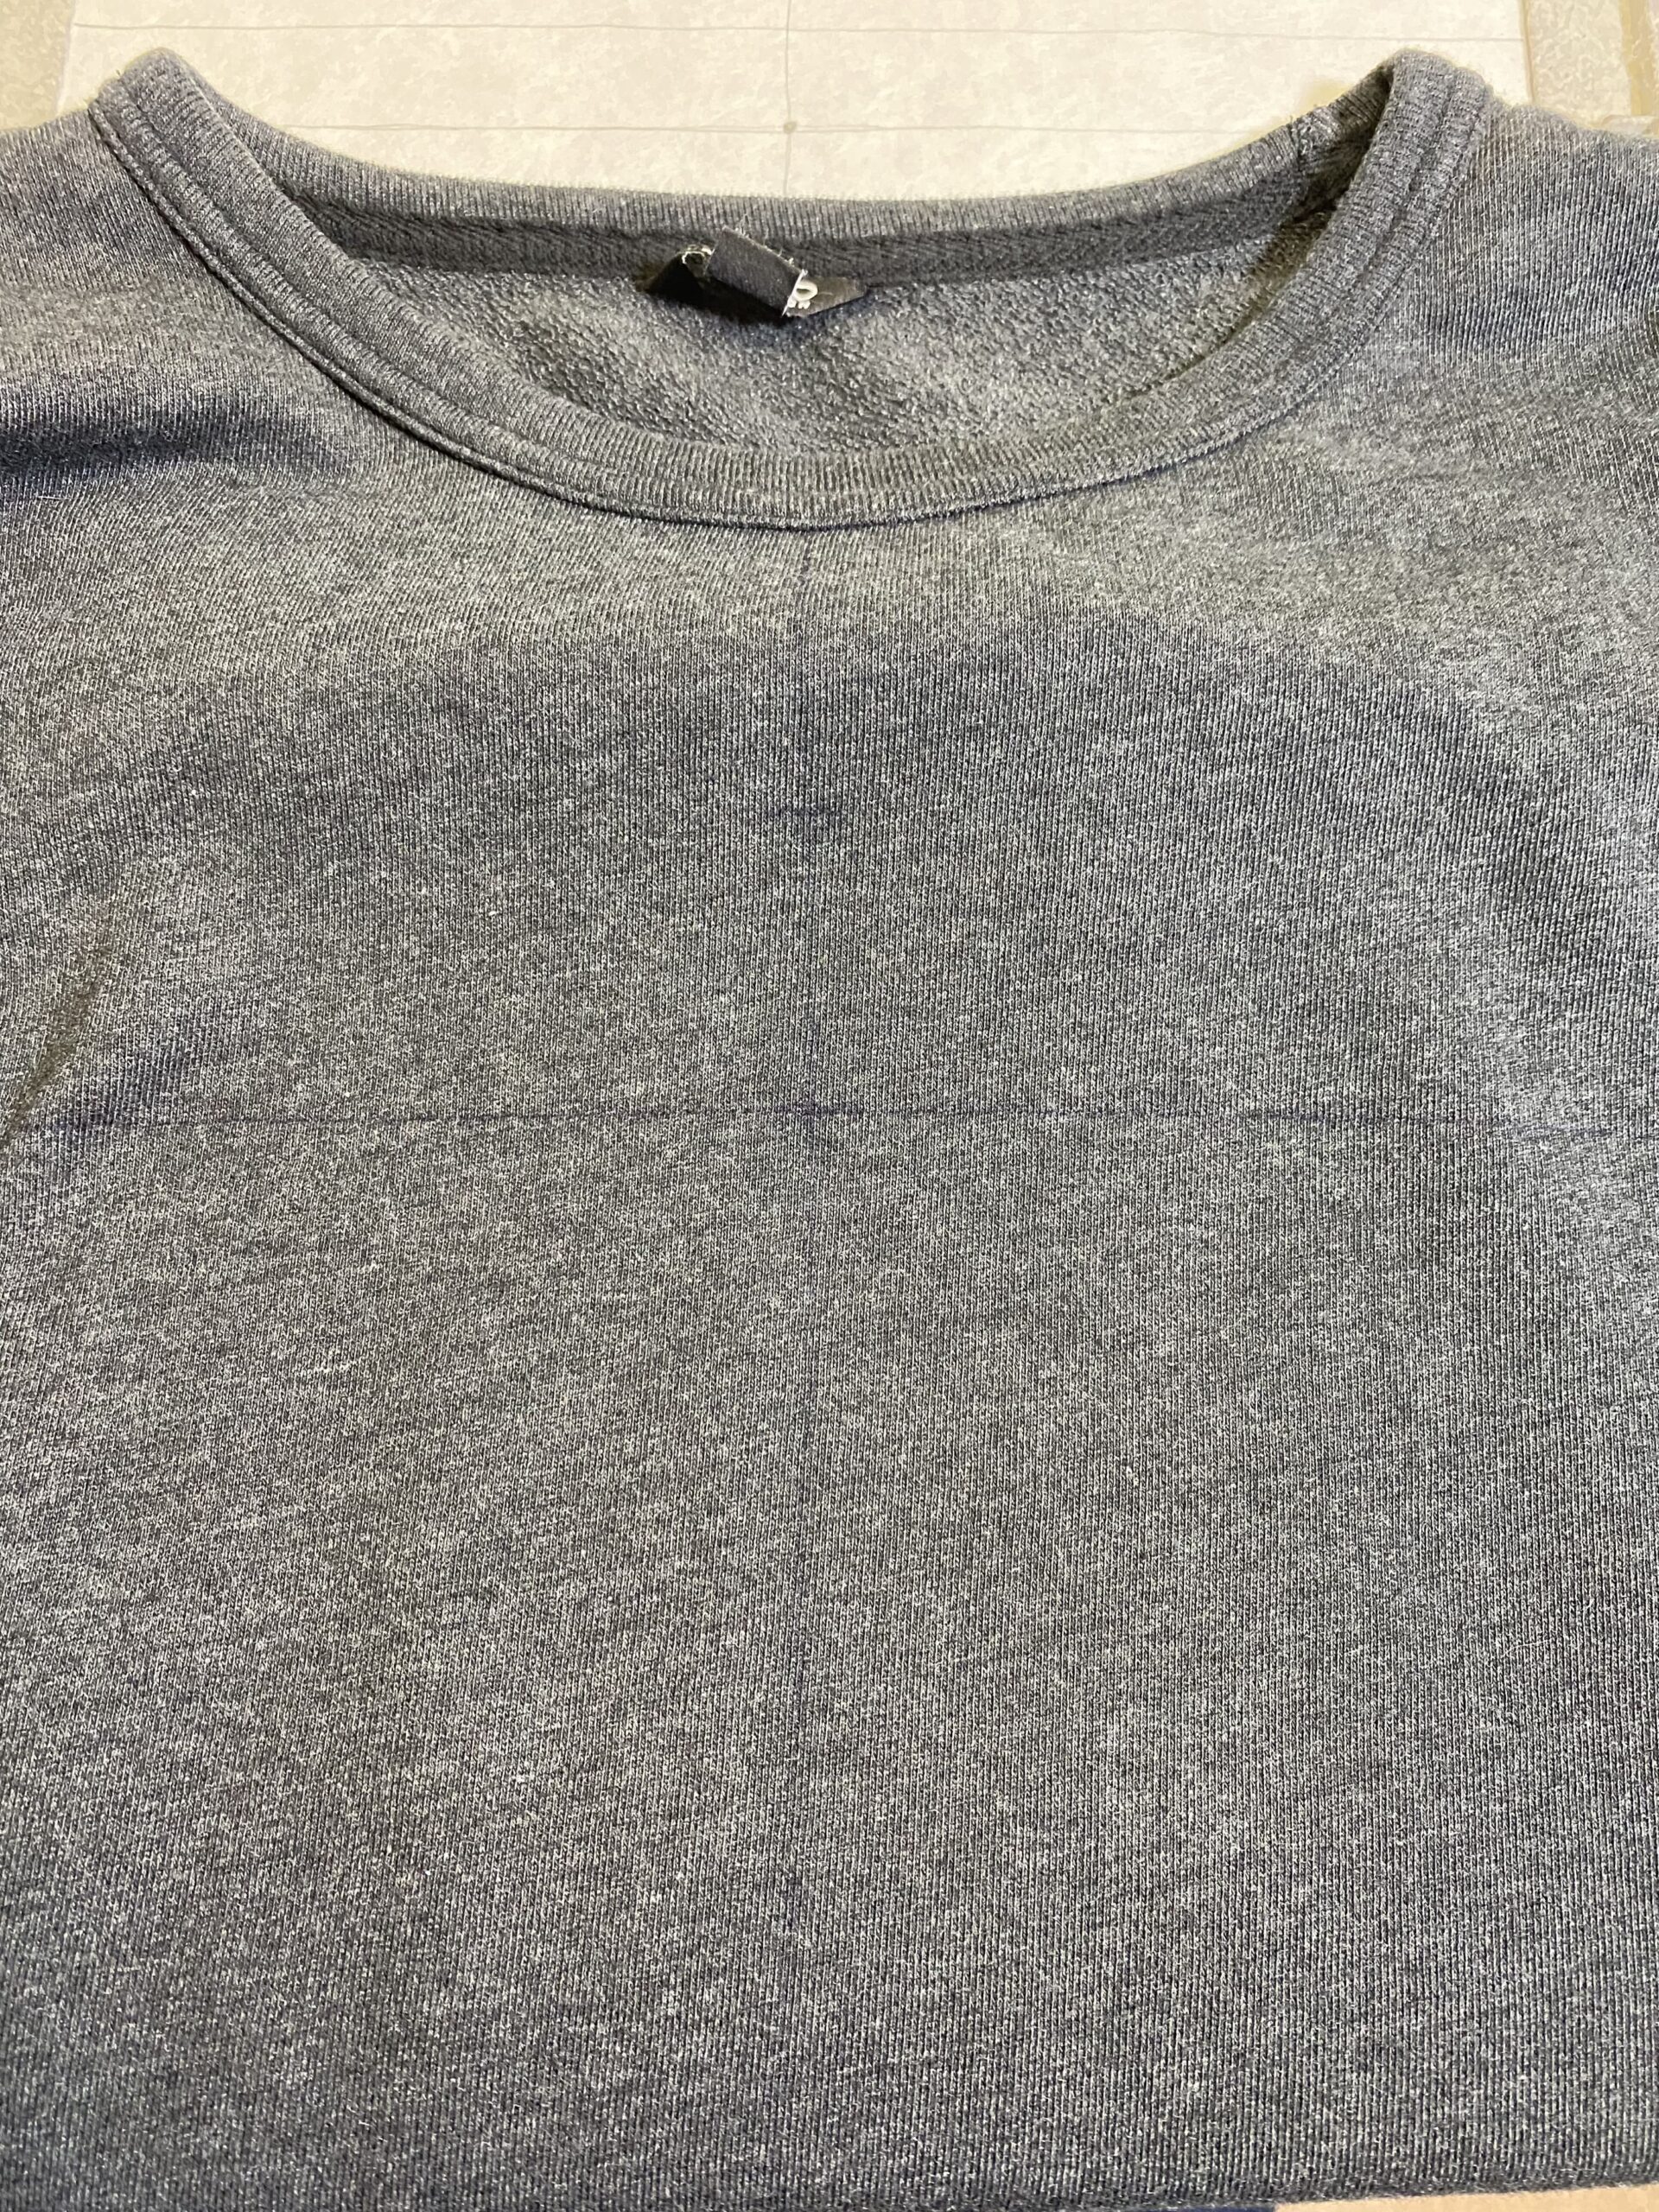
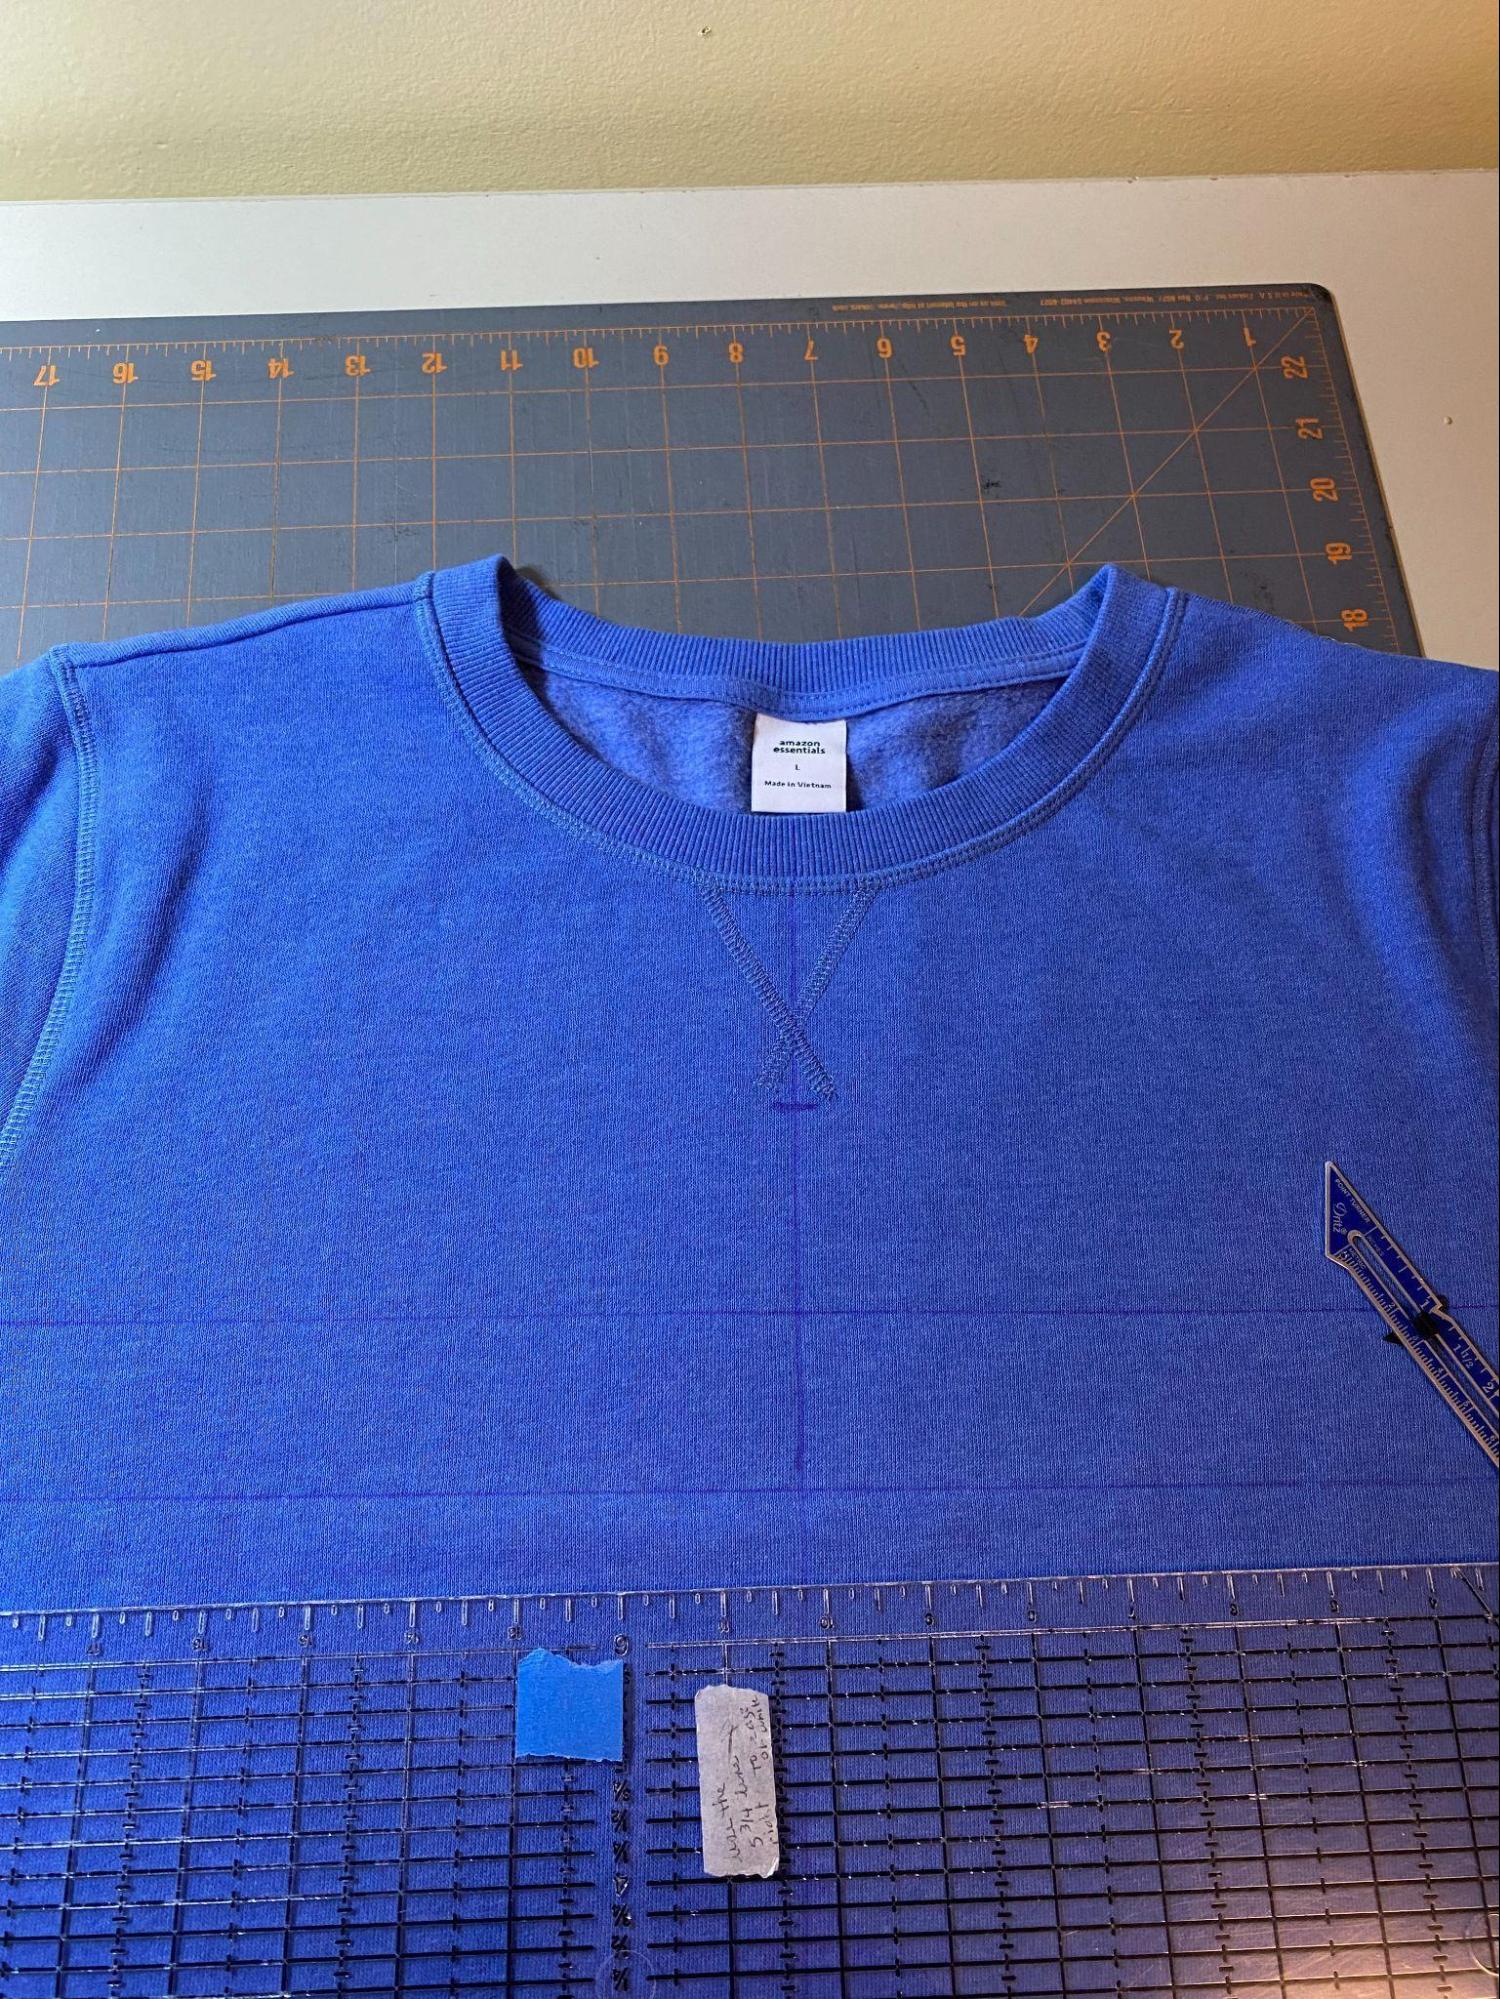
The sweatshirt I’m using has side seams, so to find the center of the shirt, I measured across several places, marked the center spots, and then drew a line connecting them. If you don’t have side seams, carefully fold the shirt in half and press a crease using a warm iron or a heavy object. Mark the fold line with a fabric marker because otherwise, it can be hard to see as you move the shirt around.
I measured about 3” down from the top of the neckline and marked my top spot, measured 3” down for the bottom of my design, then marked the middle of those two marks. I laid my ruler at the middle mark and, using the center line to keep things straight, drew a line from left to right and did the same for the bottom mark. I spend much of my prep time trying to mark everything as precisely as possible.

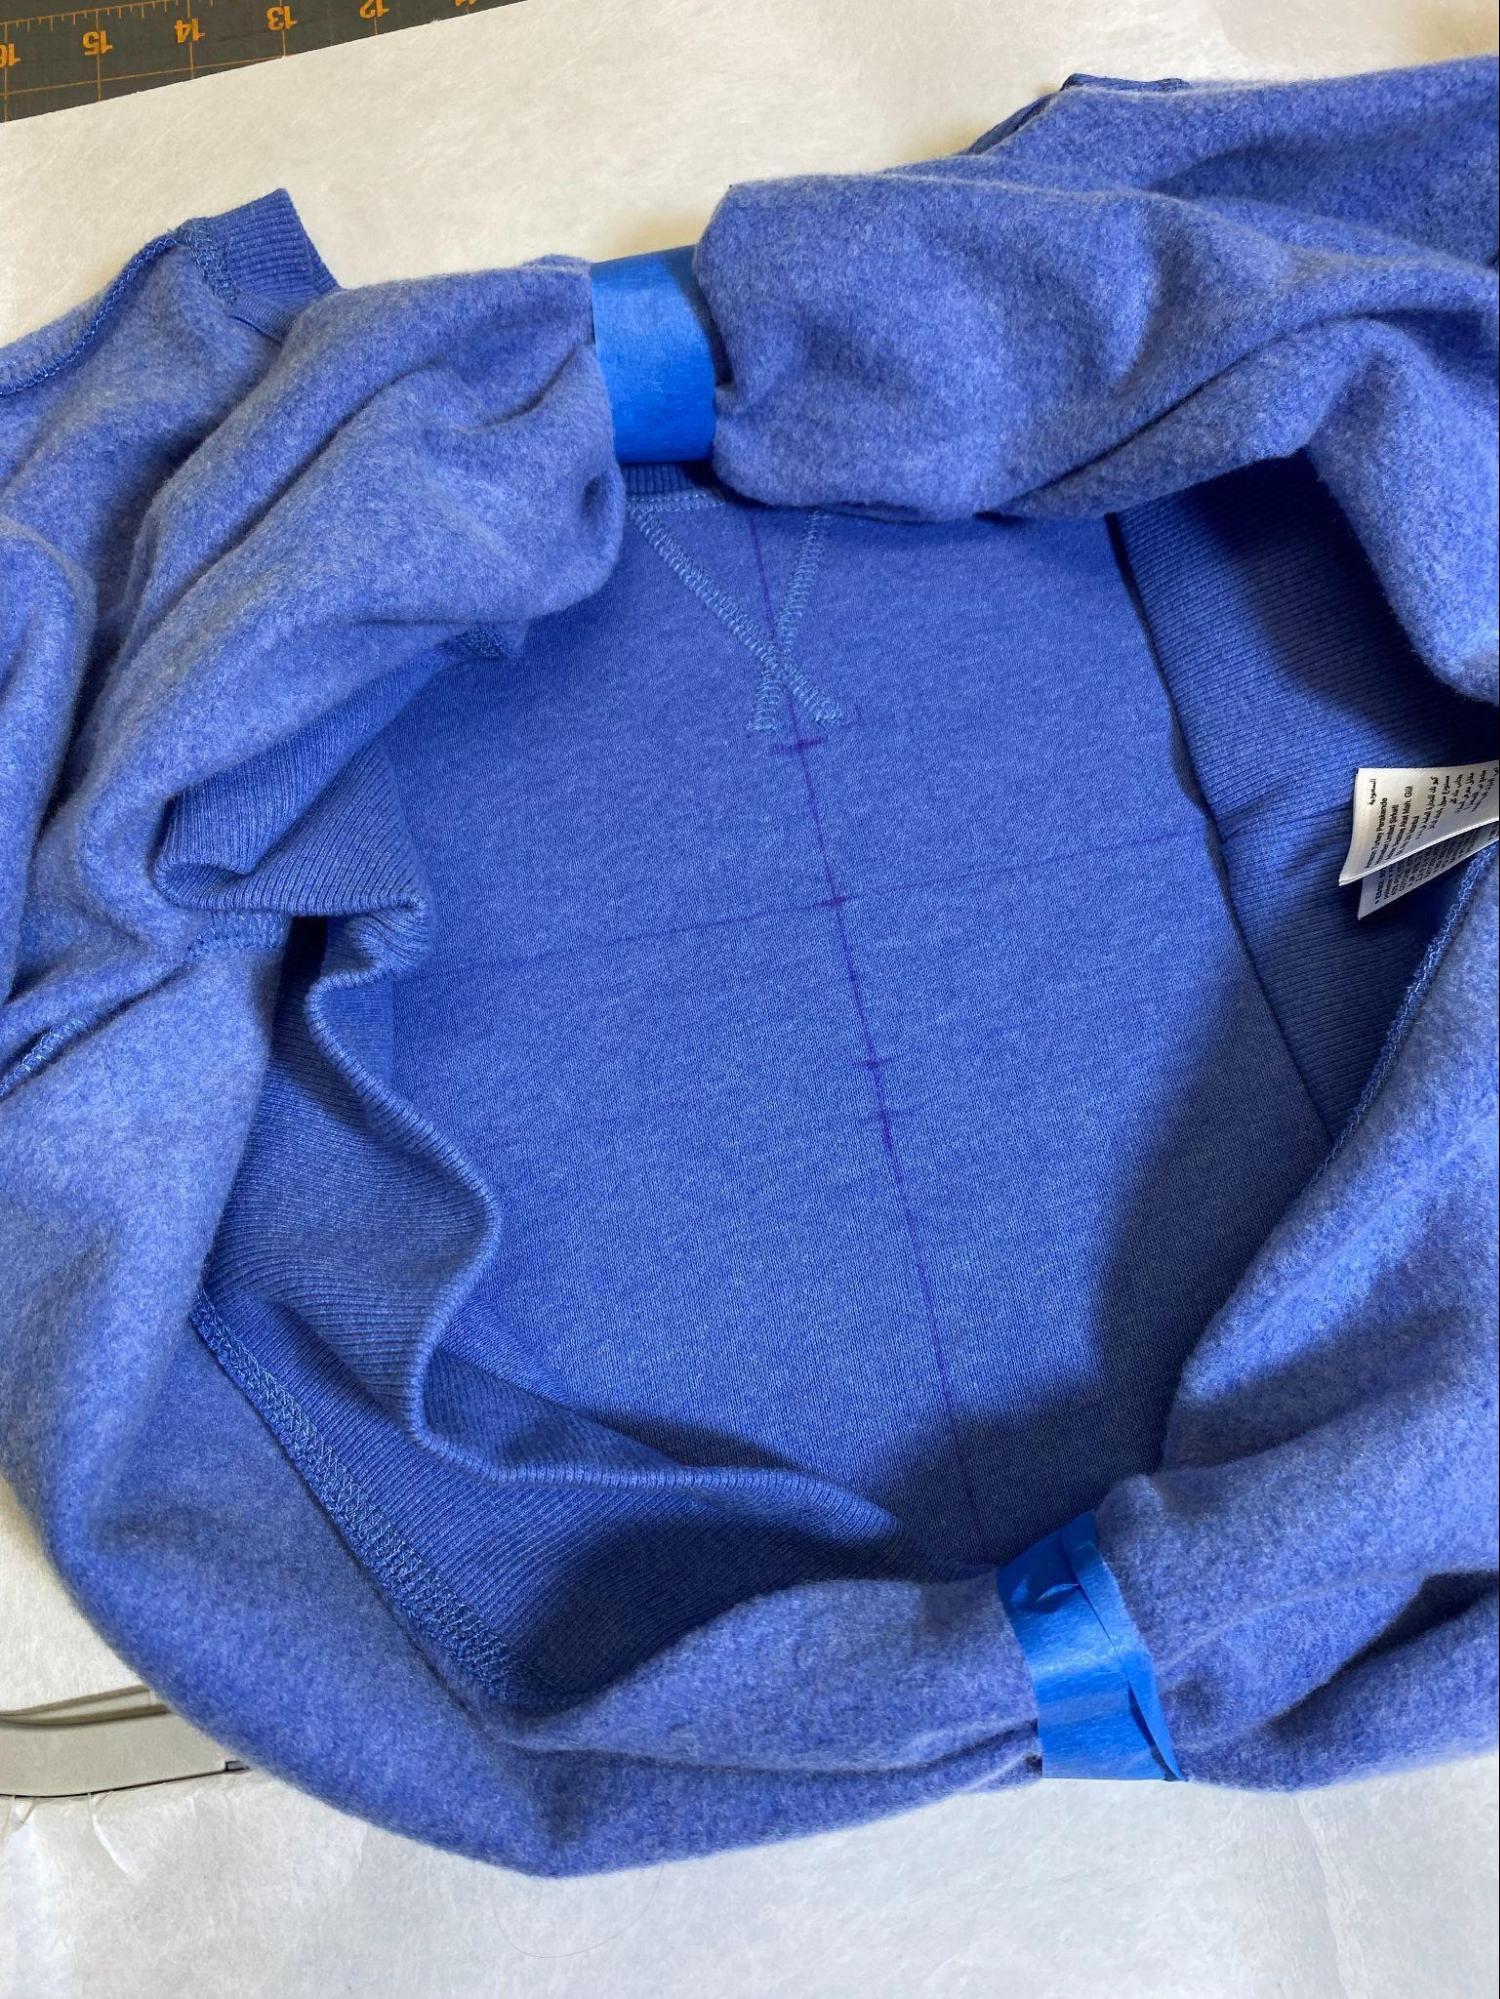
Once you have your placement marks or lines made, turn the shirt inside out, and using an adhesive spray like Odif 505, float the shirt on the stabilizer, matching up your placement marks to the hoop. Use binder clips or painter's tape to hold back the shirt parts to prevent them from getting in the way.
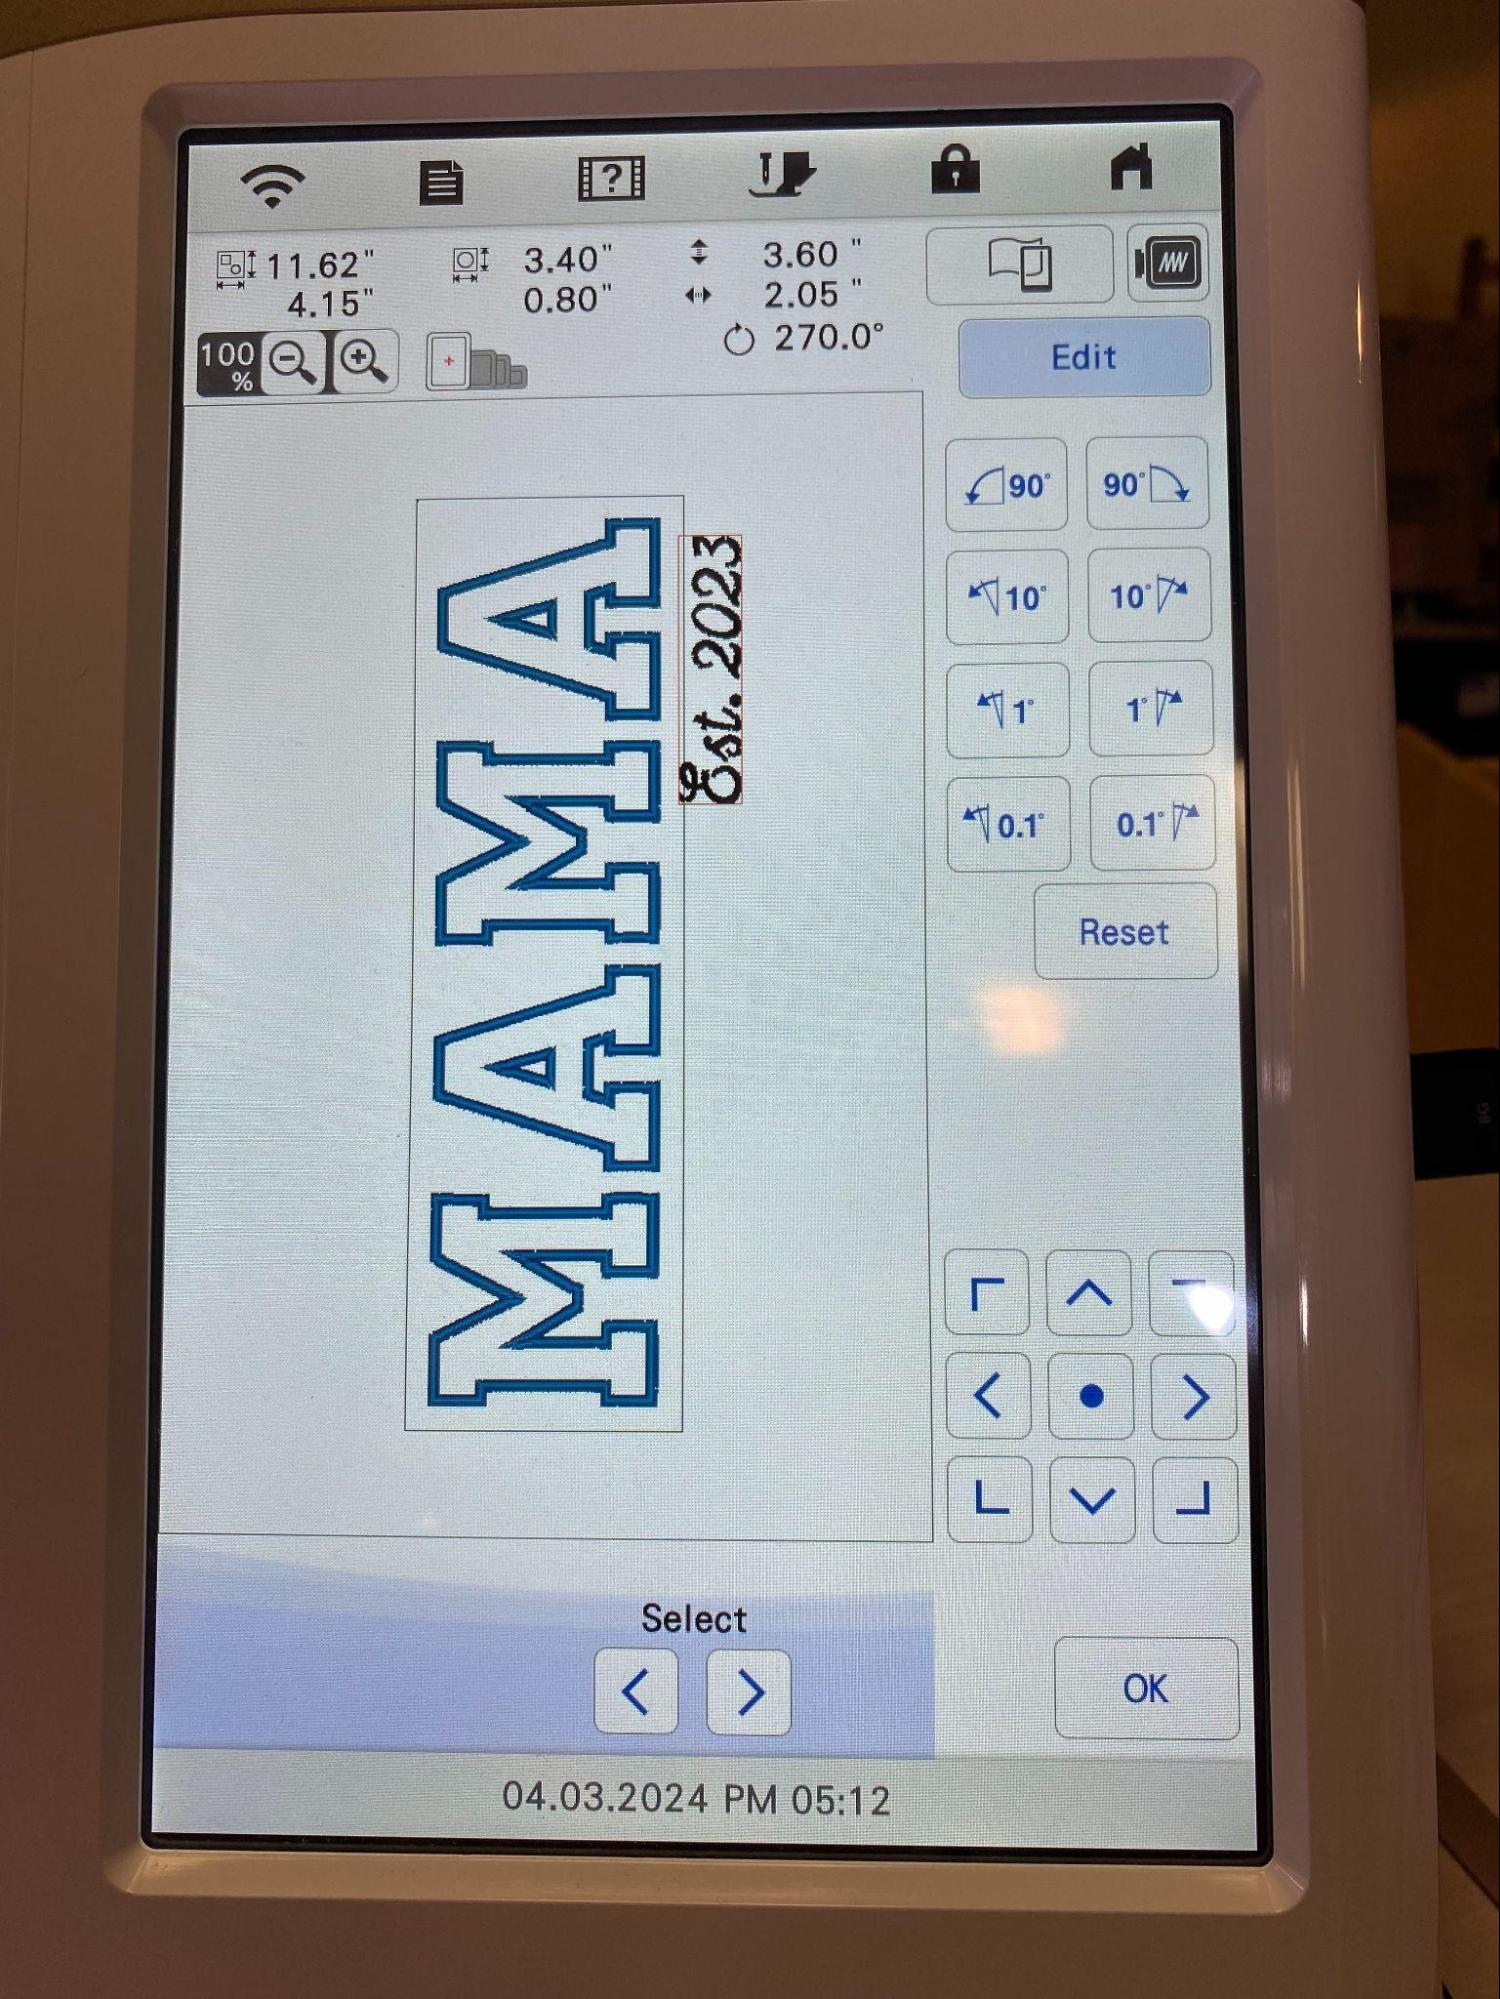
I used a large machine embroidery hoop for this project, which allowed me to add the Est. 2023 in Ophelia Script ½”. If you need to do this in two hoping it’s not very hard. Draw a line under and parallel to your MAMA letters and ensure it will stitch out exactly where you want it.
Generally, I don’t use a basting box, but for this, I did because it's a large area, and the hoop is going to be removed from the machine several times to trim the letters. (Not sure what was going on with my sewing machine, you can see the basting stitches loosened as I worked.)
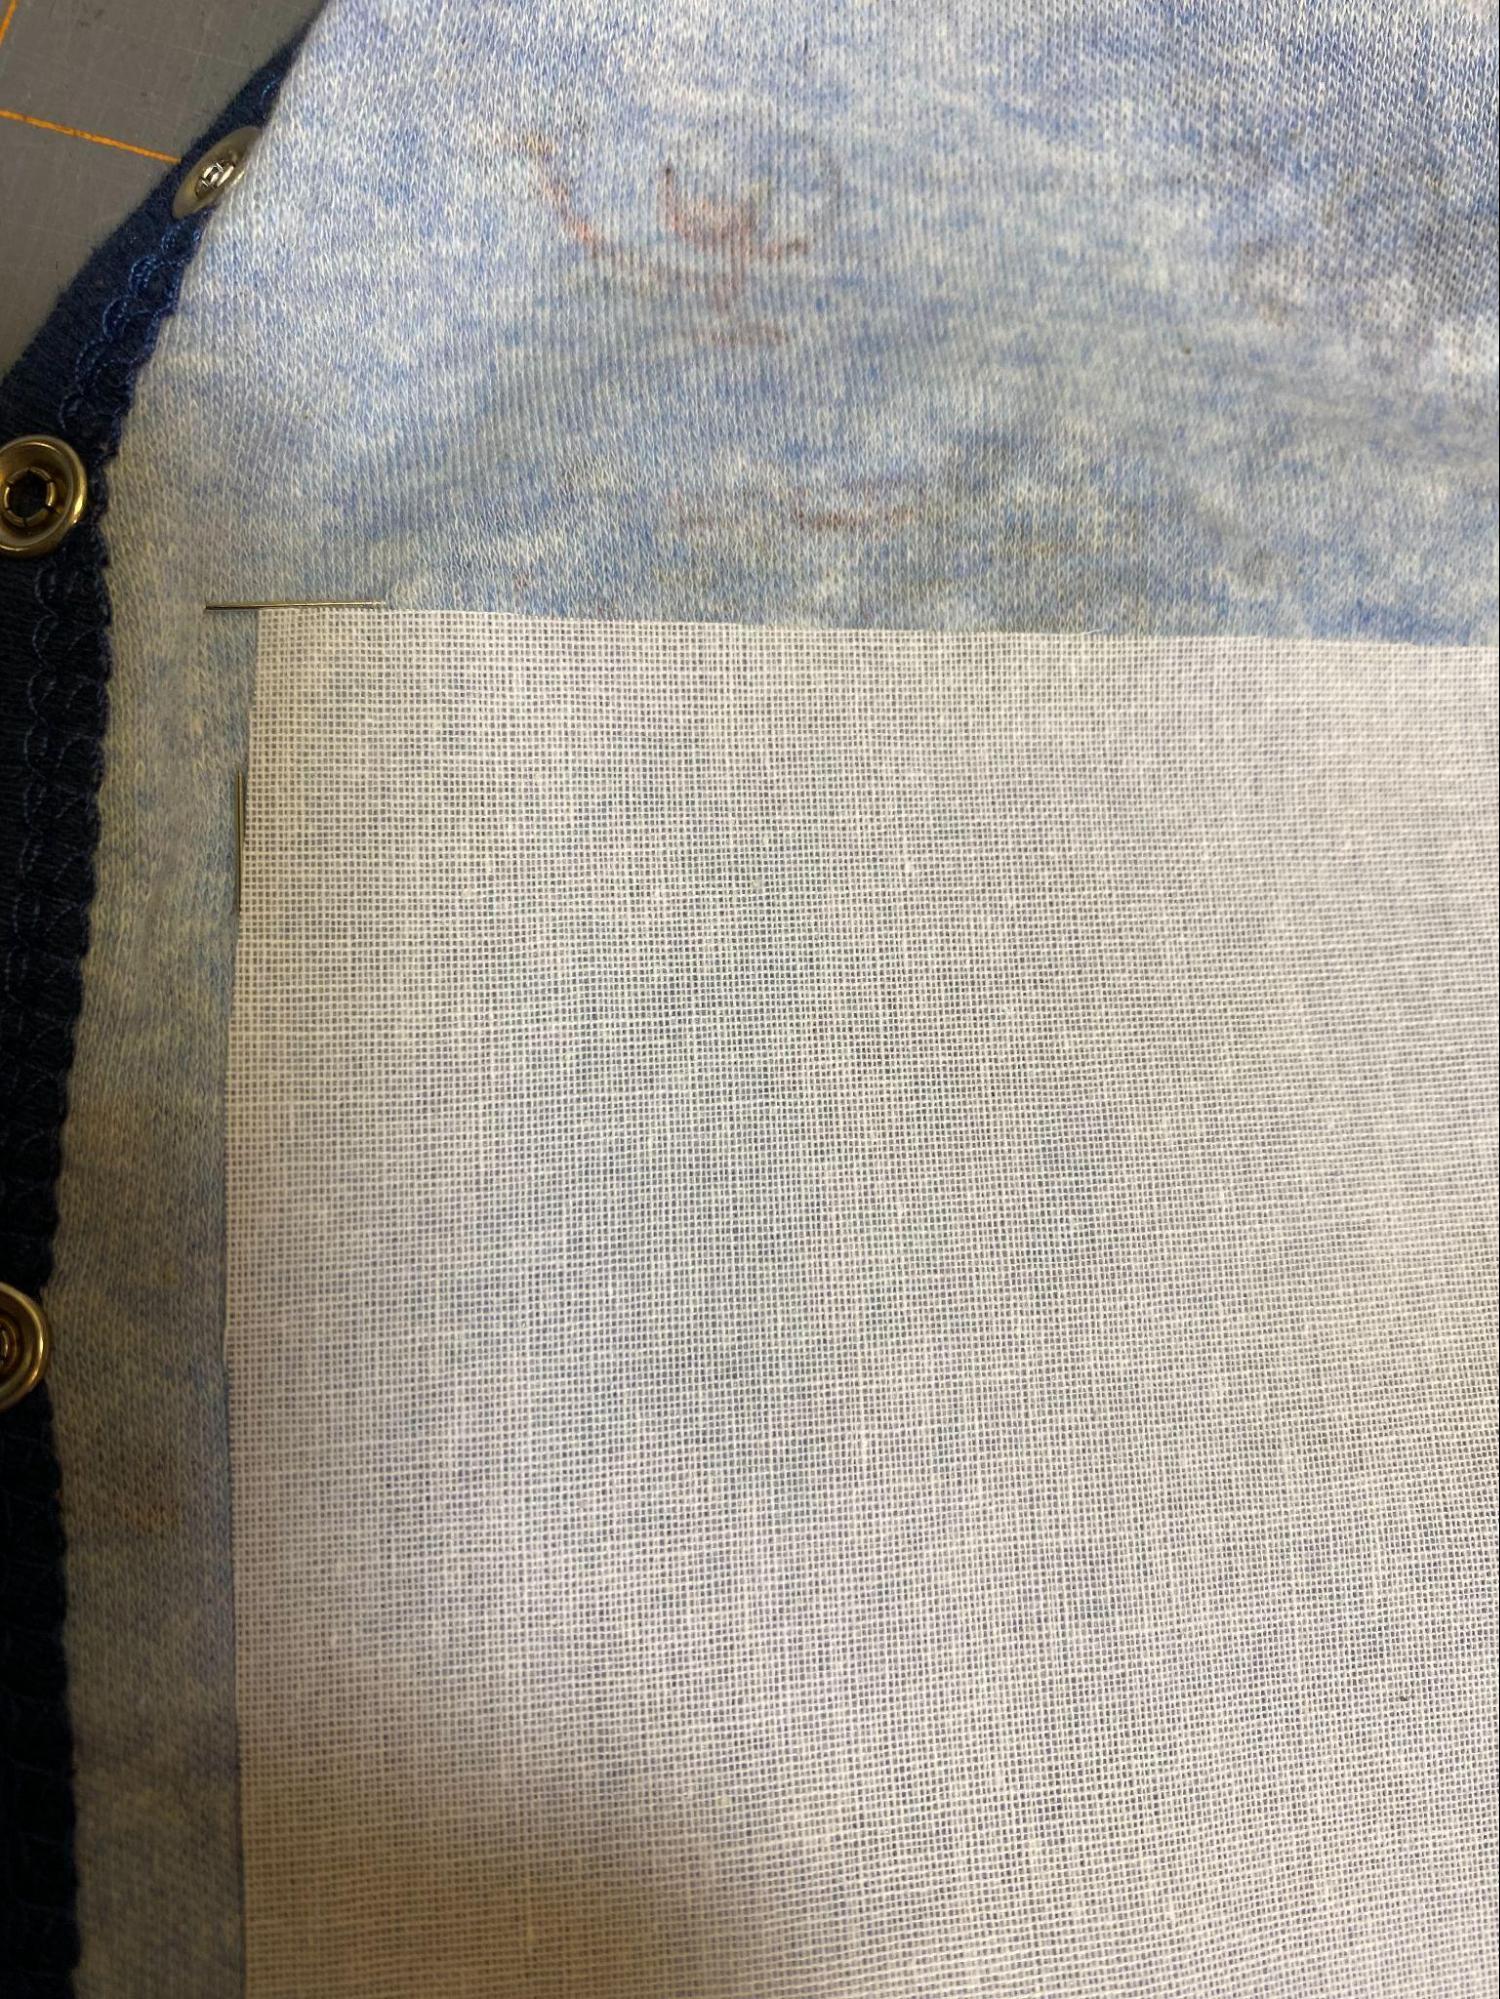
I’m using JuJu’s Varsity Applique Alphabet in 3” because the person I’m making this for is petite. If you’re doing an XL shirt, you may want to use Varsity 4”. You want to back the letters with SF 101 because the knits tend to curl up when you cut them.
Since I am making letters 3” tall, I cut 4” squares from the SF 101. Here’s where you can get picky in choosing where to cut your fabric squares, depending on the designs. Below are two examples of this design I’ve done before. In the first example, most of the prints were an all-over design. The bottom option is where that are certain images I wanted included in the applique.
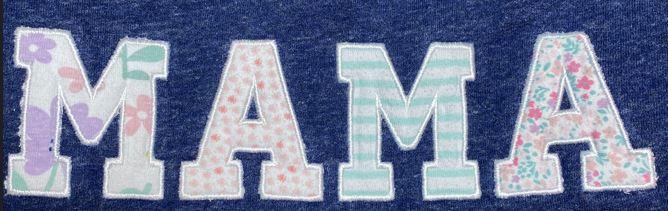
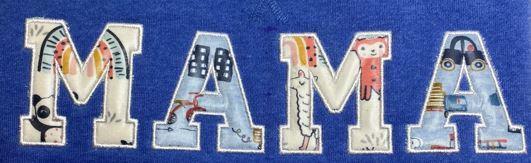
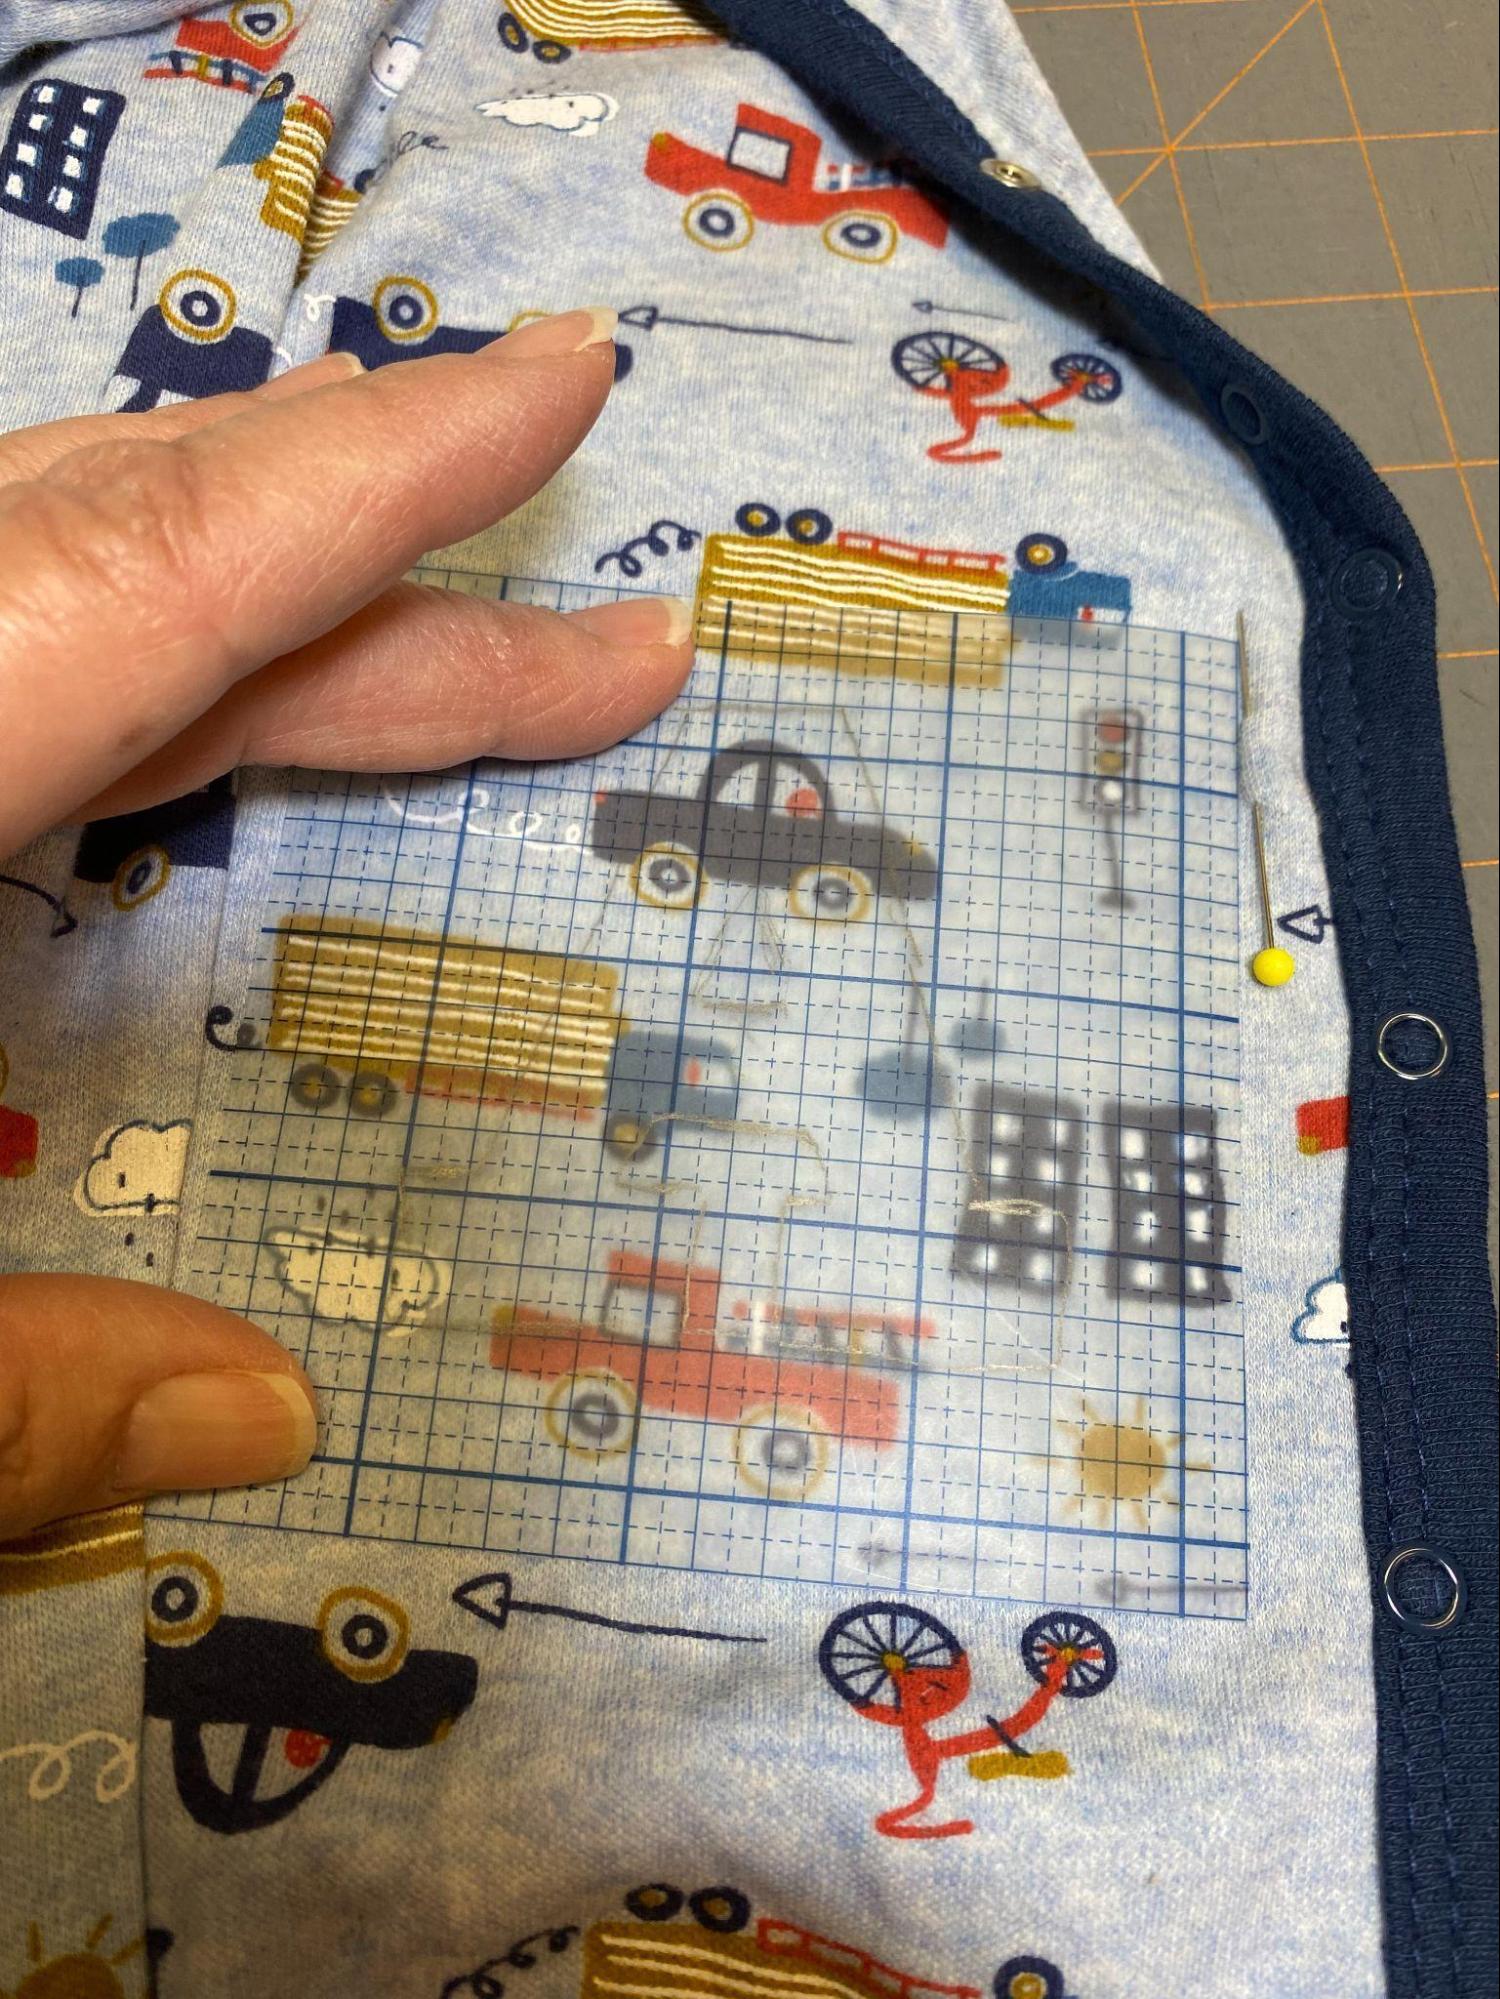
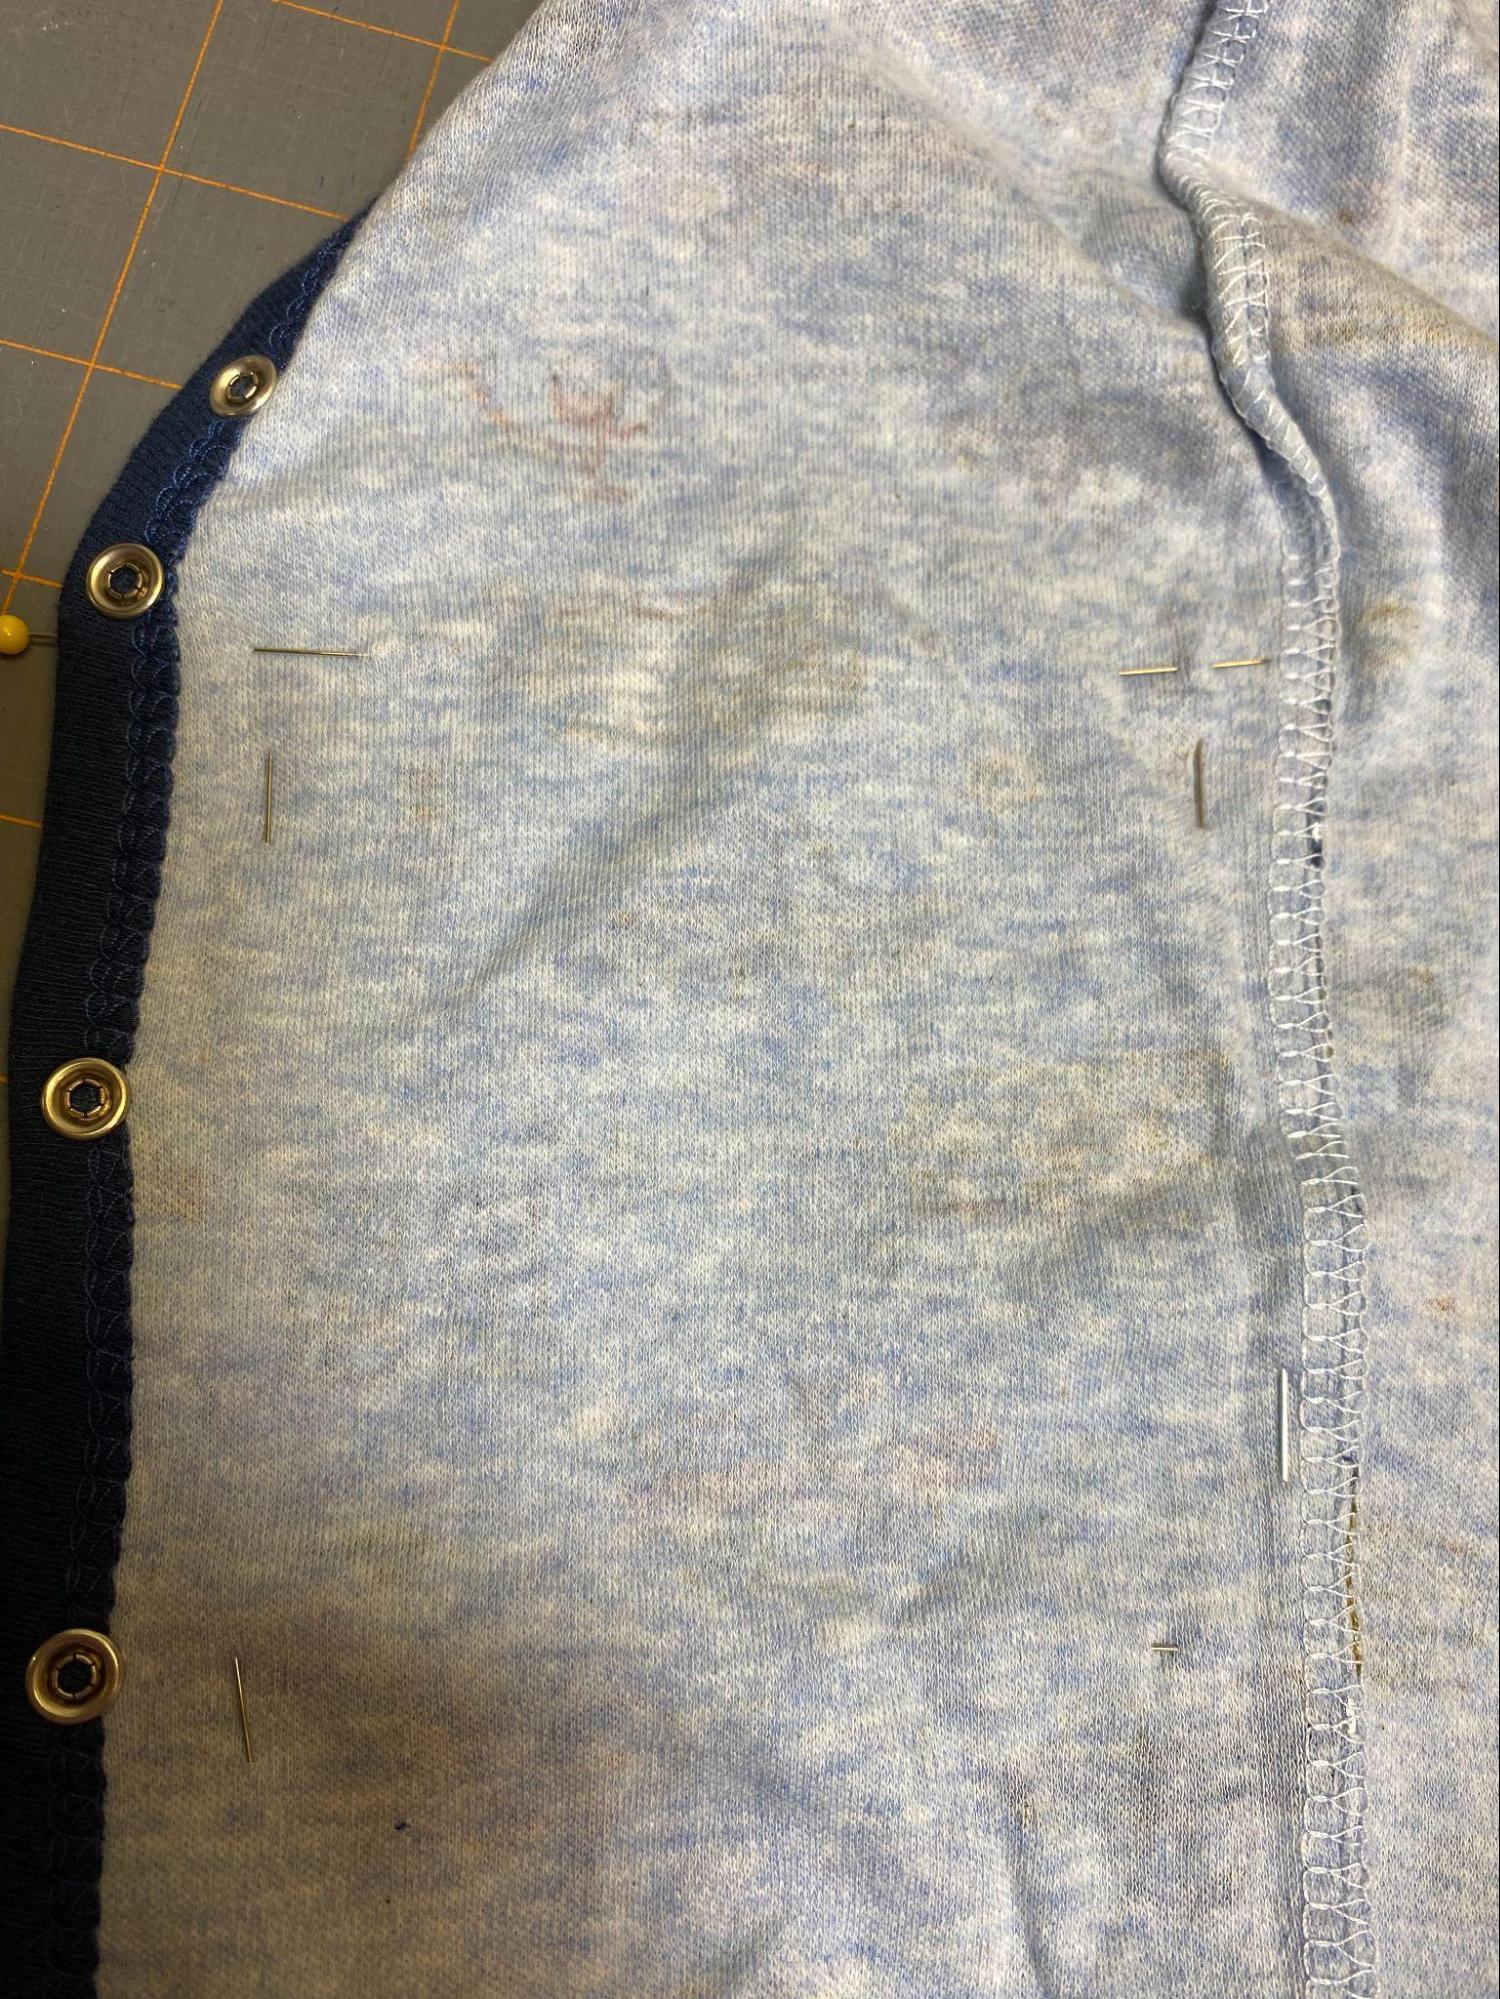
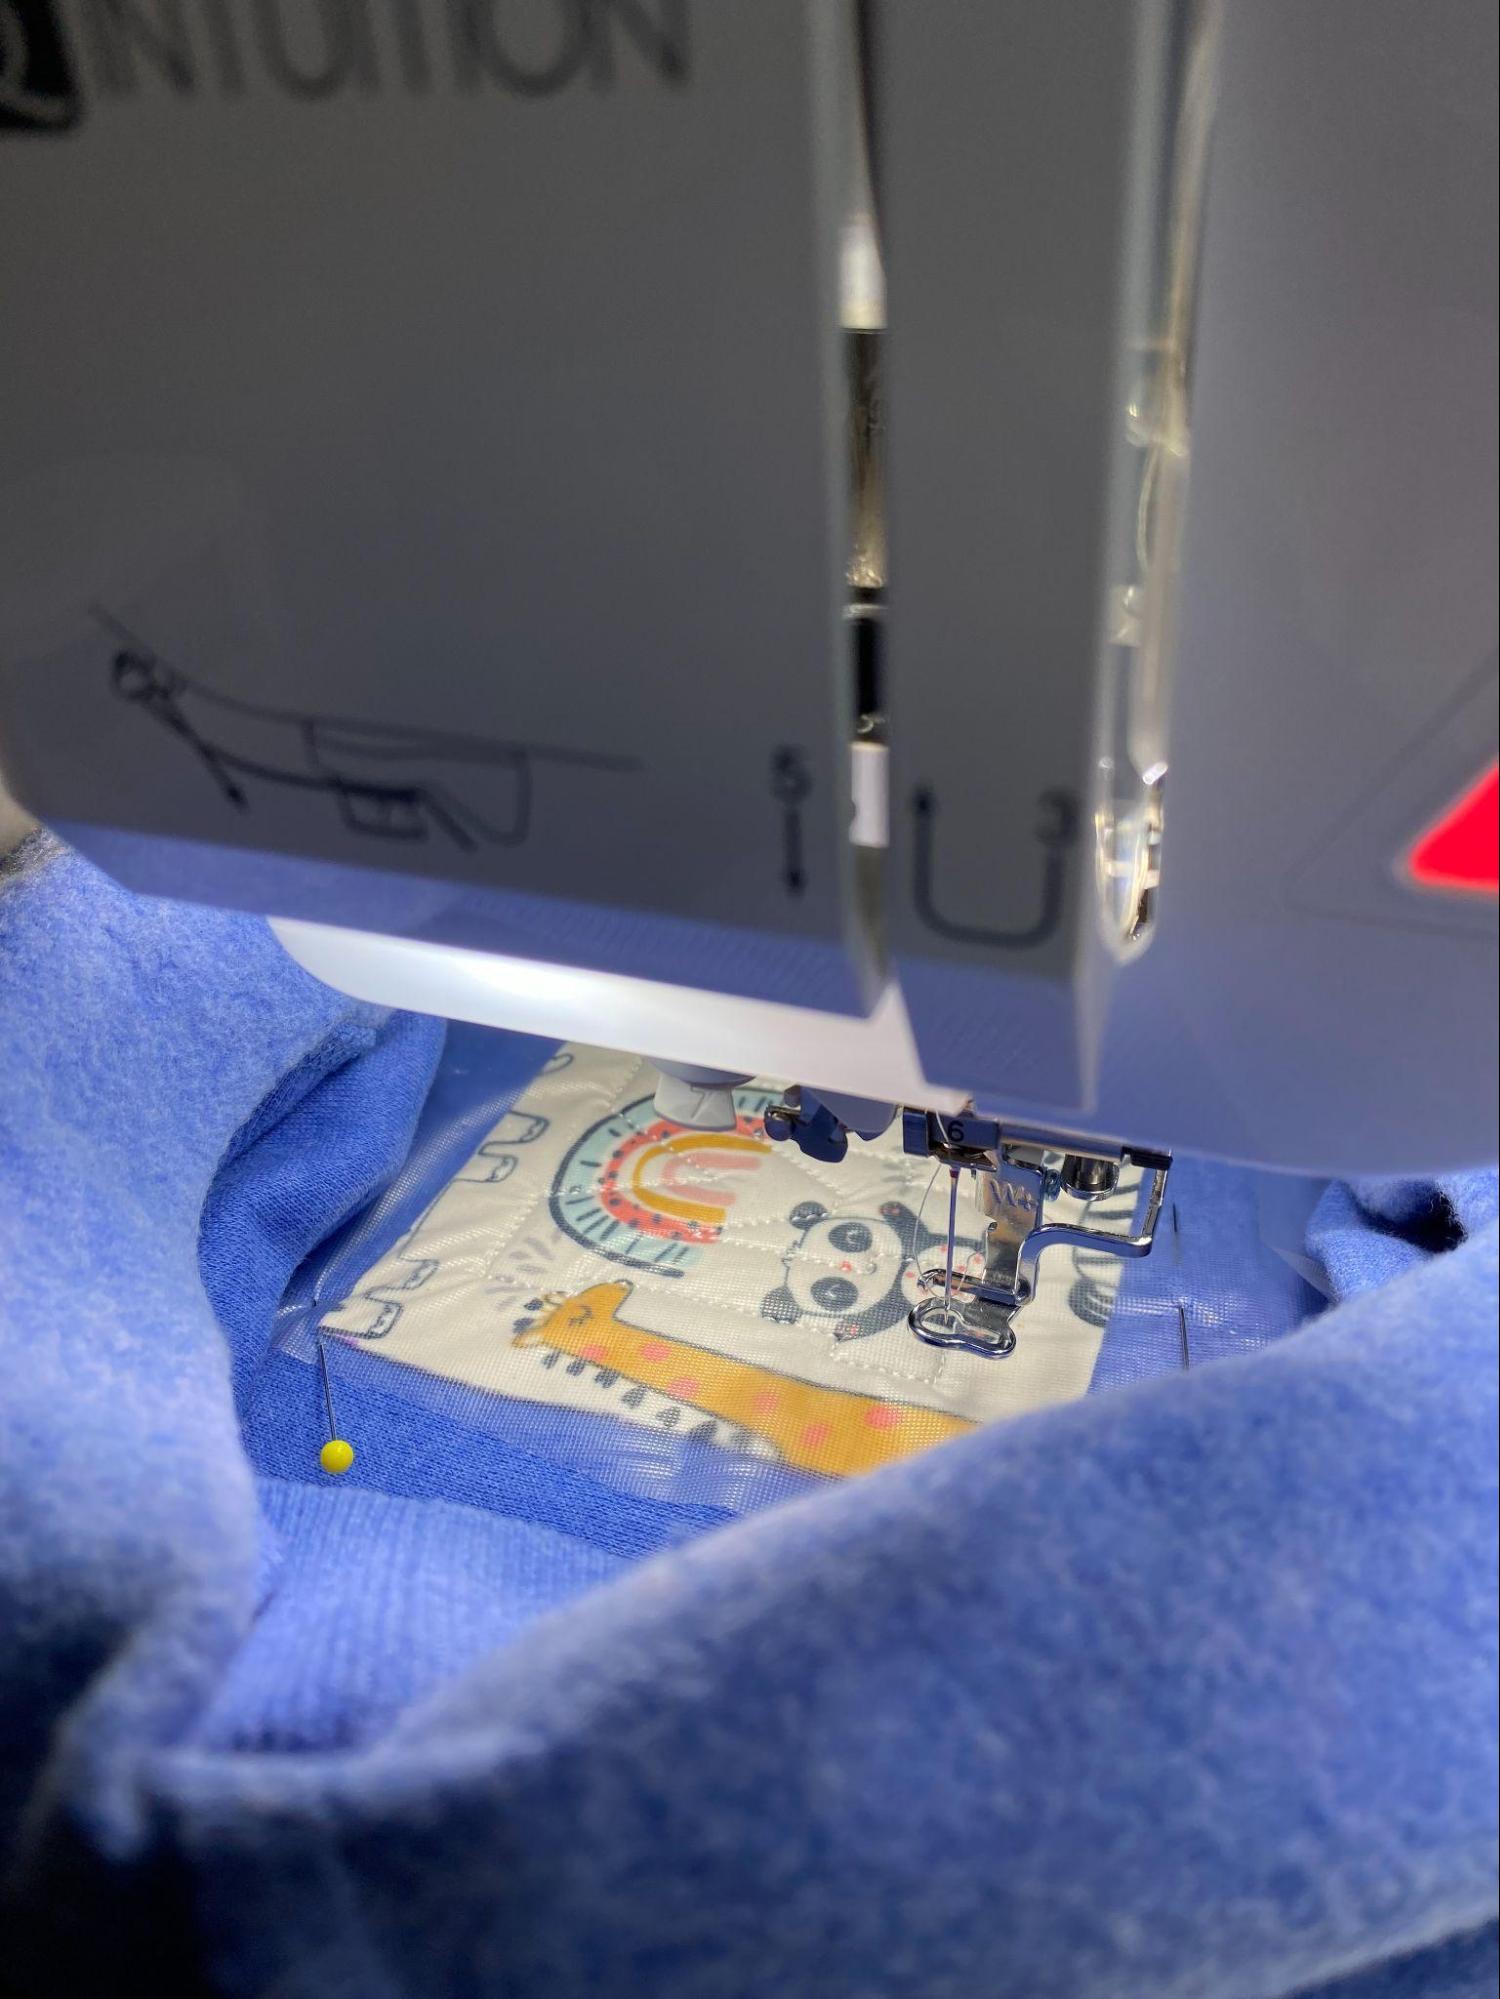
If you have an all-over print or won’t mind where the graphics appear in the letters, you can cut your 4” square out from anywhere on the clothing and then iron on the SF101. If you want to feature something from a print you can fussy cut it. One way is using plastic grid sheets or a clear ruler to look through, mark the corners, and cut. Alternatively, you can place pins to mark the 4” you want to use, iron a 4” square of SF 101 on the back in line with the pins, and cut it out.
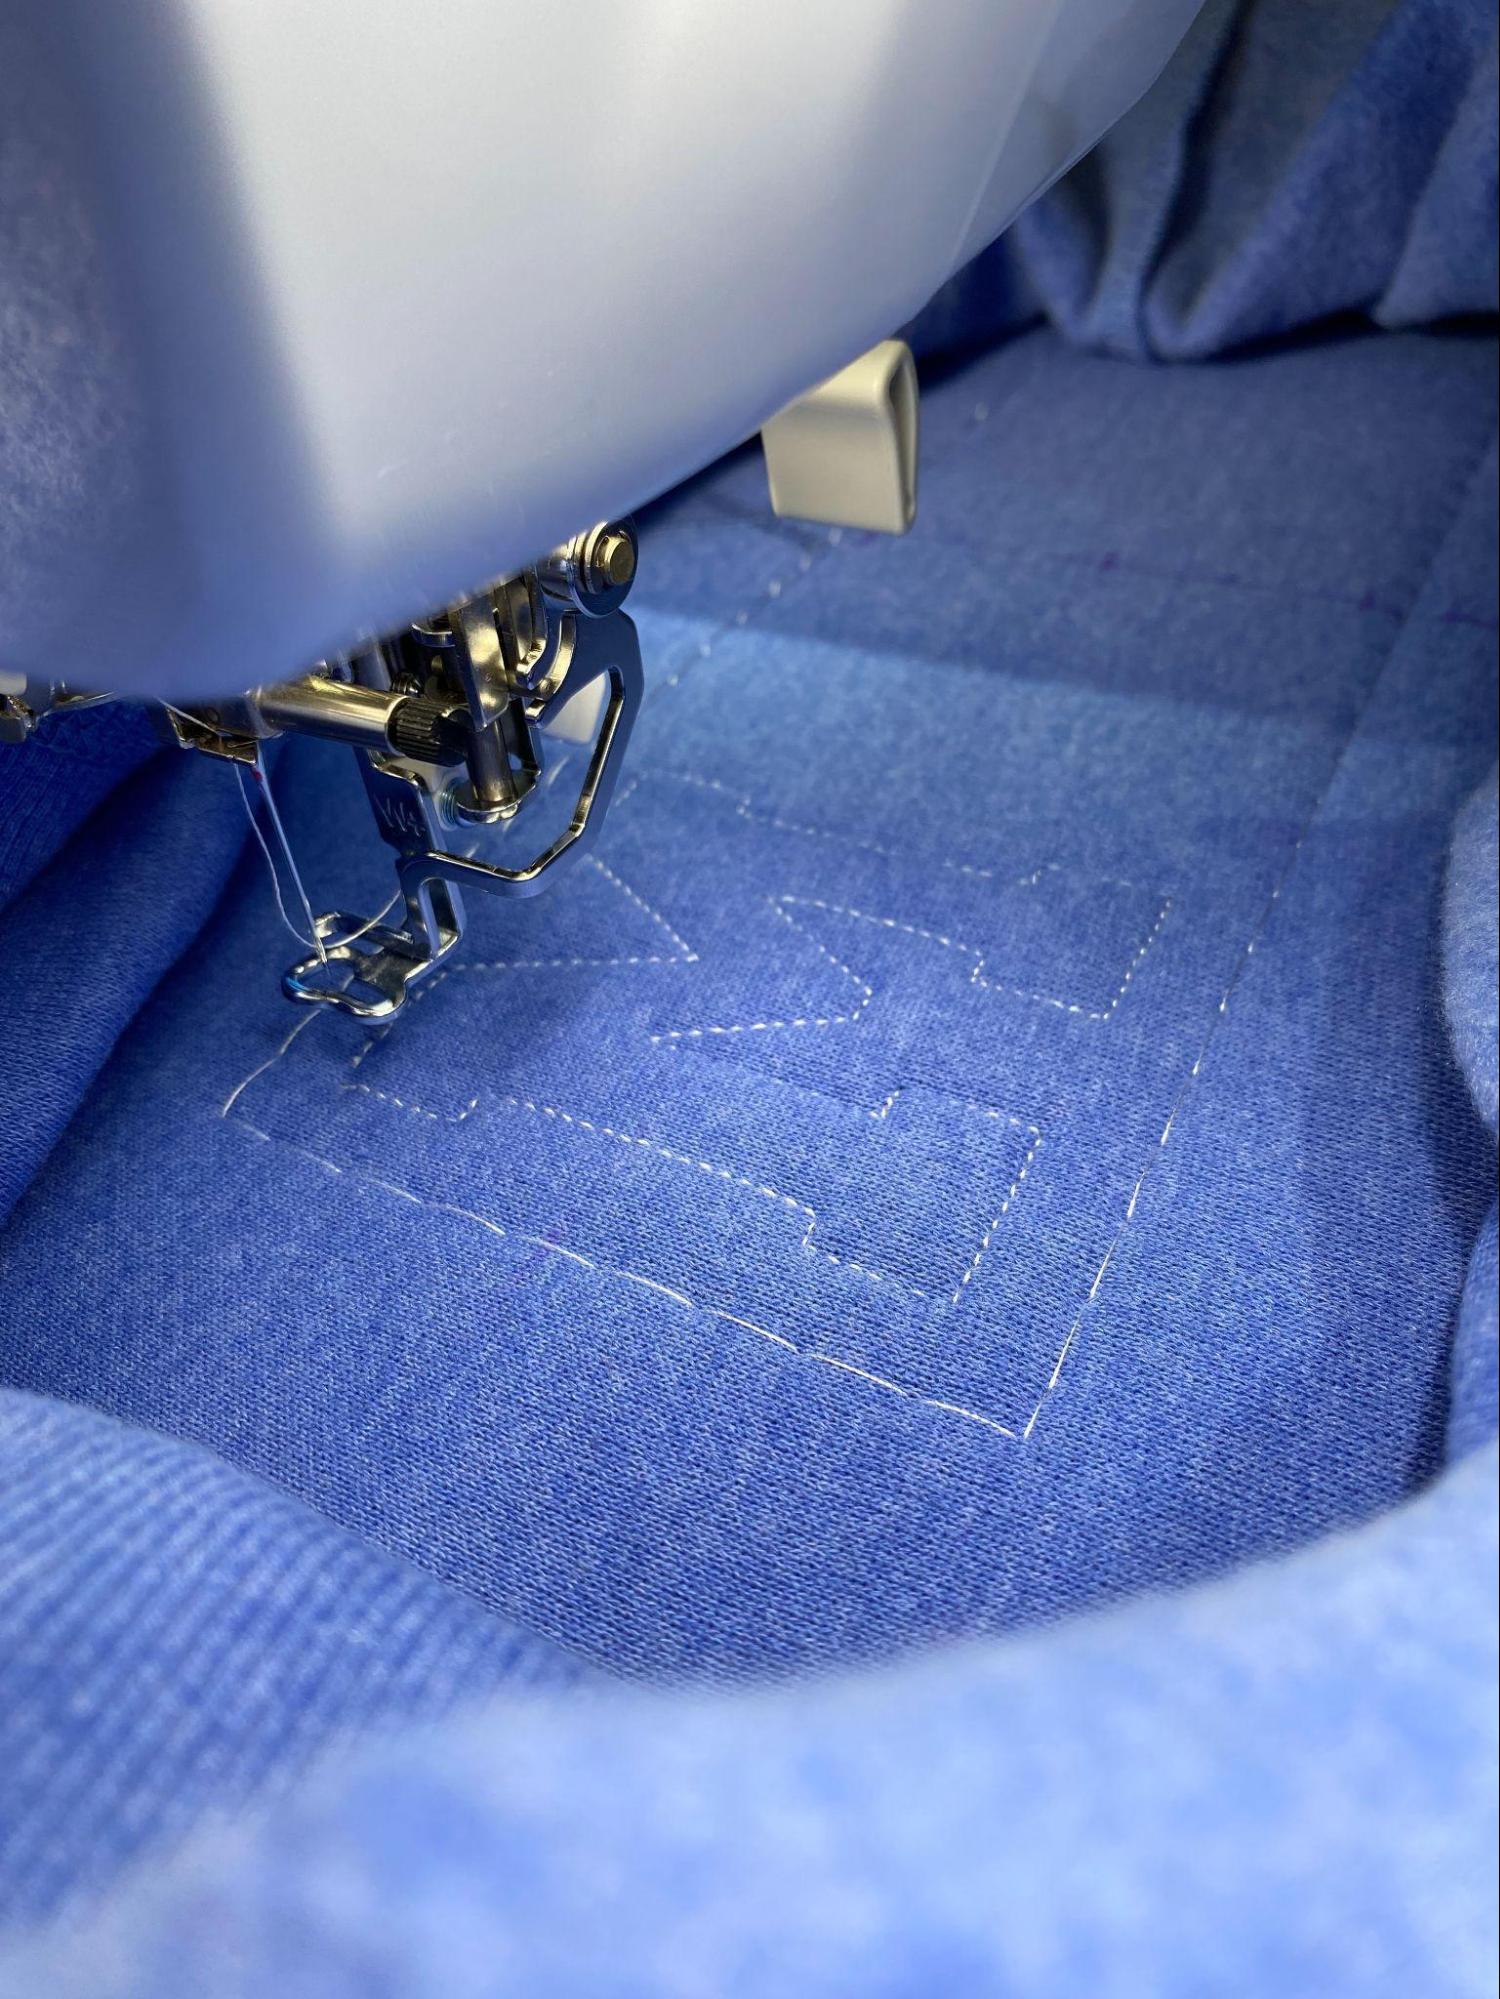
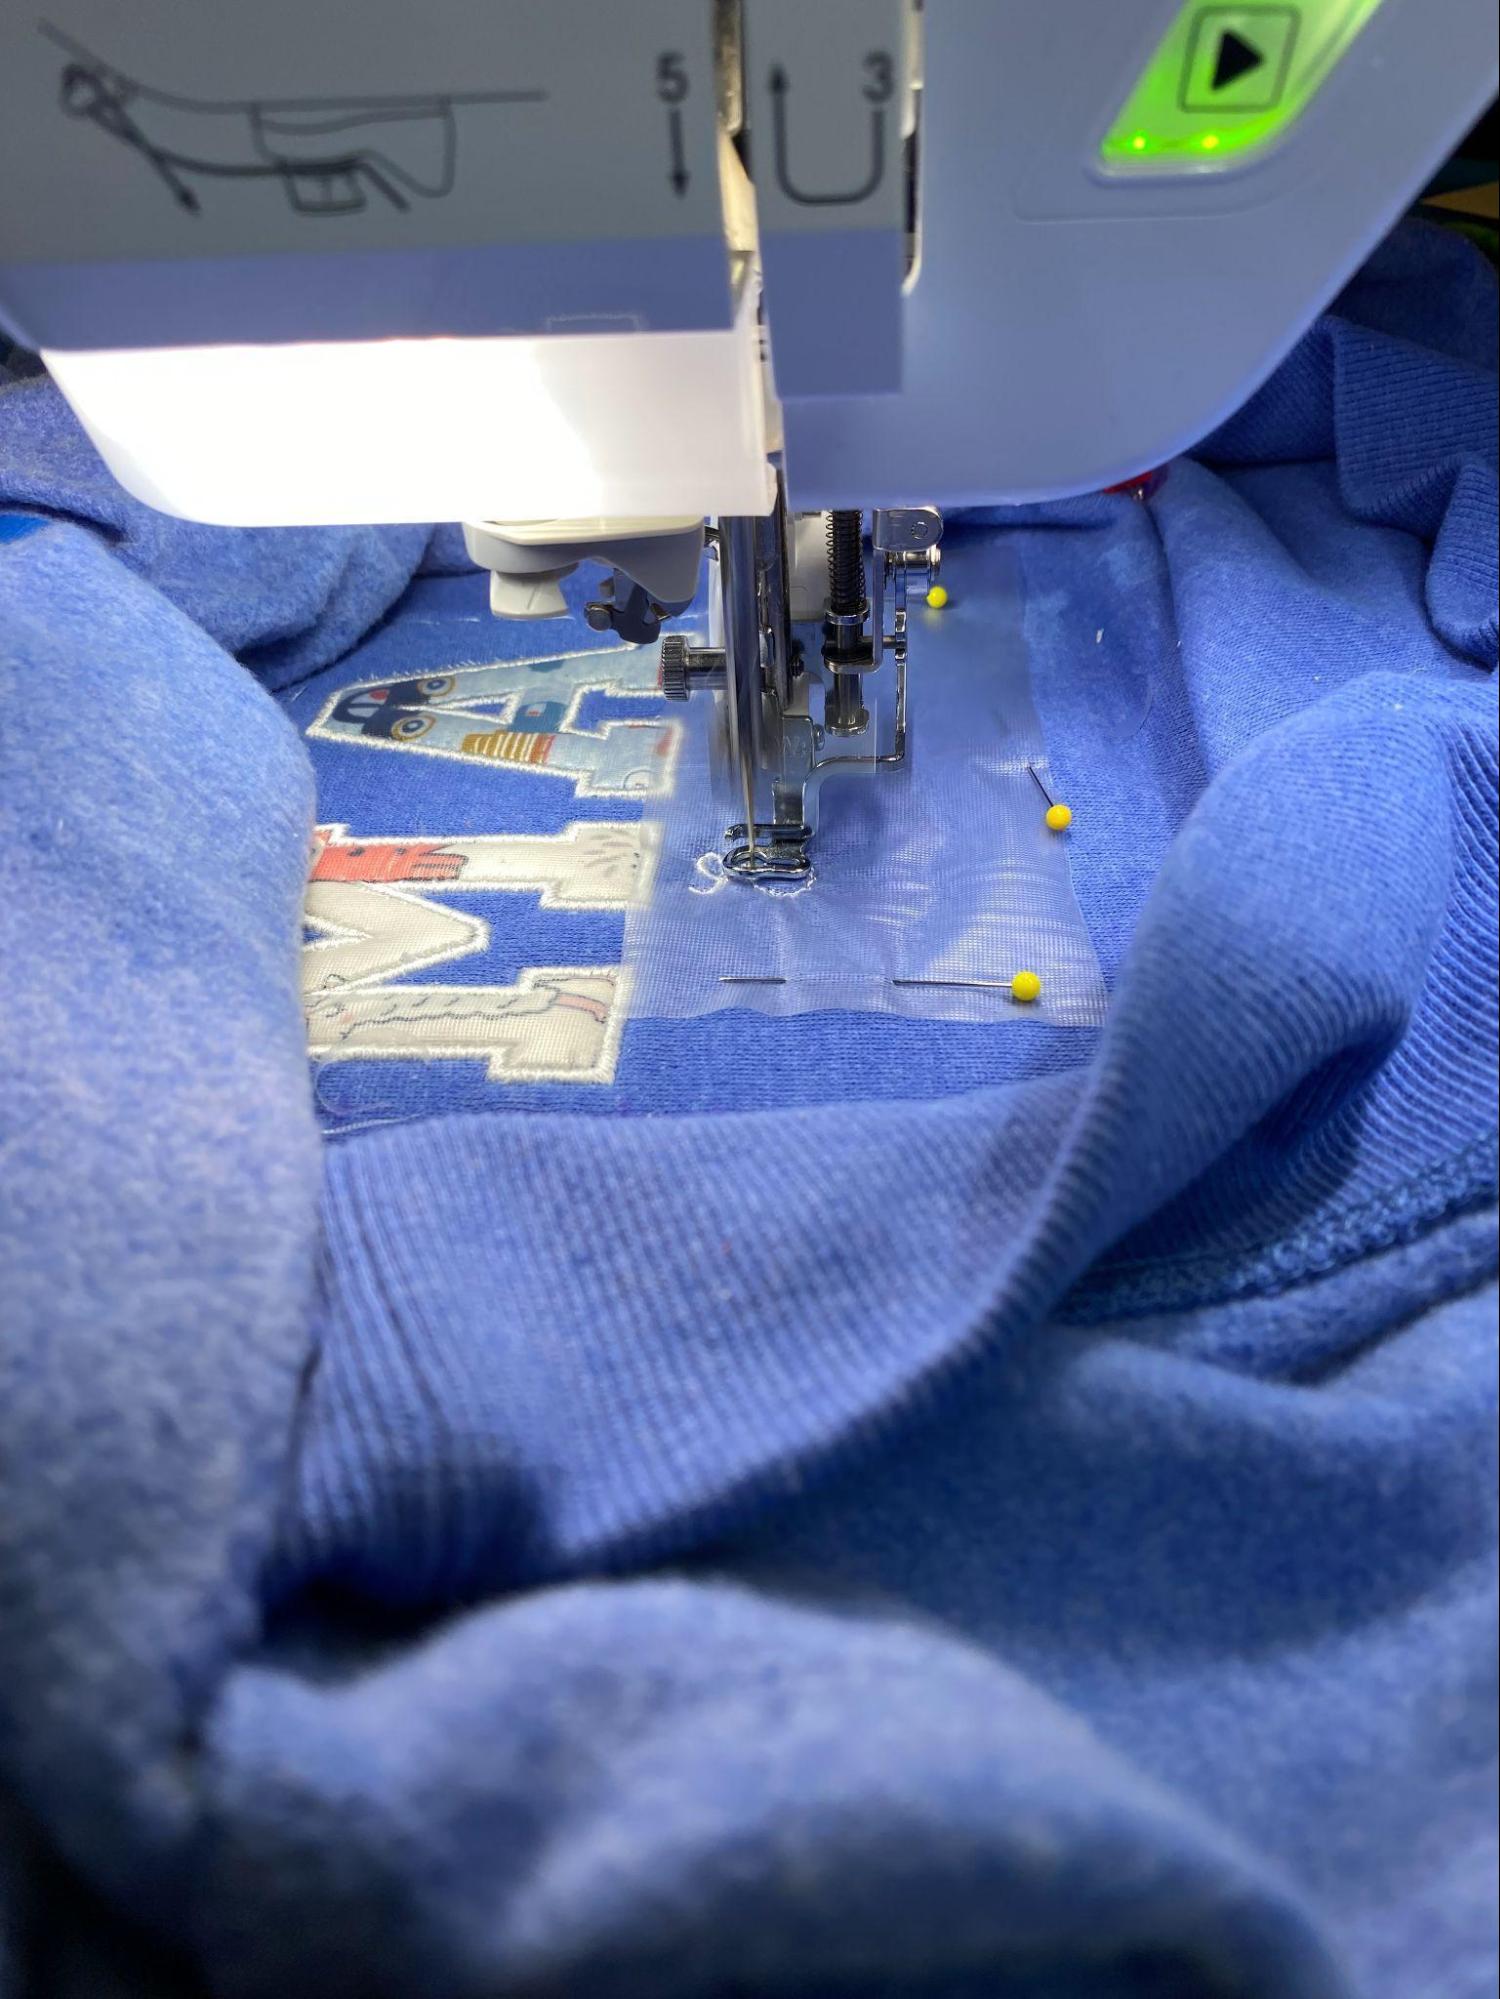
The following photos show the design on the machine, the first placement stitches (oops, I forgot the washaway), the tack-down stitches, and trimming the excess fabric away.
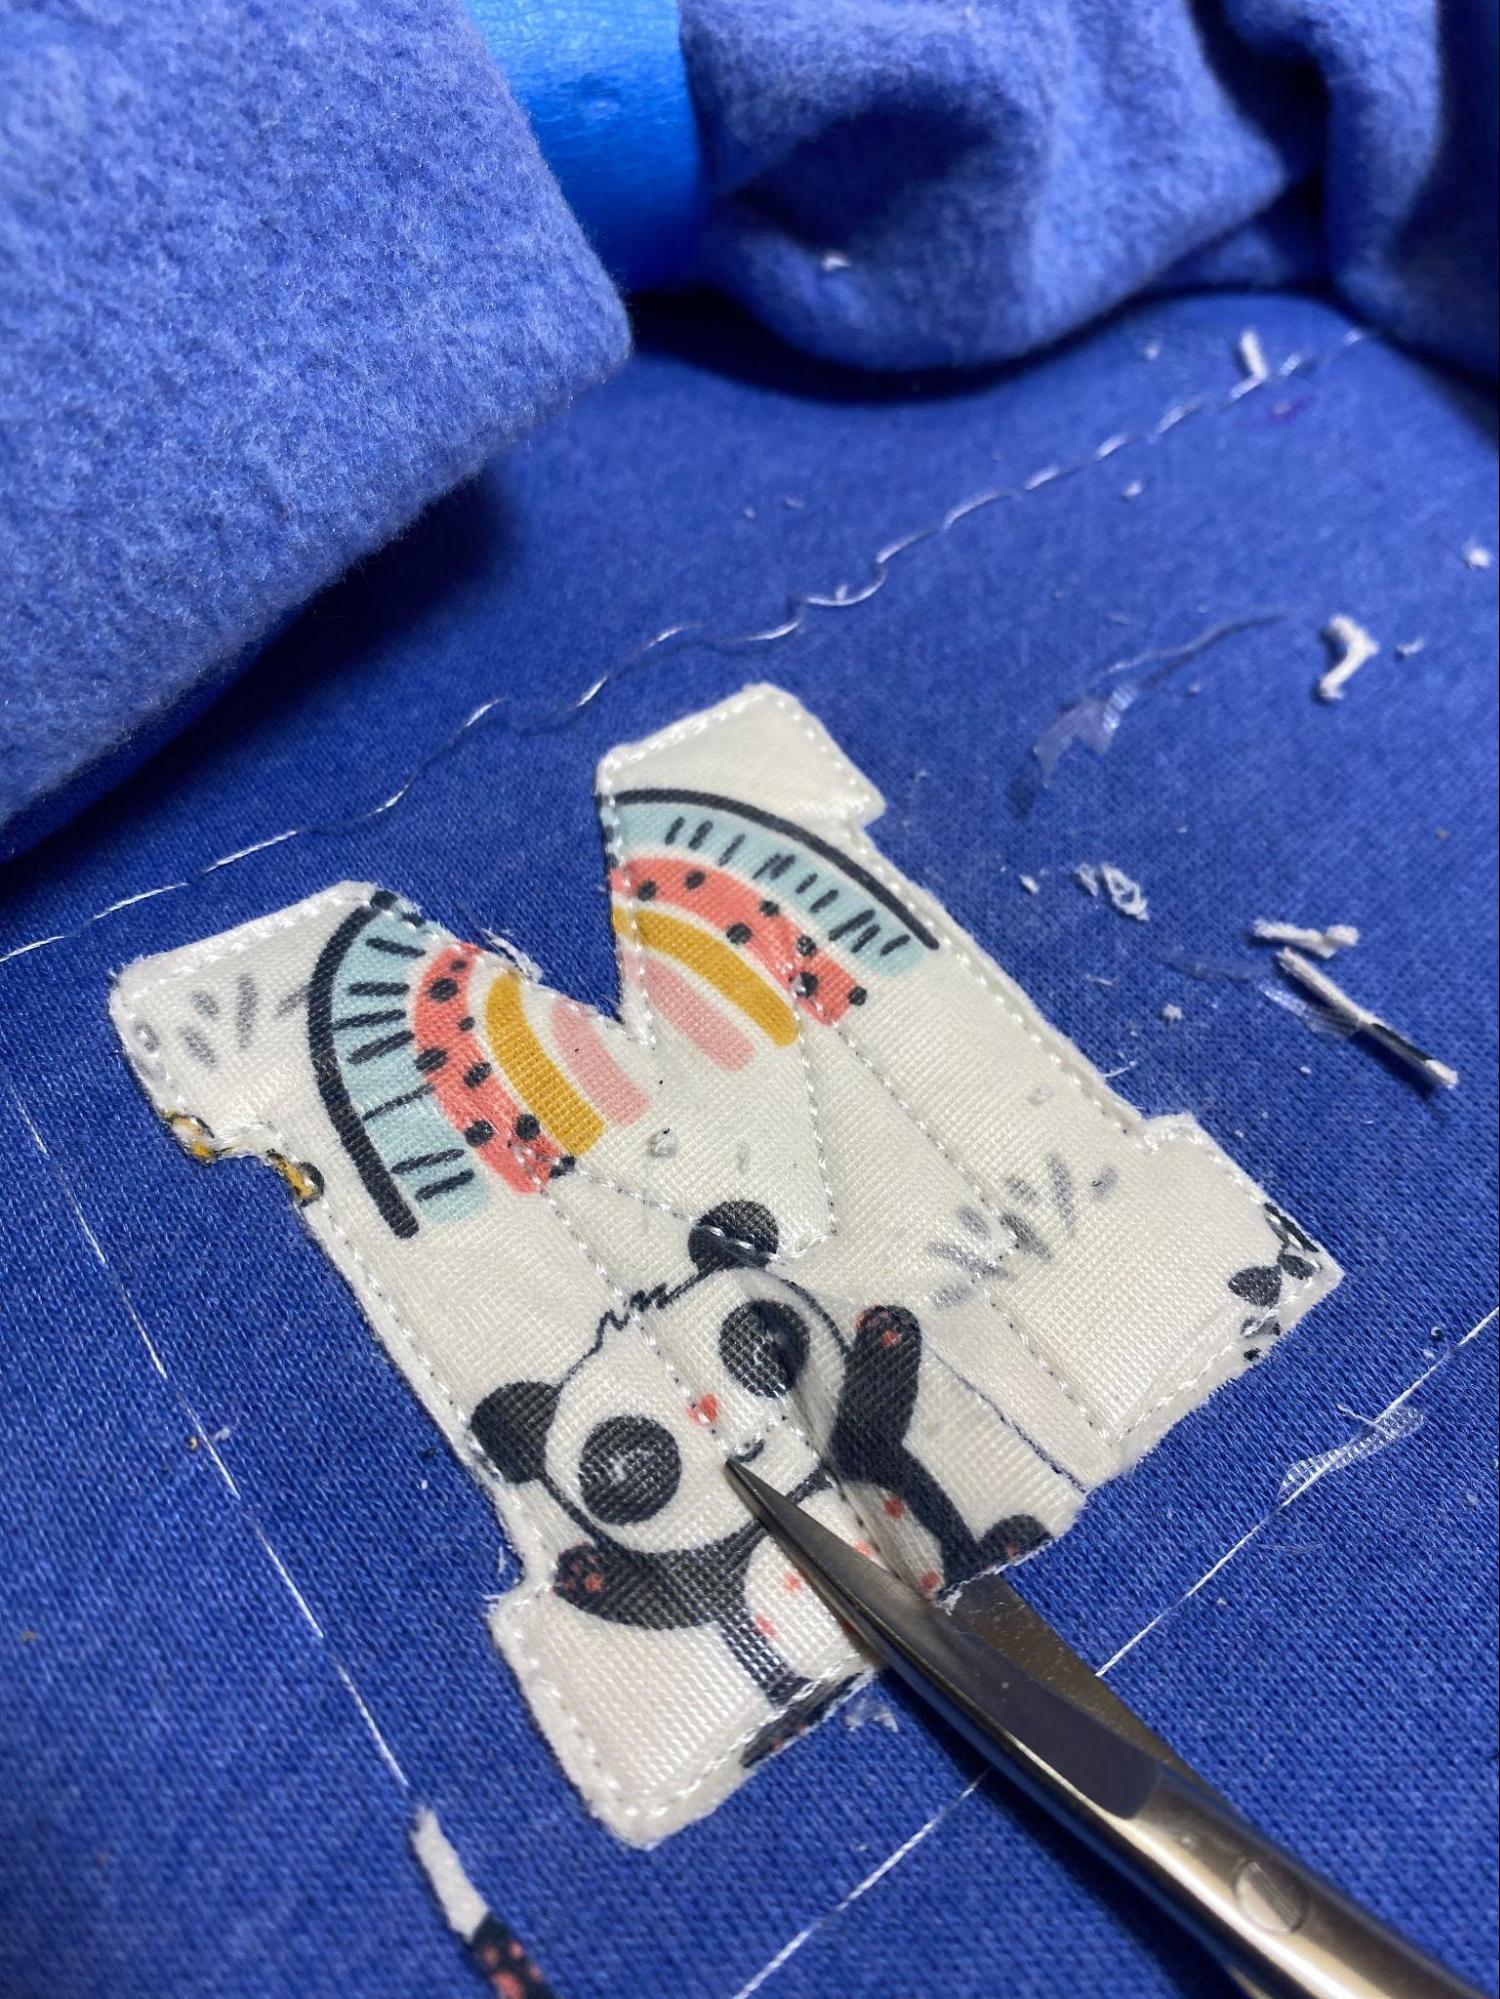
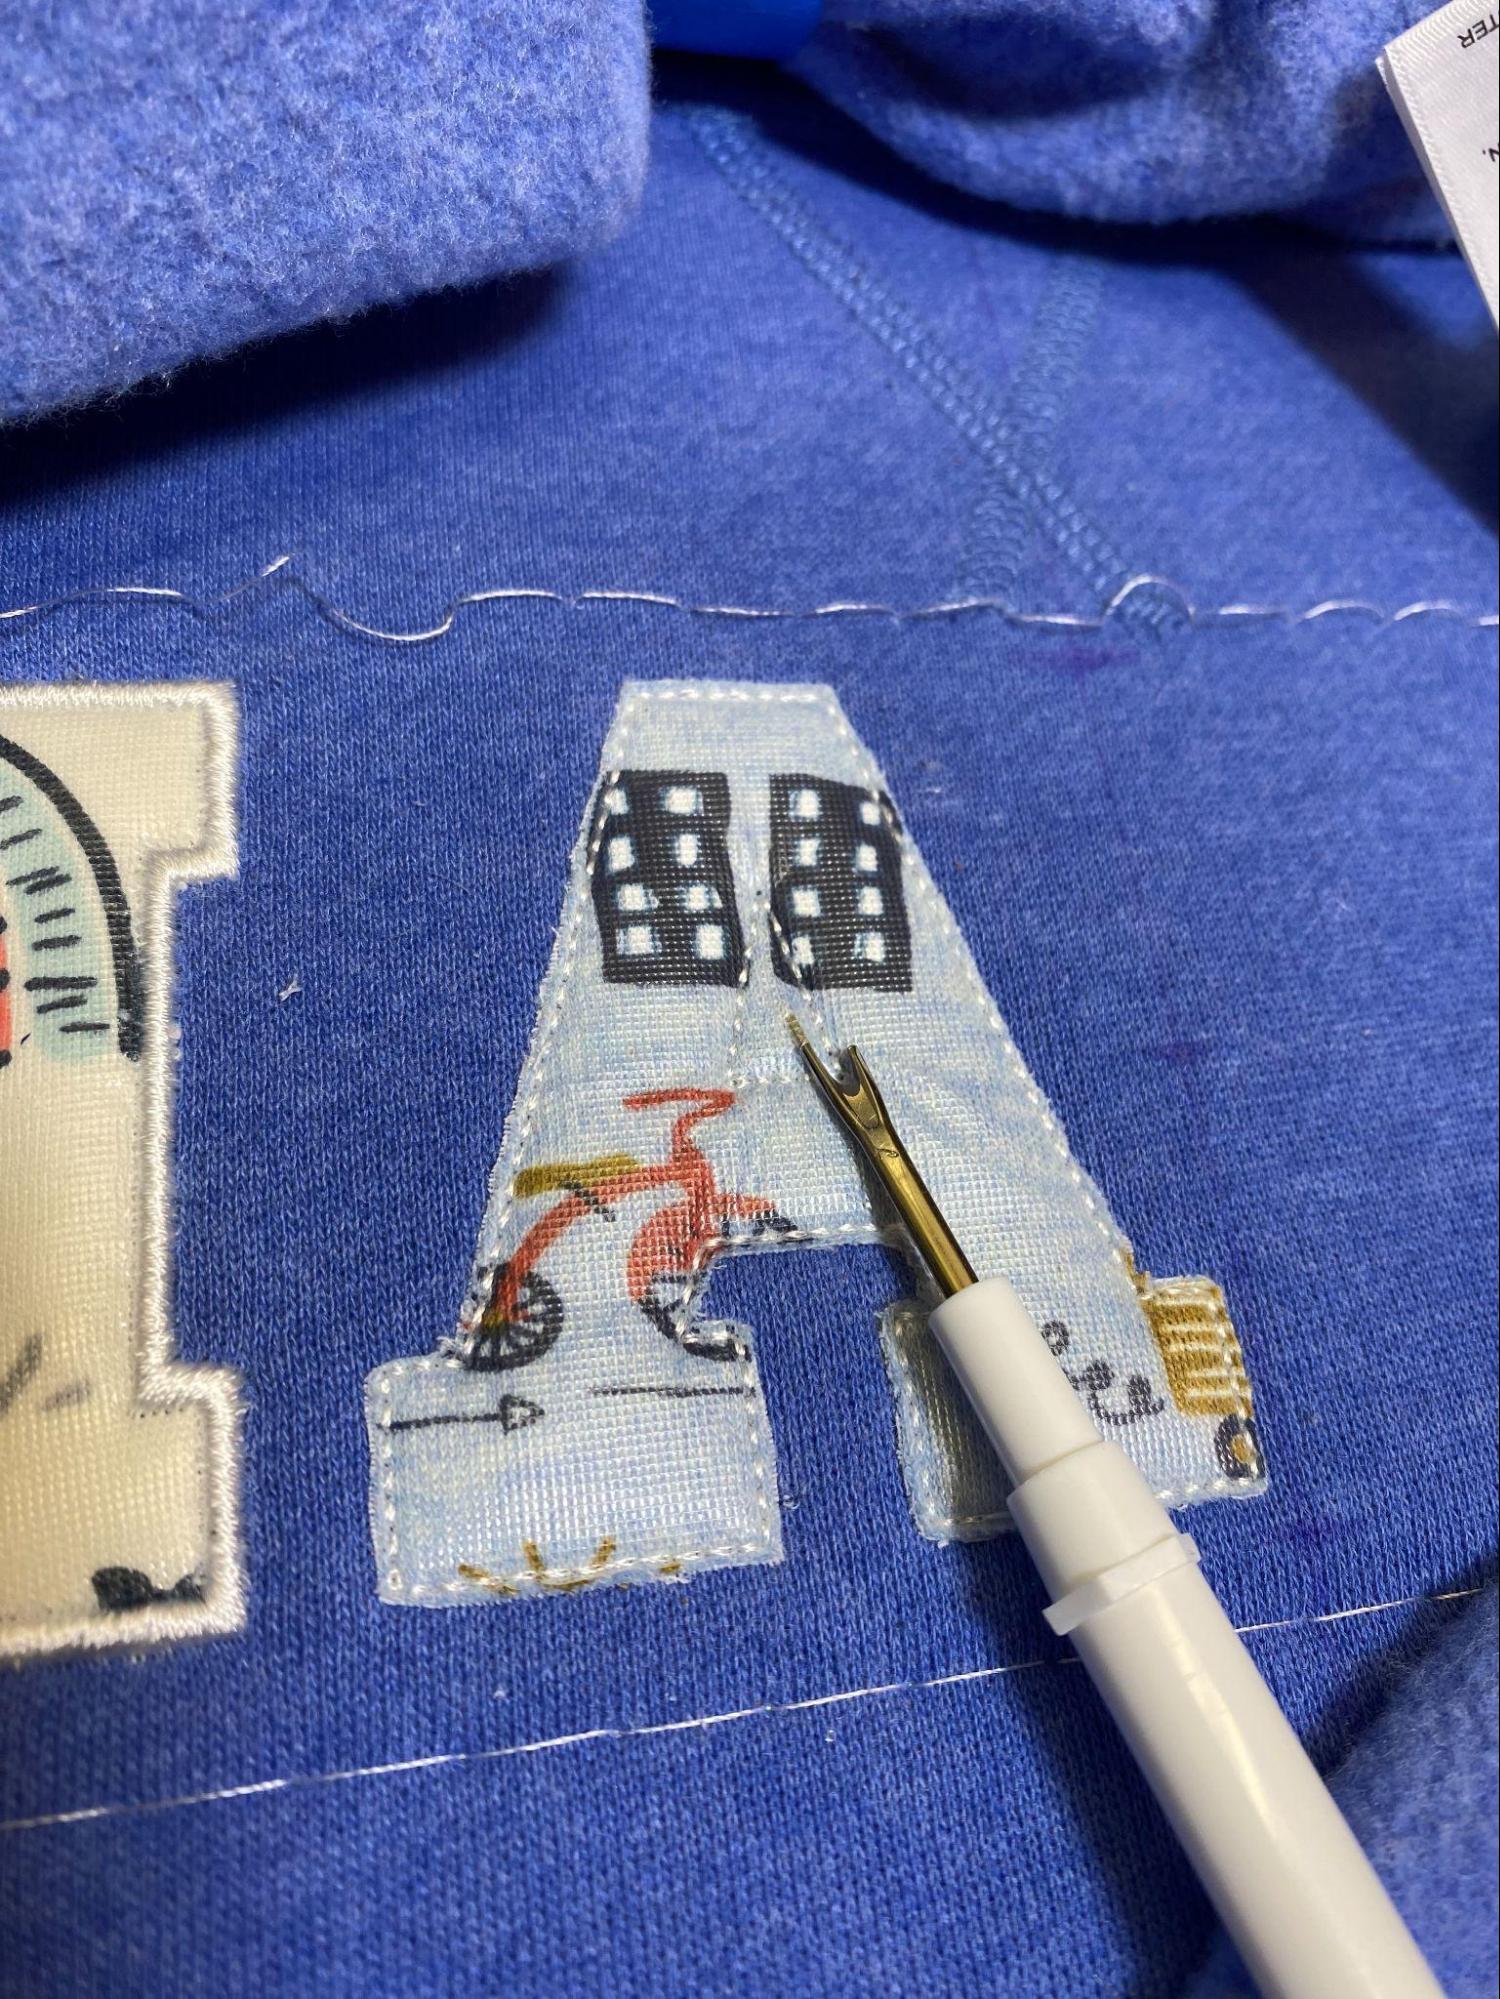
Use applique scissors to slowly and carefully trim the excess fabric away. Use a sharp seam ripper to cut away the centers of the A’s. By holding the ripper almost parallel to the fabric I usually manage to cut away one layer at a time.
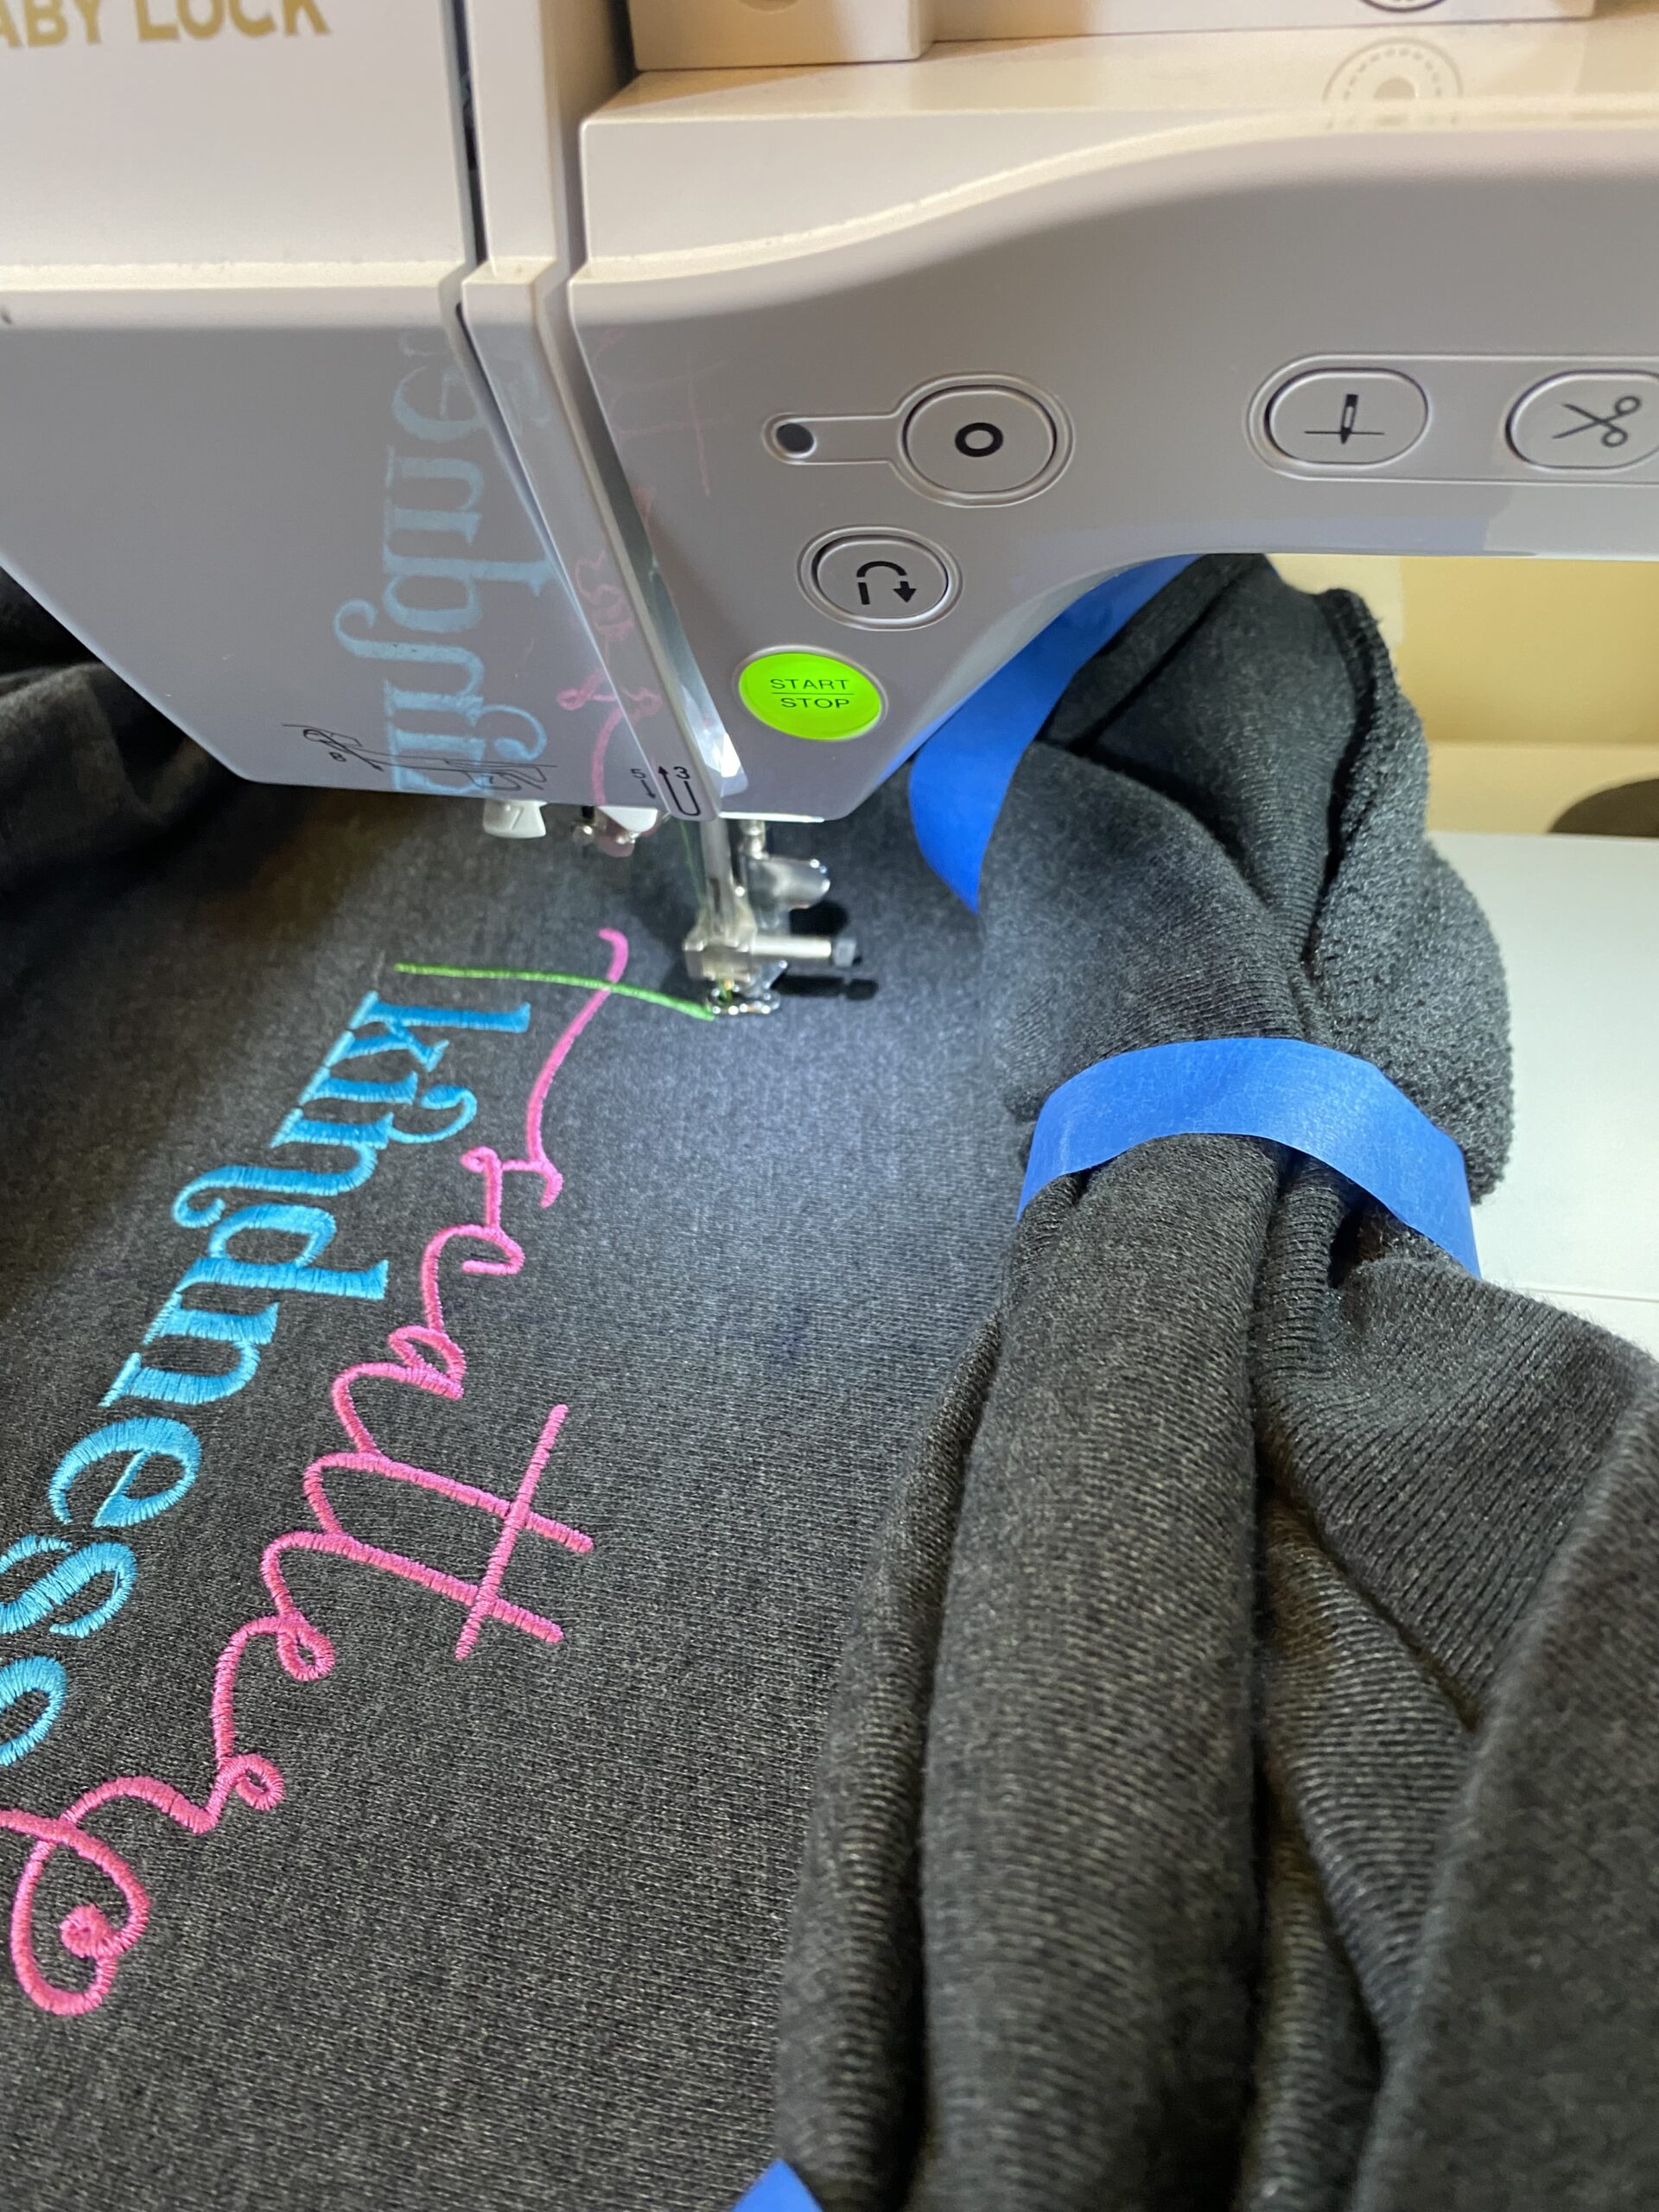
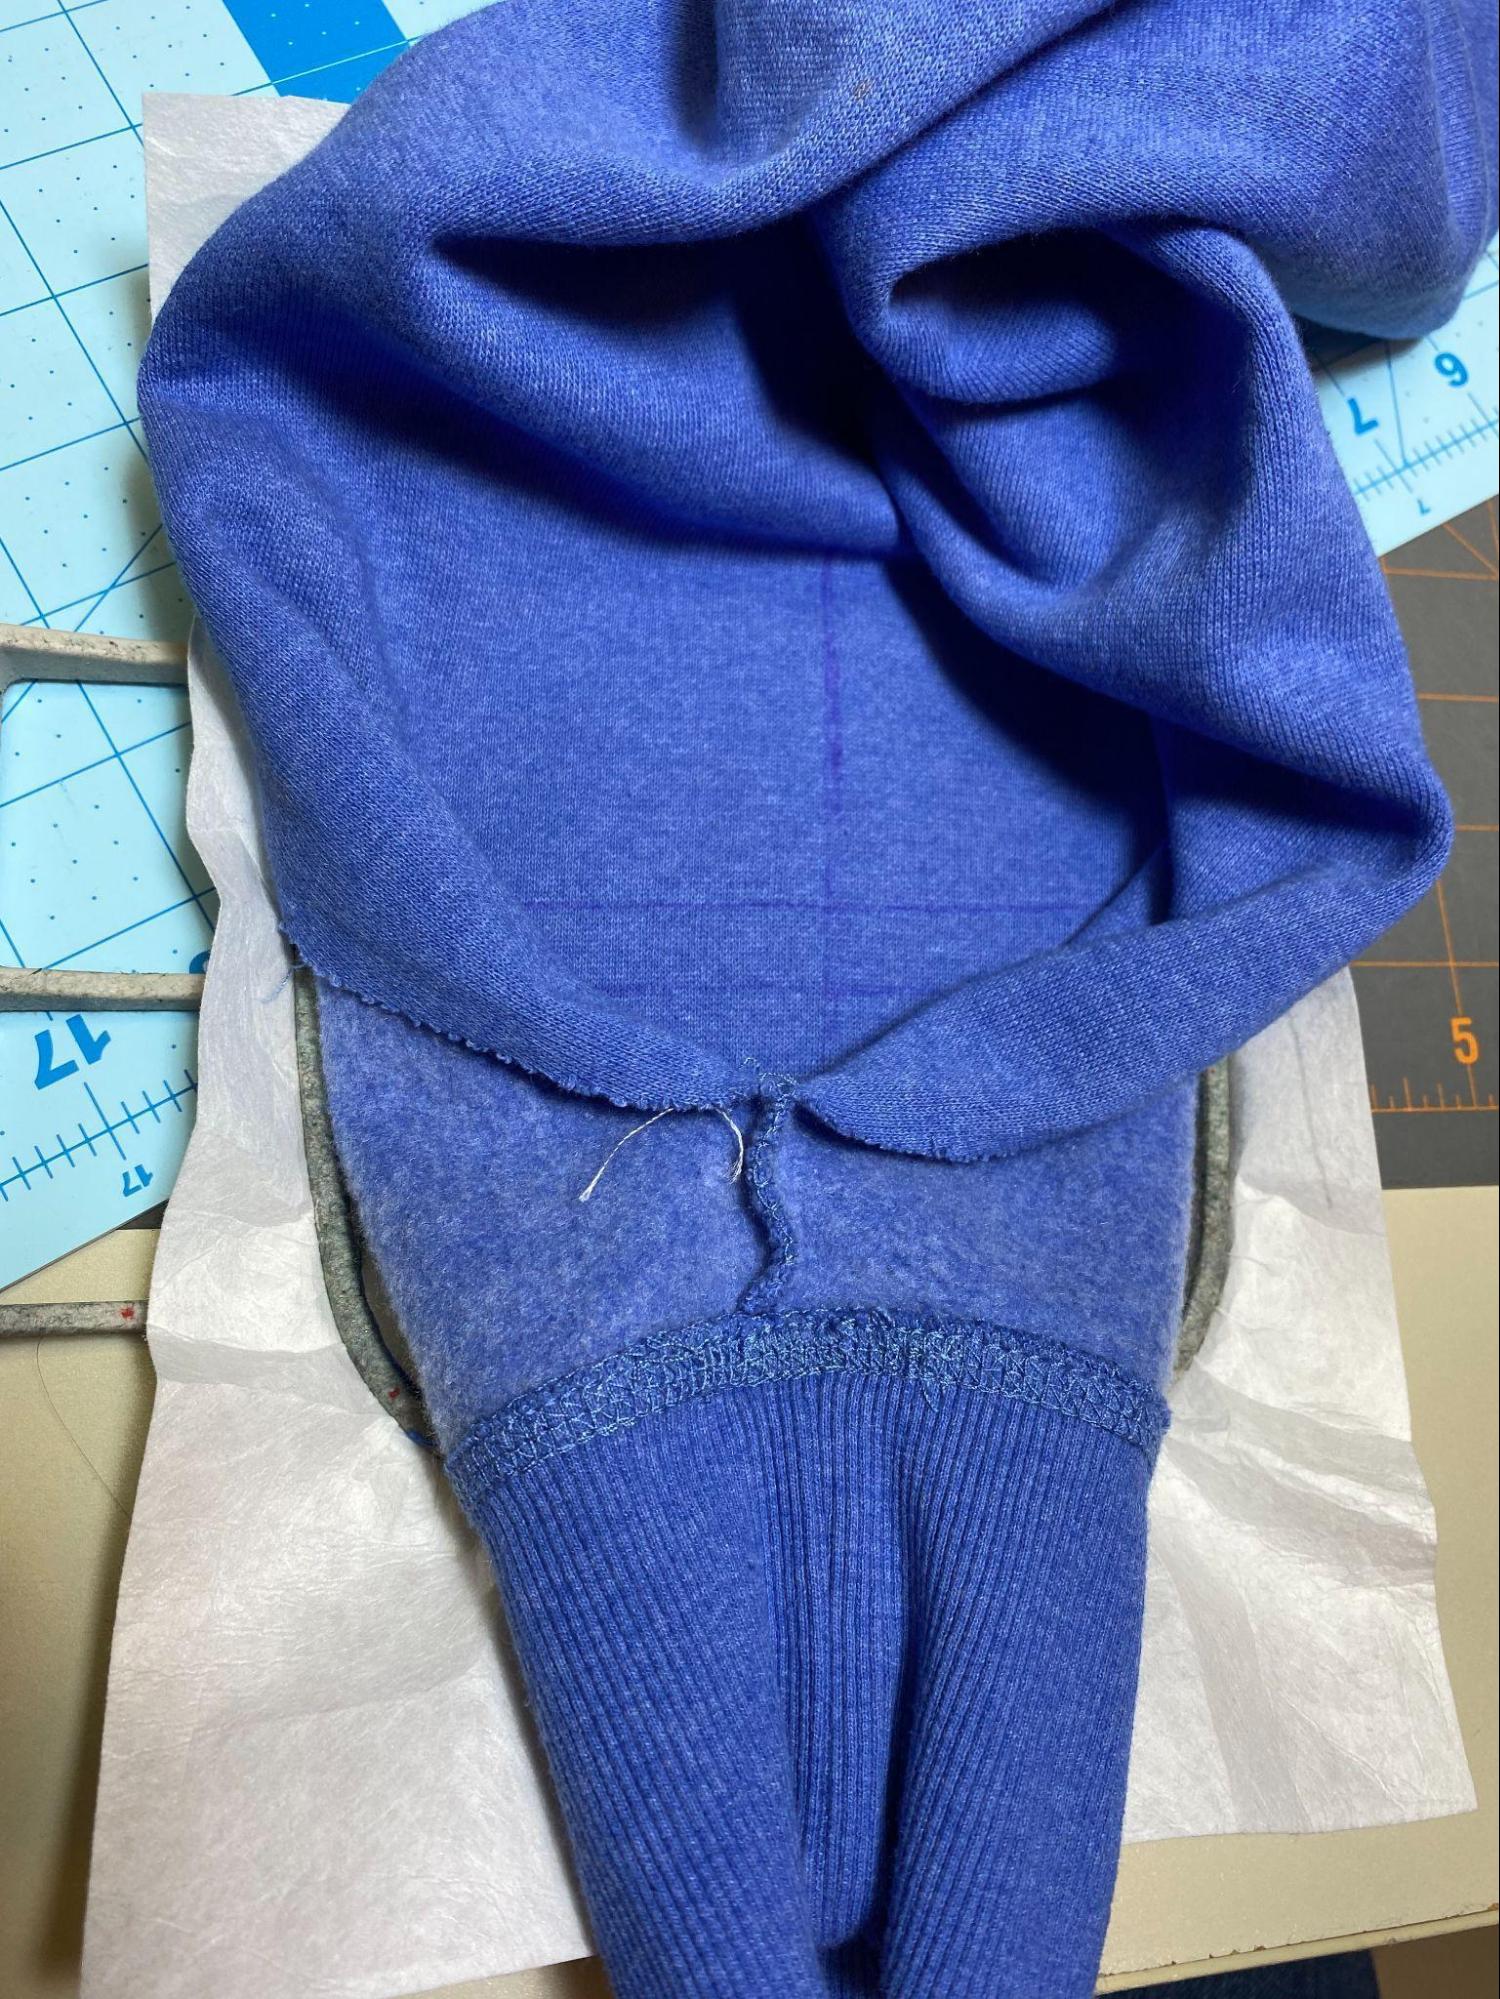
It’s a nice touch to embroider the names on the sleeve of your sweatshirt. Use your seam ripper to open the seam a few inches above the cuff. I work towards the cuff and keep the threads I’m pulling up long enough to knot them off about an inch above the cuff. Don’t get too close to the cuff because you’ll need to be able to get your foot close when you’re resewing the seam. Turn the sleeve inside out and mark a straight line opposite the seam line.
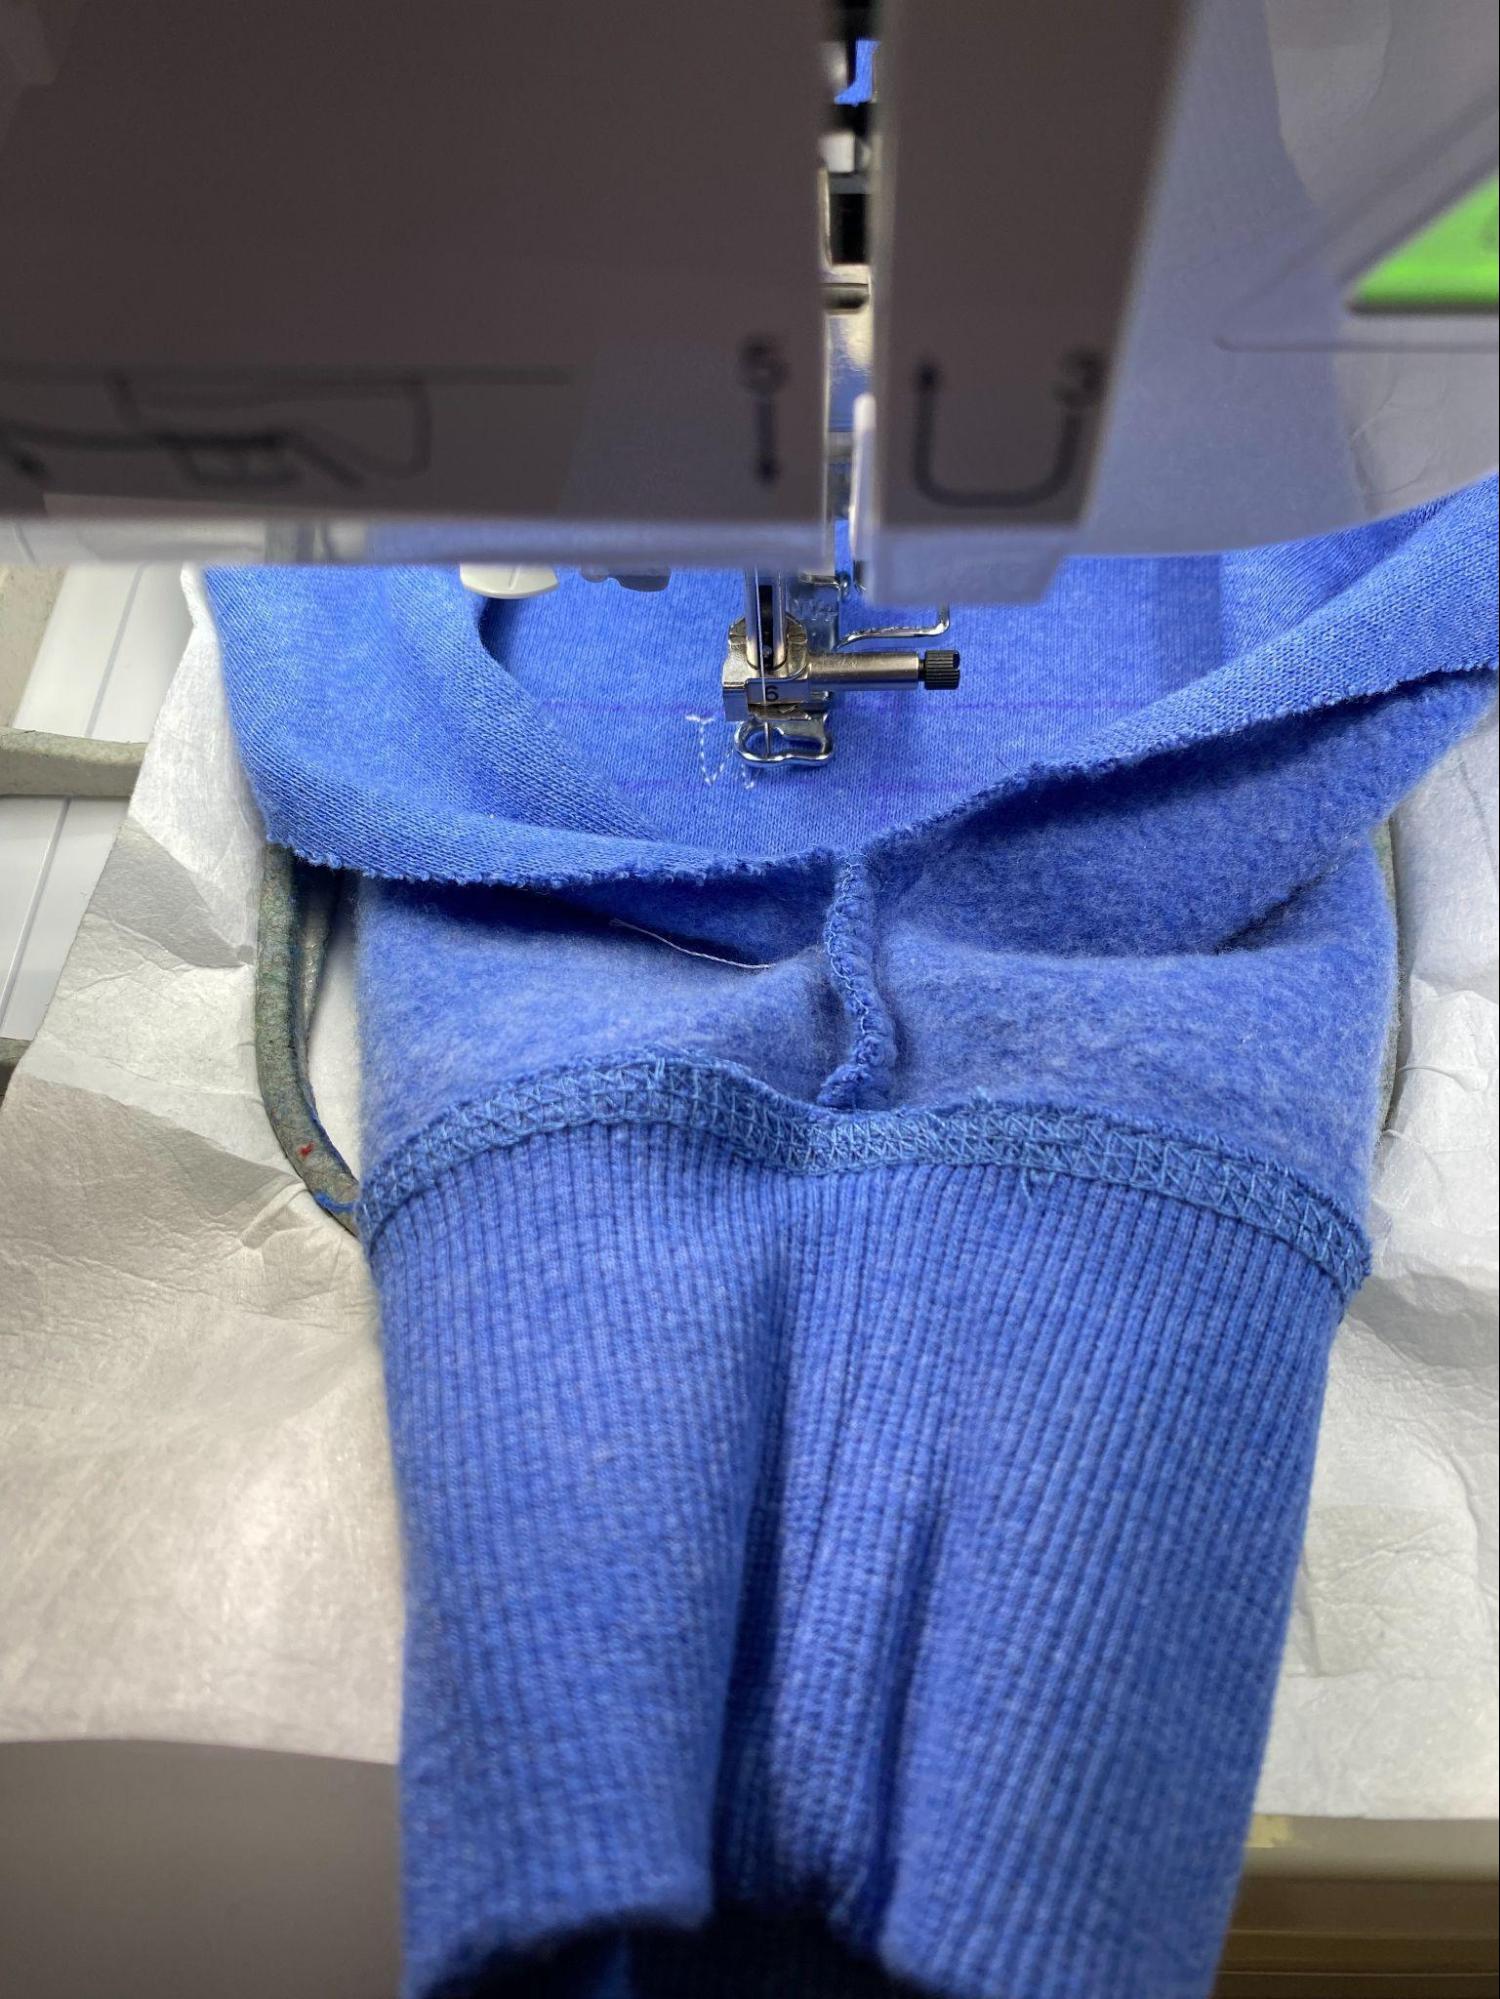
You’ll see in my photos I drew a couple of different lines for stitching the name. Since it’s a tight working space but without an exact spot, the name has to be stitched on the sleeve, I wanted different lines to give me options for placement and help me get the name stitched straight.
Once you have the sleeve embroidered, sew the seam closed with a straight stitch, then go back over it with a zigzag stitch. If your thread color is close to the original, no one will even be able to tell what you did.
MAMA Mia! Here’s the finished embroidered sweatshirt! It still needs to be washed to remove the Sulky Water Soluble stabilizer; you can see some of it on one of the 2’s.