Toggle Nav
 Inspire.
Create.
Stitch.
Inspire.
Create.
Stitch.
Search
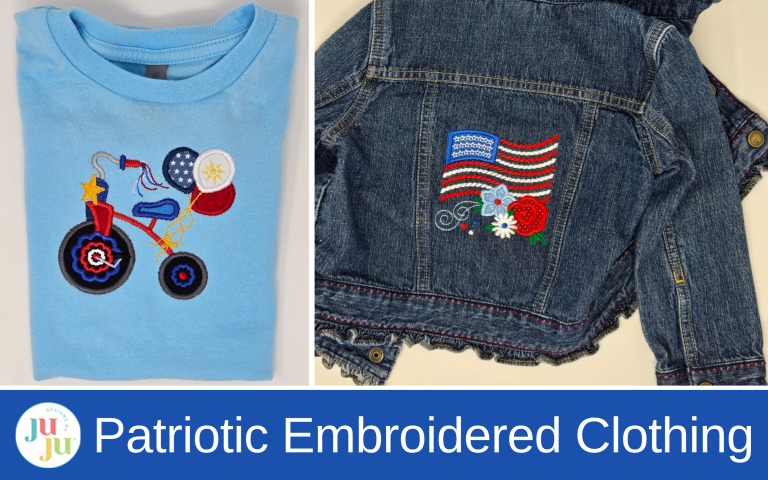
Turn ready-made denim jackets and T-shirts into patriotic machine embroidery masterpieces with Star Spangled Stitches designs, applique tips, and easy clothing embroidery techniques.
I love a parade or watching fireworks on the lawn at the park! But even summer days and evenings can get chilly, so a ready-to-go denim jacket is perfect attire. Add a cute T-shirt for the perfect combo! The Star Spangled Stitches designs can be easily adapted to embroider on clothing. Let me show you how!
Approximate size of project will depend on clothing size and design chosen. I used the 5” design for the small, size-3T, denim jacket and the 7_75” size for the youth size-8 denim jacket. The small T-shirt has the 6” design size, and the larger shirt (youth XS) uses the 7_75” size.
Please be sure to check out the DBJJ team’s favorite supplies in the Designs by JuJu Amazon store. And for stabilizers and batting, Designs by JuJu+ has everything you need.
I love to shop at the “gently used” children’s stores. Kids grow so fast! When I found the little 3T, red-trimmed jacket for my granddaughter, I knew exactly what to do! The jacket with the hood for my older granddaughter still had the store tags on it! Win-win! I washed both jackets before embroidering because denim can shrink.
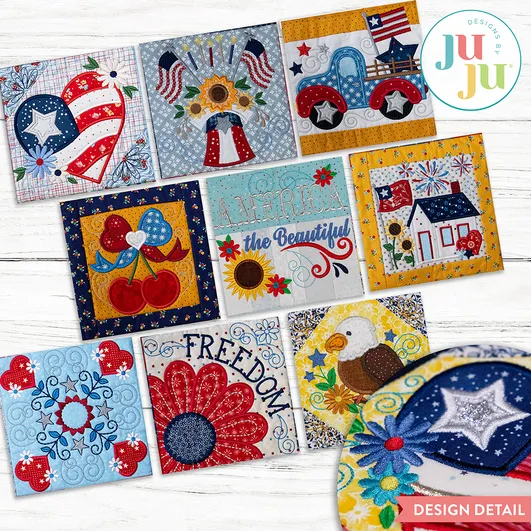
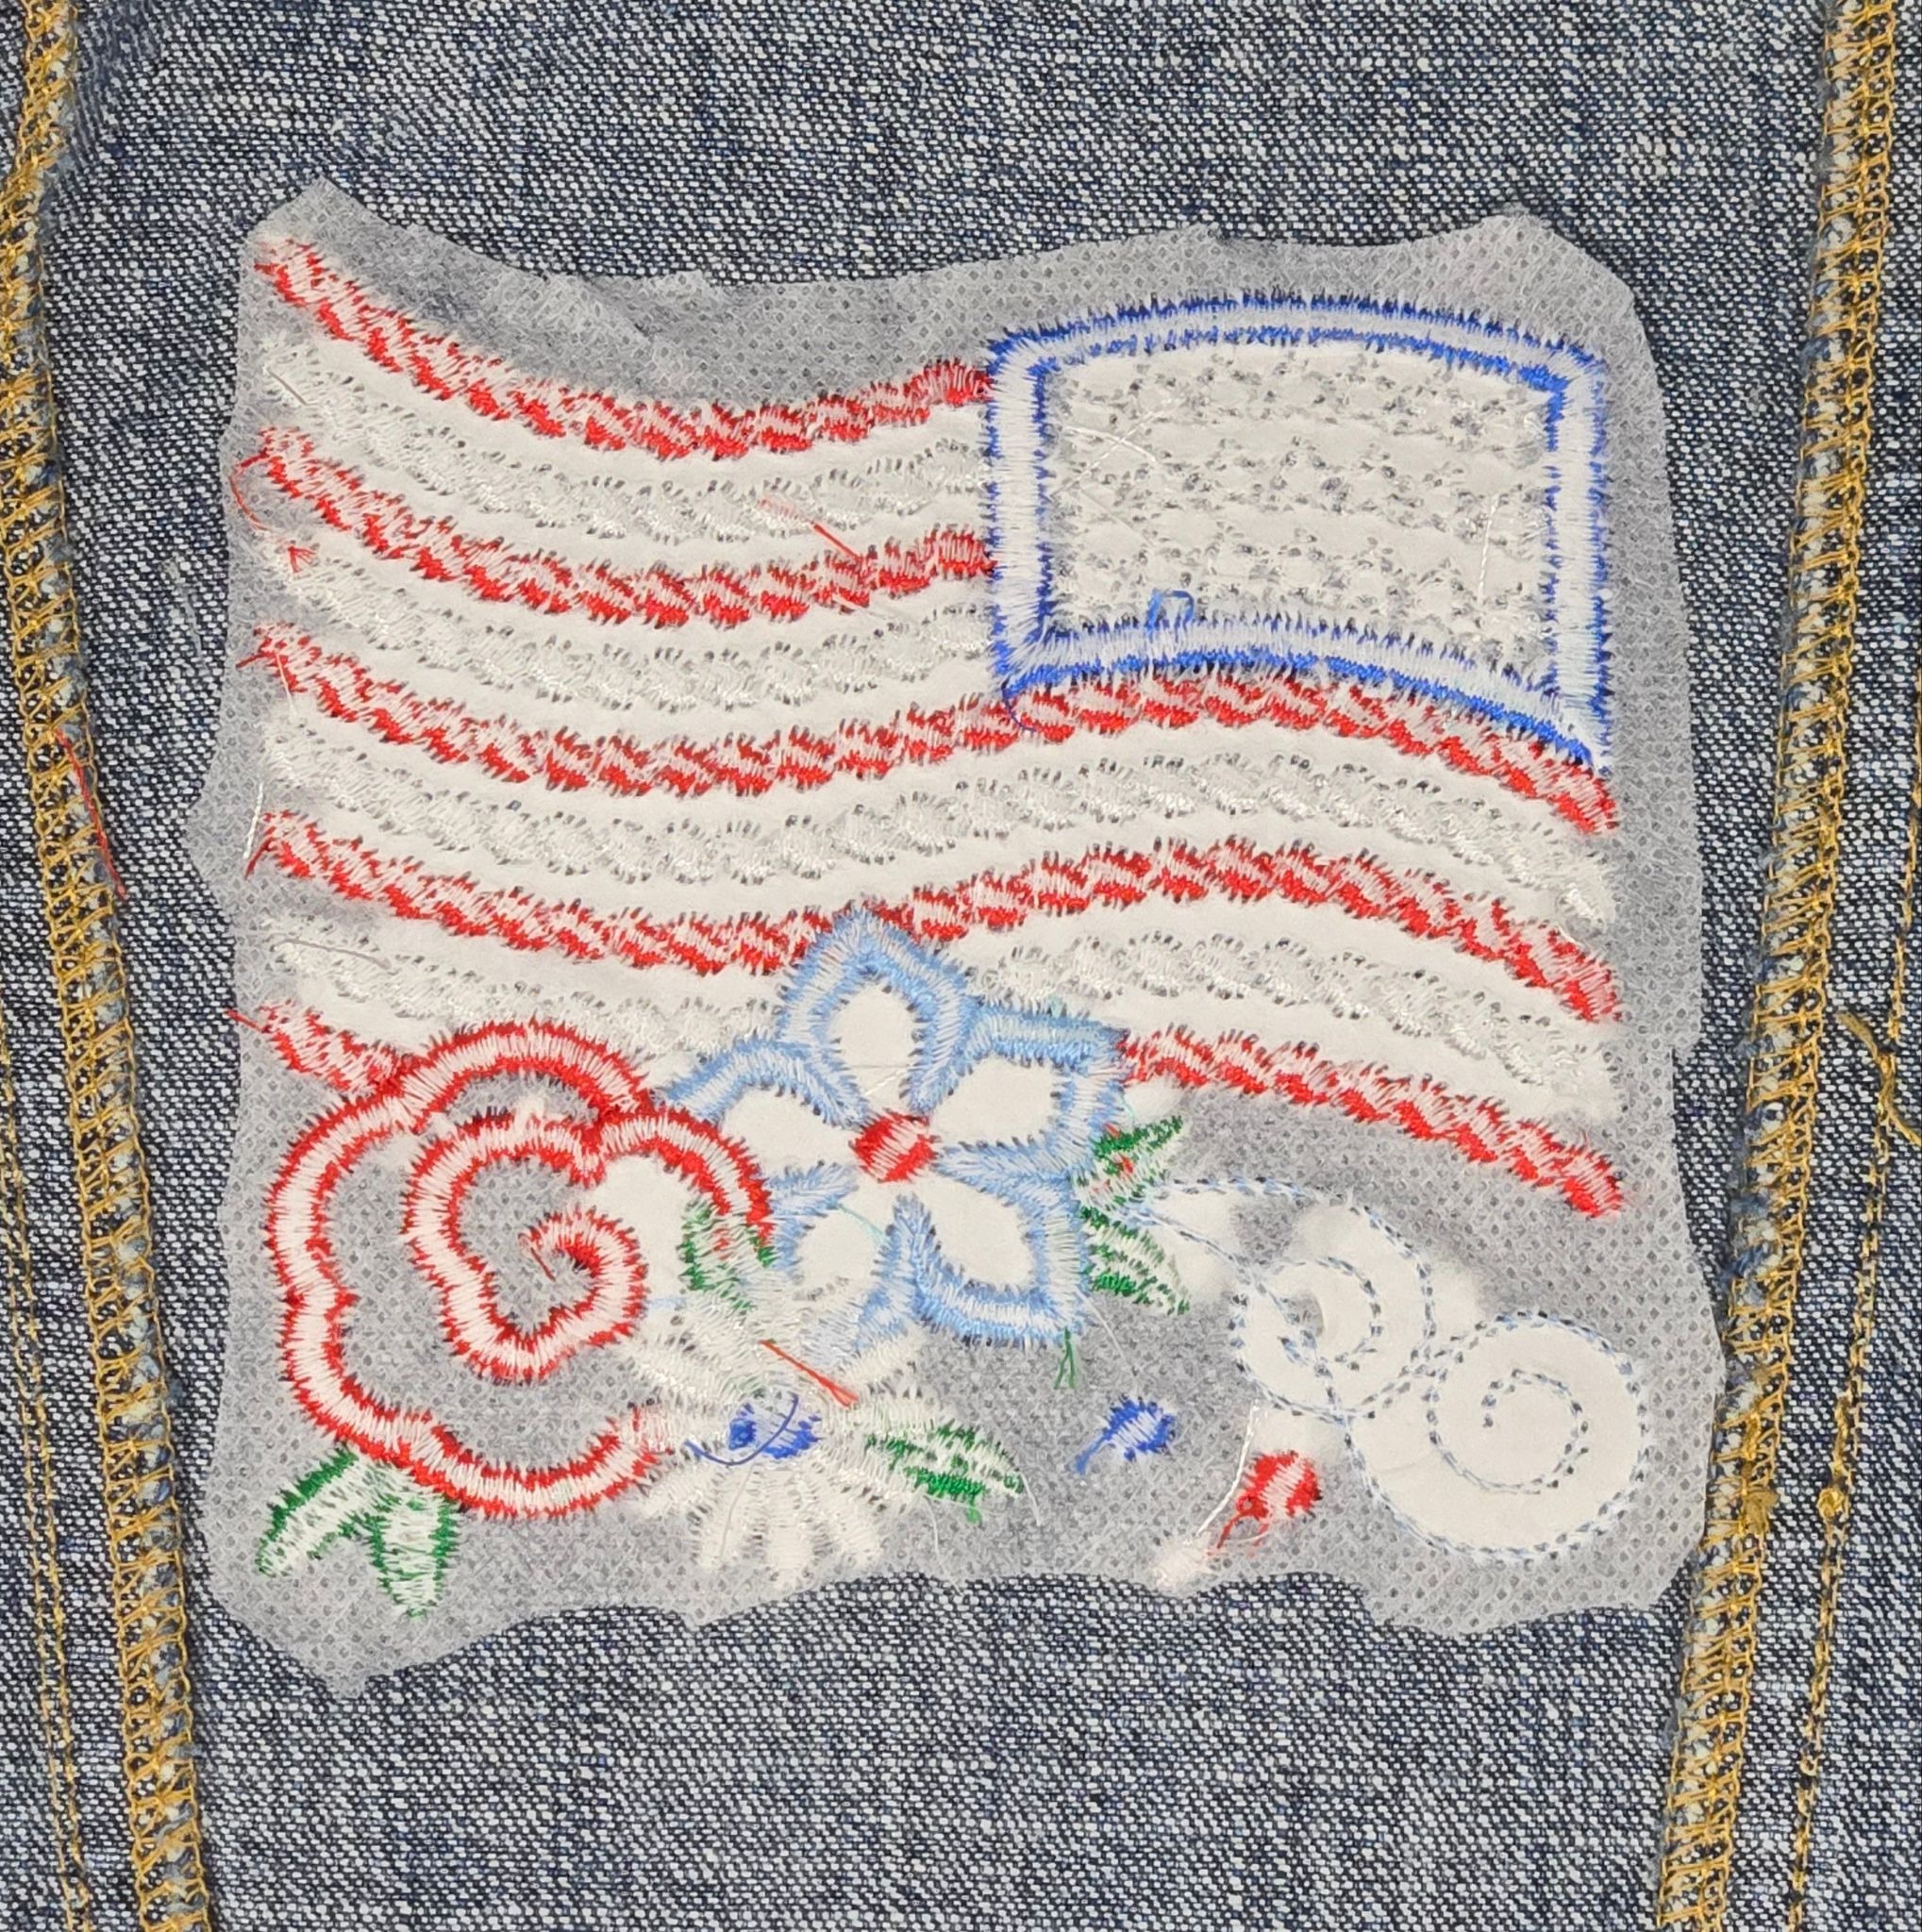
Let’s take a minute to talk about choosing designs. If a part of the design is outside the inner square, it won’t work well for clothing. For example, the Freedom Flower from Set 3 (bottom of photo) has part of the flower covered by the outside sashing. If I chose that flower, I would need to go to my sewing machine to run a satin stitch to finish off the side and bottom. It can be done, but it does add a few extra steps. Or I could open a seam in my clothing, do the flower and then sew the garment back together if the seam was in the back like in the toddler jacket. There is always a way, just take a minute to think it through and decide how much extra work you are willing to do to achieve the desired results.
This time I put the designs in my software and removed the steps I would not embroider. If you do not have software, you can just skip the steps as you are embroidering. I removed the first steps for placement and tack-down of the batting, so my first step was placement for the star field on the flag. Then I removed all the steps that involved putting the sashing around the block.
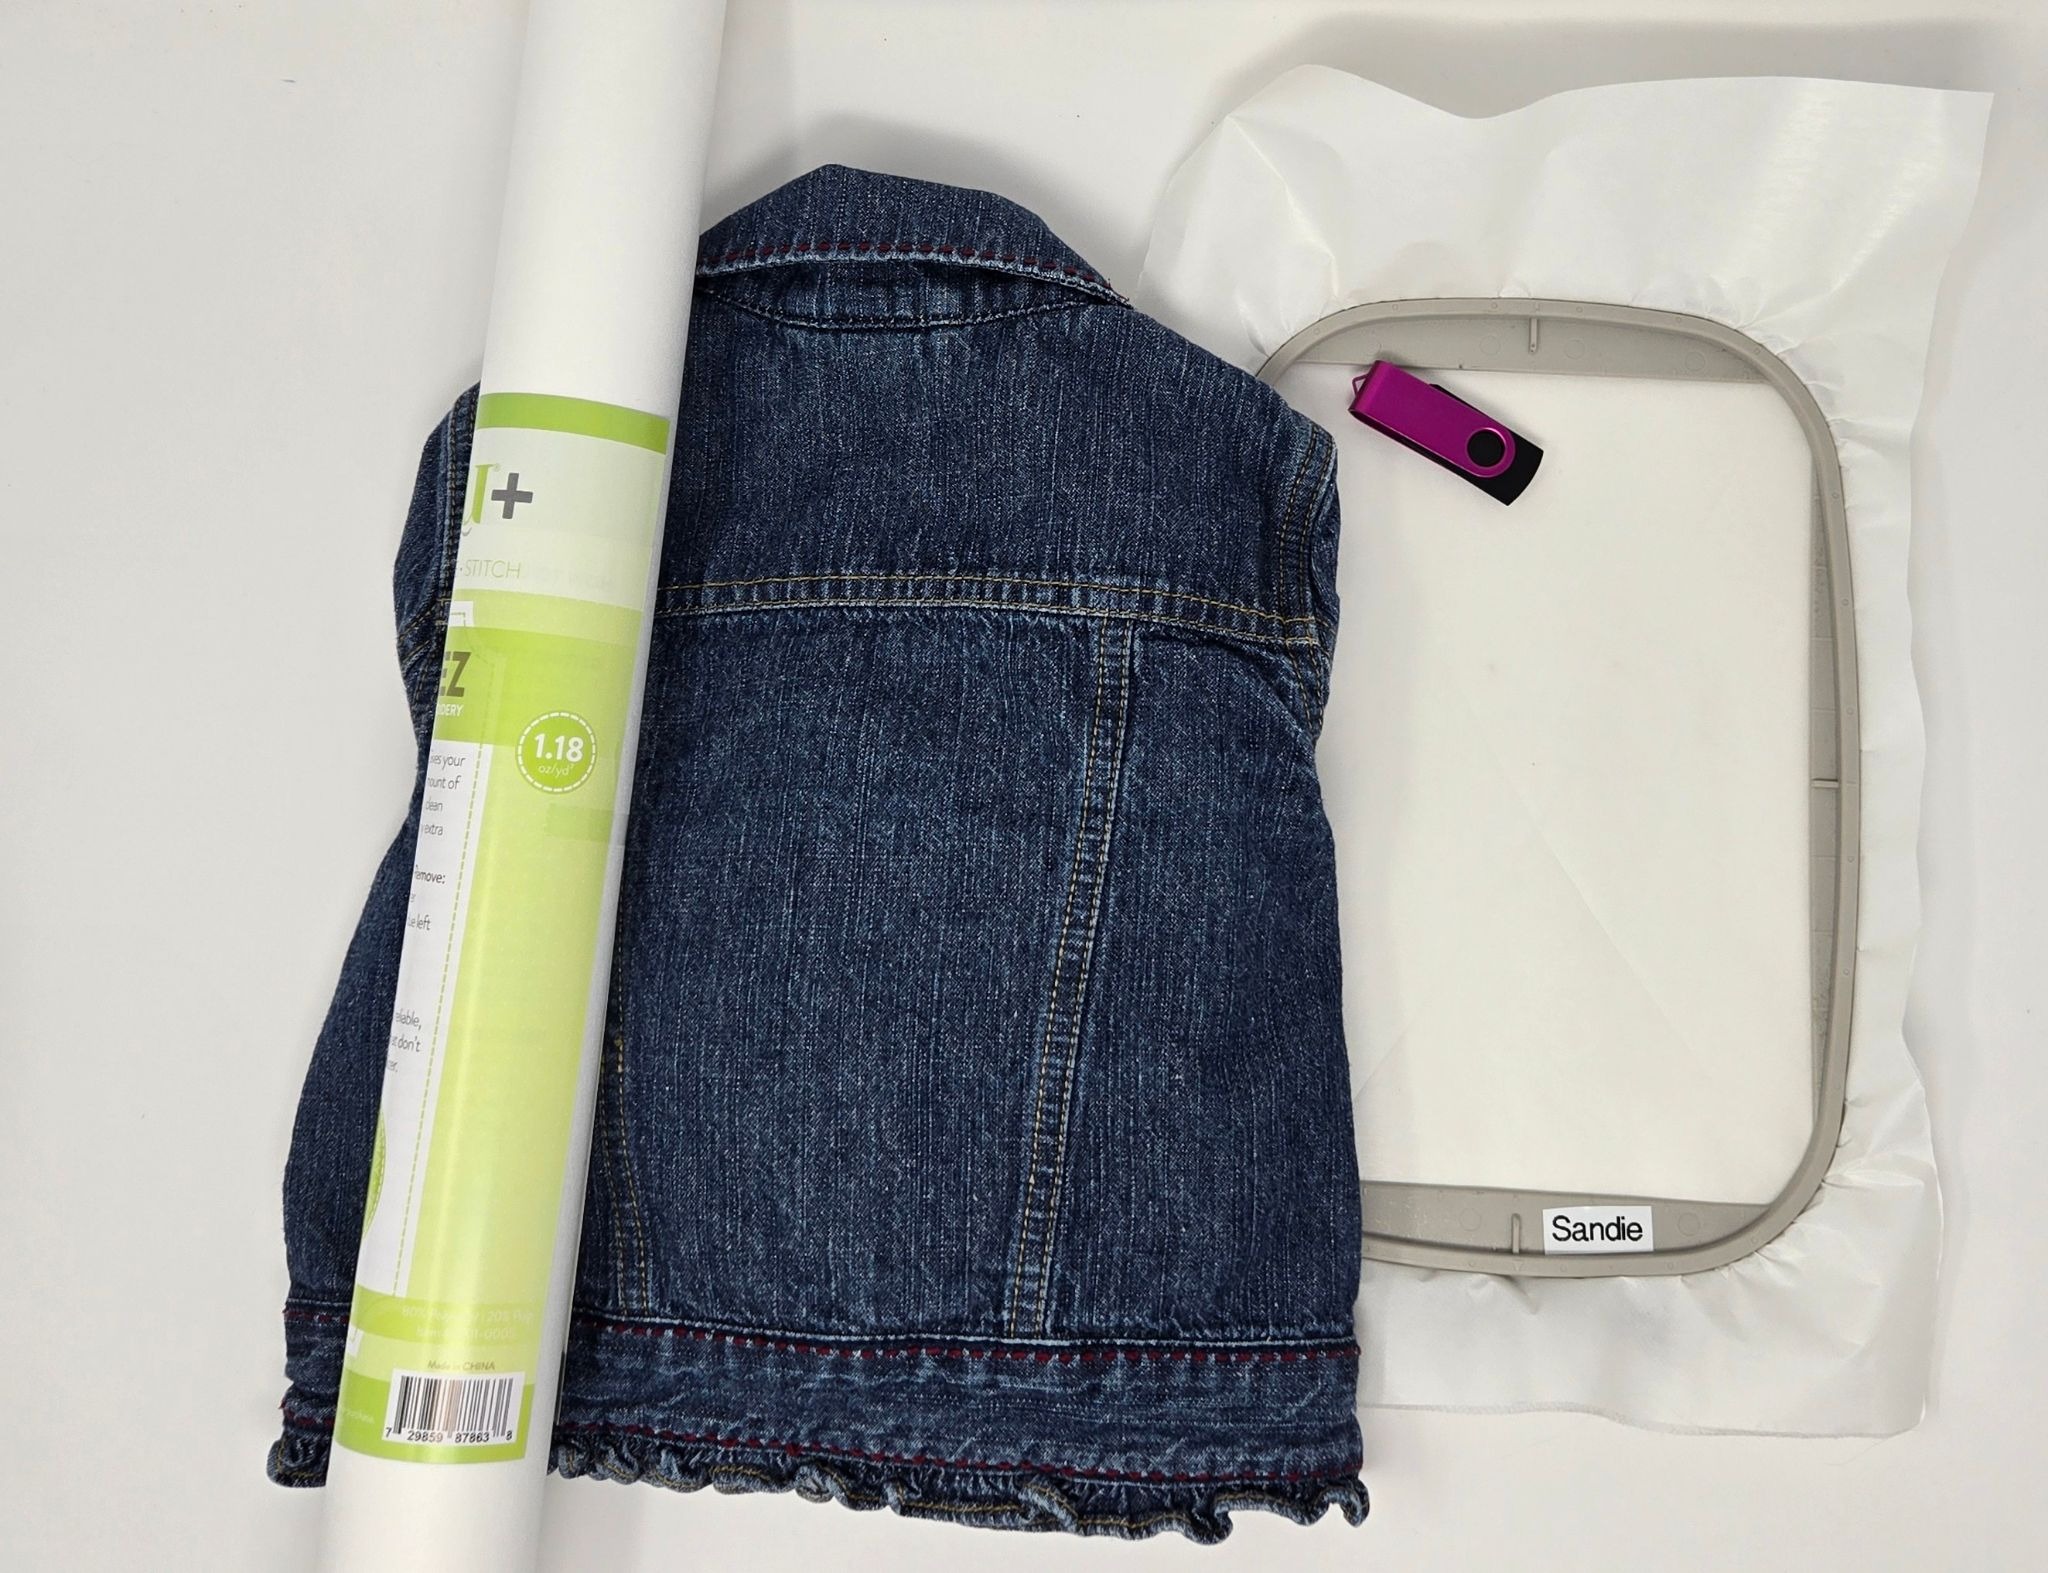
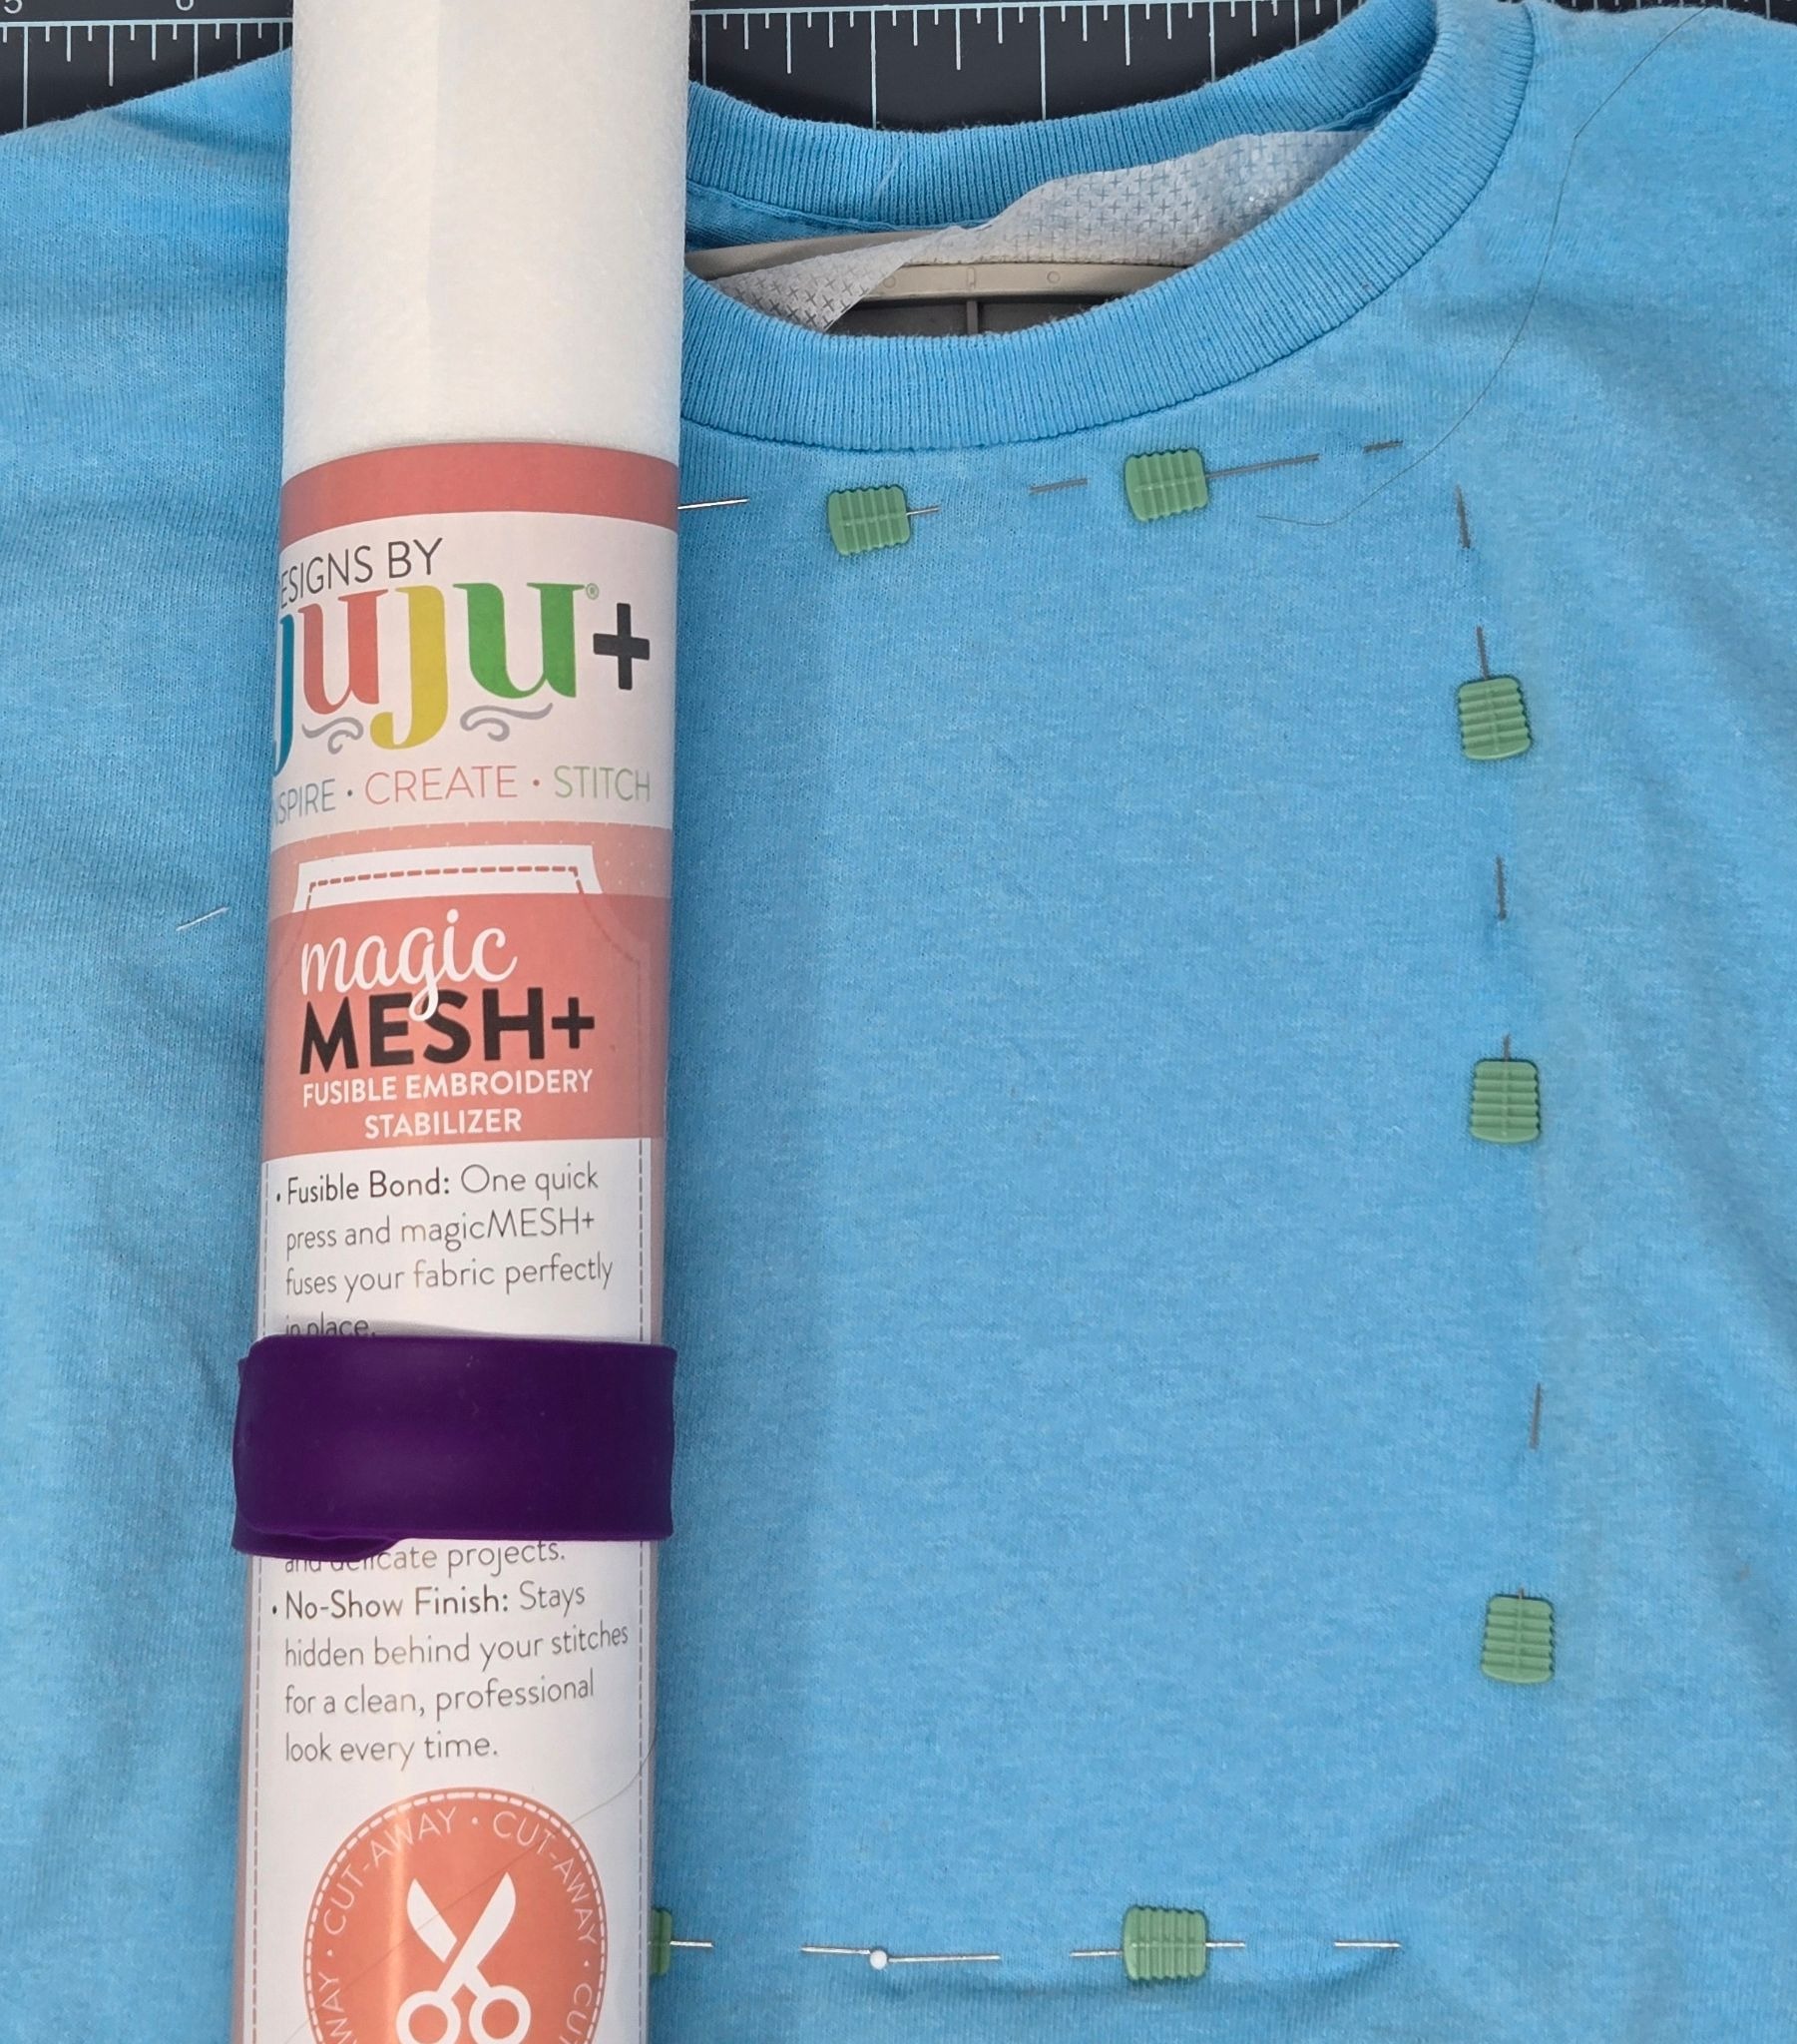
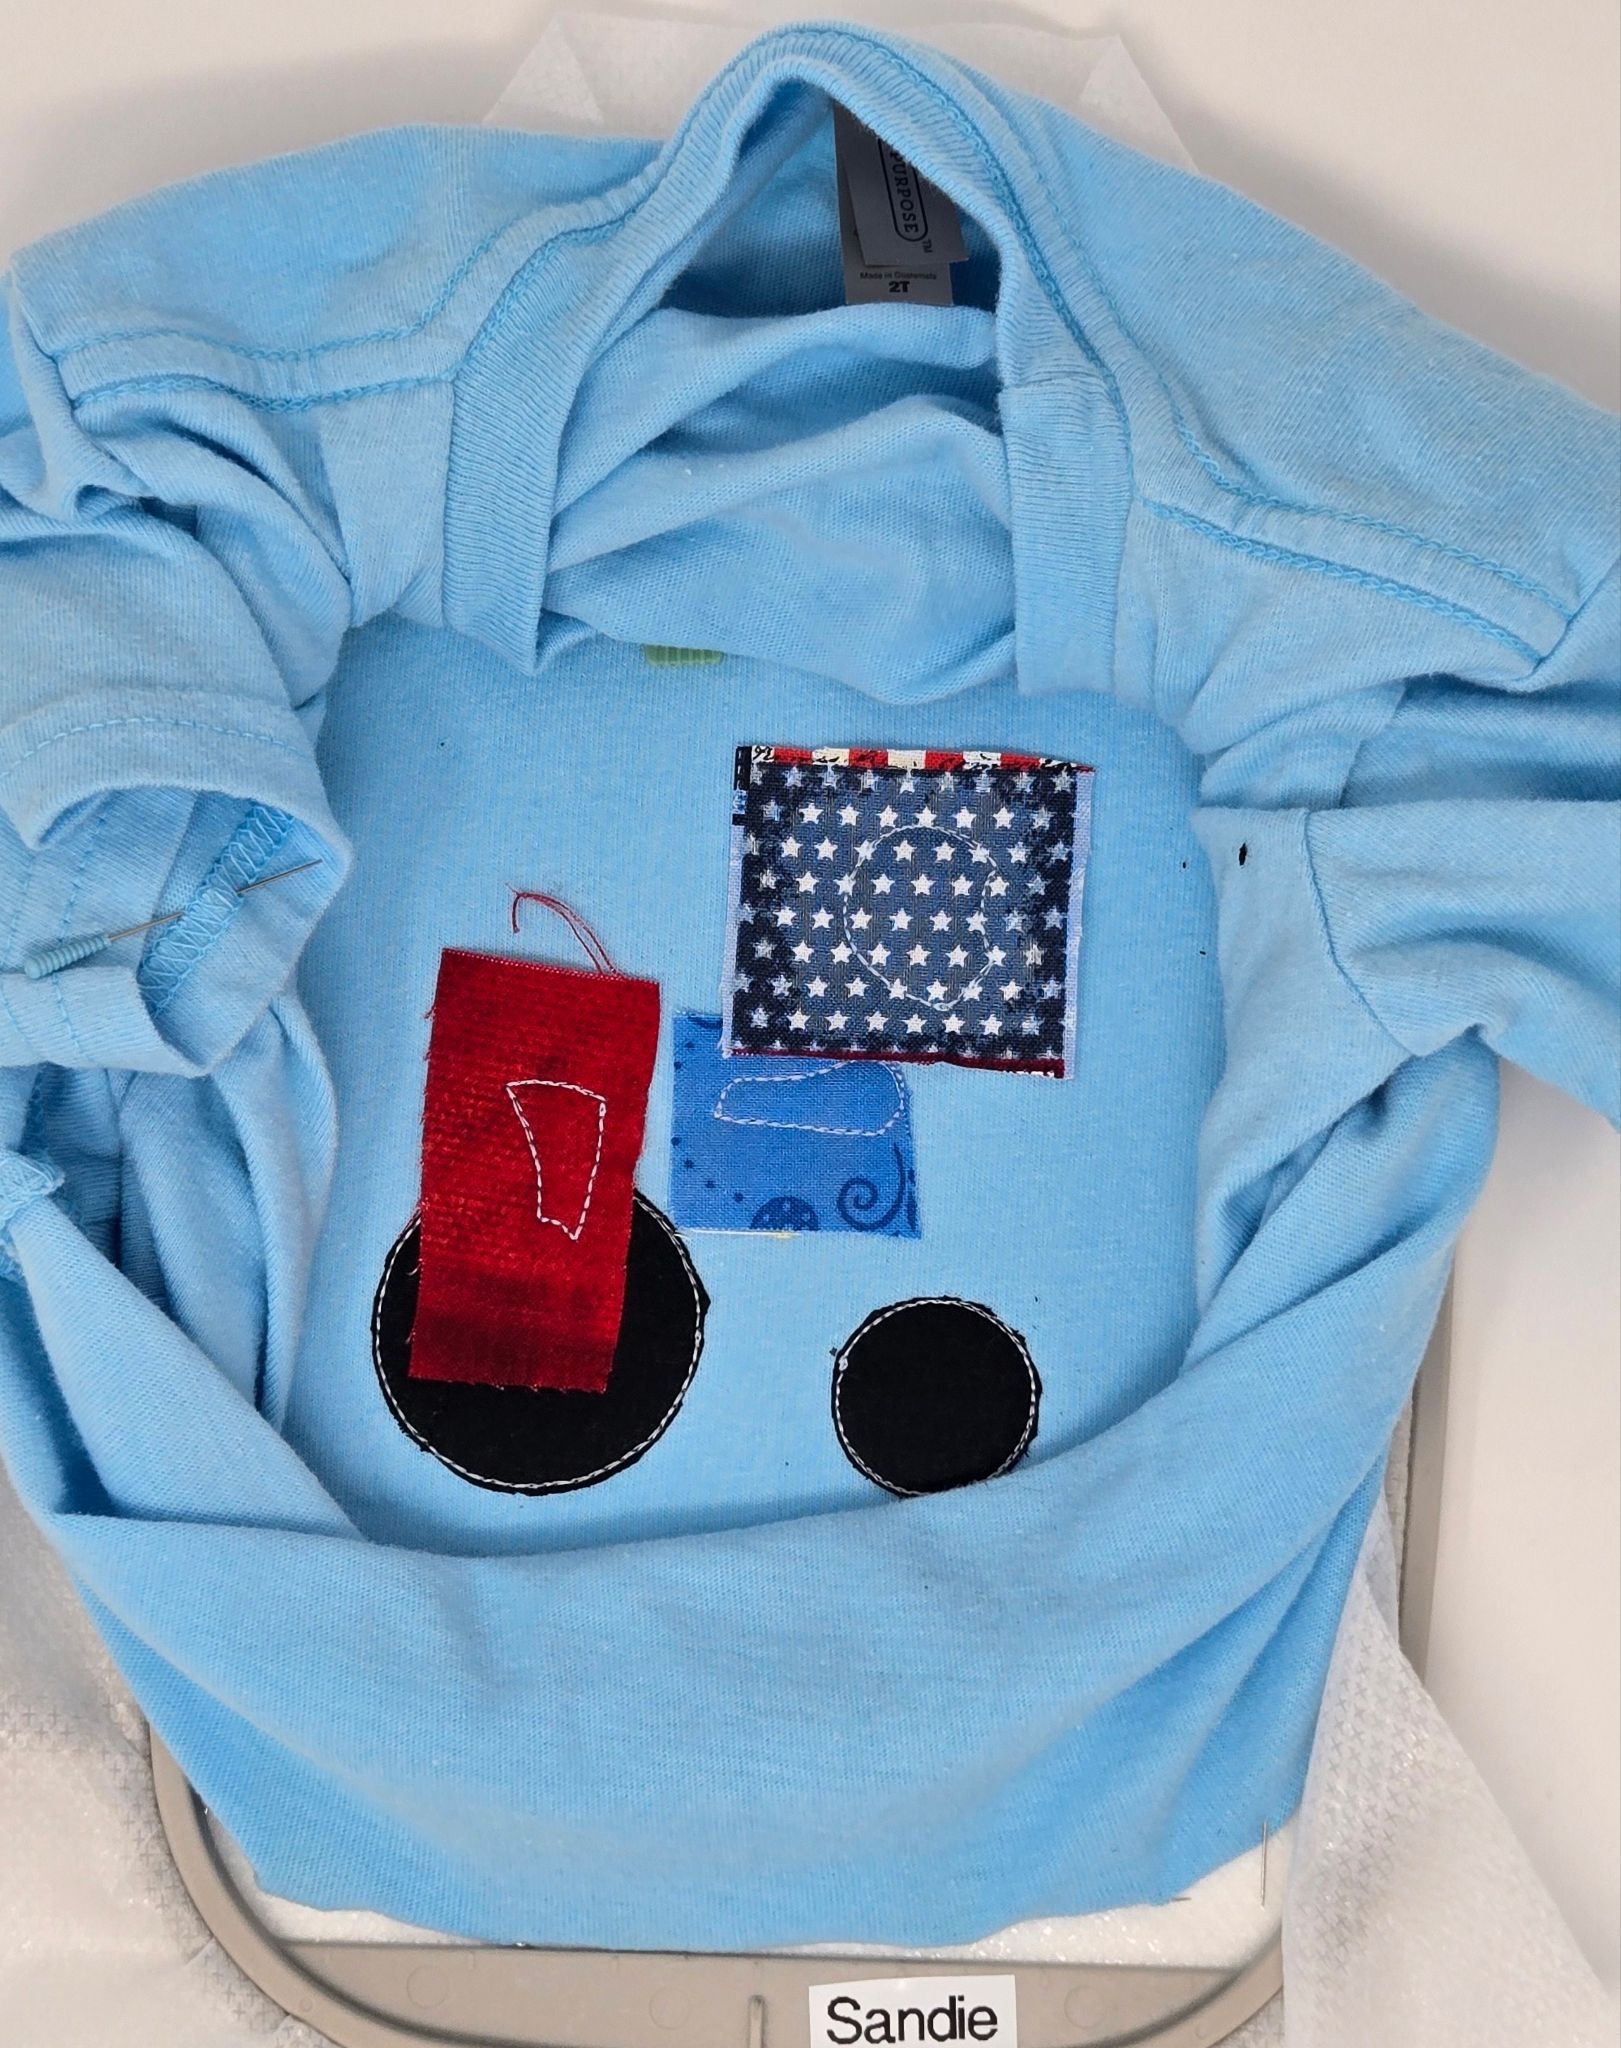
Gather your supplies and load designs on a USB drive. I hooped a sticky stabilizer to hold the jackets in place. Hoop it with the paper on top, use a pin to score it, and peel the paper back to reveal the sticky part. Either a wash-away or a tear-away sticky-back stabilizer will work. Since the denim is already heavy, I didn’t feel I needed a lot of stabilizer on the back. I slid a piece of tearEZ under the hoop before I started stitching.
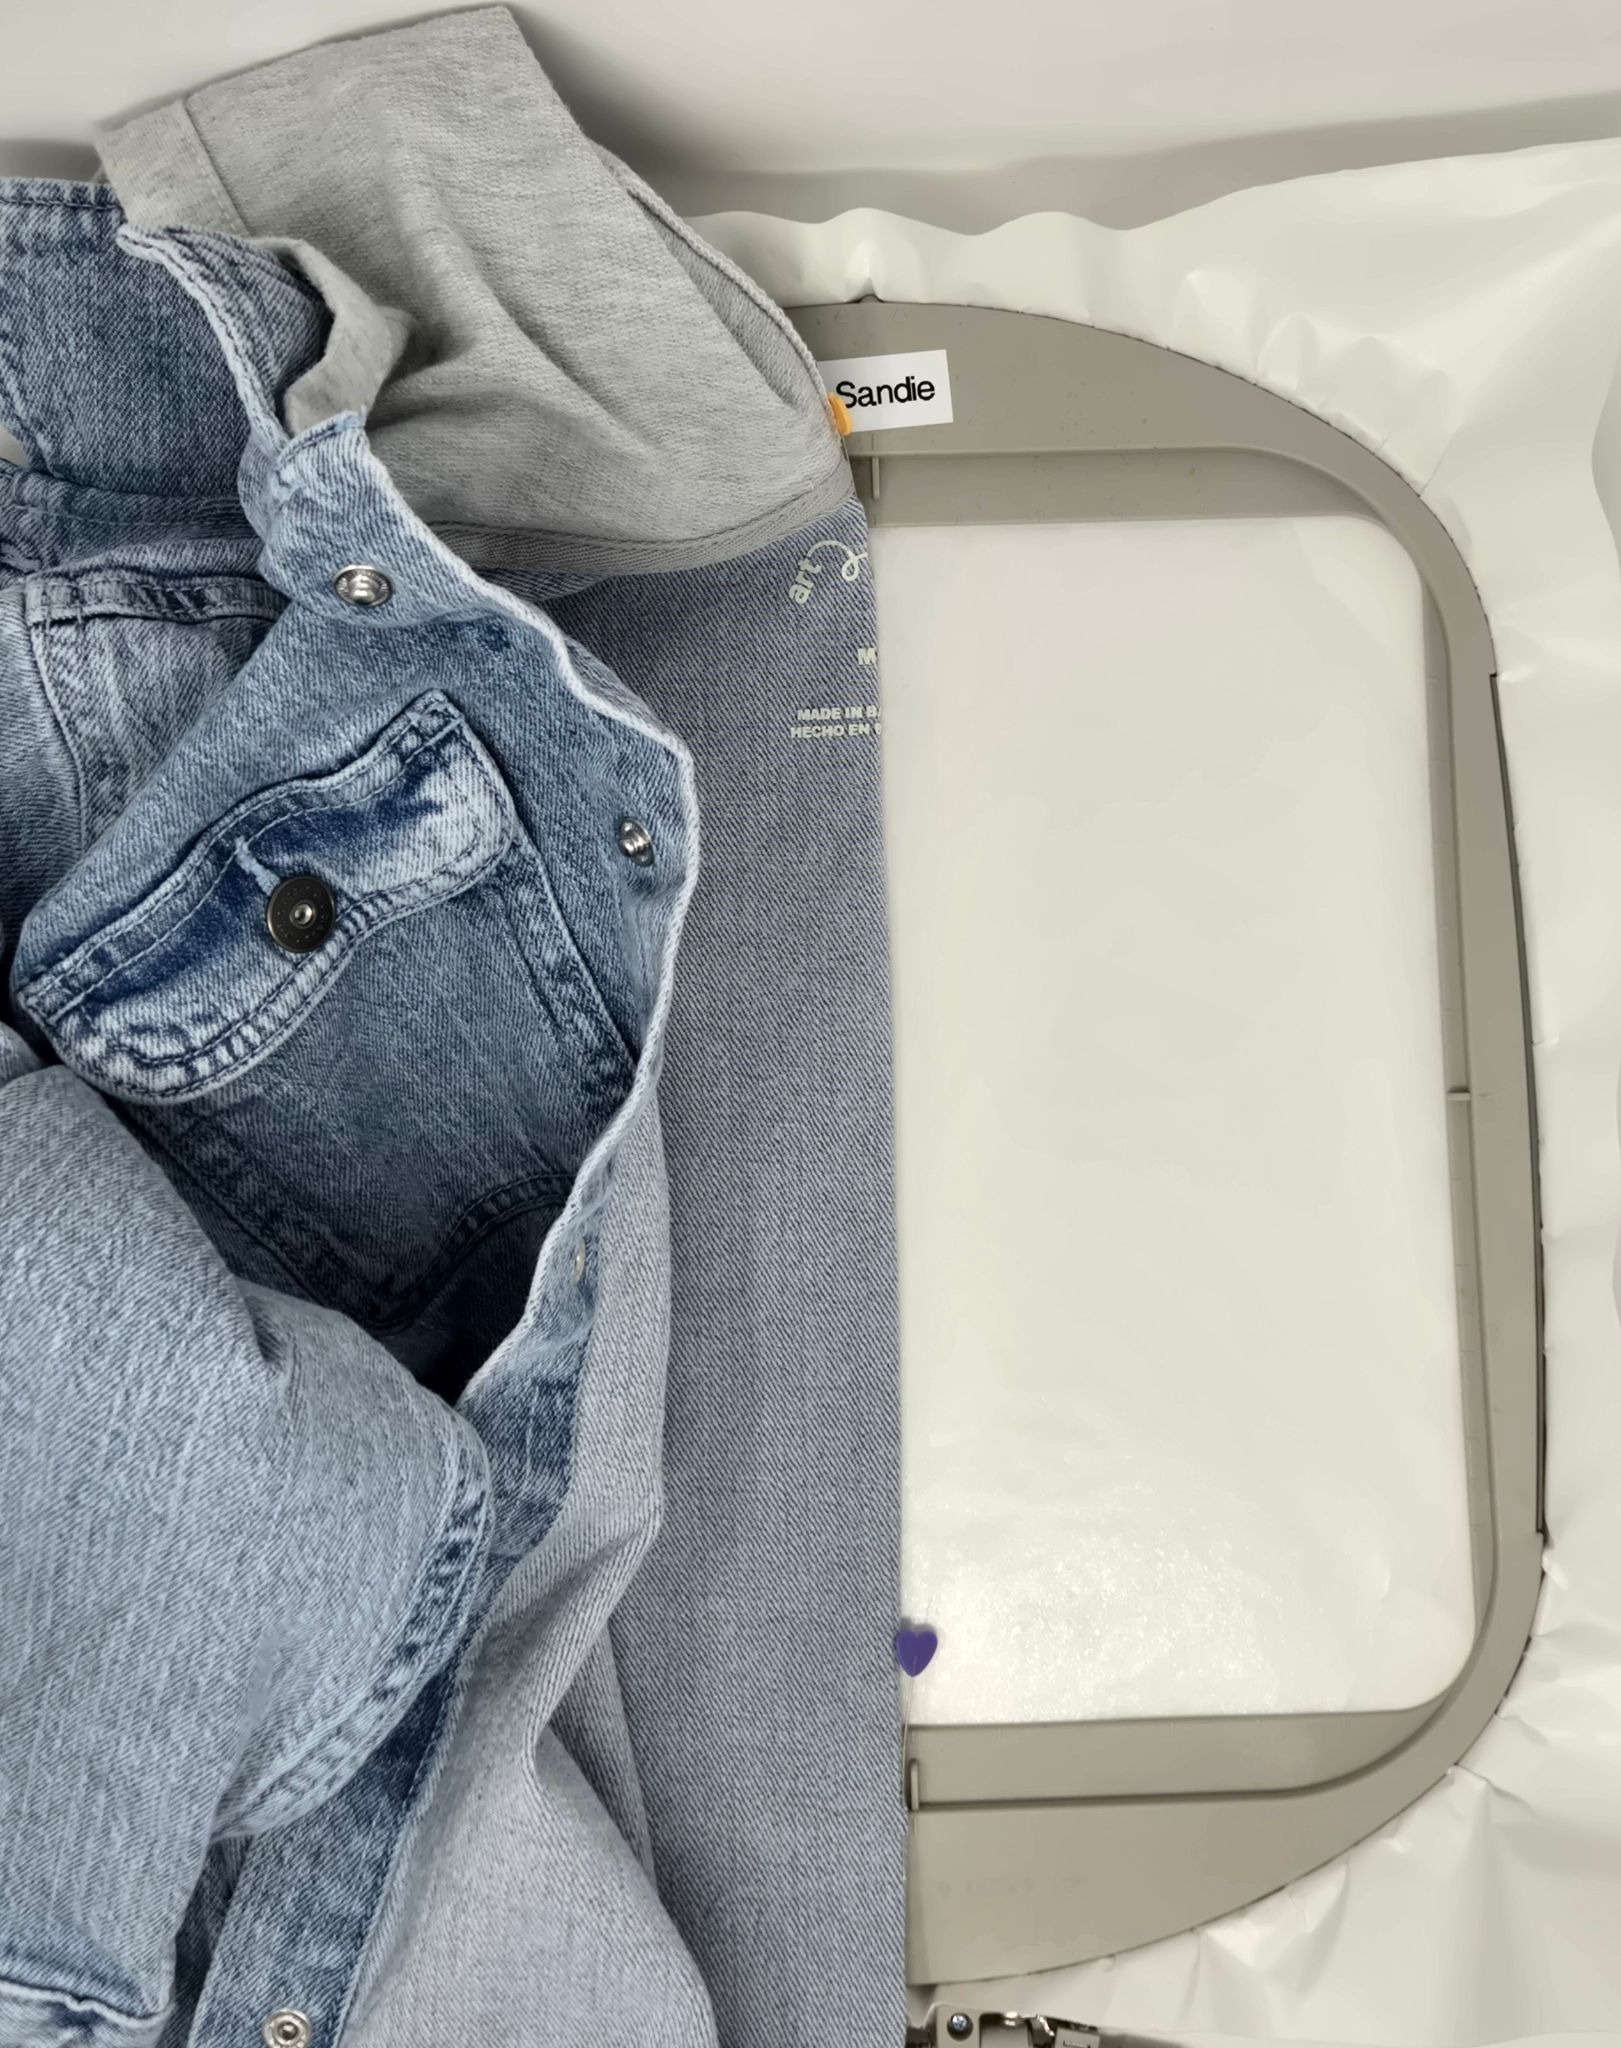
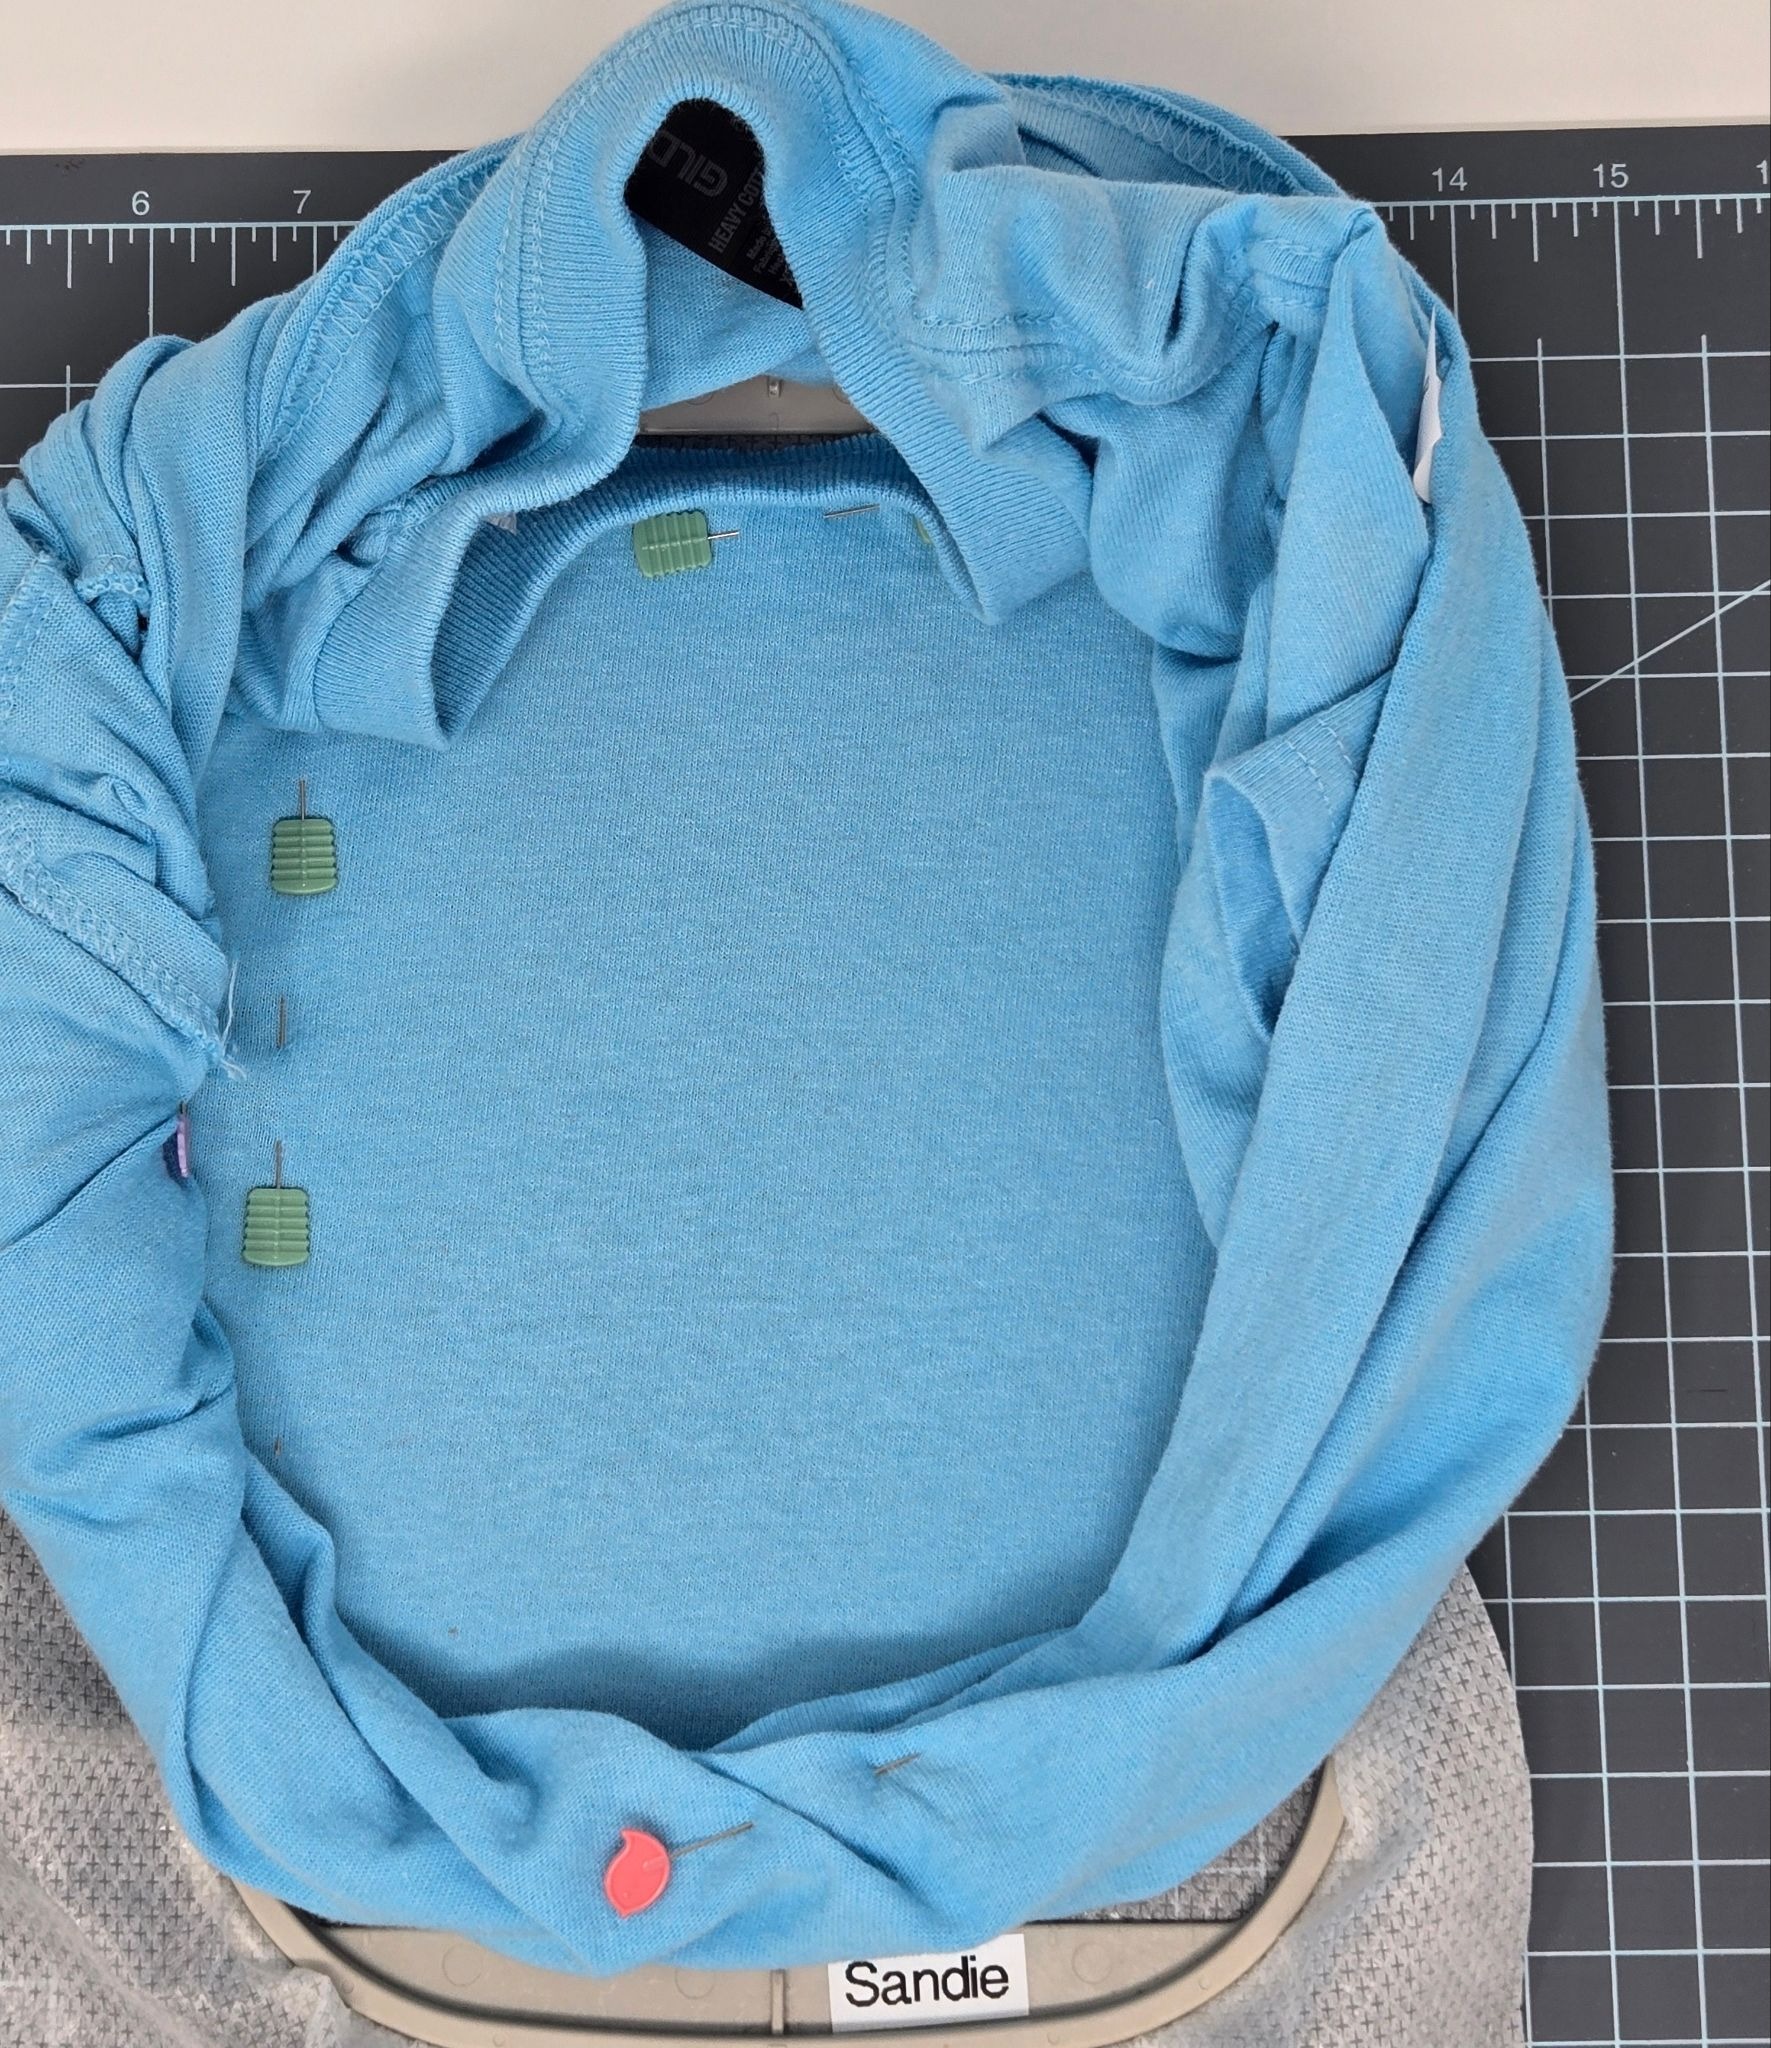
I found the center back of the larger jacket by matching side seams and shoulder seams. Using pins to mark the center, stick half the jacket to the sticky stabilizer using the centering bumps on the hoop. Remove the pins and smooth the other side in place. I did it the same way for both jackets, using my 5x7 hoop and the back seams for the smaller jacket, and 9½x9½ hoop for the larger jacket.
At my machine I slid the tearEZ under the hoop and then followed all of the embroidery and applique steps for the design.

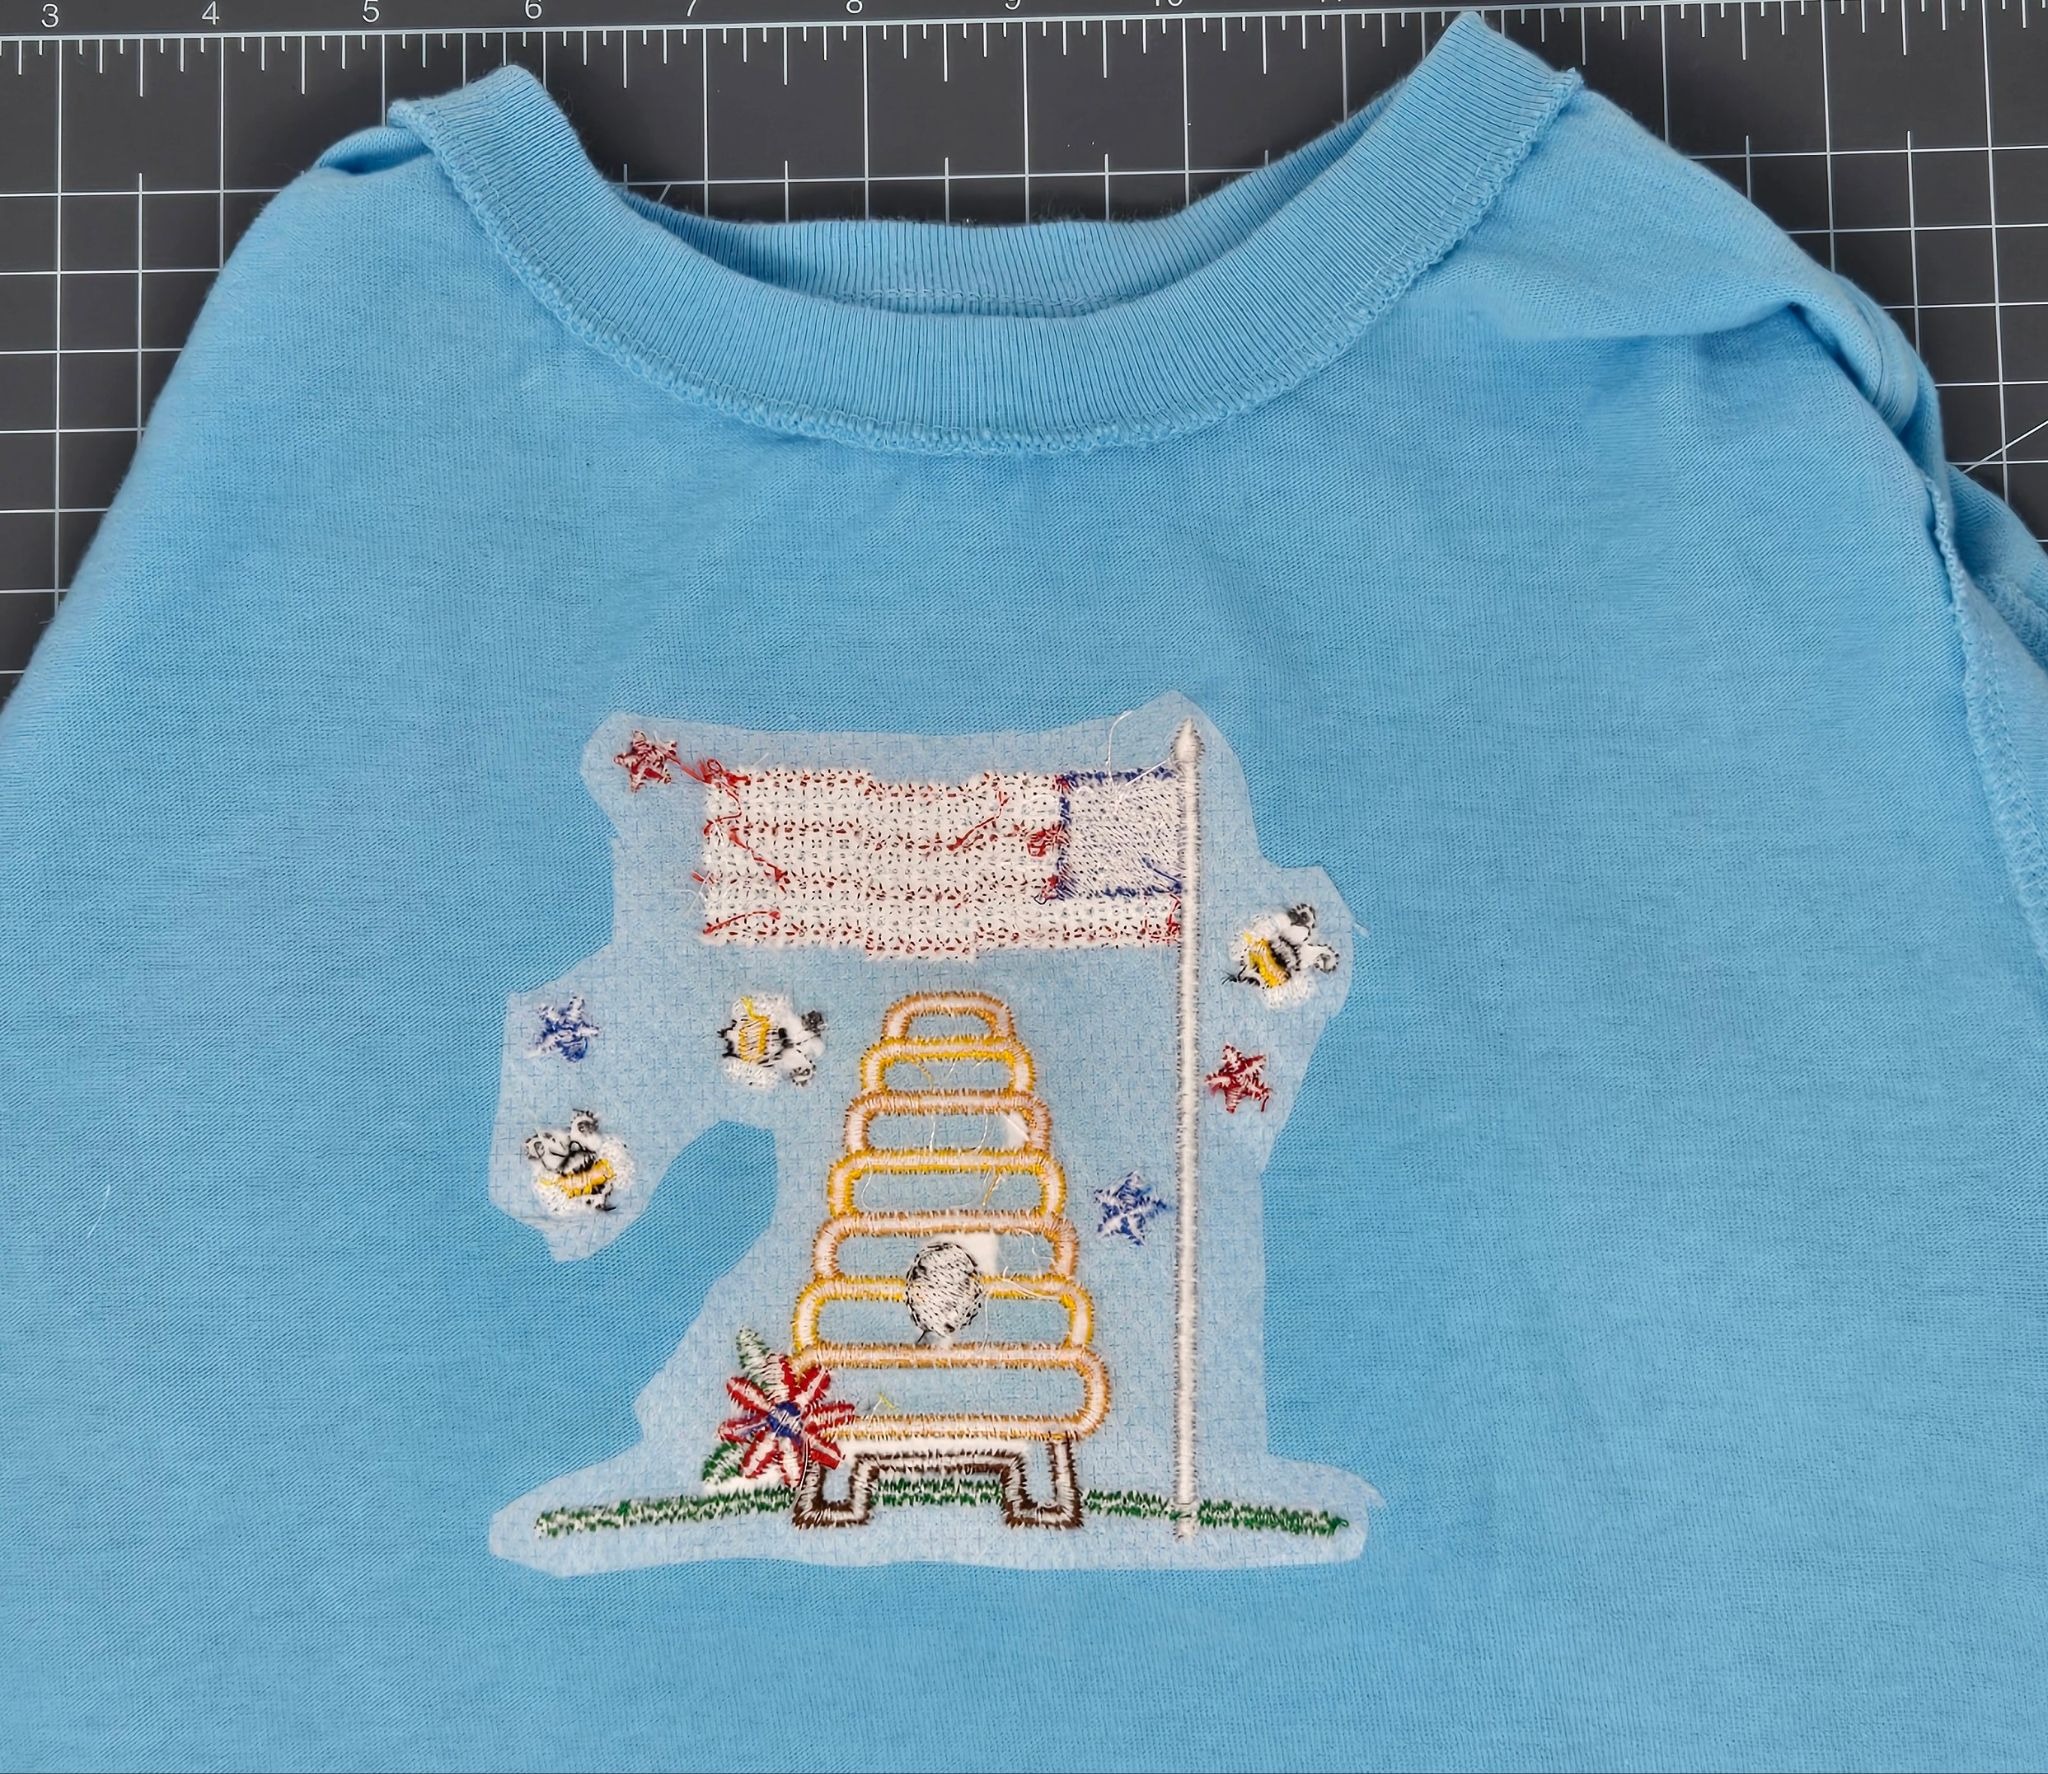
Once the flag and flowers have finished embroidering, remove the stabilizer from the hoop. Tear as much tearEZ away as you can and trim the sticky stabilizer close to the stitches. Also trim any long threads.
I washed both jackets to remove the sticky stabilizer. I did a little personal test and used tear-away sticky-back stabilizer for one, and wash-away sticky-back stabilizer for the other one. After washing, they are both the same! I really cannot feel a difference. It would neaten the inside of the jacket if I pressed a bit of Tender Touch or other covering over the stitching. I did another blog post on embroidering on denim, where I talked a bit more about the stabilizer.

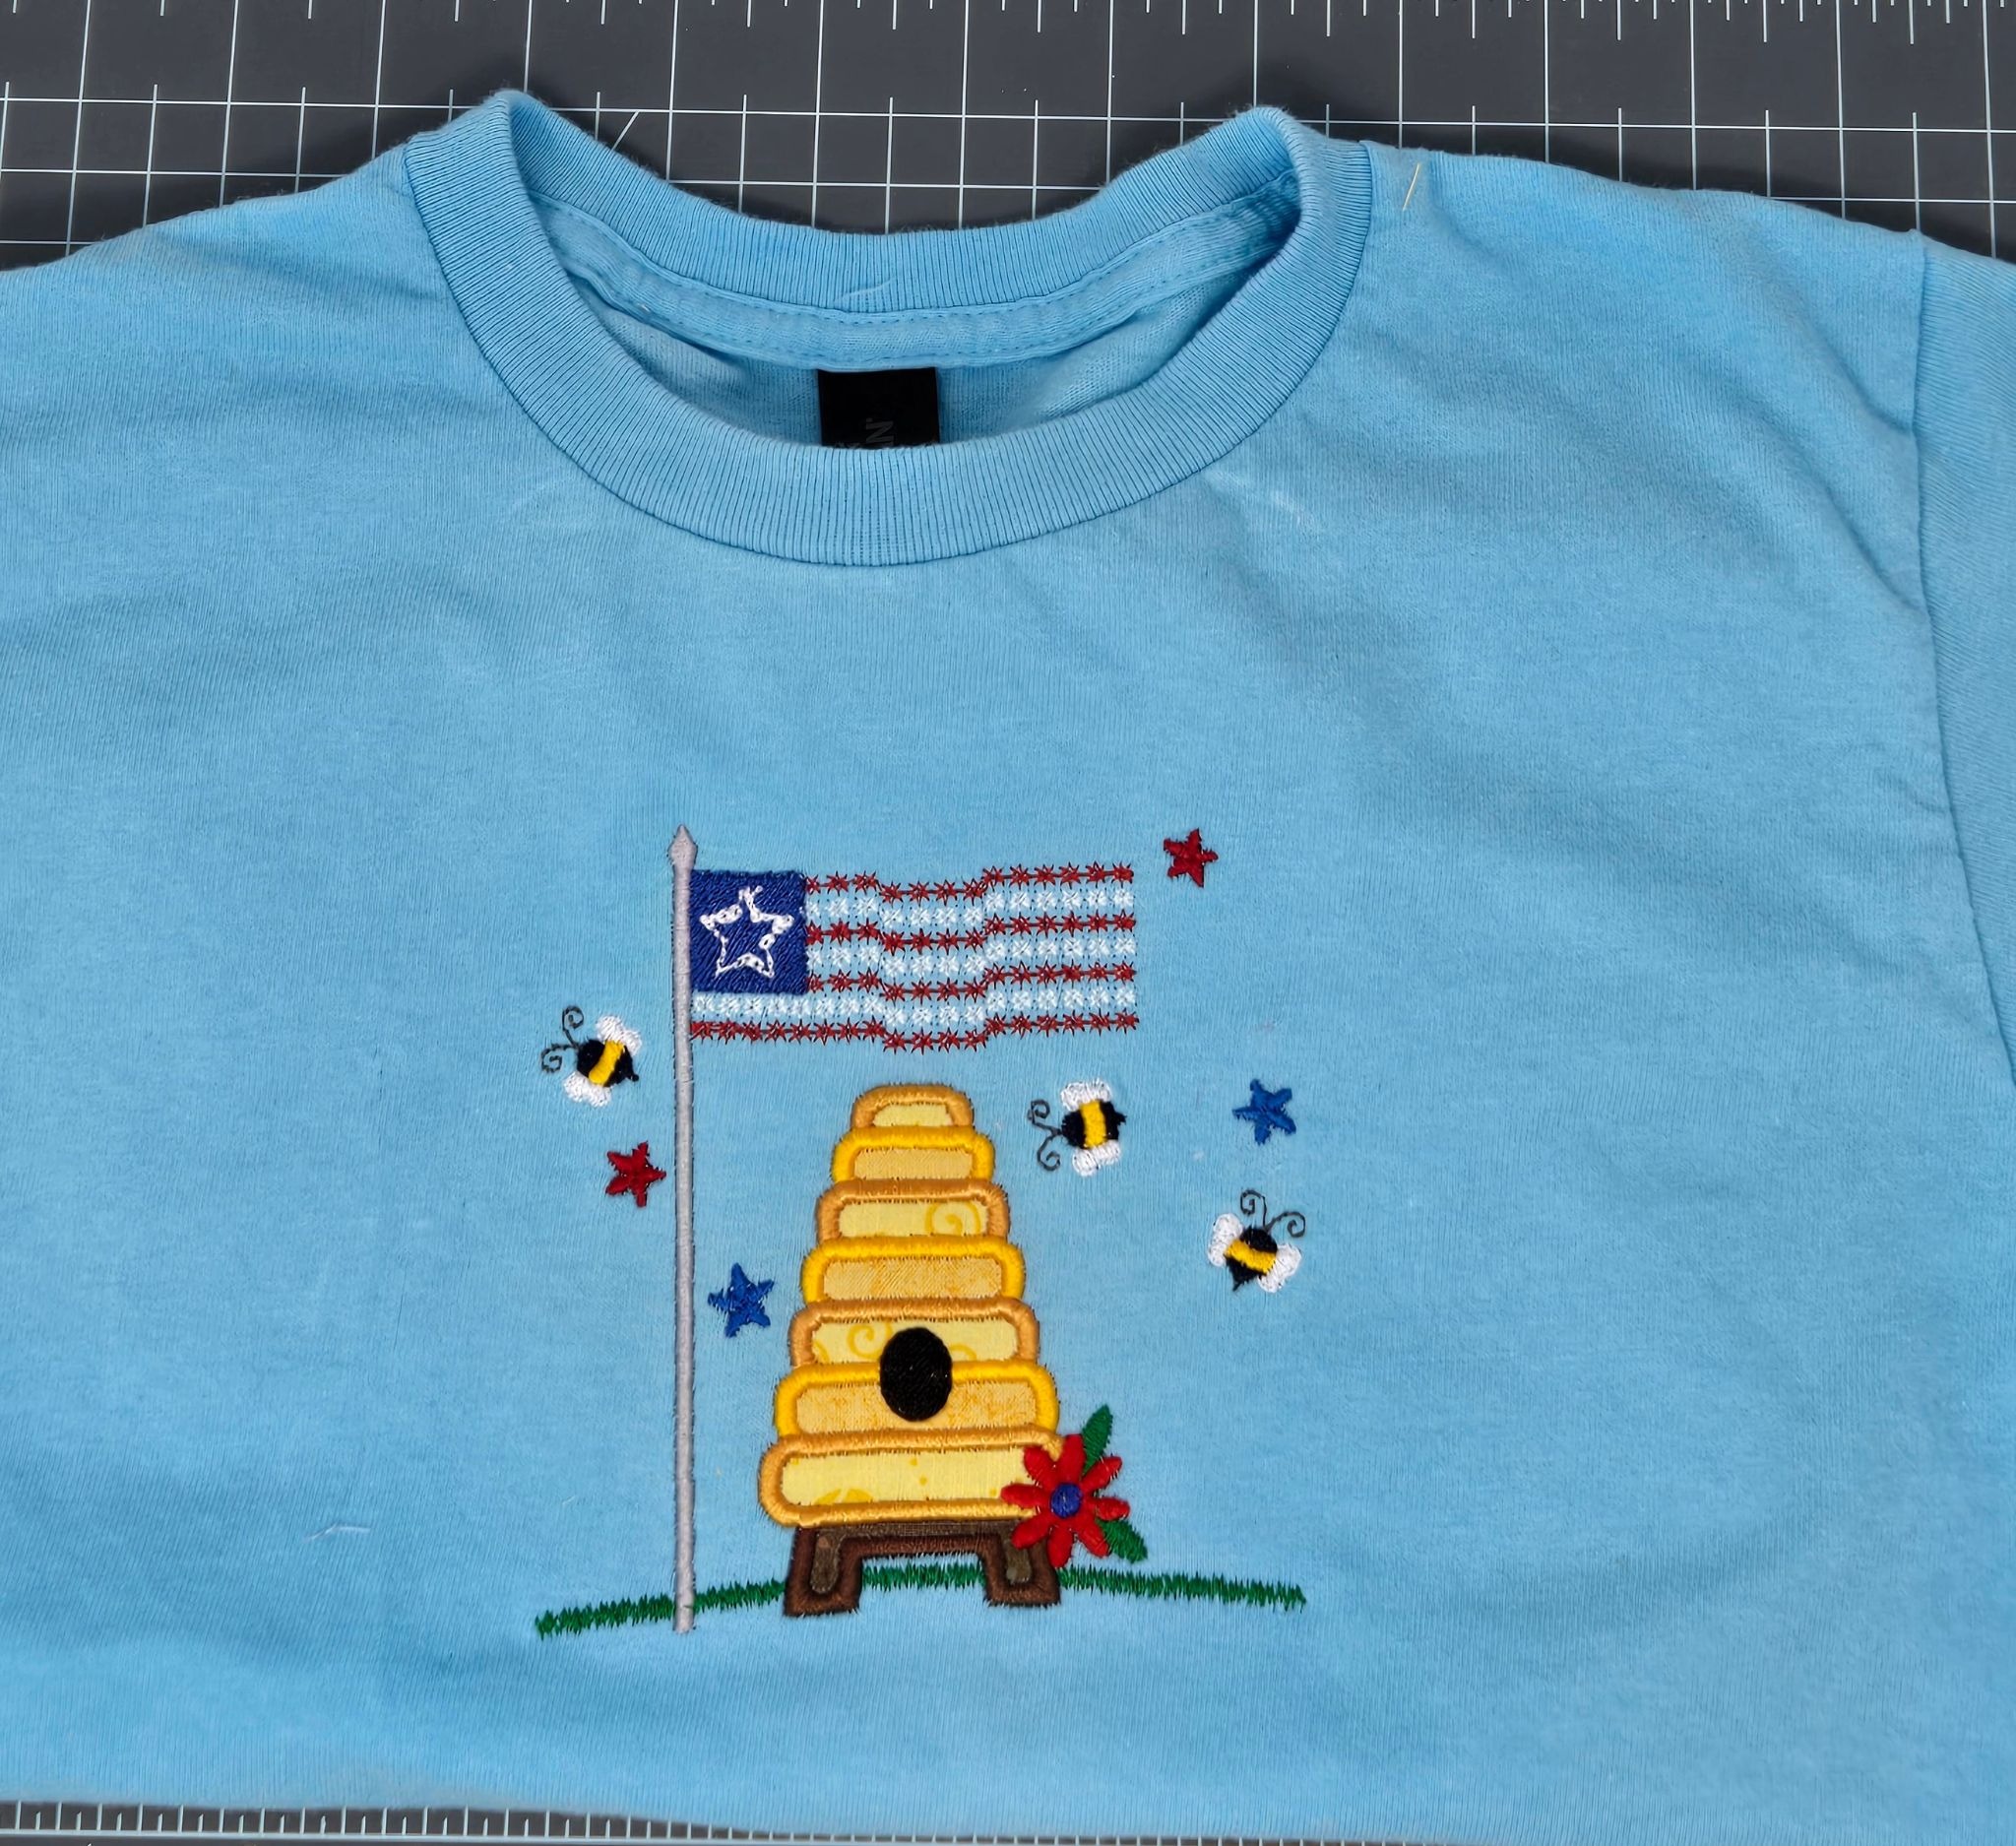
I love to embroider T-shirts and always do it the same way I showed in this blog post: Easter Fun with Machine Embroidered Ready-Made Items.
I won’t repeat the steps here; I’ll just share a few pictures of the process. Remember to wash your T-shirts if they are cotton—they will shrink a bit.
I did take the designs into my software again and removed all the steps to do with placement and tack-down of batting. I also removed the swirling quilting because I thought it could pucker the shirt.
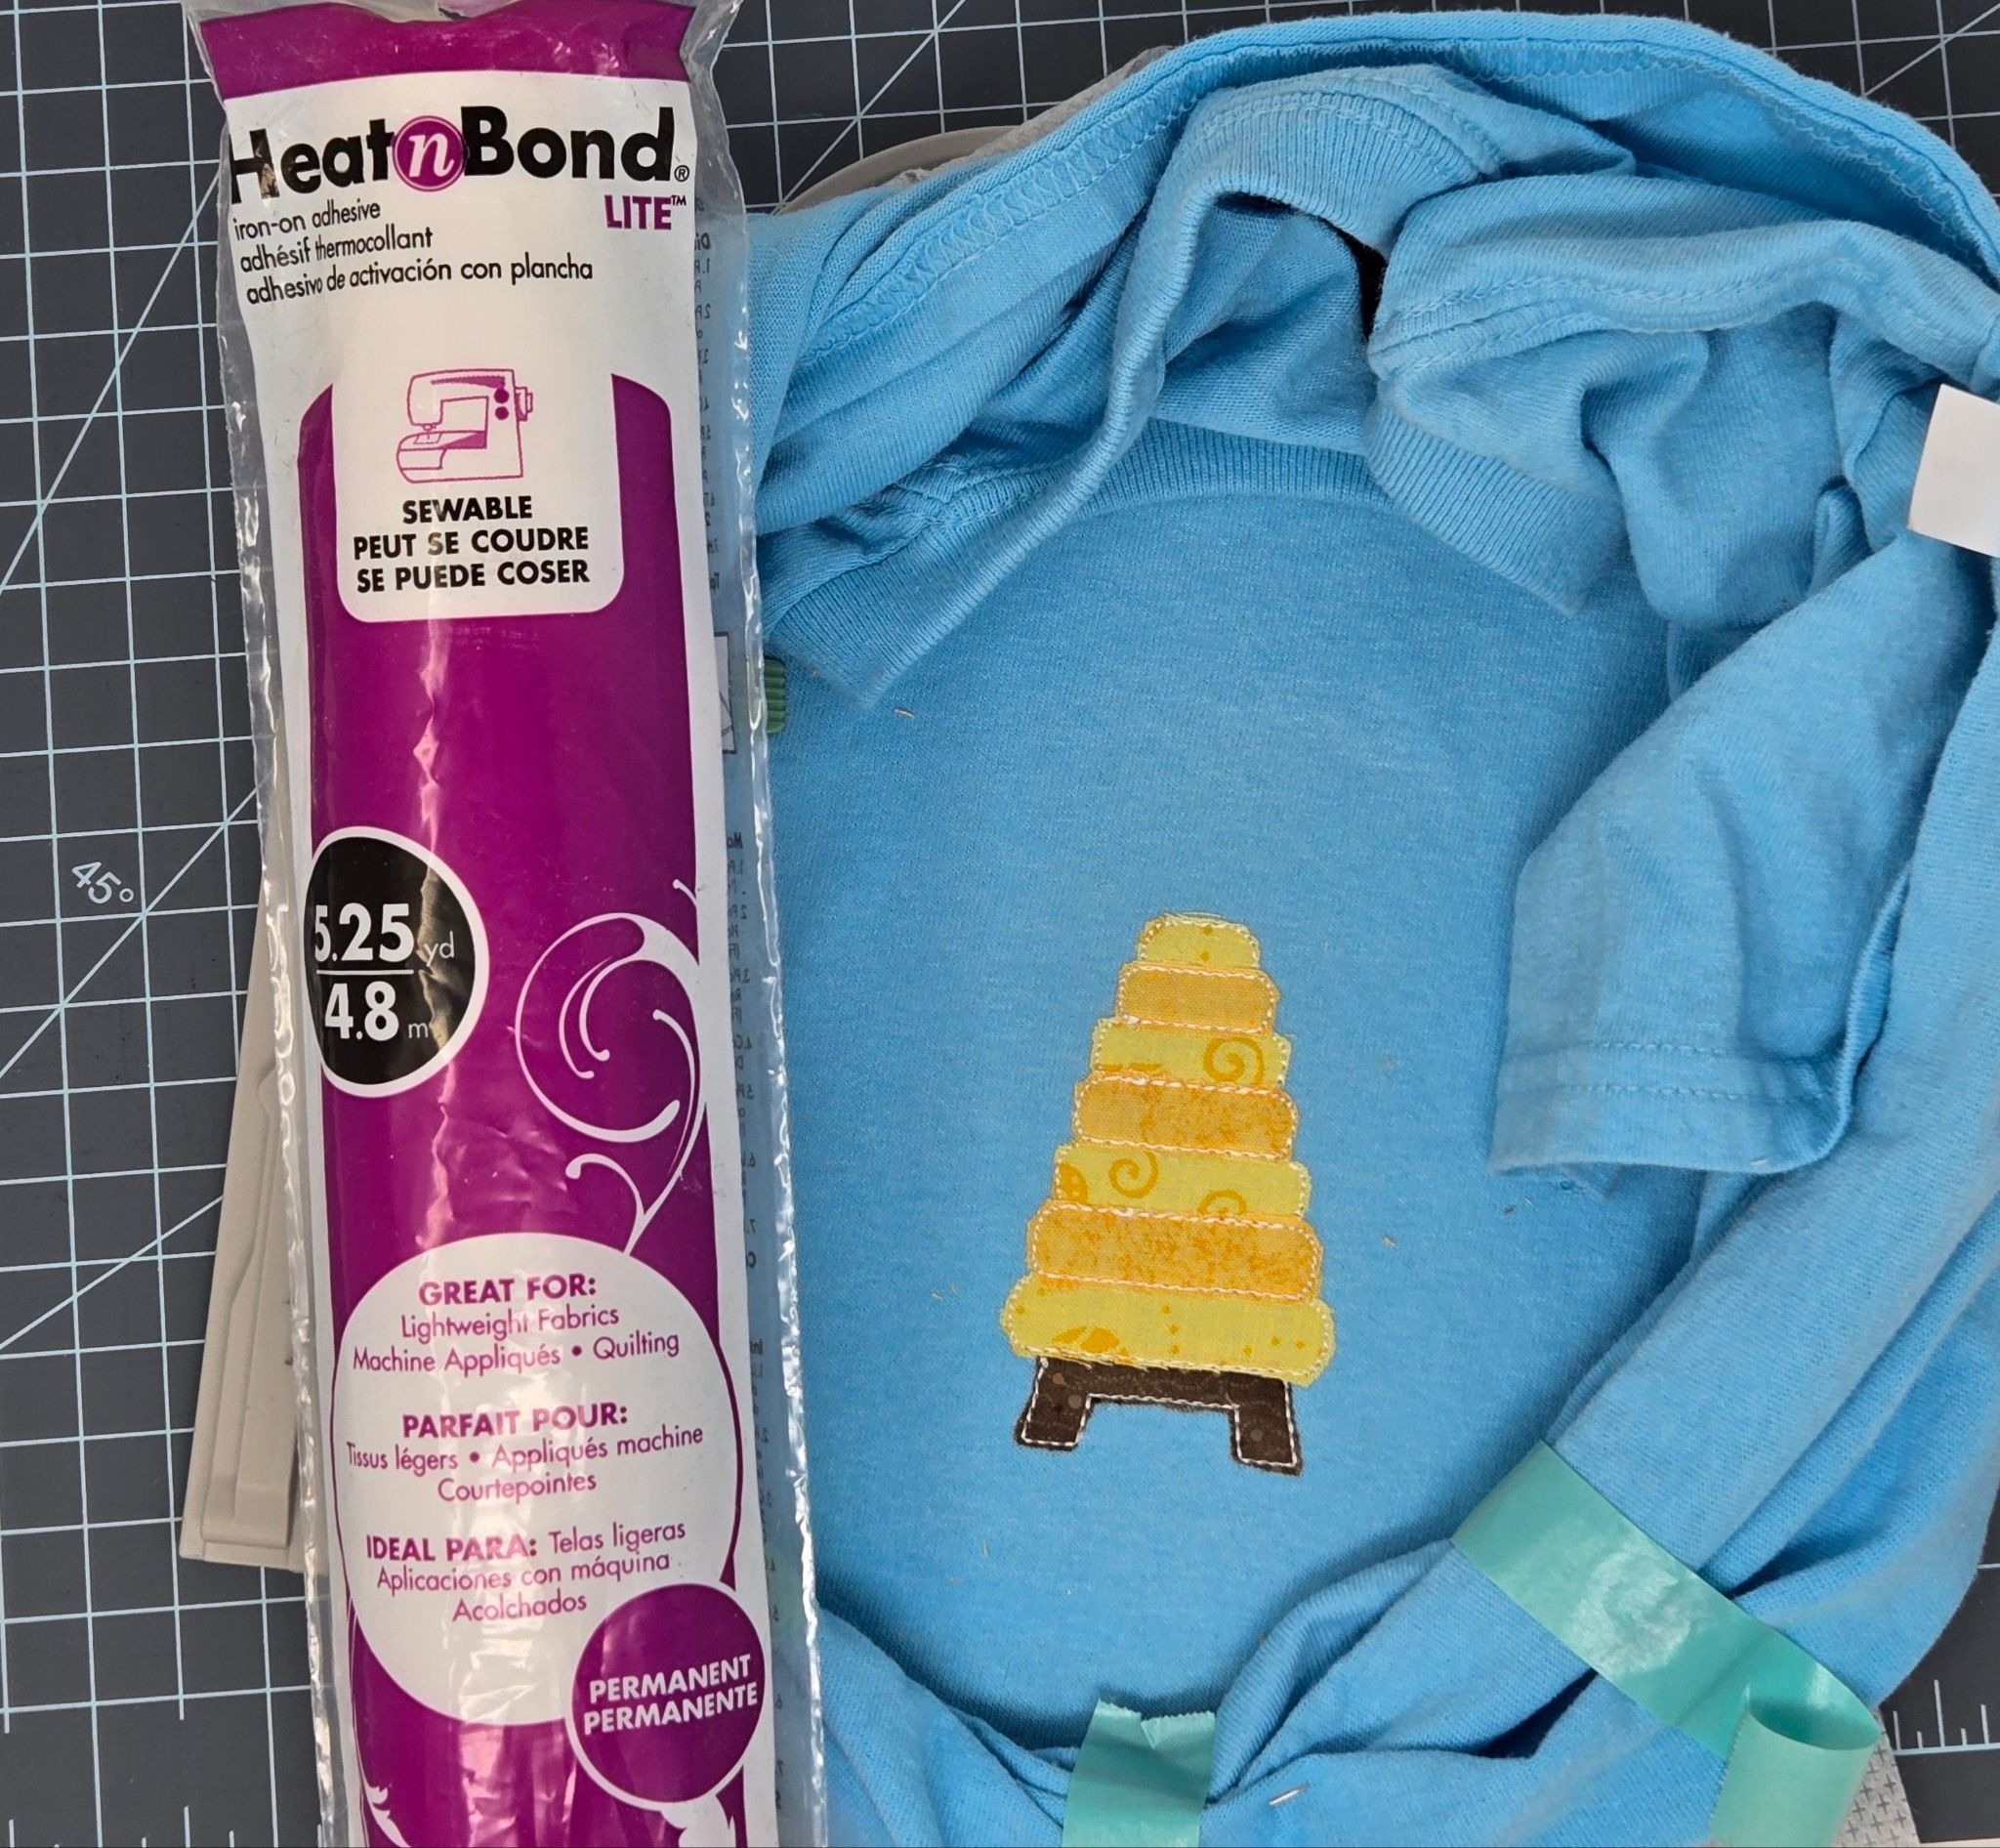

*NOTE: Press all the appliques down before doing the satin stitches around them. I like to use the light fusible so there will be no puckering of the appliques after multiple washings. I am always learning.
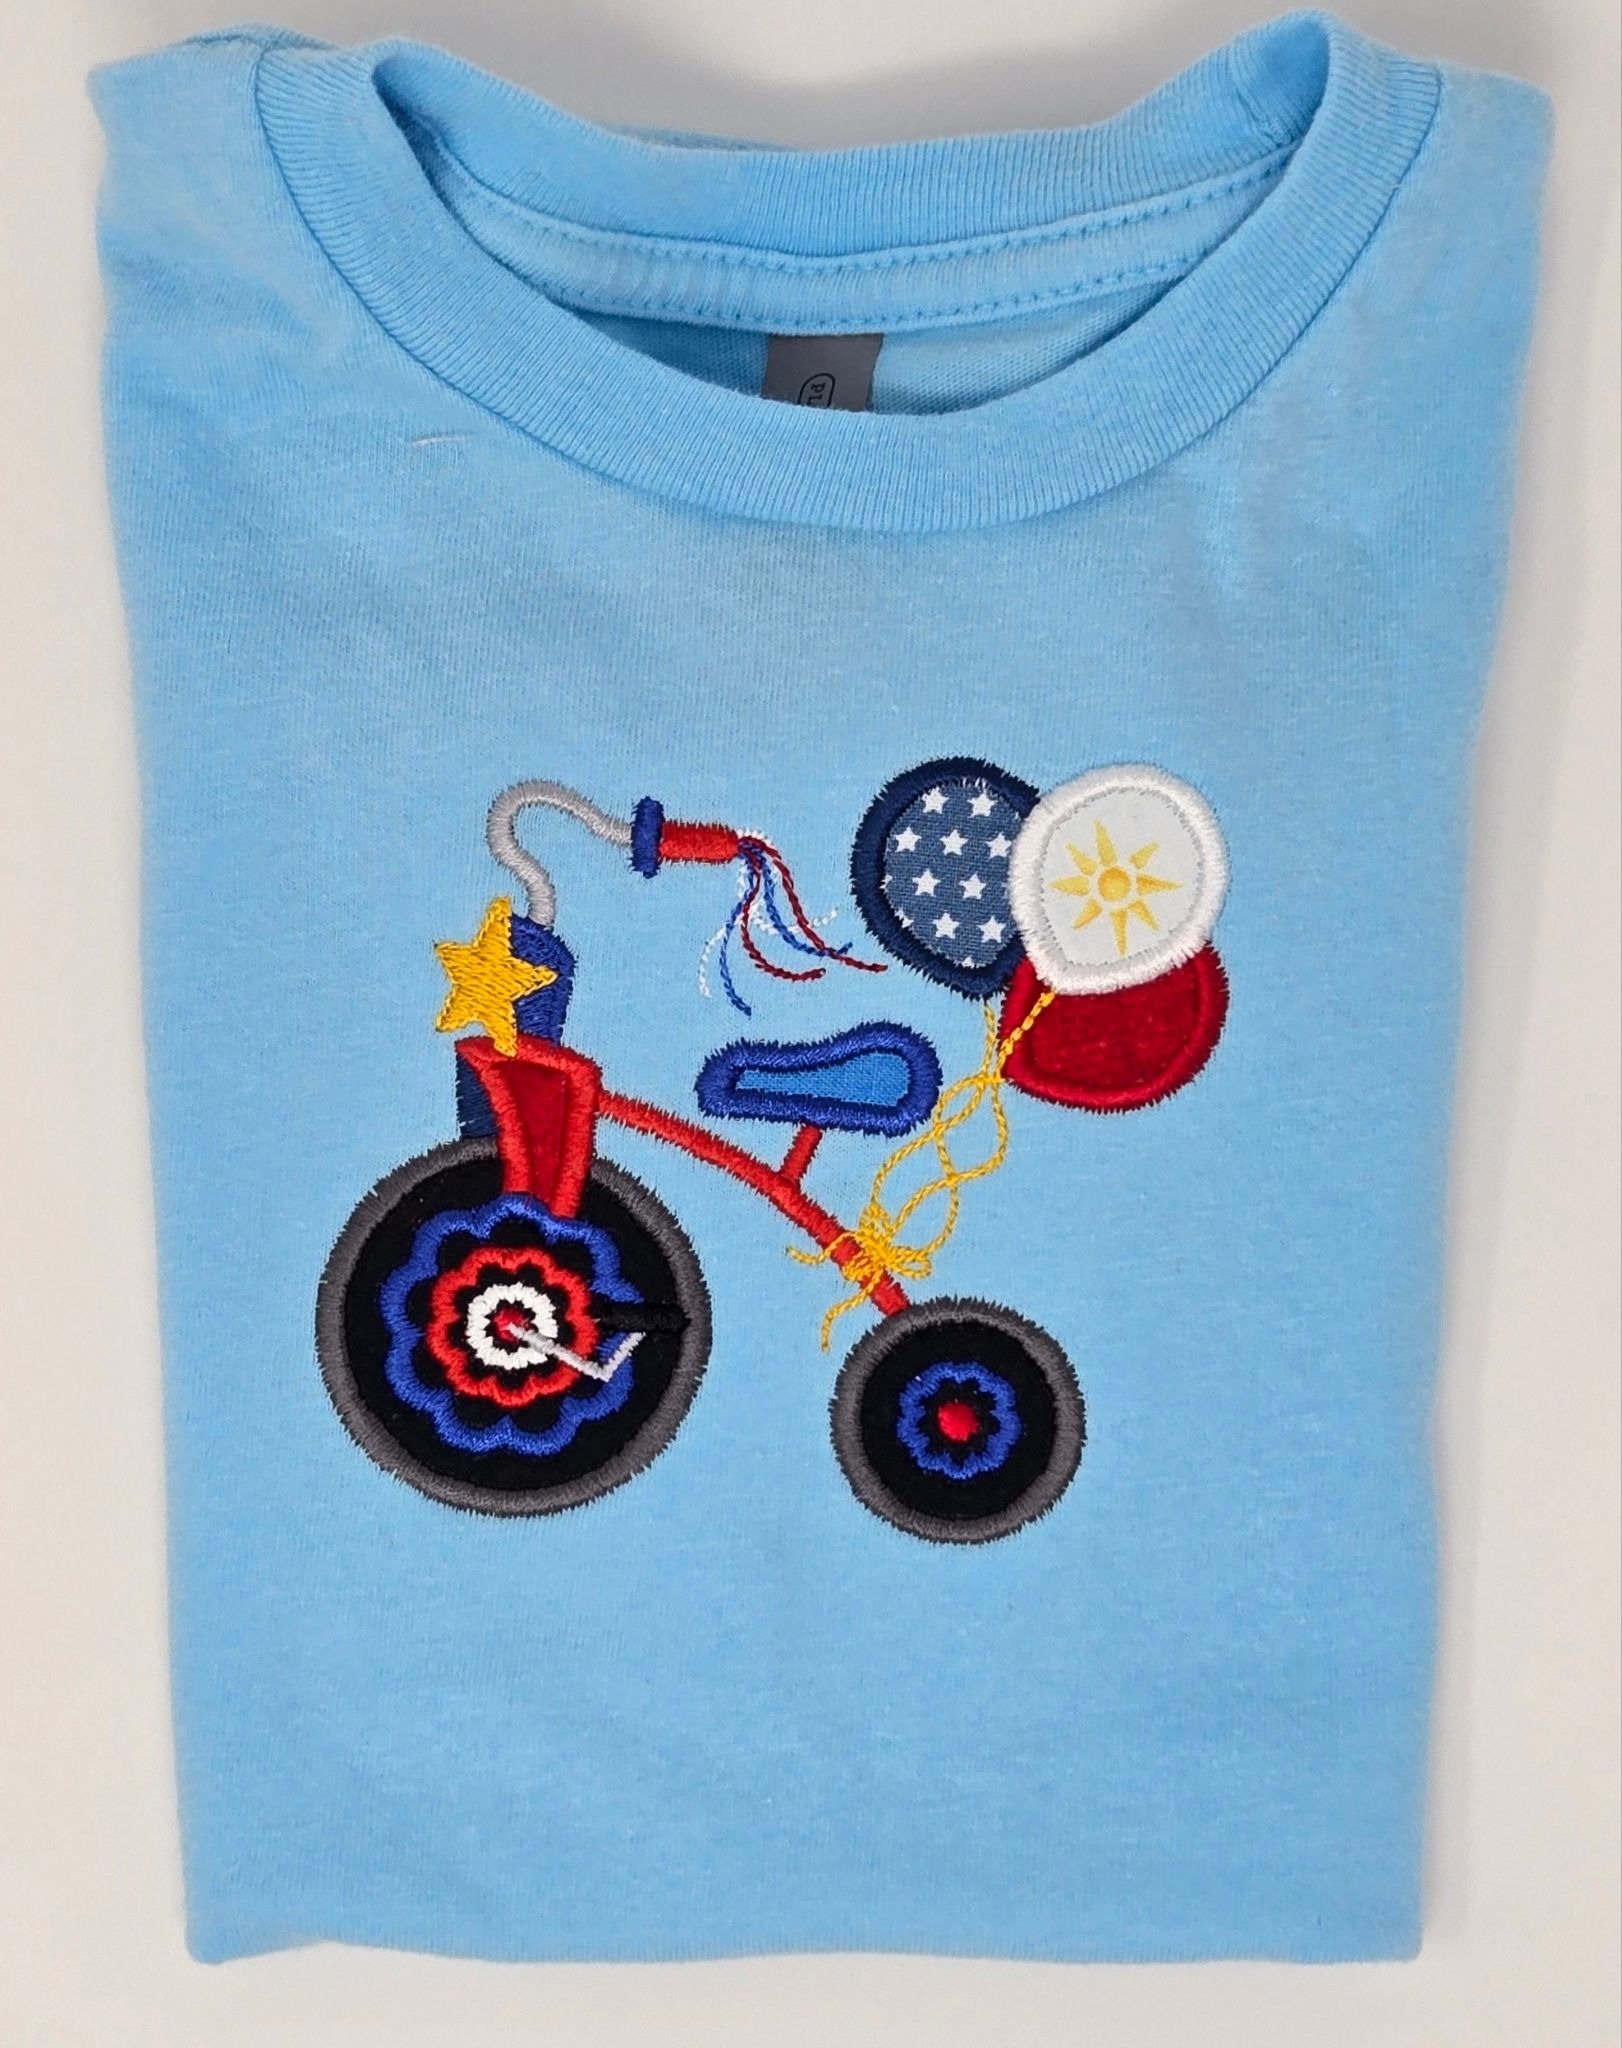
I hope you make yourself or your family some patriotic attire! It is so fun to decorate ready-made items! JuJu has some really fun quilt and wall hanging designs that could be used! I am planning to make myself some summer tees using the ITH Garden Whimsy designs. Or use some of the ITH Bee Attitudes. Don’t overlook designs just because they are labeled “quilt” or “wall hanging.” It is so easy to skip the steps that pertain to quilting. Above all, have fun!
Be sure to share your projects in the Designs by JuJu Embroidery Blessings Facebook Group, or use the hashtag #designsbyjuju anywhere on social media. We all love to see what you create!
