I love tote bags, like, REALLY love tote bags, possibly to excess. I just can’t resist one! I knew a cute DIY tote bag would be a perfect project for me to play around with Designs by JuJu’s Quilting Backdrops.
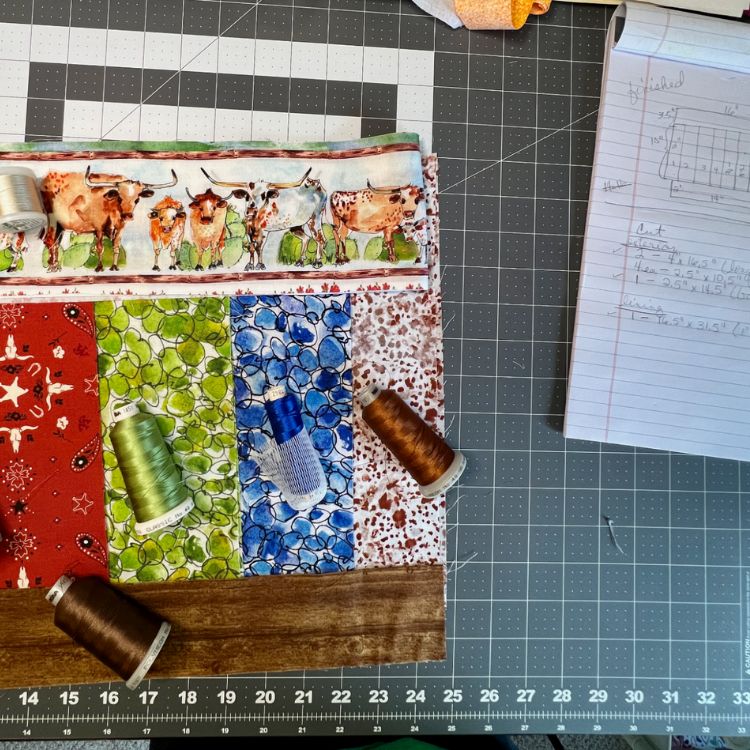
I found some rustic country fabrics from Kathleen McElwaine that I knew would be perfect for this project. Join me today as I indulge in both of my obsessions: tote bags and adorable fabrics. If you’ve ever wondered how to make a DIY quilted tote bag with pockets, this tutorial is for you.
Embroidery machine (NOTE: In this project I used a machine with a maximum hoop size of 8” x 14”. If using smaller hoop sizes, use the Quilting Only files for the components too big for your hoops, as I did for the lining.)
Heat-erasable markers
Ruler
Stiletto/chopstick
Pins/clips
SF101 to enhance the weight of the fabric
No-Show Mesh Stabilizer
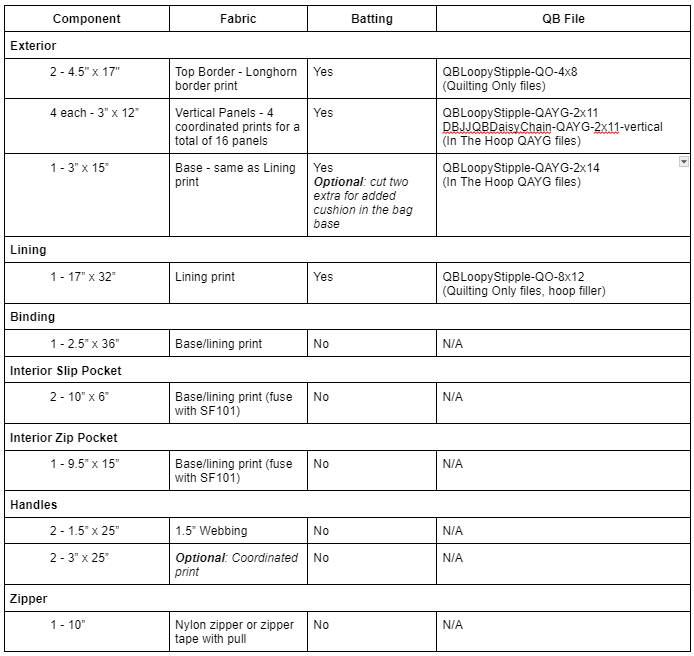
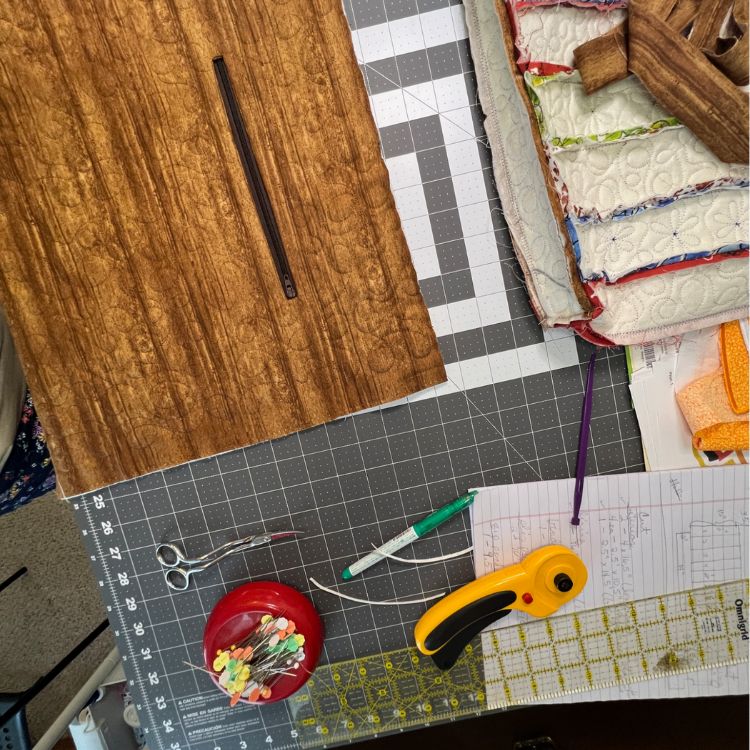
Fabric, Batting, Webbing, and Zipper as shown below
For this tote bag project, I wanted to maximize my creative options by using unique thread and quilting design combinations for various components. Quilting Backdrops (QB) is PERFECT for this!
The QB Quilt-As-You-Go (QAYG) files are In-The-Hoop (ITH) blocks that have four colorstops:
Placement line for batting
Tack down line for batting (trim batting outside of tack down after this step)
Tack down line for block background fabric (This tack down line is slightly larger than the batting line so that batting is not in the seams when you sew blocks together later. Your background fabric should extend at least 1/2" beyond the tack down line in all directions.)
Quilting motif (e.g., Loopy Stipple or Daisy Chain)
As a bonus, with closed shape motifs (such as Loopy Stipple and Daisy Chain), you get "Quilting Only" files. These can be used in a similar manner to End-to-End designs to quilt a finished quilt top. I used these files to quilt my lining and the Longhorn border print that was too wide for any of my hoops.
Once I’d chosen my fabrics, component layout, and QBs motifs, I then chose threads to coordinate with each. Again, this is the power of QB— being able to customize each component of my tote bag to my liking.
Prepare Components
Exterior
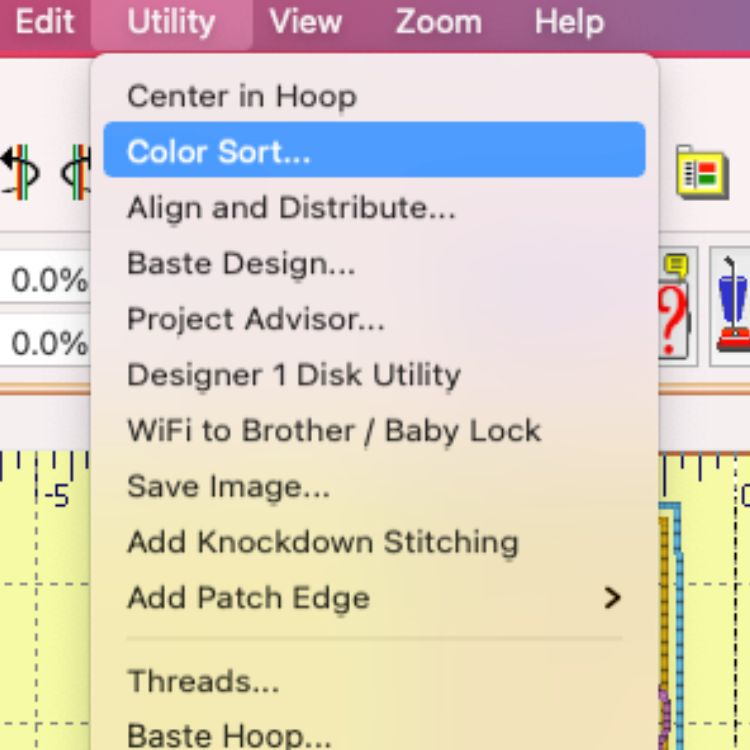
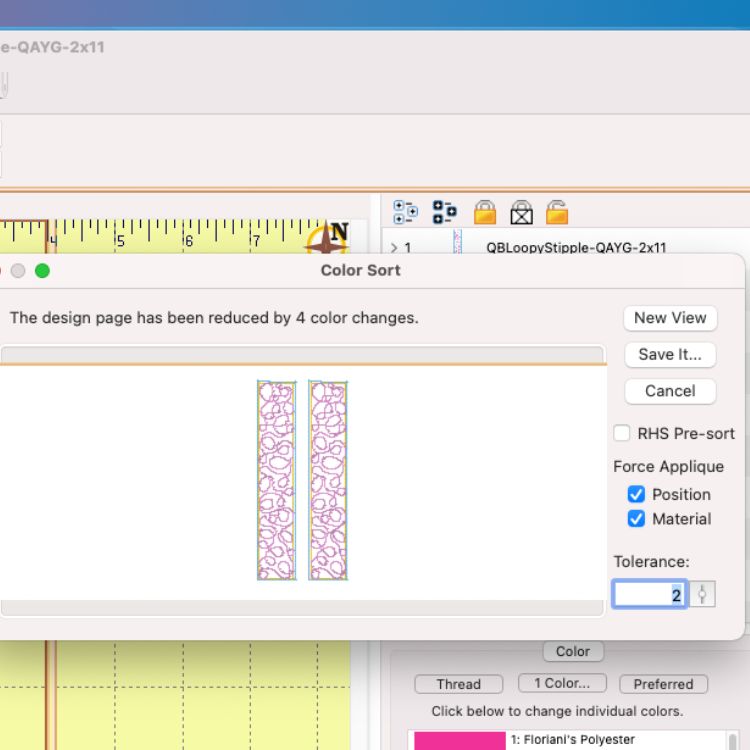
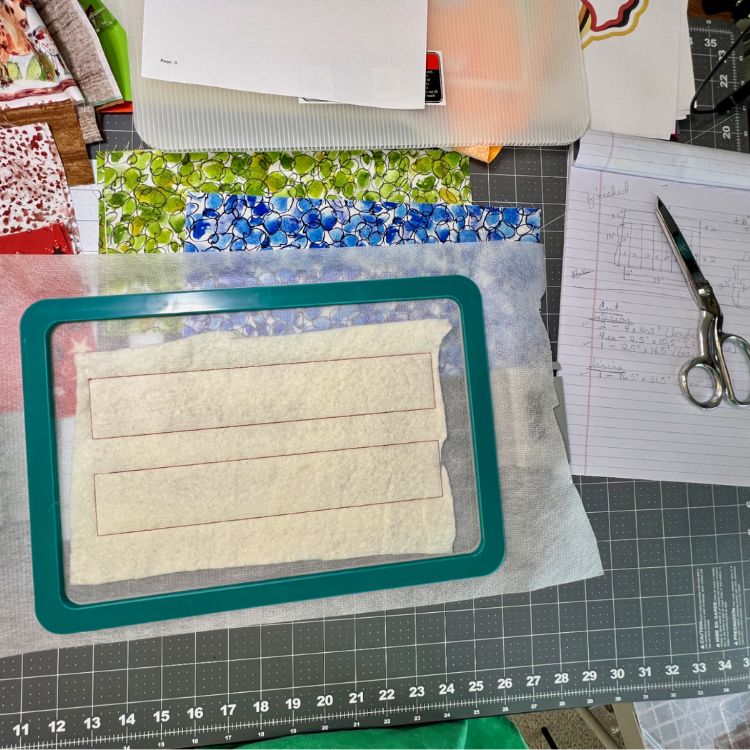
NOTE: In this project I combined two of the 2” x 11” QAYG files in Embrilliance and used the Color Sort feature to save a new, combined design that will stitch both batting placement lines, both batting tack down lines, both fabric tack down lines, and, finally, both motifs, to save myself some time and effort. Space the two designs at least 1⁄2'' apart to ensure you have enough space for a ¼” seam allowance for each.
Hoop a piece of No Show Mesh stabilizer appropriate for the hoop size you’re using.
Load your hoop in the machine and use the trace functionality to confirm appropriate placement and orientation.
Stitch the first colorstop, the batting placement line.
Remove the hoop from the machine.
Spray the outlined area on the stabilizer with a little temporary adhesive spray and then place the batting so that the placement line is completely covered.
Load the hoop back in the machine.
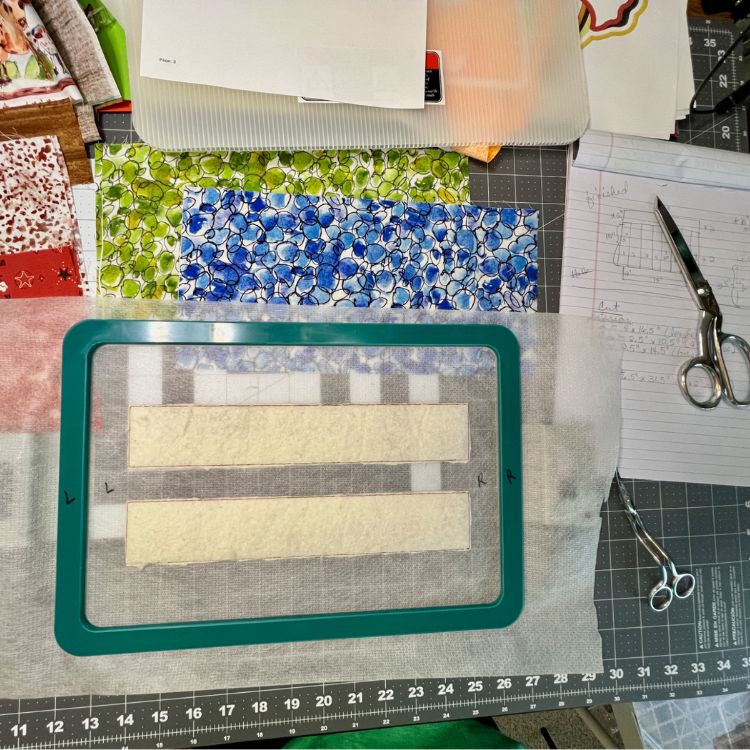
Stitch the second colorstop, the batting tack down.
Remove the hoop from the machine and trim away the excess batting close to the tack down line.
Give the remaining batting a little spritz of temporary adhesive spray and then place the background fabric on top of the batting, ensuring the fabric completely covers all tack down lines AND has a consistent seam allowance (SA) extending beyond the tack down line (at least ¼”).
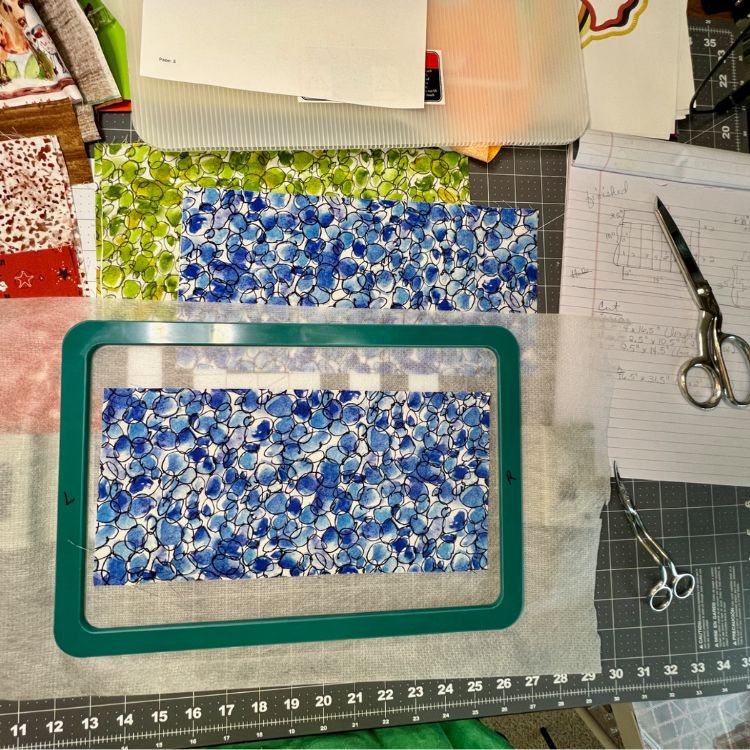
Load your hoop back in the machine and stitch the third colorstop, the fabric tack down.
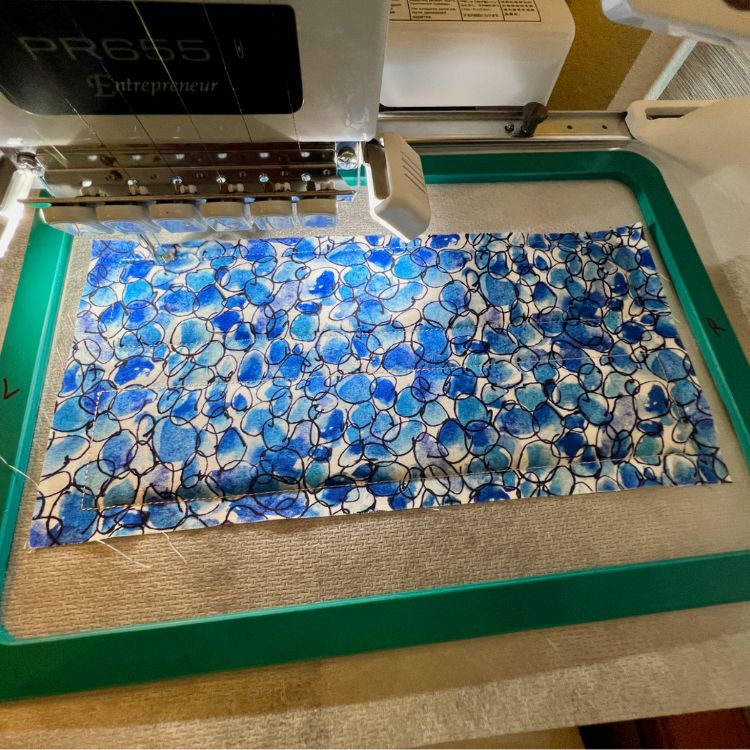
Run the final colorstop, the motif.
Remove the hoop from the machine and the fabric and stabilizer from the hoop.
Trim away excess stabilizer, leaving at least ¼” for a SA on all sides.
Repeat this process for all 16 of the 3” x 12” components.
Repeat the steps above for the 3” x 15” base component.
NOTE: After I was done with quilting the base, I sewed another two layers of batting to the wrong side of the base to provide some extra padding, as I plan to carry my laptop in this tote bag. This step is completely optional.
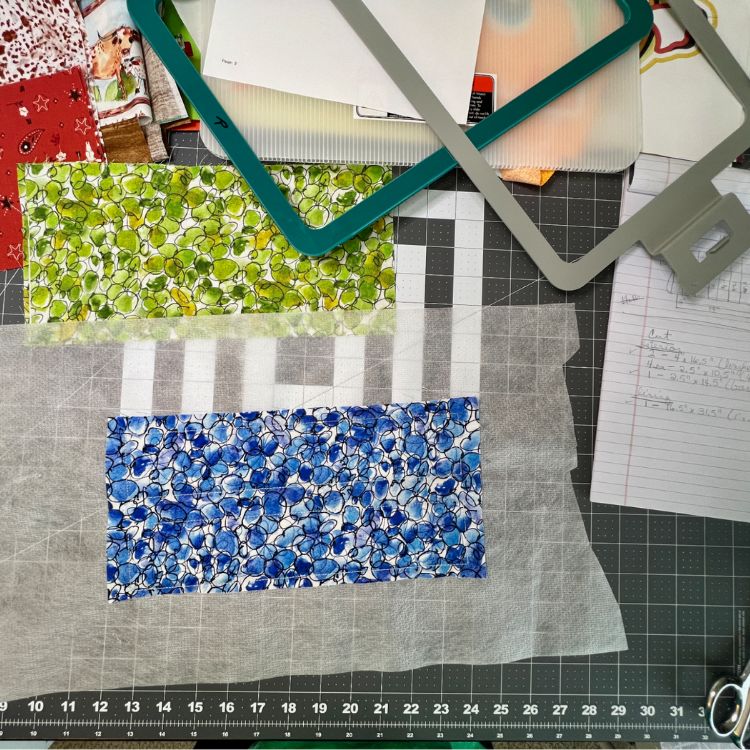
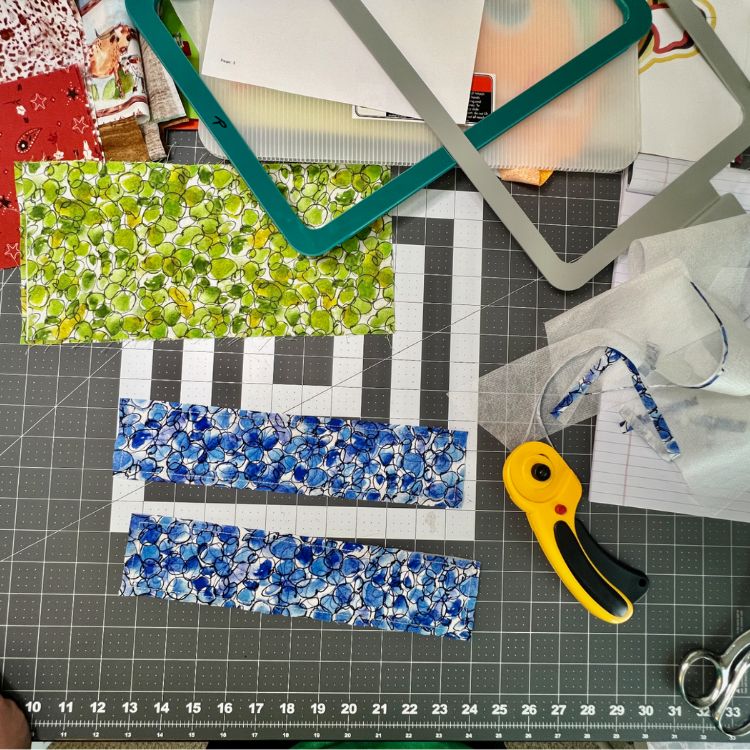
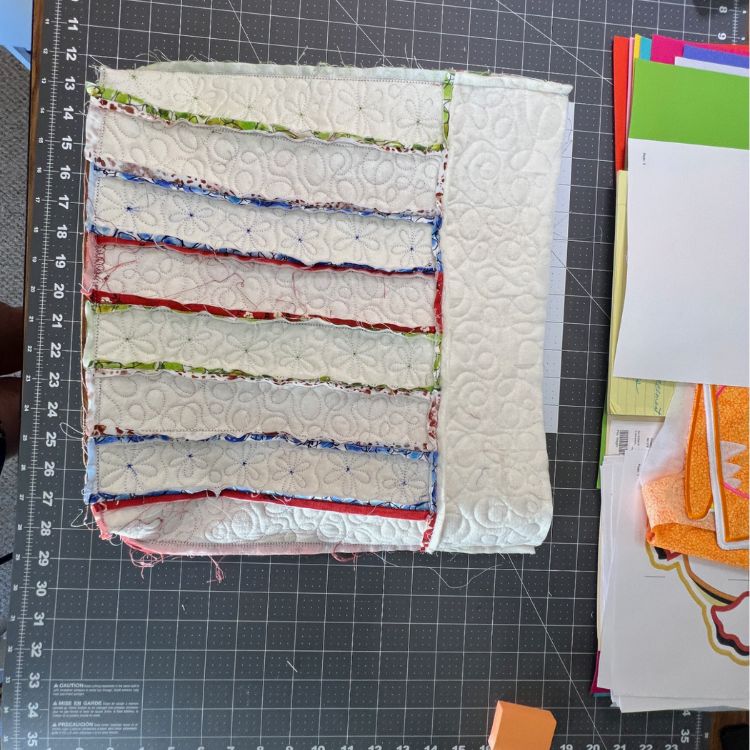
For the two, top (Longhorn) components of the bag exterior, because I don’t have a hoop wide enough to quilt these in one hooping, I cut my fabric and batting the size I wanted (4.5" x 17") and used the “QBLoopyStipple-QO-4x8 Quilting Only” files to quilt these in three hoopings each.
NOTE: The third hooping ran off the side of the fabric and batting and stitched out on just the stabilizer, which is totally fine. I’ll trim that away. Alternatively, you can skip past the stitches that run off the edge of the fabric and batting.
Lining
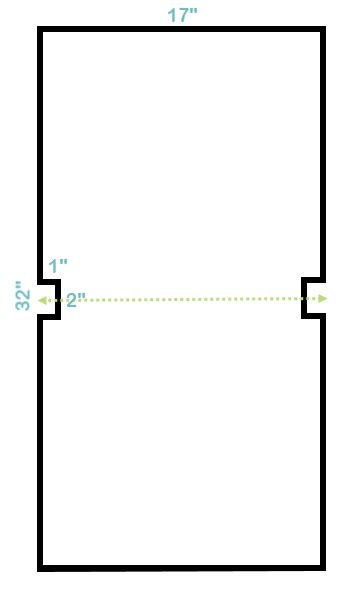
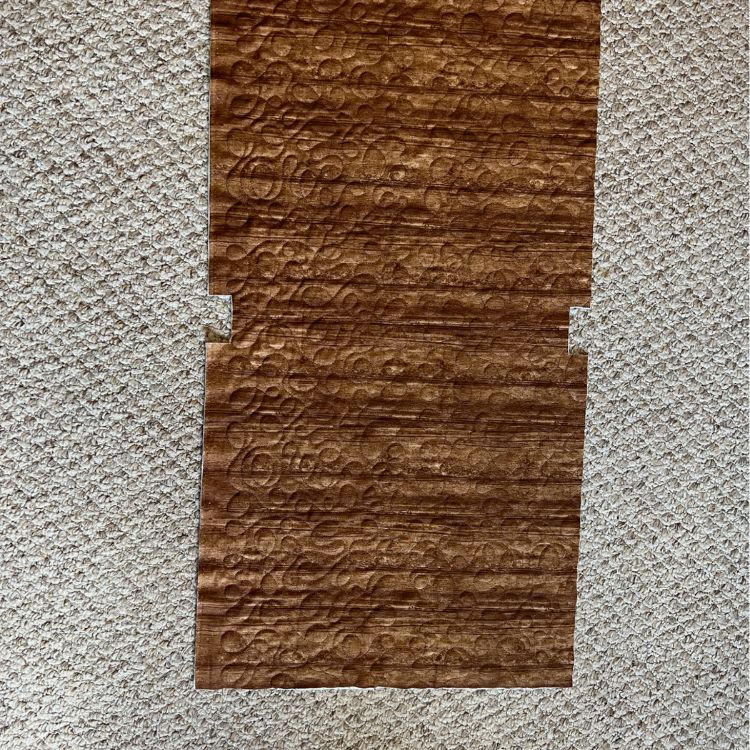
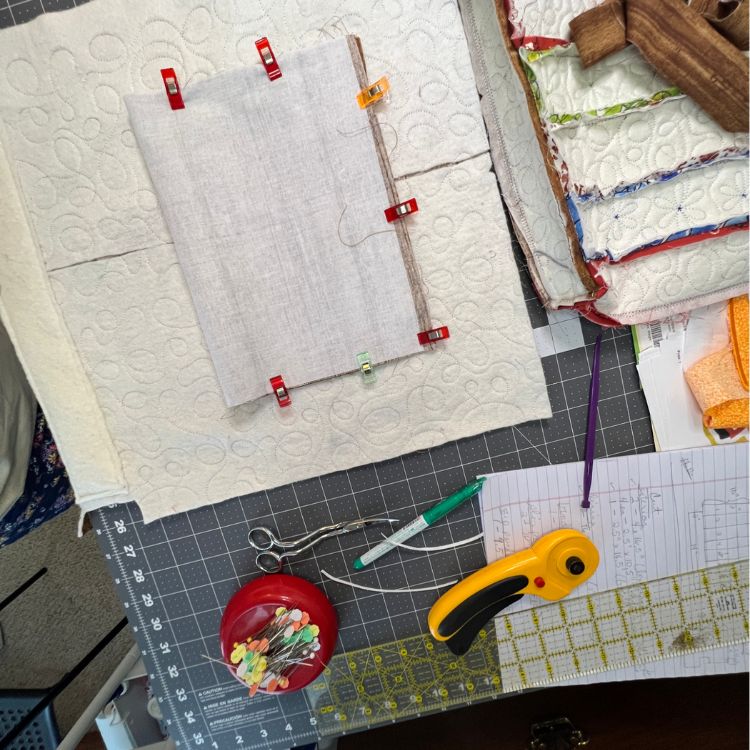
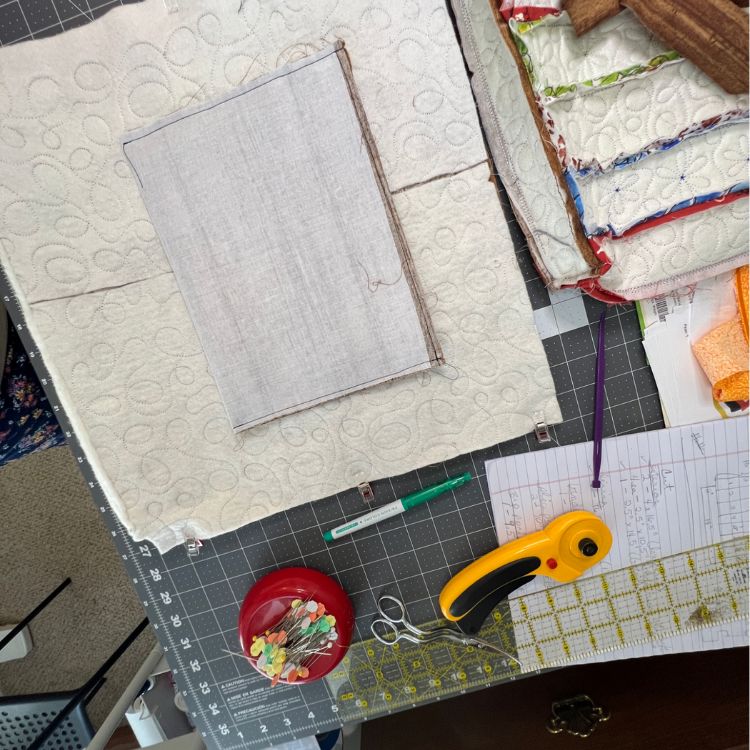
Trim the box corner notches out of the lining fabric and batting pieces:
Find the center (long side) of the lining and batting and mark it all the way across (short side).
On each long side make a mark one inch on either side of the center line.
Now make another mark one inch from the fabric edge at each of the 1” offset from center marks. This sounds more complicated than it is so I’ll provide a diagram.
Cut out the 1” x 2” box you’ve marked with the lines above on each of the long sides.
These notches will create a boxed bottom for your bag during assembly.
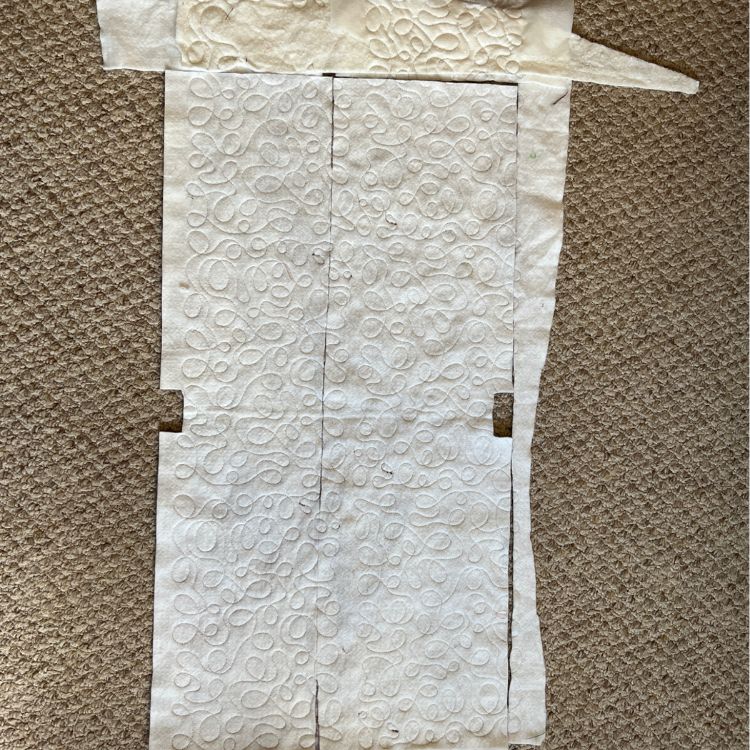
Once you’ve cut your boxed bottom notches out of the fabric and batting, you’re ready to quilt the lining.
I used the “QBLoopyStipple-QO-8x12Quilting Only Hoop Filler” file, in multiple hoopings, to quilt the entire lining component.
To completely quilt the lining component, some of your stitches will run off the fabric and batting and stitch out only on the stabilizer. Again, this is totally fine. Just trim away the excess, leaving ¼” seam allowance on all sides.
NOTE: You can see in the pic below that I’ve used scrap batting, left over from a previous project, for my lining batting. This project is a GREAT scrap buster!
You’re now done with the ITH quilting steps. On to your sewing machine.
NOTE: All remaining steps are done on a sewing machine with a ¼” seam allowance.
Interior Pockets
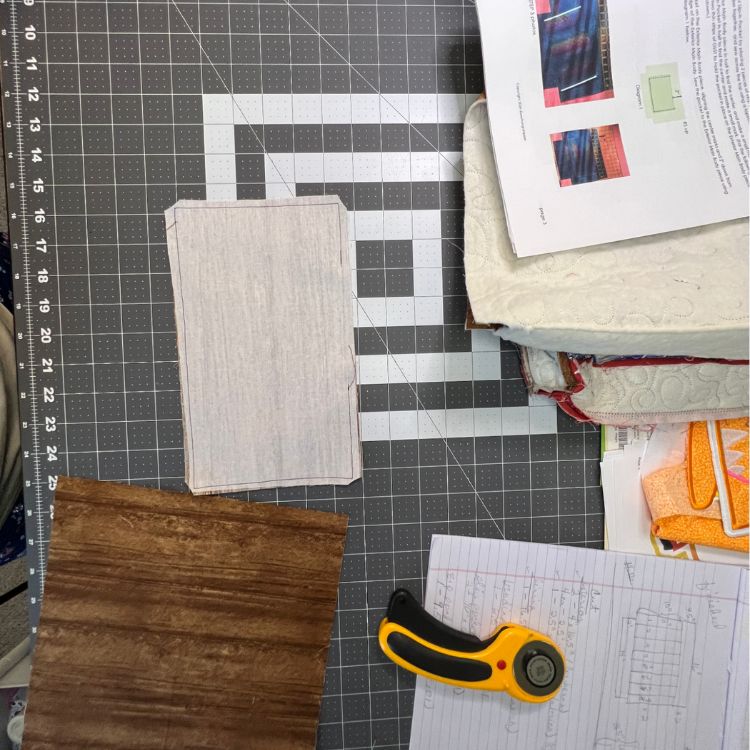
Slip Pocket
Sew the two 10” x 6” Interior Slip Pocket pieces (with SF101 already fused to each) together, right sides together (RST), leaving an open for turning (3” - 4”) on one long side.
Turn the pocket right side out and fold in a seam allowance (¼” - ½” generally) on the side that’s still open. This will be the bottom of the pocket and will be sewn closed when you attach it to the lining.
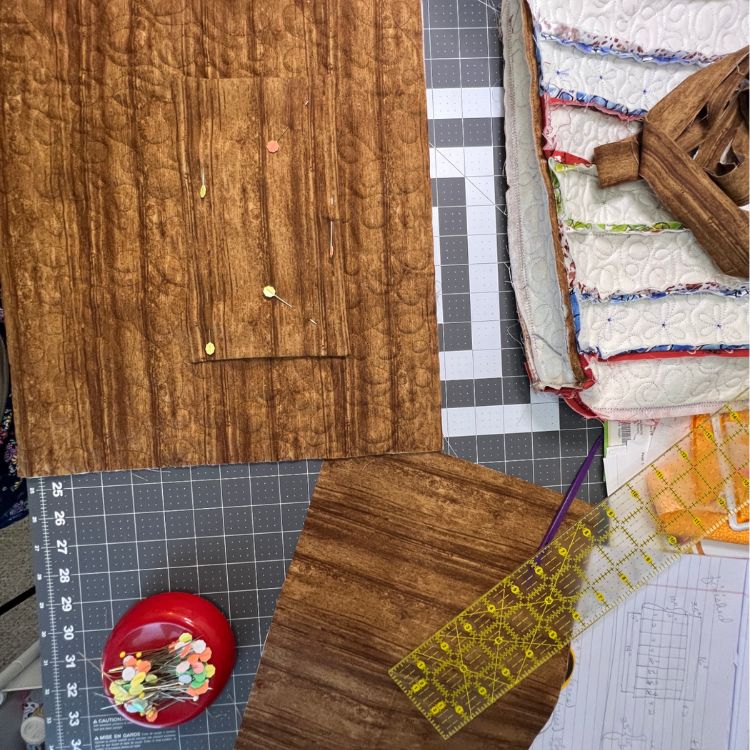
Mark the center of the lining (short side) and the center of the pocket.
Measure 3” down from the top of the lining and align the center mark of the pocket with the center mark of the lining.
Pin the pocket in place so that the turned under edge will be the bottom of the pocket.
Sew the pocket to the lining with a ⅛” seam allowance on three sides (left, bottom, and right).
NOTE: I also sewed a line down the middle of the pocket (top to bottom) to create two pockets, just wide enough for my phone, but this is totally optional.
Zip Pocket
Inserting a zippered pocket is not difficult, but I recommend watching this video tutorial to get familiar with the technique: How to Sew a Zippered Pocket.
Following the technique shown in the video, create a ⅜” tall rectangle, 1” down from the top (short side) and 1” inset from each side on the zip pocket component.
Place the zip pocket component, RST, centered, 3” down from the top of the bag lining.
Sew, cut, turn, and press as instructed in the video.
Align and sew the zipper or zipper tape with pull attached.
Fold the pocket component up, in half, meeting all raw edges, and sew around three sides (the bottom side is the fold).
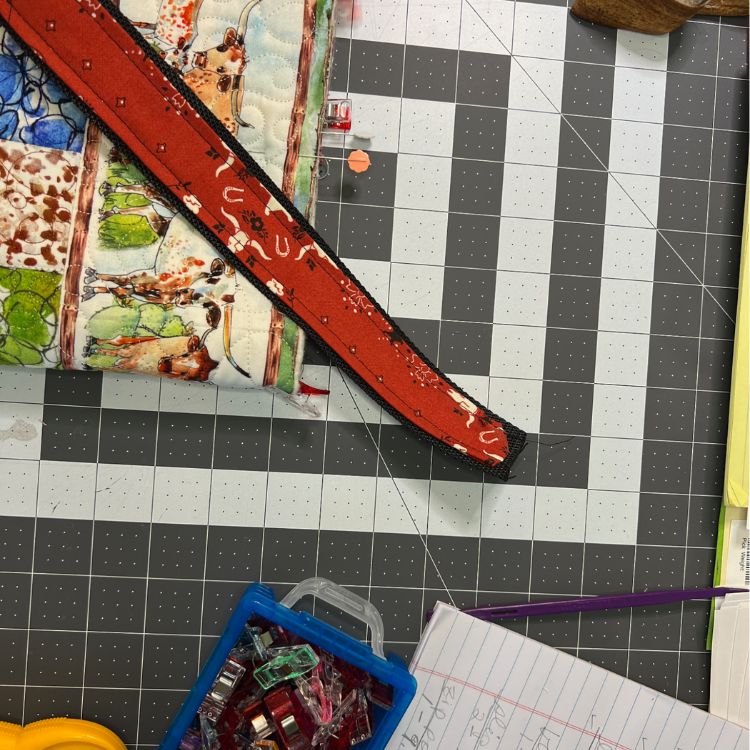
Coordinated Handles - This Step is Optional
Fold the 3” x 25” optional coordinated print fabric strips in half the, RST, long way, and press.
Stitch across one short end and all the way down the long, raw edge of each.
Use a chopstick or something similar to turn the tubes right side out and press again.
Center each fabric strip on top of the 25” webbing and stitch on all sides to secure.
Assemble the Components
Exterior
At this point you’ve created all of your exterior components. Now it’s time to put them all together. The basic steps are the same for all:
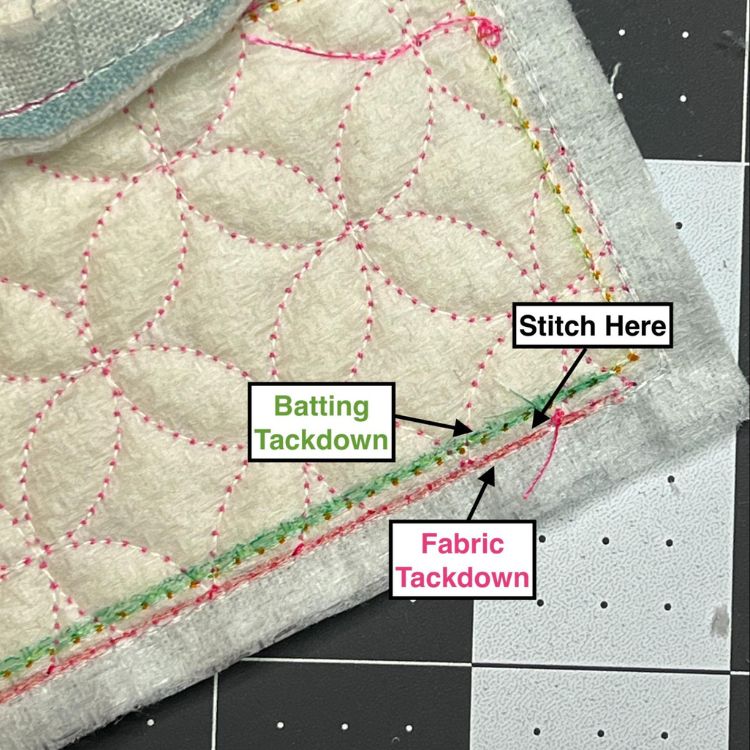
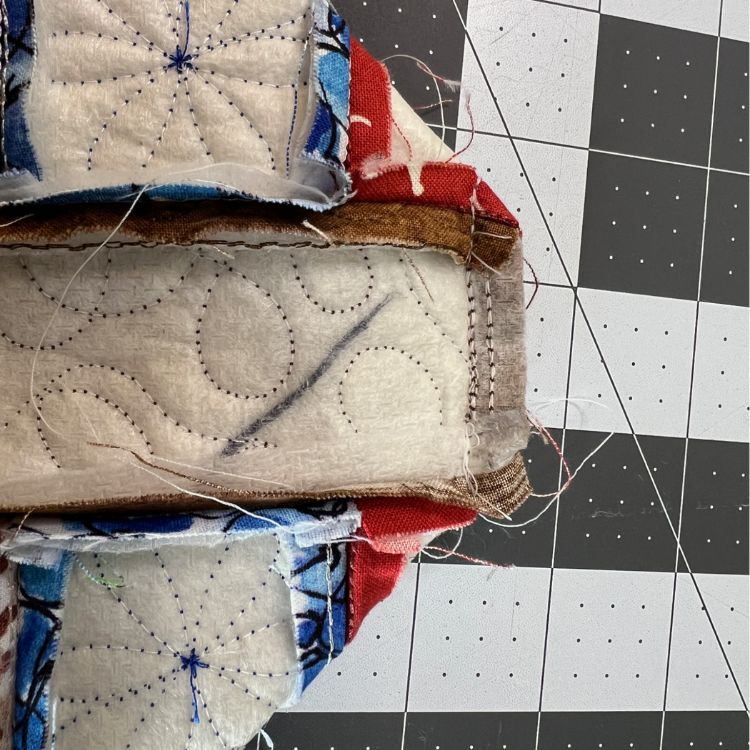
NOTE: When you are done quilting a component, on the right side you will only see the fabric tack down line and the quilting; on the wrong side you will see both the batting and fabric tack down lines.
Begin by sewing 8 of the 3” x 12” components together. Press all seams open.
NOTE: When you join components together, match up the corners of the fabric tack down lines on the right side and sew in between the batting and fabric tack down lines on the wrong side. Once you press the finished seam open, tack down lines will not be visible on the right side.
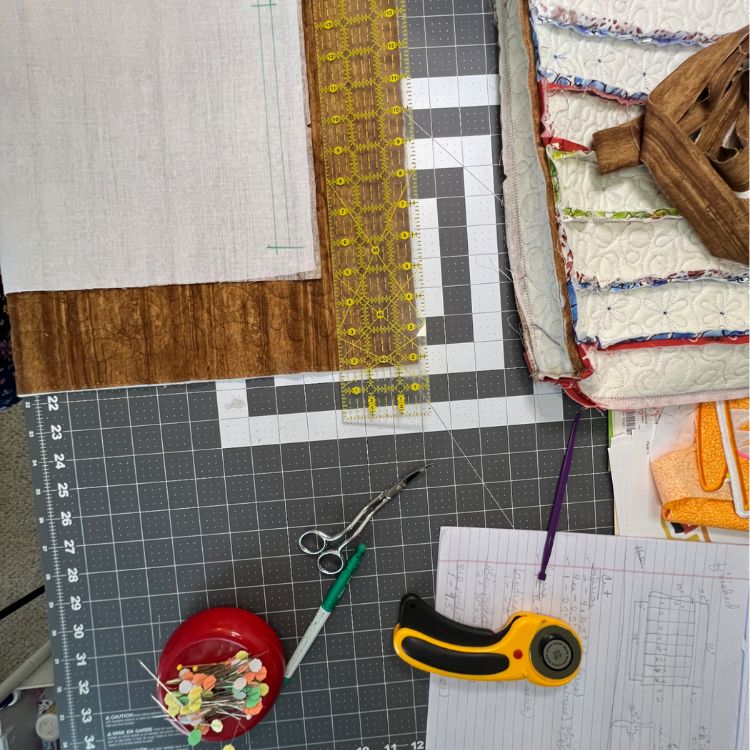
Next, attach one of the 4.5" x 17" border panels to the top of the combined components from the previous step. Press the seam open.
Now repeat the previous two steps for the remaining, similar components. This forms the front and back of the exterior of the tote bag.
The center of the front and back assembled should be easy to locate. Mark that.
Then mark the center of the 3” x 15” base.
Match up the center marks and sew the base to both the front and back exterior components, RST.
Again, refer to this video for sewing the boxed corners.
Handles and Binding
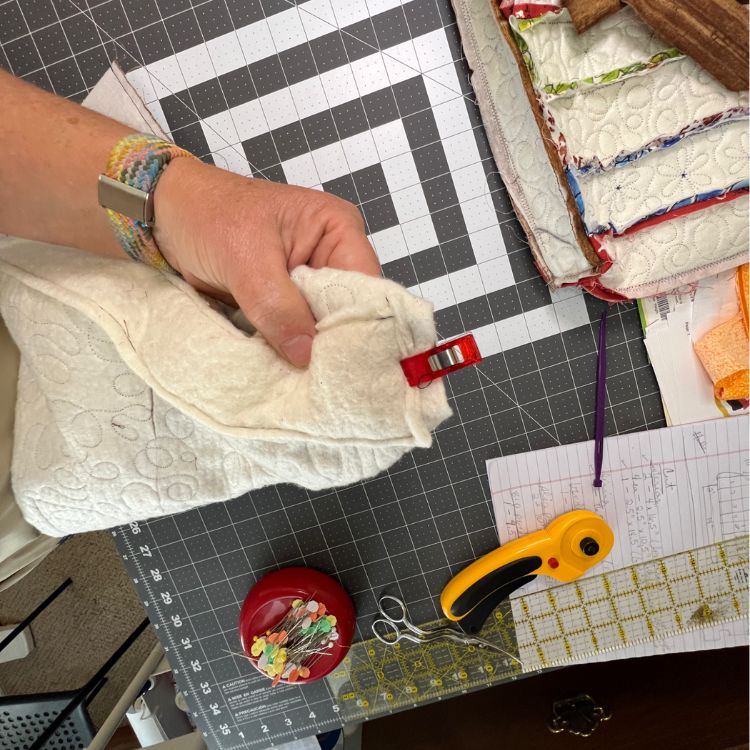
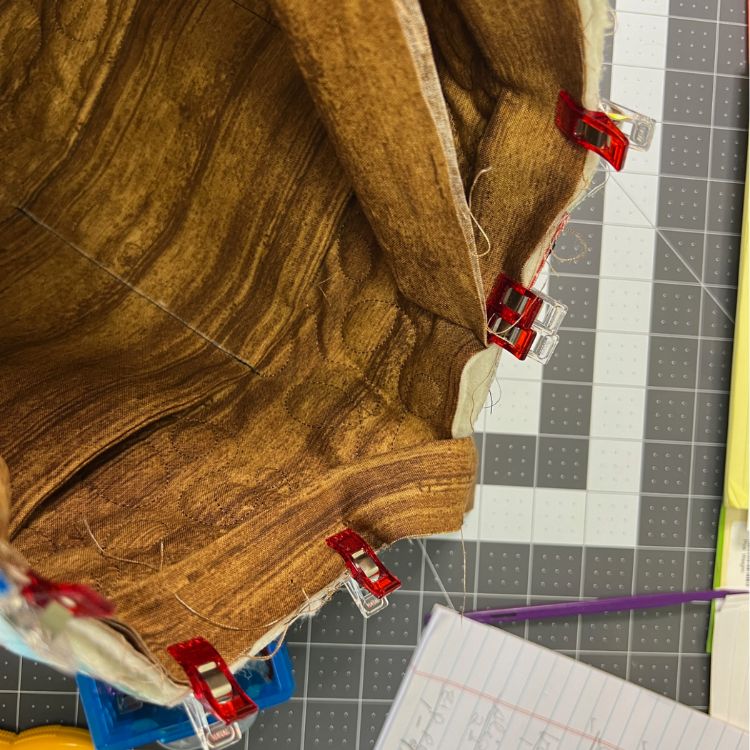
With the exterior right side out and the lining wrong side out, insert the lining inside the exterior.
Push out all of the corners, align the side seams and centers and clip in place.
Refer to this video for one (of many) techniques for attaching binding.
NOTE: In this project, I attached the binding to the lining first and then wrapped around the edge and topstitched to the exterior after attaching the handles.
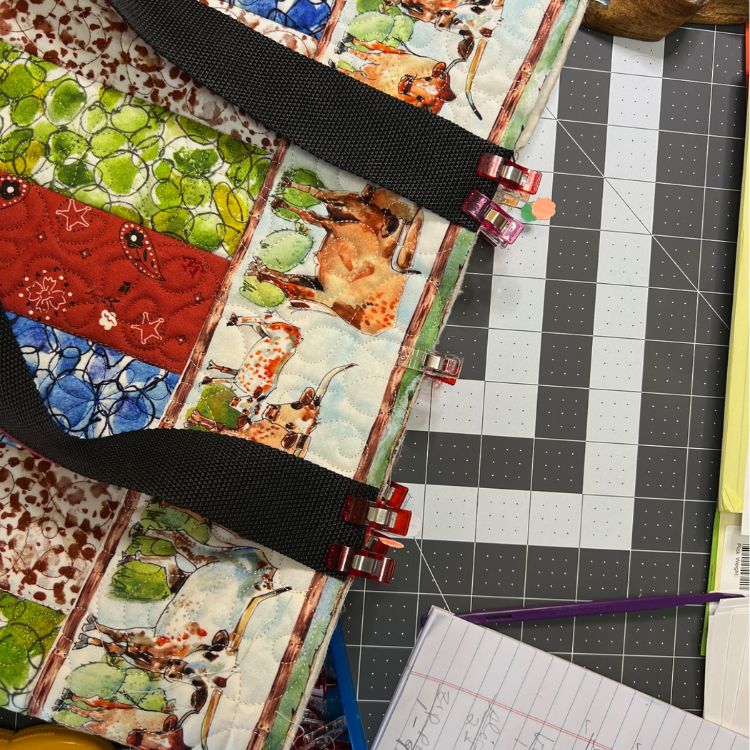
Decide on the placement for the handles and attach them to the exterior, with the raw edges of the handles matching the raw edges of the exterior. I recommend a couple of lines of stitching across here to reinforce this area.
NOTE: In this project, I placed the handles 6” apart on either side of the center of the front and the back of the exterior.
Flip the binding already attached to the lining, over the raw edges, to the exterior, covering the raw edges of the handles in the process.
Topstich the binding to the exterior.
Flip the handles back up so that they’re oriented on top of the bag, not next to the body, and lay on top of the binding. Stitch in place. Reinforce as desired.
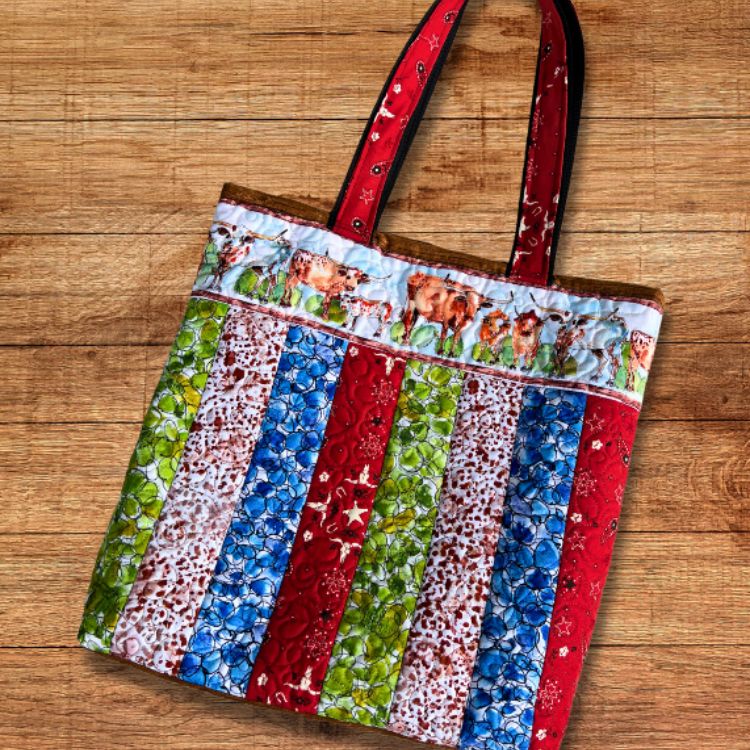
Whew! We’re done with our DIY quilted tote bag. You’re now ready to load up your new tote bag and get ready for the “ooohs” and “aaahs” when you tell people you made this one yourself!
If you loved this project, you’ll find plenty more just like it in our Bags Hub—a curated collection of quick, creative, and practical projects perfect for gifting (or keeping!)
Charlotte McKinney has been learning machine embroidery since 1999. She caught the bug from her mother and through all the seasons of her life it’s brought her joy.
Whether squeezing it in late at night after the toddlers went to bed or having larger chunks of time to devote to it in retirement, embroidery has been a trusted friend and creative outlet.
 Inspire.
Create.
Stitch.
Inspire.
Create.
Stitch.