Toggle Nav
 Inspire.
Create.
Stitch.
Inspire.
Create.
Stitch.
Inspire.
Create.
Stitch.
Search
Inspire.
Create.
Stitch.
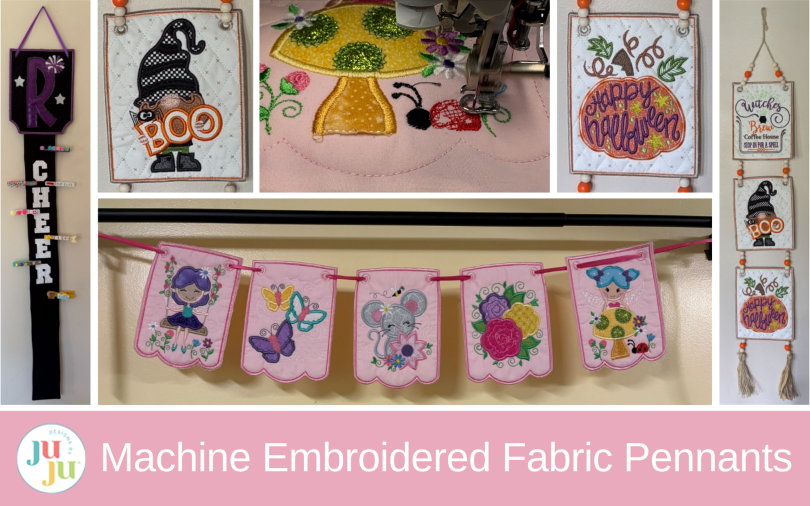
Create custom fabric wall pennants and buntings with machine embroidery. This tutorial includes a woodland fairy bunting, glow-in-the-dark Halloween pennants, and a cheer pin display pennant.
Follow along as I make a cute fairy bunting that would go perfectly with a Woodland Fairy Baby Quilt, Halloween pennants with glow-in-the-dark threads and vinyl, and a Cheer pennant for displaying the collectible pins the girls love to trade at meets.
Check out the DBJJ team’s favorite supplies in the Designs by JuJu Amazon store. For stabilizers, batting, and threads, Designs by JuJu+ has everything you need.
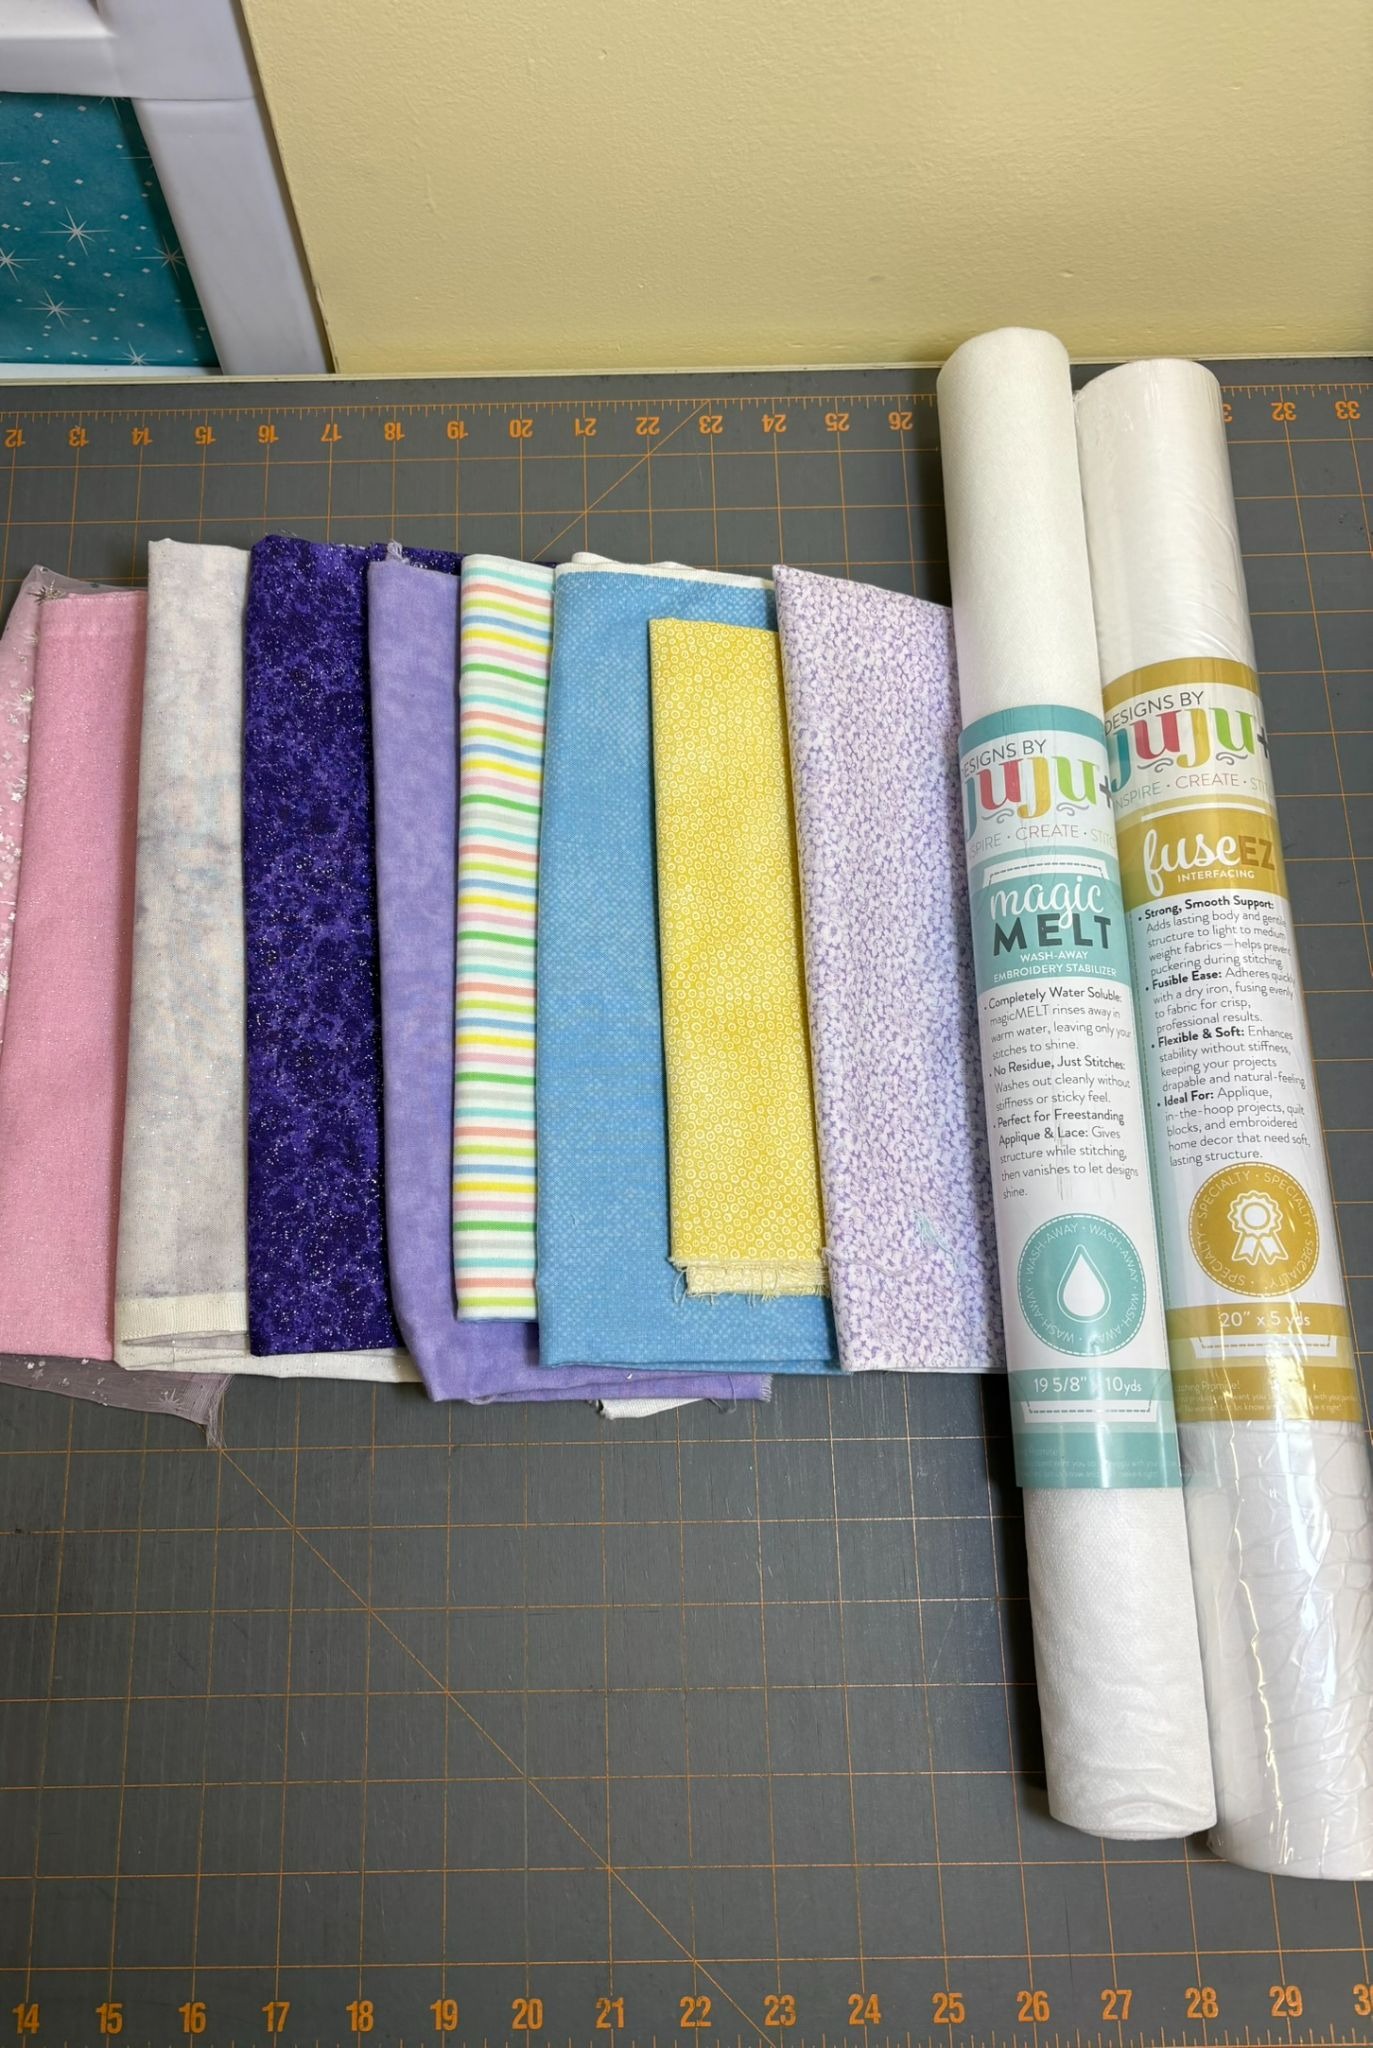
For 7” pennant pieces: cut batting, backgrounds, and backs 6” x 8” rectangles.
I’m using the 7” Triple Scallop Plain with Eyelets pennant design from the Pennant and Bunting Shapes Set 2. Make sure you select your intended design from the list of pennants because there are lots of options. I’m using the 5” x 7” designs from the Woodland Fairy Baby Quilt Project. I chose the Swing Fairy, the Fairy on a Mushroom, the Mouse, Flowers, and the Butterflies. Some of the designs won’t work because they run off into the edges.
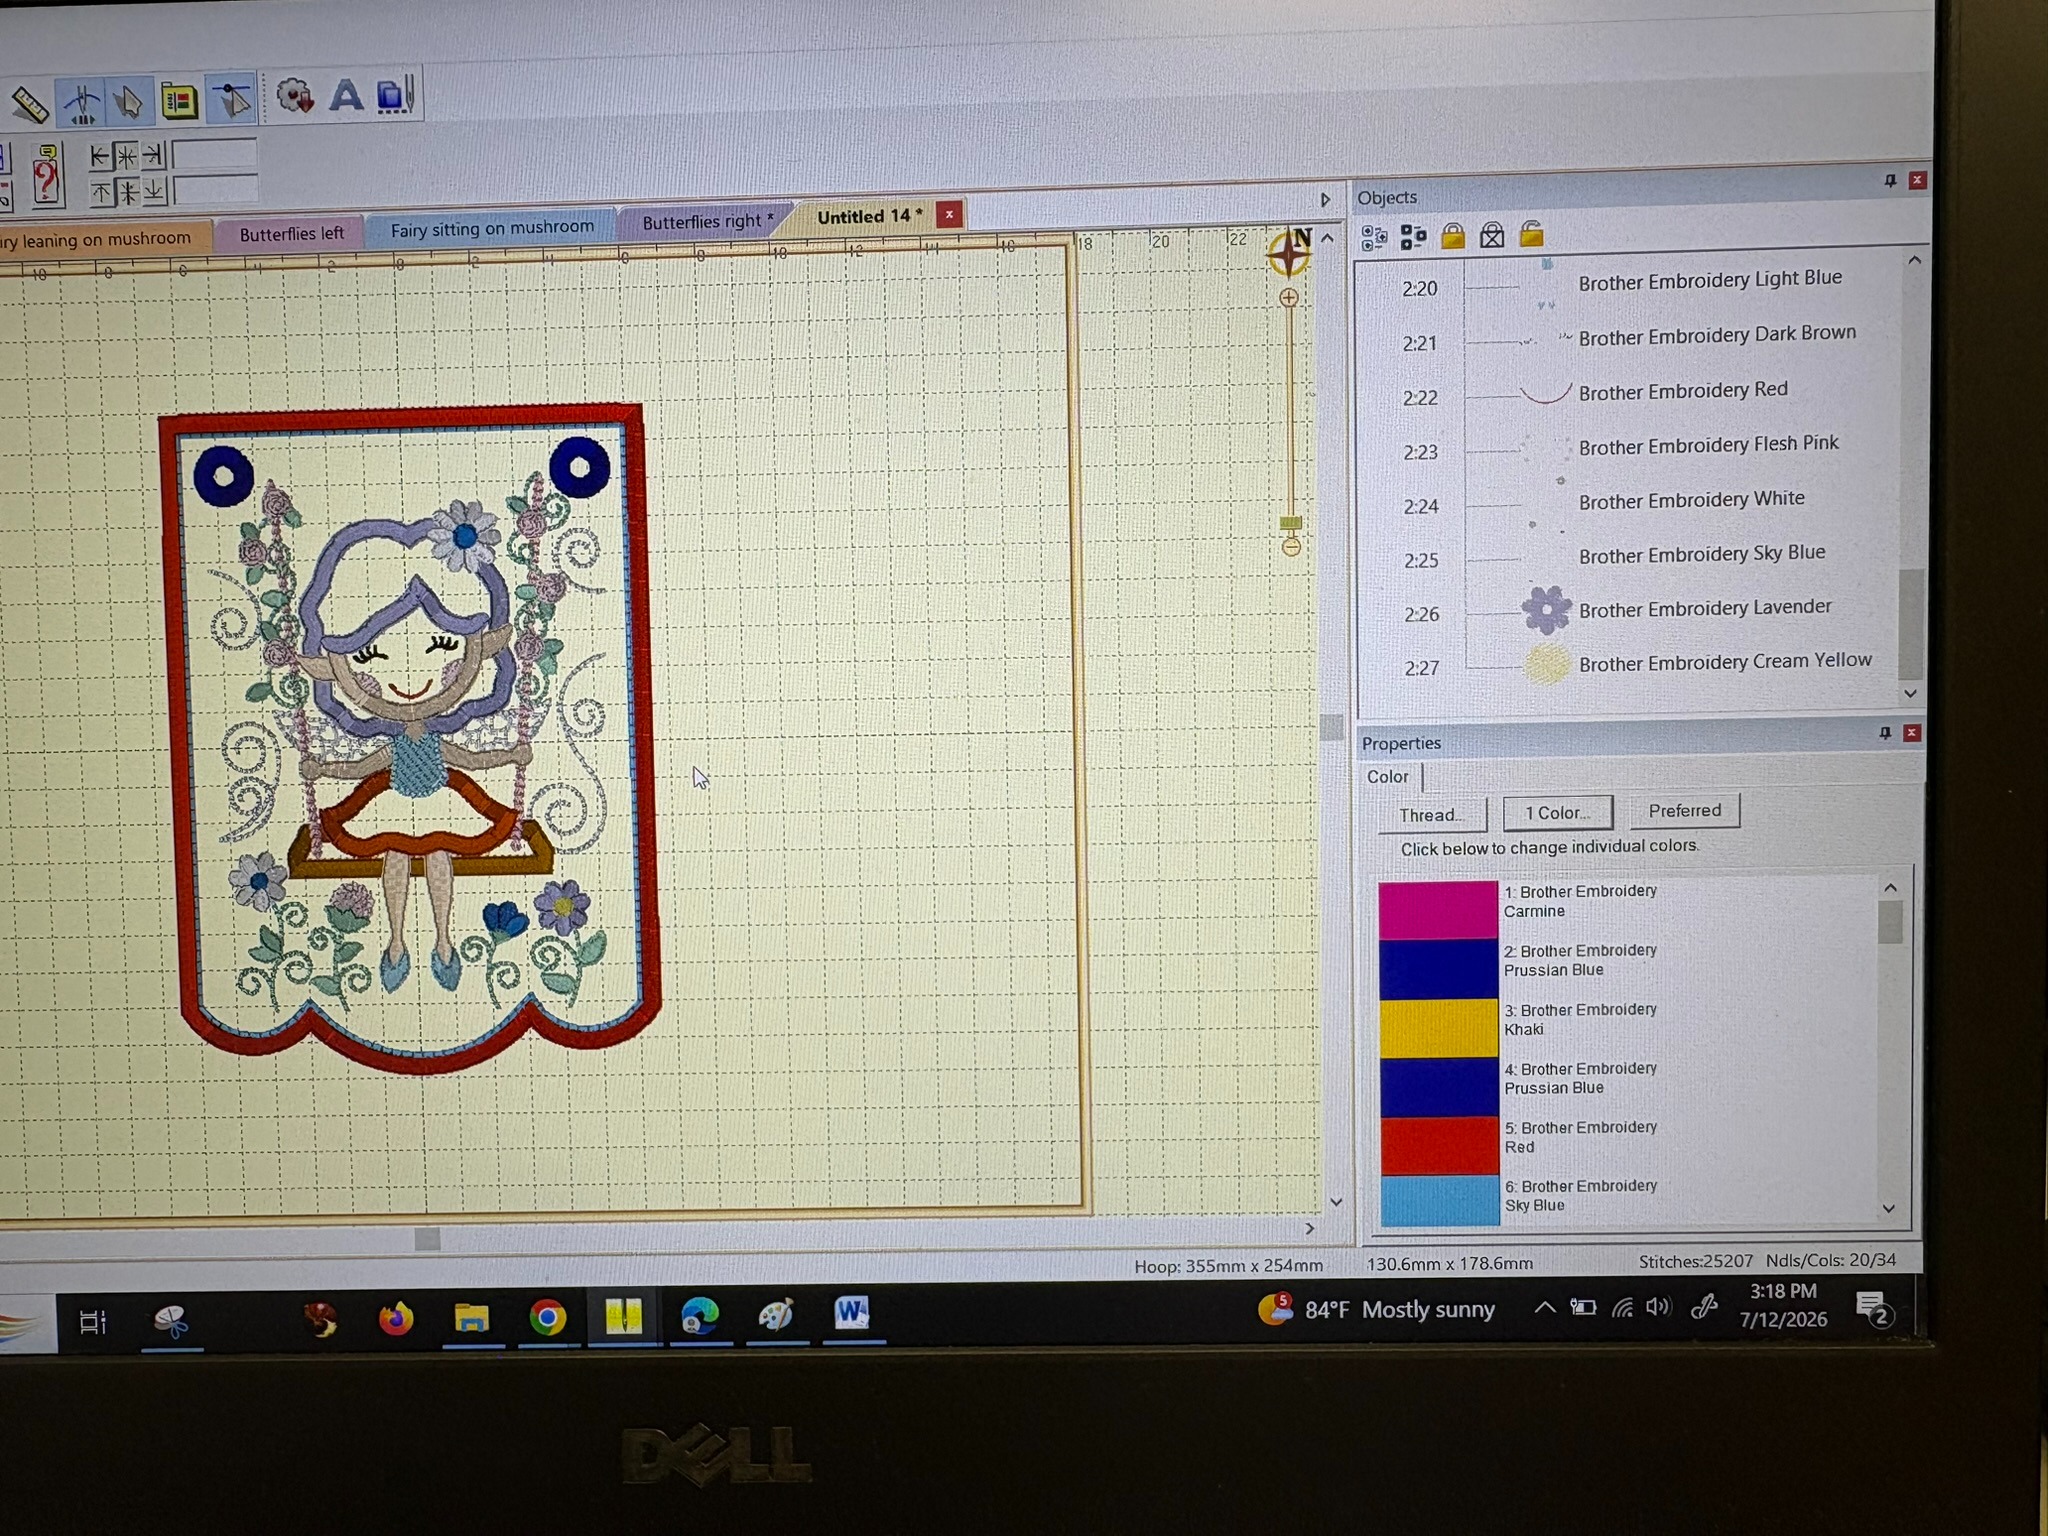
I used Embrilliance to merge the pennant and fairy designs. Whether you have Embrilliance or you are just adding the designs to your embroidery machine, load the pennant design first, as that has some of the first steps you’ll stitch out. I’ll explain how to merge the pennant and Swing Fairy designs with and without Embrilliance.
Without Embriilliance:
Load your pennant design first, then the Swing Fairy design. The first three steps on your machine should be the pennant’s placement line, the batting tack-down, then the background tack-down. Stitch them out. From here jump to step 5 of the Swing Fairy. You’ll know you’re on the correct step if the first part of the fairy design you’re stitching out is the swing. End the fairy design with steps 30 and 31 for the flower in the bottom right corner. Now return to step 4 of the pennant to complete this.
With Embrilliance:
Make sure to load your pennant design first and then add the Swing Fairy. Click on the + sign of the Swing Fairy so that all those steps are shown. Delete the first four steps. They are the placement and tack-down steps you would use if you were making the quilt block. Next, delete the last six steps. These are for the block borders, which you won’t be making. I have the Essentials and Enthusiast Embrilliance modules, which allow me to do this. Some of you may have additional modules which even let you reorder the steps of your entire design. I don’t, so when I stitch this out, I’ll start making the pennant, then jump over to stitch my fairy design, and then return to the pennant steps to add the back and the satin stitching around the edge. Save your design and load it onto your embroidery machine. If you were able to reorder ALL the steps, stitch away. If not, you can follow what I’m doing below.
I like to have everything organized. There are going to be five pennants in all, so I cut five 6” x 8” rectangles of batting and five 6” x 8” rectangles of background fabric. To prevent puckering, I added fuseEZ Fusible Interfacing to the backs of the background pieces.
I’m working on my first pennant. The design is on a thumb drive and I loaded it onto my machine. I stitched out the placement line, then tacked down and trimmed the batting.
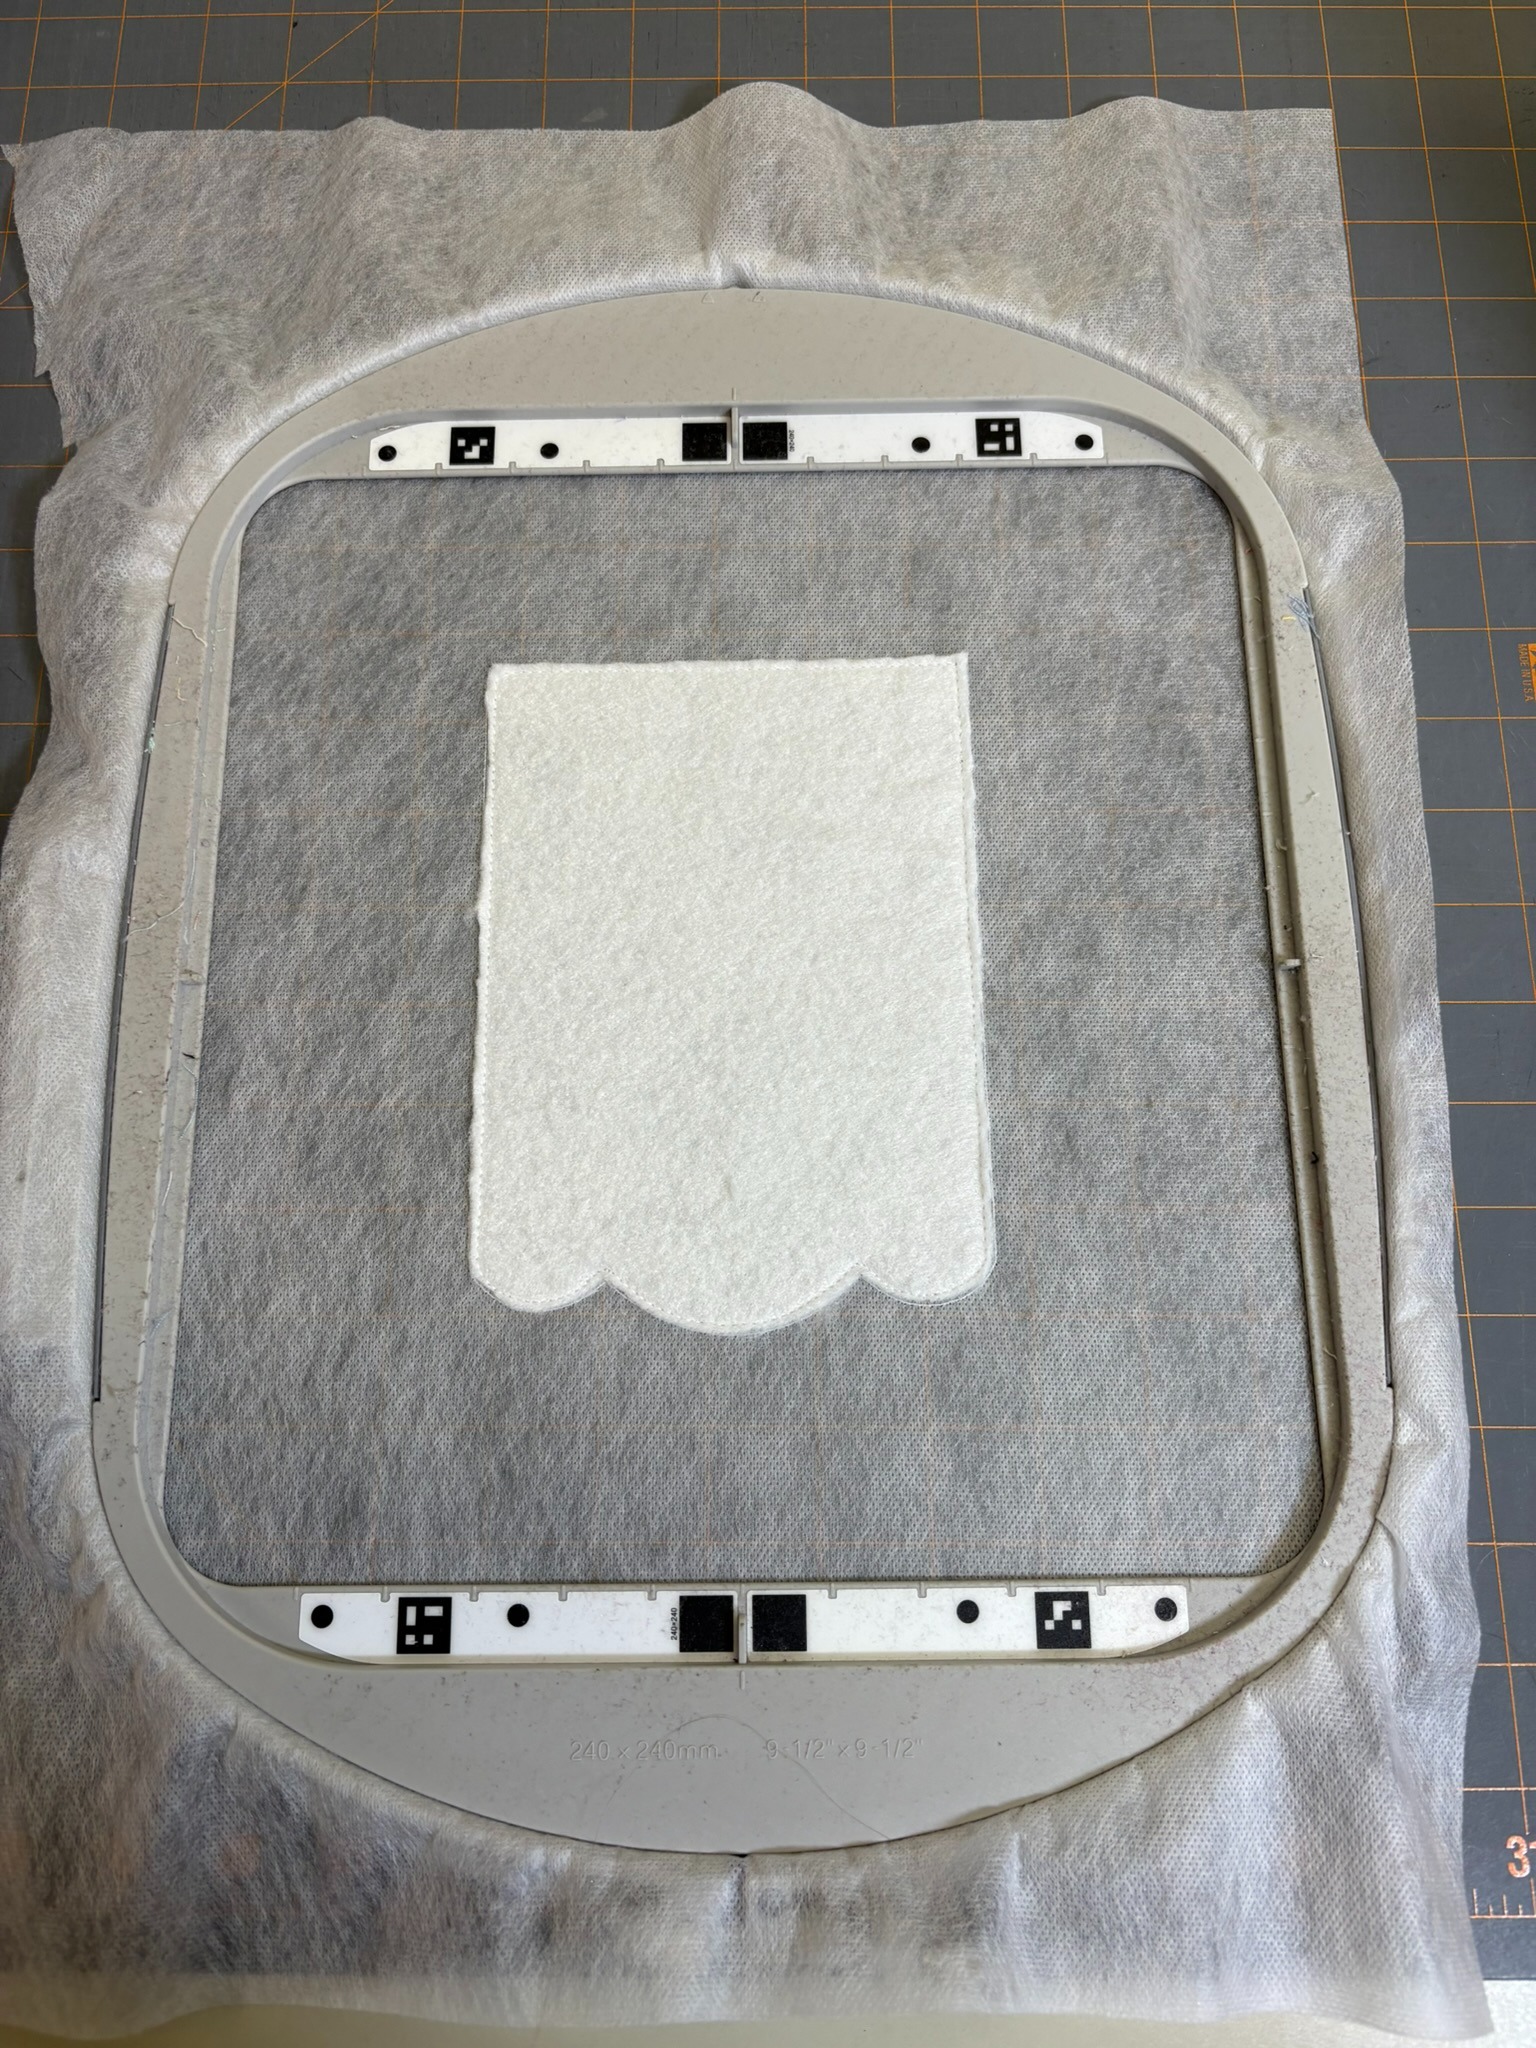
Then I added the background fabric and tacked it down, but did not trim the background fabric!
The swing, skirt, hair, and face are the first elements of the design to be stitched and appliqued. It’s a good idea to refer to the color chart to make sure you are appliqueing the element you think you are. I almost used my face material when it was actually the fairy’s hair that was getting tacked down!
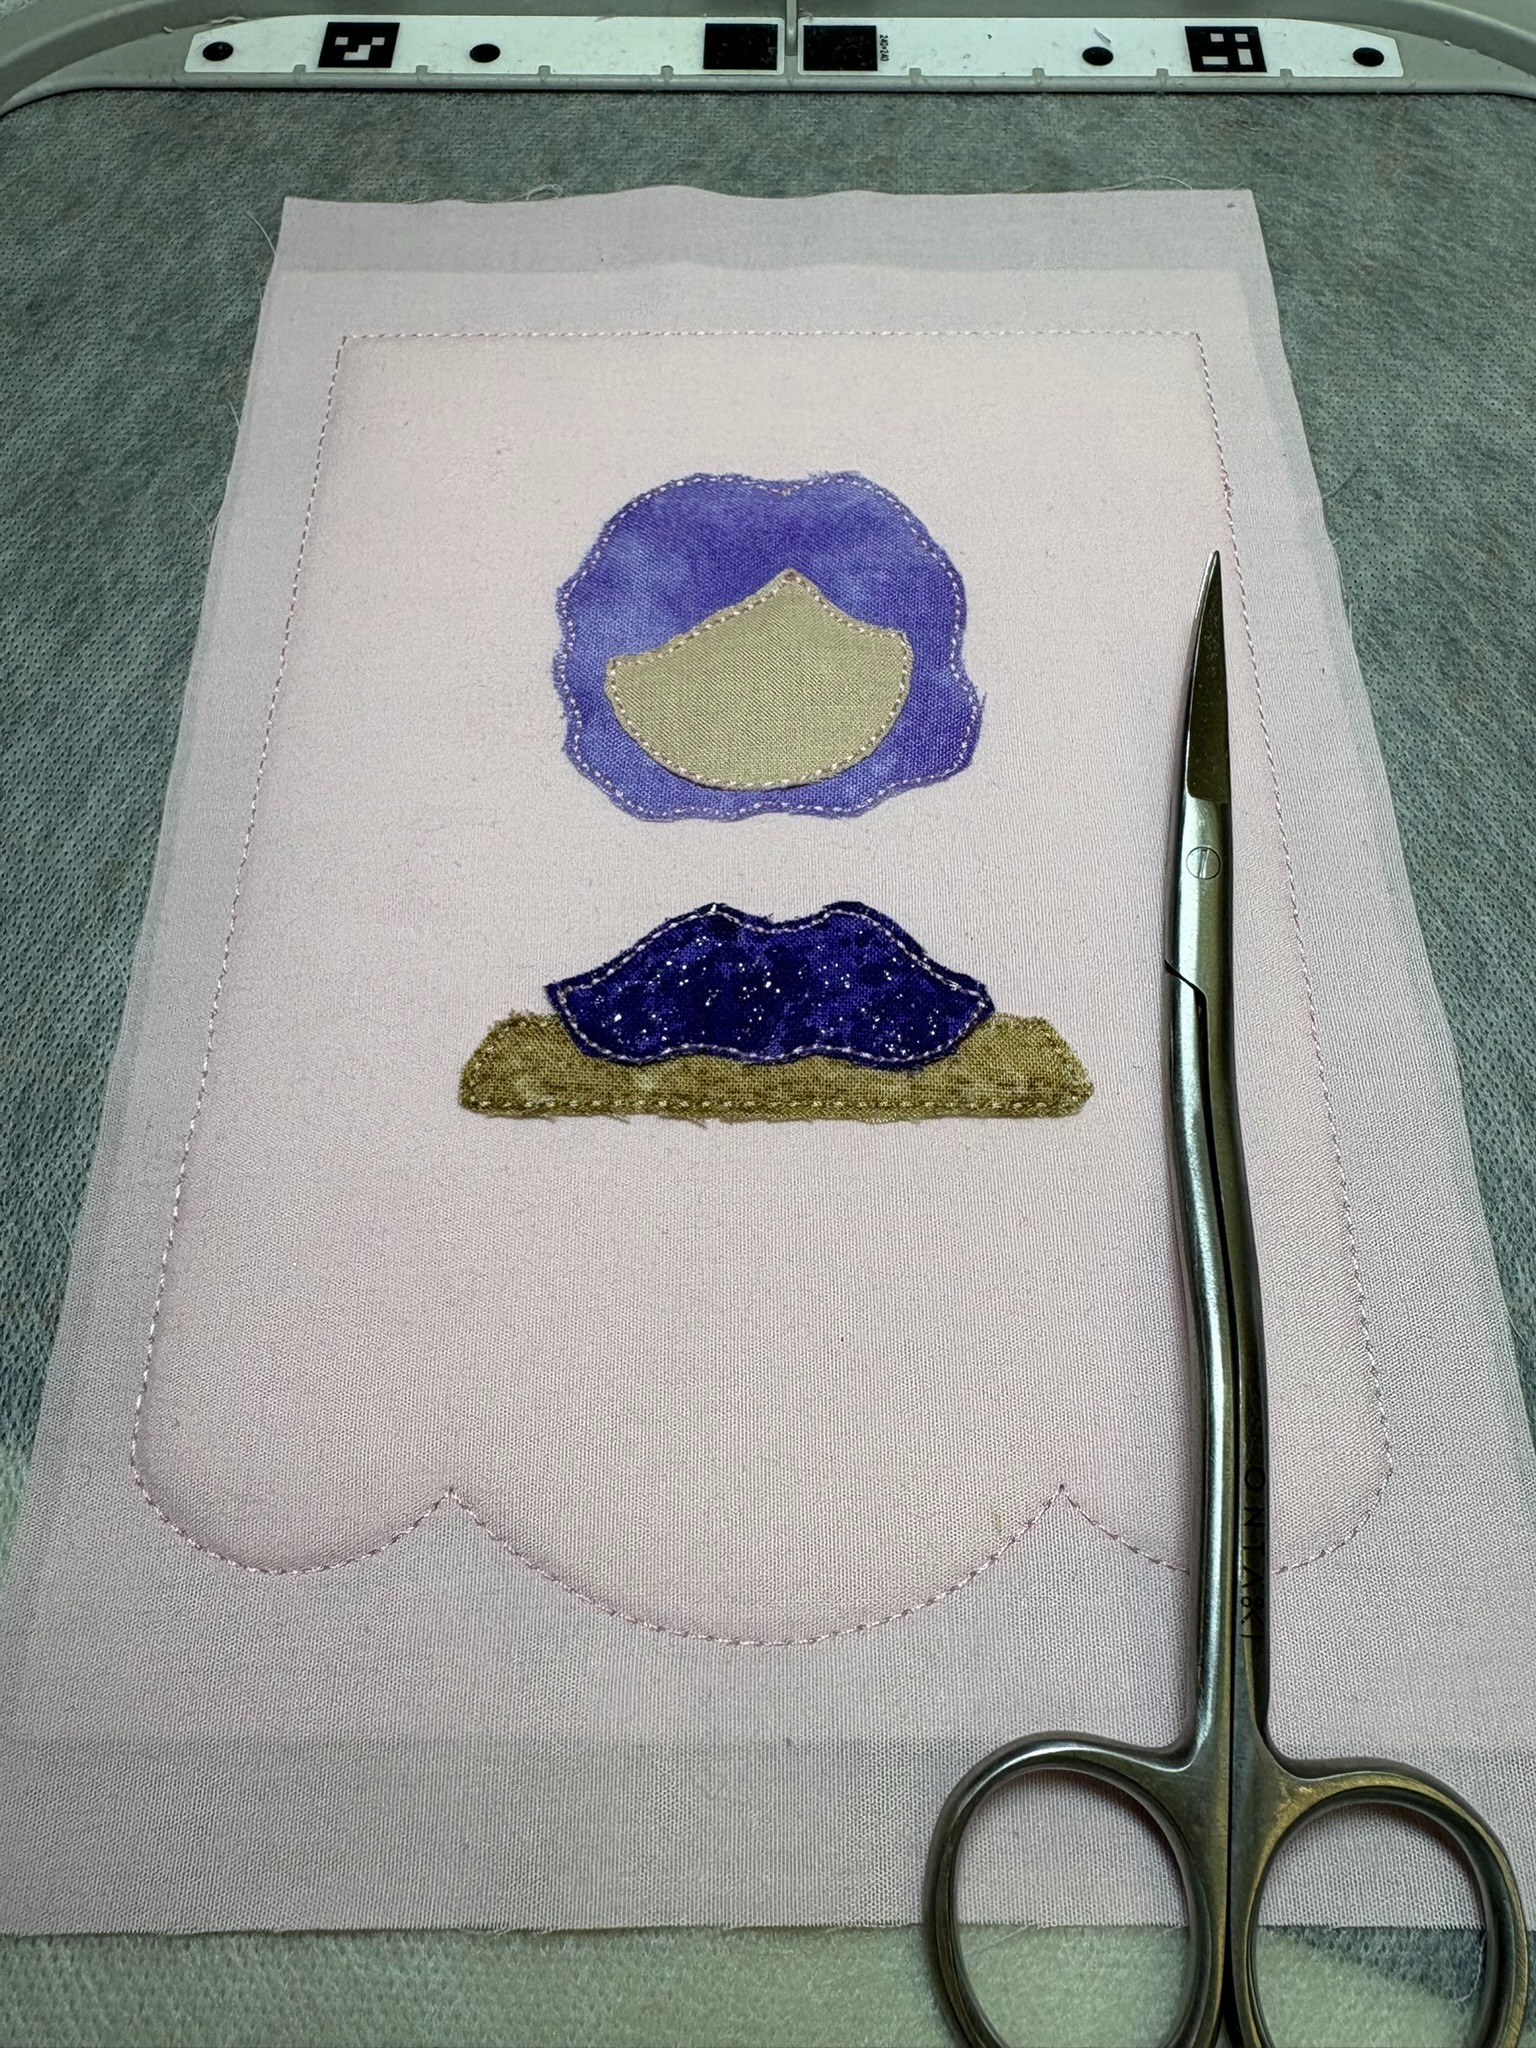
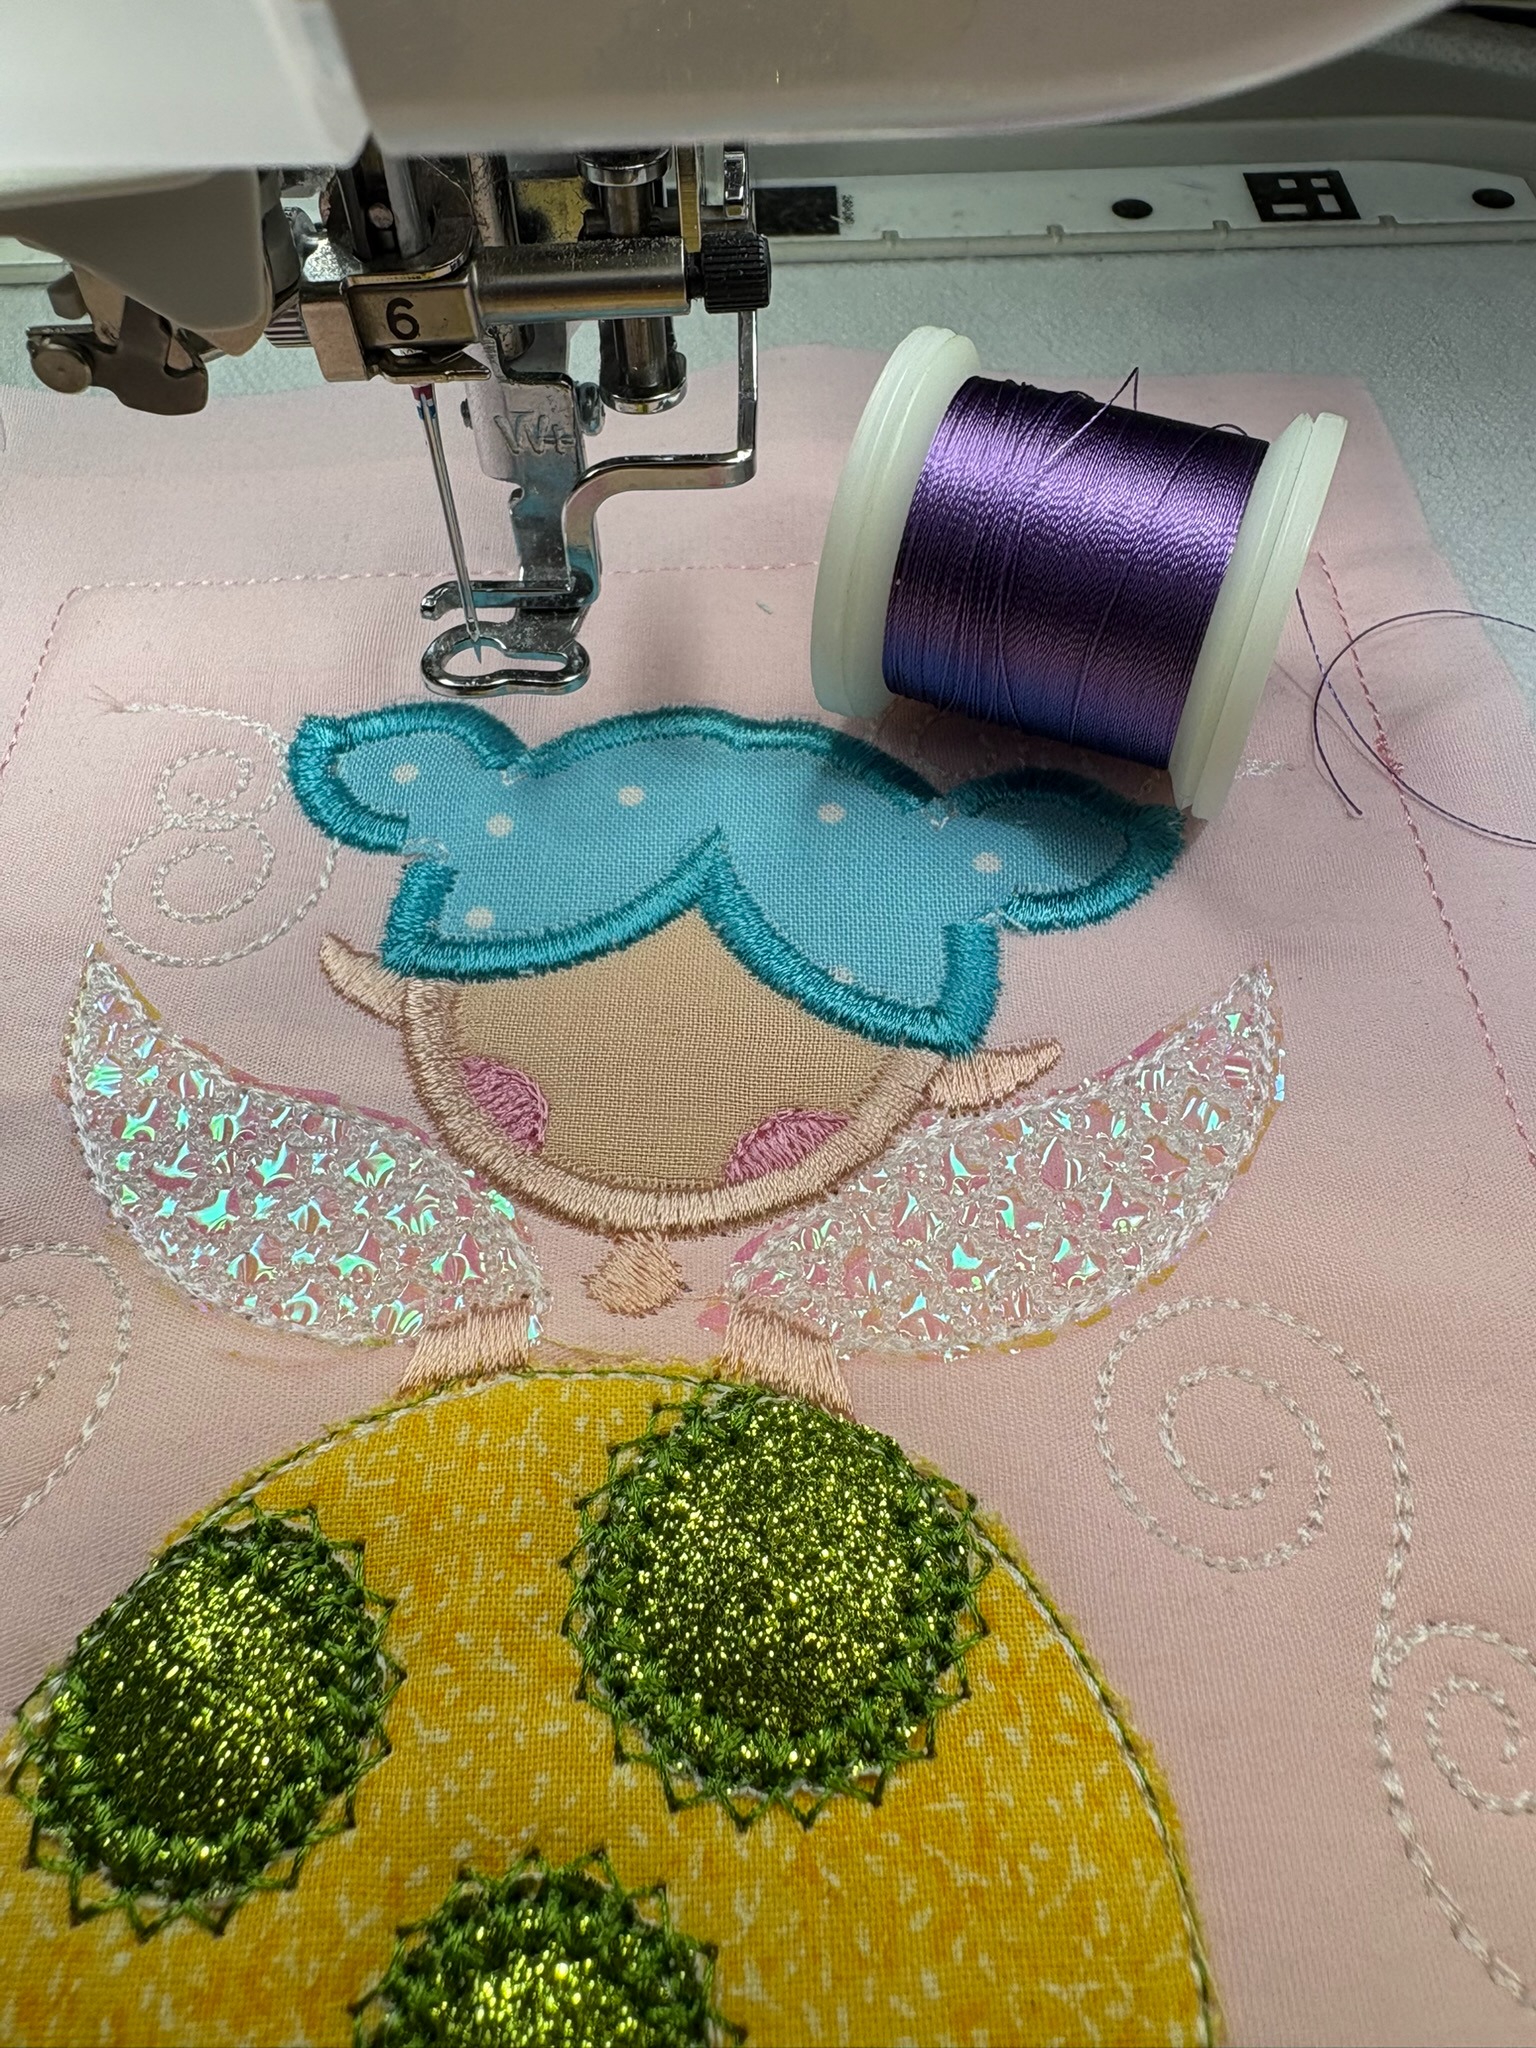
I wanted to bling the bunting up a bit, so I’m using mylar behind her wings. I love the look and I’m pretty chuffed that the sparkle shows up in the photos. To do this I needed to sit by the machine and stop it after the swirls so I could add the mylar, then stop it after the wings were stitched so I could trim the mylar back before the machine started working on the swirl on the right side.
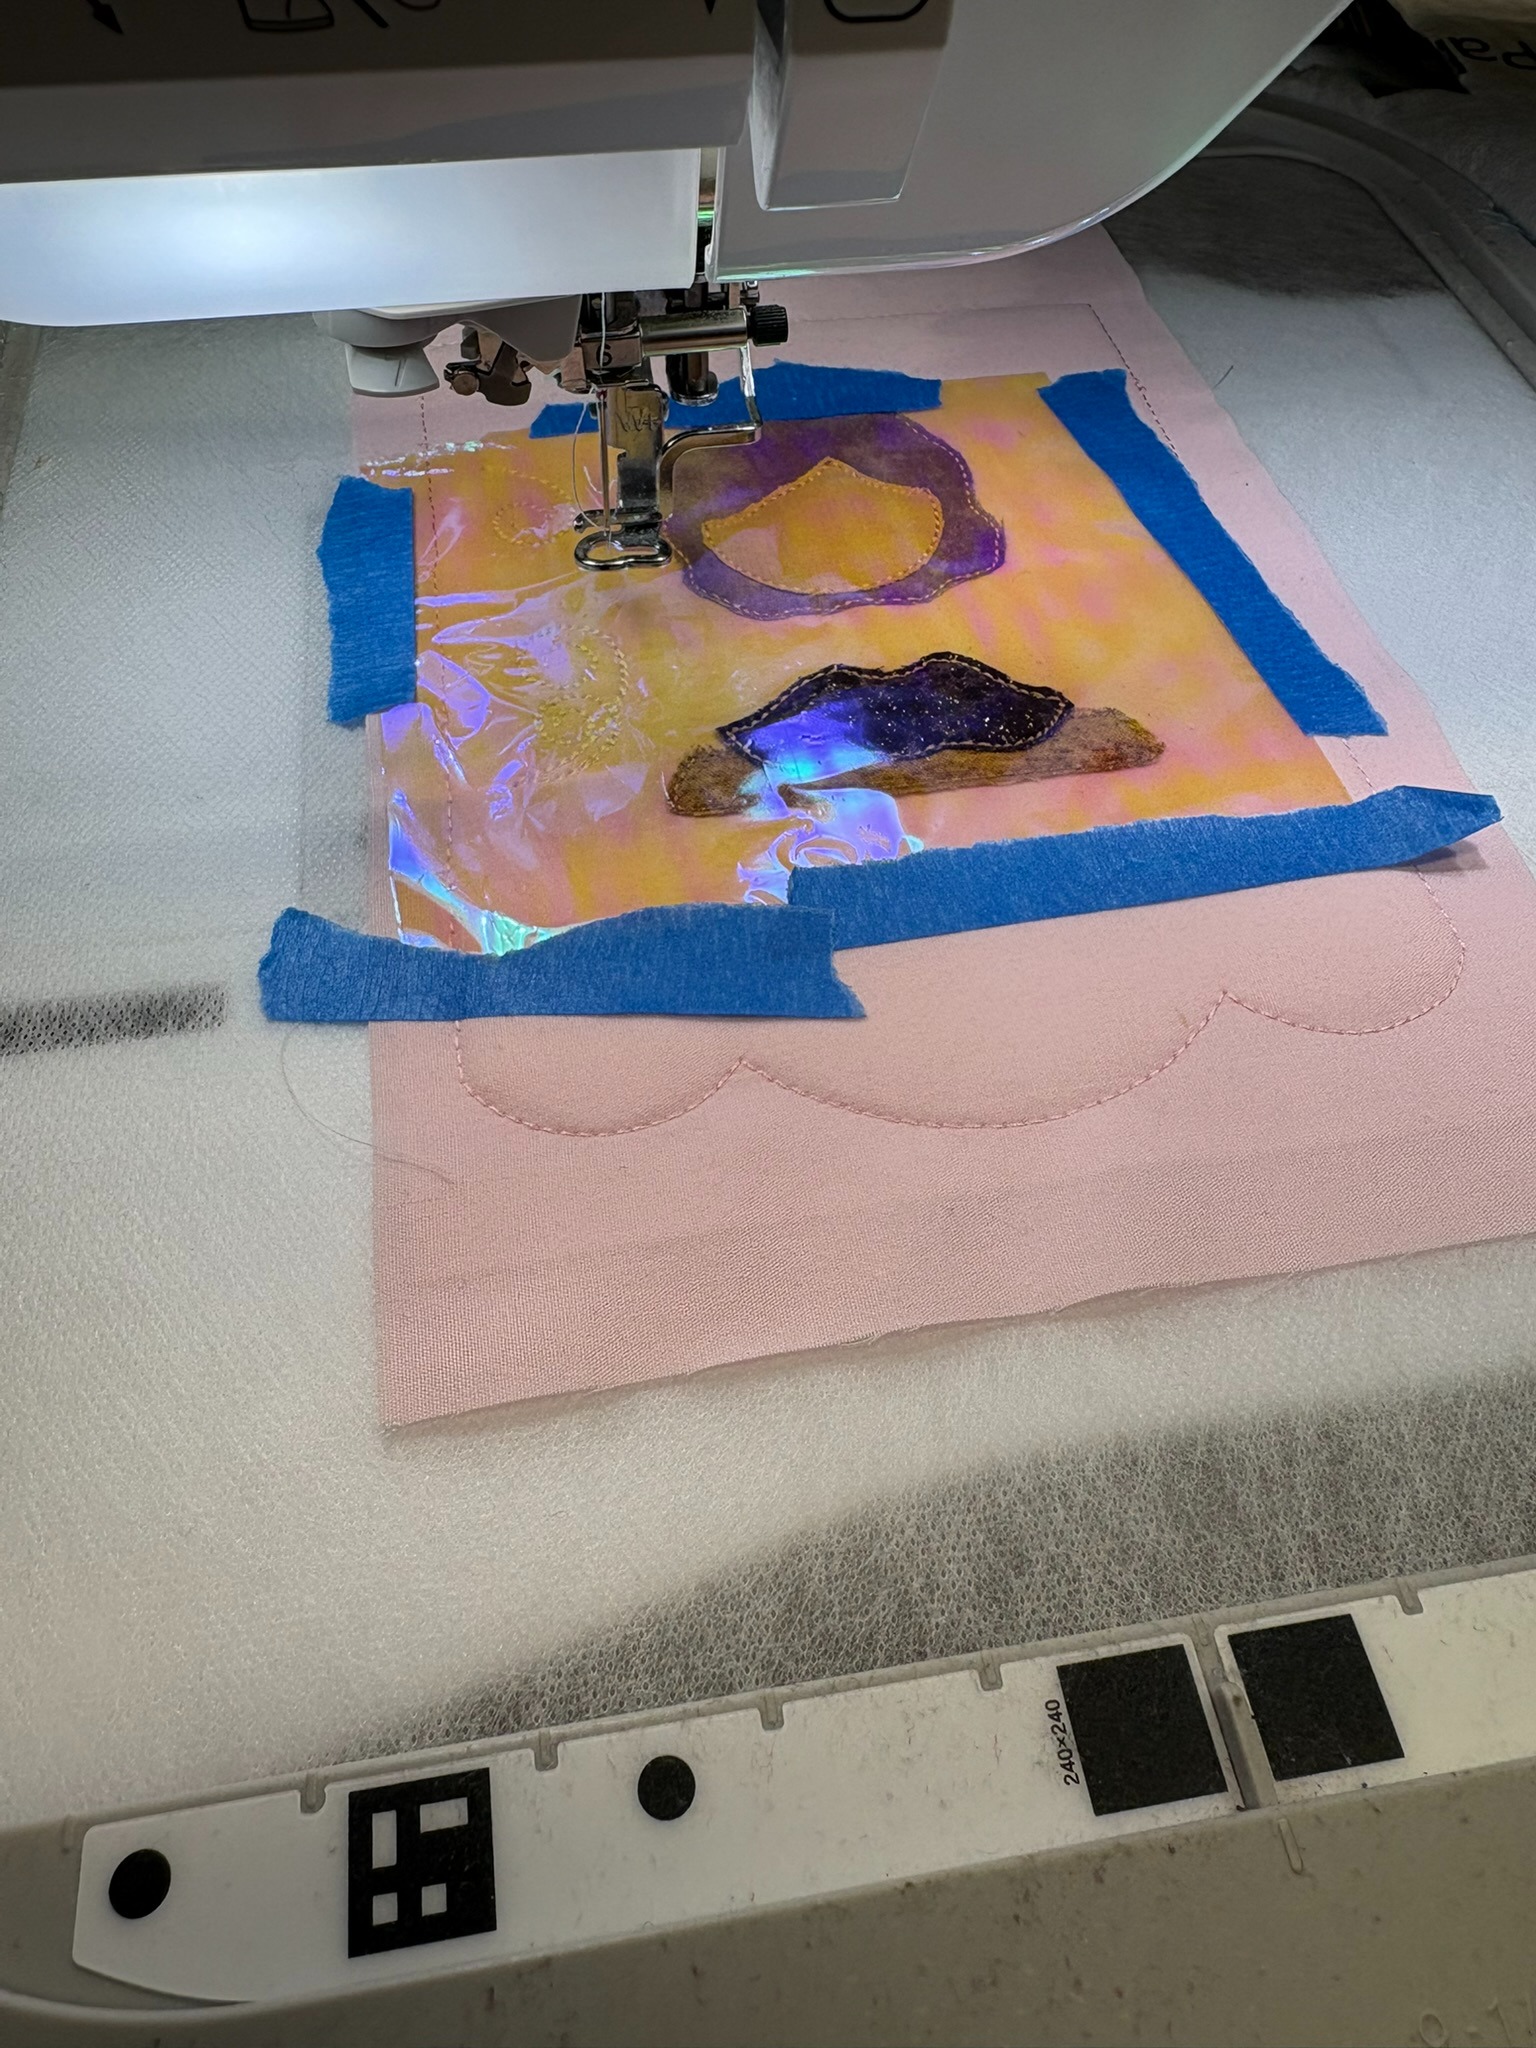
Once the fairy design was completely stitched out, I returned to the steps for the pennant. I removed the hoop from the machine and, using adhesive spray and a few small pieces of embroidery tape, I attached the backing to the back of the hoop.
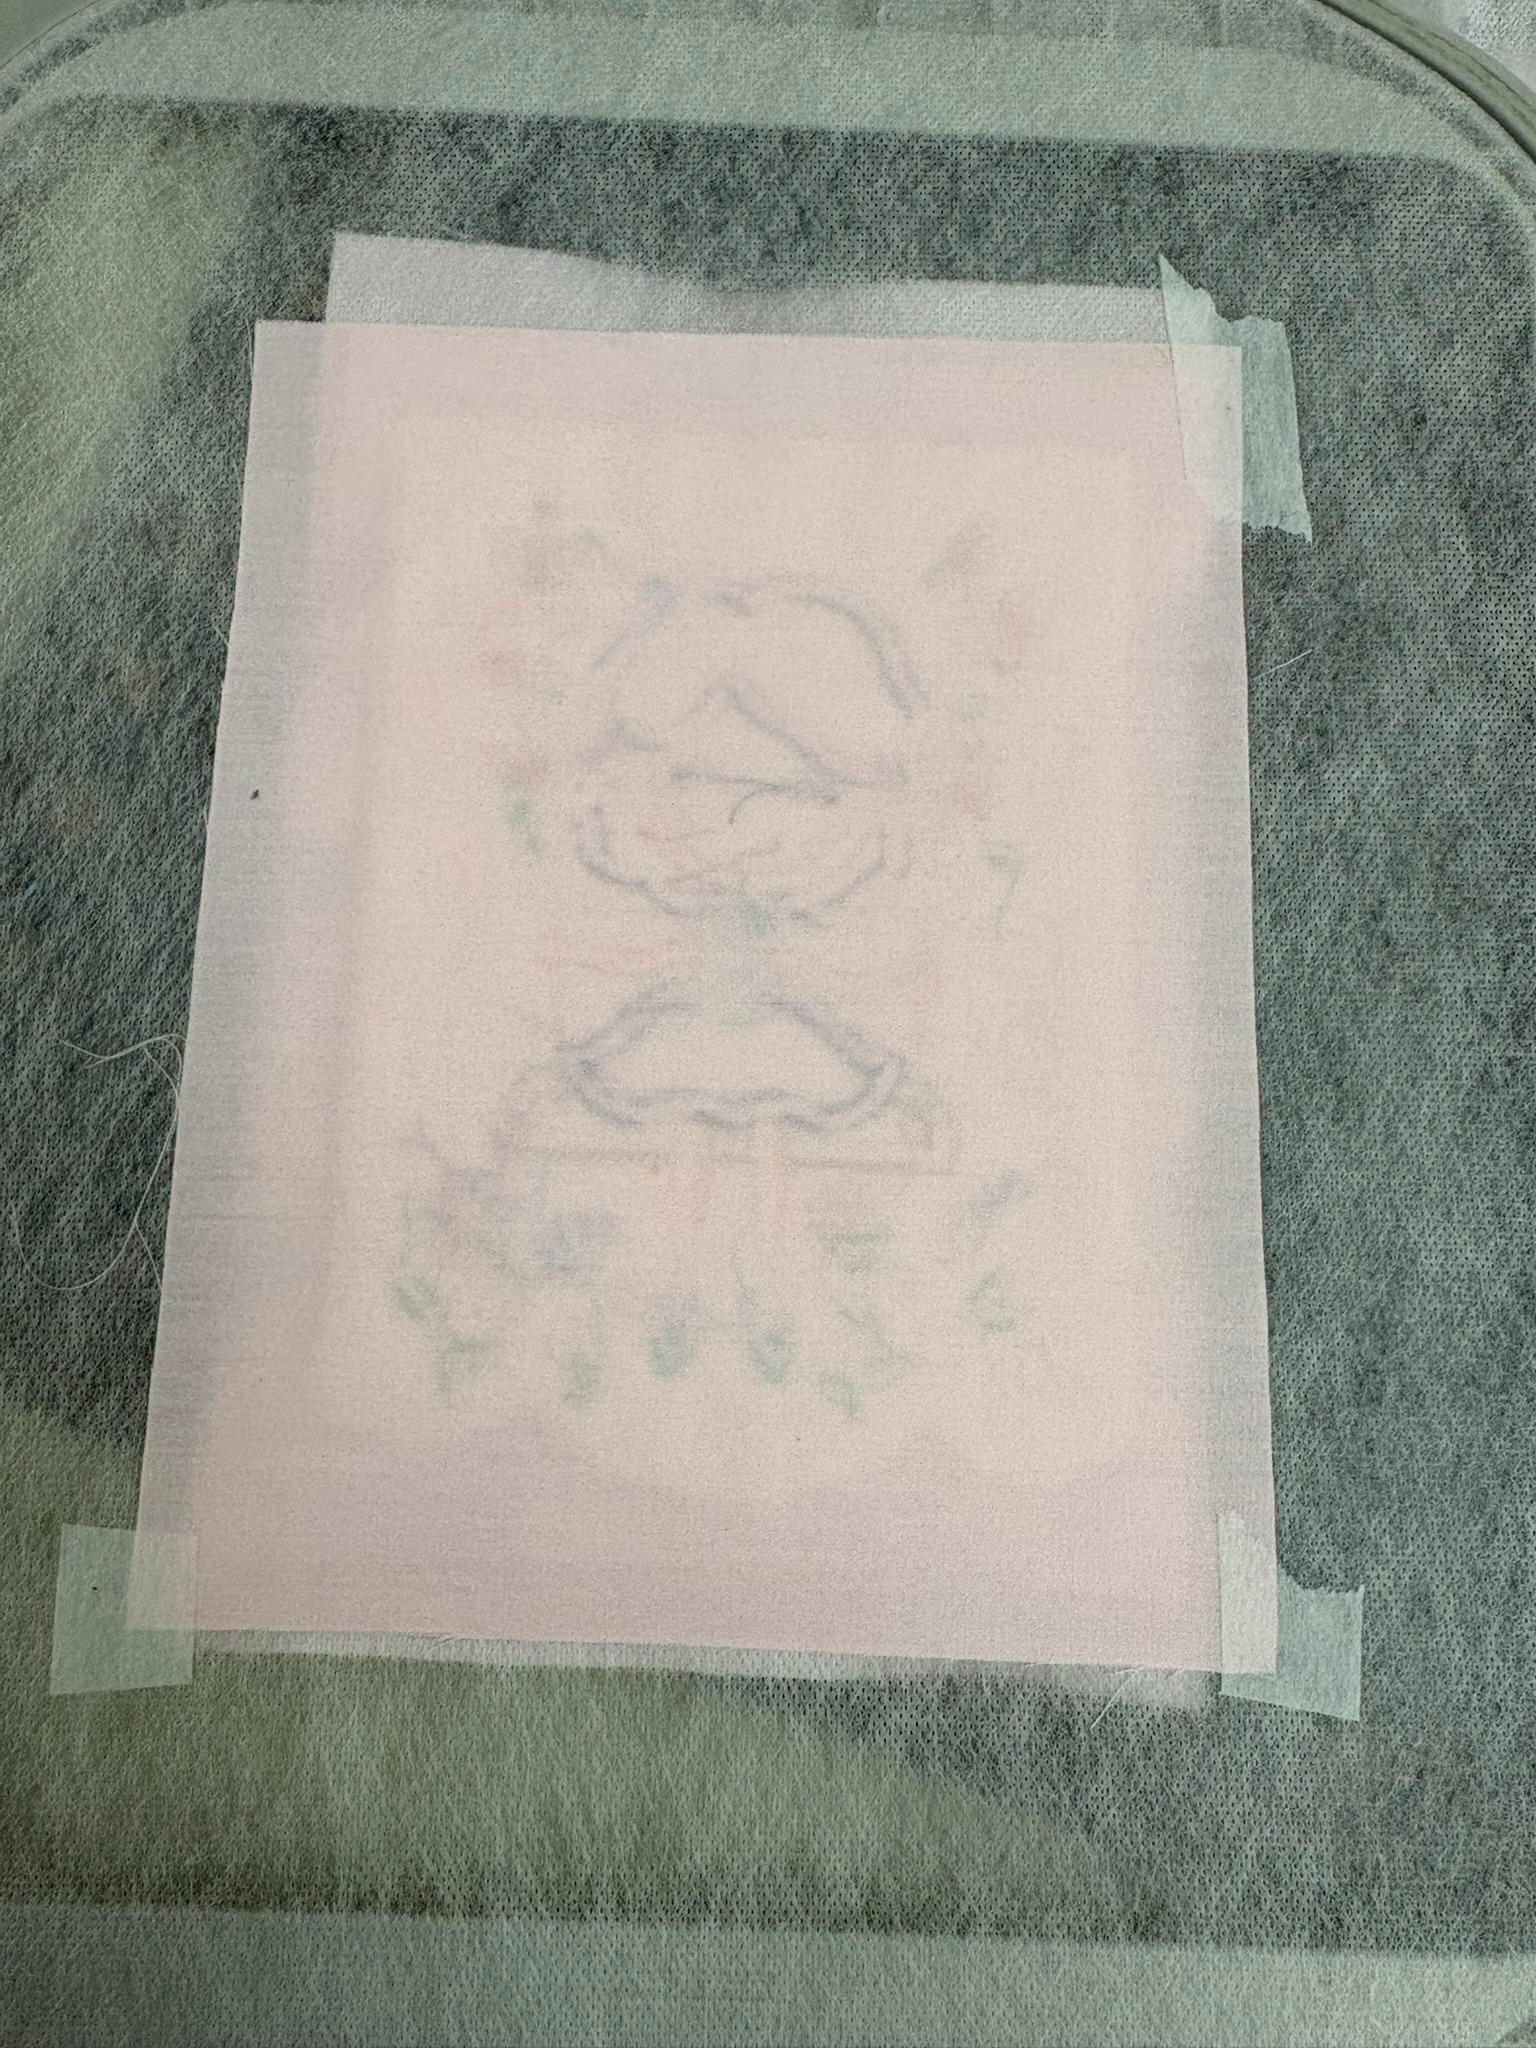
I also changed my bobbin thread to match the top thread just in case someone chooses to hang the bunting where the back will be visible. The next step stitches on the backing.
After the back was tacked on, I removed the hoop and trimmed the excess fabric, front and back. The hoop was replaced in the machine for the satin stitches, the decorative bean stitch, and the buttonholes.
The stitching is all completed! I removed the pennant from the hoop and trimmed the magicMELT close to the edges without cutting the satin stitches. Use a wet cloth dipped in warm water to melt the stabilizer away.
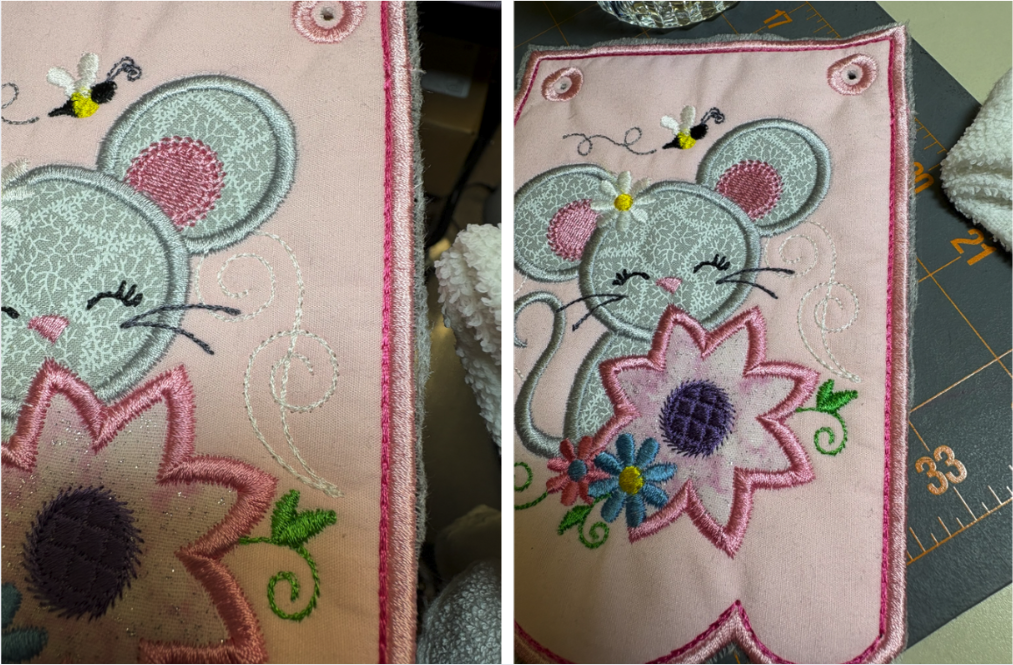
The Fairy Leaning on the Mushroom is so cute I wanted to include it in the bunting.
While the entire mushroom is seen in the design, the bottom of it is not satin stitched.
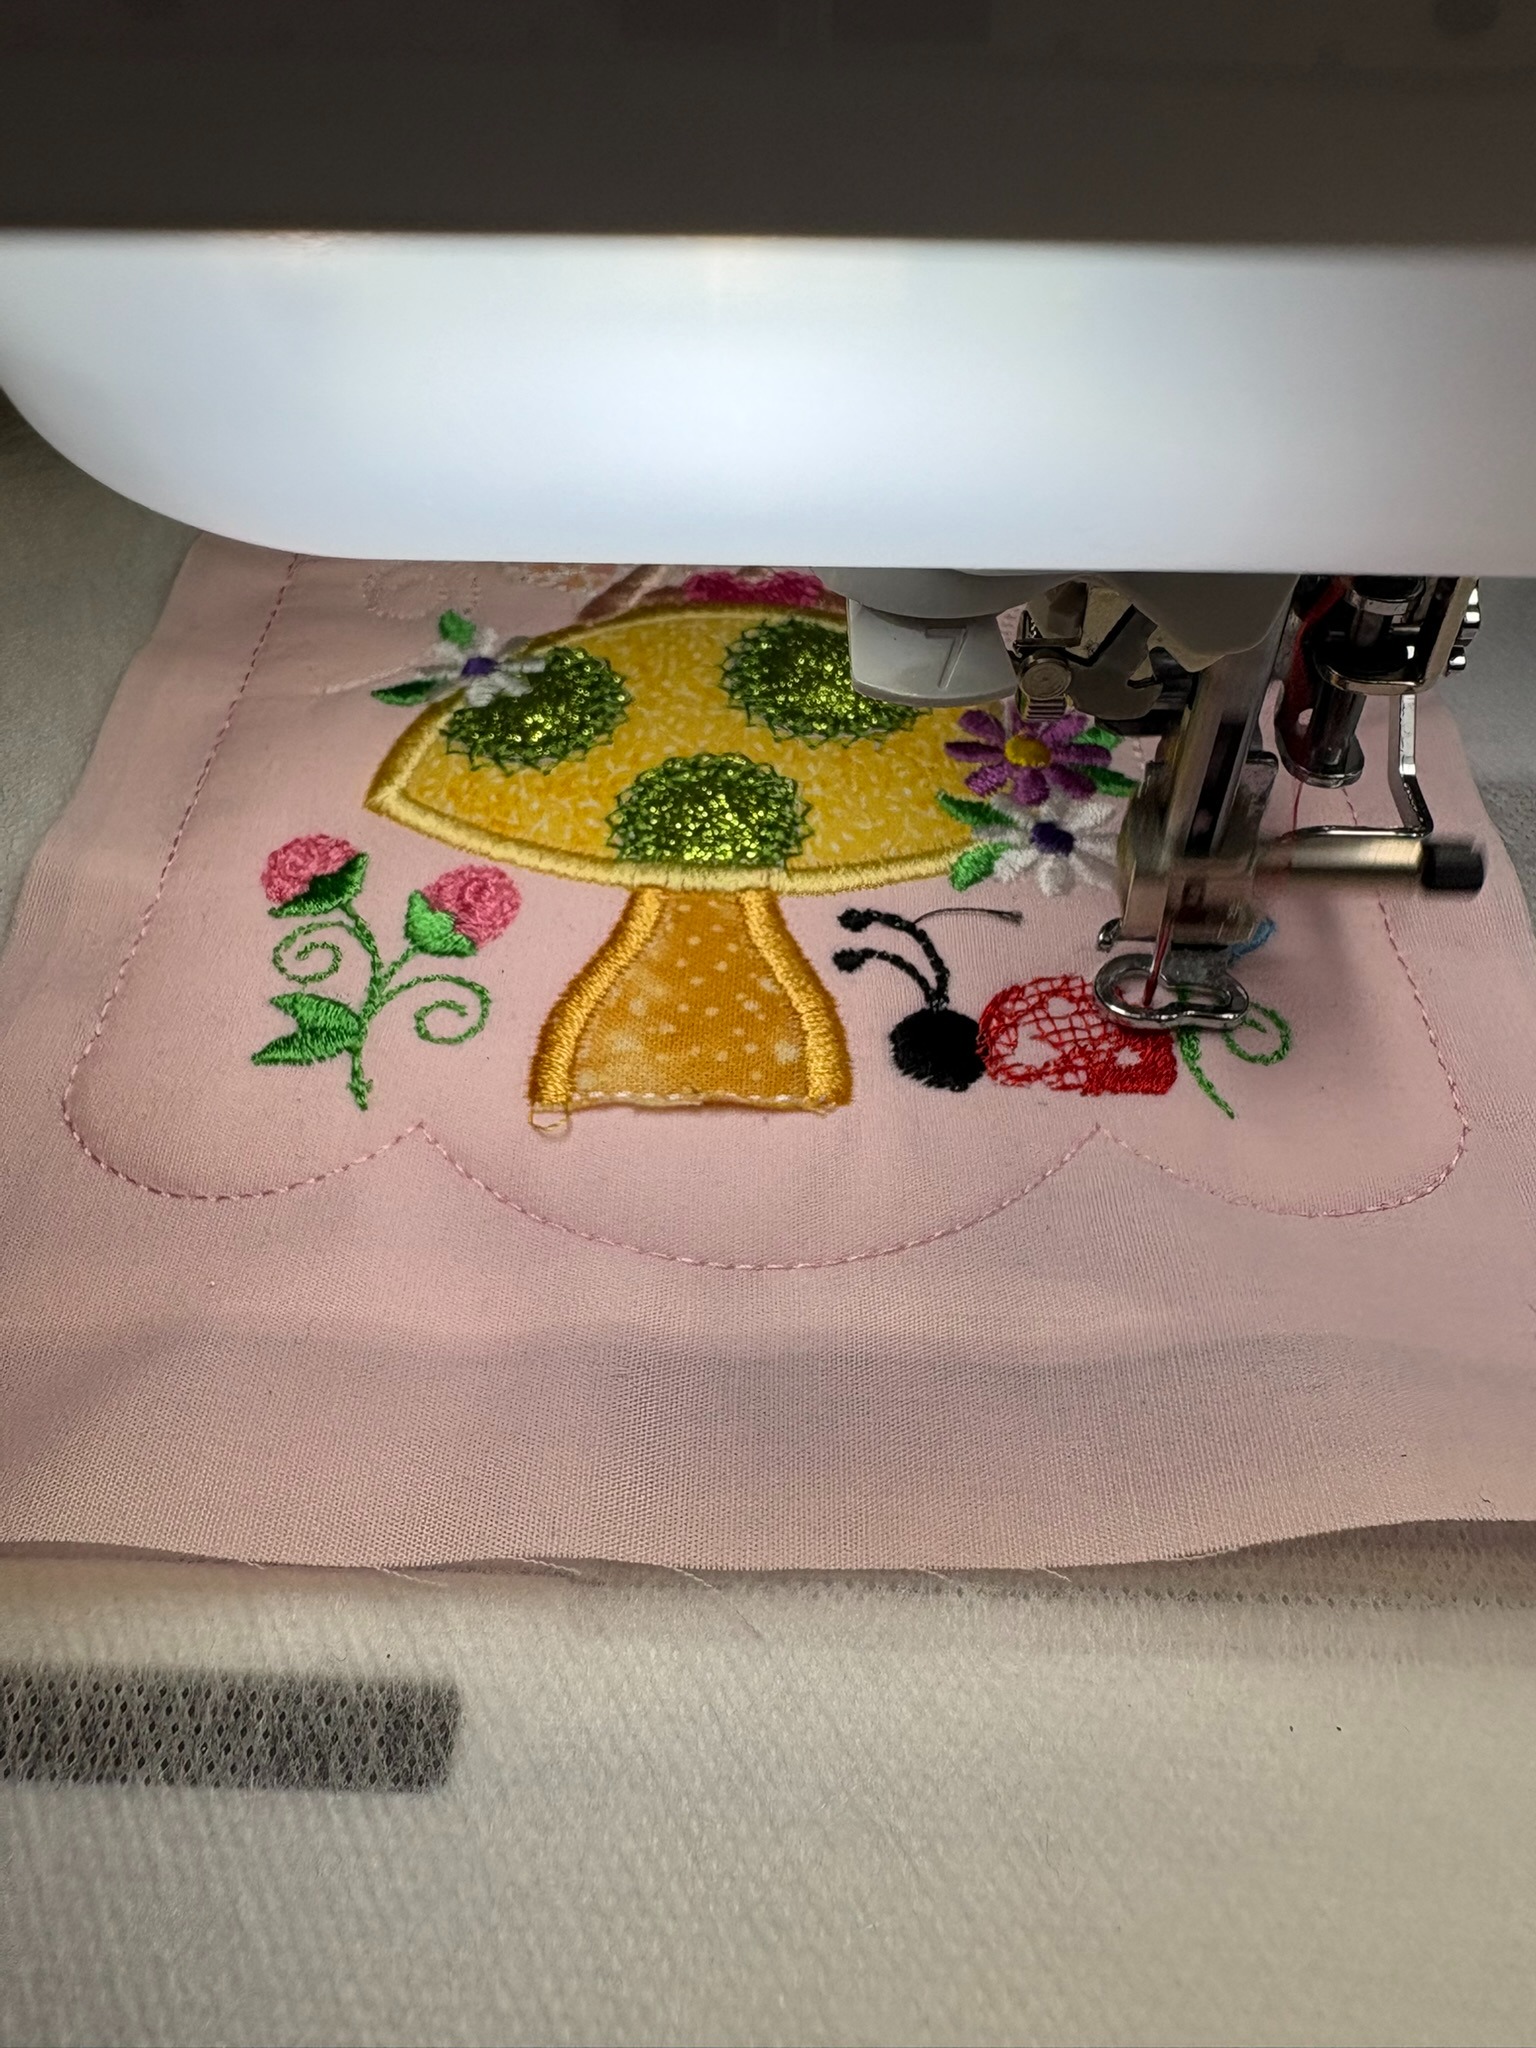
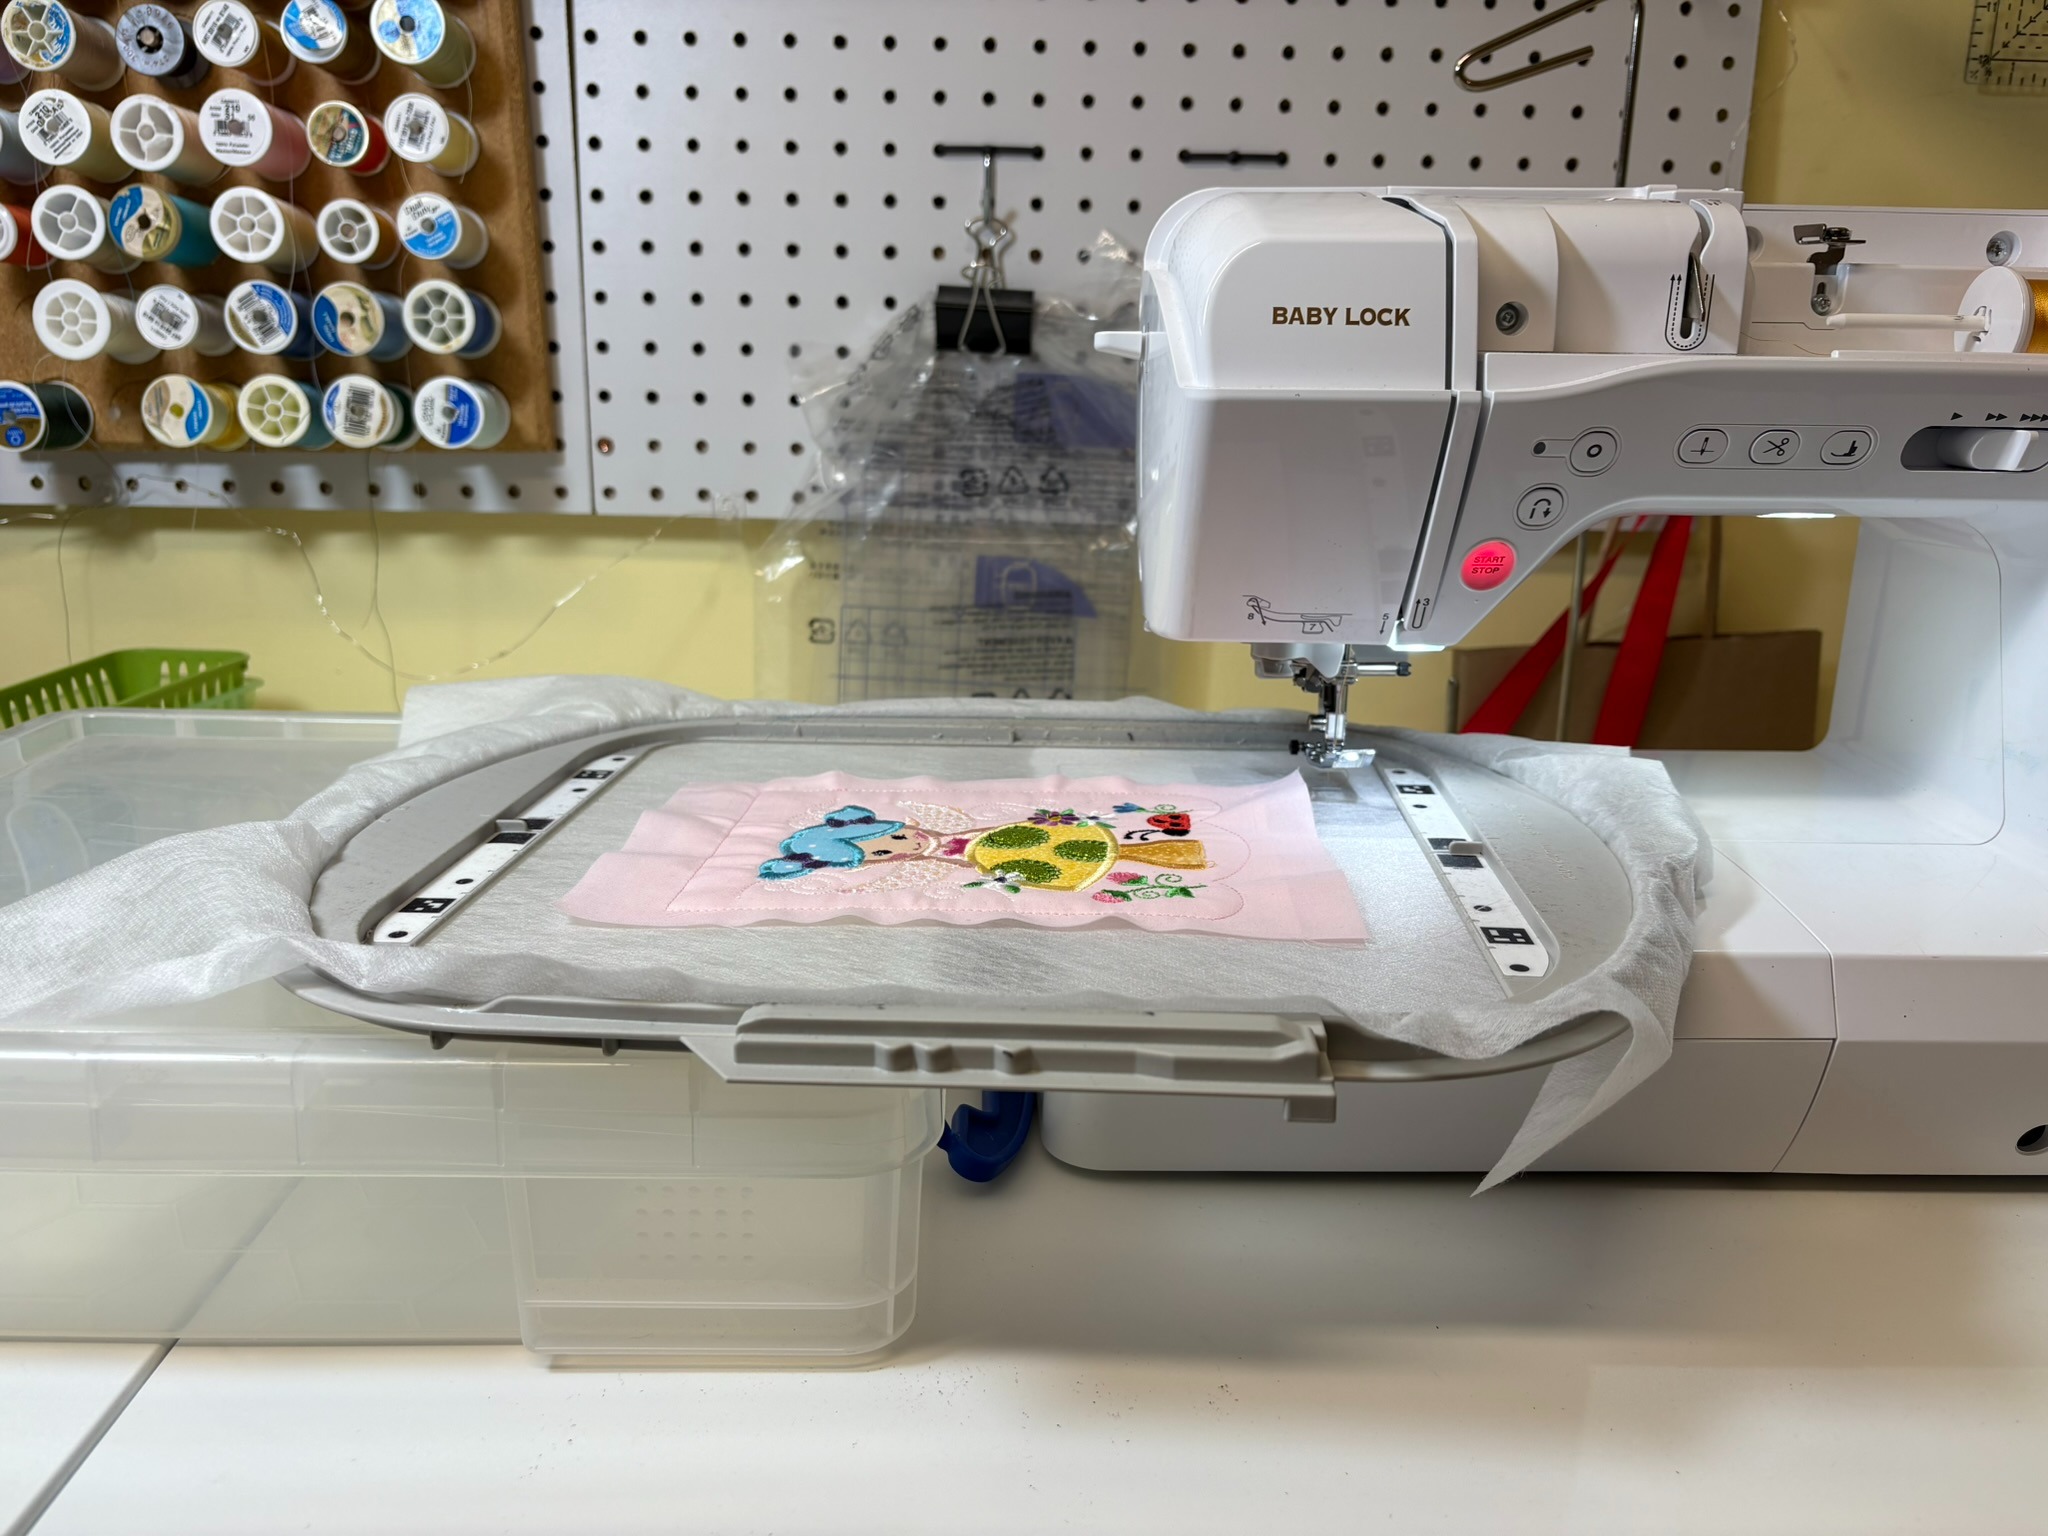
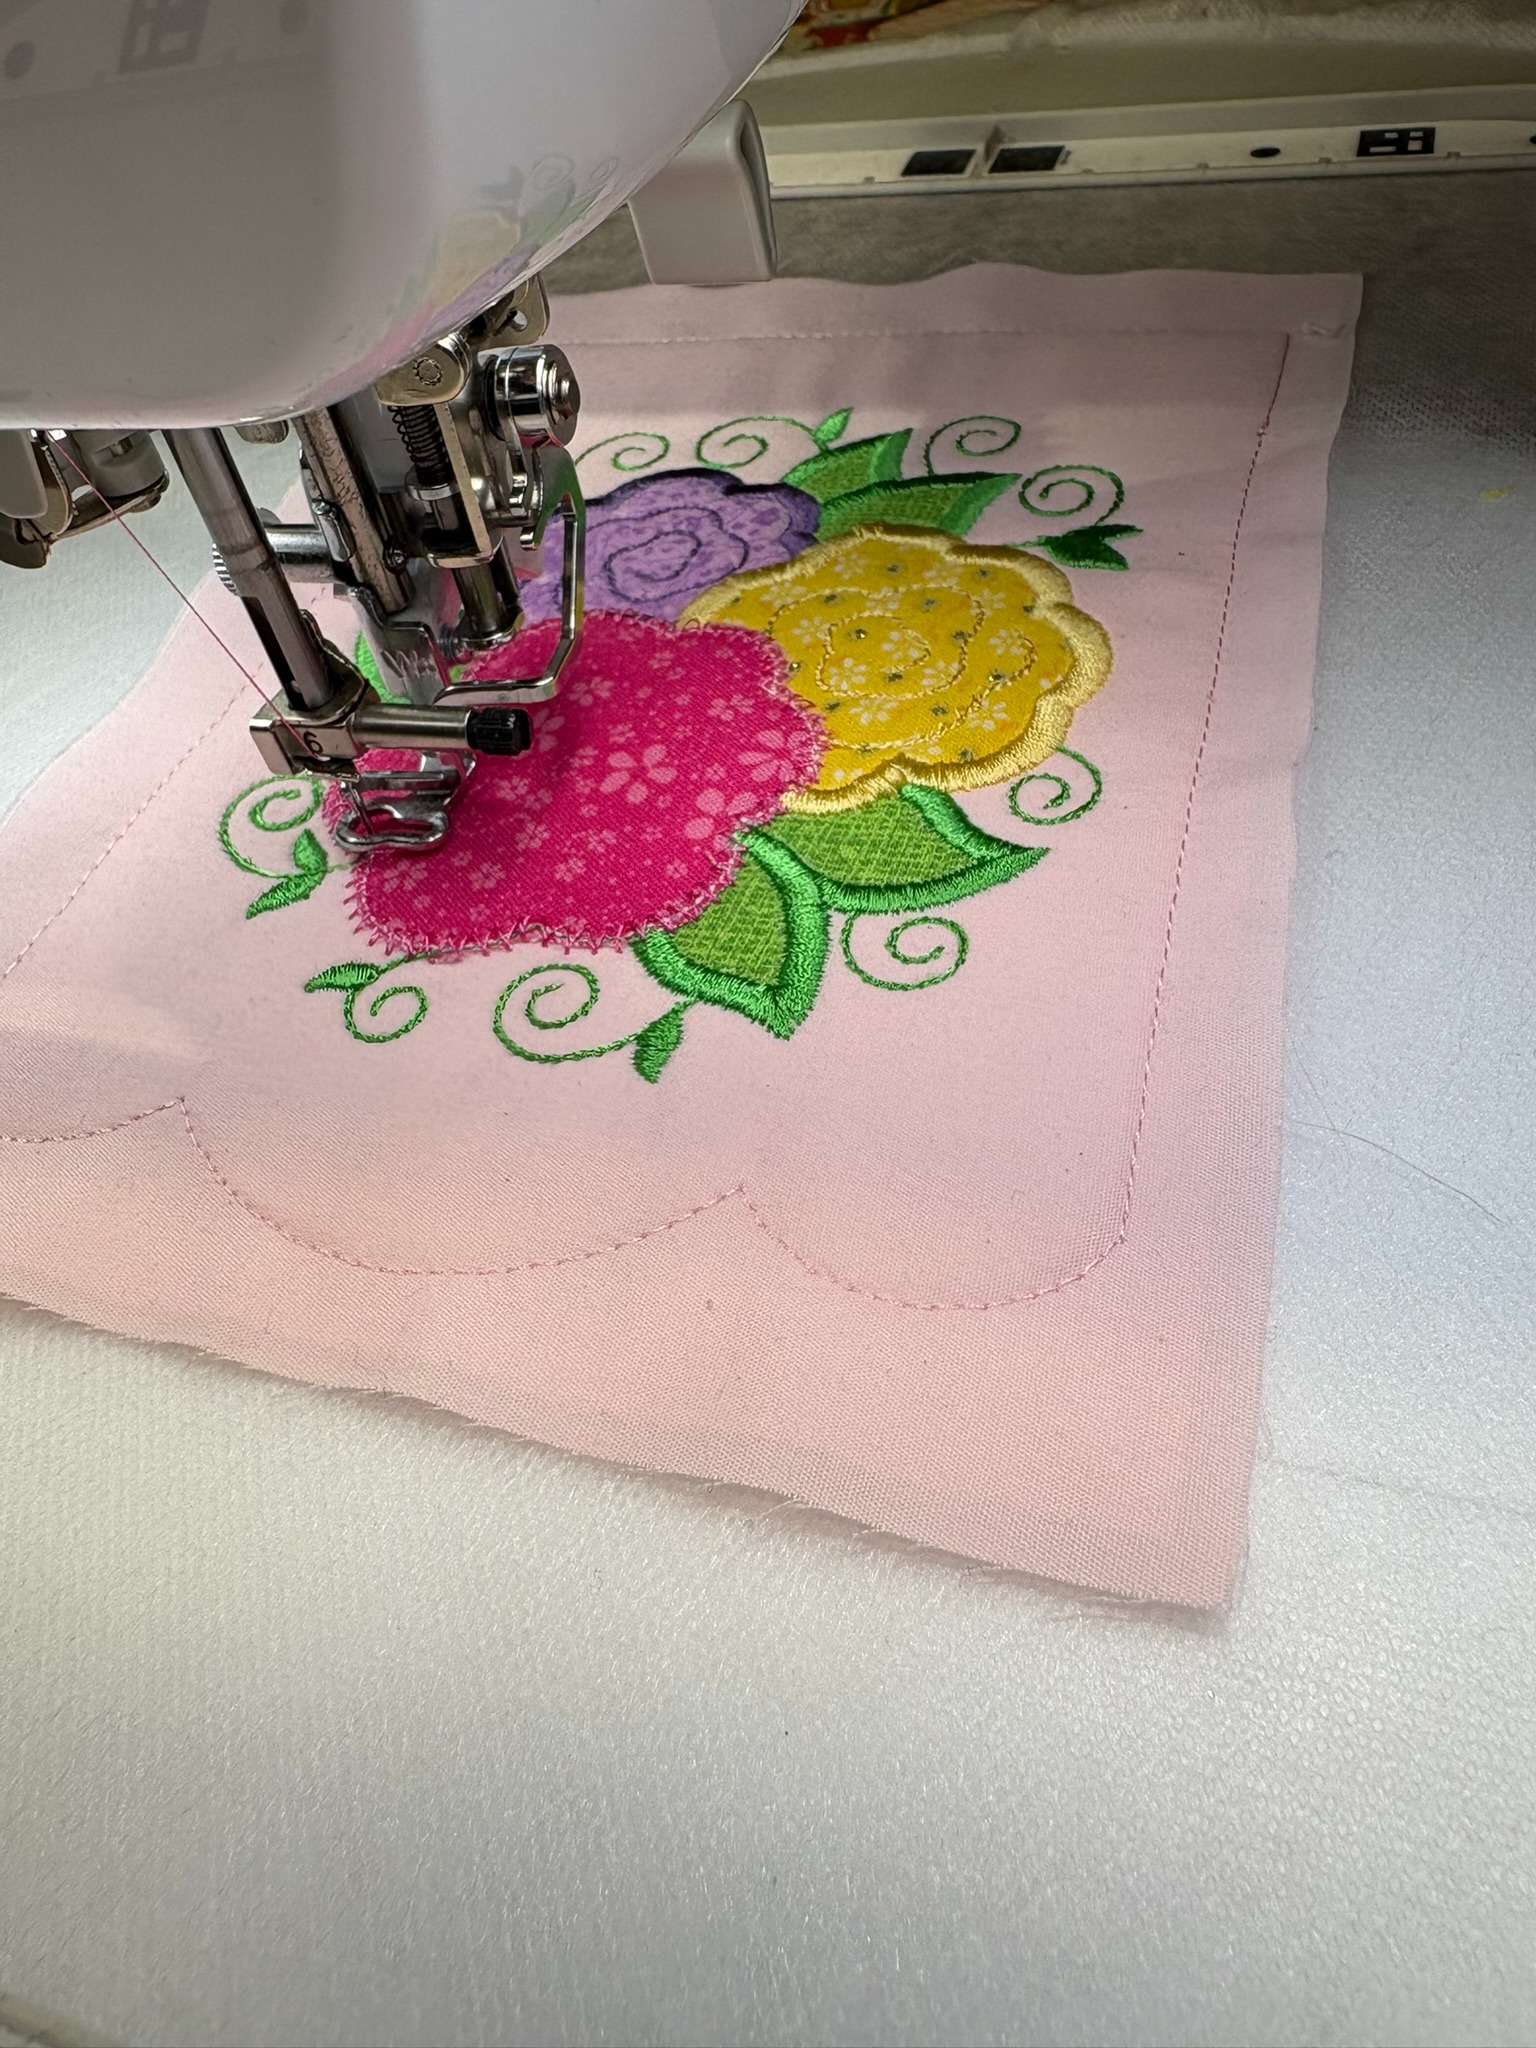
I knew this was easily remedied. I stitched out the entire design then removed the hoop from the machine. The project STAYED IN the hoop.
I supported the hoop at my sewing machine with a project box that fortuitously was the appropriate height.
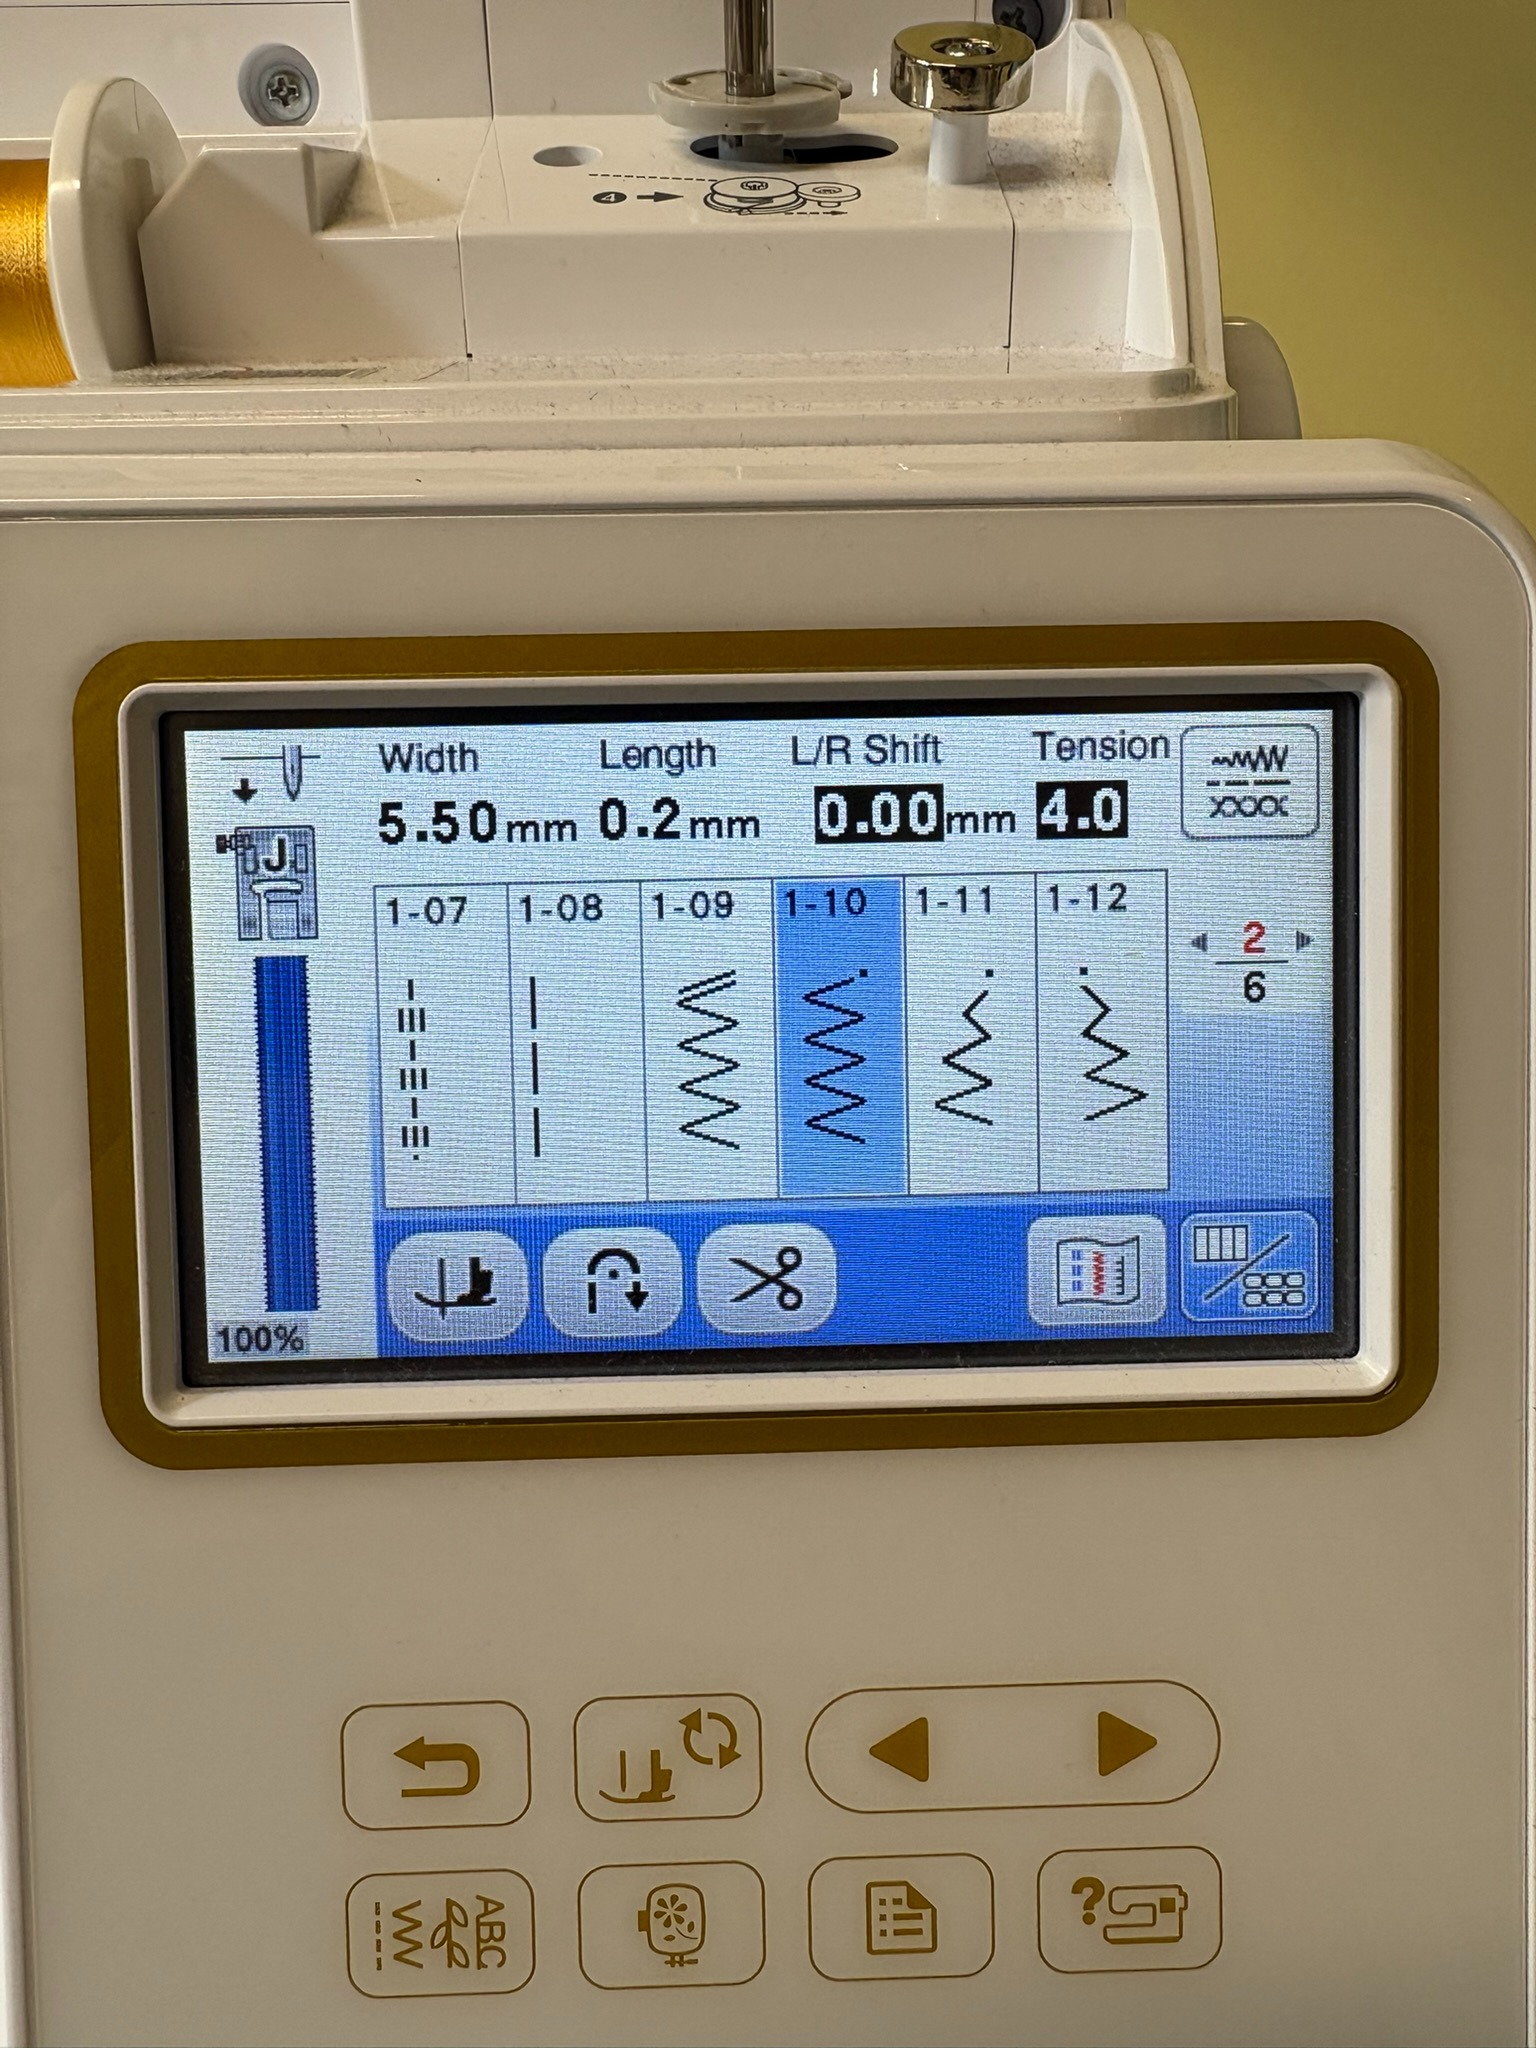
I zigzagged the bottom of the mushroom. Even after playing with a scrap piece of fabric to figure out the appropriate zigzag stitch width, this took no more than ten minutes.
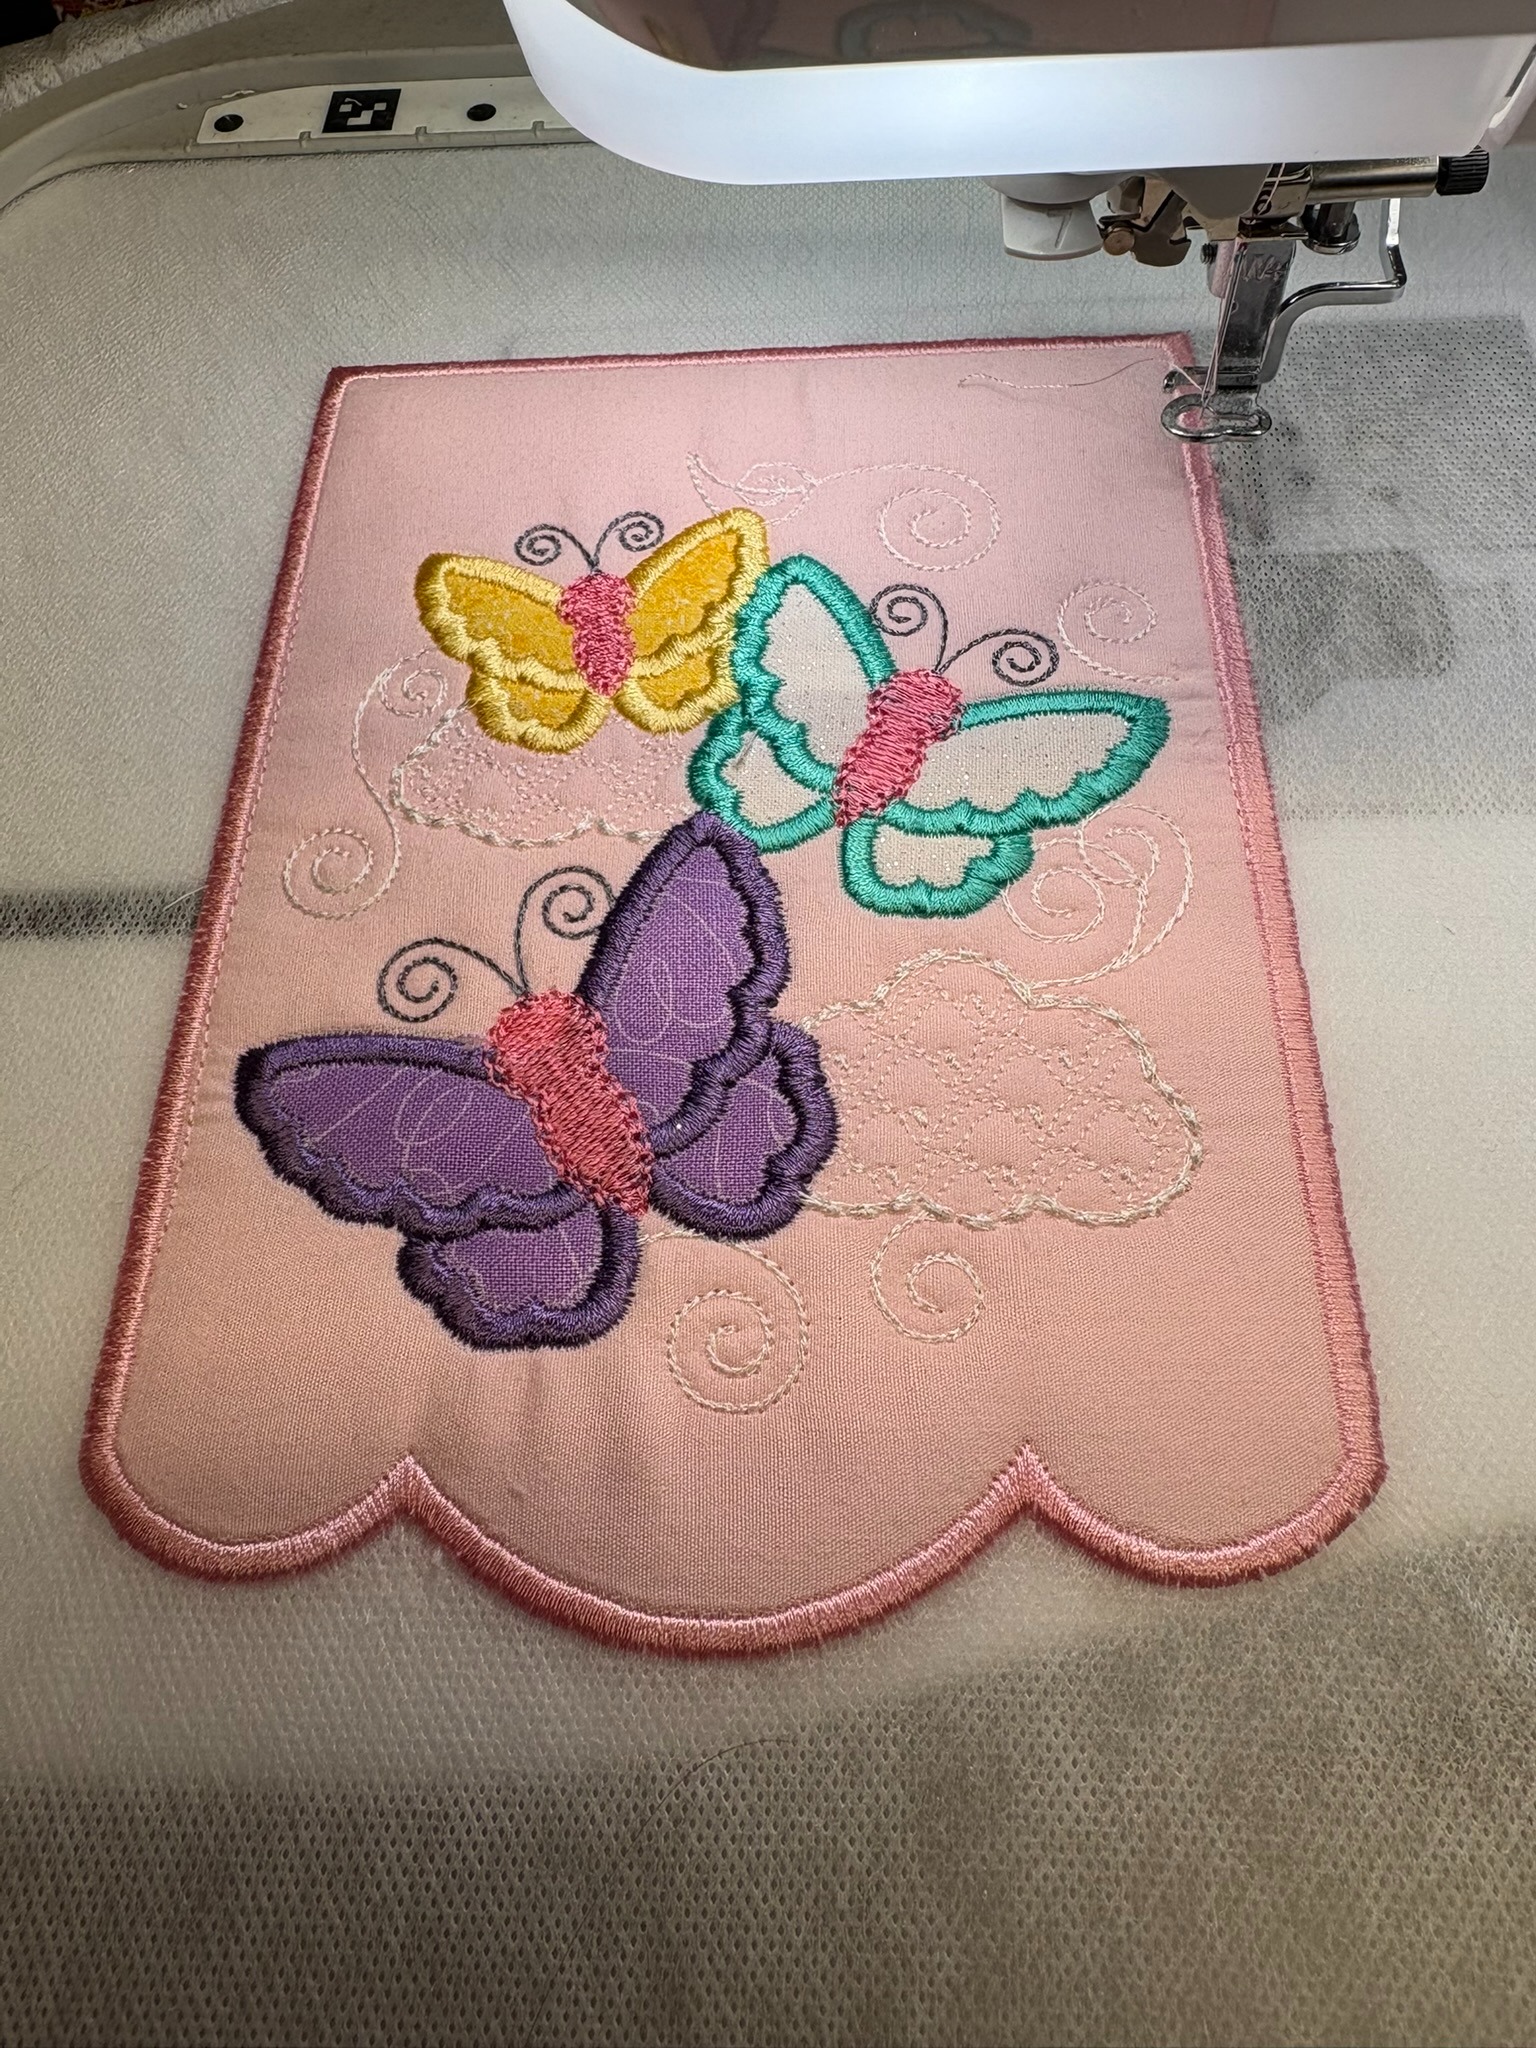
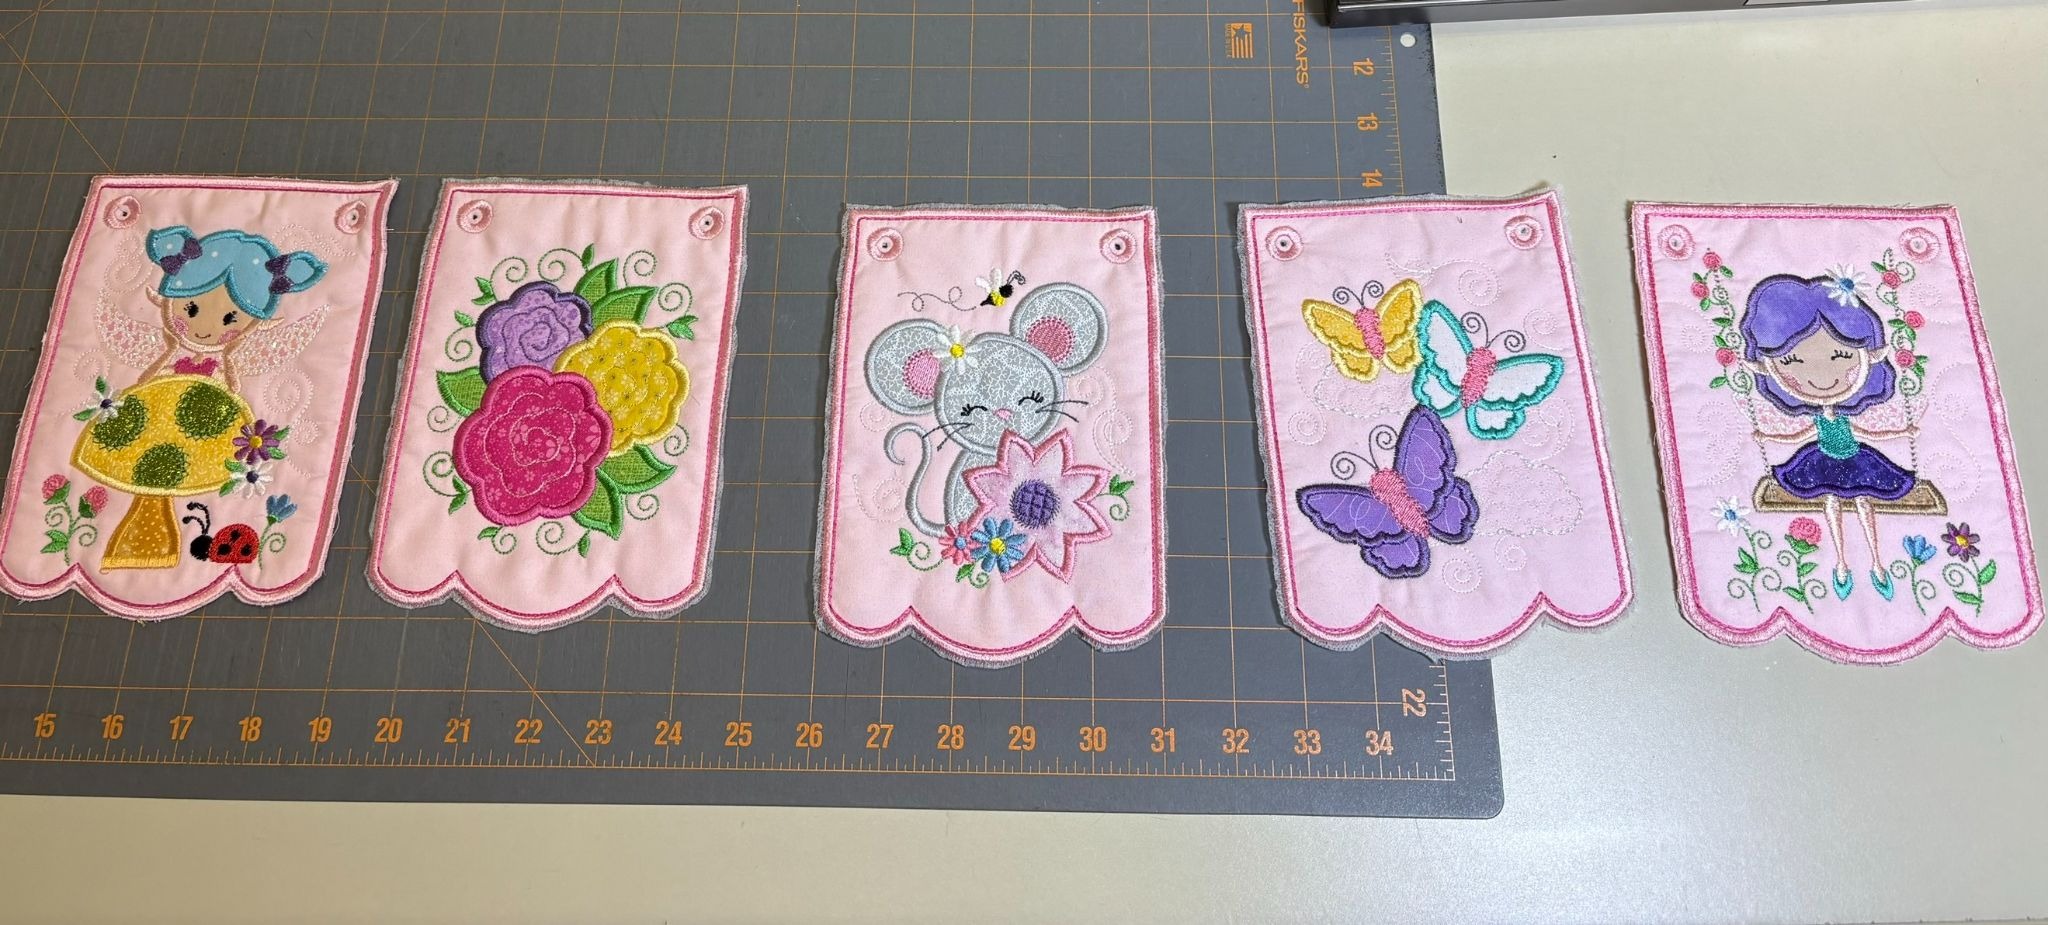
I always wrap a piece of painter’s tape around the ends of the ribbons or strings I’m using to assemble my bunting. It makes it so much less frustrating to go through the eyelets or buttonholes.
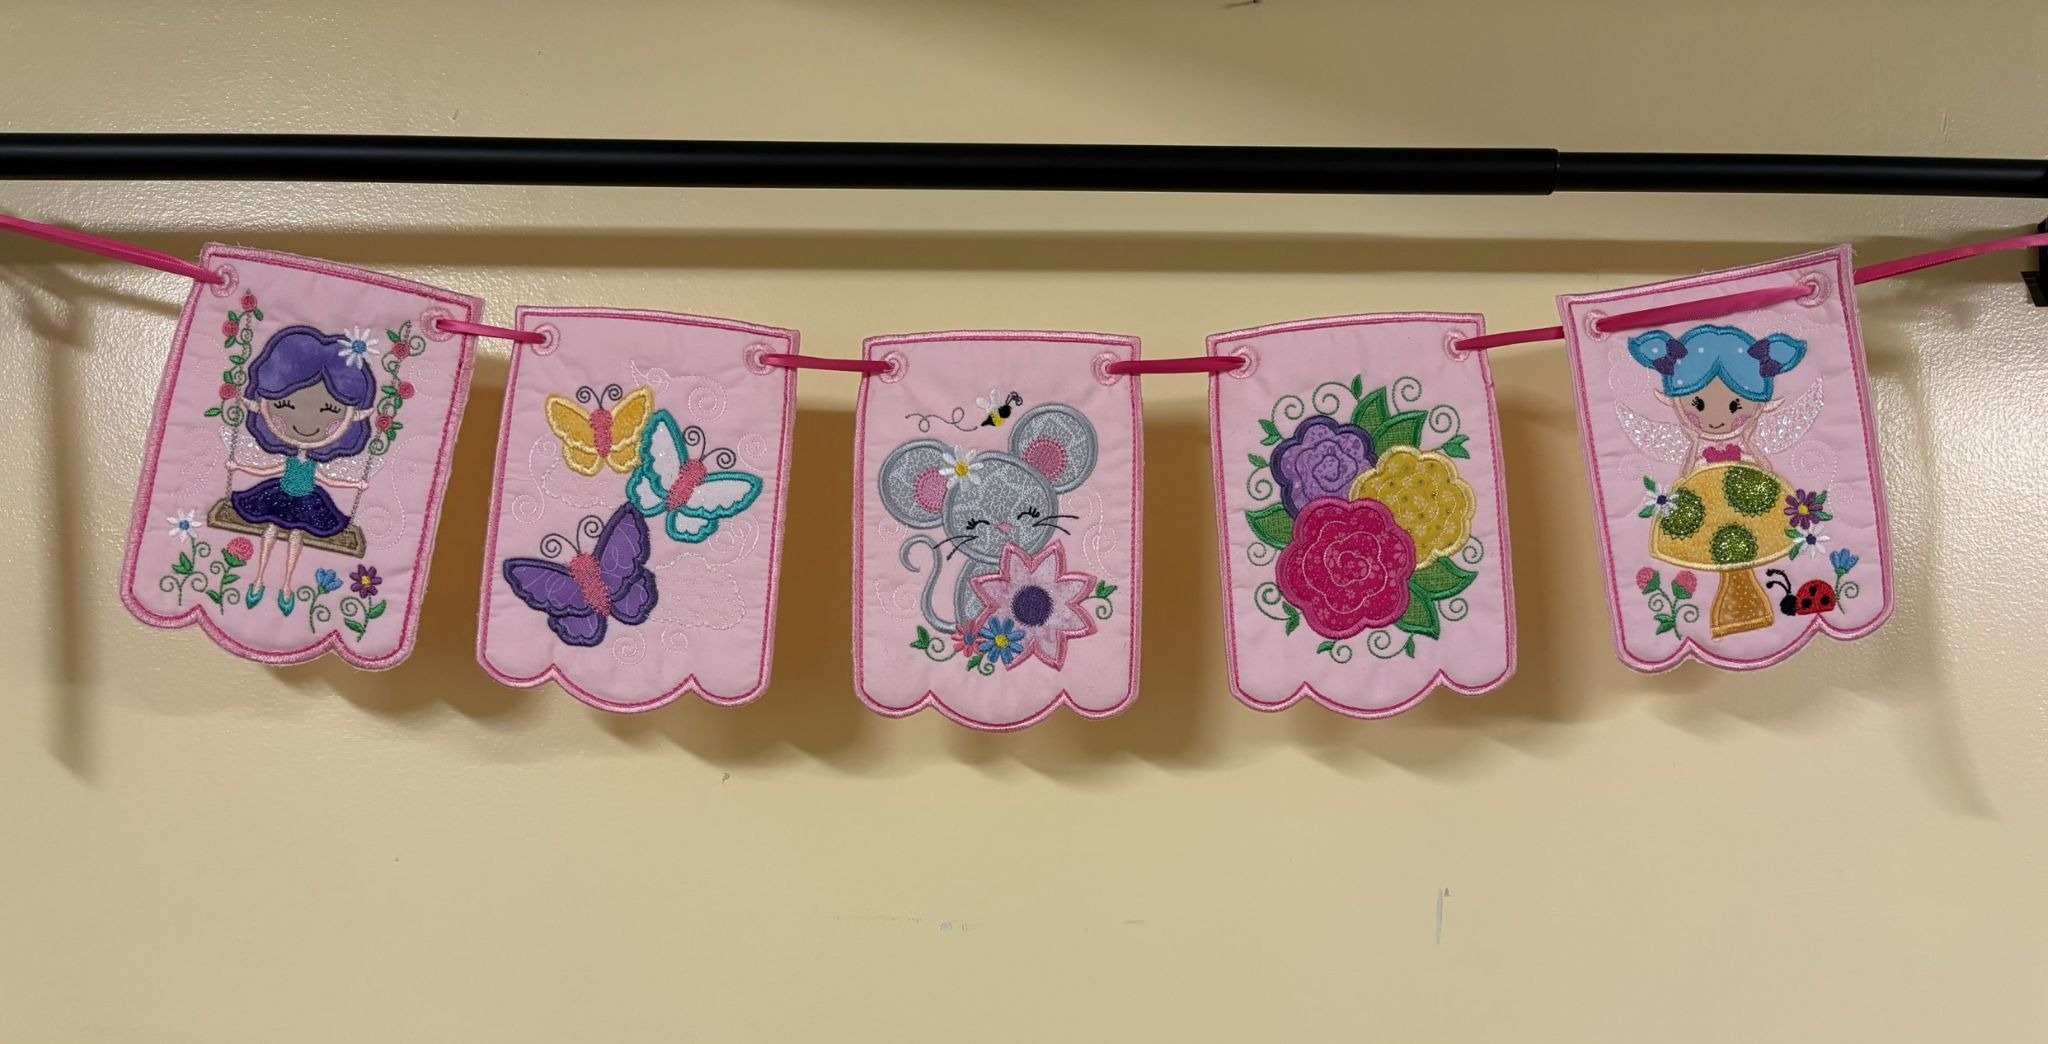
The Woodland Fairy Bunting is so very cute. If you’re making a baby quilt with DBJJ designs for a special baby in your life, you can add to the joy with cute, coordinated bunting!
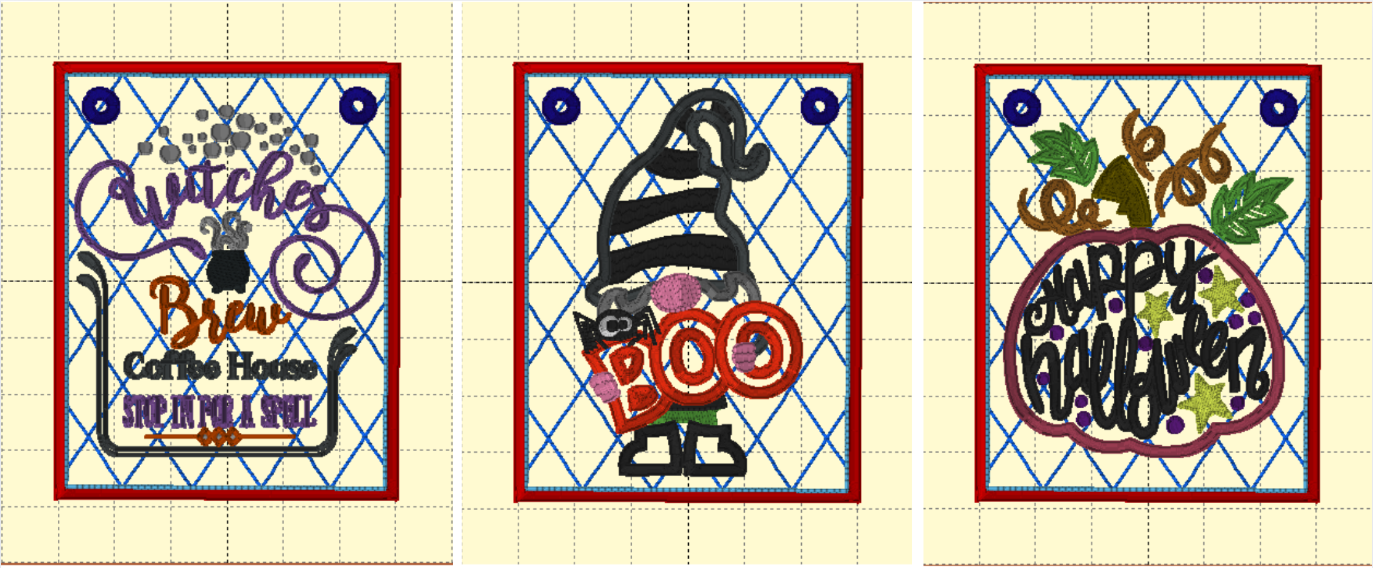
I made the Halloween Pennants using the same steps described above for the Woodland Fairy Bunting. Below is a screenshot of the designs in Embrilliance as I stitched them out. I’ll be stitching out more of these pennants—friends asked! So I’ve resized the Gnome to make him a little bit smaller in the future. I’m persnickety—I want him to be the same distance from the bottom of the pennant as the other designs.
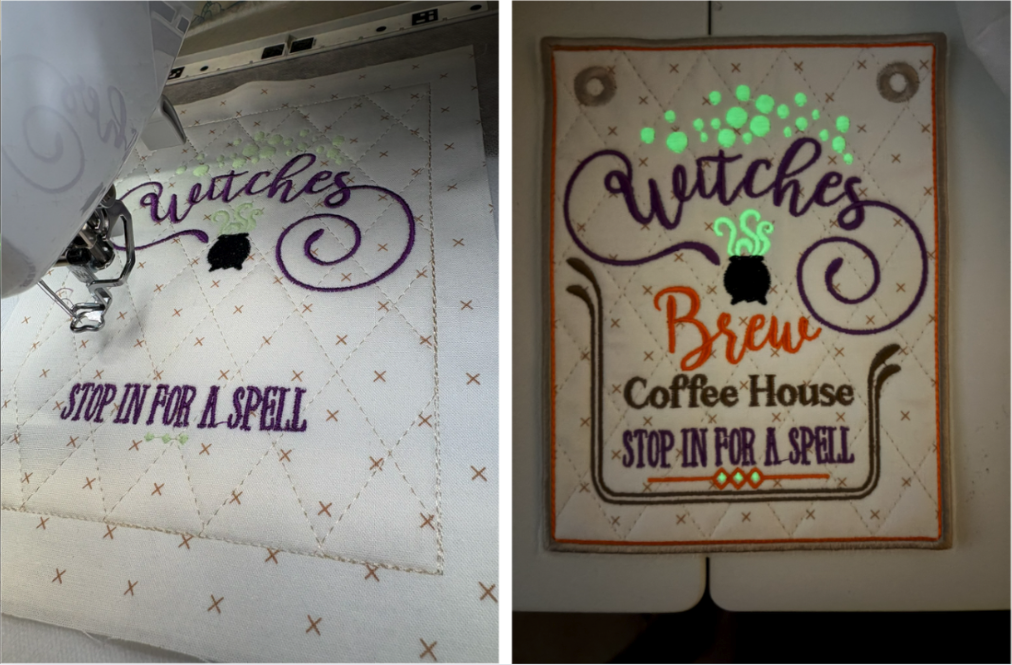
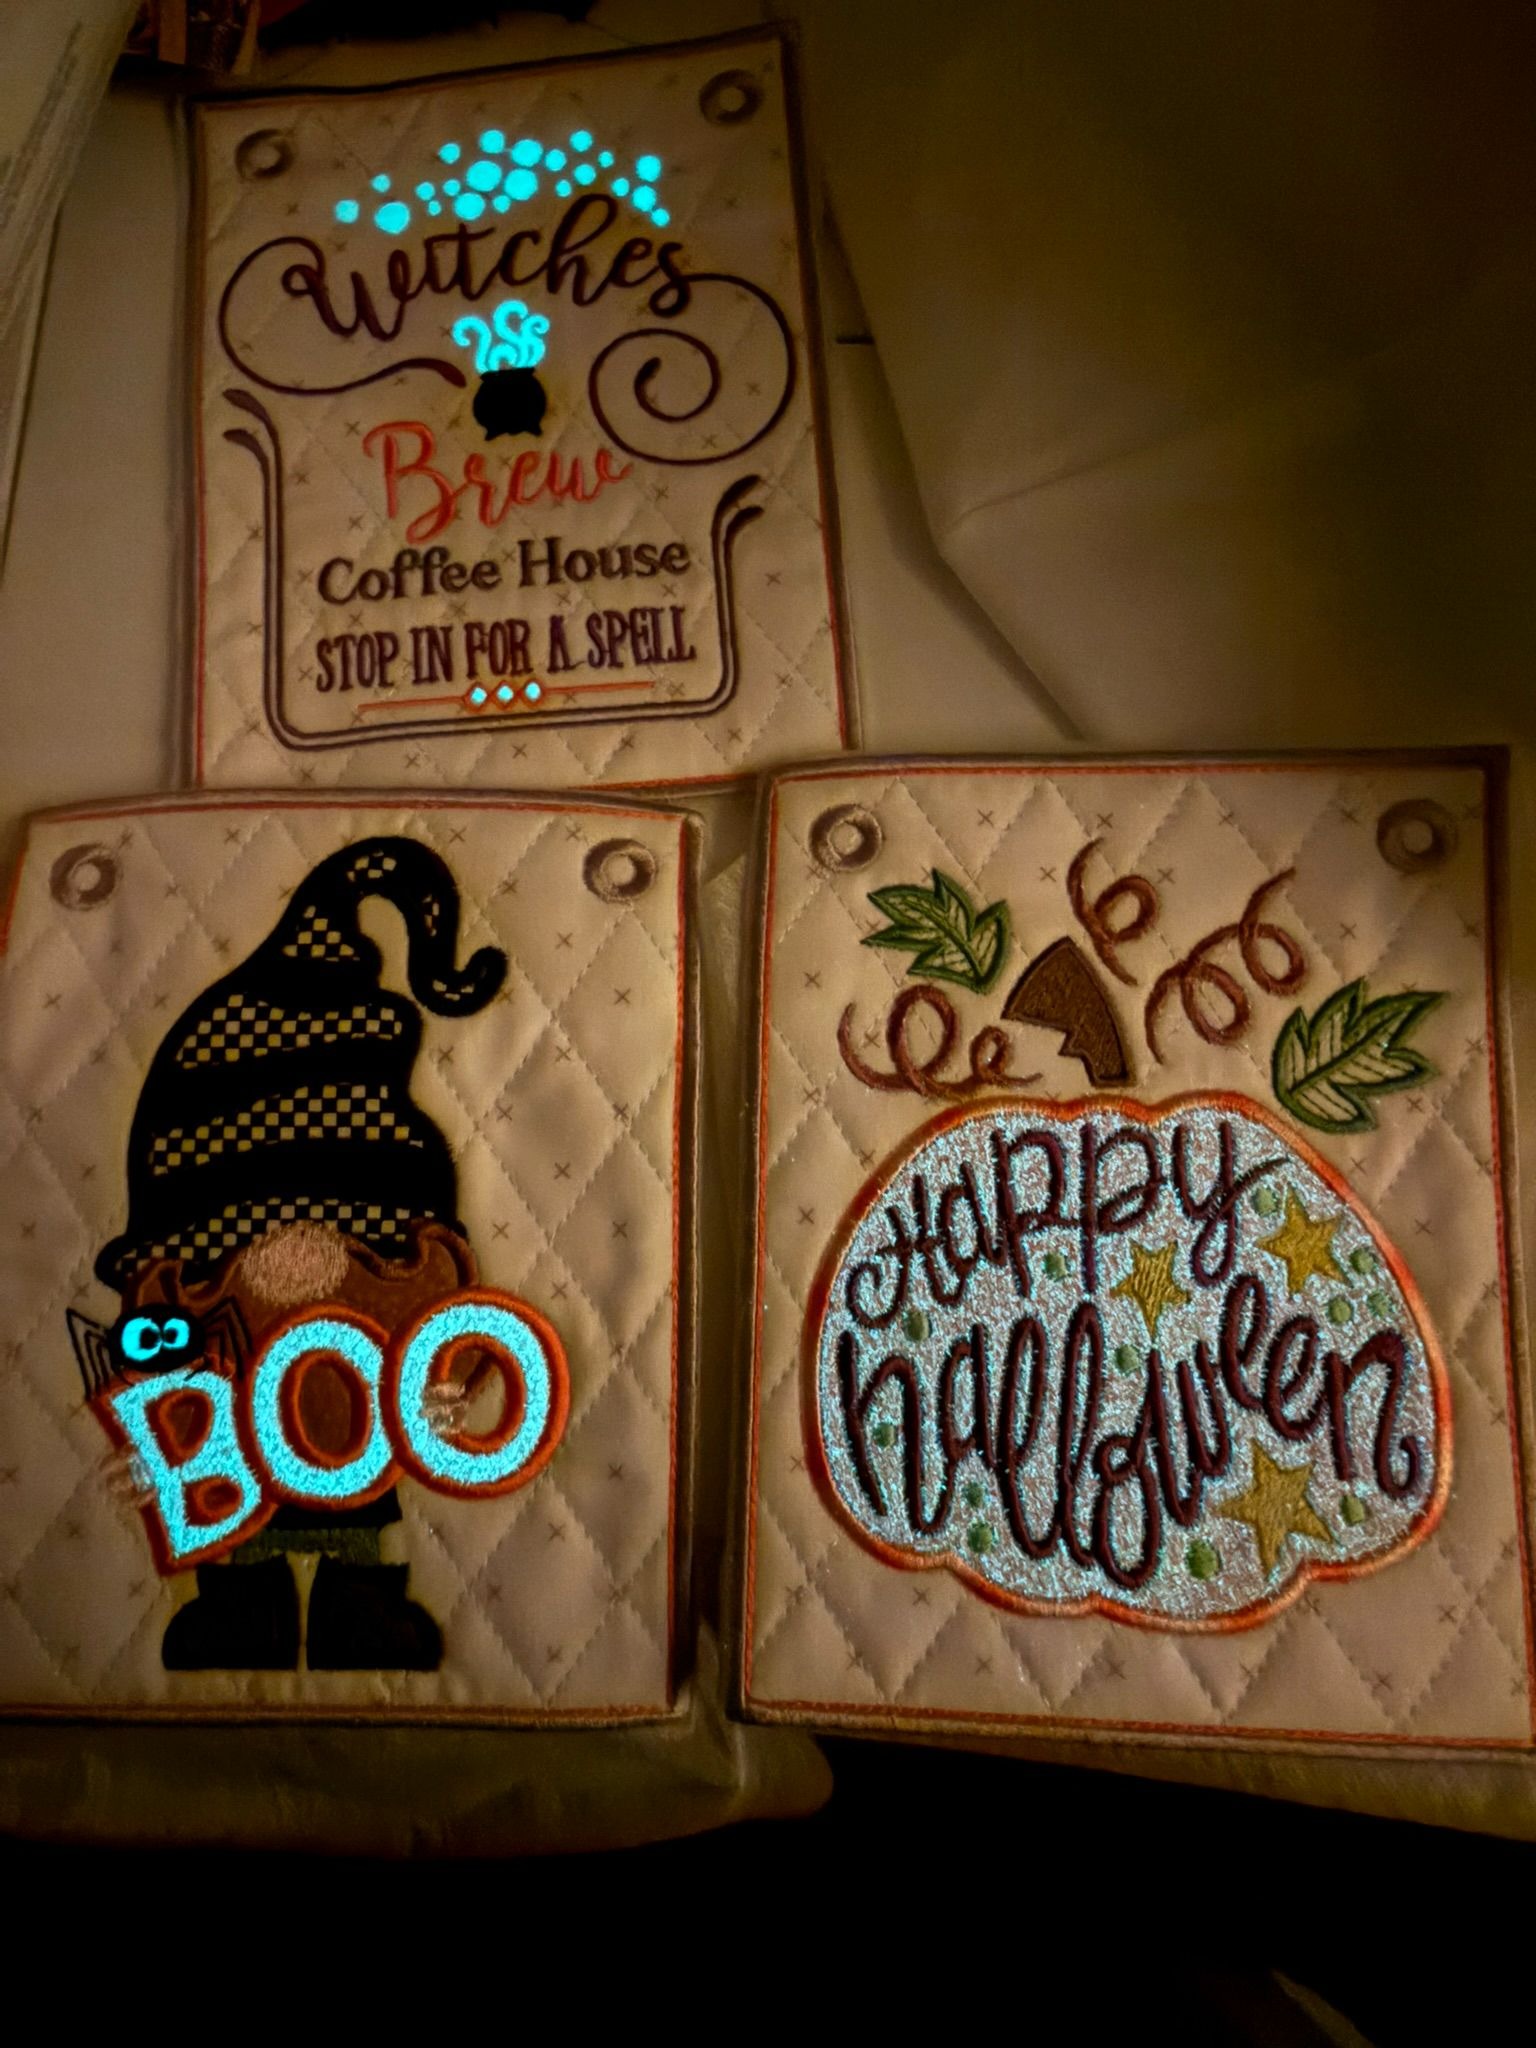
I used glow-in-the dark threads and vinyls for fun.
In one area the stitches did not completely fill in, most likely because of the thick vinyl underneath. I backed up the steps and restitched over the area. I caught this immediately, but this is a good reason to look over your completed design before removing it from the hoop.
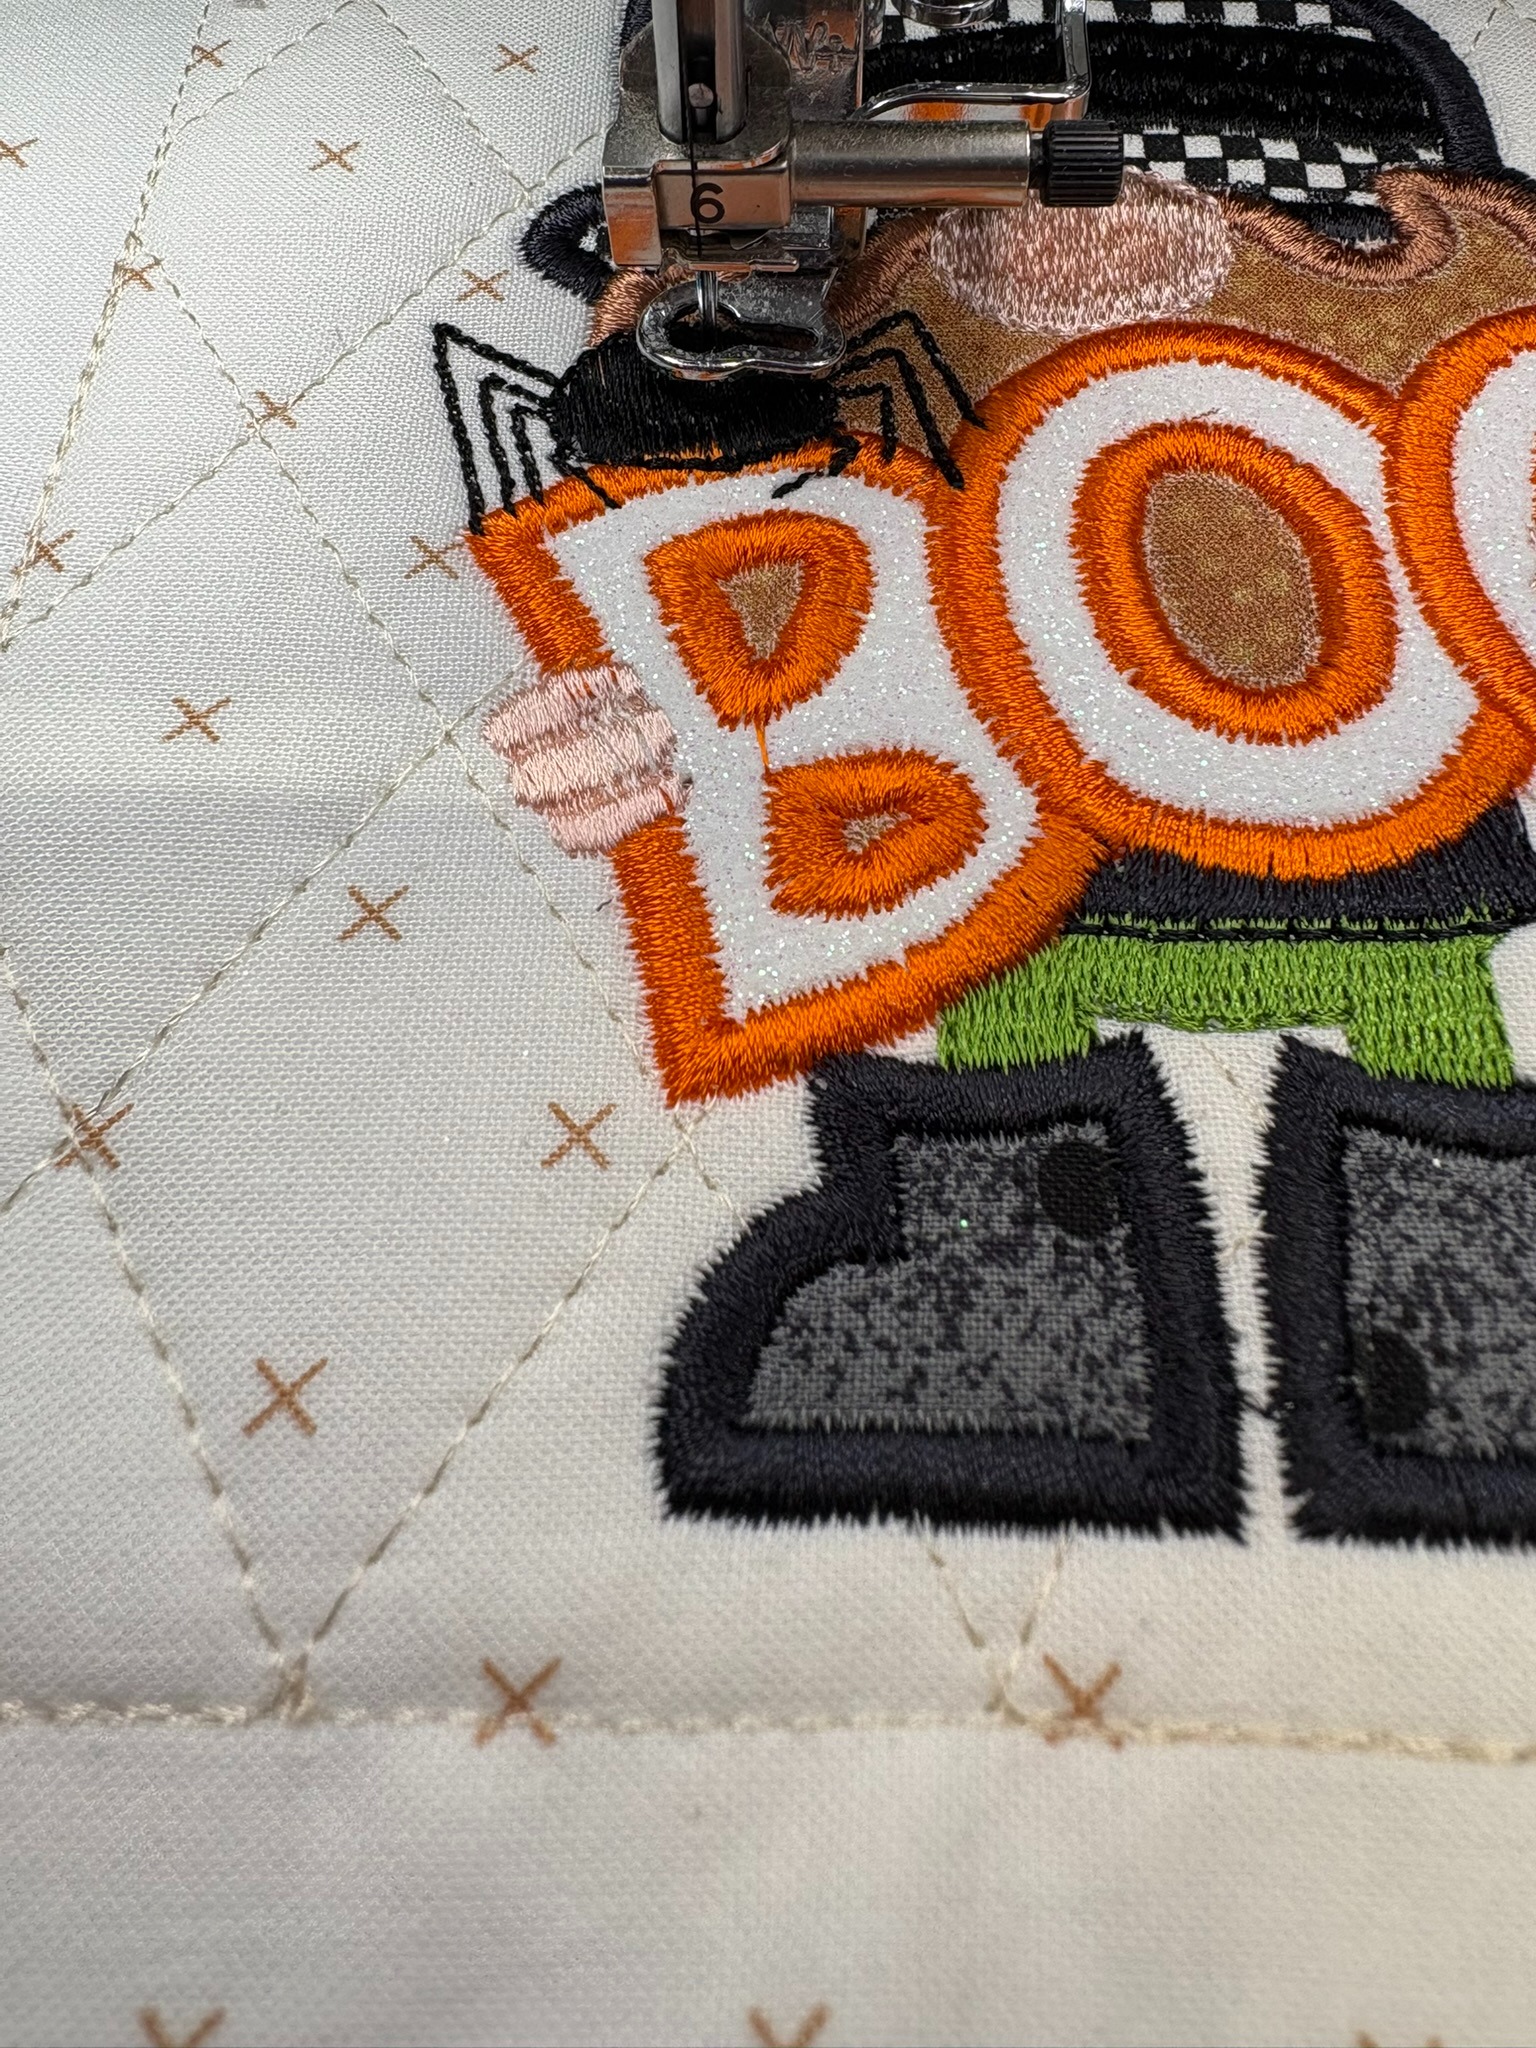
I used 505 spray for the fabrics, but I taped down the vinyl instead of spraying it. This makes it a little easier to get my stitch ripper and small scissors in to open up the centers of the letters without damaging the fabric underneath.
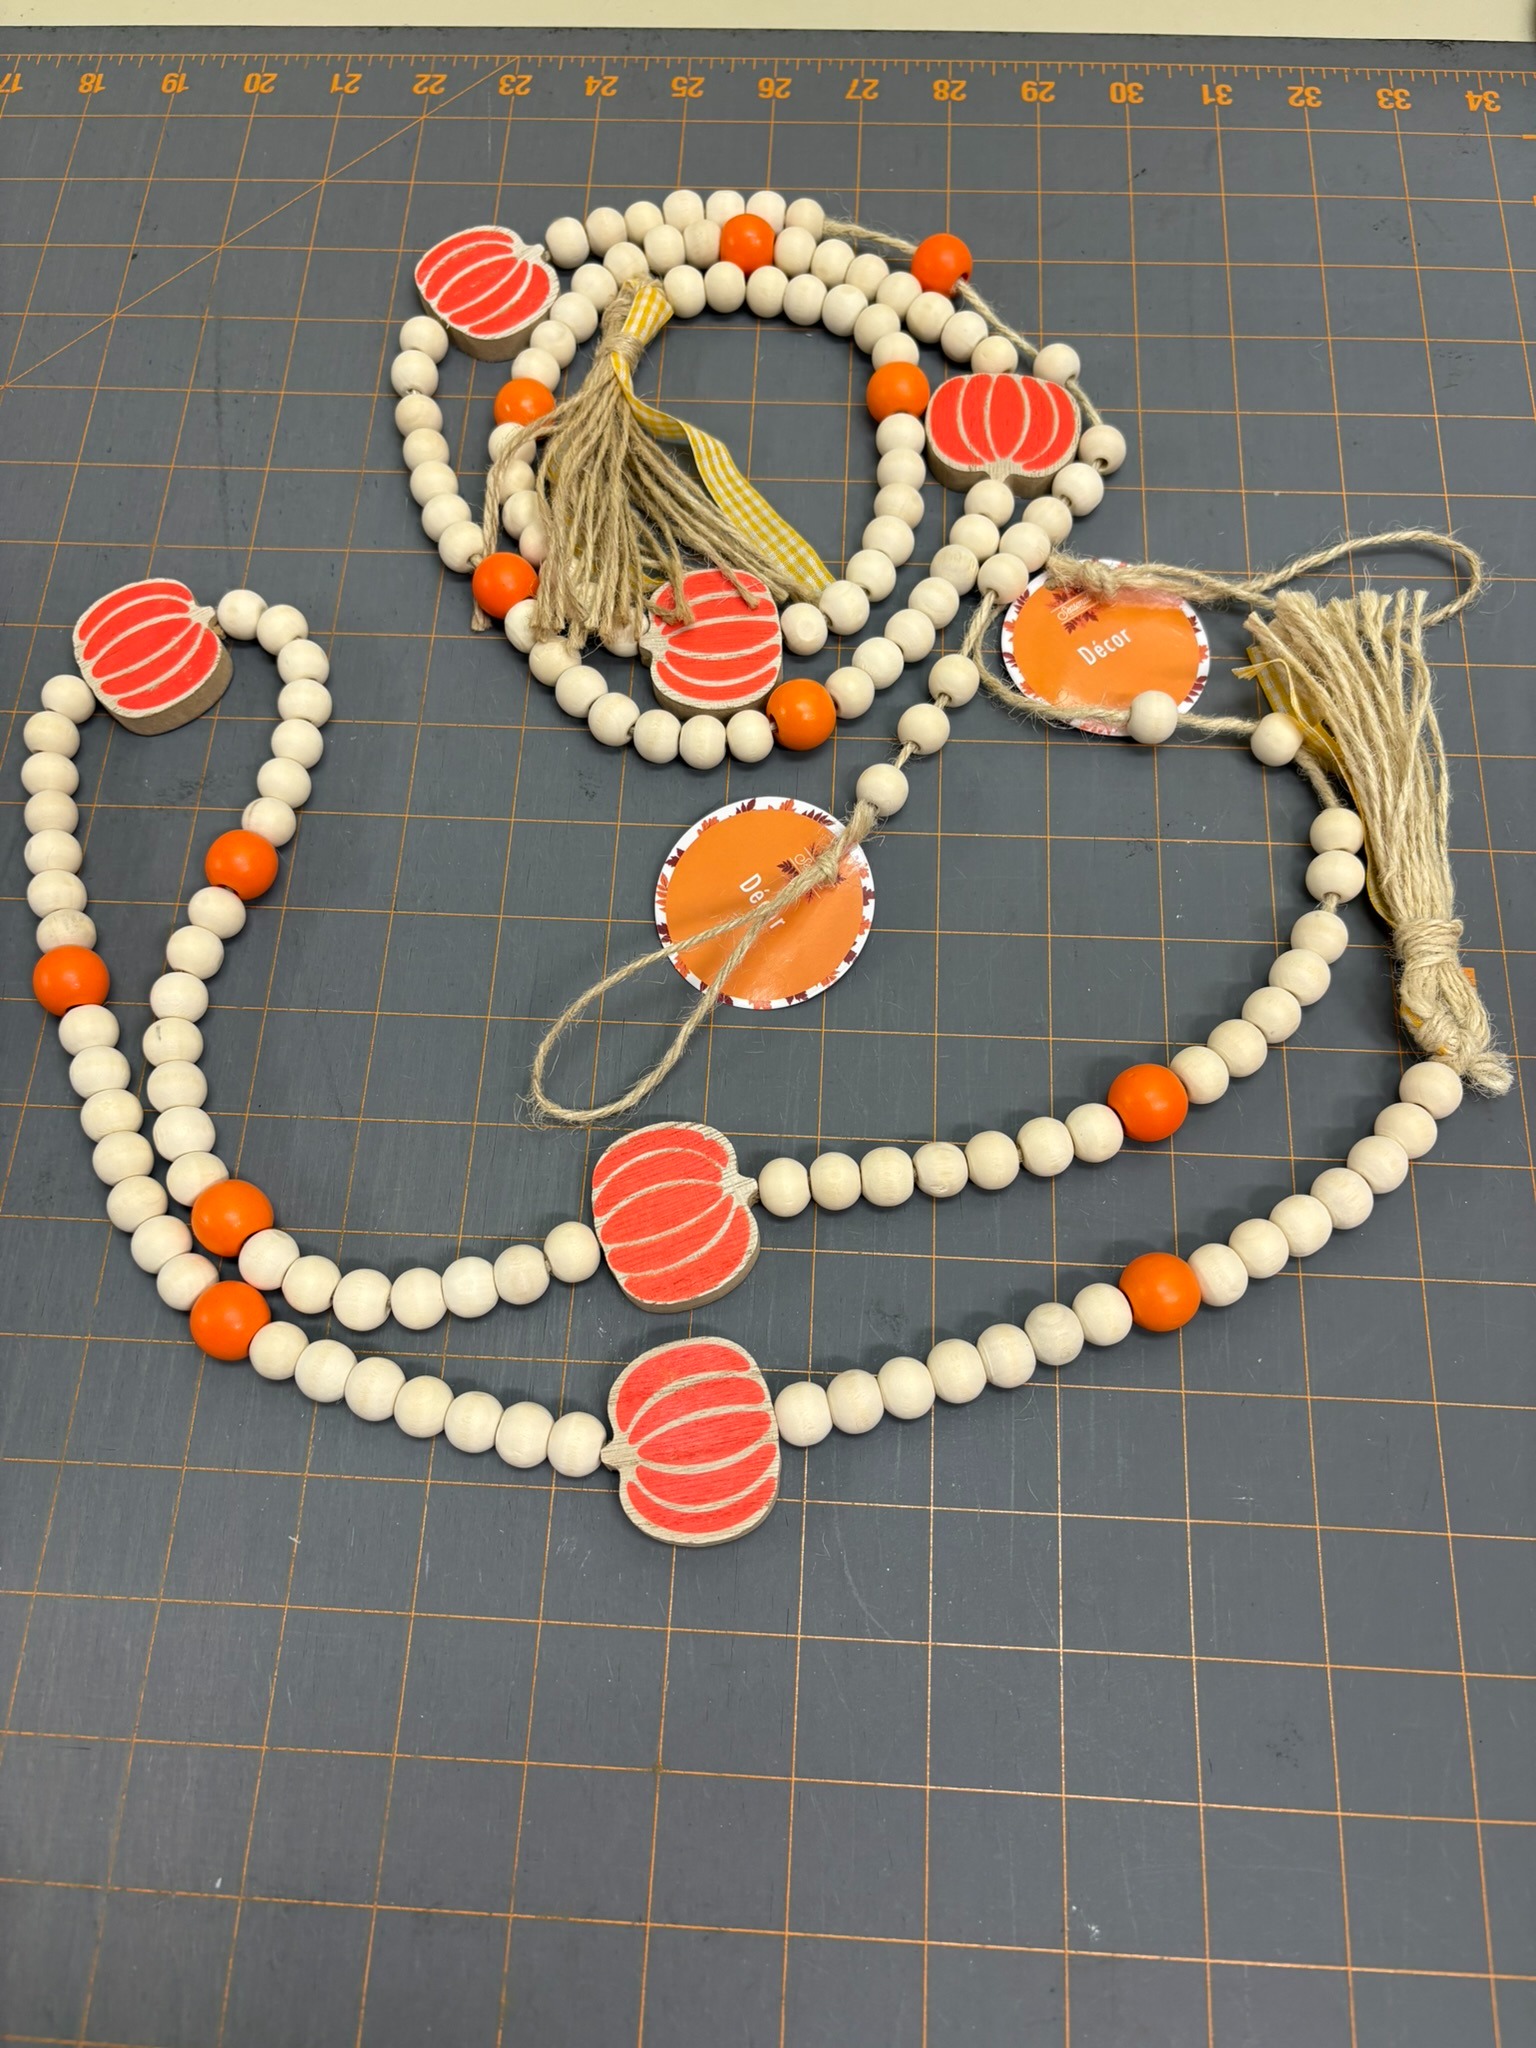
I found these strings at our local dollar store. The two together were $3!
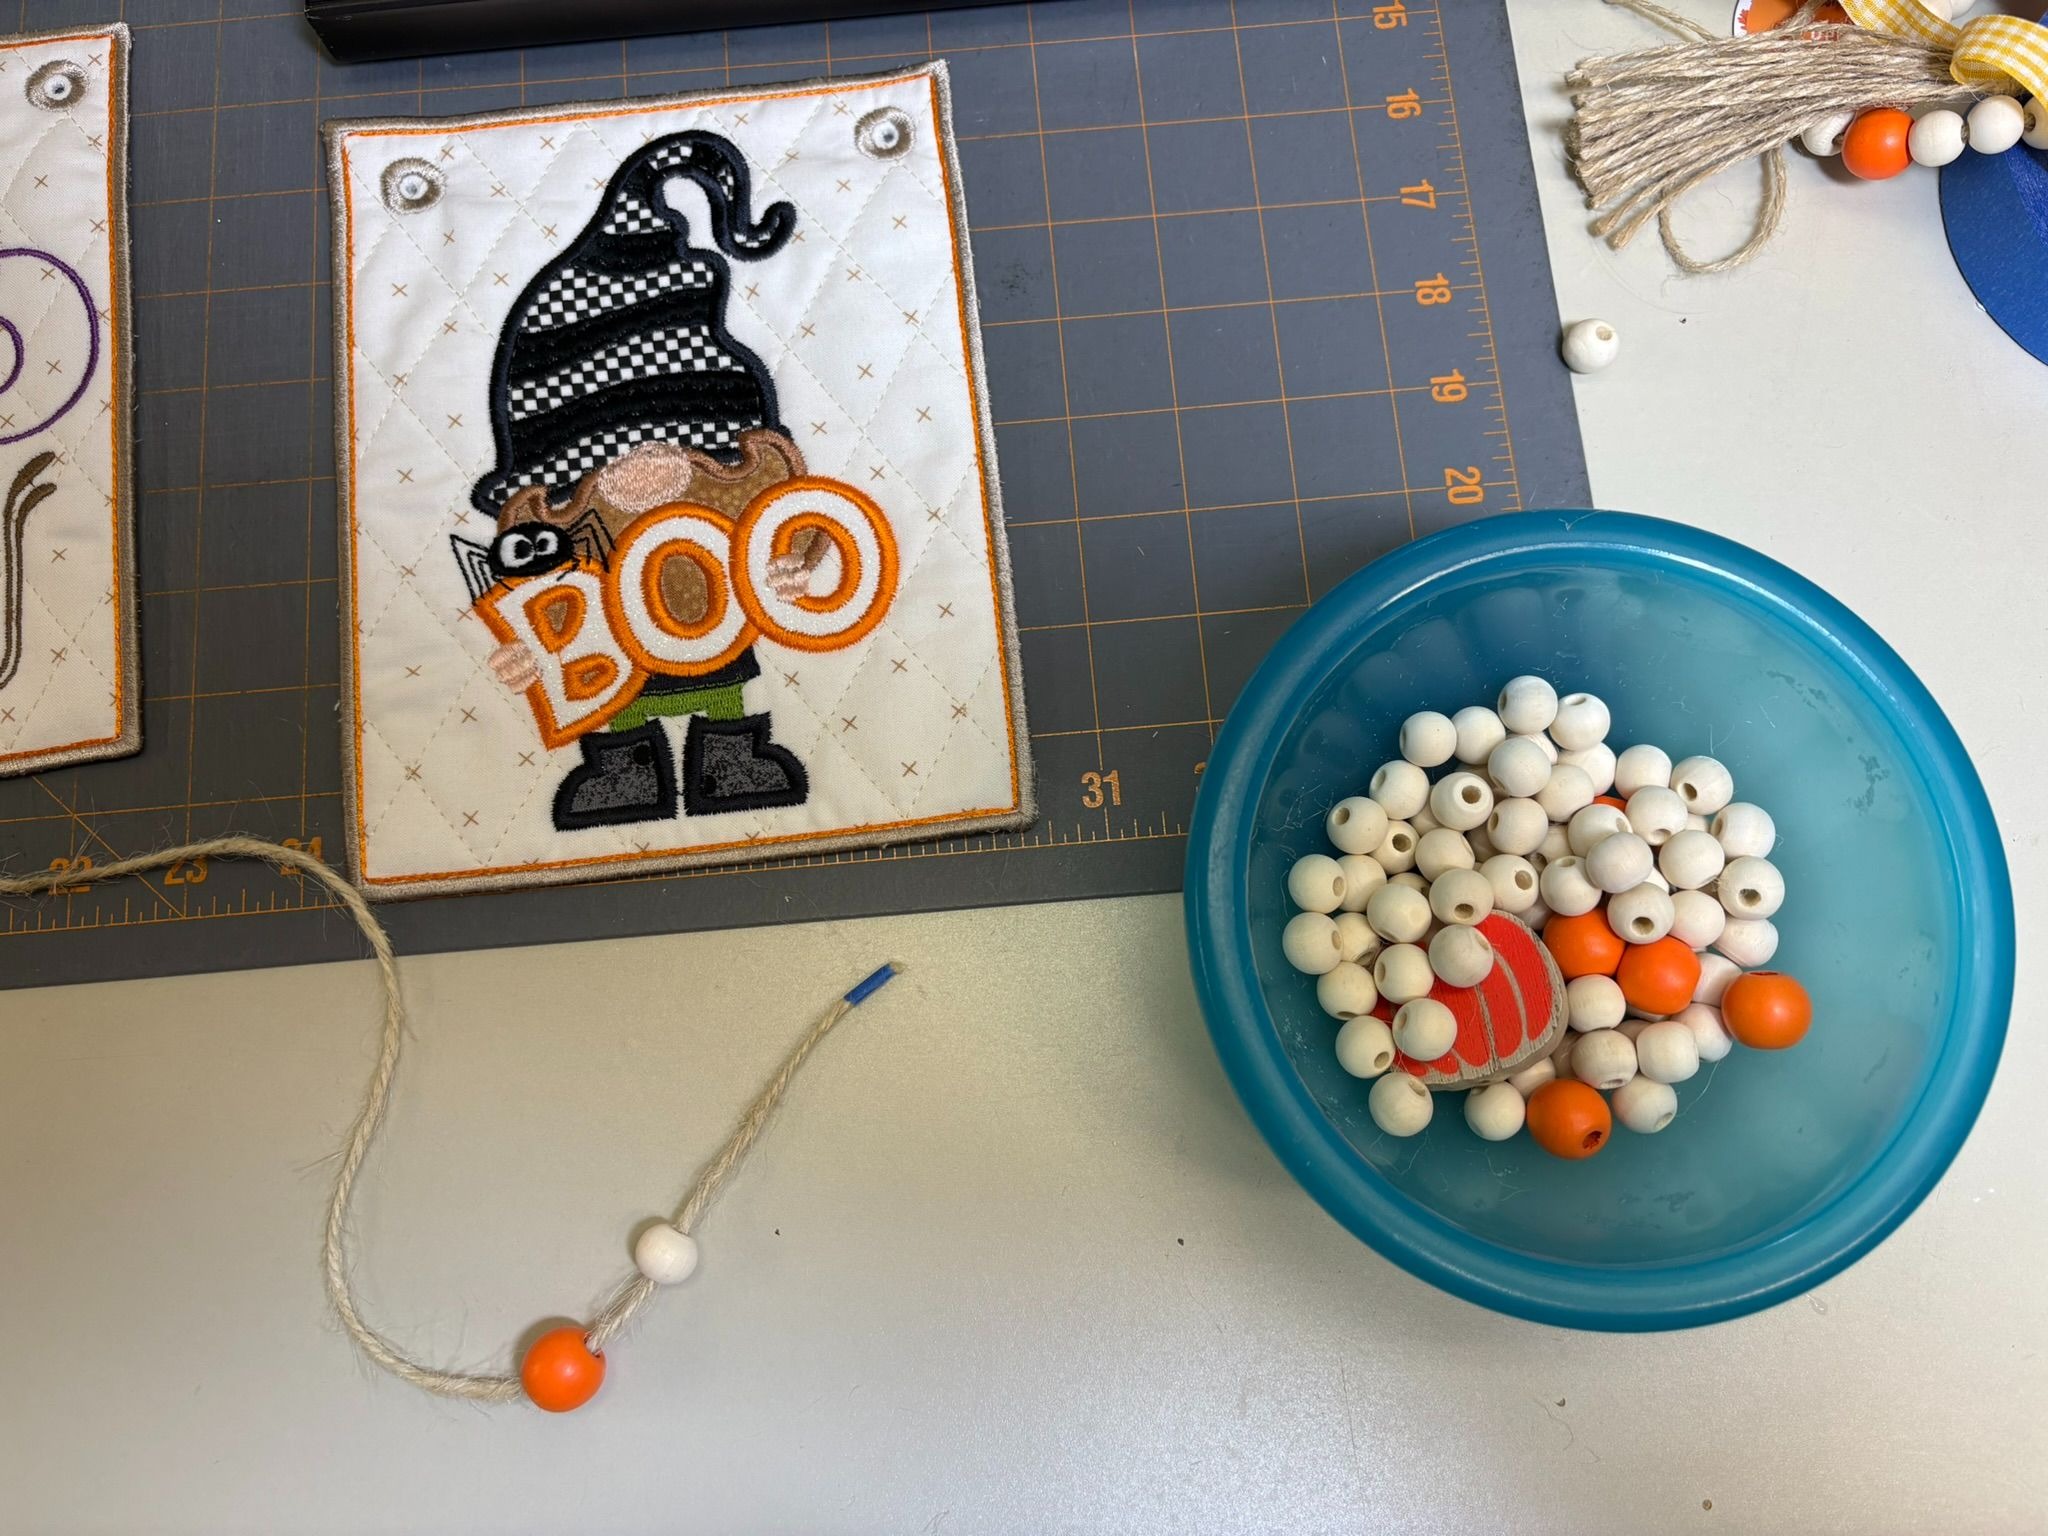
Just like with the ribbon for the Woodland Fairy Bunting, I taped the end to make stringing easy.
I taped the back of the pennants to keep things from moving around while I worked.
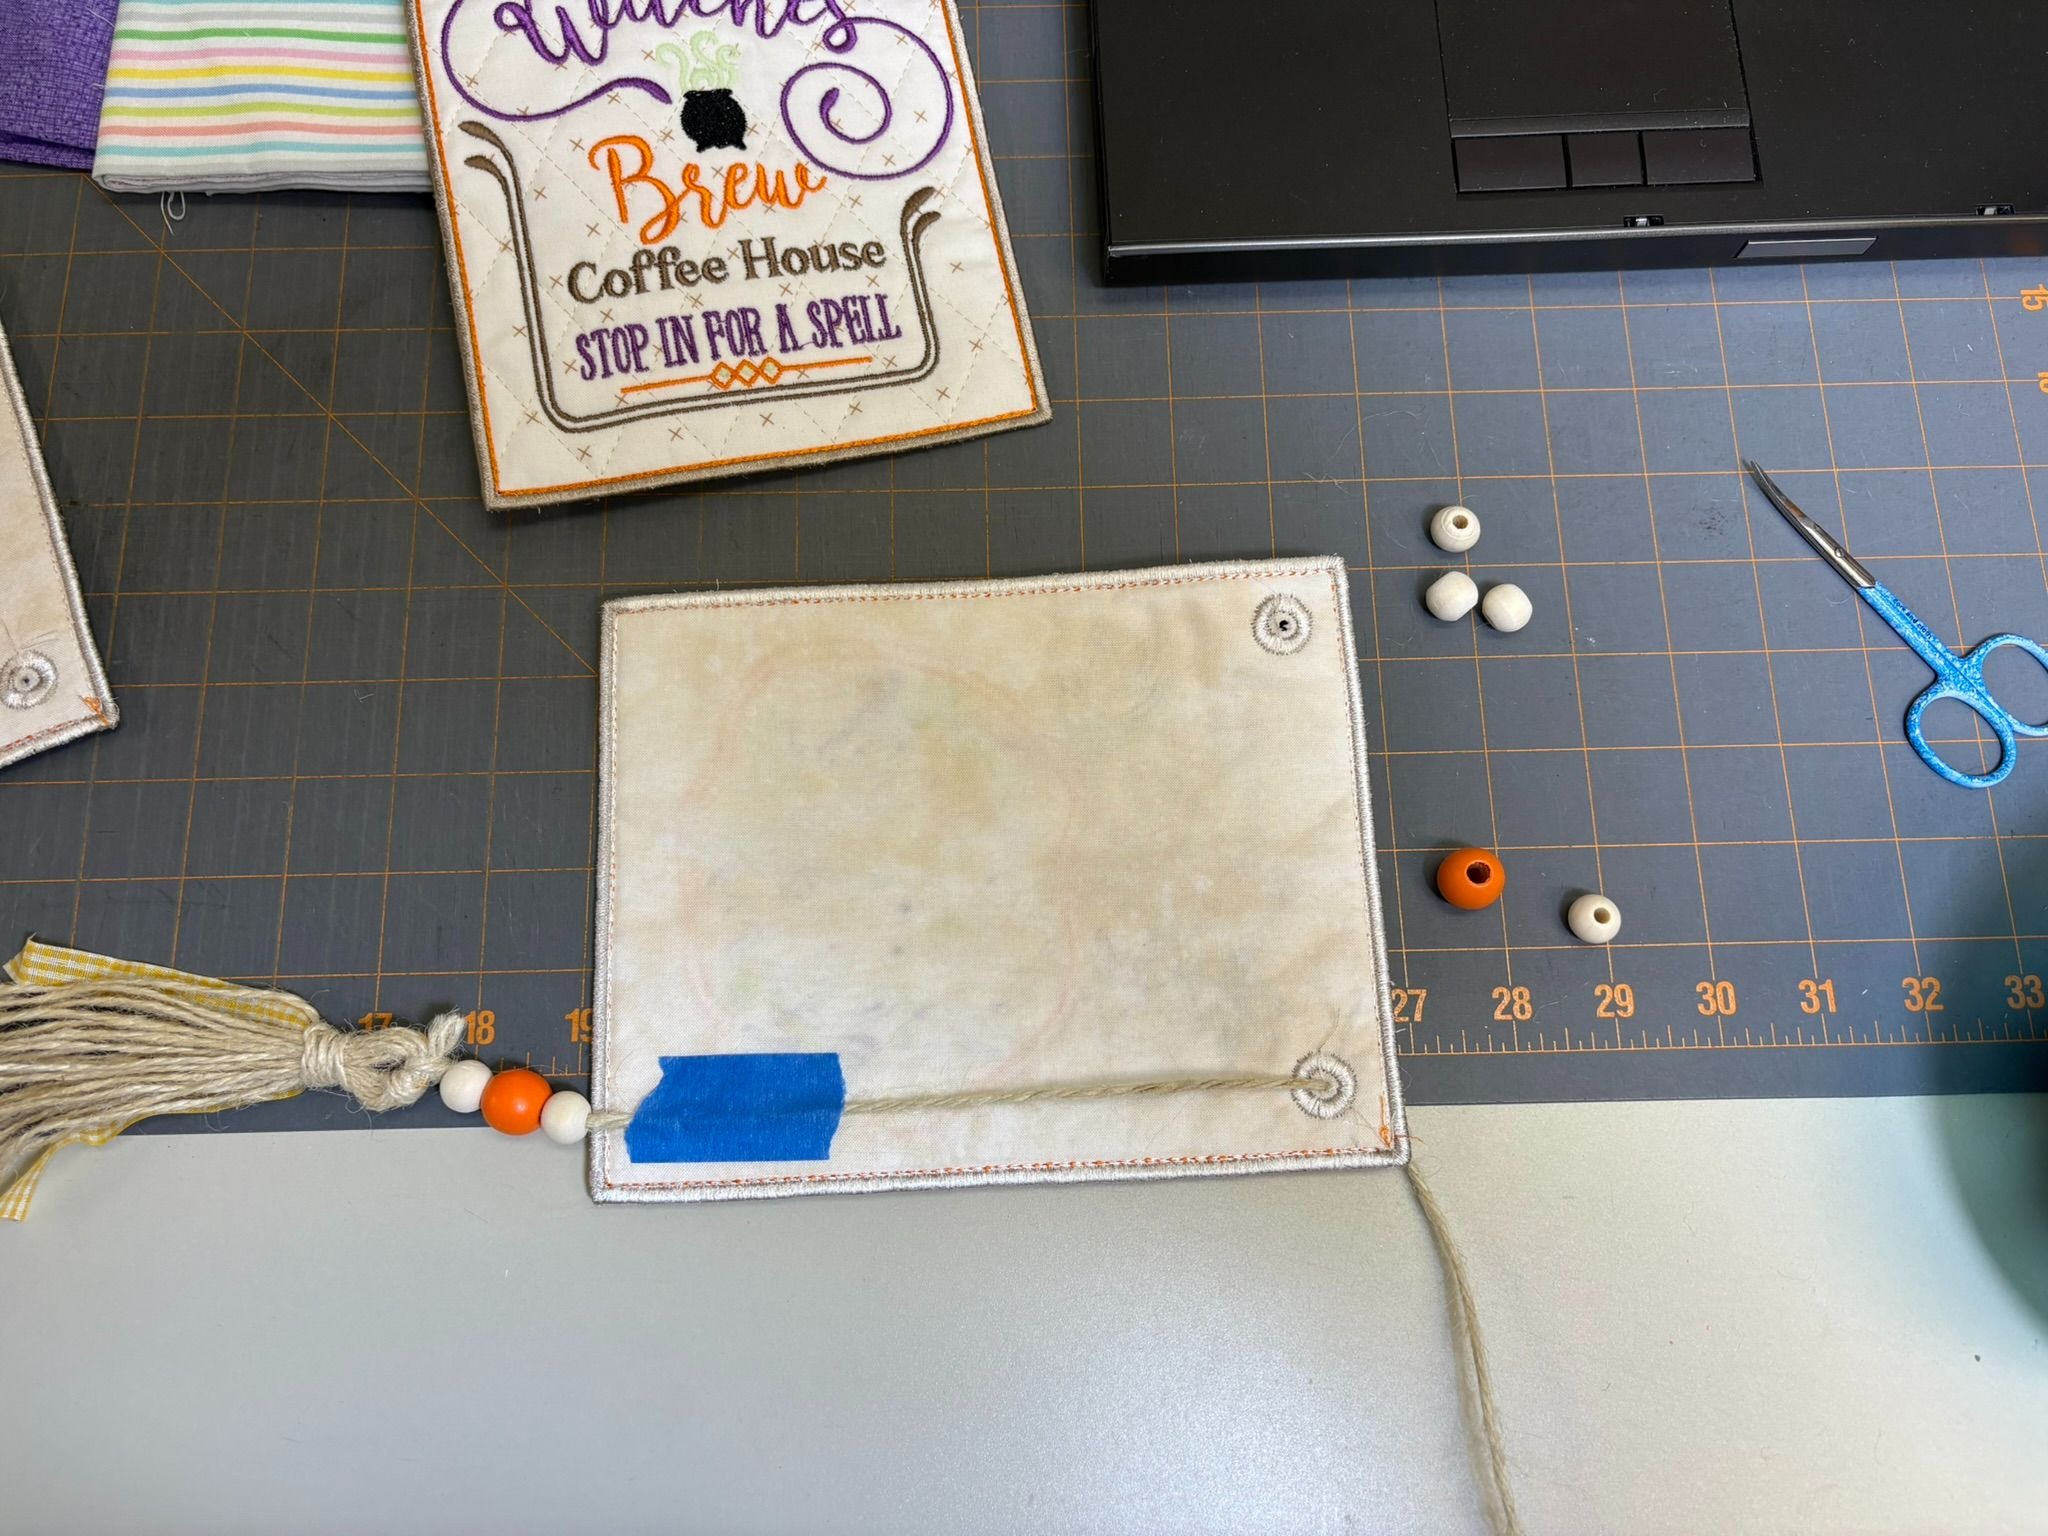
I had about 6” from each string left over when I finished tying them together. If you want to make bigger or more pennants, you might need a third string from the store.
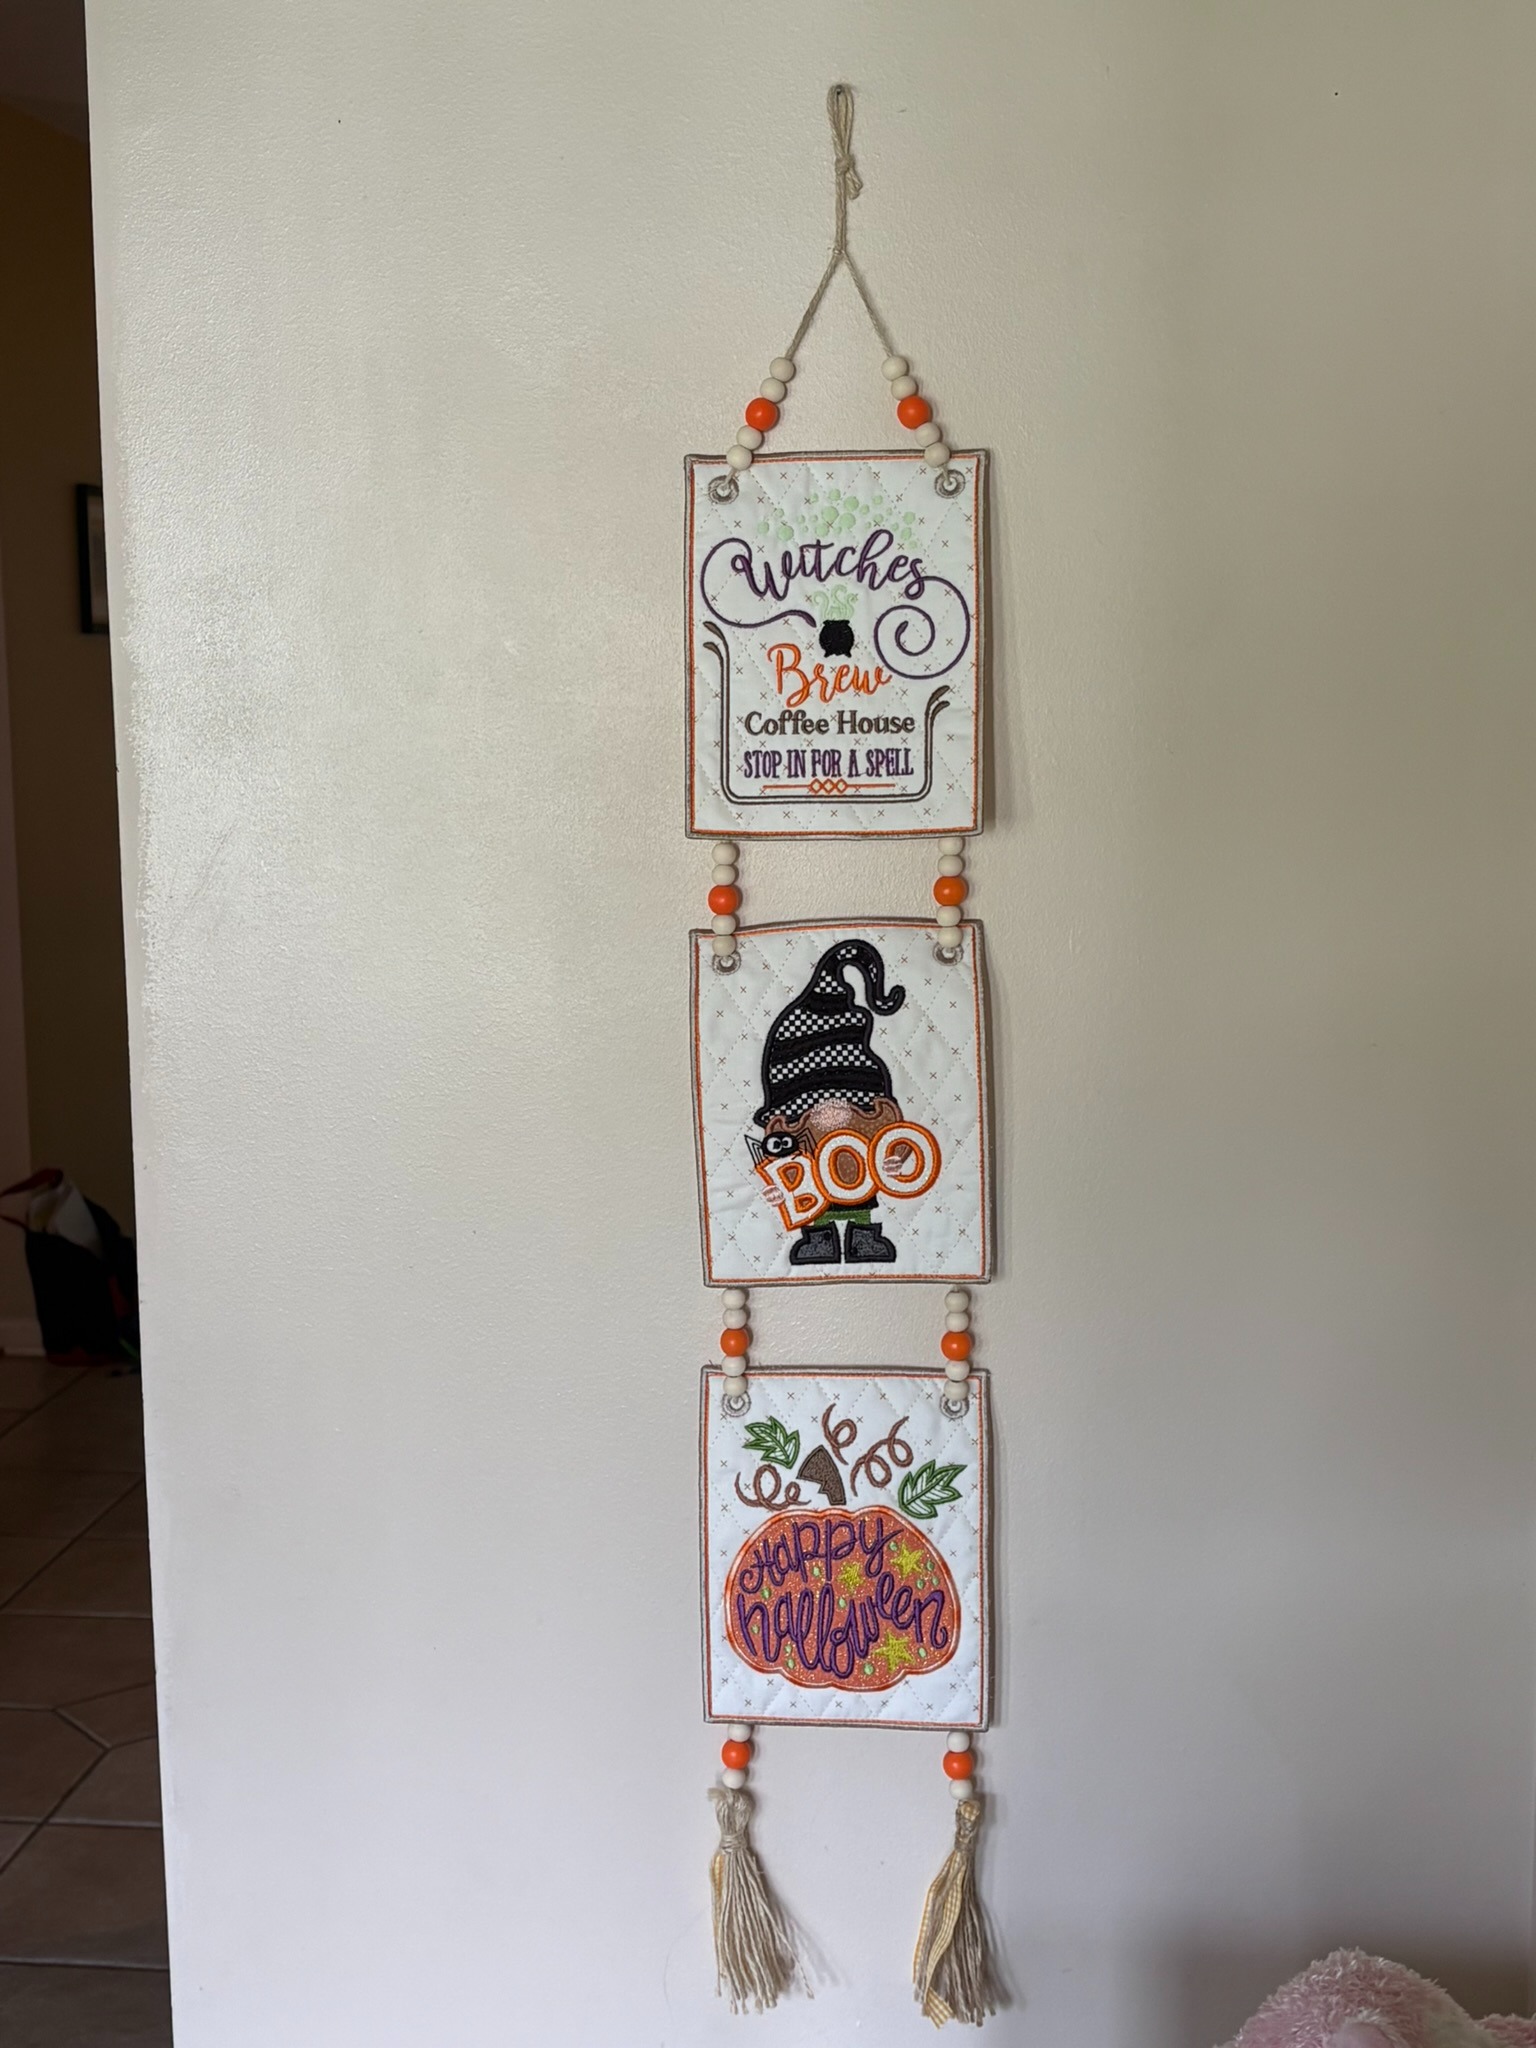
I love the way they look hanging! For sure, the dollar stores will have similar beads and garlands for other holidays, making it easy and inexpensive to dress up pennants for all occasions.
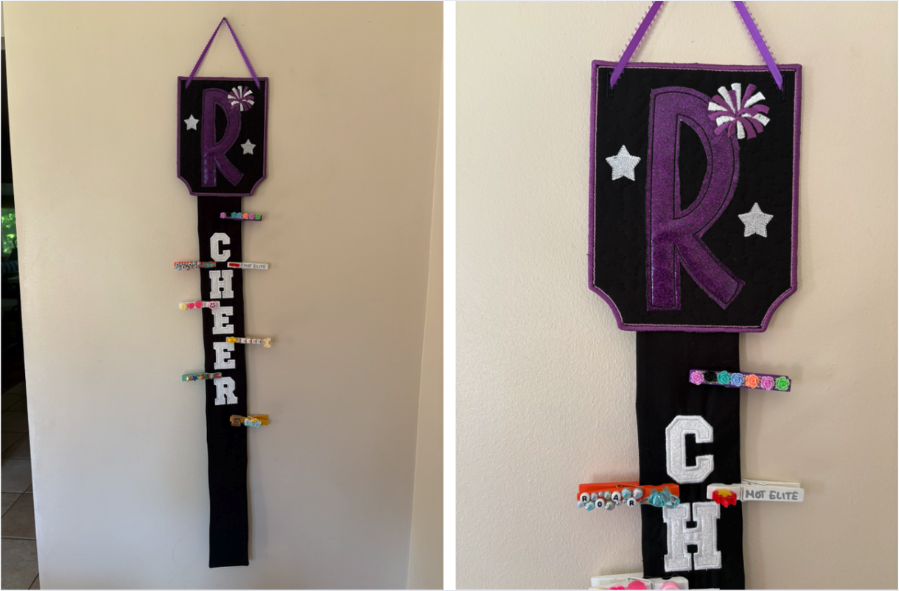
Kids who are in Cheer love to make and trade pins with friends and other teams. This last project is a pennant with a tail for displaying the pins.
I used the 8” Pennant Roundcut Corner design from Set 1. The Daisy Doodle R is 6”, and I enlarged it just a scooch. (I checked—DBJJ doesn’t caution against enlarging on this design, but remember the best practice is to enlarge no more than 20%.) From the Cheer Embellishment set, I added a 4” Pompom and 4½” Mini Stars.
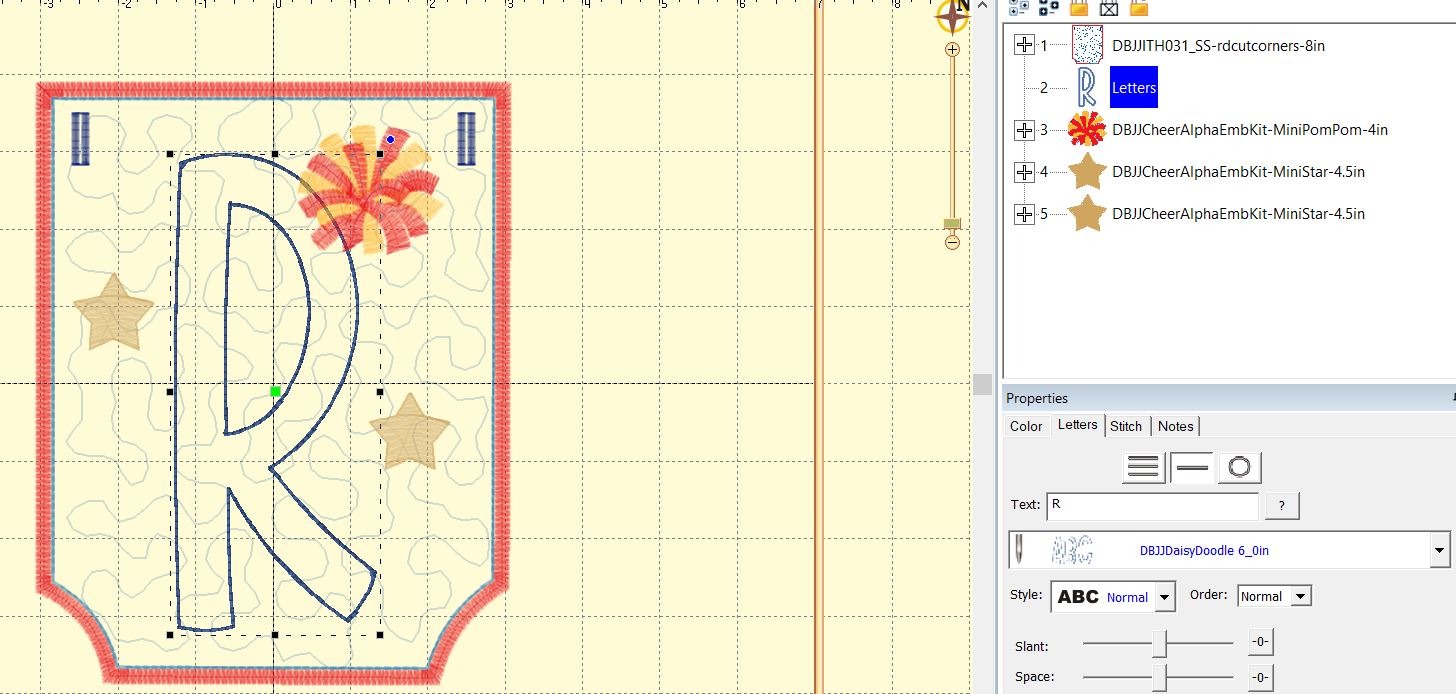
Once again, I stitched out the first steps of the pennant. This pennant also has the stipple quilting. Next, I started stitching out the design.
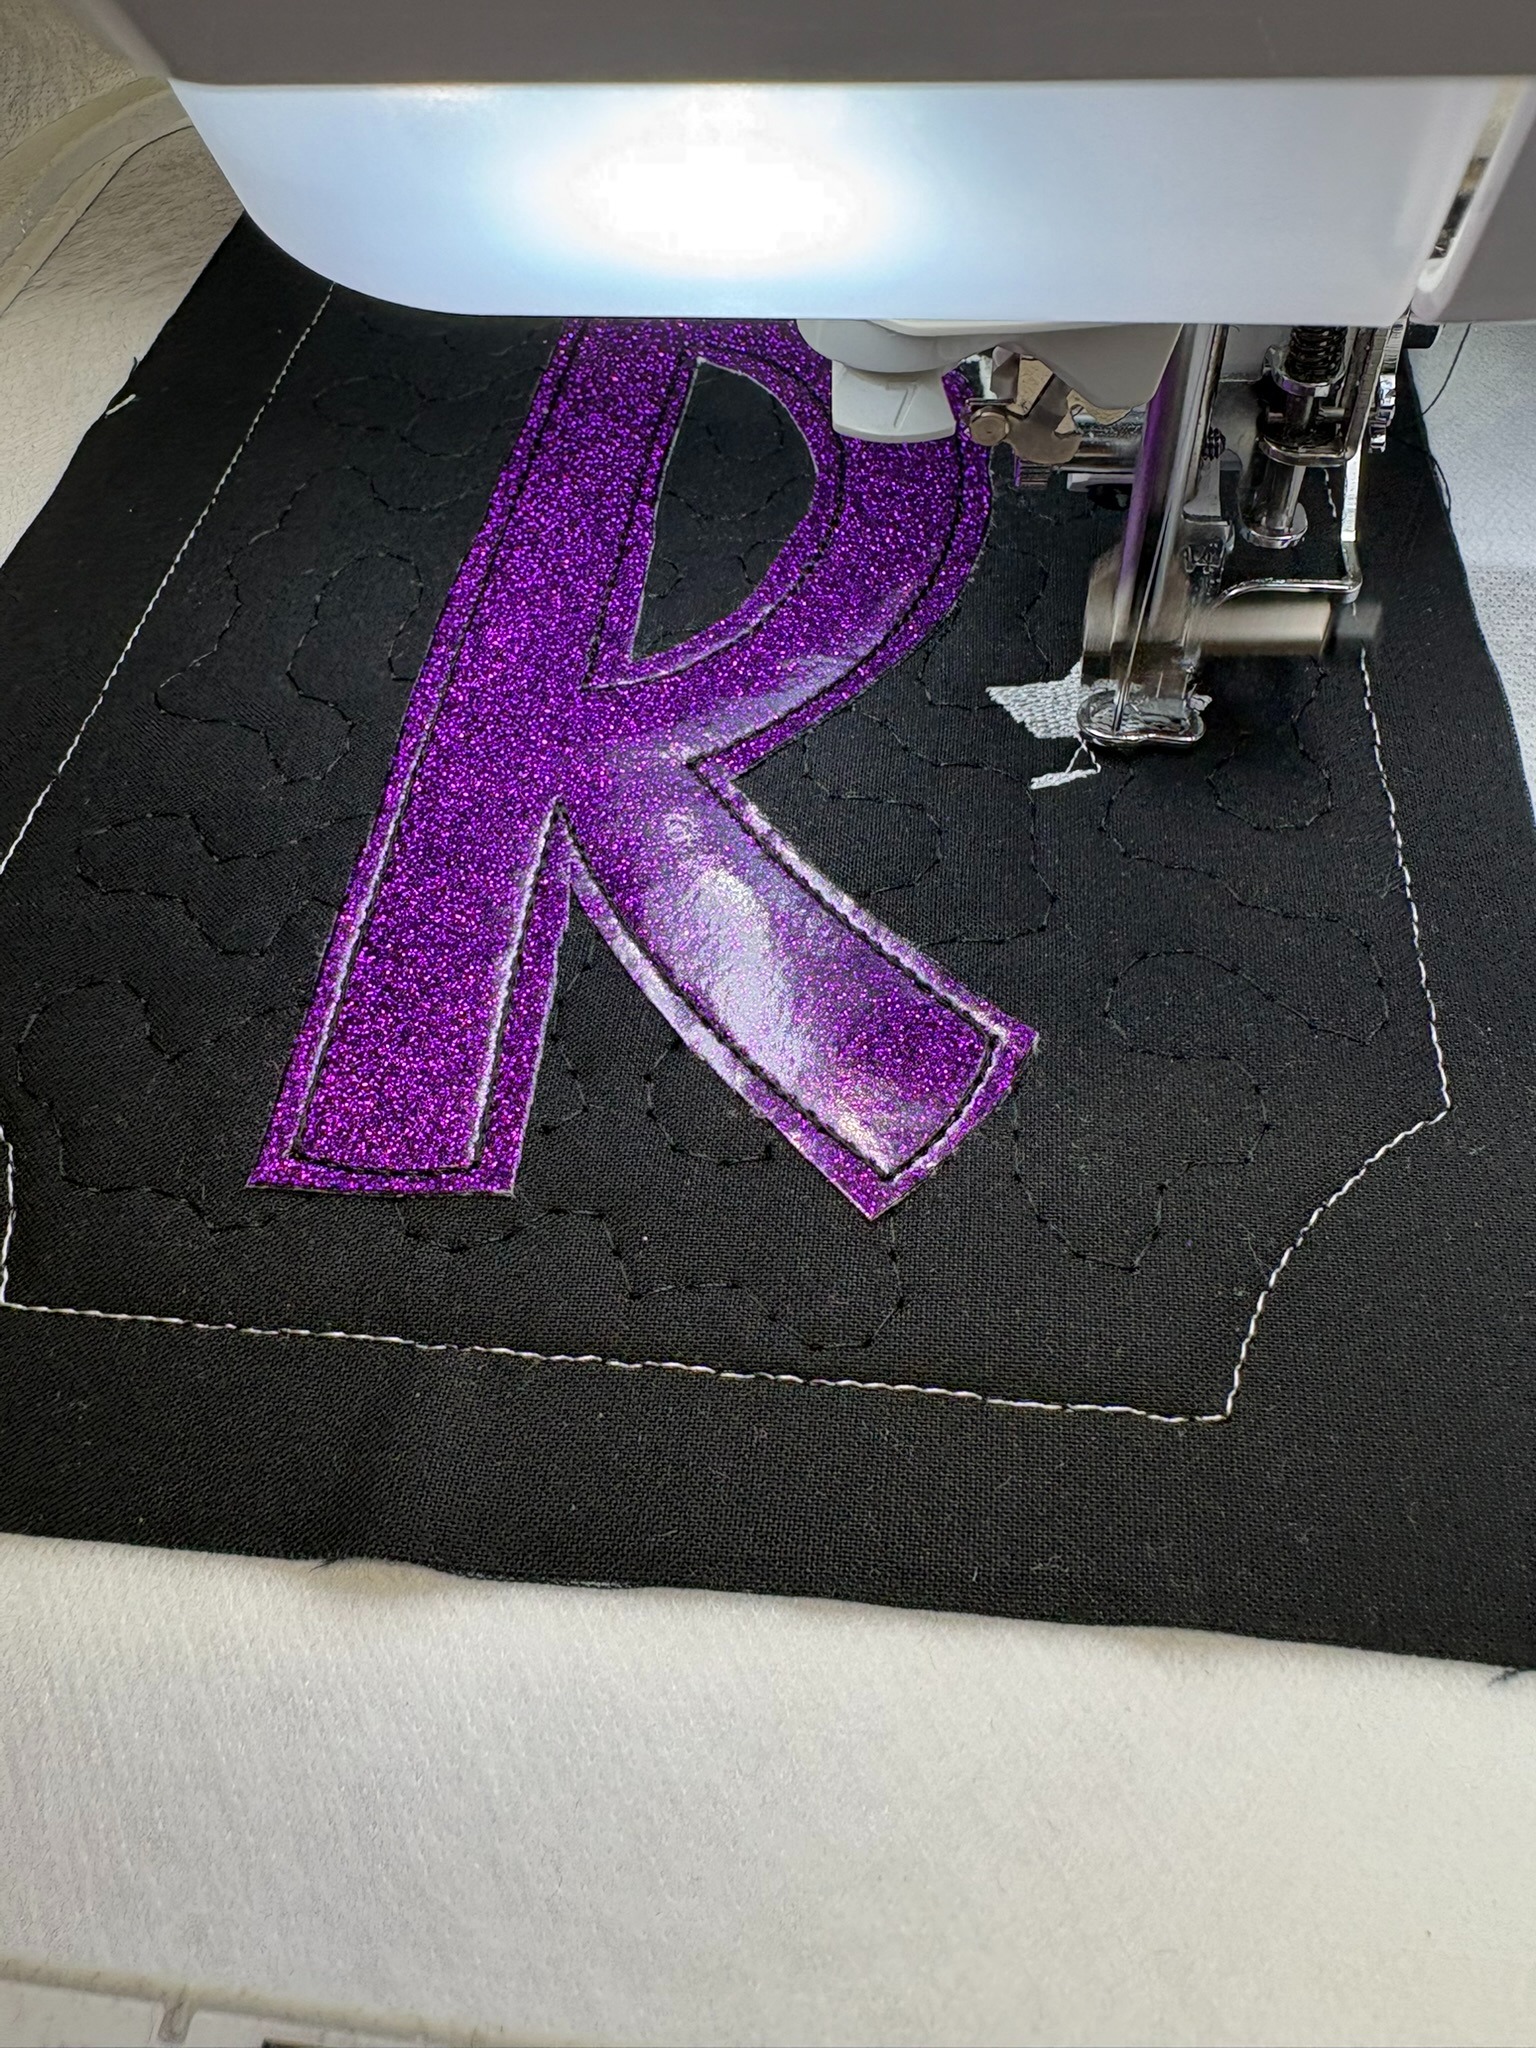
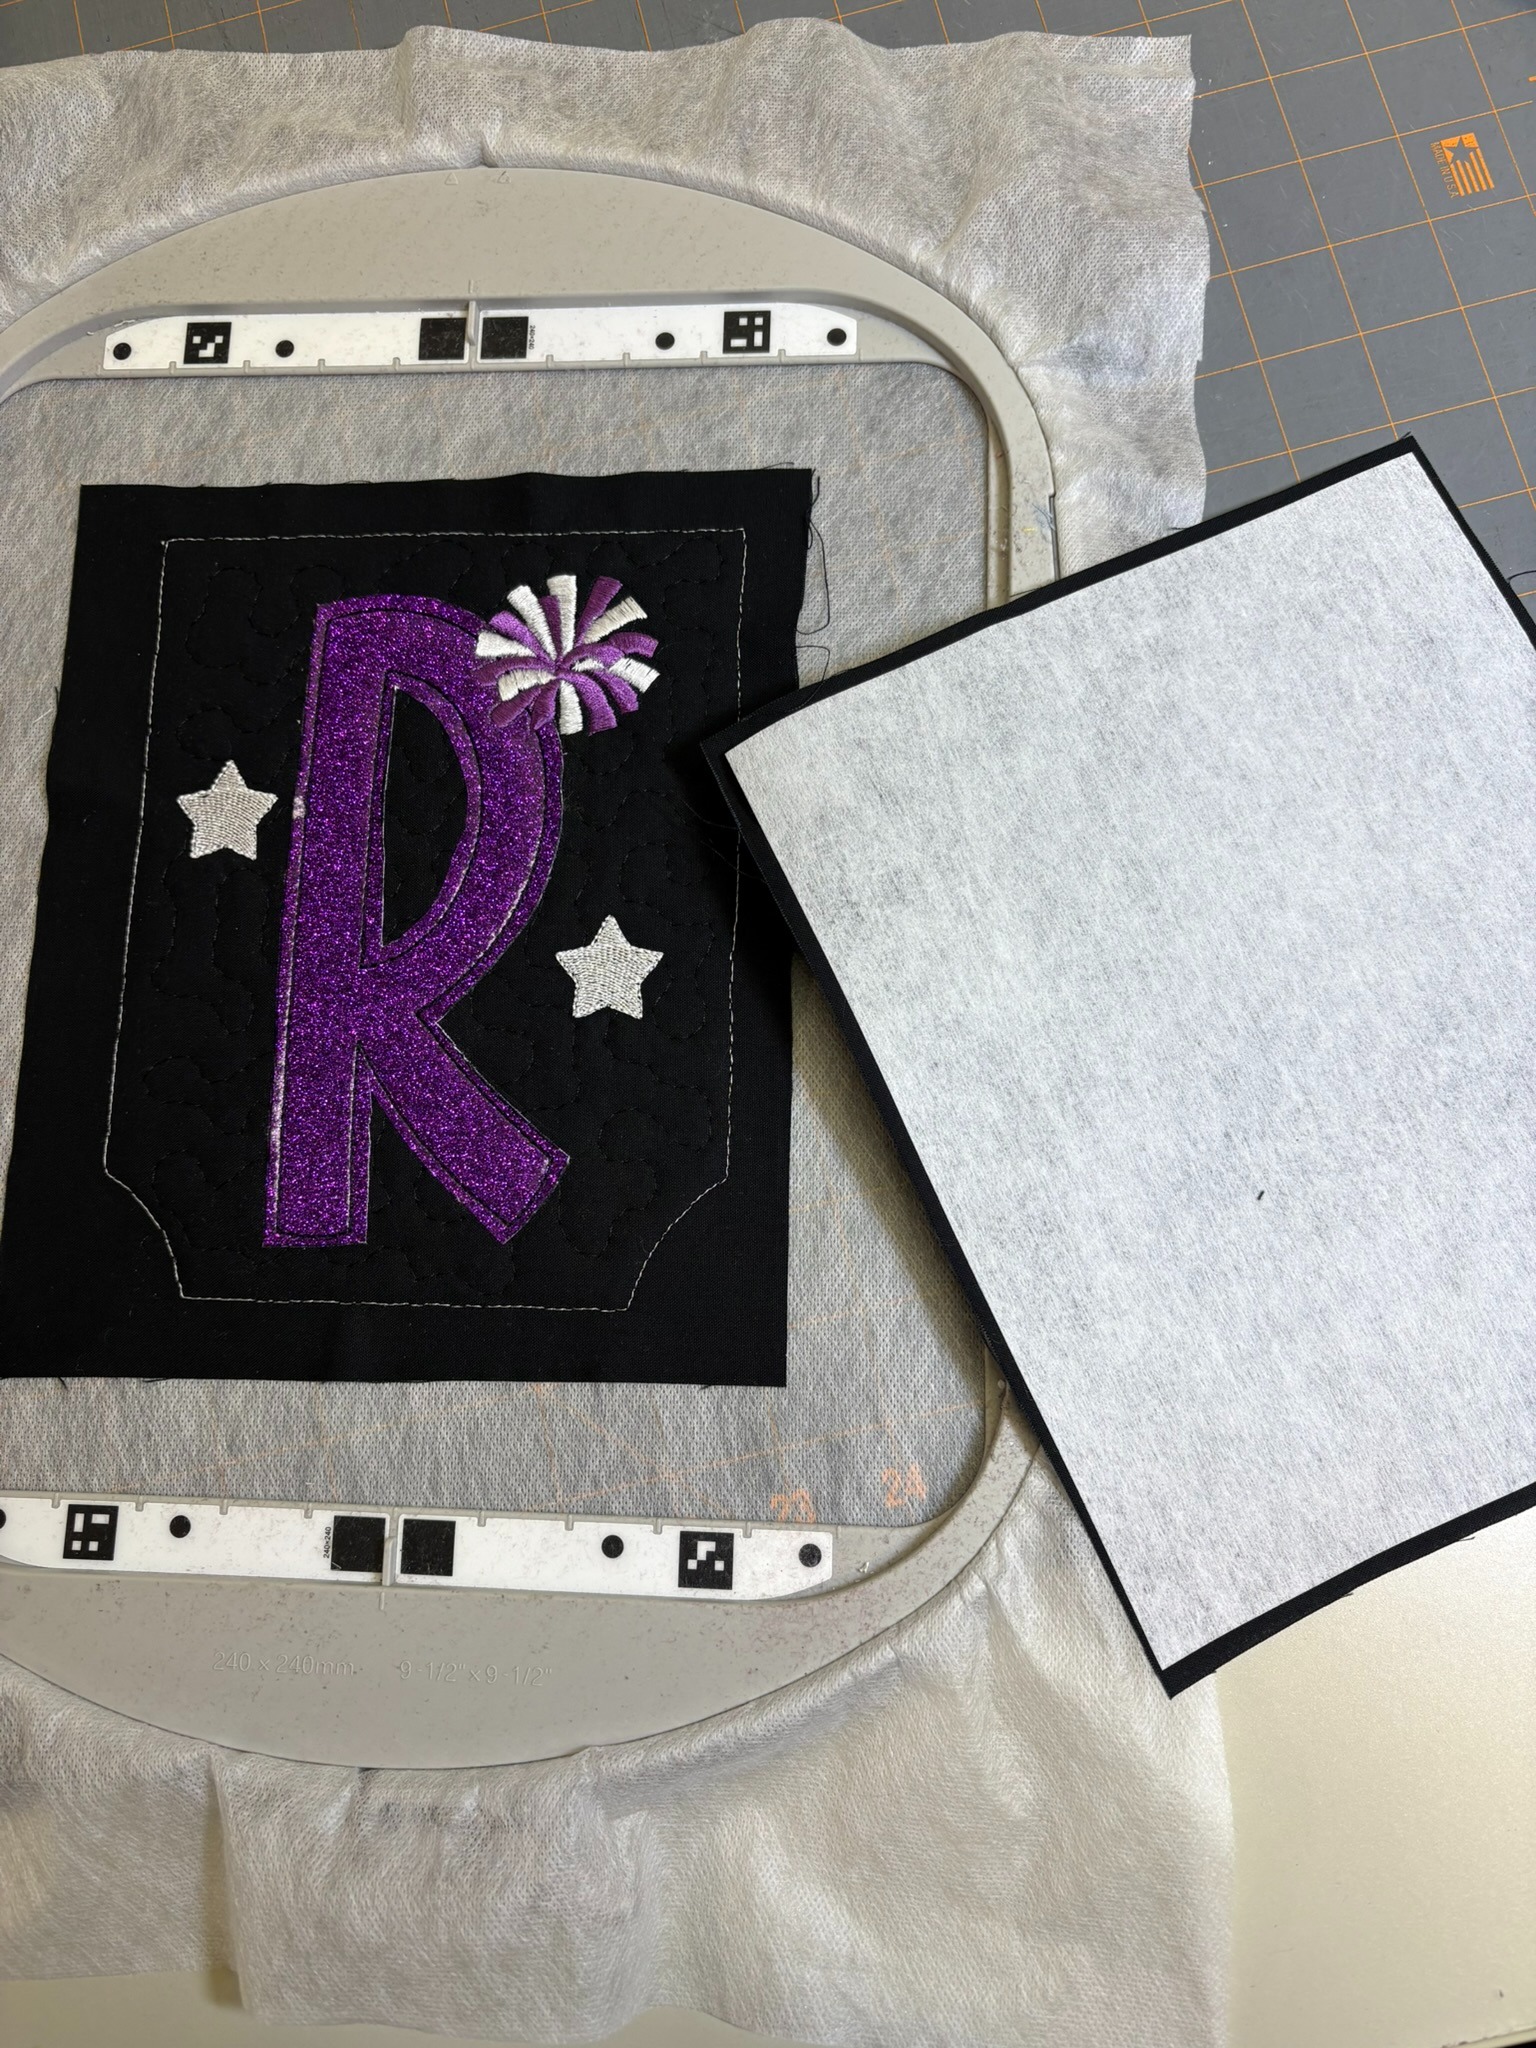
Pellon Décor-Bond is suggested for support for drapes and accessories. I’m using this because I don’t want the pennant to sag with the weight of the pins. I applied the Décor-Bond to the wrong side of the back. Because this is applied with steam, I’ve made sure to preshrink my fabrics.
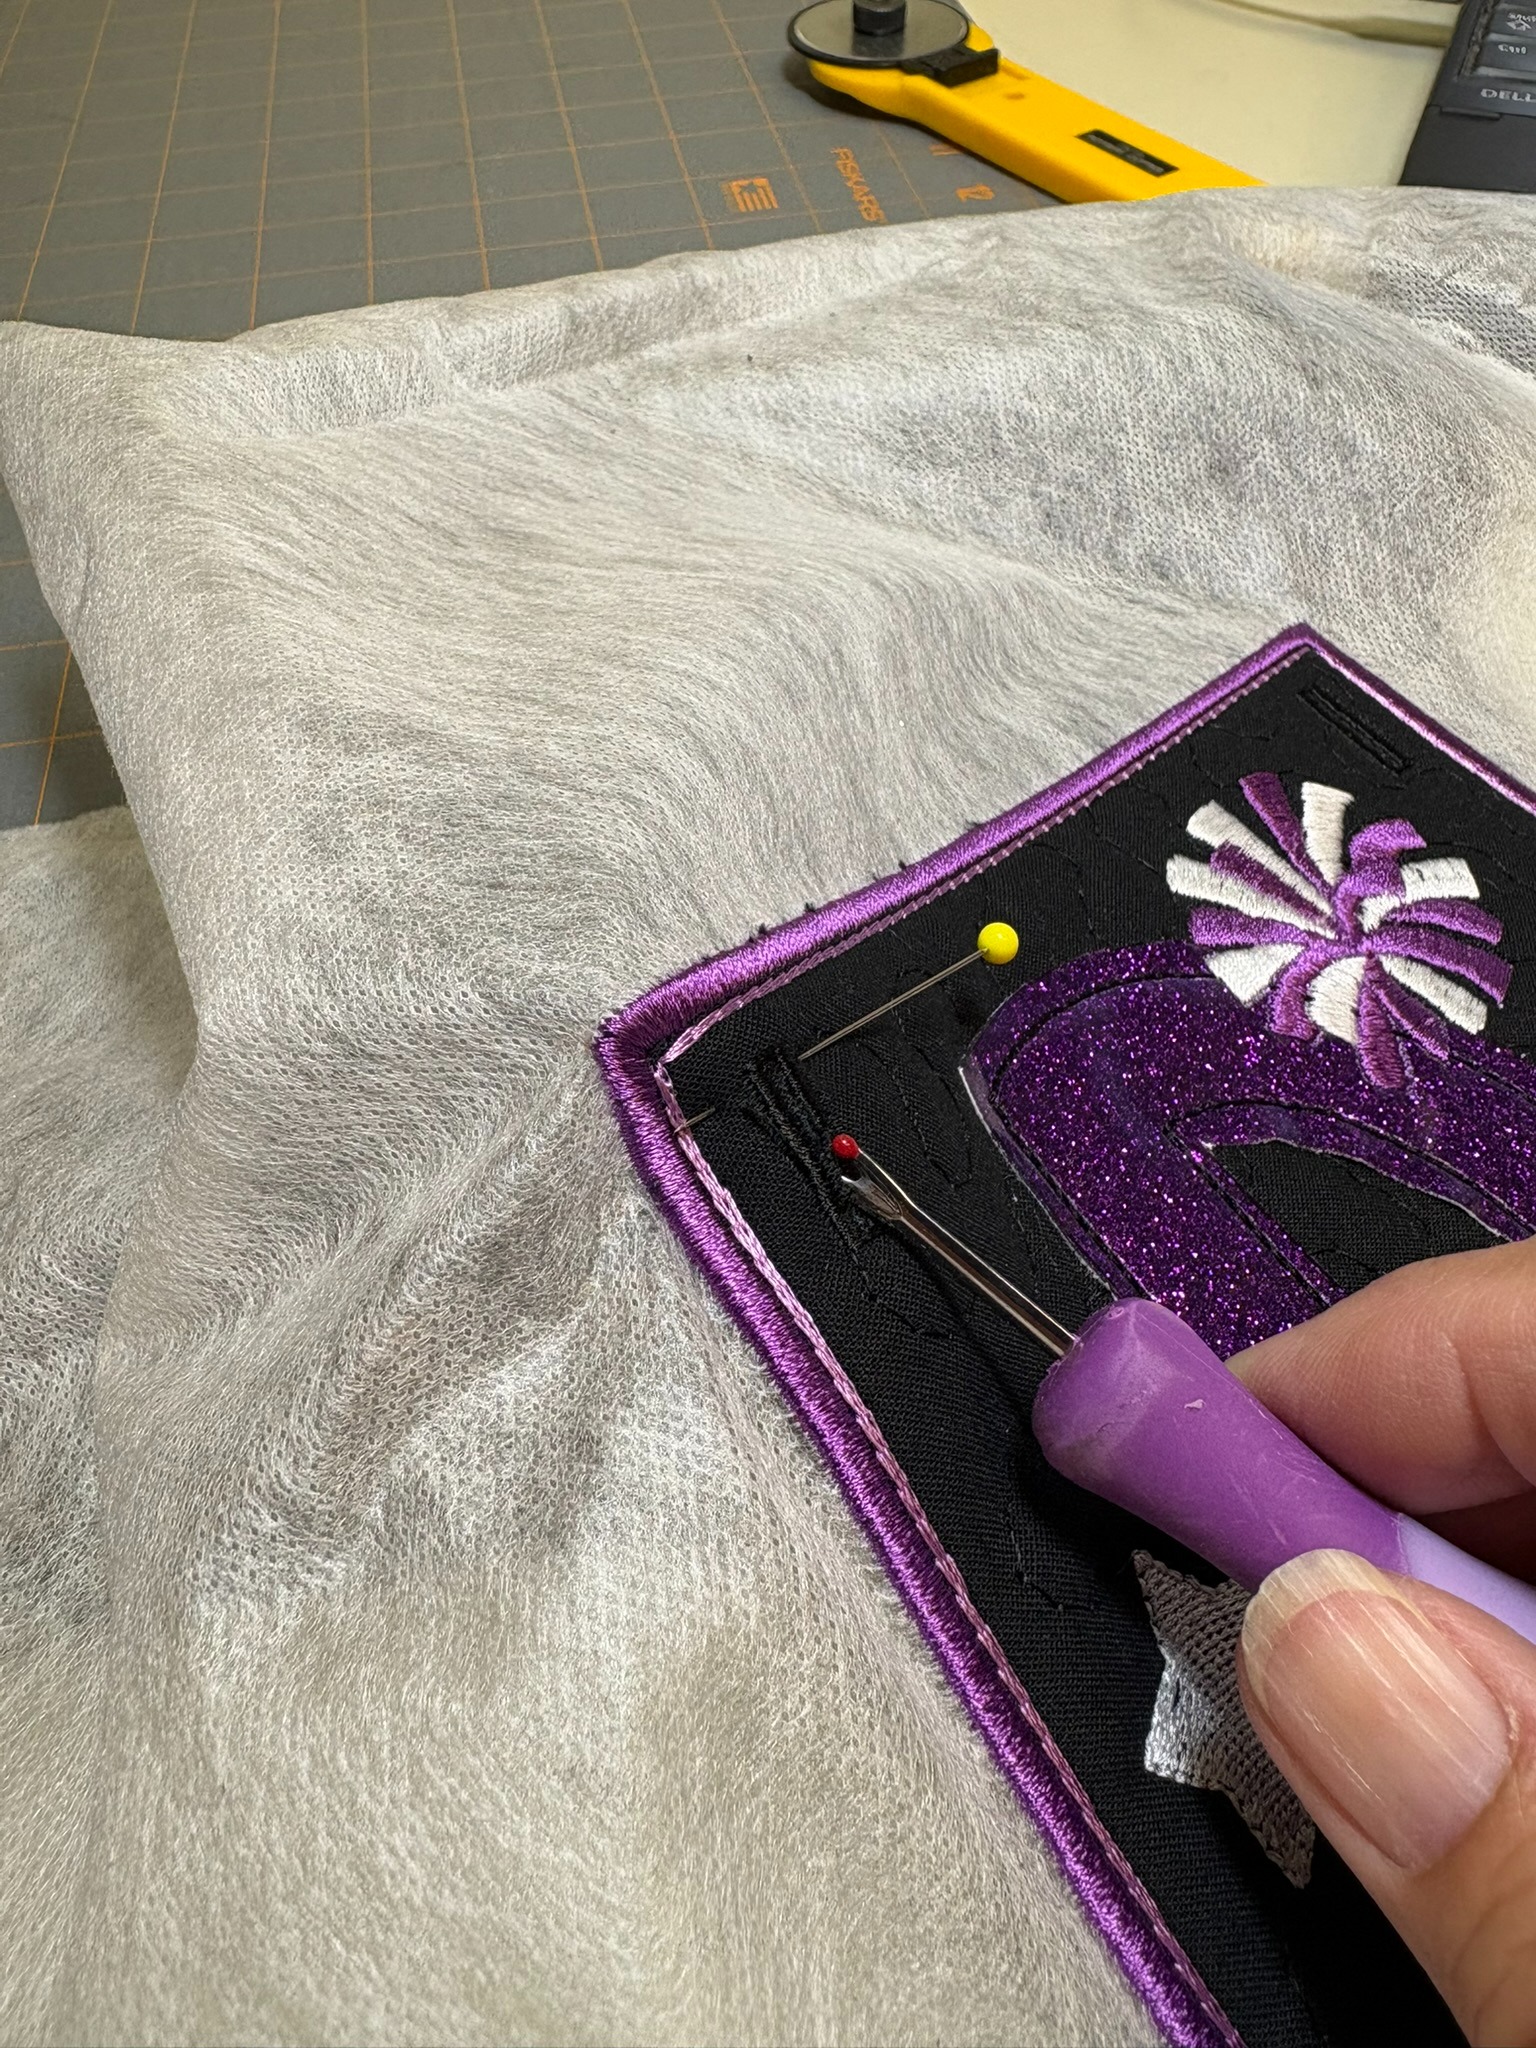
The last steps for the pennant went quickly. I tacked down the back and trimmed the excess back and front fabrics. The satin stitch, accent stitch, and buttonholes stitched out last. I used a pin at the top of the buttonhole to make sure I didn’t open it too much with my stitch ripper.
Now that the pennant is done, it’s time to make the tail for the pins.
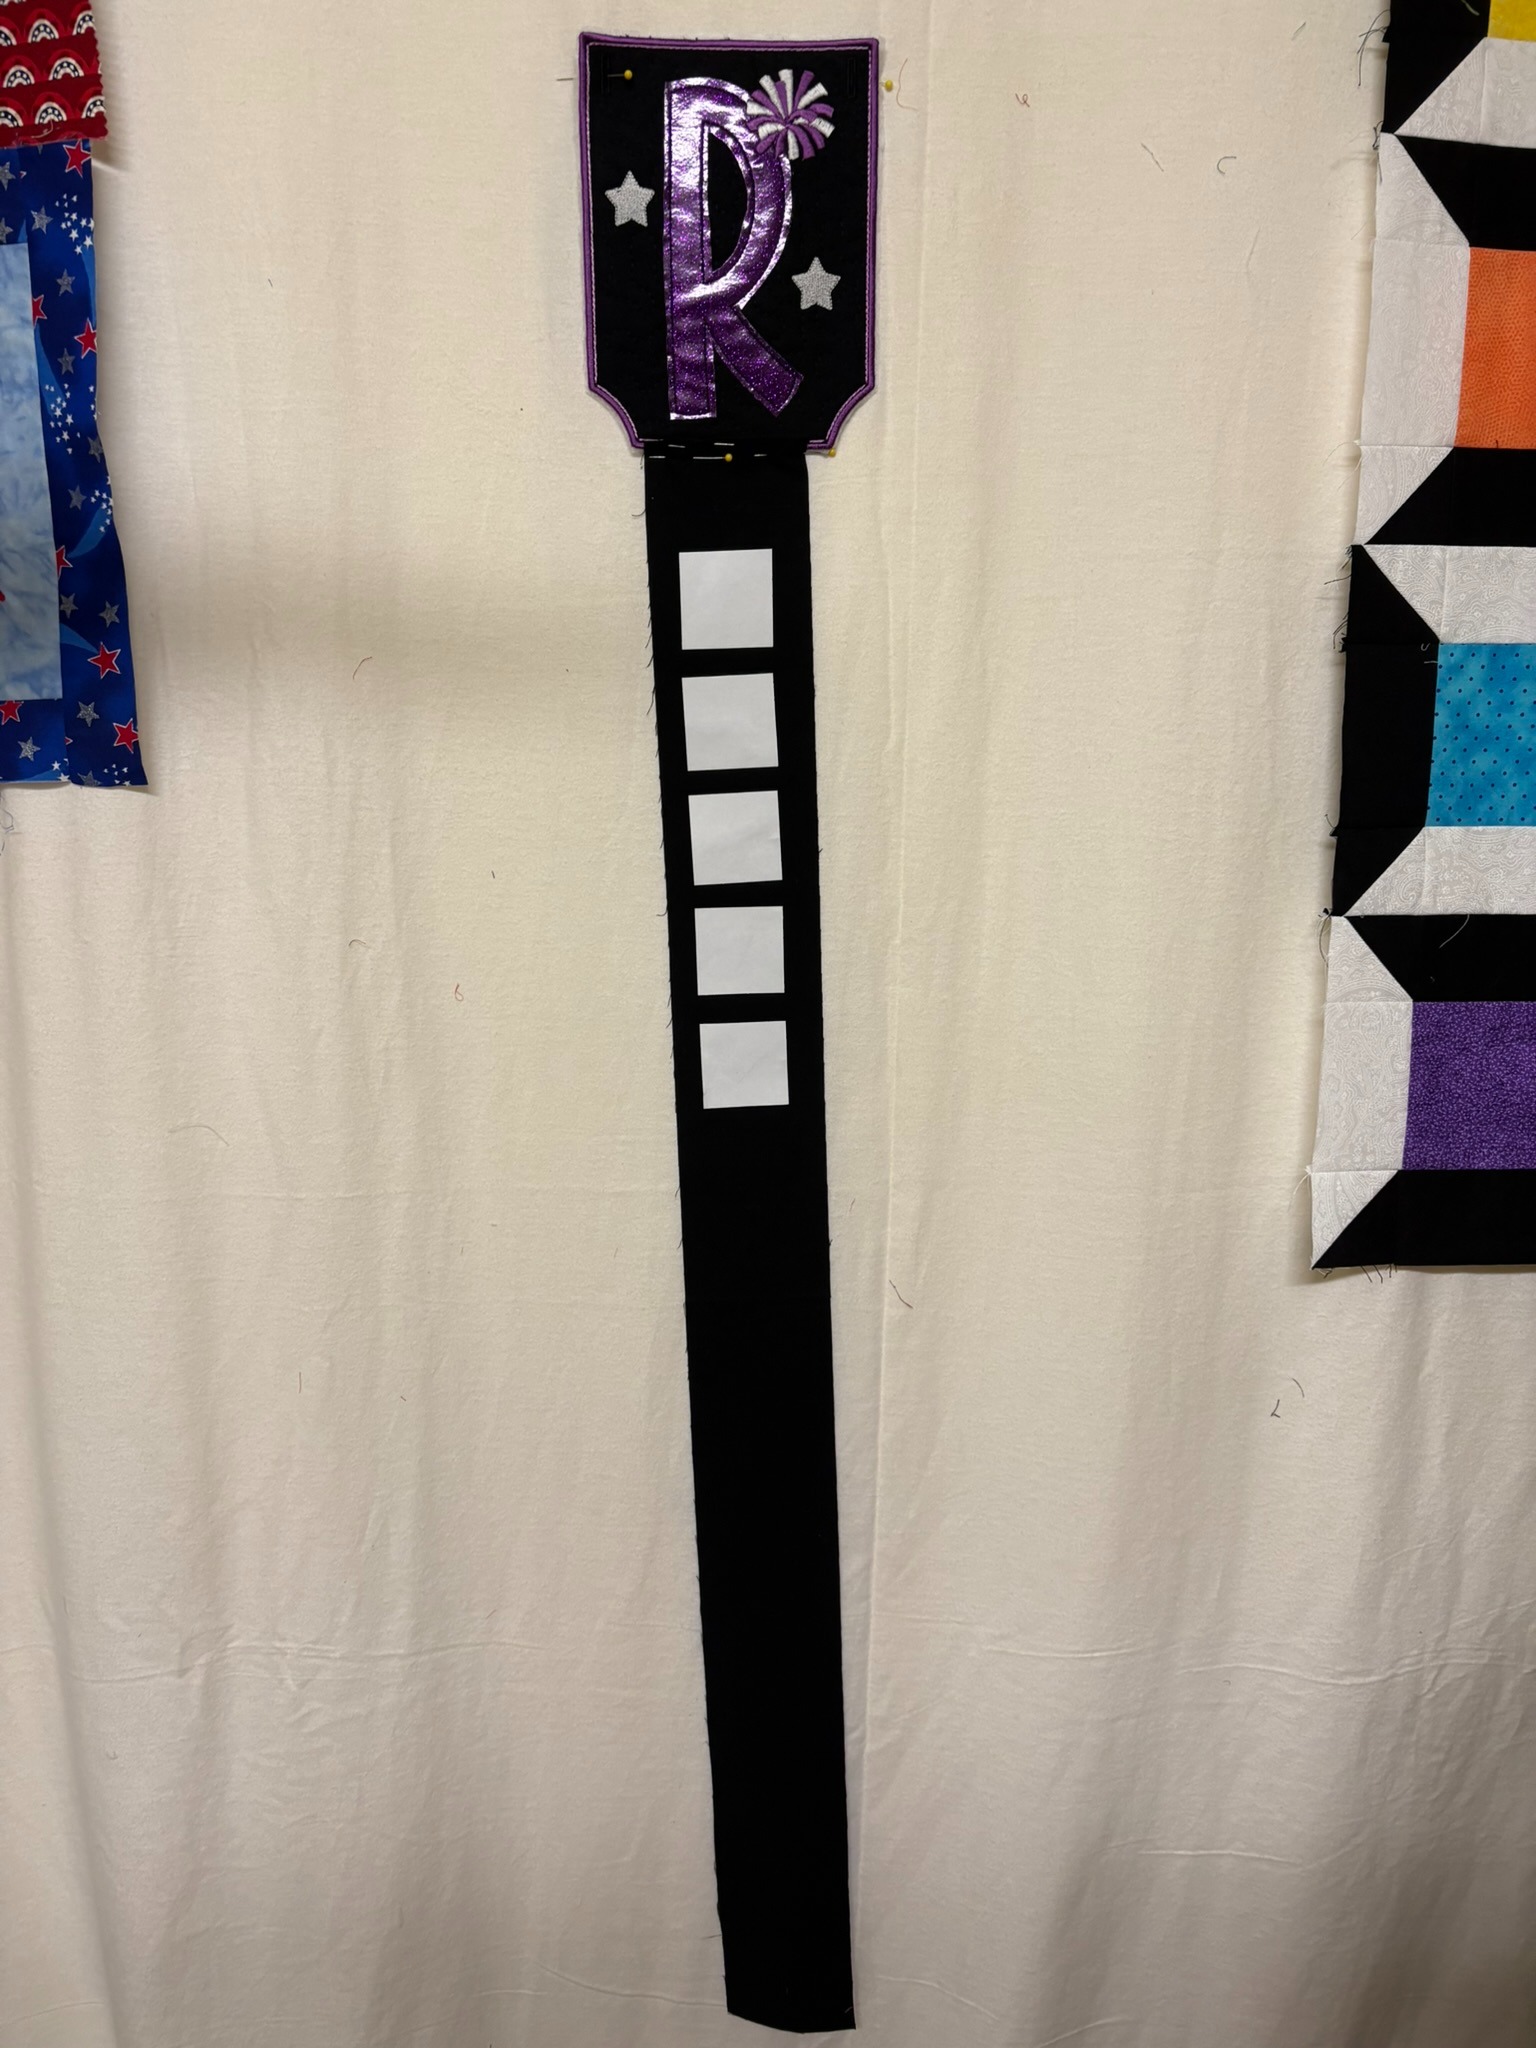
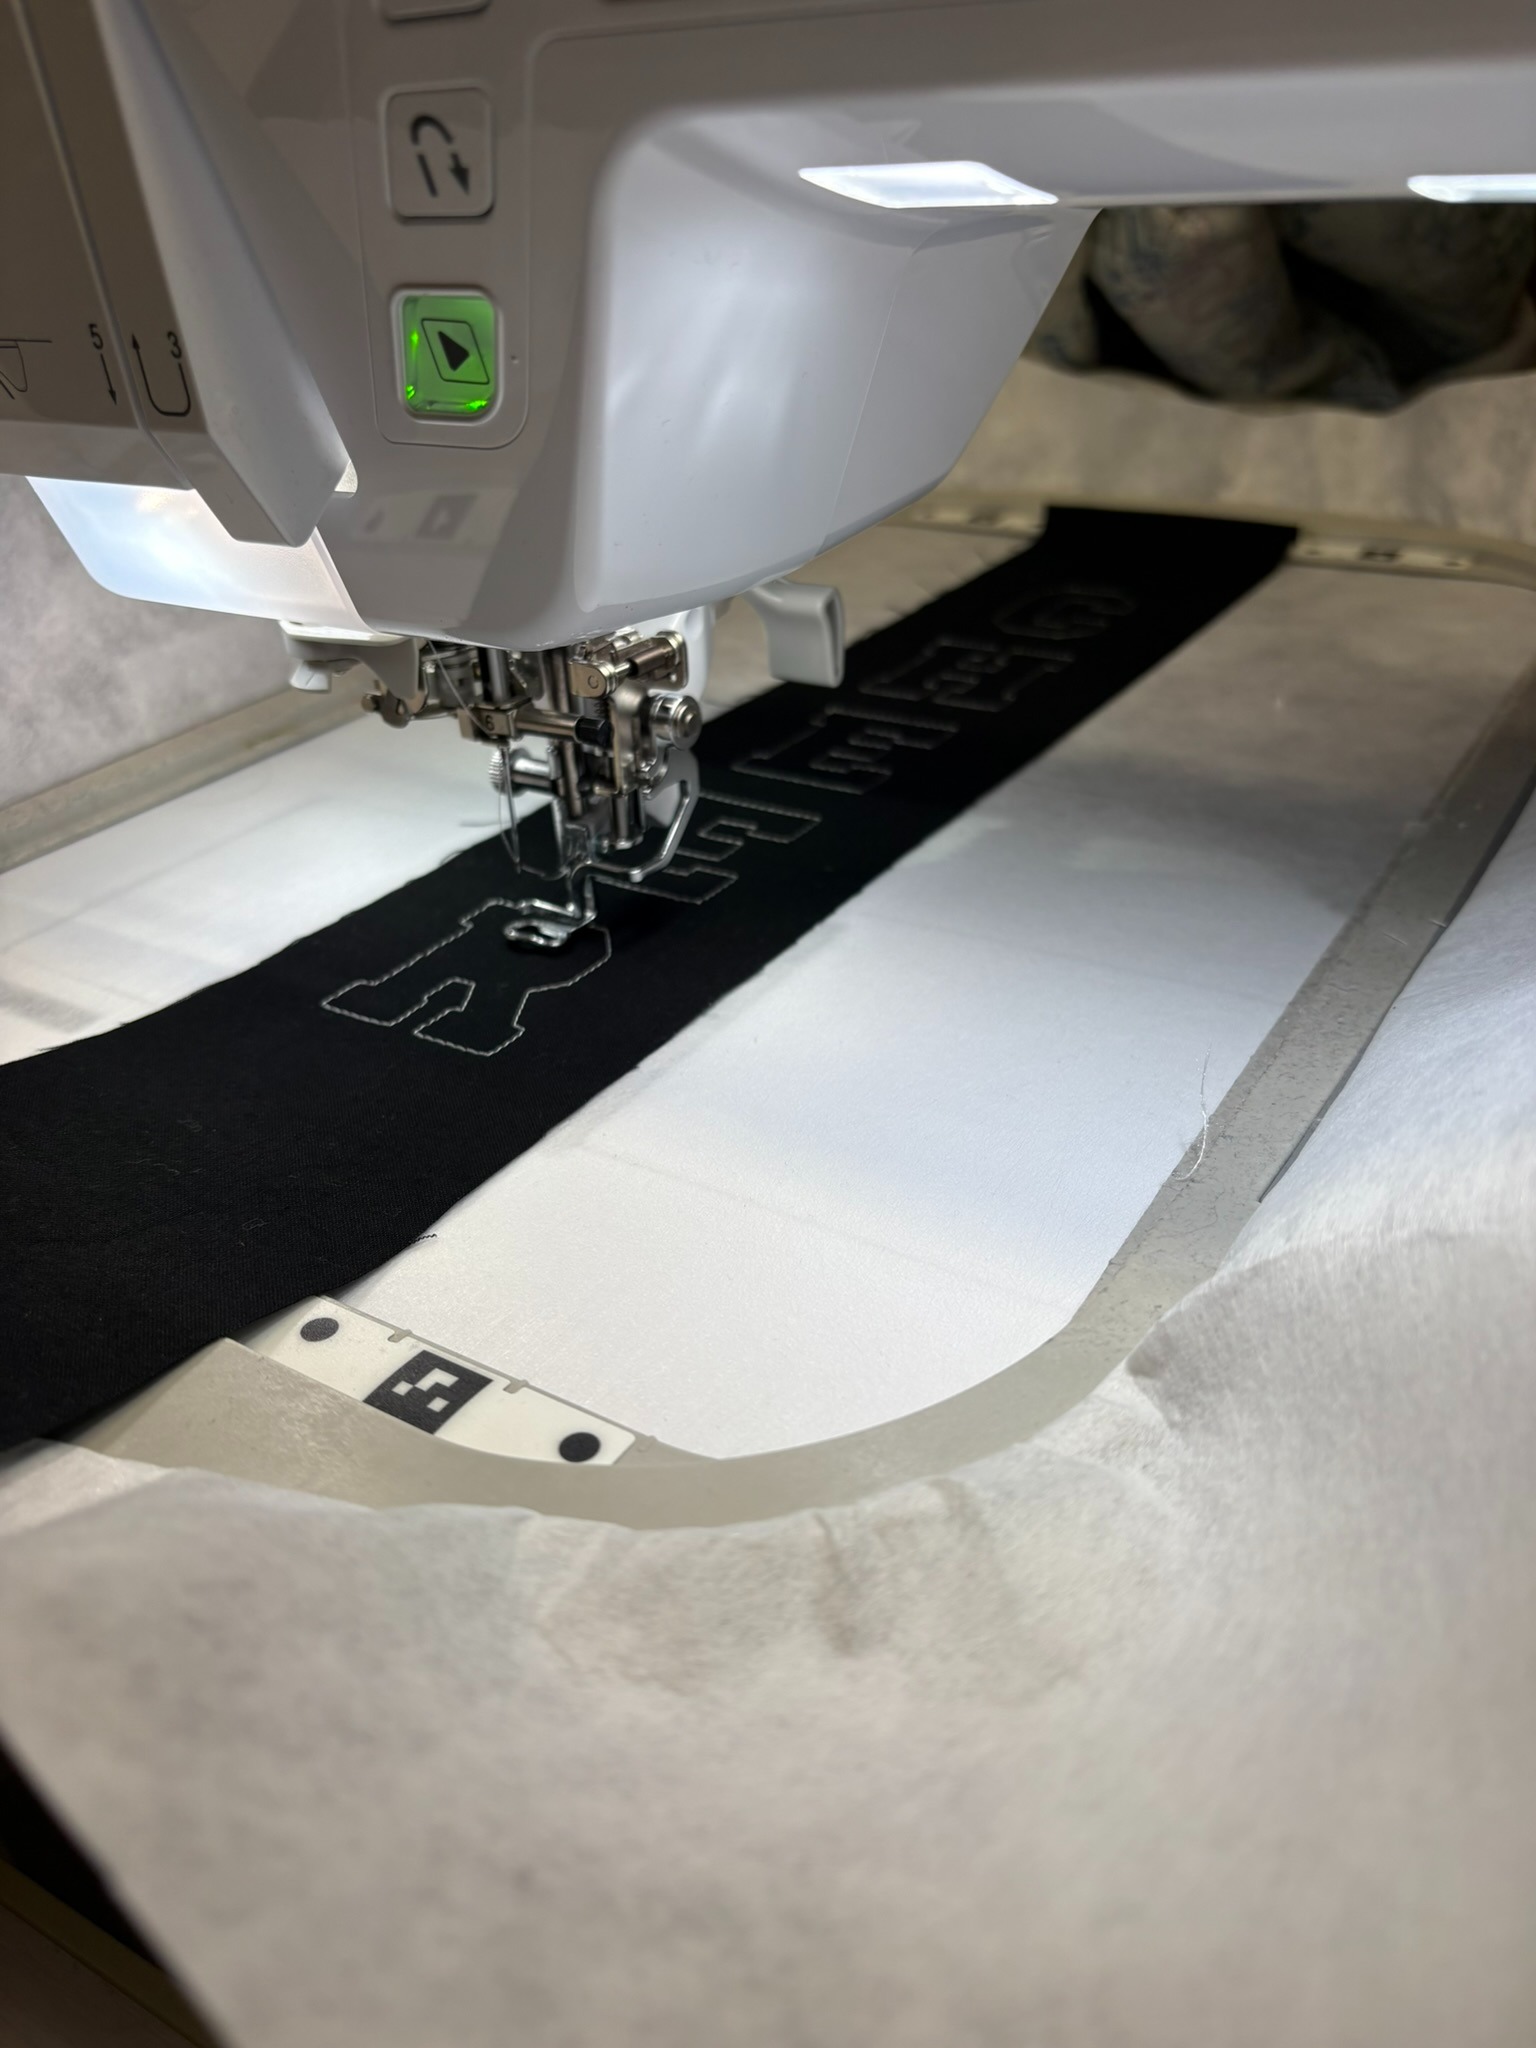
I cut two strips 3½” x 28”. Even though this project will not be washed, I used Designs by JuJu+ cutEZ Cut-Away Stabilizer behind the CHEER letters for extra support. I did a test out of three of the letters to make sure I was satisfied with the size and spacing.
Once I decided how far down from the top the word should start, I calculated the center of the design to find where the center of the design would go. I used Colorsort in Embrilliance to set the design to stitch out all the placement stitches, then all the tack-down stitches, and lastly all the satin stitches. This saved a lot of time when it came to stitching out the whole word. I added fuseEZ Fusible Interfacing to the back of the white fabric so the black background didn’t show through. The CHEER stitchout went quickly!
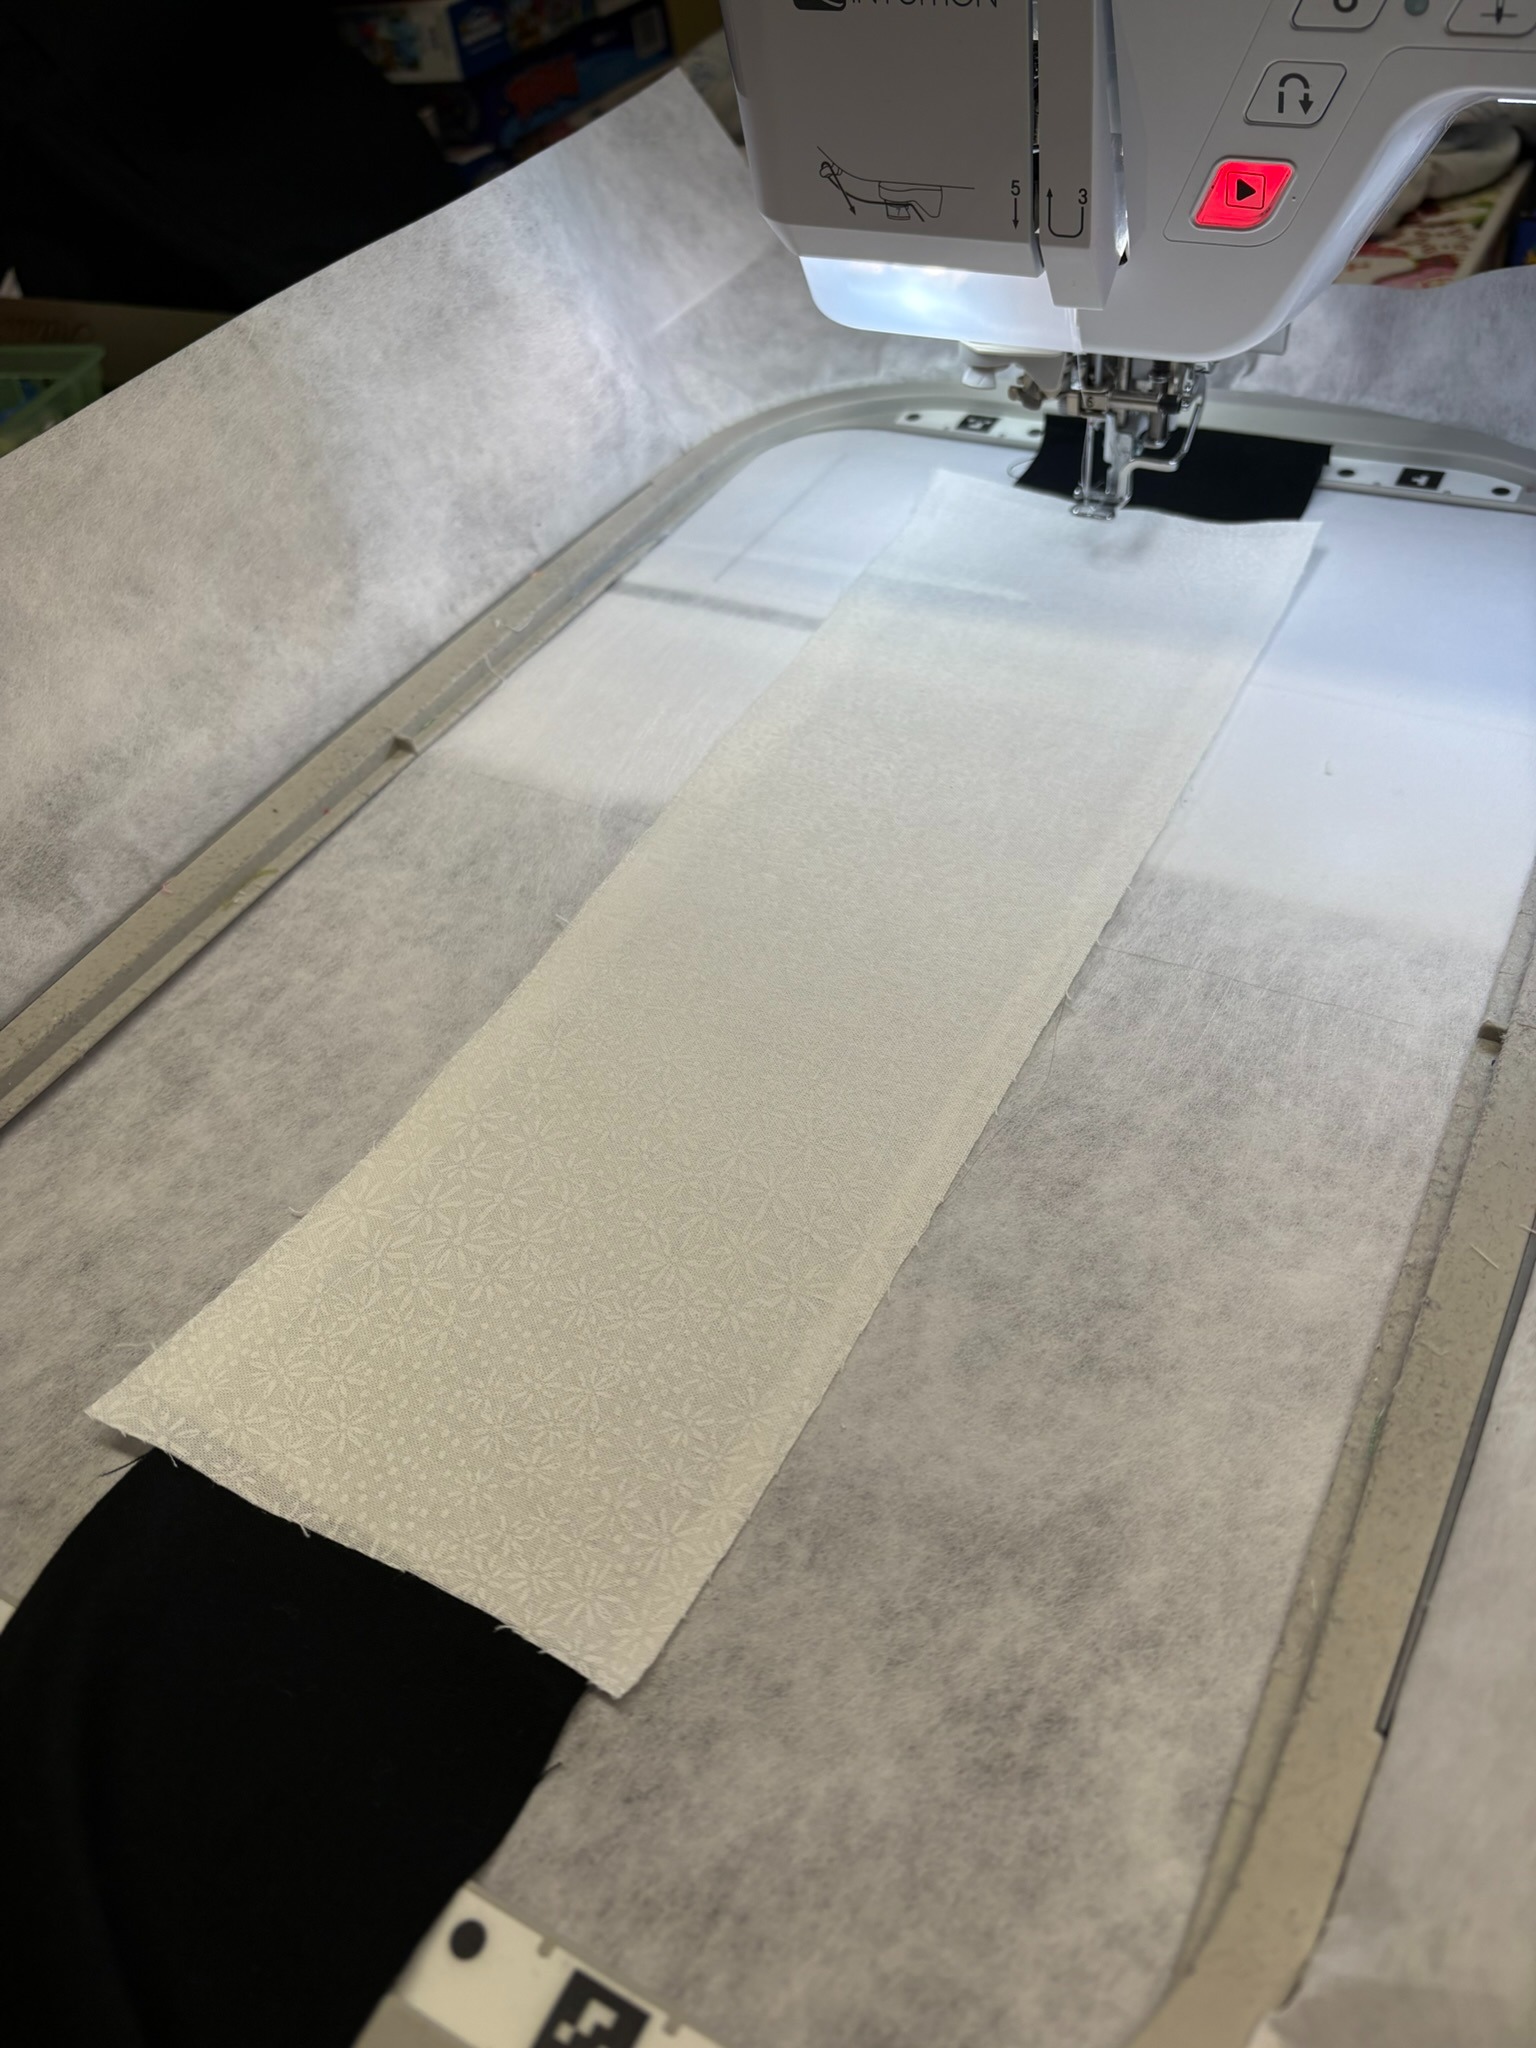
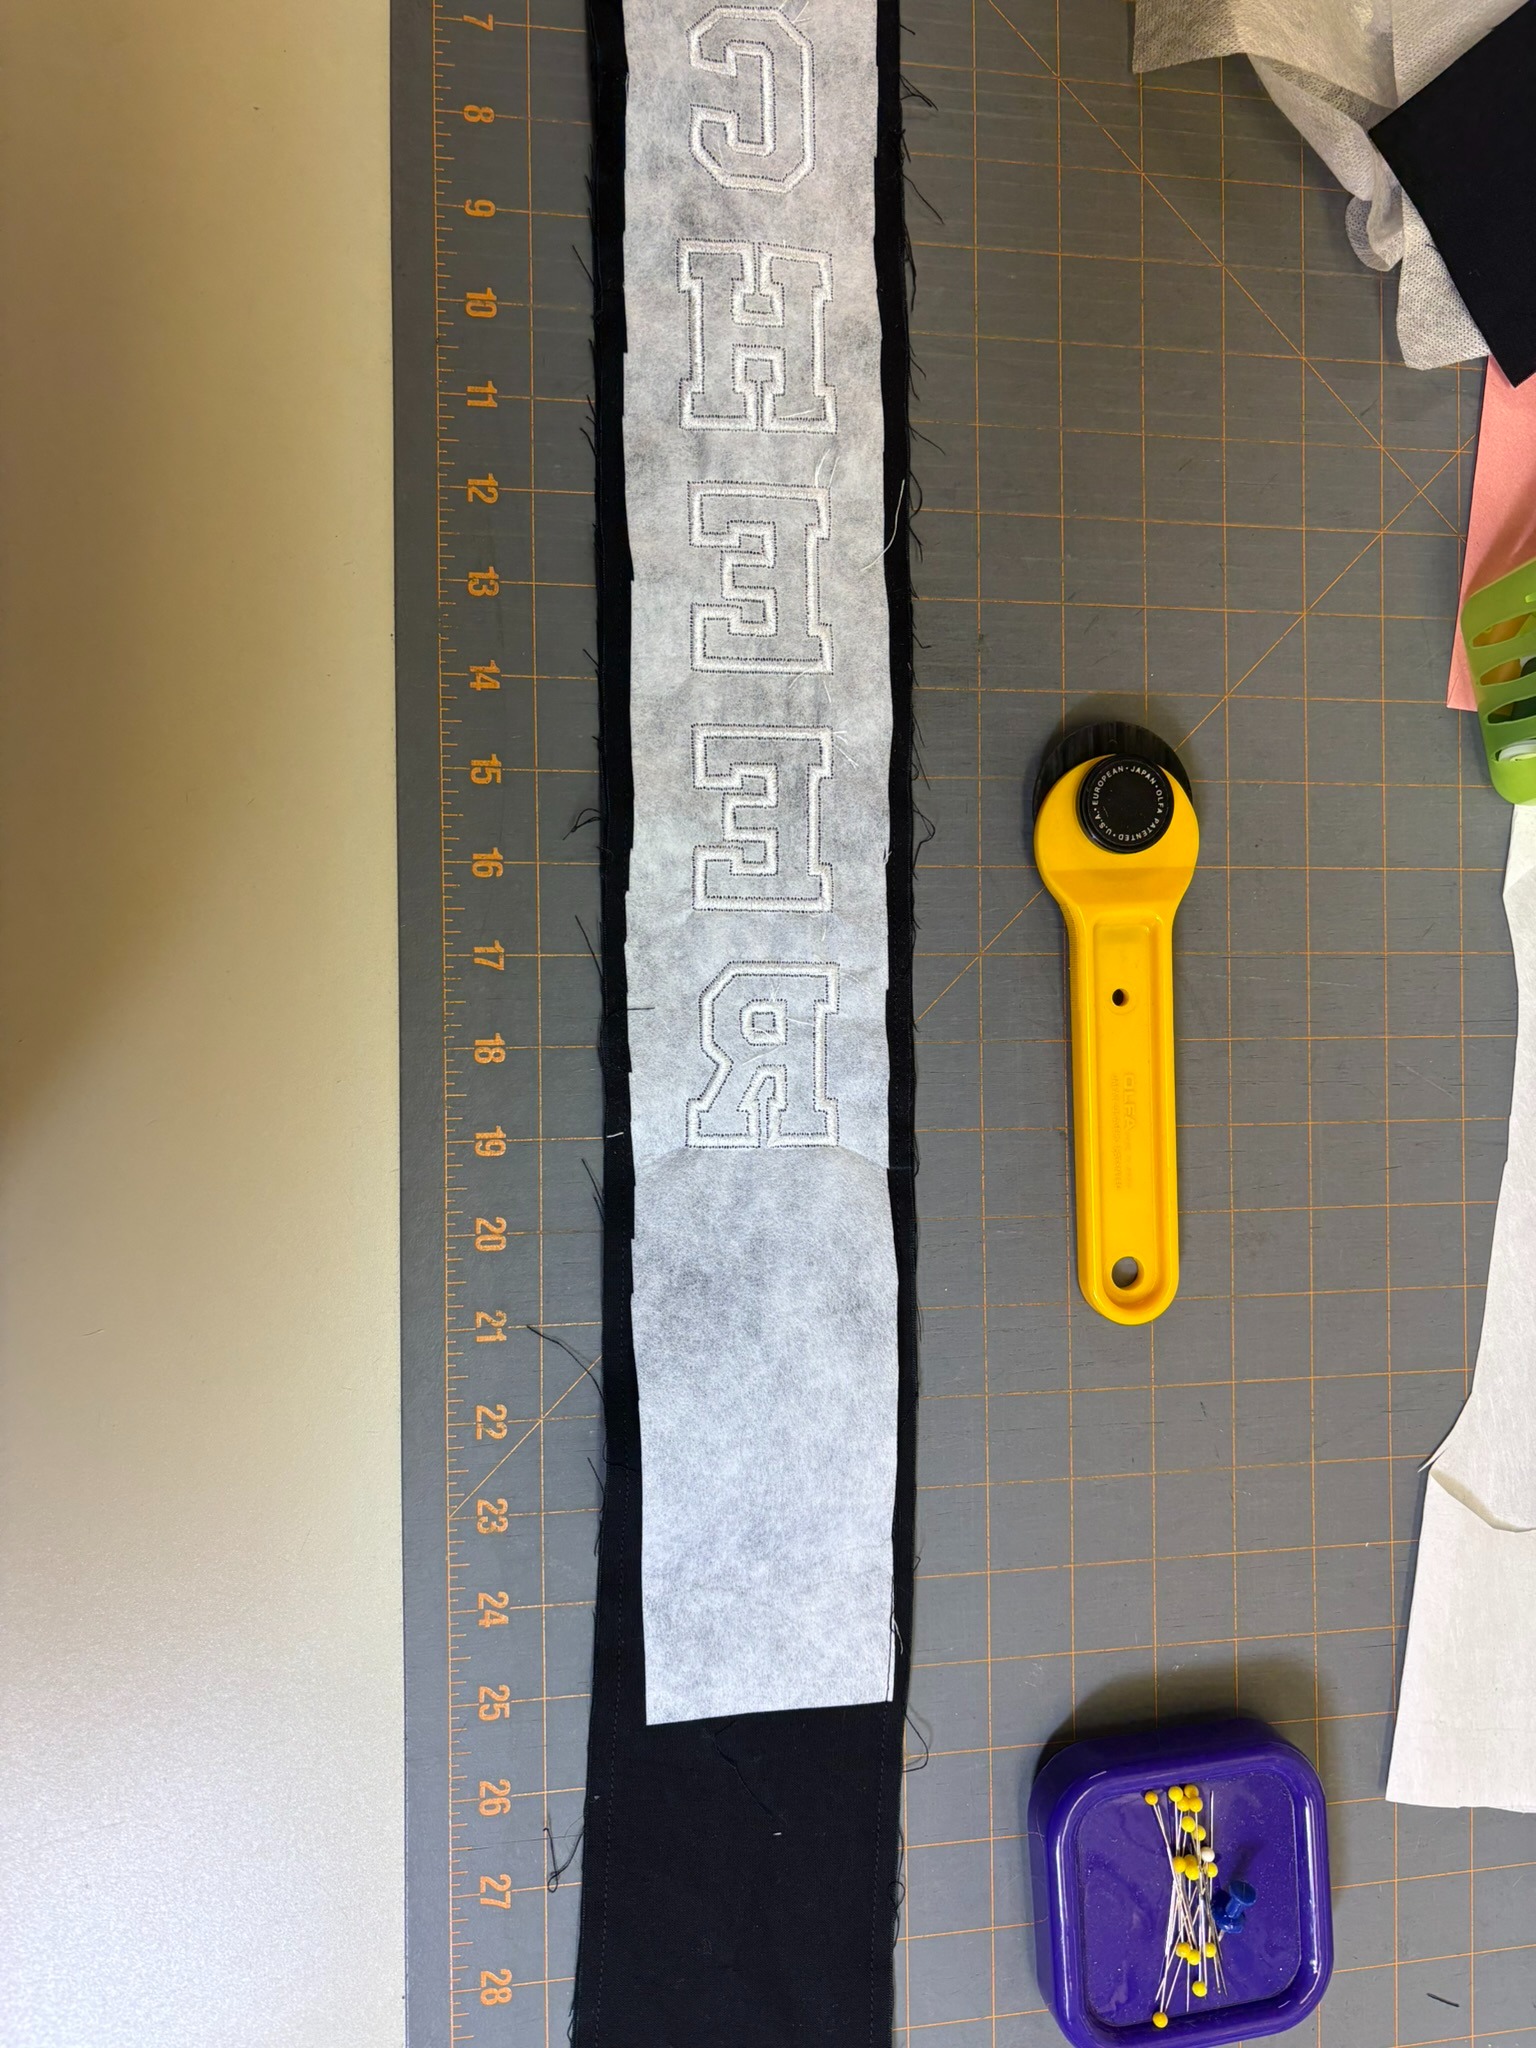
After placing the two strips with right sides together, I stitched the sides and bottom with a ¼” seam, leaving the top open for turning. The corners at the bottom of the tail were clipped and the tail turned right side out and neatly pressed.
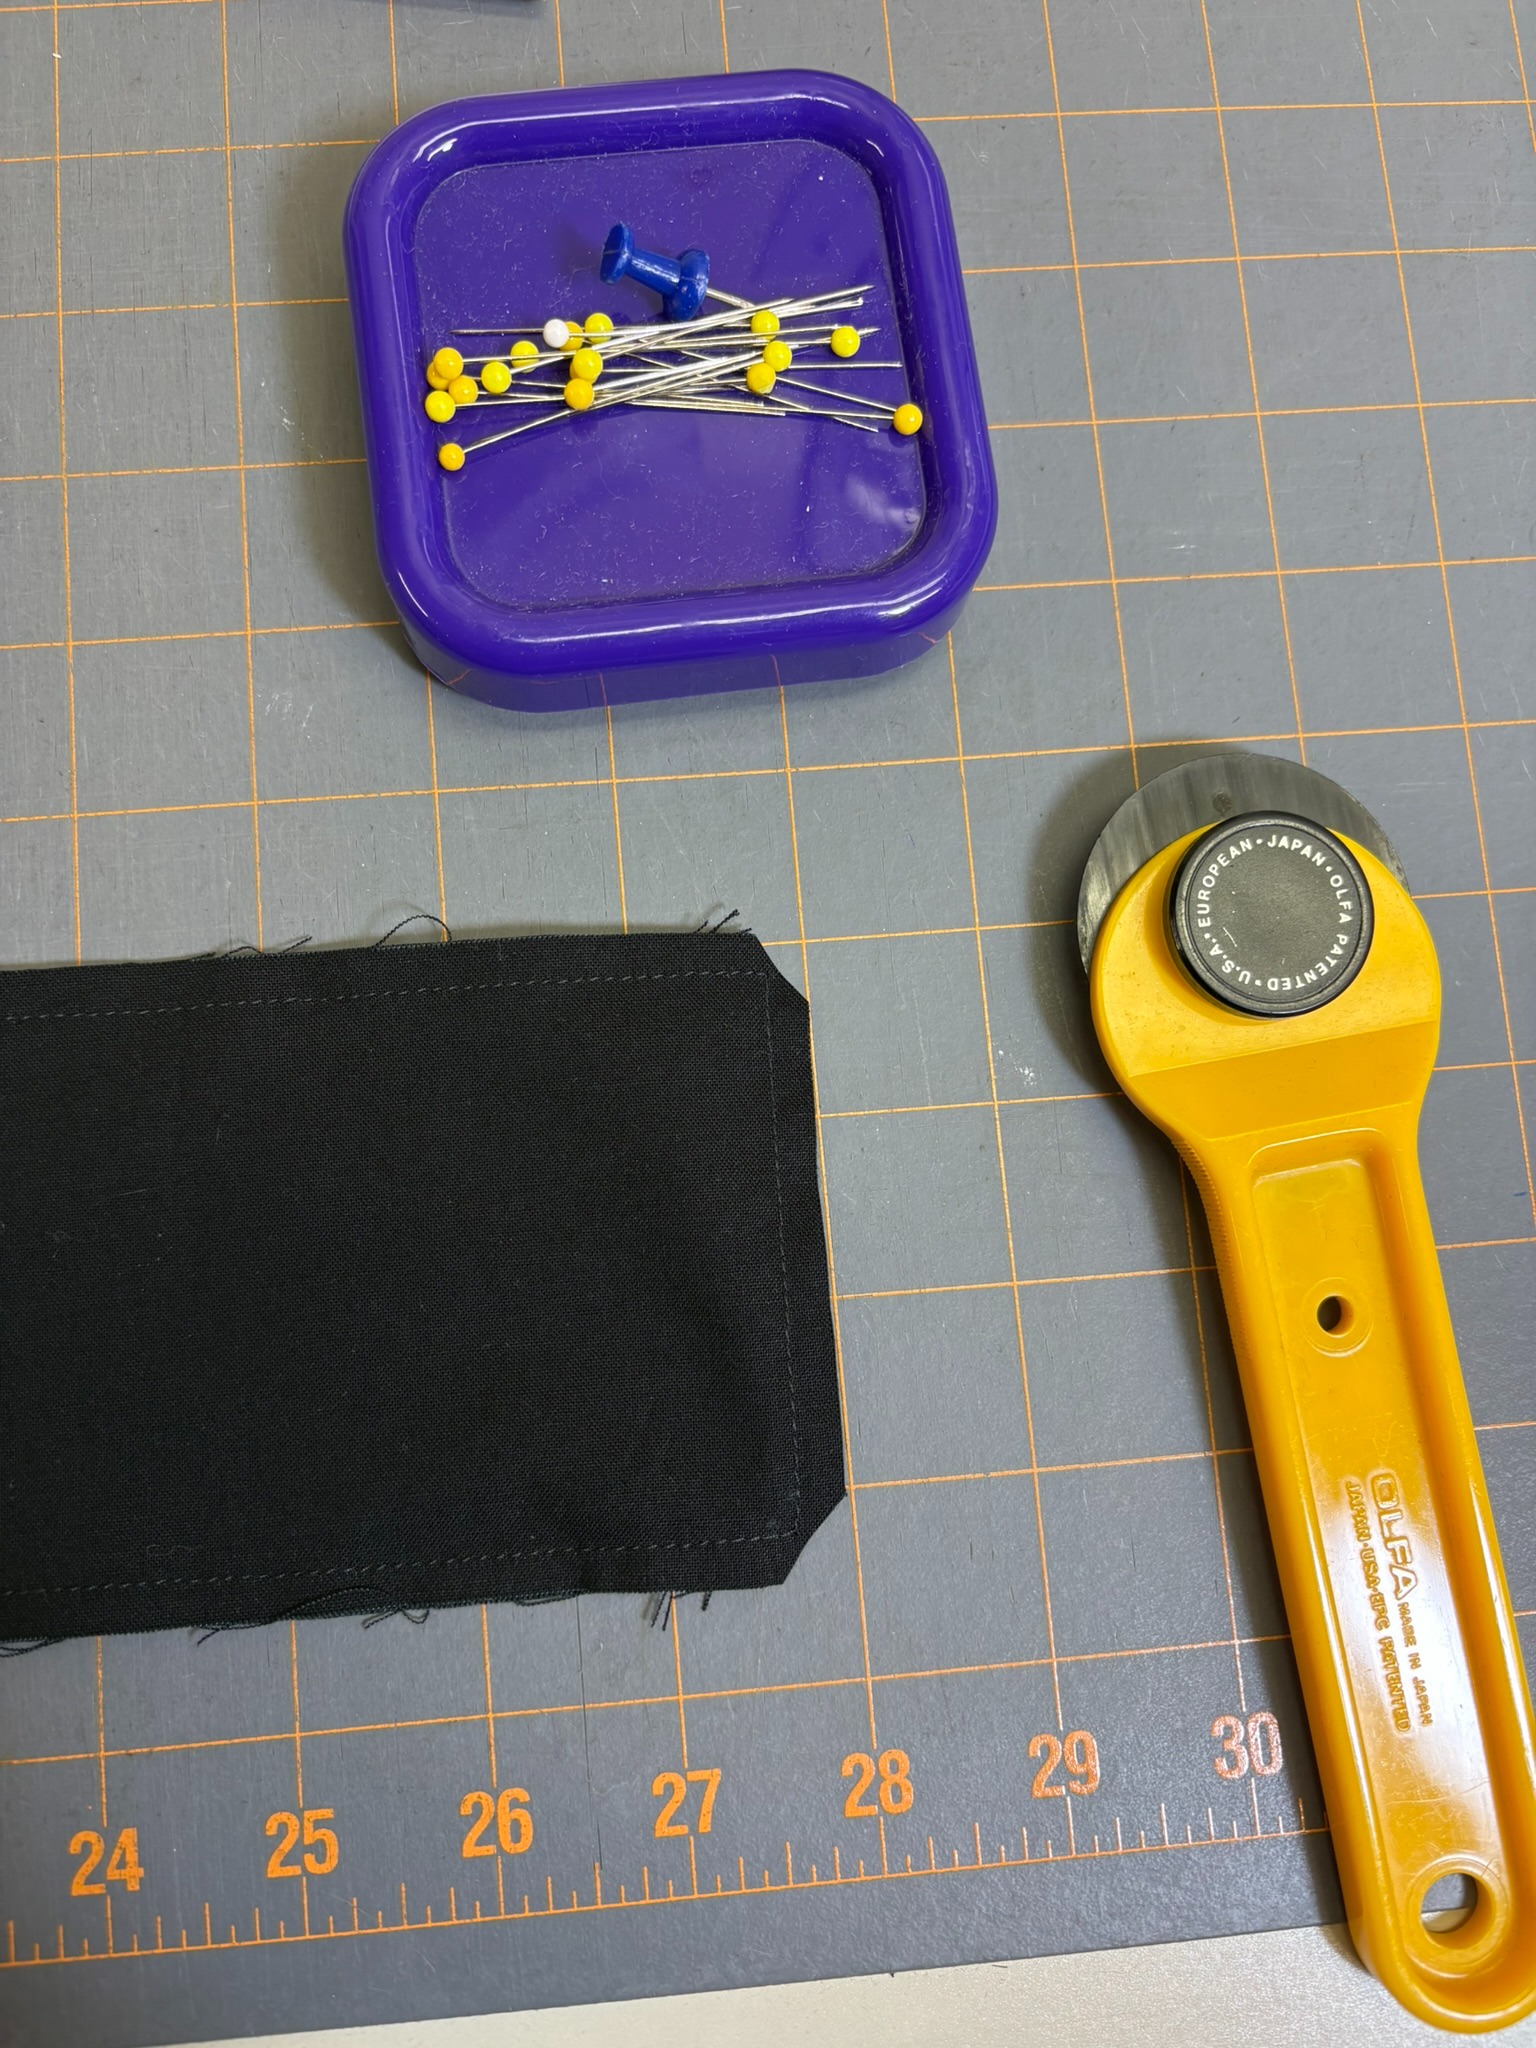
To reduce bulk, I zigzagged the opening at the top of the tail instead of having a folded-in seam allowance. I placed the top of the tail on the back of the pennant, making sure the zigzagged end rested a little above the decorative bean stitch line. I’m going to sew this from the top side, so I used painter’s tape to hold the tail in place.
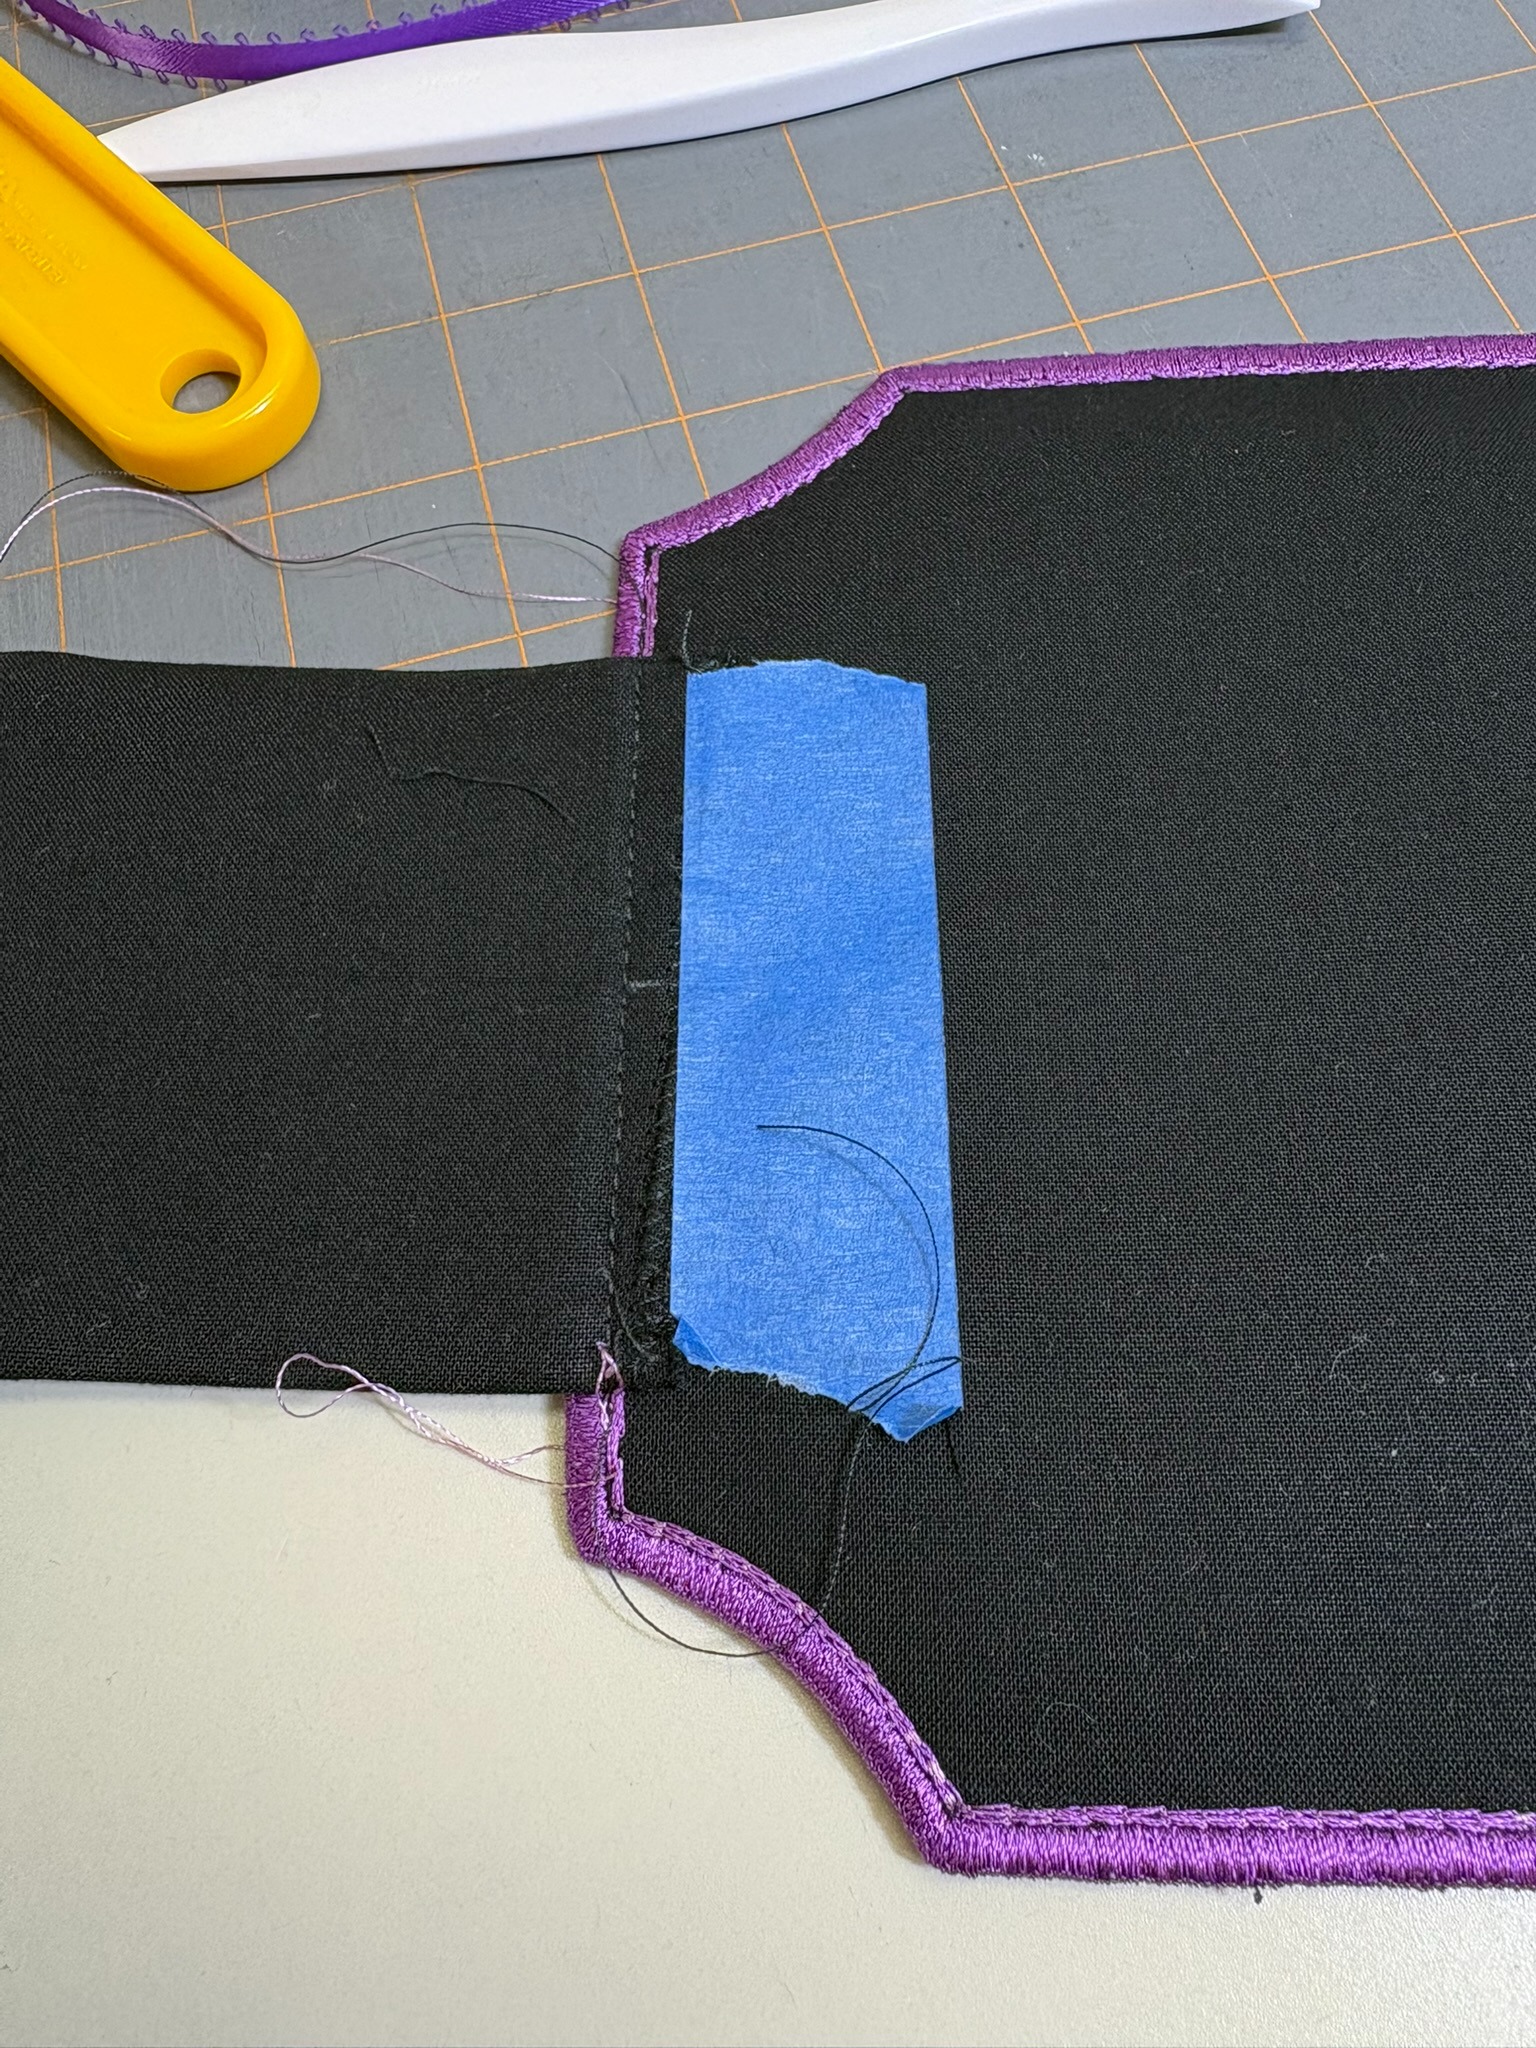
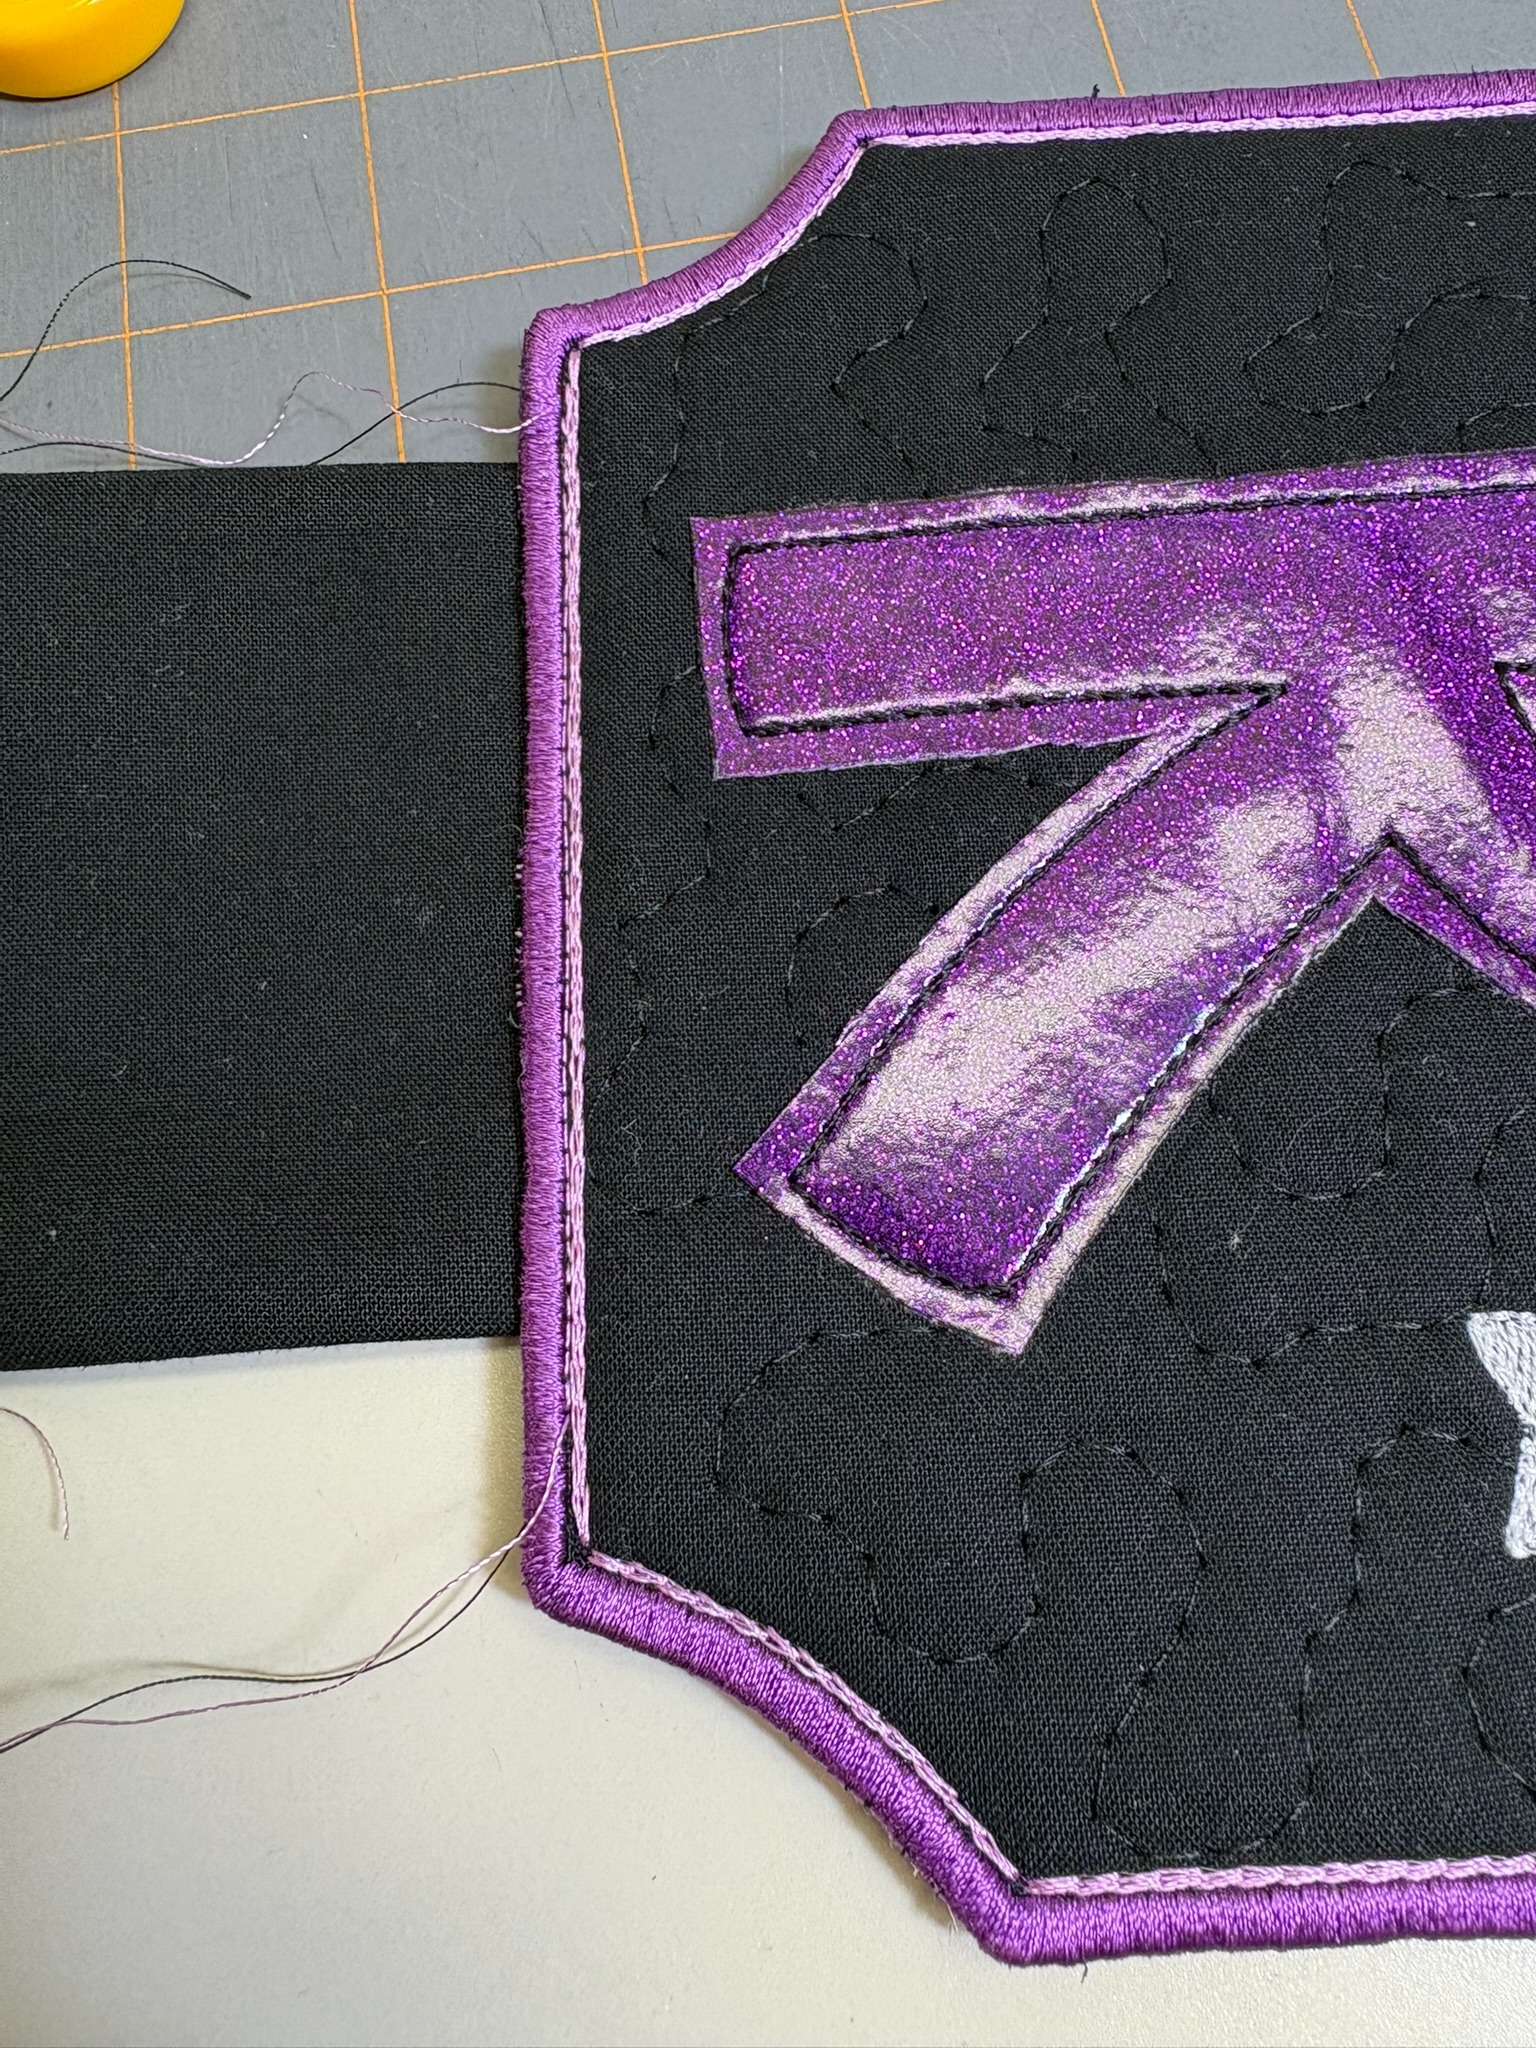
I had the same thread I used for the bean stitch in the machine and sewed directly along the bean stitch to hold the tail in place.
Here’s the completed Cheer Pennant. I was amazed at how quickly this one came together.
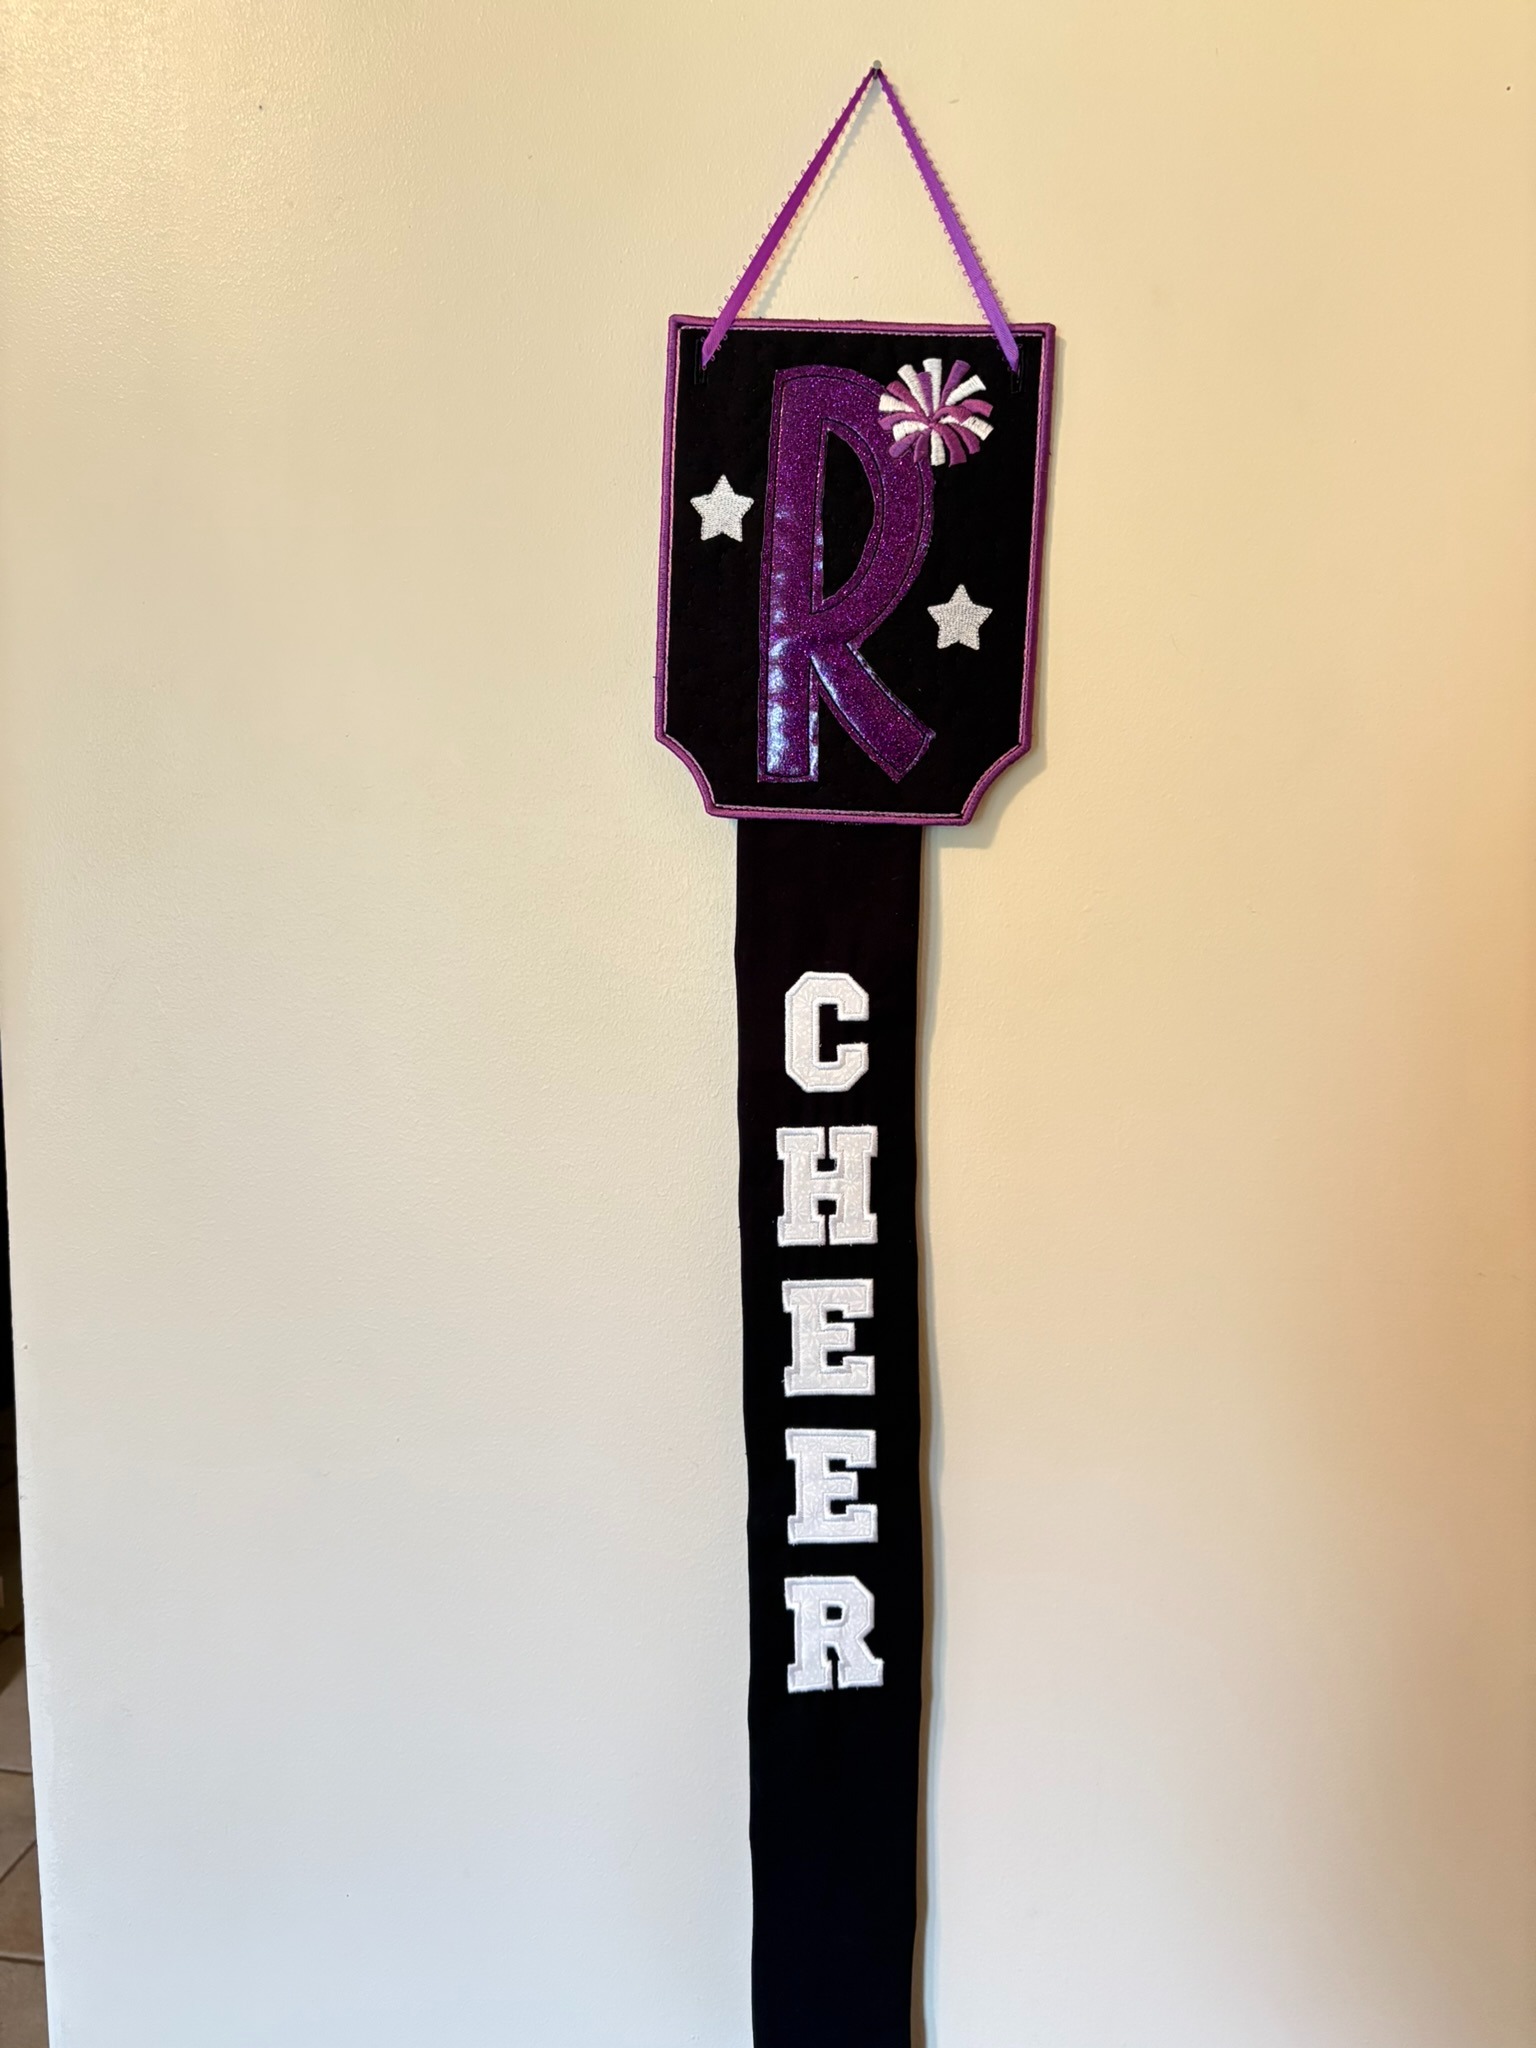
My older granddaughter is in Cheer and loves to make and trade pins. Last Christmas both sets of grandparents gave her gifts for this hobby. This will be perfect for displaying her pins on her bedroom wall!
All three of these projects were a lot of fun to do! Pennants stitch out quickly and are so easy to customize. I can’t wait to see your projects!
Please be sure to share your pennants in the Designs by JuJu Embroidery Blessings Facebook Group, or use the hashtag #designsbyjuju anywhere on social media. We all love to see what you create!