Toggle Nav
 Inspire.
Create.
Stitch.
Inspire.
Create.
Stitch.
Search
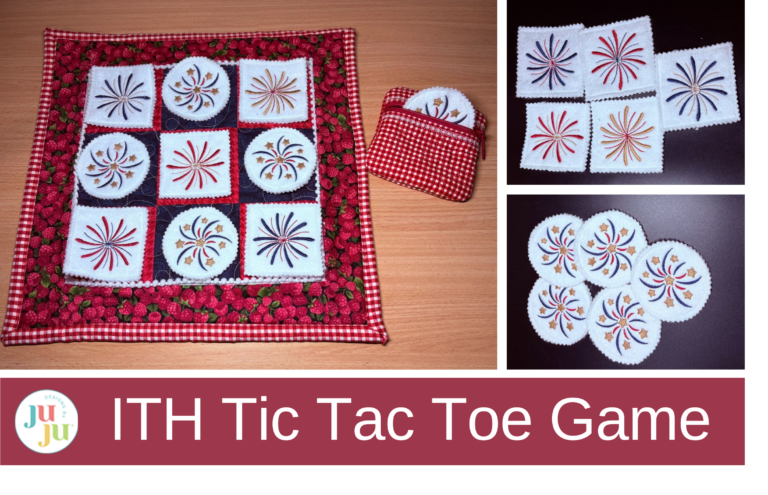
Make playtime creative! Stitch this quilted in-the-hoop Tic Tac Toe game—perfect for gifts, travel, or family fun.
Do you enjoy finding multiple uses for the same JuJu designs? I certainly do, especially when it comes to the small embellishment kits. These little designs work wonderfully with the Daisy Doodle Alphabet to create cute names and phrases on a child's shirt. I've also discovered several other uses for them, including coasters, napkin rings, patches, and even a Tic Tac Toe game—perfect for entertaining kids for hours. Take it to a family gathering or even on a road trip! In this tutorial I will show you step by step how to create the board and pieces.
Check out the DBJJ team’s favorite supplies in the Designs by Juju Amazon store.
Before you begin, you will want to decide which embellishment kit you want to work with. Then choose your fabrics to coordinate with those designs. I am going to use the Patriotic Alphabet Embellishment Kit, so my board will be red and blue and my pieces white.
Select the shapes icon on your machine and open up the circles. My machine is a Brother Stellaire; your screen may look different.

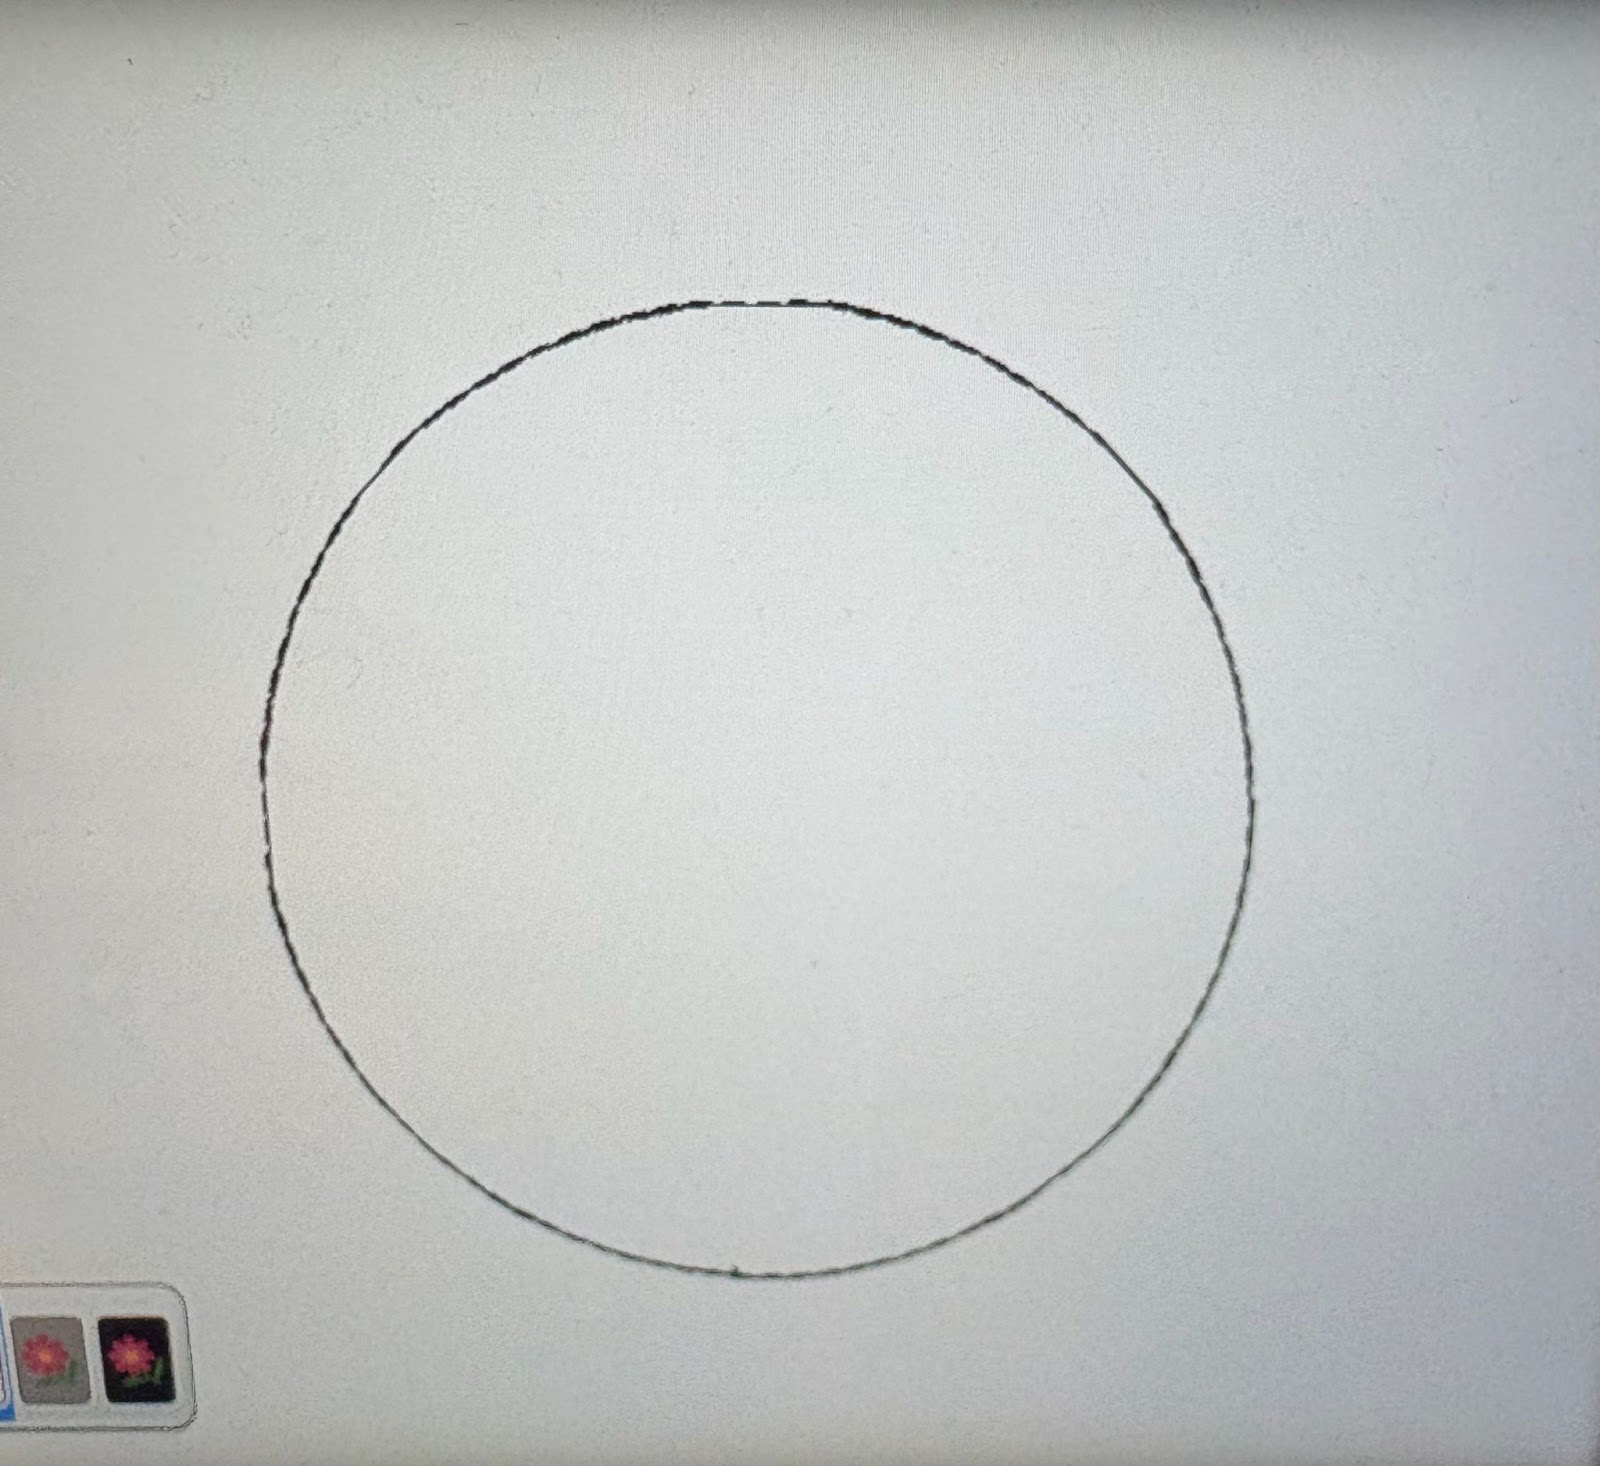
Select the circle you wish to use and add it to your screen.
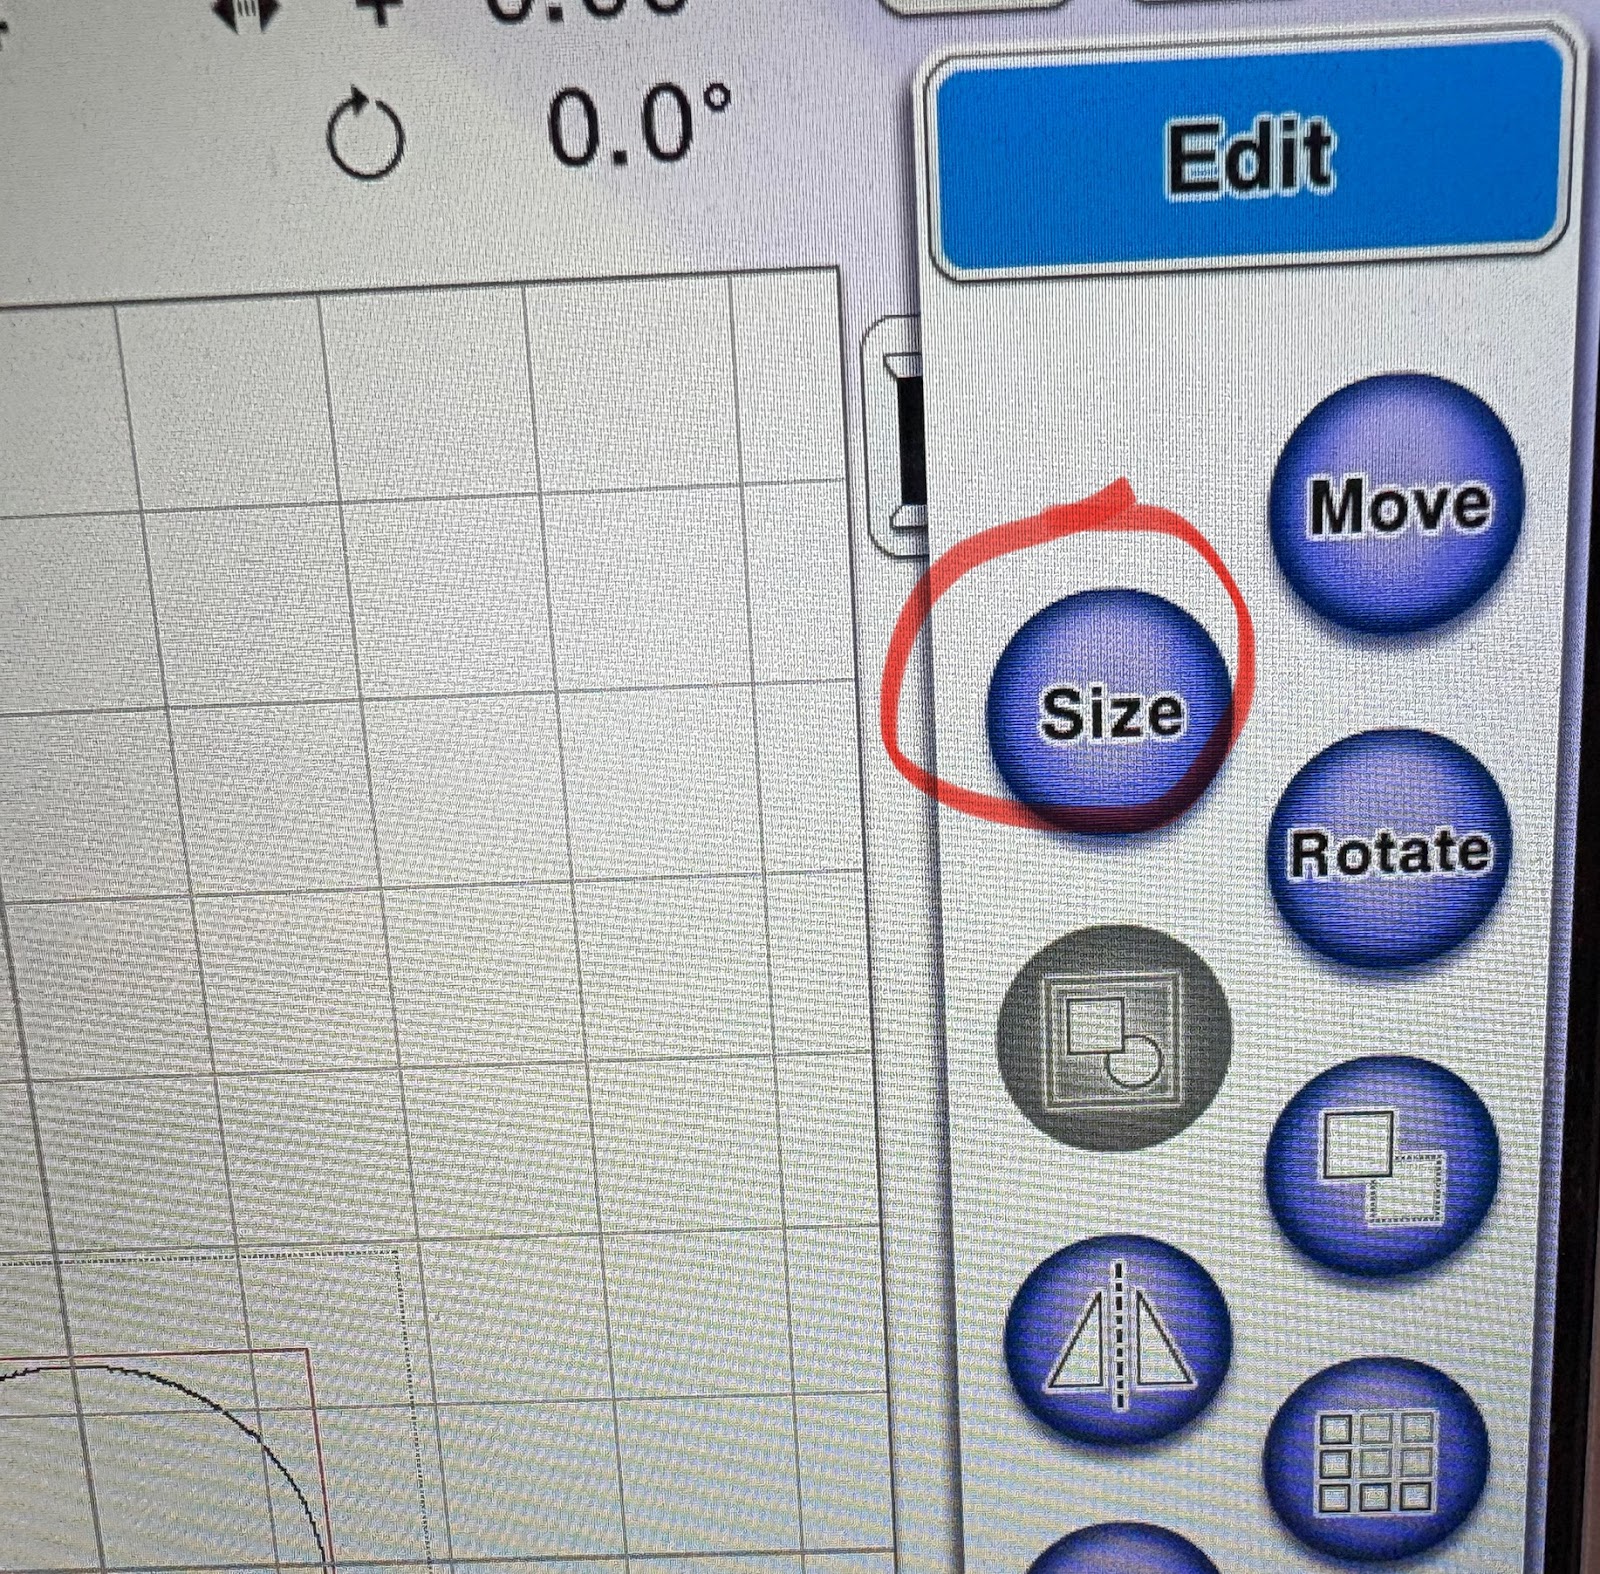
Select the size button to resize the circle.

This button will enlarge the circle.
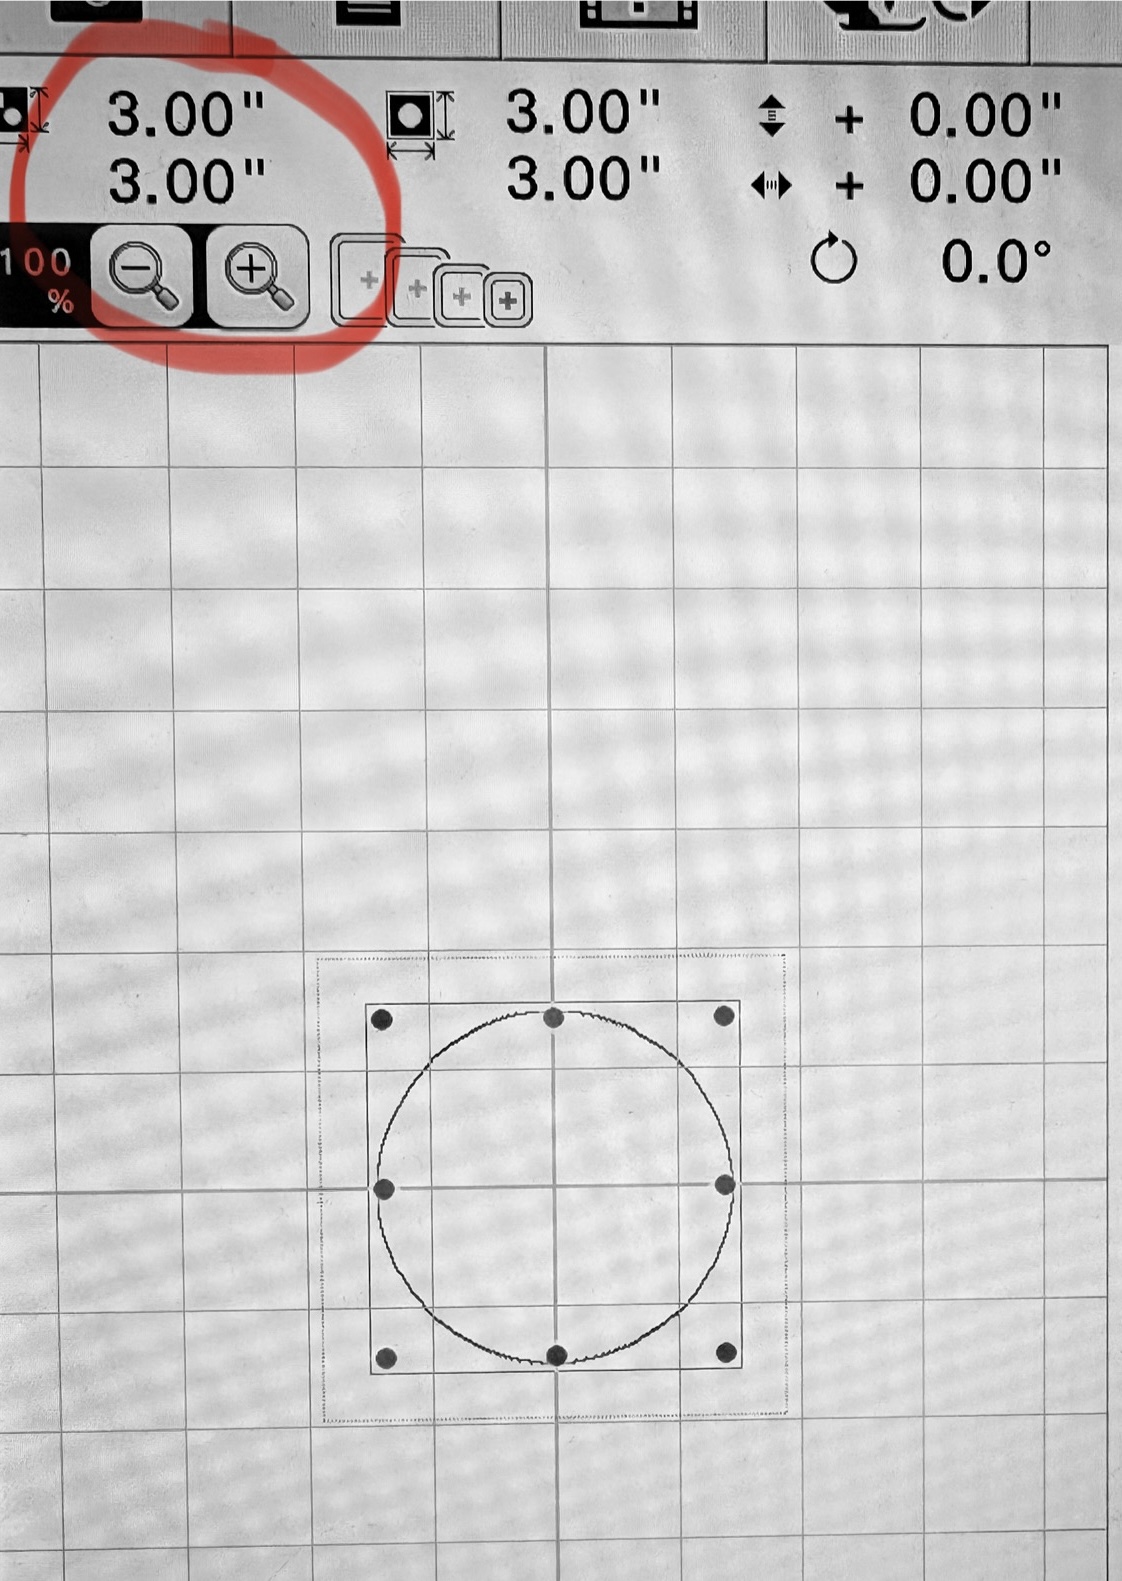
Enlarge the circle to 3.00”
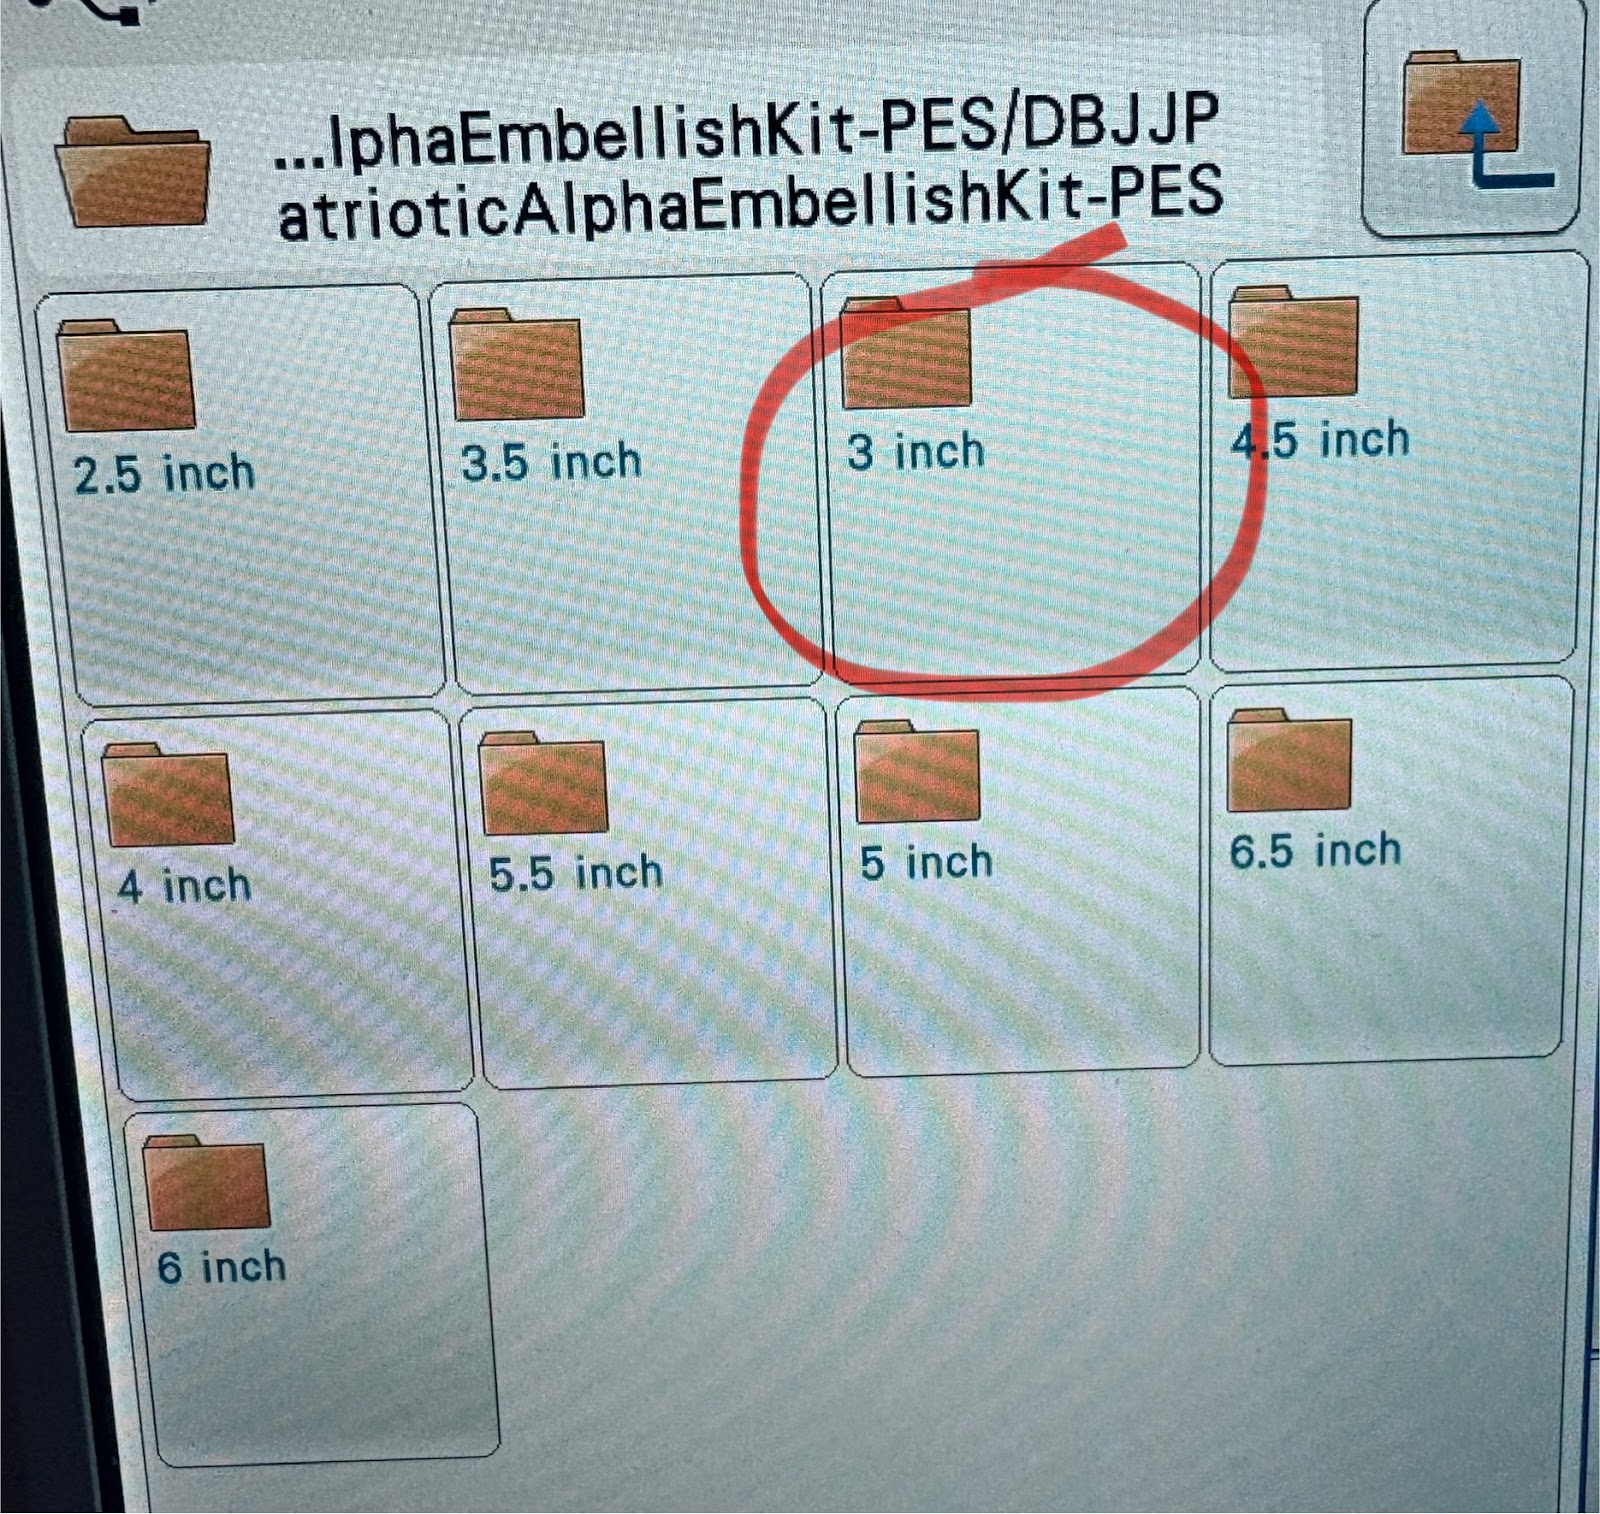
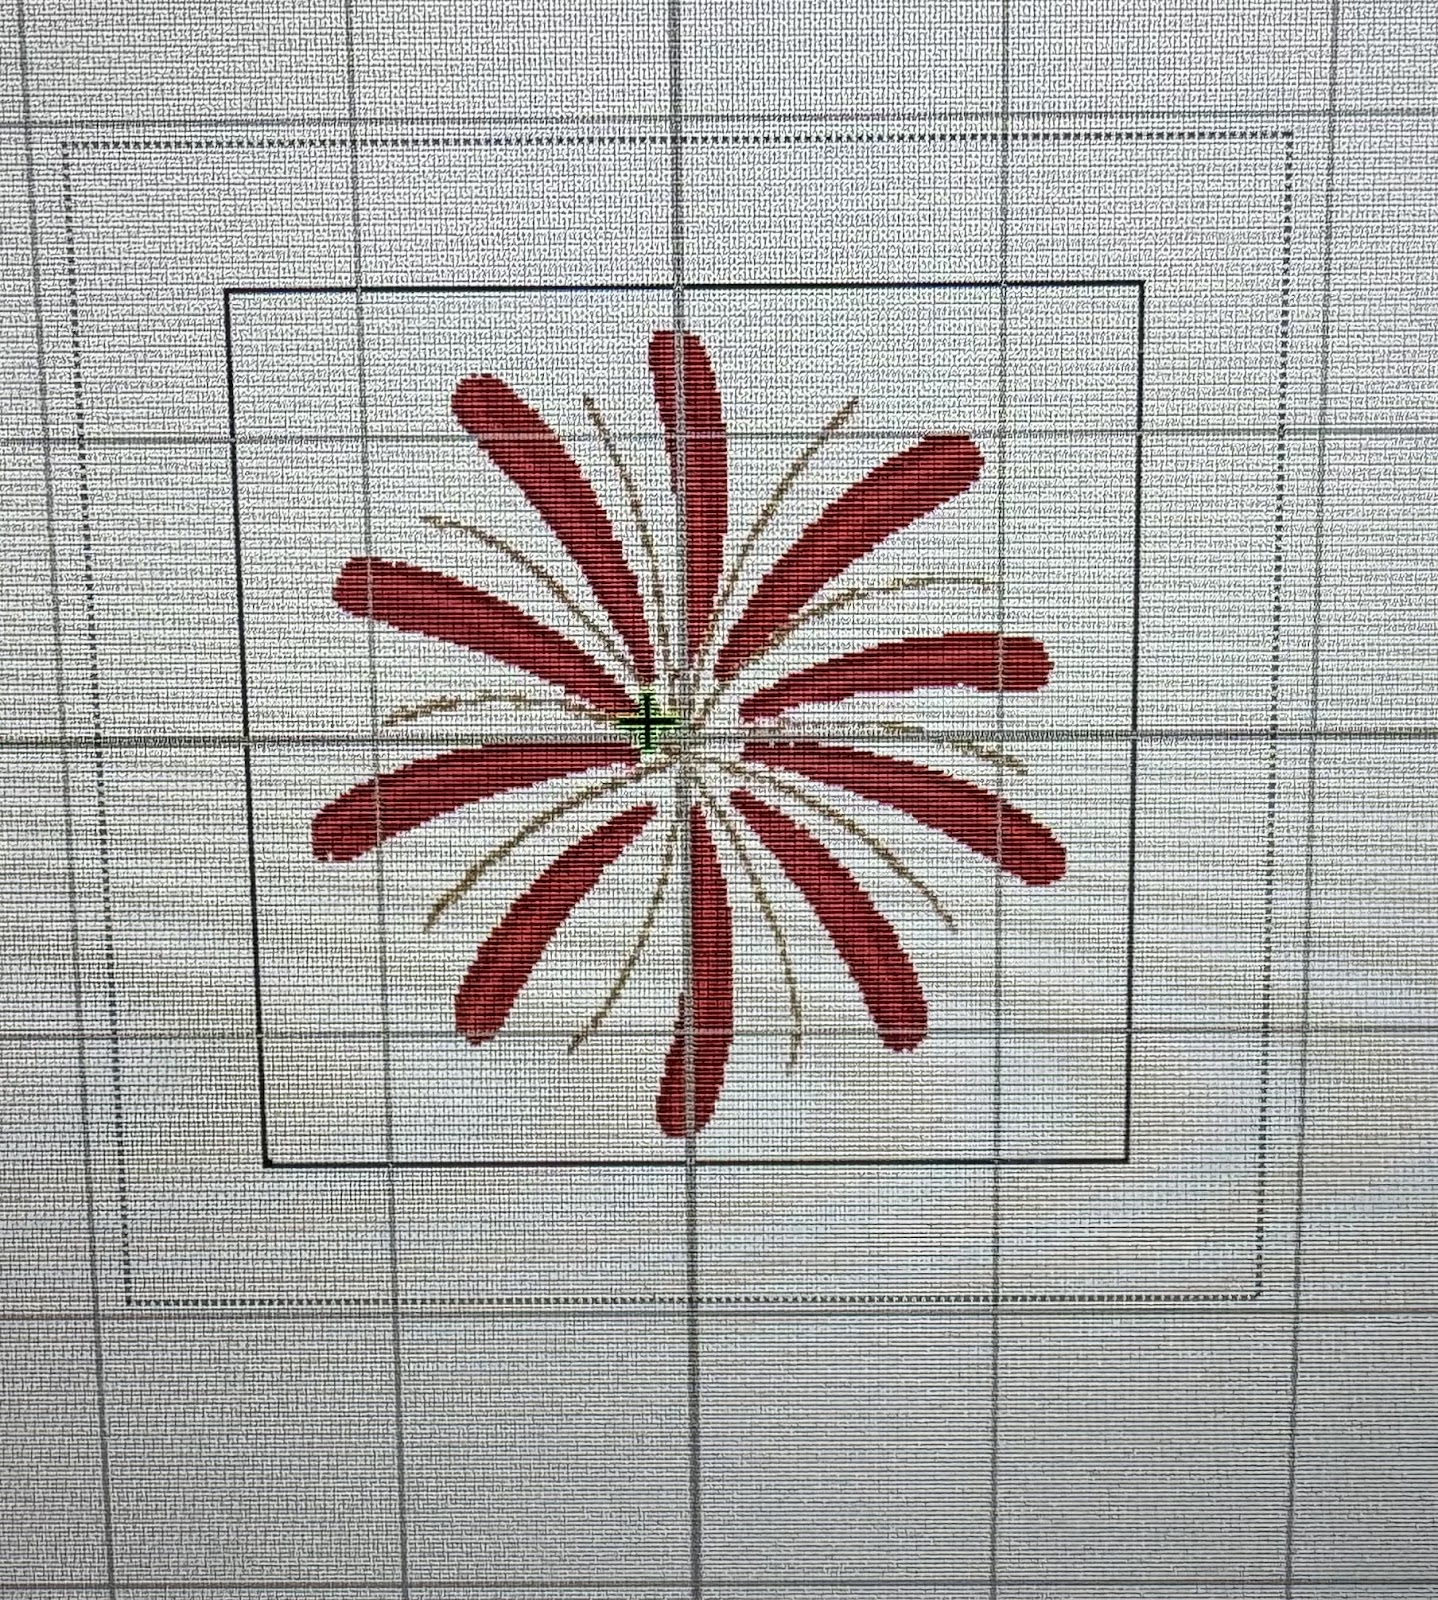
Load the embellishment kit of your choice to your machine. Open up and select the 3” designs. Depending on the design, you may need to work with the larger or smaller sizes. I suggest starting at 3”.
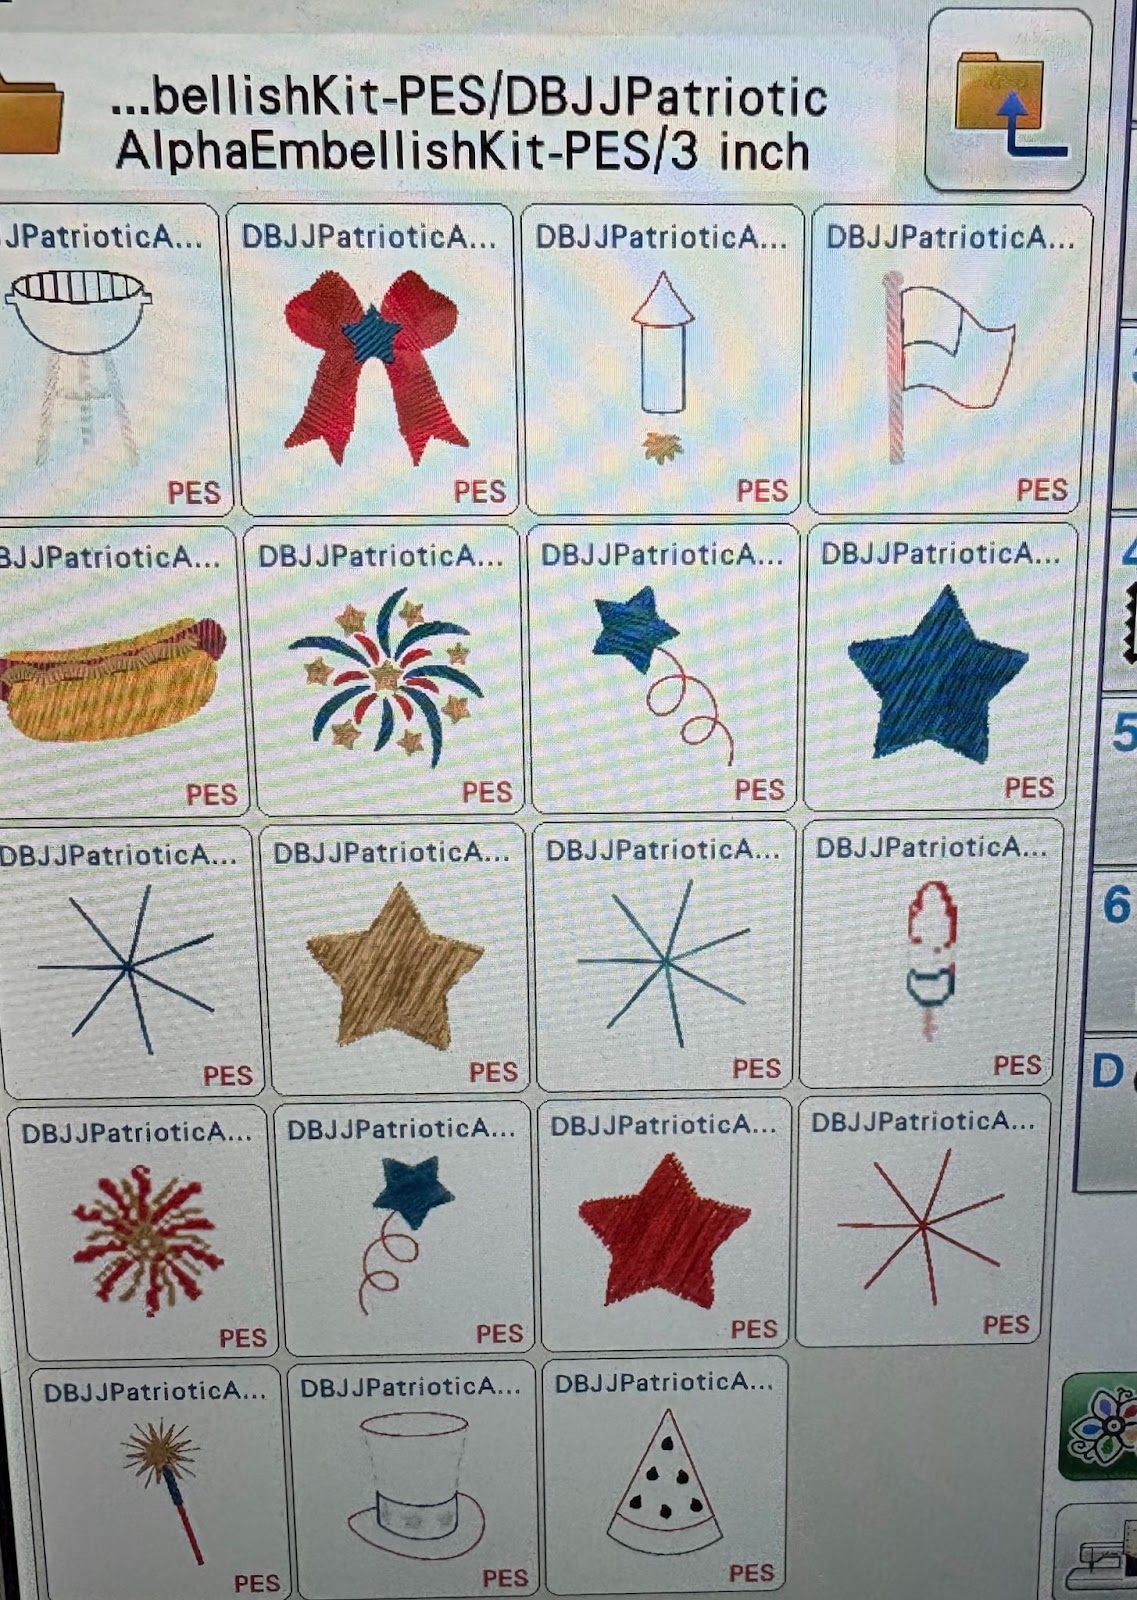
Choose your design and load it to your screen.

Center the design in the middle of the circle. You are now ready to stitch it out.
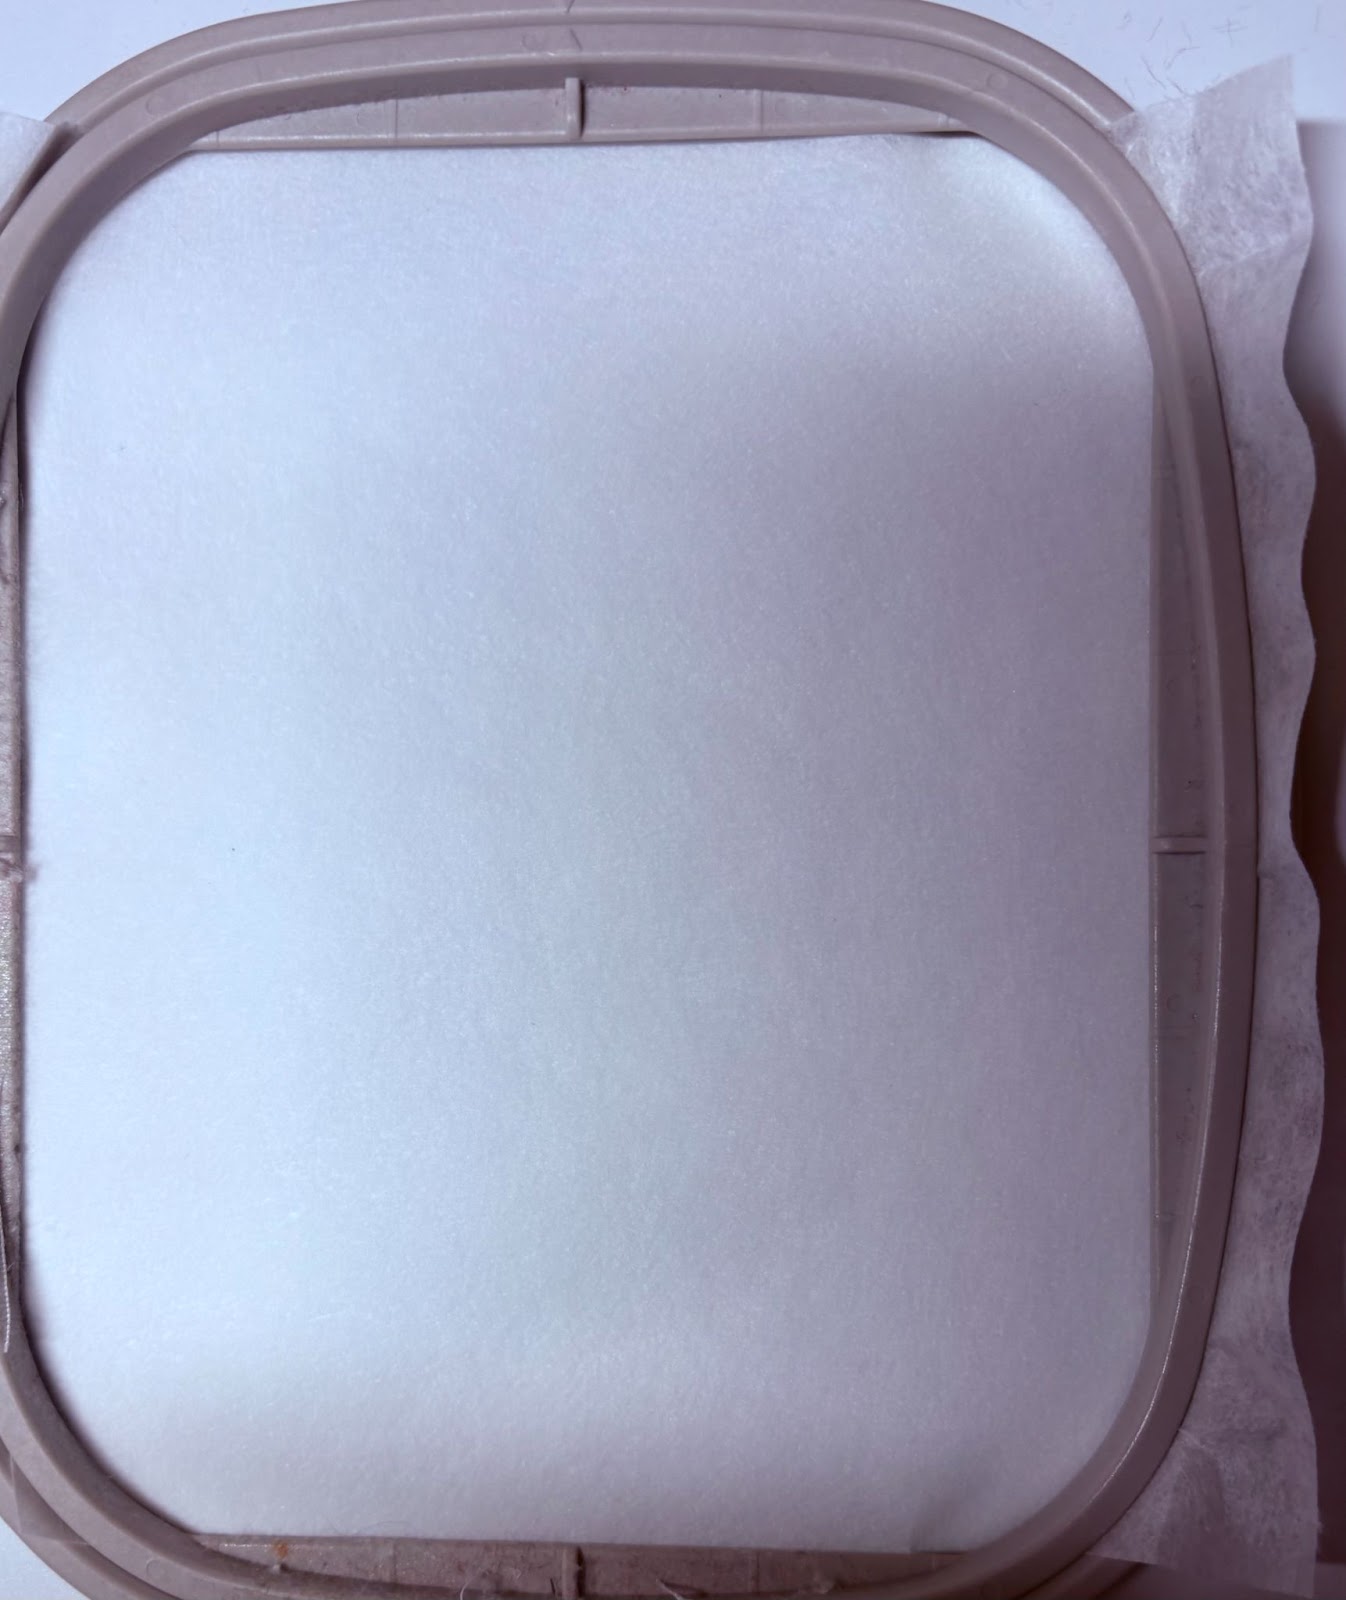
Hoop tear-away stabilizer and take to the machine.
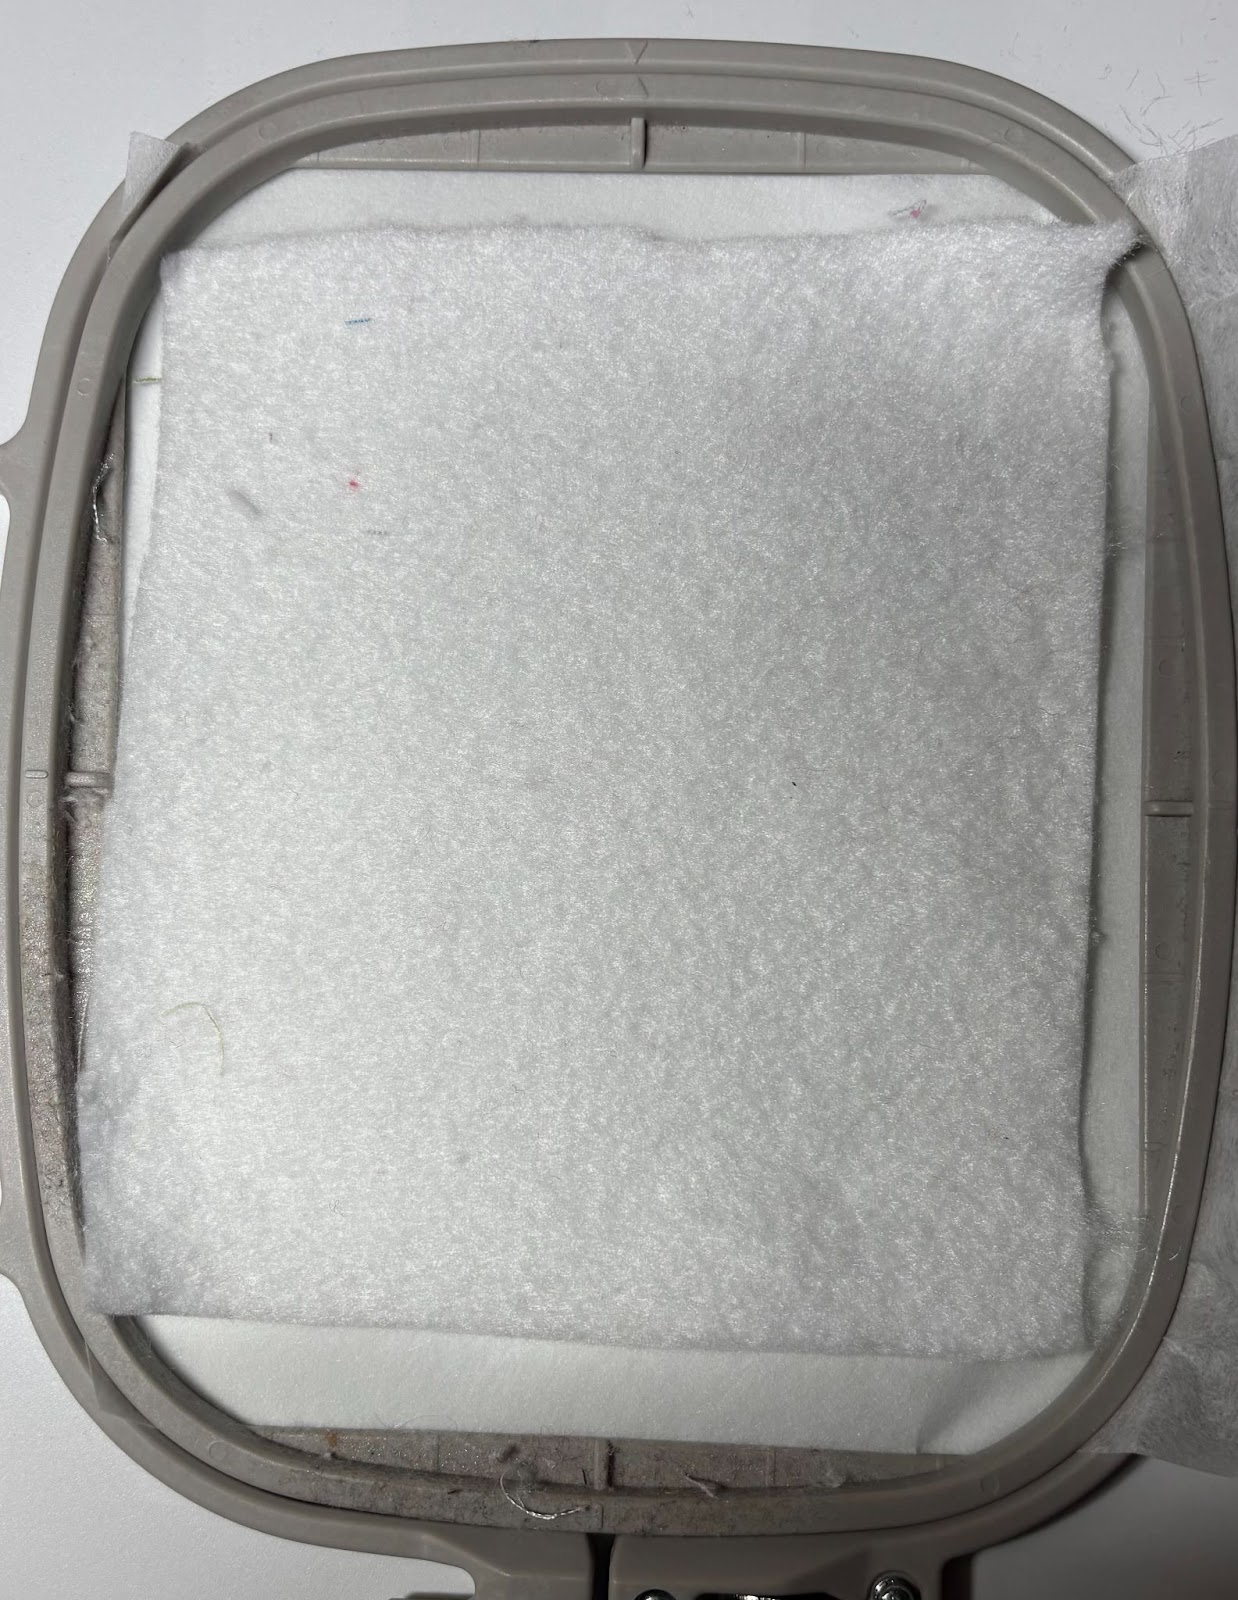
Place a piece of felt on top and stitch out the entire design.
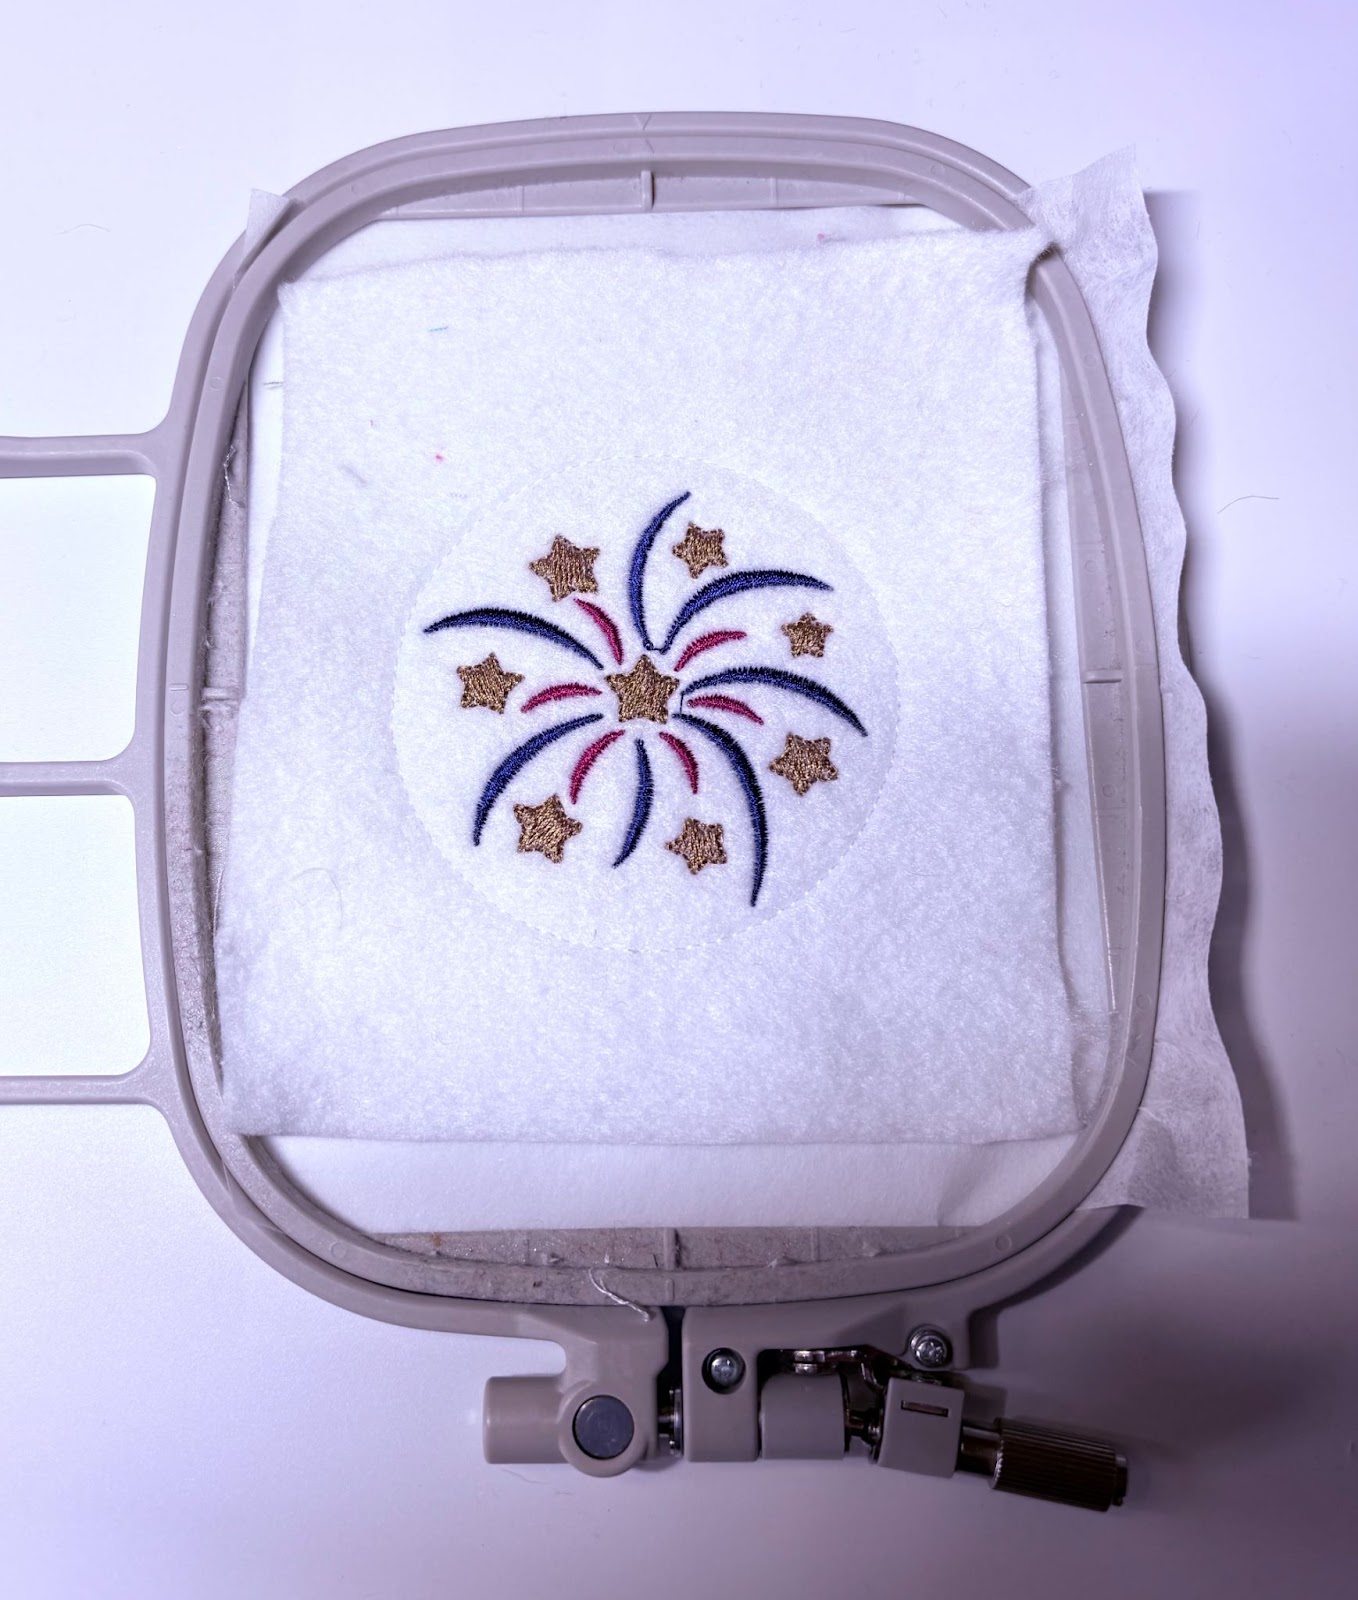
When finished, the design should look like this. Do not remove it from the hoop. Remove hoop from machine and place on a flat surface.
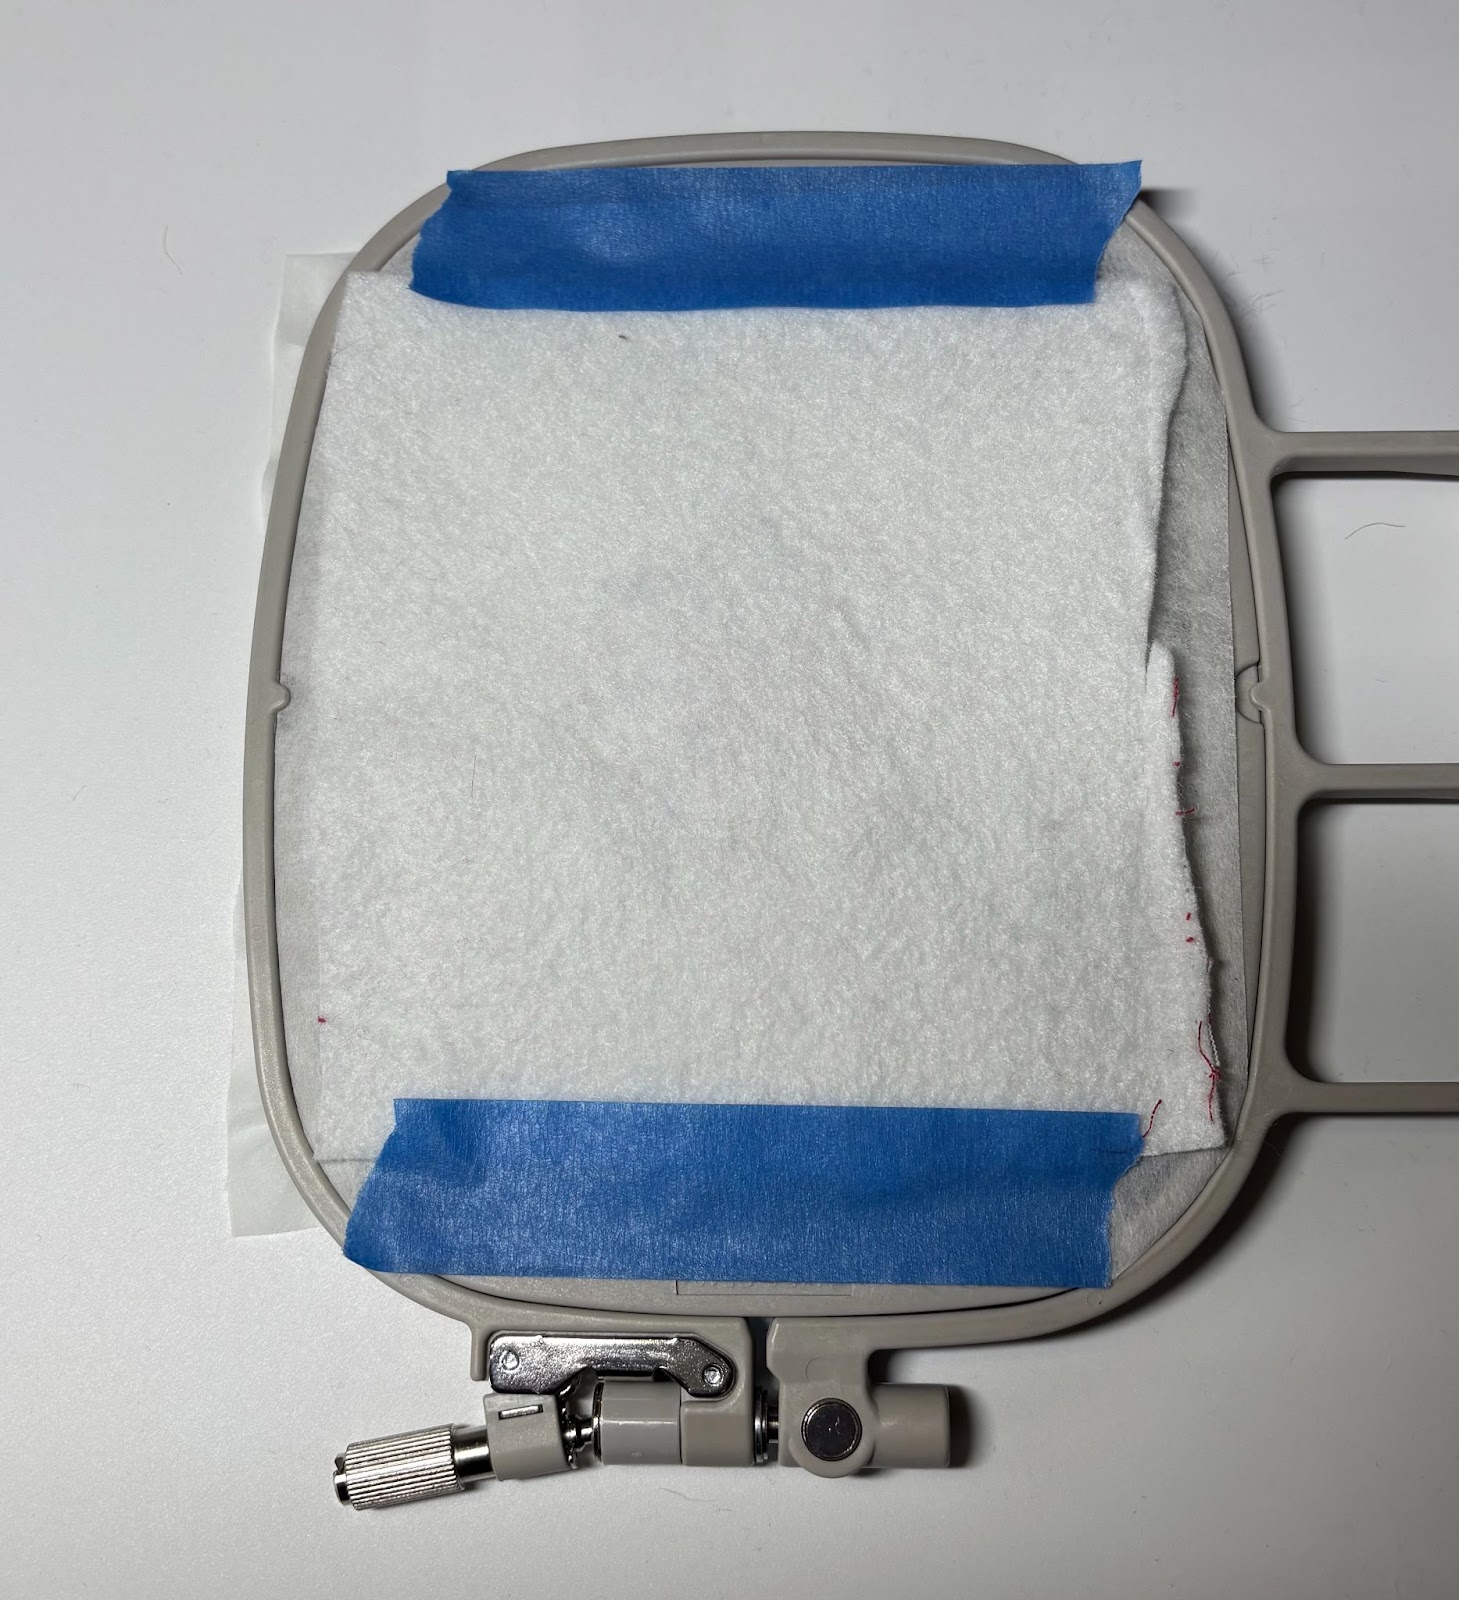
Turn the hoop over and tape a piece of felt to the back. Return to the machine.

Your machine should be back to the first step, which is the circle outline. Run this step again to attach the back.
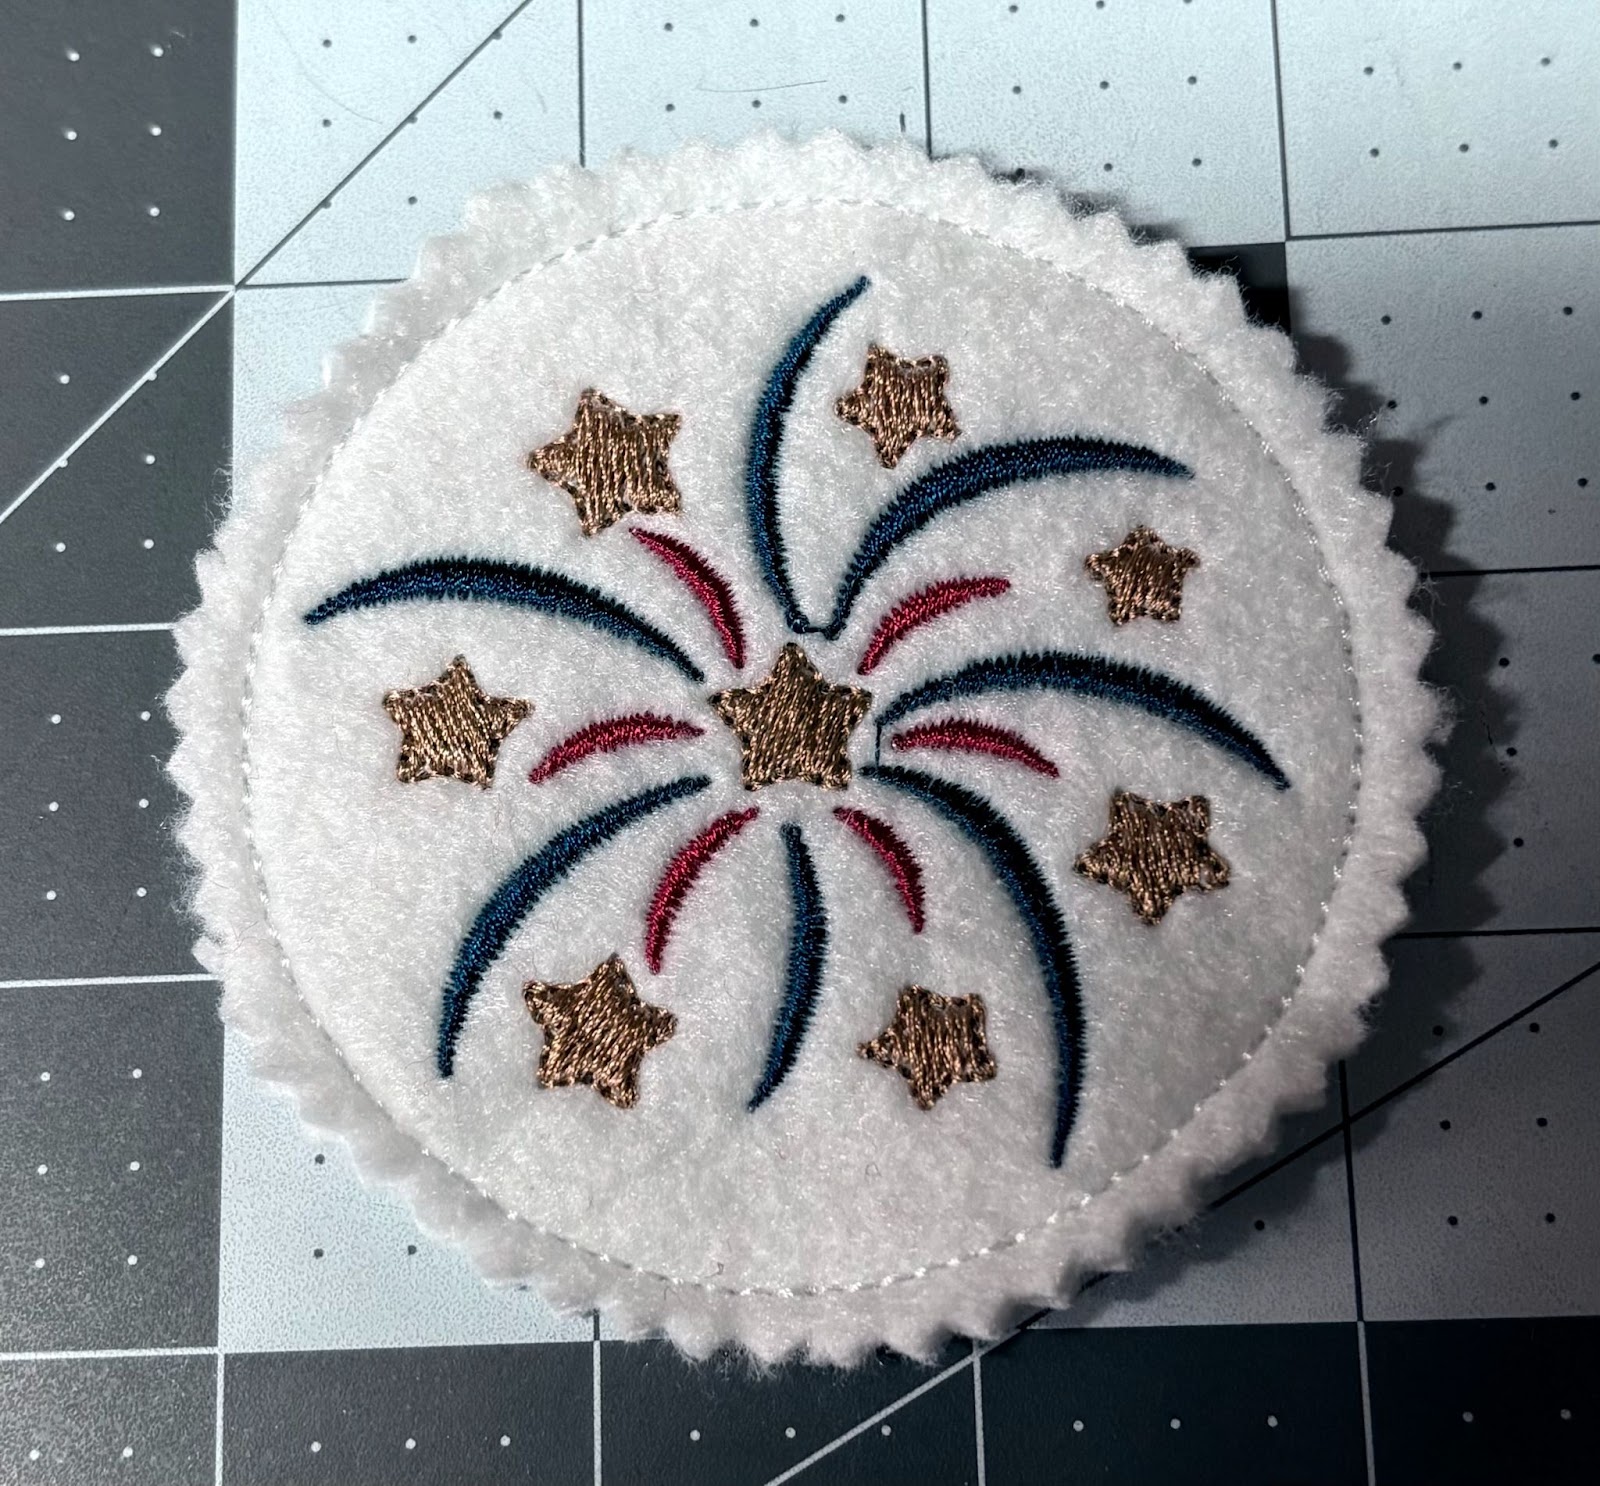
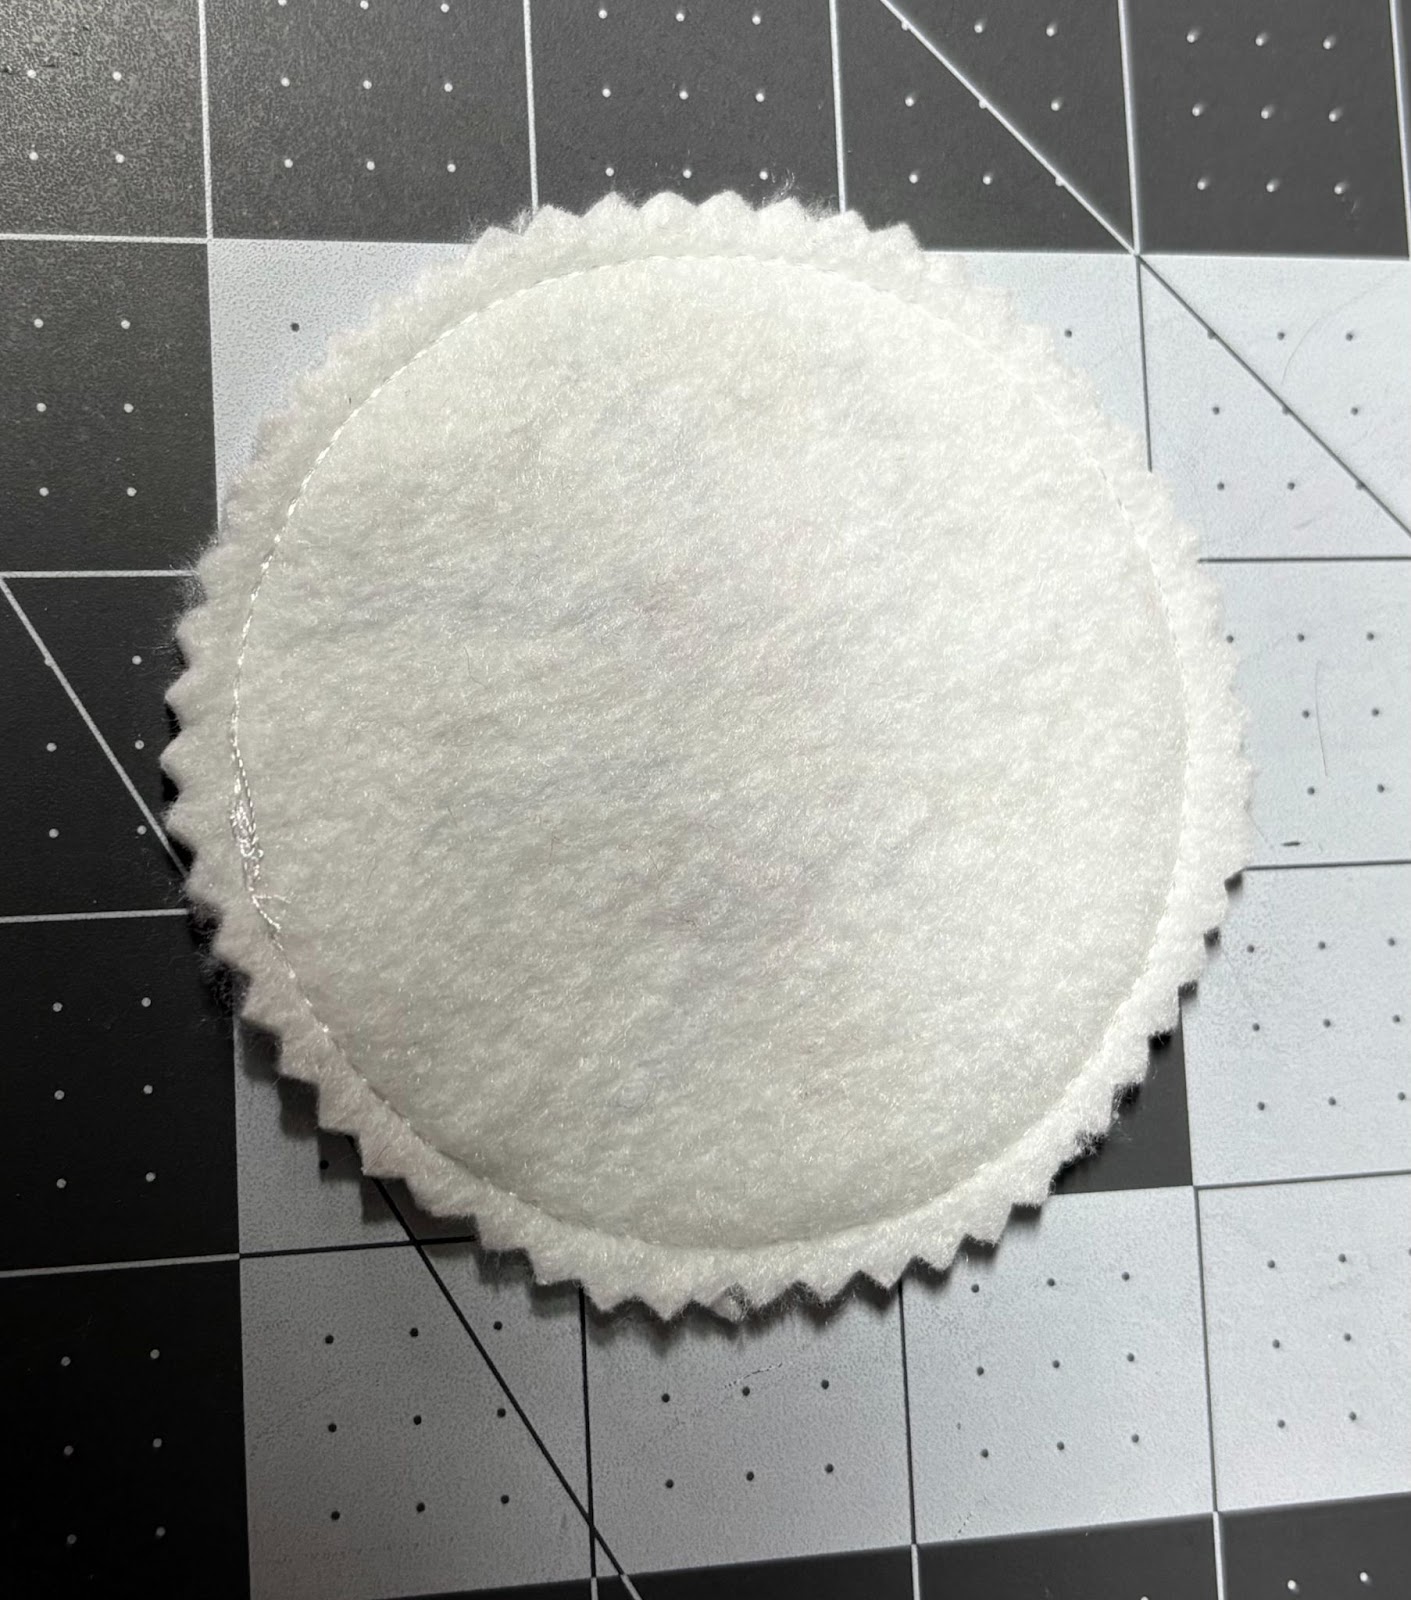
When finished, remove from the hoop, tear away the stabilizer, and trim ⅛” from the circle stitches. You can use pinking shears or scissors.
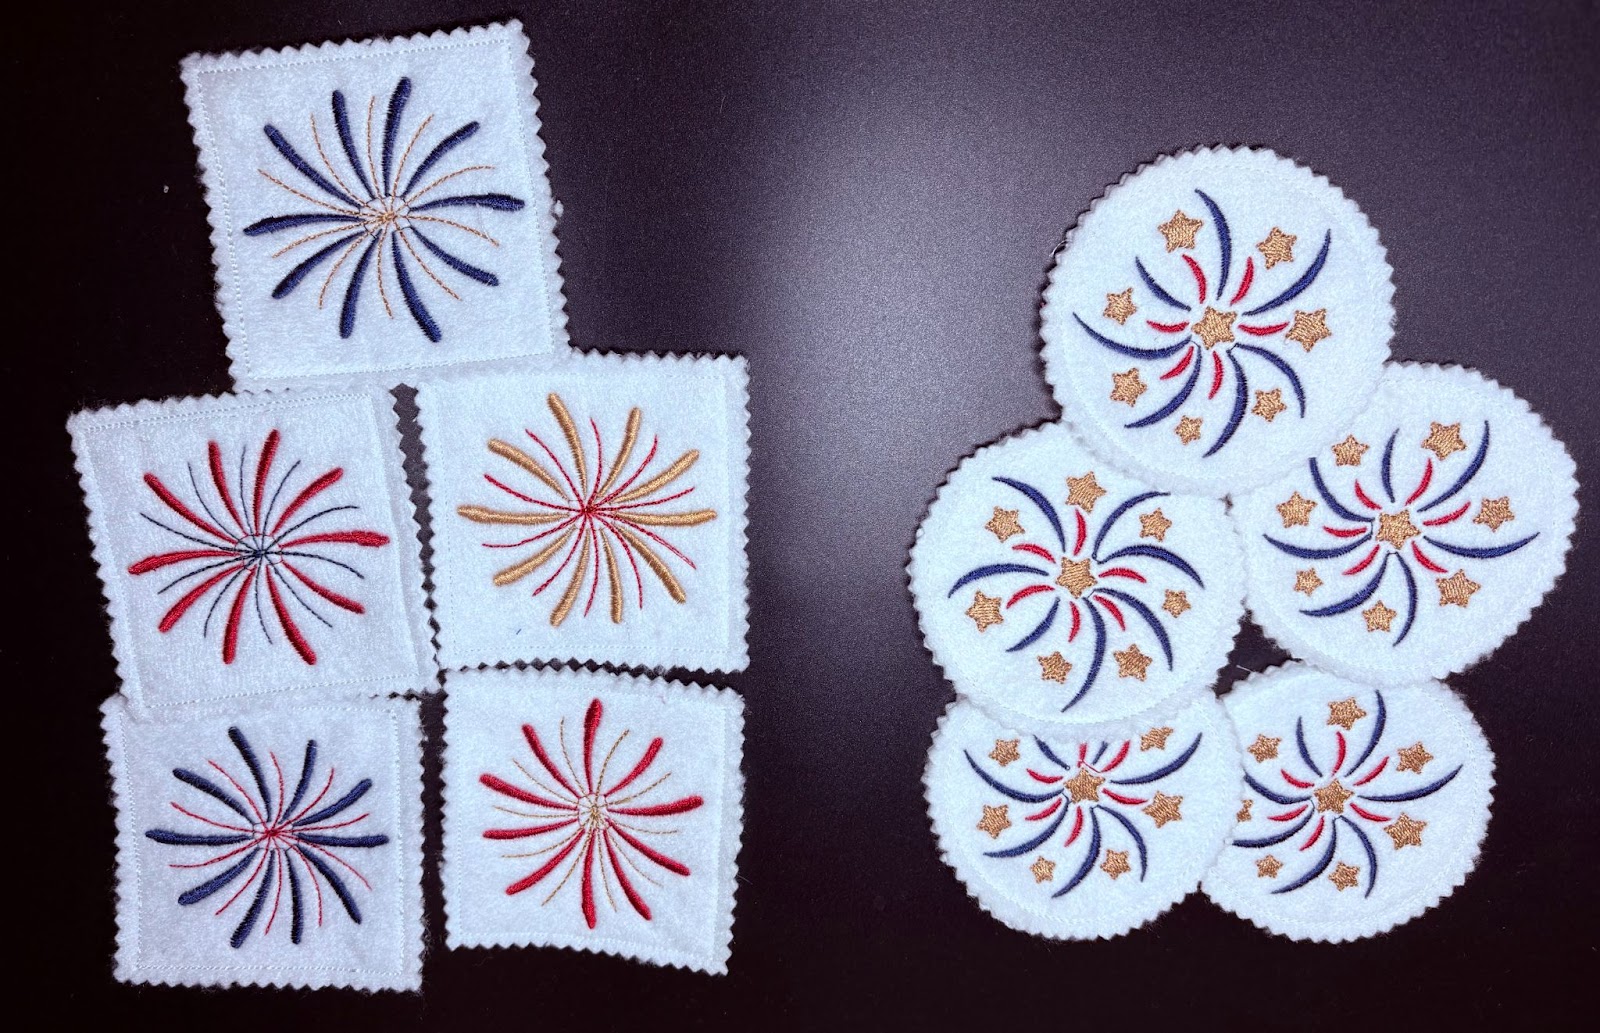
Repeat the above steps to create five circles. You can make them all the same or use different designs and/or thread colors. (There will be five circles for one player and five squares for the other player.) Remember to always start and end with the first step, the circle outline.

Follow the same steps as before to add a square to your screen.
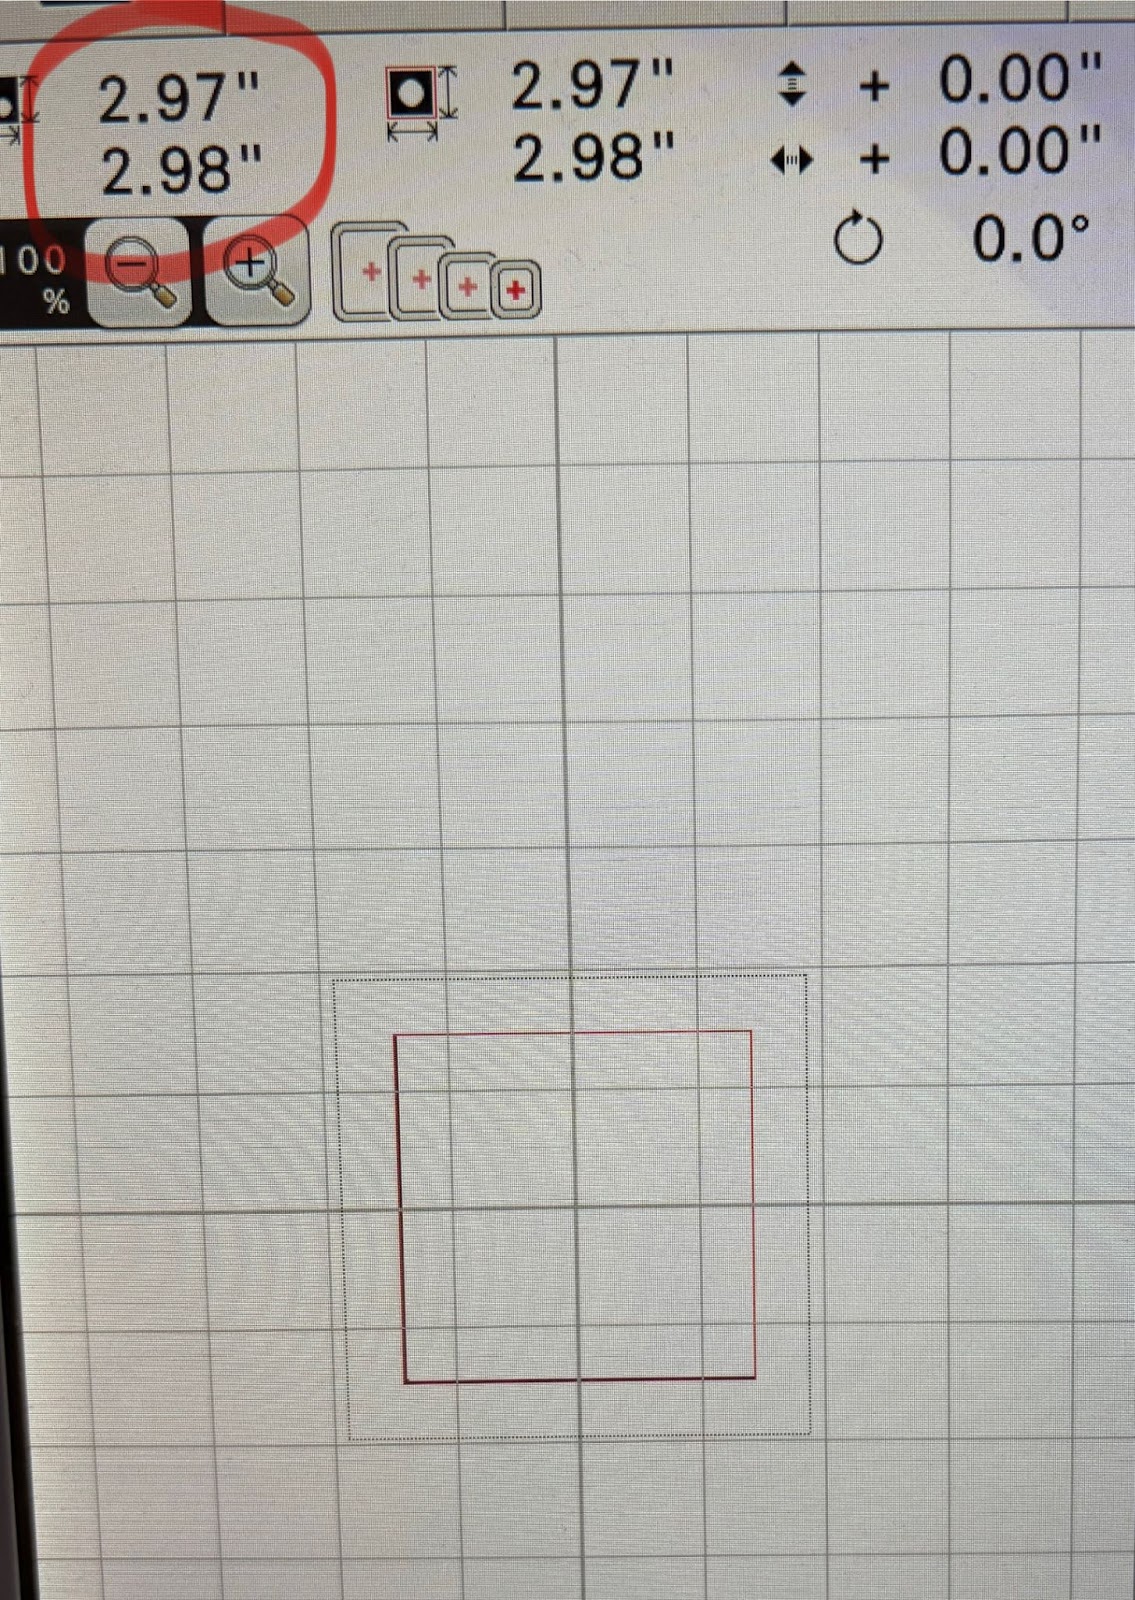
Size the square as close to 3” as you can get.
Load and center the design. Using the same steps you used for the circle, complete five squares. Remember to always begin and end with the first step, the square outline.
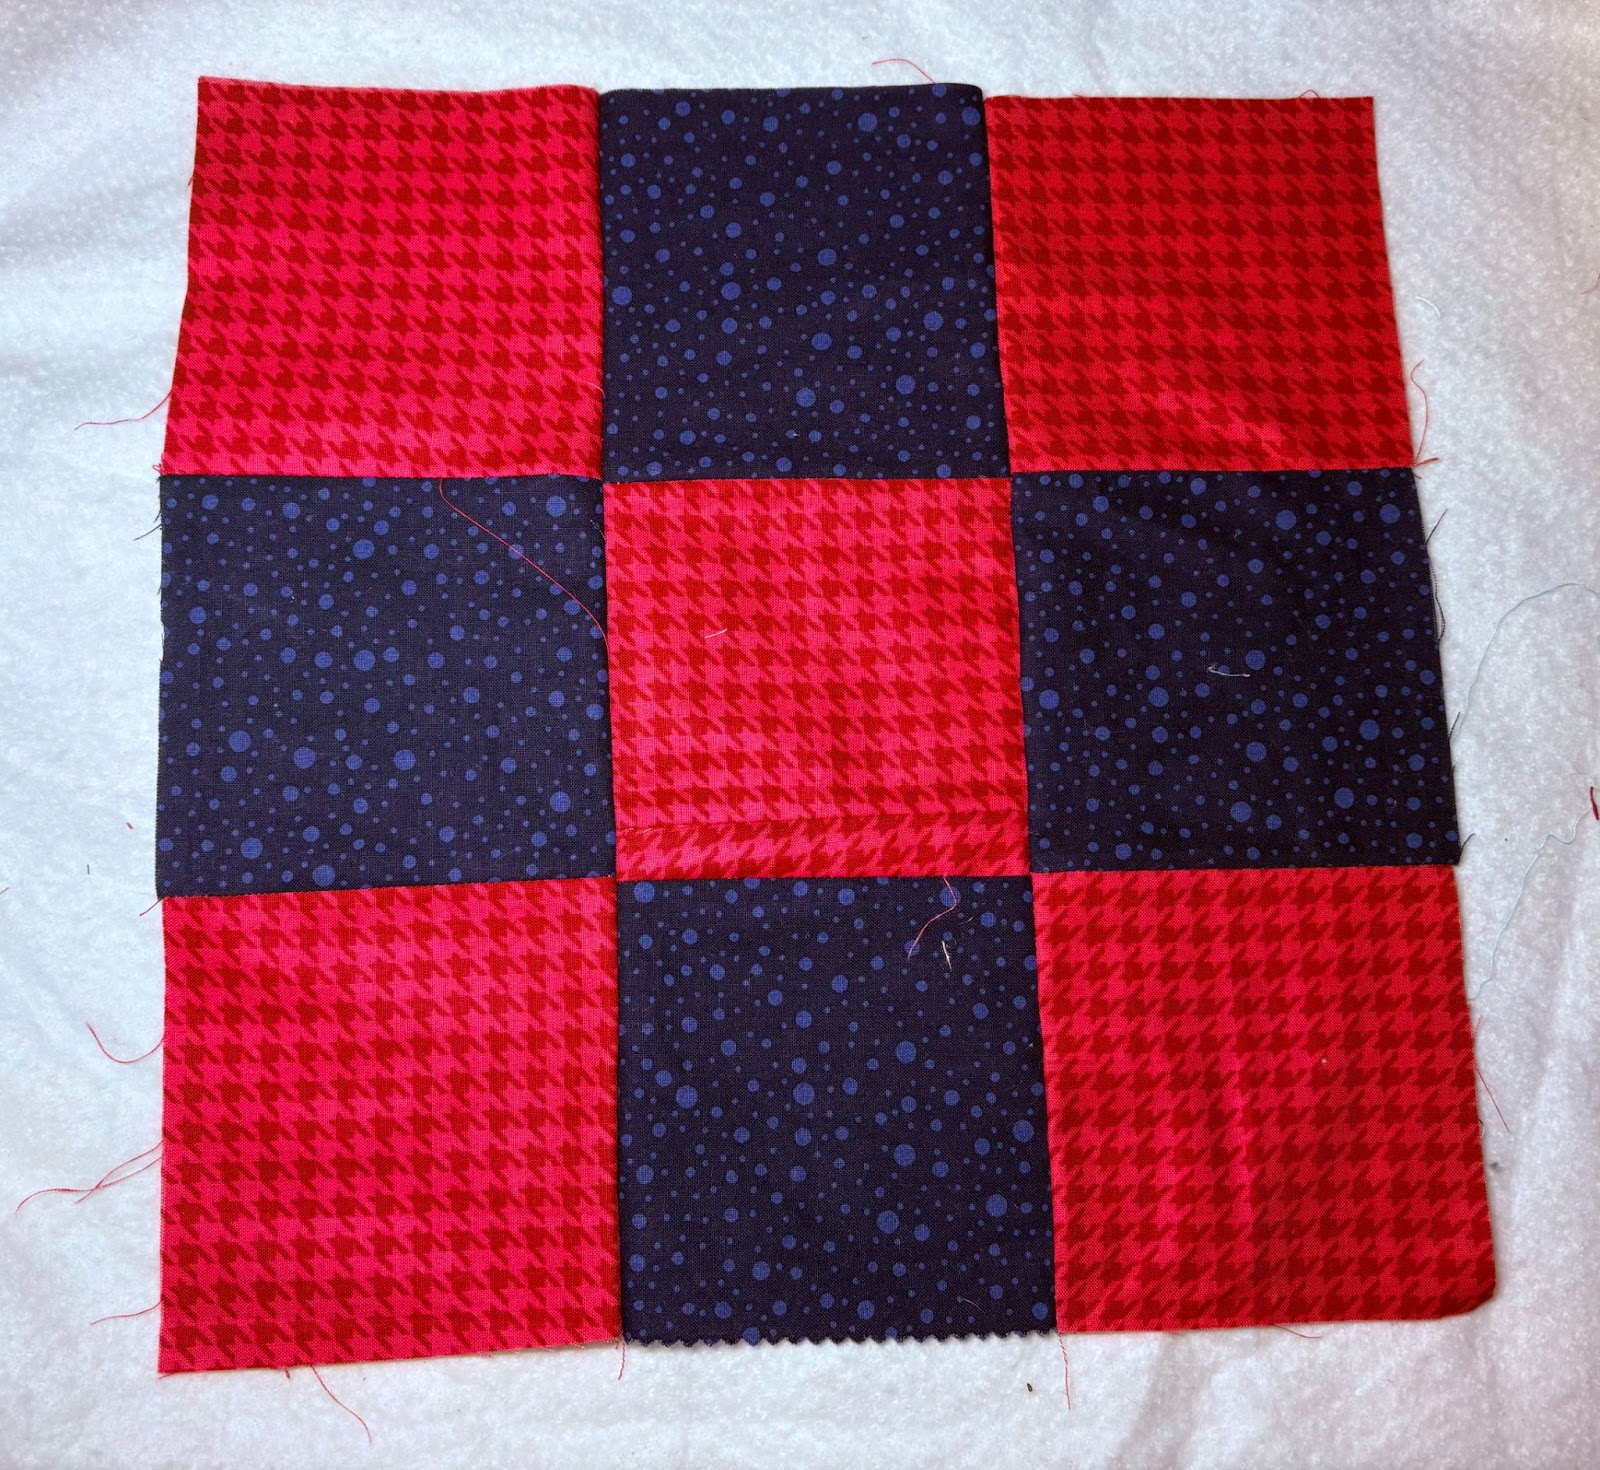
To begin, you’ll need to cut your two coordinating fabrics into 4½” x 4½” squares. You will need five of one color and four of the coordinating color. I will refer to these as colors 1 and 2.

You are going to sew a nine patch for the gameboard.
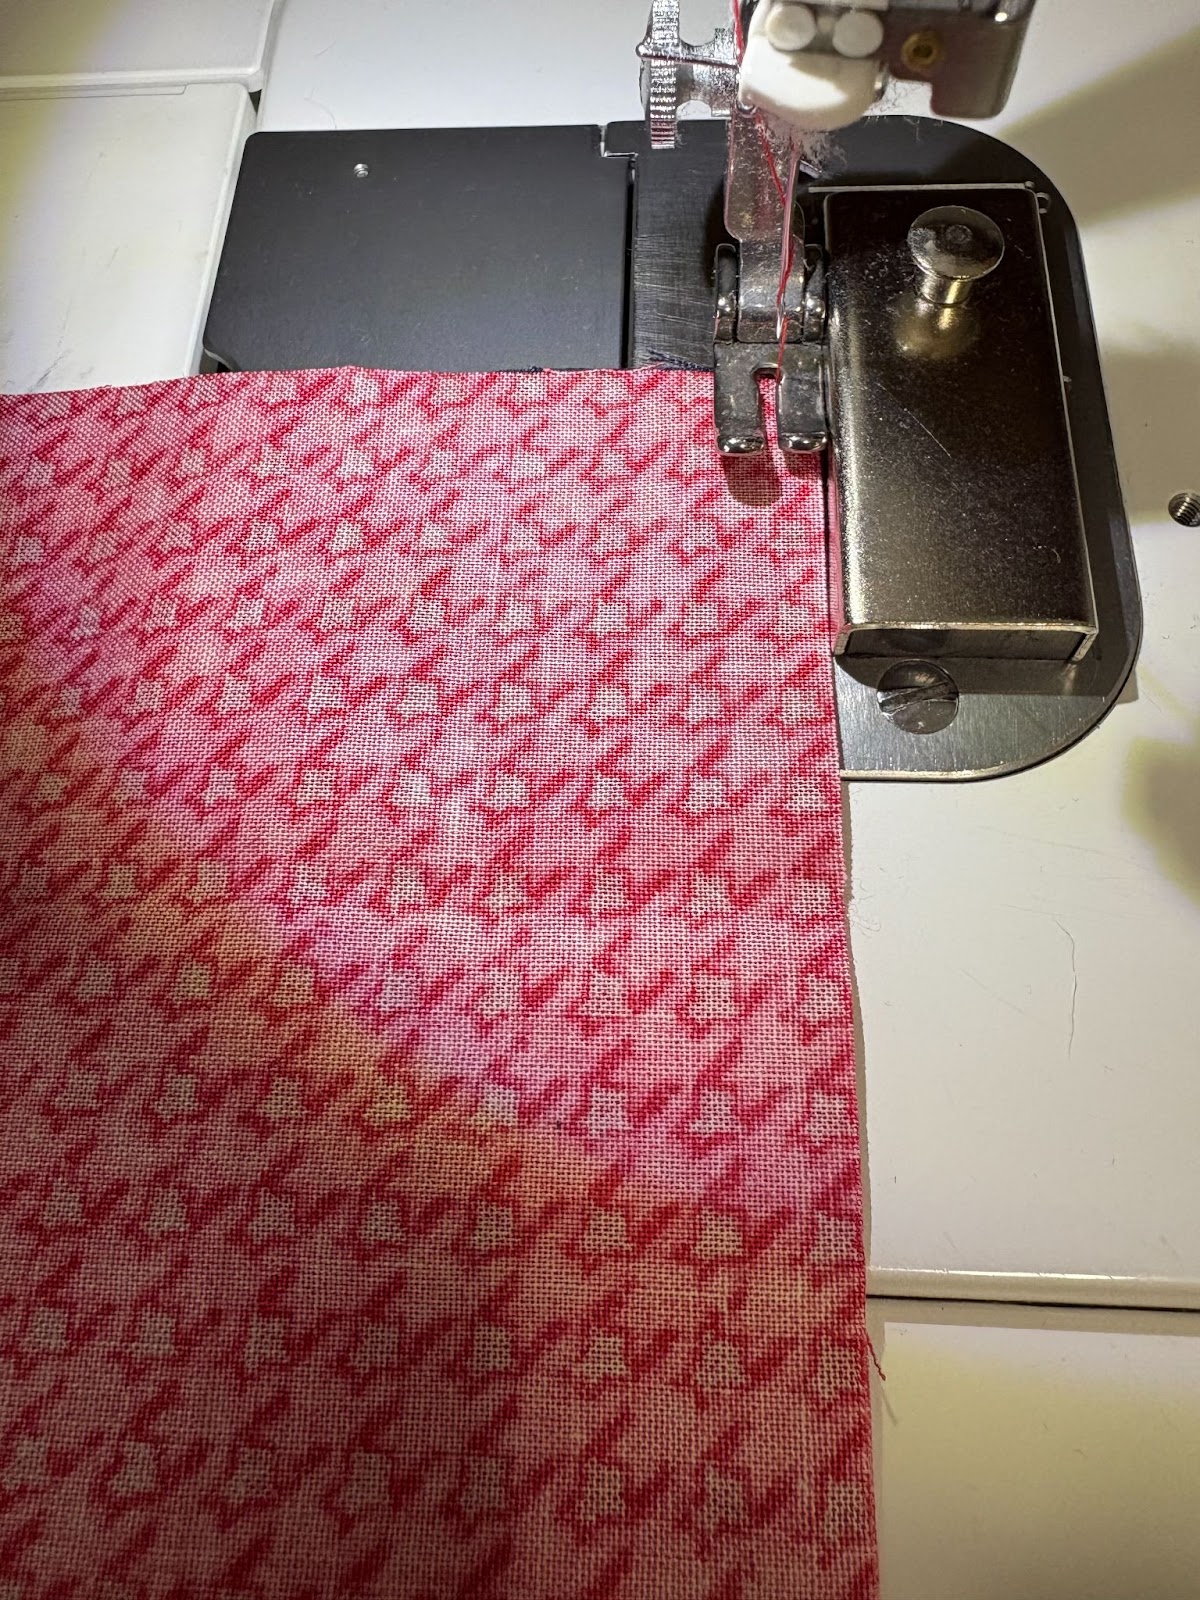
Using a ¼” seam allowance, sew together squares of fabrics 1–2–1 for the first row. For the second row, sew fabrics 2–1–2. For the third row, sew fabrics 1–2–1.
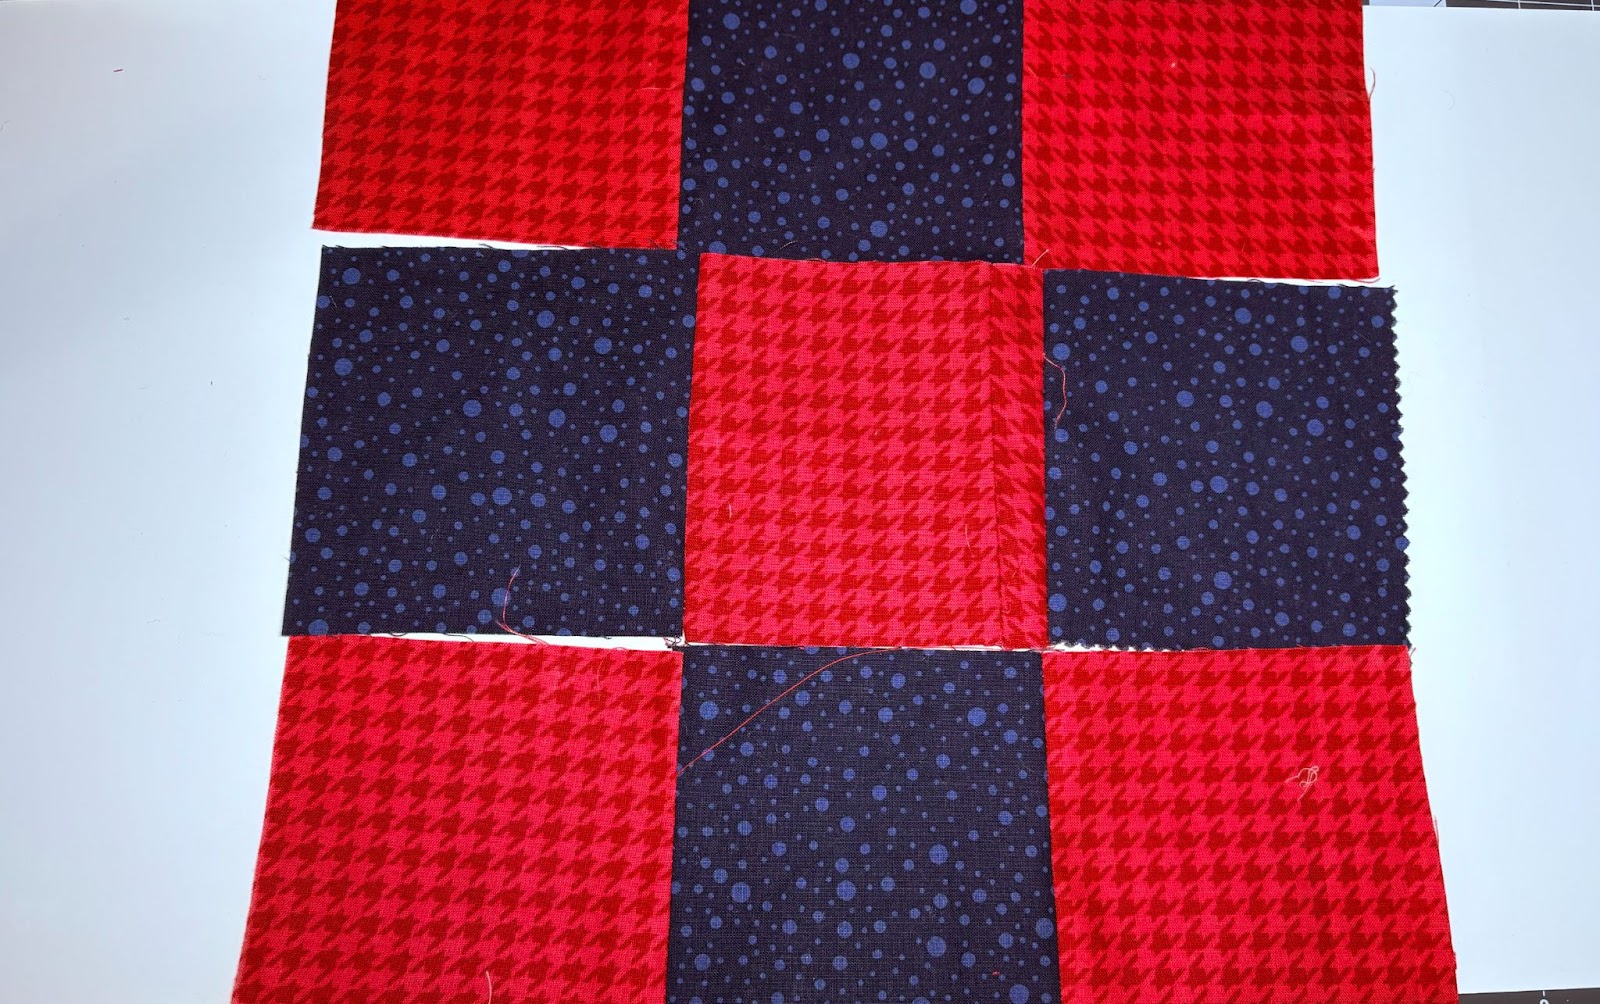
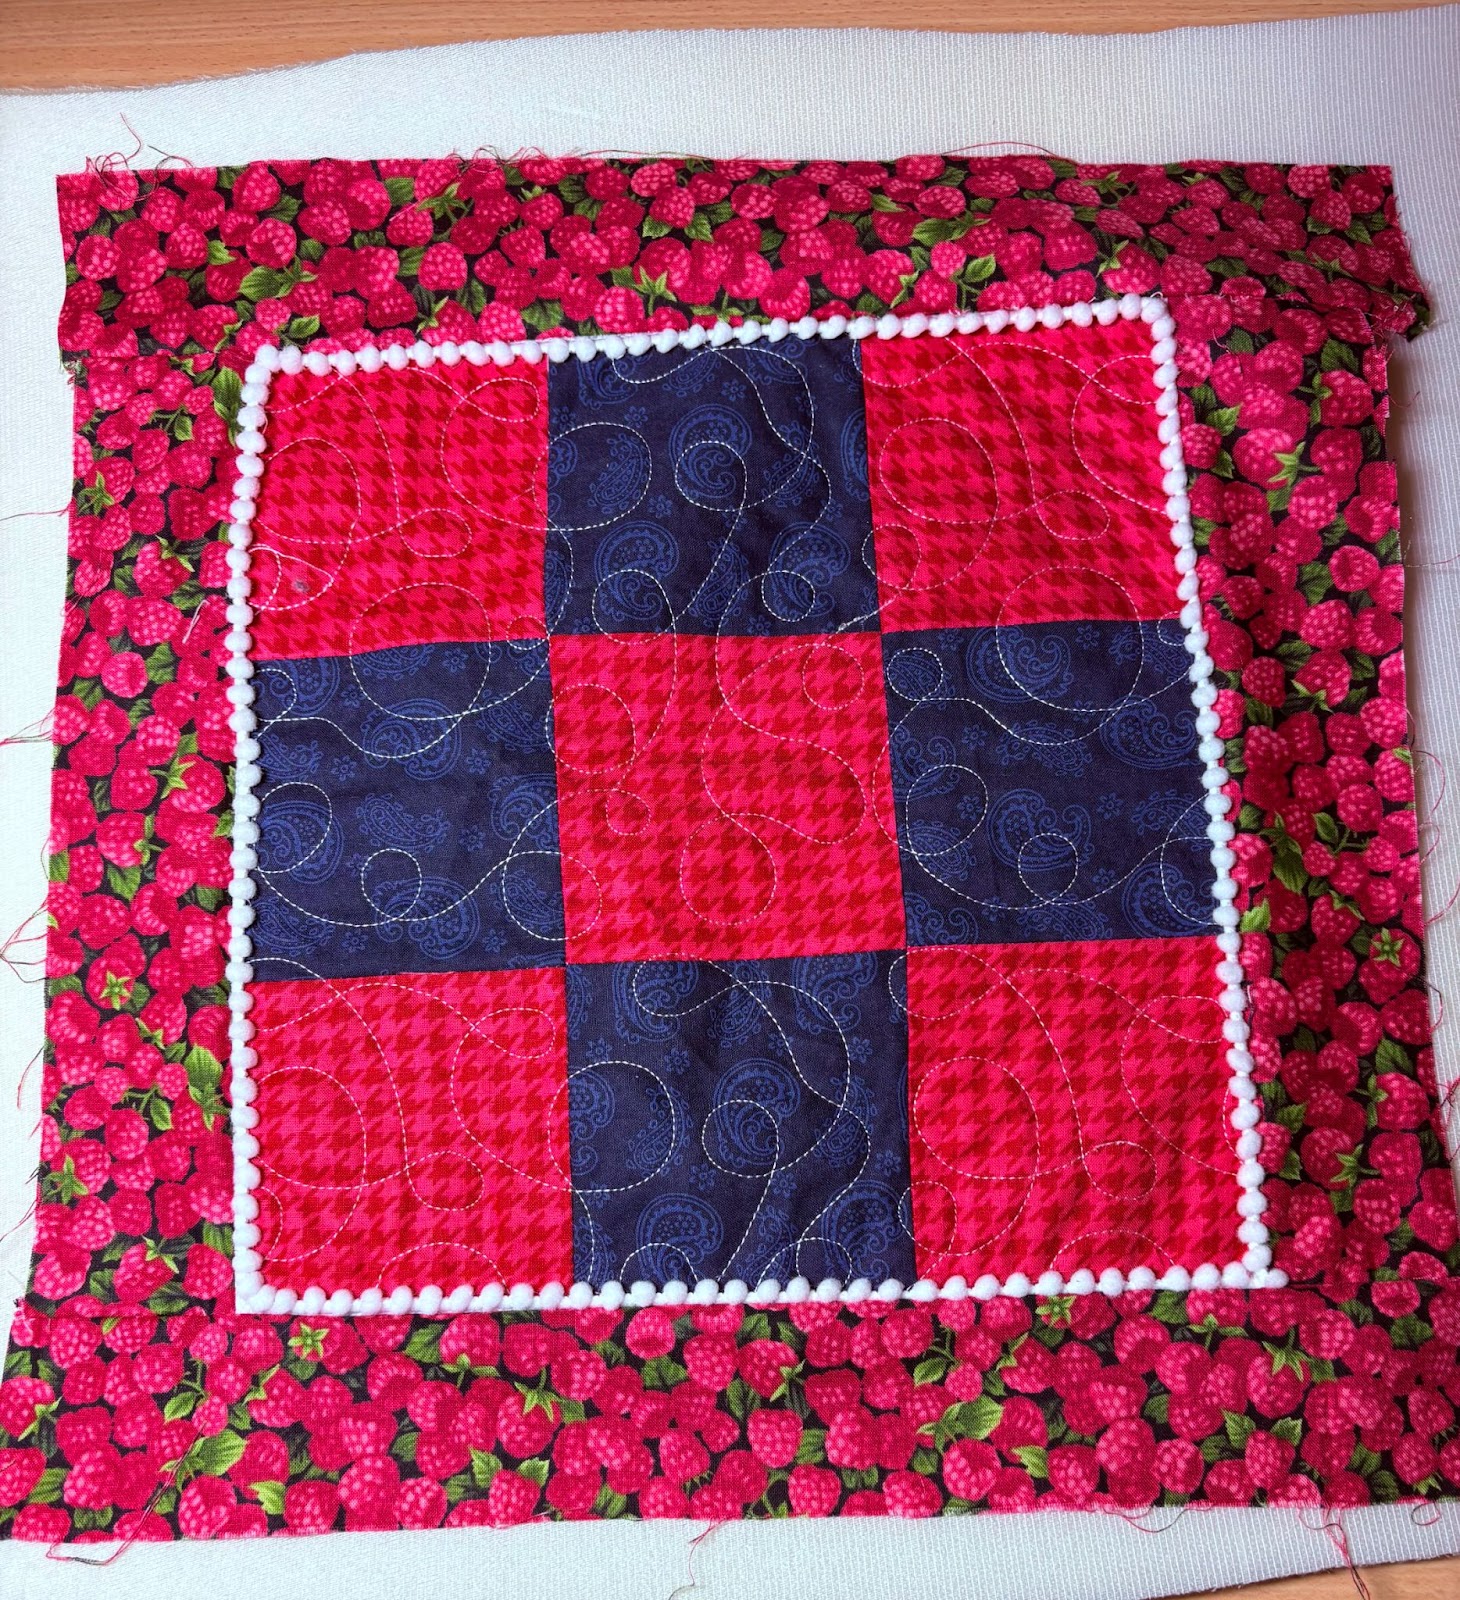
When finished your rows should look like this.
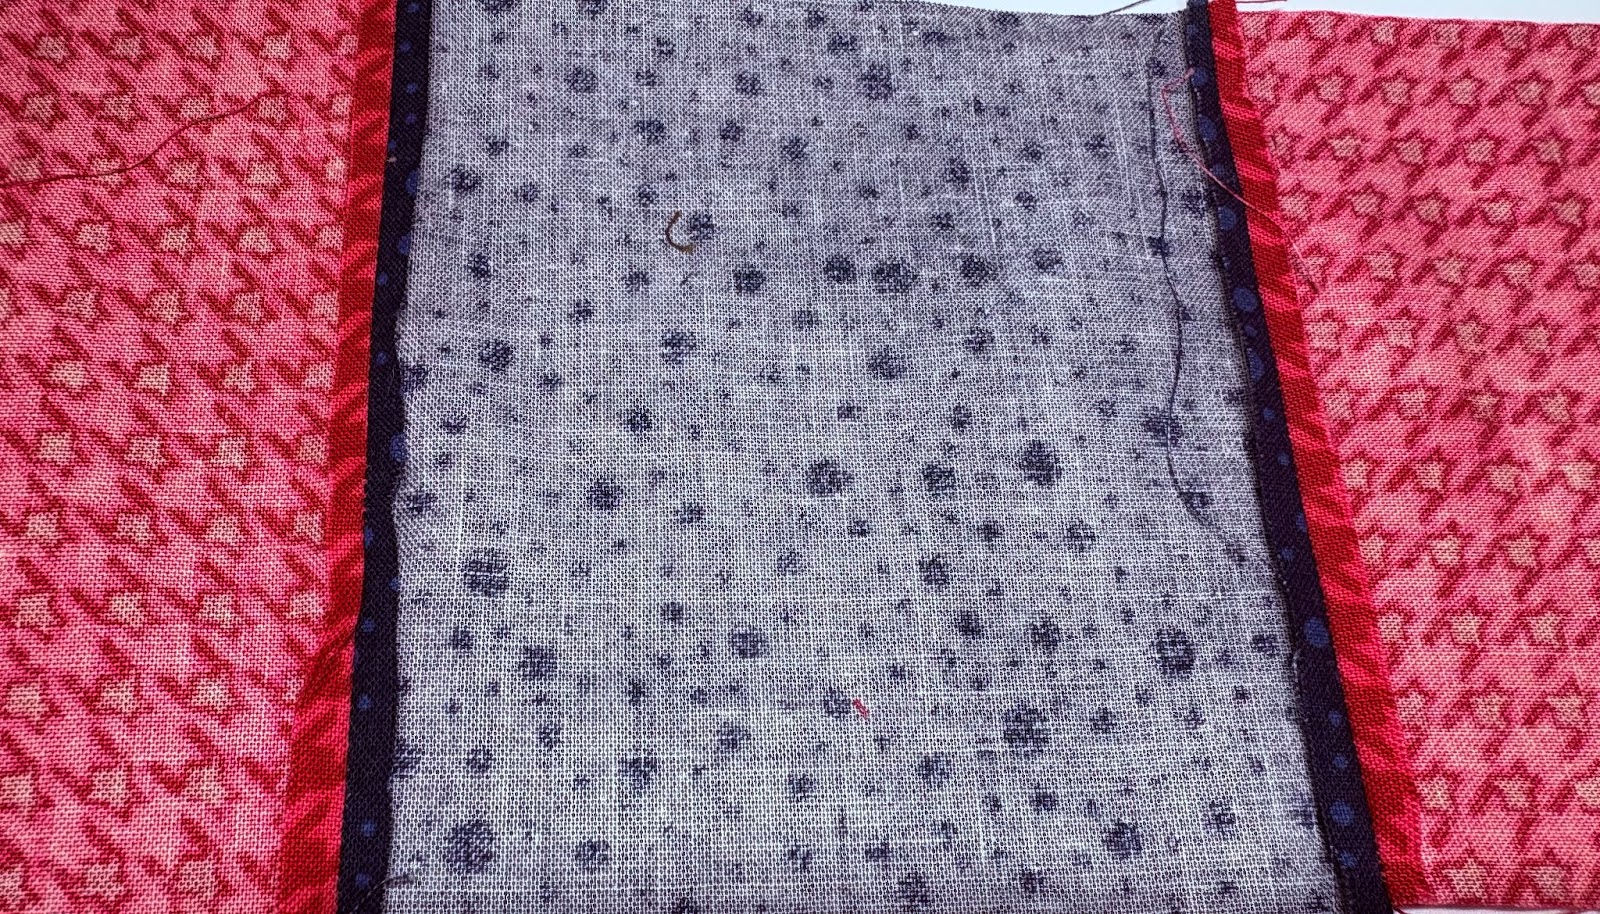
Turn each row over and press the seams open. This is important, as it will allow your board to lay flat.
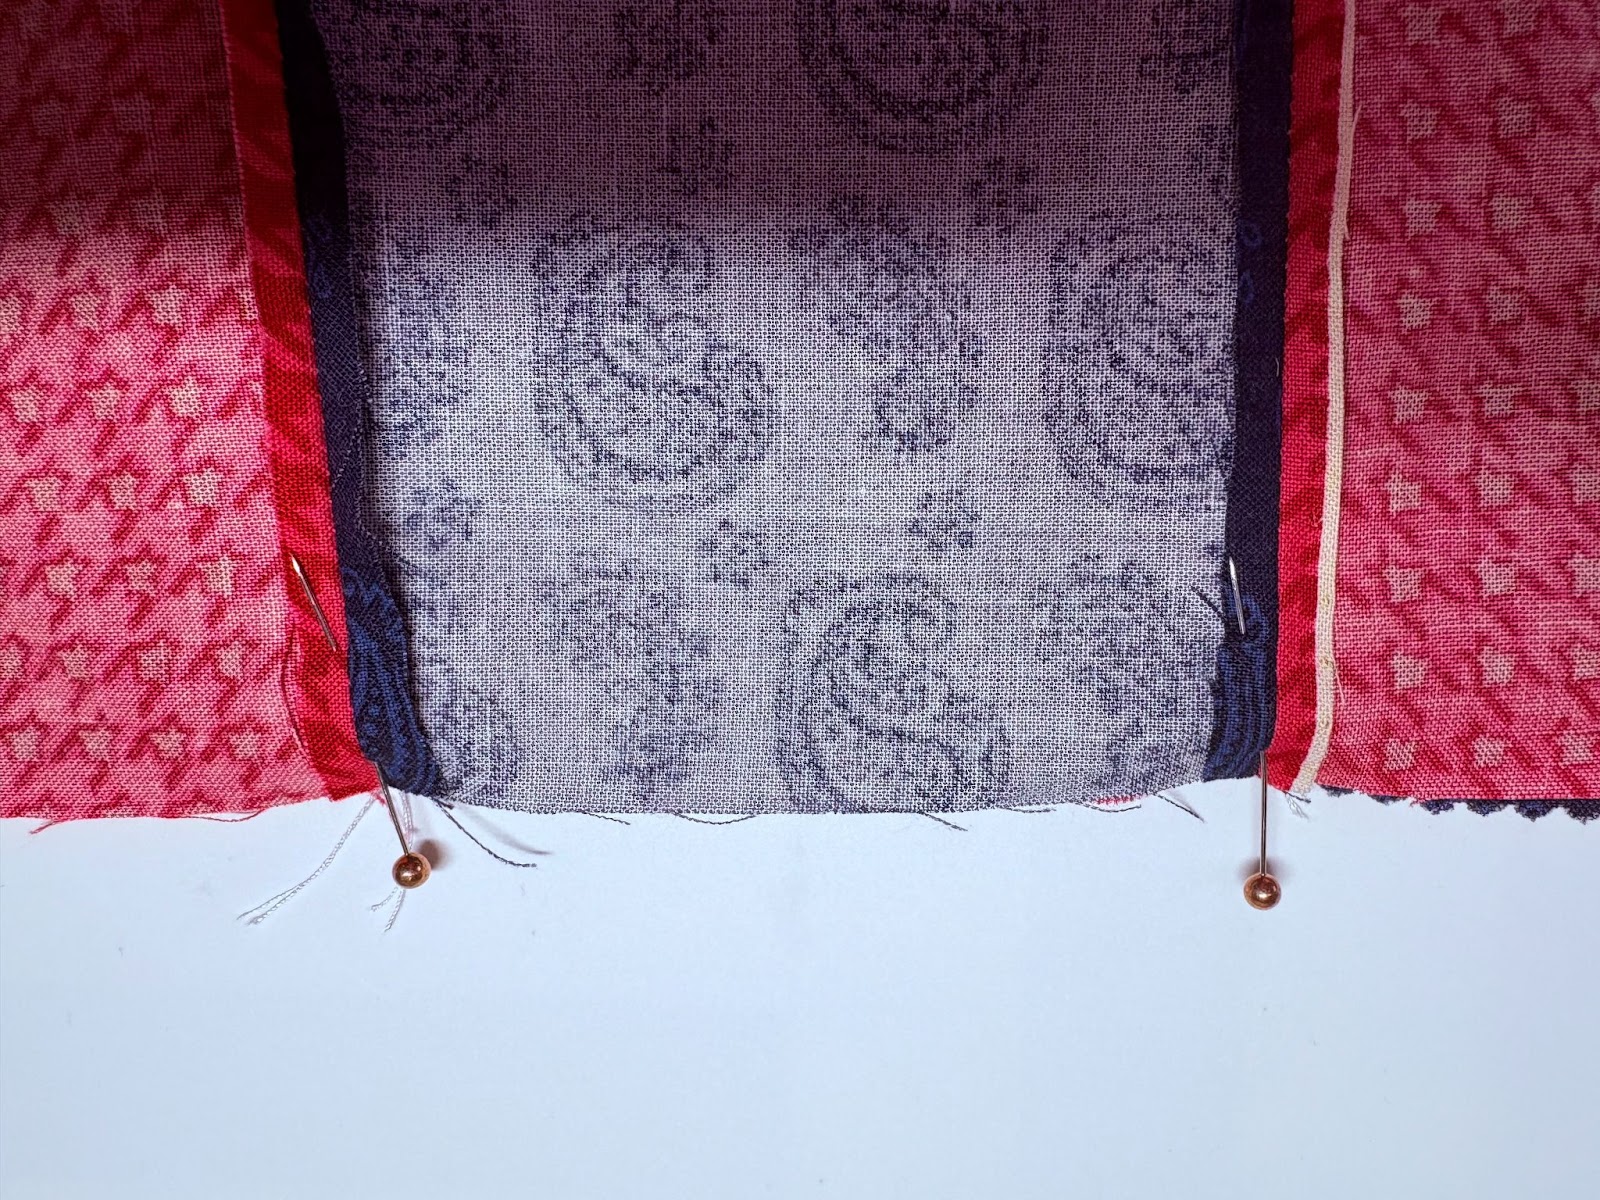
Line the seams up and sew the strips together. Be sure to line the strips up correctly, and use a ¼” seam allowance.

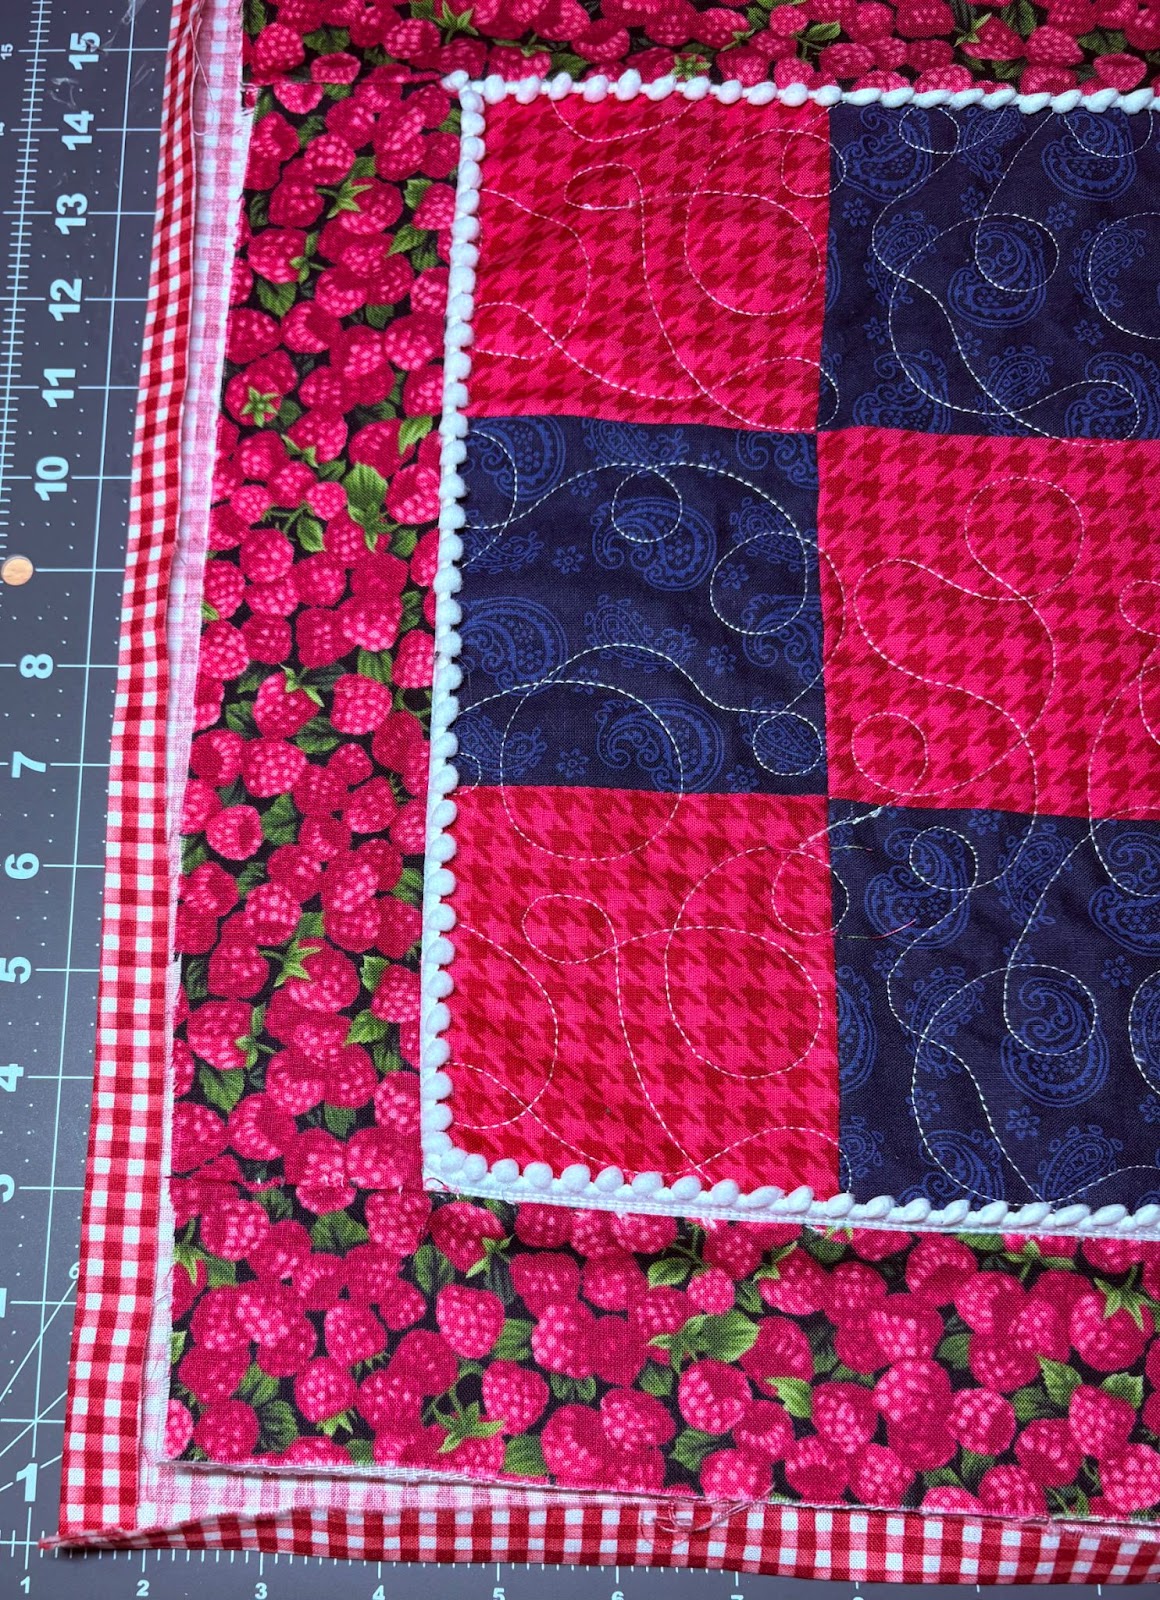
When finished, your top should look like this.
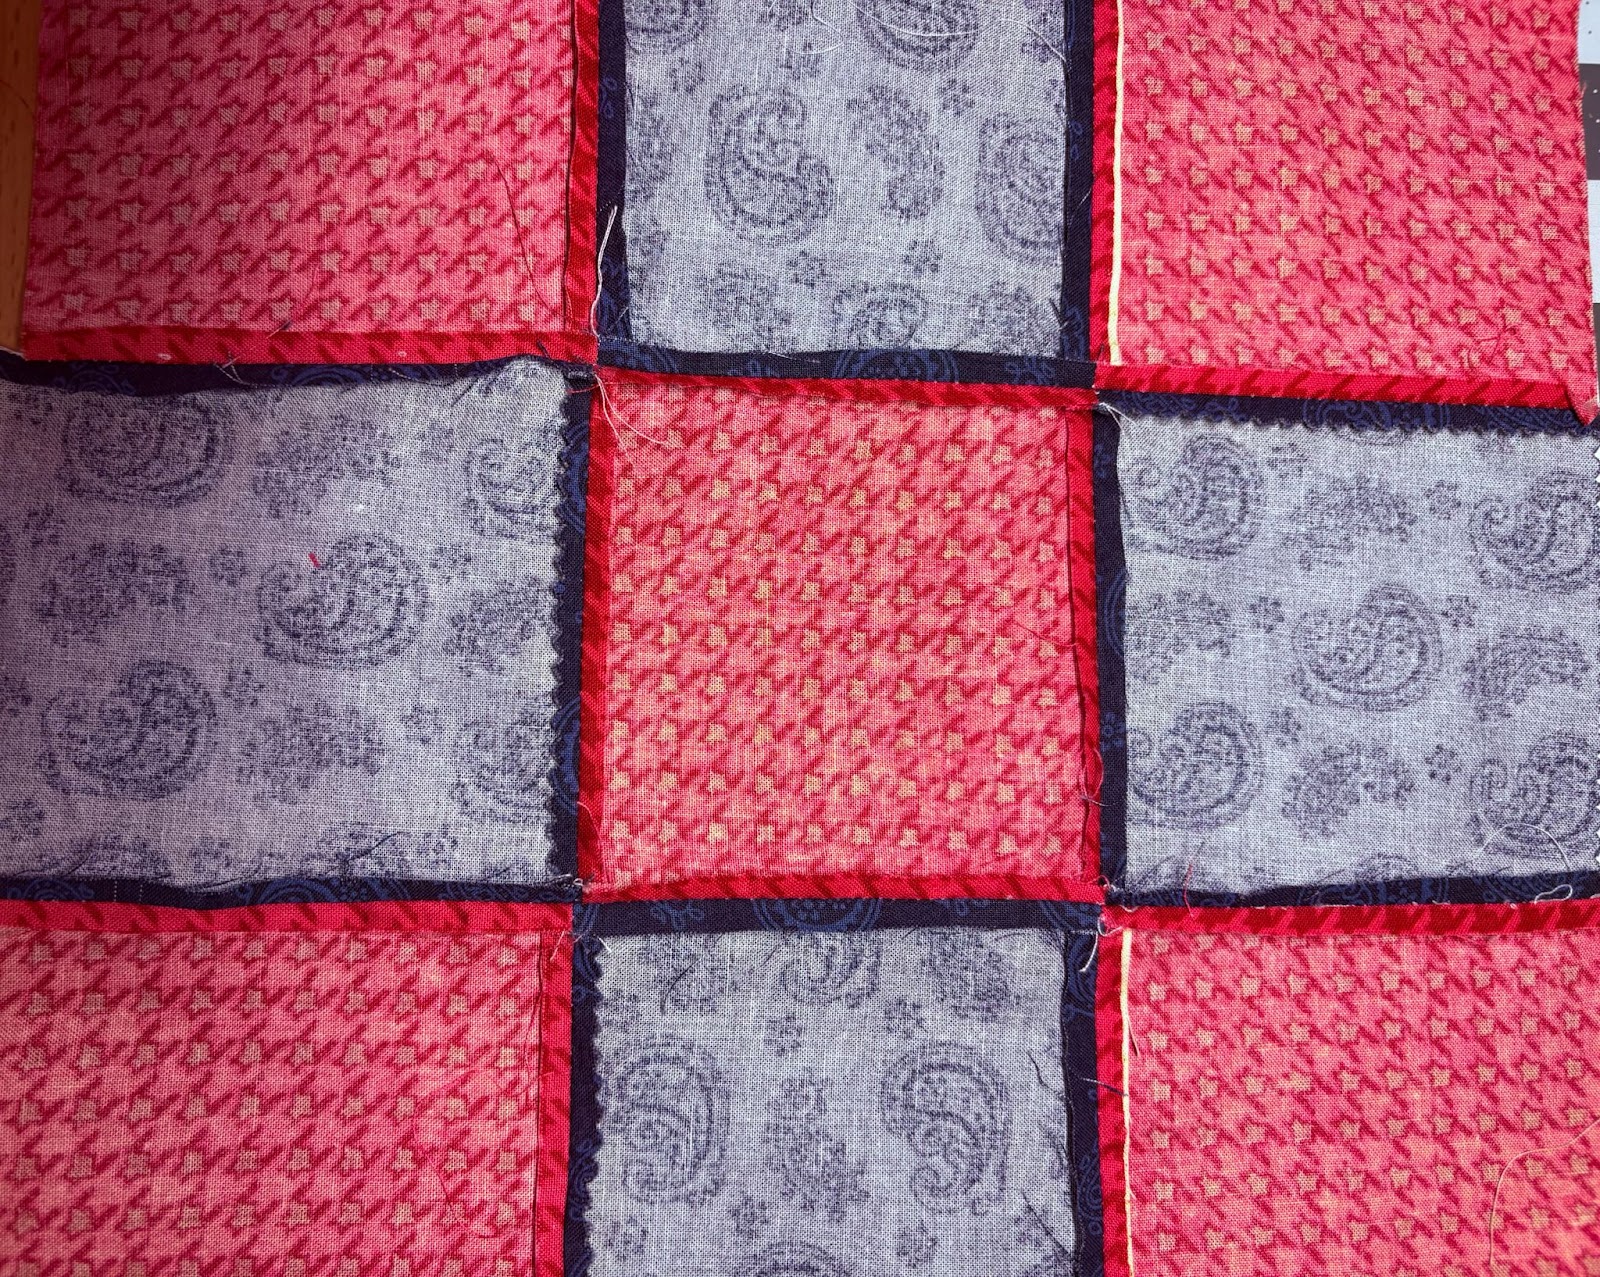
Turn over and again press all seams open. Your board should be approximately 12½” square. If it is a bit larger or smaller, that’s fine.
Place the completed squares on top of the batting. Here you can decide how you want to quilt the top. You can choose one of the many JuJu End-to-End designs, free motion, or stitch in the ditch. Once the quilting is done, trim the batting even with the top.

If you want to add rick rack or a decorative trim, add it now.
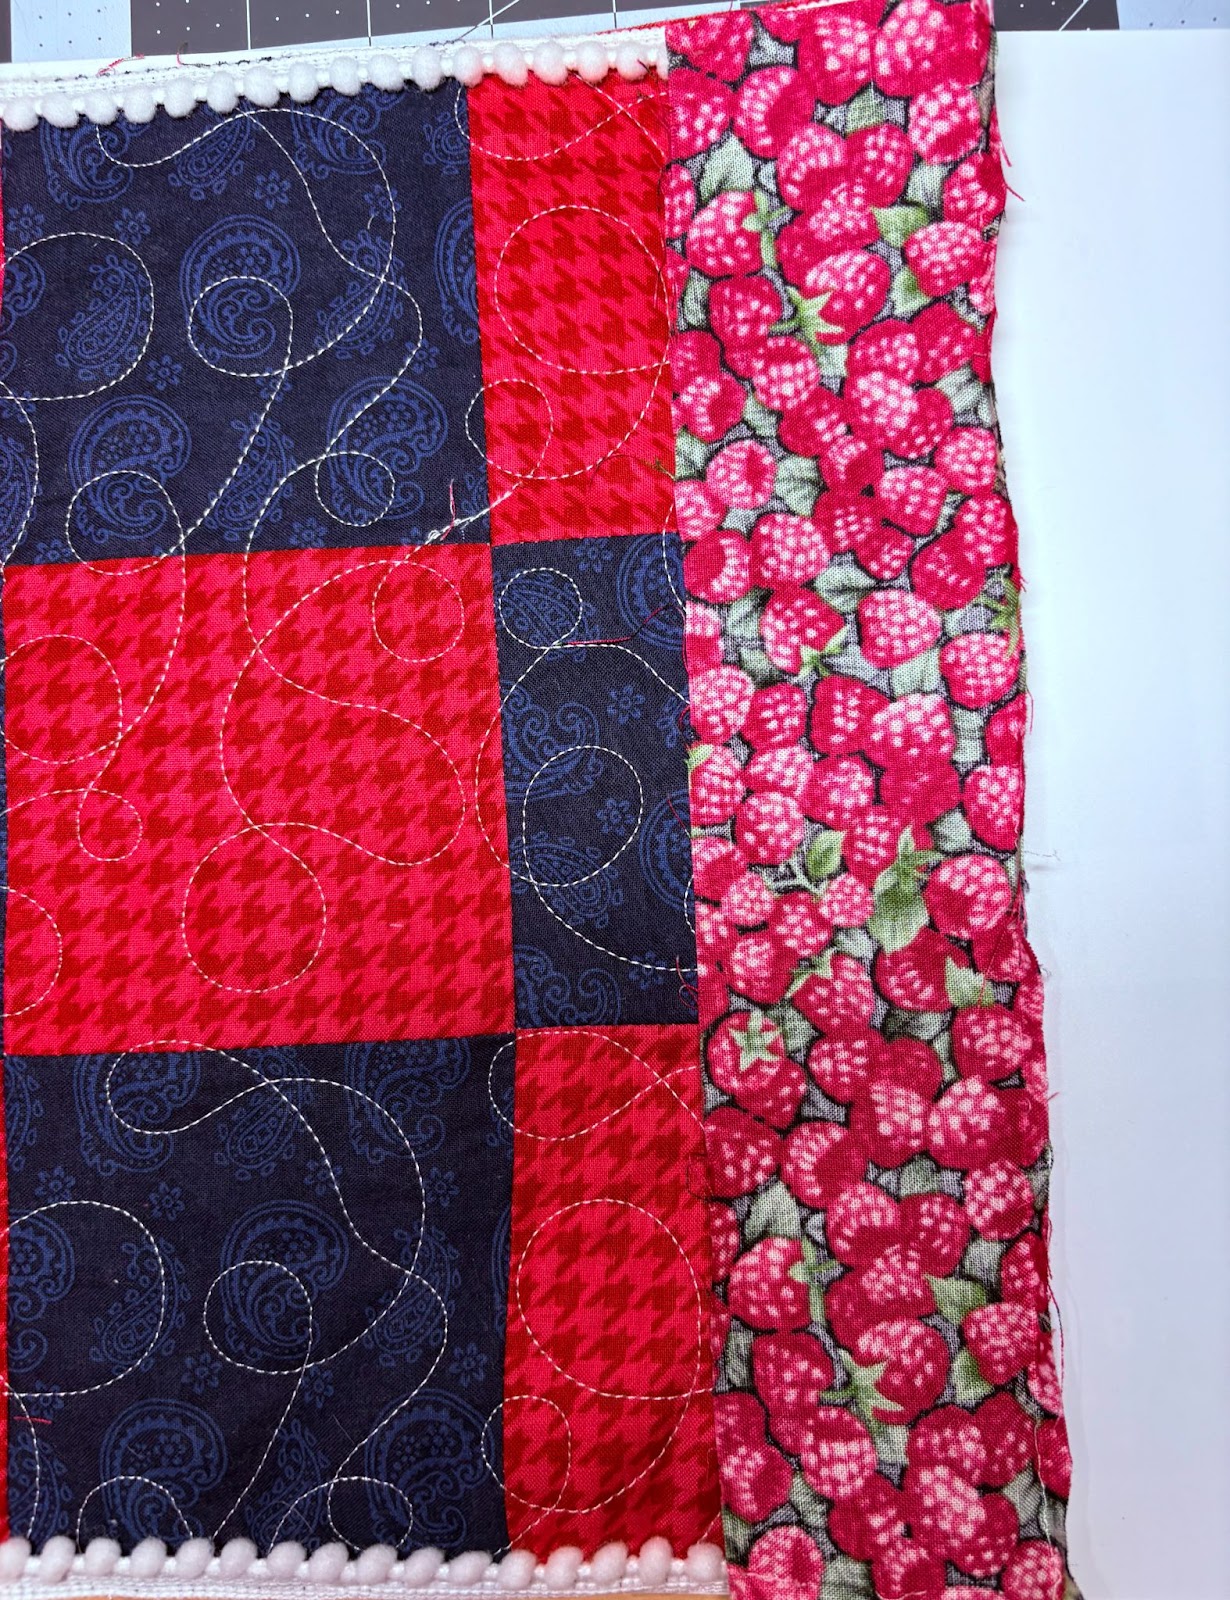
Cut the border fabric into two strips of 2½” x 13” and two strips of 2½” x 20”. With a ¼” seam allowance and right sides together, sew the 2½” x 13” strips along both sides. Trim even with the top and bottom.
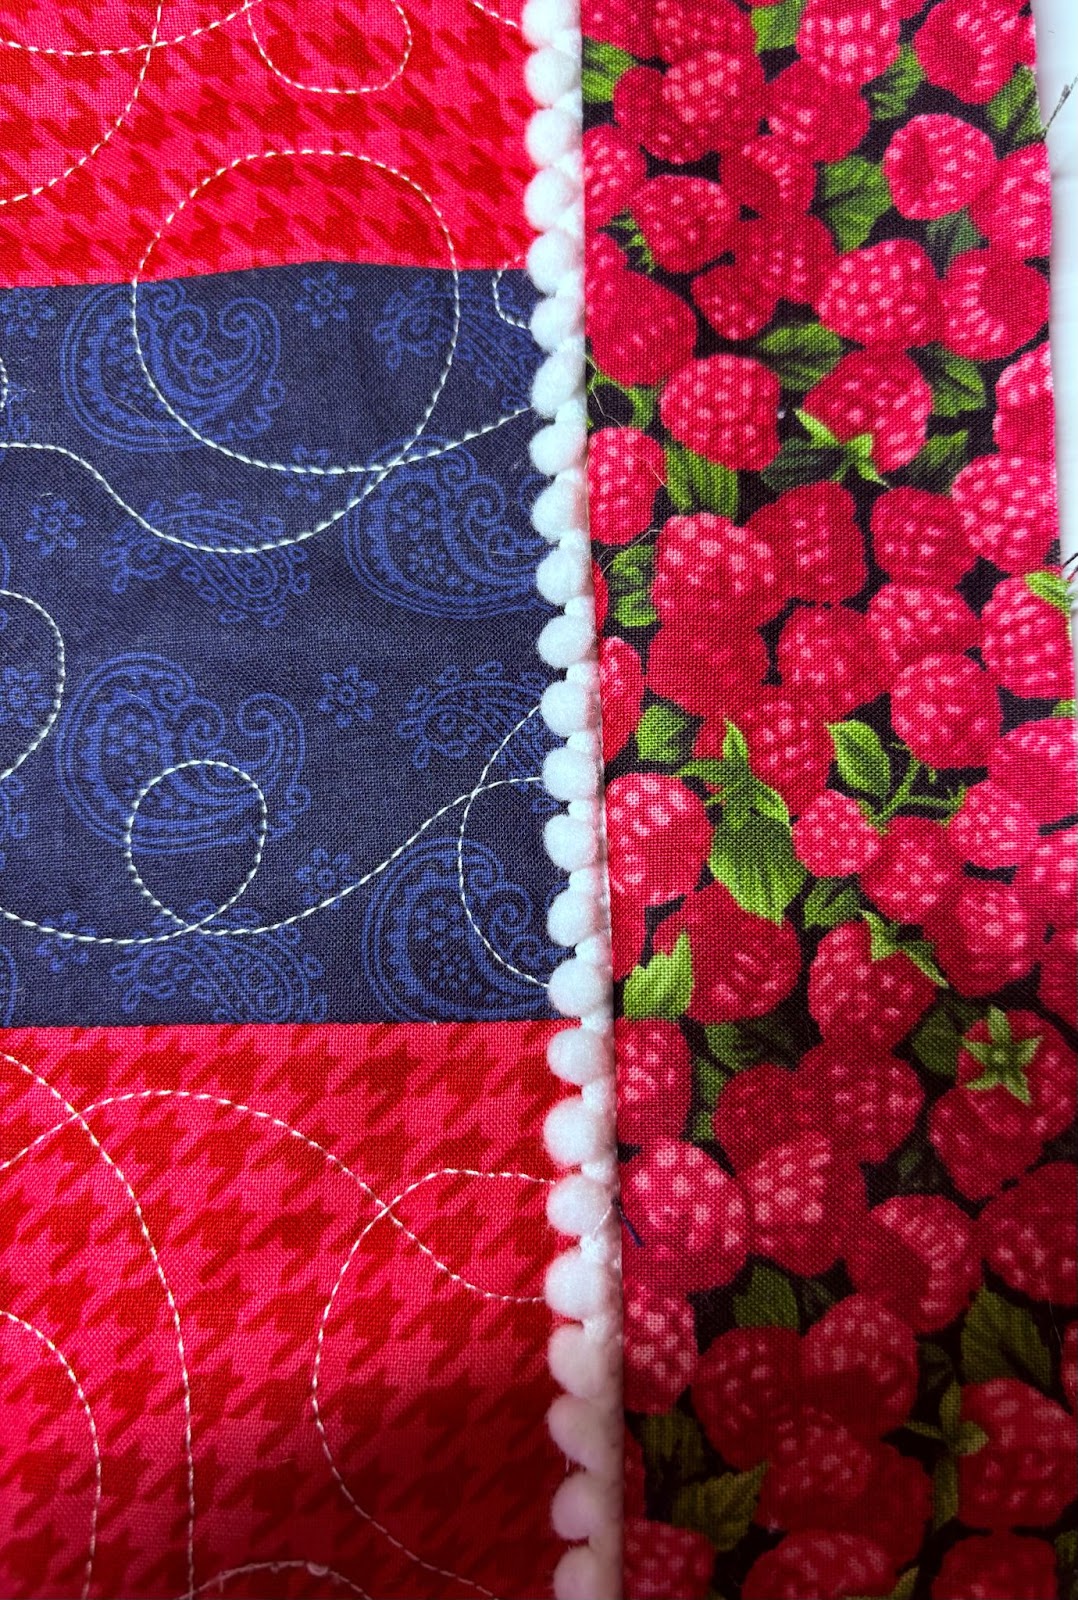
Press the seam and the border to the outside.
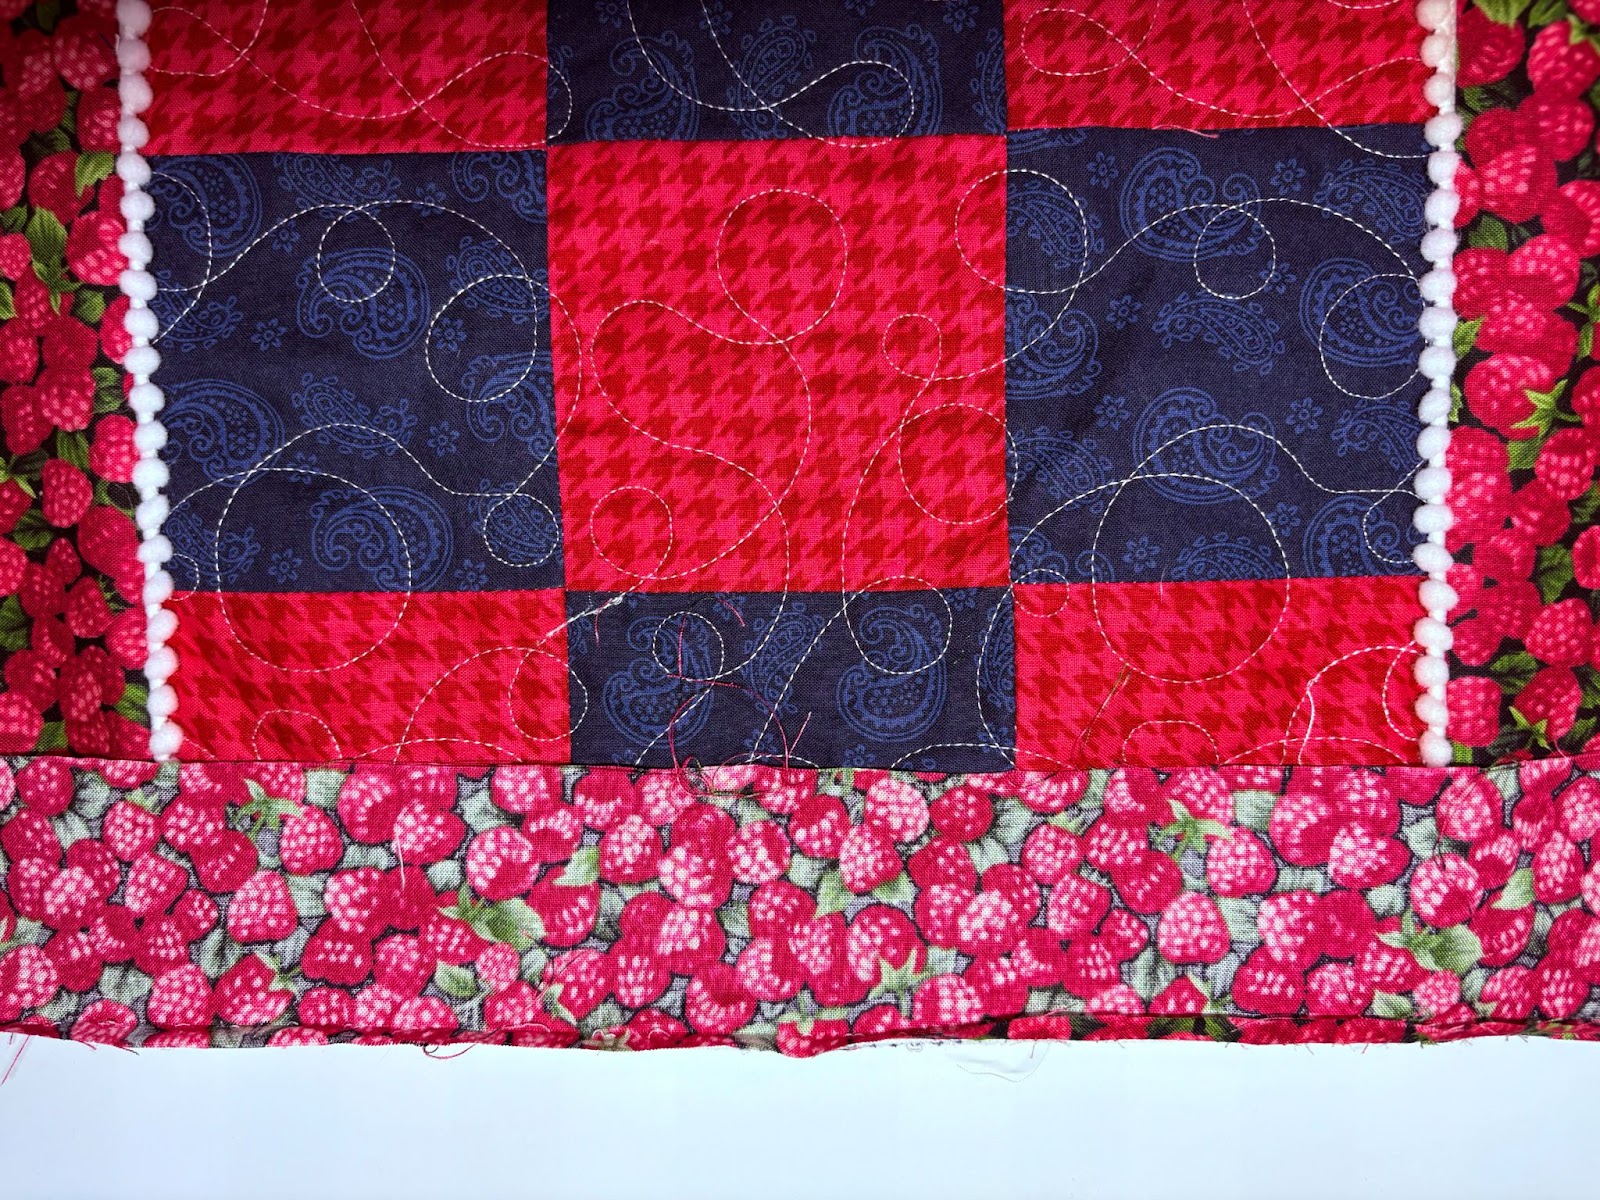
Next sew the 2½” x 20” strips across the top and bottom. Press the border and seams outward and trim to square up the top.
Place the completed top over the fusible side of the foam and fuse following the manufacturer’s instructions.

Trim the foam even with the top.
Measure the top. (My top is 16” x 16”.) Cut the backing 2” larger than the top on all sides. (So mine is 18” x 18”.) Press the backing ½” in from the raw edges all the way around. This will become the binding. Center the top onto the backing.
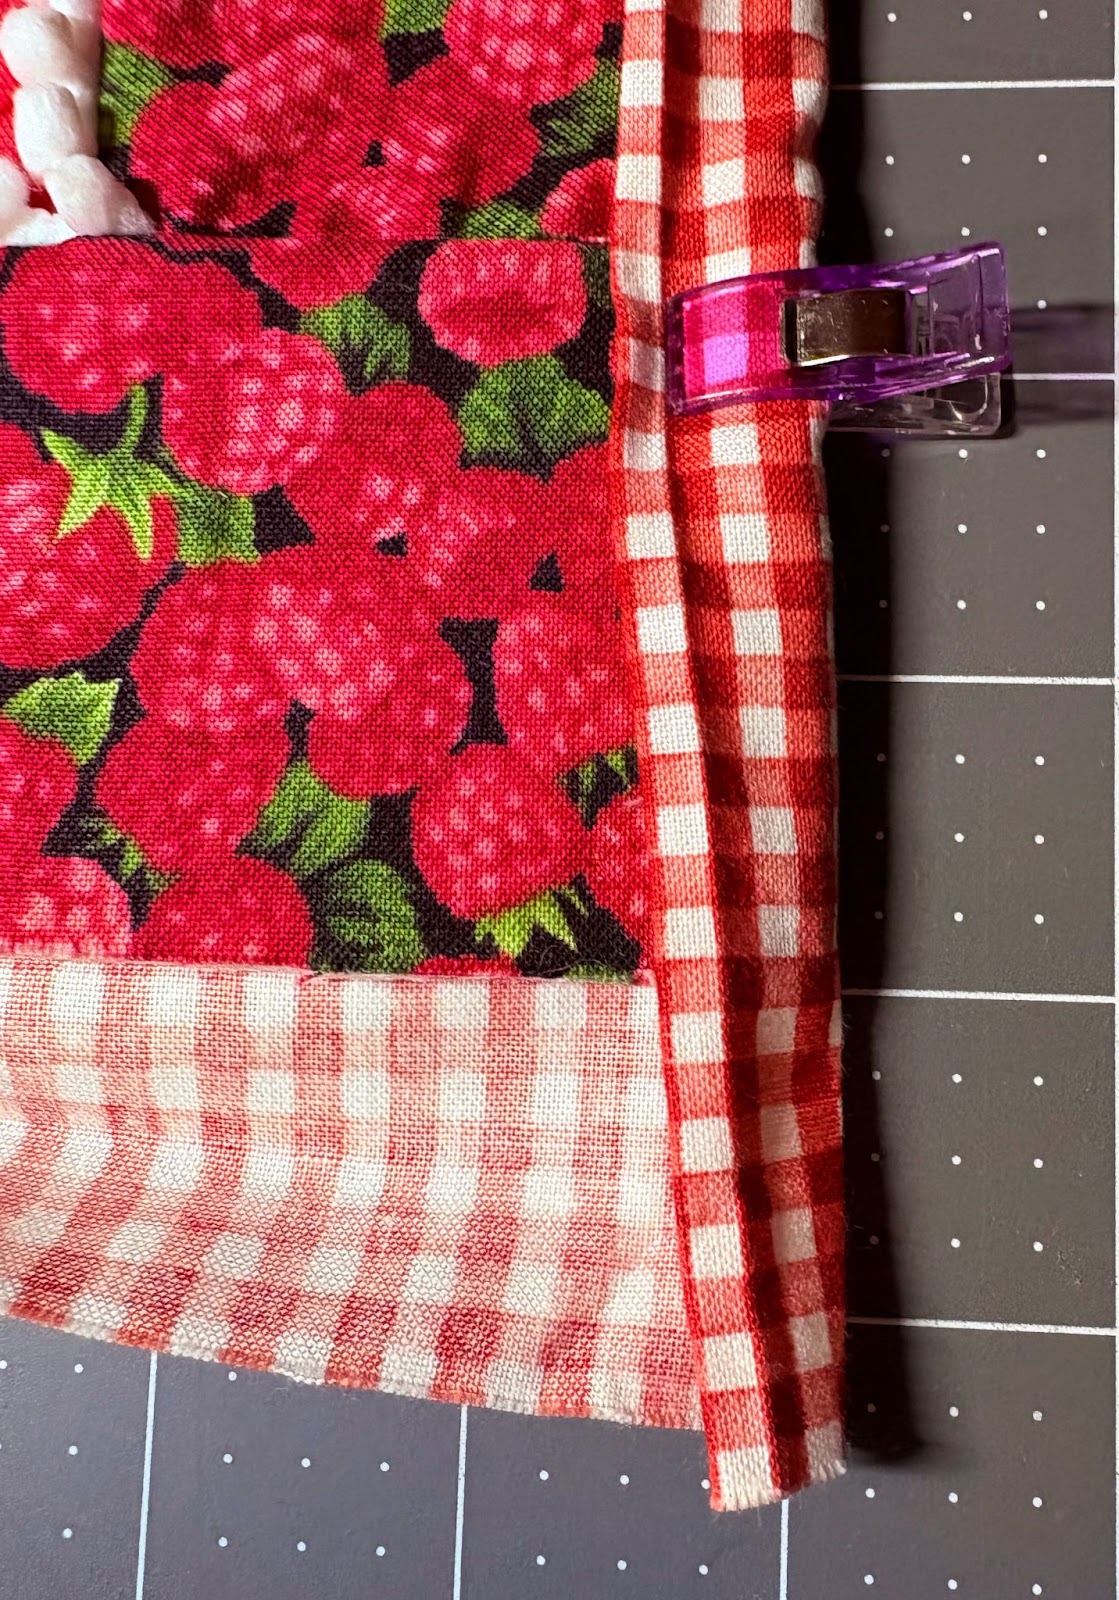
Fold the pressed edge of the backing to the front and clip.
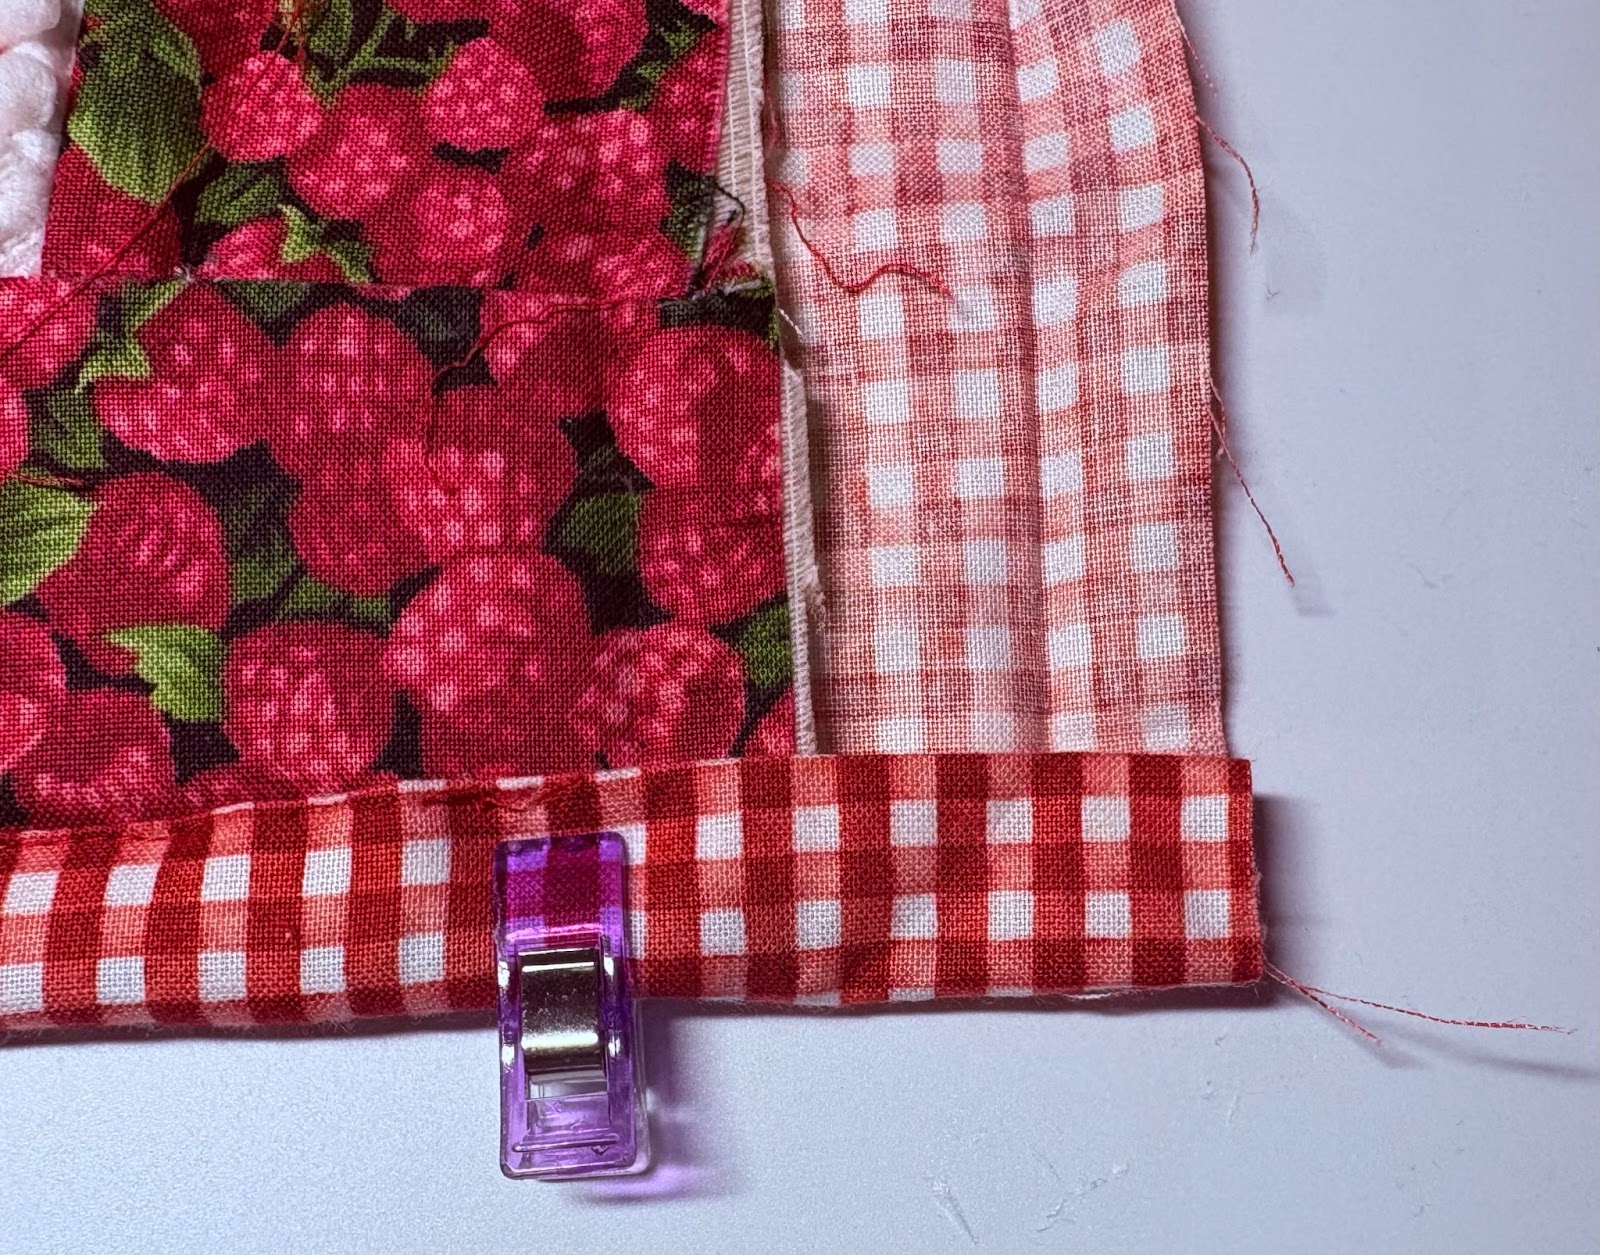
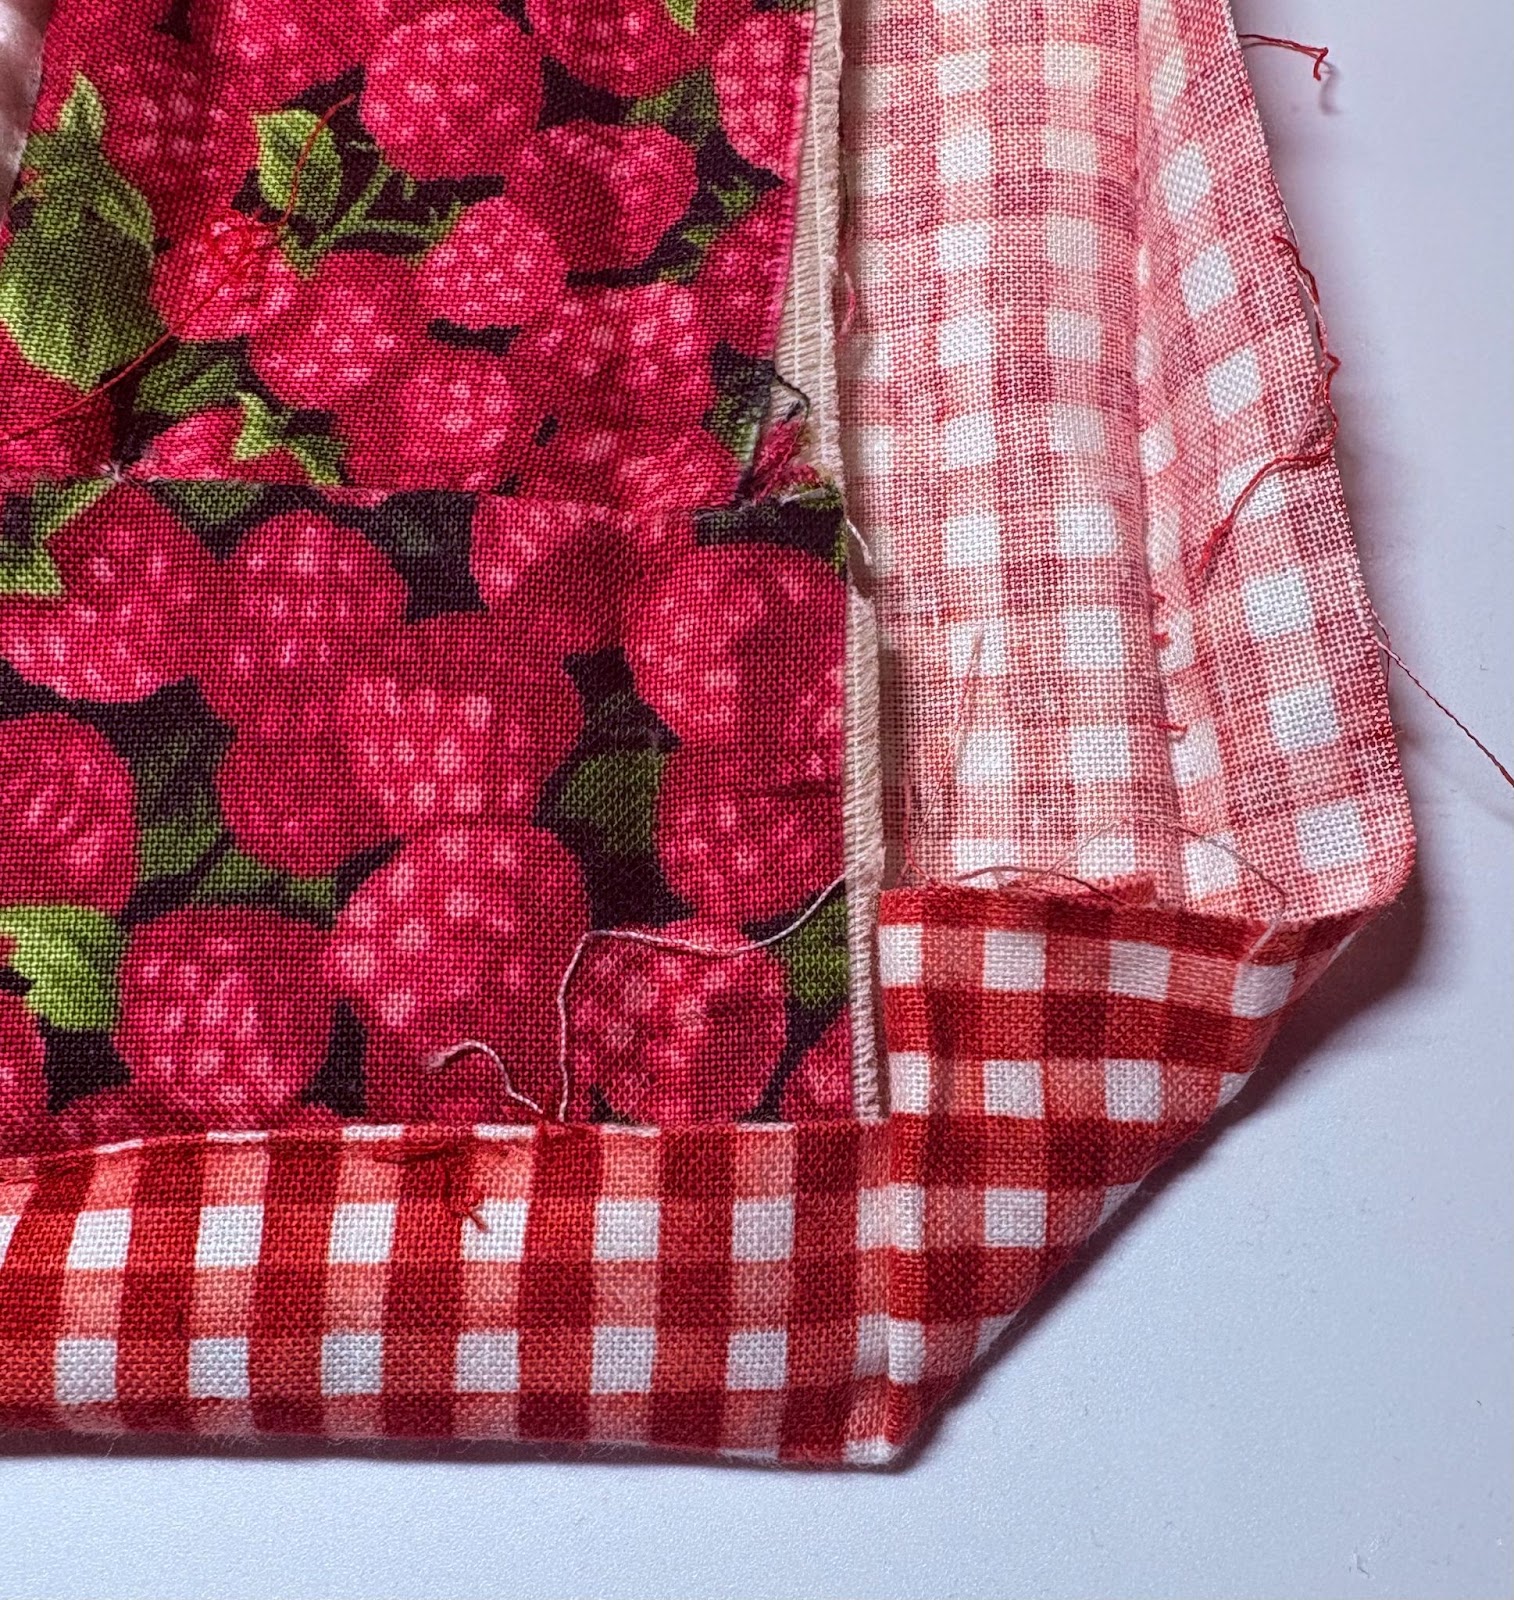
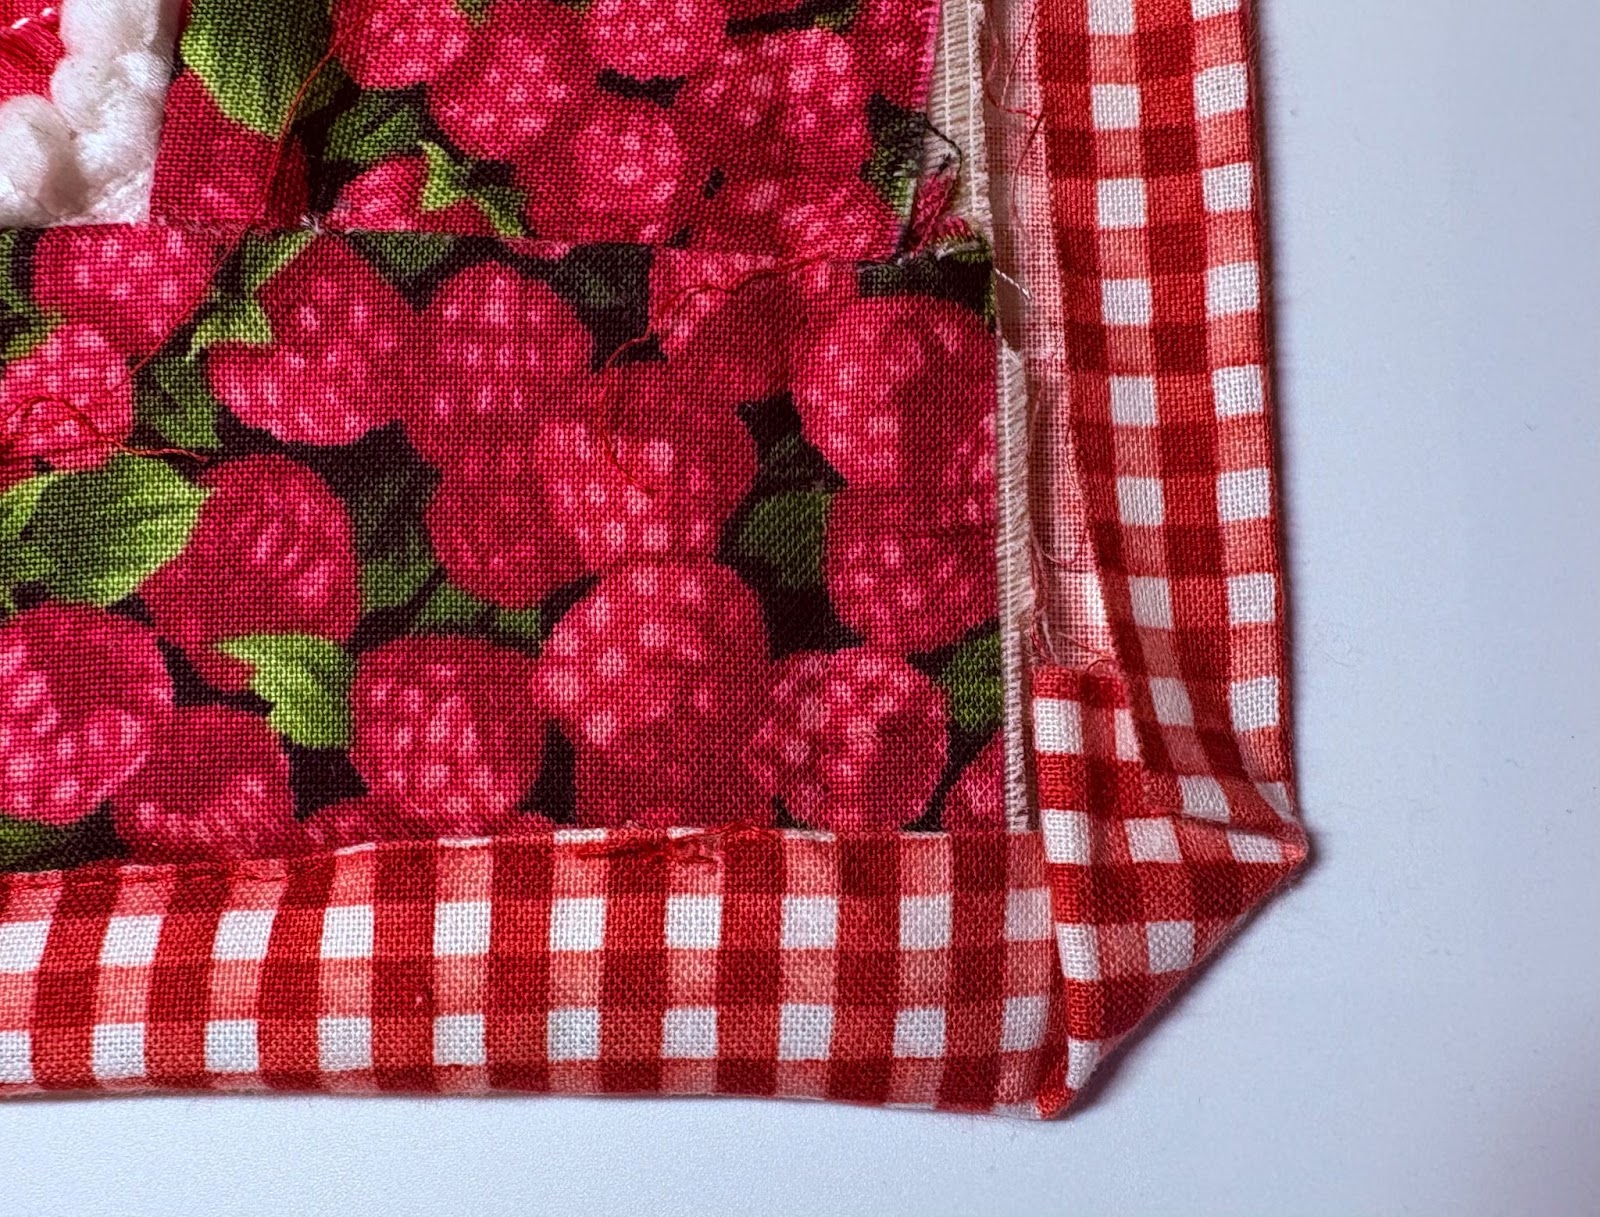
Fold the corners as shown in the above pictures.

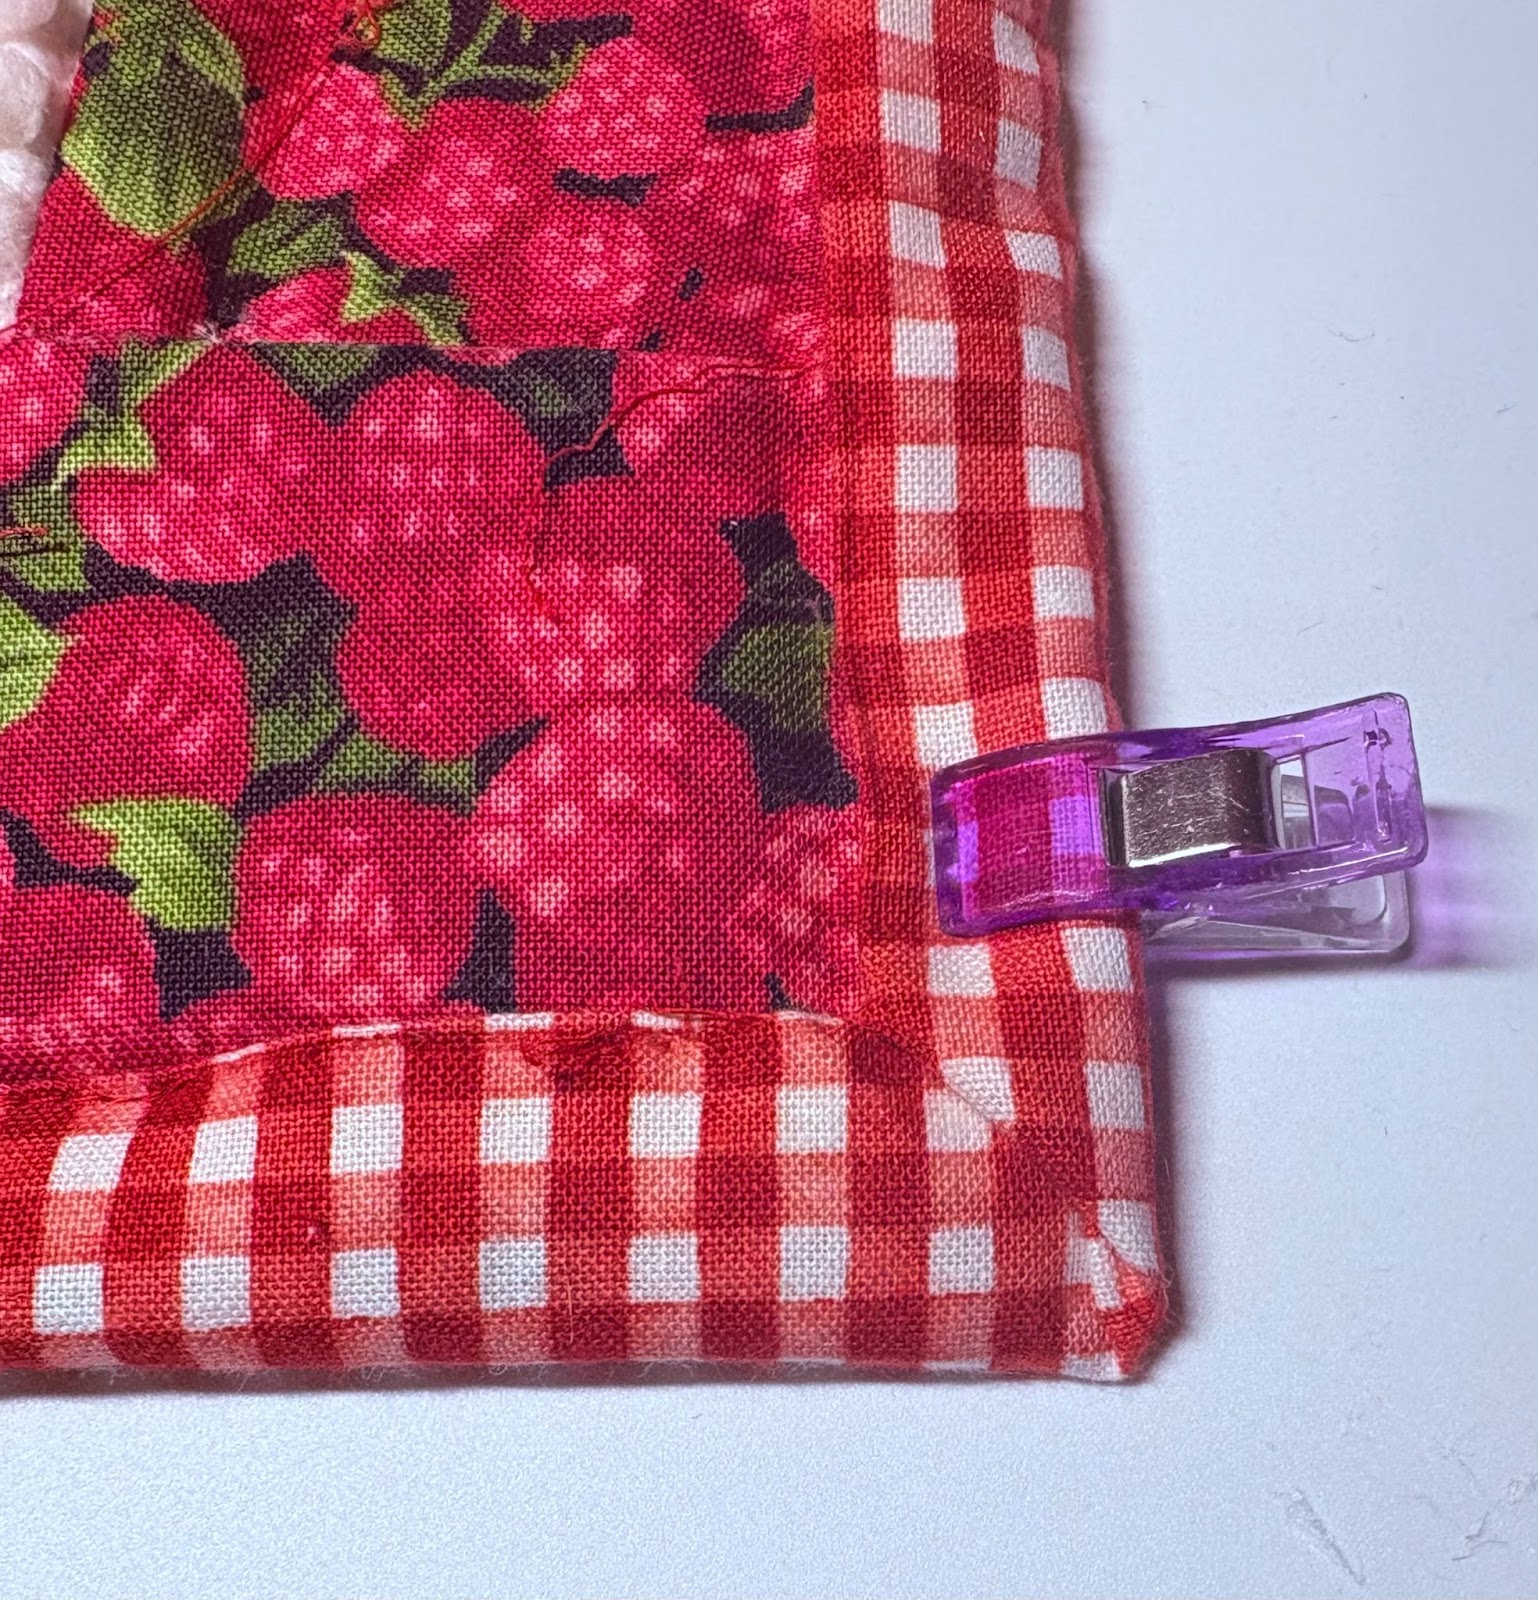
Clip or pin in place. Take to the sewing machine.
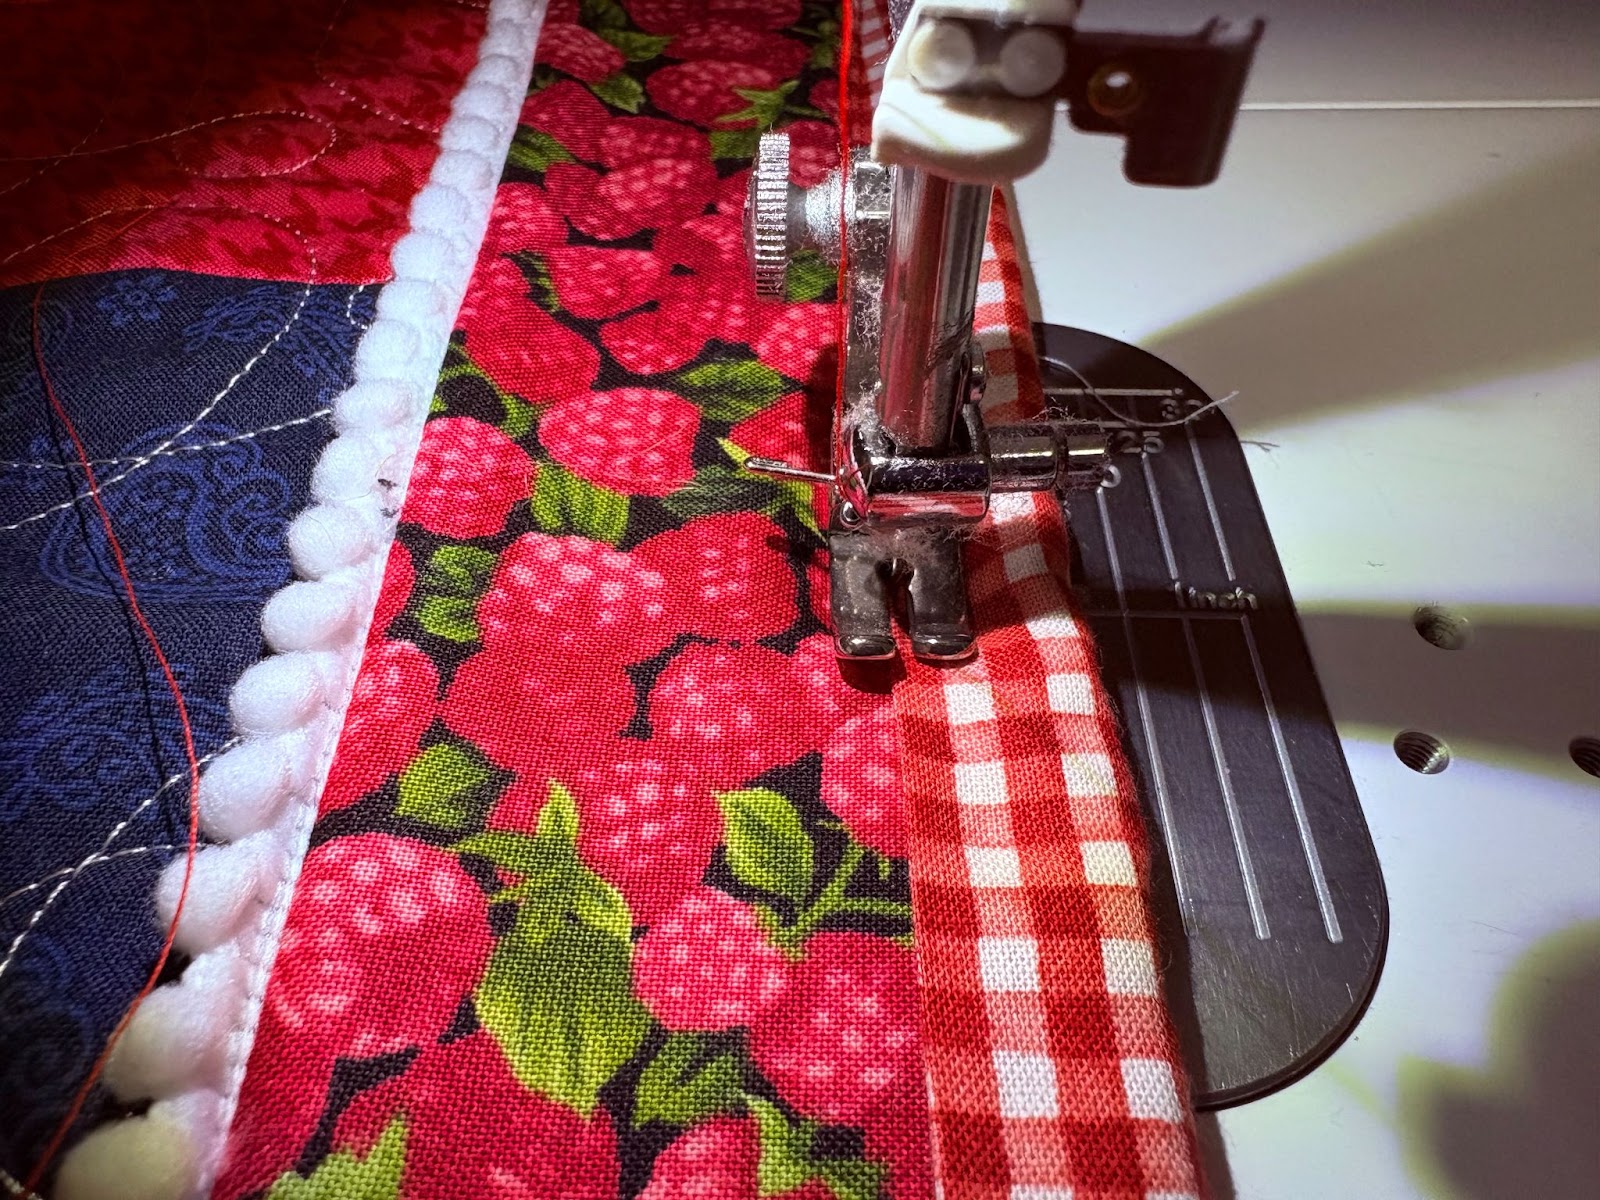
Sew close to the edge all the way around, creating a binding. If you prefer to bind the traditional way, you can do that instead.
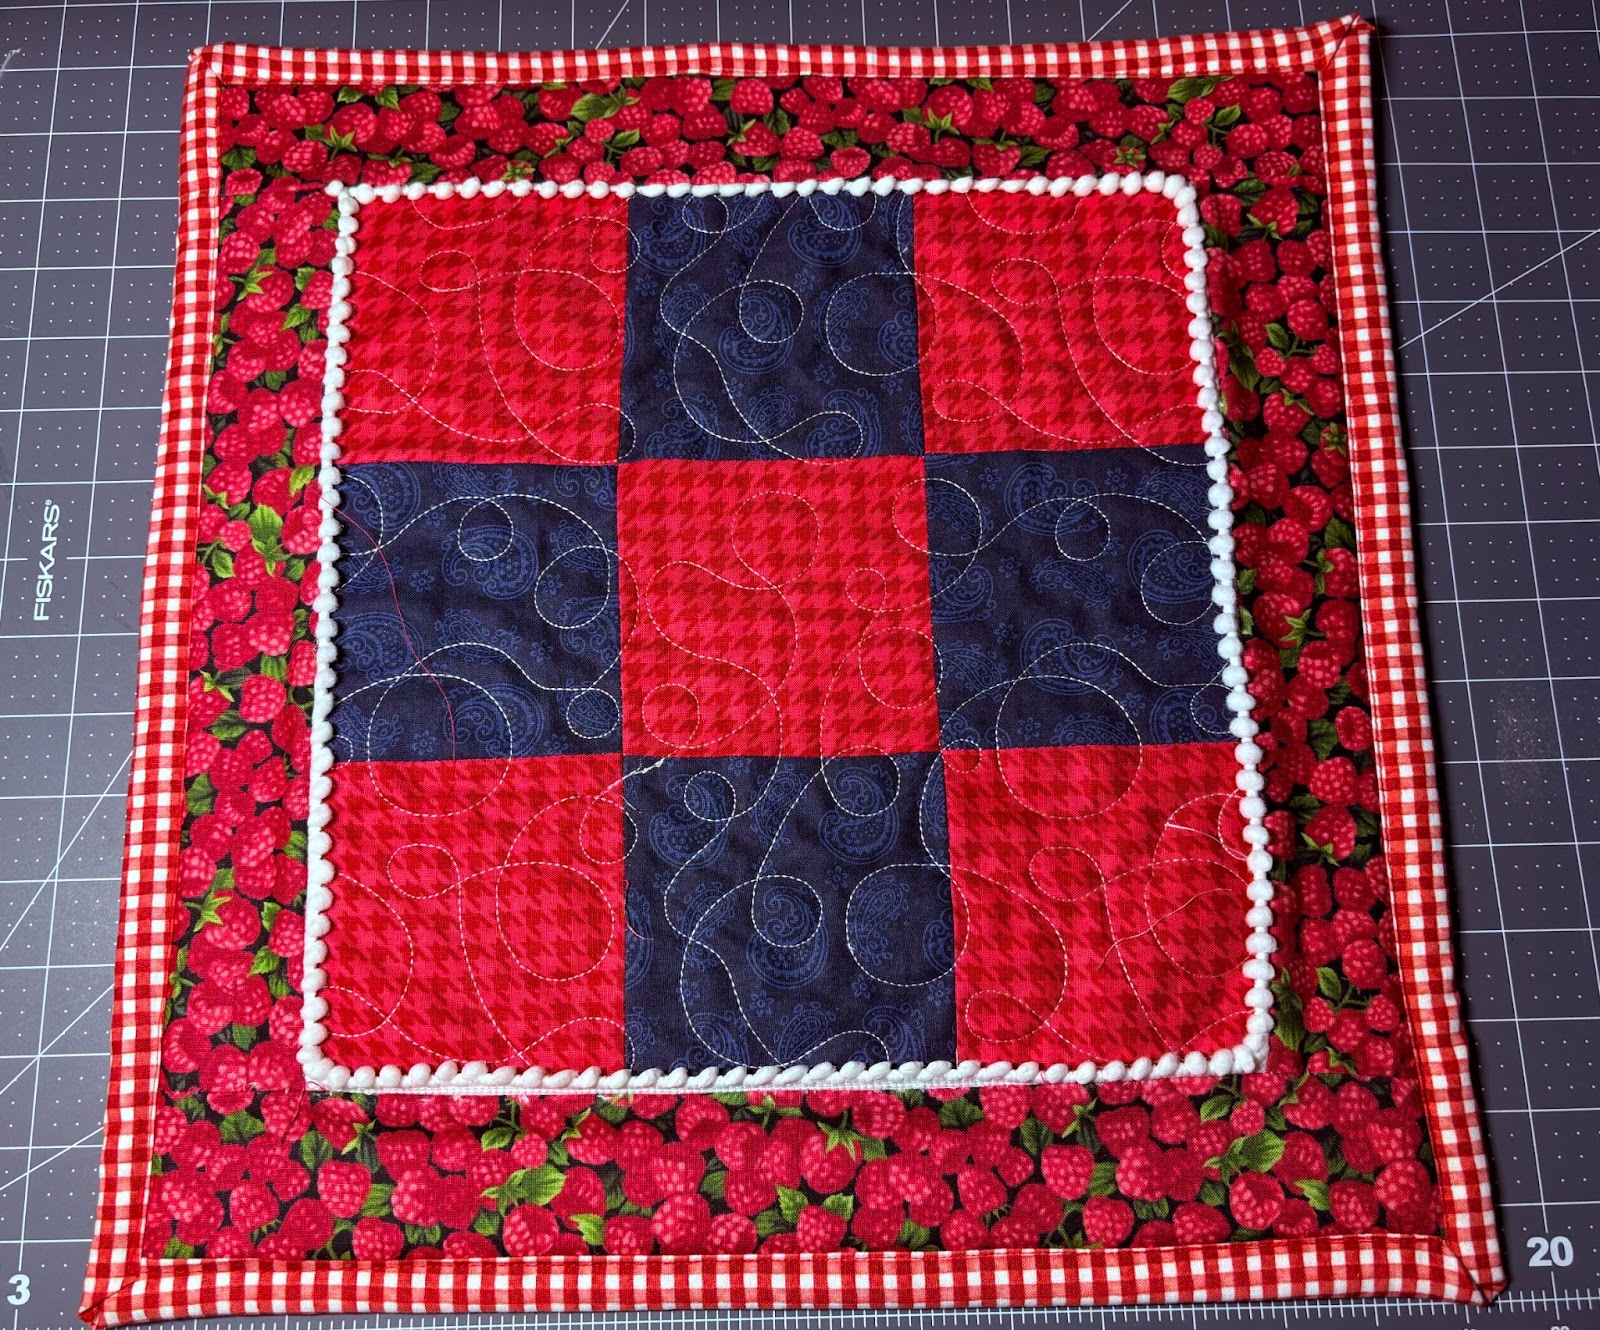
When finished, the front of your board should look like this.
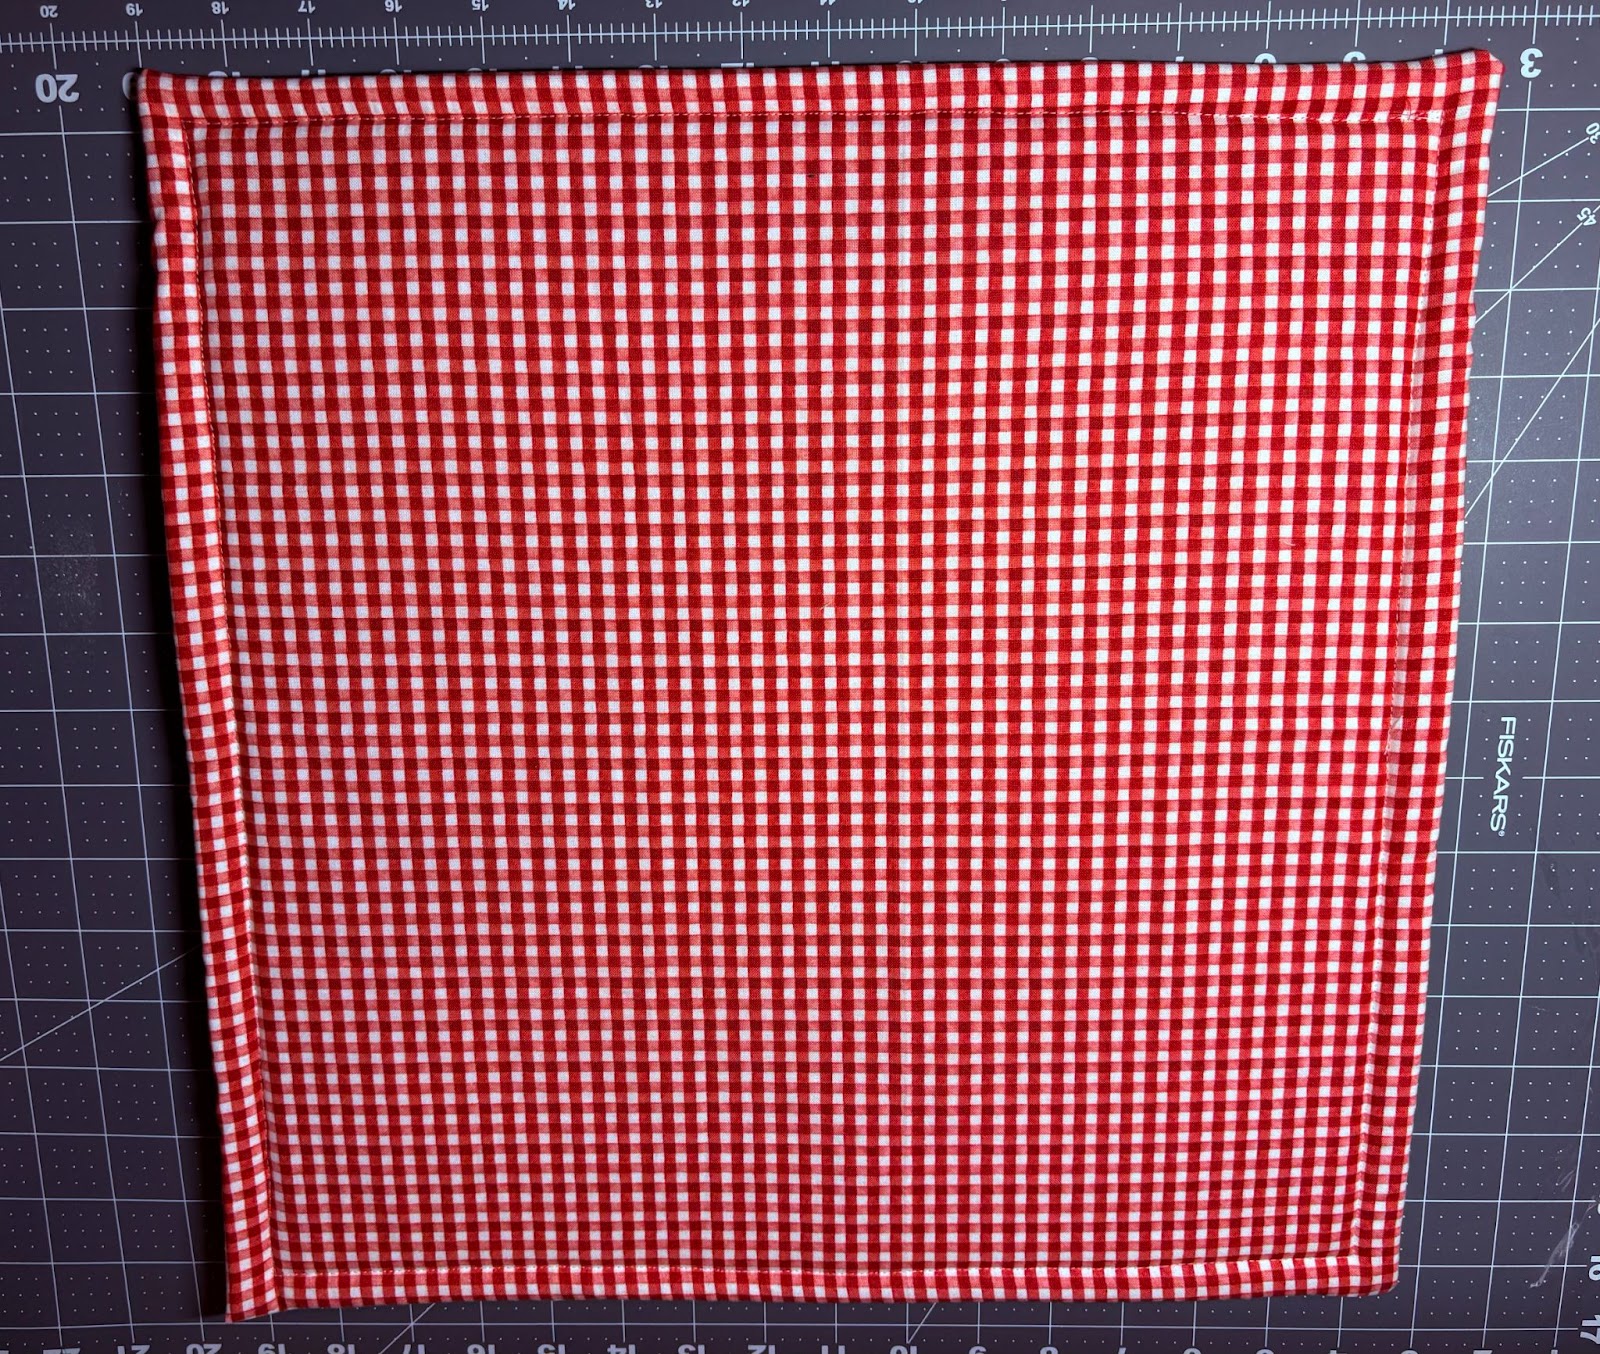
The back of the board will look like this.

For easy travel or storage the board can be rolled up and tied with a ribbon.
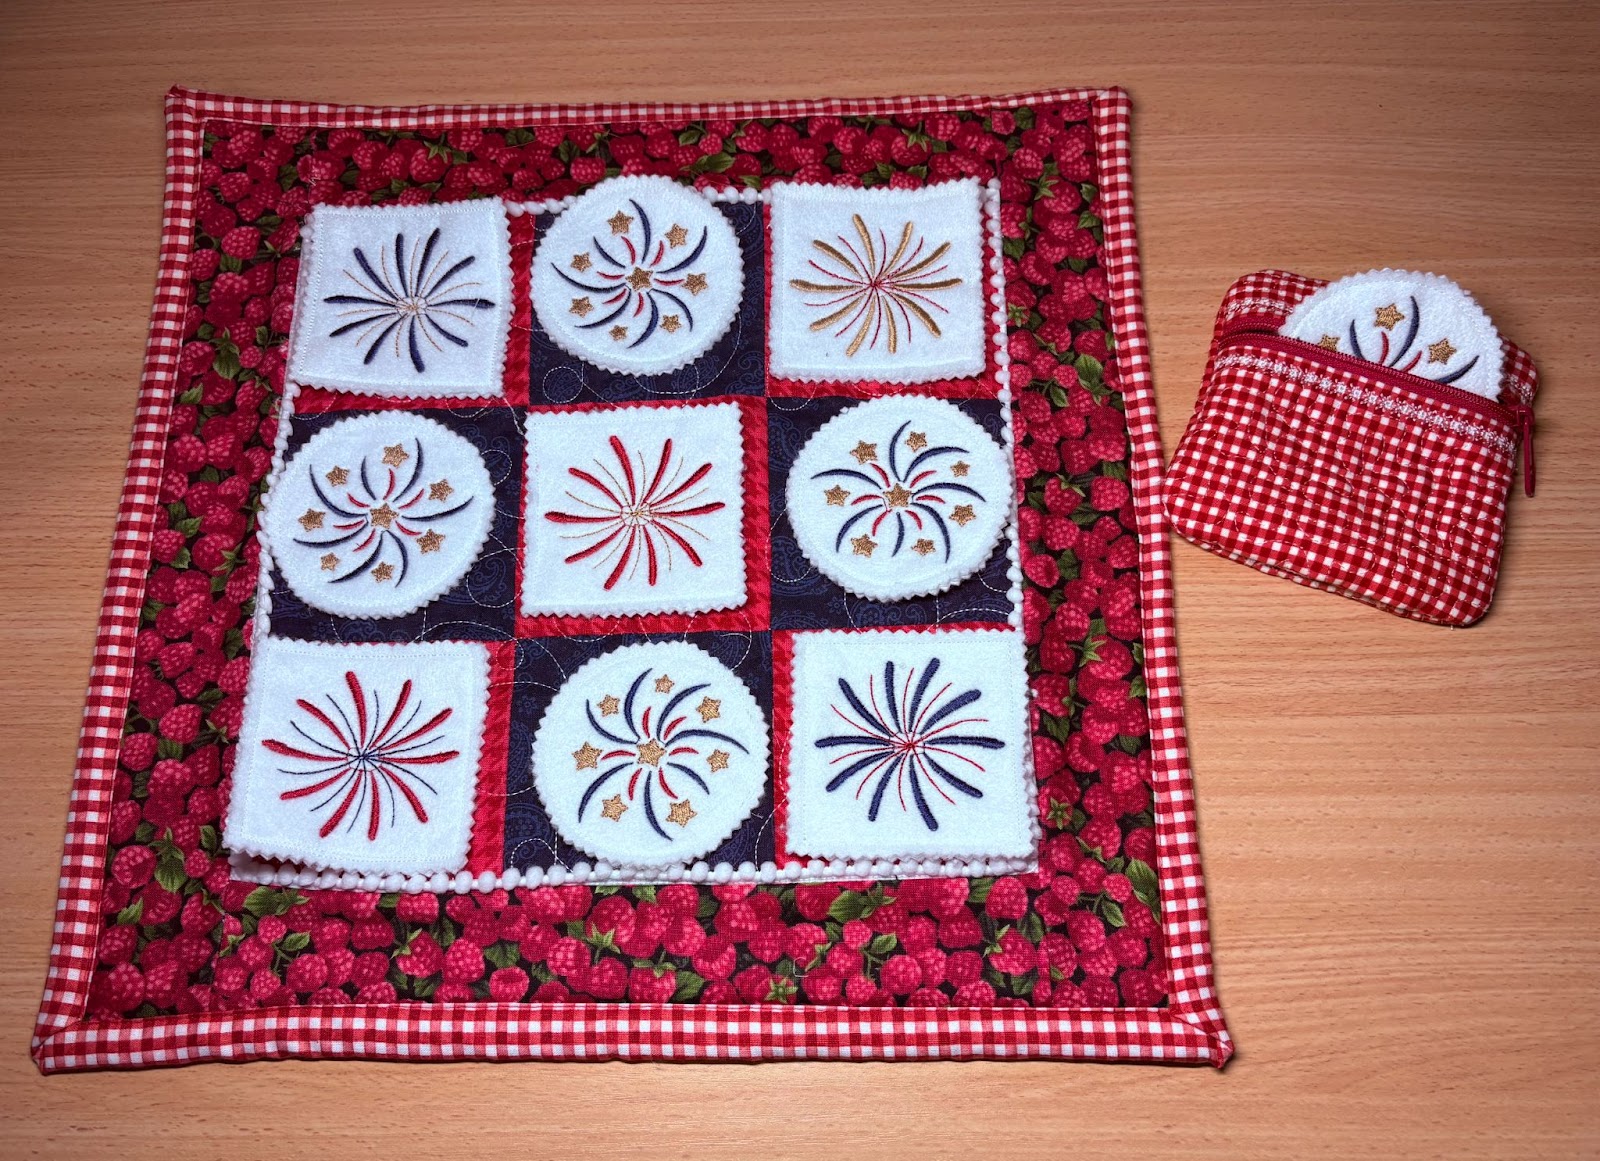
The Quilted In The Hoop Zipper Bags 2 are a great way to store your board pieces when not in use.
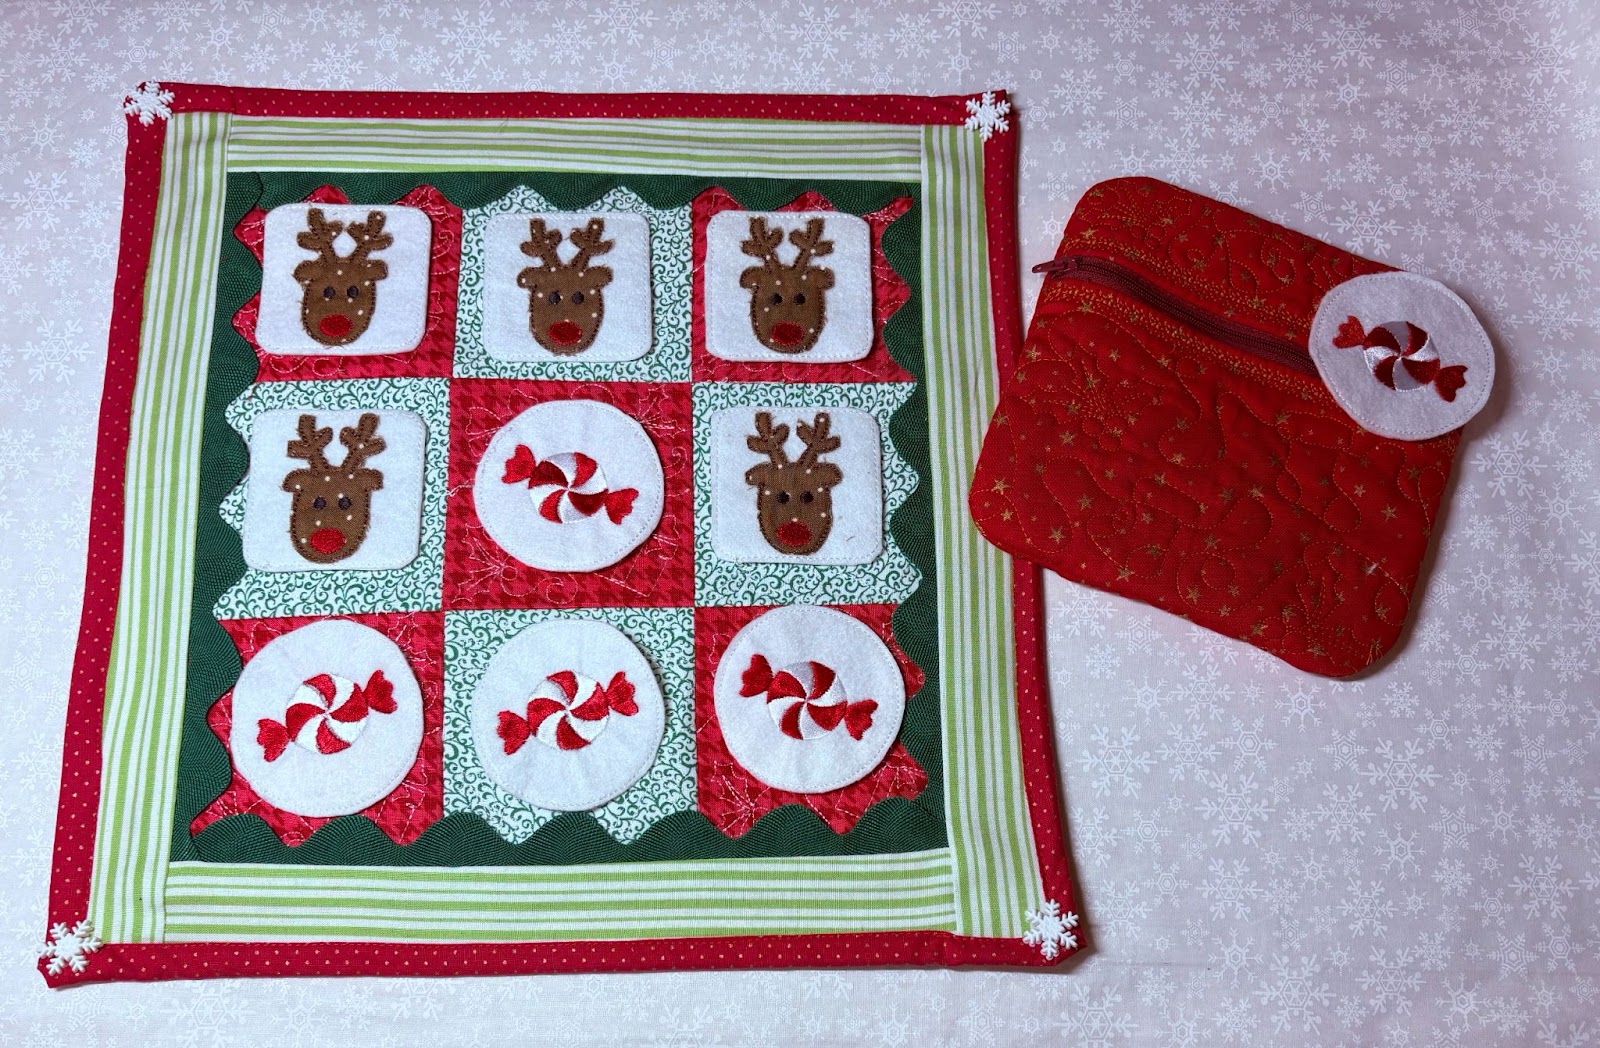
With all the different embellishment kits JuJu has to offer, you can let your imagination go wild and create holiday and special occasion themed boards for year-round fun.
If you loved this project, you’ll find plenty more just like it in our Quick Gifts Hub—a curated collection of quick, creative, and practical projects perfect for gifting (or keeping!)
Please share your projects with us in the Designs by JuJu Embroidery Blessings Group on Facebook, or anywhere on social media using the hashtag #designsbyjuju. We’d love to see what you create!
