Toggle Nav
 Inspire.
Create.
Stitch.
Inspire.
Create.
Stitch.
Inspire.
Create.
Stitch.
Search
Inspire.
Create.
Stitch.
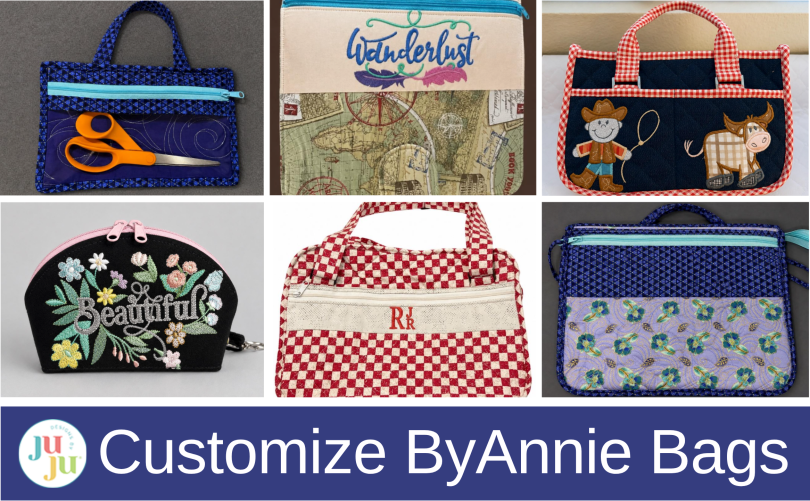
Learn how to personalize ByAnnie bags with Designs by JuJu machine embroidery. This tutorial shows how to plan embroidery placement, stabilize fabric, stitch a design, and create a custom Clam Up pouch with a beautiful handmade finish.
If you're new to ByAnnie™ patterns, I encourage you to give them a try. You won't regret it. I've been making ByAnnie bags for a year, and I must admit, they've become a bit of an addiction. Every time I finish one, I'm already thinking about which pattern I want to make next. The quilting community has many local quilt shops that offer ByAnnie bag-making classes. I've taken classes myself, and each one has taught me something new. Not only do you learn helpful techniques, but you also get to meet others who share your love of sewing. Whether you enjoy learning in a classroom or stitching at home, there's plenty of support to help create a beautiful project you'll be proud of.
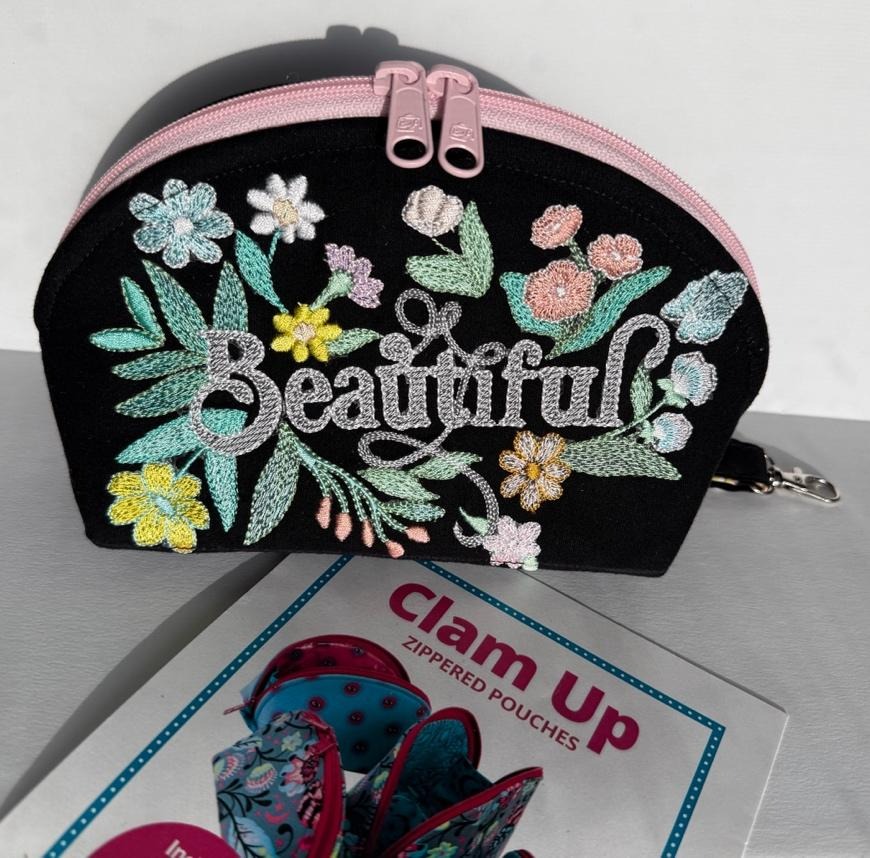
Today I'm sharing how I transformed the ByAnnie Clam Up pattern into a one-of-a-kind project by adding a Designs by JuJu embroidery design. What started as the perfect handmade gift became a pouch I wanted to keep for myself. I've always loved sewing projects that are both beautiful and practical, and that's exactly what drew me to ByAnnie patterns. Every bag has a purpose, but there's still plenty of room to get creative with fabric, thread, and embroidery.
Check out the Designs by JuJu Amazon store for our team’s favorite supplies. For batting, stabilizers, and threads, Designs by JuJu+ has everything you need.
One of the things I love about ByAnnie patterns is that there are so many to choose from, and almost all of them can be personalized with embroidery. For this tutorial, I'm using the Clam Up Zippered Pouches pattern because it's quick, fun, and comes in five sizes. I chose the large size for this project since it gave me plenty of room for embroidery, but don't be surprised if I end up making all five sizes.
Read through your entire ByAnnie pattern so you understand the construction of the bag.
Decide which pieces you want to embroider so your design is positioned exactly where you want it.
Choose embroidery design(s) and appropriate size for project and available hoops. Since I am making the large Clam Up pouch, I selected a 5x7 design because it fit the front panel perfectly. I also made a few modifications to the design to create the exact look I had in mind.
Select embroidery thread colors. Because I chose black fabric, I used bright thread colors to create contrast that really made the design pop. Or you can use an embossed monogram with the same color for a more subtle tone-on-tone look. Both are great choices.
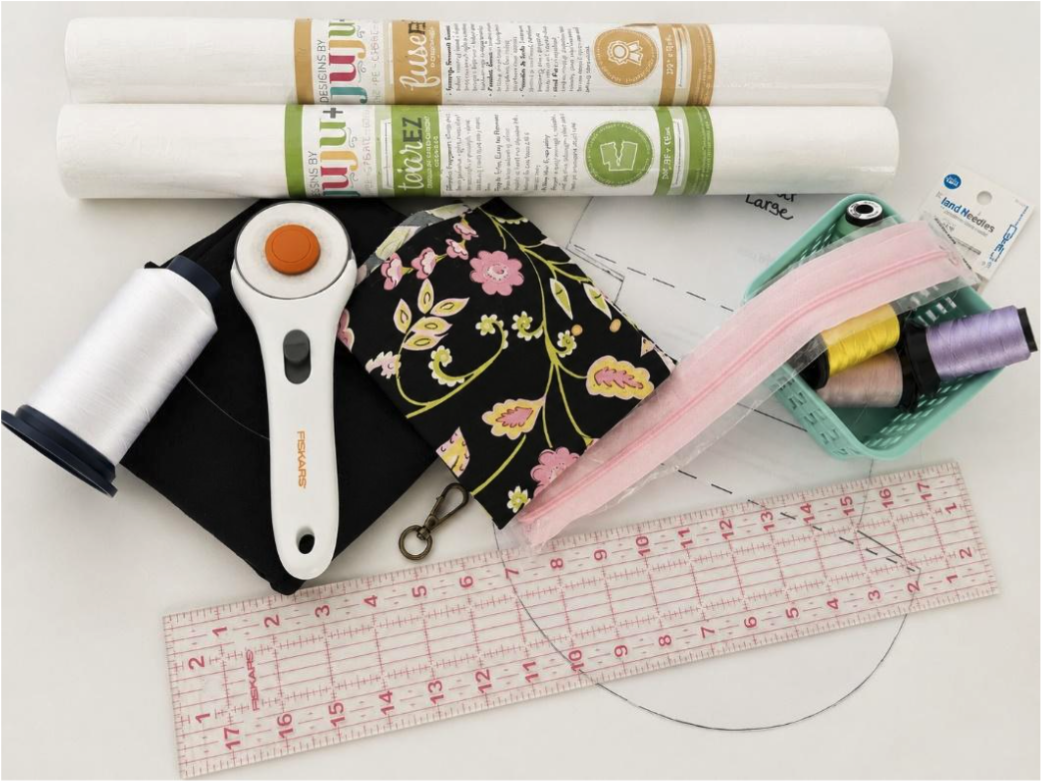
Now that you've gathered your supplies, it's time for planning the project. This is where we get to decide how we’ll make our Clam Up pouch unique.
Before I make the first cut, I spend a little time studying the pattern photos and browsing completed projects on social media for inspiration. Seeing how others have customized their bags often gives me great ideas. ByAnnie patterns recommend preparing all individual components before assembling the bag. However, since you're adding embroidery, you'll want to make one important decision before you begin: Where will your embroidery be placed?
TIP: The biggest decision I had to make was how the embroidery would work with the rest of the construction. Many ByAnnie patterns have you create a quilt sandwich using the main fabric, Soft & Stable, and lining fabric, quilting everything together. For this Clam Up pouch, I decided not to quilt. I wanted the back of my embroidery to be completely hidden behind the lining, giving the inside of the pouch a clean, finished look.
A few options to consider depending on the look you're trying to achieve:
If you are new to Quilting Backdrops, be sure to check out the blog: Unveiling Quilting Backdrops: Create Your Own One-of-a-Kind Projects.
Want to see even more ideas in action? Watch the replay of Live with Annie: Using Embroidery on ByAnnie Bags with Designs by JuJu, featuring Julie and Sheldon from Designs by JuJu. The conversation explores quilting options for ByAnnie patterns, including Quilting Backdrops™, end-to-end quilting designs, and creative ways to add texture and personality to your projects.
I begin by washing, drying, and pressing my fabrics so they're clean and smooth.
For this project, I also fused DBJJ+ fuseEZ Fusible Interfacing to the back of my main fabric. This extra layer of stability helps the fabric stay smooth during embroidery and gives the finished pouch a professional appearance.
Helpful Hint: Resist the temptation to cut your fabric pieces to their final size before embroidering. Instead, leave plenty of extra fabric around all sides of your embroidery area. The additional fabric makes hooping much easier and gives you the flexibility to perfectly center your embroidered design when it's time to cut out the pattern pieces. It's much easier to trim excess fabric later than to realize you don't have enough room to hoop your project.
Now it’s time to hoop. For this project, I used two layers of DBJJ+ tearEZ Stabilizer to provide plenty of support during stitching. The stabilizer you choose to prevent puckering and achieve crisp, smooth embroidery will depend on the fabric you're using.
When hooping, I don't worry about getting the design perfectly centered on the fabric. Instead, I focus on leaving generous fabric around all four sides. This gives me the freedom to position the finished embroidery exactly where I want it on the front of the pouch when I cut the pattern piece later.
To finish my embroidery setup, I added a water-soluble topper. I almost always use one because, in my opinion, it helps the stitches sit neatly on the fabric surface and produces cleaner, crisper lettering, especially for small text or intricate designs.
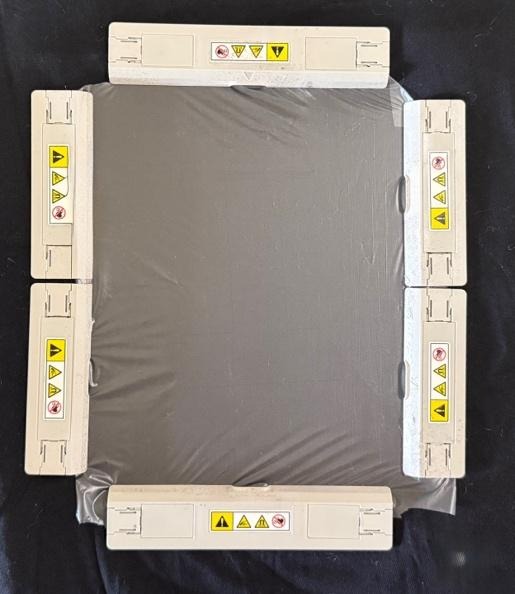
With everything hooped and ready to go, it was finally time to watch the design come to life.
I like to double-check the design orientation on my embroidery machine. It's much easier to rotate the design on the screen than to realize it's facing the wrong direction after it's stitched. Once I was happy with the placement, I followed the color chart and let the machine do its magic.
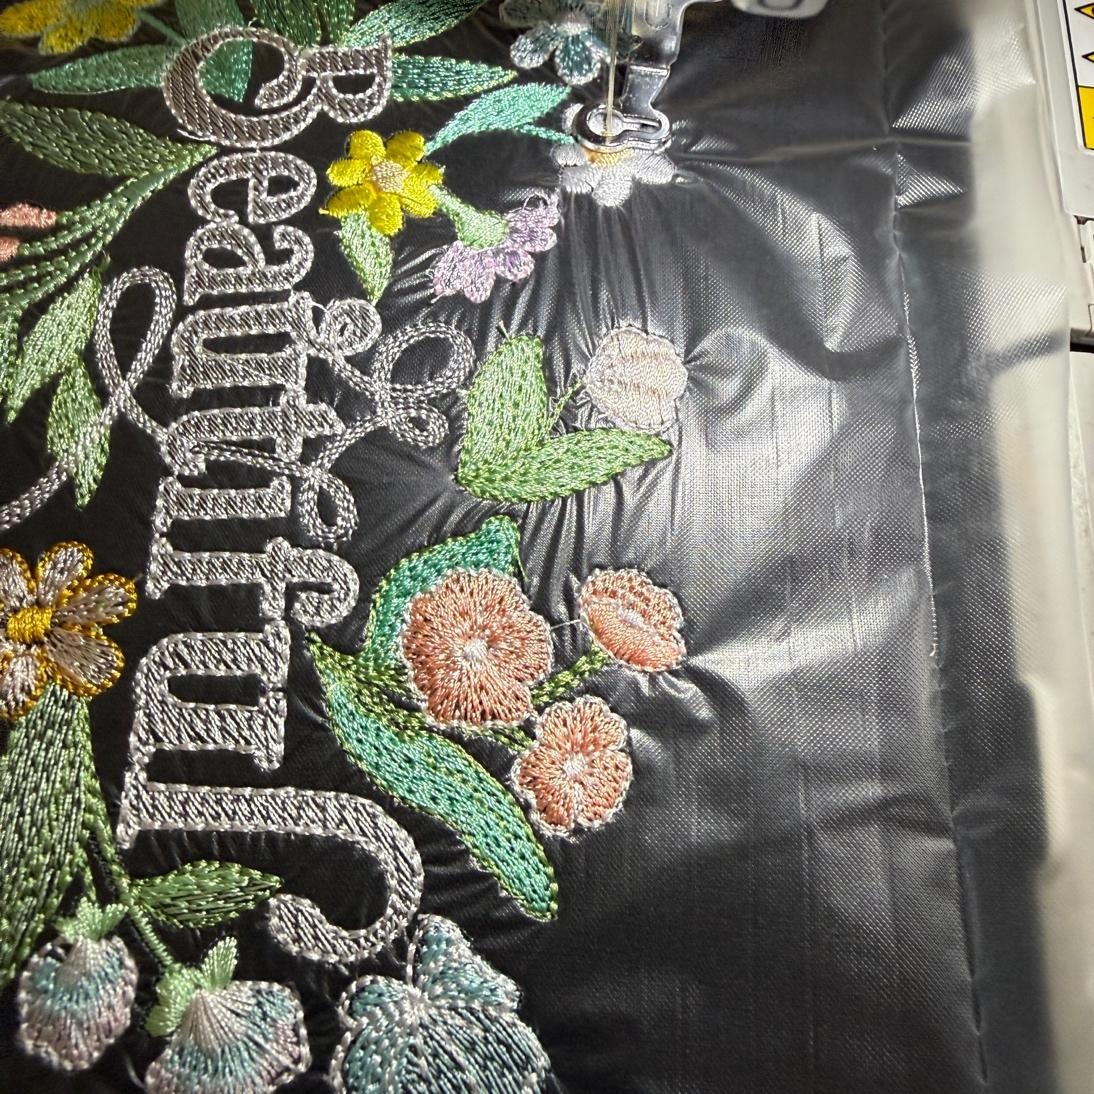
After the stitching was complete, I removed the hoop from the machine and the fabric from the hoop. I removed the water-soluble topper and trimmed any jump threads, then turned the fabric over and gently tore away the stabilizer one layer at a time, getting as close to the stitching as possible without disturbing the design.
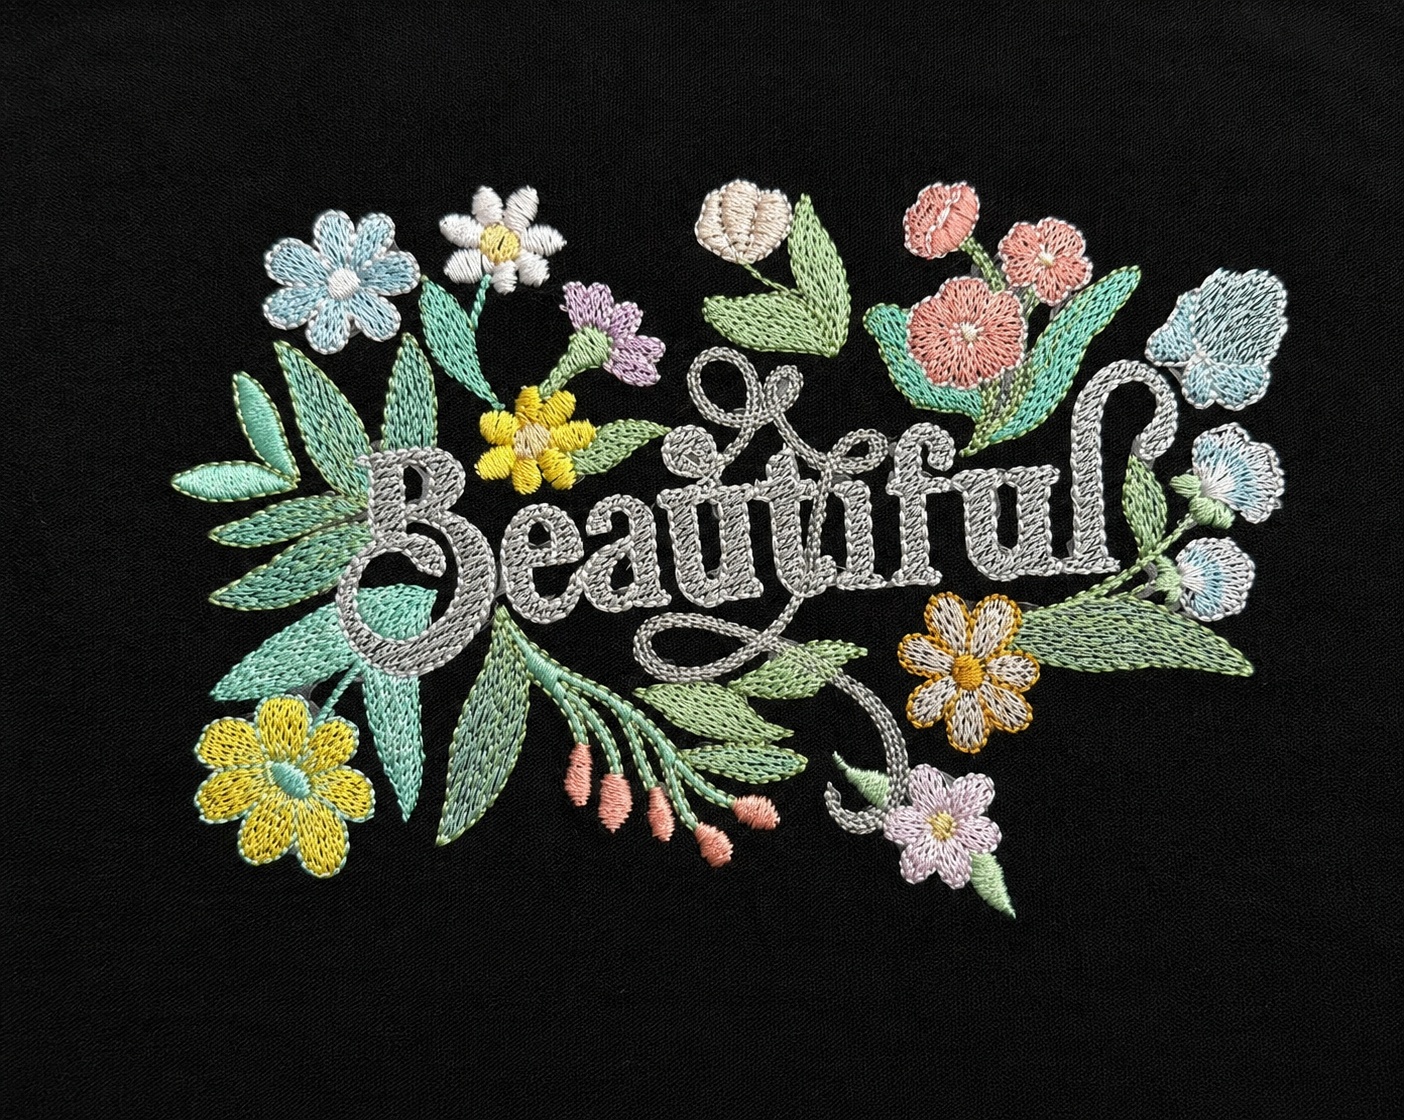
Before cutting the embroidered panel, take a moment to refer to your ByAnnie pattern and confirm the exact dimensions needed. This is where leaving extra fabric around your embroidery really pays off. Position the design exactly where you want it before making that first cut.
Since I've made the Clam Up pouch many times, I cut my own reusable template using a sheet of quilting template plastic from my local quilt shop. I simply place the template over the embroidered design, taking into consideration the seam allowance in the pattern, and move it around until I'm happy with the placement before cutting the fabric.
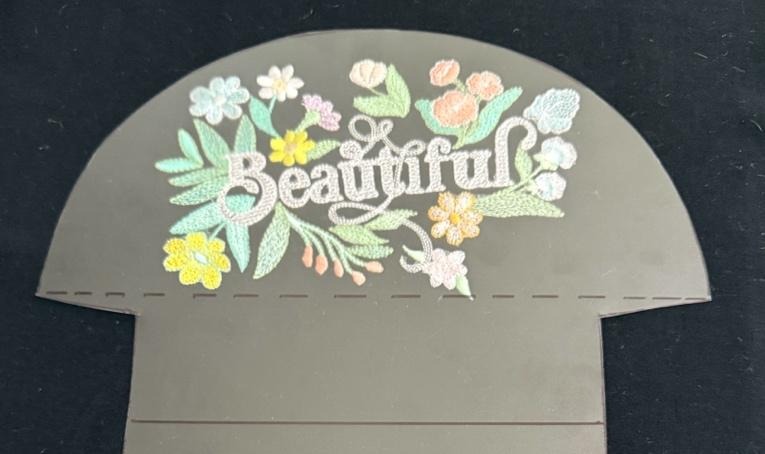
For this pouch, I decided to keep the back simple and chose not to add embroidery. I wanted the embroidered front panel to be the focal point. If you'd like a more decorative look, simply repeat the embroidery process for any additional pattern pieces before cutting them to size.
Once all my embroidered pieces were finished, I followed the remaining instructions in the ByAnnie pattern to assemble the pouch, and I couldn't be happier with the results!
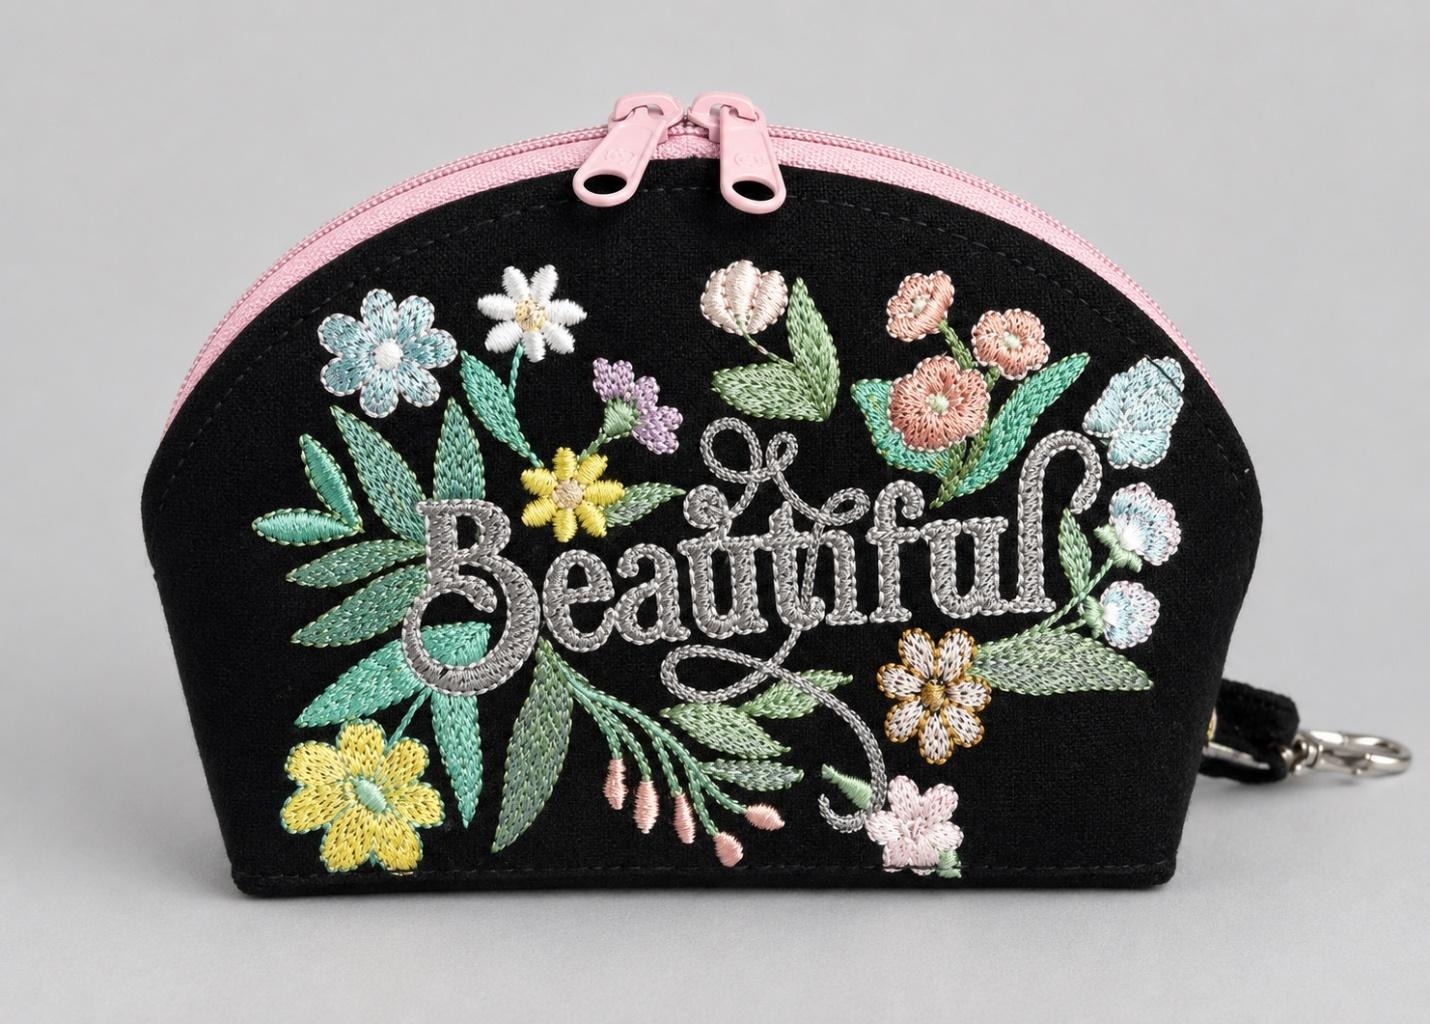
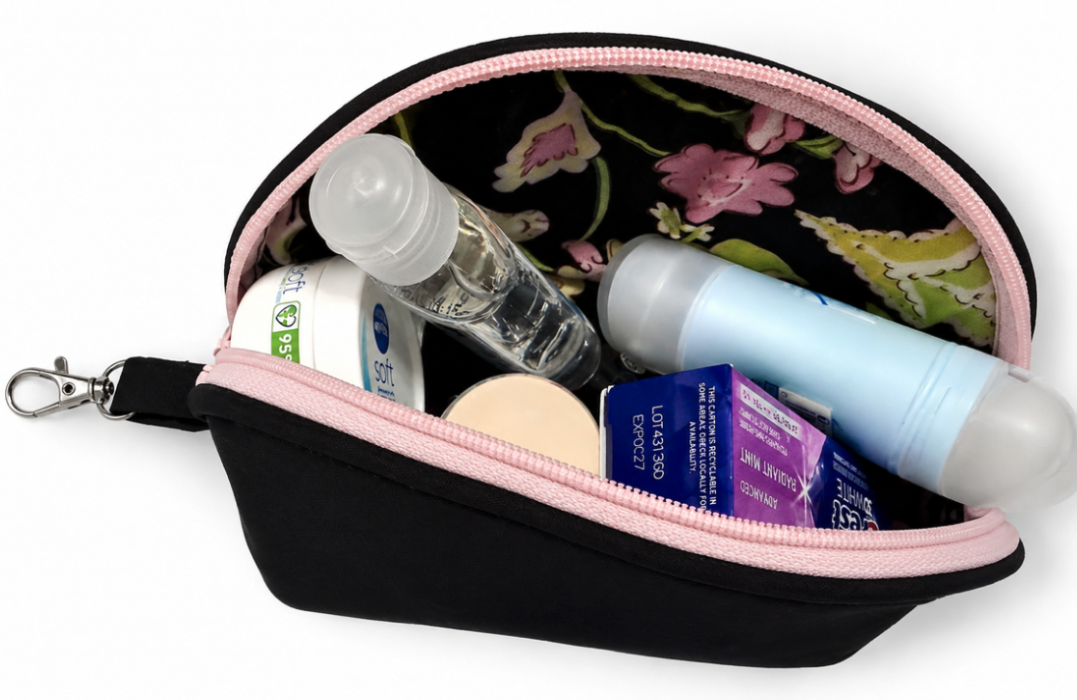
The Clam Up pattern is just the right size for travel and easy to customize by adding a contrasting fabric binding along the zipper, including interior pockets for small essentials, attaching a key strap, or personalizing it with even more embroidery. Check out Adding Bias Binding to By Annie's Clam Up for a great hack. Every little detail makes the project uniquely yours, and the creative possibilities are endless.
Here are a few more ByAnnie projects featuring Designs by JuJu embroidery and end-to-end quilting to inspire your next creation.
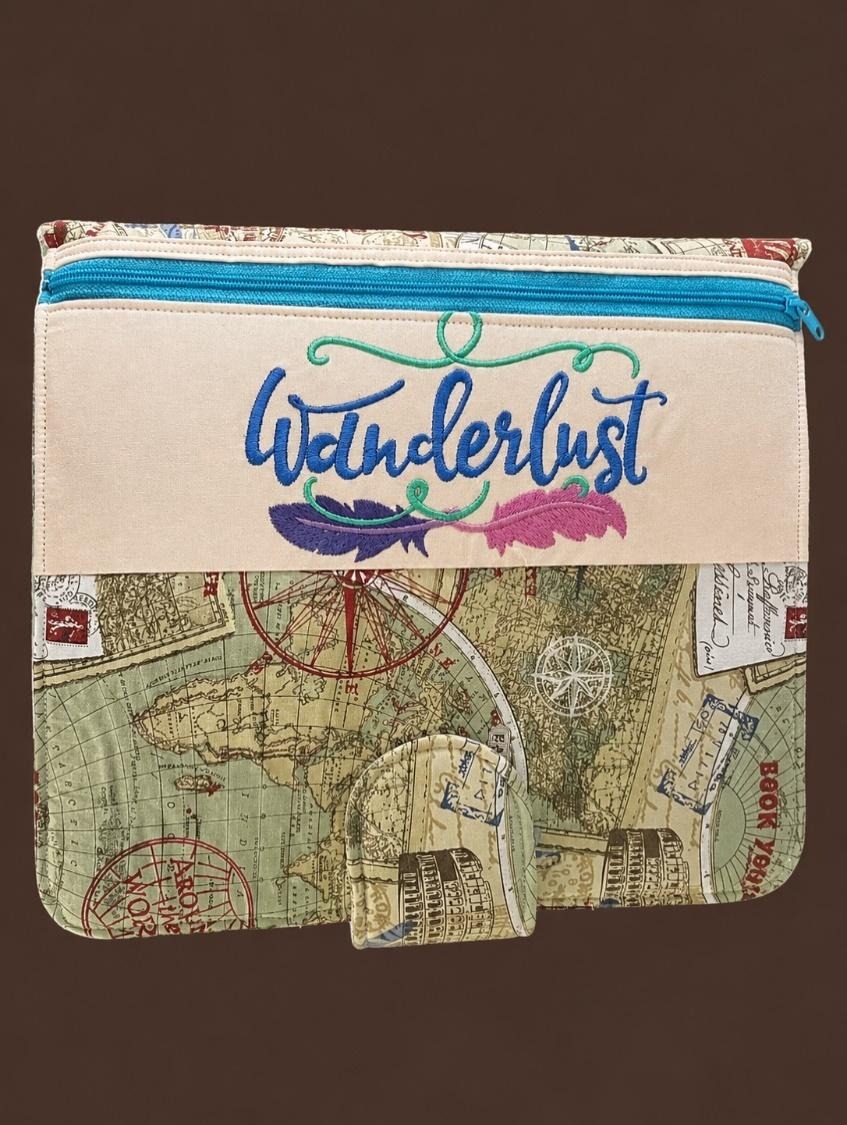
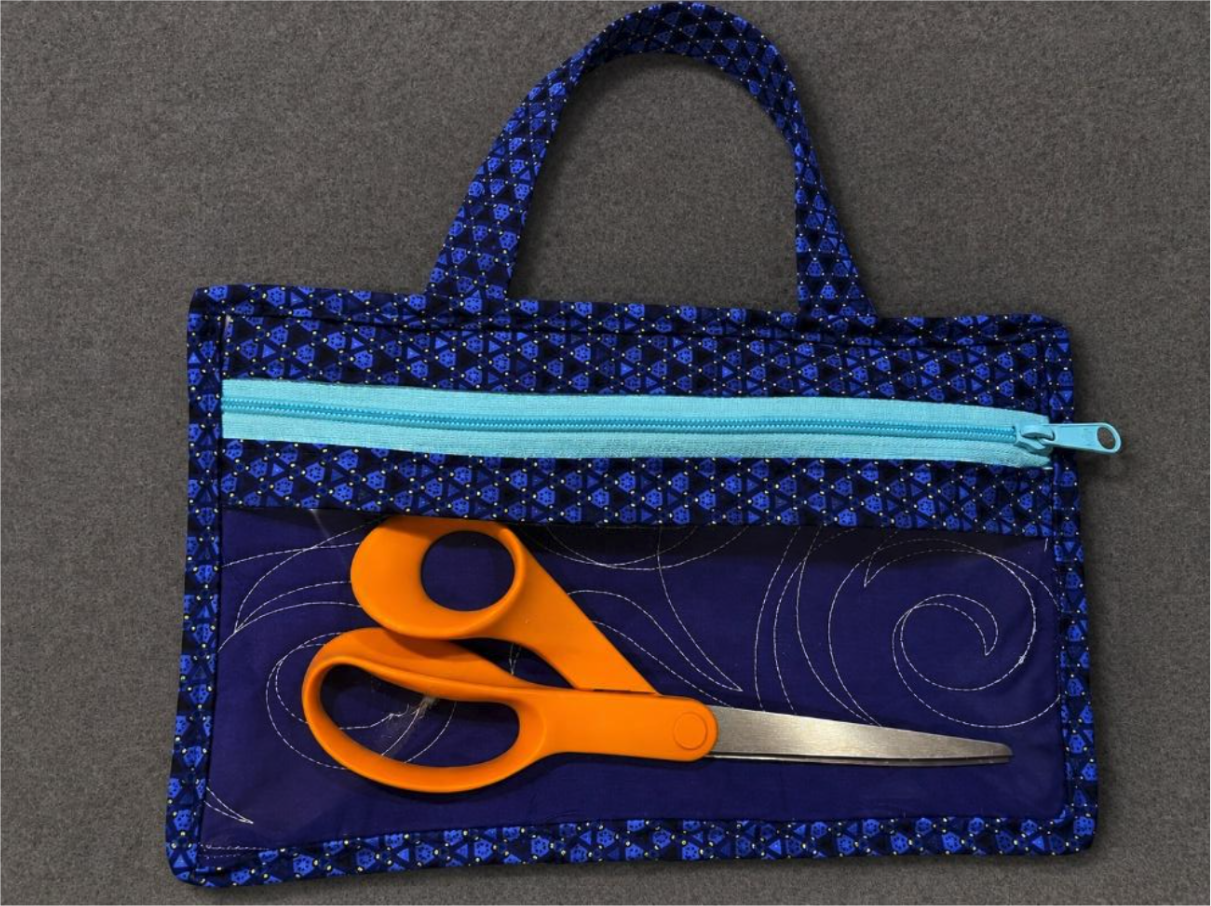
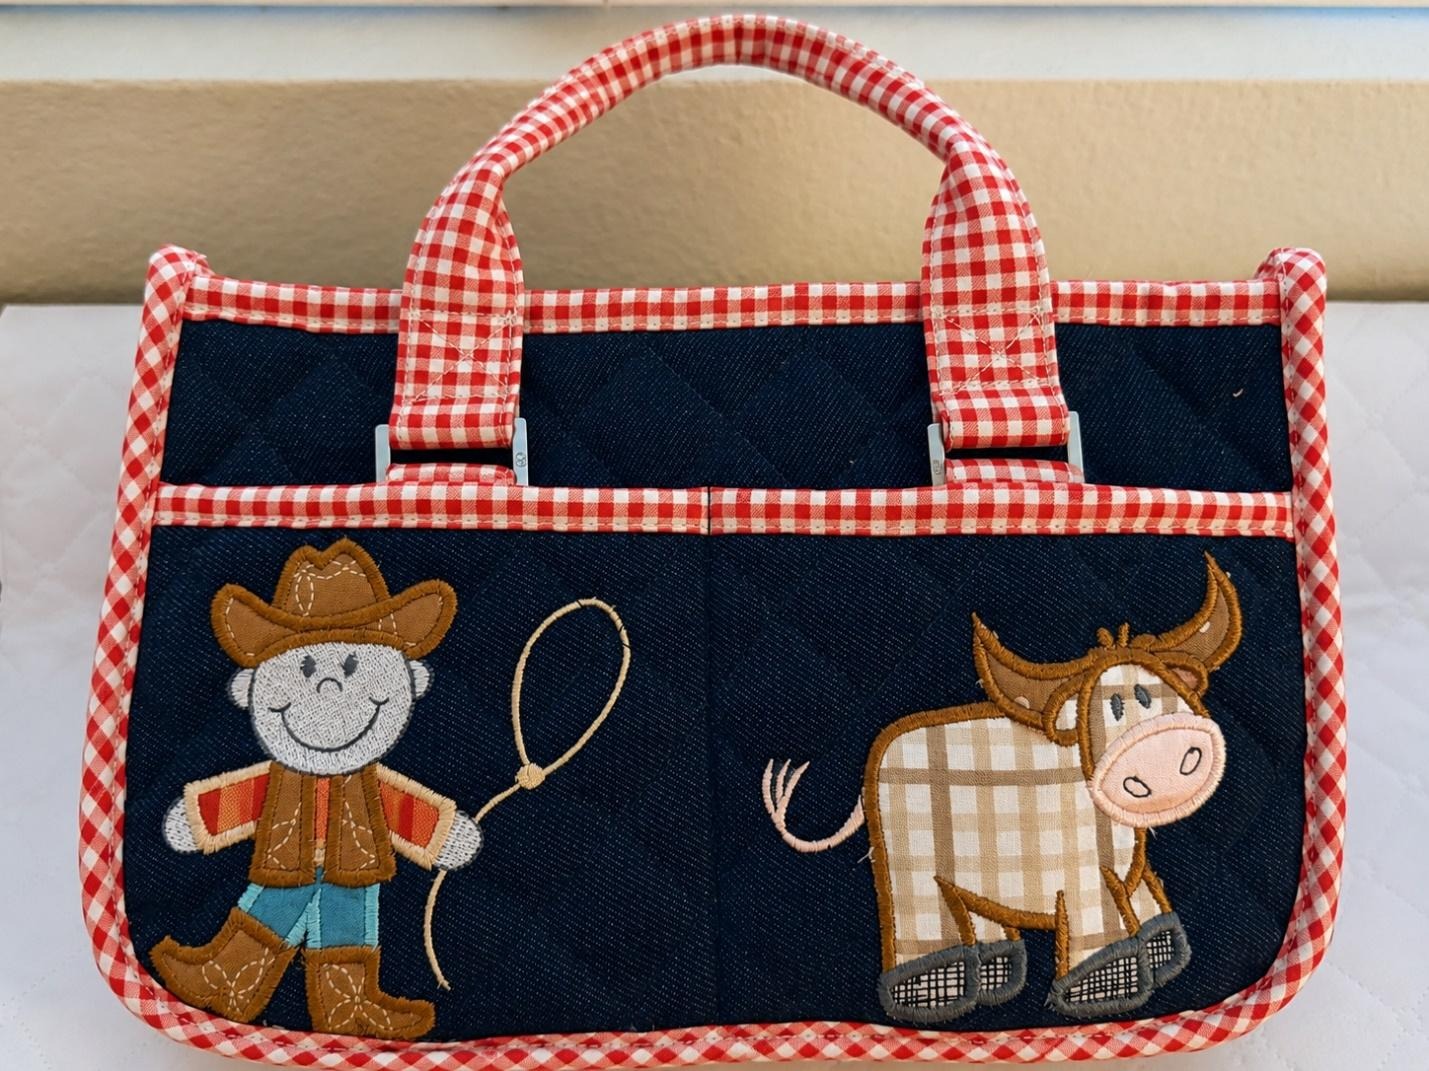
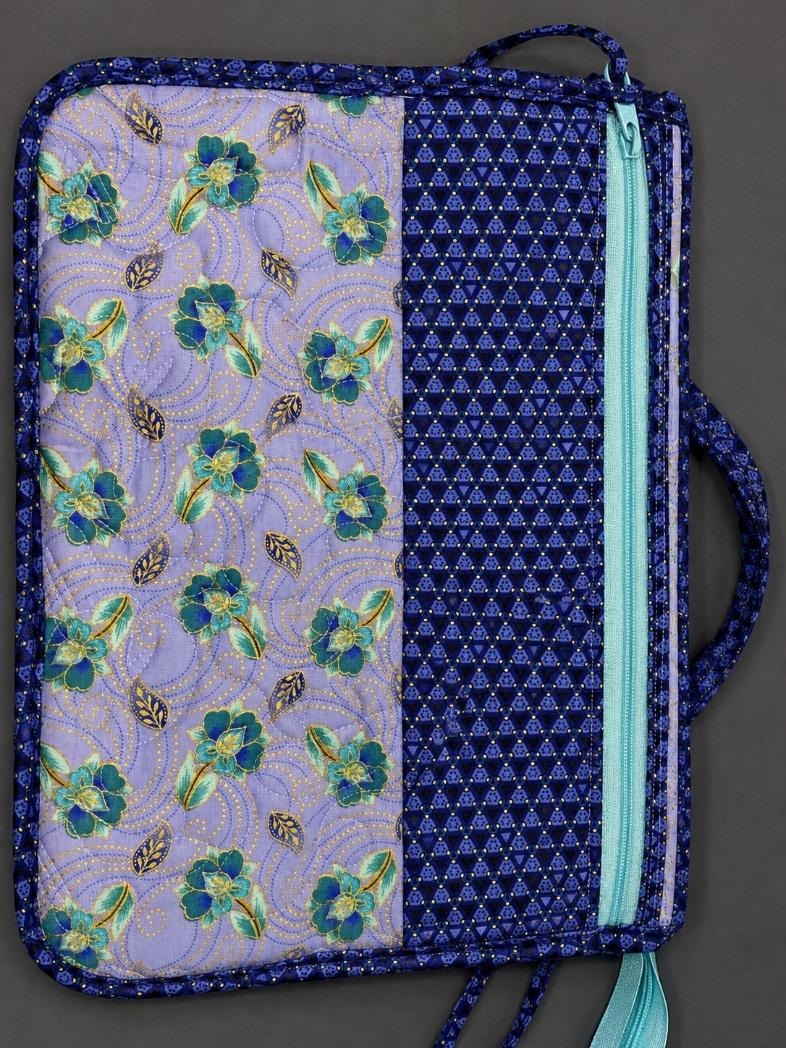
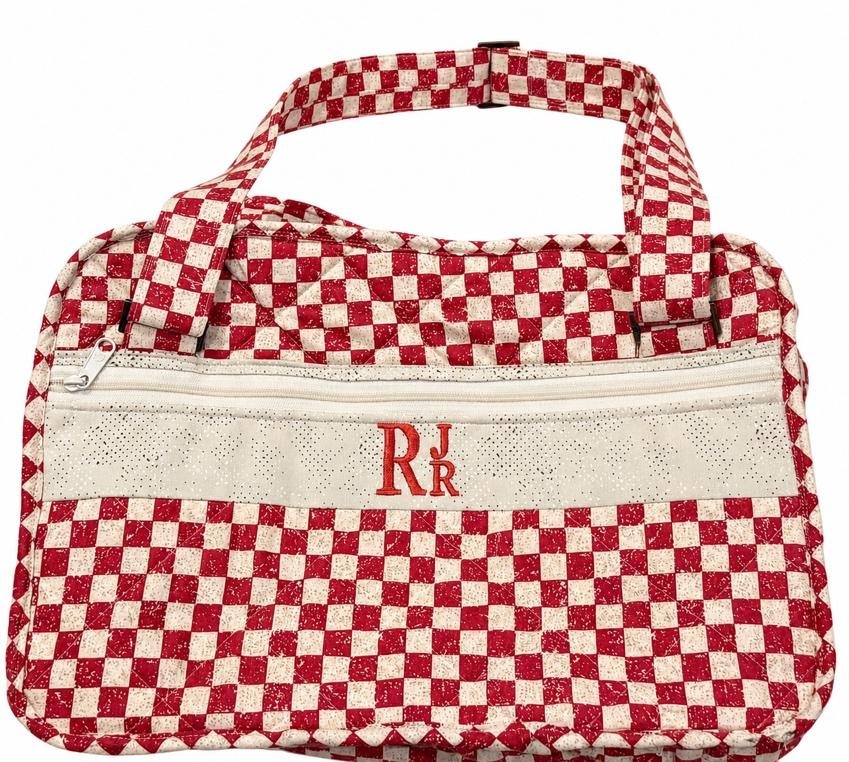
That's all there is to it! With a little planning before you cut your fabric, it's easy to incorporate Designs by JuJu embroidery into almost any ByAnnie project. Whether you're creating a thoughtful handmade gift, organizing your sewing supplies, or making a travel bag, embroidery is the perfect finishing touch to make every project stand out.
I hope this tutorial inspires you to pull out your favorite ByAnnie pattern, choose a Designs by JuJu embroidery design you love, and create something that's uniquely you. Please share your finished bags with us in the Designs by JuJu Embroidery Blessings Facebook Group community, or use the hashtag #designsbyjuju anywhere on social media. We love to see what you create!