Toggle Nav
 Inspire.
Create.
Stitch.
Inspire.
Create.
Stitch.
Search
Birthdays are such a special time, especially if you have little ones to celebrate. This year, my daughter turned four. She requested a Curious George® themed birthday party. After looking for inspiration, I decided it was time to get creative and fire up my embroidery machine to make some of the decorations, favors, and even attire for the party!
In today's blog post, we will be looking at how you can use a variety of Designs by JuJu designs to give any old birthday party theme a new spark, making it memorable for the most important people in your life.
Projects included in this post:
Check out the DBJJ team’s favorite supplies in the Designs by JuJu Amazon Store.
Customized birthday shirts are extremely popular in the trending embroidery market, but they can be expensive. Have no fear though—with the vast array of DBJJ applique number sets available, you can easily create your own personalized birthday shirts.
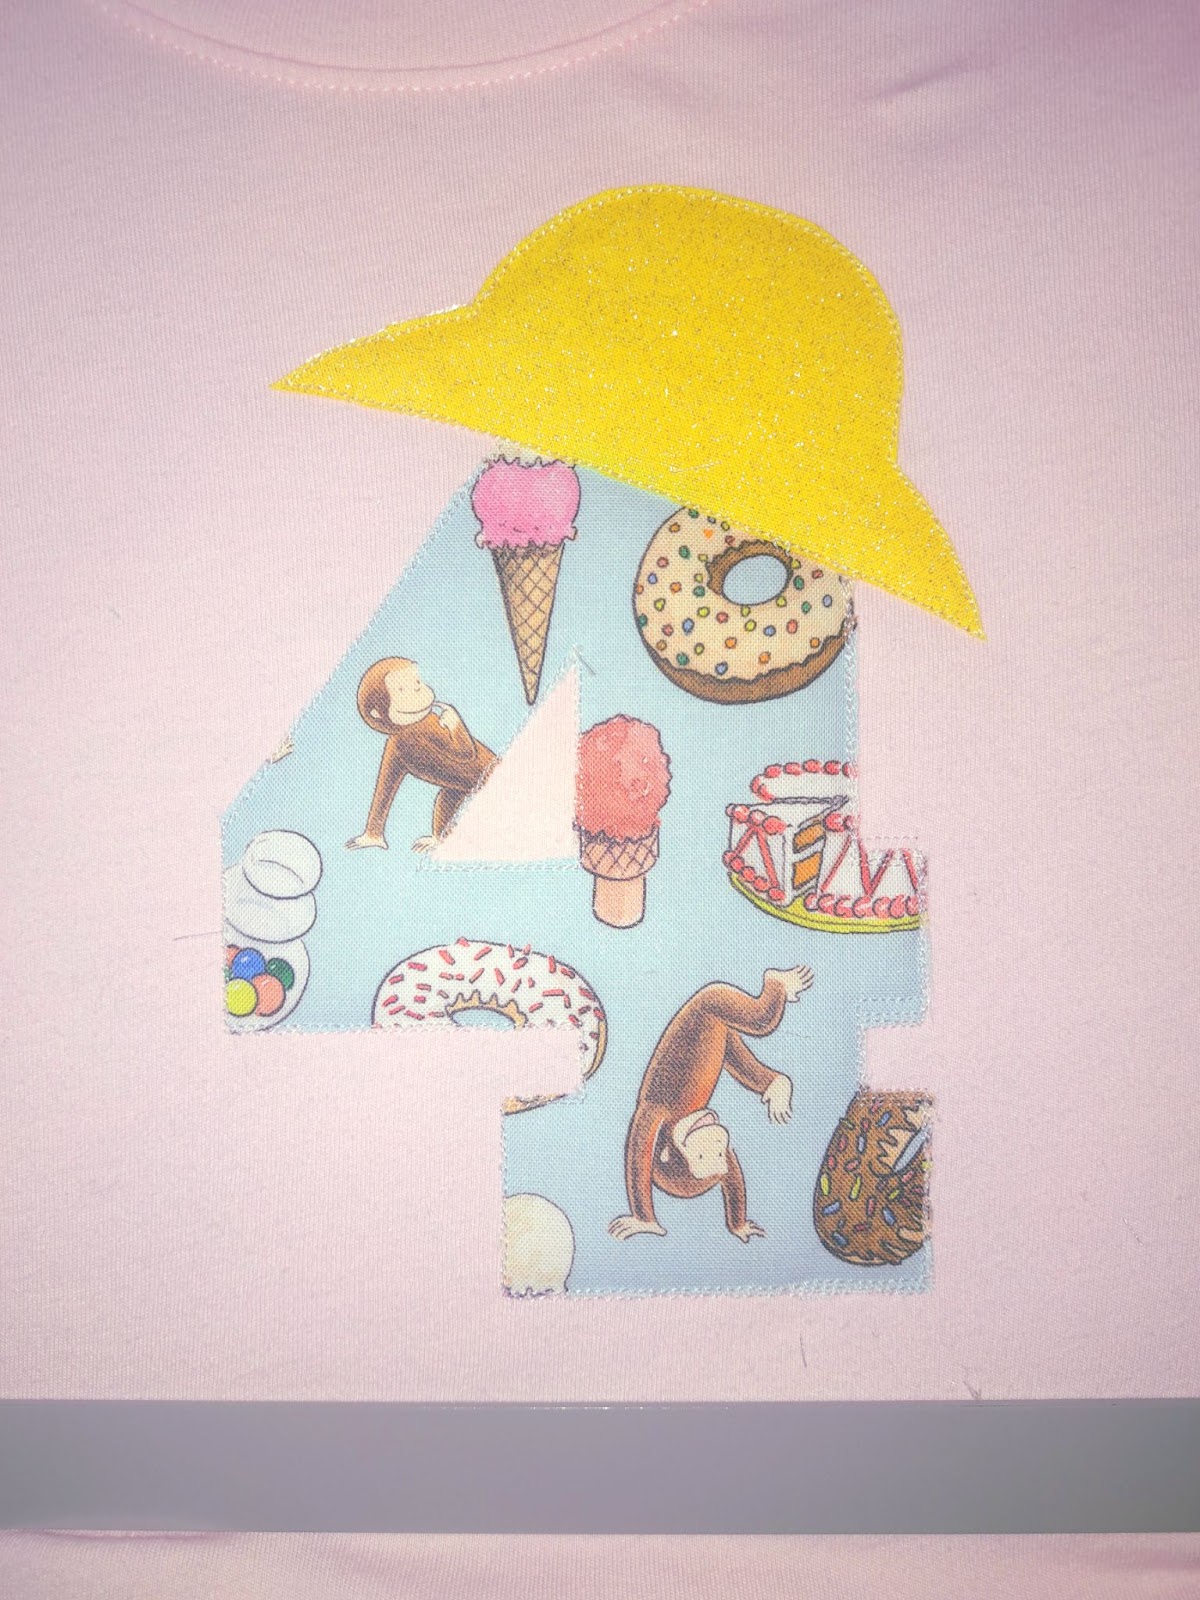
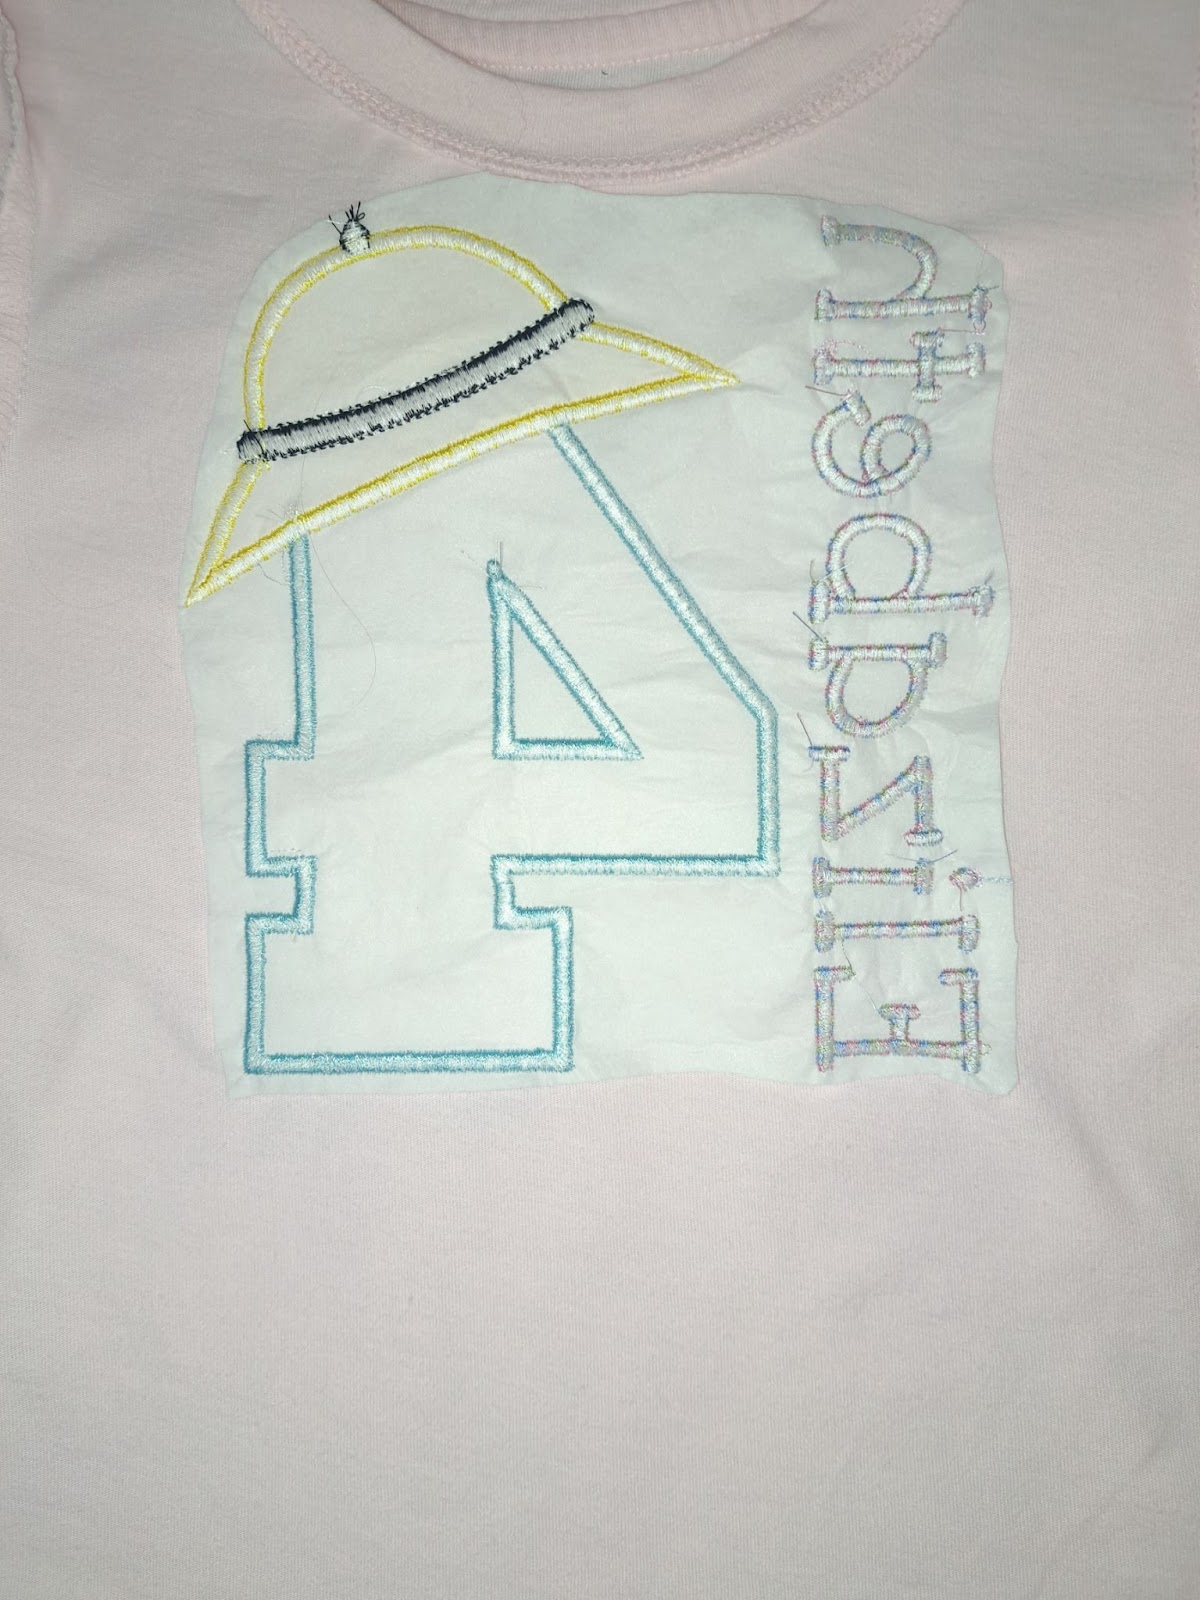
Since we were having a Curious George® themed birthday party, I thought it fitting to use the Safari Hat Birthday Numbers Applique font to represent the Man in the Yellow Hat. I used a Curious George® licensed fabric for my applique number 4. Take the opportunity to customize your number to fit your party theme. You can use licensed fabric, faux leather, or other fun fabrics to make your birthday T-shirt pop. I used Embrilliance Embroidery Software to easily add my daughter’s name with Junior Embroidery Font for some additional personalization. DBJJ provides BX files with every font purchase, making name customization a snap. If you do not have software, you can still add a name using most embroidery machines. Once you have your design finalized, it is time to get stitchin'!
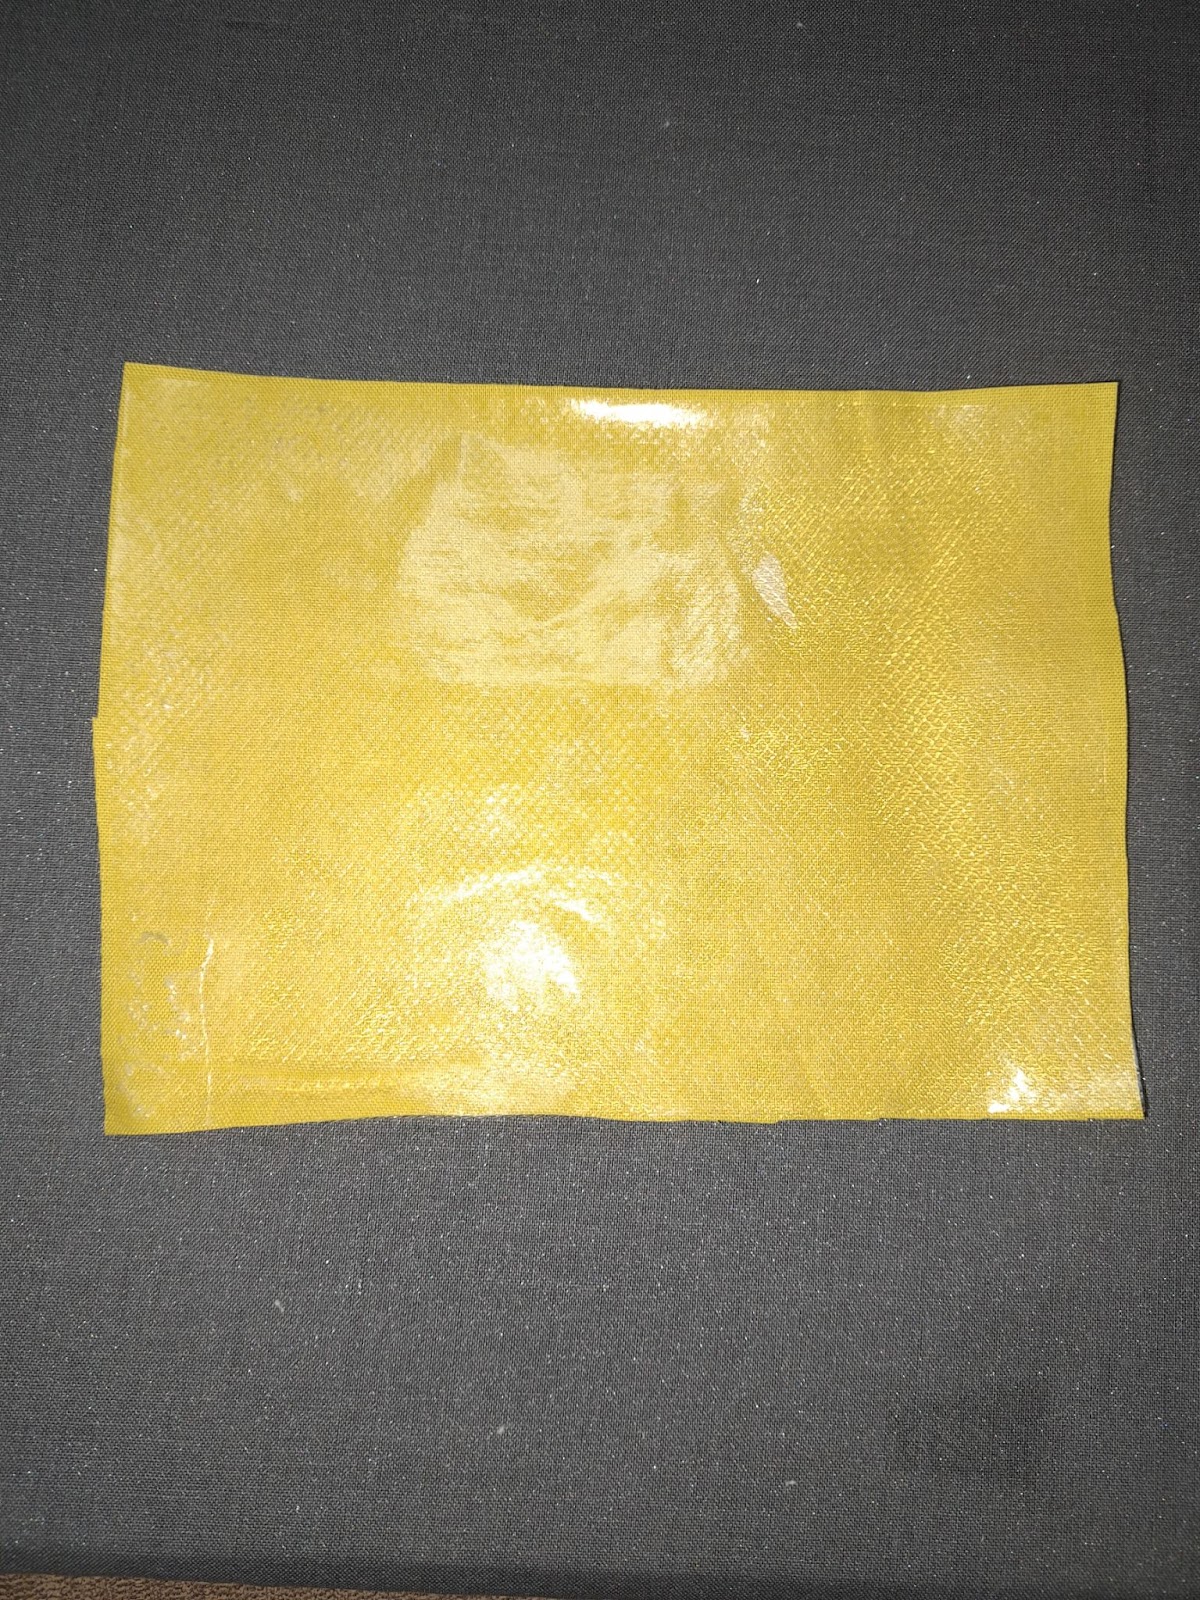
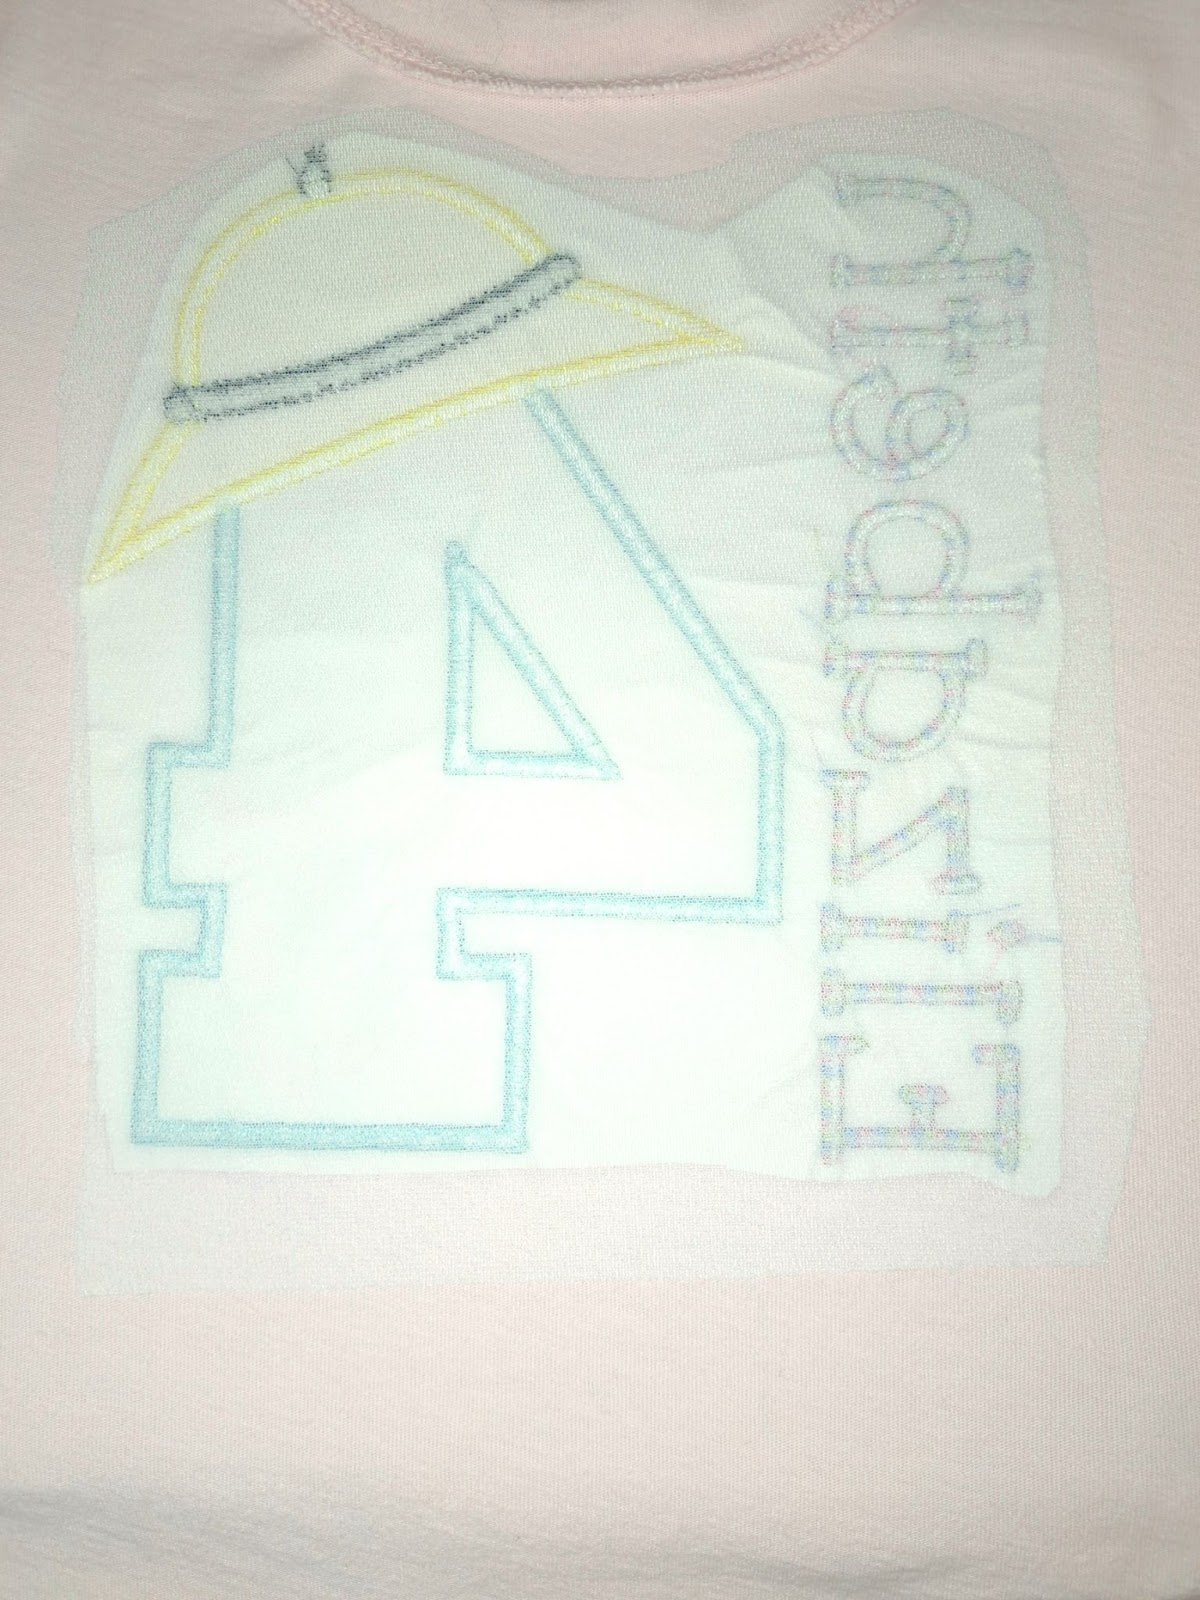
Step 1: Prepare all applique fabric using Heat-n-Bond® Lite. (Skip this step if using faux leather.)
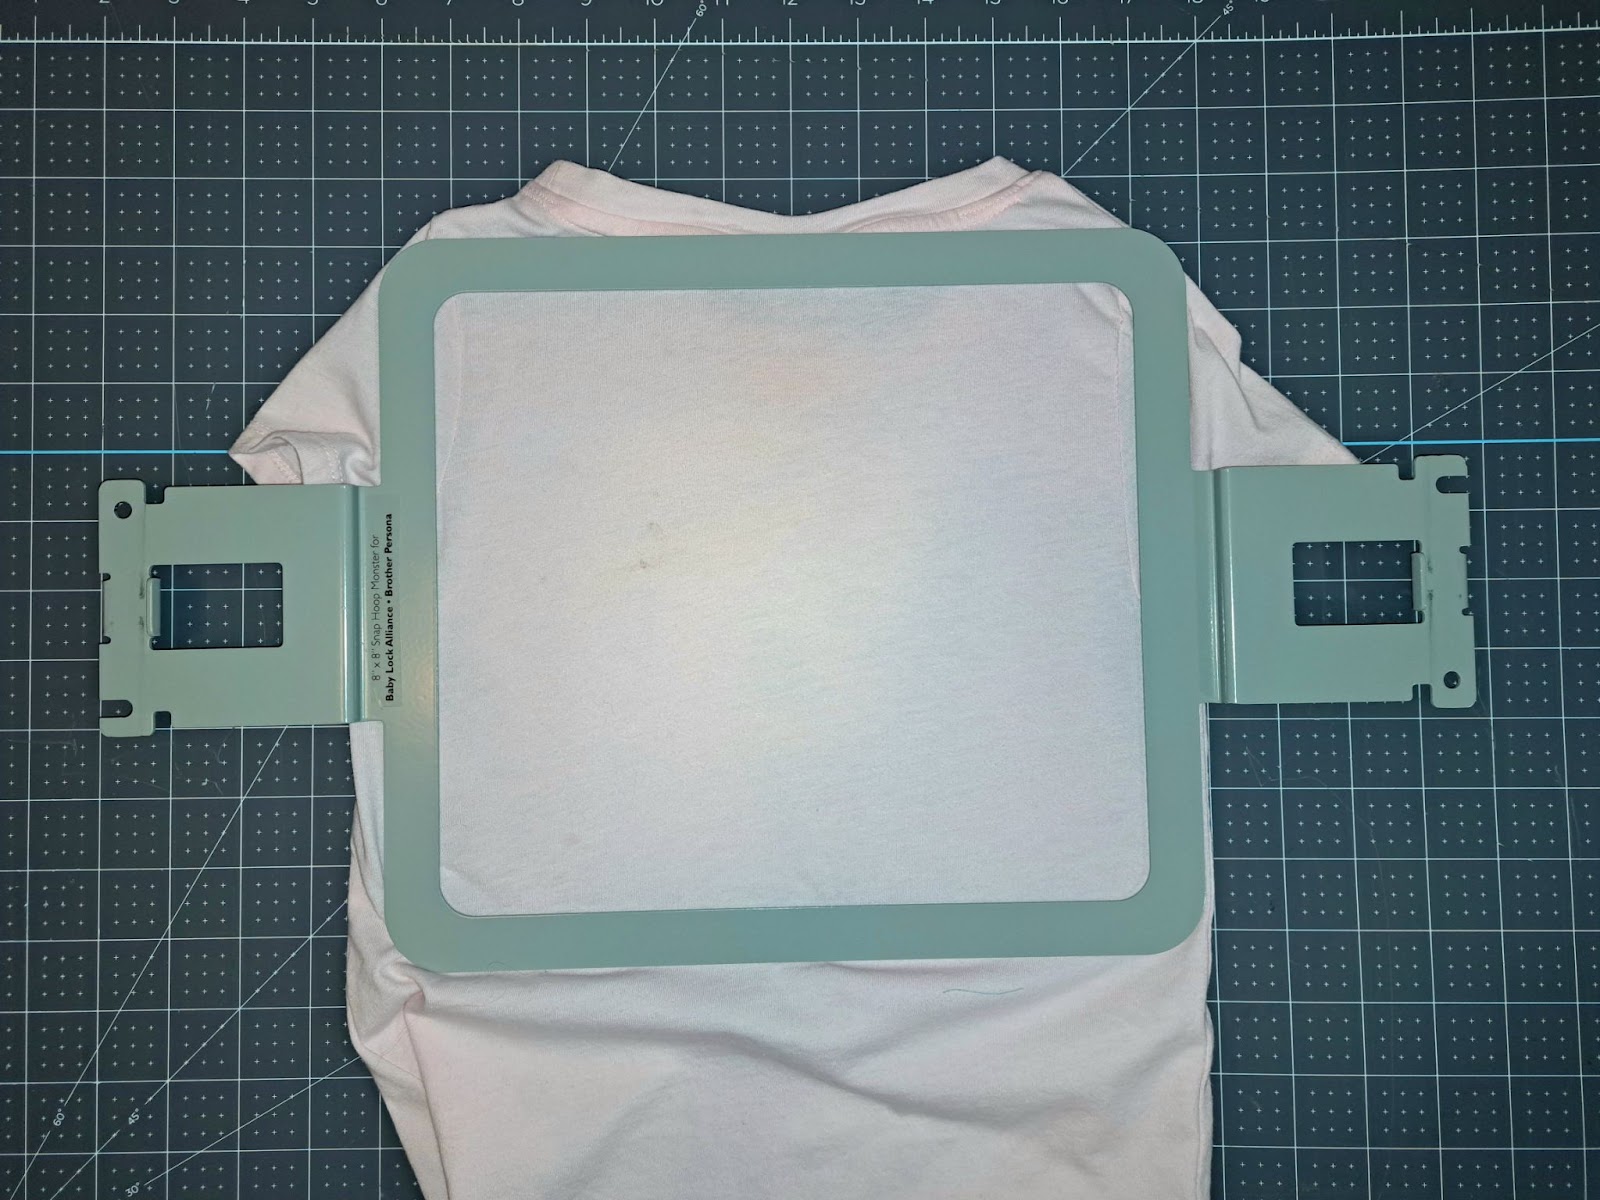
Step 2: Trim cut-away stabilizer to fit your hoop (I prefer to use cut-away stabilizer for all clothing because I like the support it provides my designs and it washes without issues).
Step 3: Hoop the stabilizer and T-shirt, making sure that both are smooth in the hoop. Magnetic hoops make embroidering clothing so much easier than traditional hoops. It is much simpler to keep the shirt aligned and taut without stretching out the fabric. You can also choose to float your shirt, if you prefer.
Step 4: Place the hoop on your machine and stitch the design.
**Make sure the back of the T-shirt is out of the way of the embroidery stitch path. You do not want to accidentally embroider the back of the shirt to the front.**
Step 5: Remove the T-shirt from the hoop and trim away any excess stabilizer. Iron Sulky Tender Touch® onto the backside of the embroidery design (on the inside of the shirt). This will ensure that your child's skin does not get irritated by the bobbin thread rubbing.
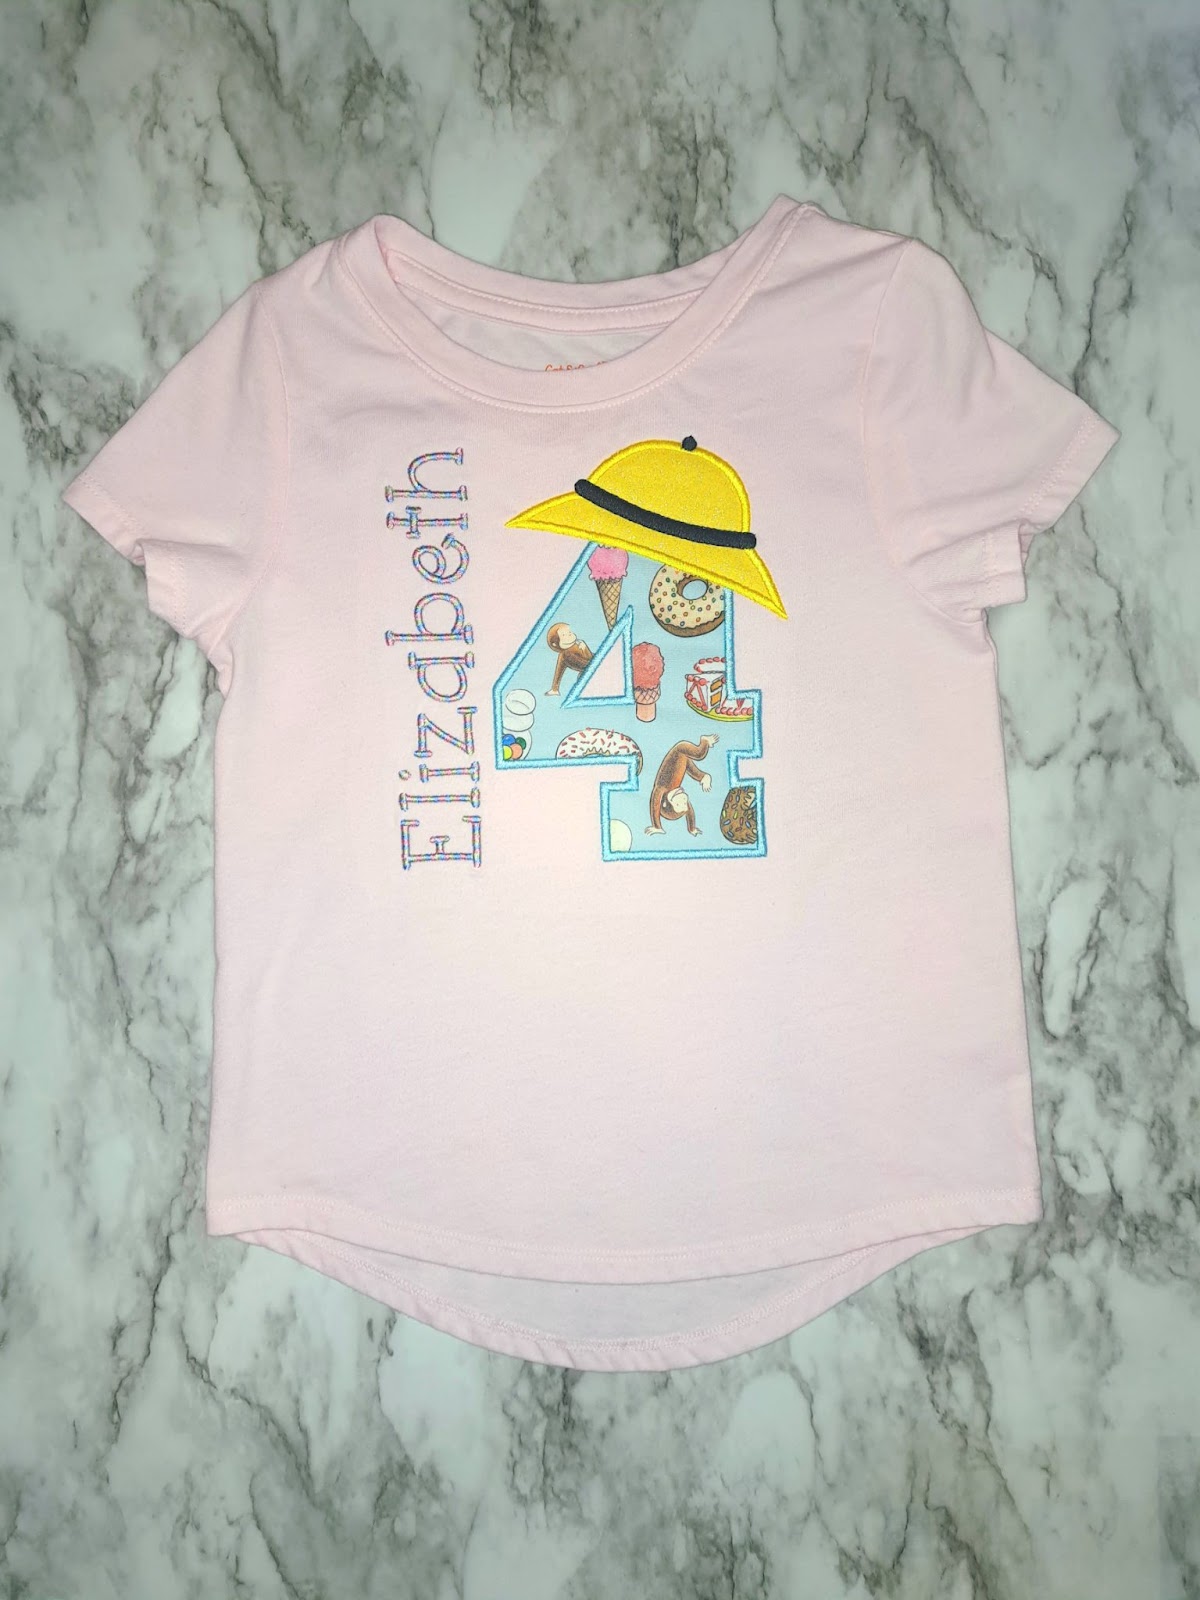
That's it! You have created a custom embroidered birthday shirt for your child in five easy steps. You can complete their look with other fun embellishments such as a tutu, hand-sewn skirt, or other coordinating pieces.
If you'd like to see another version of a birthday shirt, check out this Easy & Cute!? How to Embroider a Personalized Birthday Shirt with Designs by JuJu video.
Keep reading to discover other fabulous birthday ideas and accessories using DBJJ designs.
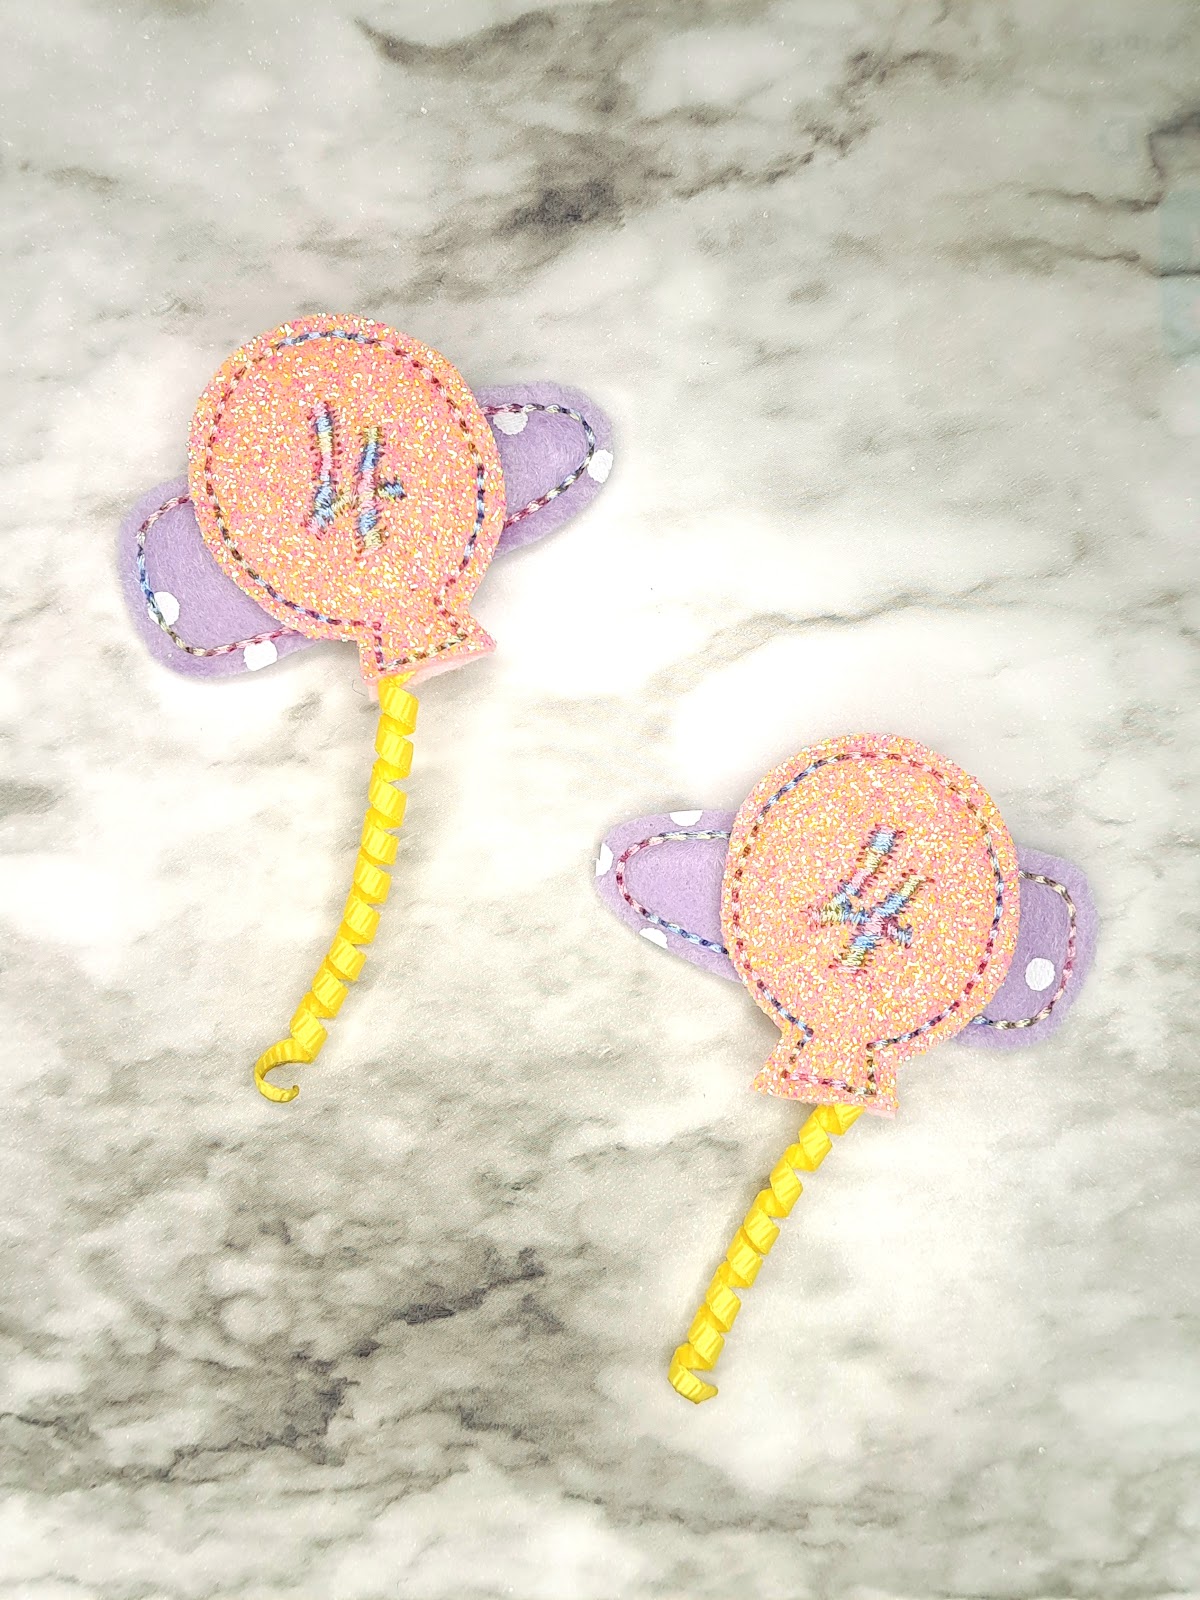
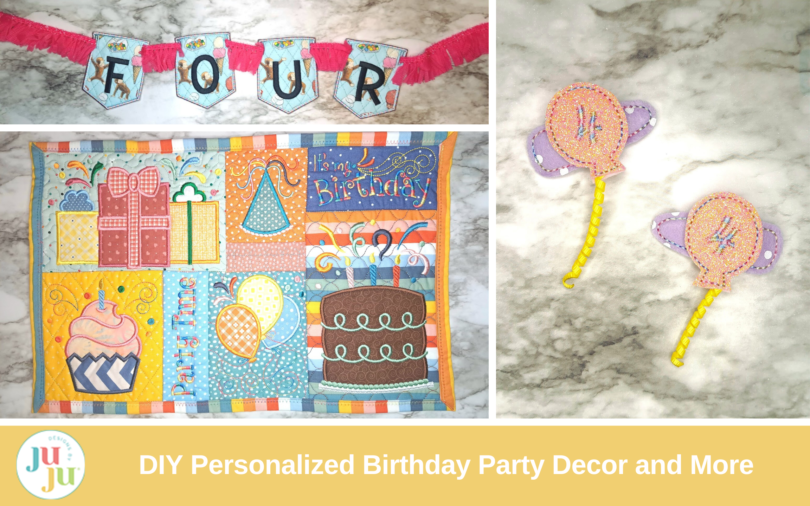
DBJJ has so many adorable hair clips available. Not only are they cute, but they are SEW easy to stitch! I decided to make these balloon clips to add to my daughter's birthday outfit. Every hair clip purchase includes a PDF with detailed instructions for how to make your own clips. They are very addicting, so stock up on hair barrettes!
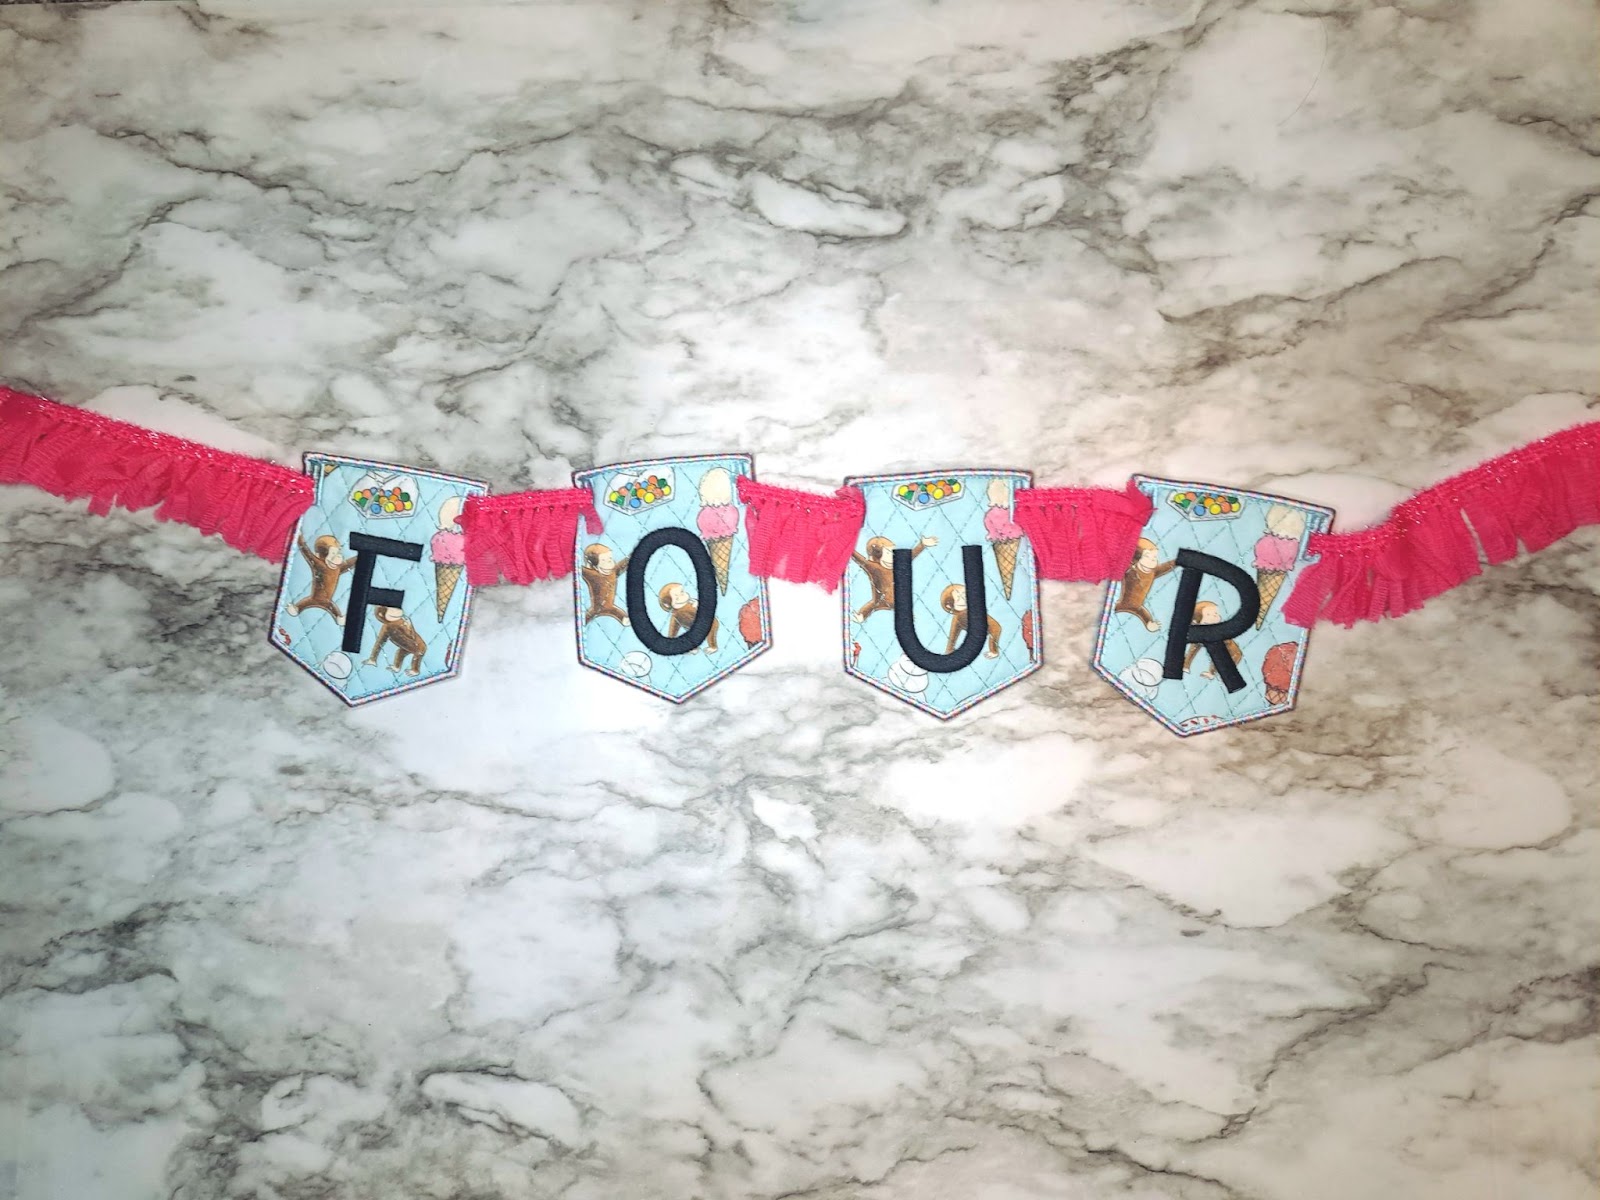
A birthday banner is another easy way to add some pizzazz to your party. Using Embrilliance, I combined the In The Hoop Big Set of Pennant and Bunting Shapes Set 1 and Box of Crayons Embroidery Font to make a FOUR banner to hang on our cake table. I used the same licensed Curious George® fabric that I used for the T-shirt to tie our theme together. You could easily make a generic “Happy Birthday” banner as well that could be used year to year, birthday to birthday. With these banners, the design opportunities are limitless.
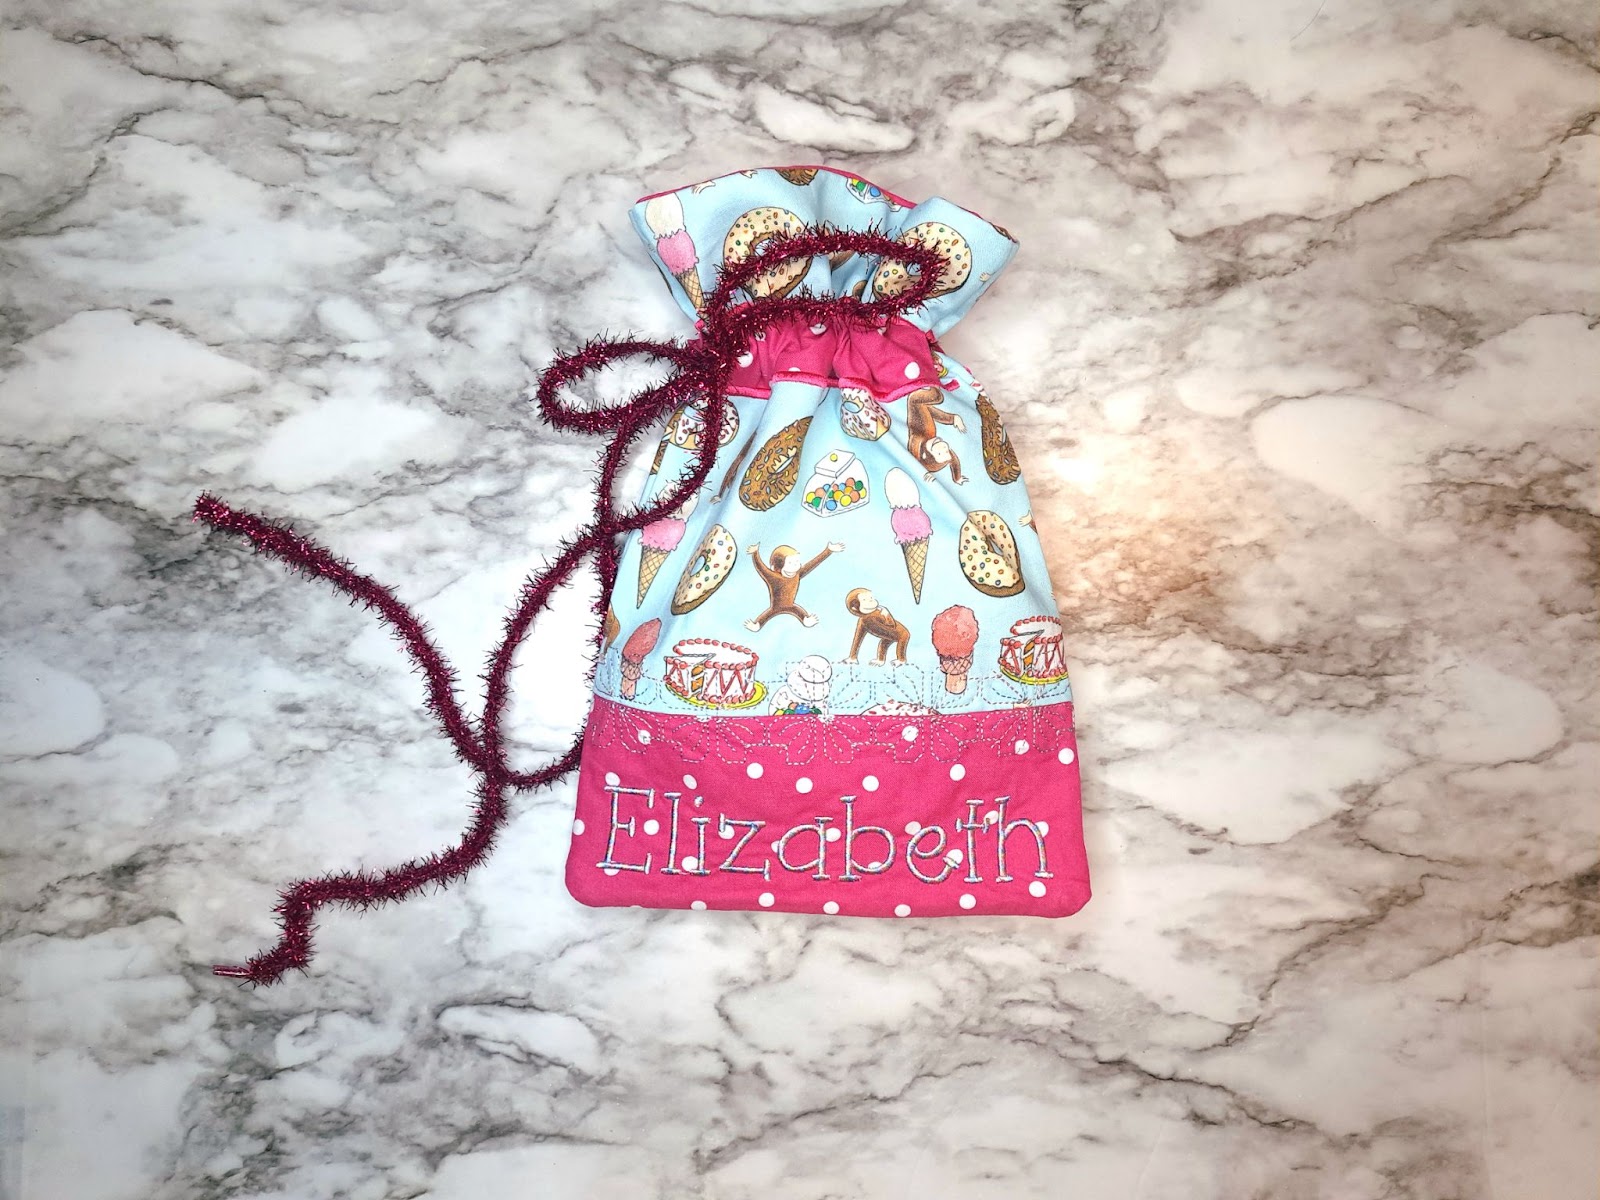
The Pretty Treat Bags Set 1 comes in five different sizes (5” x 7”, 6” x 10”, 8” x 8”, 7” x 12”, 9.5” x 14”) and three styles, making it a versatile bag for party favors or gift bags. I decided to stitch the largest size offered to make an adorable bag for one of my daughter's gifts. This video from Power Tools with Thread details how to make your own bag. Using Embrilliance, I added my daughter’s name along the bottom of the Treat Bag using Junior Embroidery Font.
Bonus: We have been using this bag as a busy bag to put small toys and snacks in for car rides since the party.
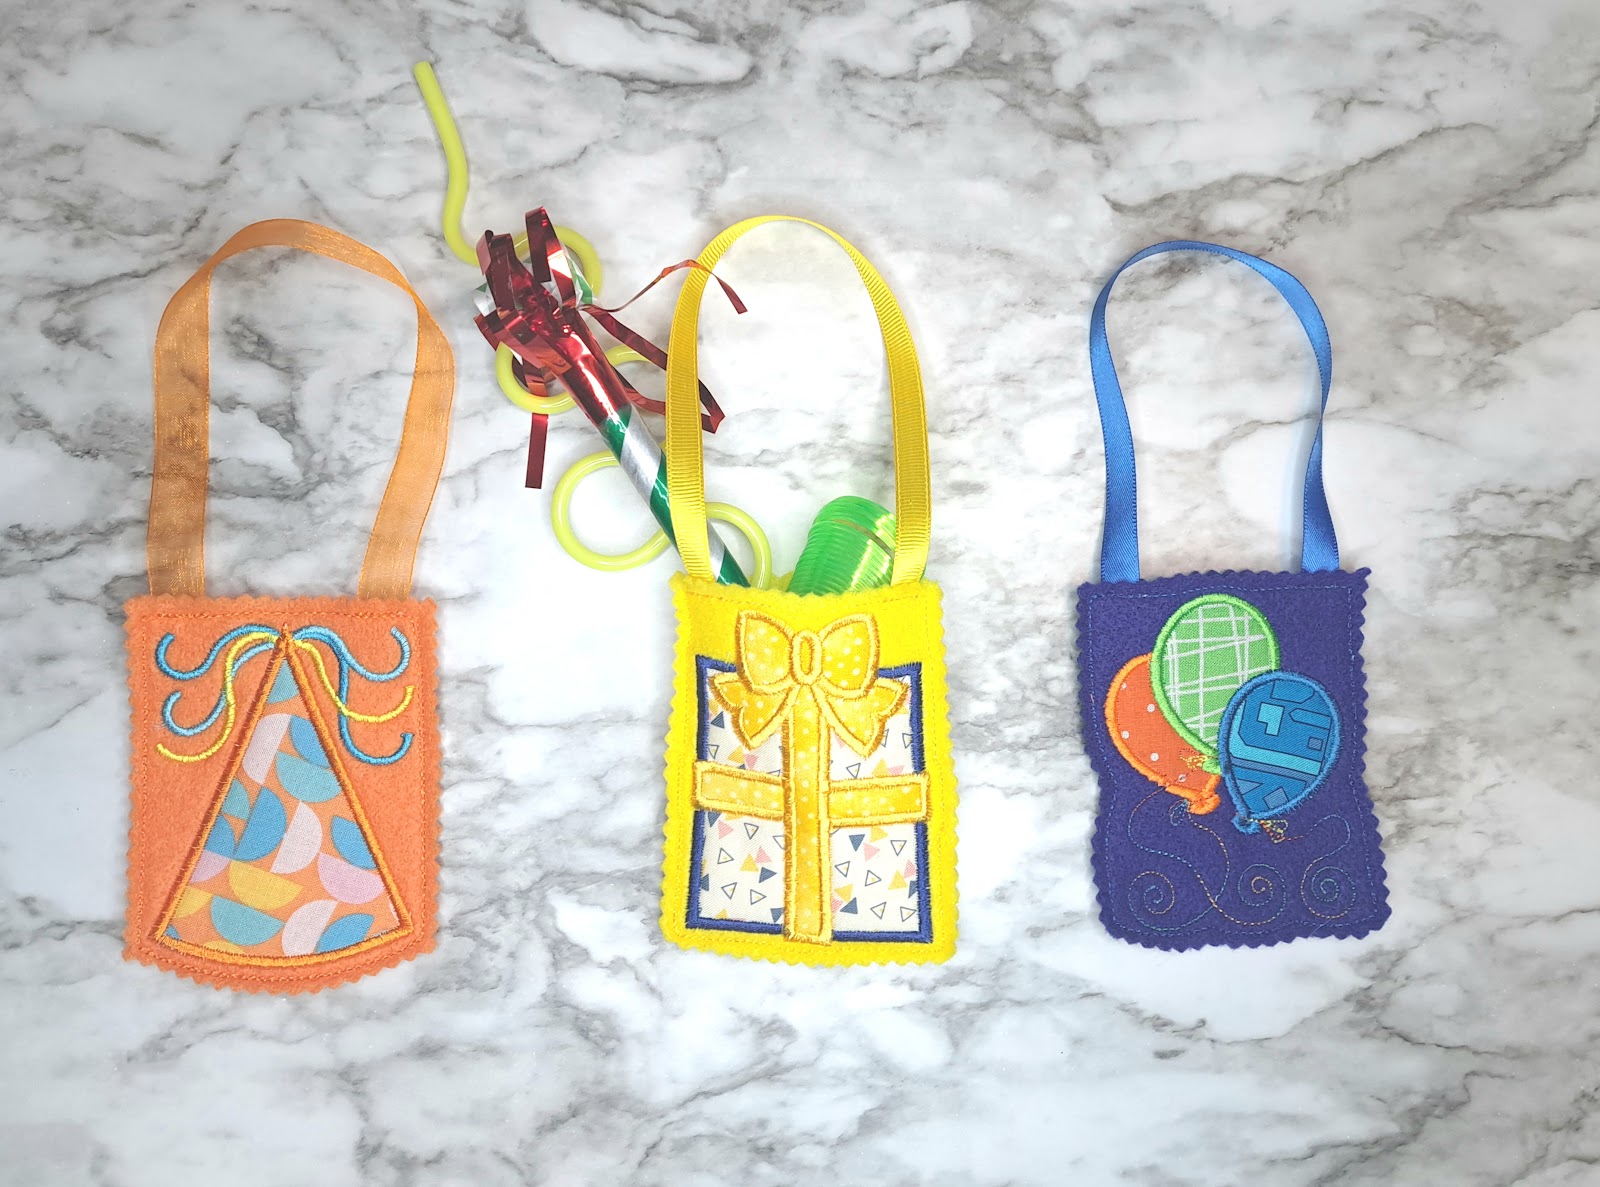
The birthday treat bags come in six different designs (two per set). They are absolutely delightful and are available in a variety of different styles for other holidays. Check out this tutorial for a step-by-step guide on how to make your own. These treat bags also have an impressive size range, perfect for little treats and goodies. These were a hit at our birthday party.

DBJJ has so many awesome placemat designs available. The birthday placemat was the perfect touch for our special girl. We used the placemat to designate her spot at the table. The best part is the placemat washes up great every time, so I don't worry about spills or messes. After the party, we took the placemat home and will use it for many more birthdays to come. This blog post details the steps for making your own in-the-hoop placemats and includes a variety of helpful links and videos.
All of the projects showcased in today’s blog post allow you to take your birthday party to the next level. Browse through the wide range of other DBJJ birthday designs available and have fun creating. Make sure to check out the Designs by JuJu Embroidery Blessings Facebook Group for more ideas, and share your own creations using the hashtag #designsbyjuju. We can’t wait to see what you make!