Toggle Nav
 Inspire.
Create.
Stitch.
Inspire.
Create.
Stitch.
Search
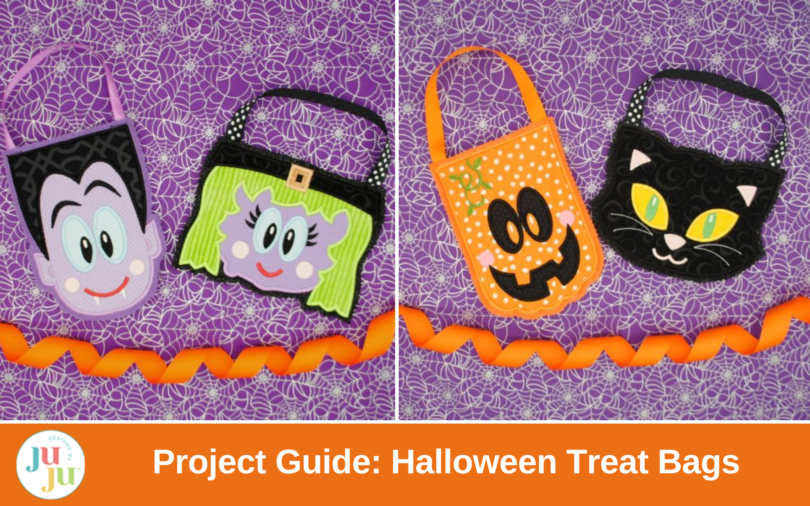
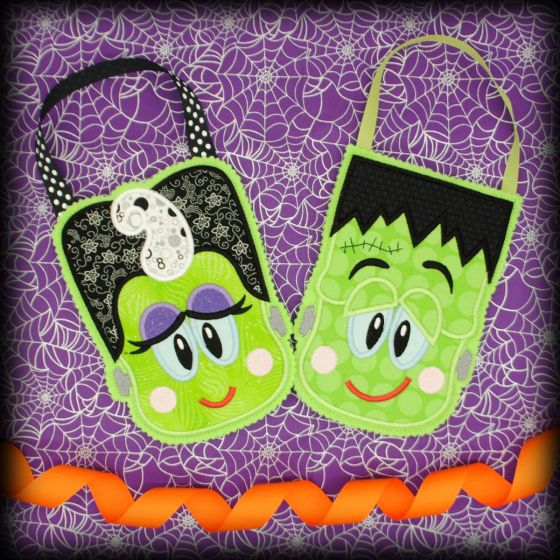
Spiders, goblins, bats - OH MY! Halloween is near and now is the time to fire up your embroidery machine to make some adorable and festive treat bags. In today’s blog post, we will learn how to make an in-the-hoop (ITH) Halloween Treat Bag.
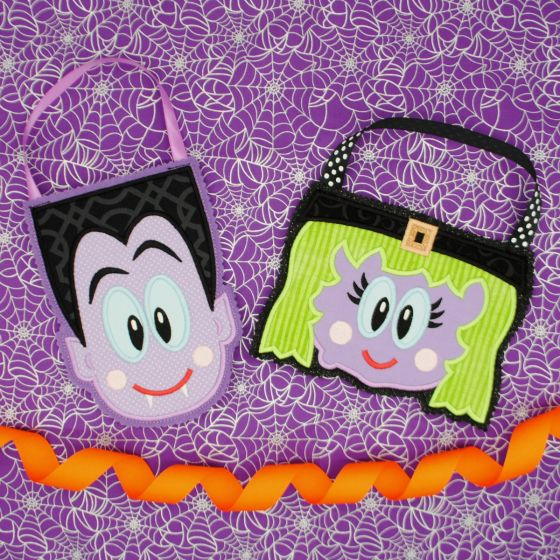
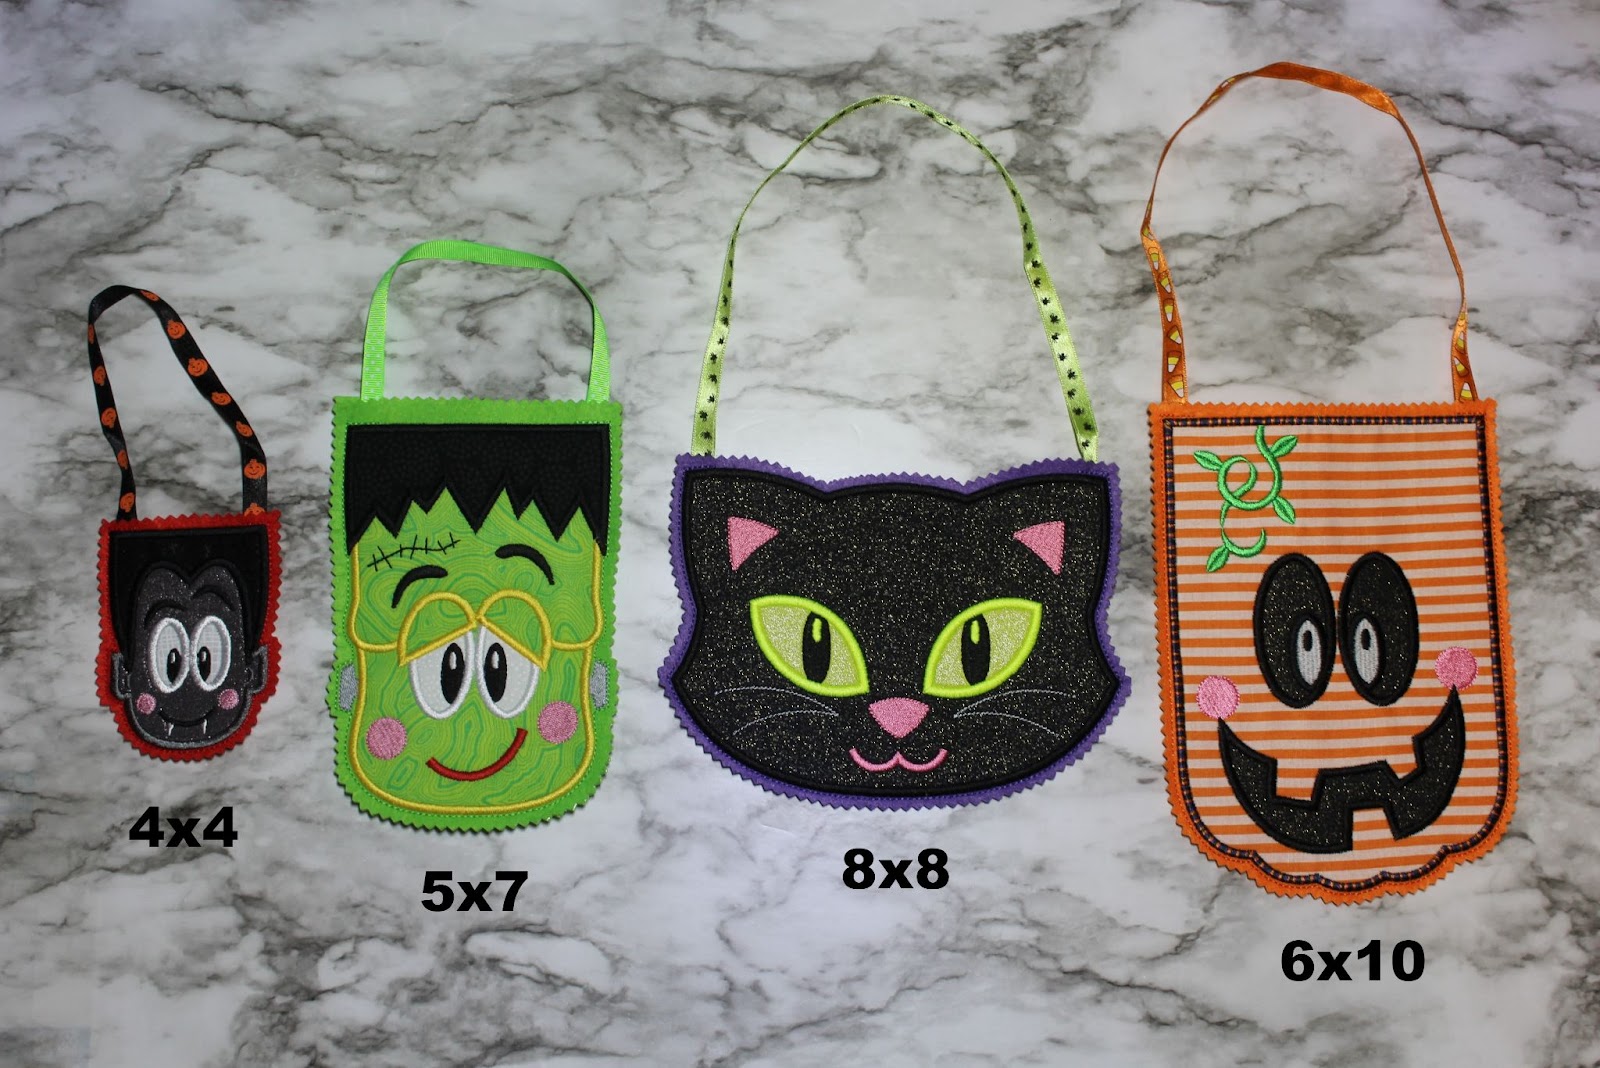
DBJJ’s ITH treat bags come in five sizes (they are 4x4 friendly too) and so many fun designs. The 4x4 size is perfect for a small treat or piece of candy, while the 7x12 size can hold a variety of Halloween goodies for your favorite “ghoul” or boy!

Check out the DBJJ team’s favorite supplies in the Designs by JuJu Amazon store.
DBJJ has six styles of ITH Halloween Treat Bags. Every treat bag purchase includes two different treat bag designs. For today’s tutorial, I will be making the Jack O’ Lantern Treat Bag from Halloween Treat Bags 2. All of the treat bags are made using similar steps, but make sure to reference the PDF instructions included with your purchase for design-specific information.

How Do I Make an ITH Halloween Treat Bag?
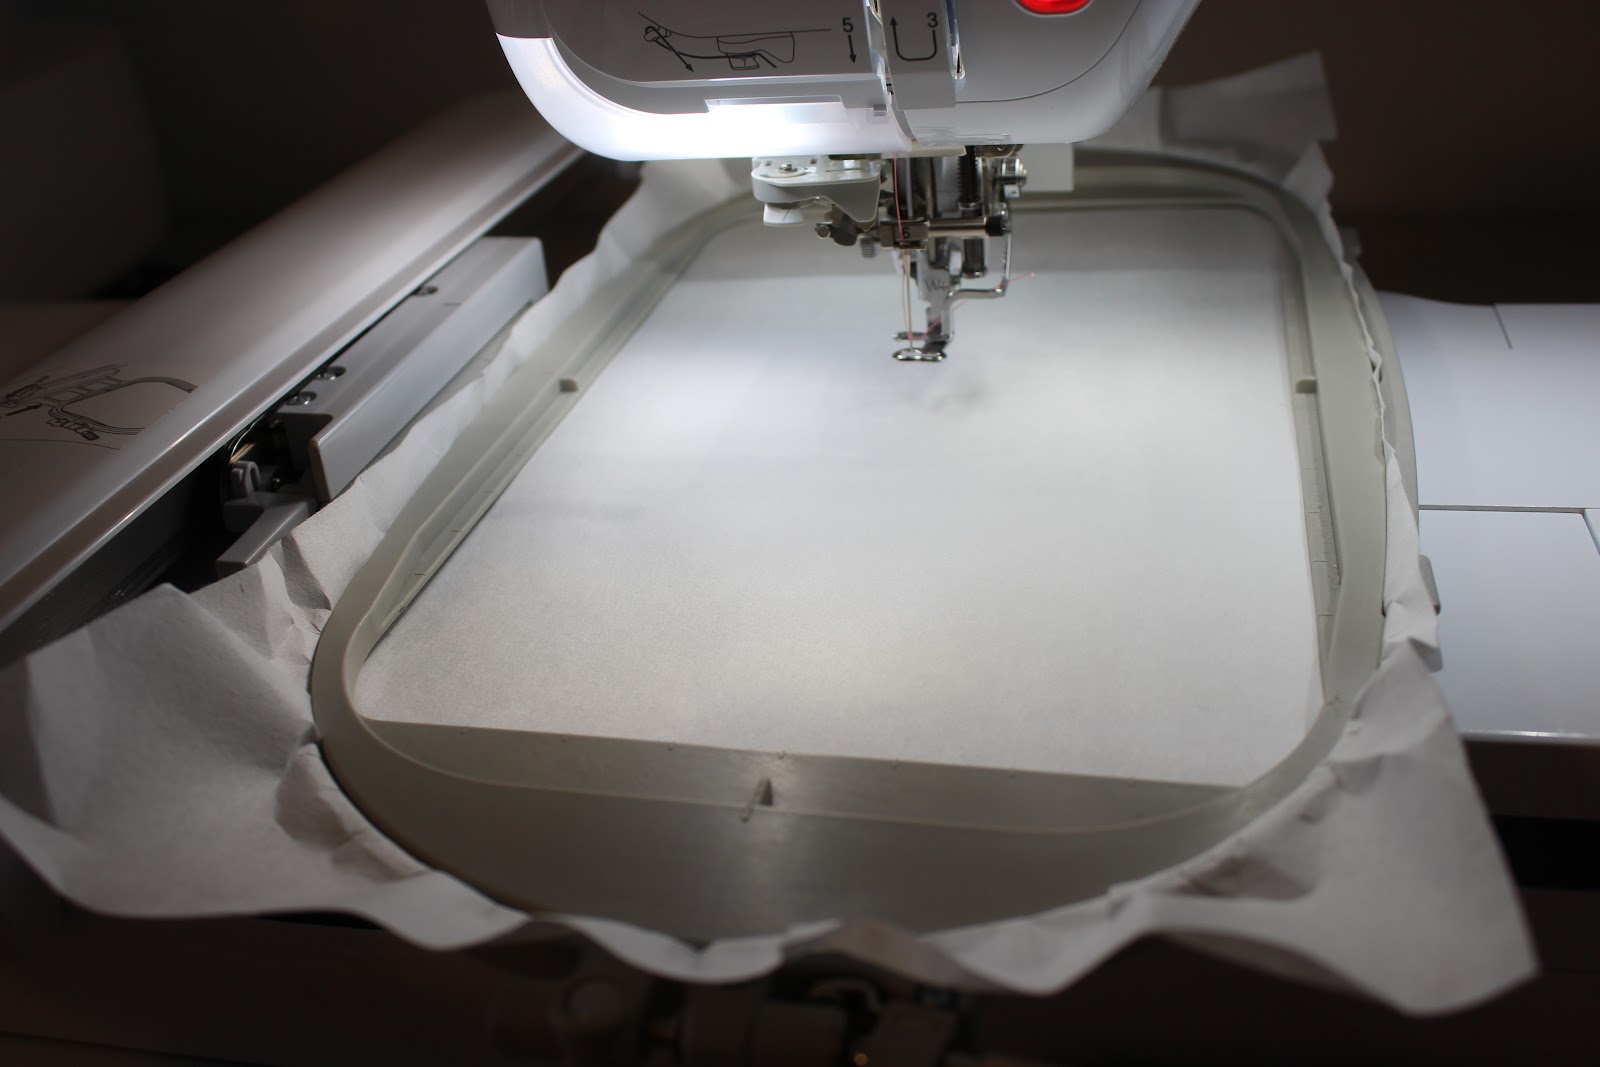
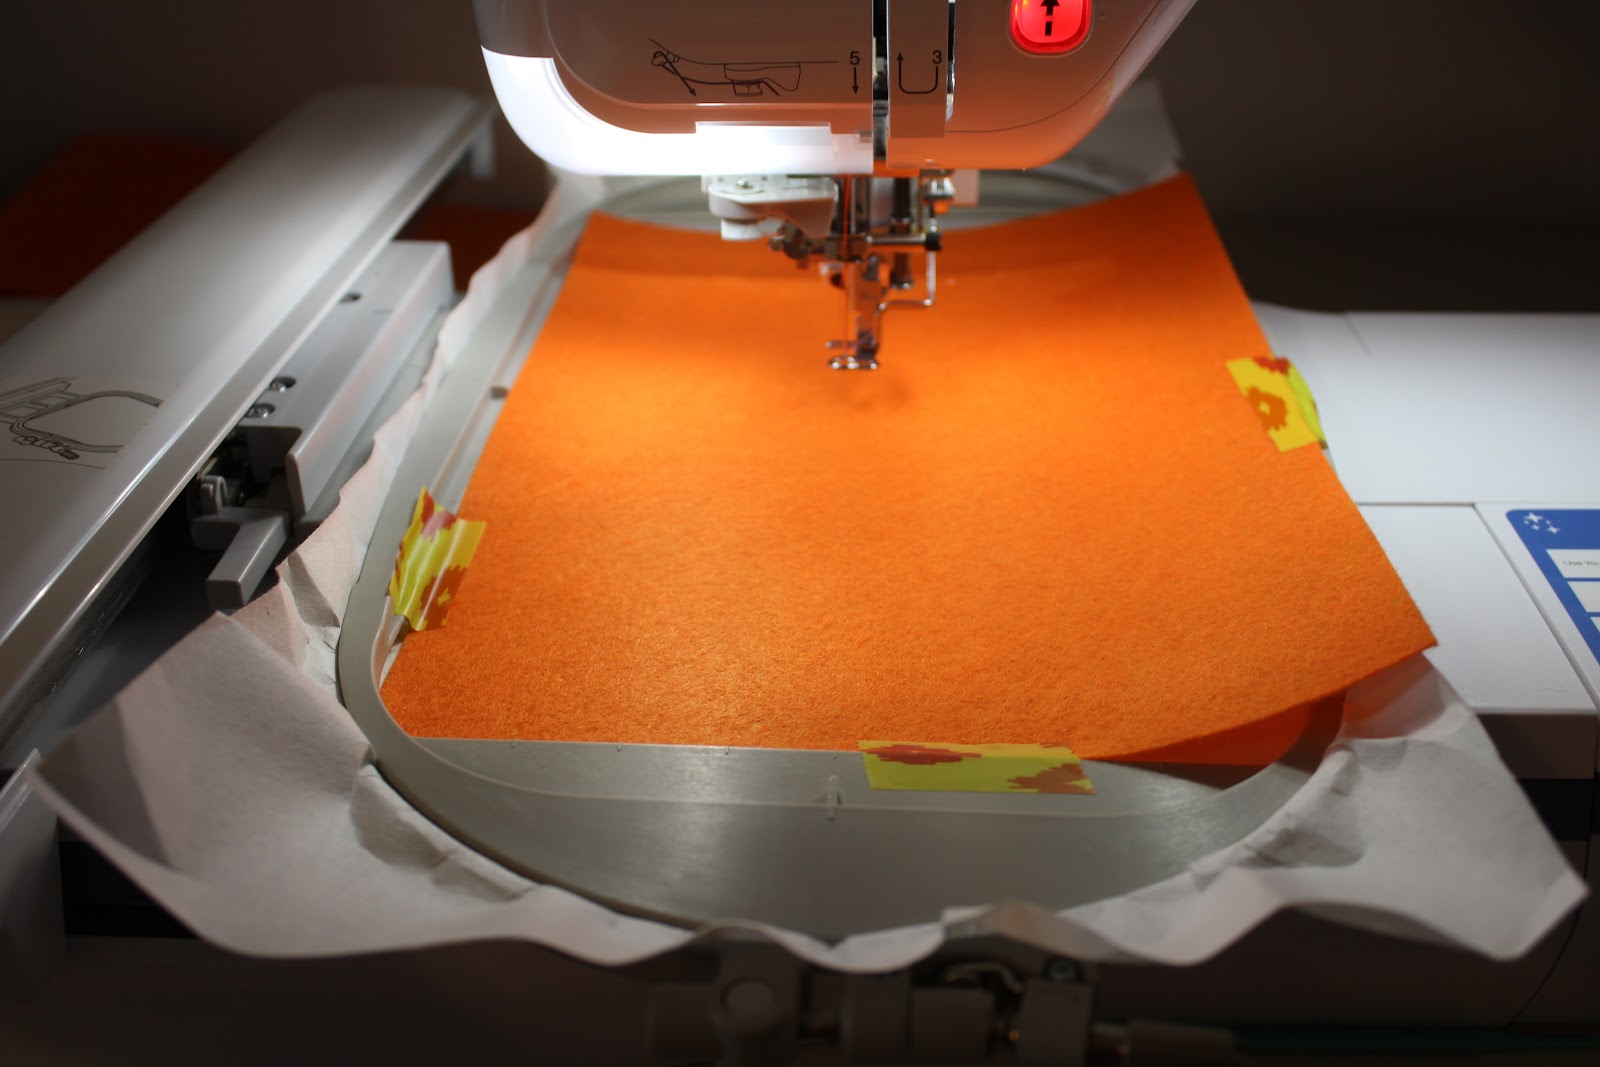
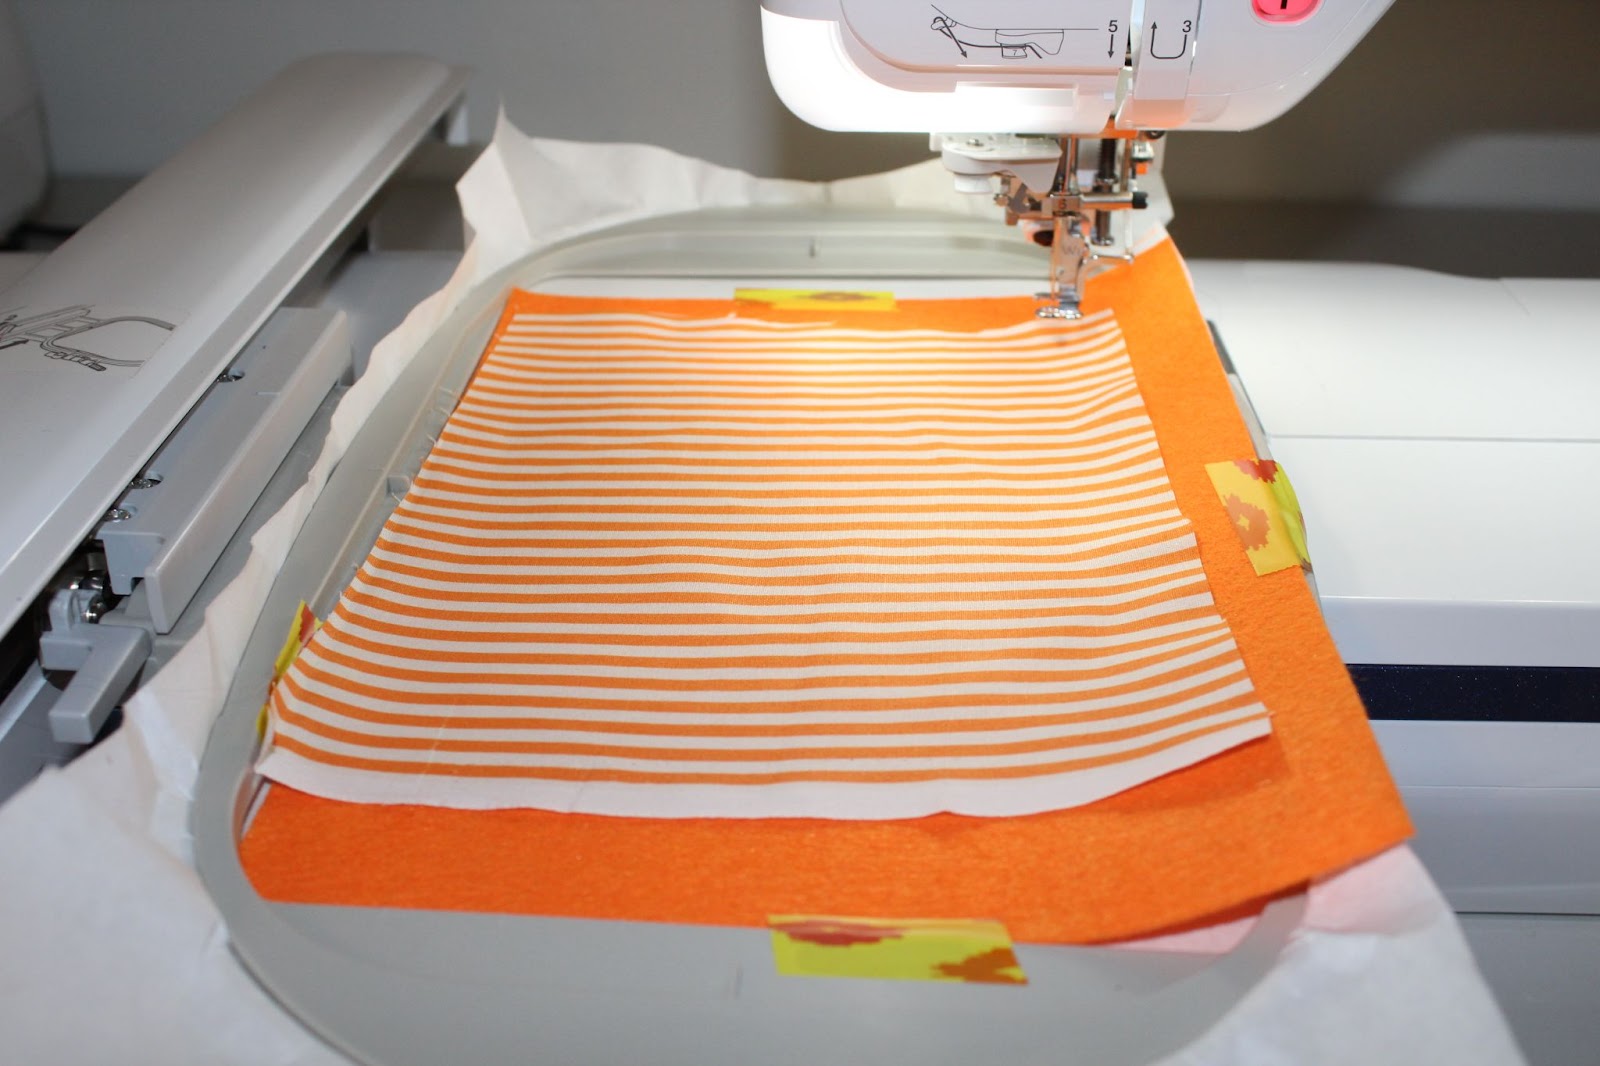
Step 1: Hoop tear-away stabilizer and place felt on top. Make sure the felt is large enough to fit the entirety of your hoop.
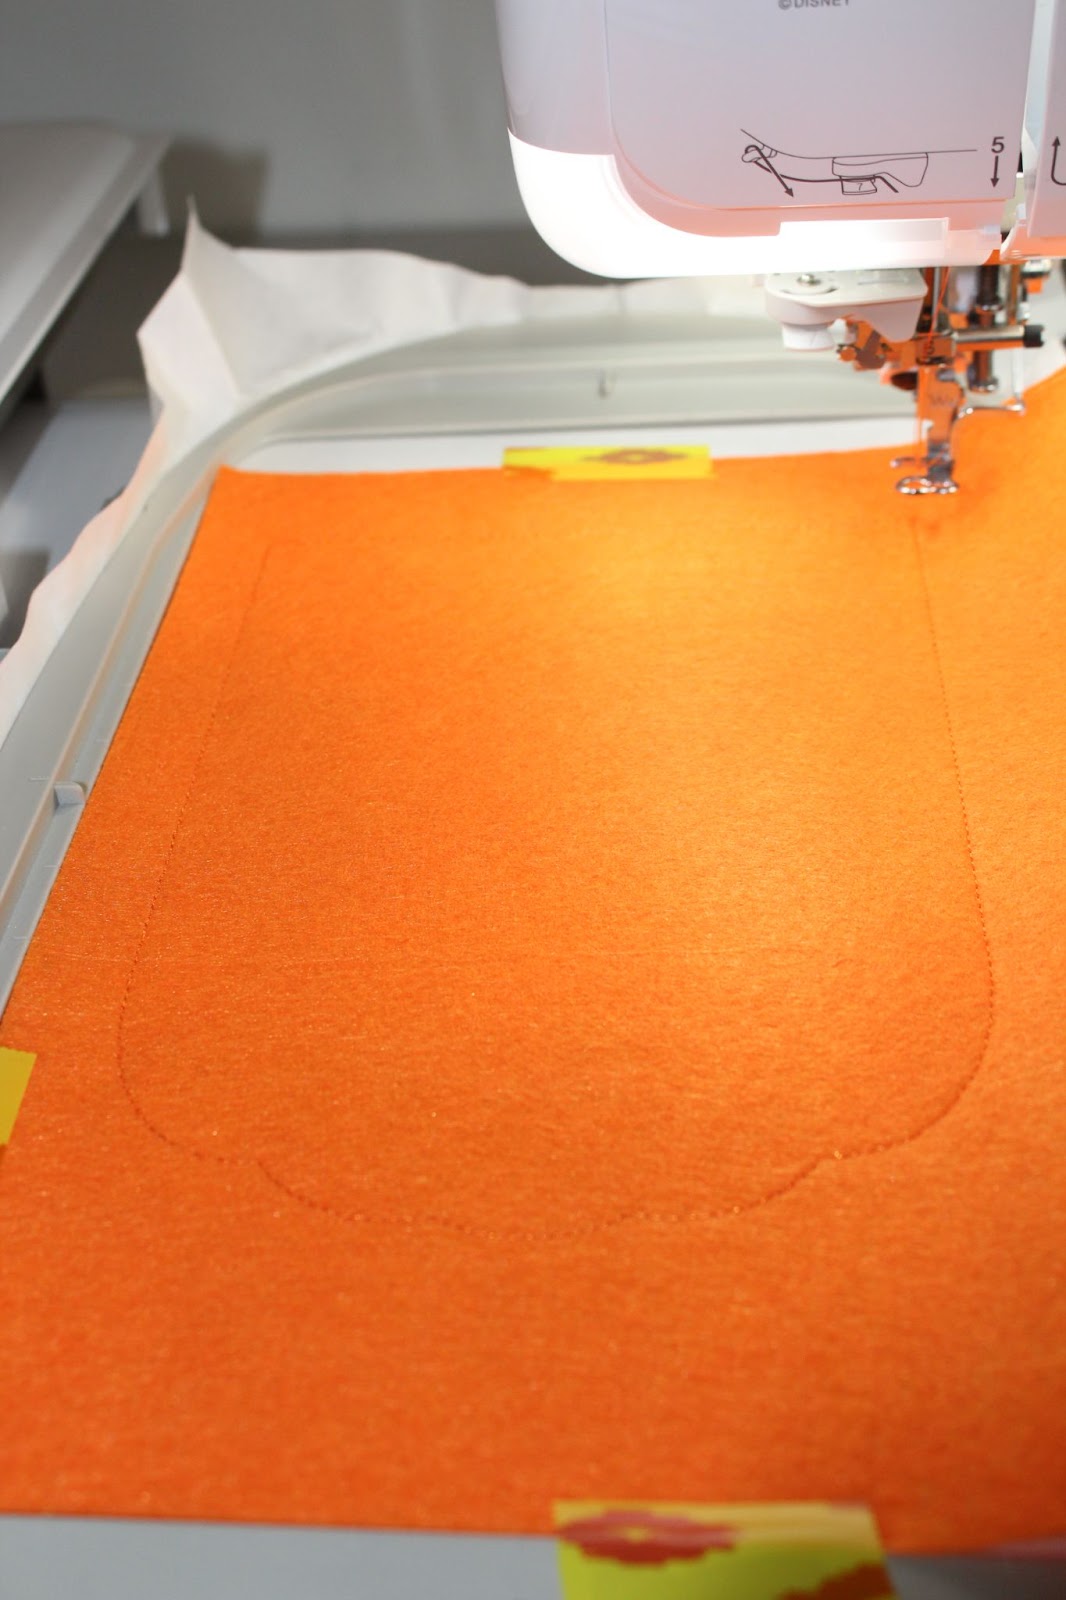
Step 2: Stitch the placement line for the first piece of applique fabric.
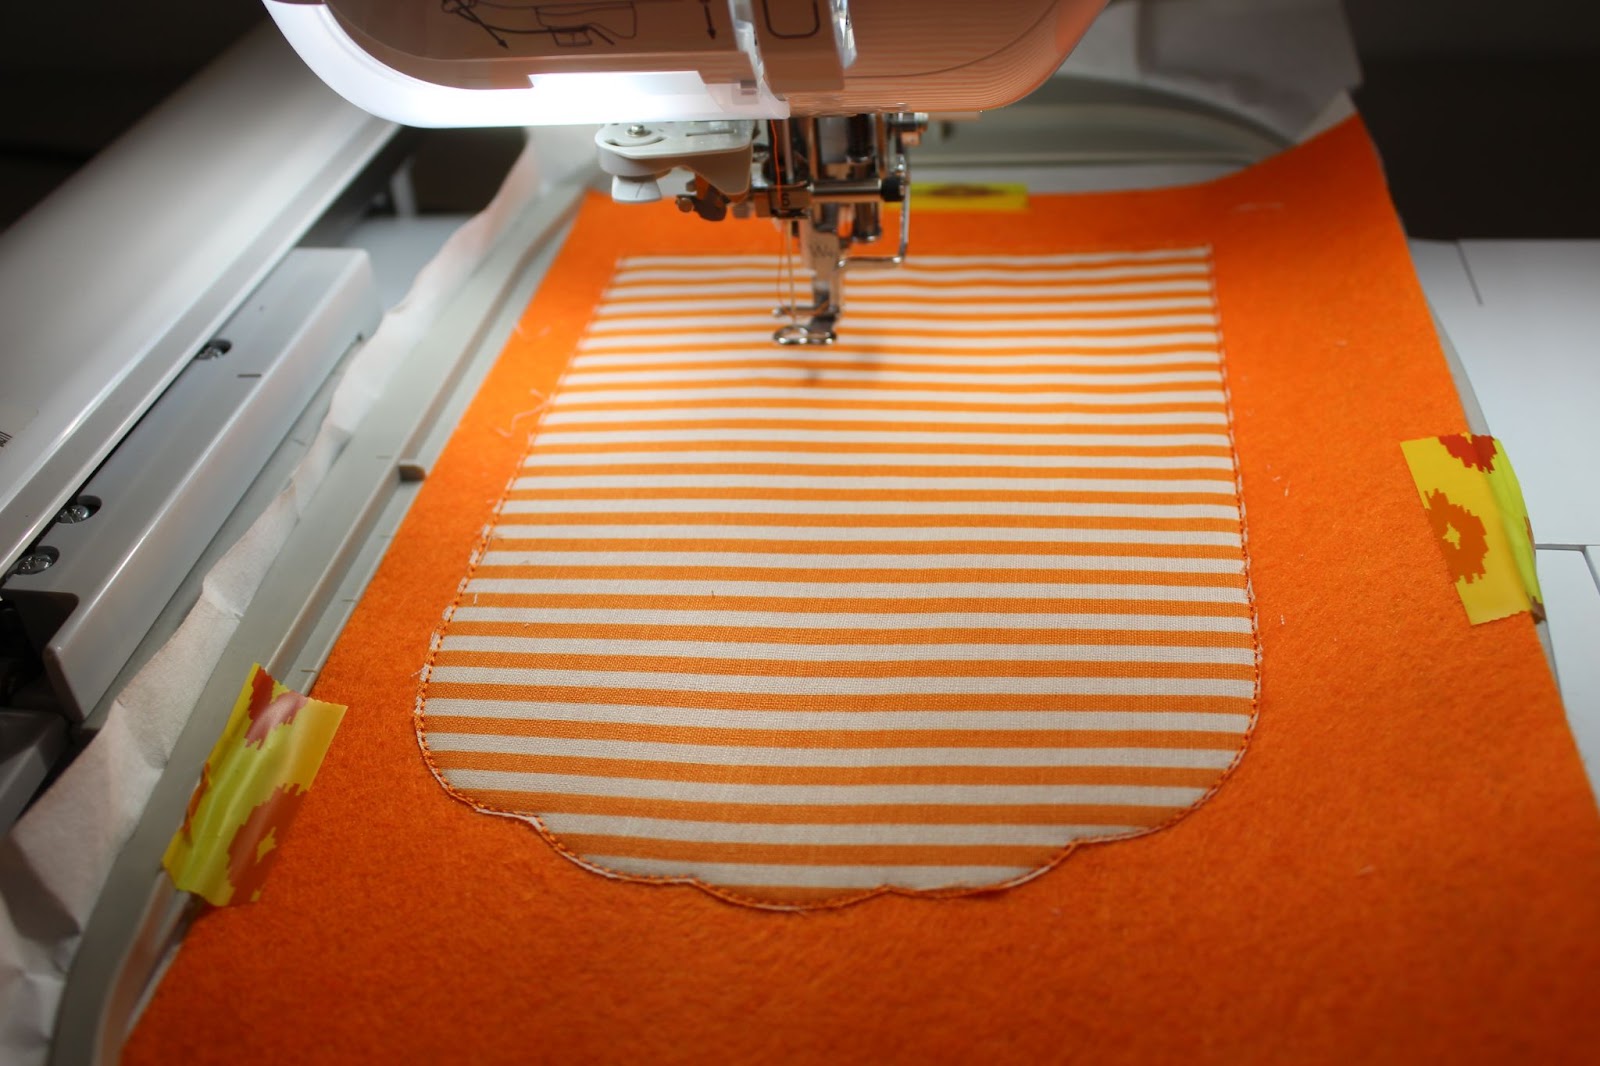
Step 3: Place your applique fabric on top of the placement line and run the tack-down stitches.
Step 4: Using applique scissors, carefully trim around the fabric, making sure not to cut the tack-down stitches.
Step 5: Repeat steps 3 & 4 as necessary for all applique pieces.
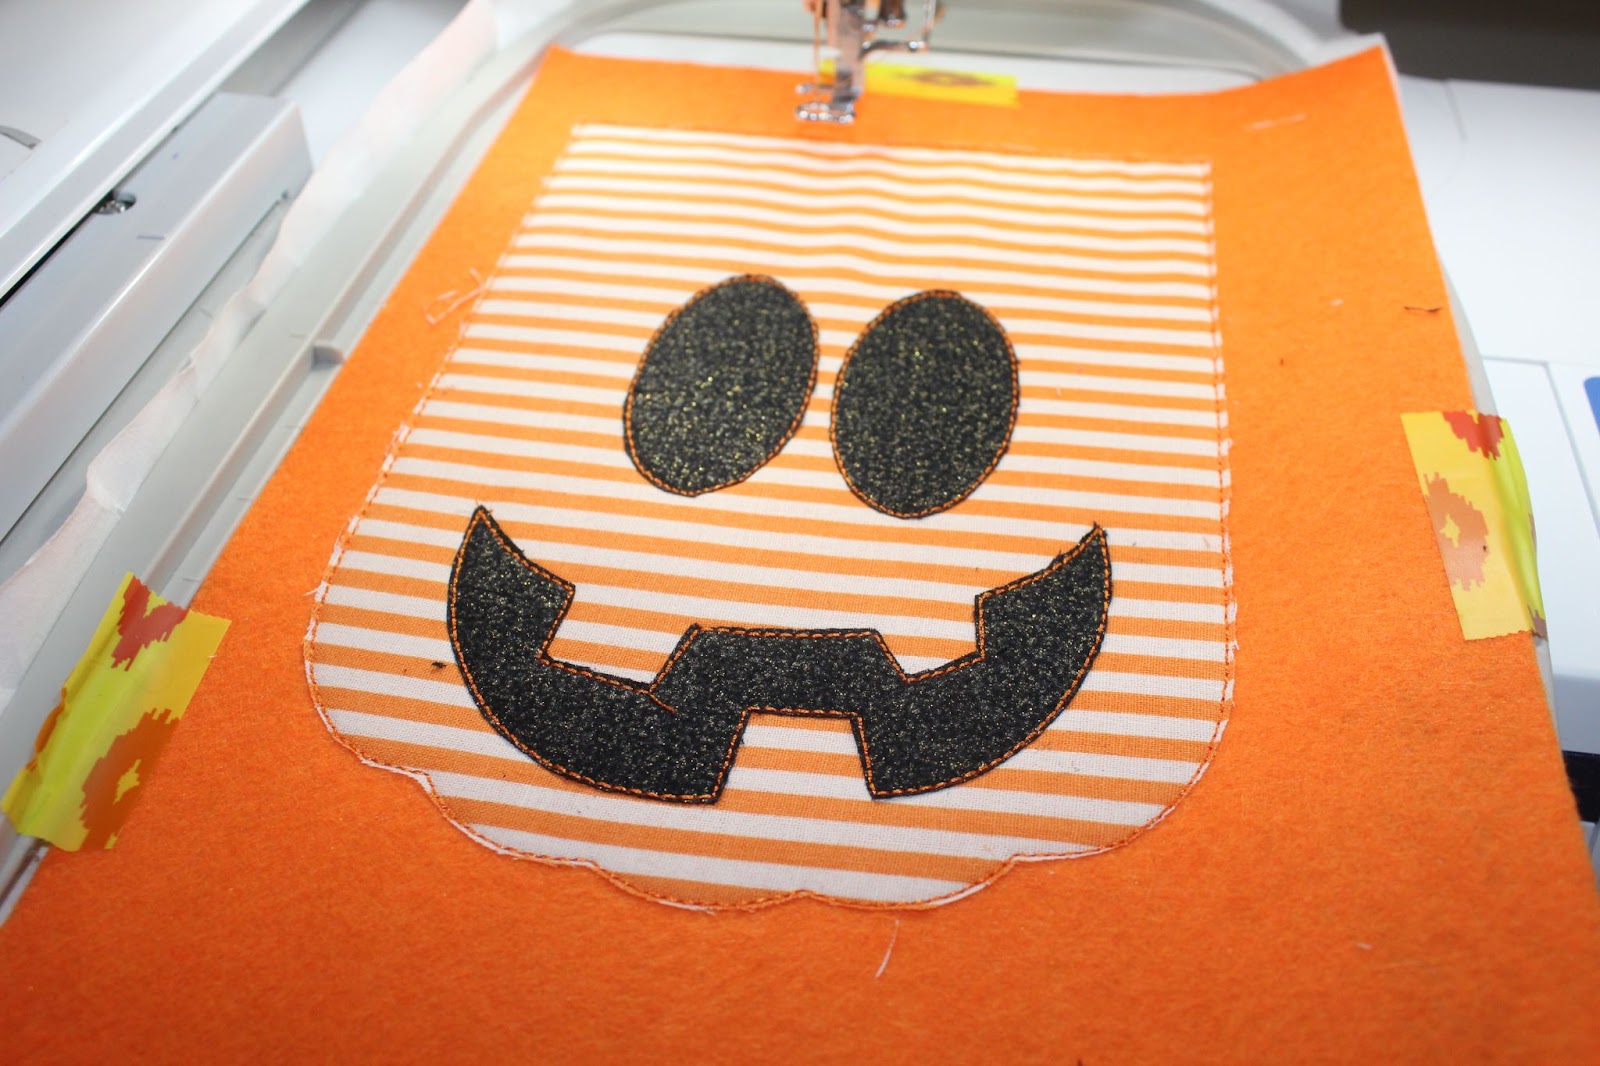
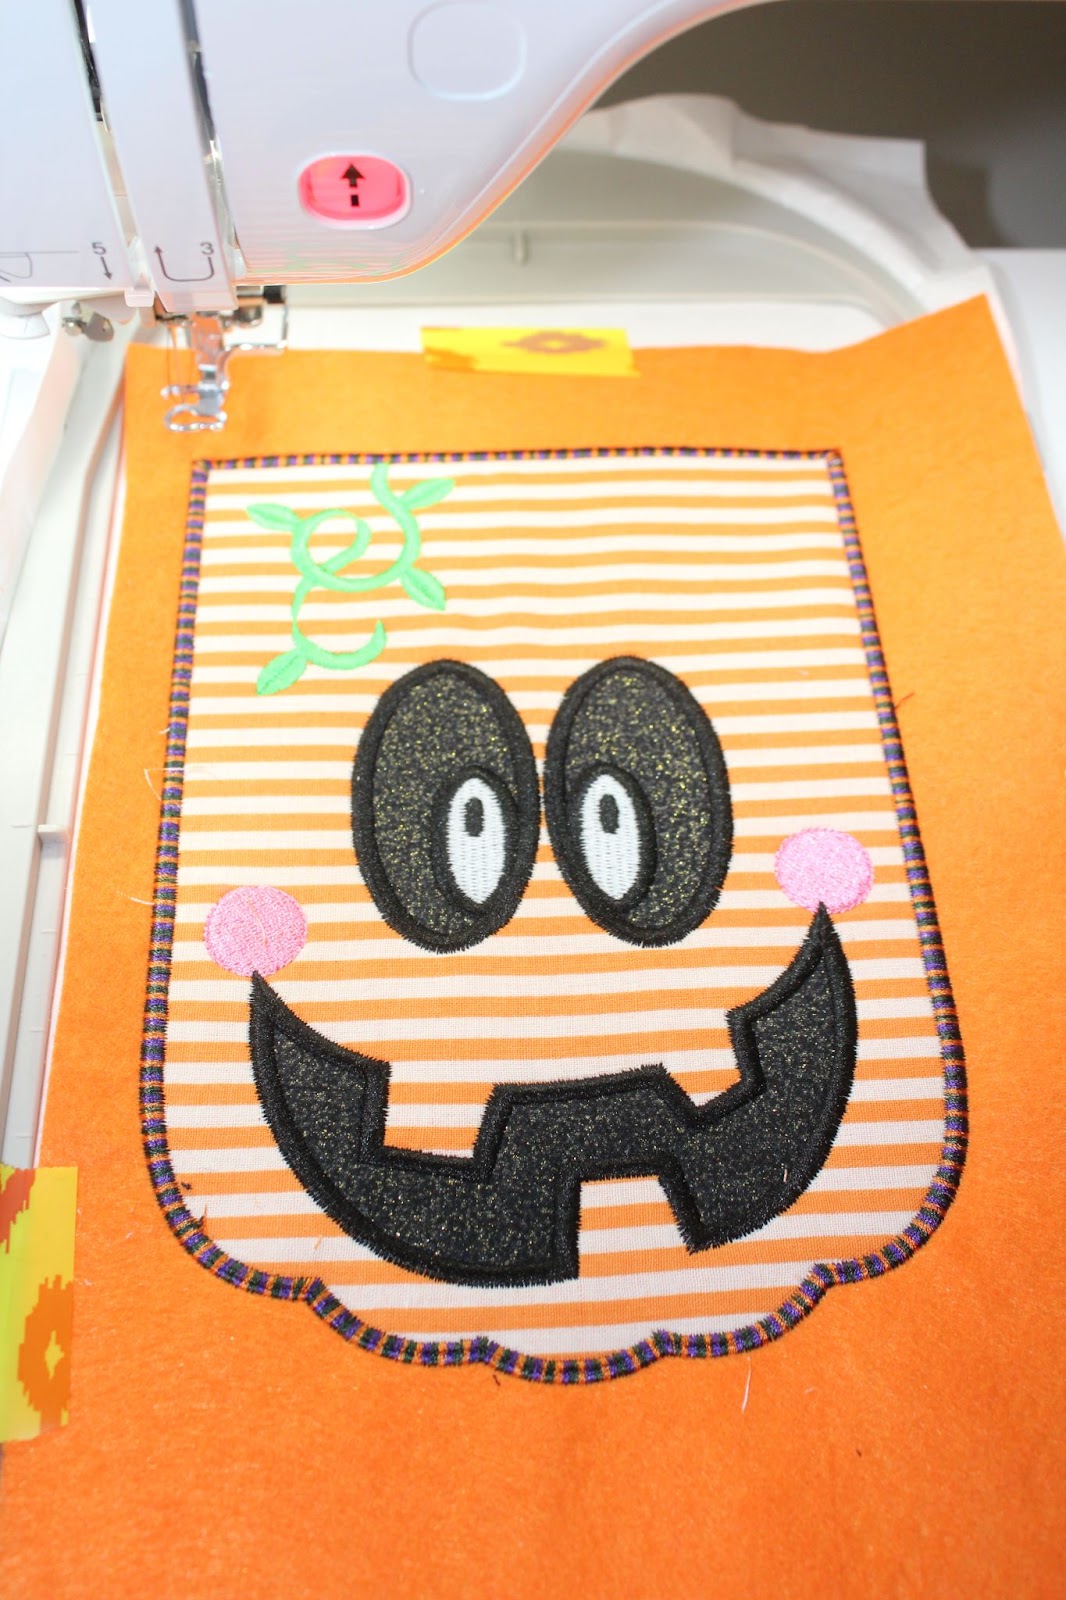
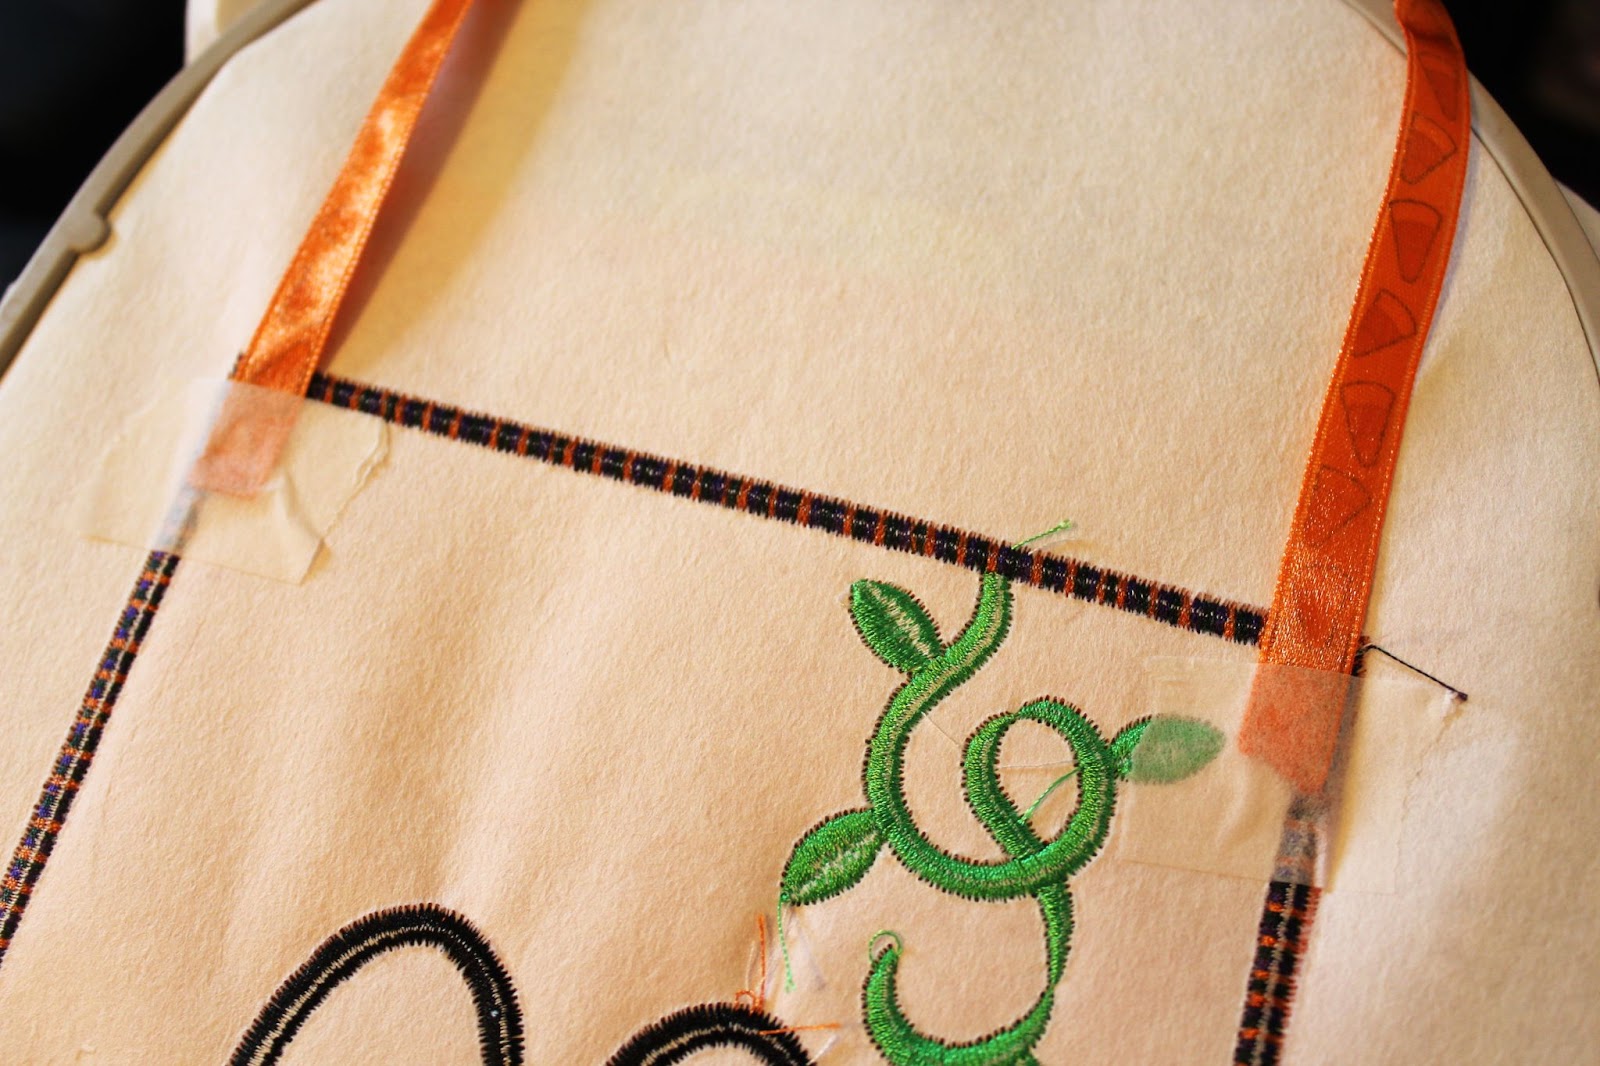
Step 6: Stitch all satin and decorative stitches (e.g., eyes, mouth, vine, etc.).
Step 7: Next, it is time to make the handle for your treat bag. Trim your ribbon accordingly or use the recommended length guidelines in the PDF instructions.
Pro tip: To prevent fraying, use Fray Check or a lighter to seal the ends of your ribbon before attaching to your treat bag.
Step 8: Remove the hoop from your machine and flip it over to the underside; you should see your stabilizer and bobbin thread. Secure your ribbon to the top corners of the bag, as shown in the picture below.
Step 9: Place your hoop back on your machine, making sure the handle is secured to the back and out of the stitch path. Run the ribbon handle tack-down stitches.

Step 10: Again, remove the hoop from your machine and check the tack-down stitches for the handle. Next, secure a piece of felt on the underside of the hoop using tape. Make sure the felt is large enough to cover the entire treat bag design and has some overhang for trimming the final bag.
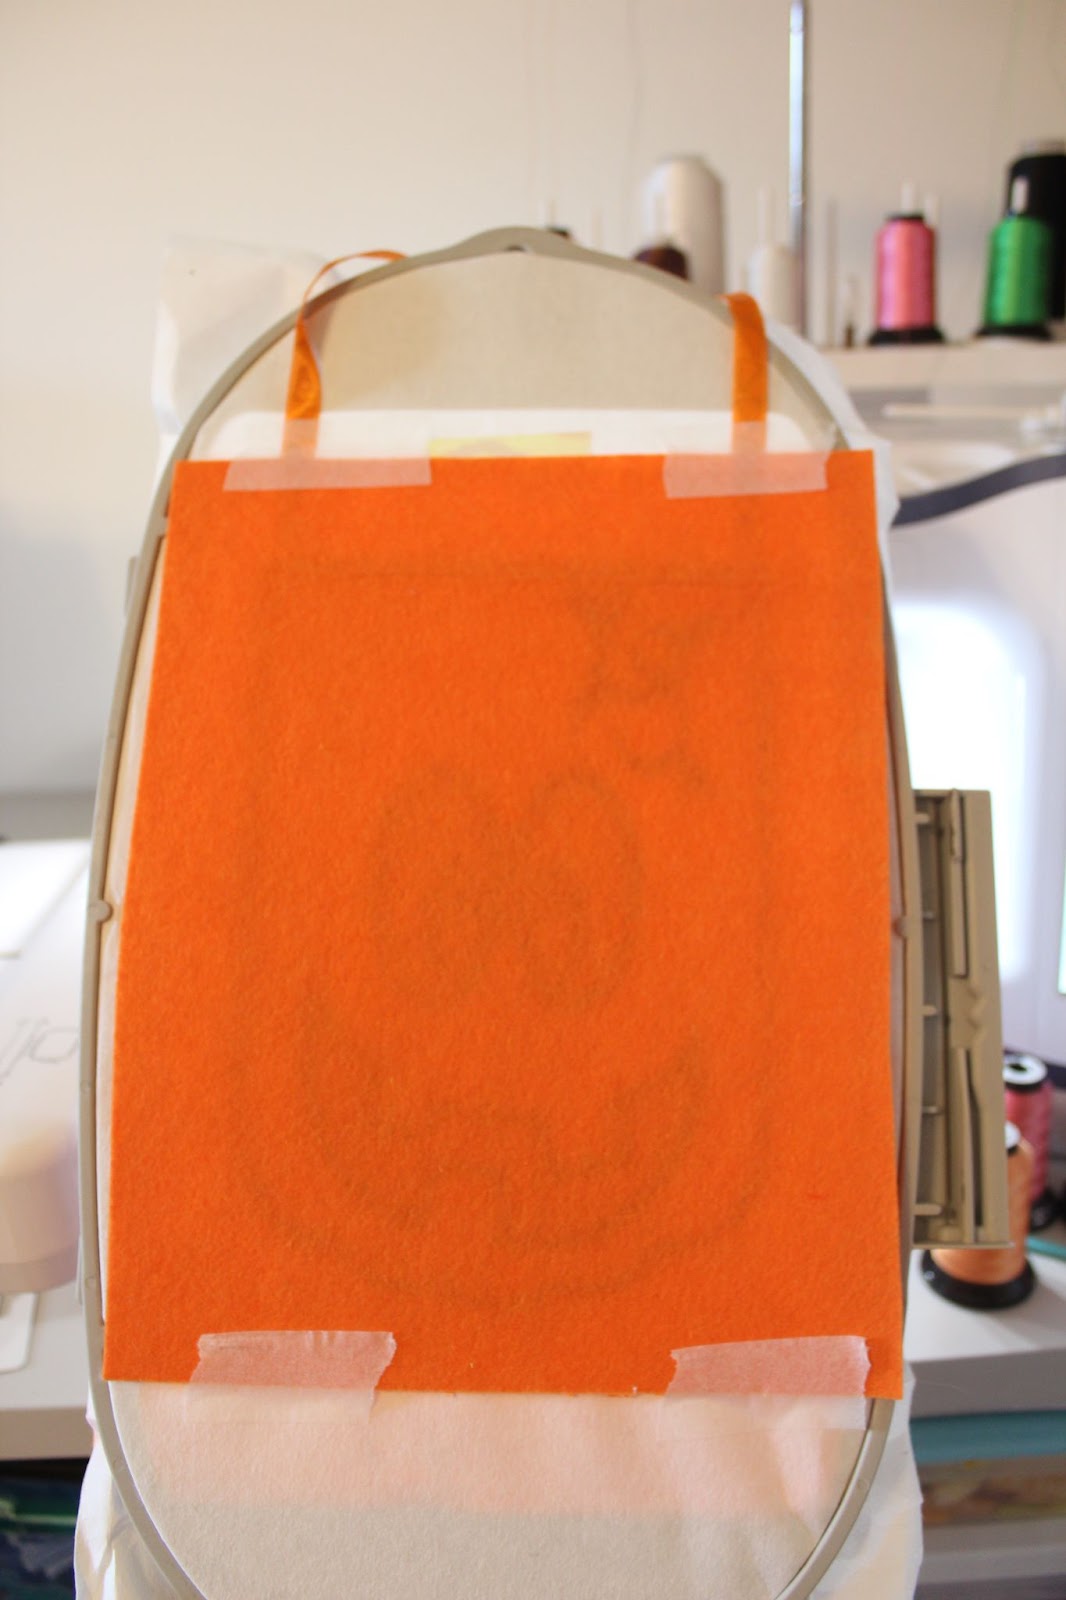
Step 11: Place the hoop back on your machine and run the final tack-down stitch.
Step 12: Remove the treat bag from the hoop. Tear away all stabilizer and trim any remaining thread.
Step 13: Using scissors or pinking shears, carefully cut around the treat bag design. Use caution when trimming around the handle.
Step 14: Fill your treat bag with goodies and spread some Halloween happiness!
The treat bags are one of my favorite ITH projects because they are adorable and “sew” fun to stitch! I have used these treat bags many times for the kindergarteners in my classroom and for my daughter’s daycare friends. The 4x4 size is perfect for little hands.
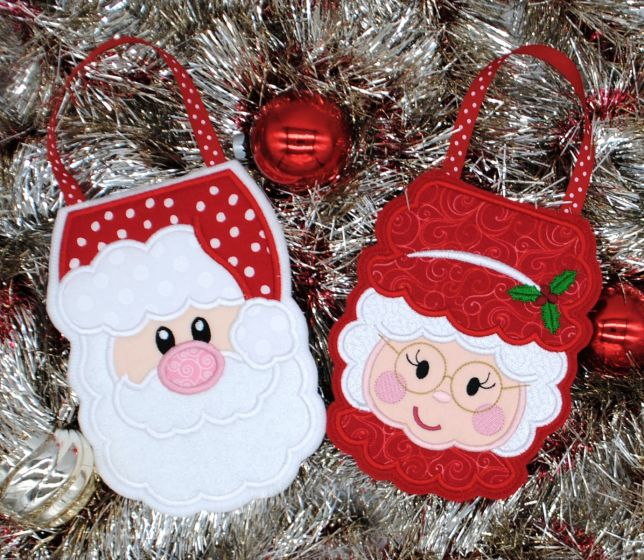
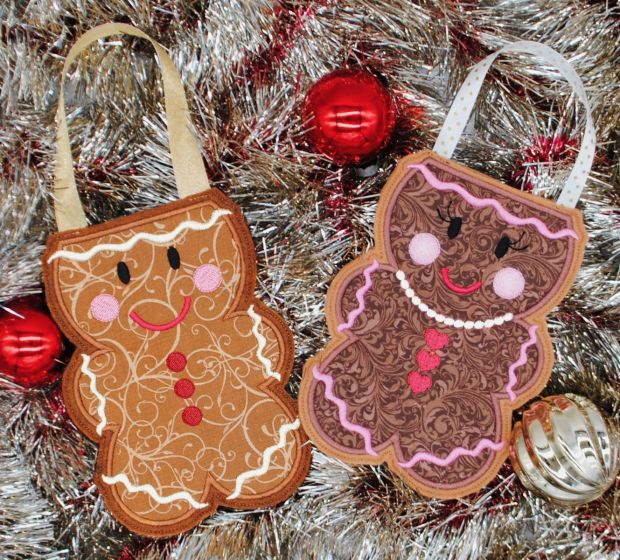
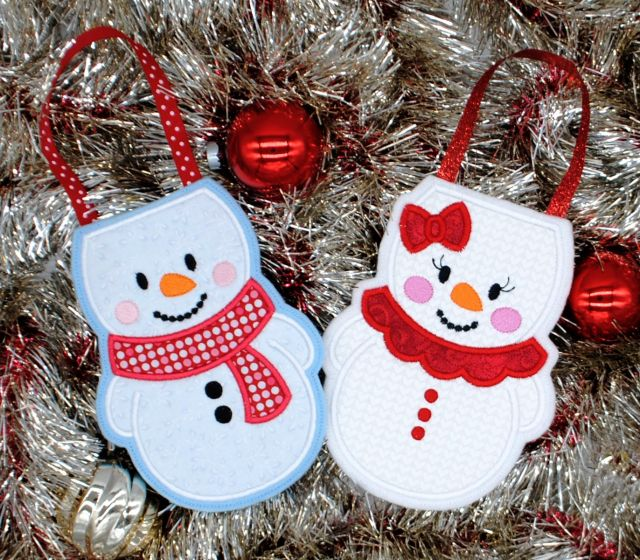
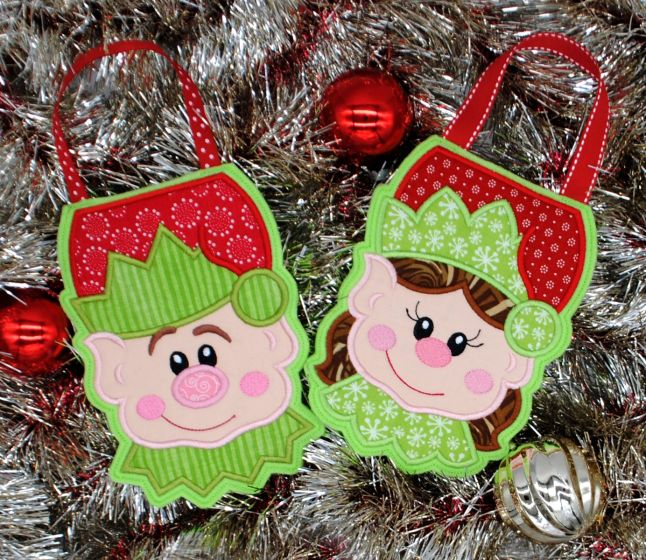
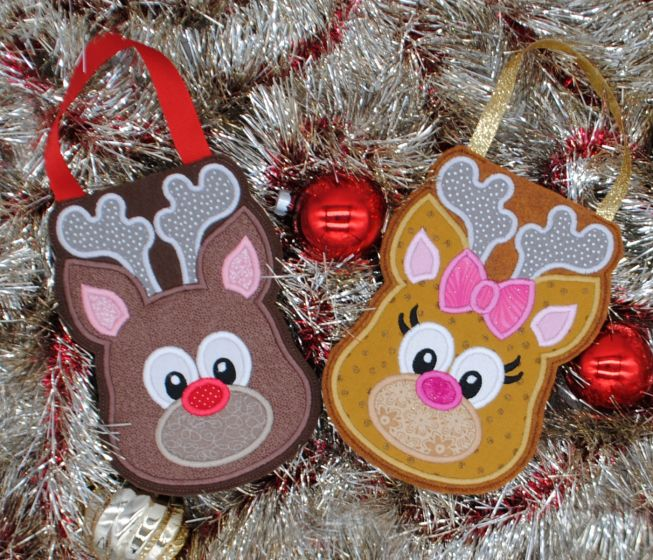
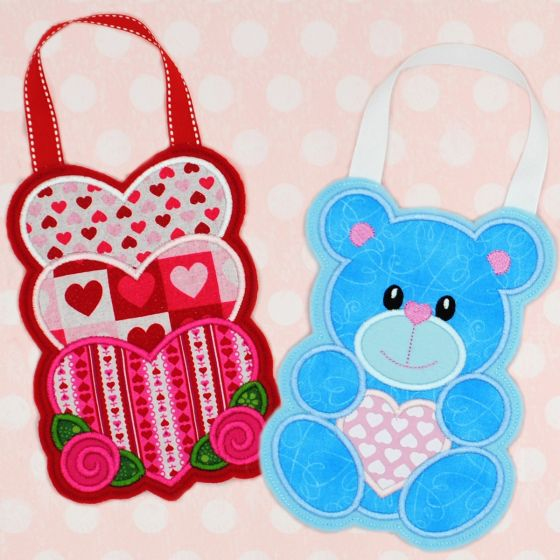
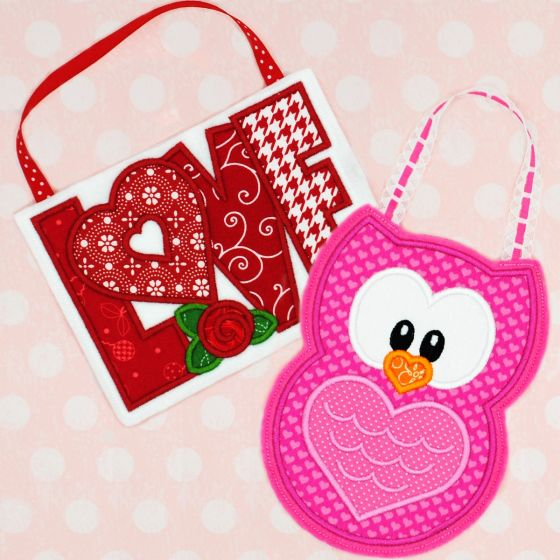
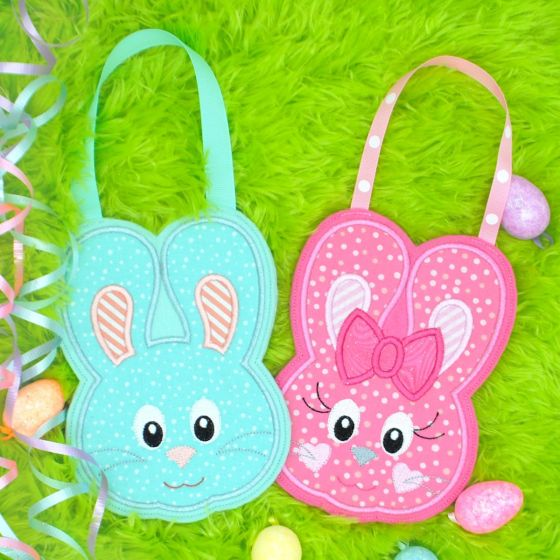
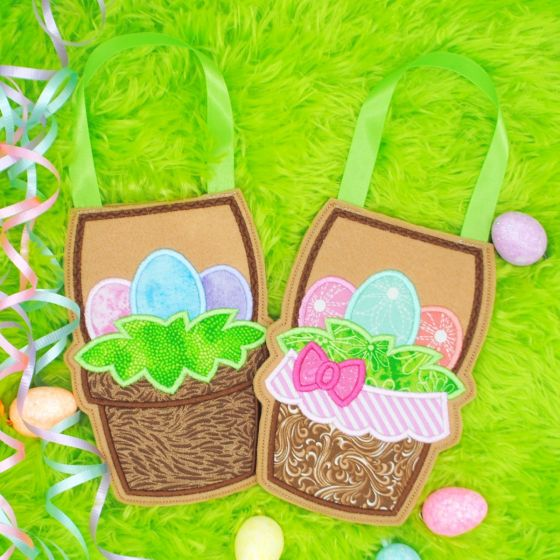
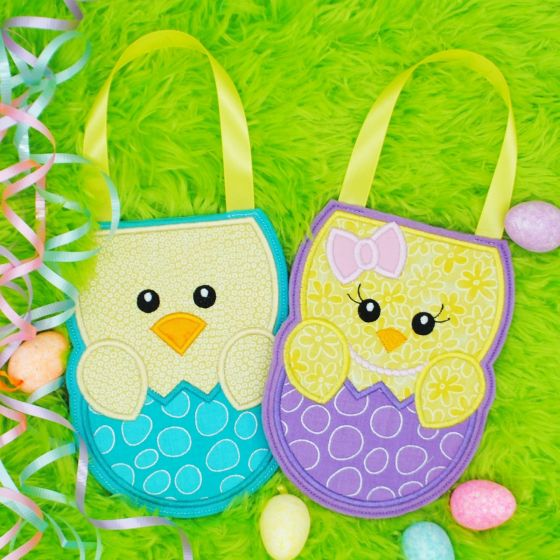
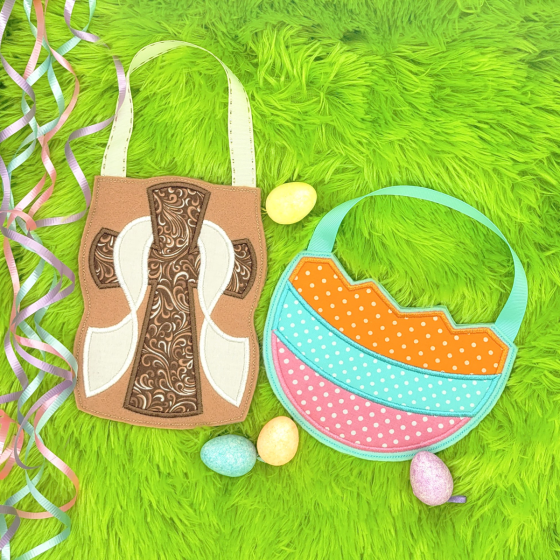
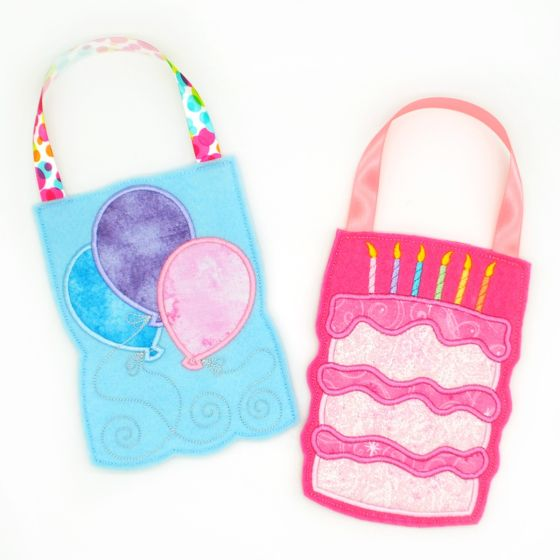
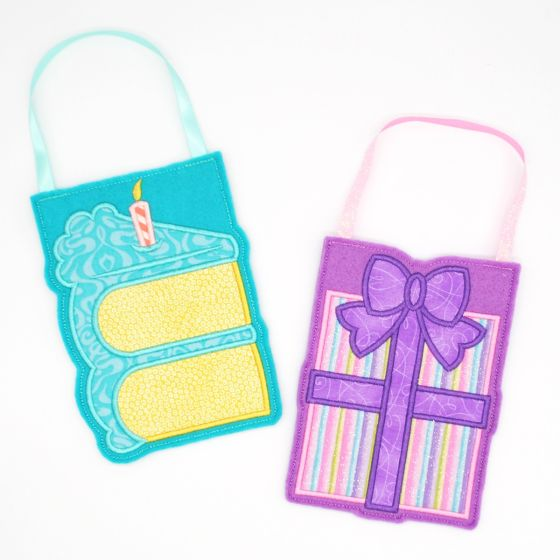
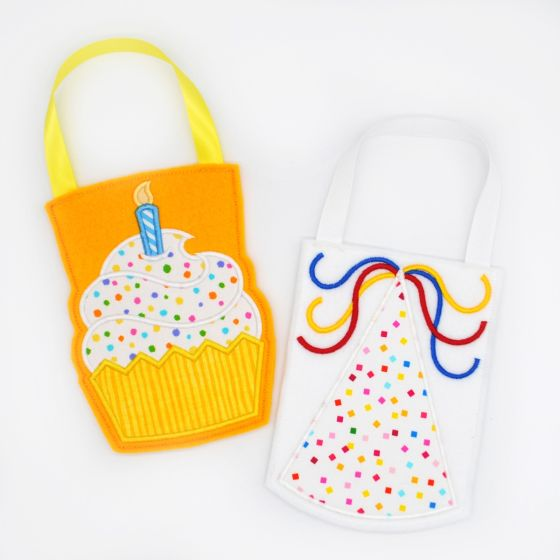
Looking for other holiday and special occasion treat bags? DBJJ has you covered. Check out these other awesome options for all your stitching needs.
I hope you enjoyed today’s tutorial on ITH treat bags. Don't forget to share your creations with us on social media using the hashtag #designsbyjuju. We can’t wait to see what you make!