Posted on September 27 2024 by Michelle Christiansen
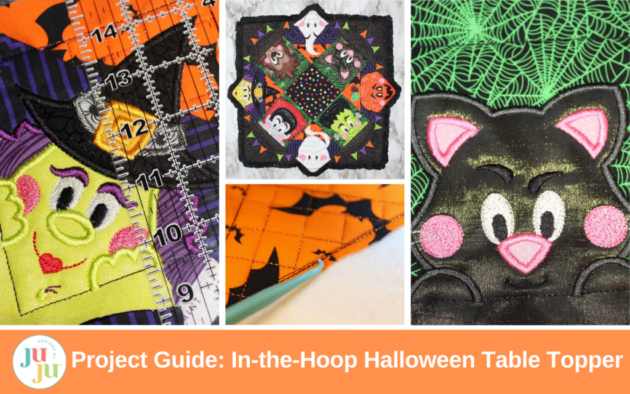
The leaves are falling and the weather is changing; autumn is finally here. And along with autumn comes Halloween! Designs by JuJu has some fa-BOO-lous Halloween in-the-hoop (ITH) decor options available to help get your home in the spooky season spirit.
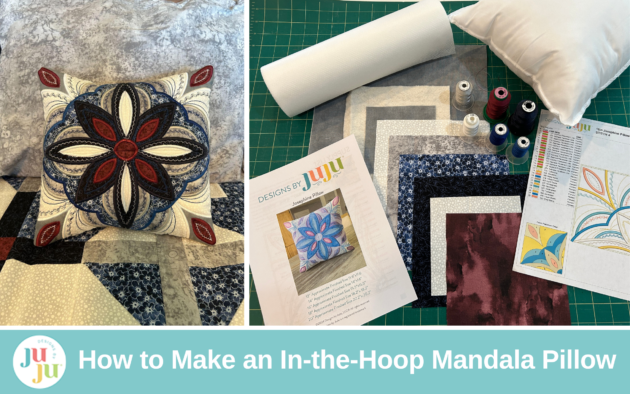
When I first saw these mandala embroidery designs, I was in love. They look amazing and I couldn’t wait to make one.
Mandala designs, with their intricate patterns and harmonious symmetry, have long been celebrated for their meditative and calming qualities. Combining this timeless art form with the coziness of a pillow creates a perfect blend of beauty and function. Whether you're a seasoned embroiderer or just starting out, this project will guide you step-by-step through the process of creating your very own mandala pillow.
Posted on September 6 2024 by Michelle Christiansen
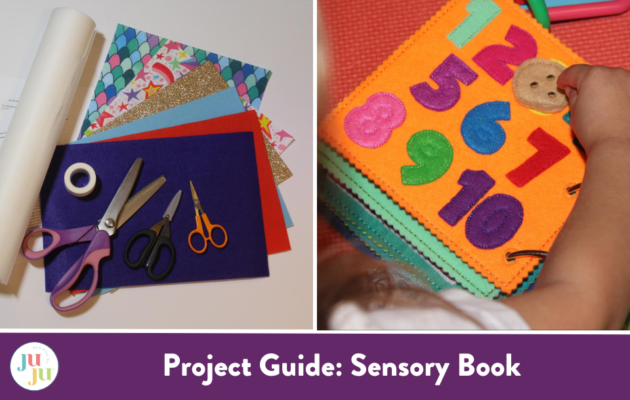
Sensory books, also known as busy books and quiet books, are absolutely wonderful for little hands and minds. Not only do sensory books help to keep kiddos busy, but with , the options for customization are endless. You are sure to find many unique and engaging options to meet the sensory needs of all ages of kiddos.
It’s always nice to have a homemade card to give with any gift. The embroidered cards that Designs by Juju create always turn out amazing. I get so many compliments from everyone that sees them. People are always so amazed that you can do embroidery on cards. Embroidered greeting cards can be used for a range of occasions: birthdays, anniversaries, graduations, get well soon, or whatever you’re celebrating. Let’s learn how to make machine embroidery cards.
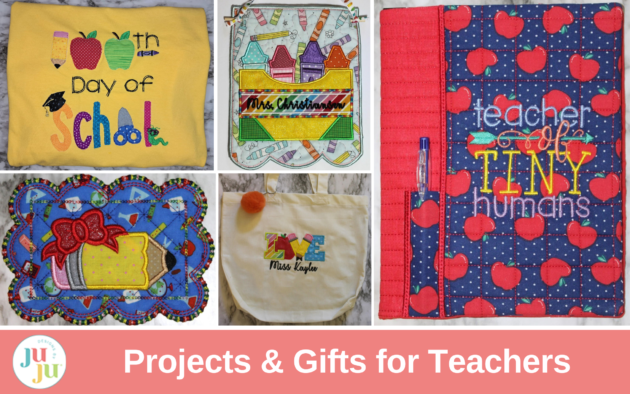
The back-to-school season is fast approaching and may even have begun for some. In today’s blog post, we will be exploring five projects with educators in mind.
 Inspire.
Create.
Stitch.
Inspire.
Create.
Stitch.