Toggle Nav
 Inspire.
Create.
Stitch.
Inspire.
Create.
Stitch.
Search
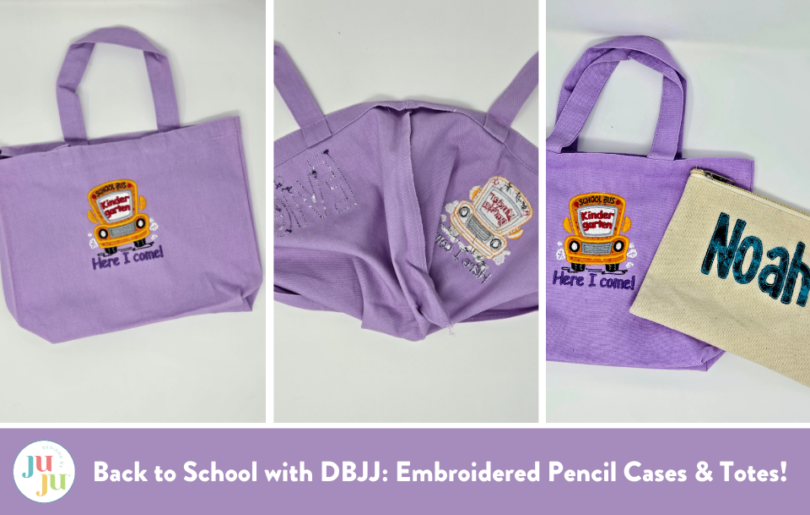
Back-to-school season is such an exciting time and everyone’s looking for more back-to-school essentials. If you’re short on time, but want to create something special for your little, loved ones, personalizing ready-made items is a great option.
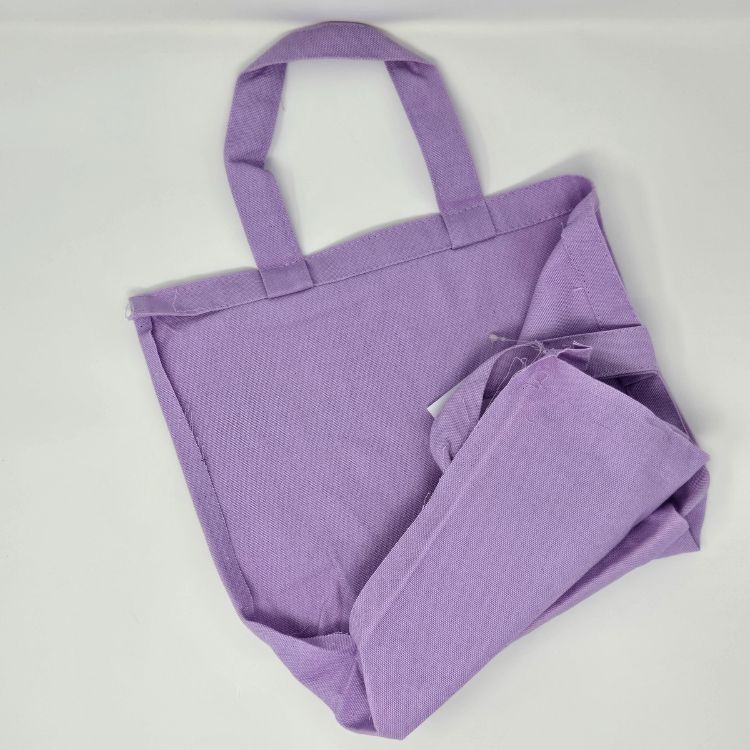
I found some cute totes and pencil cases at my local hobby store that are perfect for this project. The small canvas tote is great for carrying extra clothes and the pencil case is ideal for keeping school supplies organized. In this article, I'll show you how to add adorable embroidery designs to these items, making them both practical and personal.
Some of JuJu’s favorite supplies can be found in her Amazon store, JuJu’s Favorites.
Once you have chosen and downloaded your designs, you are ready to begin.
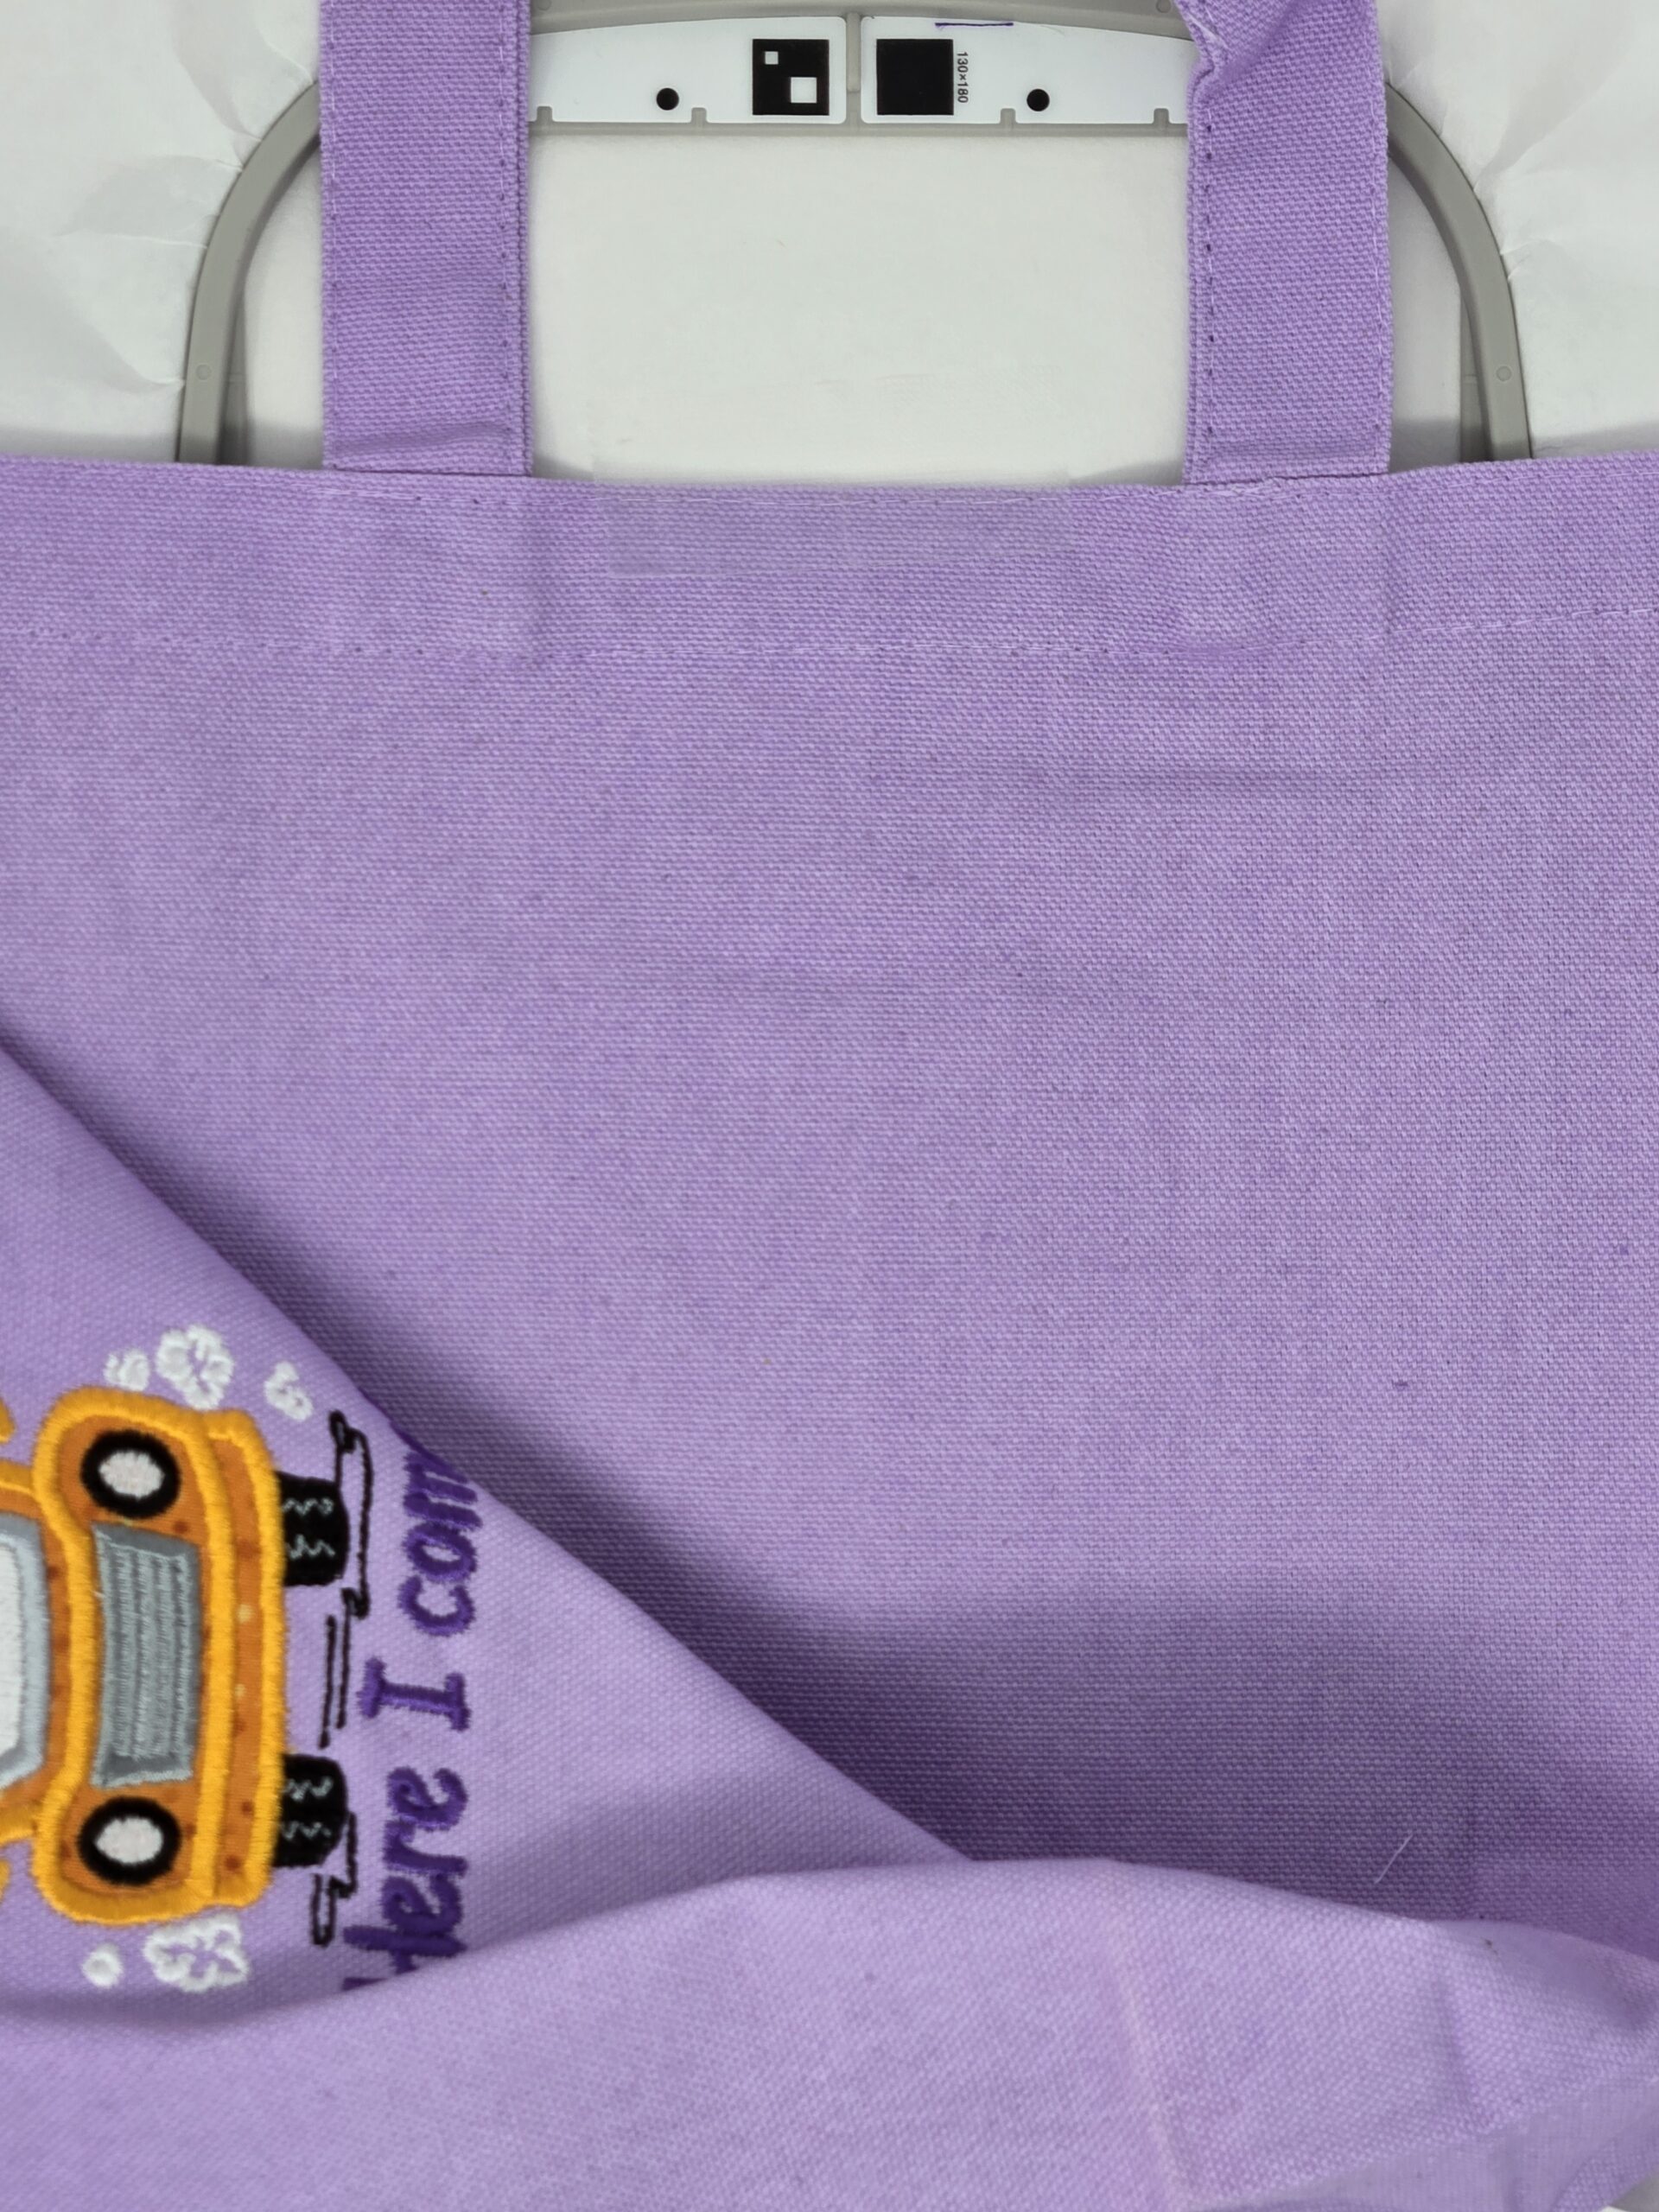
The first thing I did was take out one side seam of the tote. This makes it much easier to embroider on my single needle machine.
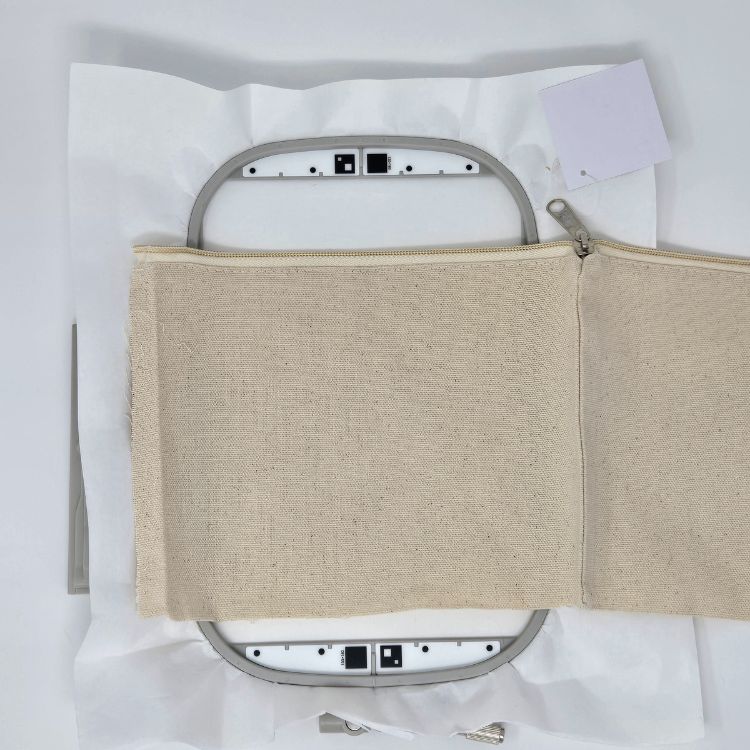
I hooped a medium weight tear away stabilizer and used some tape to float the tote. The canvas is quite heavy and didn’t shift at all. You can use a spray adhesive here if you’d like.
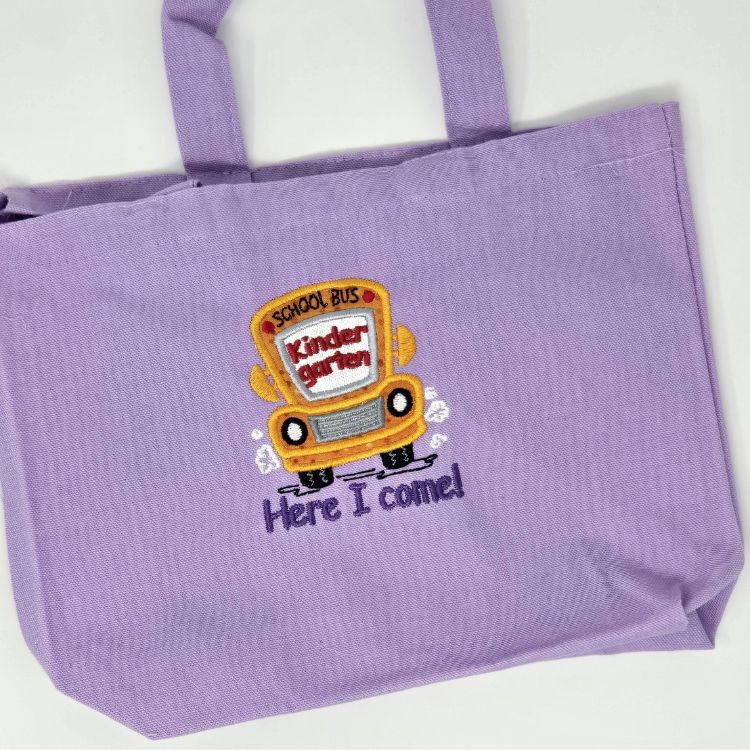
I embroidered the cute school bus on one side of the ready-made tote and a name on the other.
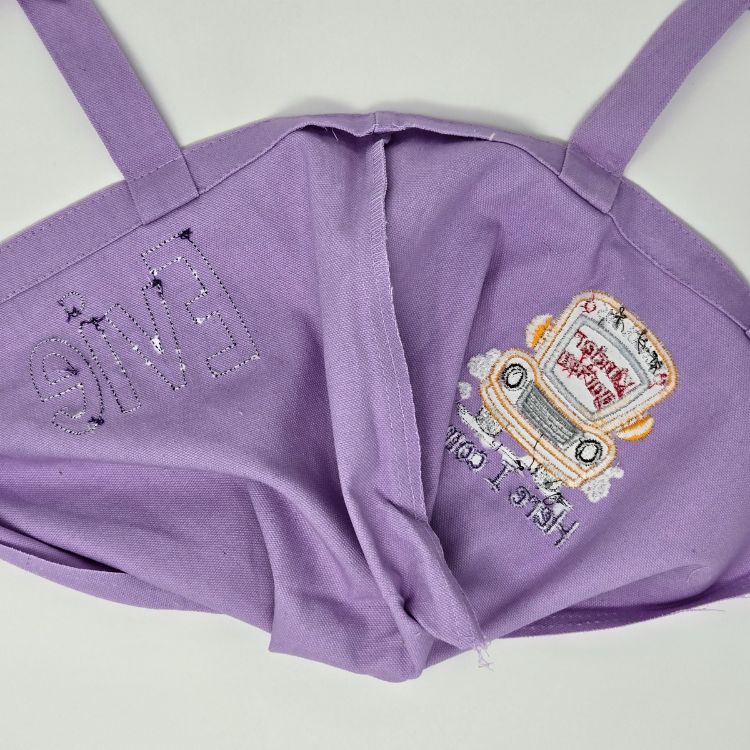
When you finish embroidering, trim your threads on the back, leaving about an eighth of an inch tail and remove the tear away stabilizer. Don’t worry about getting your leftover stabilizer out of every little spot. With use, it will soften and come out. If you see machine embroidered items in the store, you will notice that even high-end embroidered items often have bits of stabilizer left on the back.
It is very quick to stitch the side of the tote back up with your sewing machine. I reinforced the seam with a zigzag over the seam allowance.
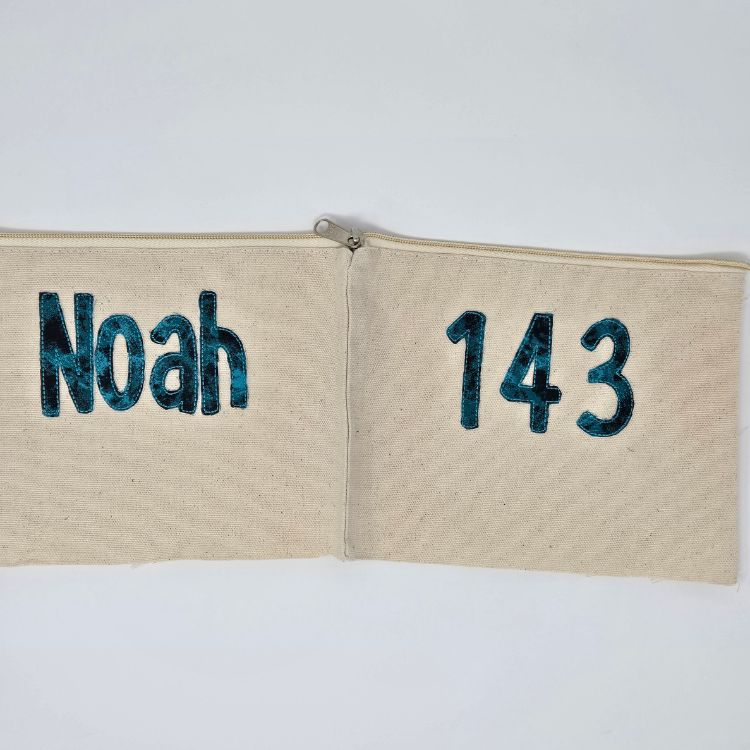
The ready-made pencil case was a little too small to only rip one side and get the name stitched out, so I also cut it along the bottom.
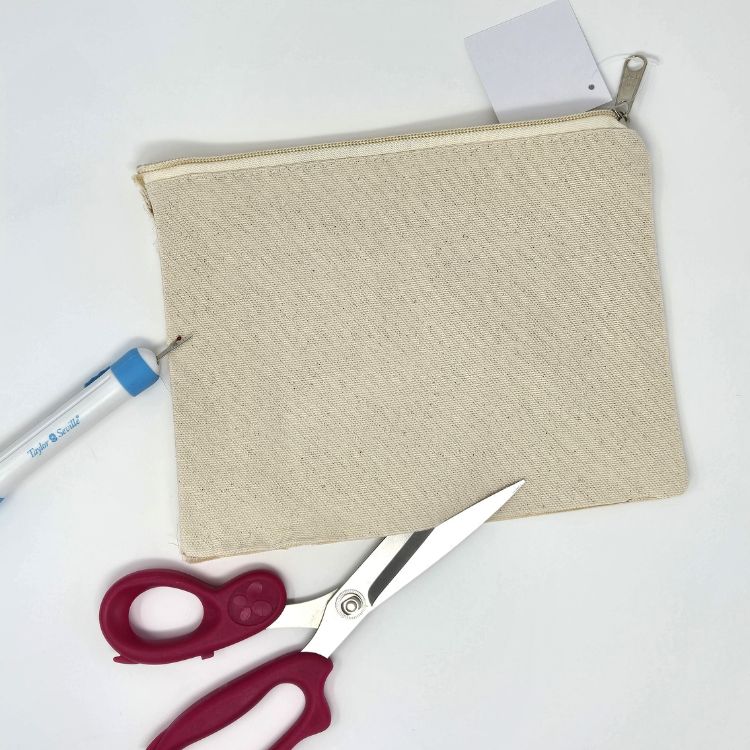
Open the zipper and cut the opposite end from the zipper pull. This keeps the pull in place so you don’t have to worry about reattaching it after you have finished your machine embroidery.
I hooped tear away stabilizer and taped my pencil case in place. The Daisy Doodle Bean Stitch Applique Alphabet is so quick to stitch.
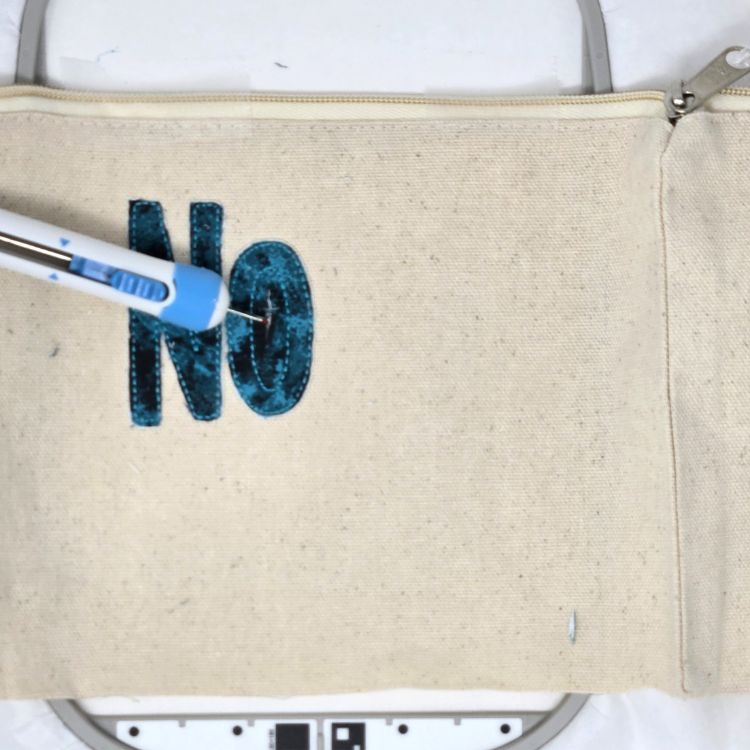
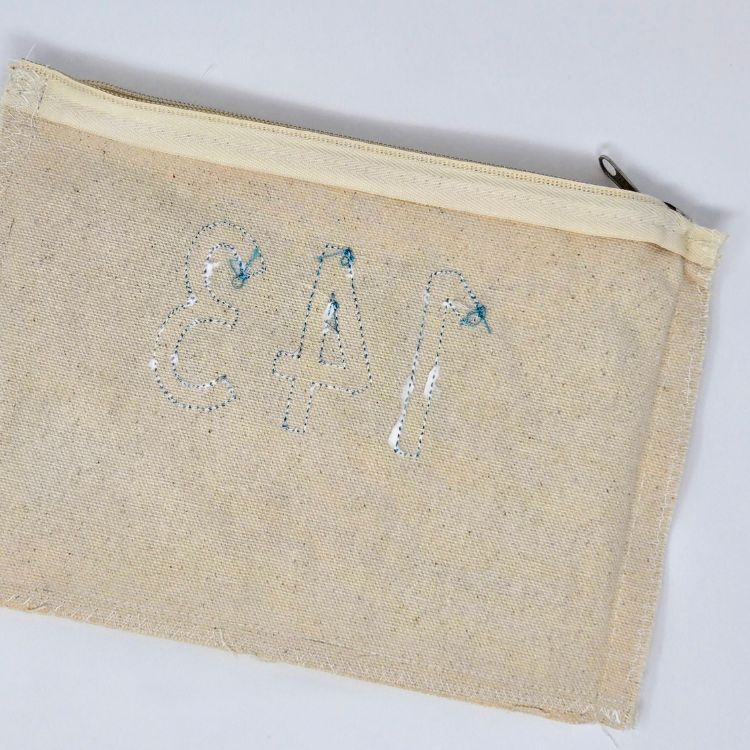
Trimming the letters is quick and easy with small, duck-billed, slanted snips. I used my seam ripper to get a start inside of the letters.
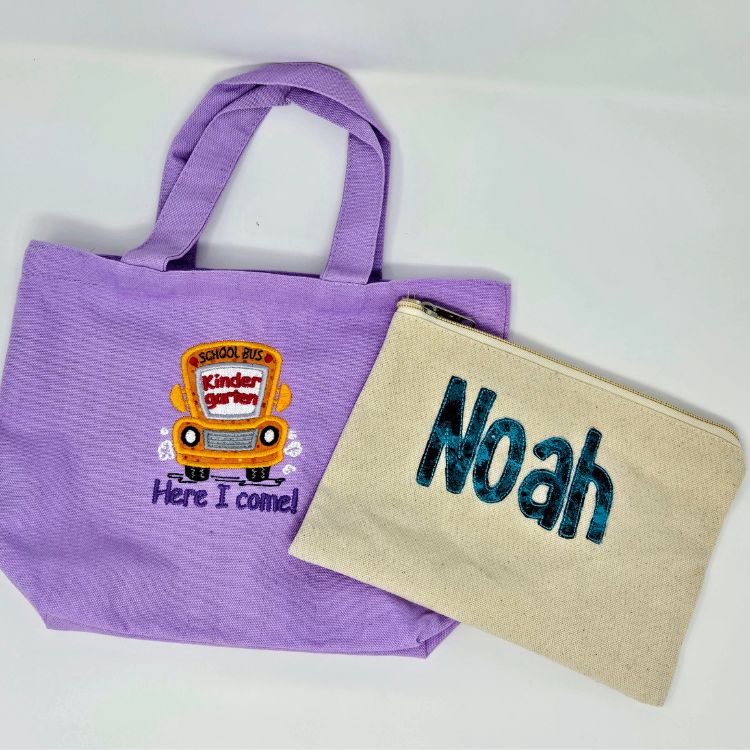
There you have it: two, adorable, back-to-school gifts, ready for the little ones in your life. These custom creations are sure to bring a smile to their faces. I hope this project inspires you to explore more ways to add a personal touch to everyday items. Happy embroidering and here’s to a fantastic school year ahead!
If you loved this project, you’ll find plenty more just like it in our Bags Hub—a curated collection of quick, creative, and practical projects perfect for gifting (or keeping!)
If you decide to surprise your littles with some back-to-school, personalized, embroidered, pencil cases or totes, please share them with us on social media using #designsbyjuju!
