Toggle Nav
 Inspire.
Create.
Stitch.
Inspire.
Create.
Stitch.
Search
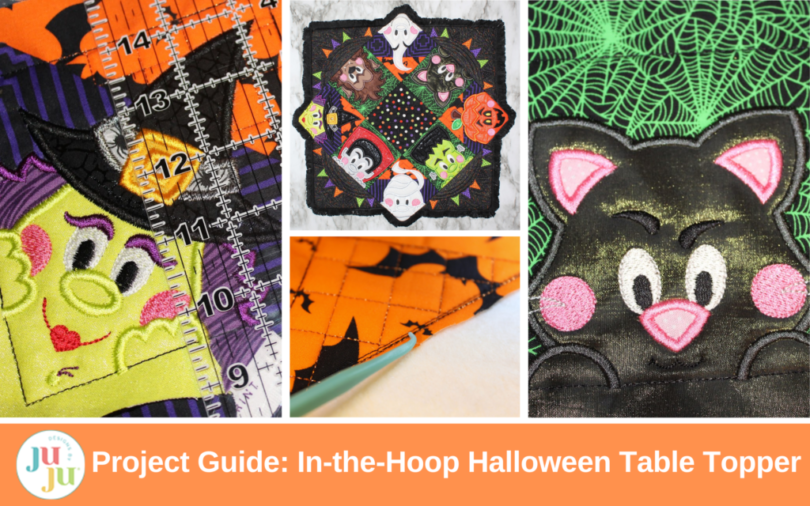
The leaves are falling and the weather is changing; autumn is finally here. And along with autumn comes Halloween! Designs by JuJu has some fa-BOO-lous Halloween in-the-hoop (ITH) decor options available to help get your home in the spooky season spirit.
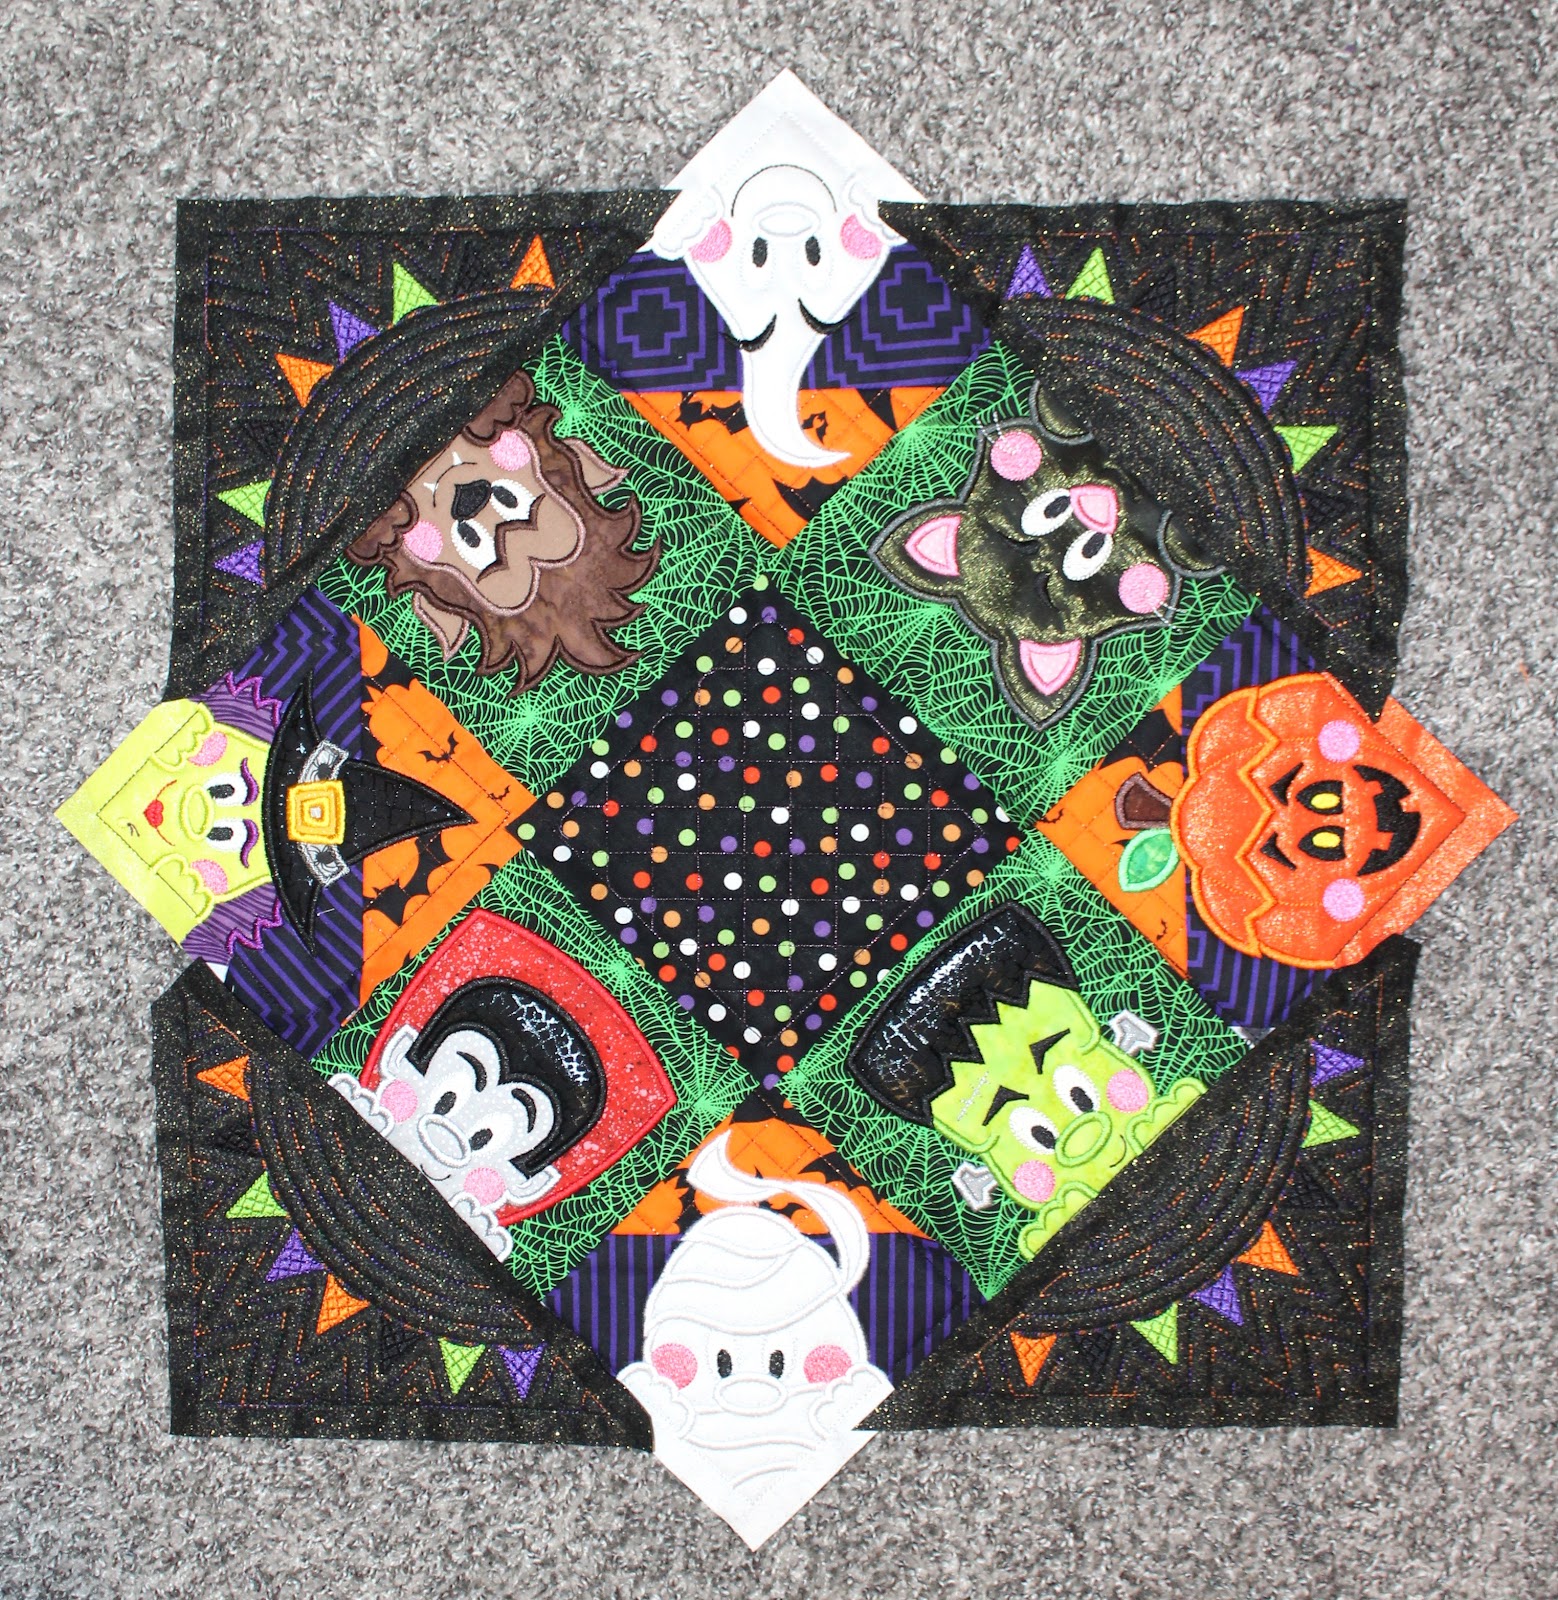
For today’s blog post, I will be showing you how to create the ITH Halloween Table Topper. This table topper, along with many of the other ITH projects available from DBJJ, is sure to make your home truly SPOOKtacular this season.
**Check out the DBJJ team’s favorite supplies in the Designs by JuJu Amazon store.**
The Halloween Table Topper is composed of four base block designs. Design 1 (blocks A, B, C, D), Design 2 (blocks E, F, G, H), Design 3 (block I), and Design 4 (block J). All of the blocks are stitched using cut-away stabilizer as the foundation. Below, I will outline the steps for how to stitch each of the four designs to create your Halloween Table Topper.
Becky from Power Tools with Thread also has a two-part YouTube video series detailing how to create the DBJJ Patriotic Table Topper. Part 1 dives into fabric selection/prep and how to stitch the embroidery blocks. The basic steps to create both the Patriotic Table Topper and the Halloween Table Topper are very similar. Reference the PDF instructions included with your purchase for design-specific information.
Stitching the Halloween Table Topper Blocks
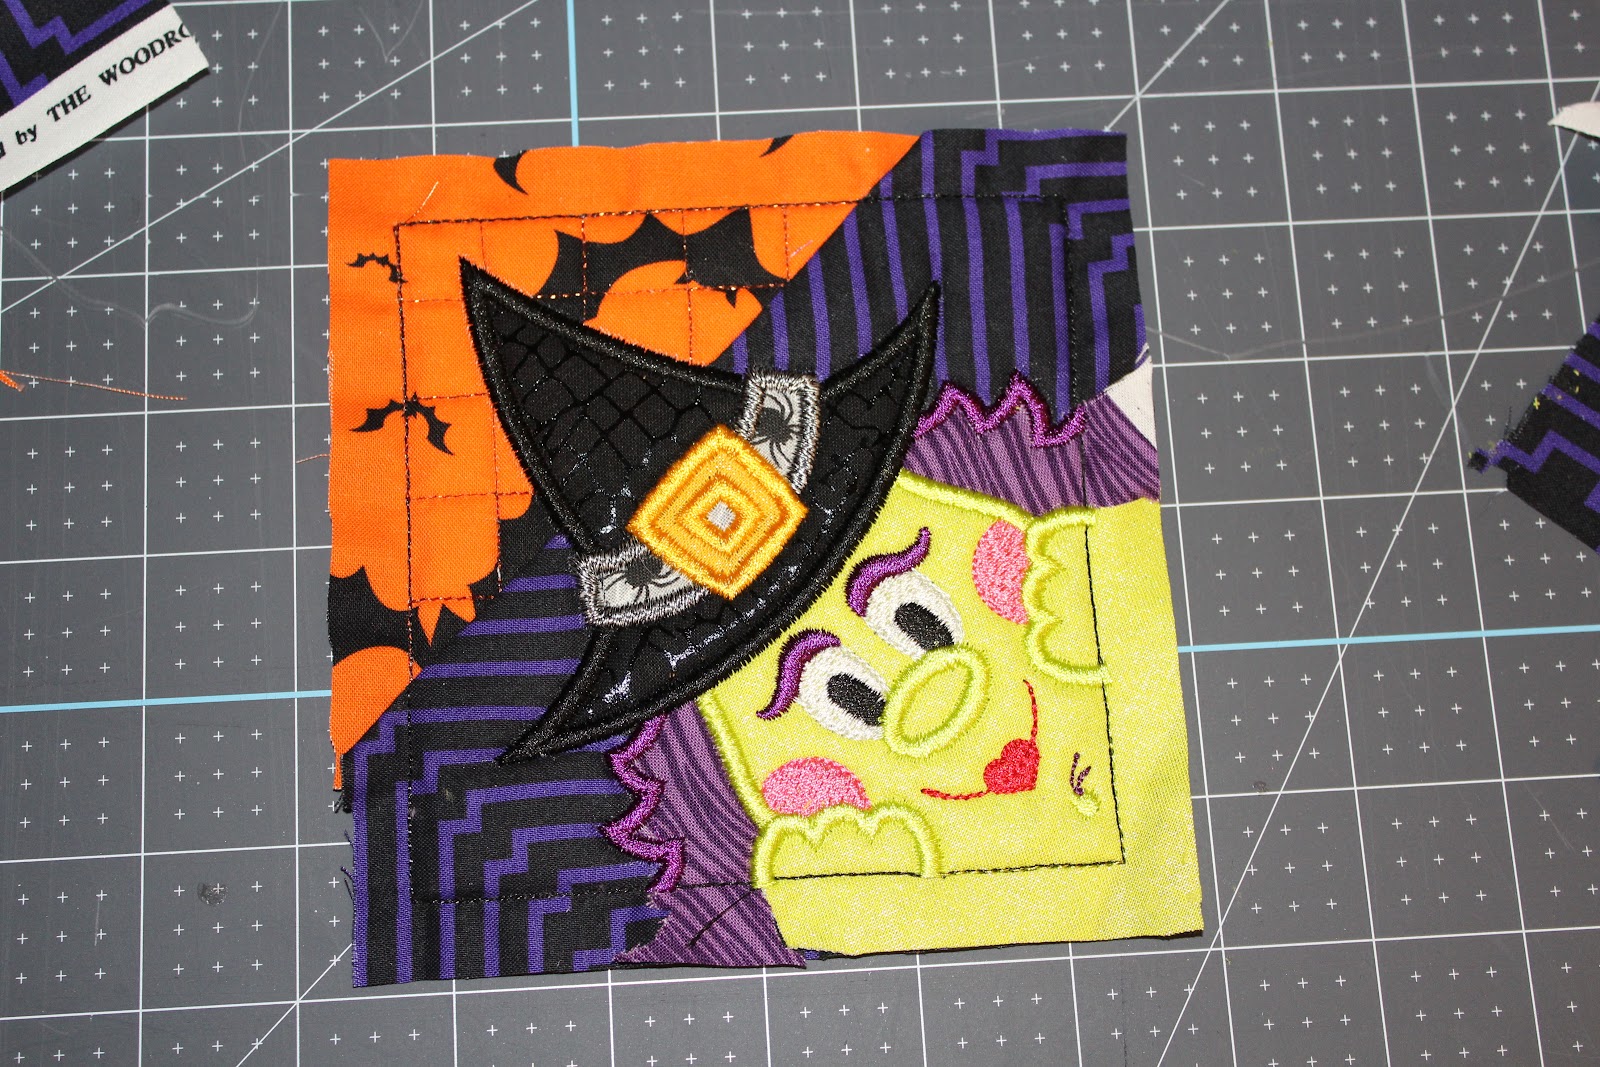
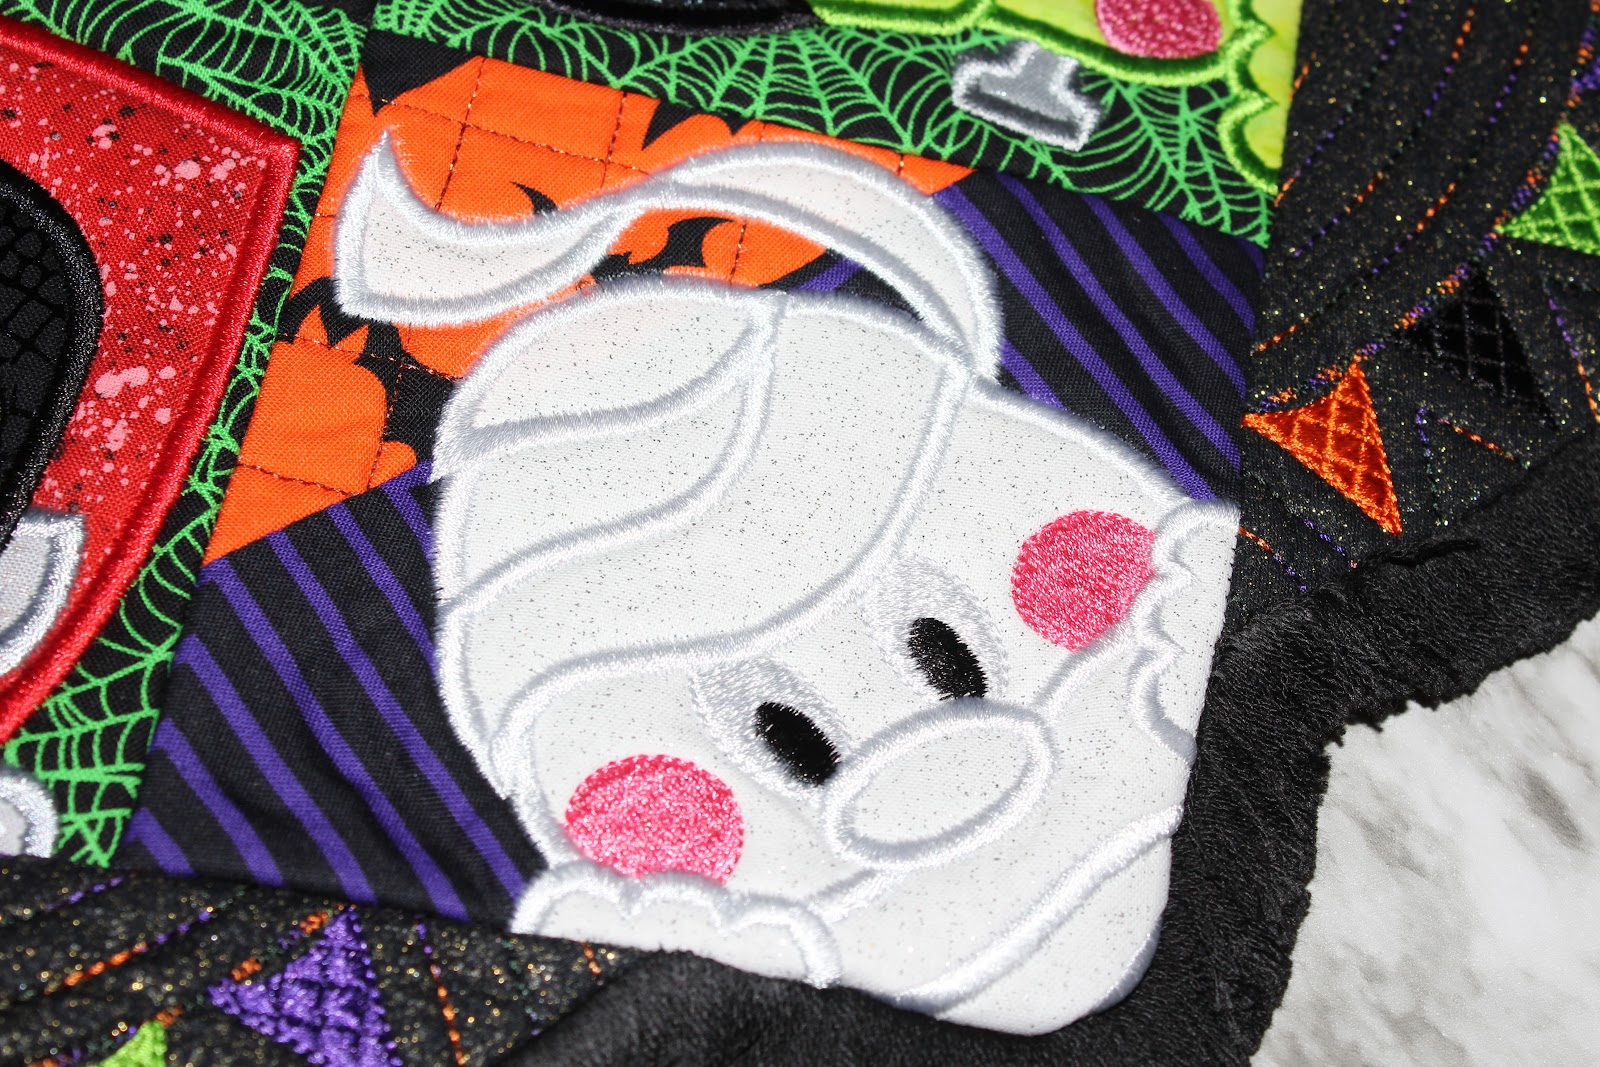
For this design sample, I will be stitching block A (witch).
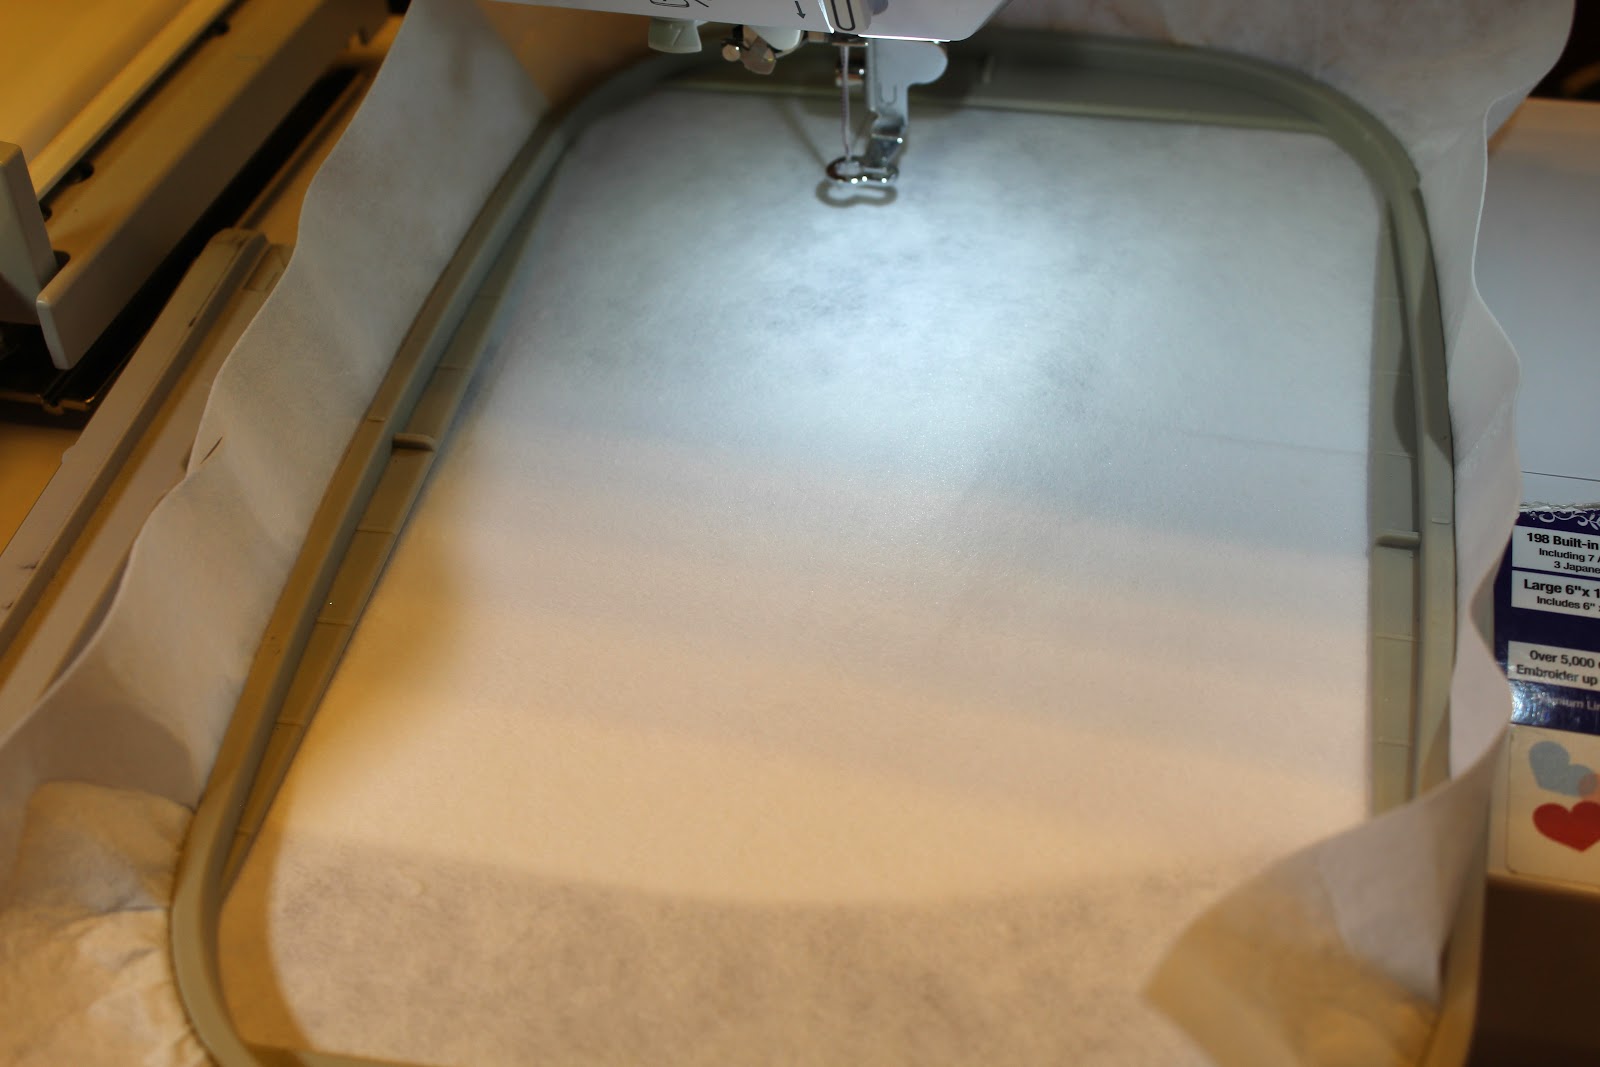
Step 1: Hoop cut-away stabilizer.
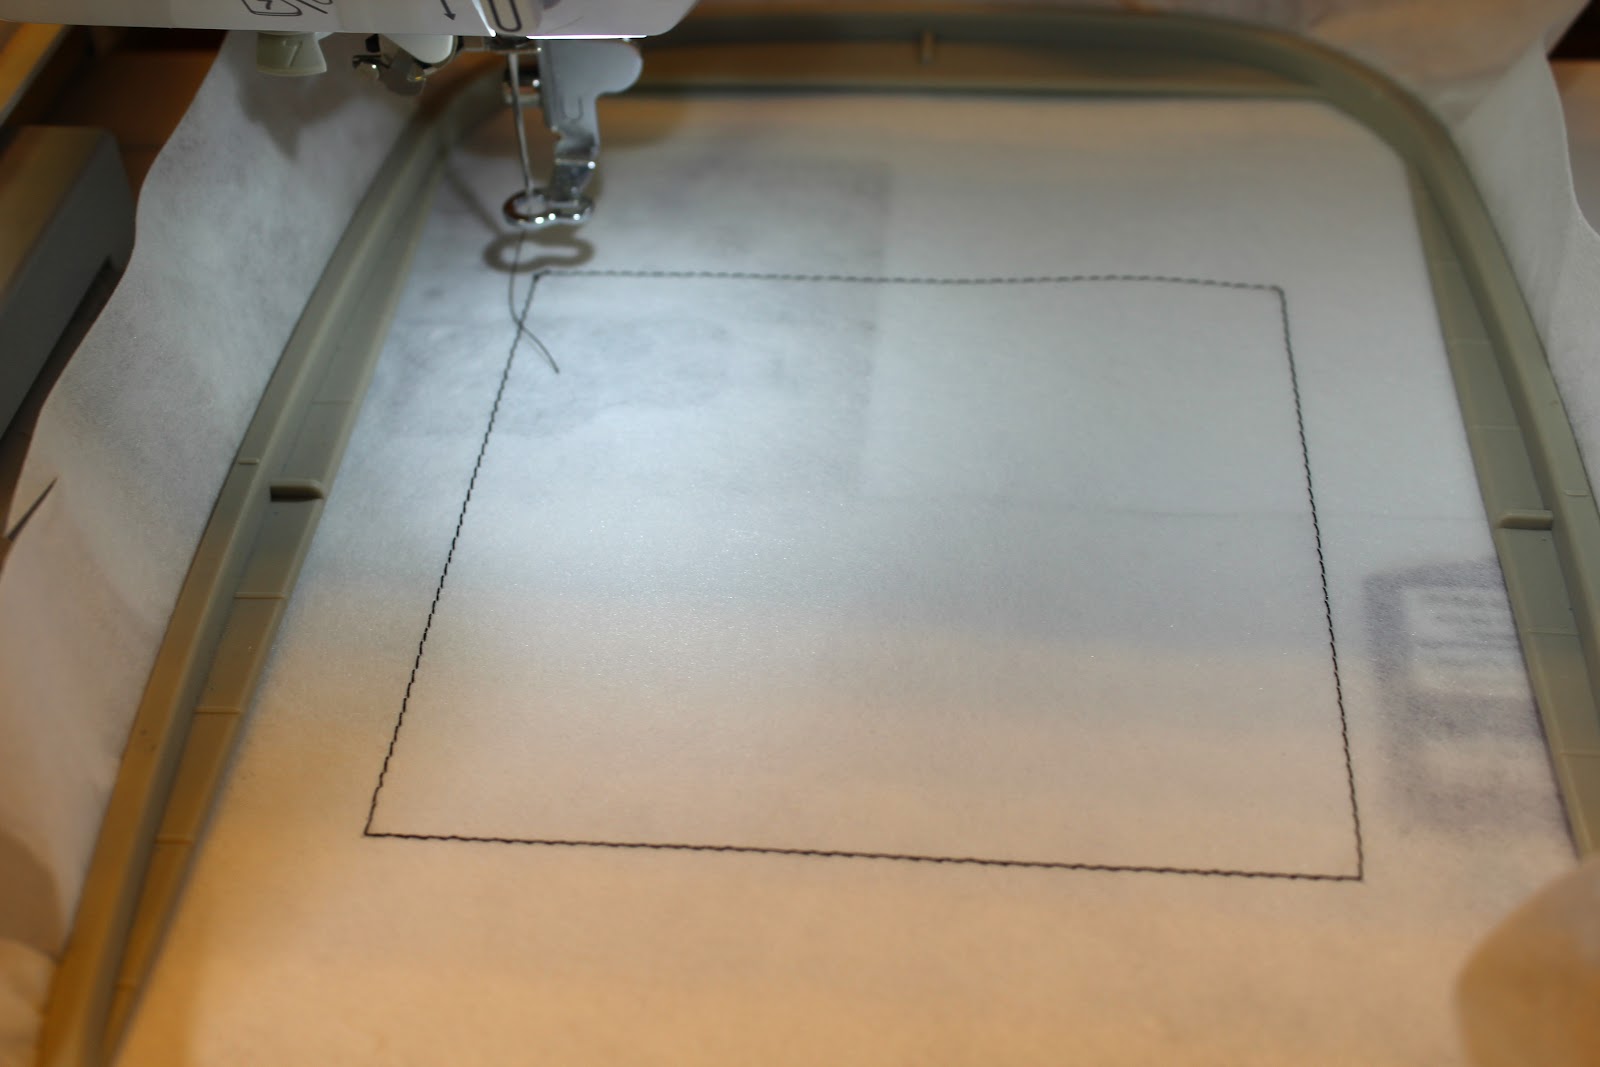
Step 2: Run the placement stitch for the batting.
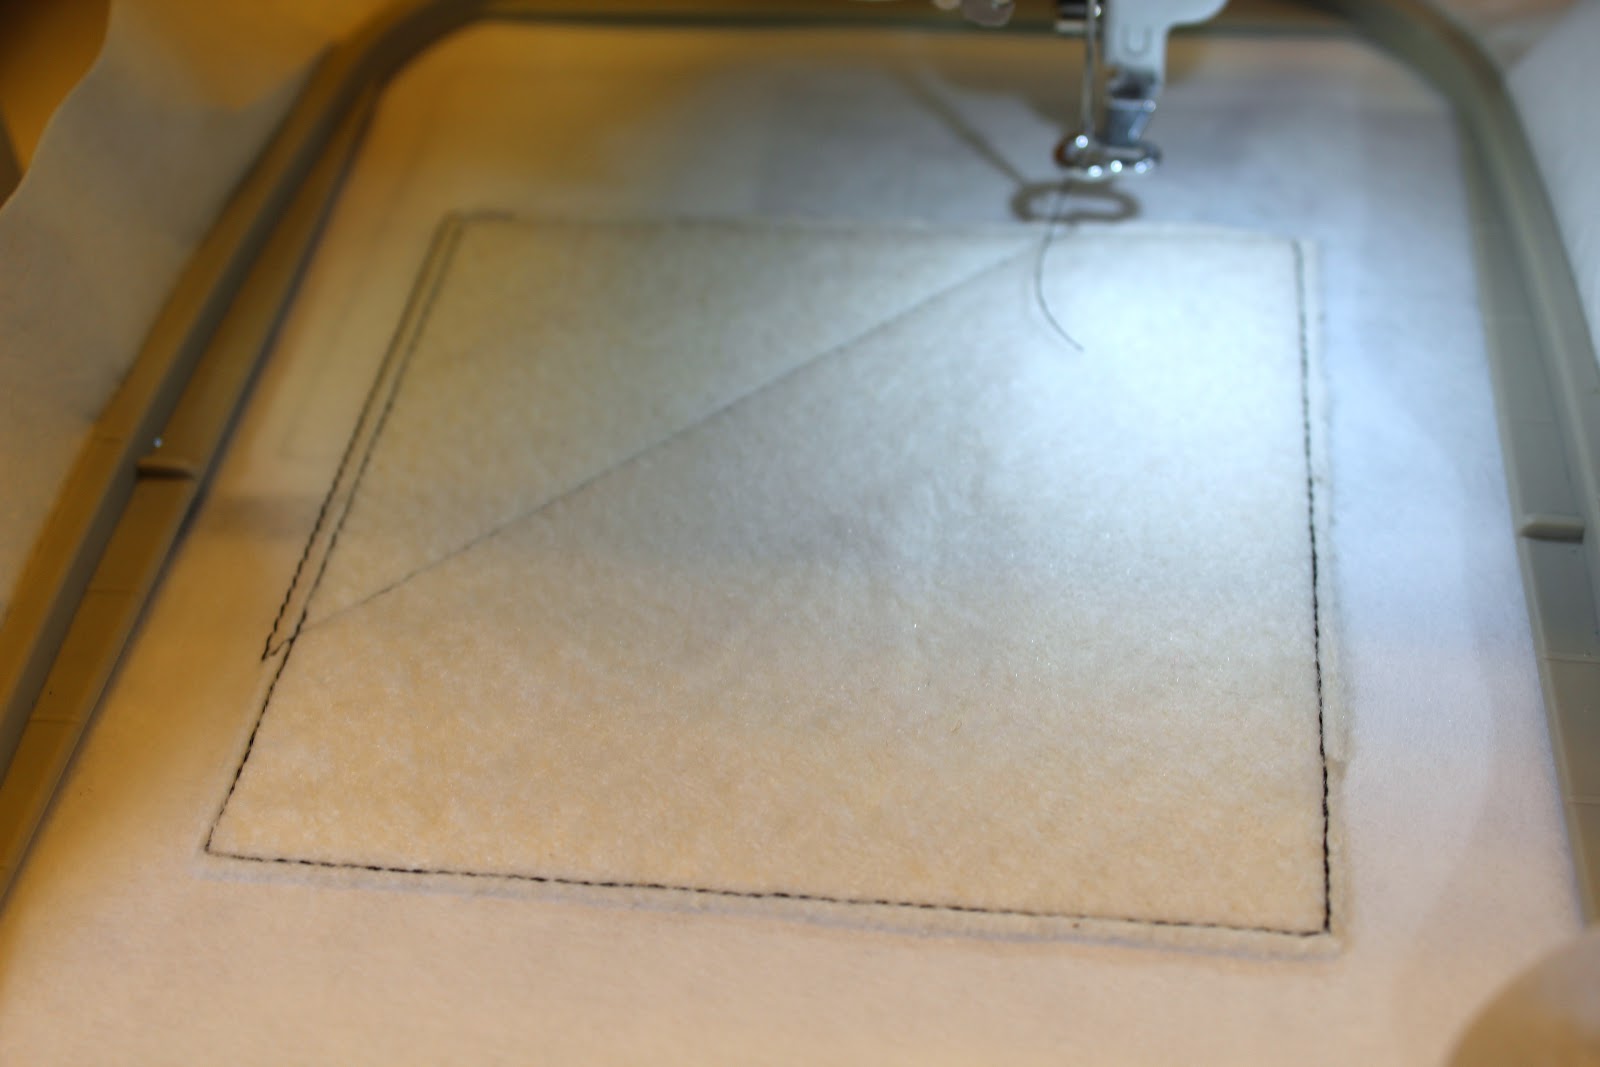
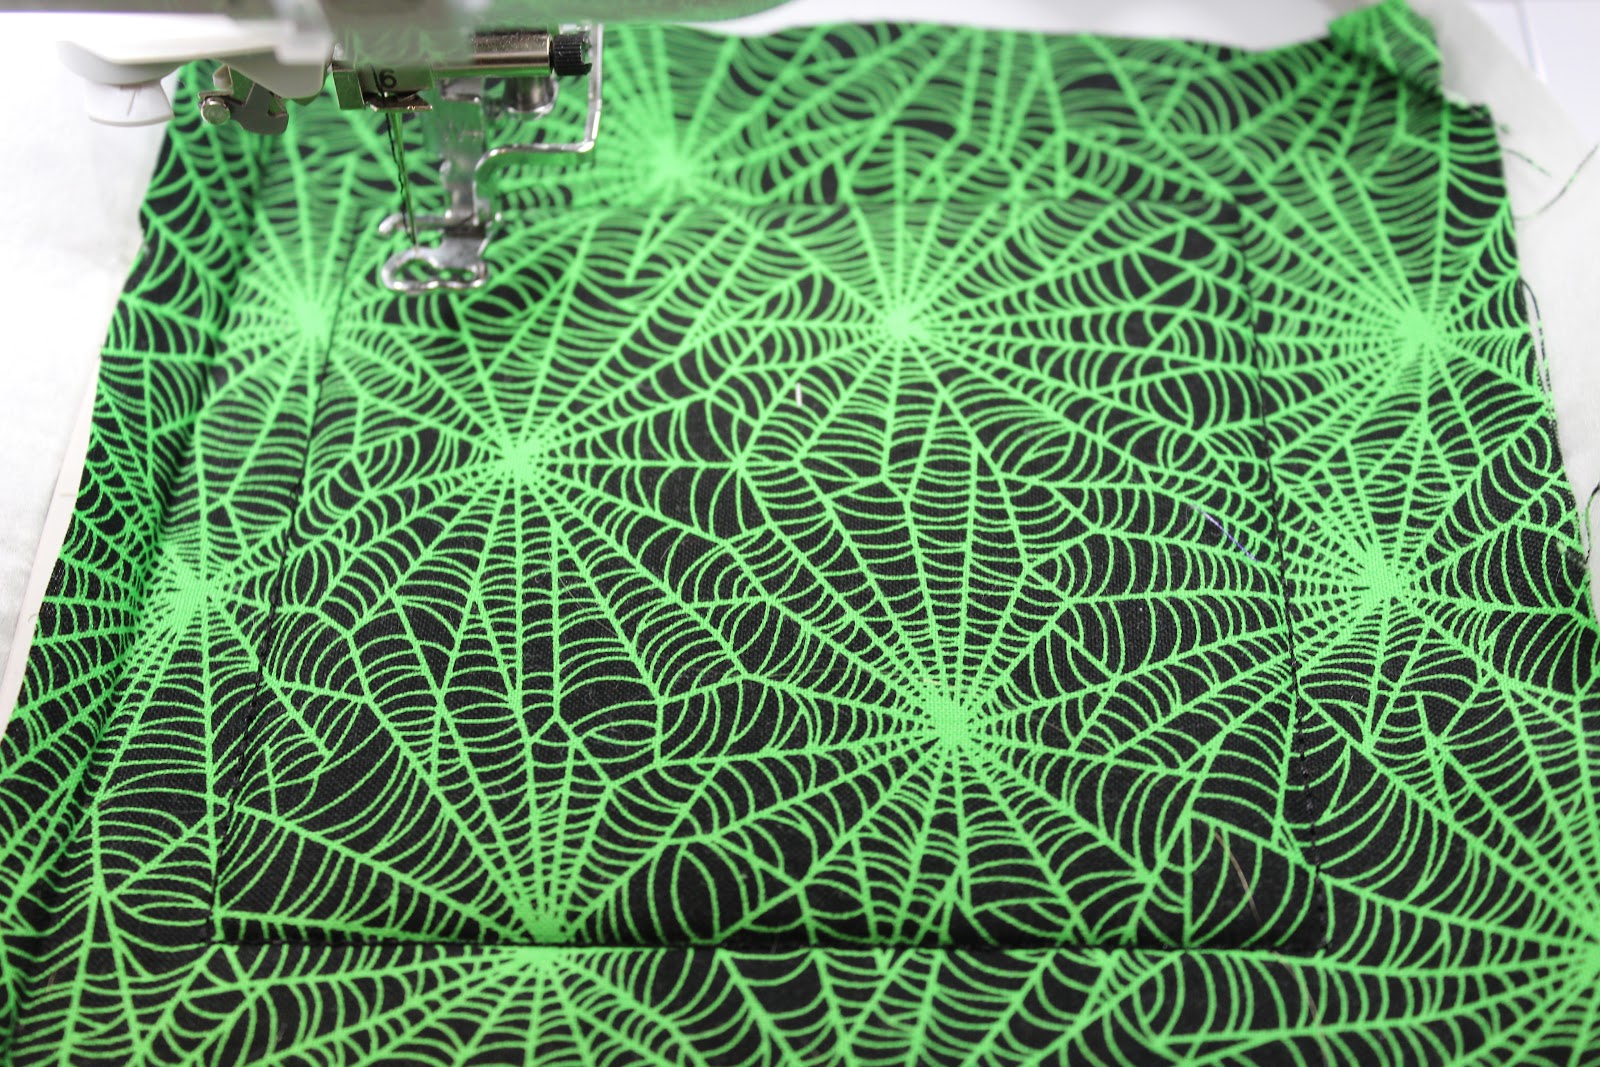
Step 3: Place batting on top of the placement stitch and tack it down. Carefully trim the batting along the tack-down stitches. Stitch the placement line for the top left fabric.
Step 4: Place the fabric over the placement line, making sure all edges are covered. Fabric overhang of ½” is preferred when stitching together blocks at the end. Stitch the tack-down line to secure the top-left fabric.
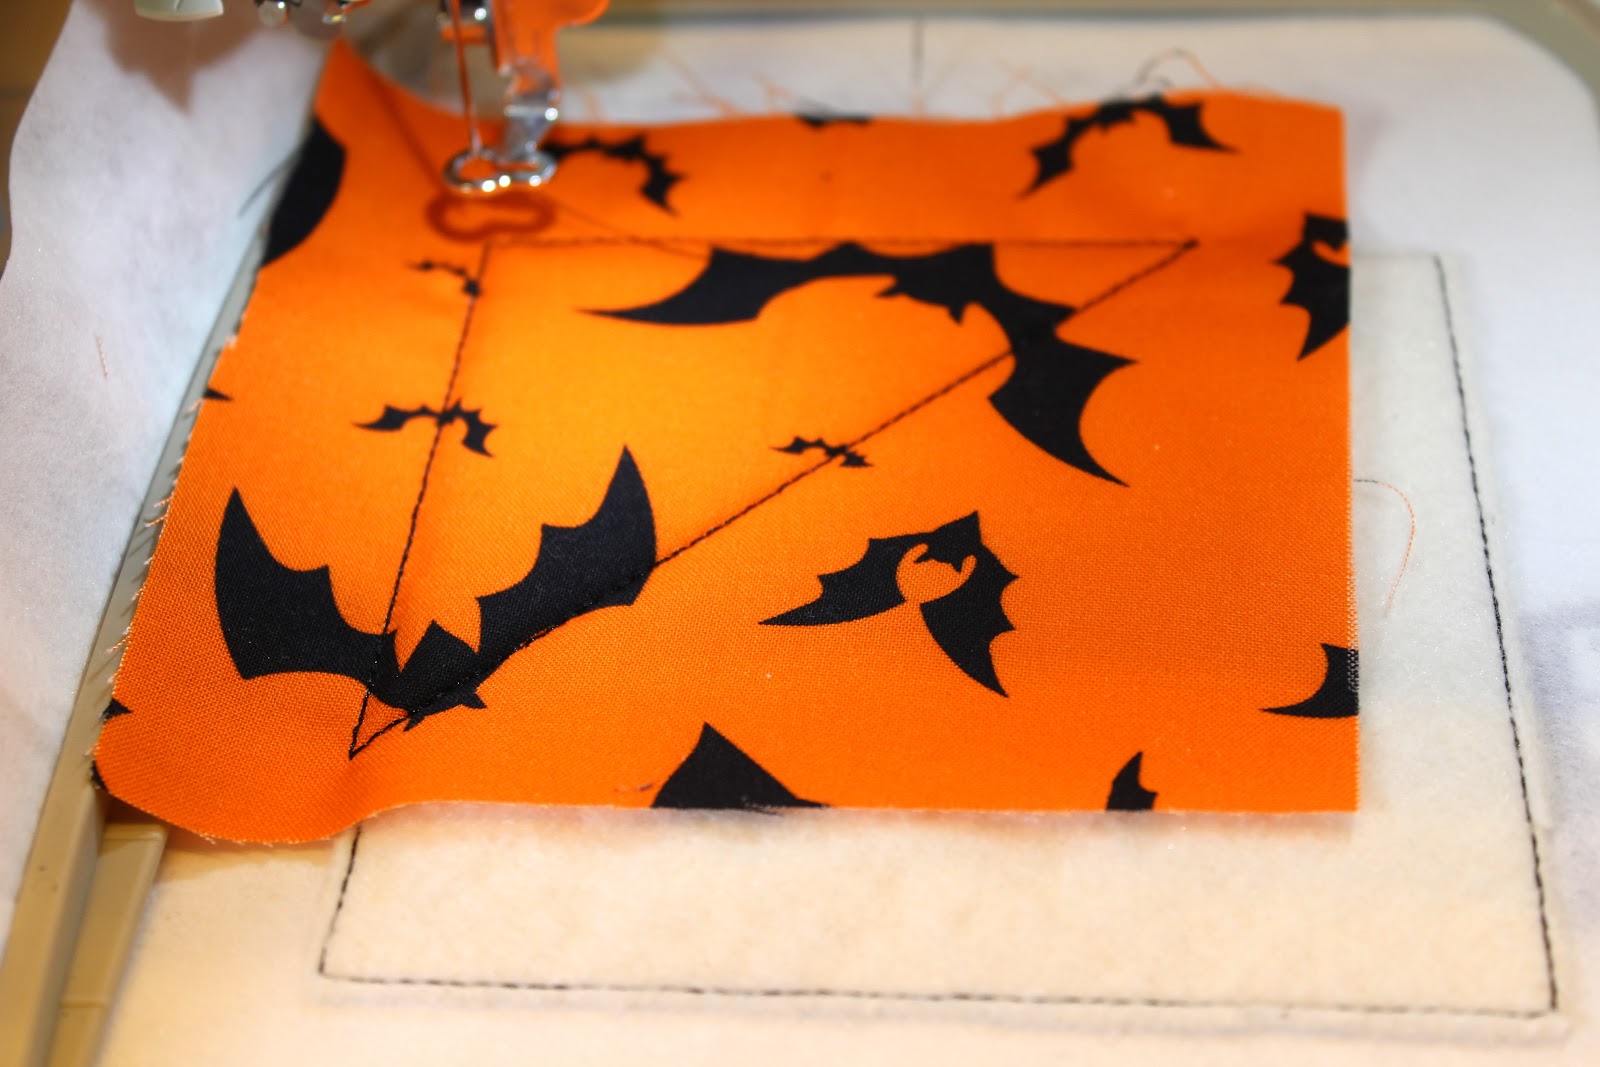
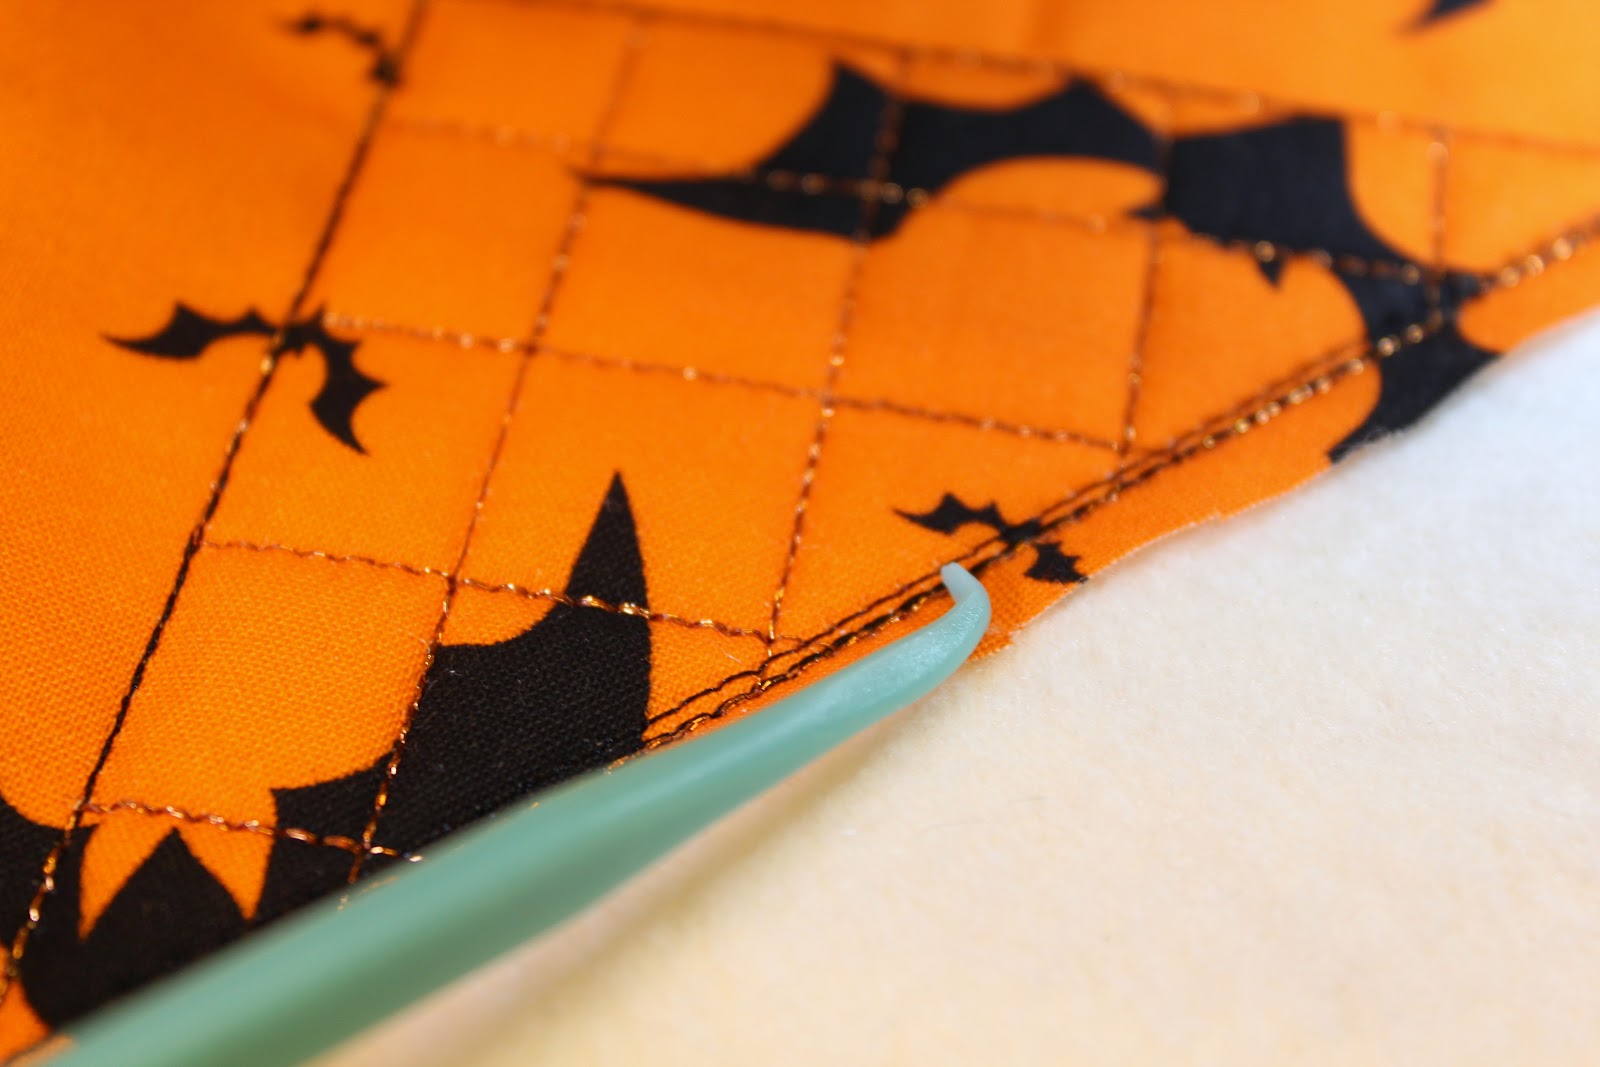
Step 5: Stitch the quilting motif on the top-left fabric. Metallic thread really makes this quilting motif pop!
Step 6: Stitch the placement line for the bottom-right fabric. It will stitch along the bottom of the top-left fabric.
Step 7: Place the bottom-right fabric (right side down) parallel to the placement line. Make sure your fabric is large enough to cover the bottom-right corner when folded down. Stitch the tack-down line.
Step 8: Fold your bottom-right fabric over the tack-down line to cover the remaining batting. Press firmly along the seam. Again, make sure all batting is covered and there is at least ½” fabric overhang for stitching. Run the tack-down stitches to secure the remaining edges of the bottom-right fabric.
Step 9: Complete the remaining applique tack-down and satin stitches to finish this block.
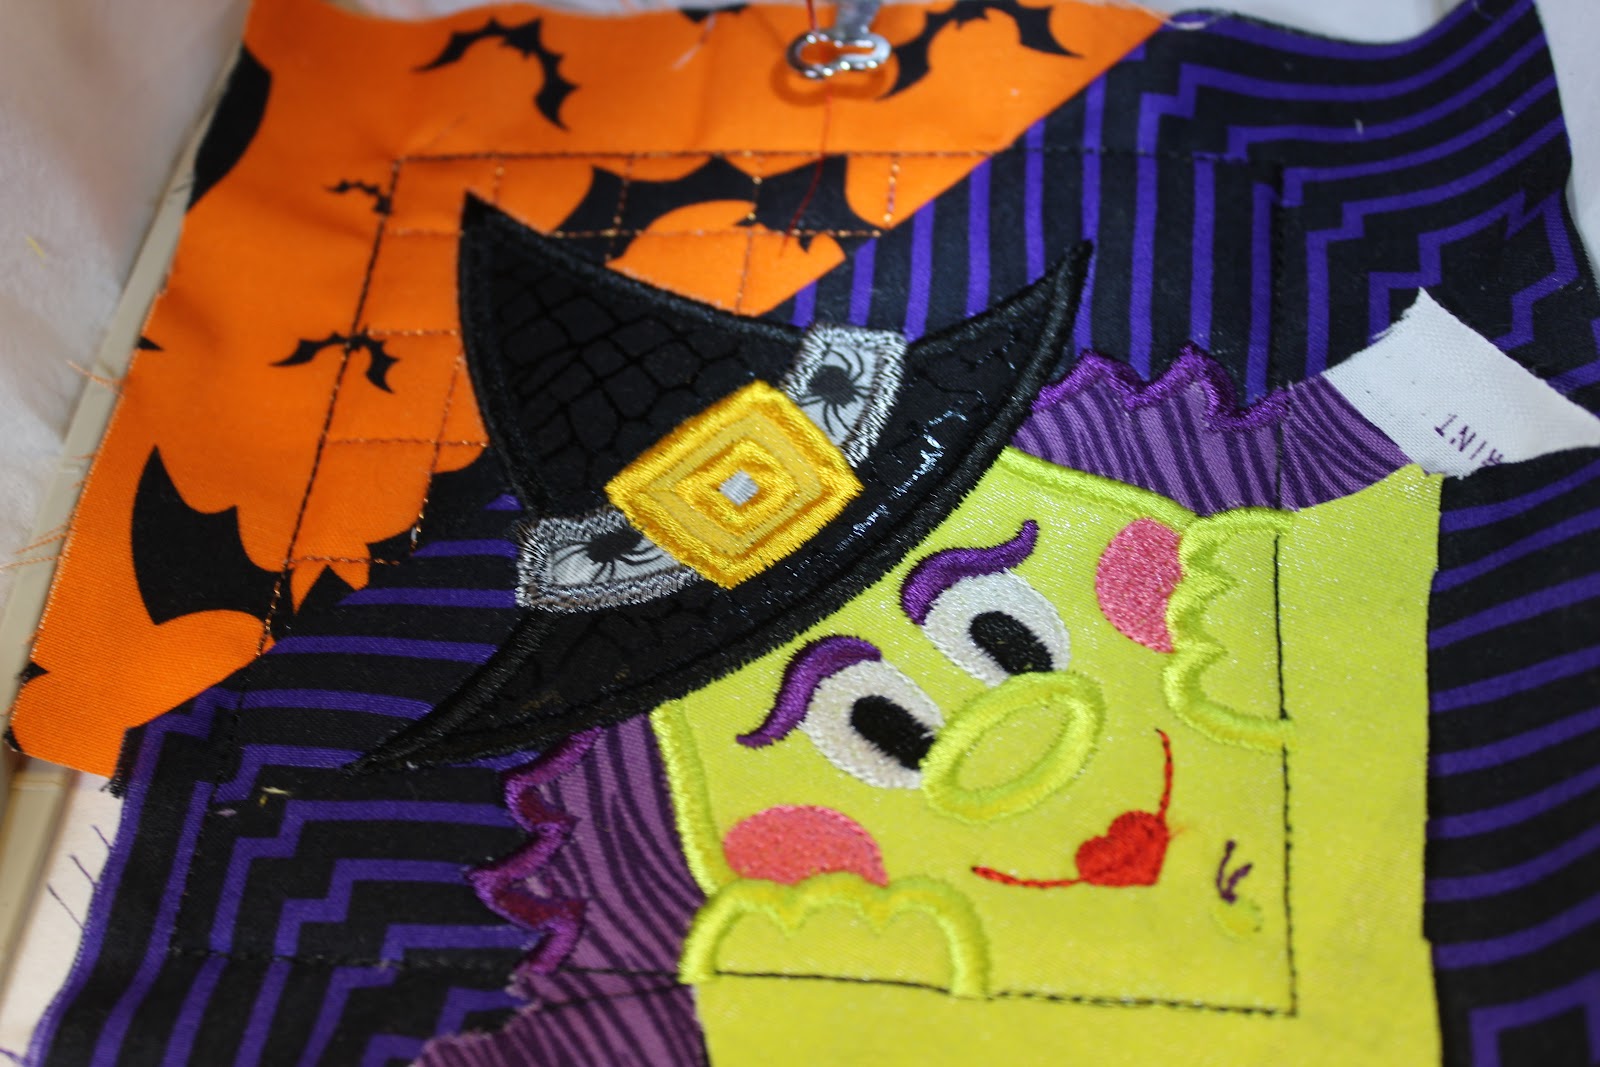
Step 10: Once all stitches are completed, place this block aside and repeat steps 1–9 for remaining blocks B, C, and D.
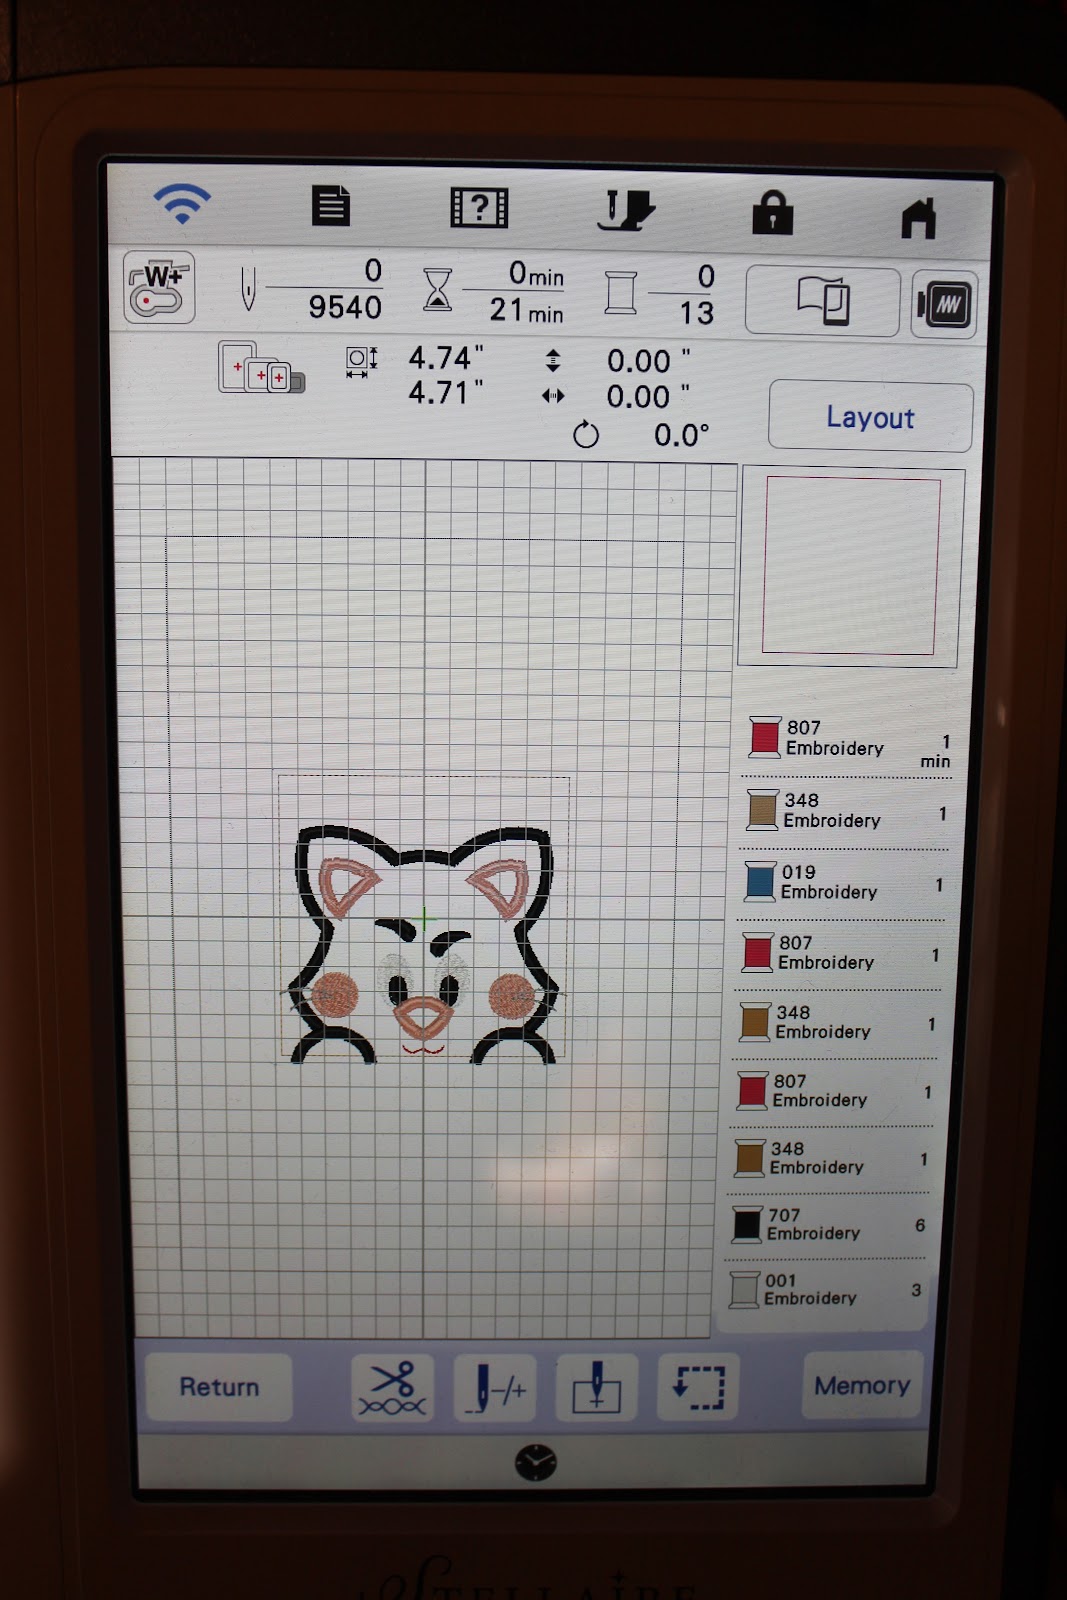
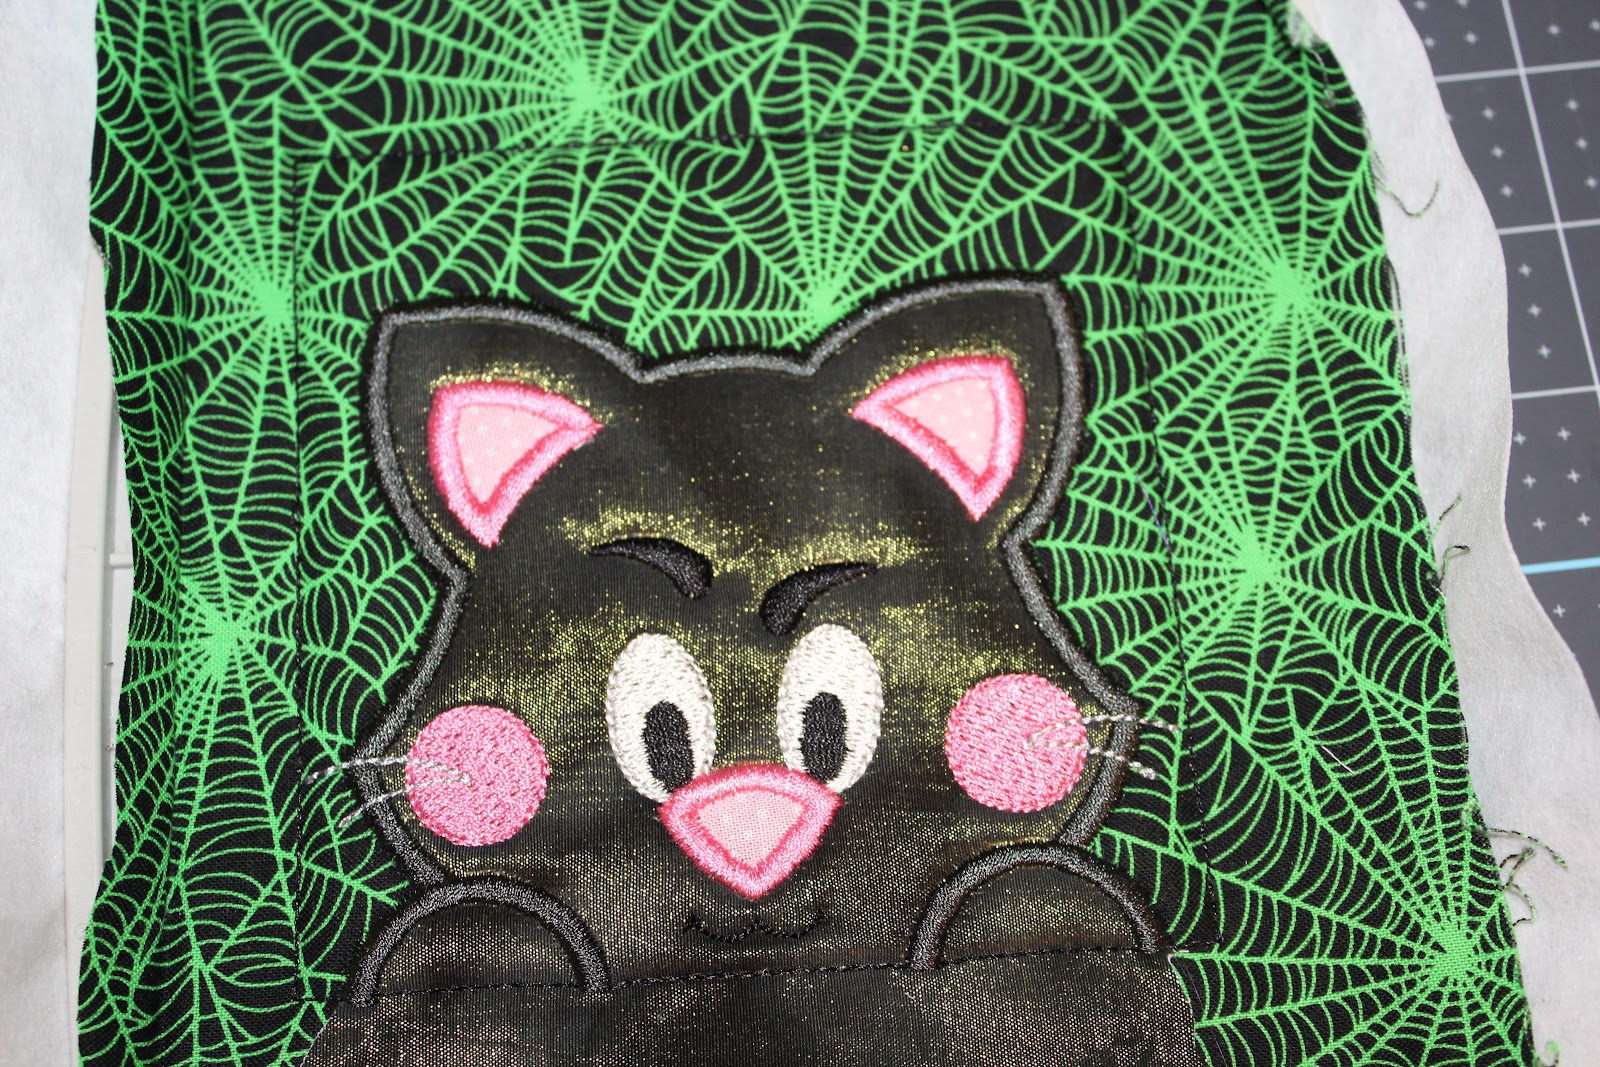
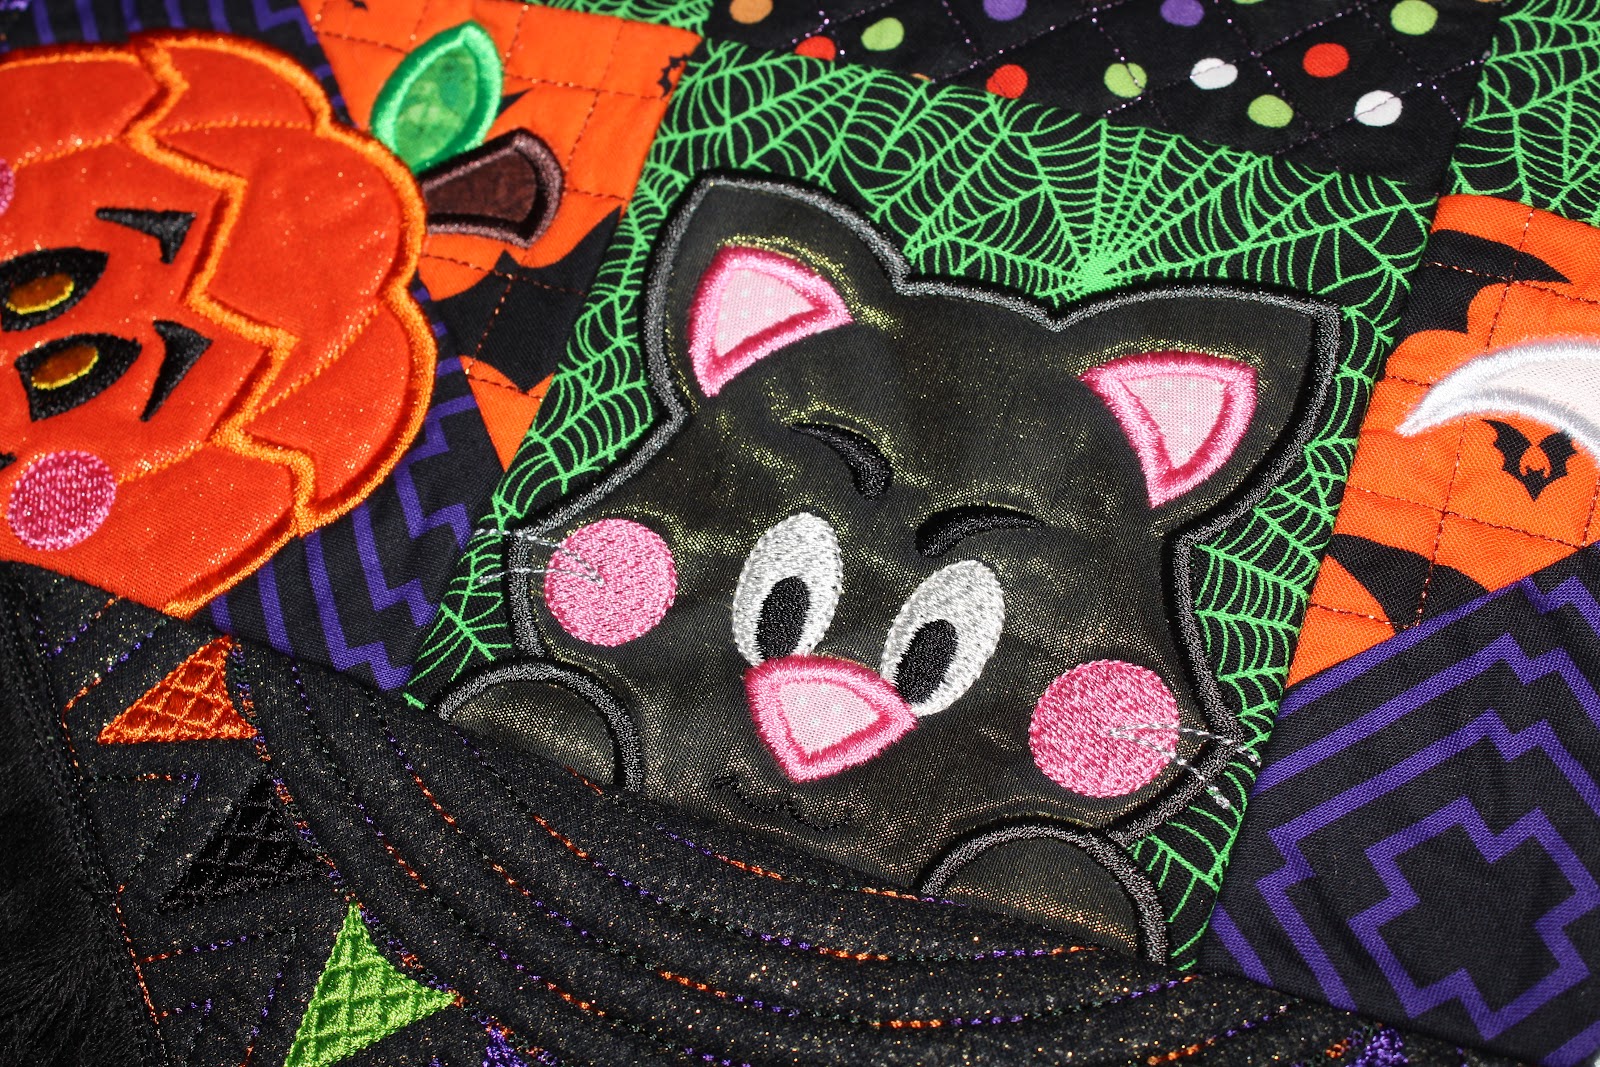
For this design sample, I will be stitching block G (cat).
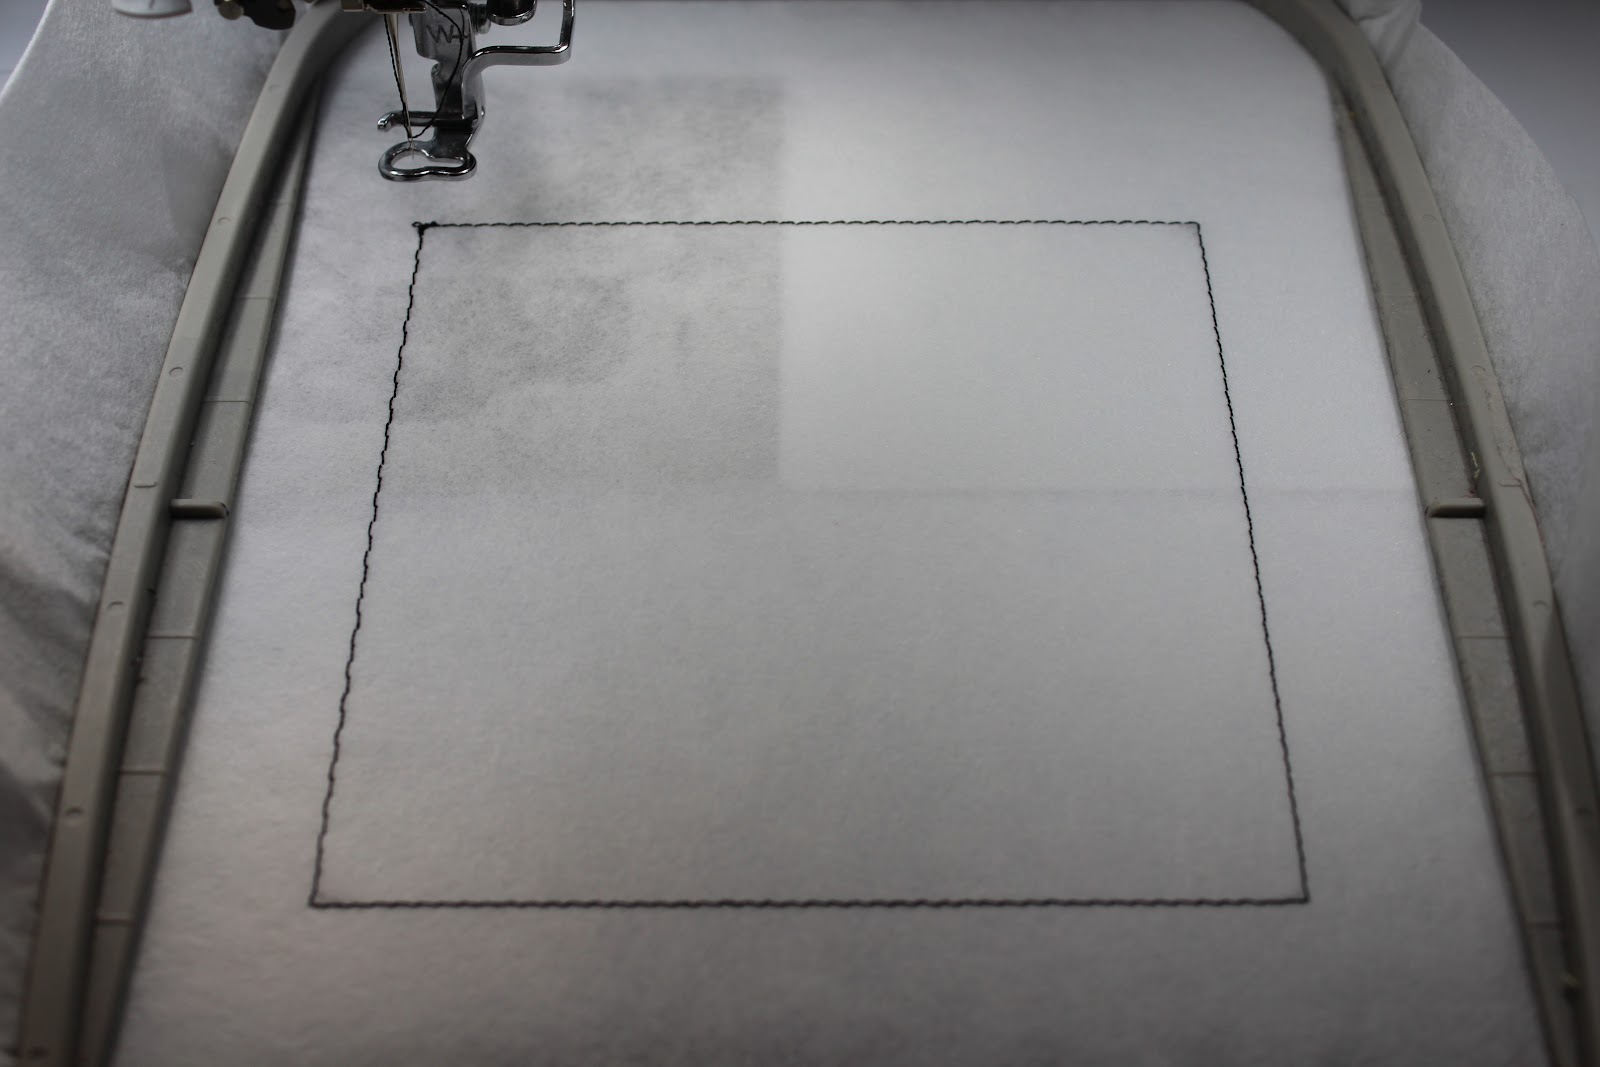
Step 1: Hoop cut-away stabilizer.
Step 2: Run the placement stitch for the batting.
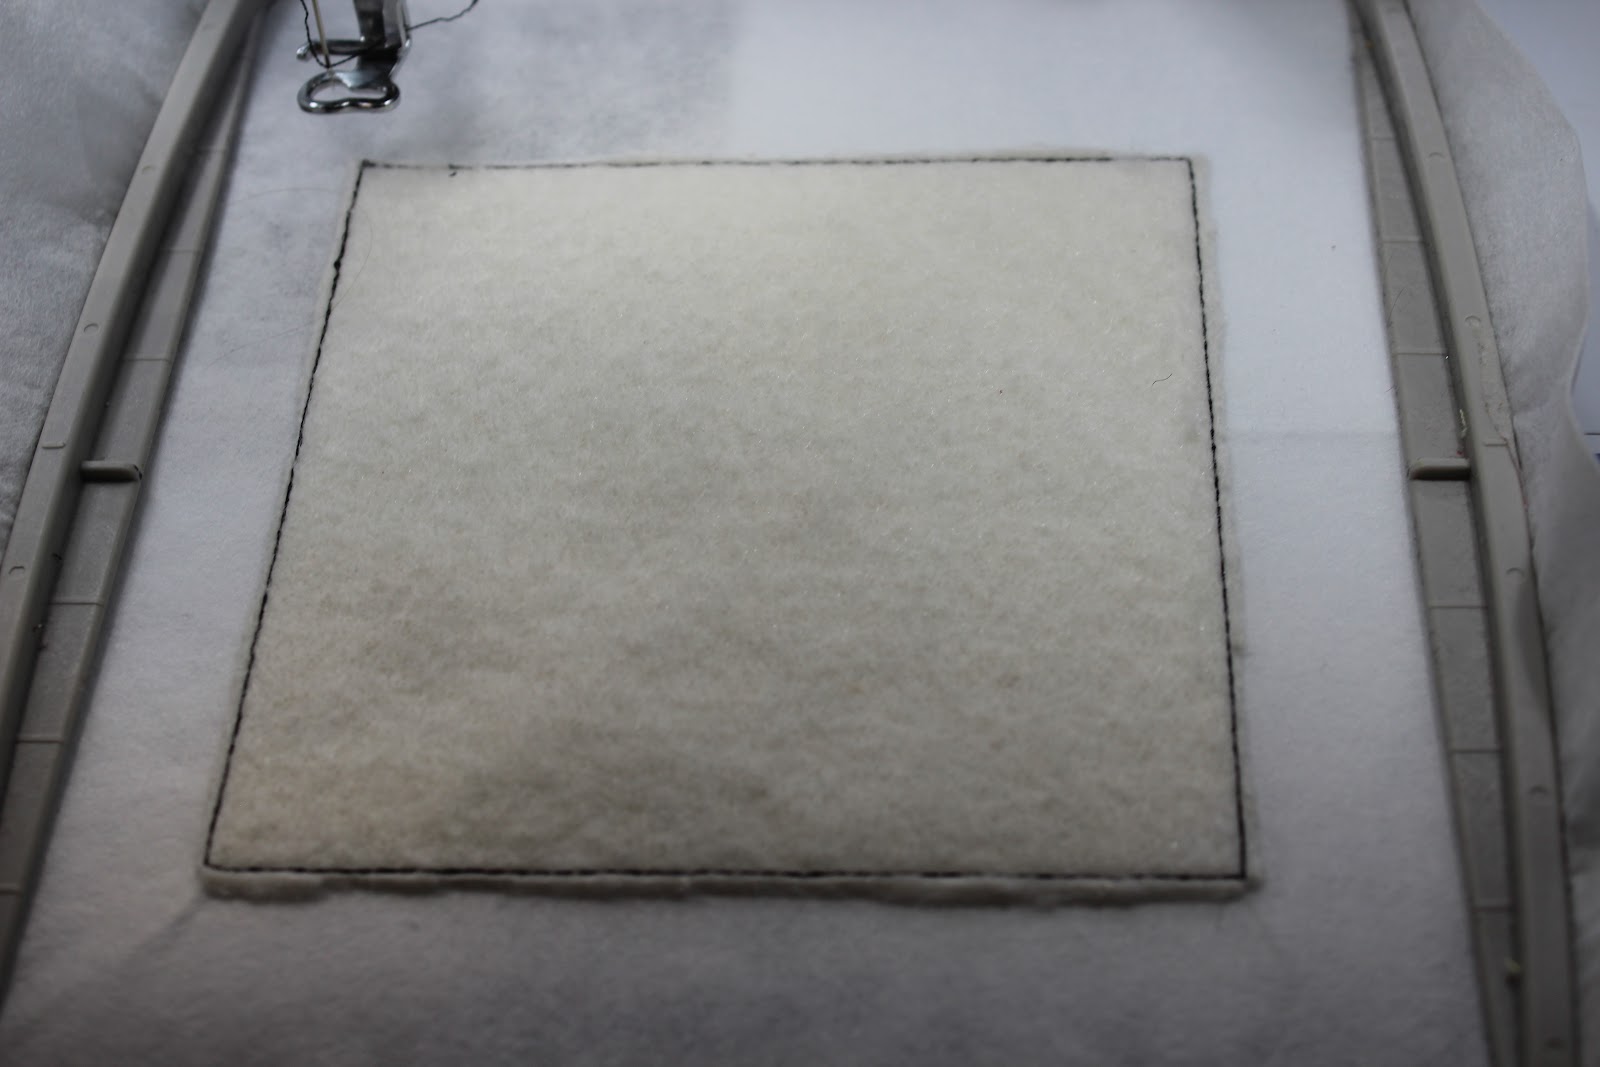
Step 3: Place batting on top of the placement stitch and tack it down. Carefully trim the batting along the tack-down stitches.
Step 4: Place your fabric on top of the batting and run the tack-down stitches. Make sure your fabric is large enough to cover the batting with ½” fabric overhang for final design stitching.
Step 5: Complete the remaining applique tack-down and satin stitches to finish this block.
Step 6: Once all stitches are completed, place this block aside and repeat steps 1–5 for remaining blocks E, F, and H.
Step 1: Hoop cut-away stabilizer.
Step 2: Run the placement stitch for the batting.
Step 3: Place batting on top of the placement stitch and tack it down. Carefully trim the batting along the tack-down stitches.
Step 4: Place your fabric on top of the batting and run the tack-down stitches. Make sure your fabric is large enough to cover the batting with ½” fabric overhang for final design stitching.
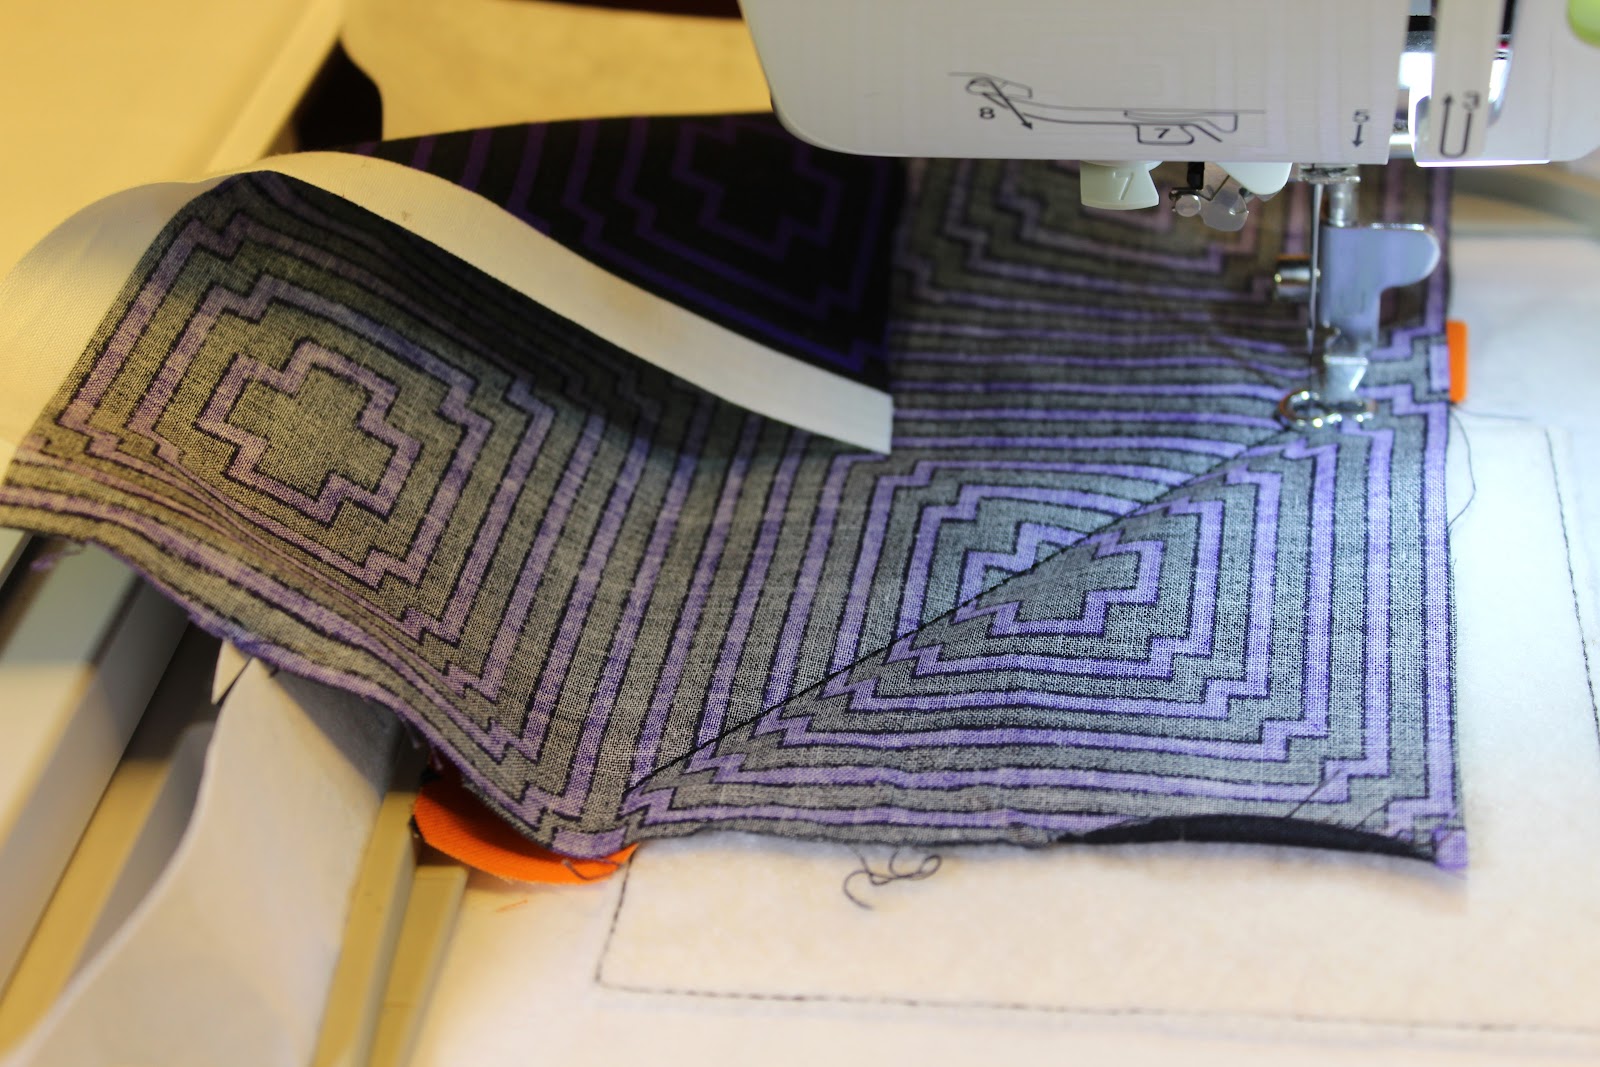
Step 5: Stitch the quilting motif on the fabric. I used a fun variegated, metallic thread.
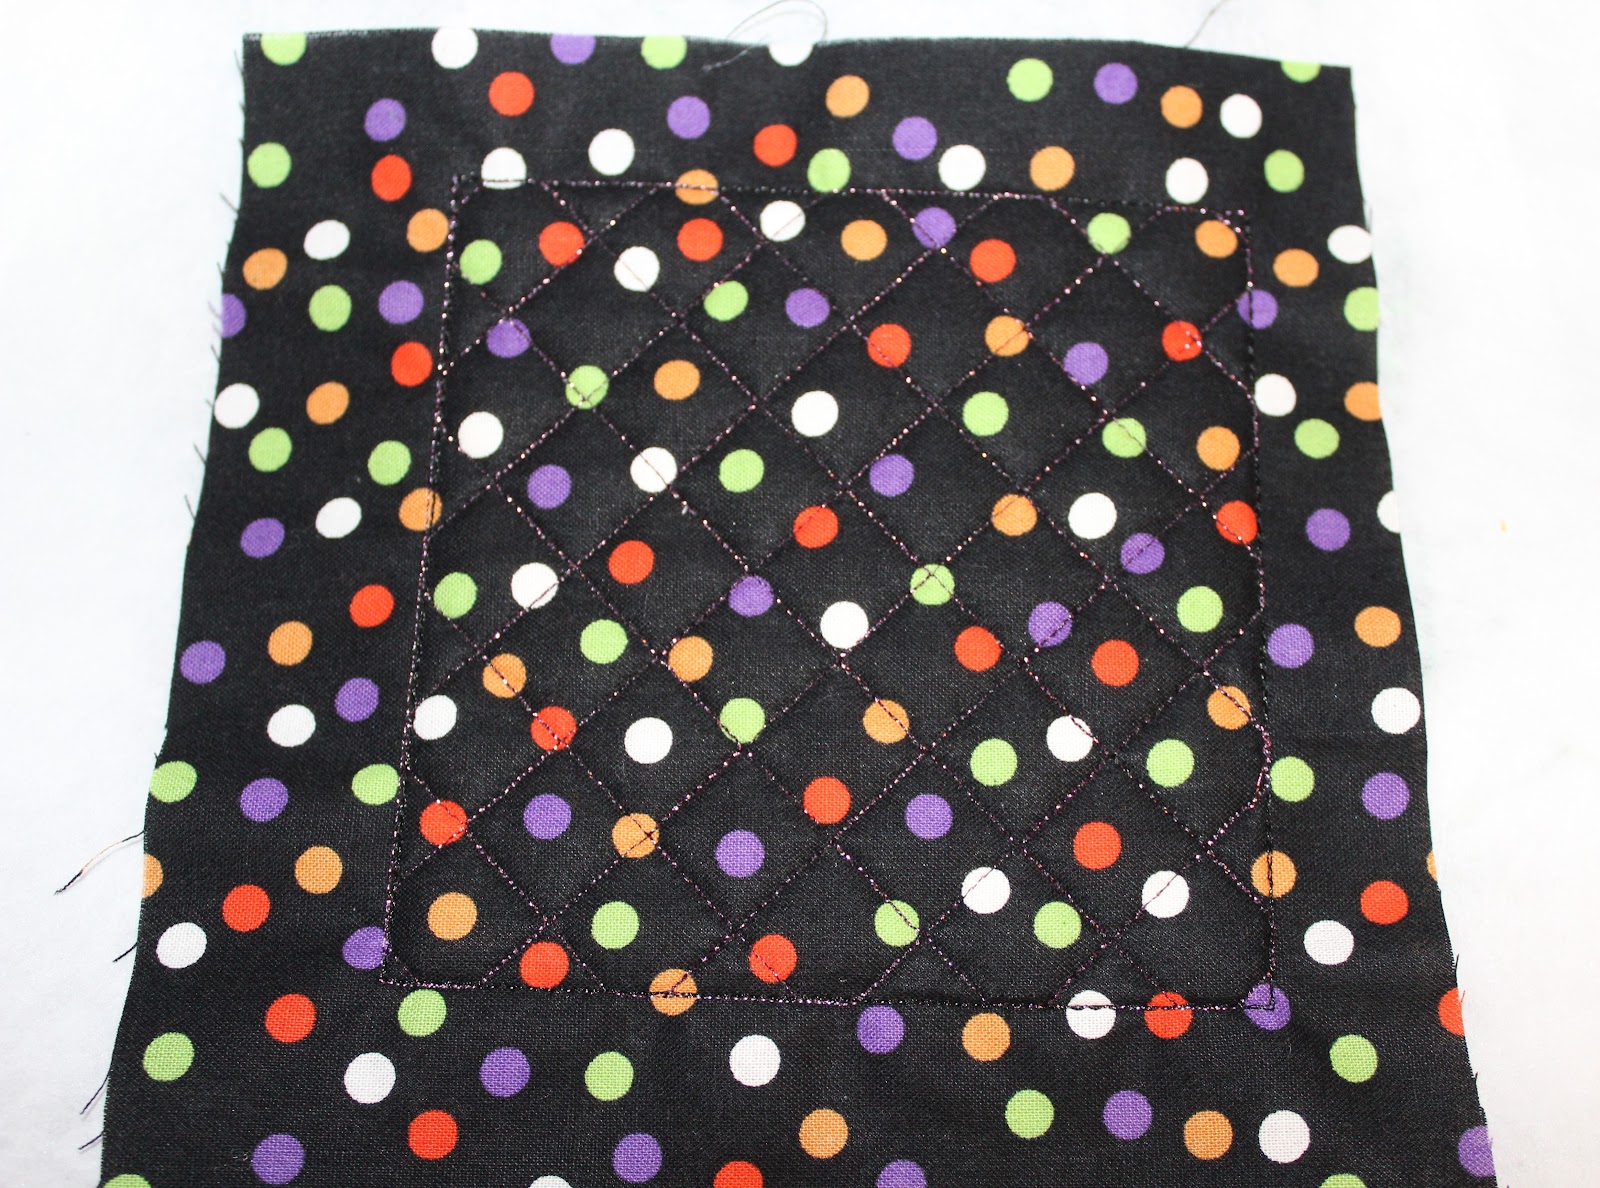
Step 6: Once the stitching is complete, place this block aside for later.
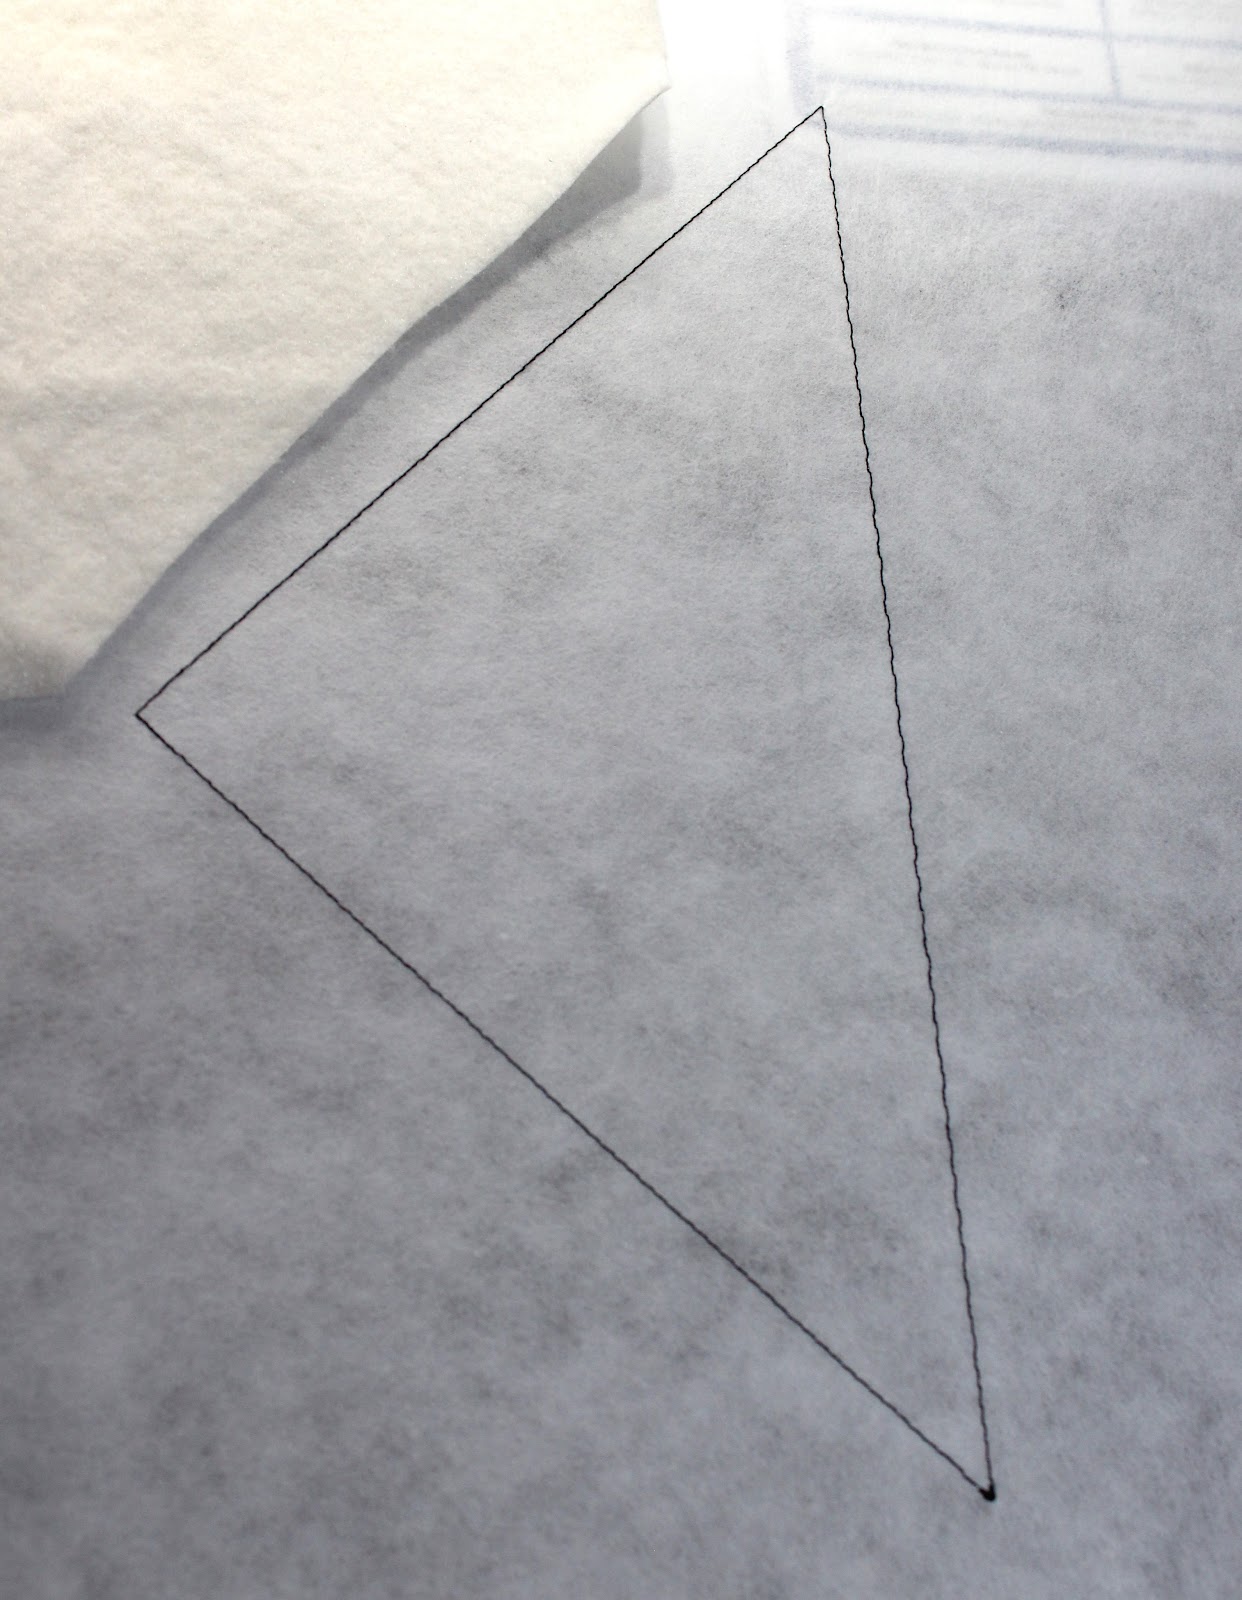
There are two options available for block J. The first option is for limited hoop sizes and has two smaller triangles that are stitched, then joined together with a sewing machine to create a larger triangle. The second option (block J alternate) combines both triangles into one larger triangle for machines with larger hoops. I am stitching block J alternate for my example.
Step 1: Hoop cut-away stabilizer.
Step 2: Run the placement stitch for the batting.
Step 3: Place batting on top of the placement stitch and tack it down. Carefully trim the batting along the tack-down stitches.
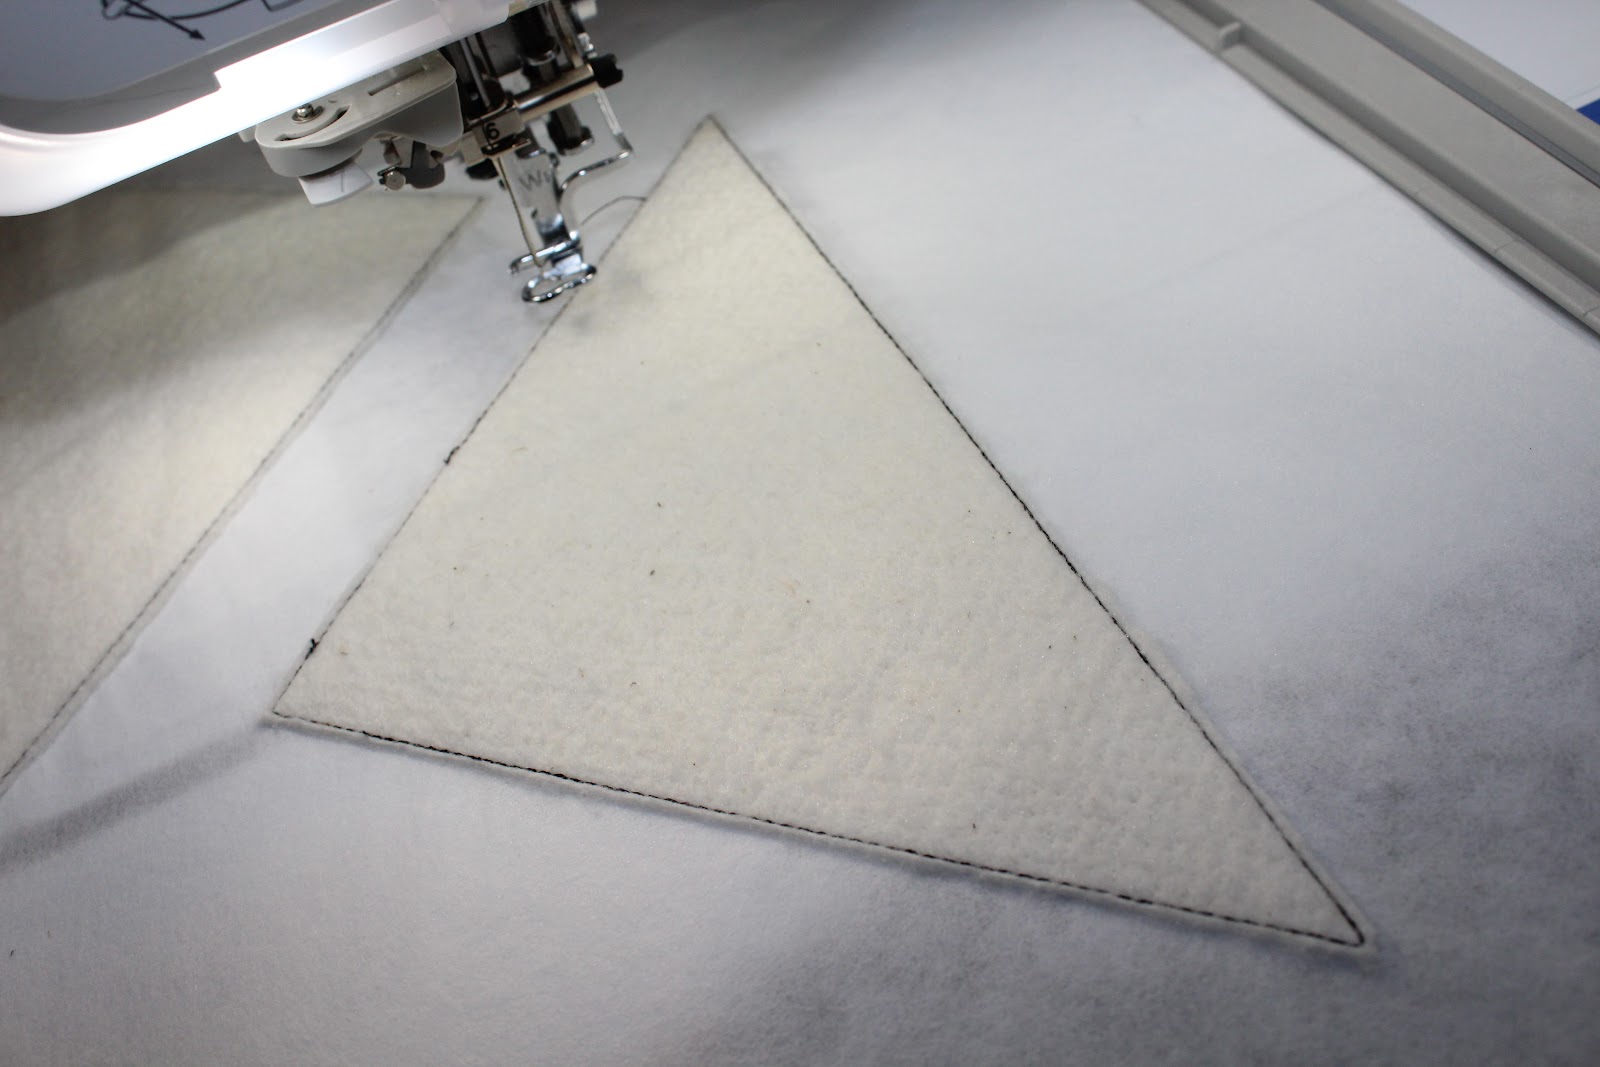
Step 4: Place your fabric on top of the batting and run the tack-down stitches. Make sure your fabric is large enough to cover the batting with ½” fabric overhang for final design stitching.
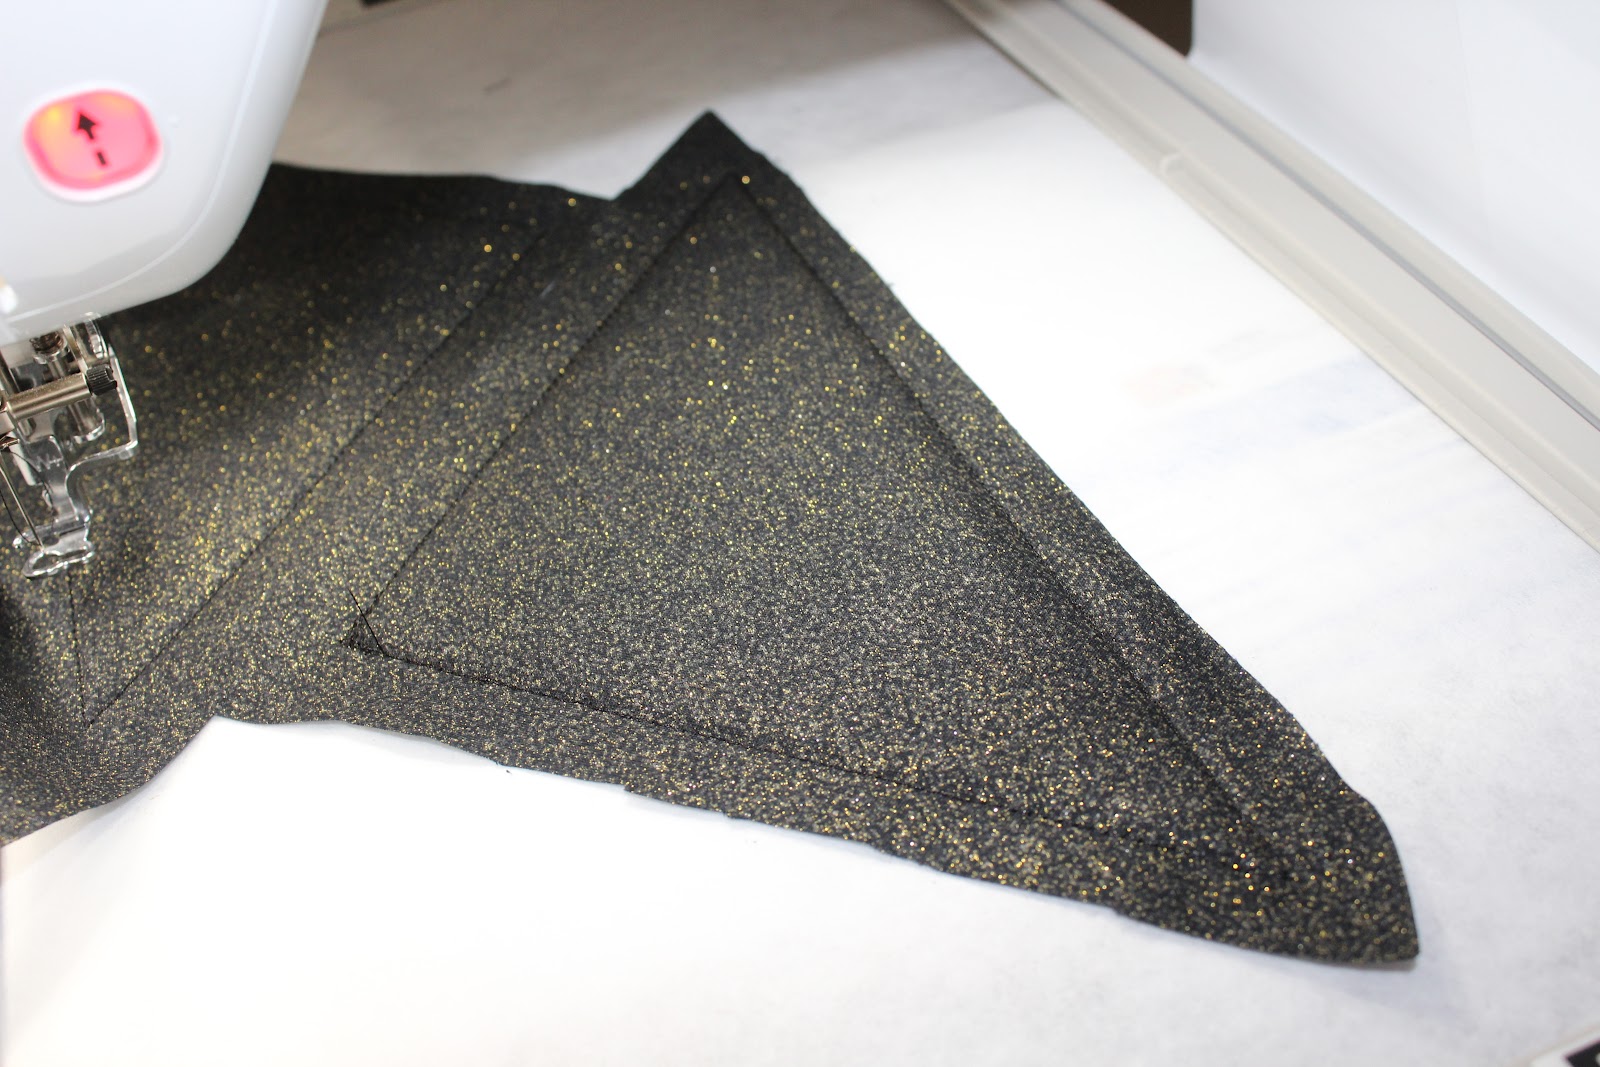
Step 5: Complete the remaining decorative stitches for the banner and quilting motifs.
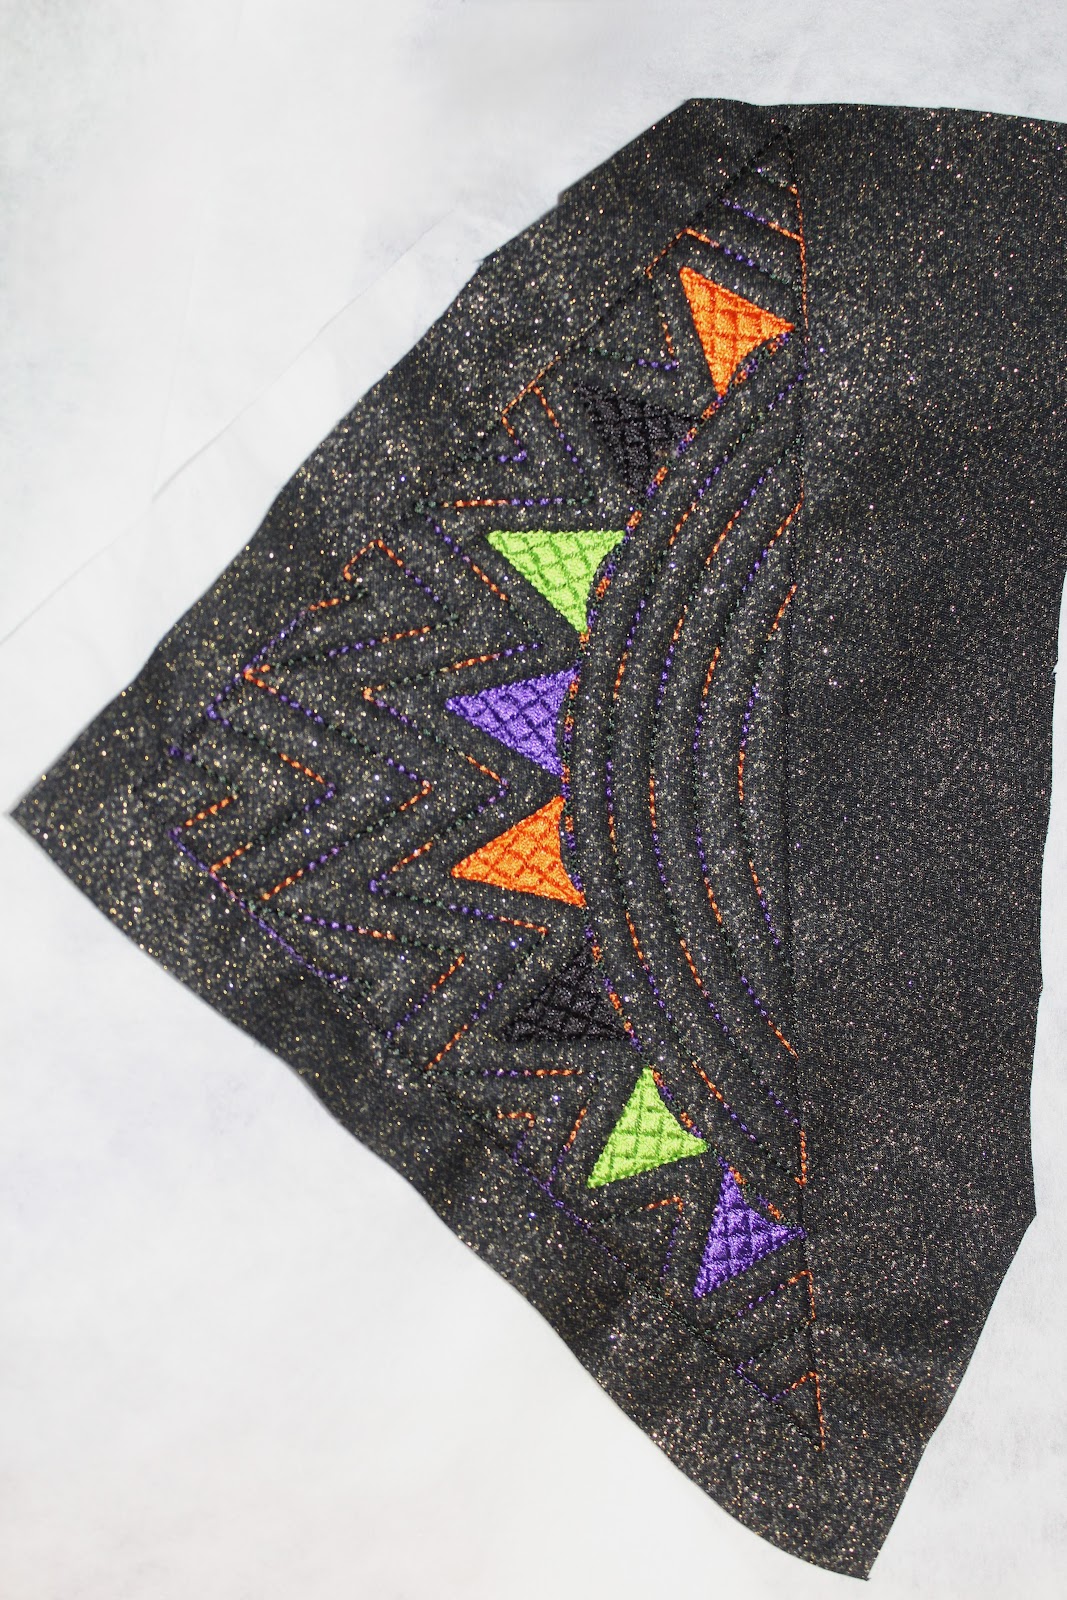
*Repeat Steps 1–5 if stitching block J. If you are stitching block J alternate, you are finished.*
Step 6: Once the stitching is complete, place this block aside for later. You will need 8 J blocks, or 4 block J alternates, for your table topper. Repeat steps 1–5 as necessary.
Assembling Your ITH Halloween Table Topper
After you have stitched all of your blocks, it is time to assemble your ITH Halloween Table Topper. The PDF instructions included with your purchase detail exactly which blocks to stitch together for your table topper. Additionally, Part 2 of the DBJJ’s Patriotic Table Topper series outlines how to construct and finish your ITH table topper. Again, the basic steps for completing both the Patriotic Table Topper and the Halloween Table Topper will be the same. Reference the PDF instructions included with your purchase for design-specific steps. I will provide some basic directions for assembling and finishing your Halloween Table Topper.
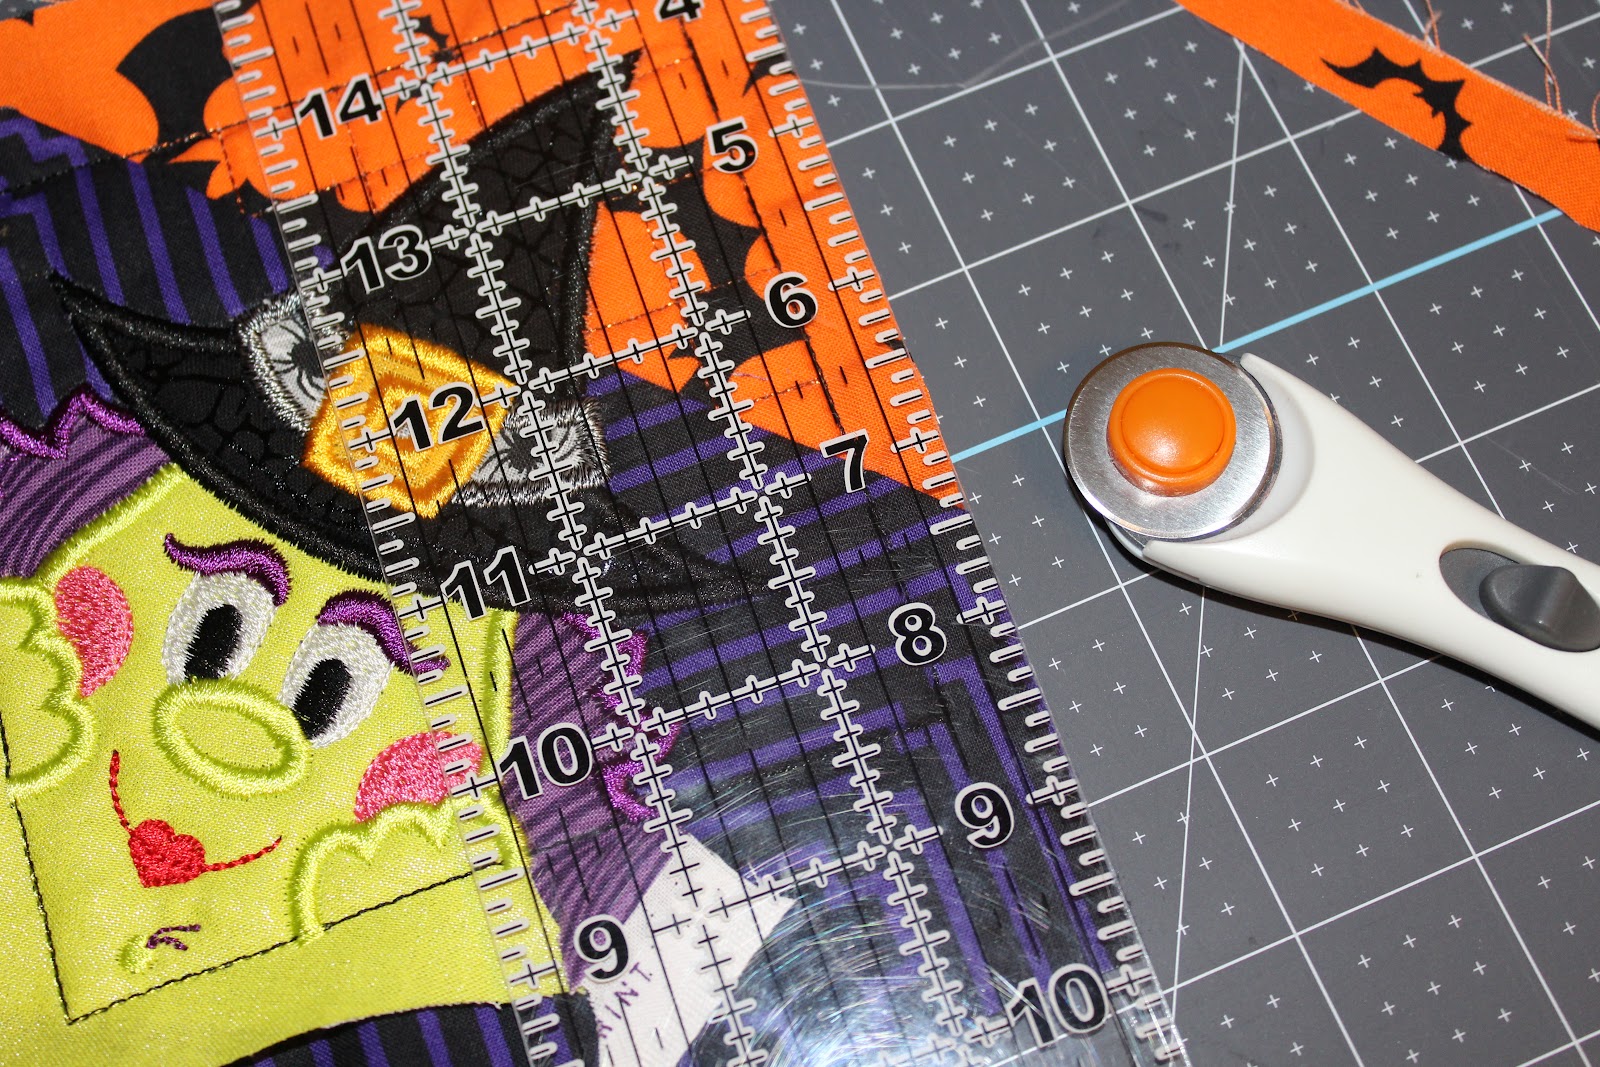
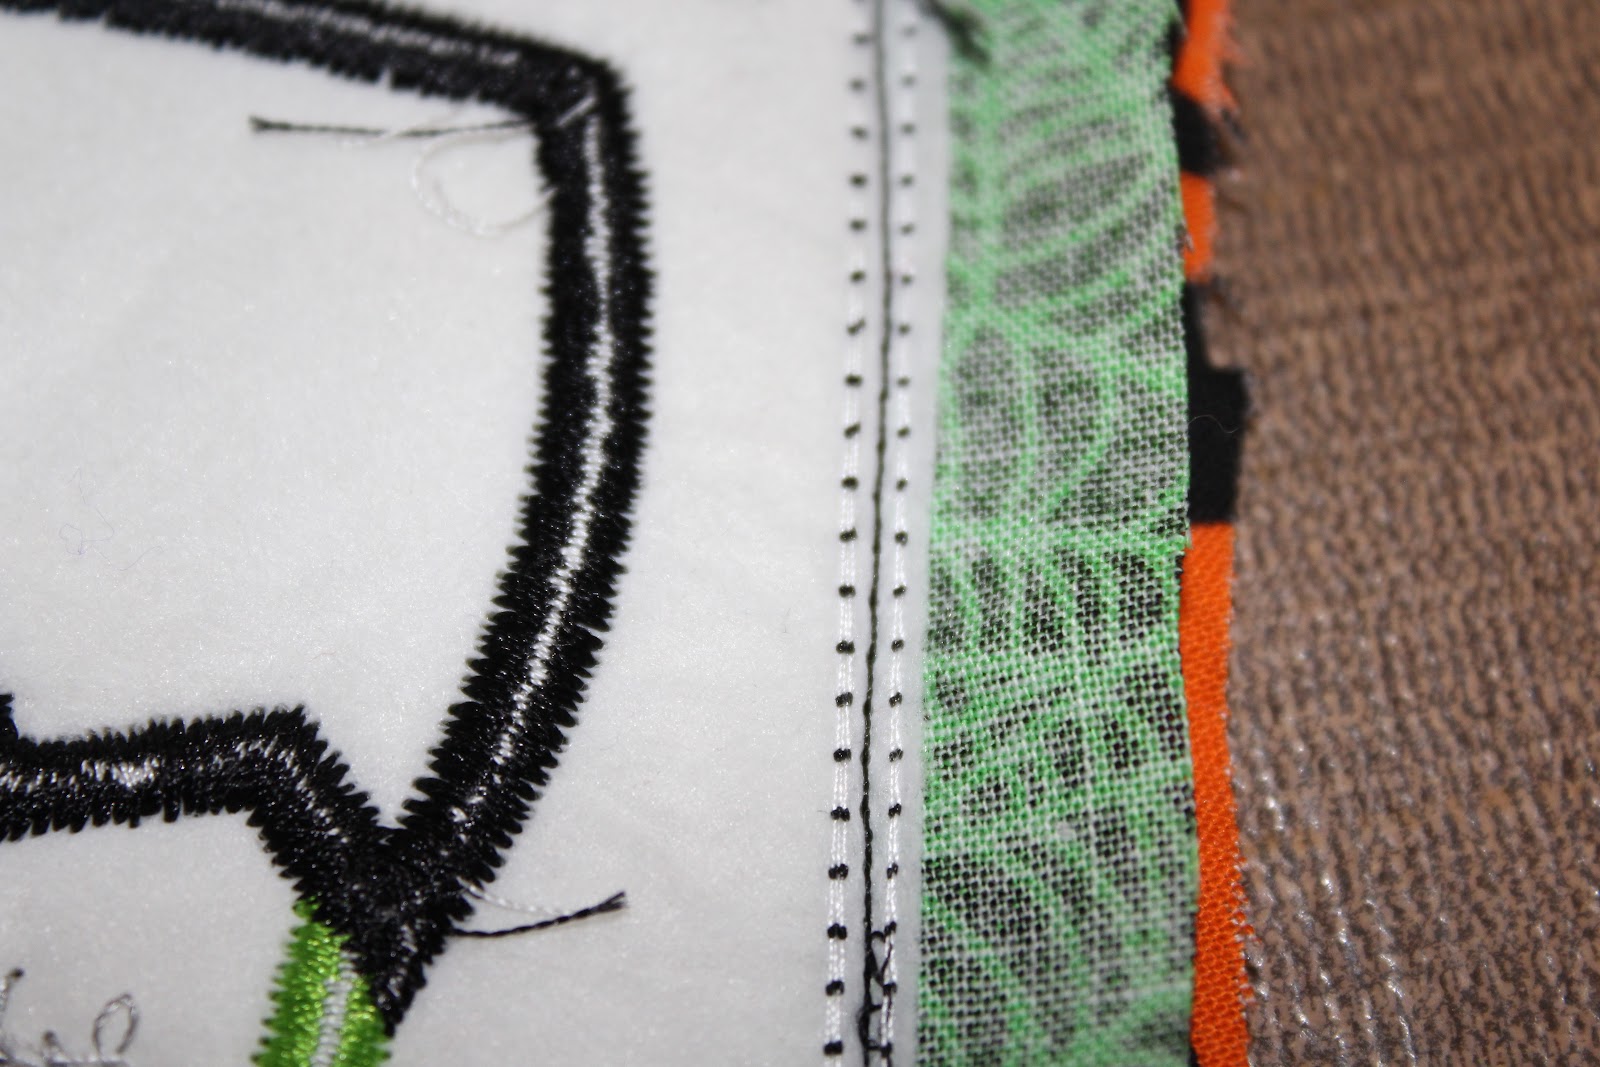
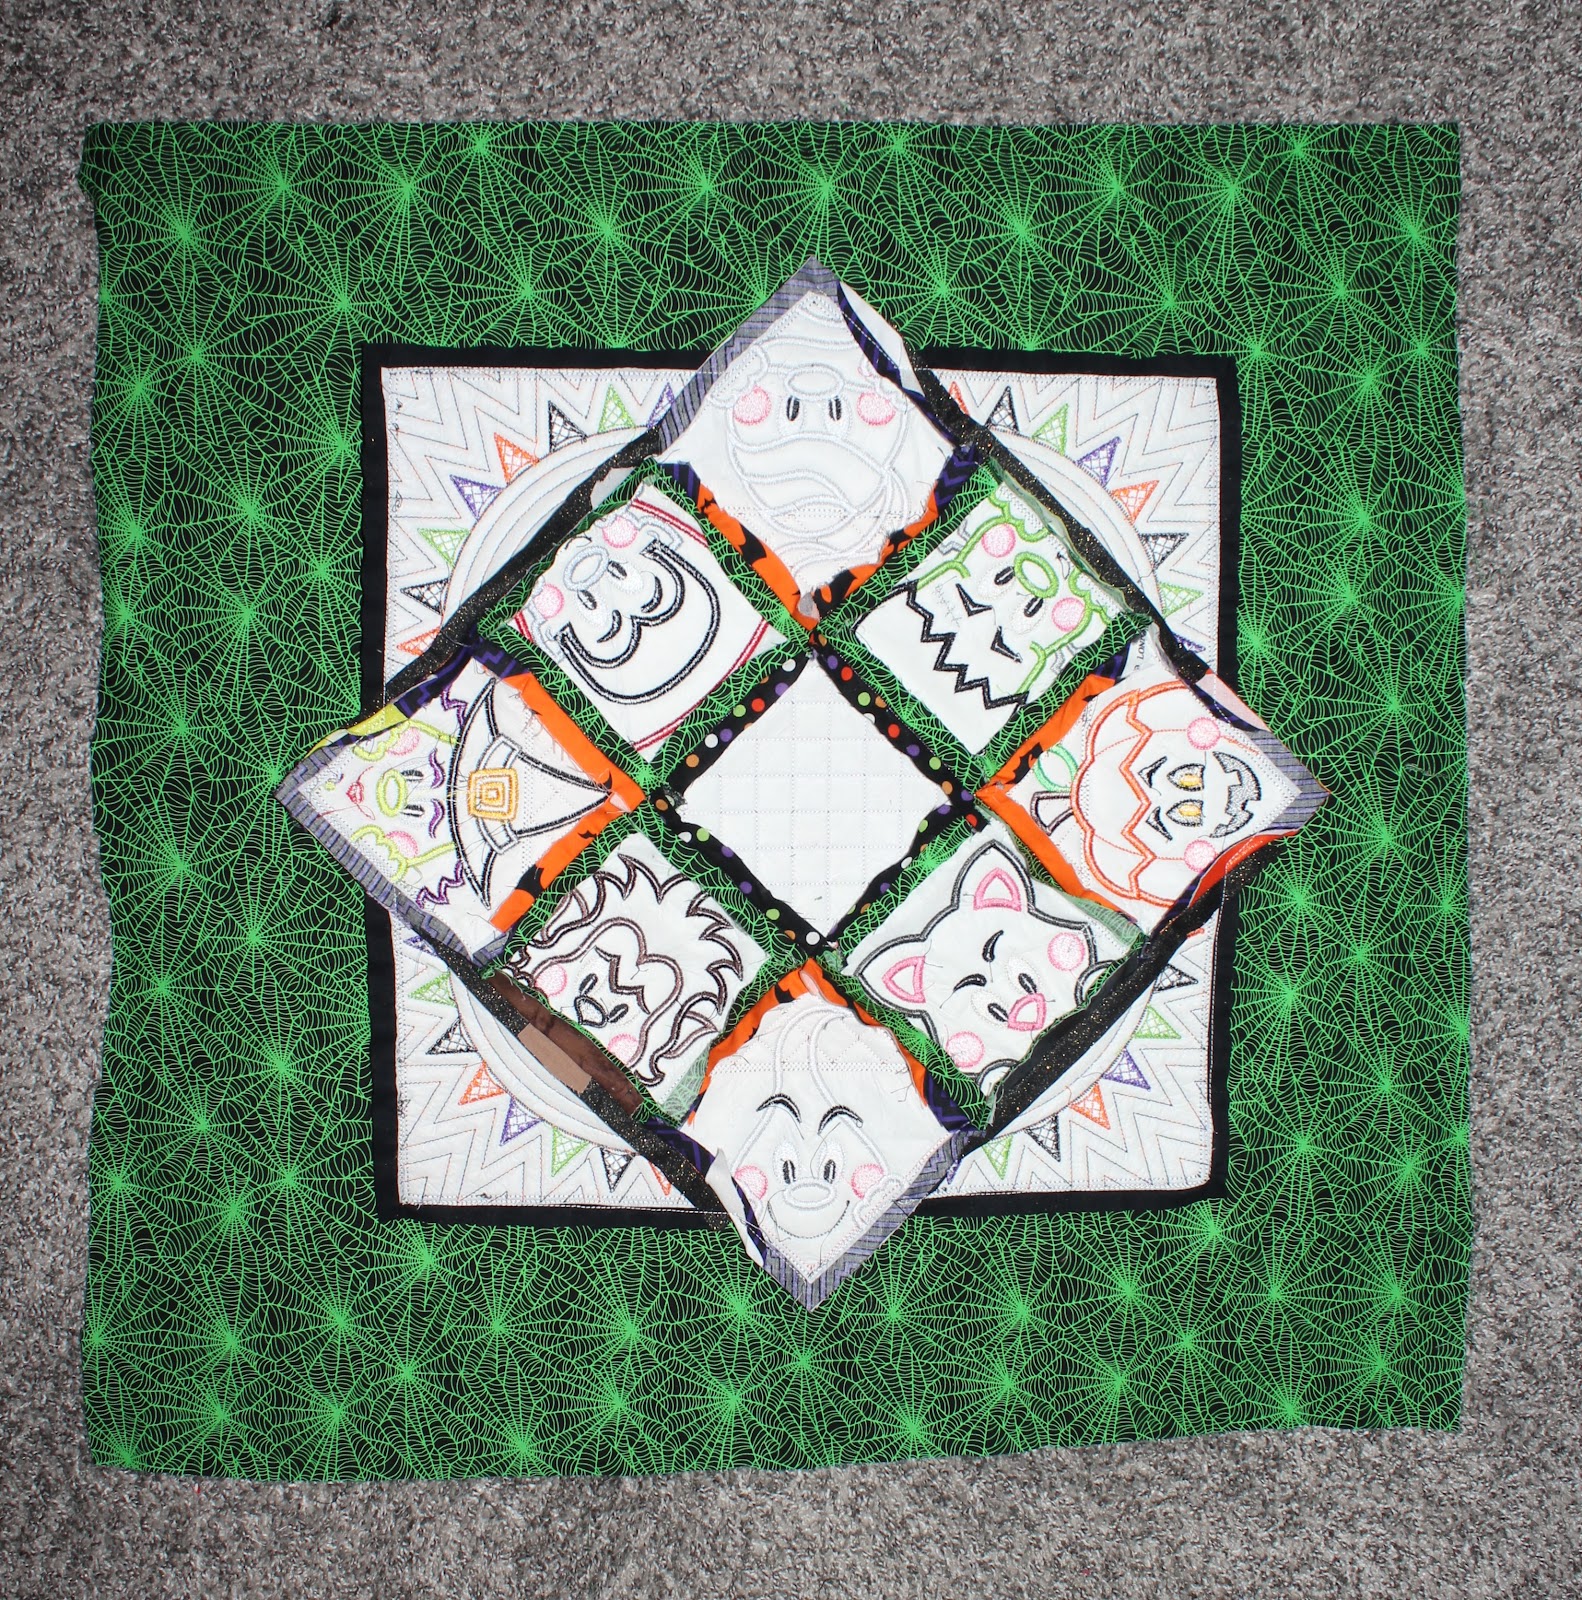
Step 1: Cut away all excess stabilizer.
Step 2: Using a rotary cutter and ruler, trim the blocks, leaving ½” fabric overhang around all edges.
Step 3: Lay out all of the blocks according to the PDF instructions.
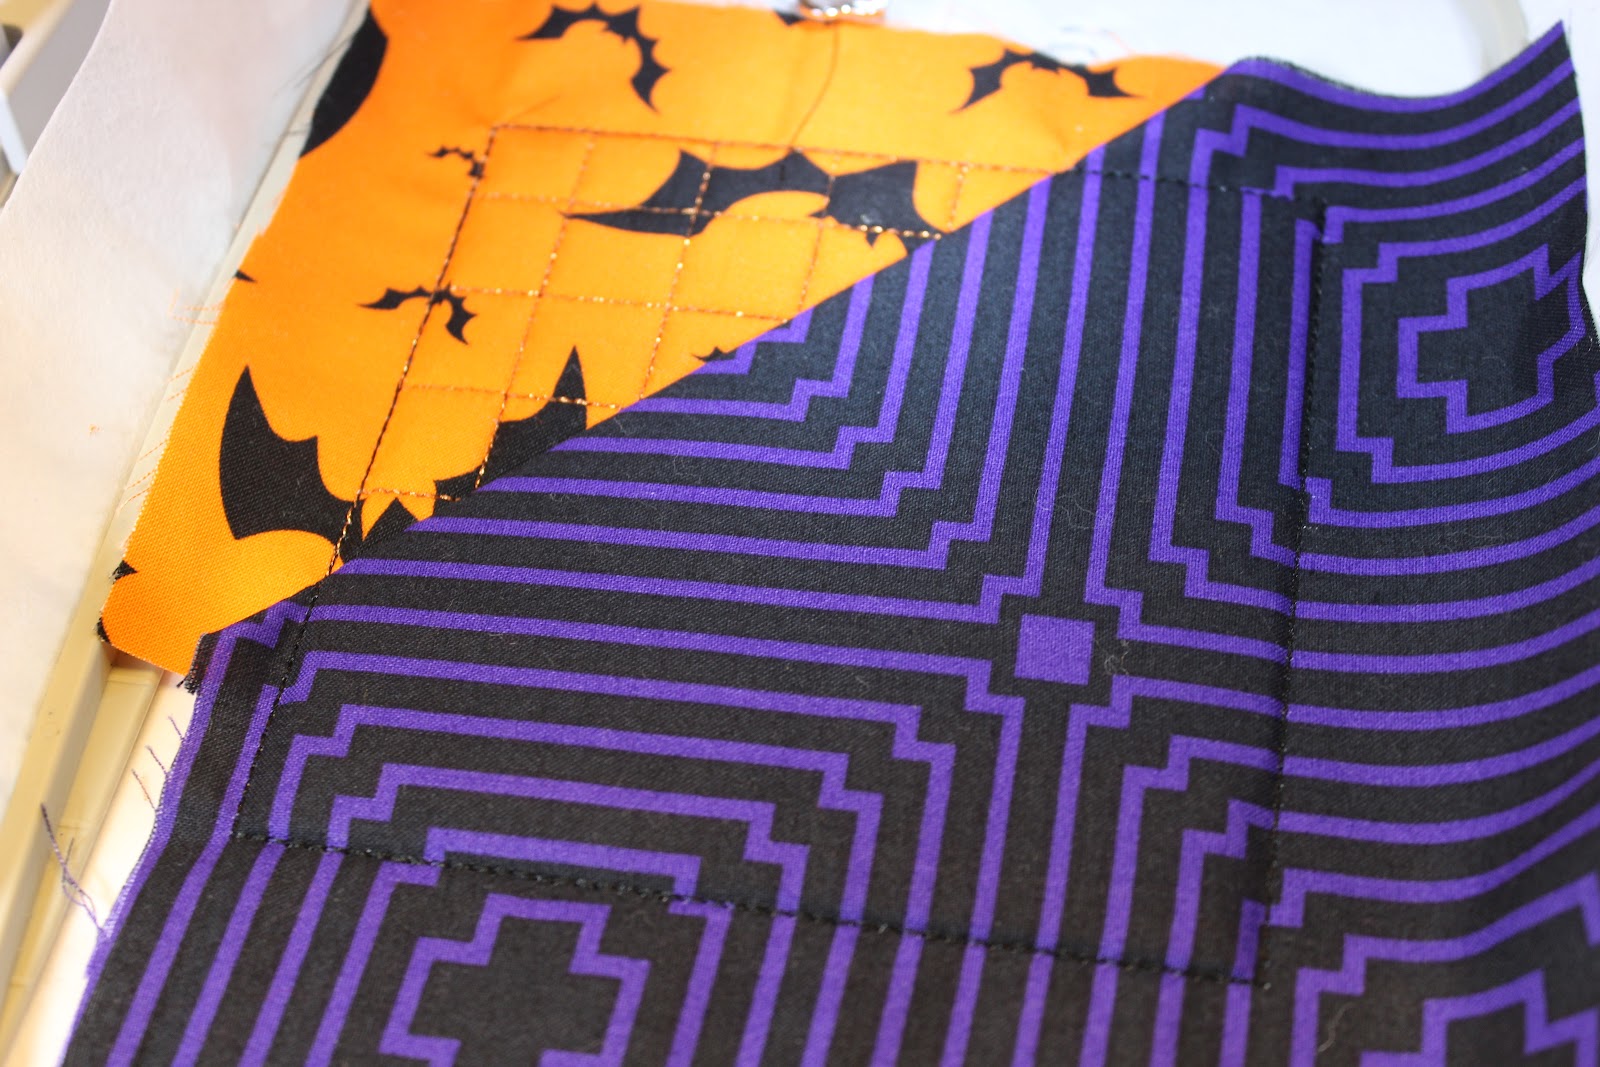
Step 4: Place two blocks, right sides together, and line up the outermost stitching lines. Secure with clips or pins.
**Follow the PDF instructions for specific directions regarding which blocks to sew together and in what order.**
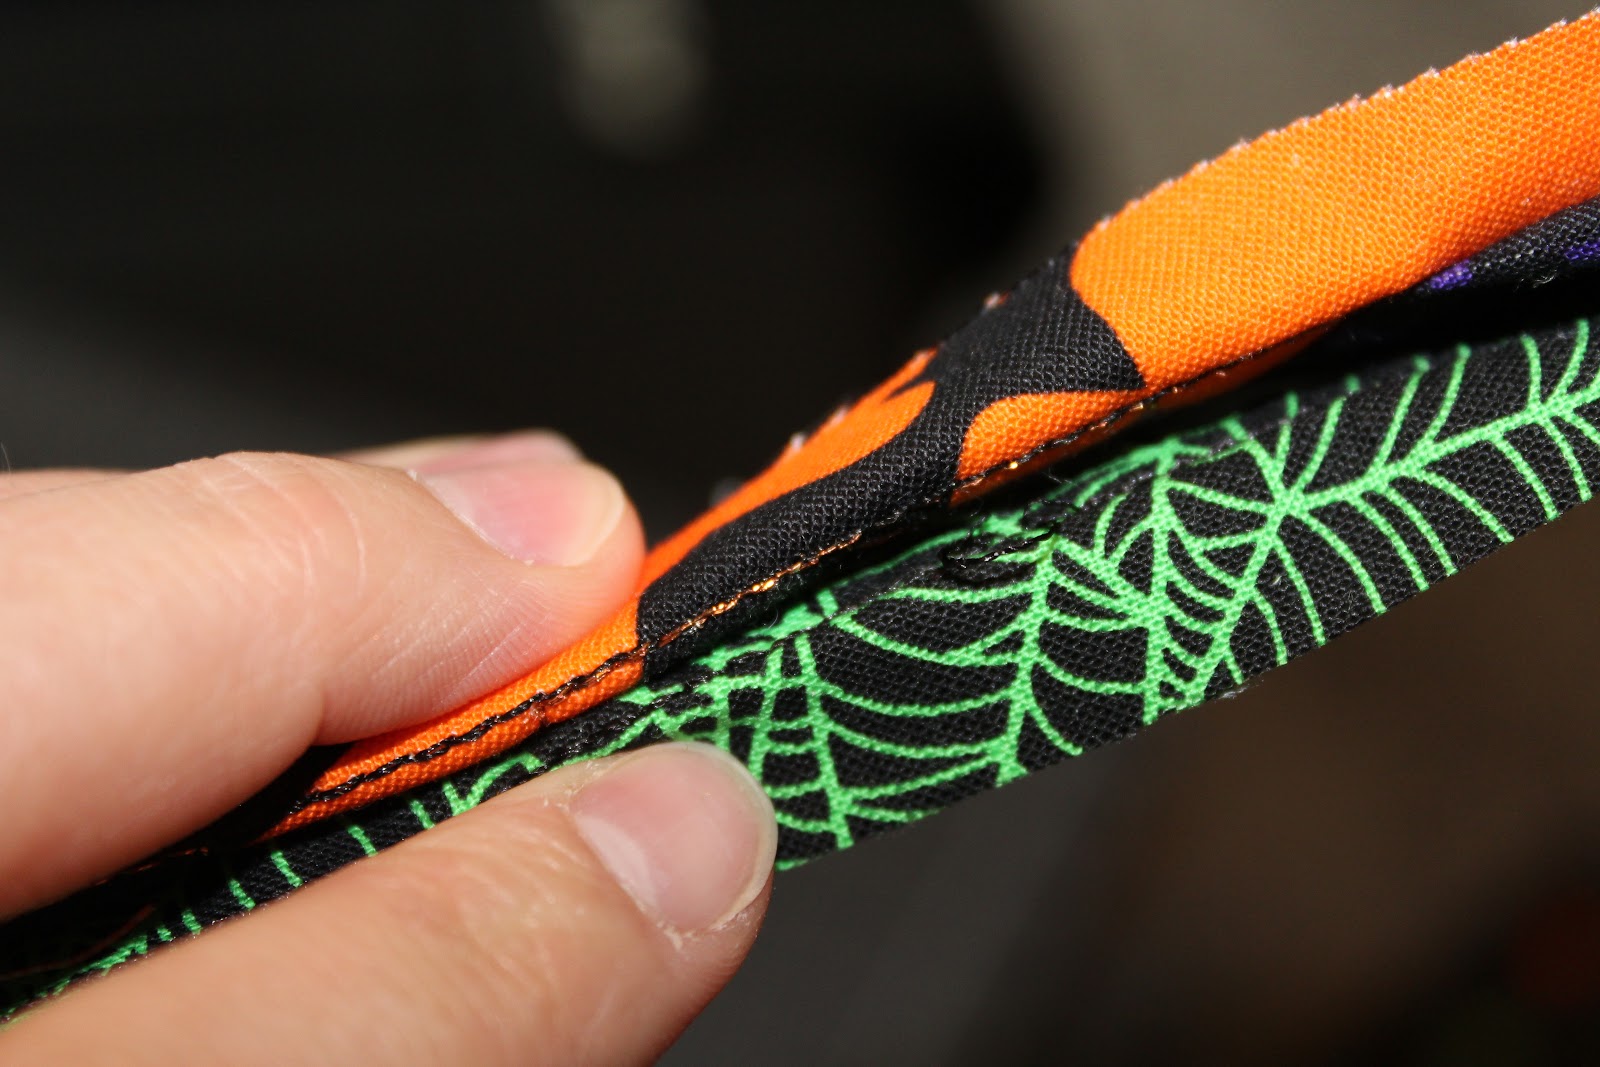
Step 5: Sew the blocks together, just inside the outermost stitching line. Press open the seams after stitching.
Step 6: Repeat steps 4–5 until blocks A through I are sewn together into a large square. Again, follow the PDF instructions for specific directions regarding which blocks to sew together and in what order.
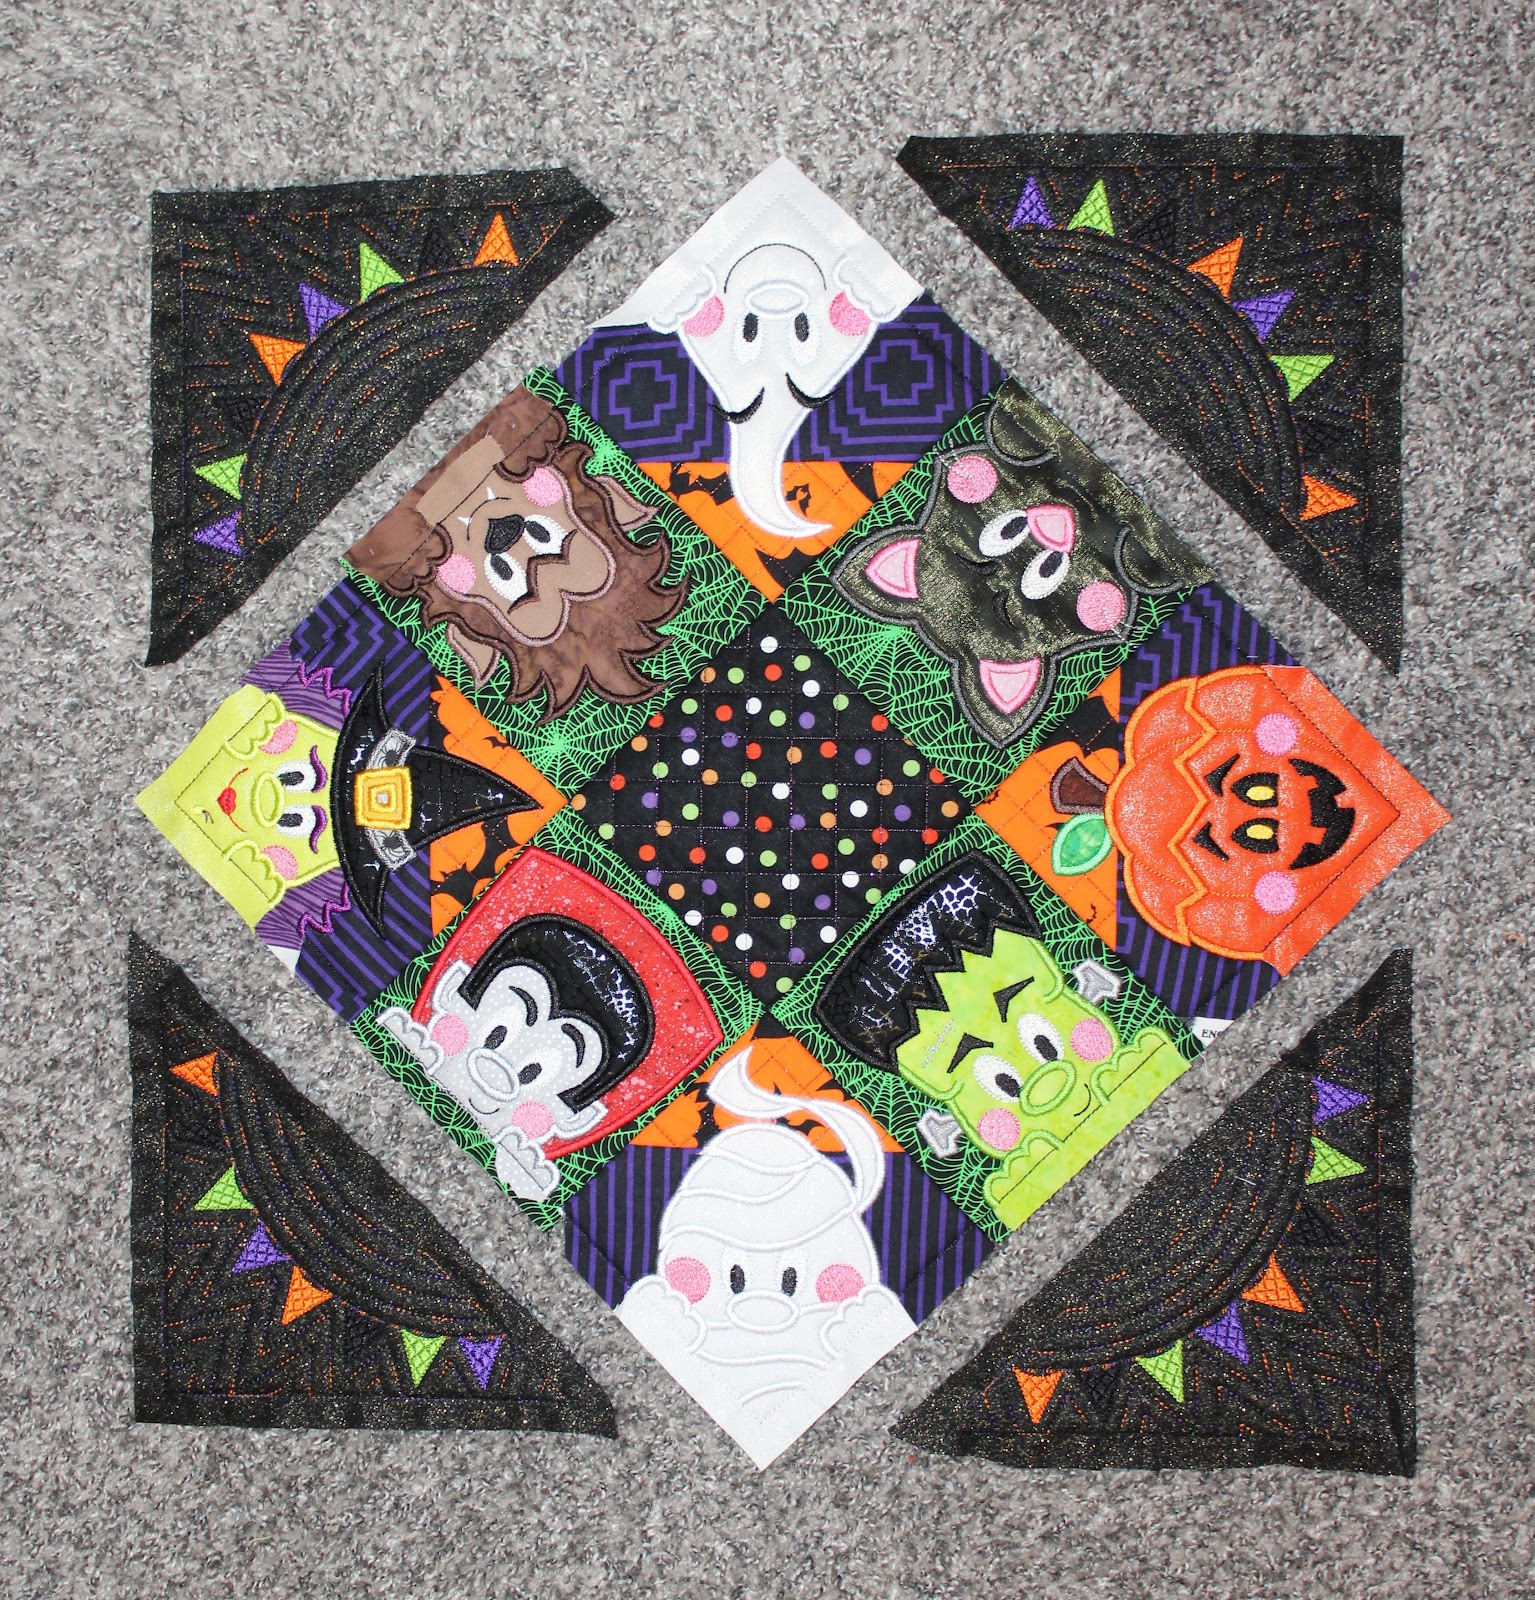
Step 7: Following steps 4–5, attach and sew J blocks to the middle section of each edge. These should line up with blocks E, F, G, and H.
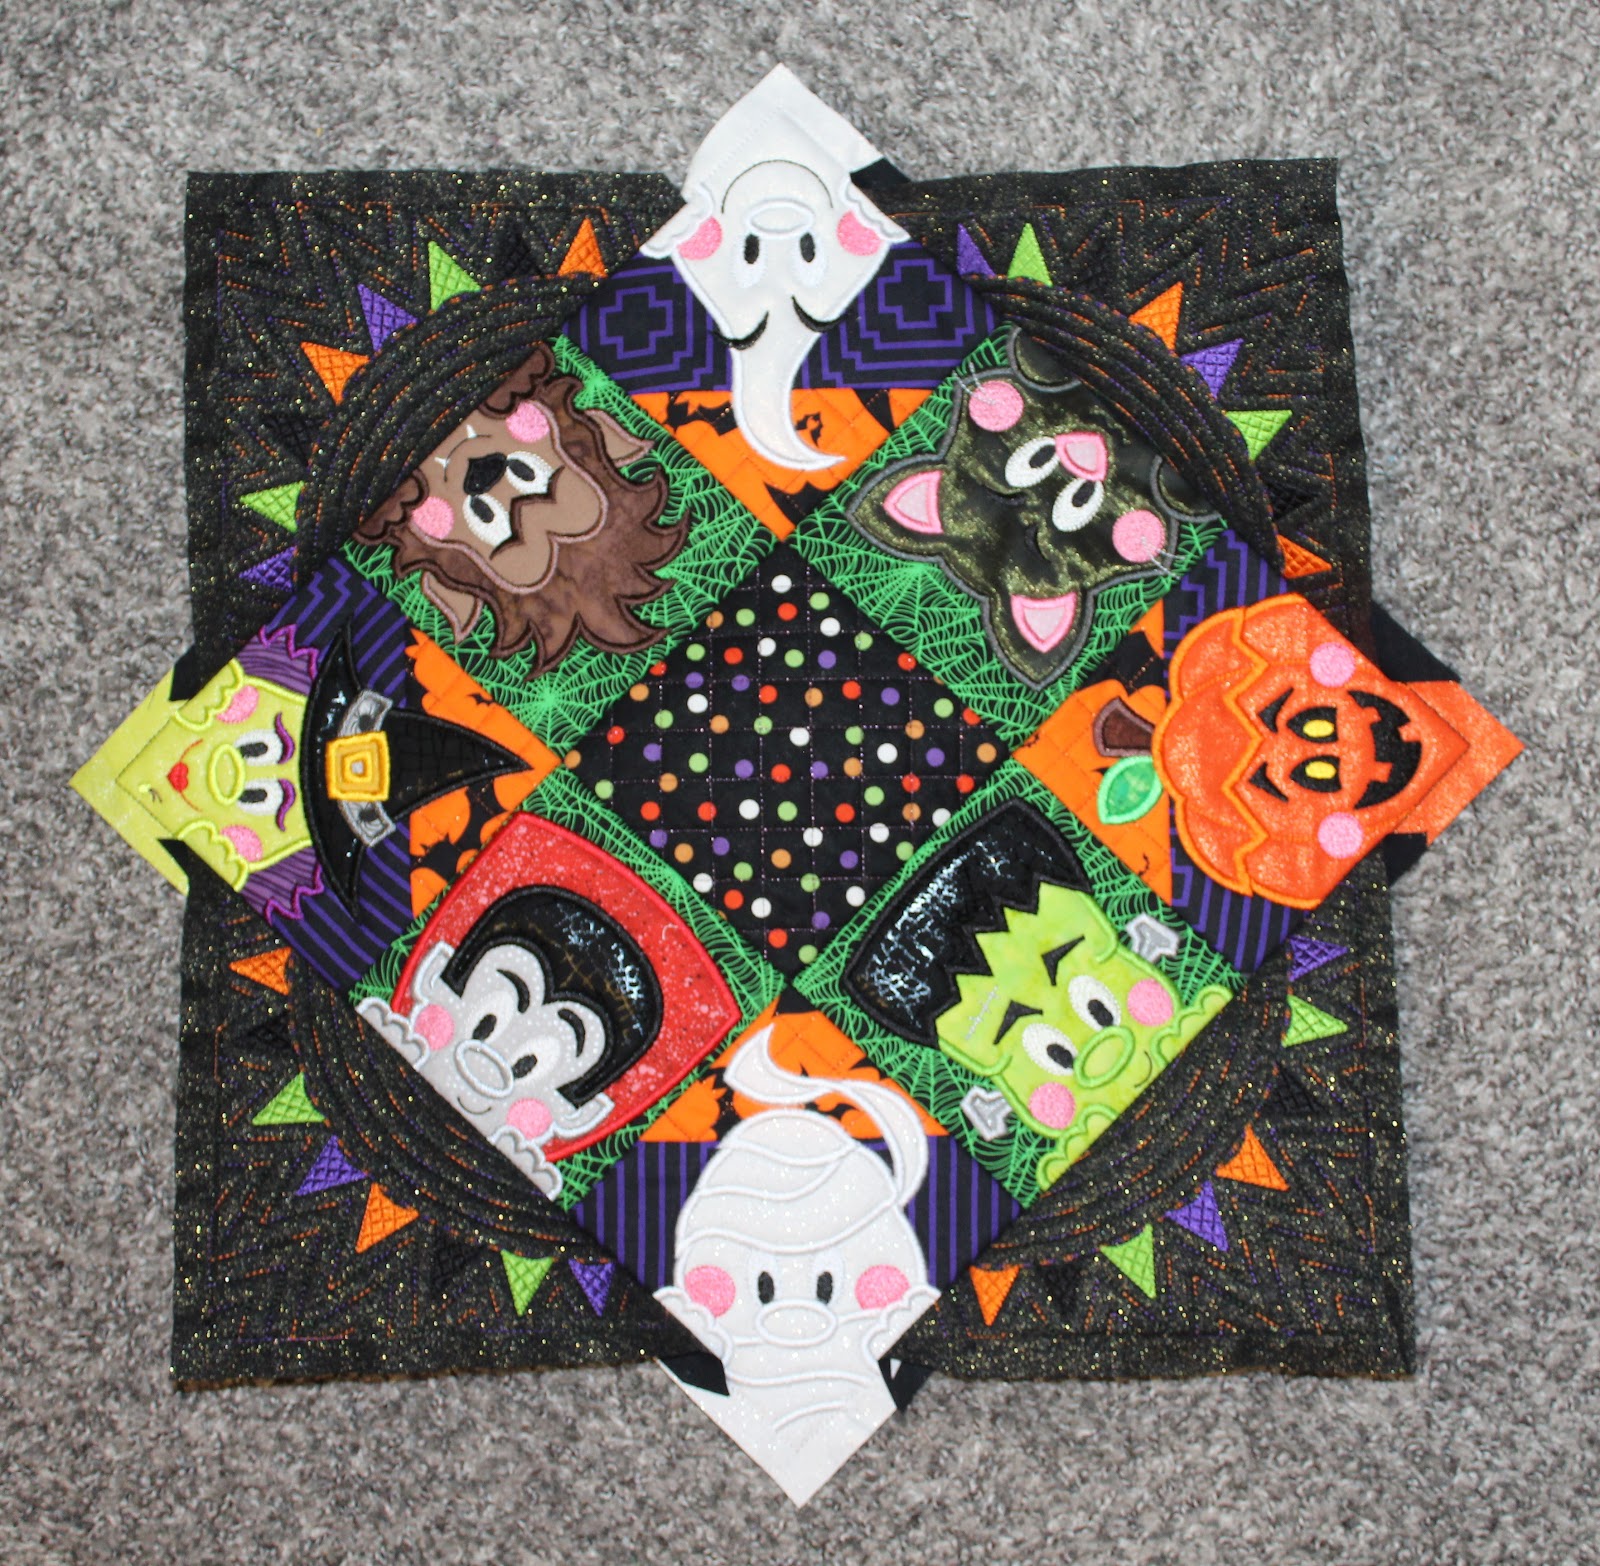
Now you are finished with the top portion of your table topper.
Step 8: Using the fabric cutting chart included with the PDF instructions, cut your backing fabric according to the size of the table topper you are making.
Step 9: Lay right sides together and pin the table topper and backing fabric together.
Optional: If you would like to add a trim, pin it in place at this time or stitch it before adding your backing. I added a fringe trim to my table topper.
Step 10: Sew around the entire table topper, just inside the outermost stitching line. Make sure you leave an opening to turn your table topper right side out. I left about 5”.
Step 11: Trim your backing so it is the same size as the table topper. Pro tip: Cut the corners at an angle for easier turning.
Step 12: Turn your table topper right side out through the opening and press flat.
Step 13: Top stitch around the remaining opening or use an adhesive of your choosing.
Step 14: Set out your table topper and be prepared for lots of BOOOhs and aahhhhs from your friends and family!
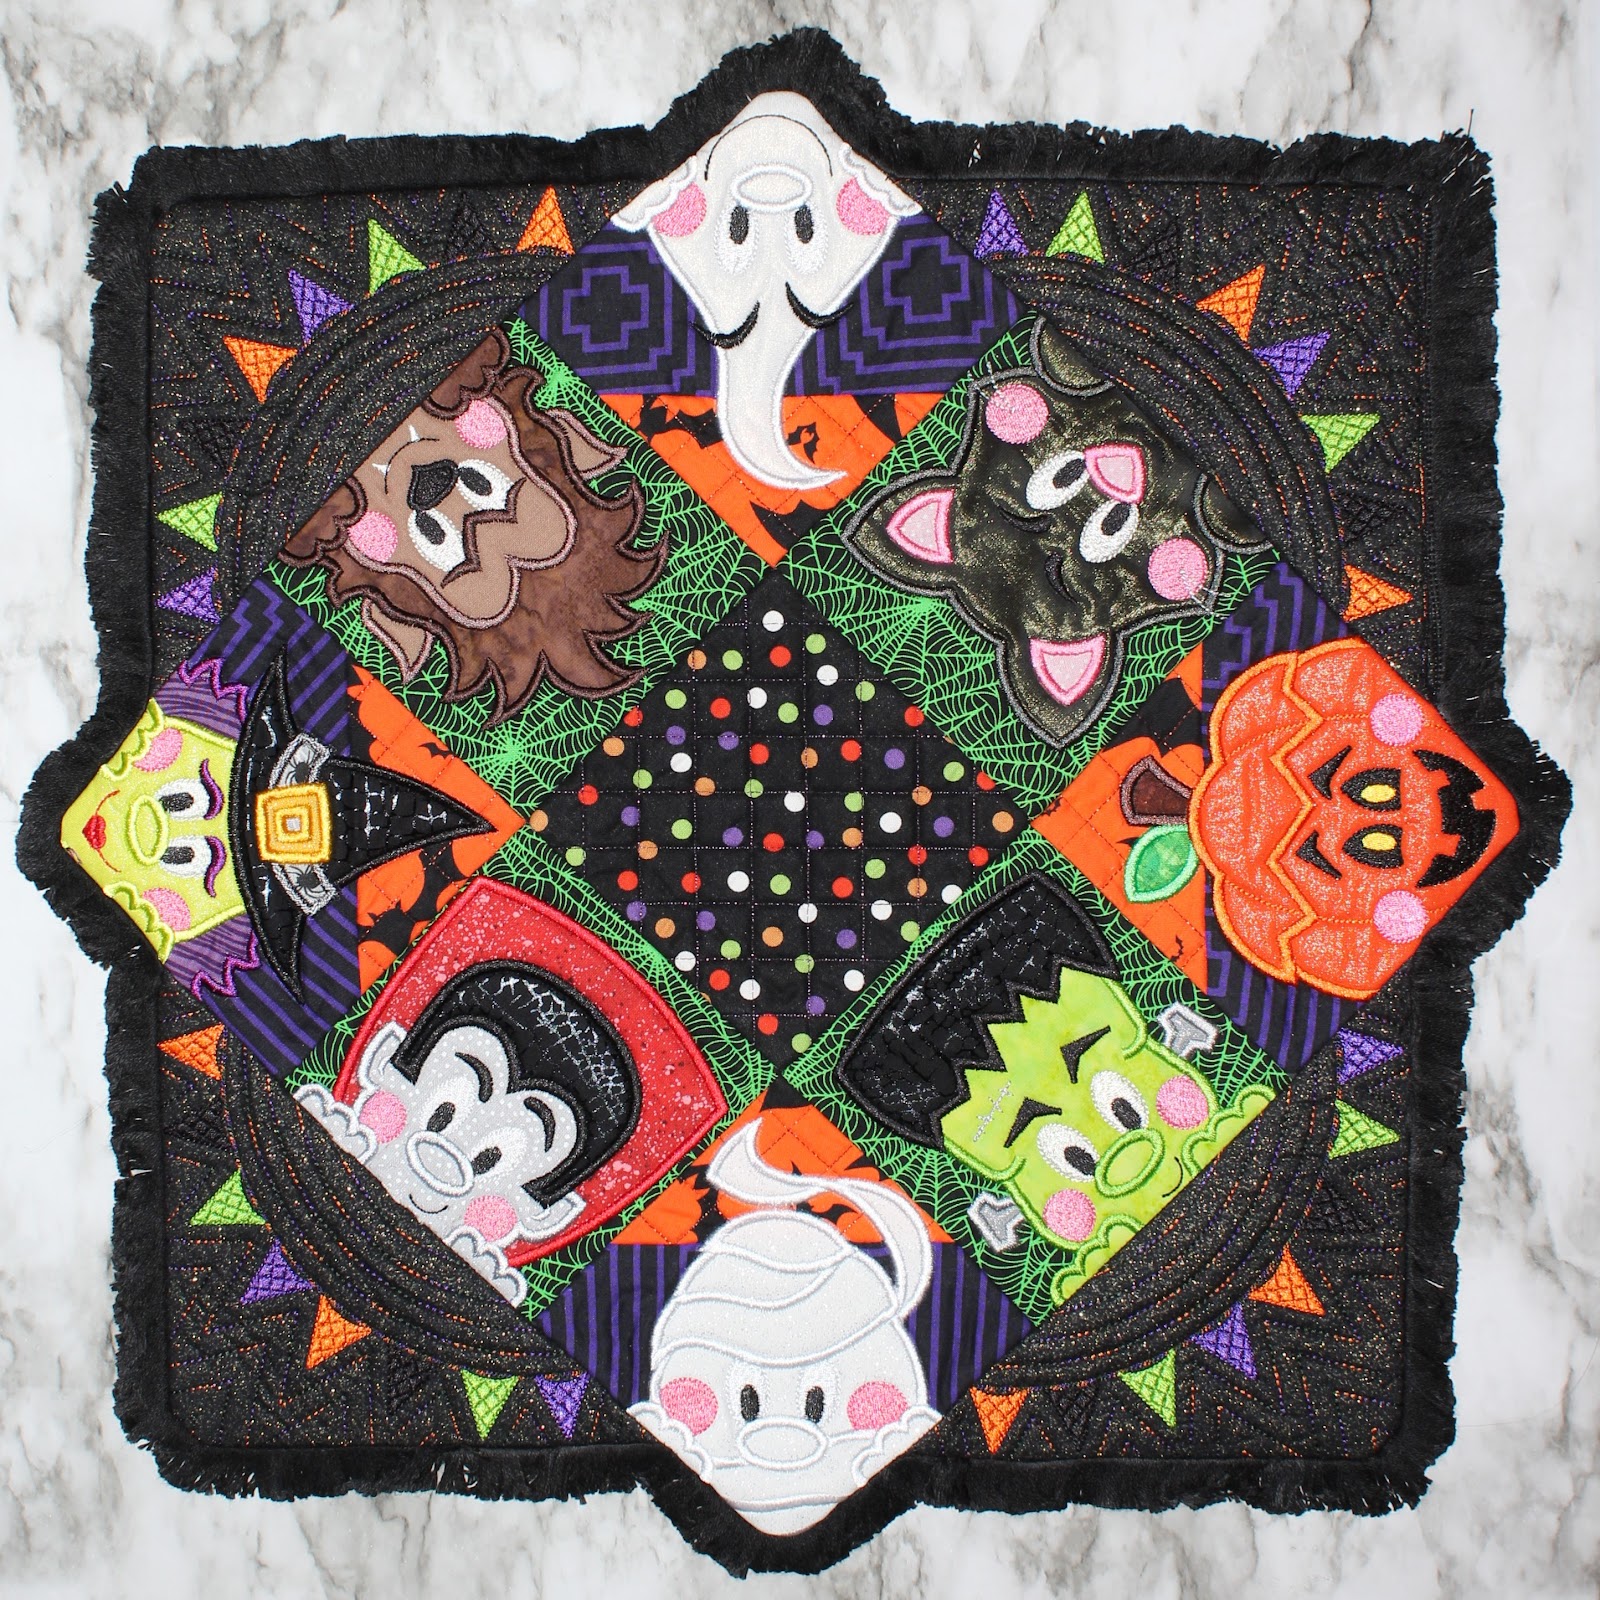
I hope you enjoyed today’s tutorial on the DBJJ Halloween Table Topper. Be sure to check out these other great ITH Halloween options from DBJJ to add to your seasonal decor. You will surely be the “Ghostess with the Mostest” this holiday season!
If you loved this project, you’ll find plenty more just like it in our Home Hub—a curated collection of quick, creative, and practical projects perfect for gifting (or keeping!)
And don’t forget to share your projects on the Designs by JuJu Embroidery Blessings Facebook Group or anywhere on social media using the hashtag #designsbyjuju. We can’t wait to see what you make!