Toggle Nav
 Inspire.
Create.
Stitch.
Inspire.
Create.
Stitch.
Search
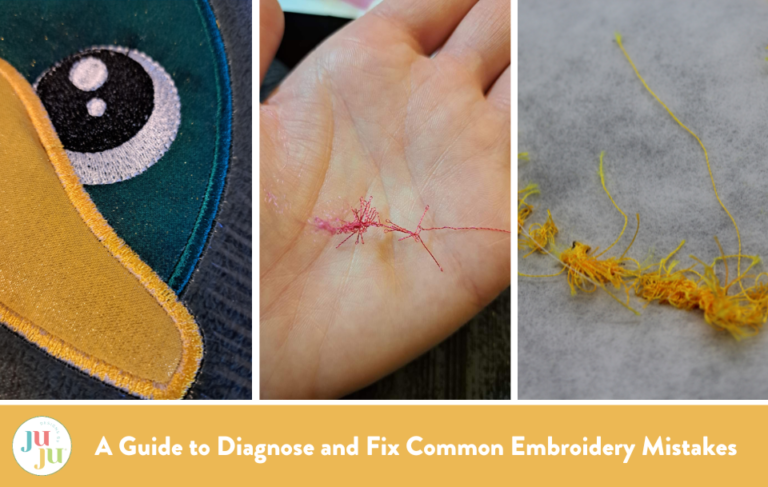
Unfortunately, at some point in your embroidery journey, you will have to remediate an embroidery mistake. Being able to diagnose what caused the mistake will allow you to fix your error and hopefully prevent further issues down the road.
Over the years, I have made more mistakes than I can count. Embroidery mistakes are inevitable and part of the journey. However, my blunders are your gain because today we are going to break down the most common mistakes I have encountered and discuss how to fix them when they happen. In this guide I have classified the most common embroidery mishaps into three categories: user errors, thread and bobbin issues, and stabilizer mistakes.
User errors happen regardless of how many years of experience you have. My user errors happen most often when I am distracted or careless. These errors include cutting the stitches on your applique tack down, not using a large enough piece of fabric for the applique, forgetting to cut the fabric on your applique or not cutting it close enough, and, worst of all, when your project folds behind and stitches to the back.
If I cut the stitches on my applique tack down or don’t use a large enough piece of fabric, rather than wasting time tearing out the stitches, I simply place a new piece of applique fabric on top and restitch the tack down. No one will know that you made a mistake, and it is a quick and easy fix.
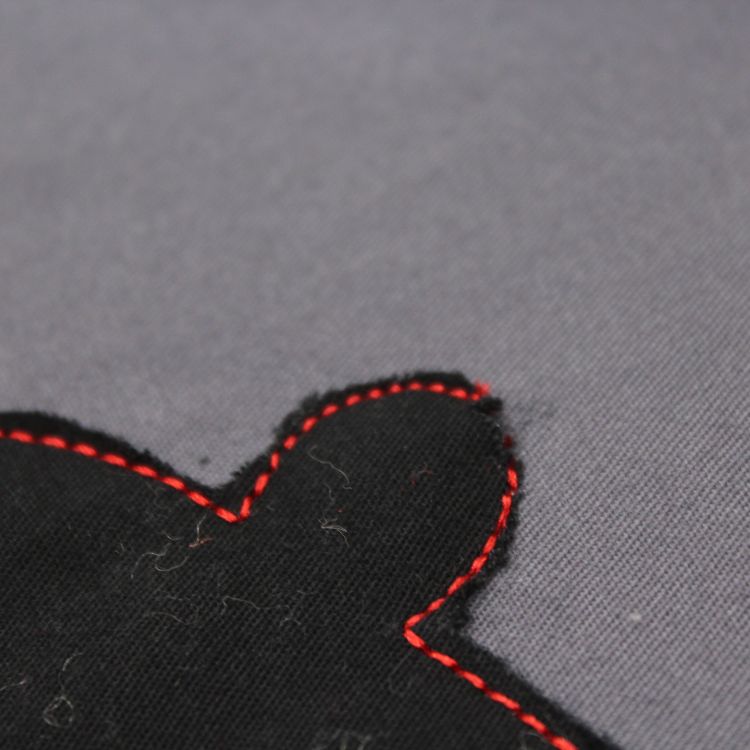
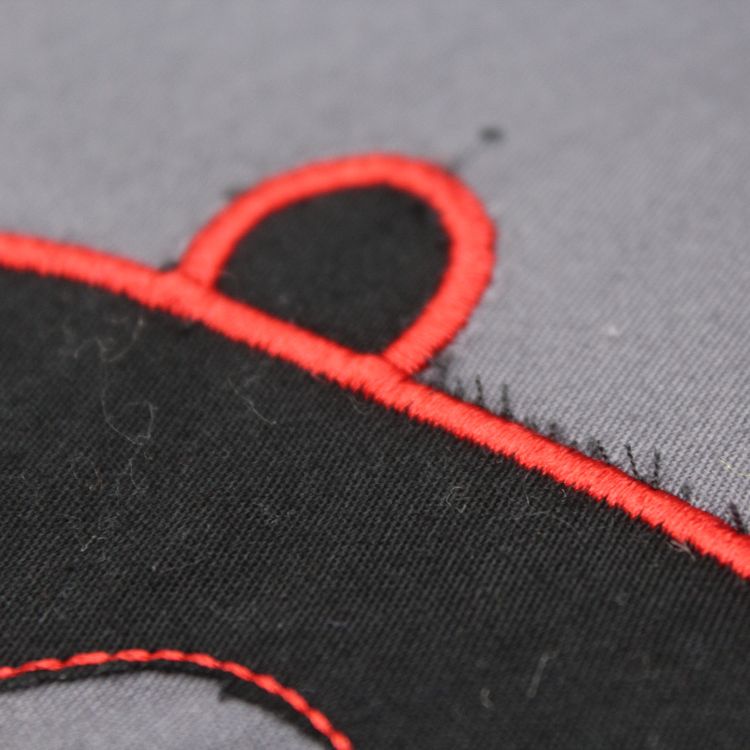
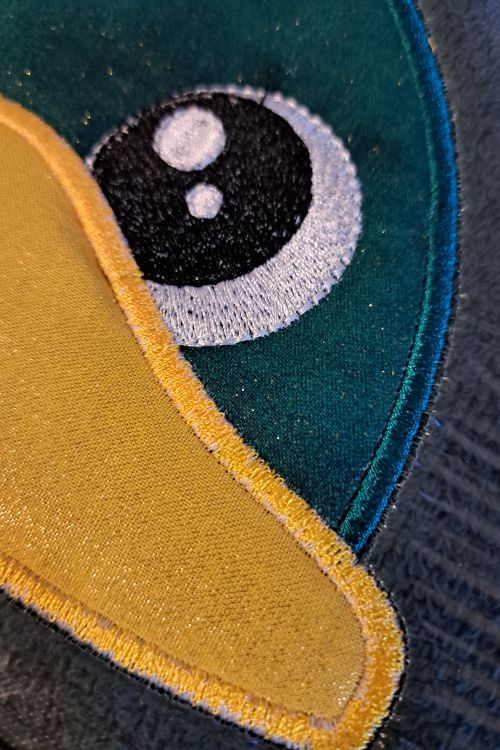
If you have forgotten to trim your applique fabric before completing the satin stitch, or if you didn’t cut it close enough and have little fabric pieces peeking from behind your satin stitch, do your best to trim as close to the stitching as possible without cutting into the satin stitch. Curved edge–scissors work best for this.
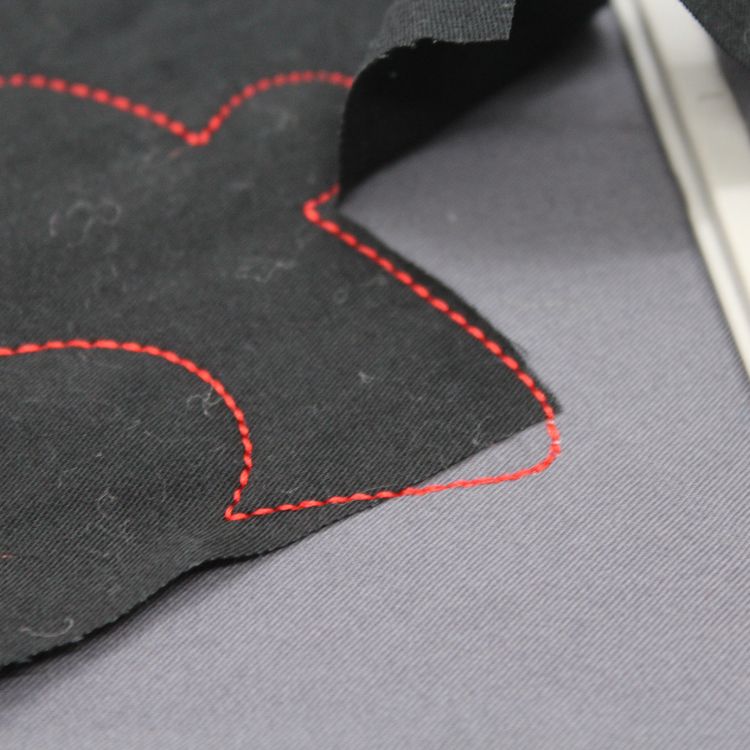
On the other hand, if your project folds behind and stitches to the back, there is a little more work involved. The first step is to delicately rip out the stitches. Use a seam ripper for this rather than scissors. Try not to stretch or damage the fabric as you rip out the stitches, and definitely do NOT unhoop your project. It is always a good idea to look your project over, both front and back, before you unhoop it. If you find that it did fold behind during the stitching process, it is much easier to fix your mistake while it is still hooped and in the correct position. Once you unhoop a project, it is nearly impossible to realign it perfectly.
After you have ripped out your stitches, make sure that the fabric or project is not too damaged to use. If you are embroidering on a delicate fabric like silk, you may have small puncture marks from your previous stitches that are noticeable. If you feel you are able to successfully salvage the project, it’s time to try again. Evaluate what caused the project to fold behind. Was it adequately secured? Did something come loose? Do you need to add more tape or pins? Answering these questions will ensure that you don’t encounter the same issue twice. Diagnose the mistake and stitch again.
More often than not, my embroidery mistakes come from thread and bobbin issues. Sometimes, these issues can be out of your hands, making them even more frustrating. I highly advise against adjusting your machine thread tension or bobbin tension without consulting an expert. Adjusting your machine's default settings can lead you down a path that almost always results in a visit to the repair shop. (Ask me how I know.)
Additional issues can arise if you are using cheaply made thread or specialty thread. I always recommend purchasing true embroidery thread that is highly rated. The last thing you want to do is ruin your embroidery machine because of poorly manufactured thread or bobbins.
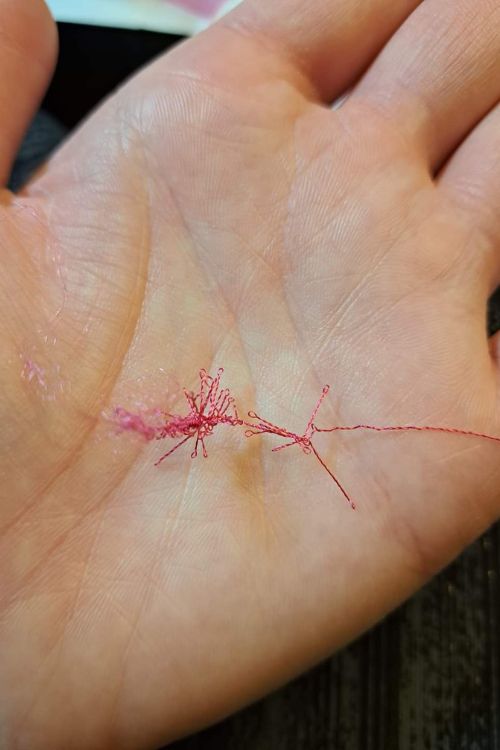
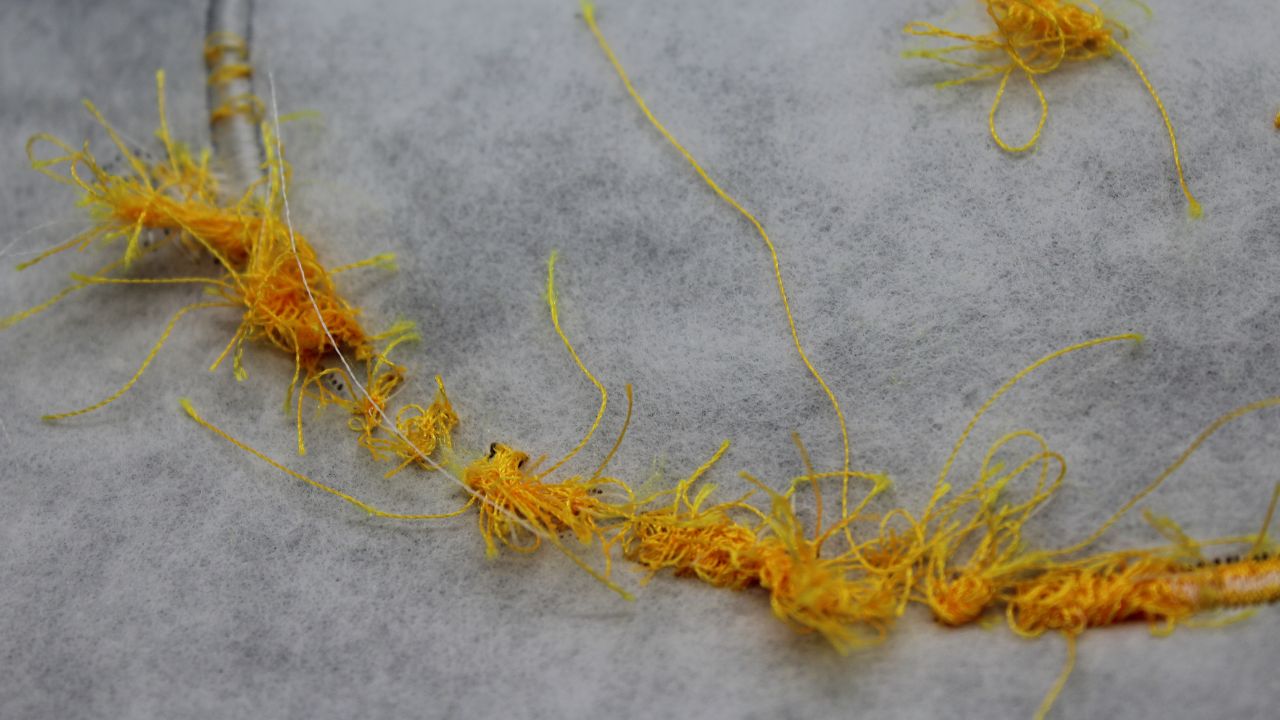
The most common thread and bobbin errors that occur are bobbin thread showing on top of the fabric, thread fraying or breaking, thread nests on the underside of your project, and the needle breaking or bending. Each of these issues is typically the result of improper tension with your top thread or bobbin thread. Again, I DO NOT recommend adjusting your machine's default tension settings. Instead, first troubleshoot using the list below.
If you are still having issues after troubleshooting, it may be time to reach out to your local repair center. Most manufacturers recommend having your embroidery machine serviced and cleaned at least once a year, or more often if needed.
Lastly, let’s discuss common stabilizer mistakes. These mishaps usually result from using the incorrect stabilizer for your project. The most common stabilizer mistake you will encounter is puckering and bunching. Puckering is the result of inadequate stabilization of your material. Understanding your material, the density of your design, and the thread you plan to use will help you determine the stabilizer that is right for you.
As you hoop your stabilizer, make sure it is taut and is not creased when hooped. The same is true for your fabric on top. It should also be taut in your hoop. If floating the fabric on the hooped stabilizer, make sure the fabric is adequately secured to the stabilizer. Ensuring that your stabilizer and material are taut and secure will also prevent your project from unhooping during stitching. Nothing is worse than your project coming unhooped midway through. This almost always results in your project being ruined because, as I said before, it is nearly impossible to realign your hoop exactly the way it was.
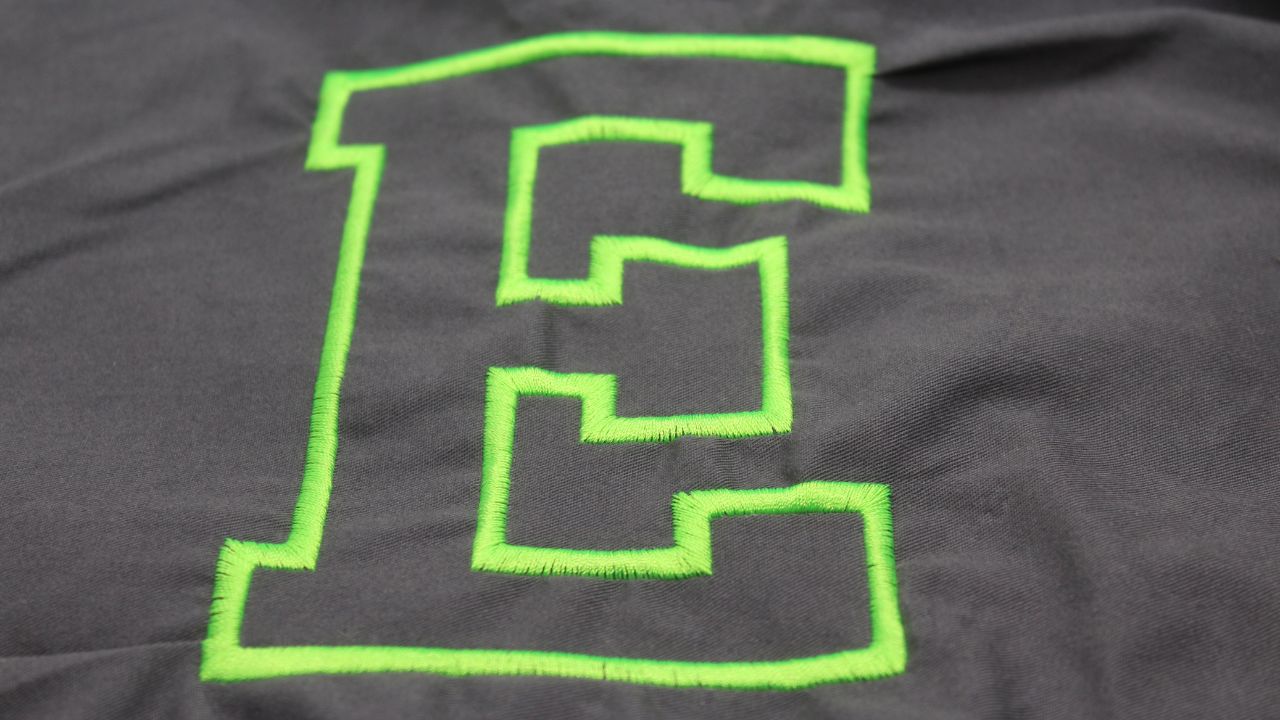
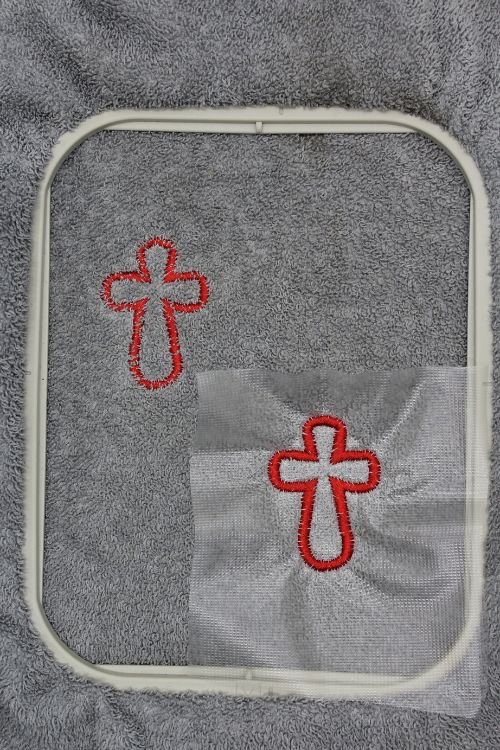
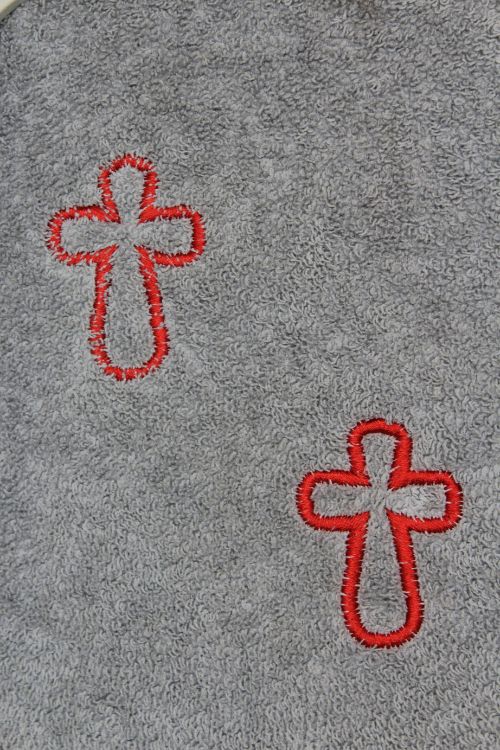
The final stabilizer mistake I have encountered over the years is my fabric nap peeking through my design and stitches. Materials with a raised nap, such as sherpa, terry cloth, fleece, etc. require a water-soluble topper when stitching. The topper helps to “tame” the material, creating a smooth barrier for stitching. Water-soluble topper tears away very easily and any remaining bits dissolve with water.
Now that we’ve covered the most common machine embroidery mistakes and how to fix them, you are ready to get stitching! Don’t let these common errors stop you on your embroidery journey. Even the most experienced embroiderers have encountered these issues many times. Being able to diagnose and repair mistakes gives you the tools necessary to face these challenges head on.
Don't forget to share your successes with us on social media using the hashtag #designsbyjuju!