Toggle Nav
 Inspire.
Create.
Stitch.
Inspire.
Create.
Stitch.
Inspire.
Create.
Stitch.
Search
Inspire.
Create.
Stitch.
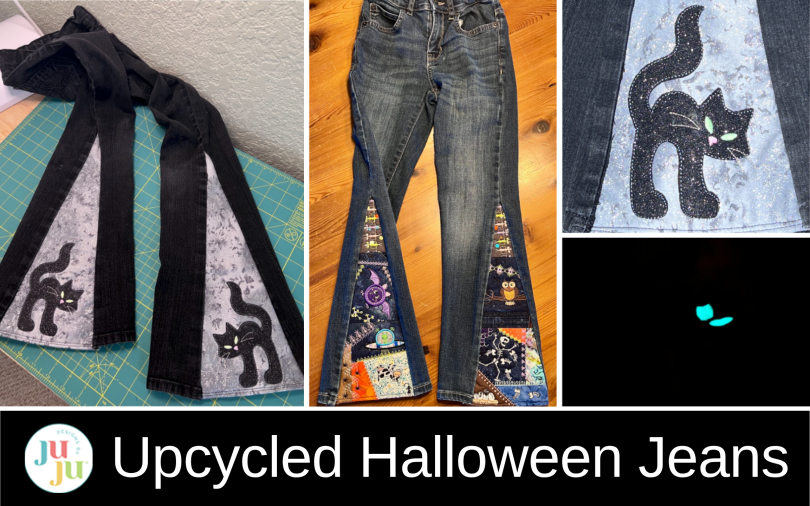
Give old jeans a spooky makeover with Halloween embroidery inserts, glow-in-the-dark thread, and lots of personality!
After making my first embroidered insert jeans, I knew I wasn’t finished experimenting with this idea. Halloween gave me the perfect excuse to try it again—with spooky crazy patchwork, a shimmery black-cat applique, and a few glow-in-the-dark surprises.
If you haven’t tried embroidered jean inserts before, start with this tutorial: How to Upcycle Jeans with ITH Embroidery Inserts: Creative Denim Makeover Using Tree Skirt Panels & Crazy Patch Blocks. It walks through the process of measuring the jeans, making the tapered insert template, opening the outside leg seams, and sewing the finished panels into place.
For these Halloween versions, I followed that same basic construction method but played with two completely different embroidery approaches. One pair uses the In The Hoop Spooky Crazy Patch Blocks Bundle for colorful, scrappy inserts. The other uses only the black-cat applique from the In The Hoop Round Halloween Table Topper Project to create sleek, shimmery inserts with a very different look.
Check out the DBJJ team’s favorite supplies in the Designs by JuJu Amazon store. For stabilizers, batting, and threads, Designs by JuJu+ has everything you need.
The basic jean construction is the same as in my original project. I decide where I want the insert to begin, measure the opening I need, make a tapered paper template, and open the outside seam of each jean leg. Then I create embroidered panels large enough for that template, trim them to fit, and sew them into the openings.
Because those steps are covered in detail in the original tutorial, I’m not going to repeat the entire process here. Instead, I want to show how changing the embroidery—and the materials—can give the same denim-upcycling technique a completely different personality.
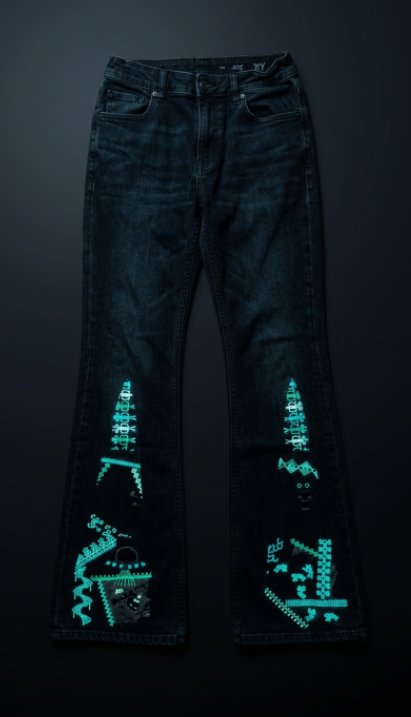
For the first pair, I used the 5x5 blocks from the In The Hoop Spooky Crazy Patch Blocks Bundle. The bundle includes 20 different blocks with a mix of stitch-and-flip construction, applique, and playful Halloween embroidery motifs.
These blocks are a natural fit for long jean inserts because there is so much going on visually. I could mix Halloween fabrics, vary the motifs from one leg to the other, and build a scrappy panel that becomes more interesting the longer you look at it. The dark denim also makes all of those bright little details pop.
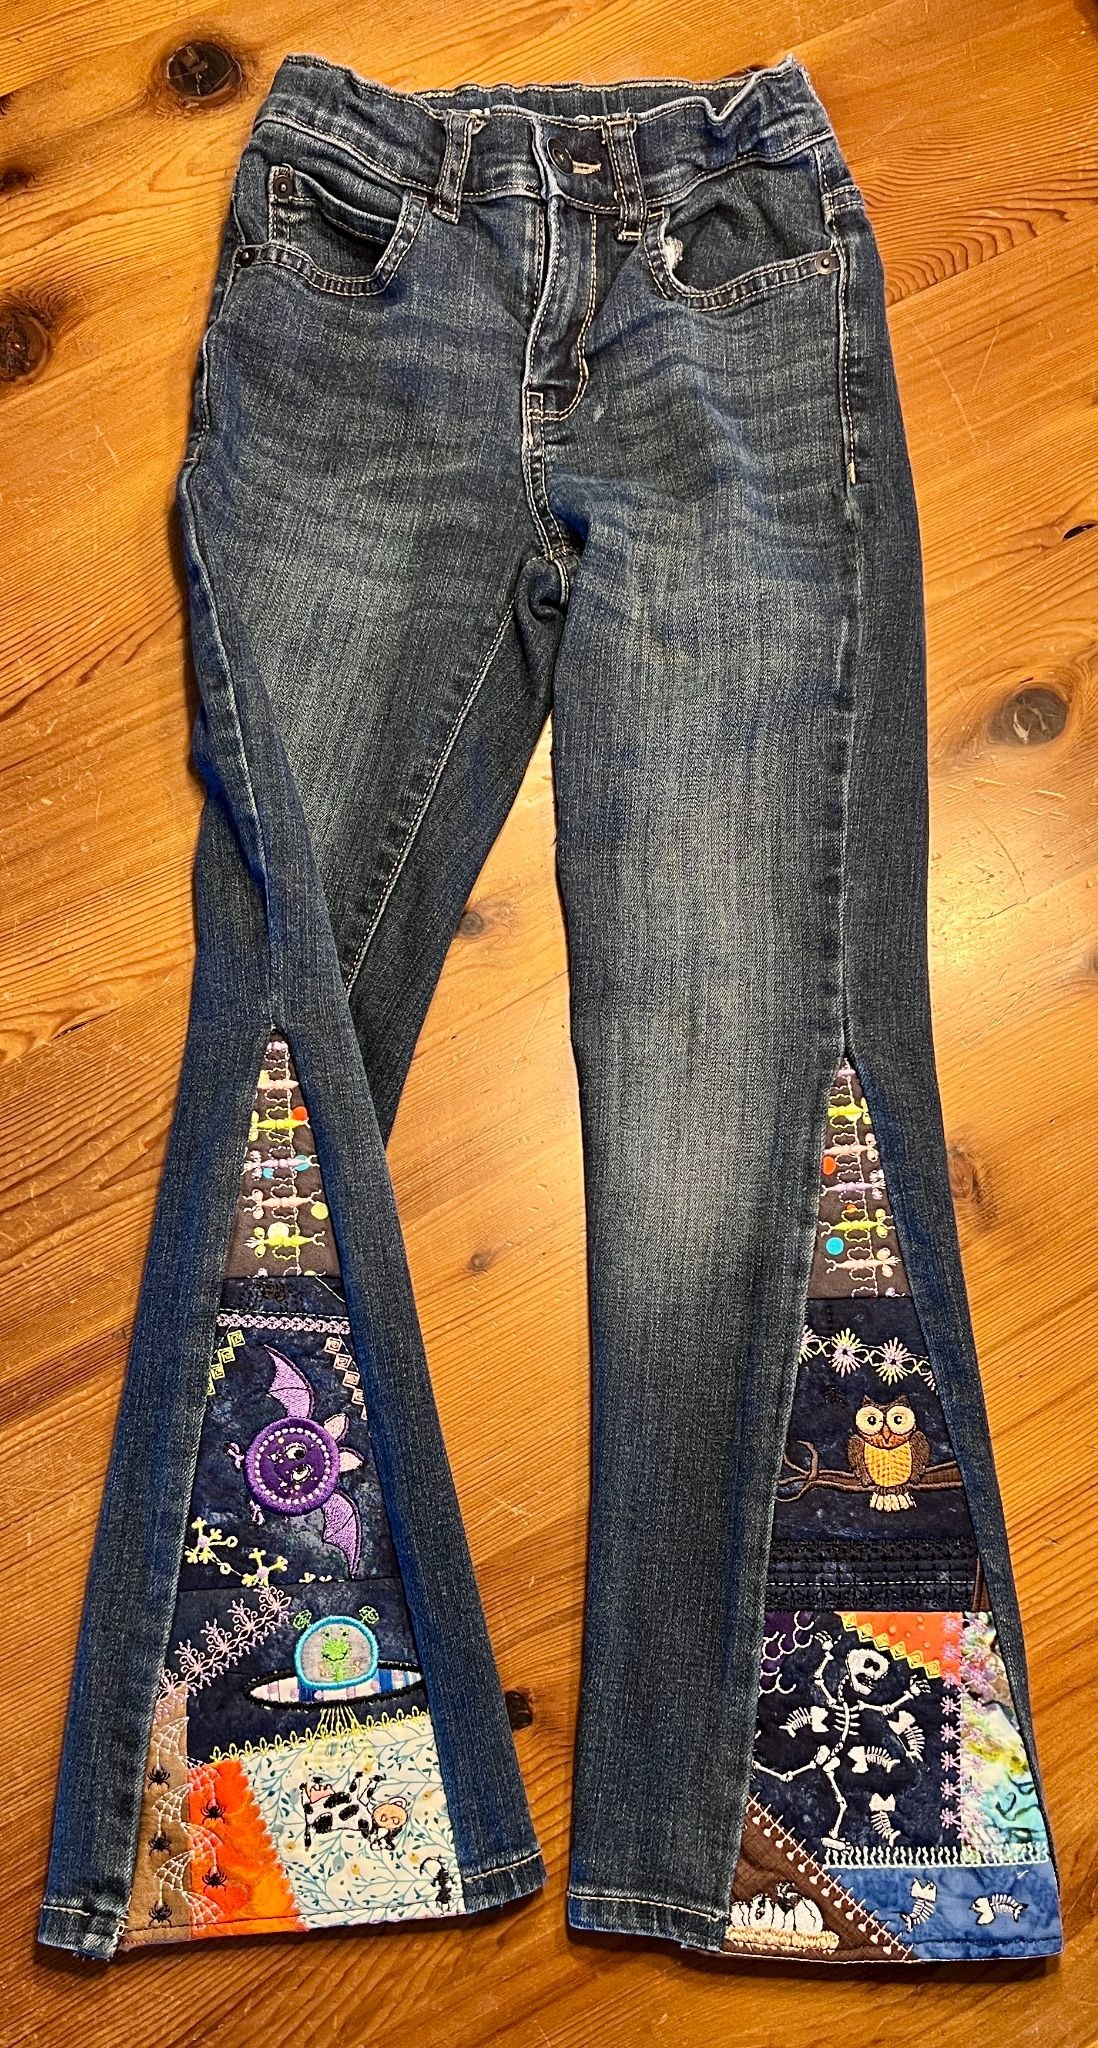
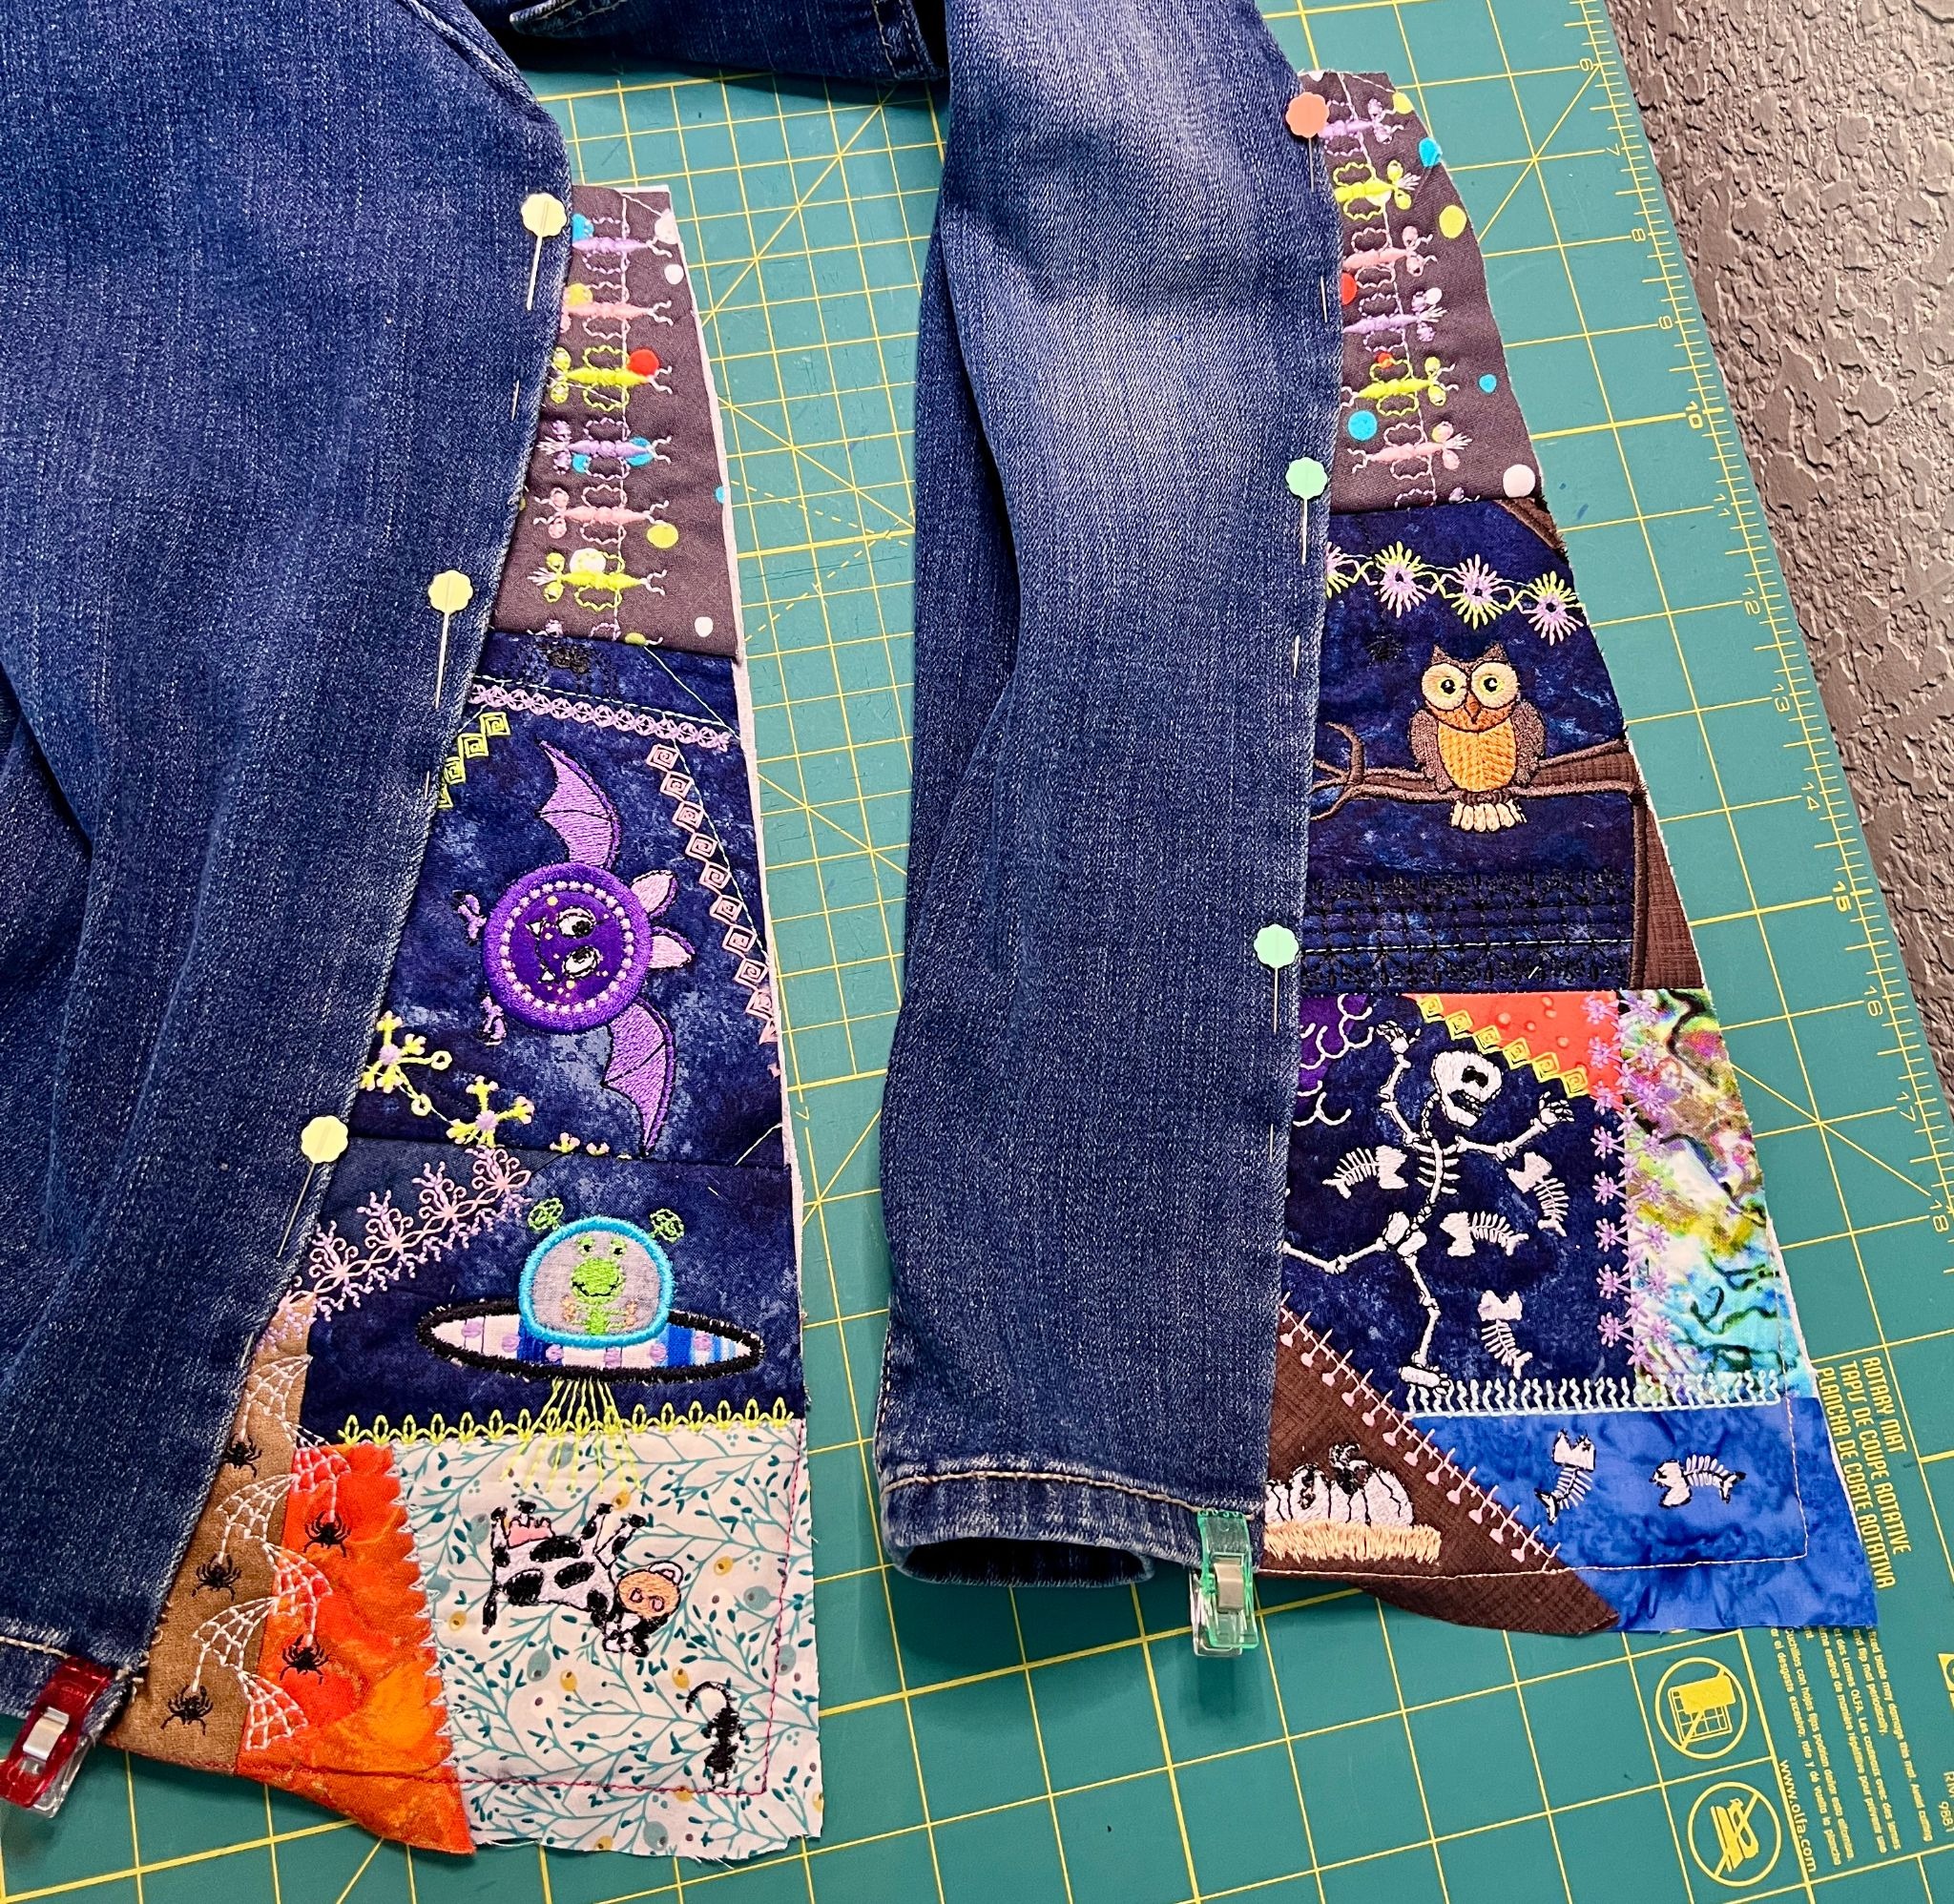
I didn’t try to make the two legs identical. Instead, I treated each insert as its own vertical composition and mixed larger focal motifs with smaller details. The goal was for the two legs to coordinate without looking perfectly matched.
Before cutting the finished embroidery into the tapered insert shape, I positioned my paper template several different ways over the stitched blocks. The taper means some of the outer edges will be trimmed away, so I wanted to make sure my favorite characters and details stayed visible while still giving me the width I needed at the hem.
This is one of those projects where planning for a few extra minutes before cutting can make a big difference!
I used glow-in-the-dark embroidery thread for selected motif details throughout the Spooky Crazy Patch inserts. I like using it as a surprise rather than making every Halloween element glow. In normal light, the inserts are colorful and playful. In the dark, those stitched details add one more bit of Halloween fun.
One of my favorite parts of machine embroidery is looking at a design and asking, “What else could I make with this?” The In The Hoop Round Halloween Table Topper Project gave me exactly that kind of inspiration.
The original project is a round table topper made from wedge-shaped Halloween blocks, but for these jeans I didn’t stitch a table-topper block at all. Instead, I used the black-cat applique from the 6x10 Block A design as a stand-alone motif and created my jean insert panels separately.
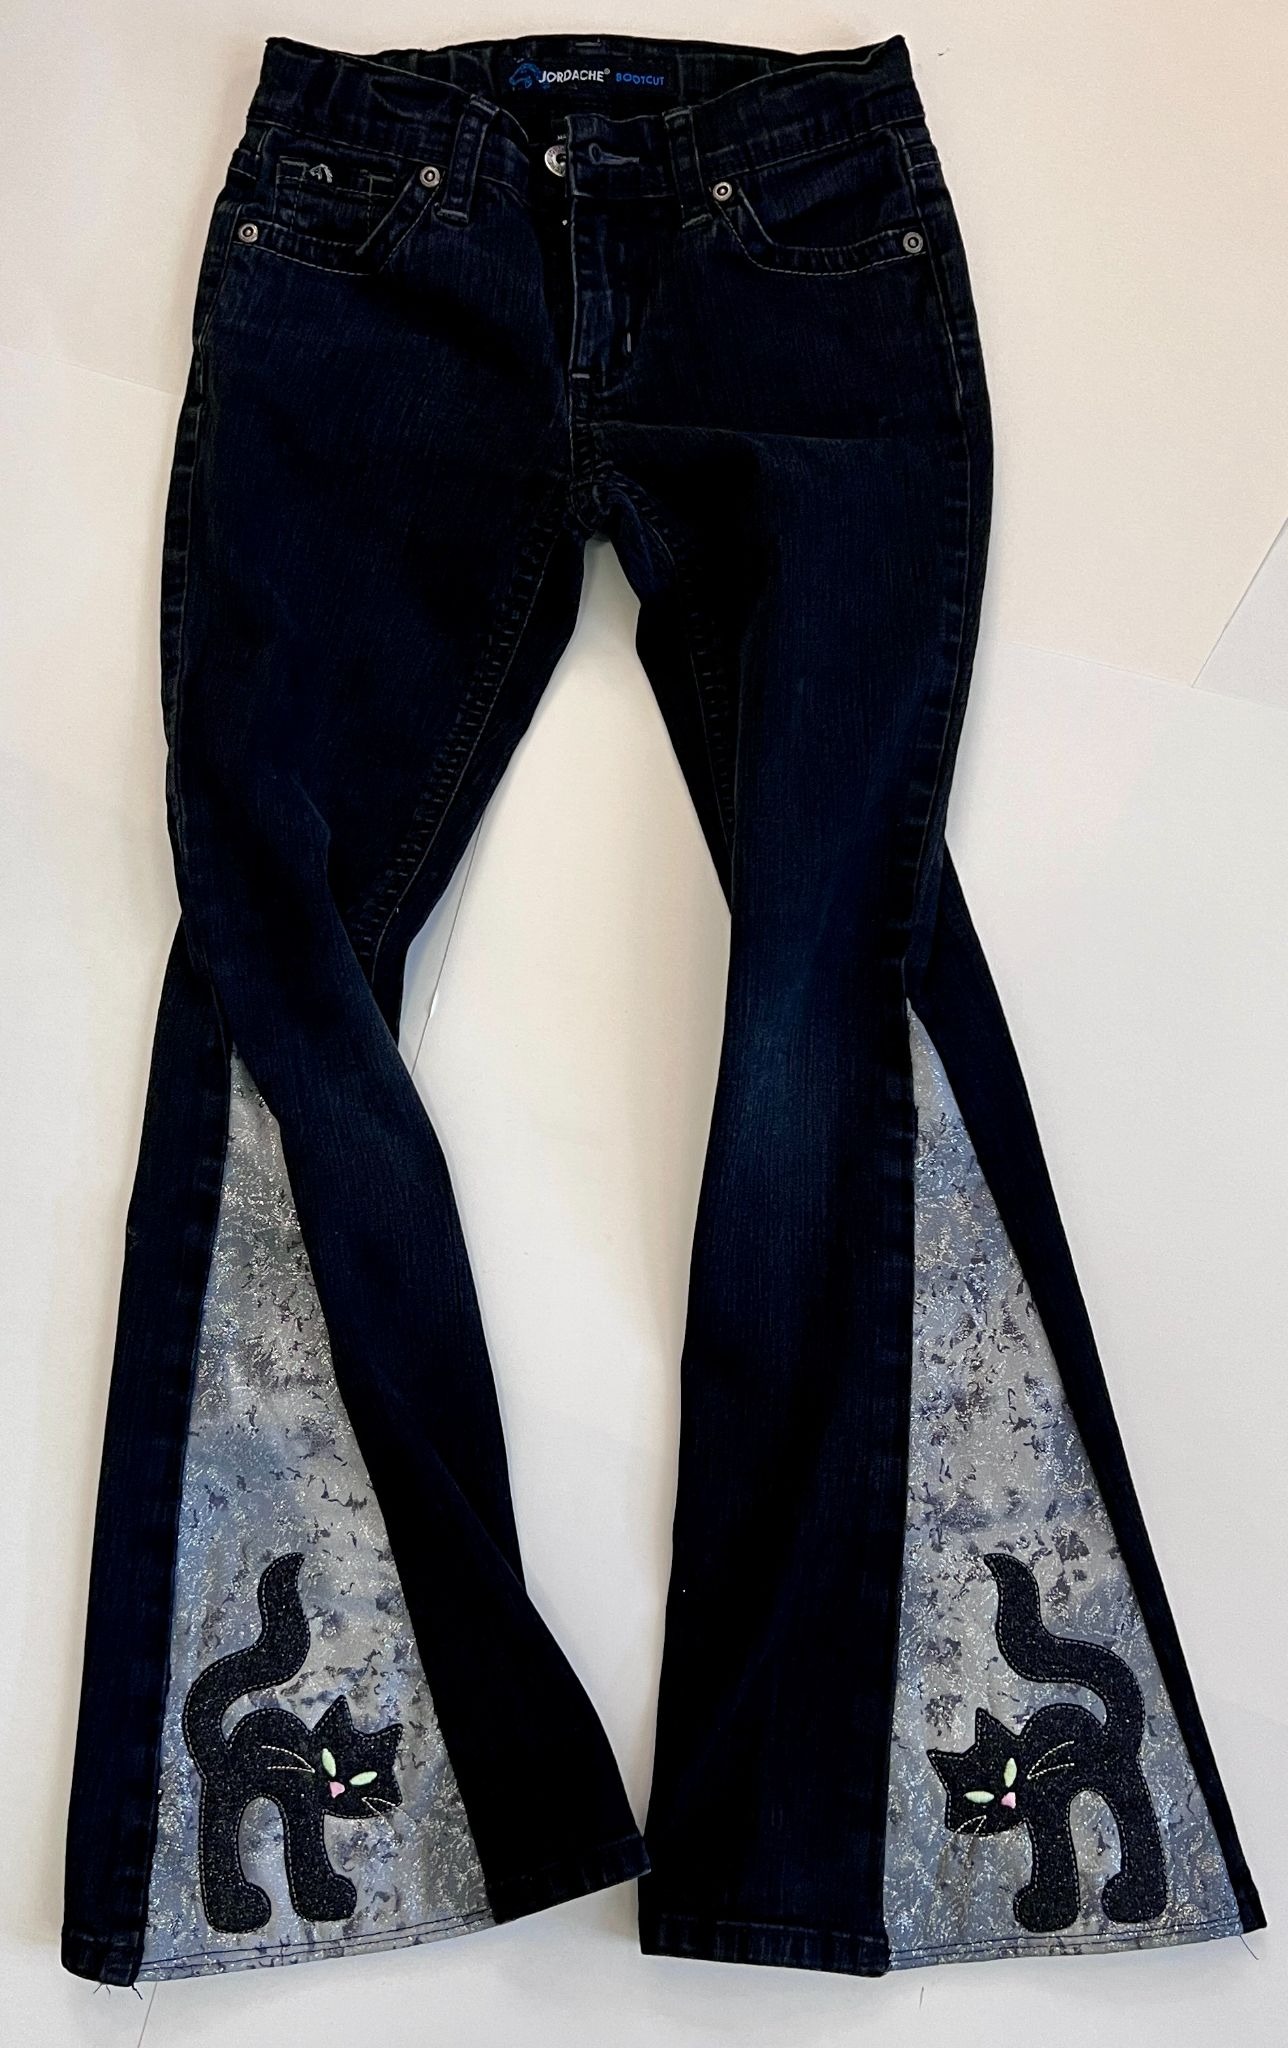
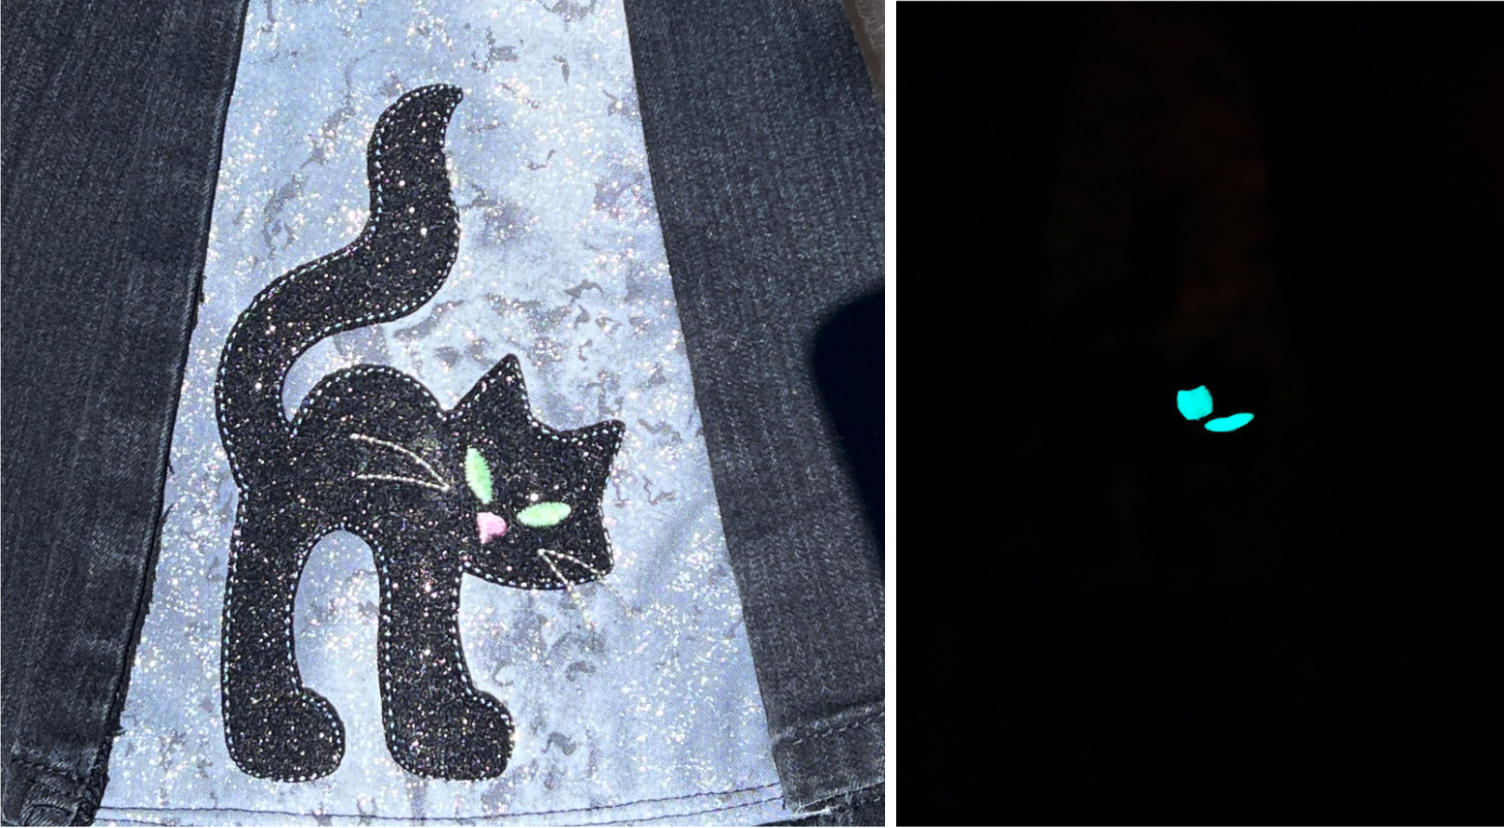
That gave this pair a completely different look from the crazy patch version: cleaner, simpler, and a little dramatic, with one big black cat at the bottom of each silvery insert.
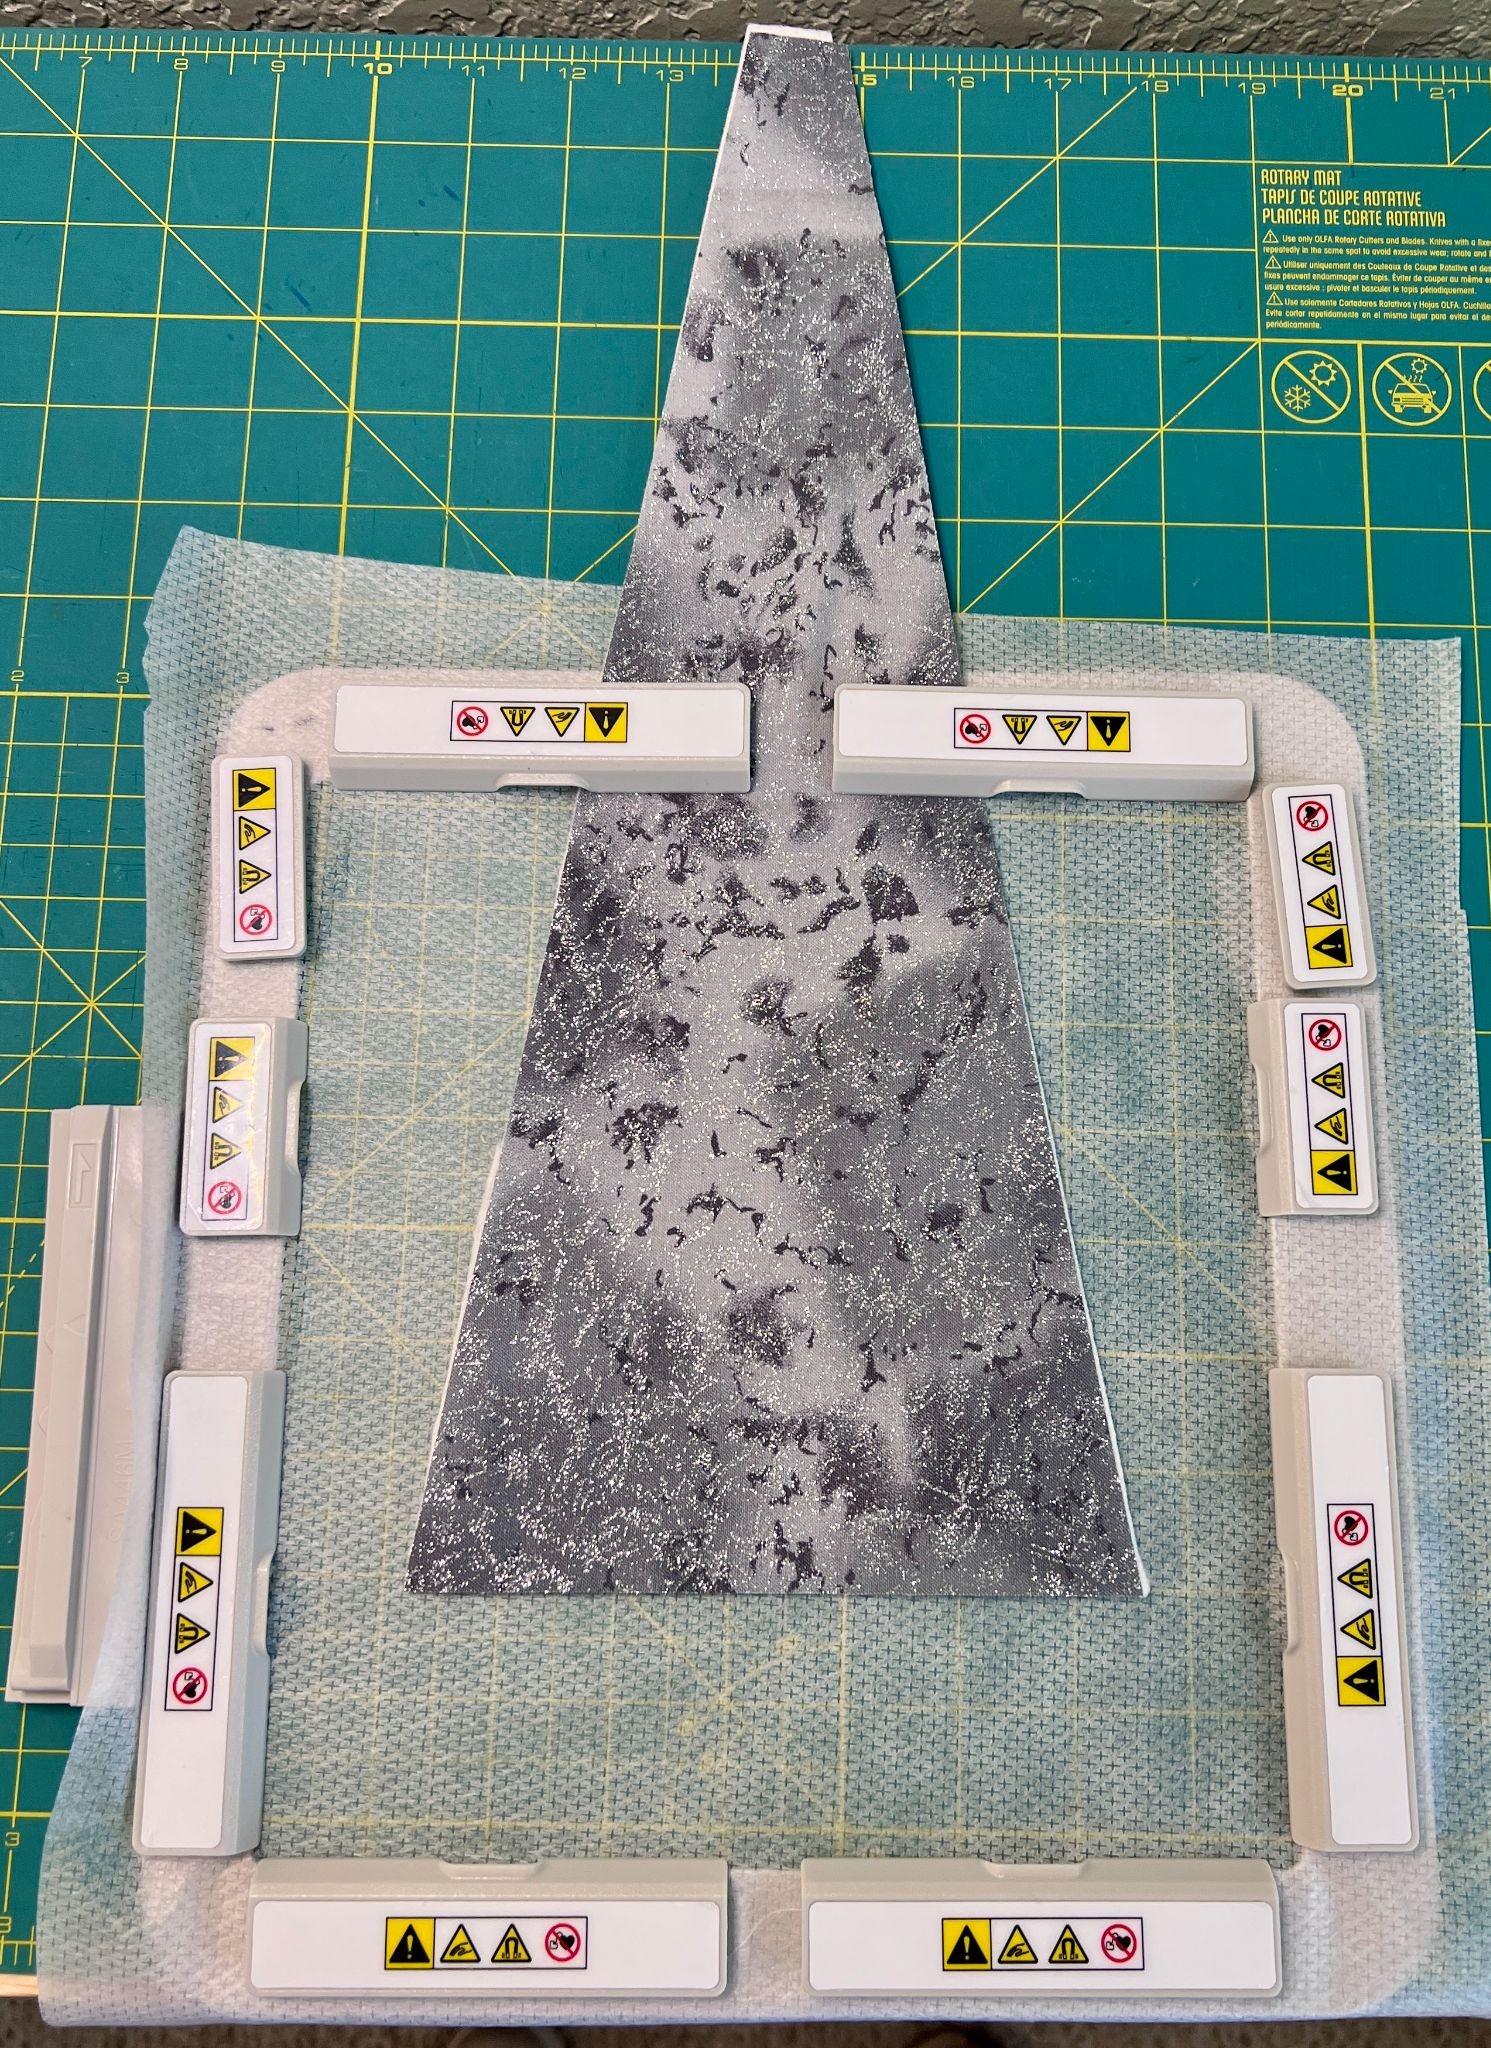
For this version, I started by creating the tapered fabric panels to fit the insert template instead of building the panels from embroidered blocks.
I hooped no-show mesh stabilizer, then floated the Fairy Frost fabric and batting over the hoop, using a light spray of 505® Temporary Adhesive to keep the layers steady. For this type of setup, DBJJ+ magicMESH stabilizer is a good no-show mesh option. The entire insert background is Fairy Frost CM0376-MOON-D Moon Glitter by Michael Miller Fabrics. It has just enough shimmer to catch the light without competing with the black cat.
For the embroidery itself, I started with the cat from the 6x10 Block A file in the Round Halloween Table Topper Project. I skipped stitching everything except the elements needed for the cat: the applique placement line, applique material/tack-down stitching, eyes, nose, and whiskers.
For the cat fabric, I used black glitter heat-transfer vinyl (HTV) instead of traditional applique fabric. After the placement line stitched, I placed the HTV directly over the placement area and lightly fused it in place. I then stitched the tack-down.
Note: I precut my cat shape using a cutting machine, but you could also use the traditional applique method to tack the HTV down and then trim.
I intentionally omitted the satin-stitch finish from the original design. Leaving the tack-down visible gives the cat a bean stitch applique appearance, since the glitter HTV will not fray and provides a little extra sparkle against the silvery Fairy Frost background.
The result feels much cleaner and more graphic than the crazy patch inserts—but still very Halloween!
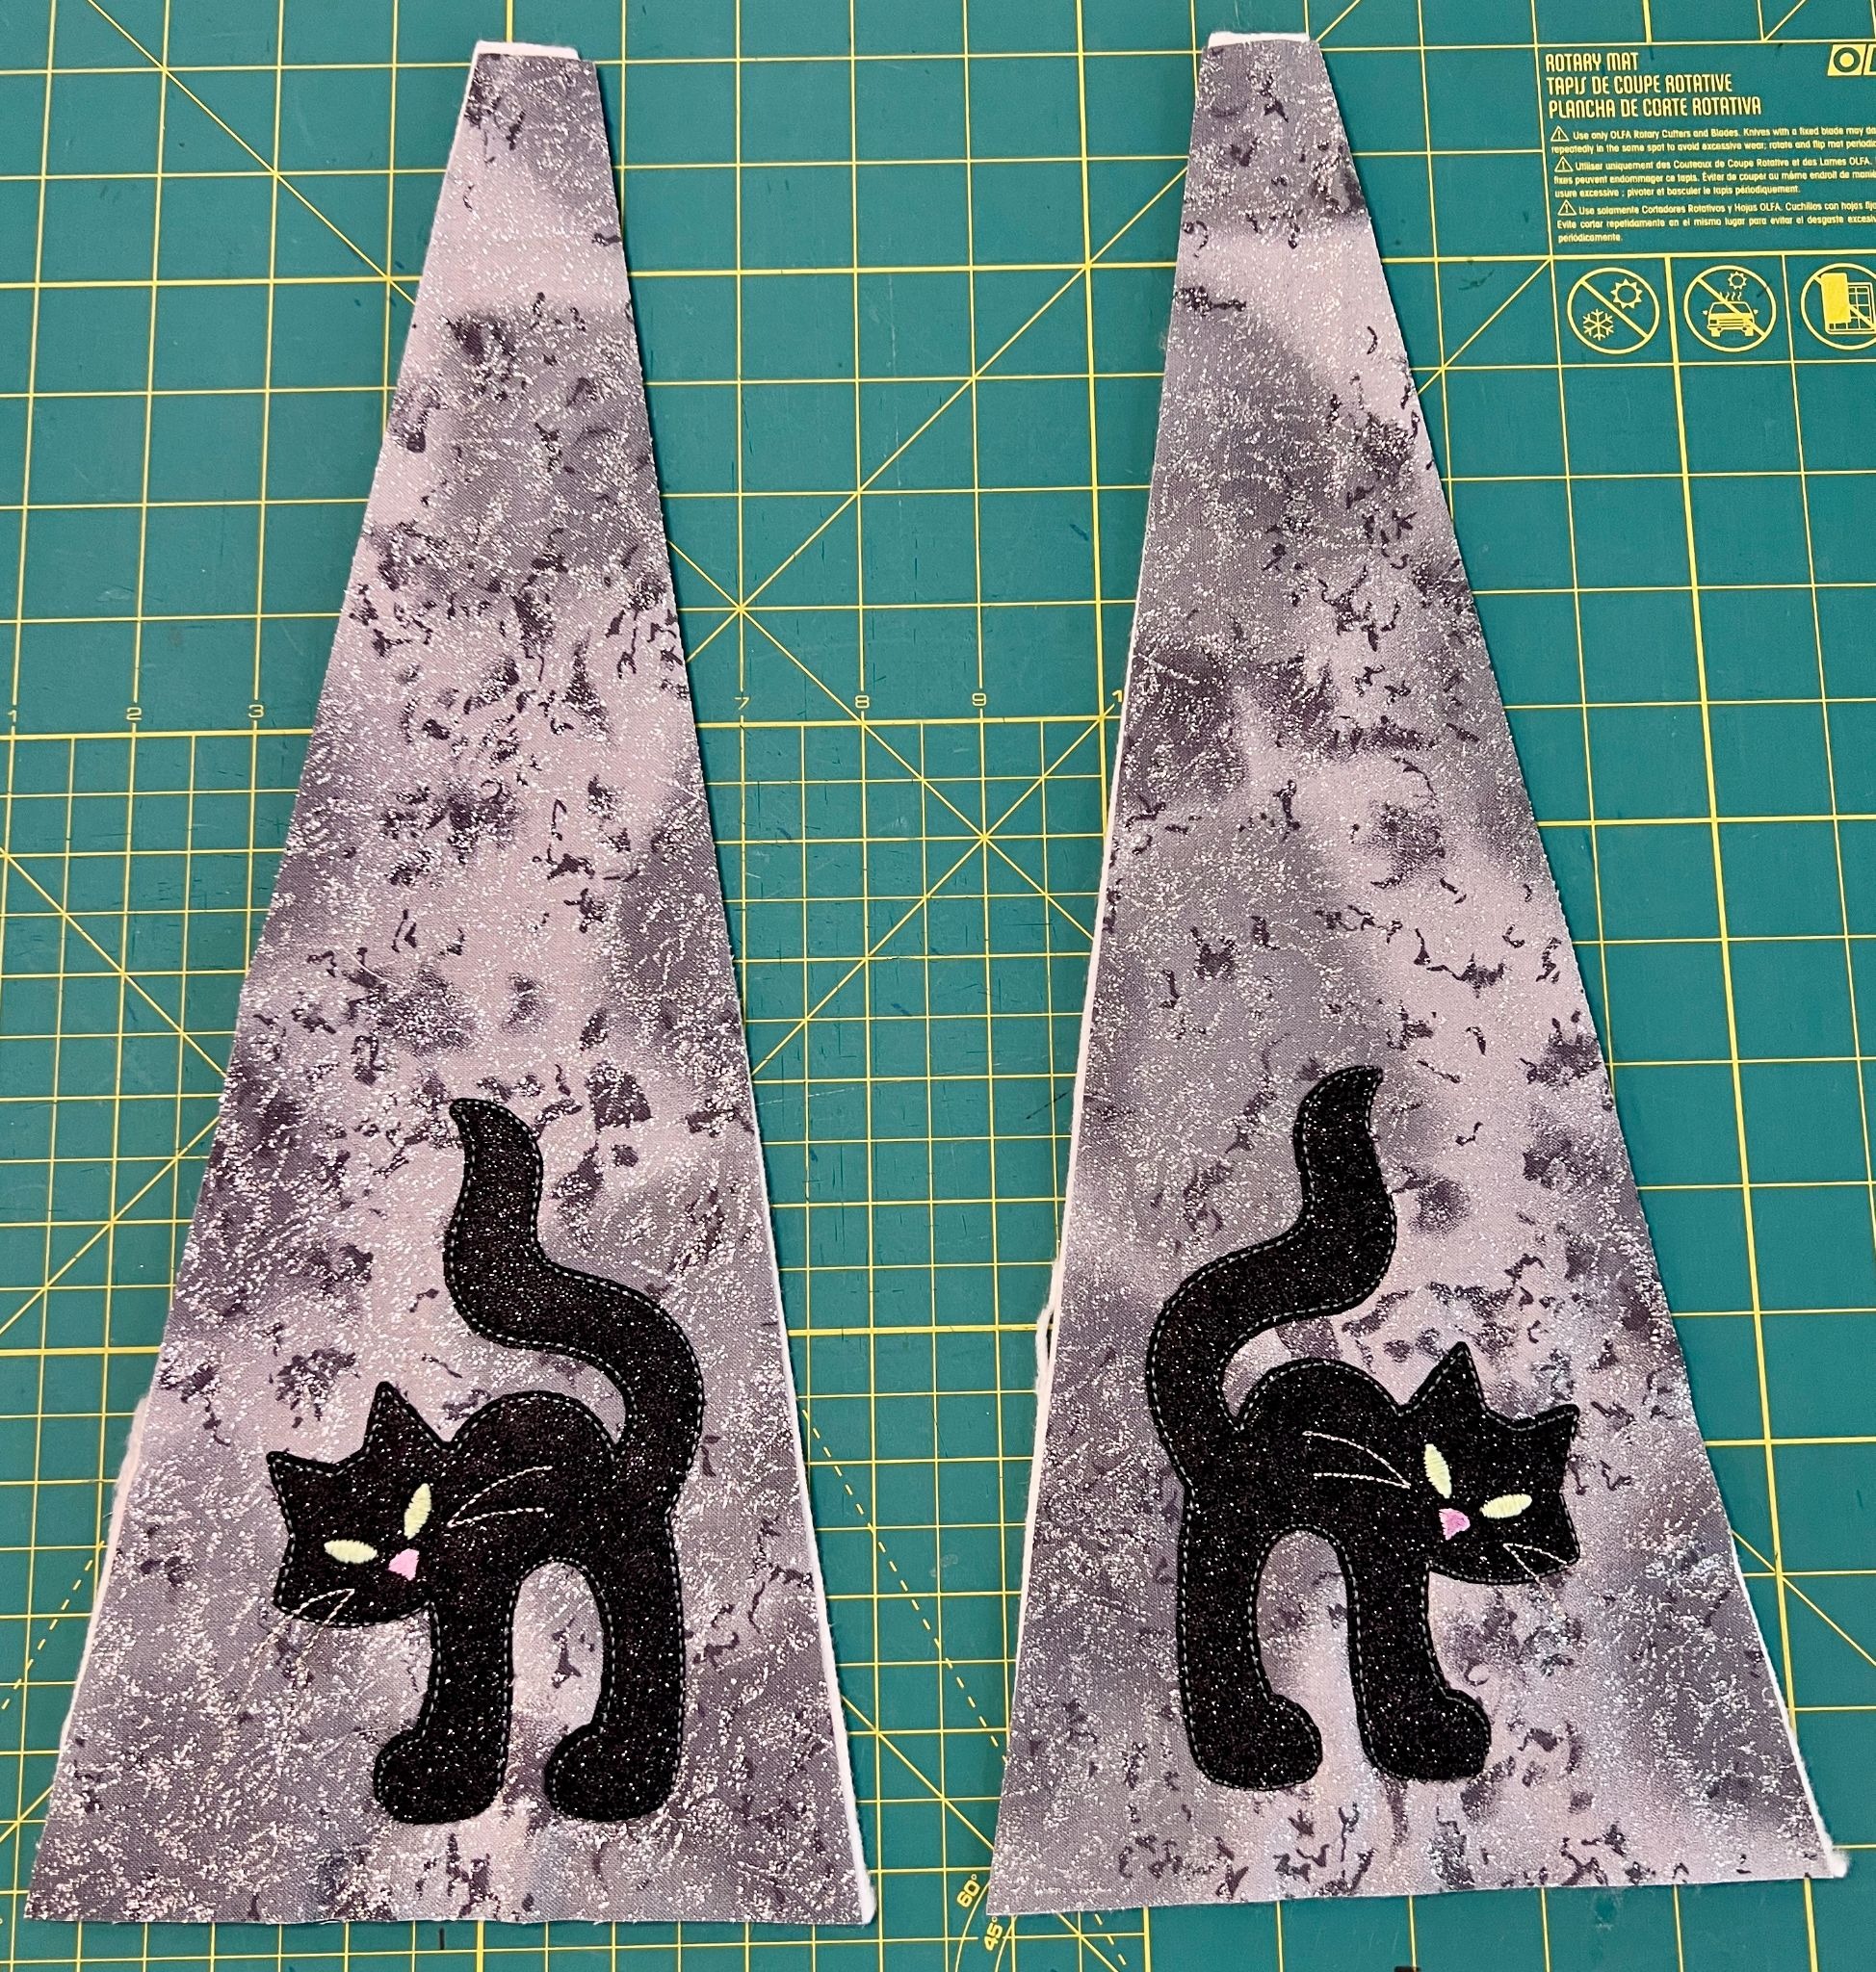
The only glow-in-the-dark element on the black-cat jeans is the eyes. I stitched them with the same glow-in-the-dark embroidery thread I used for motif details on the Spooky Crazy Patch inserts. It is a small detail, but that’s exactly why I like it. In daylight, you notice the sparkle of the black cat and the shimmer of the silver insert. In the dark, the glowing eyes become the surprise.
Once the cat panels were finished, I attached them to the jeans using the same method as in the original embroidered insert tutorial. Because the tapered panels were made to fit the template from the beginning, they were ready to install after the embroidery was complete.
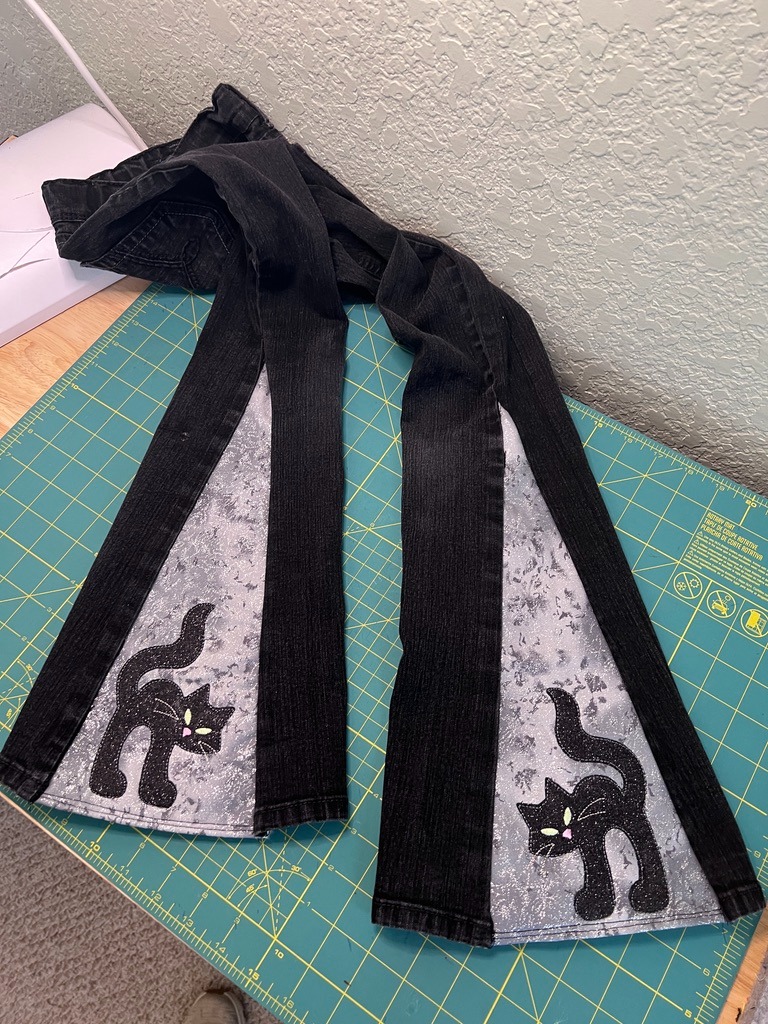
I love how different these two pairs of jeans feel even though they started with the same technique.
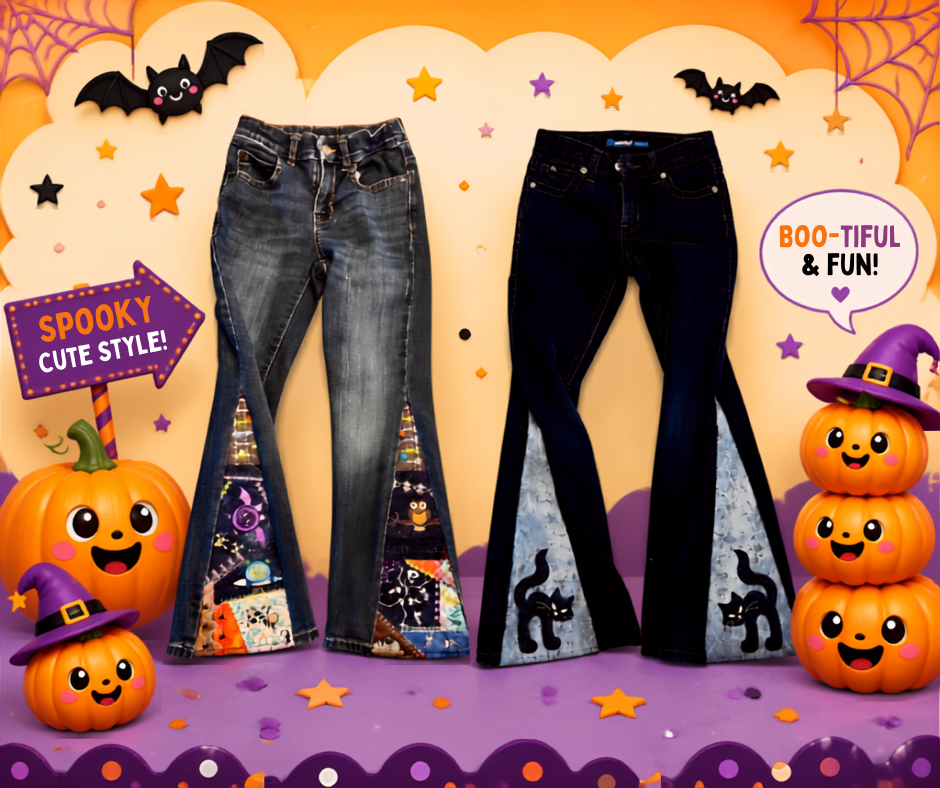
The Spooky Crazy Patch jeans are busy, scrappy, colorful, and full of little details to discover. The black-cat jeans are much simpler, with a silvery background and one bold applique motif anchoring each leg.
That contrast is a good reminder that you don’t have to use an embroidery design exactly as it appears in the original project. A block can become part of a garment. One applique can be pulled from a larger ITH project and used on its own. Changing the fabric, thread, placement, or finishing stitches can send the same design in a completely new direction.
Once you start looking at embroidery designs this way, there are so many possibilities. The same idea could work on a jean jacket, a denim skirt, children’s overalls, or a tote made from an old pair of jeans. Individual Halloween motifs could also become knee patches, pocket accents, cuffs, or details on a denim trick-or-treat bag.
The fun part is choosing a design you love and asking what else it could become.
What I love most about this project is that the basic technique really hasn’t changed—only the embroidery has. One simple denim-upcycling idea can become wintery, colorful, spooky, sweet, or anything else you can dream up.
If you’d like to make your own pair, start with the original embroidered jean insert tutorial for the complete construction method, then come back and raid your Halloween fabric stash!
Please share your projects in the Designs by JuJu Embroidery Blessings Group on Facebook, or use the hashtag #designsbyjuju anywhere on social media. We’d love to see what you create!