Toggle Nav
 Inspire.
Create.
Stitch.
Inspire.
Create.
Stitch.
Search
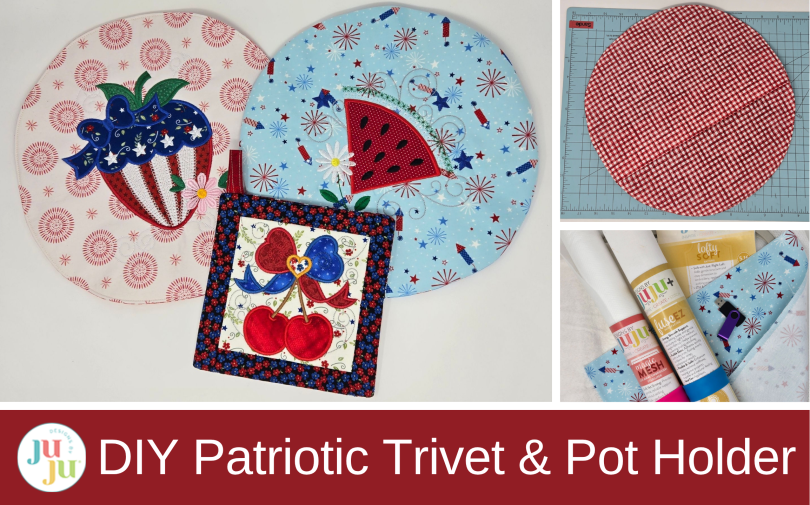
Create patriotic trivets and pot holders with Star Spangled Stitches (SSS) blocks using these fun in-the-hoop embroidery techniques!
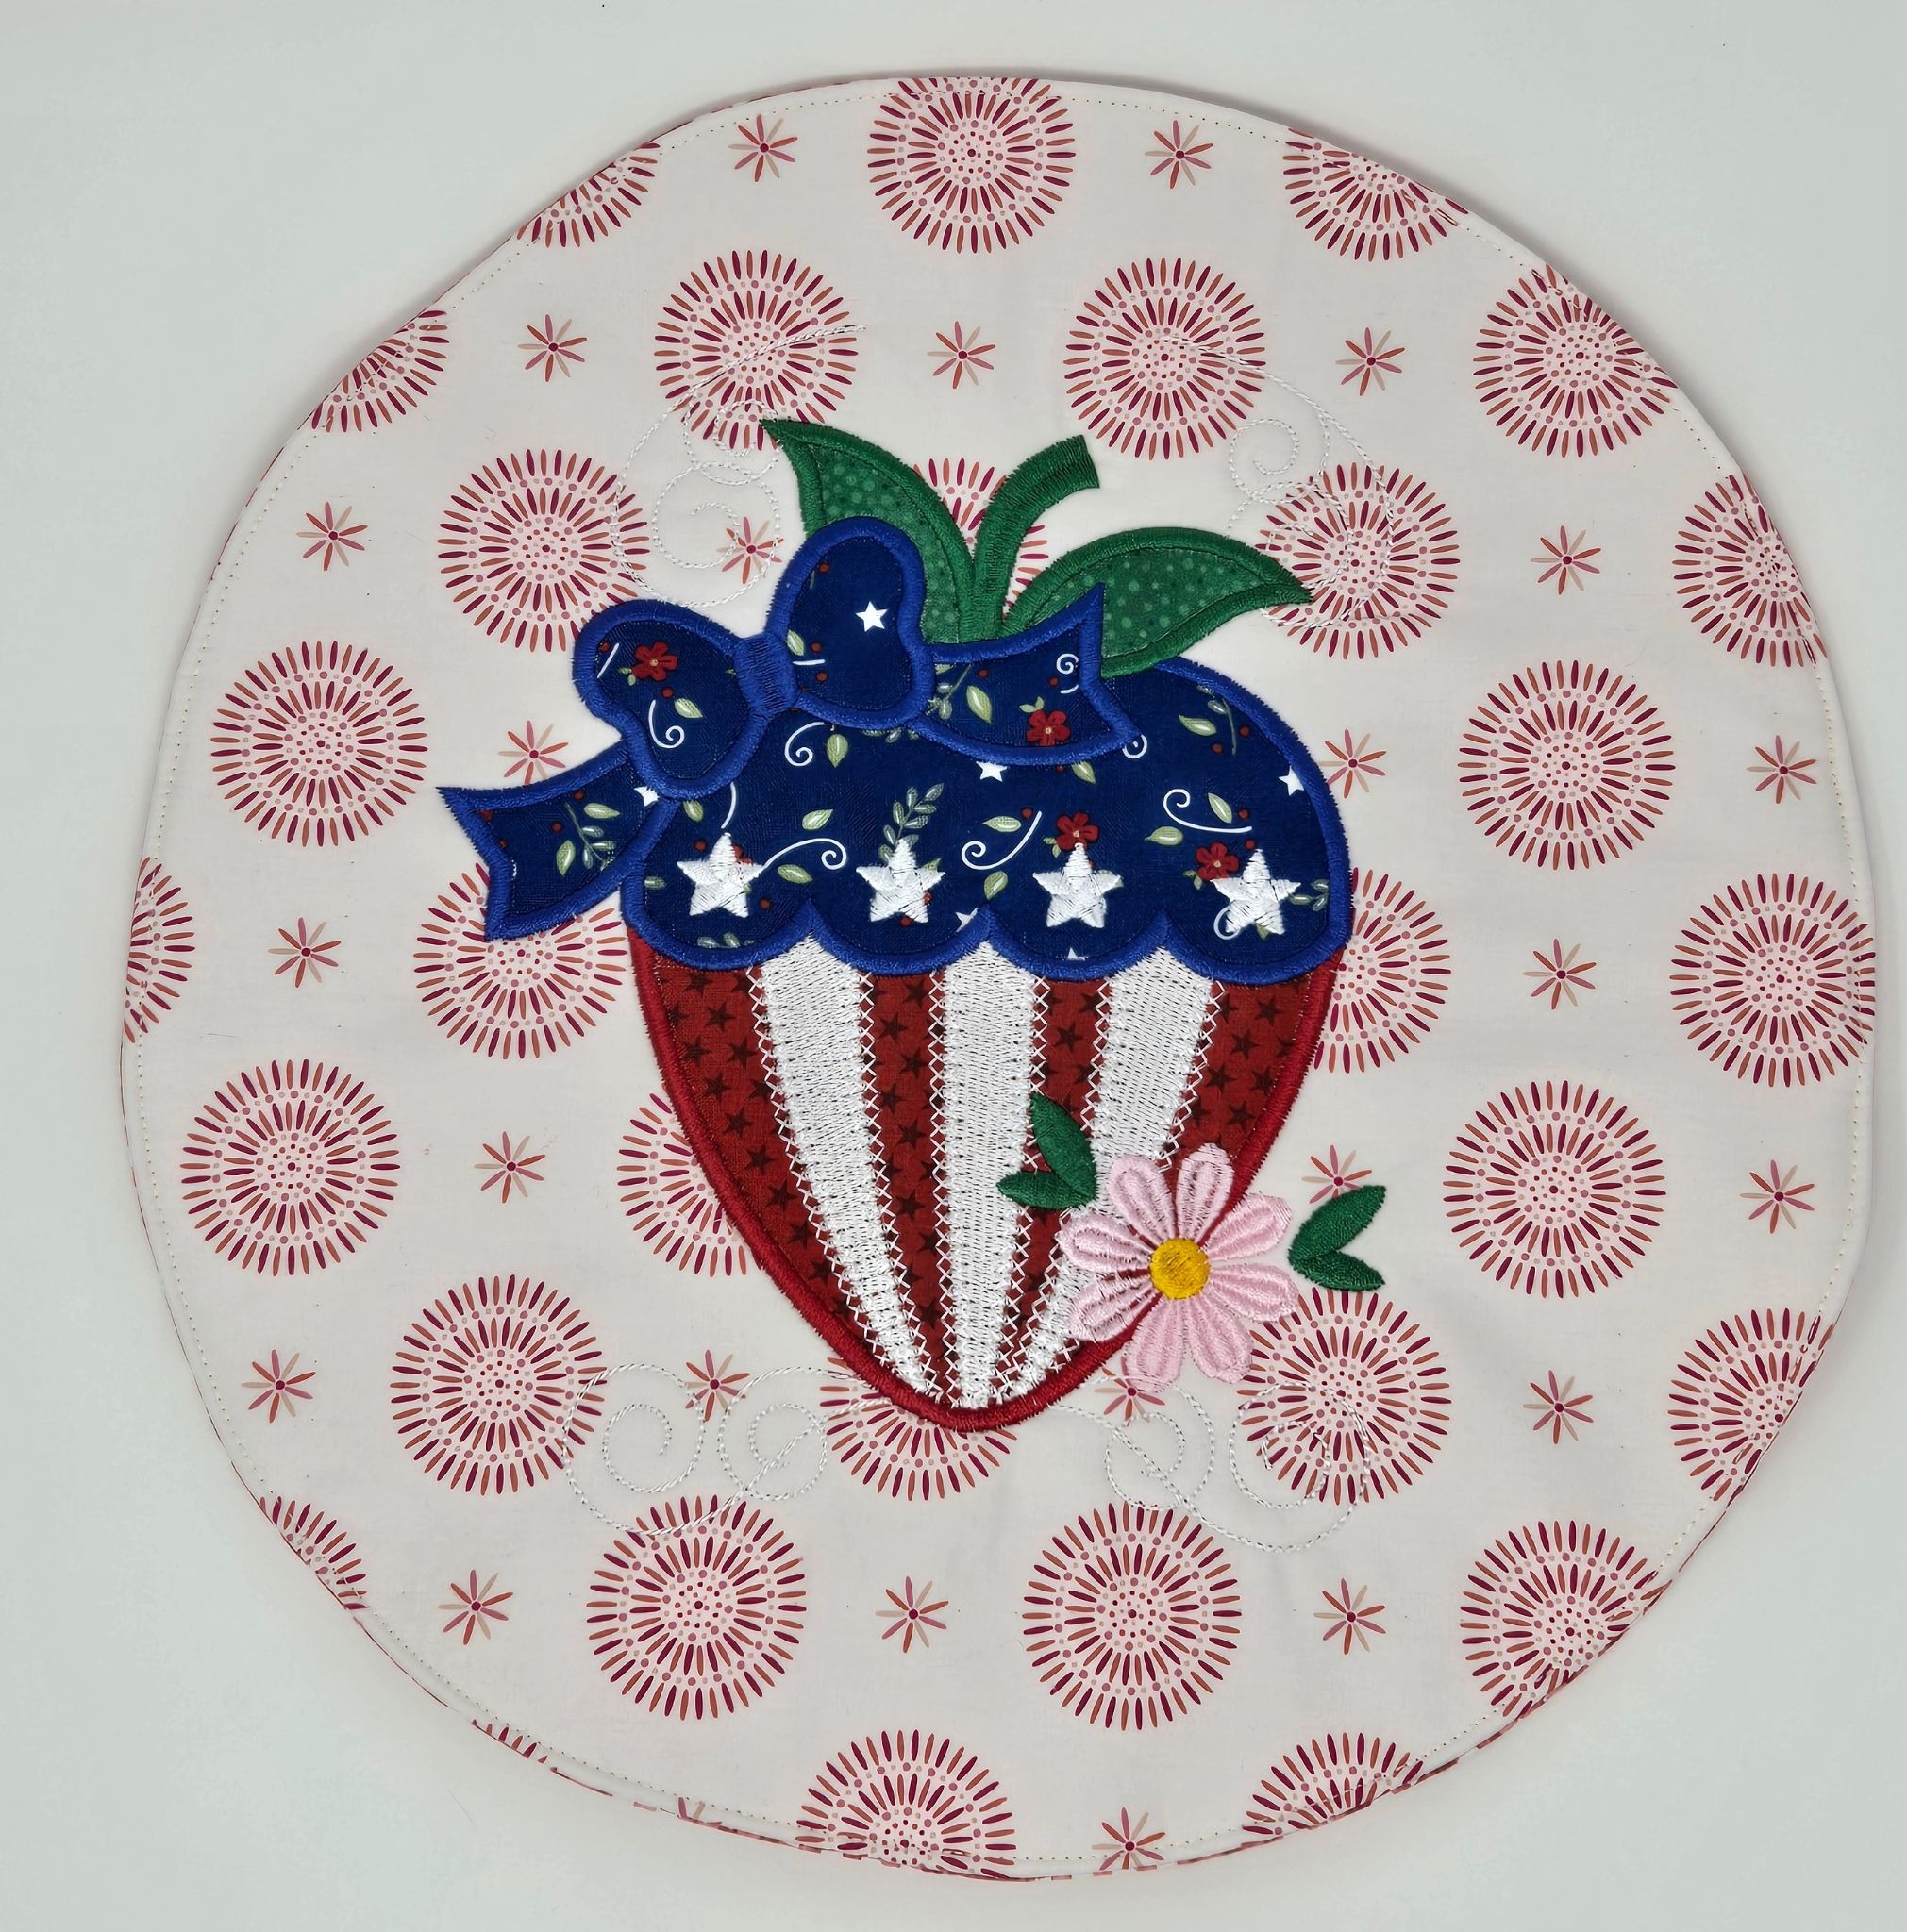
If you do a search on Designs by JuJu for “patriotic pot holders,” you will find seven different in-the-hoop (ITH) pot holders. I have made a few of them and they are so fun and easy! But, can you take a Star Spangled Stitches block and turn it into a pot holder or trivet? Yes, you can!
Approximate finished size: depends on size of SSS block used. My pot holder is approximately 7.75” square, and my trivet is 12” in diameter.
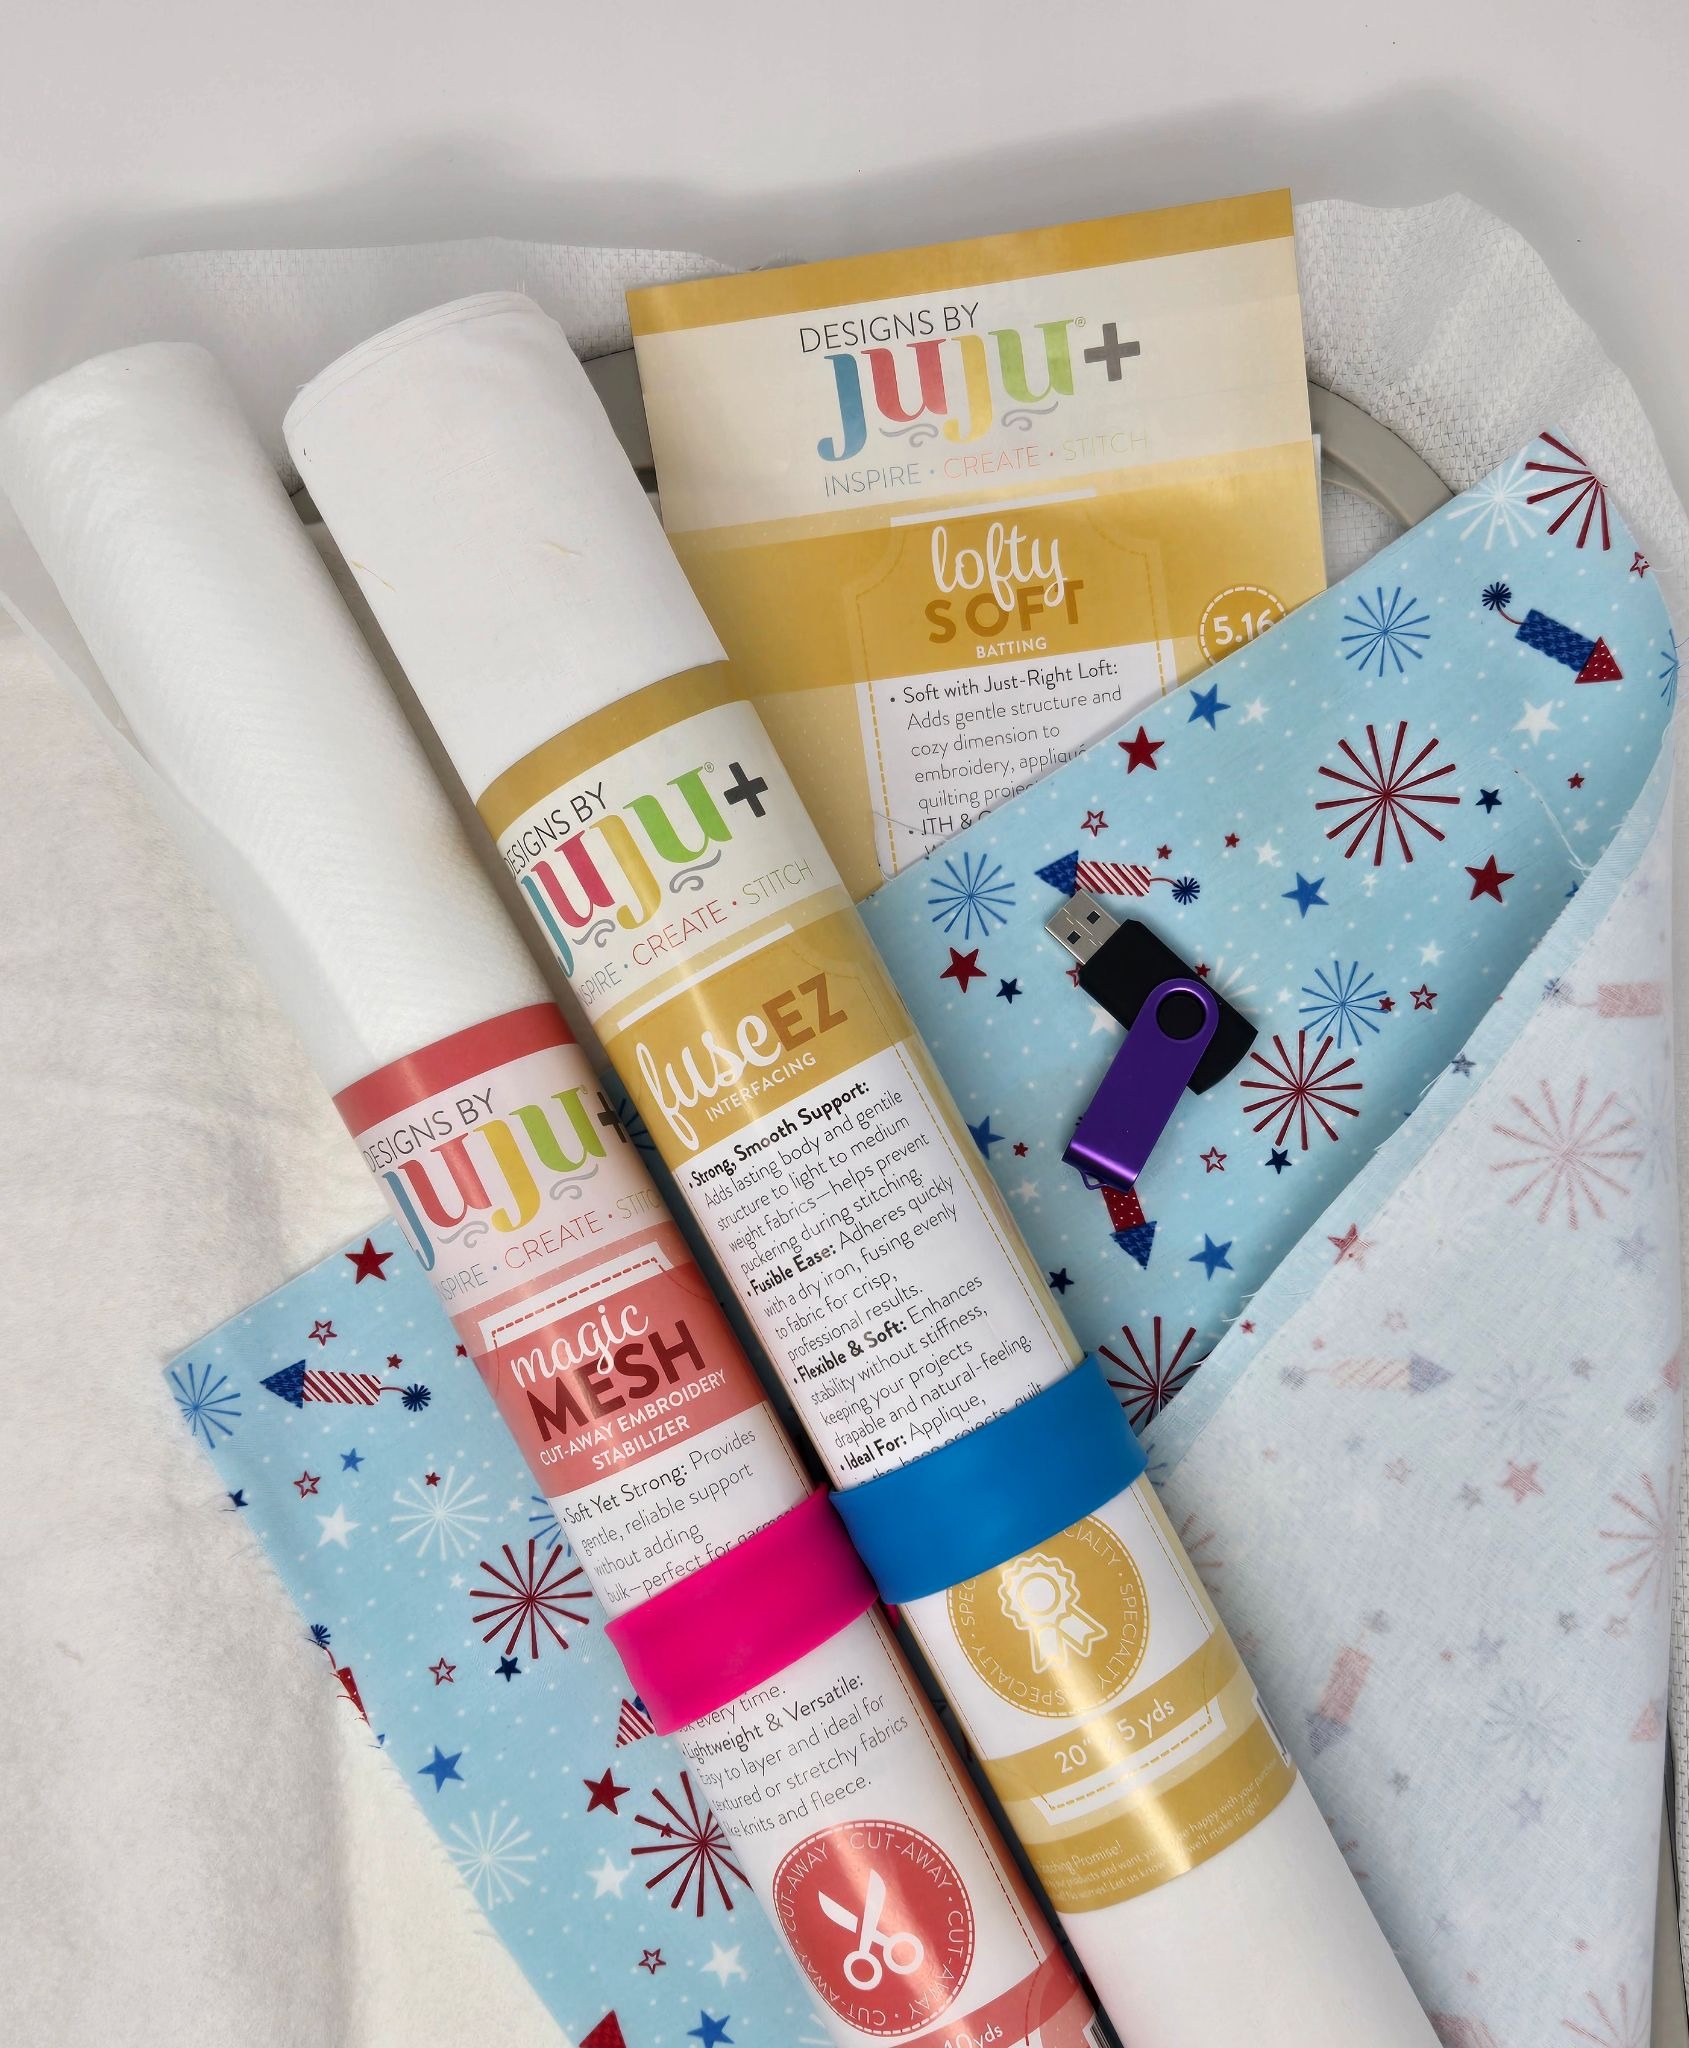
Be sure to check out the DBJJ team’s favorite supplies in the Designs by JuJu Amazon store. And for stabilizers and batting, Designs by JuJu+ has everything you need.
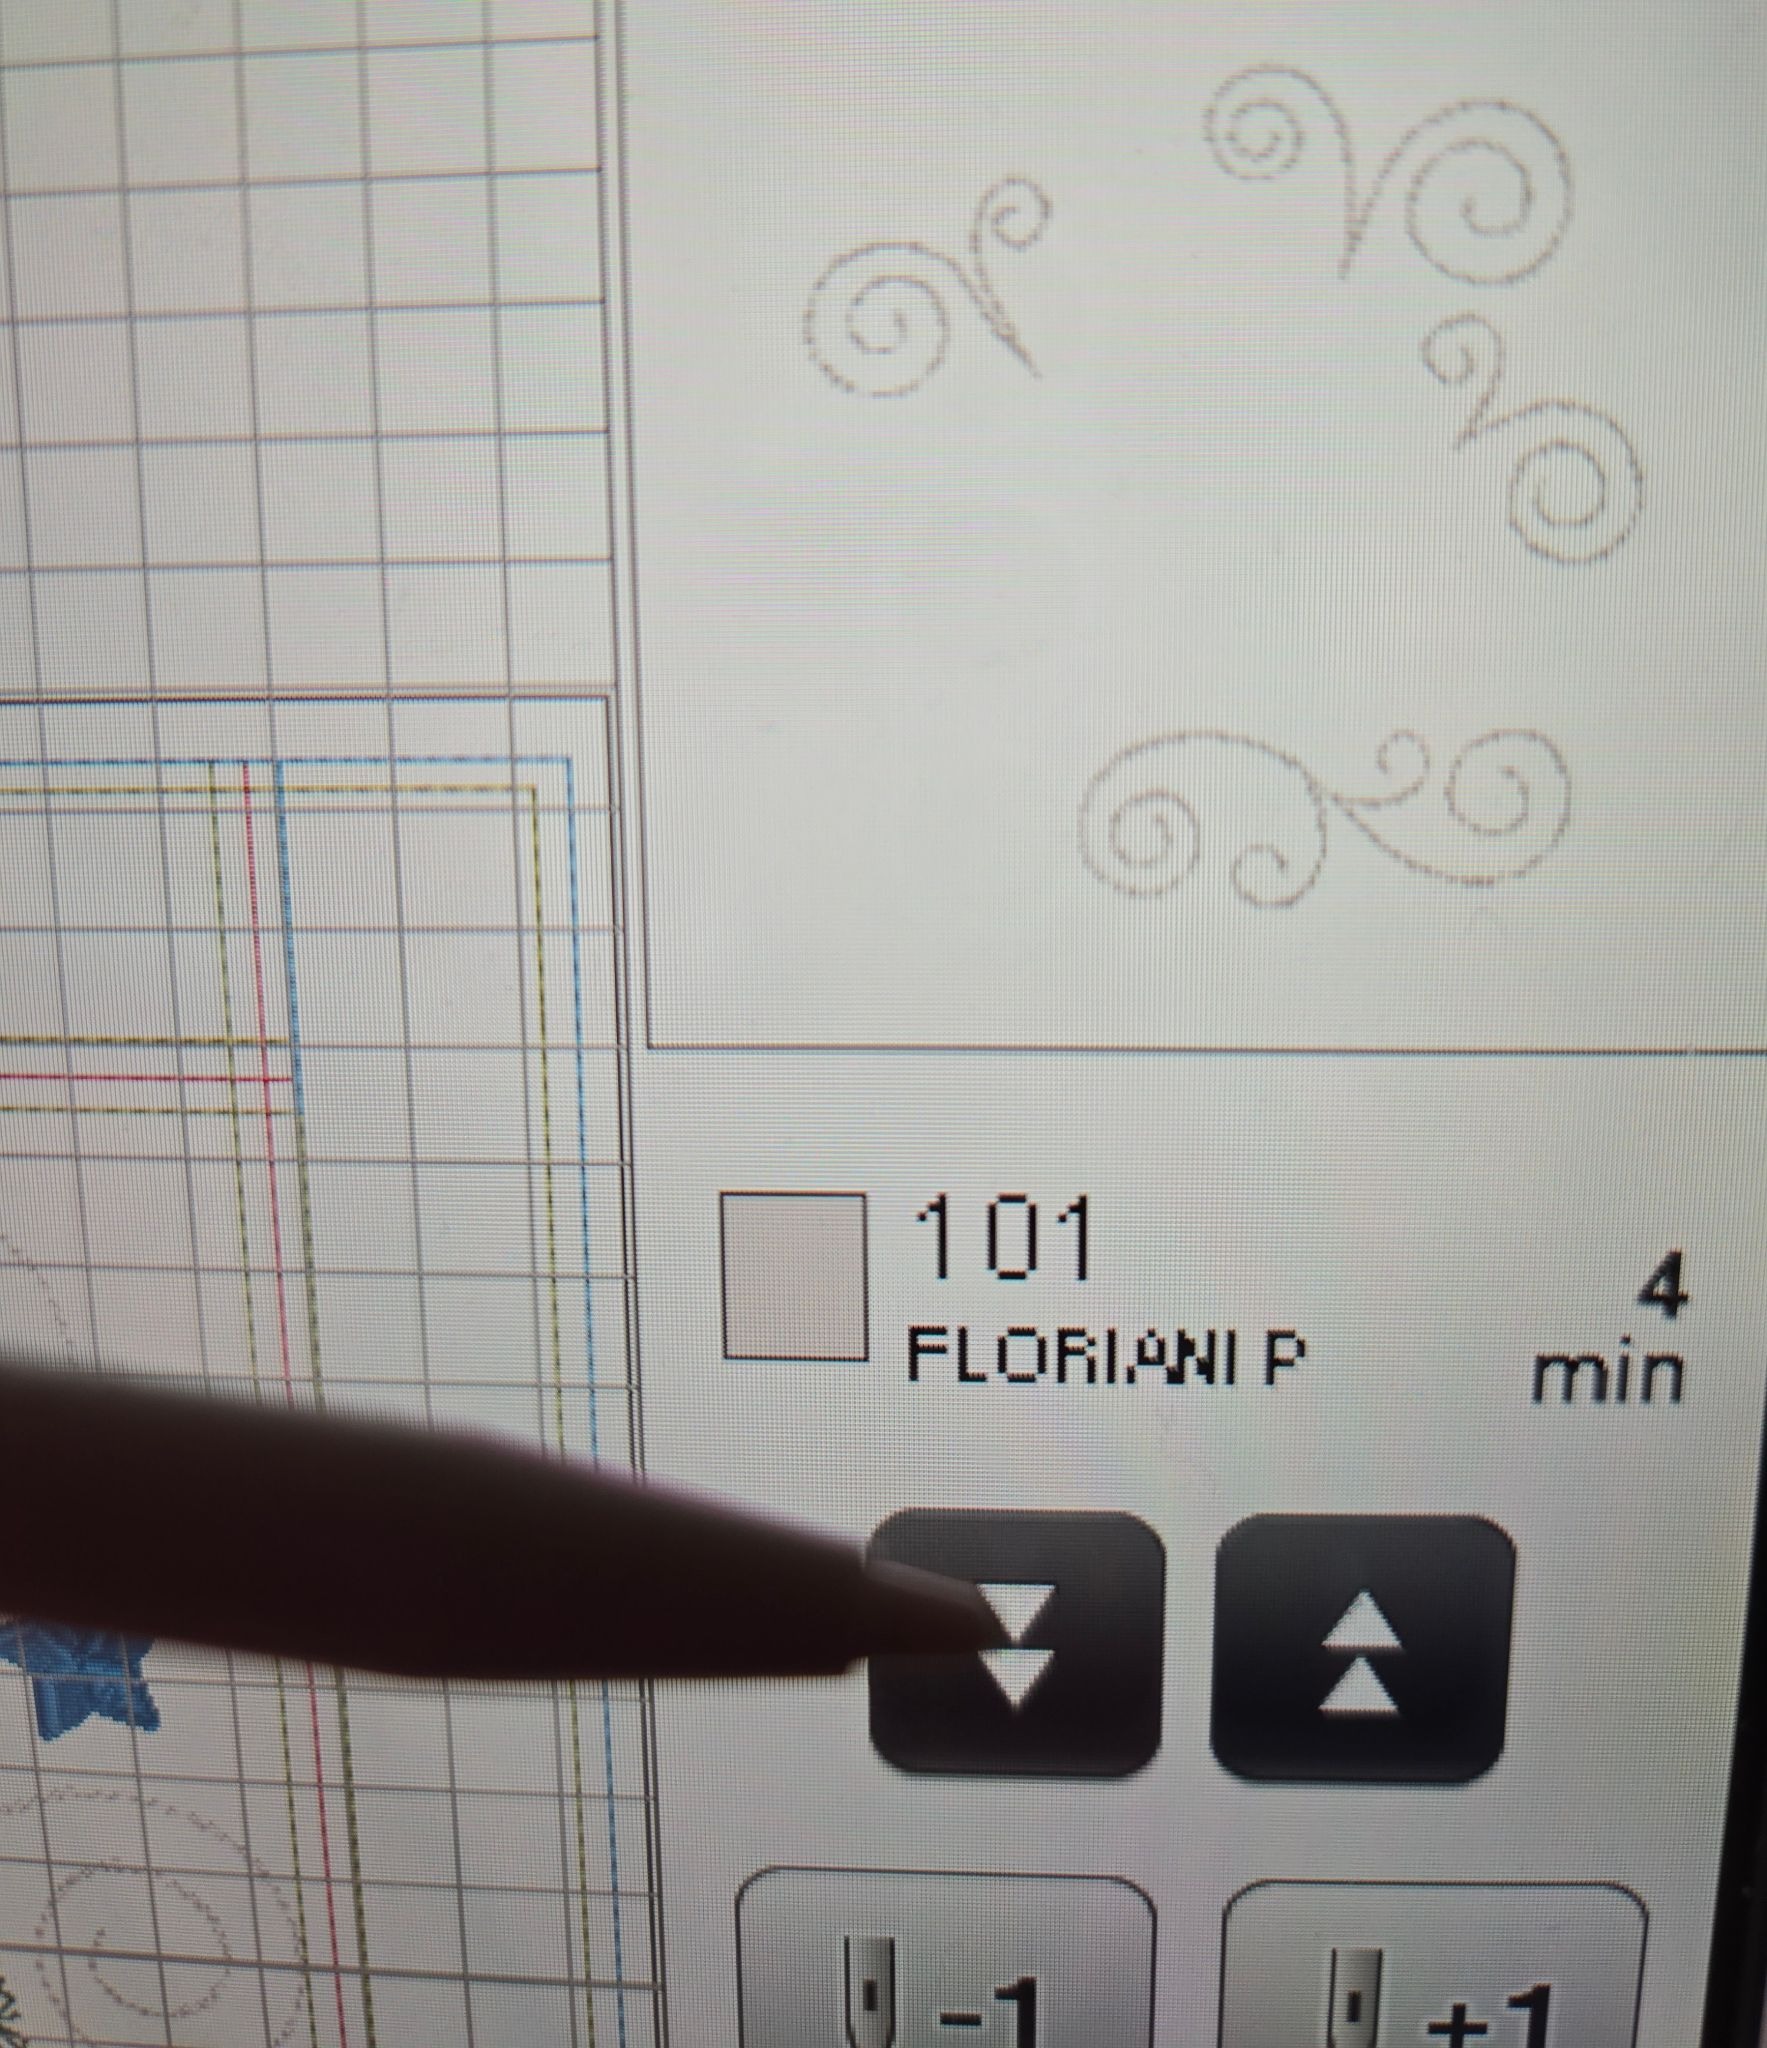
Gather your supplies and put your chosen designs on a USB stick.
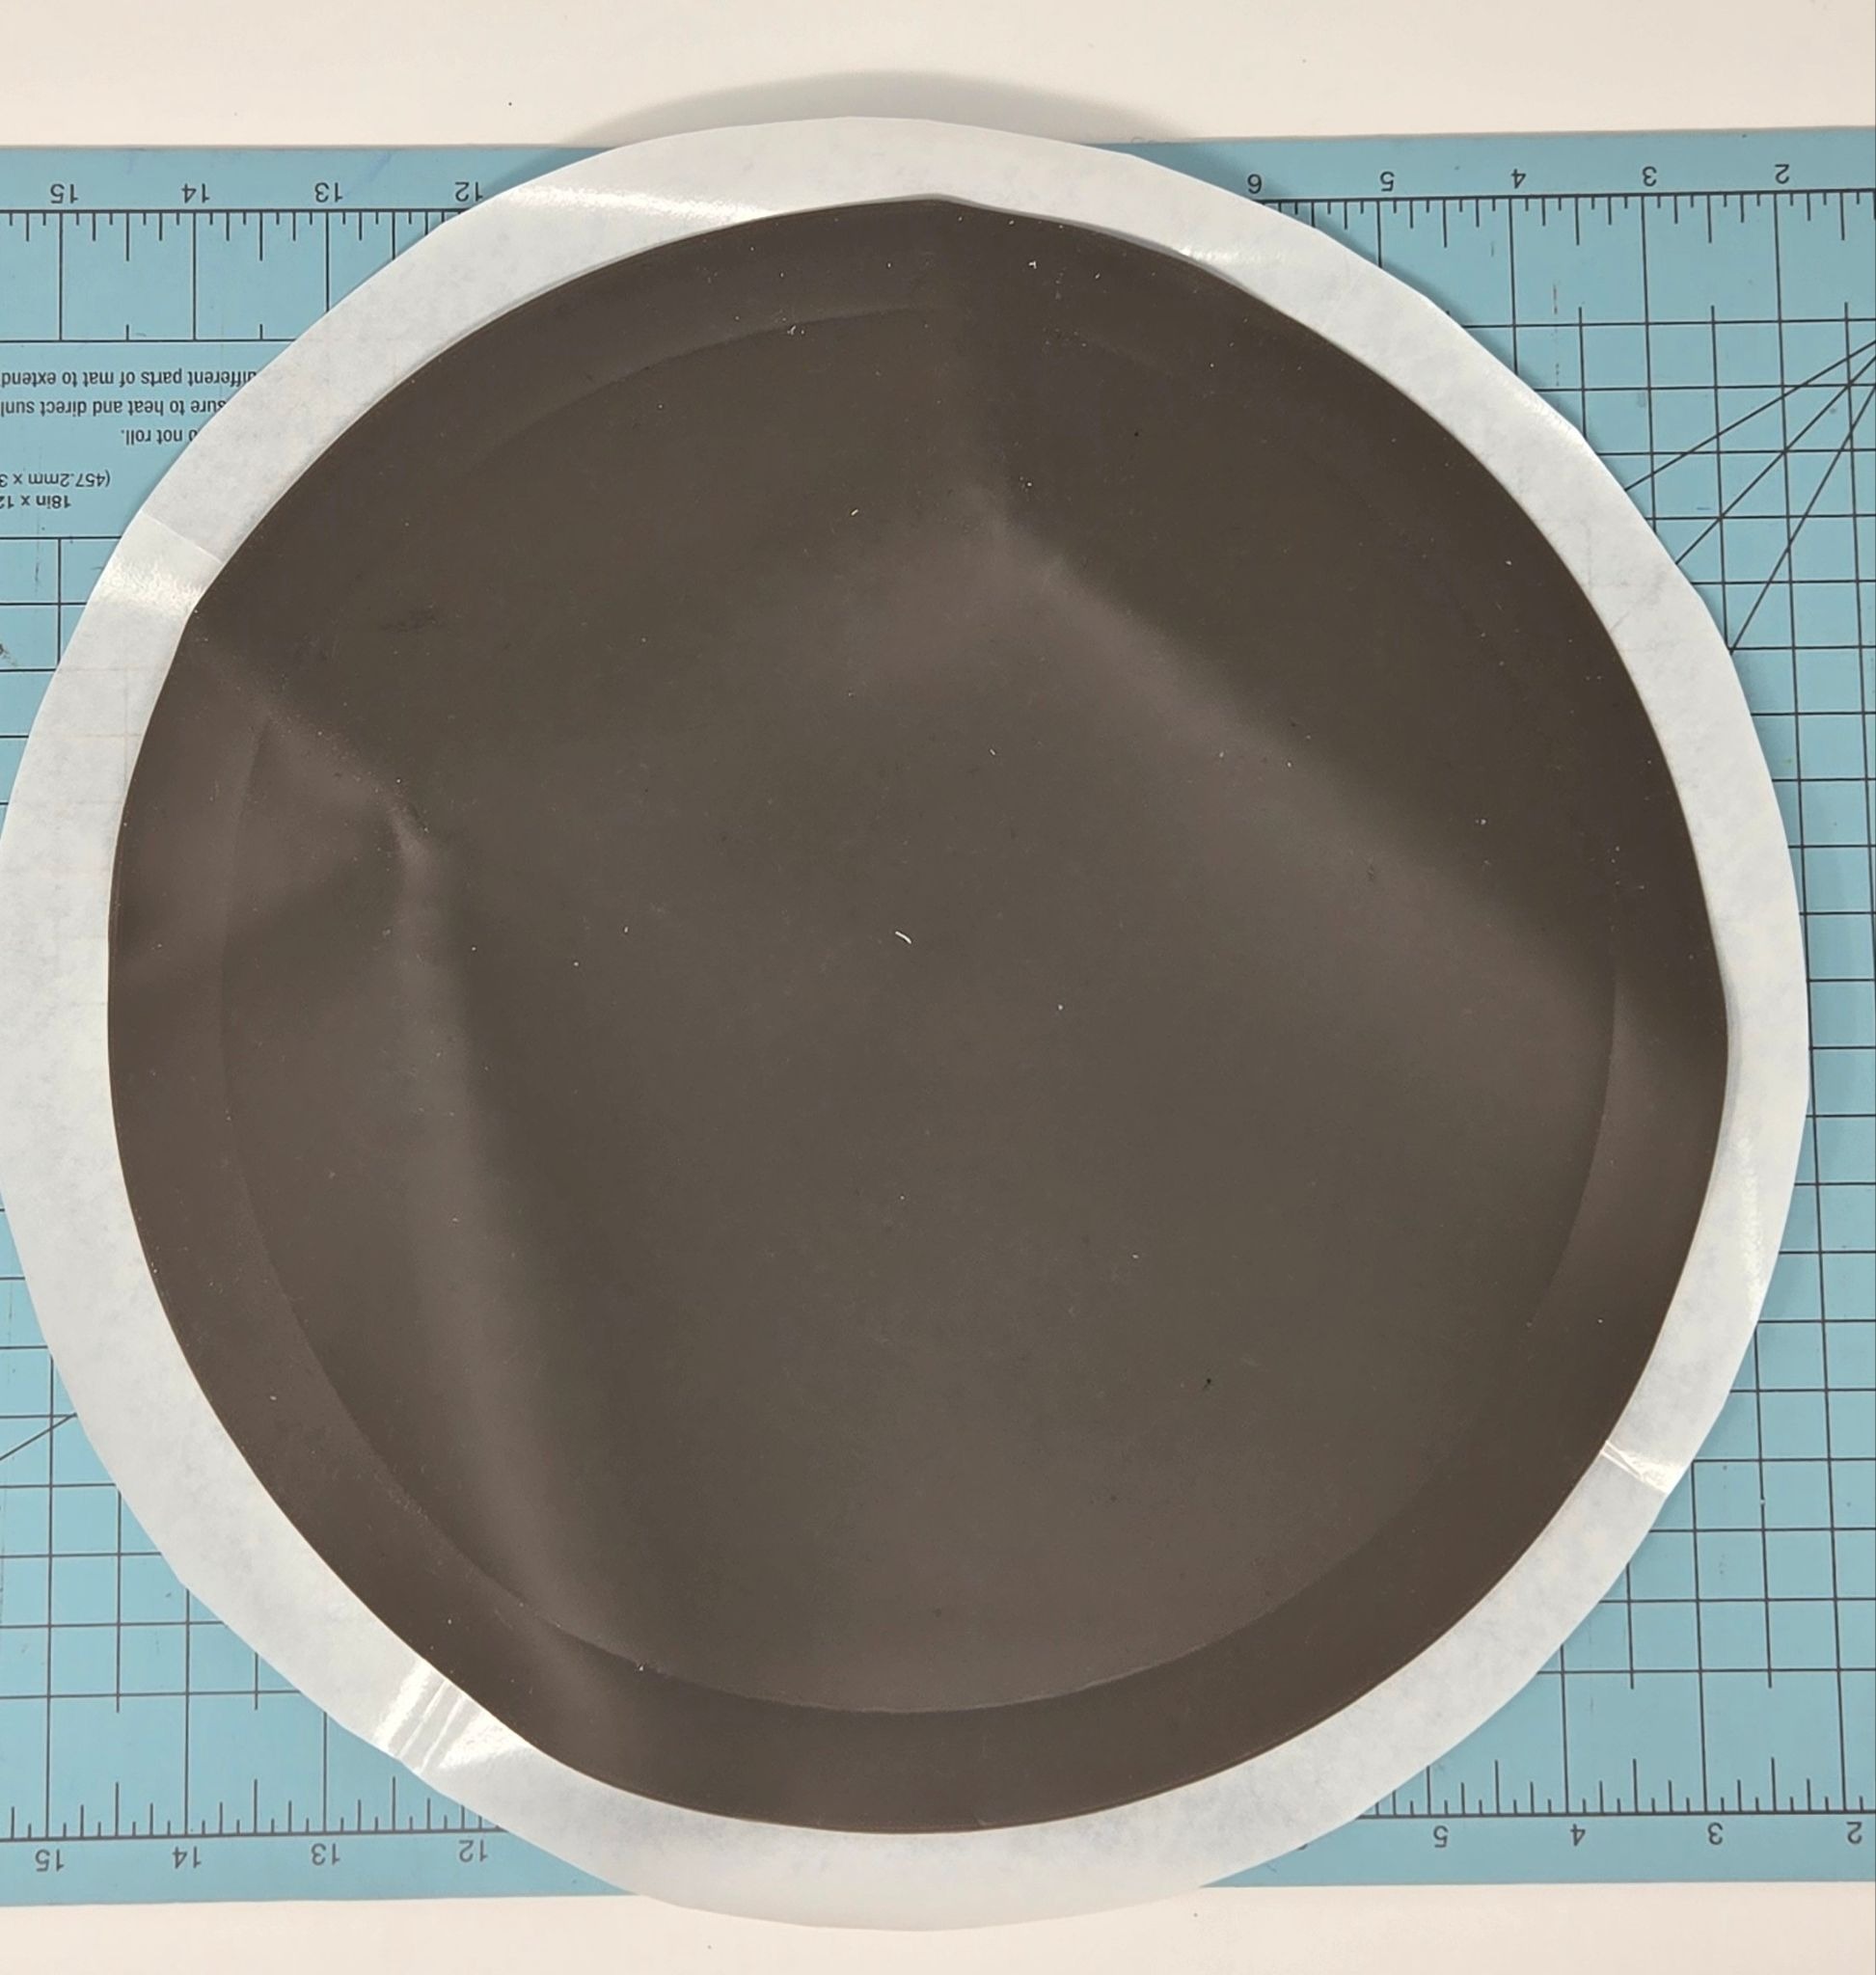
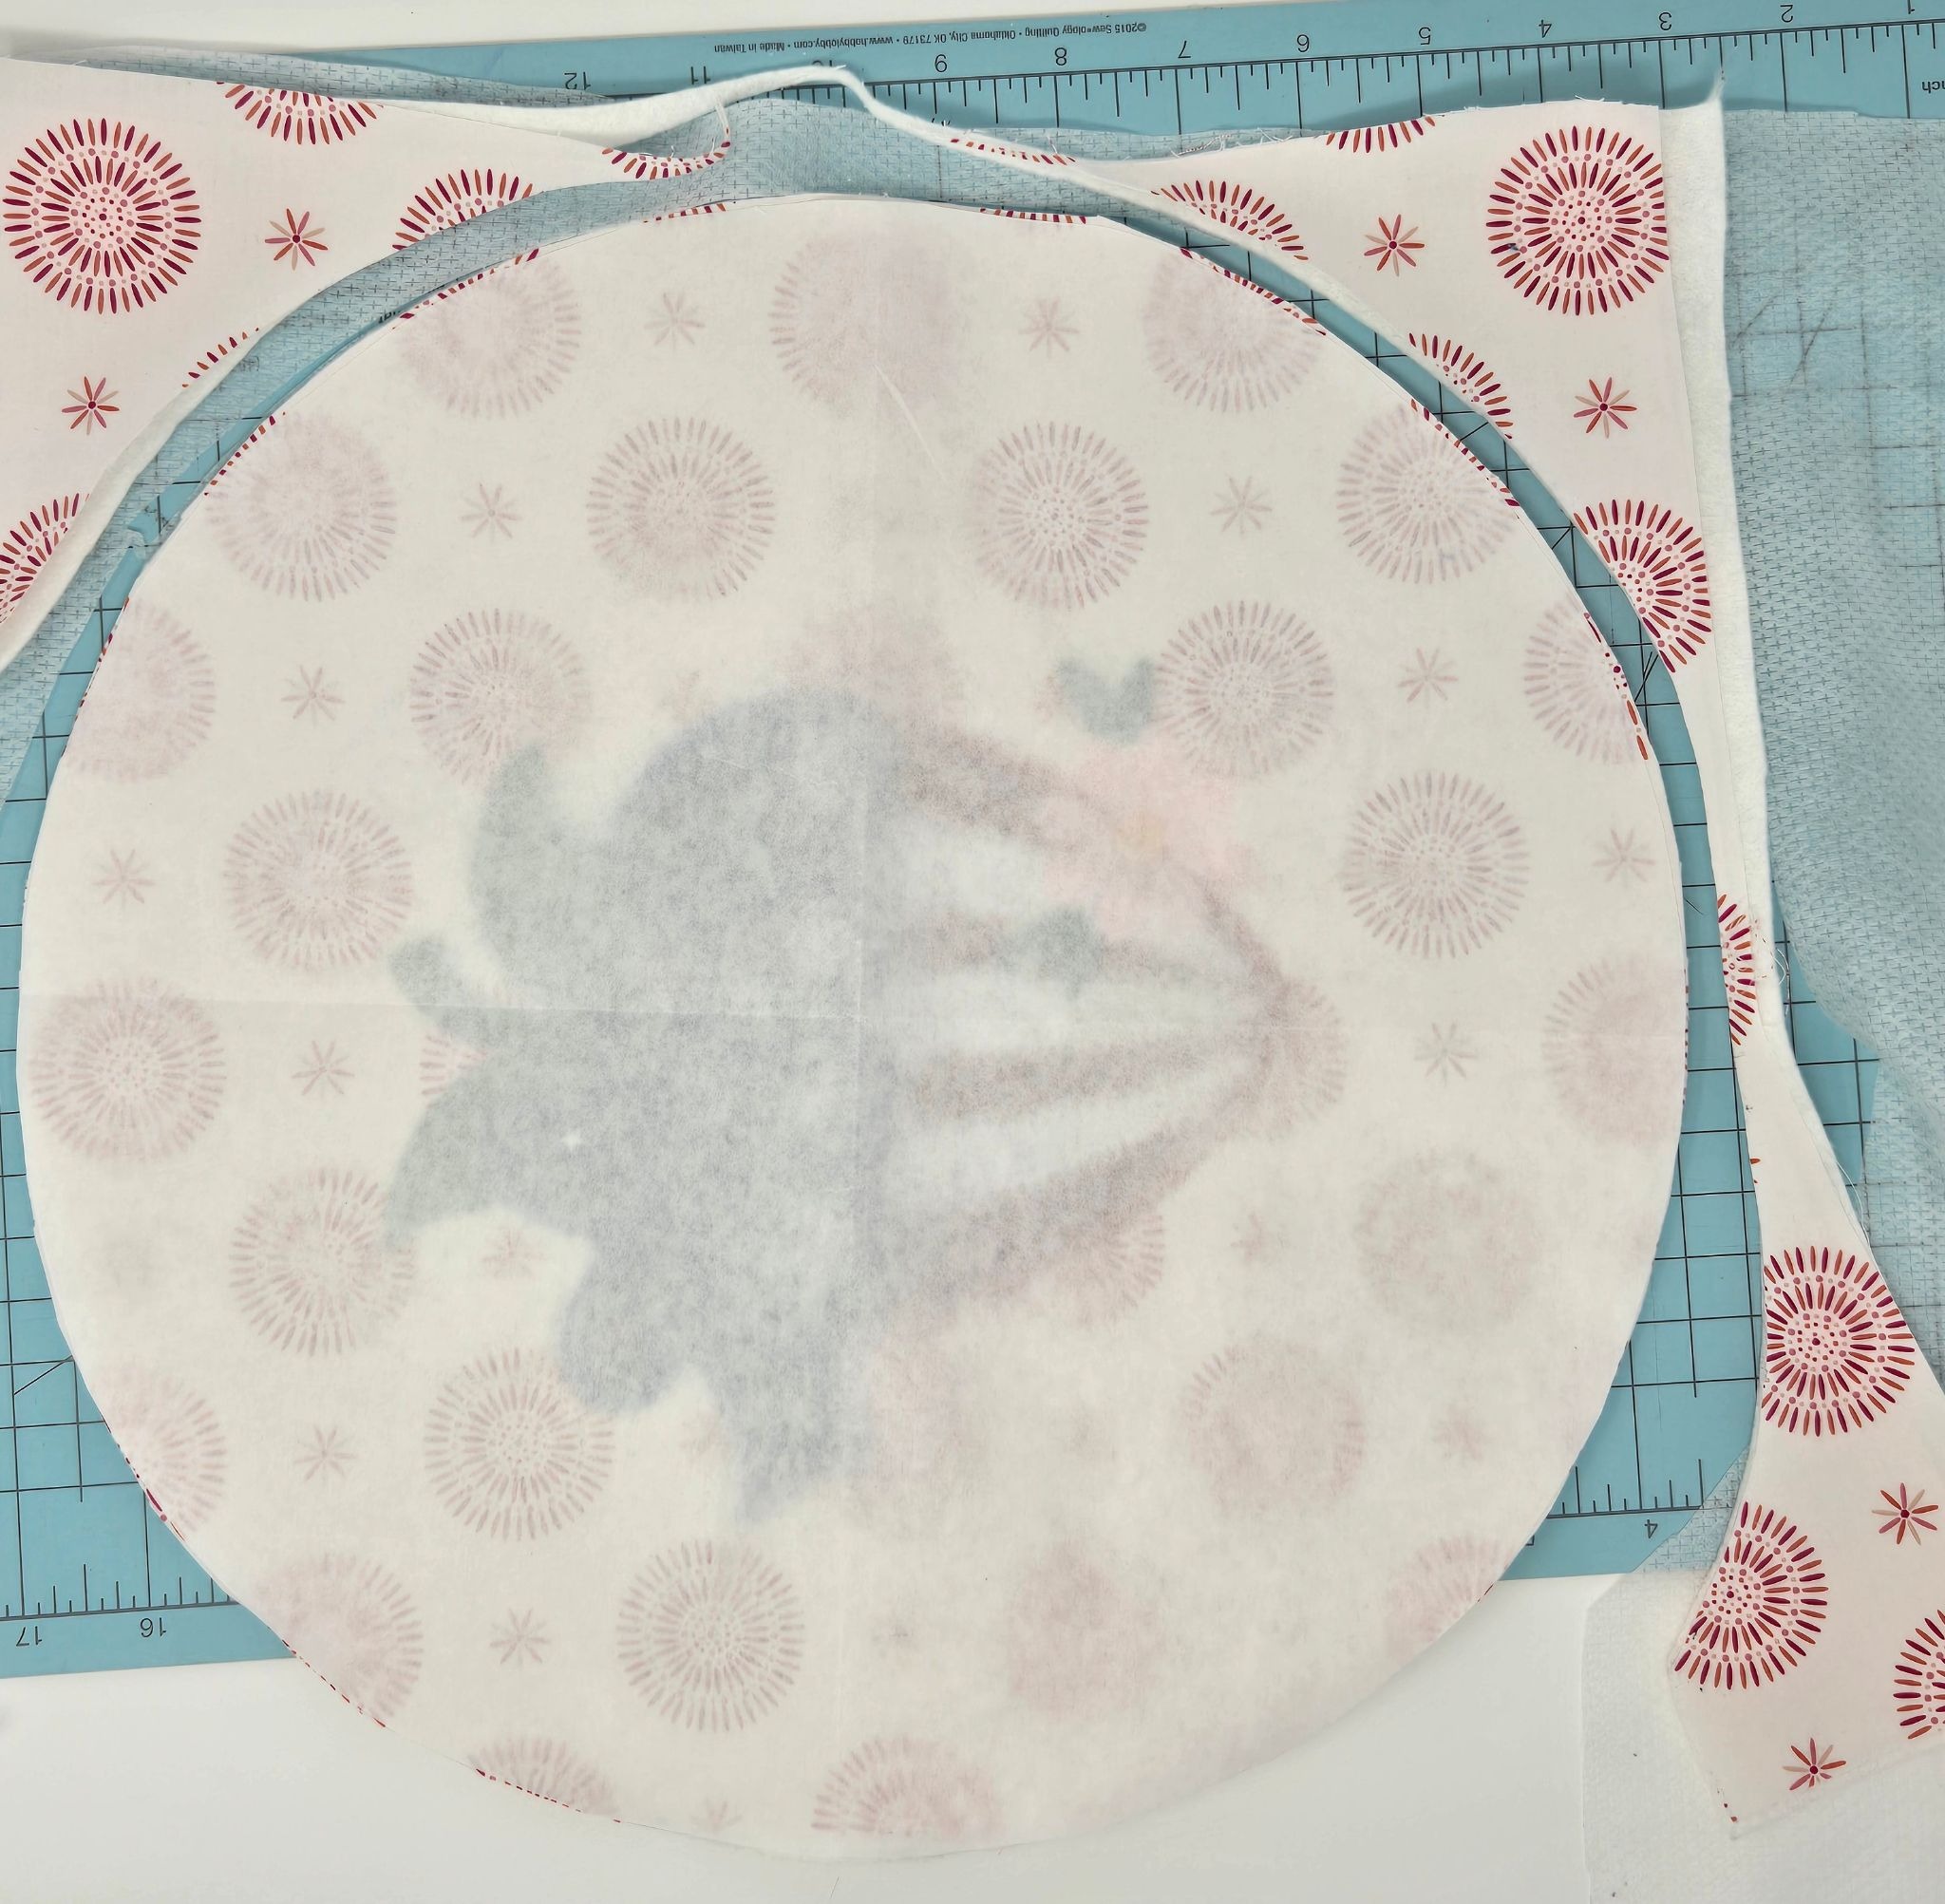
I found this really cool silicone trivet for hot things and thought it would make a great insert for a patriotic trivet. To make my pattern, I took a large piece of freezer paper and traced a generous ½” around the outside of my trivet.
My fabric was barely 13½” wide, so I cut a 13½” square of my fabric, fuseEZ, and loftySoft. I fused the fuseEZ to the back of my fabric and hooped a piece of magicMESH. I used my 9½” x 9½” hoop and floated my fabric and batting.
Load your design, then center the fabric and batting on the hooped magicMESH and run the first stitch, which is the basting box.

Skip the next steps using the arrow keys on your embroidery machine. This could also be done in software if you have it. When I got to the steps to place the appliques for the strawberry/watermelon and the embroidery, I did all of those steps. I skipped everything else.
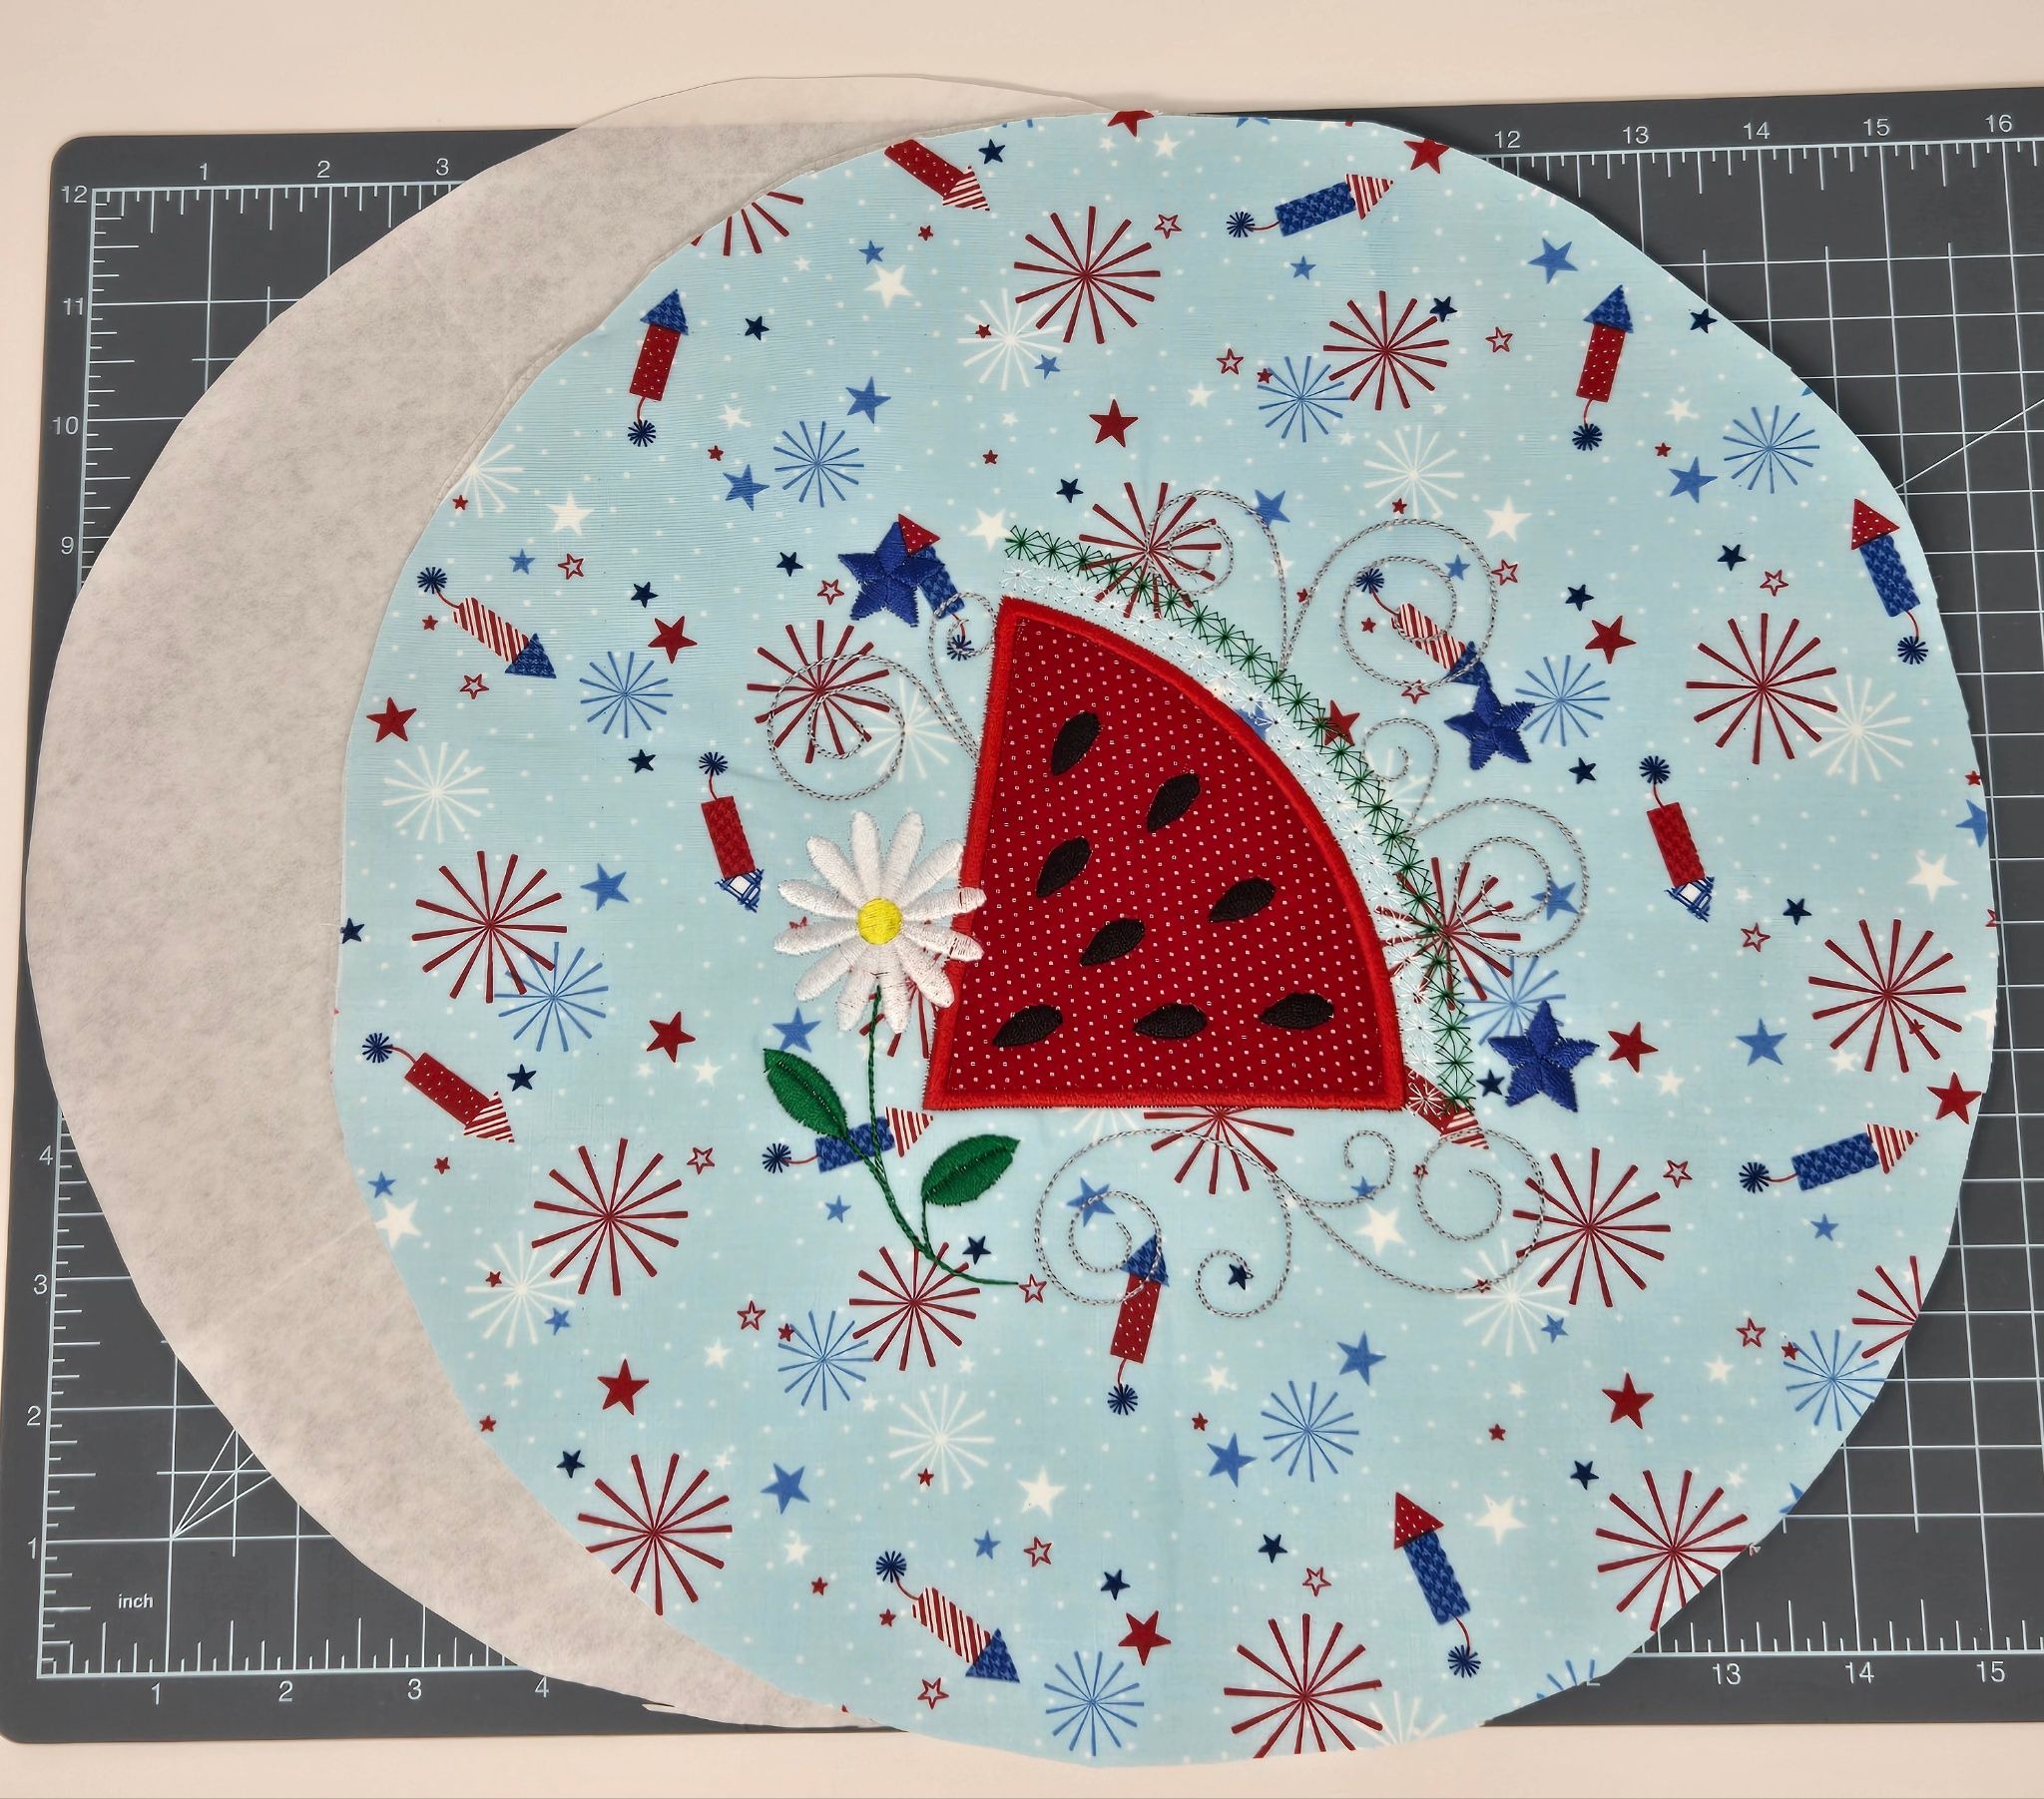
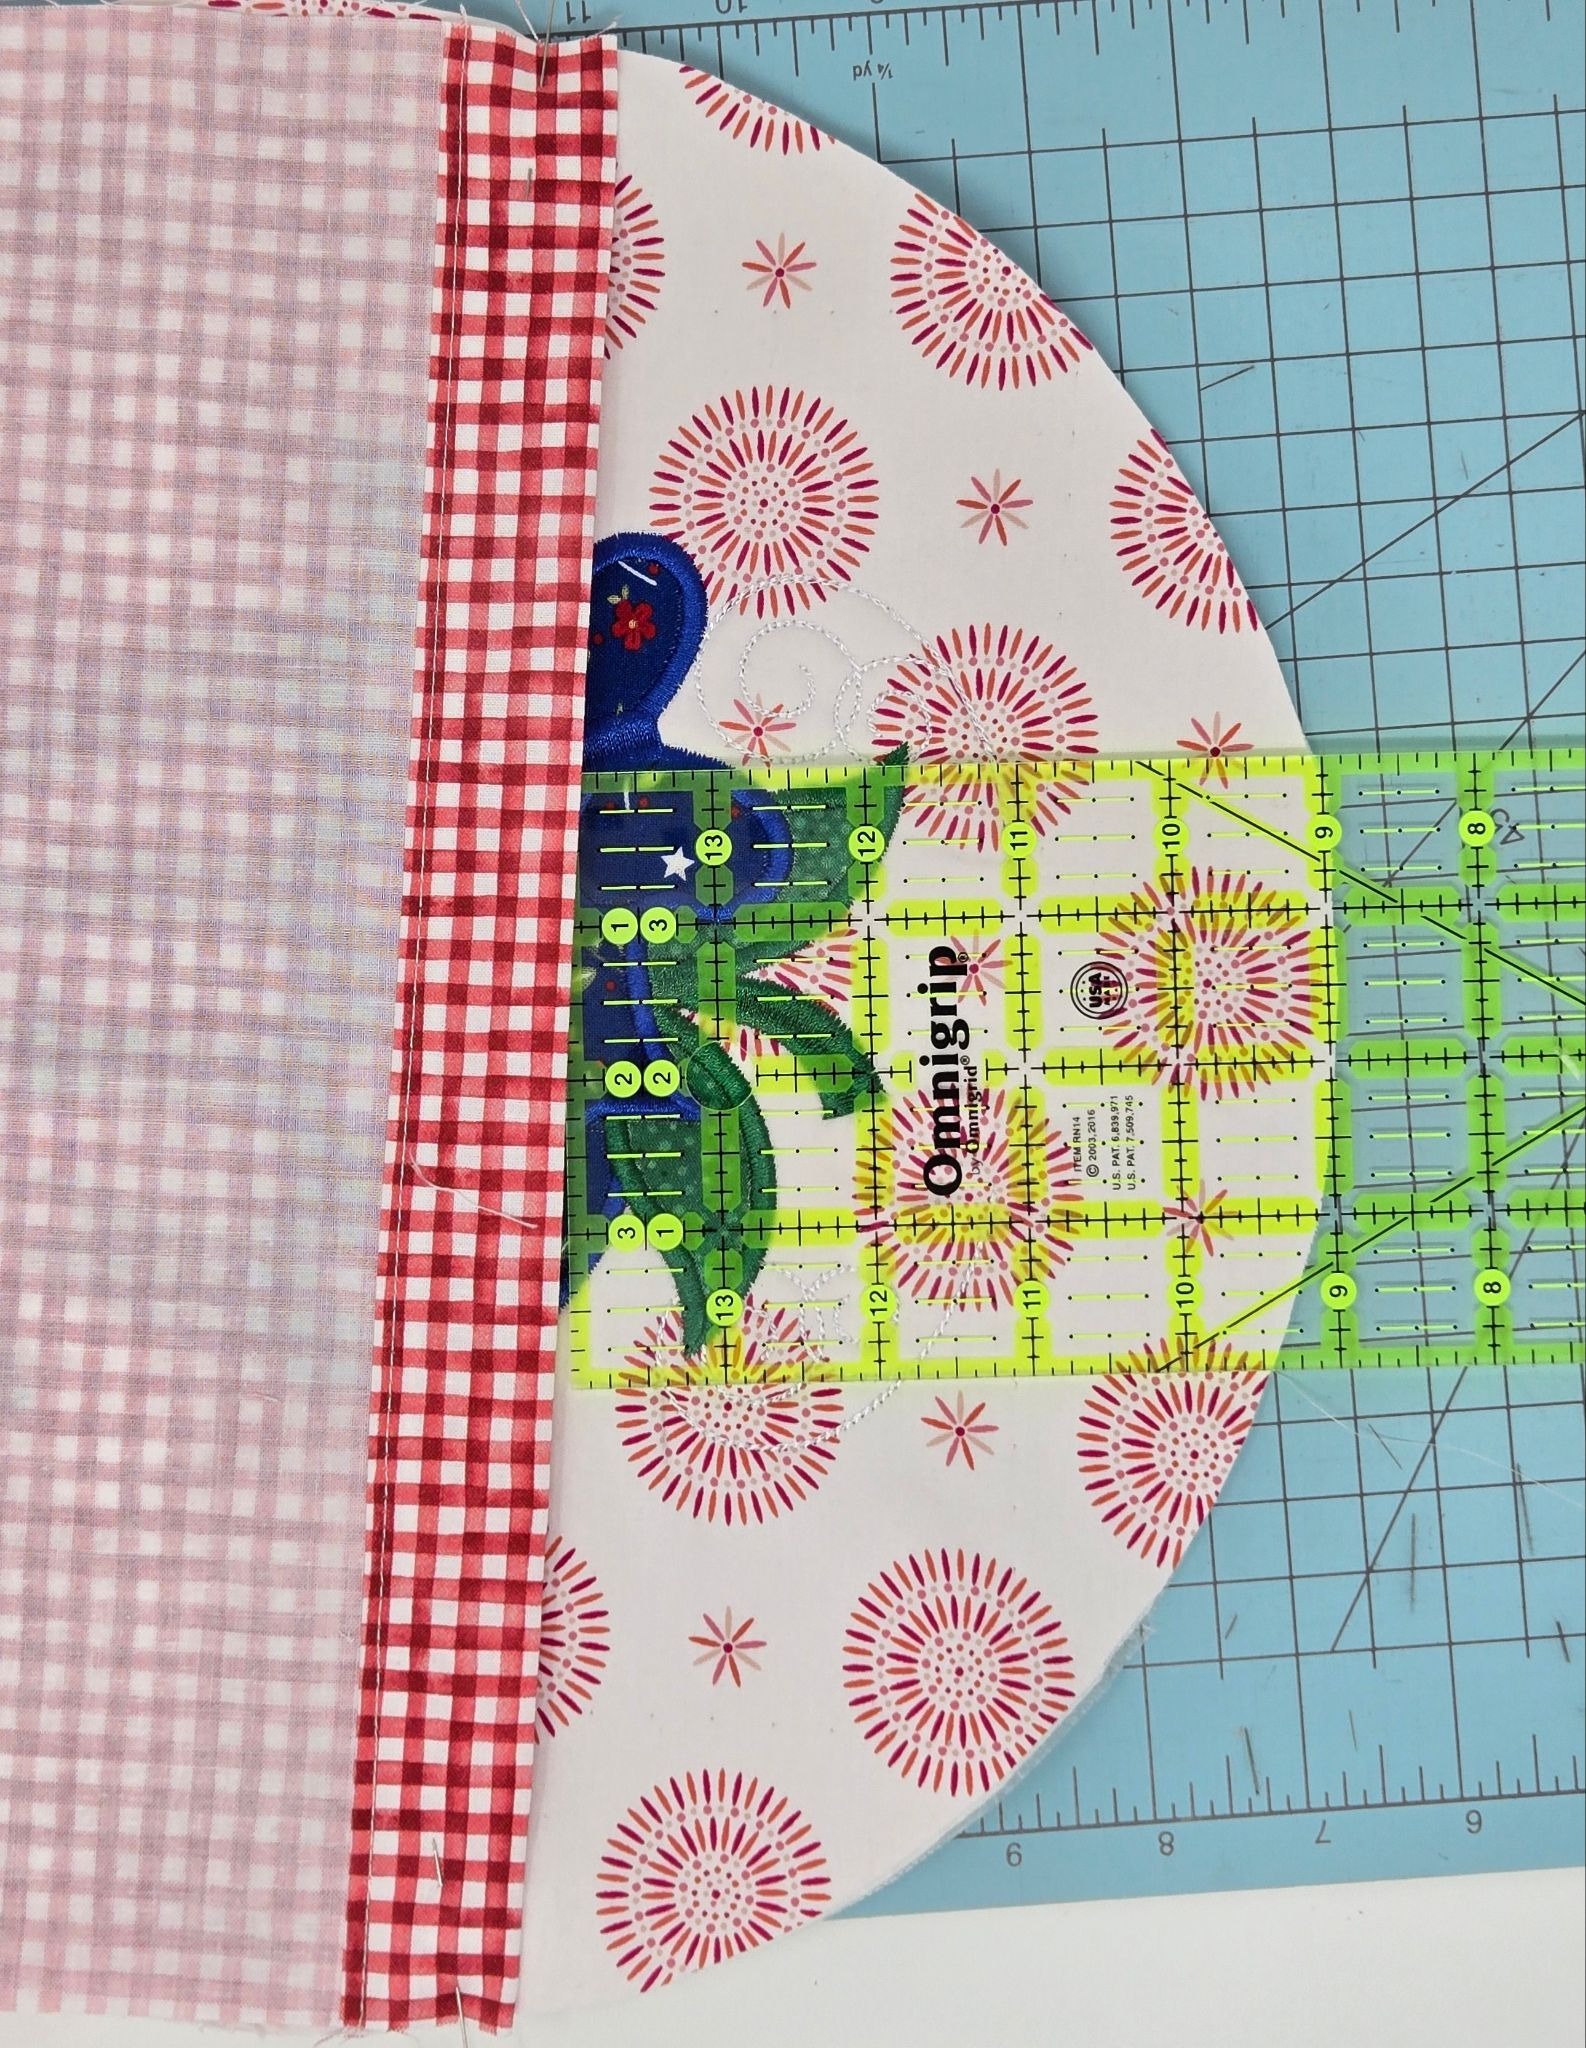
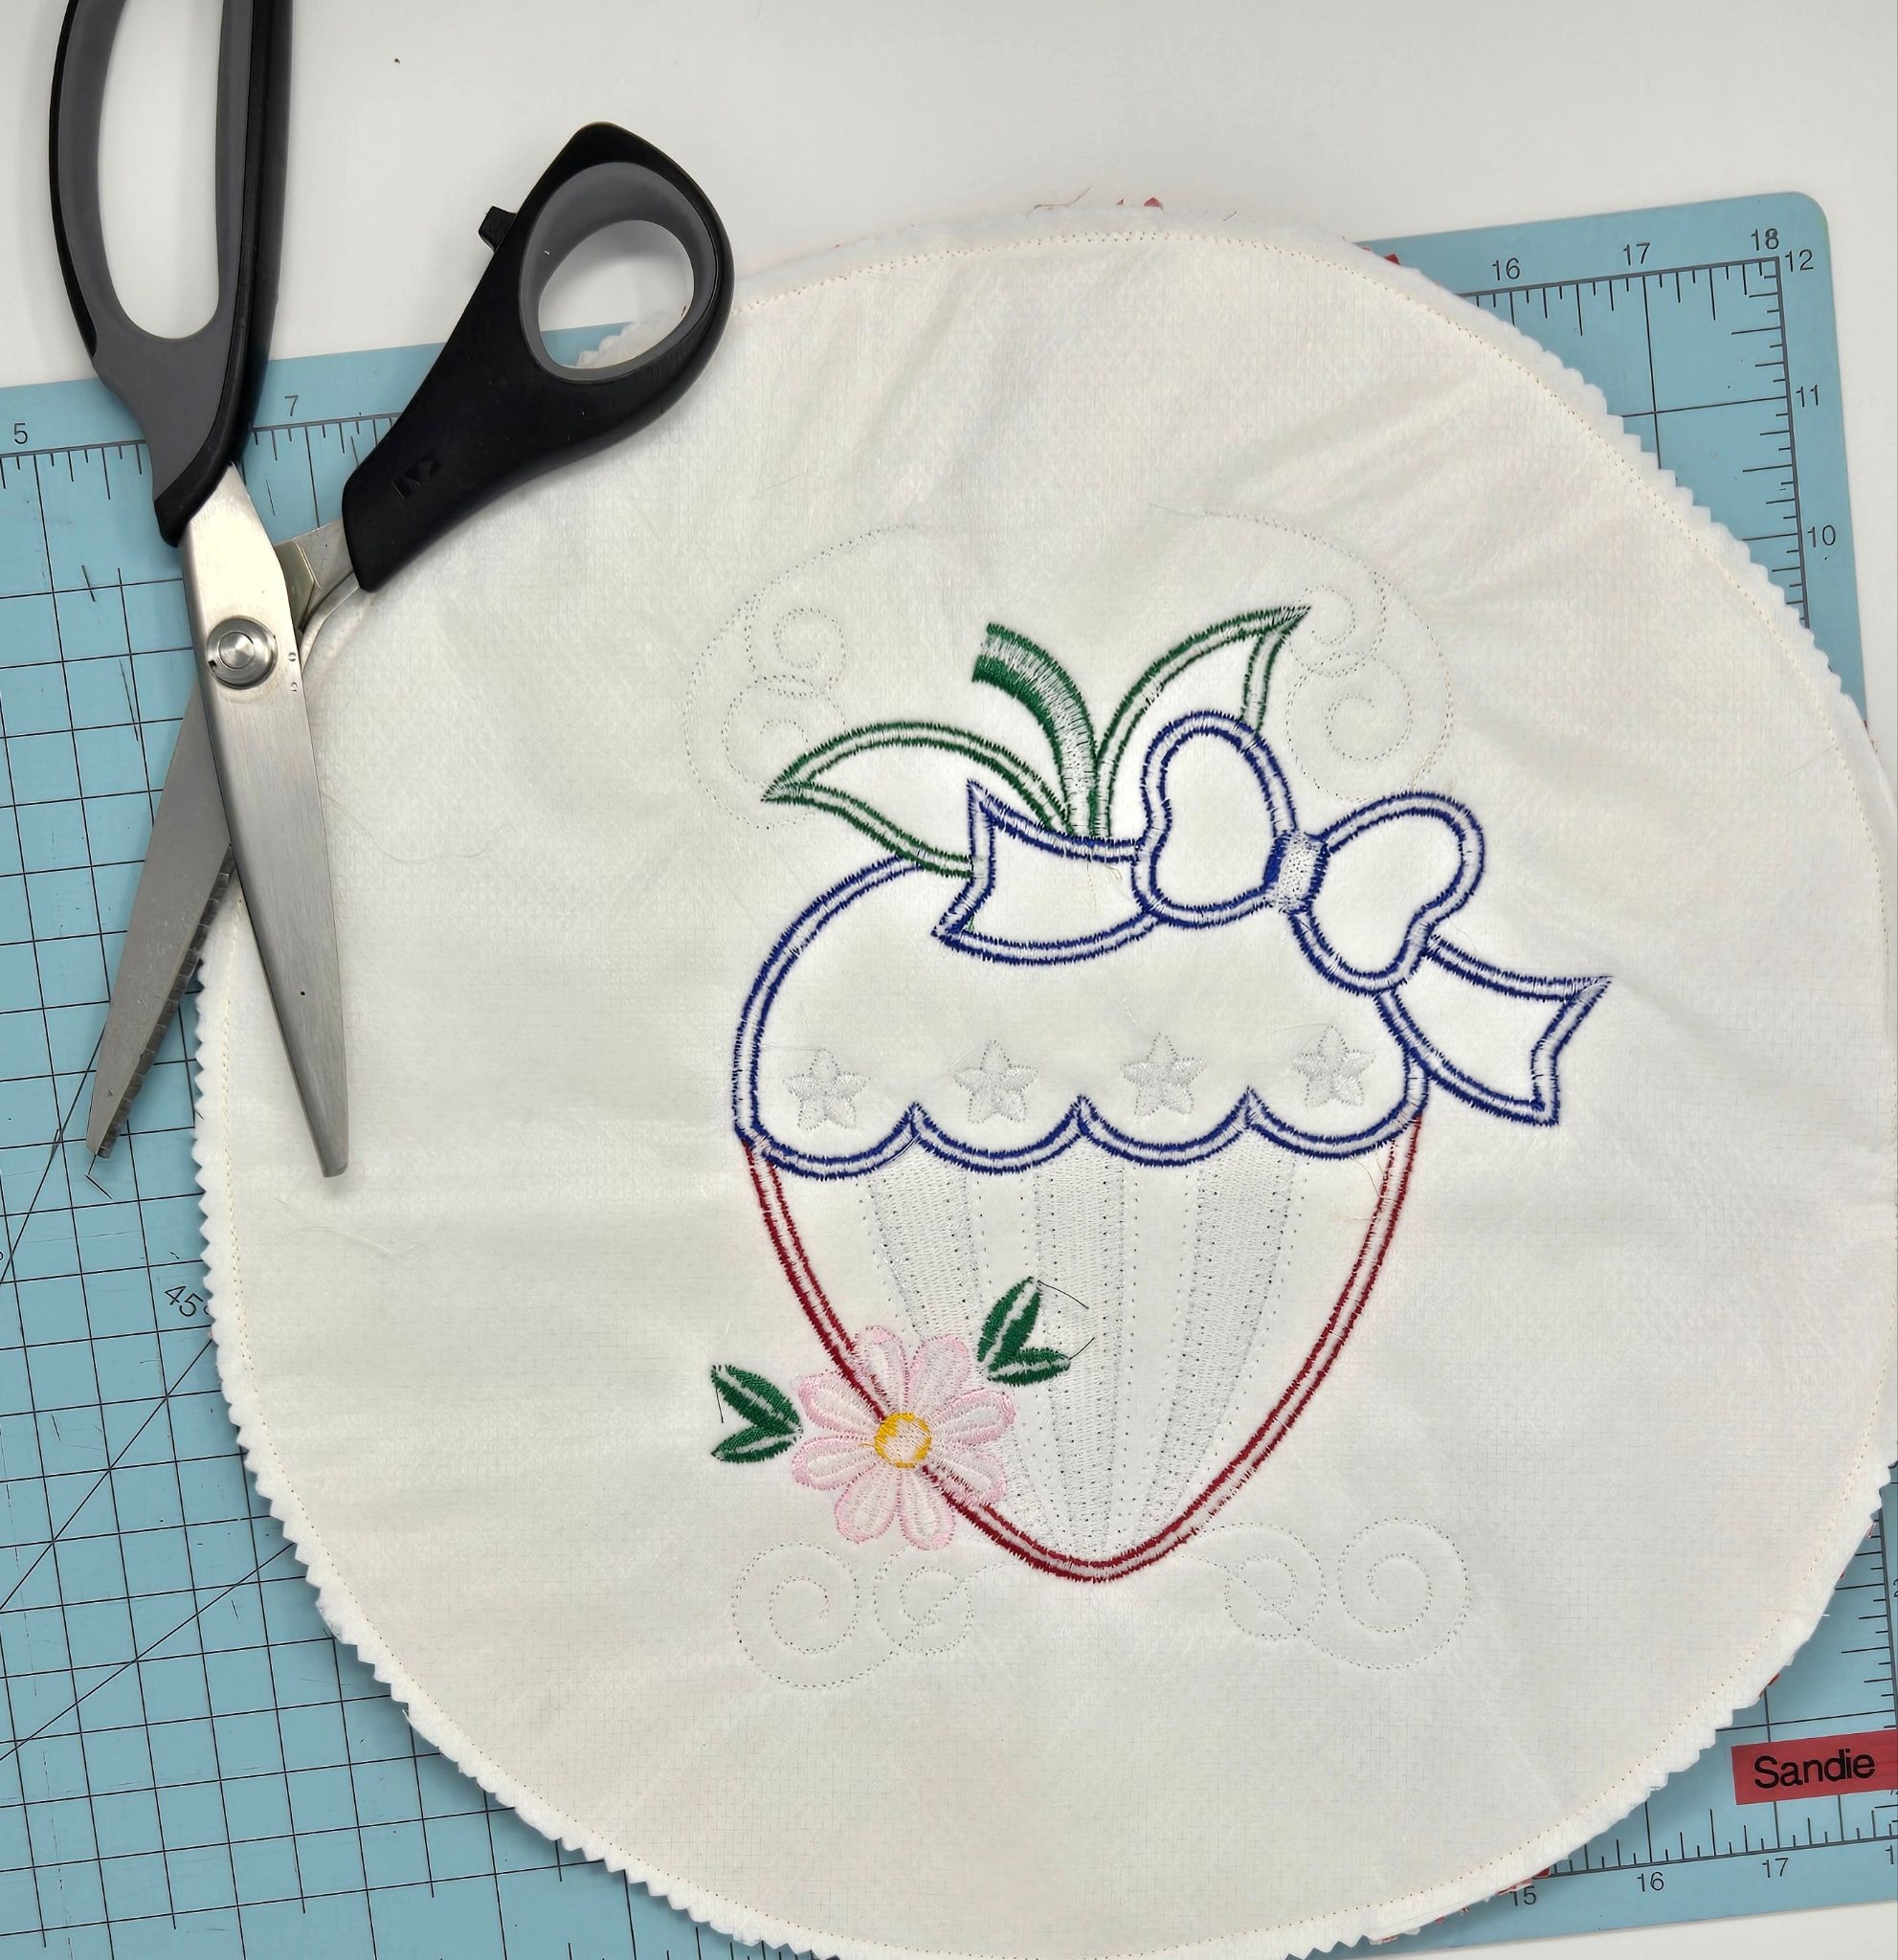
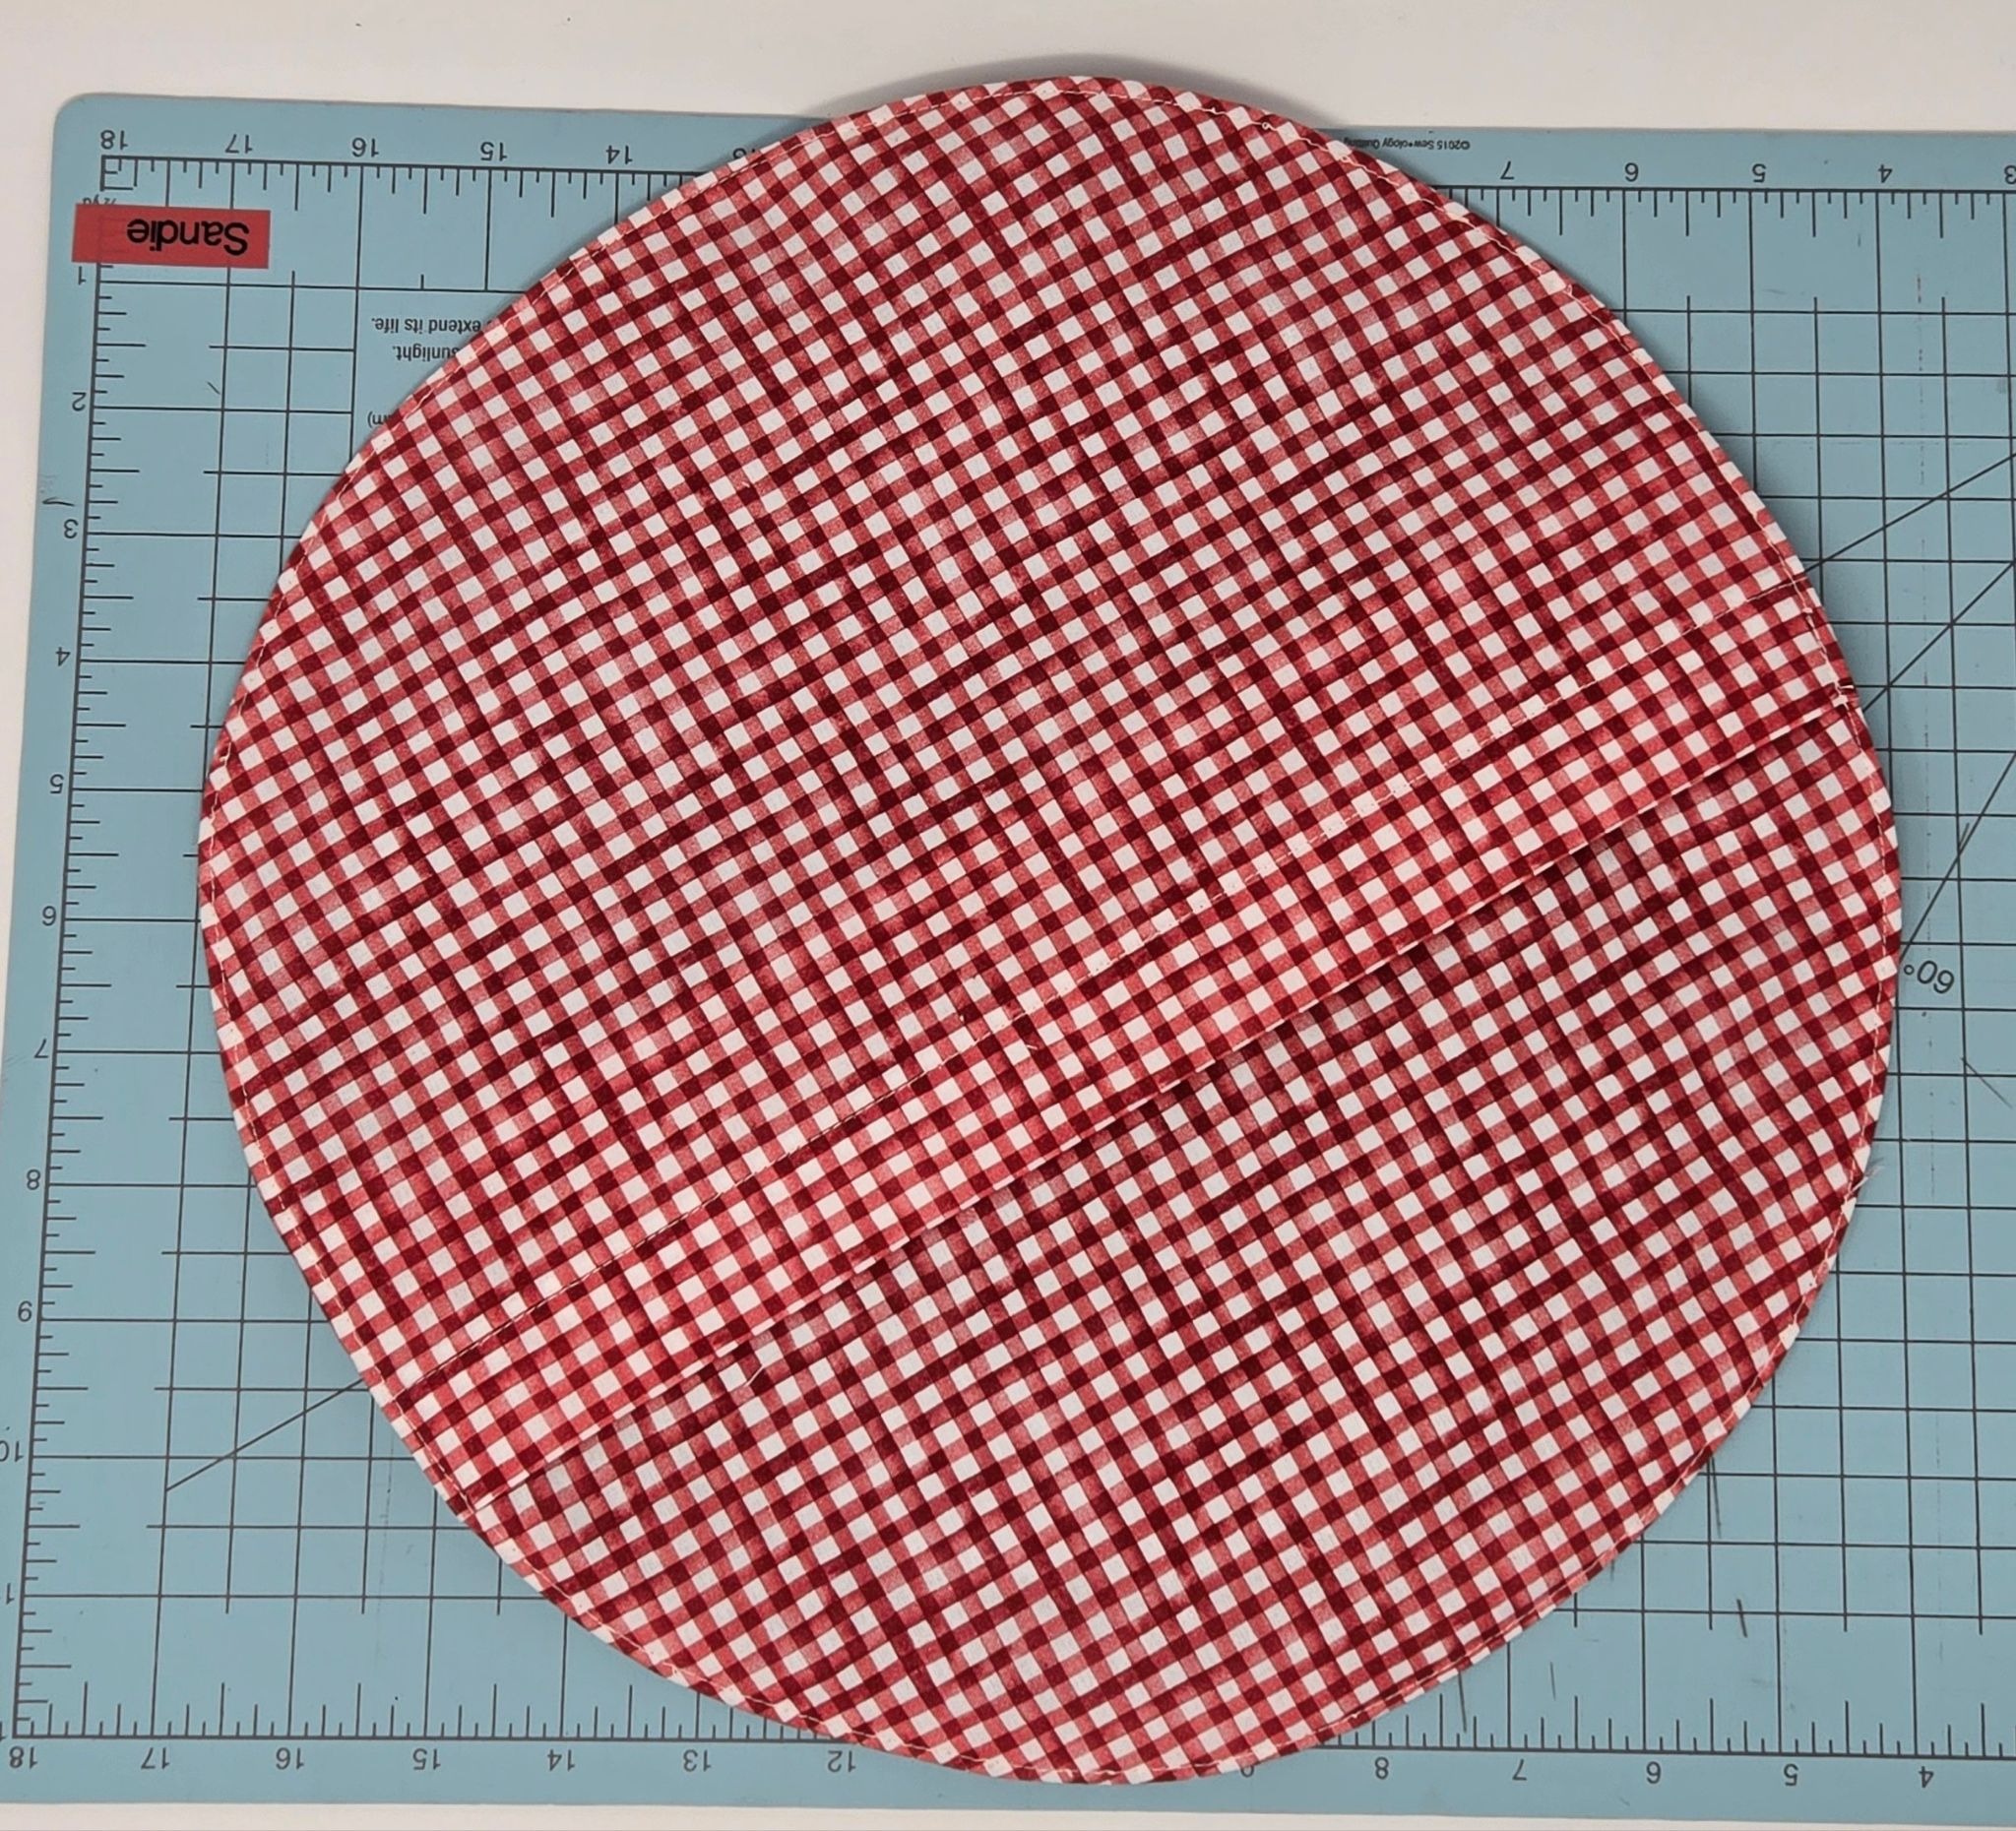
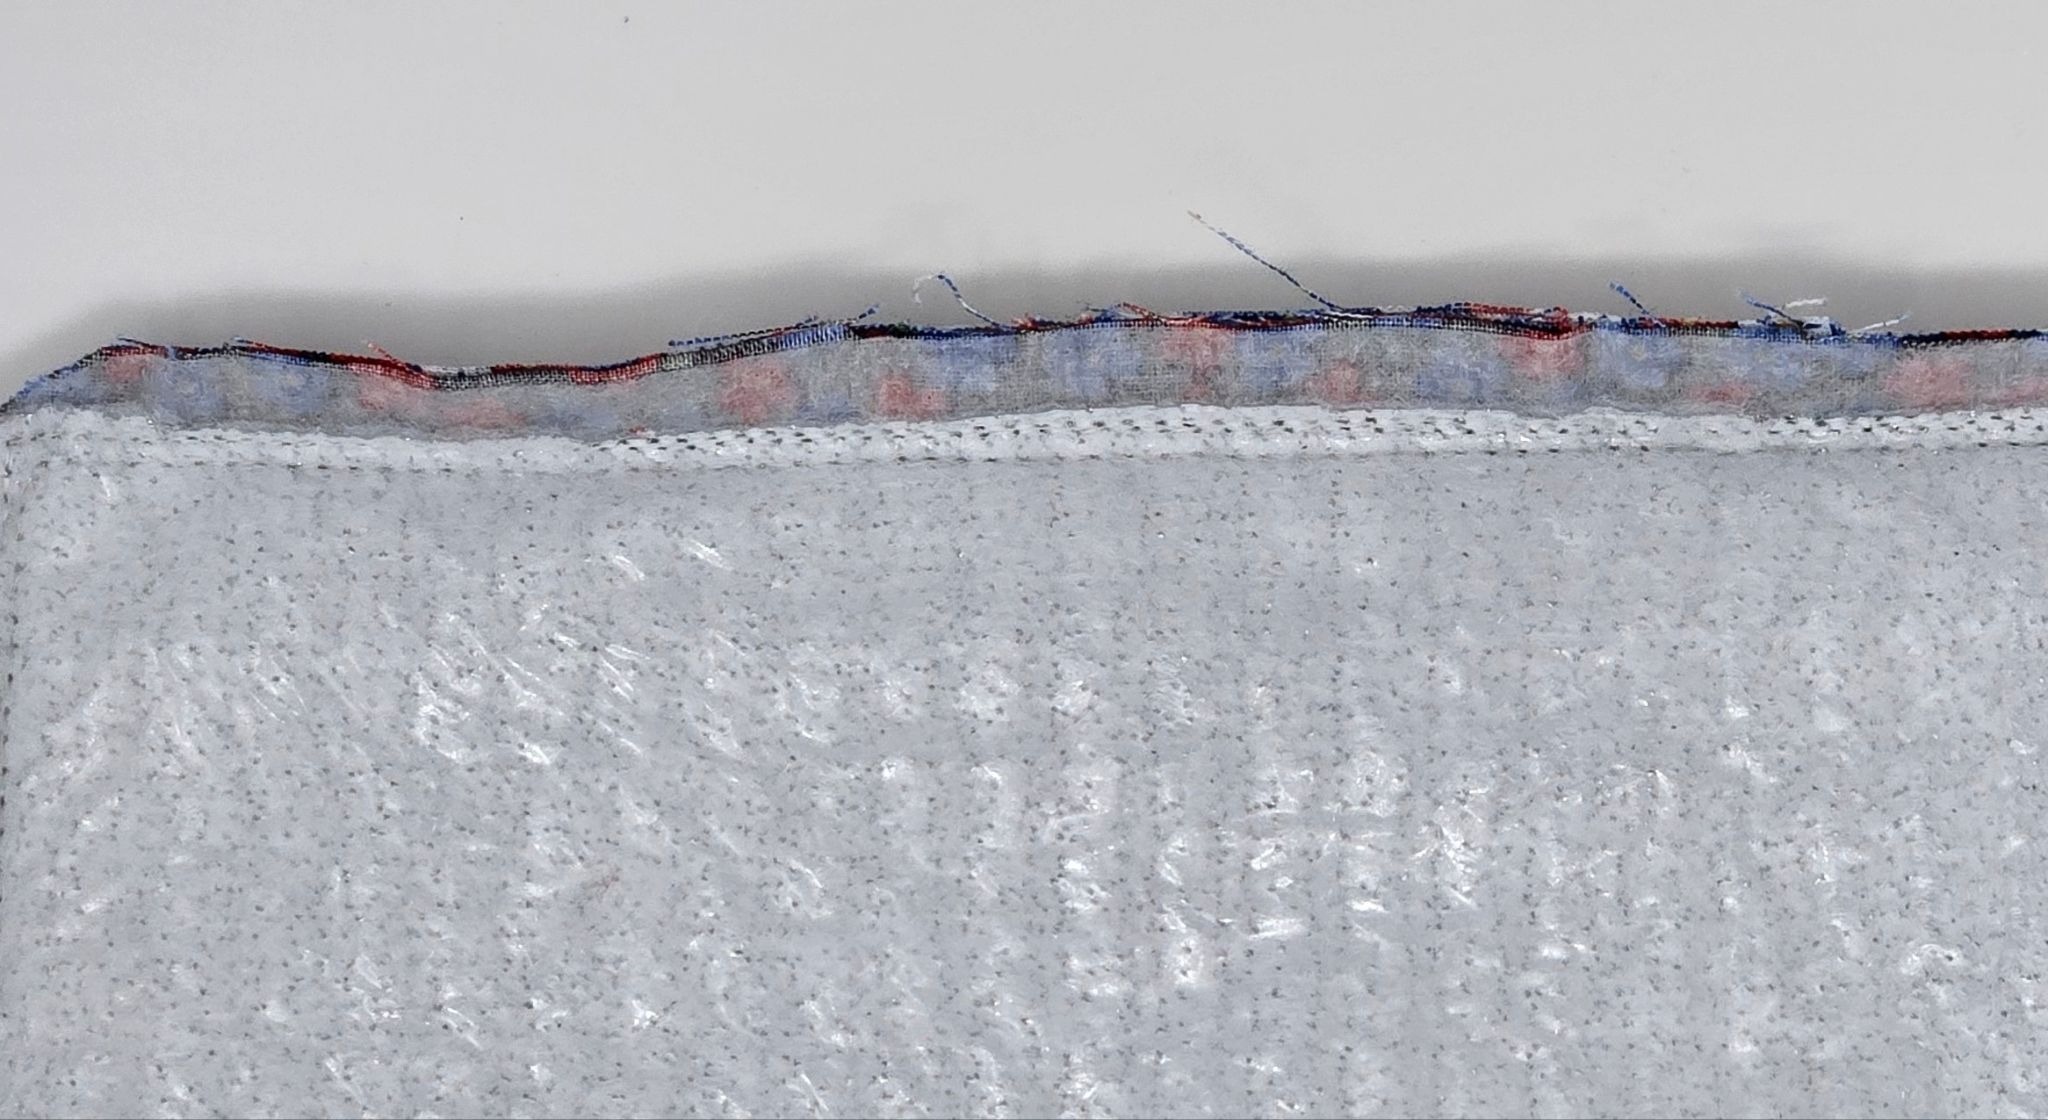
Once you are finished with the embroidery, remove the fabric from the hoop and remove the basting box stitches. With a warm, dry iron, press the shiny side of the freezer paper circle template you made earlier to the front of the design, centering it. Using freezer paper means you don’t need any pins. It is also reusable for your next trivet. Just carefully peel it off and save for the next one. It can be used multiple times before it collects too much fabric lint to adhere, then remember to use it to cut another before you recycle it.

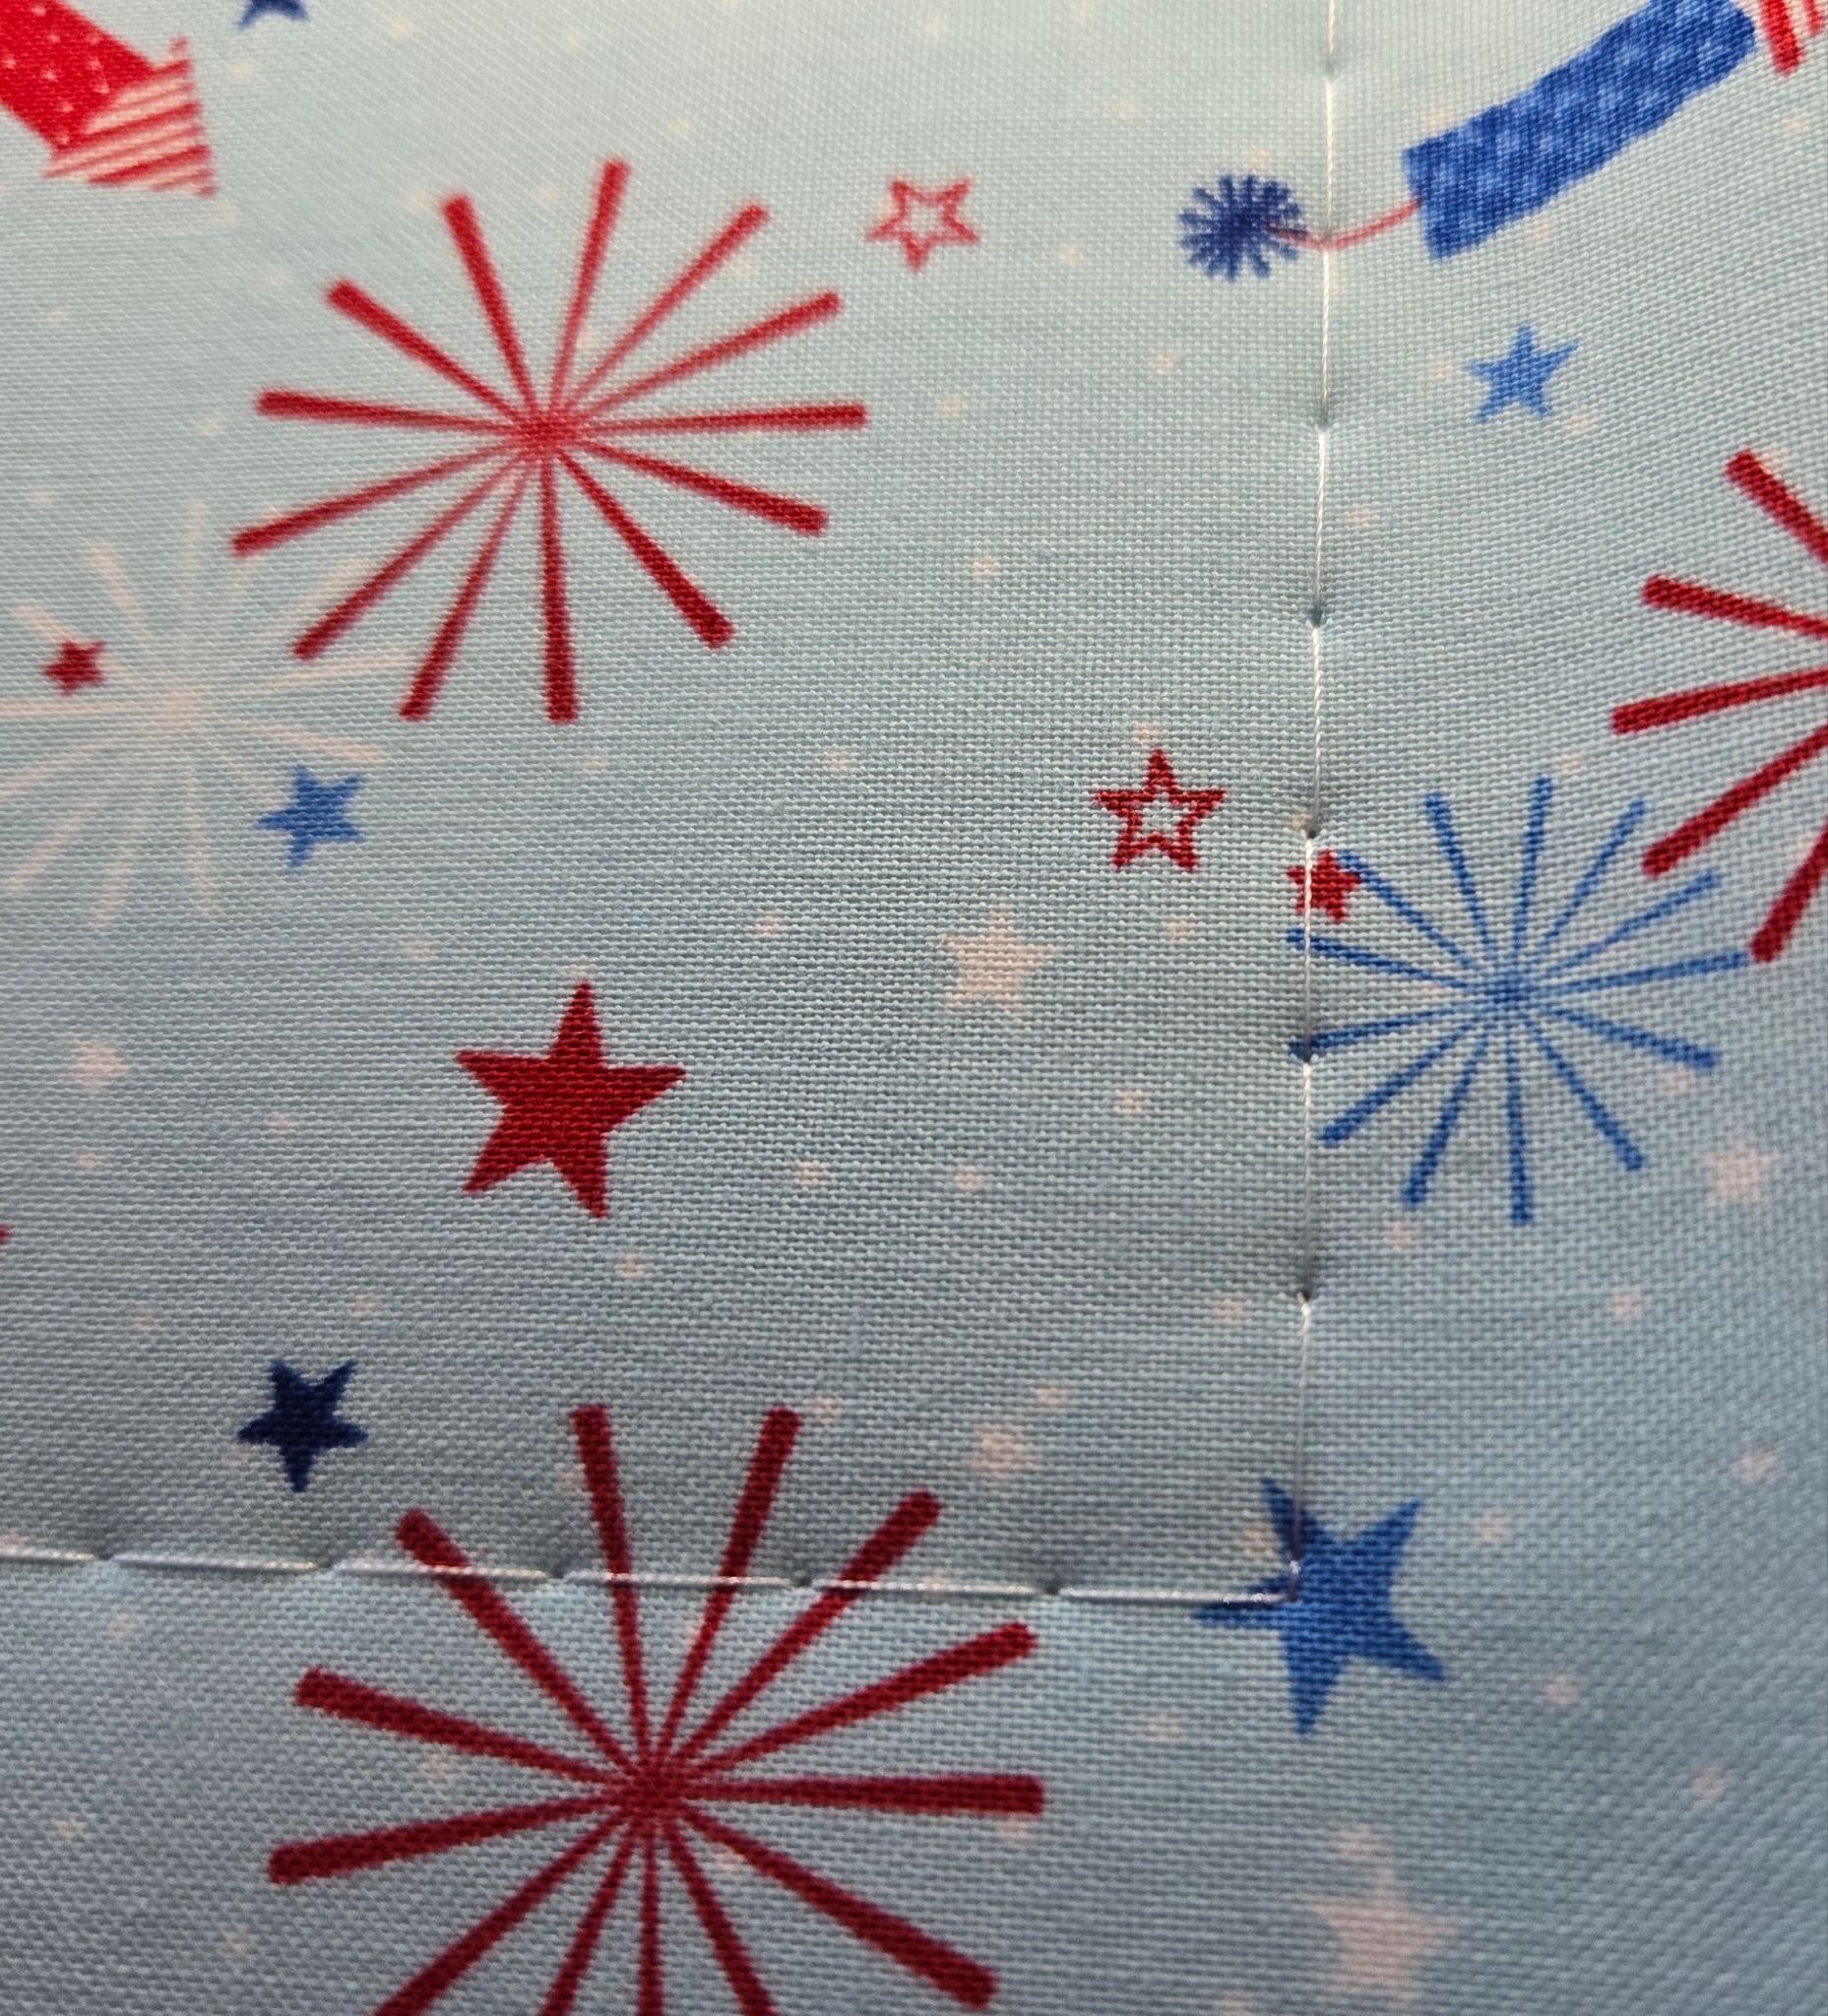
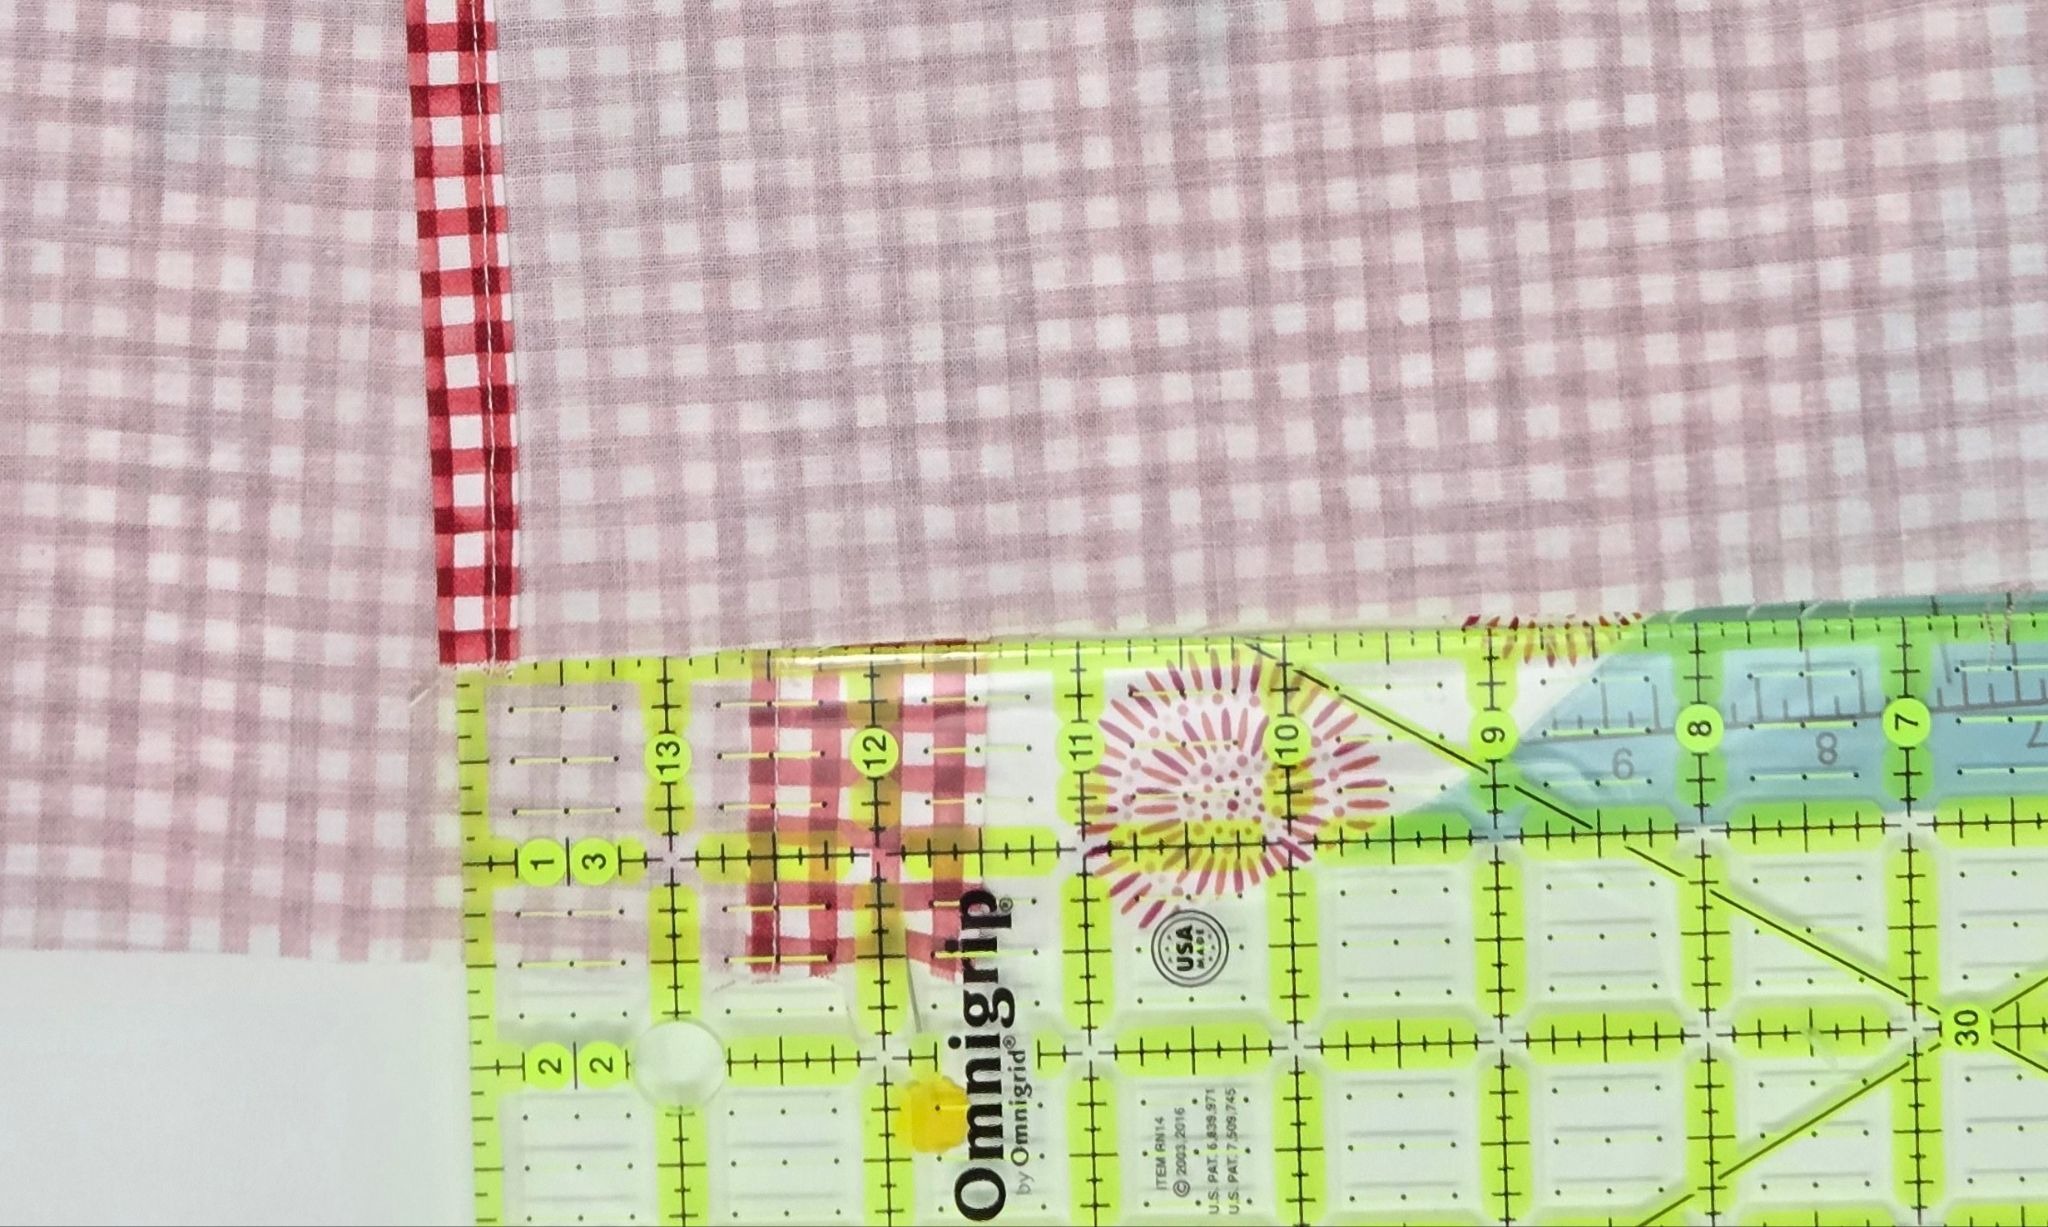
Trim around the freezer paper.
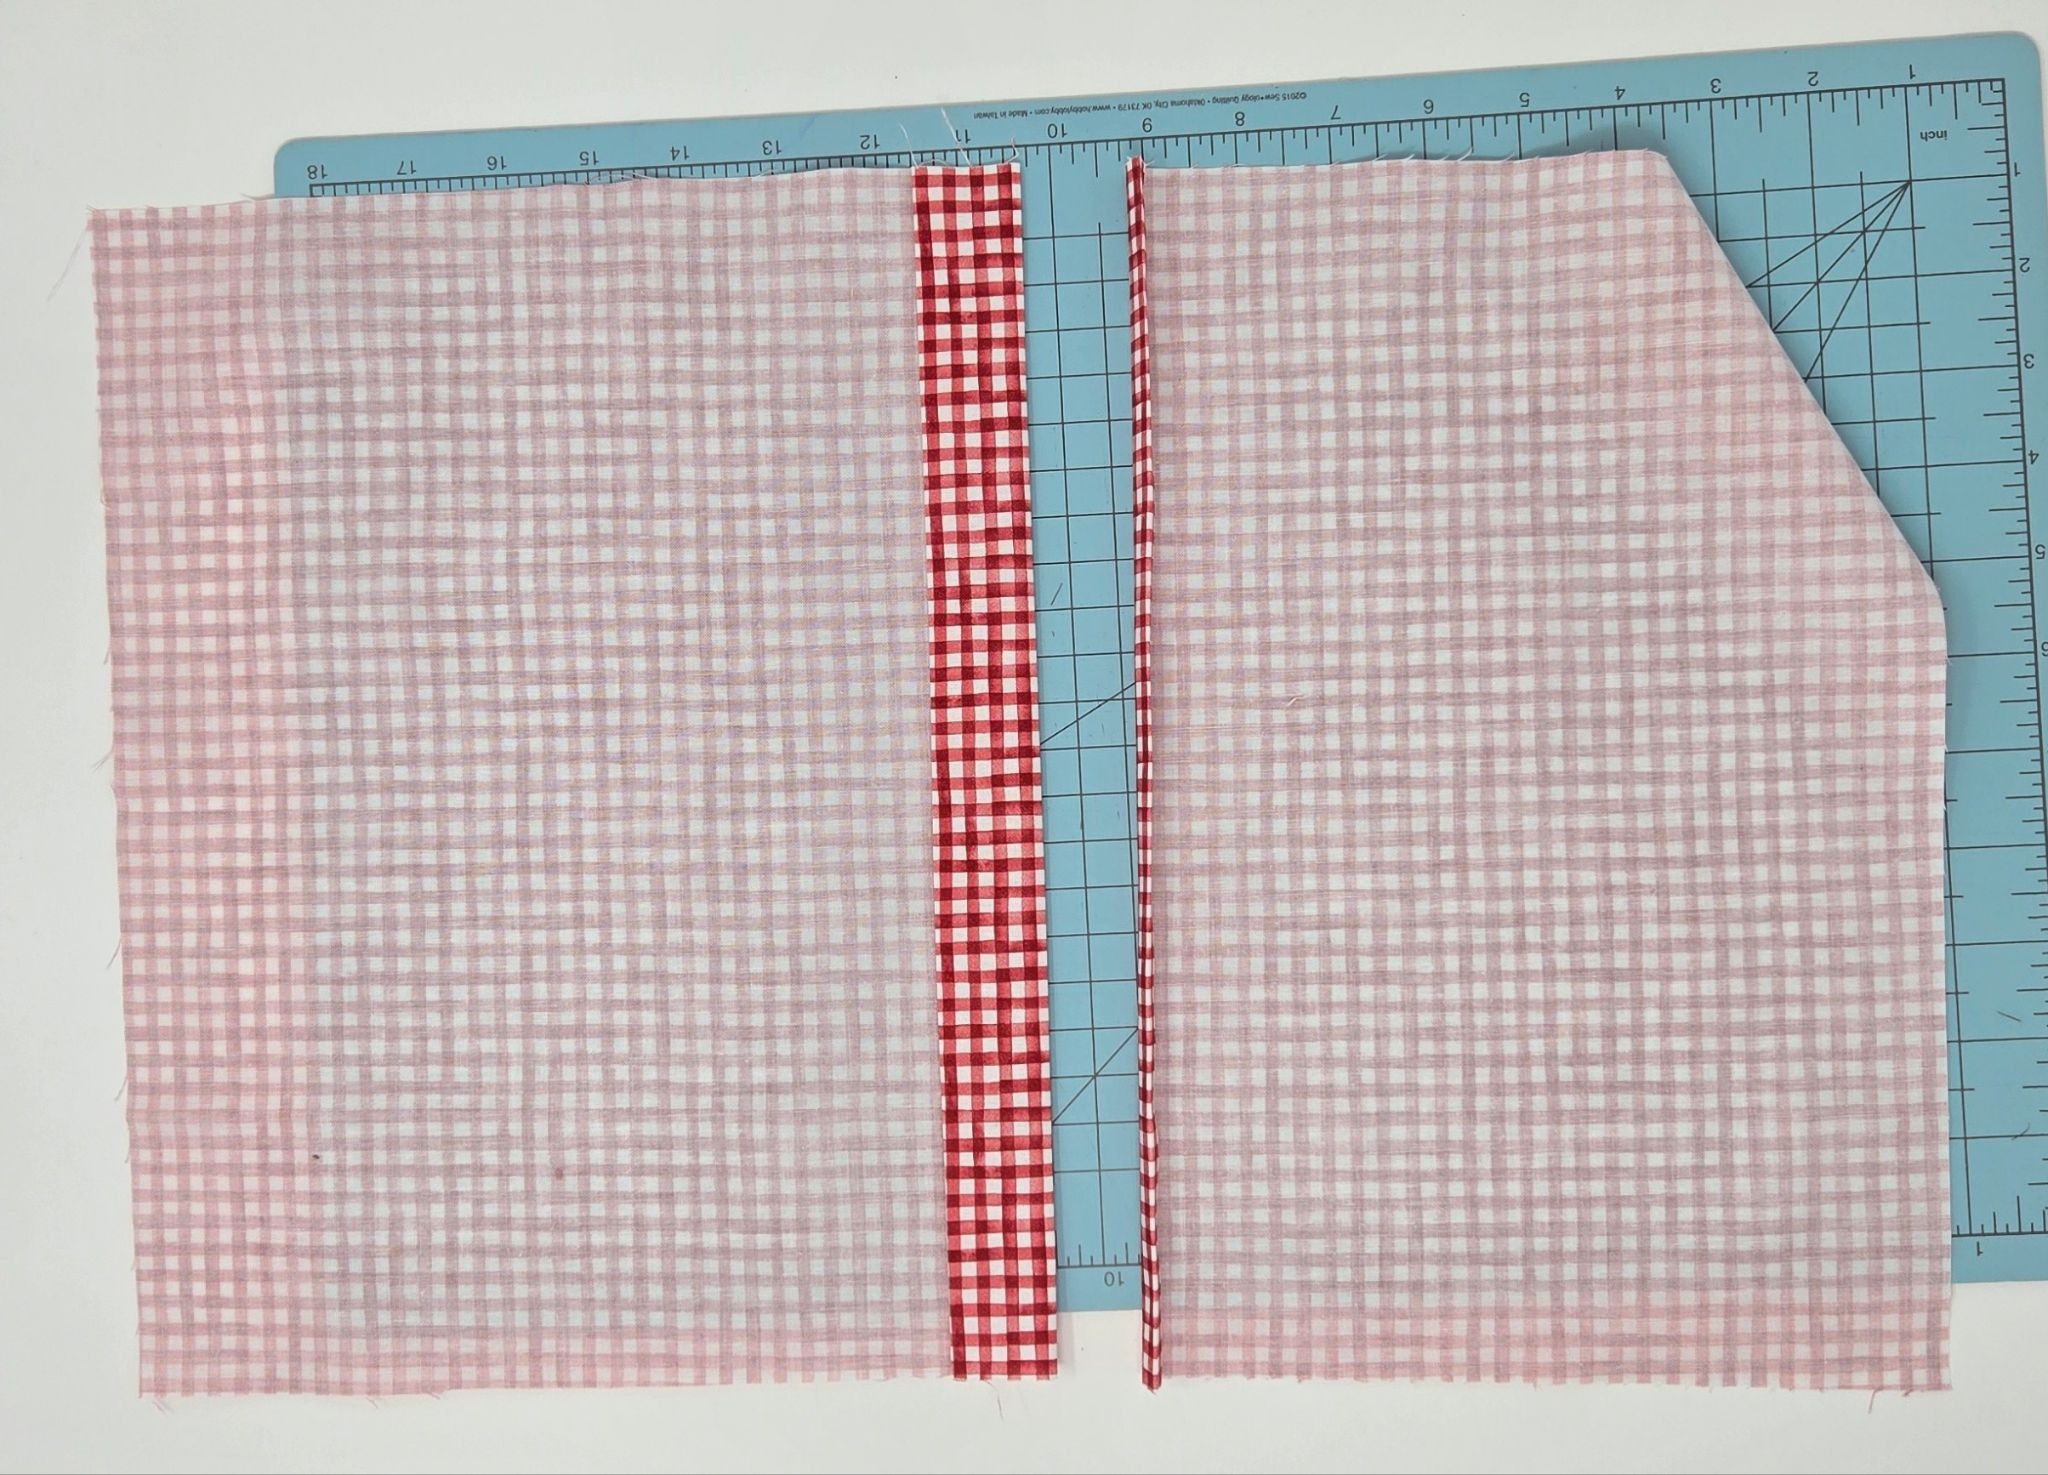
For the back, cut a fat quarter 13” x 20”. Cut this piece in half, unequally: One piece will measure 9” x 13” and the remaining piece will be 11” x 13”.
Make a small hem on one 13” side of the 9” x 13” rectangle by pressing under ¼” of fabric twice. For the 11” x 13” rectangle, make a larger hem. I pressed under ¼” and then folded it again pressing under a generous 1” hem. Sew both hems in place using your sewing machine.
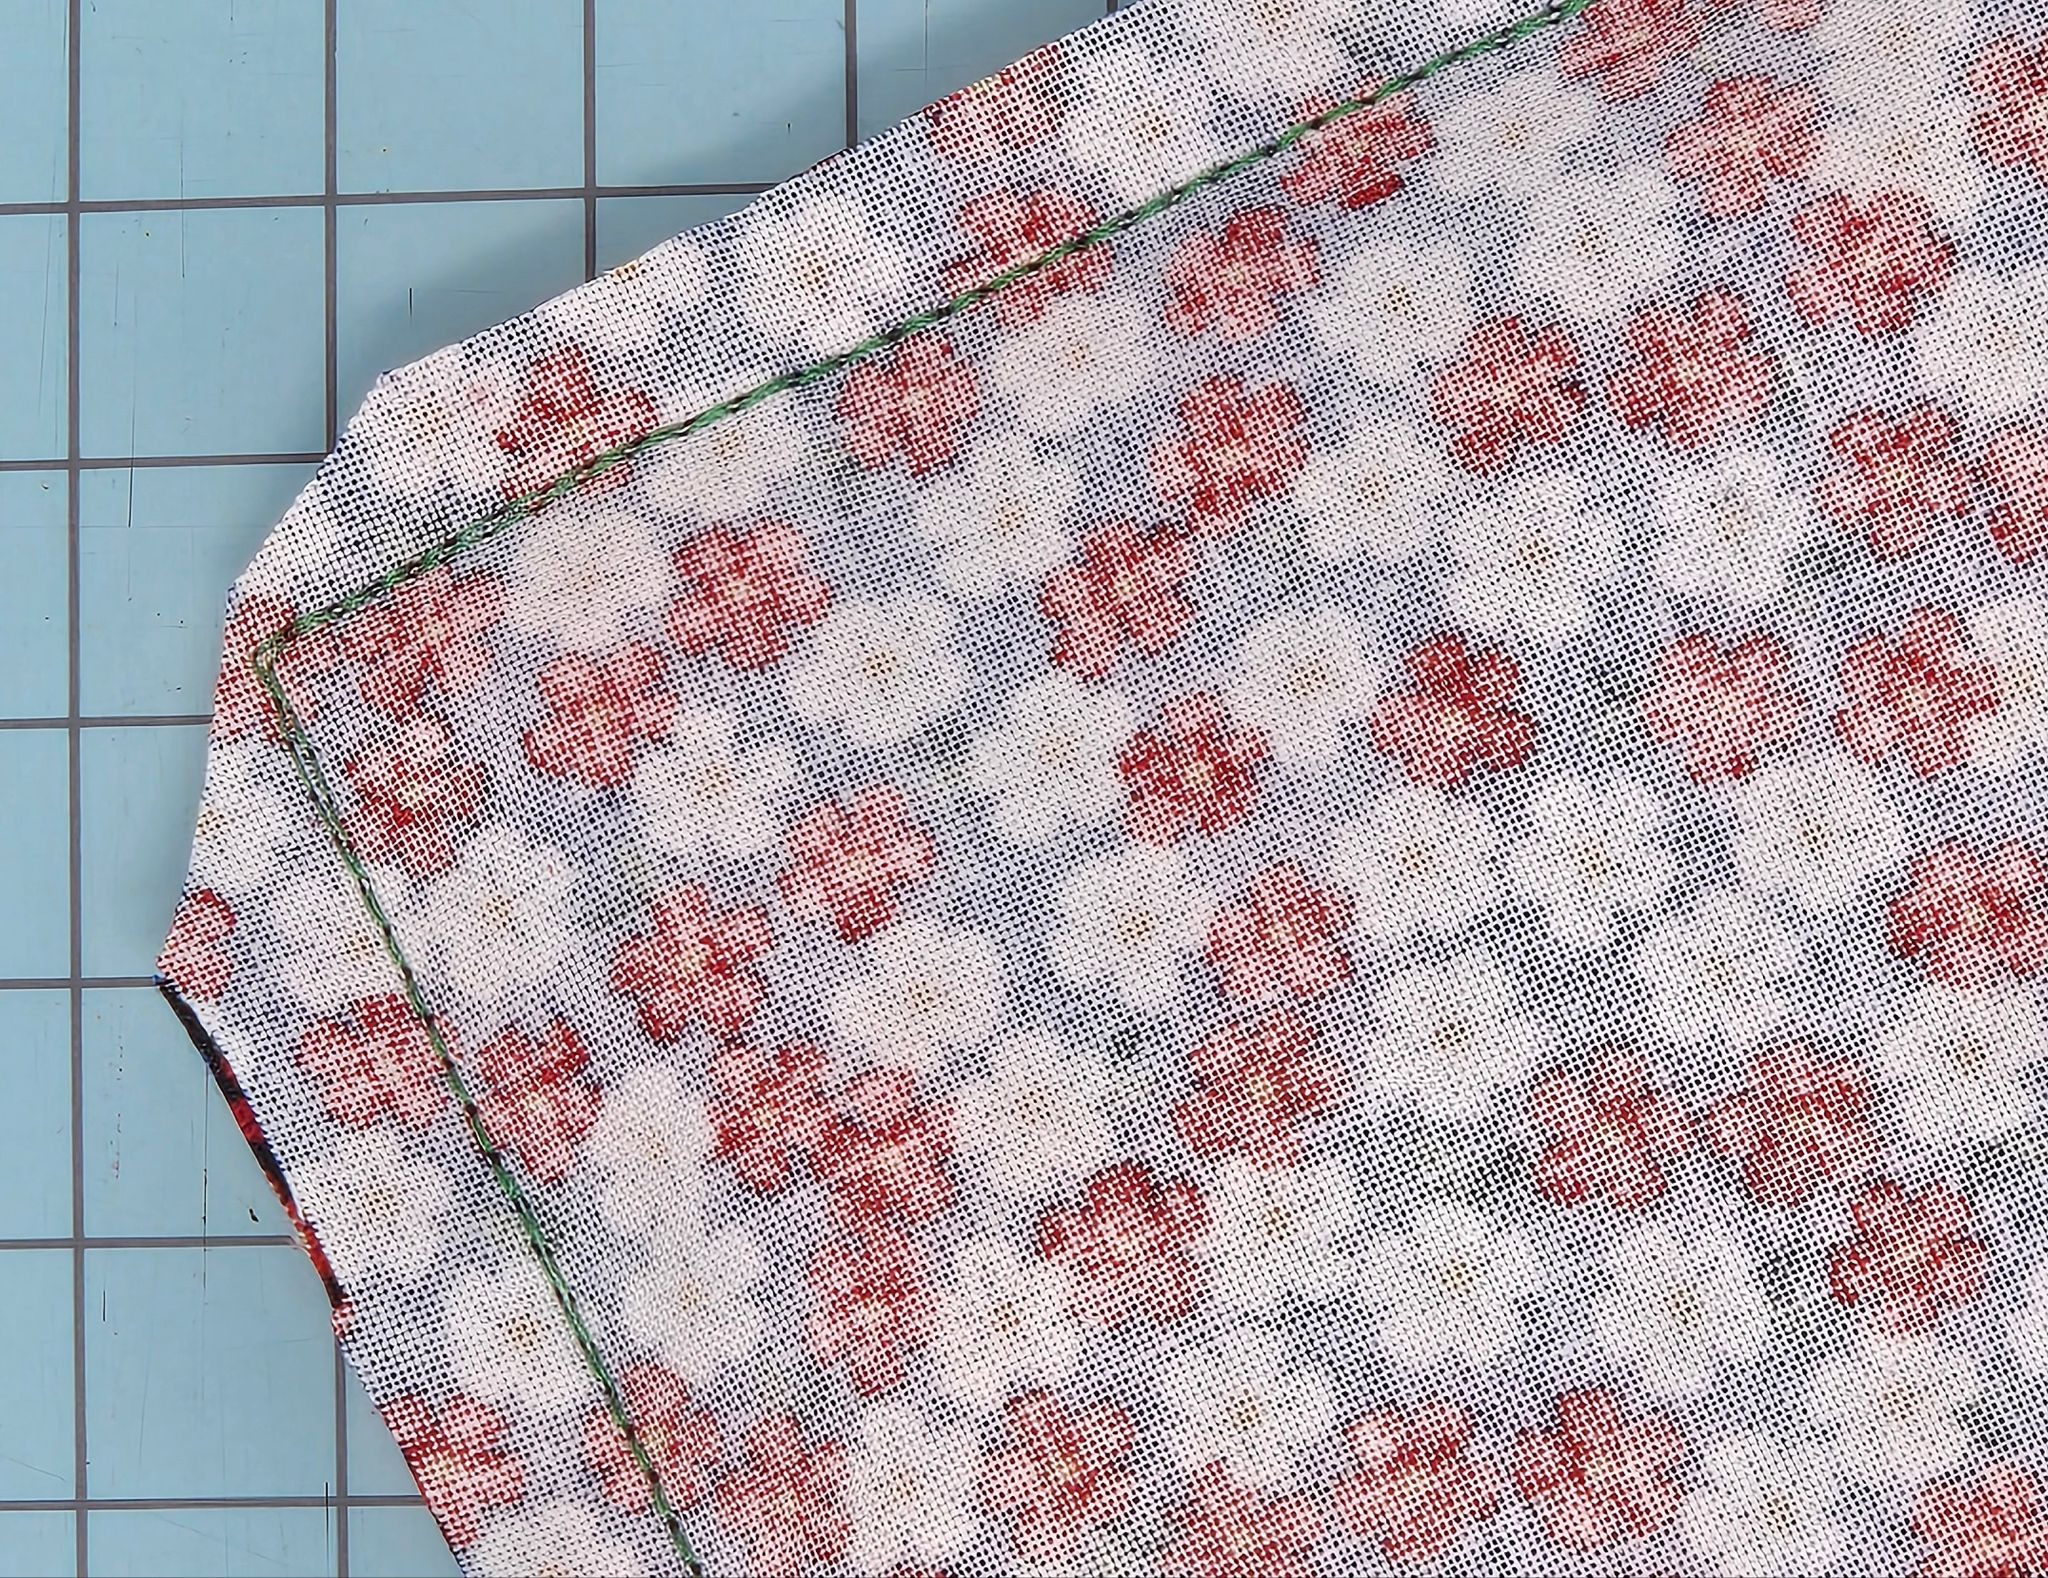
Place the rectangle with the larger hem right sides together with your strawberry circle. Measure down from the top edge about 5” and pin in place.
Place the smaller hemmed piece on top of this with about a 2½” overlap. The sides will be even—I just shifted it to the side in the photo so you can see the overlap.
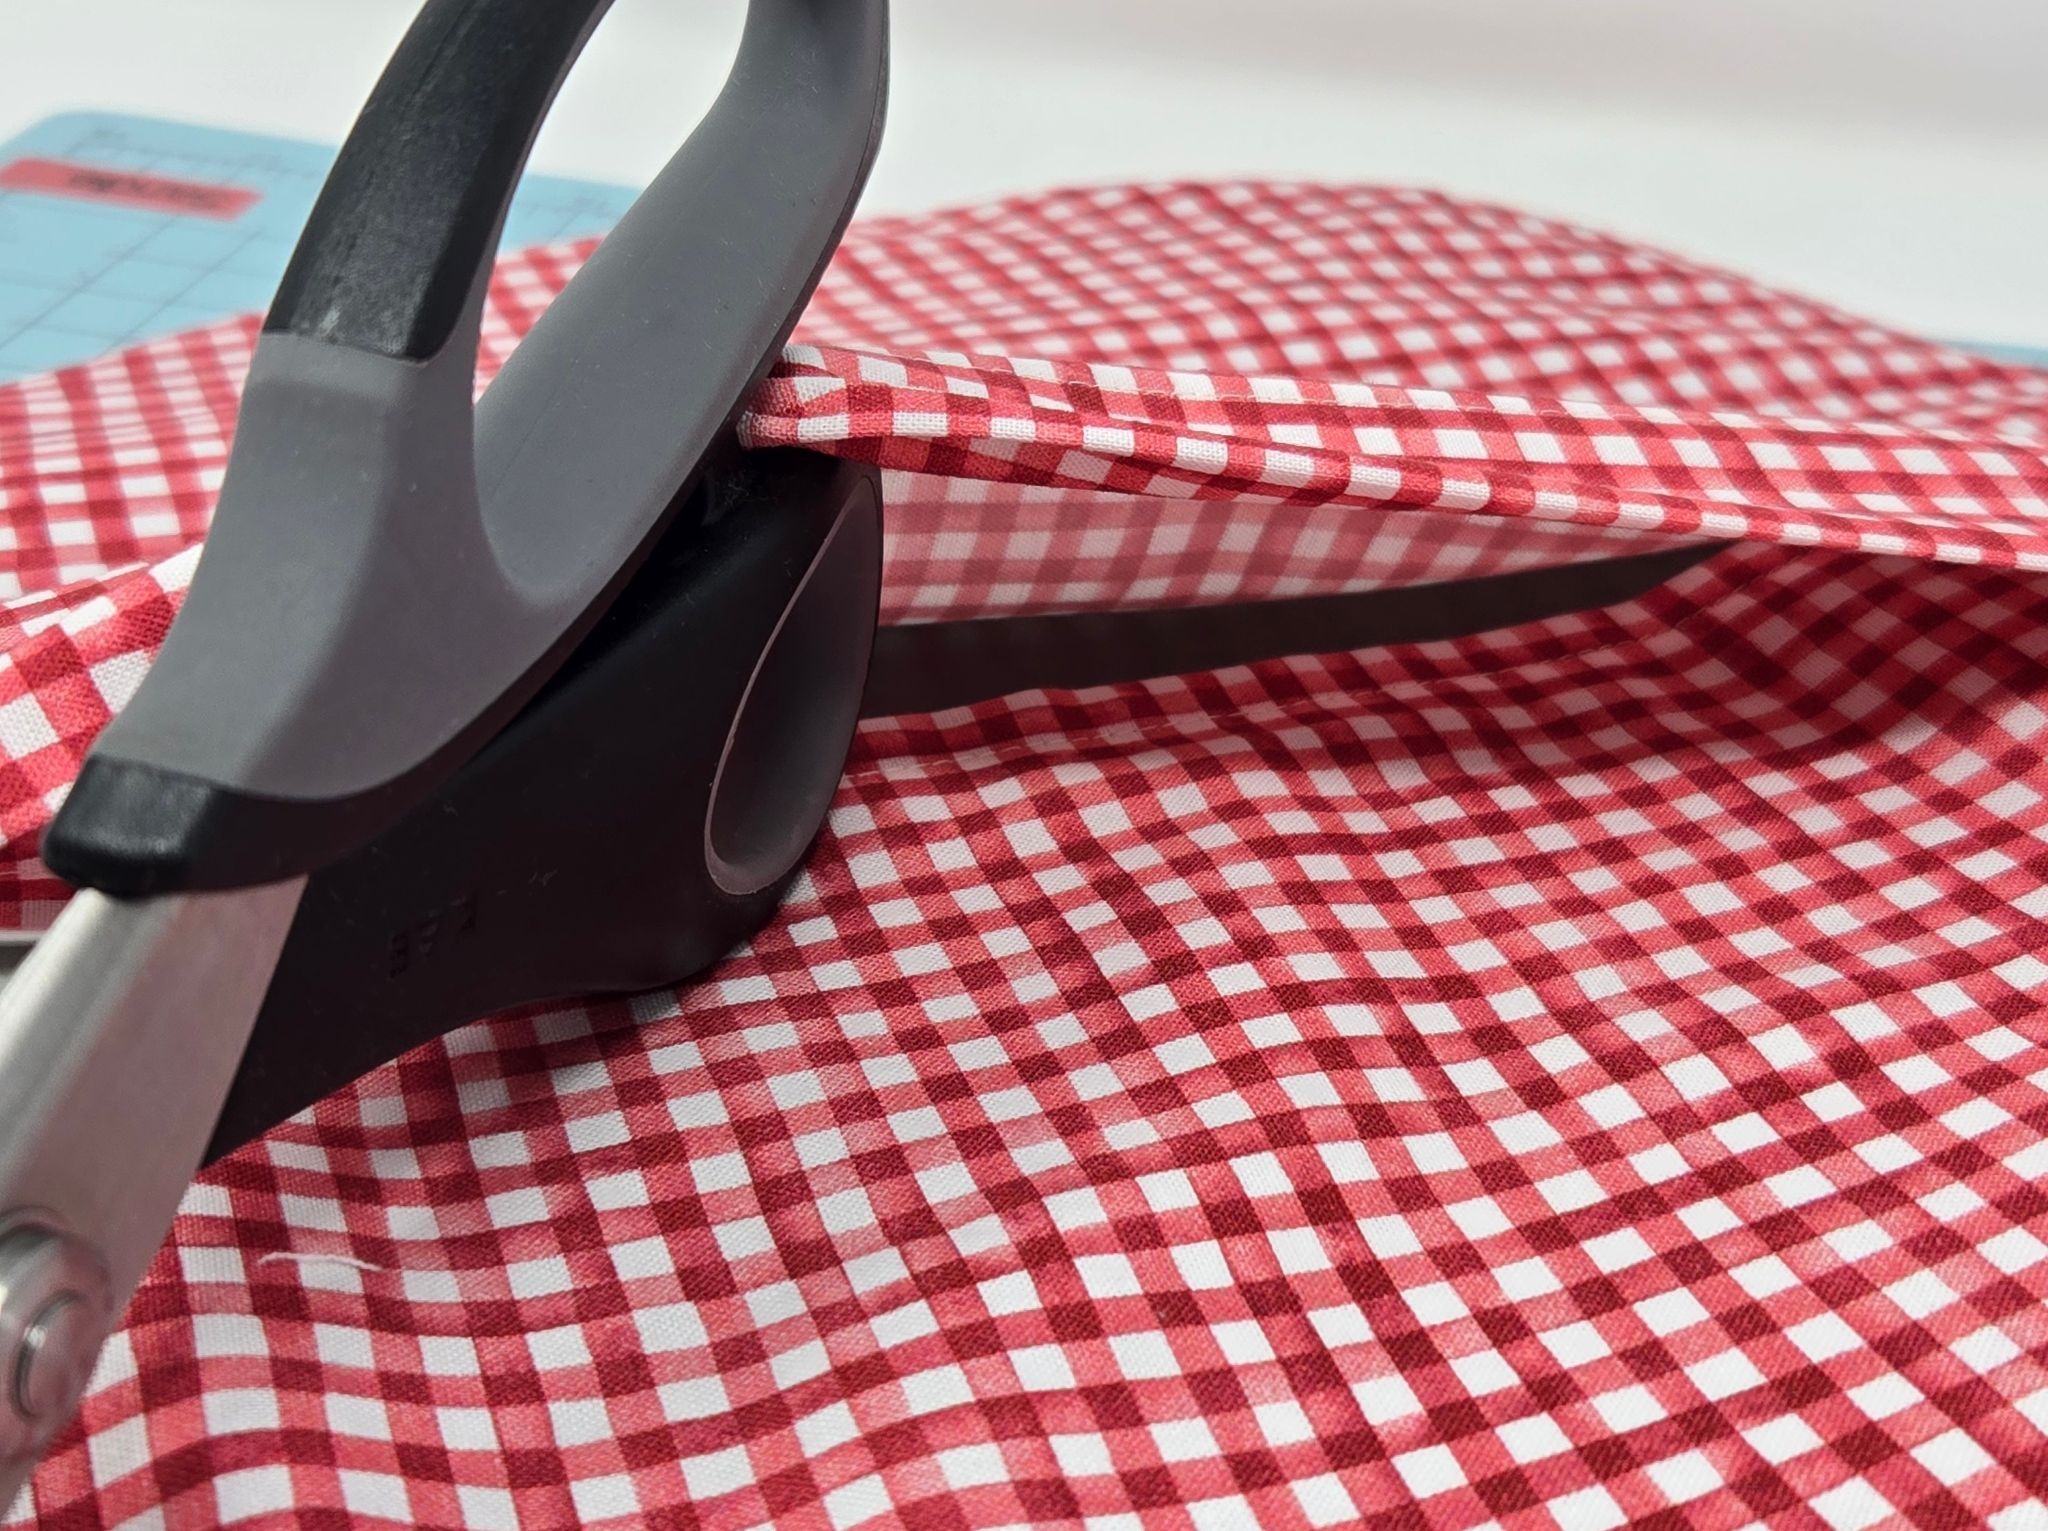
Pin the back pieces in place, flip your circle over, and sew from the round side. Sew all the way around the circle with a generous ¼” seam allowance. Use pinking shears to trim around the edges ¼” from the stitching.
Turn your trivet right side out through the back opening and press well. I sewed ⅛” from the edge to finish off the trivet. Insert the silicone circle into your trivet. I did not use anything to seal the opening because I will remove the silicone trivet for laundering.
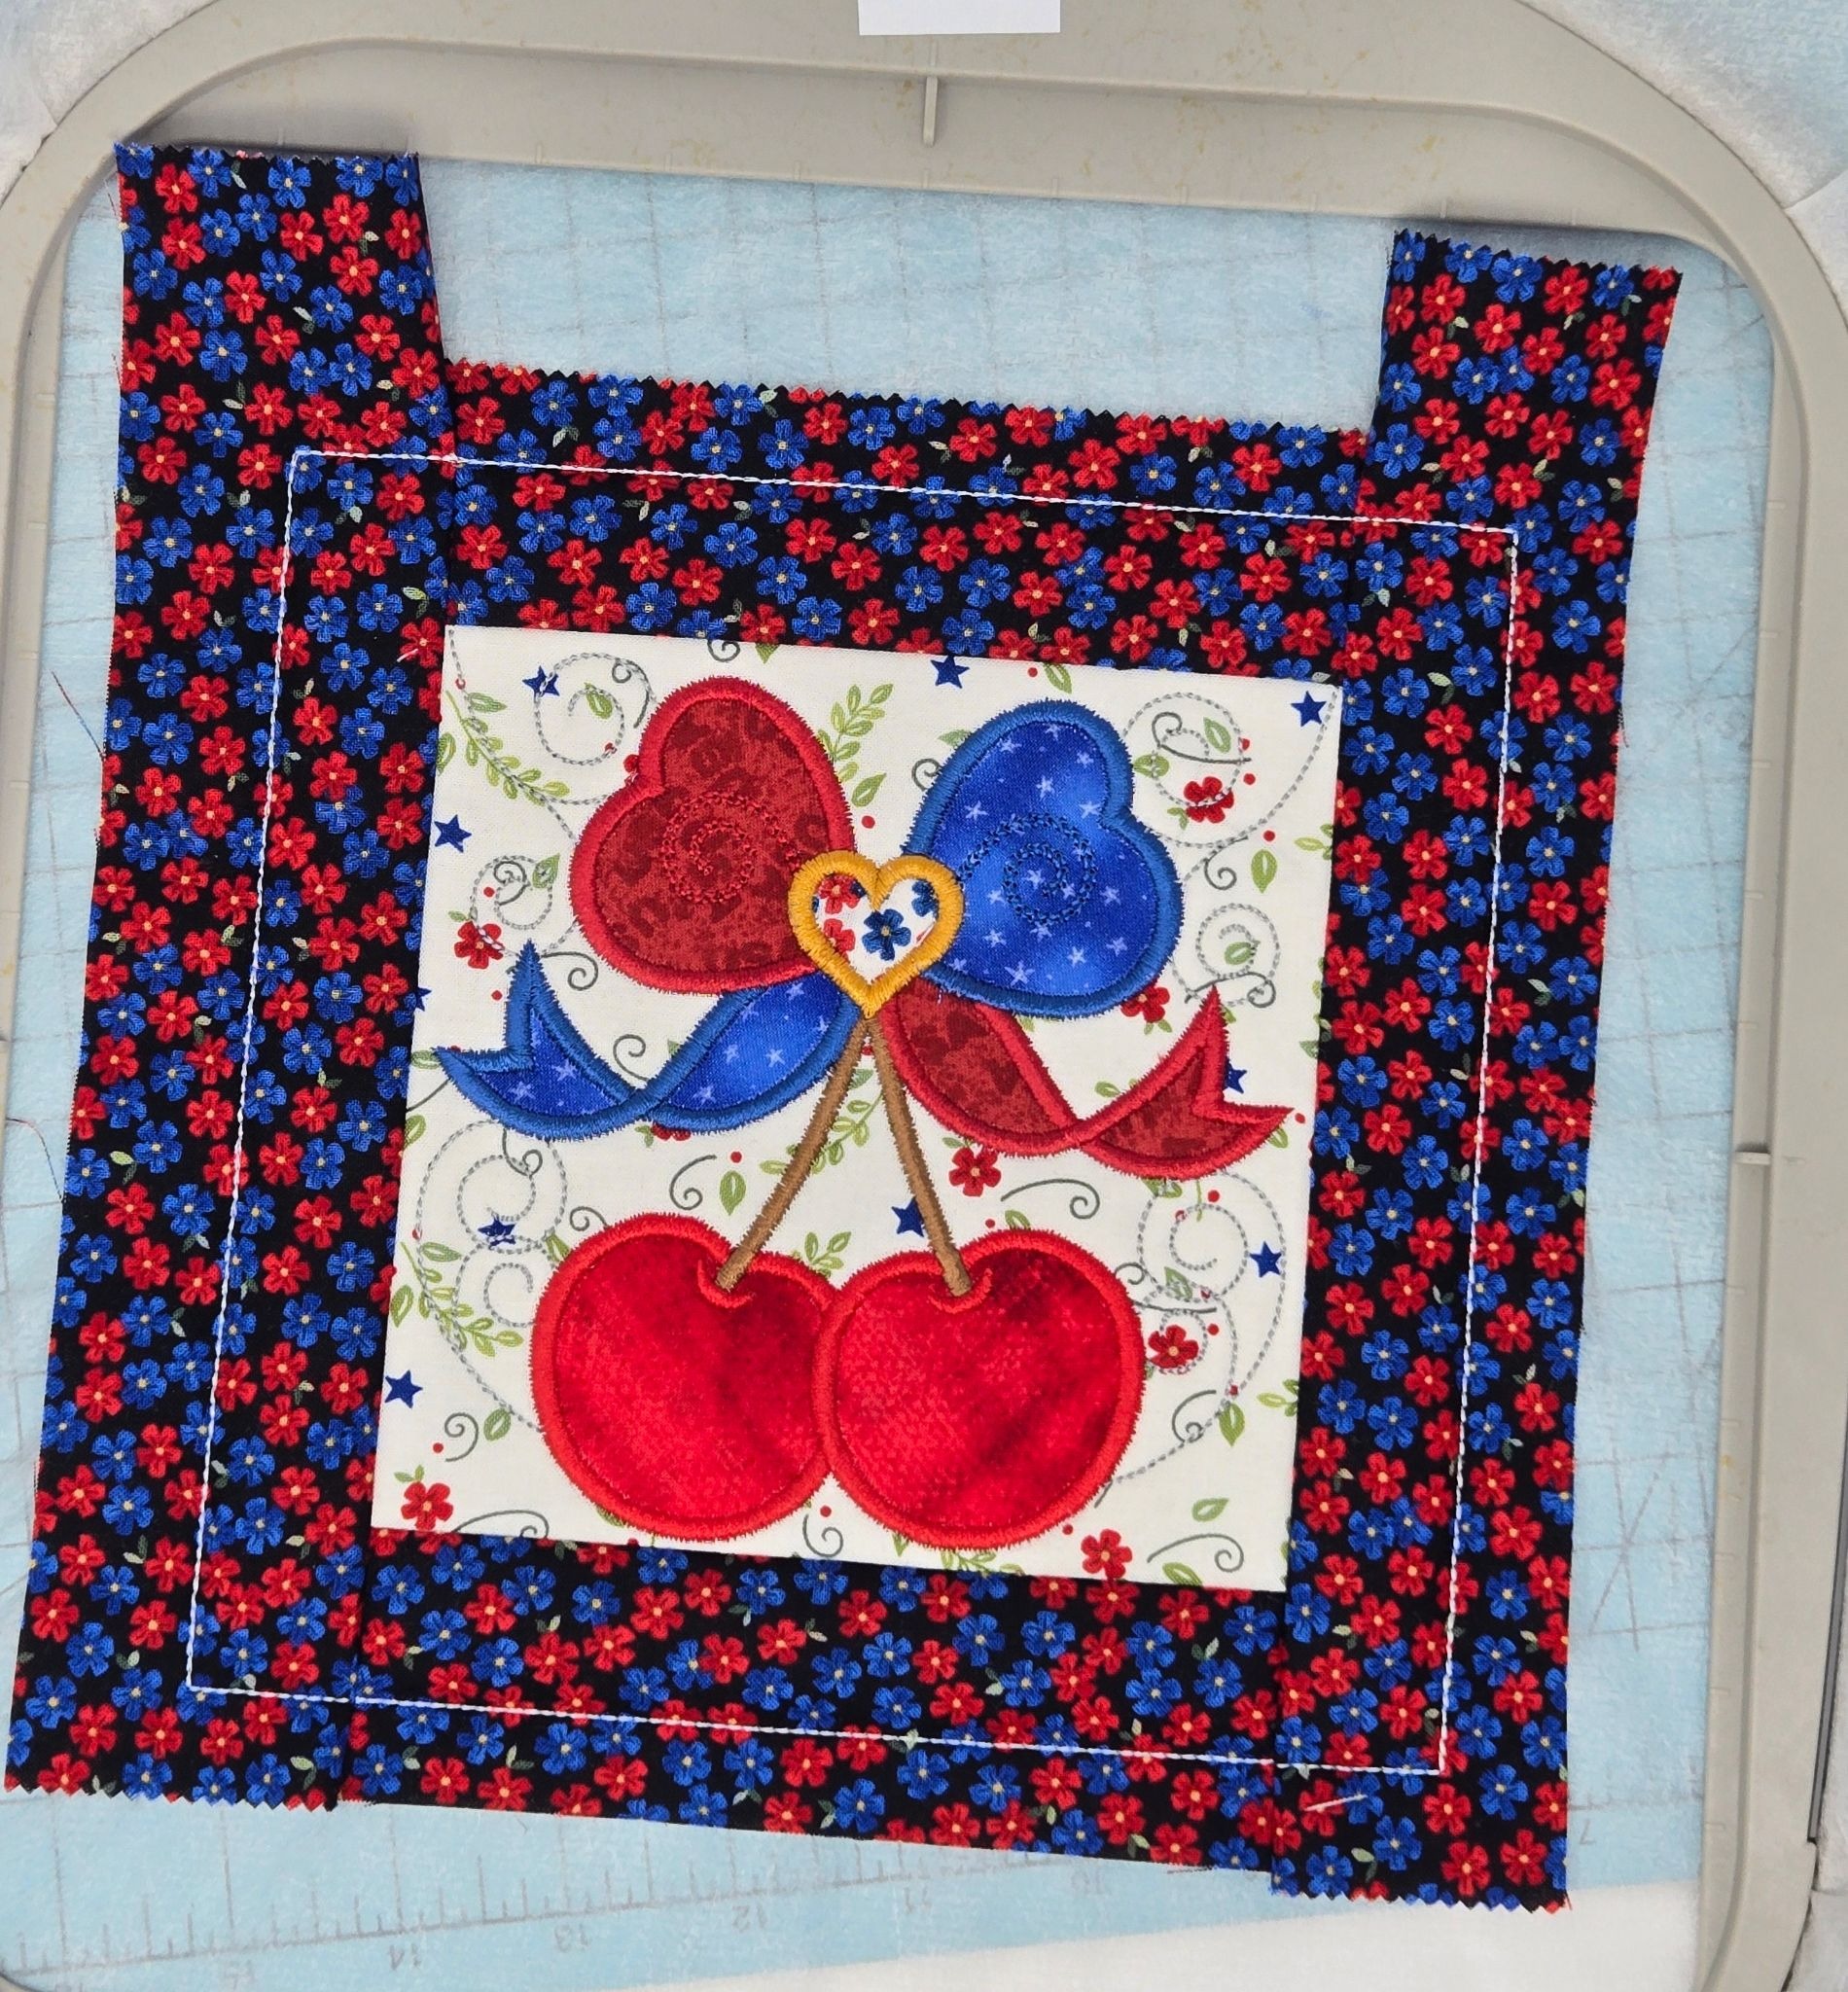
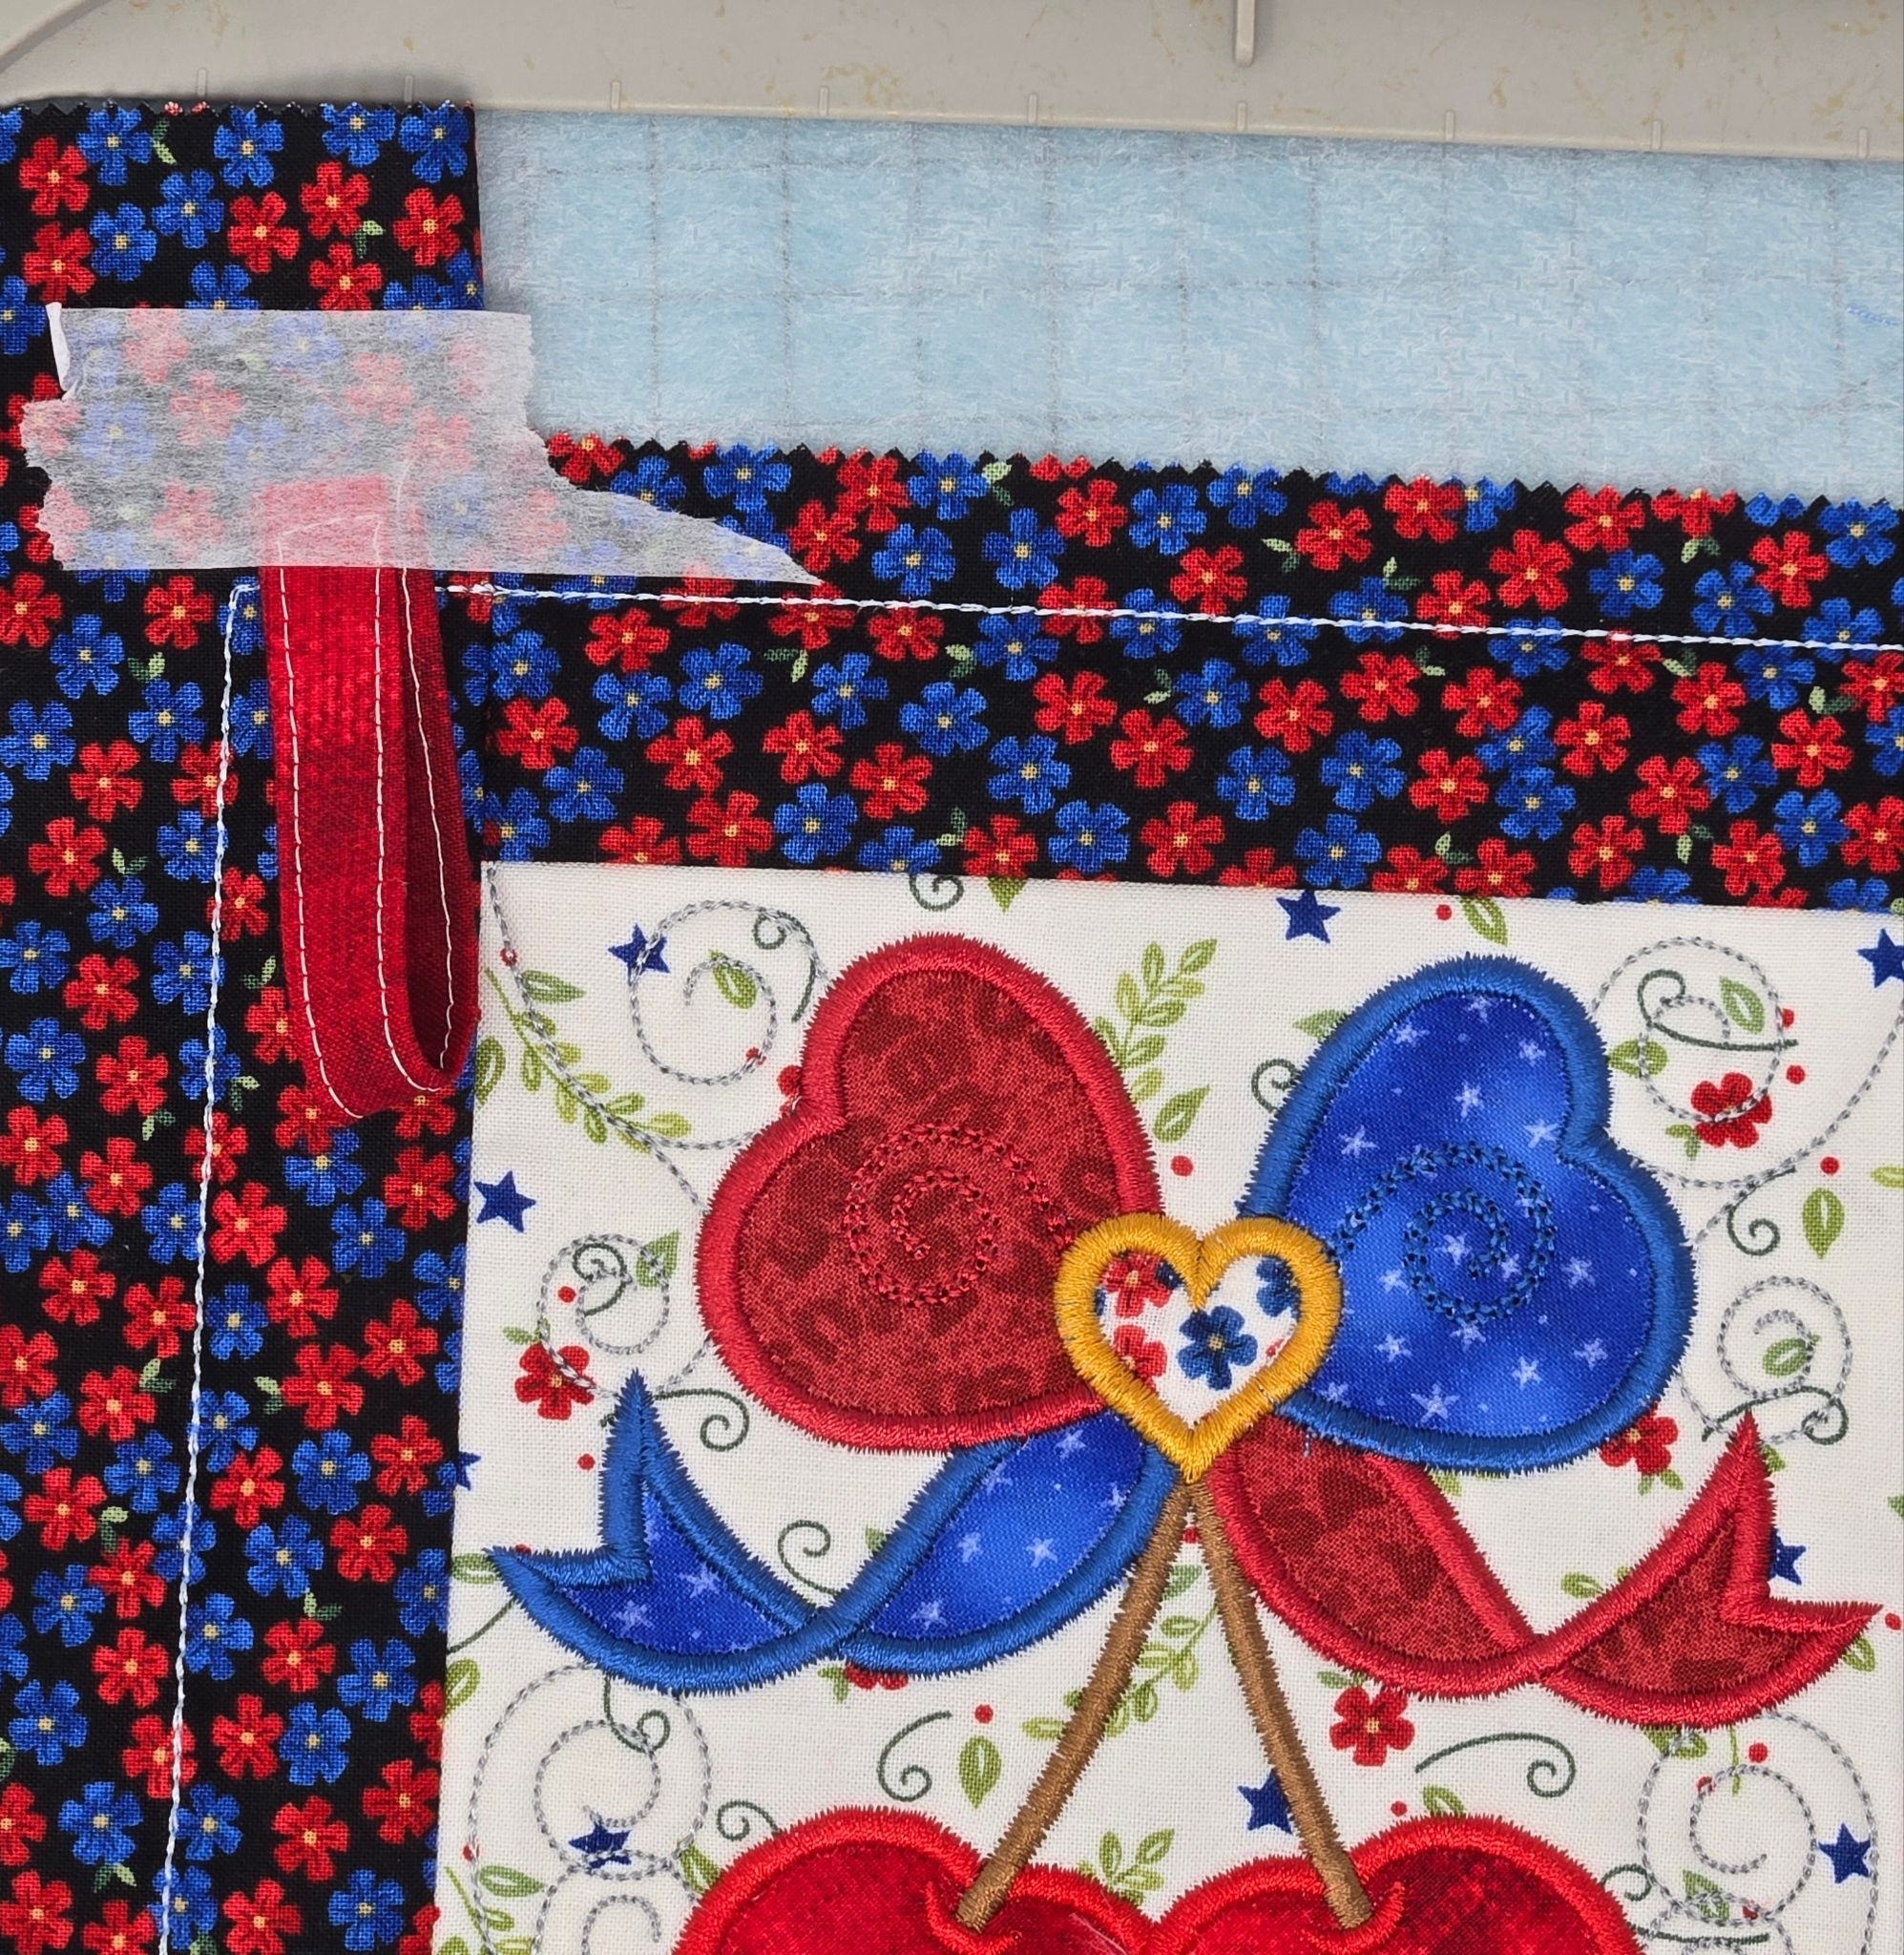
The first thing I did was make the block exactly as the instructions described. But DO NOT remove it from the hoop!
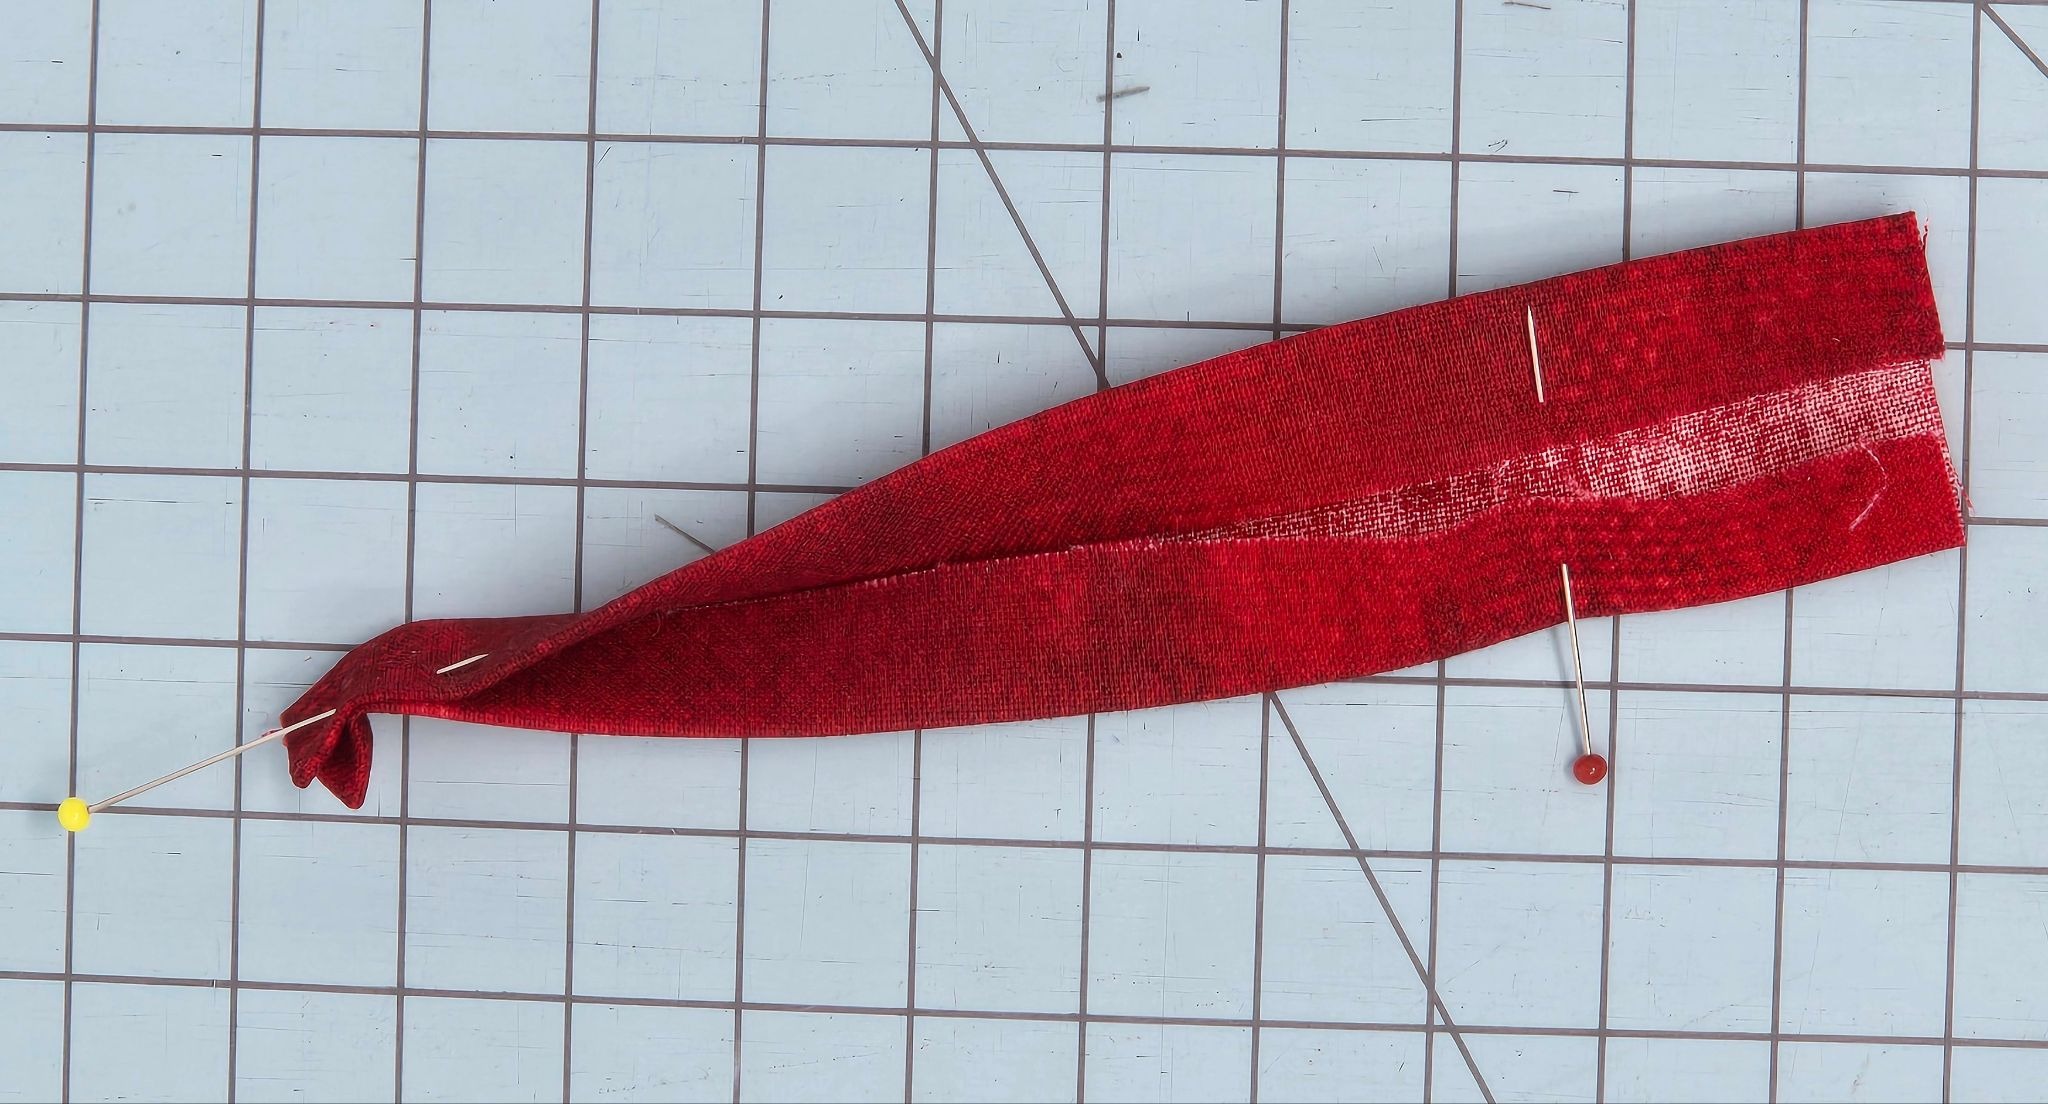
Make a little hanging loop by cutting a 2” x 6” rectangle of scrap fabric and pressing it in half along the length. Open it out and press the long, raw edges to the center fold. Take it to the sewing machine and stitch down the open edge first with a ⅛” seam, and then do the same along the folded edge.
Fold your hanging loop in half and tape it to the top of the pot holder. I offset the ends just a bit so it would be easier to sew over.
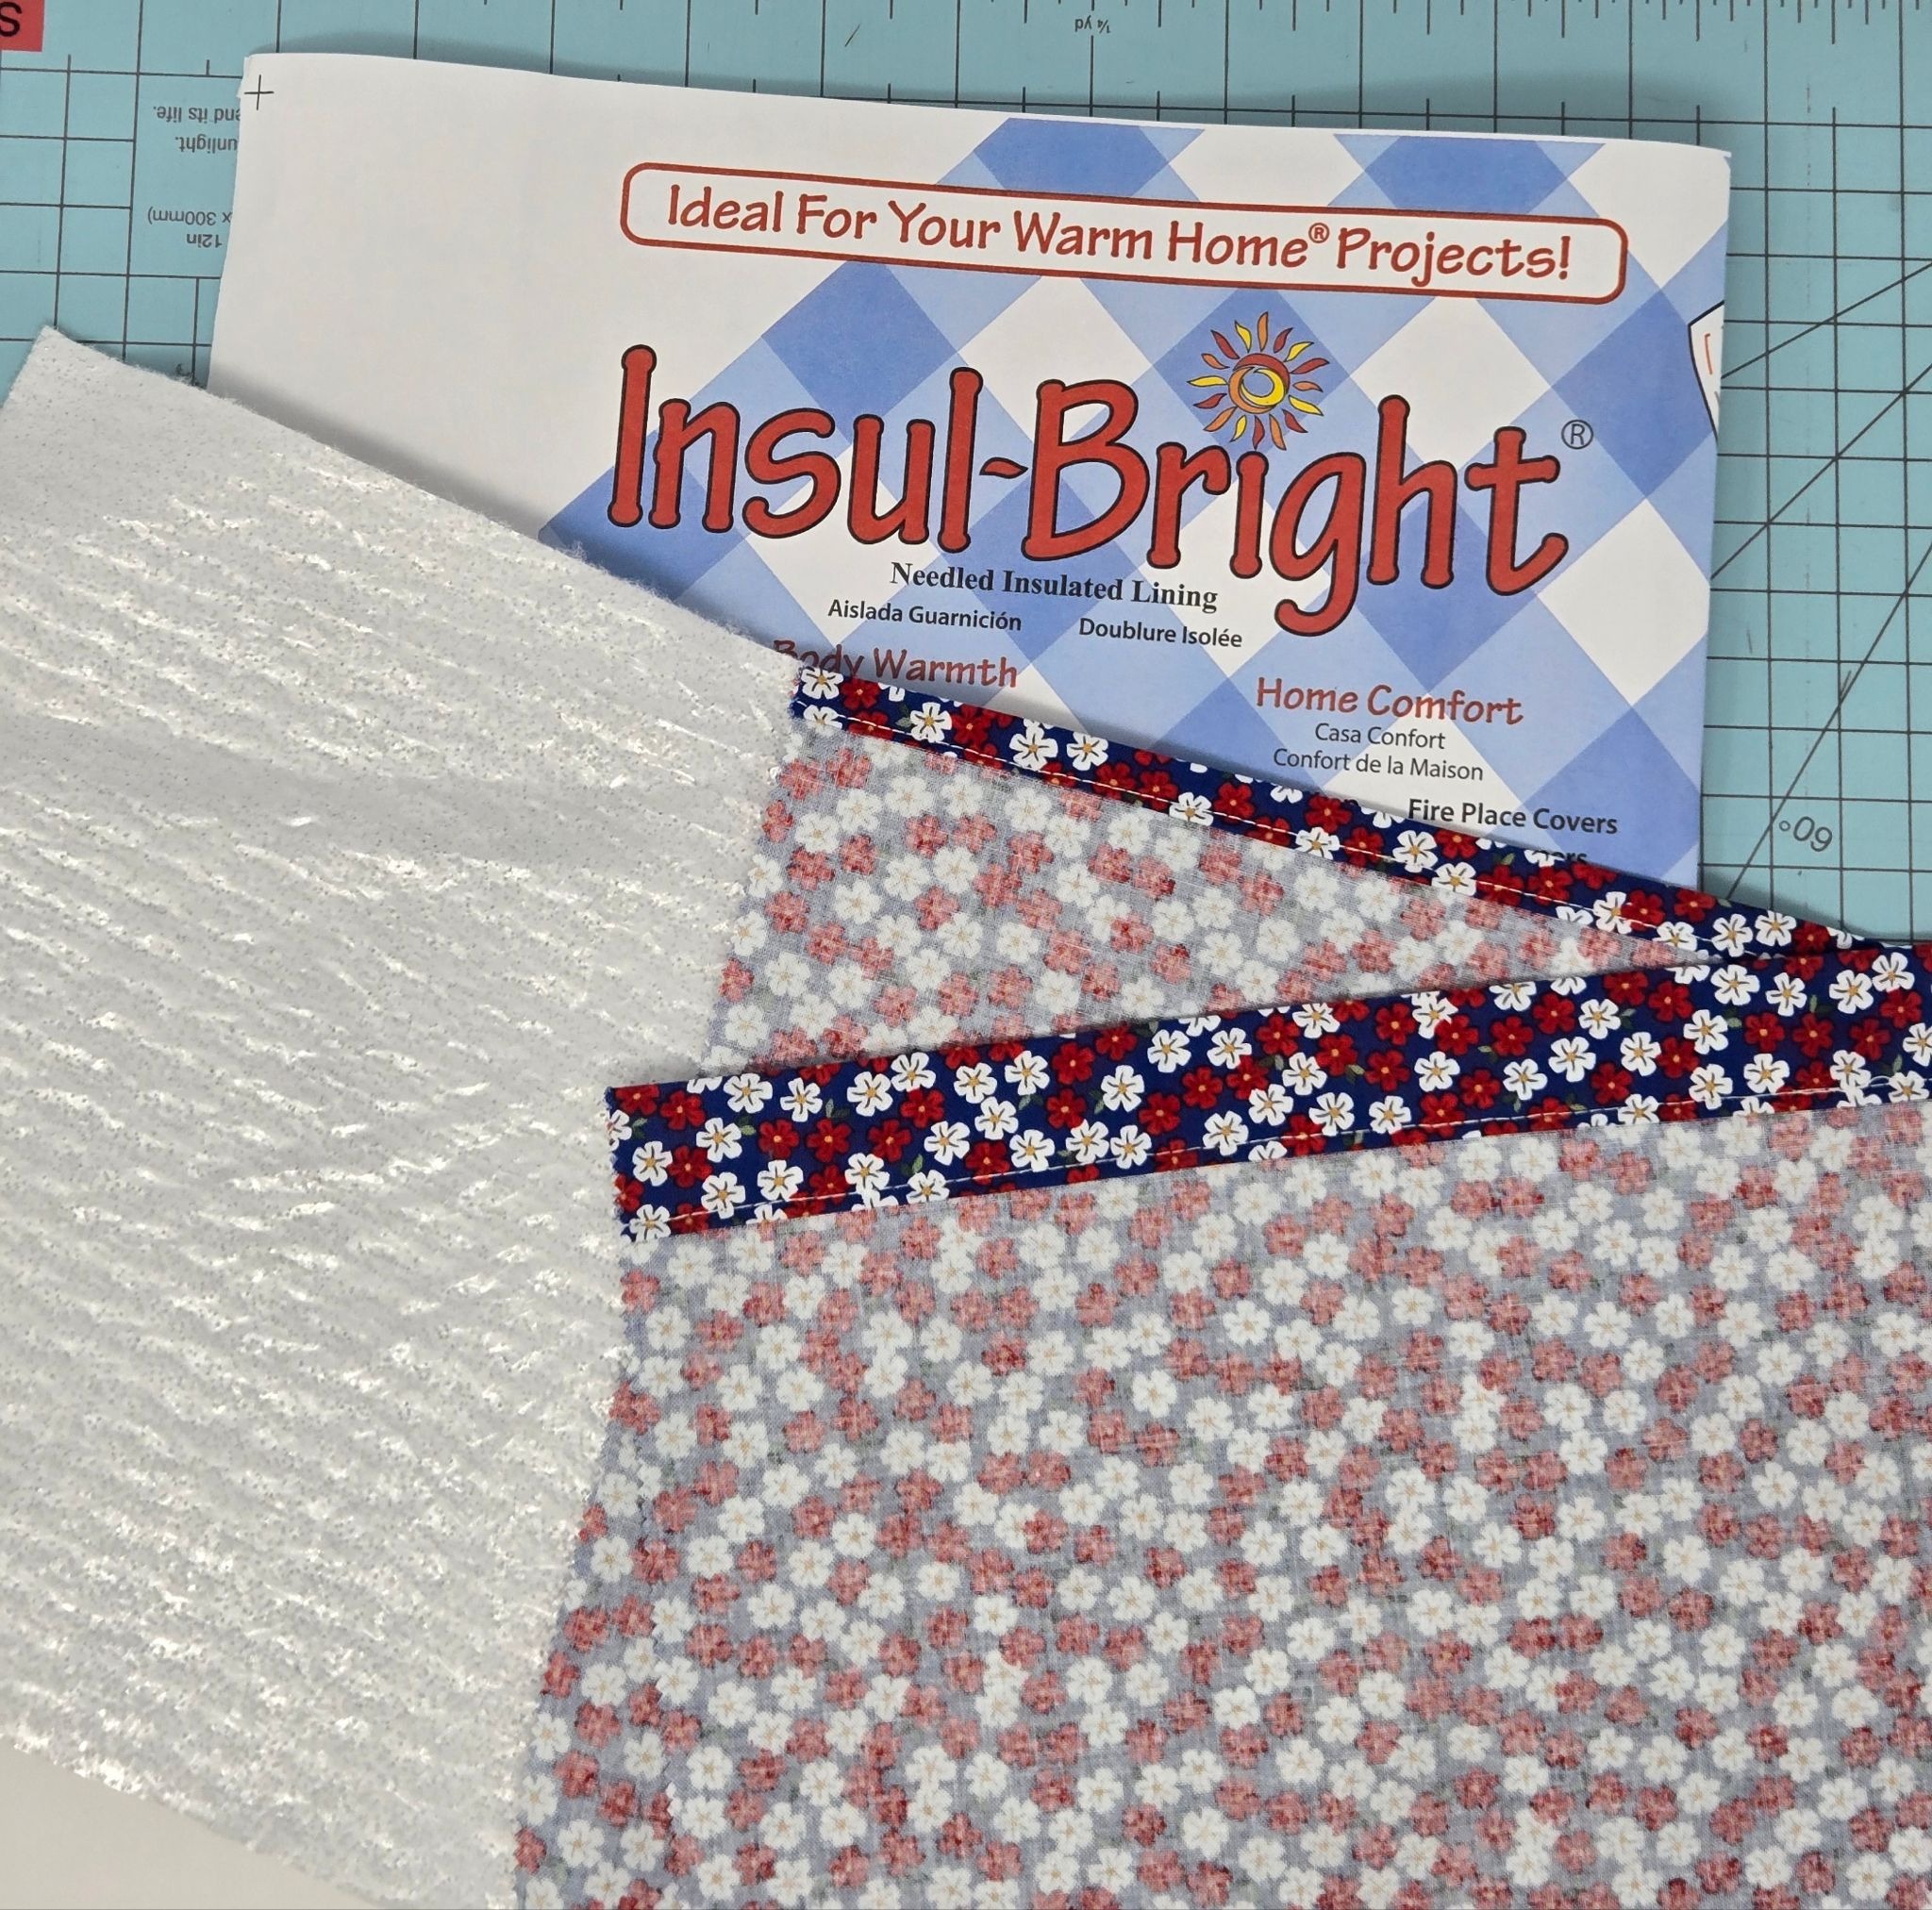
Next, I took two 10” squares of fabric and hemmed one edge on each the same way I did for the back of the trivet. I also cut my 10” square of Insul-Bright.
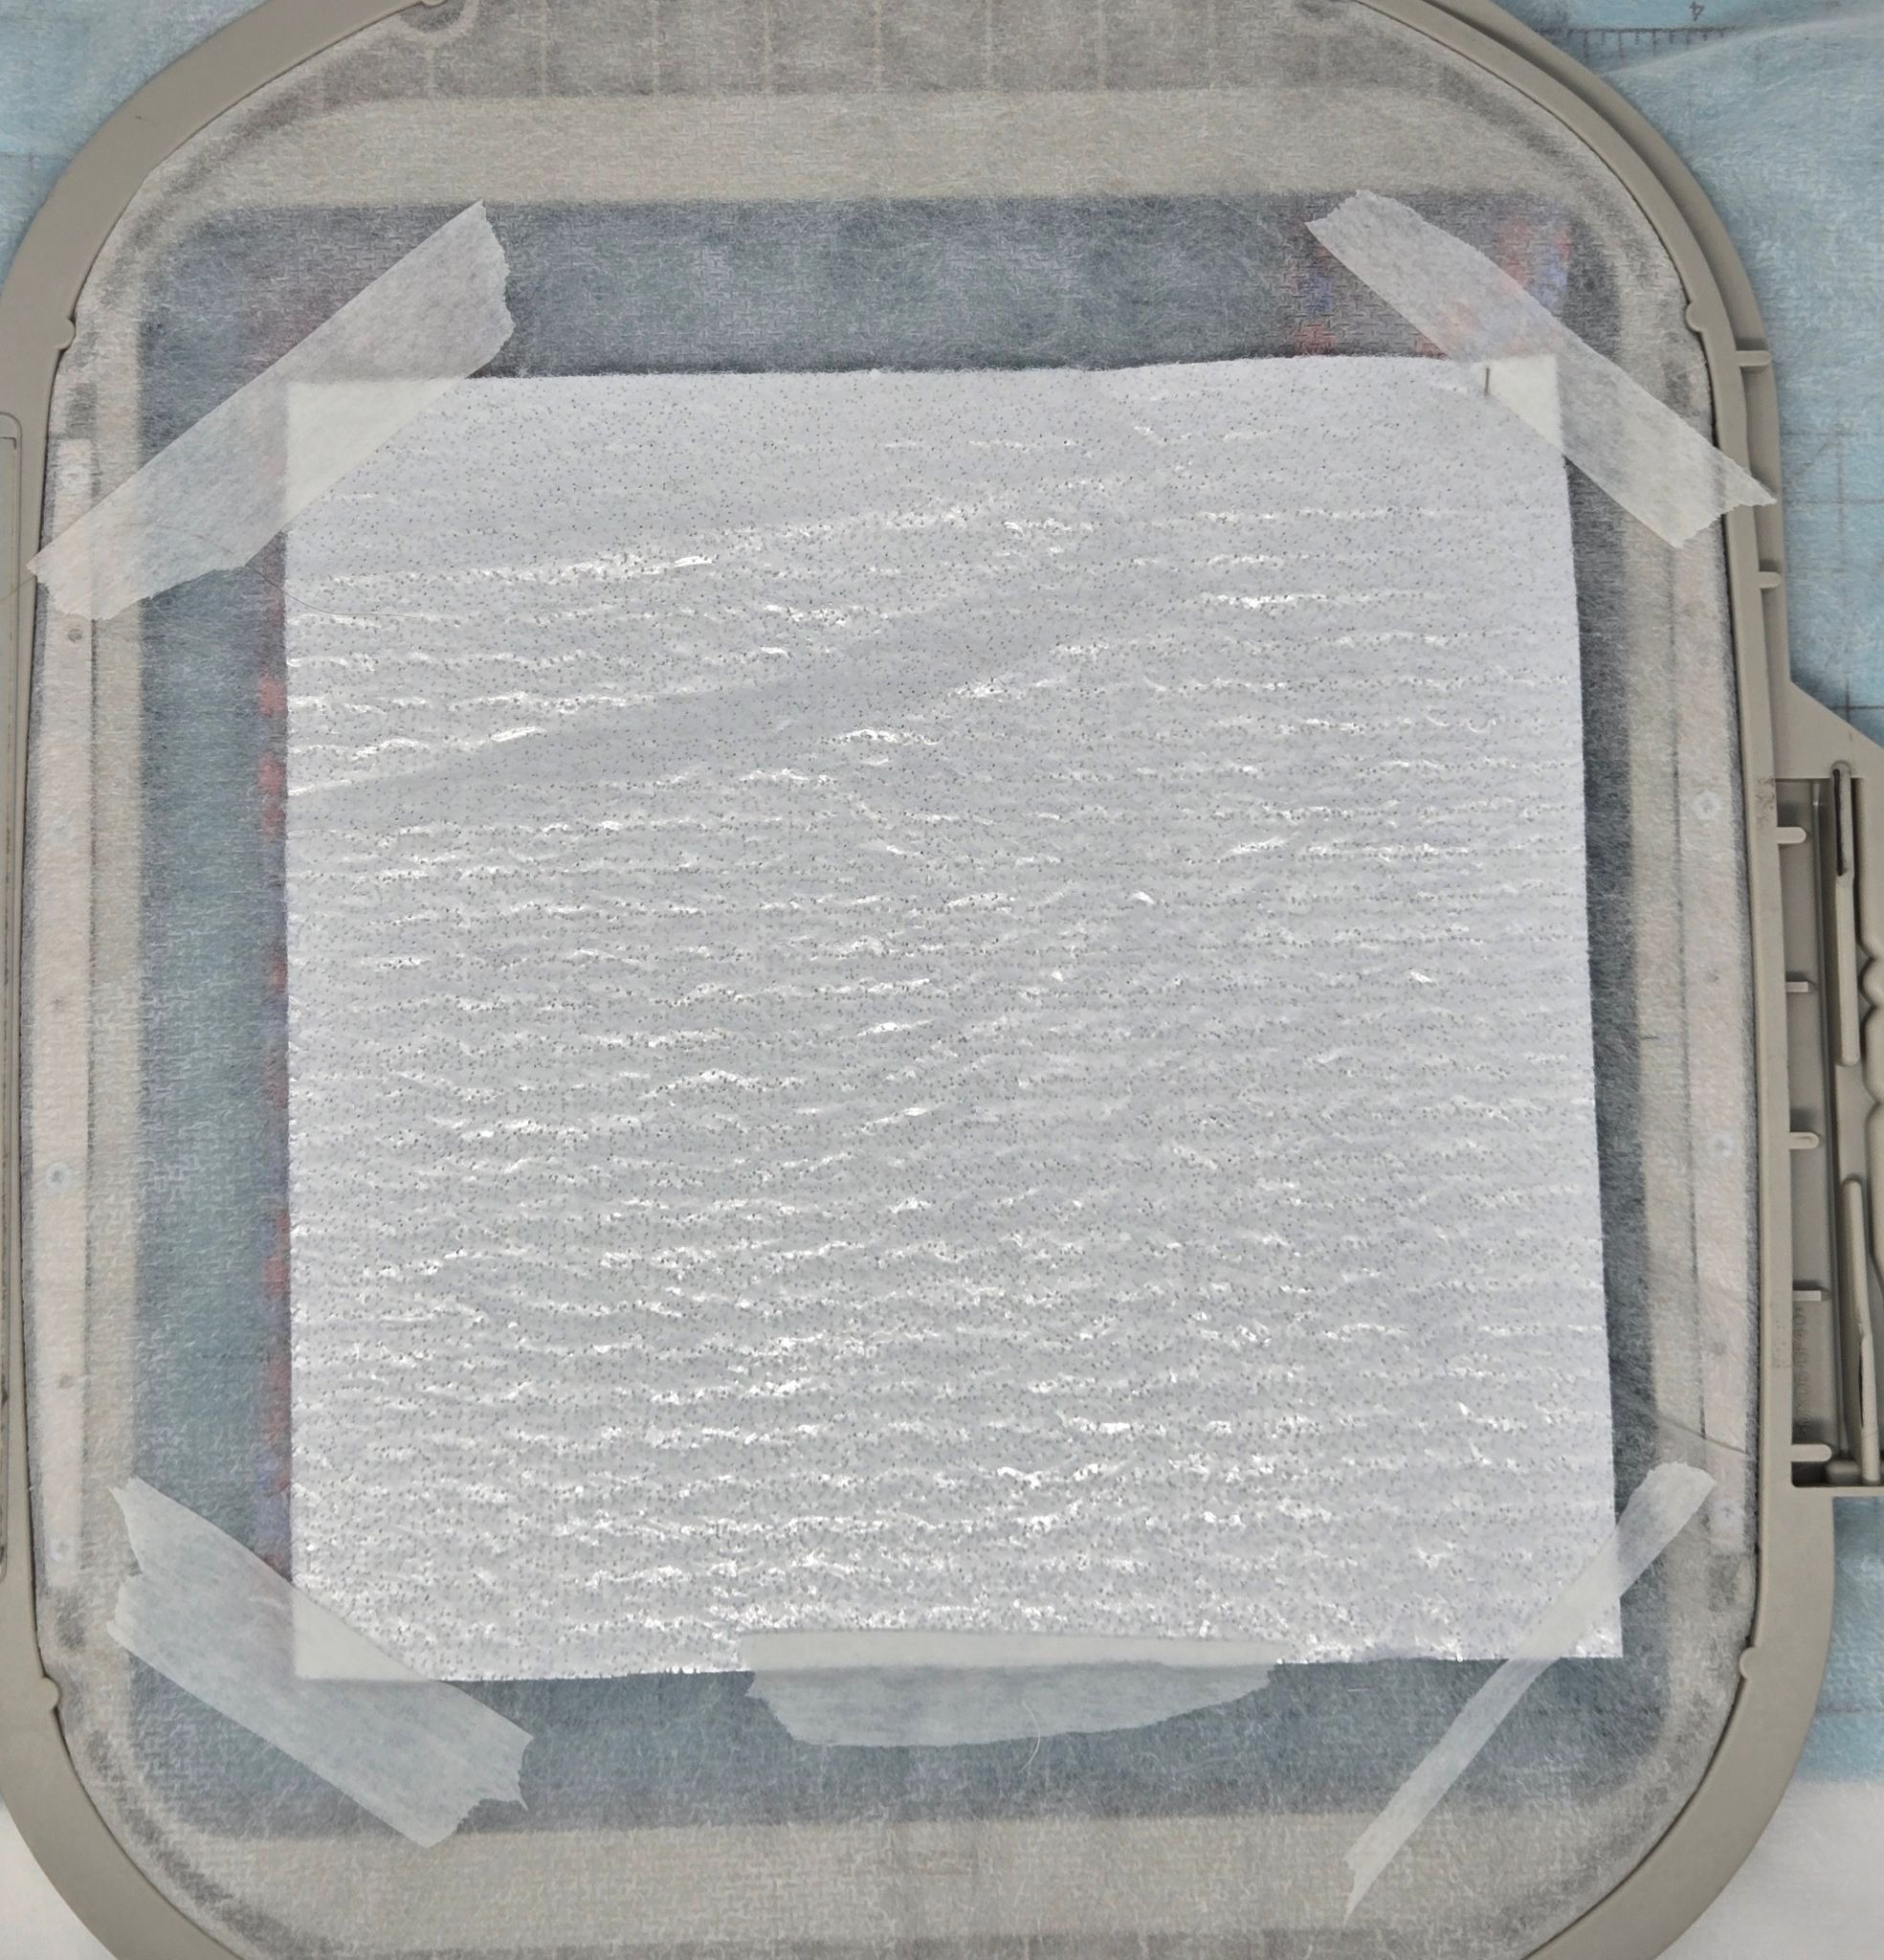
Flip your hoop over and tape the Insul-Bright to the back of the embroidery, covering the pot holder. You can see through the magicMESH to get it placed correctly.
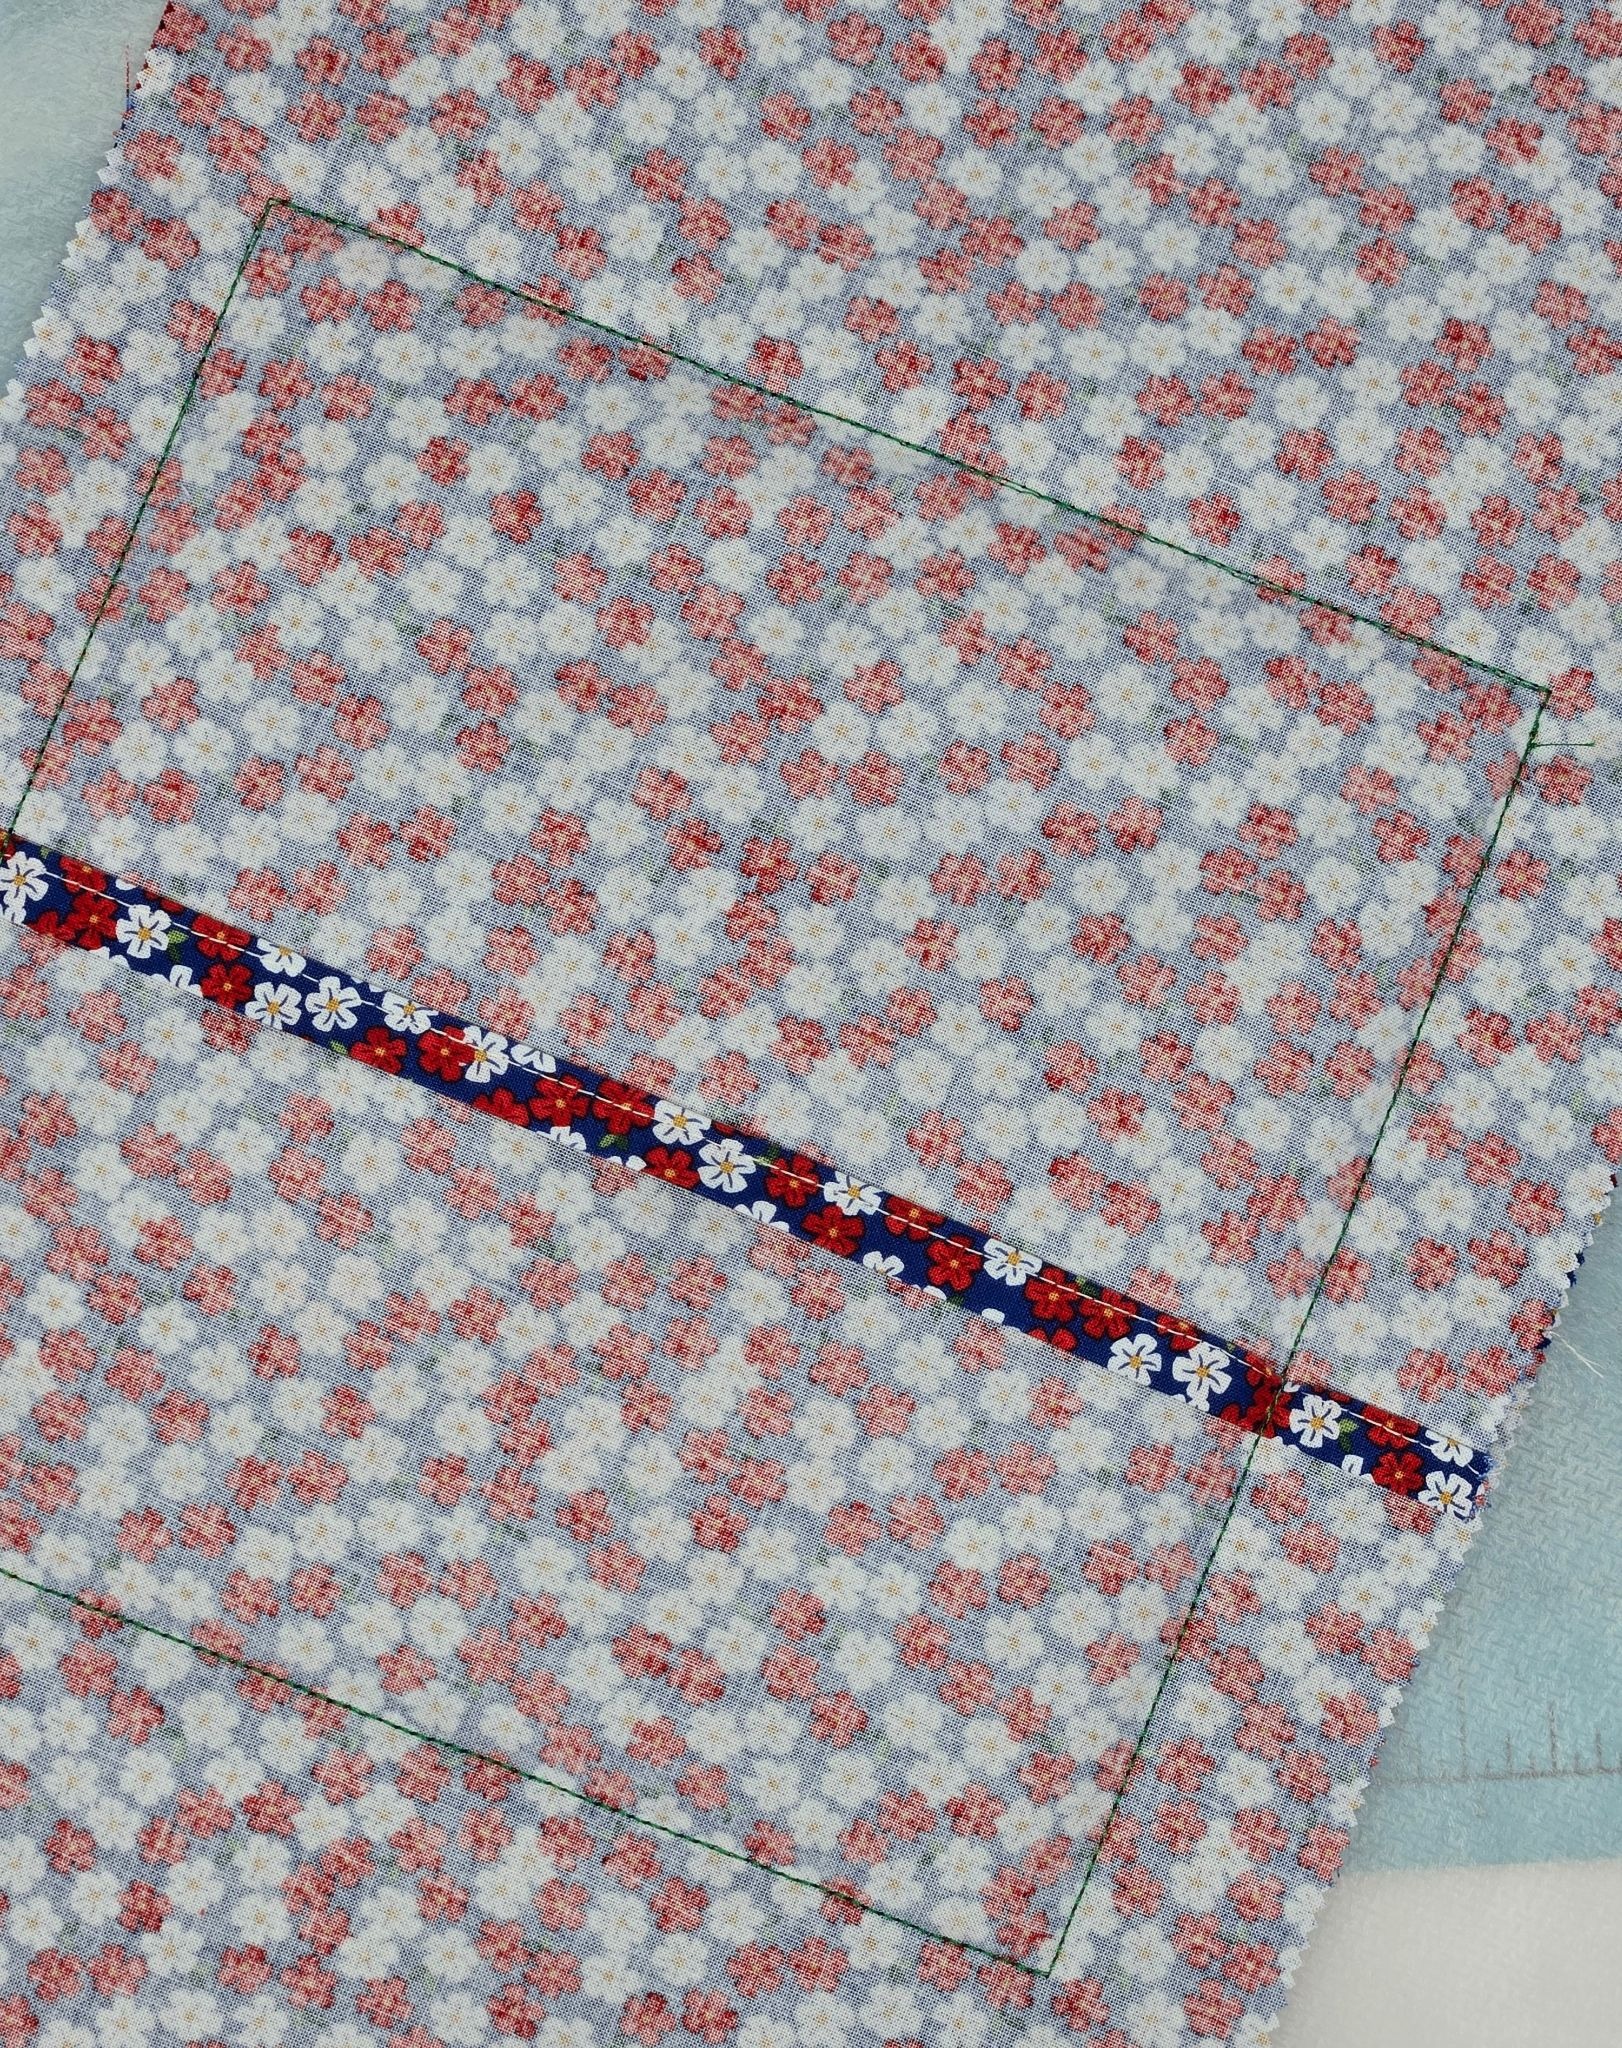
Tape your two back pieces to the front of the hoop, right sides together with your cherries, the same way we did for the trivet. This time I left about a 2” overlap.
Go back to your embroidery machine and run the very first placement stitch for the batting. I ran it twice to make sure everything was sewn together securely. Slow your machine way down, stopping and starting again (so it sews really slowly!) where the loop is, so that nothing gets caught in the foot.
Remove the project from the hoop and trim the Insul-Bright close to the stitching line. Trim the fabrics a generous ¼” from the edges, and clip the corners to reduce bulk.
Turn your pot holder right side out through the back opening and give it a good press. If you would like, use double-sided fusible tape on the back to hold the opening closed.
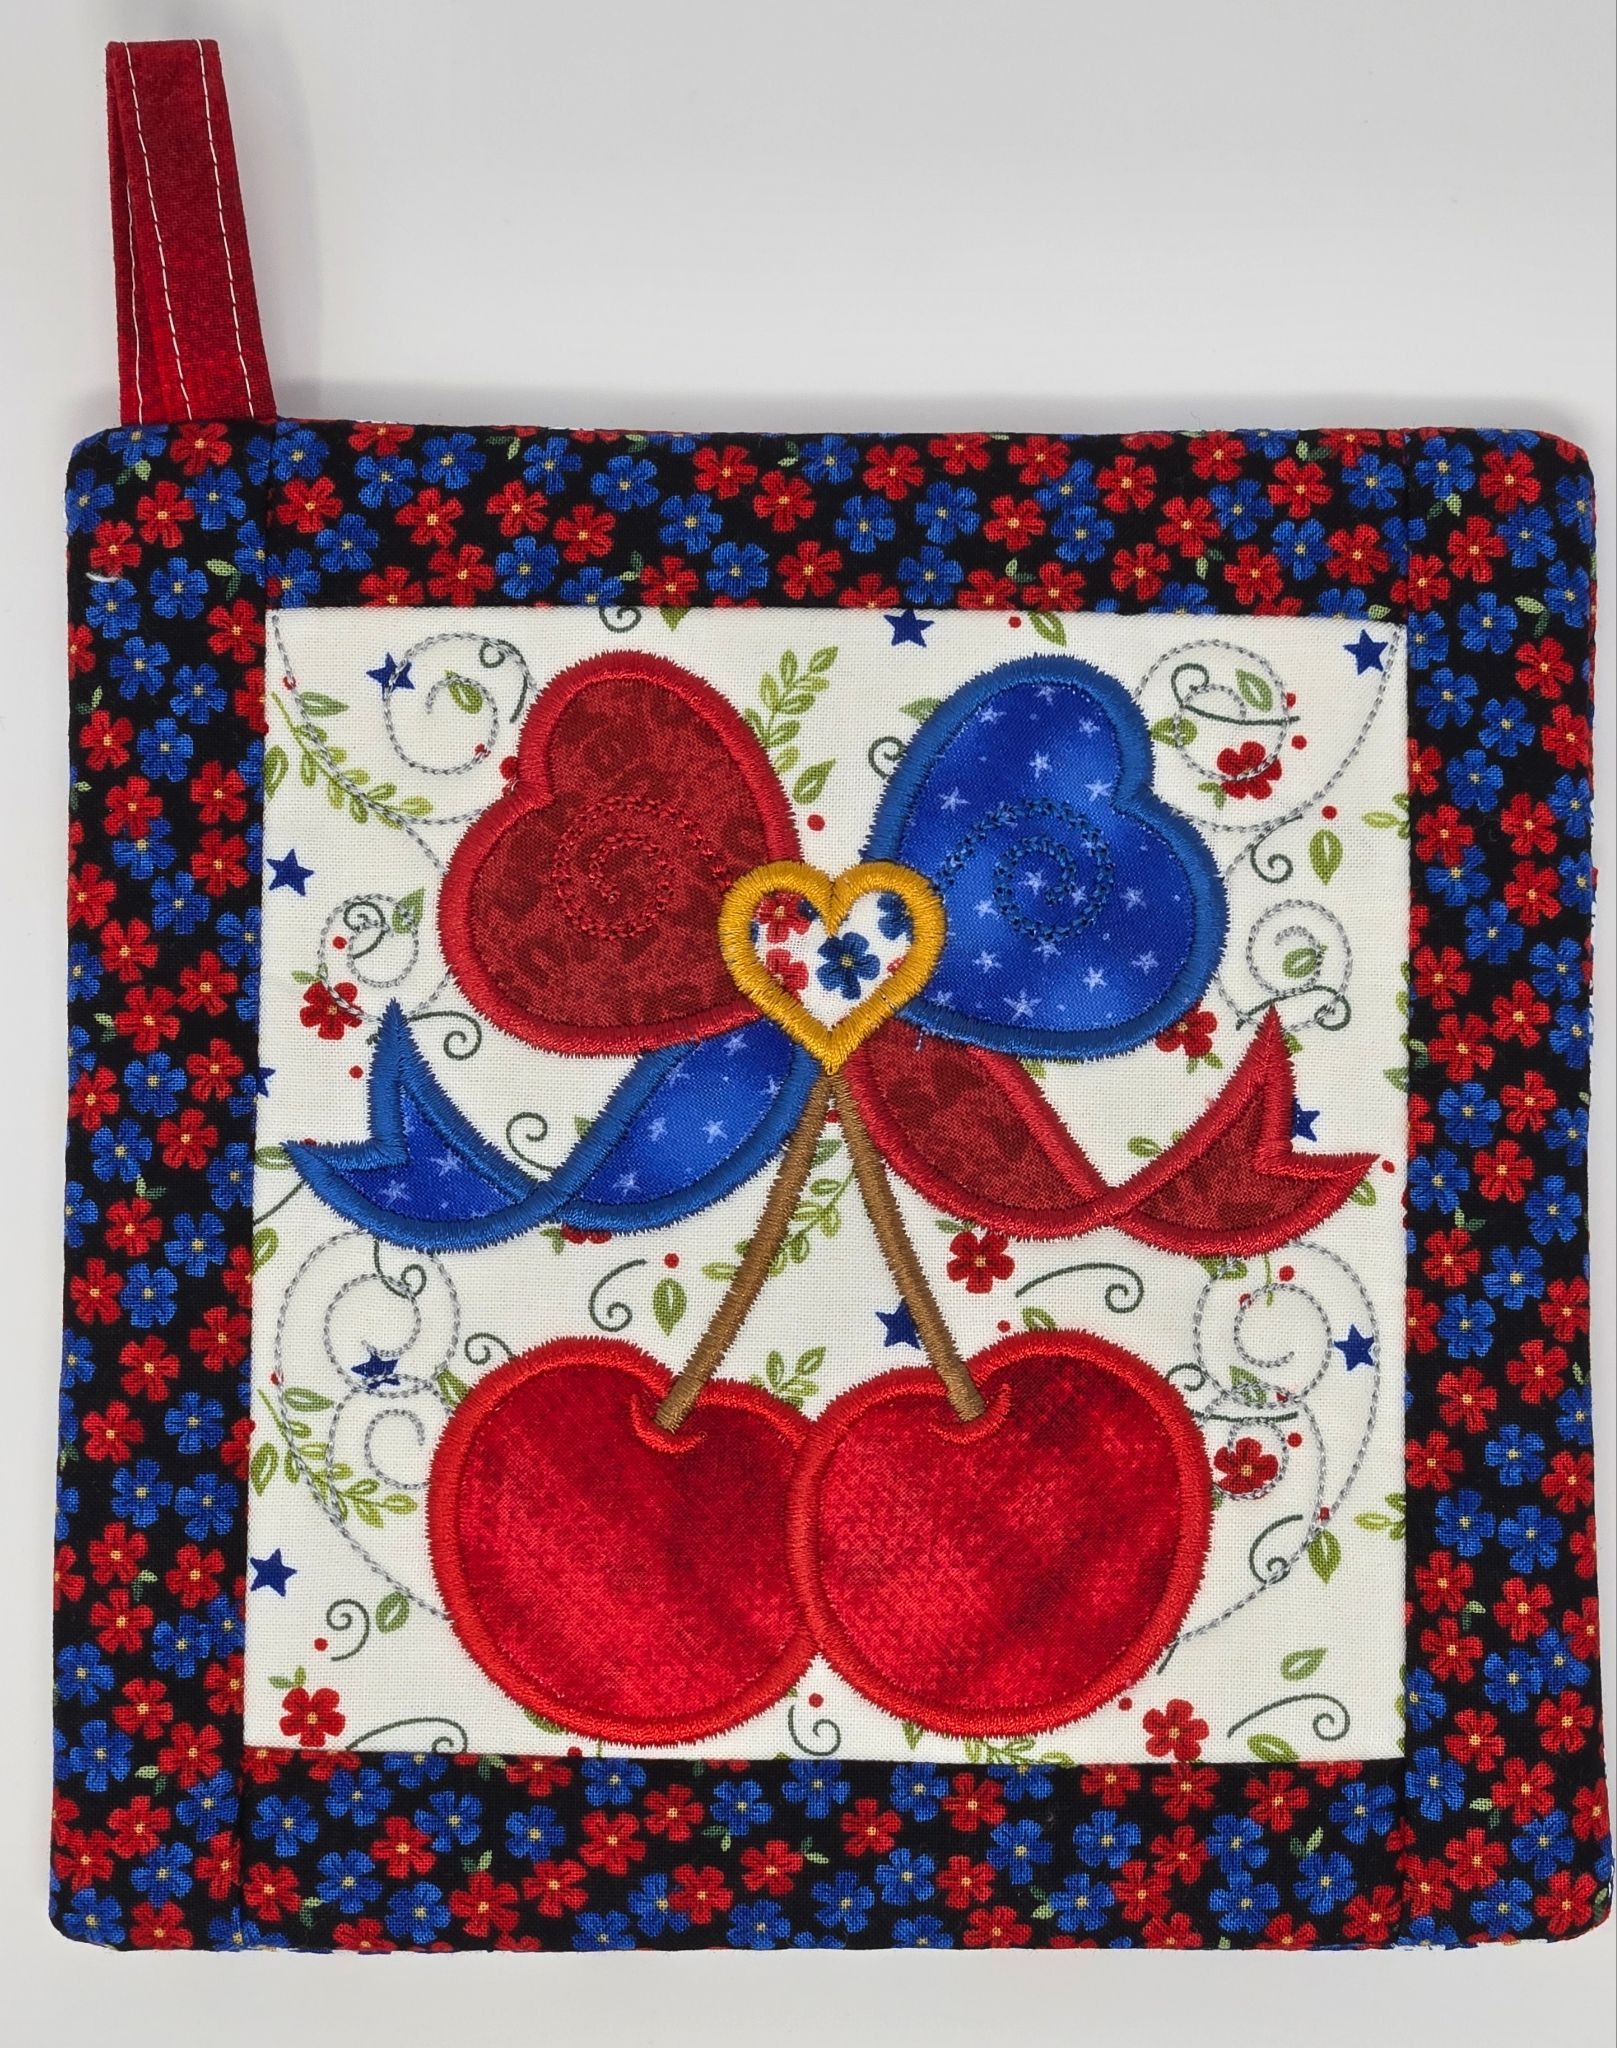
I hope you try making trivets and pot holders for your patriotic kitchen. I would love to see the blocks you select. There are so many wonderful choices, it is really hard to stop!
Be sure to share your projects in the Designs by JuJu Embroidery Blessings Facebook Group, or use the hashtag #designsbyjuju anywhere on social media. We all love to see what you create!
