Toggle Nav
 Inspire.
Create.
Stitch.
Inspire.
Create.
Stitch.
Inspire.
Create.
Stitch.
Search
Inspire.
Create.
Stitch.
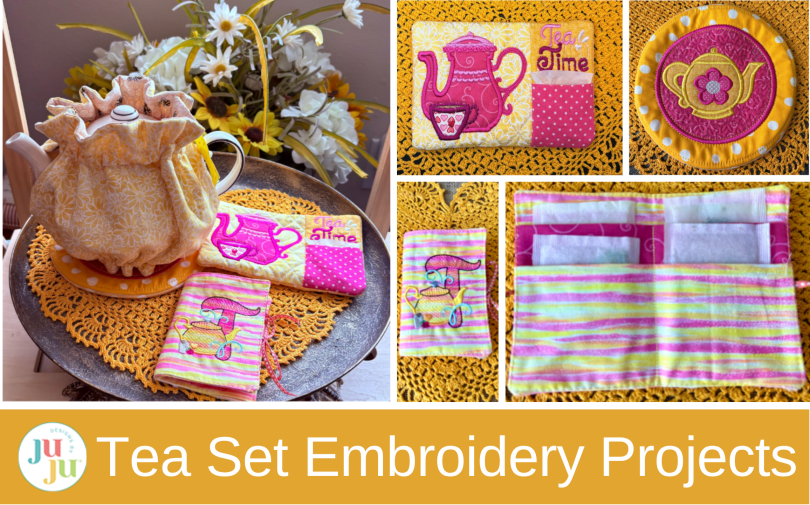
Stitch a charming embroidered tea set with a teapot cozy, mug rug, coaster, and tea bag holder. This tutorial is perfect for tea lovers, handmade gifts, and cozy kitchen decor.
There’s something magical about tea time—the gentle clink of a teacup, the warmth of a freshly brewed pot, and the invitation to slow down for a moment. This charming tea-themed embroidery collection brings that cozy feeling to your stitching room with a coordinated teapot cozy, mug rug, teapot coaster, and personalized tea bag holder. Featuring beautiful quilting, applique details, and thoughtful in-the-hoop projects, this set is perfect for creating a delightful tea-time experience for yourself or as a handmade gift for a fellow tea lover. Gather your favorite fabrics and threads, pour a cup of tea, and let’s start stitching!
Check out the DBJJ team’s favorite supplies in the Designs by JuJu Amazon store. And for all your stabilizer and batting needs, be sure to check out Designs by JuJu+.
Finished size: 8” x 7” - fits a 7” teapot
To begin, select two fabrics and your batting.
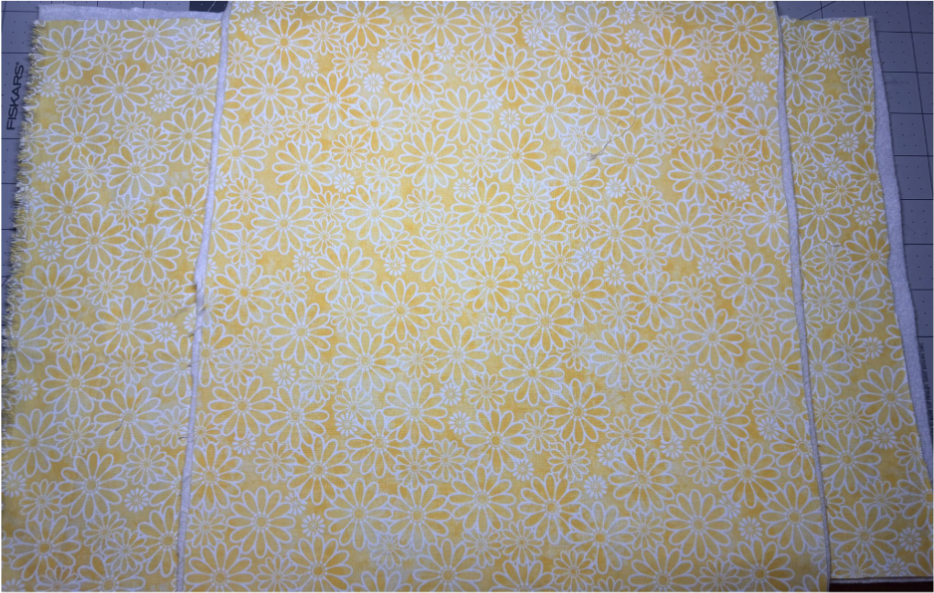
To make the outside of the cozy, cut two pieces of fabric 10” x 15”, making sure the longer side goes across. Cut two pieces of batting, each 10” x 15”. Place each fabric piece on top of a batting piece to get ready for the next step.
Tip: You don’t need a stabilizer in your hoop because the batting is enough. If you have a magnetic hoop, it can help.
Quilt these pieces first, then trim them down to 9” x 13½”.
If you haven’t tried end-to-end quilting before, check out the instructional blog and YouTube video below before you start the quilting steps.
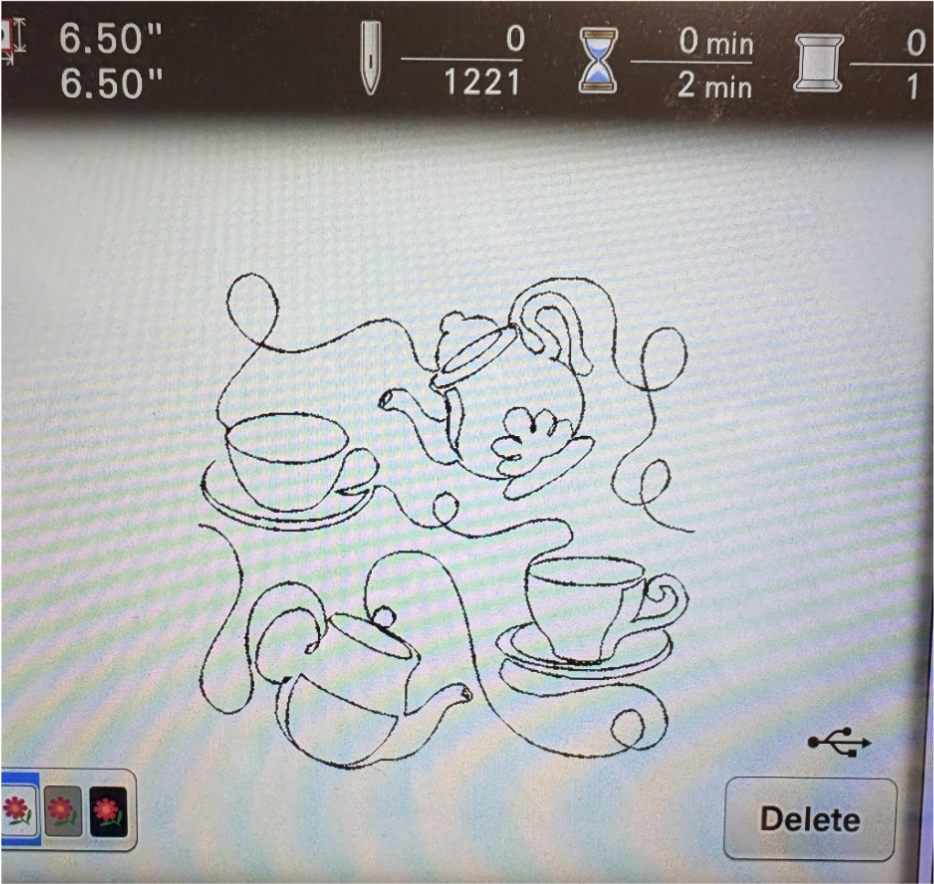
Once you’re ready, load the Teatime End-to-End Quilting Embroidery Design onto your machine and choose the size you want. I used the 6.50” x 6.50” size.
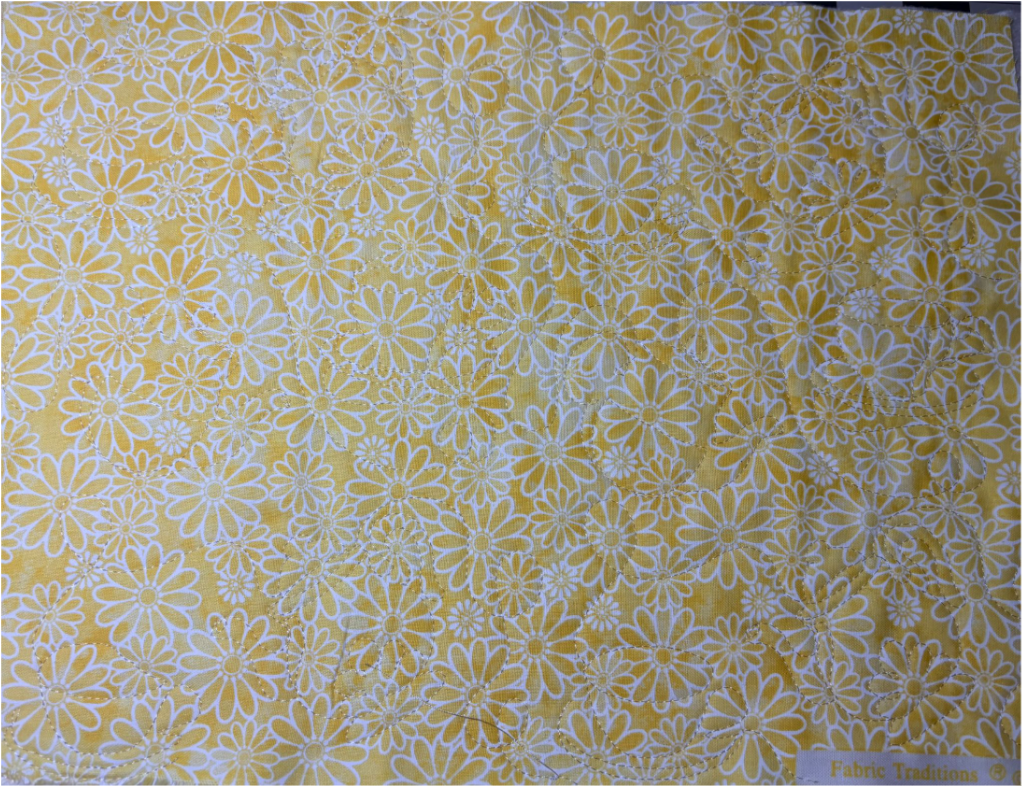
Begin quilting each outside piece from the upper left corner. The size you choose will affect how many times you need to re-hoop the fabric. For the 6.50” size, I needed four hoopings.
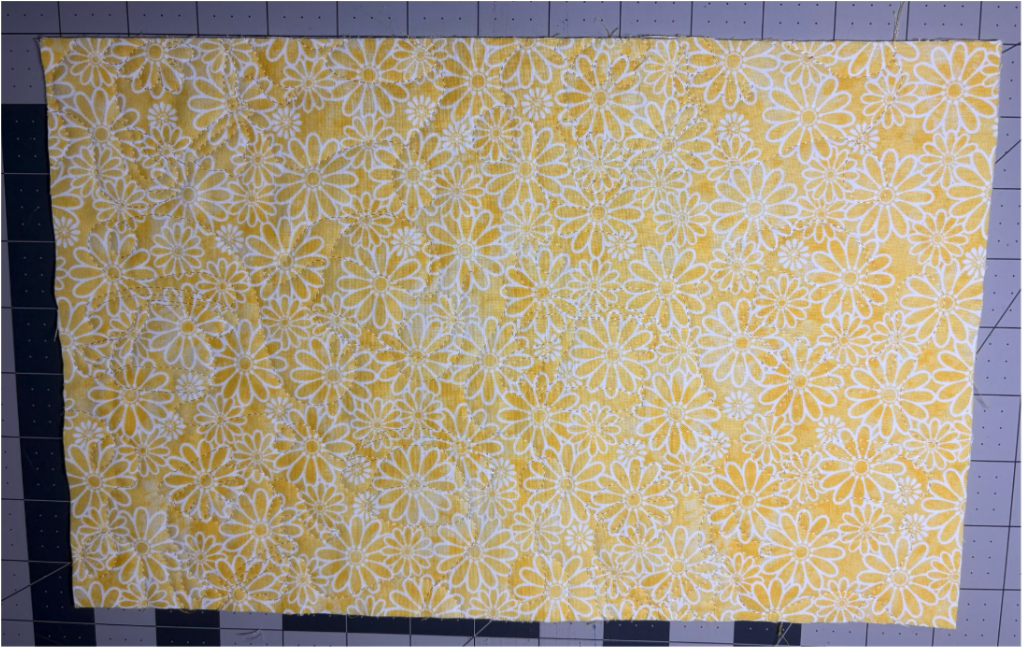
Trim each piece to 9” x 13½” so they’re ready to put together.
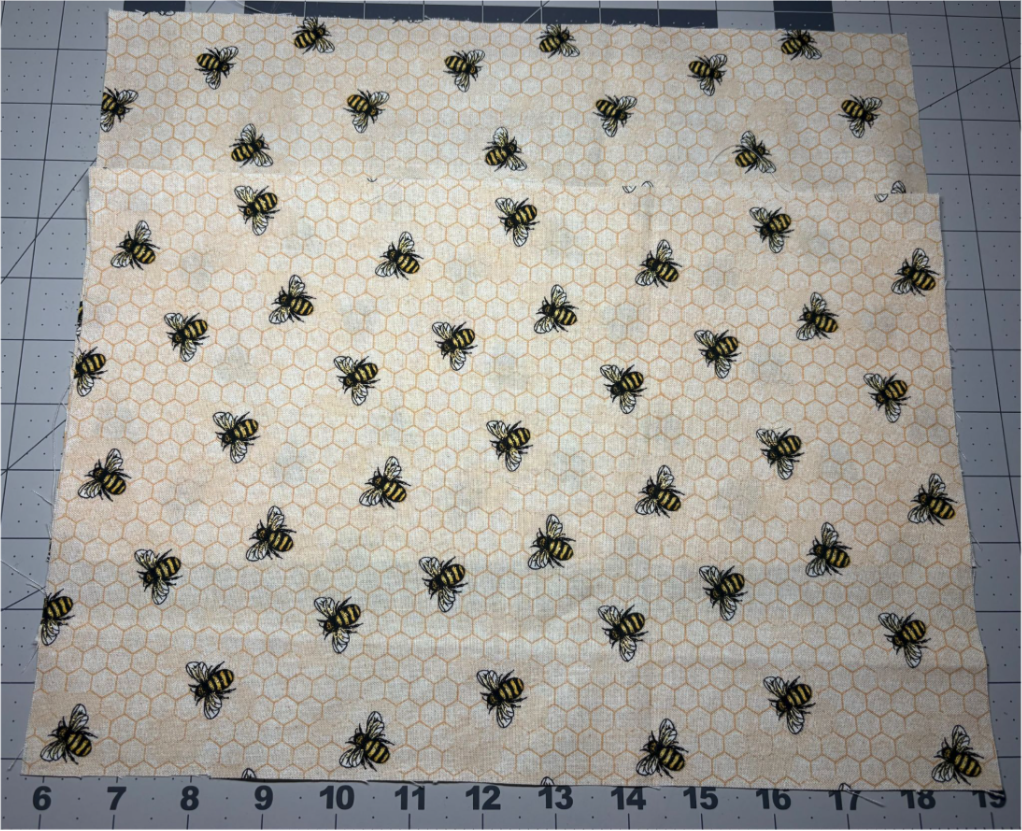
Now, cut the two inside fabric pieces 9” x 13½” to match the quilted exteriors.
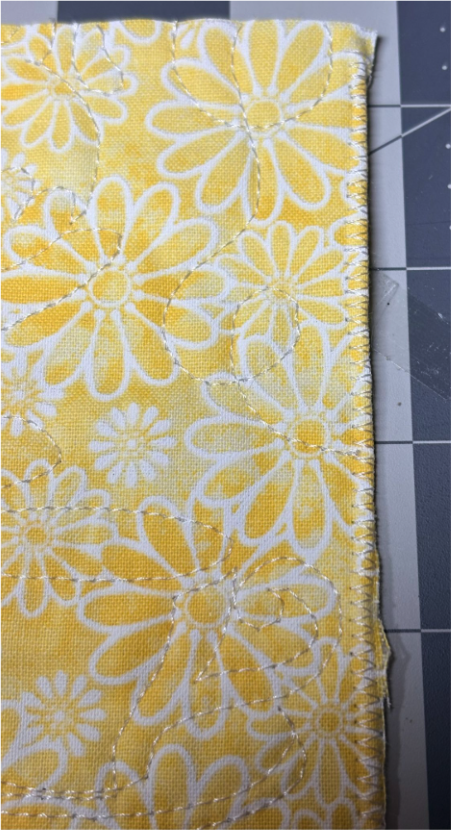
Use your sewing machine or serger to sew a narrow zigzag stitch along the short edges of all four pieces. This will help prevent the ends of the casings from fraying.
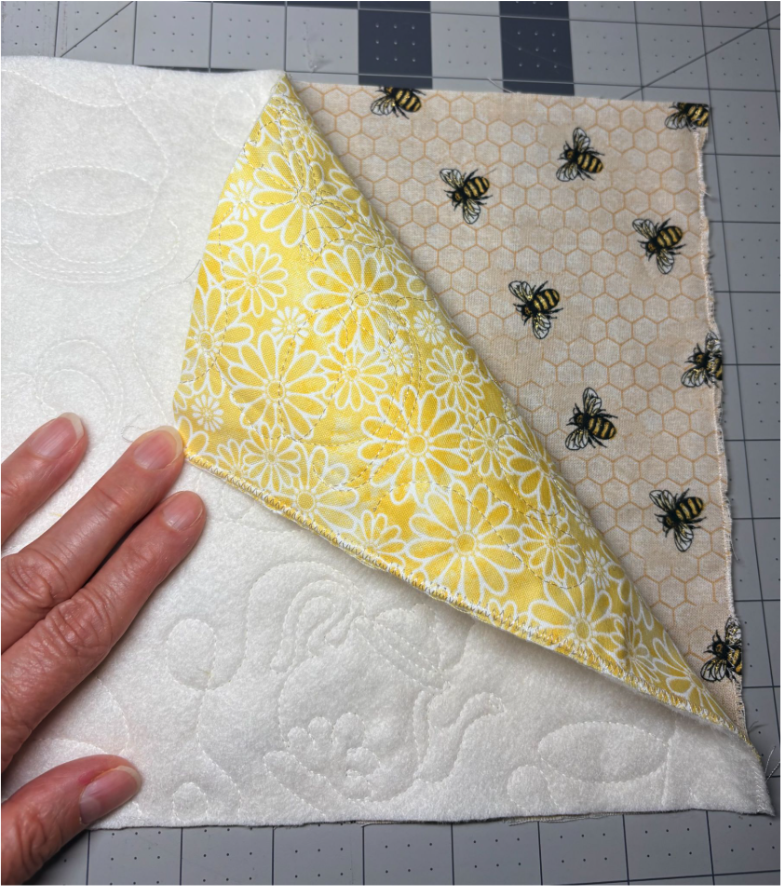
Place one outside piece and one inside piece together with the right sides facing each other. Now you’re ready to mark and sew.
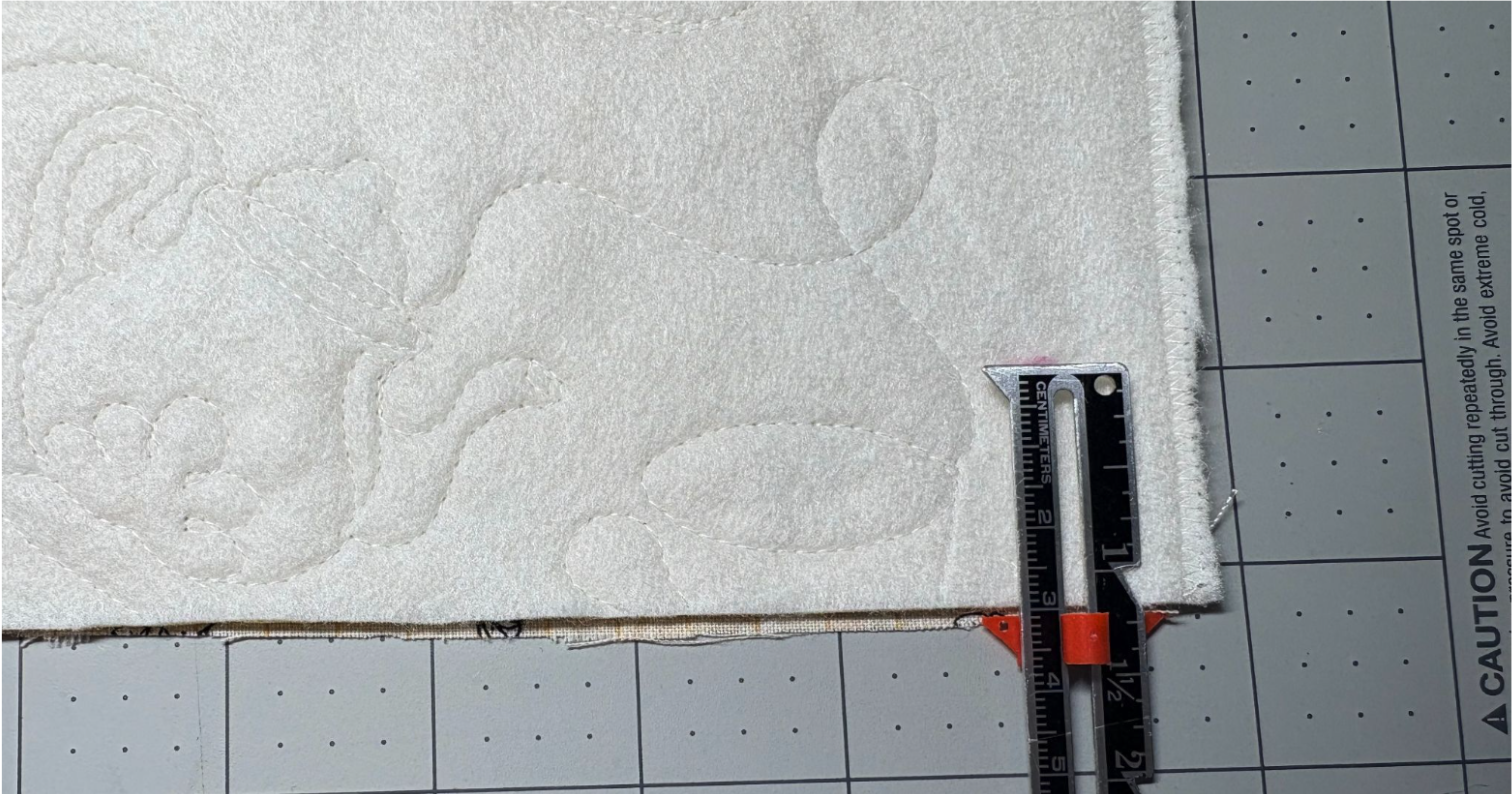
Measure up 1¼” from each bottom corner and make a mark. These marks will help guide your sewing.
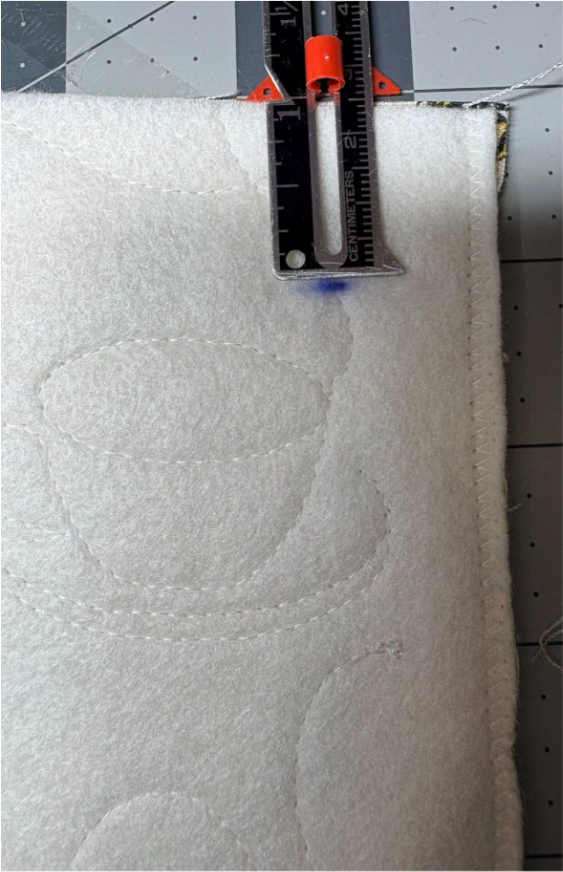
At each top corner, measure down 1” from the edge and mark it.
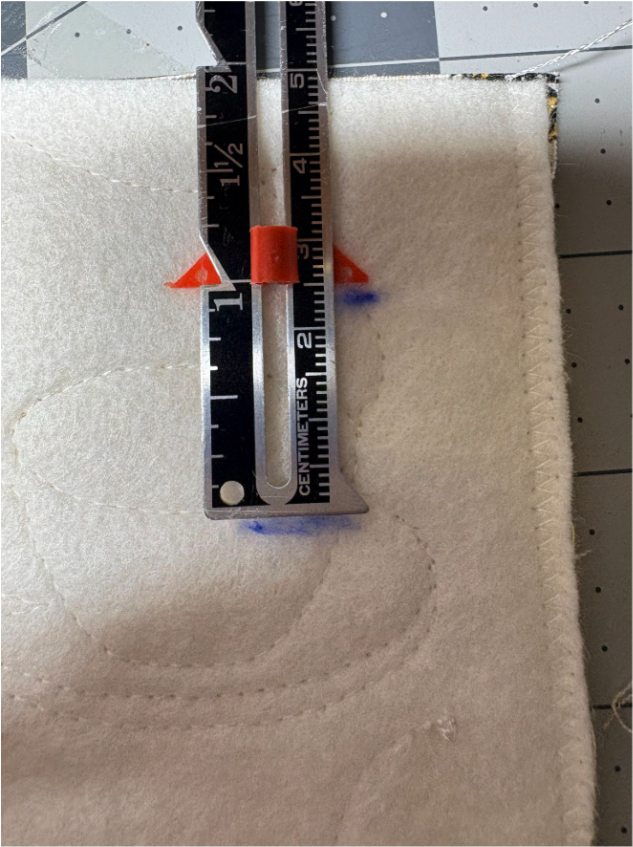
From each top mark, measure down another inch and mark again. These extra marks will help to create the casings for the ribbon at the top and elastic at the bottom.
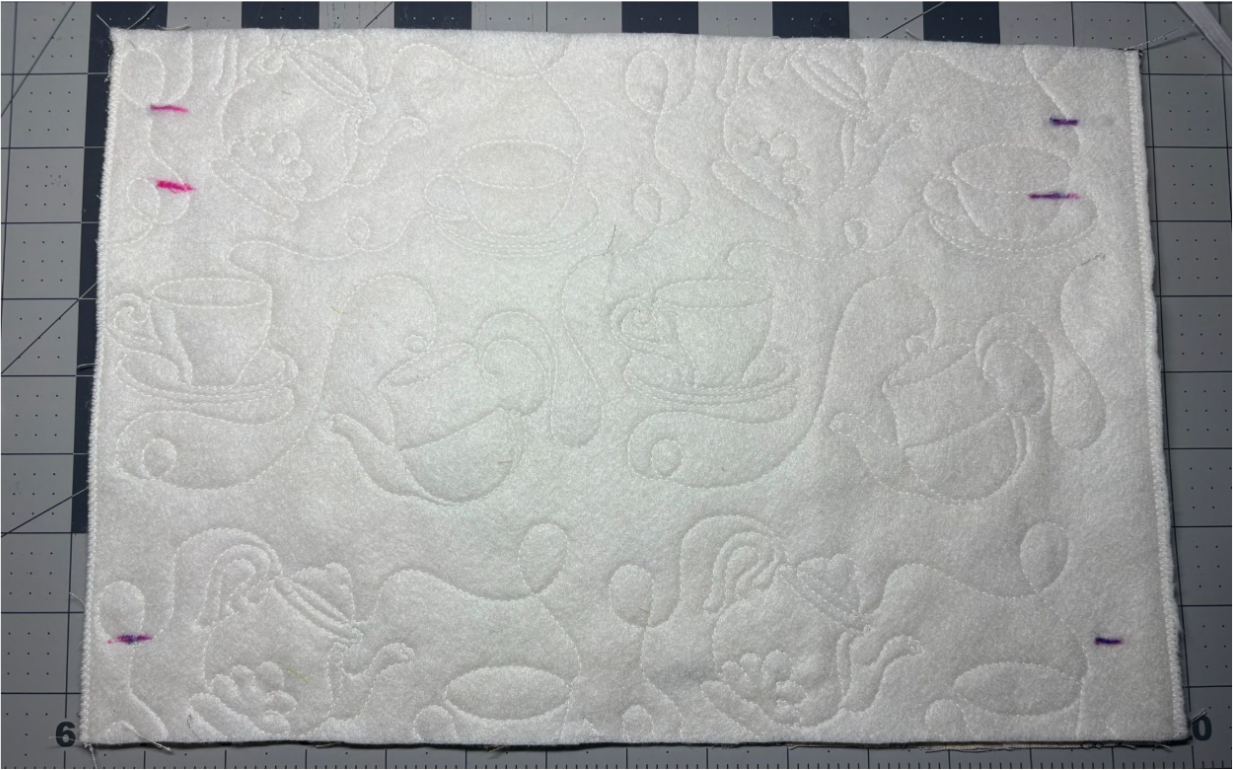
You should now have six marks on your fabric.
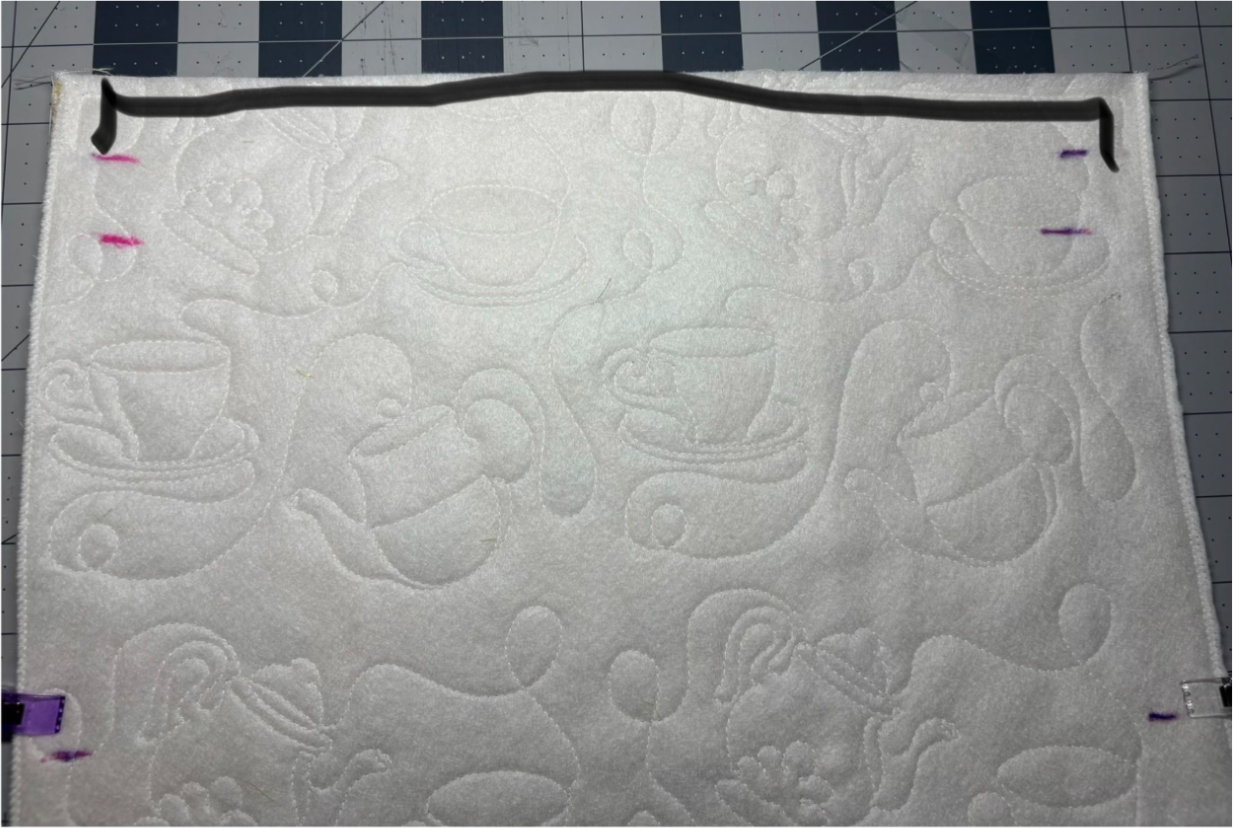
Pin or clip the edges so they’re even, then take the pieces to your sewing machine. Sew across the top from the first top corner mark to the next, using a ¼” seam allowance. This makes the top seam.
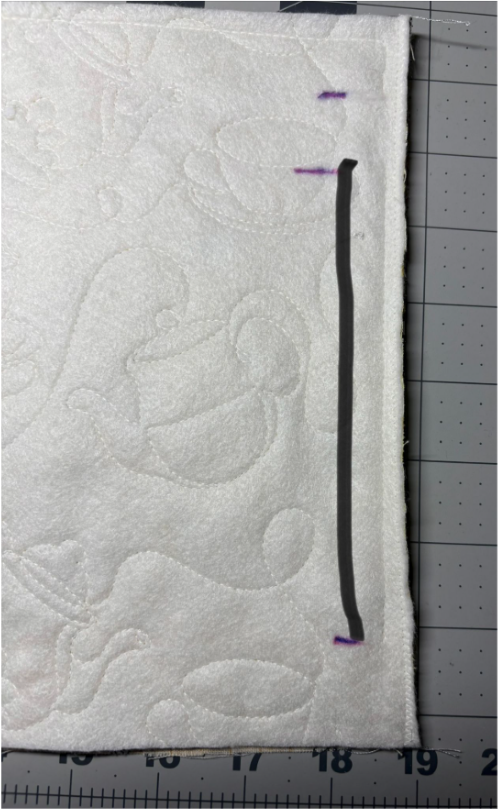
Now, sew down each side from the second mark at the top to the bottom mark.
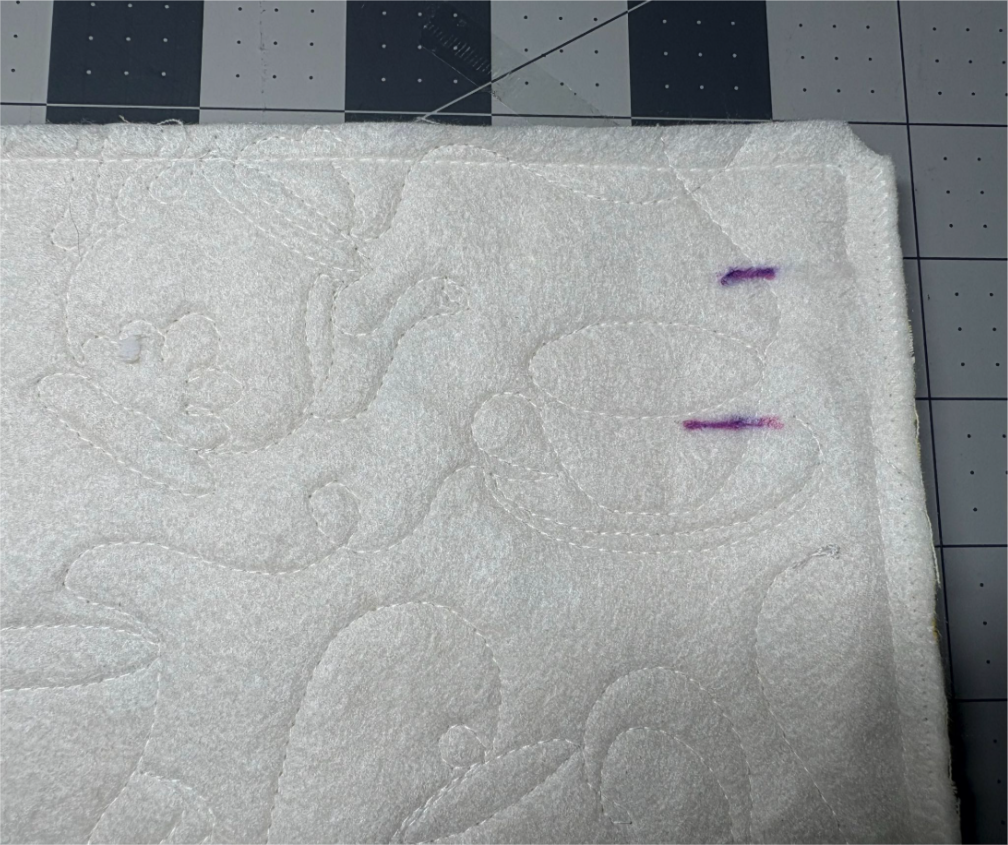
Do this on both sides so all the edges are sewn. Make sure to leave the bottom open so you can turn the cozy right side out. Trim the top corners to reduce bulk.
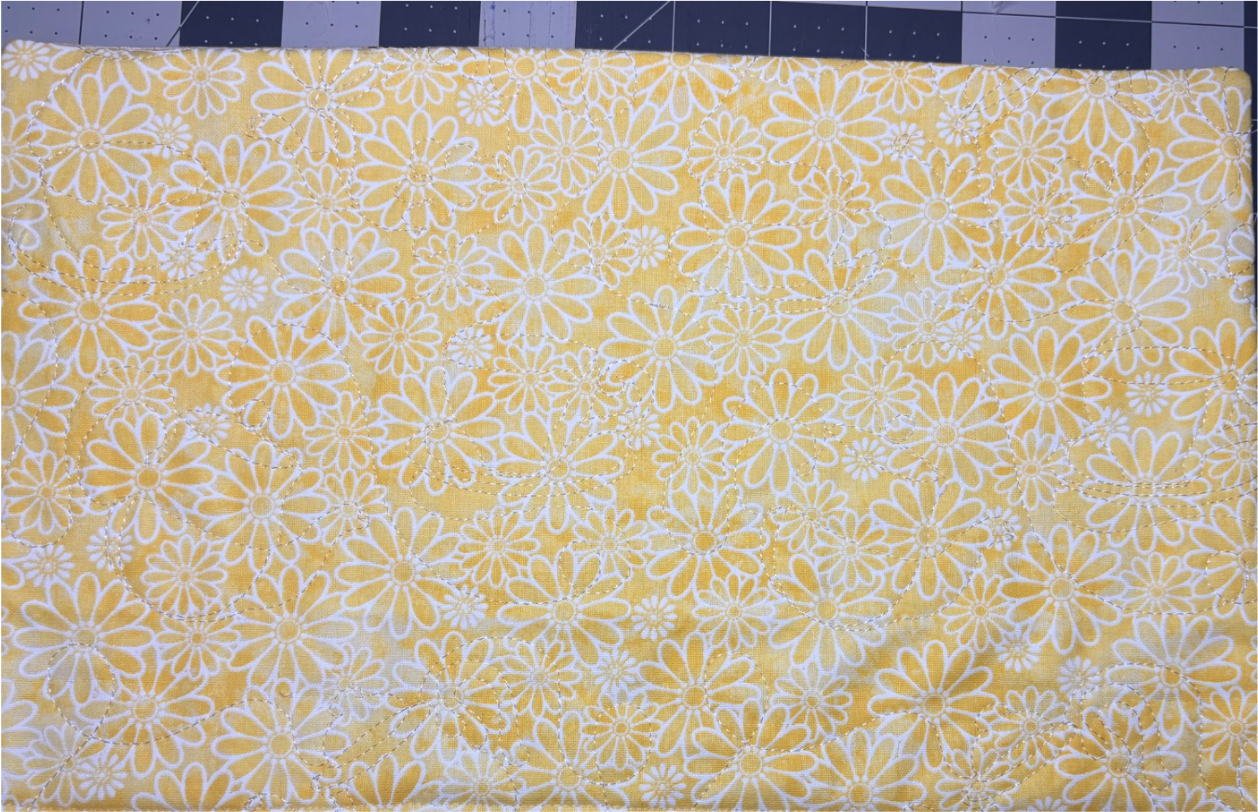
Turn the cozy right side out and press it flat.
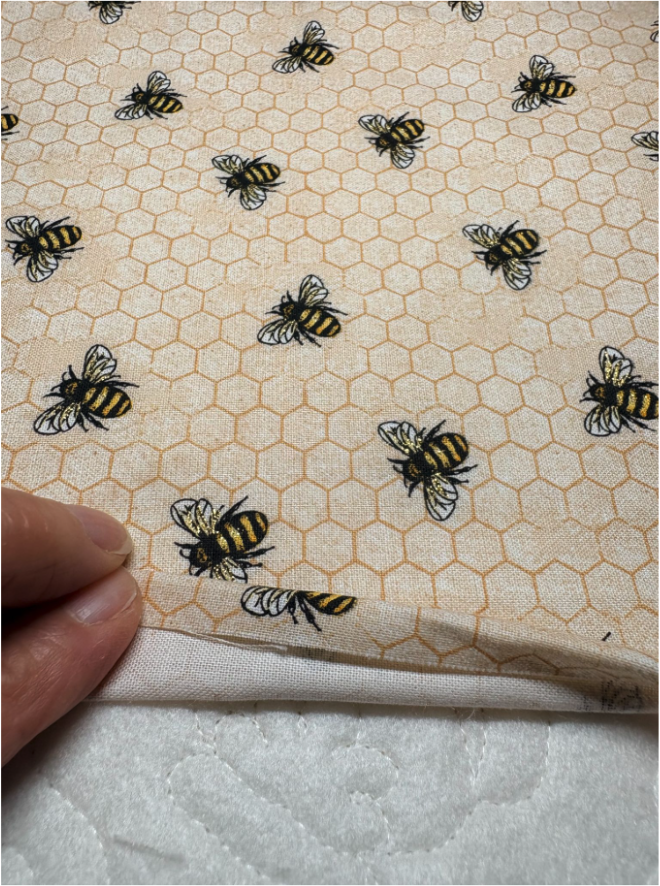
Fold the inside fabric under by ¼” along the bottom edge.
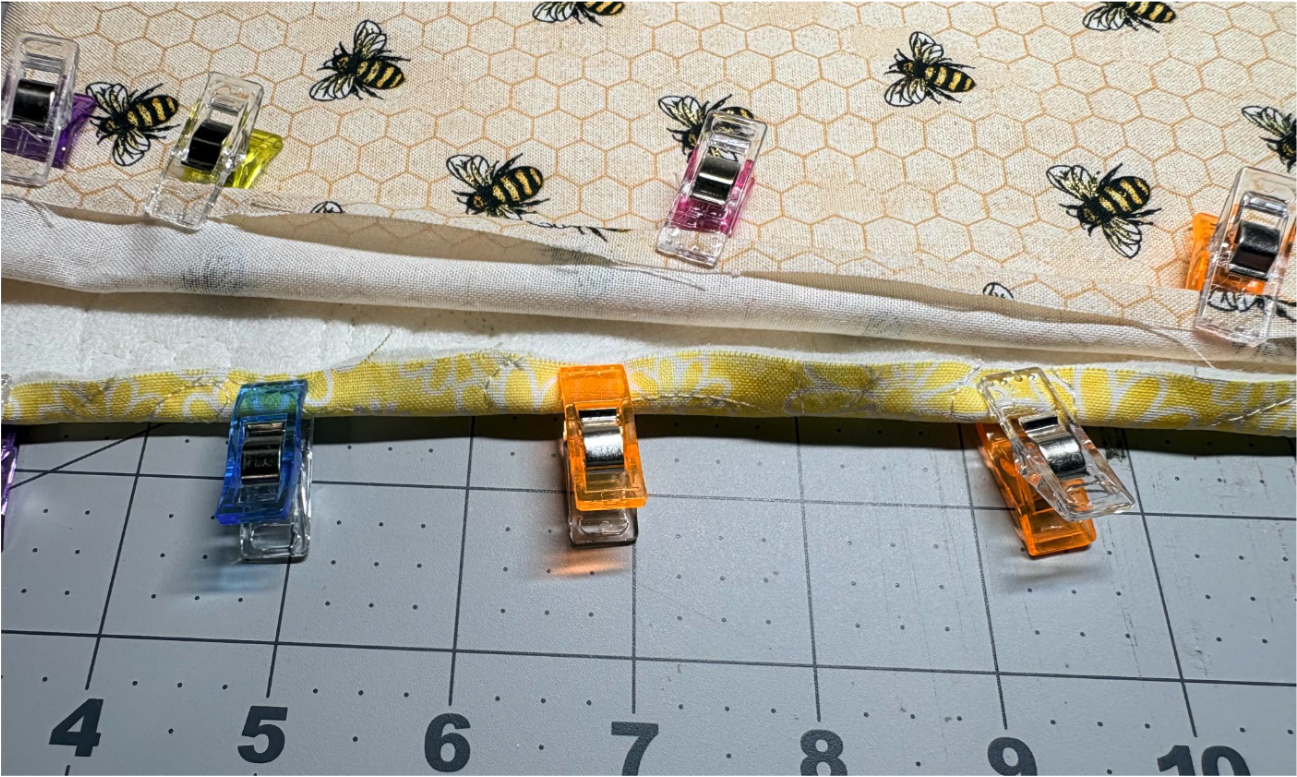
Fold the outer fabric under by ¼” on the bottom edge too, so both folds line up.
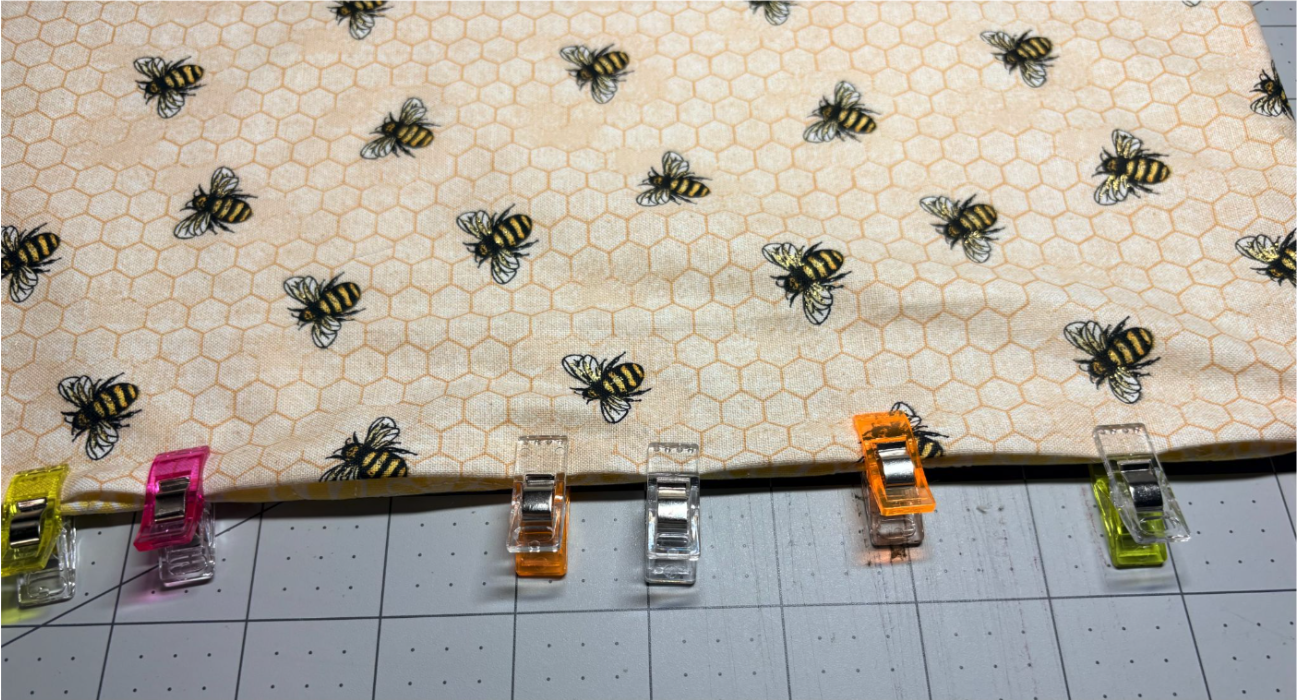
Pin or clip the folded edges together, making sure they’re even for a neat finish.
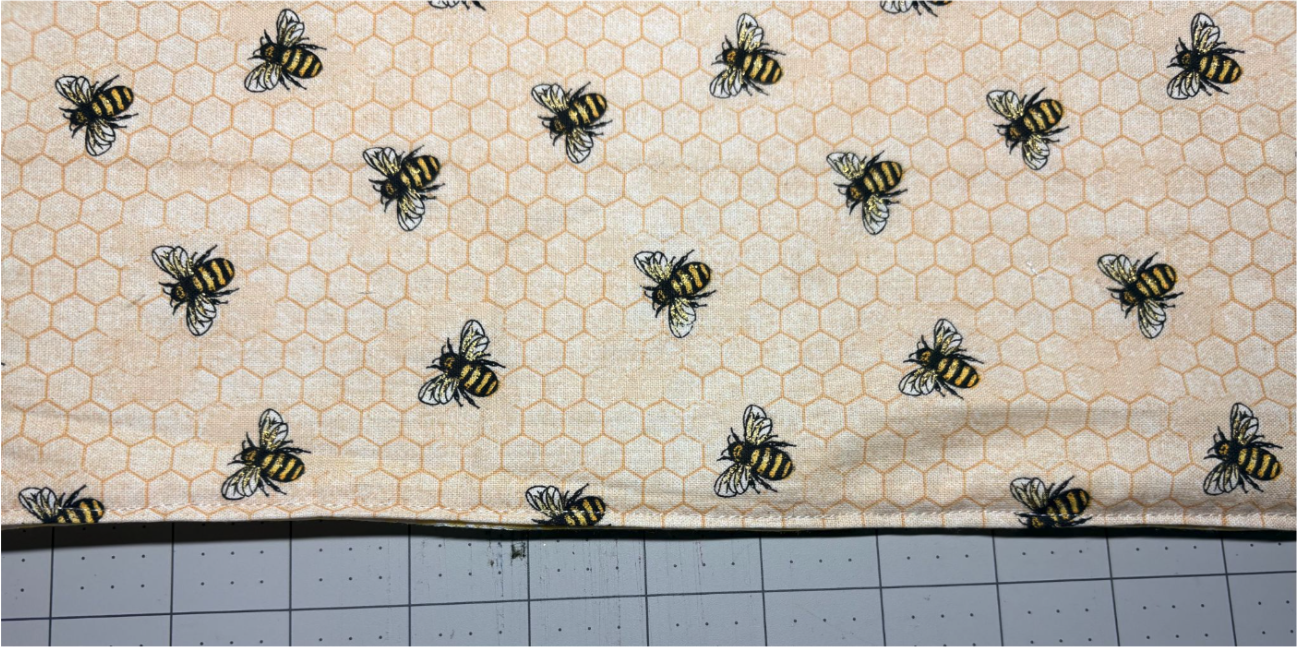
Sew along the bottom edge, stitching close to the fold to secure it.
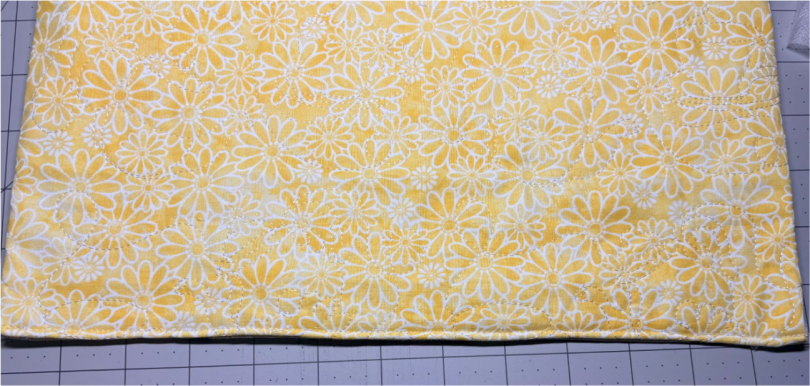
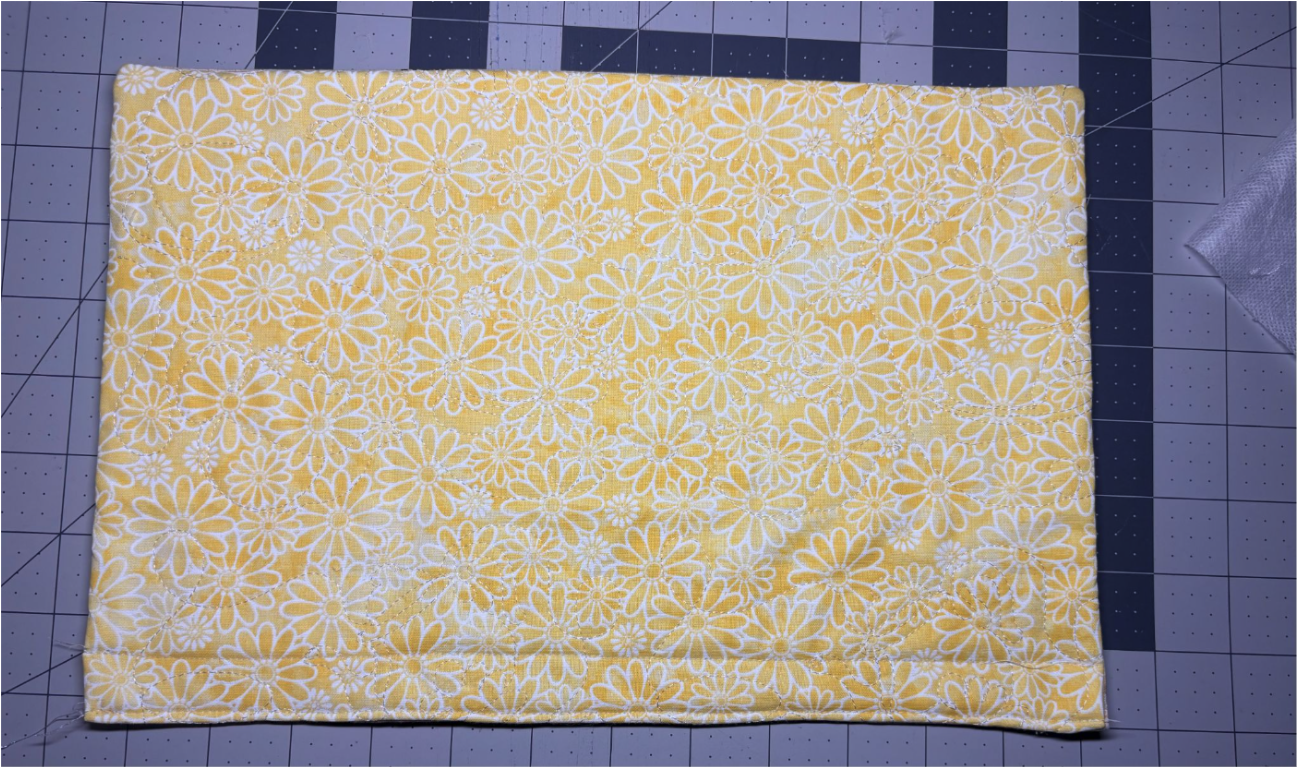
Measure up 1” from your bottom stitching line and sew across again. This creates the casing for the elastic.
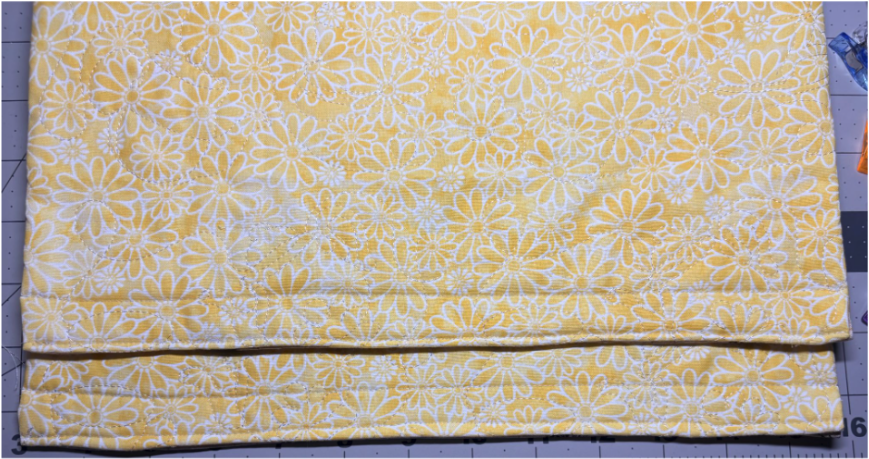
Do this for both pieces.
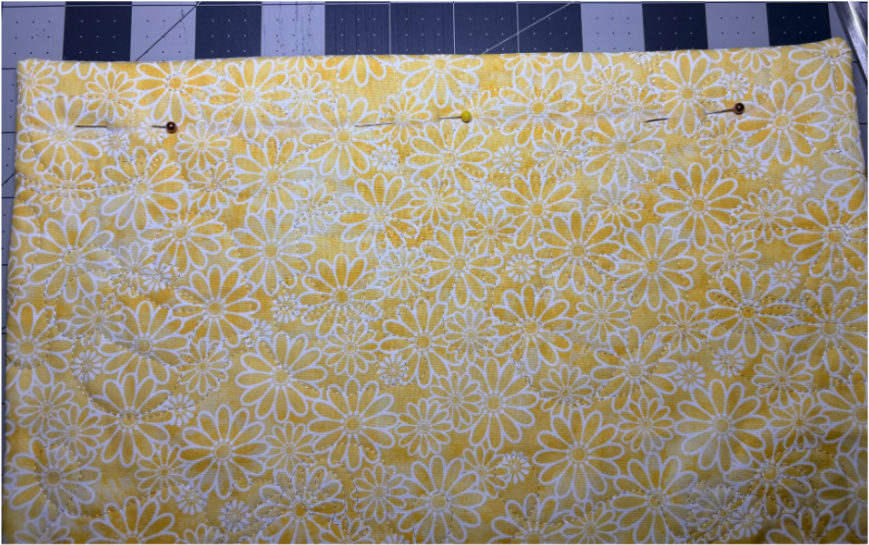
At the top edge, measure down 1” and sew across to start the casing for the ribbon.
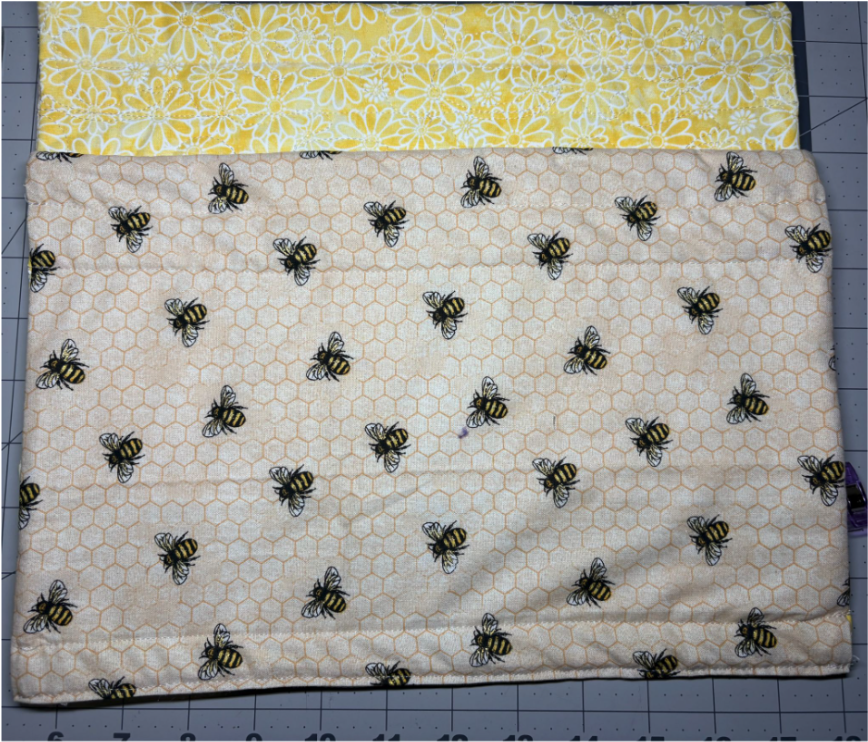
Then, measure down another 1” and sew across again to finish the ribbon casing.
Tip: This is why we finished the side edges with a zigzag stitch earlier—to help prevent fraying.
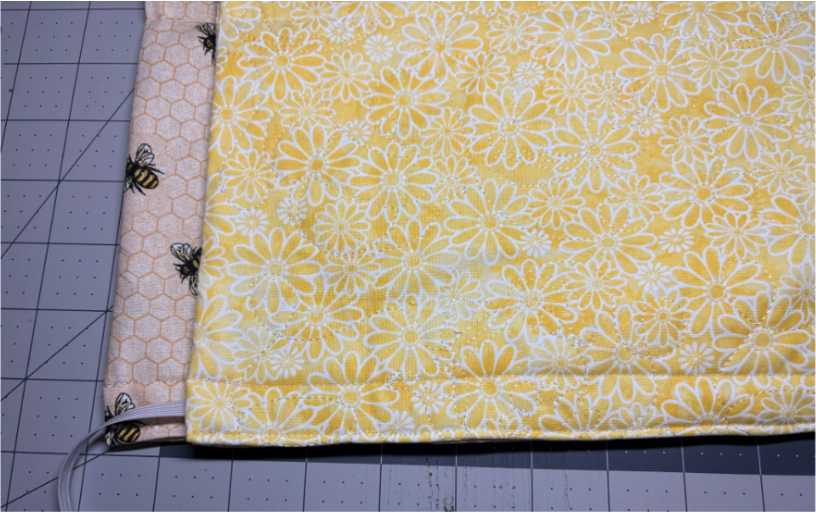
Cut a piece of elastic approximately 24” long; you will trim it to size later, after fitting. Thread the elastic through the casing on one piece.
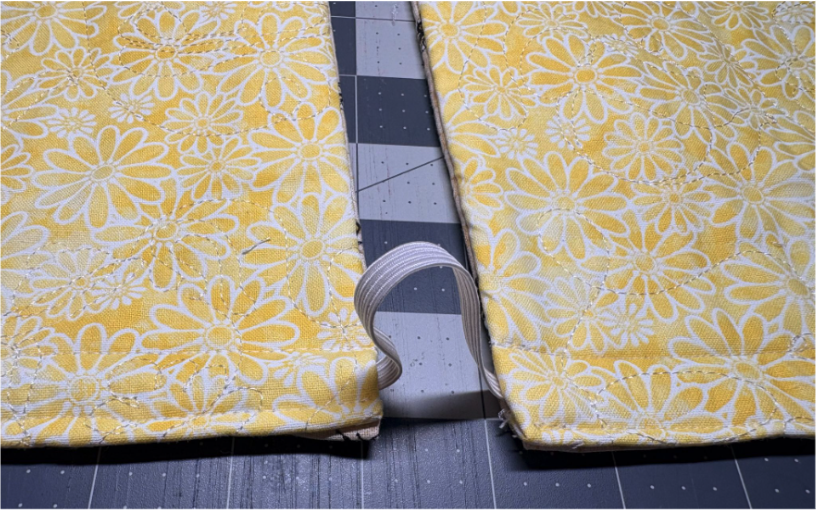
Continue threading through the other piece, to get ready for fitting.
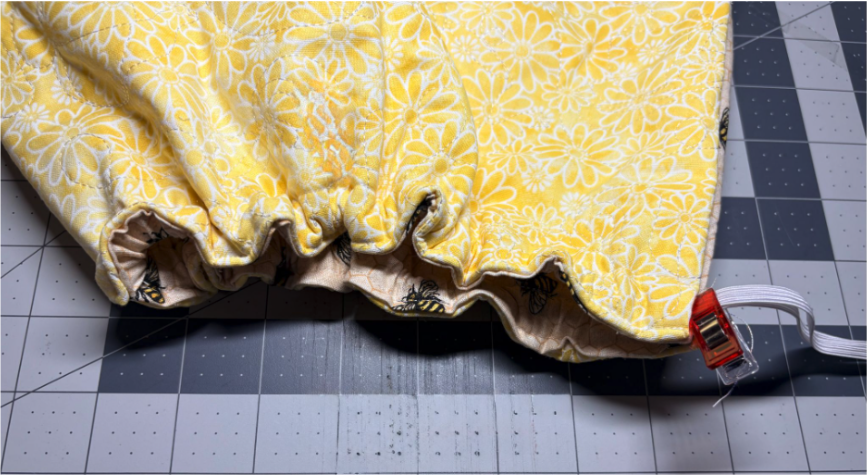
Clip the ends of the elastic together for now. Don’t sew them yet—you’ll fit them first.
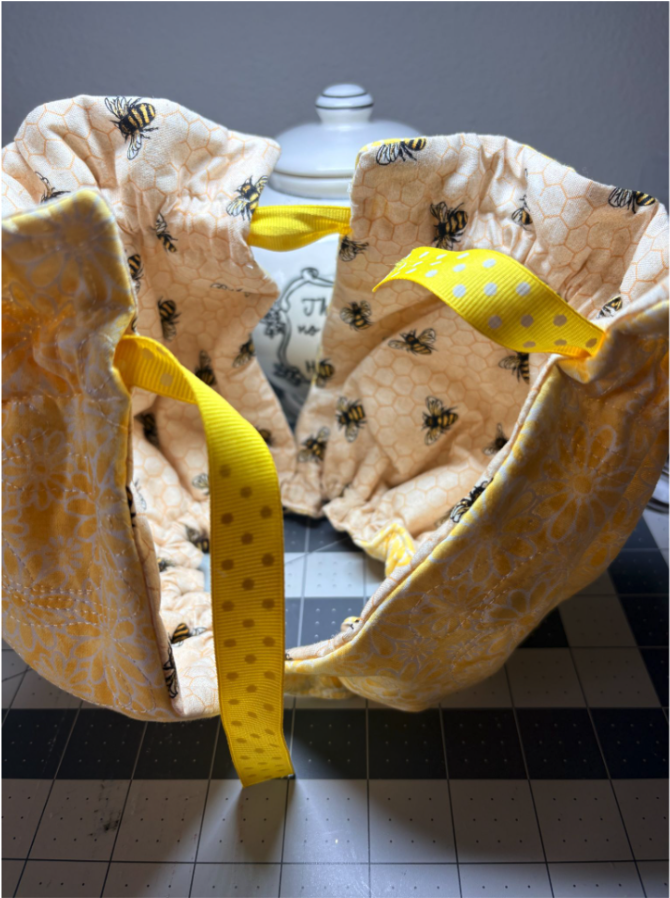
Now, thread the ribbon through the top casing the same way you did the elastic.
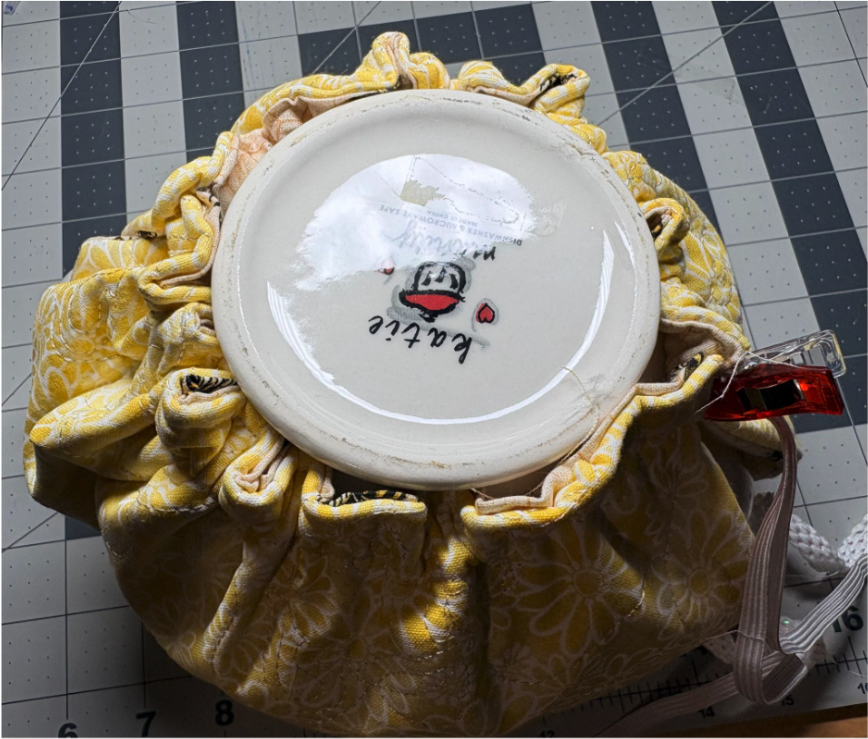
Put the cozy over your teapot and pull the elastic until it fits snugly. When it feels right, take the cozy off and sew the elastic ends together. Trim off any extra elastic close to the stitches.
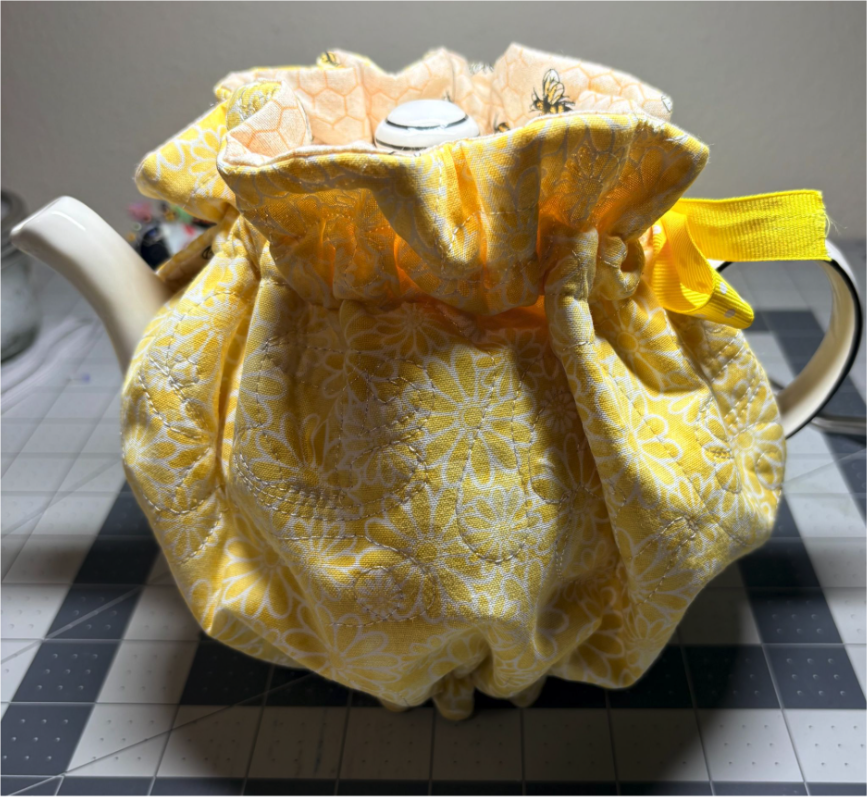
Put the teapot back into the cozy and tie the ribbon at the top to finish securing it.
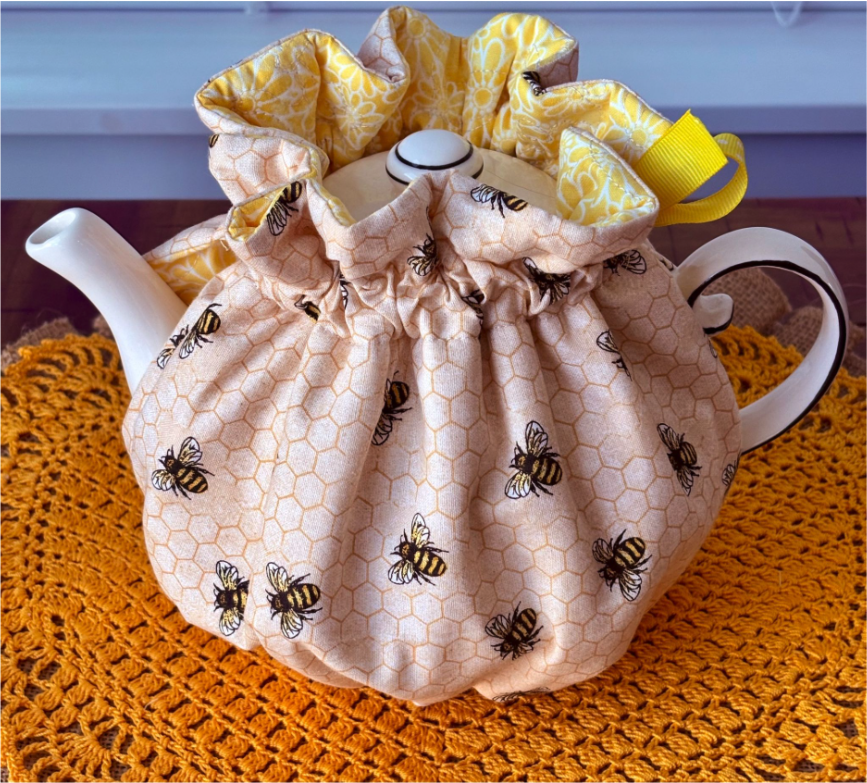
Your teapot cozy is now finished, and it’s reversible!
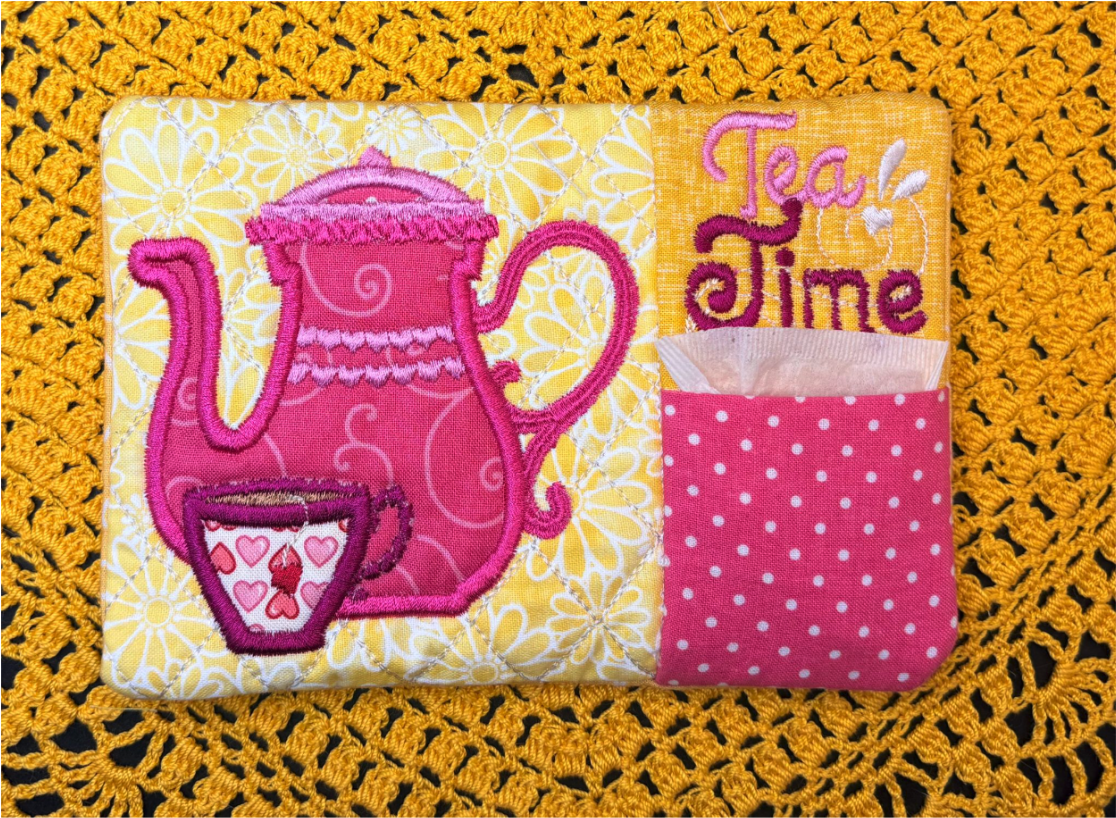
Finished sizes:
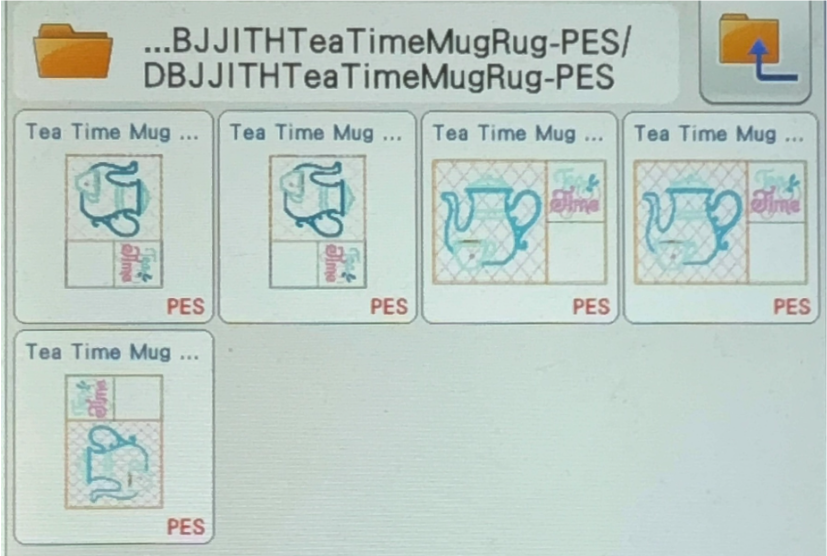
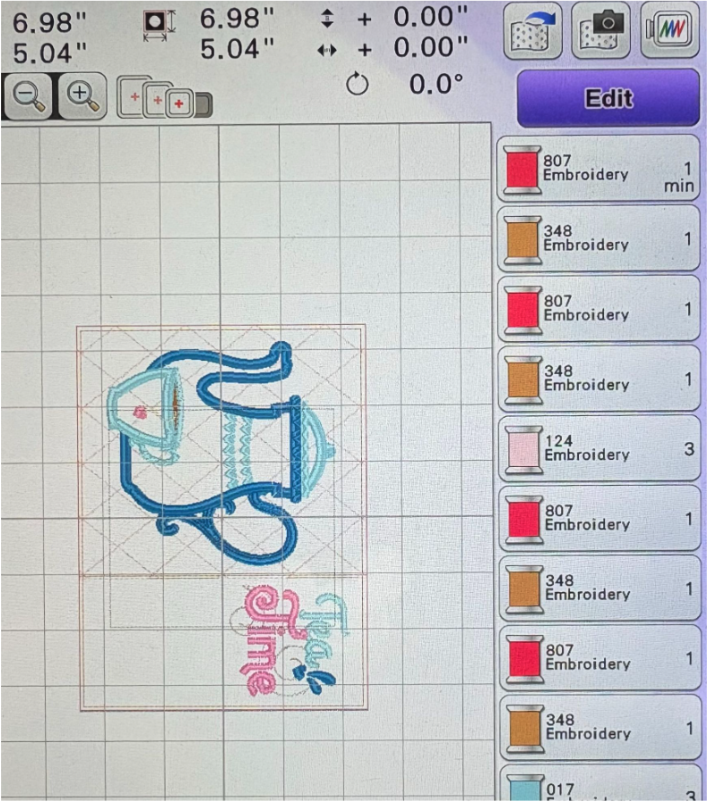
Choose and load the mug rug size you want to make.
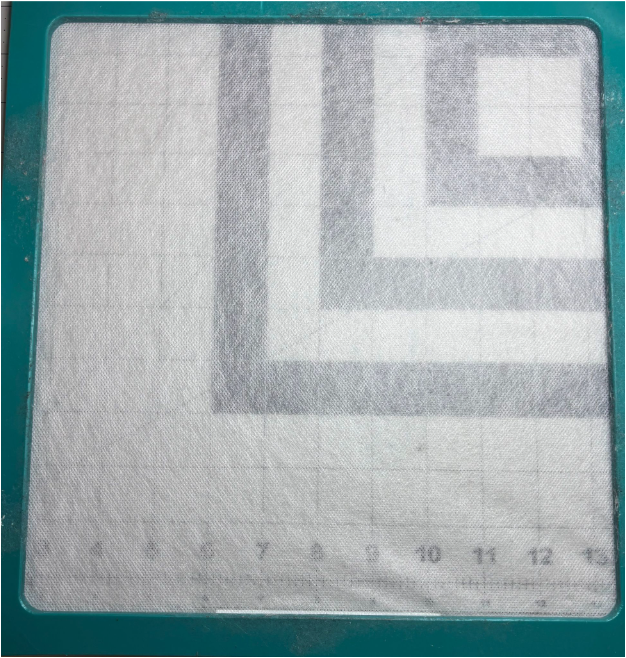
Next, hoop the cut-away stabilizer into the correct hoop size and take it to the machine for the first stitching step.
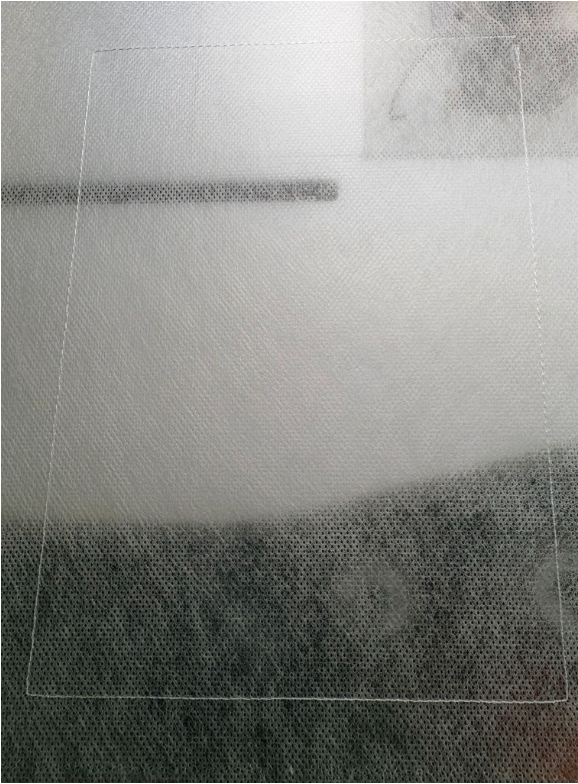
Stitch the batting placement line.
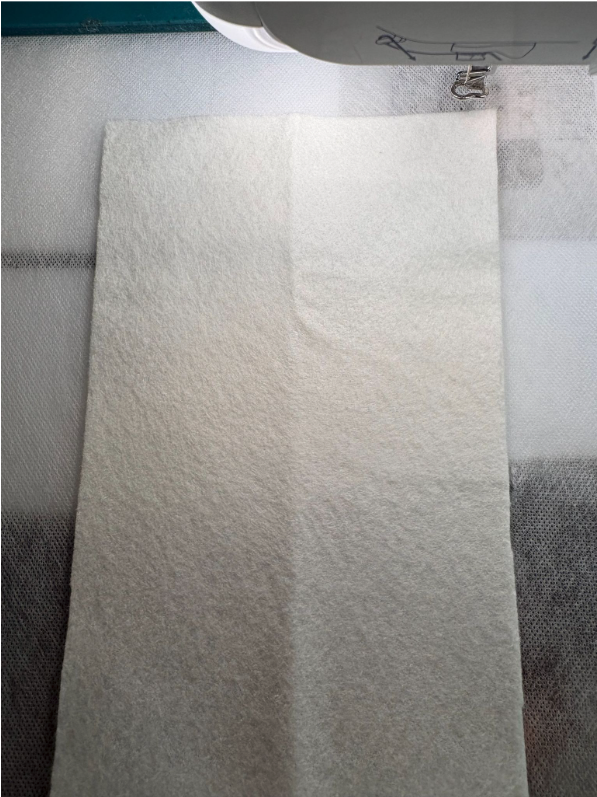
Lay the batting down so it covers all sides.
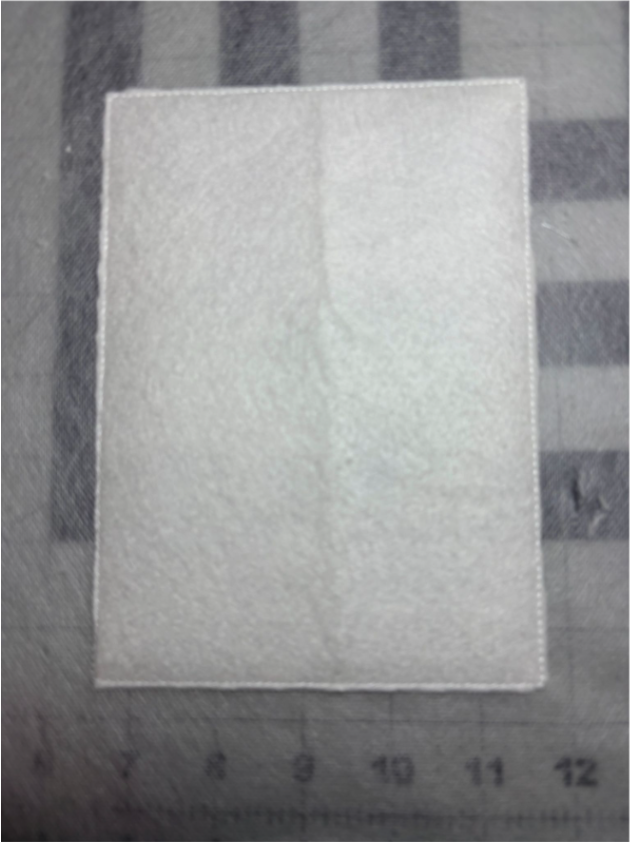
Stitch the tack-down stitches. Remove the hoop and place it on a flat surface. Trim the batting close to the stitches.
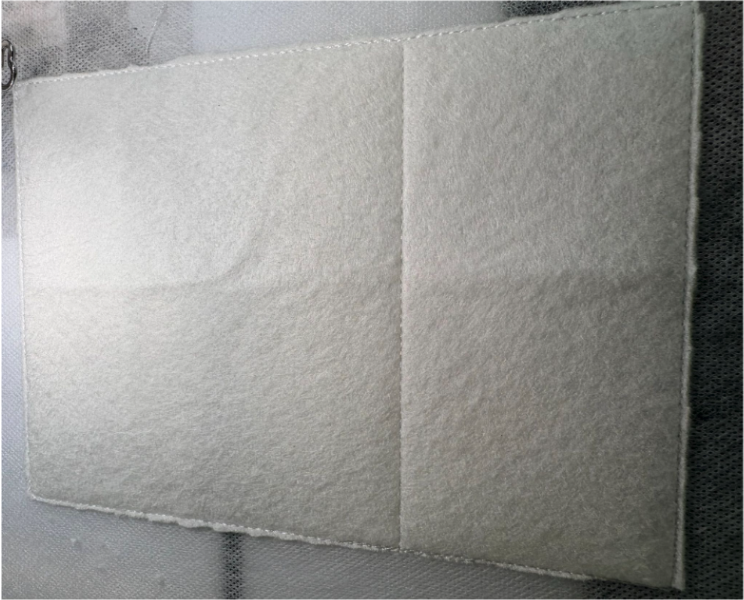
After trimming, return the hoop to the machine and run the placement line for the left background fabric of the mug rug.
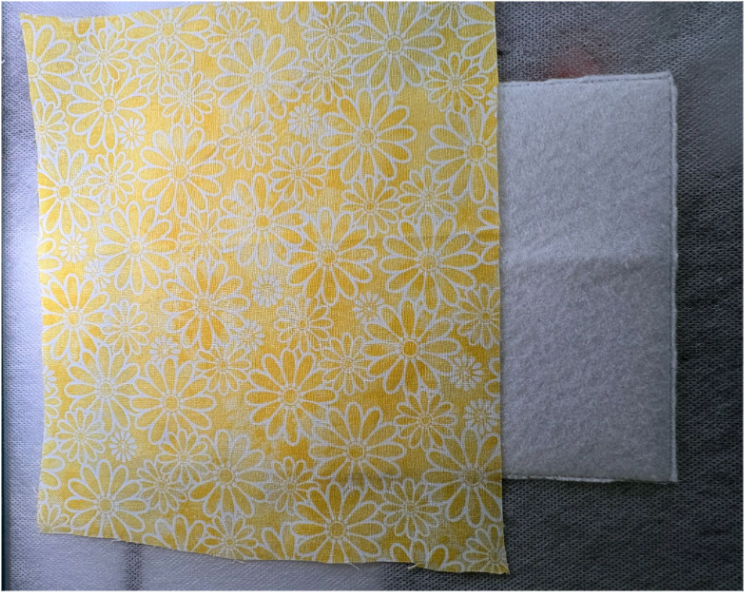
After stitching the placement line, remove the hoop. Place the fabric right side up as shown in the picture. Leave at least ½” on the top, bottom, and outside edge for trimming later.
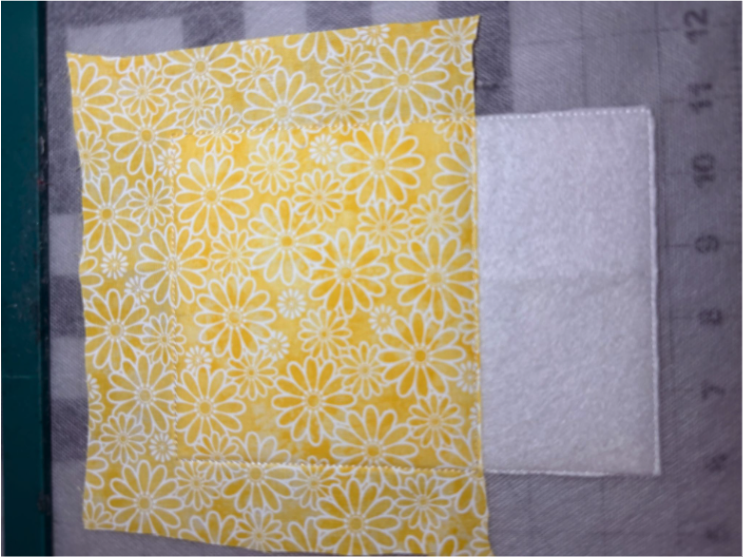
Run the tack-down stitches. Remove the hoop and place it on a flat surface. Trim the inside edge as shown.
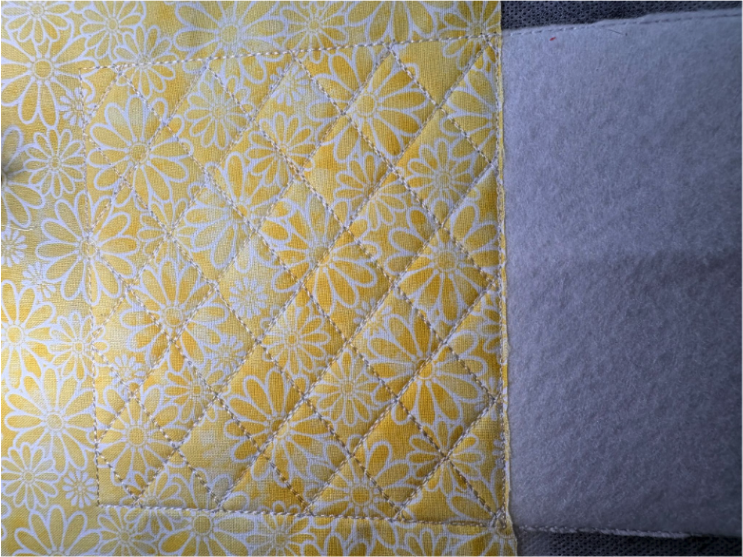
Return the hoop to the machine and stitch the motif design on the background fabric.
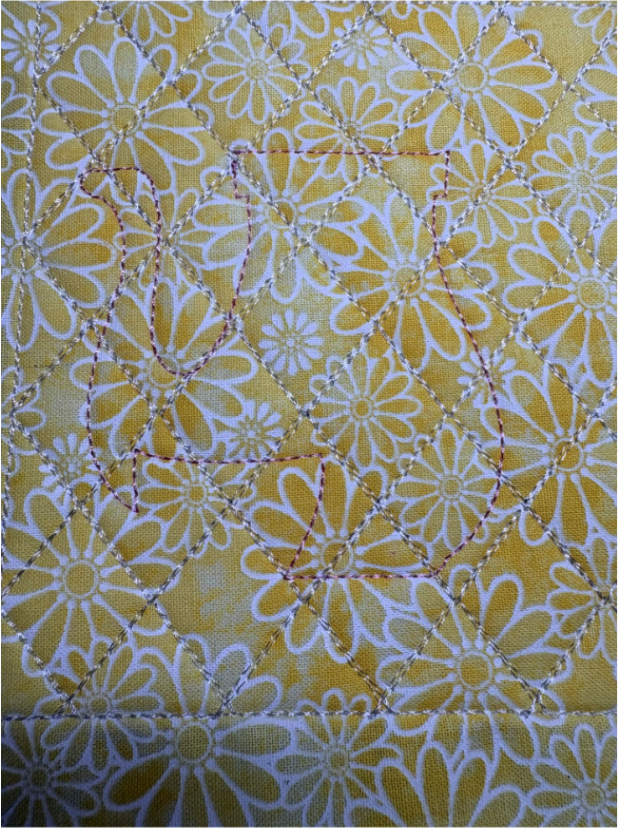
Next, move on to the applique. The first stitch will be the placement line for the teapot.
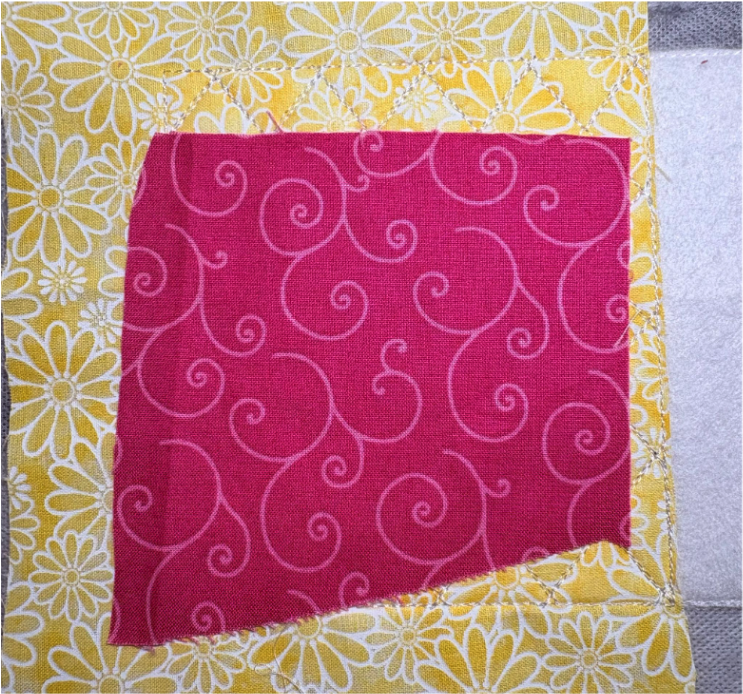
Place the teapot scrap fabric over the placement line, making sure it covers all the stitches.
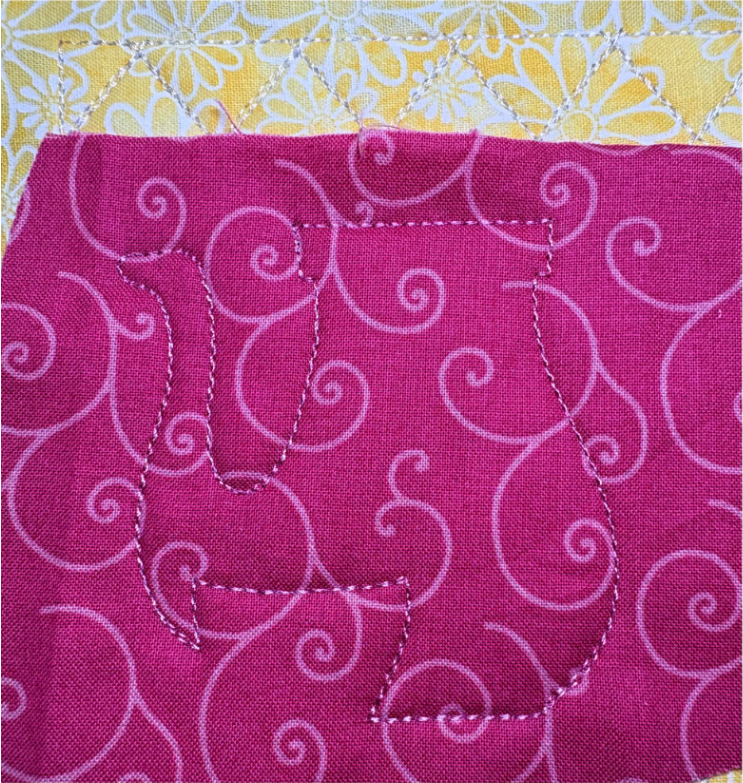
Stitch to hold the fabric in place. Take the hoop out and set it on a flat surface.
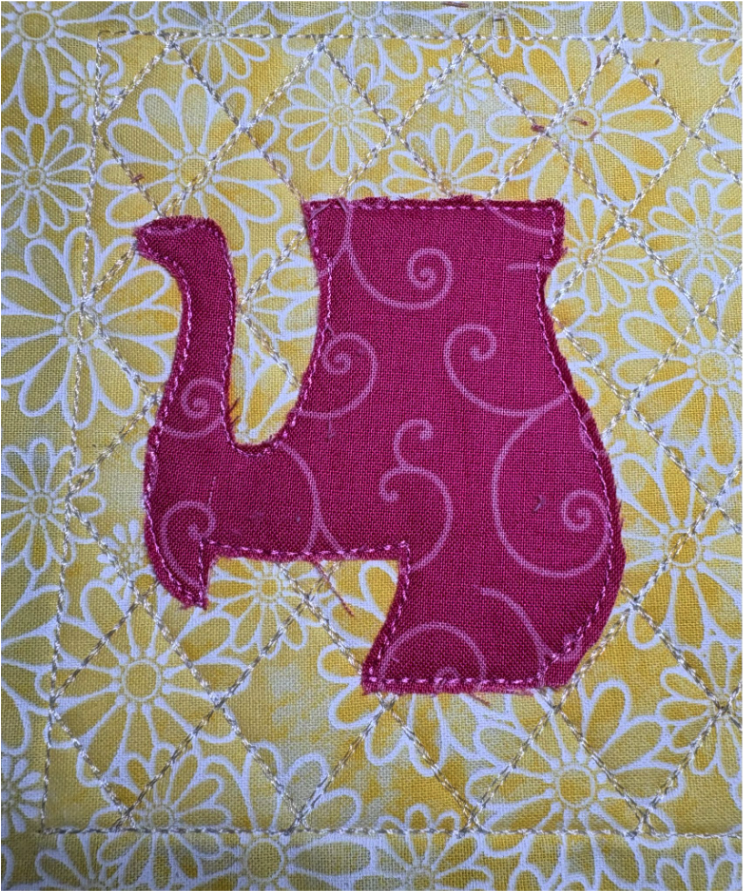
Trim the fabric close to the stitches.
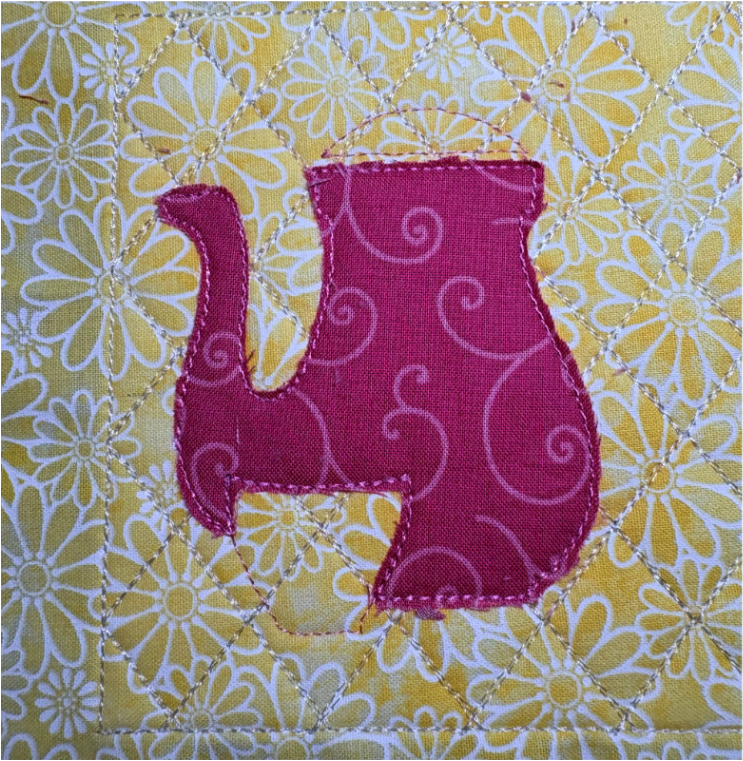
Once trimmed, return the hoop to the machine and continue with the remaining applique steps.
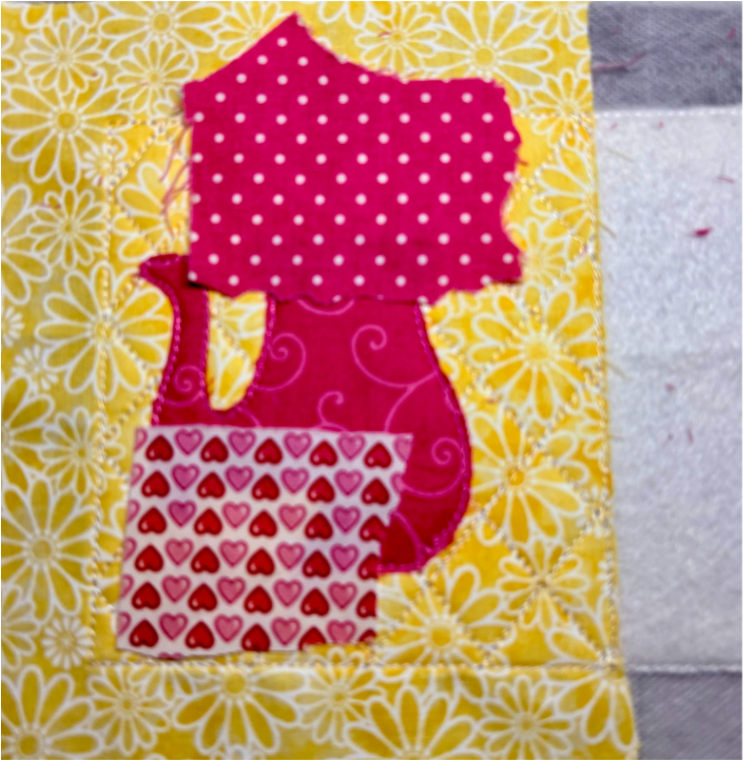
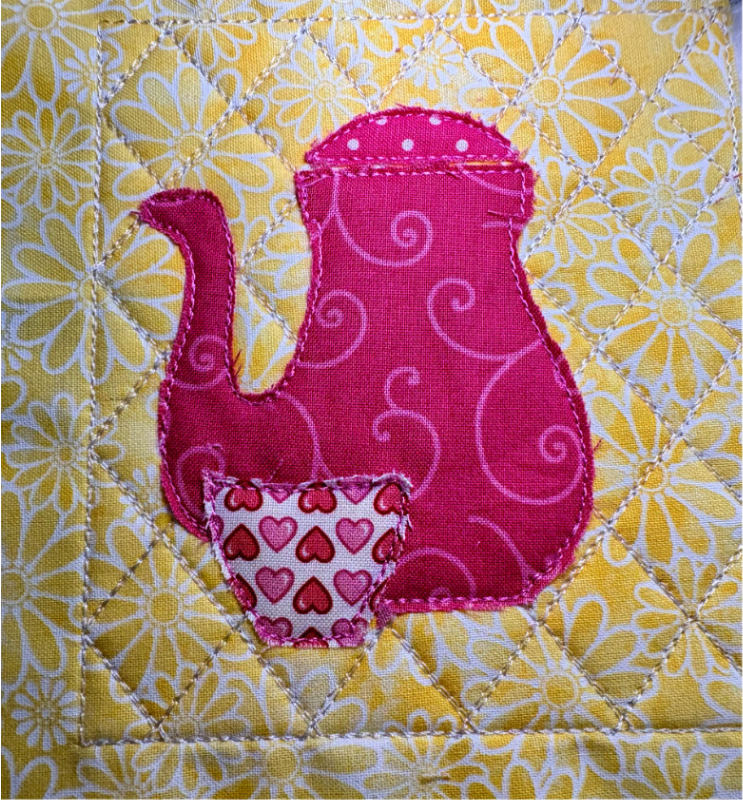
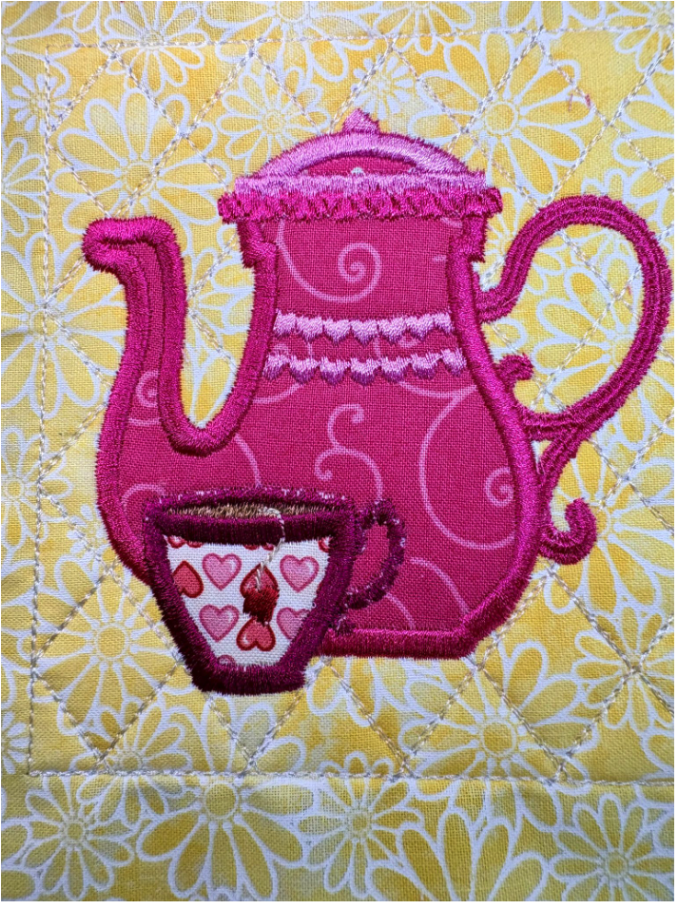
Finish this section by running the decorative satin edge stitching as indicated.
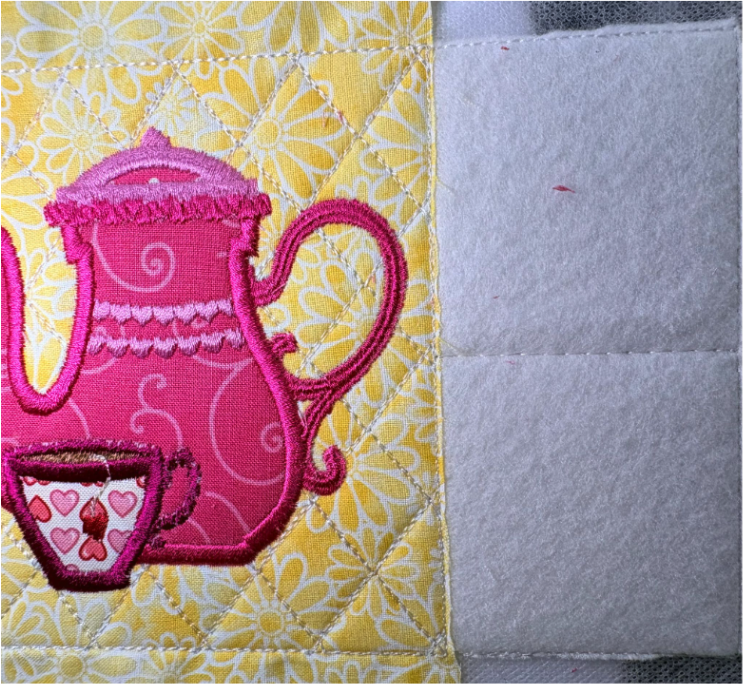
To start the next part of the mug rug, stitch the placement line that separates the top and bottom of the right side.
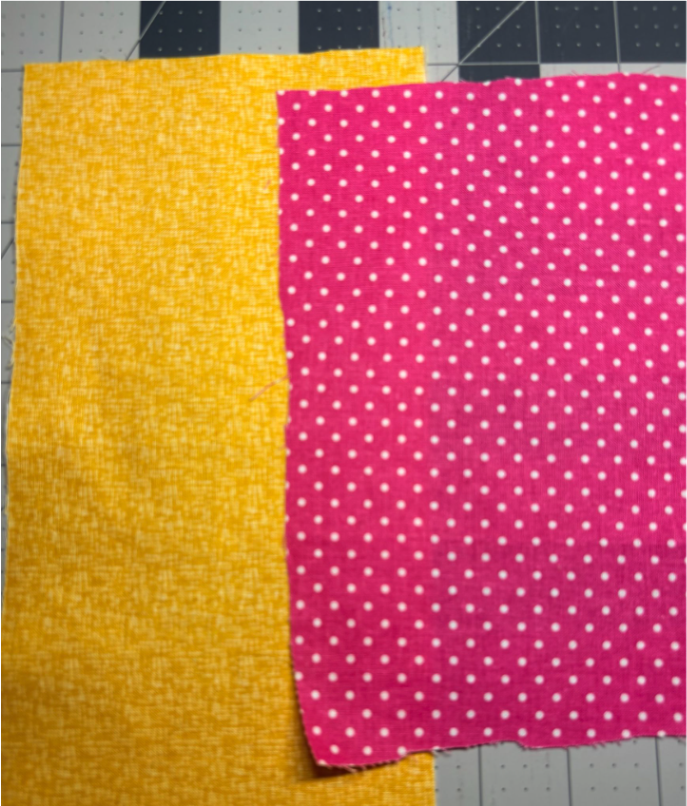
Gather the pocket fabric and the right side fabric.
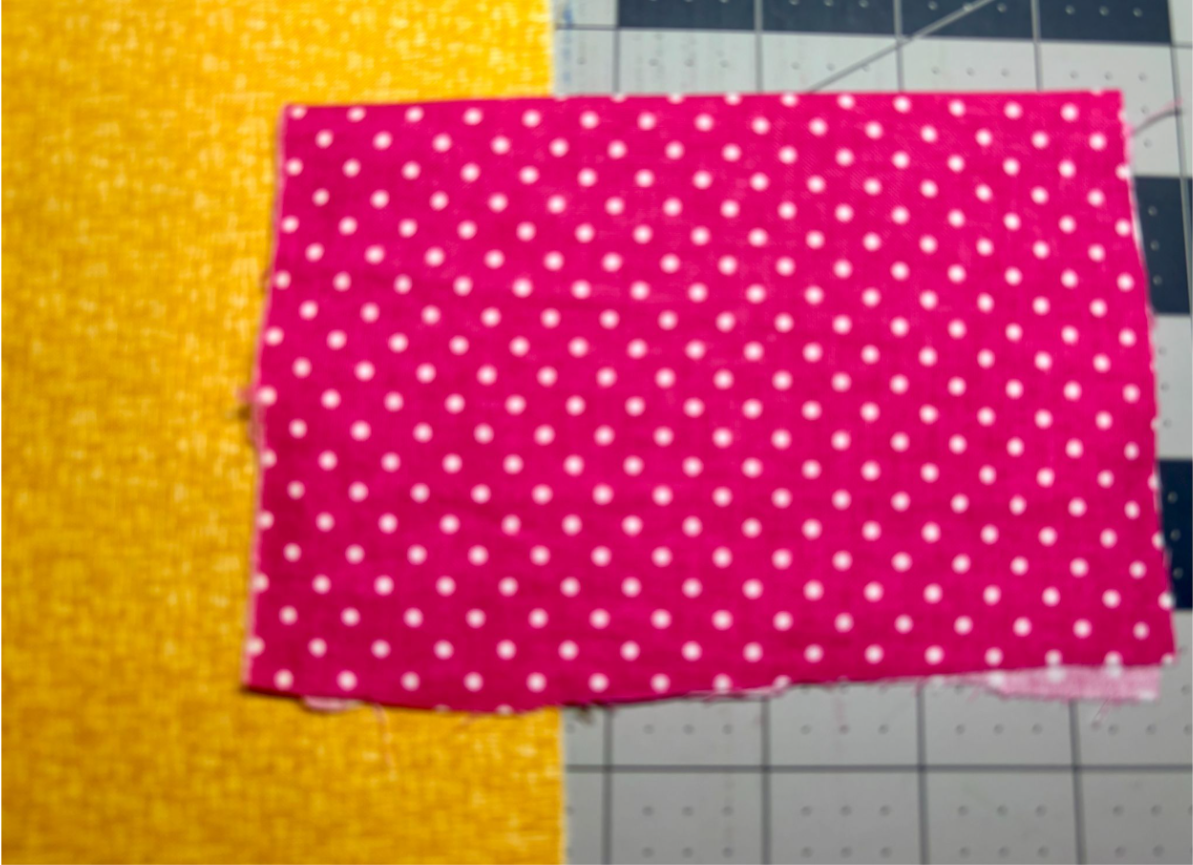
Fold the pocket fabric in half as shown and press it.
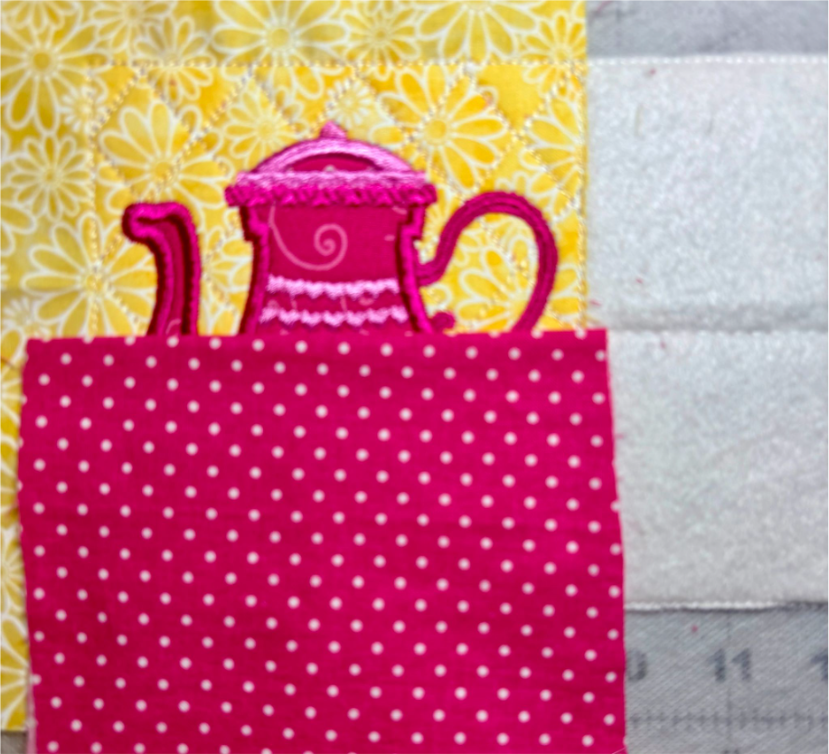
Place the pocket fabric right side down just over the vertical center line and just below the horizontal placement line. You want the front of the pocket to be facing down. You want the fold to be facing the center of the mug rug. Use the picture for reference if needed.
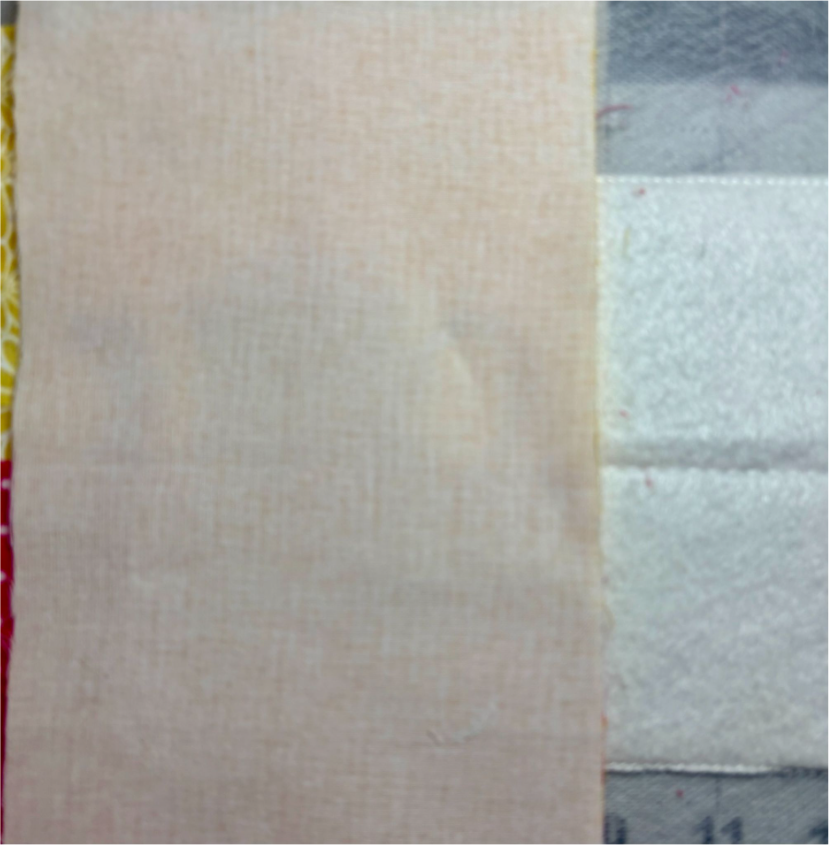
Place the right side background fabric on top of the pocket fabric, with the right side facing down.
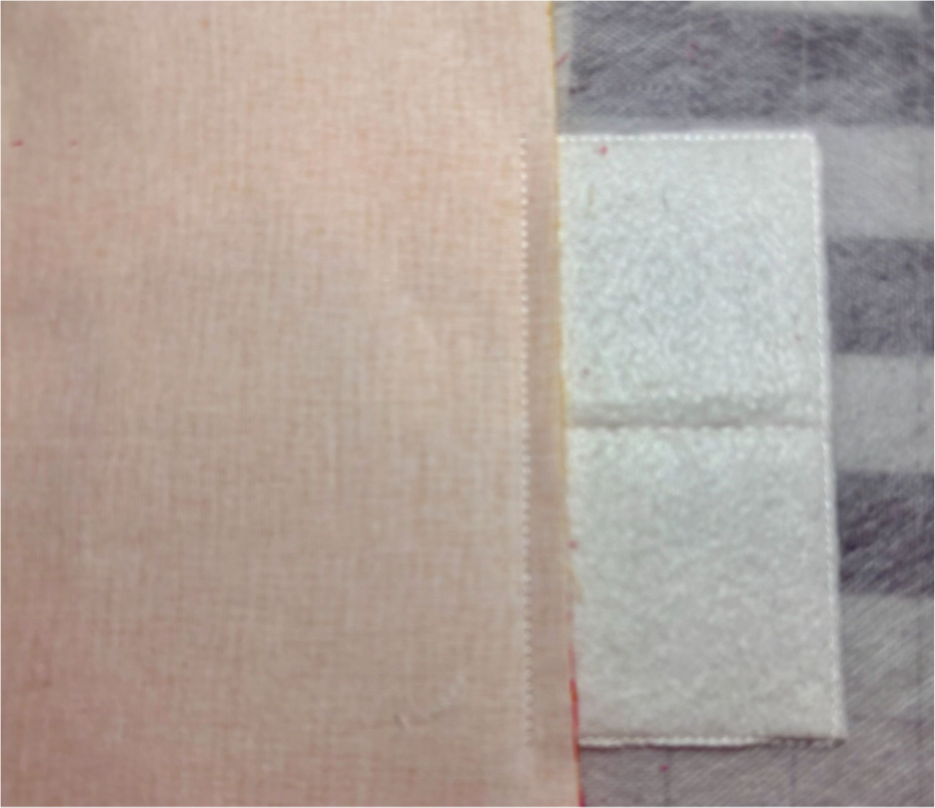
Run the tack-down stitch to secure both fabrics. Remove the hoop and set it on a flat surface.
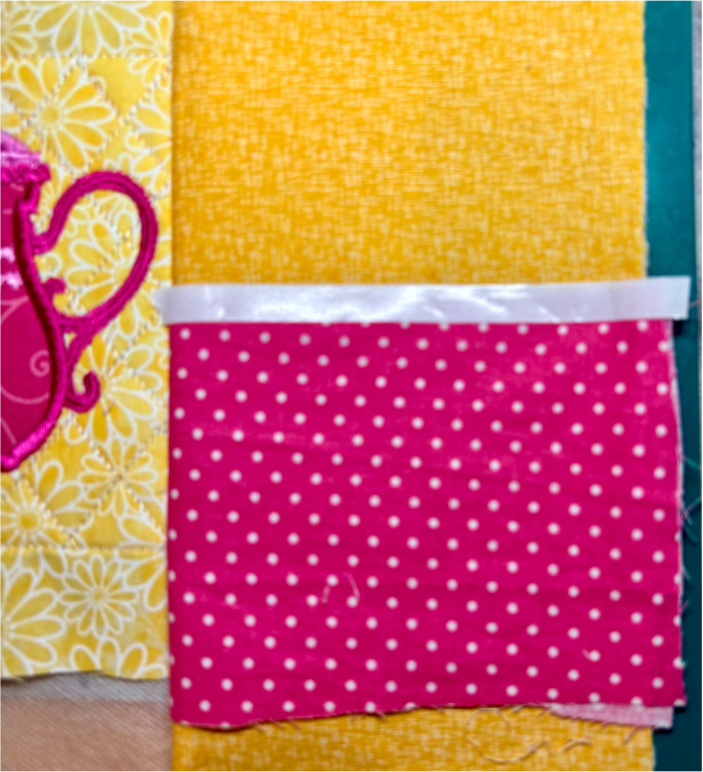
Fold over both fabrics and finger-press the seam down to prepare for securing the fabric. Tape the fabrics down to secure them. Then, return the hoop to the machine for the next stitch.
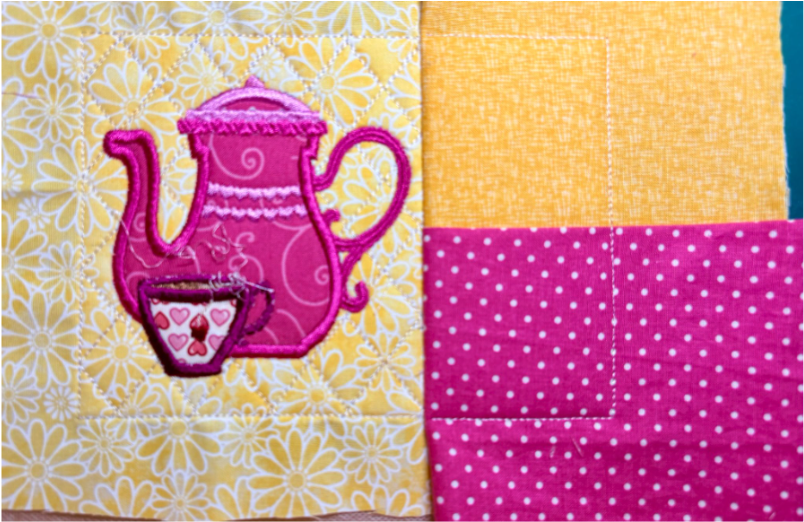
Run tack-down stitches to secure the fabrics. Remove the tape.
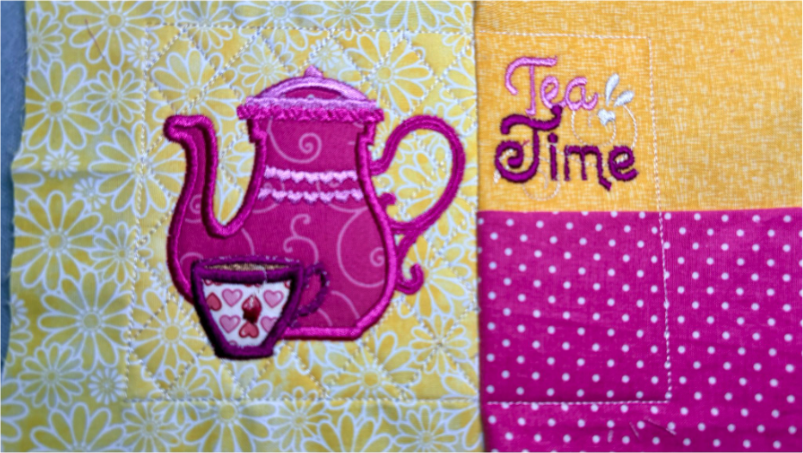
Stitch out the Tea Time decorative stitches.
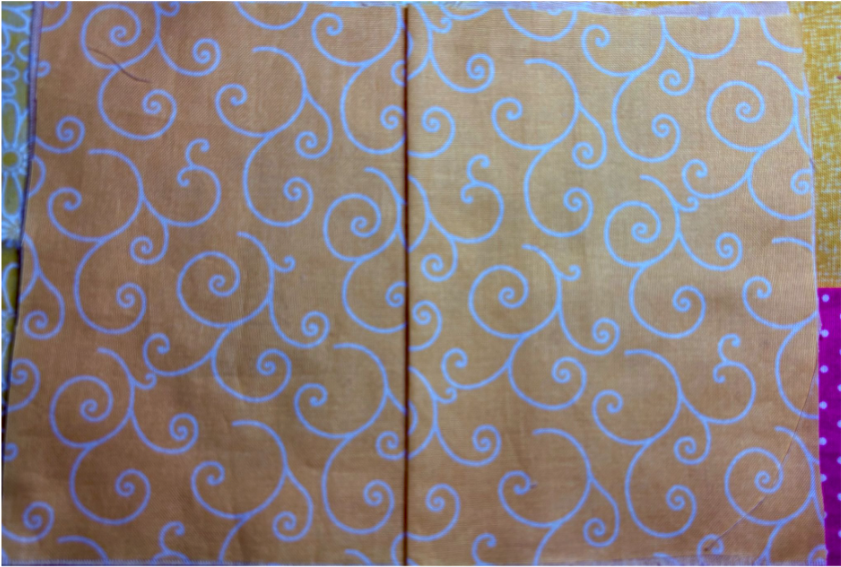
To add the back, fold and press both backing pieces in half before assembling.
Lay one folded piece down so the fold is in the center of the mug rug. Place the second backing piece on top of the first with the fold overlapping the first piece.
The folded pieces of fabric should overlap approximately ⅛” to ¼” beyond the center. Make sure the fabric extends past all sides at least ½” to allow for trimming.
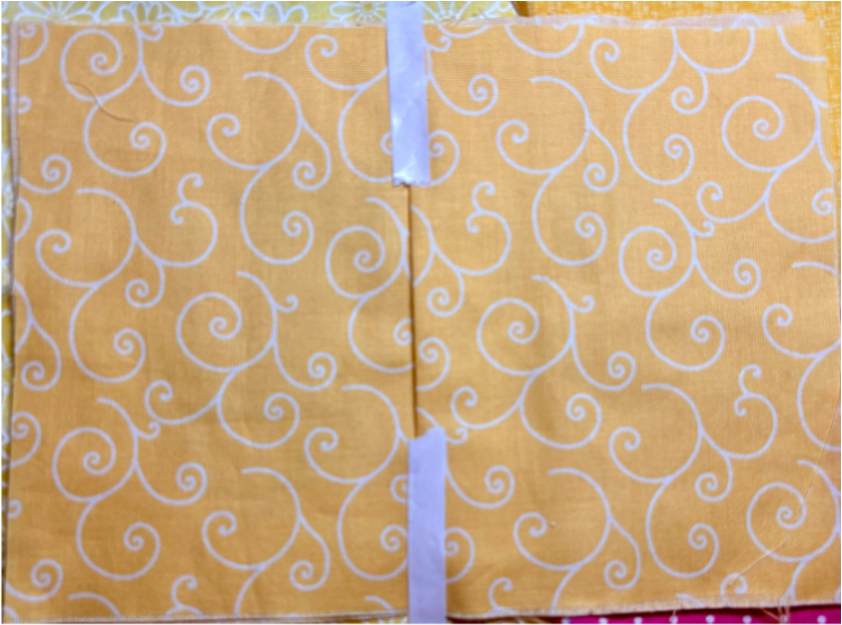
Tape the fold down. Return the hoop to the machine and stitch the final step. This will sew the front and back together.
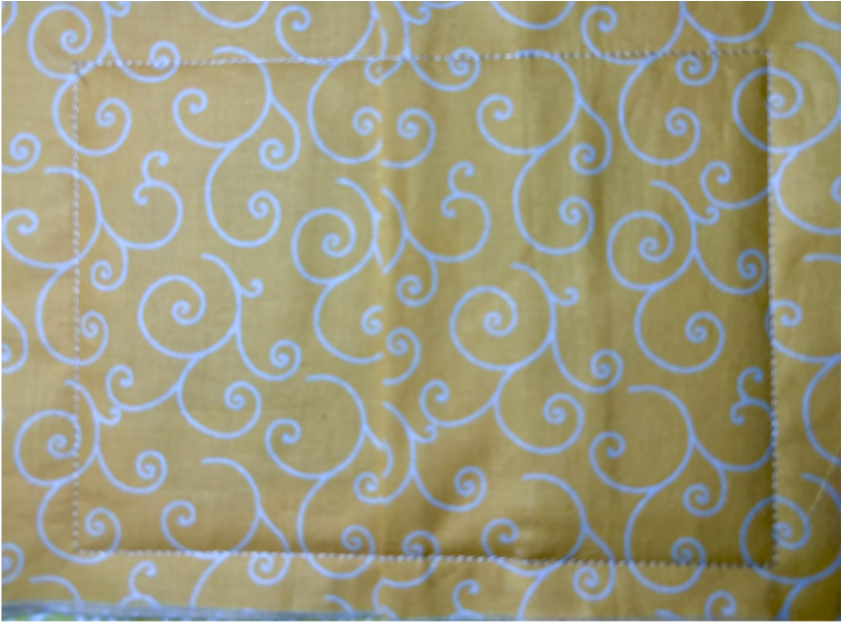
Remove from the hoop and remove the tape.
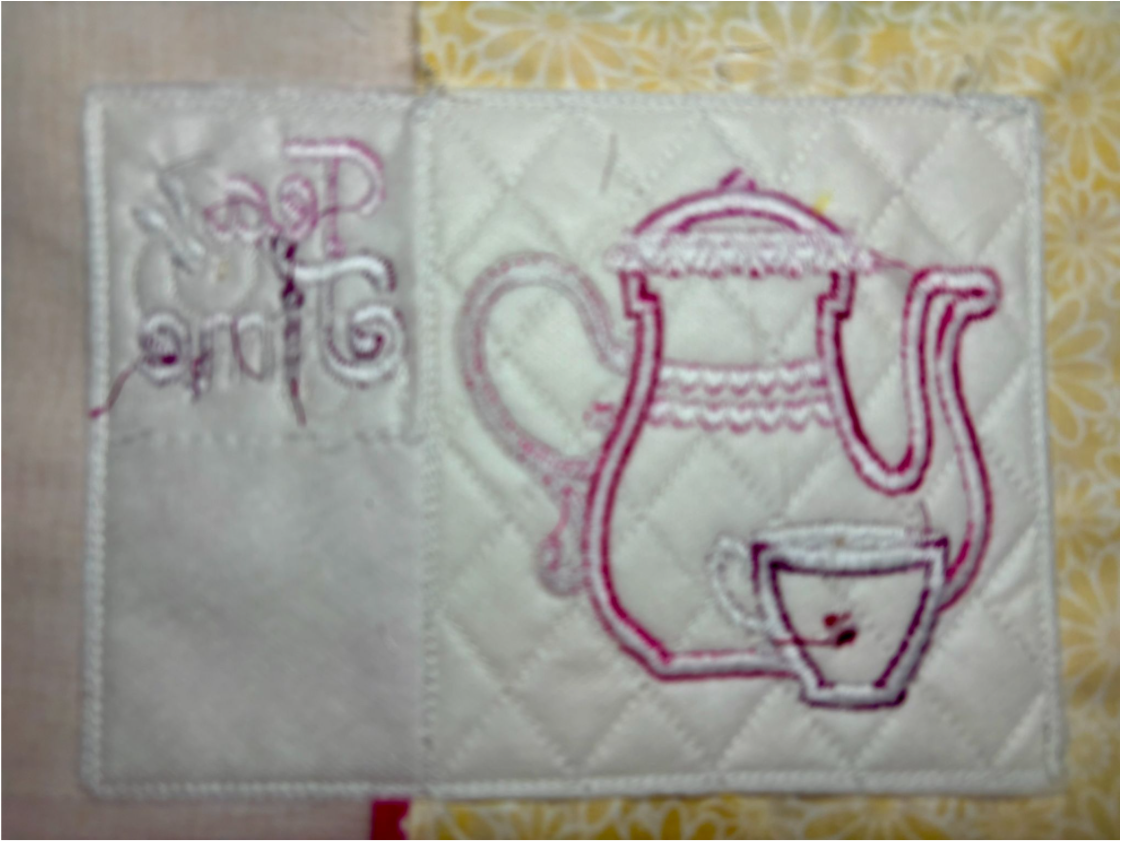
Trim away the stabilizer.
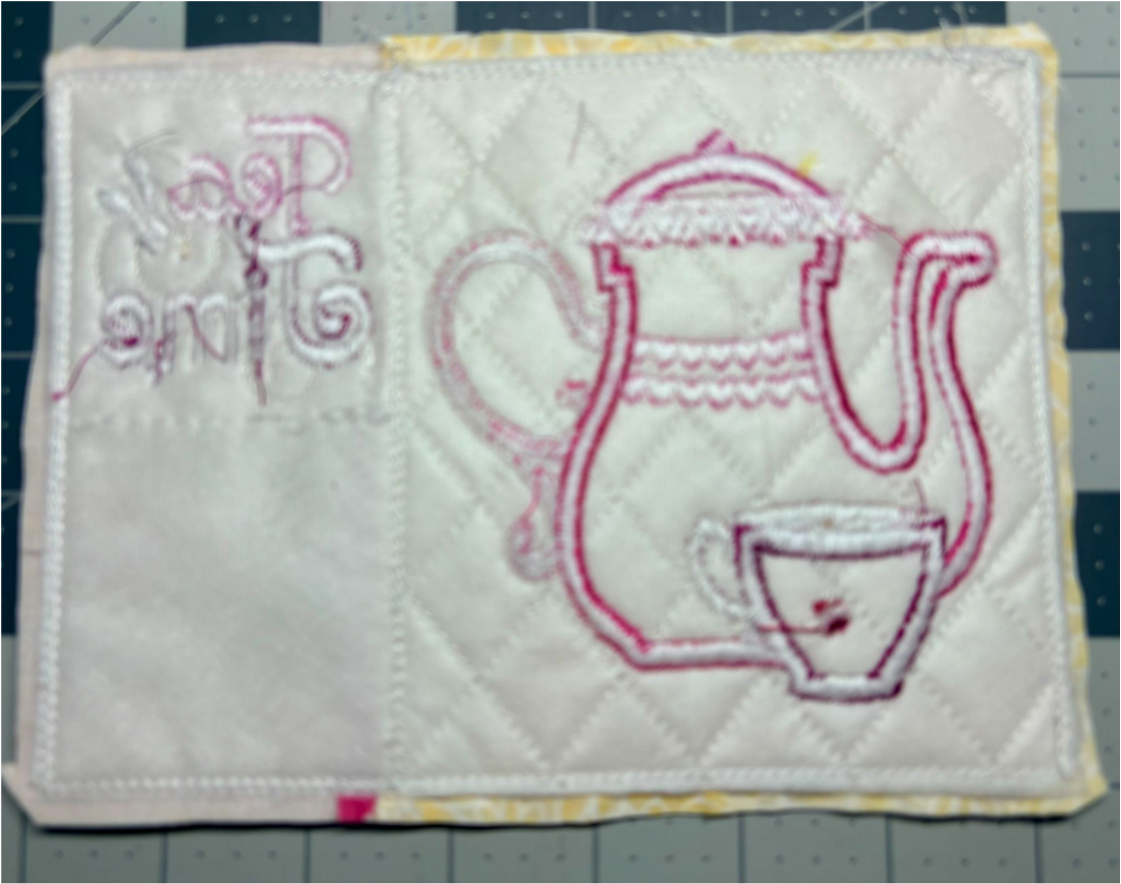
Trim around the edge, leaving a ¼” border. Clip the corners at an angle.
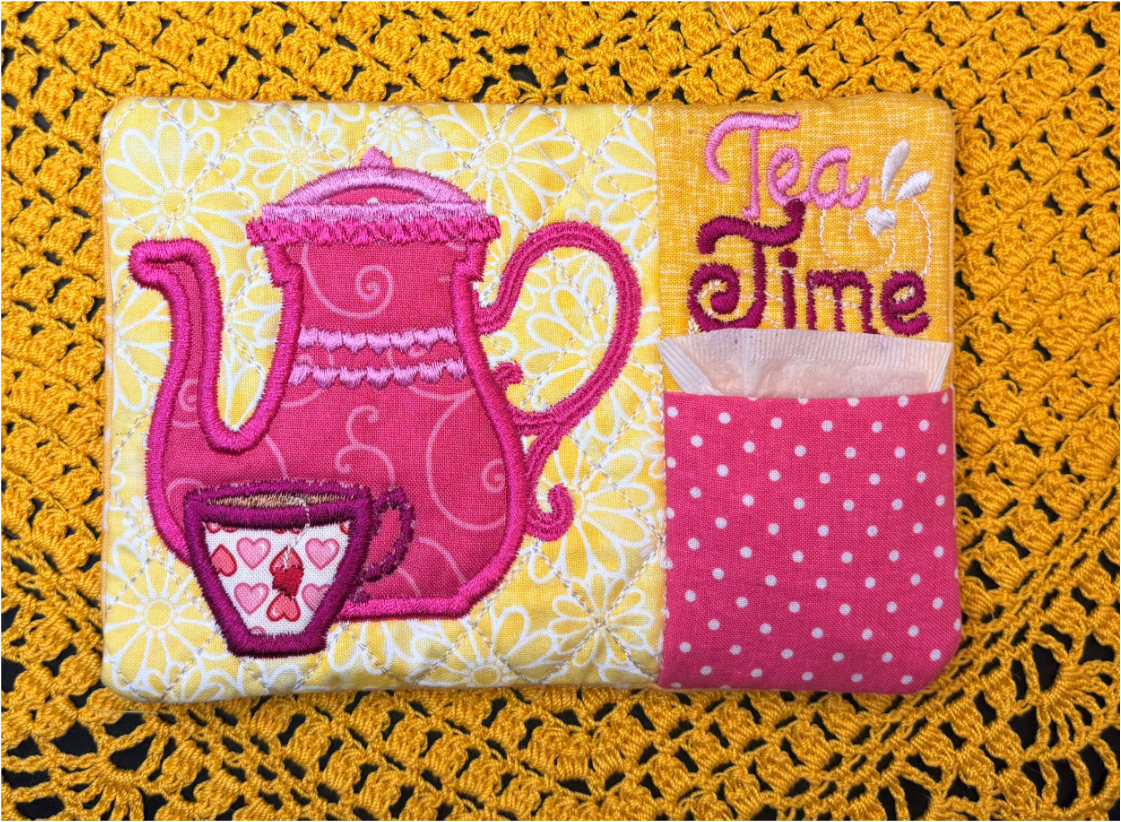
Turn the mug rug right side out and press it. Your mug rug is complete with a handy pocket for your next tea bag.
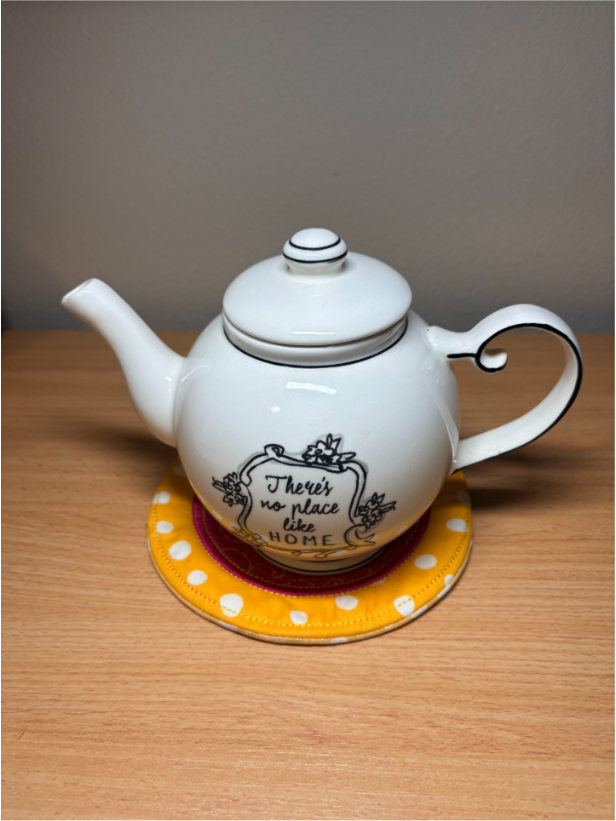
Now let’s add to the set by making a cute coaster for the teapot.
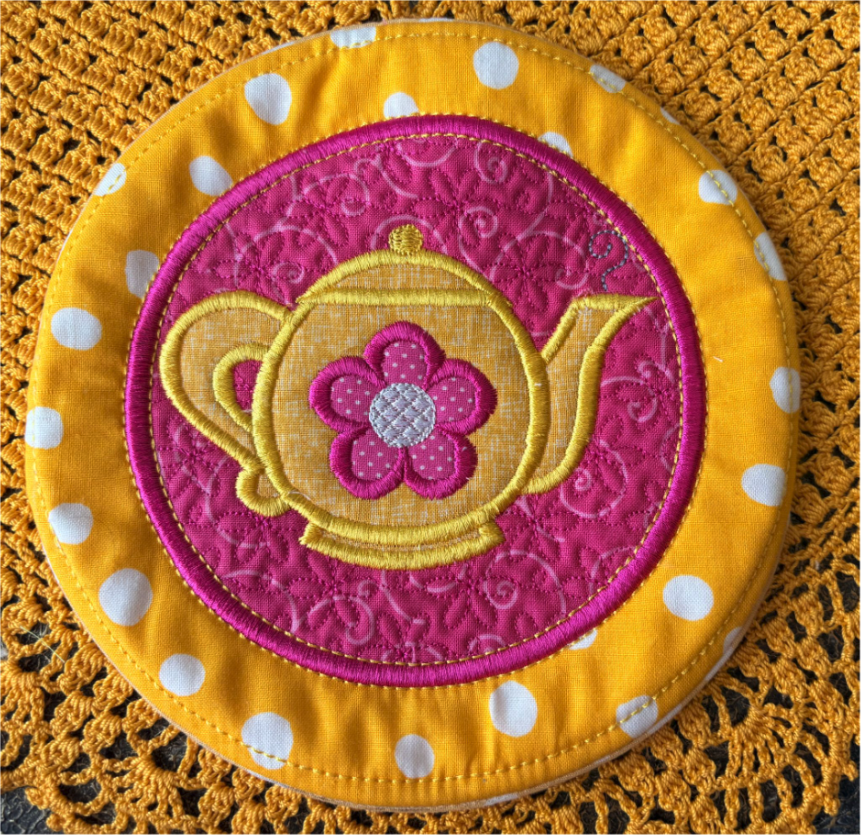
Finished size: 8” x 8” round
The download includes a supply list and fabric cutting sizes. Cut your fabric and batting for the 8” x 8” round coaster.
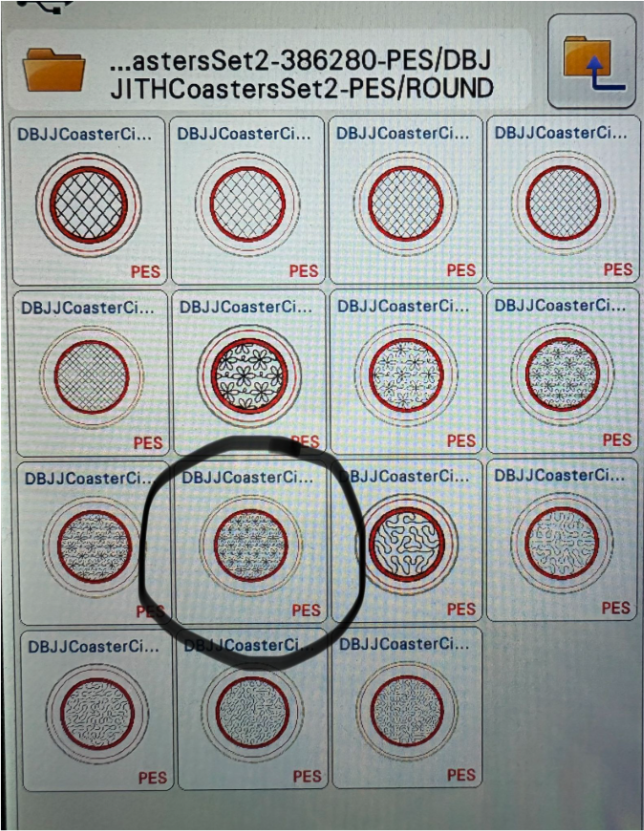
Load the ITH Coasters Set 2 and choose the largest size, 7.60” x 7.60”.
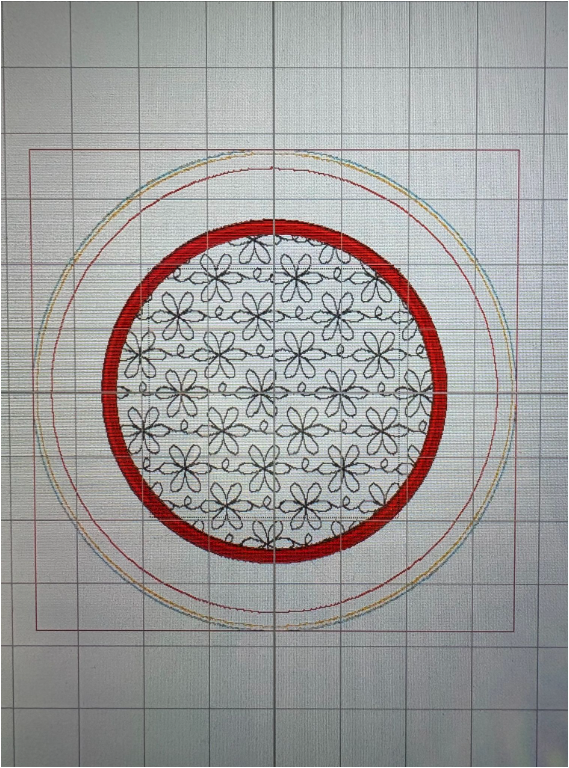
Add it to your screen.
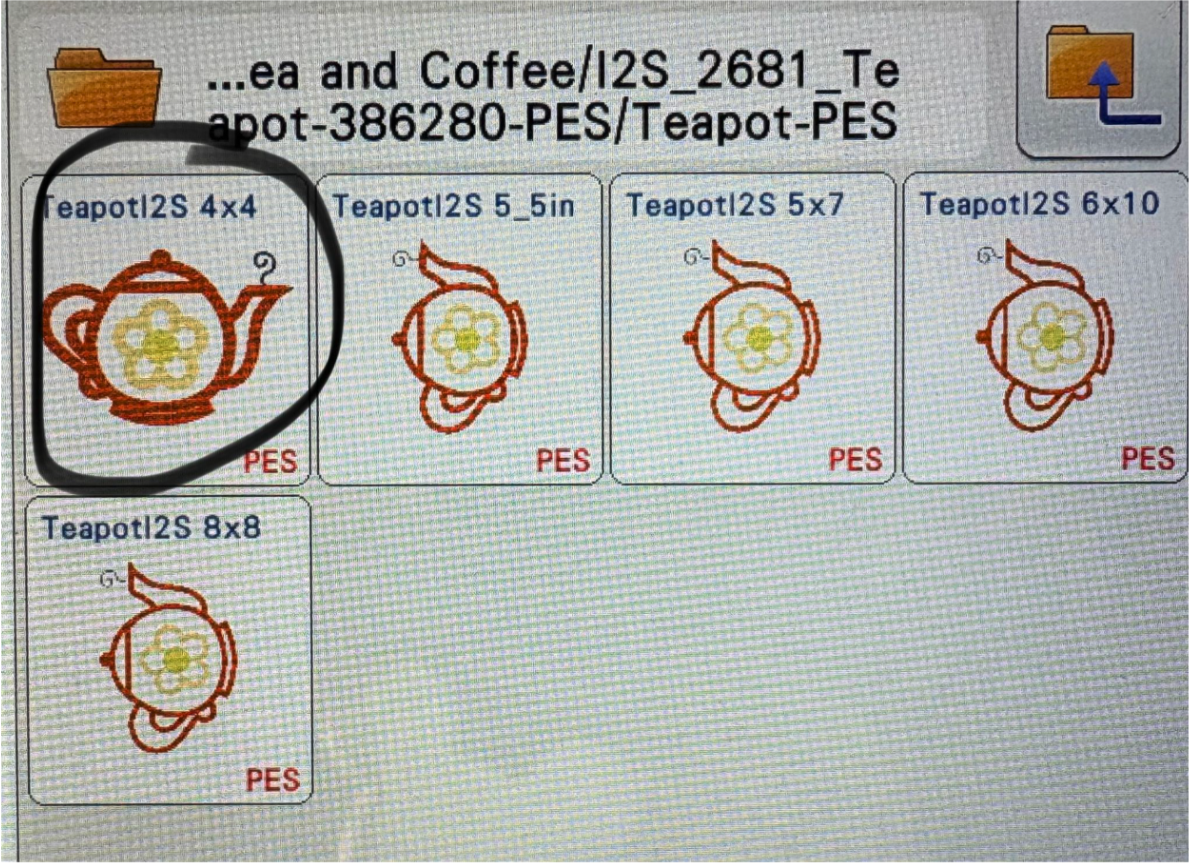
Next, add Teapot Applique, select the 4x4 design, and add it as well.
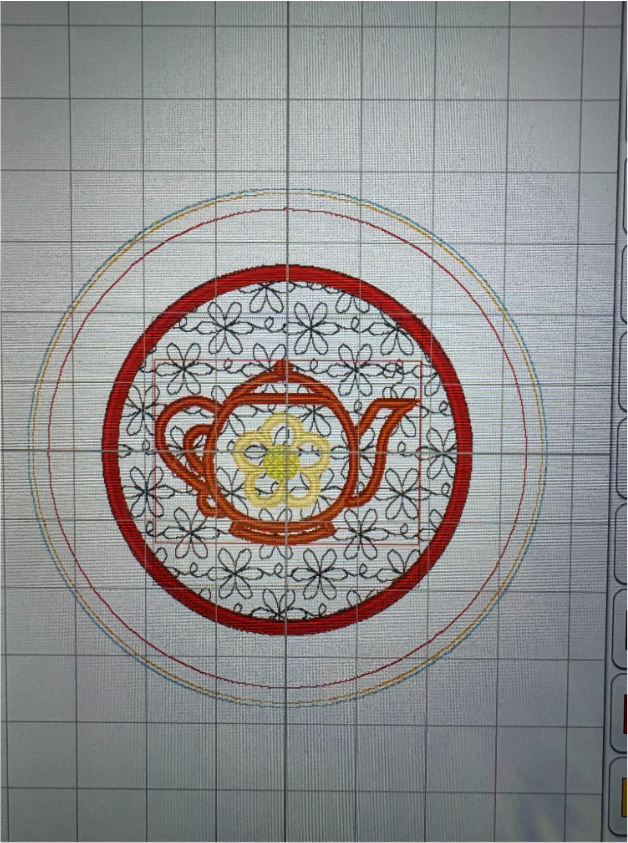
You can keep the design at this size or make it larger if you want. Remember to keep the teapot inside the inner coaster.
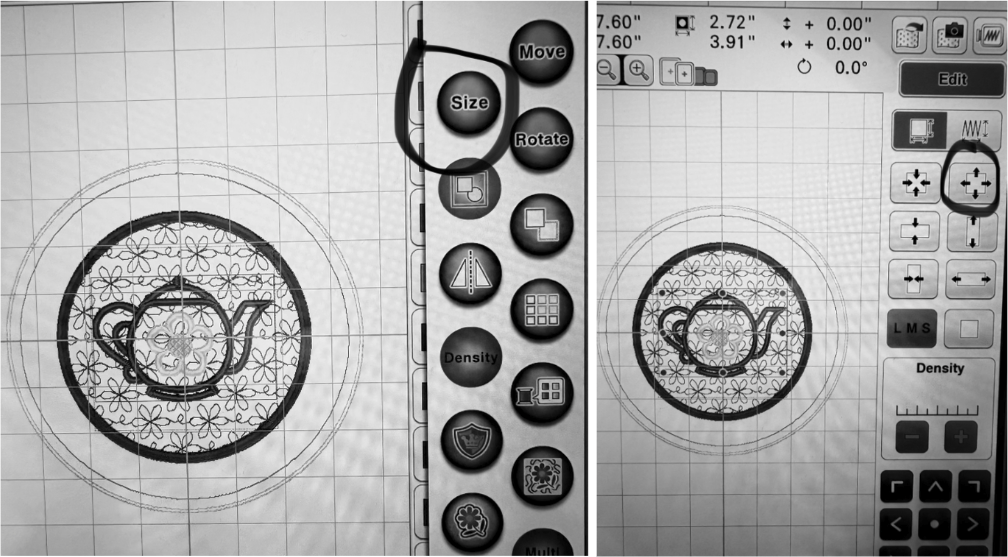
If you want to make the design bigger, use the Size button.
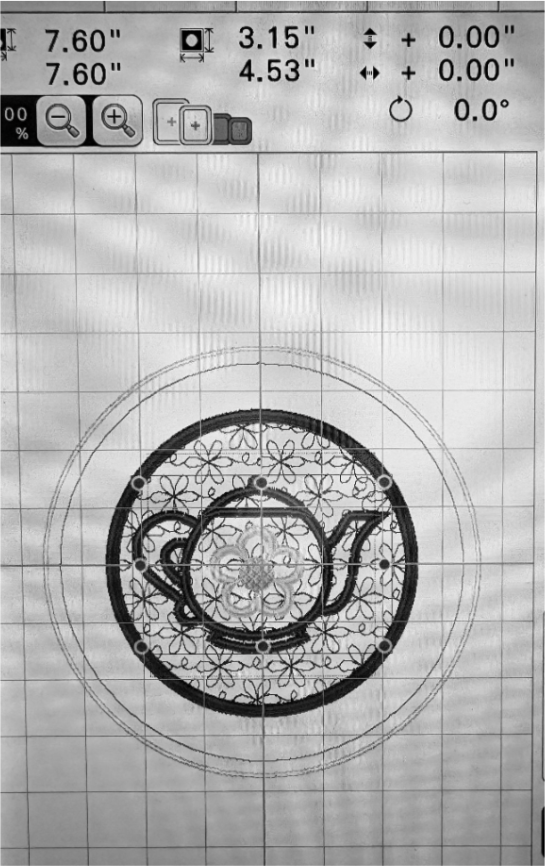
For reference, a size of 3.15” x 4.53” was used. Once both designs are ready, select embroidery to start.
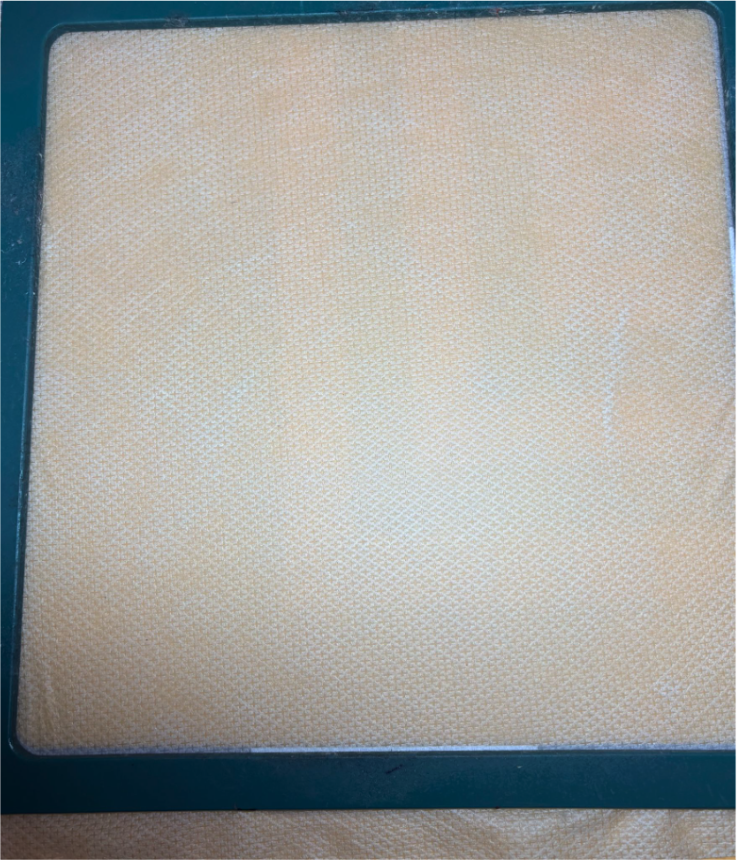
Hoop cut-away stabilizer and place it in the machine.
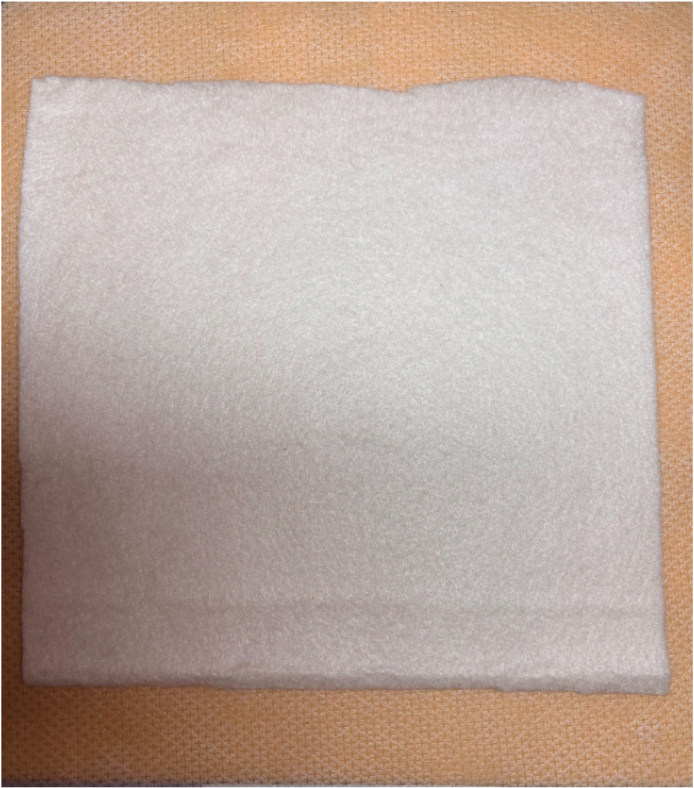
The first step is the placement stitch for your batting. Place the 9” x 9” piece of batting over the stitched placement outline, making sure it covers all the lines.
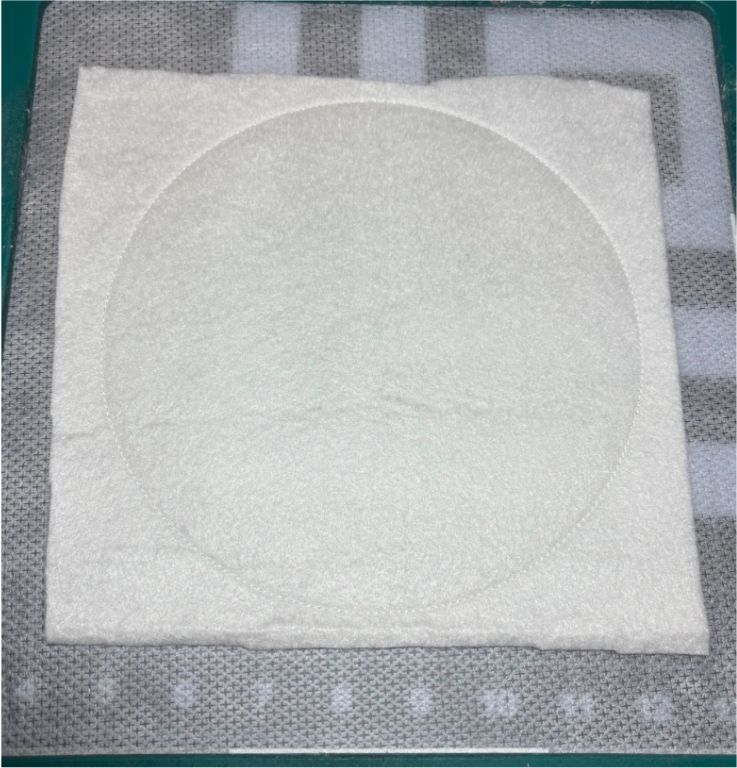
Sew the tack-down stitches. Then, take the hoop out of the machine and set it on a flat surface.
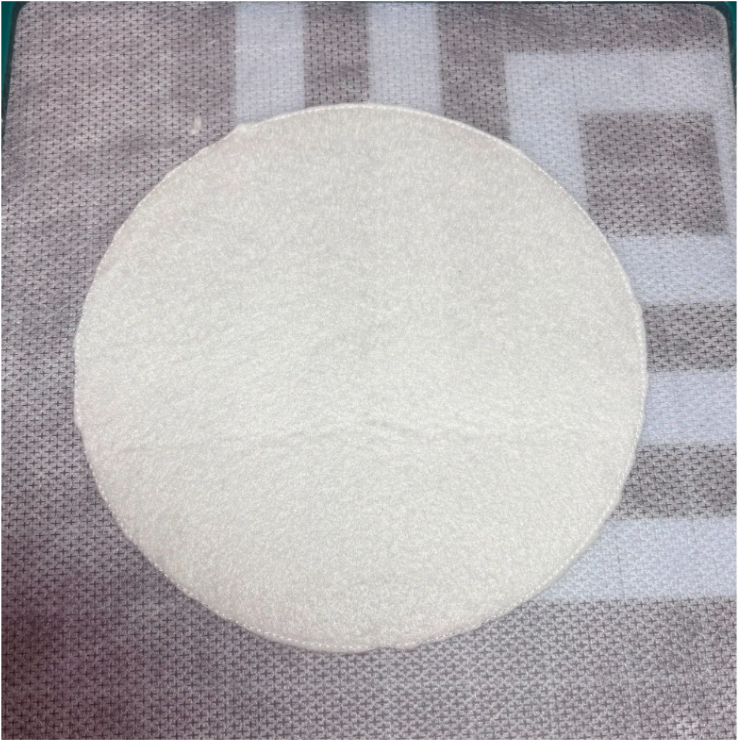
Trim the batting close to the stitches.
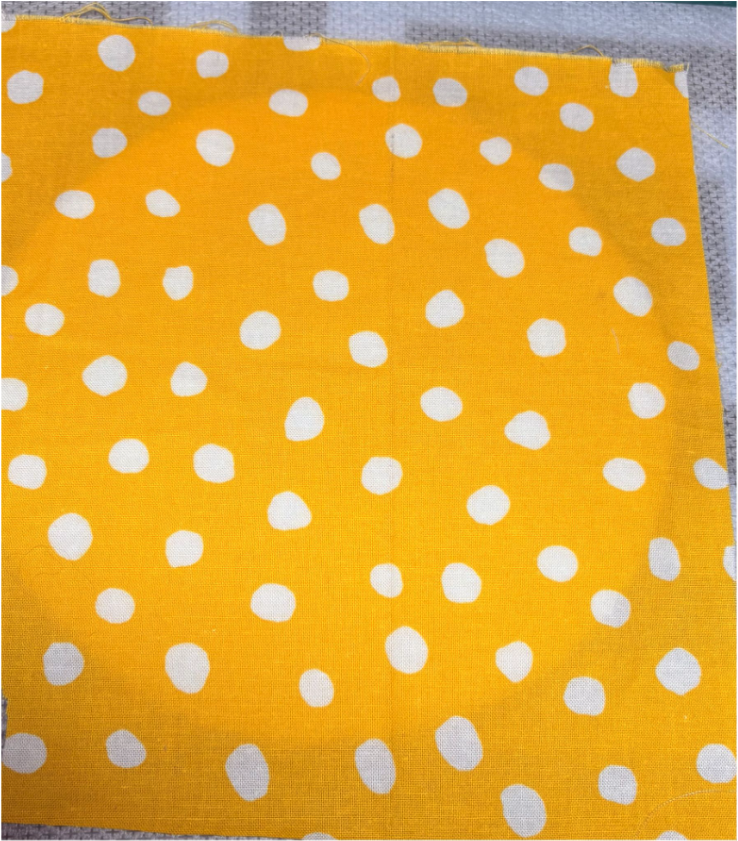
Place the 9” x 9” front fabric in the center over the stitched area in the hoop. Make sure it covers the batting and all stitched lines, then put the hoop back in the machine.
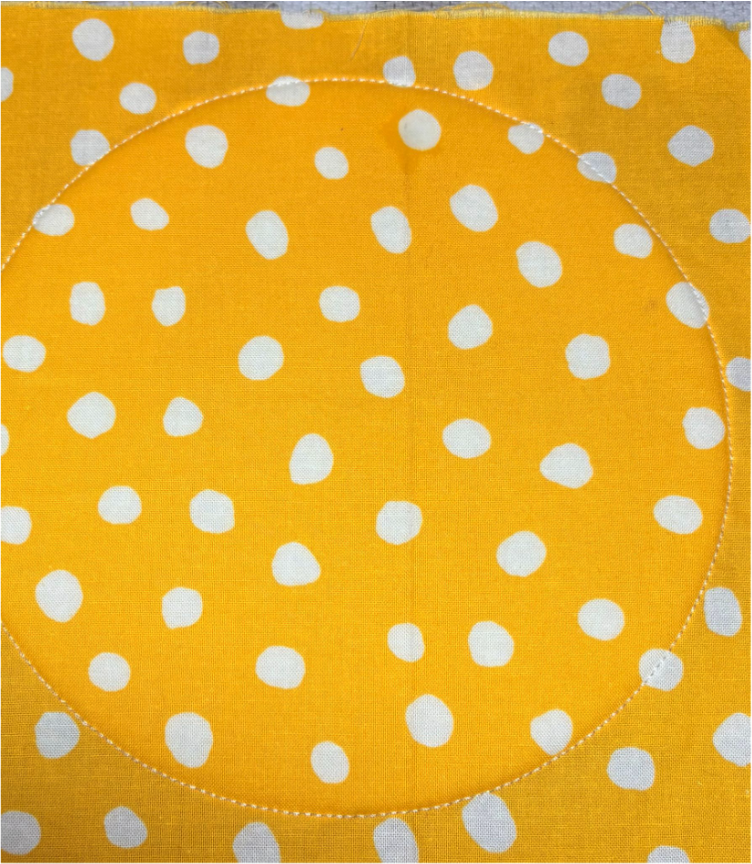
Run the tack-down stitches. Do not trim this fabric.
The next step is the placement line for the 7” x 7” center piece of fabric.
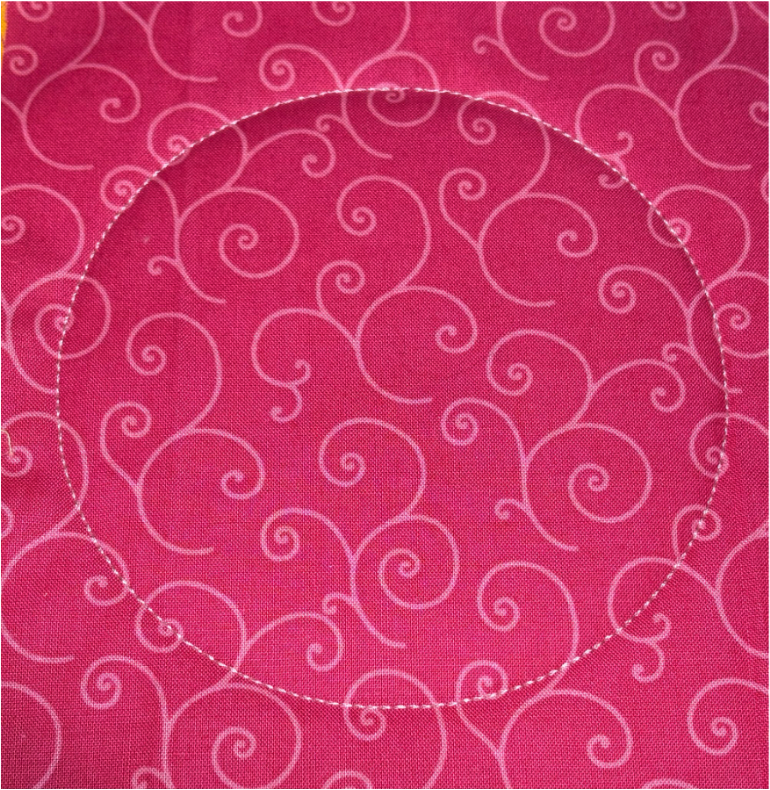
Place the 7” x 7” center piece of fabric over the stitched placement line, making sure it covers the whole outline. Sew the tack-down stitches, then take the hoop out and set it on a flat surface.
Tip: If the front fabric shows through when you lay down the center fabric, cut out the top fabric as shown in the instructions from the download. Or use Designs by JuJu+ fuseEZ Fusible Interfacing on the back side of the center fabric. If it doesn’t show, you can skip this step.
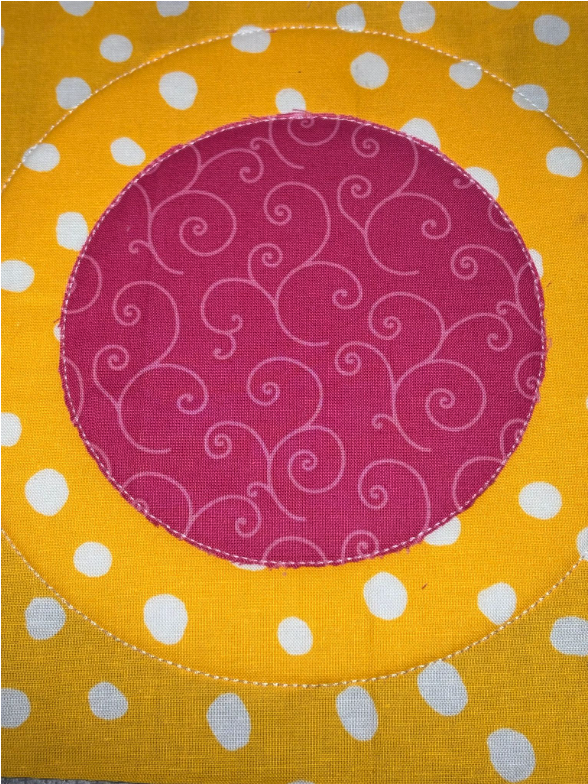
Trim the center fabric close to the stitches.
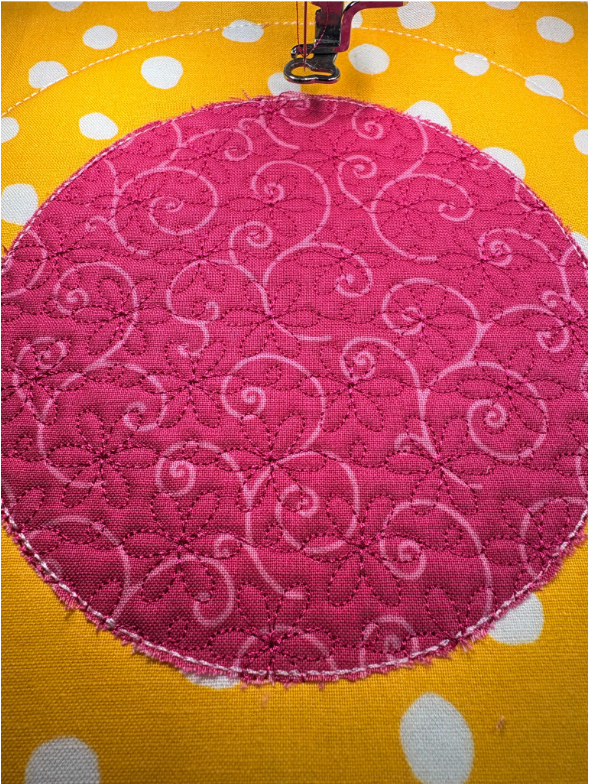
Now, sew the decorative fill stitching.
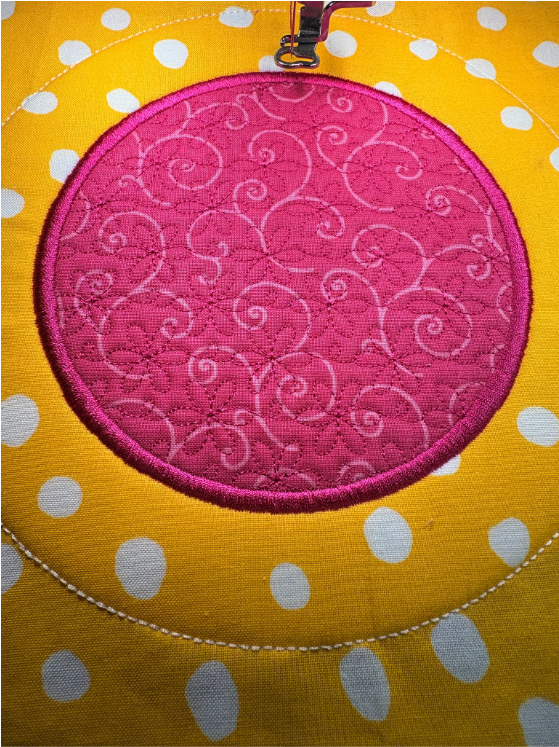
After that, sew the satin edge.
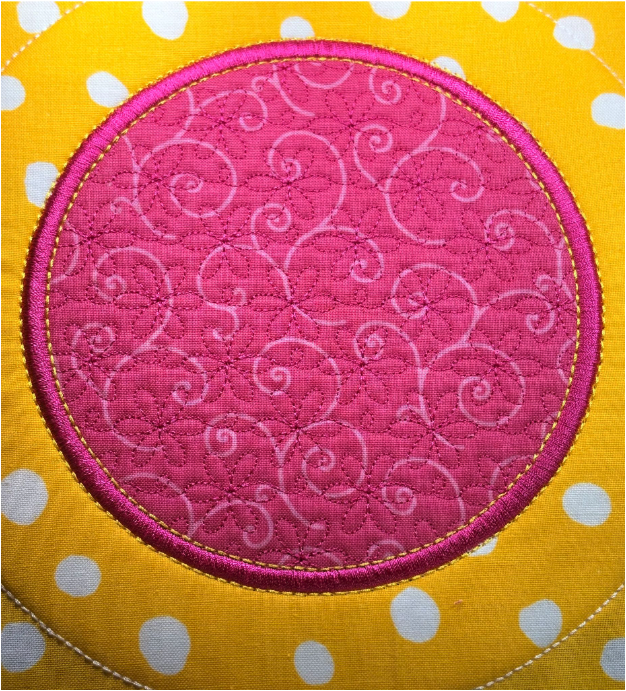
Sew the echo bean stitch on each side of the satin stitching.
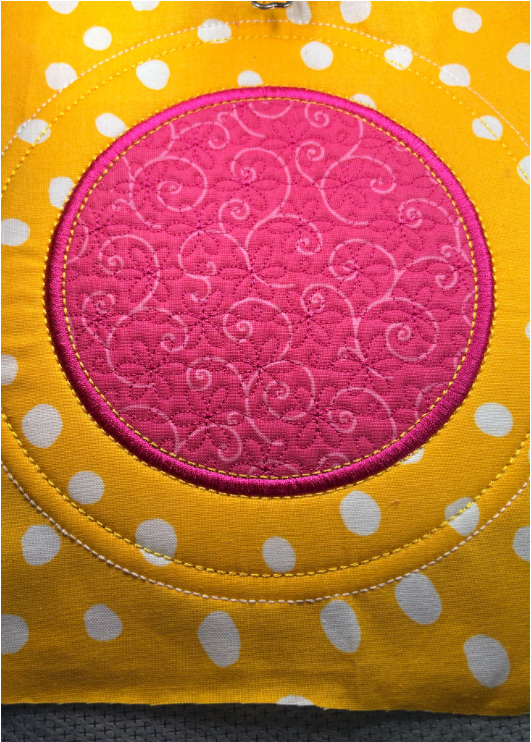
The next step is the outer top stitching around the coaster.
Skip Step 10, which adds the backing. You’ll return to it later.
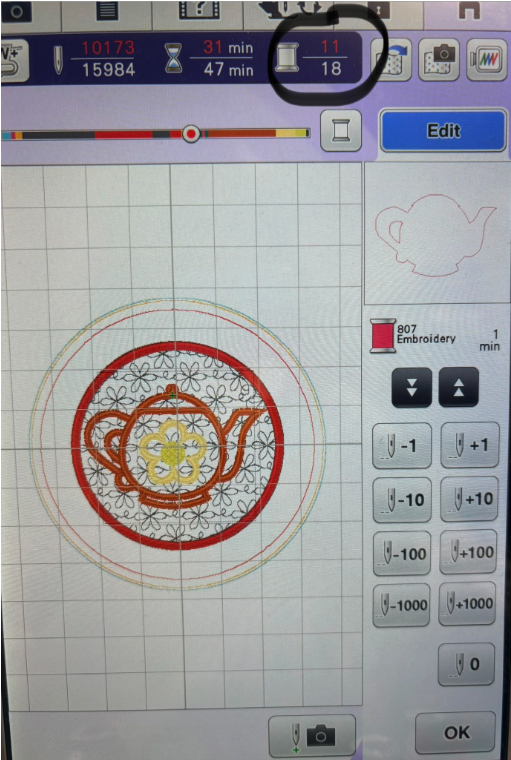
Move the design forward to Step 11. This is where you start the teapot applique.
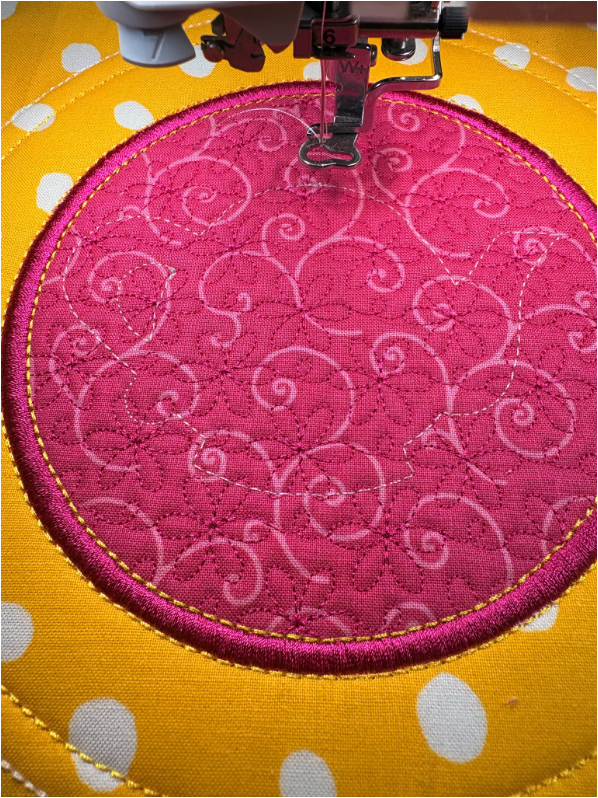
The first step of the applique is the placement line for the teapot.
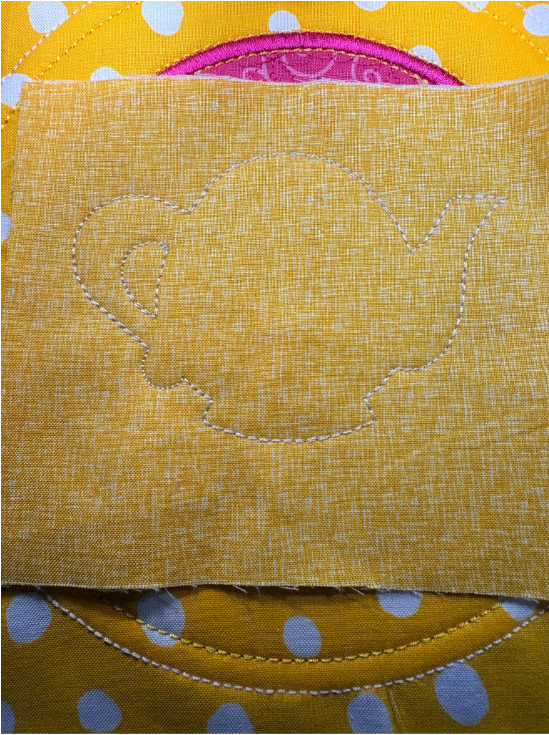
Lay your teapot applique fabric over the stitched placement line so it covers the whole outline. Sew the tack-down stitch, then take the hoop out and set it on a flat surface.
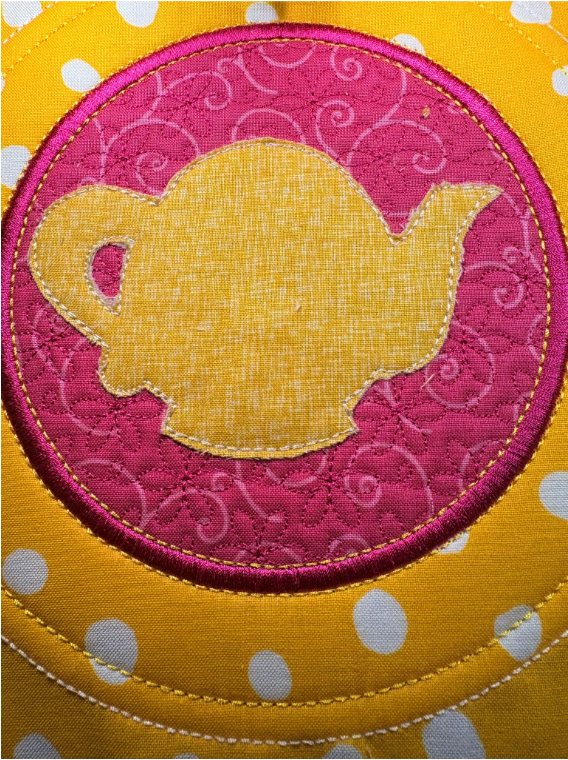
Trim the fabric close to the stitches. Return the hoop to the machine.
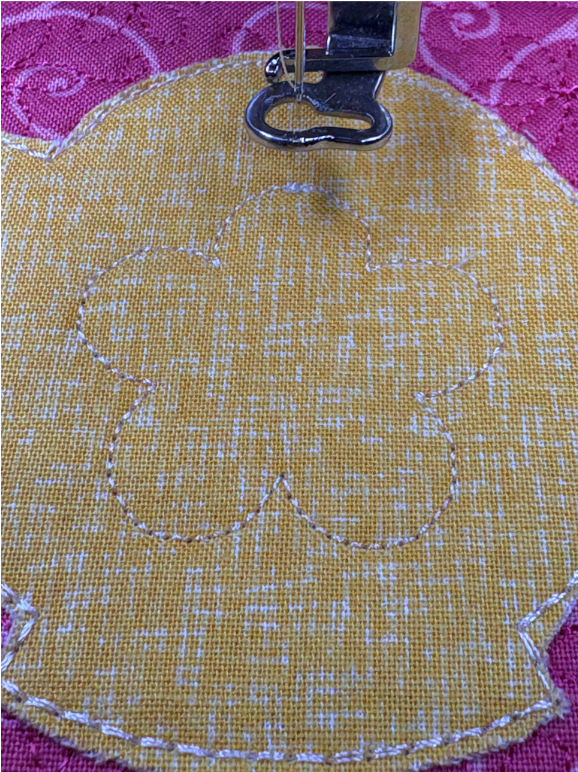
Next is the placement line for the center flower.
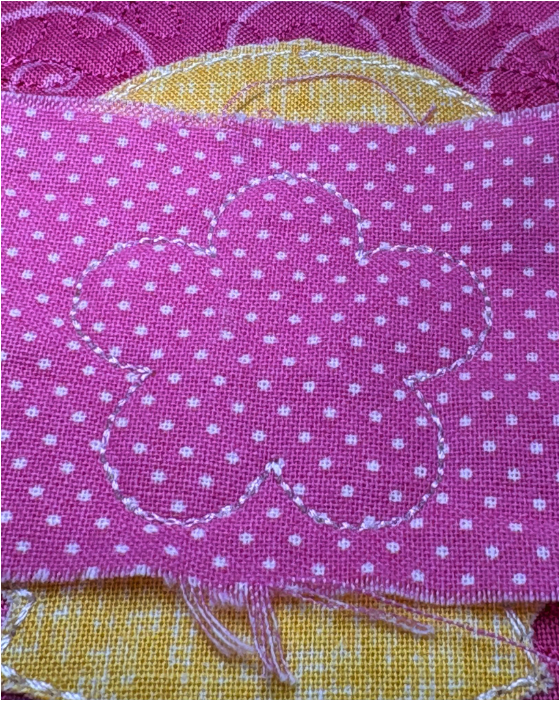
Place the fabric for the center flower over the stitched placement line, making sure it covers it completely before sewing the tack-down stitches.
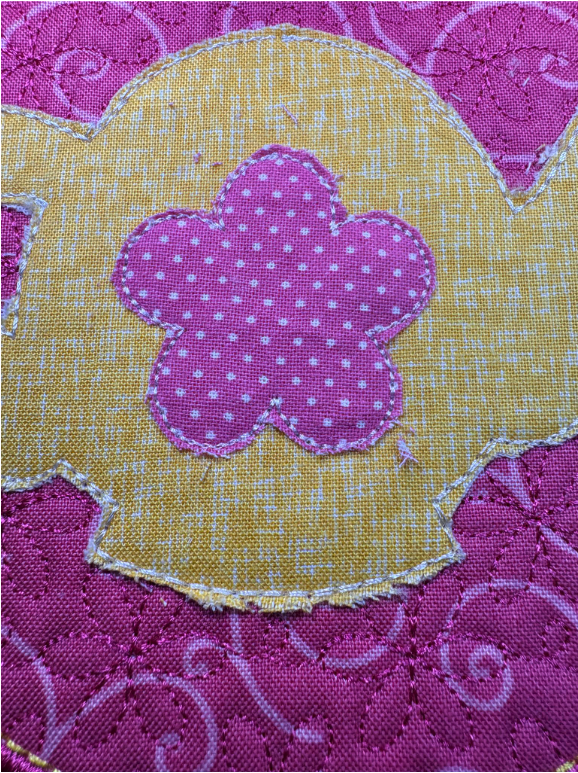
Trim the fabric close to the stitches.
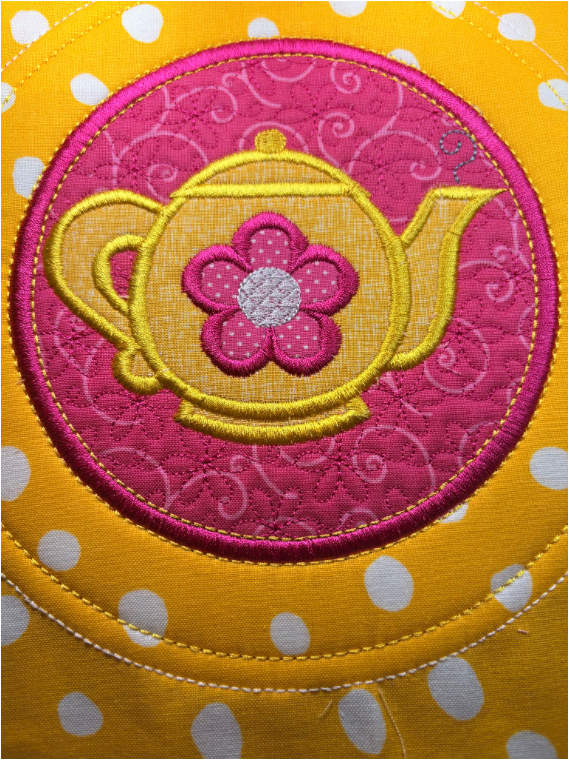
Finish by sewing the decorative stitches and the satin edge.
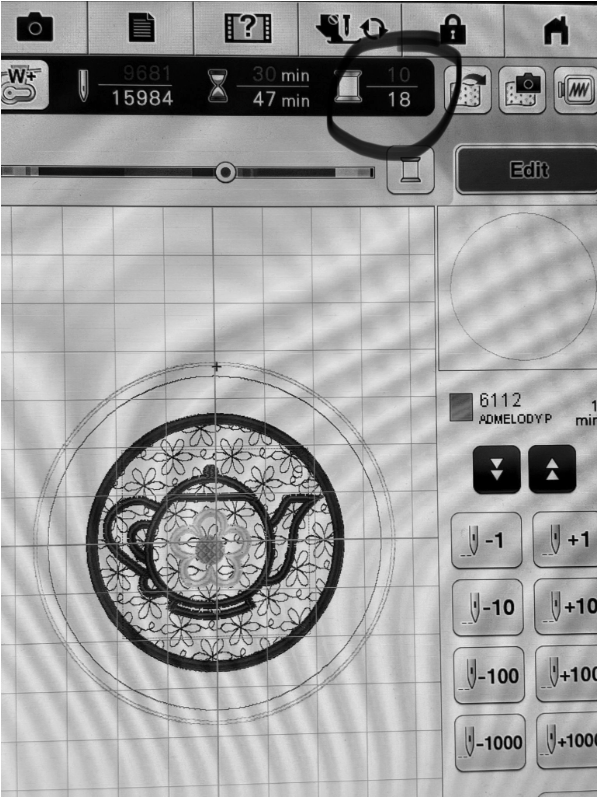
Go back to Step 10 to add the backing.
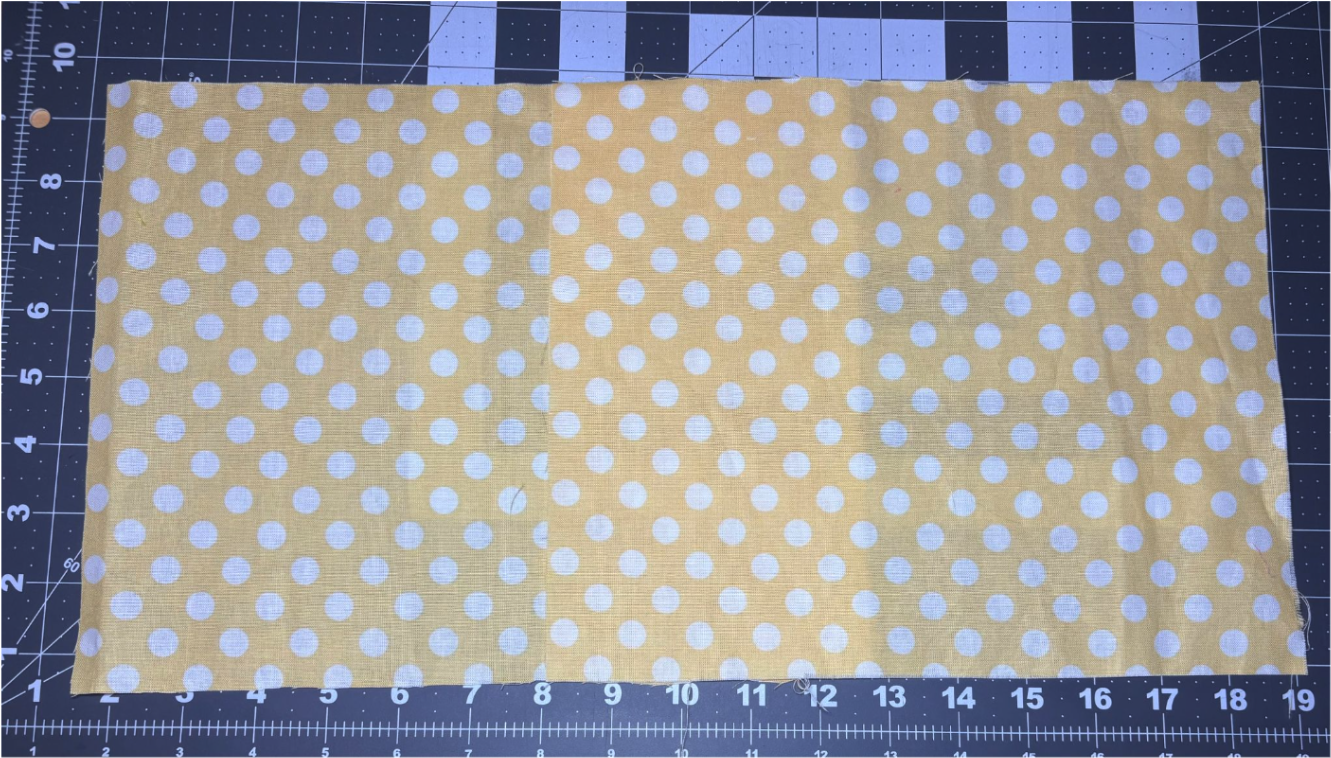
Cut two pieces of fabric, each measuring 10” x 9”.
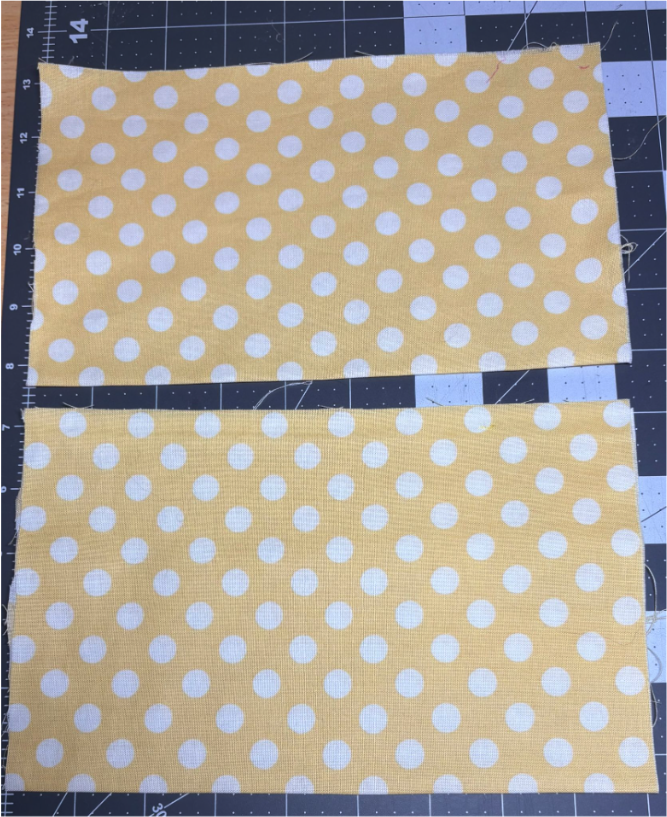
Fold each one in half to make two pieces that are 5” x 9”.
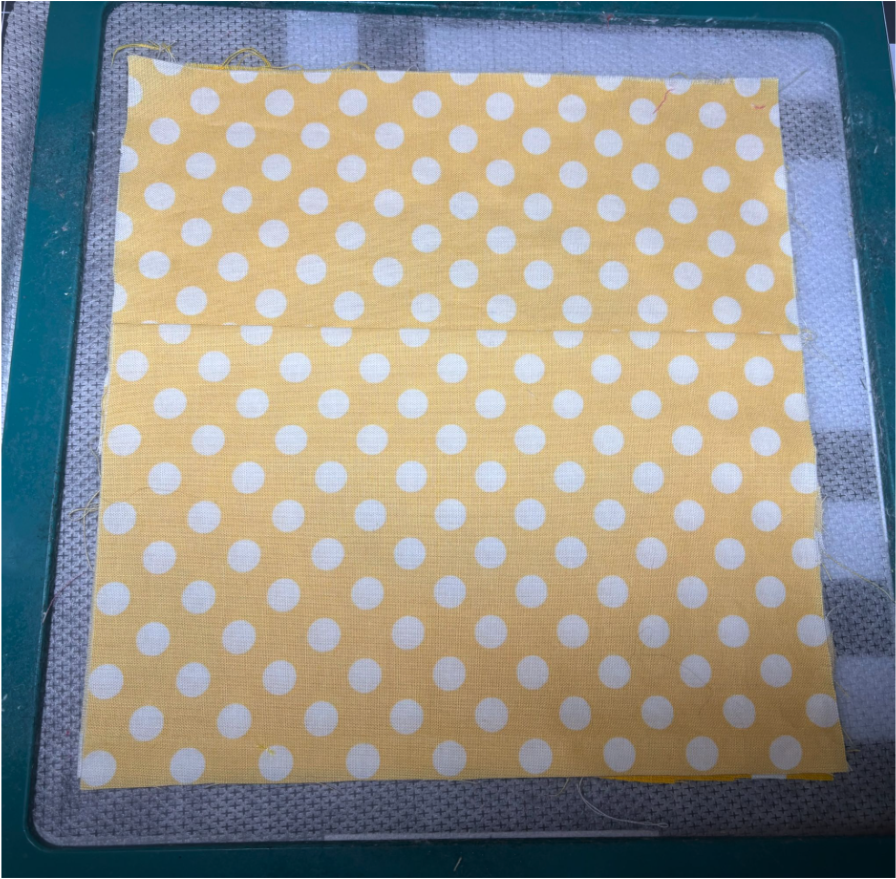
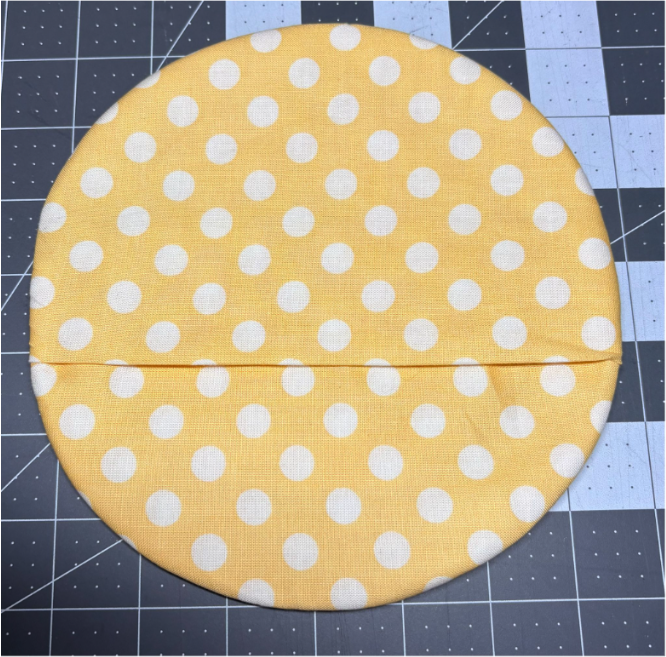
Place the first folded piece of backing fabric on the coaster with the folded edge facing the center, so it covers half of the back. Then, put the second folded piece on top so its folded edge overlaps the first by at least 1”, covering the back completely to make an envelope-style closure.
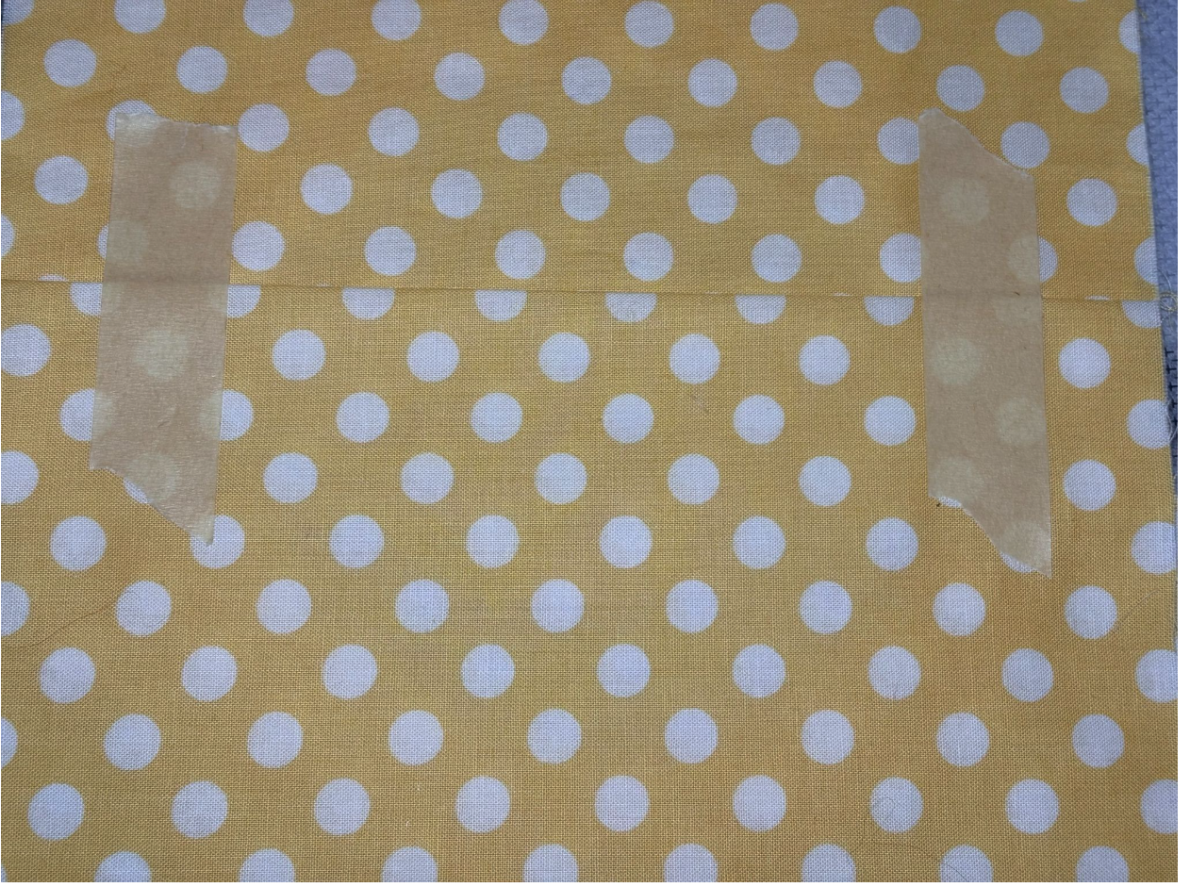
Tape the folded edges down along the stitching line.
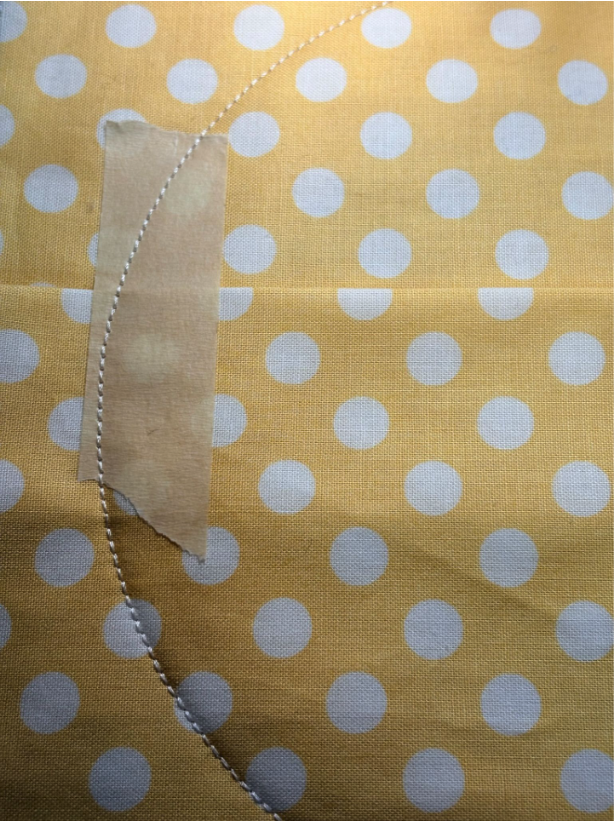
Stitch the backing to the front.
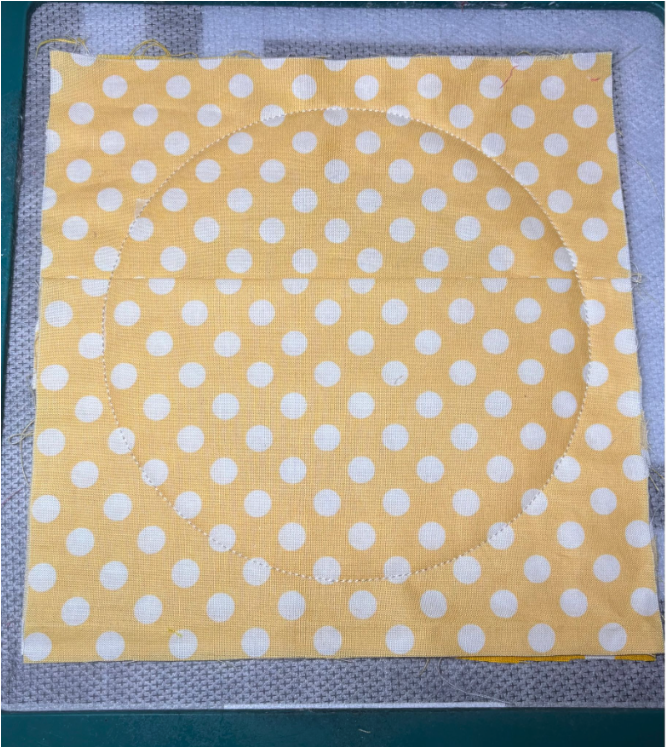
Take the hoop out of the machine. Carefully remove the tape from the stitching.
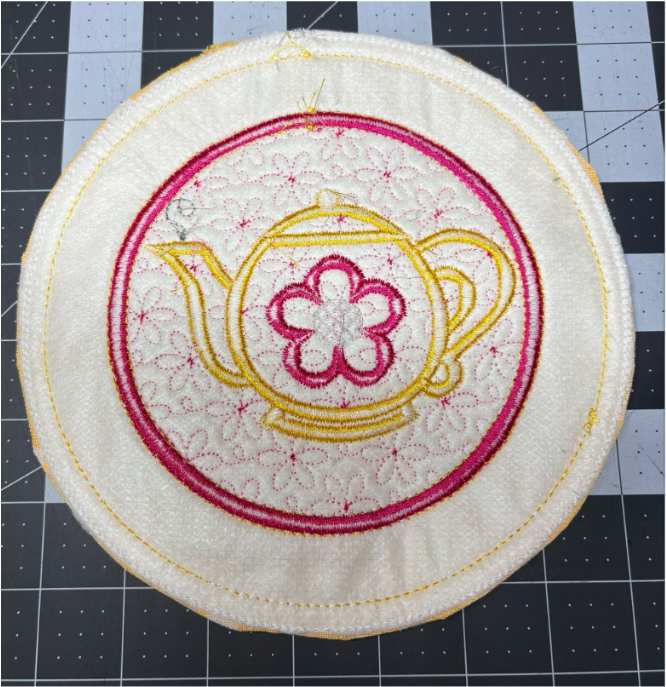
Take the design out of the hoop. Trim around the outer stitch line, being careful not to cut the stitches.
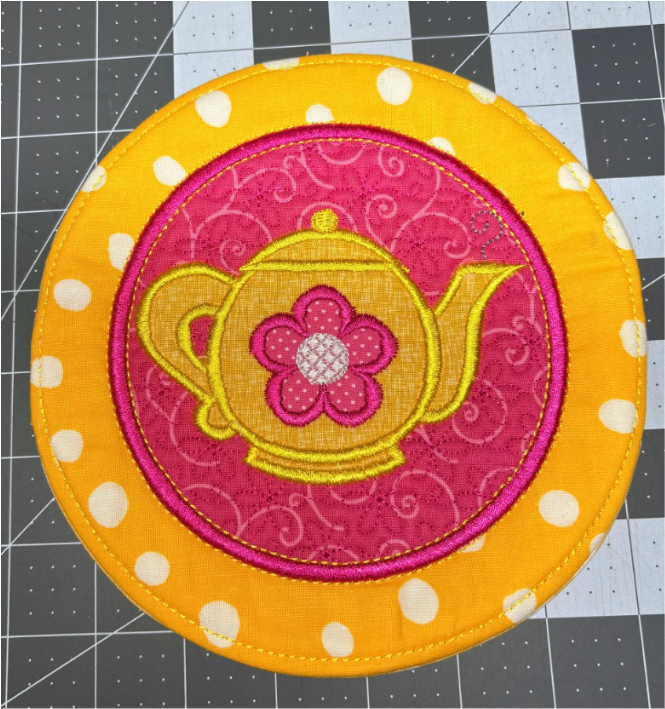
Turn the coaster so the right side is facing out.
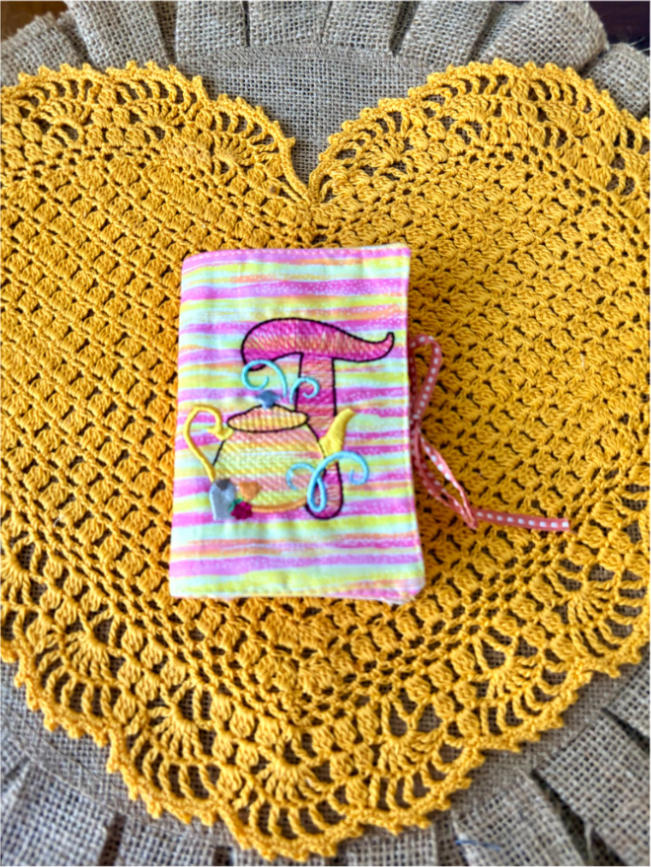
Finished size: 3¼” x 5” closed, 6½” x 5” opened
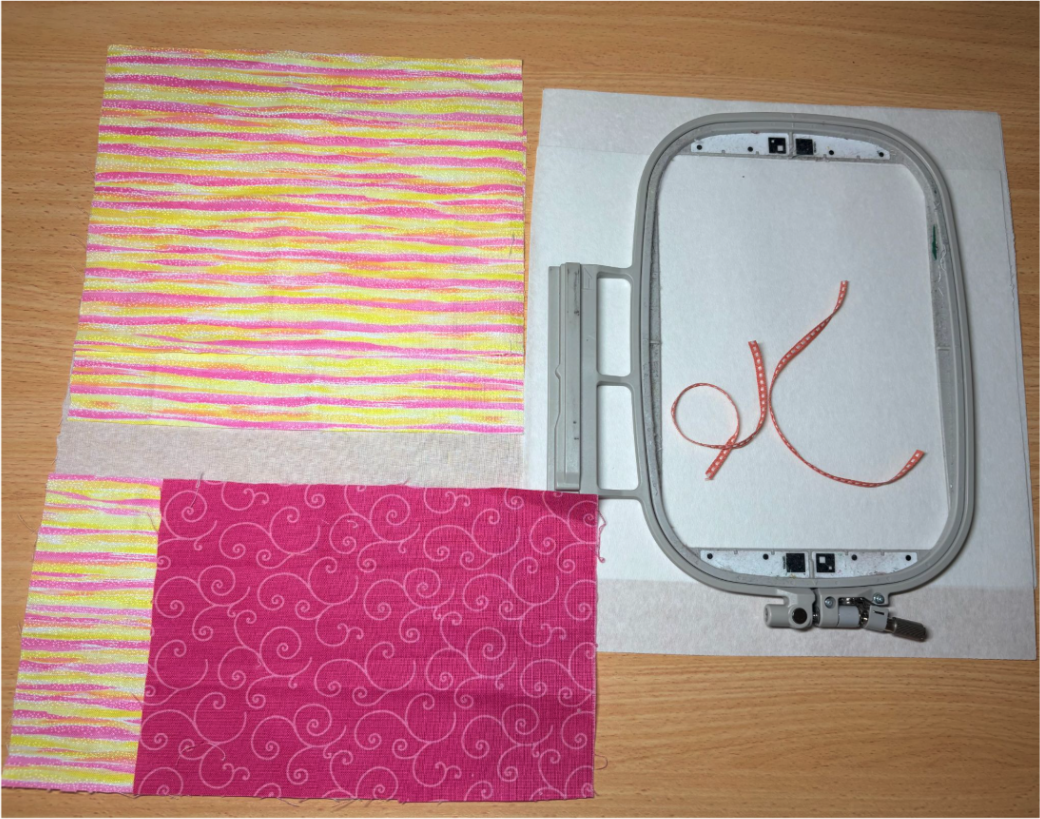
Gather your materials to create a one-of-a-kind tea bag holder.
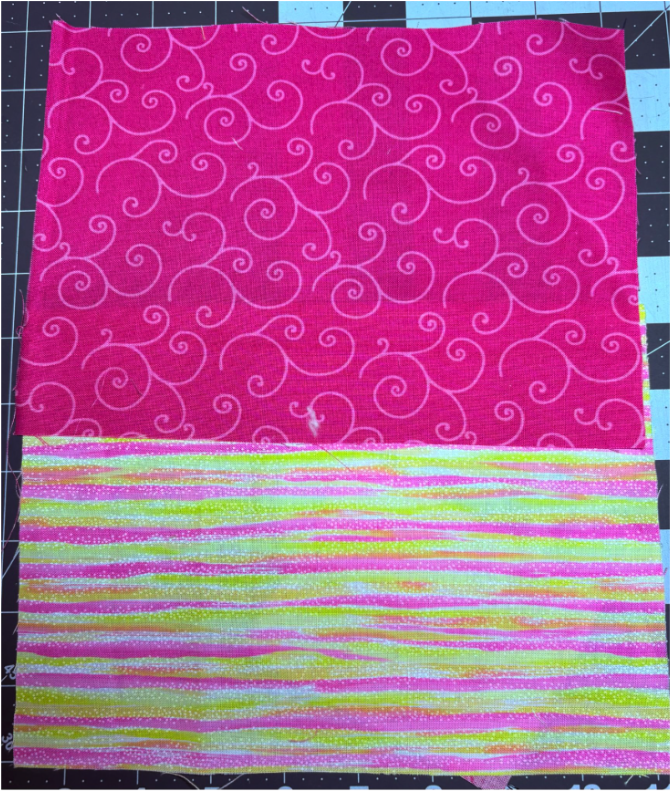
Cut cotton fabric for both the inside and outside of the bag, as well as for the inner pocket, to 7” x 9”. Cut one piece of coordinating cotton fabric for the second inner pocket, measuring 6½” x 9”. Cut fusible interfacing to 7” x 9”.
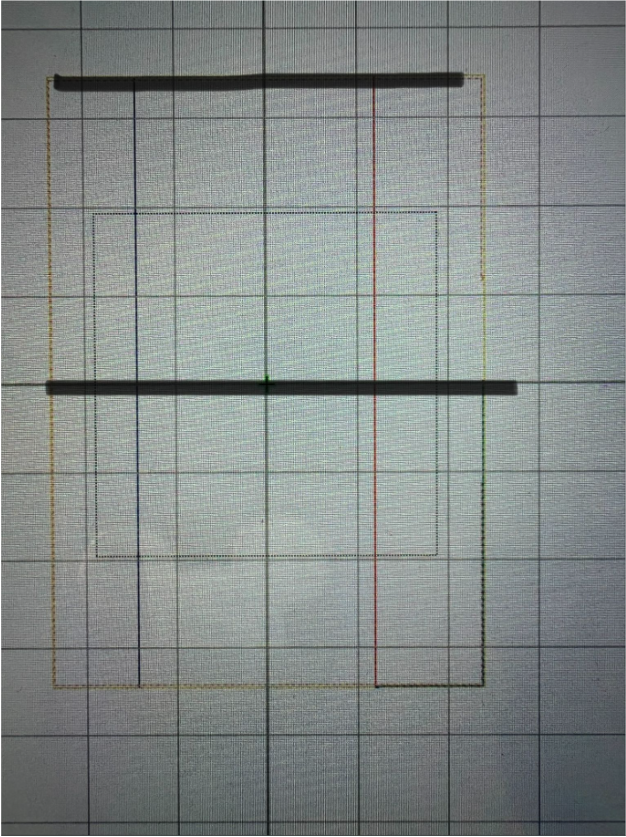
Load the Easy Tea Bag Holder onto your embroidery machine. The added letter will need to fit between the black lines marked in the picture.
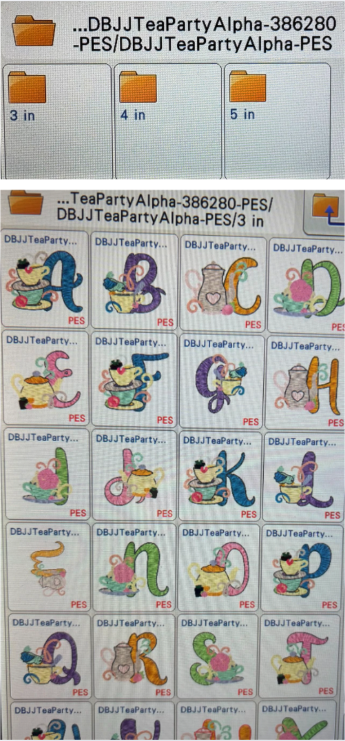
Load the Tea Party Sketch Embroidery Font and open the 3” size font.
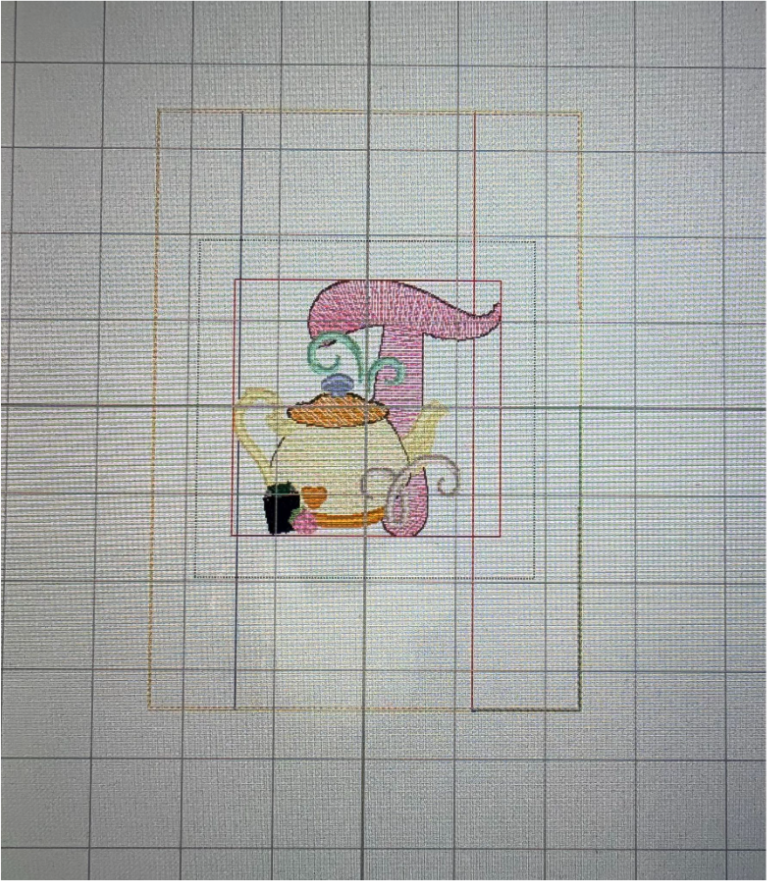
Choose your letter and add it to the screen.
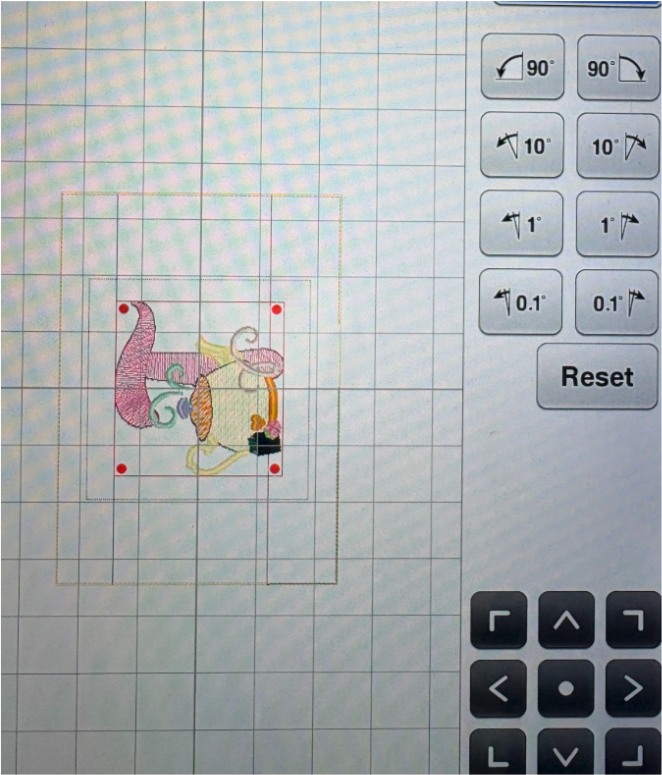
You’ll be working on the inside center and top of the tea bag design, as shown in the picture.
Rotate the letter 90° to the left using the Rotate button on your screen. At this point, your design should match the example shown.
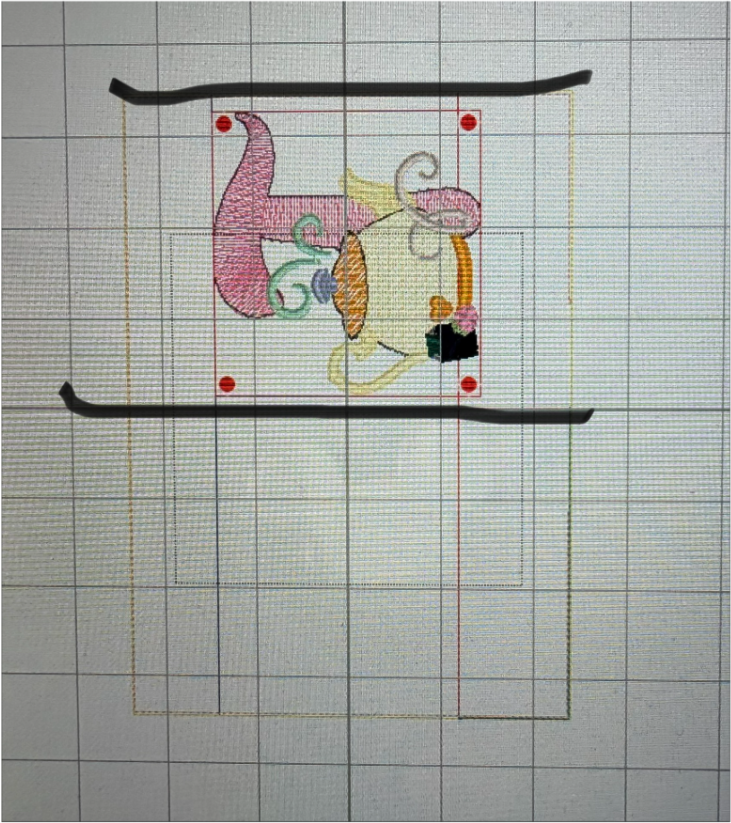
Move the design up so it sits above the center line and below the top line, using the Move keys. If the letter touches or goes past these lines, use the Size key to make it smaller until you like the placement.
Try to match the letter’s fit to what you see in the sample image.
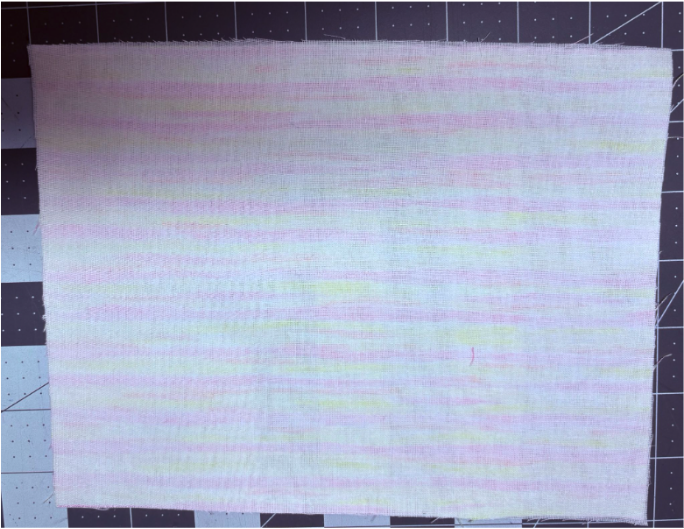
Fuse the fusible interfacing to the back of one 7” x 9” fabric piece.
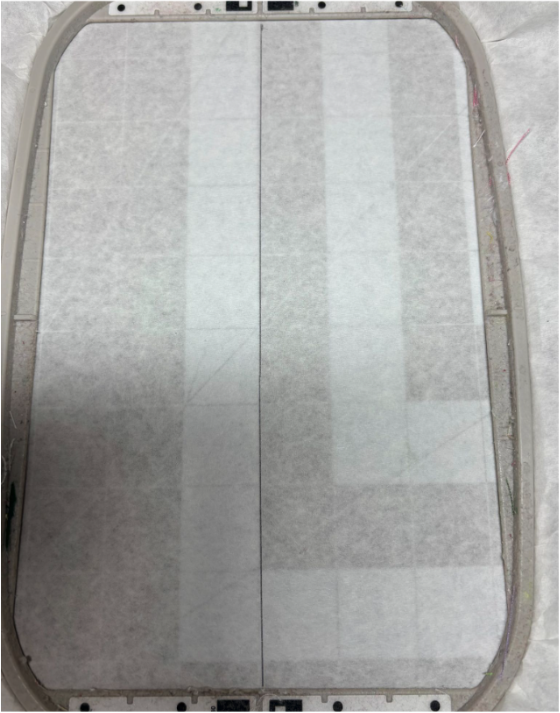
Place tear-away stabilizer in a 5x7 hoop. Use a ruler to draw a line down the center.
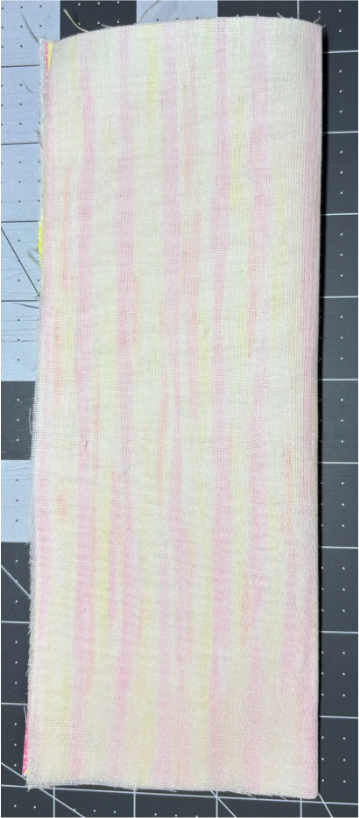
Fold the prepared fabric in half with the right sides together, then press the fold with your fingers.
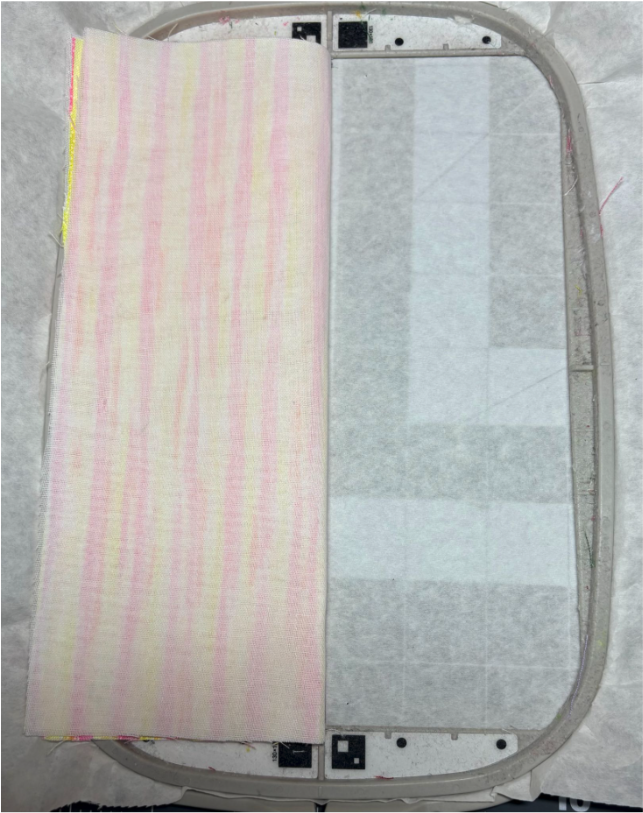
Place the fabric fold right along the drawn center line on the stabilizer to keep everything aligned.
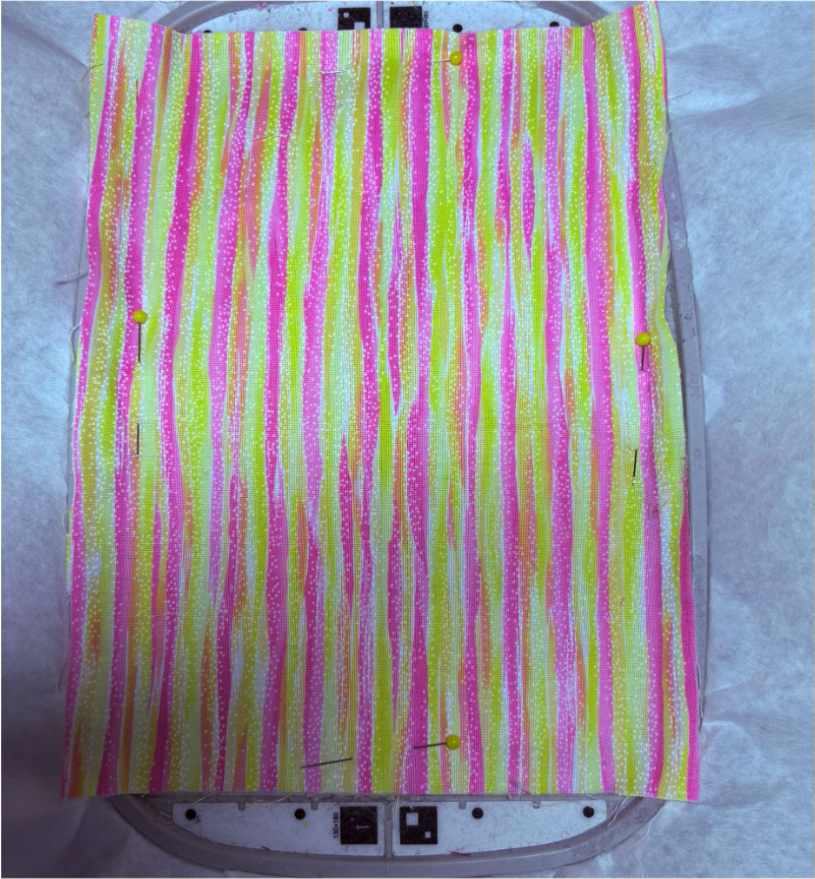
Unfold the fabric and pin it securely to the stabilizer, making sure pins stay clear of your stitching path.
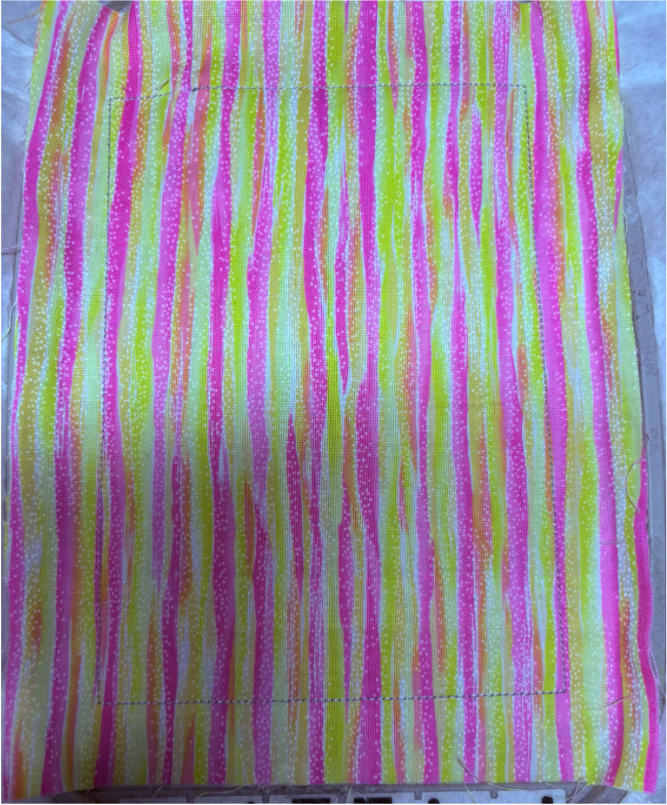
Take the hoop with the fabric to your machine. Stitch the first step to tack the fabric in place, then remove the pins.
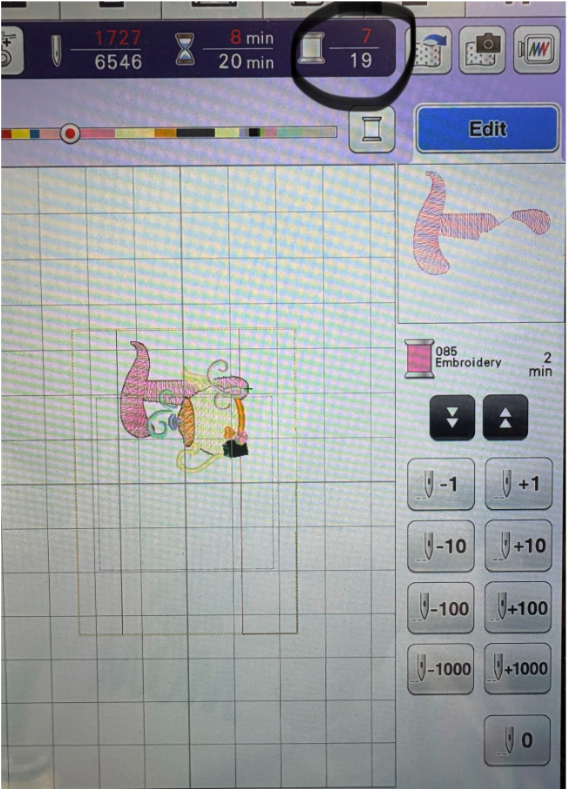
Advance the design to Step 7, where you’ll start stitching your letter.
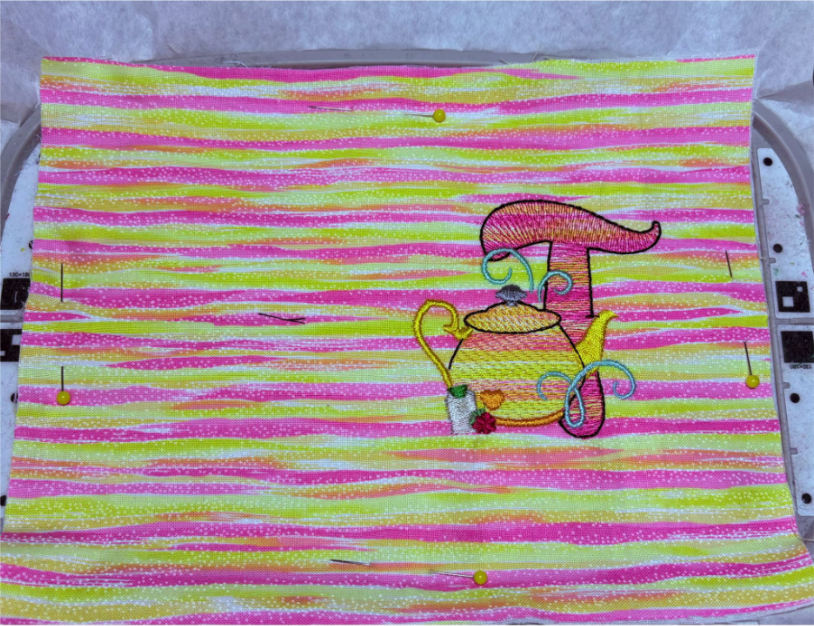
Stitch out the letter. When completed, remove the hoop from the machine.
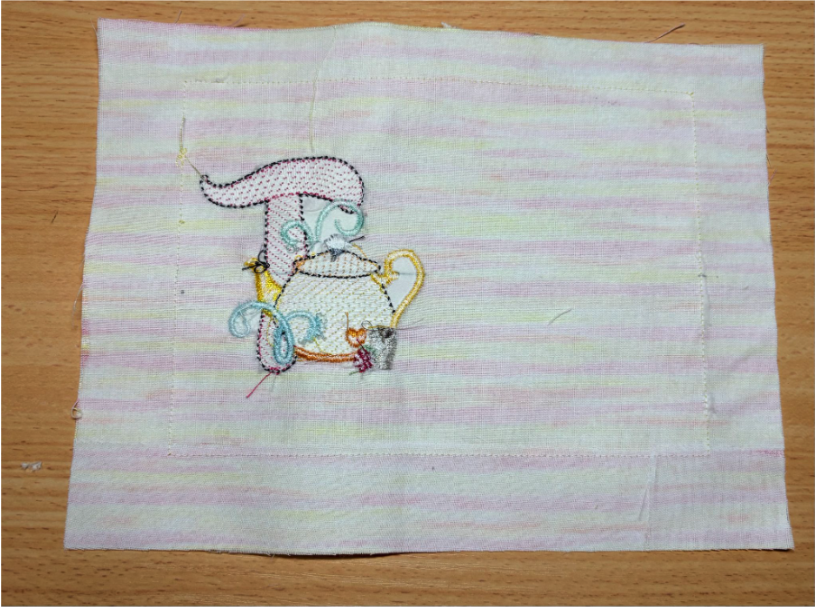
Remove the design from the hoop and tear away the stabilizer. Set it aside.
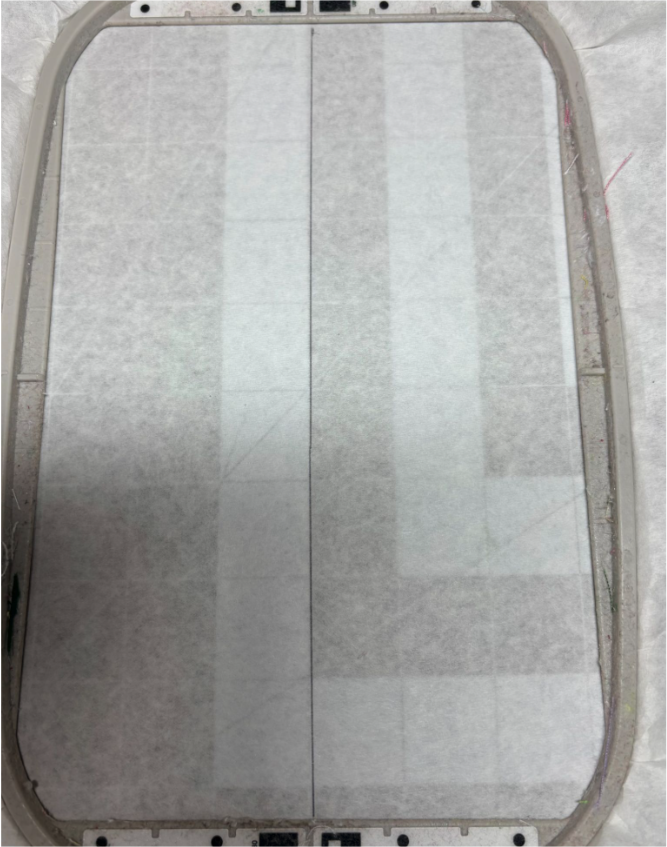
Hoop a new piece of tear-away stabilizer. Draw a center line again.
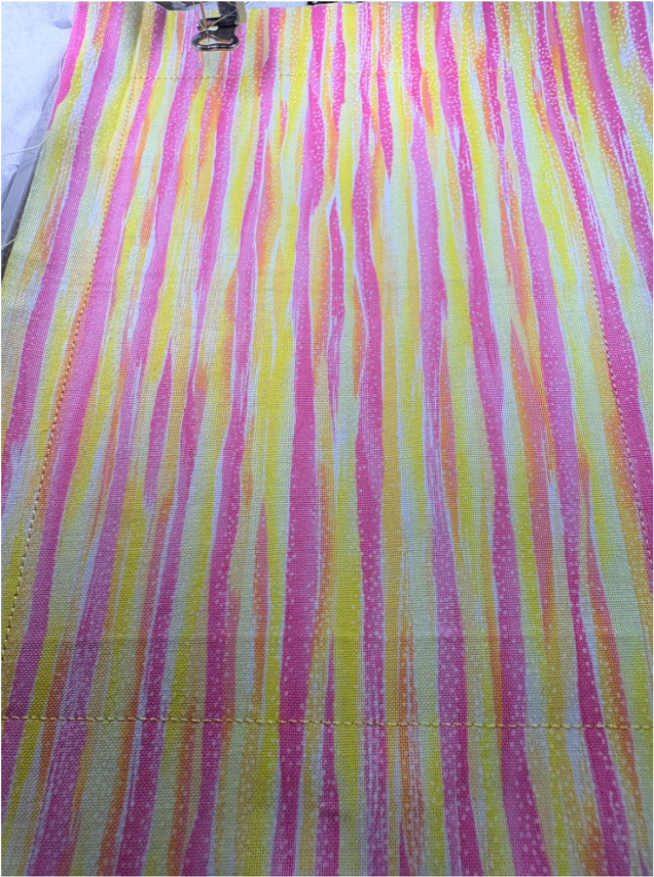
Pin the second 7” x 9” fabric piece to the stabilizer, and take the hoop back to your machine. The design should now be back at the first step. Secure the fabric with a tack-down stitch, then remove the pins.
Tip: Keep a close eye on your pins at all times.
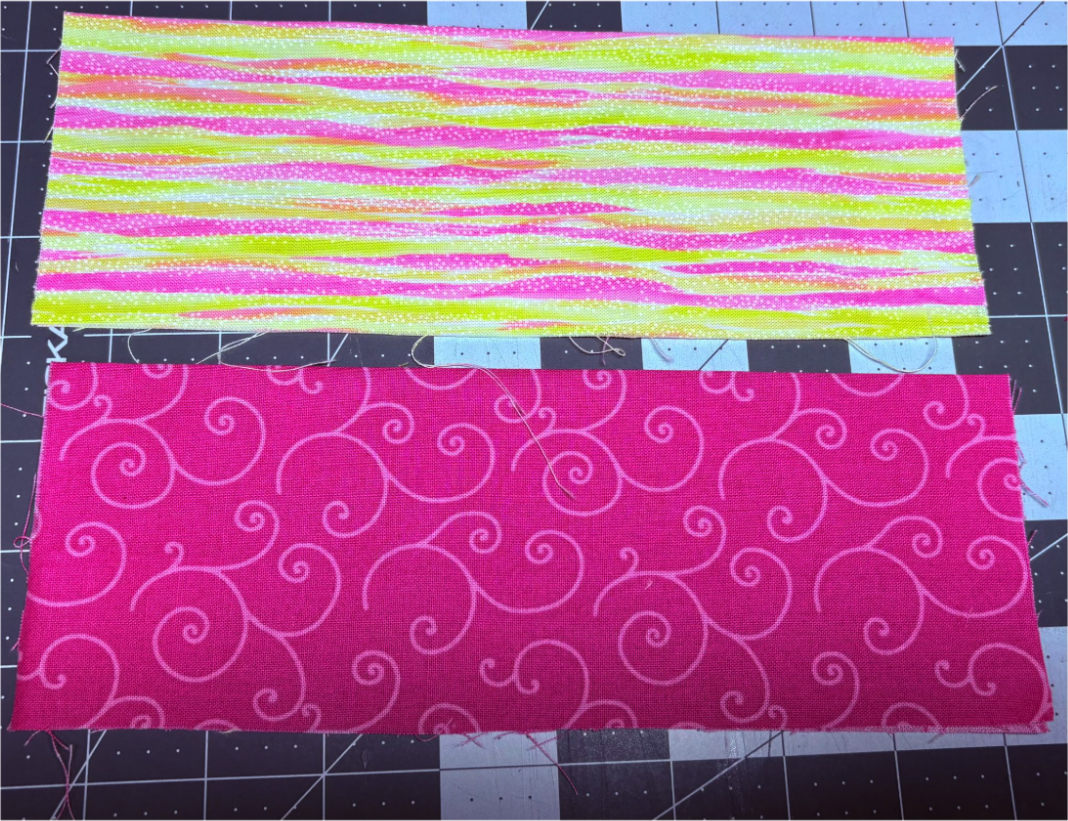
Fold both pocket pieces in half lengthwise and press them.
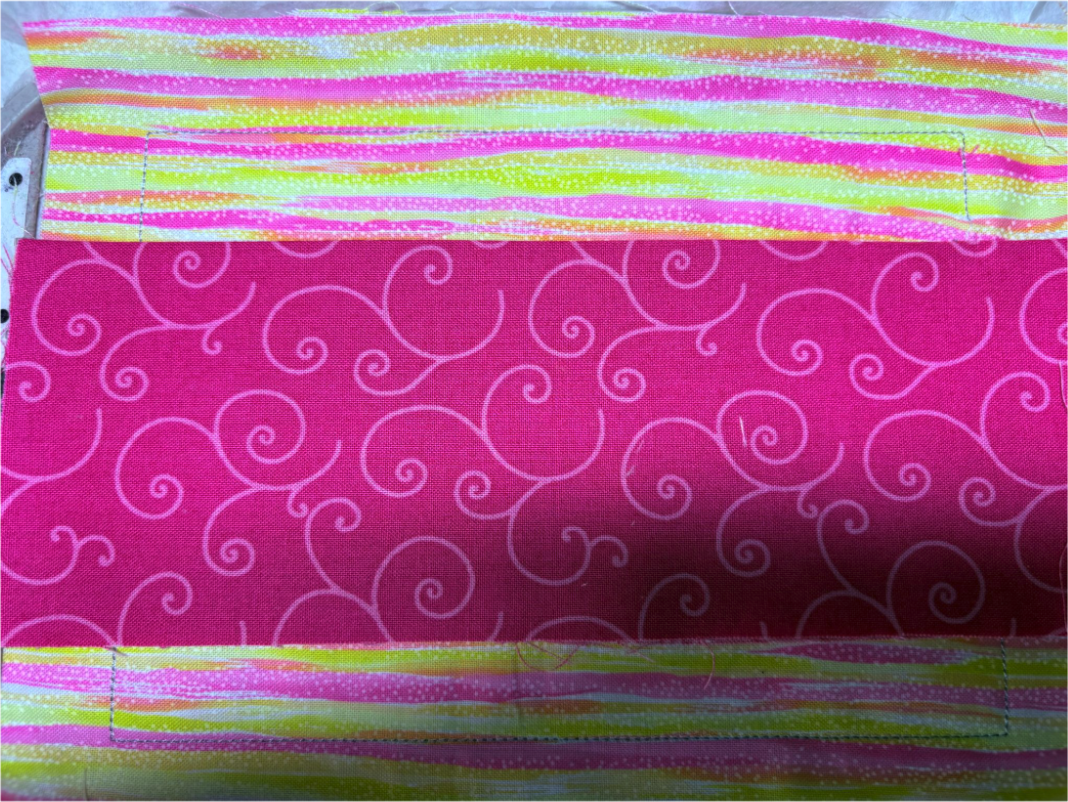
Sew the first pocket placement line. Now, position the first pocket on your fabric. Align the folded edge of your pocket with the placement line. This is your coordinating fabric piece. Pin the pocket in place, double-checking that pins are clear of where you’ll be stitching.
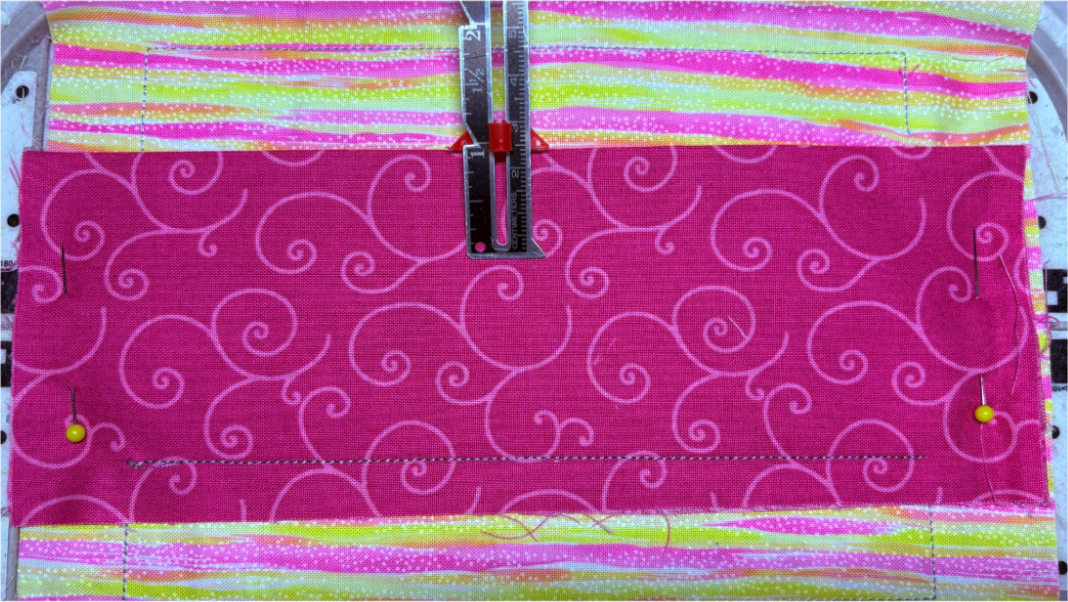
Measure 1” down from the top edge of the pocket.
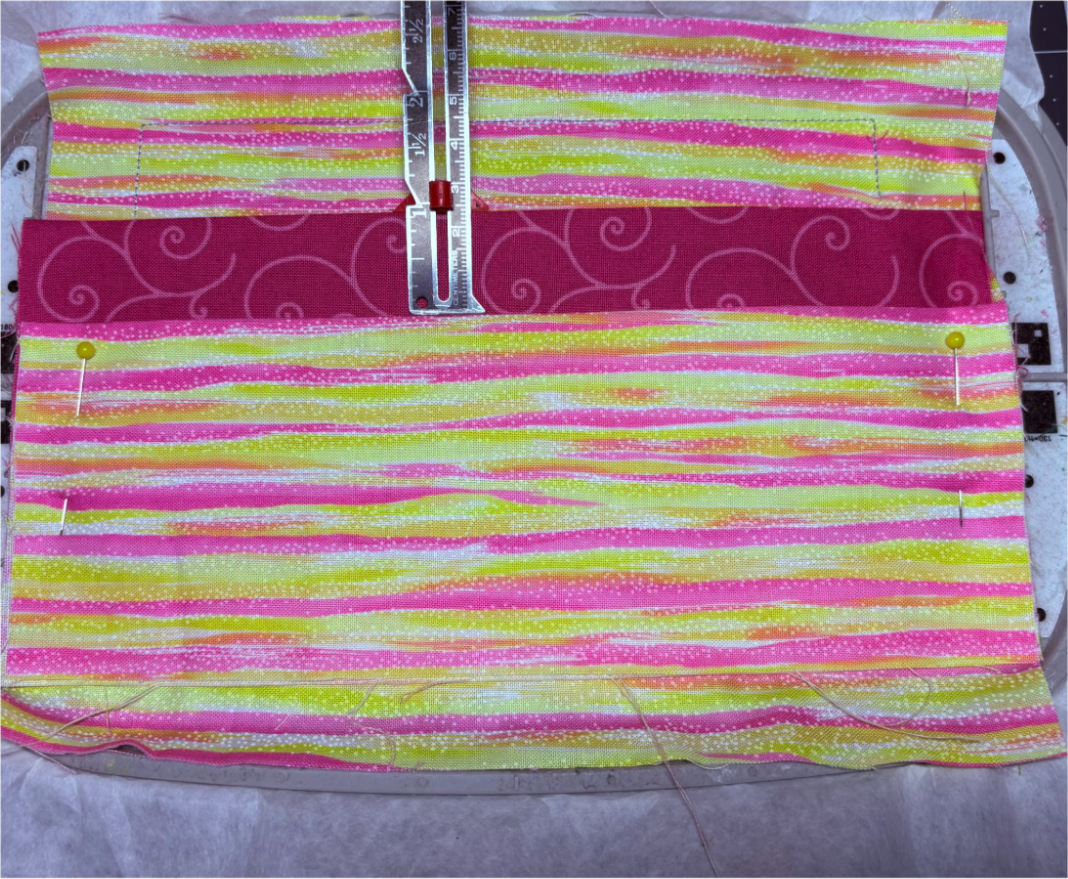
Position the second pocket so it sits exactly one inch below the top edge, keeping it even all the way across.
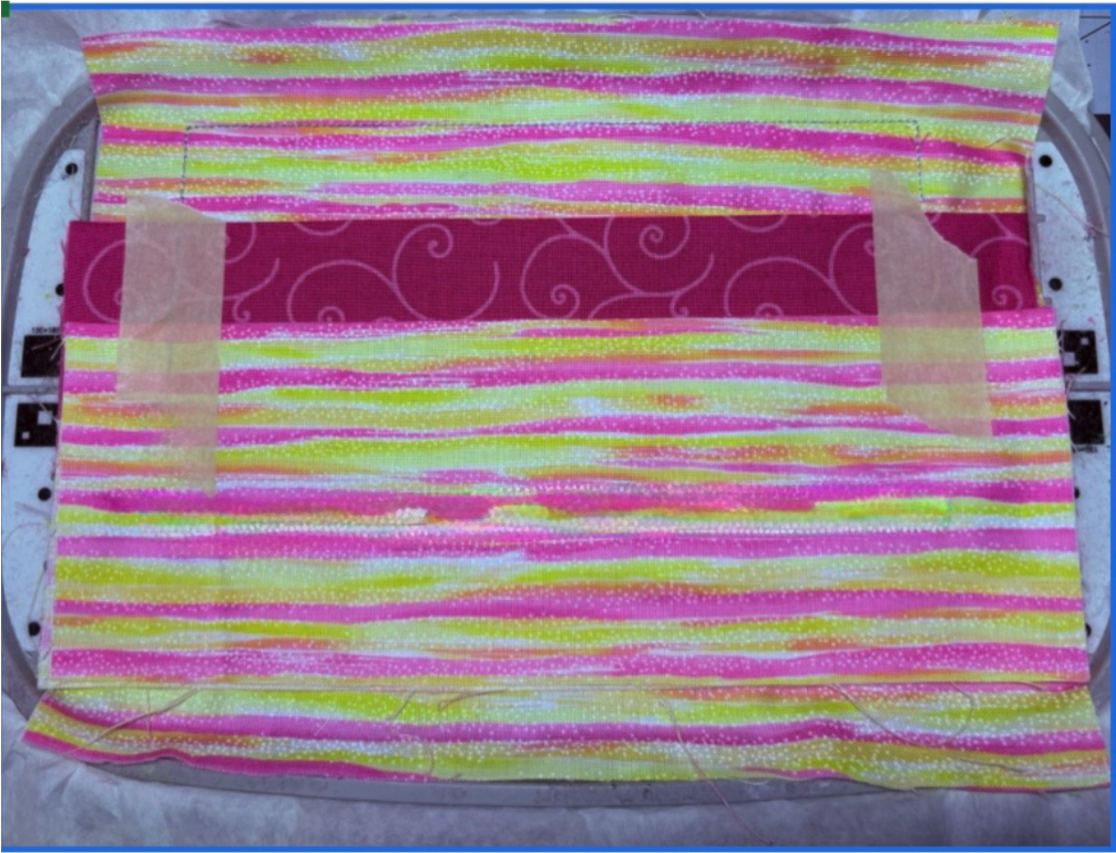
Tape the pocket sides securely, then return the hoop to your machine.
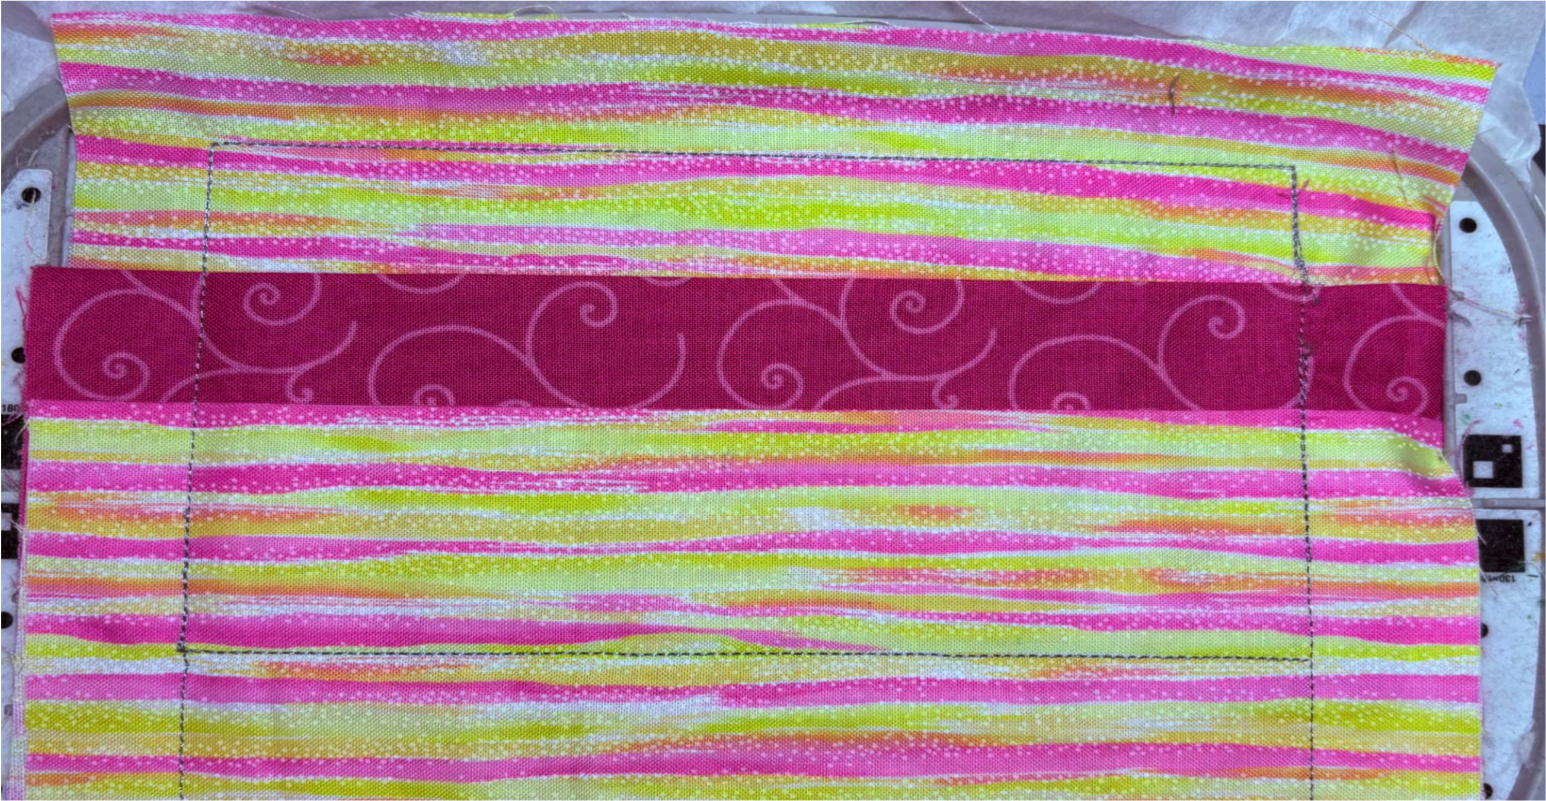
Stitch to tack the pockets in place, then peel away the tape.
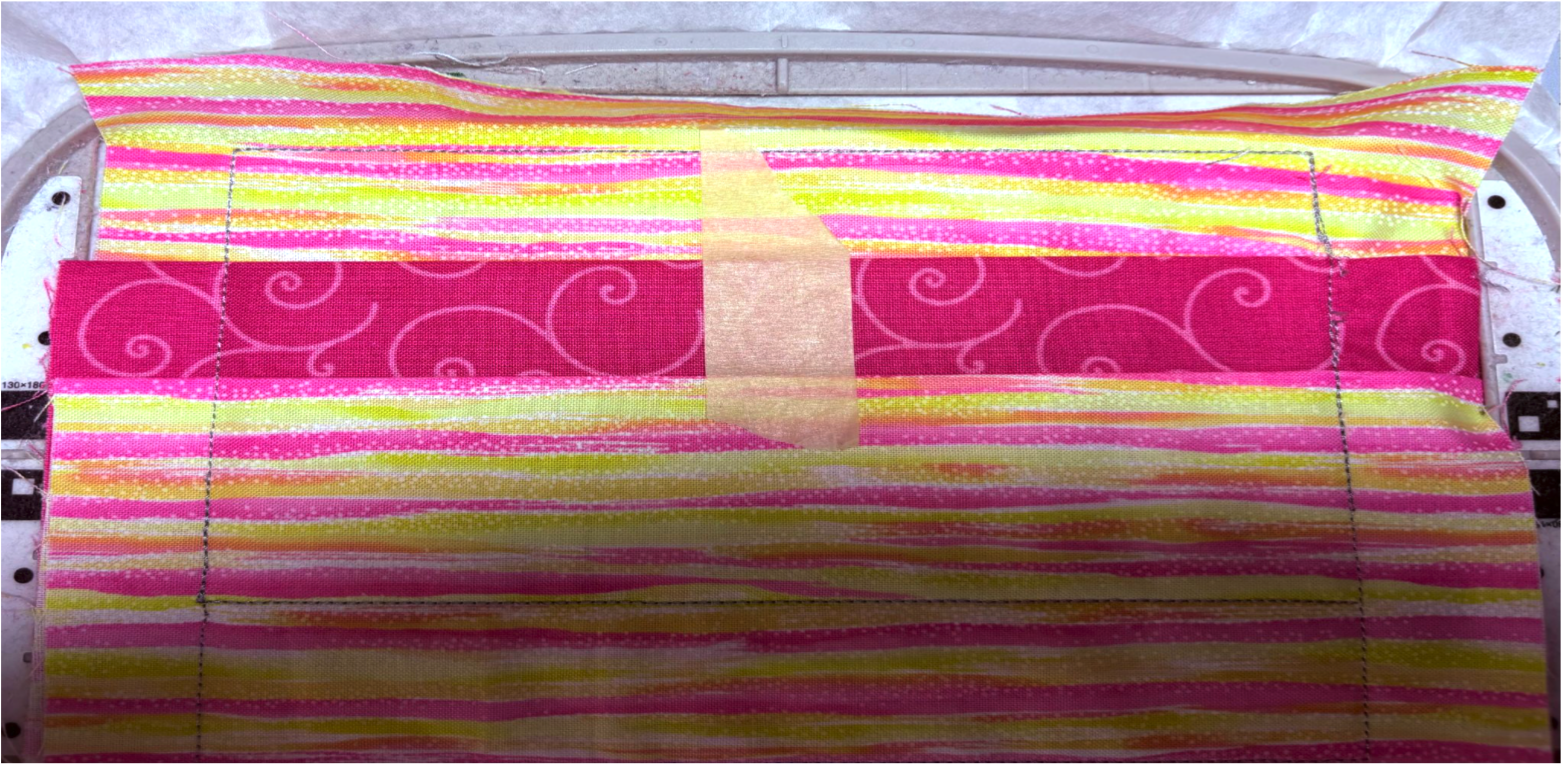
Lay a strip of tape down the center.
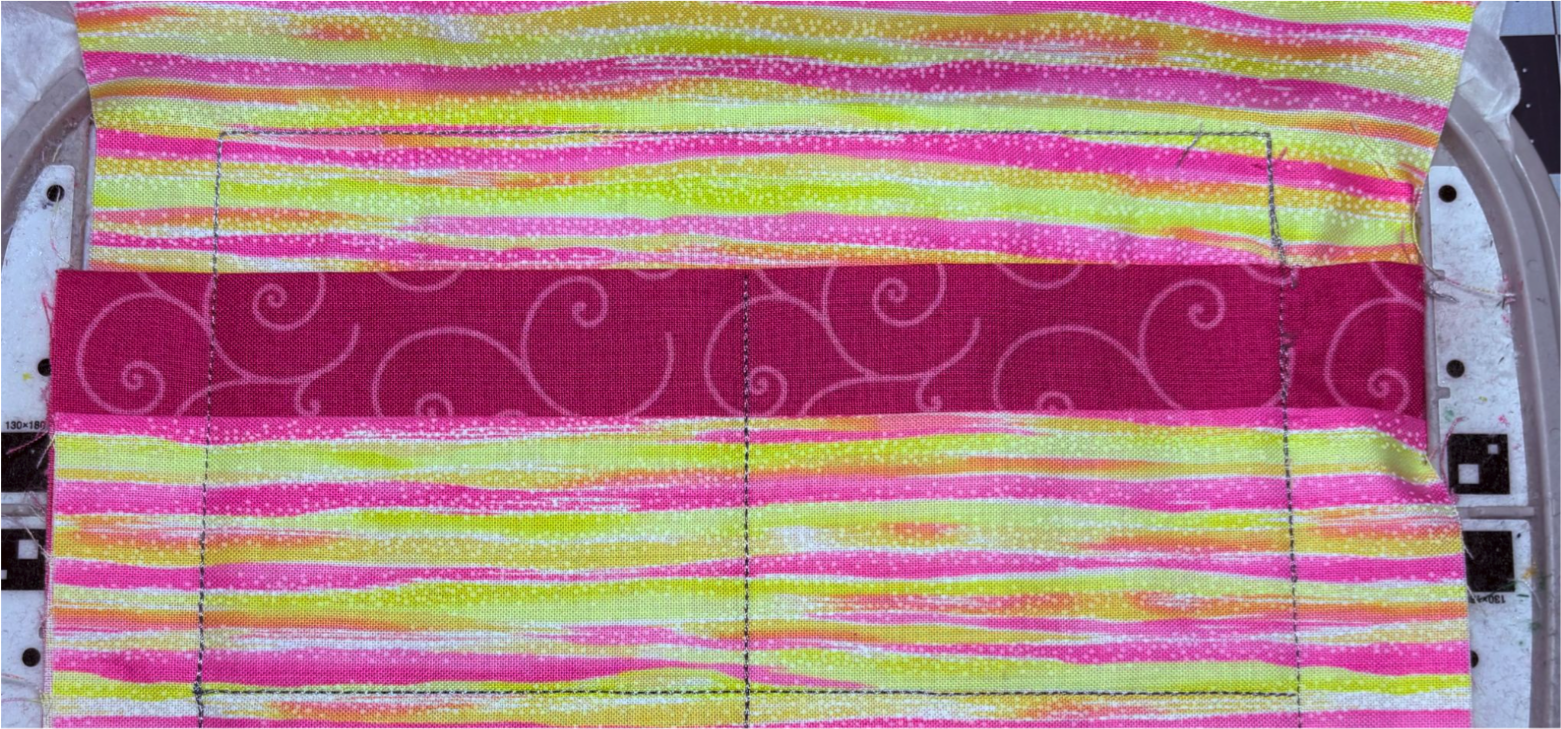
Then sew the center seam and remove the tape.
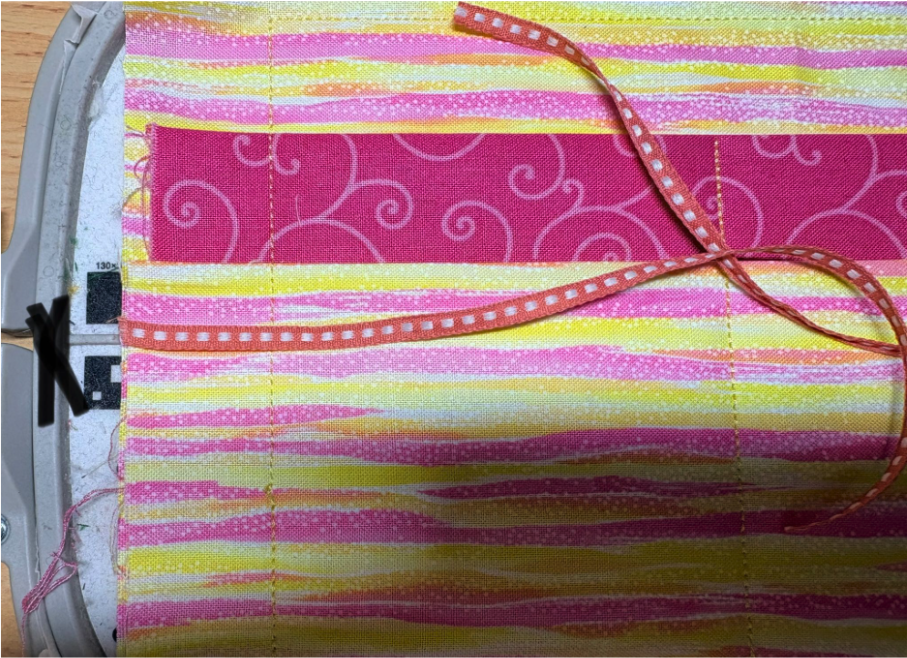
Center a piece of ribbon on each side, making sure the ends are centered on the fabric. Long ribbon ends should be toward the center of the project.
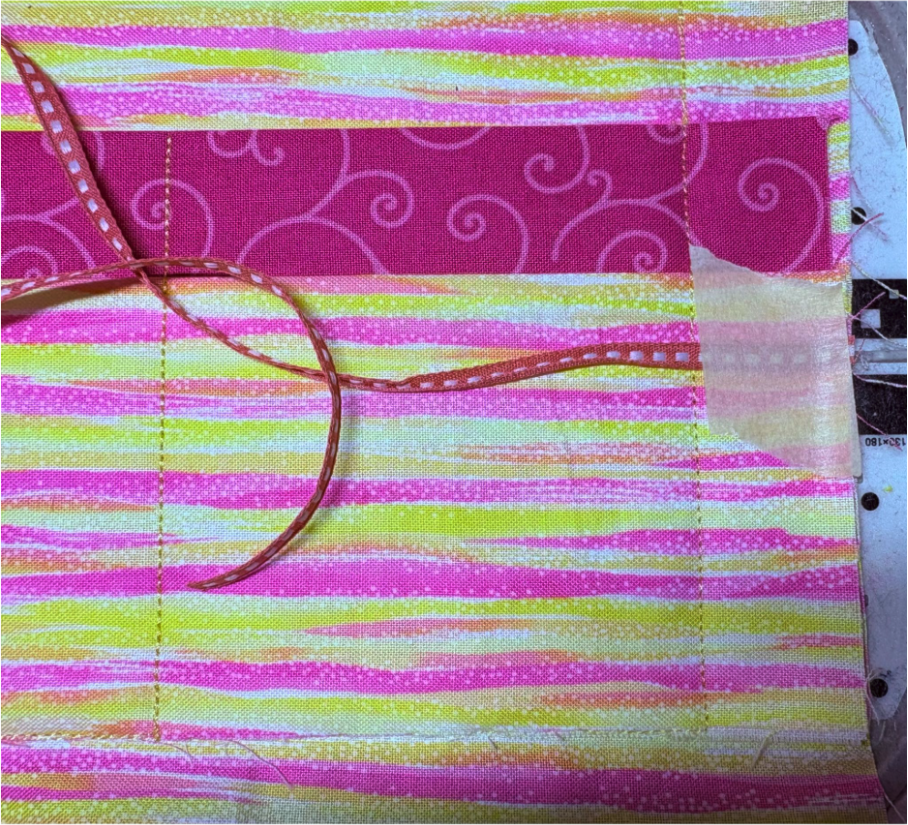
Tape the ends in place.
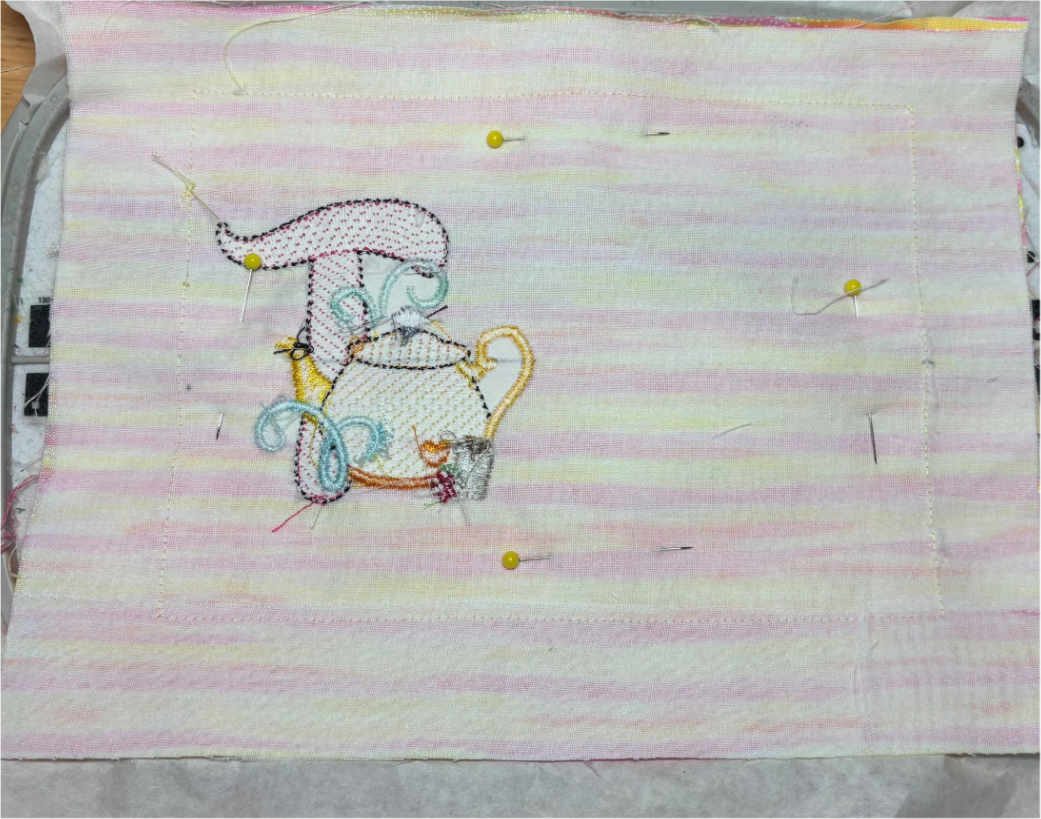
Lay the exterior fabric right side down on top of the hoop.
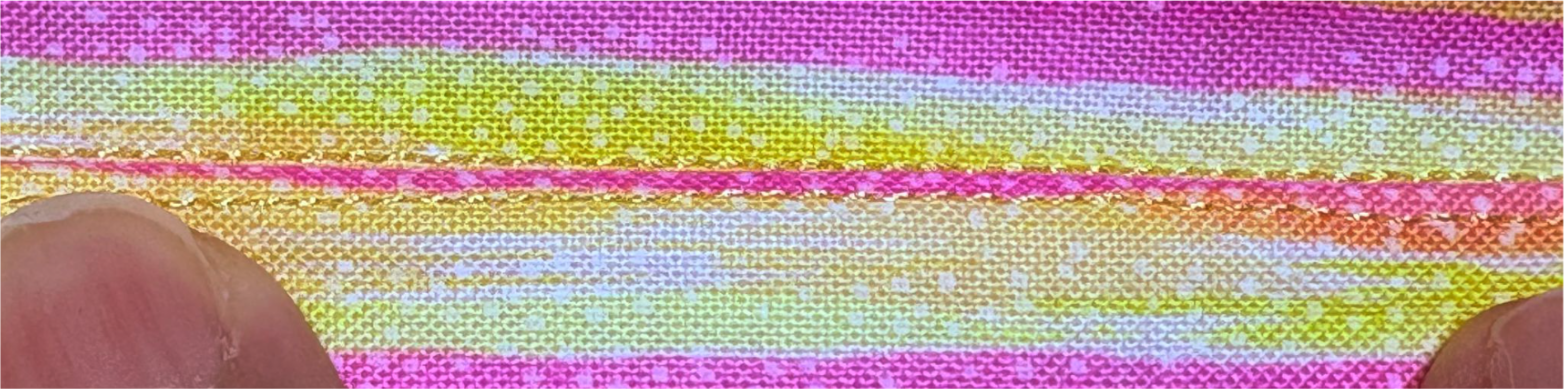
Line it up with the outside stitch lines and pin it in place.
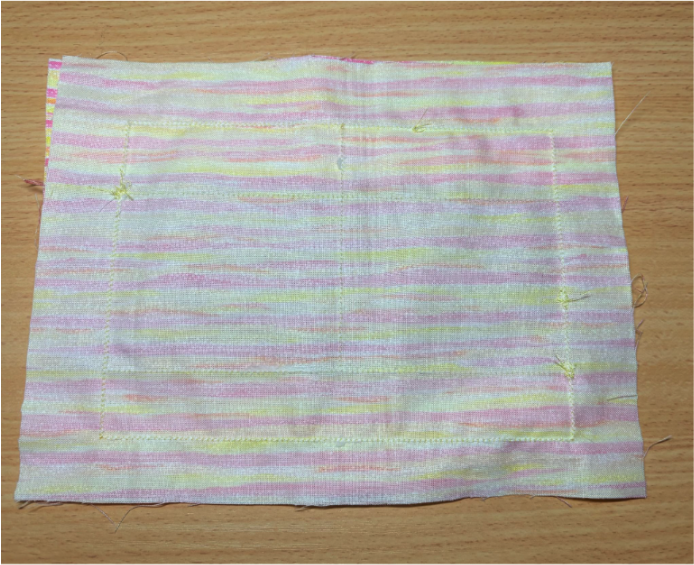
Sew the final step, stitching all your layers together.
Remove your project from the hoop and gently tear away the stabilizer.
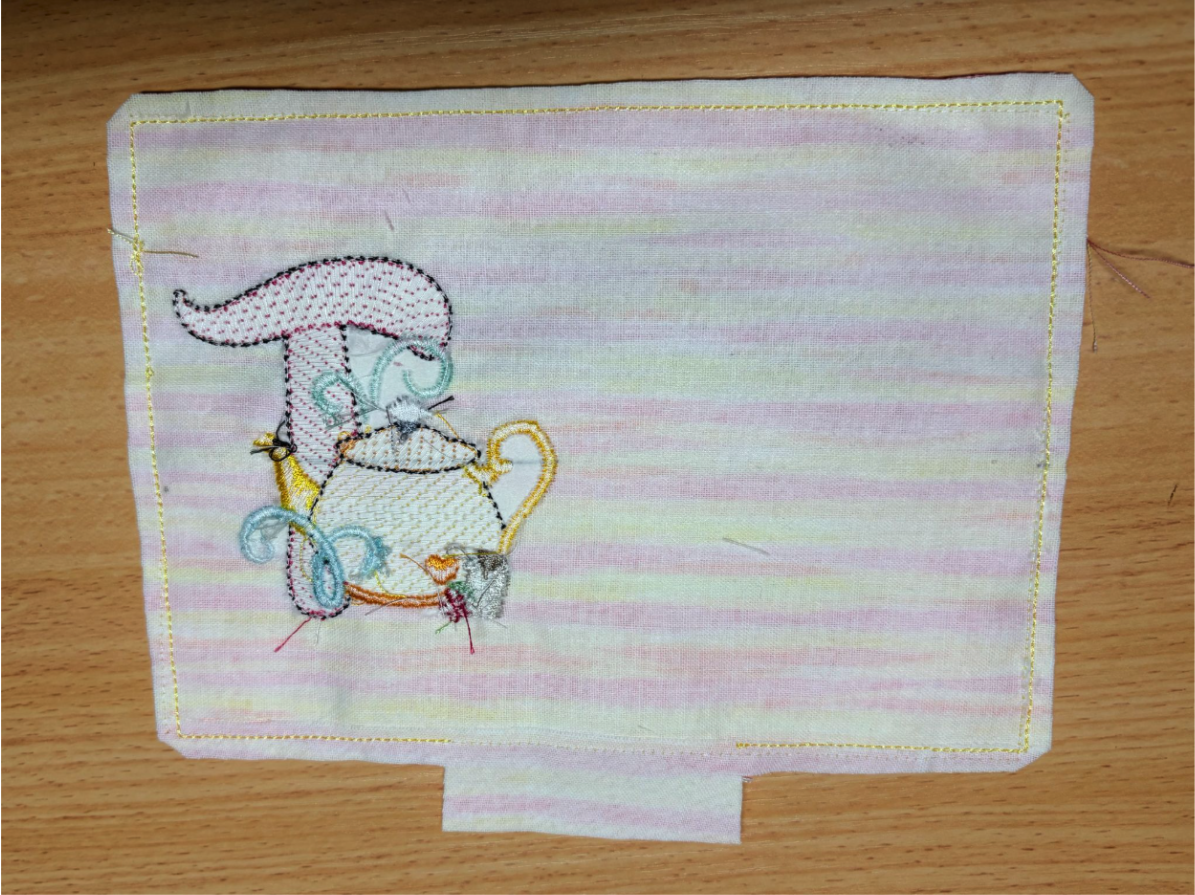
Trim around the design, leaving ⅛” to ¼” from the stitching line. Clip the corners and leave 1” at the opening to make closing easier.
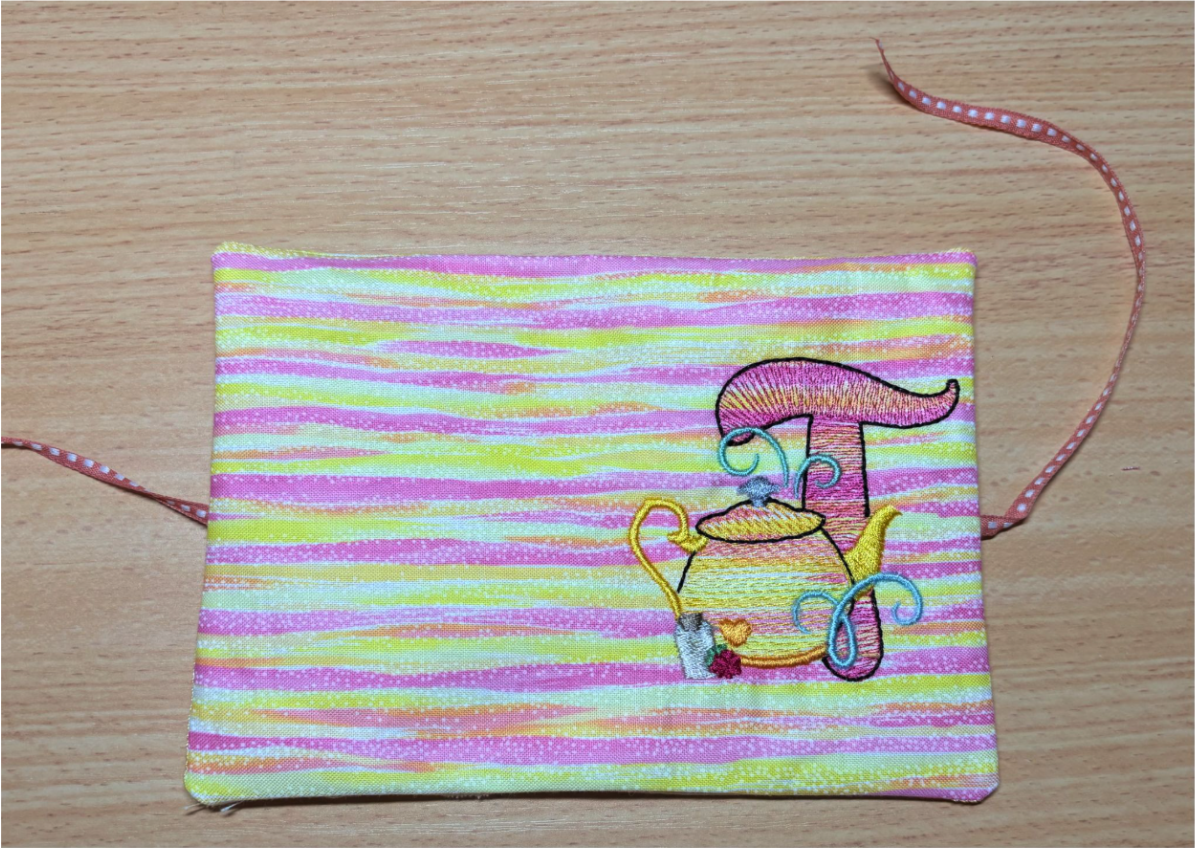
Turn your tea bag holder right side out and gently push out the corners for crisp edges.
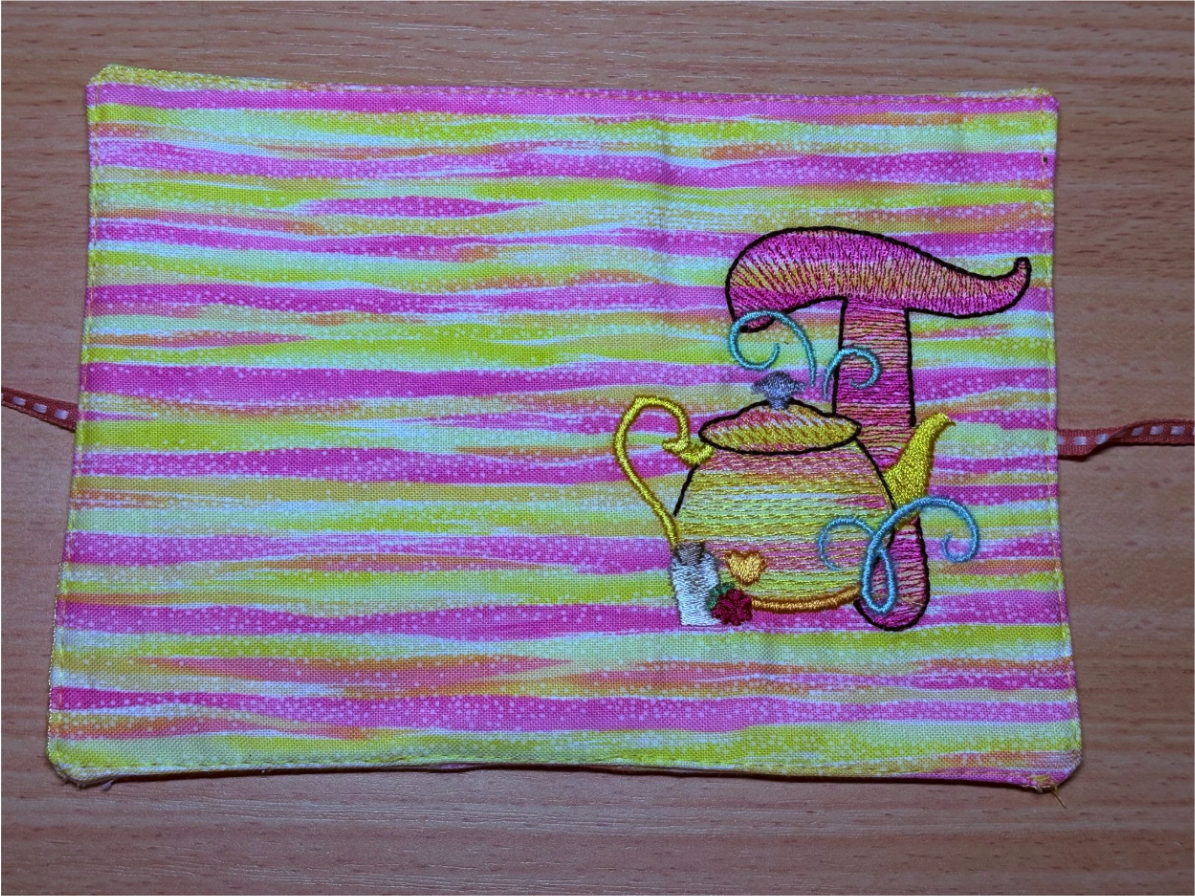
Fold the extra fabric at the opening to the inside and press it flat. Take your tea bag holder to the sewing machine and topstitch close to the edge for a polished finish and to close the opening.
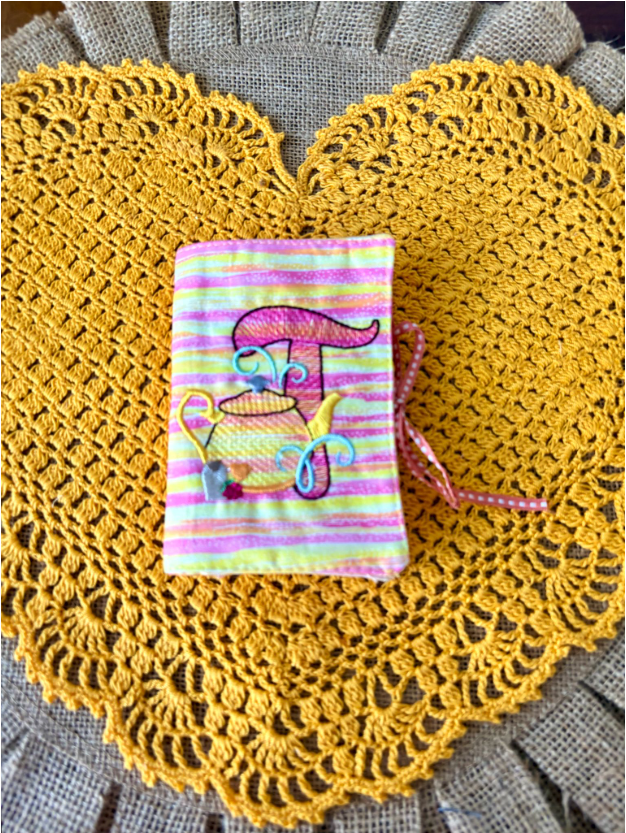
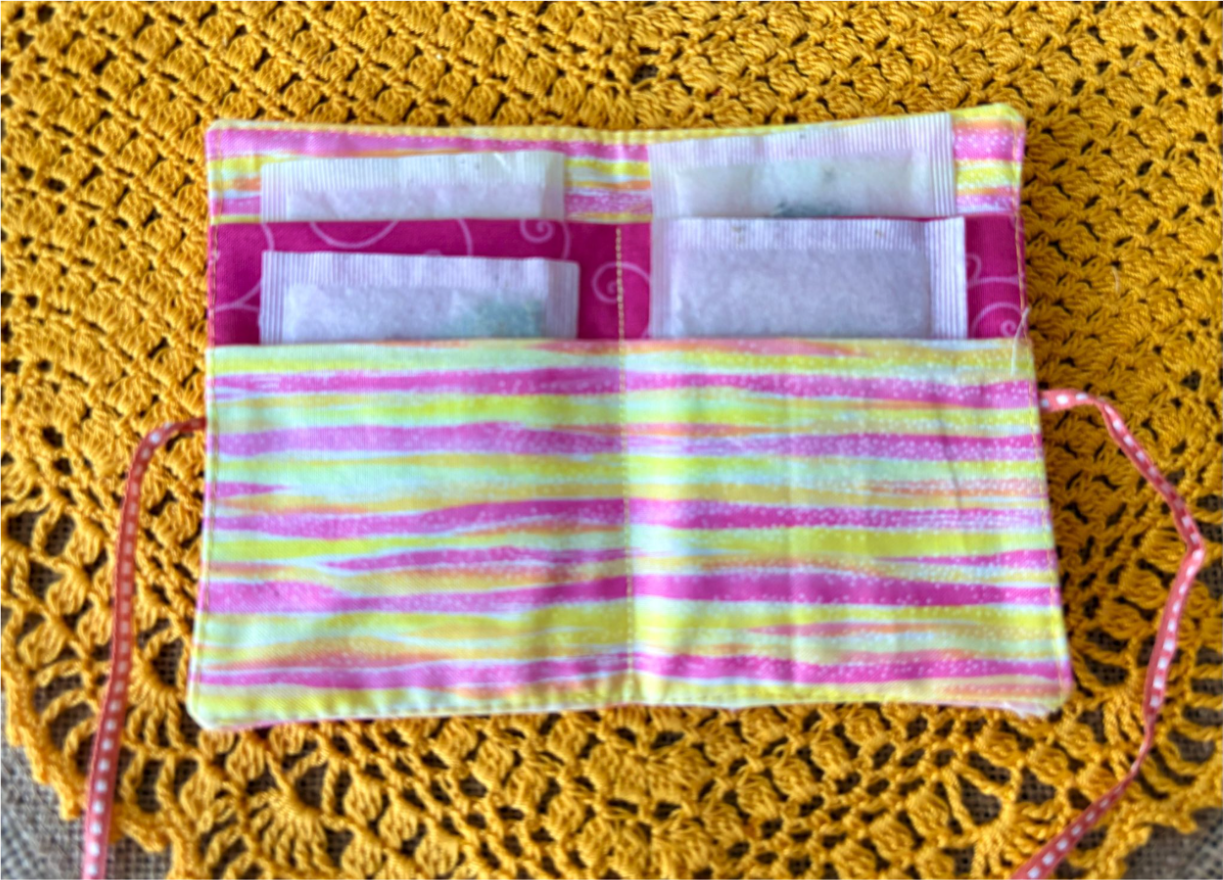
Tie the ribbon ends into a neat bow. Your personalized tea bag holder is ready to enjoy.
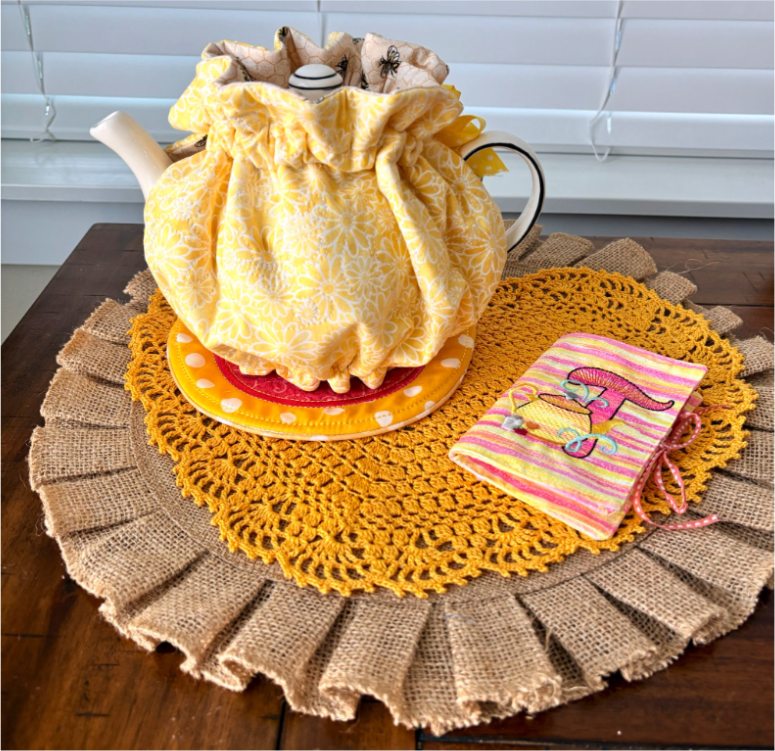
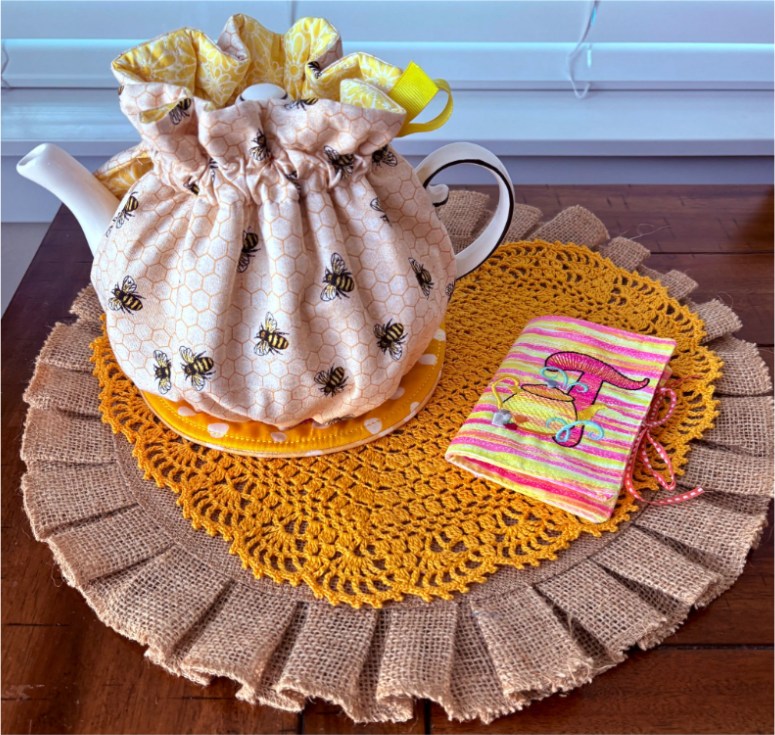
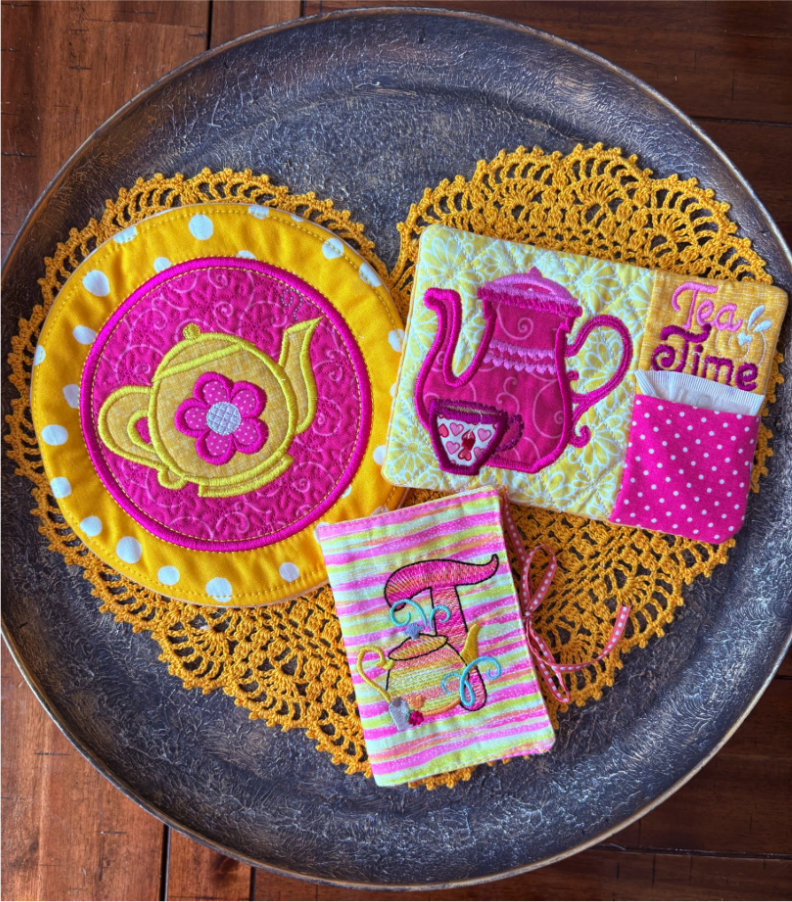
Your tea set is ready, your favorite blend is steeping, and your embroidery machine has helped create something truly special! Whether you're treating yourself to a cozy tea corner or stitching a thoughtful gift for a friend, these coordinating projects add handmade charm to every cup. Mix and match fabrics, personalize your tea bag holder, and make each piece uniquely yours.
We’d love to see your finished tea-time creations, so be sure to share photos and inspire fellow stitchers in the Designs by JuJu Embroidery Blessings Group on Facebook, or use the hashtag #designsbyjuju anywhere on social media.
Until next time, keep your hoop full, your tea warm, and your creativity brewing!