Toggle Nav
 Inspire.
Create.
Stitch.
Inspire.
Create.
Stitch.
Search
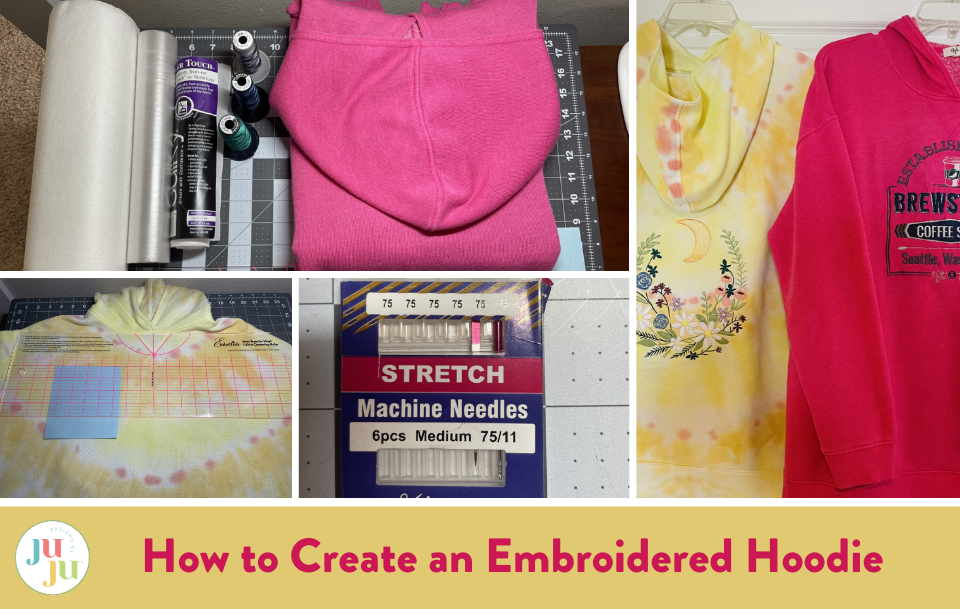
I love to curl up on the couch in sweatpants, a cozy hoodie sweatshirt, and a good book. Do you have a hoodie you love but wish it had a design or quote that adds style and expresses something about you? Have you purchased a hoodie because you love the color, but once you get it home, you put it on and feel it’s missing something?
Then, that hoodie is a perfect blank canvas to house some hoodie embroidery. With all the Designs by JuJu has to offer, I know you will find the right project to turn that canvas into a beautiful embroidered hoodie!

To prevent any future shrinking or puckering, wash and dry your hoodie before beginning.
Press out any wrinkles
Back

Front

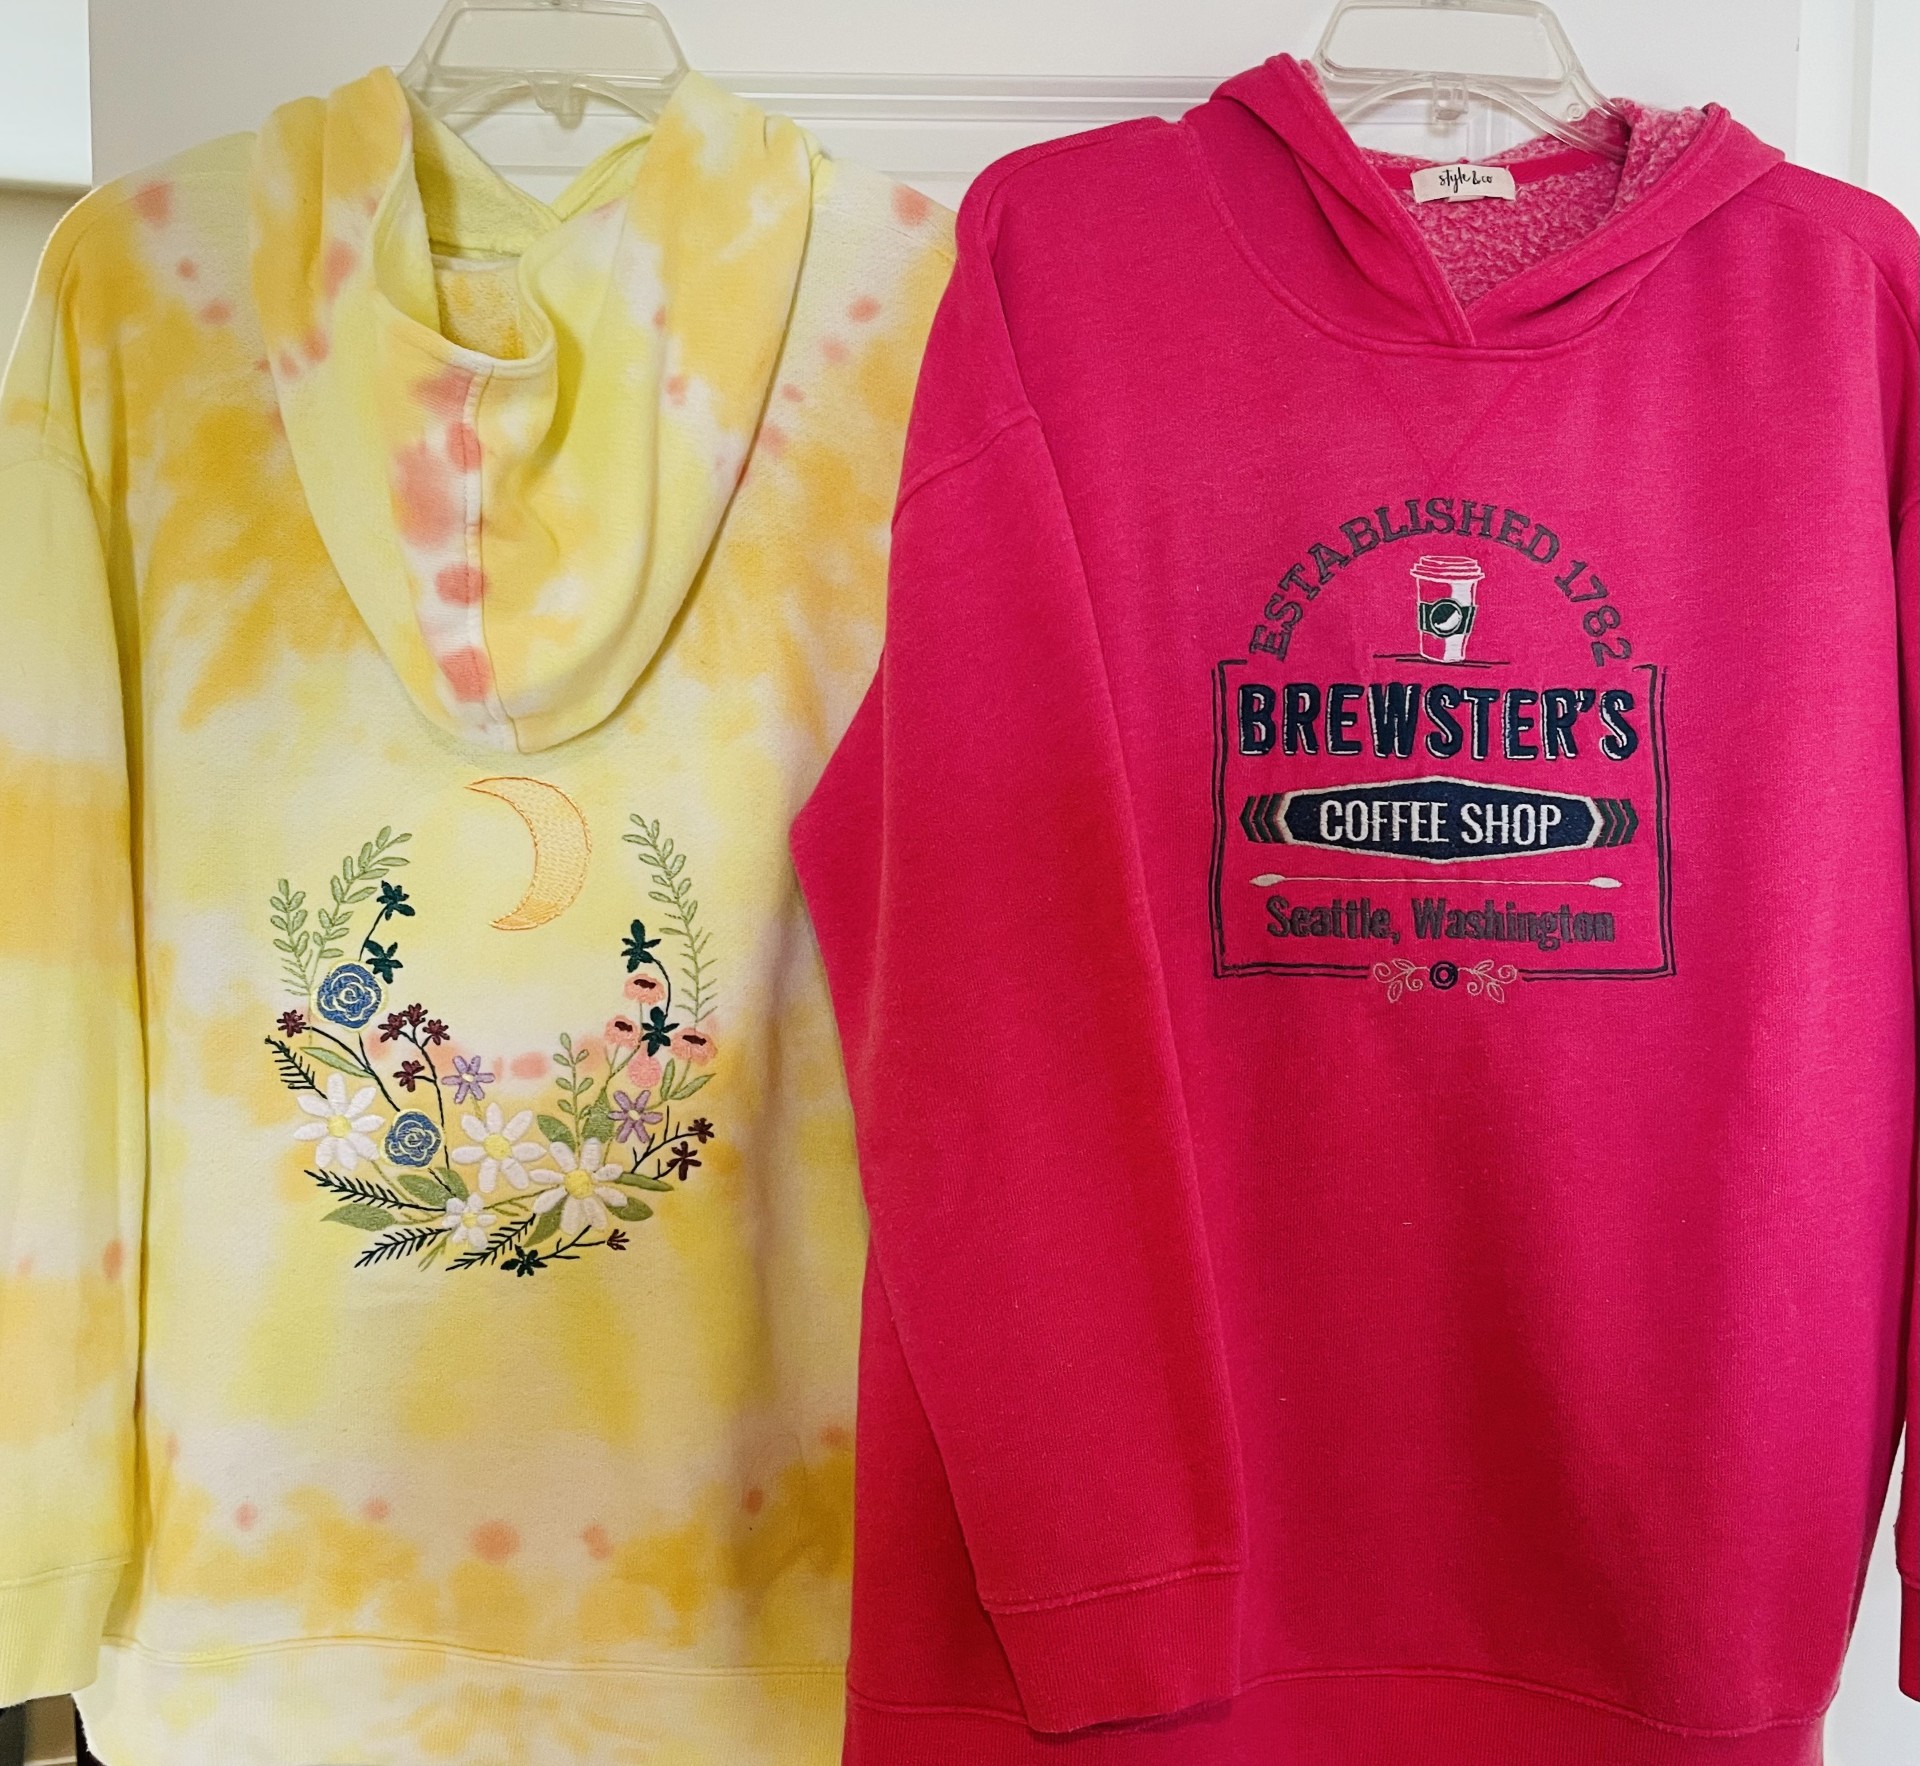
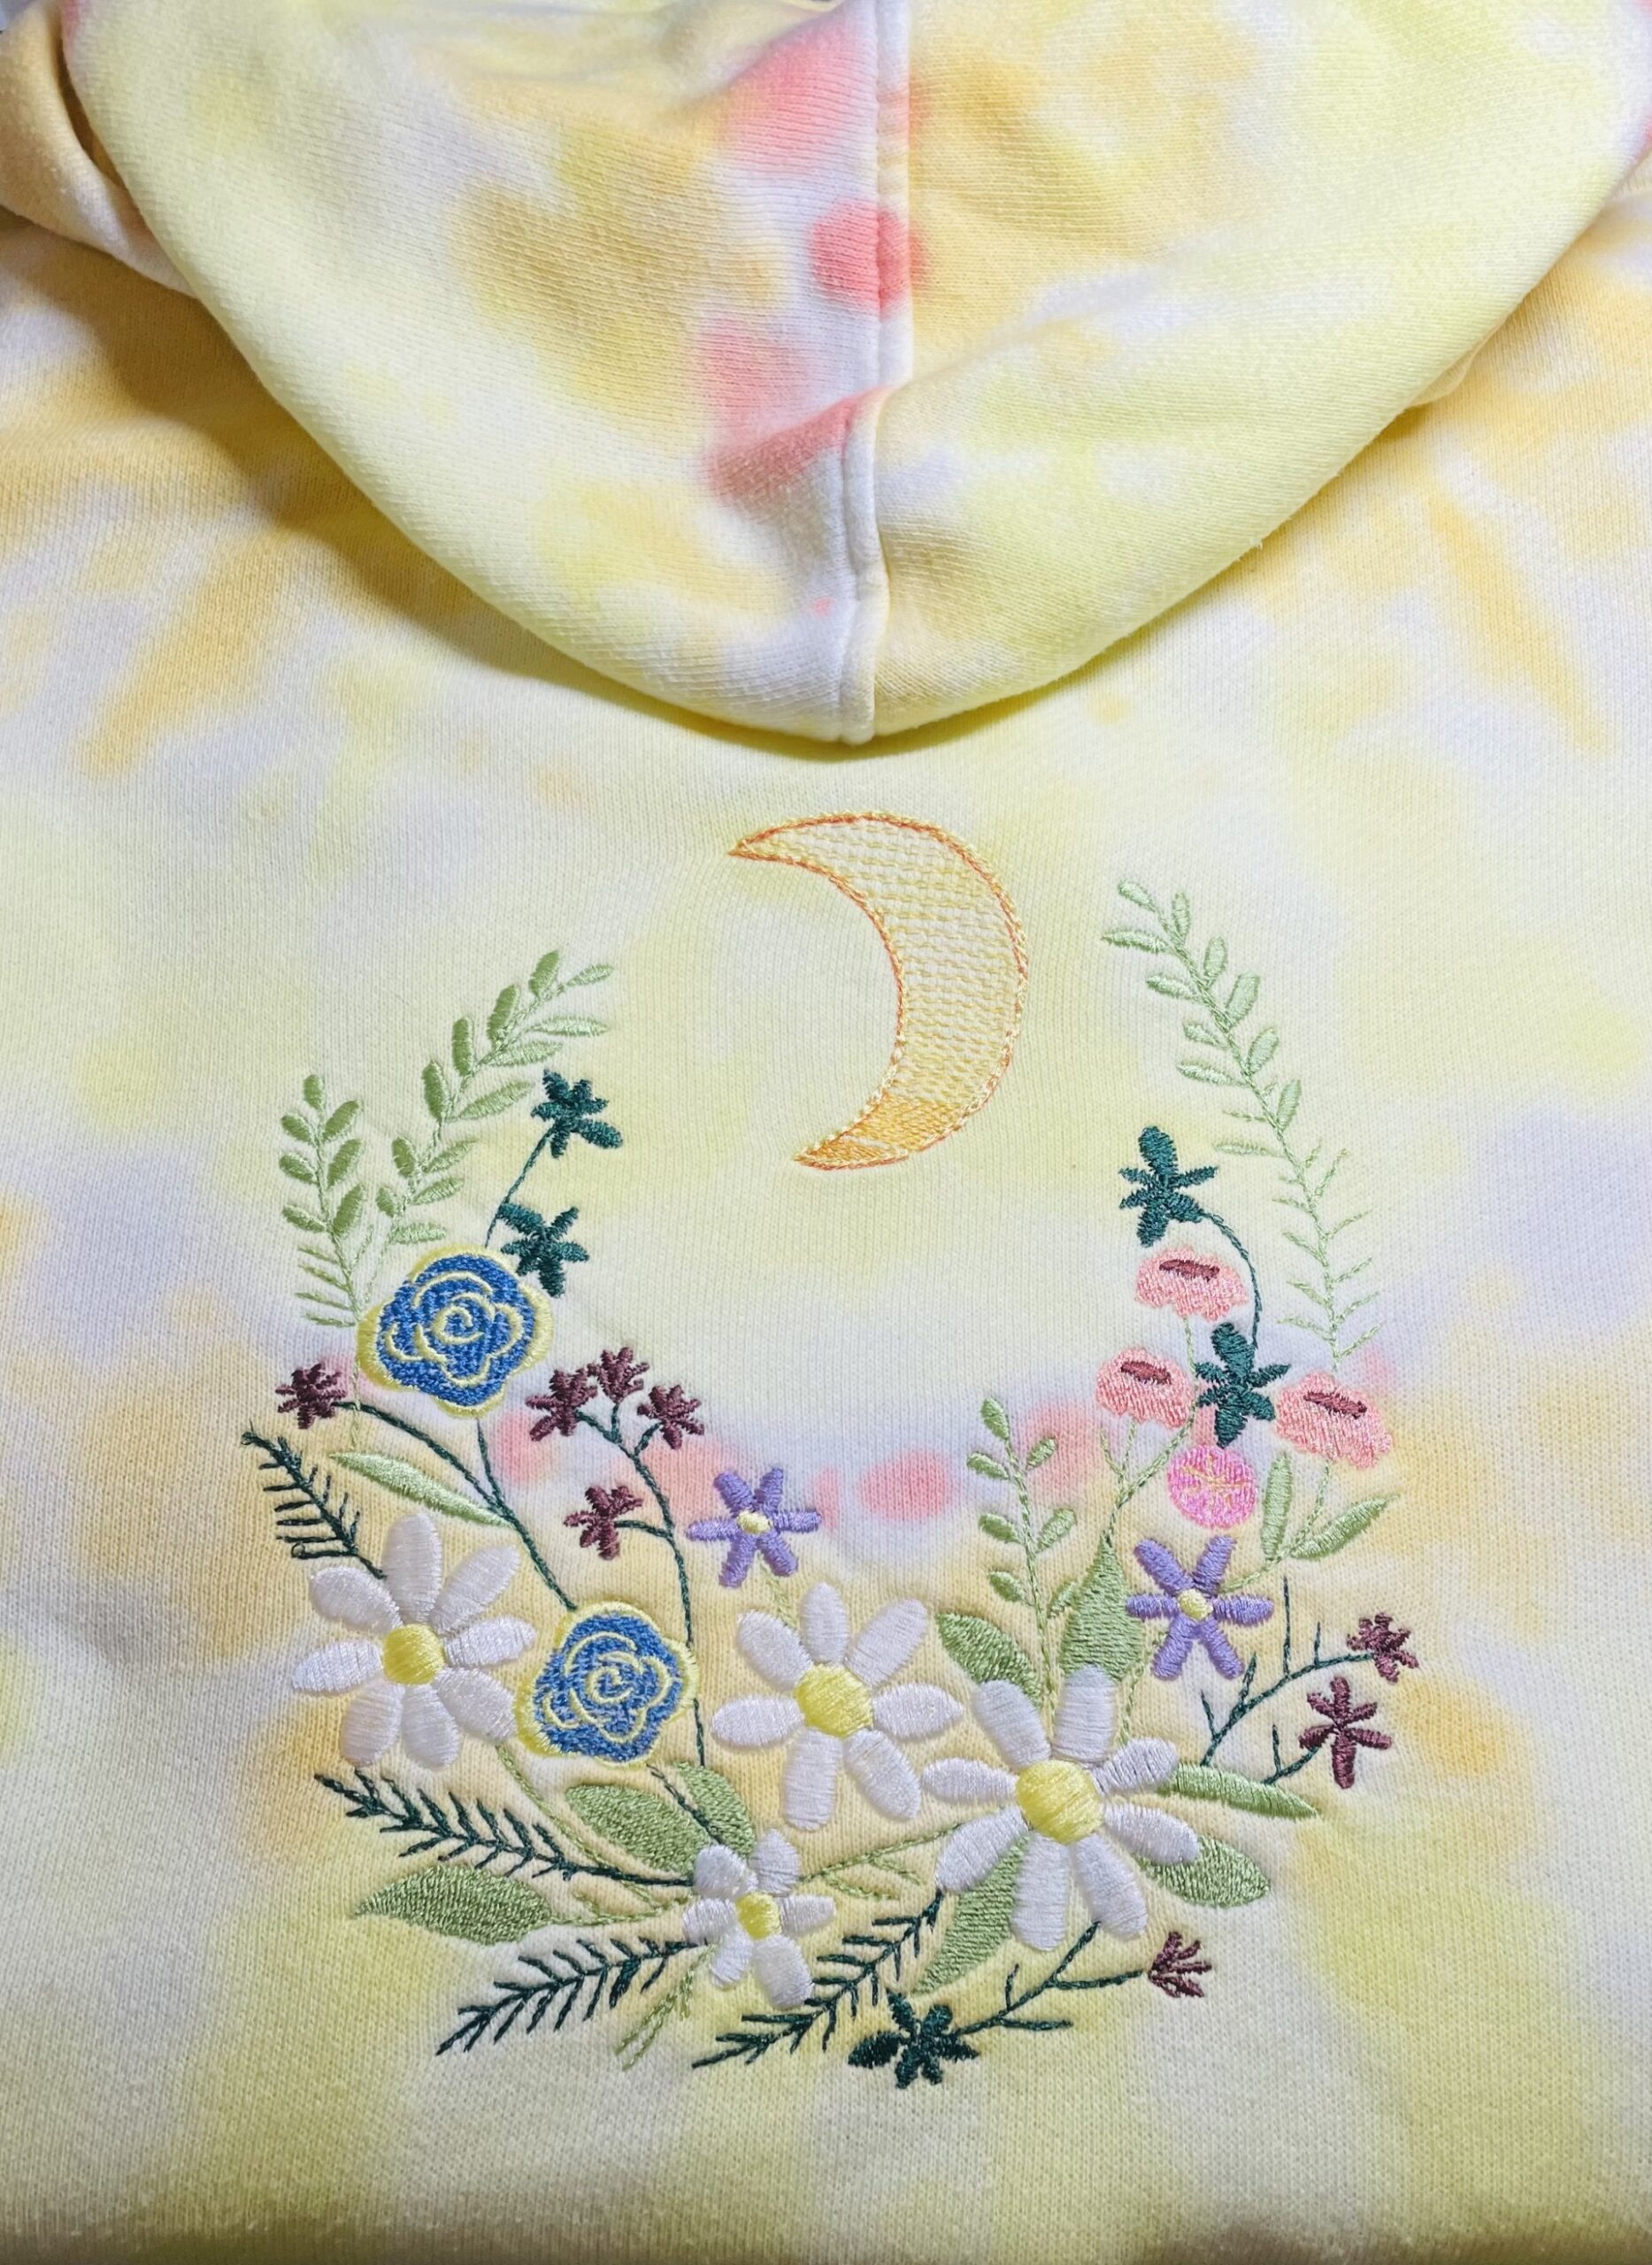
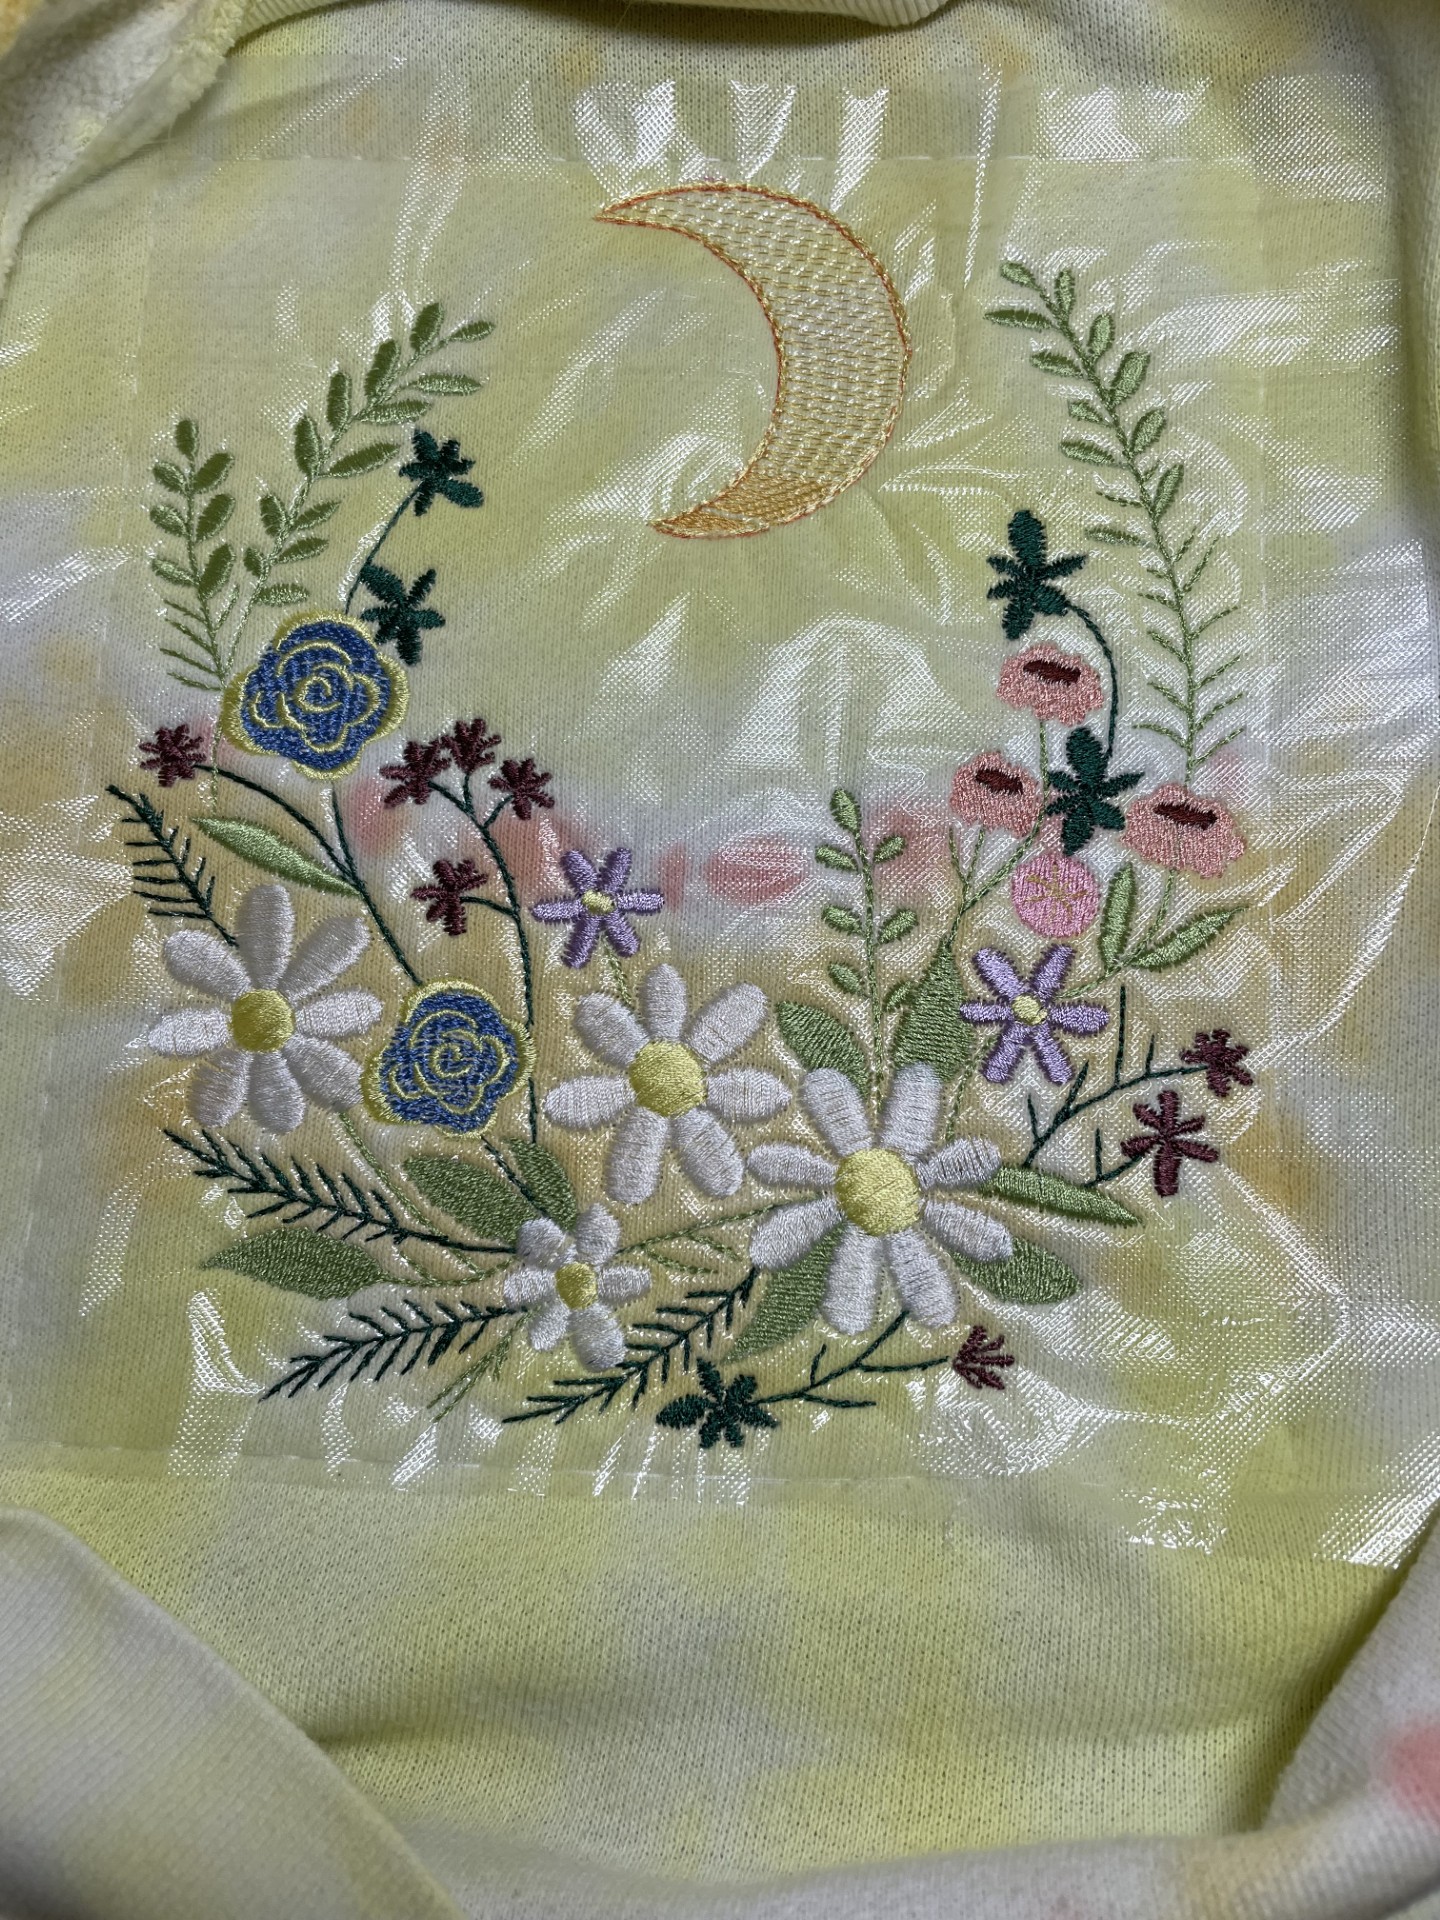
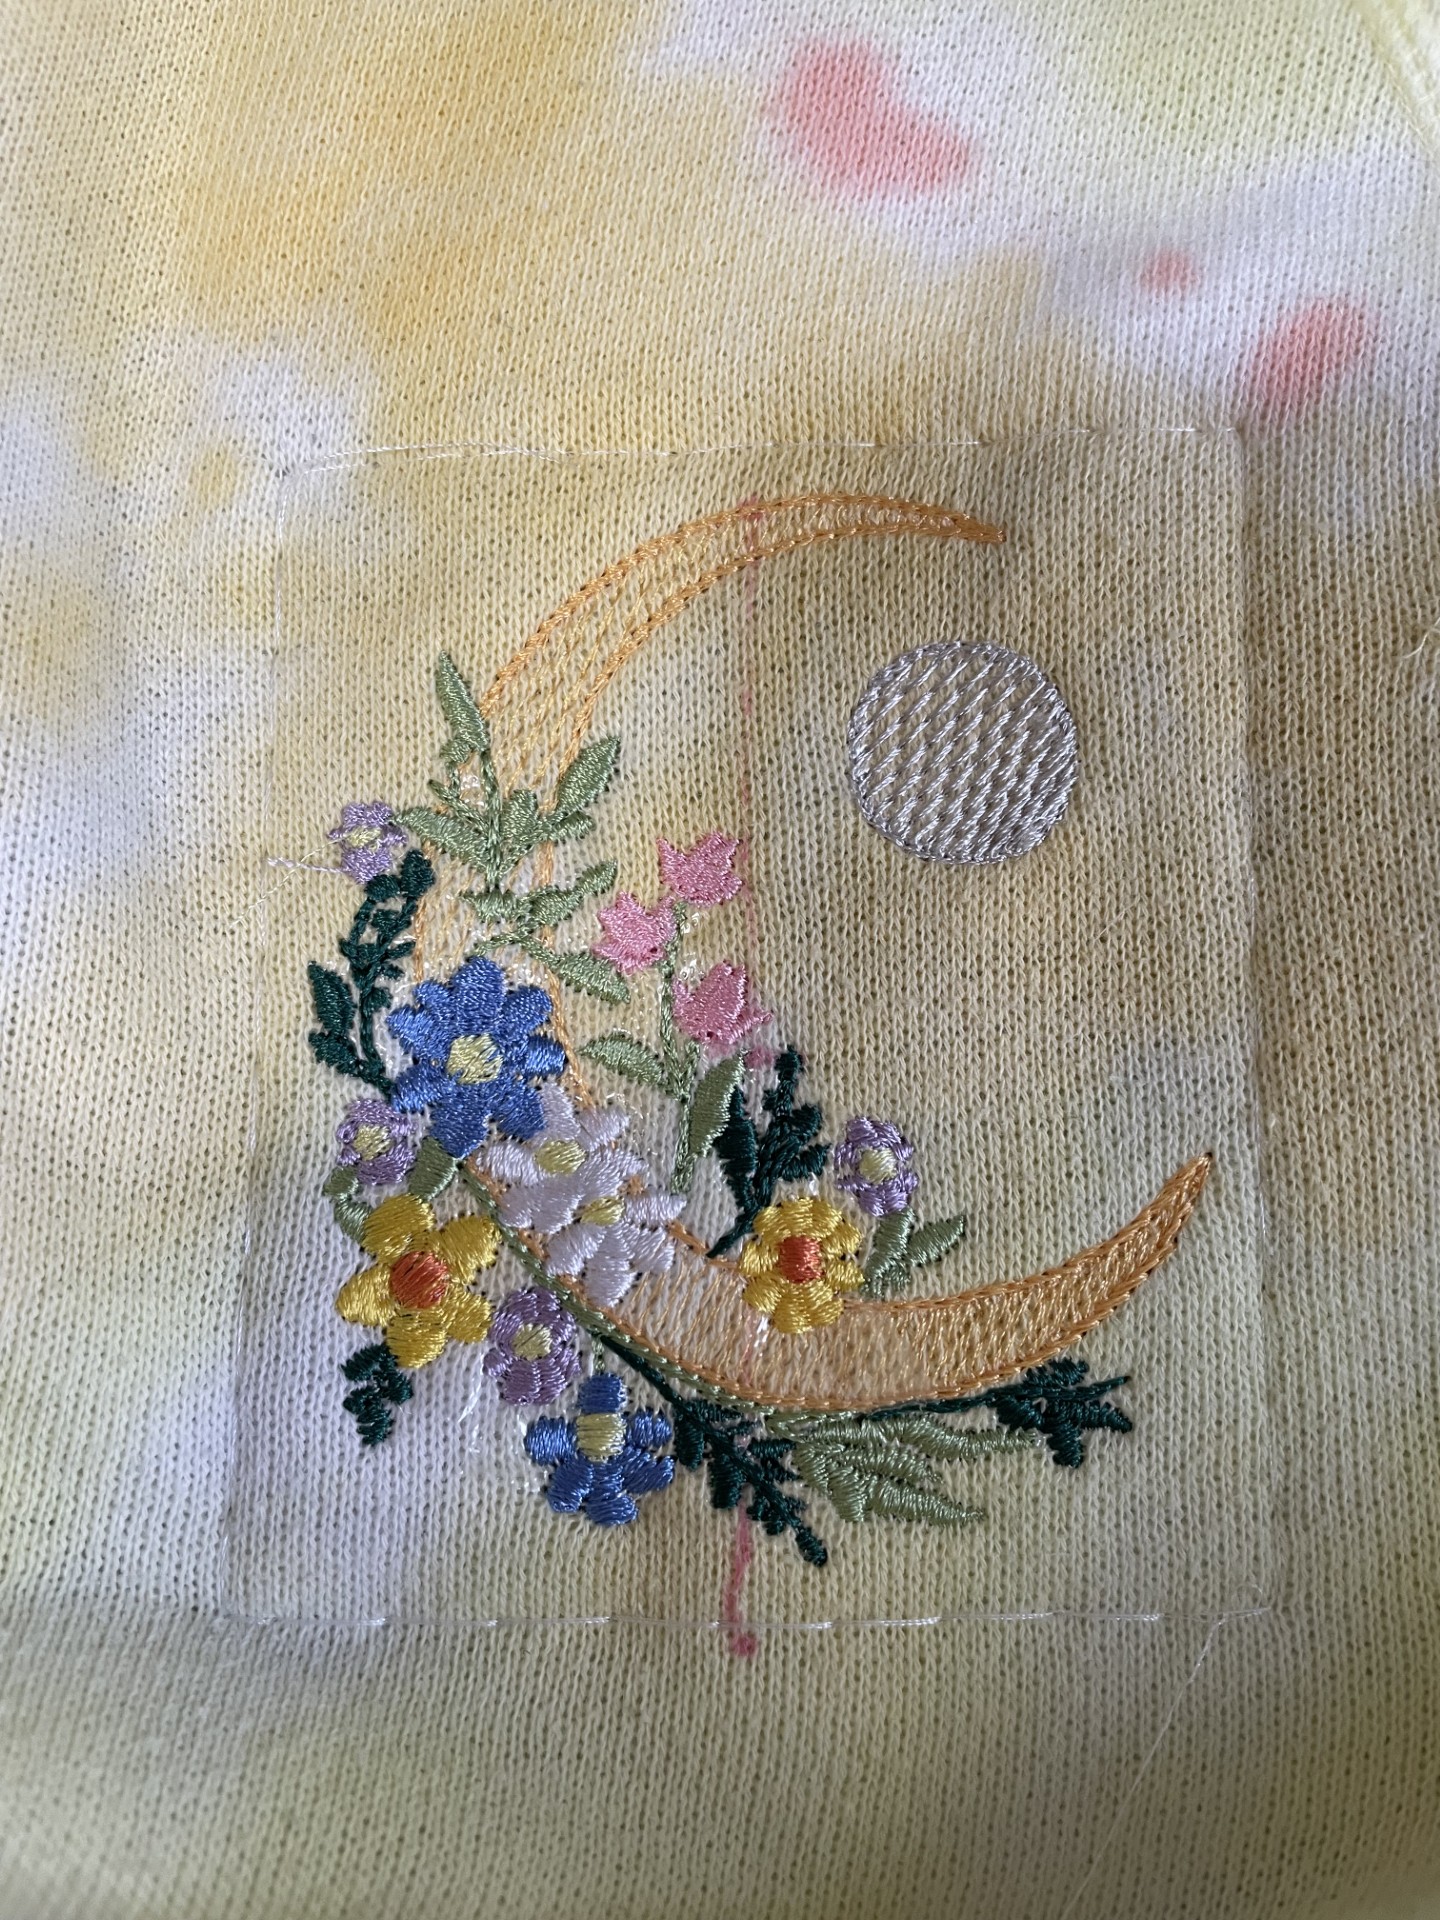
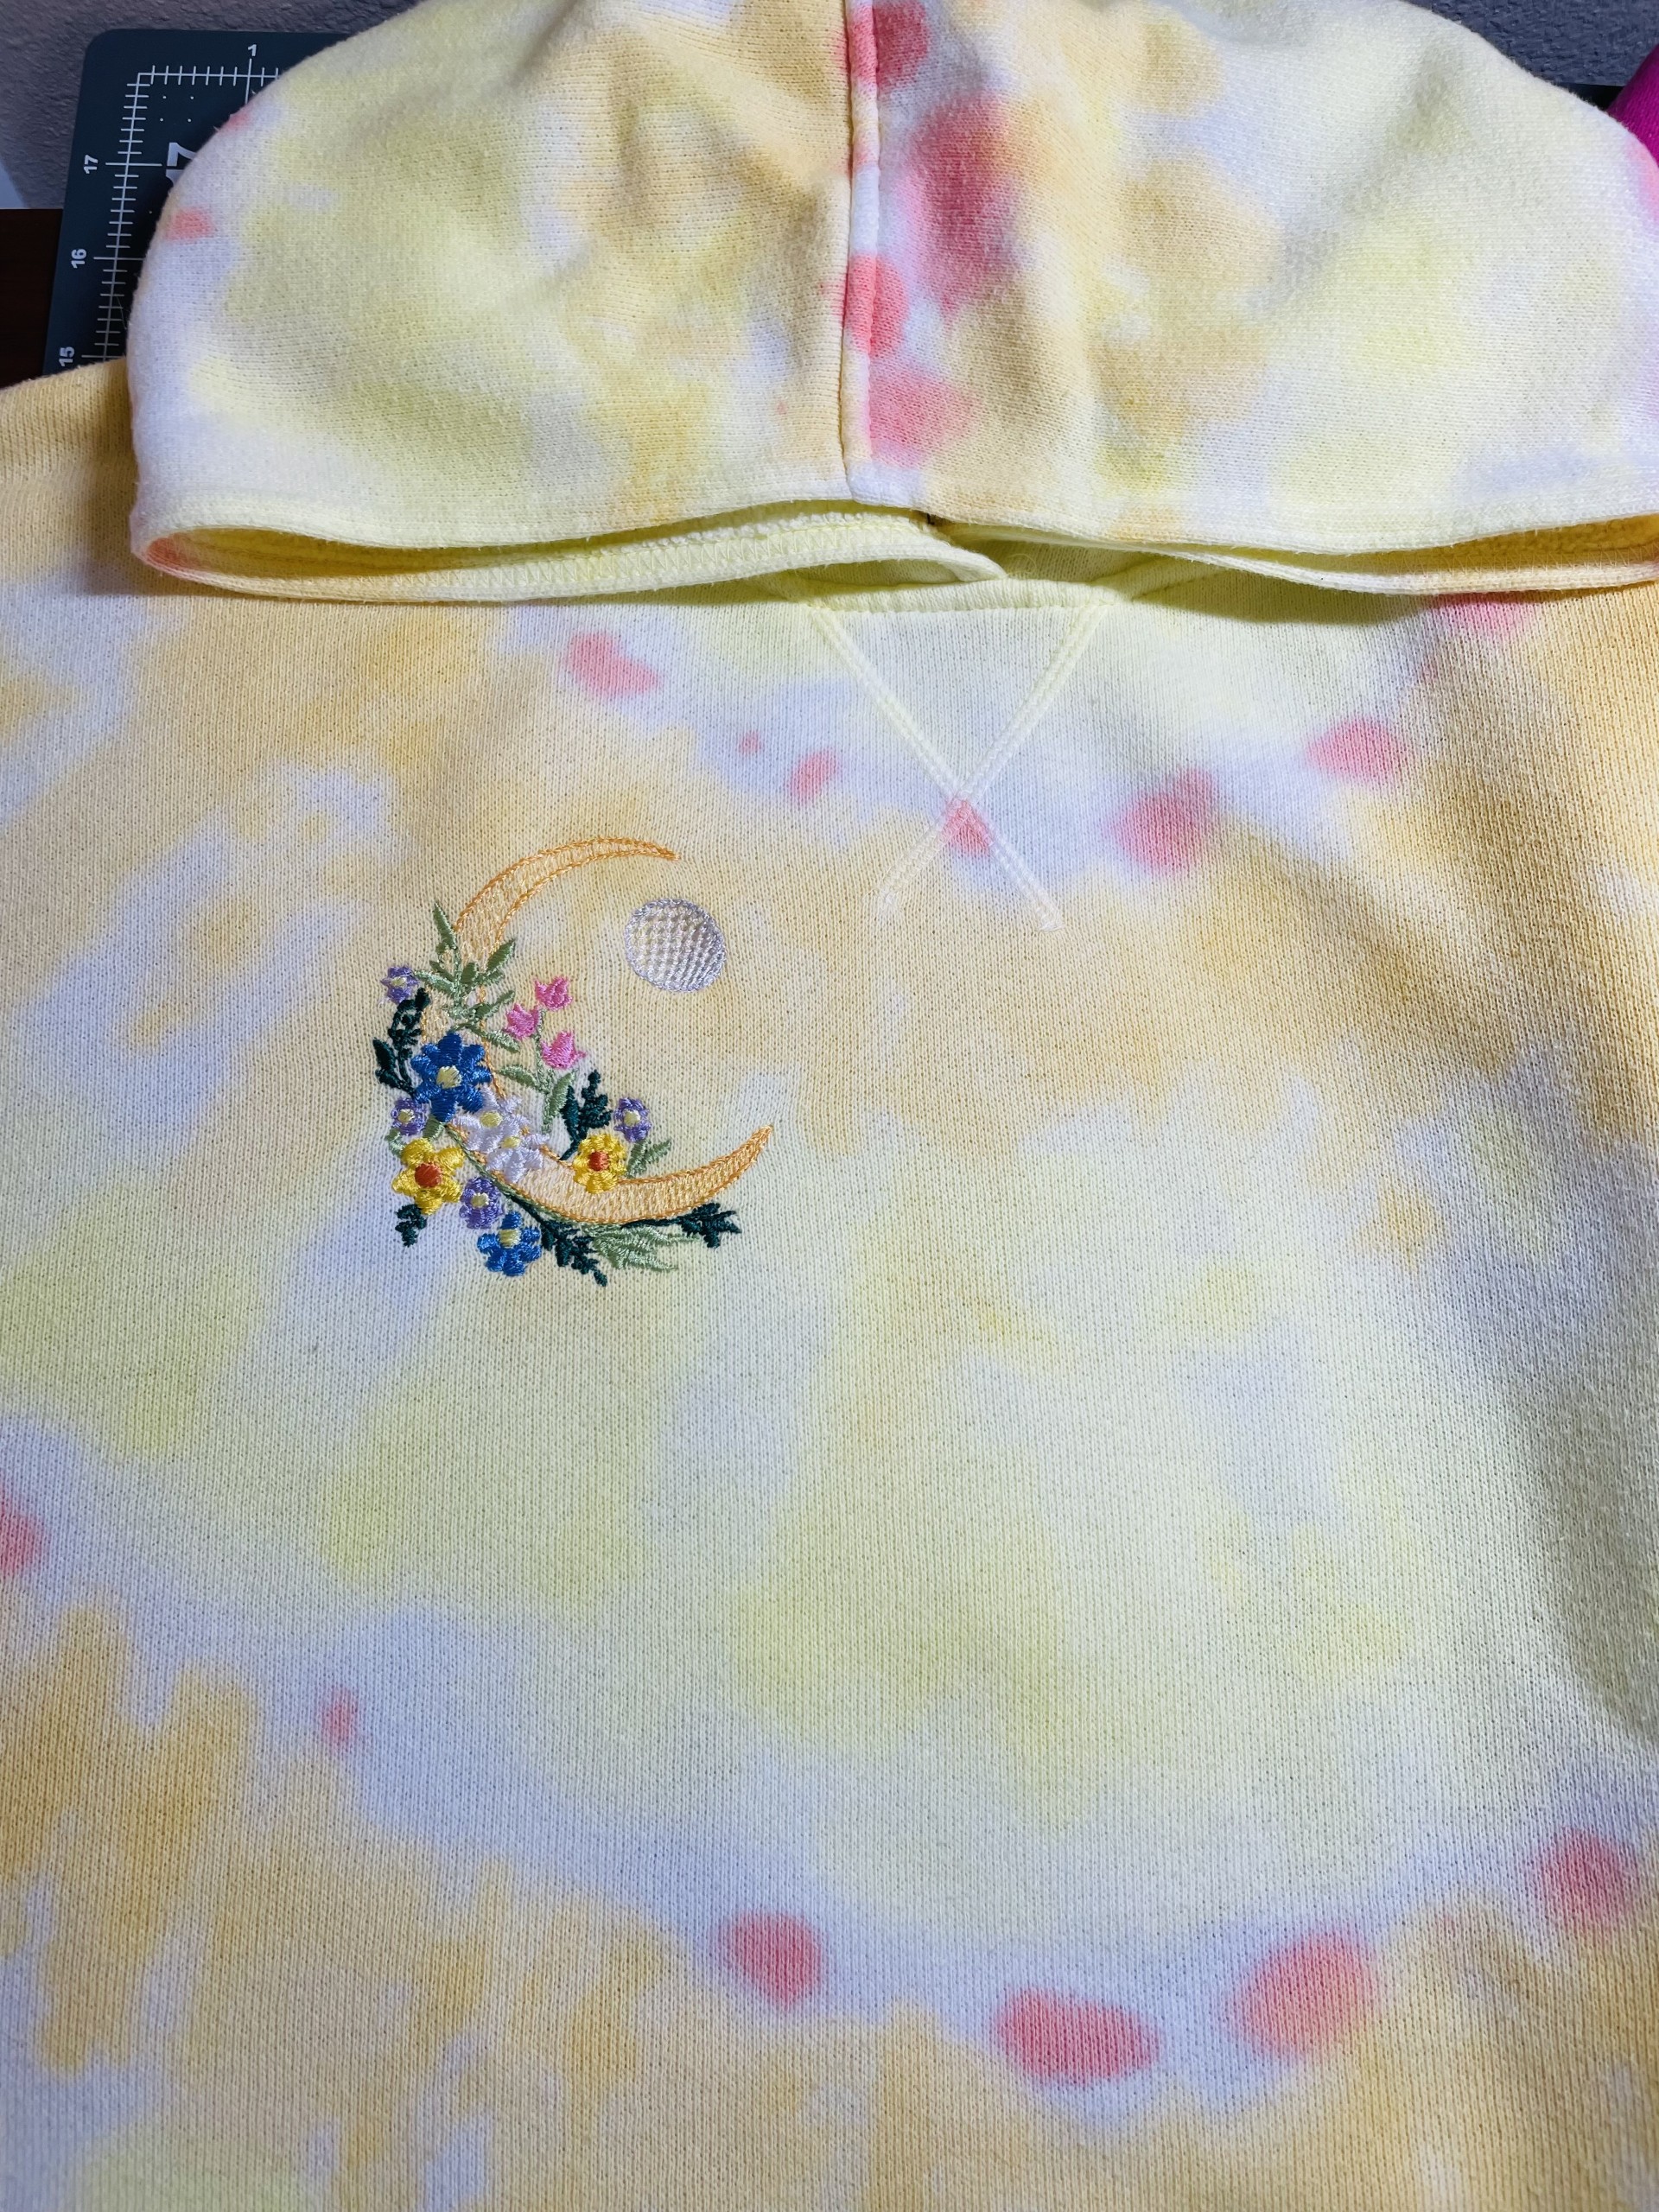
Where you place your design is a personal preference. The most important thing to remember is that you want it to be horizontally straight and centered. Do you want the design on the front, back, or perhaps both? I will show you each of those options. With the yellow hoodie, I chose a large design on the back, and from the same collection, I added a smaller coordinating design on the top right front. If you put a design on the back, you will want to decide if it should sit below the hood or if you want it slightly higher and partially hidden under the hood.
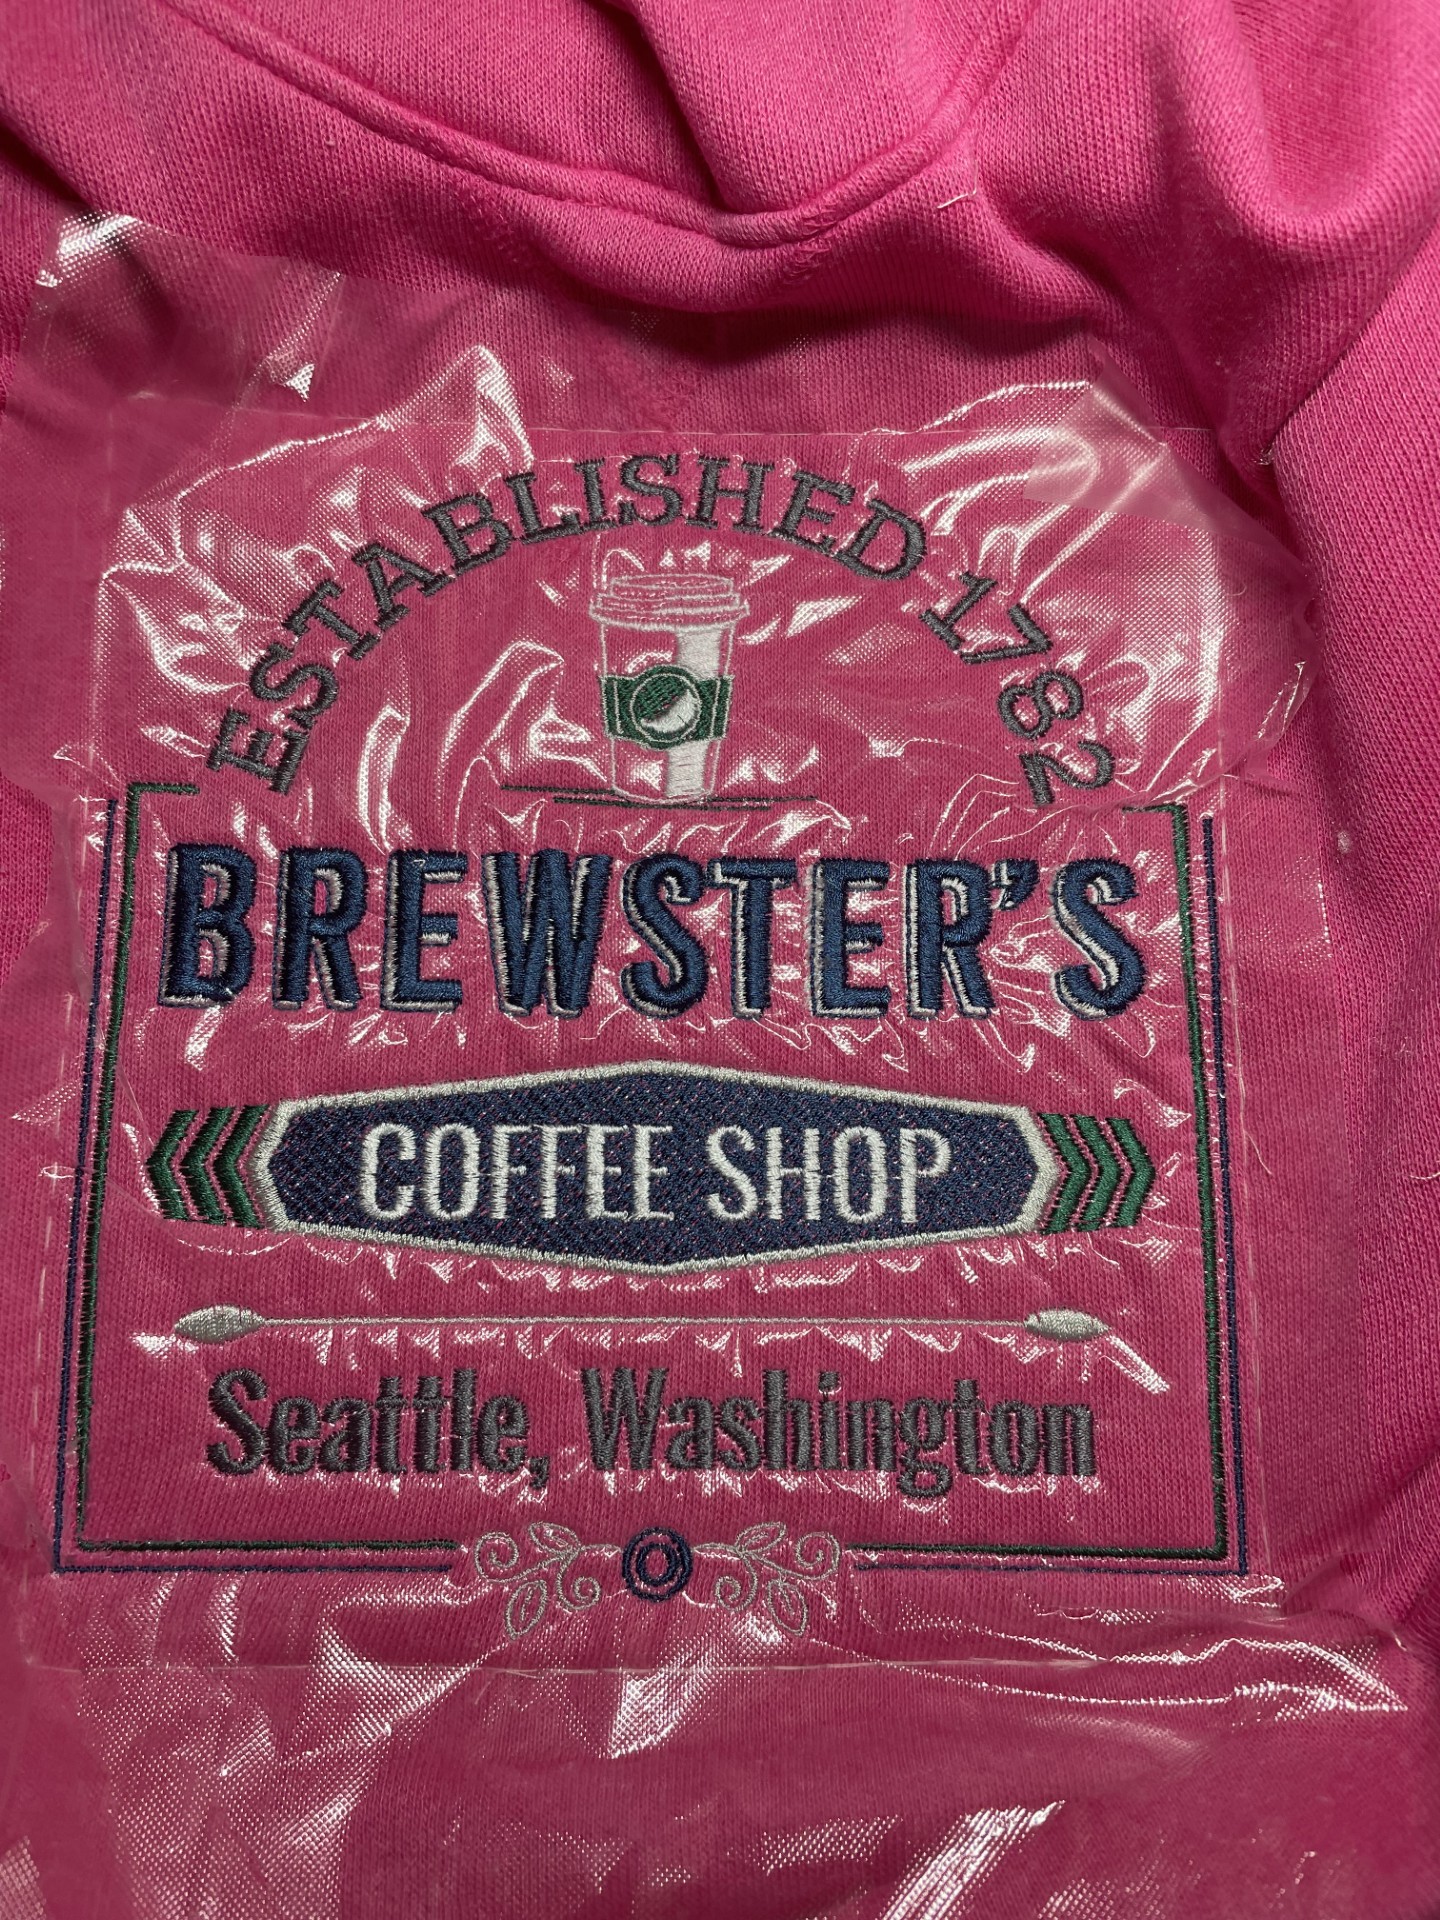
The designs used here are Celestial Florals 1 | Machine Embroidery Designs by JuJu, and Coffee Shop 1 Machine Embroidery Designs by JuJu.
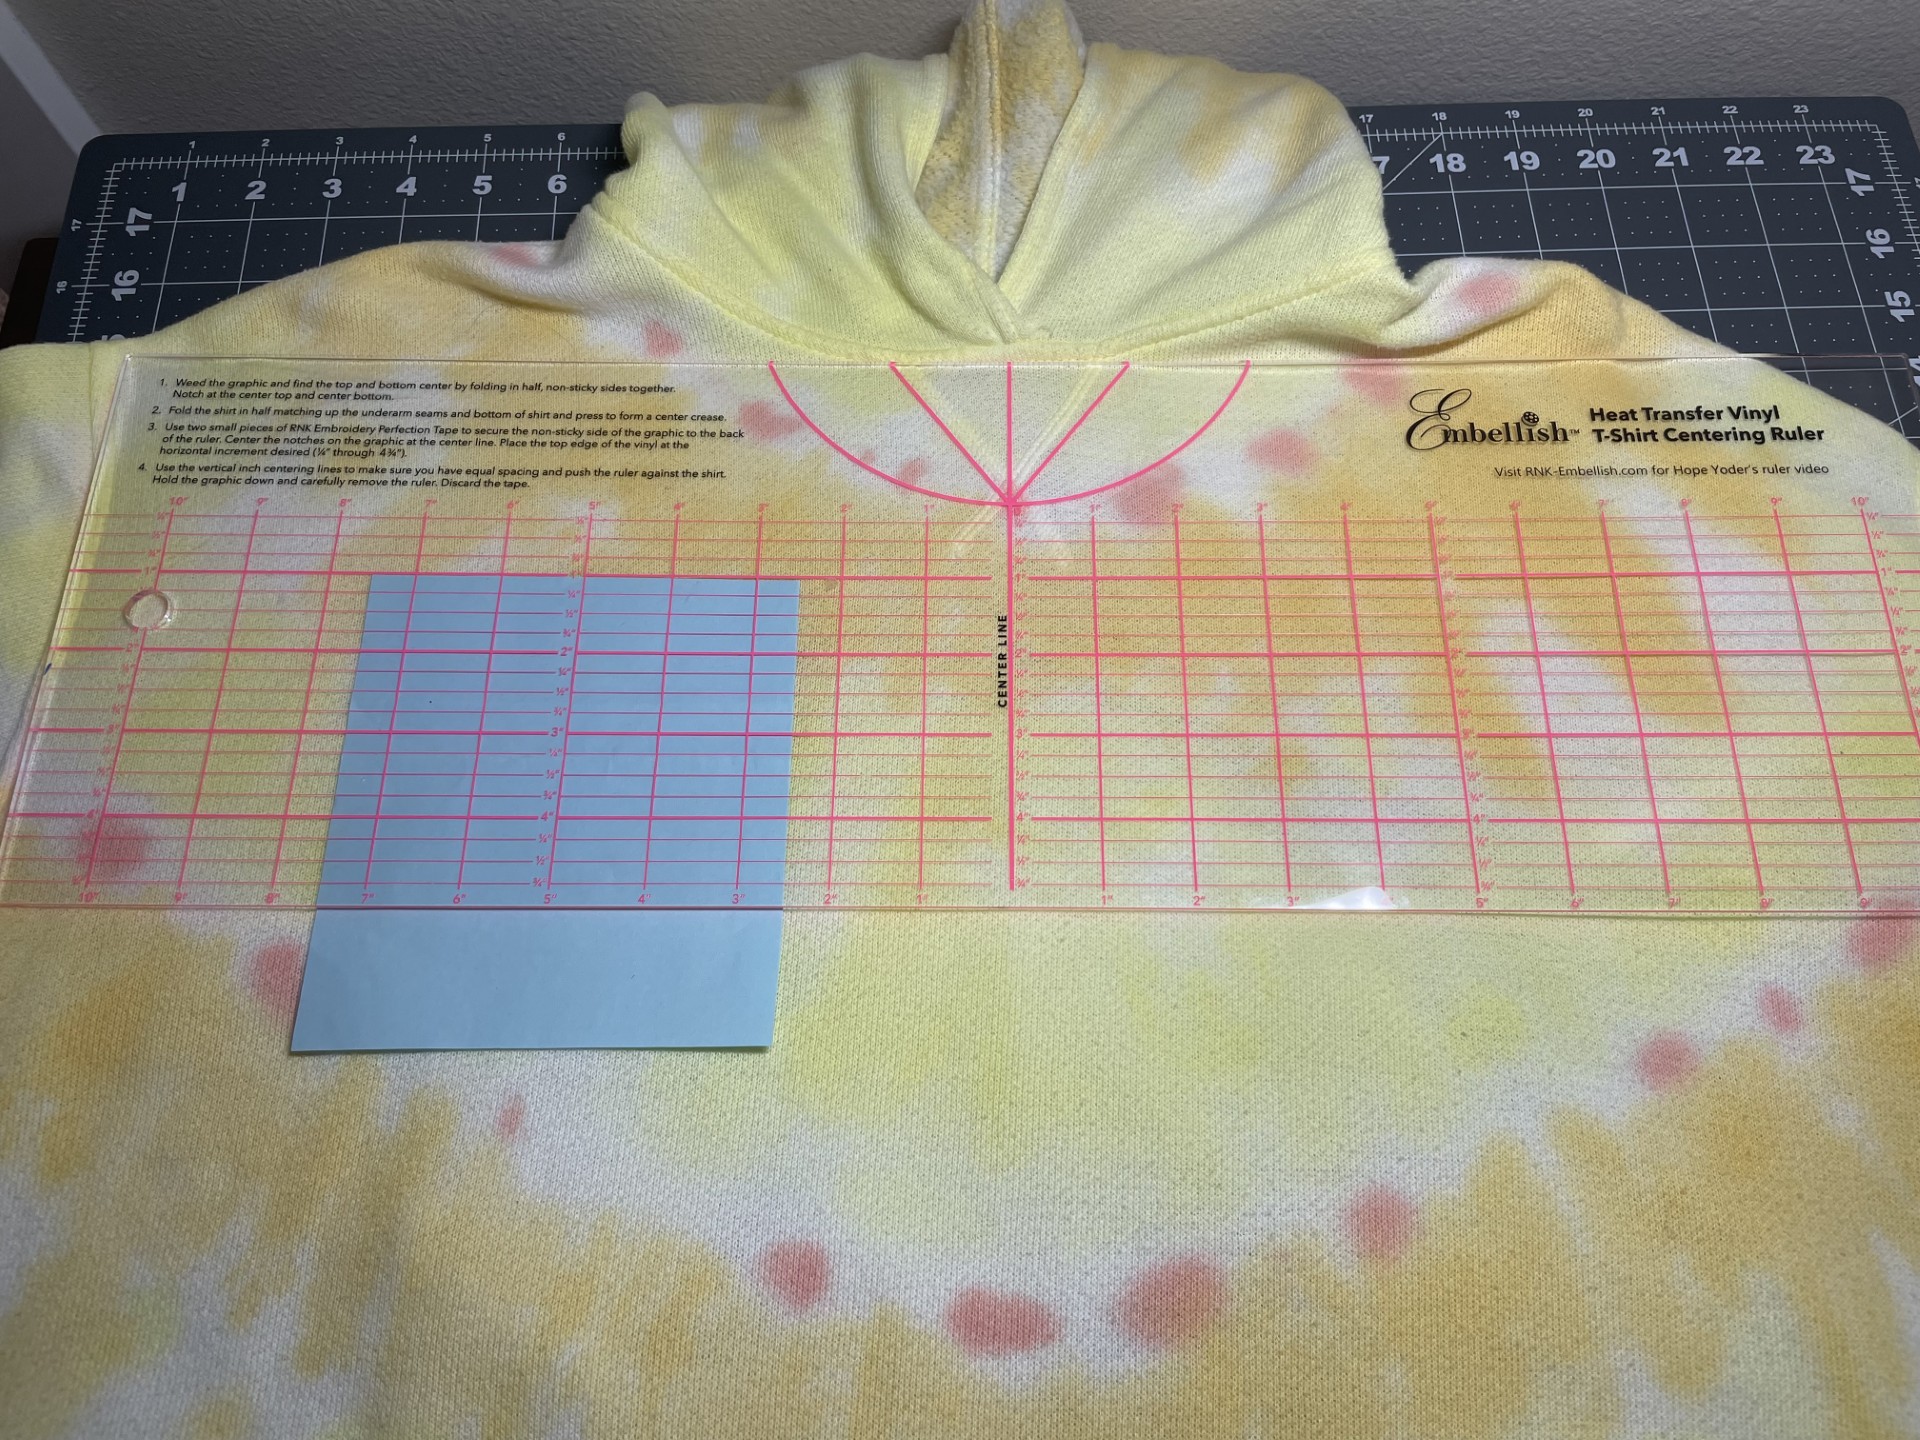
Select one of these or a different one that suits your personality or the personality of whomever you are making the hoodie for. Once you have decided on a design, cut a template using a blank piece of paper as close as possible to the size of your embroidery design. For example, if my embroidery design is 5.51x4.81, I will make my template 5.5 x 4.75. This is not for you to use for placement marks; it’s just to give you an idea of where to put your design on the garment.
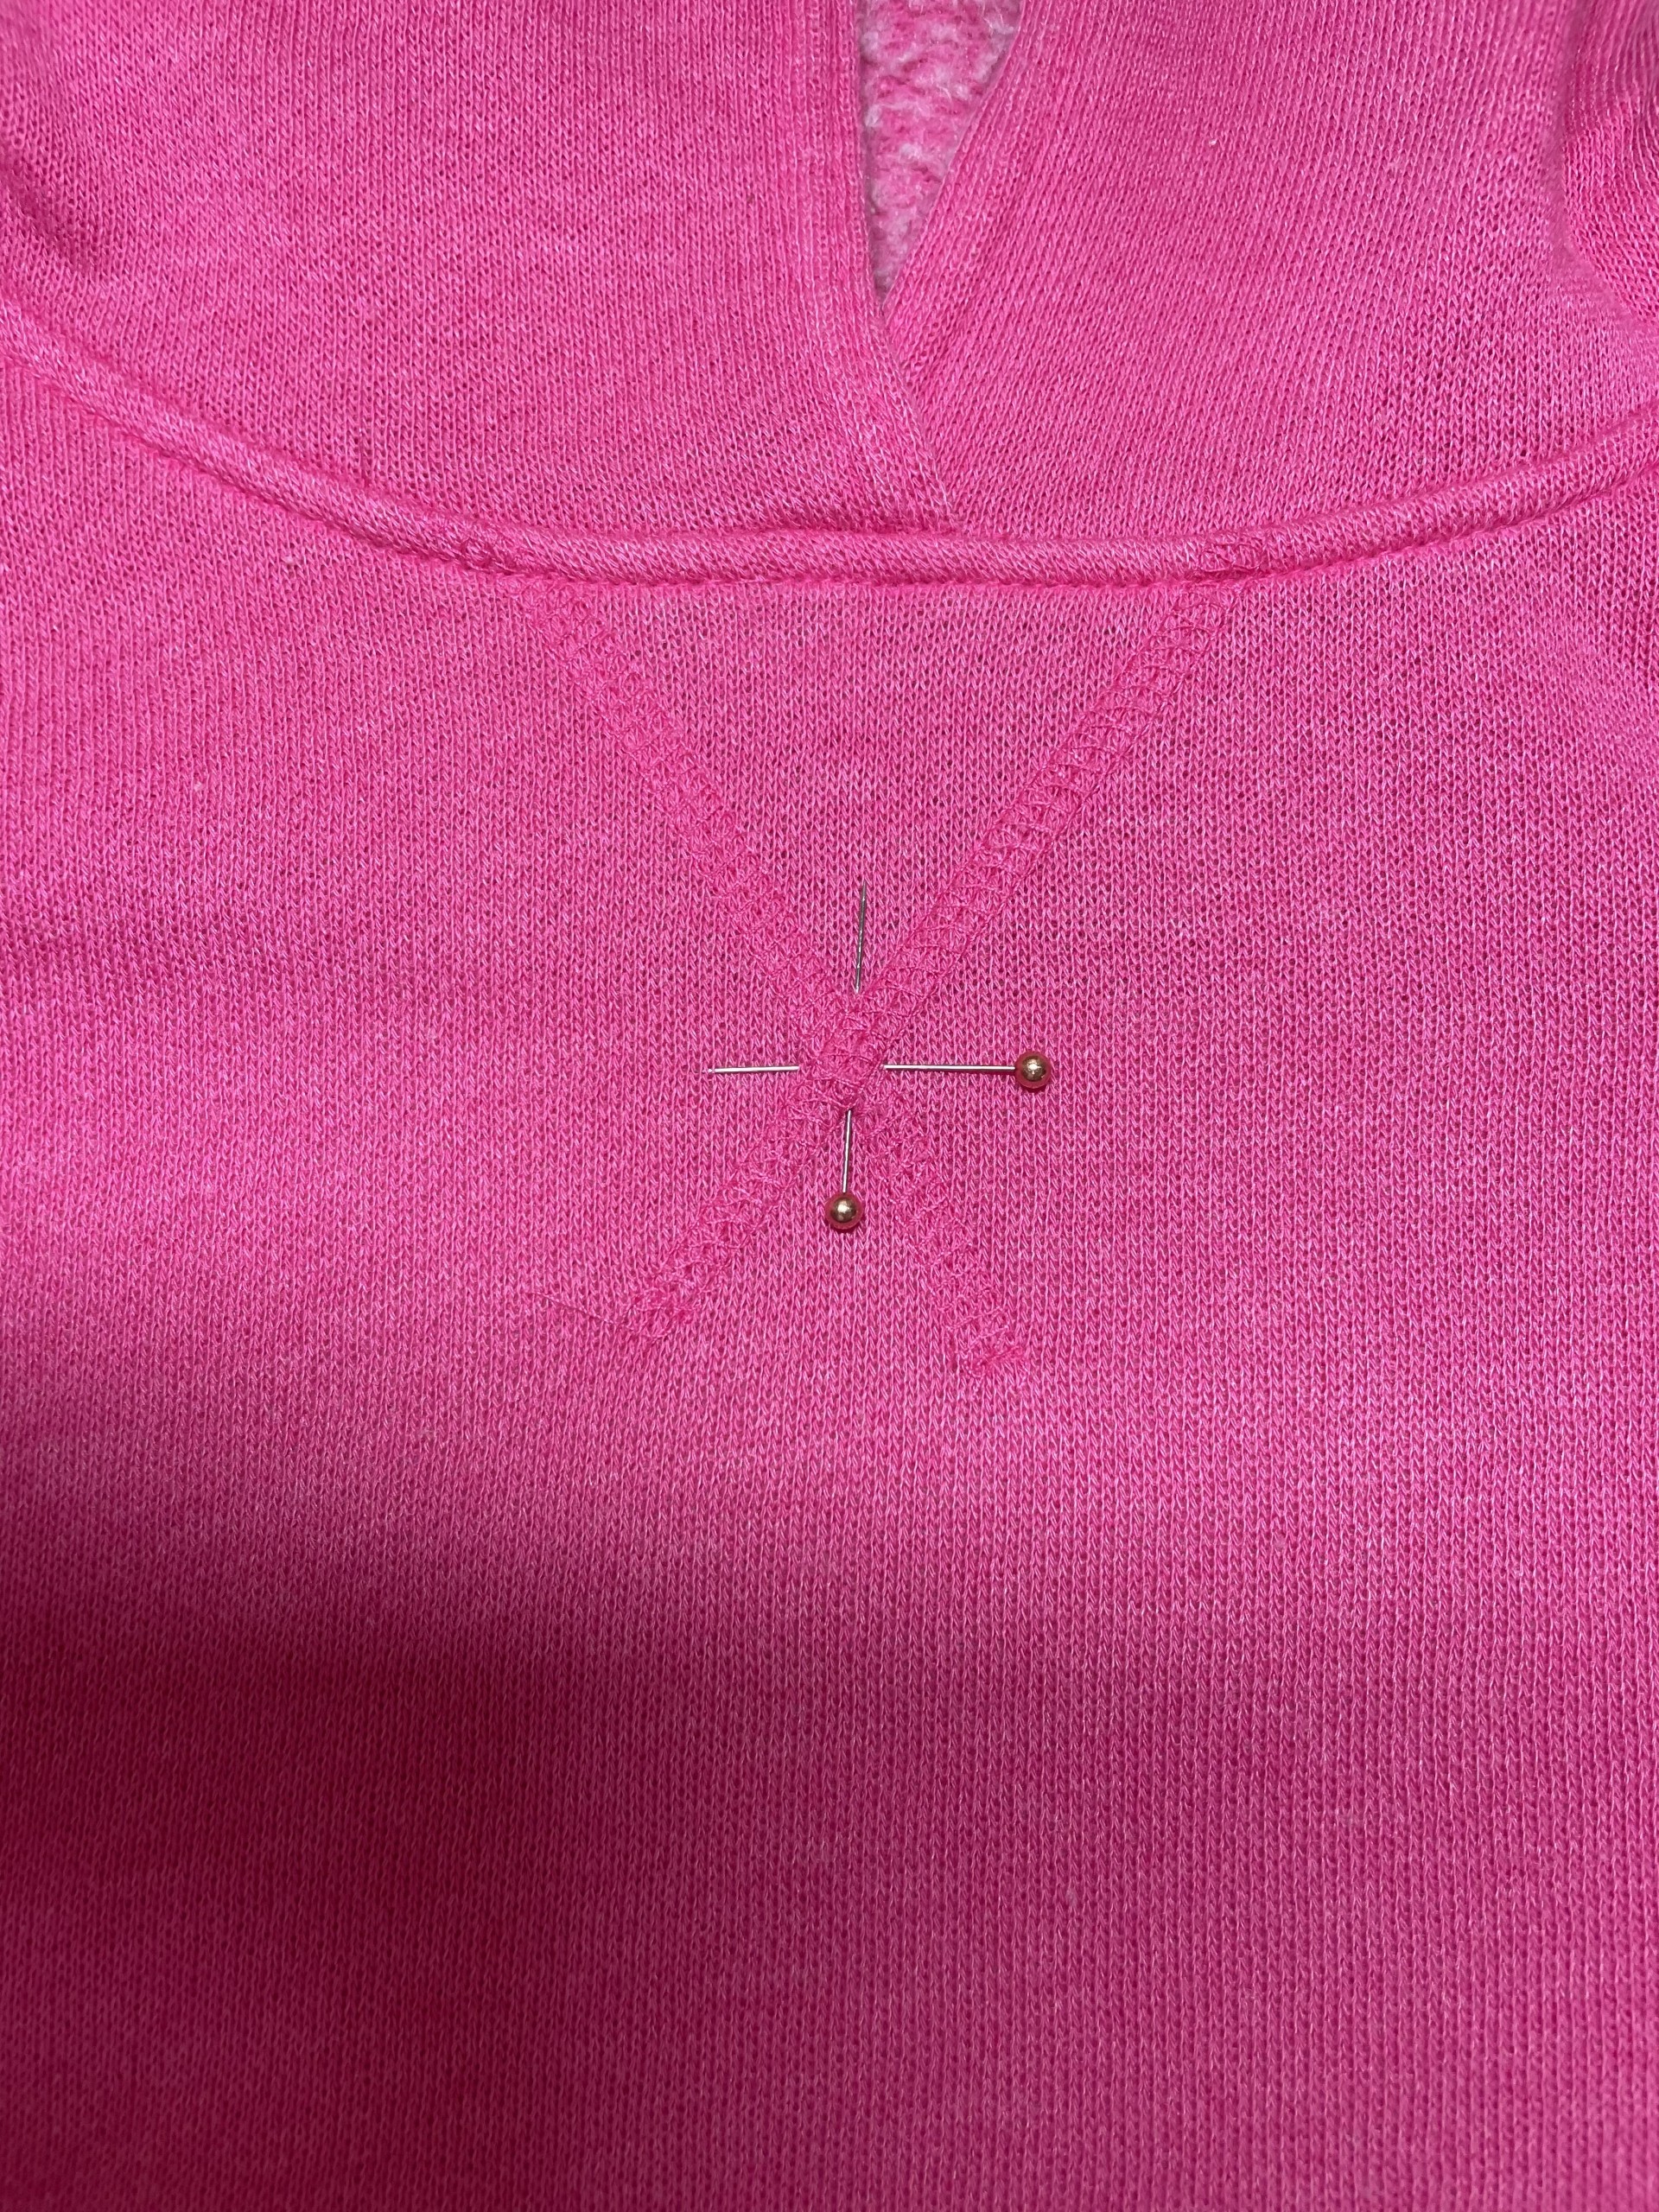
If you have a shirt placement ruler, you can use it to find the center of your hoodie. If not, fold the hoodie in half, matching shoulder seams. Mark the center with a fabric marker or straight pin. Now, you can decide where you want to place your design. Lay your hoodie flat on a table, take the template, and lay it on the hoodie. Pin the paper to your hoodie, and then try it on. Because all hoodies hang differently, doing this will show you how your hoodie fits you and where the design will look best. For the back of the sweatshirt, you may want to ask someone to pin or mark where the hood rests and then pin your paper right beneath that mark or part way up if you want to hide some of the design underneath the hood. If working alone, you can do this independently; it may take a couple of tries. Take your time finding the placement that works for you.


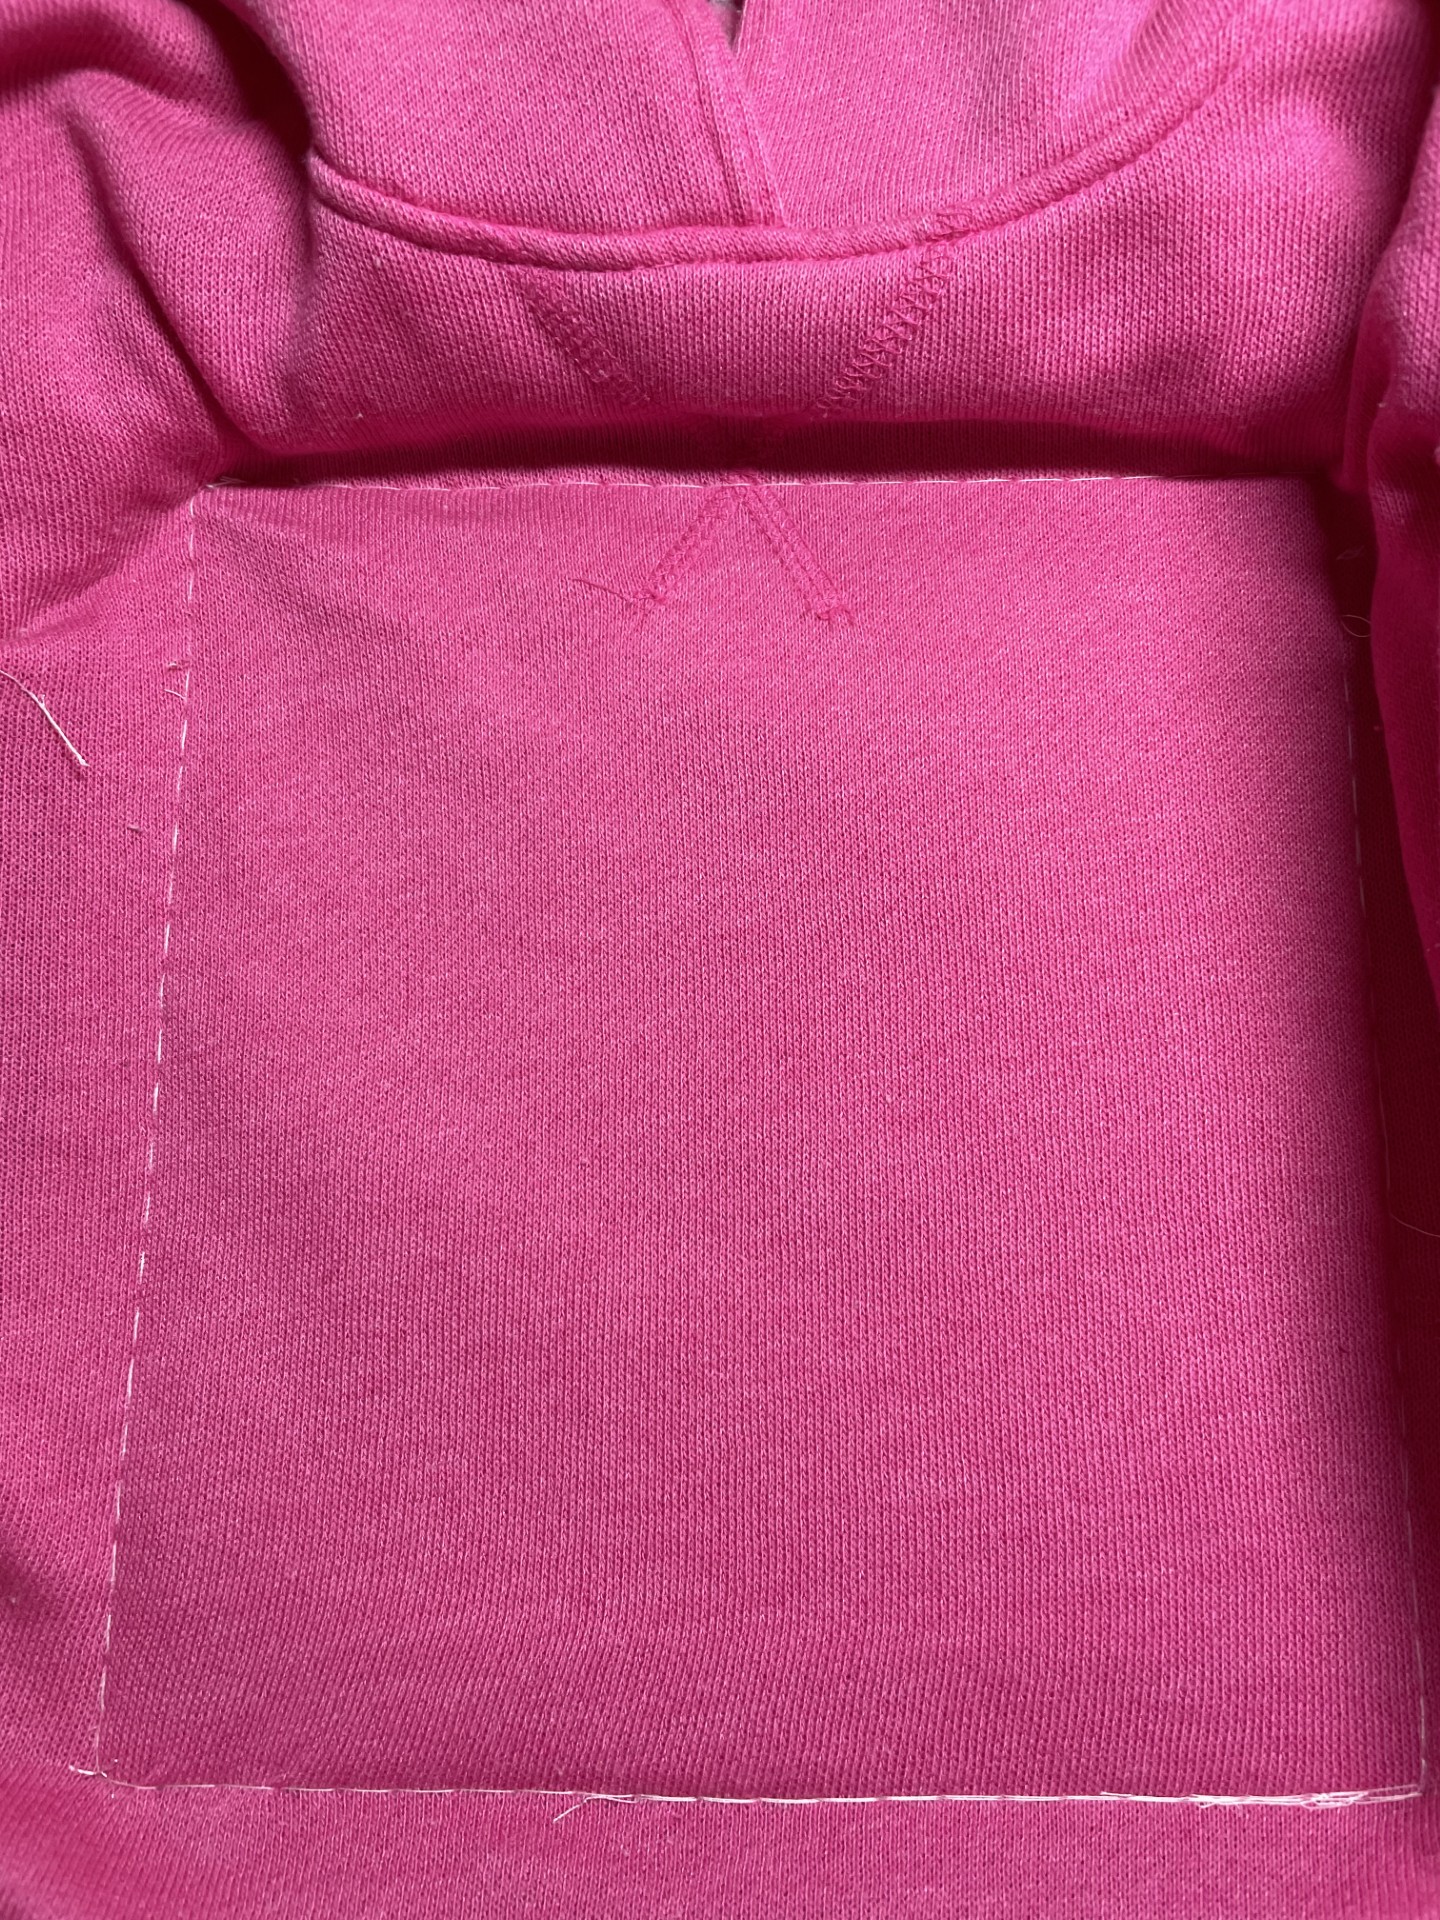
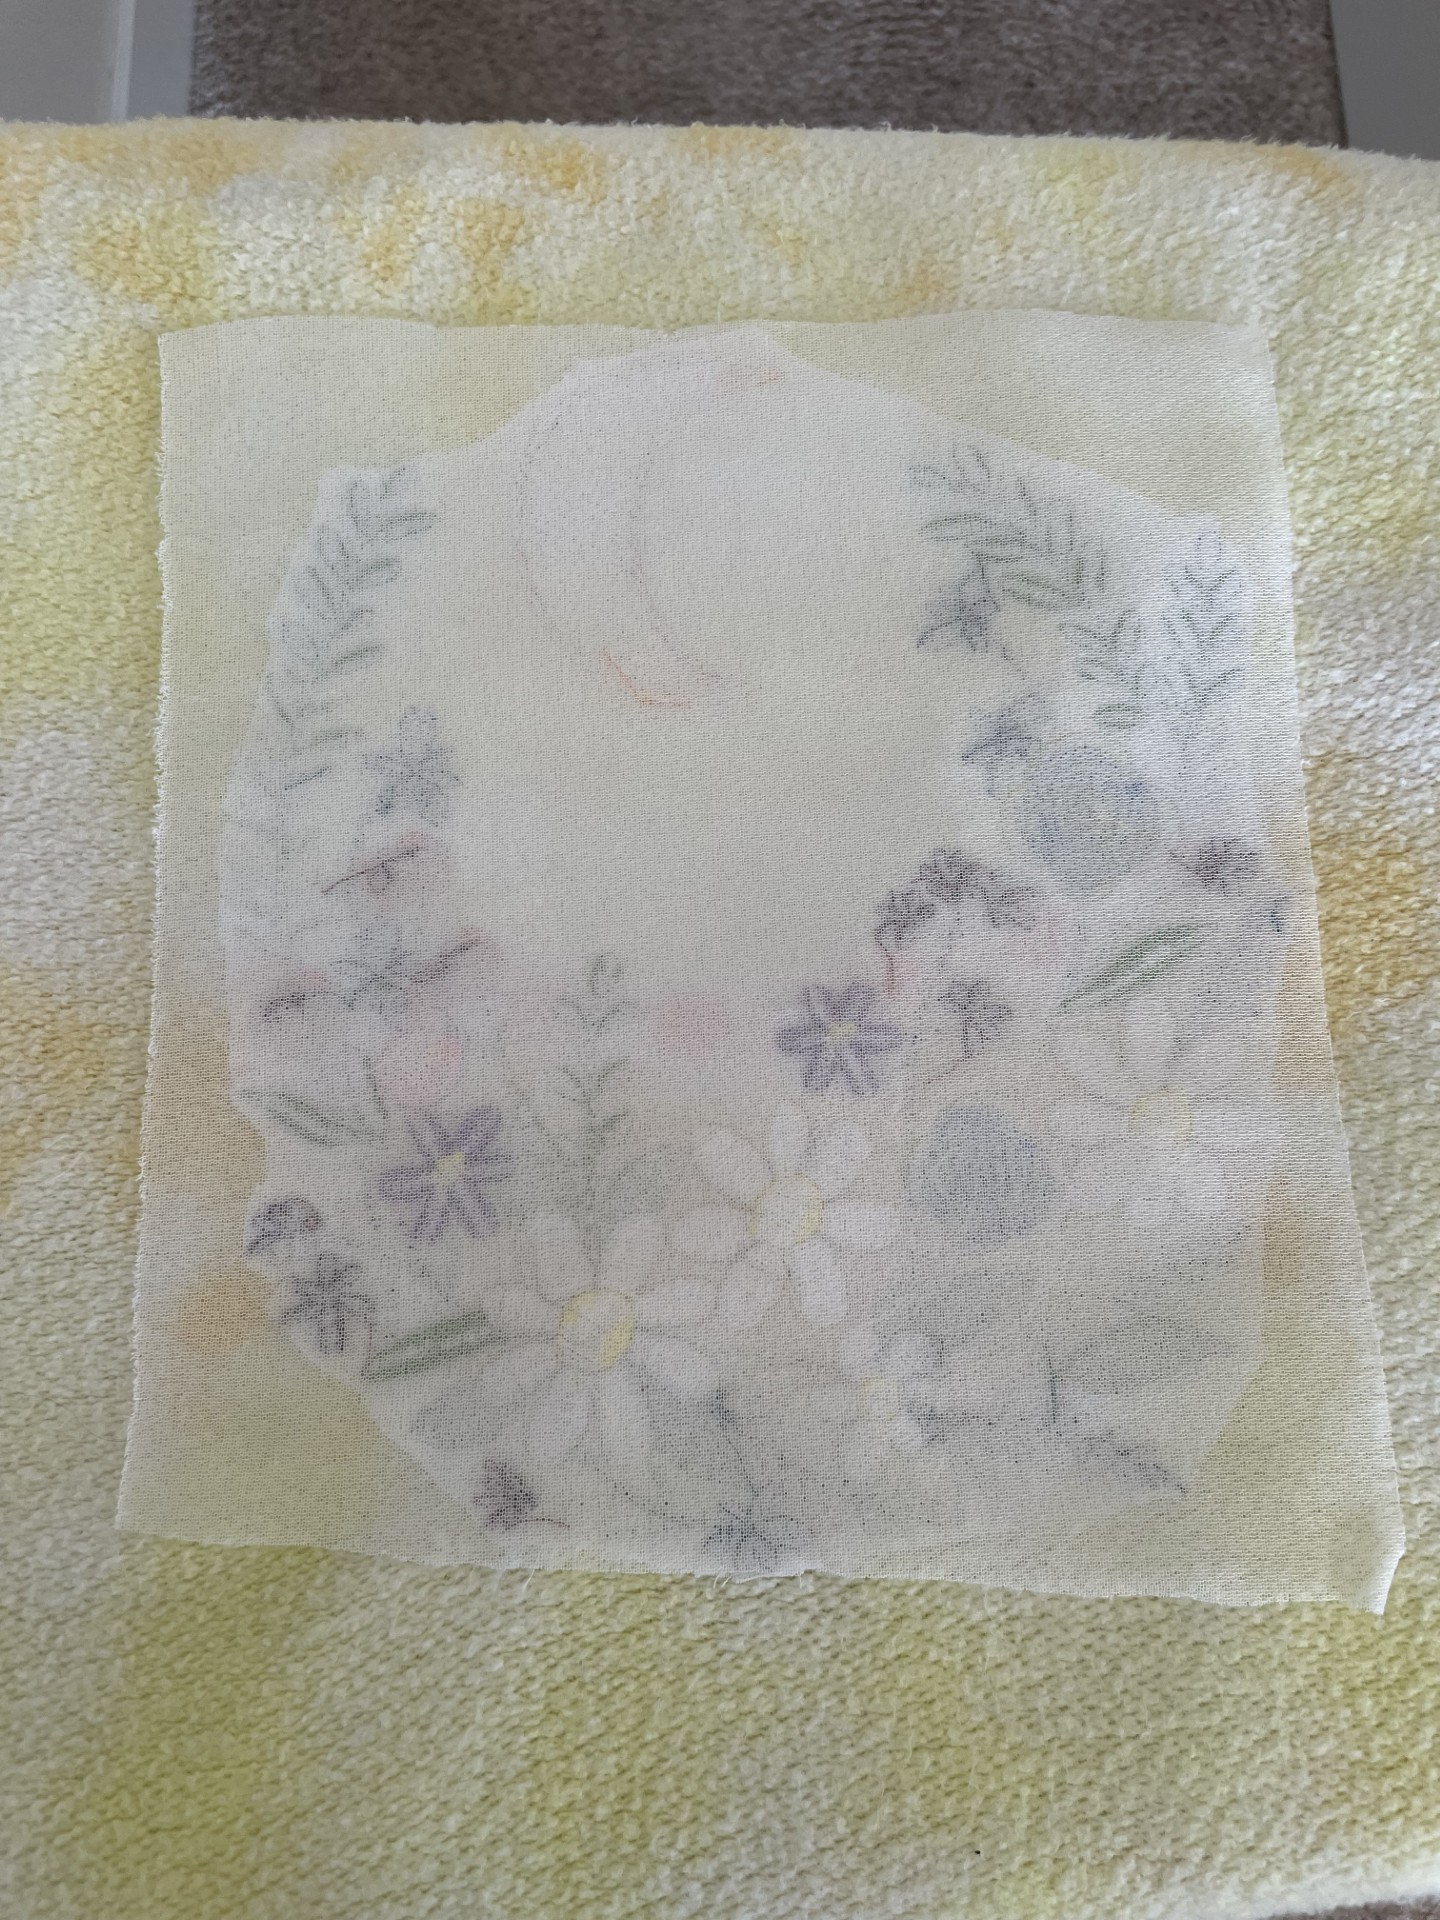
On the inside of your hoodie, iron a piece of SF101 Shape-Flex® | Pellon® Projects. This will help prevent puckering

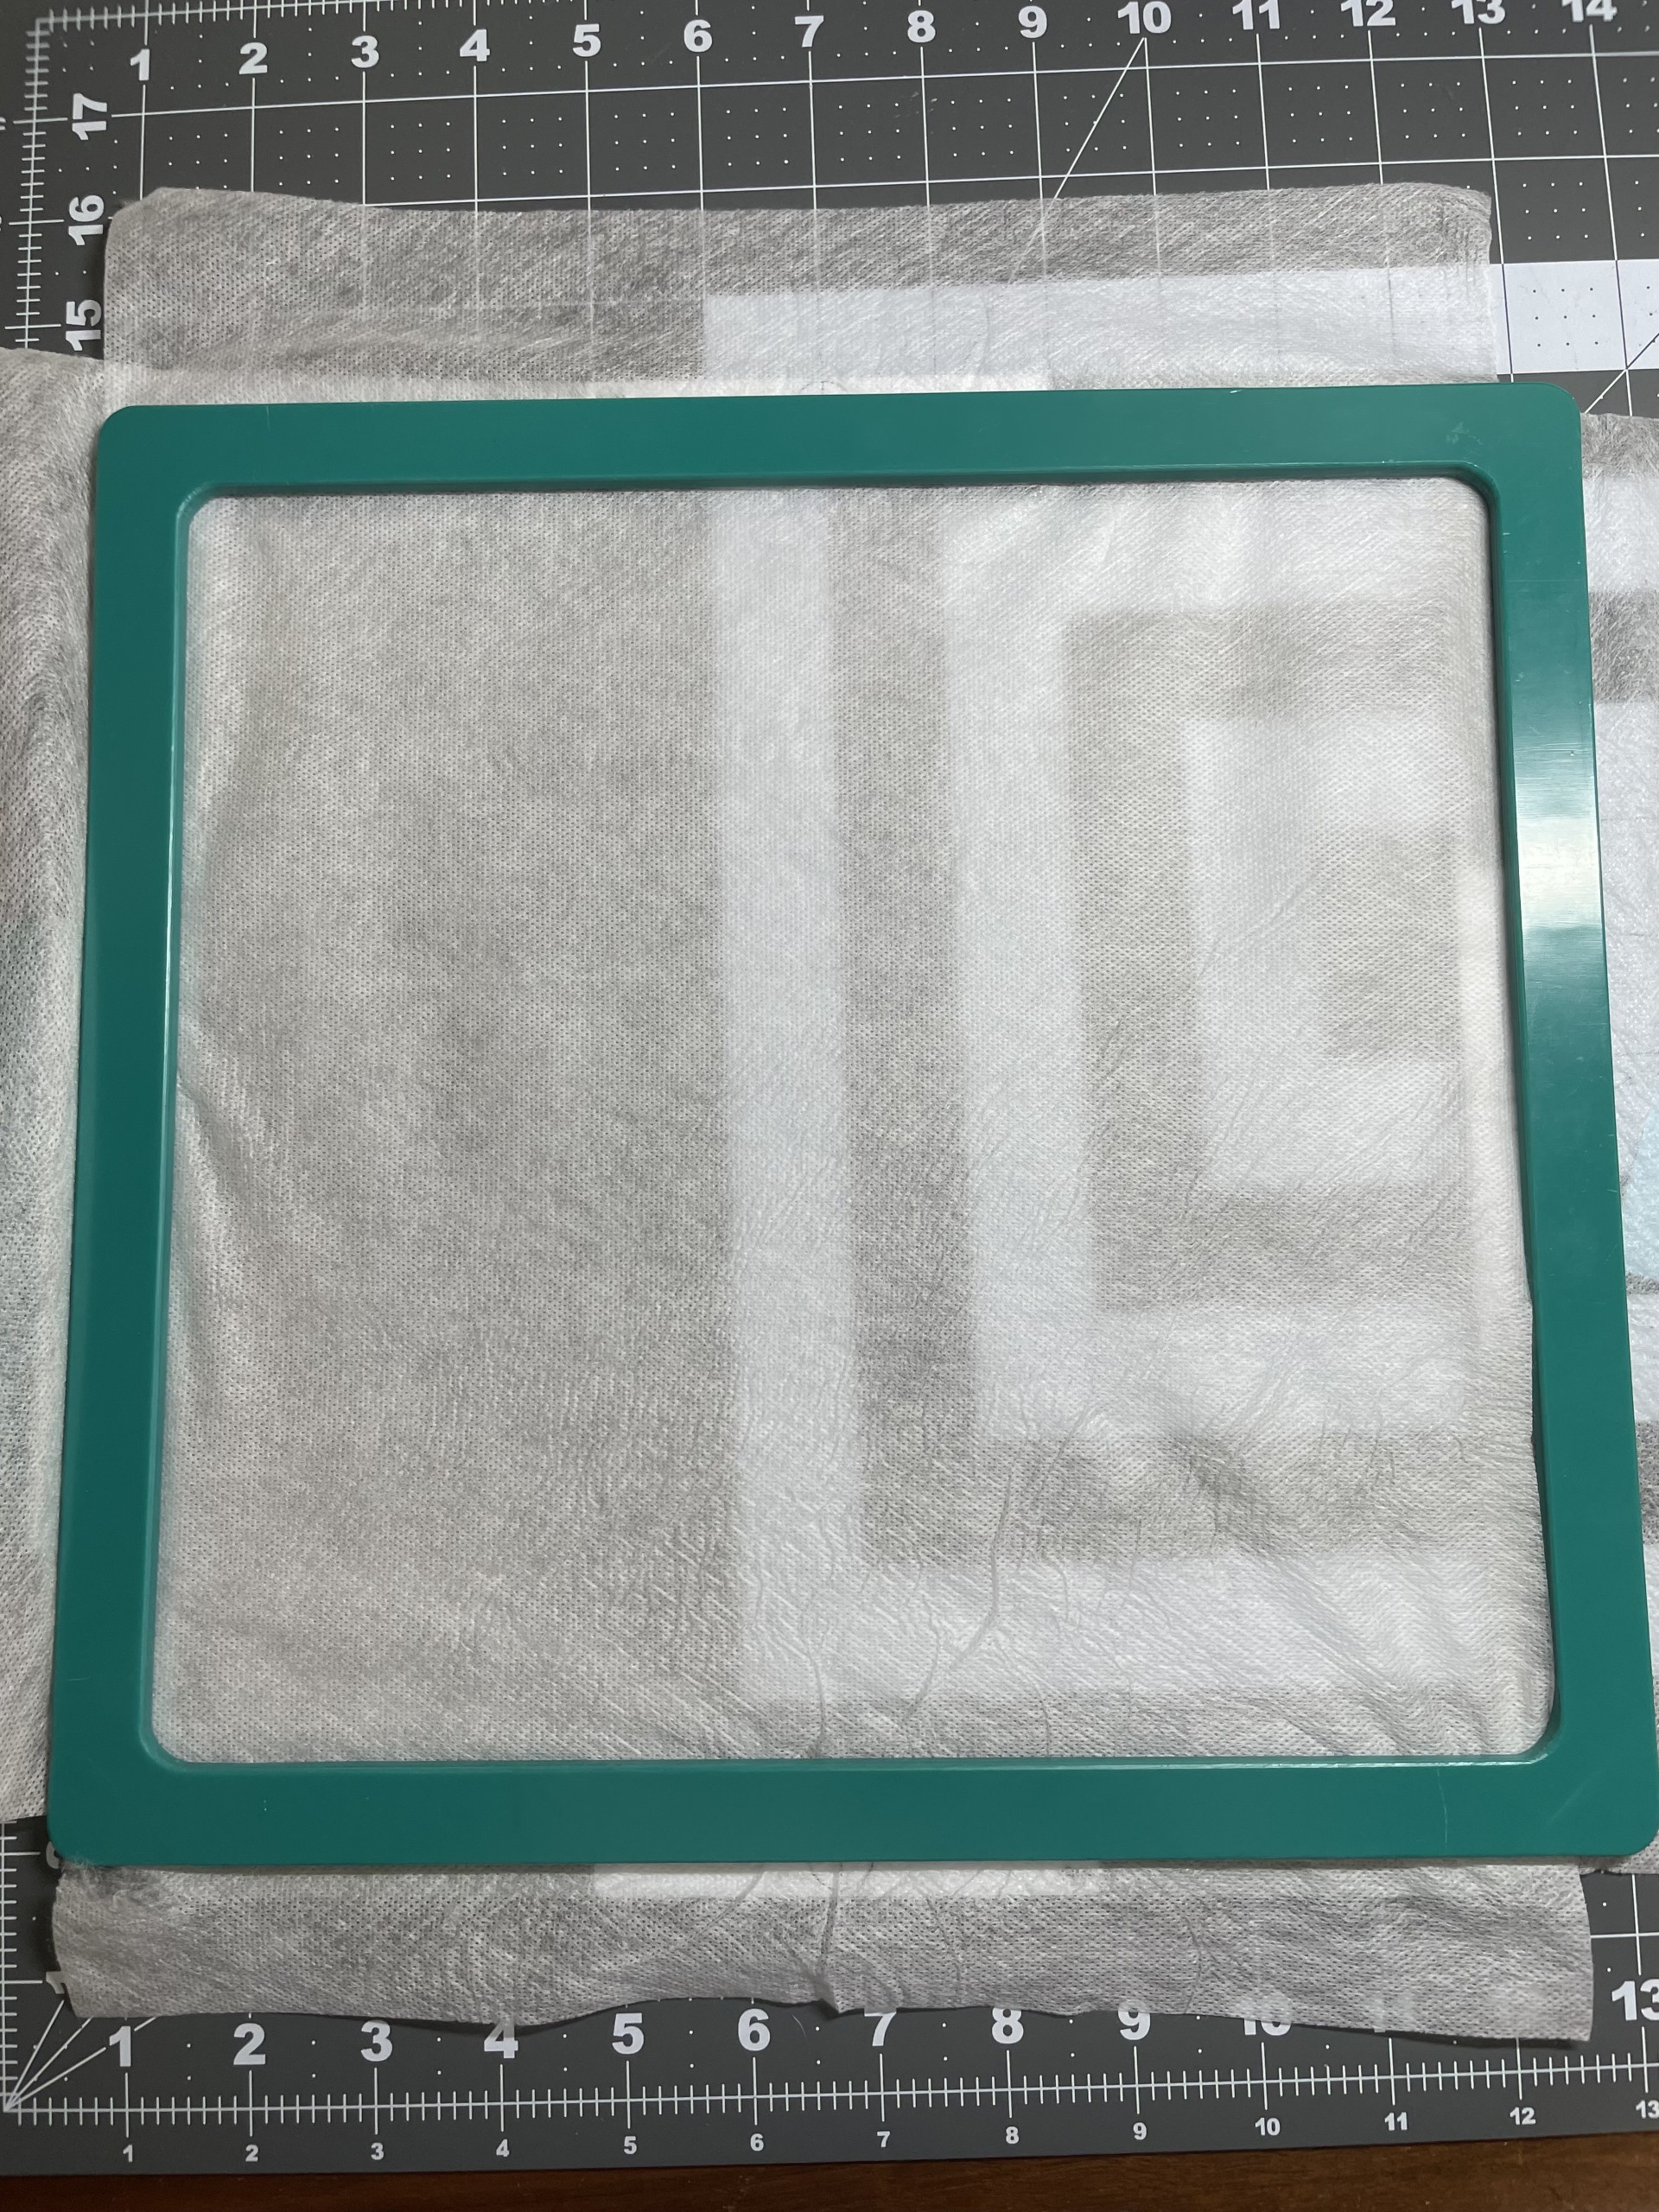
Now, you are ready to prepare your hoop. I used 2 layers of wash away stabilizer.
Once you have your hoop ready, take it to your machine and mark where the top of your design begins. You can also mark the bottom of your stabilizer if you wish. This step is helpful in keeping your fabric vertically straight. To align the markings on your hoodie with your stabilizer, use your machine to find the top and bottom placement. This ensures accurate positioning for your hoodie embroidery.


Pin in place, taking care to make sure the back of the fabric is pulled up and out of the way. Take your hoodie to your machine and make any necessary adjustments to ensure the markings on your hoop and your hoodie match up.
Once you have your hoodie floated onto your hoop, secure it with a couple of straight pins, making sure they are out of the way of your needle. I recommend adding a basting box around your design. Adding it beforehand will change where the top of your design starts. So I recommend adding just before you start stitching. The basting box will secure your hoodie to the hoop and prevent it from moving and stretching. Take your time with this step. Slow the machine down to your lowest speed and be prepared to stop and readjust the hoodie as you stitch the box. Do not pull on the material. Taking your time on this step will give you the best results.
My fabric has stretch to it, so I am using a 75/11 stretch needle. For best results, use the size and type of needle that works best for the type of fabric you are using.

When the basting box is complete, your hoodie should be straight and lay flat.
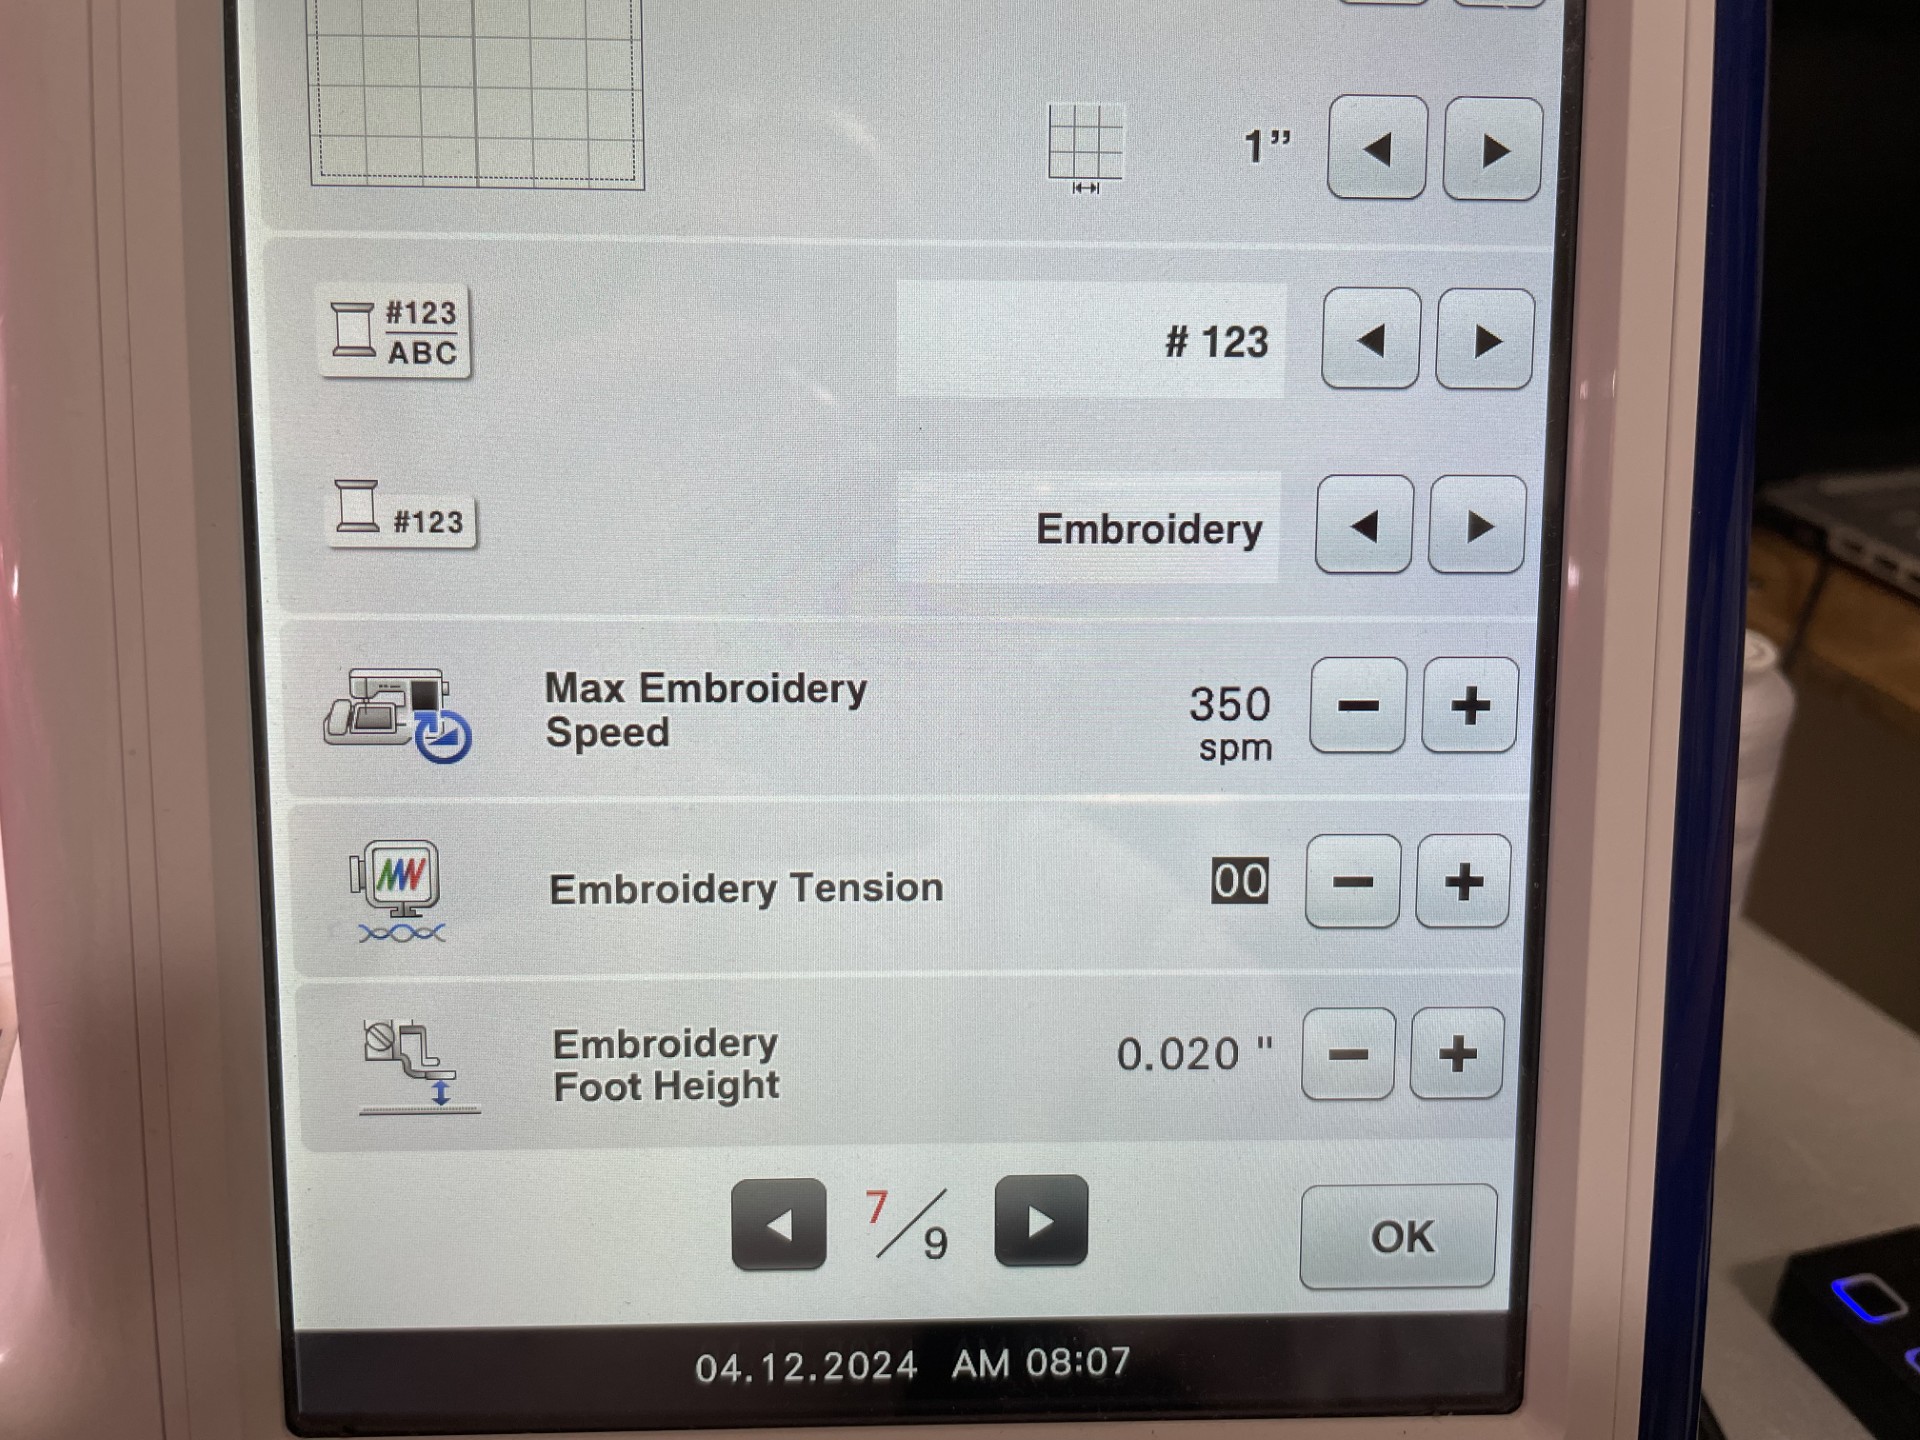
Now you are ready to begin your design. I recommend using New Brothread Light Weight Clear Wash Away - Water Soluble This is optional and will keep your stitches on top of your fabric and prevent them from sinking into the fabric. You can increase your speed back to your normal setting. While the design is stitching be sure to keep the sides and sleeves clear of your needle. I recommend supervising your stitching at all times.
When completed carefully remove the hoop from the machine. Tear away the topping.

Notice how the basting box kept the hoodie in place without stretching the fabric.
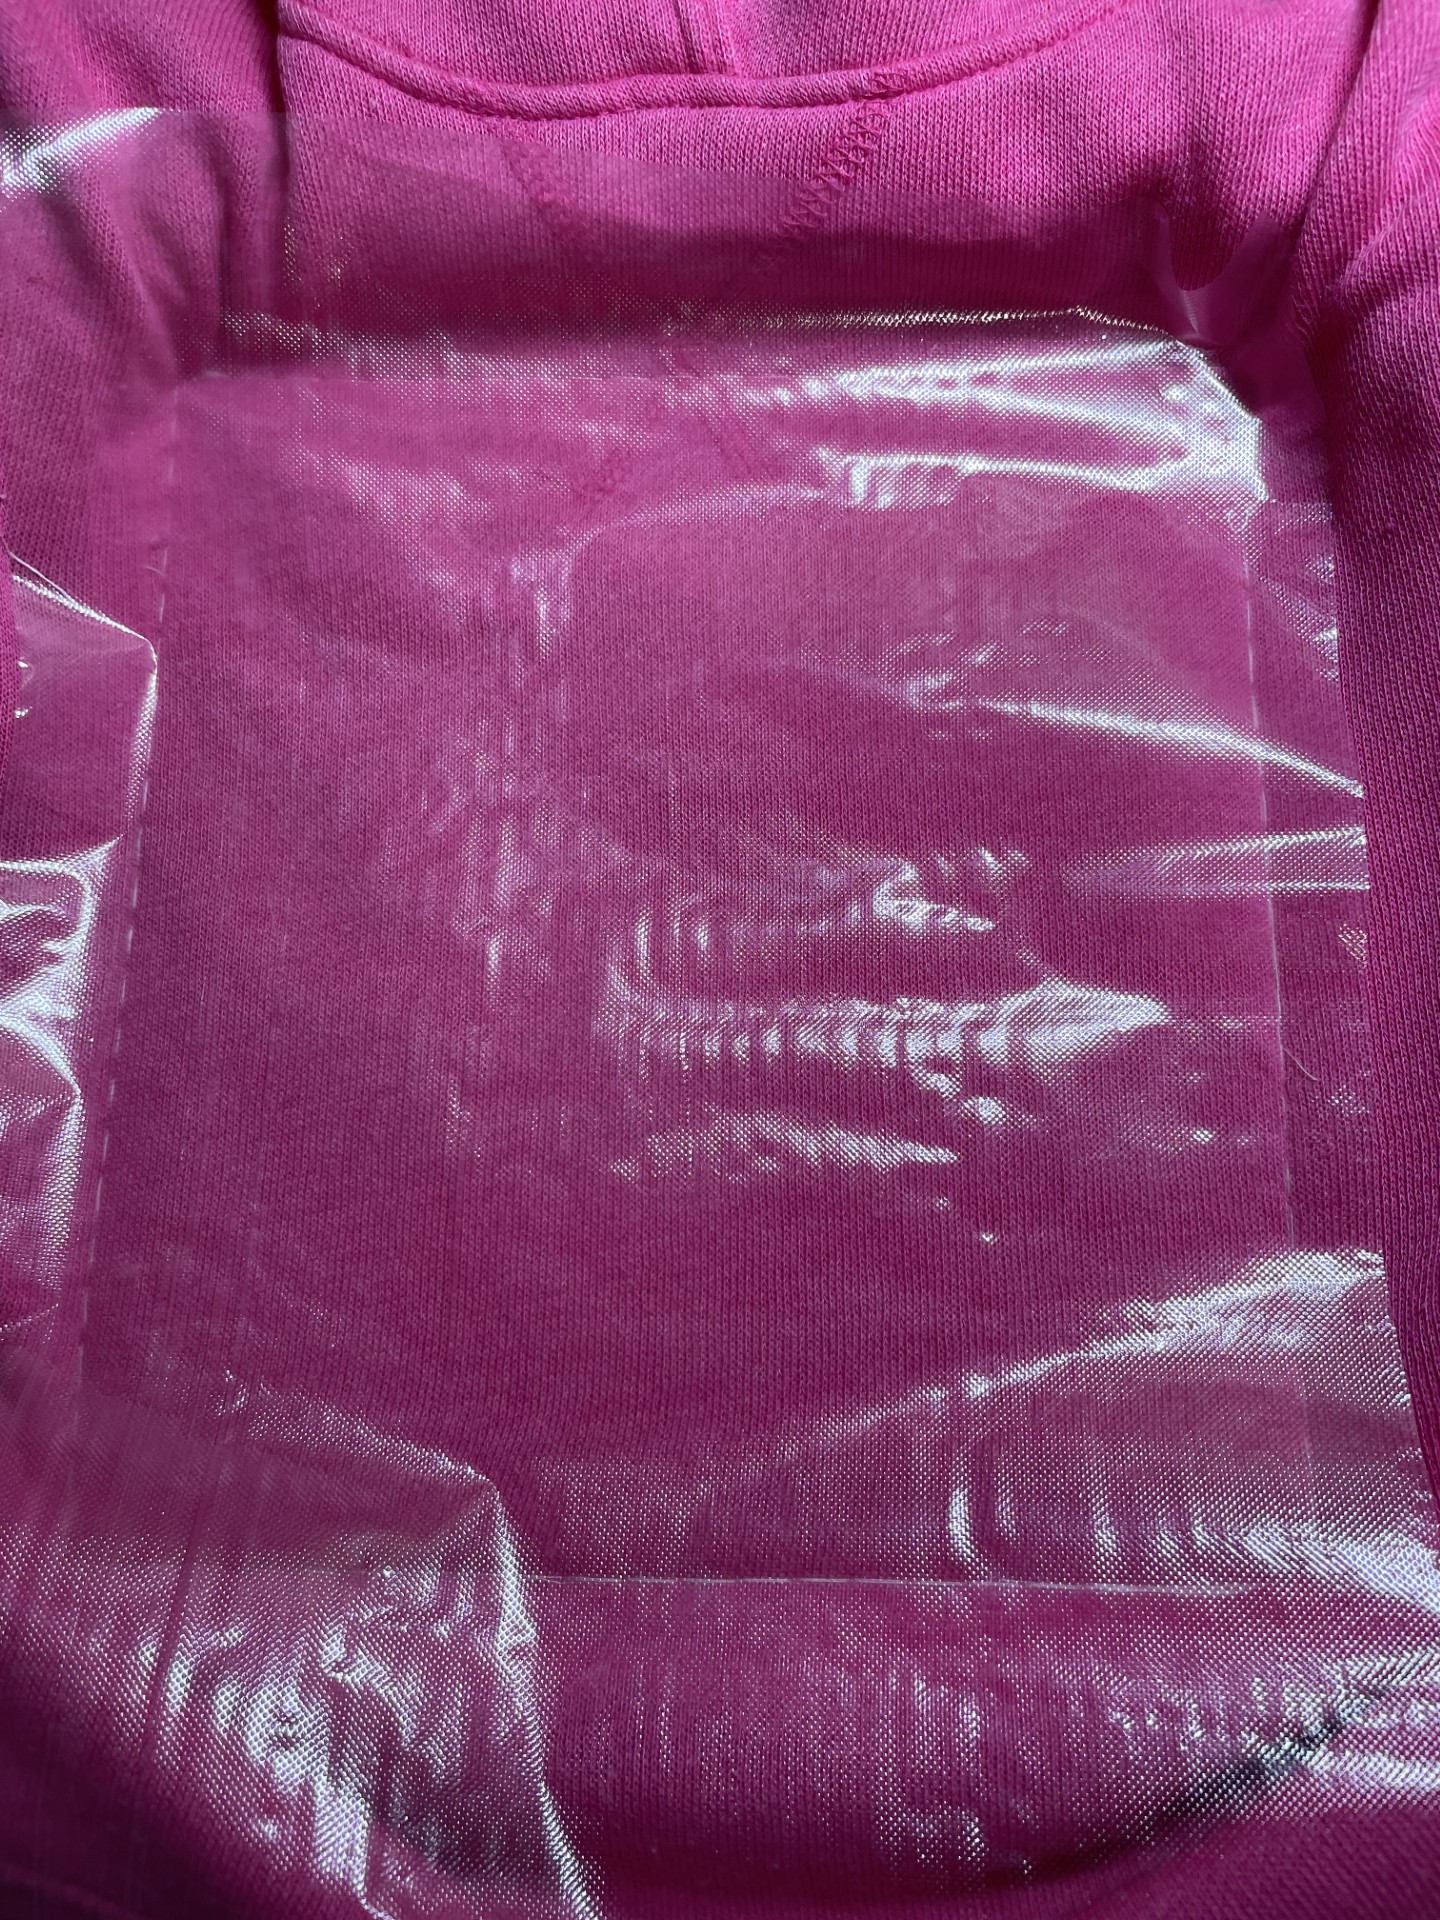
Trim away excess stabilizer and wash and dry your hoodie to remove all of the stabilizer. Finish with Sulky Of America Cut Away Tender Touch Iron-On Backing White, 8 ...This will give you a soft non non-irritating finish on the inside.

If you want to add a small design to the front to coordinate with the design on the back, it is done in the same way we did the larger designs. Start with marking your placement and then follow all previous steps. When finished remove all markings and stabilizer.


I hope you enjoy the comfort and style of your new embroidered hoodie as much as I am enjoying mine!