Toggle Nav
 Inspire.
Create.
Stitch.
Inspire.
Create.
Stitch.
Search
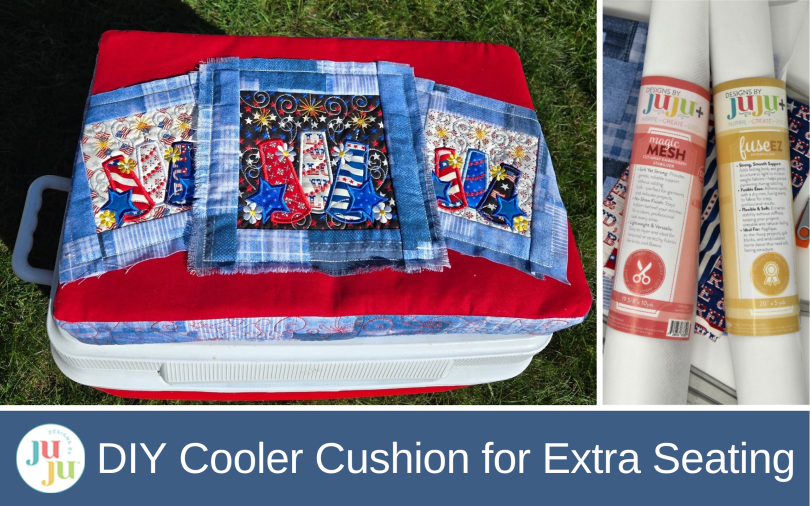
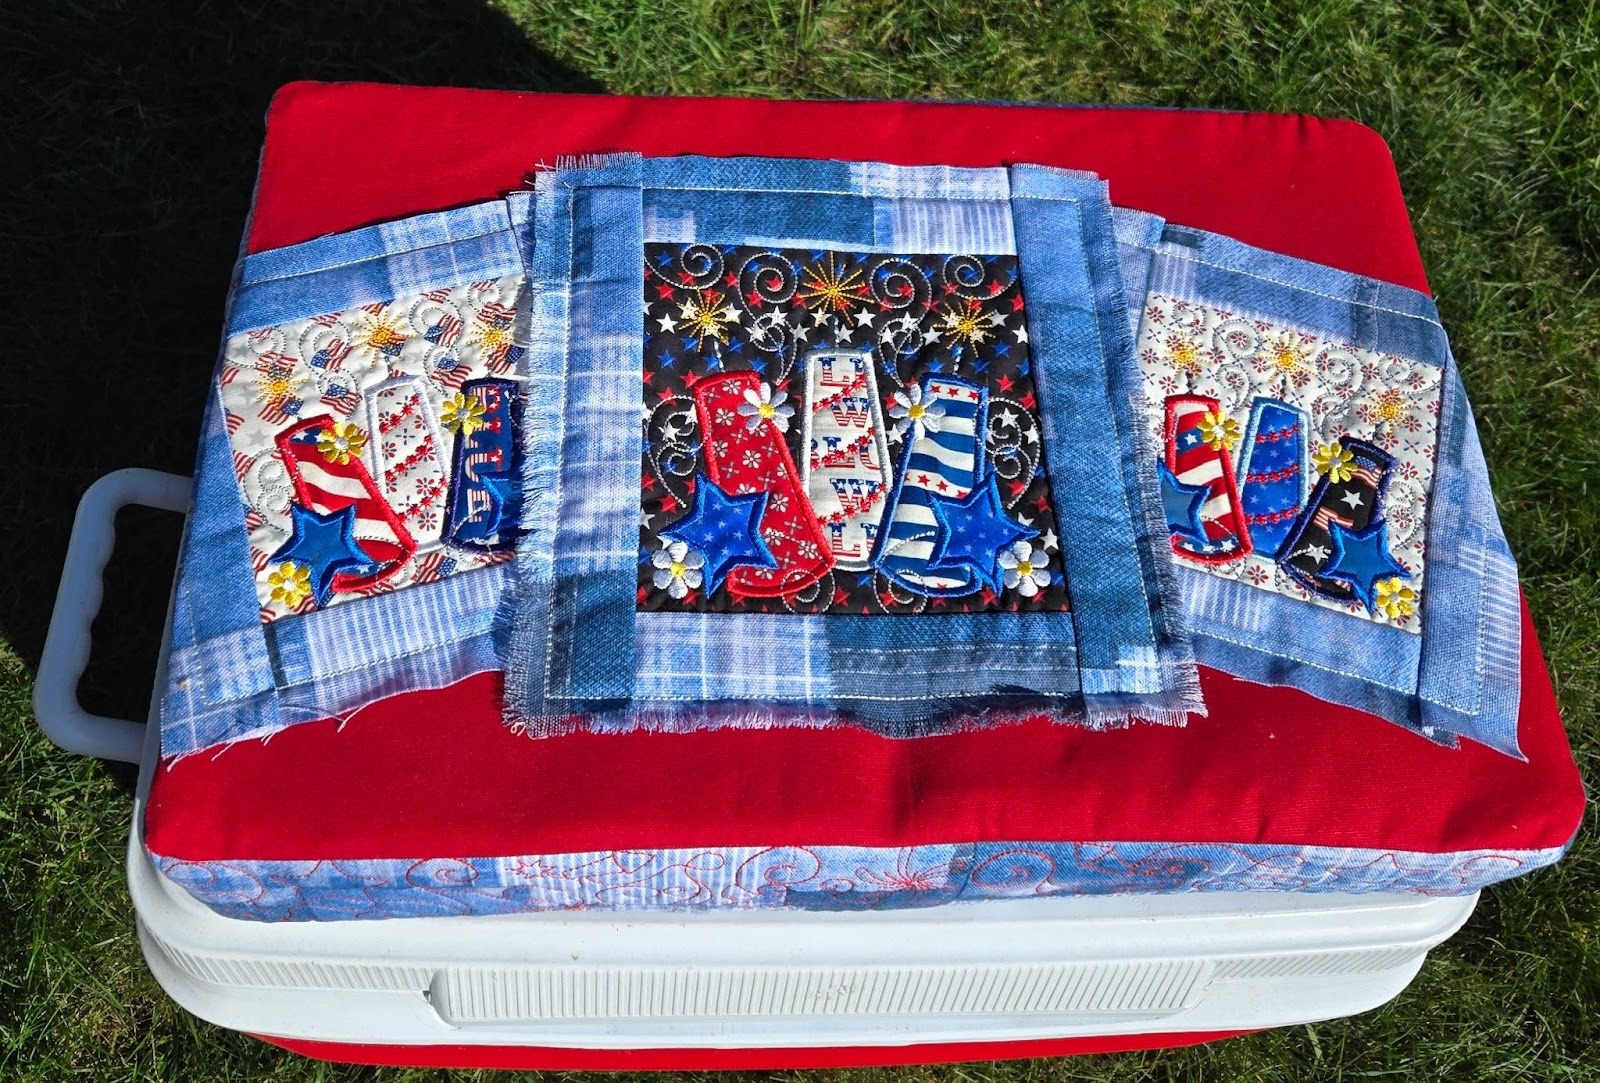
When seating at a family get-together is at a premium, do you end up on the cooler? Make your spot a little more comfortable with a special cooler cushion!
Finished size of project depends on your cooler top measurement. My cooler top measures approximately 12” x 18”. Measure your cooler top and plan your designs as desired.
Be sure to check out the DBJJ team’s favorite supplies in the Designs by JuJu Amazon store, and our favorite stabilizers, batting, and interfacing at Designs by JuJu+.
Notes:
Gather your supplies and load your designs on your USB drive. I chose the 6” and 8” Fireworks blocks from Star Spangled Stitches Set 2 and multiple sizes of the 3” Patriotic 1 Quilting Backdrops.

Embroider your designs. I embroidered three Fireworks blocks for my cooler top; two in the 6” size and one in the 8” size.
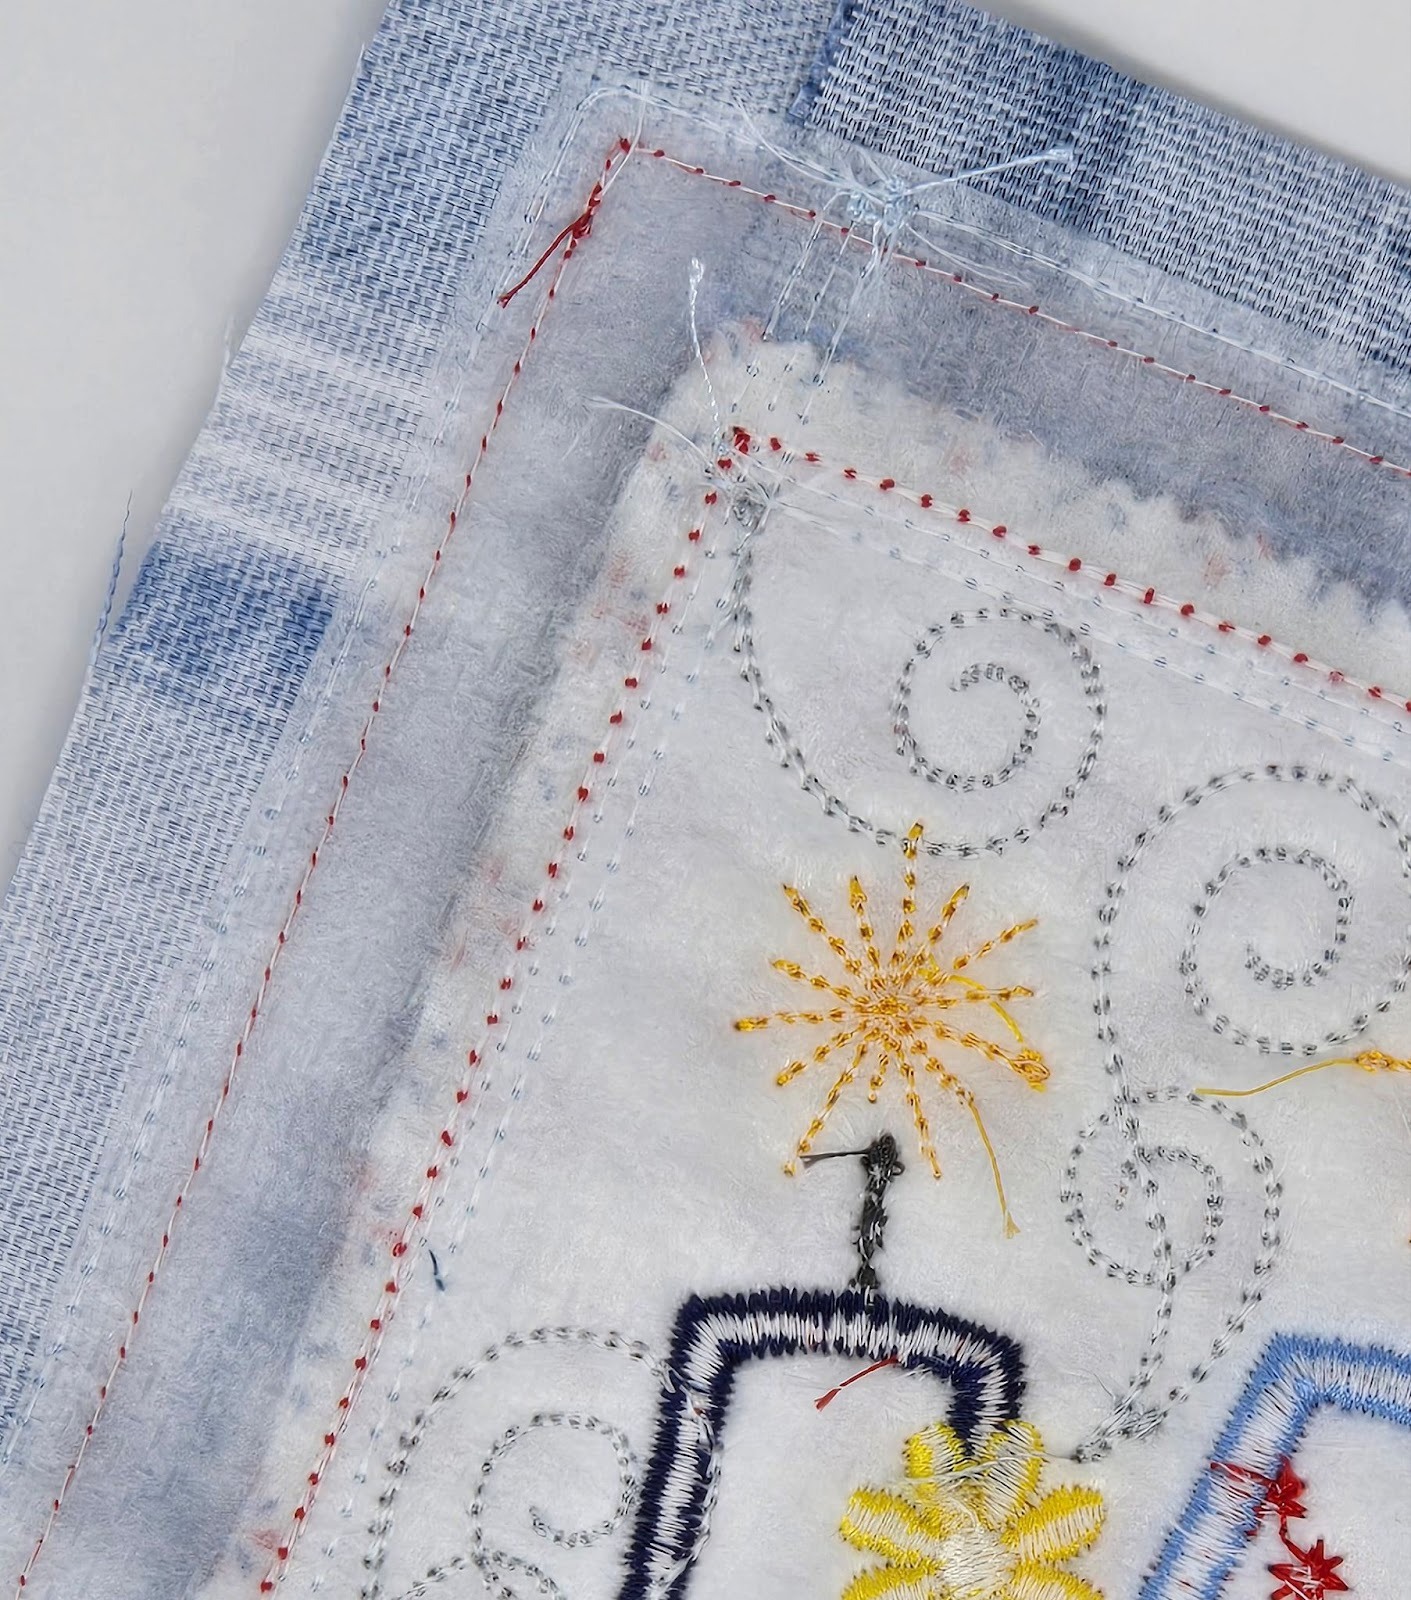
Hoop the magicMesh and follow the block directions. I used fusible fleece because it is heavier and I felt it would hold up better. When I trimmed these blocks I cut the magicMESH back to the last stitching line, and left a ½” seam allowance. This was so I could fray the denim upholstery fabric and the mesh would not show below.
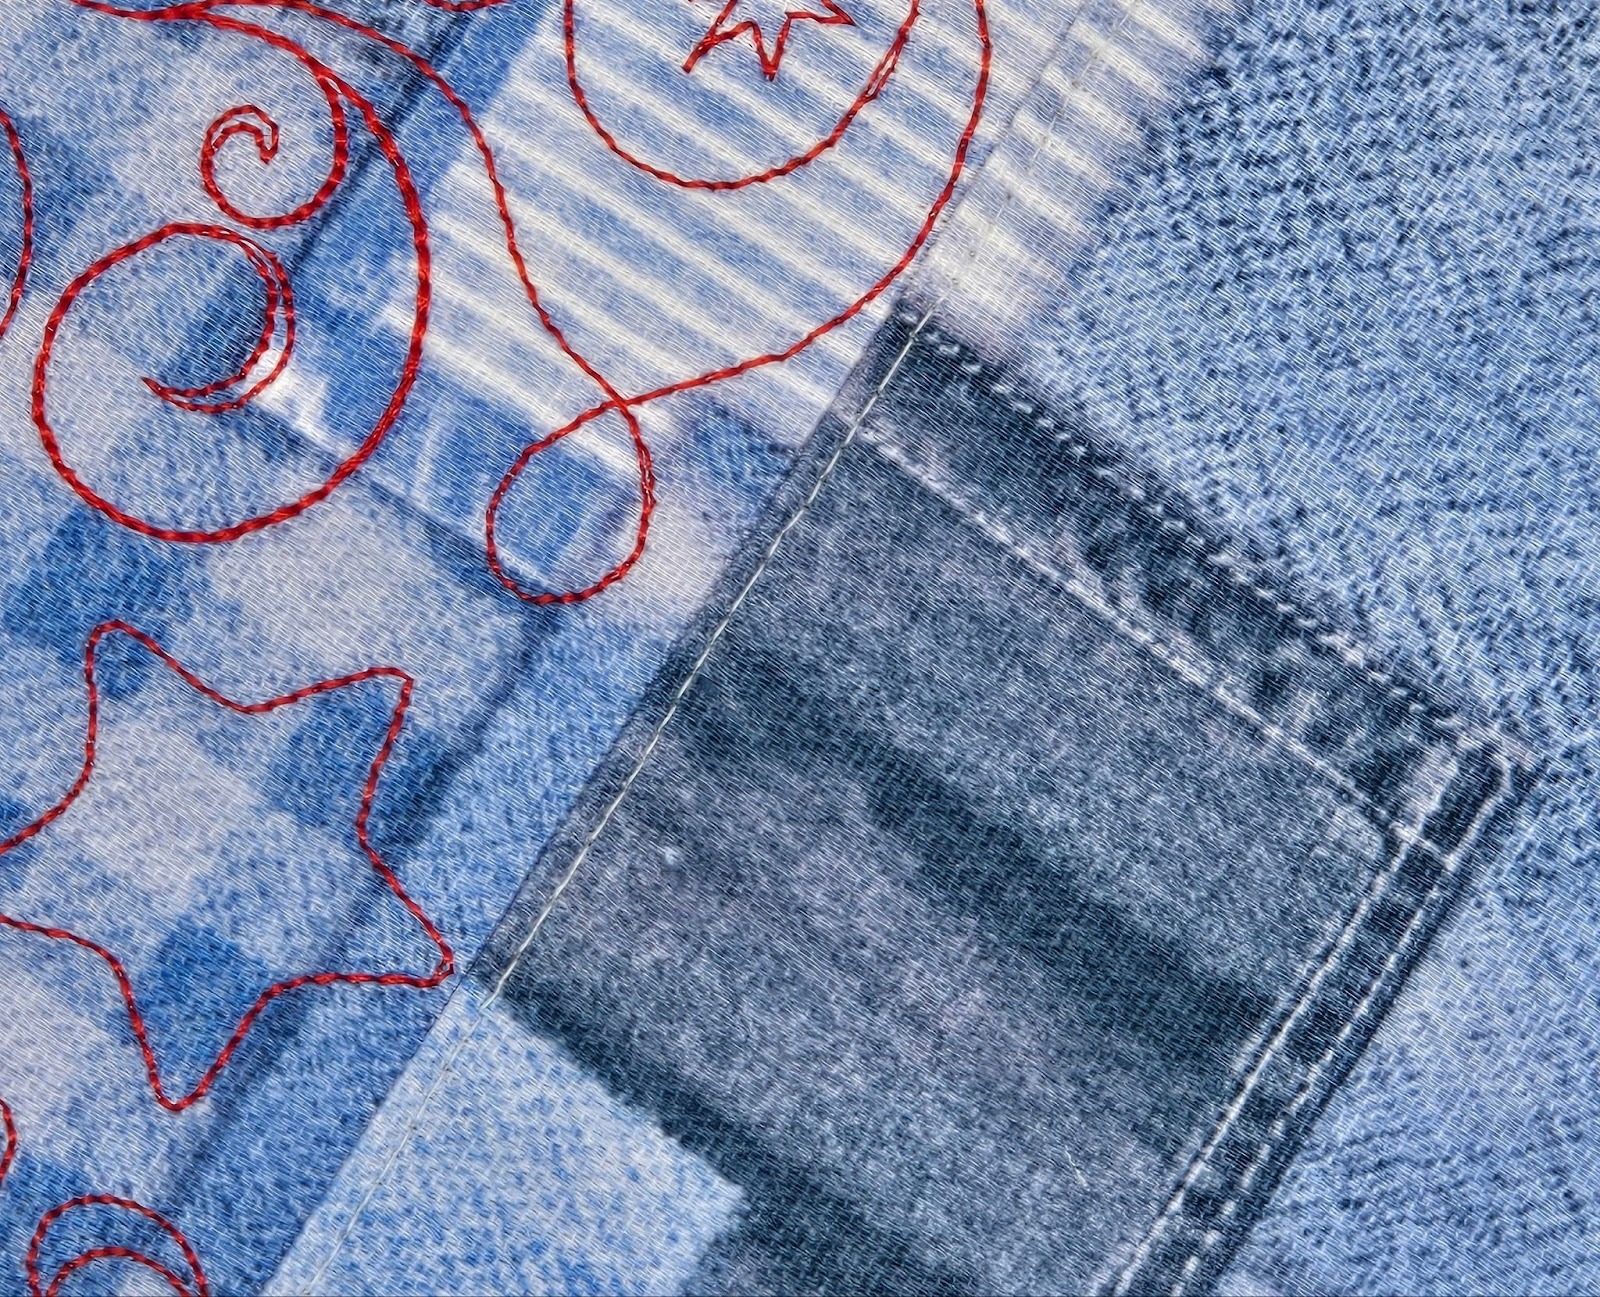
Embroider the Quilting Backdrops (QBs). For my cooler, I made two 3” x 10” and two 3” x 8” for the front and back of the cooler cushion, and two 3” x 12” for the sides. I did the embroidery twice on these pieces. It is like using a heavier weight thread, without having to shop for a heavier weight thread in the color you want! You can see the difference below.

It is super easy to give your backdrops this denser-looking quilting! After your machine has embroidered the design once, just push the Back button to do the embroidery again. Once everything is embroidered, trim the QBs, leaving a ½” seam allowance.

I used a gray thread and an 80/12 microtex needle for sewing my cushion together. I started by sewing my 8” and 10” QBs together and pressing the seam open. Sew from top to bottom and backstitch.
Next, sew a side piece to each of these strips, then sew the two pieces together at one side. When I sewed the side pieces to the front/back pieces, I started sewing ½” from the raw edge at the top and all the way to the bottom raw edge. Backstitch when you start and stop sewing. You will now have one long strip. Don’t sew the last seam to make a circle yet.

I put the QB strip aside and cut two 6½” by width of my fabric strips from my blue denim print. This can be any fabric if you are running short, as it will be on the bottom and not show. Sew these two pieces together with a ½” seam allowance and press open.
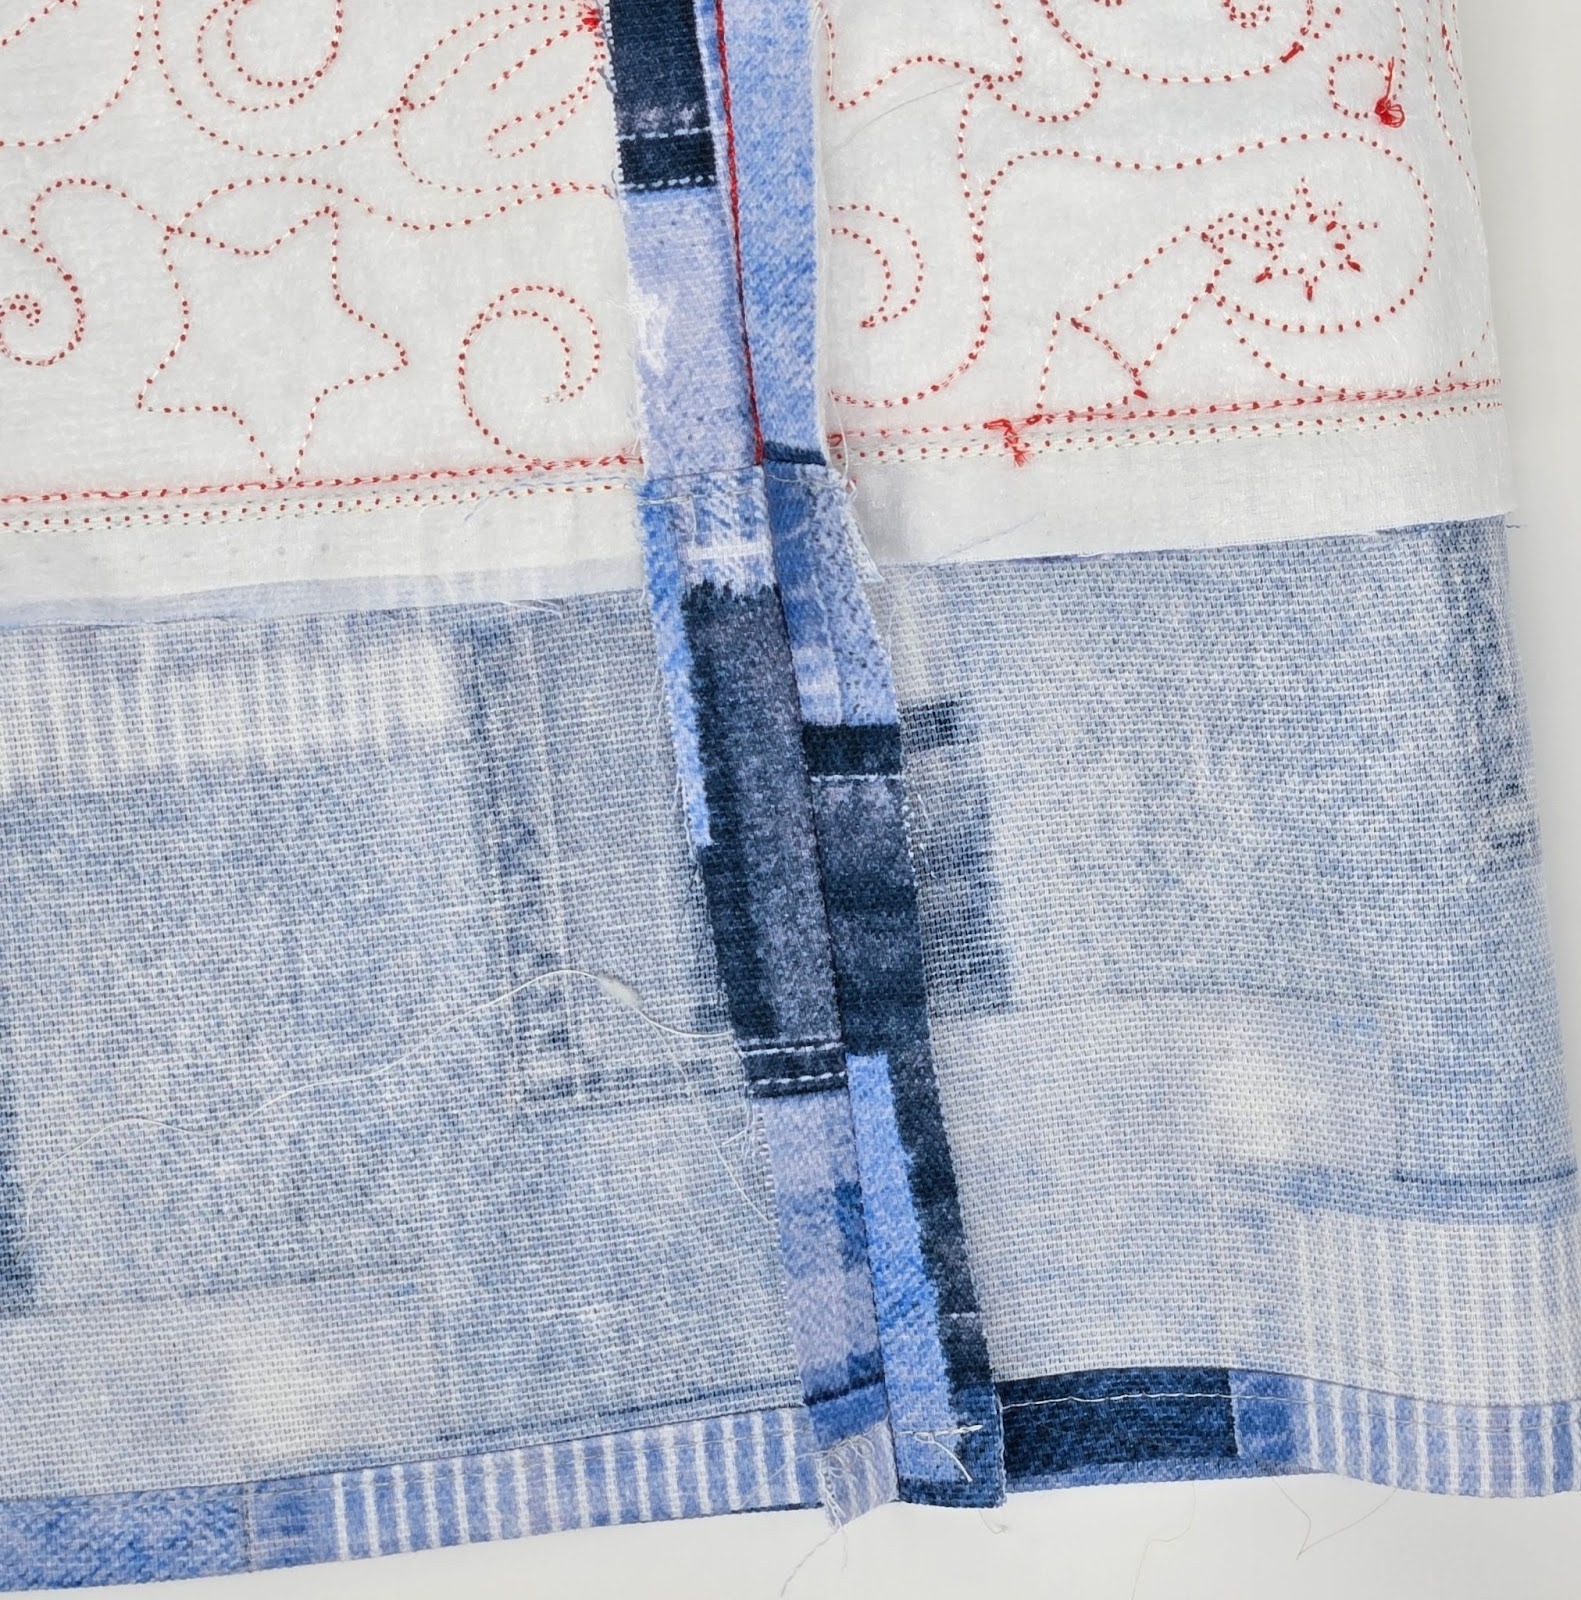
Now cut this piece (we will call it backing) to the same length as your QB strip. Press a small hem on one long edge of the backing and sew it in place.
Then sew your backing strip to your QB strip. Make sure you sew it to the bottom of the QB strip (the end where you sewed all the way to the raw edges).
Press the seam toward the backing piece. I went back and stitched about ⅛” from this seam on the backing piece. This is called understitching and will help the backing to roll to the bottom of my cushion later.
Finally, sew the remaining side together, making a circle. Be sure to leave ½” unsewn at the top of the seam, and backstitch at the top and bottom. Press the seam open.
Set the above section aside for now and let’s work on the top of our cooler cushion.
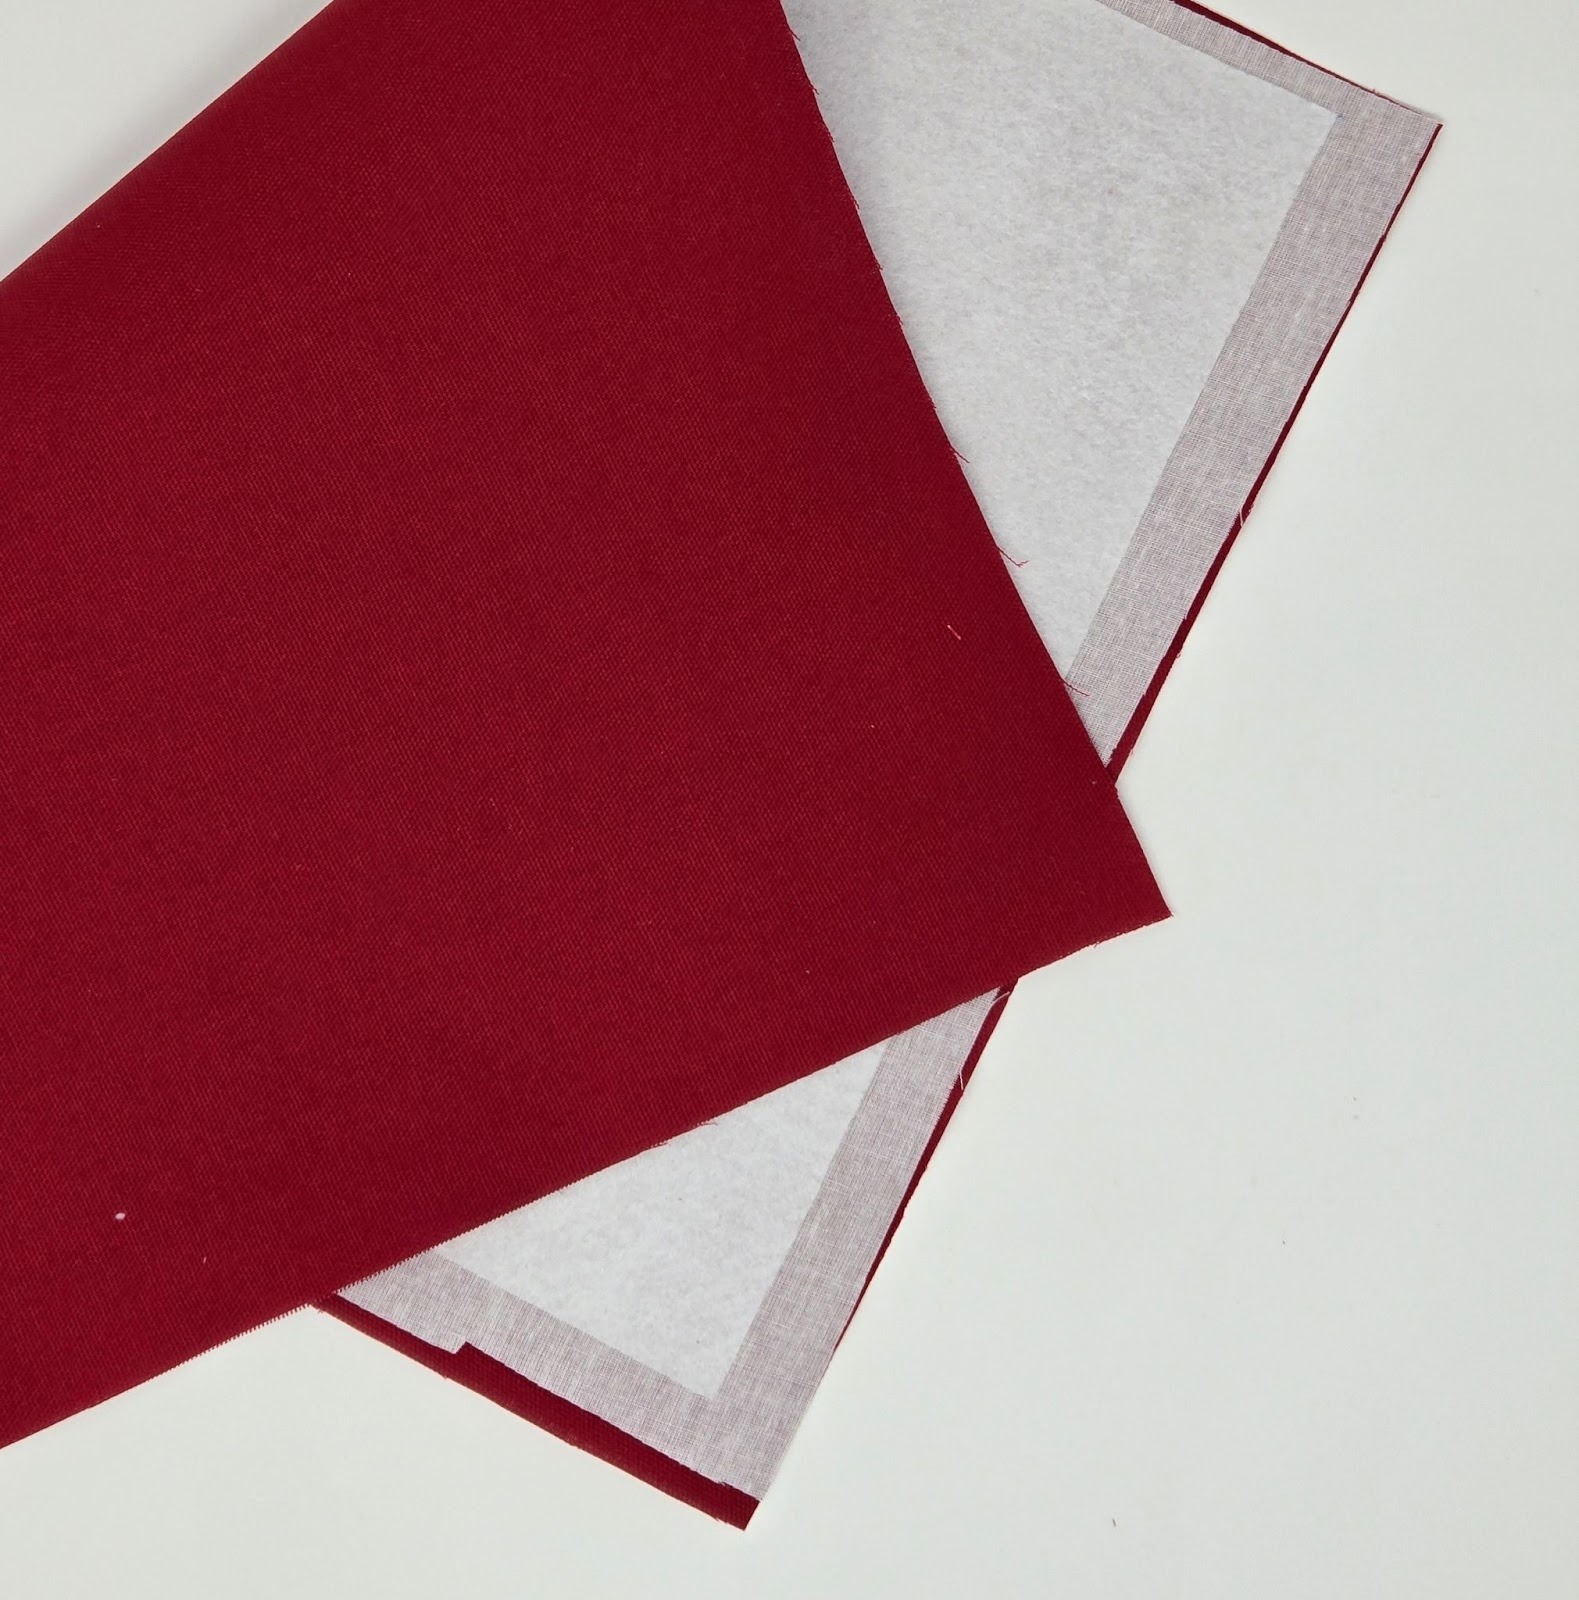
I cut a piece of my red fabric 1” bigger than the length and the width of my cooler top. This will allow for ½” seam allowances. Since my fabric is a looser weave, I fused fuseEZ to the back of the fabric, then added a layer of fusible fleece. Try to keep the fleece out of the seam allowances.
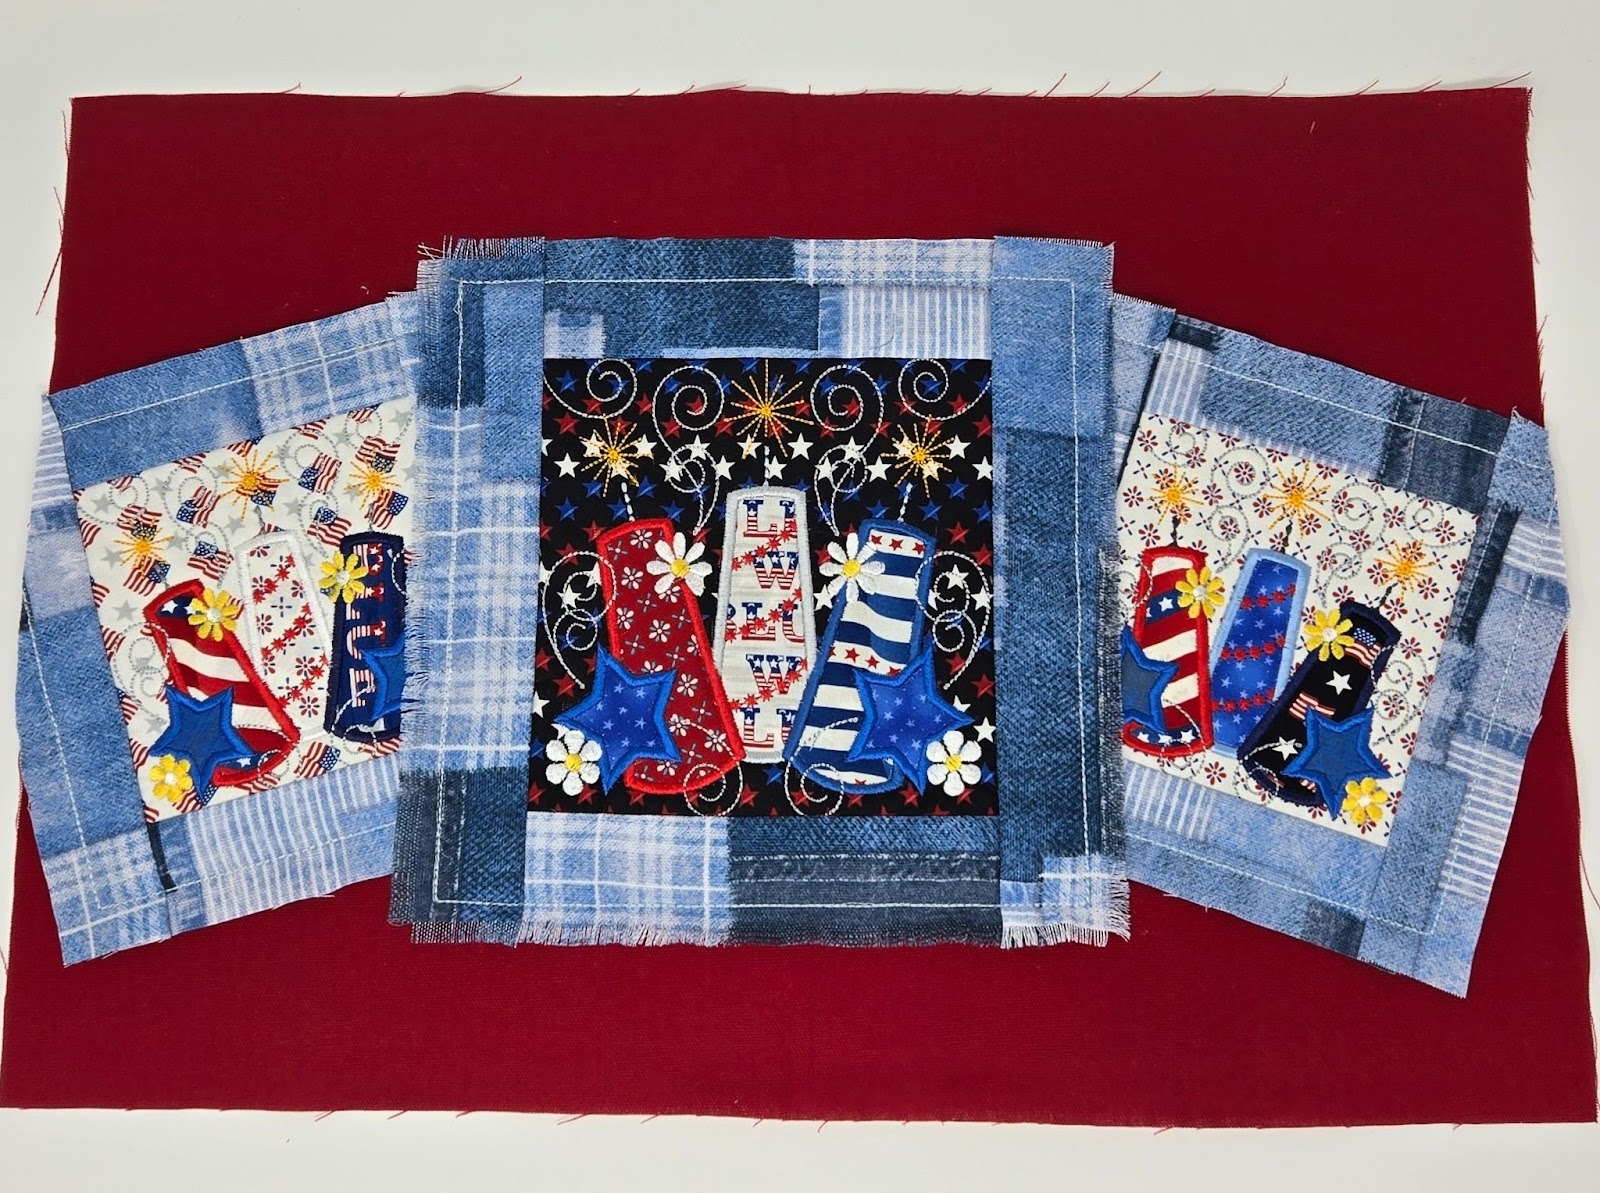
Take the blocks that you embroidered for the top and arrange them on the top of the cooler cushion fabric. I placed my two 6” blocks outside the seam allowances just to give the top a little whimsy. Next, sew around your blocks on the original tack-down stitches. If you chose to have a bit of the blocks off the edge too, then trim the sides to the size of your cooler top piece. I will fringe out the denim fabric to my seams.

Now it is time to sew your side QB piece to the cooler top piece. You will sew from seam to seam, backstitching at each place. This is the same as the dot-to-dot sewing we did when we put the Winnie-the-Pooh baskets together.


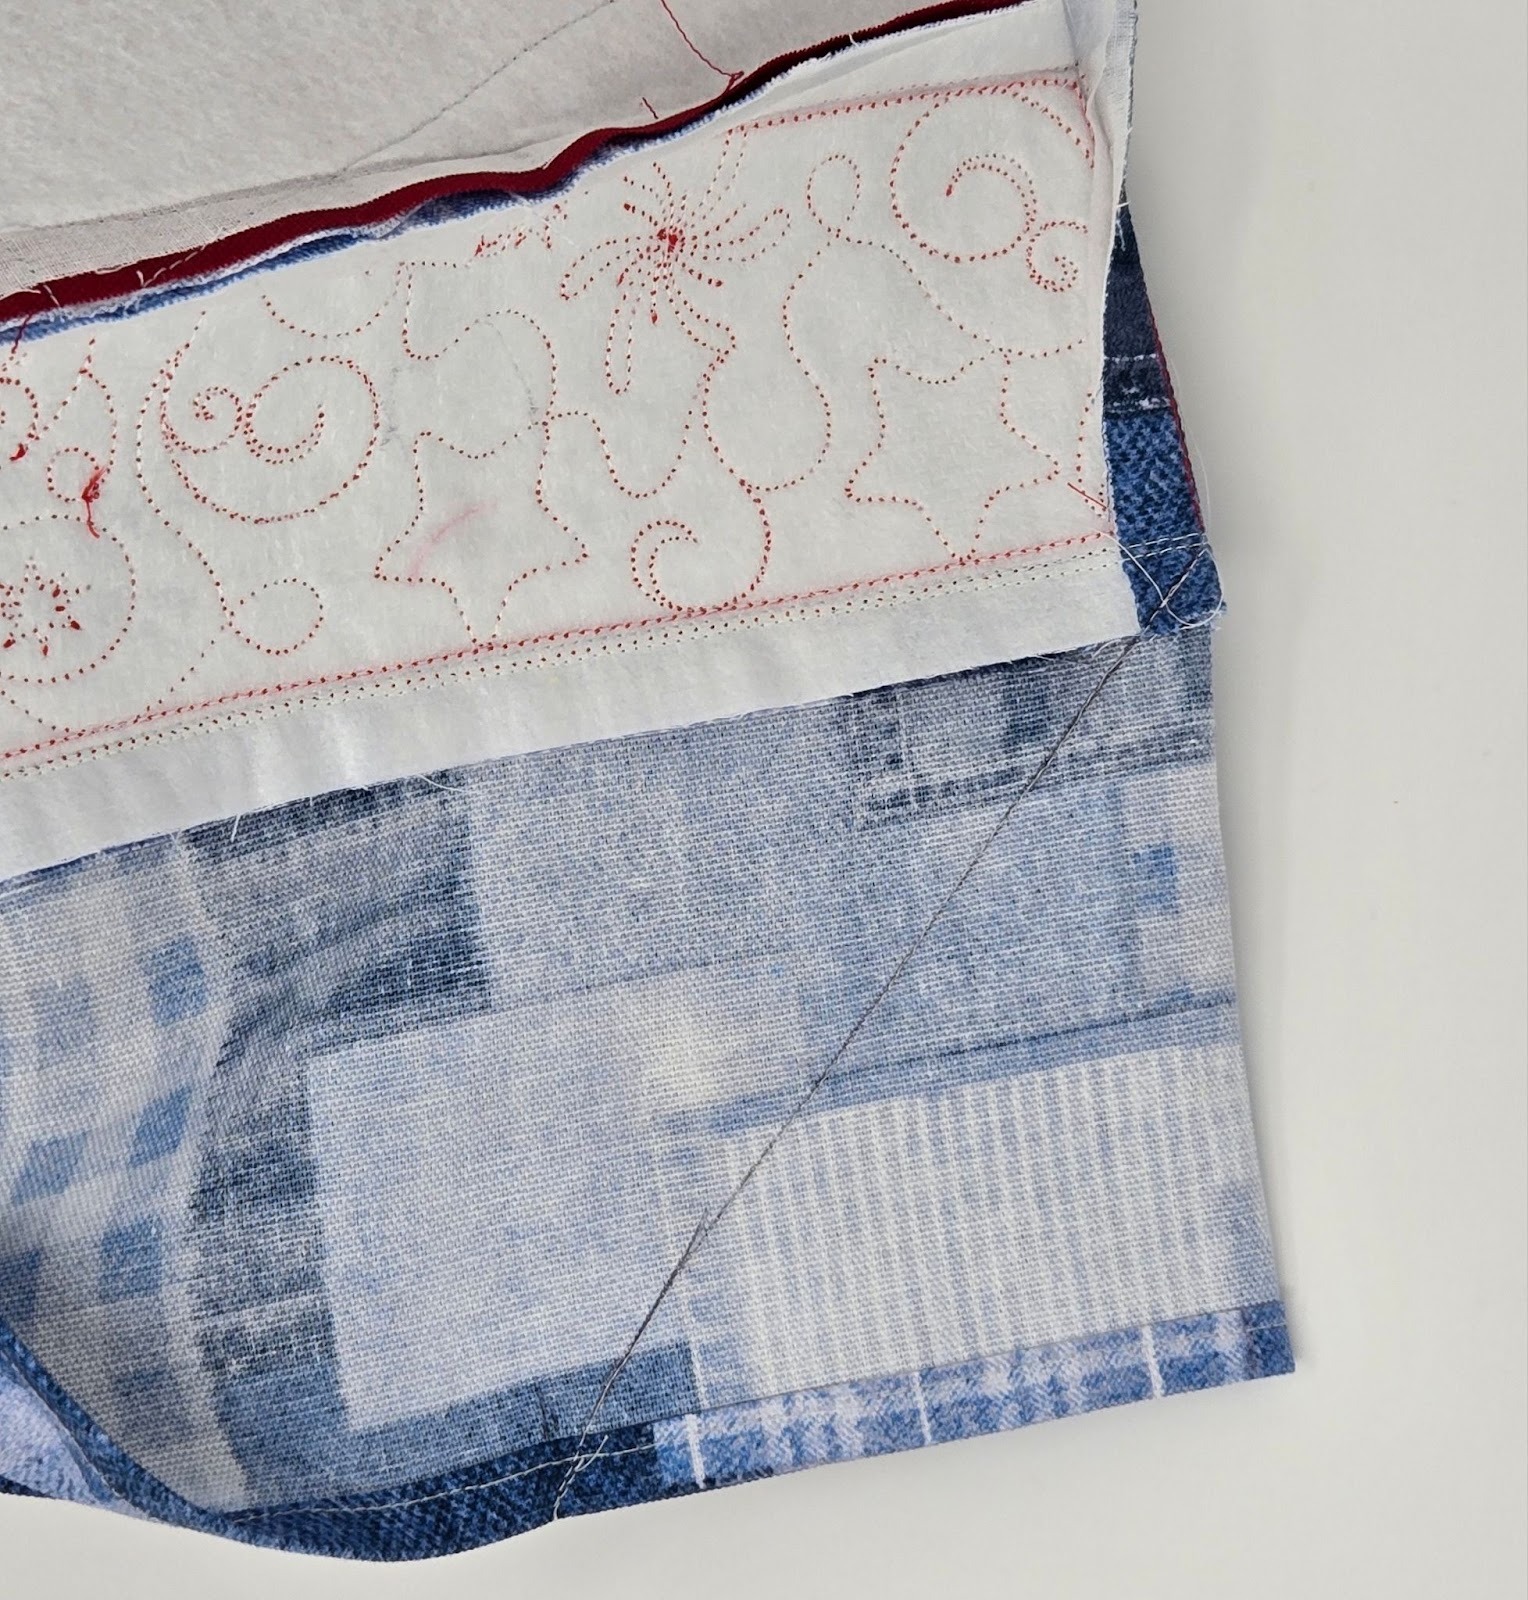
Once the side piece is attached to the top, we need to do something to make it fit the foam. I admit, I was flying by the seat of my pants here, but I think my idea works. With your cushion cover still inside out, fold the side in half along a front corner. Measure 4½” from this fold and make a mark or place a pin at the hem edge. Then using a marking tool, draw a diagonal line from your mark to the spot where the QB meets the backing fabric. Sew on your line, backstitching at both ends. Repeat for the other front corner.
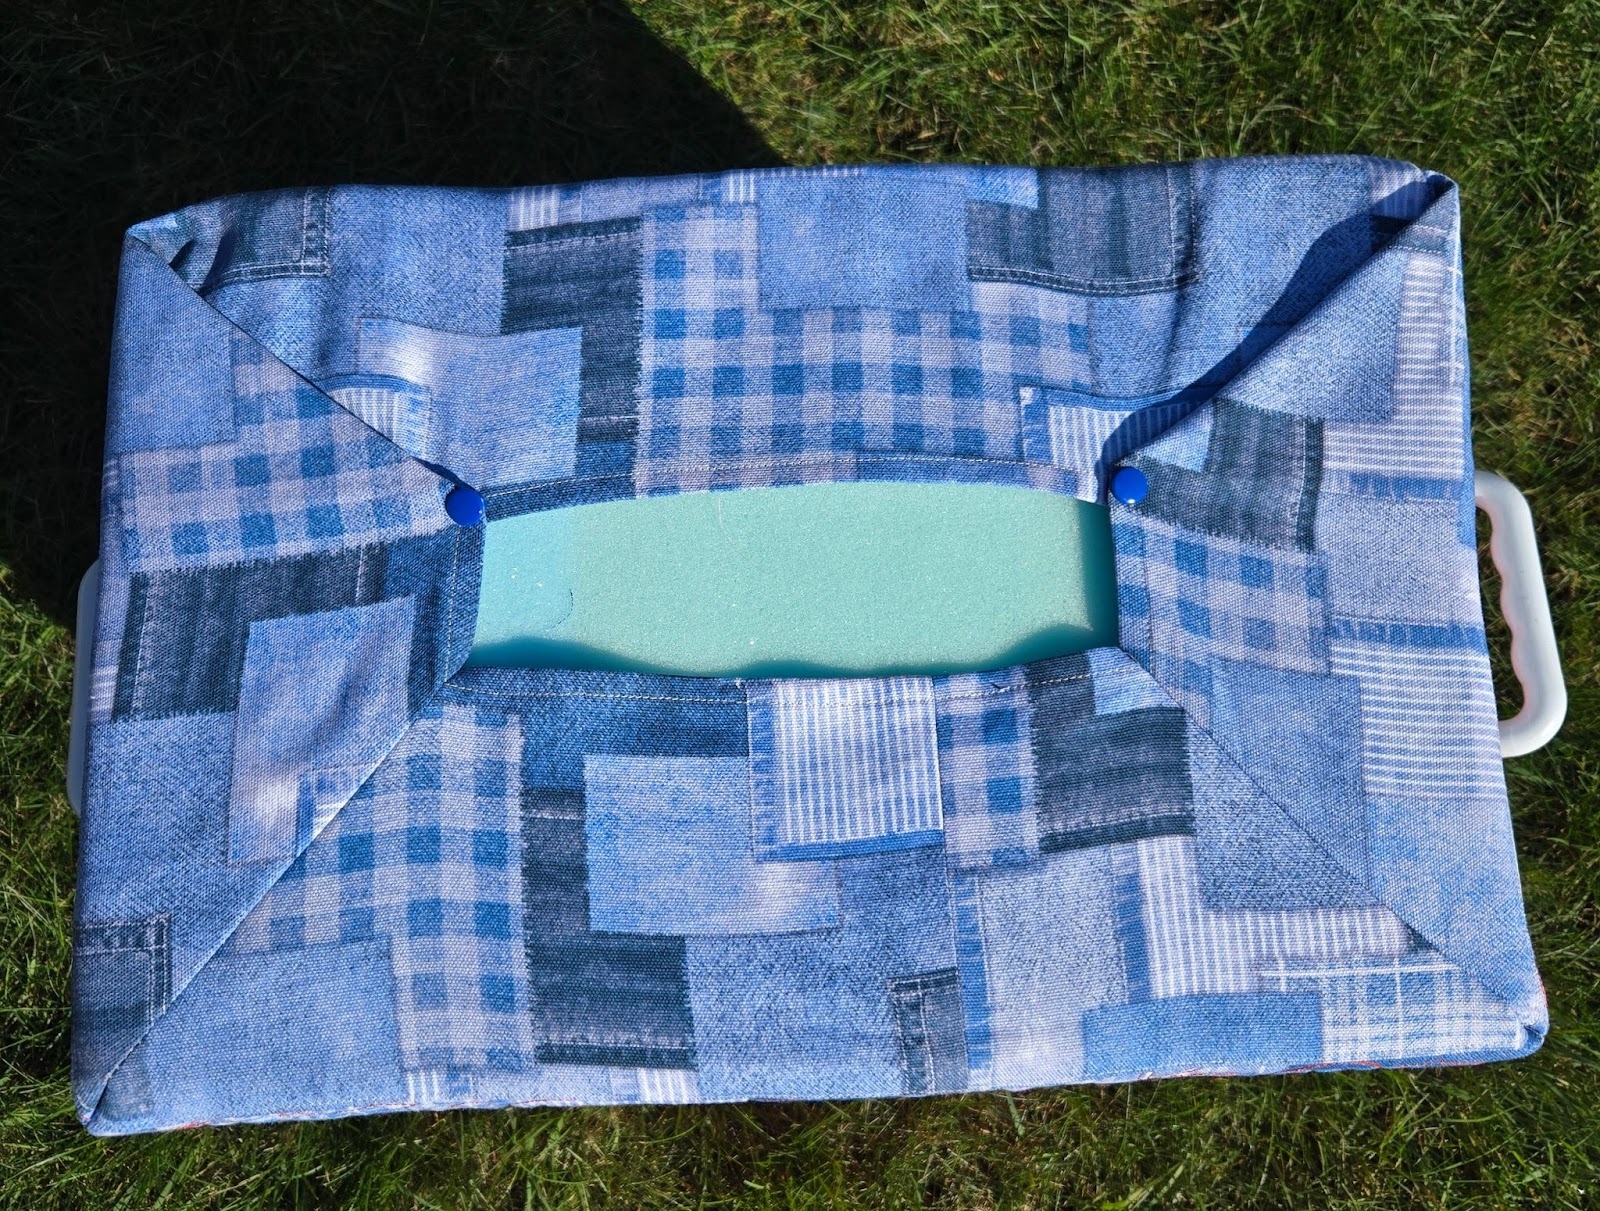
Once both front corners of the backing fabric are sewn, turn right side out and insert your foam piece. (Since my fabric unravels quite a bit, I did not want to cut anything out.) If needed, cut the foam down a bit—an electric knife works great!
With the foam in place, I worked the other two corners at the back of the cushion to look like the front two, just tucking the fabric to the back. I then placed two snaps at those corners, so I can easily remove my cushion cover for washing. Hook-and-loop tape could also work here, sewn along the fold.
Congratulations! Your cooler cushion is finished and ready for your next gathering! I still have quite a bit of fraying to do before my party.
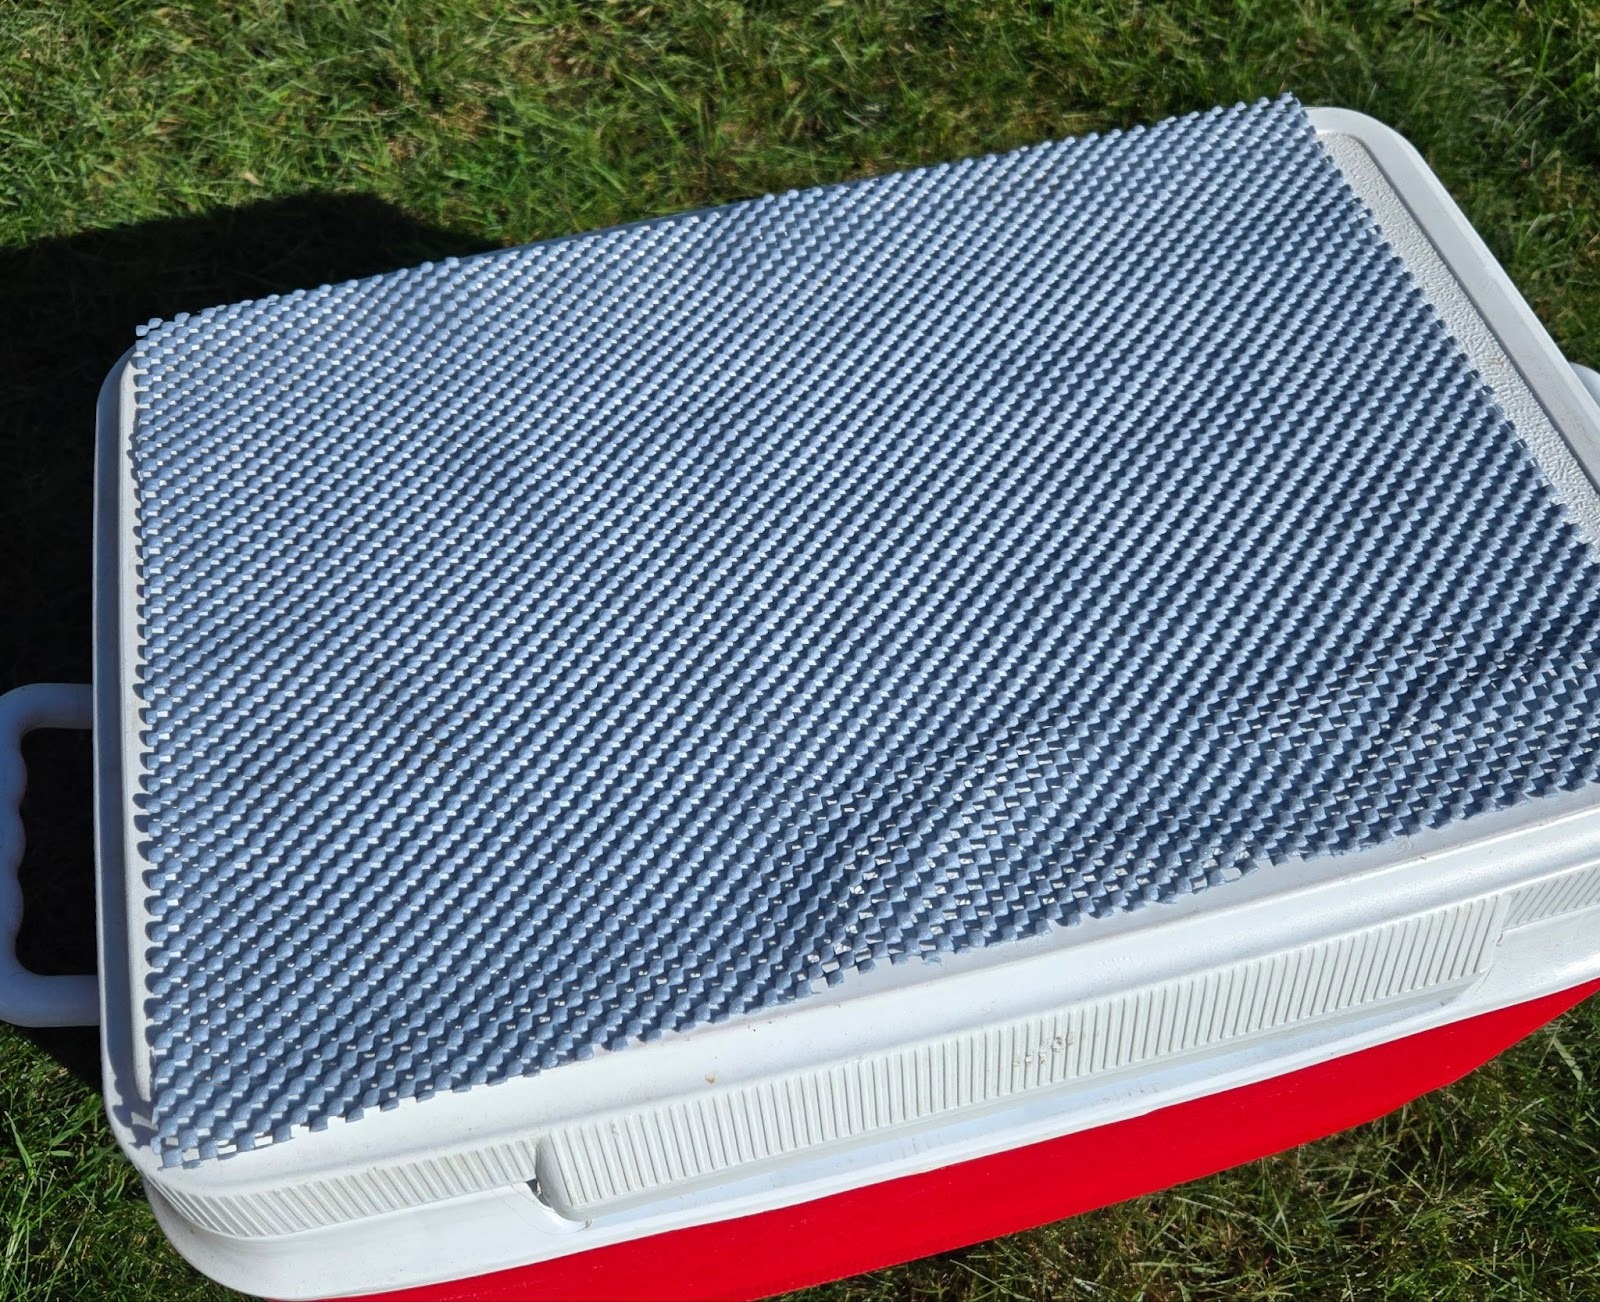
If your cooler top is slippery, cut a piece of the premium-grip non-slip liner the size of your cooler top and place it between your cushion and cooler.
If a patriotic cooler cushion is not your style; maybe you would rather tailor your cushion to a different kind of party? Designs by JuJu has your back . . . or seat. Check out these designs for a fun cooler cushion:
For those special birthday celebrations, you could make your cover using a selection of the birthday placemat designs in ITH Birthday Placemat 1.

And pair them with Party Time Quilting Backdrops.

How fun is that?!
Or how about the cooler that goes on camping trips? Or fishing trips? You could take some designs from this wall hanging:

And, of course Designs by JuJu has over 100 Quilting Backdrops to choose from! With so many designs available, the possibilities are endless. So go make a special cooler cushion to suit your needs!
I hope I have inspired you to create something special for your cooler-top seating! Be sure to share your projects in the Designs by JuJu Embroidery Blessings Facebook Group, or use the hashtag #designsbyjuju anywhere on social media. We all love to see what you create!
