Toggle Nav
 Inspire.
Create.
Stitch.
Inspire.
Create.
Stitch.
Search
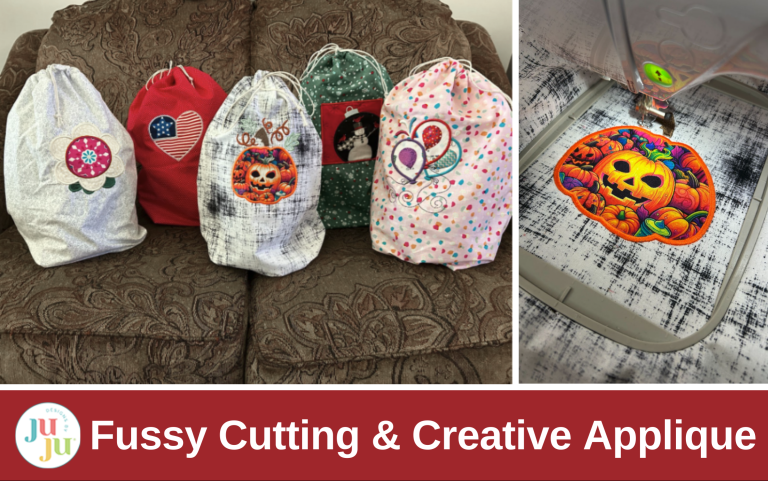
Take your applique up a notch! Add personality and polish with fussy cutting and creative embellishing tips.
This is Part 6 of our 8-part series, Applique Made Easy. In this installment, we’re exploring creative applique ideas to help you add personality and polish to your projects. From fussy cutting techniques that let you spotlight your favorite fabric motifs, to memory quilts, patches, and even mirrored table runners, you’ll discover fun ways to make your embroidery truly one-of-a-kind. Whether you want to capture special memories or simply add a playful touch, these tips will inspire you to take your applique beyond the basics. Here’s what you can expect from the full series:
Today we’re going beyond the basics with one of my favorite applique techniques: fussy cutting! We’ll explore it through projects like gift bags, memory quilt blocks, custom patches, and even a mirrored table runner. Are you ready? Let’s get started!
Check out the DBJJ team’s favorite supplies in the Designs by JuJu Amazon store.
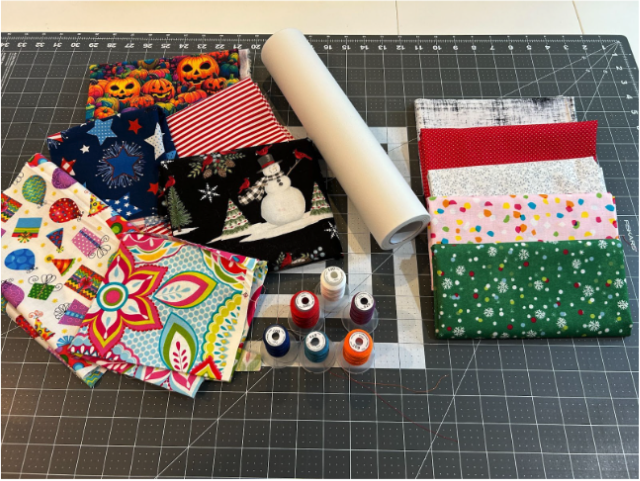
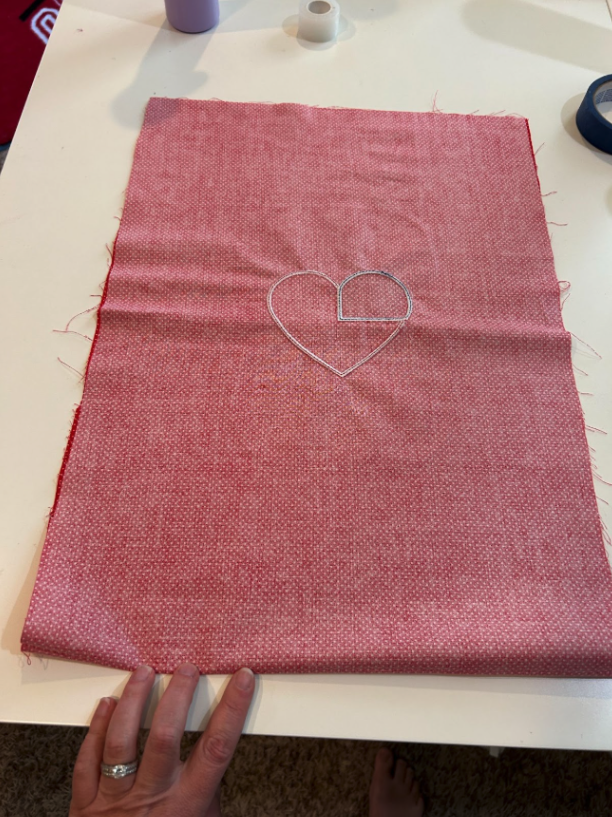
Choose your background fabric for your gift bag. You can make it any size you’d like, but today I’m going to be working with a 15” x 42” piece of fabric. I fold it in half vertically so that I am working with a 15” x 21” piece that I can see on my working surface.

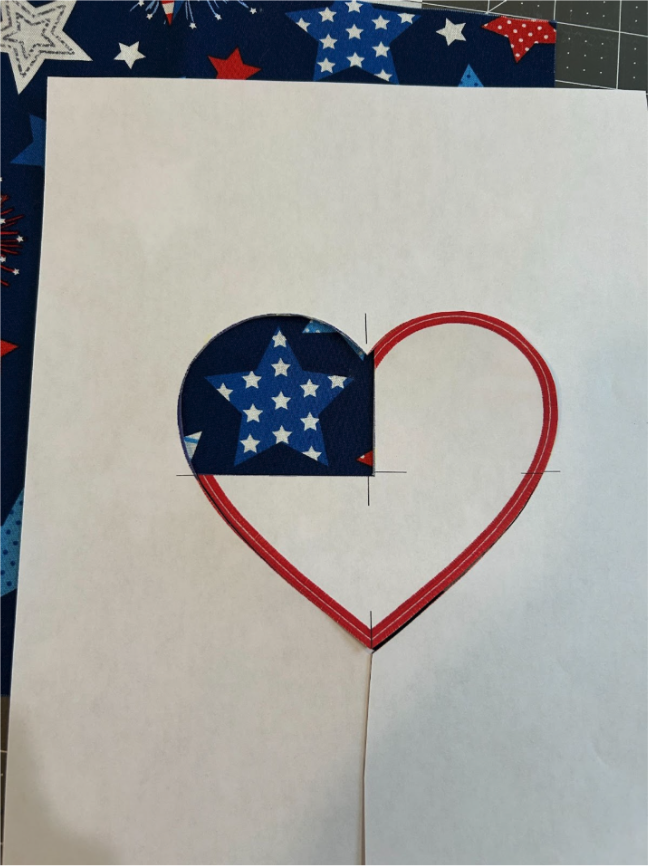
The first design I’d like to do is a 4th of July design. I opened up the design the size I’m using in Embrilliance and printed it. When you print, make sure you’re printing at actual size and not resizing it at all.
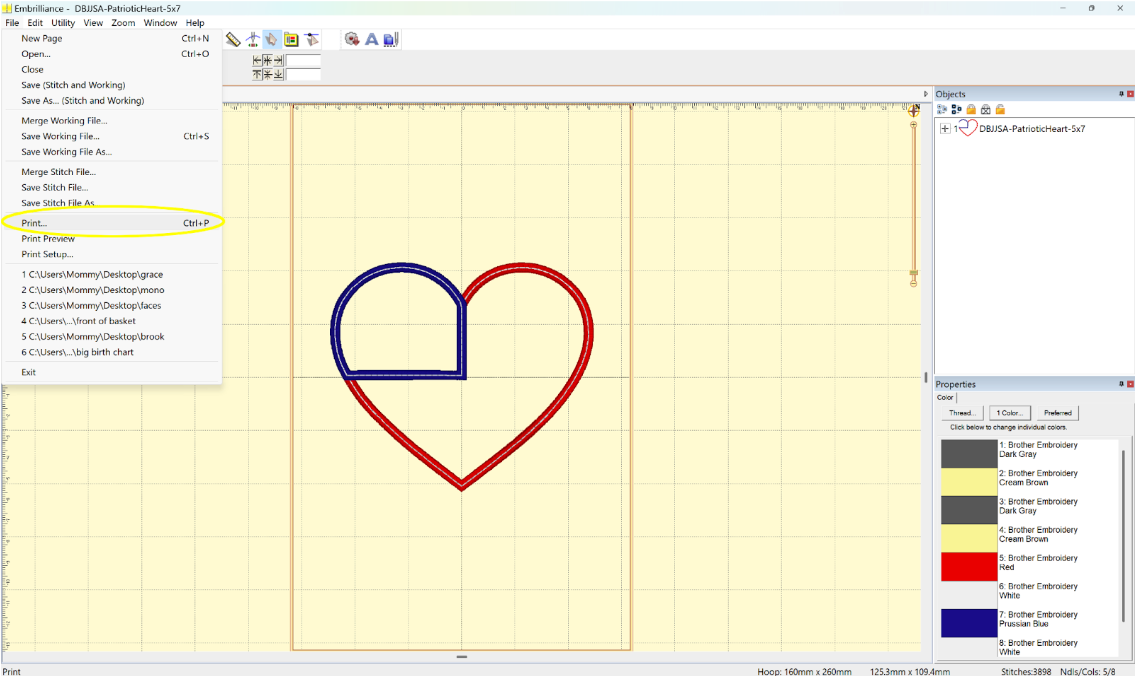
It will print out the same size the design will stitch out. There are marks on the design where the centers are.
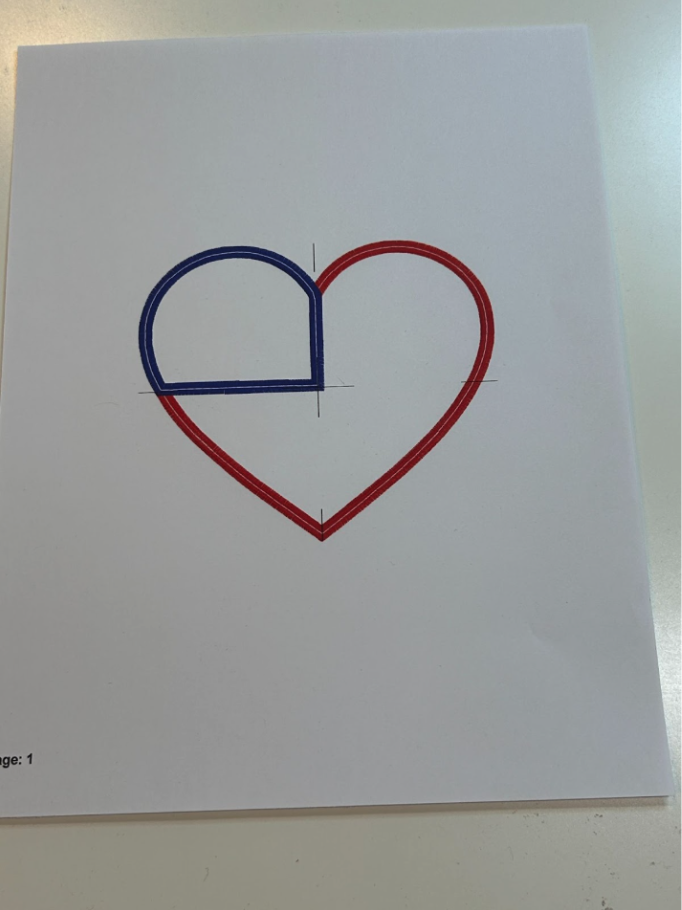
We will now cut out the design. Sometimes we will just want to fussy cut one section of the design, but for this one I will be fussy cutting both of them. So I will cut them both out. We will end up using all three pieces. I like to cut on the outside edge of the colors so that I will still have a little bit to trim. If we don’t cut the pieces big enough, the edges won’t get covered by the finishing stitches. I would always rather trim later than have a piece that's too small now.

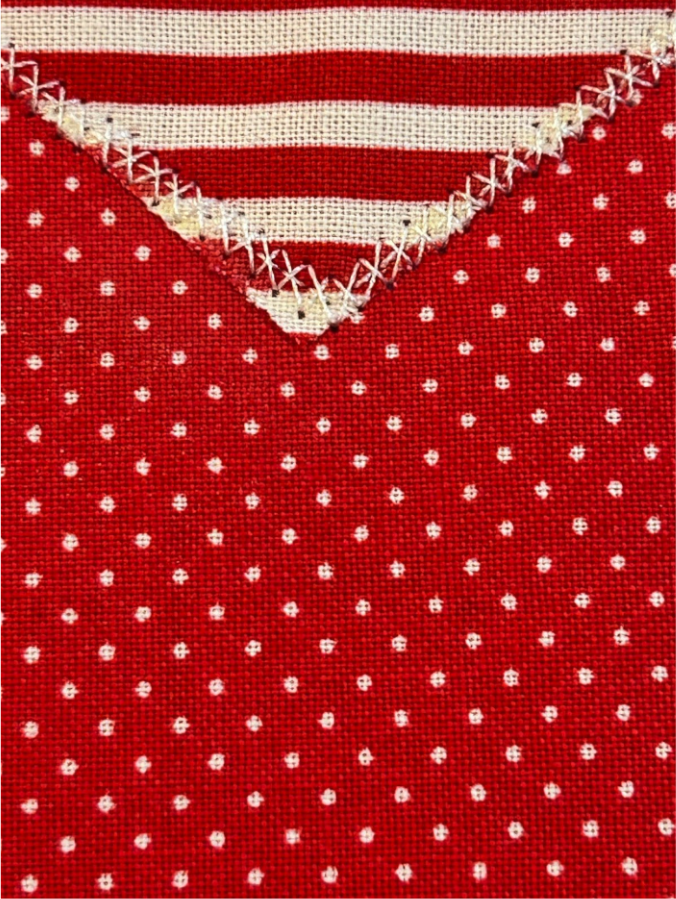
Place the big window piece over your fabric. I want to make sure my stripes are perfectly horizontal. Use your marking pen or chalk to trace the design. I like to do it this way so I can see exactly what it will look like.
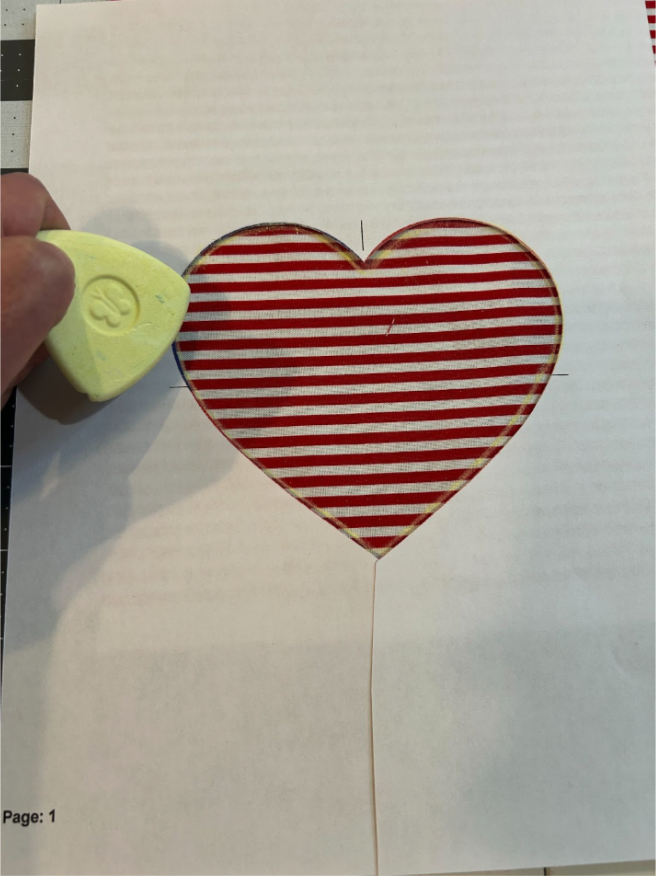
Next, place the piece that we will be using back into the cut out shape and trace the edges that we missed.
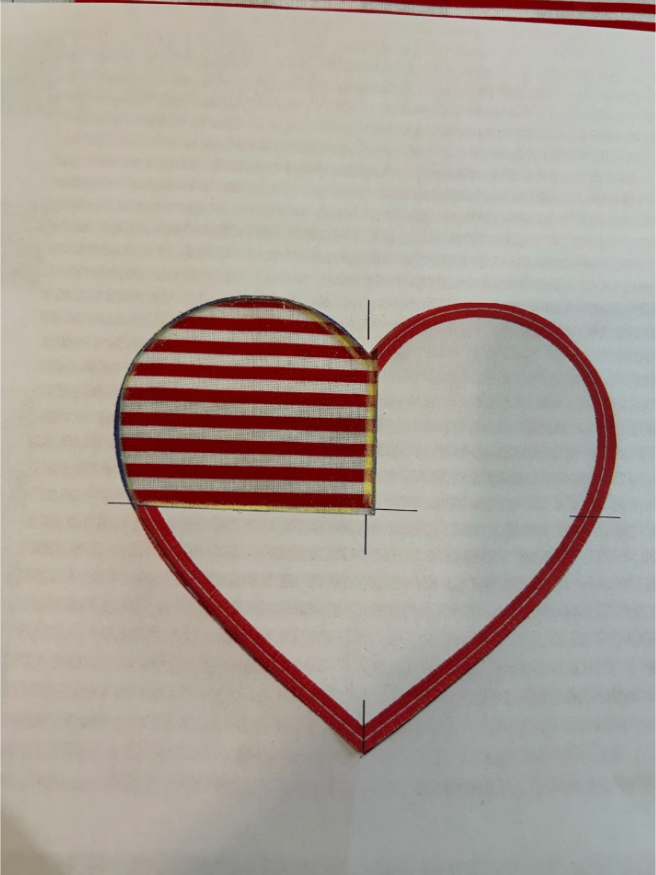
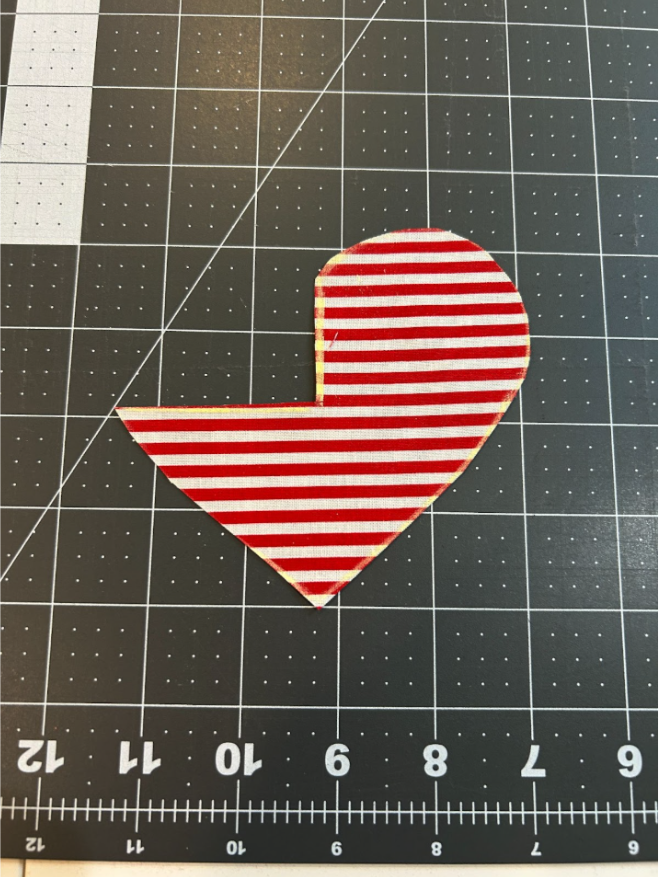
Cut out the little corner.
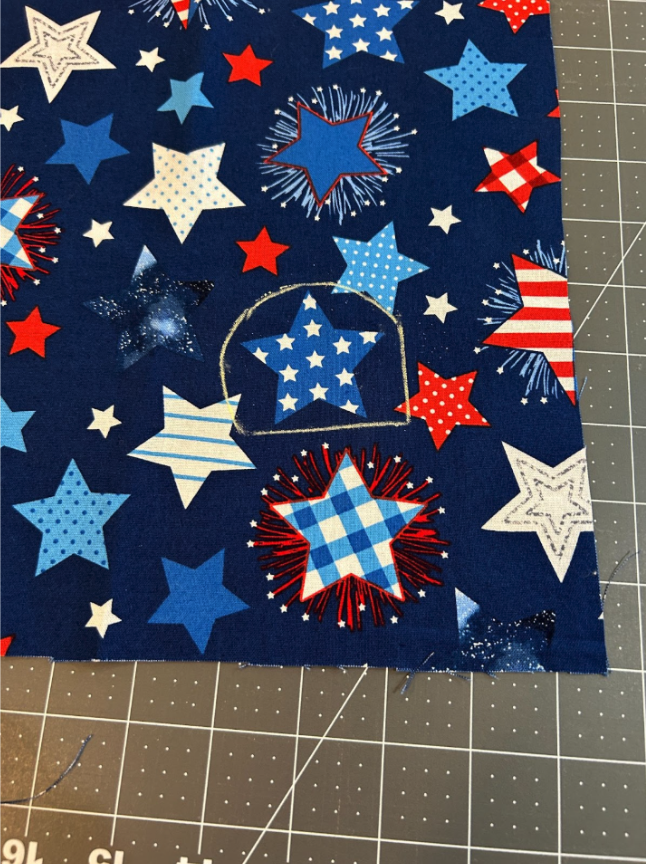
For the blue piece of my heart flag, I want to use the blue star with the white stars on it from this fabric.
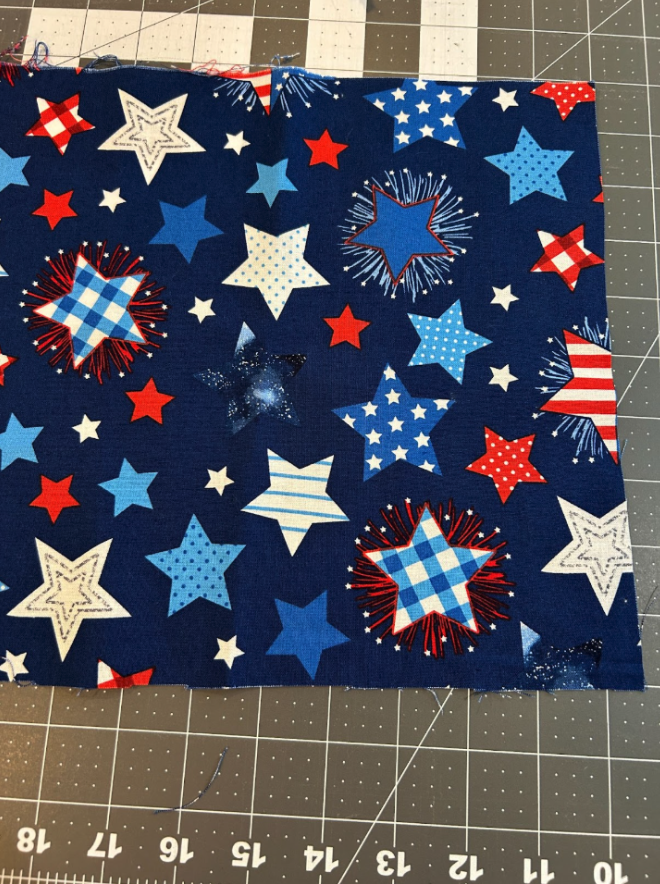
Using the window method, you can line up the window exactly where you want to cut the next piece. Trace it.
I love how precise this method is. It is easy to choose specifically what part of the fabric you want in your design and orient it so it fits perfectly.
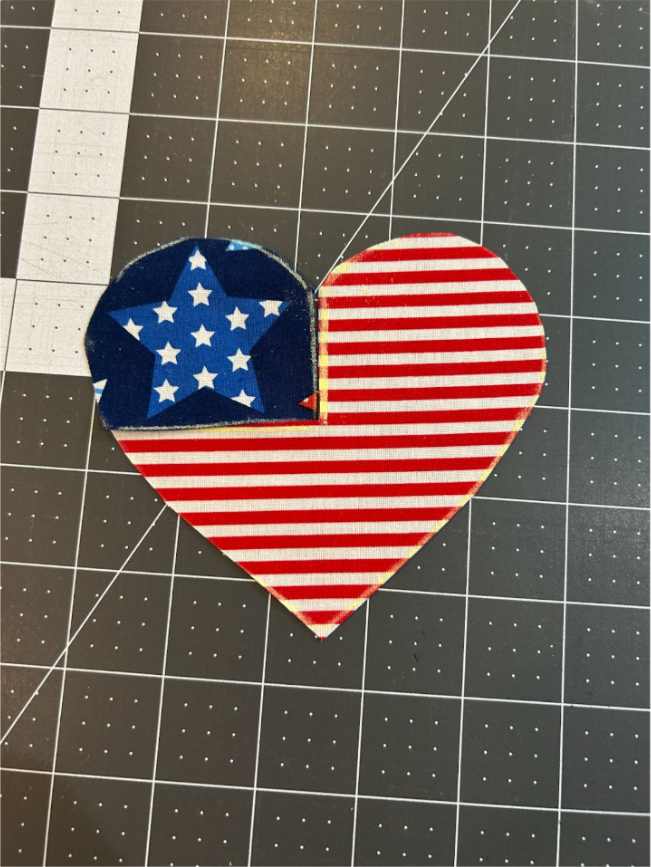
Cut out this piece. You can see how your applique will go together if you lay the pieces out.
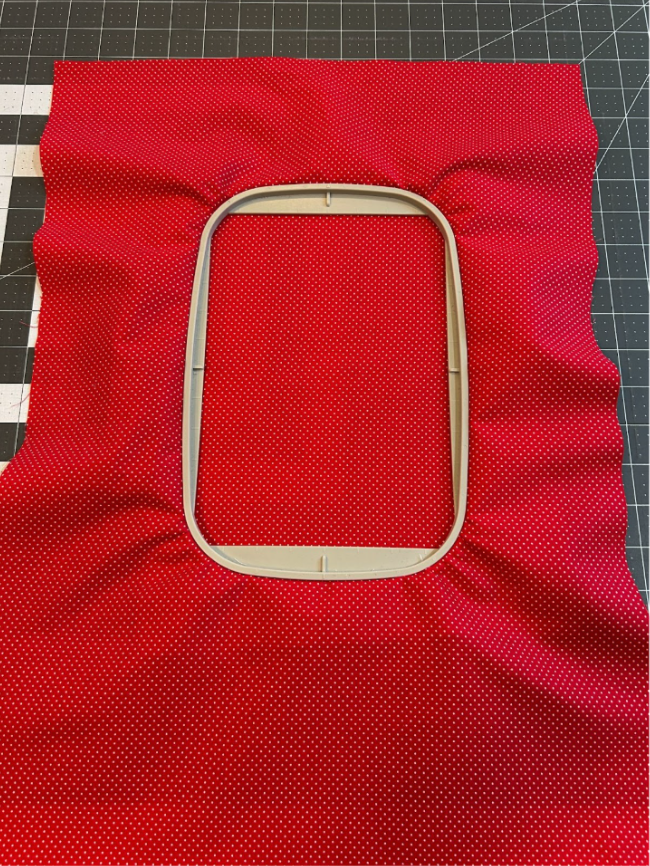
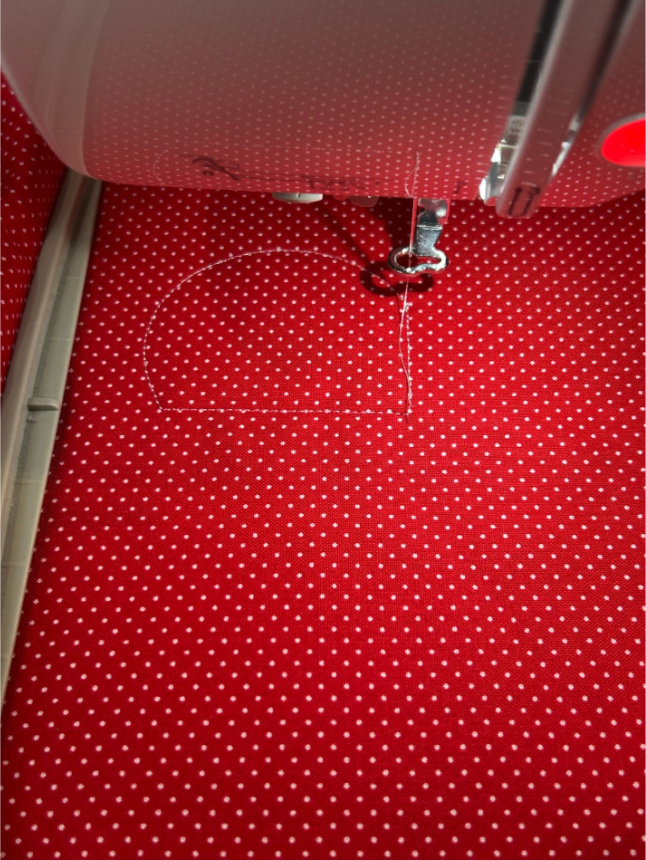
Hoop tear-away stabilizer and your fabric. I try to center the front part of my bag panel.
Stitch out your first placement stitch.
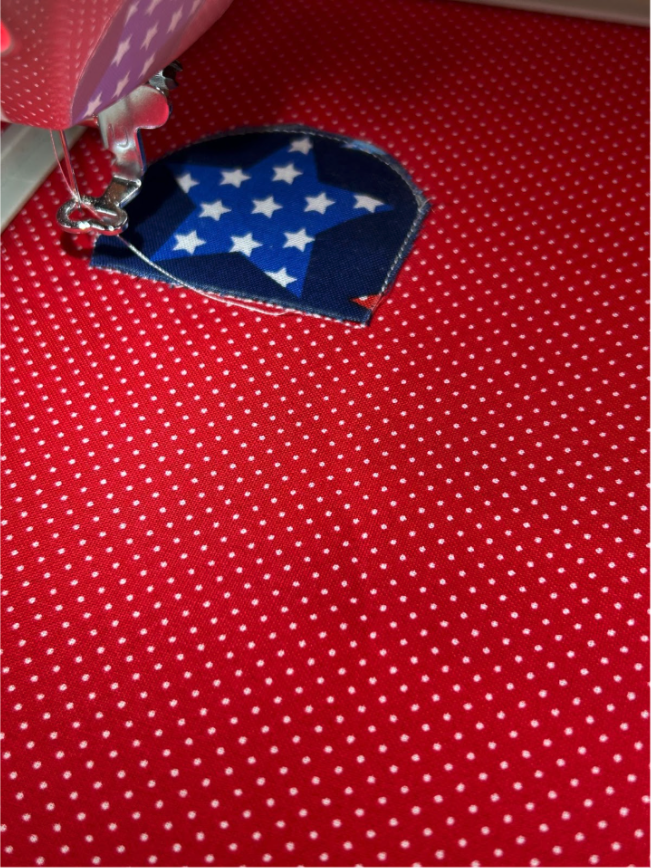
Cover with your fussy cut fabric. If you cut it large, it should overlap a small bit on each edge. Stitch your tack-down stitch next. Trim the fabric if you need to.
Then we will stitch the next placement line.
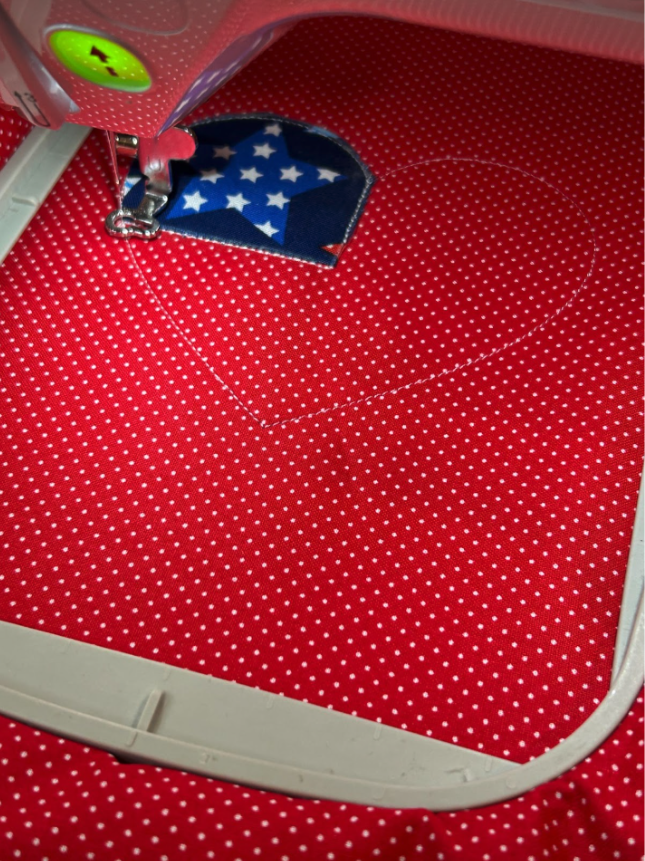
Cover the stitches with the fussy cut piece and run the tack-down stitches.
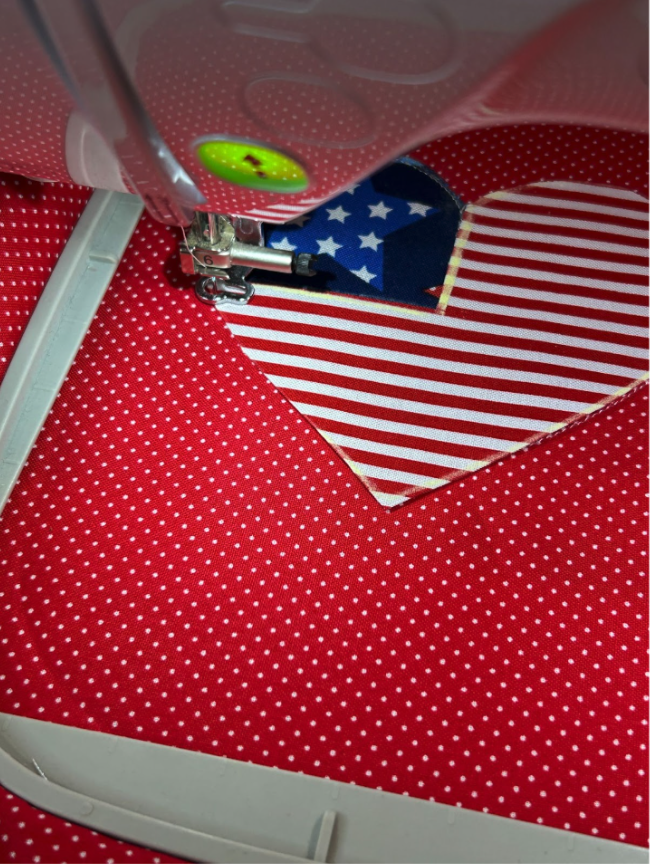
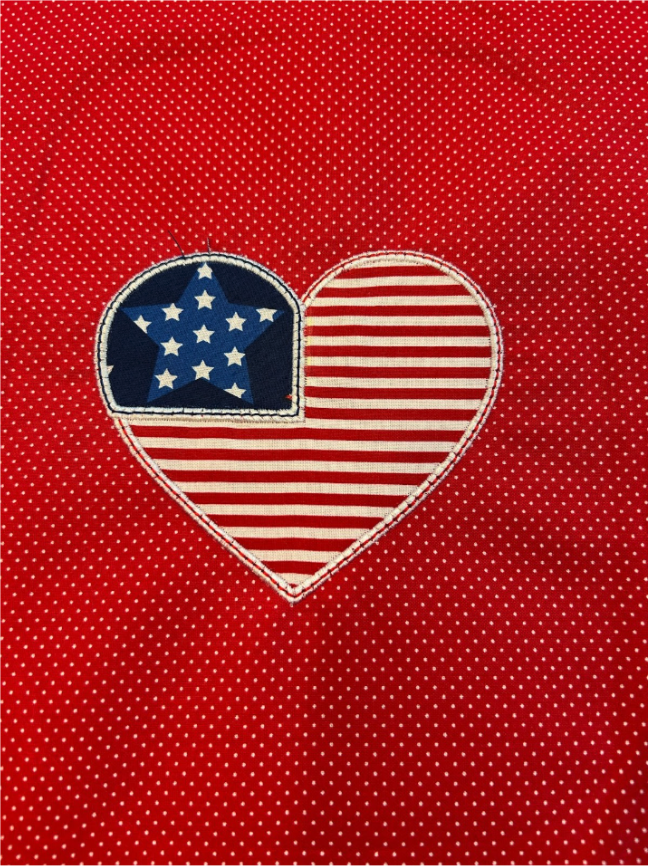
We have all the pieces tacked down, and we will now do the finishing stitches. I like to start the stitching and check after the zigzag stitches. On this one, I trimmed up the point of my heart because it wasn’t going to be caught in the cover stitches.
Finish through all your cover stitches. I love how the fussy cut fabrics turn out when all the stitching is done!
I find the next option for fussy cutting works well when we are only using one fabric to fussy cut. It also works best when that fabric is one of the last layers that will be tacked down.
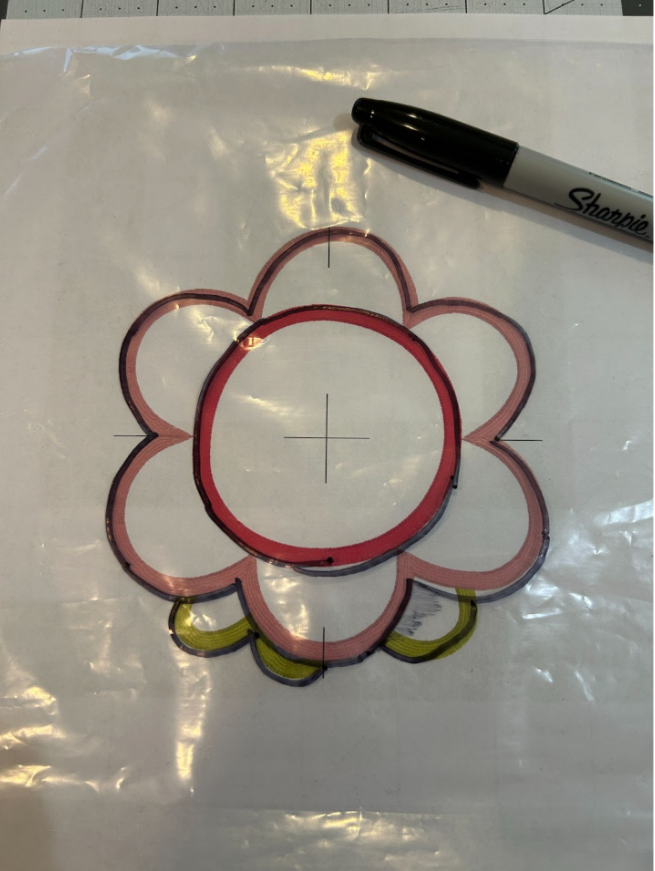
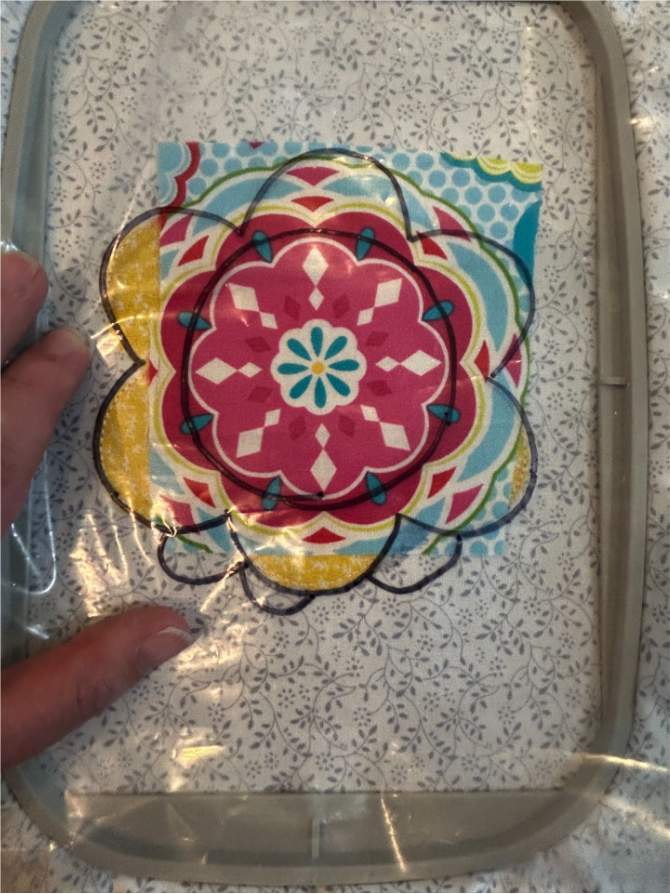
We will again print our design file. Then we can take a piece of plastic and cover the design. I used a zipper-type bag that I cut the zipper off and opened up. A plastic sheet protector could also work.

Trace the design with a permanent marker. I will be fussy cutting the center of the design, but make sure you trace the whole design.
Hoop your stabilizer and background fabric.
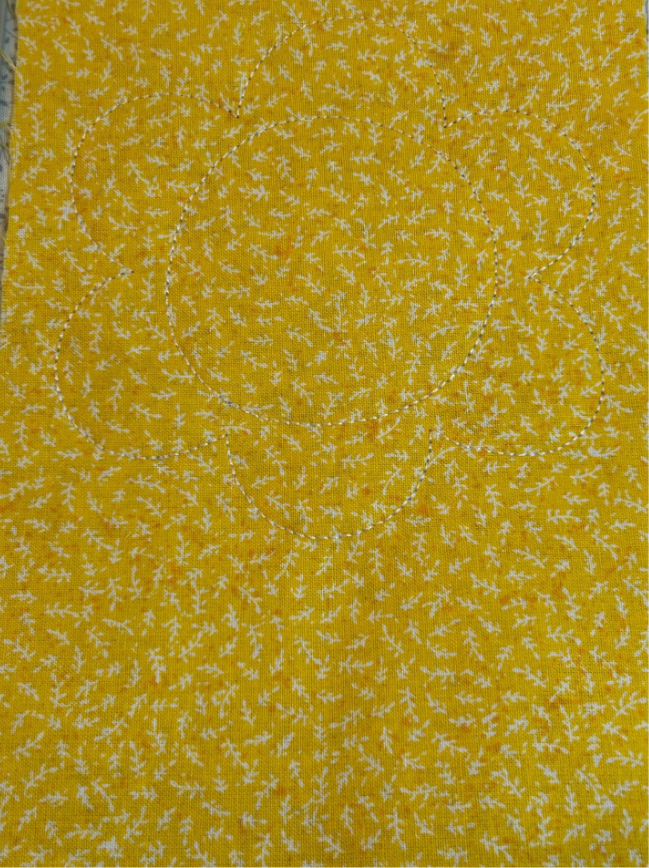
Load your design and stitch out the placement and tack-down stitches for the first design elements. In my design, it’s the leaves and petals of the flower.
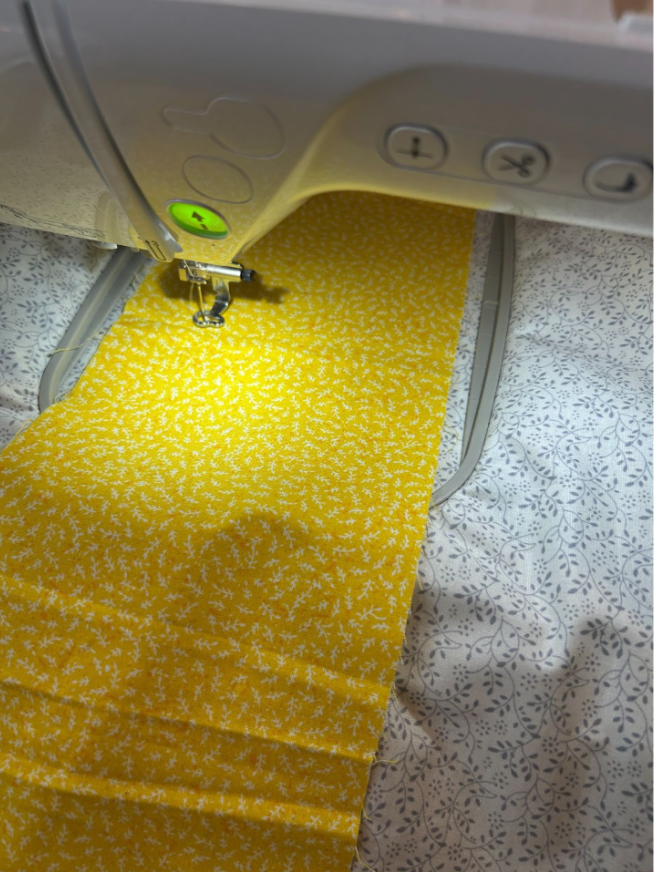
When we get to the placement stitches for the center of the flower, we will figure out our fussy cut piece.
My piece of fabric has a lot of medallions that I want to consider for use in the center of my flower.

This is when the plastic method comes in handy. I can slide it around the fabric and see how it will look in the center of the flower with the other pieces drawn on.
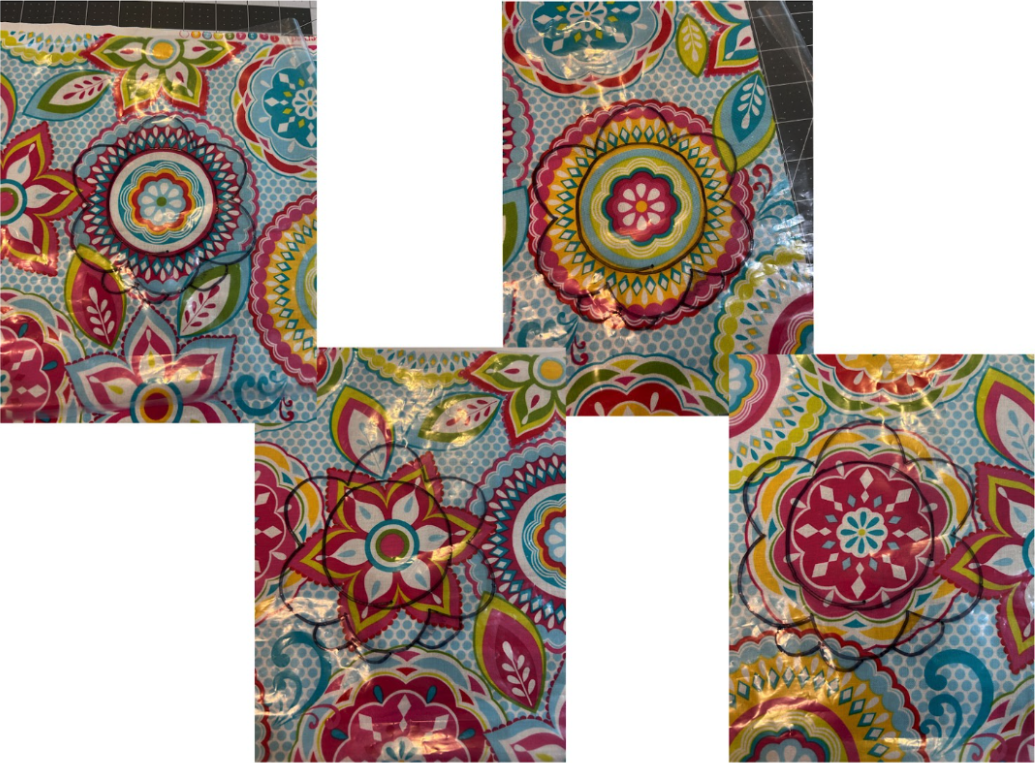
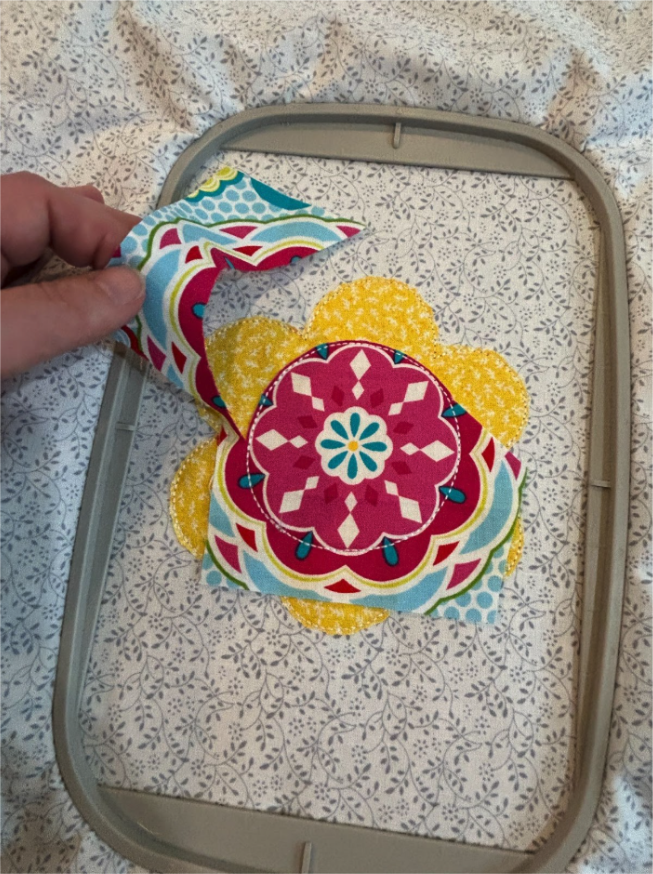
I liked the pink one. So this time I’m going to roughly cut out the center. Make sure there is excess around the permanent-marker-drawn lines.
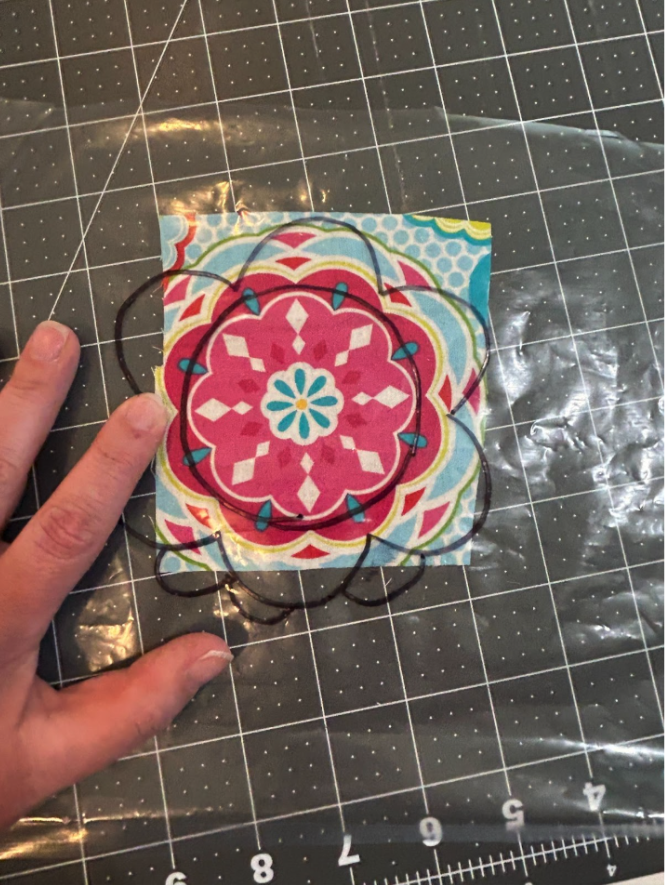
Remove your hoop from the machine and place your window and fabric on the design. Use the permanent lines for the other applique pieces to ensure it’s all lined up. And make sure the fussy cut fabric is where you want it.
Stitch the tack-down stitch and then trim the excess fabric.
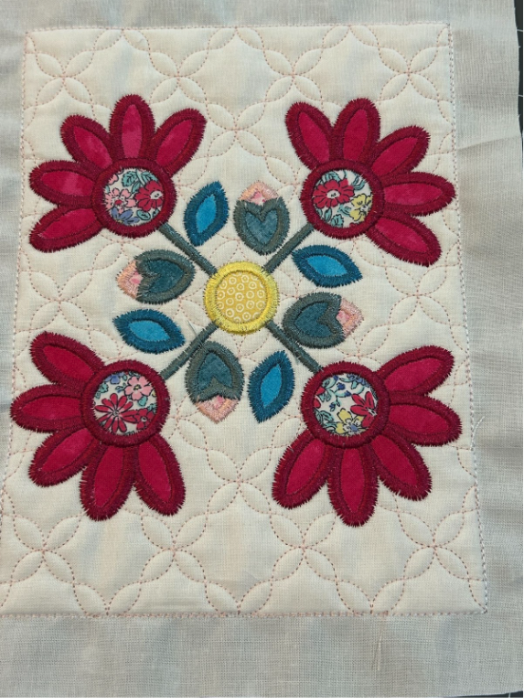
Finish out the applique steps.
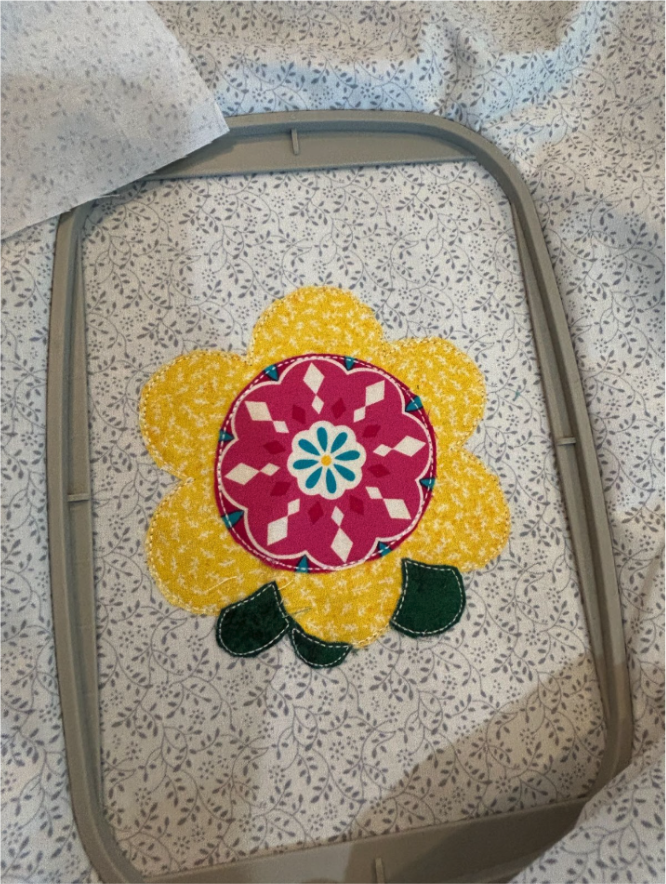
Then stitch the cover stitches.

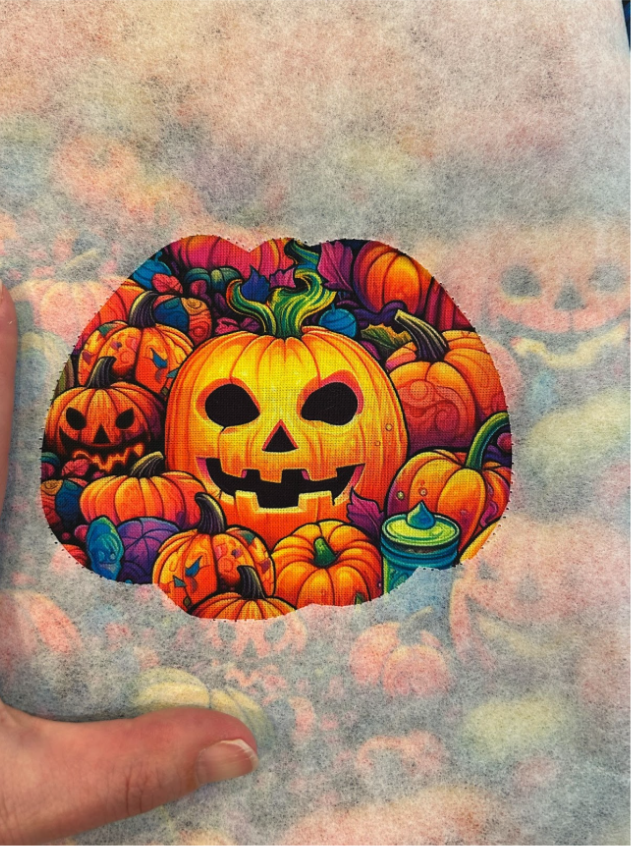
When we do fussy cutting, it’s best to use a design that has a bigger open space. But that doesn’t mean we need to search for a design that’s only an outline. For this pumpkin I chose the Happy Halloween Pumpkin Applique, and we will just use the outer stitches and ignore the inner stitches.

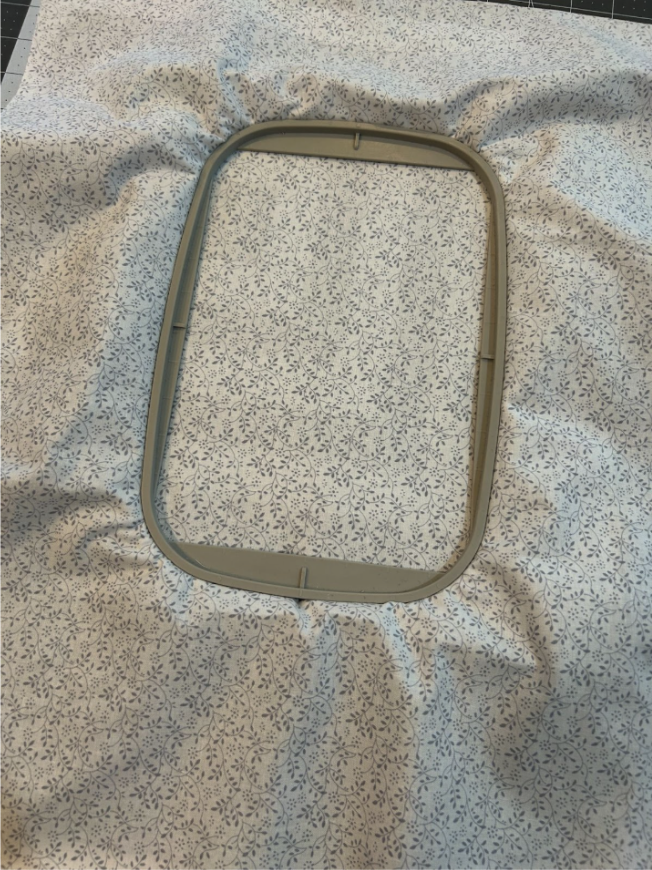
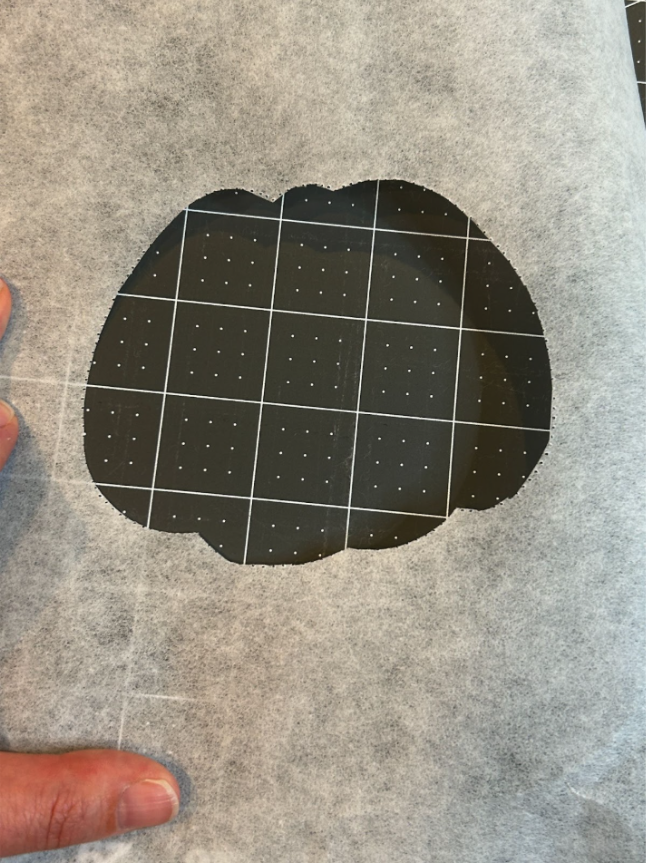
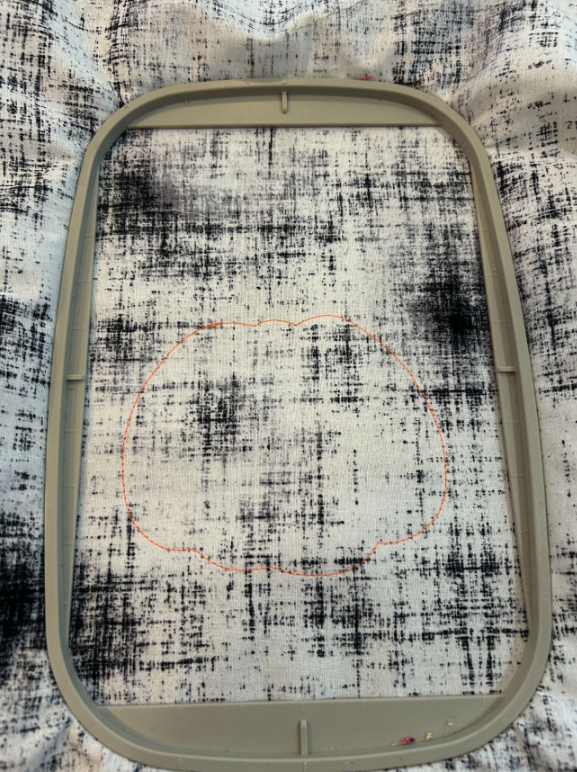
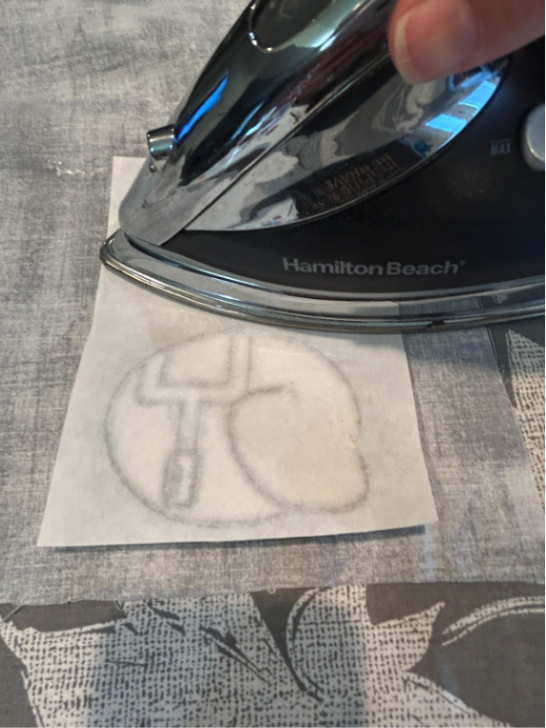
For this method we will use our machine to make the template. This one works well if you don’t have access to a printer. We will hoop some tear-away stabilizer and run the placement stitch. I didn’t use thread (and had to turn off my thread sensors for this to work), but stitching it out with thread is okay too.

Remove the stabilizer from the hoop, and cut it out on the line. NOTE: Before taking it out of the hoop, mark the side that is facing up. I didn’t do this and in the tracing process it got flipped. I didn’t notice this until later steps that I’ll show you. So mark both the backing and the applique pieces so you keep them right side up.
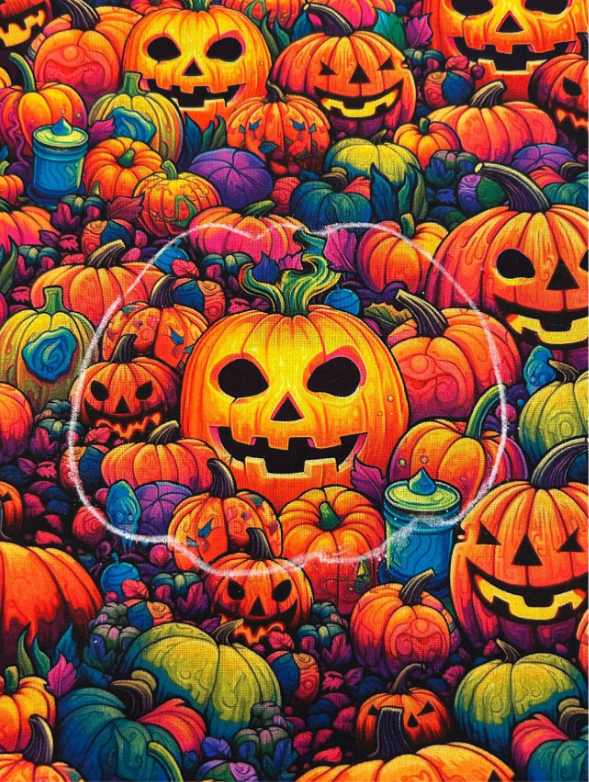
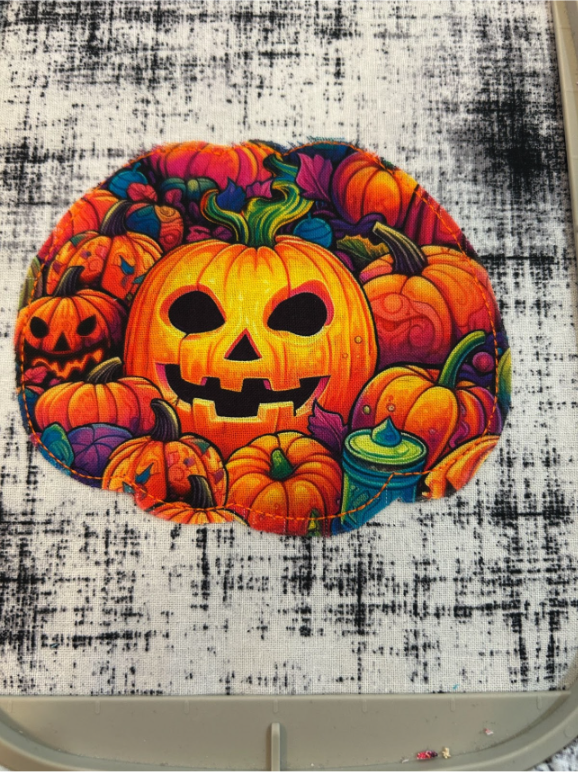
Using the window, find the placement you’d like in your fabric. I wanted to center on the big jack-o-lantern in this busy fabric.
Trace the outline.
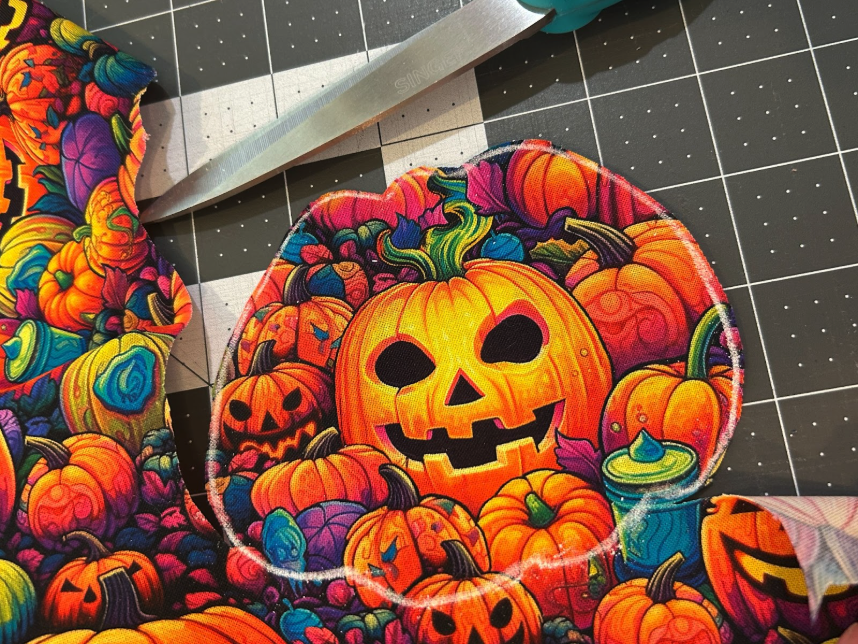
Once it’s traced, cut it out. I leave a little extra outside of the line.
Hoop your fabric and stabilizer. Stitch out the placement stitch.
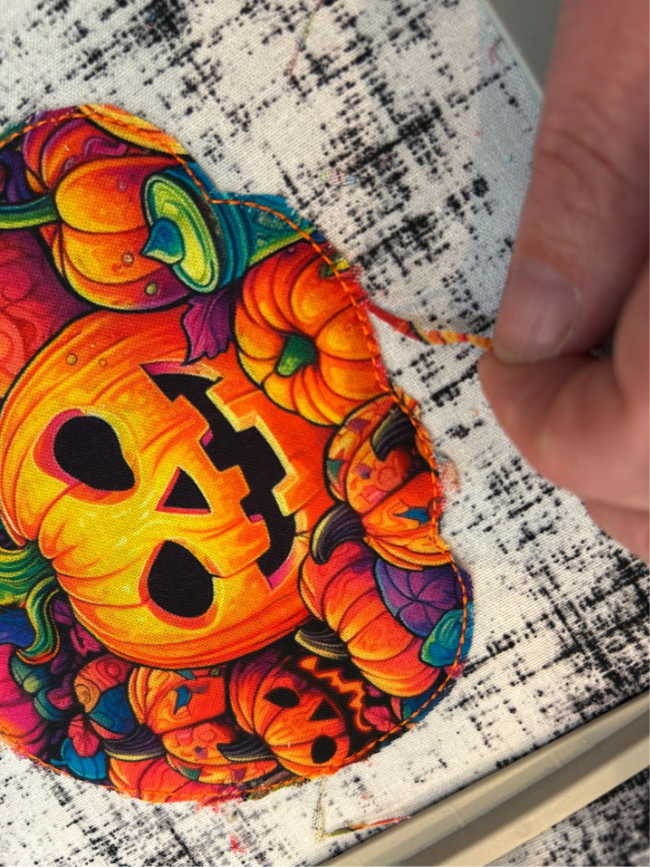
CAUTION: Here is where I noticed I had flipped my template. The design is close but not quite symmetrical. I finished it out so you could see how my mistake didn’t work. So check your template!

Back to our correct template. Place your fabric over the top of the placement stitches.

Run the tack-down stitches.
Trim next to the tack-down stitches.
Finish the cover stitches.
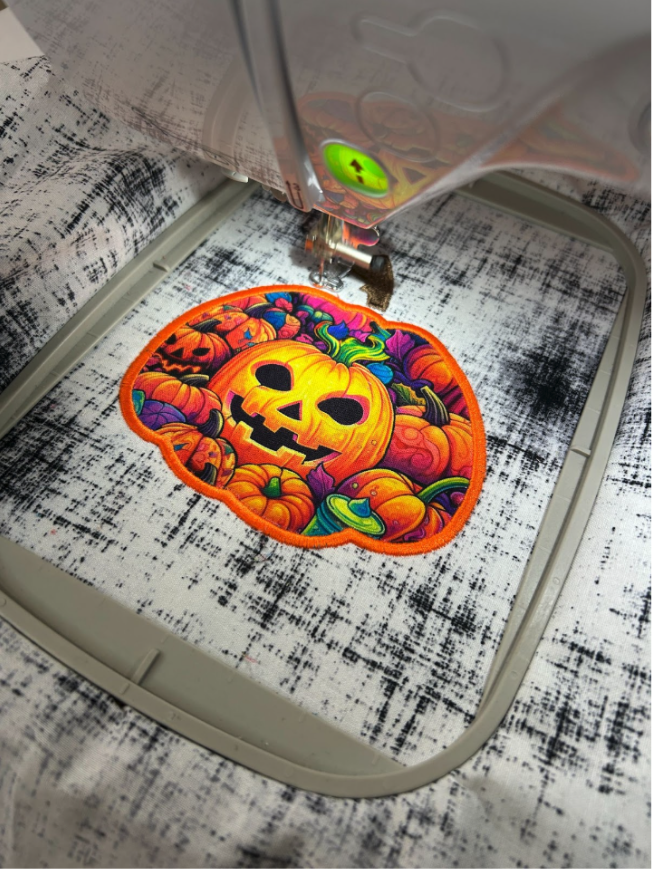
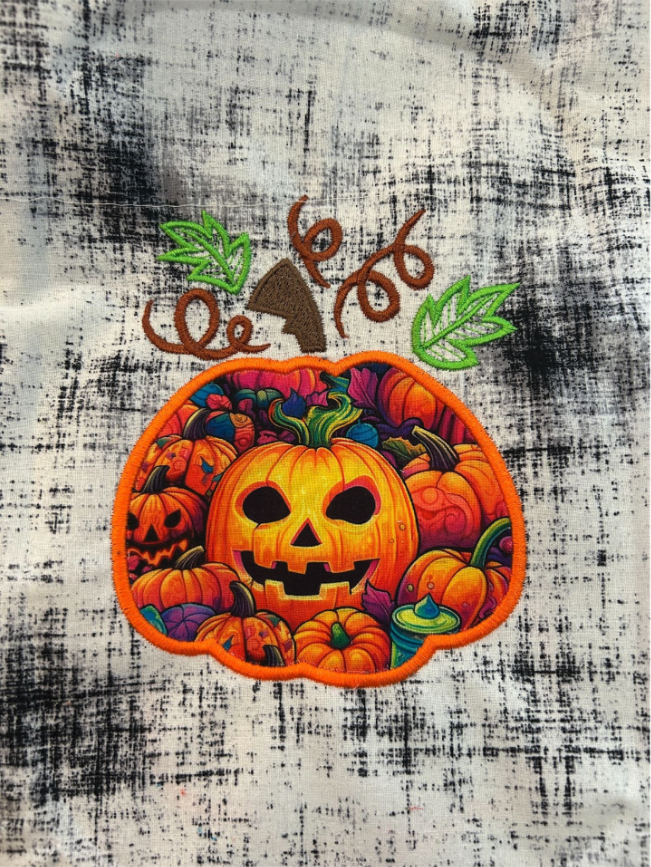
Stitch out the finishing stitches, but skip the ones that are inside the pumpkin.
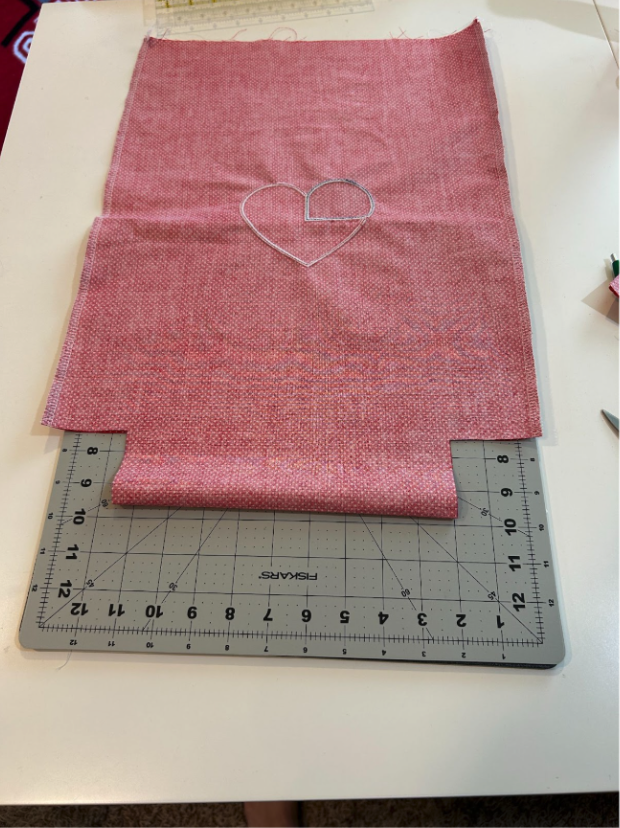
Let’s get back to making the gift bag we started in the first section. To turn our fussy cut applique pieces into a gift bag, we need to clean up the back of our designs by trimming fabrics and removing the stabilizer.

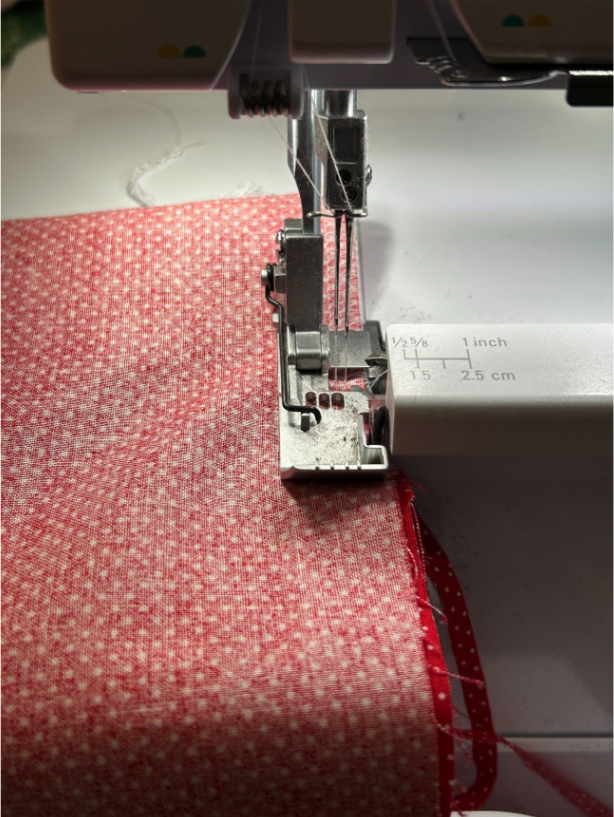
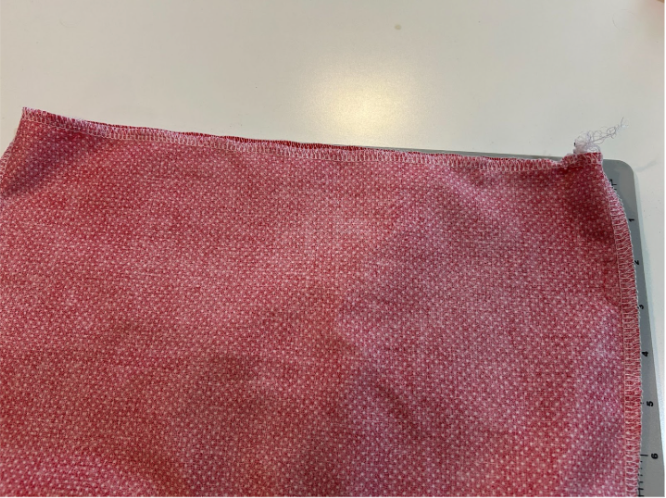
Fold the long piece of fabric in half with the right sides together.
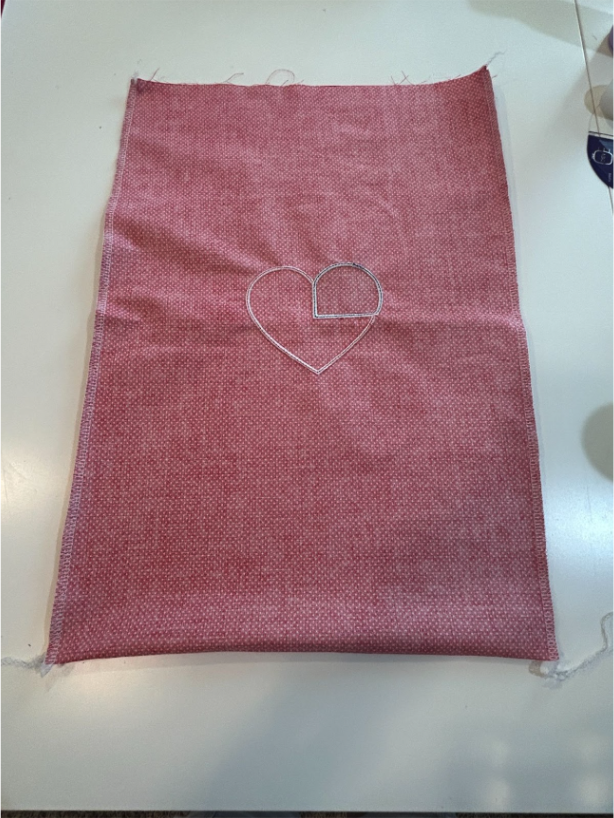
Stitch the sides together. I used my serger, but an overlock stitch or a french seam will work too.
Place the bag back on your workspace.
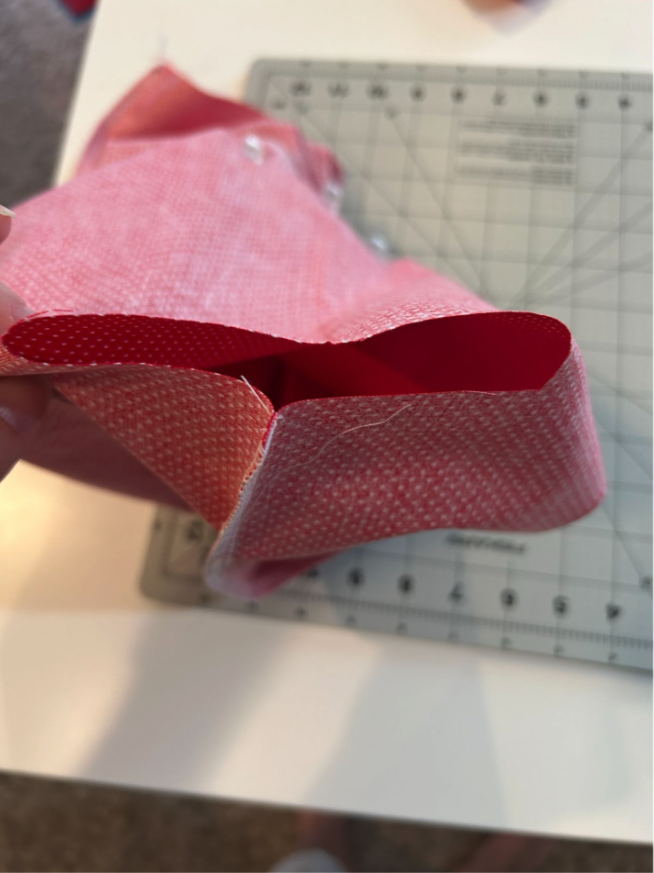
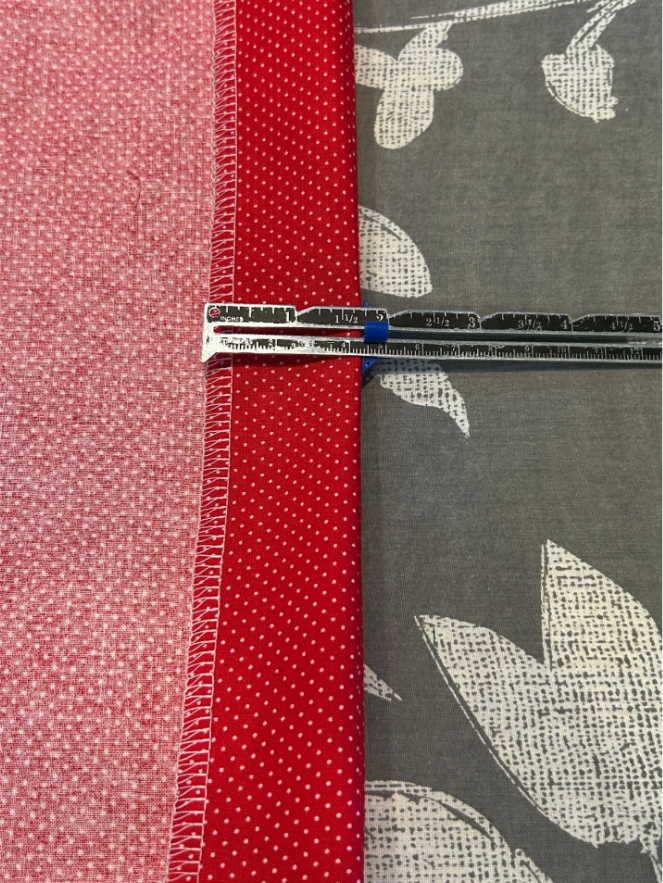
If your gift to wrap is fairly flat you can skip this next step. But if your gift is more 3-dimensional, let’s box the corners. Trace a 2½” square on each bottom corner.
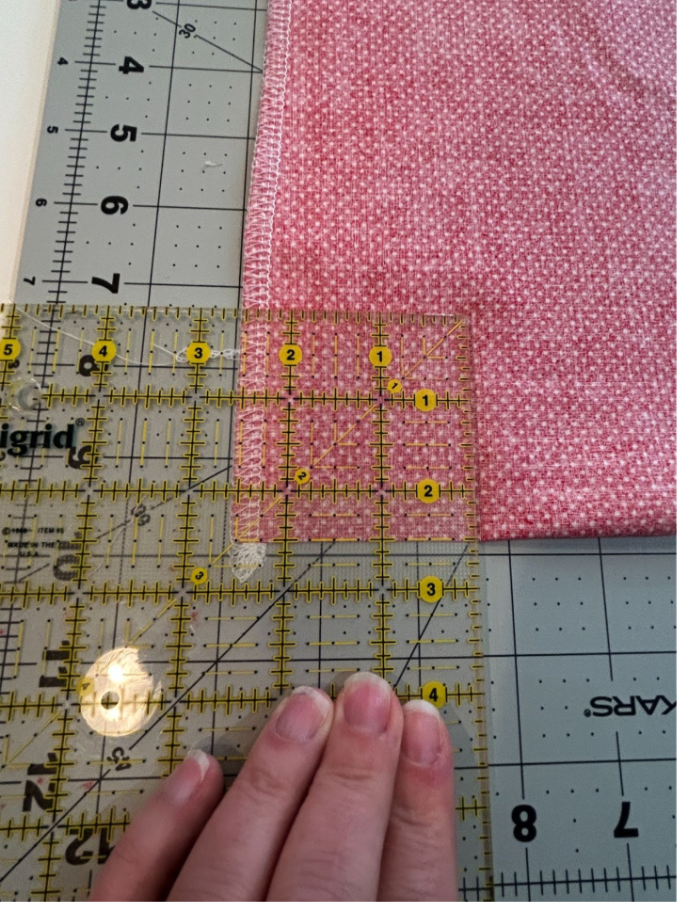
Cut out the square on each side.
Open up the corners so the bottom center is in line with the edge seam.
Pin or clip them in place and sew across the raw edge on both sides.
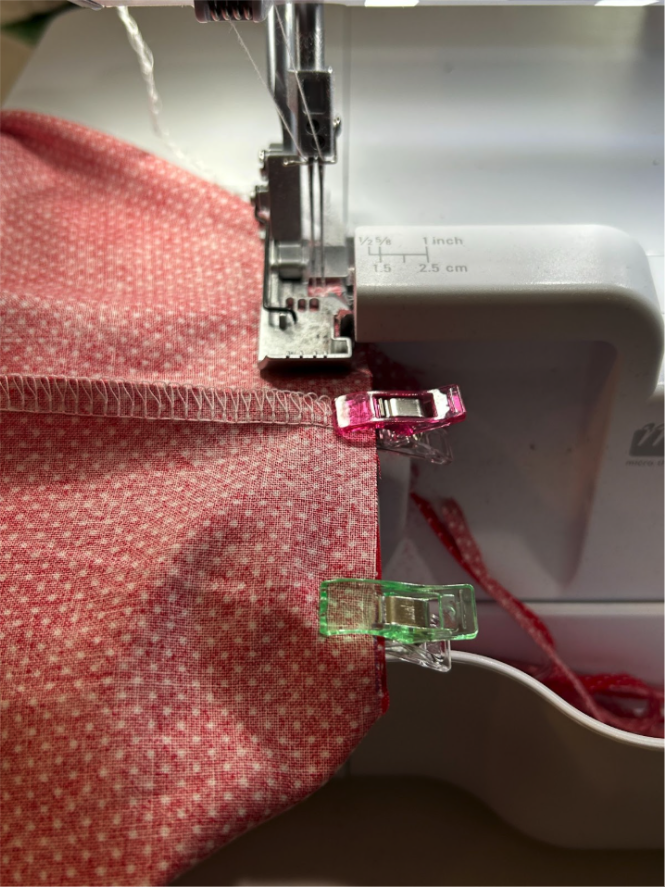
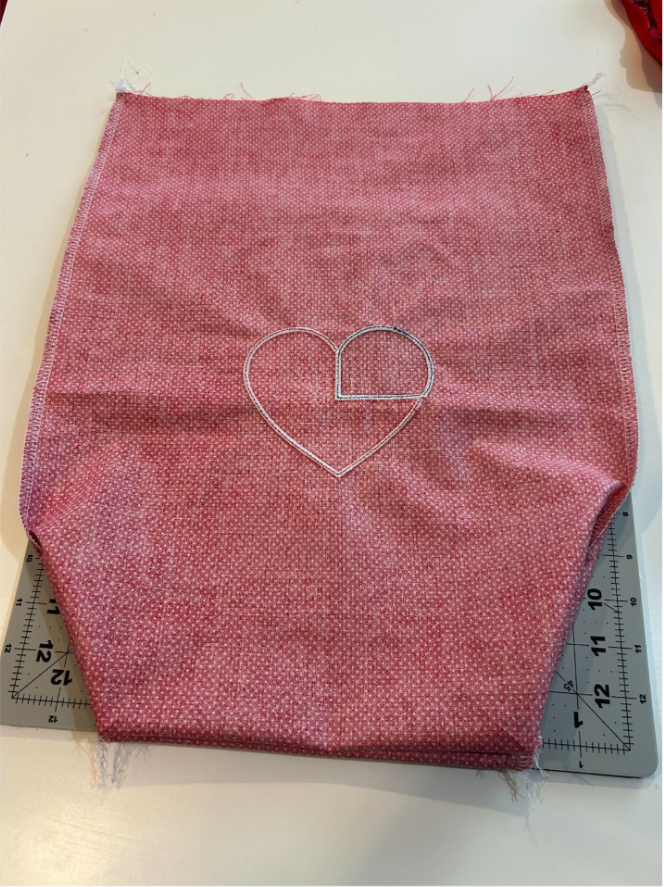
Now we have boxed corners!
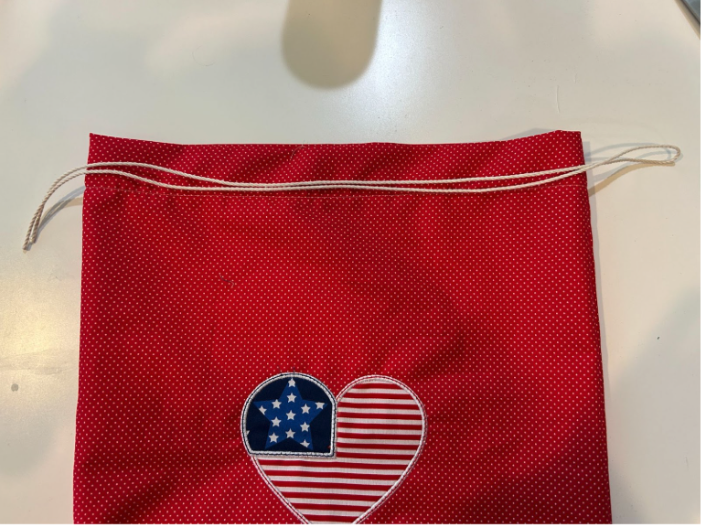
Our next step is to finish the top raw edge. You can do a narrow hem, but I used my serger to finish the edge.
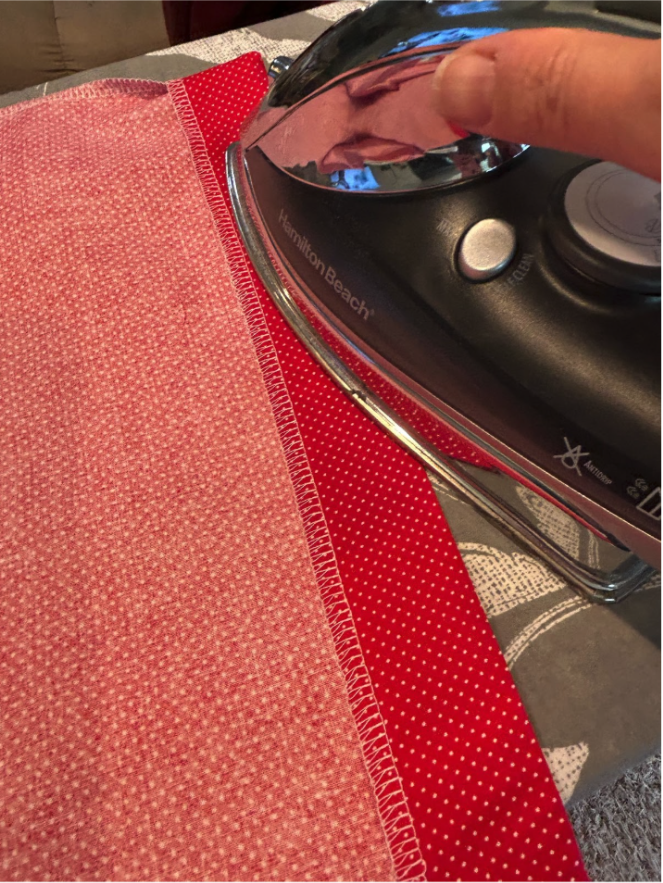
Fold your top edge over about an inch and a half.
Press the top edge.
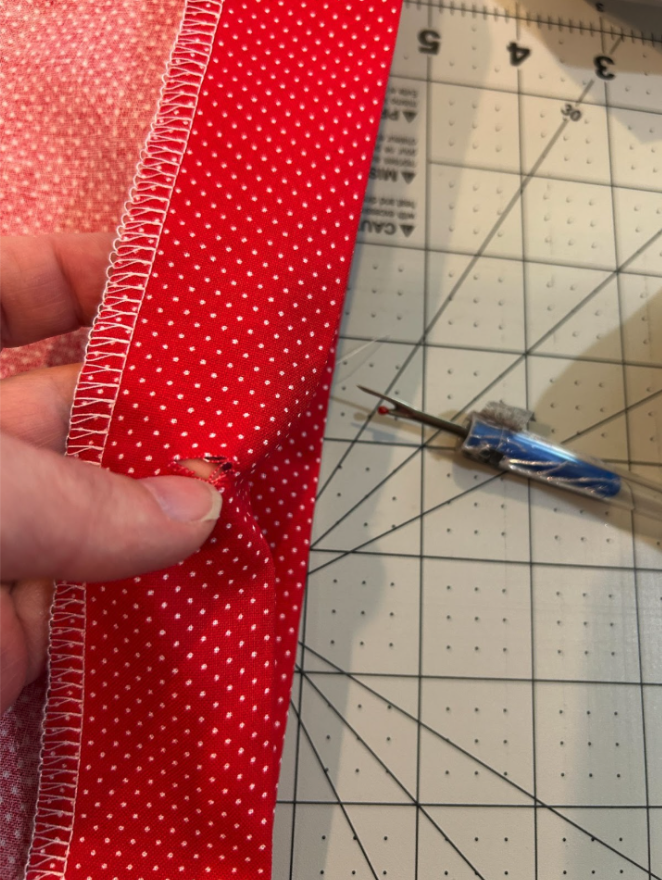
At this point you can take your seam ripper and make a small cut in the back or front of the casing. You can add some Fraycheck to the edge to keep the fabric from fraying.
If it’s a bag you plan on reusing often, you can make a small buttonhole in the casing to have a more finished edge.

After creating a small space for the ribbon to come through, stitch down the casing all the way around the top.

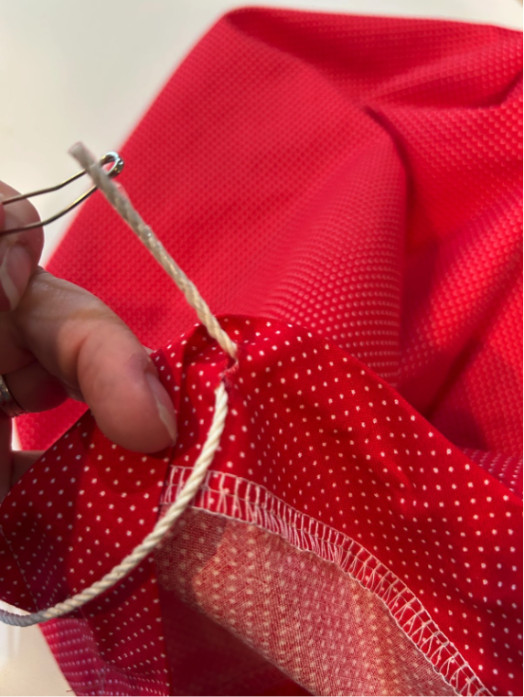
Now I take the ribbon or cord that I’m using to close the bag and measure it a little bit longer than twice the width of the bag.
I like to use a safety pin to help me thread the cord through the casing.

And bring it back out the same opening.
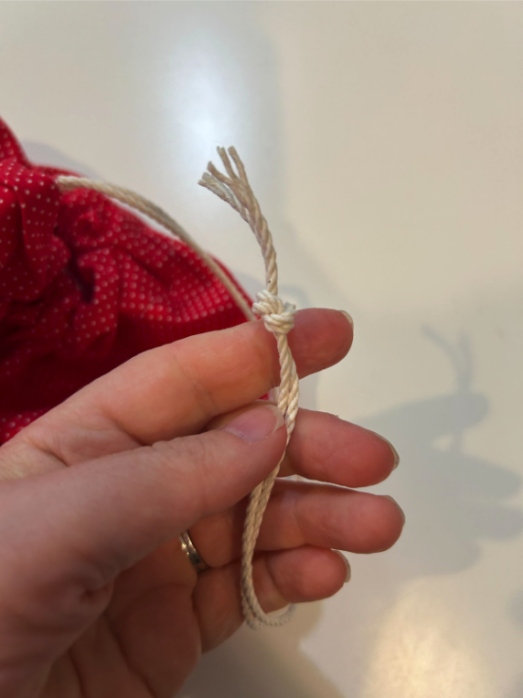
And I like to tie the ends together so they don’t get pulled back in.
And you have your finished gift bag!
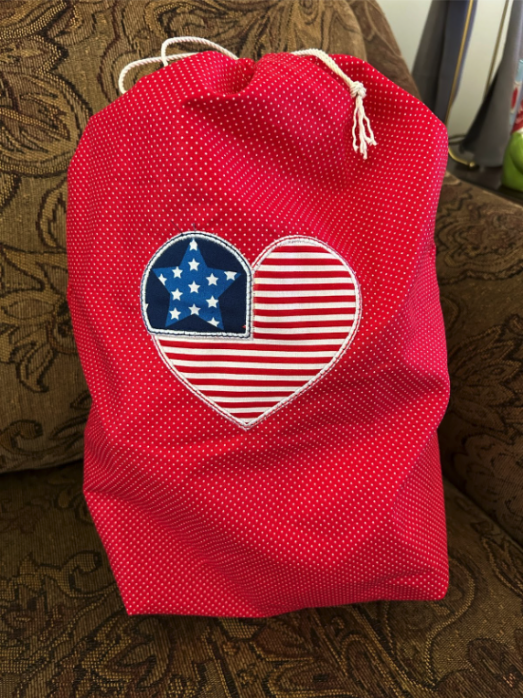
You can make one for every season and birthdays too!

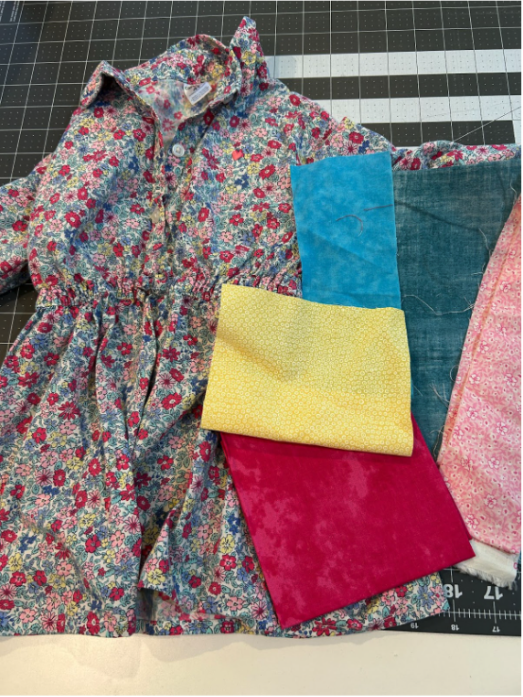
I have some clothes from when my daughter was little that have good memories attached to them. I have held onto them for years wondering what I should do with them. When I saw the Free Baltimore Album Applique design, I thought it would be perfect to make a memory quilt with some of the clothes I have and a quilting backdrop. I’ll show you how to do a block and then you can make as many as you want for the quilt size you prefer.
Assemble your clothes or memory fabrics left over from other projects and coordinate with fabrics to finish the block.
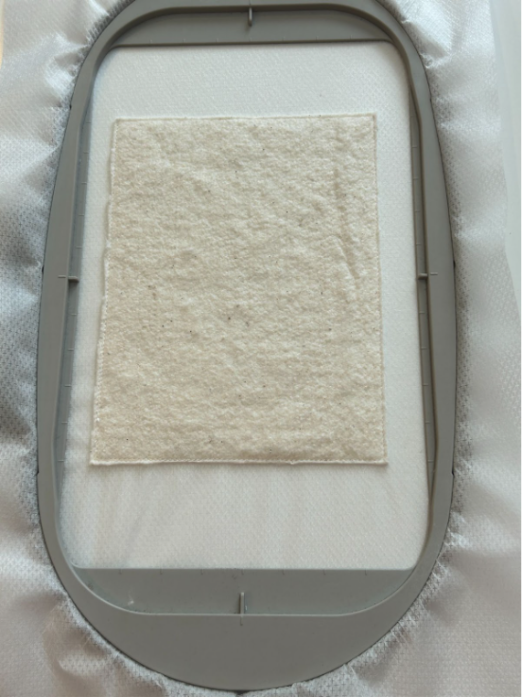
Hoop your stabilizer. We will first do the quilting backdrop on your background fabric. Your first stitches will be the placement for your batting, and the next to tack down the batting. Trim it close to the stitches.
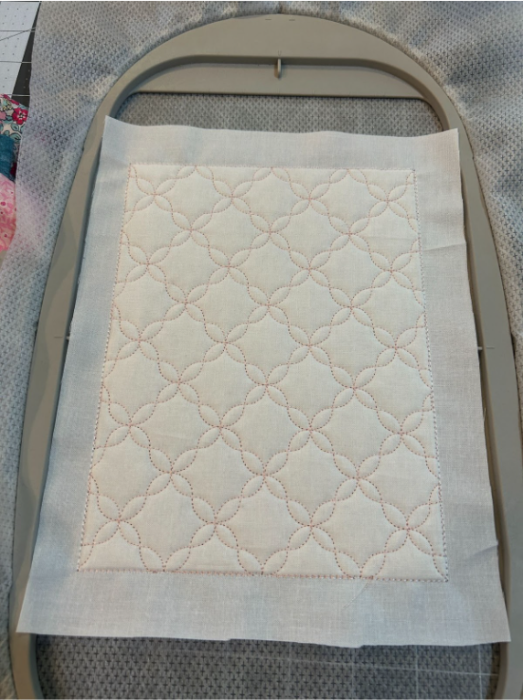
The next steps will tack down the background and stitch the design stitches. If you’re new to quilting backdrops, check out our in-depth blog post on how to be successful with them here.
Start your applique block and use your memory fabric for one of the design elements. I chose to put it in the center circles of the flowers.
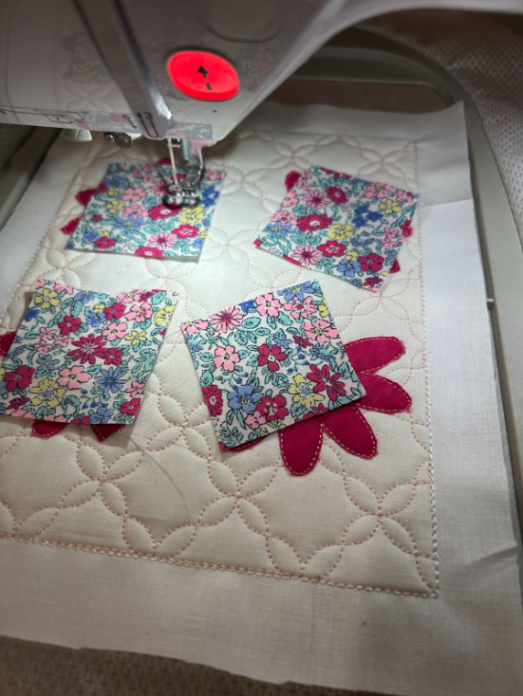
Finish your applique steps by adding the coordinating fabric to the block.
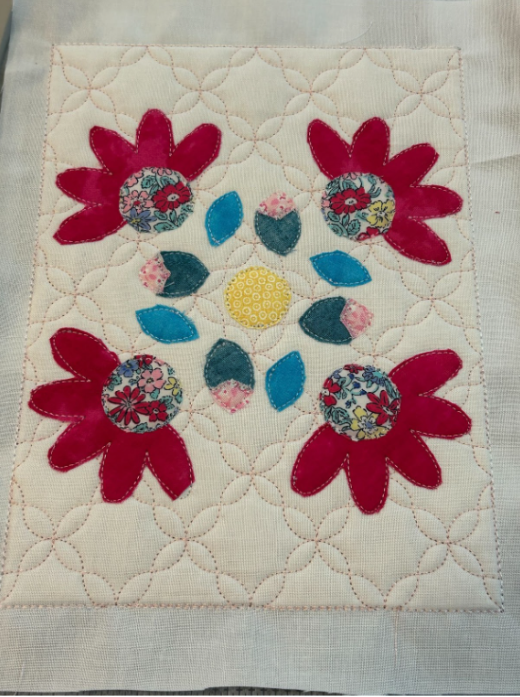
Then finish out the cover stitches to complete your quilt block.
Now you can make others with other memory fabrics and have a quilt filled with good memories!
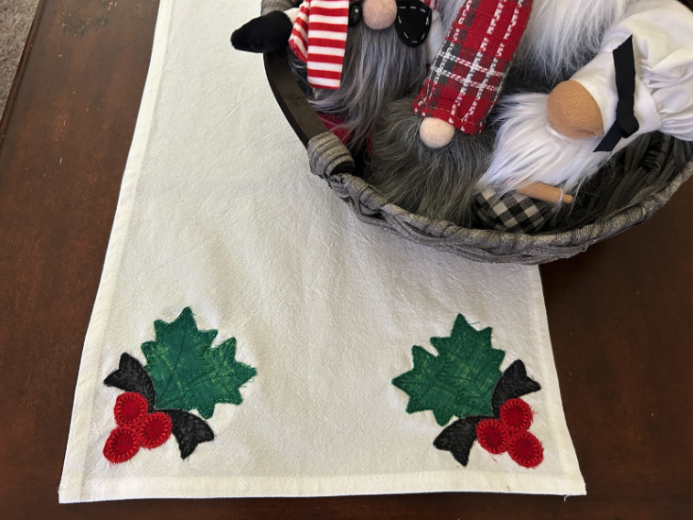
You could also use some memory fabrics and the mirror function on your machine to make matching ends on a table runner for a piece that has meaning for the holidays. Stitch one side of the table runner, mirror the image on your machine, and stitch the other corner.
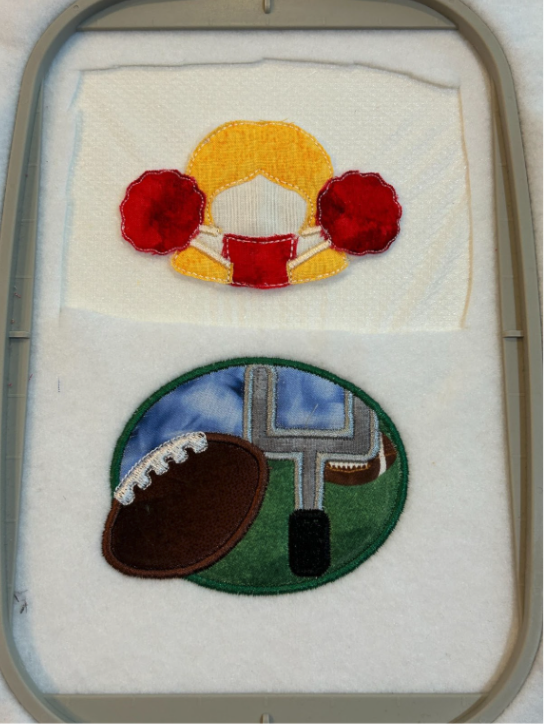
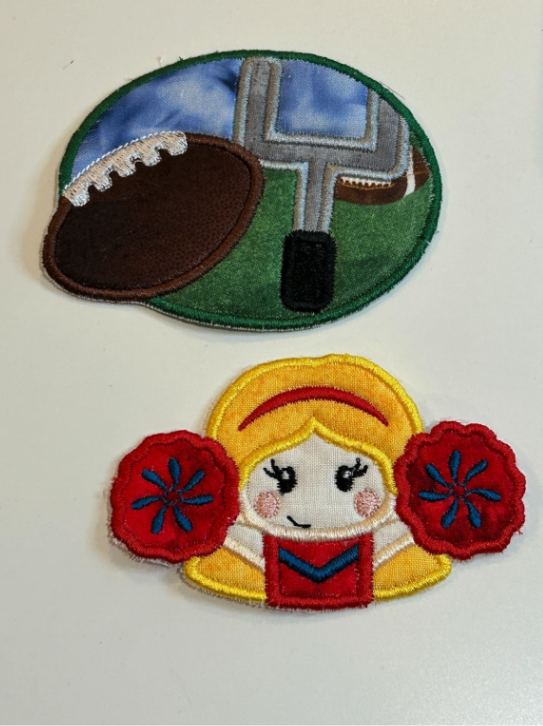
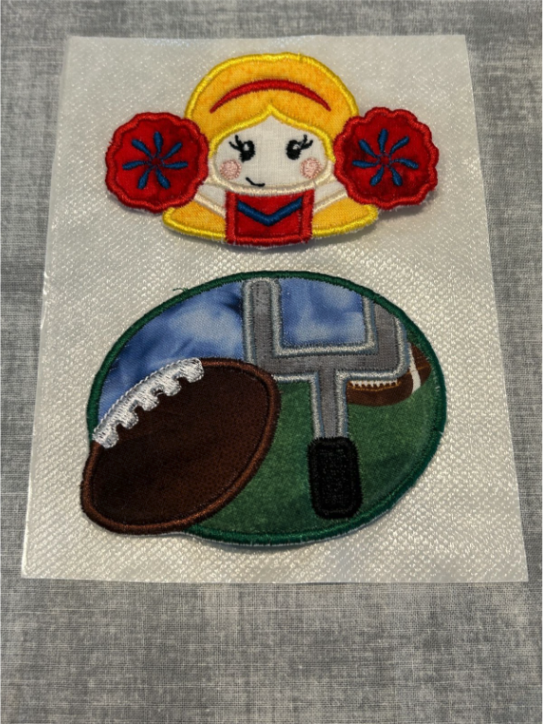
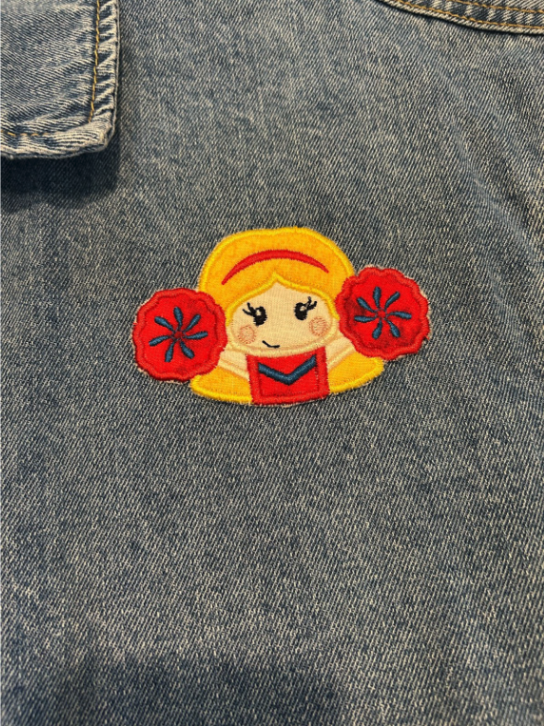
We can fussy cut fabric or use memory fabric to make patches to adorn our clothes or bags. I made a football patch and a cheerleader patch.
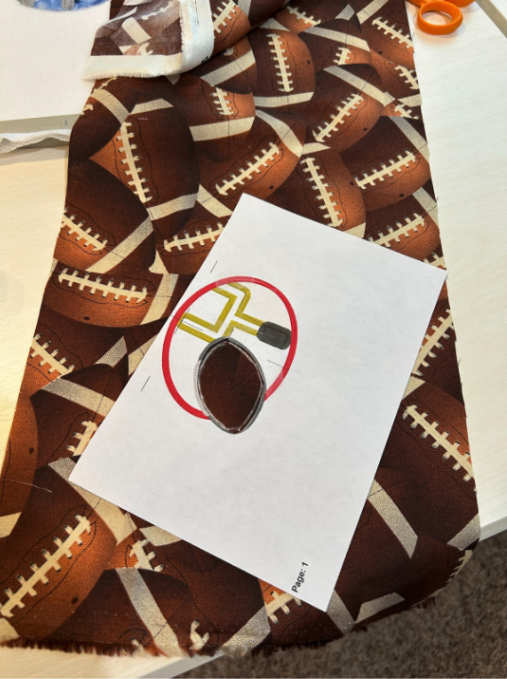
For the field on the football patch, I had a piece of fabric that had footballs on a field. I used my window and found a piece of the fabric that was grass. I traced it and cut it out.
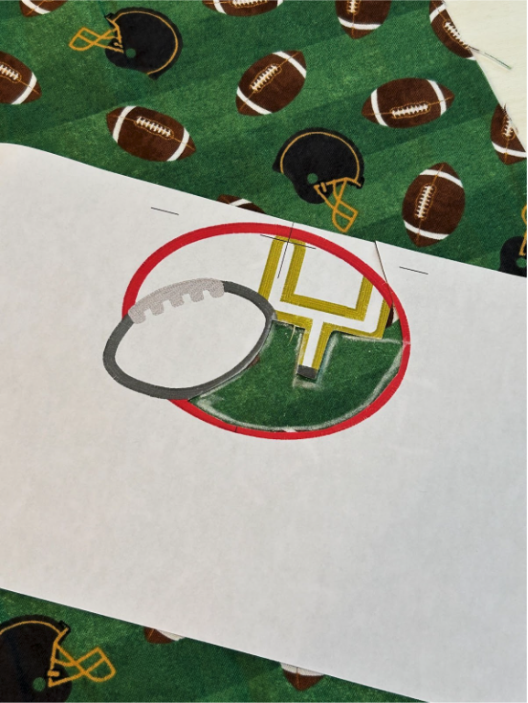
I wanted only the brown from this football fabric for the ball part of the design since the design included white stitching. Using my window, I found where it worked out. I traced it and cut it out.
Hoop some stabilizer and felt.

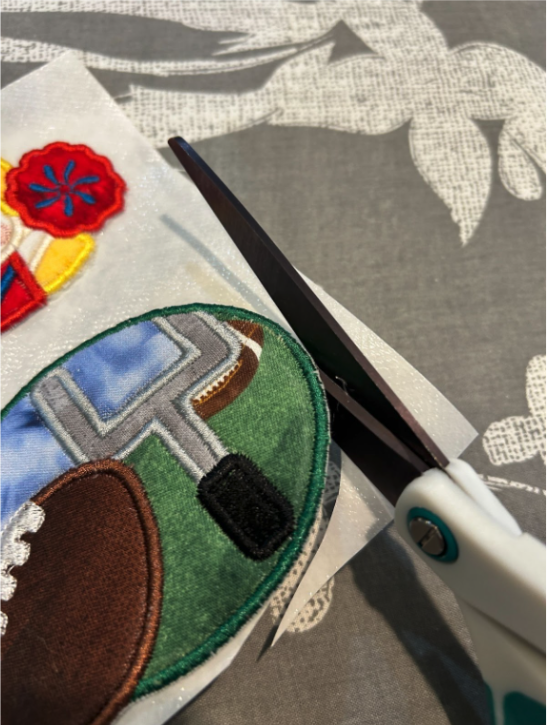
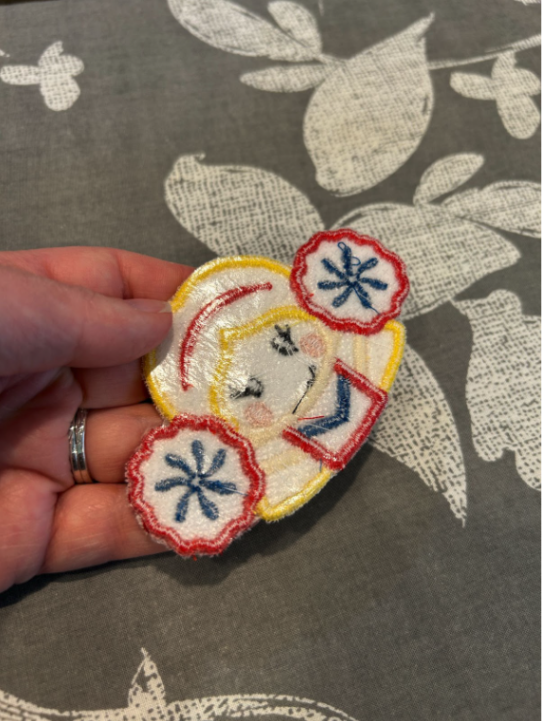
Cycle through the steps of applique and finish out your patches. When I did the cheerleader patch, I found it was a bit easier to cut the felt up next to the patch before I did the cover stitches.
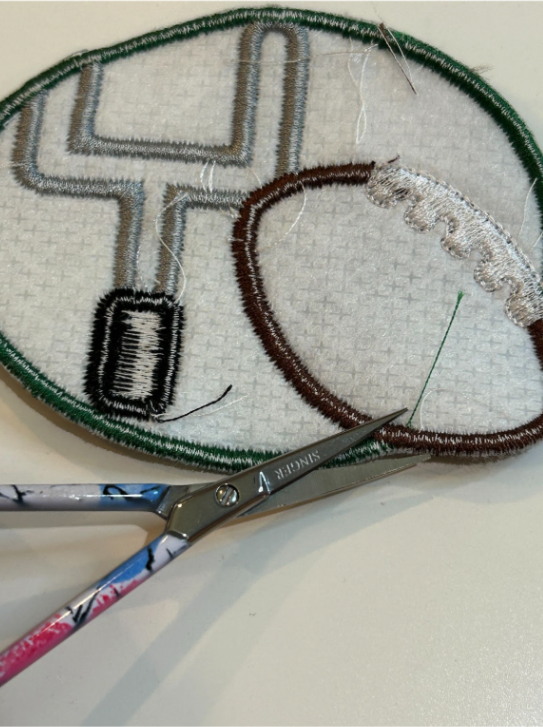
Remove the patches from the hoop. If you cut the felt before (like I did with the cheerleader) you can just tear it from the stabilizer. If you didn’t, you can cut the patch from the felt close to the stitches.
Clip the threads from the back.
To turn it into an adhesive patch, place the patches on some Heat-n-Bond.
Turn the patches and Heat-n-Bond face down. I use a disposable pressing cloth on my ironing board as the Heat-n-Bond might transfer to it. Press the patches so the Heat-n-Bond fuses to the back side of the patches.
Cut the patches off the backing paper.
To apply the patch, peel the backing paper off the patch.
Place the patch where you want it on your garment or backpack.
And press it in place.
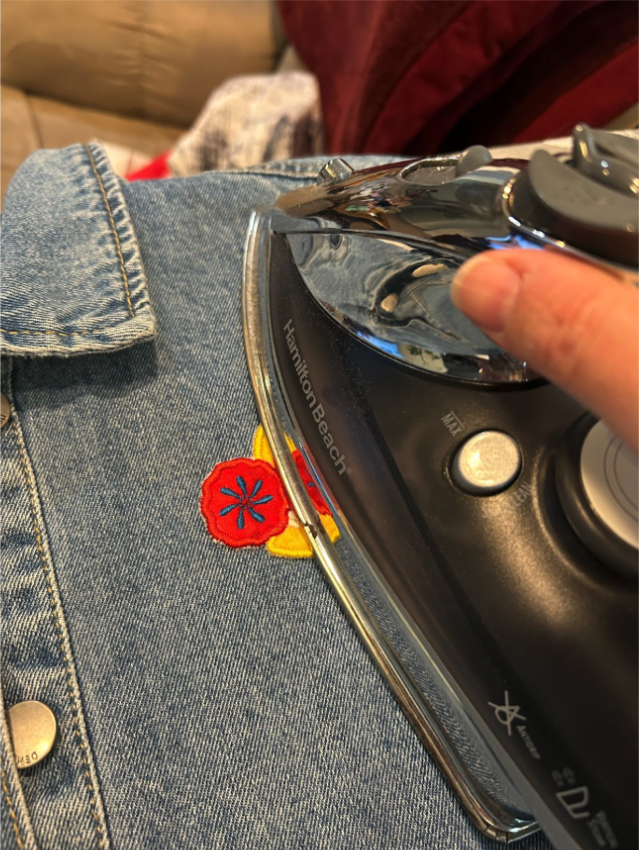
Now it’s ready for you to wear.
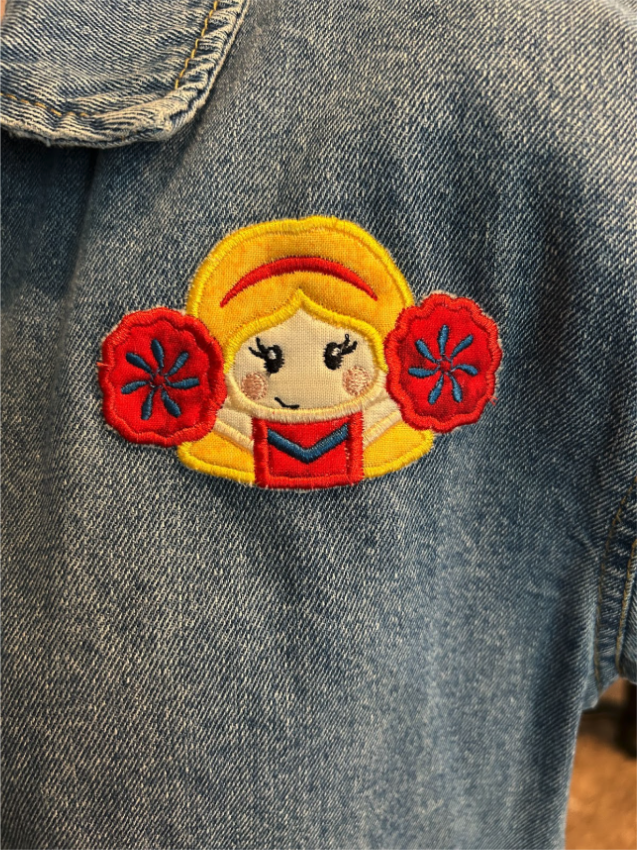
You can also sew the patches down if you don’t want to use the Heat-n-Bond. Enjoy wearing your memory fabrics.
I hope this post has sparked some new ideas for how you can use fussy cutting and memory fabrics to bring extra personality to your applique projects. Whether you’re making gift bags, quilts, patches, or table runners, these techniques are a wonderful way to add meaning and style to your embroidery.
If you try a project from this tutorial, we’d love to see it! Share your creations in the Designs by JuJu Embroidery Blessings Facebook Group, or anywhere on social media using the hashtag #designsbyjuju. Your projects inspire us and our whole community of stitchers.
Join us next week for the next post in the Applique Made Easy series: “Troubleshooting Applique Embroidery: How to Fix Common Problems and Avoid Mistakes”, available on September 18, 2025.
