Toggle Nav
 Inspire.
Create.
Stitch.
Inspire.
Create.
Stitch.
Inspire.
Create.
Stitch.
Search
Inspire.
Create.
Stitch.
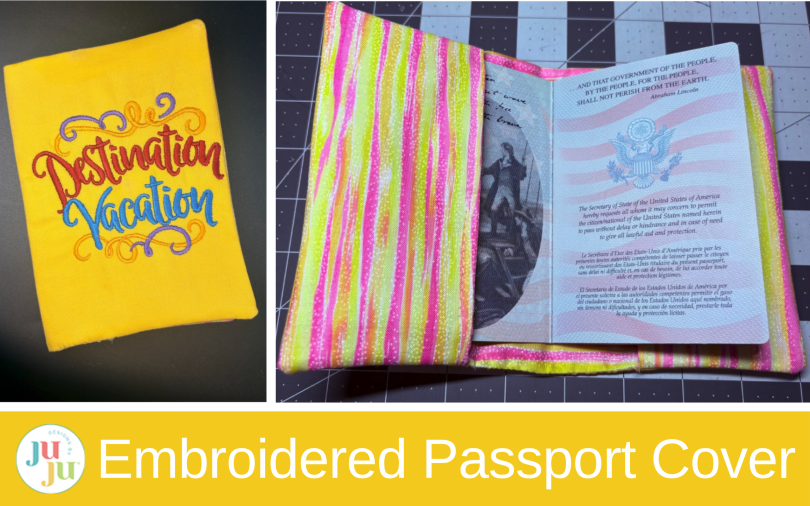
Make a personalized DIY passport cover with machine embroidery. This beginner-friendly travel sewing tutorial shows how to protect your passport with fabric pockets, stabilizer, and Designs by JuJu embroidery designs.
A DIY passport cover keeps your passport safe and adds color, personality, and creativity to your journeys. This simple project lets you use your favorite fabrics and DBJJ embroidery designs to make your passport unique.
Finished size: 4¼” wide x 5½” tall
Check out the DBJJ team’s favorite supplies in the Designs by JuJu Amazon store. And for all your stabilizer and batting needs, be sure to check out Designs by JuJu+.
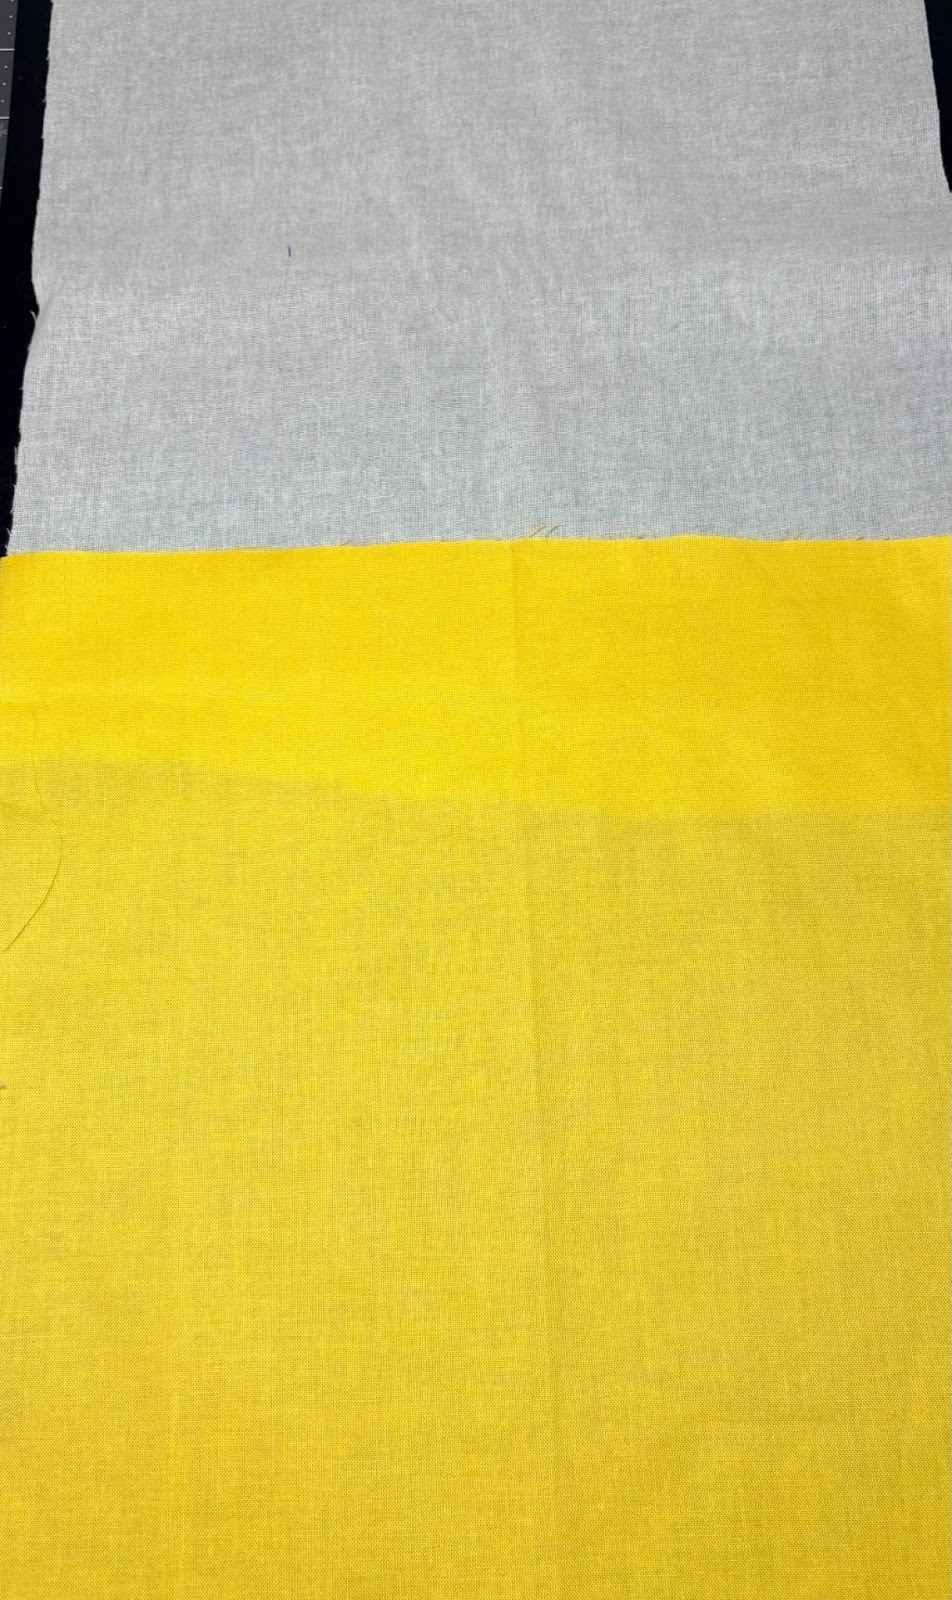
Cut the main fabric and one piece of fusible interfacing to 10” x 10” each.
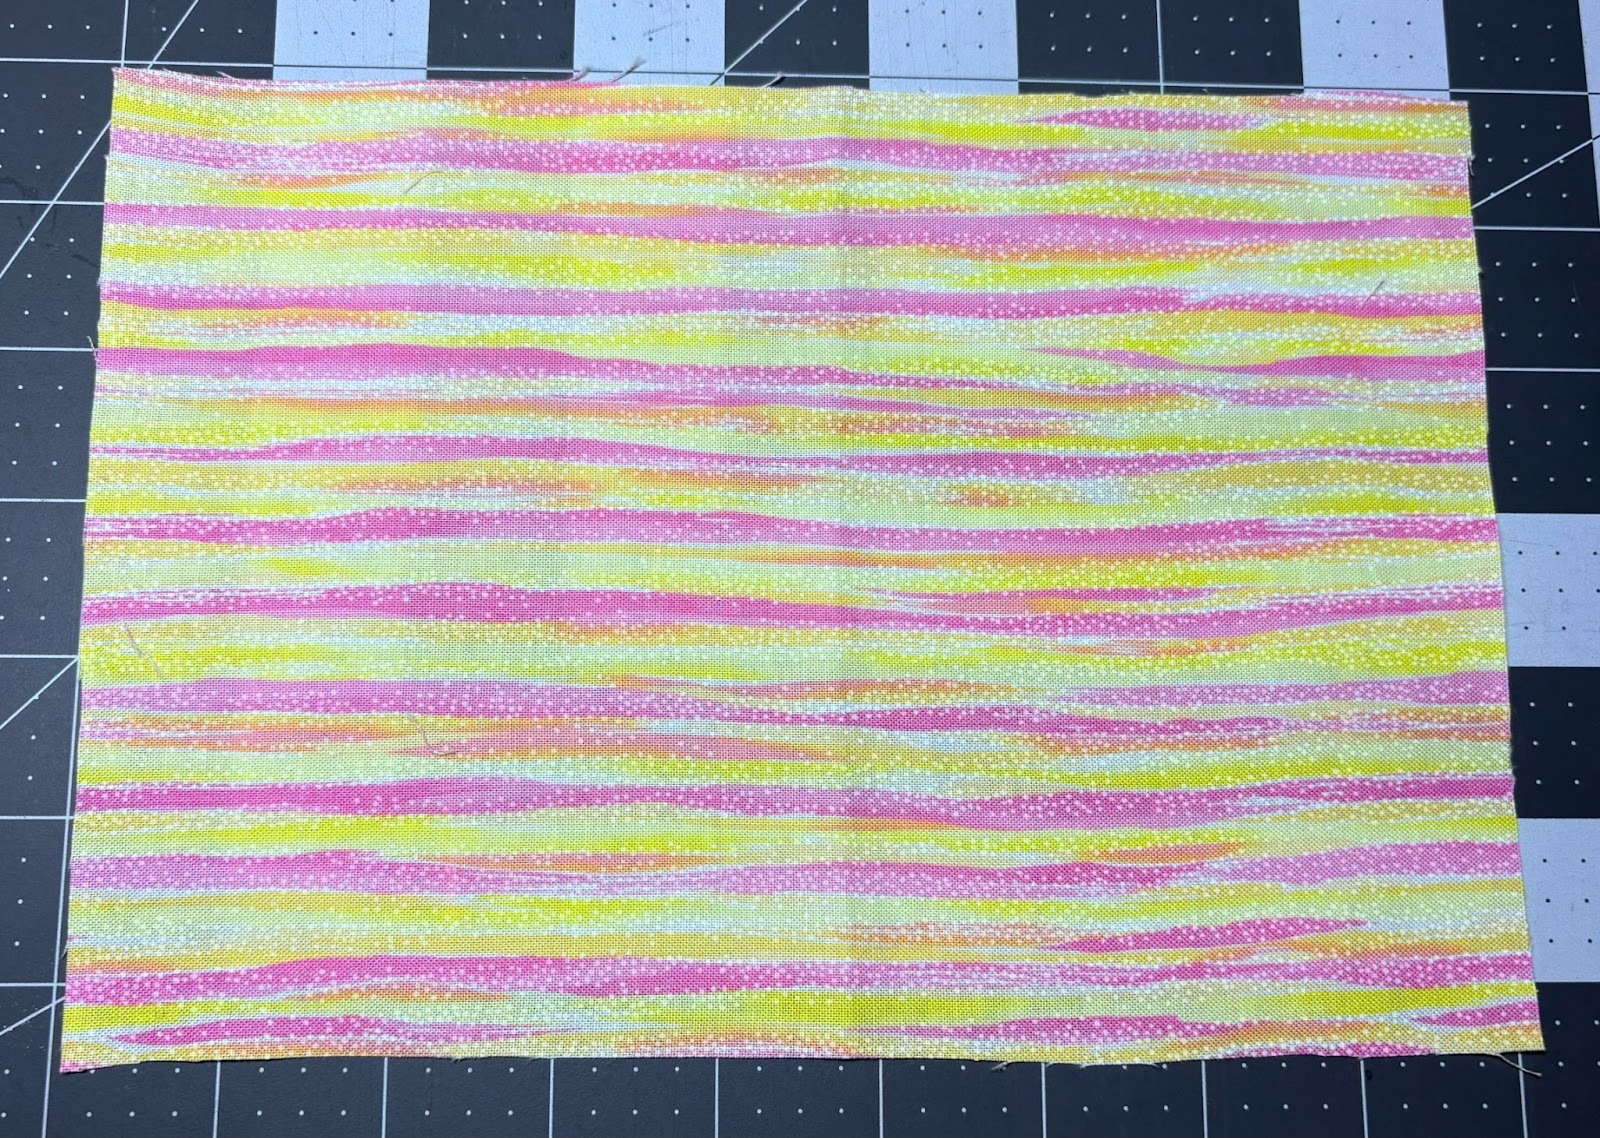
Cut lining fabric 9” x 6¼”.
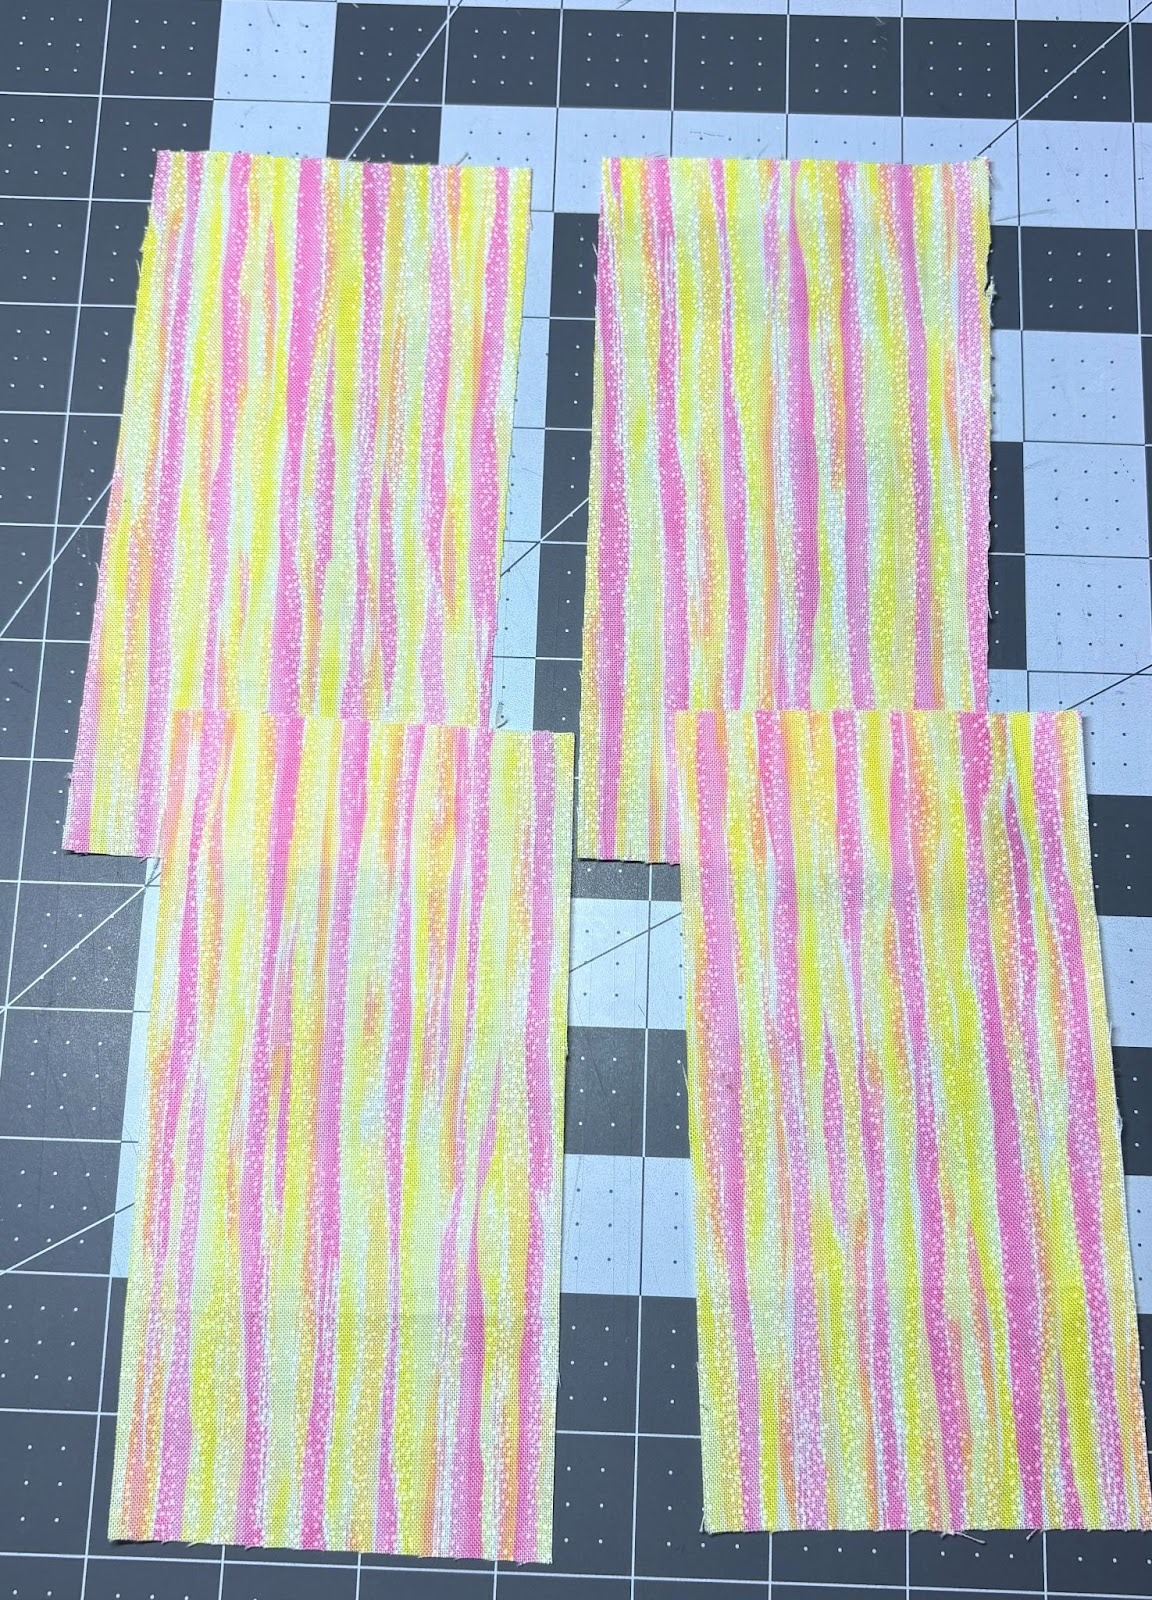
Cut four pocket pieces, each measuring 3¼” x 6¼”. You can use either the main fabric or the lining fabric for these.
Fuse the interfacing onto the wrong side of the main fabric. This will help stabilize the fabric for embroidery.

Cut a piece of paper 9” x 6¼”. This will be the template for the passport.

Fold the template in half widthwise and crease the fold.
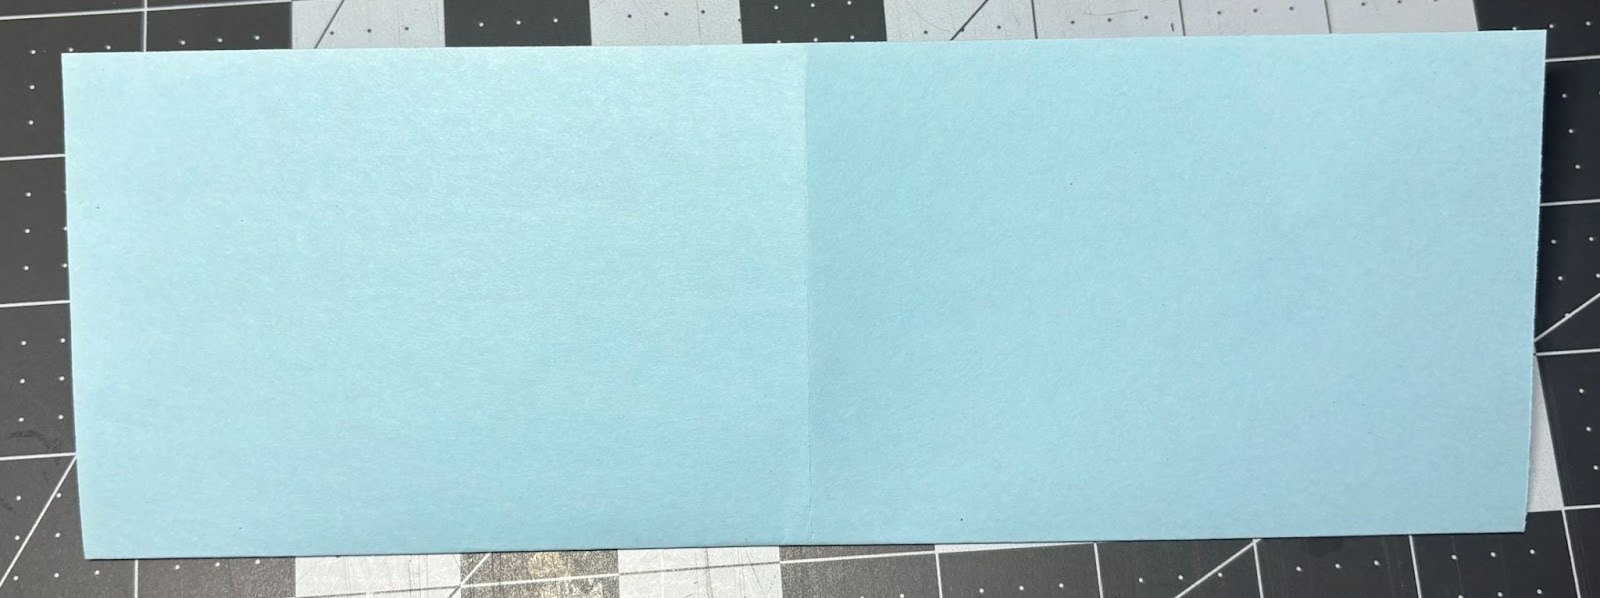
Unfold the template and fold it lengthwise. Crease the fold.
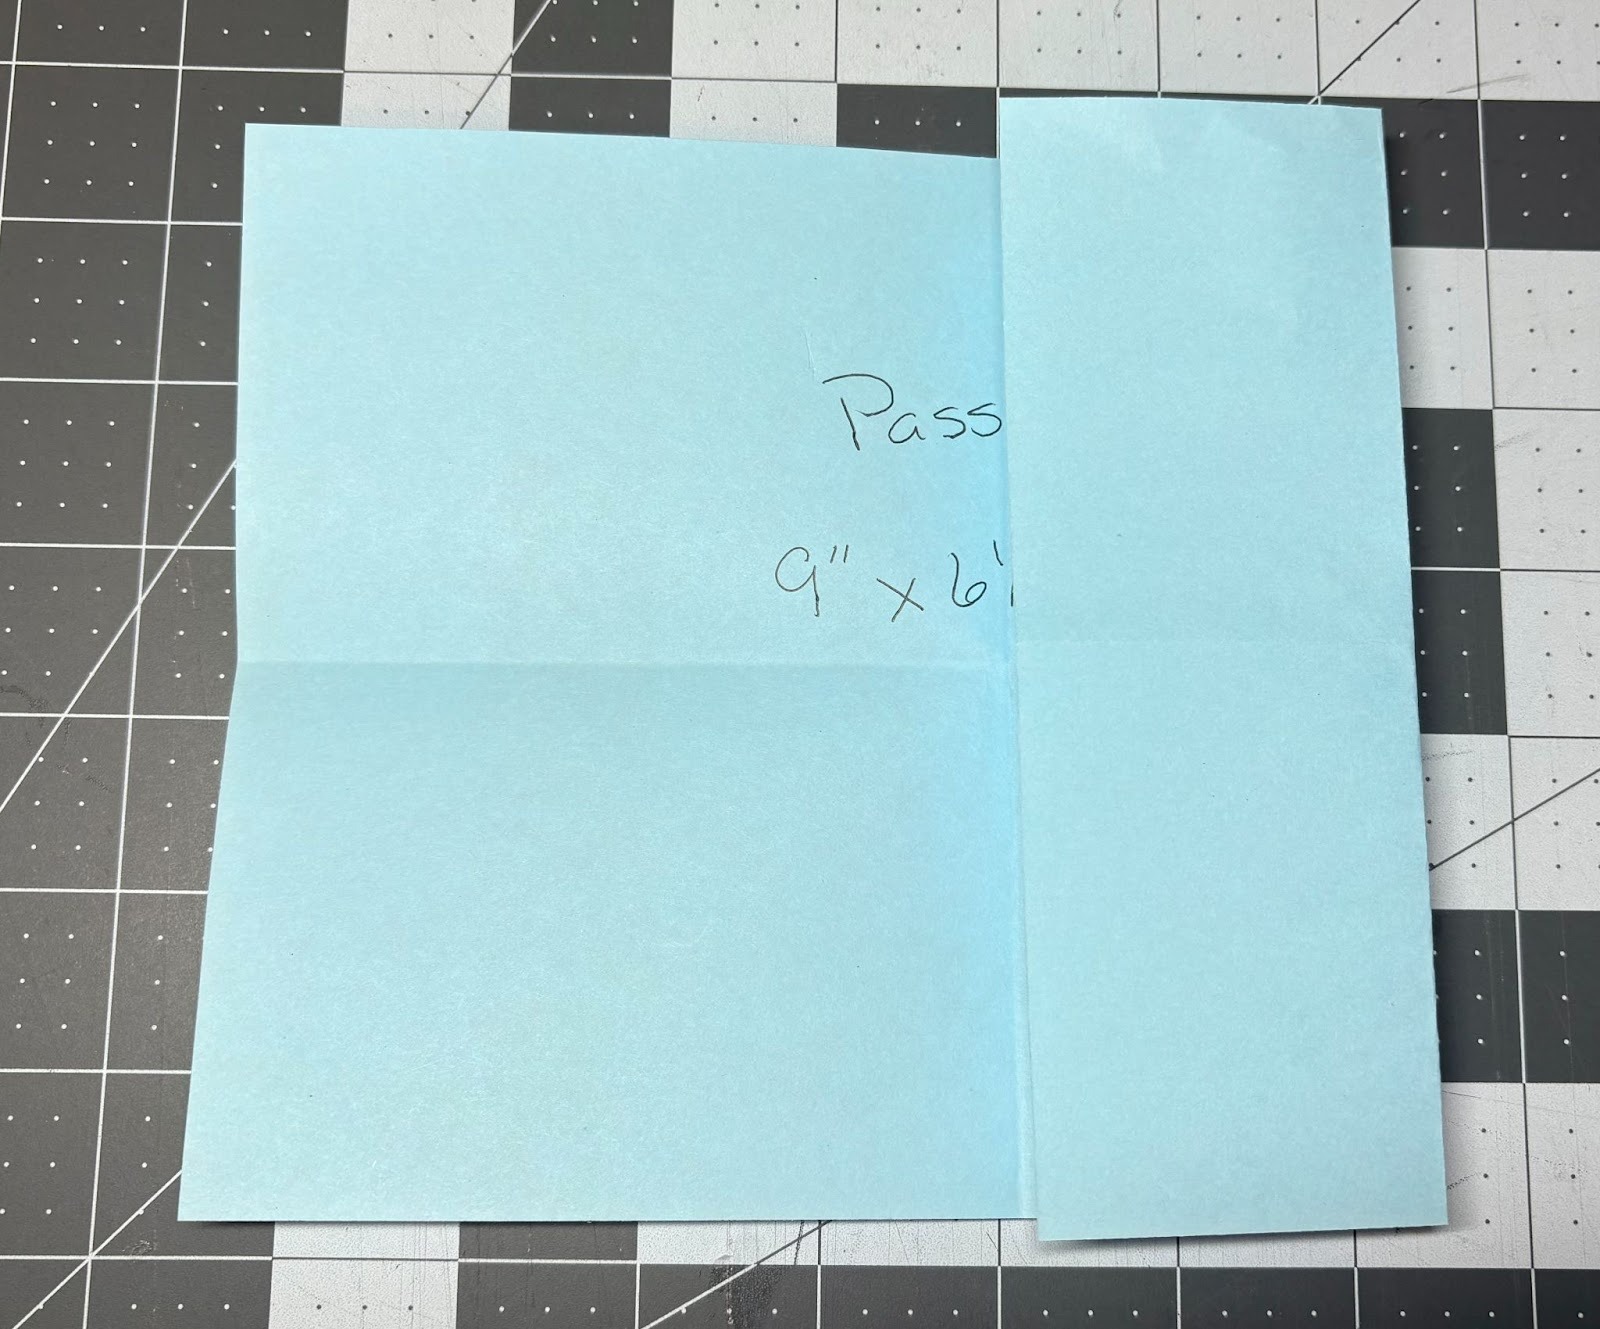
Unfold it again and bring the right side to the center. Crease the fold.
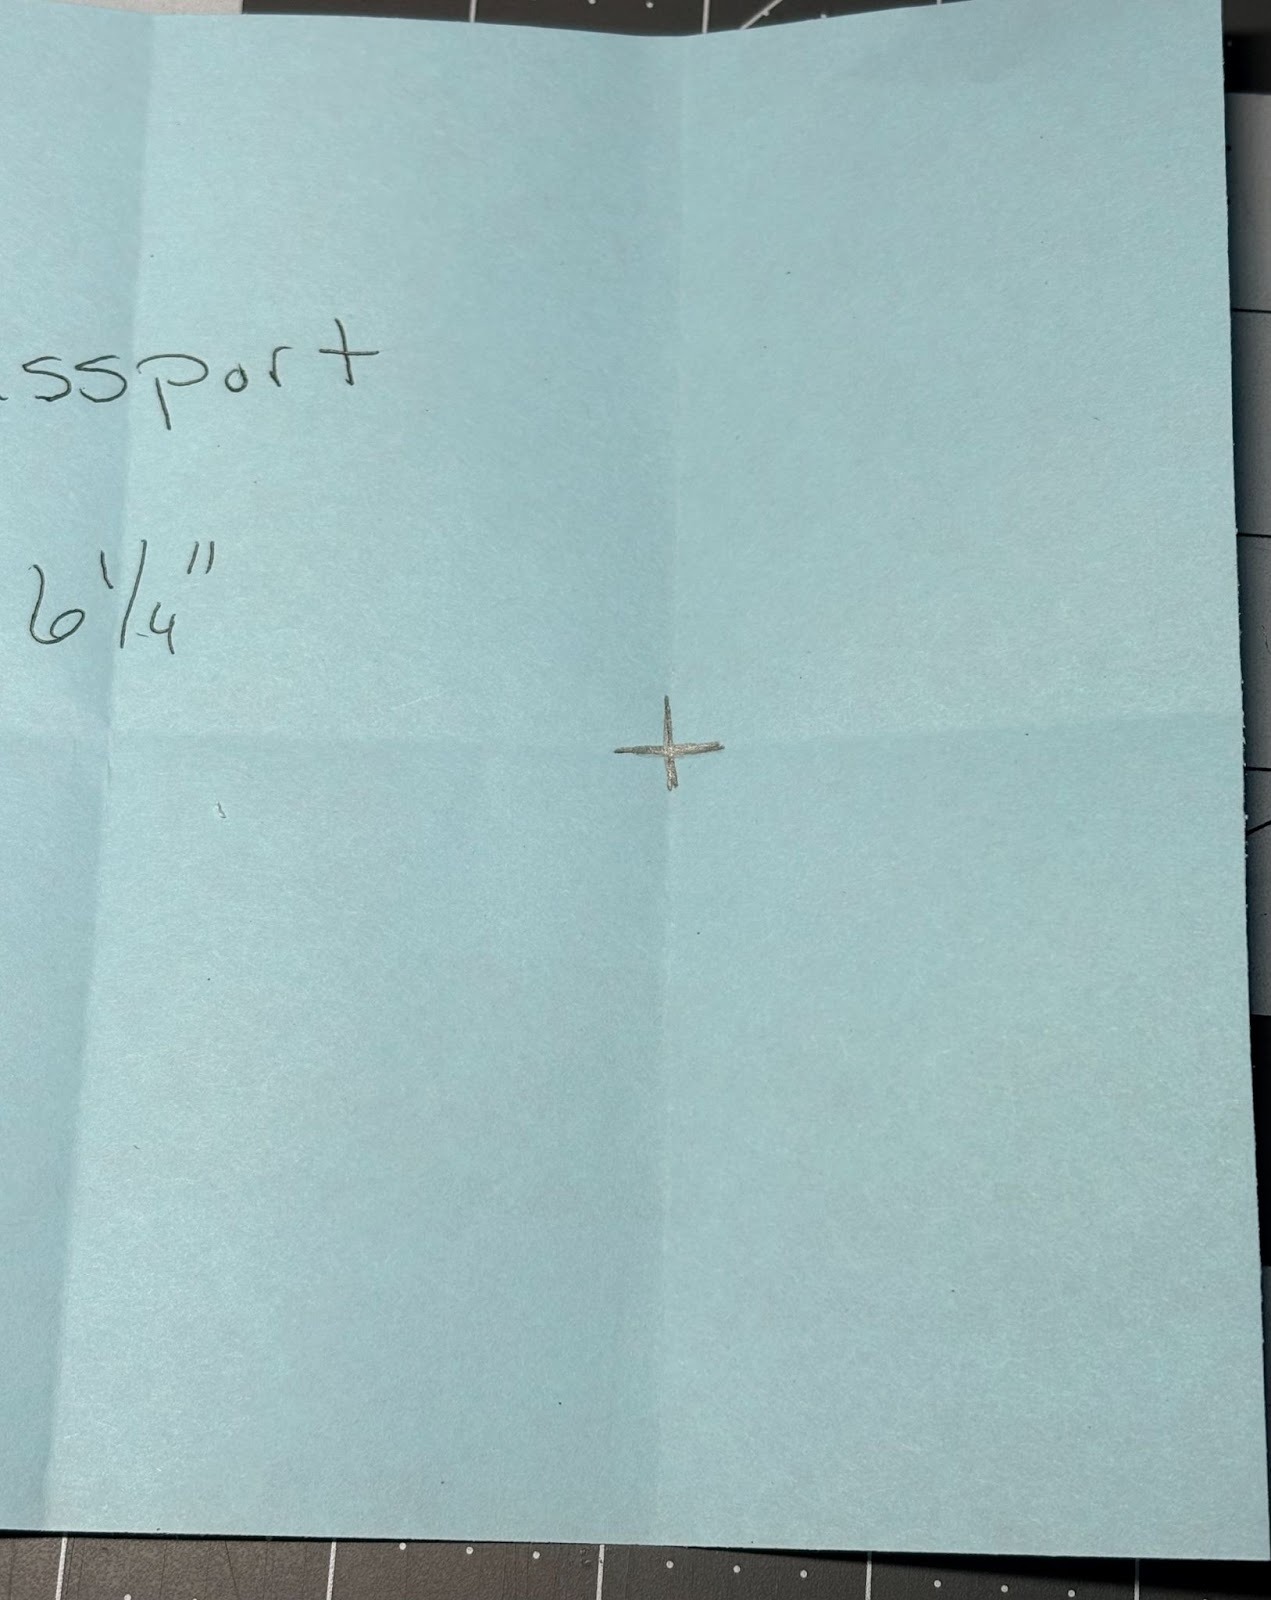
Unfold the template and mark an X at the center of the last fold as shown in the picture.
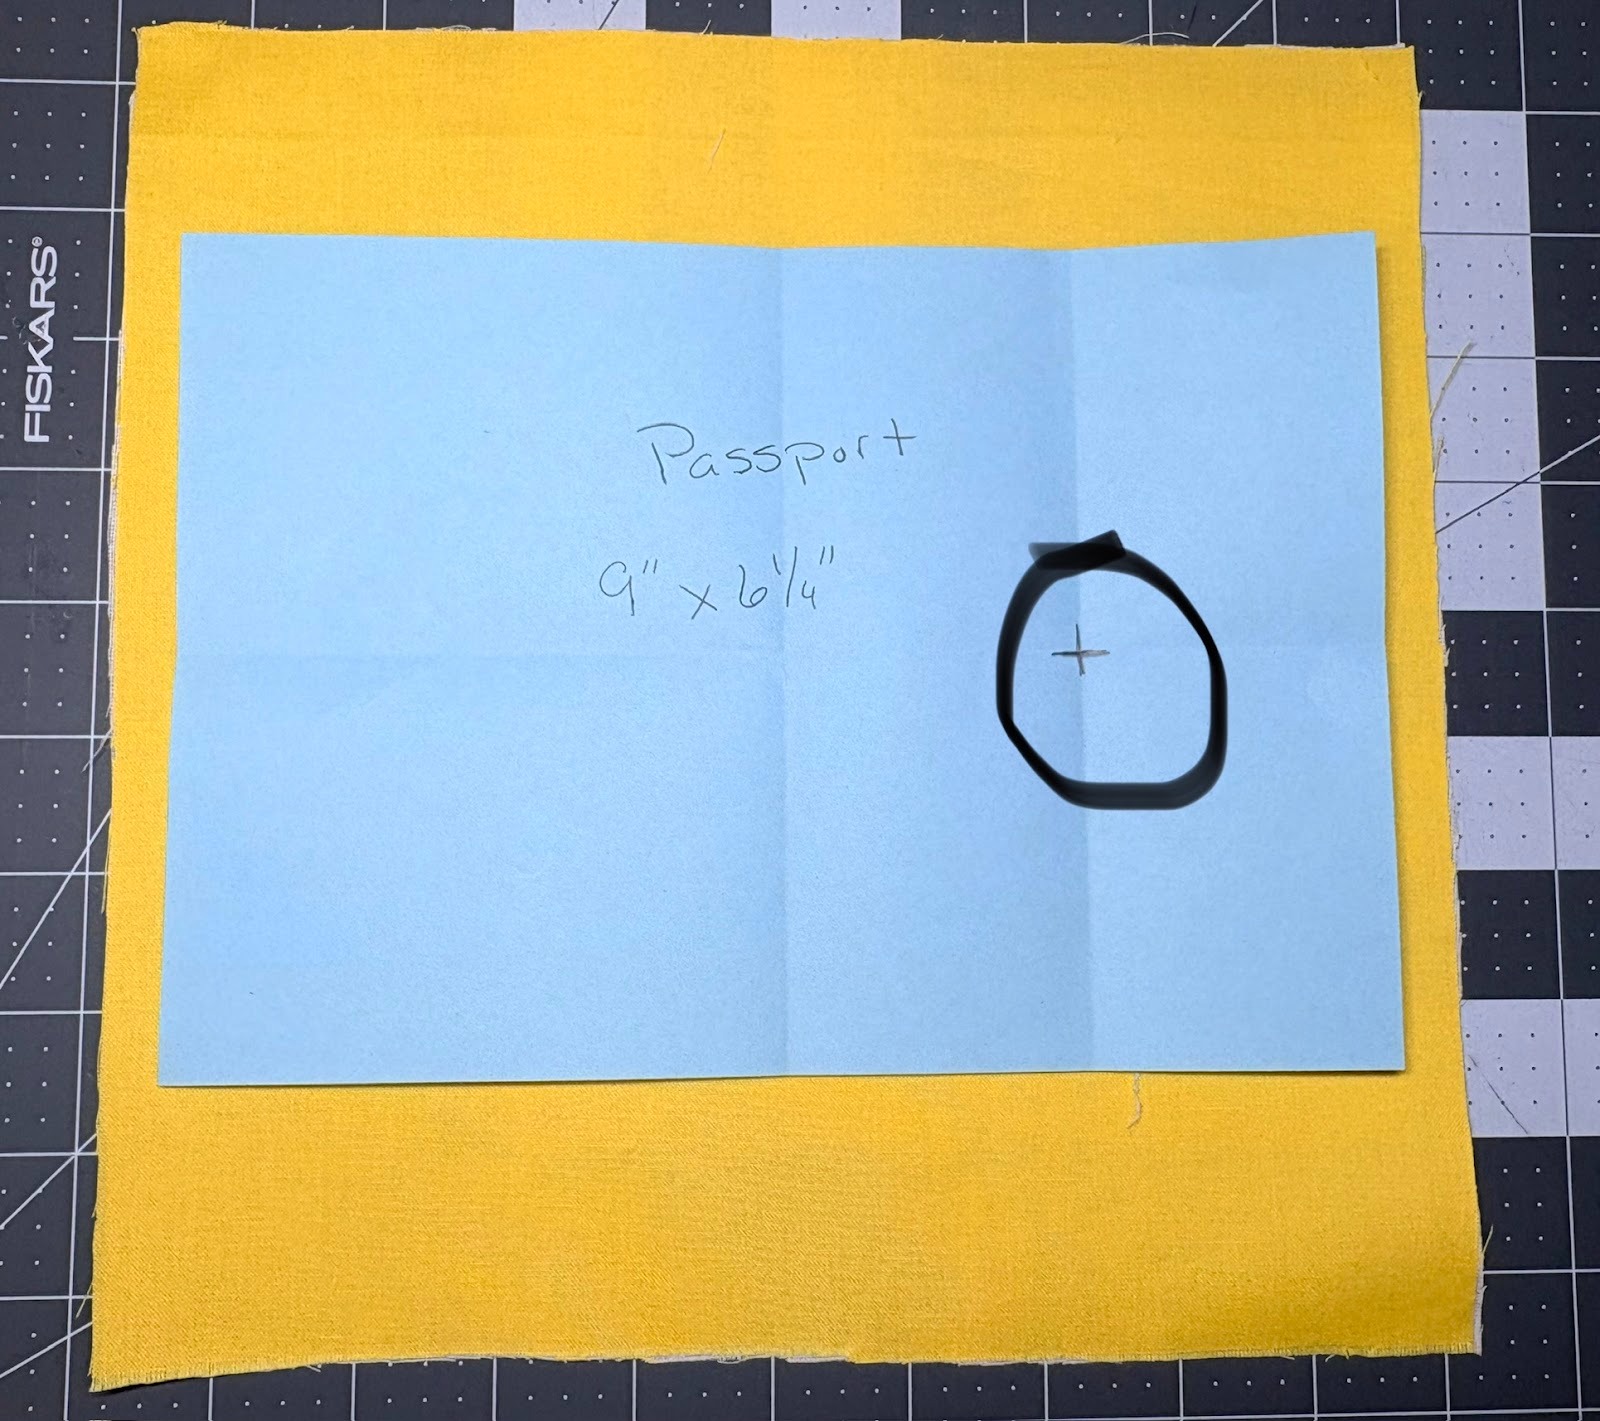
Center the template onto the main fabric. Mark the X from the template on the fabric in the same place.
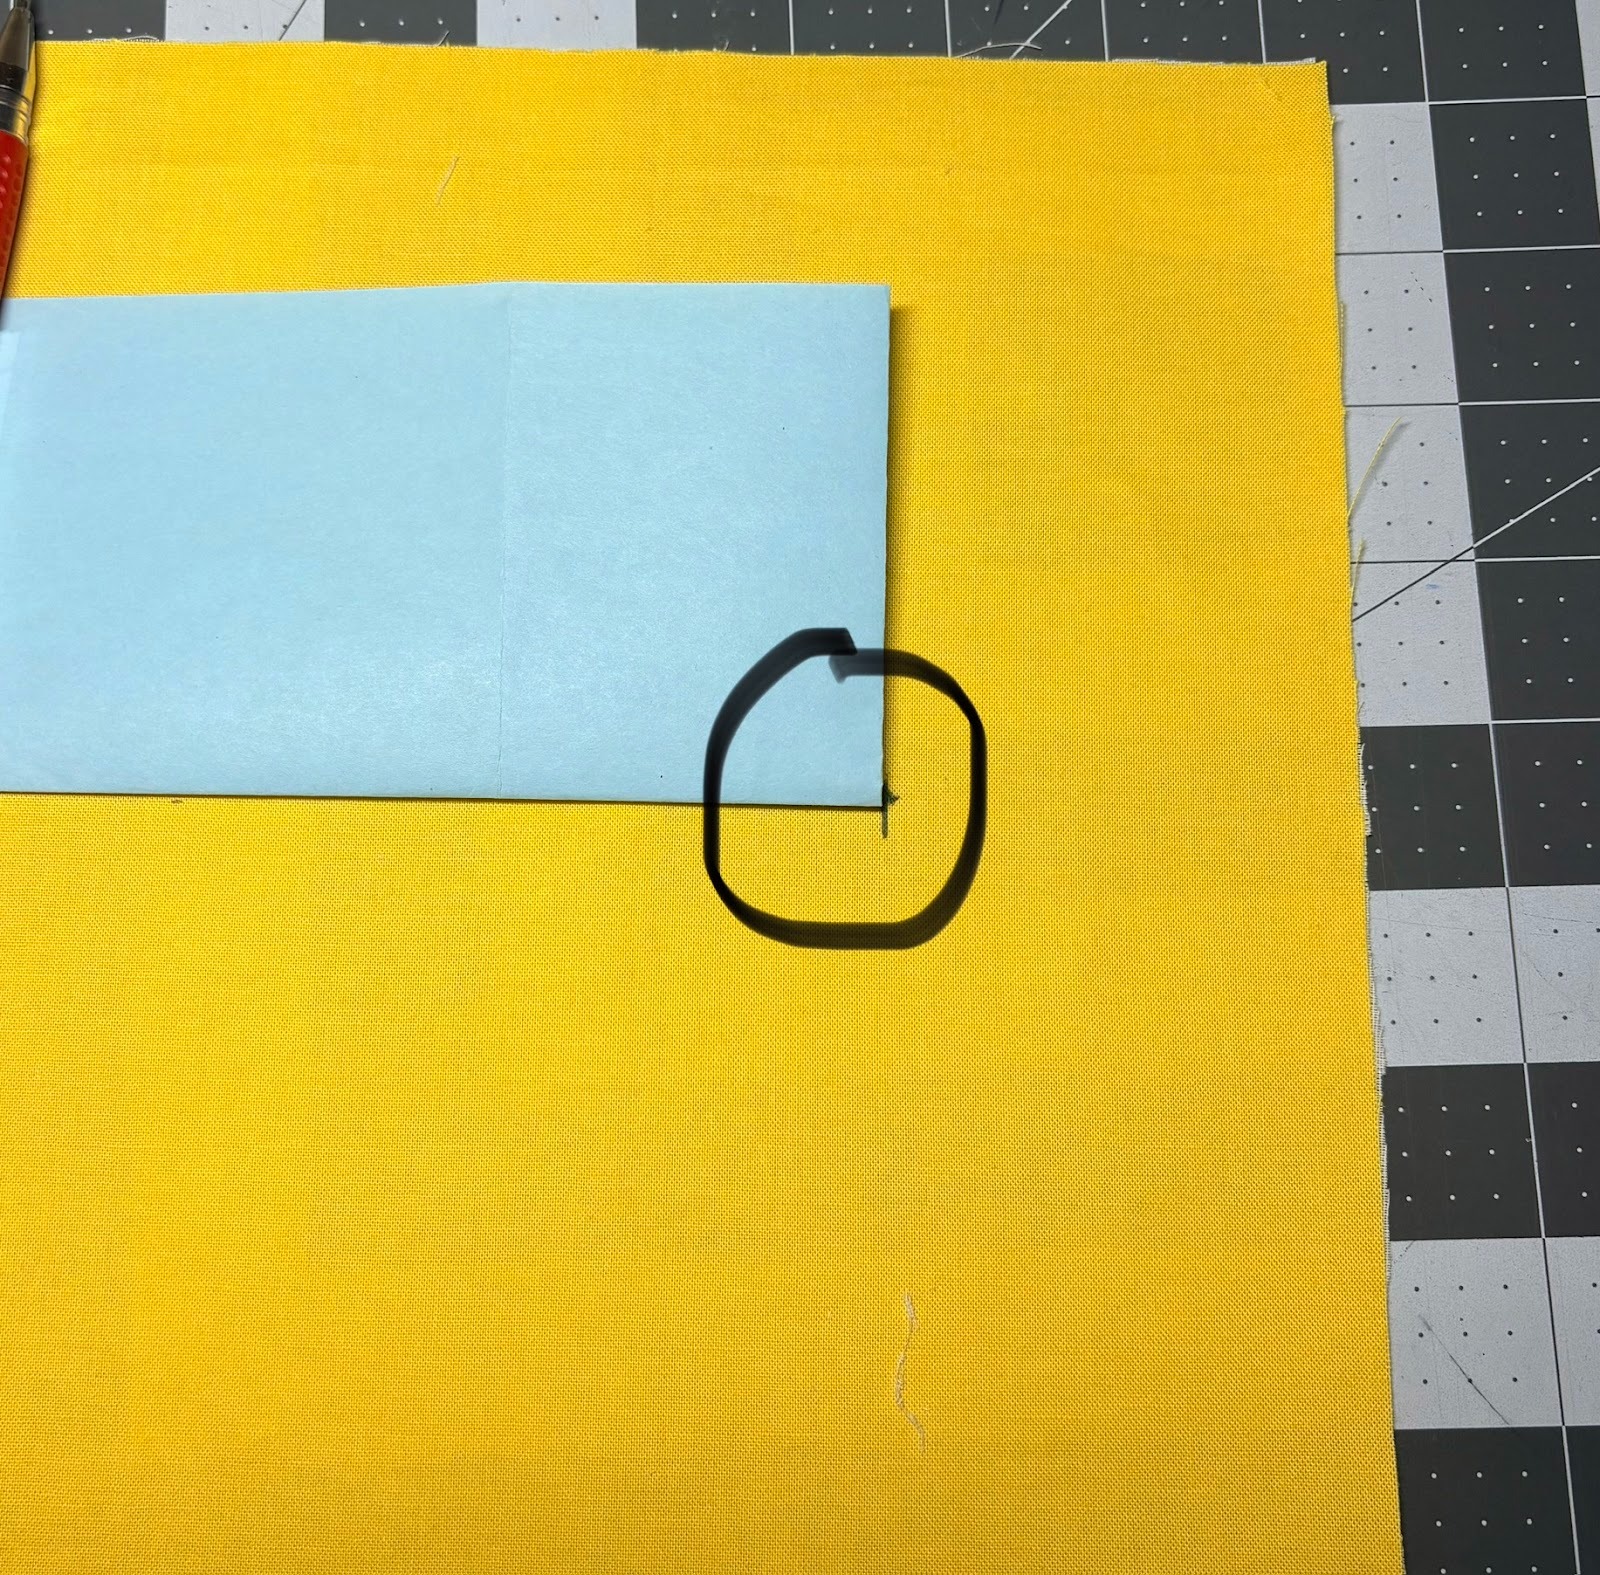
Use an erasable marker to draw your X onto the fabric.
Tip: Always test the marker on a small corner or scrap first; some fabrics don’t react well to erasable ink and the marker may leave a shadow or stain.
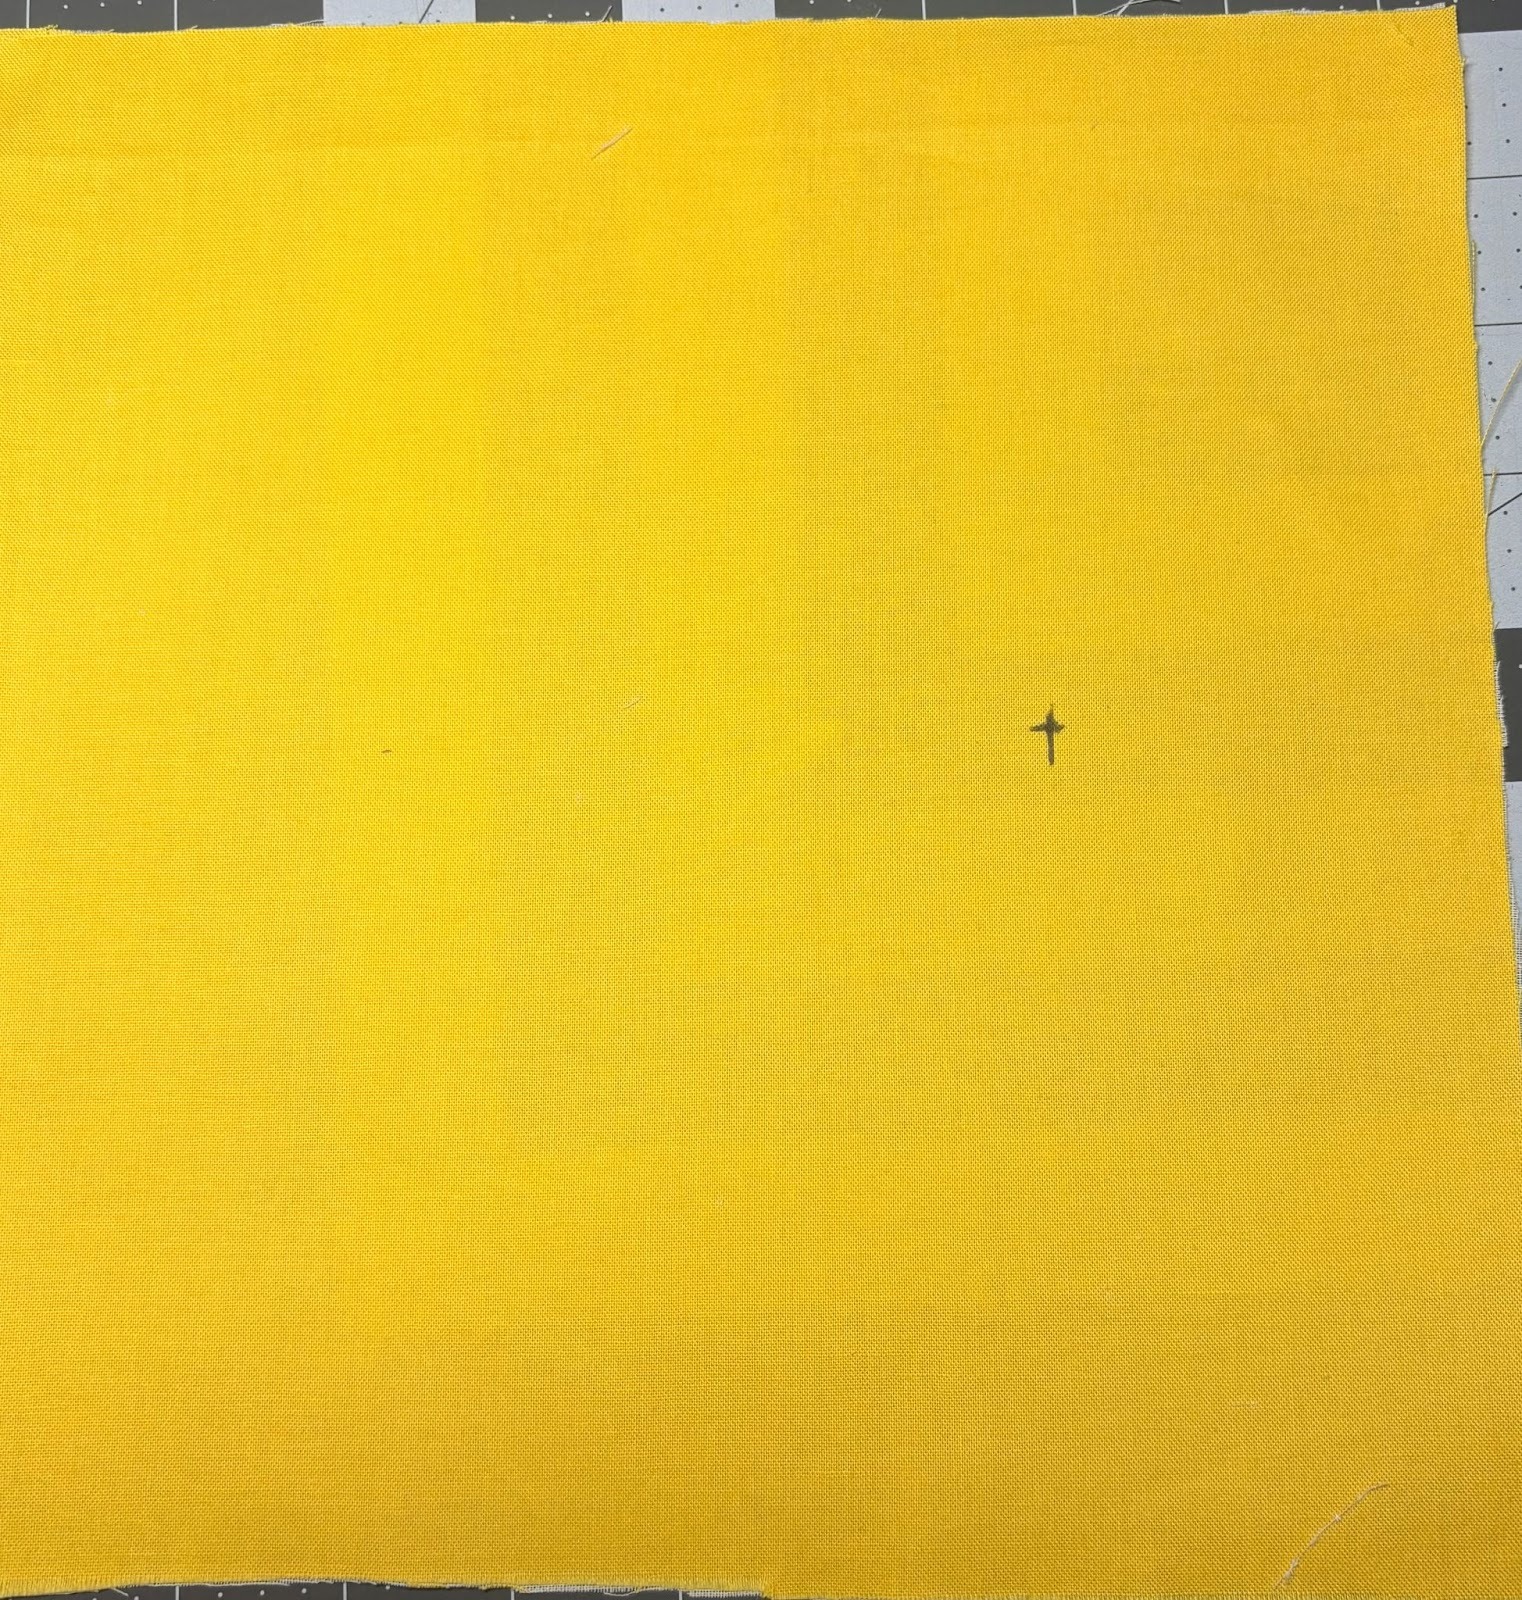
This mark will be the center of the design.

Choose your design and load it into your machine. This is from Vacation Word Art 2.
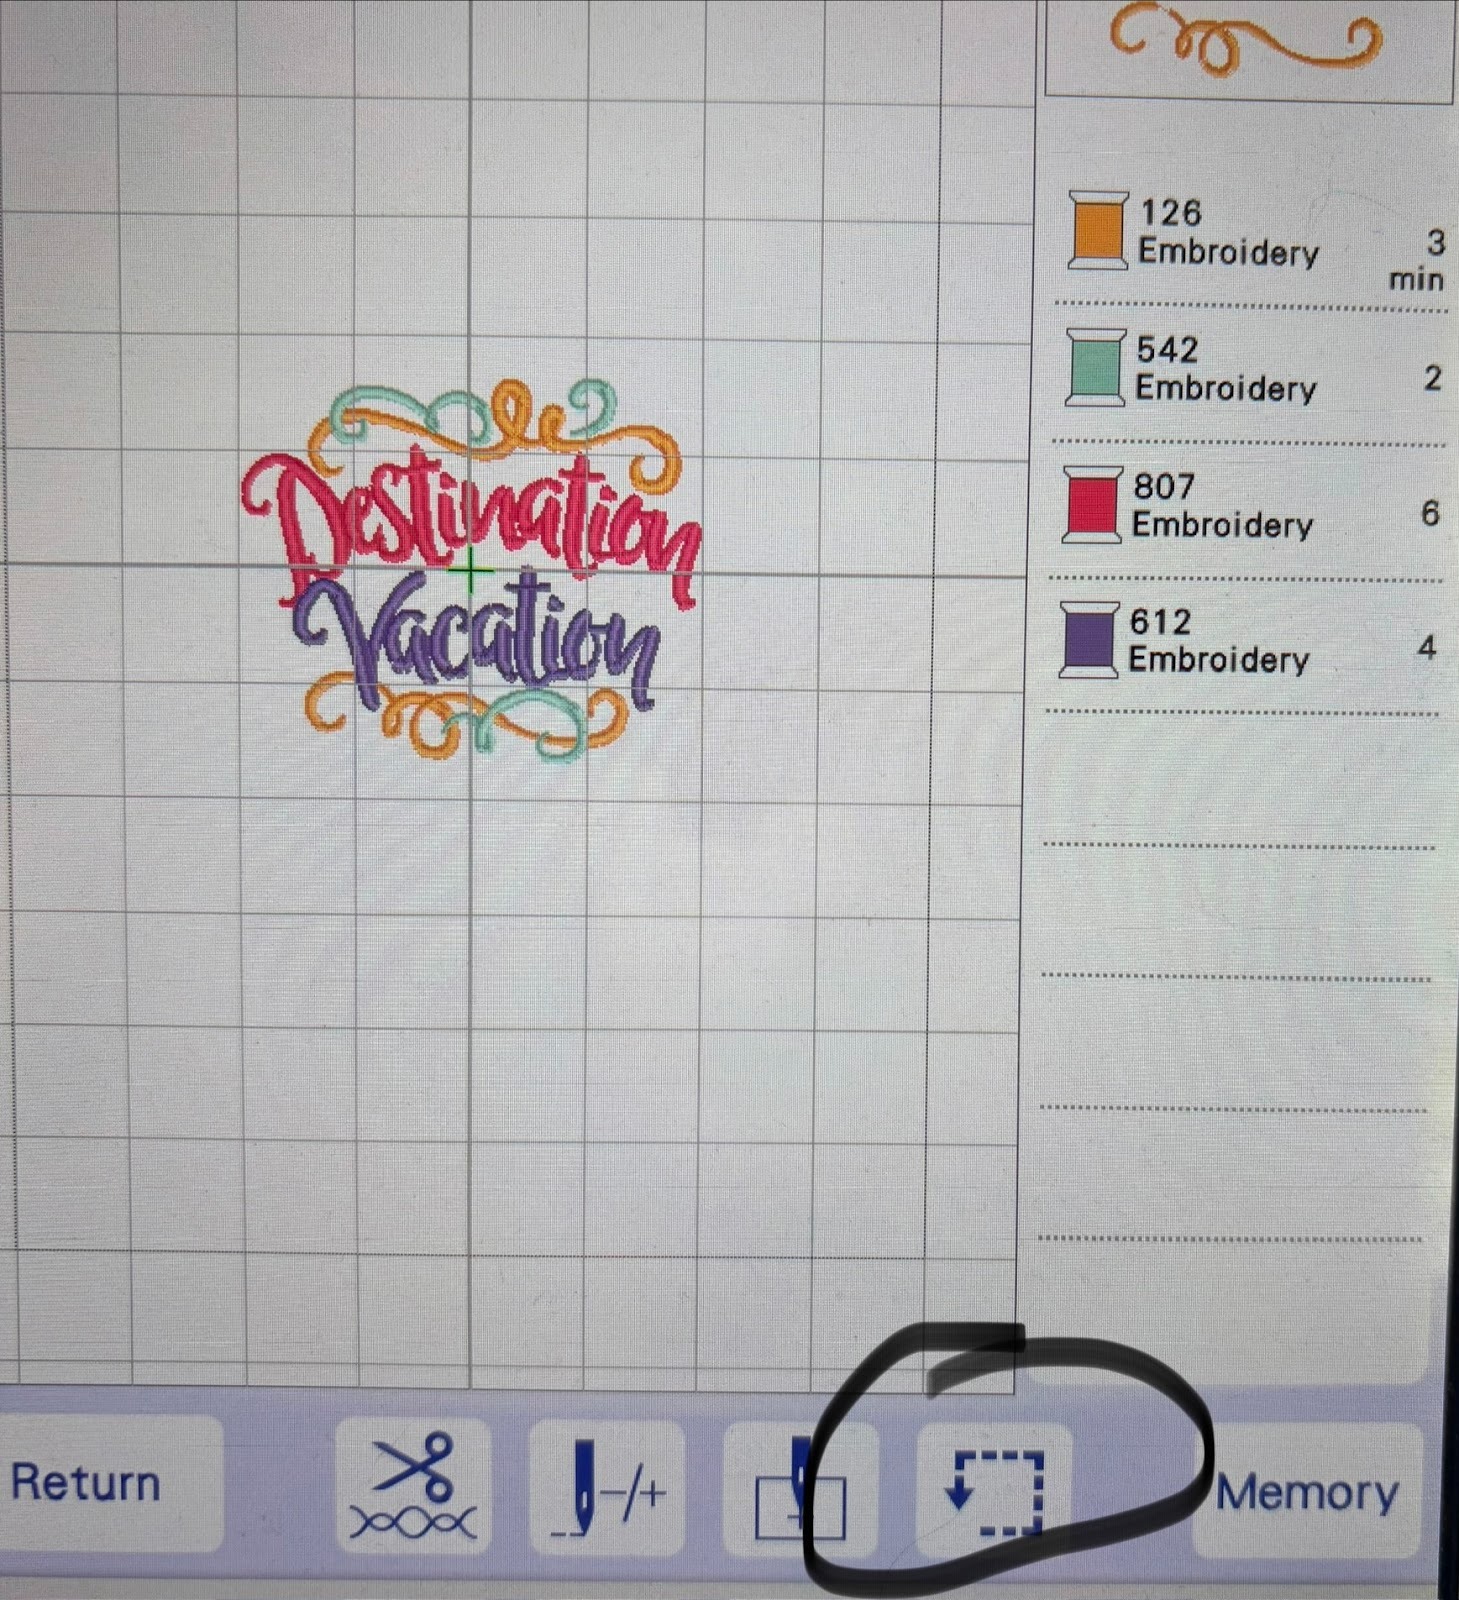
Using the design Placement key, open up the screen to find the center of the design. My machine is a Brother 8500; your screen may look different.
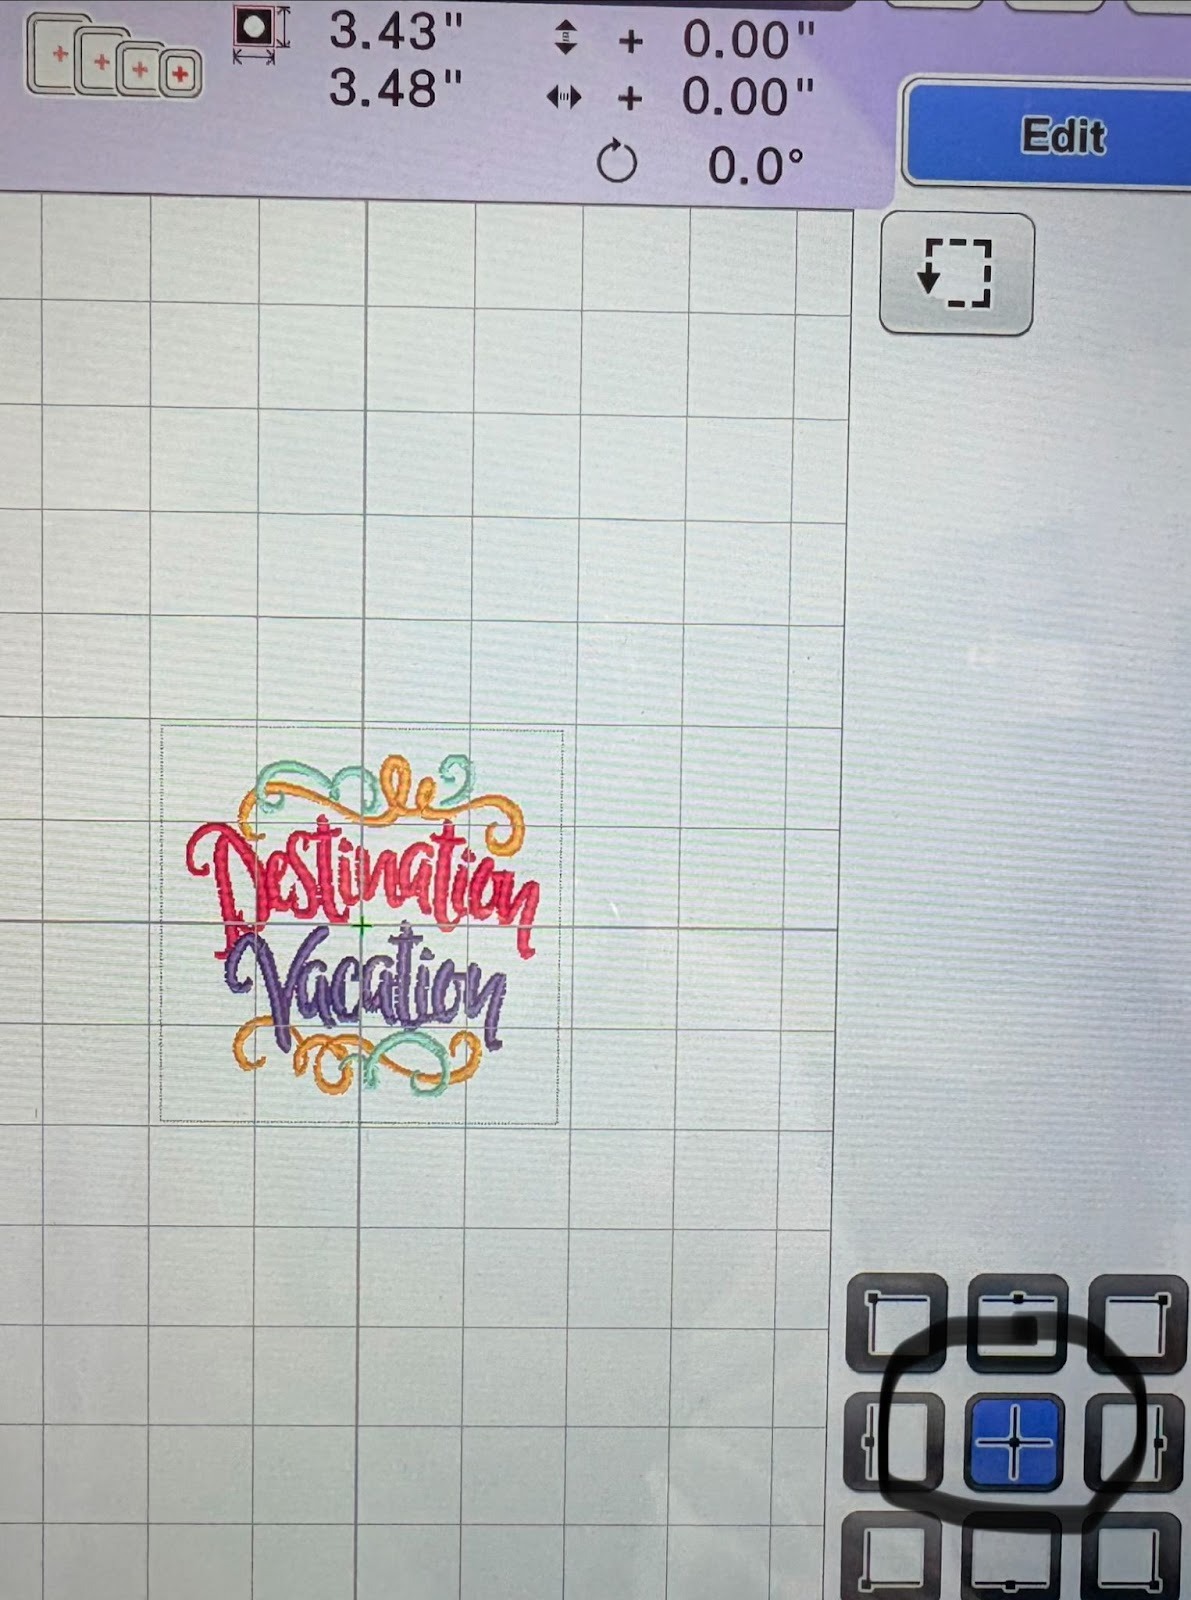
The highlighted key is the center of the design.
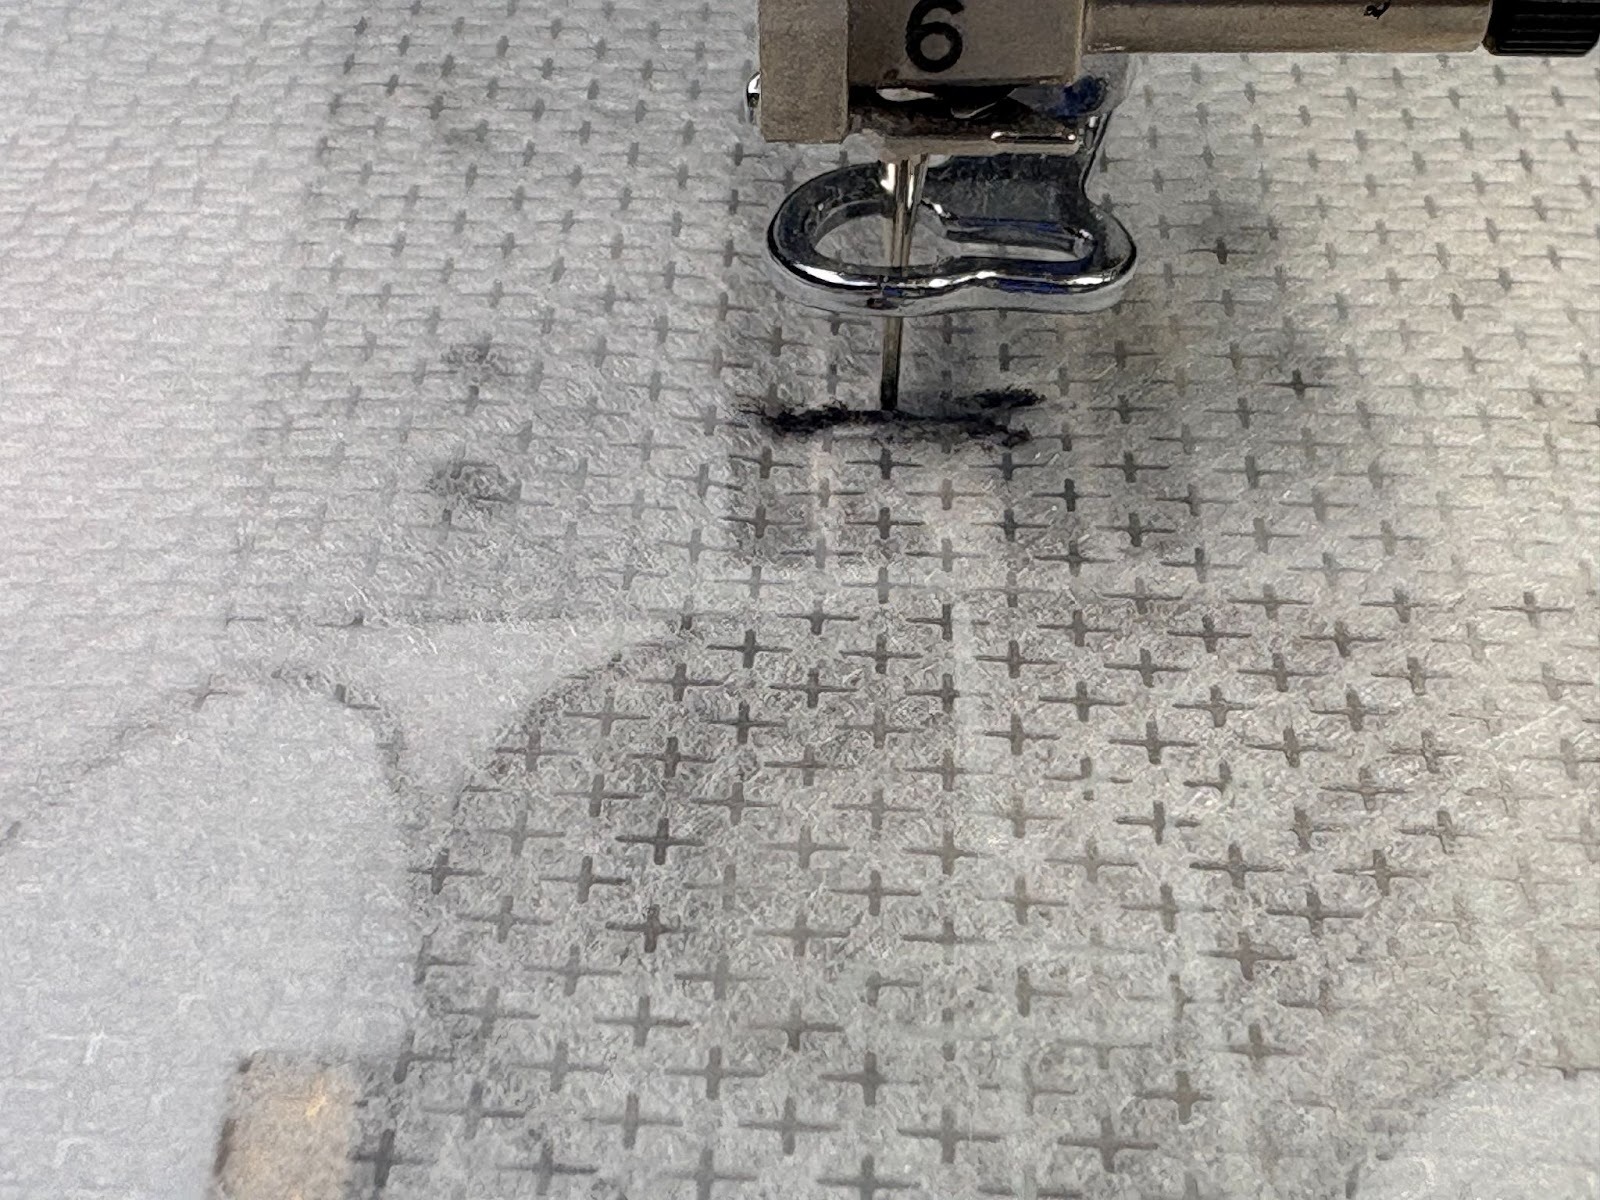
Place the stabilizer in the hoop. Take it to the machine and mark the center of the design onto the stabilizer. Remove the hoop. Spray the stabilizer with adhesive basting spray.
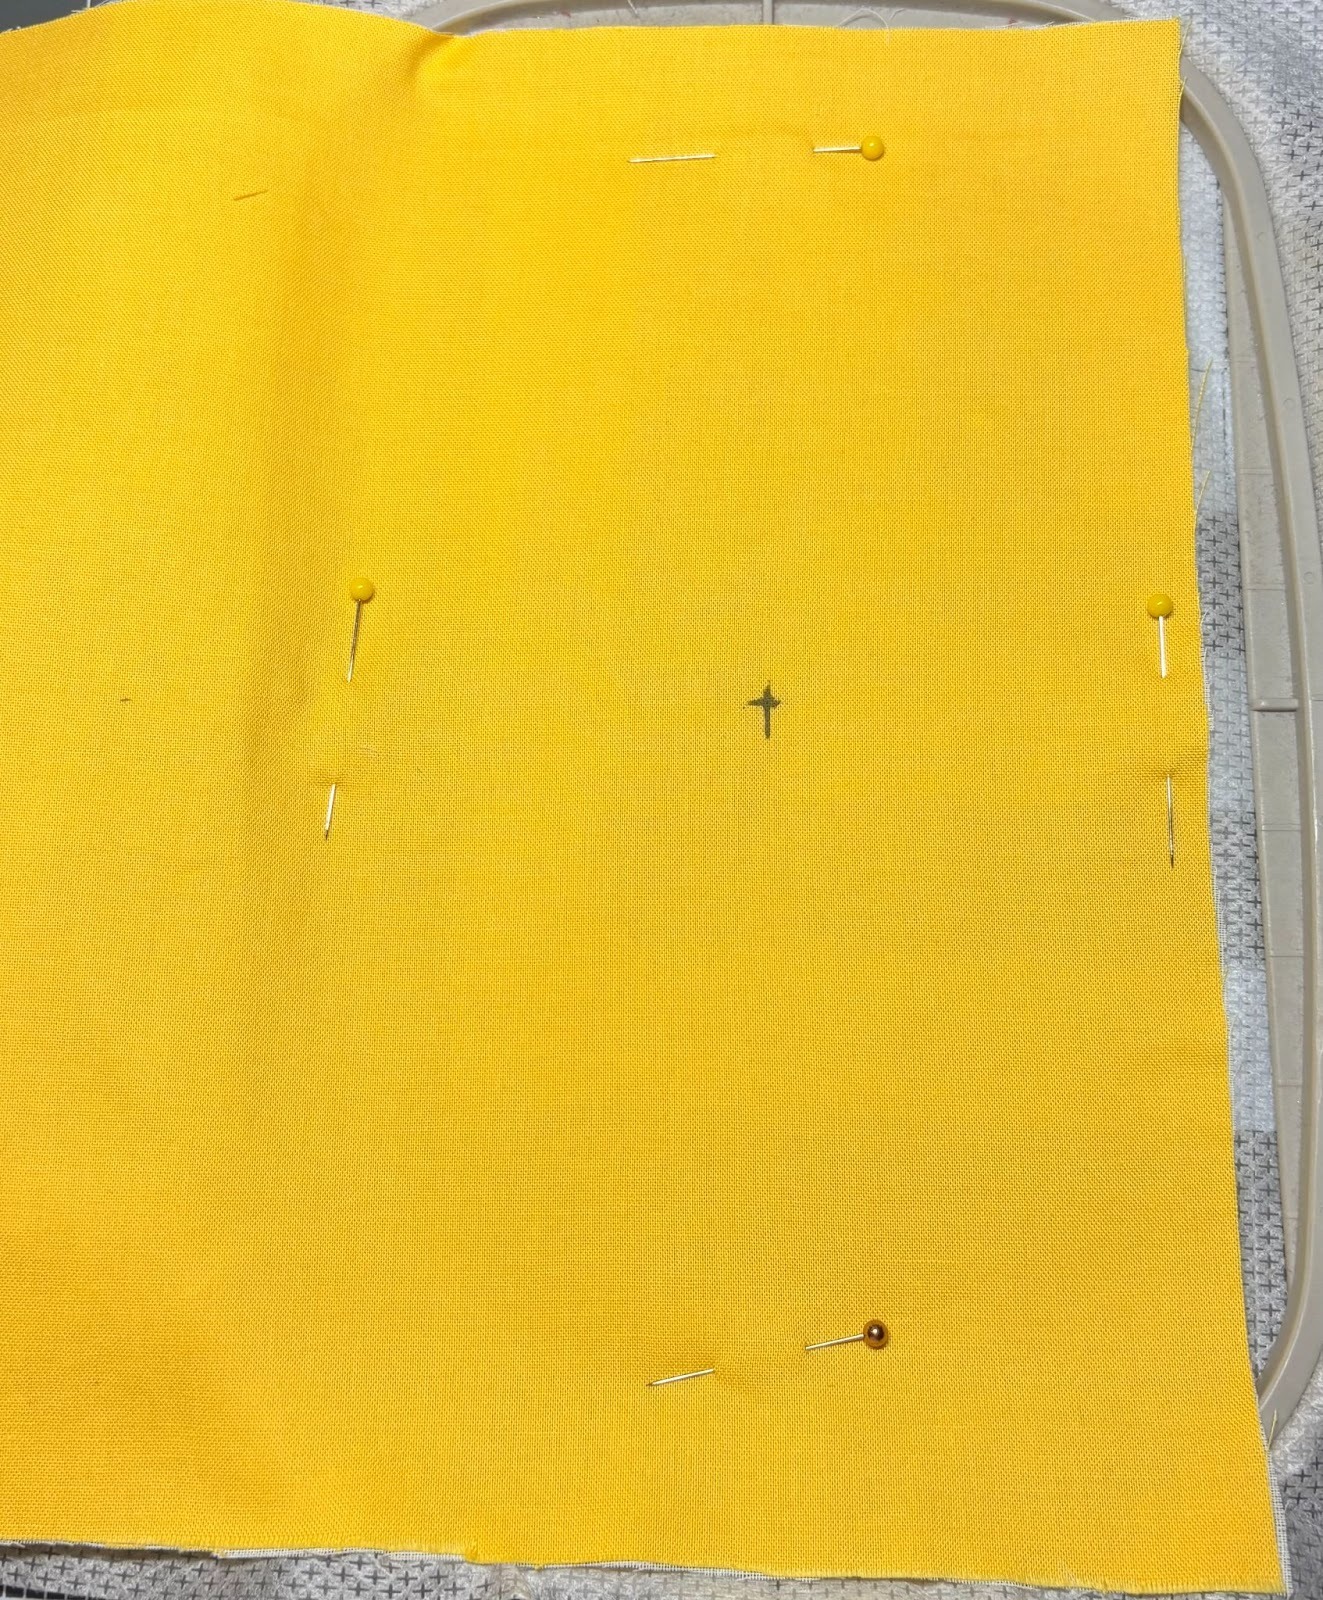
Match the center mark on the stabilizer with the mark on the fabric. Smooth flat and pin the fabric to the stabilizer.

Return the hoop to the machine and check that the mark on the fabric aligns with the center of the design.
If the center of the fabric and the center of the design do not match, use the Move key to adjust the design.

Stitch the design onto the fabric.

Take the fabric out of the hoop and trim any extra stabilizer from the back.
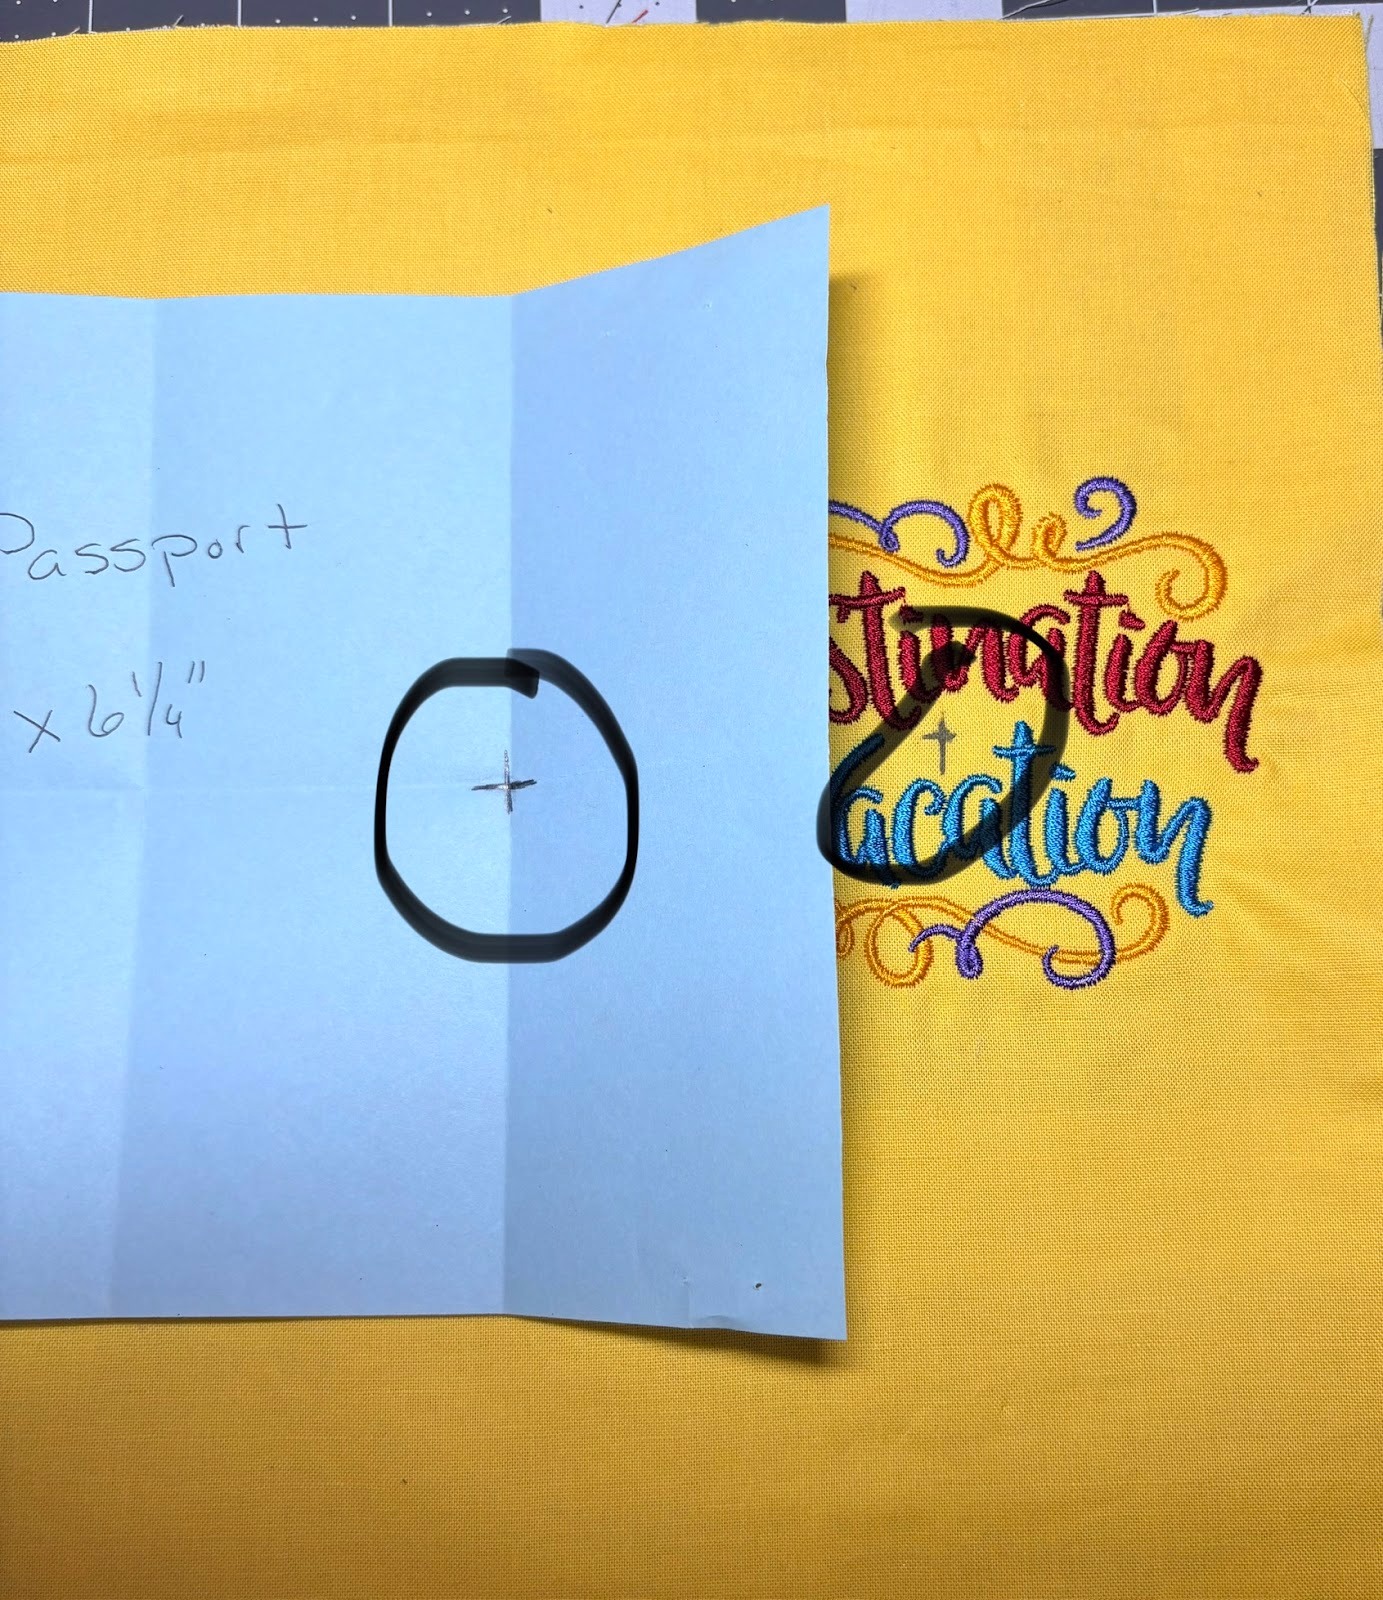
Now we want to line up the marks on both the fabric and template.
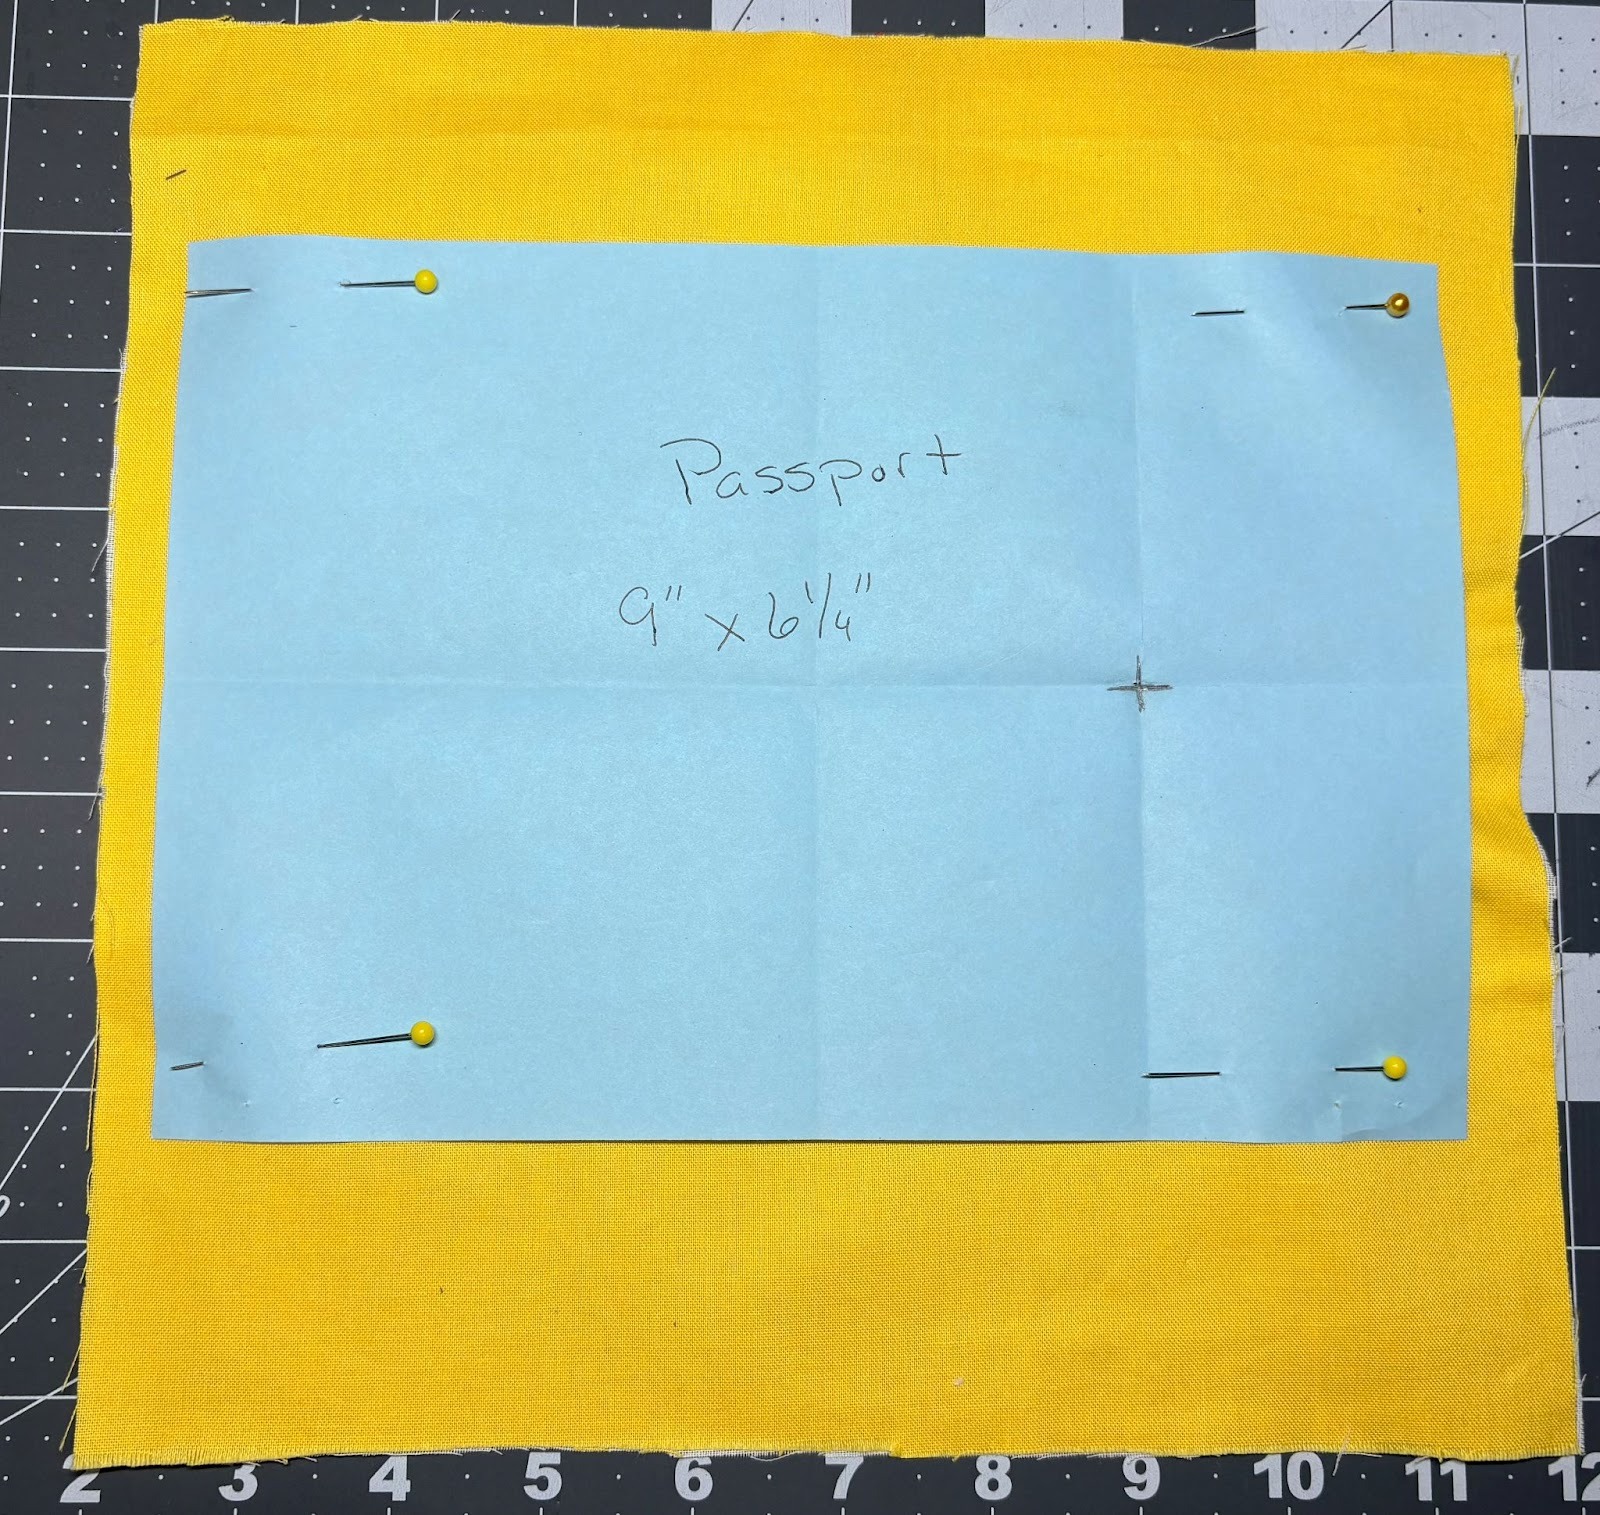
Once you have both marks lined up, pin the template to the fabric.
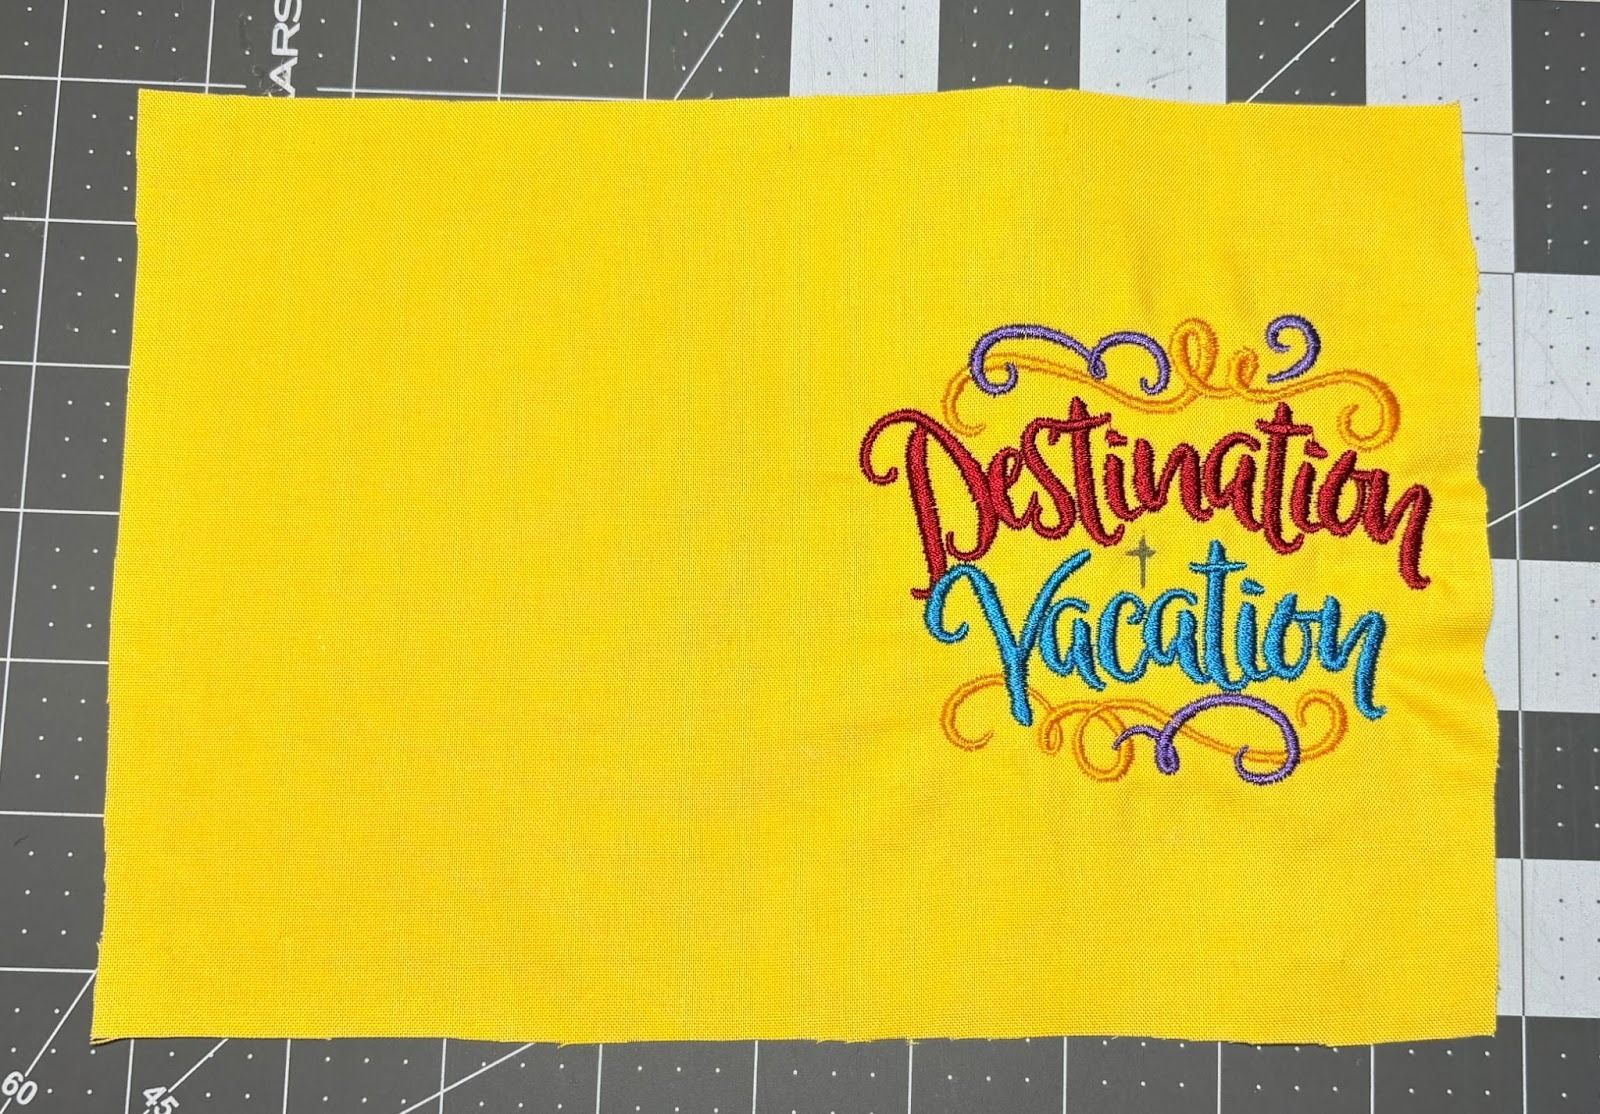
Trim the fabric to 9” x 6¼”. Remove the template.

Press the fabric to remove the erasable marker.
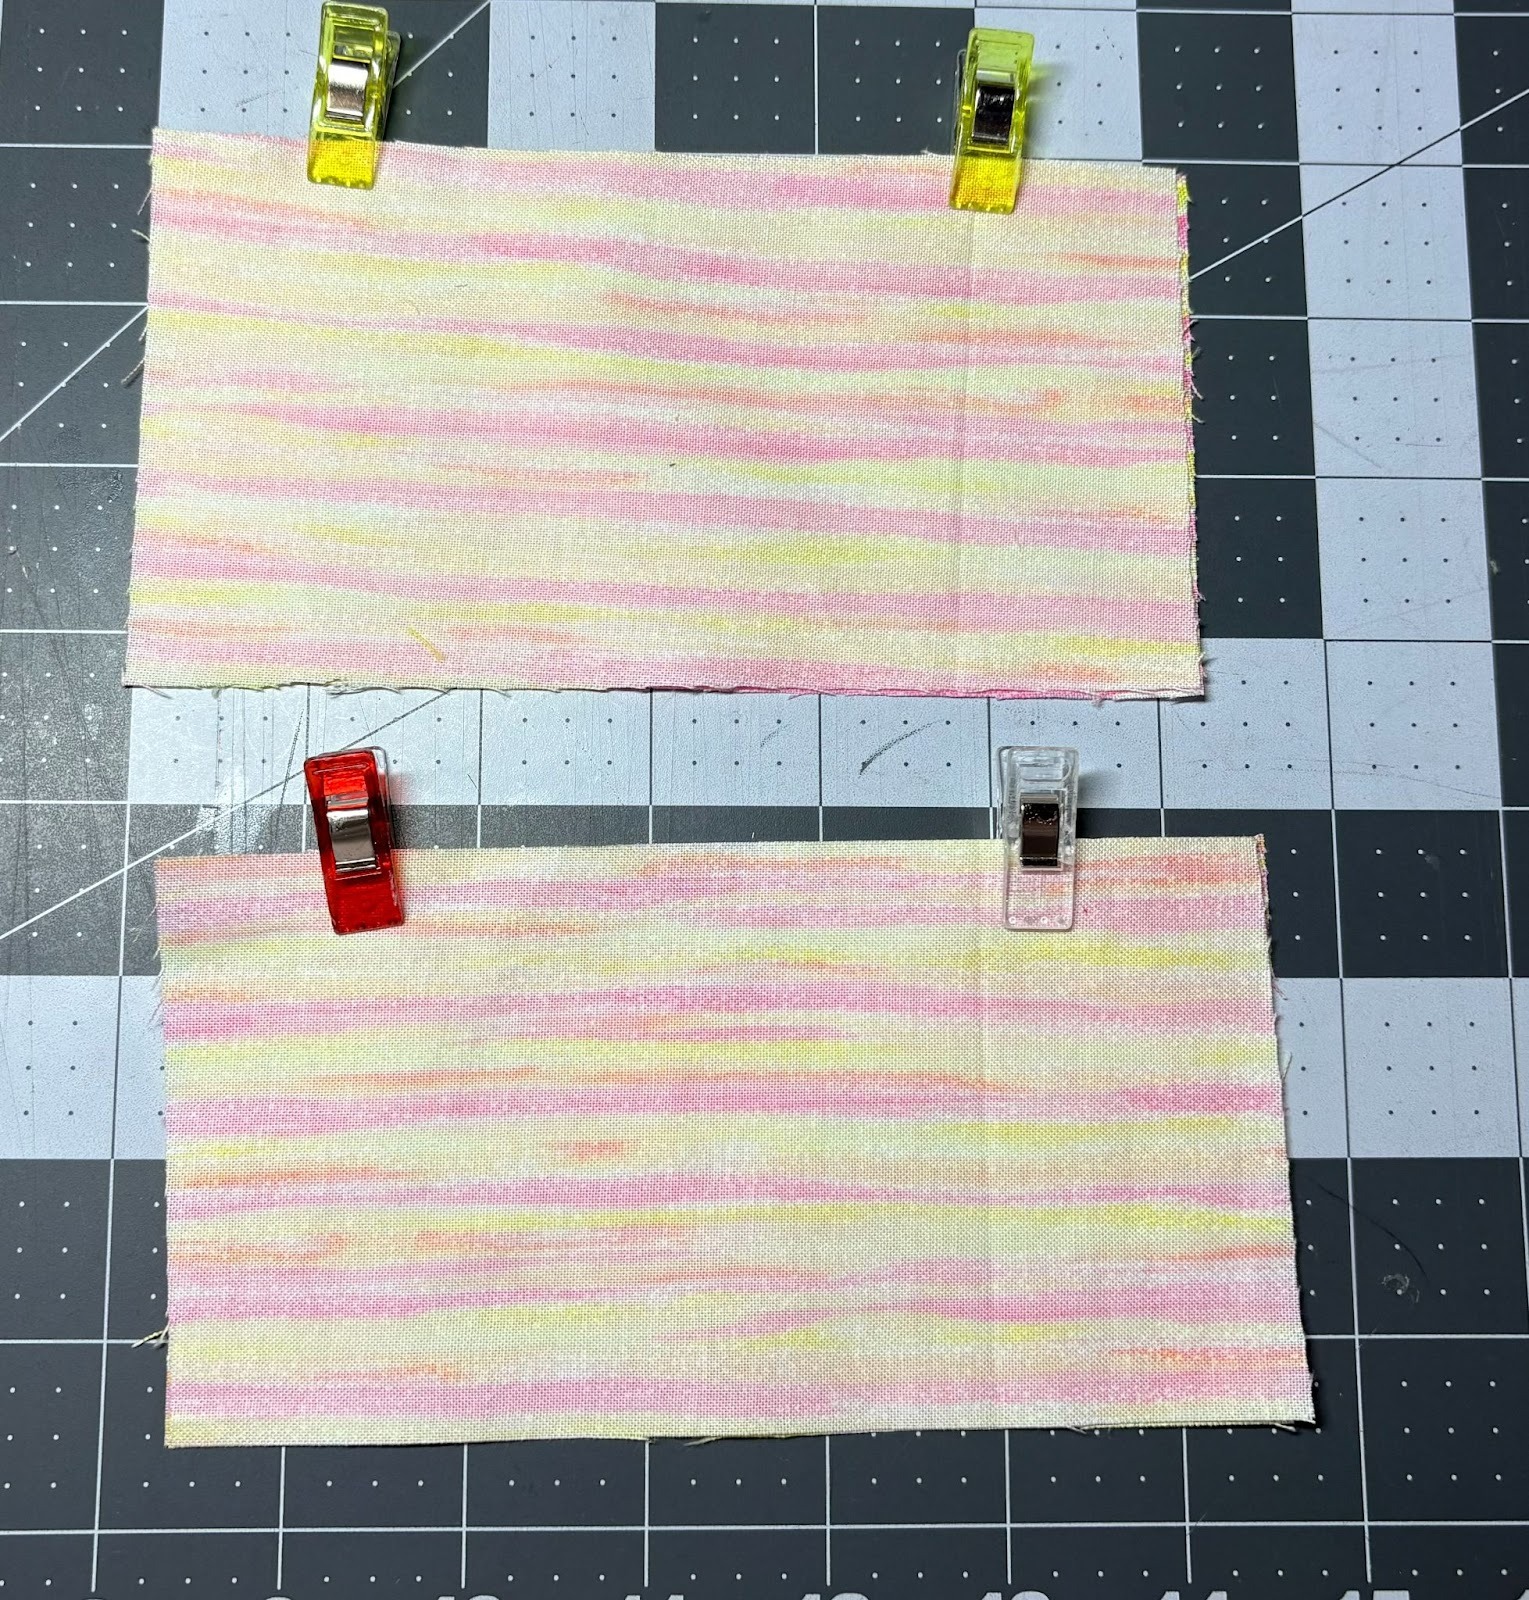
Pin or clip two pocket pieces together along one long edge with right sides together. Repeat with the other two pocket pieces.
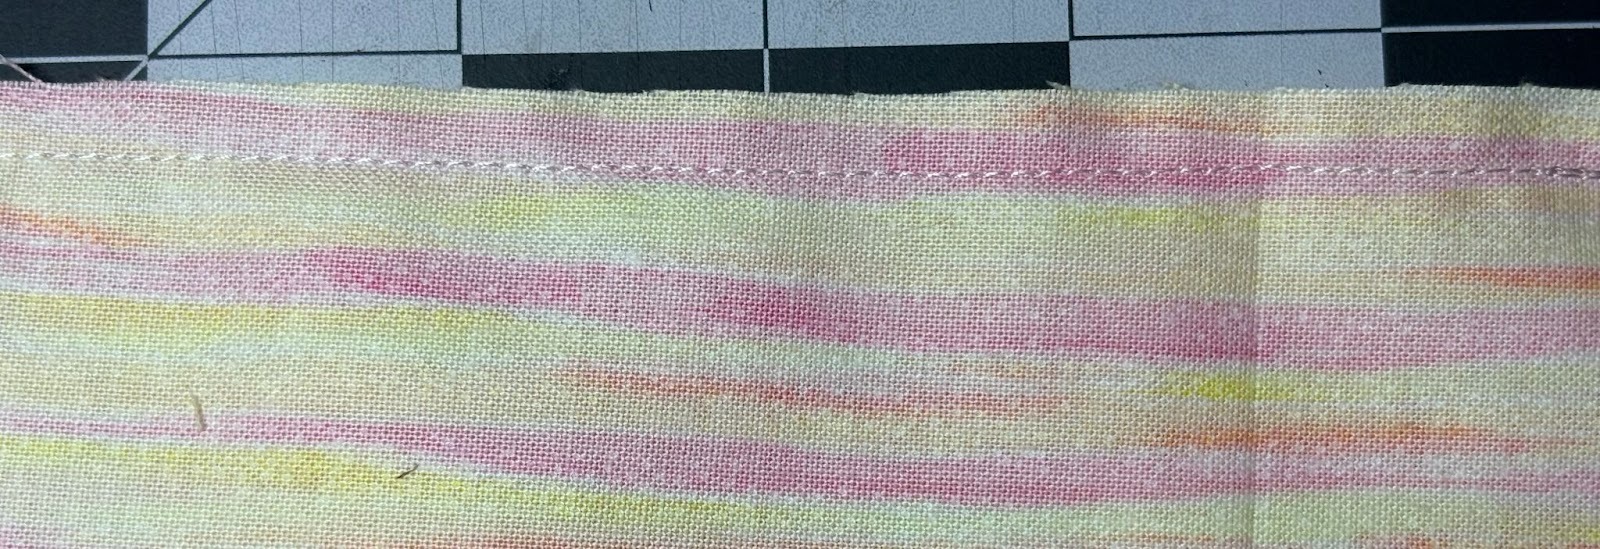
Sew a ¼” seam along the pinned edge.
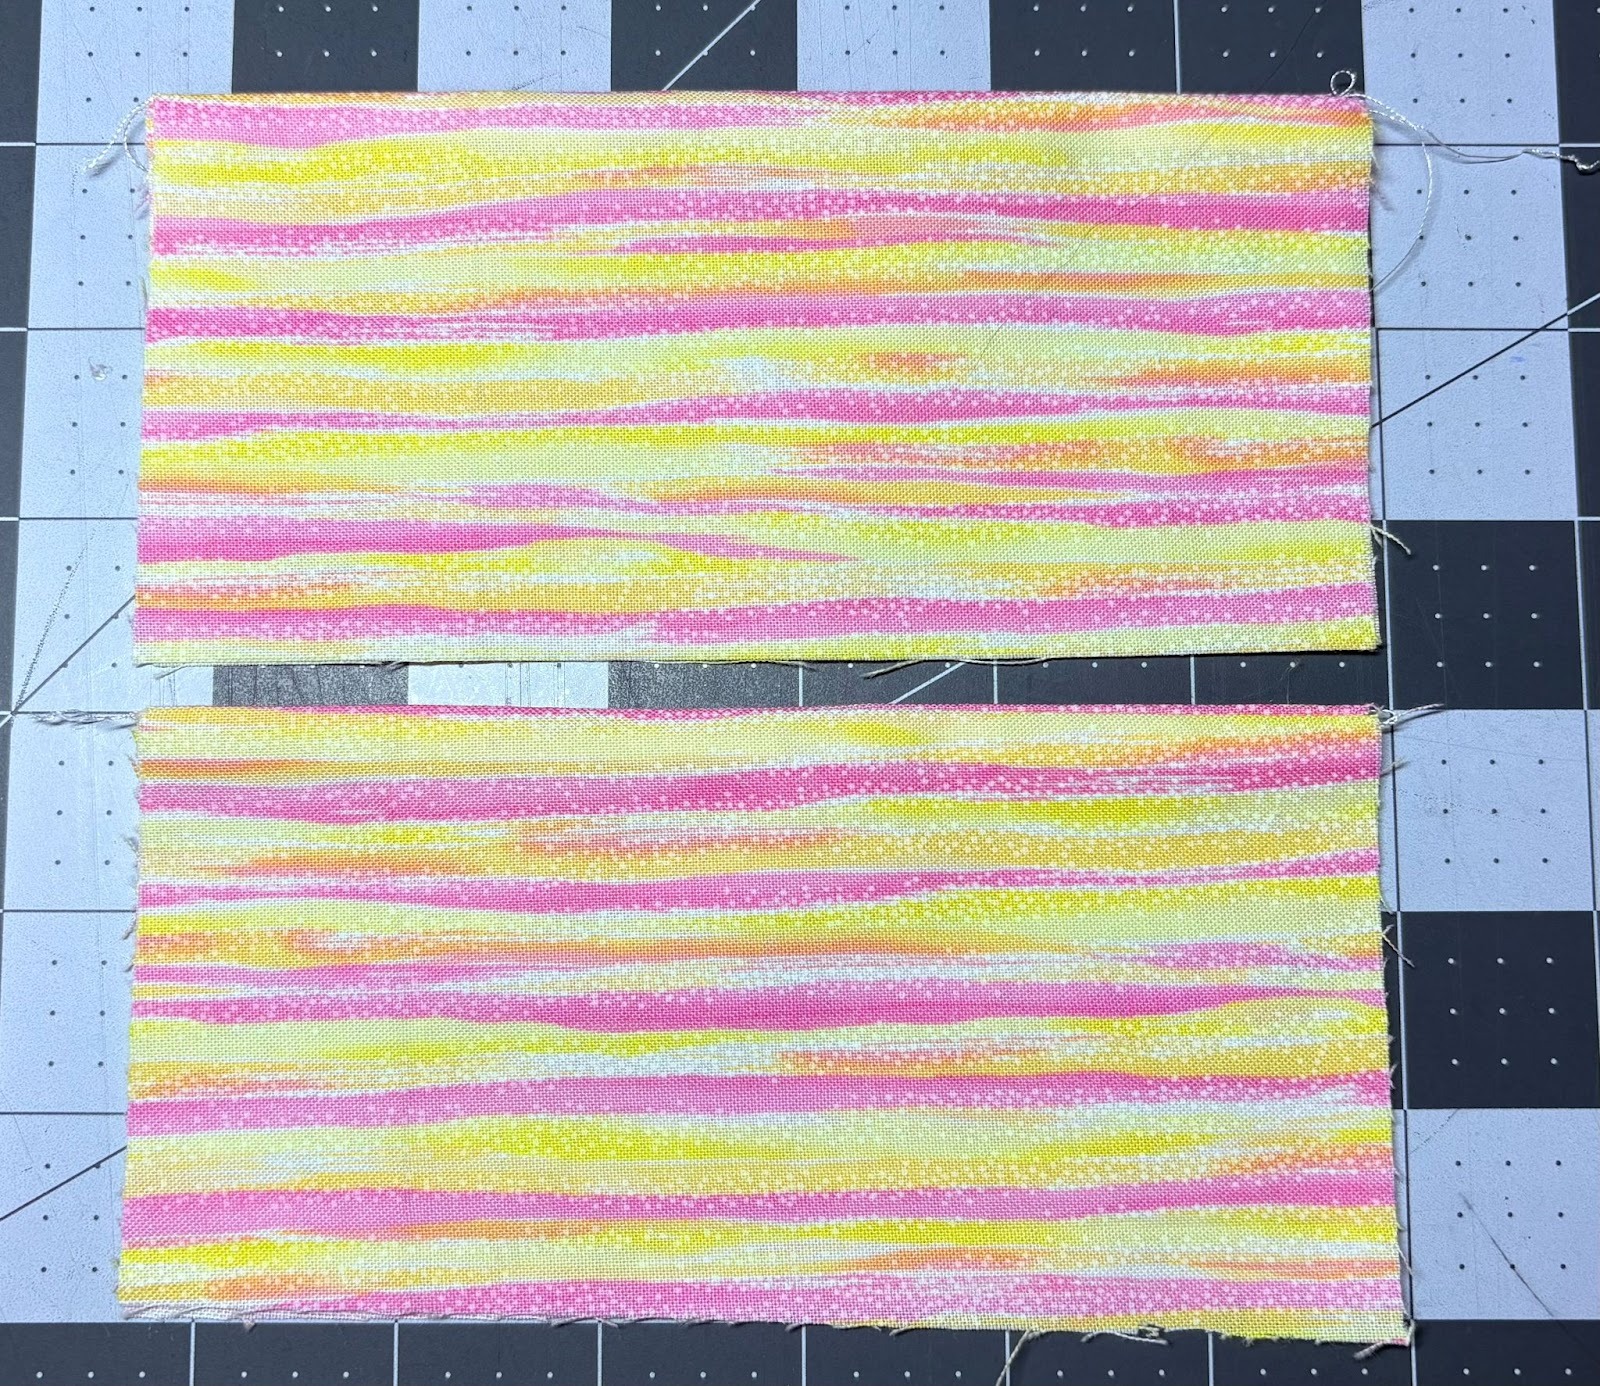
Turn so the wrong sides of each pocket piece are together and press them.

Topstitch along the folded edge.
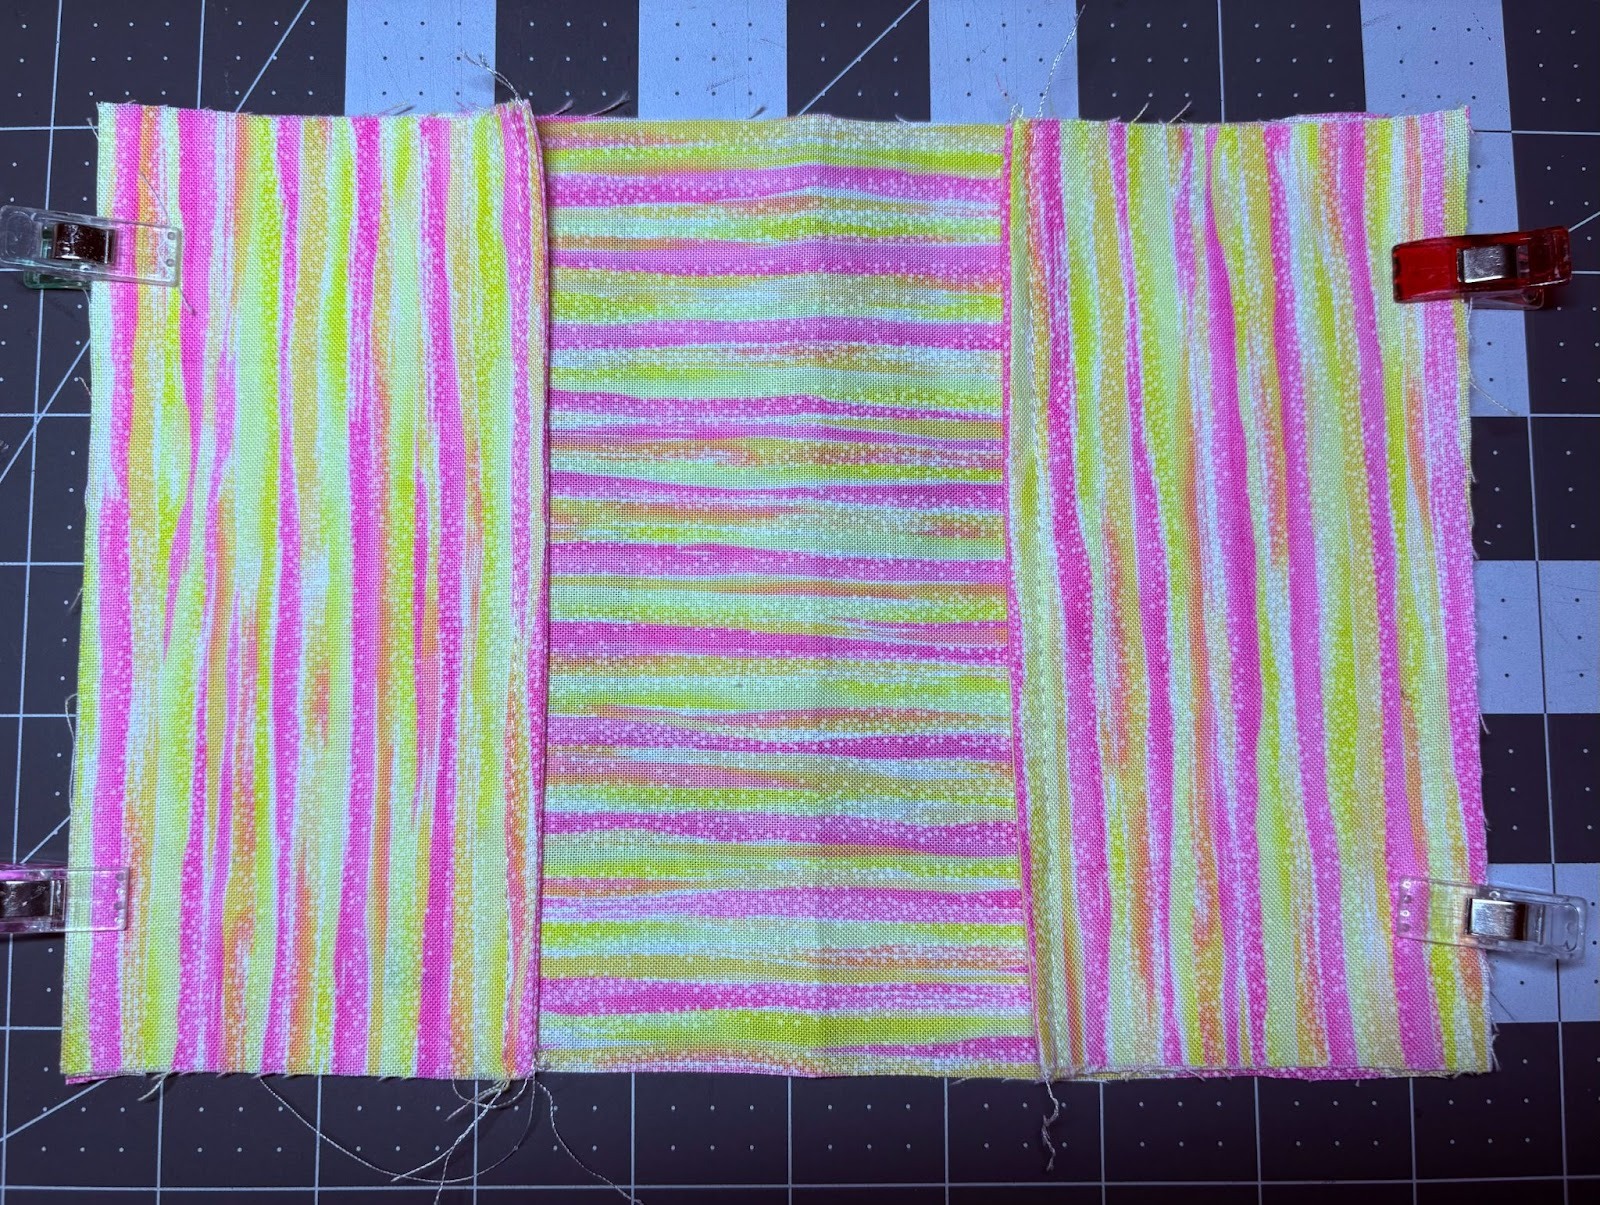
Place the pockets on top of the lining fabric, matching the raw edges as shown.

Place the main fabric on top to create a fabric sandwich.
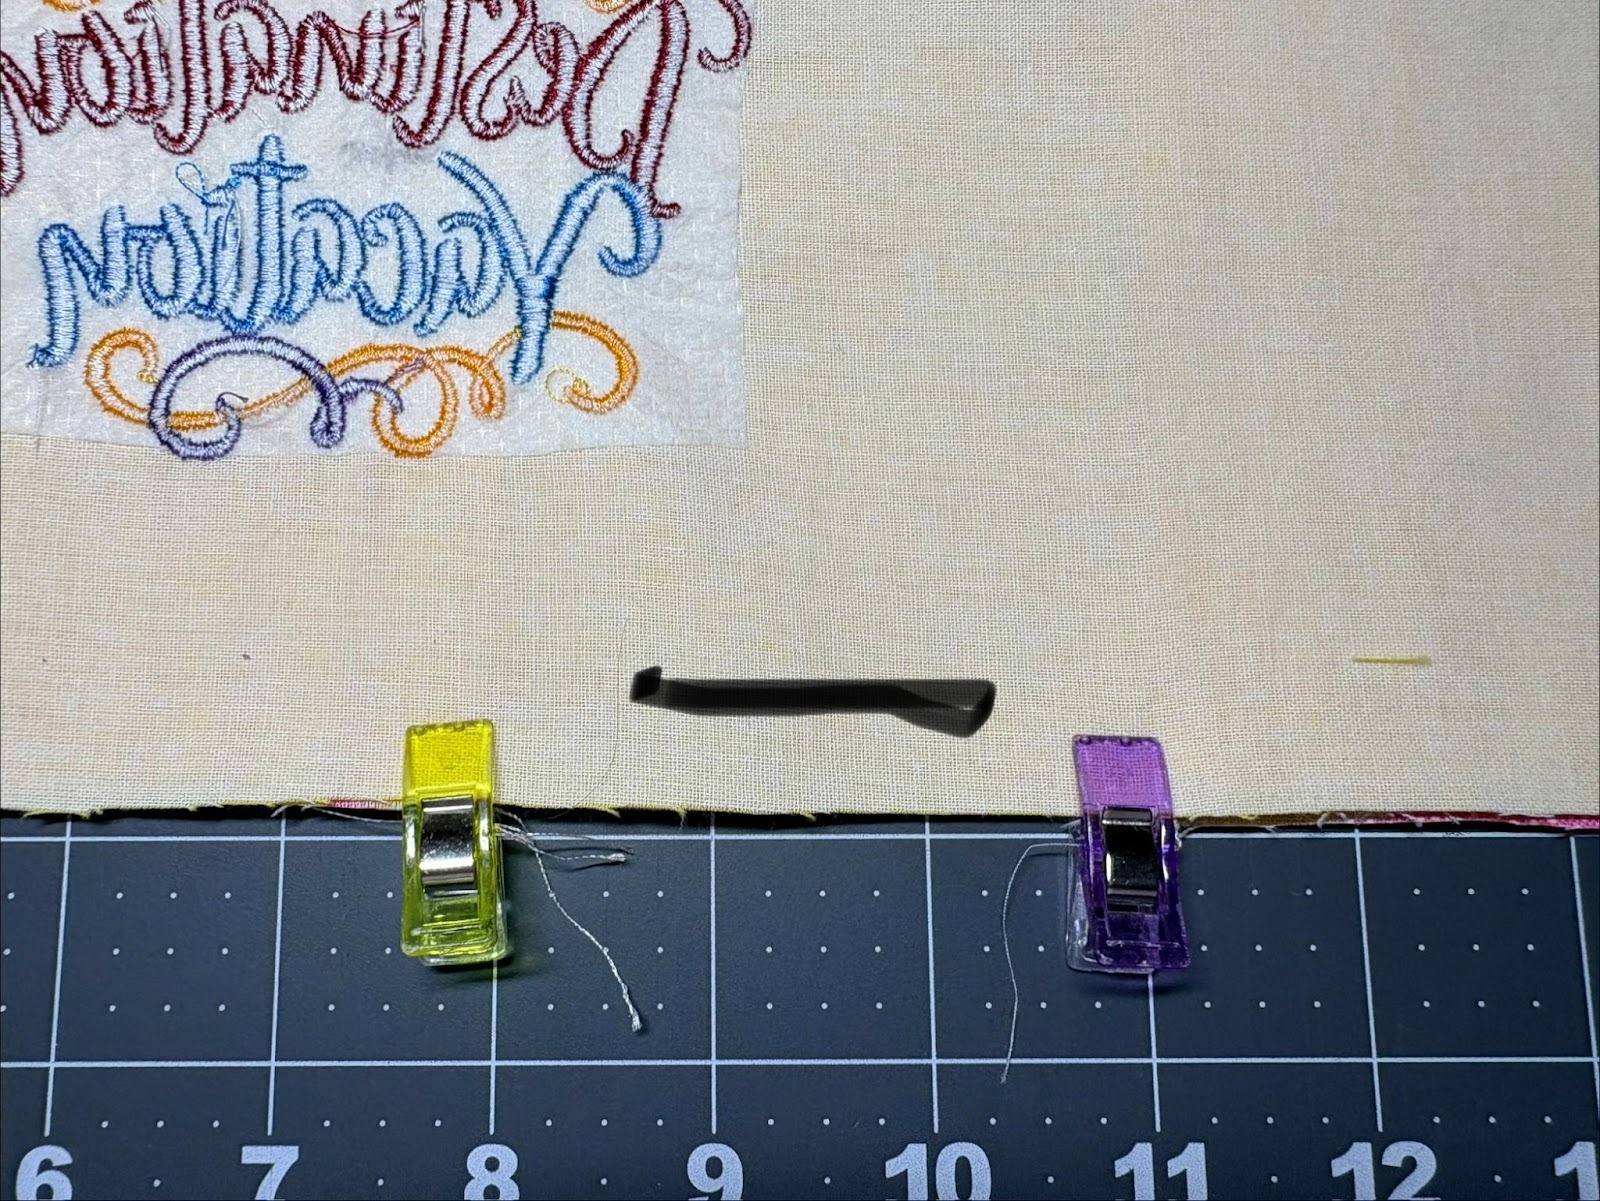
Pin or clip all the raw edges together. Leave a 2” opening at the bottom so you can turn the project right side out. You do not want the opening over the inside pockets.
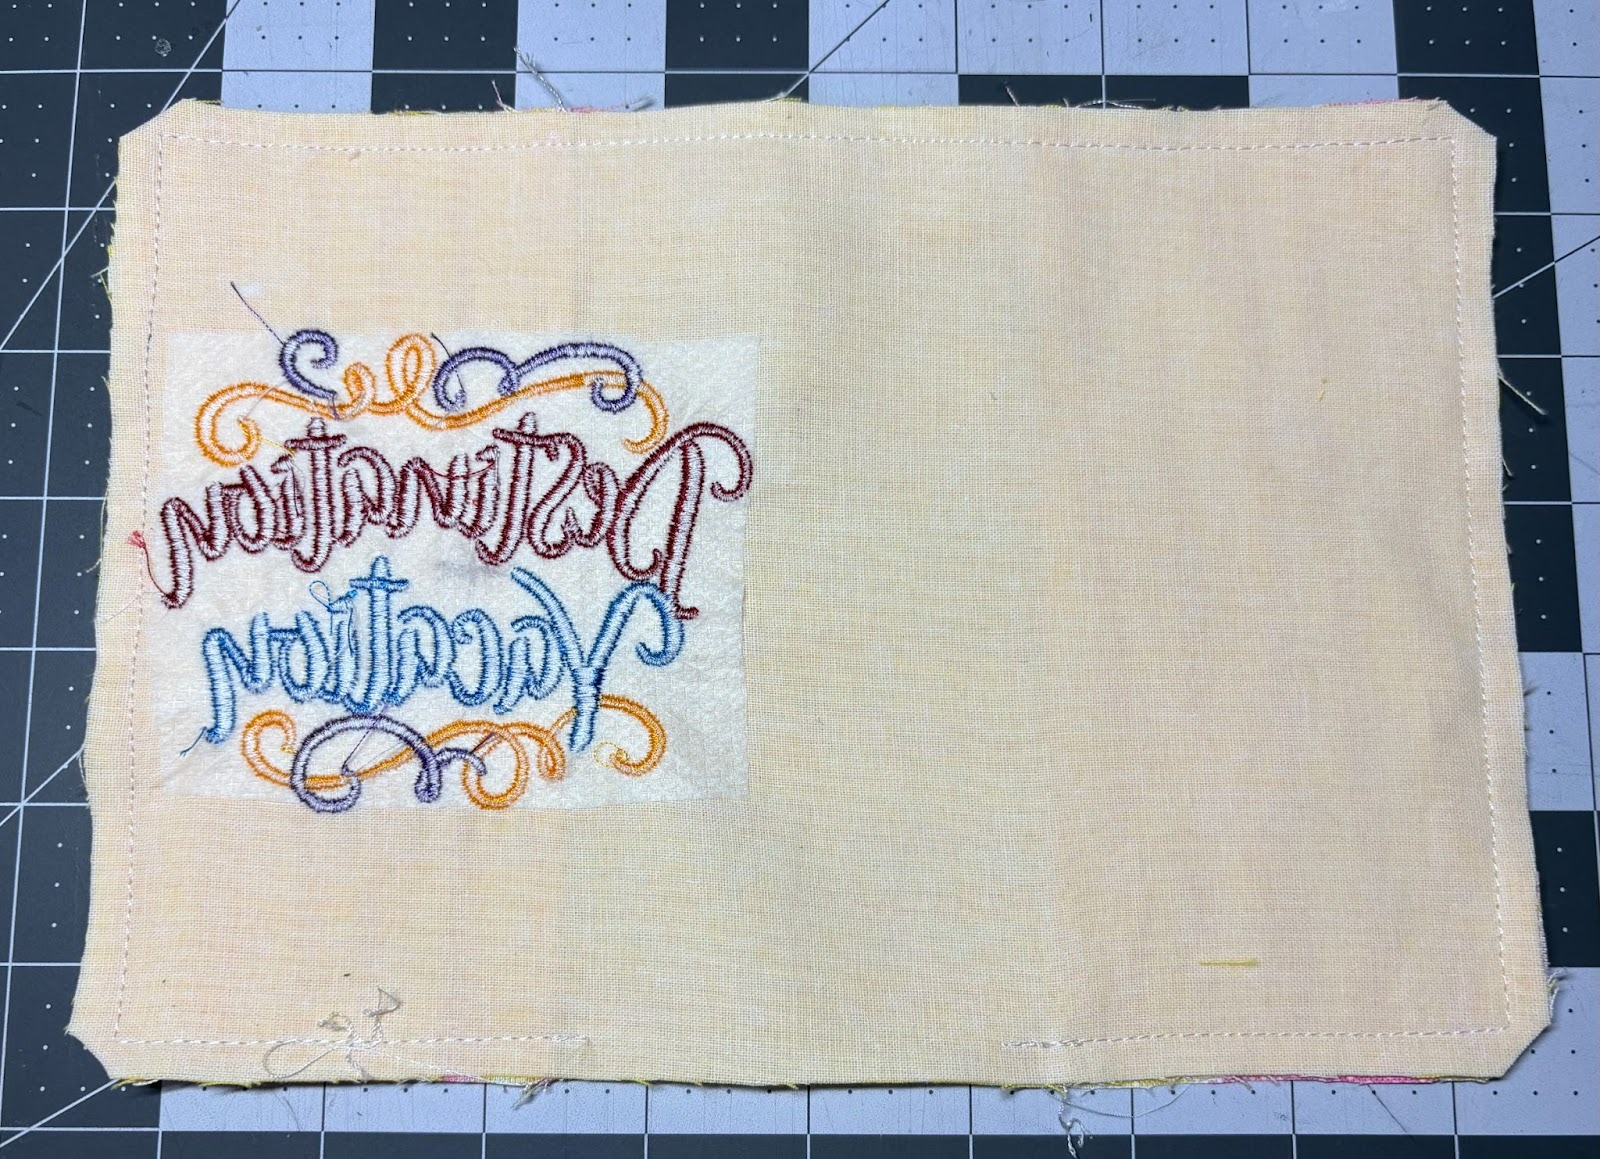
Sew around the edges with a ¼” seam allowance. Clip the corners to help reduce bulk.
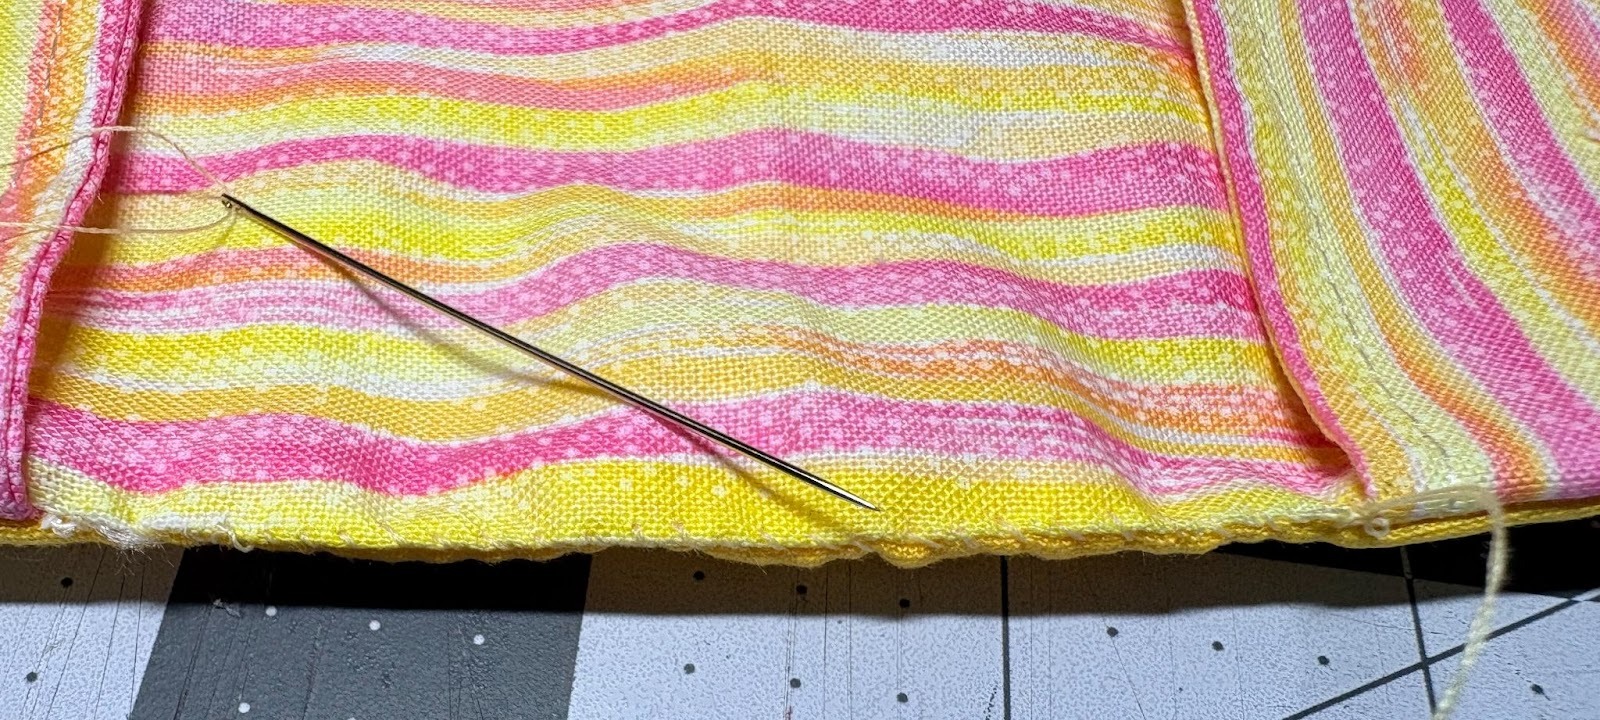
Turn the project right side out and press the raw edges at the opening to the inside. Sew the opening closed.

Slide the front and back covers of the passport into the pockets.
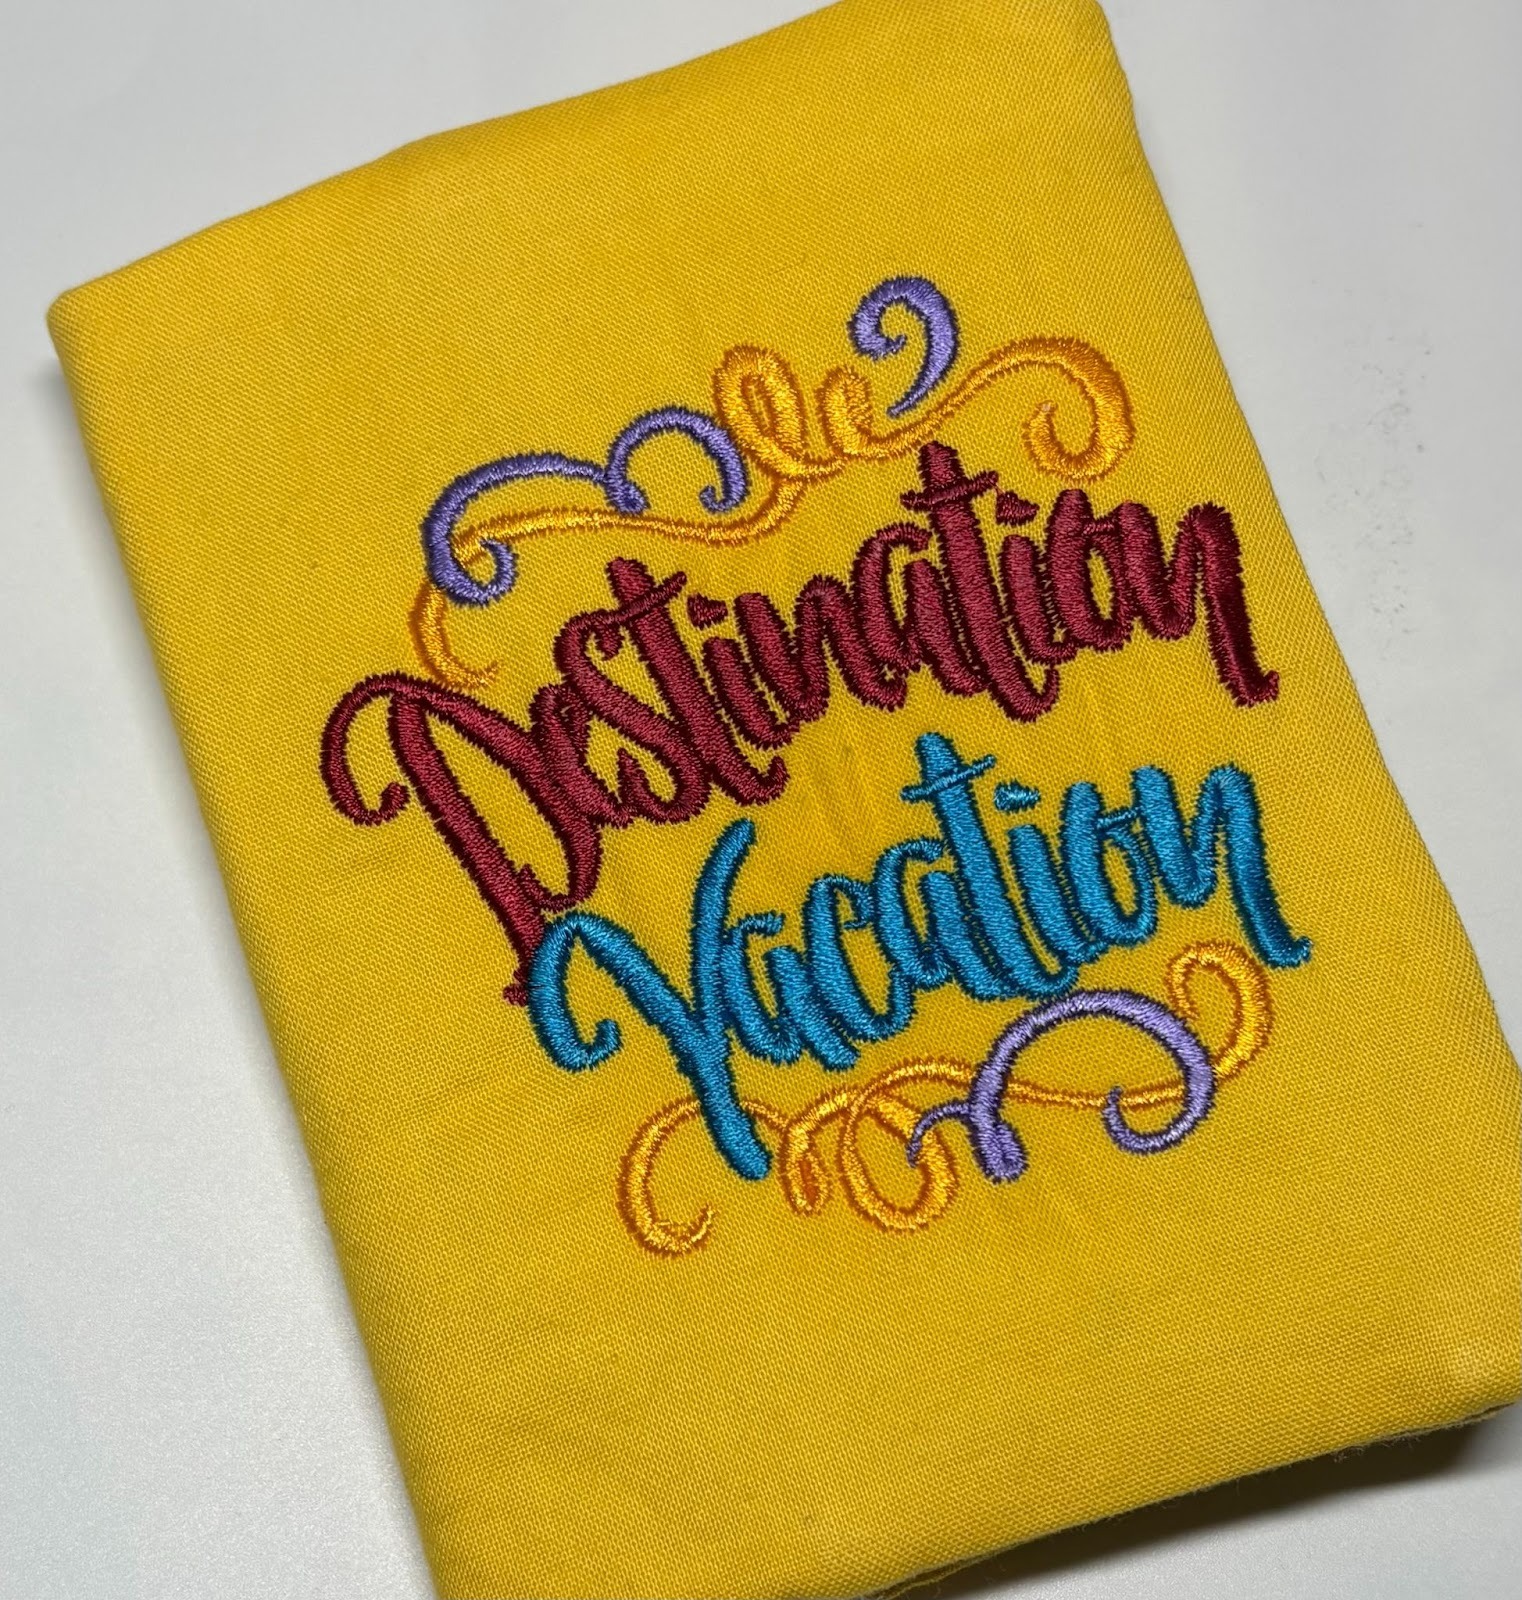

With a bit of time and creativity, your DIY passport cover becomes more than just a useful accessory. It shows off your style and is ready for every trip you take. Slip it into your bag, plan your next adventure, and enjoy knowing your passport is safe in something you made. Whether you make one for yourself or as a gift, this project is a great way to let your creativity travel with you.
Share your finished passport cover in the Designs by JuJu Embroidery Blessings Group on Facebook or use the hashtag #designsbyjuju anywhere on social media to inspire others to add handmade style to their journeys.
Happy sewing!