Toggle Nav
 Inspire.
Create.
Stitch.
Inspire.
Create.
Stitch.
Inspire.
Create.
Stitch.
Search
Inspire.
Create.
Stitch.
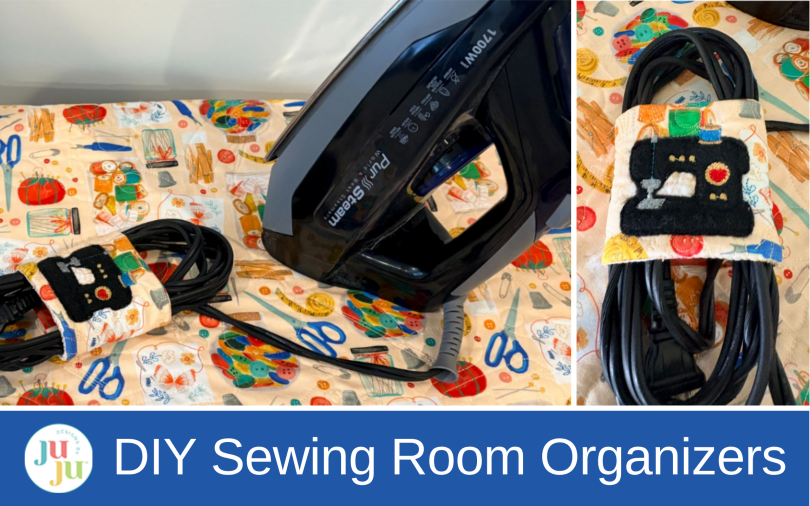
Refresh your sewing space with a DIY ironing board cover and matching iron cord wrap. This beginner-friendly sewing tutorial uses fabric, batting, quilting, and embroidery to create practical sewing room organizers.
Making your own ironing board cover is an easy project that’s both practical and stylish. Whether you choose a bold print or a simple color, your new cover will brighten your sewing area and give you a smooth surface for pressing.
Check out the DBJJ team’s favorite supplies in the Designs by JuJu Amazon store. For all your stabilizer, thread, and batting needs, be sure to check out Designs by JuJu+.
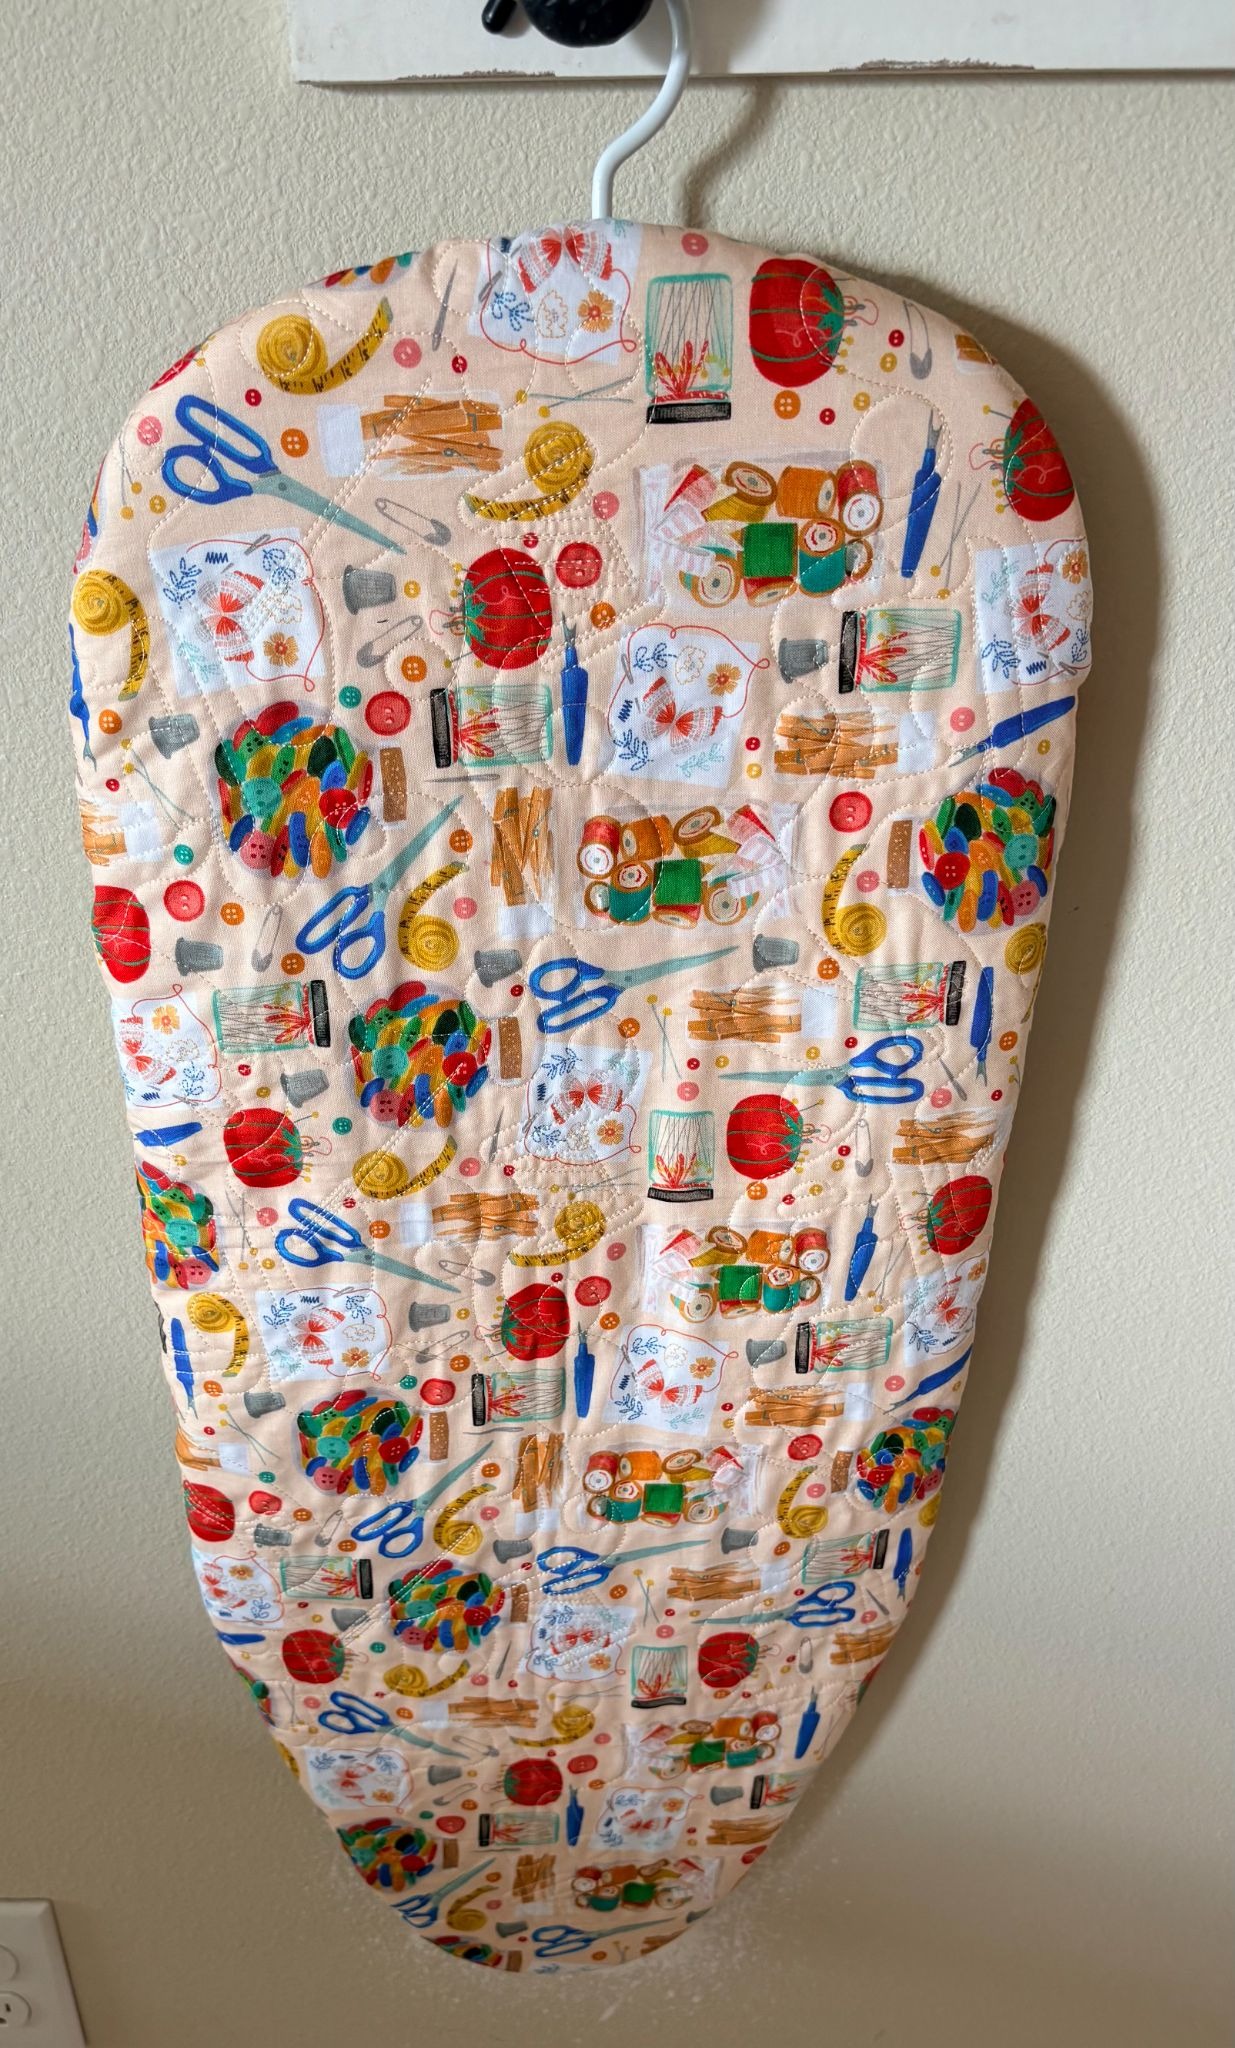
Give your ironing board a fresh look with a custom cover. Sewing your own lets you choose fabric that matches your space, and you can make sure it fits well and is easy to clean. This is a beginner-friendly project that takes only a little time. I used a small board for the photos, but you can follow these steps for any size.
Finished size: Varies
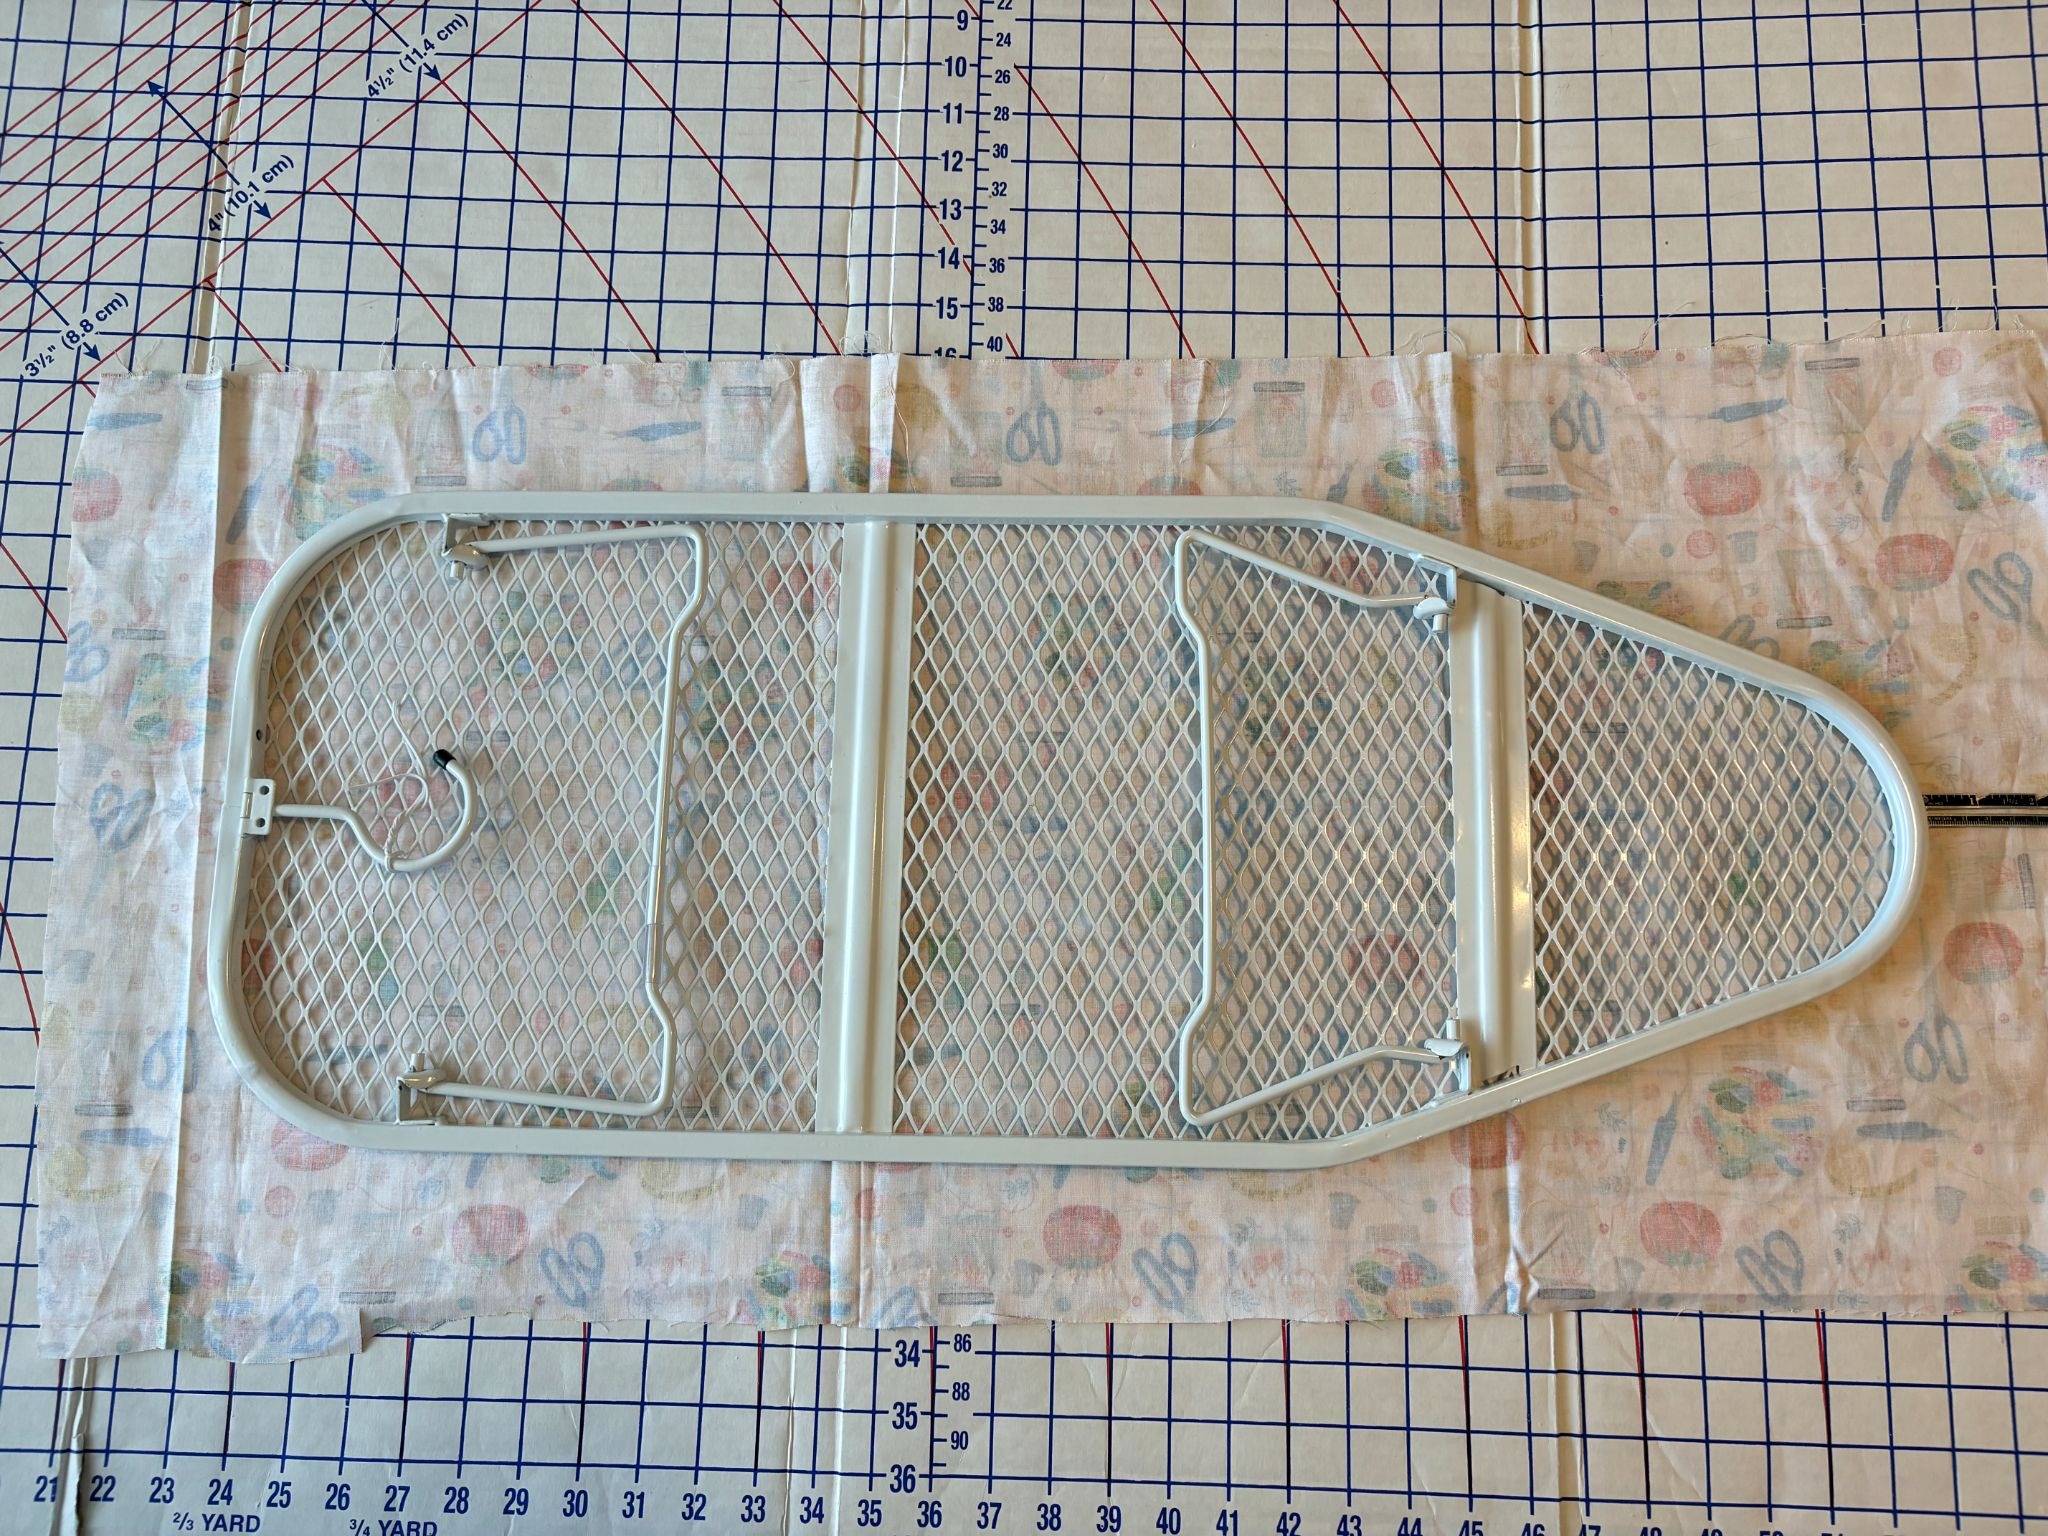
Lay your fabric down with the ironing board on top. Cut the fabric at least 4” larger than the board all the way around.
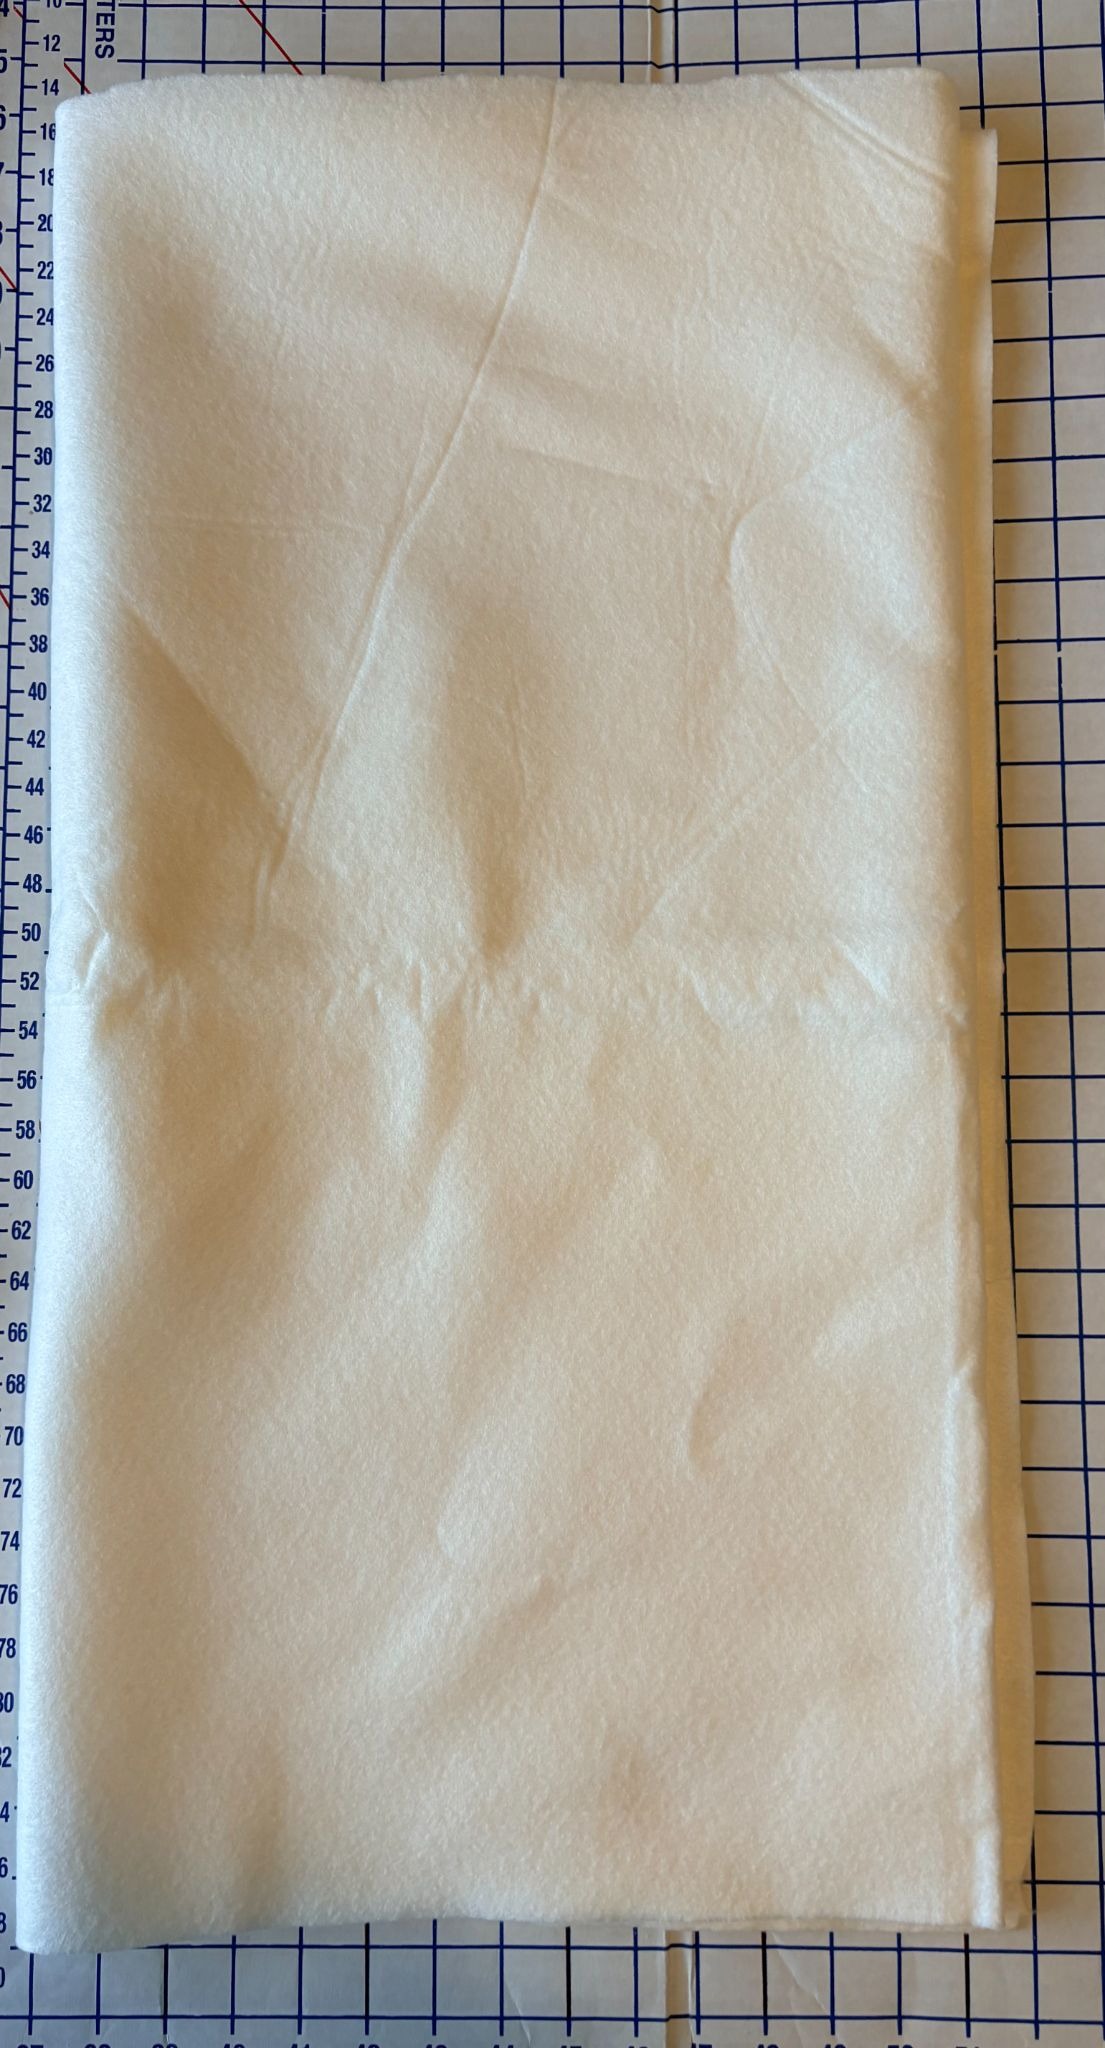
Cut a piece of loftySOFT Batting the same size.
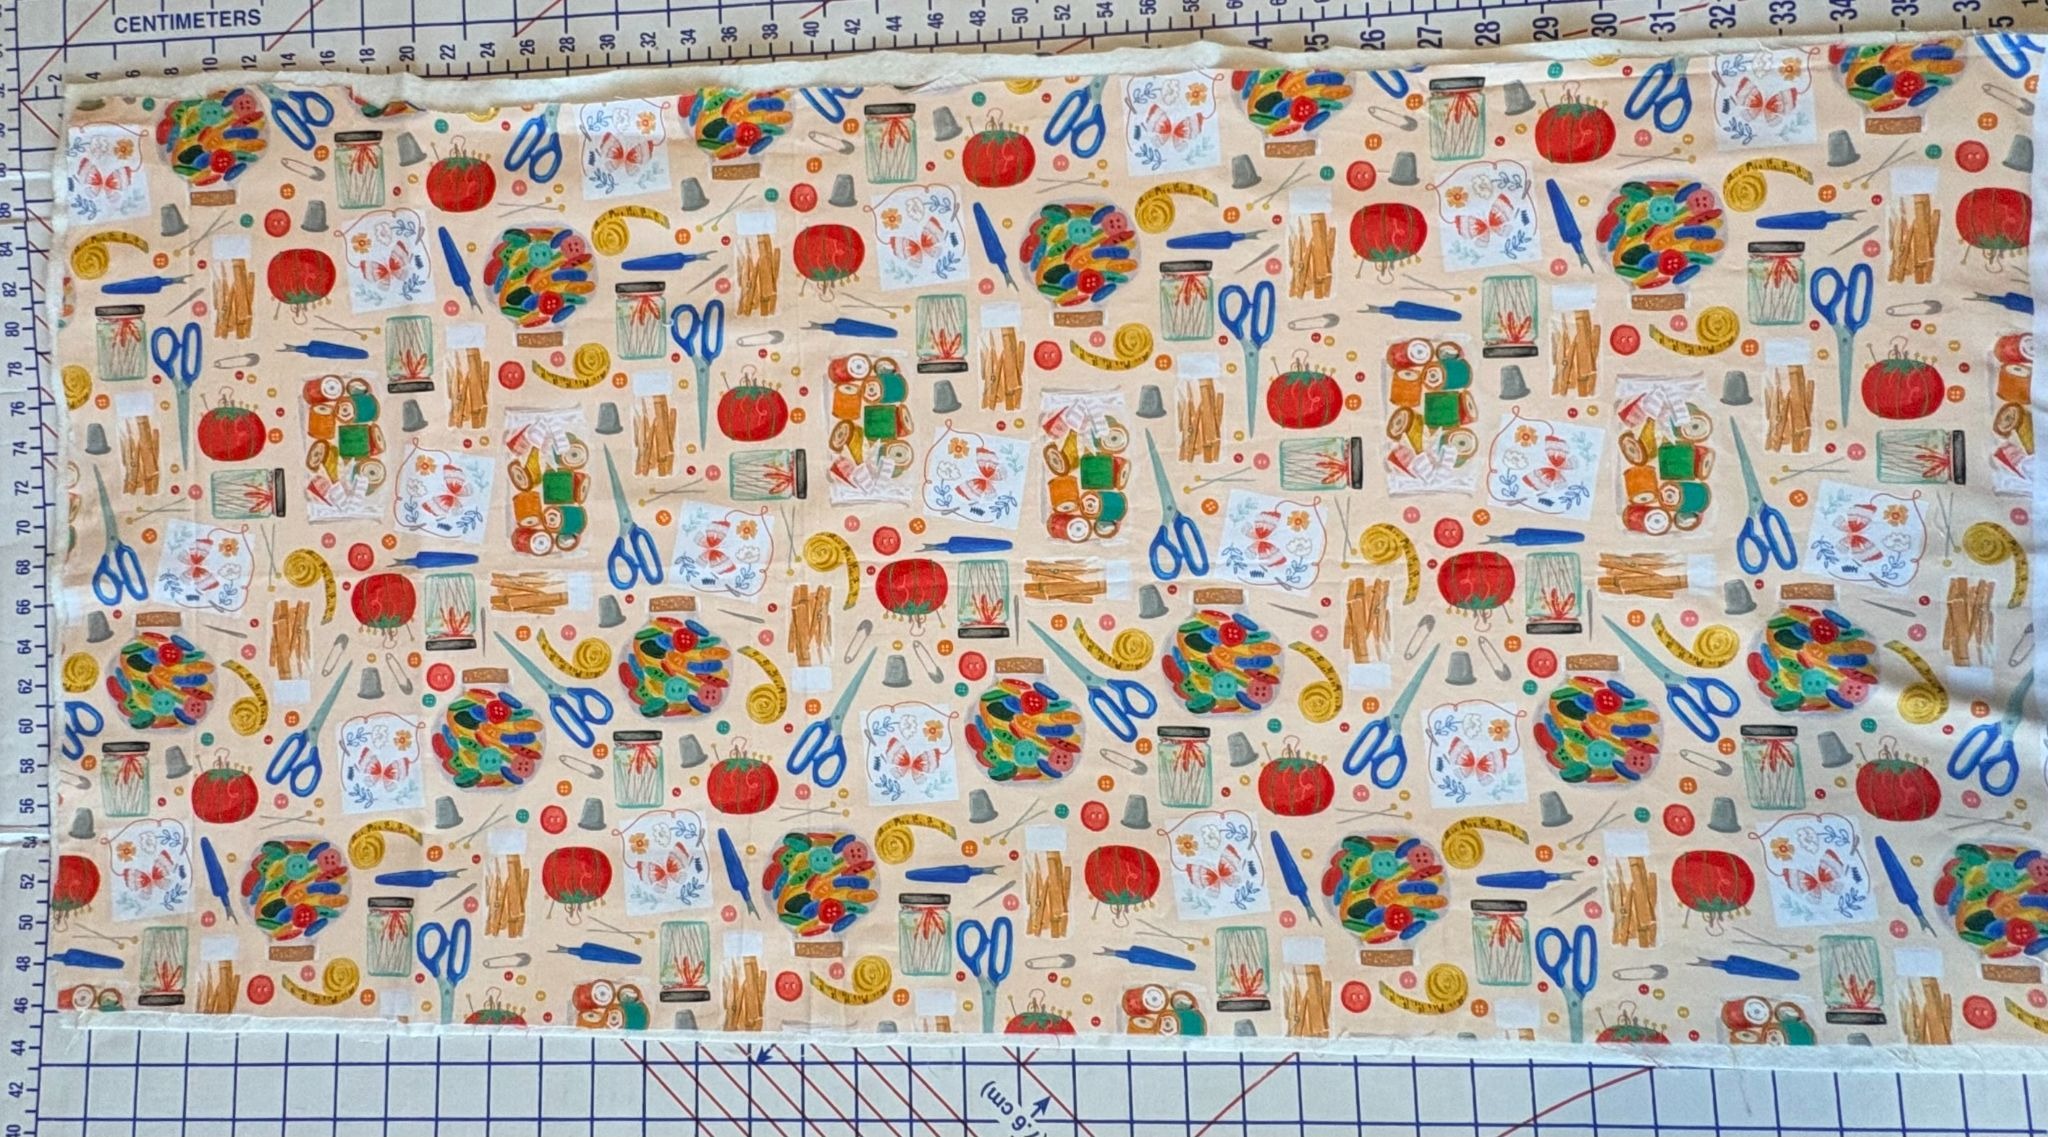
Lay the fabric on top of the batting and press to remove any wrinkles.
Now it’s time to quilt the fabric.
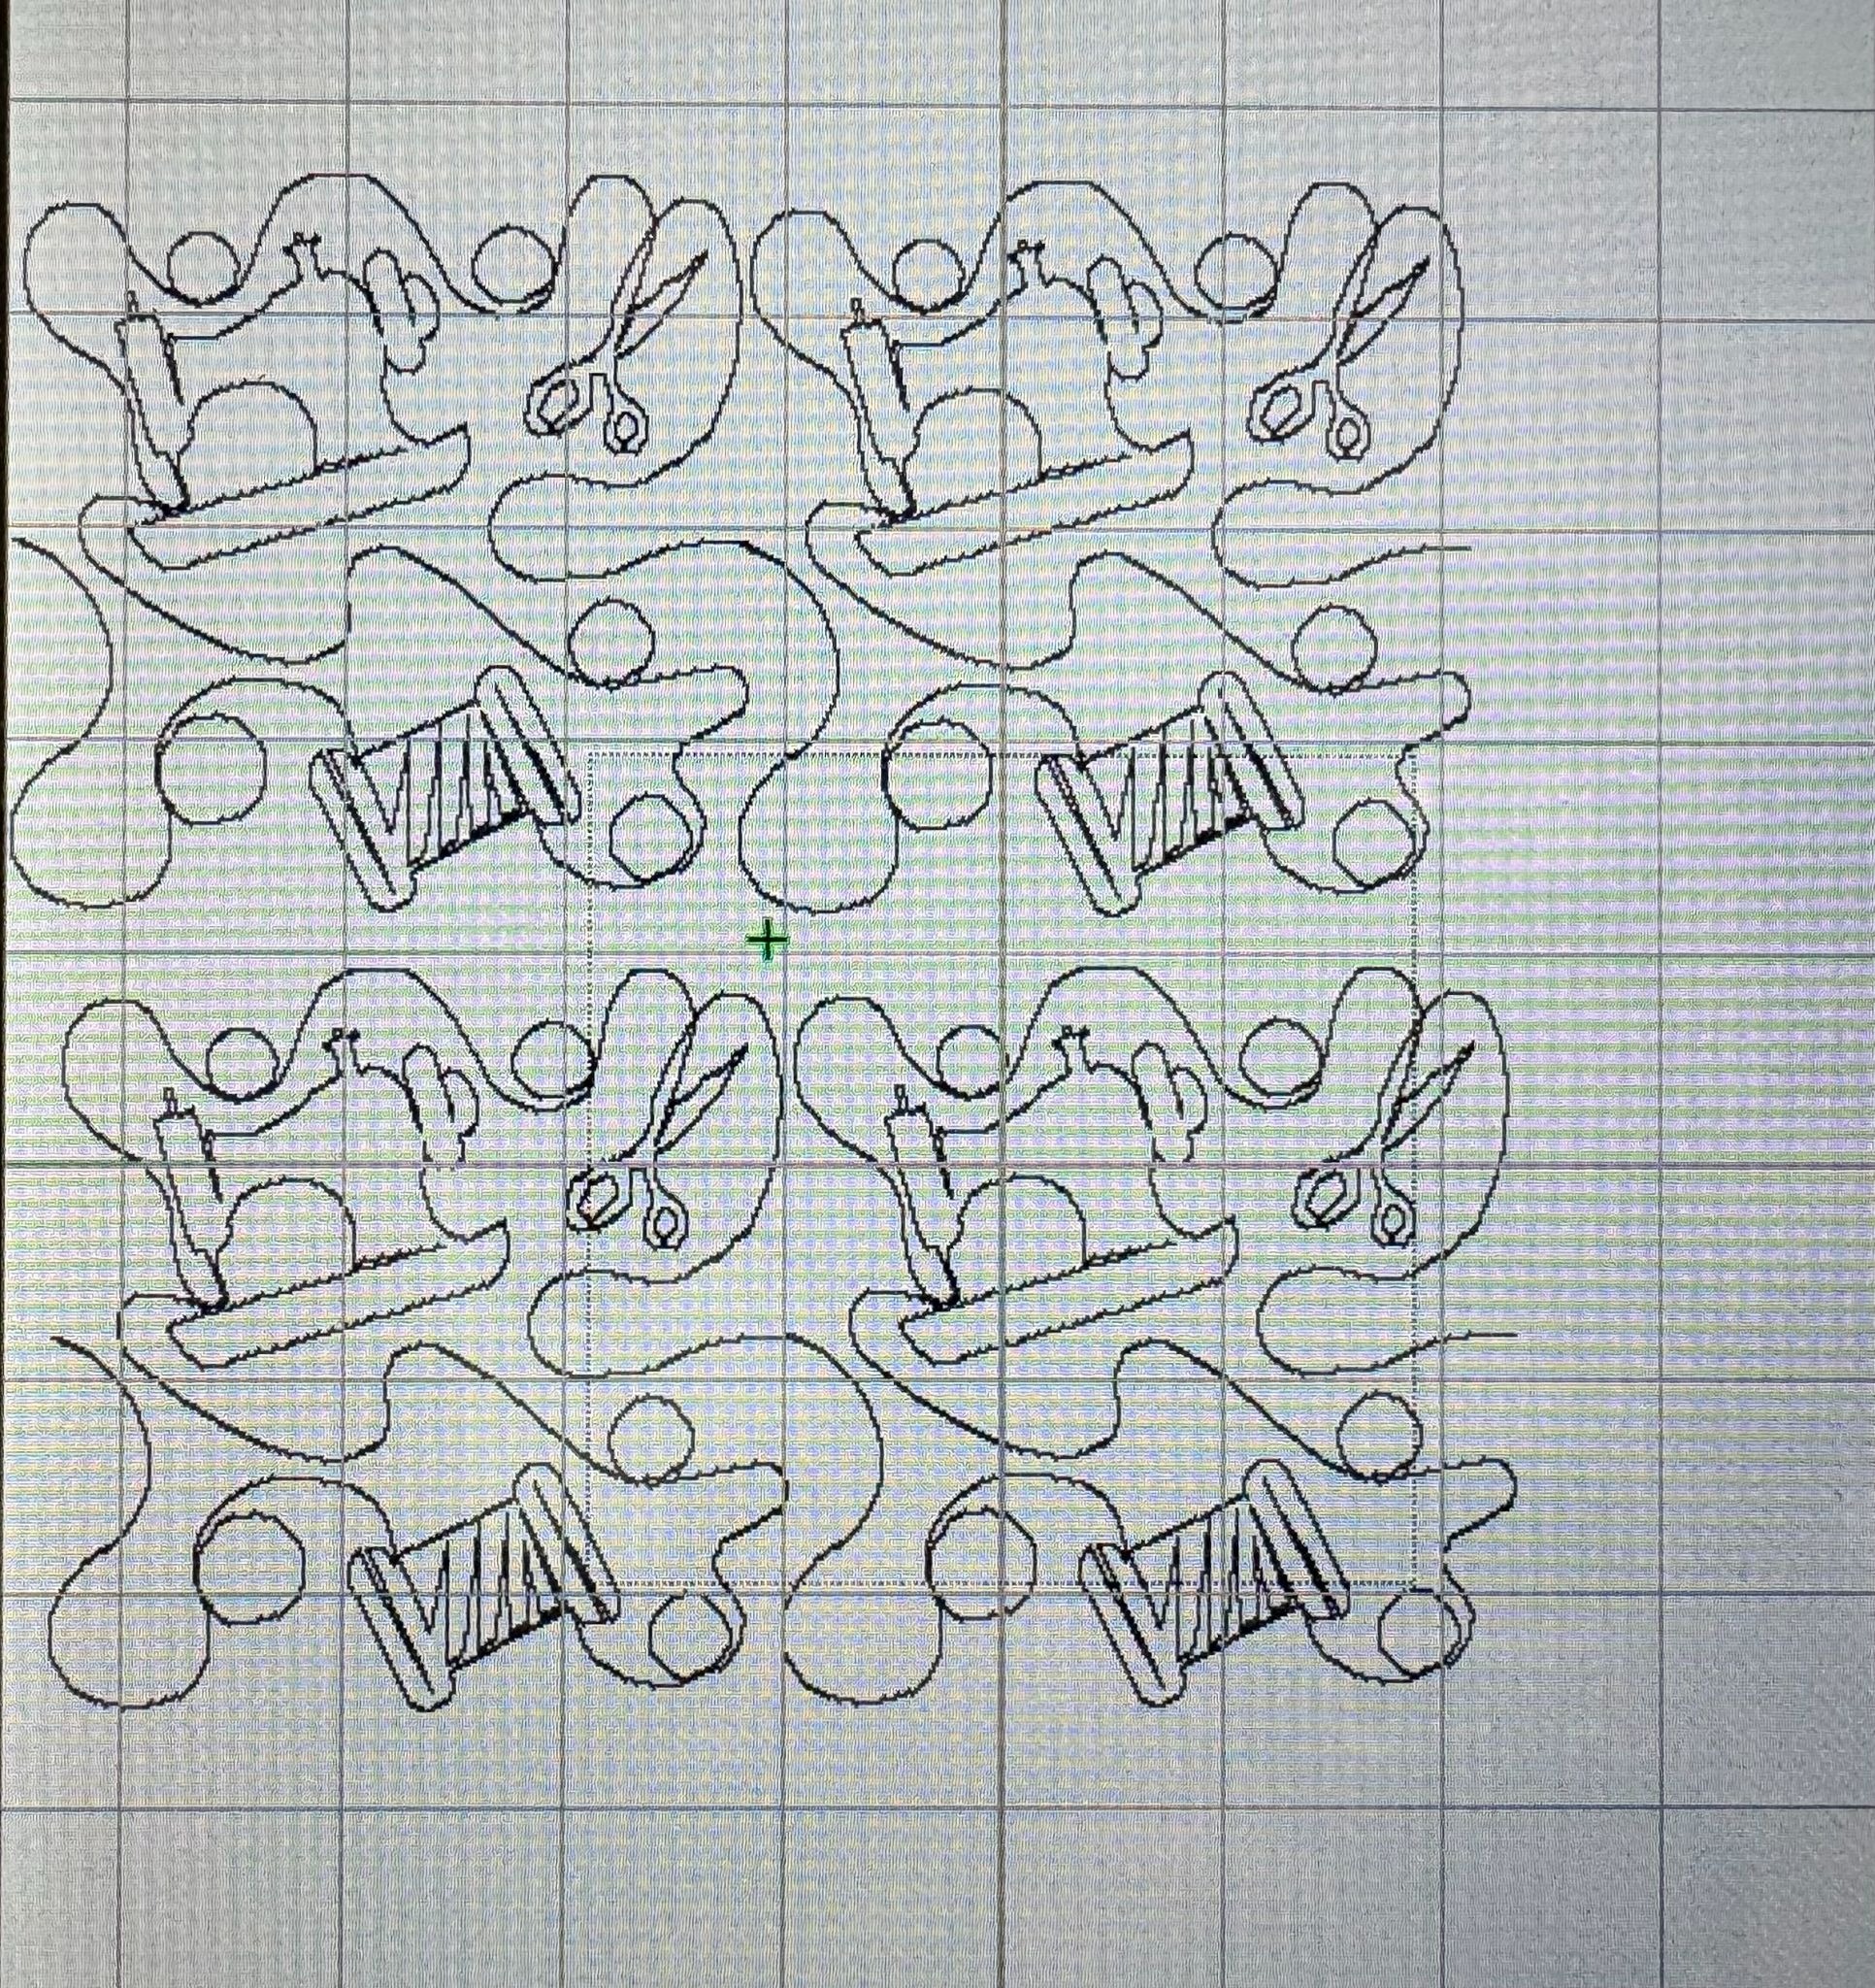
Load the Sewing 1 End-to-End Quilting Embroidery Design onto your machine and choose the size you want for your fabric. I used the 4.50 x 4.50 design size. If your hoop is large enough, you can add the design more than once. Just make sure to line them up.
If you’re new to end-to-end quilting, take a look at the blog post and YouTube video below before starting the quilting steps.
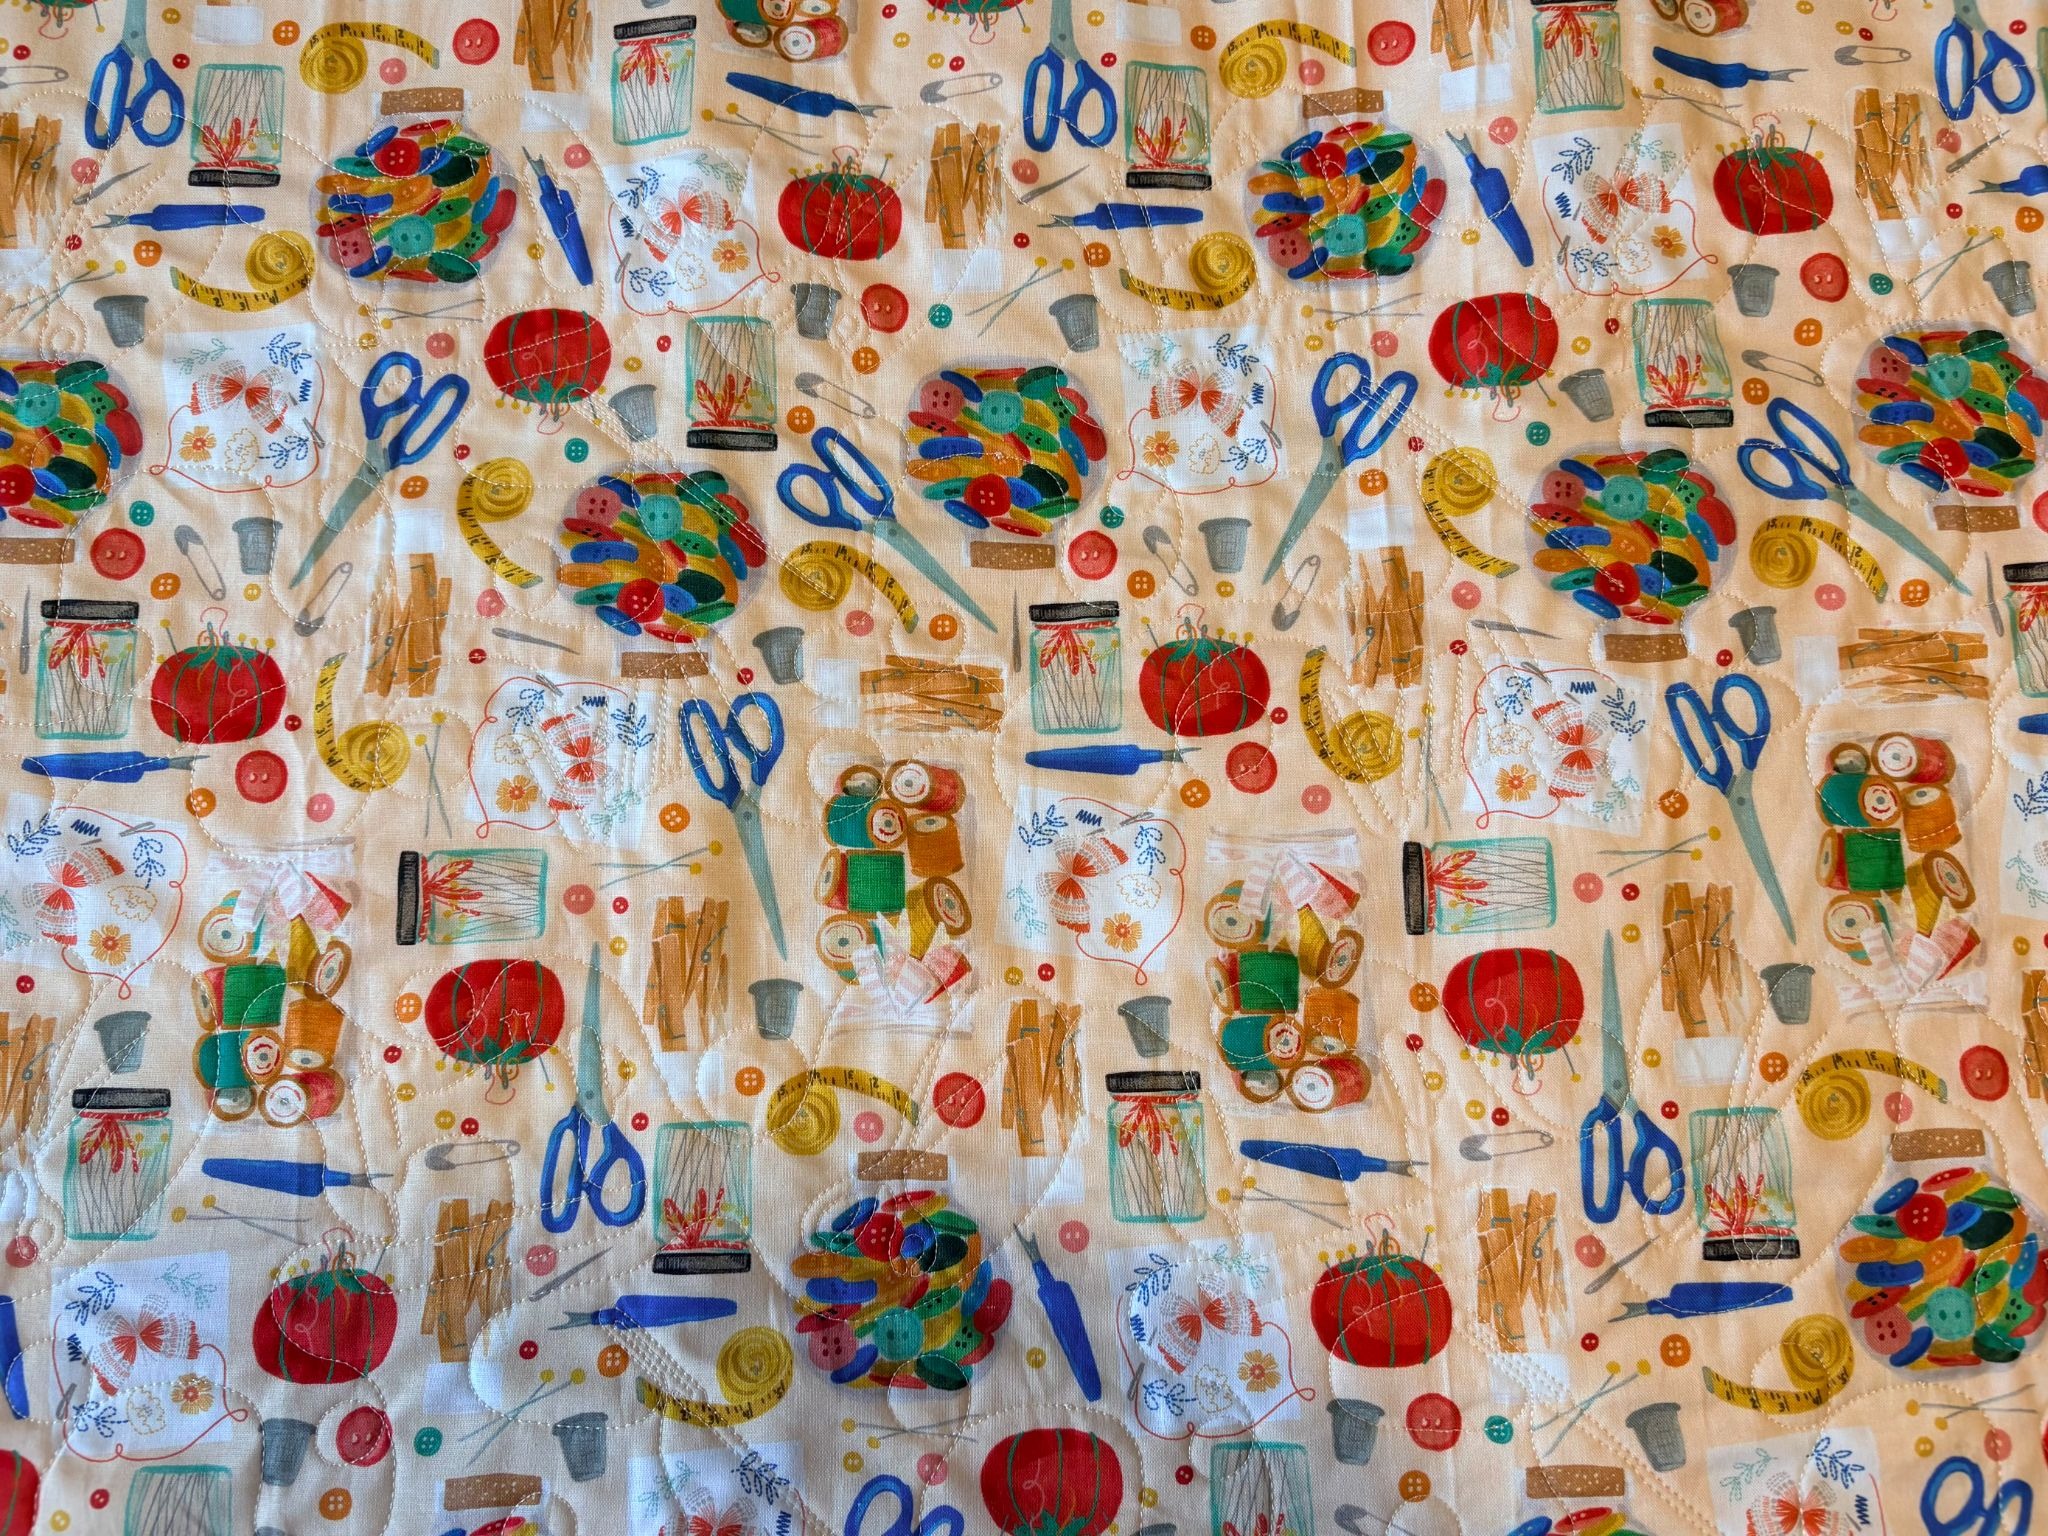
Once you have quilted the piece of fabric,
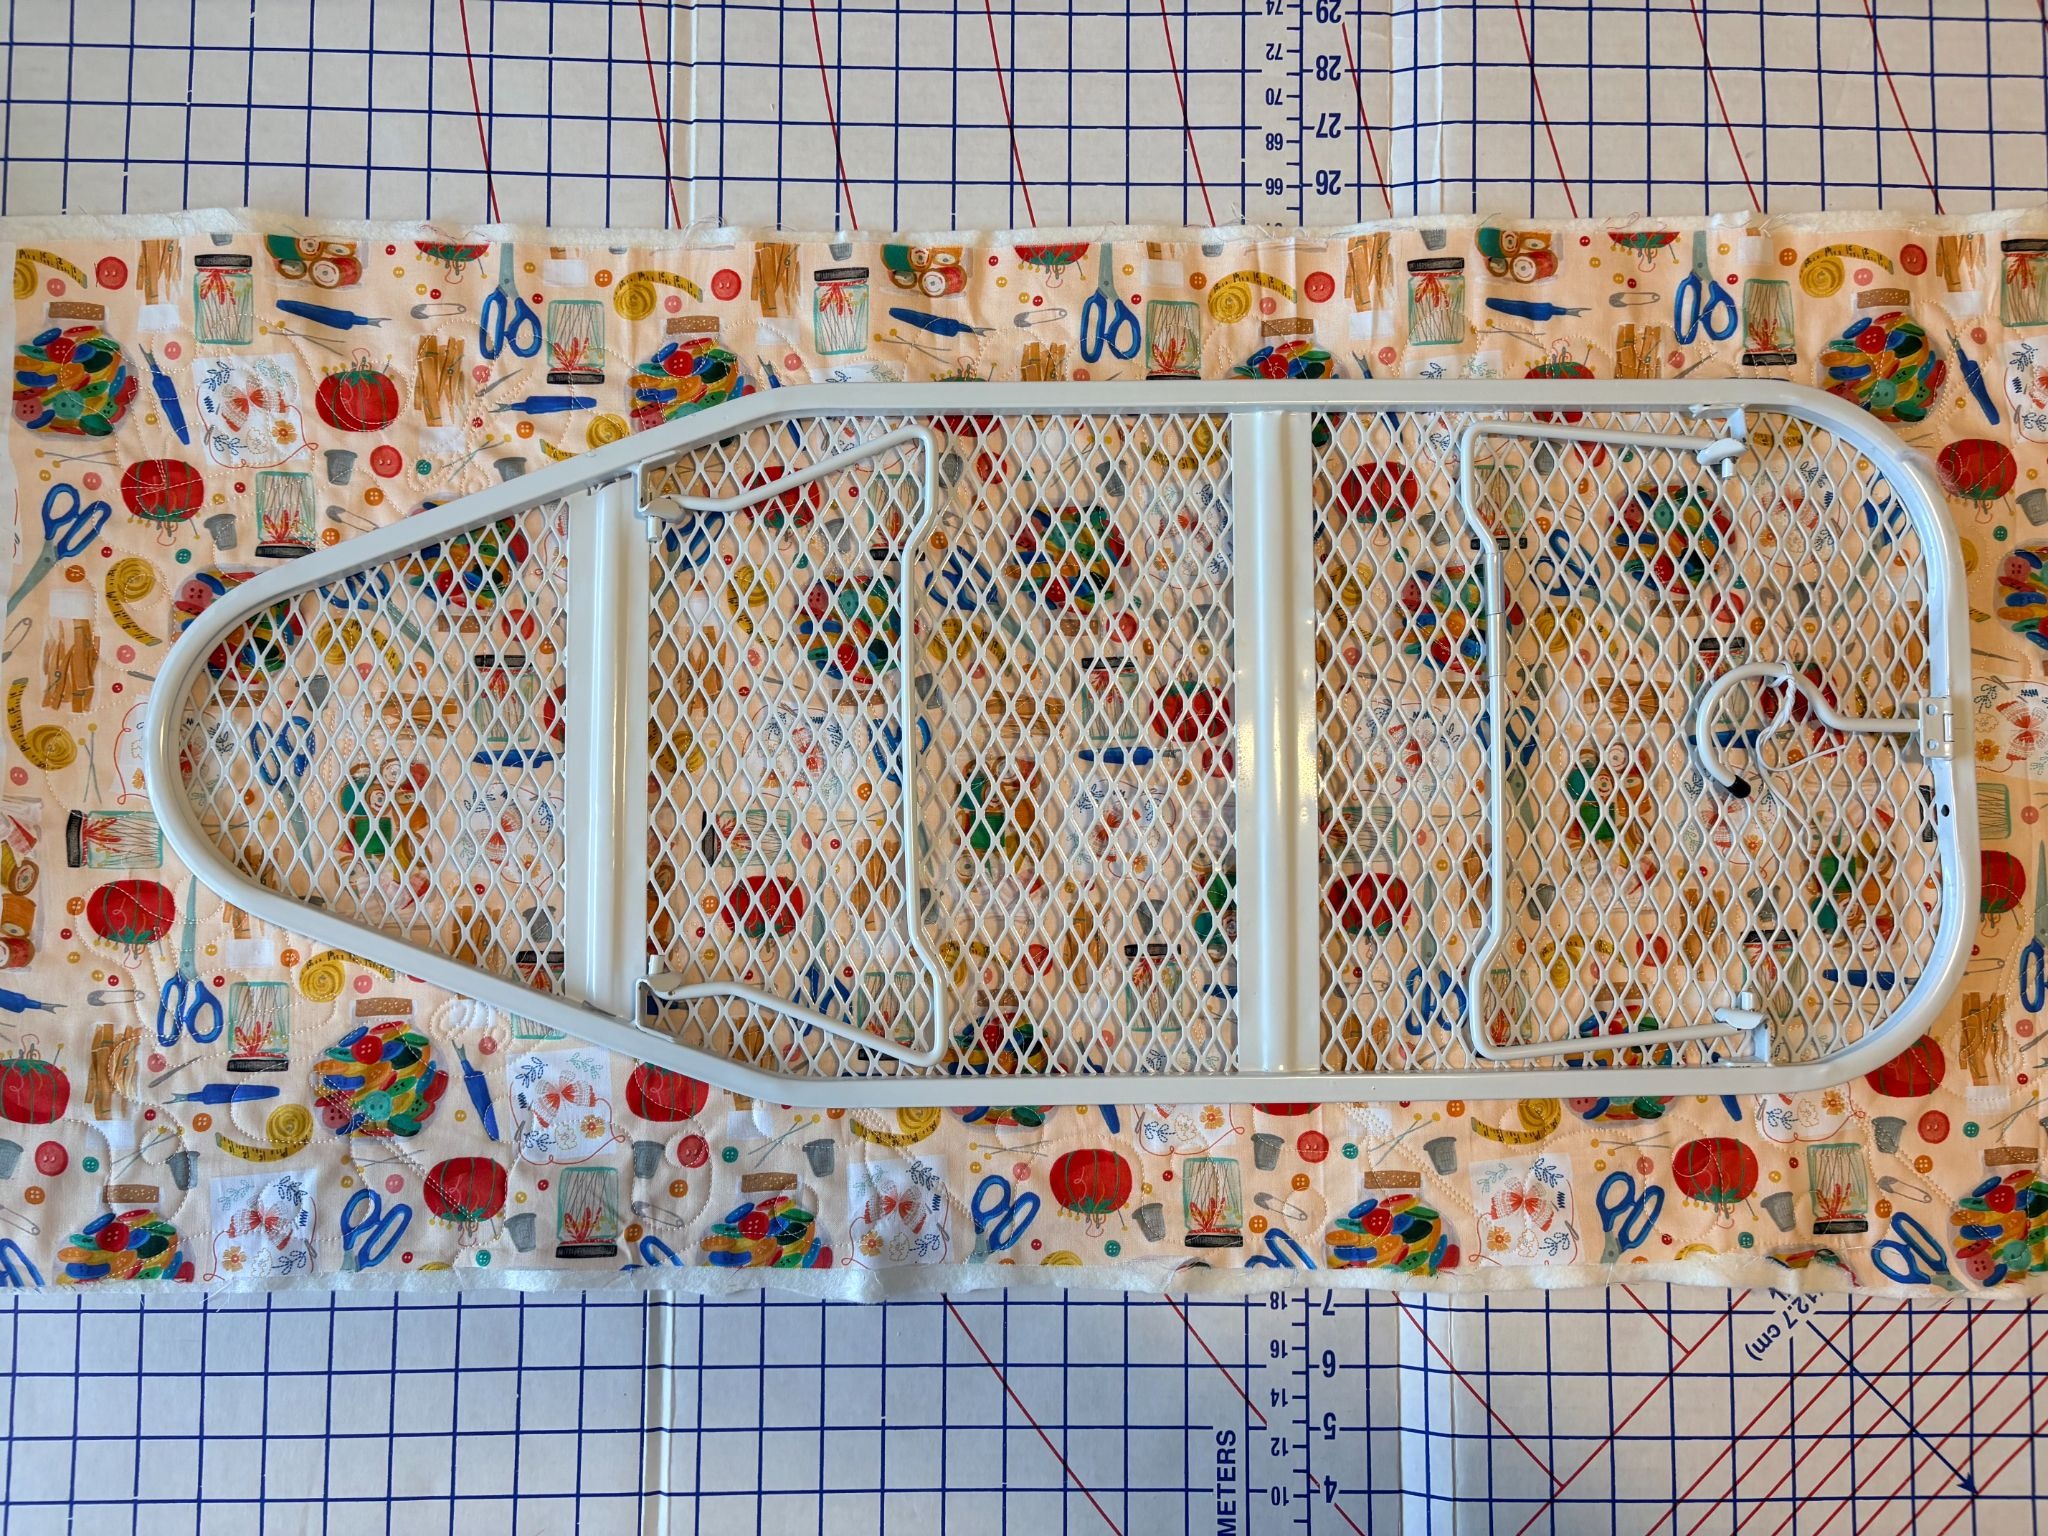
lay it out and place the ironing board on top.
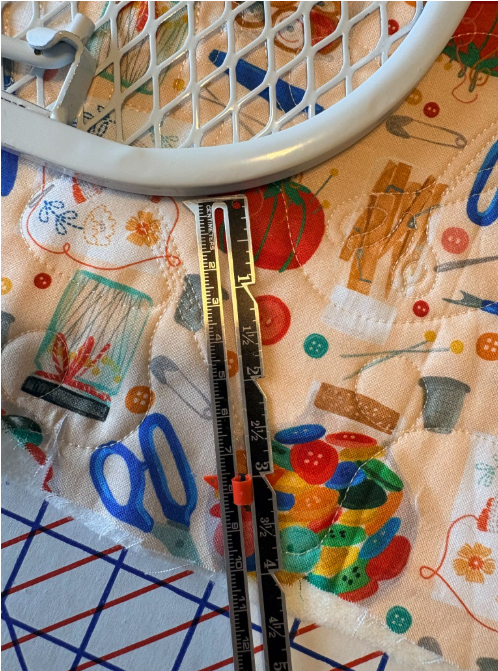
Measure 3” from the edge around the entire board and mark the fabric. This extra fabric will wrap underneath with a casing for the elastic. Remove the board.
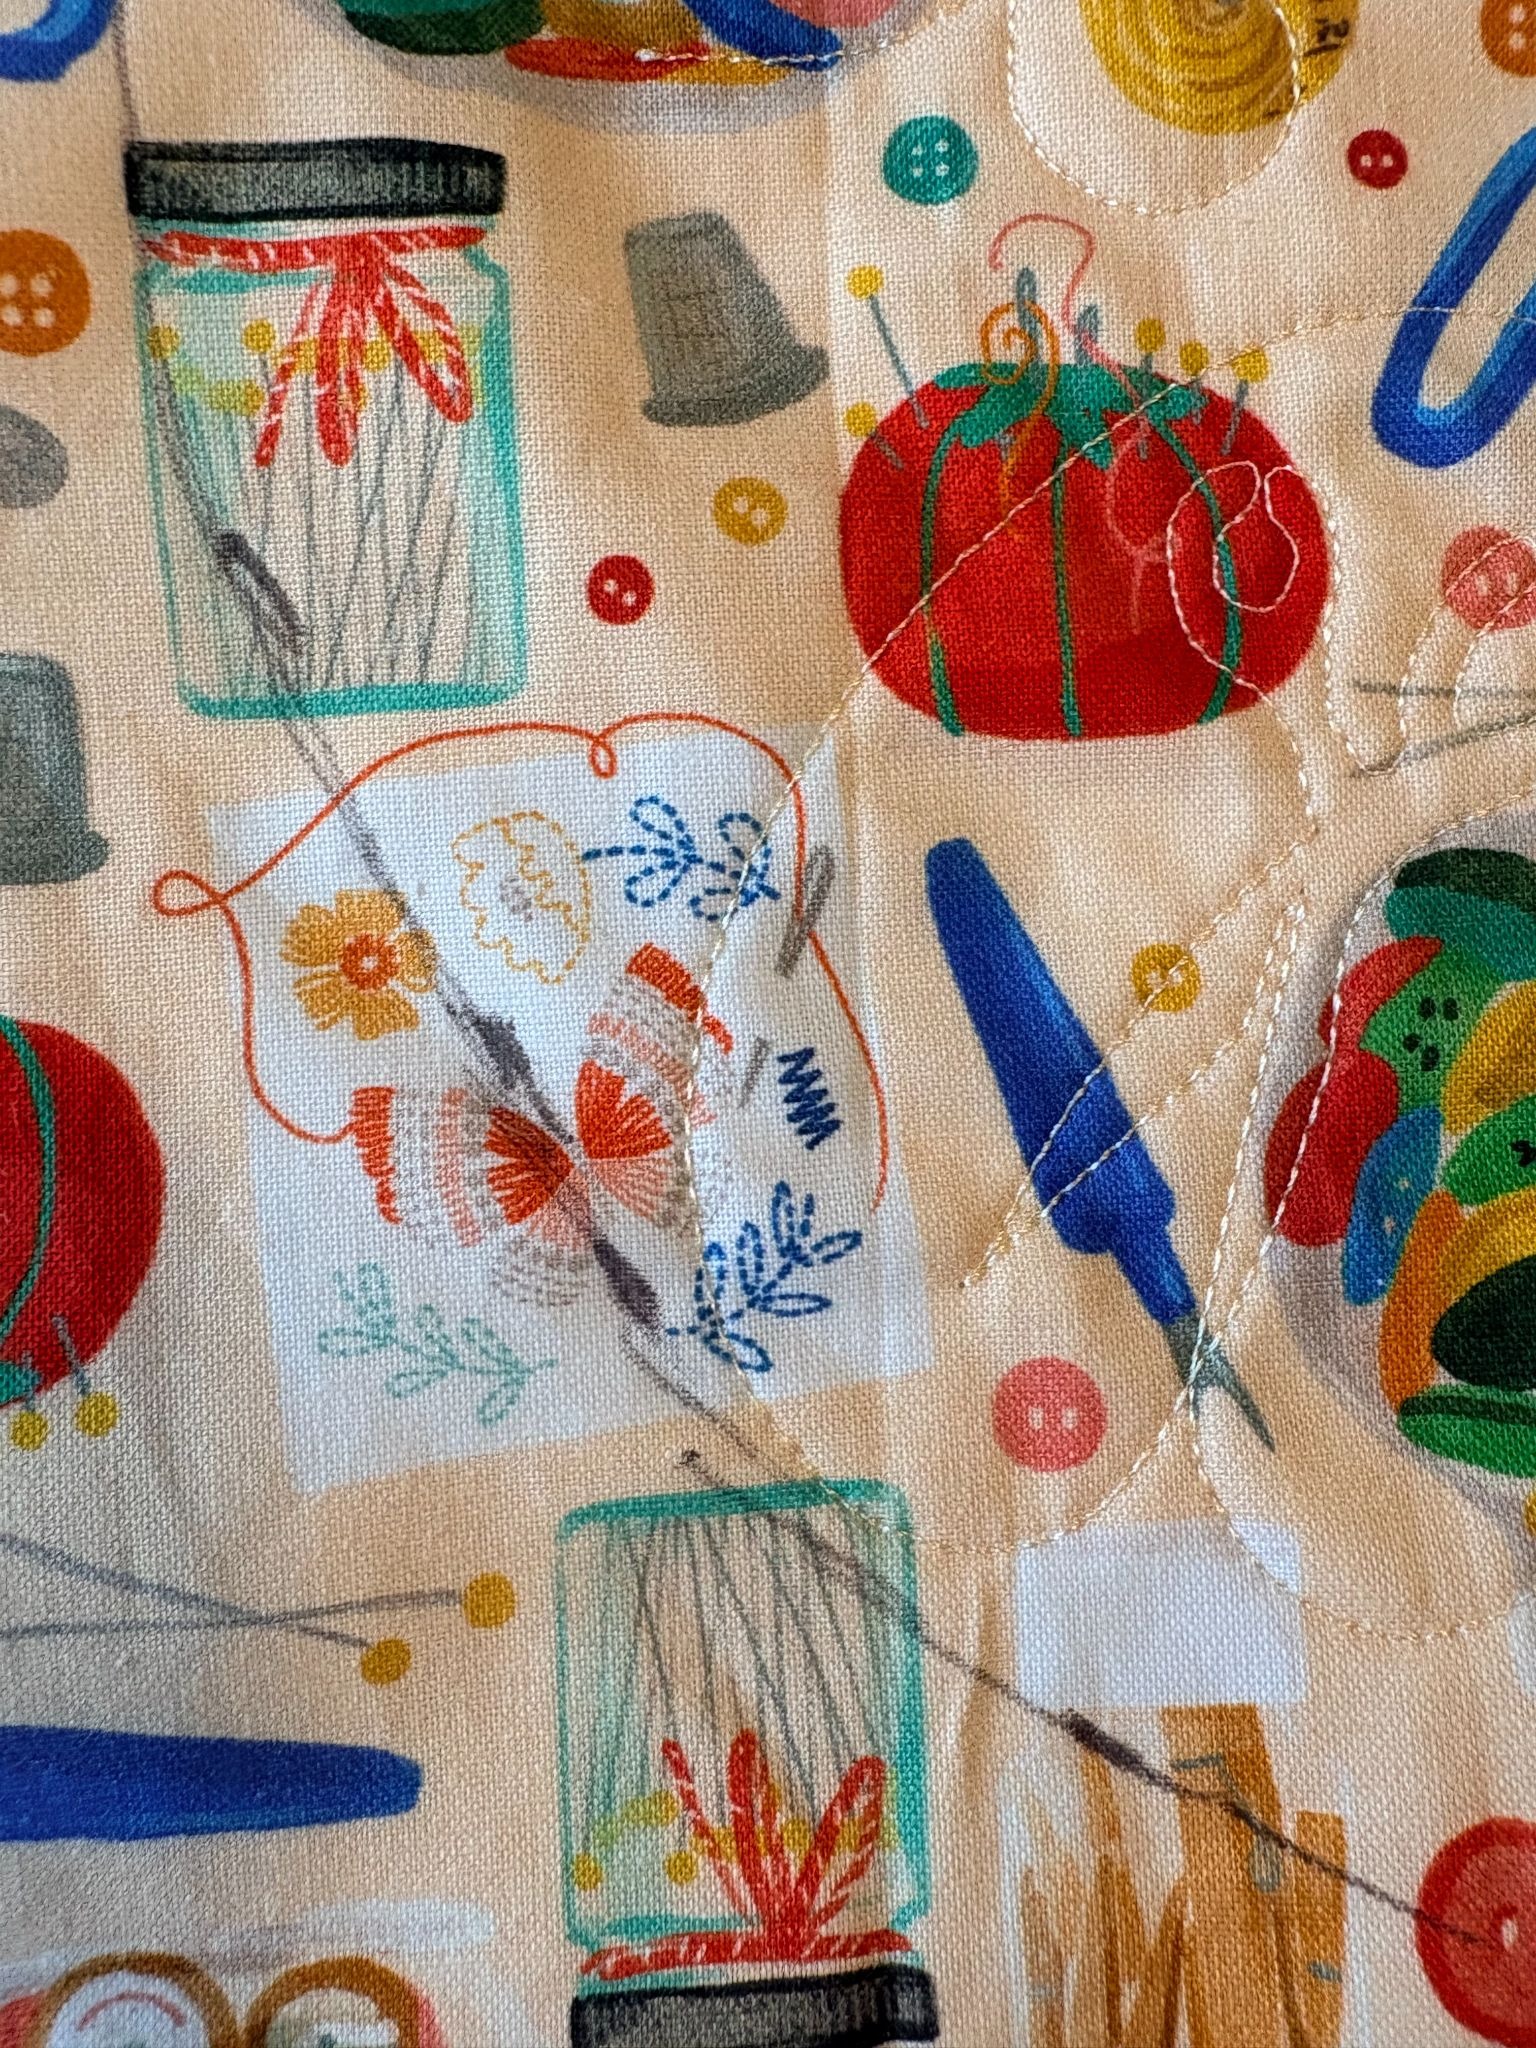
Connect the marks on the fabric to create your cutting line.
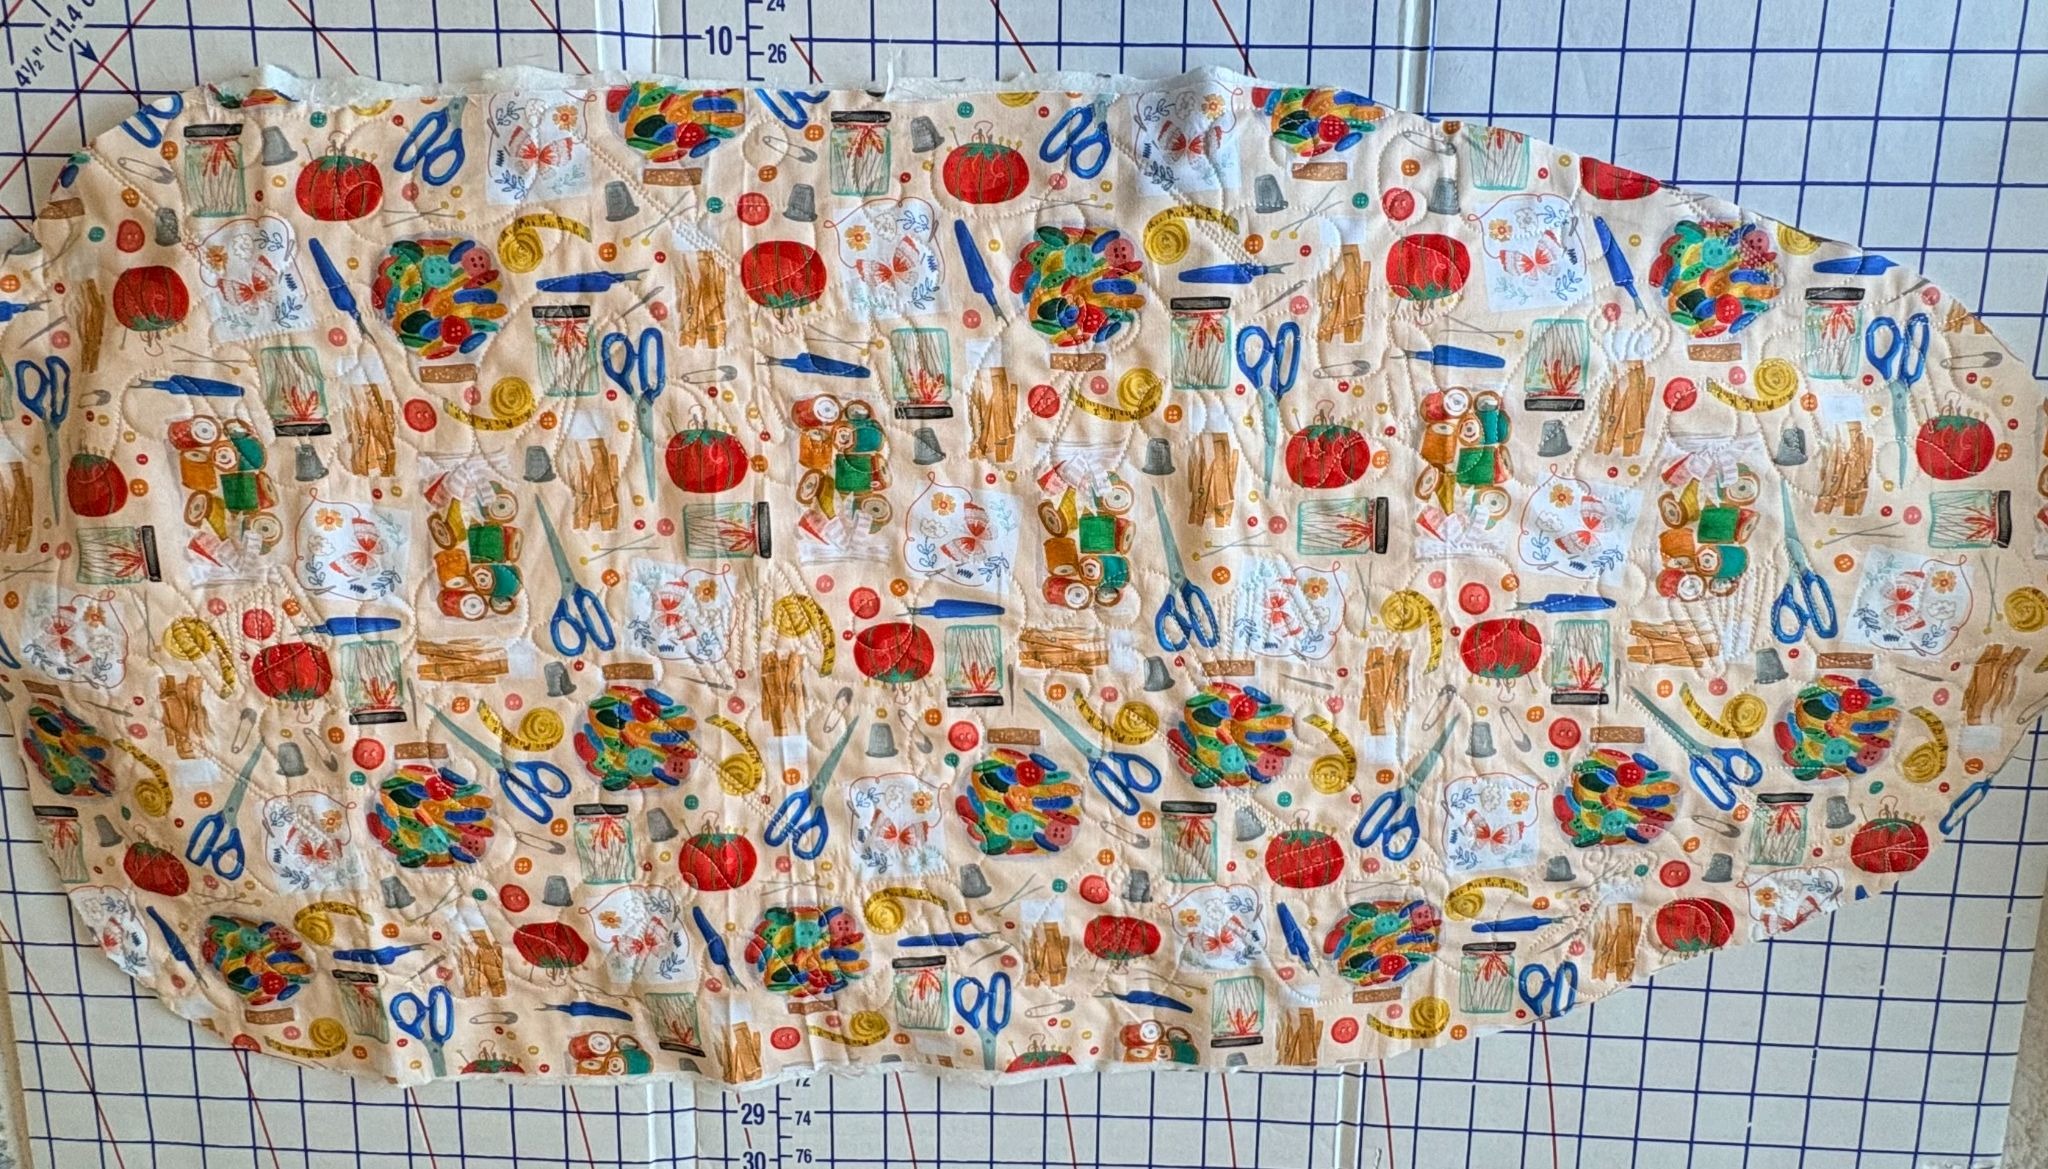
Cut out the fabric along the marked line.
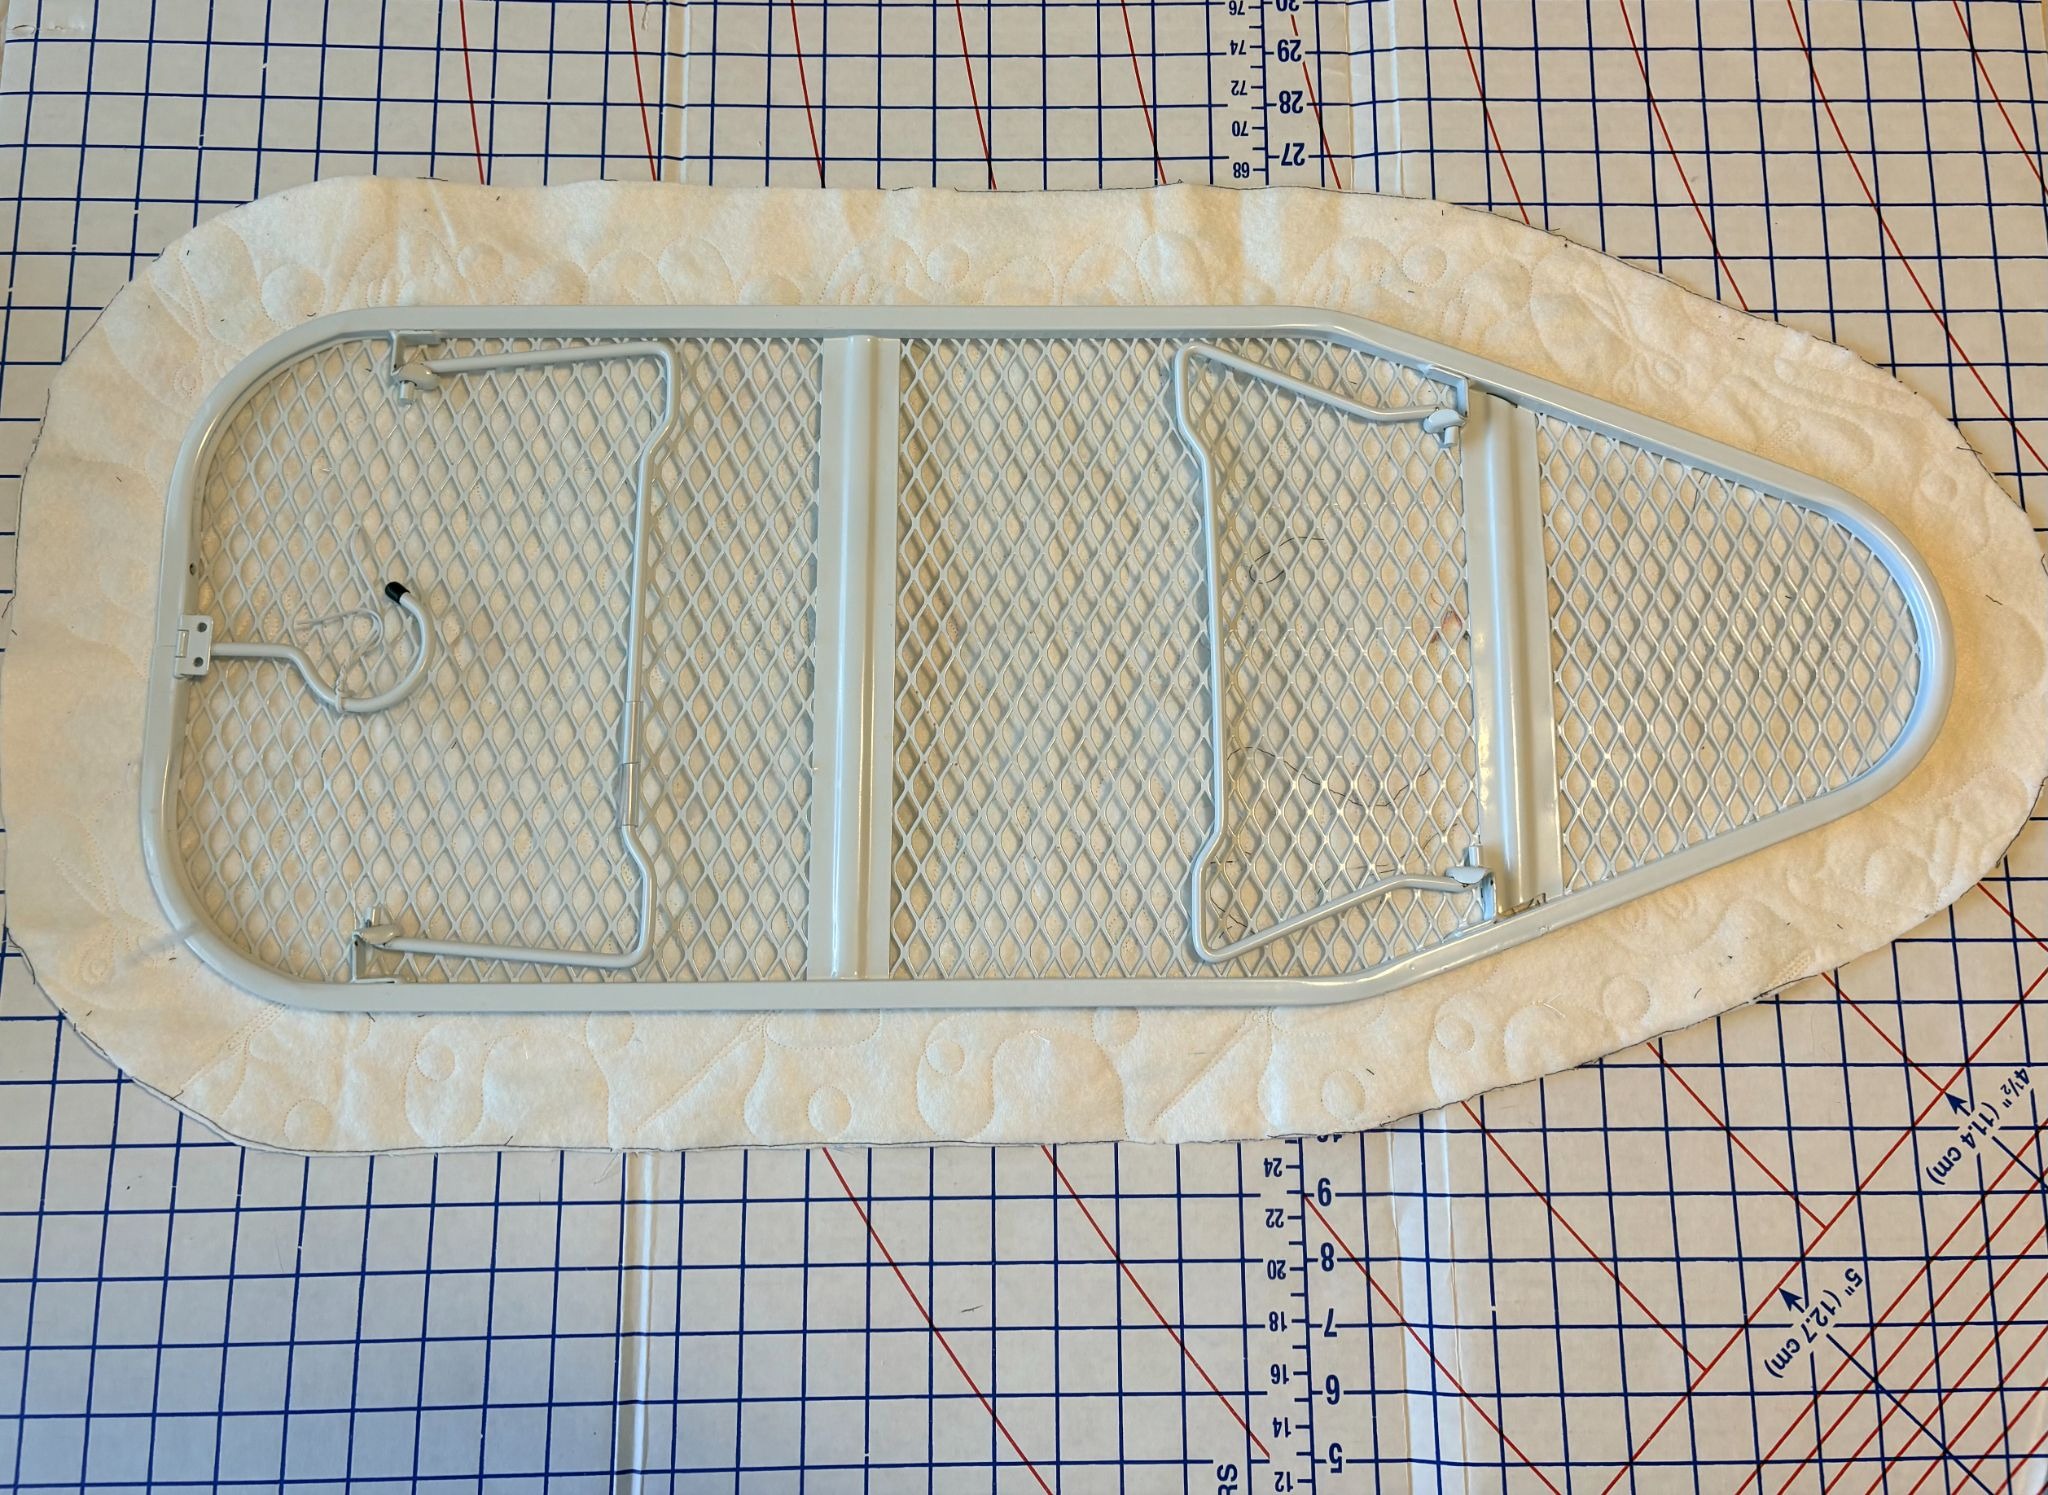
Your board should fit like this.
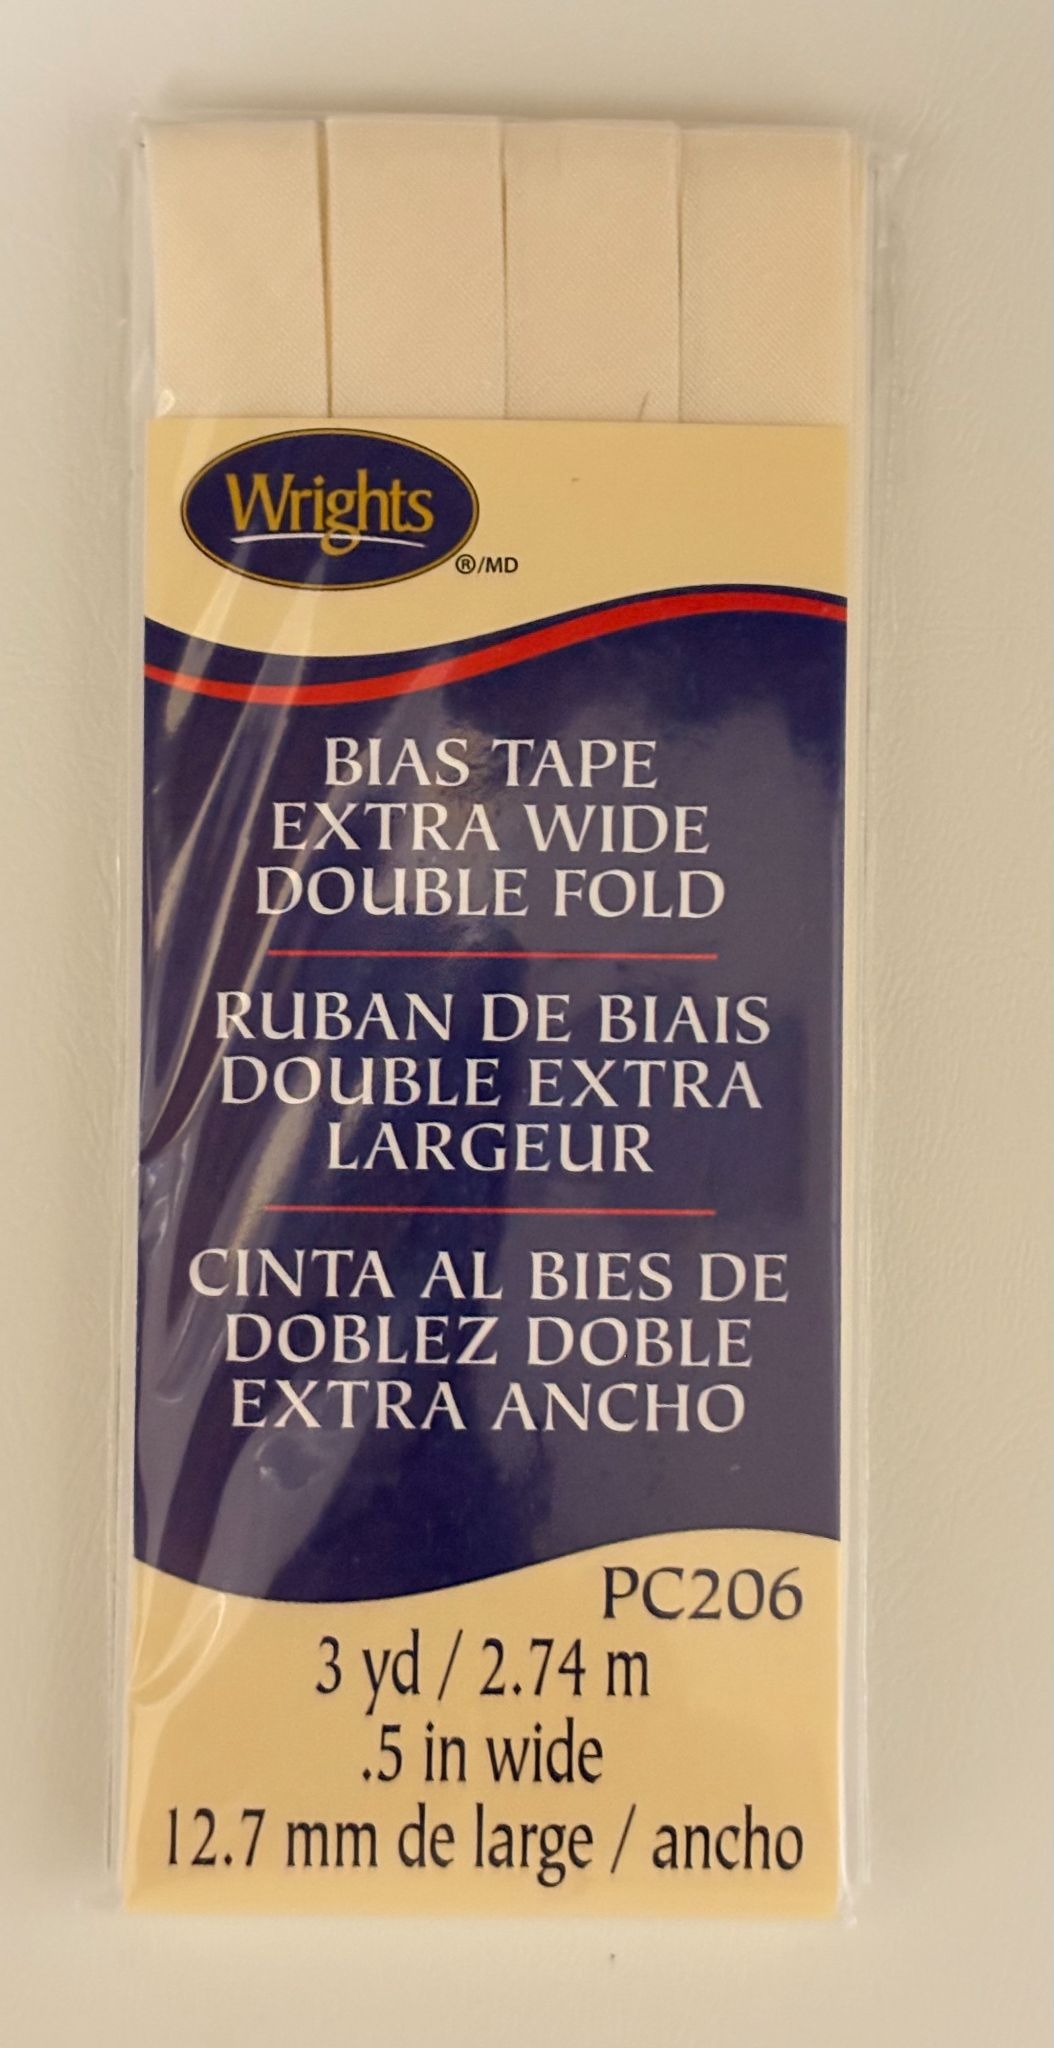
Sew the bias tape around the edge of the fabric to make a casing for the elastic.
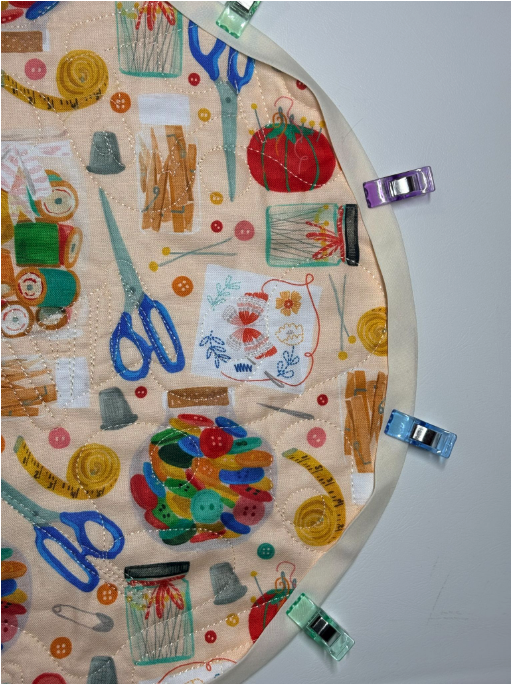
You can use any method you like for adding bias tape. For this project, I simply clipped the bias tape around the raw edge, making sure both sides were covered evenly. Then I stitched close to the edge to hold it in place. This gives you a neat casing for the elastic.
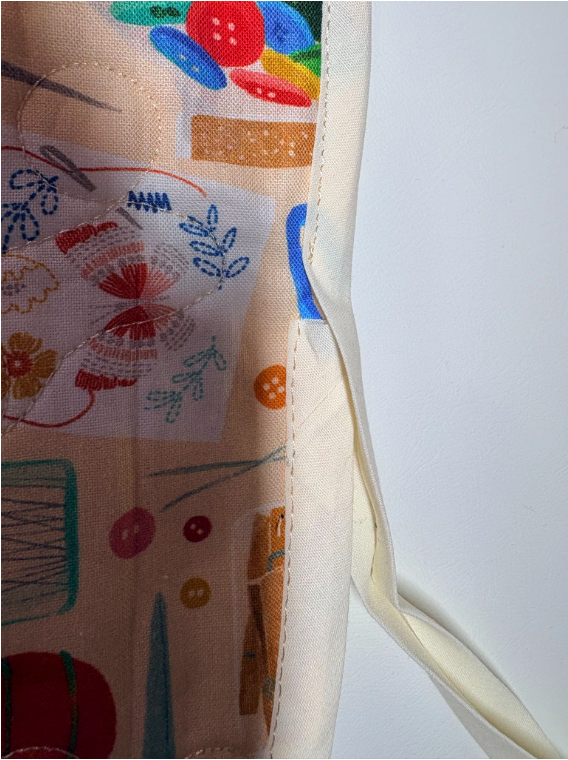
Do not connect the ends.
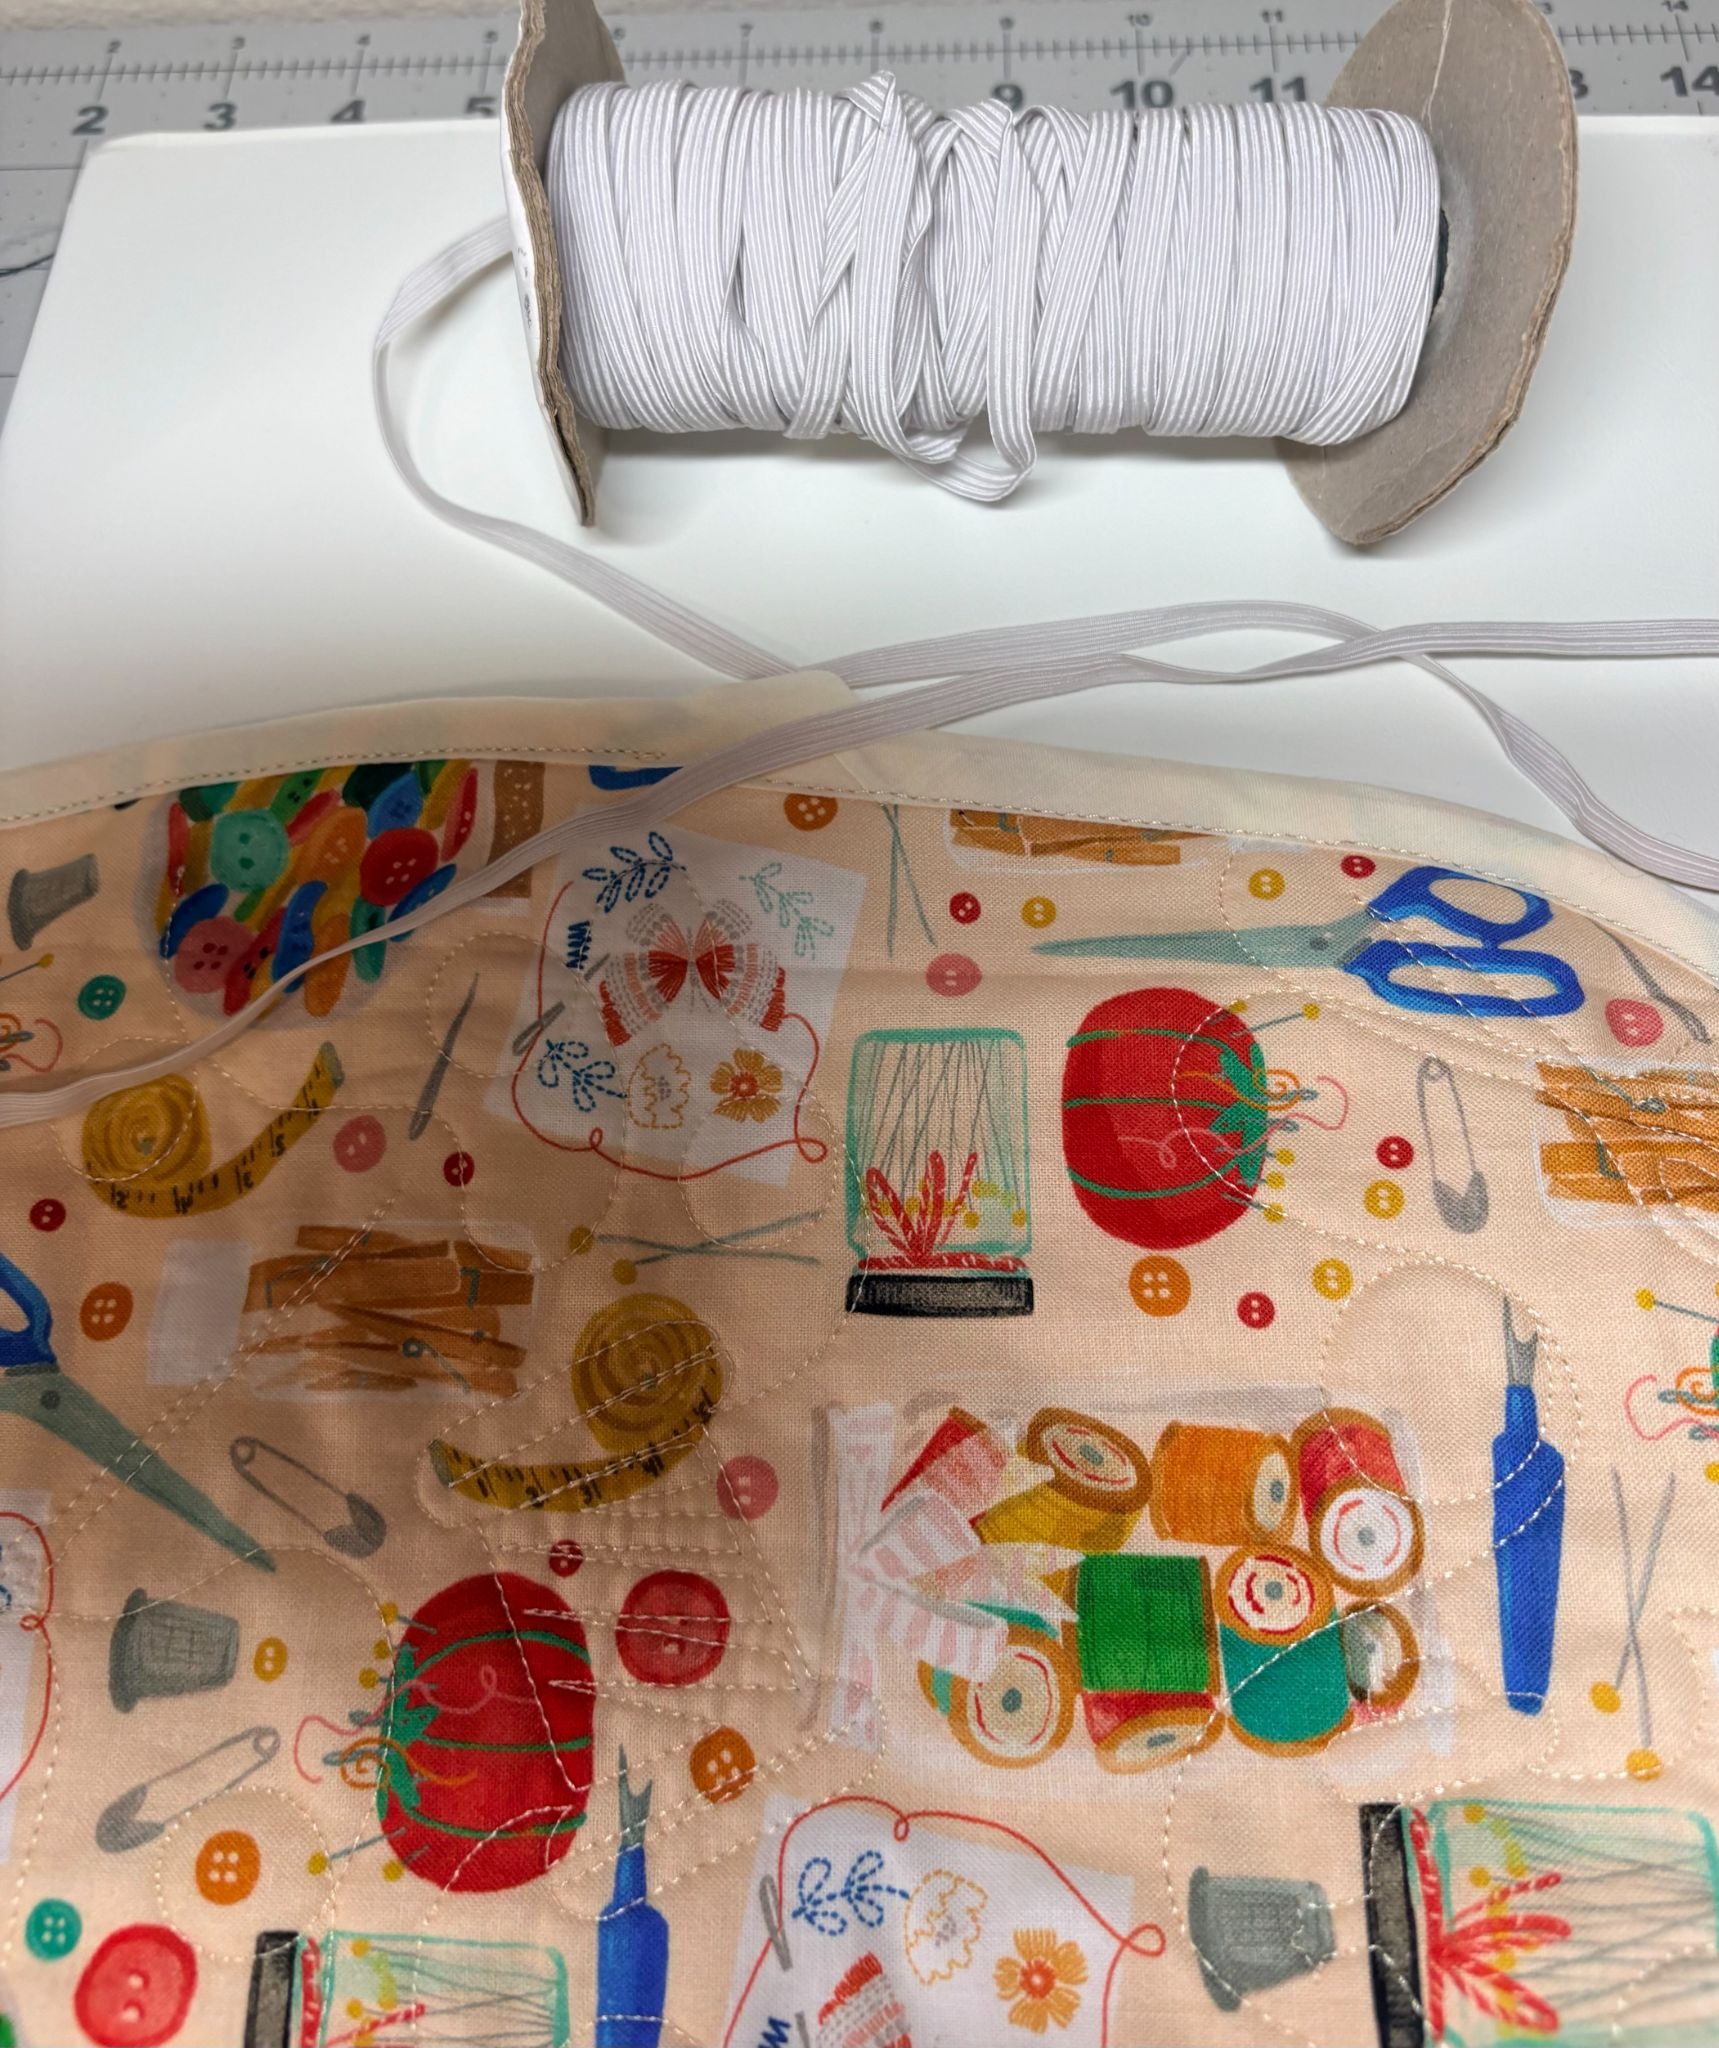
Attach a safety pin to one end of the elastic and slowly feed the elastic through the bias tape casing, working it all the way around. Try not to twist the elastic inside.
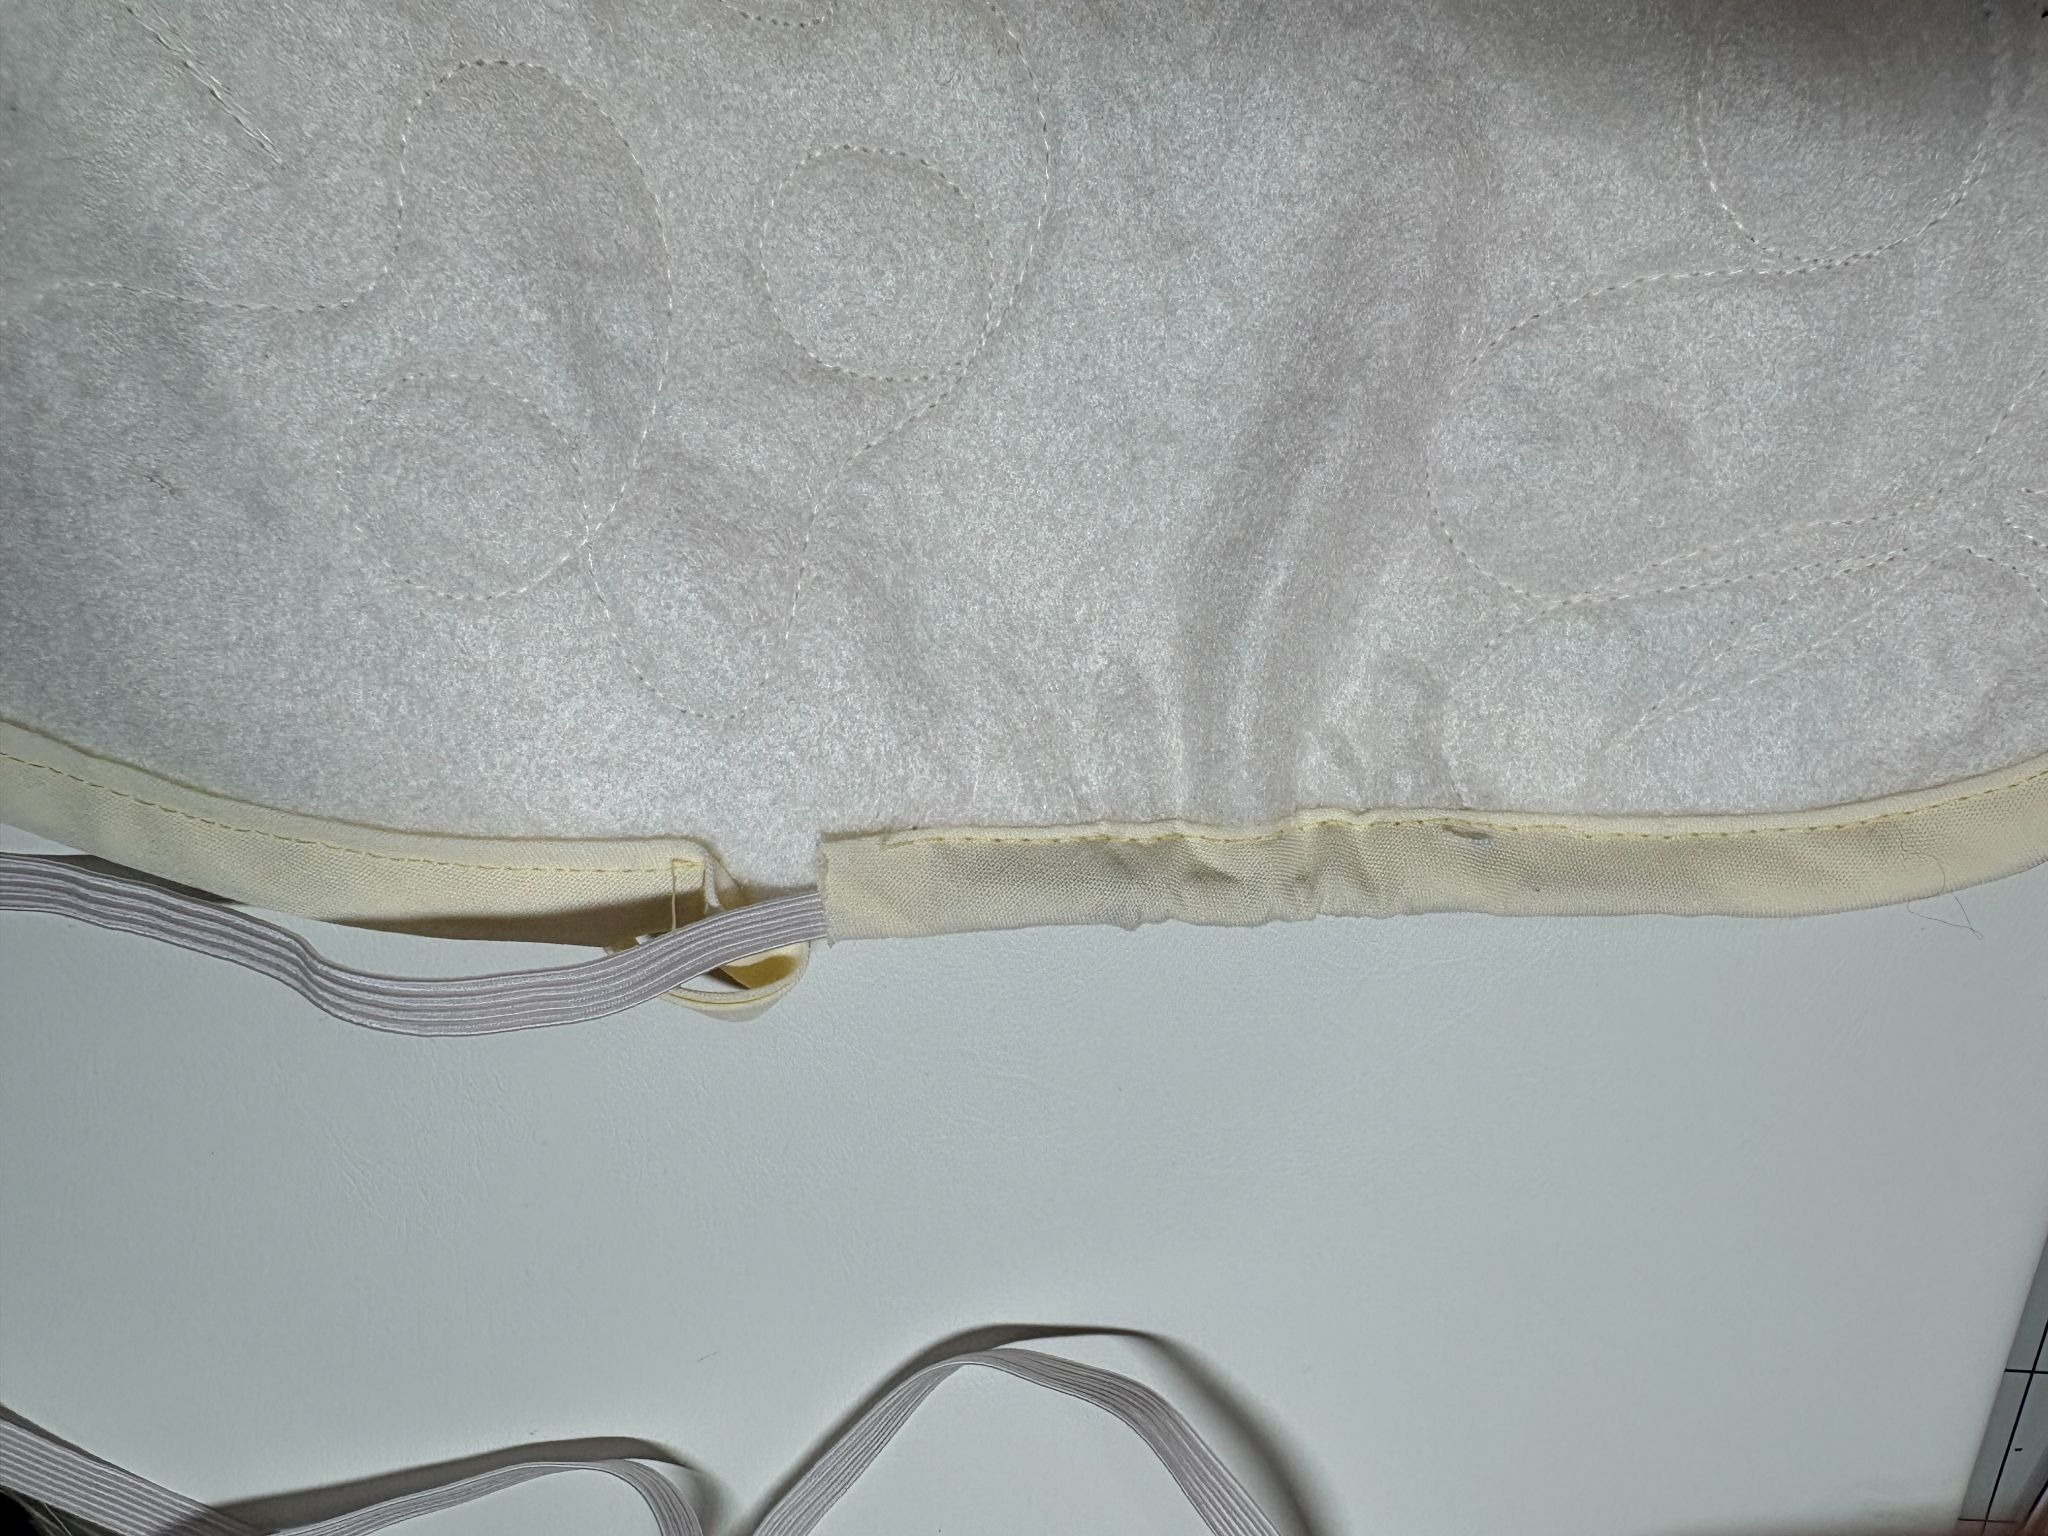
When finished, pin the safety pin to the fabric so it does not slip back in.
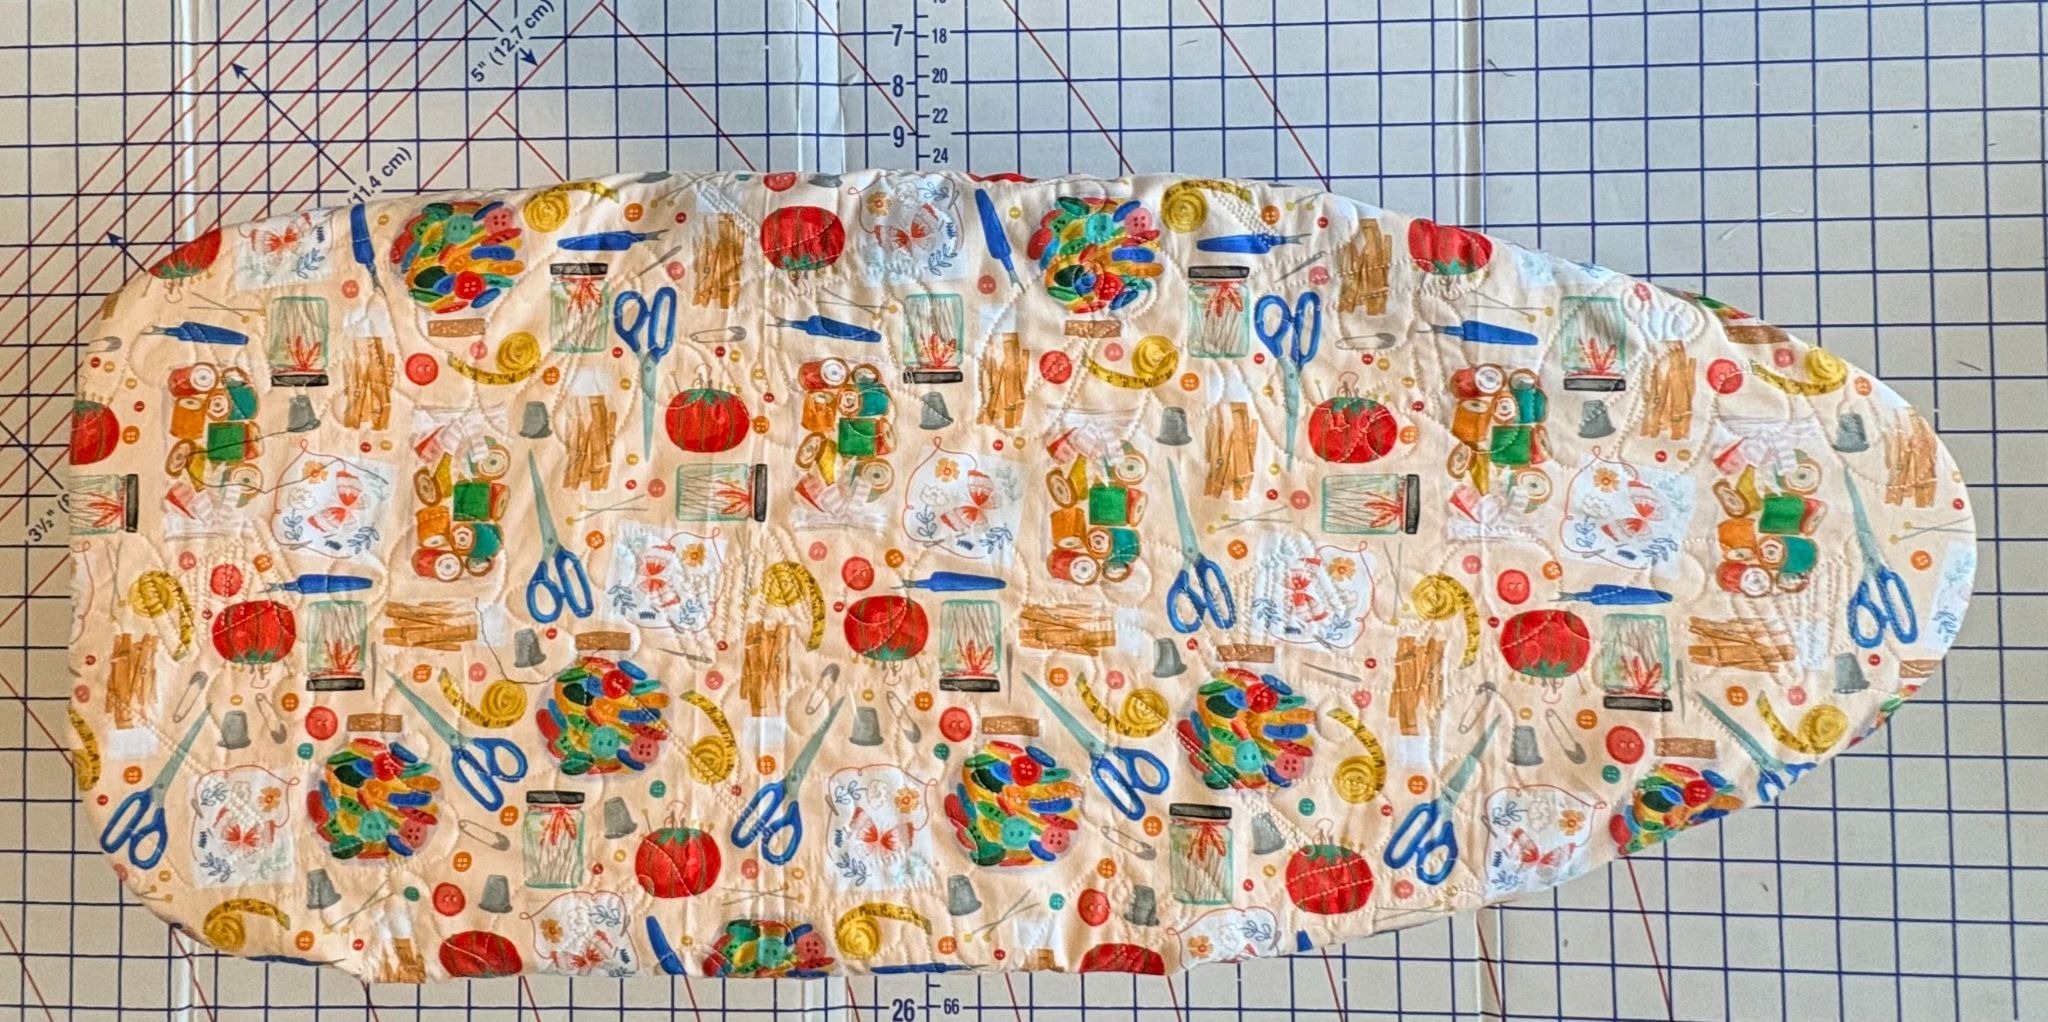
Fit the cover over the board. Pull both ends of the elastic until the cover fits smoothly and snugly underneath.
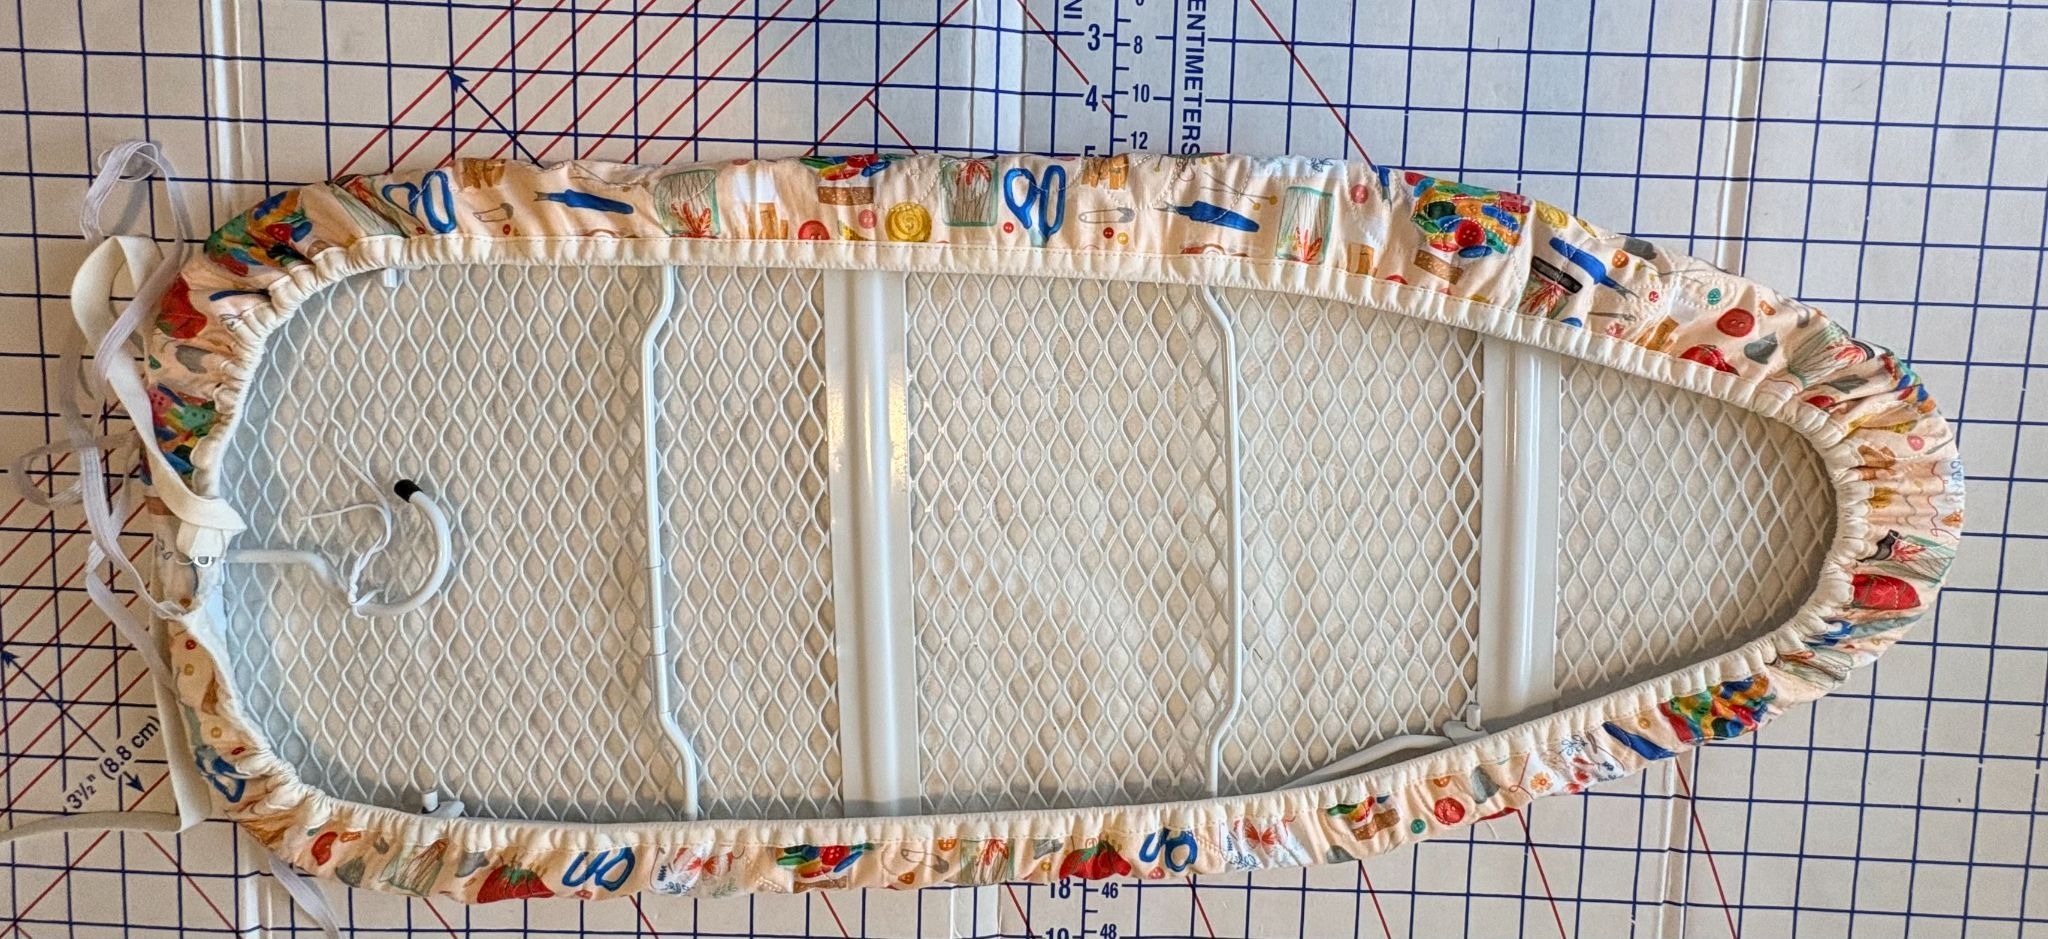
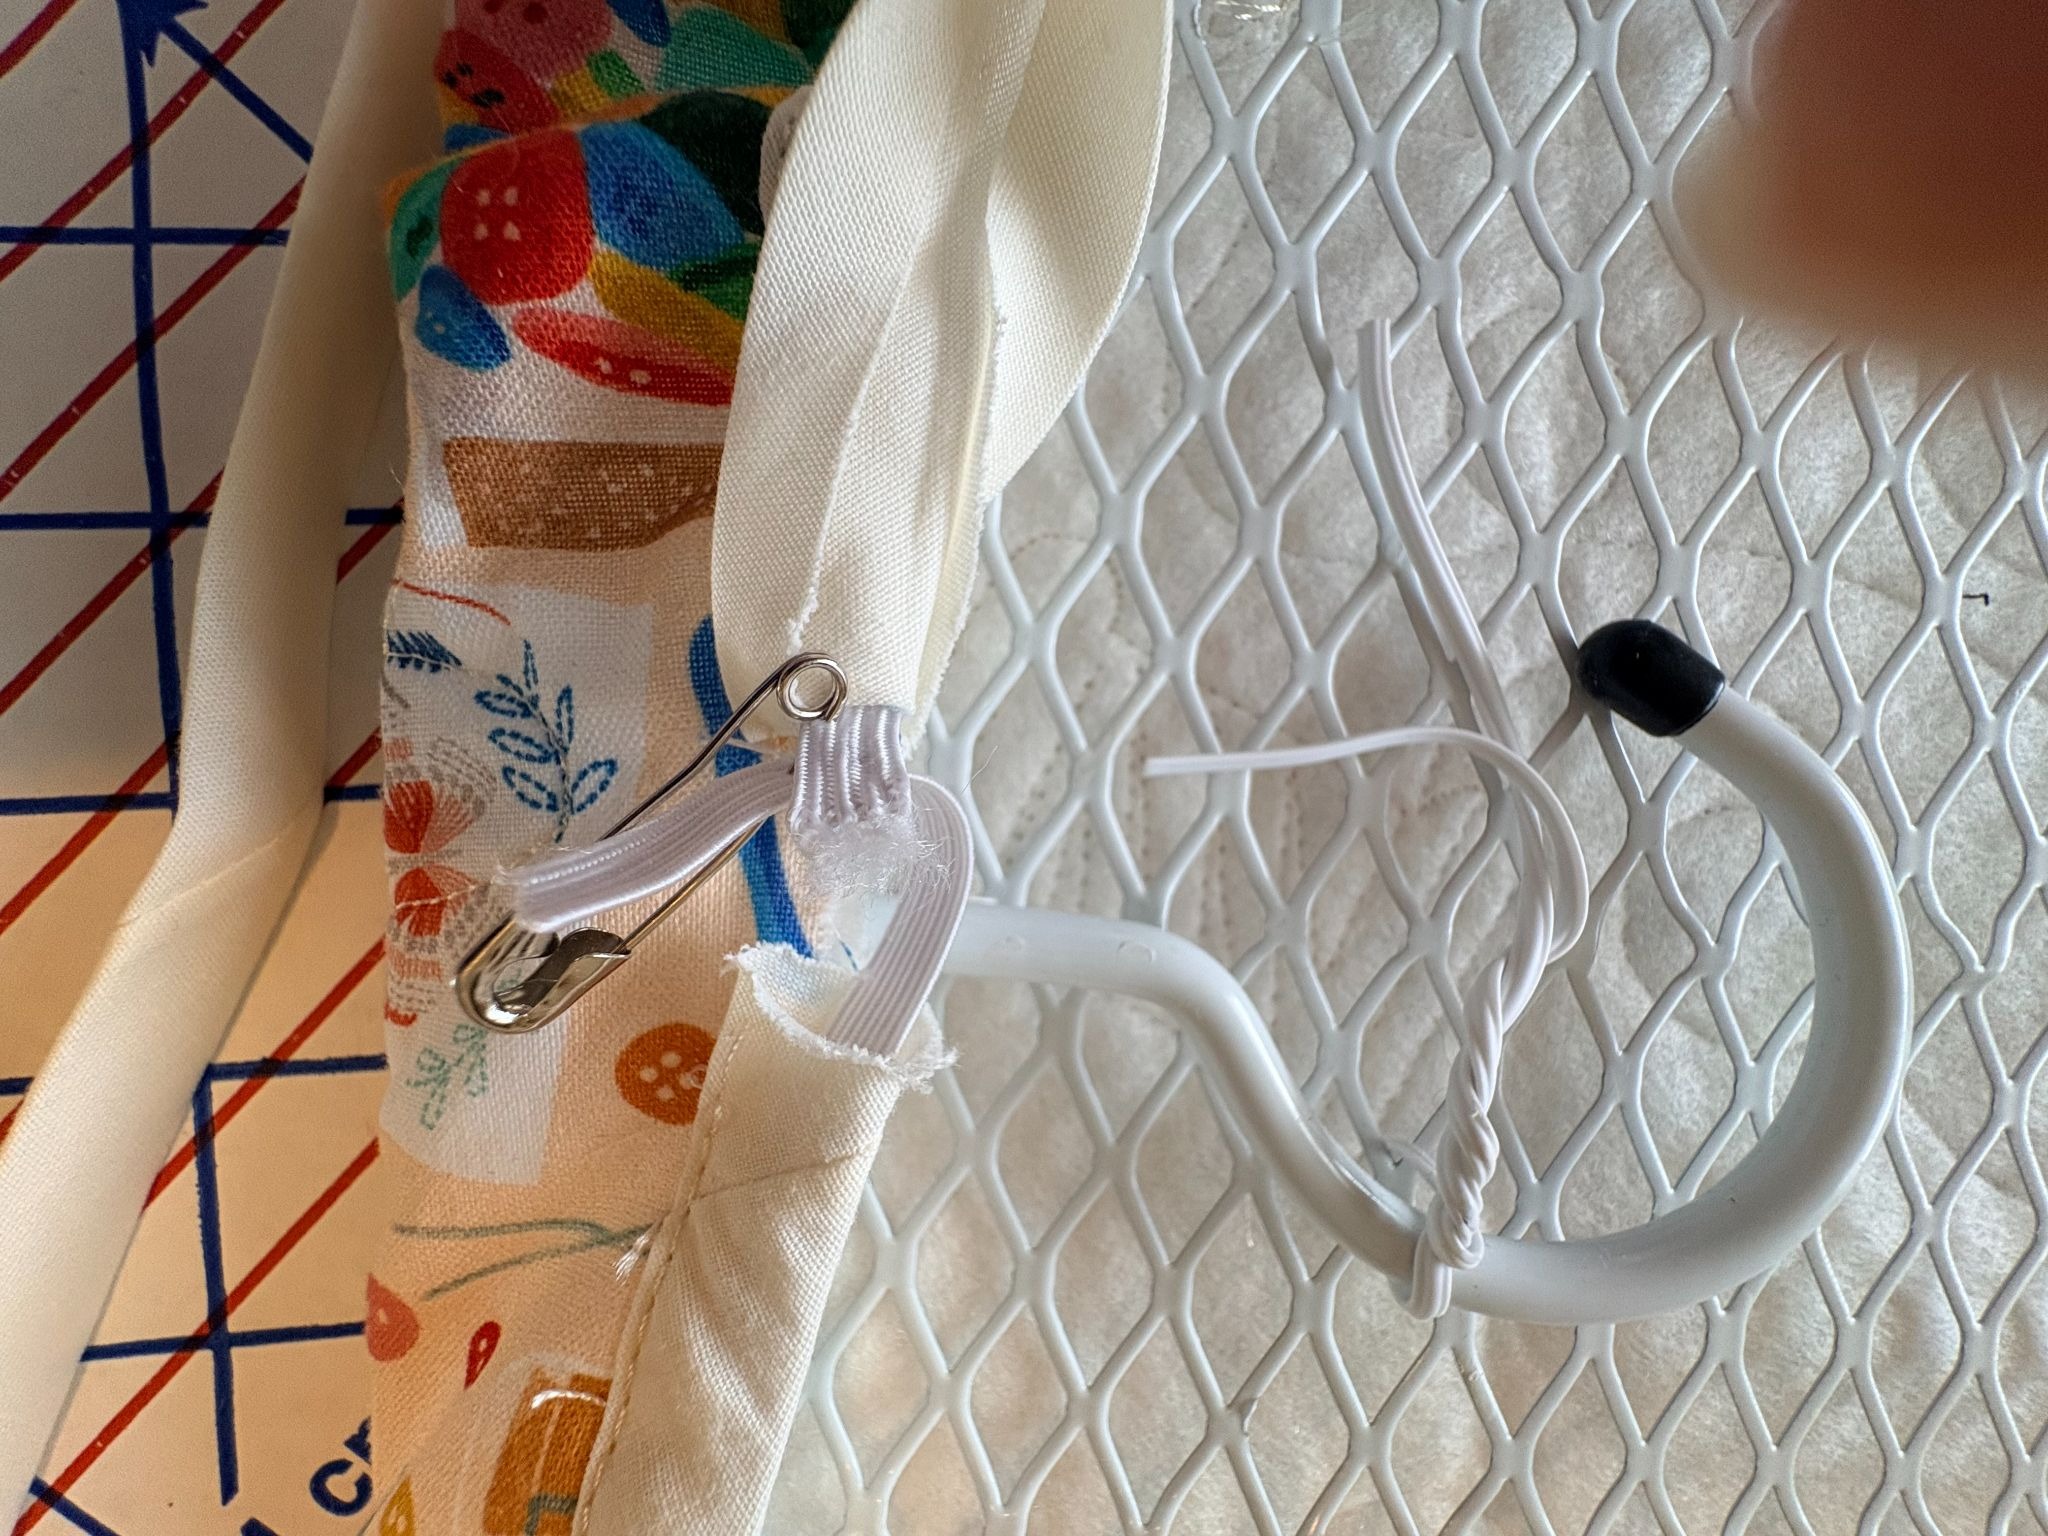
Overlap the elastic ends by about 1” and cut off the excess.
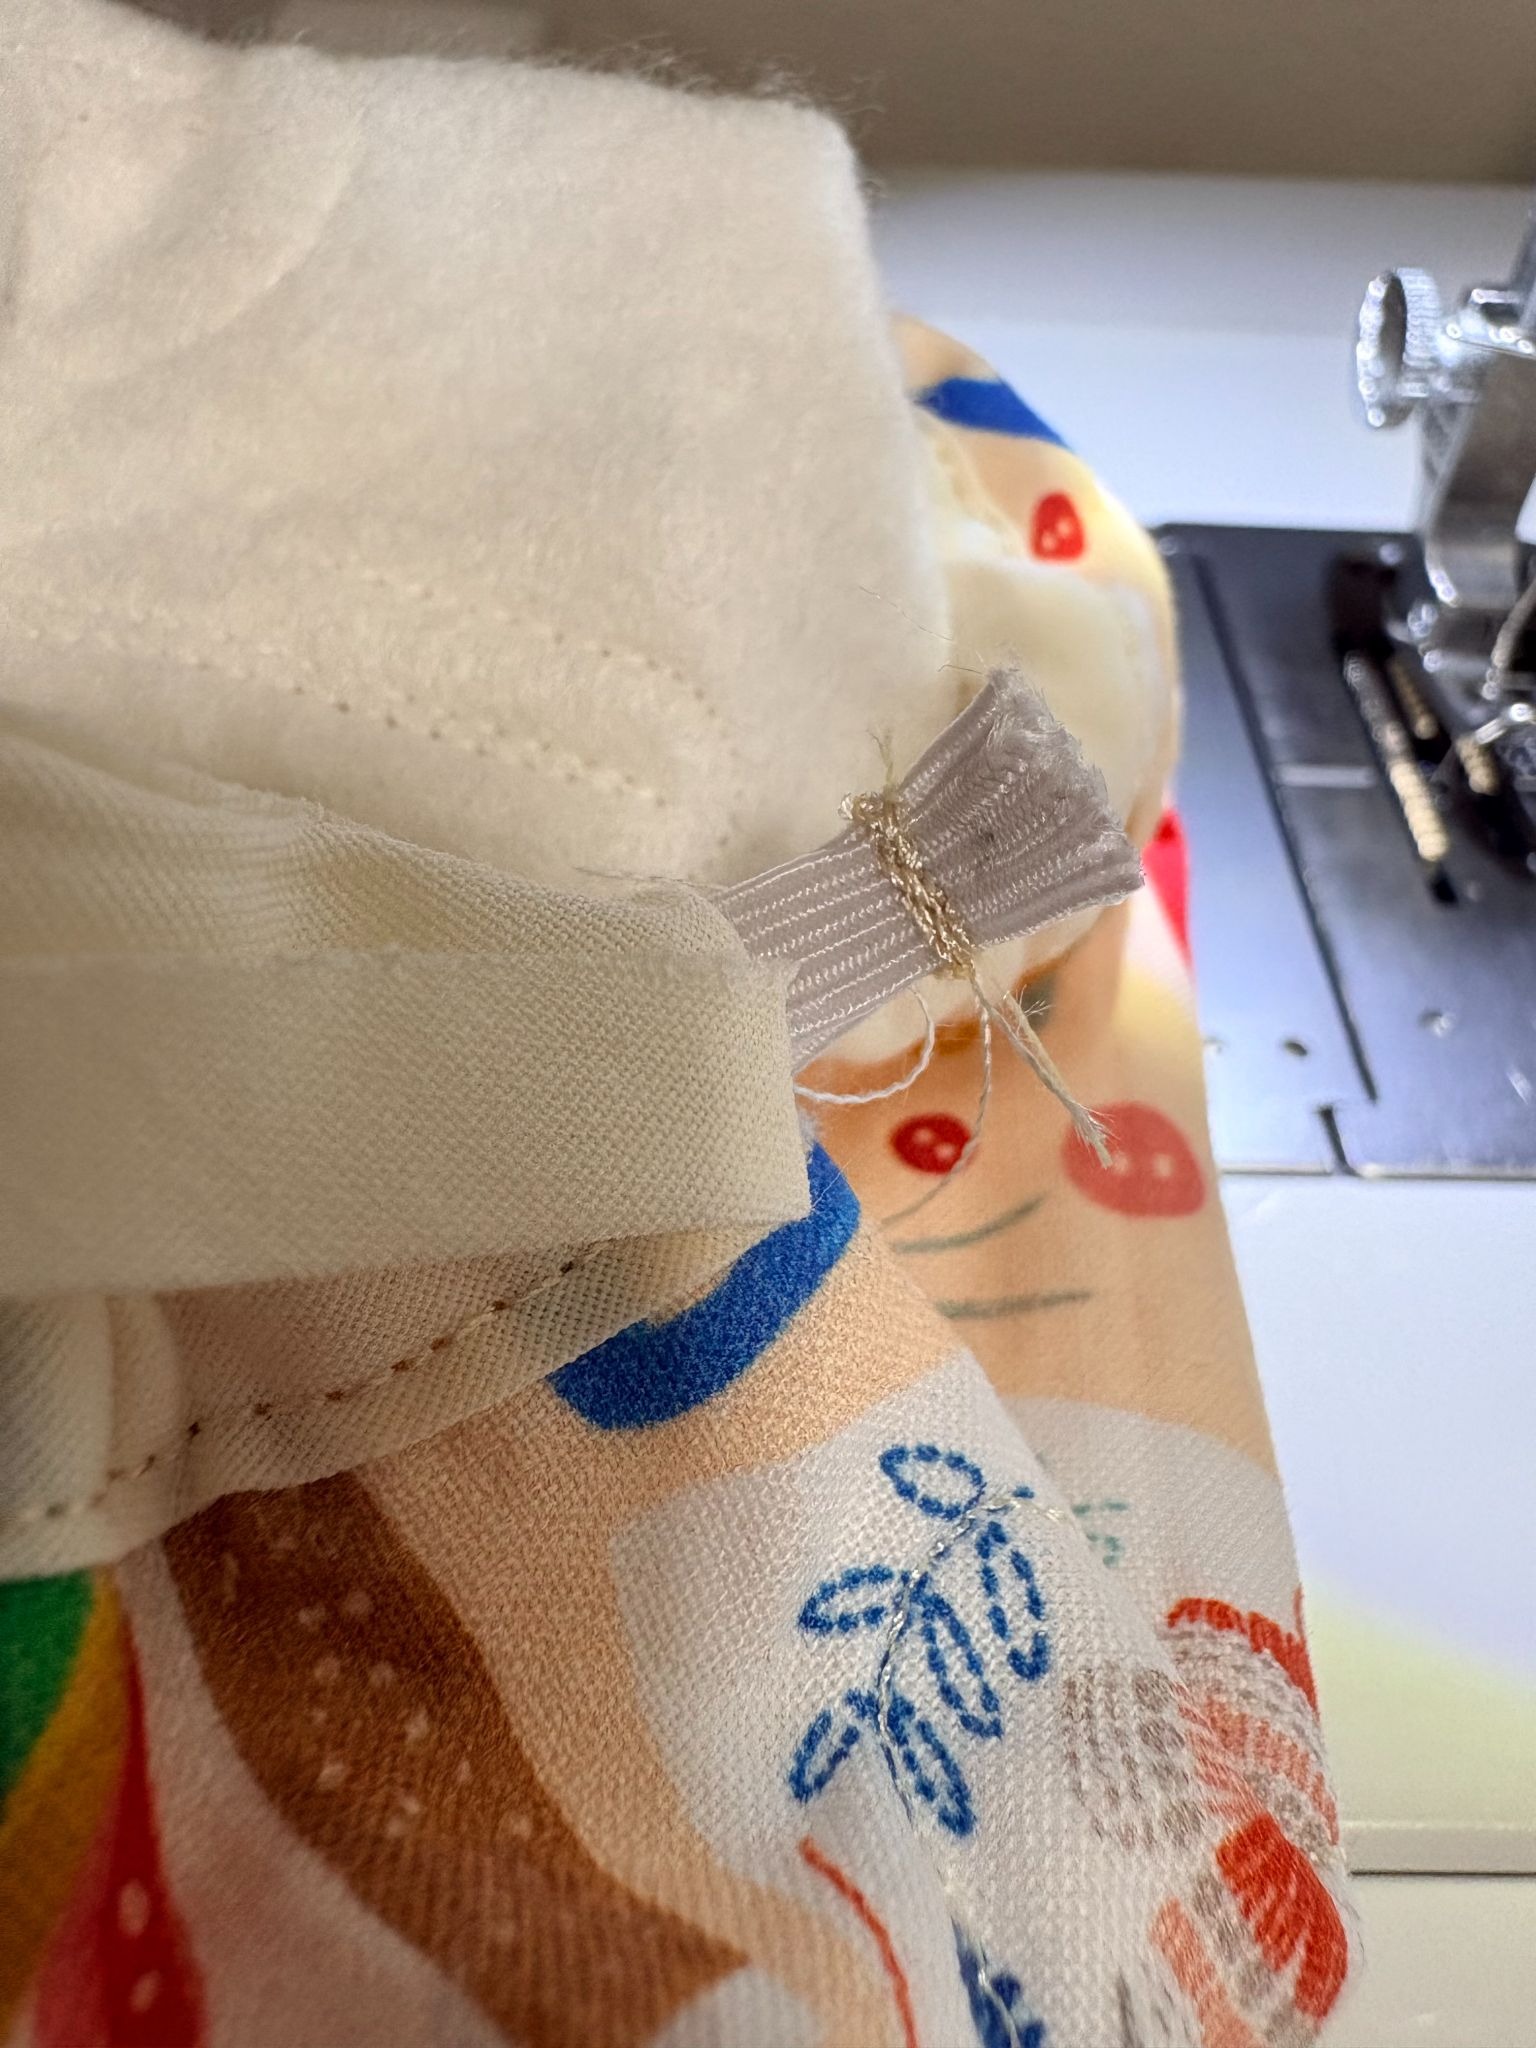
Take it to the sewing machine and securely sew the ends.
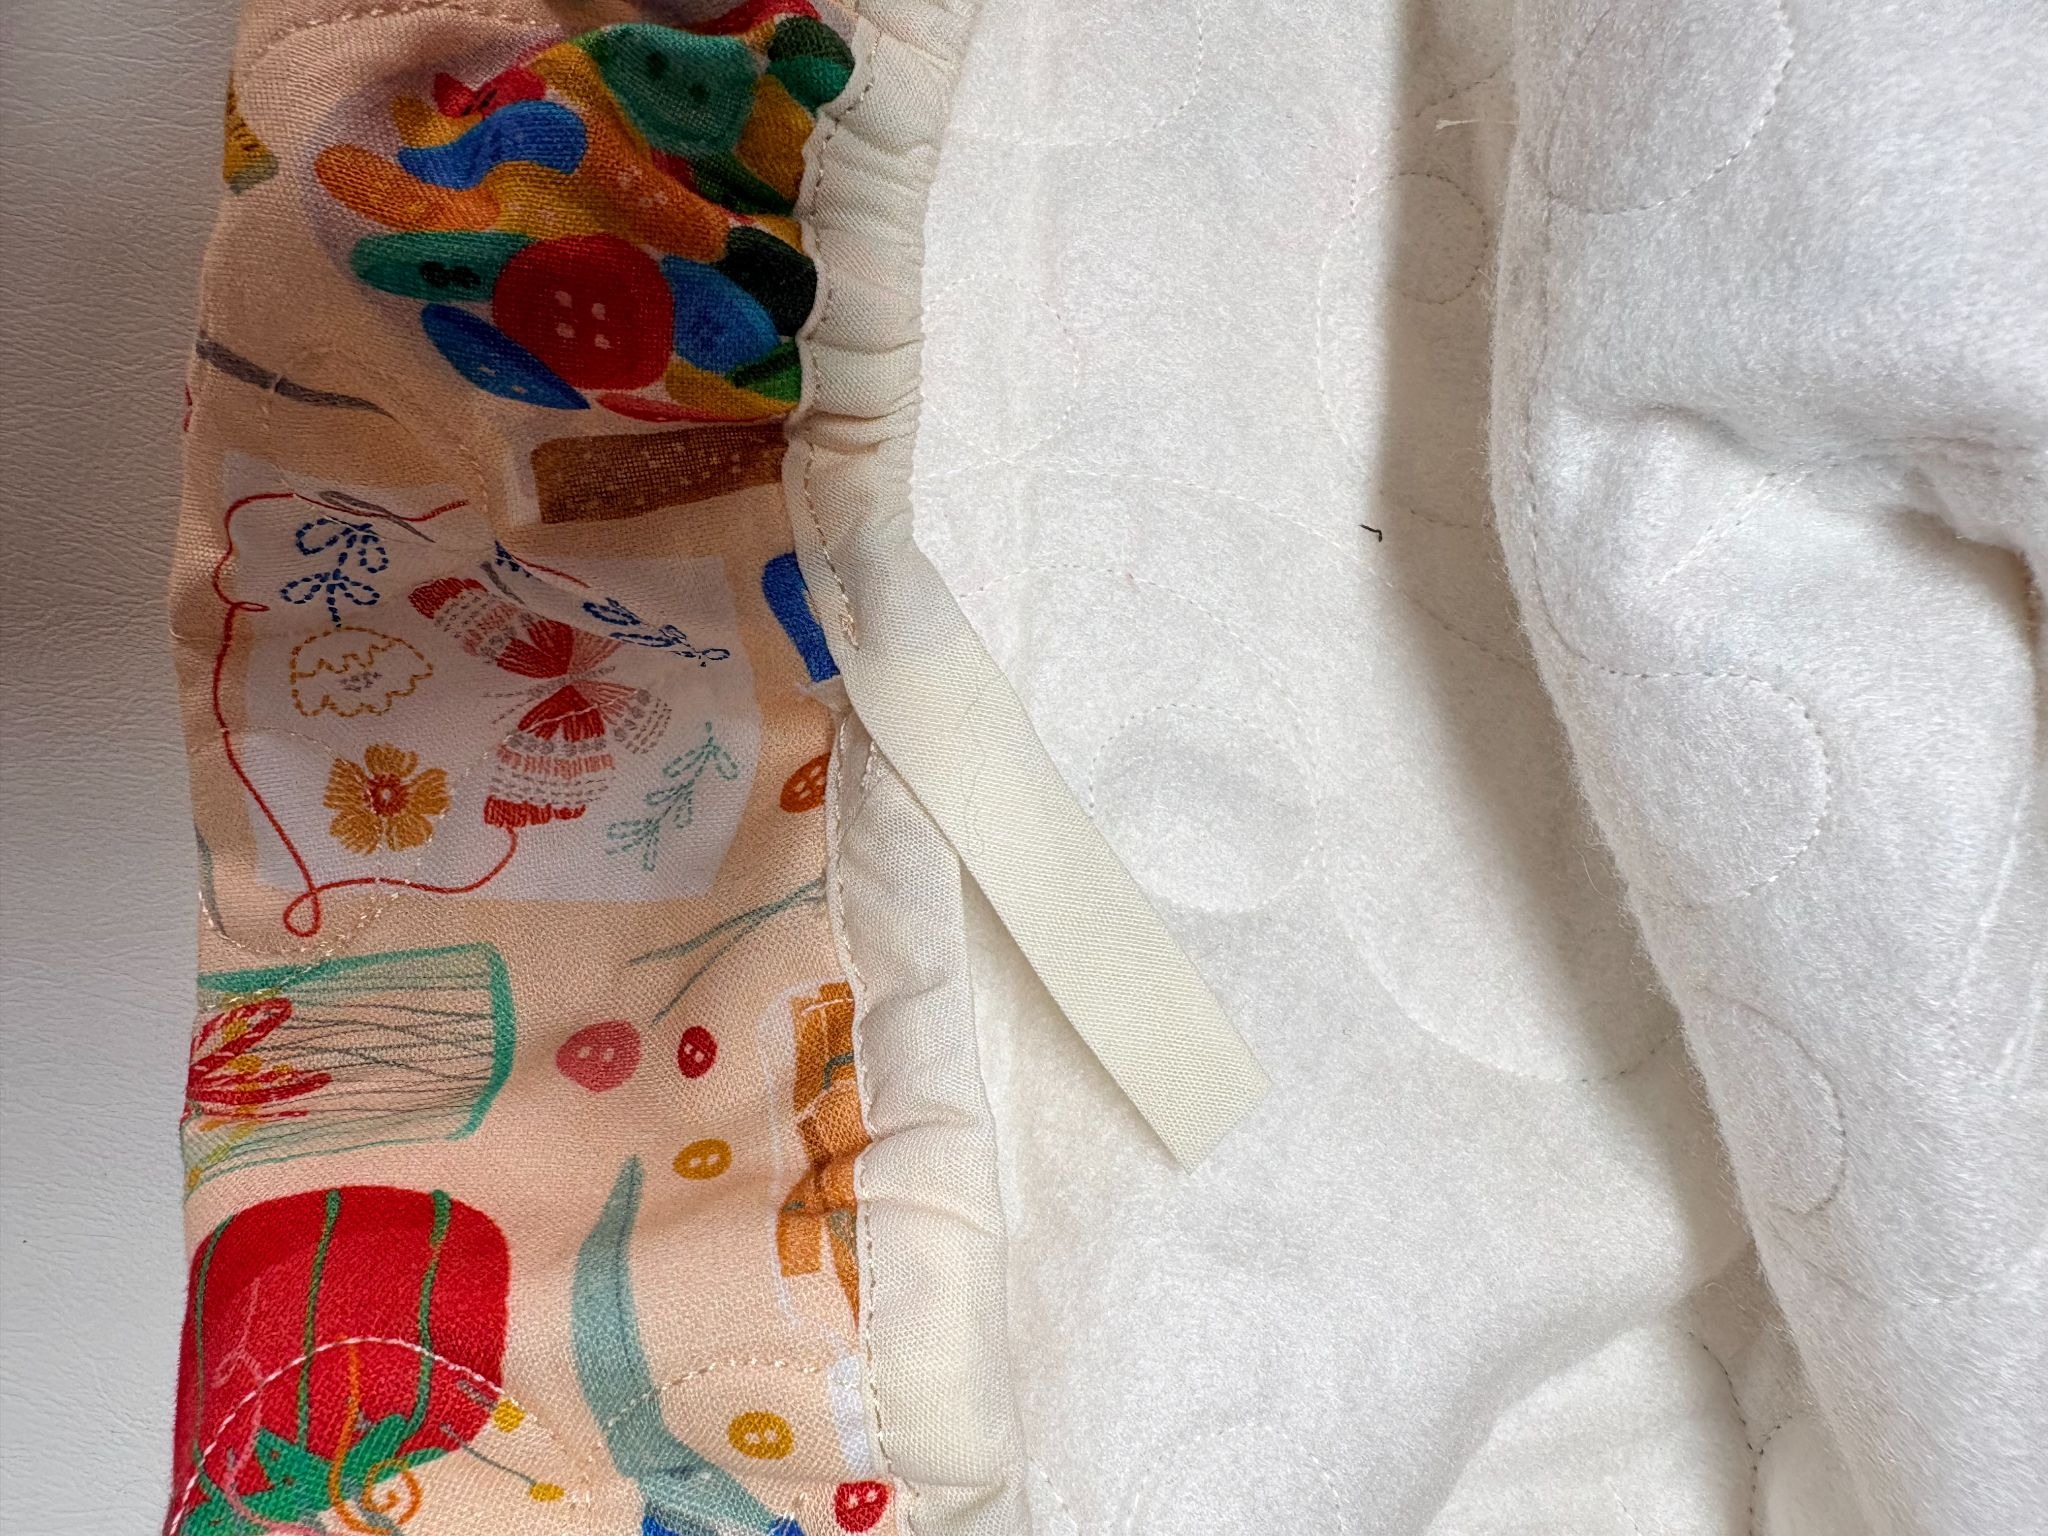
Tuck the elastic back into the casing. Trim the bias tape 1” past the opening. Fold the end under ½” and lay it over the other end.
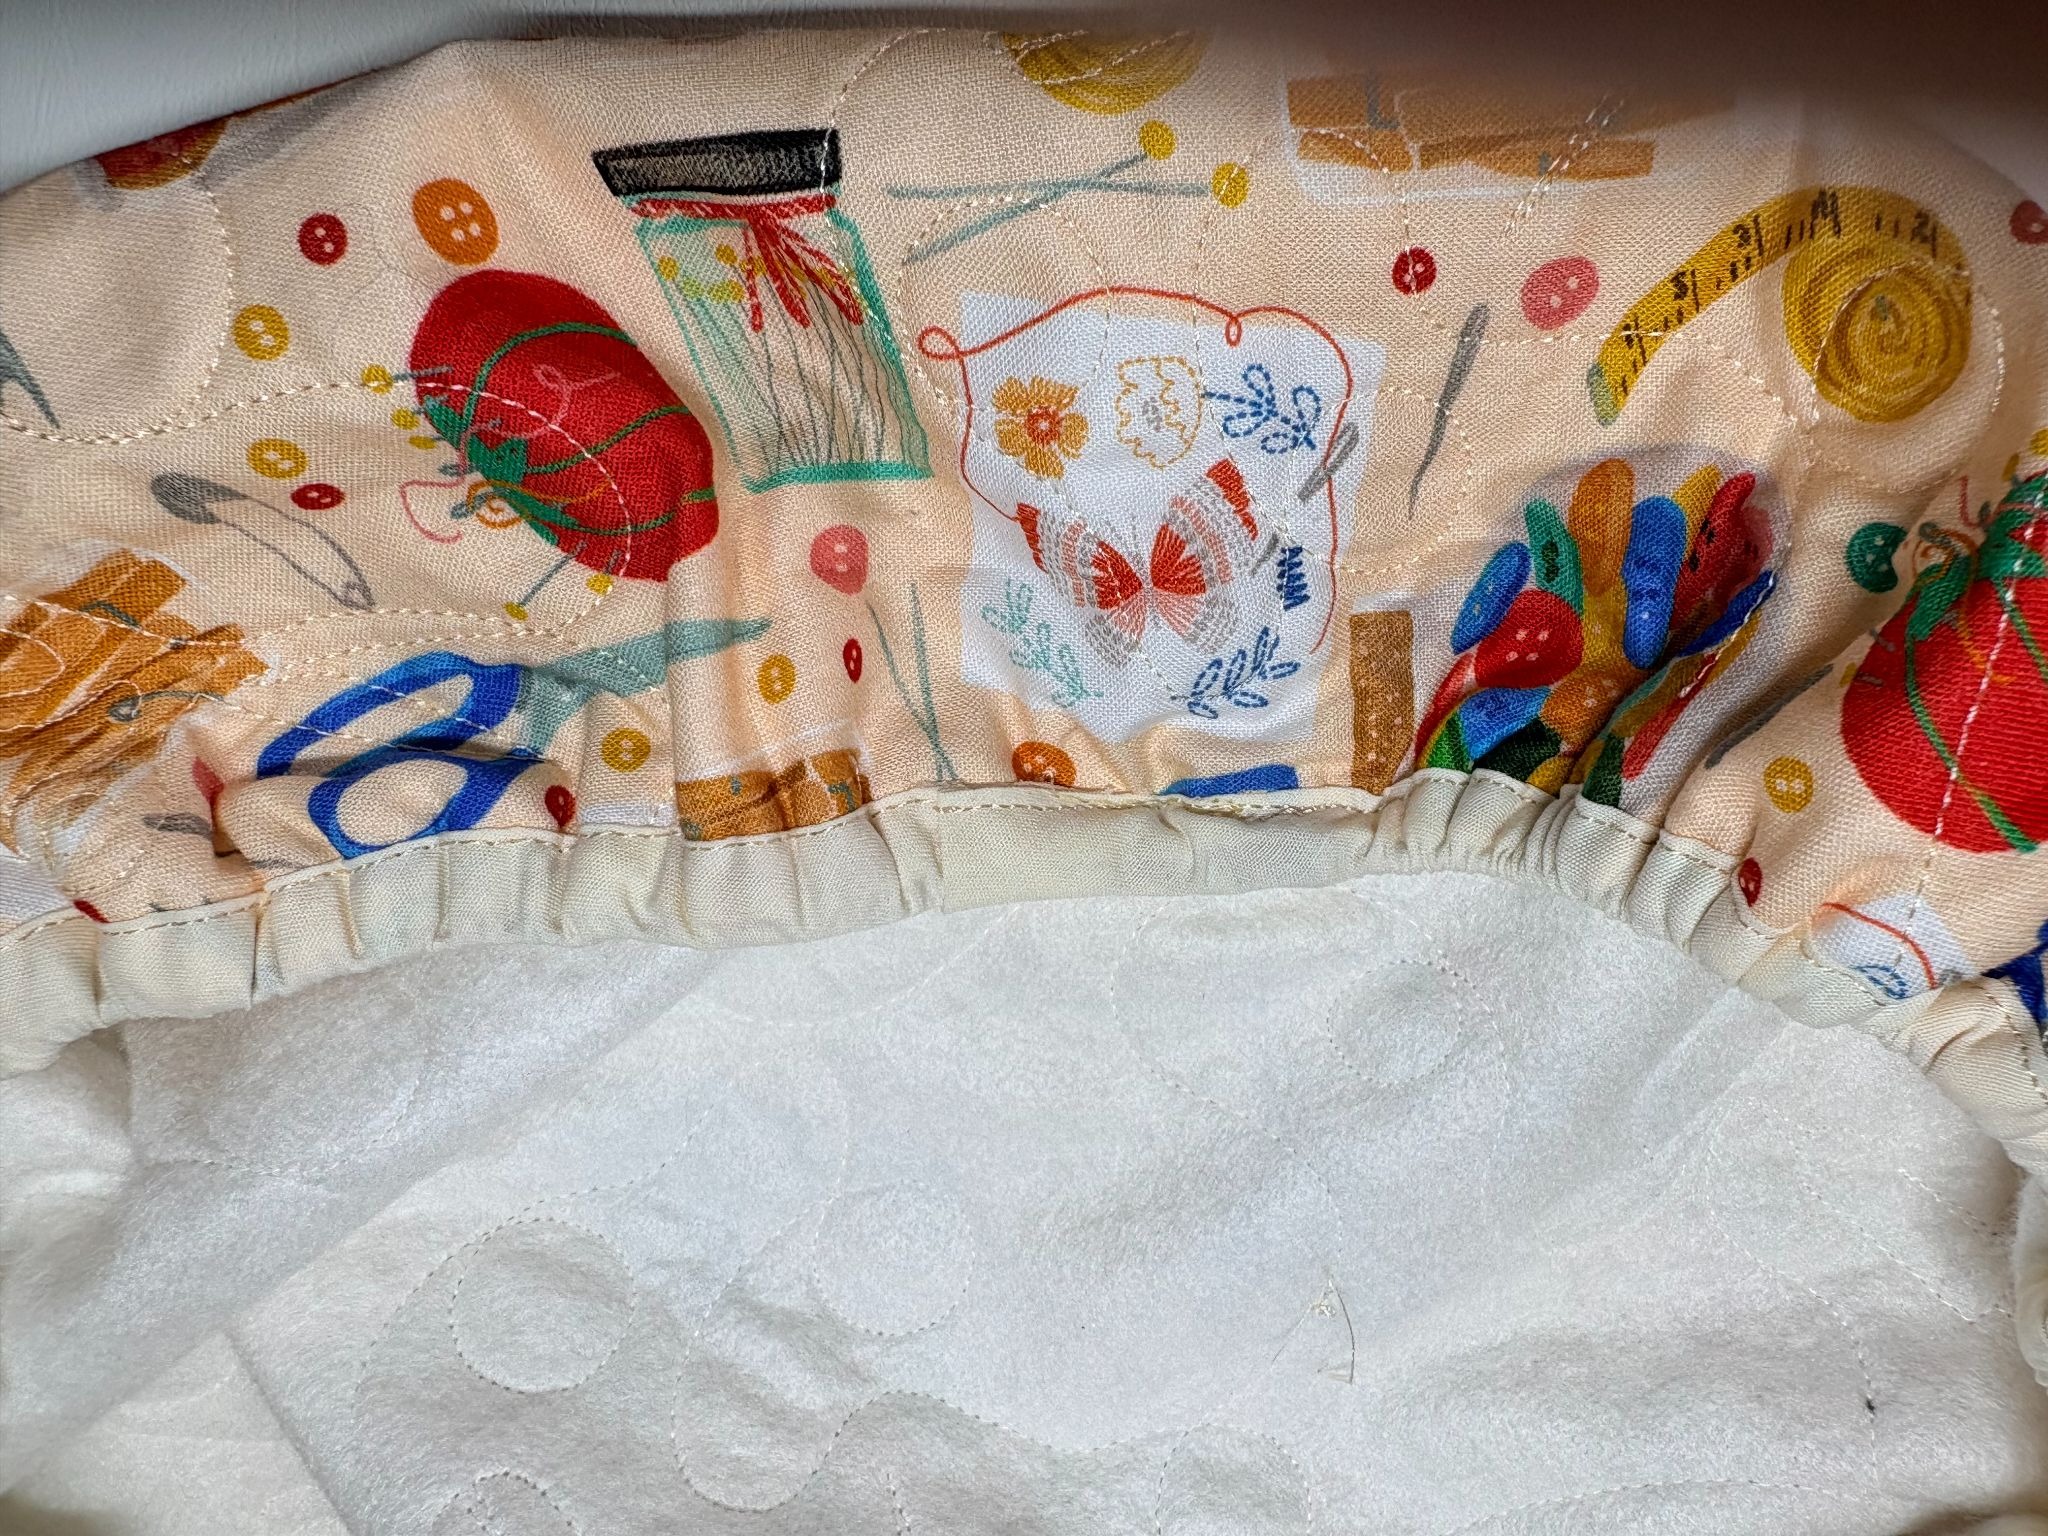
Sew the opening closed, being careful not to catch the elastic.
Add a layer of cotton batting for extra padding.
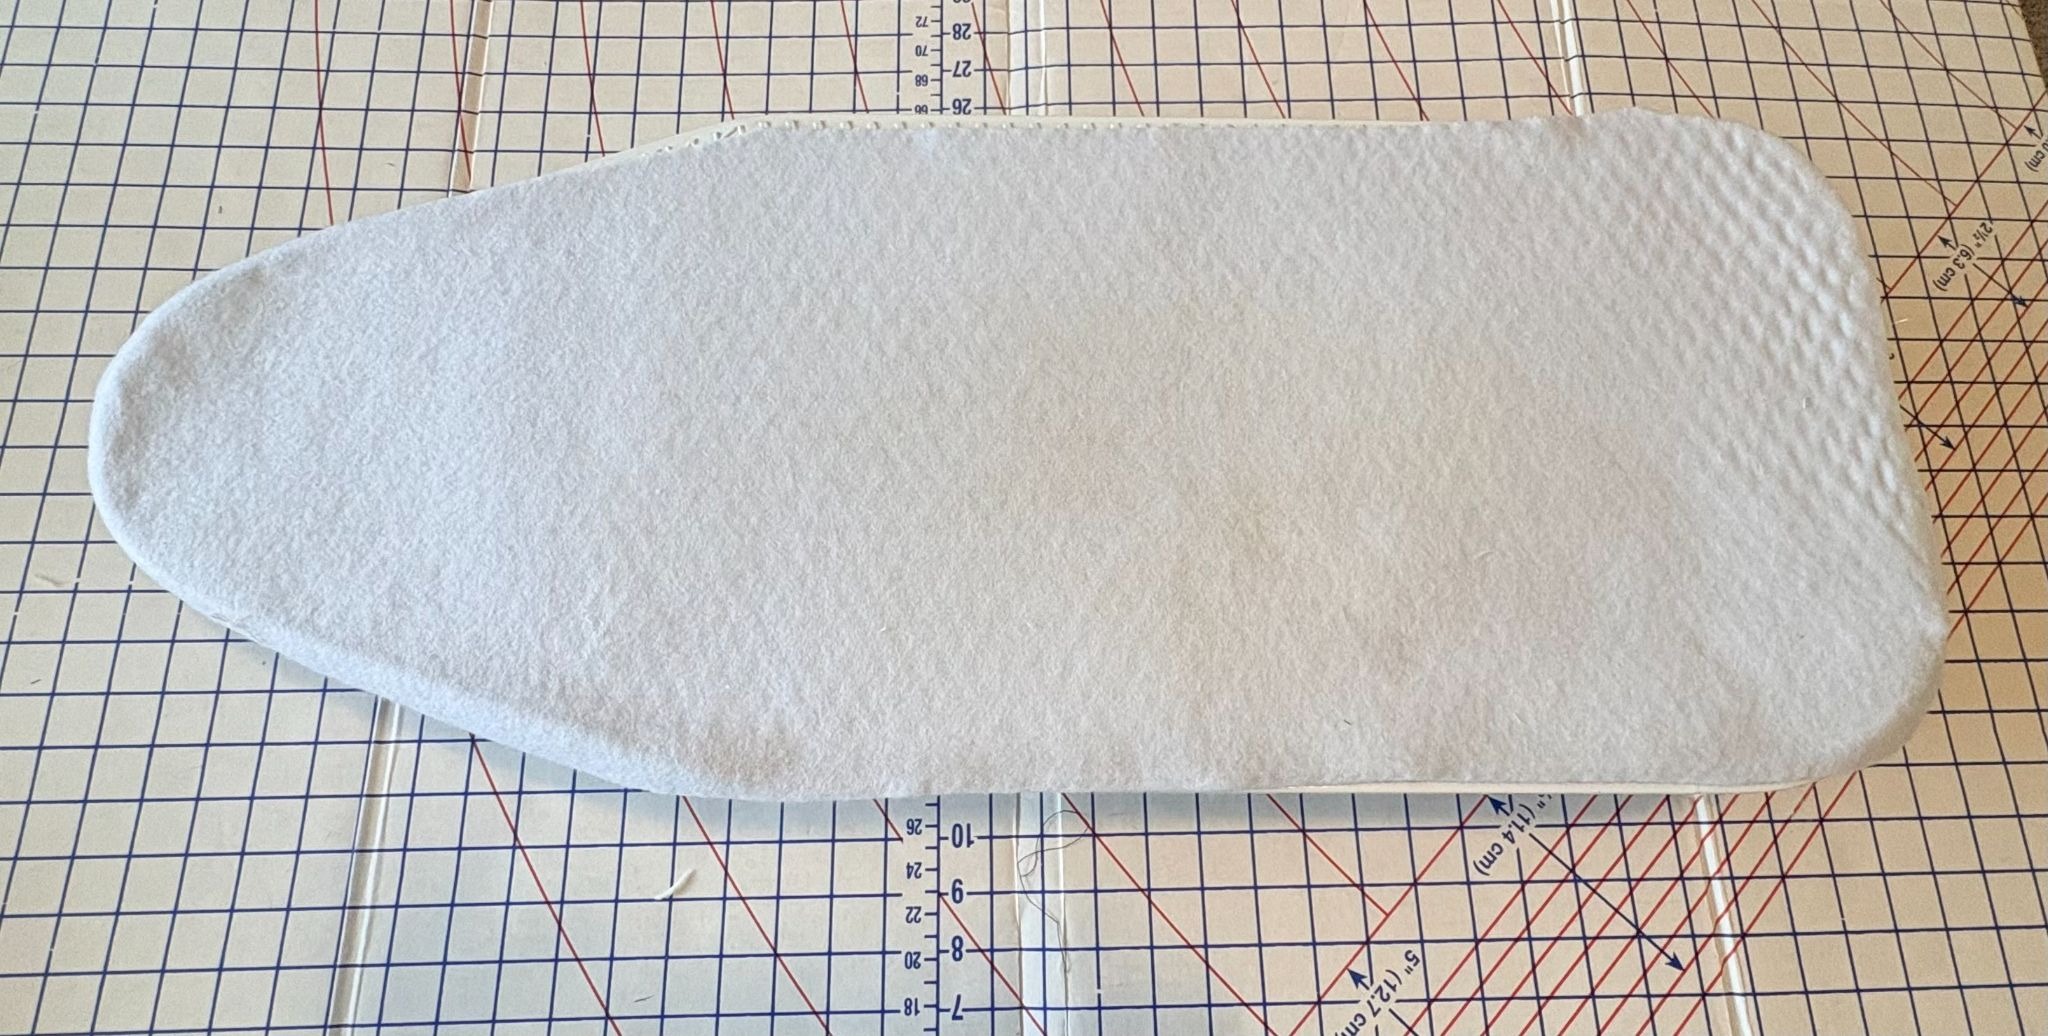
If your board has an existing pad, you can use it or cut a new one with loftySOFT Batting. Lay this over the board.
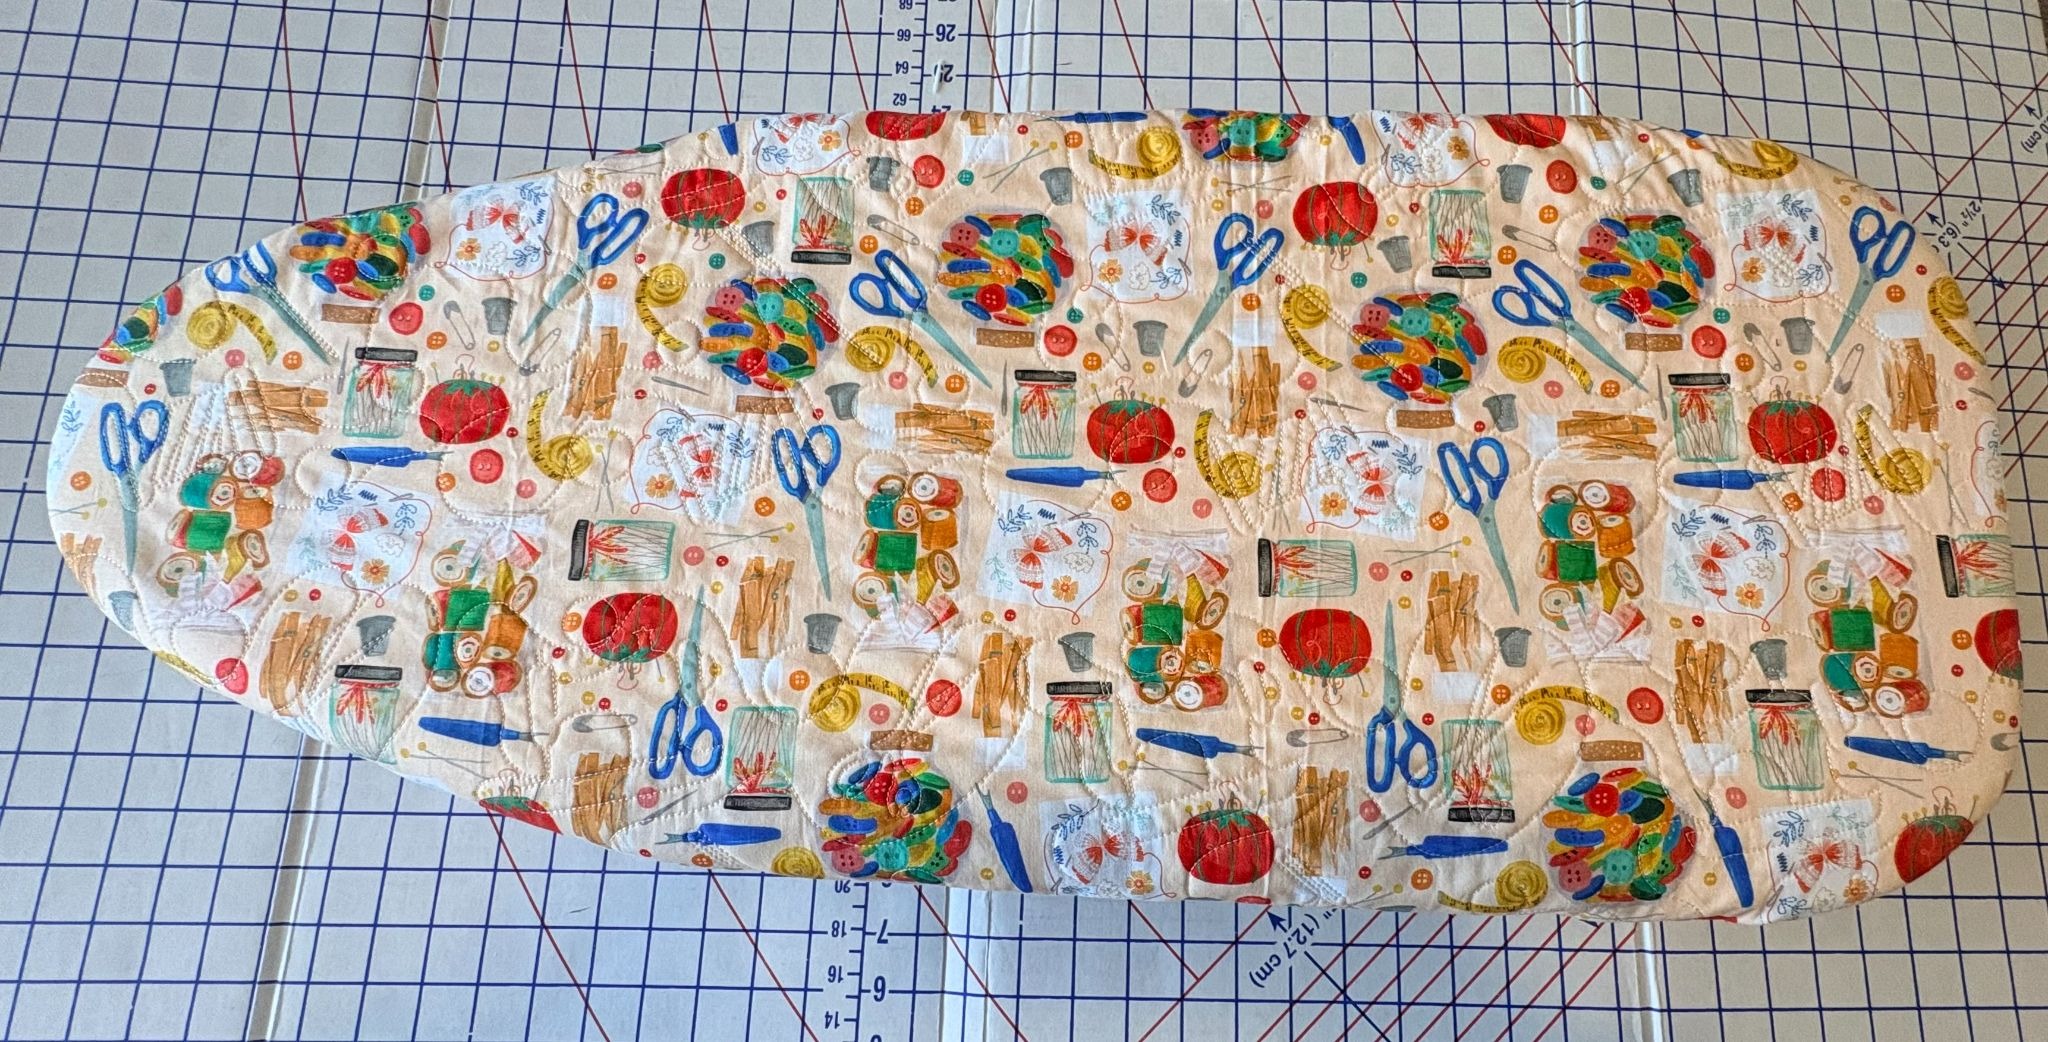
Smooth the cover over the board and adjust the fabric so it sits evenly. Now your custom ironing board cover is ready to use!
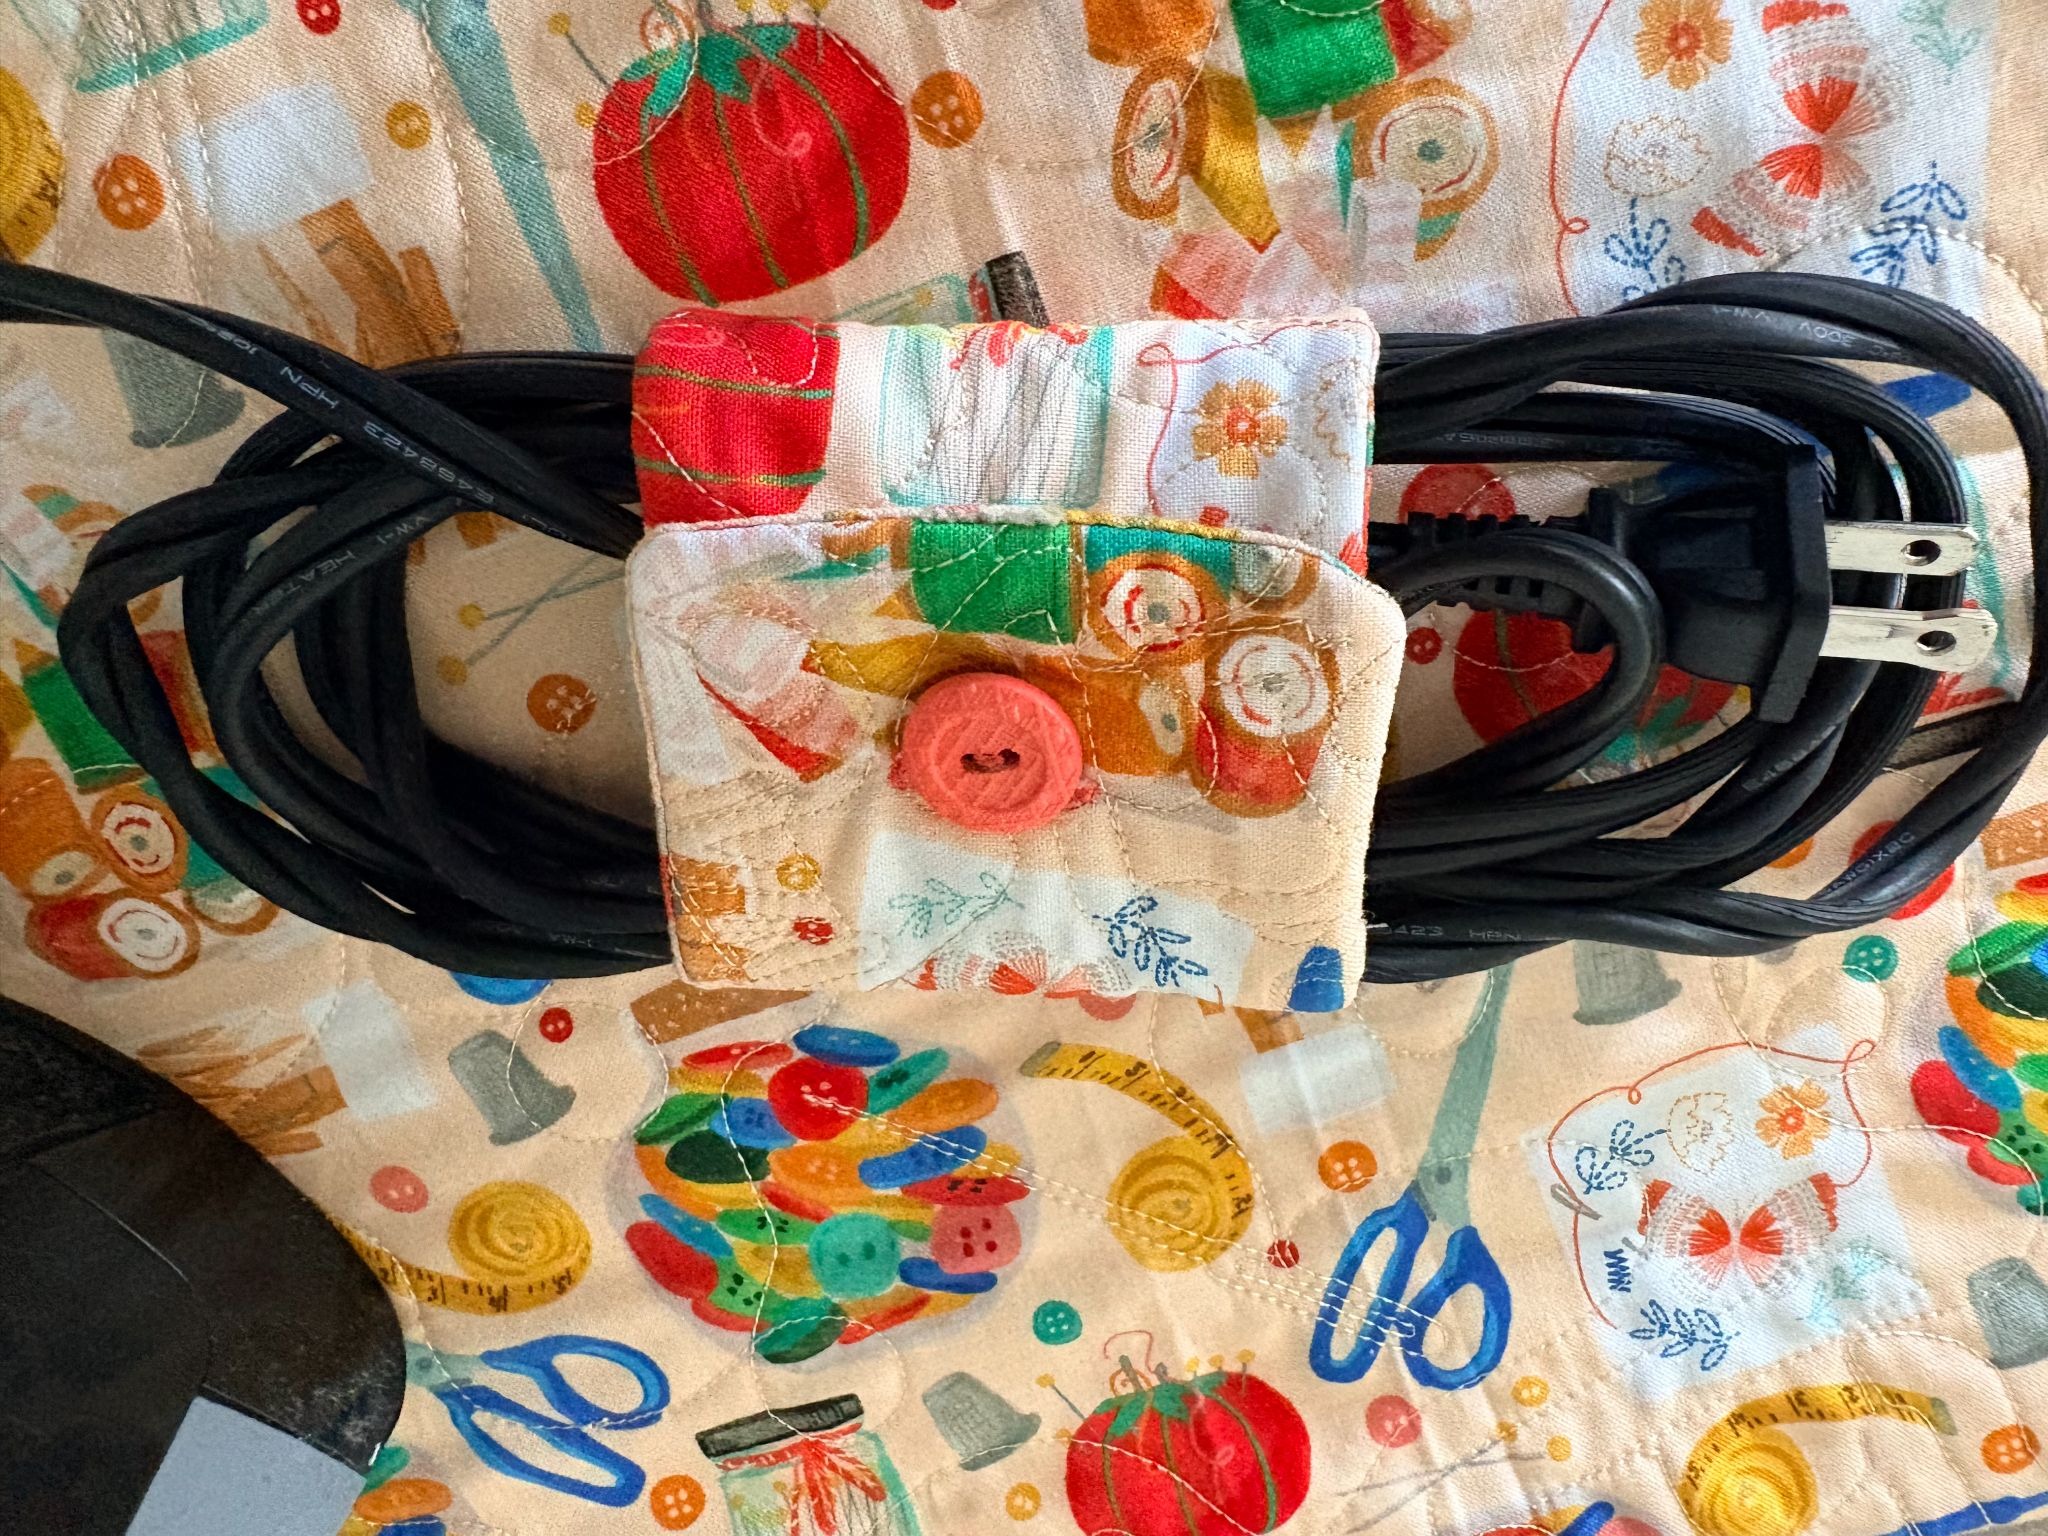
A button closure gives your cord wrap a classic, handmade look and keeps your iron cord neat. This quick project is a great way to use up fabric scraps, and you can make it your own with quilting and embroidery.
Finished size: Approximately 8" long × 2½" wide
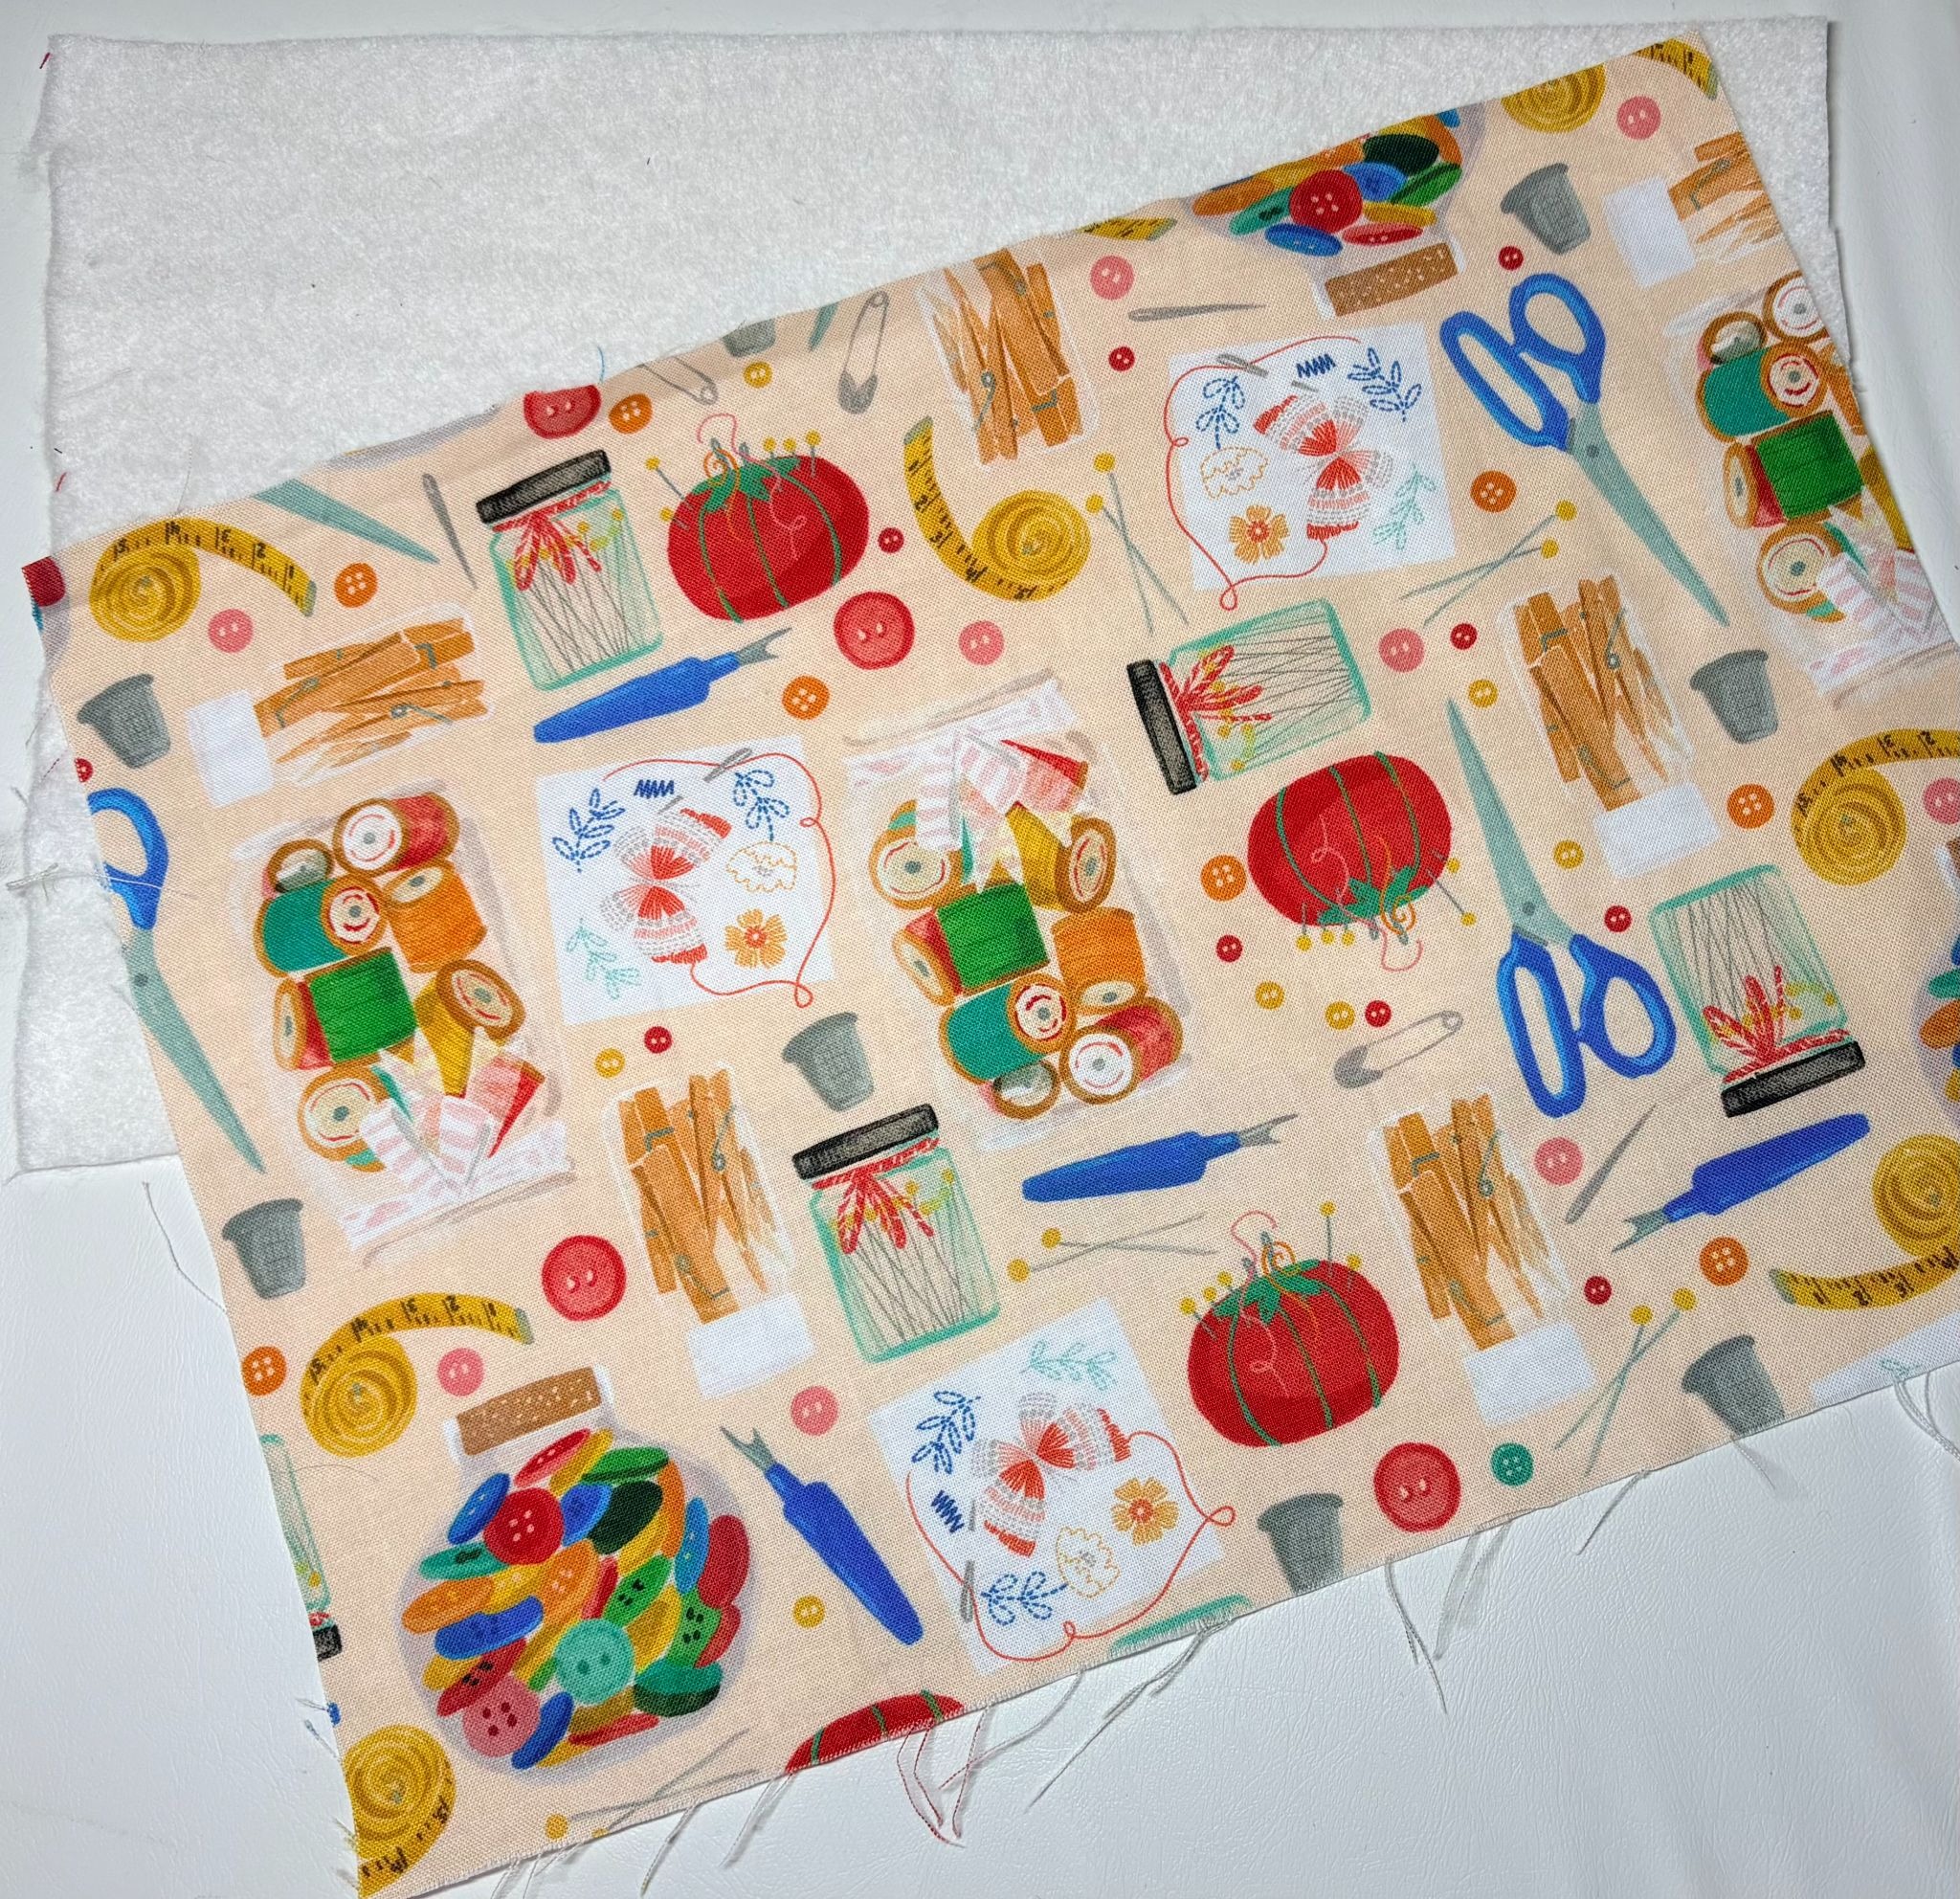
Start by quilting the front piece of fabric and batting. Cut your front fabric to 12” x 6”.
Cut a piece of loftySOFT Batting to the same size.
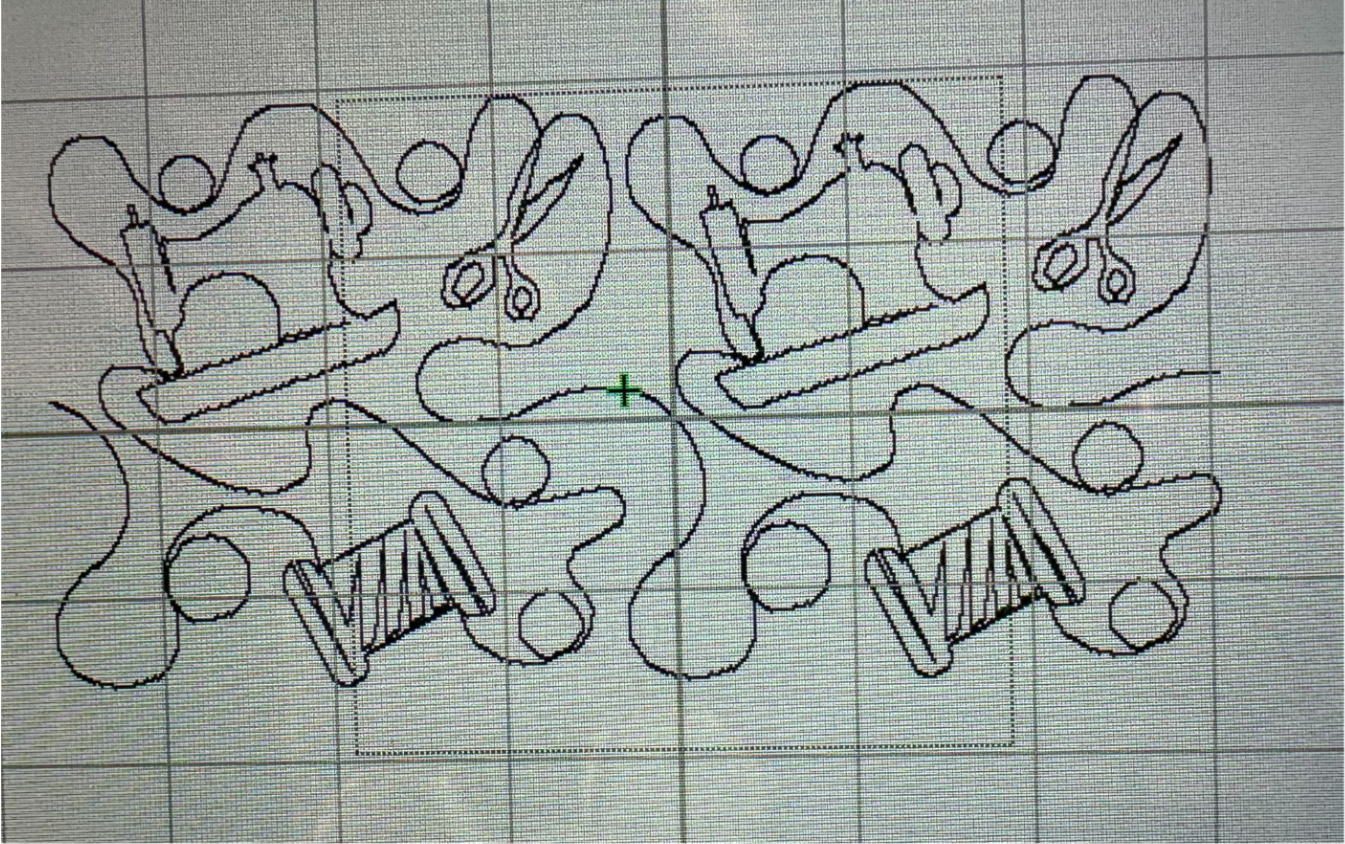
Load the Sewing 1 End-to-End Quilting Embroidery Design. Select the 3.50 x 3.50 design size on your machine. Stitch this design across the fabric three times. If your hoop is large enough, you can add the design multiple times at once.
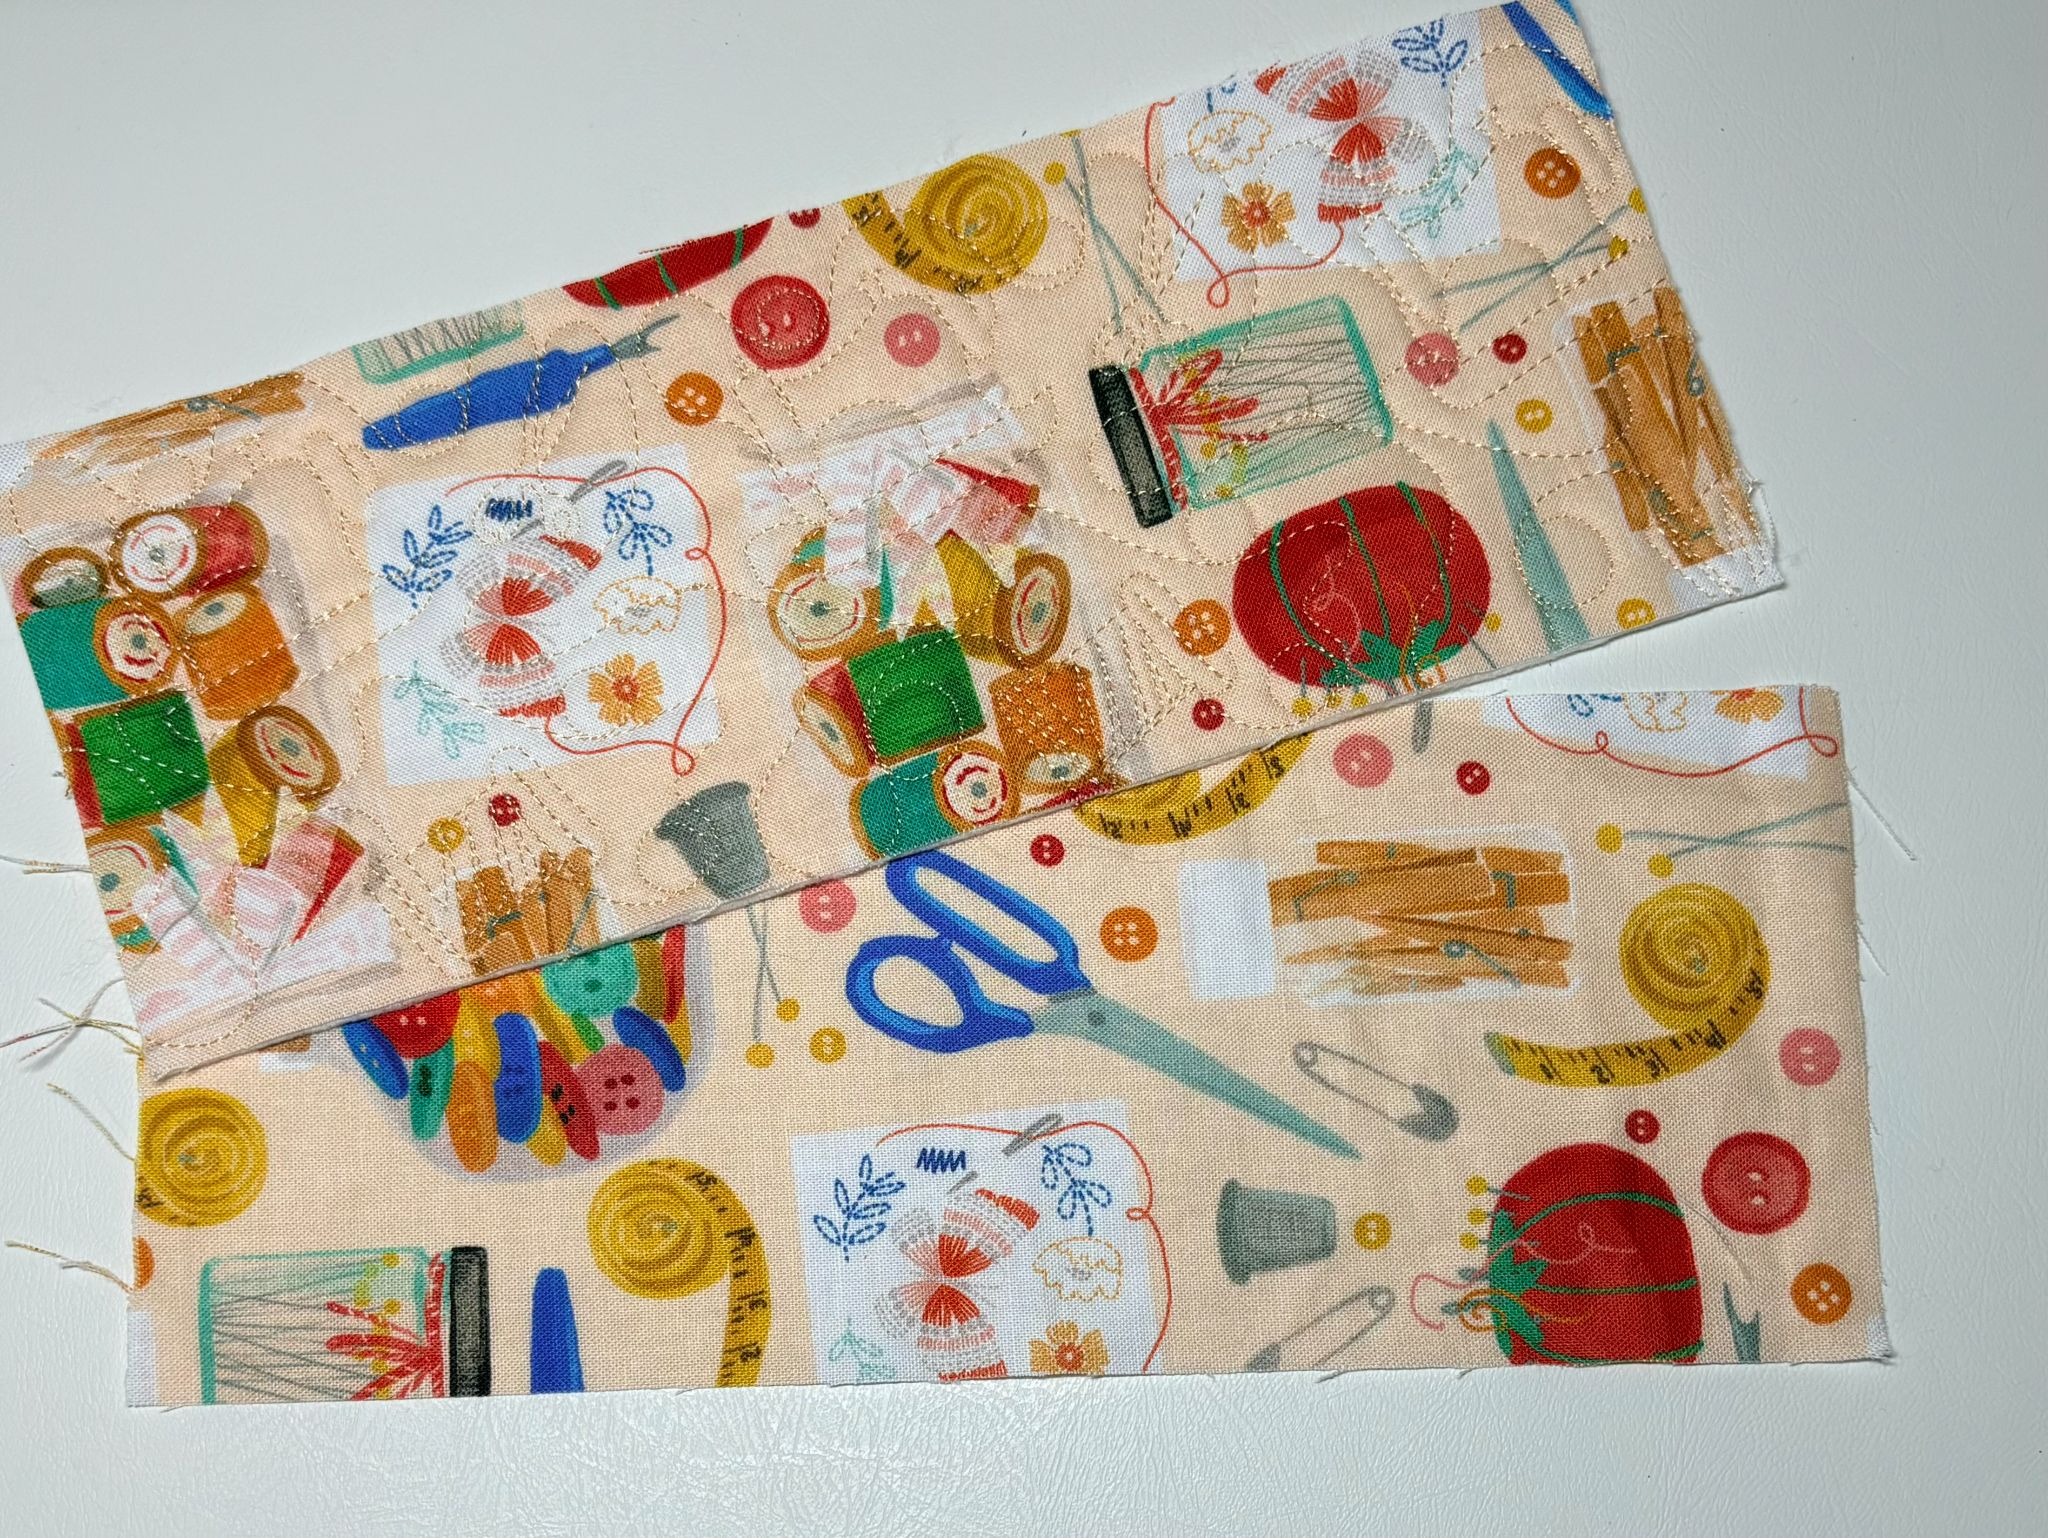
Once you’ve quilted your fabric, trim it to 9” x 3½”. Cut the lining fabric to the same size.
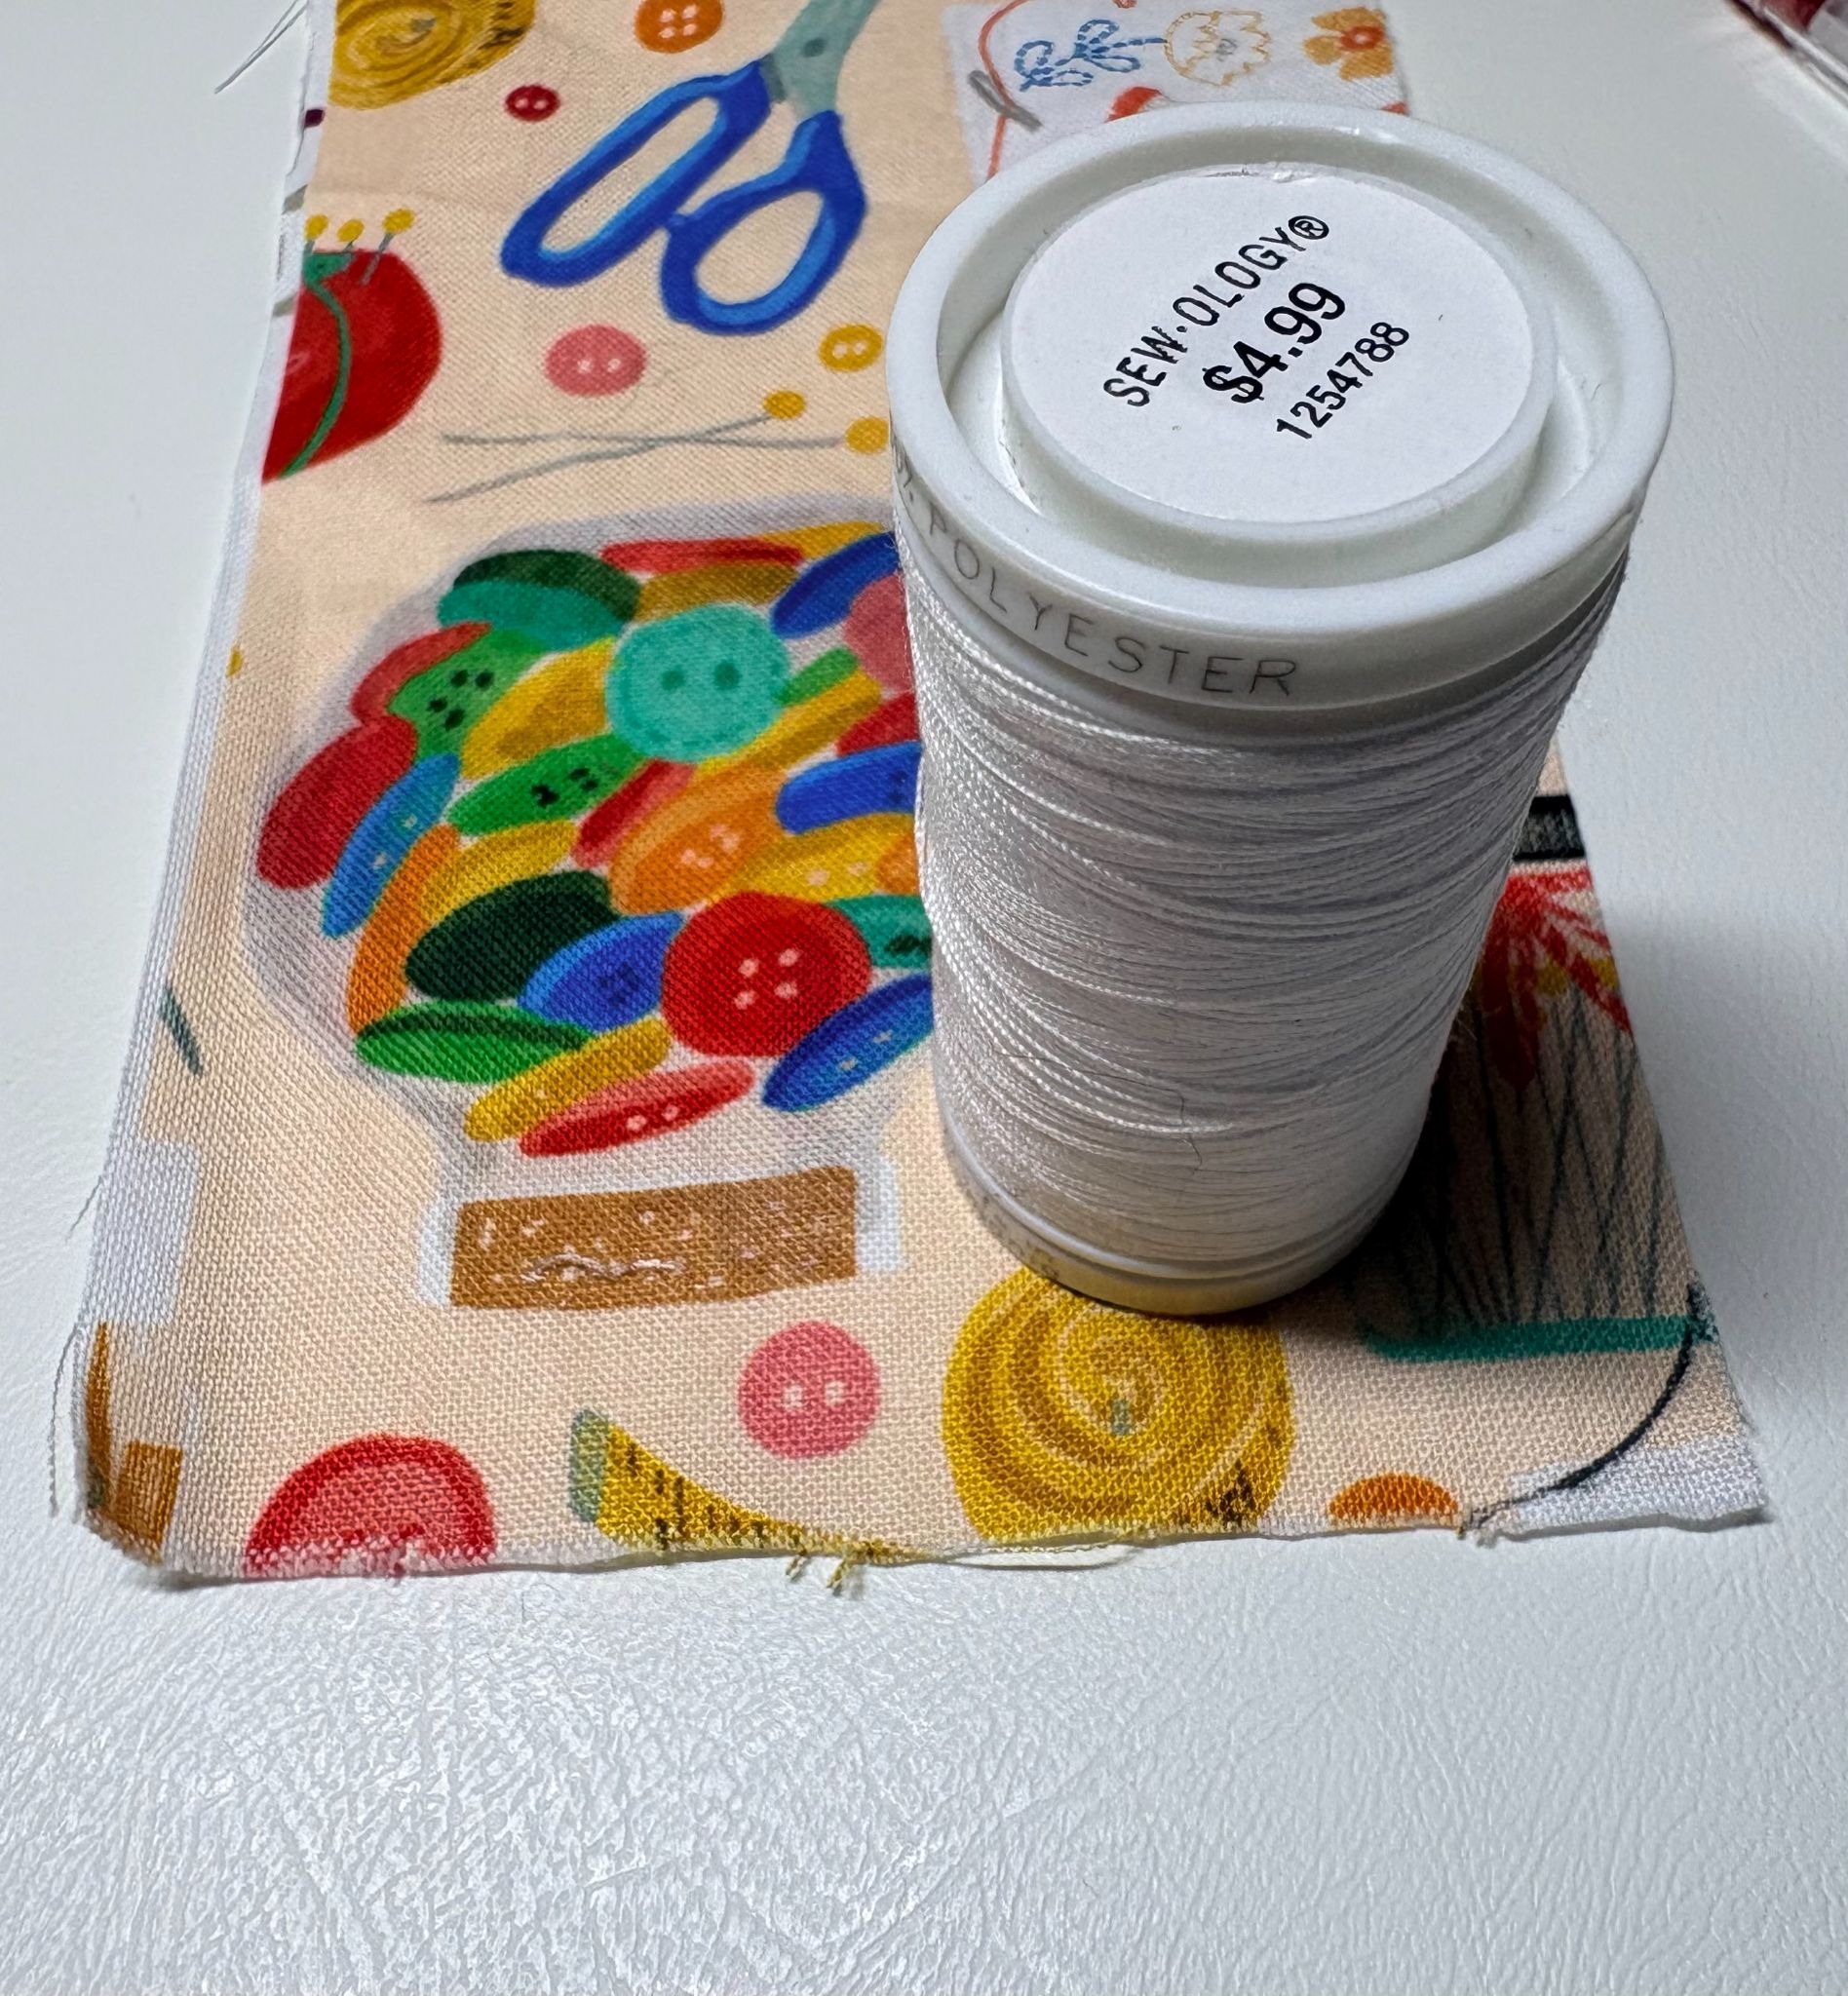
Use a spool of thread to trace and round all the corners.
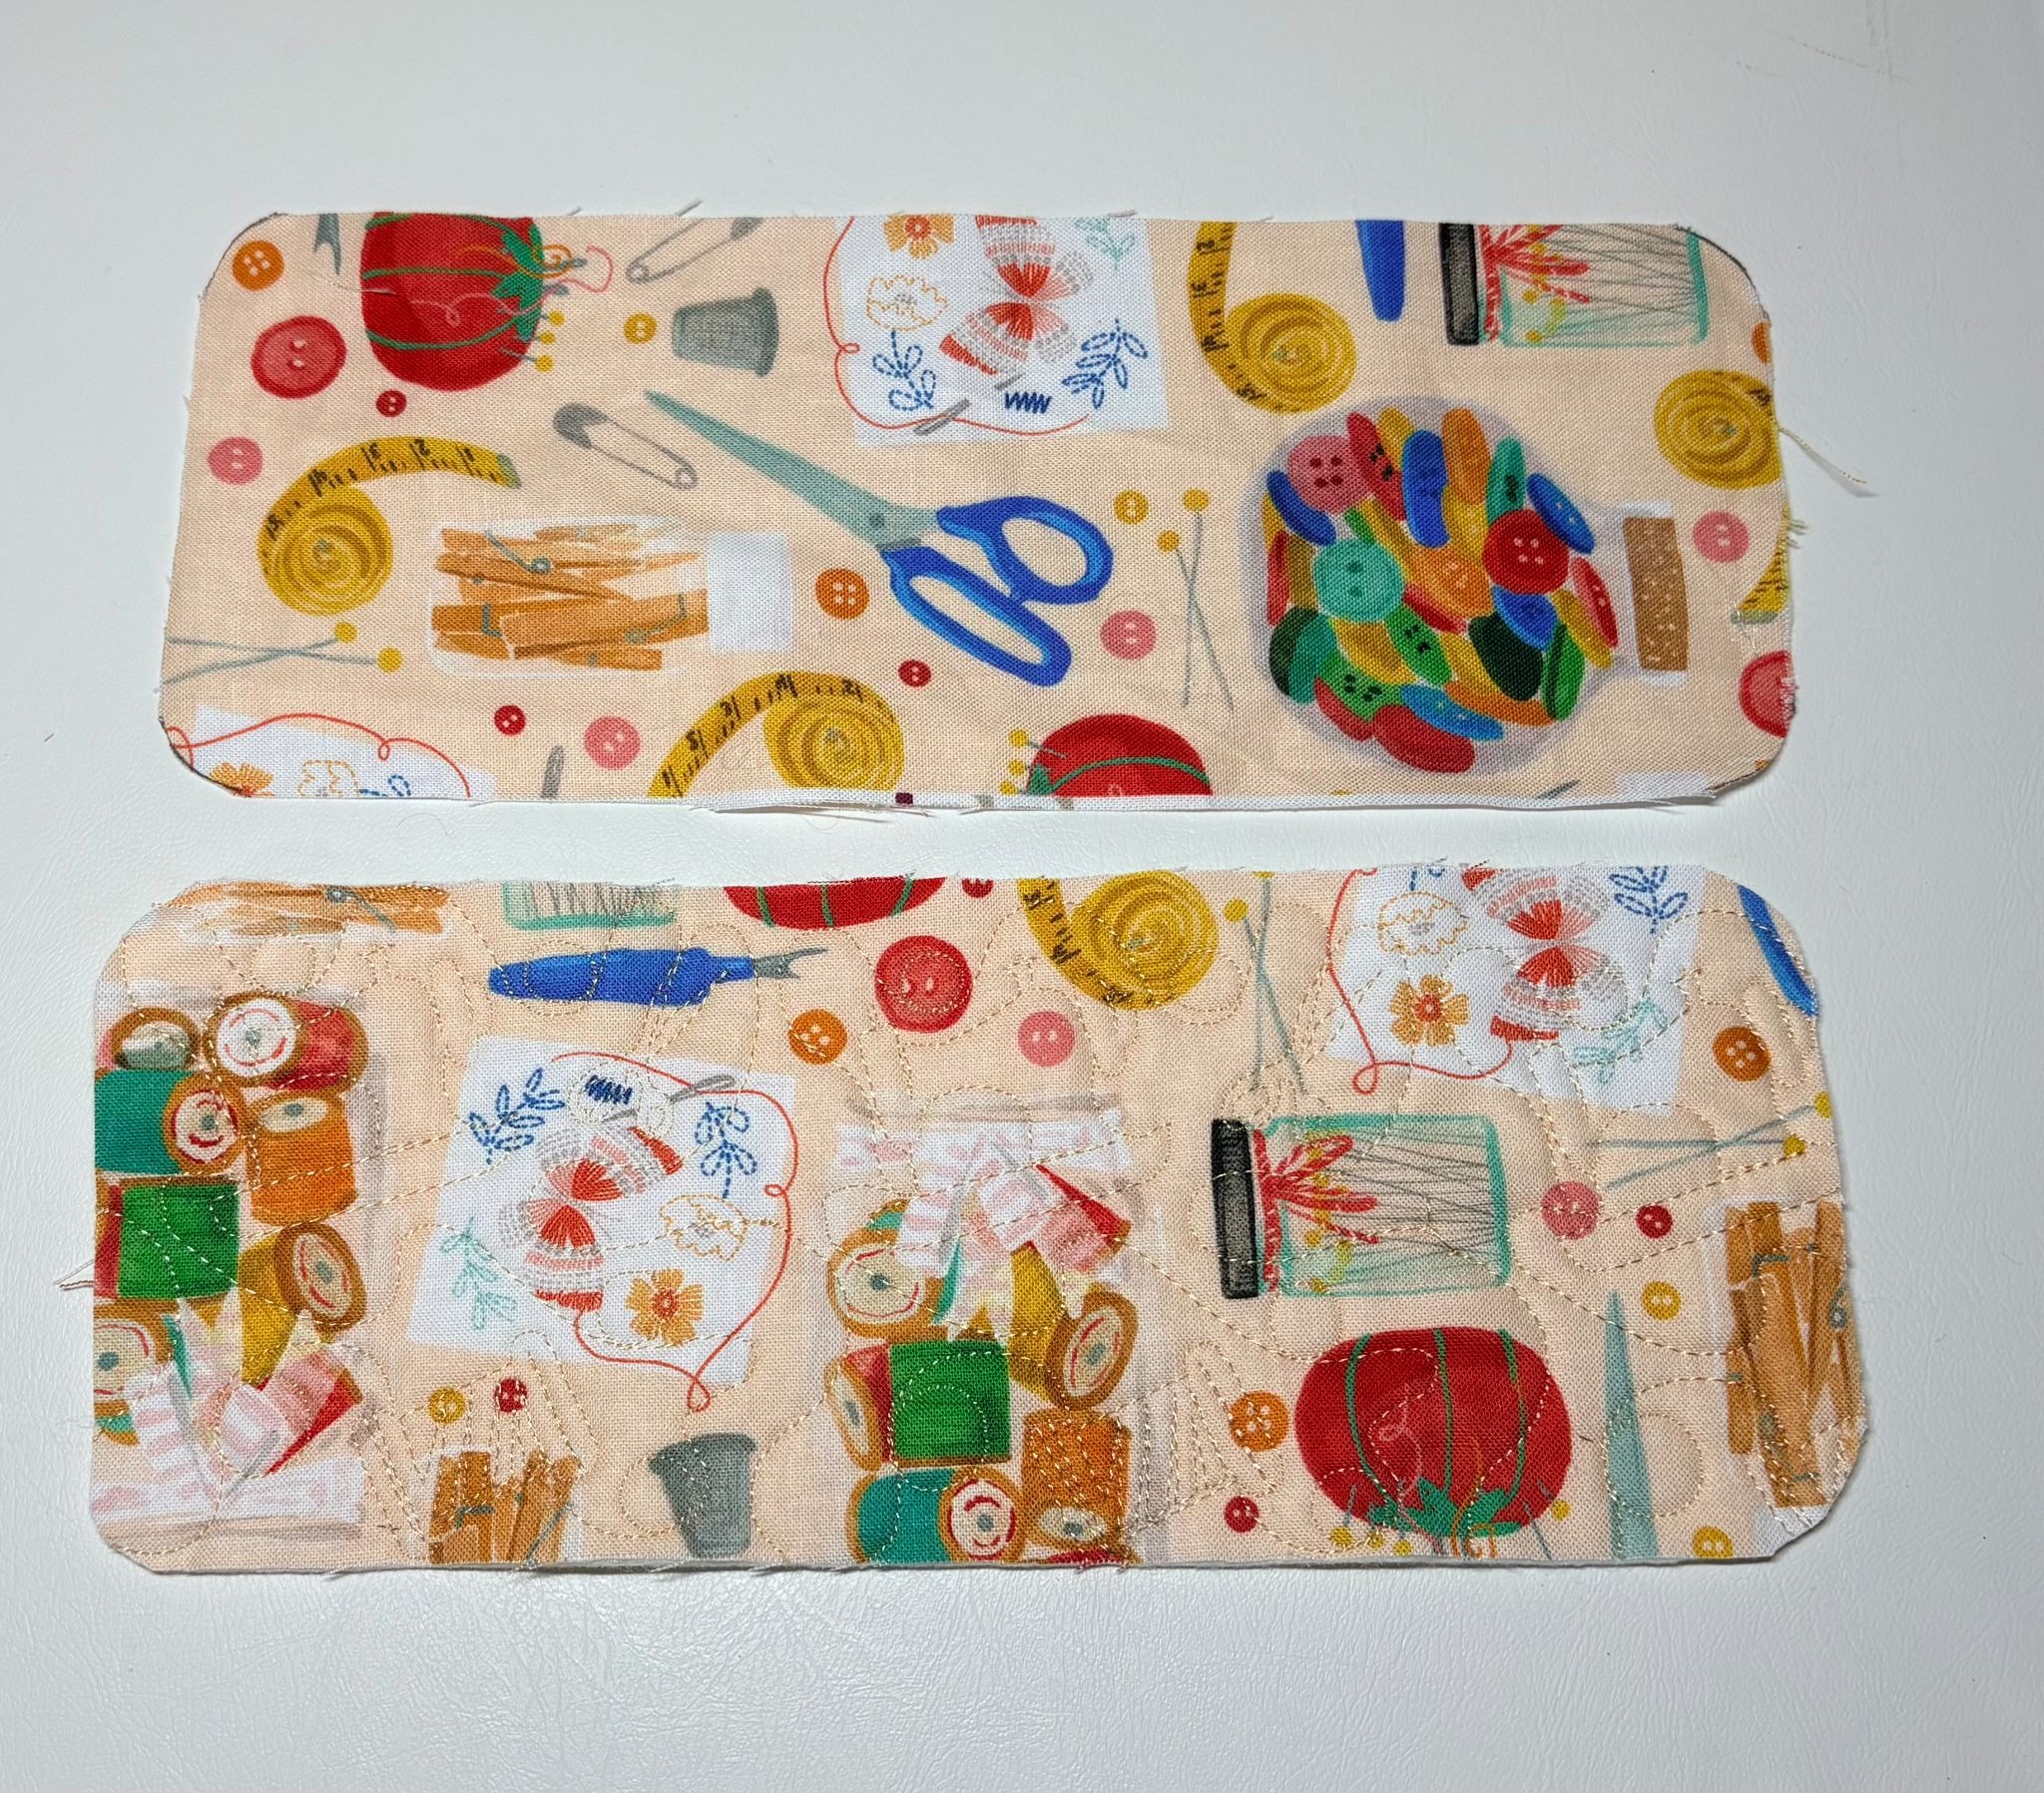
Cut along the rounded lines.
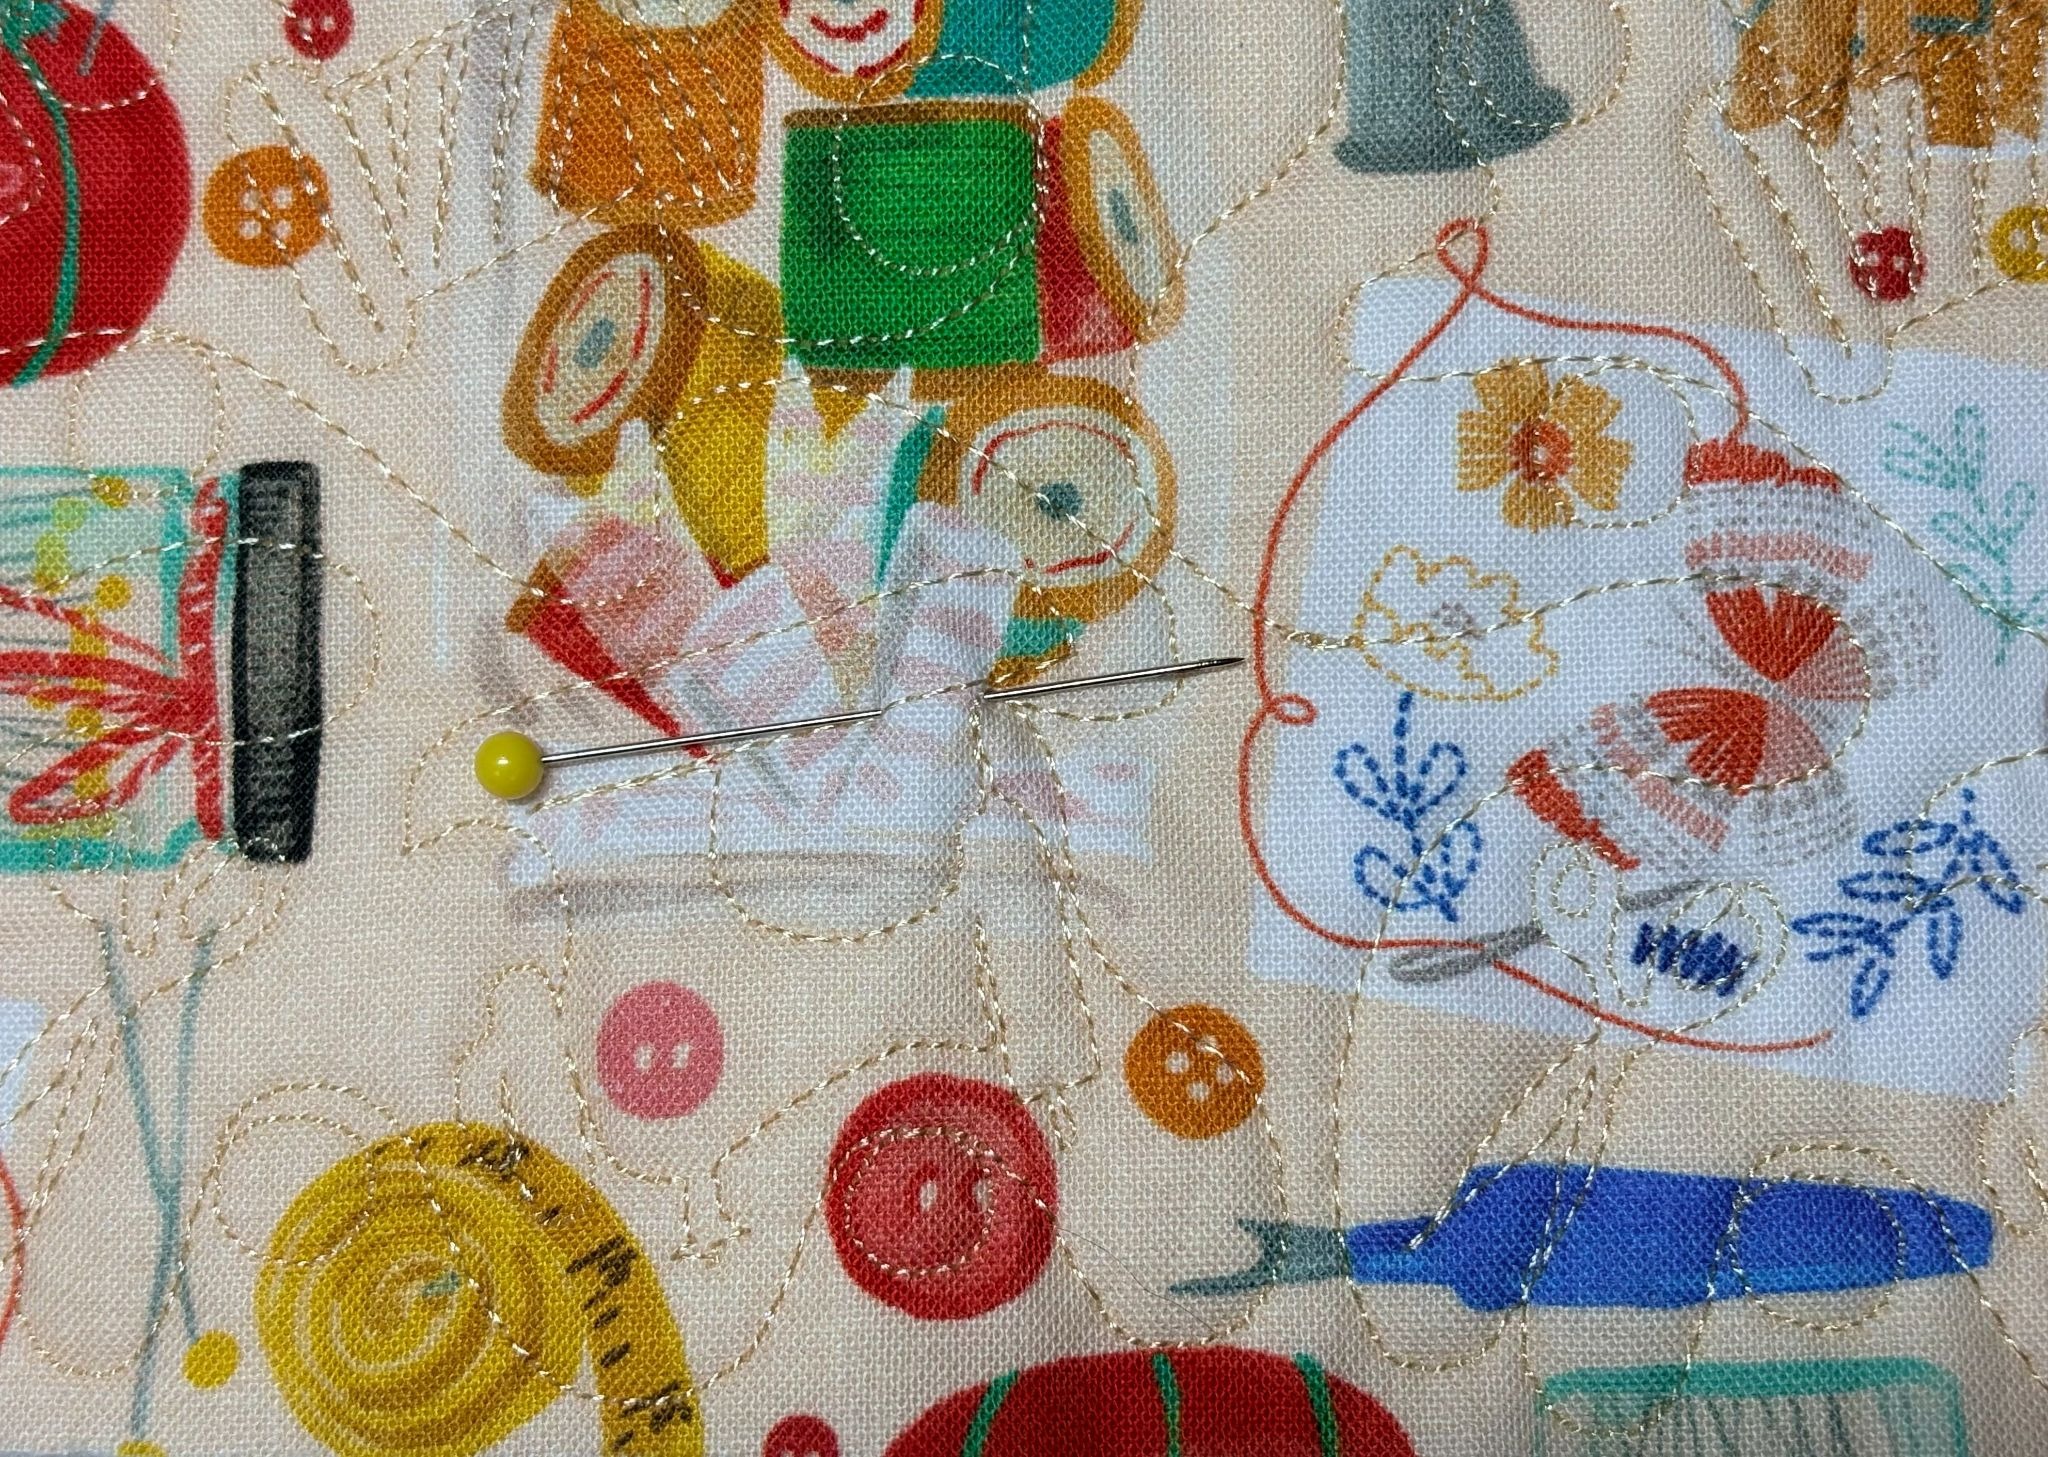
Find the center of the outer fabric and mark it with a pin.
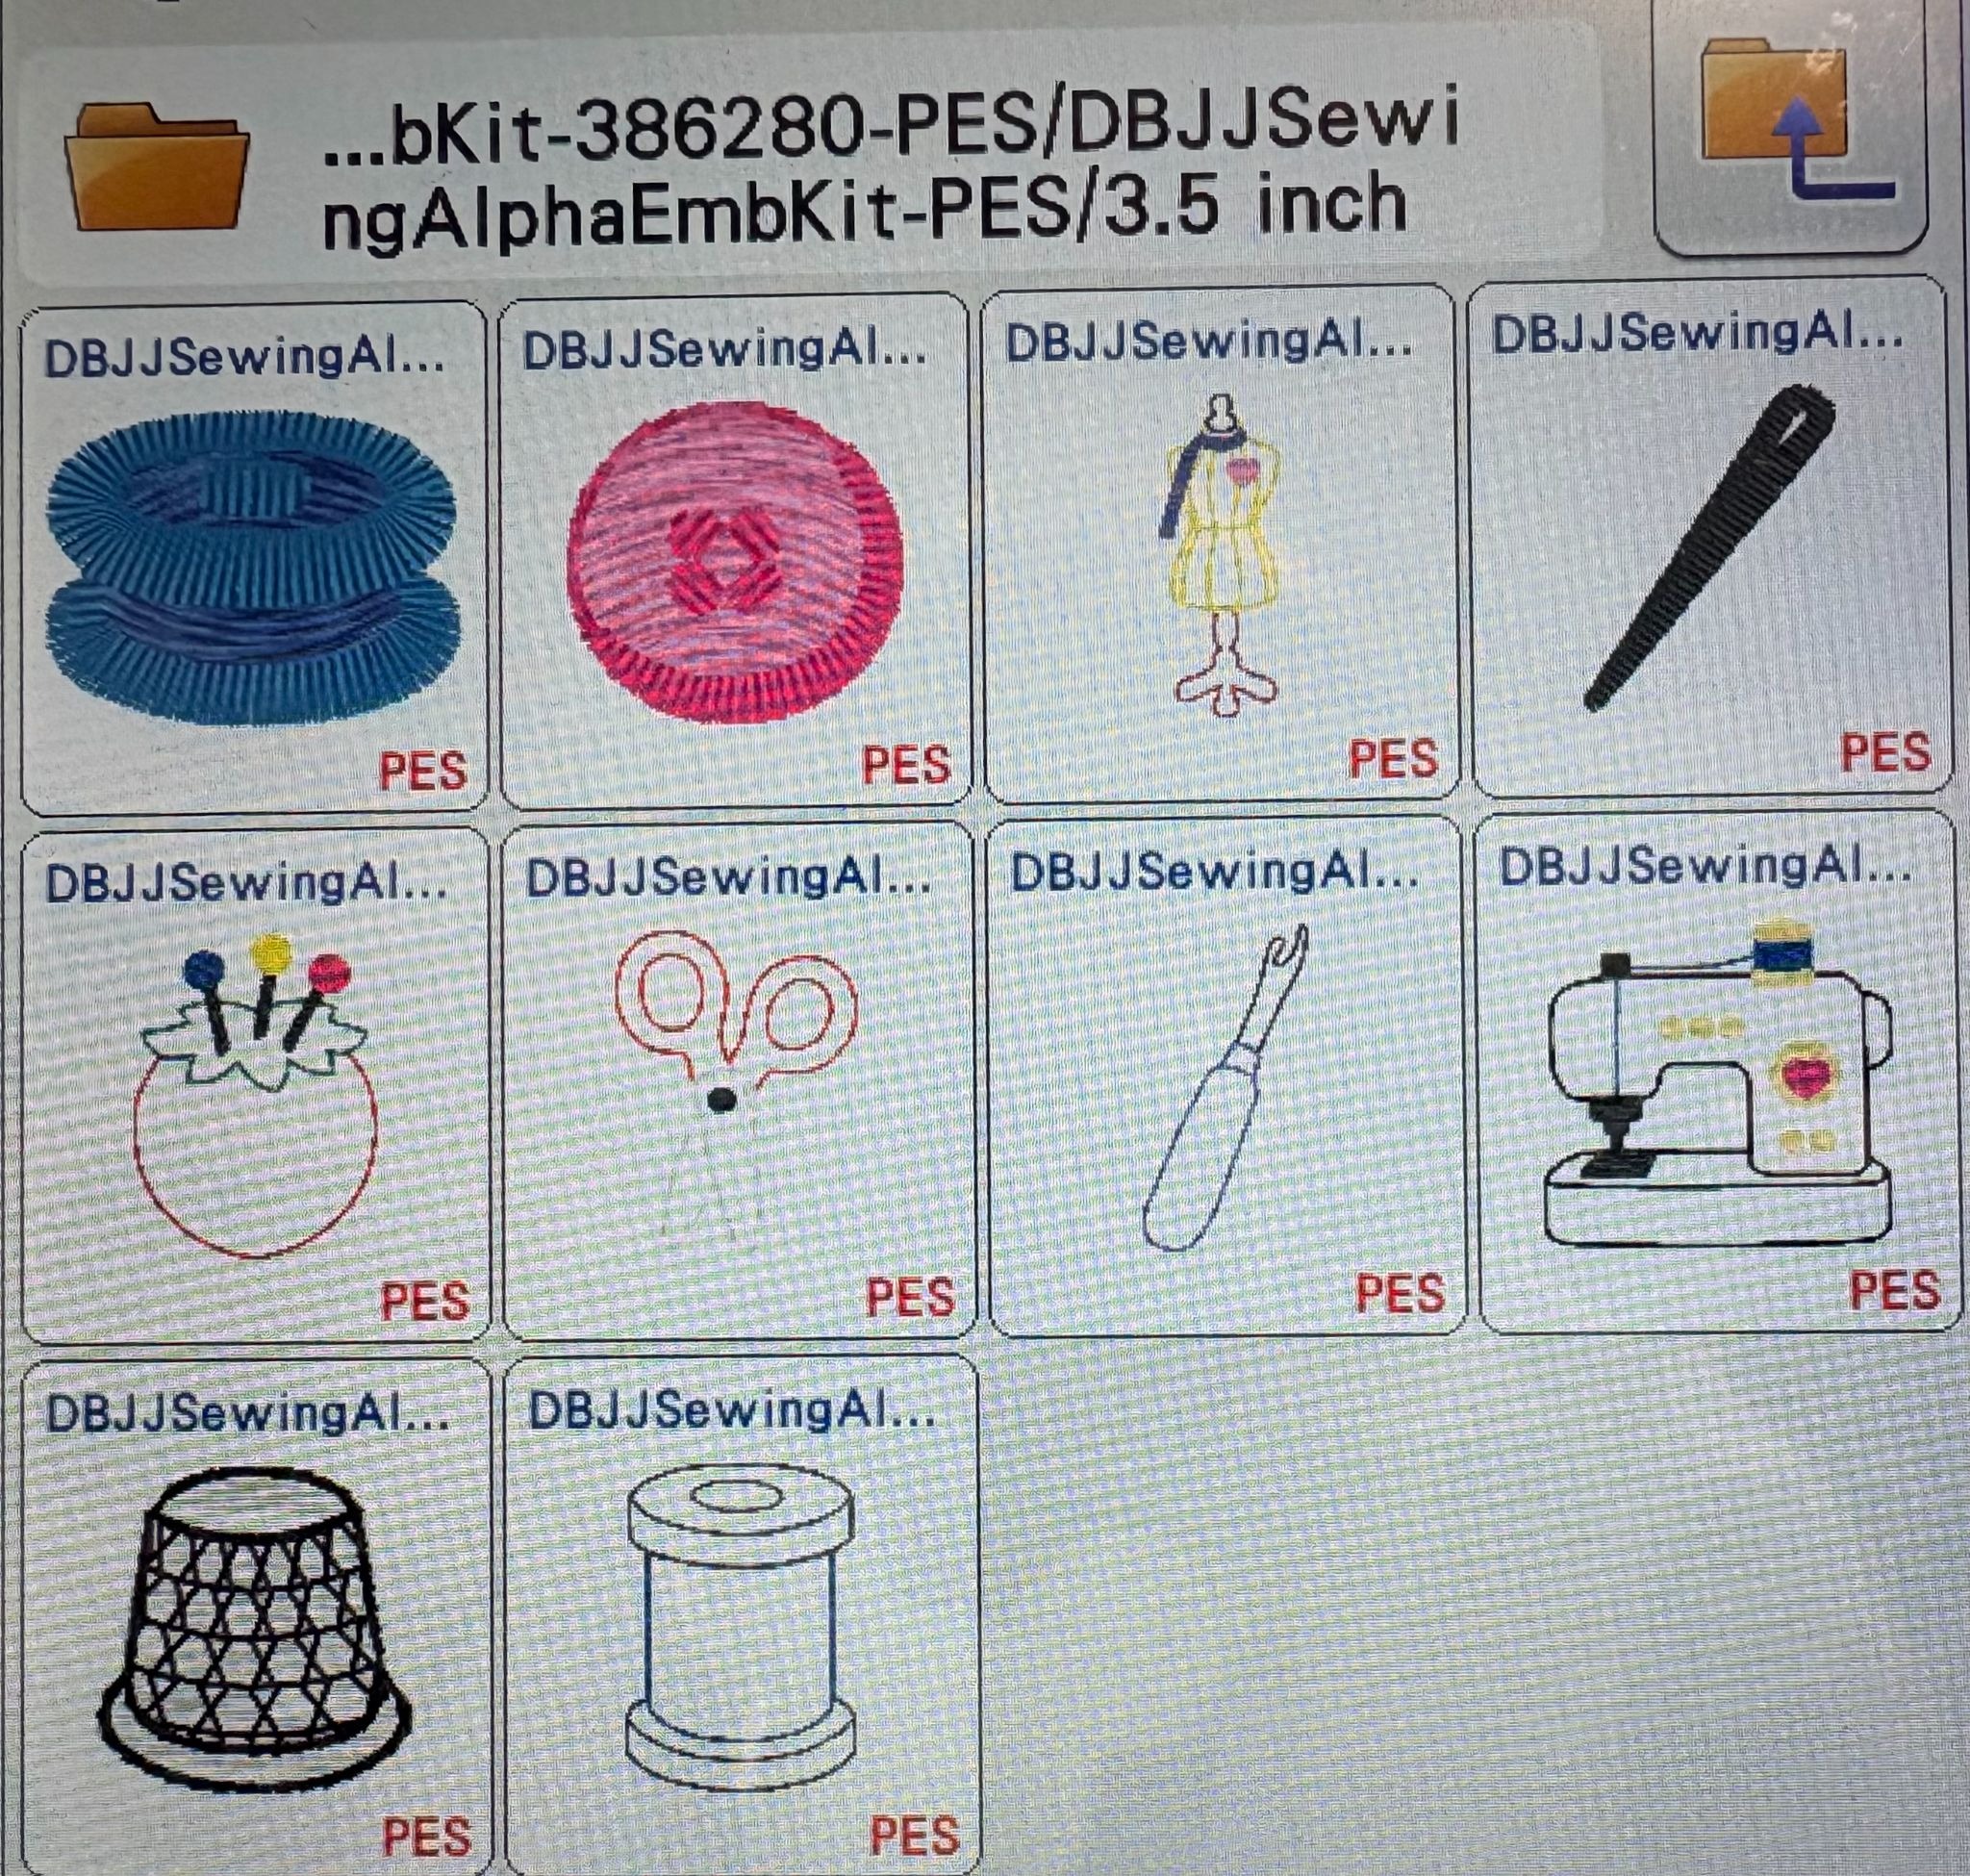
Load the Daisy Doodle Sewing Bean Stitch Embellishment Kit onto your machine. Select the 2.5” size and choose your favorite design. I chose the sewing machine design.
These designs use a bean stitch, so I suggest using felt. A bean stitch goes over the same line several times, making it thicker and more textured. Unlike a satin stitch, it leaves a raw edge. If you haven’t tried a bean stitch before, check out this JuJu video: How to Embroider a Bean Stitch Applique (video).
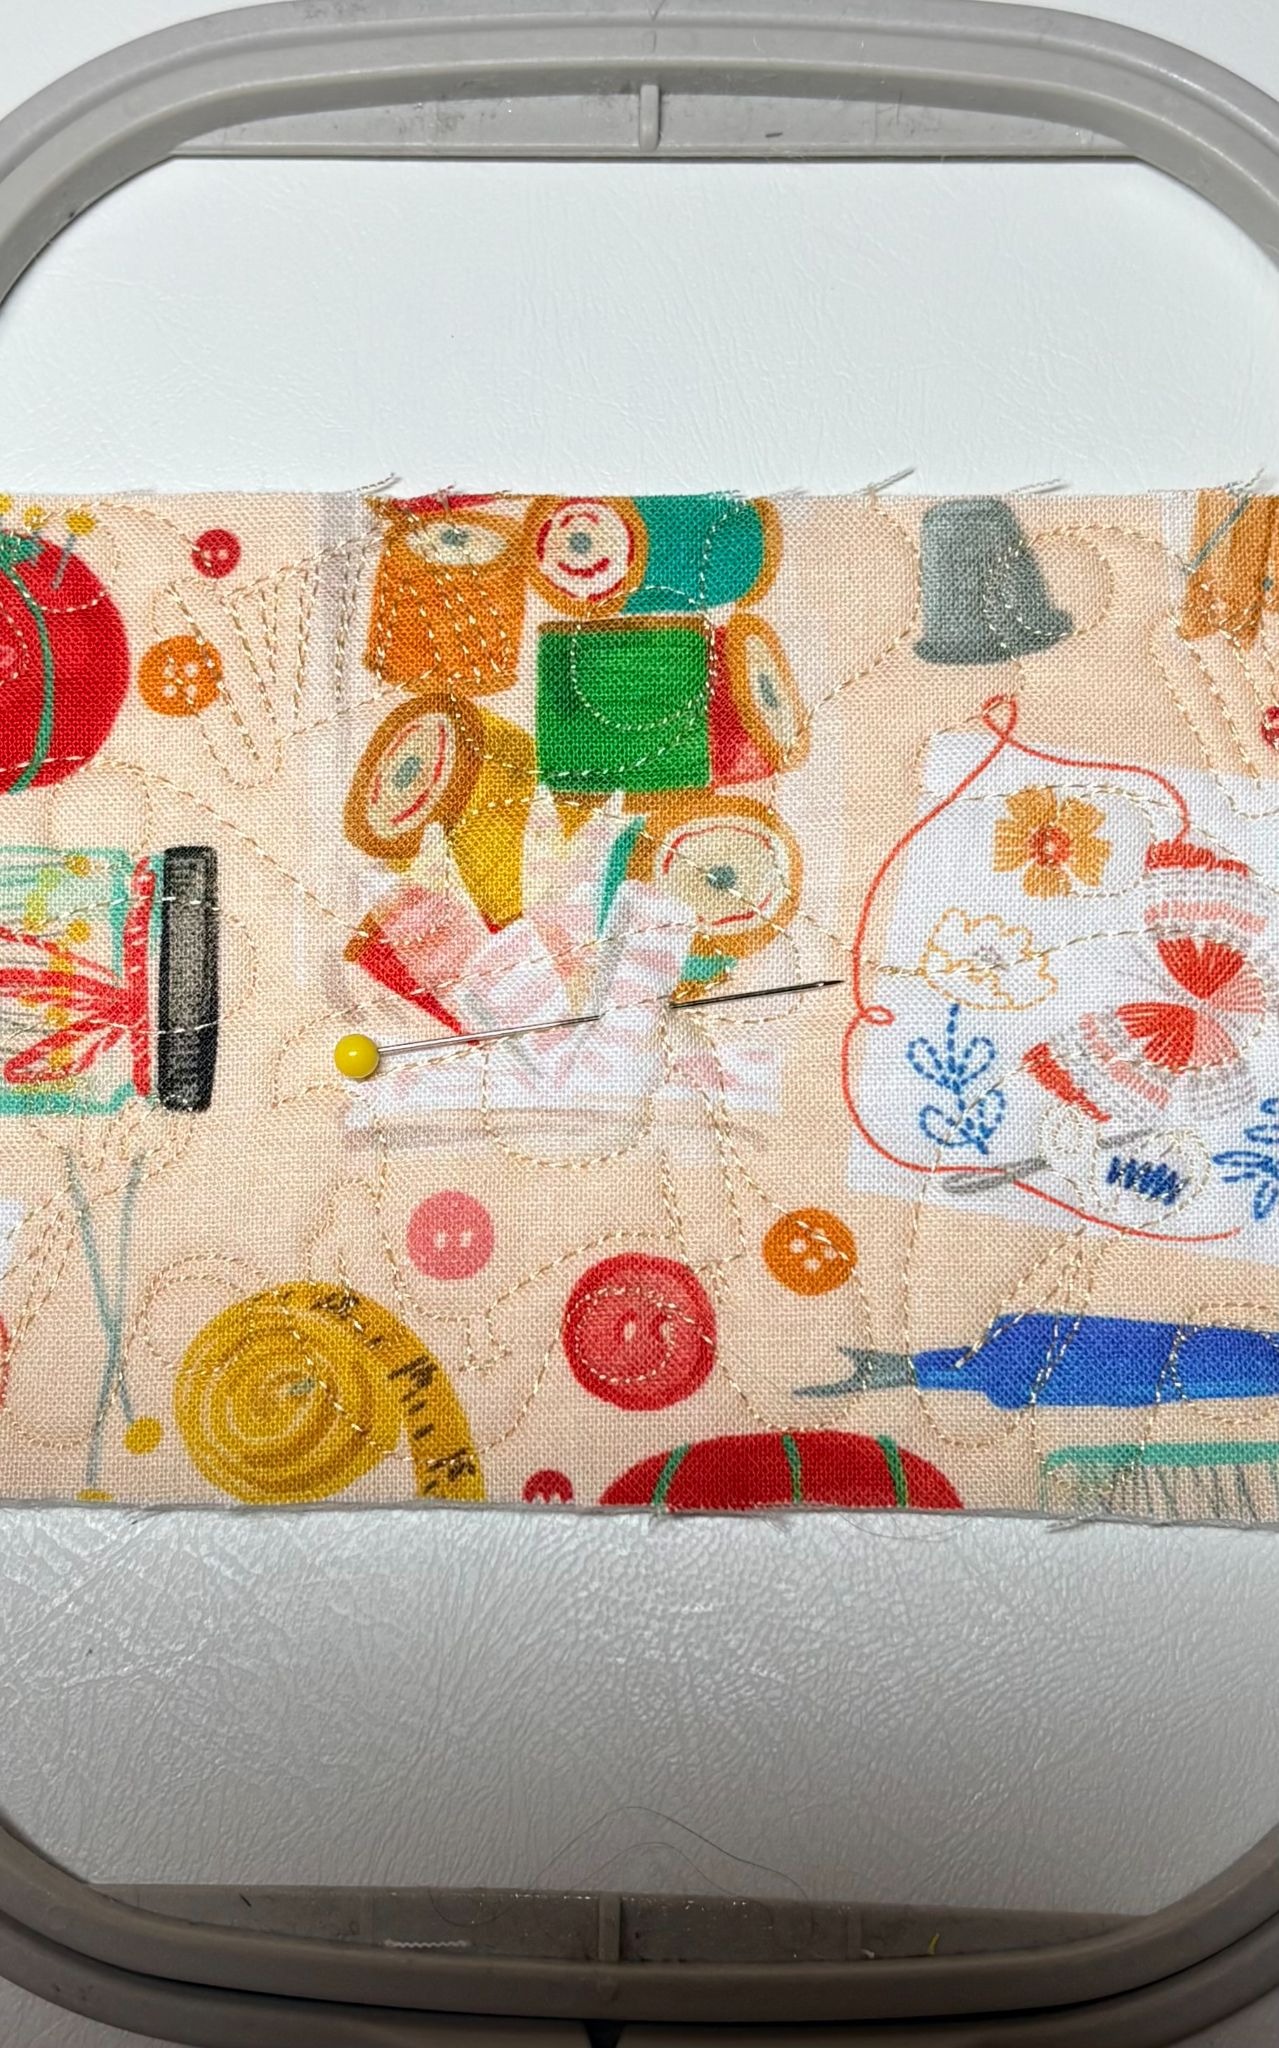
Center your embroidered fabric in a 4x4 hoop and pull it tight. You don’t need a stabilizer for this step. The center top and bottom of the fabric will not be hooped.
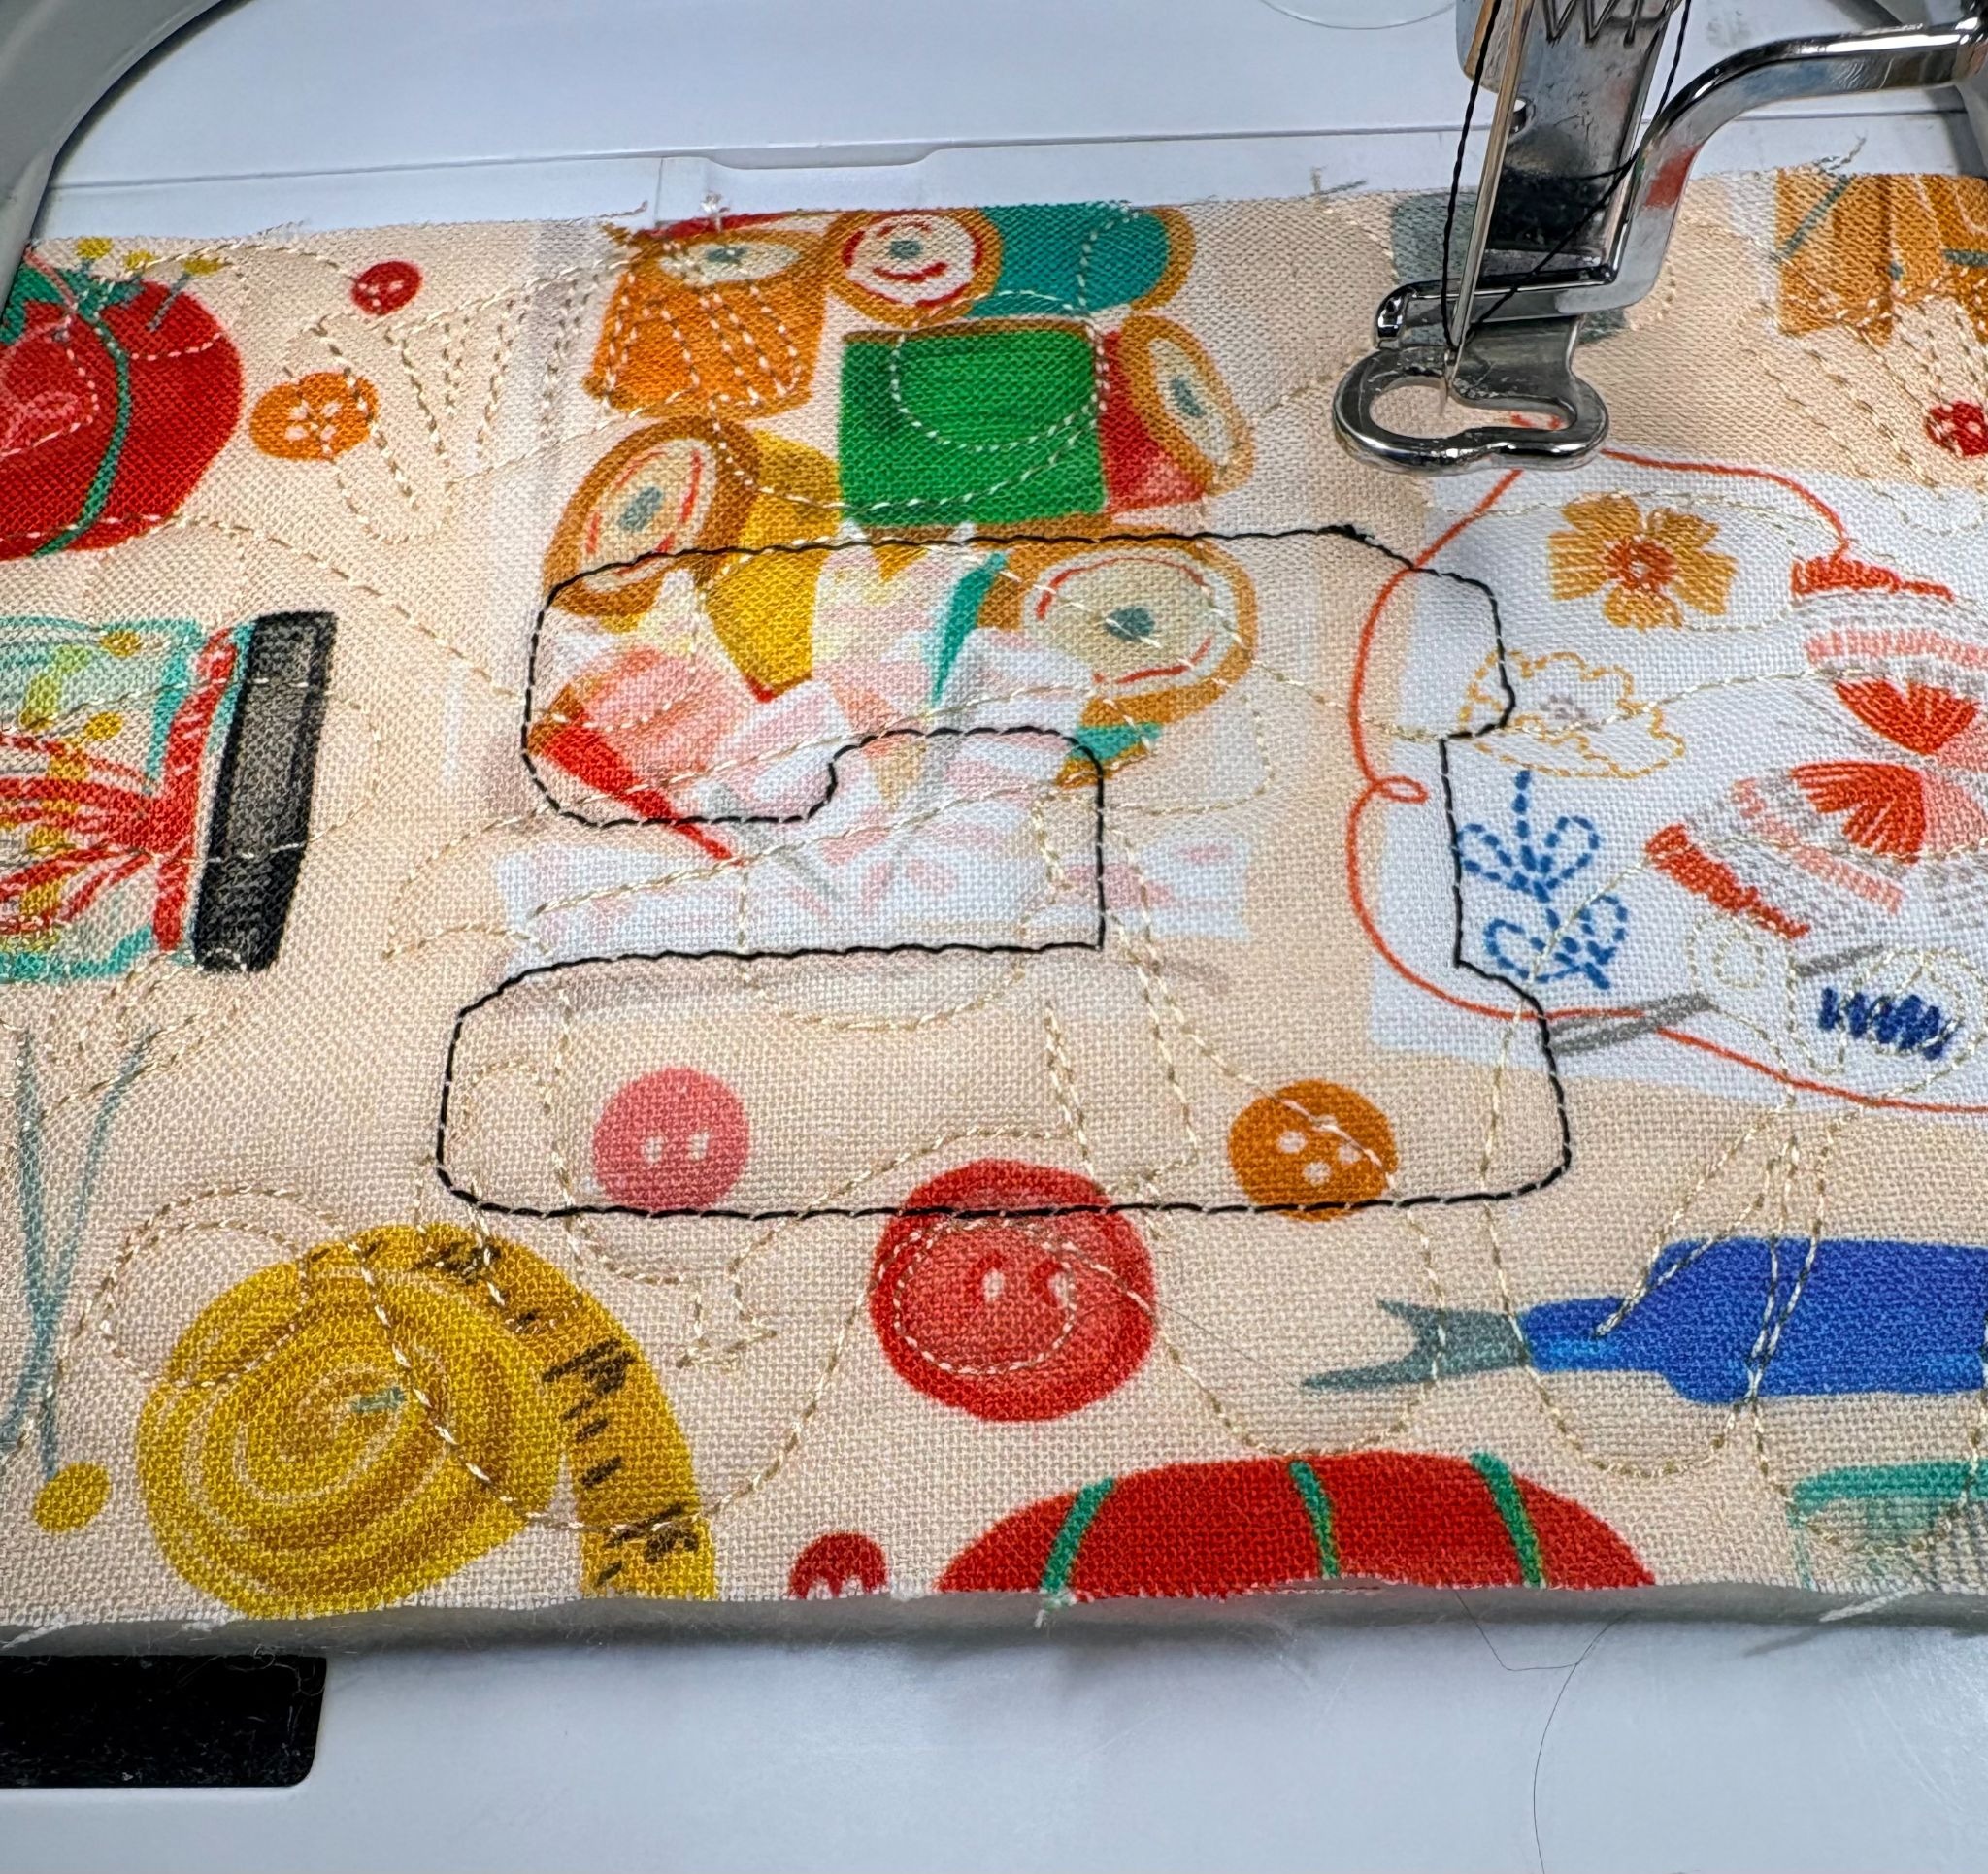
Stitch the placement line for the applique.
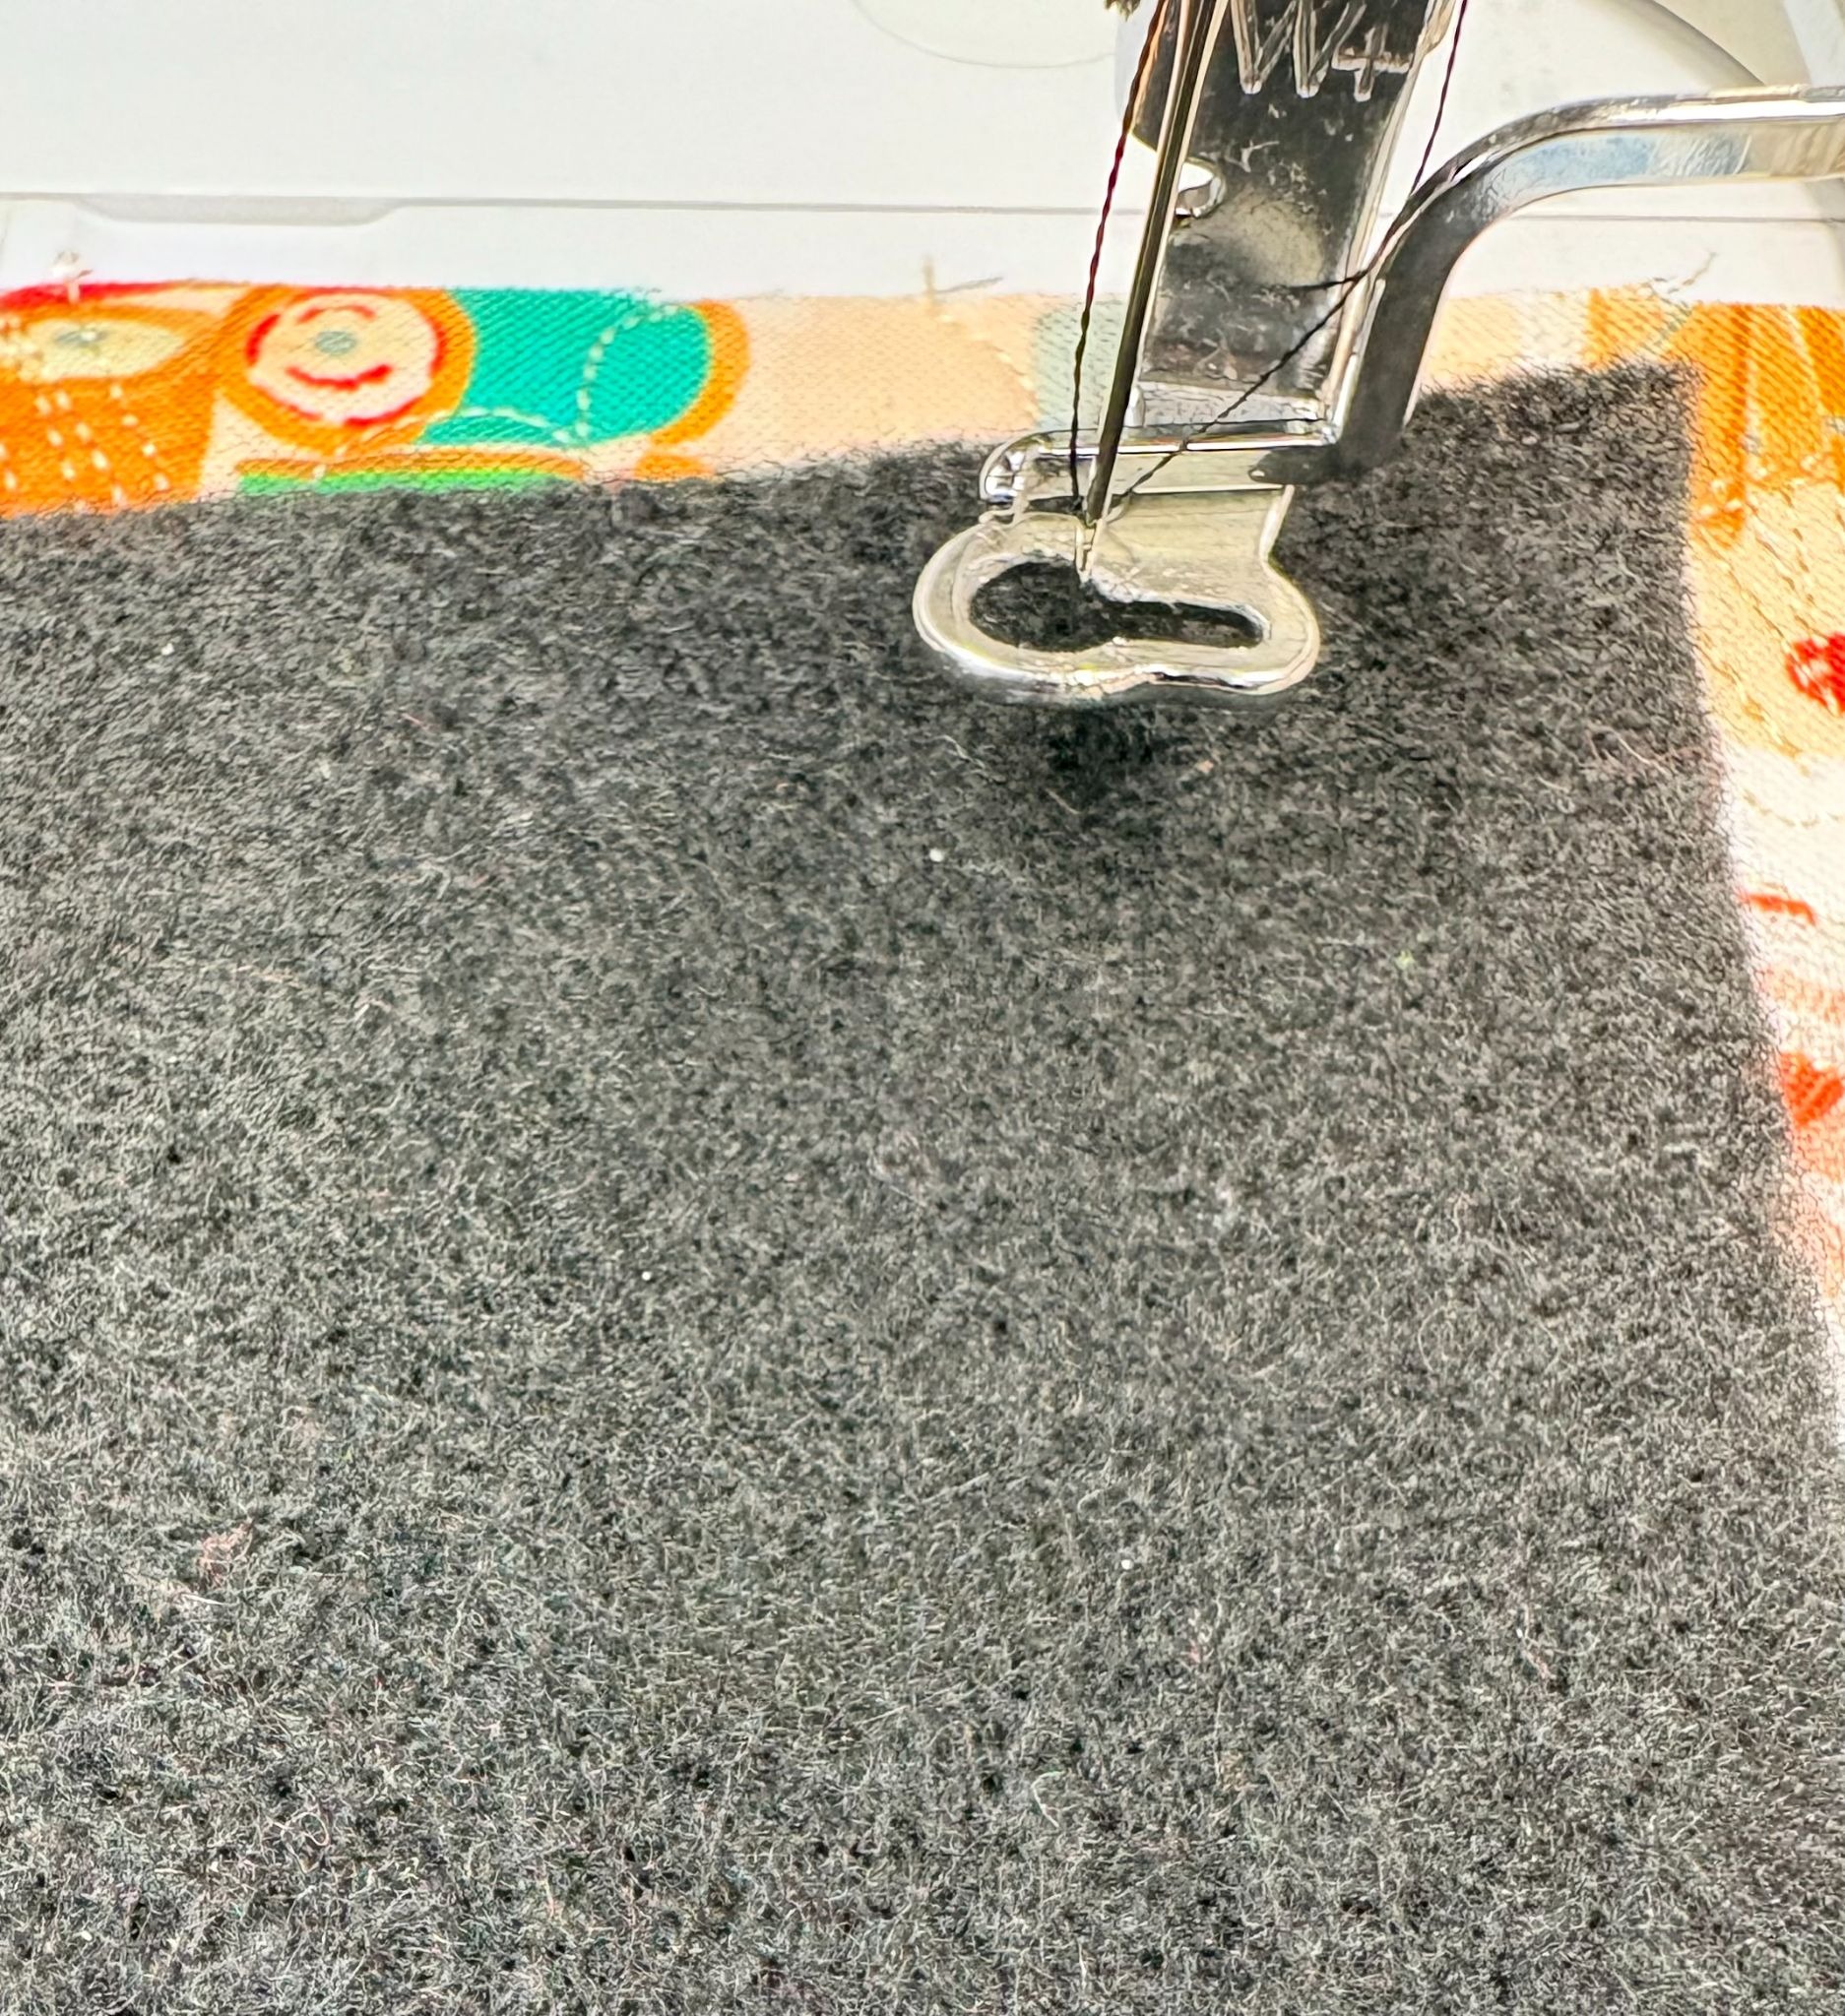
Place the felt over the placement stitches.
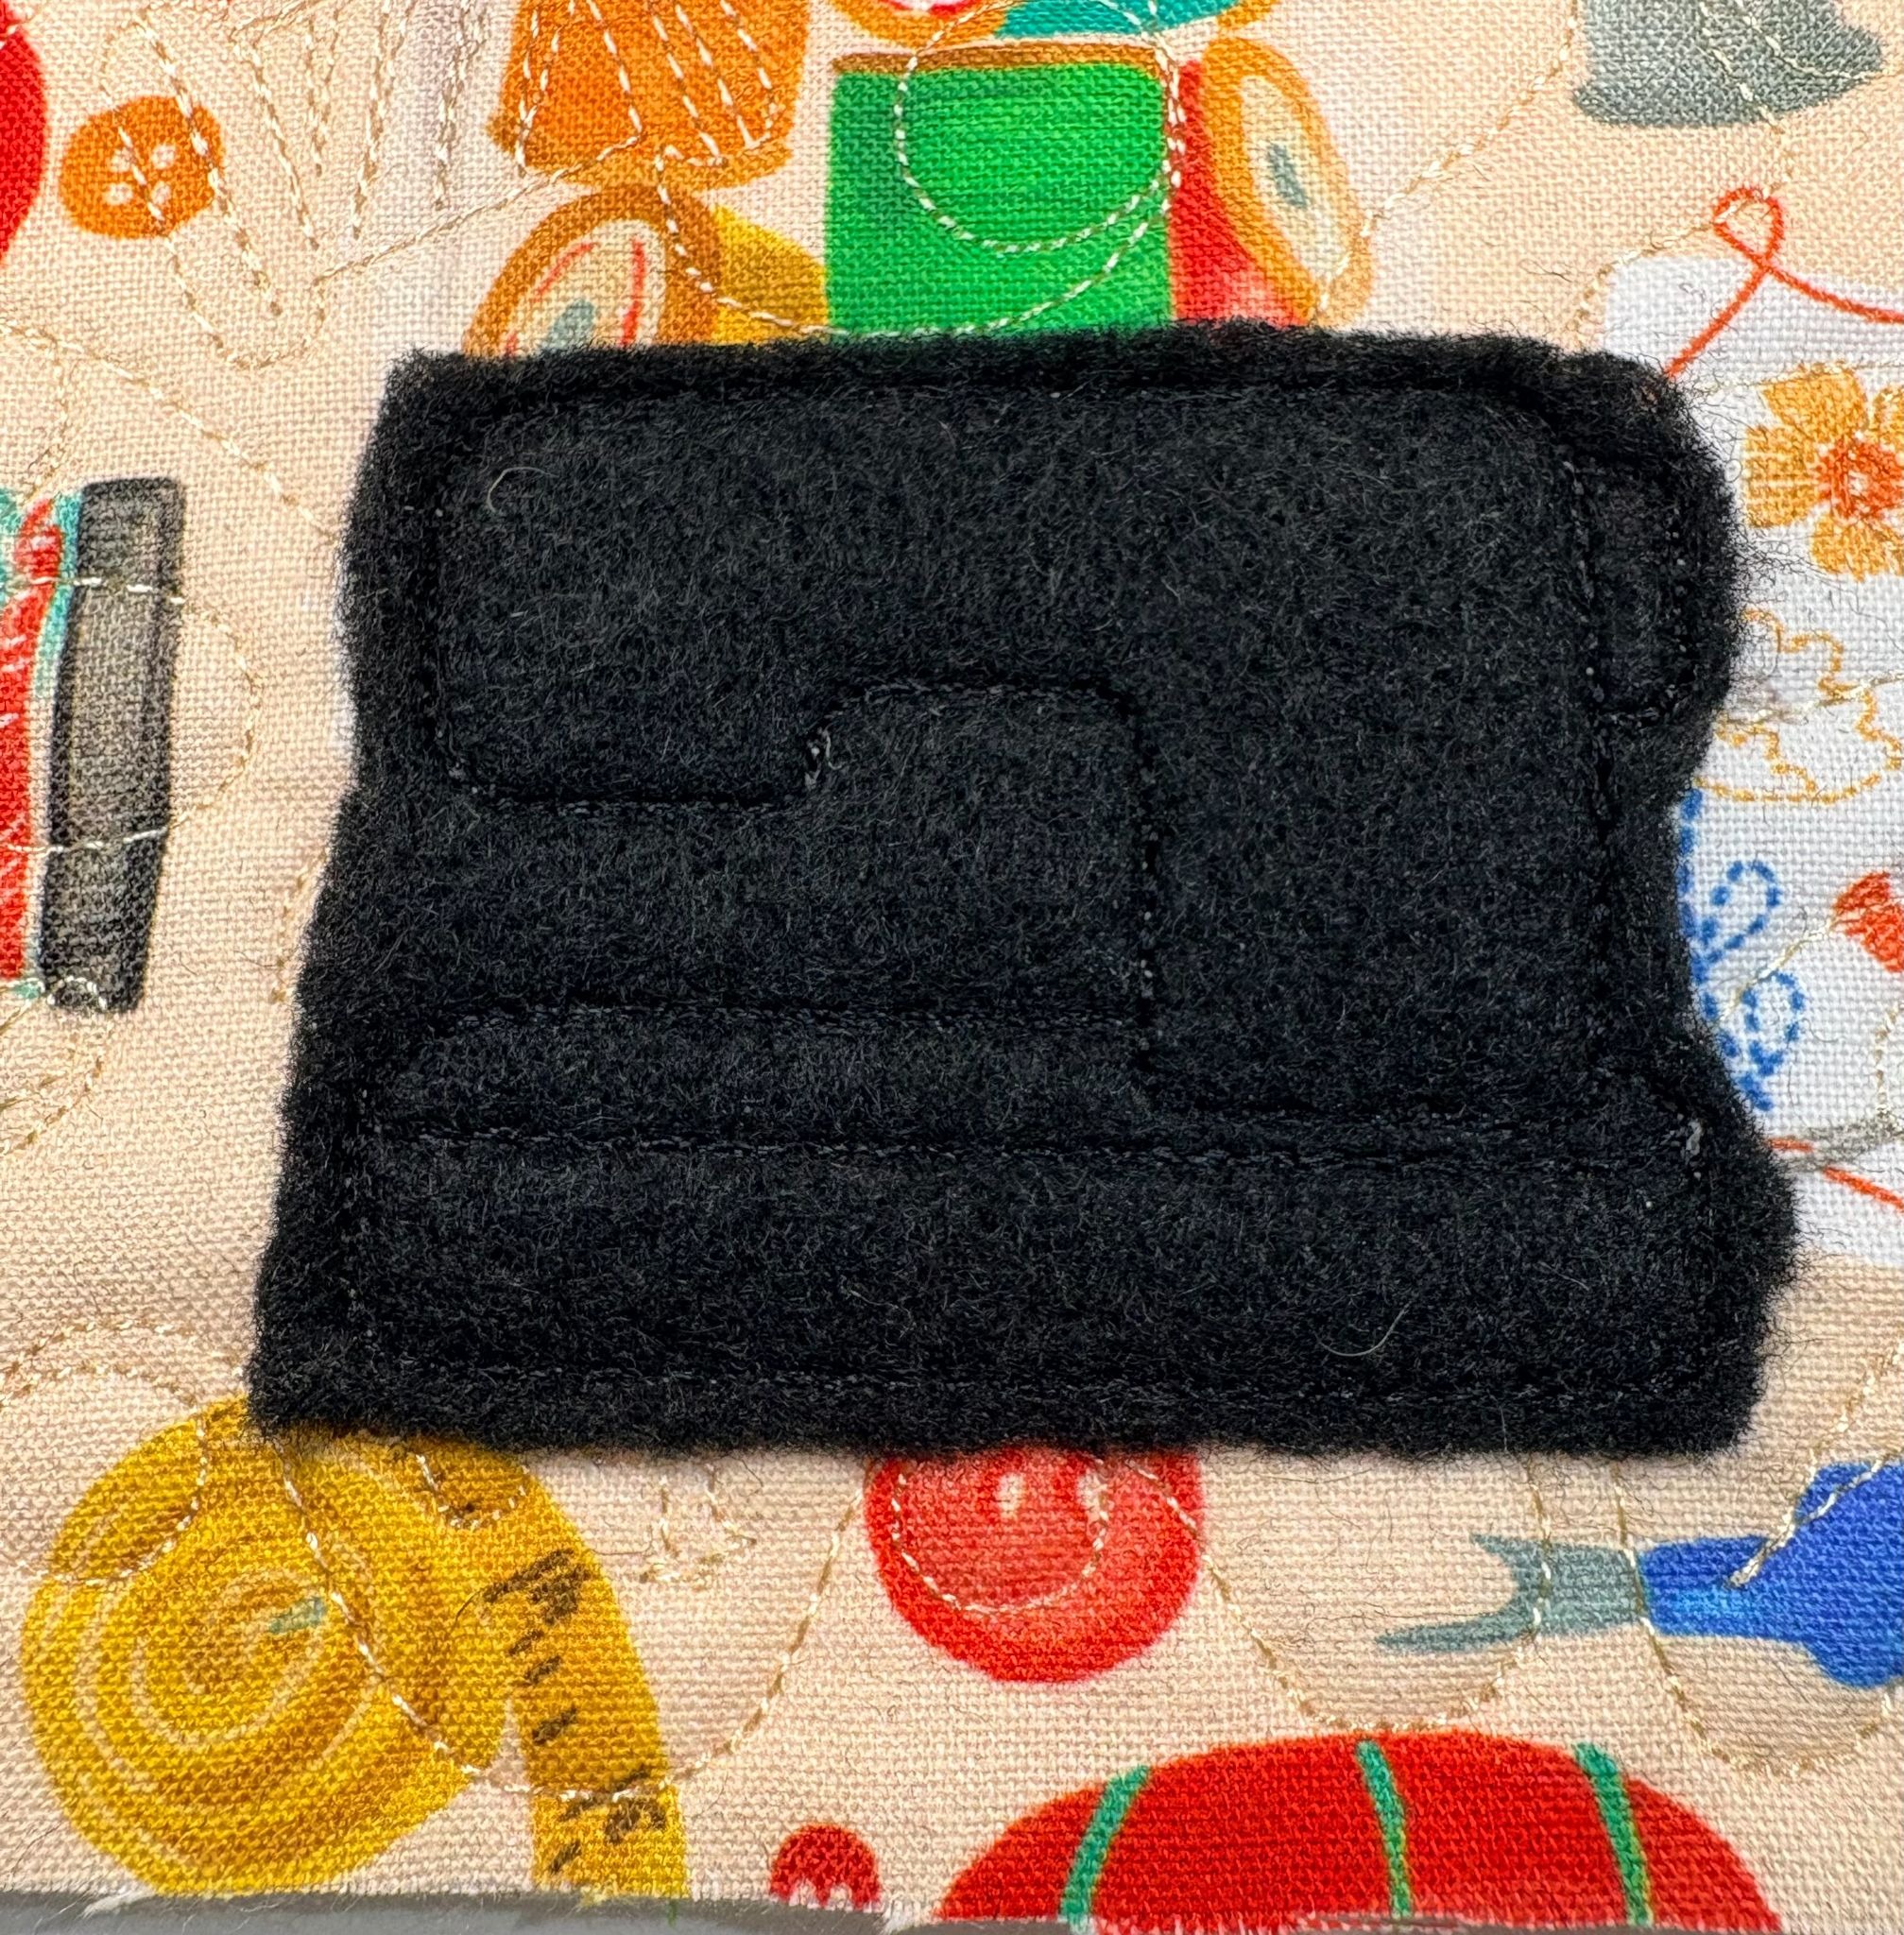
Stitch the tack-down line, which uses the bean stitch. Trim the fabric close to the stitching. For my sewing machine design, I’m only trimming the top and bottom for now to avoid pulling the fabric.
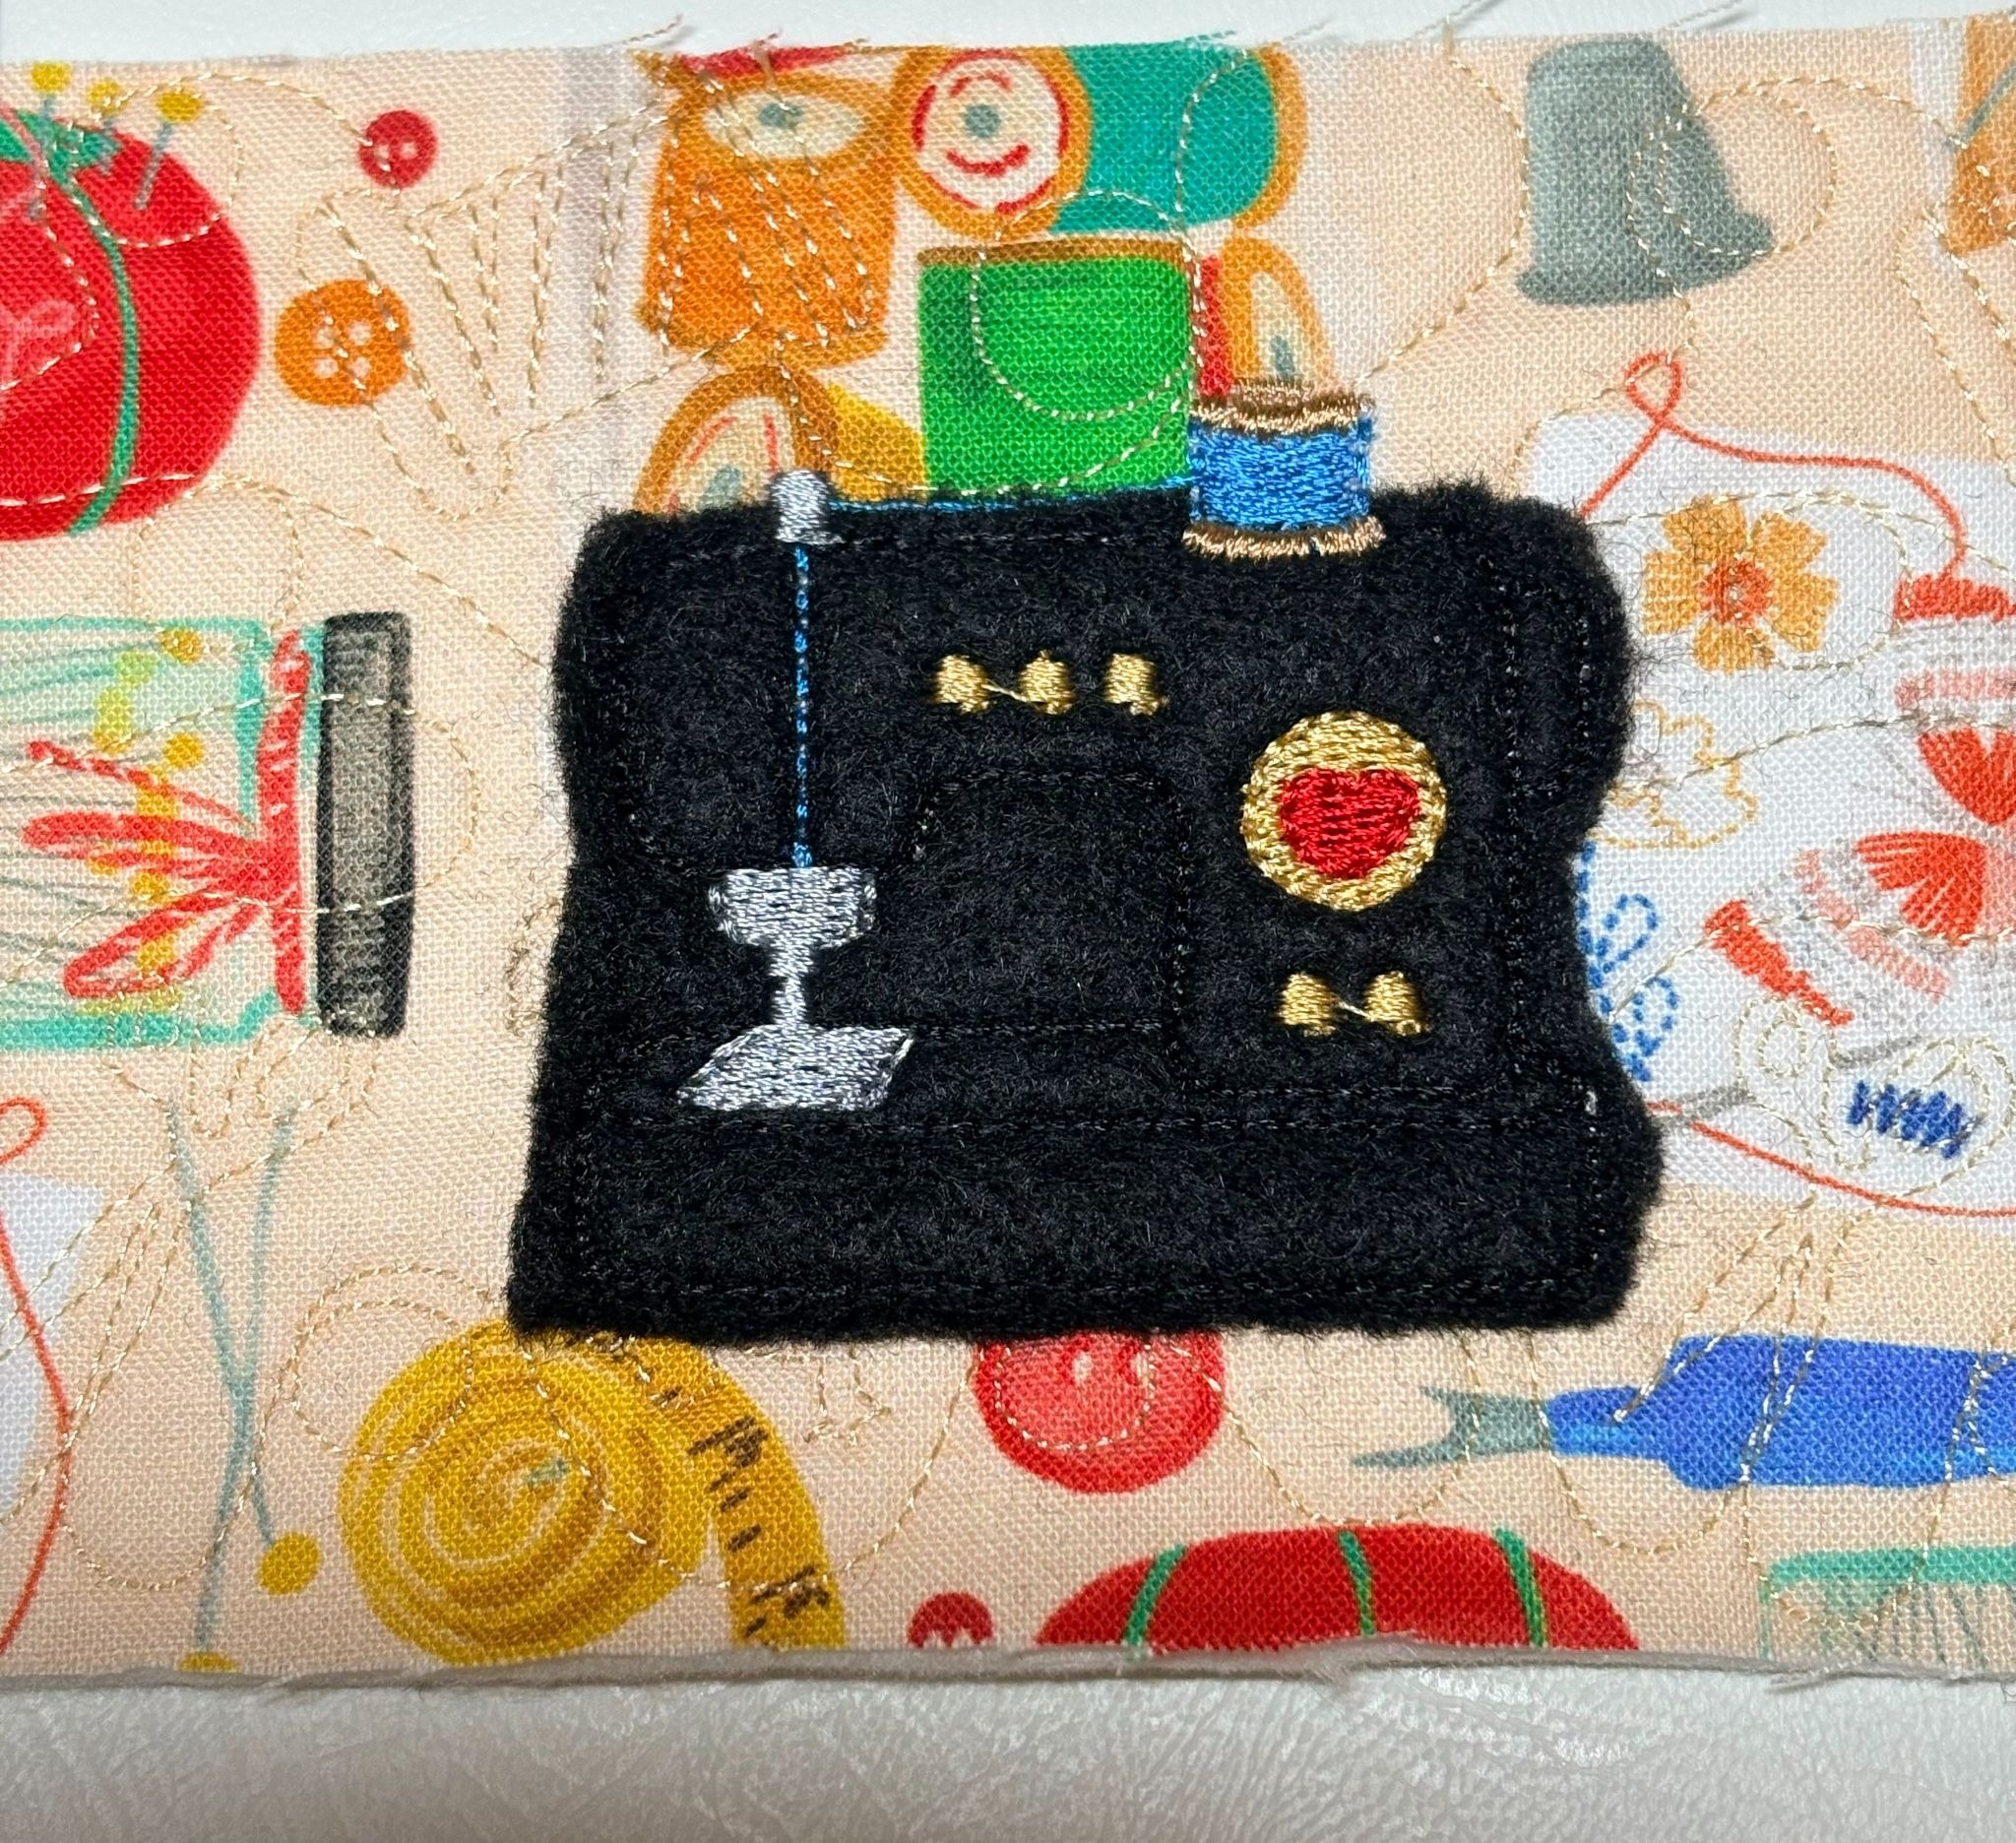
Finish stitching the rest of the design.
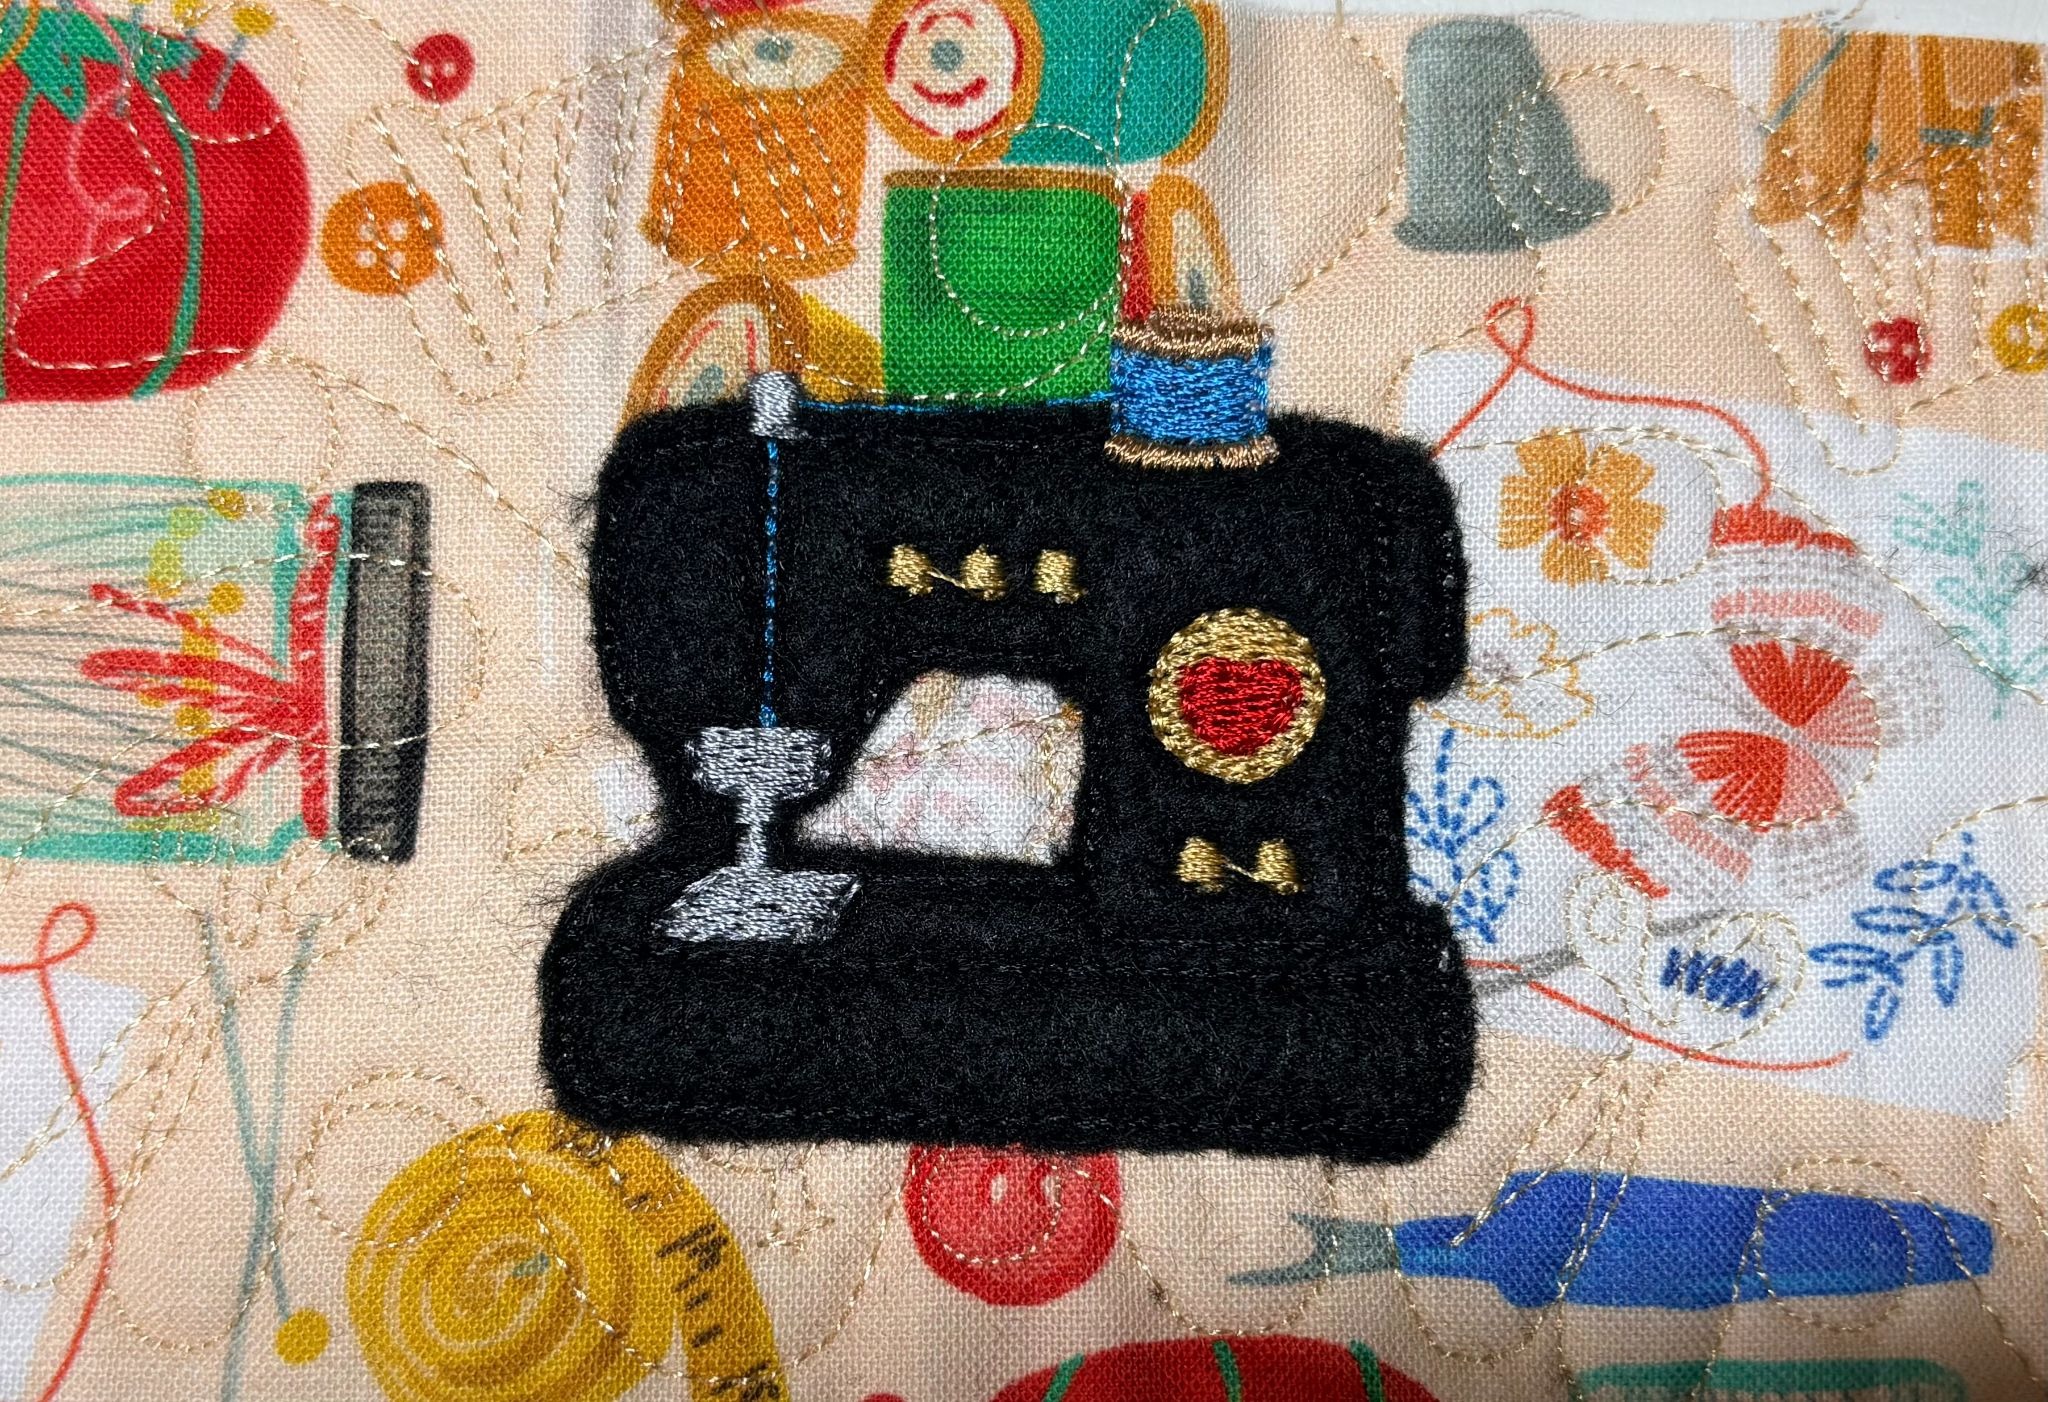
When you’re finished, take the fabric out of the hoop and trim around the rest of the design.
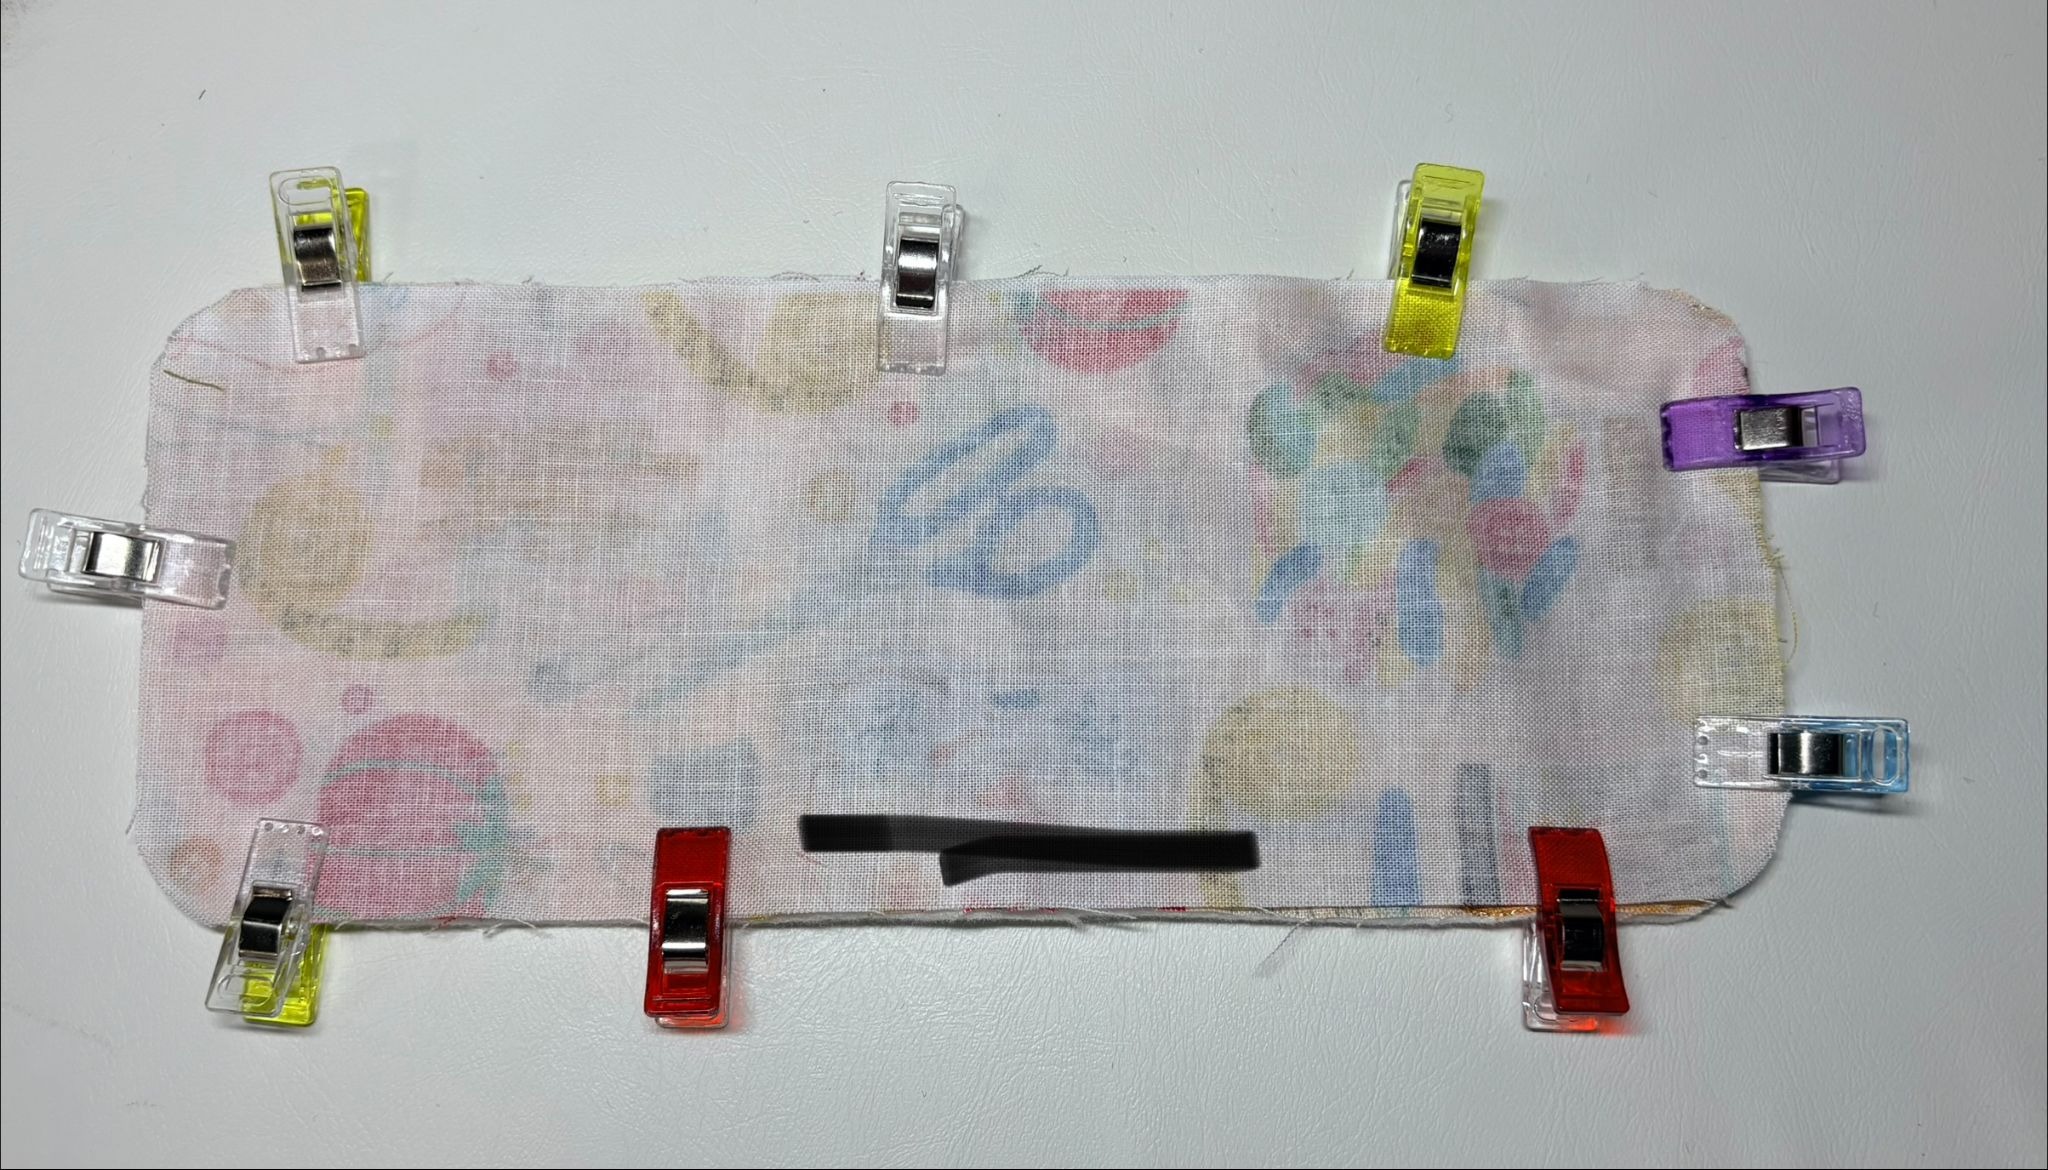
Place the outer and lining fabrics with the right sides together. Sew around the wrap with a ¼" seam allowance, leaving a 2½" opening on one long side so you can turn it right side out.
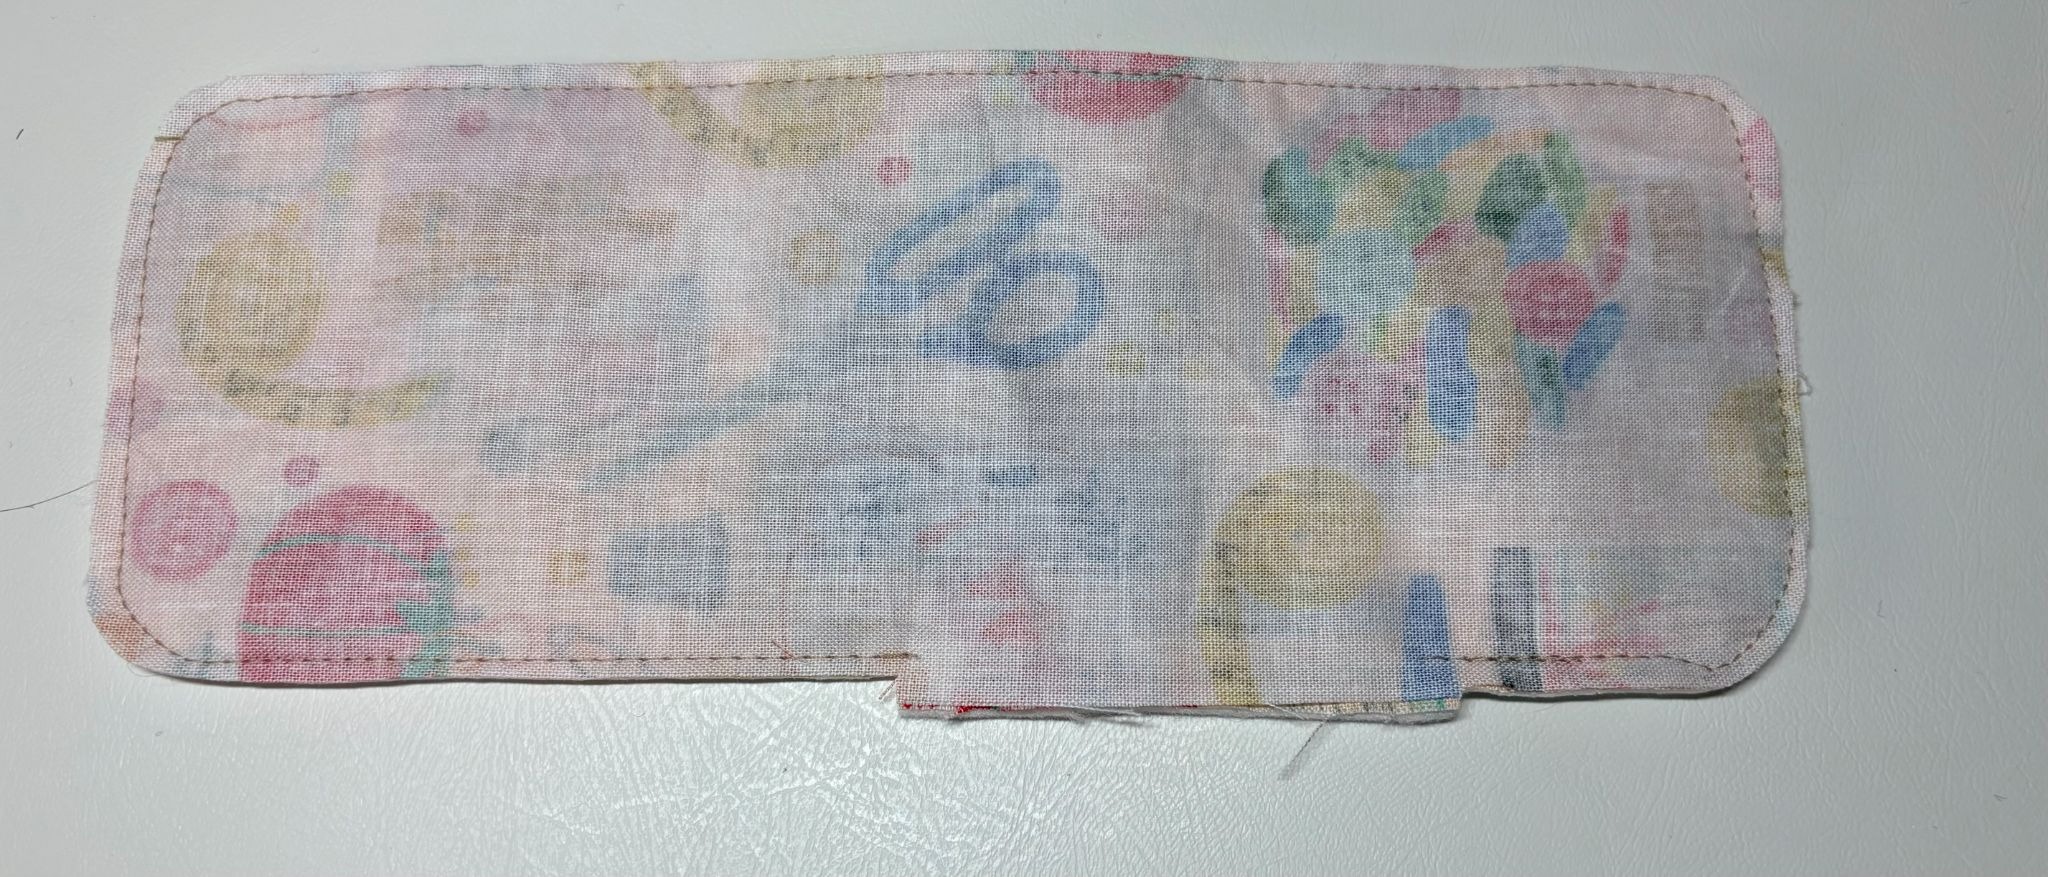
Trim the seam allowance, but leave the opening untrimmed.
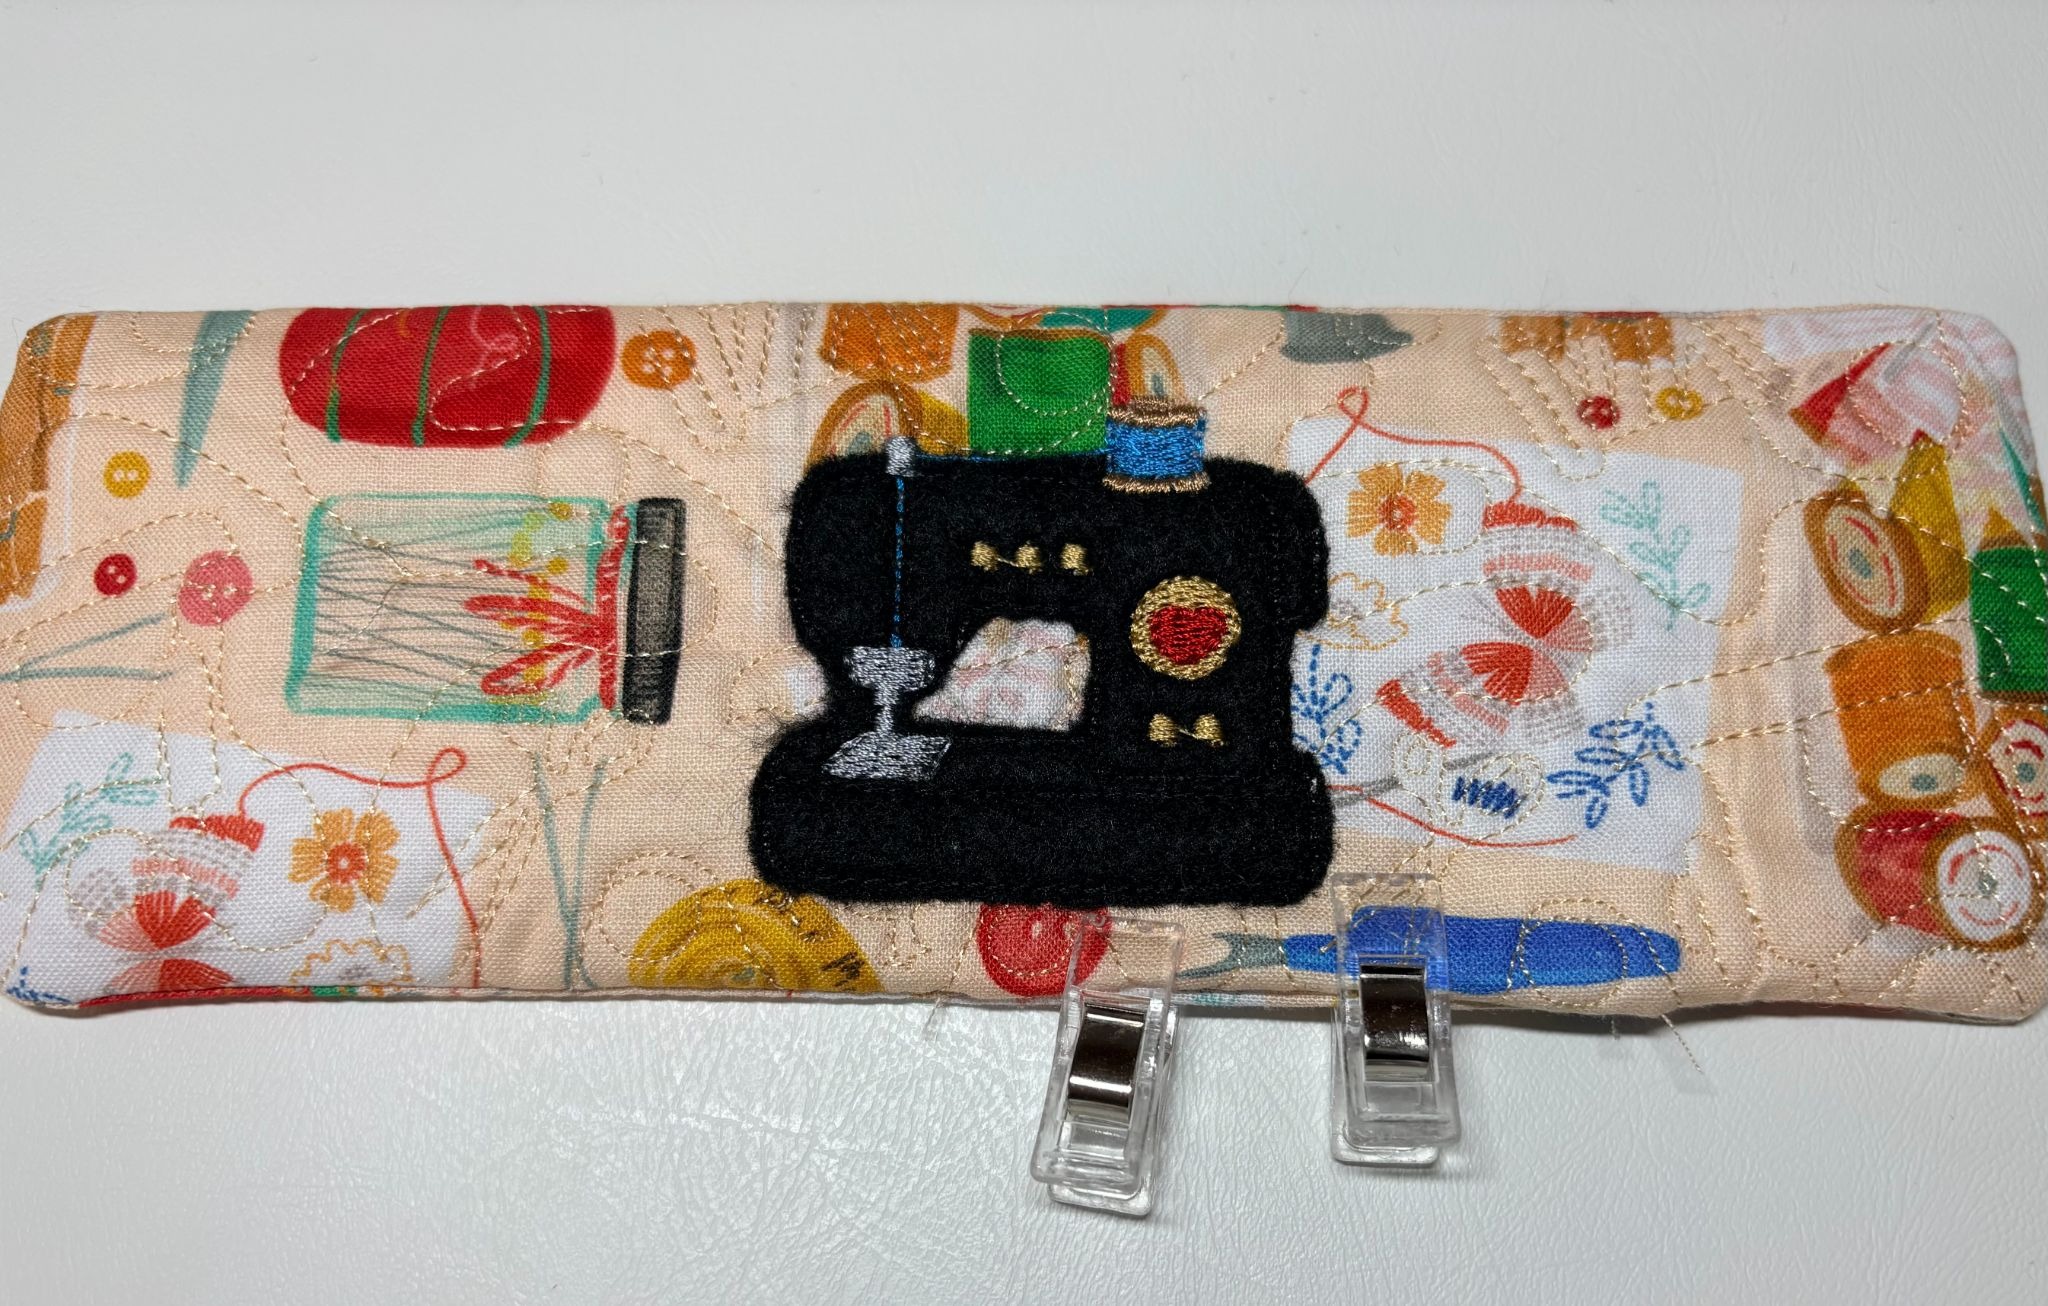
Turn right side out. Fold the raw edges of the opening to the inside and press. Clip the opening closed.
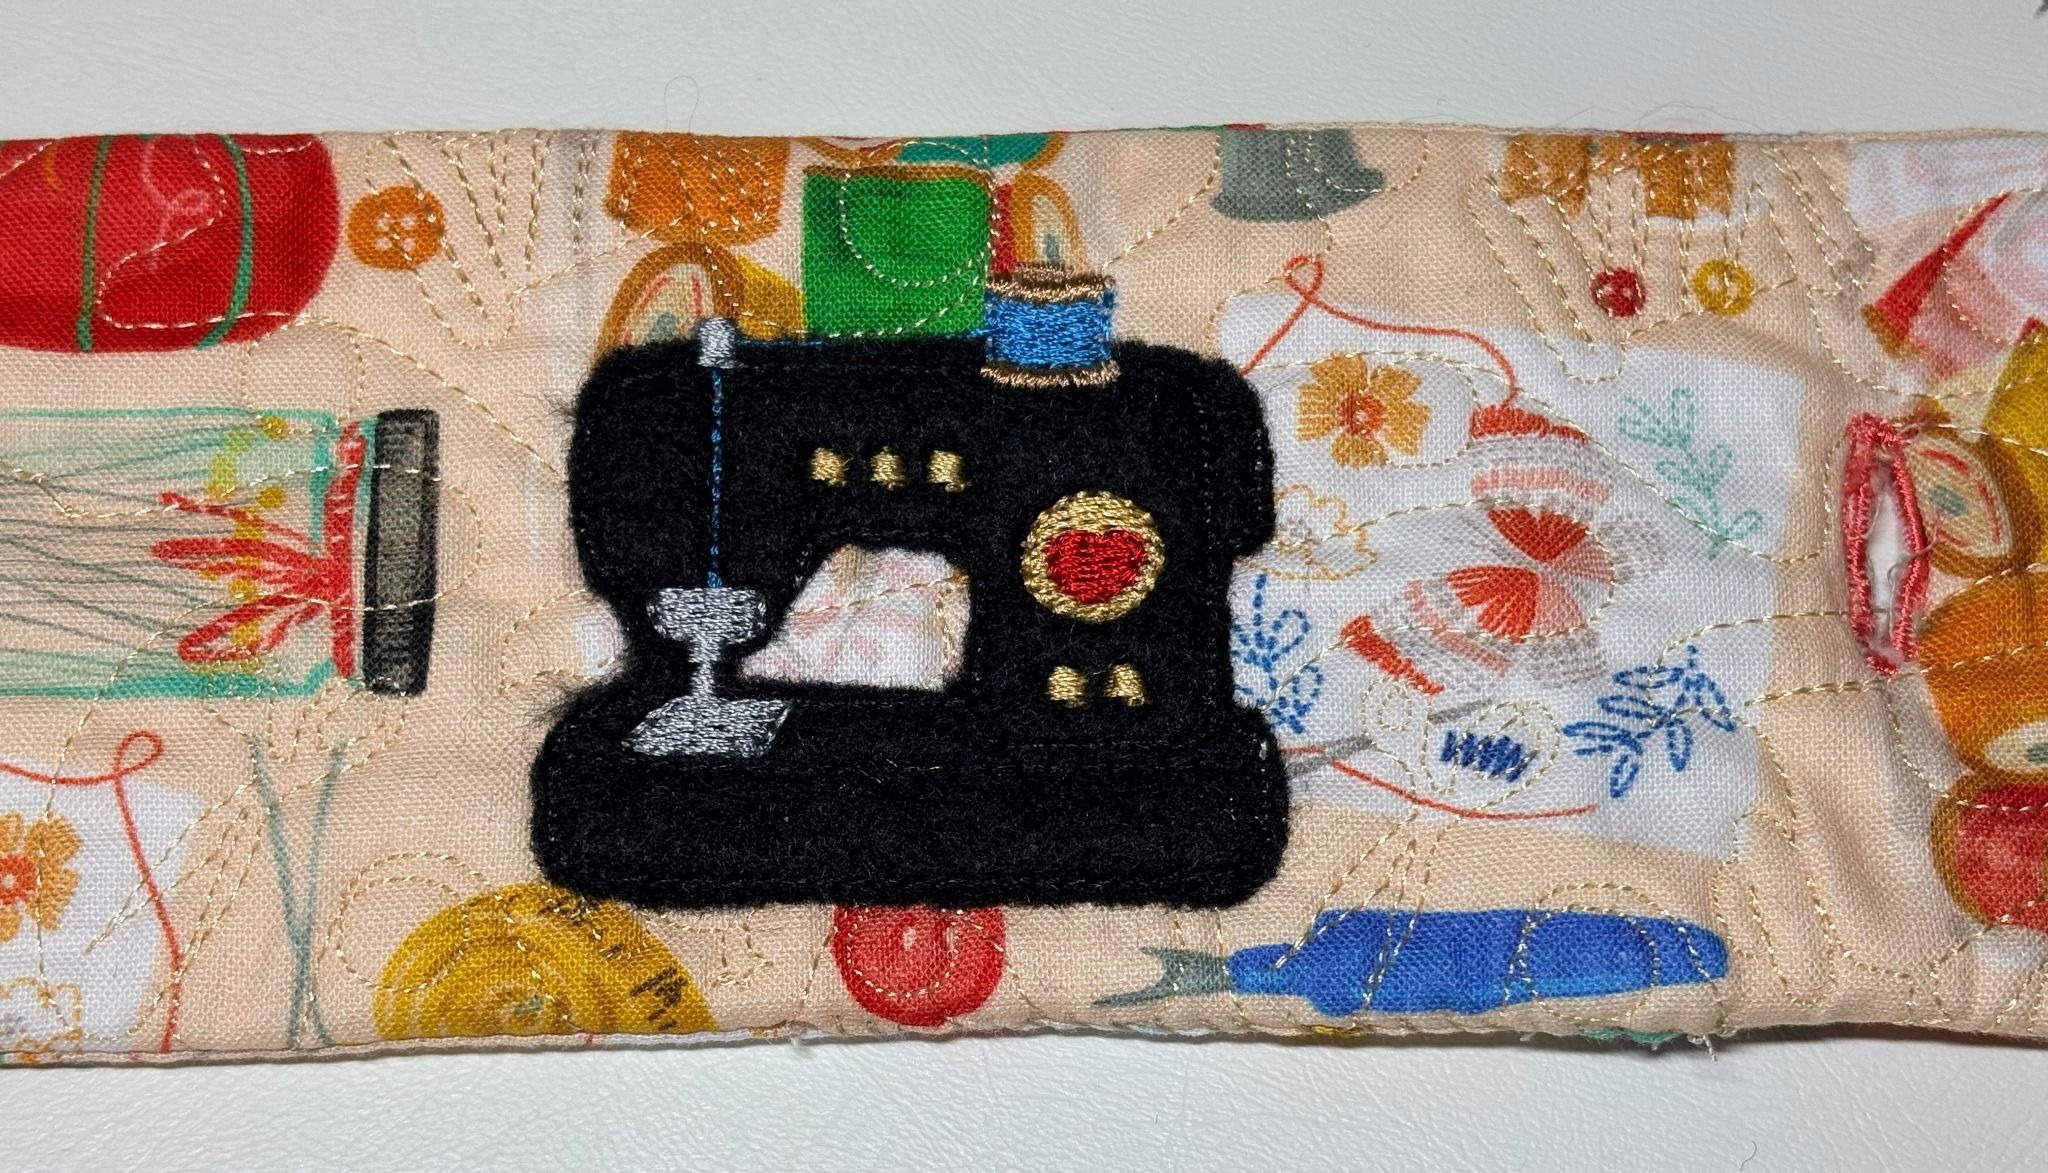
Sew the opening closed.
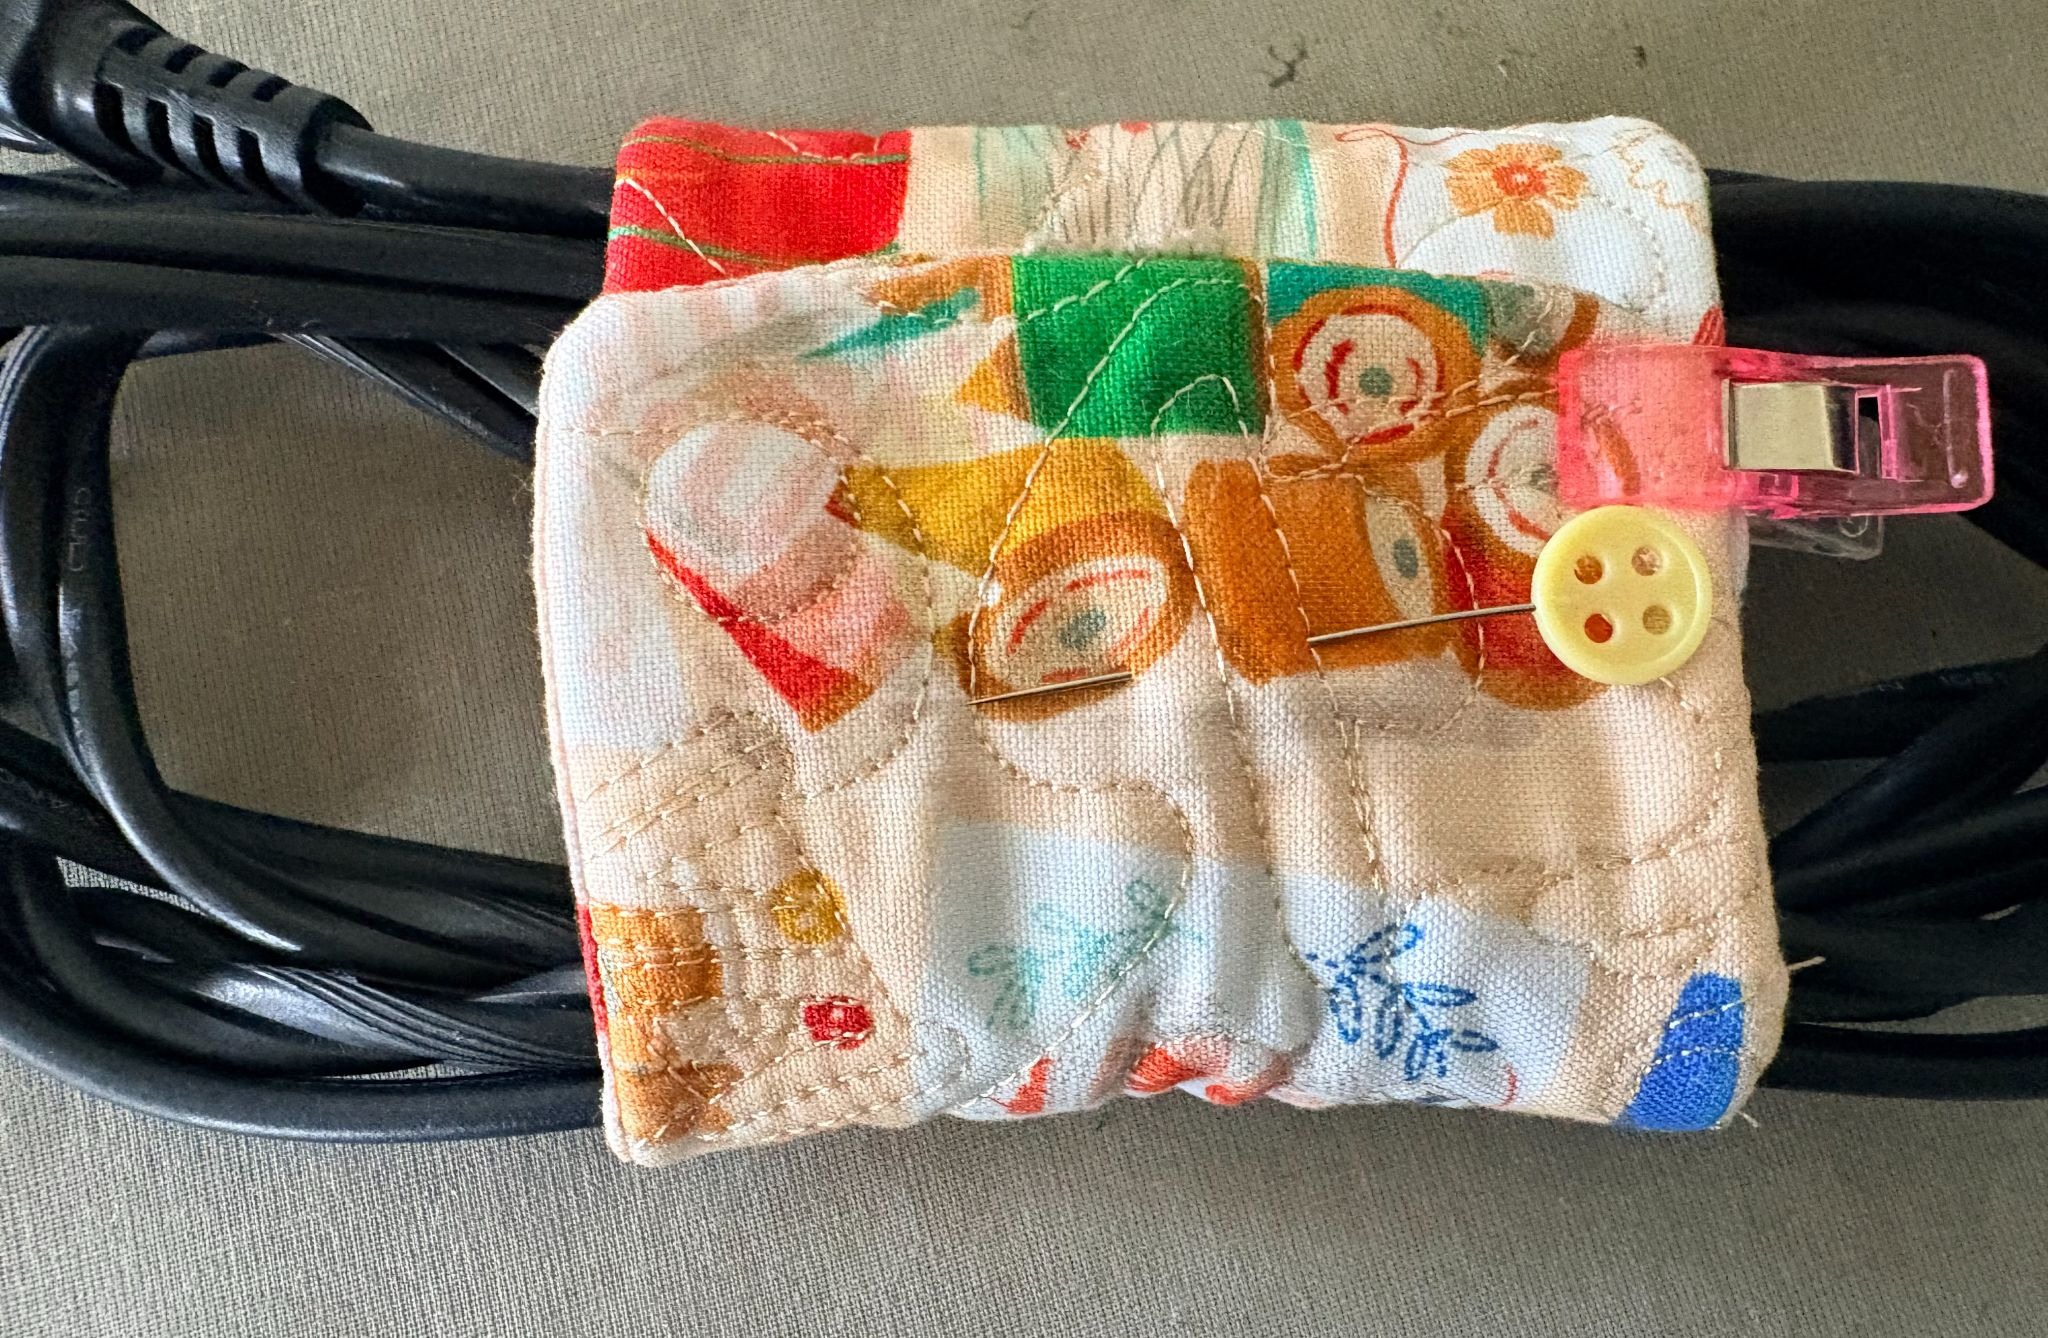
Fold the wrap around your coiled iron cord to find the best spot for the button and buttonhole. Mark the spot with a pin.
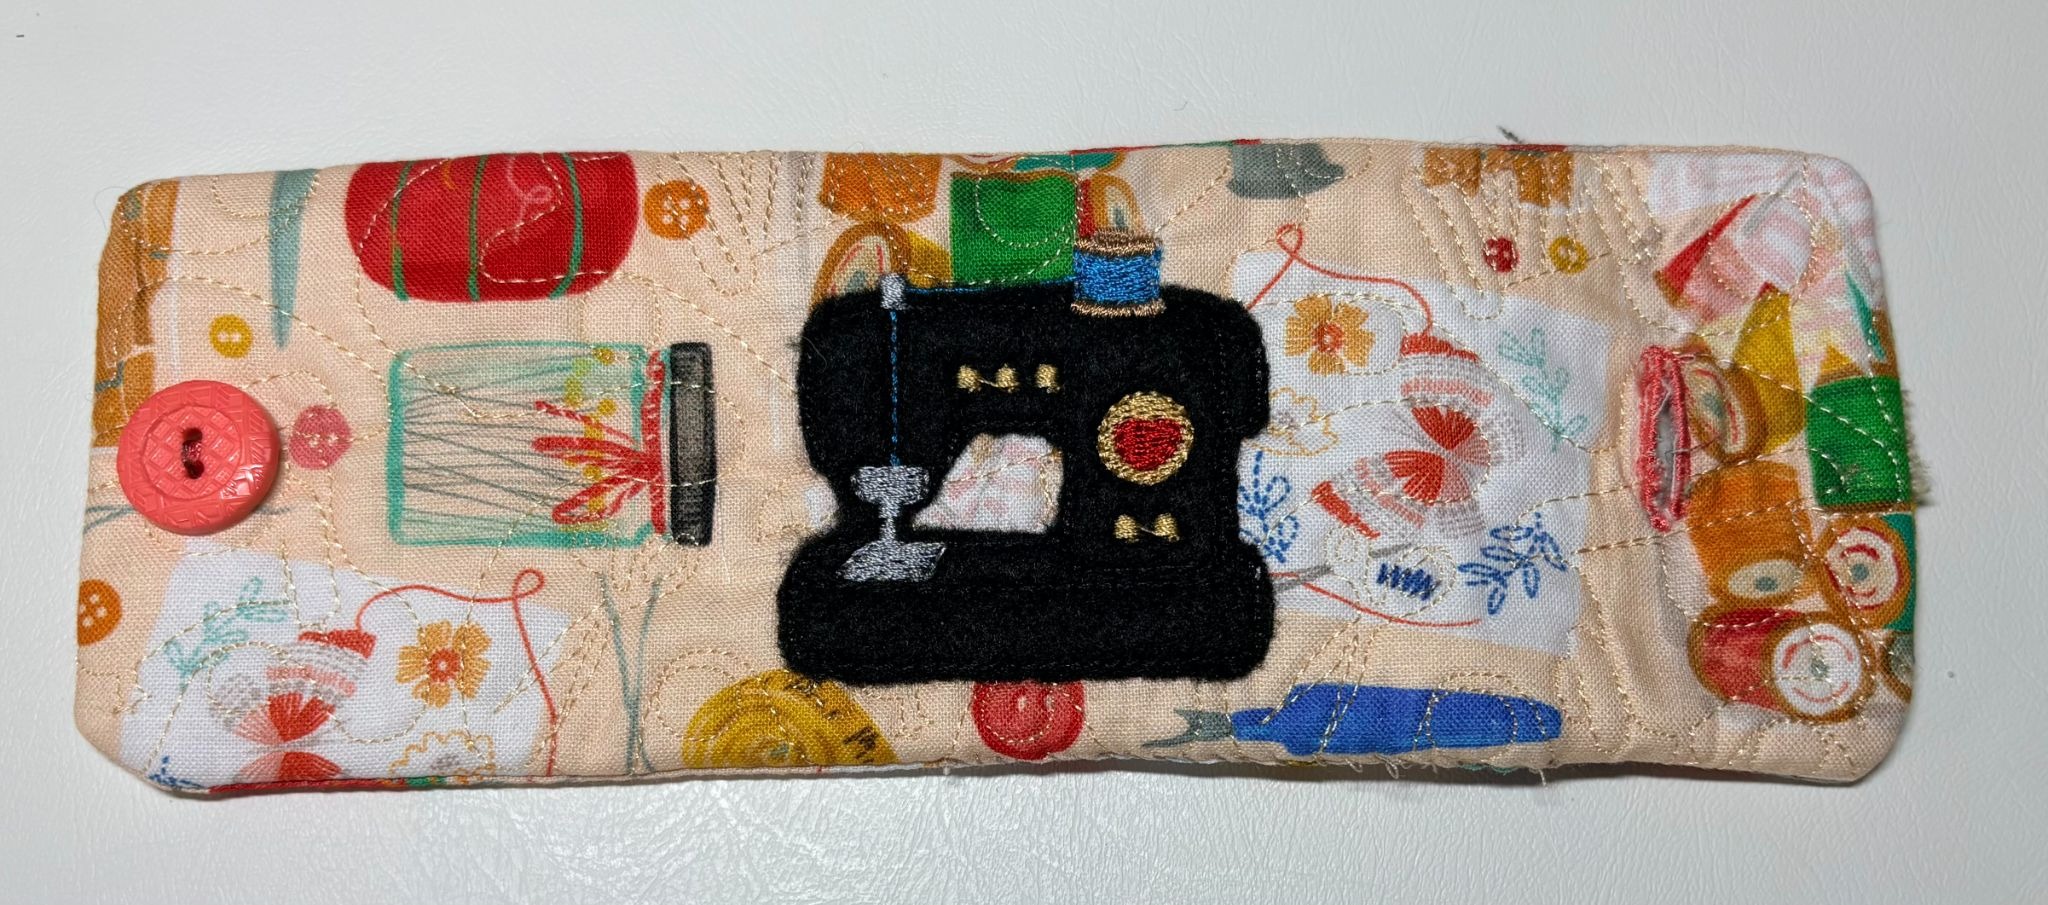
Sew a buttonhole on one side and attach the button on the opposite side.
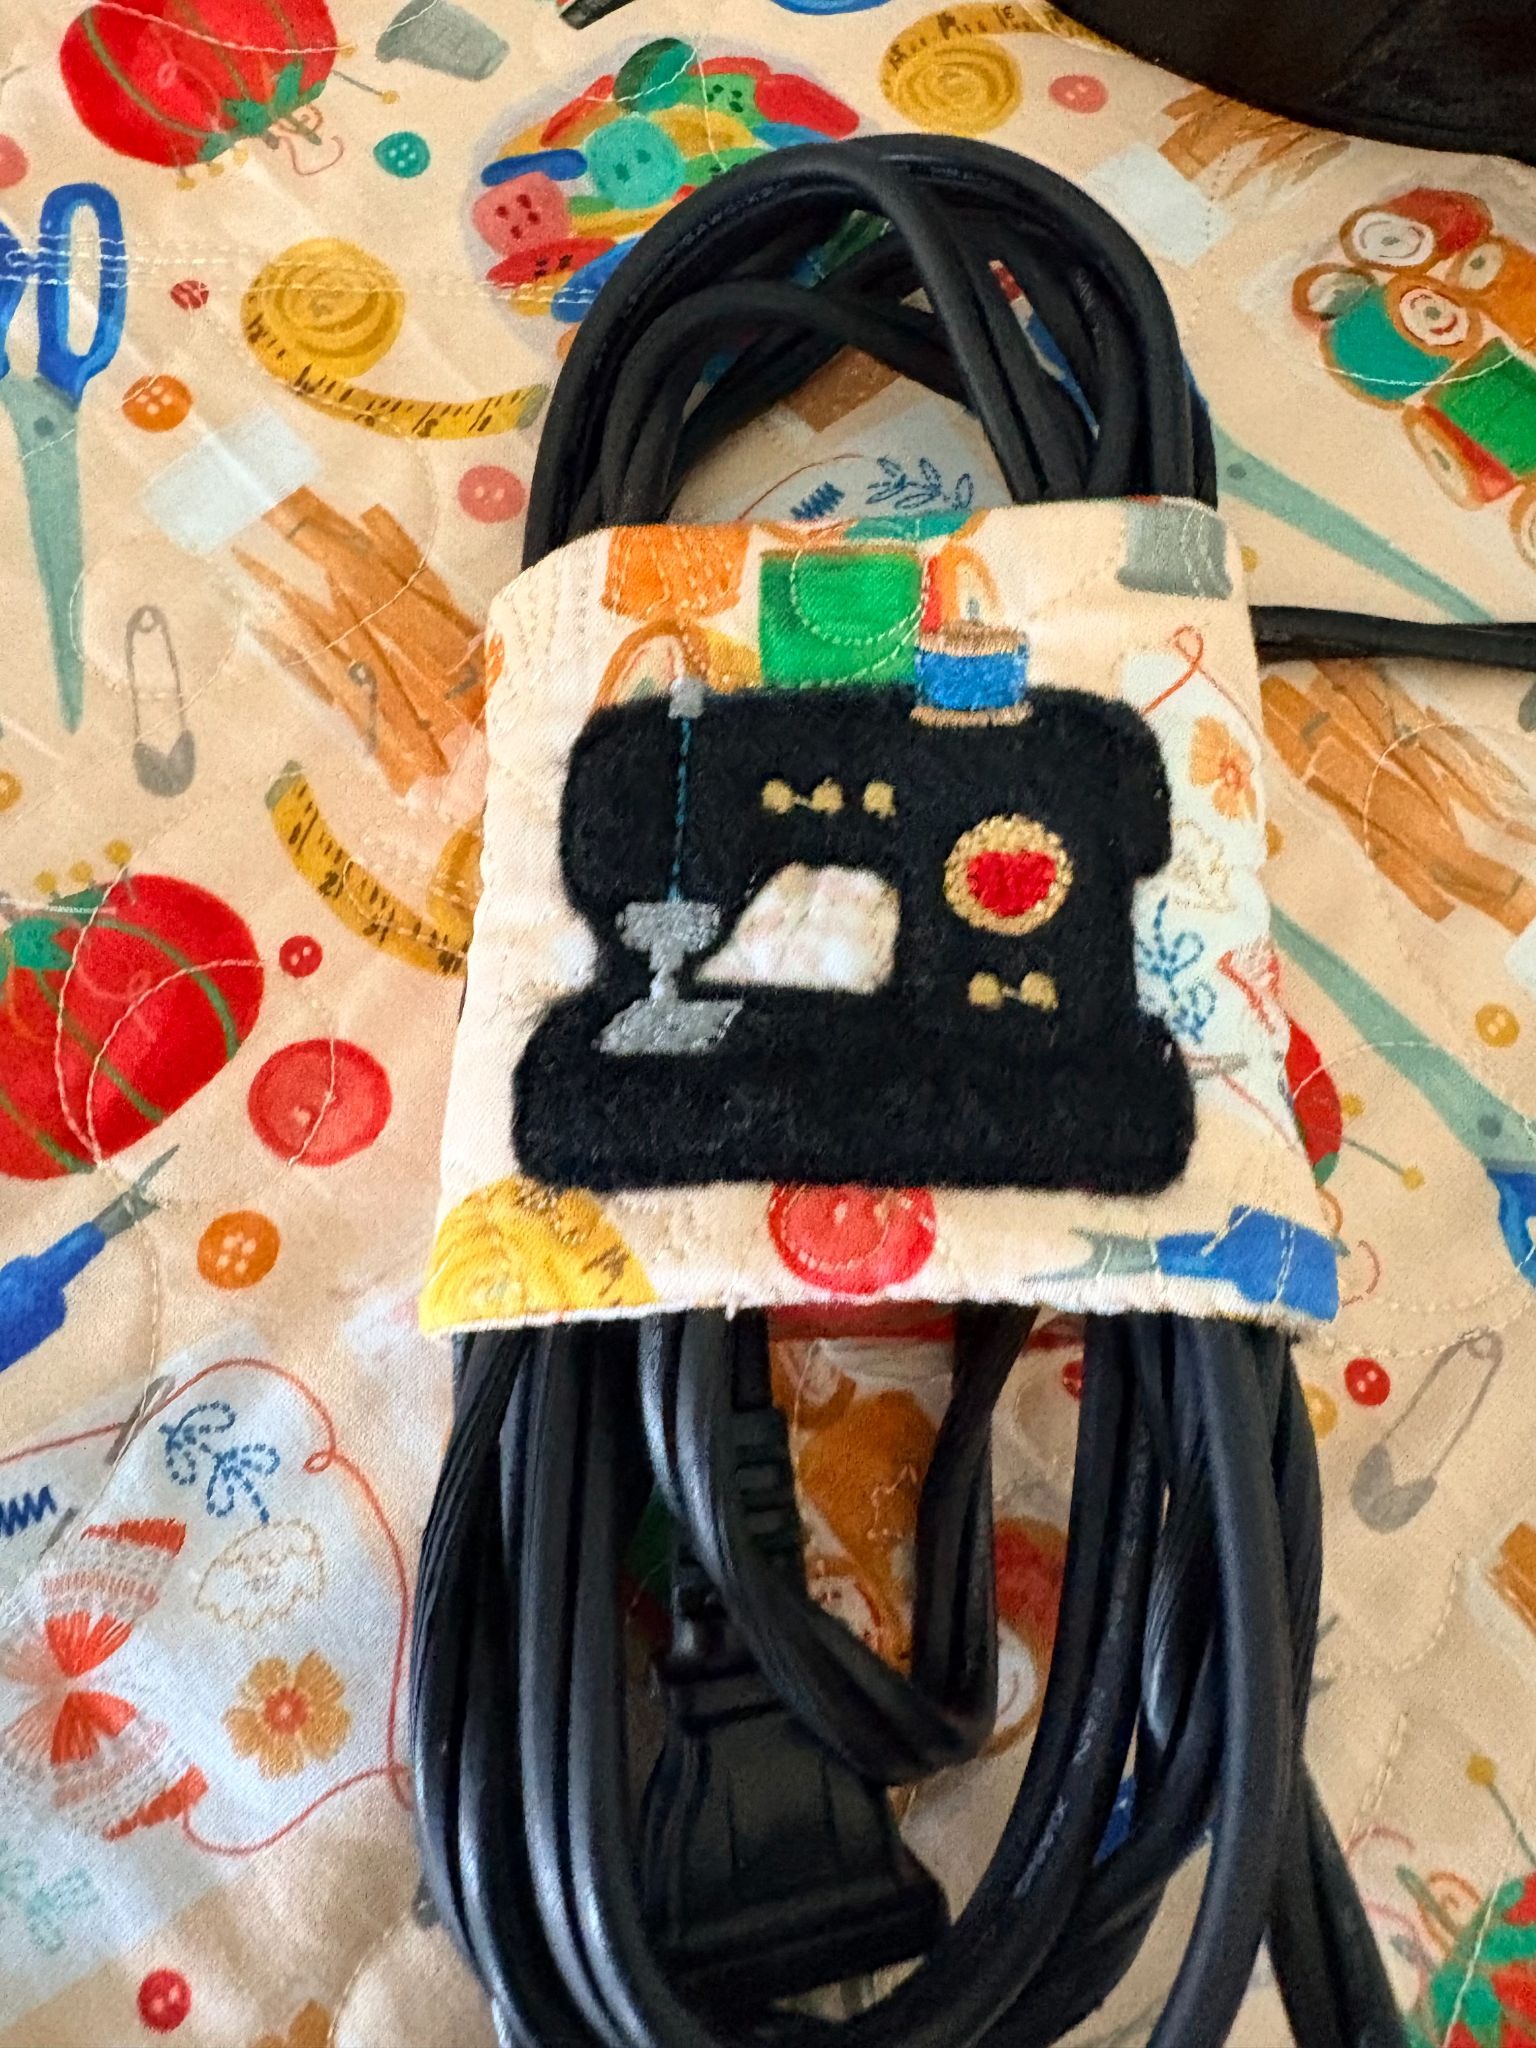
Neatly coil your iron cord and fold the wrap around the middle of the cord bundle.
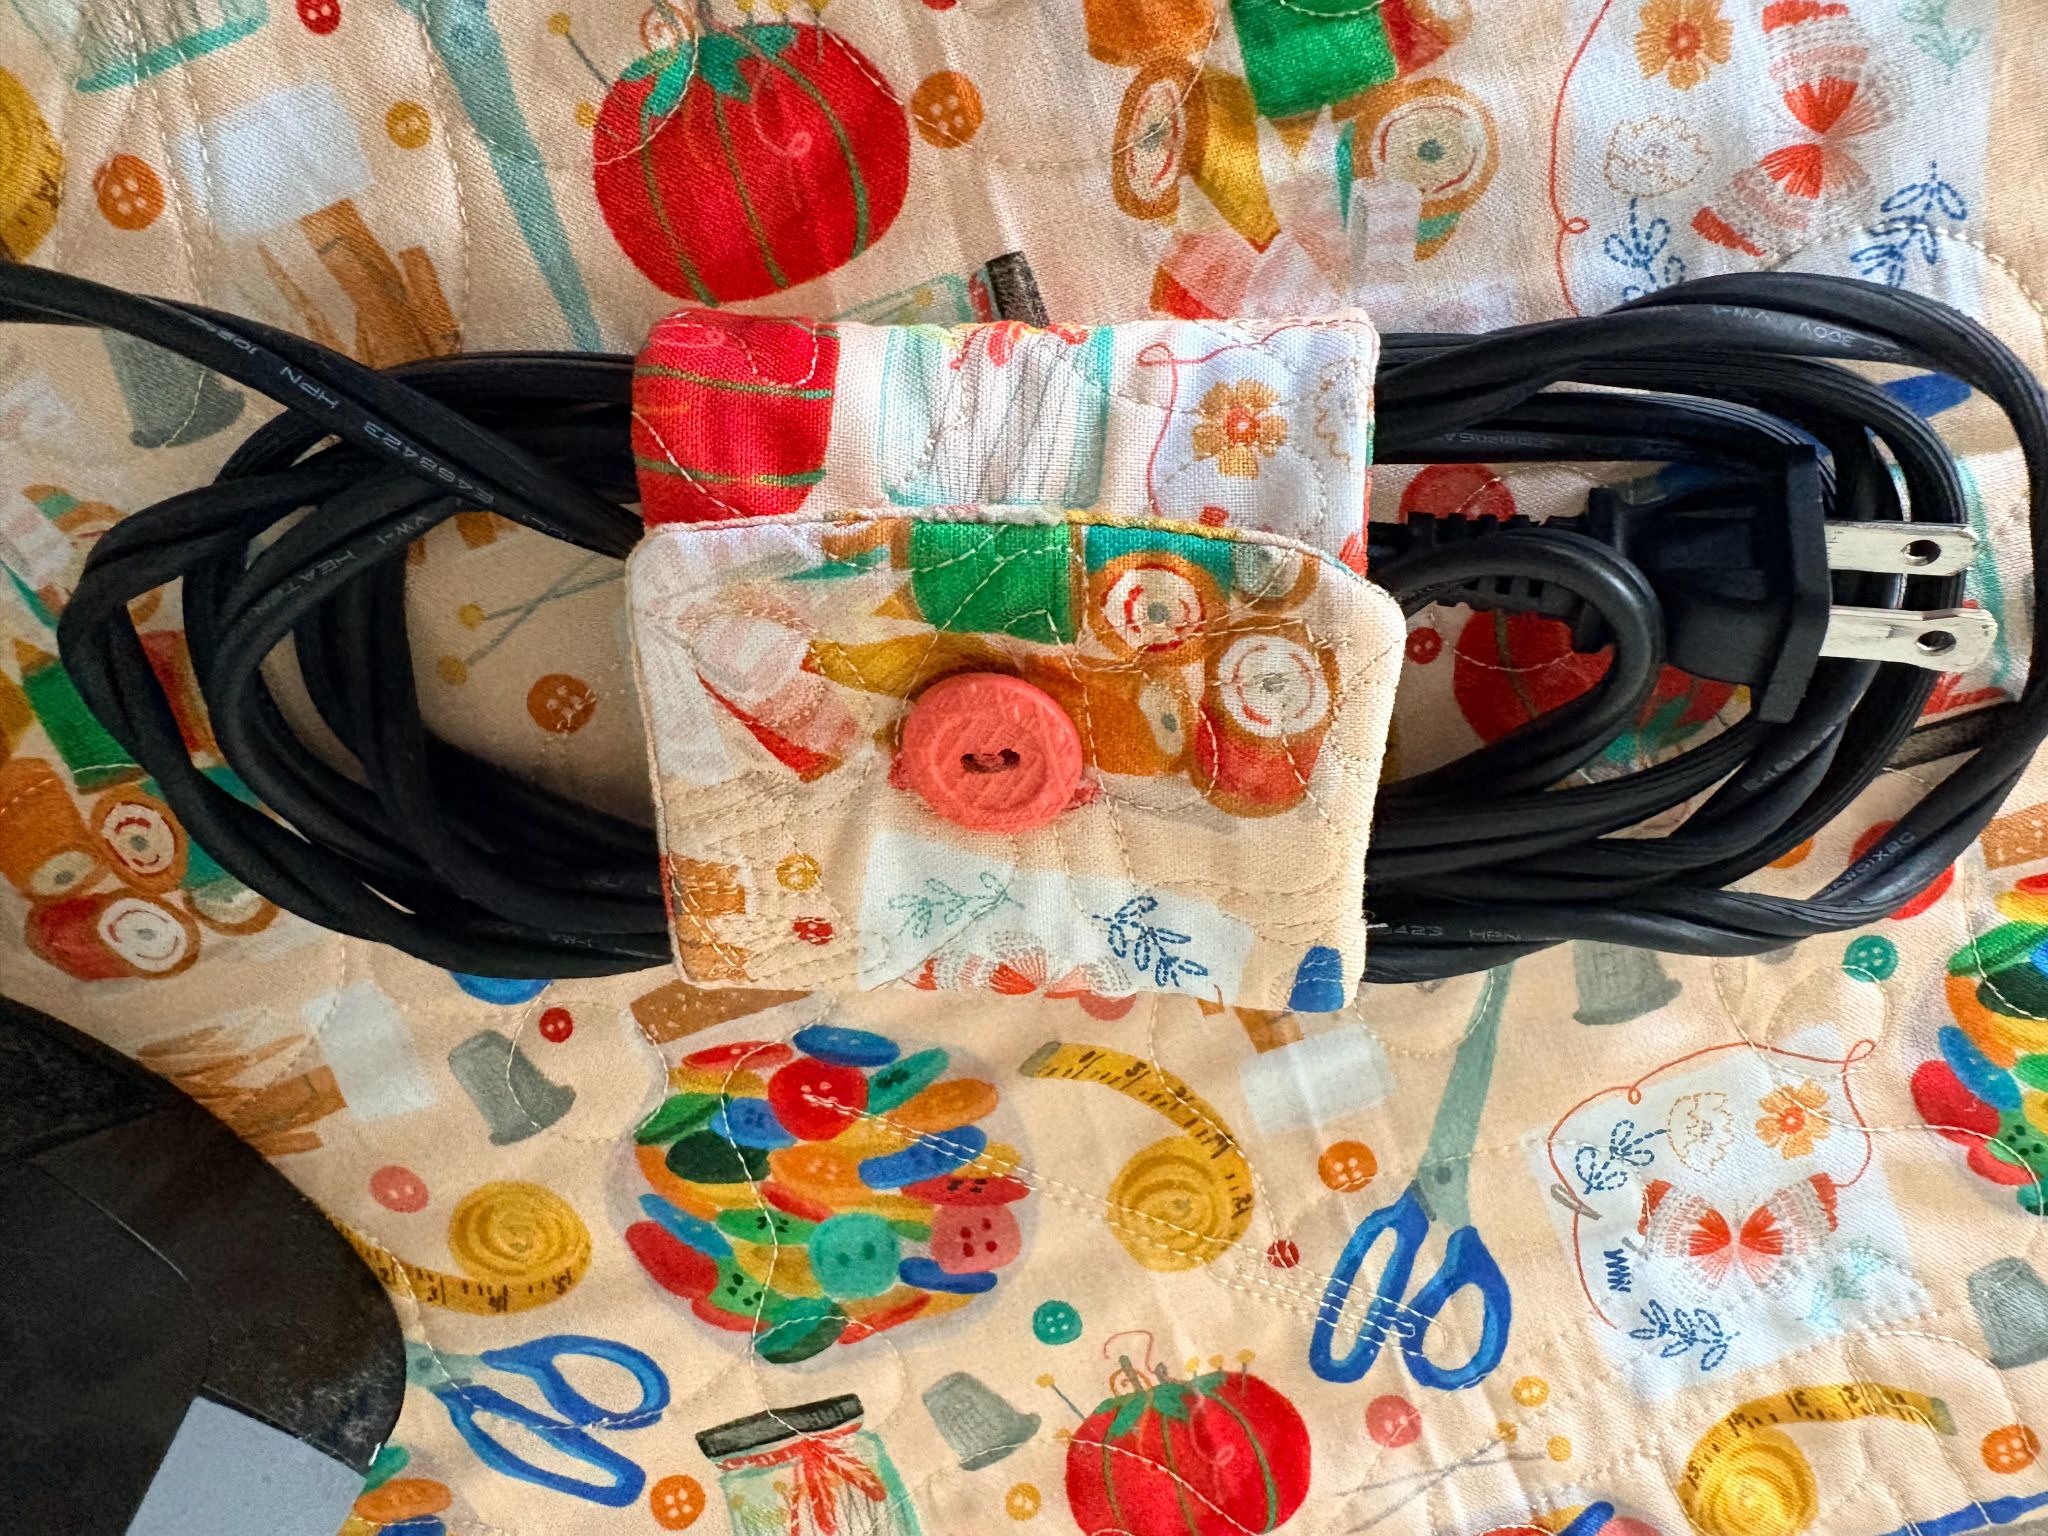
Button it closed and your cord wrap is finished.
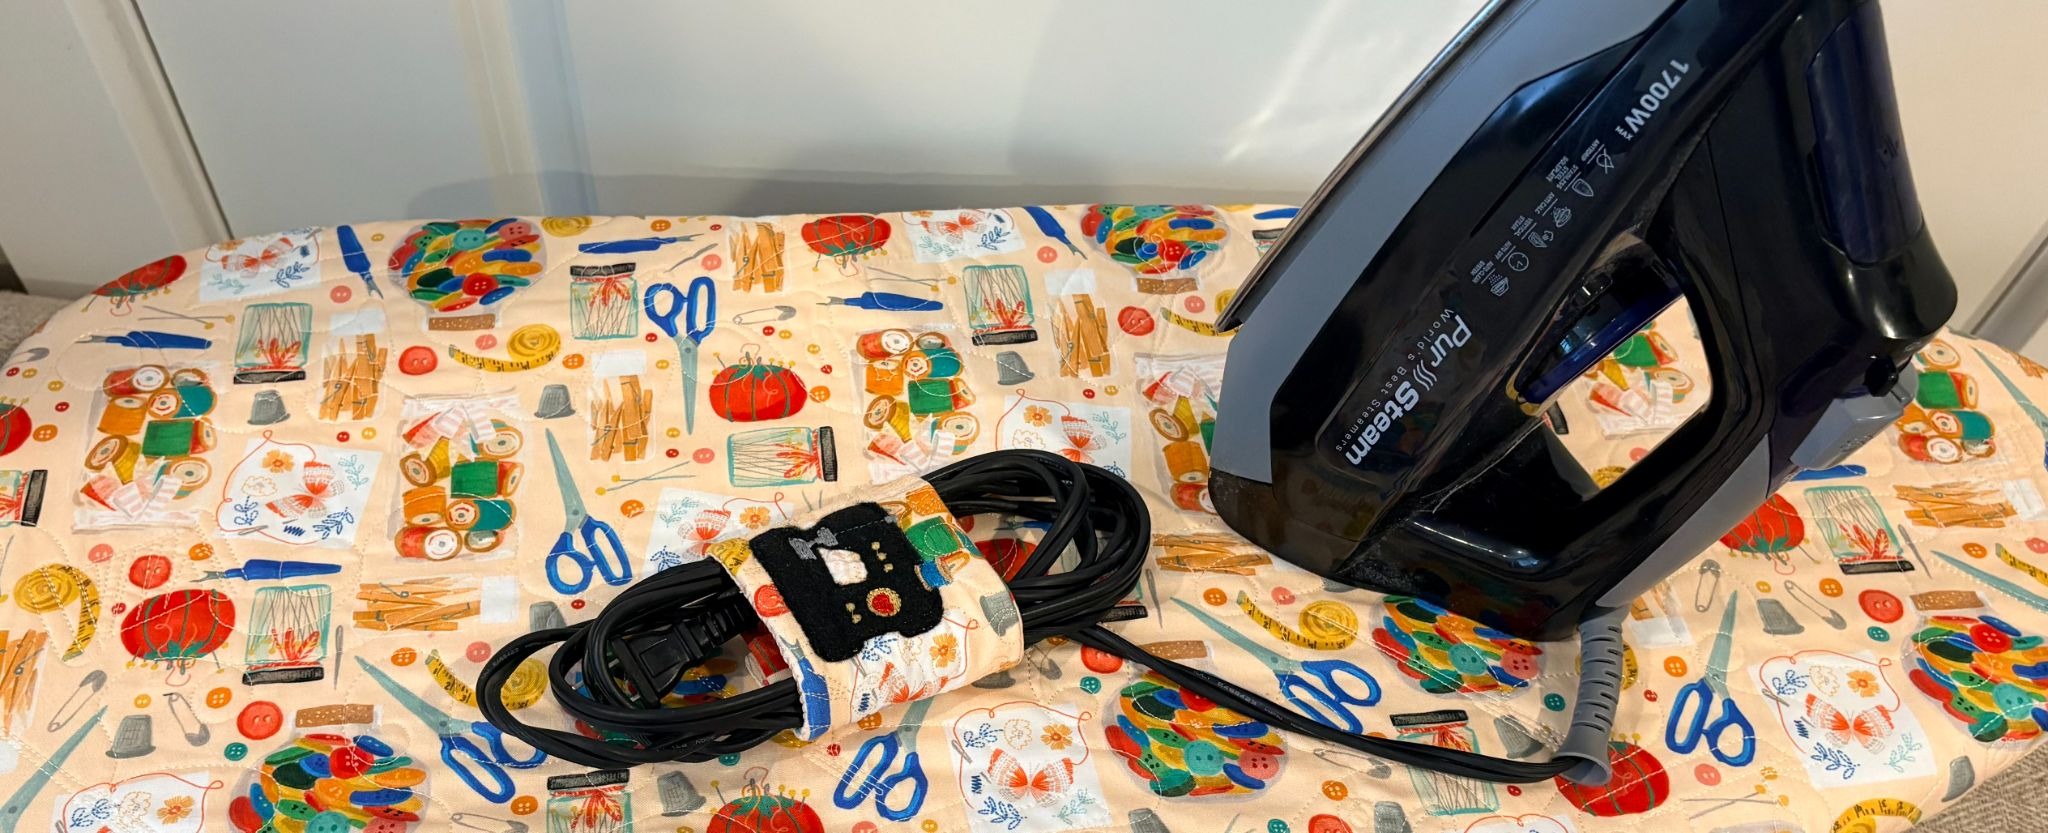
I hope you enjoyed making this DIY iron cord wrap as much as I did! It’s surprising how a small handmade project can add both style and function to your sewing space. With just a bit of fabric, some quilting, and a little embroidery, you can turn everyday items into something beautiful and personal.
We would love to see your finished ironing board cover and iron cord wrap! Share your creations with the Designs by JuJu Embroidery Blessings Group on Facebook and show us the fabrics, quilting designs, and embroidery touches that made your project uniquely yours. Seeing your creativity helps inspire other makers and brings our sewing community together.
Thank you for stitching along with me. Until next time, keep your machines humming, your fabric stash inspiring, and your sewing space filled with creativity and handmade happiness. Happy stitching!