Toggle Nav
 Inspire.
Create.
Stitch.
Inspire.
Create.
Stitch.
Inspire.
Create.
Stitch.
Search
Inspire.
Create.
Stitch.
 Welcome! In this tutorial, we would like to show you our process for stitching out the applique designs that have a stipple background for you to make quilt blocks! The process is very simple. In this tutorial, we are using our newest quilt blocks from our Stuffed Animals Applique collection. The process is the same for our Valentine Heart Peekers, Cute Umbrella Critters, Stick Zoo Applique, and Monster Party Applique Alphabet.
Hoop no show nylon mesh stabilizer
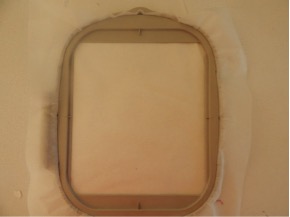
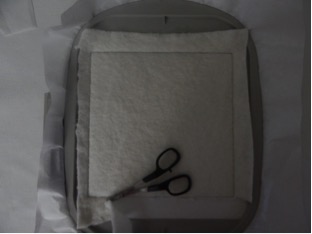
Sew out first step in design. This is the placement line for your batting. Make sure batting is about a half an inch bigger than the outline so it does not get caught in the foot of your machine. You can use tape on the edges to hold it down if you want to.
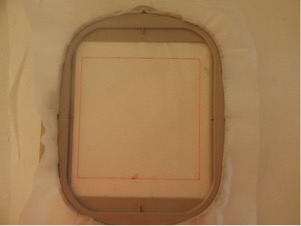
Place the batting in the hoop
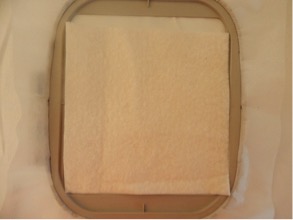
Next step will stitch the batting down.
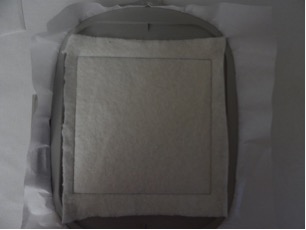
Then you will trim the batting back to the stitching line, do not cut thru stitching line.
Next step is to place your background material over the batting making sure you have at least a half an inch all the way around.
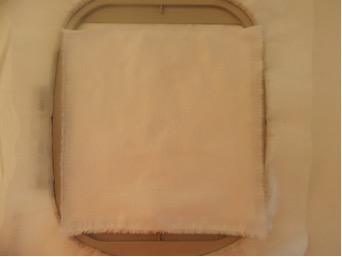
The next step will stitch the background material to the stabilizer.
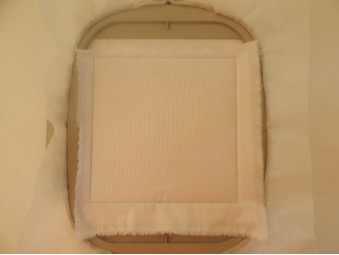
The next step will sew the stippling around the design area. Then just proceed to do the rest of the applique design. When finished with the design remove from hoop and trim your block ½” from the outside stitch line and you are done with the block.
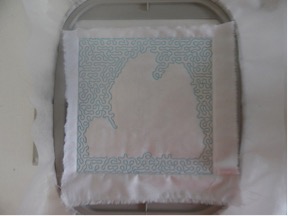
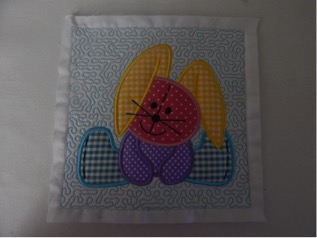
This is the finished block.
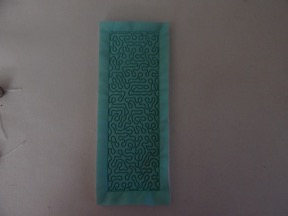
Sashing strips and corner stones are sewn out exactly the same as the blocks without the applique.
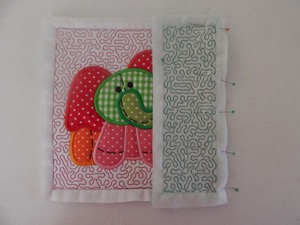
Pin completed and trimmed sashing strip to edge of block matching the stitching line and pin. Sew to block just a smidge inside of the stitching line.
This shows the front after two blocks are sewn together.
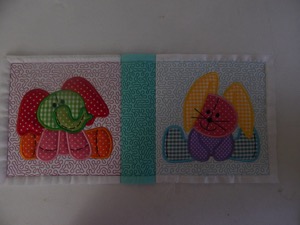
Here are 4 blocks joined together.
Once all of your blocks are joined together, you can add the backing of your choice. Sometimes Margie adds an additional layer of batting also. Layer your quilt and bind as desired.
This shows the front after two blocks are sewn together.
Stipple Background Tutorial