Toggle Nav
 Inspire.
Create.
Stitch.
Inspire.
Create.
Stitch.
Search
Looking for a DIY baby gift idea that’s both adorable and functional? This In-the-Hoop Owl Blanket Lovie is the perfect machine embroidery project for beginners and experienced stitchers alike! Using ITH embroidery techniques combined with simple sewing, you’ll create a soft, cuddly lovie that makes a wonderful personalized baby gift.
Customize your Owl Blanket Lovie with a baby’s name, birth announcement, or special message to create a one-of-a-kind keepsake. This step-by-step tutorial will show you how to personalize every detail, making a truly unique and heartfelt gift that will be cherished for years to come!
Check out Embroidery Supplies JuJu Uses for our favorite supplies!
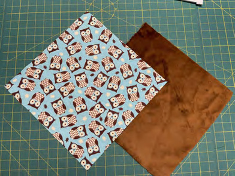
Step 1: The blanket will be completed first. Cut blanket fabric according to fabric cut chart.

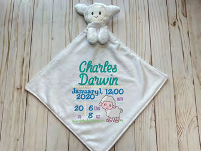
Step 2: If you are wanting to customize the blanket, i.e., add a name or birth announcement, this is when you would add the design.

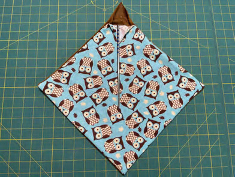
Step 3: Clip or pin all the way around the outside of the blanket.
For the 12x12 leave an approximate 1.5"-2" gap in the corner. For the 14x14 leave an approximate 2"-2.5" gap. Make sure to leave a gap in one of the corners to turn the blanket right side out.

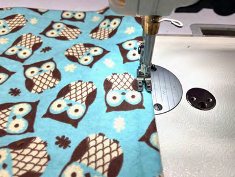
Step 4: Sew around the edges at a 1/2” seam allowance.
Step 5: Once sewing is complete trim 3 of the 4 corners (do no trim corner where the gap is) at an angle.
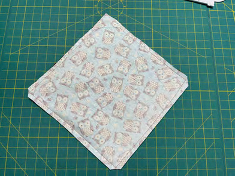
Step 6: Turn the blanket right side out.
Step 7: Top stitch around the blanket at a 1/8" - 1/4" seam allowance. Be sure to start and end at either side of the gap.
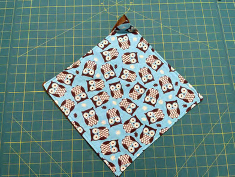
Step 8: The blanket is now complete and should look as shown. Put blanket aside, we will now be working on the head and arms.
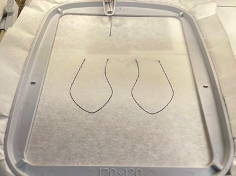
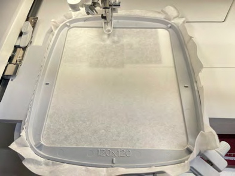
Step 9: Hoop a piece of stabilizer.

Step 10: Stitch placement line for the arms
Step 11: Sandwich arm fabrics, right sides together.
Step 12: Run tack down stitch for the arms.

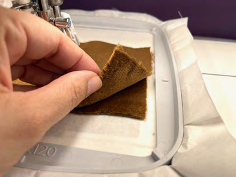
Step 13: Remove arms from hoop and cut away stabilizer.
Step 14: Trim around the arms about 1/4” as shown.
Step 15: Turn the arms right side out and lightly stuff with poly-fill.
Step 16: Hoop a piece of stabilizer.
Step 17: Run placement stitch for front the head.
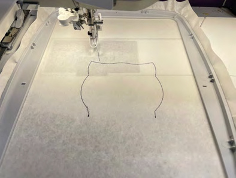
Step 18: Position fabric over placement line with the head fabric, making sure all placement lines are covered. Run tack down stitch.

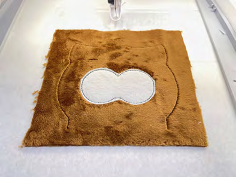
Step 19: Run placement stitch for the eyes.
Step 20: Cover placement line with eyes fabric, making sure all sides are covered. Run tack down stitch. Trim fabric around stitches as shown.
Step 21: The next few stitching steps are the satin stitches that will cover the raw edge of the eyes and decorative stitches.
If using thick fabric like minky, use 1 layer of WSS so the stitches won’t sink.

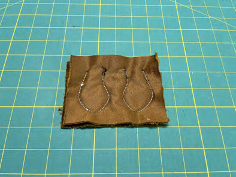
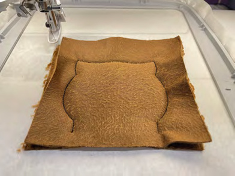
Step 22: Place second piece of head fabric, right side down, on top of Owl. Secure with tape or pins, out side of the stitching area.

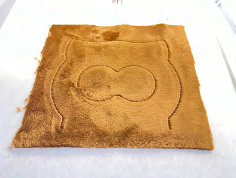
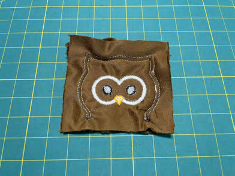
Step 23: Run tack down stitch for the head. The embroidery part of the project is now complete.
Do not stitch the last stitch, it is there so the design won’t return to the center of the hoop.
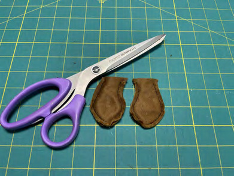
Step 24: Remove head from hoop and cut away stabilizer
Step 25: Trim around the ears and arms about 1/4” as shown.

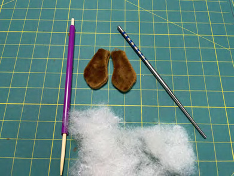
Step 26: Turn the head right side out and lightly stuff with poly-fill.
If you prefer you can stuff head after it is attached to blanket prior to hand sewing closed.

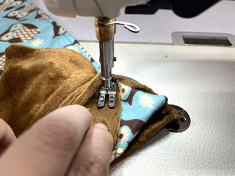
Step 27: Position arms near the corner of the blanket, use the start and end lines of the top stitch as a guide. Sew the arms to the blanket through both layers.

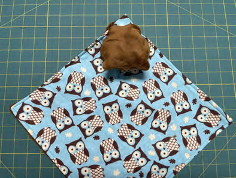
Step 28: Next you will place the head, face down, lining up the head with the arms. Sew the head to the blanket on the front side of the head only. Move back of head out of the way.
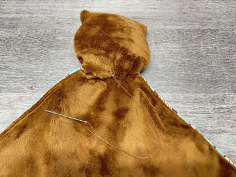
Step 29: After sewing on the head the owl should look as shown.
Step 30: Stuff the unfinished corner of the blanket inside the head of the owl.
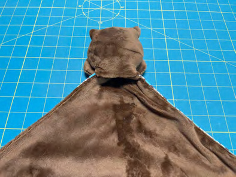
Step 31: Using a needle and thread, hand stitch the back of the head to the blanket. I used a ladder stitch.
CONGRATULATIONS! YOUR OWL LOVIE IS
COMPLETE!!!!


If you make this project, please share it with us in the Designs by JuJu Embroidery Blessings Facebook group, or anywhere on social media using the hashtag #designsbyjuju. We can't wait to see what you create!