Toggle Nav
 Inspire.
Create.
Stitch.
Inspire.
Create.
Stitch.
Search
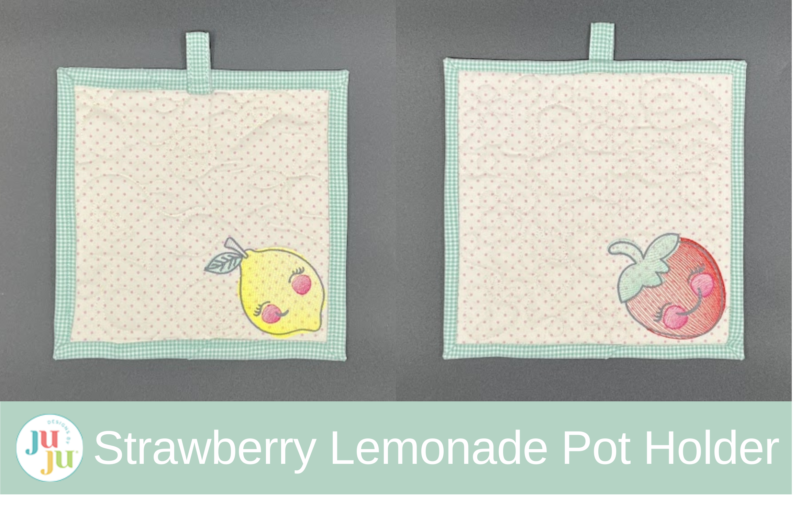
Bring a burst of sunshine to your kitchen with this sweet-as-summer Strawberry Lemonade Quilted Pot Holder! Featuring juicy strawberry and zesty lemon embroidery designs, this project is the perfect blend of fresh-picked charm and functional fun. Whether you're stitching for yourself or whipping up a thoughtful handmade gift, this cheerful pot holder is sure to brighten any day—one quilted square at a time!
Check out the DBJJ team’s favorite supplies in the Designs by JuJu Amazon store.

Gather your favorite notions and your brightest threads—it’s time to stir up something sweet. Let’s dive in and start stitching your Strawberry Lemonade Pot Holder.
The Vintage Sketch Cute Fruit collection includes six different fruits, each in two sizes. The satin stitch outlines are intentionally offset from the fills as part of the whimsical artwork.
Fuse Pellon® SF101 to the wrong side of front and back fabrics.

Hoop one layer of no-show mesh stabilizer.

Select and load the strawberry quilt block design of your choice. I’m stitching the 8 x 8 size, but feel free to mix and match—this collection includes 66 QAYG (Quilt-as-You-Go) files, so you can customize your project to fit your hoop and your style. You’ll also find 79 “Quilting Only” files in the set—perfect for adding extra quilting without the placement and tack-down lines for batting and fabric.

Time to add a little extra cuteness! Select and load the Vintage Sketch Cute Fruit strawberry design. For this size pot holder, I’m using the 4 x 4 option—but feel free to choose the size that best fits your block and your hoop.

Use your machine’s positioning tools to move and rotate the strawberry design to your preferred spot. I’ve placed mine in the lower right corner, but feel free to get creative with the placement!

For this project, I’m using batting instead of Insul-Bright® since my finished pot holder will be used under a pitcher of strawberry lemonade—not for handling hot items. Feel free to choose the material that best suits how you’ll be using your project.
The first stitch is a placement for the batting.

Place batting over the placement stitch, making sure all sides are fully covered.

Stitch the tack-down to secure the batting to the stabilizer.

Place the front fabric right side up, covering the batting tack-down, ensuring all sides are fully covered.

Stitch the tack-down to secure your fabric in place. I used That Purple Thang to help guide the fabric while stitching, but a bit of tape works just as well to keep everything in position.

Stitch the strawberry quilting. Use the thread color of your choice—this is a great place to add a pop of contrast or keep it subtle to match your fabric.

Stitch the design details for the Vintage Sketch Cute Fruit strawberry.

Once stitching is complete, remove the hoop from your machine and carefully take the project out of the hoop. Trim around the edges, leaving a ¼" seam allowance from the stitching line. Give it a quick press with an iron and a pressing cloth.

Repeat the same steps to load, position, and stitch the lemon side of your pot holder. Just like before, have fun customizing the placement to make it uniquely yours!


Create a length of double-fold bias fabric for the hanging loop. Topstitch along both edges for a polished finish. Once complete, cut a 5" length to use as your hanging loop. Press in half so it measures 2½".
Place the finished squares wrong sides together and secure them with pins or clips. Take a moment to make sure the embroidered designs are oriented just the way you like—they’ll be the stars of your finished pot holder!

Position the hanging loop on the back of your project, with the raw ends aligned with the edge of the squares and the loop pointing toward the center of the pot holder. Tape it in place to hold it securely. Don’t worry—we’ll stitch right over the tape, and it will tear away cleanly once we’re done.

Sew the front and back squares together by stitching directly on the perimeter stitching line. This step also secures the hanging loop in place. Once stitched, gently remove the tape from the loop.

Attach the binding to the front of the pot holder—this will be the side opposite the one with the hanging loop. I like to sew an overlock stitch around the edges after attaching the binding to one side. It’s a great way to tame any fraying fabric and keep things neat as you finish up your project.

Fold the binding over to the back of the pot holder, carefully shaping mitered corners as you go for a clean, polished finish with plenty of handmade charm.
Fold the hanging loop up and over to the outside of the pot holder, then give it a quick press to help it stay in place. Secure it with a bit of tape—we’ll stitch it down in the next step.

From the front, stitch in the ditch along the binding to secure it neatly to the back. This also sews the hanging loop in place. Once stitched, gently remove the tape from the loop.
Tip: “Stitch in the ditch” means sew right along the seam where the binding meets the front of the pot holder. It helps your stitches blend in while securing the back side for a clean, finished look.


This sweet little quilted pot holder is the perfect splash of fun for summer sewing—easy to make, full of charm, and bursting with sunny vibes! It makes a thoughtful gift for picnic hosts, backyard barbecue buddies, or your favorite lemonade-loving friend. And don’t forget you deserve a handmade treat too. I know I’m guilty of stitching up gifts for everyone else and forgetting to save the cuteness for myself—so go ahead, make one (or two) just for you!
Be sure to share your projects in the Designs by JuJu Embroidery Blessings Group on Facebook, or anywhere on social media using the hashtag #designsbyjuju. We love seeing your creativity in action!