Toggle Nav
 Inspire.
Create.
Stitch.
Inspire.
Create.
Stitch.
Inspire.
Create.
Stitch.
Search
Inspire.
Create.
Stitch.
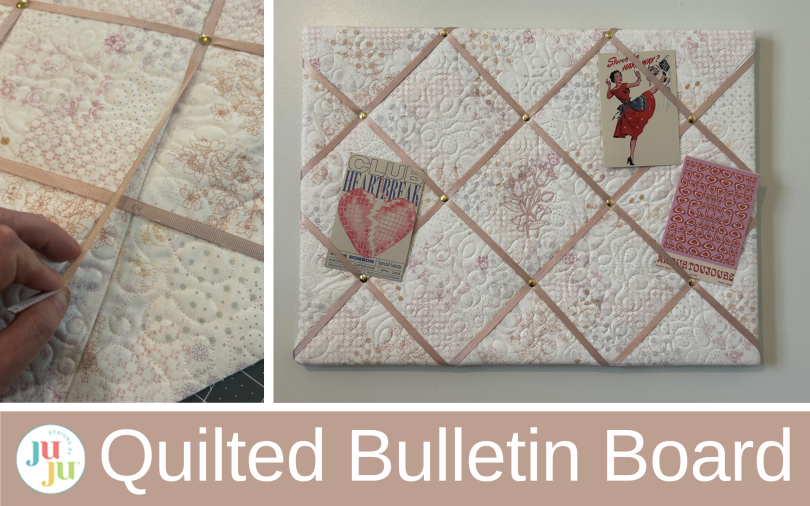
Learn how to make a quilted bulletin board using Quilting Backdrops, ribbon, push pins, and simple supplies. This step-by-step tutorial creates a beautiful, functional display board for photos, notes, and craft room inspiration.
Today we will be using Designs by JuJu’s Quilting Backdrops to make a quilted bulletin board. I turned the blocks 45 degrees, or on point, to create a diamond pattern across the board. Using some push pins and ribbon, I finished it off to create a great project that will help hold all the photos and messages I need around my crafting space!
Finished size: 23” x 17”
Don’t forget to check out the Designs by JuJu Amazon store for our design team’s favorite supplies. And for stabilizers, batting, and threads, Designs by JuJu+ has everything you need.
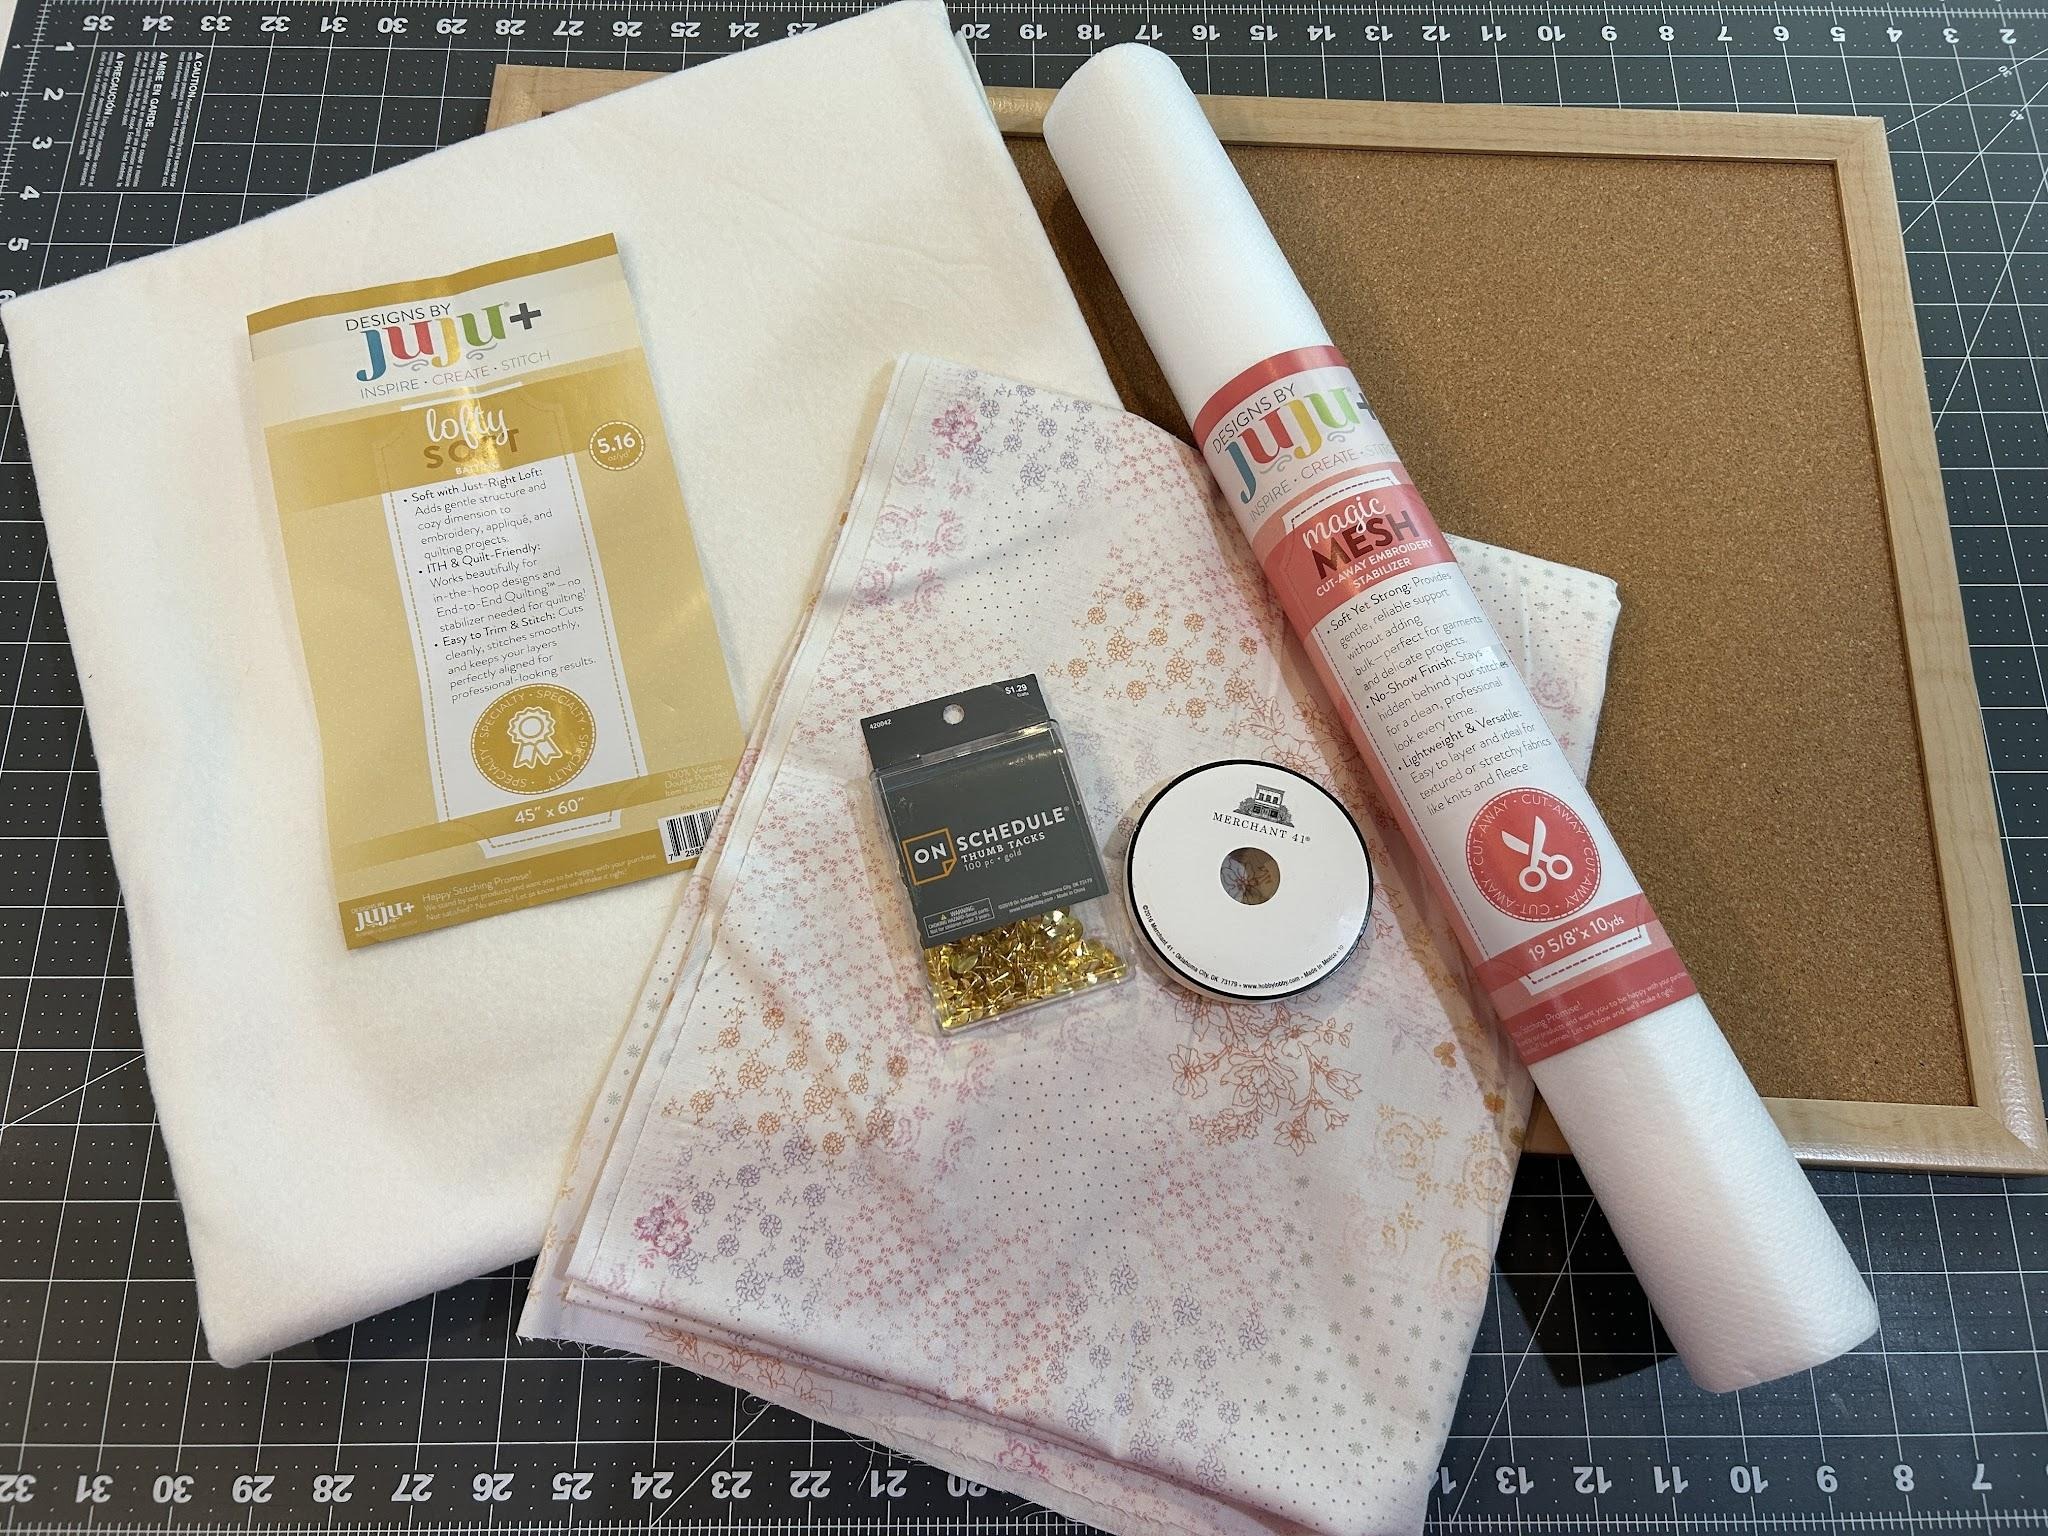
We will be using 6” squares for this project. If you’re new to Quilting Backdrops, check out the Quilt-As-You-Go Project Guide: Mini Quilt Using Quilting Backdrops blog post to help you get started. We will be doing 18 hoopings for this project, so I cut my fabric squares out to be 8” x 8” and my batting 7” x 7”. Once you have your stack of fabric and batting ready to go, hoop your magicMESH stabilizer and let’s get started.

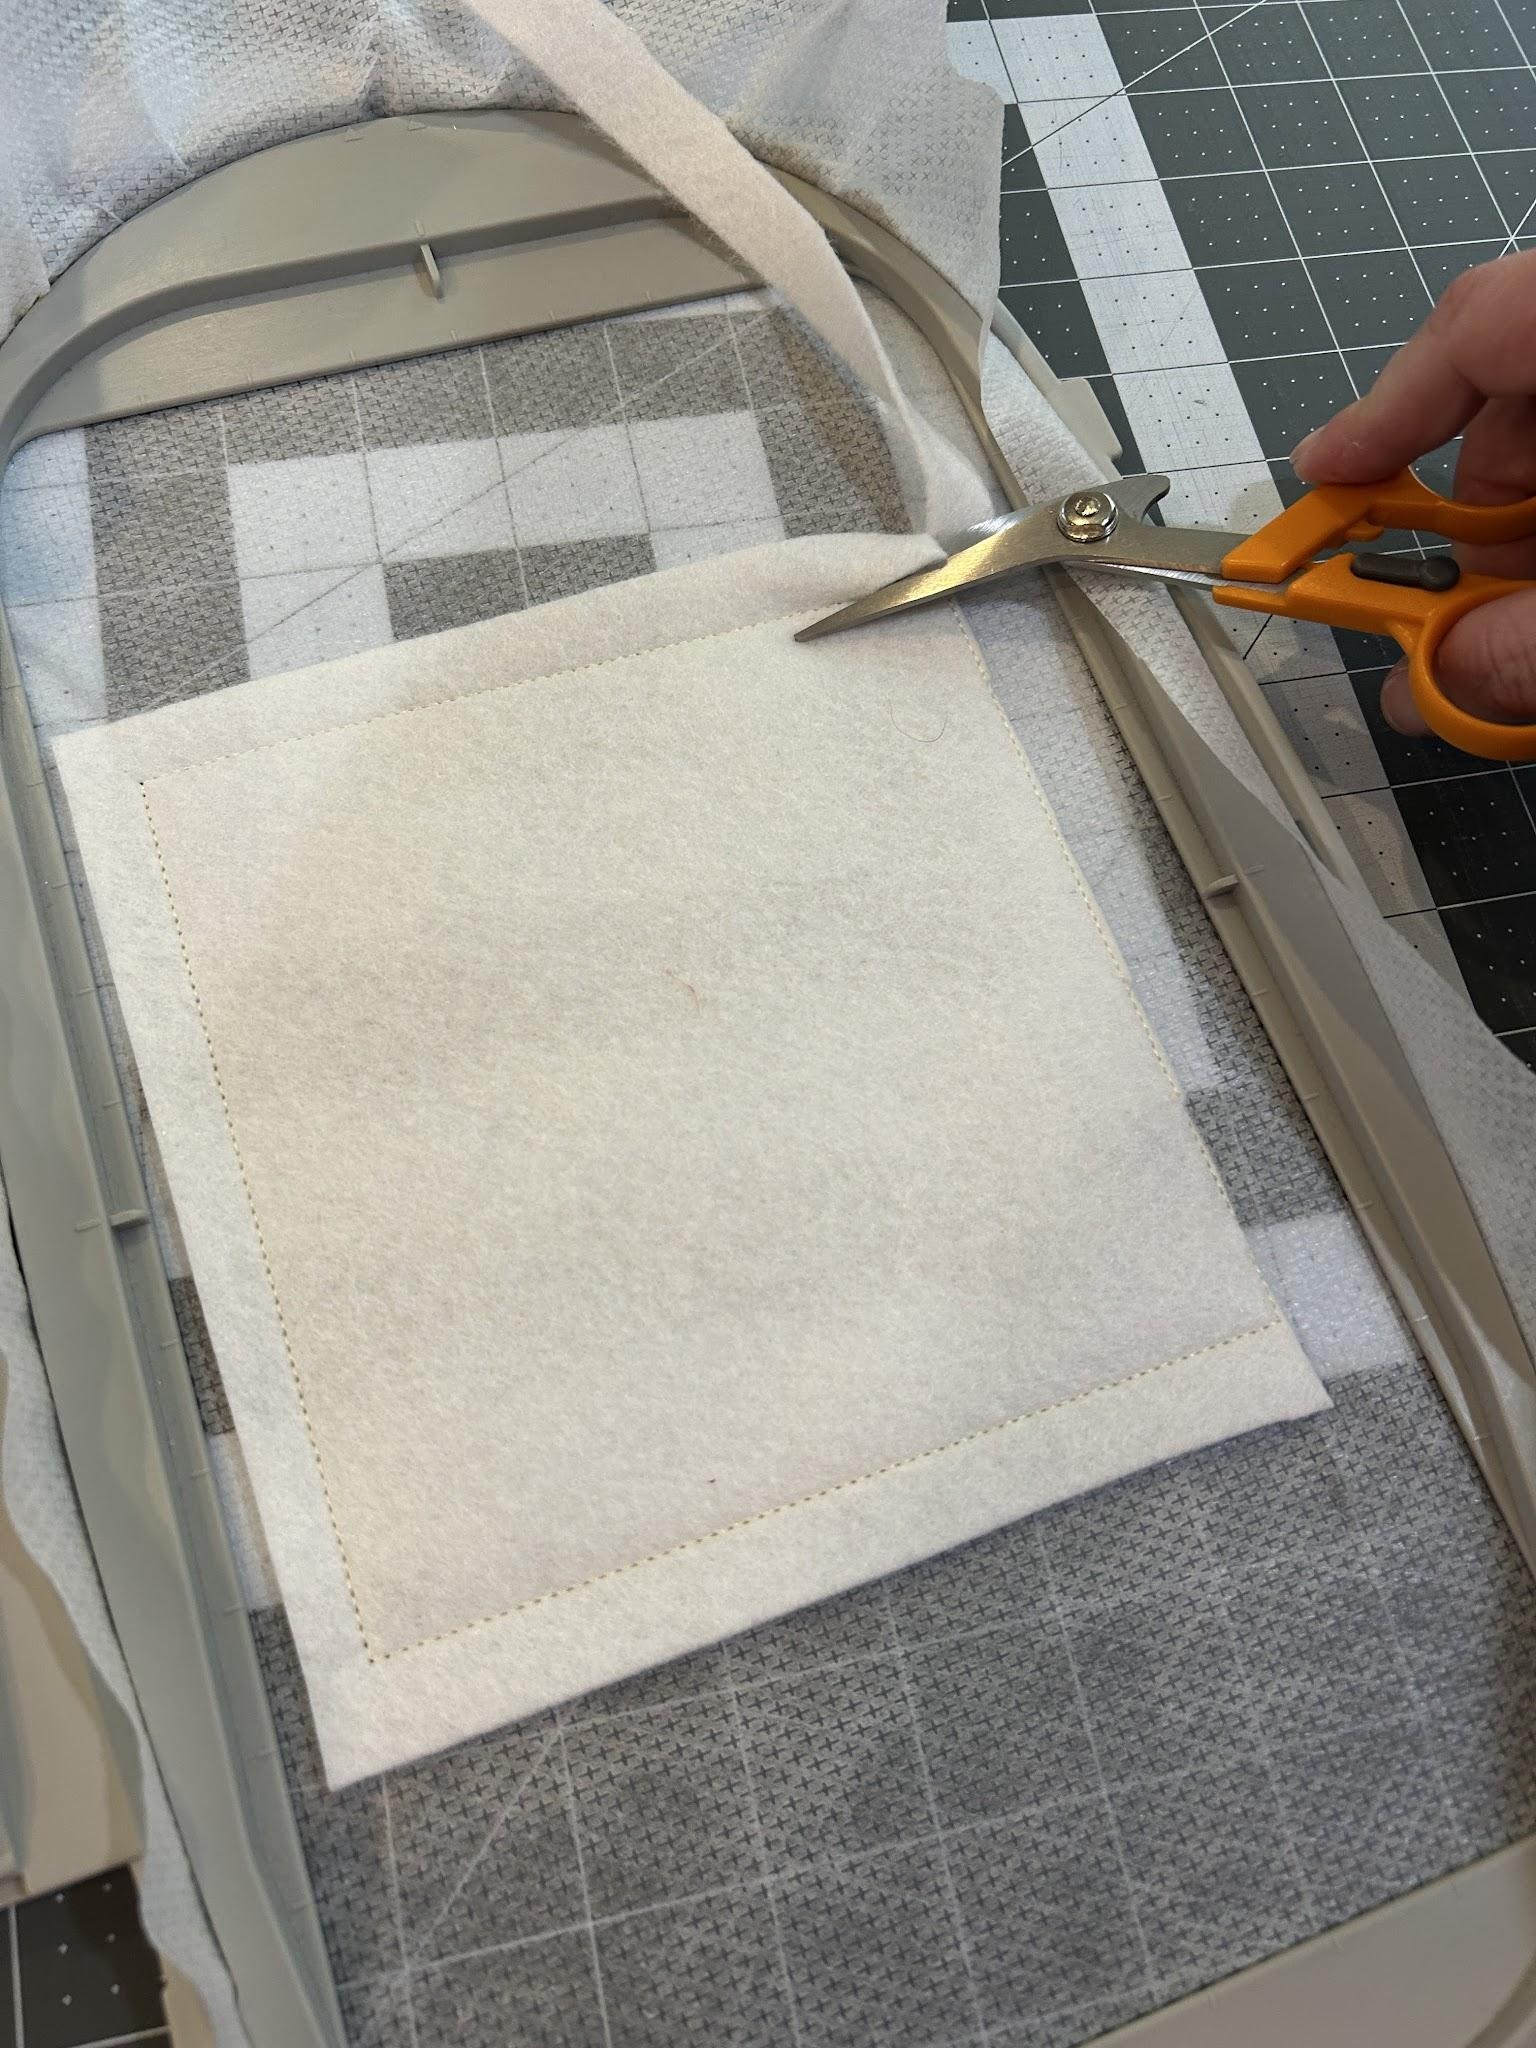
Stitch the placement line for the batting, cover it with the batting, and stitch the tack-down line. Then remove the hoop from the machine and trim the batting close to the stitching lines, making sure not to clip the stitches.
Cover the batting with your fabric. Make sure you have at least ½” extra around each side. We cut them large enough to have 1” on each side and we will trim them down later. Because of the extra I don’t measure, but I try to center it over the batting. Stitch the tack-down stitch for the fabric, and then stitch the Quilting Backdrops design.
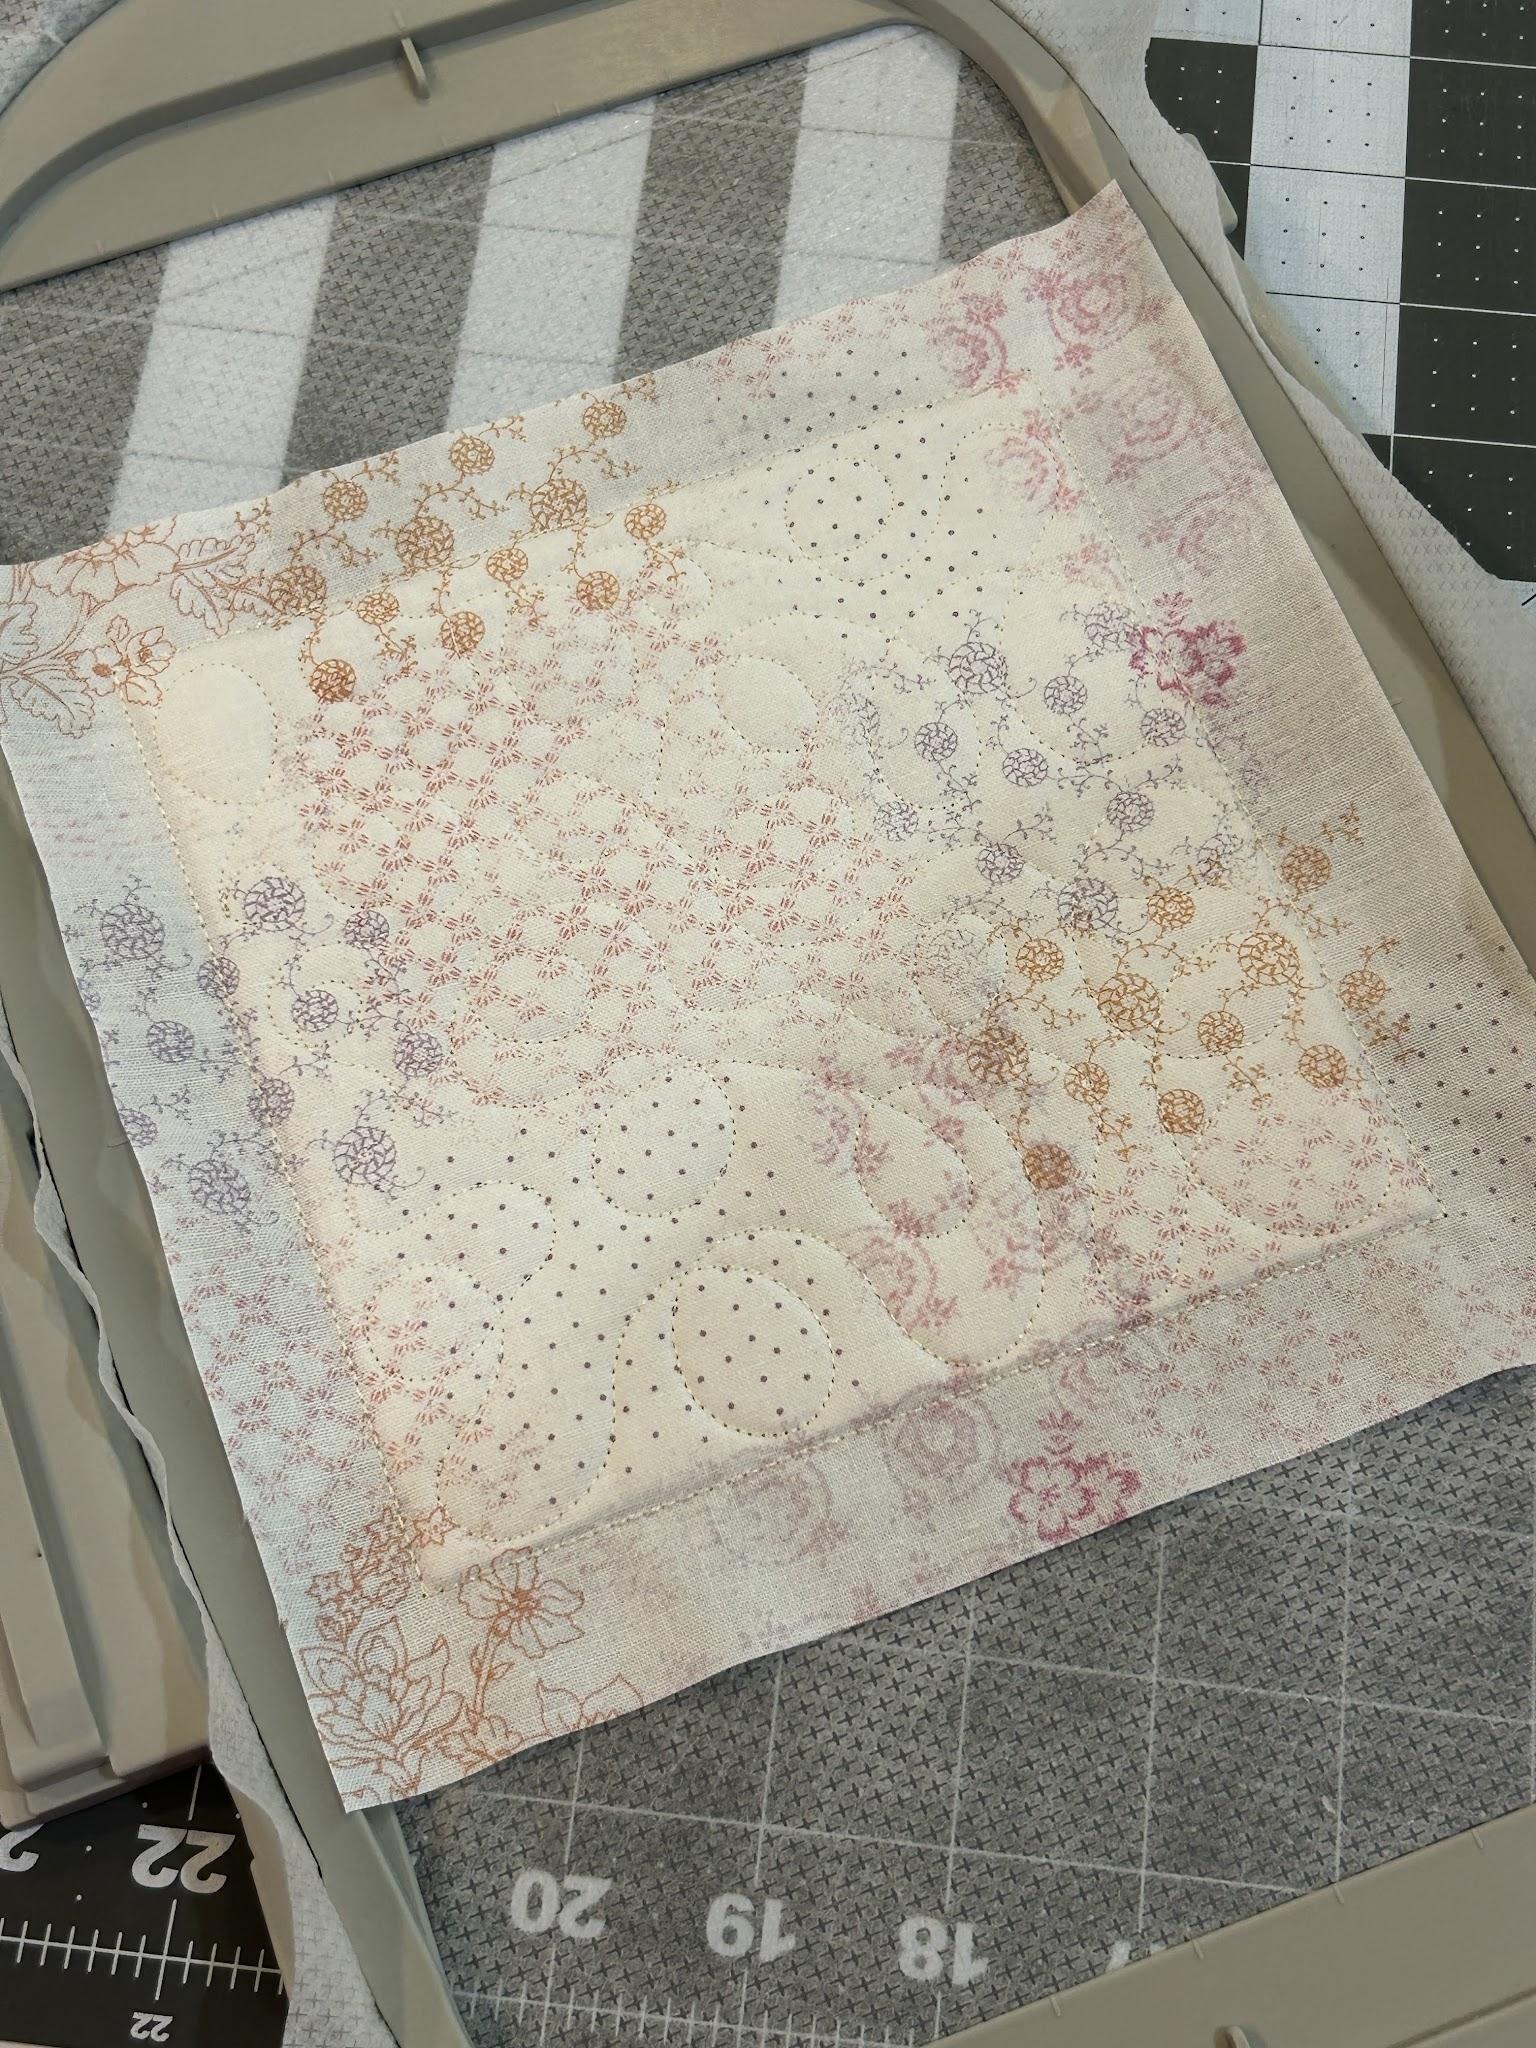
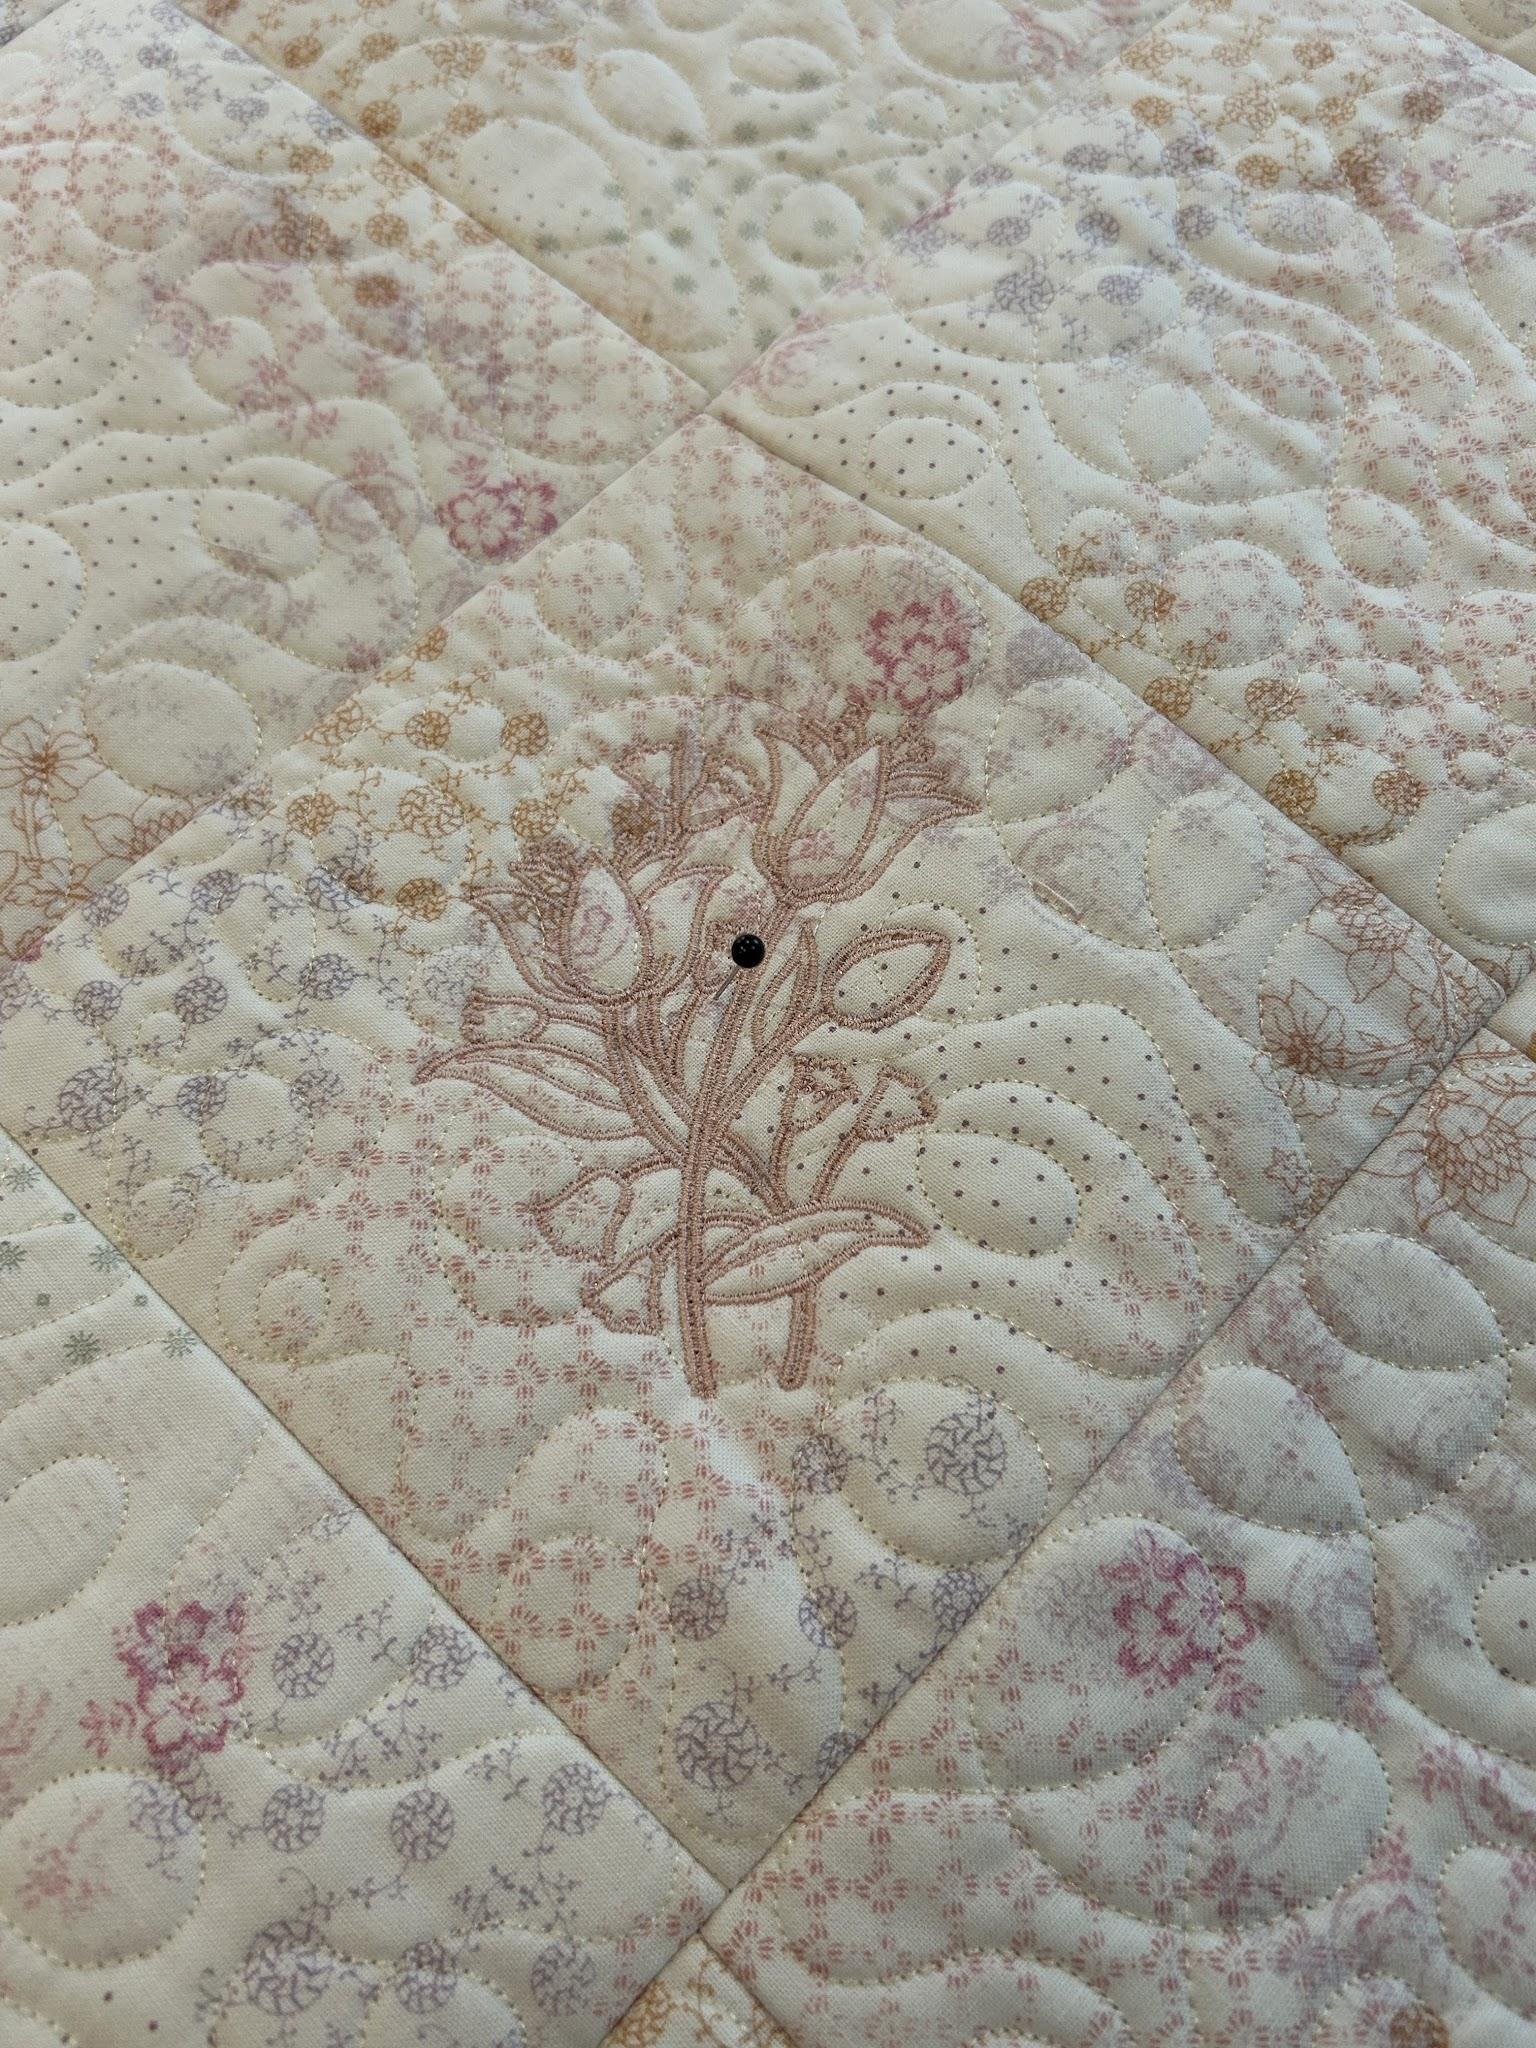
I wanted to have a special design in the middle of my board. This is optional, but if you do decide to use a design for the middle, turn it 45 degrees so it will be oriented correctly when you put the board together. I chose one of the Spring Blossoms designs and stitched it all in one color for a softer look.
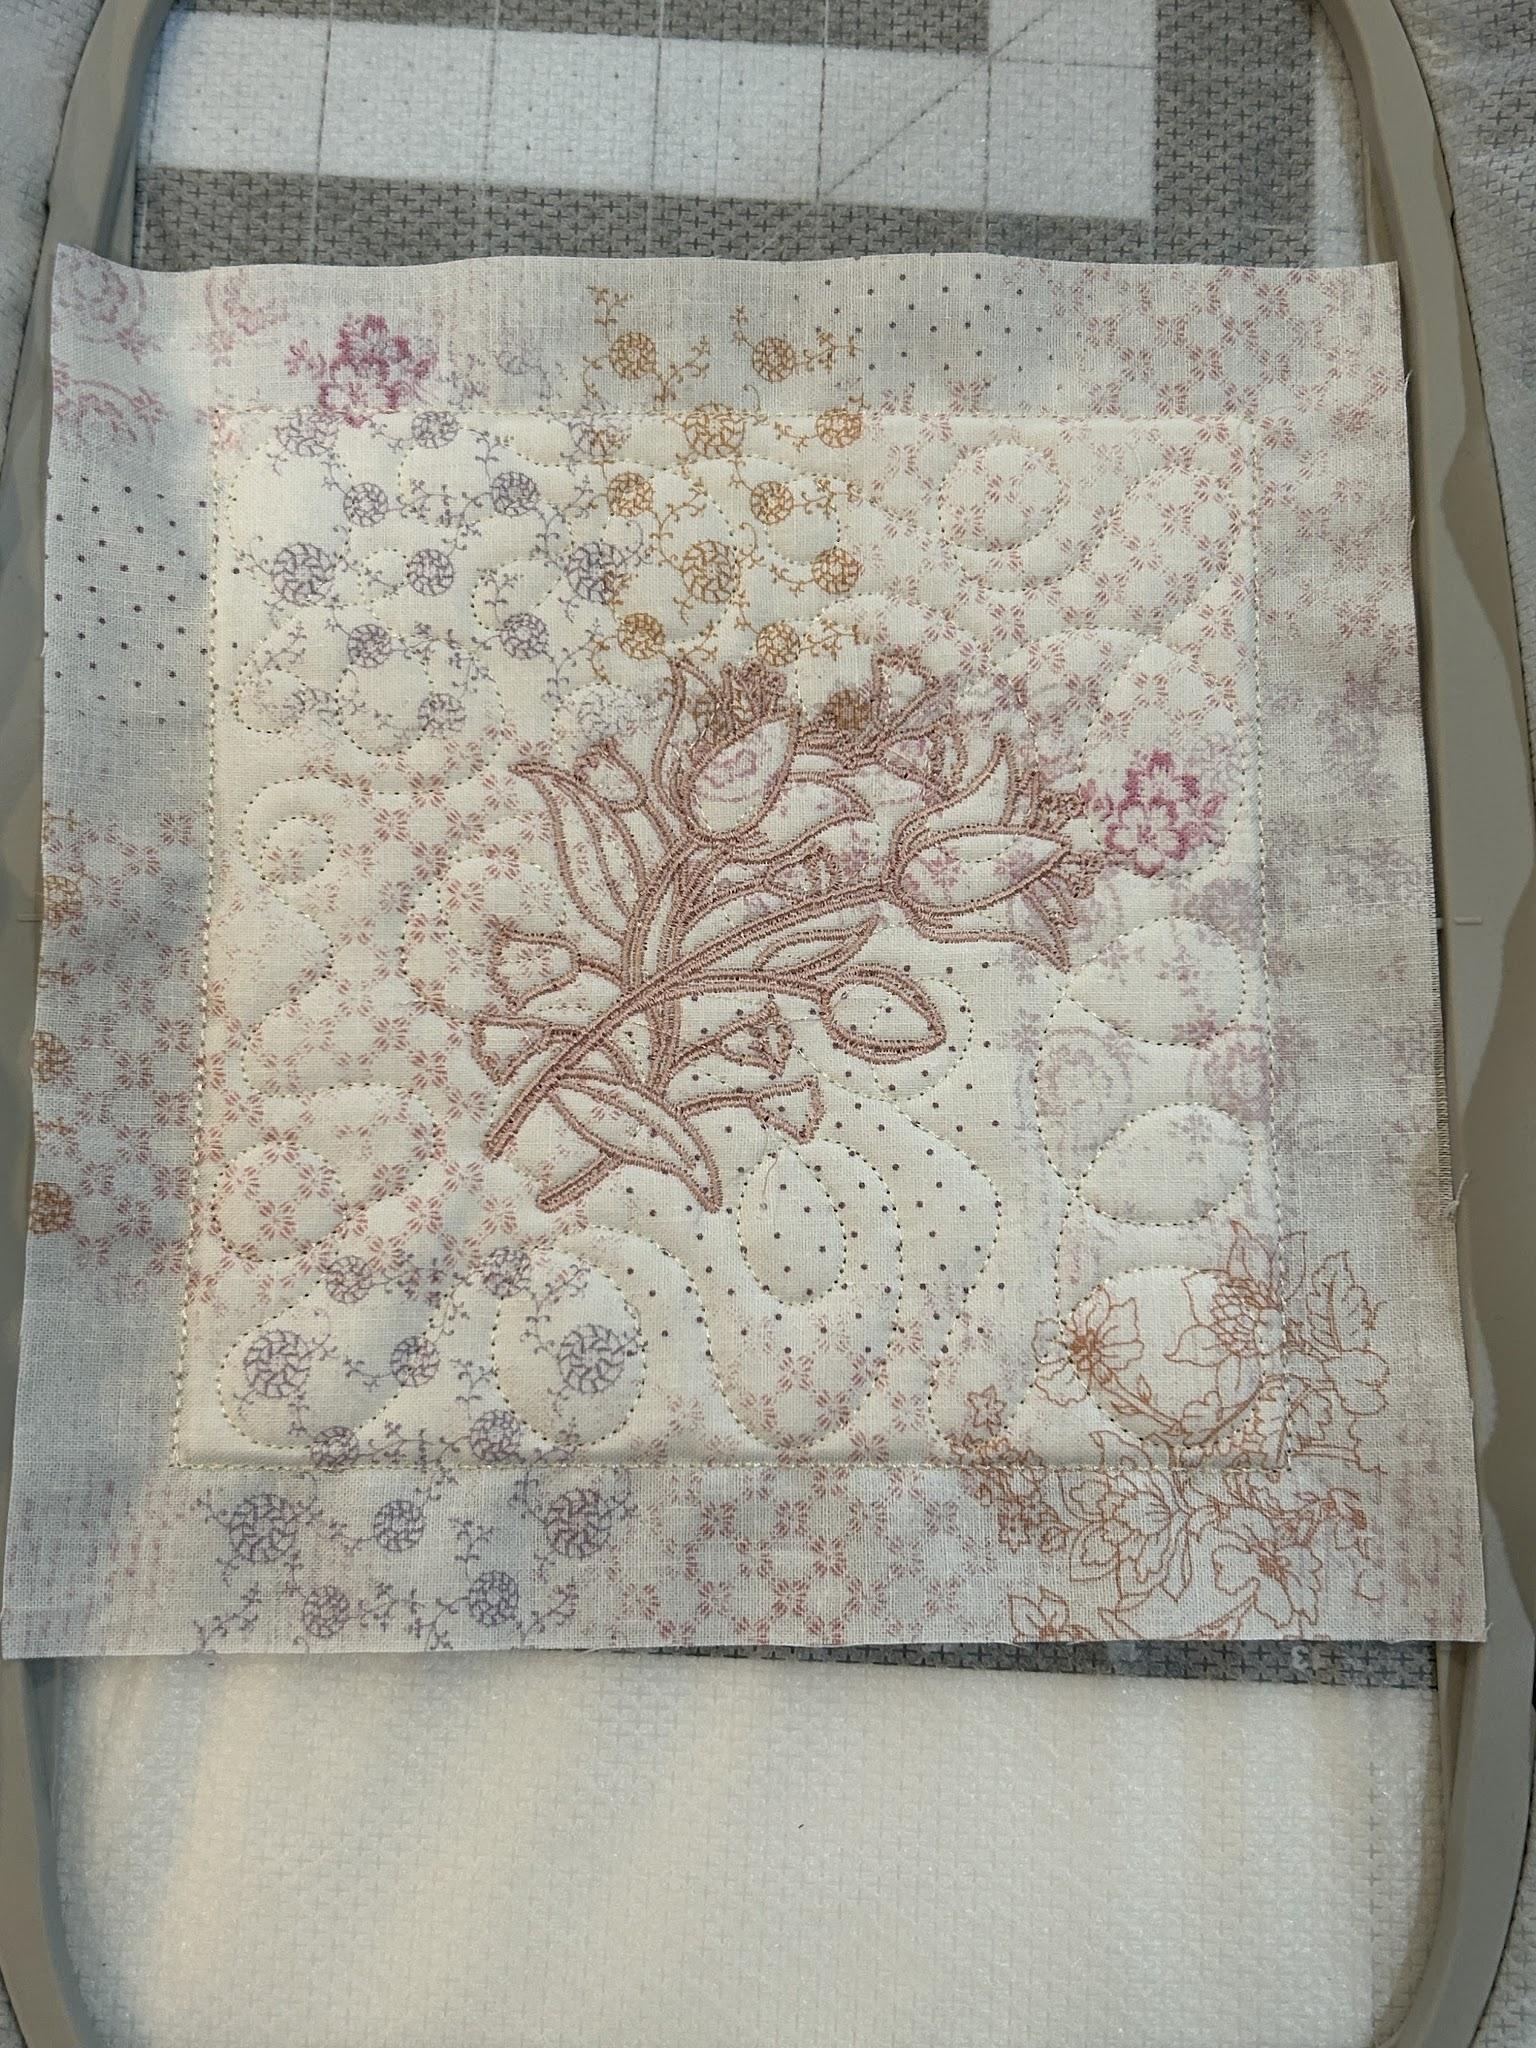
You will stitch out 17 blocks that only have the quilting stitches and one block for the center with the design turned 45 degrees. So settle in with your machine and get stitching.
After your blocks are stitched out, remove them from the hoop and trim the stabilizer close to the stitches.
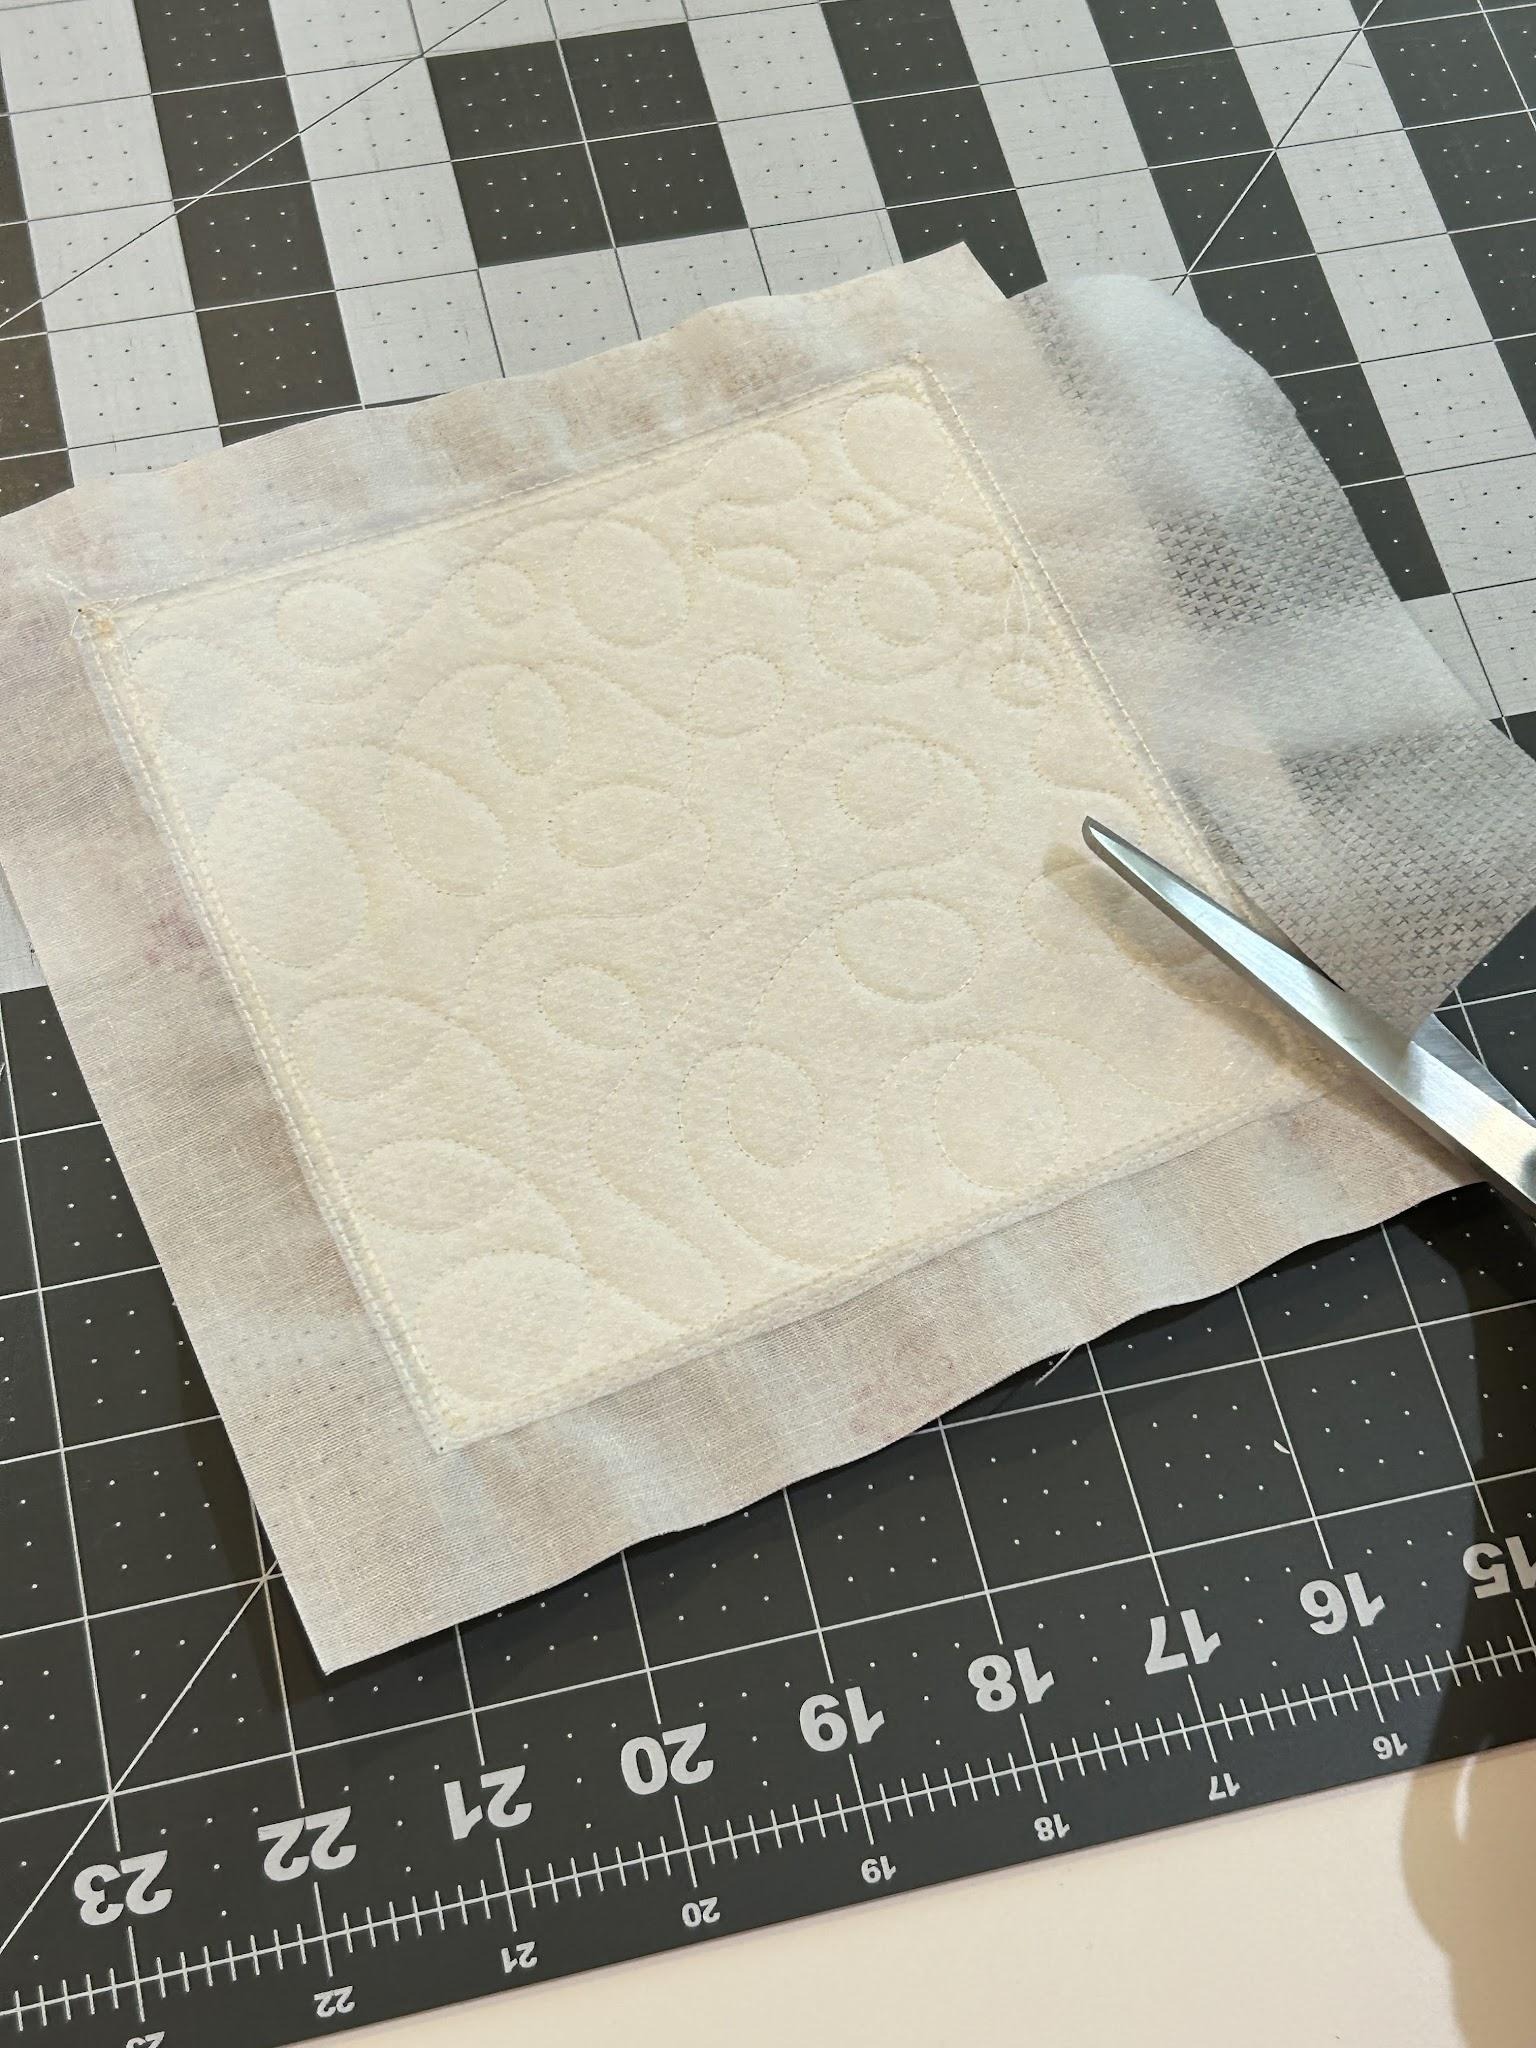
Trim all the blocks ½” from the outside stitching line.
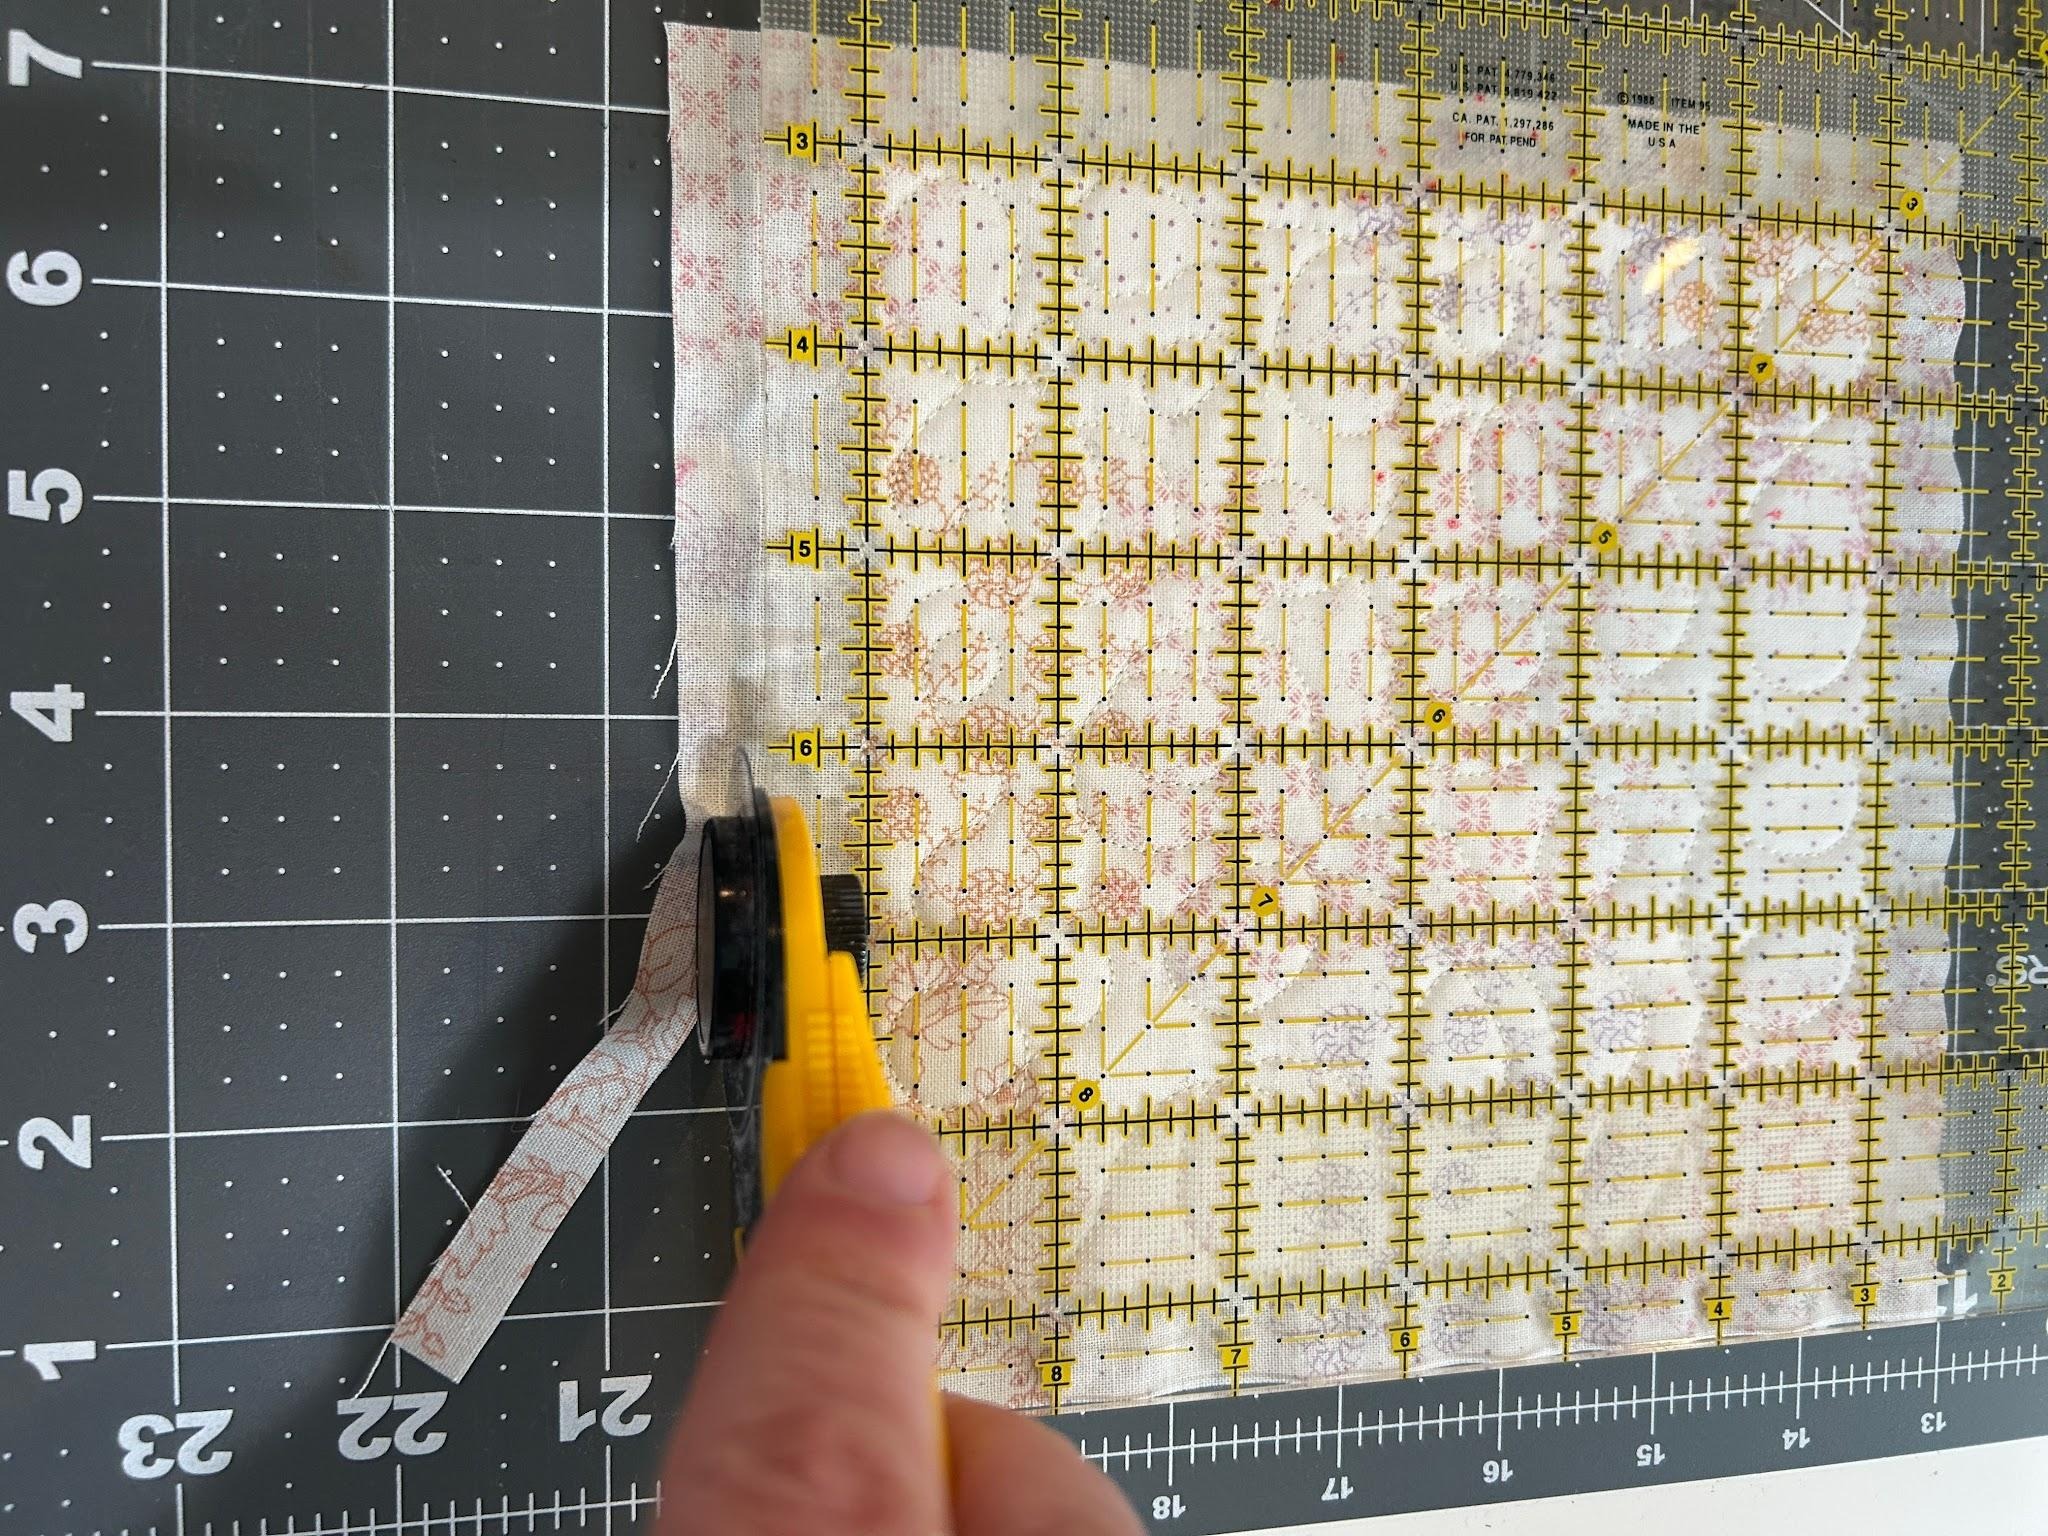
Take three of your blocks without a center design, and cut each of them in half from corner to corner.
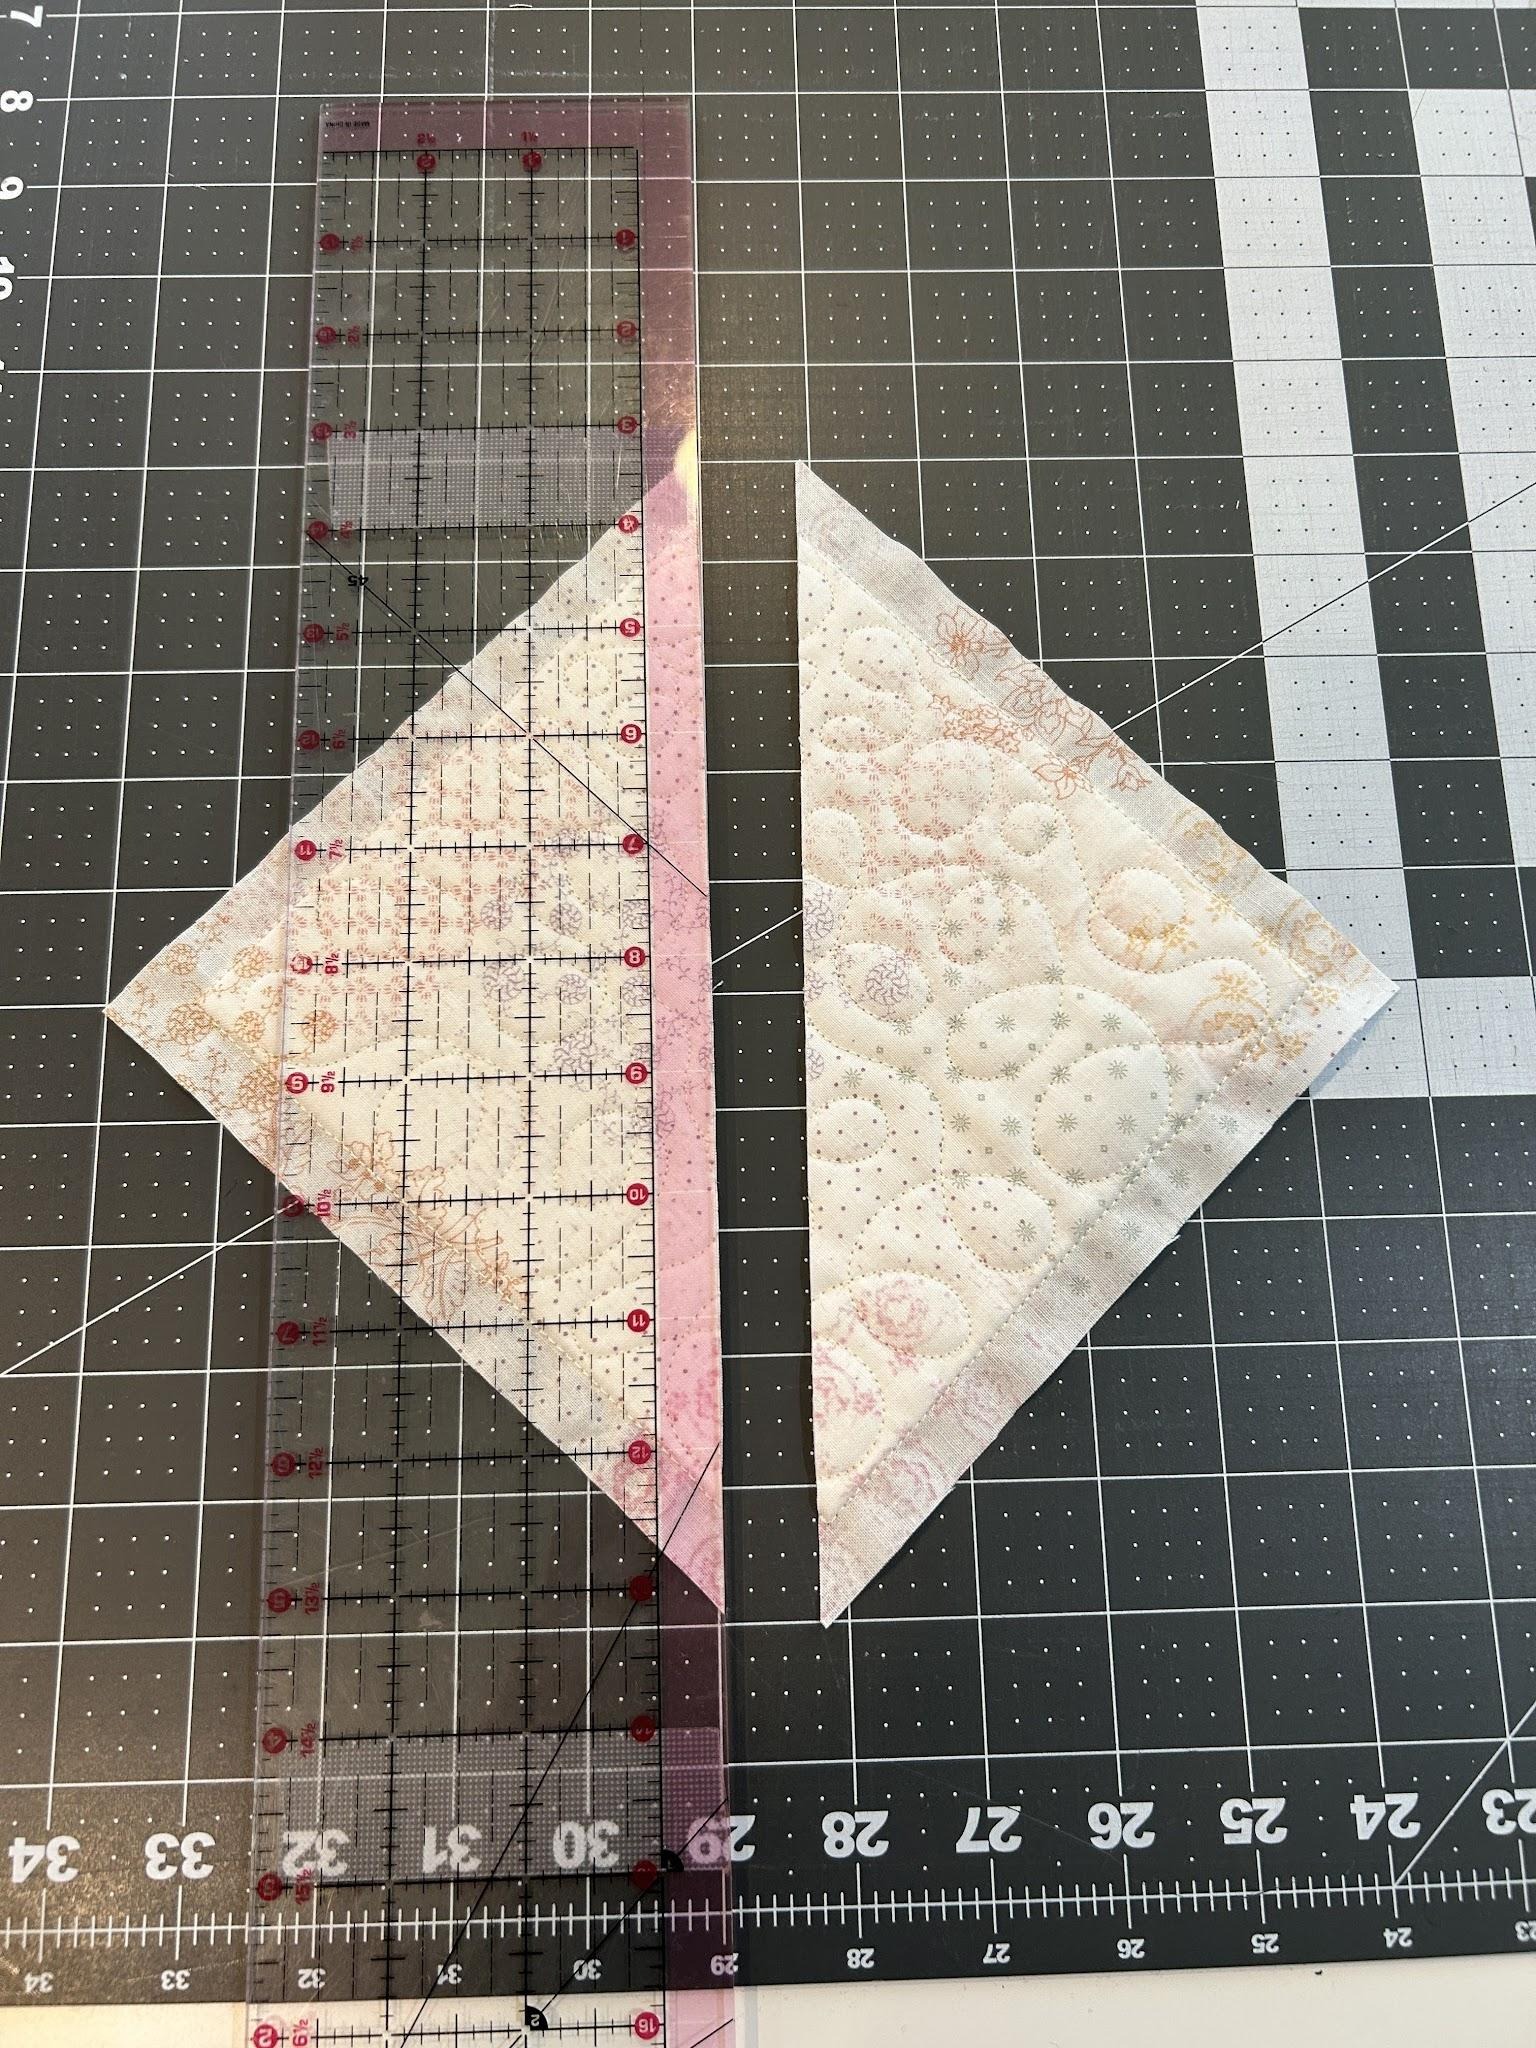
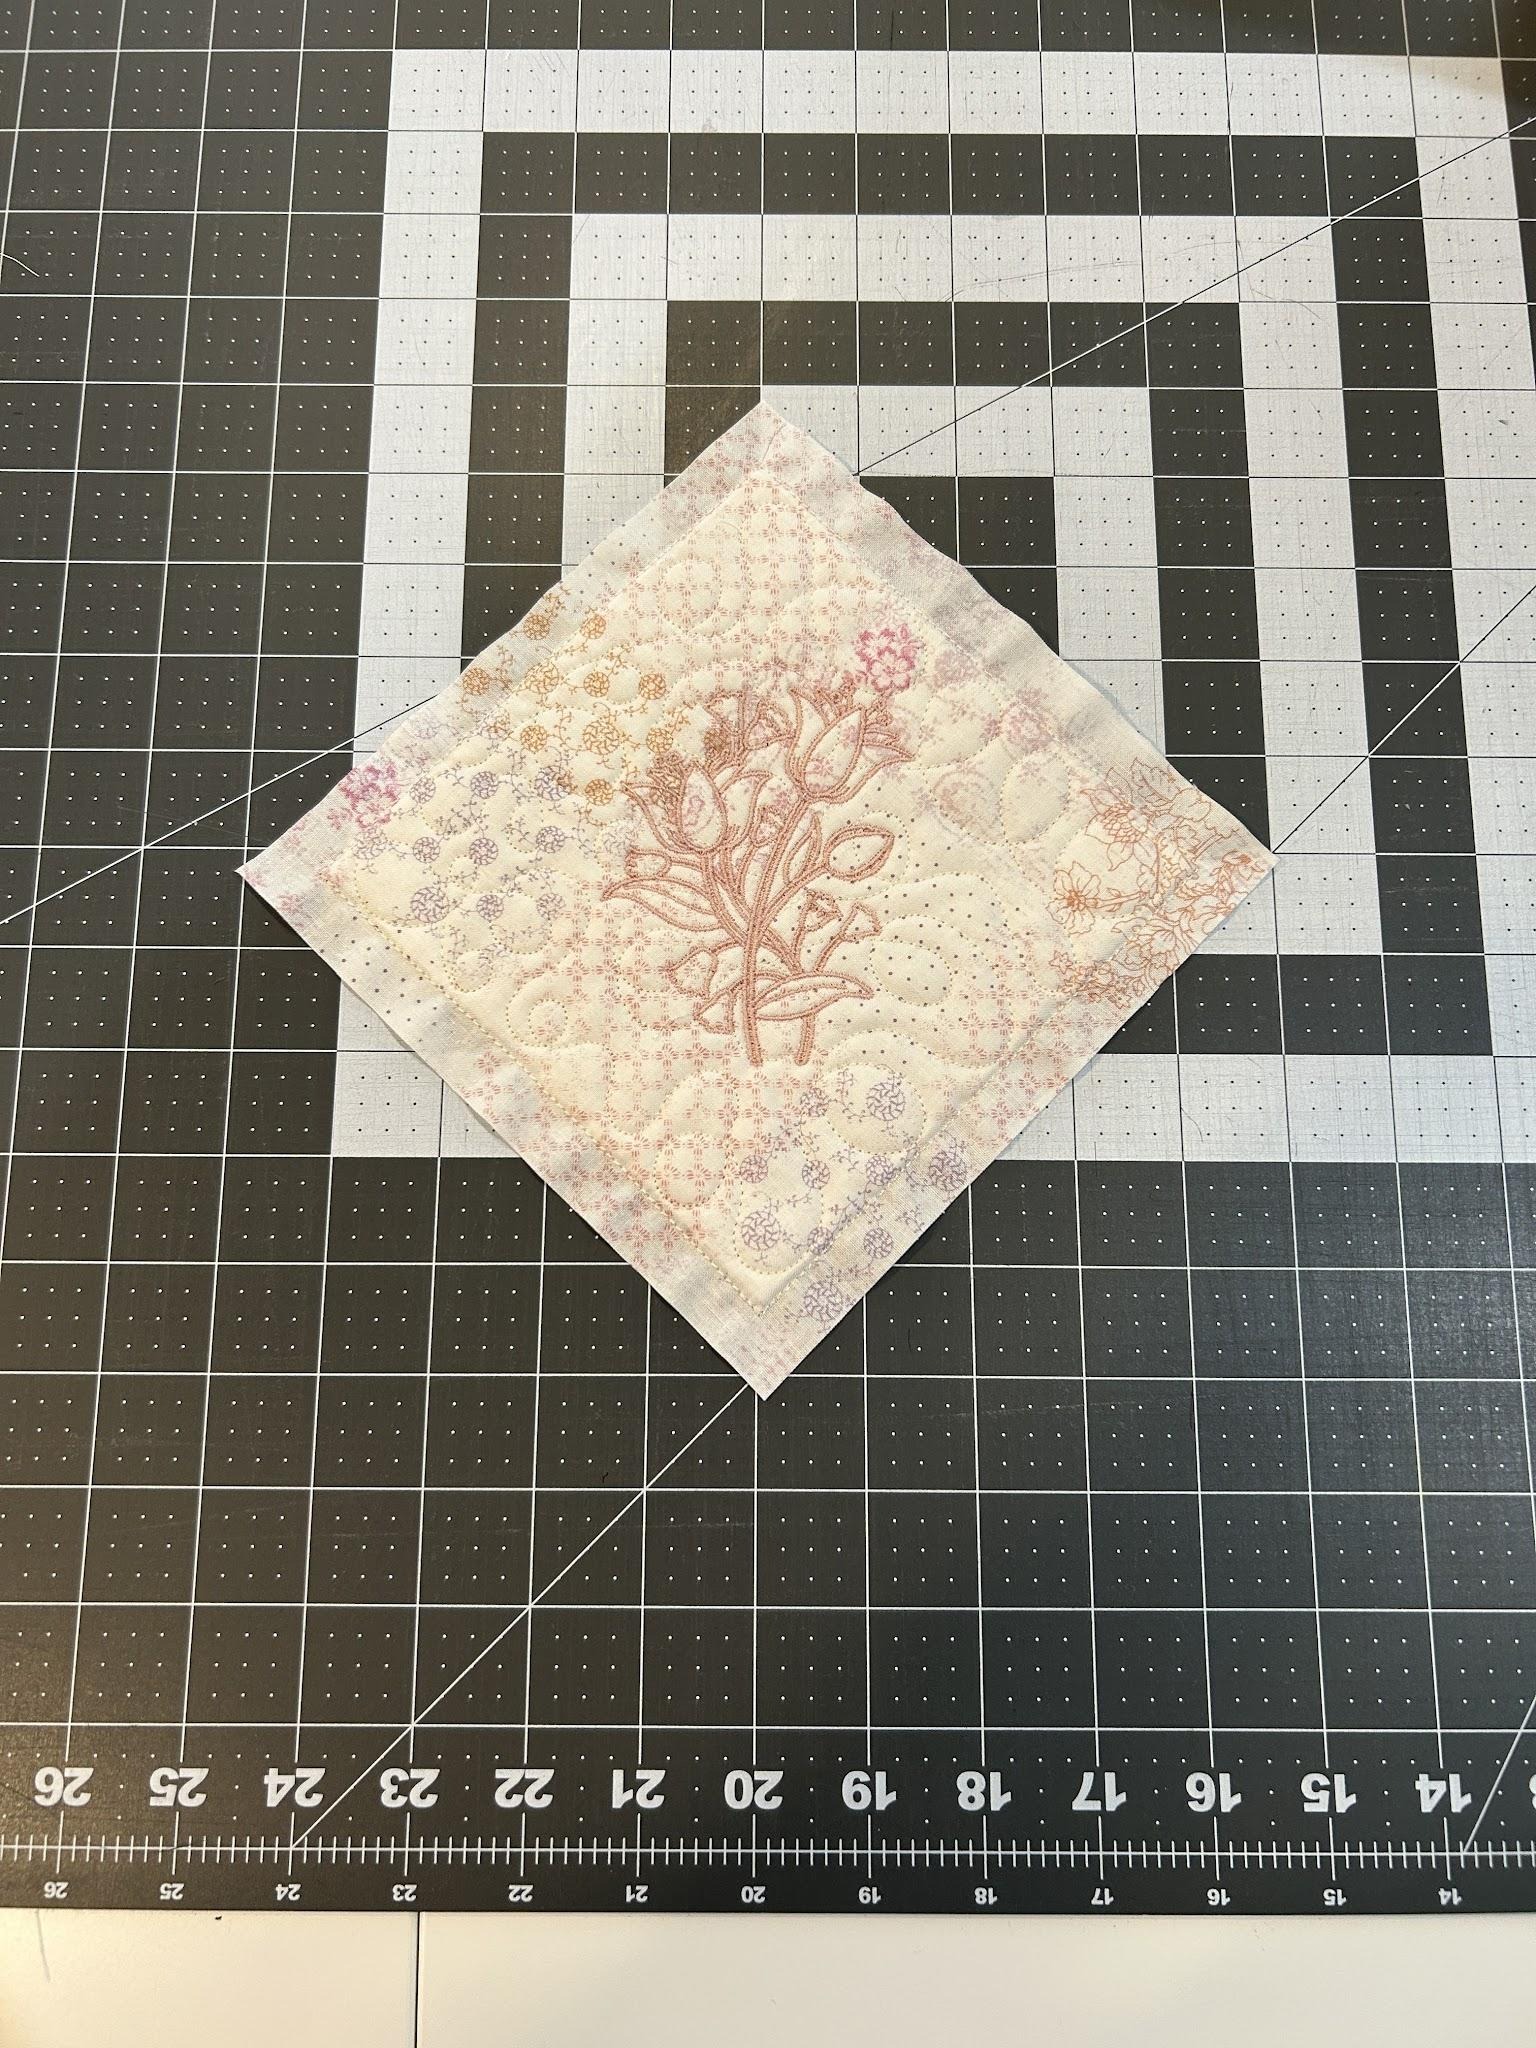
Now we will lay out our blocks on point. We will start with our center block with the design. Turn it 45 degrees and lay it on your cutting mat.
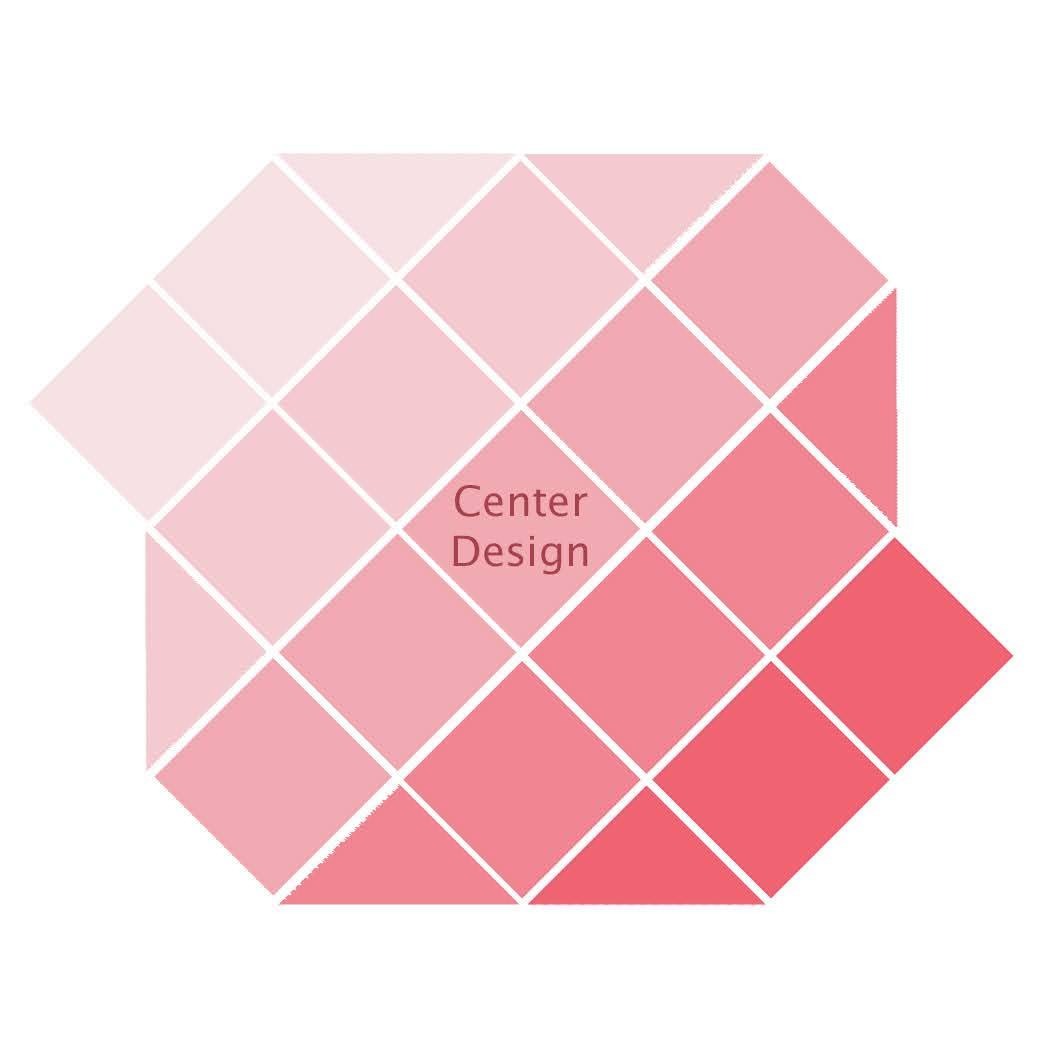
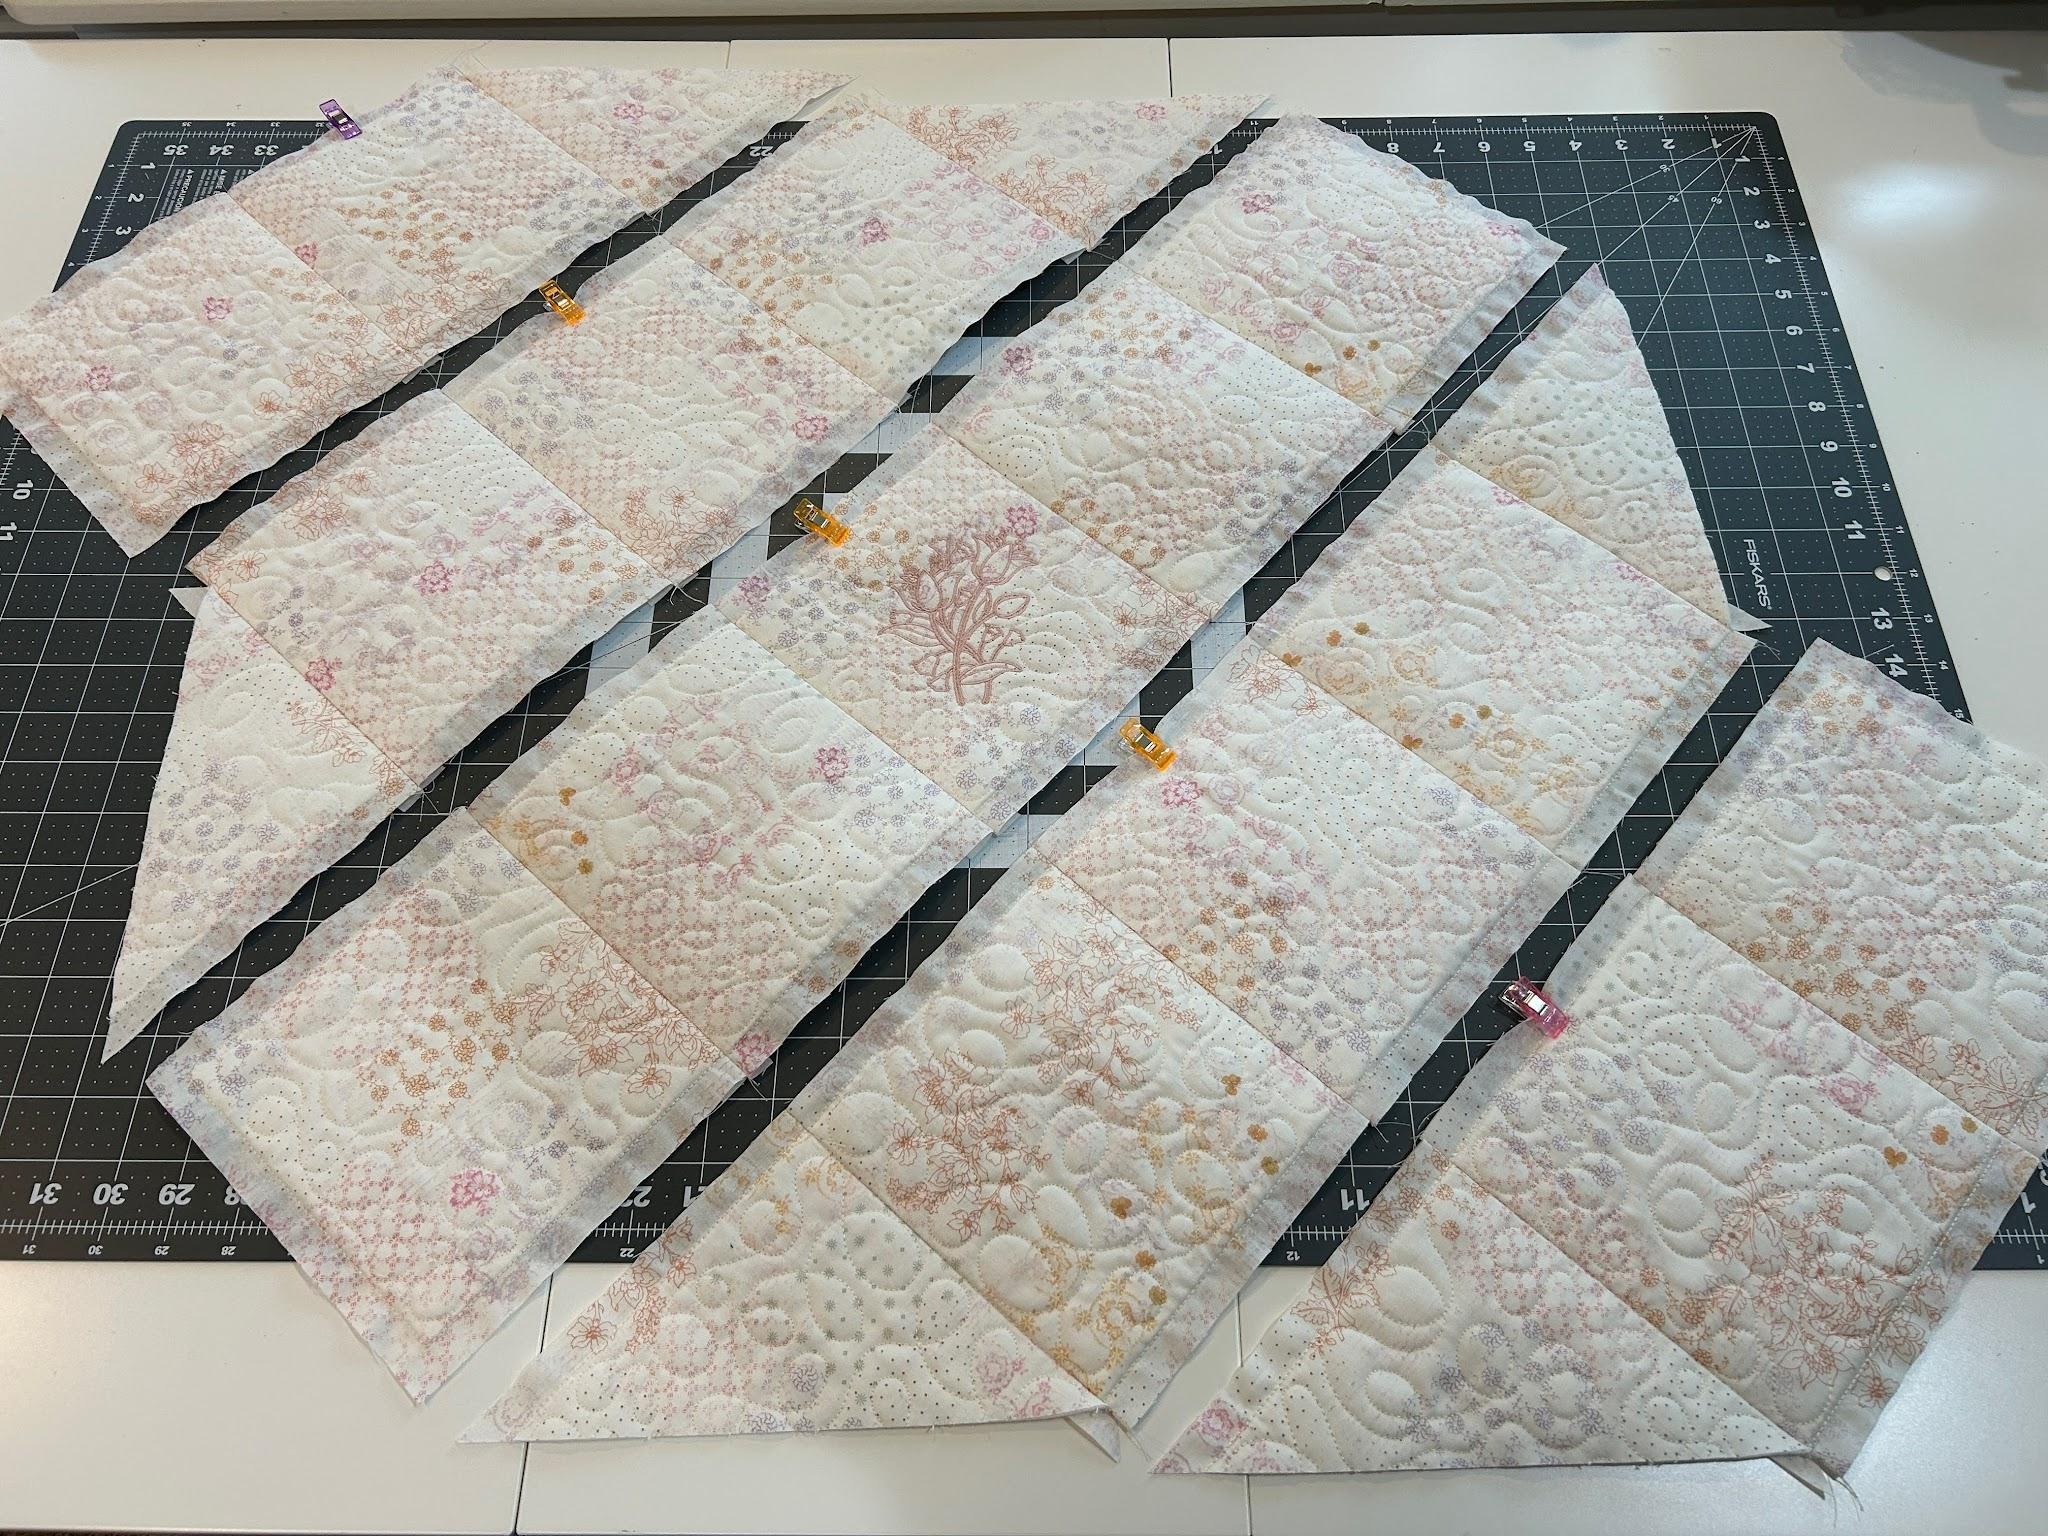
Next we are going to lay the blocks out like the diagram below. The rows will run diagonally instead of horizontally. I color coded the rows for easier visualization. The center design will have 5 blocks in its diagonal row. The next rows out from center will have 3 blocks and two triangles. The last rows will have two blocks and one triangle.
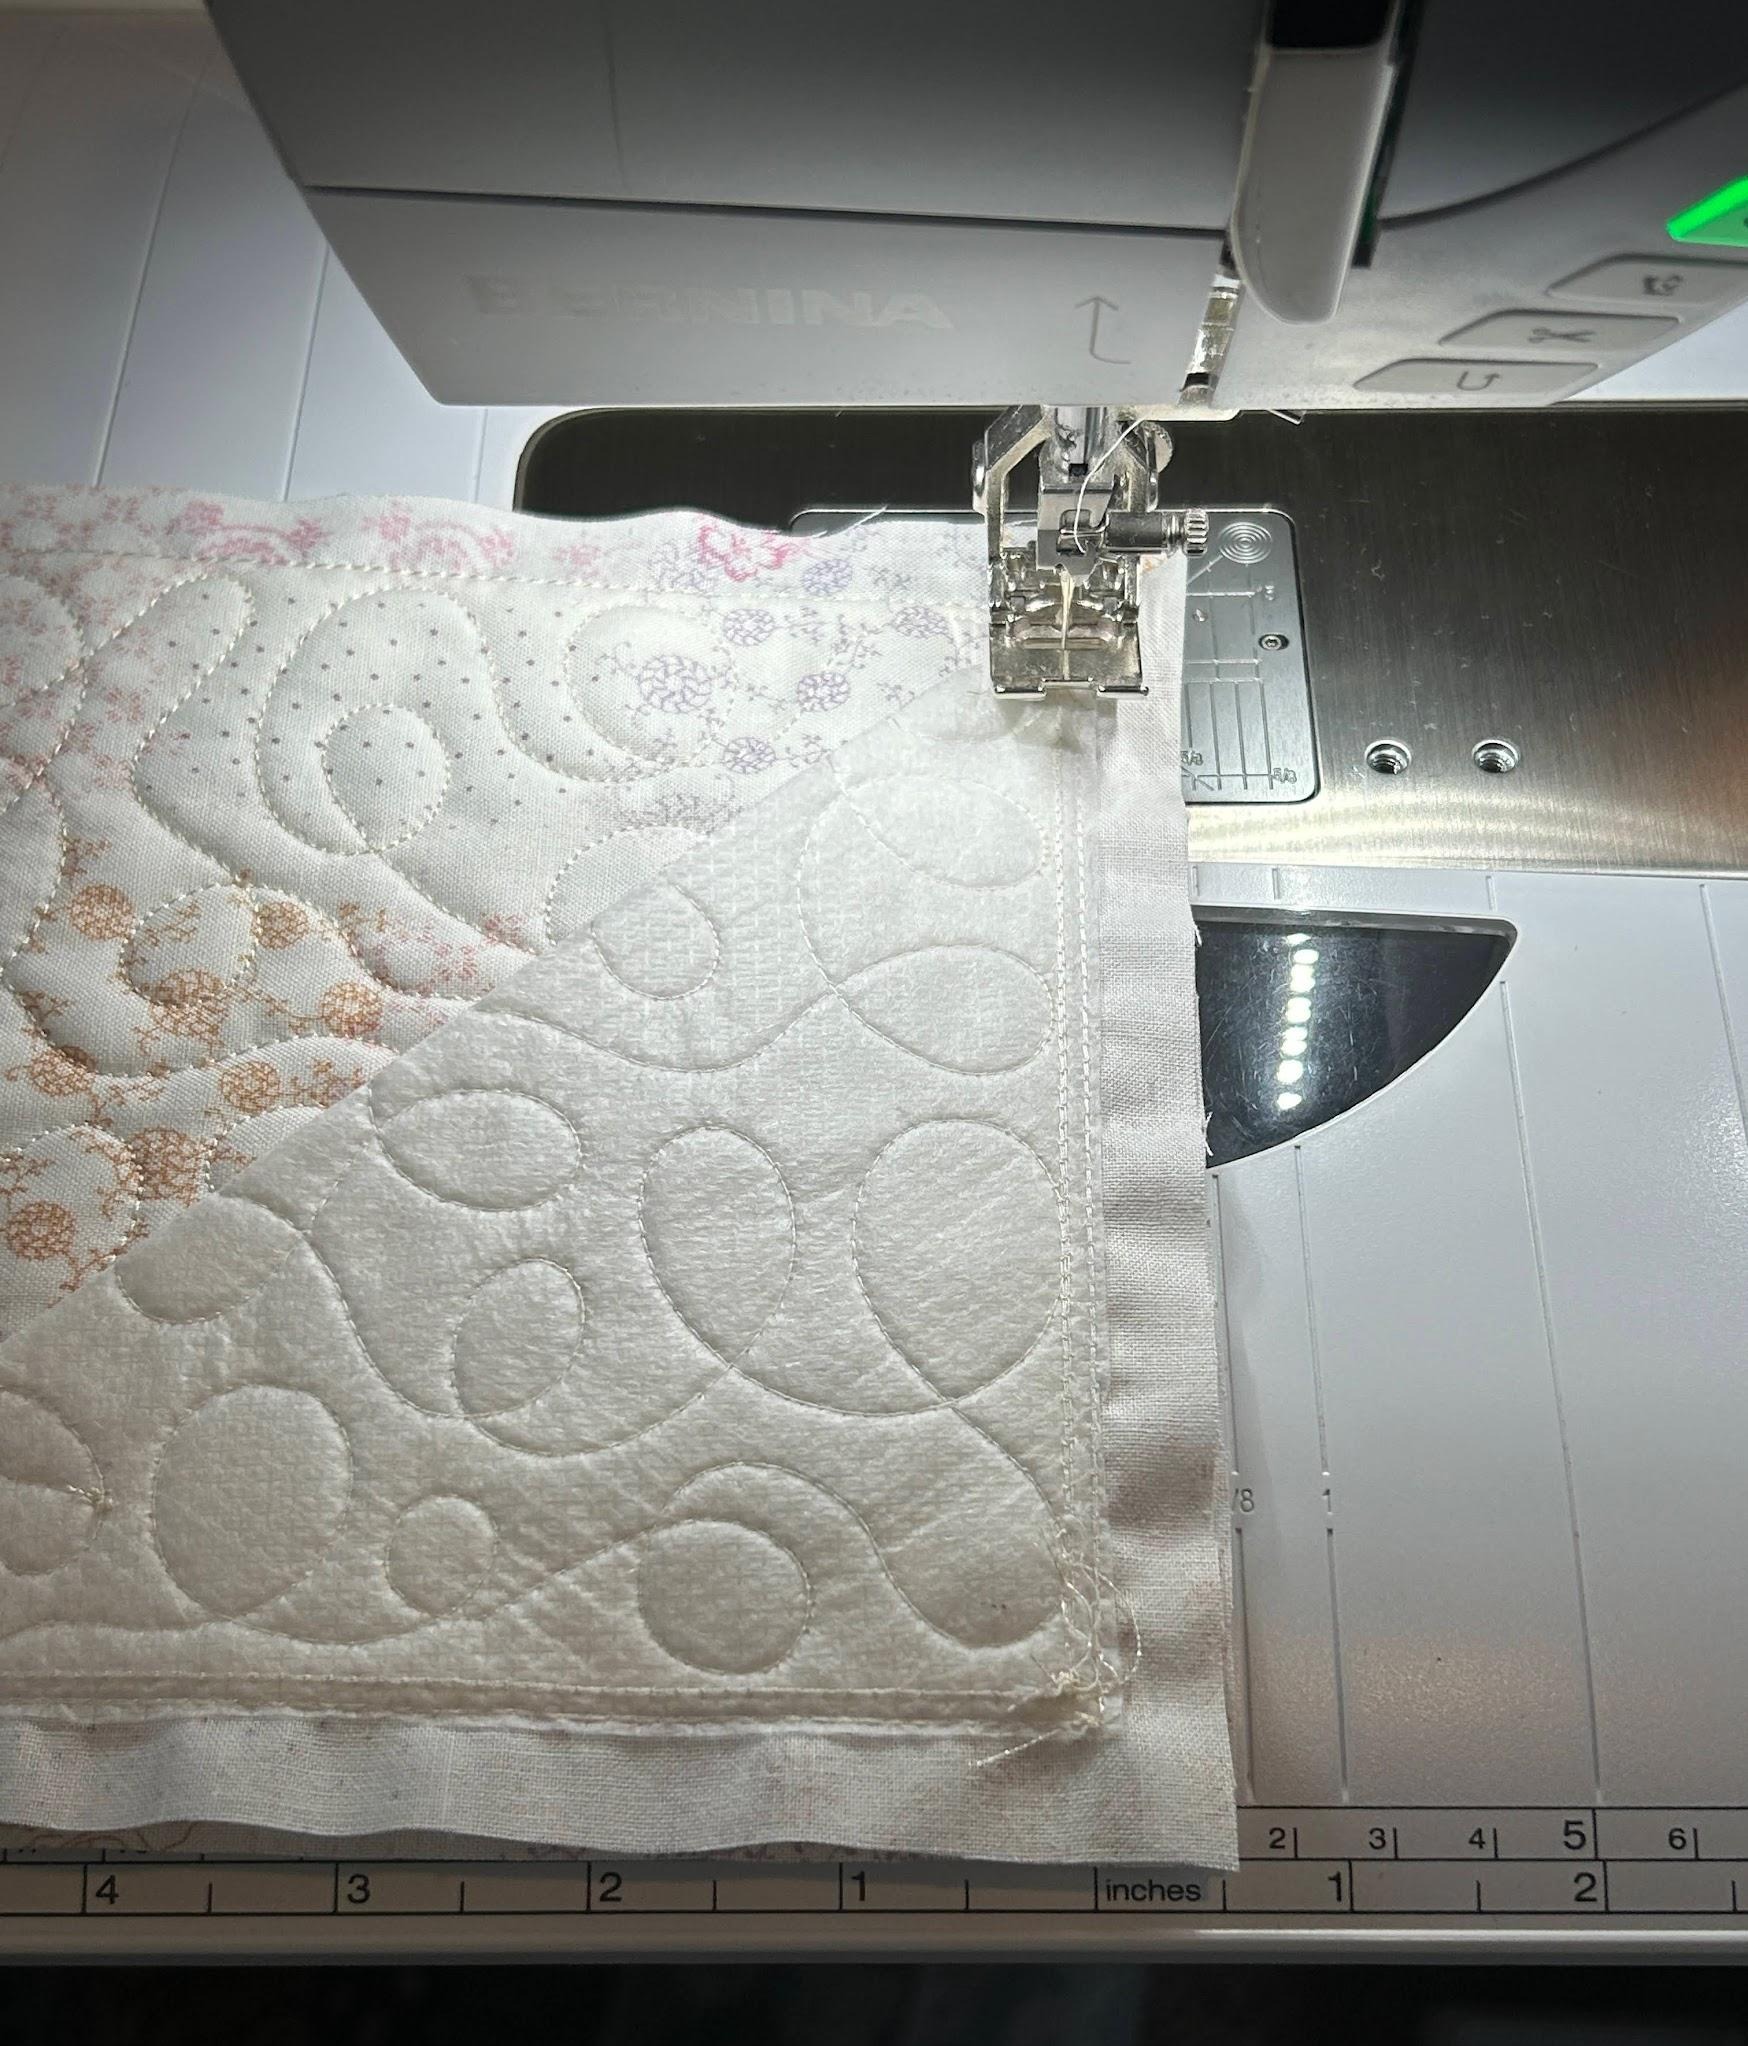
Sew the blocks together in the rows. Line up your outer stitching lines and stitch between the “racing lines.”
Press the seams open. I like to use a pressing cloth to protect my stabilizer.
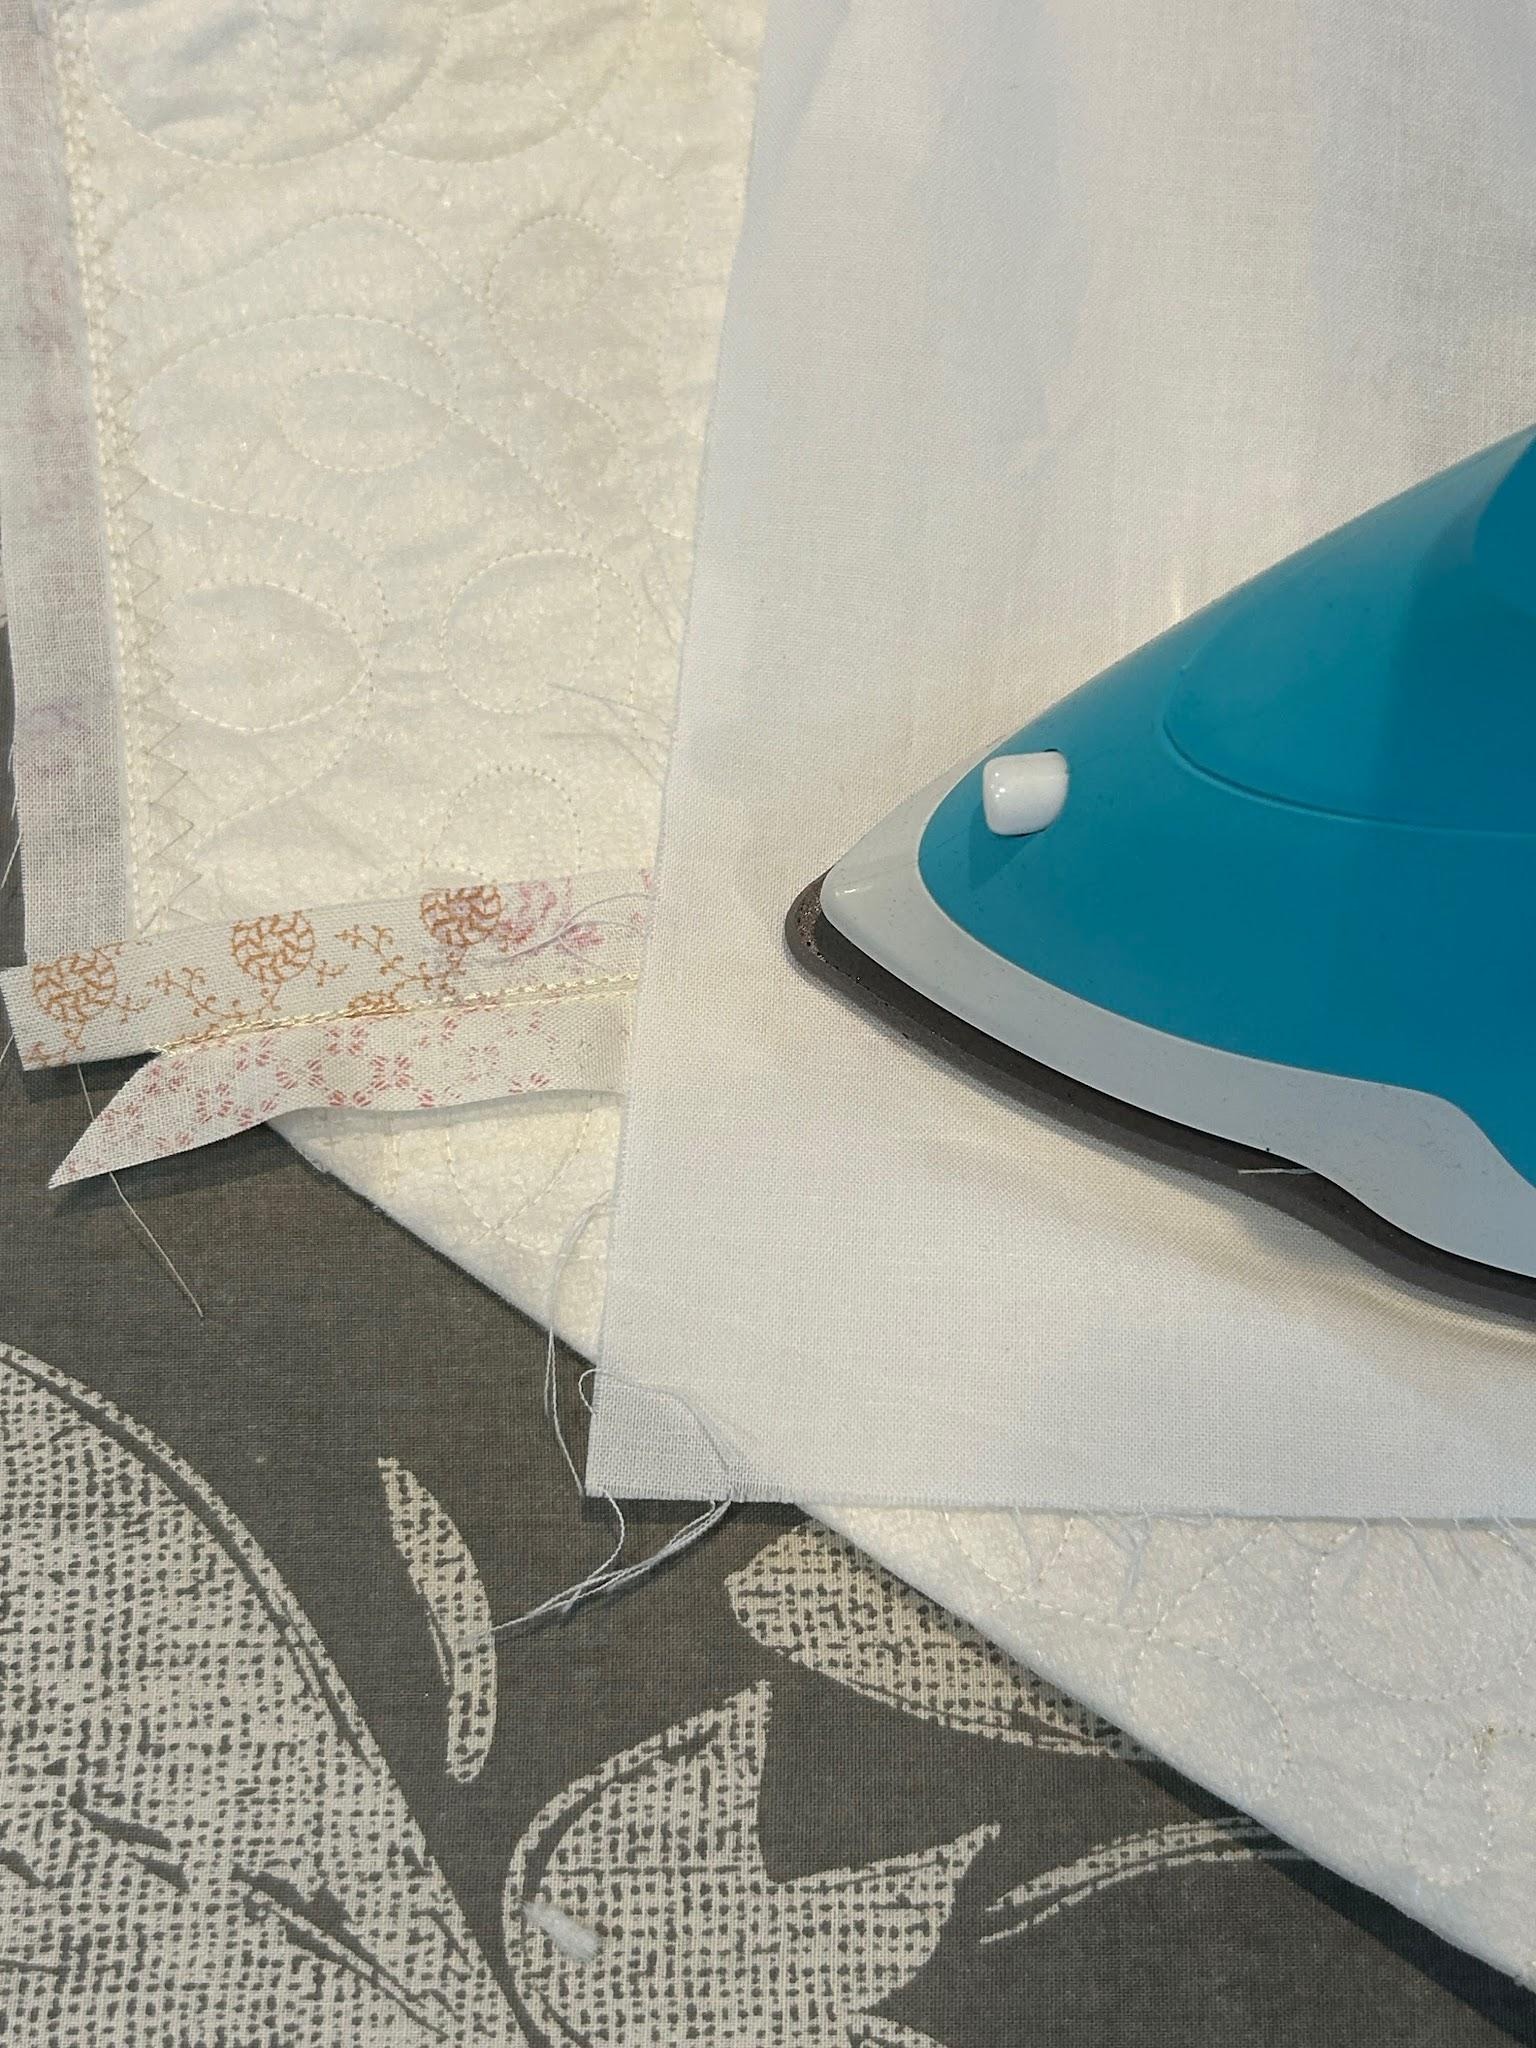
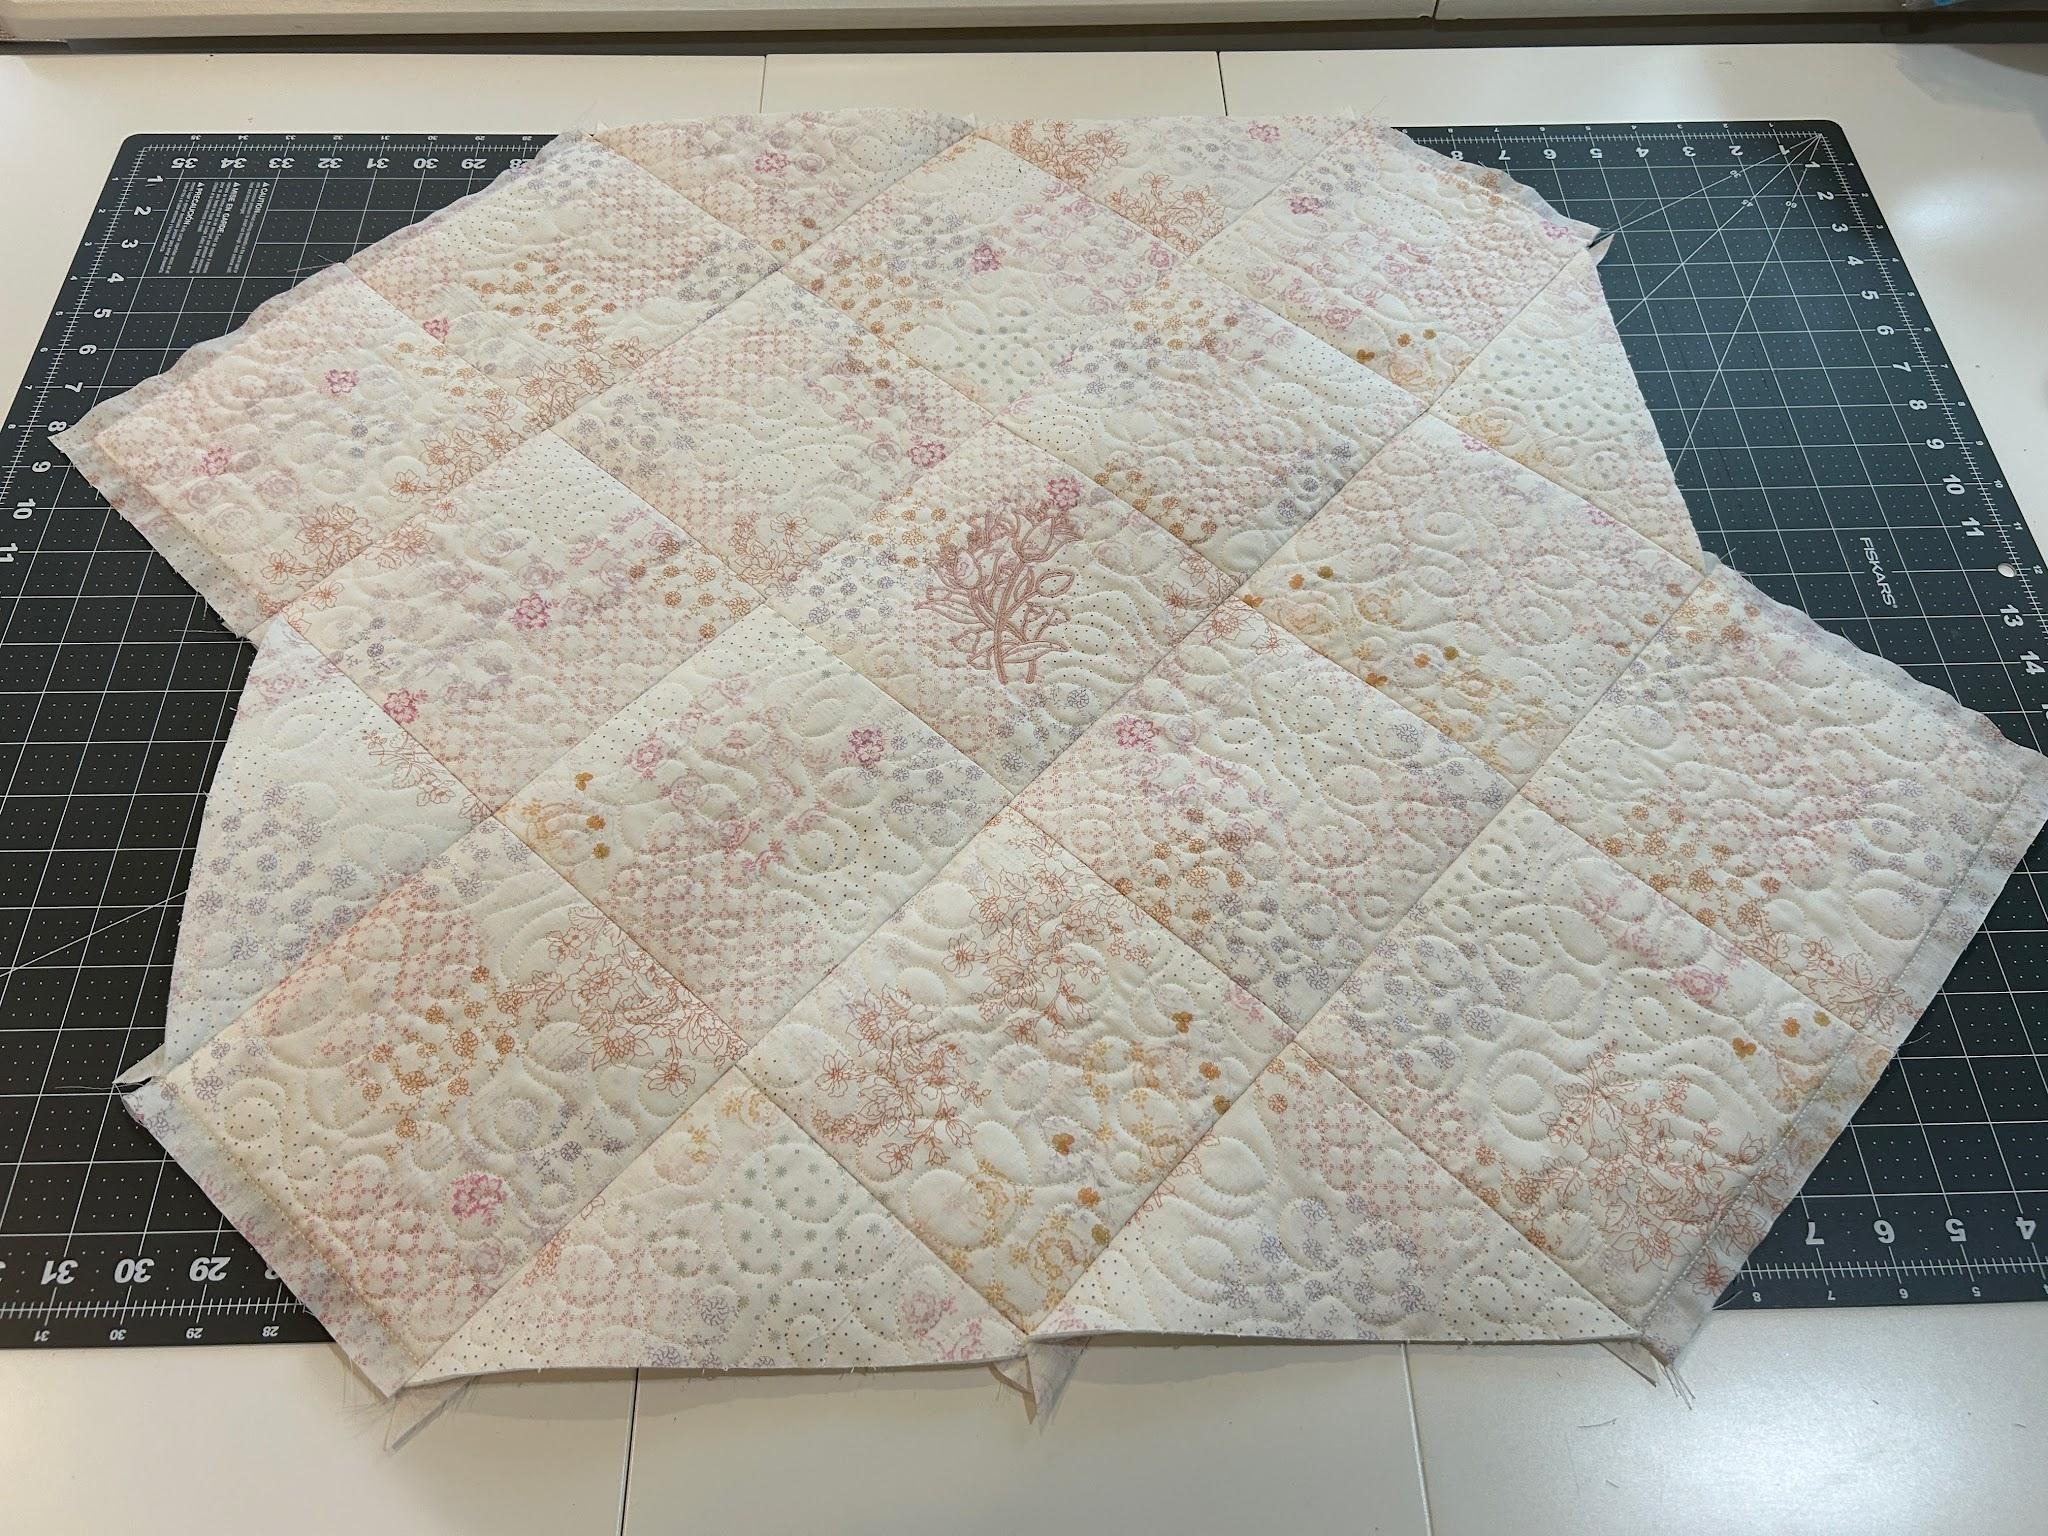
Once you’re finished with all the rows, you can sew the rows together, aligning seams as you go. I put a clip on the block that lines up with the center block on each row so I can keep them lined up correctly while sewing the rows. It’s not fun to sew a row and realize that you misaligned your blocks! (Yes, I am speaking from experience here.) After they are sewn, press the seams open.
Then you have your finished panel.
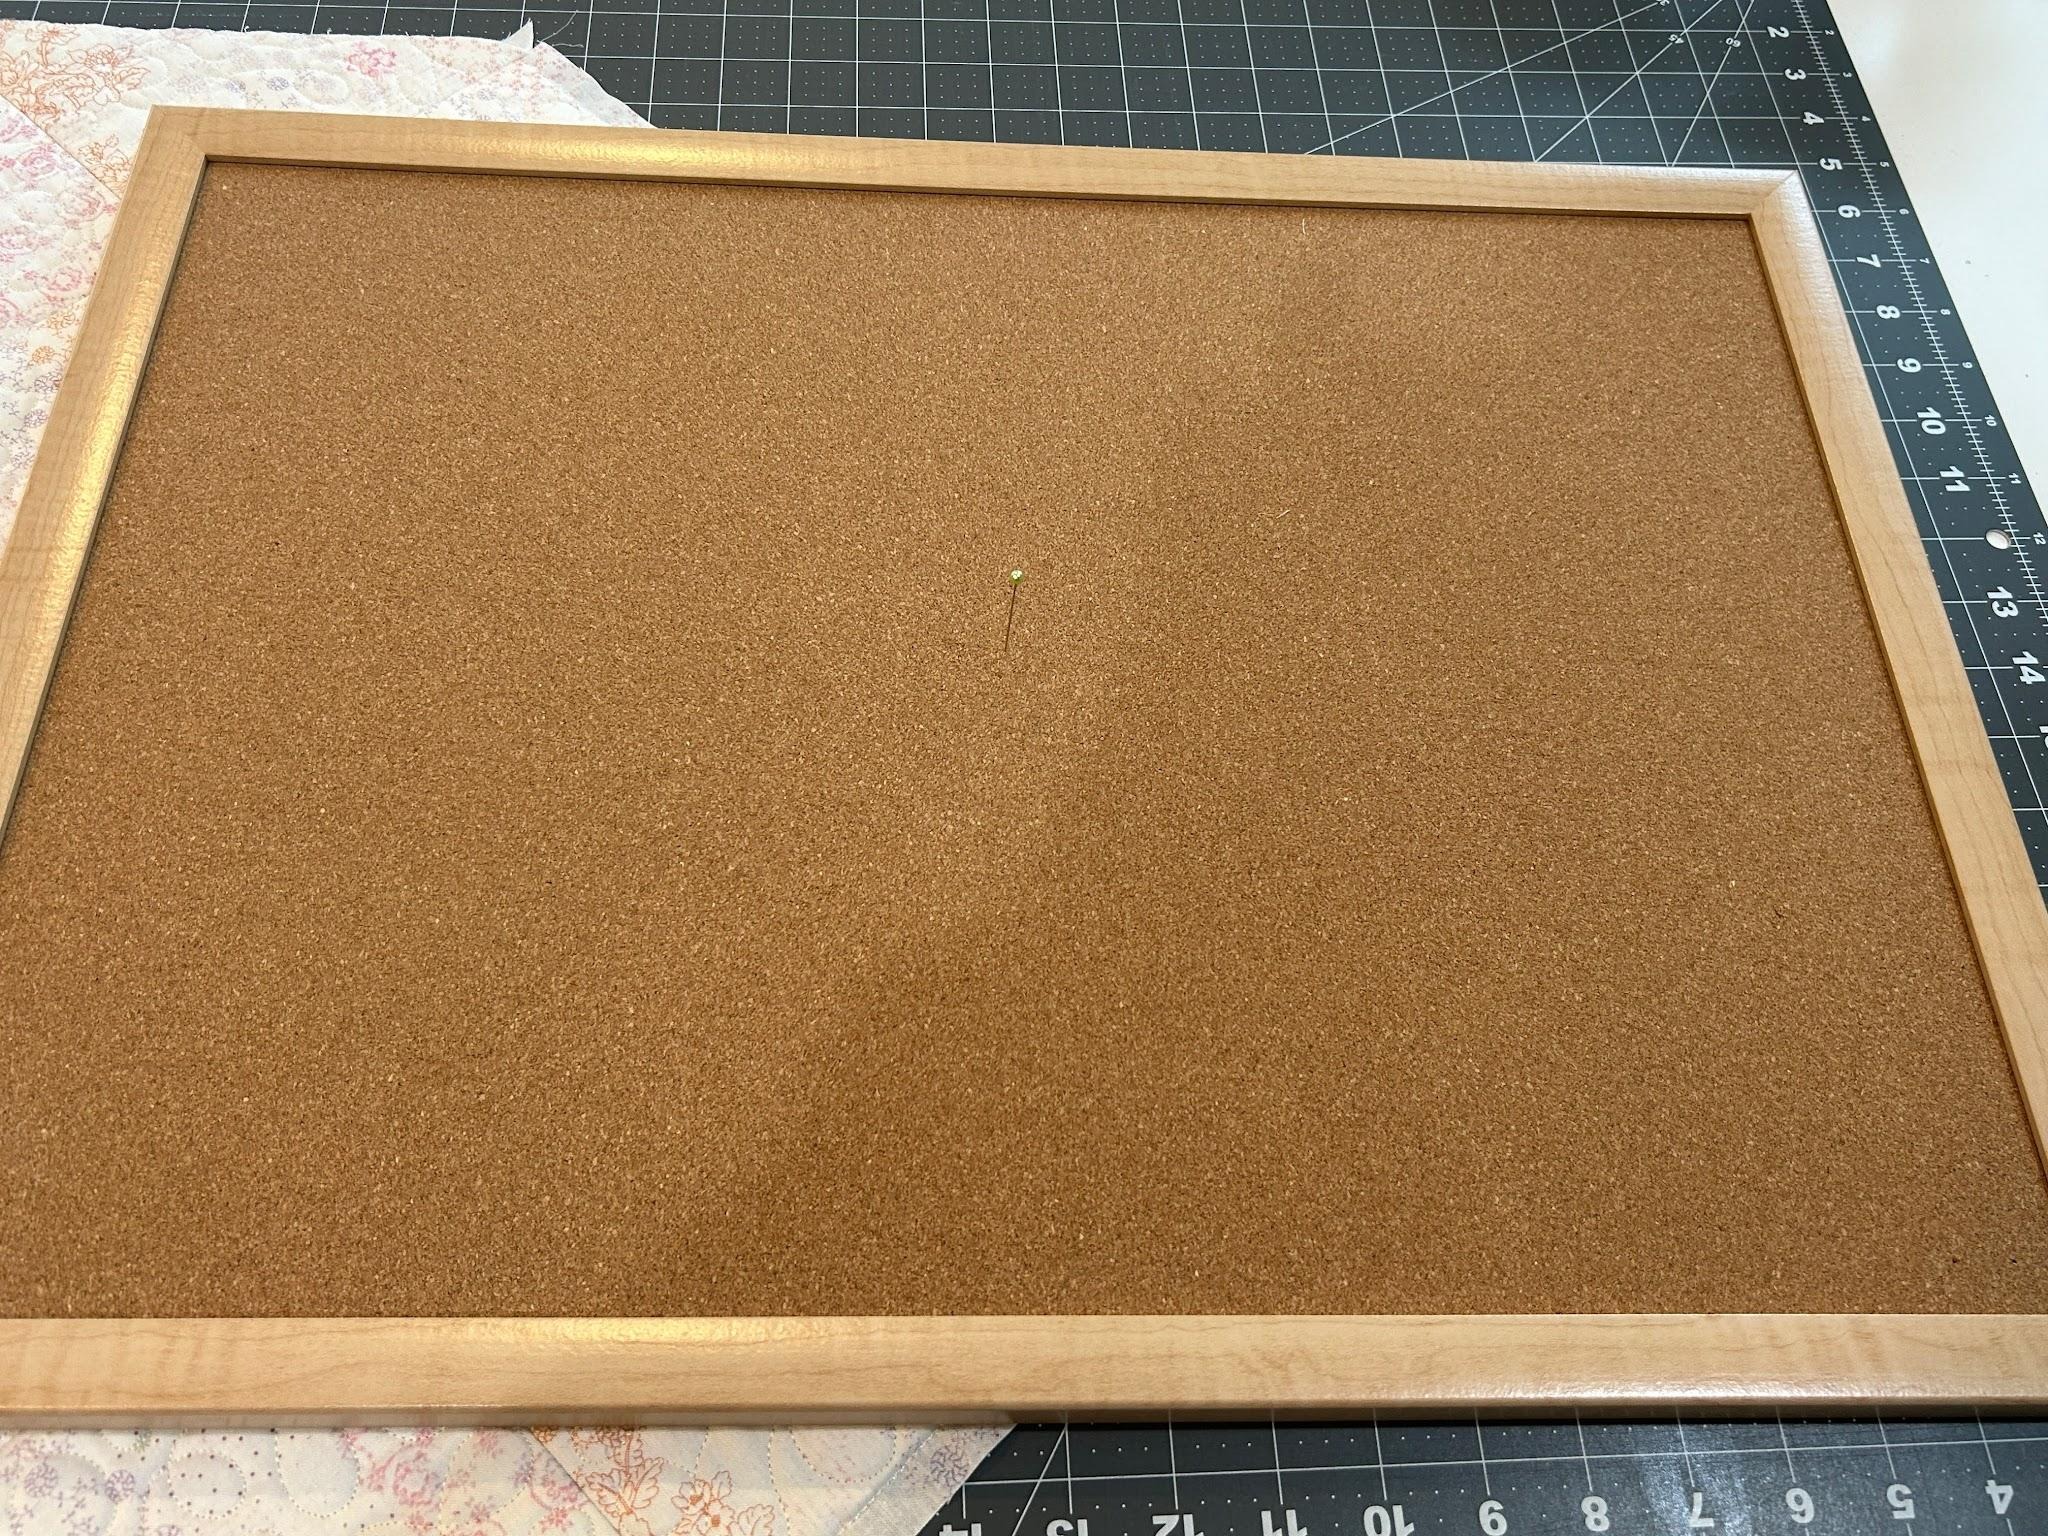
Mark the center of your bulletin board with a pin.
Find the center of the center panel and pin it to the center point of the bulletin board. This secures the panel to the board in the center.
Now that the panel is secured in the center of the board, we want to make sure that the panel is lined up with the bulletin board so that the center square isn’t rotated. I check the points of the blocks and see if they are all the same distance from the edge. Once you’ve made sure it’s lined up the way you like it, you will cut lengths of the ribbon to cover the seam lines. I do all of them in one direction before switching and going in the other direction. You only need the ribbon to come off the edge enough to wrap to the back of the board.
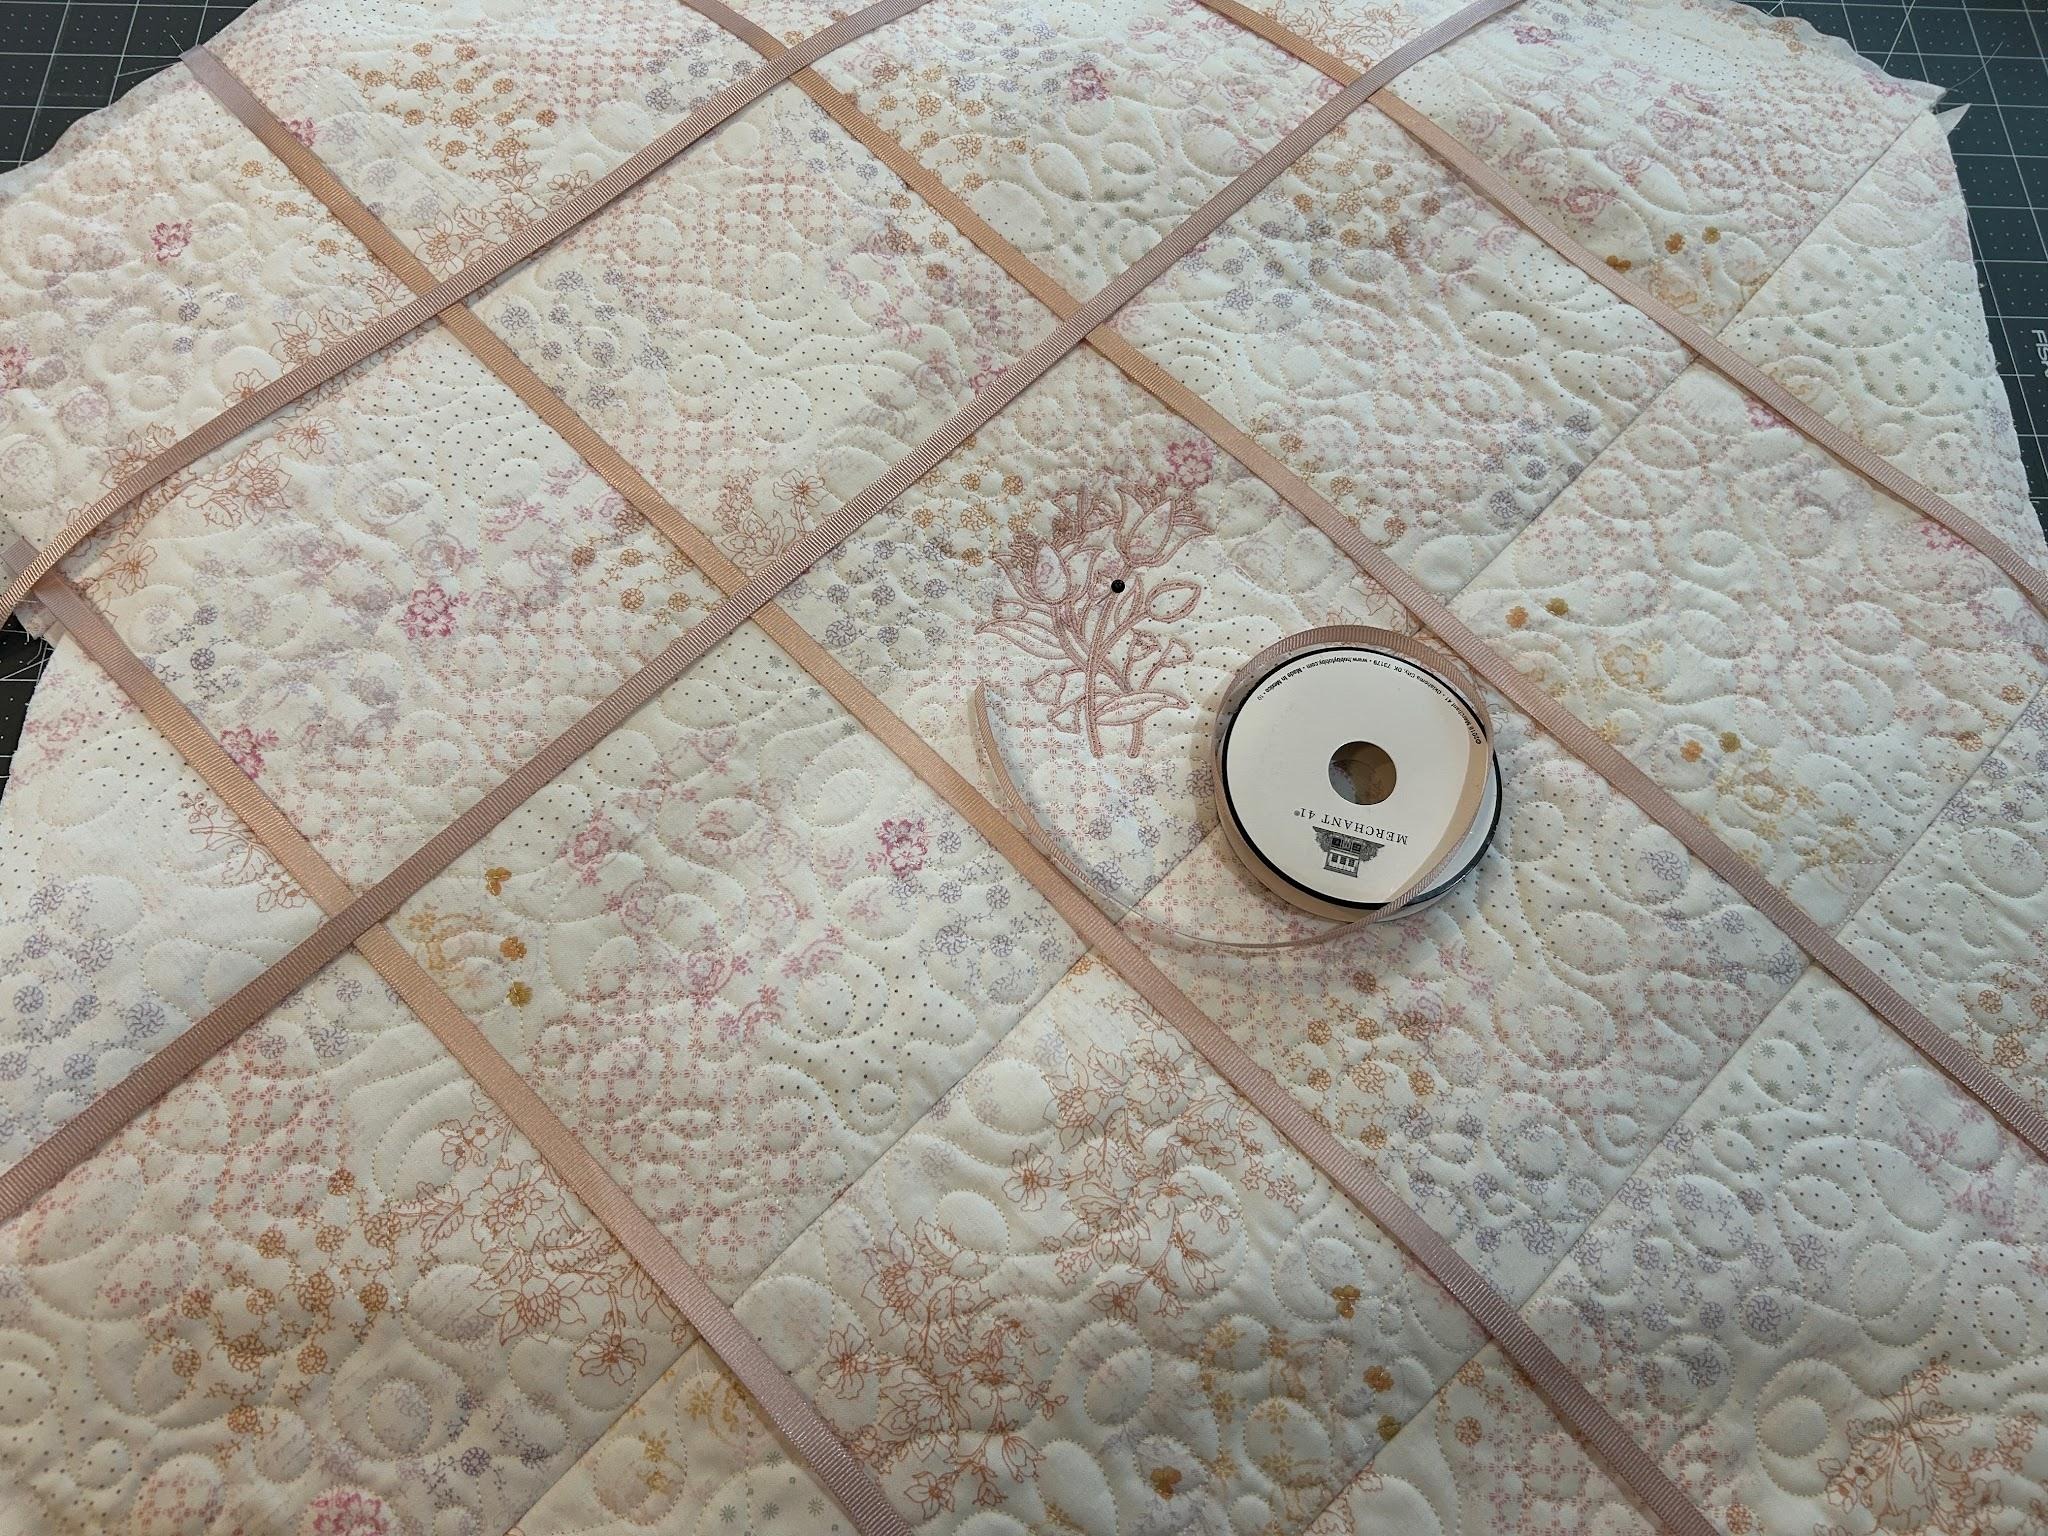
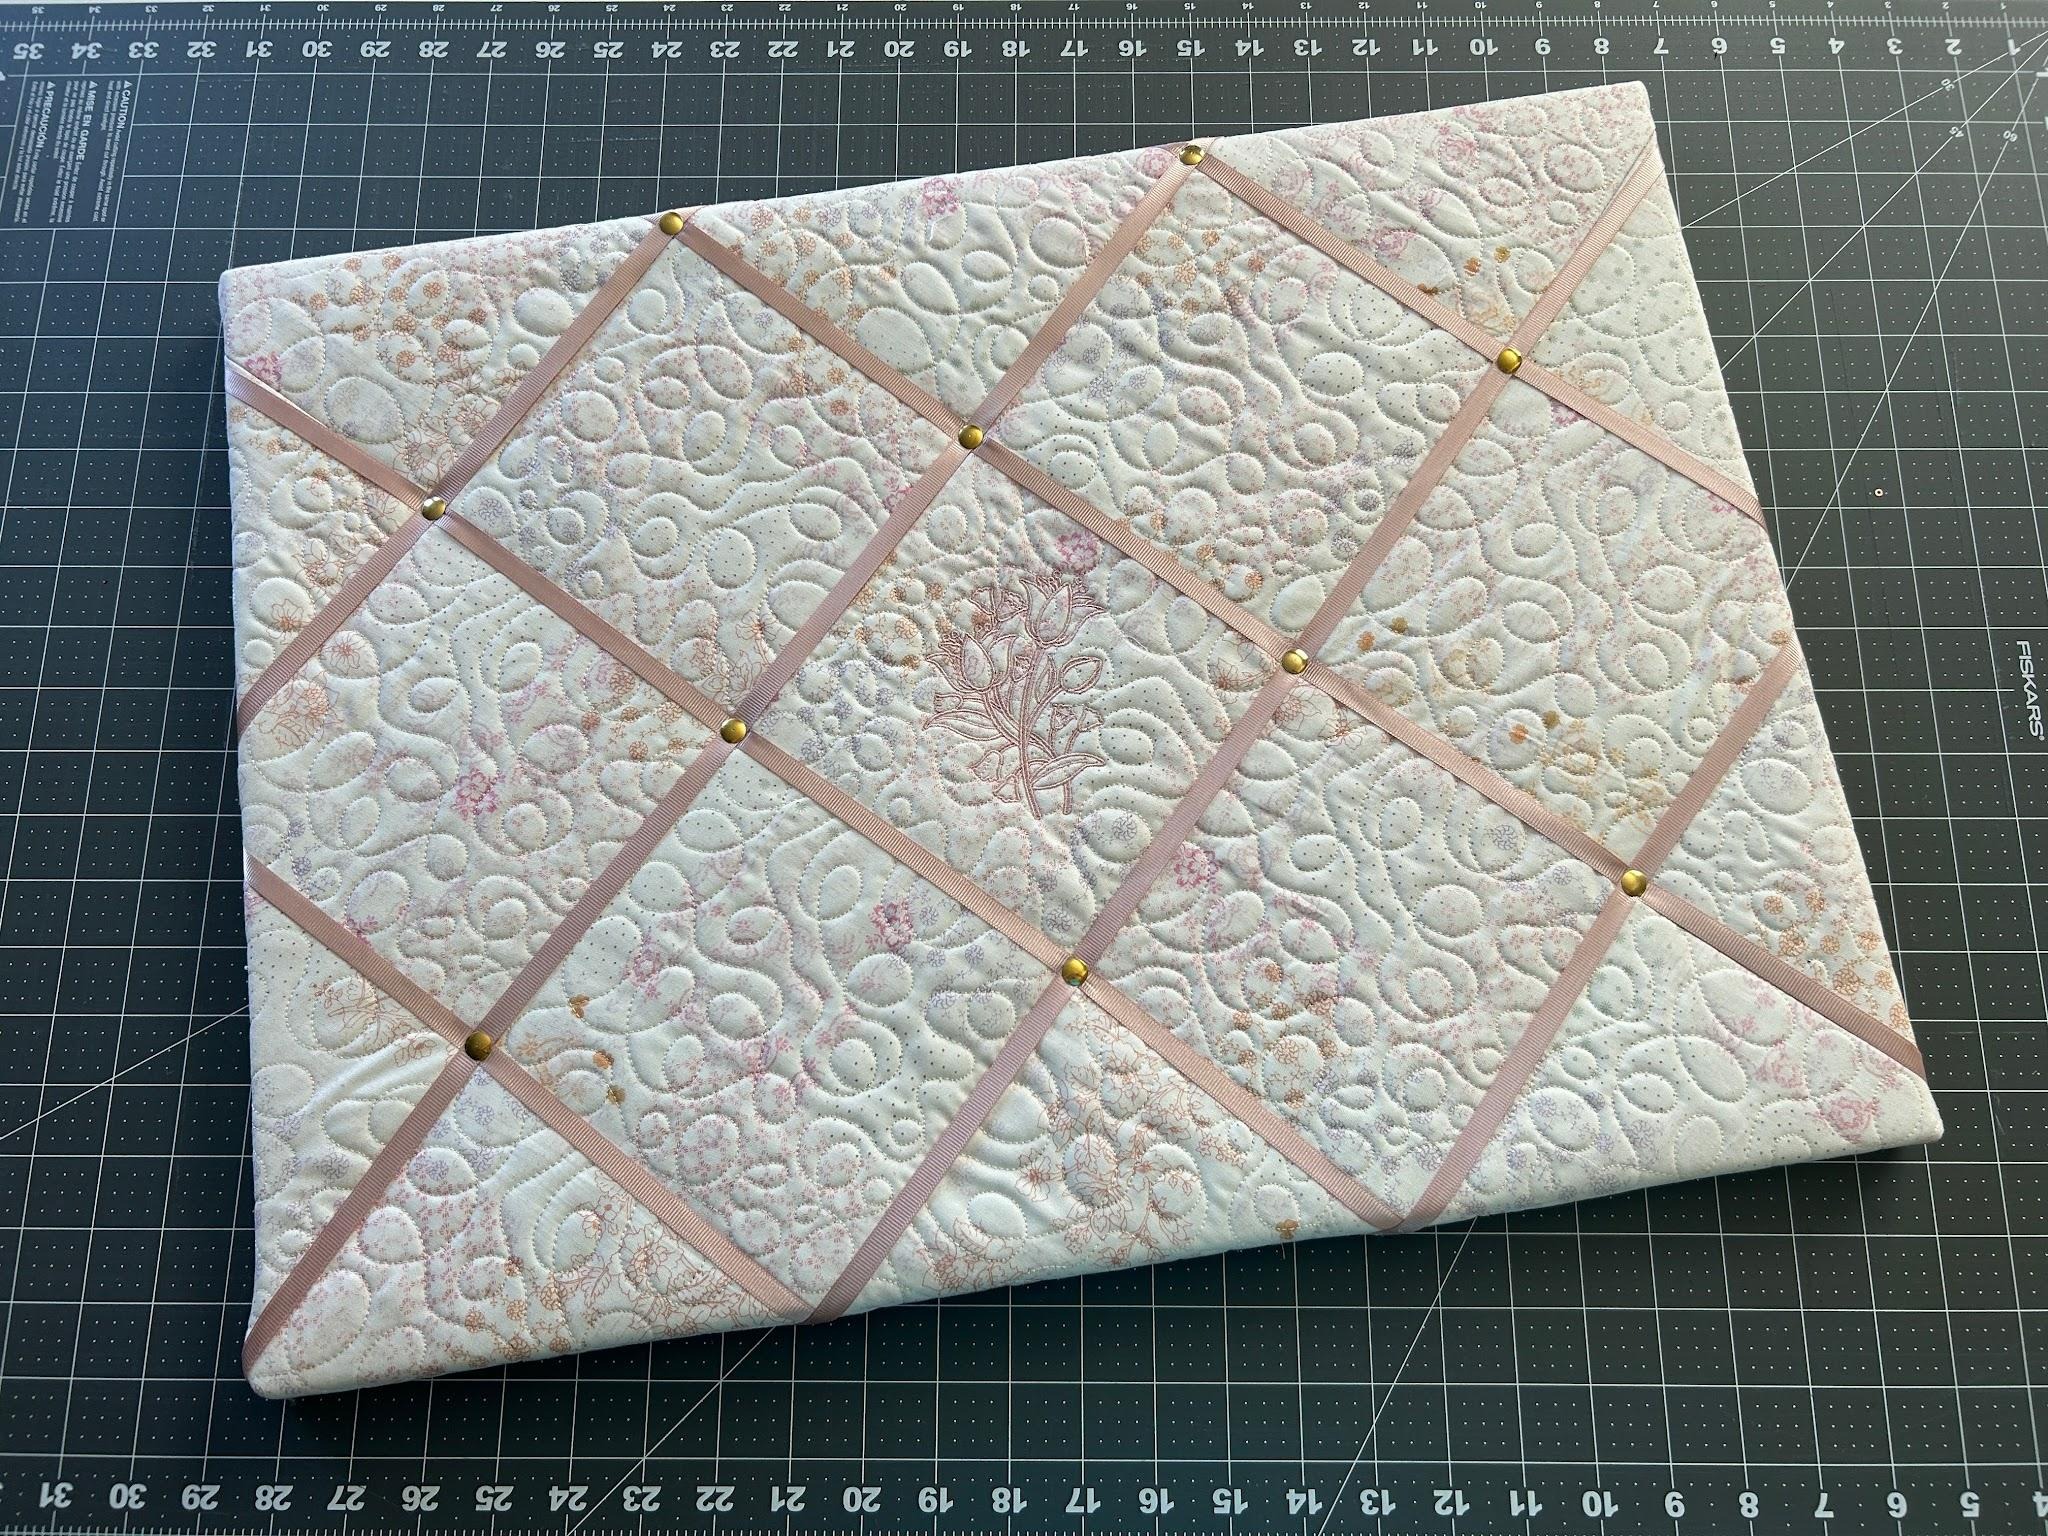
Now we will tack down the ribbon with the push pins. I found it worked best when I started around the center block and worked my way out. Just push the push pin in where the ribbon intersects.

When you get to the edges of the fabric where the ribbon is off the edge of the board, tack the ribbon down with a dot of hot glue. It won’t be seen, but it is helpful to keep the ribbon in place so it doesn’t move.

Flip your board so you are looking at the back side. Beginning on the long sides, pull the fabric around to the back, keeping it tight. I stapled both the fabric and ribbon in place. To keep it tight I put a staple every 2–3 inches. If you don’t have a staple gun, hot glue will also work. Make sure to hold the fabric tight until the glue cools.
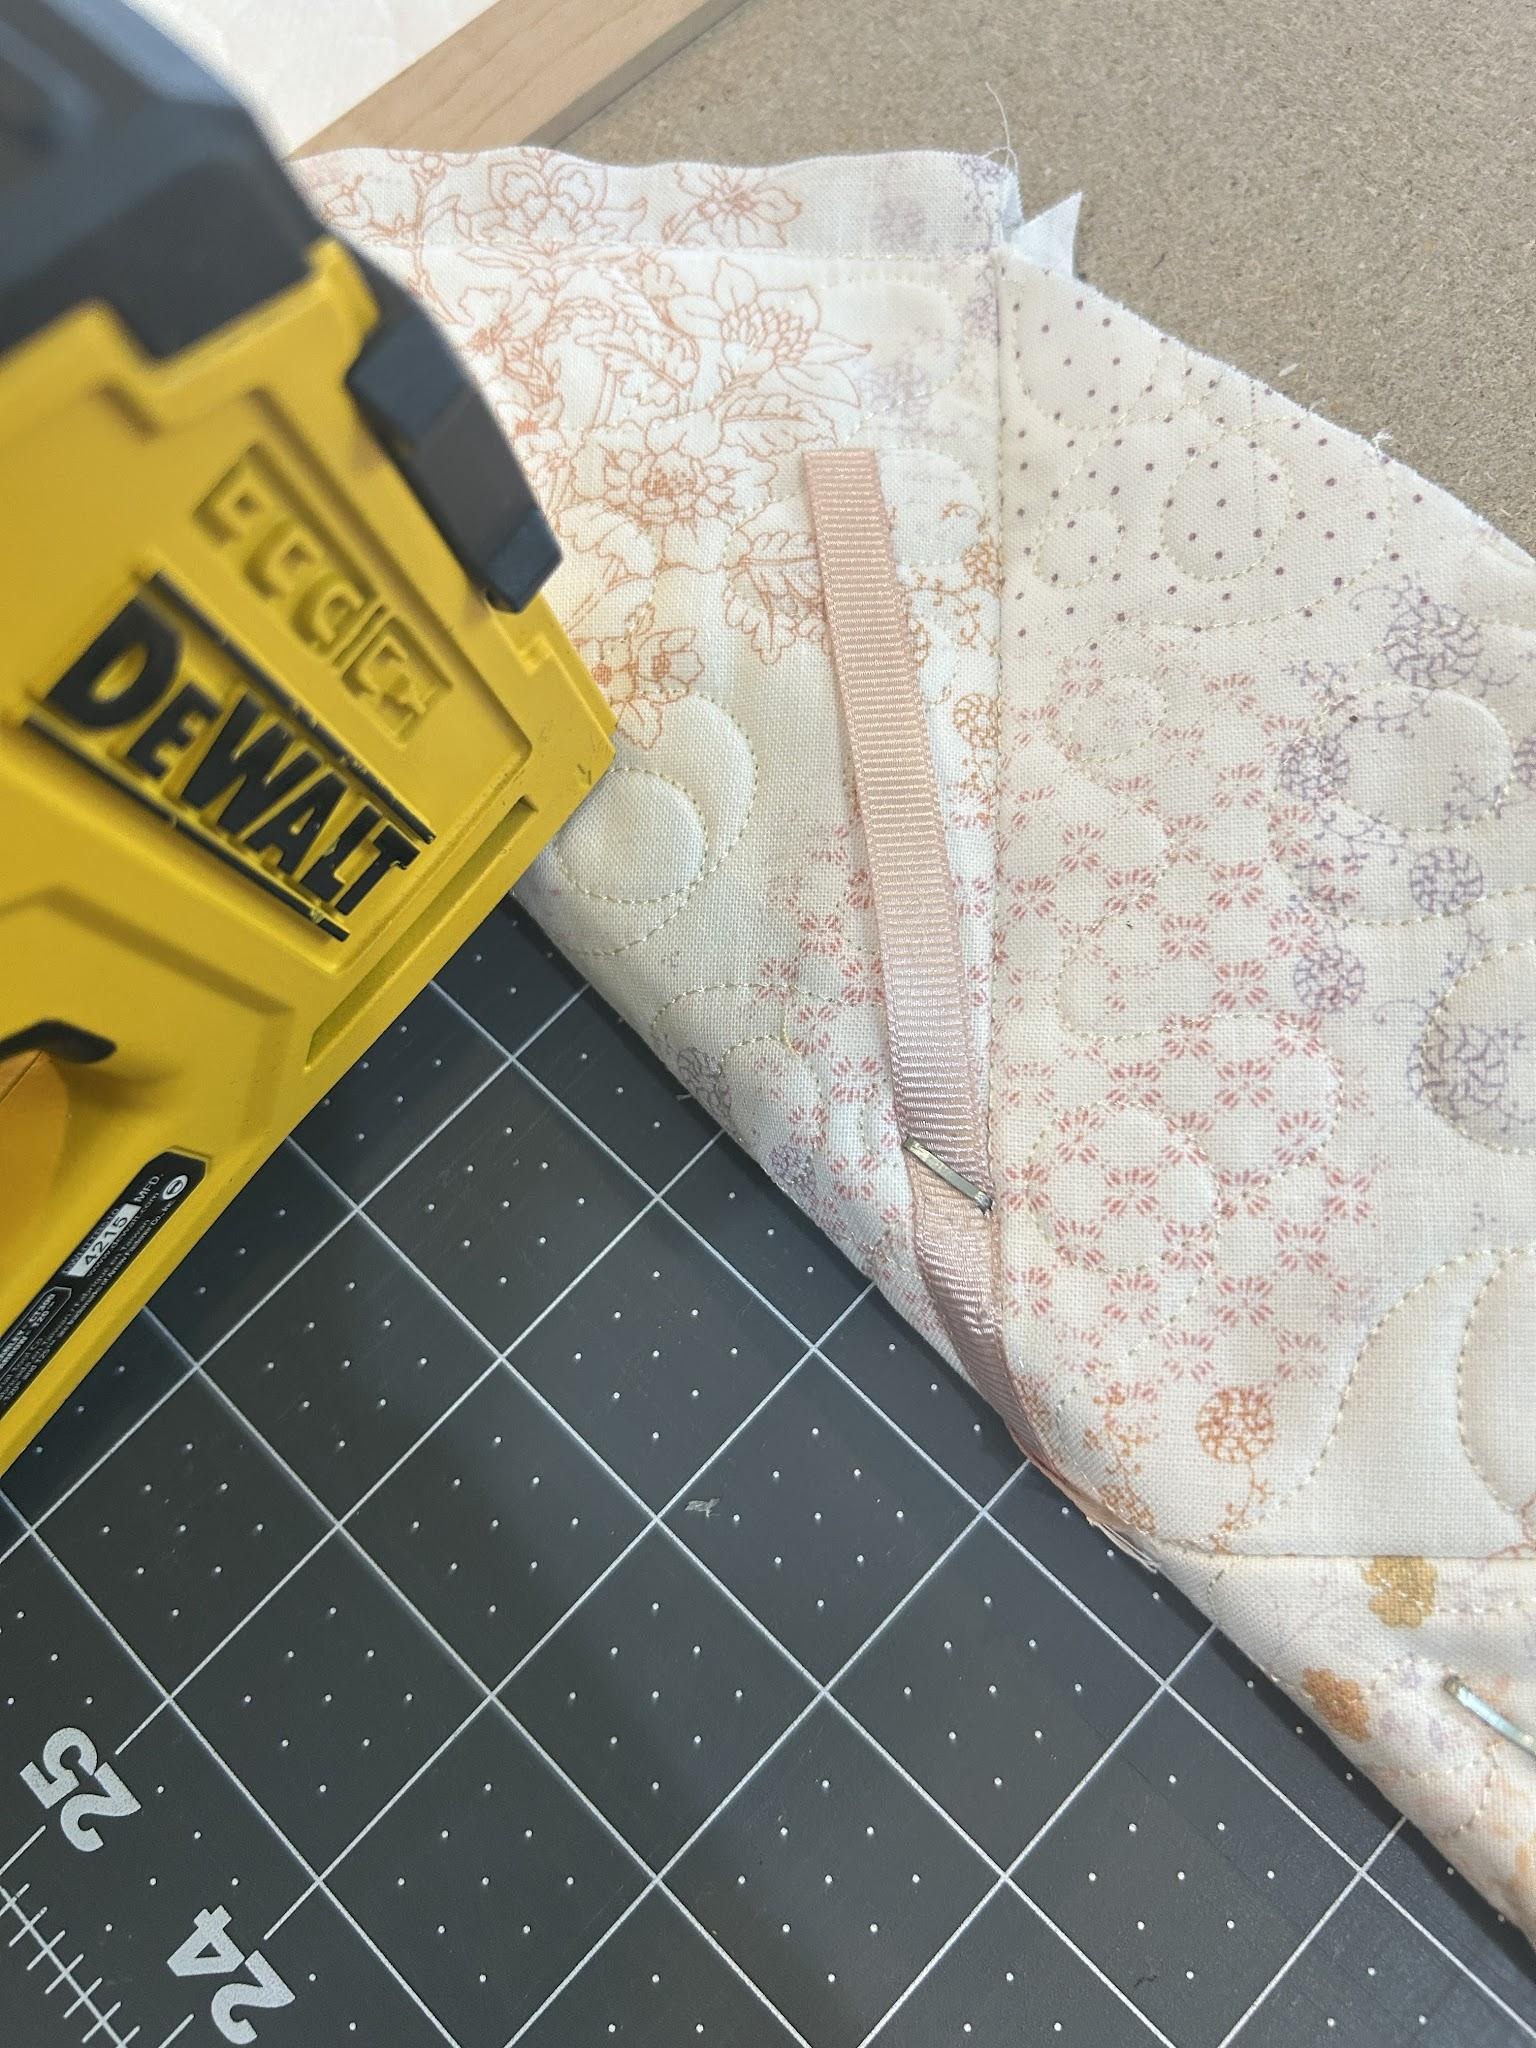
Trim the excess fabric that is beyond the frame on the back of the board.
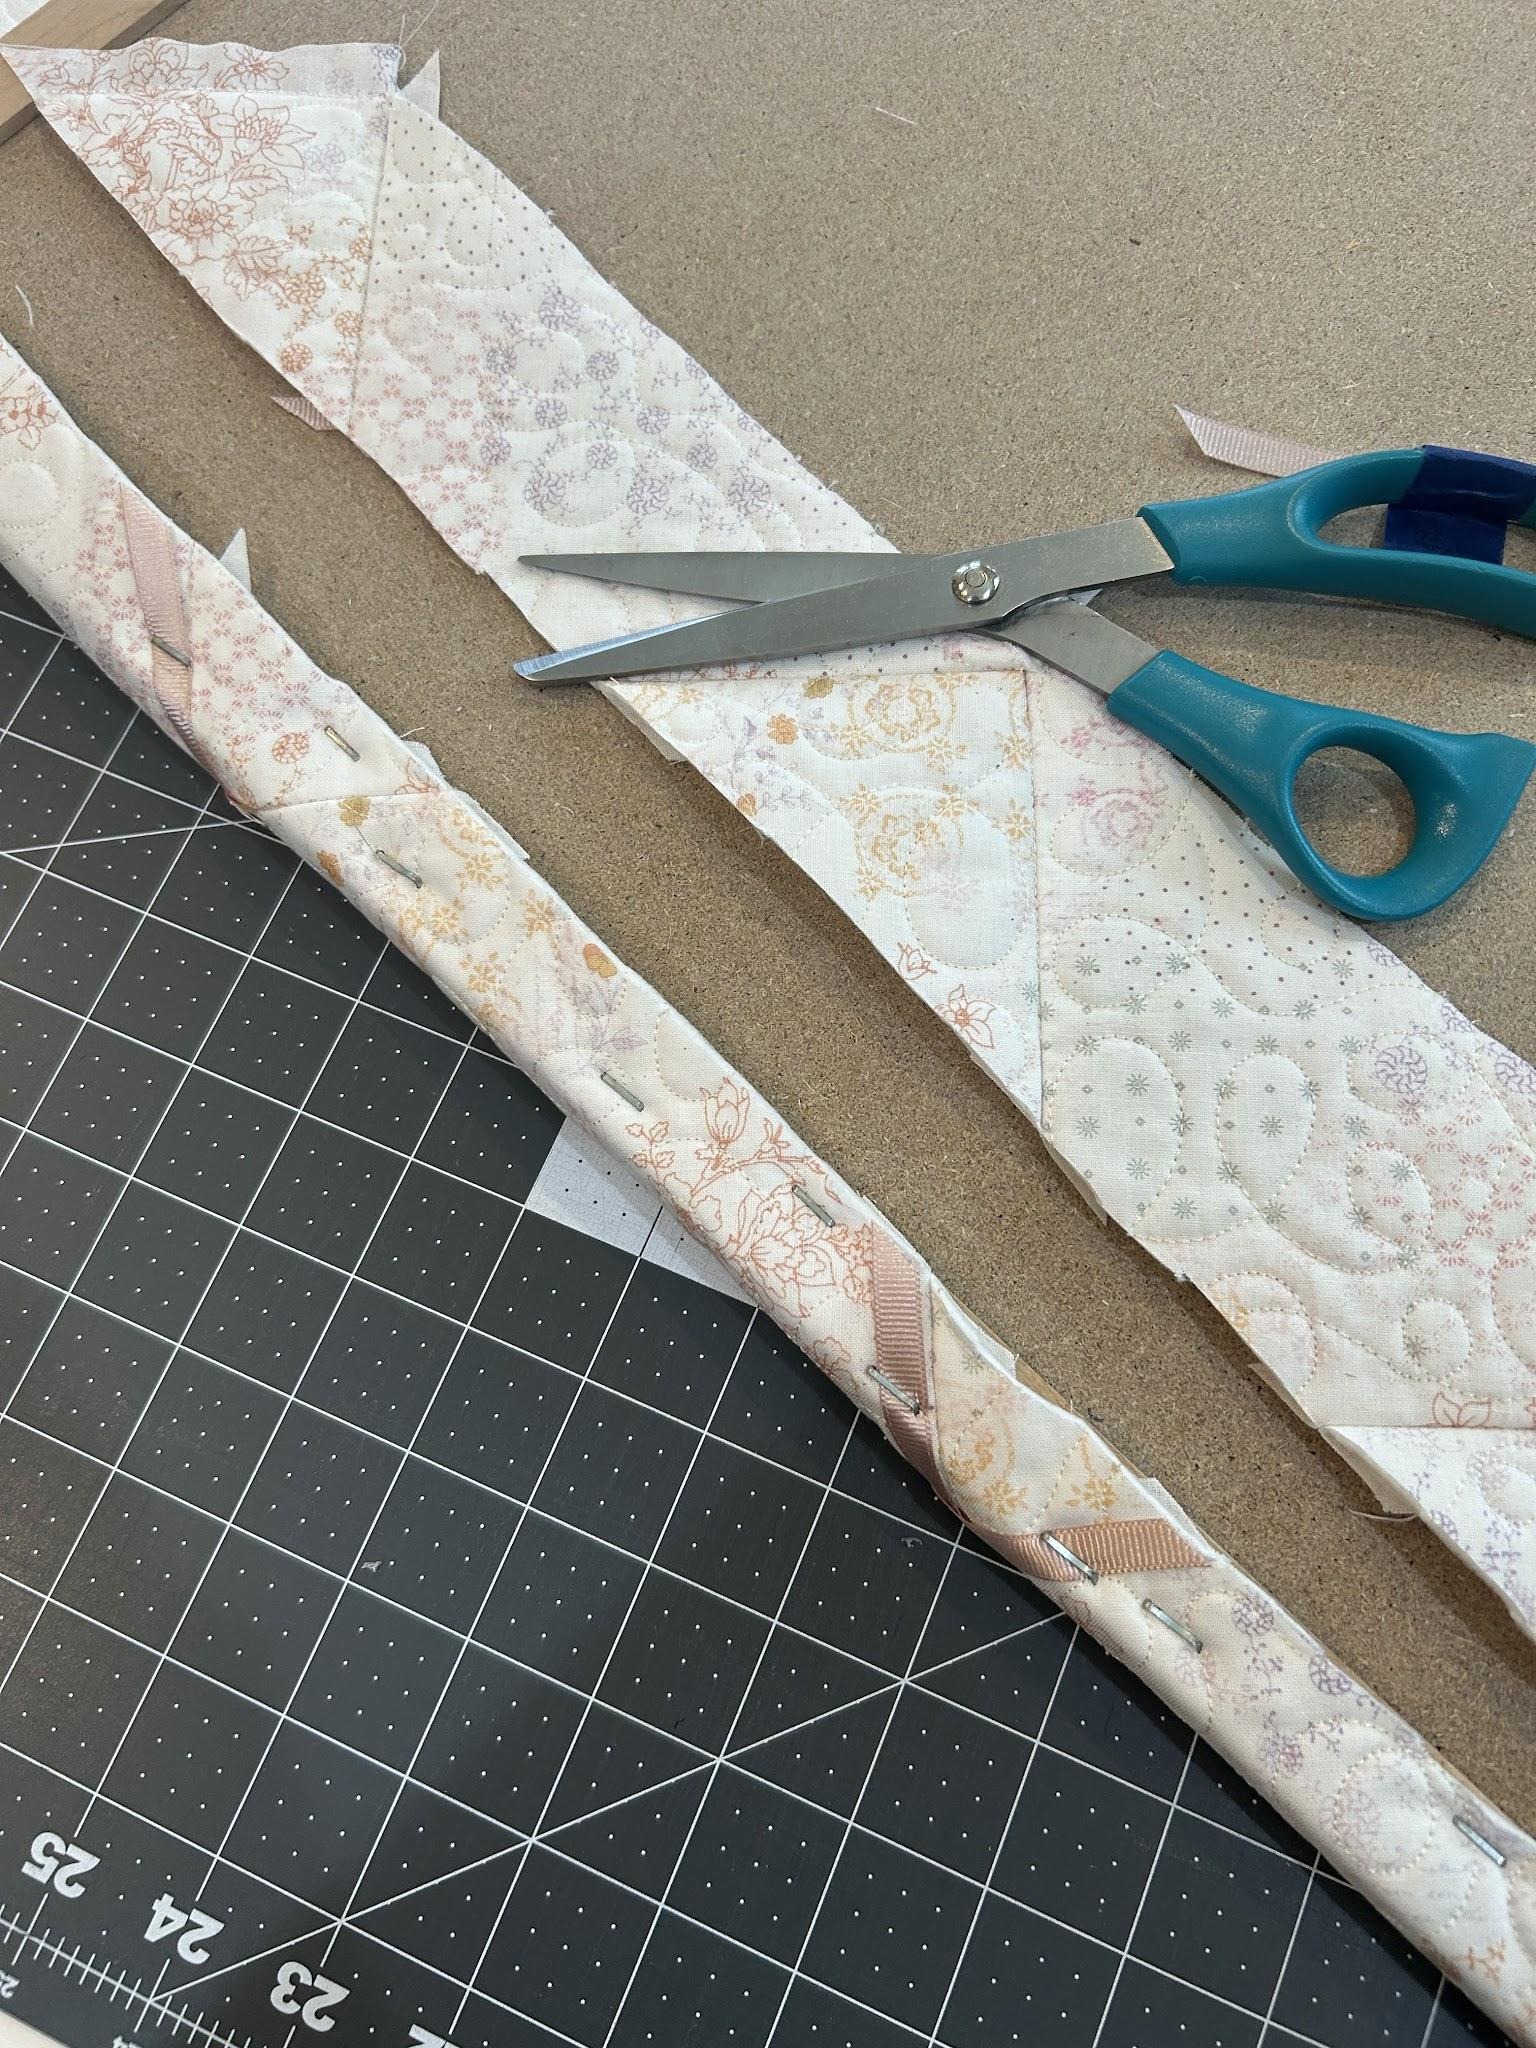
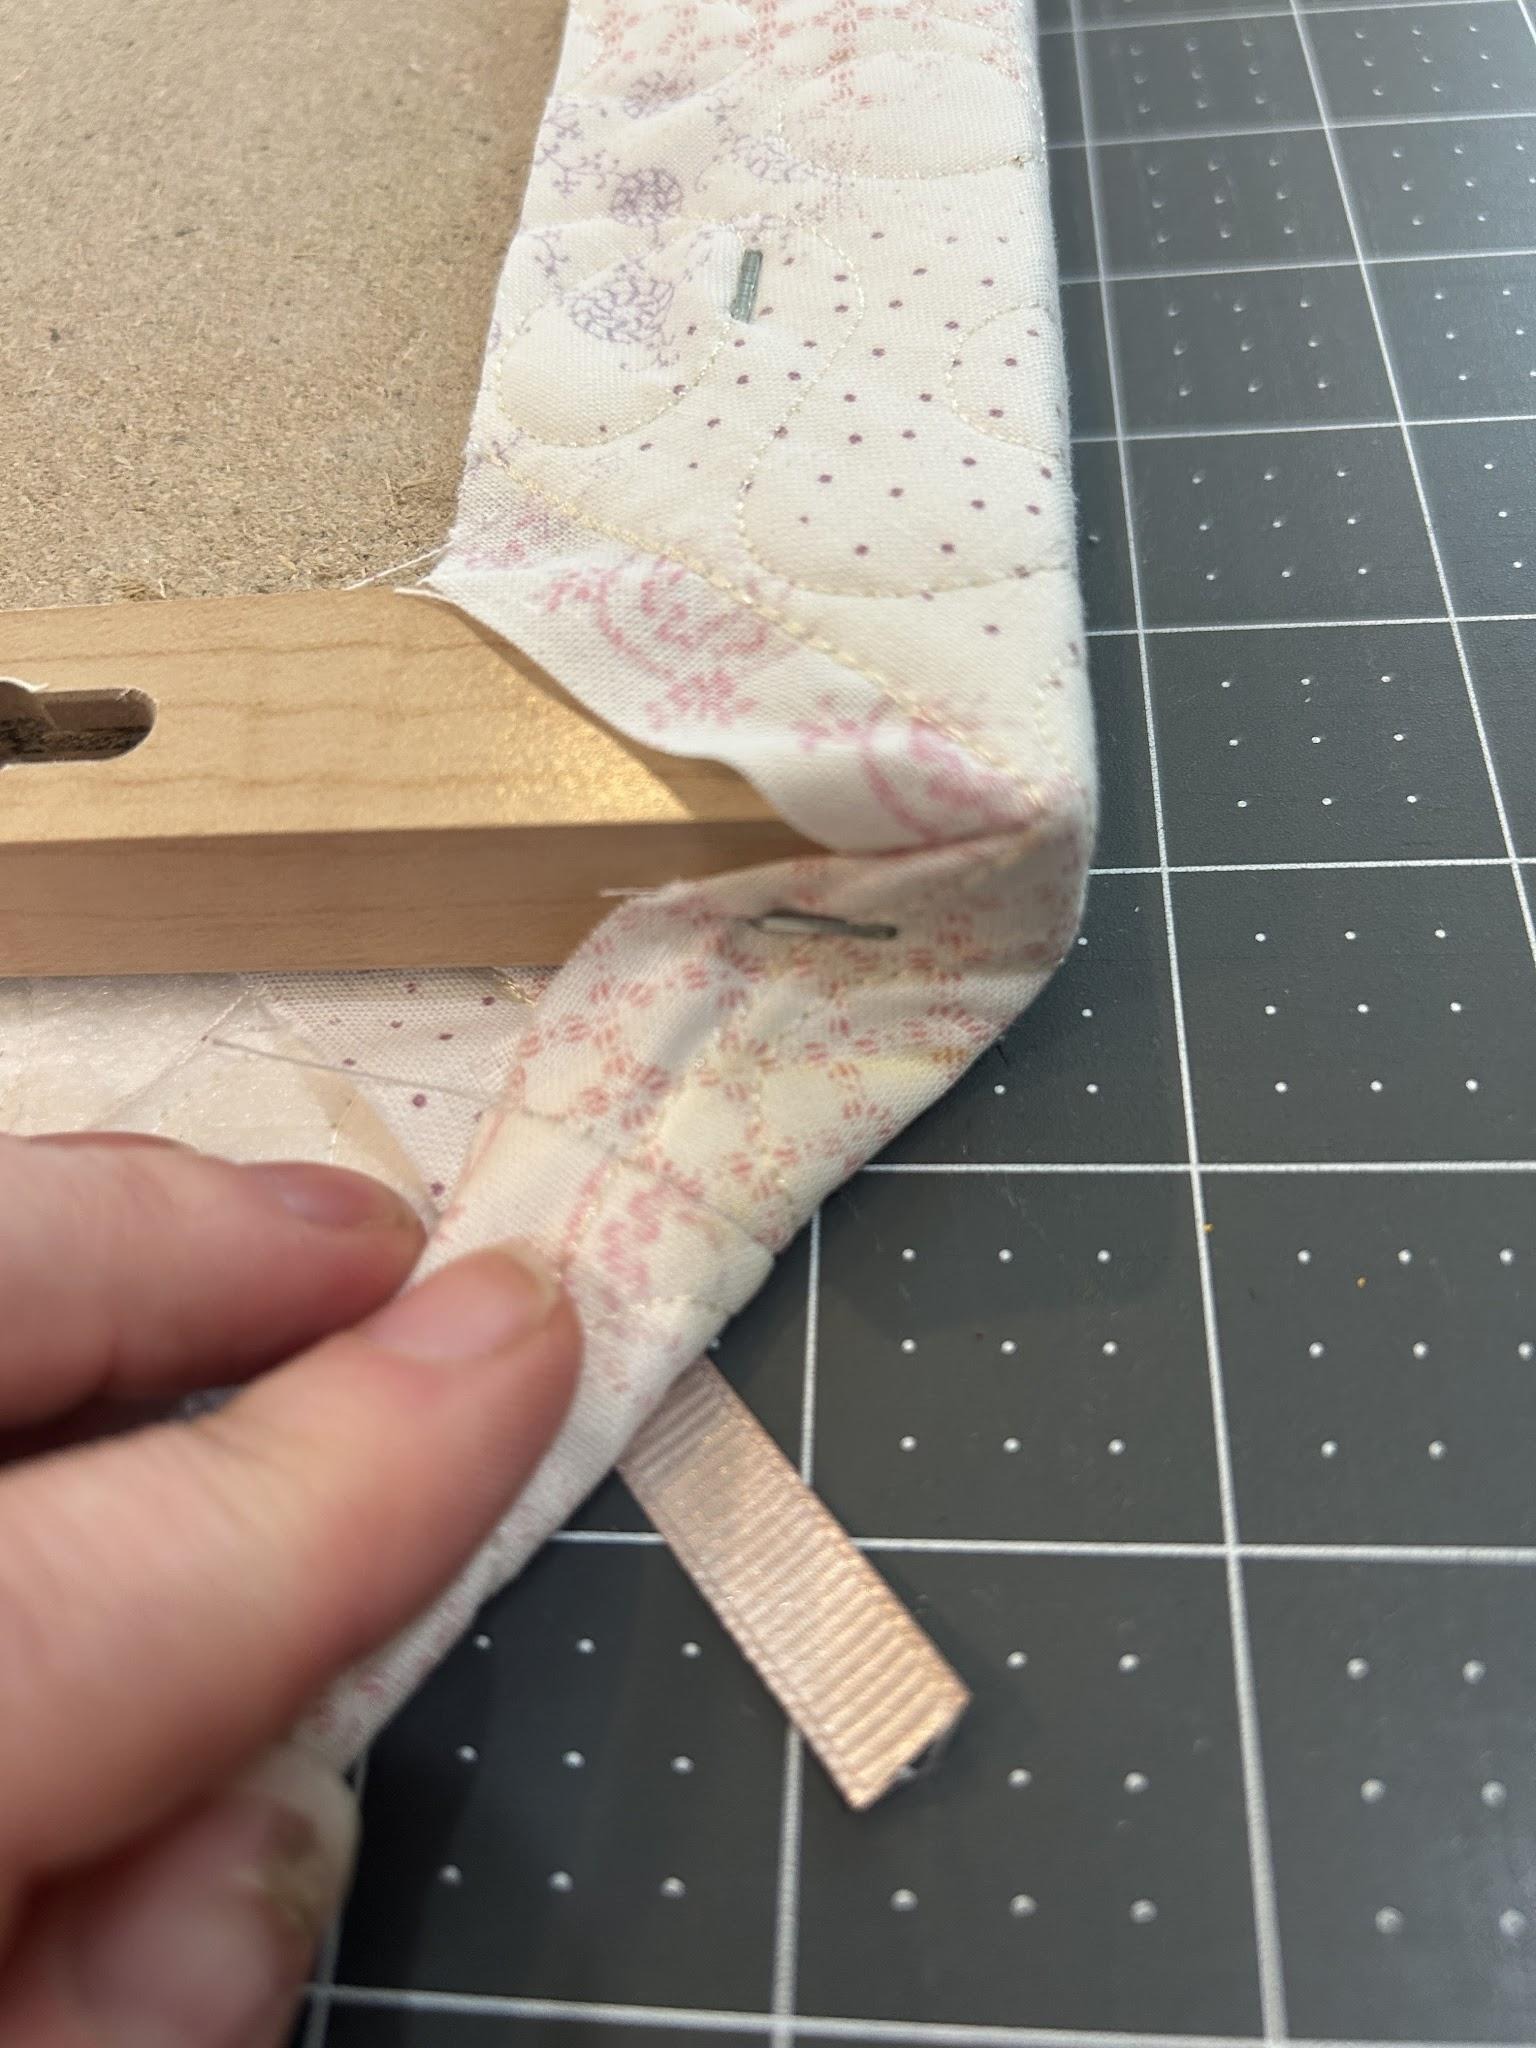
After doing the long sides of the board, I did the shorter sides. I turned the corners in like wrapping a present and stapled it. This hid the staple when I folded the fabric to the back.
Once it’s all attached and trimmed, your board is finished! This is such a versatile project. There are so many cute push pins out there that can create a themed board that fits your vision. You can also personalize it with a name or any design that tickles your fancy.
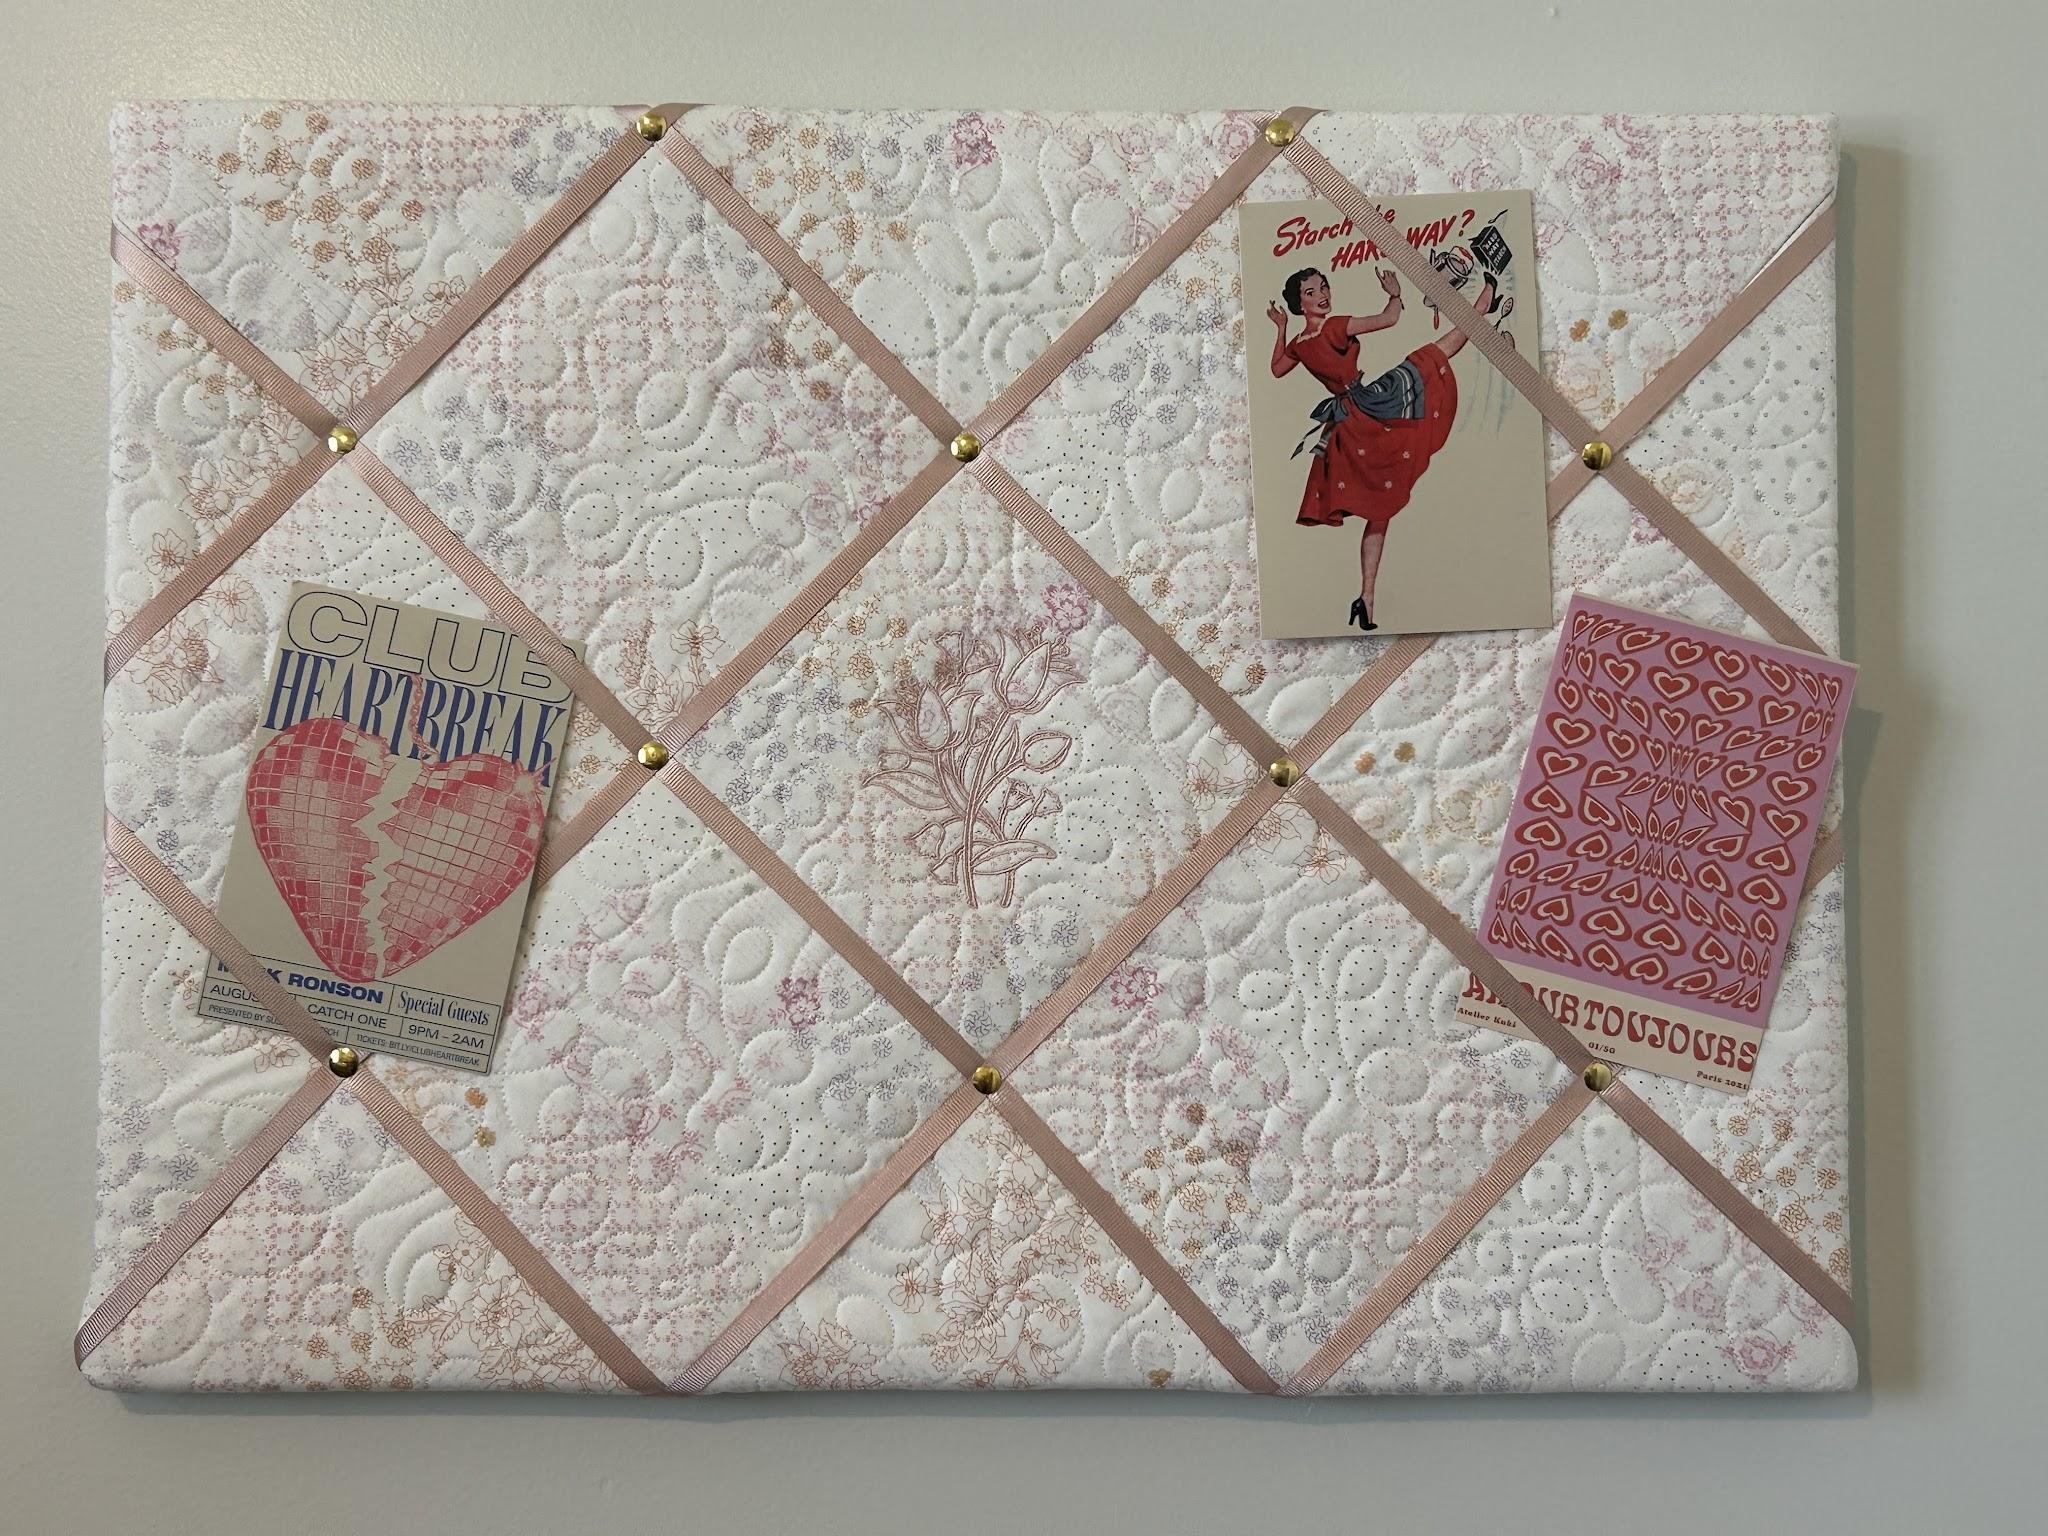
If you make a board using Quilting Backdrops, please share it with us in the Designs by JuJu Embroidery Blessings Facebook Group, or use the hashtag #designsbyjuju anywhere on social media. We love being inspired by your creativity and design choices!